In-Wall – Door Wall
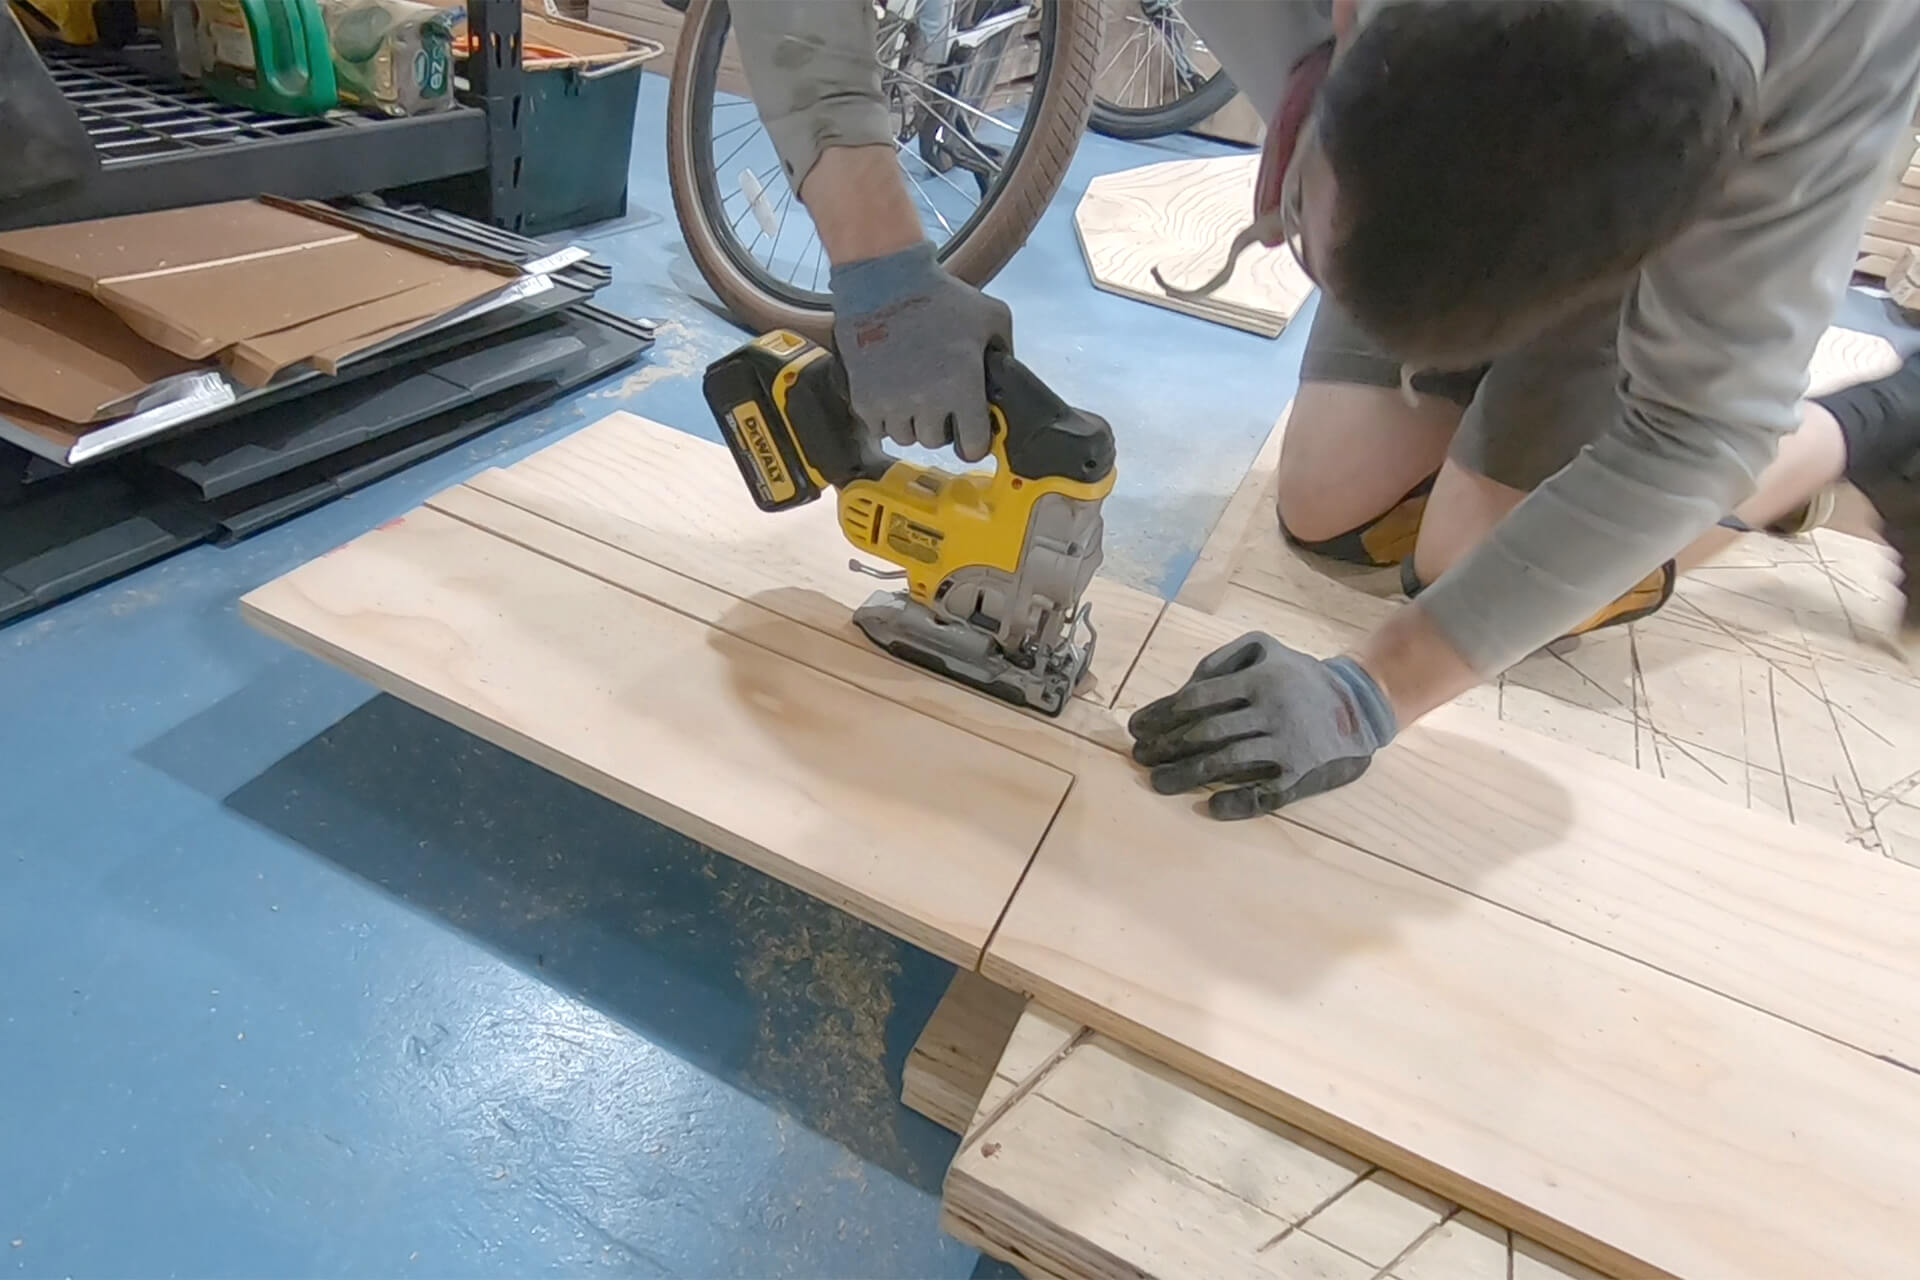
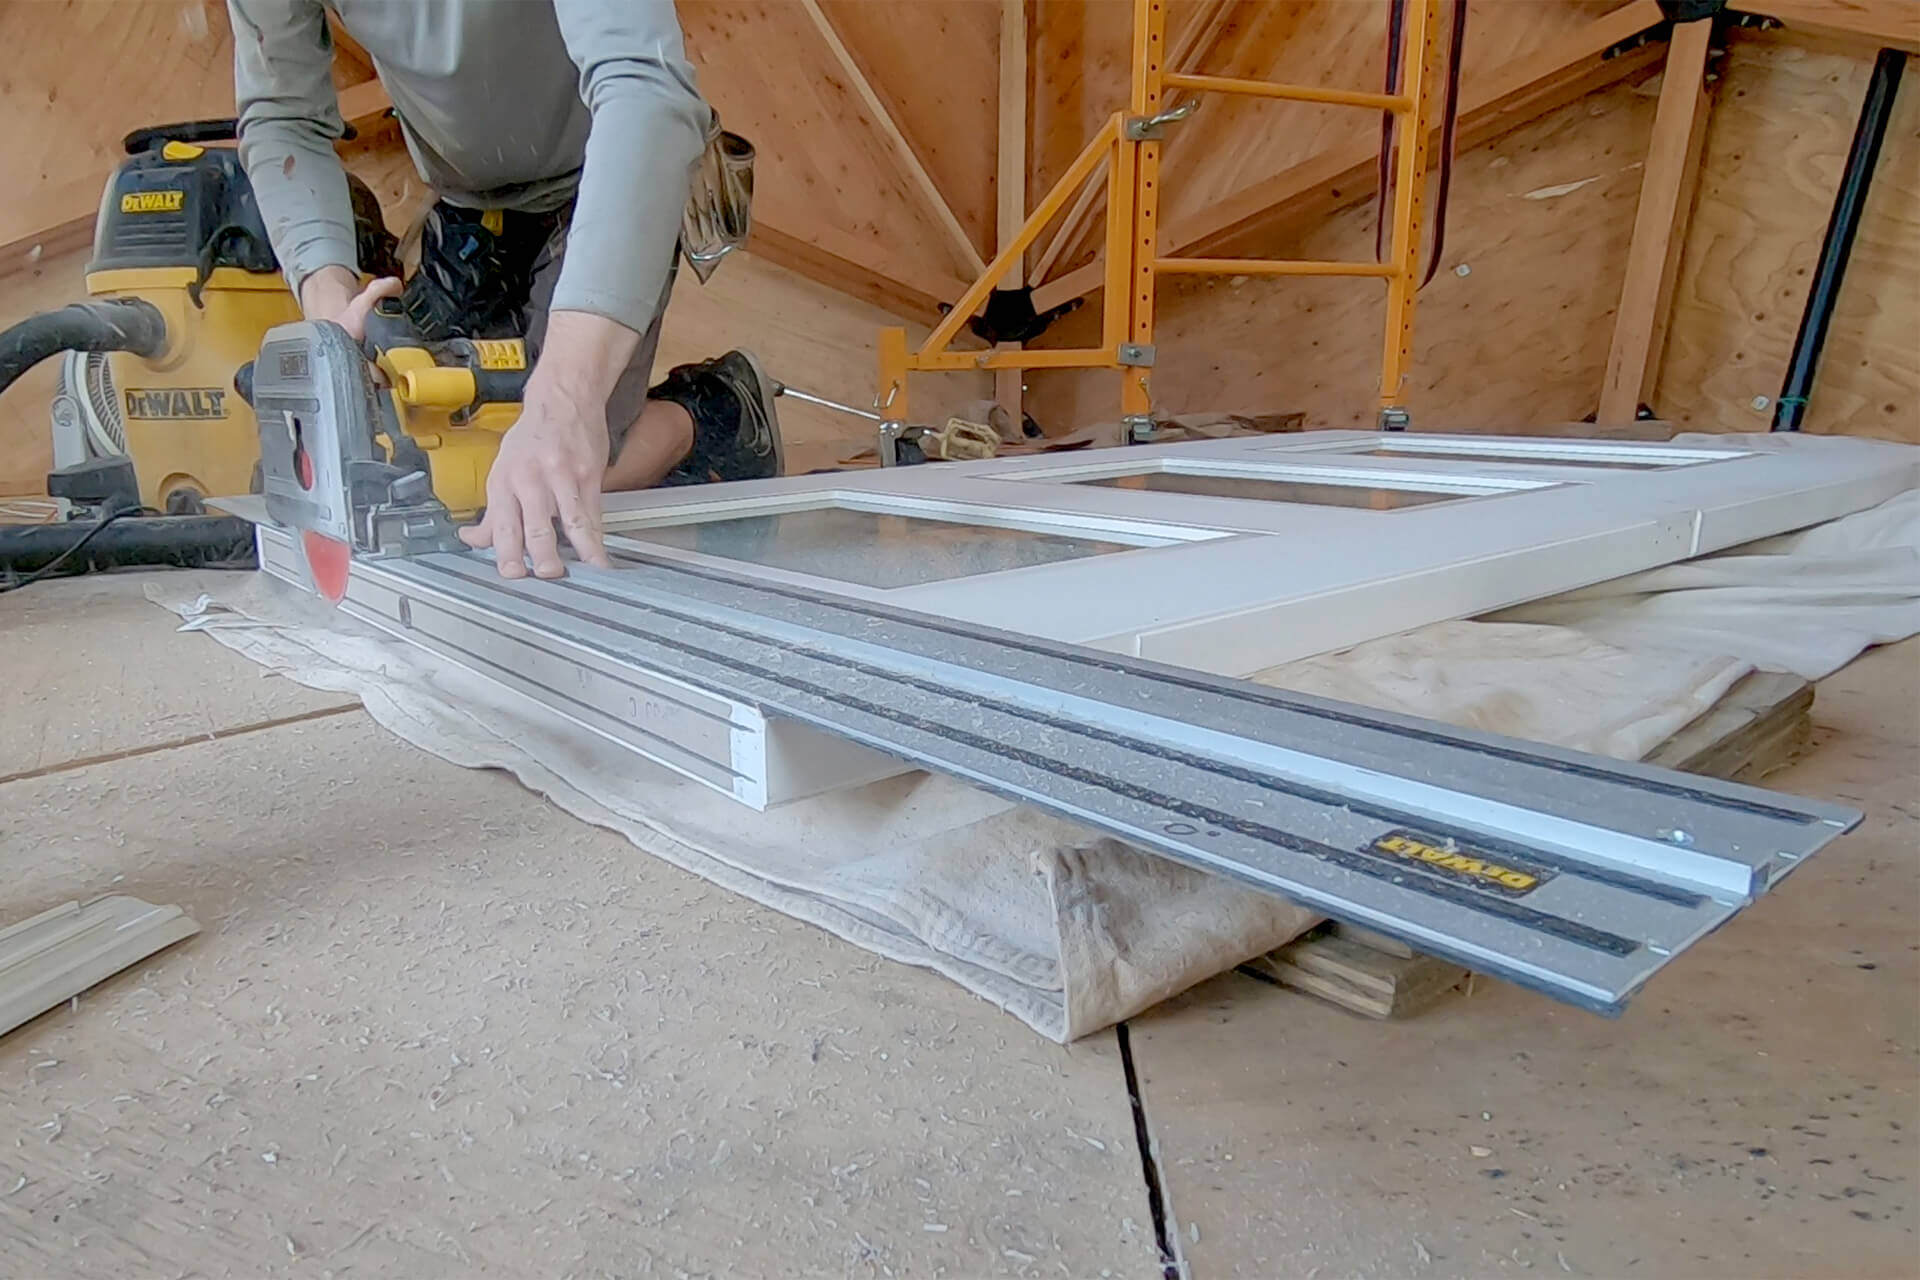
Cut the Door Wall parts. Cut with a track saw, then use a jigsaw (shown) to cut the inside corners flush.
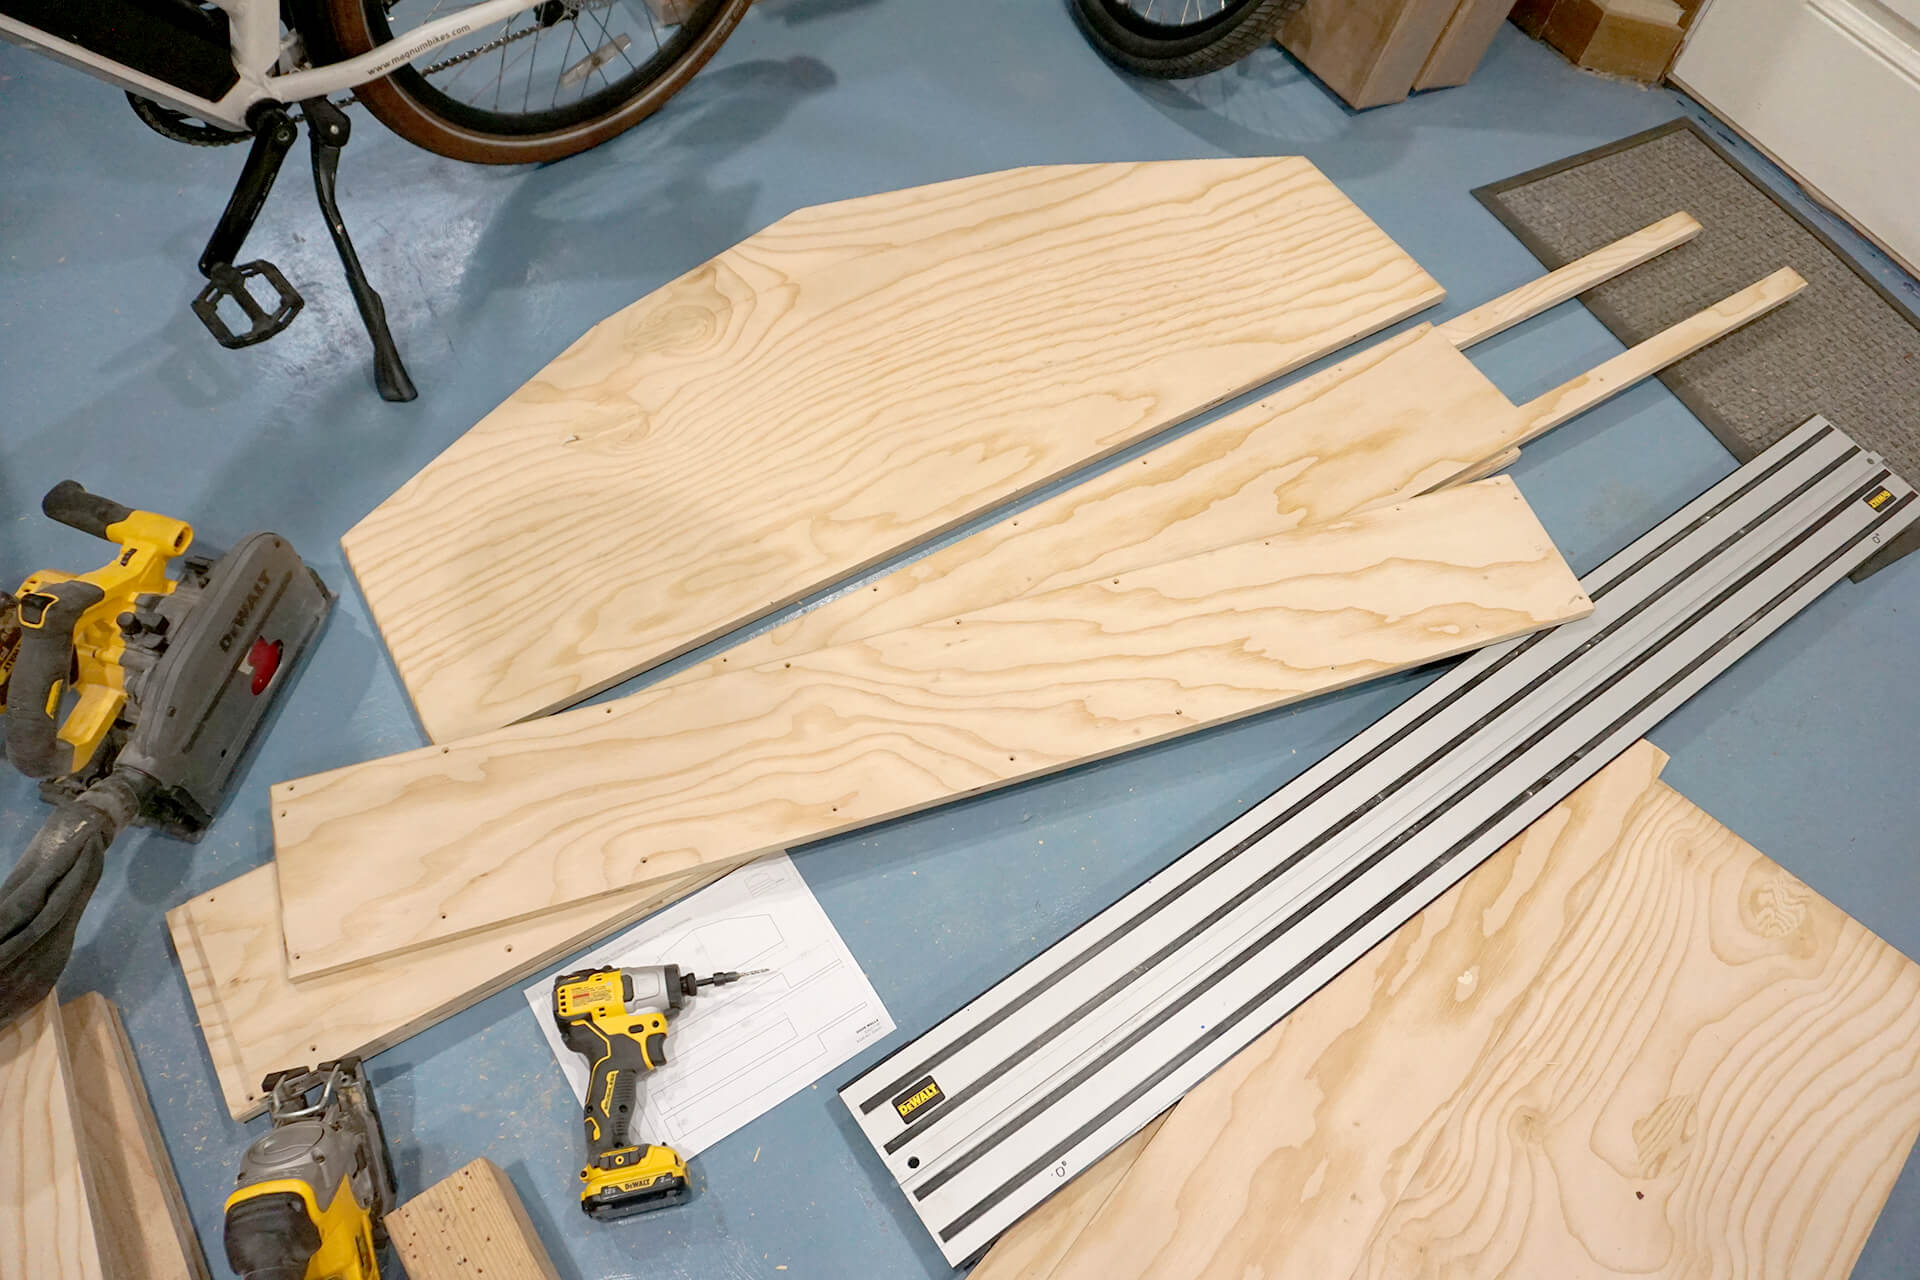
Door Wall parts completed and stacked. Door Wall sides are partially shown.
Adjust the front door as needed. In this case, the door was too long to properly mate with the adjustable sill cap and required shortening.
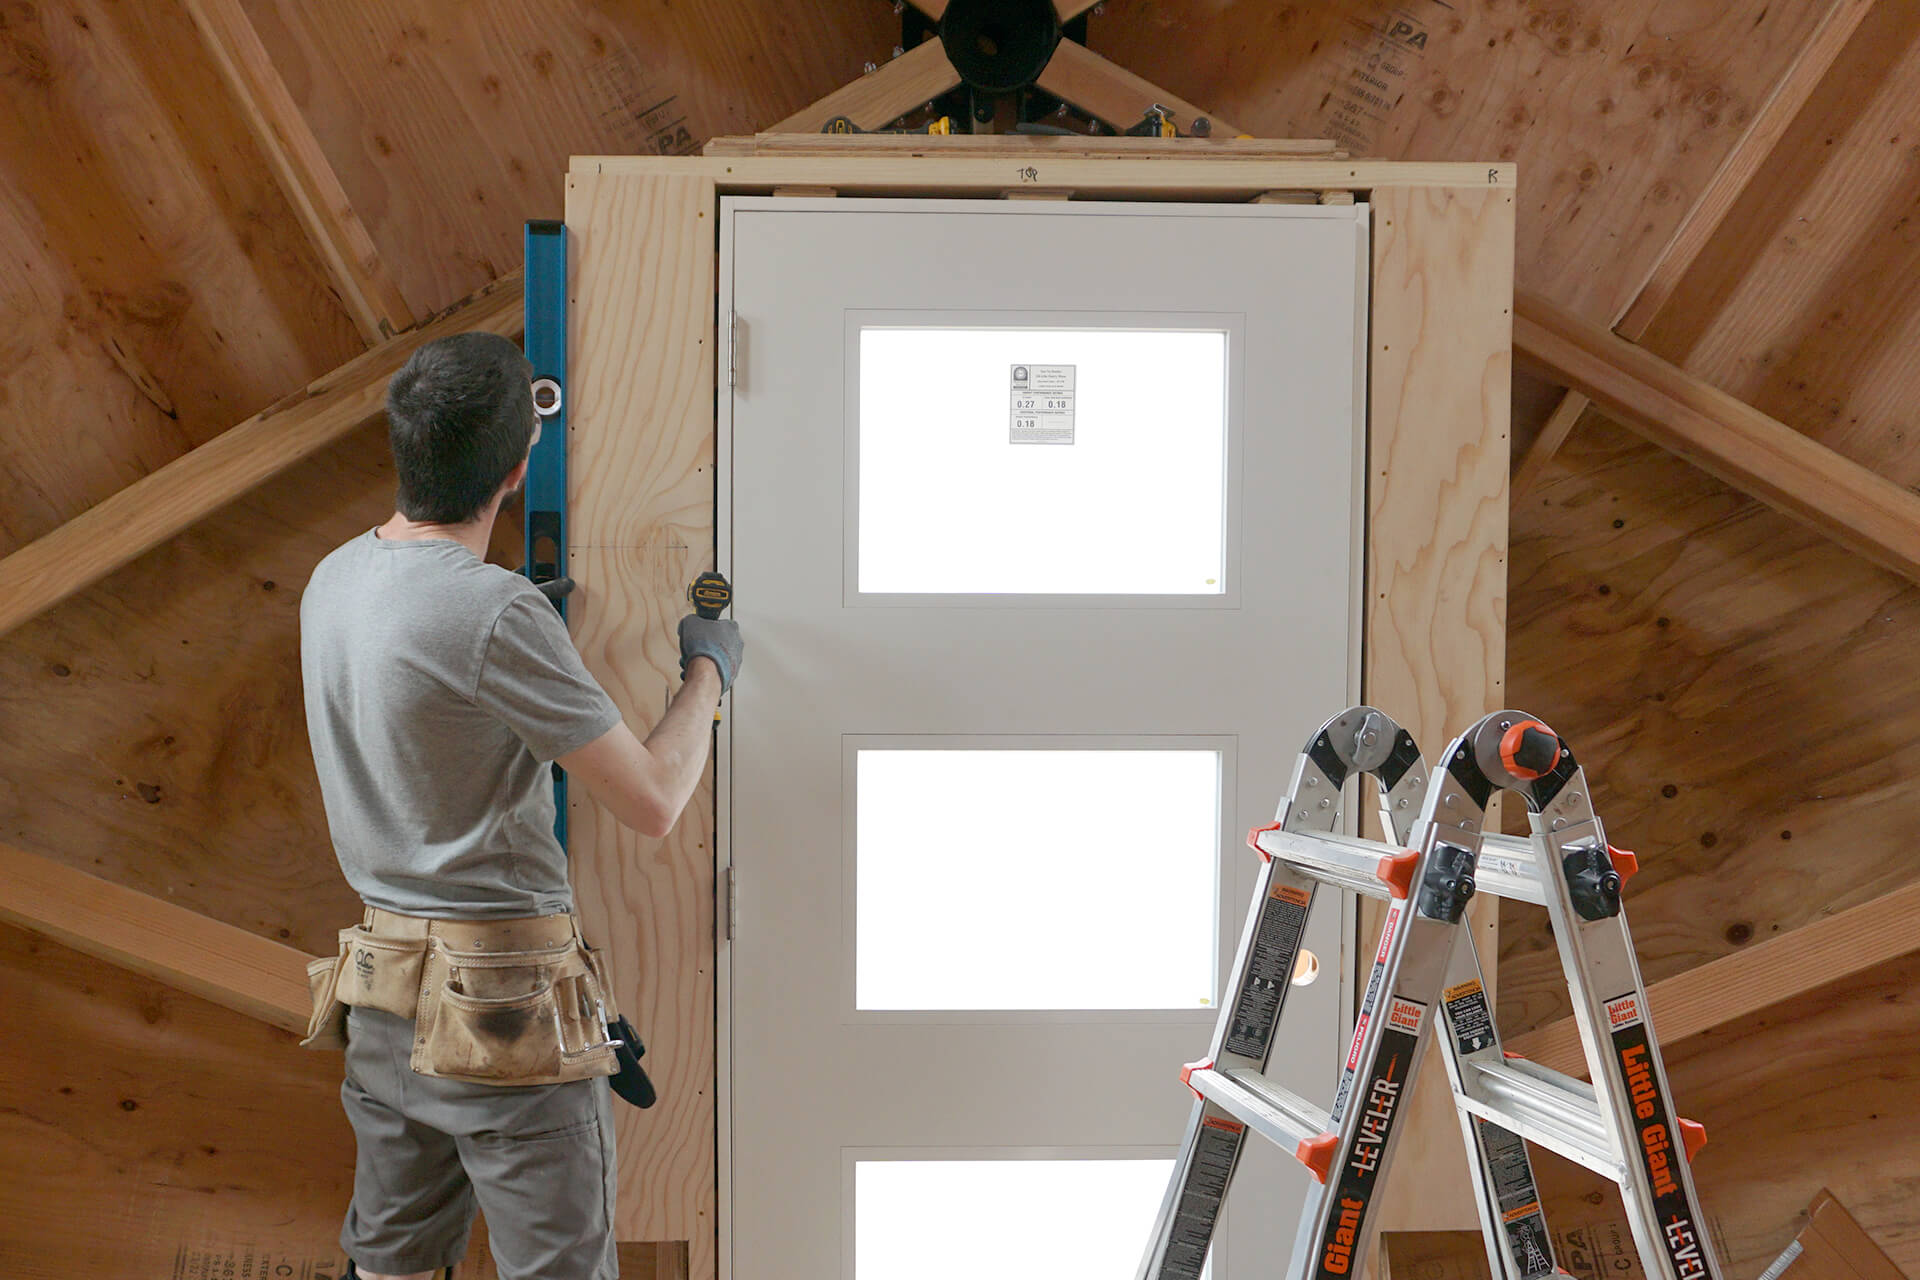
Install the Door Wall parts, ensuring they are level and plumb.
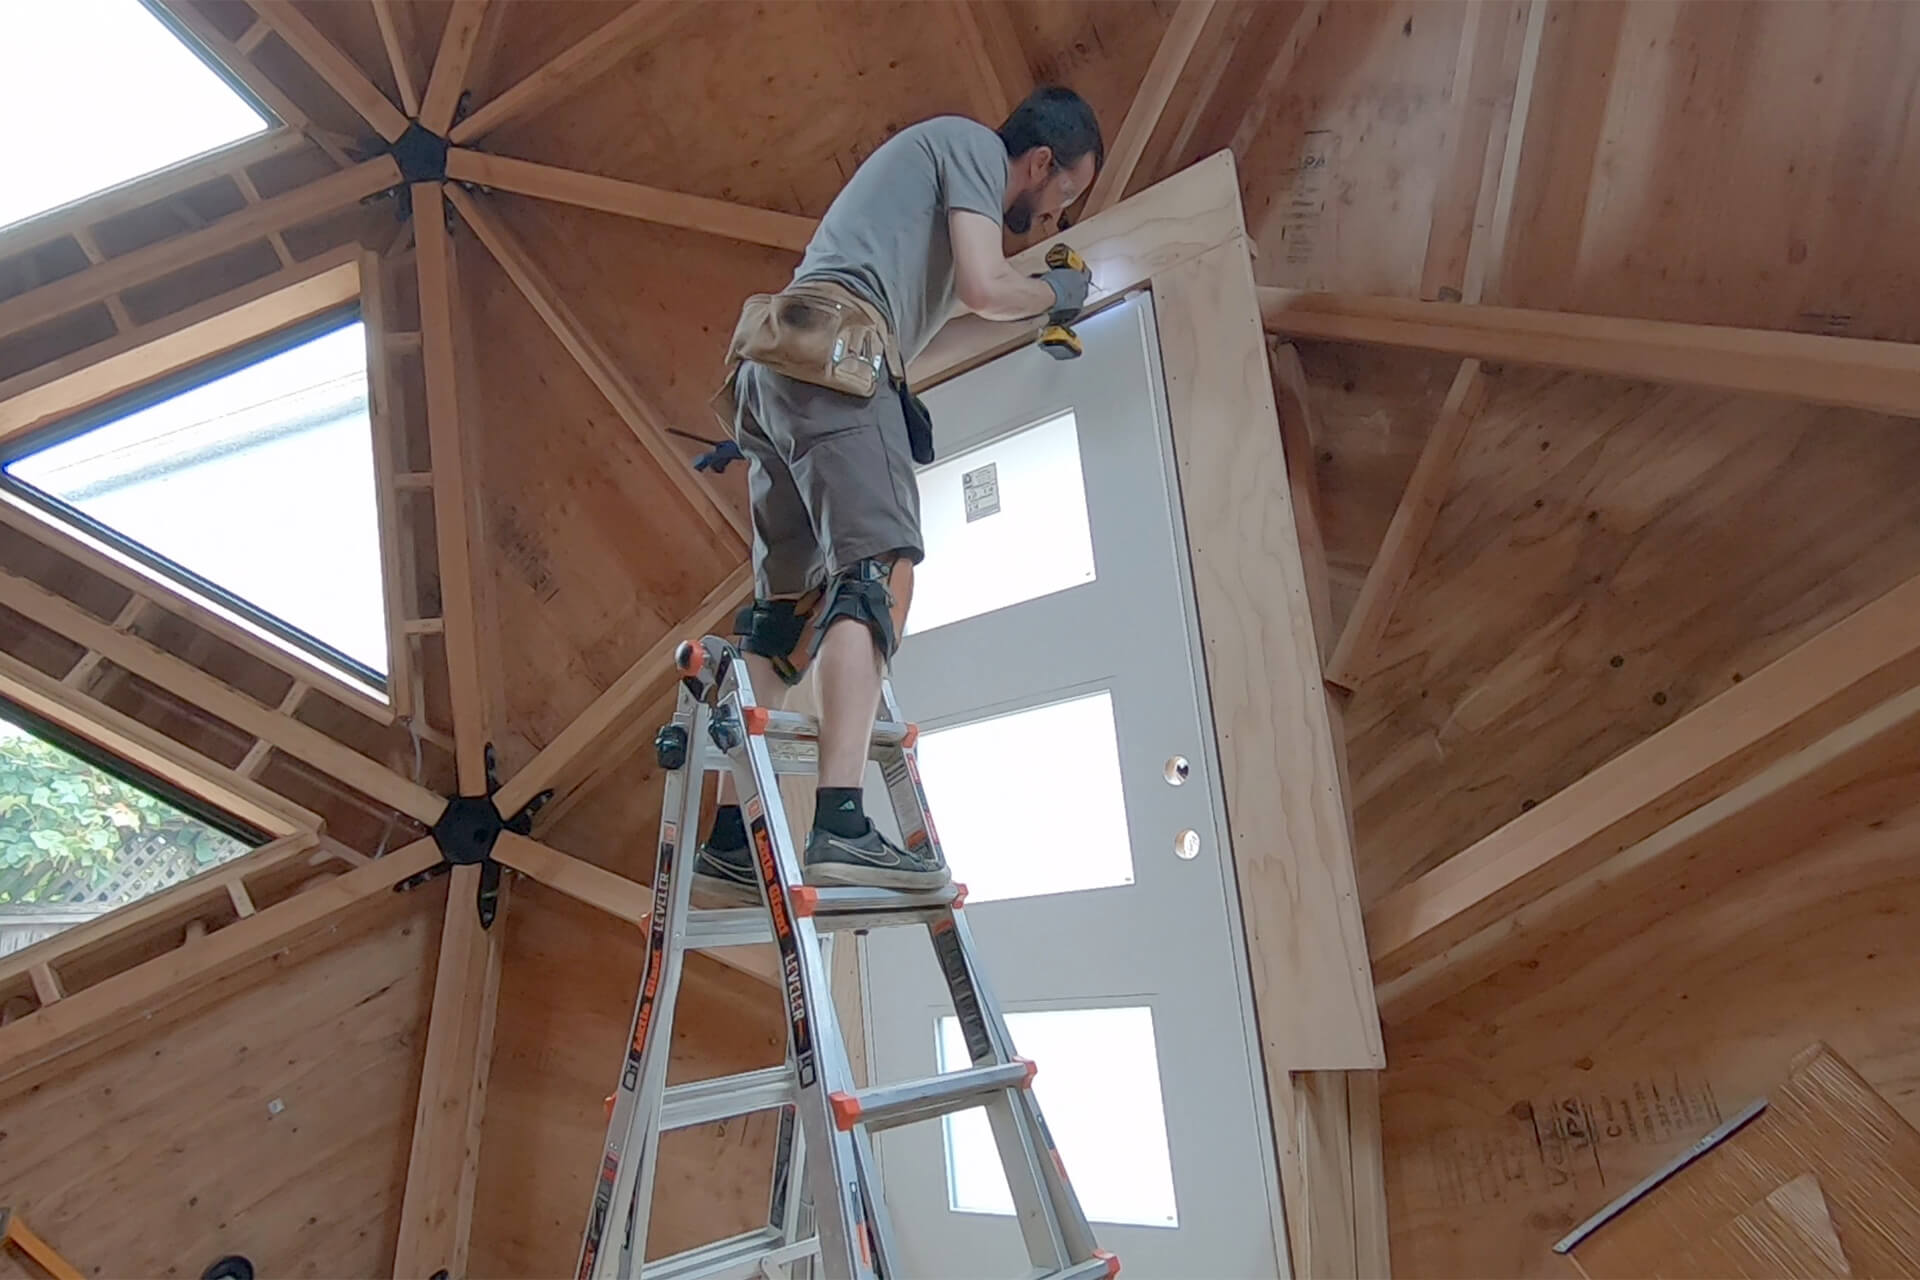
Pre-drill, countersink, and secure the Door Wall parts to the door frame blocking with screws.
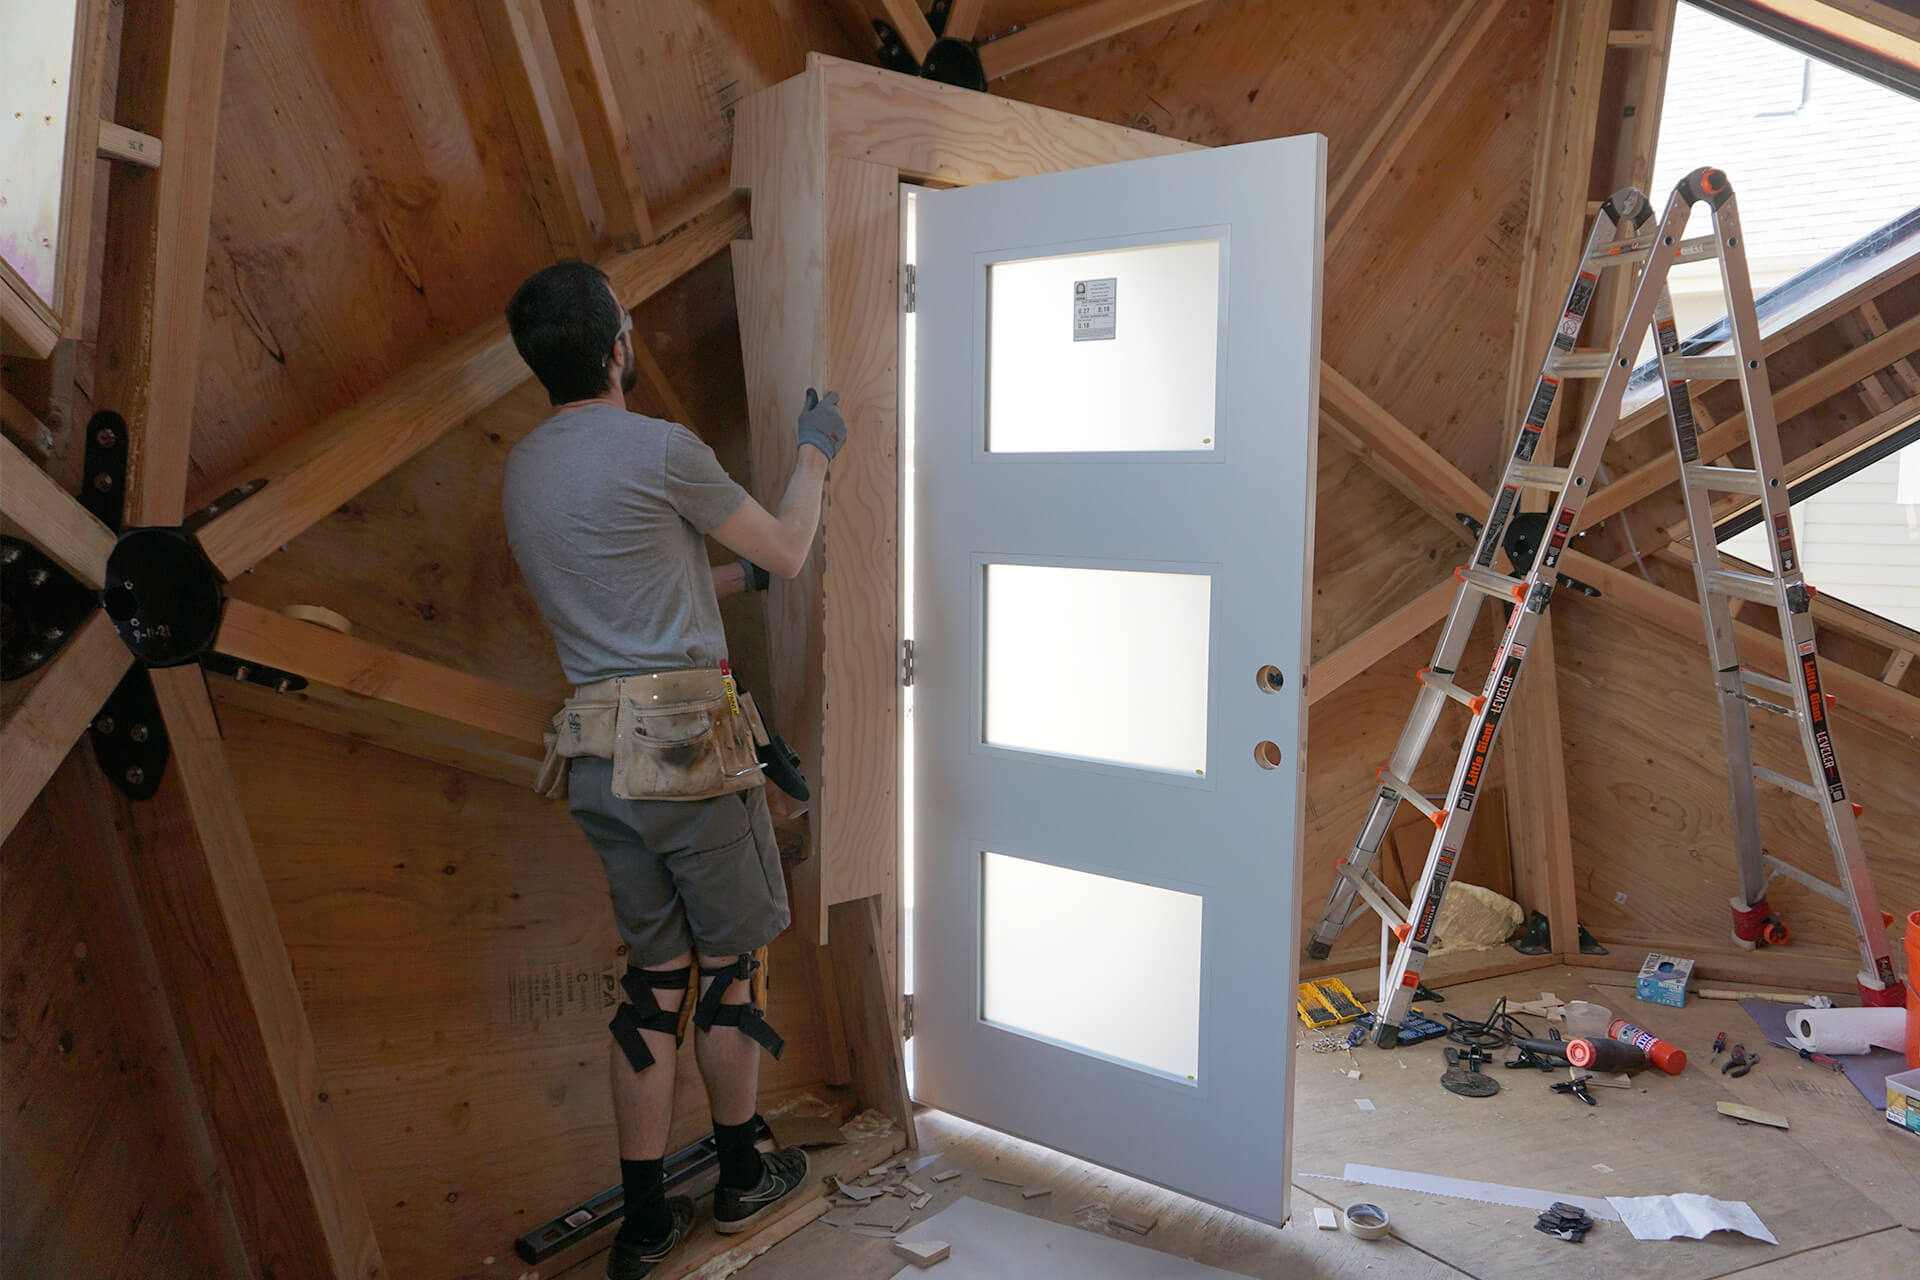
Notch the Door Wall sides to fit around the Studs, then install them.
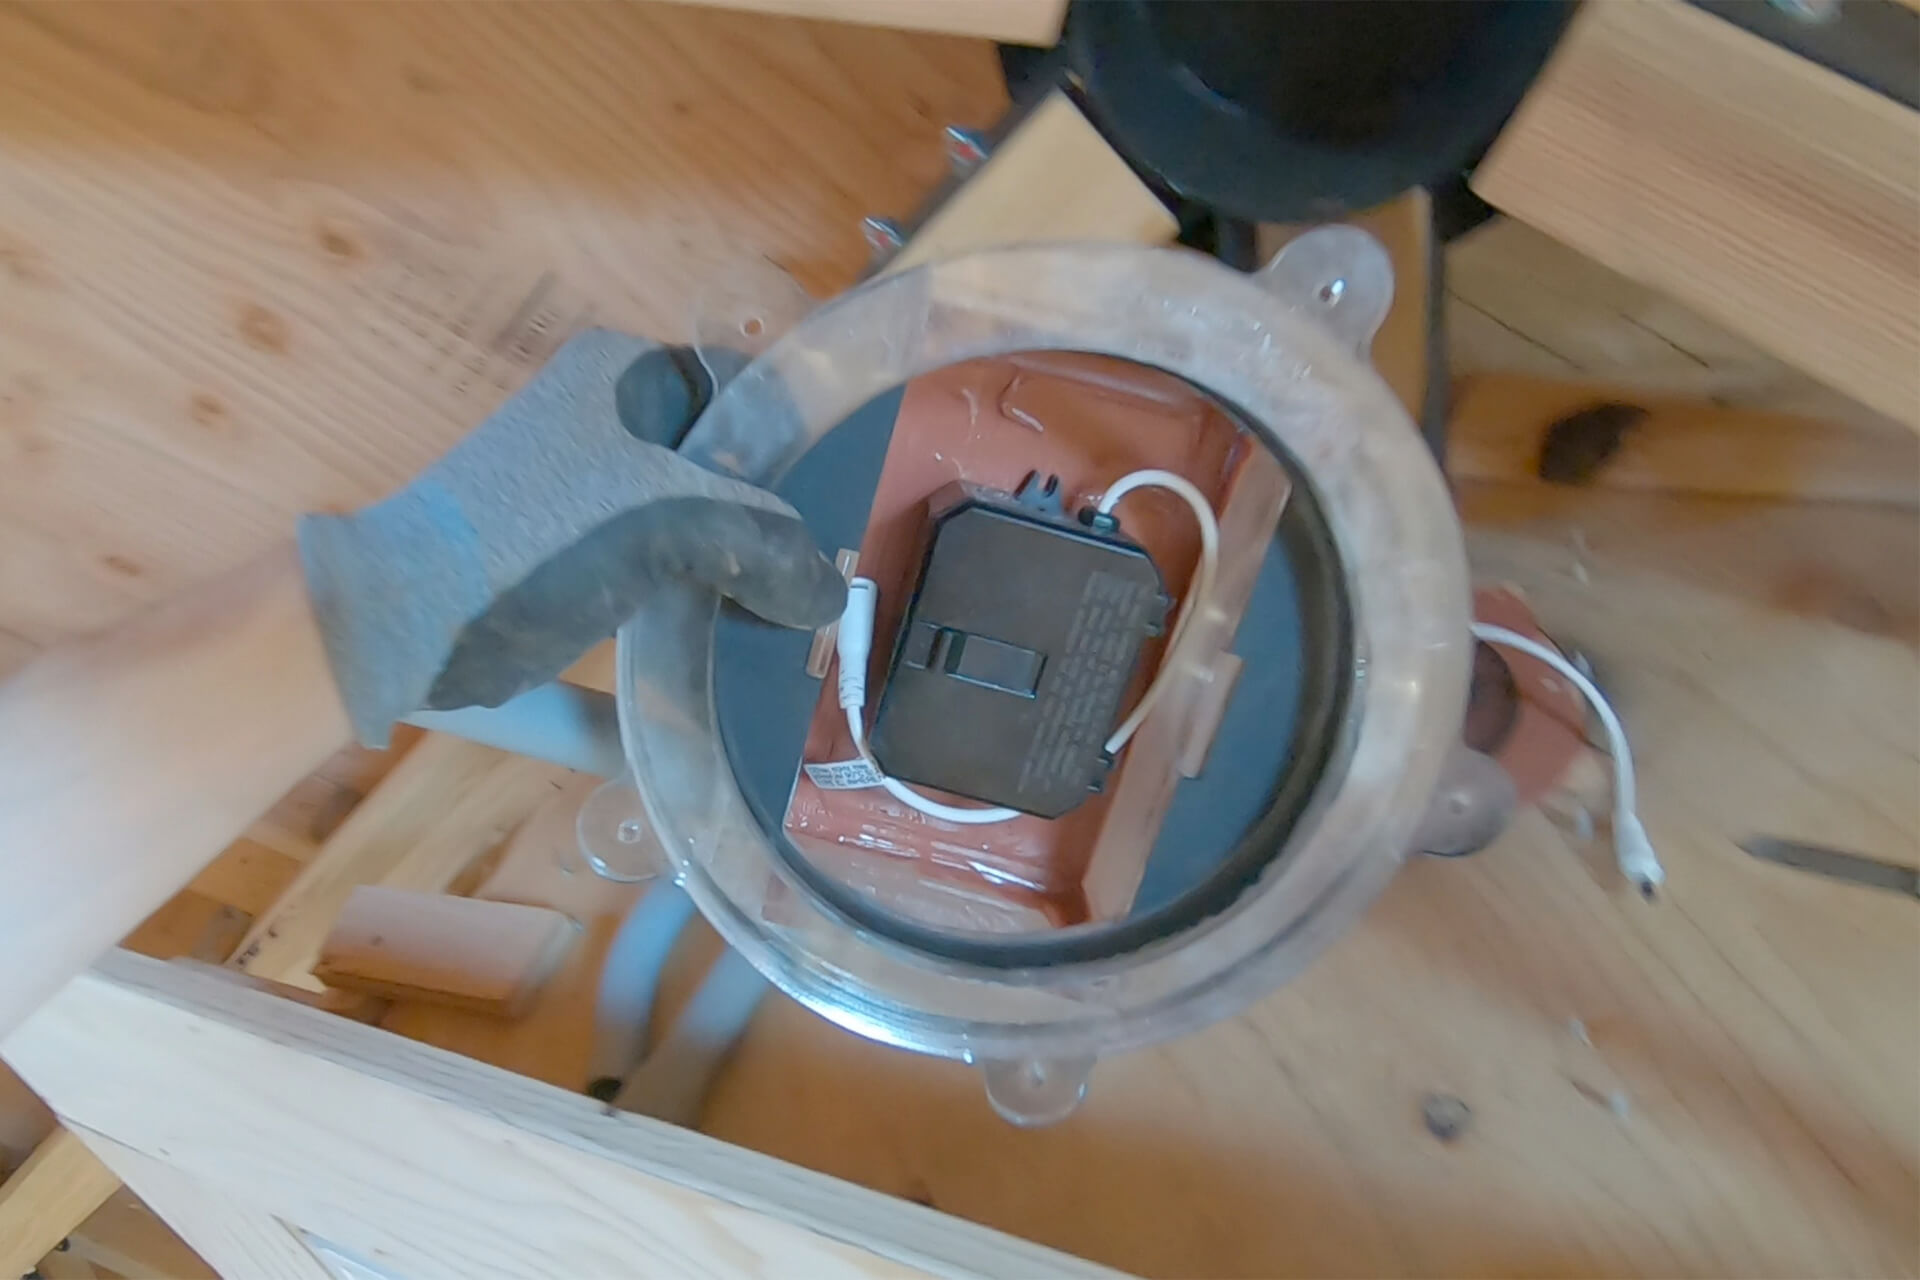
Install the porch light electronics into the enclosure. This can also be done through the porch light hole. Modify the enclosure as needed to ensure sufficient space.

Install a small section of conduit to the enclosure and around the Strut for future wiring. Install 2x4 blocking with glue, and temporarily install the Door Wall top (not shown).
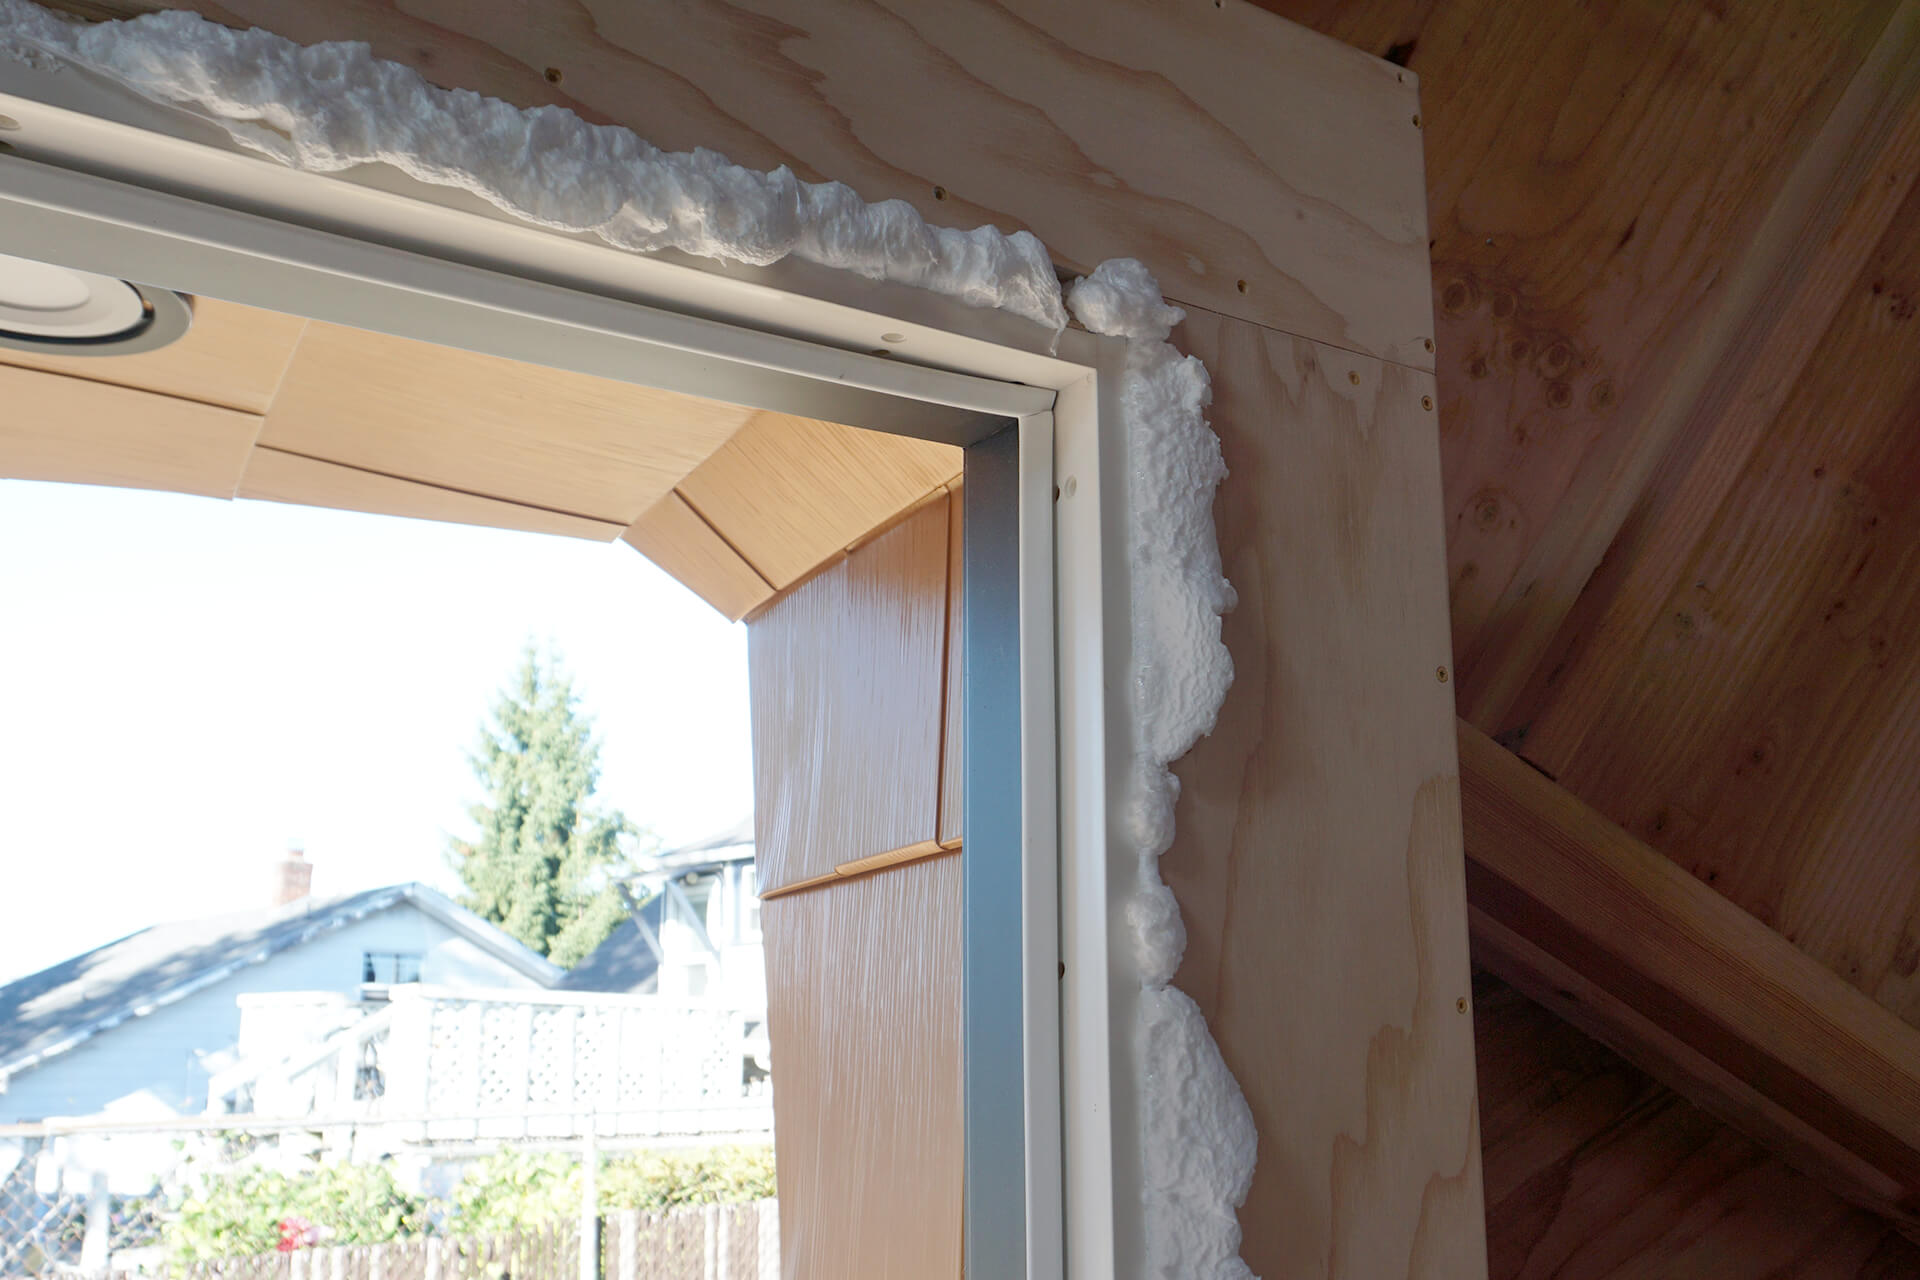
Use canned foam to seal the gap between the door frame and Door Walls.
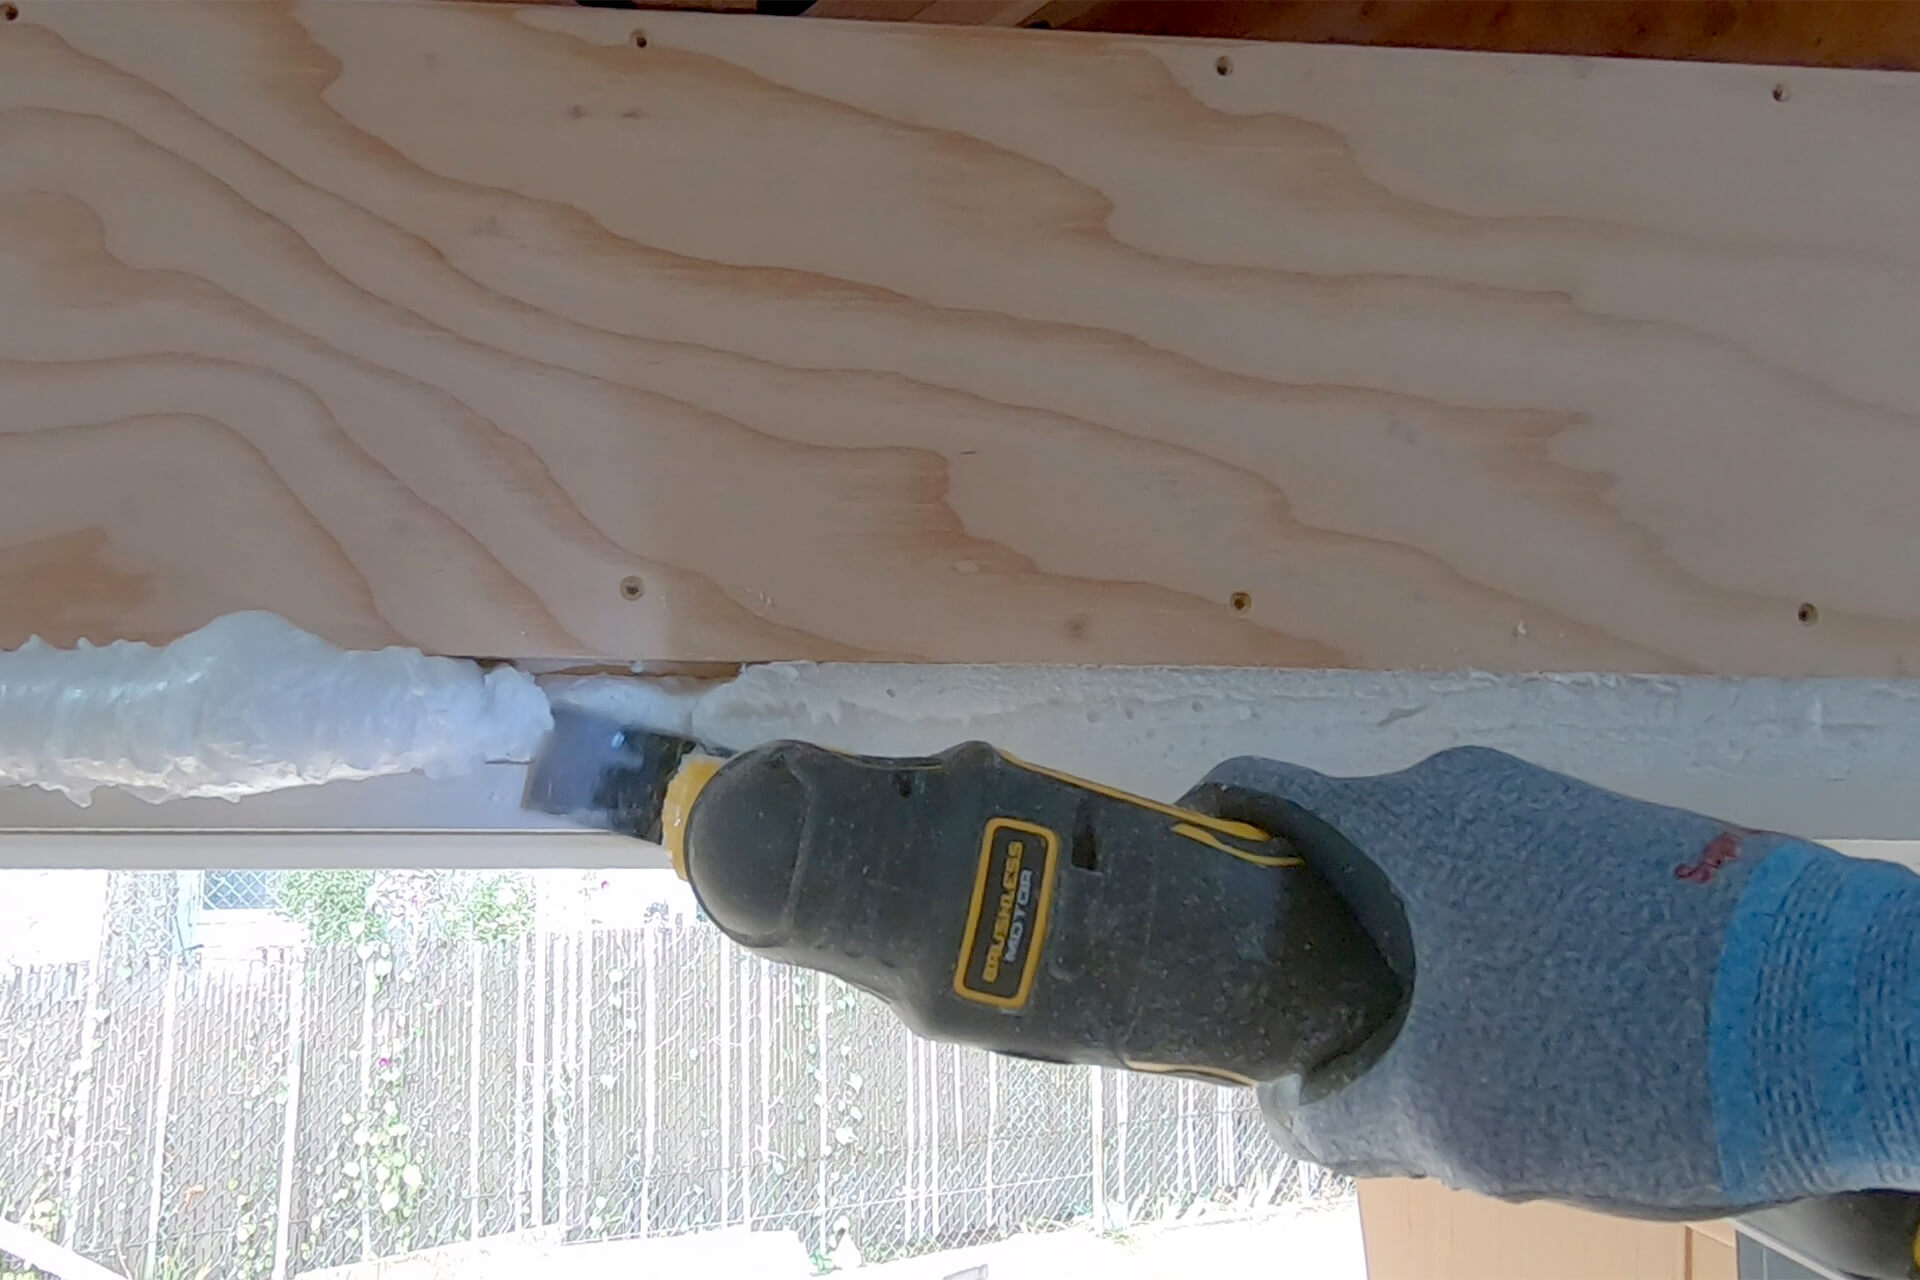
Cut the foam flush once it has cured. This area will be covered with wooden trim, so an appearance finish is not necessary.
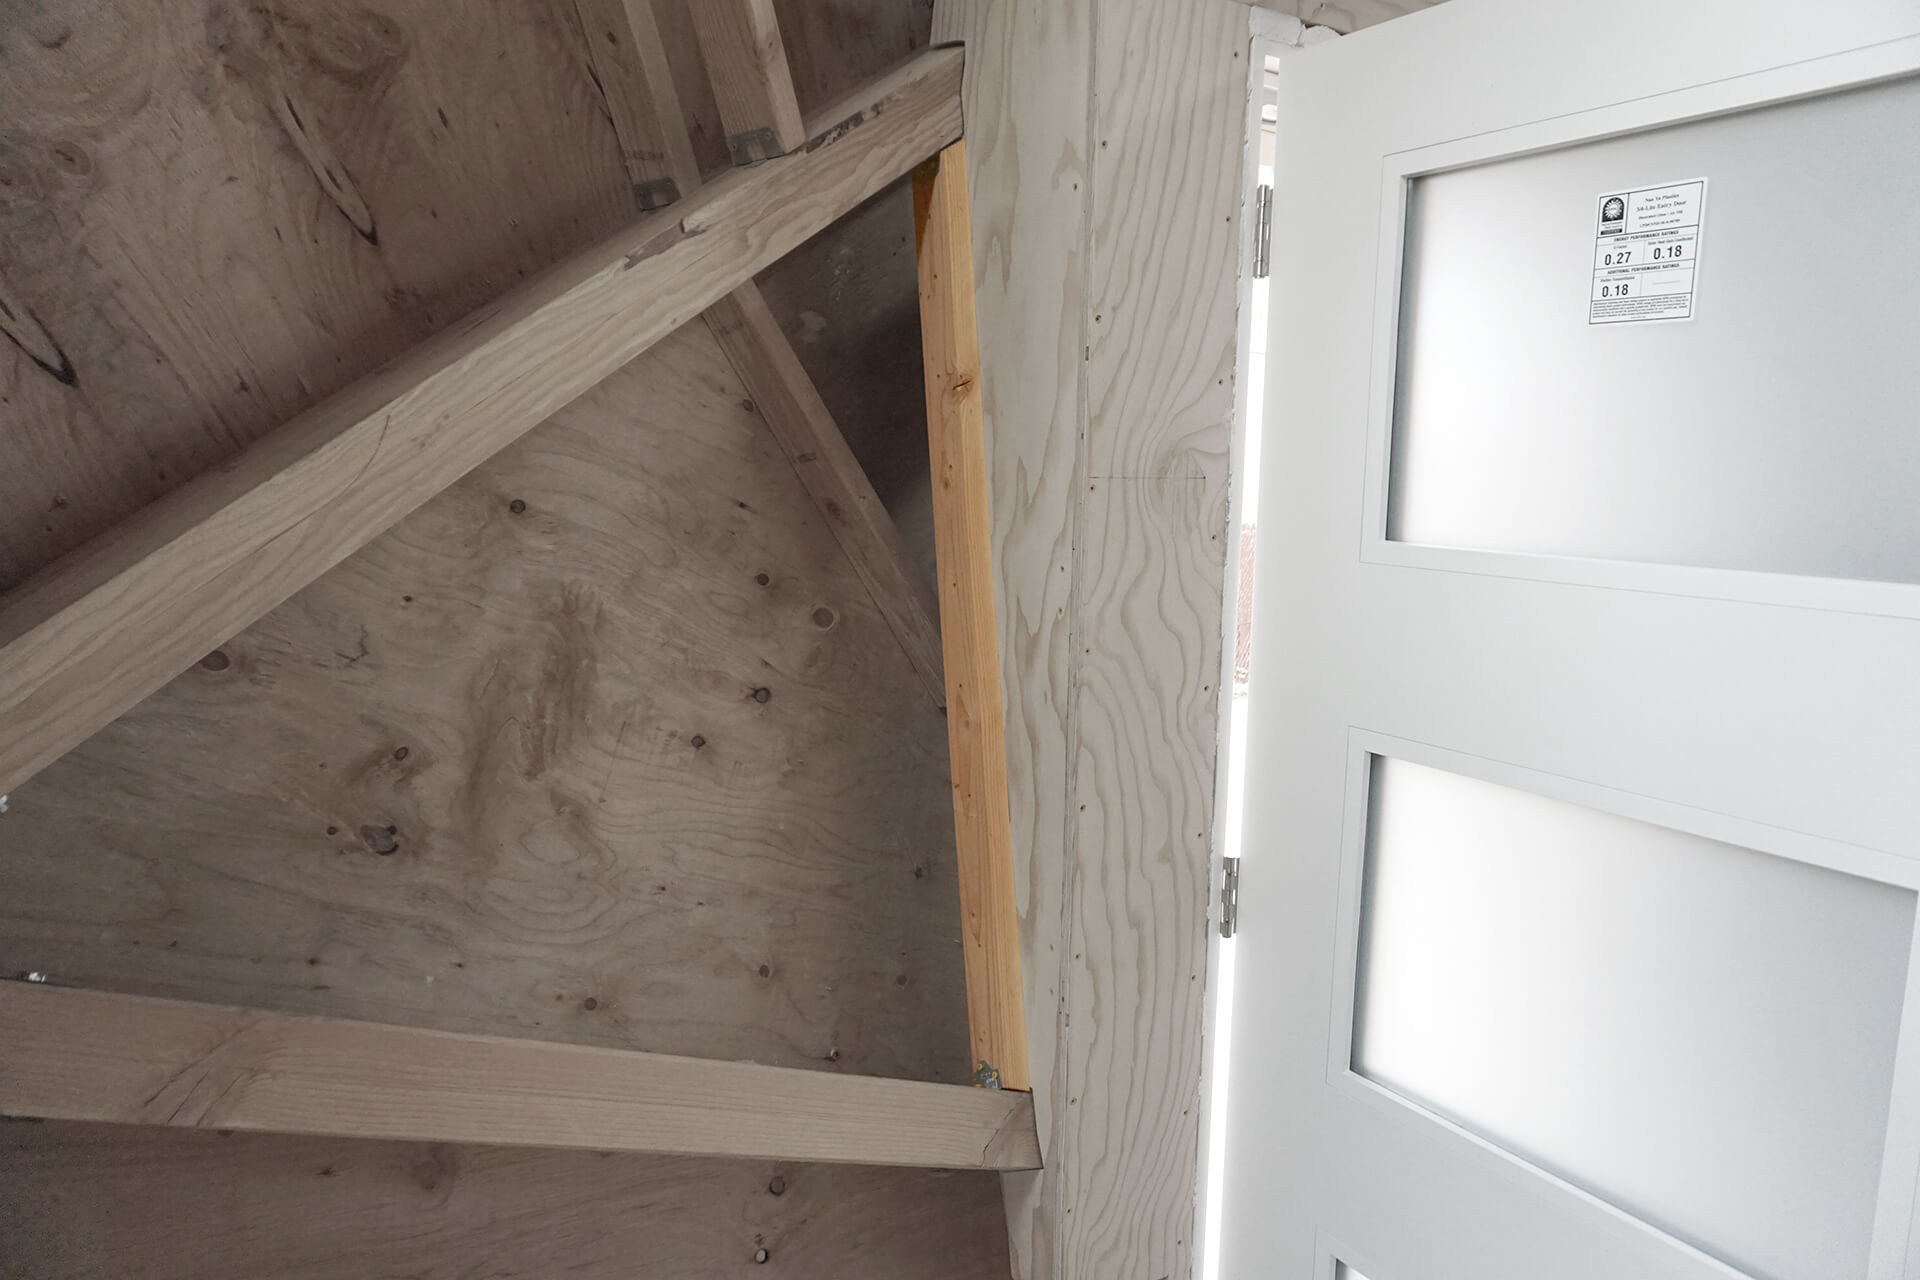
Create and install blocking to the Struts and Door Wall sides. Rip an angle to align with the Struts. This blocking will provide a surface for securing the wall coverings.
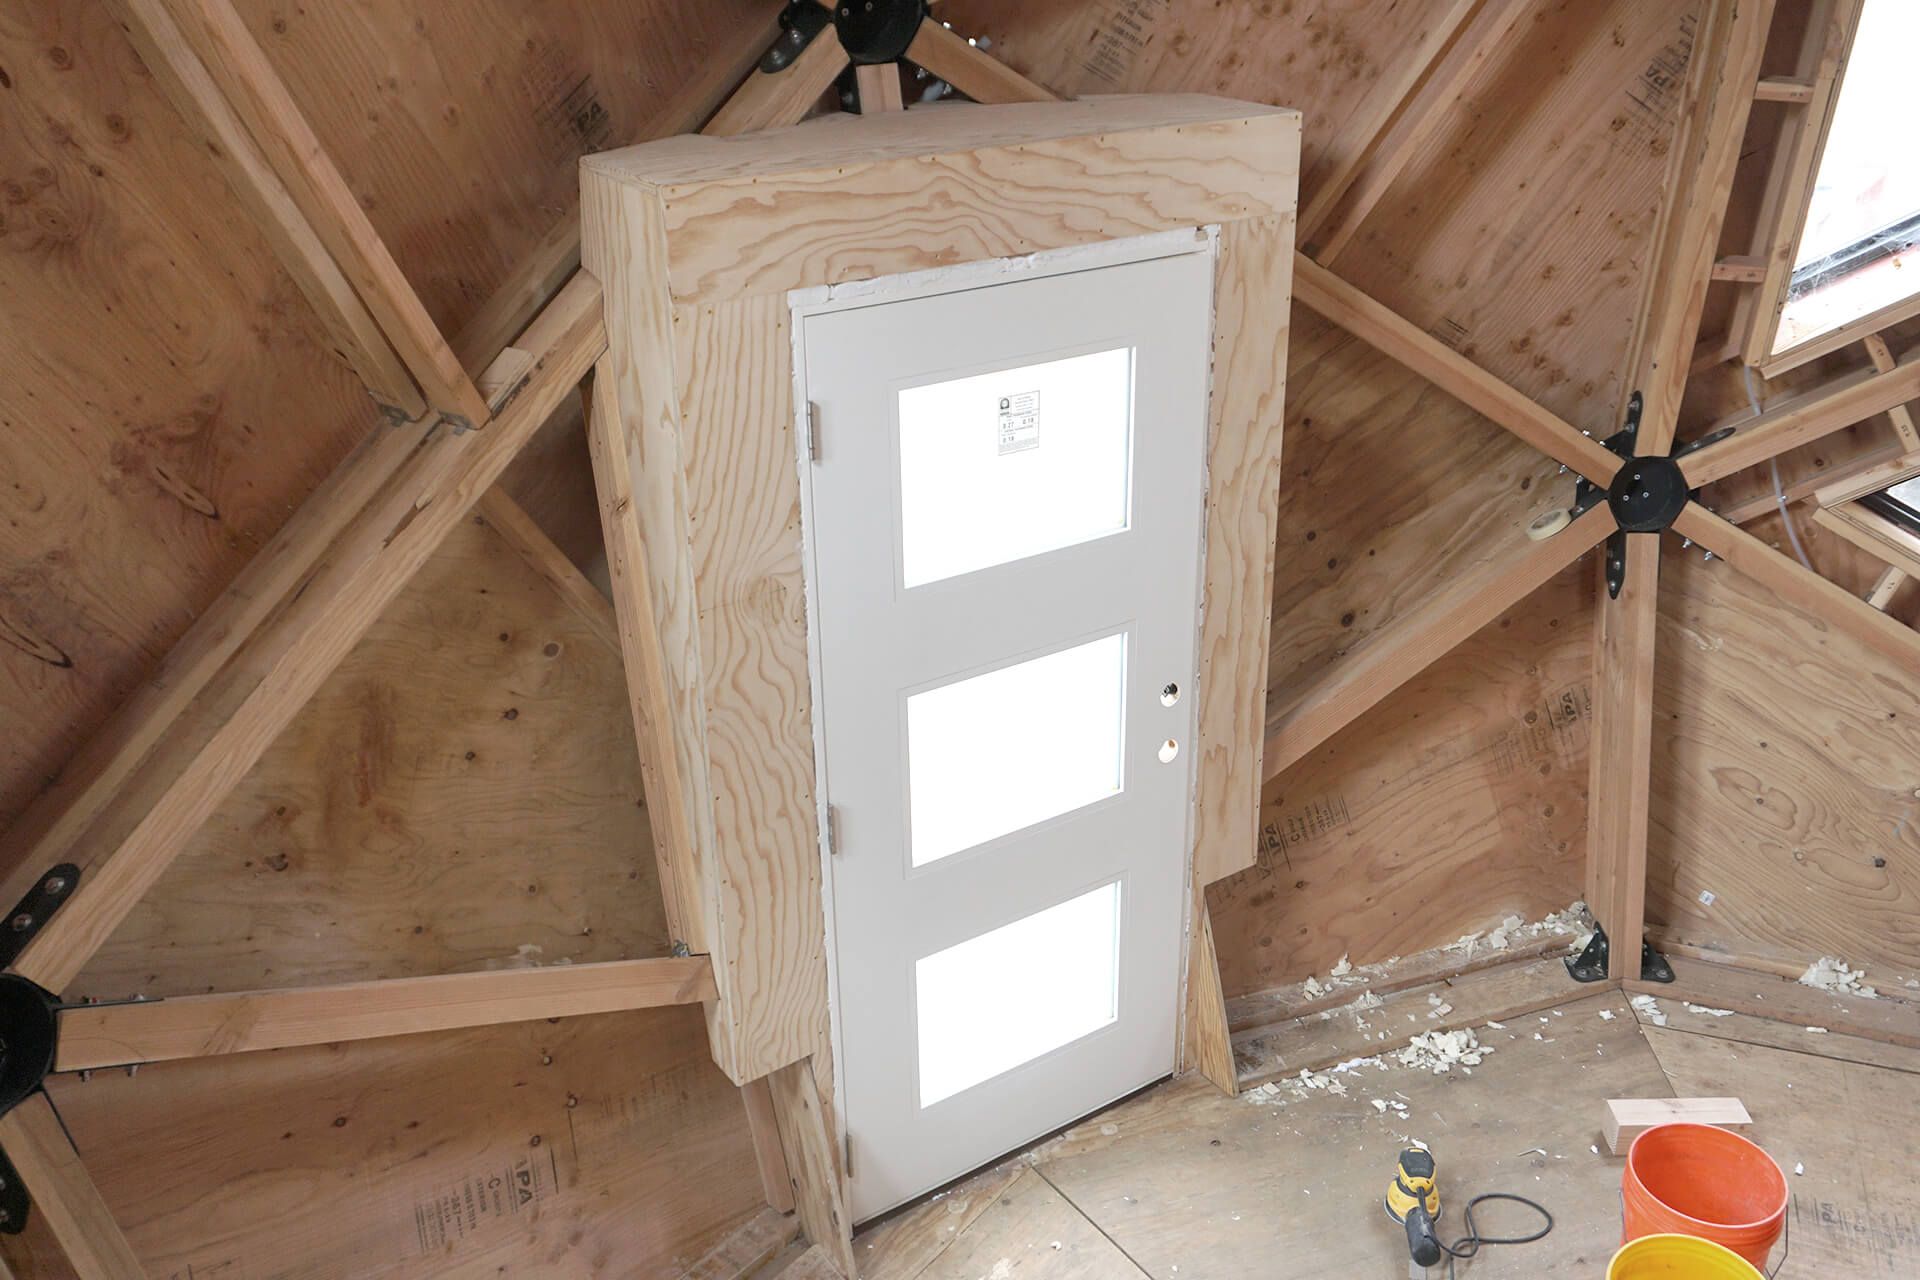
Detail shot showing the completed Door Wall. Note: The Door Wall top will be removed later to access the void and fill it with insulation.
Next Step