
Roofing – Entry
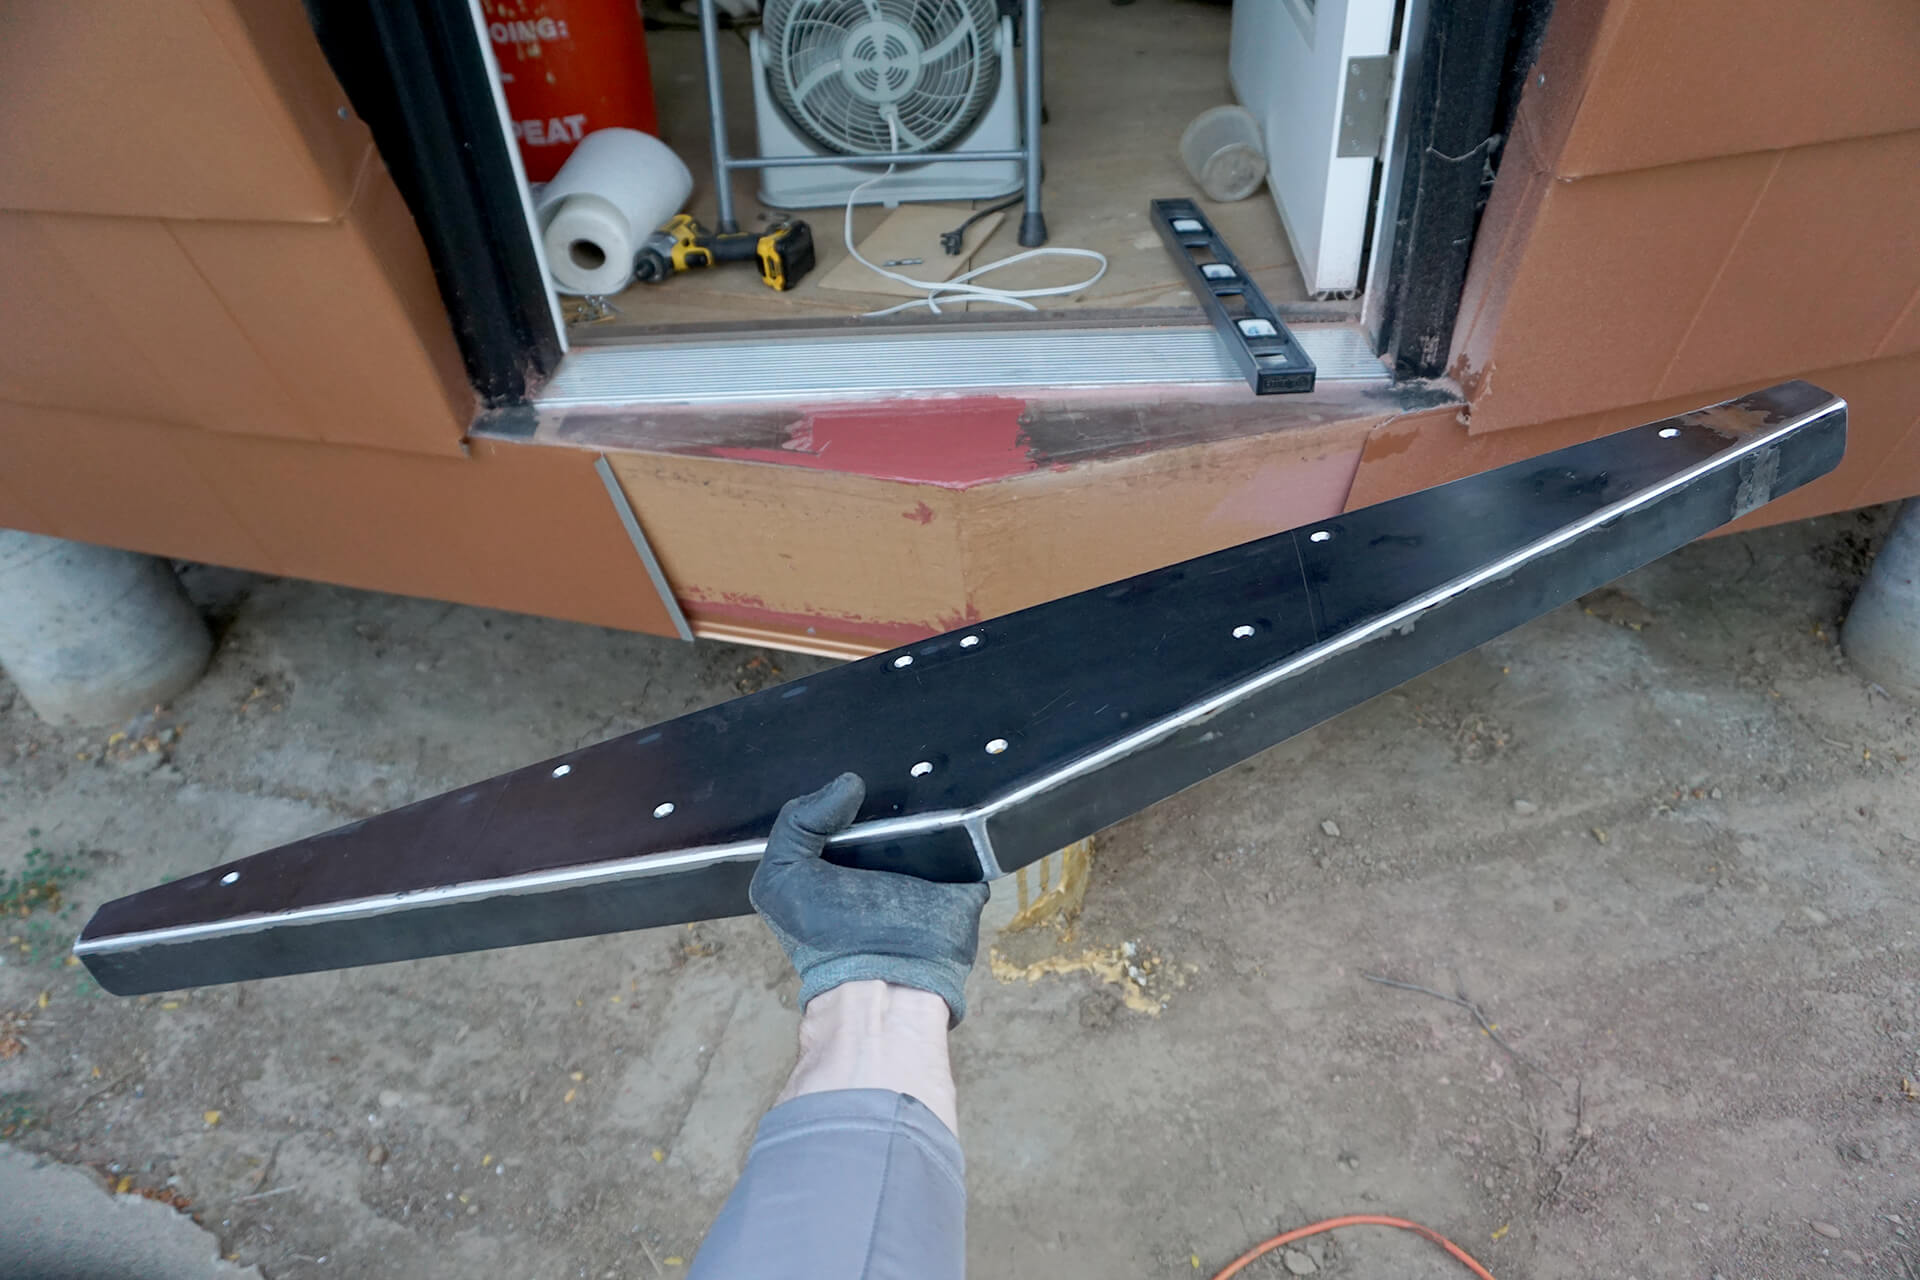
Fabricate a threshold extension to overhang and protect the corner. Steel is shown here, but it can be made from various materials, as long as it is weather-resistant.
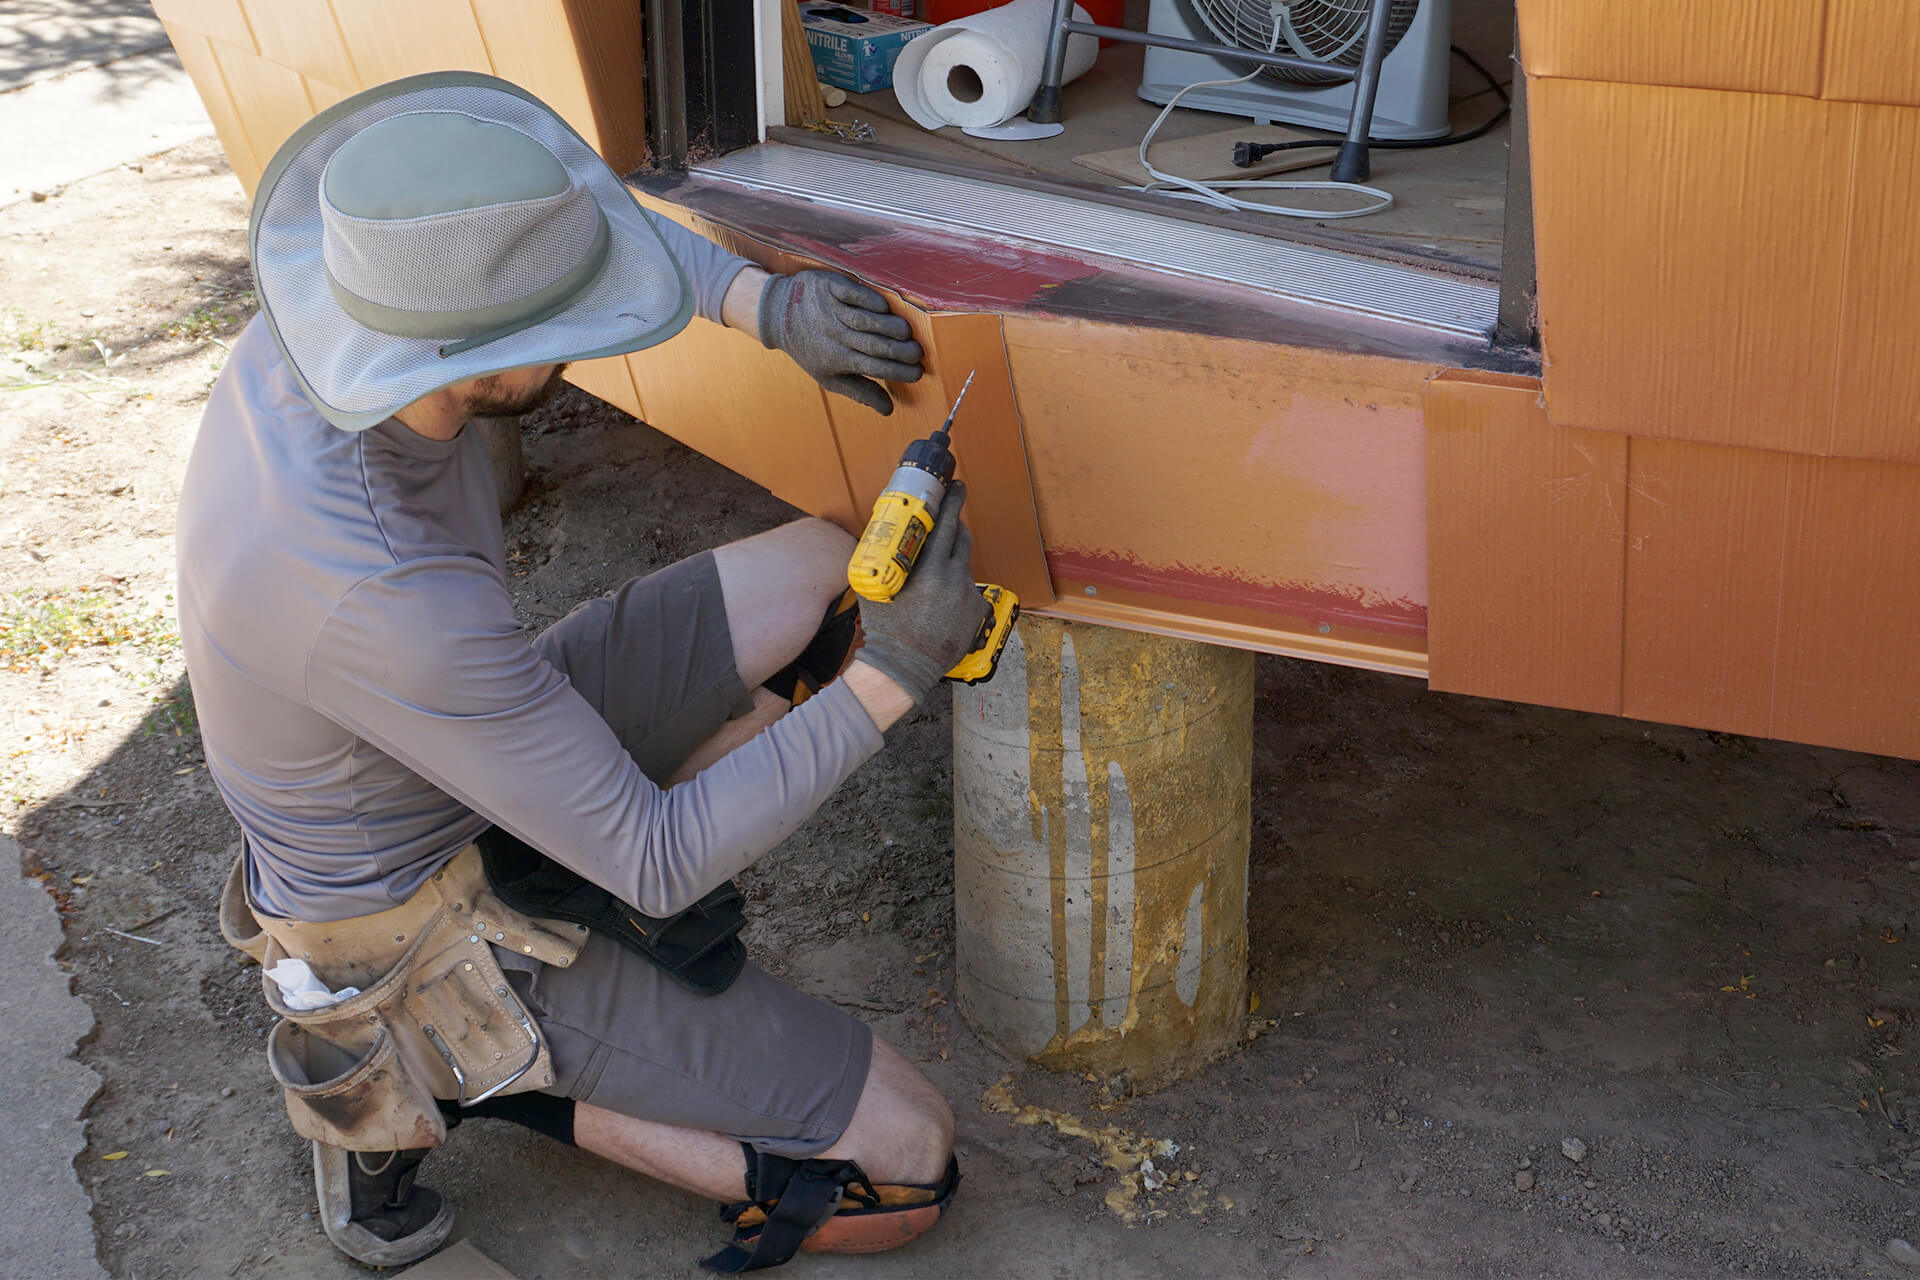
Install the left-side shingle in front of the door, along with the Siding Starter Strip (shown in the next photo).
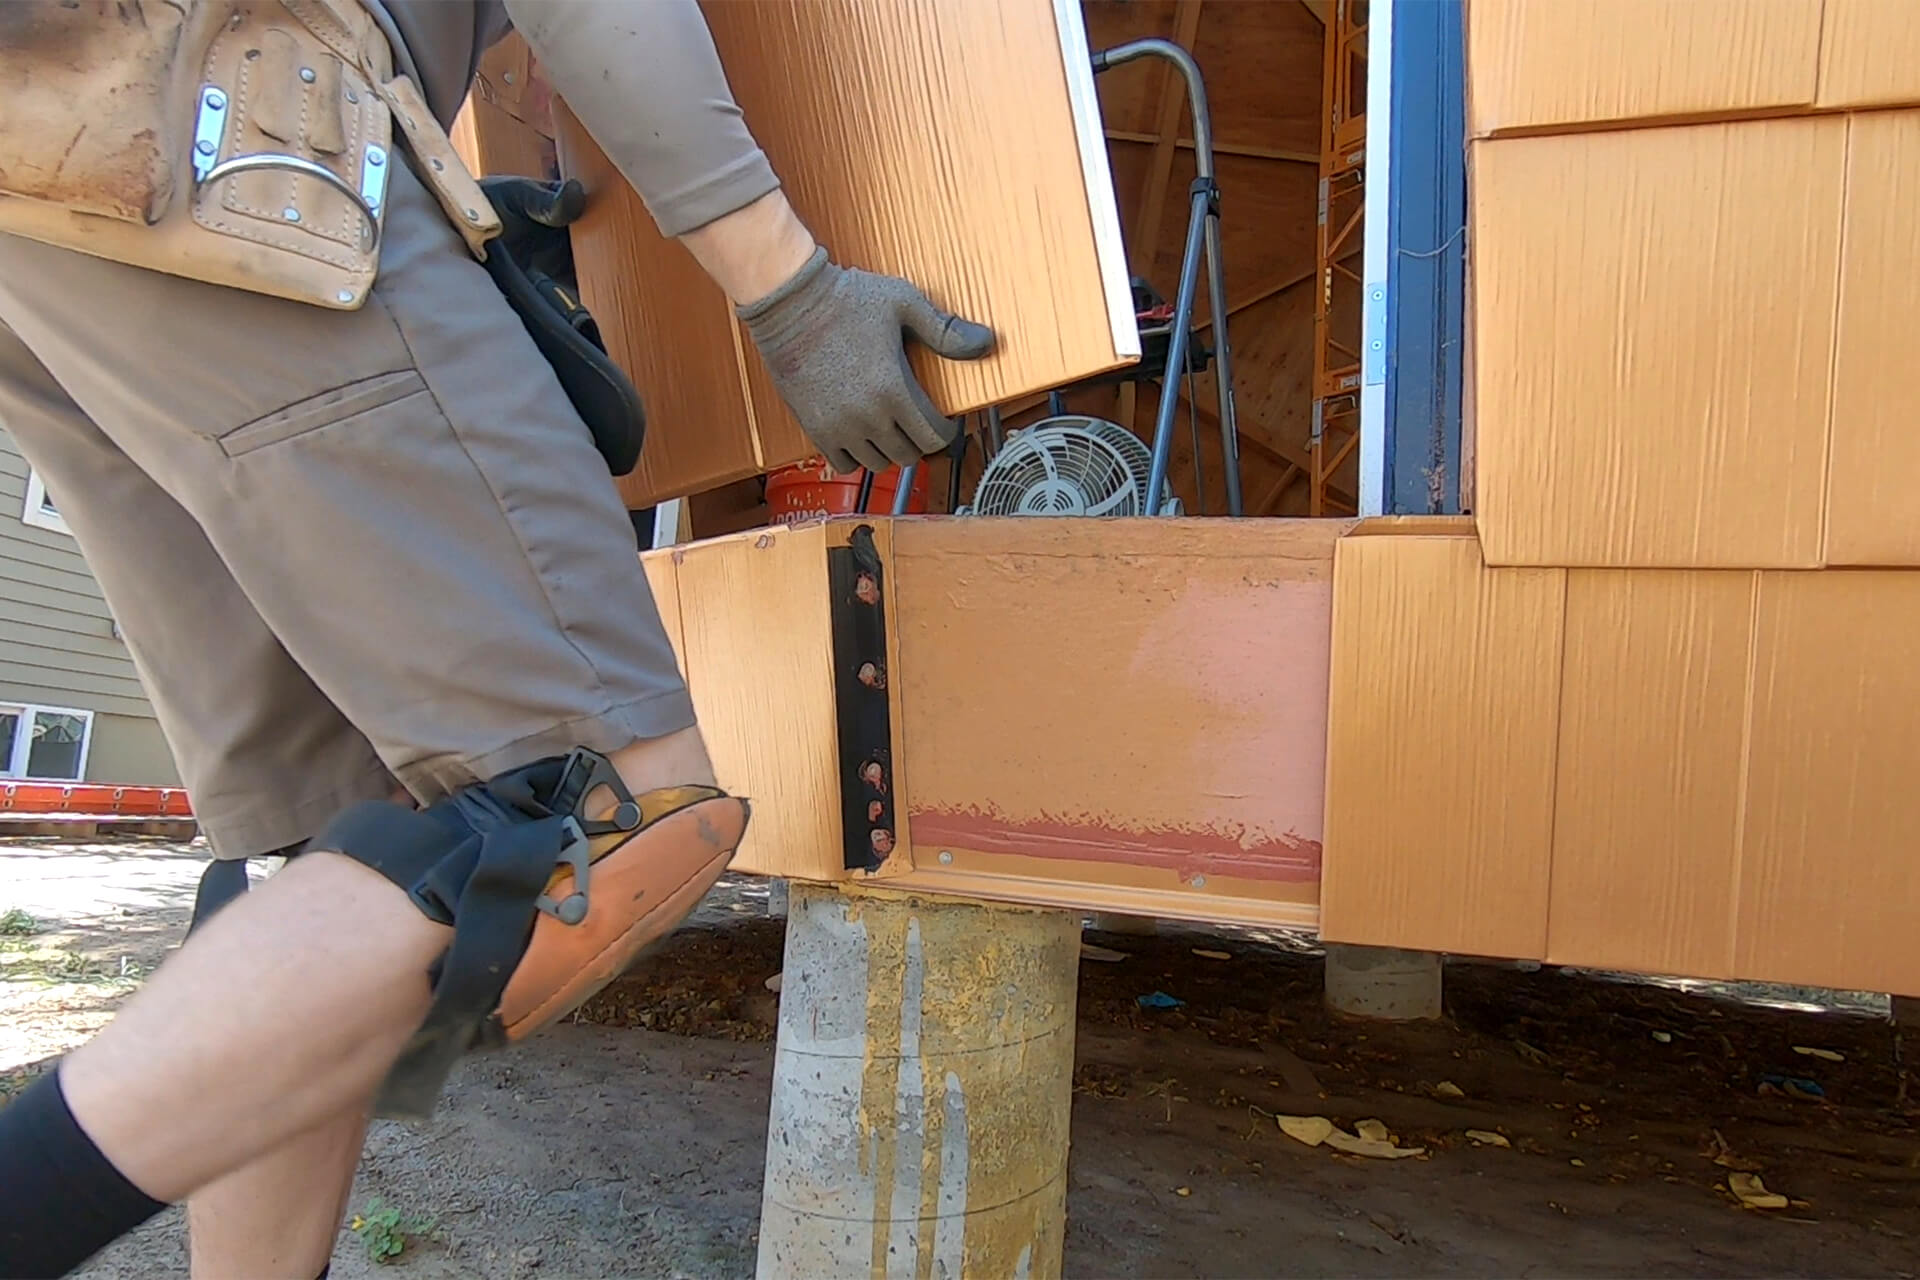
Install the right-side shingle. Hook this shingle into the one on the right, then manually fold over the left edge to hook it under the Siding Starter Strip.
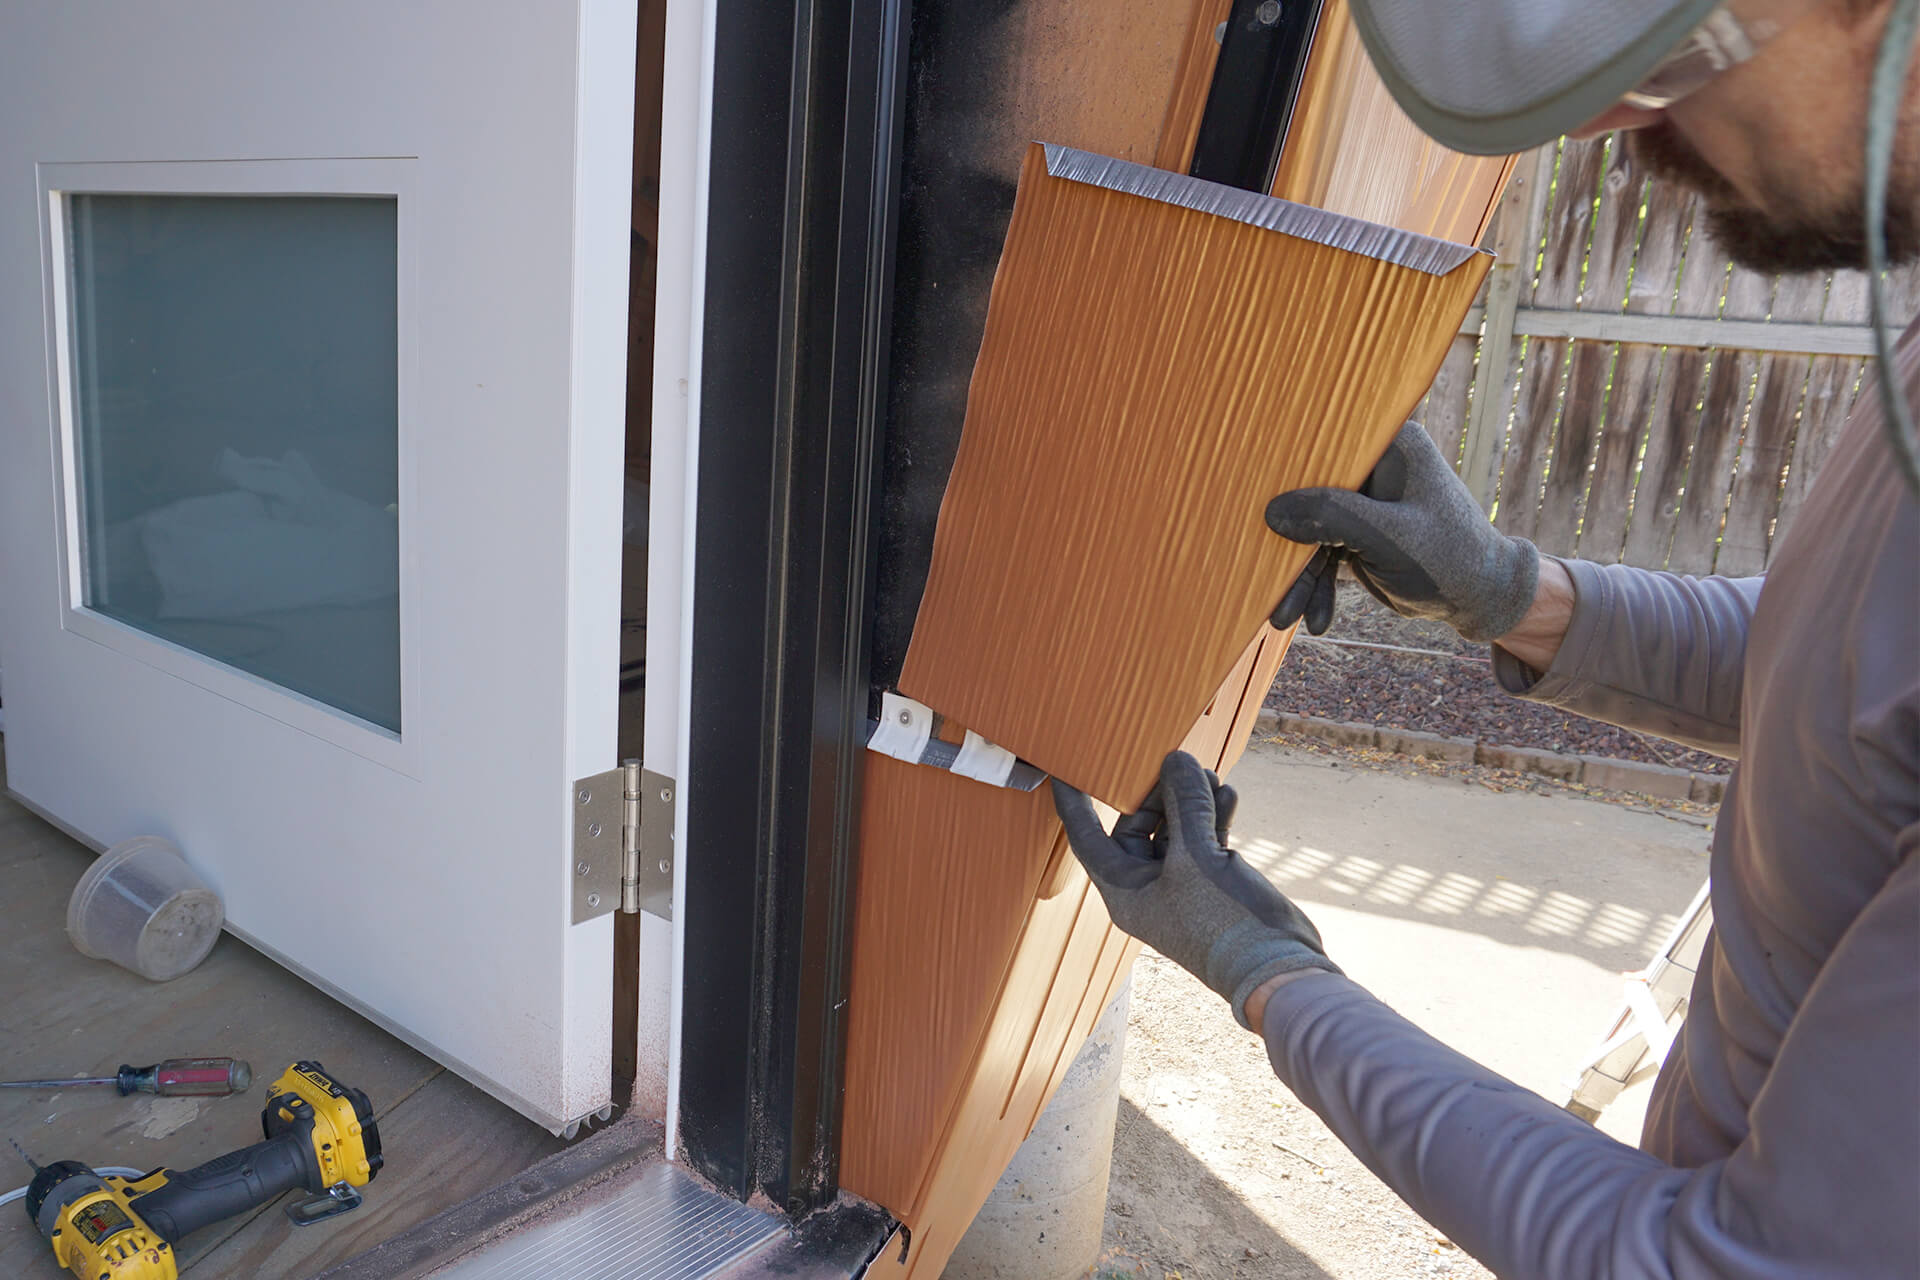
Install Siding Starter Strips in the entry, then shingle the entry from the bottom up.
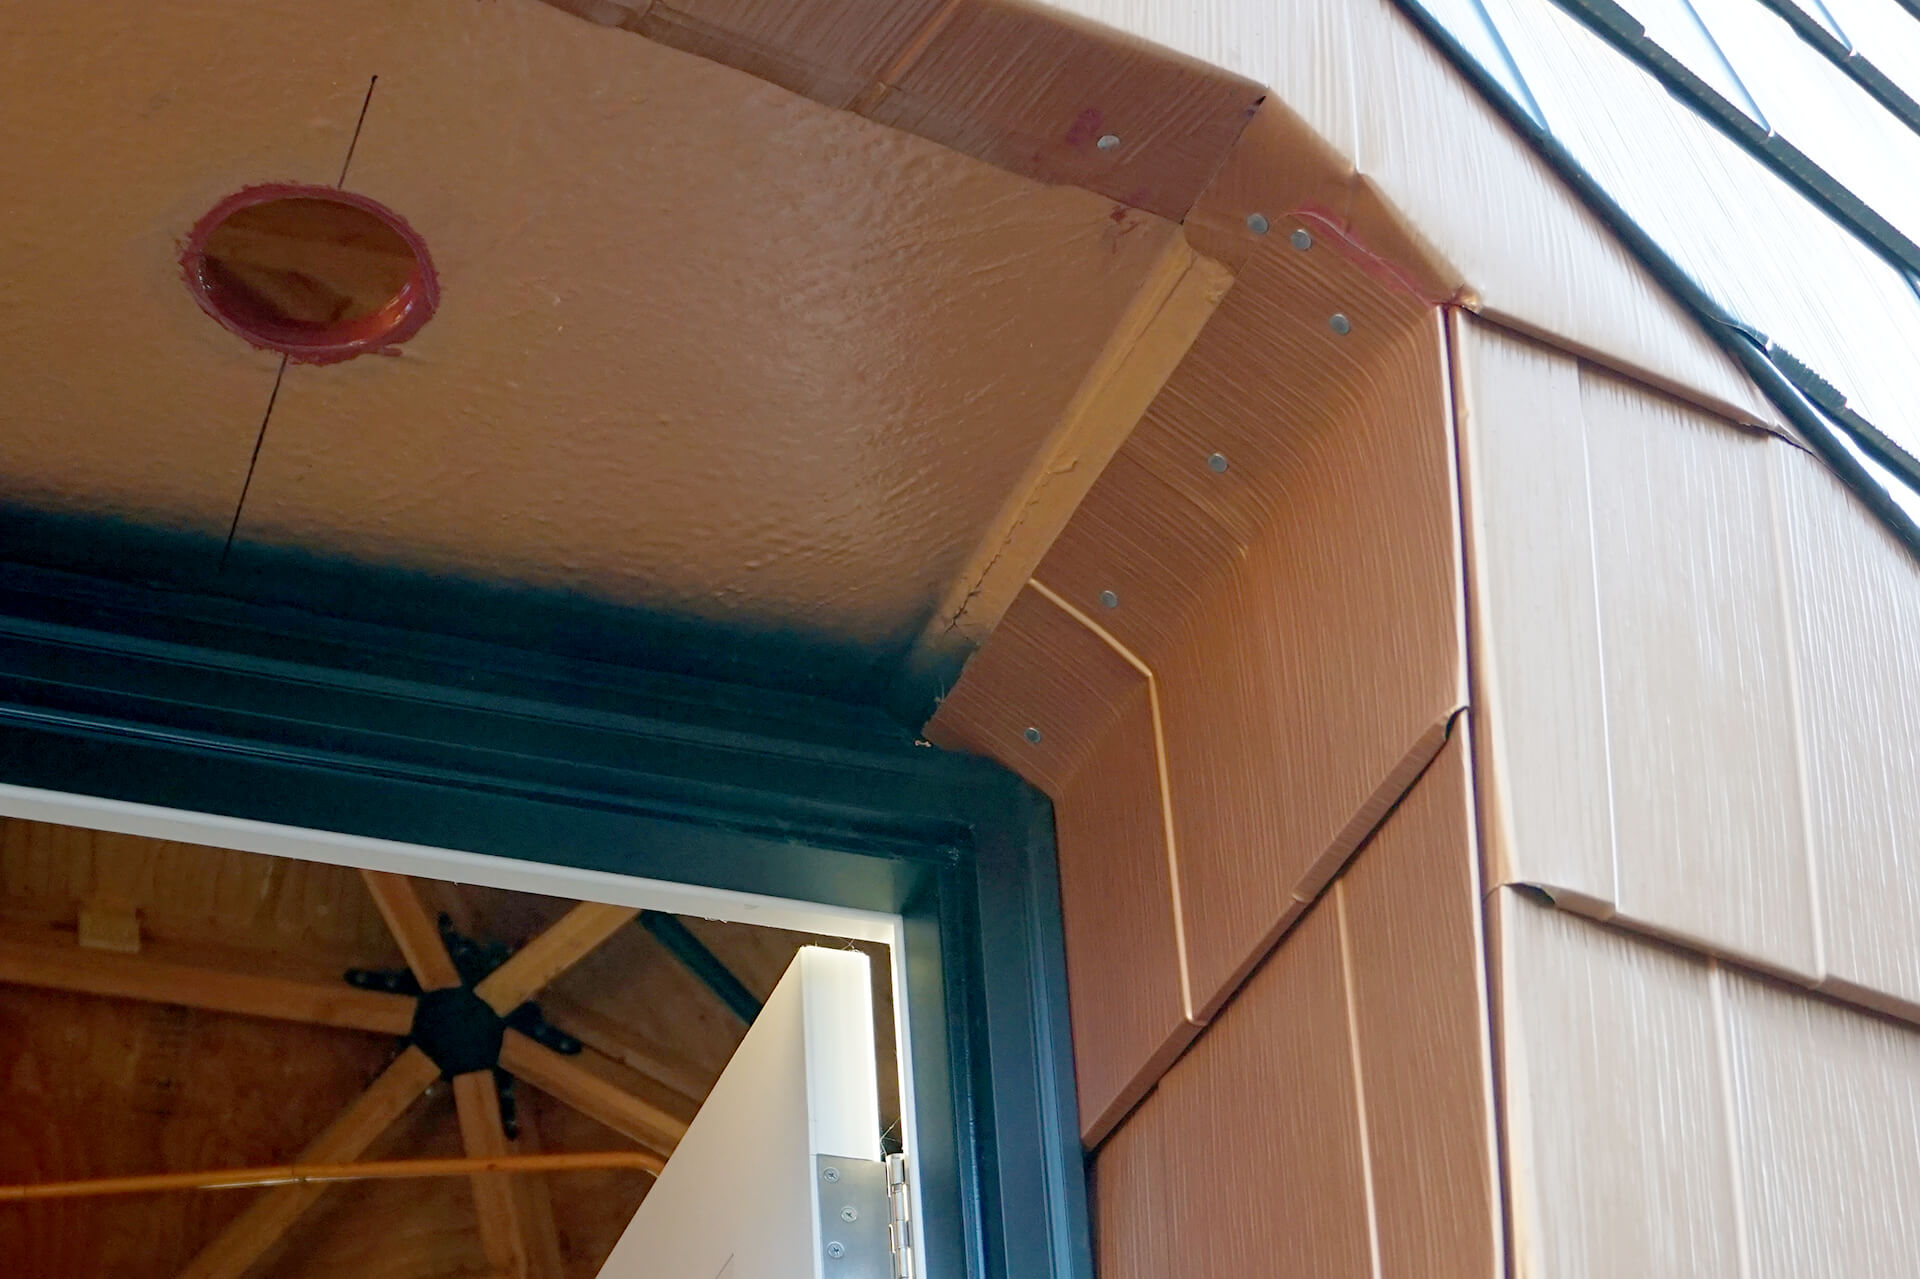
Locate and hole-saw the porch light location. Caulk around it with an STPE-type material or equivalent. Prosoco R-Guard Fast Flash shown here.
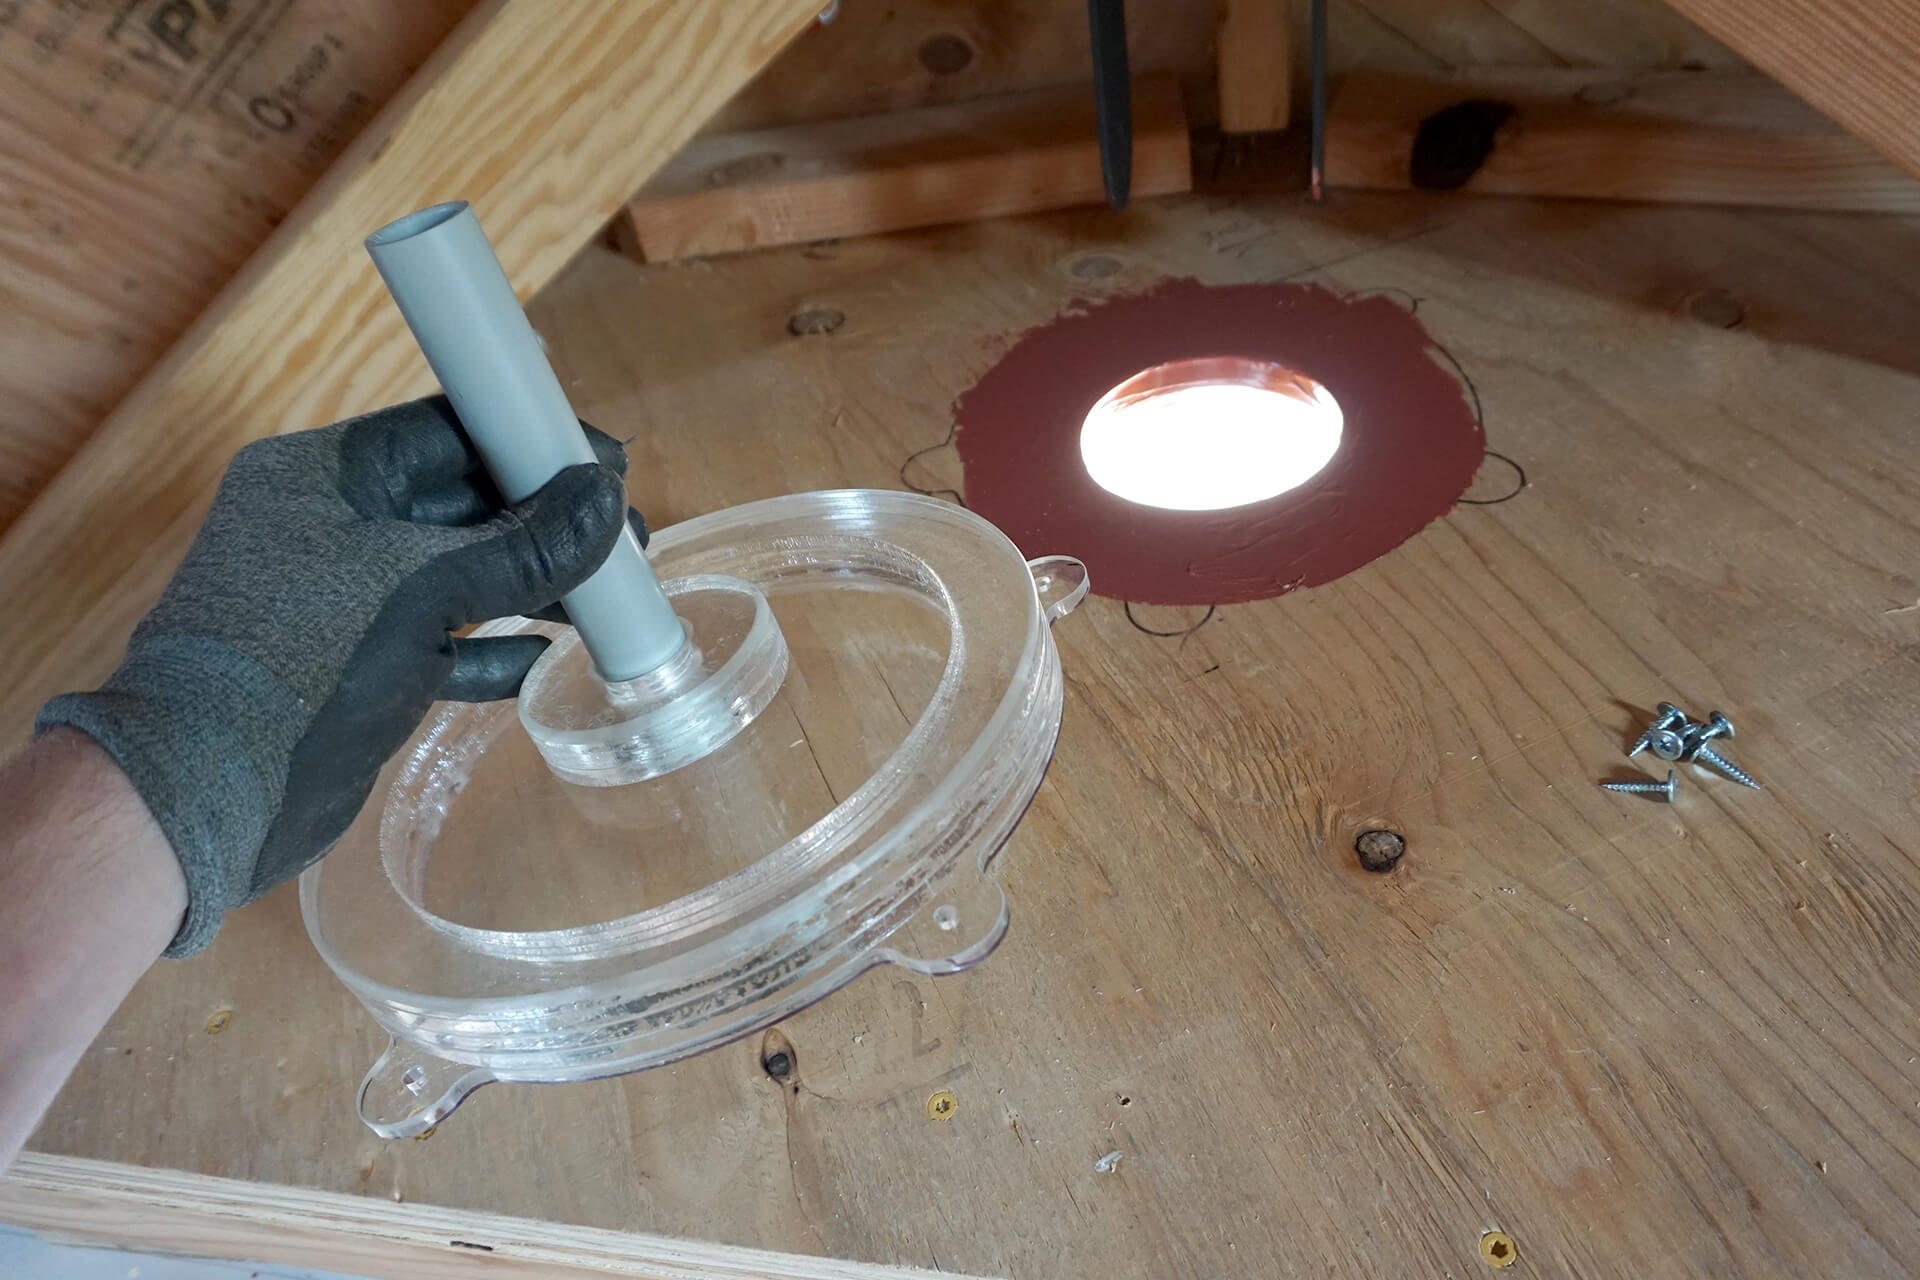
Fabricate an enclosure or install a light can. Laser-cut acrylic is shown here, but it can also be made from plywood. It provides space for electronics and a path for wiring.
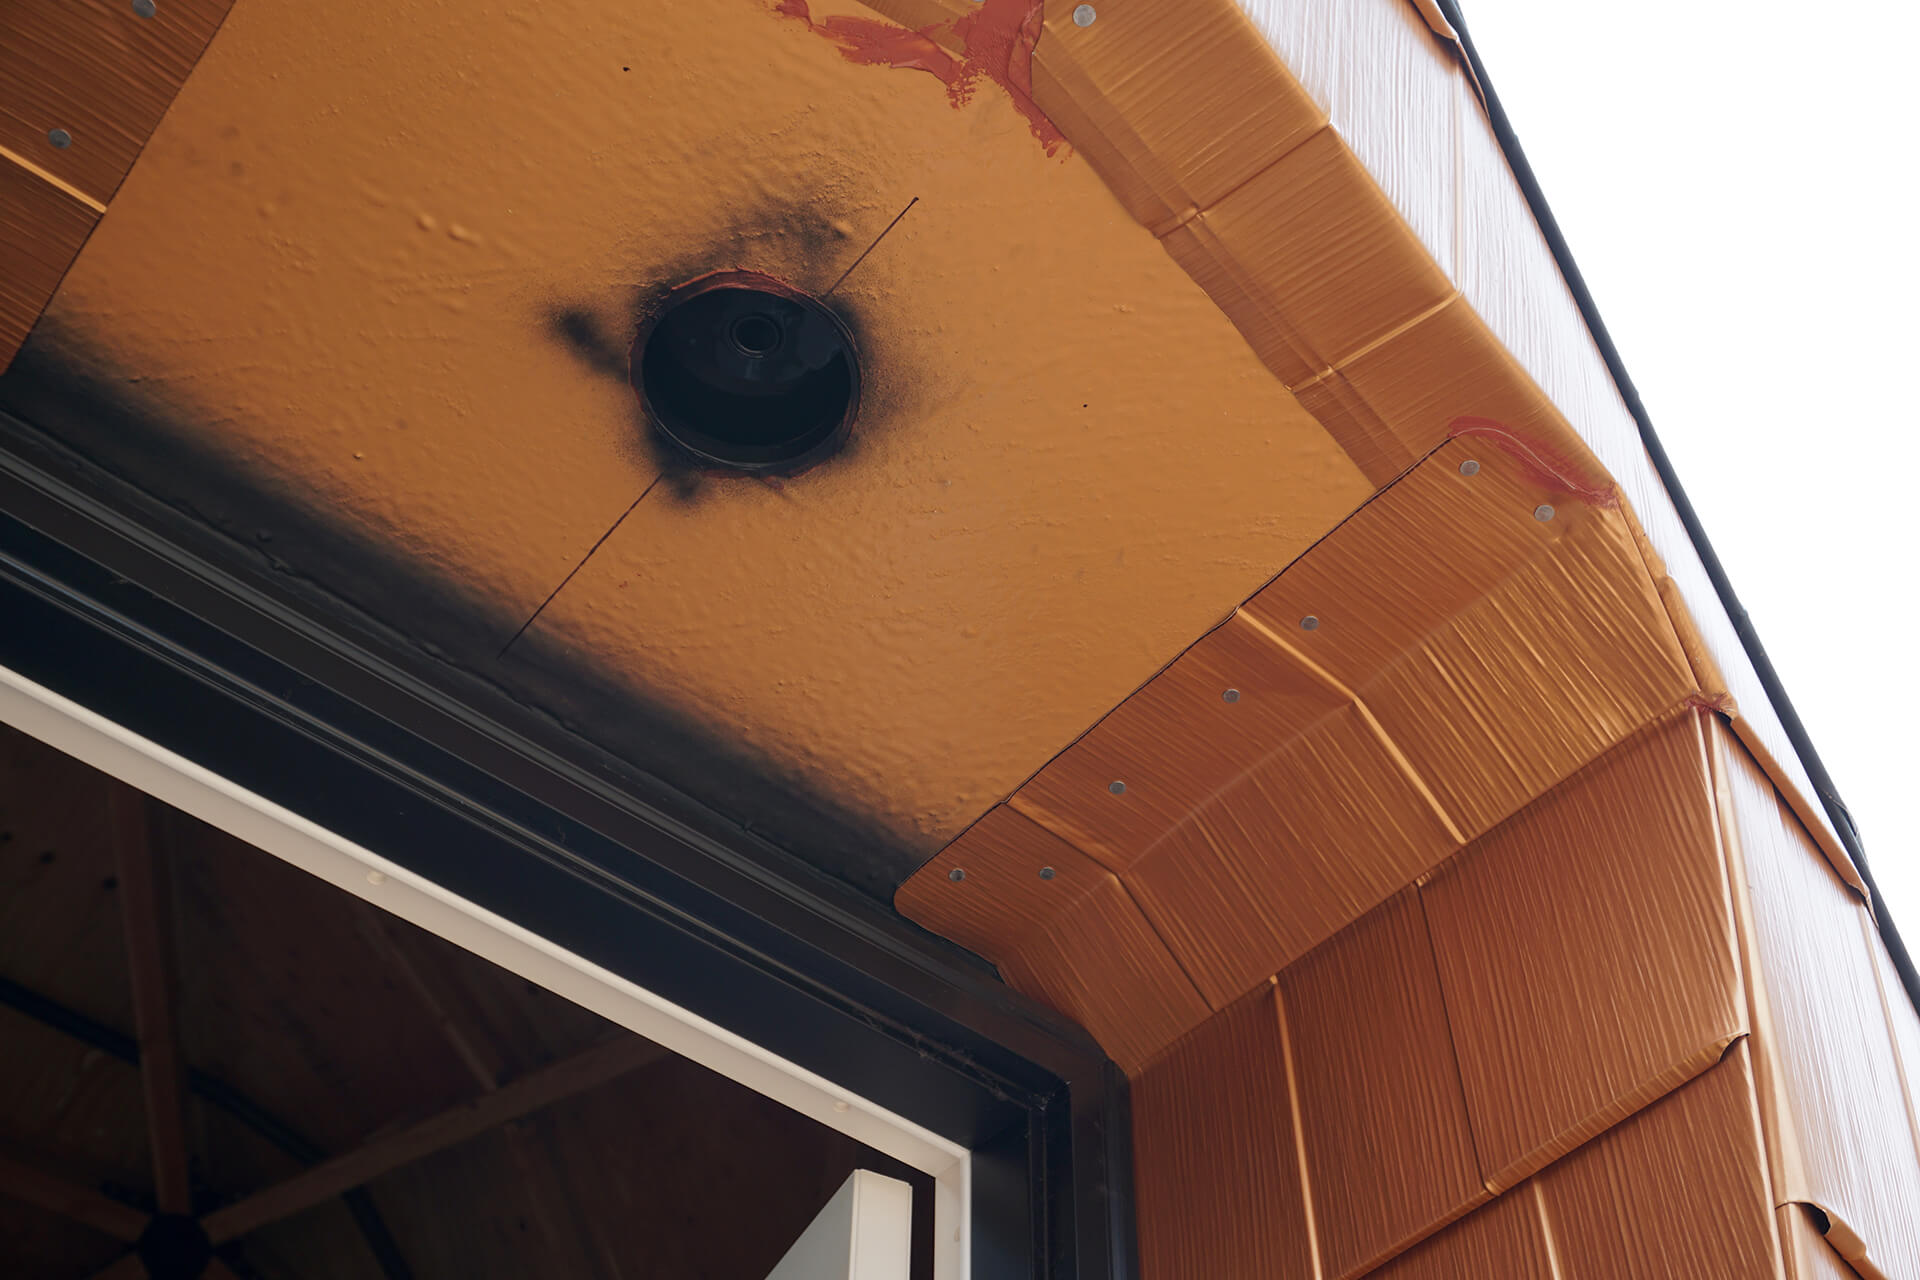
Continue shingling the entry, past the beveled corners.
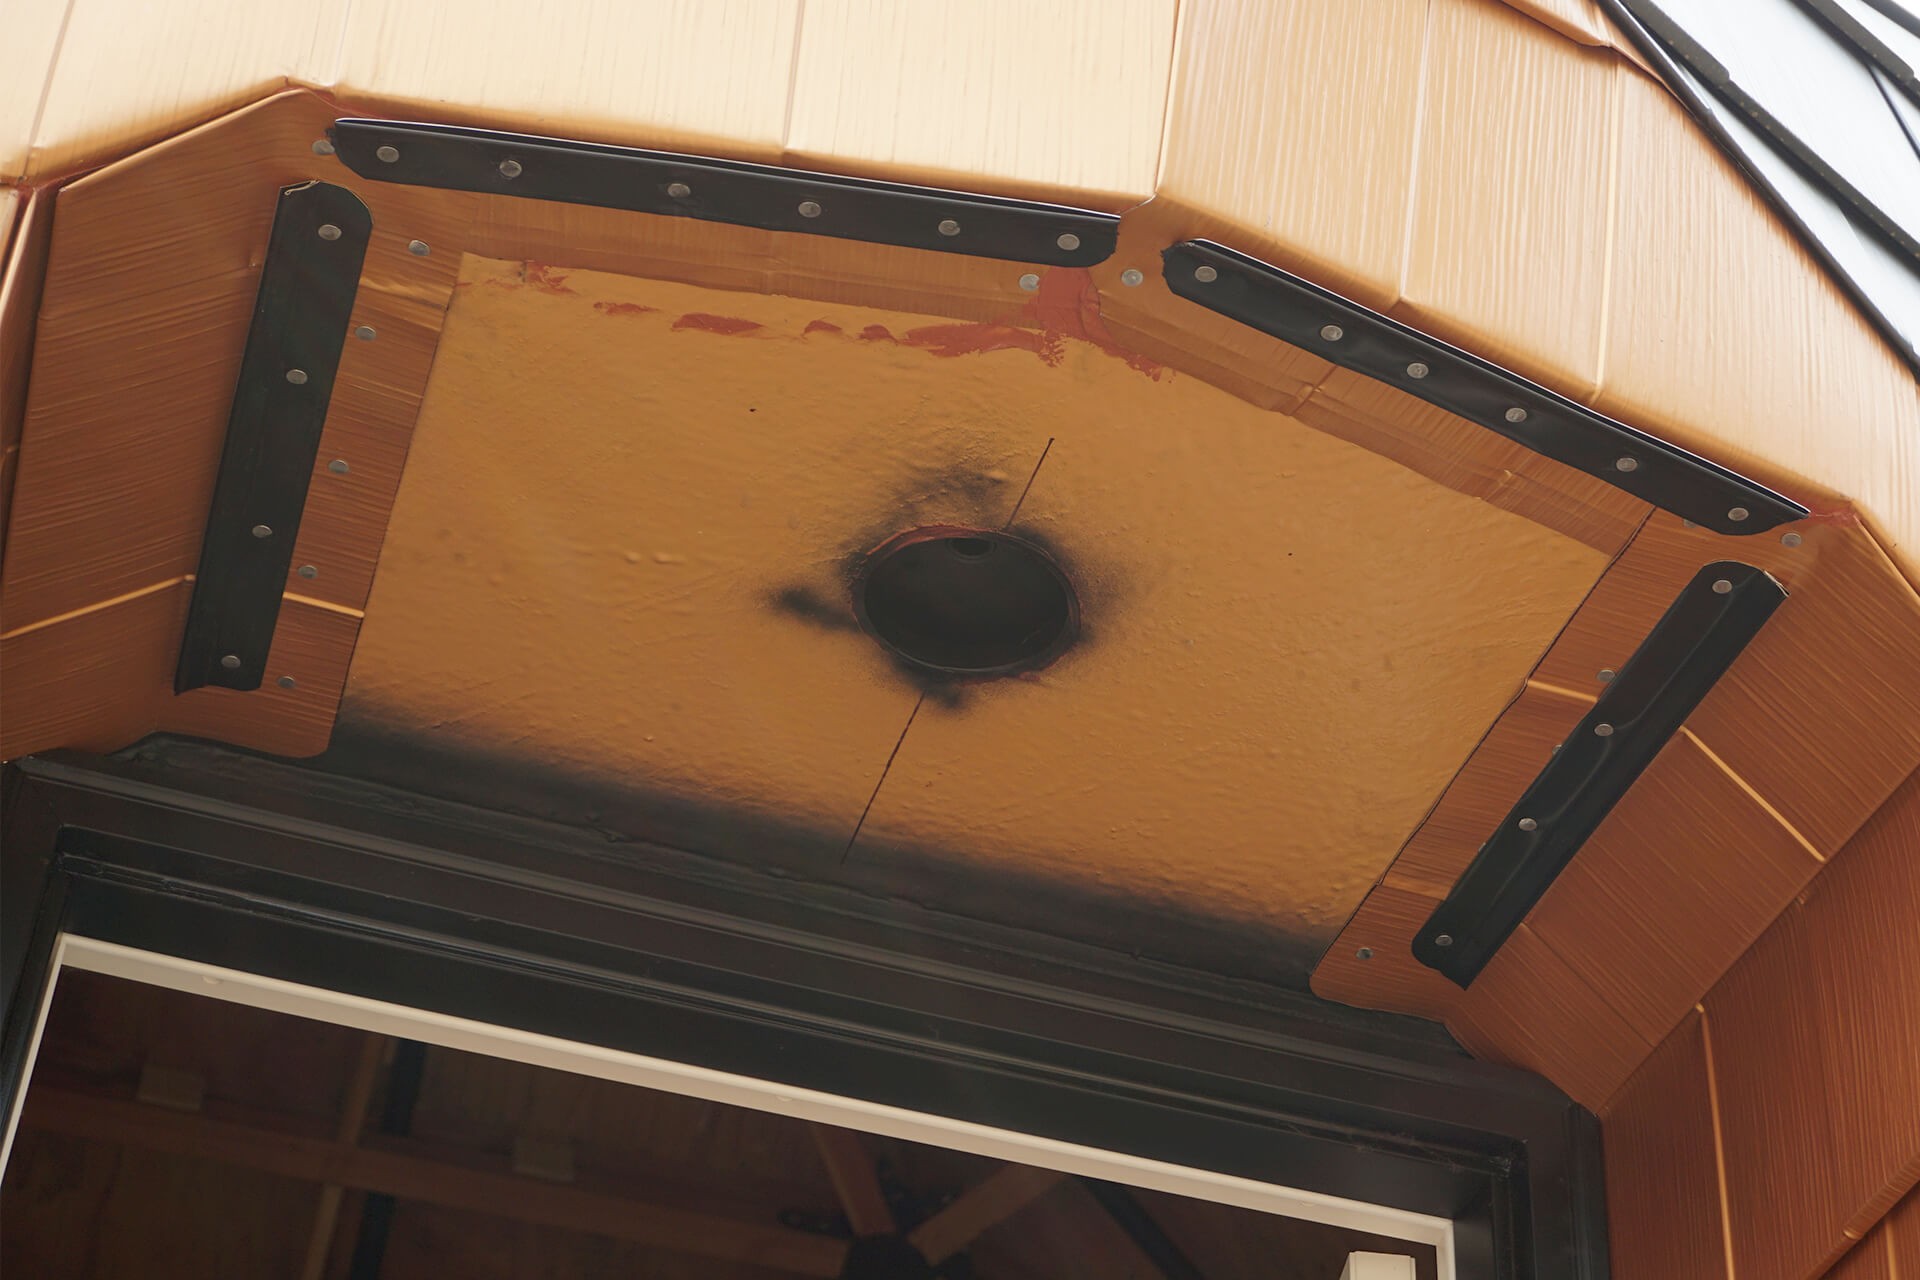
Install the Siding Starter Strips as shown, then install one more shingle on each side in preparation for the keystone shingle.
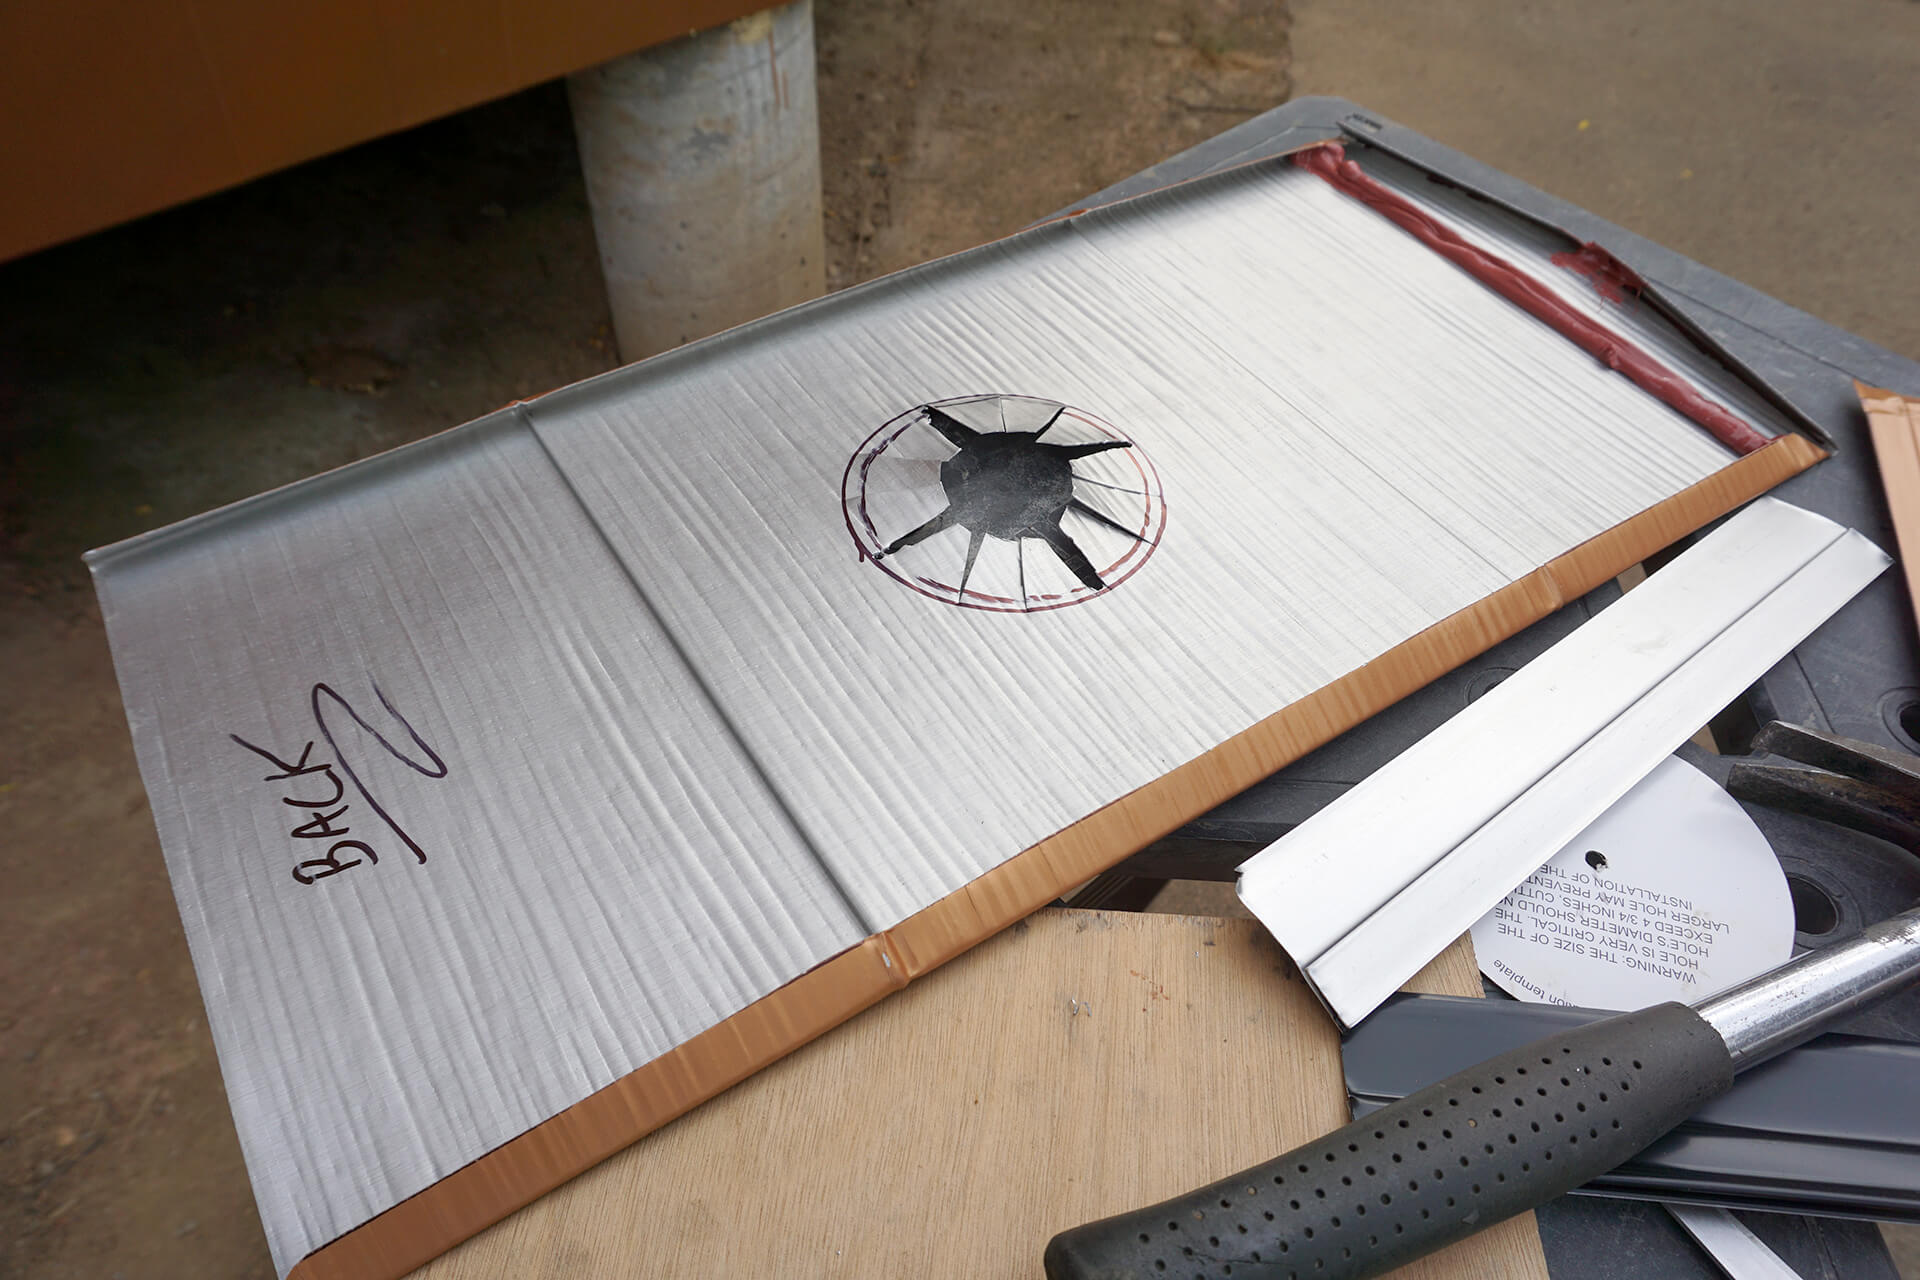
Fabricate the keystone shingle as shown. Apply a thick bead of caulk and let dry (or not). The bead acts as a water damn, ensuring no water can make its way to the porch light.
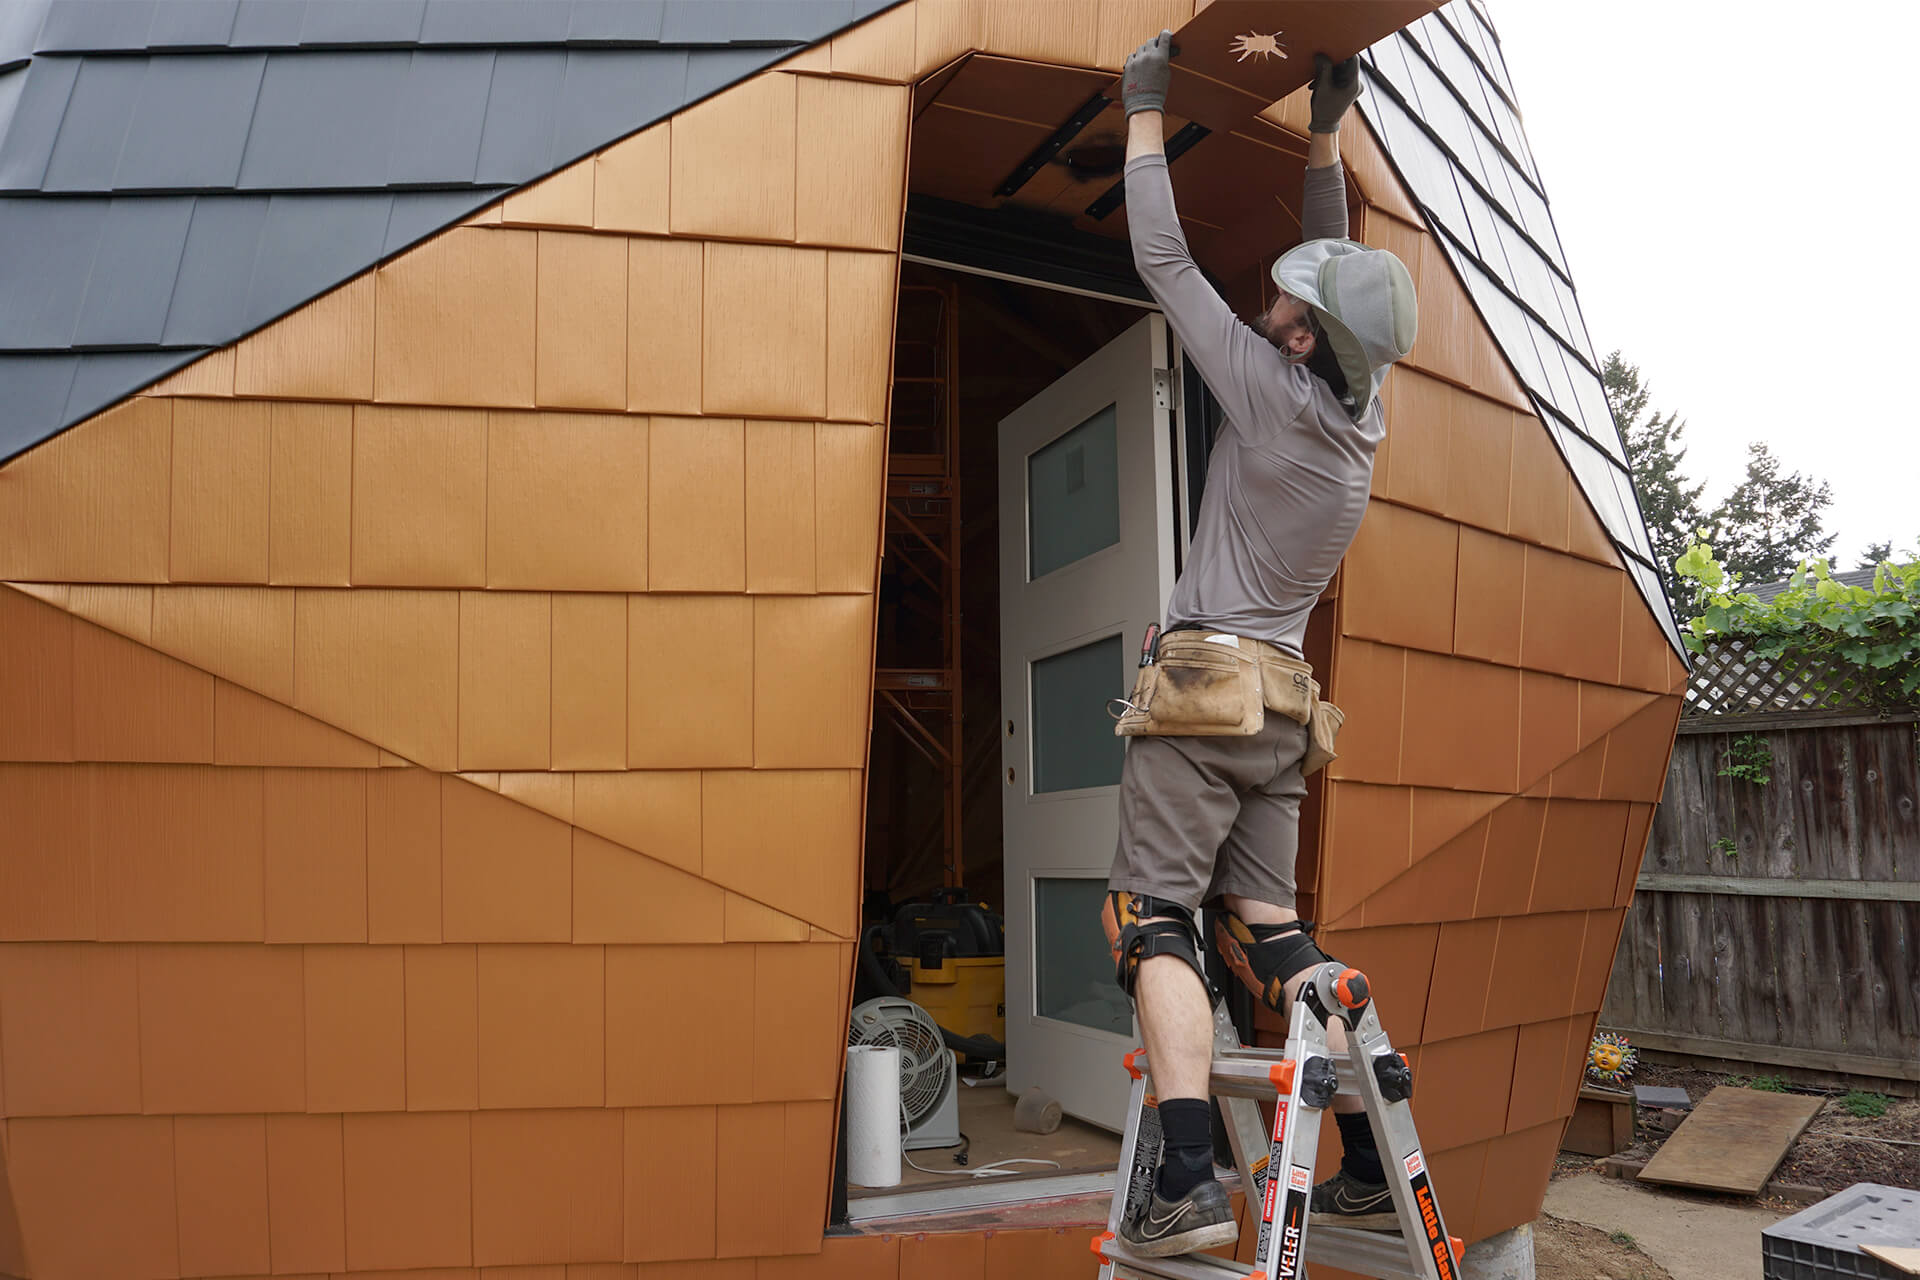
Slide the keystone shingle into place.
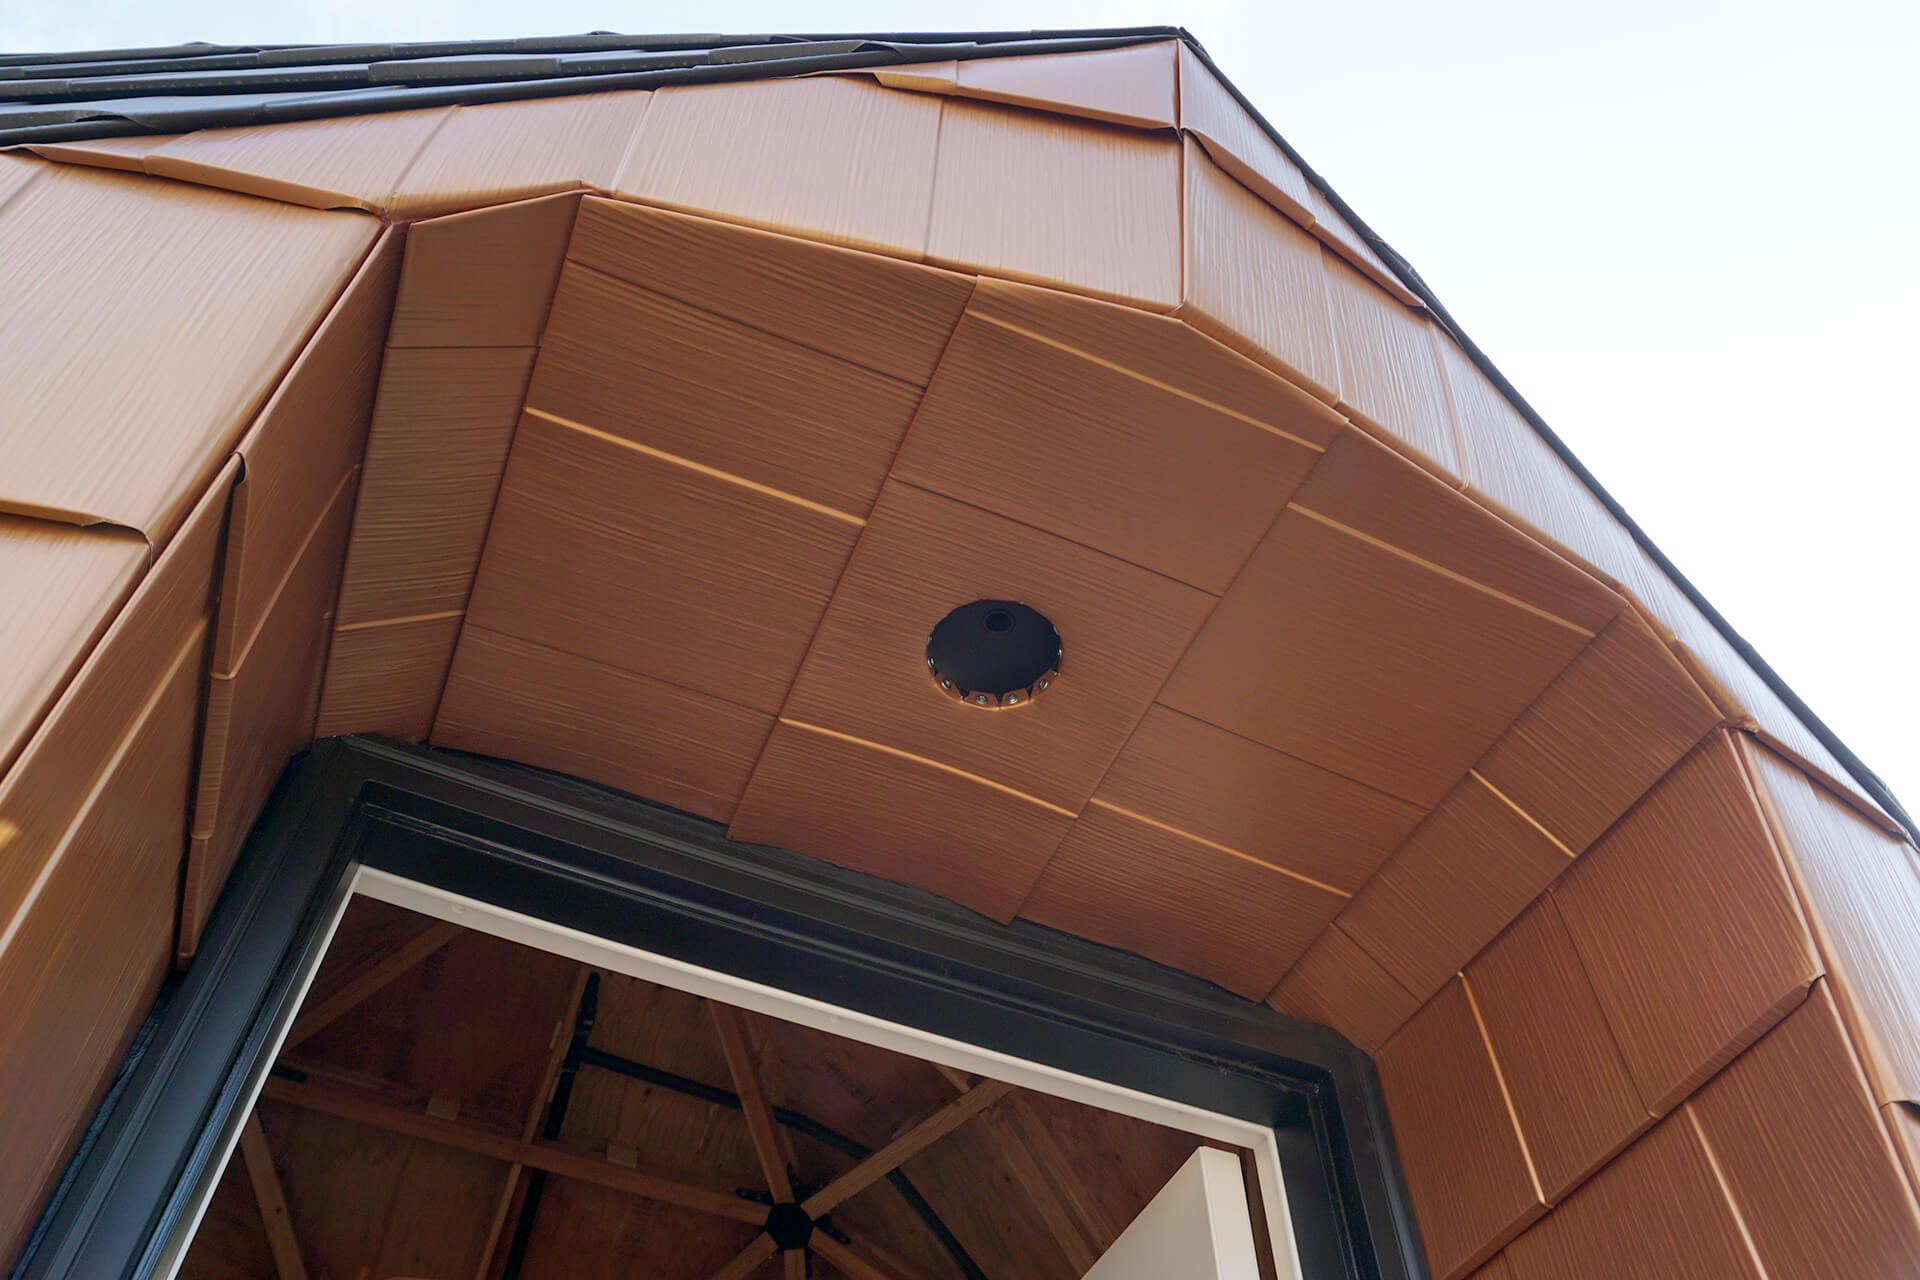
Fold the shingle tabs up into the porch light hole and fasten them in place for a clean finish.
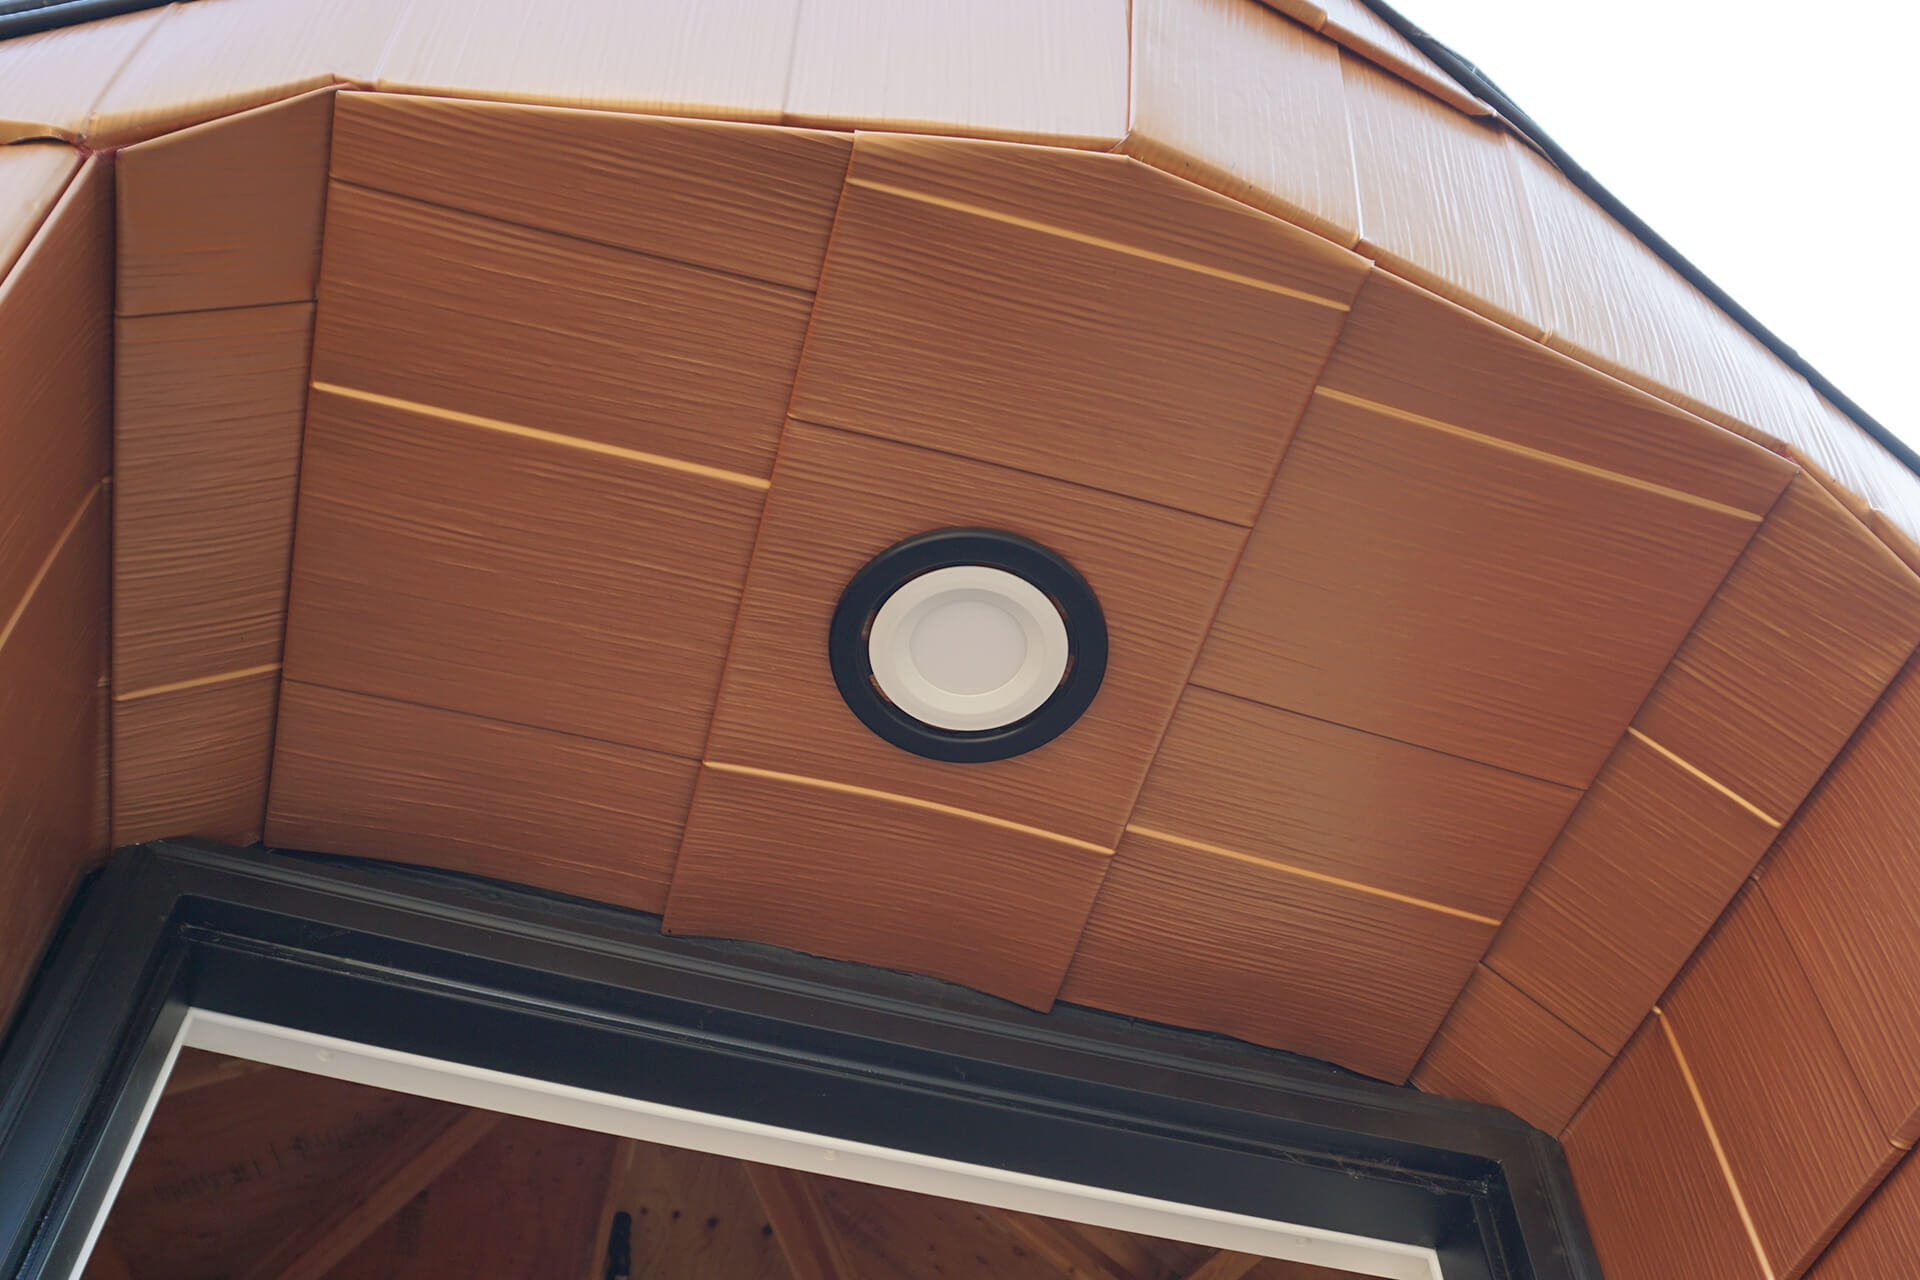
Temporarily install the porch light to cover the hole. It will need to be removed later for wiring.
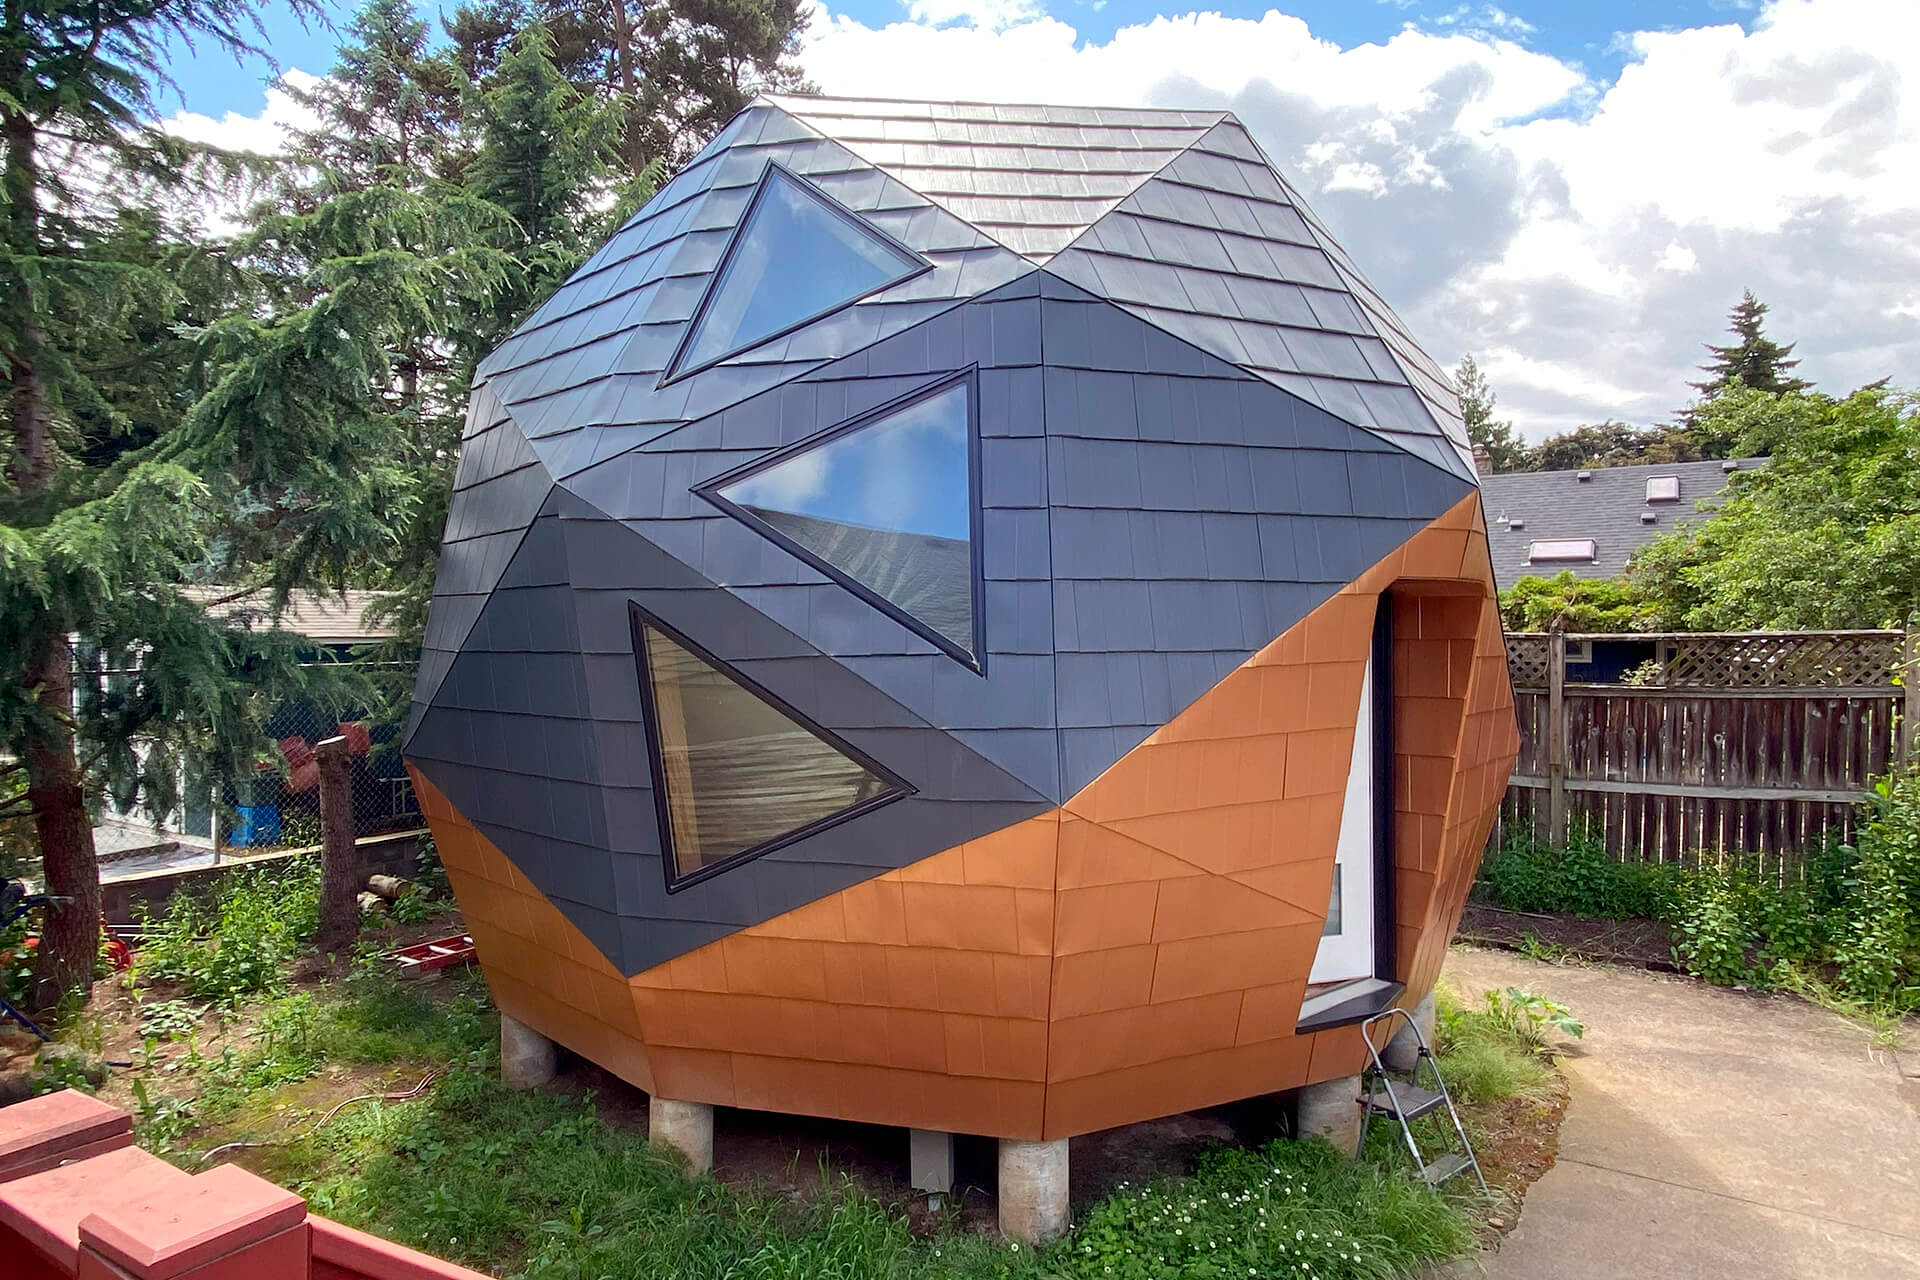
Congratulations on completing the roofing!
Next Step
© 2025 Dodeca Domes. All rights reserved.

