
Framing – Outer Wall and Studs
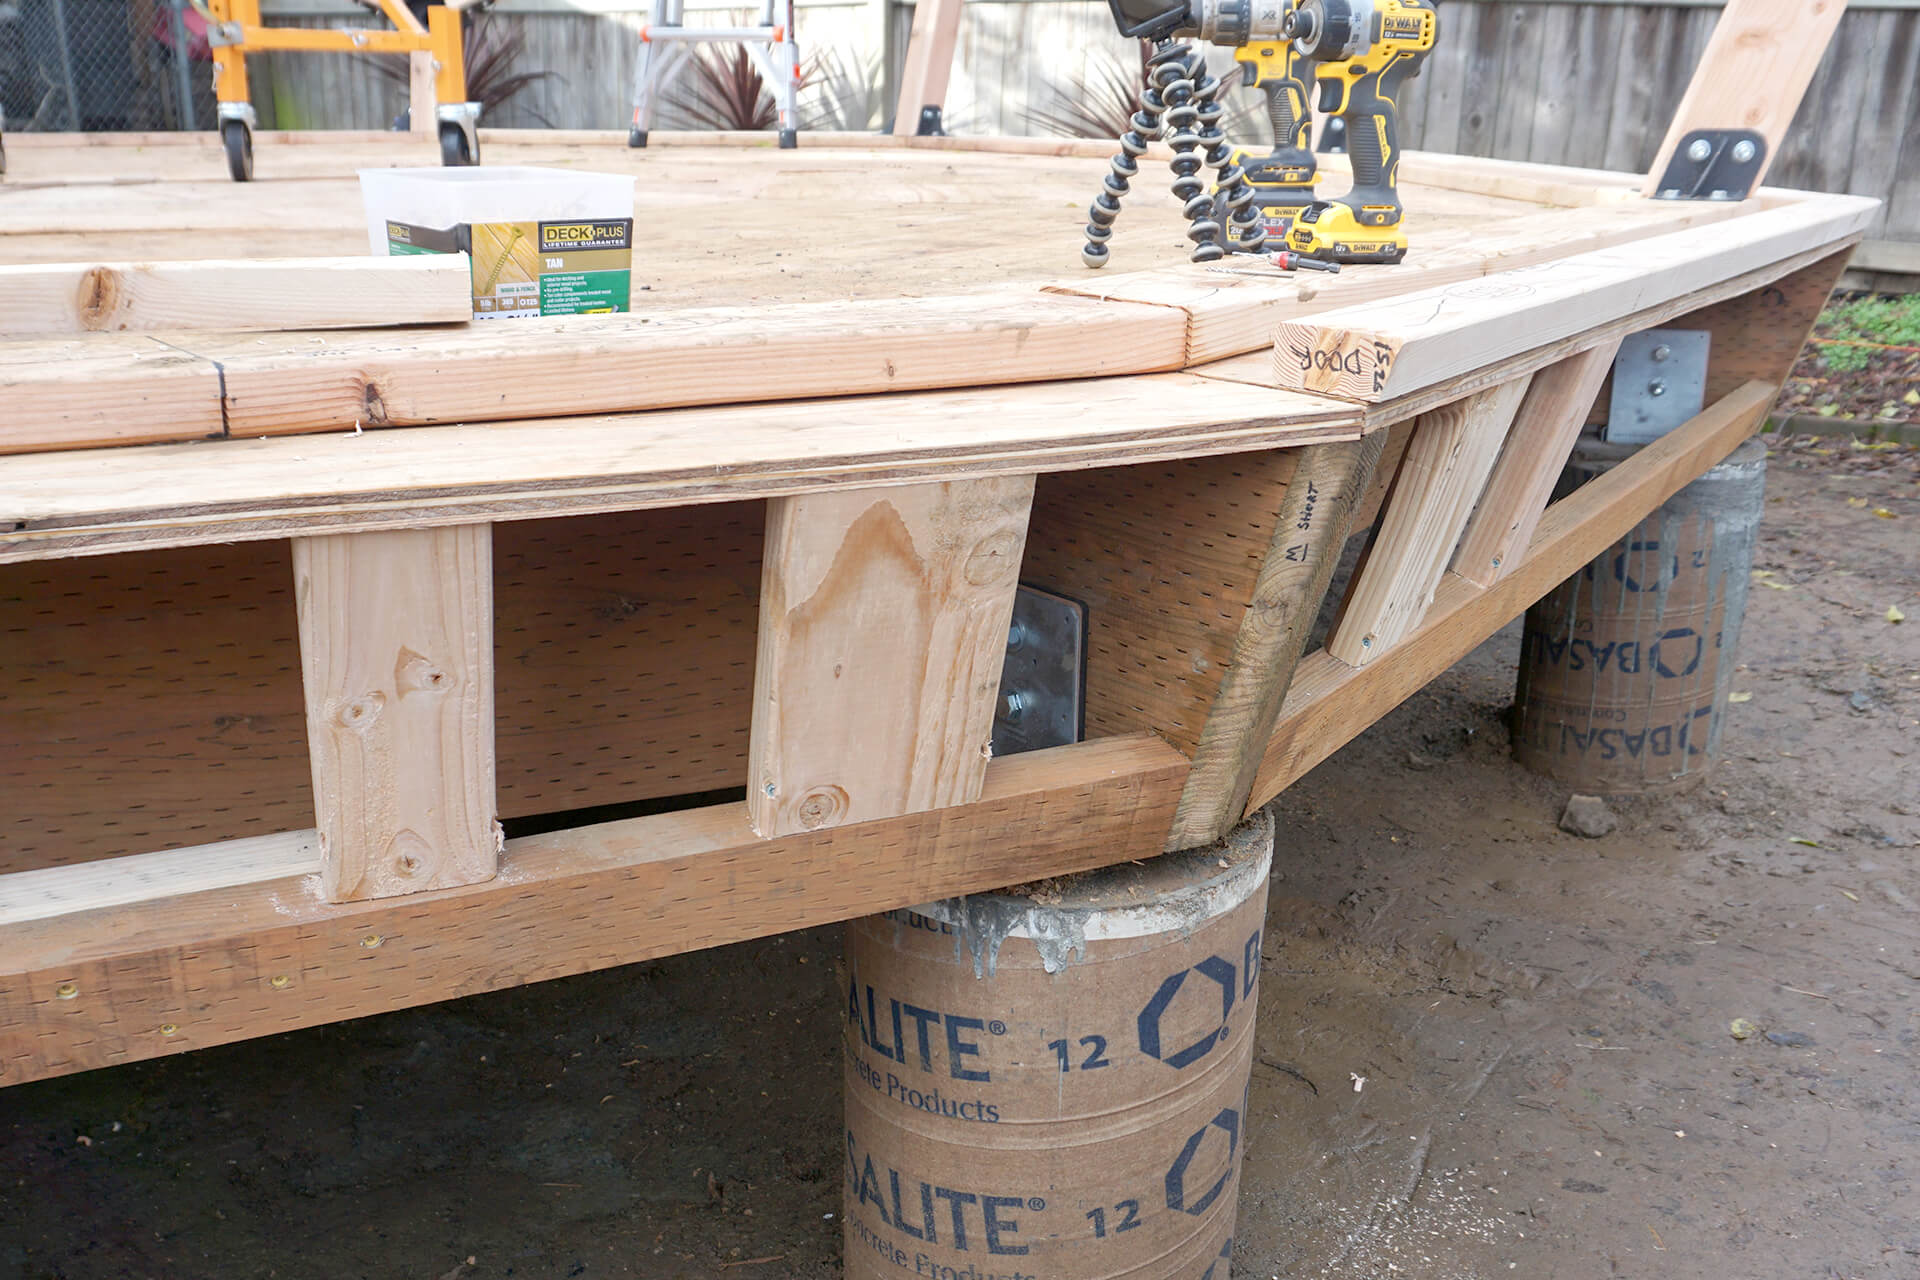
Add blocking below the front door area to provide extra strength for this high-traffic area. Lay out the Sill-Plate-Outs, ensuring their beveled surface is flush with the floor angle.
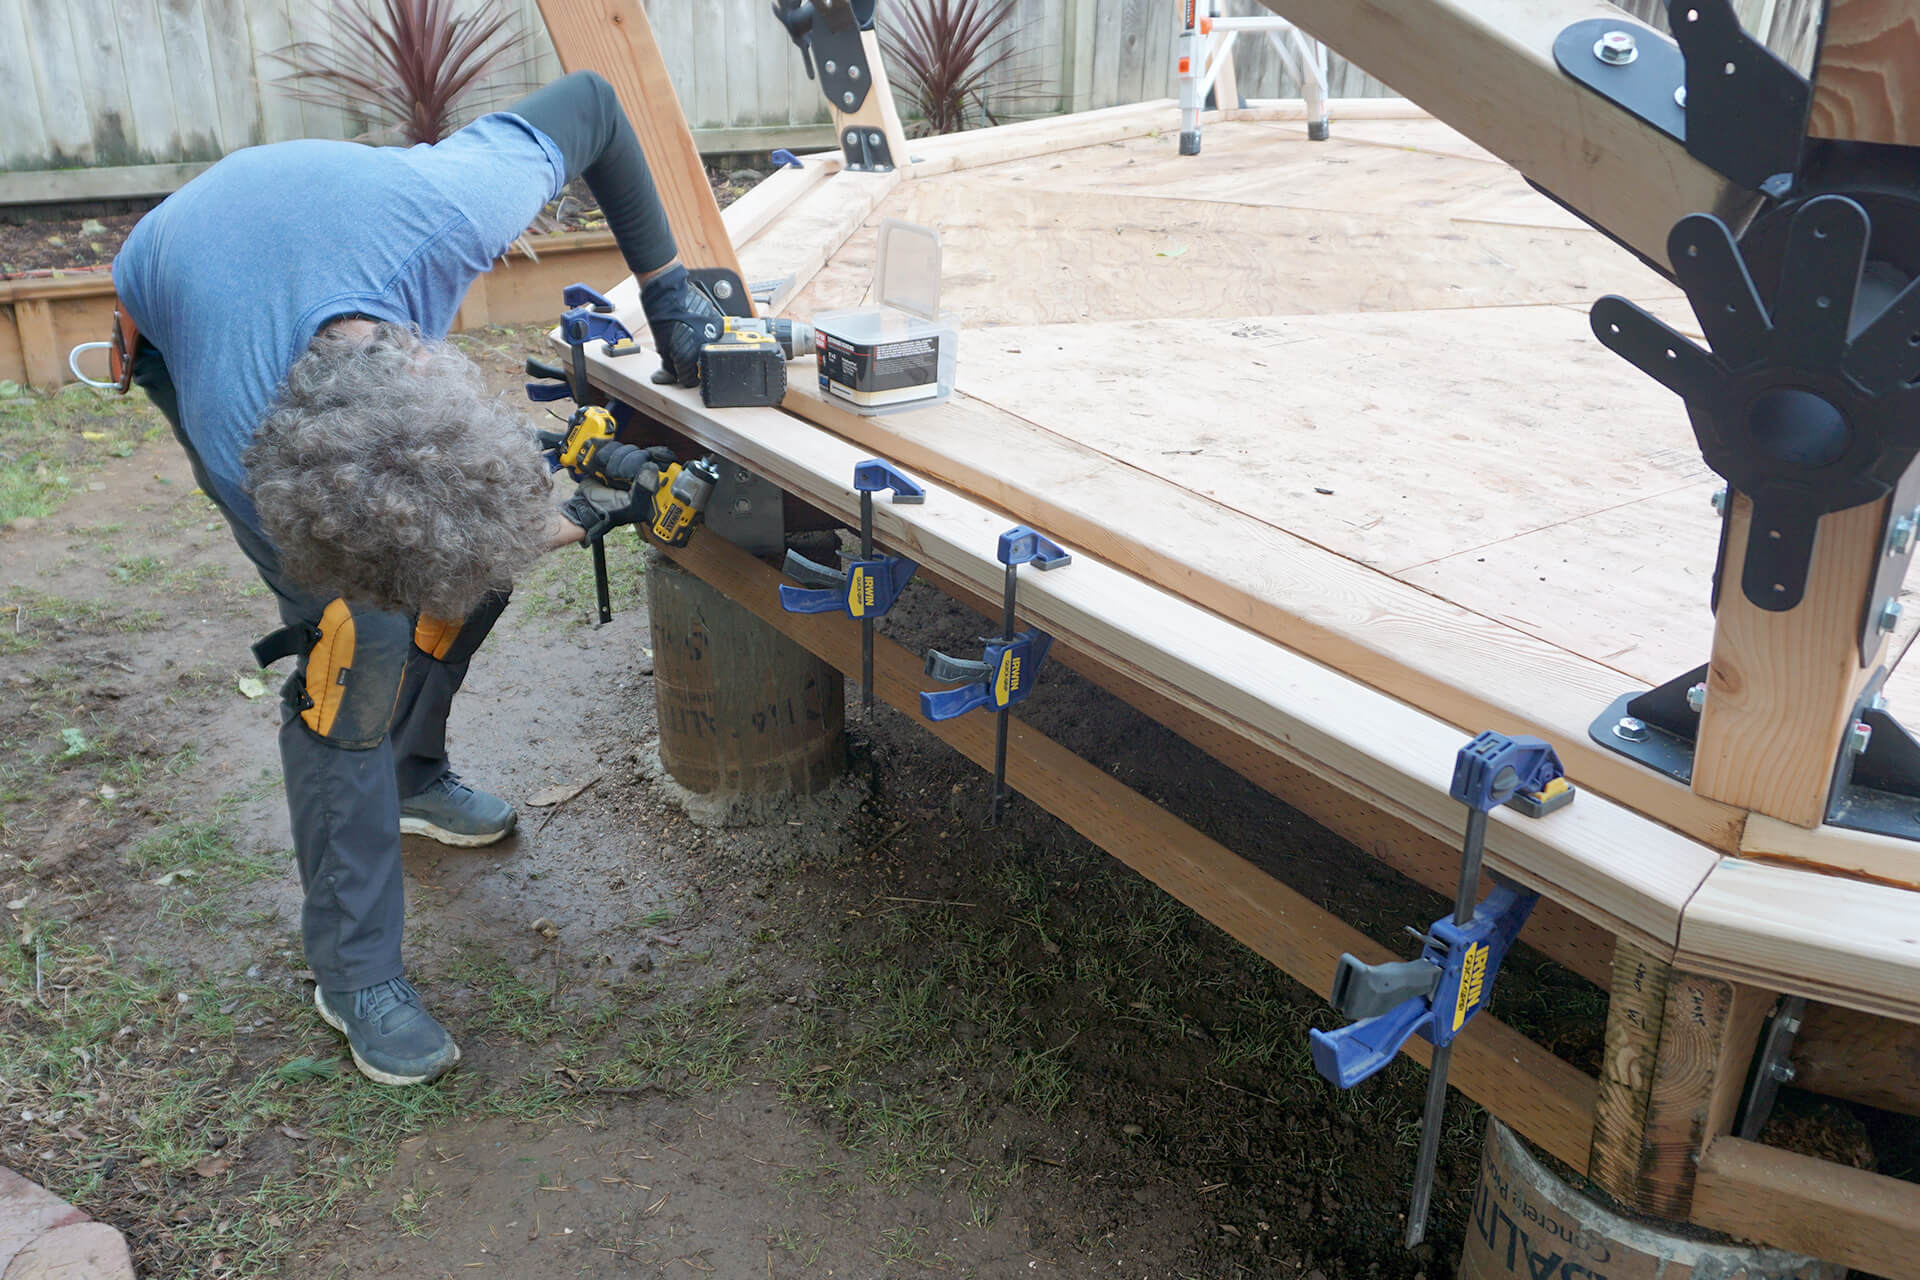
Attach the Sill-Plate-Outs. Pre-drill and secure the ends with screws, fastening them into the Floor-Beams. Also, screw them from below to attach them to the Subfloor-C panels.
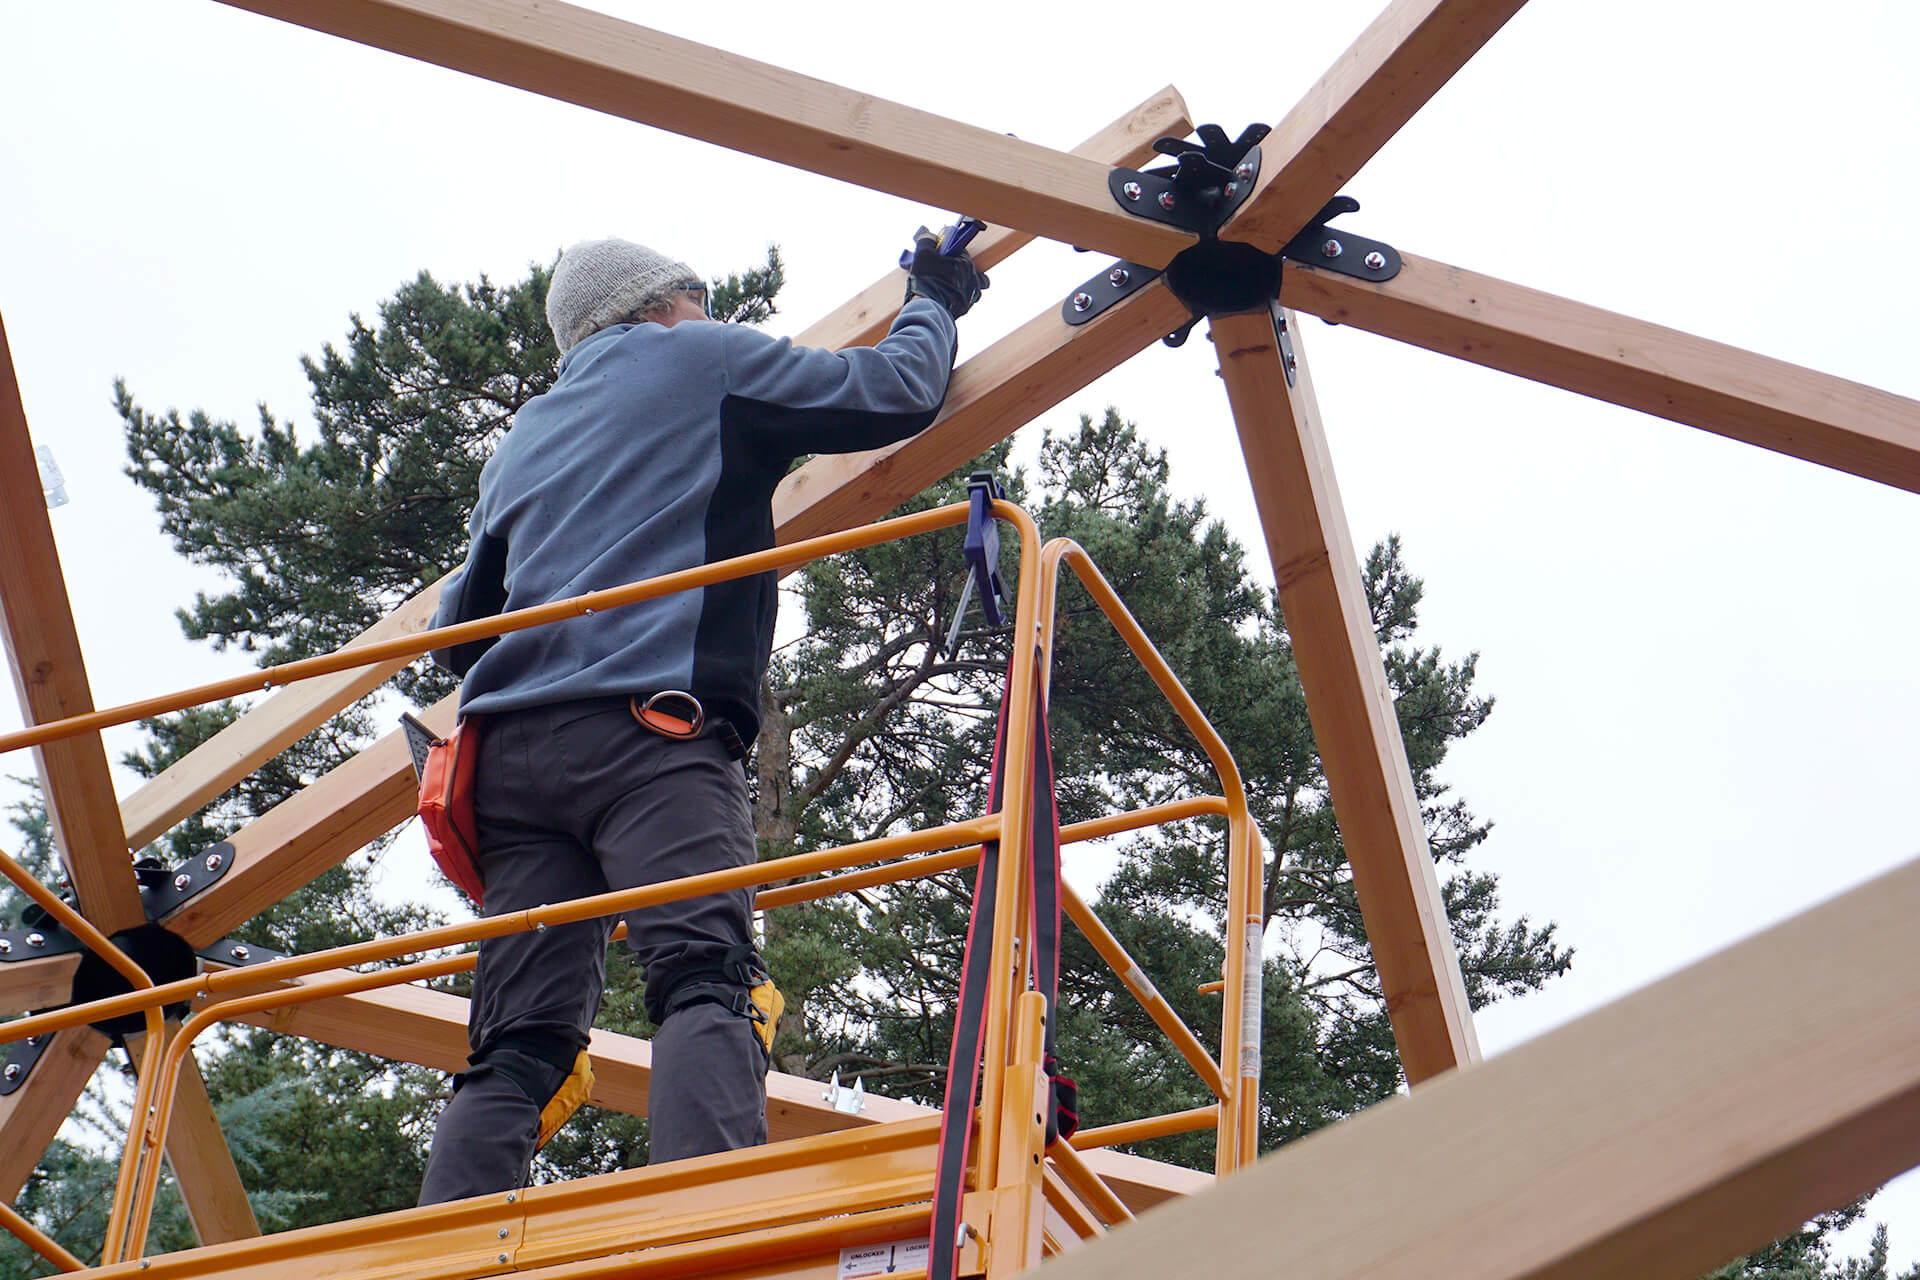
Attach the Rafter-Shorts to the top of the dome. Use a suitable technique to pre-drill before screwing, such as creating a template, marking and removing, or pre-drilling in place.
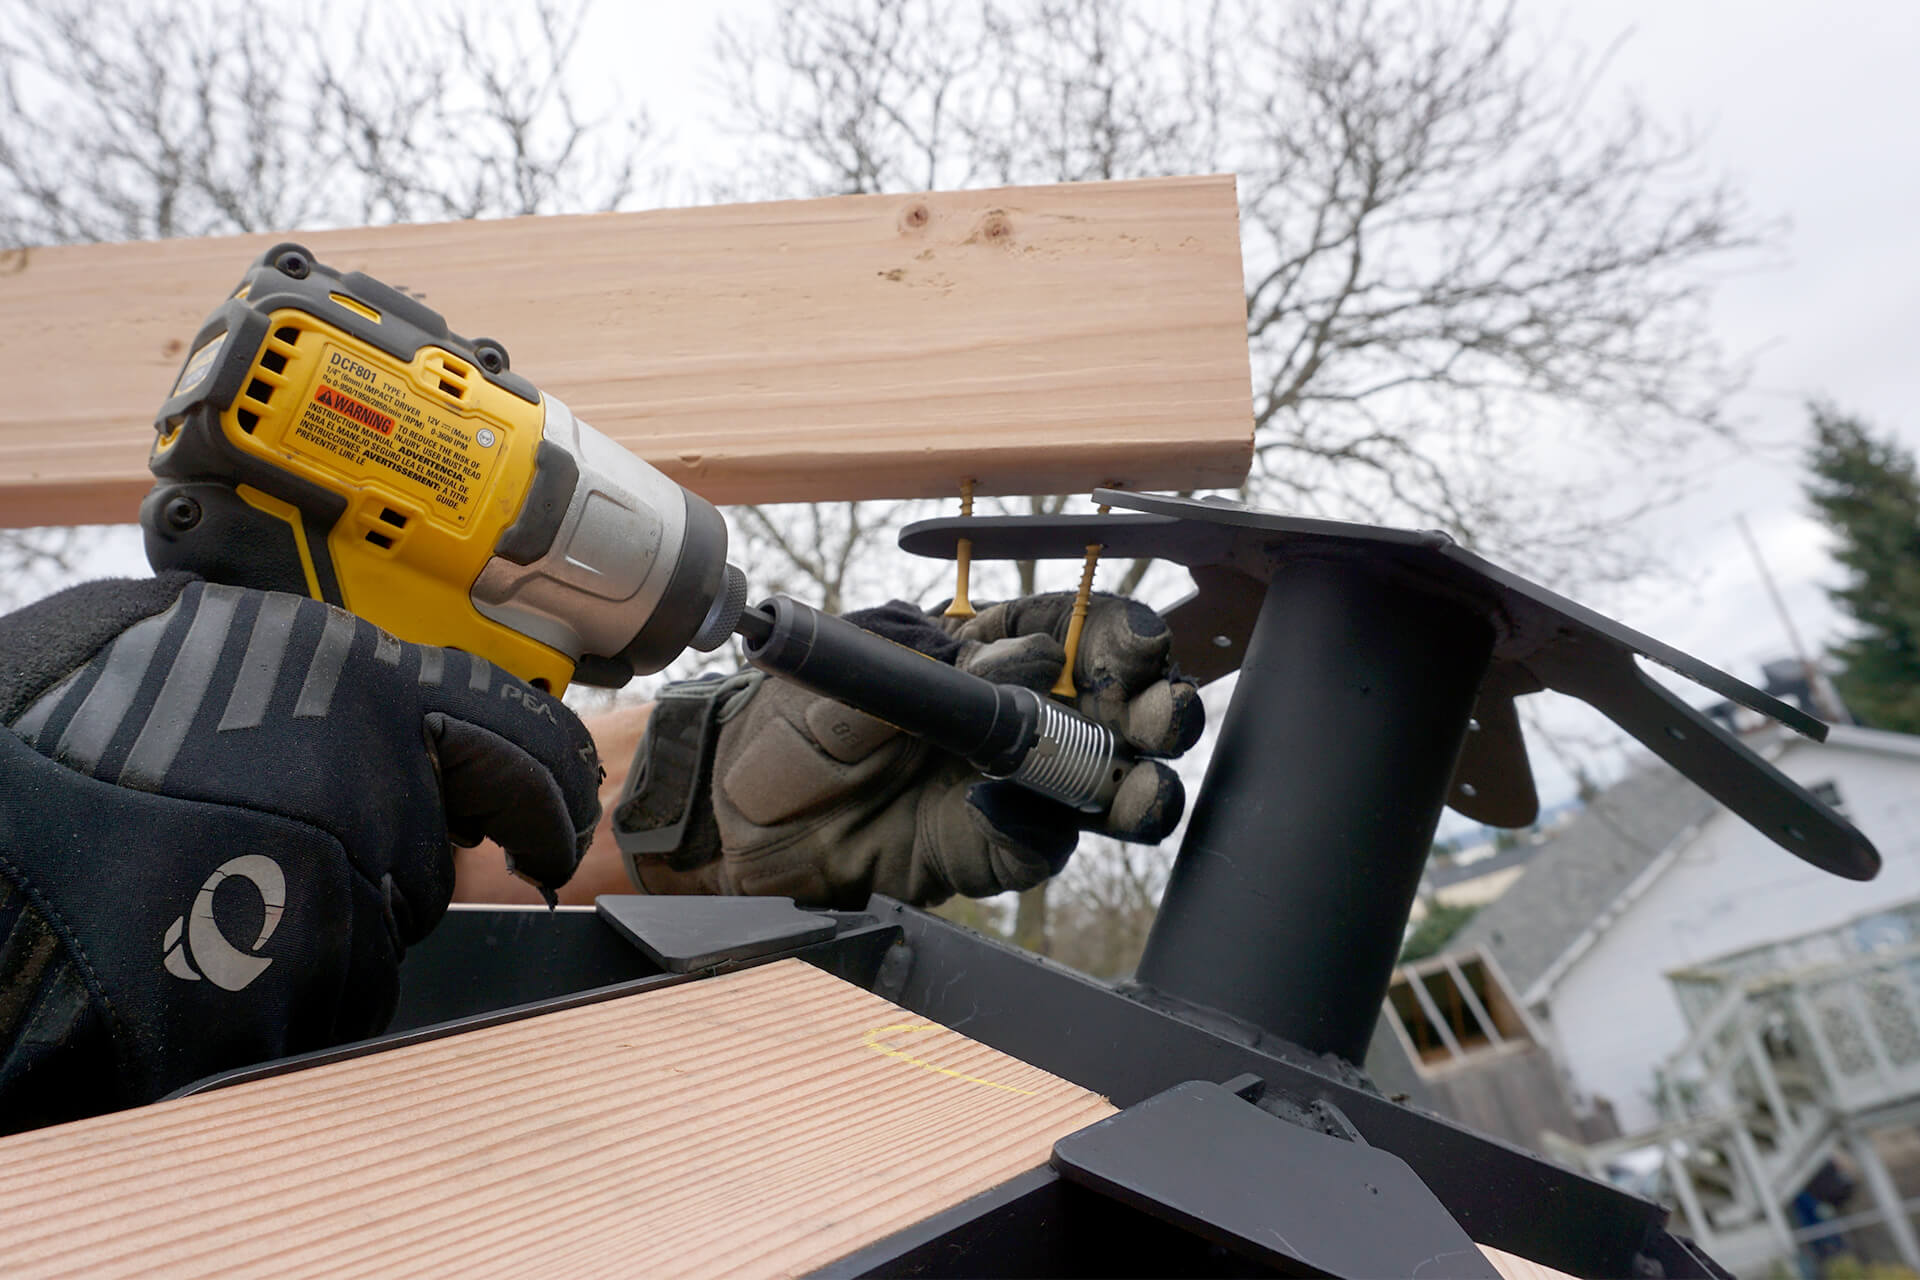
Use a right-angle attachment with an impact driver to screw into the pre-drilled holes.
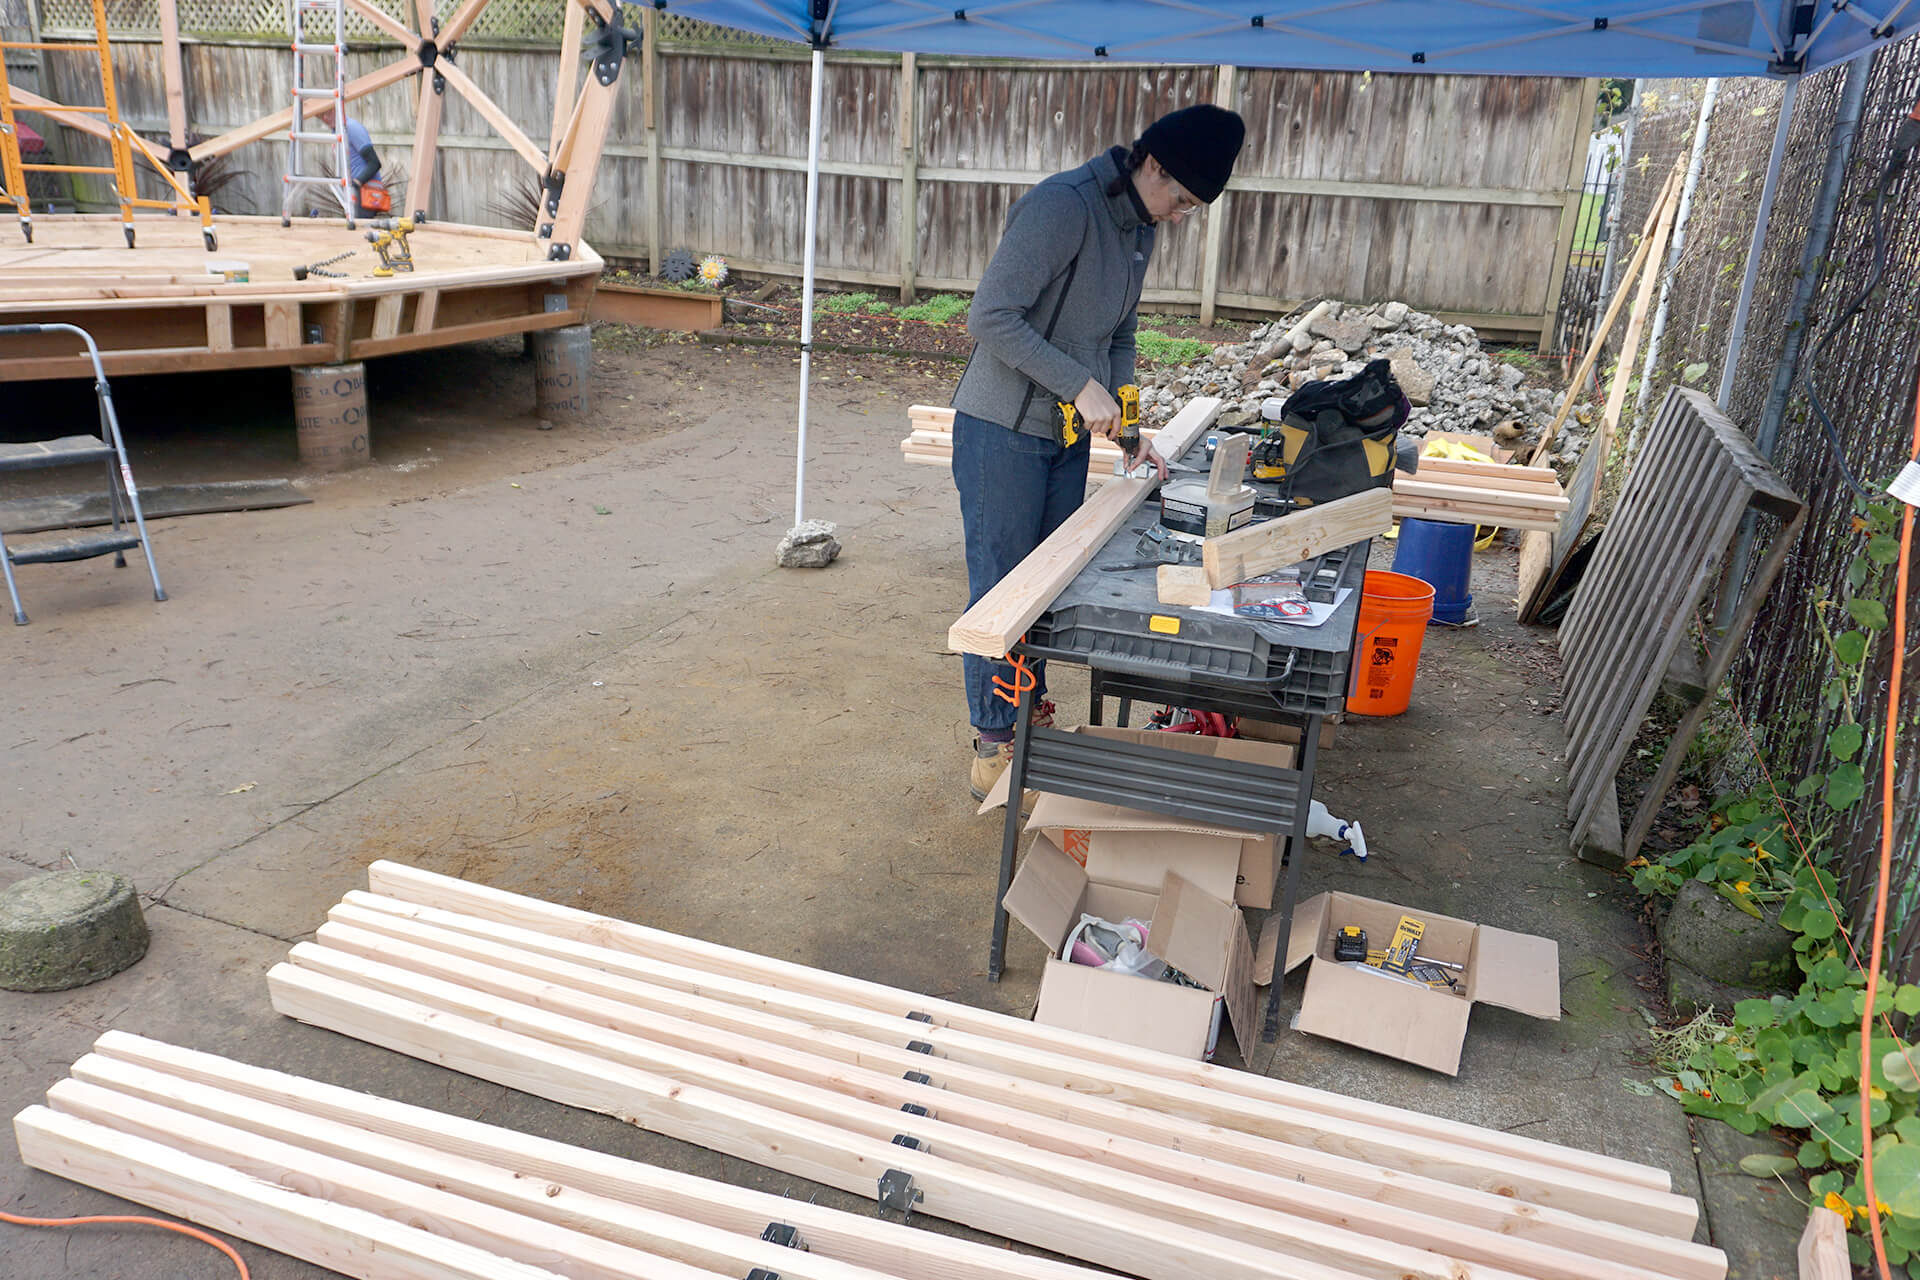
Attach stud holders (Simpson RTR) to both sides, centered on the Rafter-Longs.
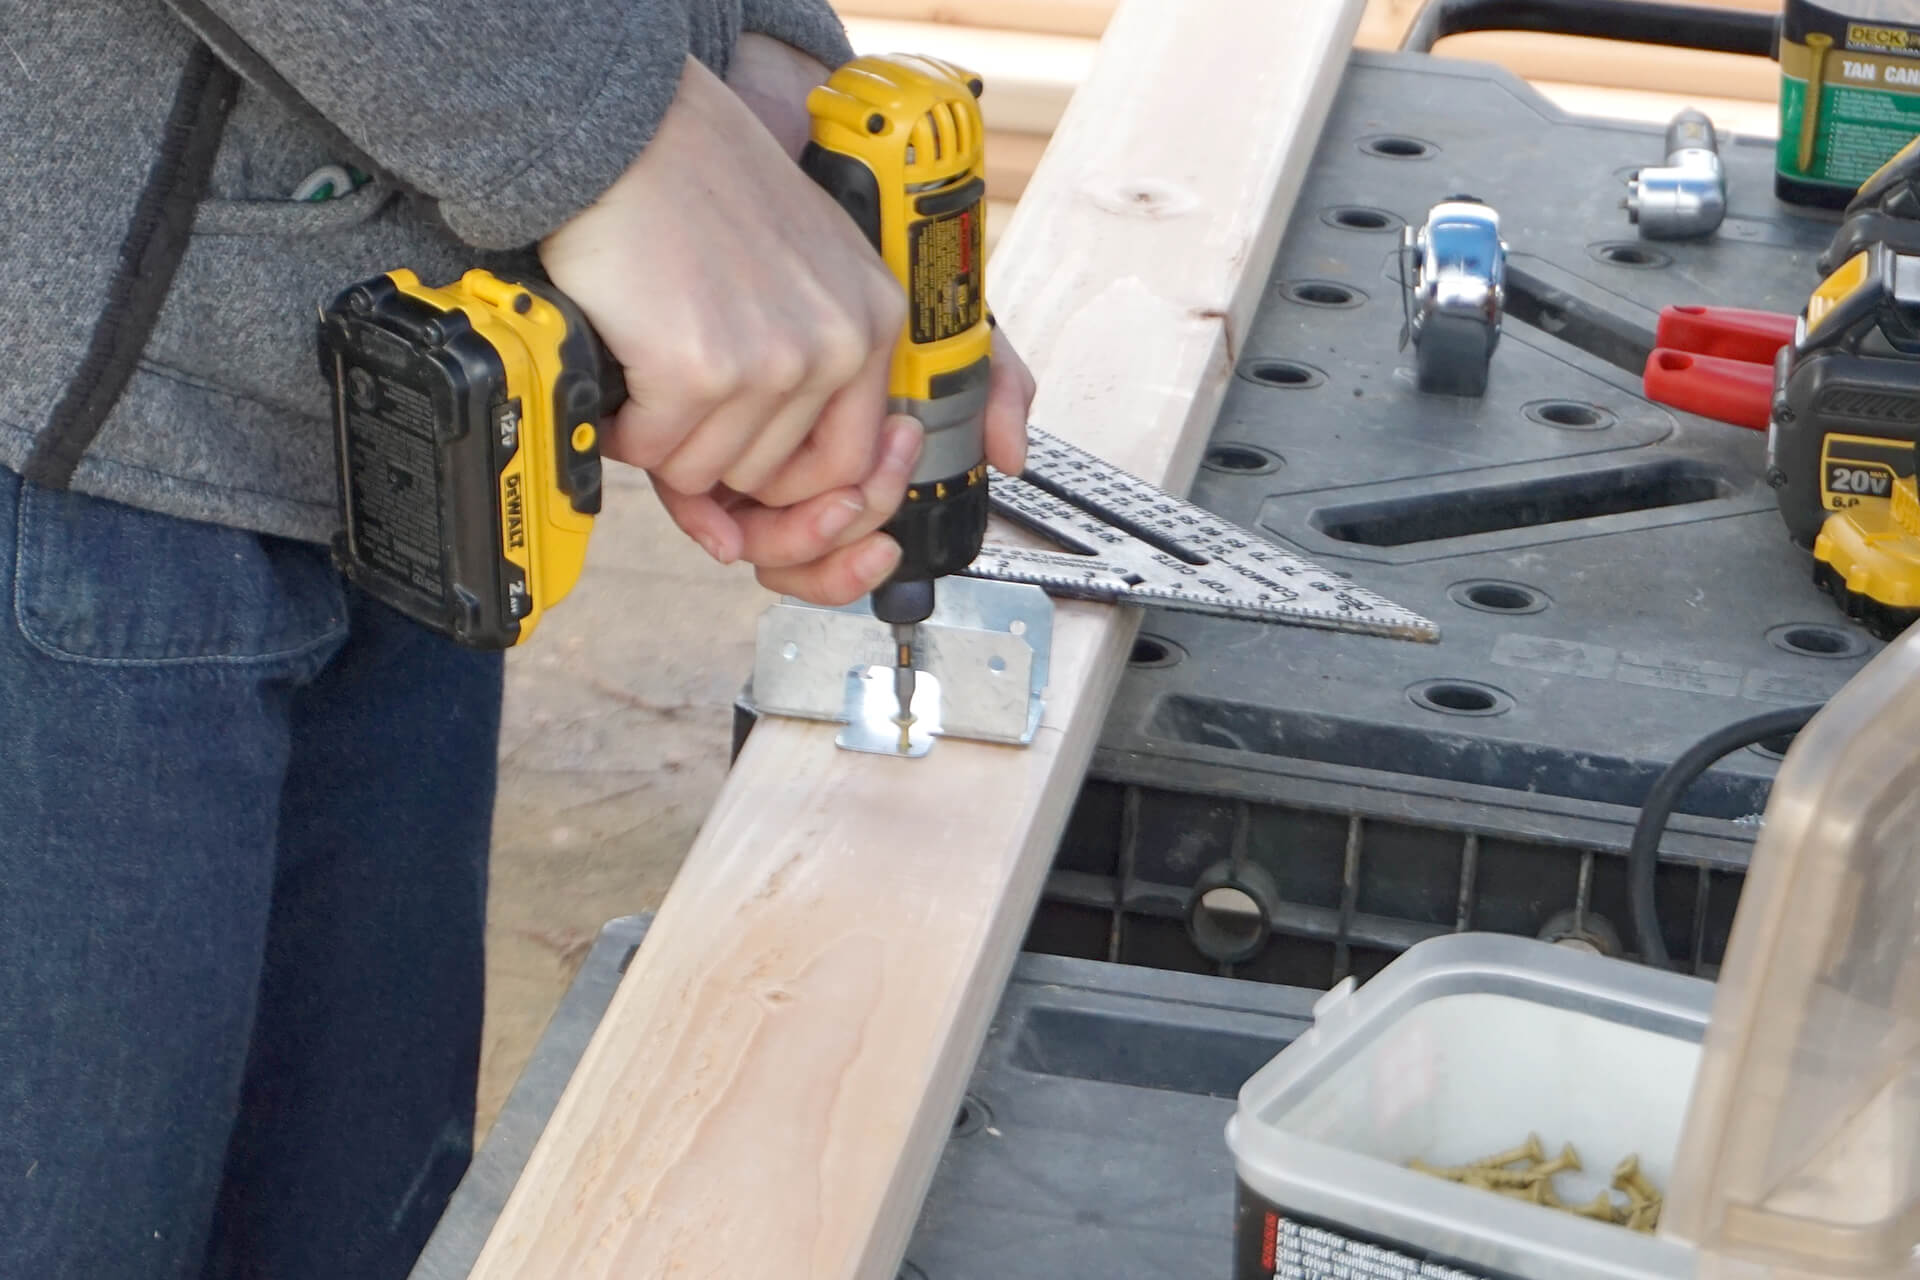
Bias the stud holder away from the beveled end (as shown) to prevent interference with the roof sheathing.
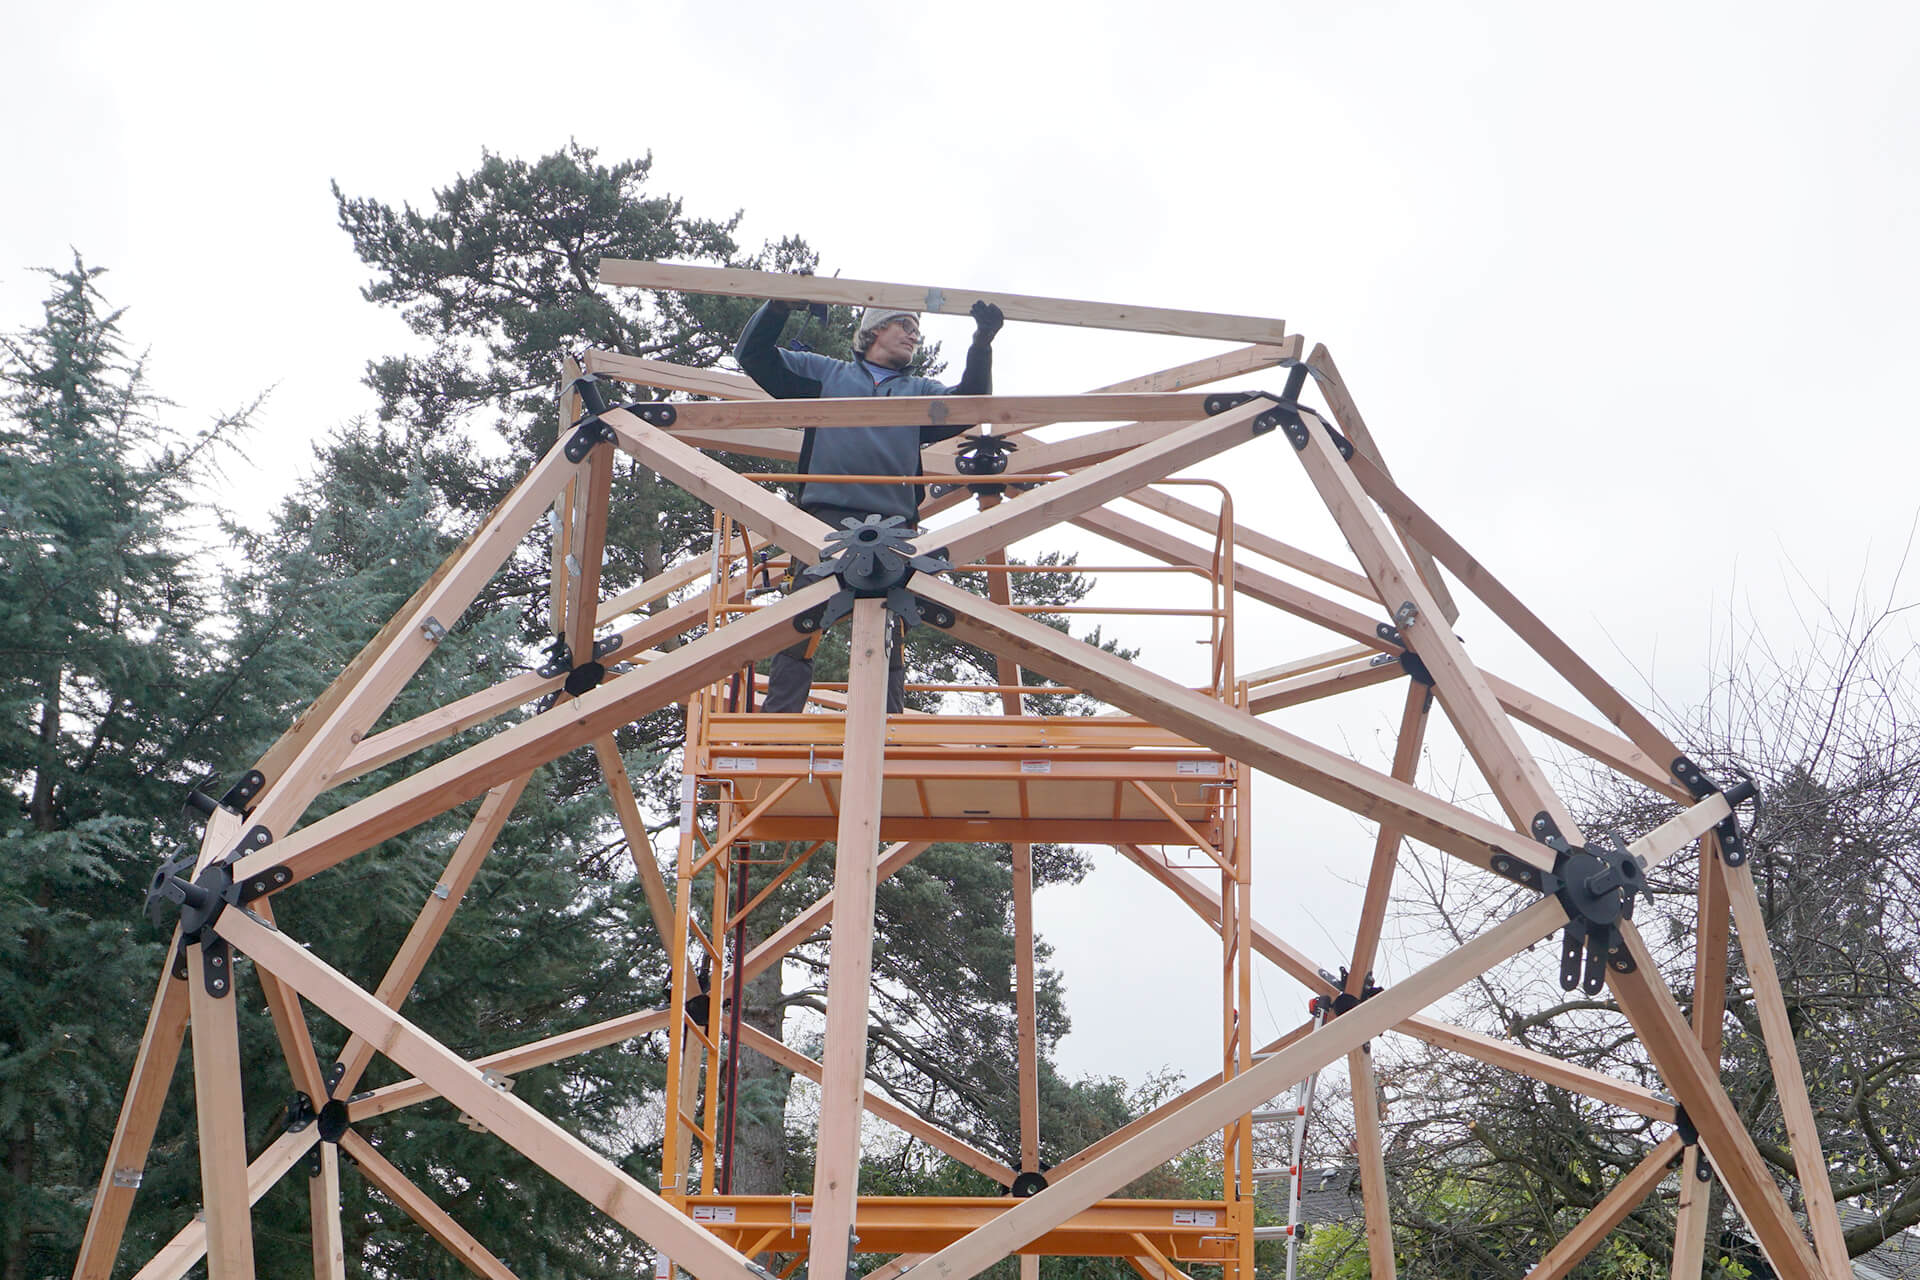
Attach the Rafter-Longs along the top of the dome.
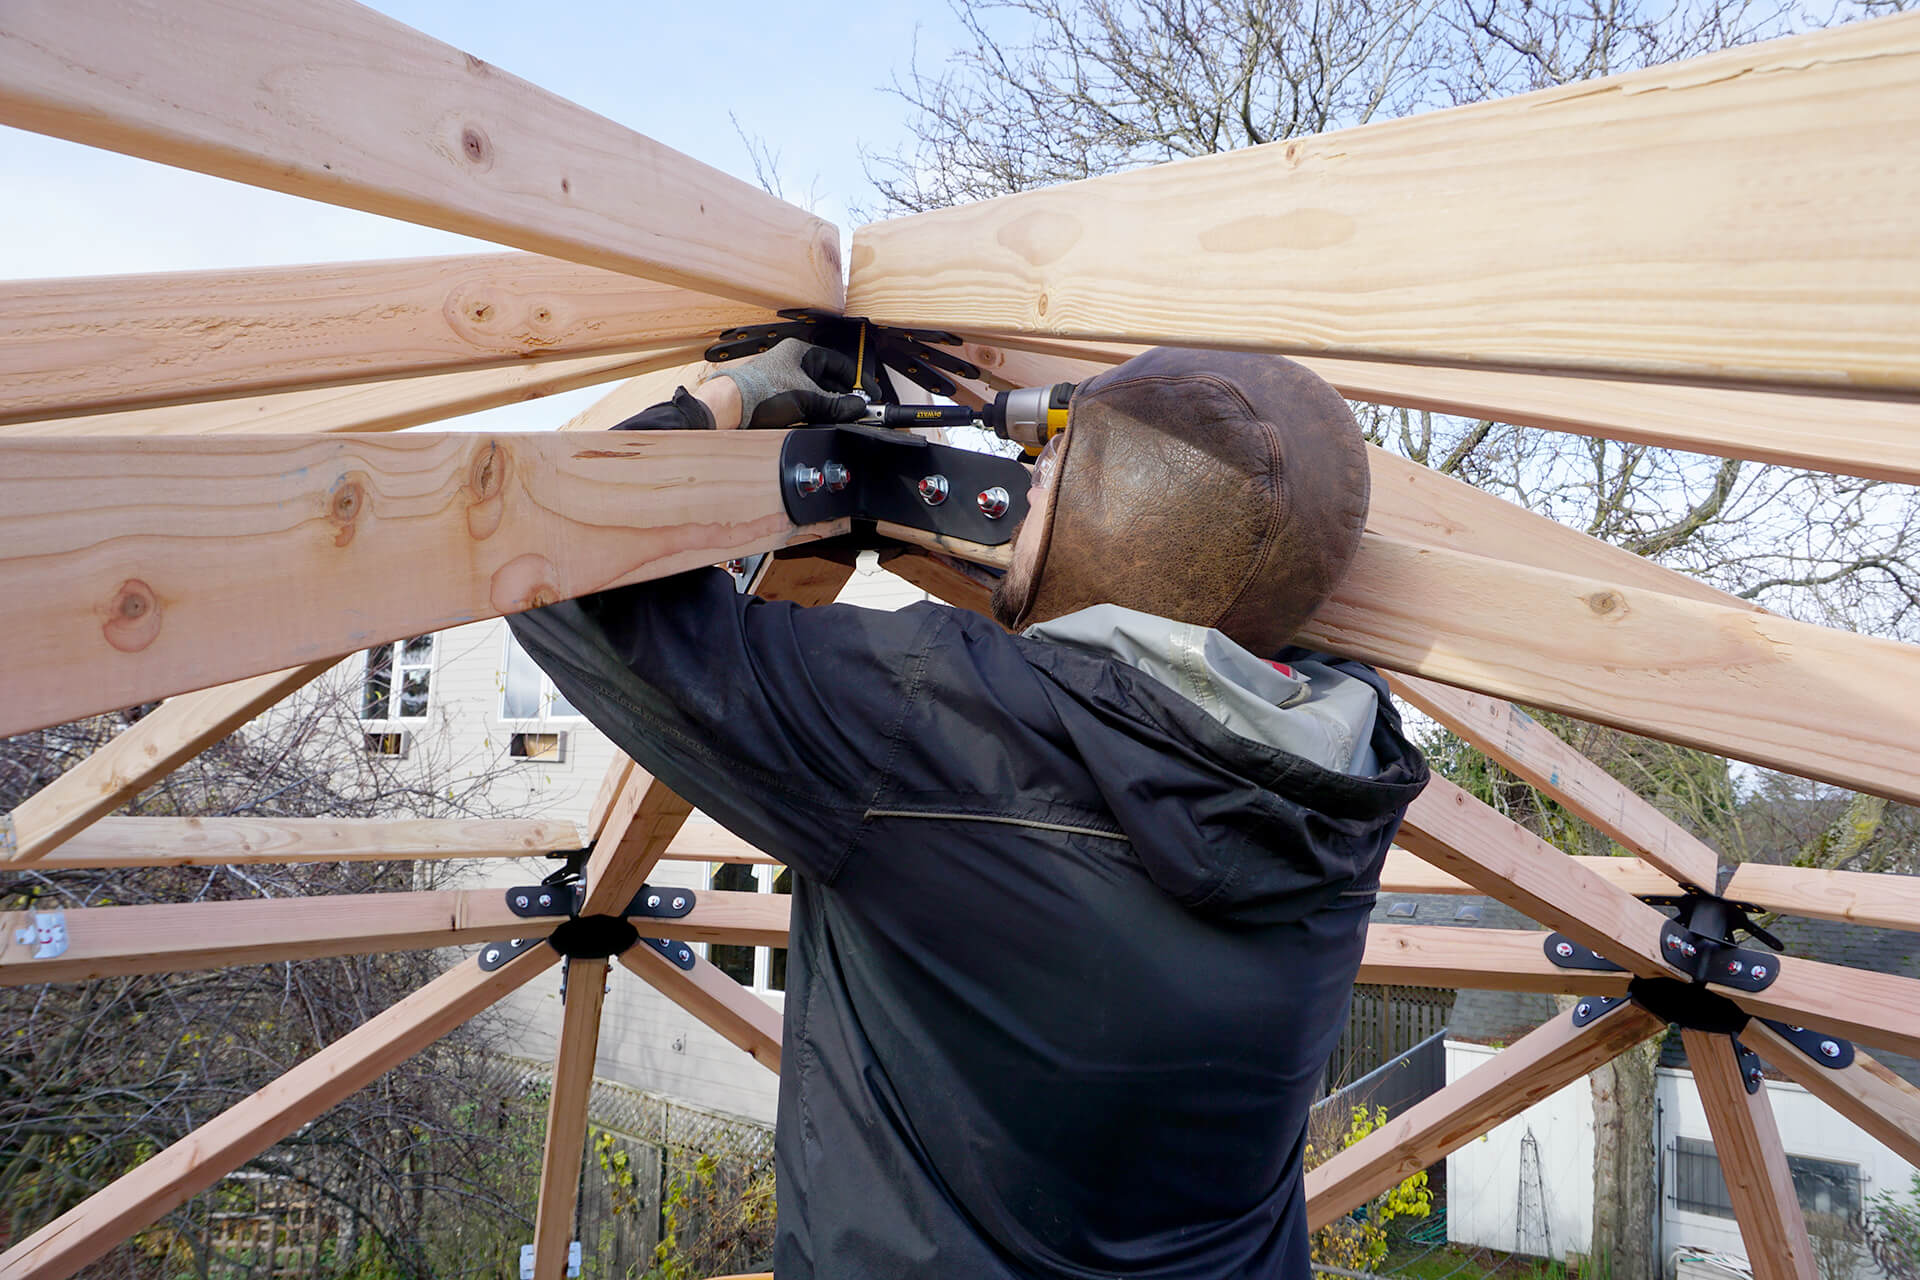
Attach the Stud-Outs to the top of the dome.
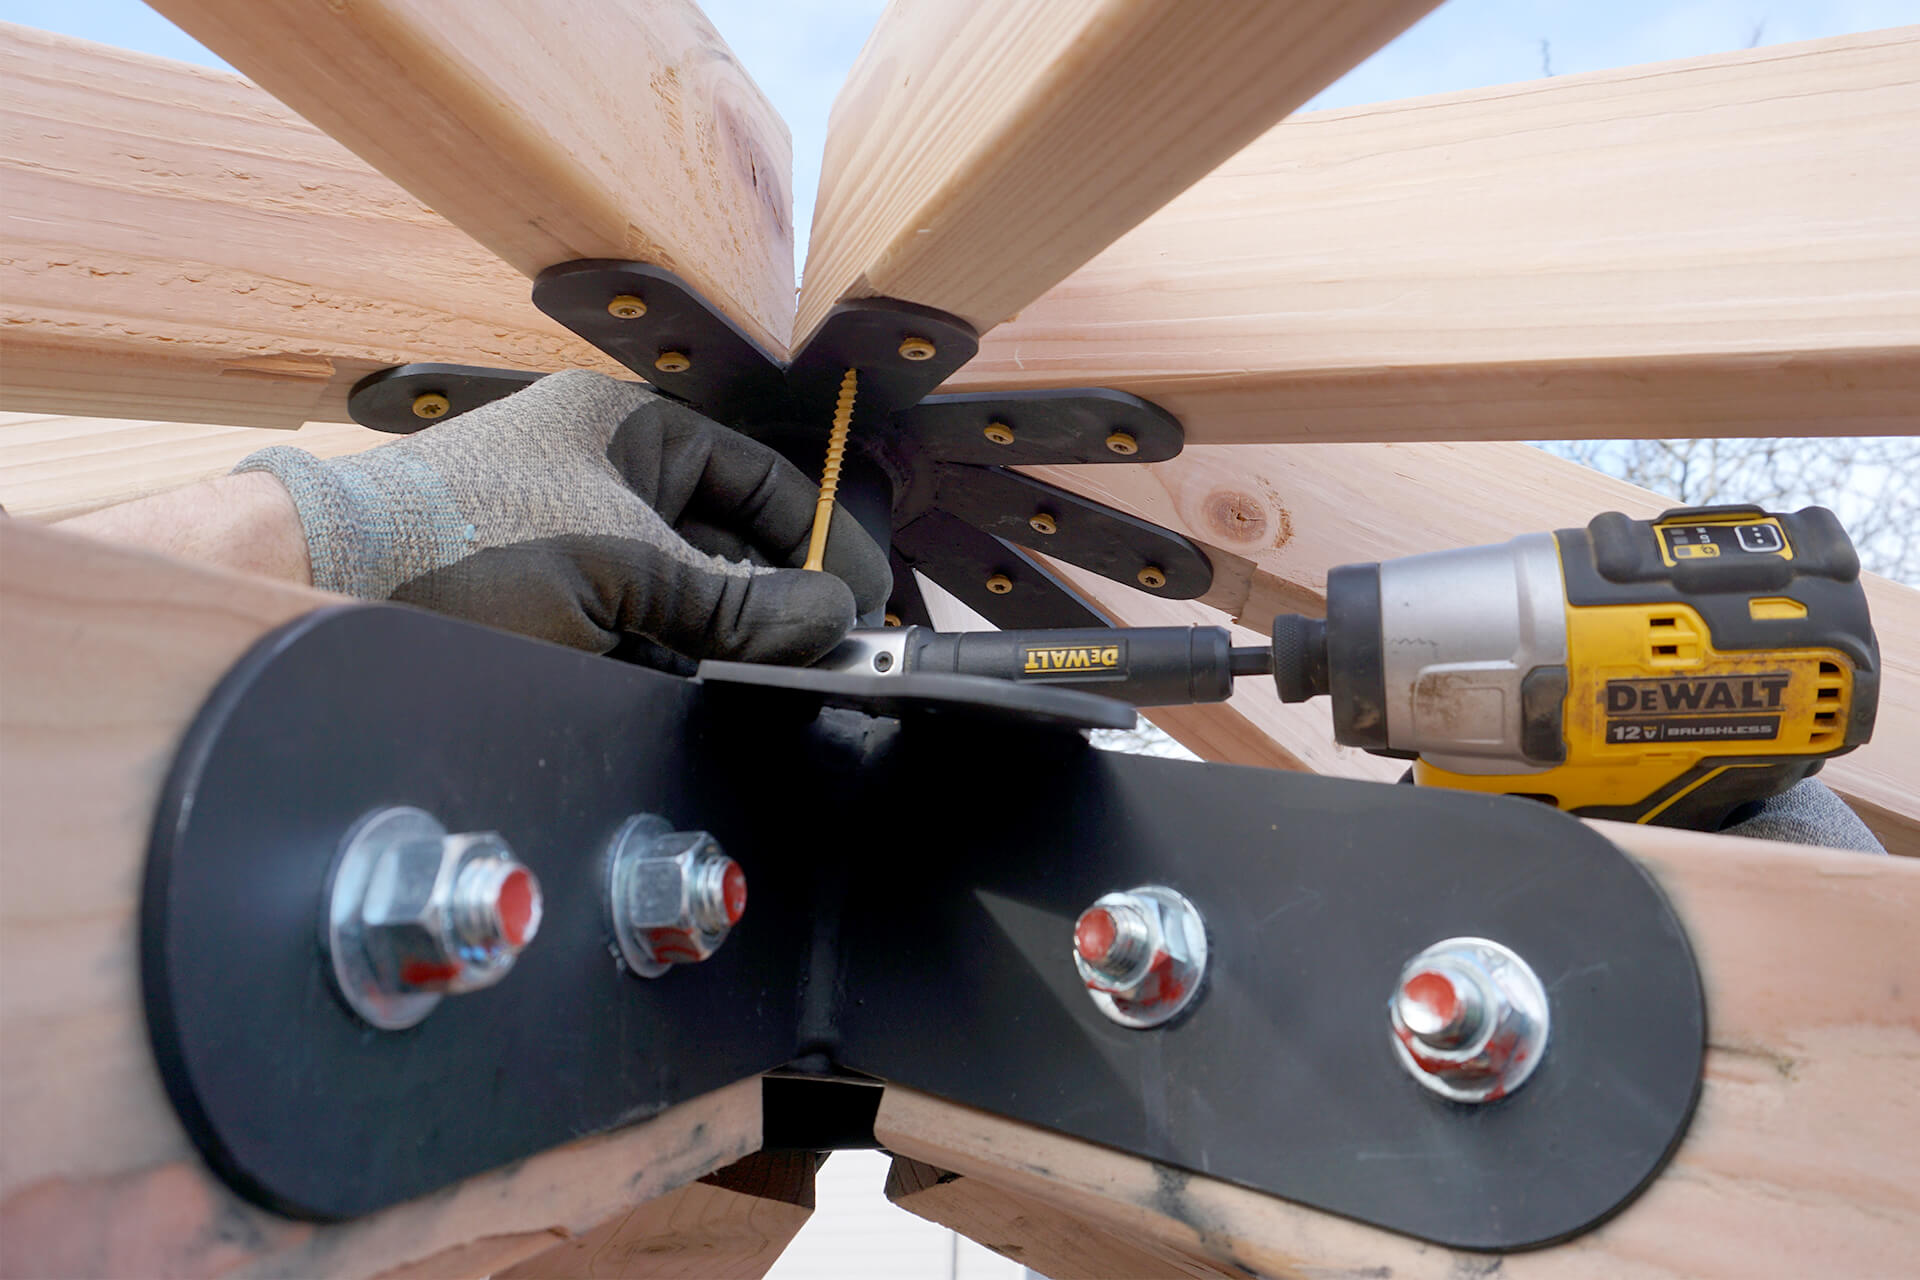
Use an impact driver, as an ordinary drill twists too much when using the right-angle attachment. Avoid over-tightening to prevent snapping screw heads.
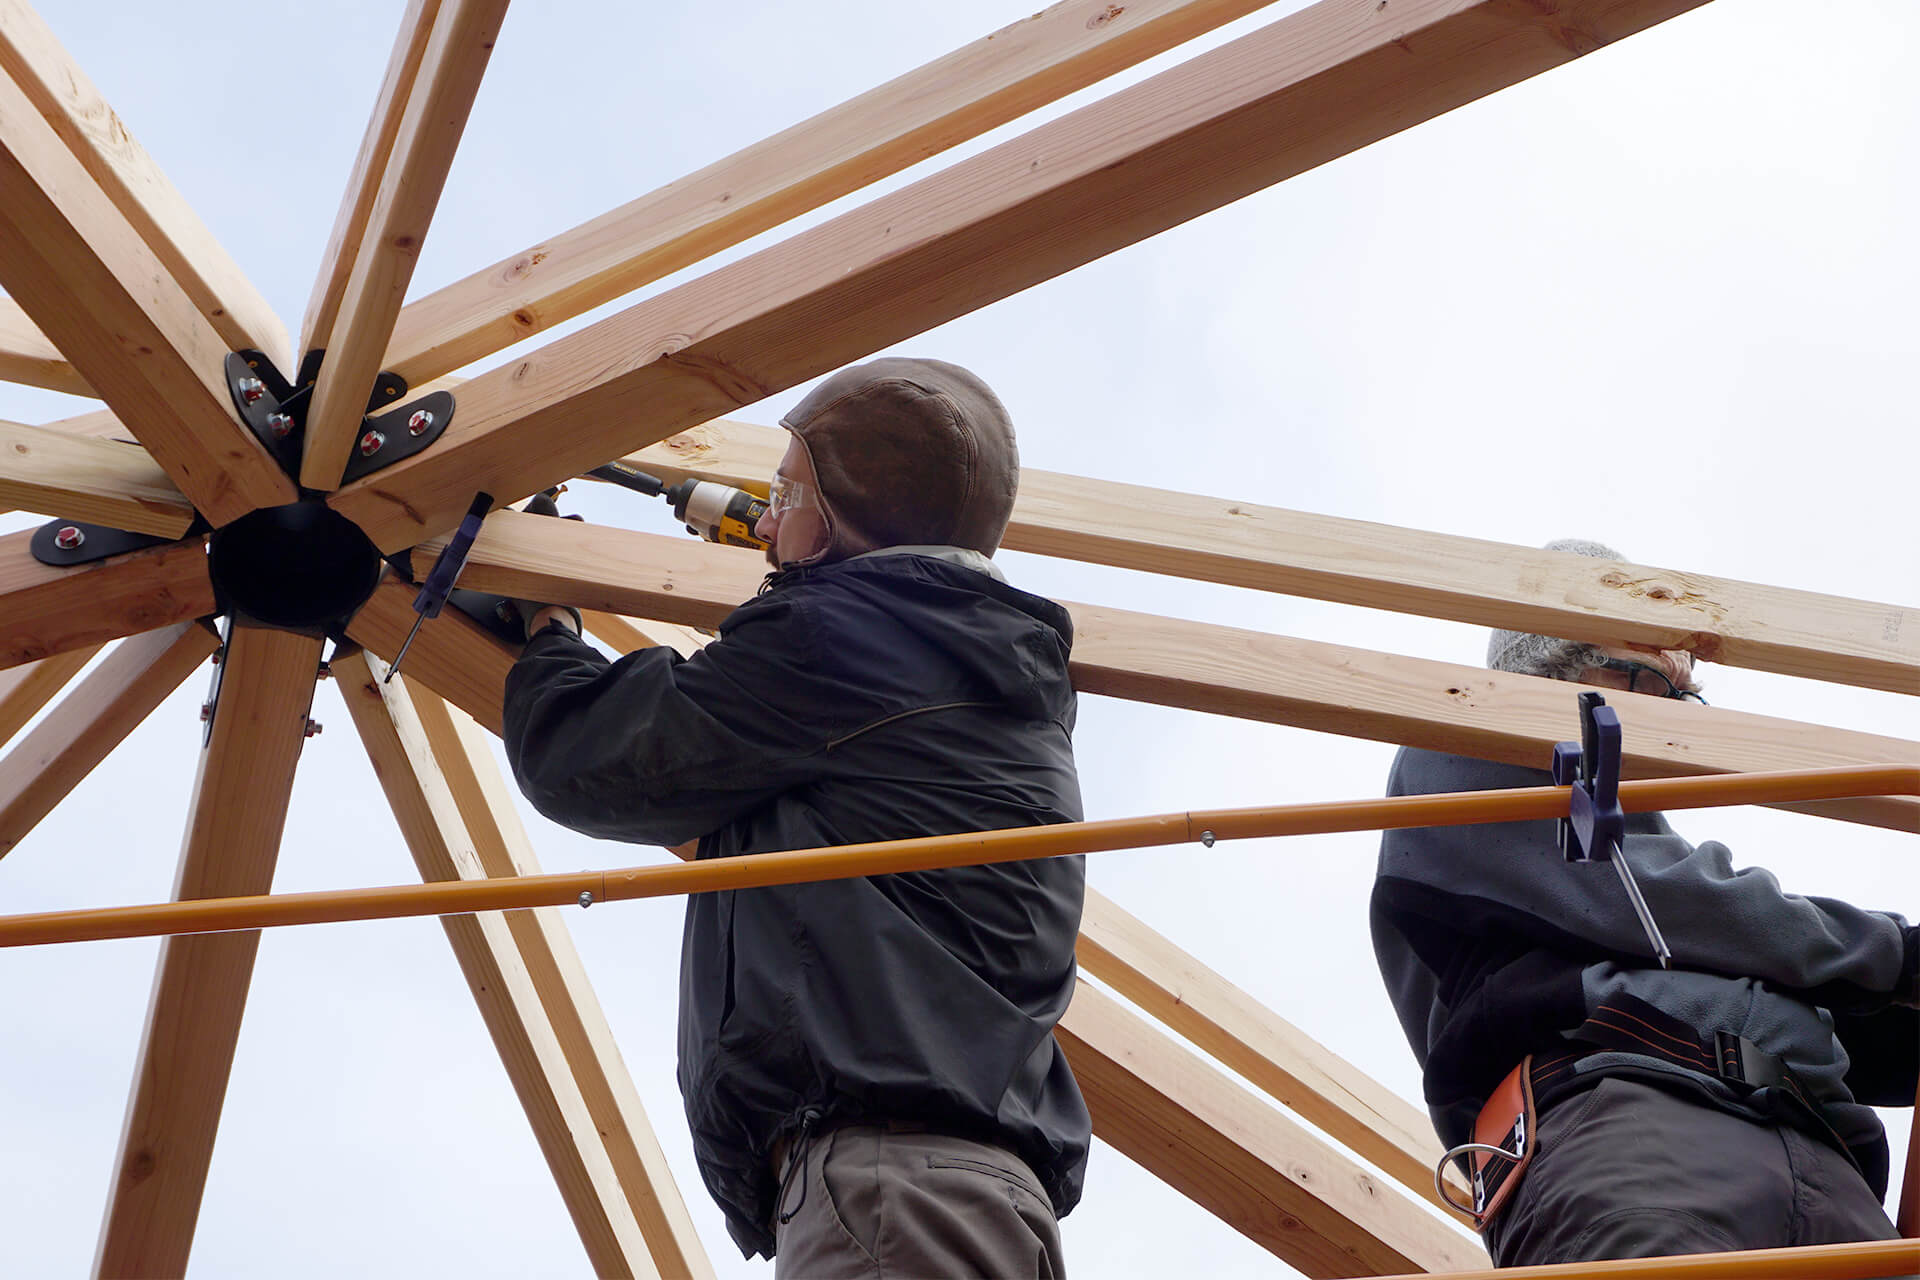
Attach the Stud-Ins to the top of the dome.
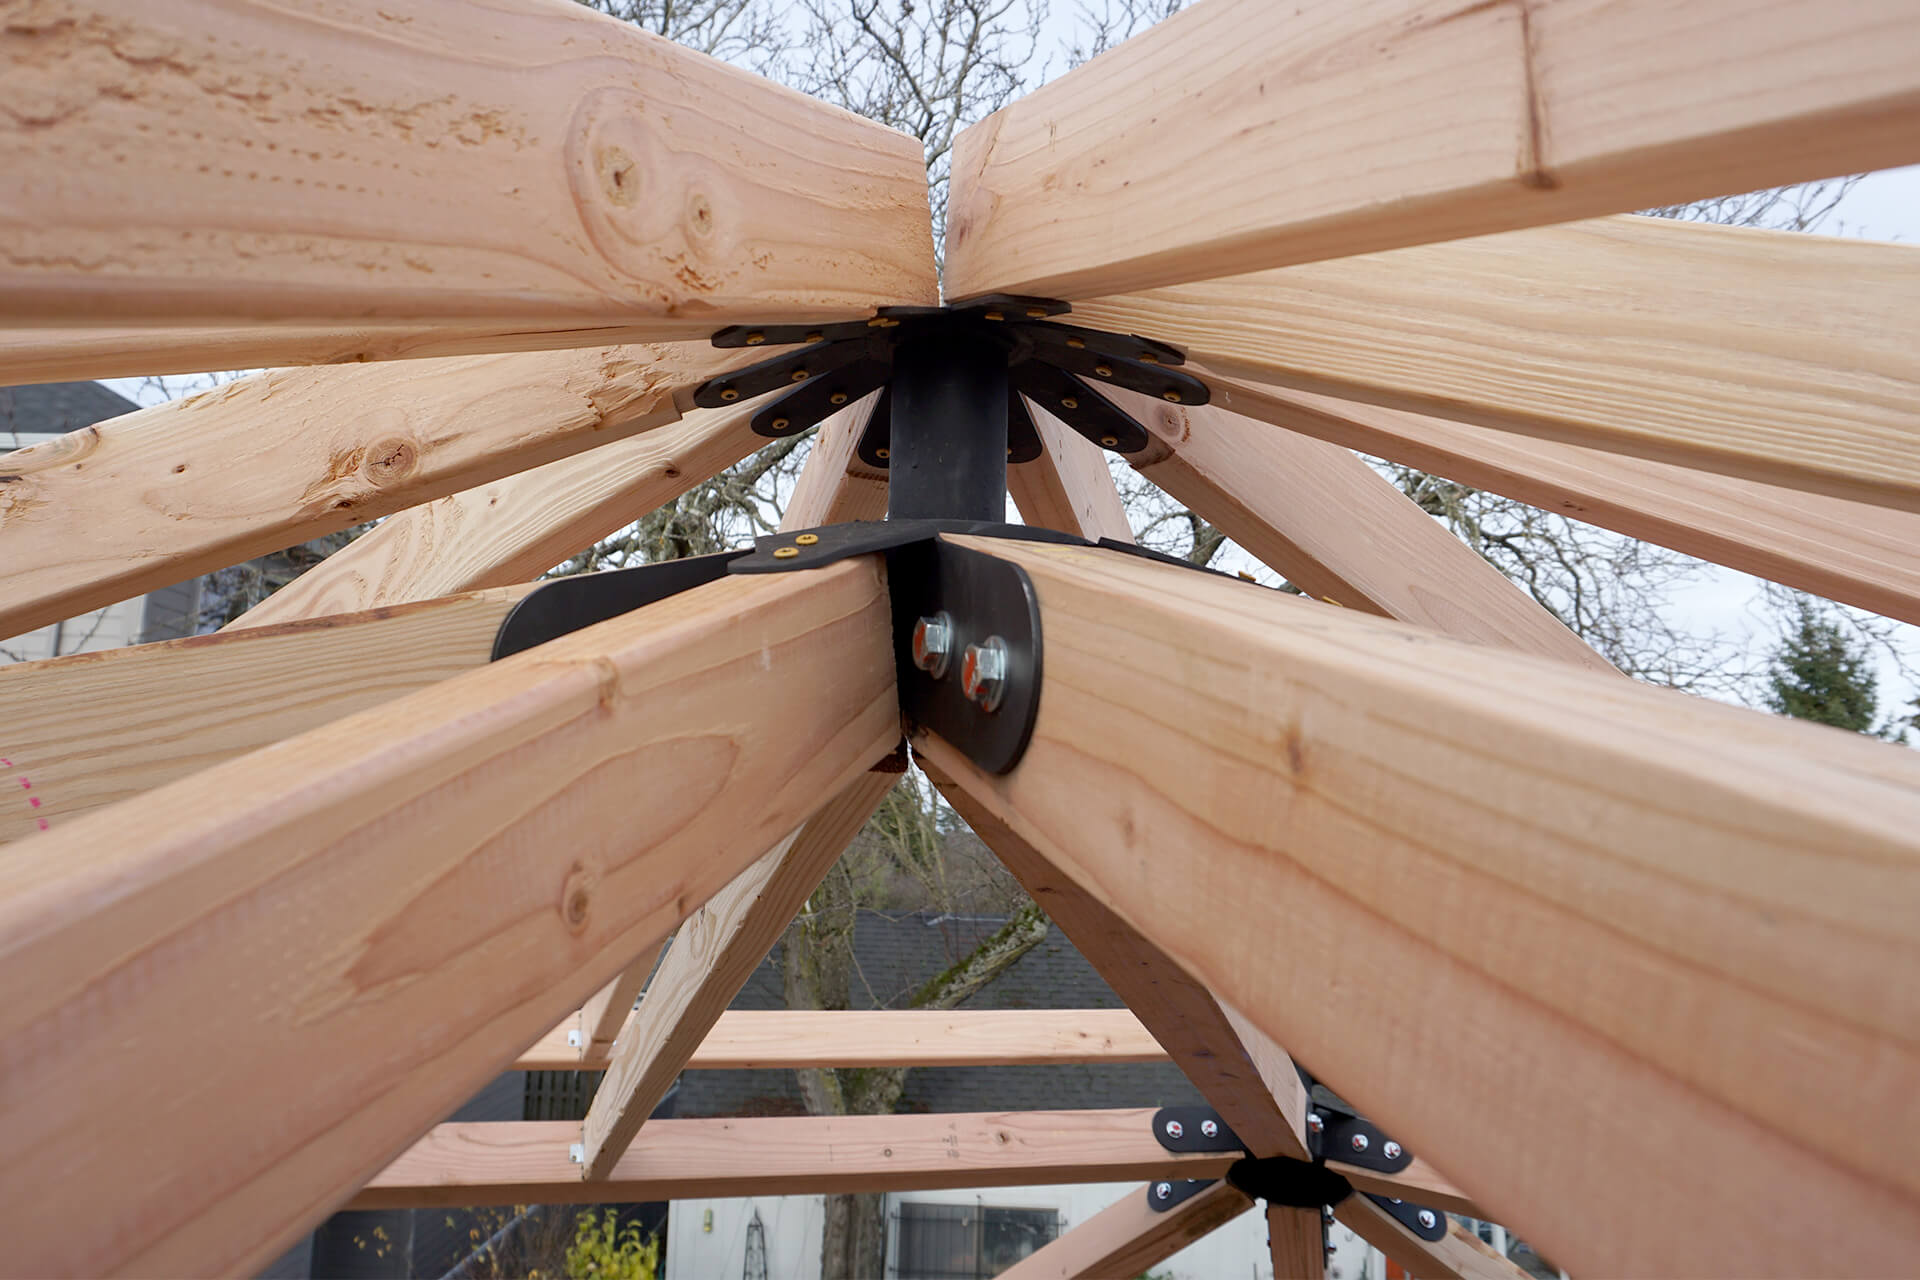
A detail shot showing all of the topmost attachments.
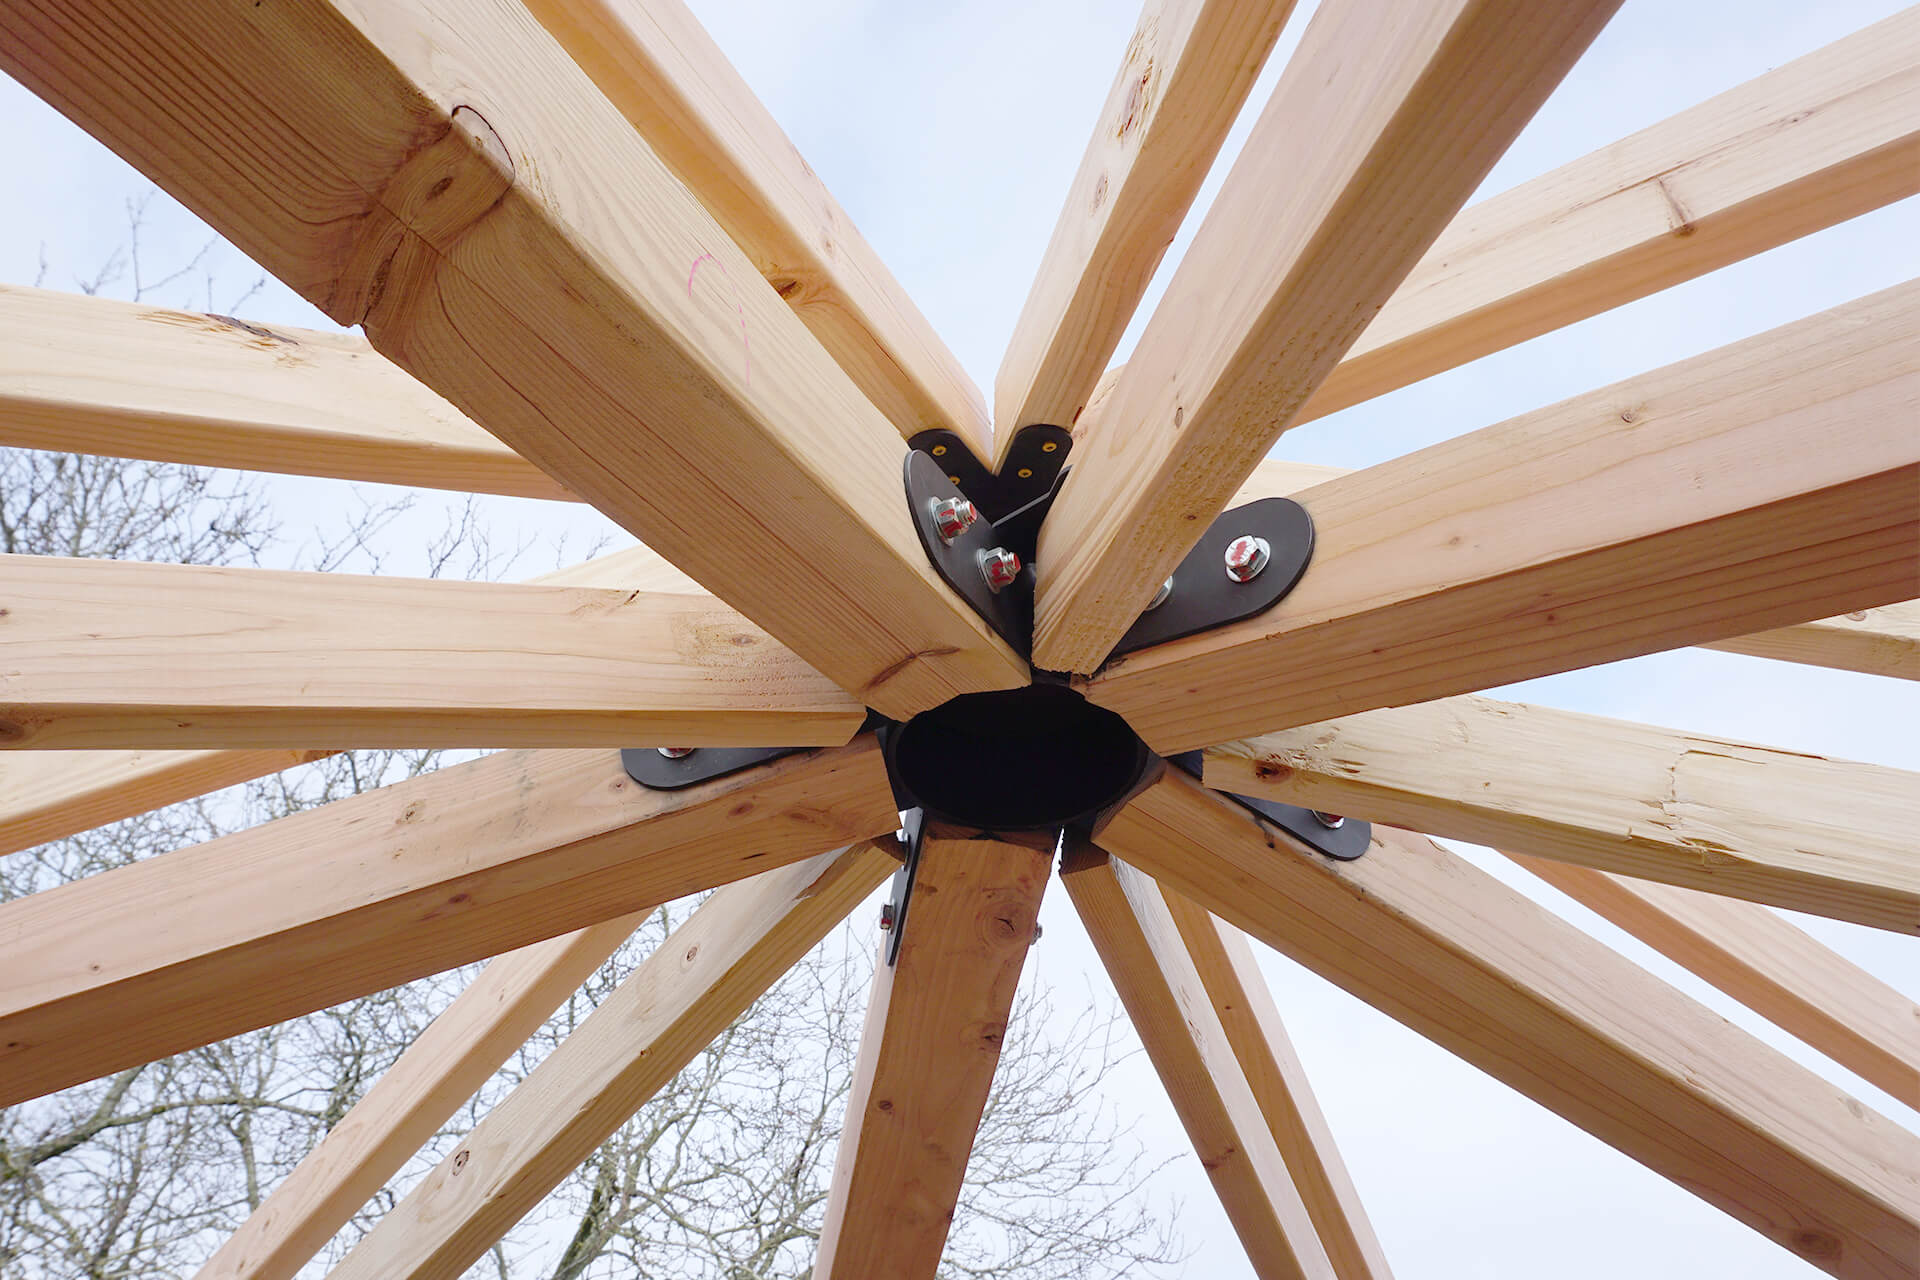
A detail shot from below, showing all of the topmost attachments.
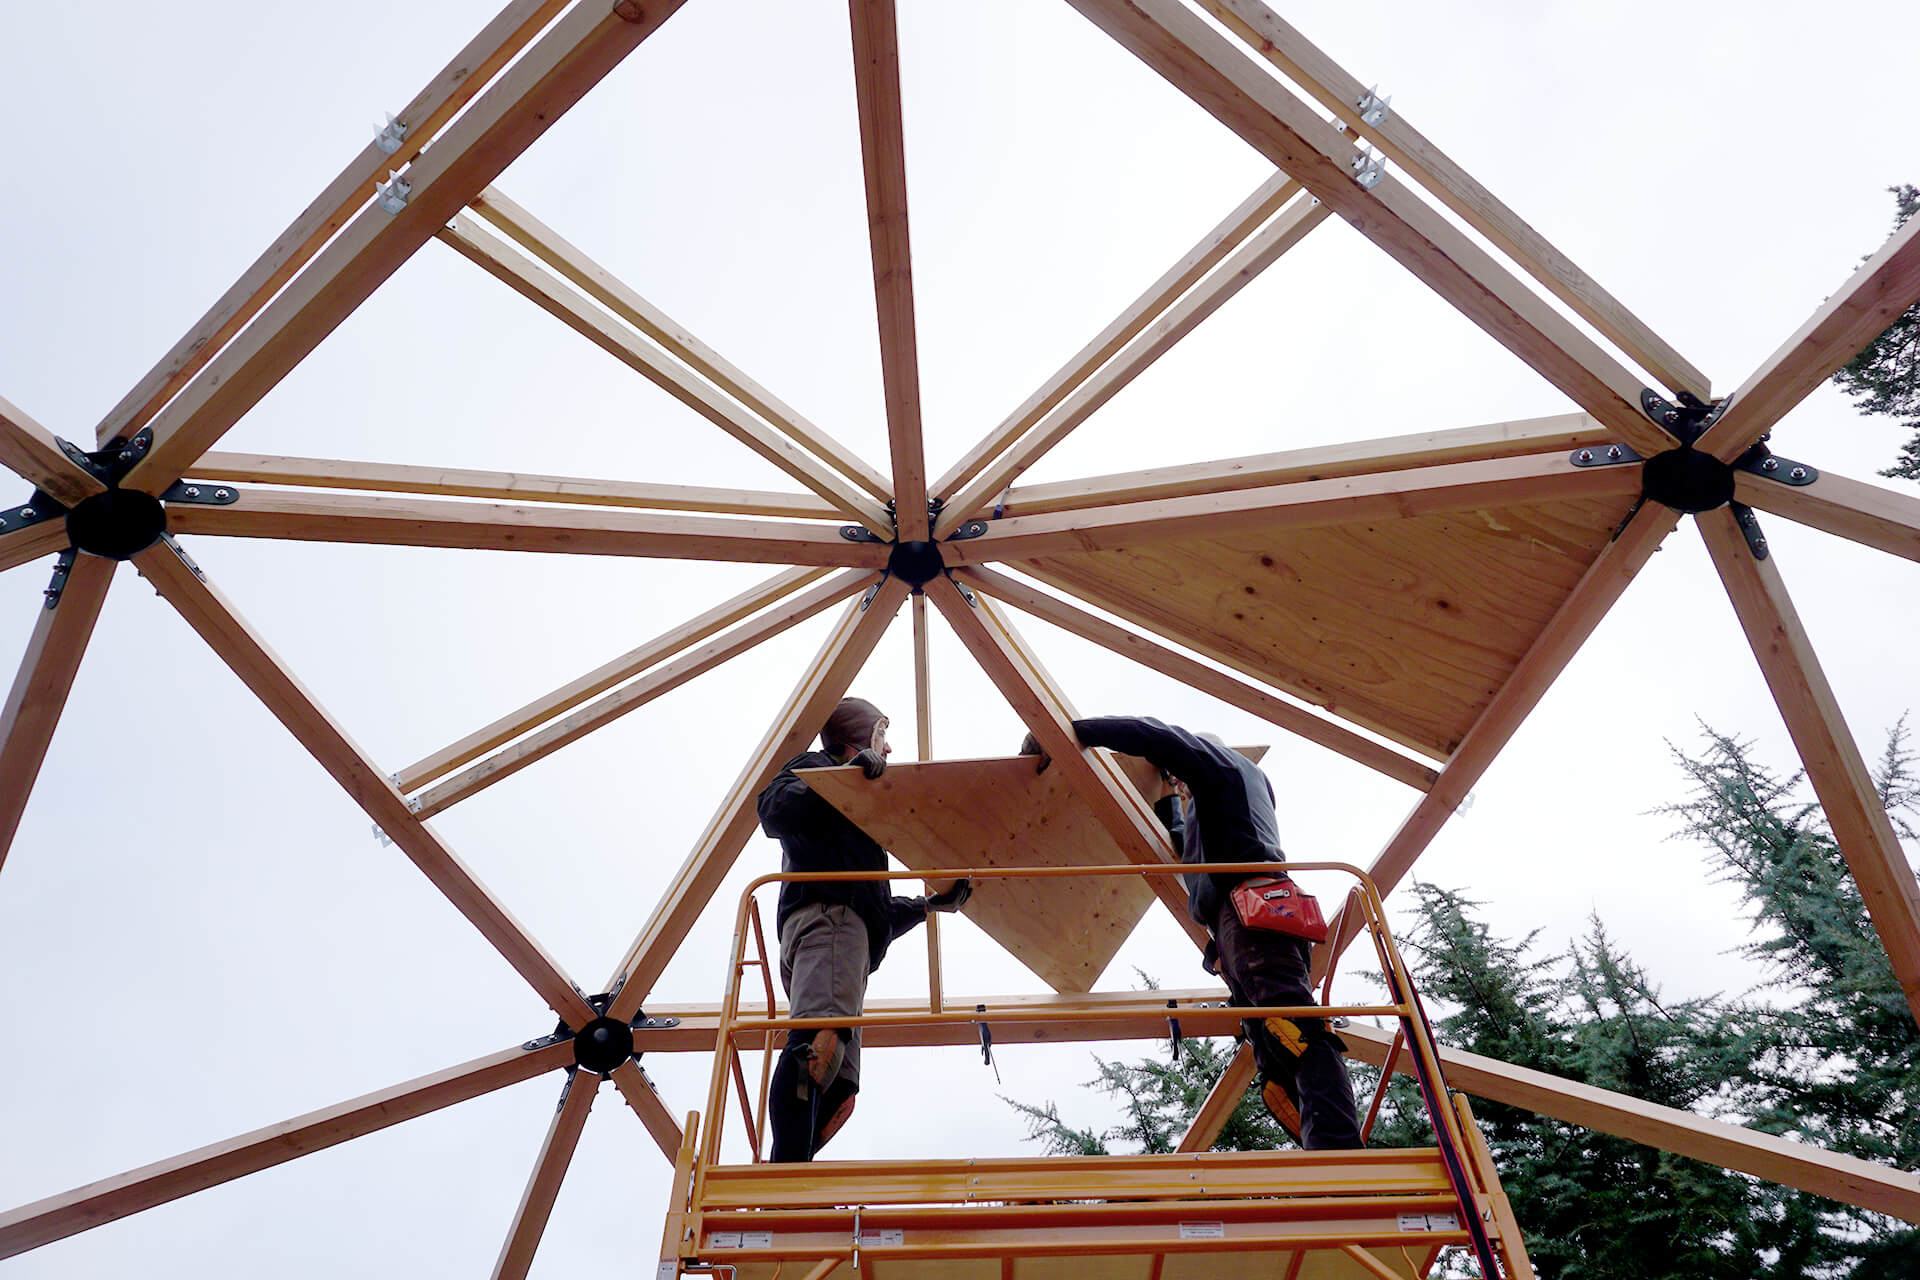
Attach the topmost Panels with the better side facing up. Pre-drill and screw according to the plans. If aligned properly, the edges will be perfectly centered on the Rafters.
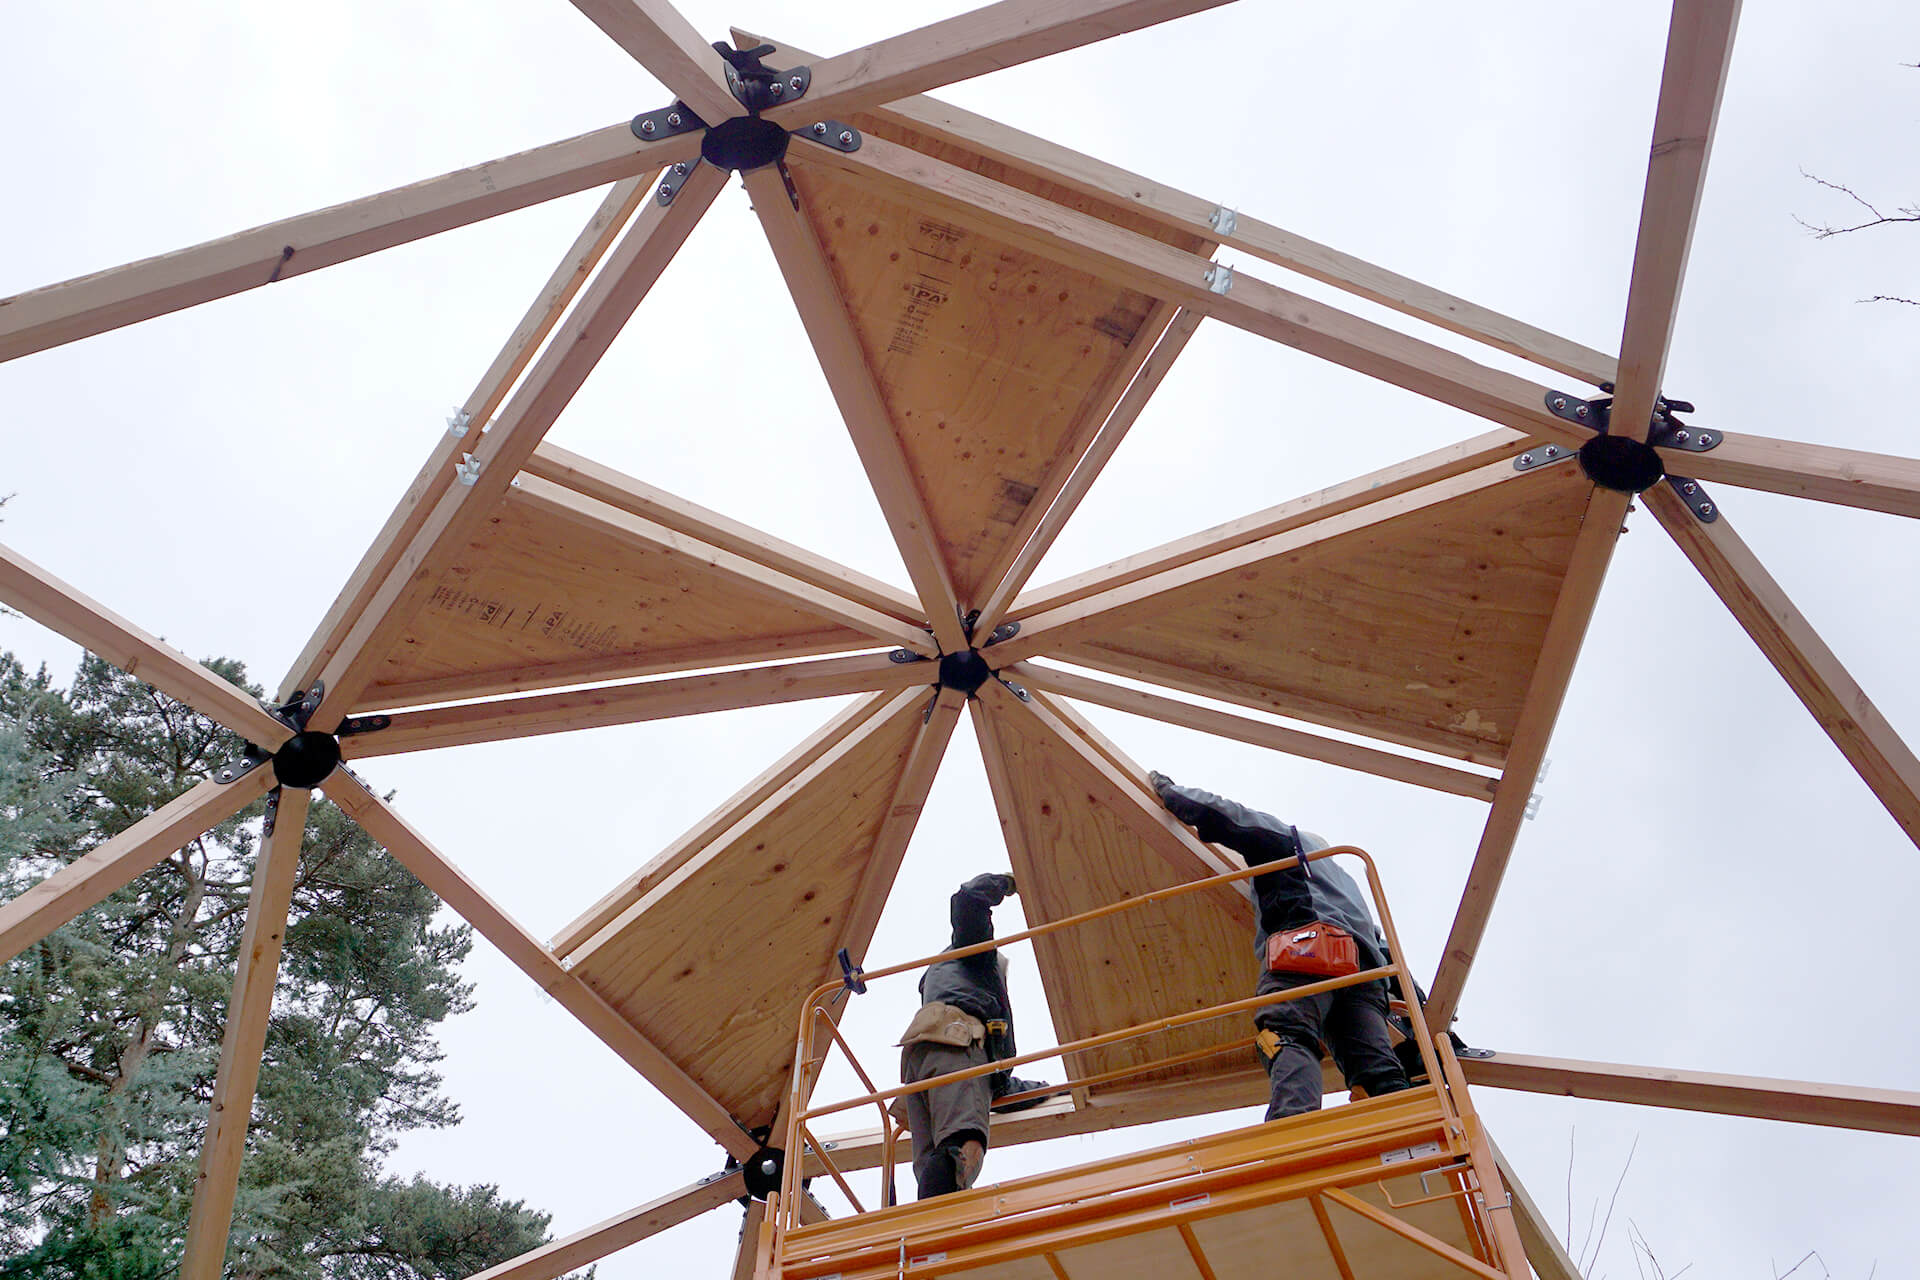
Attach every other panel first, which leaves space on either side to work from the scaffolding.
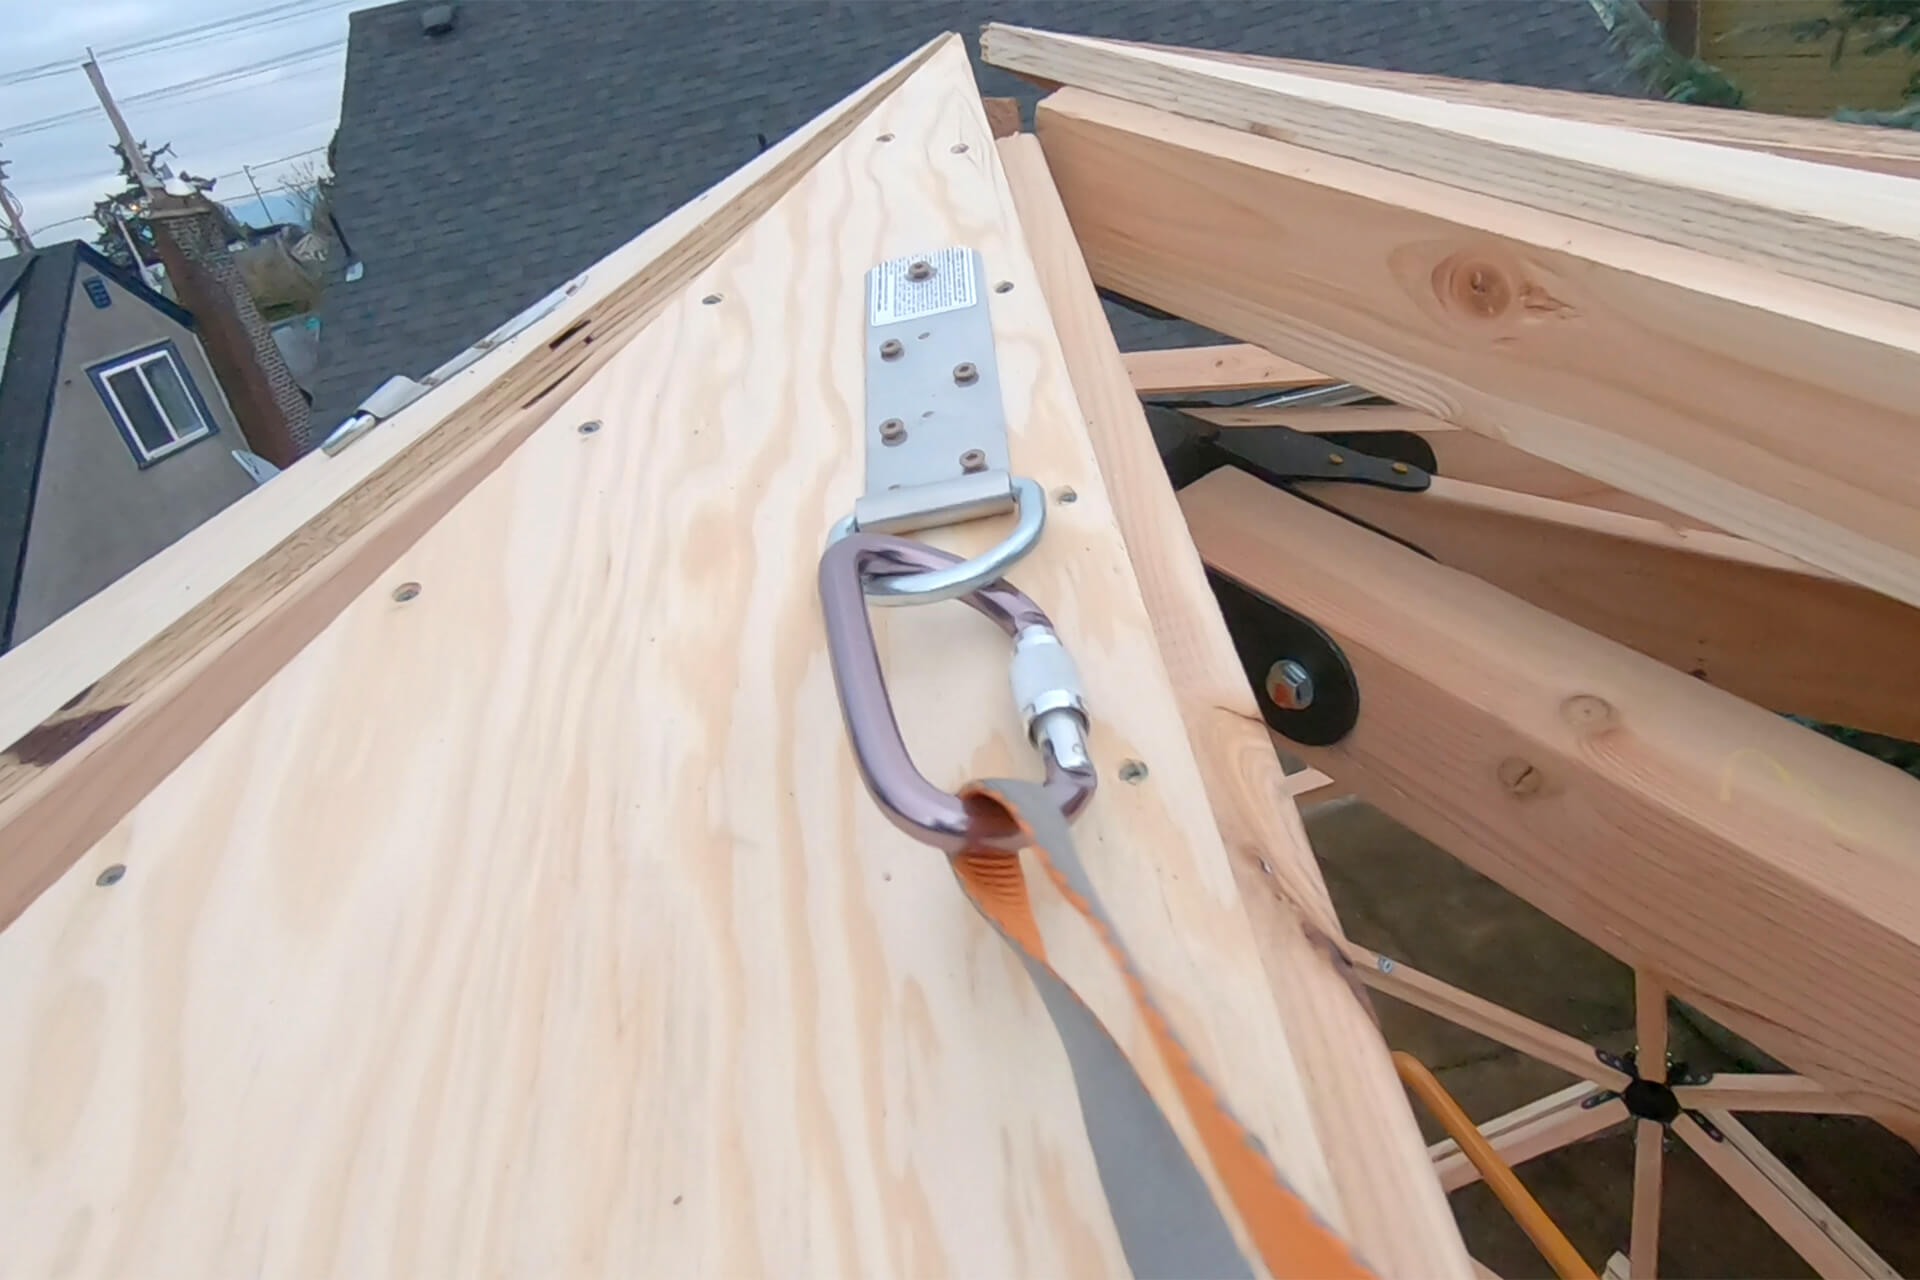
Install roof anchors following the manufacturer’s instructions. Modify at your own risk. The roof anchors shown are screwed into additional blocking behind the plywood.
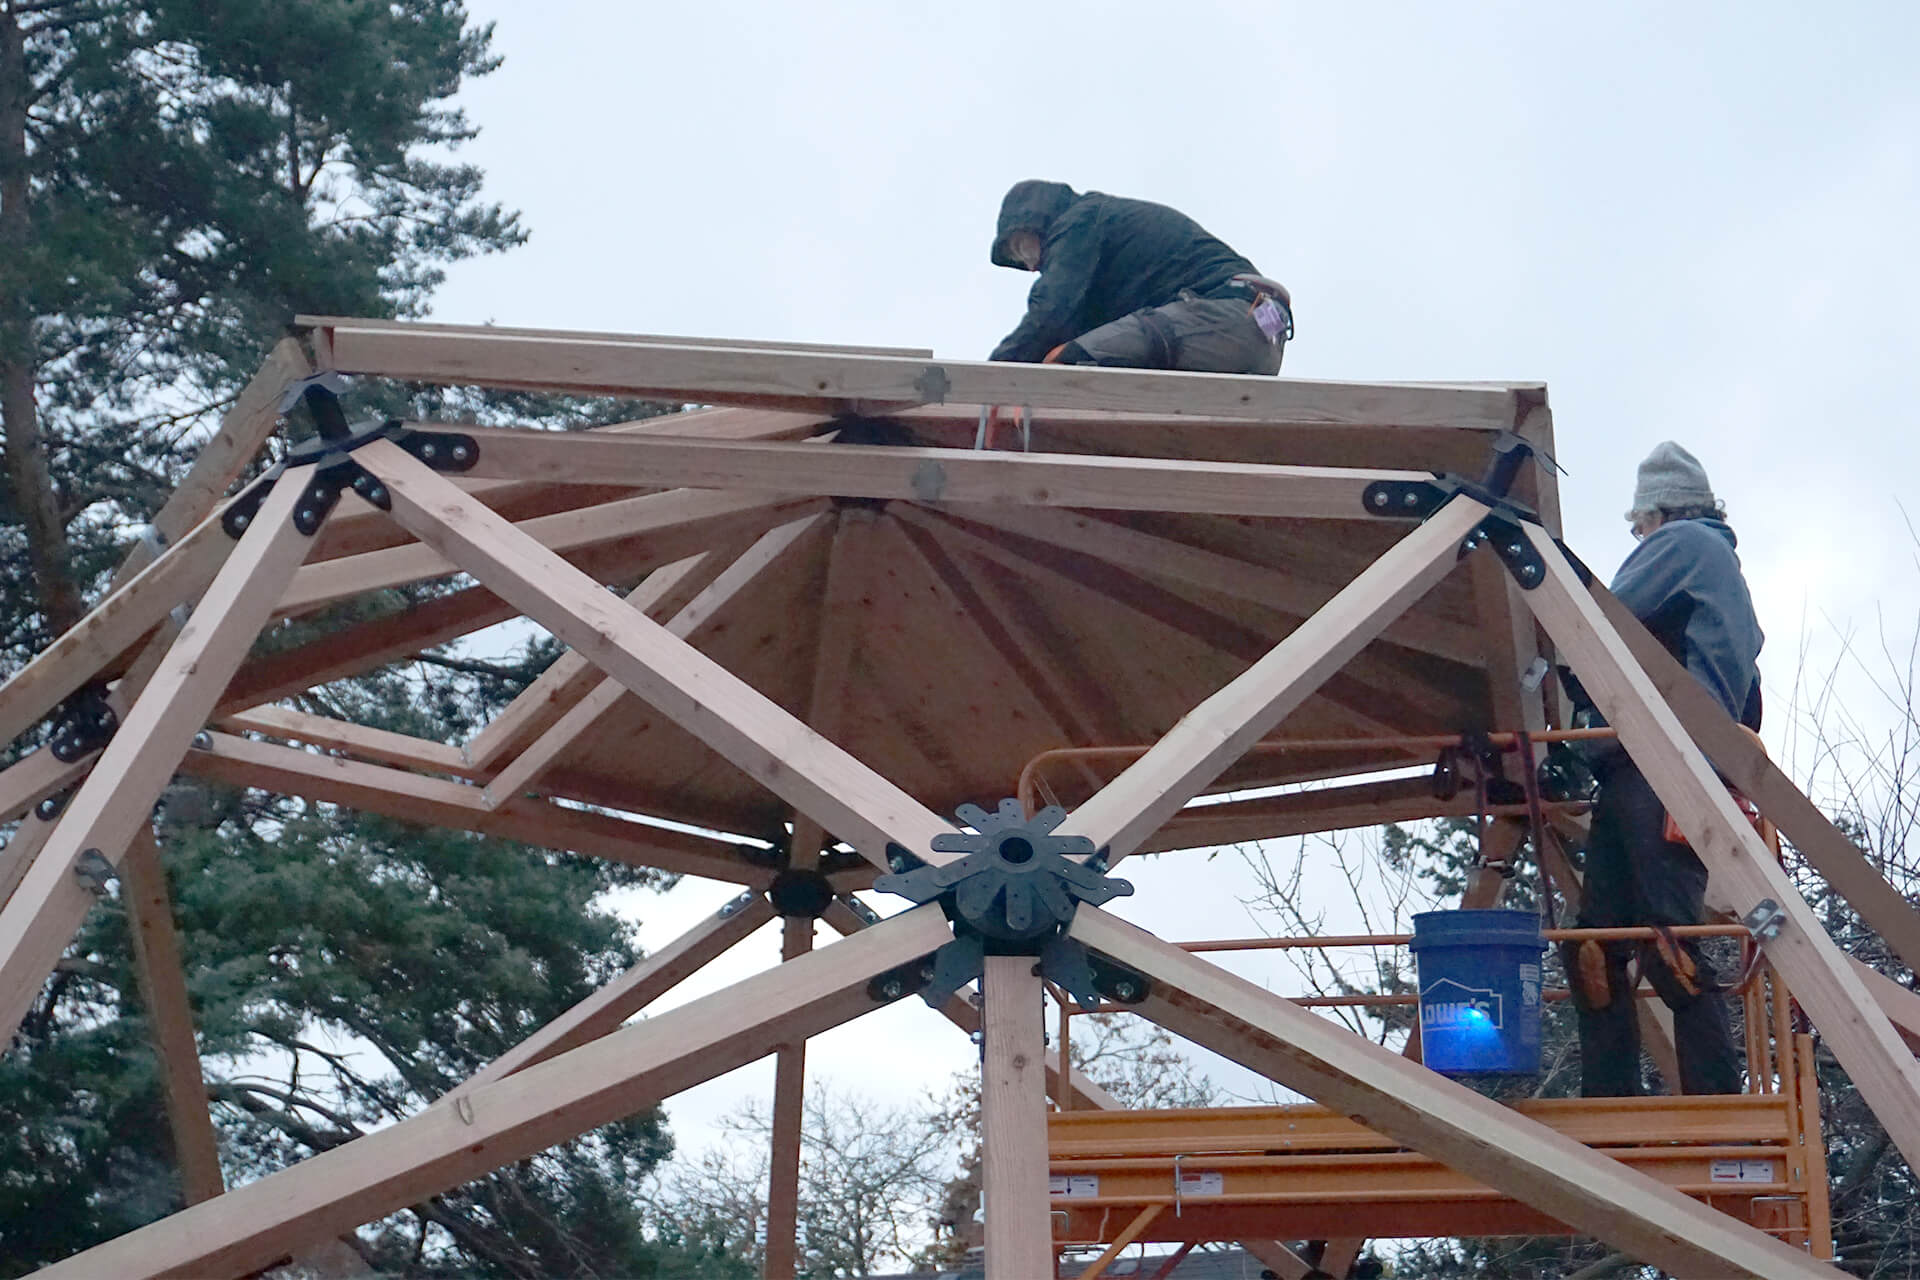
Attach the remaining Panels, which will require a harness and climbing onto the roof. Secure the harness to the newly installed roof anchors.
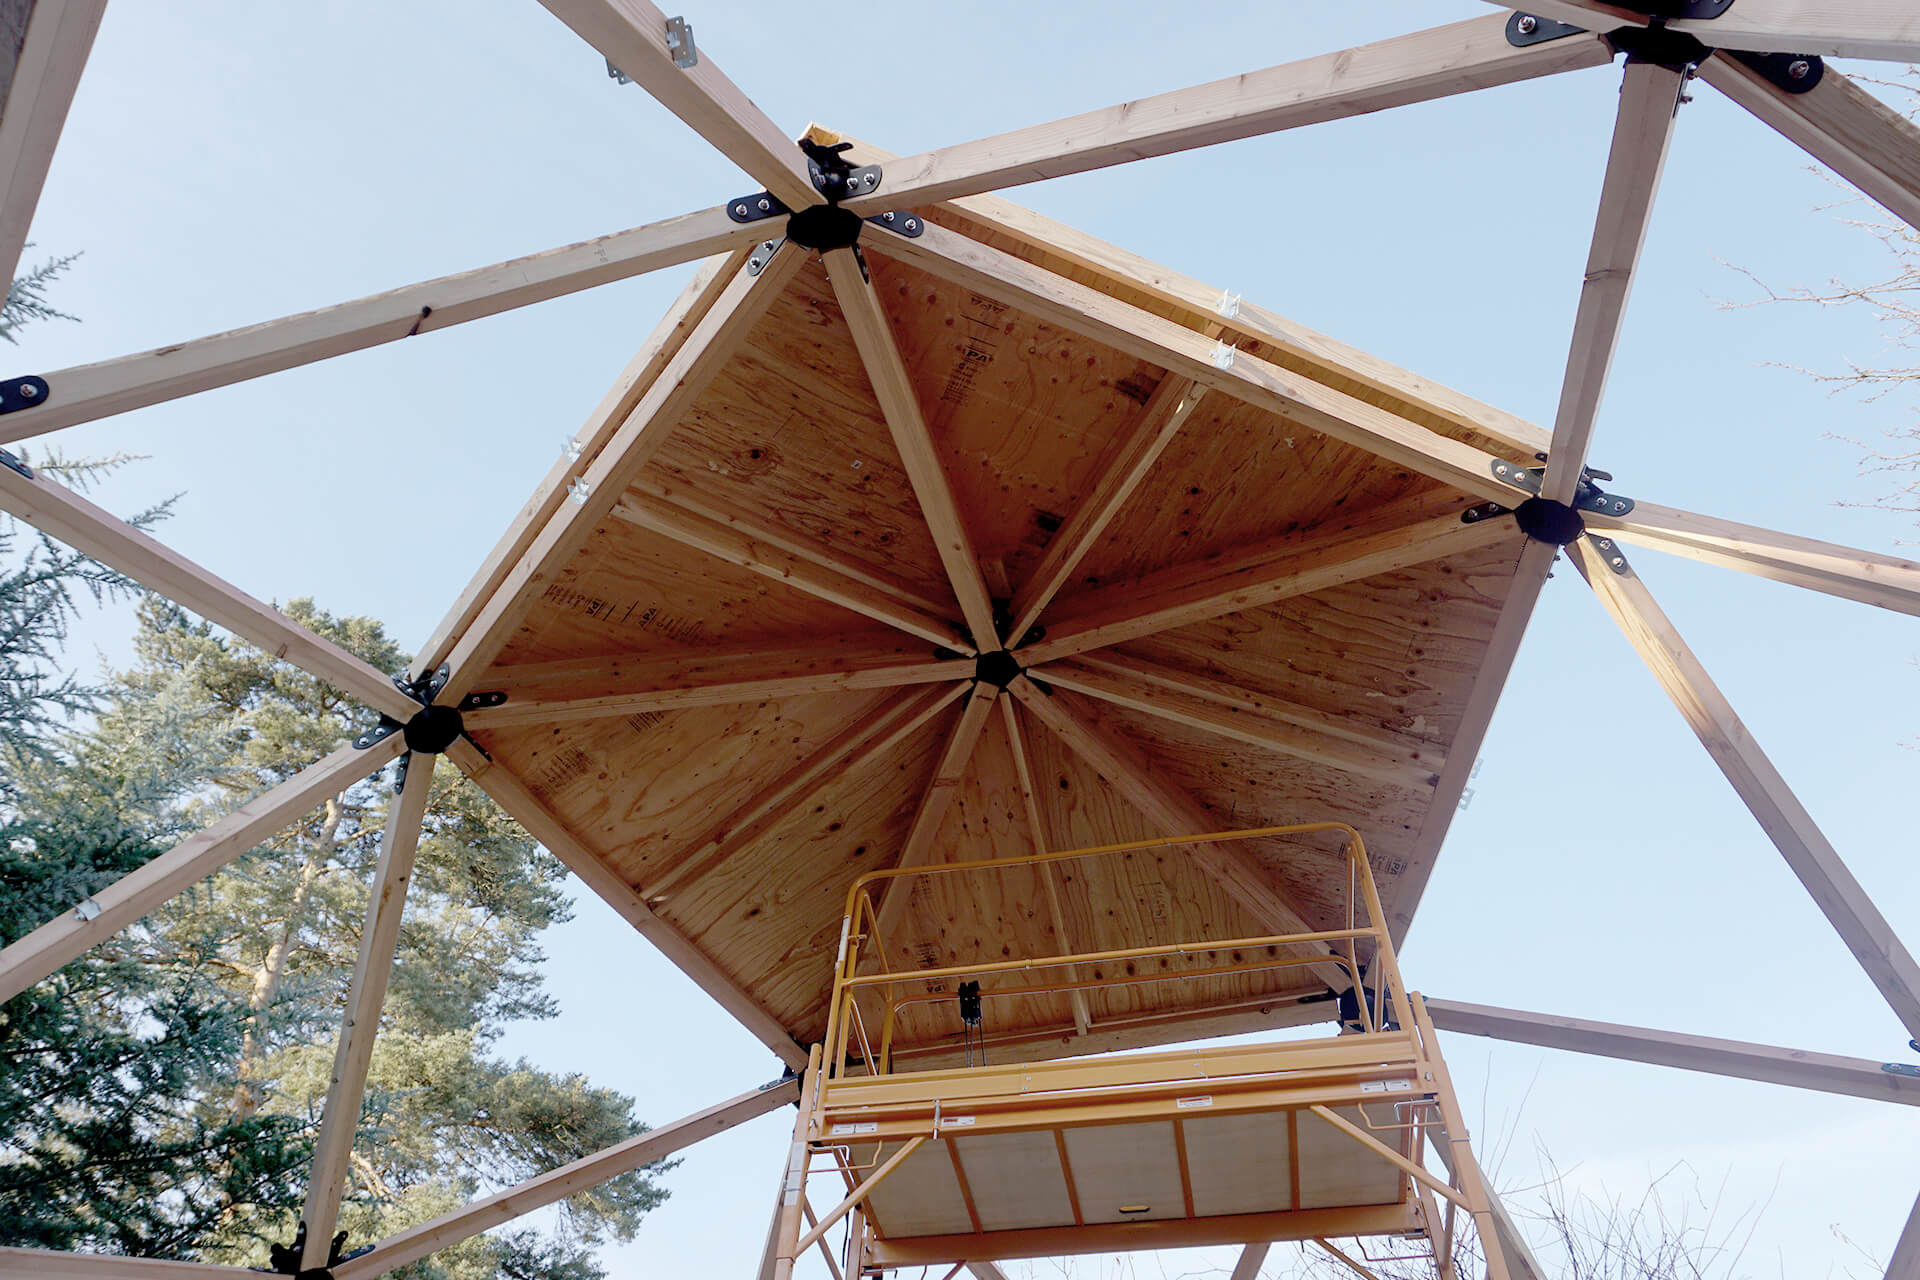
The completed sheathing of the topmost pentagon. If trimming of the Panels is required, the track saw is the best tool. Now it’s time to get back to the outer wall and studs.
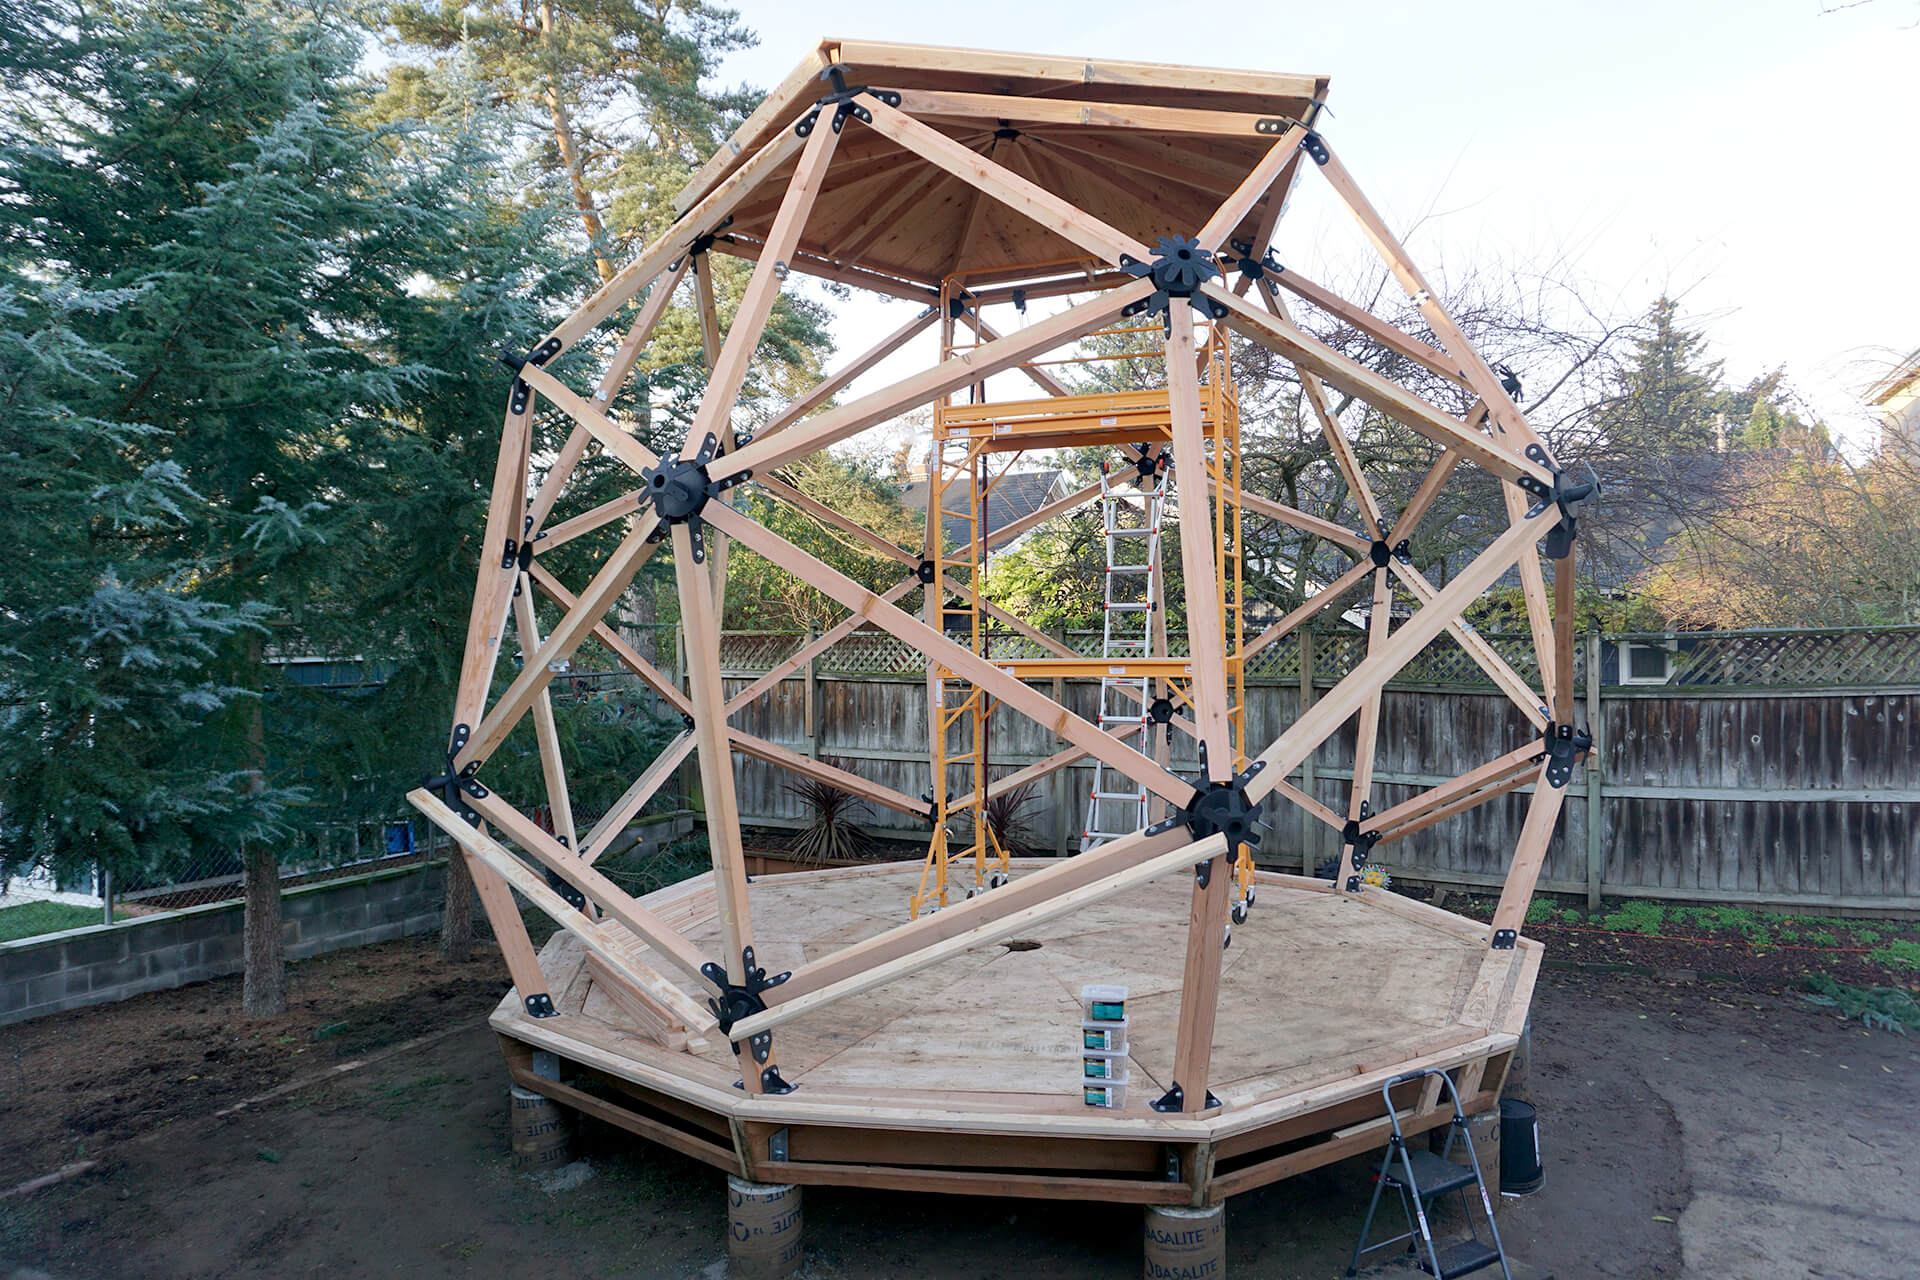
Attach the Rafter-Bases.
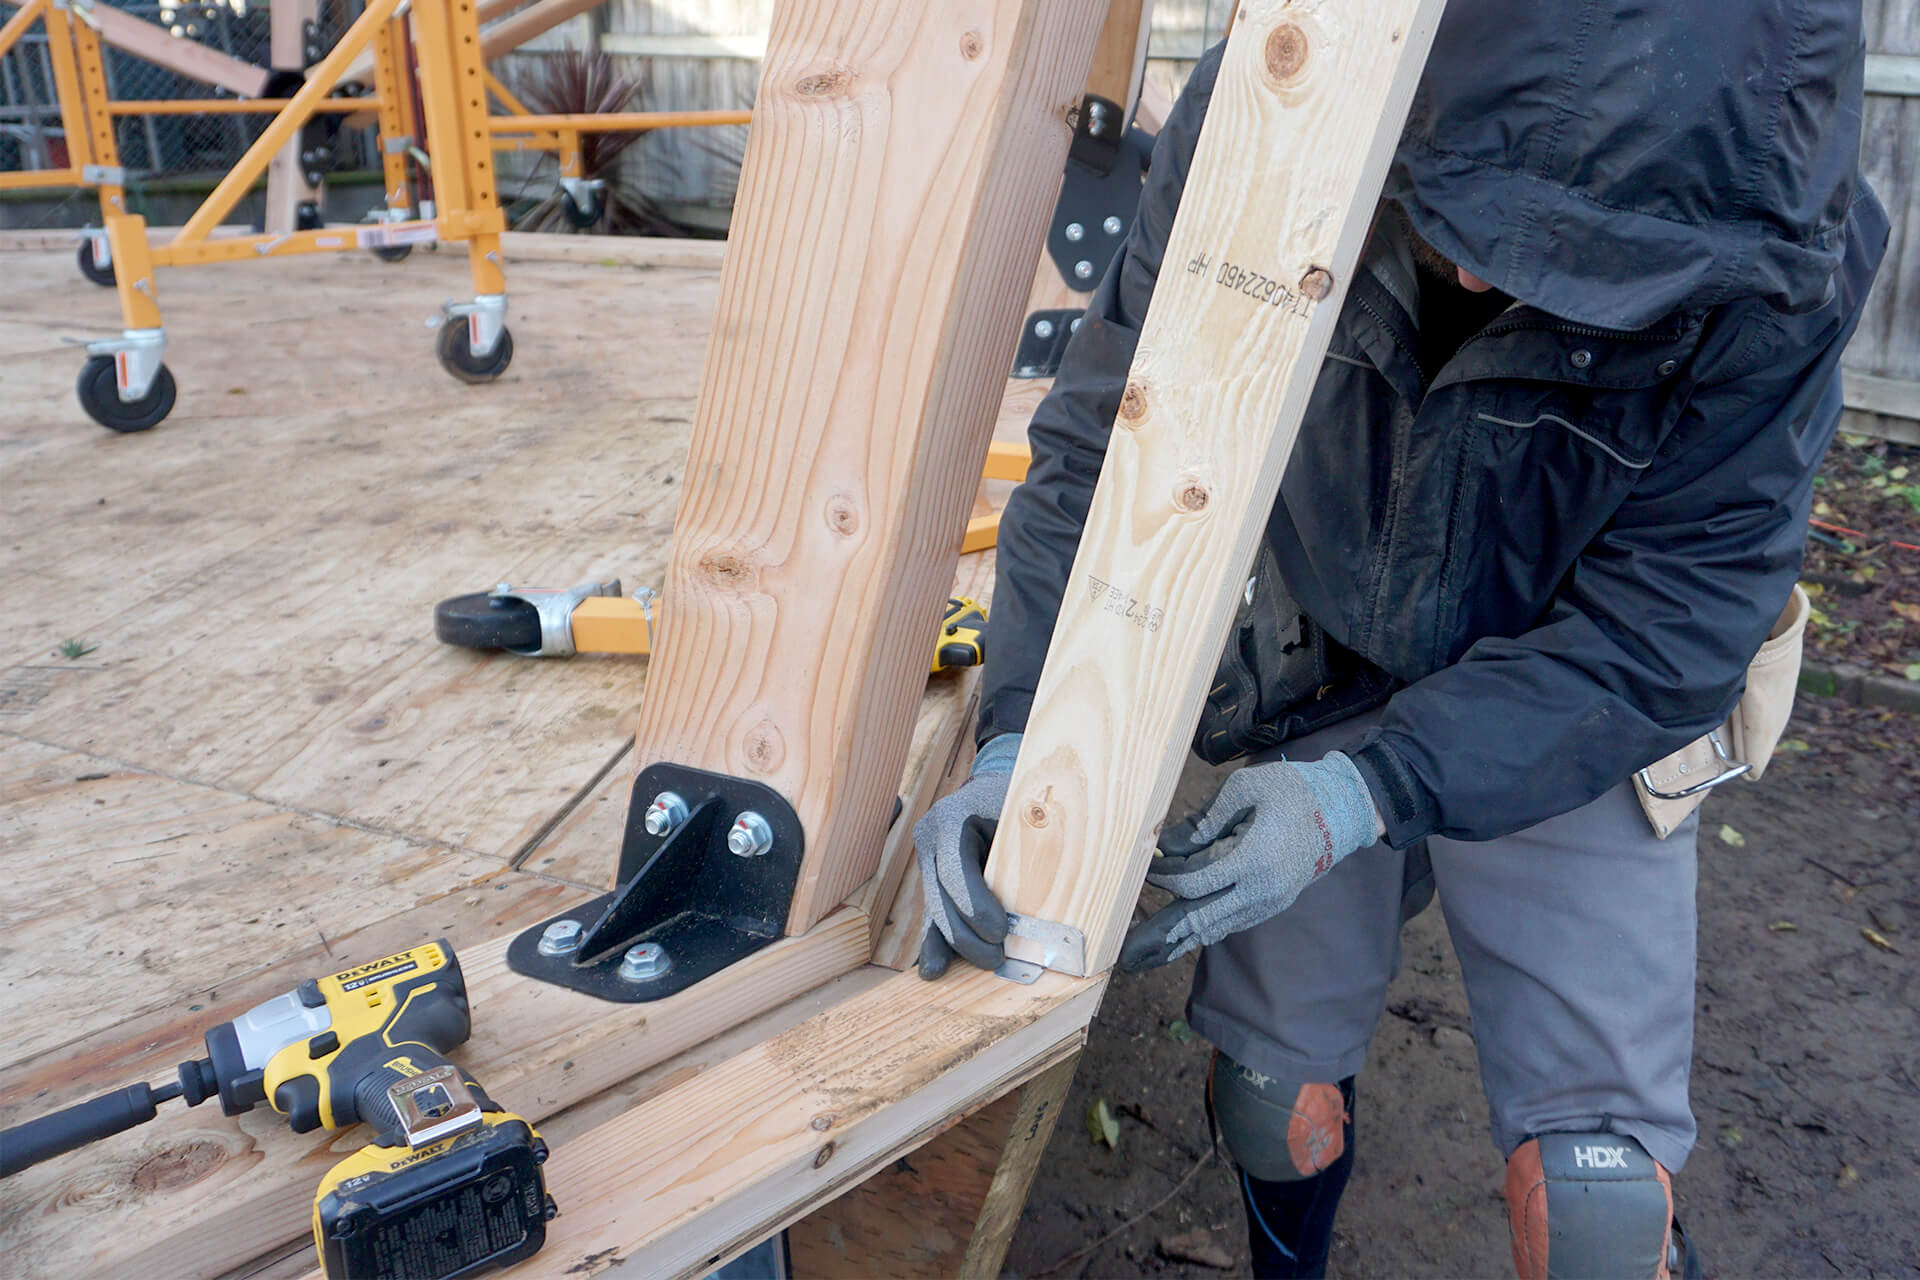
Attach the Rafter-Base-Talls and the Rafter-Base-Shorts. Use stud holder brackets to attach them to the Sill-Plate-Outs.
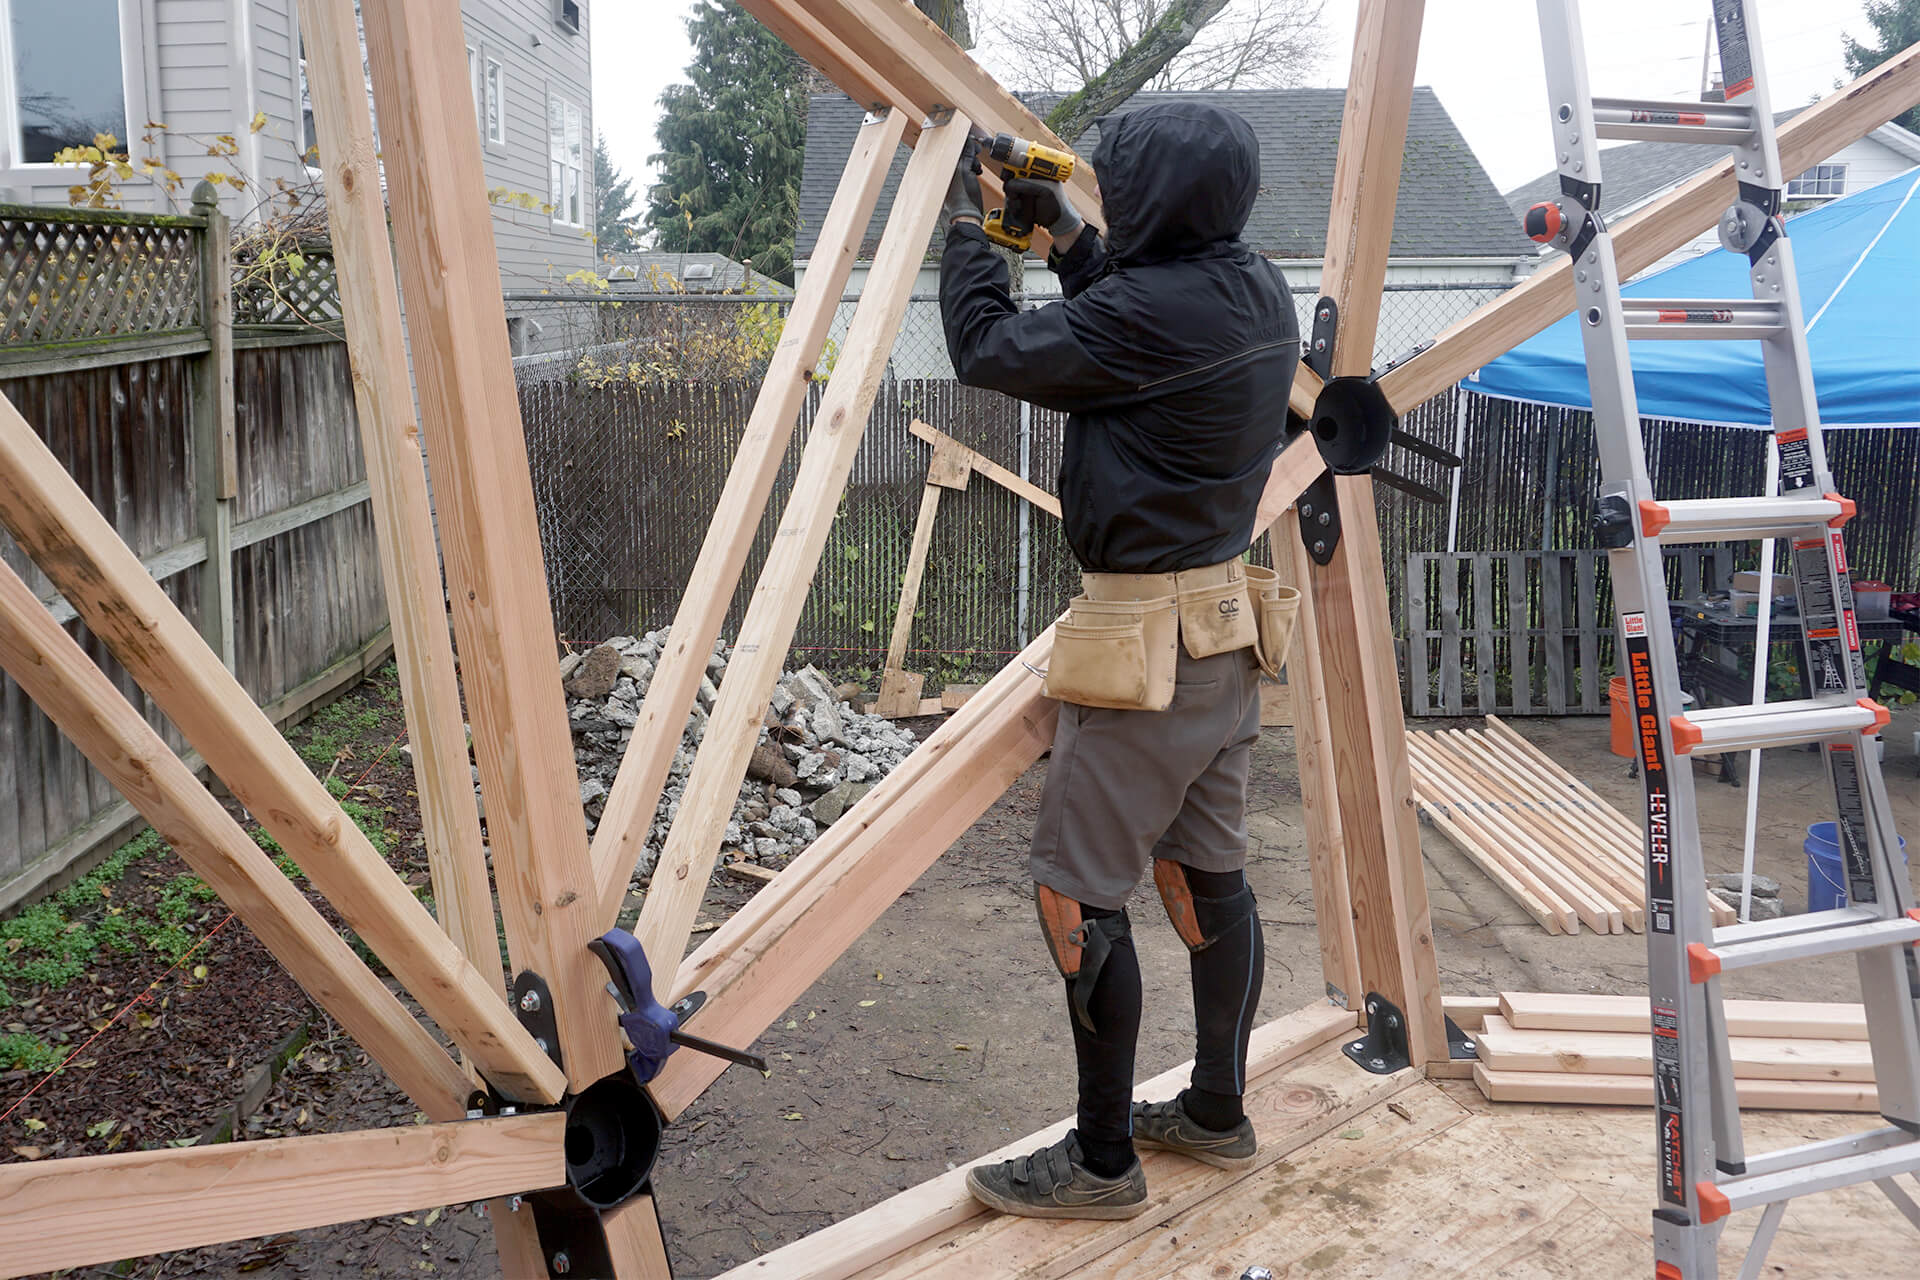
Attach the Stud-Outs, Stud-Ins, Rafter-Longs, and Rafter-Shorts. The lower level can be done standing on the floor.
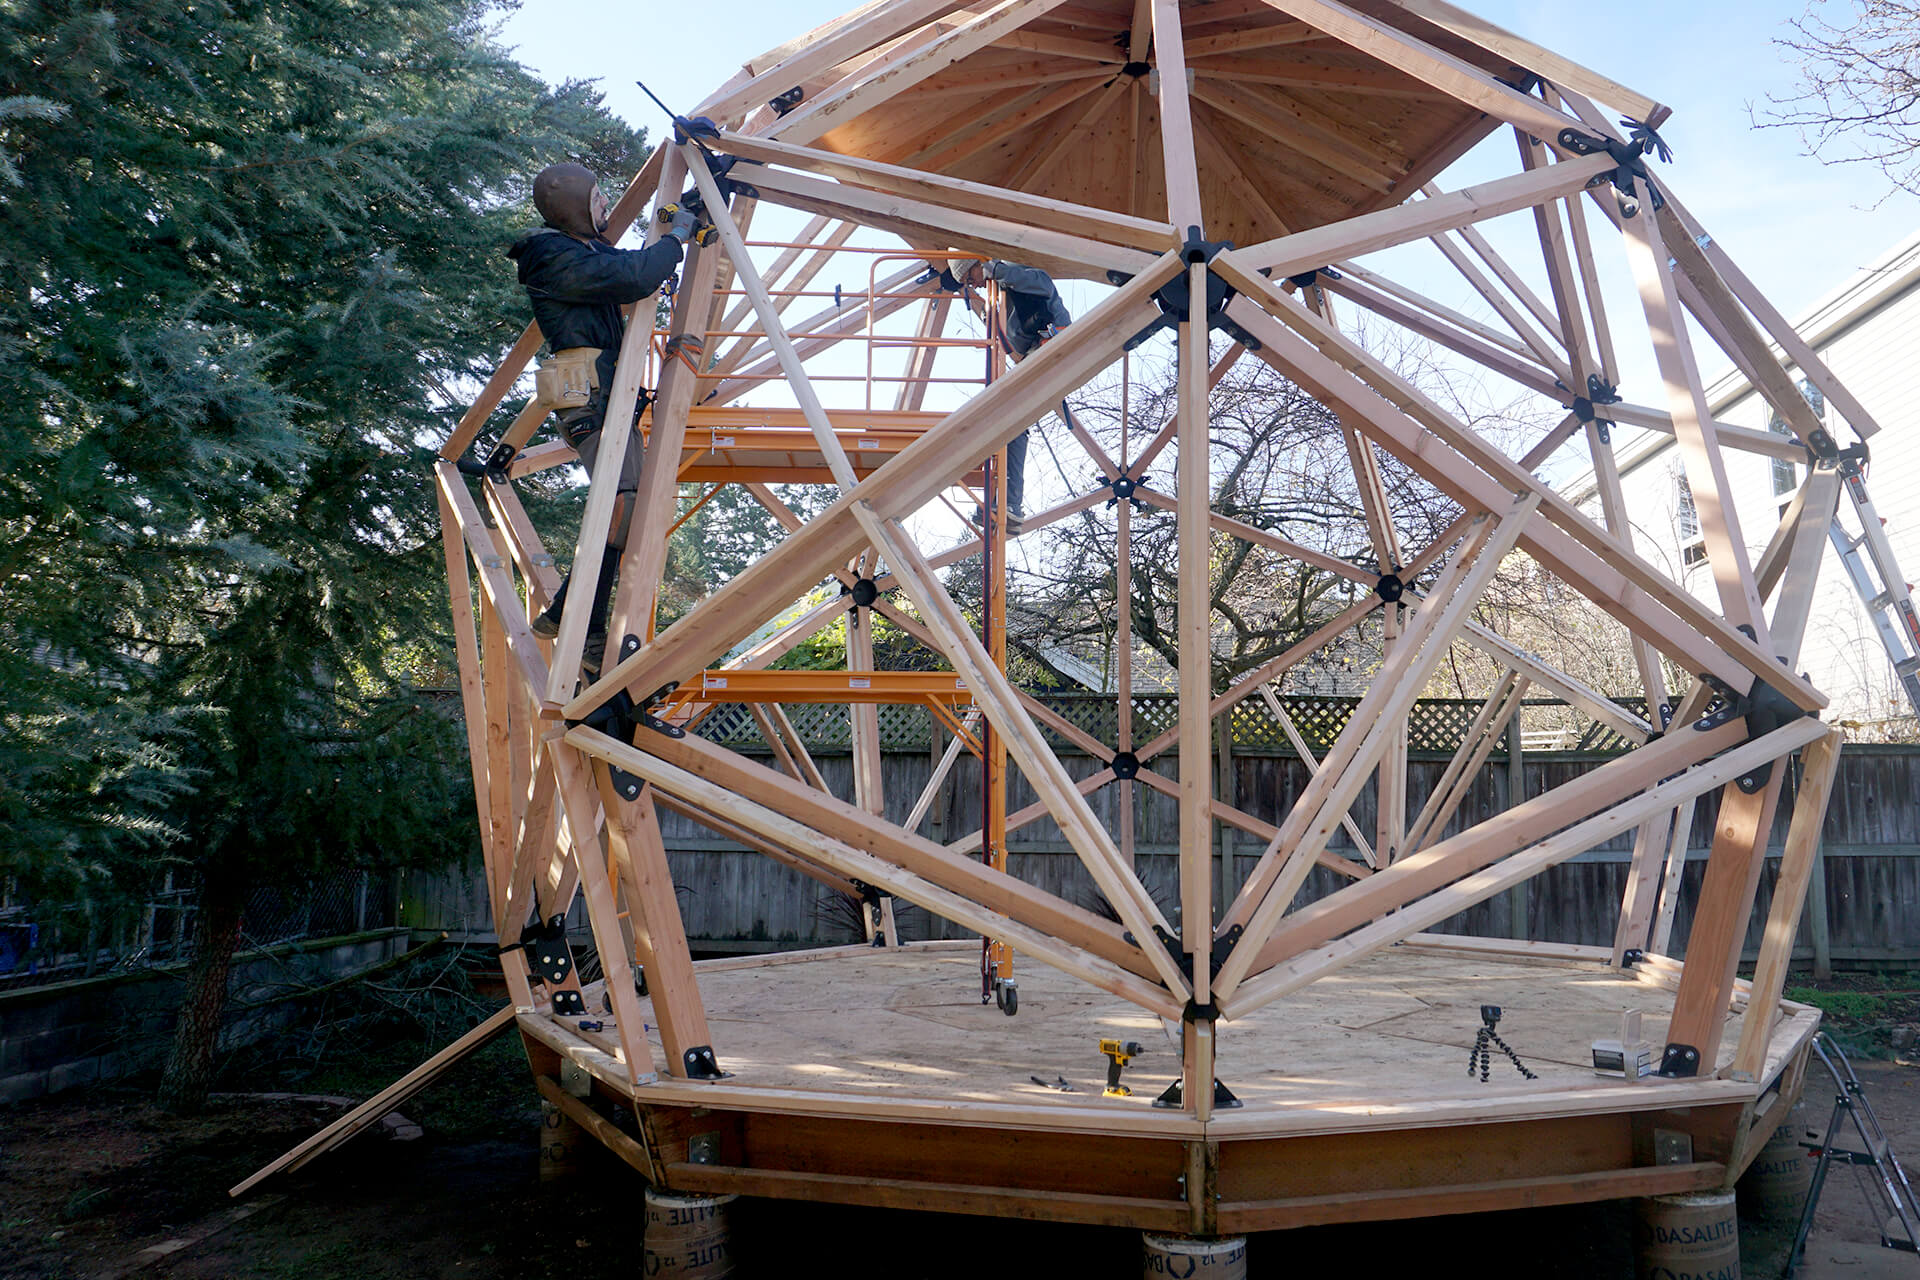
Continue attaching the Stud-Outs, Stud-Ins, Rafter-Longs, and Rafter-Shorts. Use a harness tied around the 4x4 Struts when working on higher levels. Step only on the 4x4s.
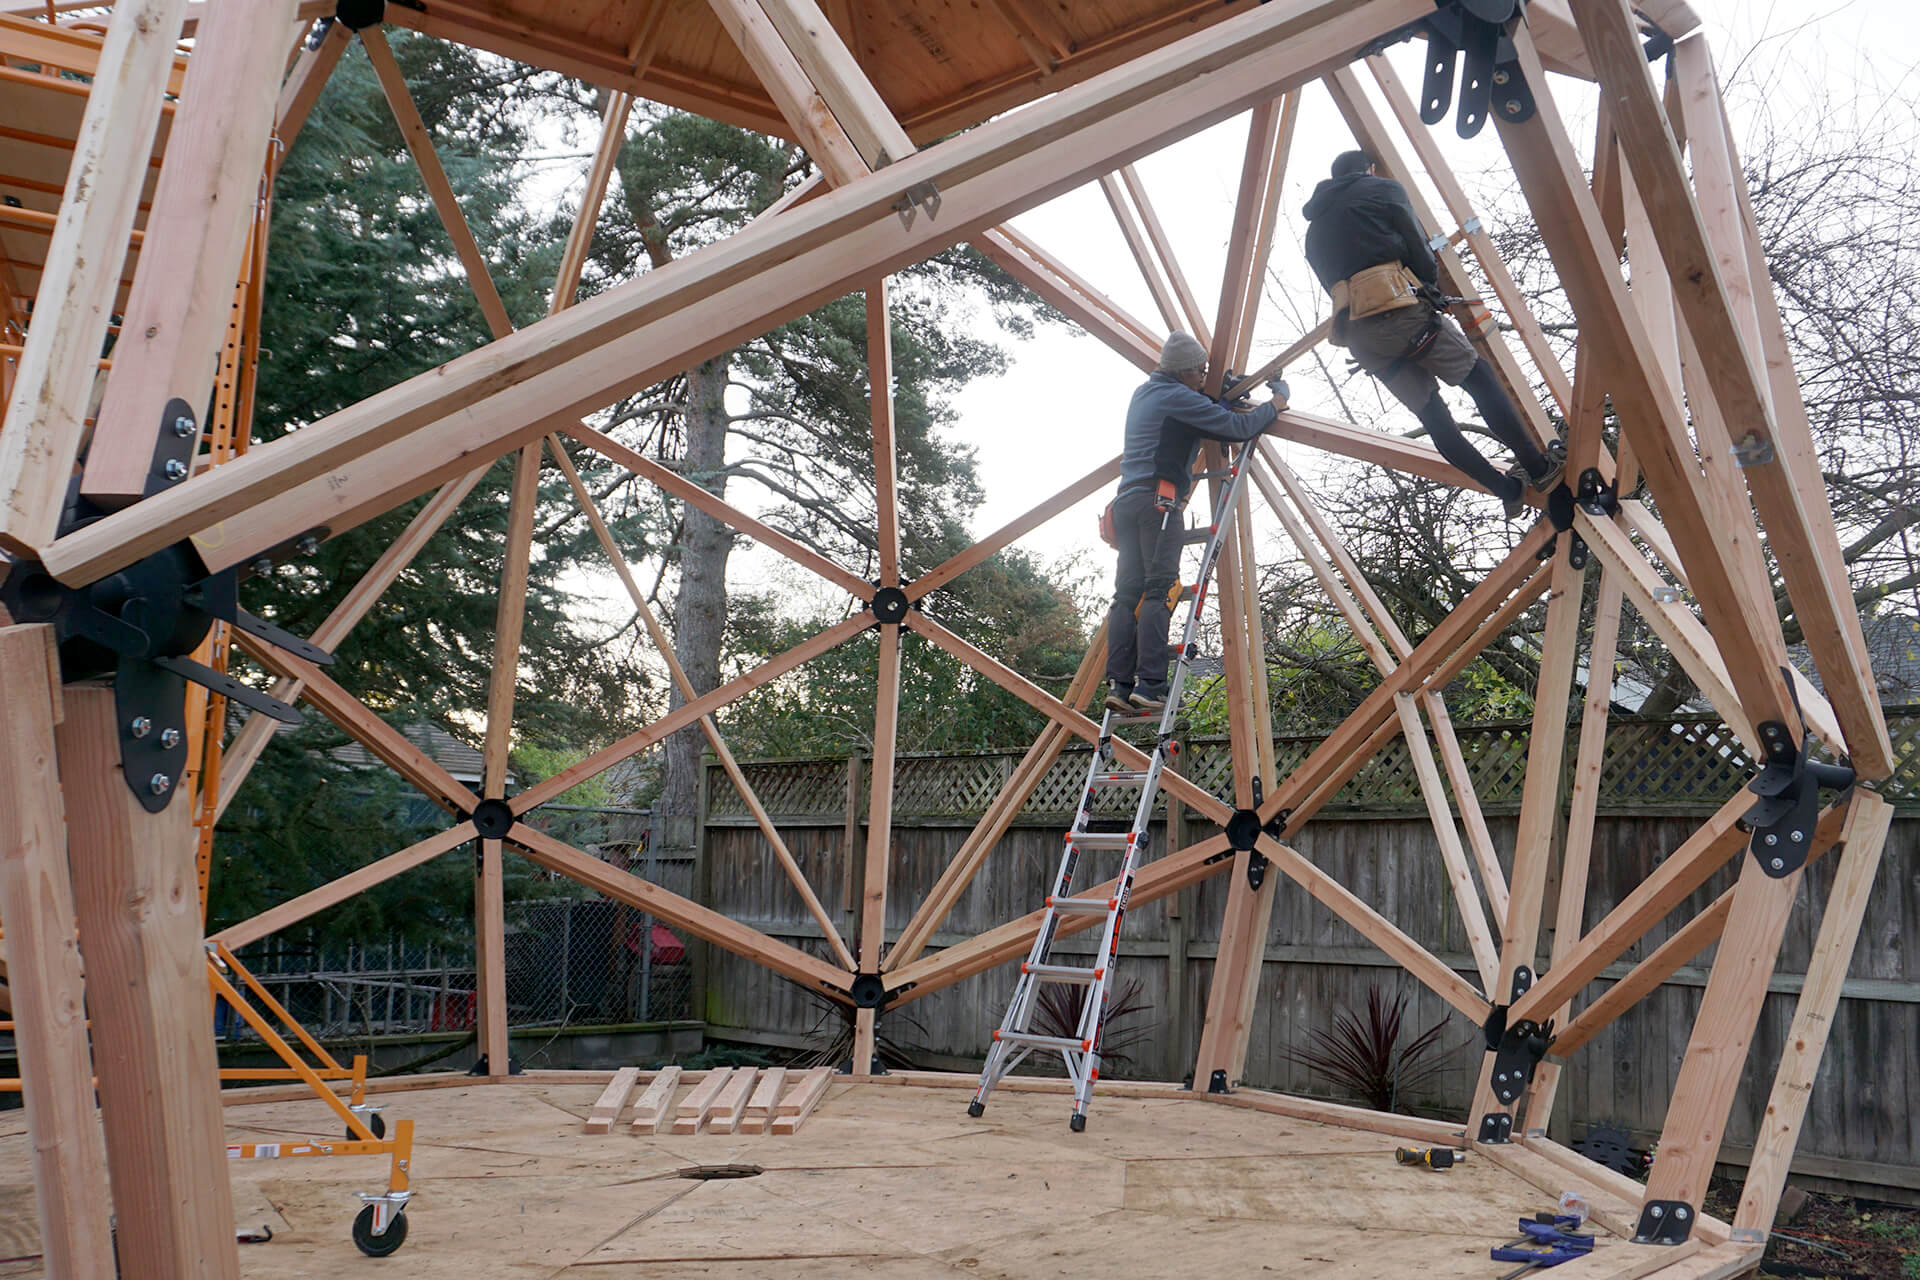
Continue attaching the Stud-Outs, Stud-Ins, Rafter-Longs, and Rafter-Shorts.
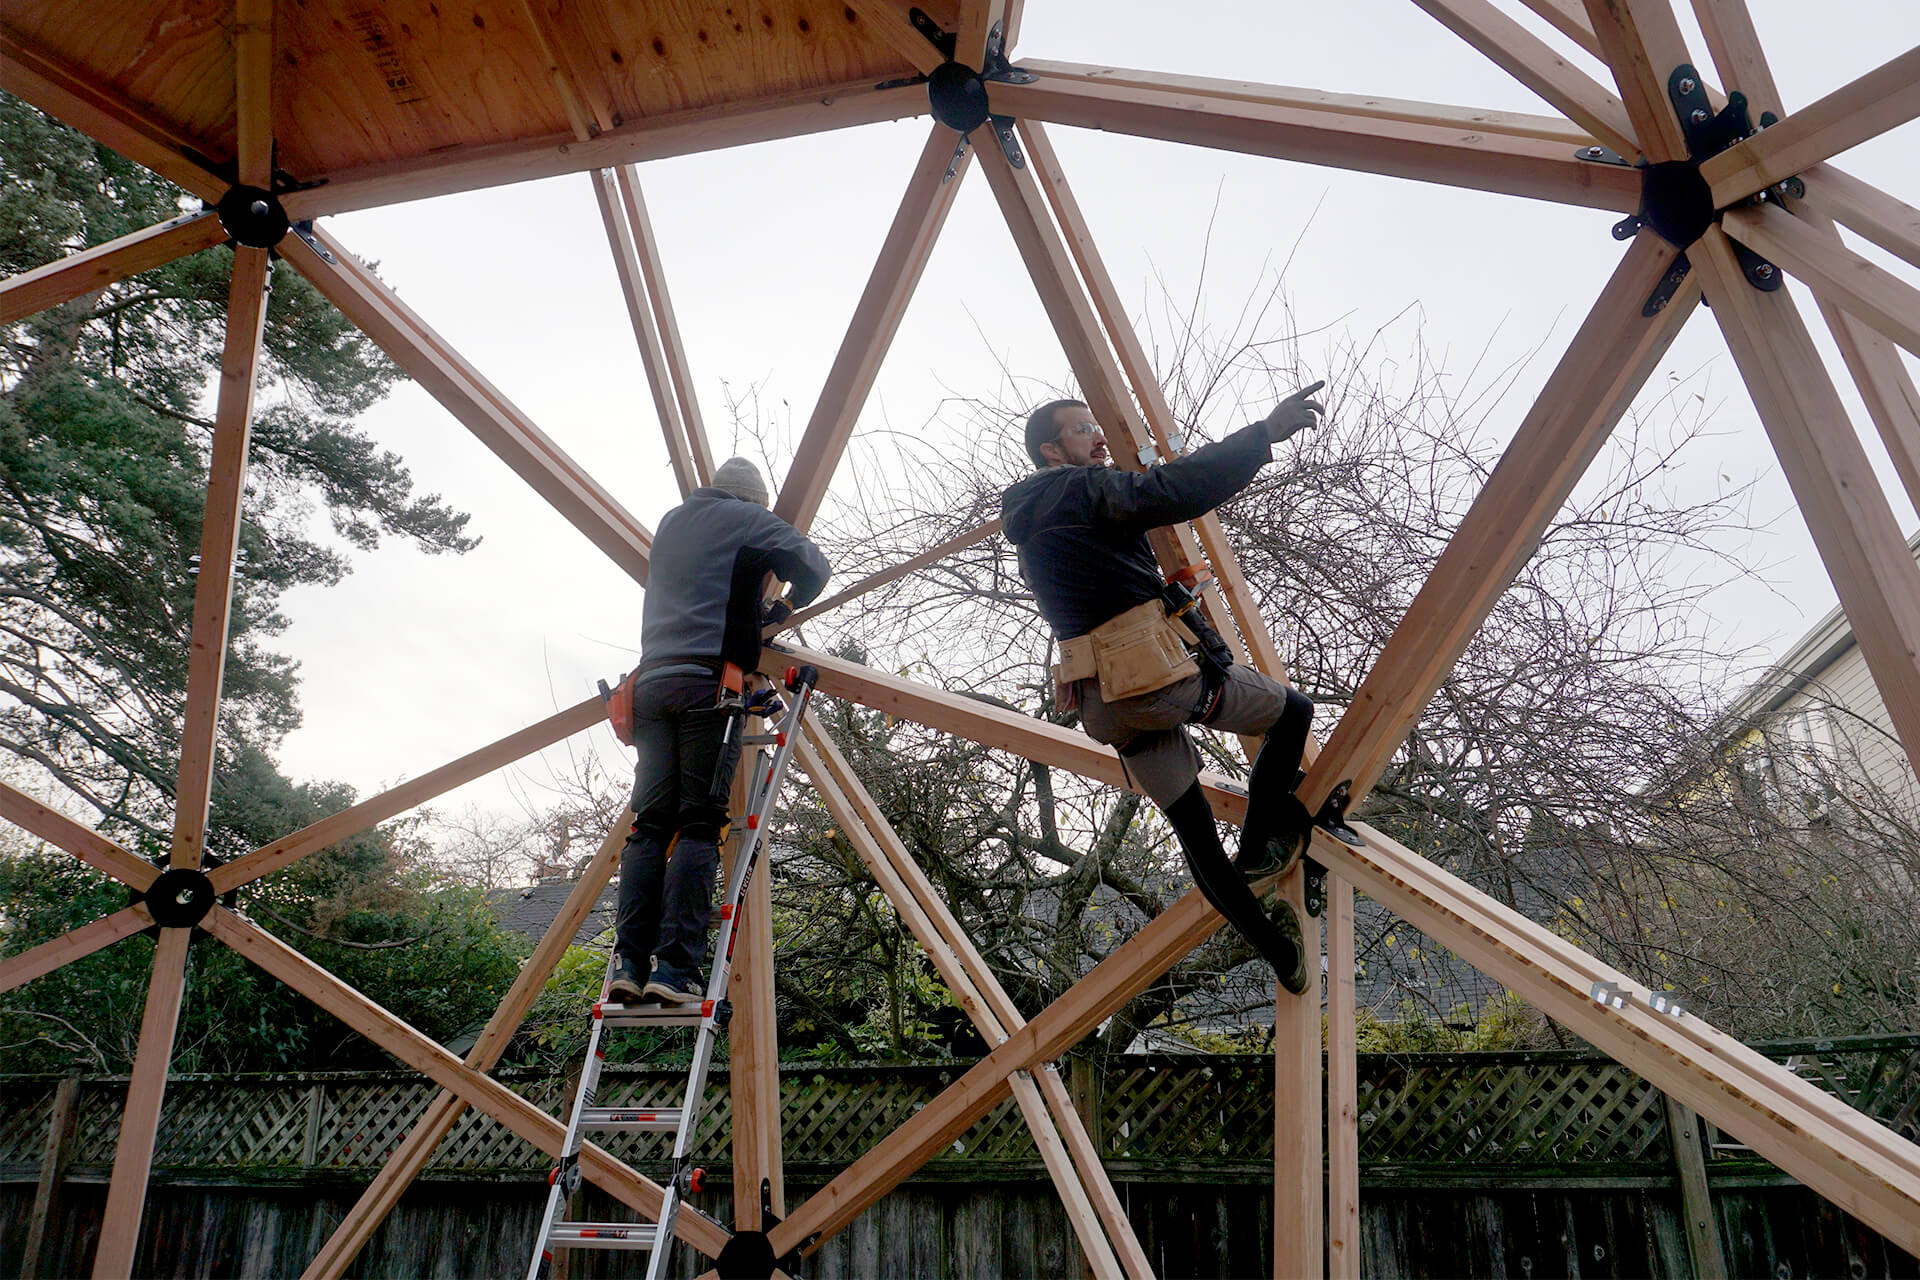
The window zones will not have Stud-Ins or Stud-Outs attached.
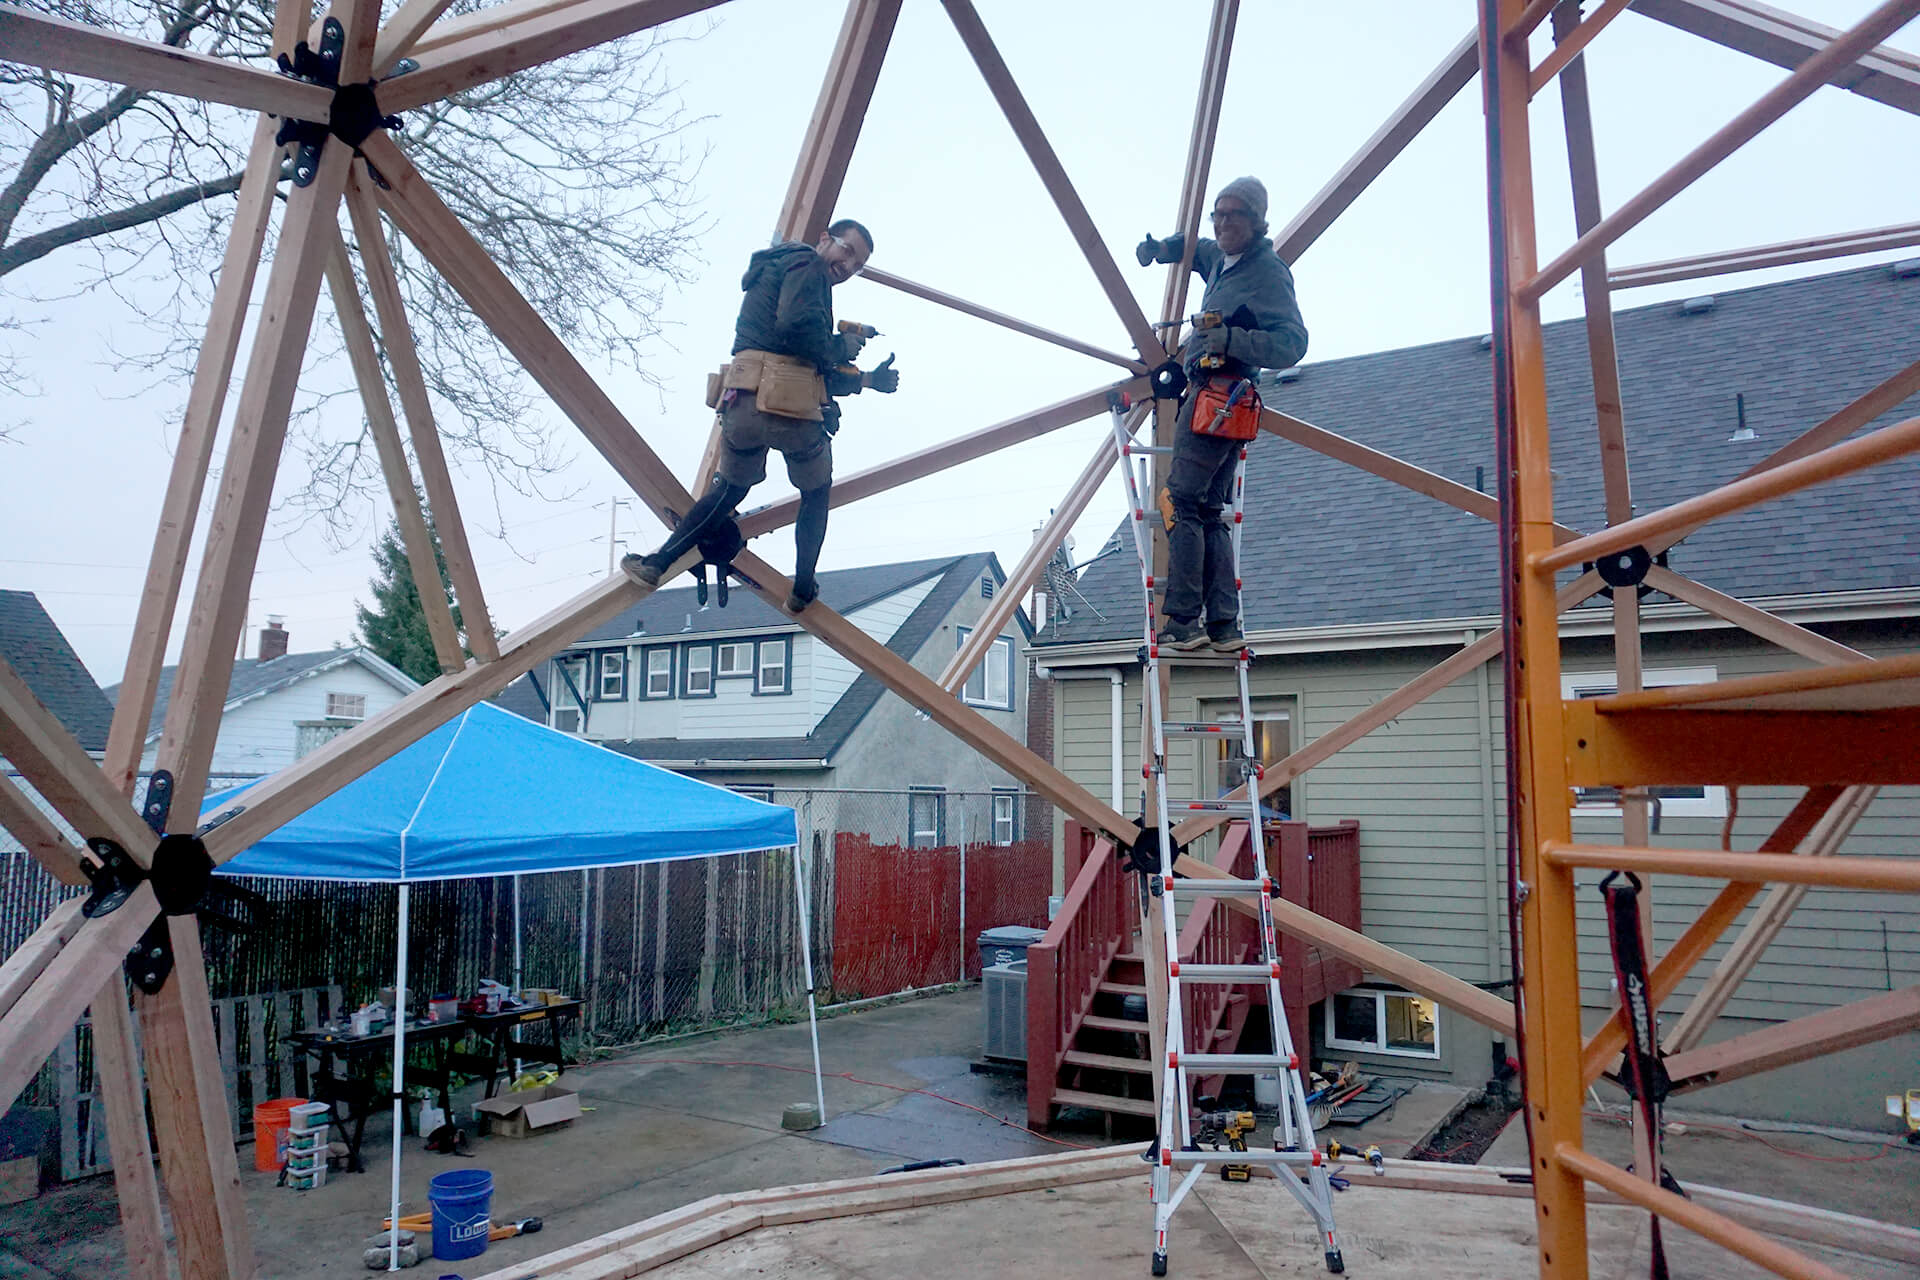
Continue until all of the Stud-Ins, Stud-outs, Rafter-Longs, and Rafter-Shorts have been attached.
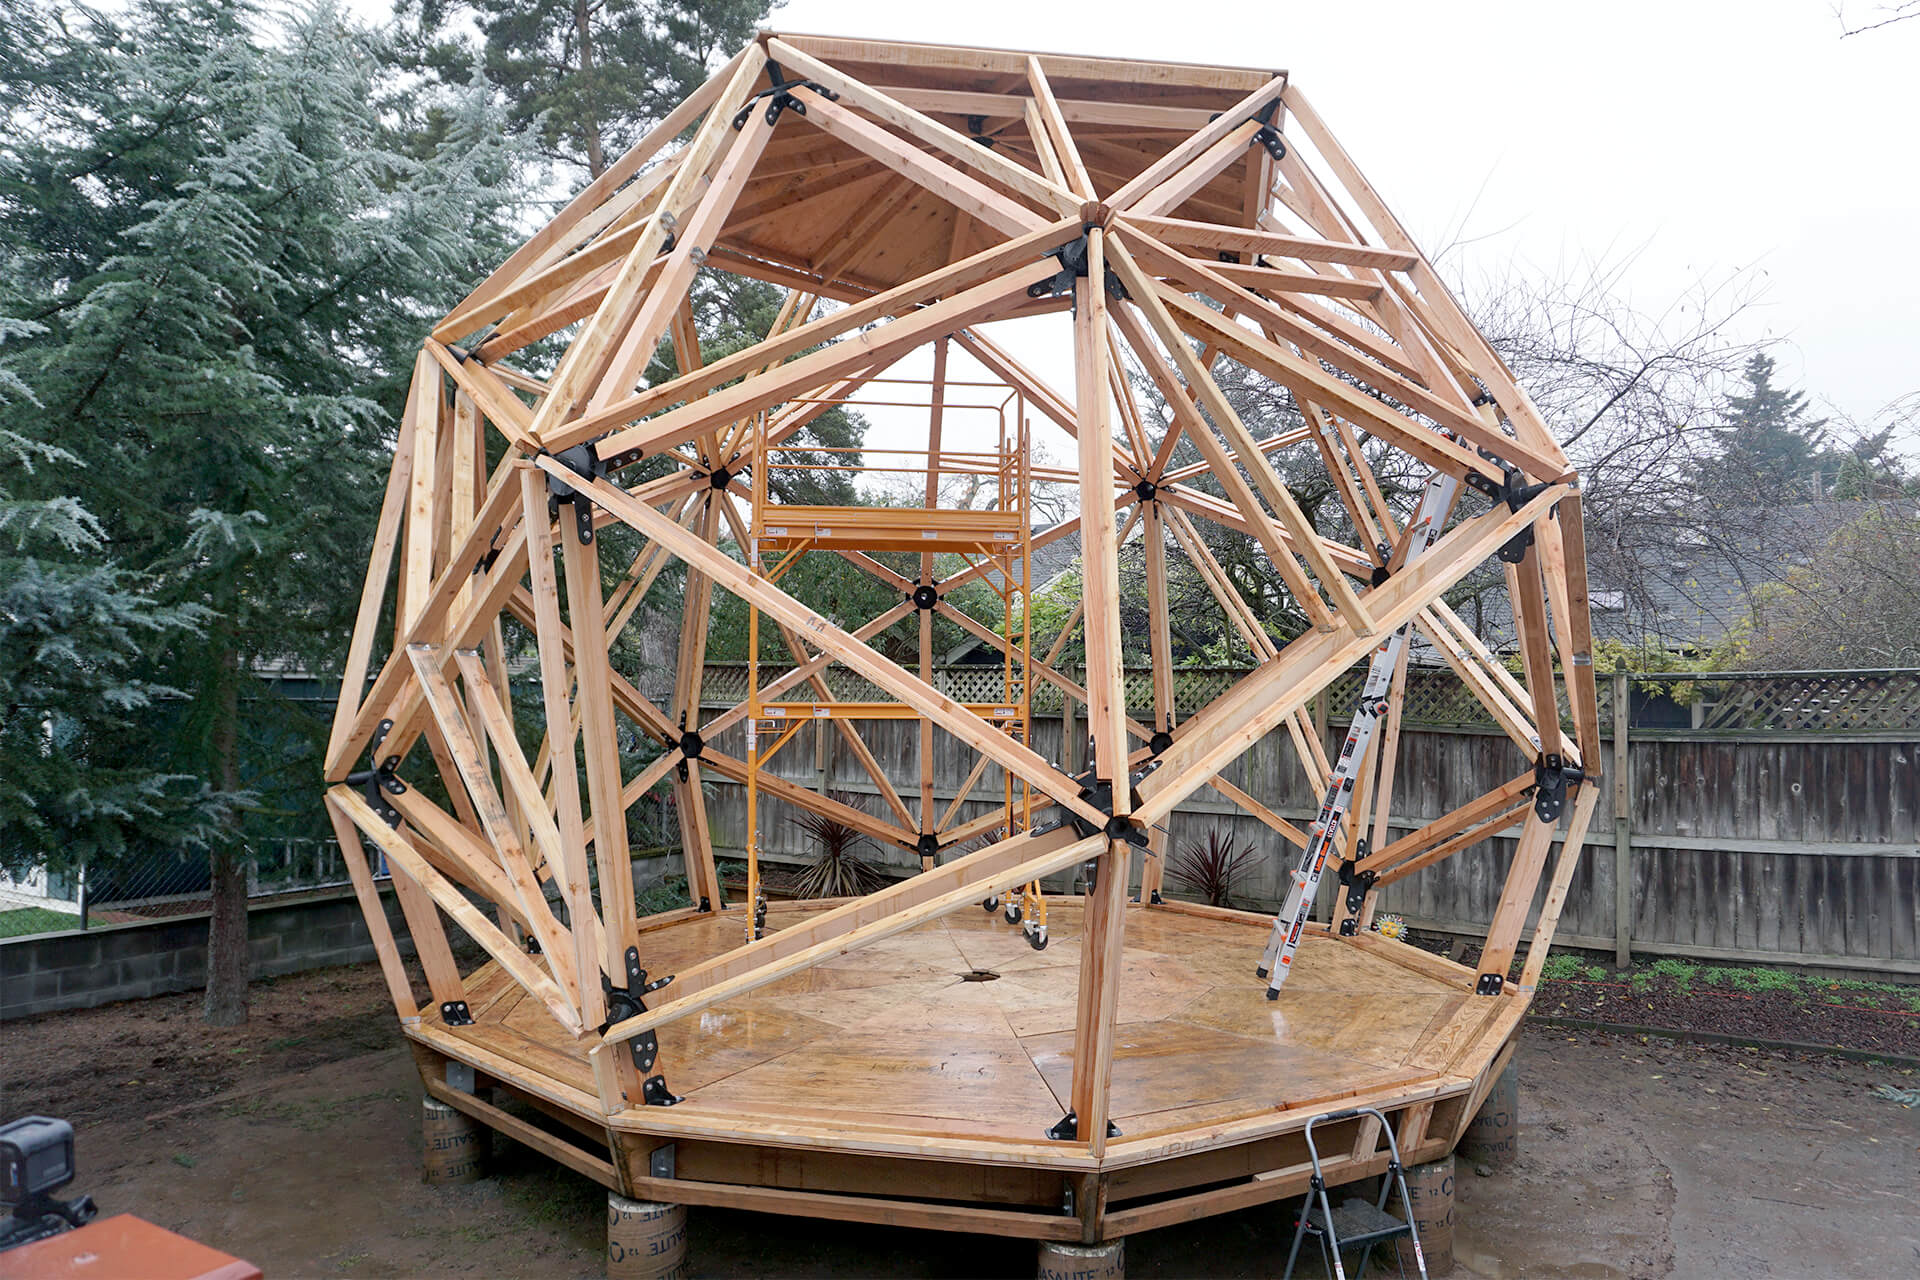
Congratulations on completing the outer wall and studs!
Next Step
© 2025 Dodeca Domes. All rights reserved.

