Prefab – Panels
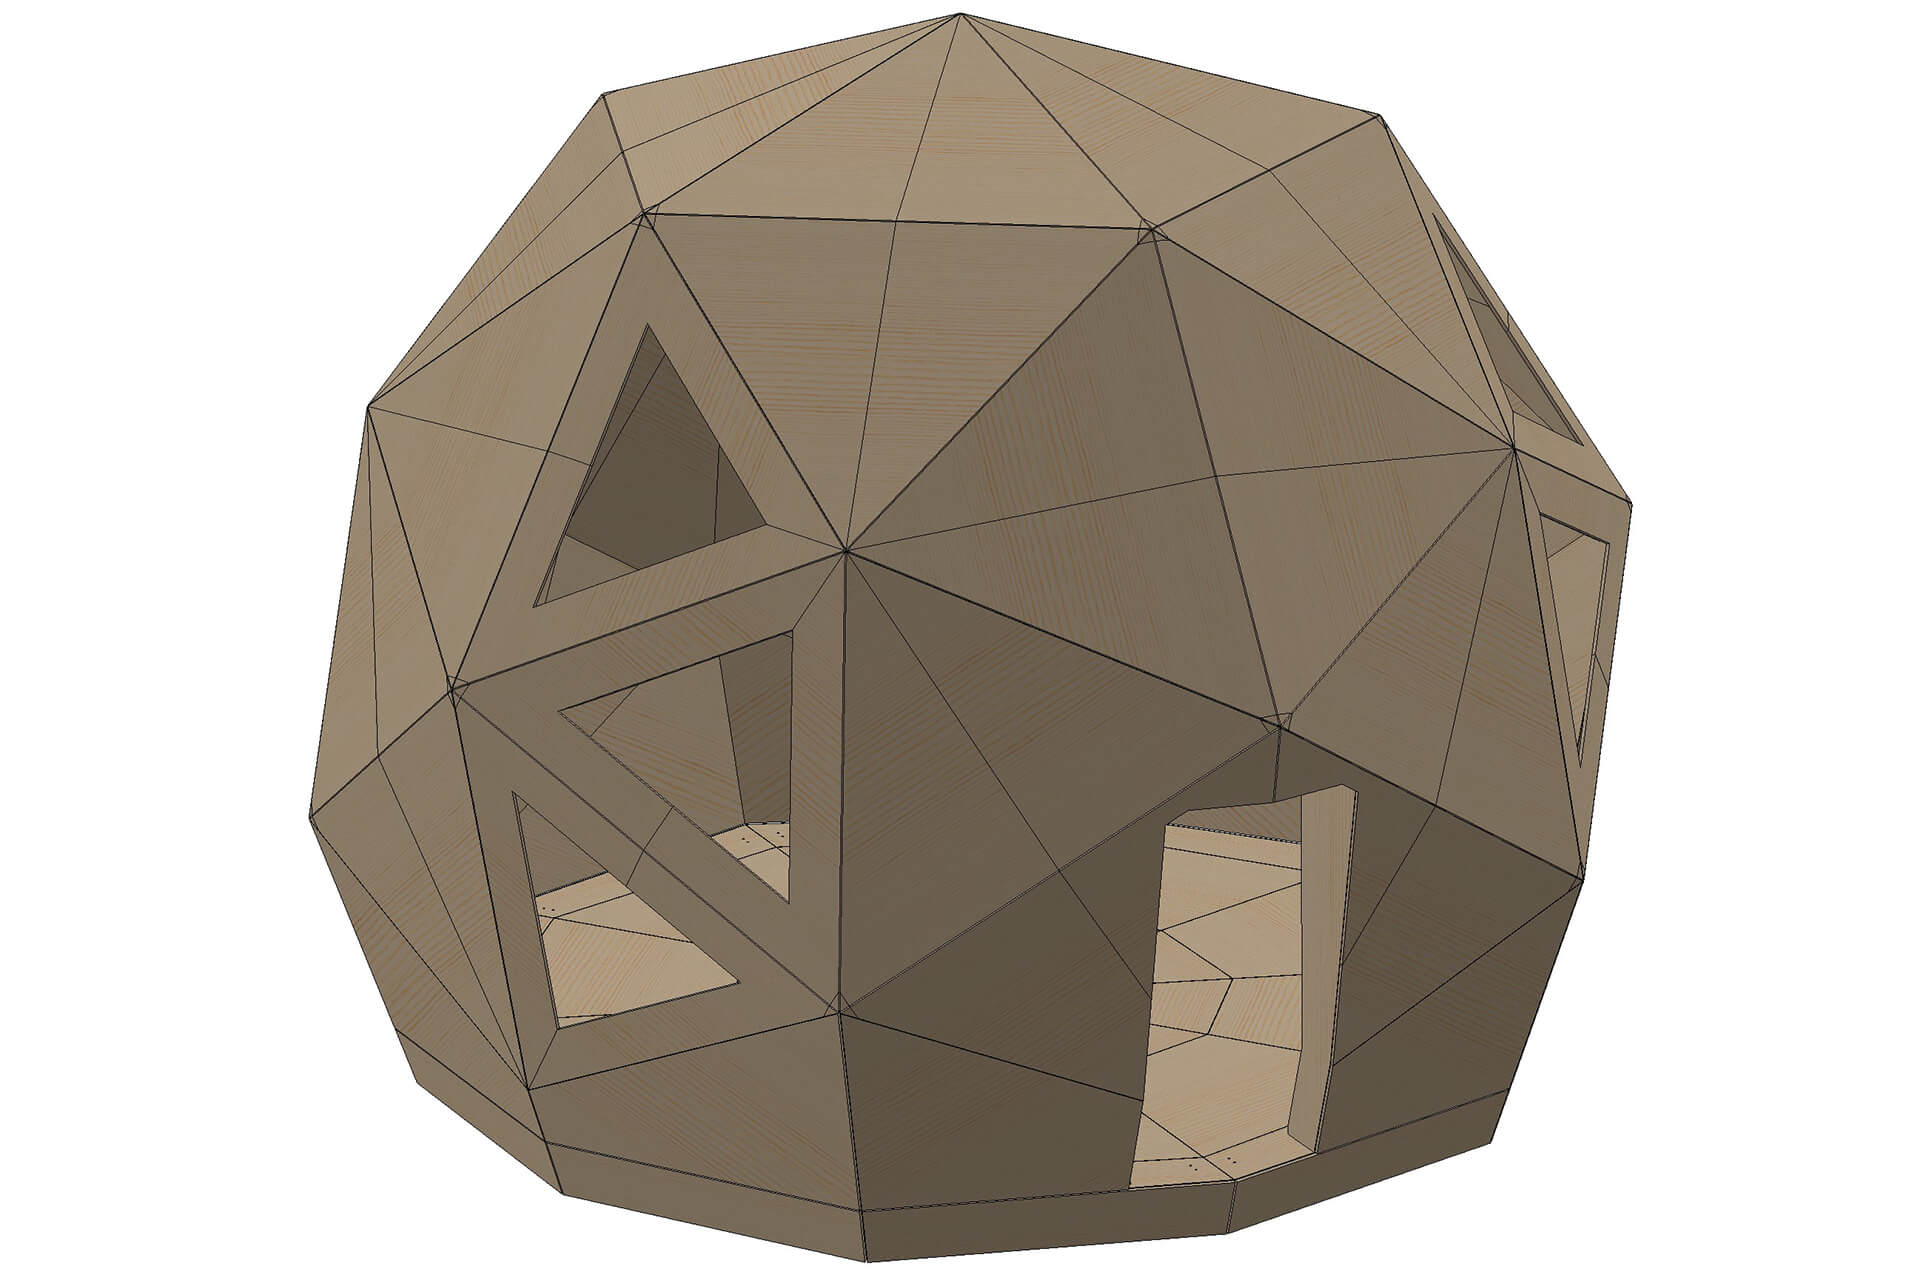
The panels are to be cut from plywood.

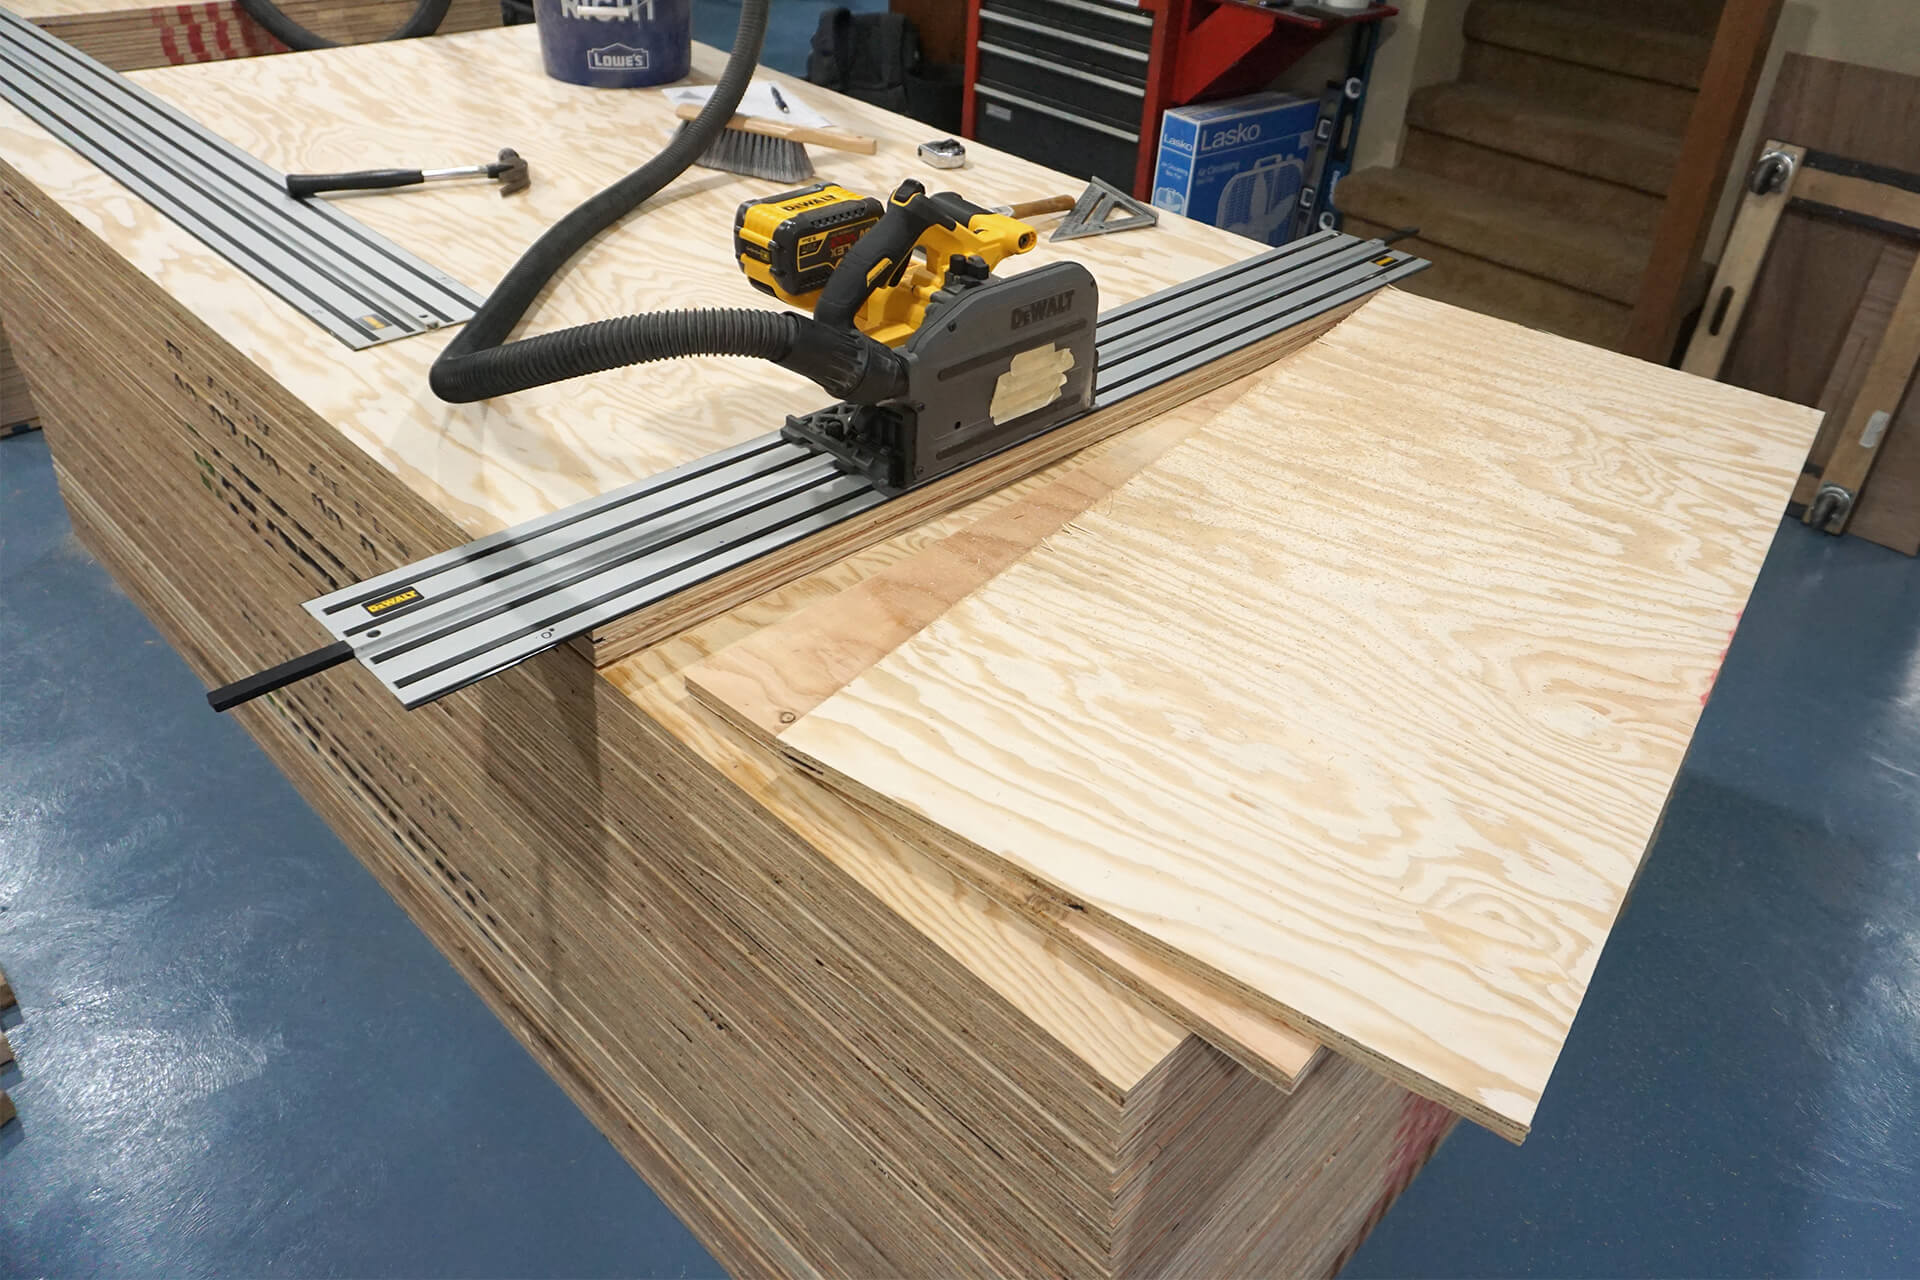
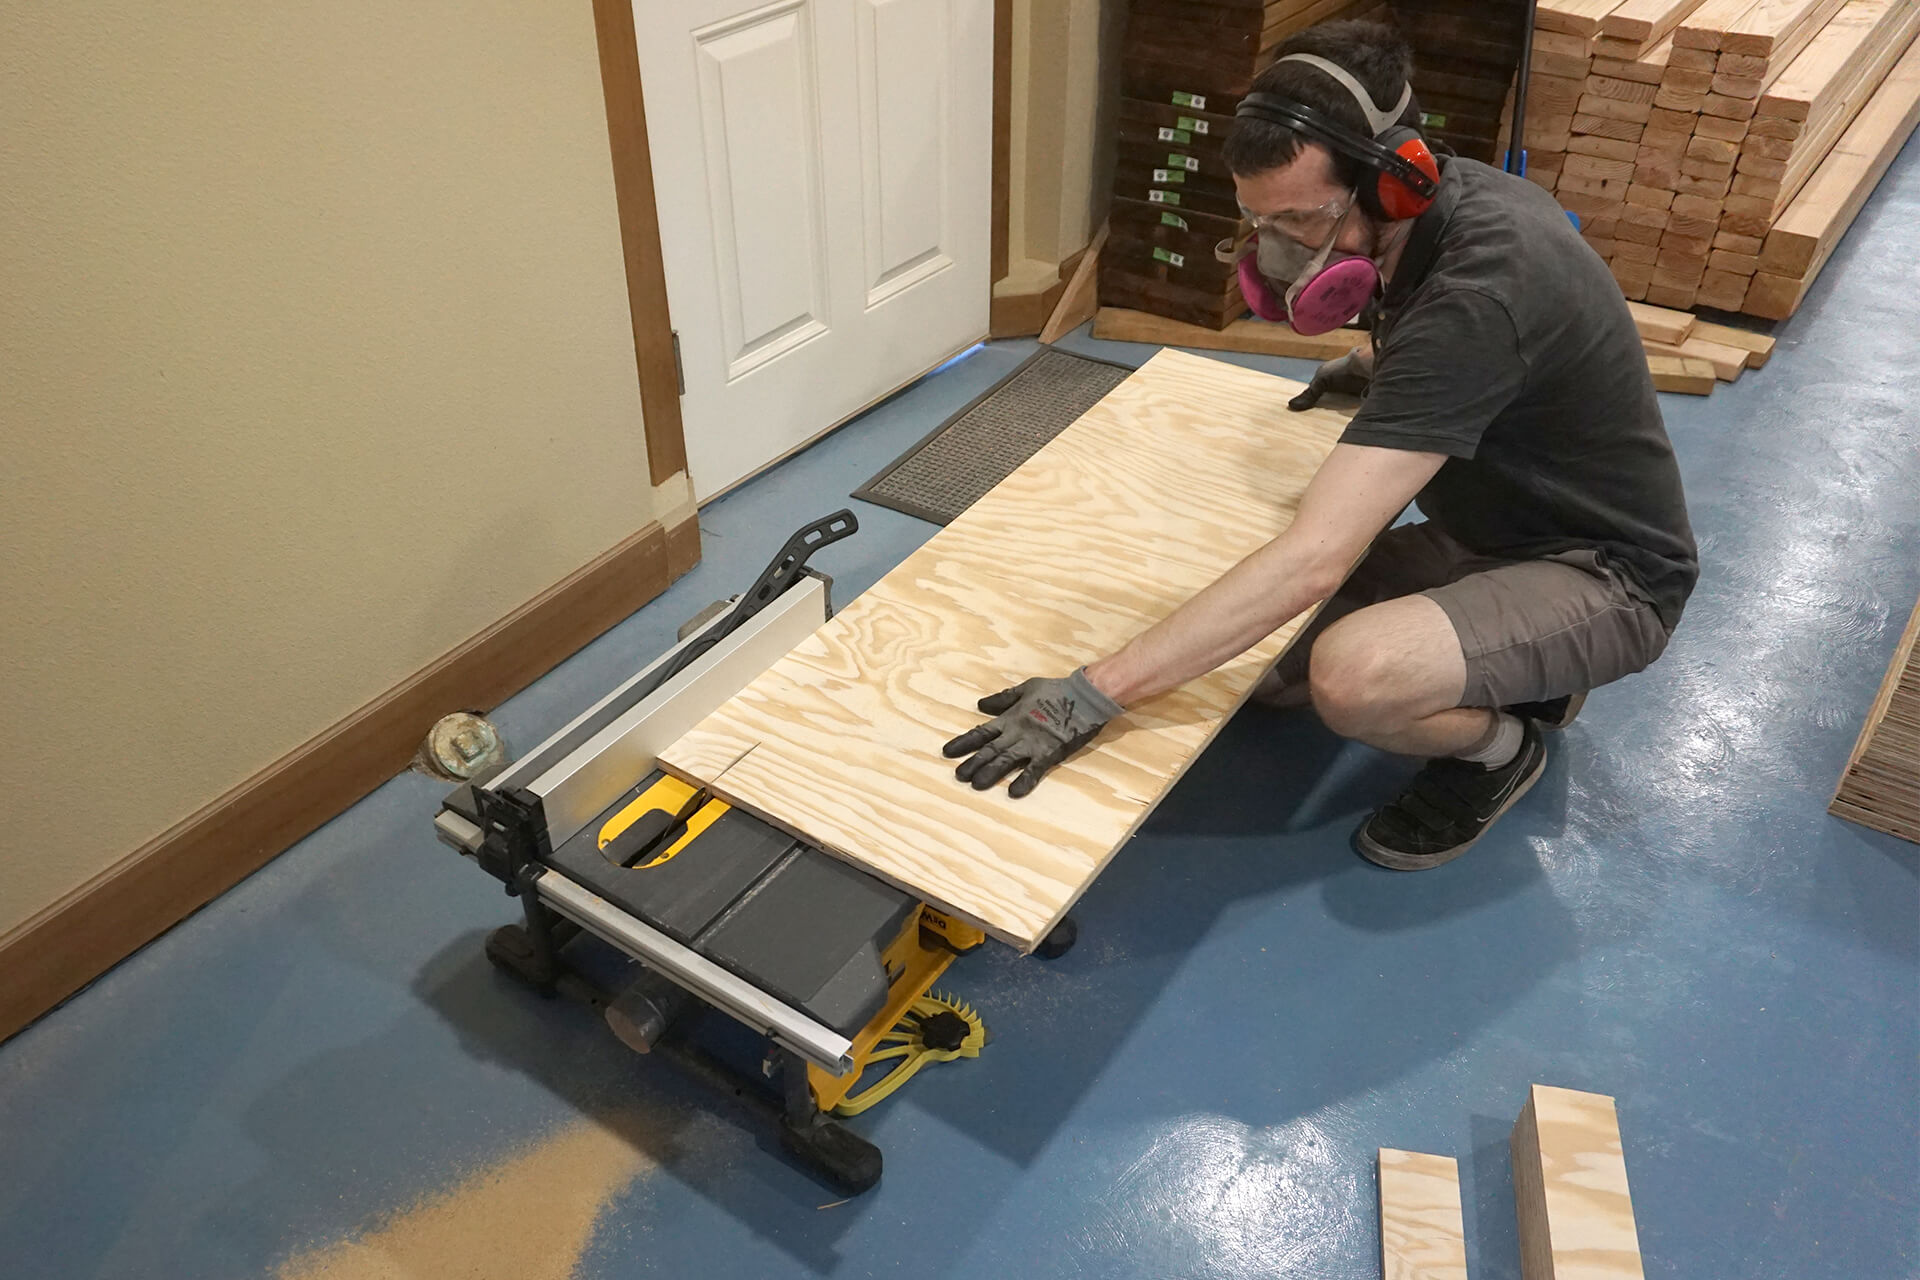
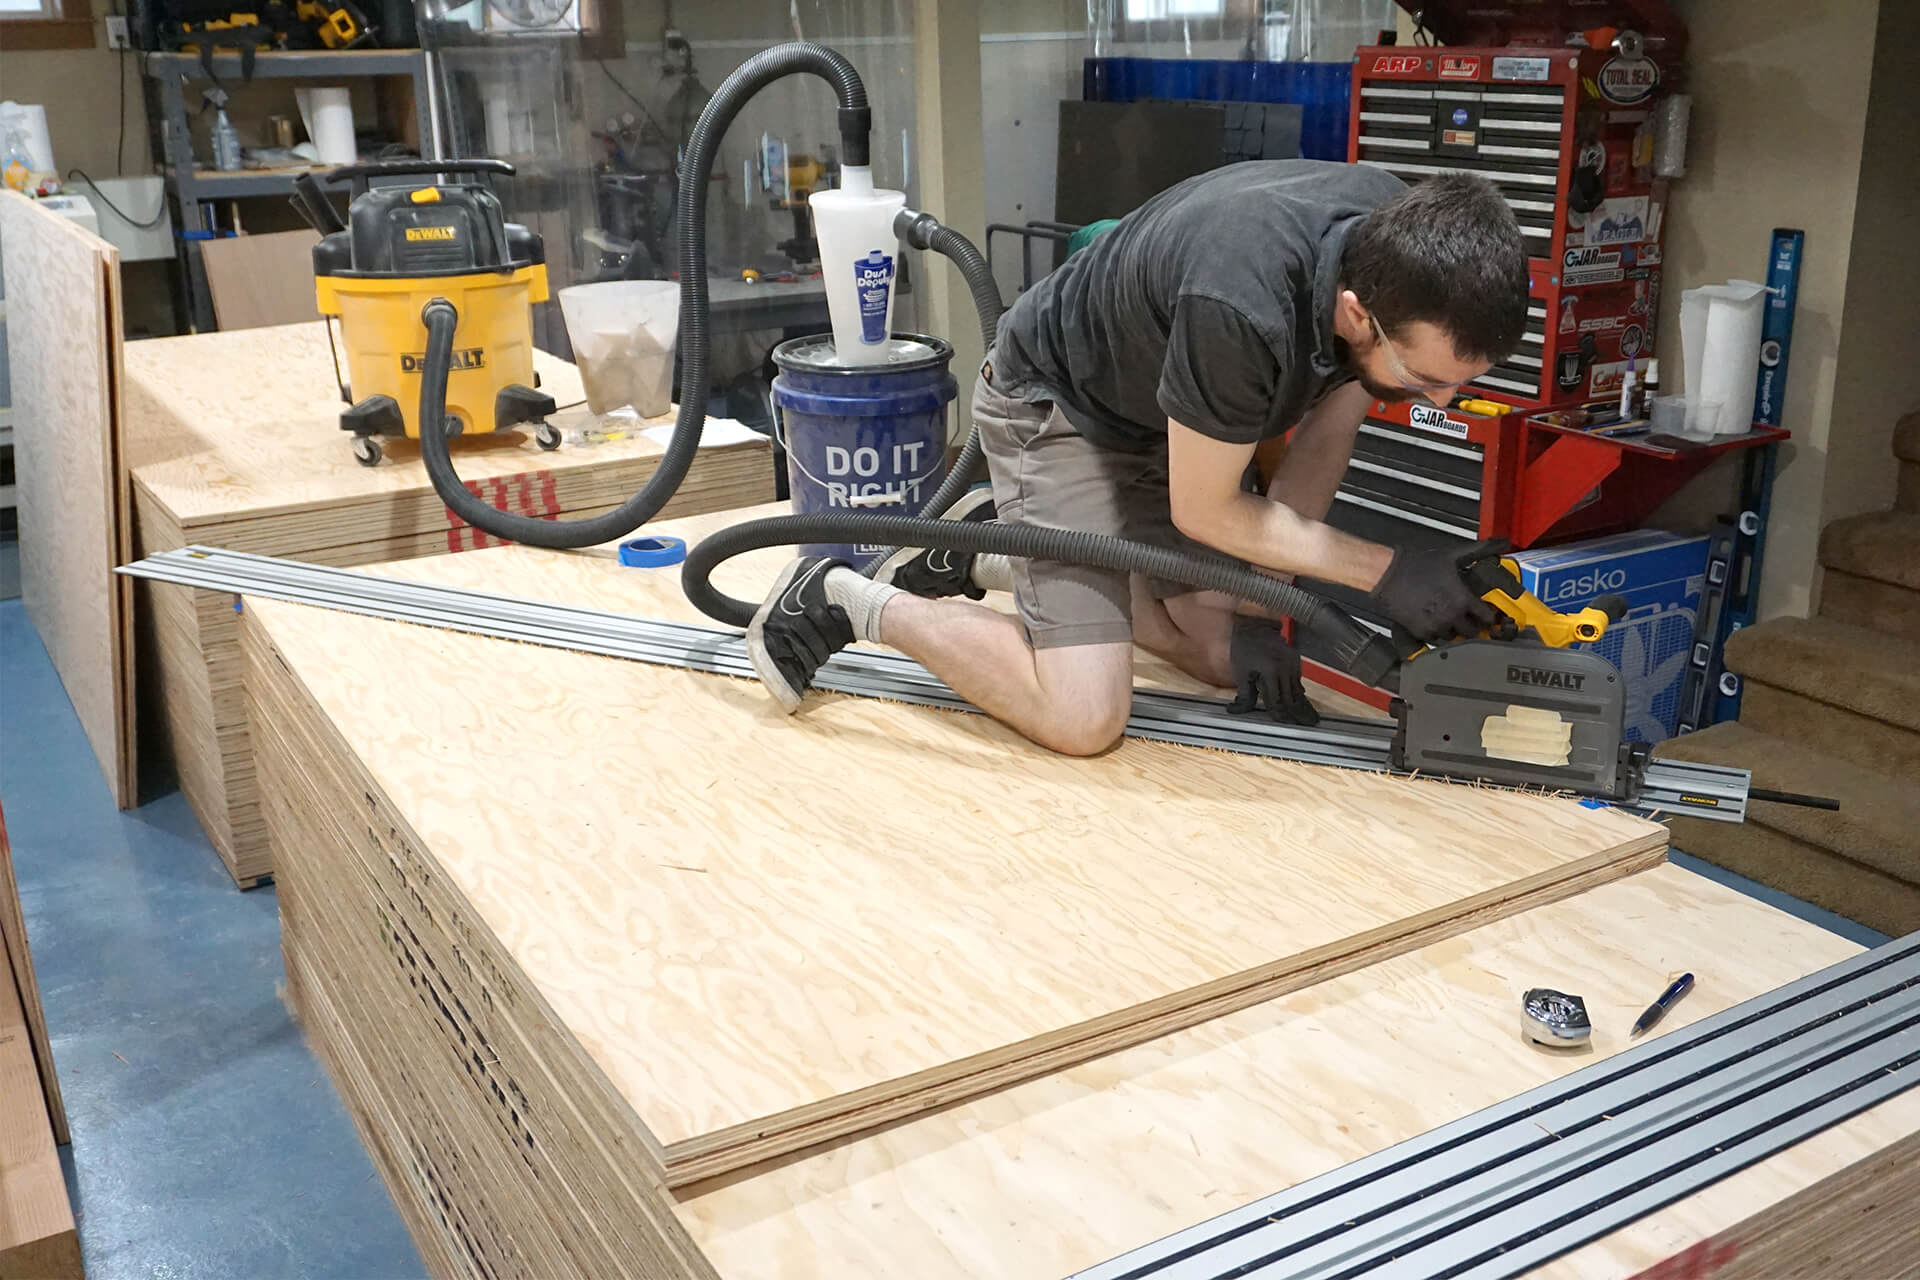
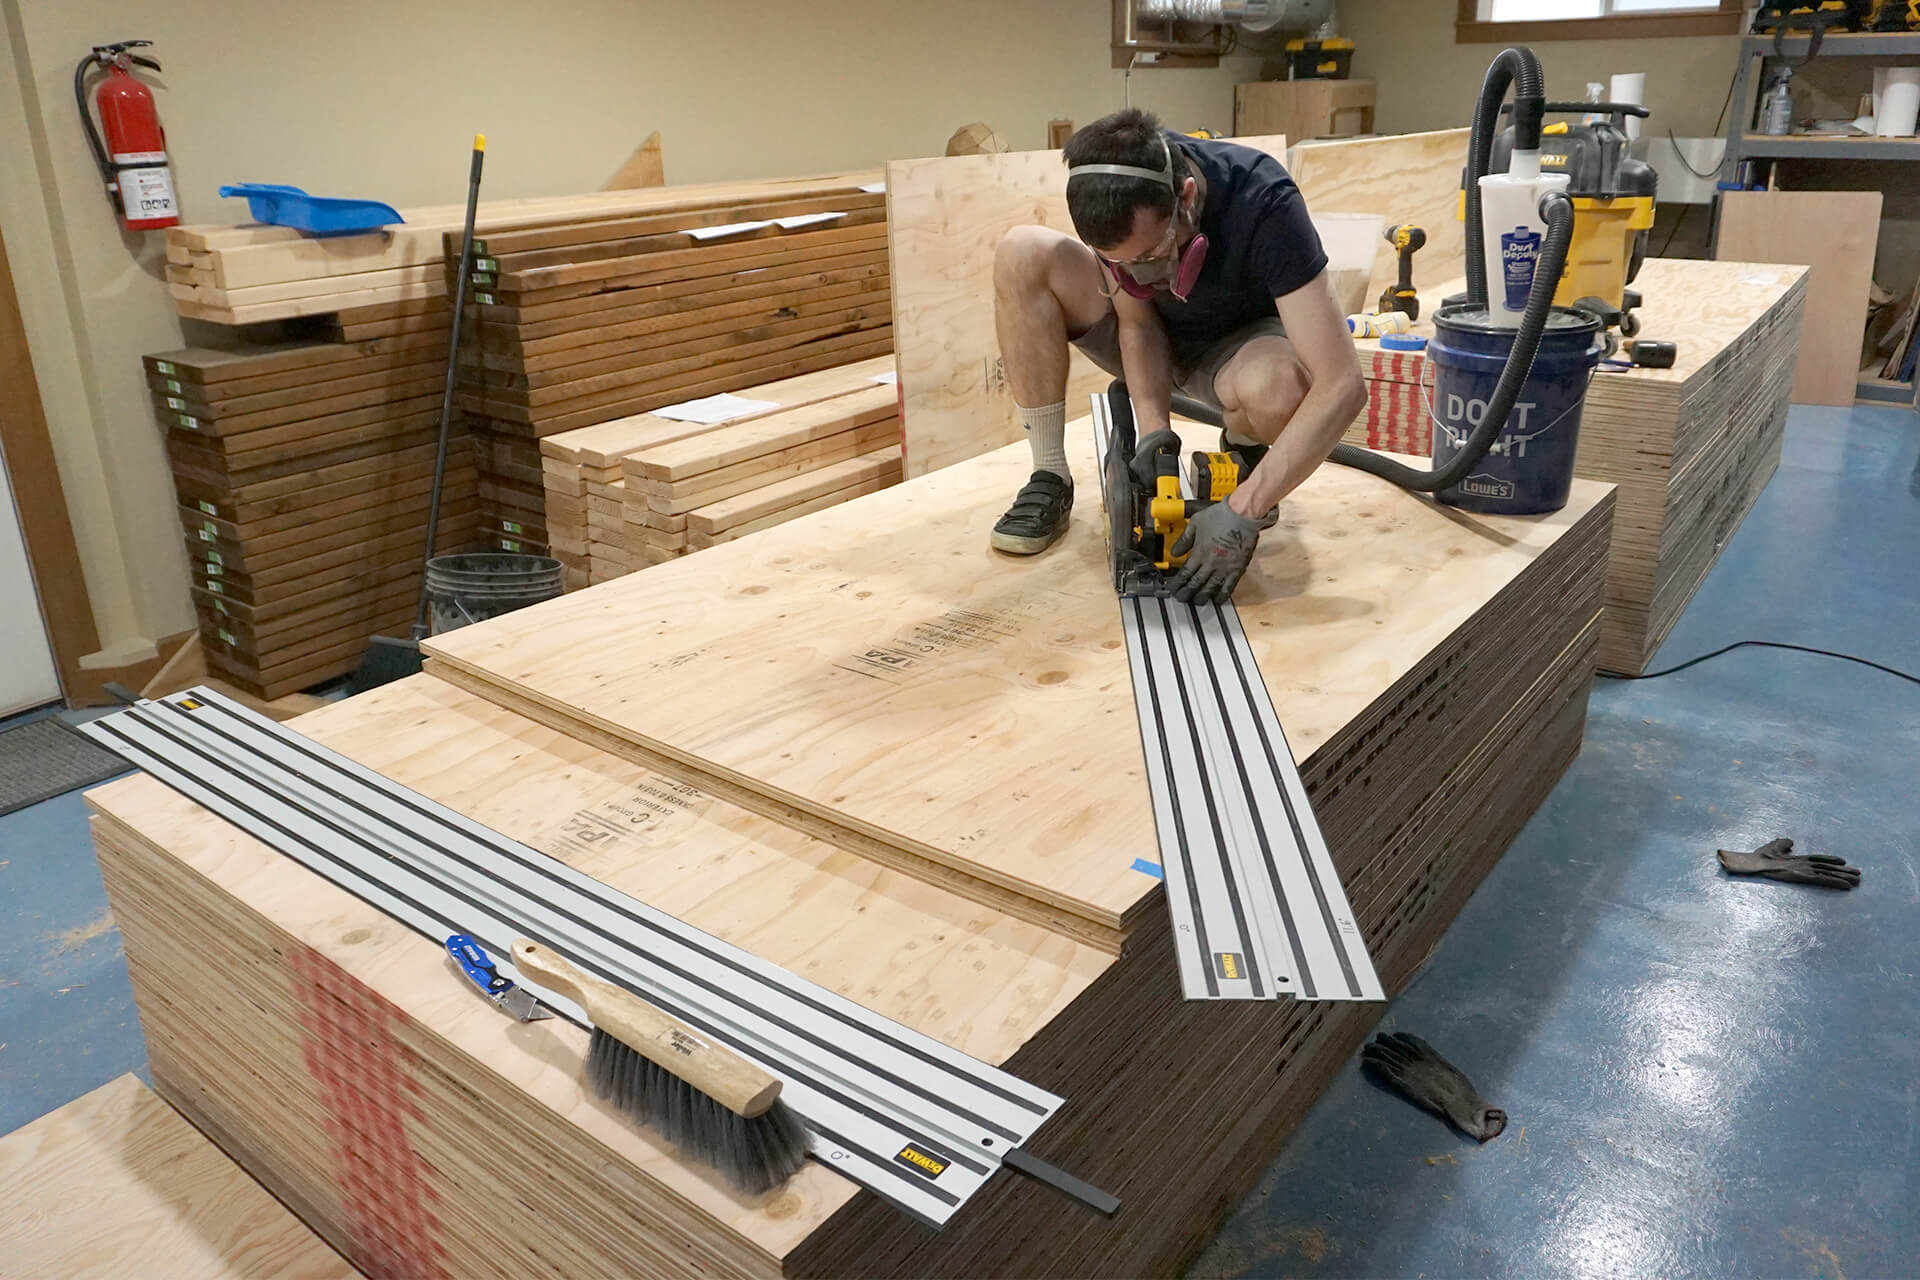
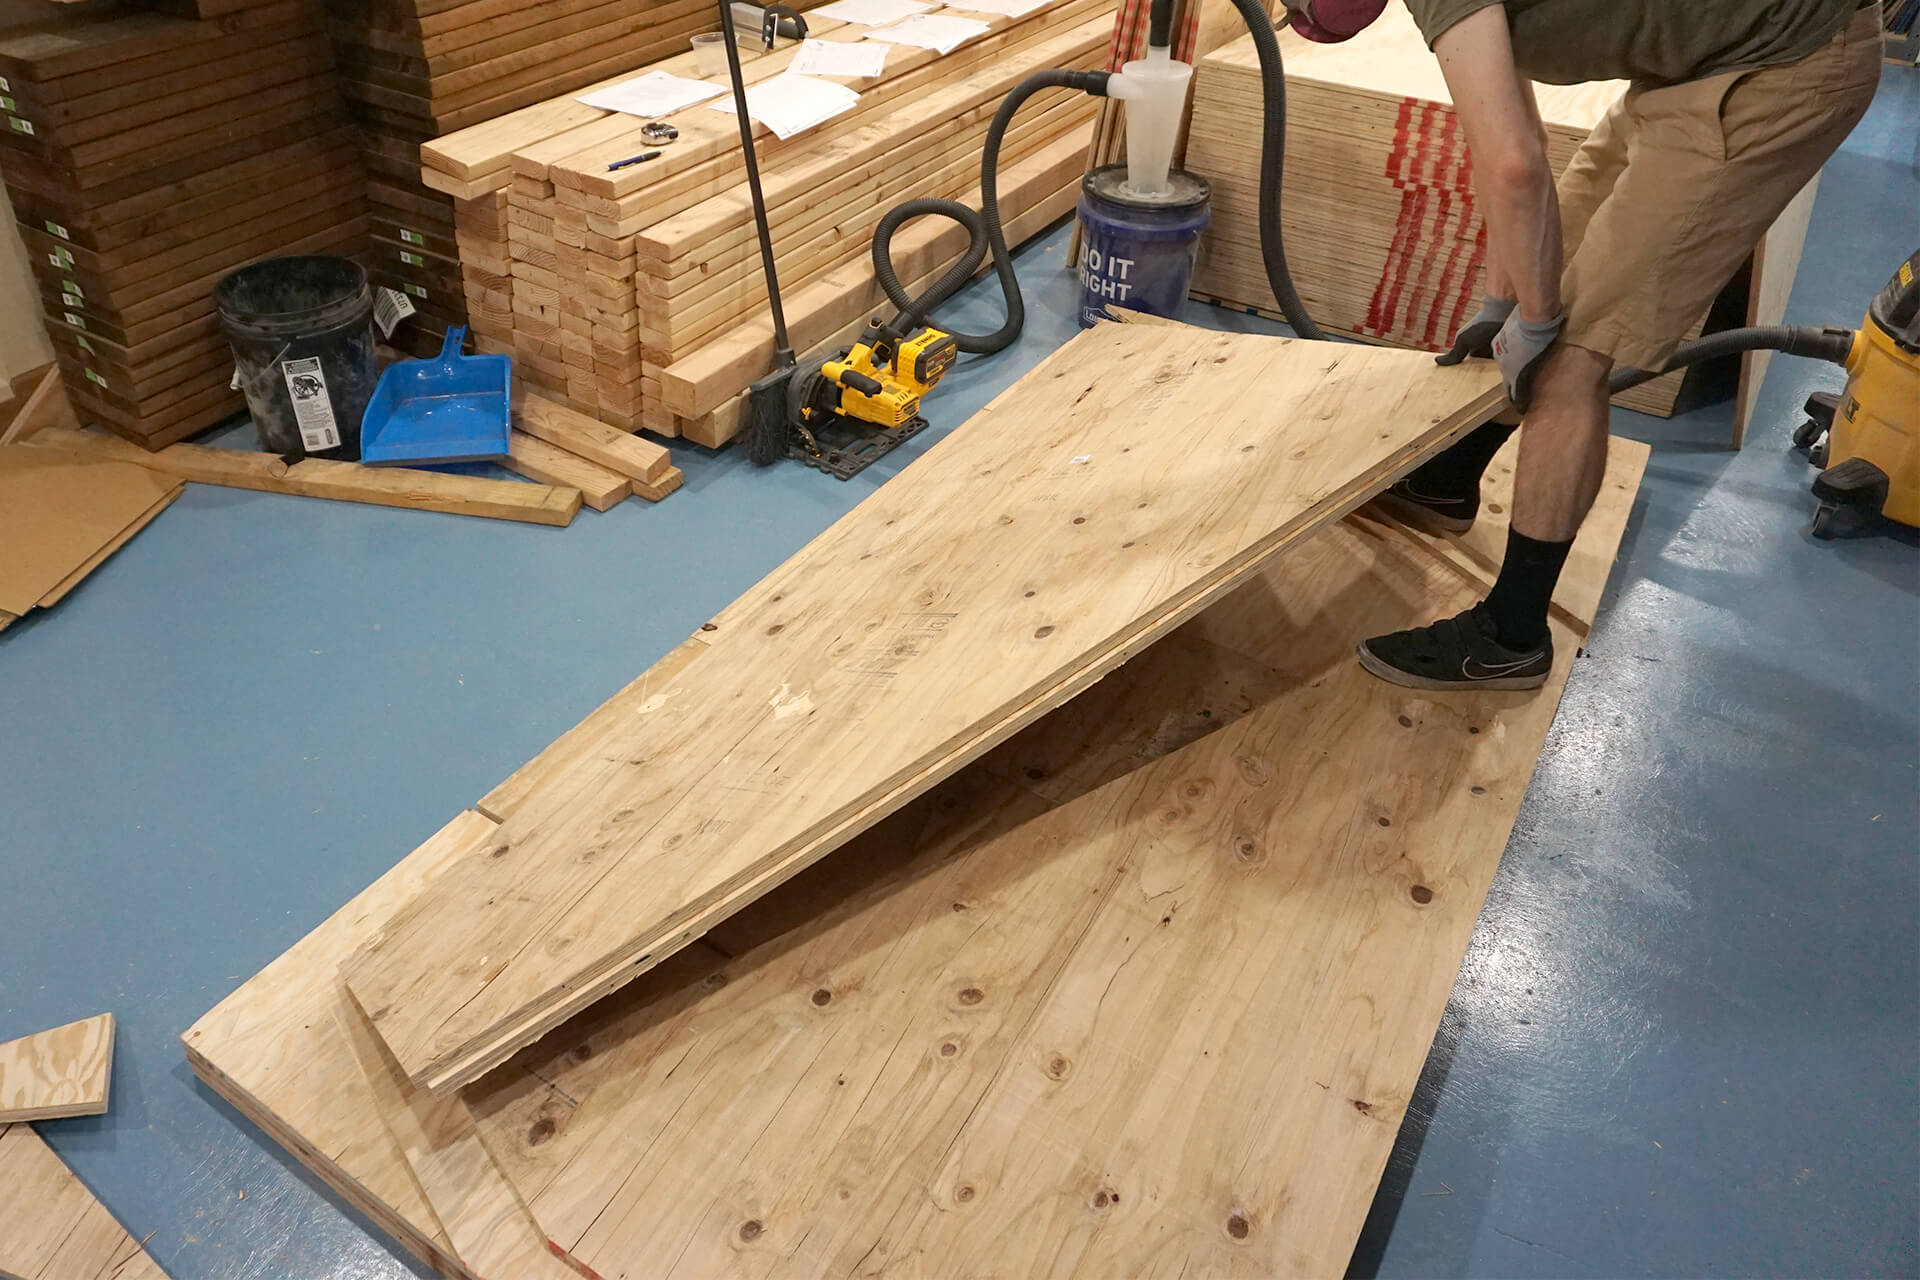
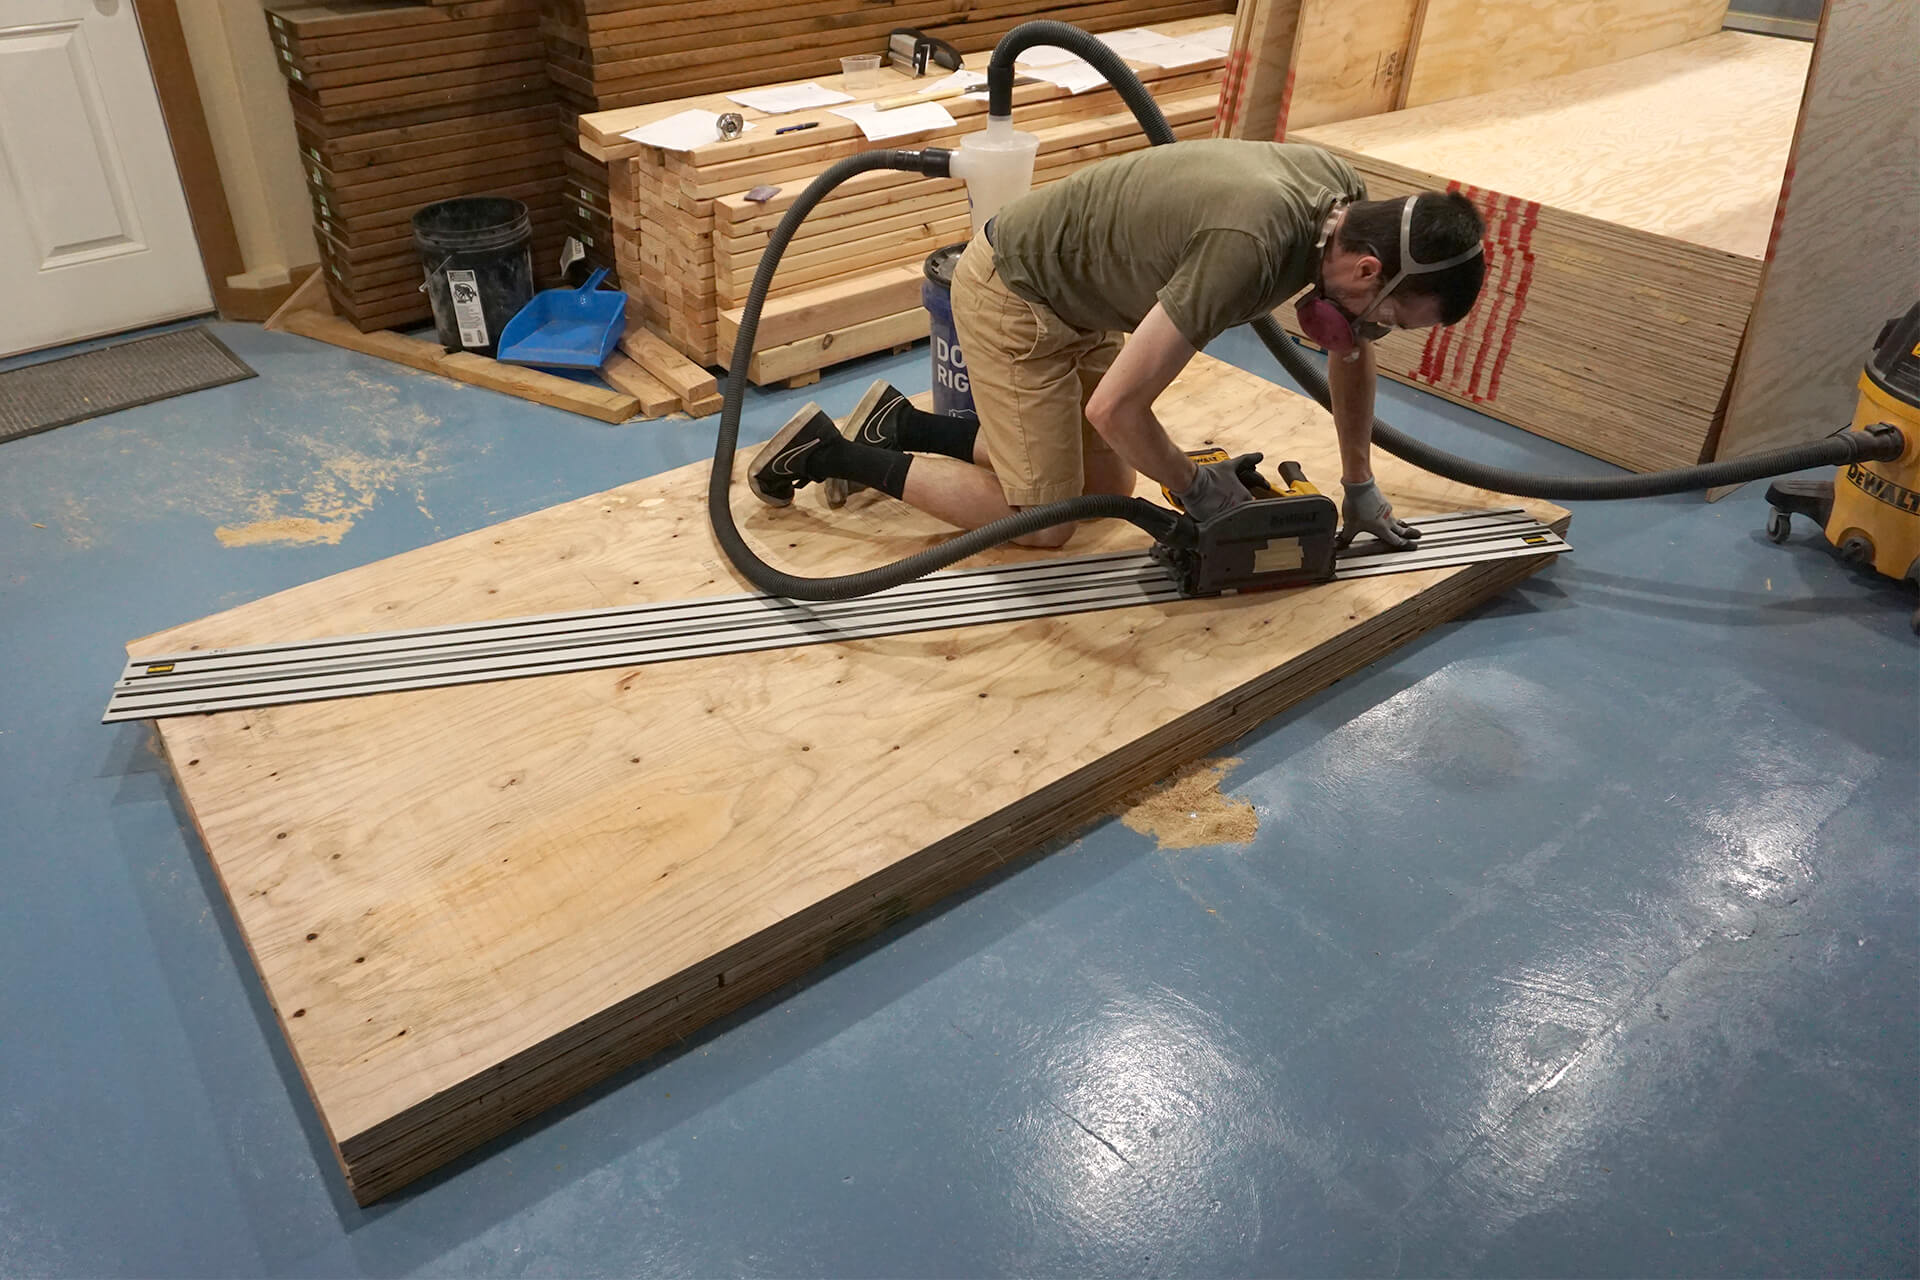
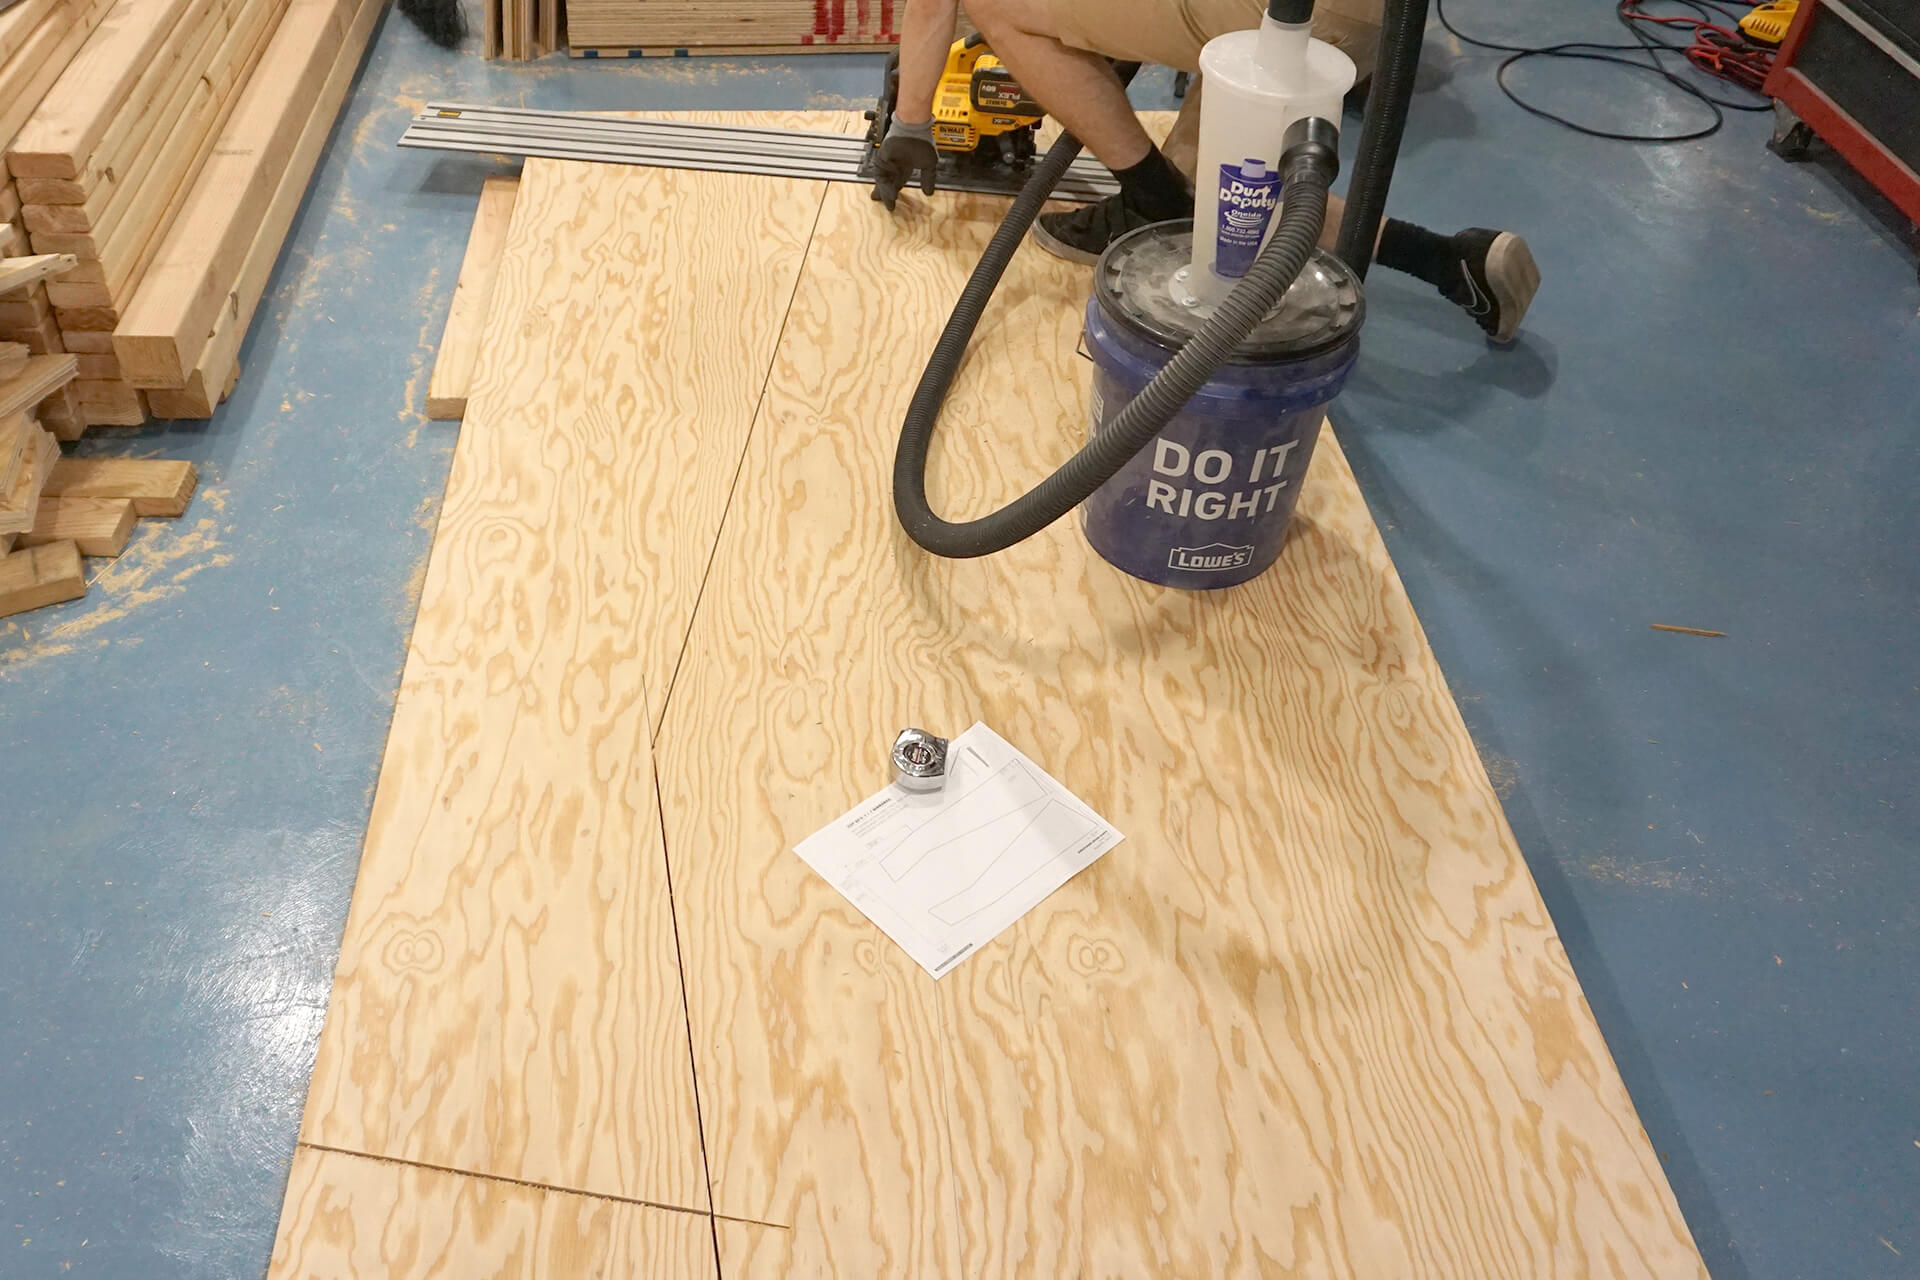
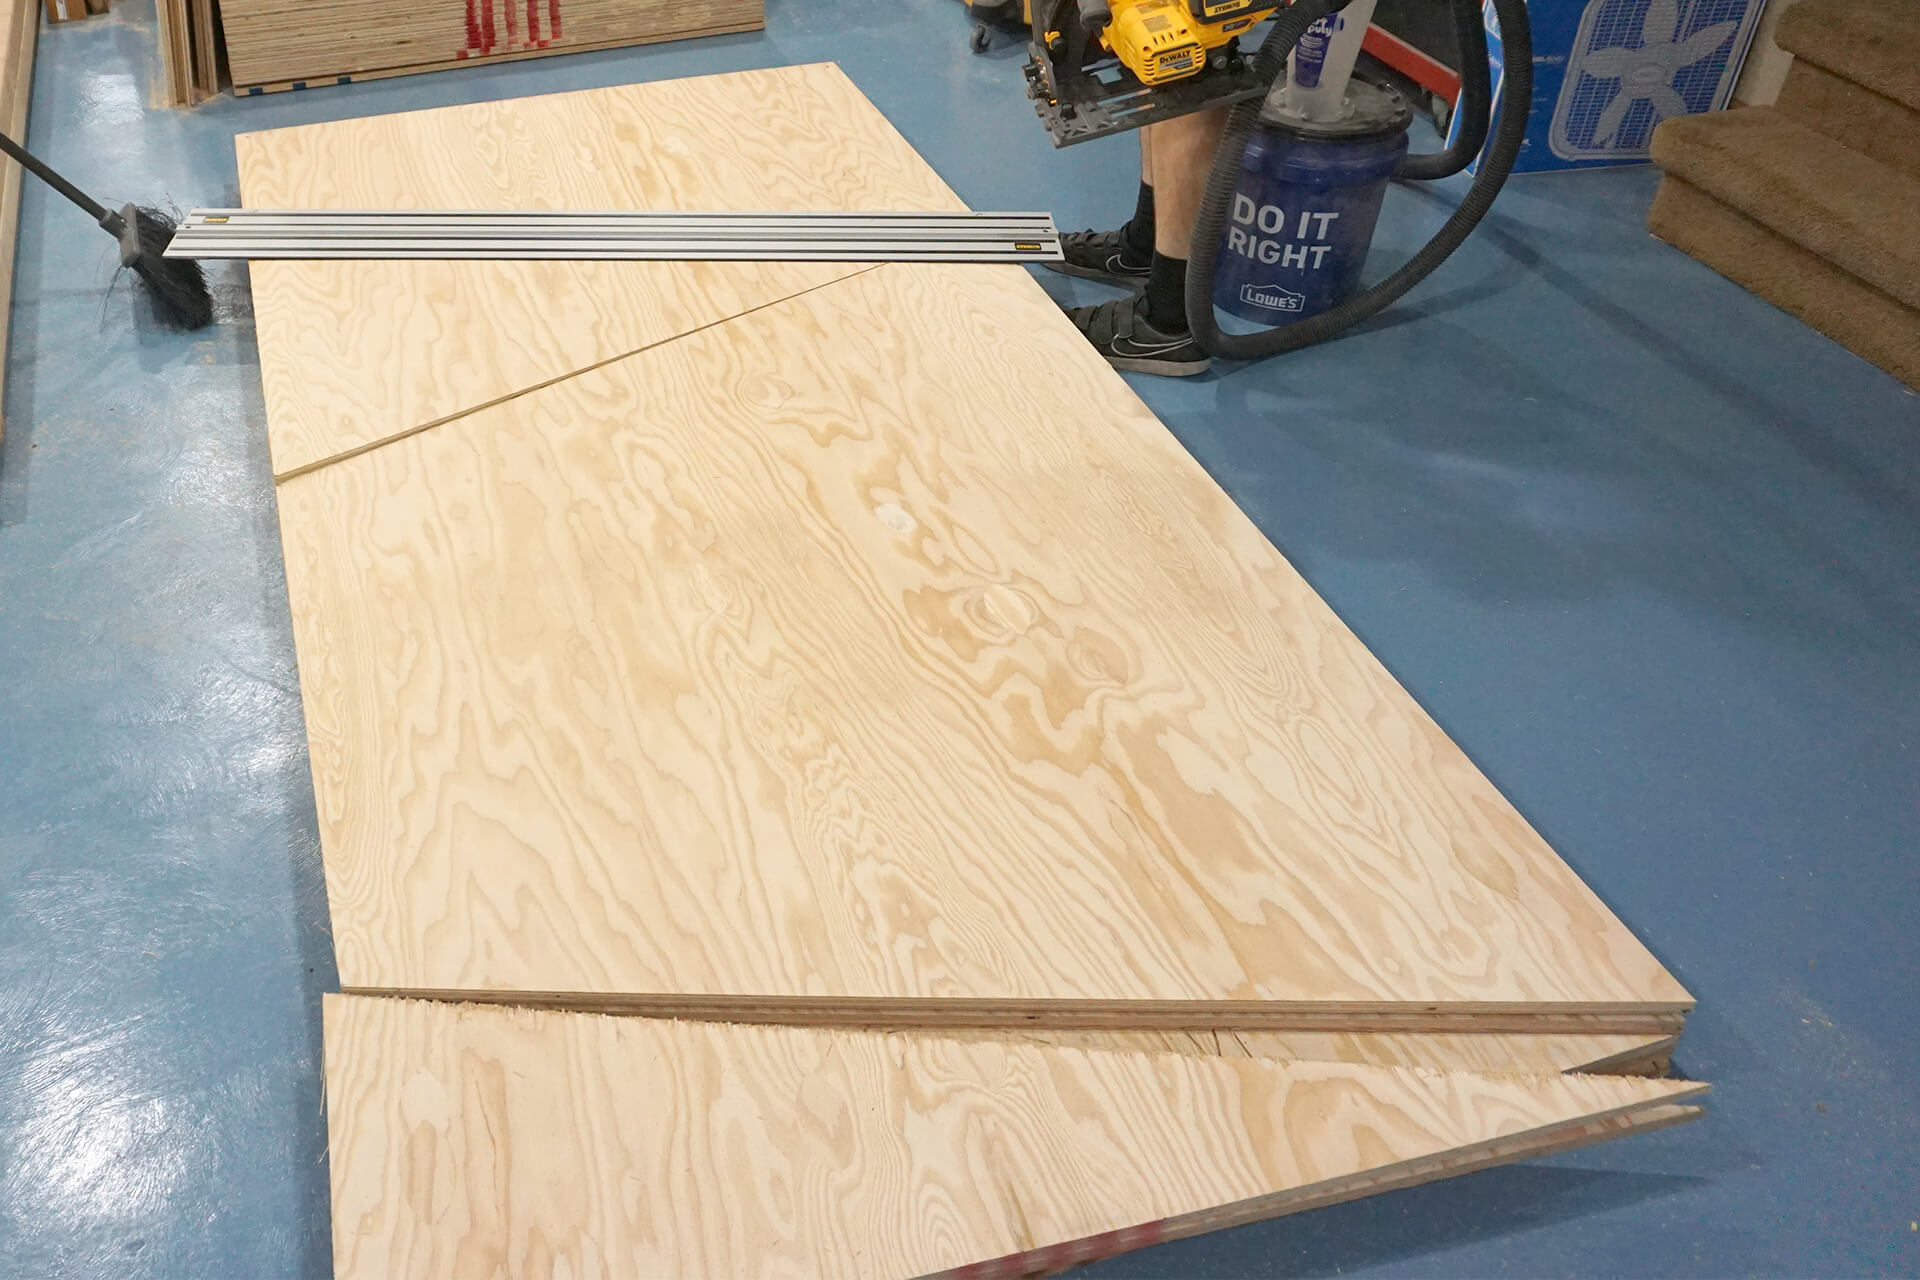
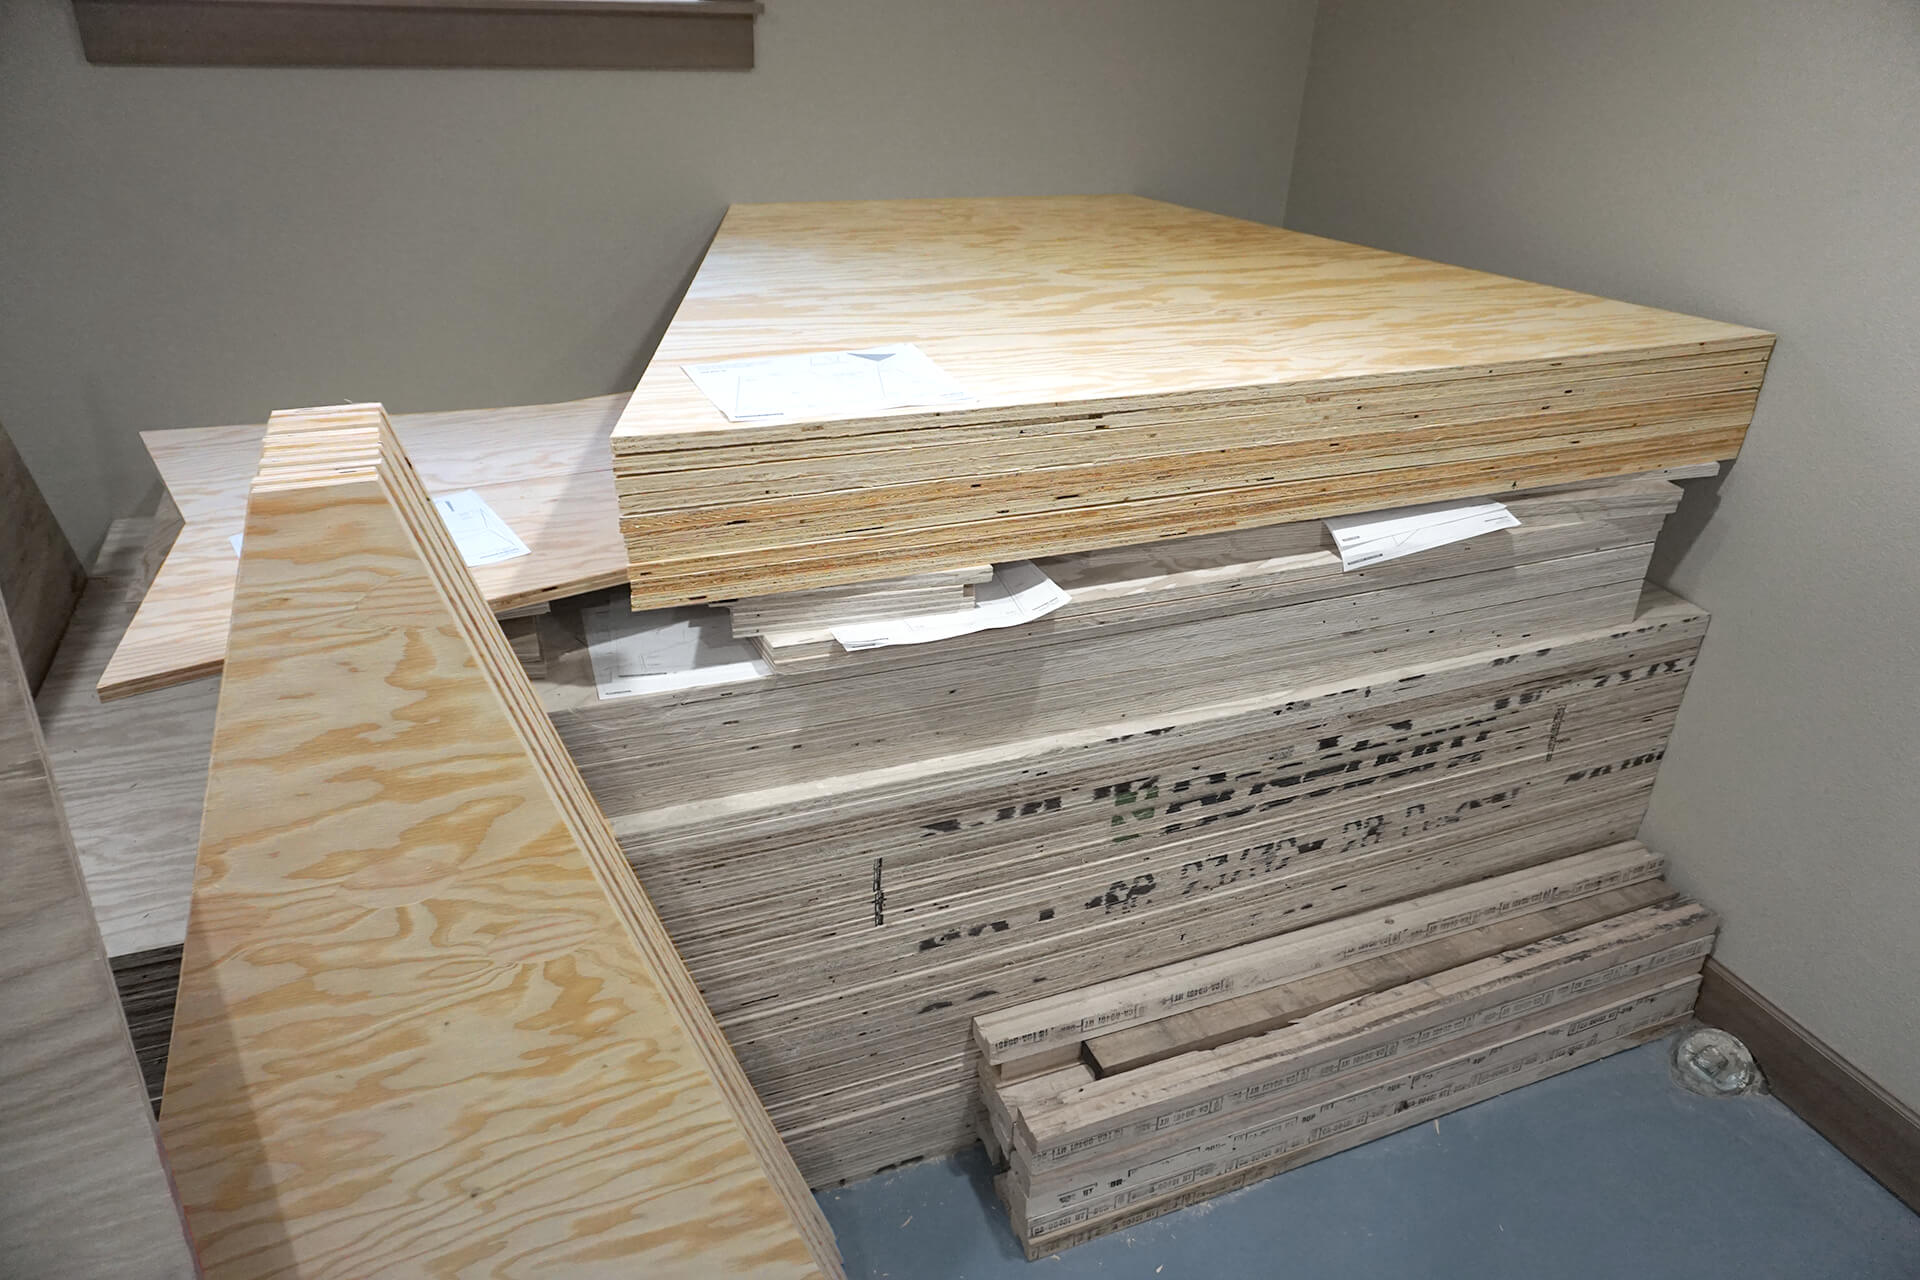
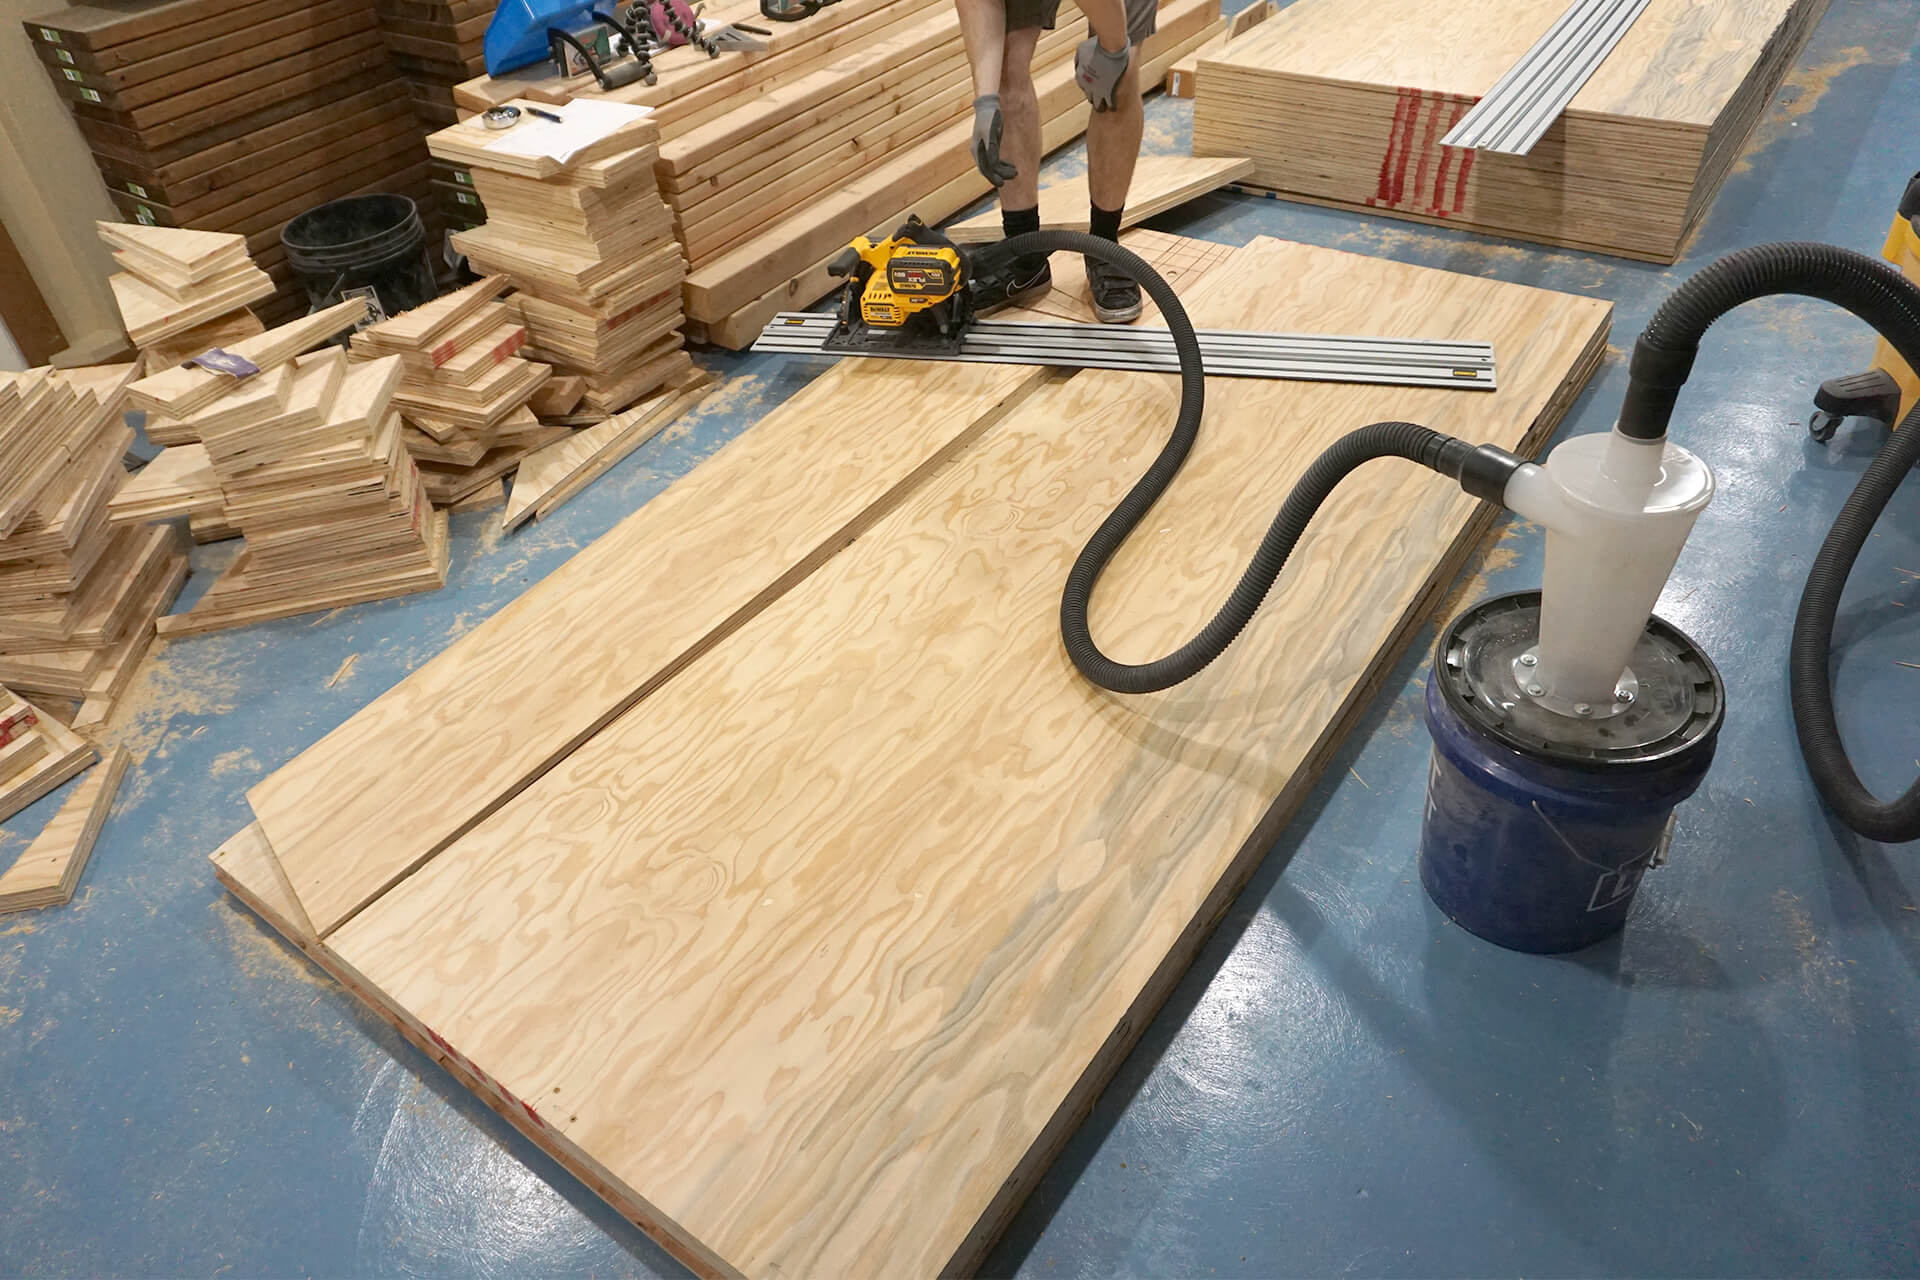
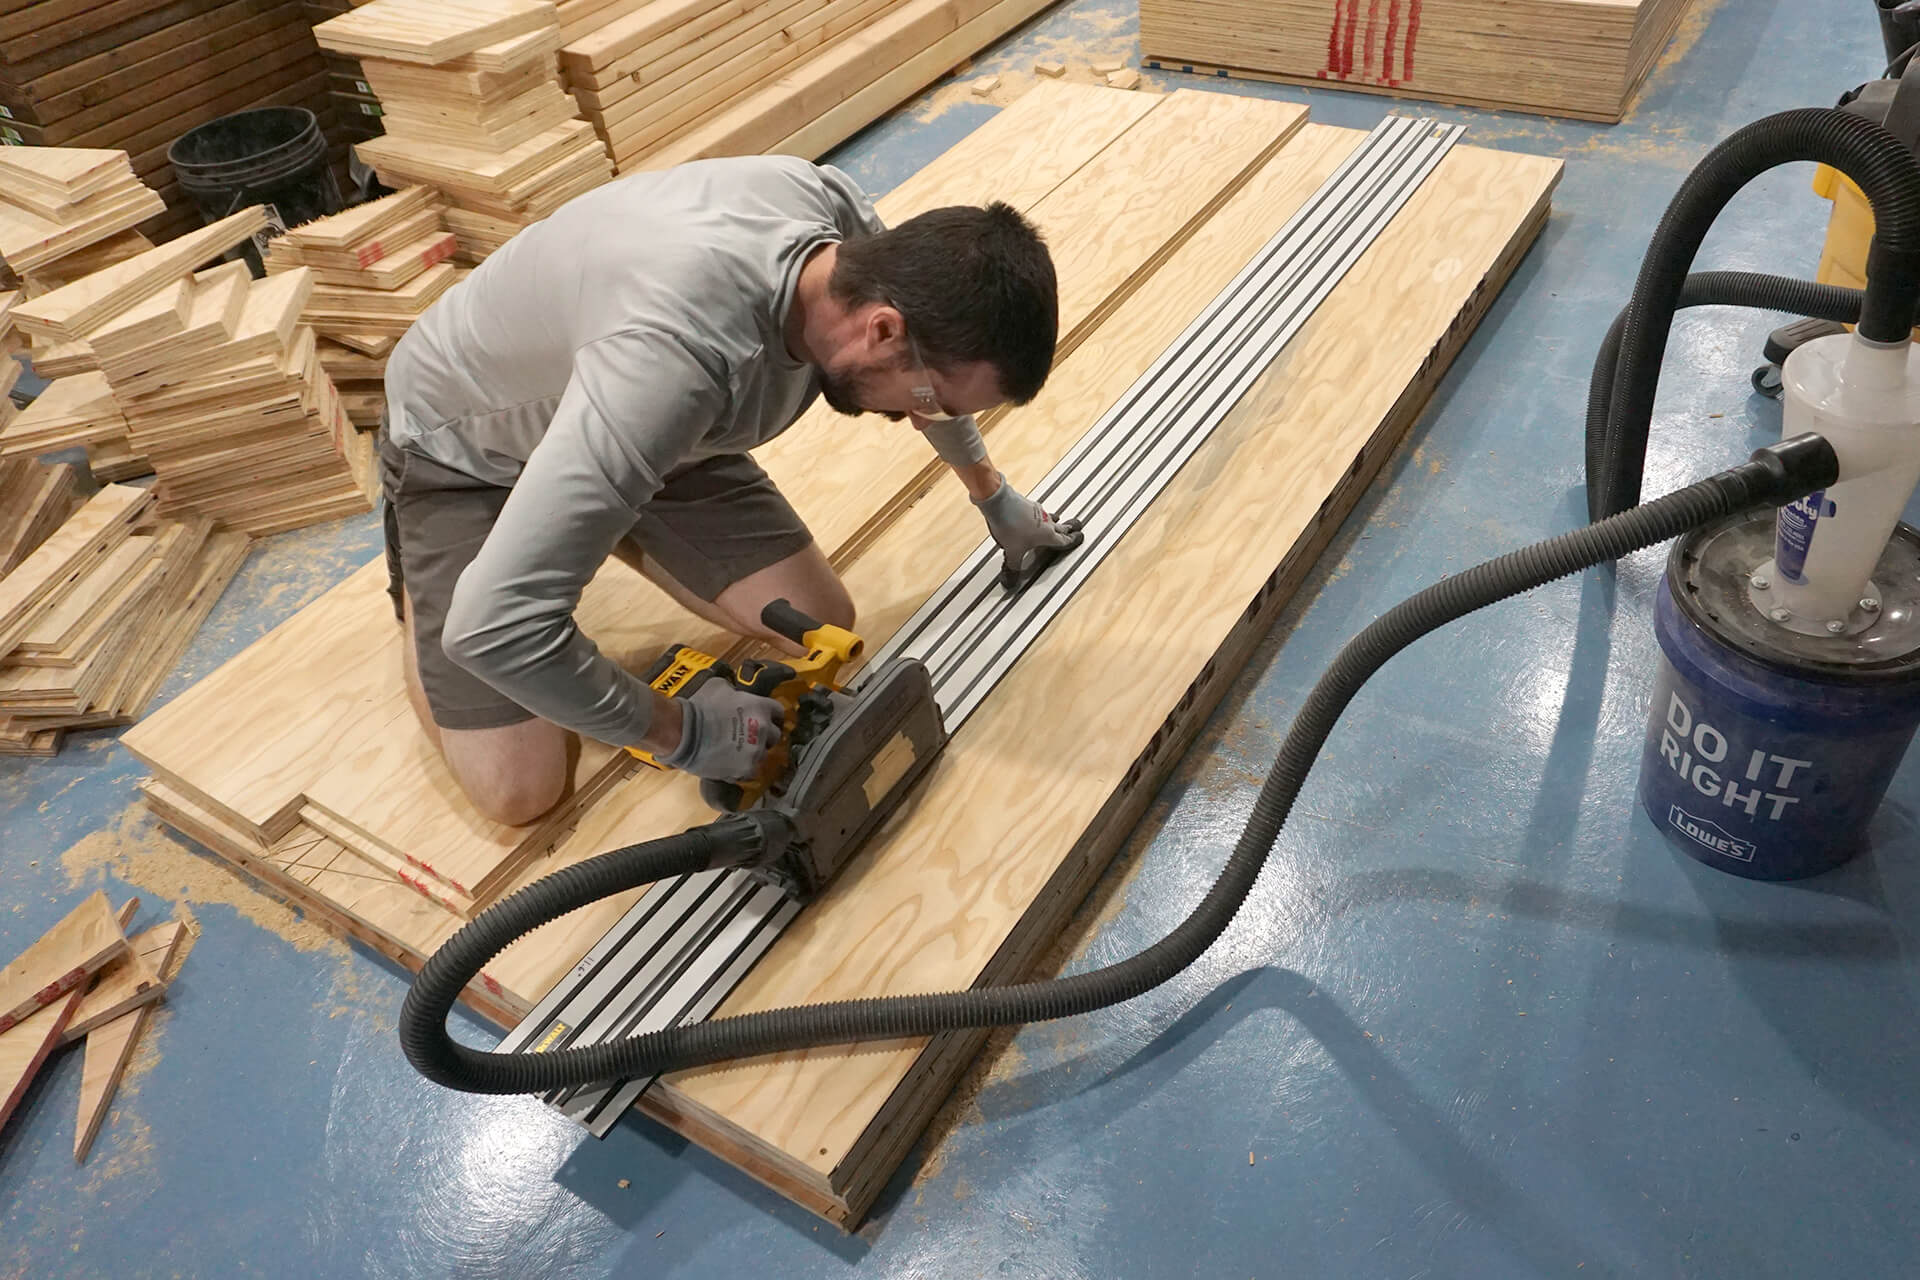
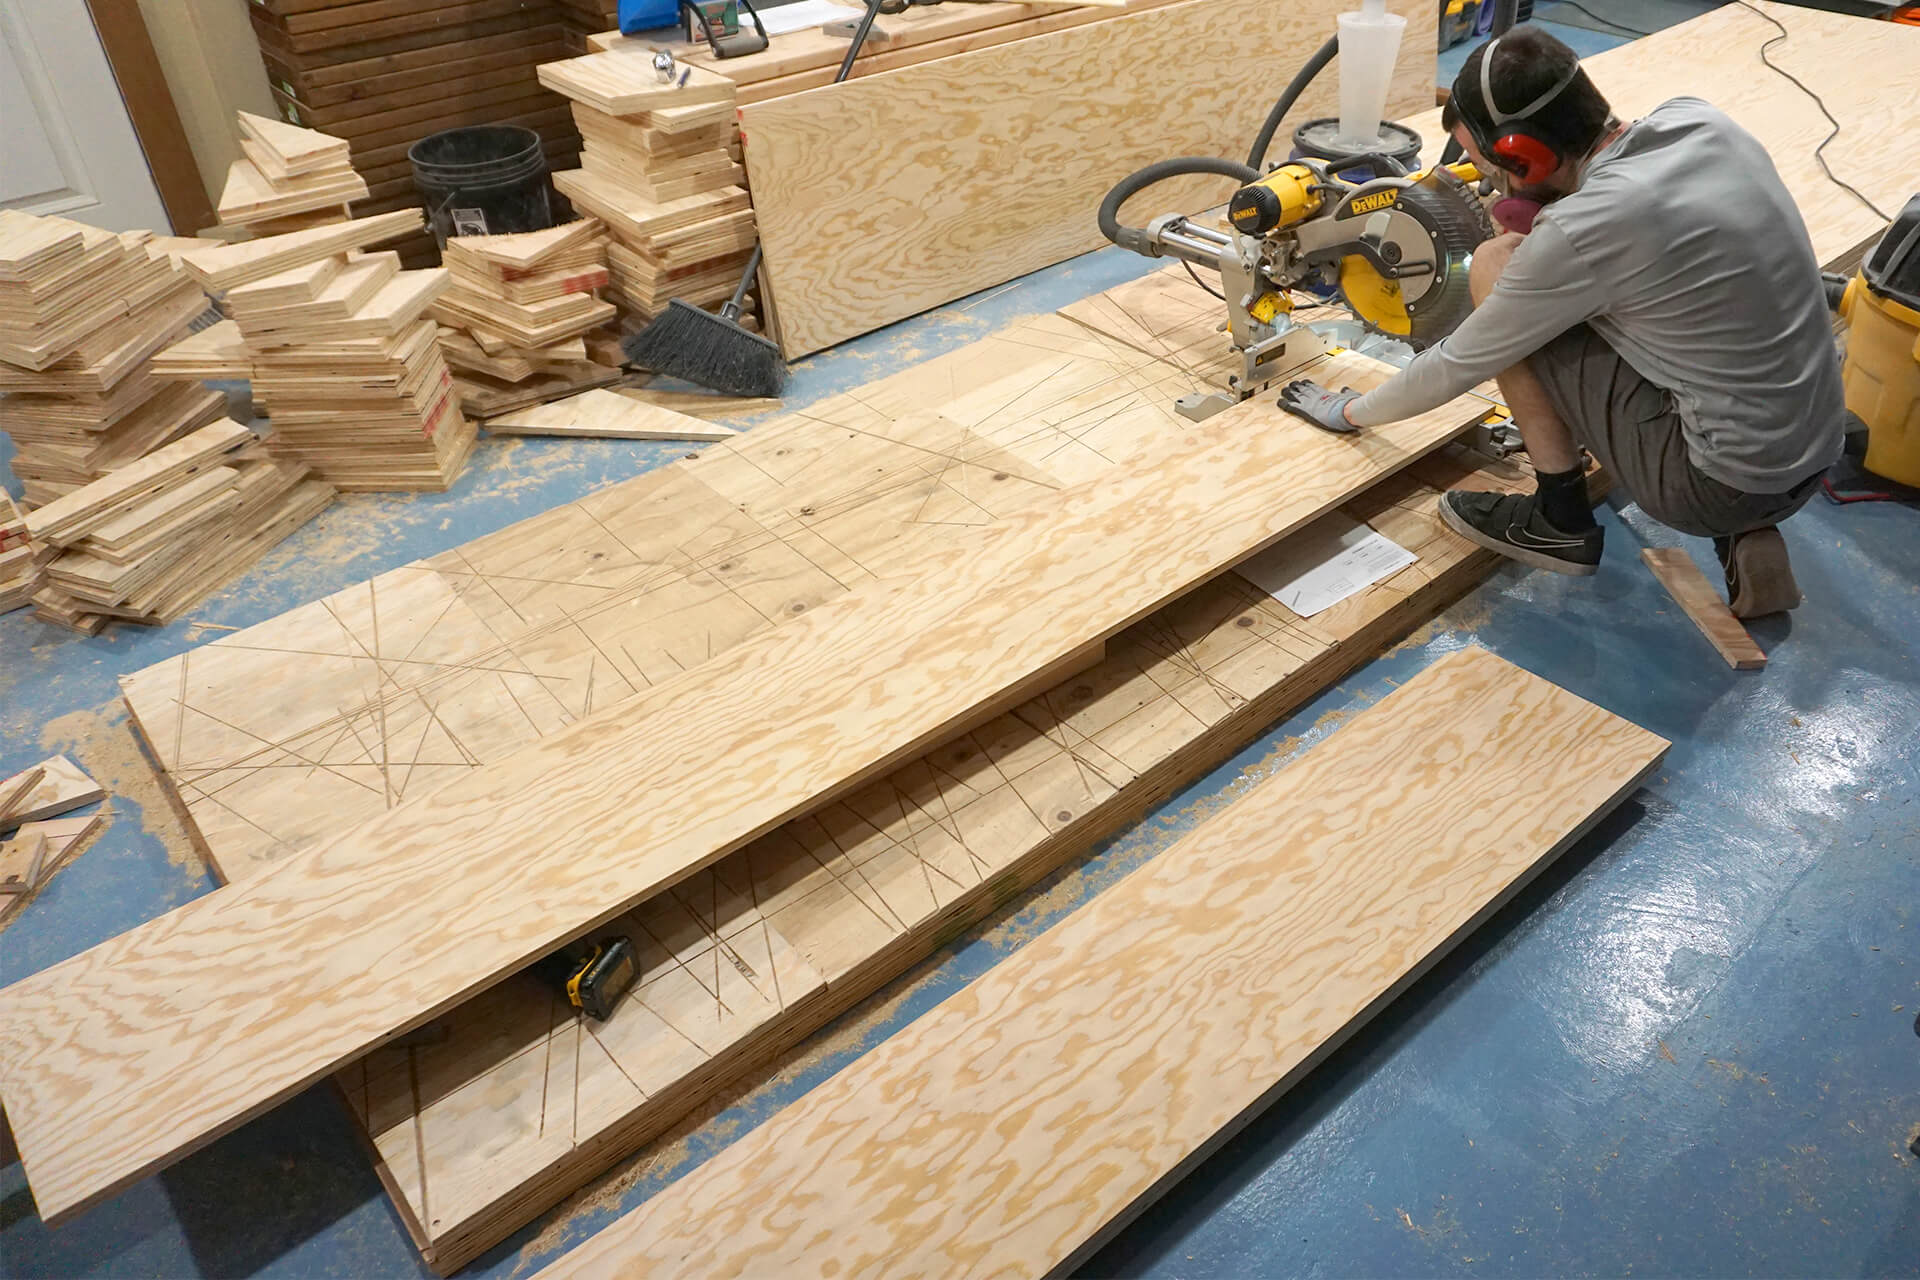
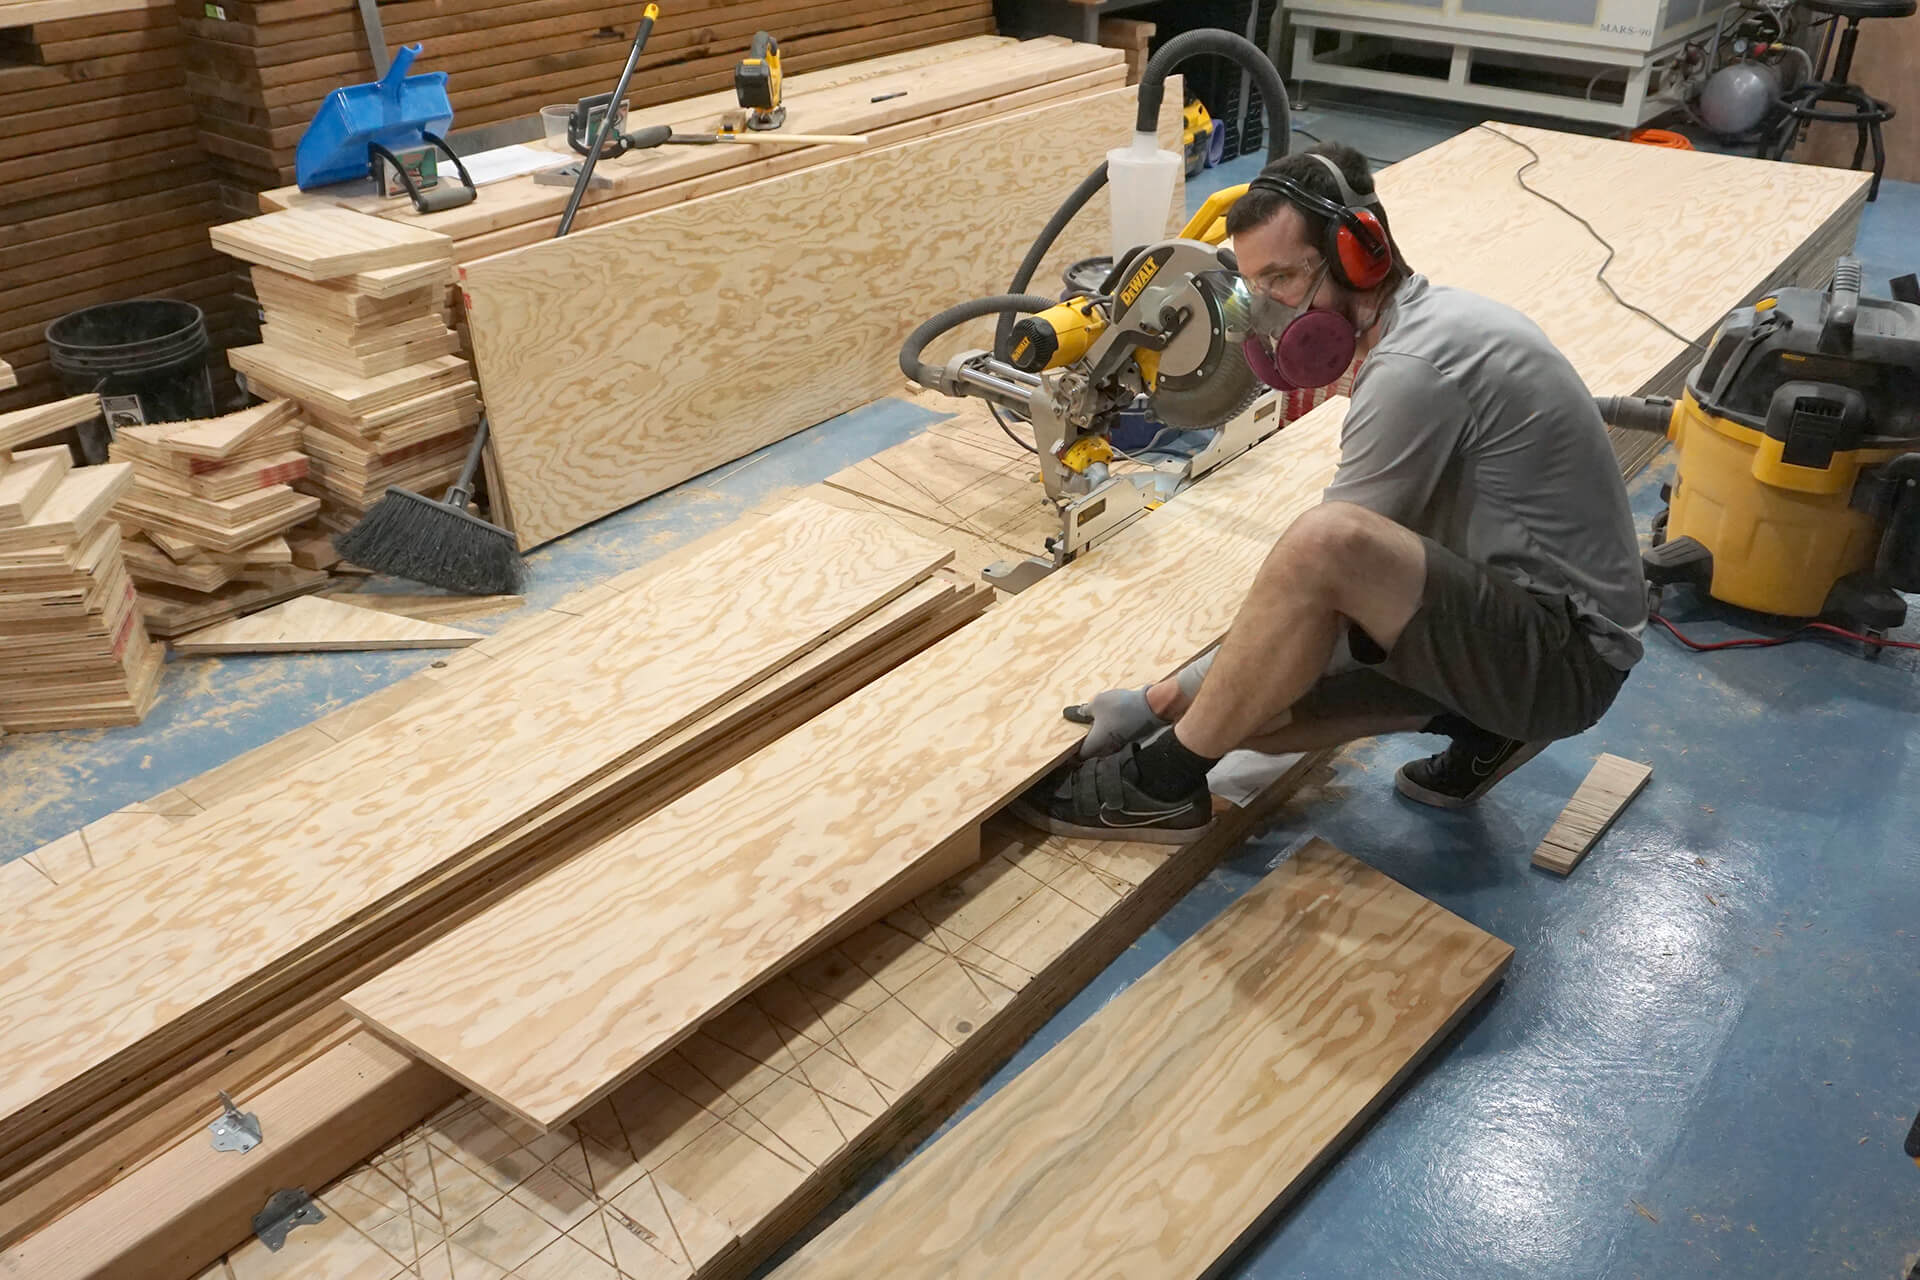
Stack the plywood so that every other panel is flipped, good side up, followed by good side down. That makes cutting mirrored parts easy. A track saw is required for cutting these.
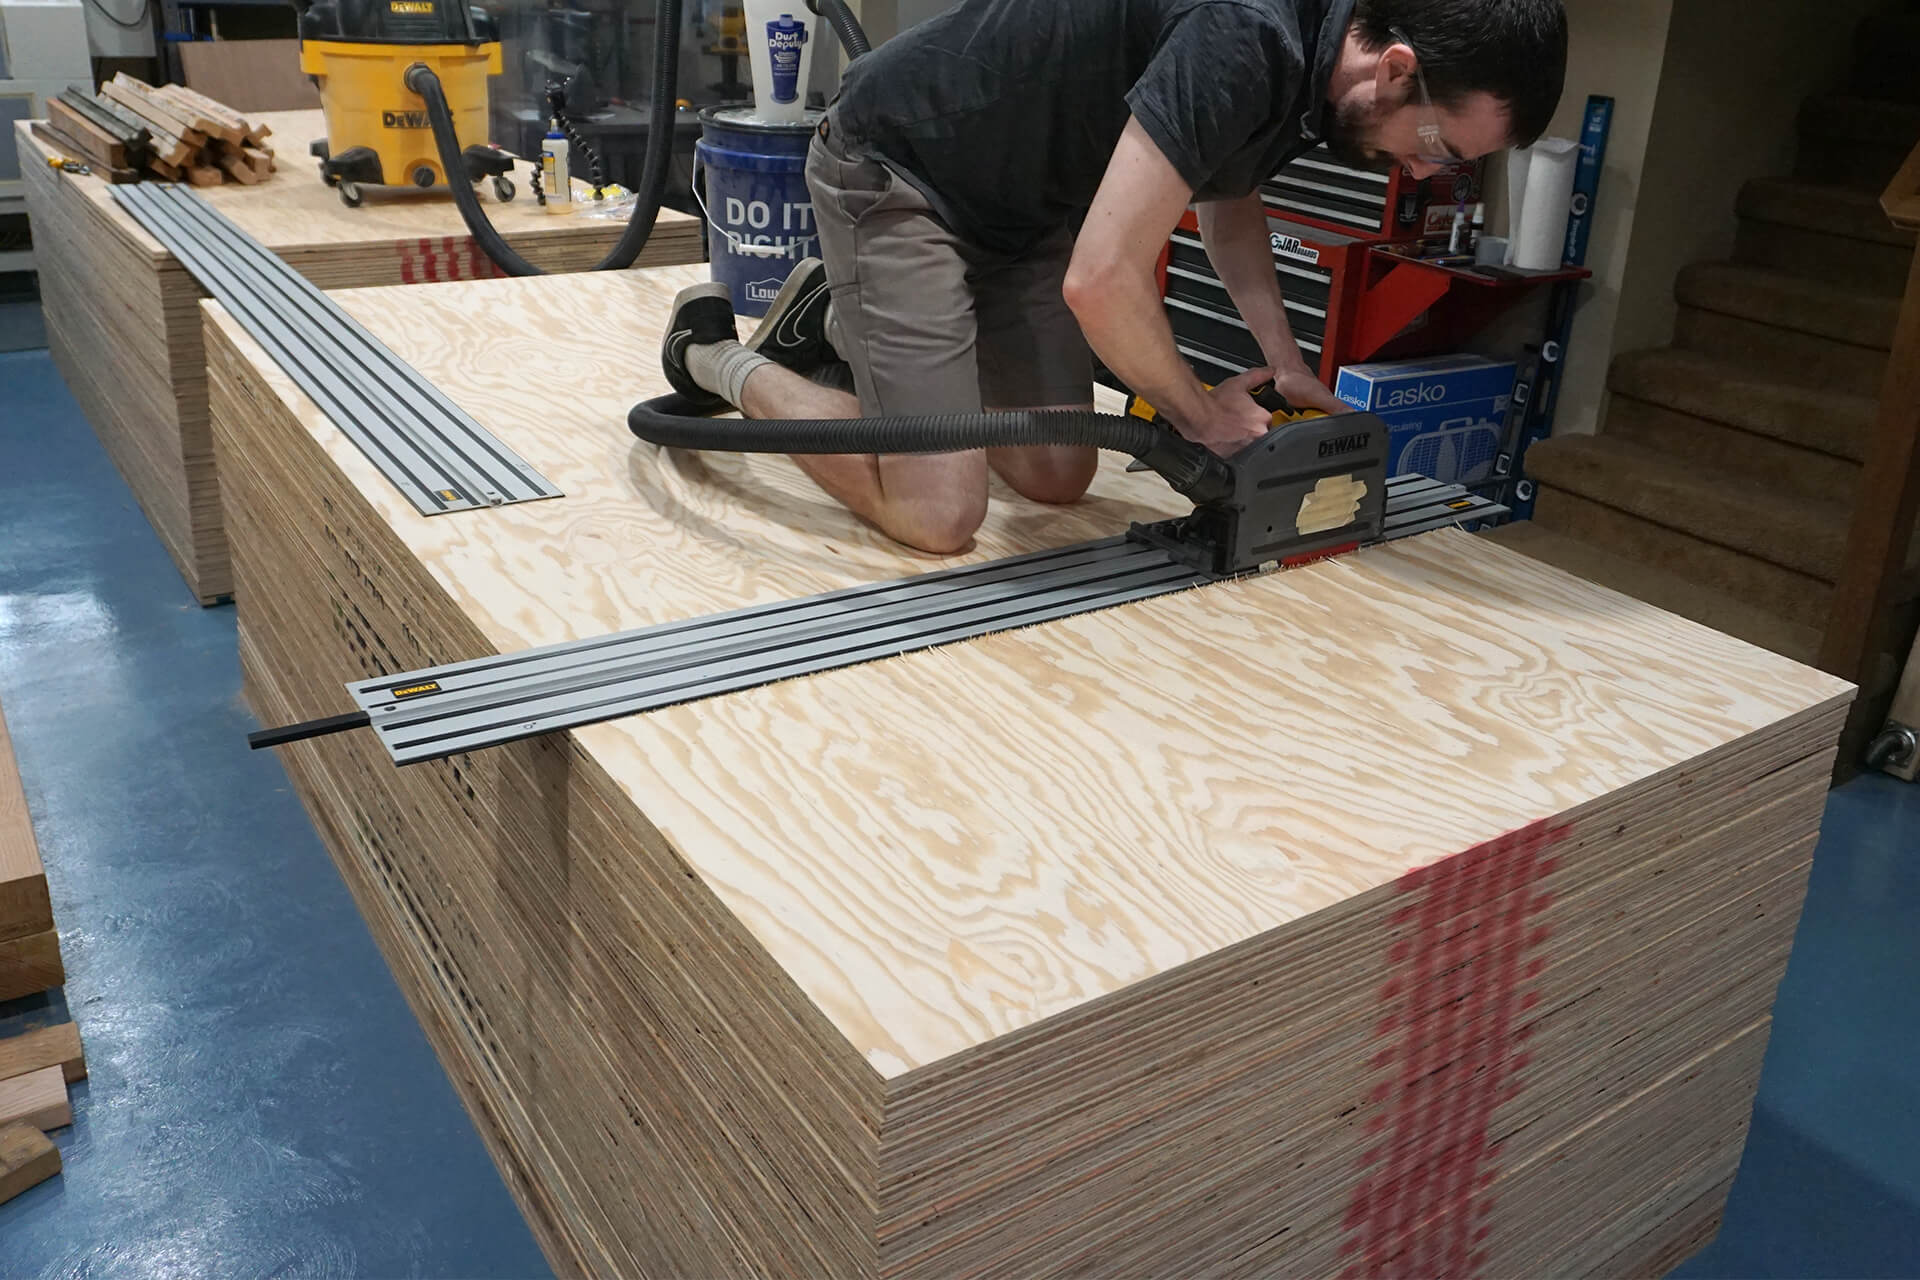
Ensure the top 3 sheets are perfectly aligned, that way 2 can be cut through, while the 3rd gets only slightly marked by the saw blade.
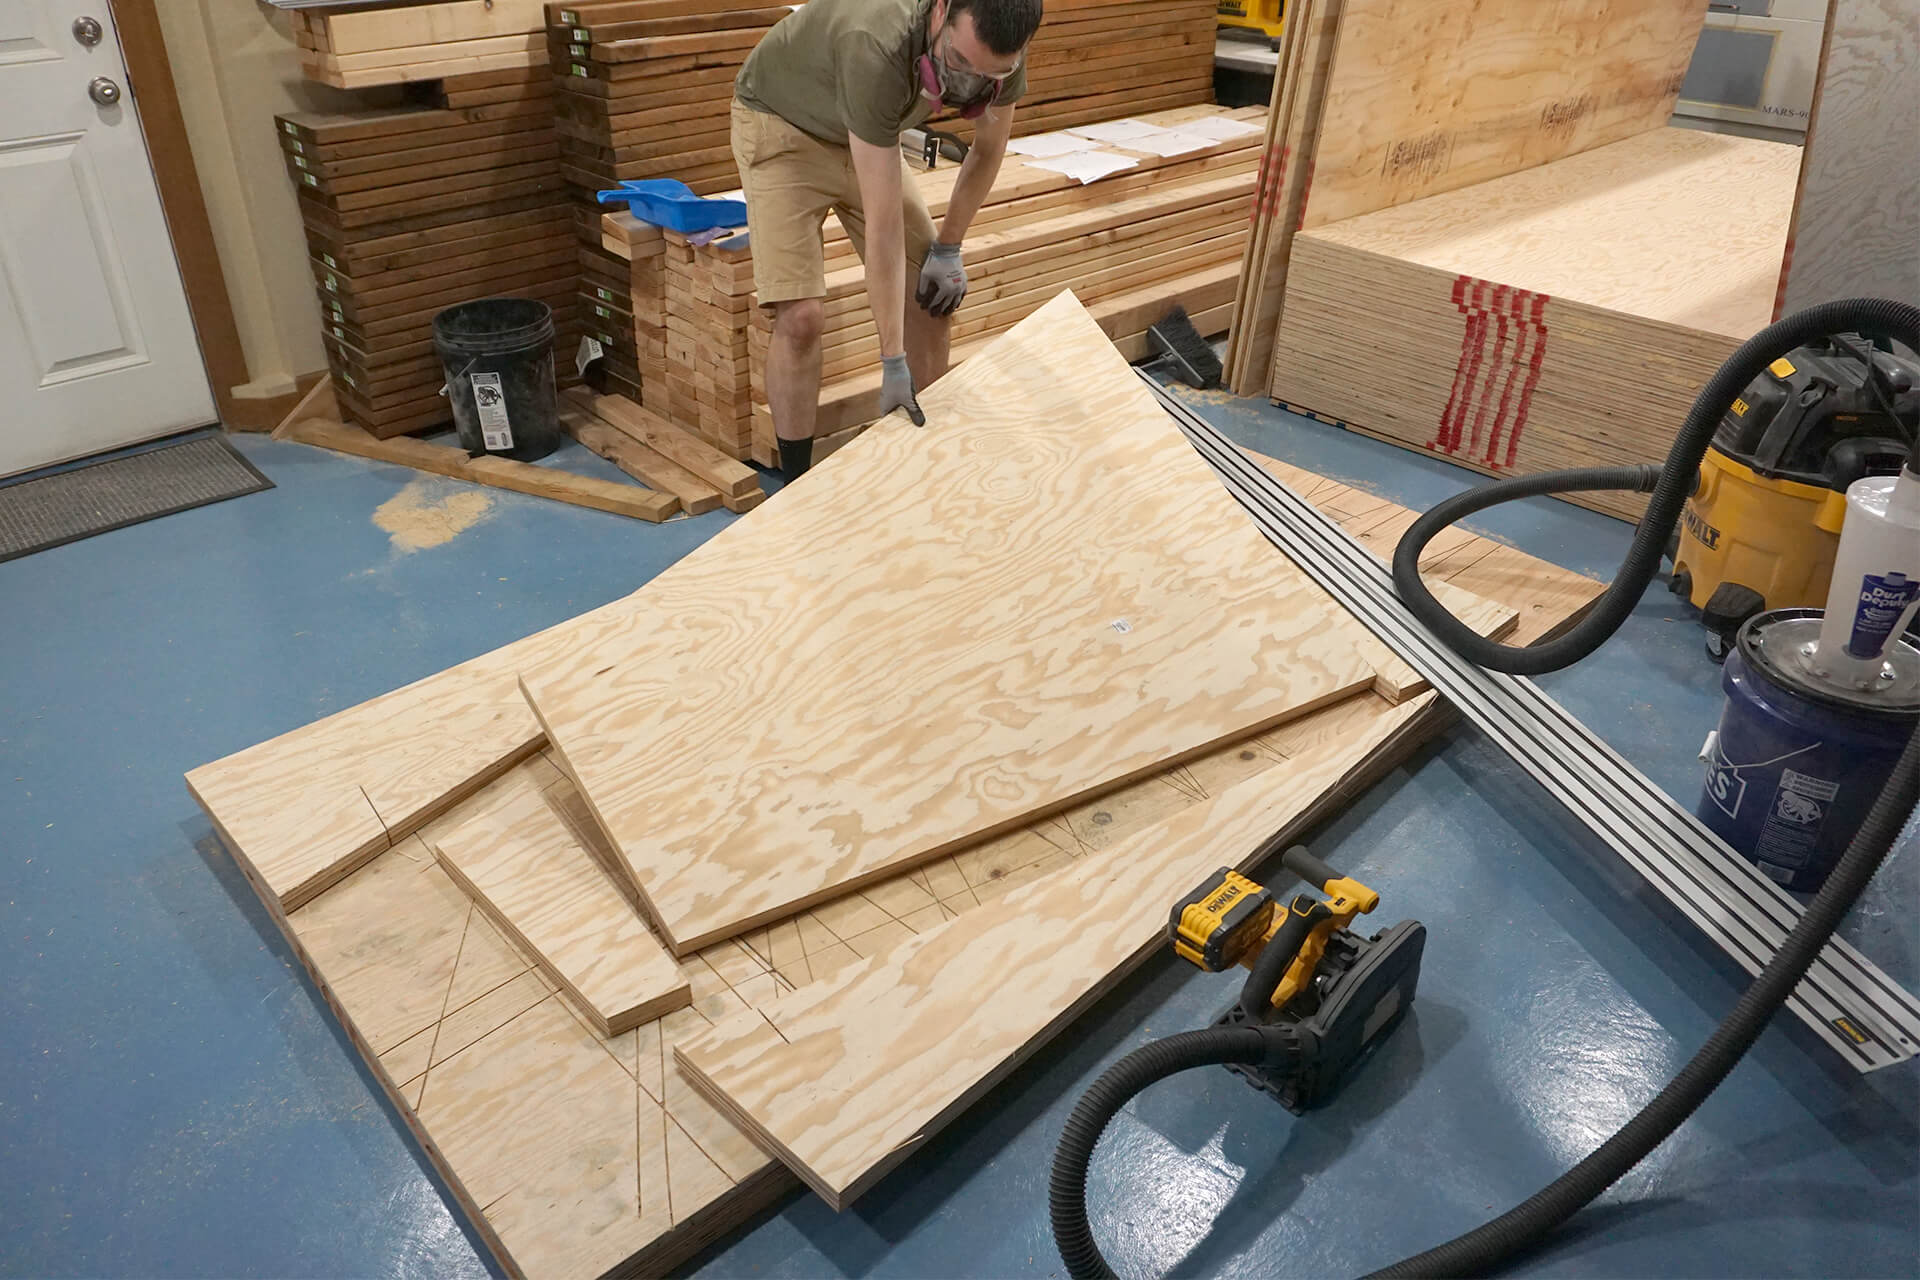
Each plywood sheet will have a remnant piece. These remnant pieces are useful for future tasks, but for now, only one is needed to be cut into small pieces that will form the Panel corners.
Rip the remnant to the required Panel corner piece size.
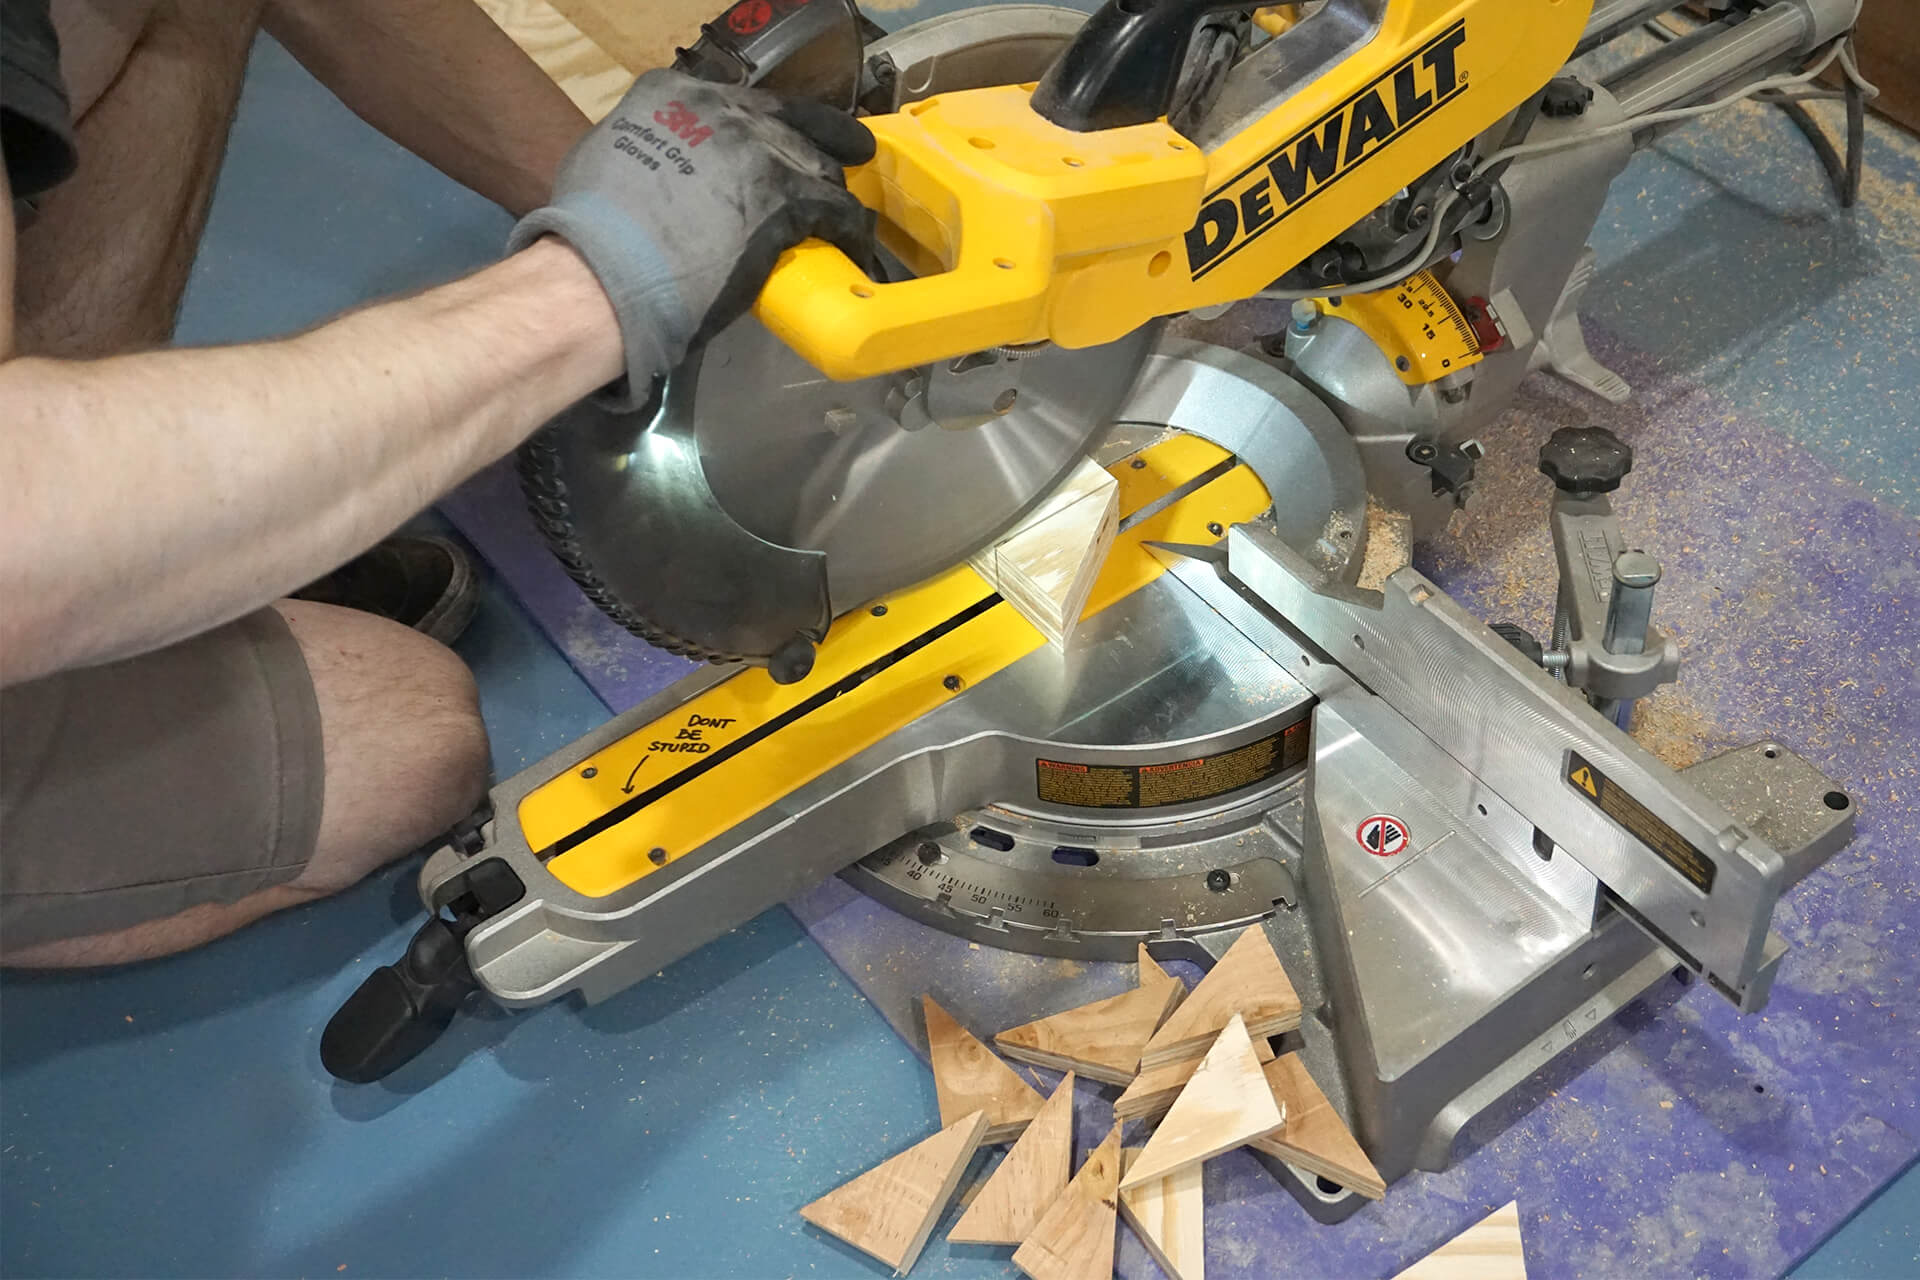
Cut the corner pieces. Cut half of them mirrored so that the good side of the plywood can match with the rest of the Panel.
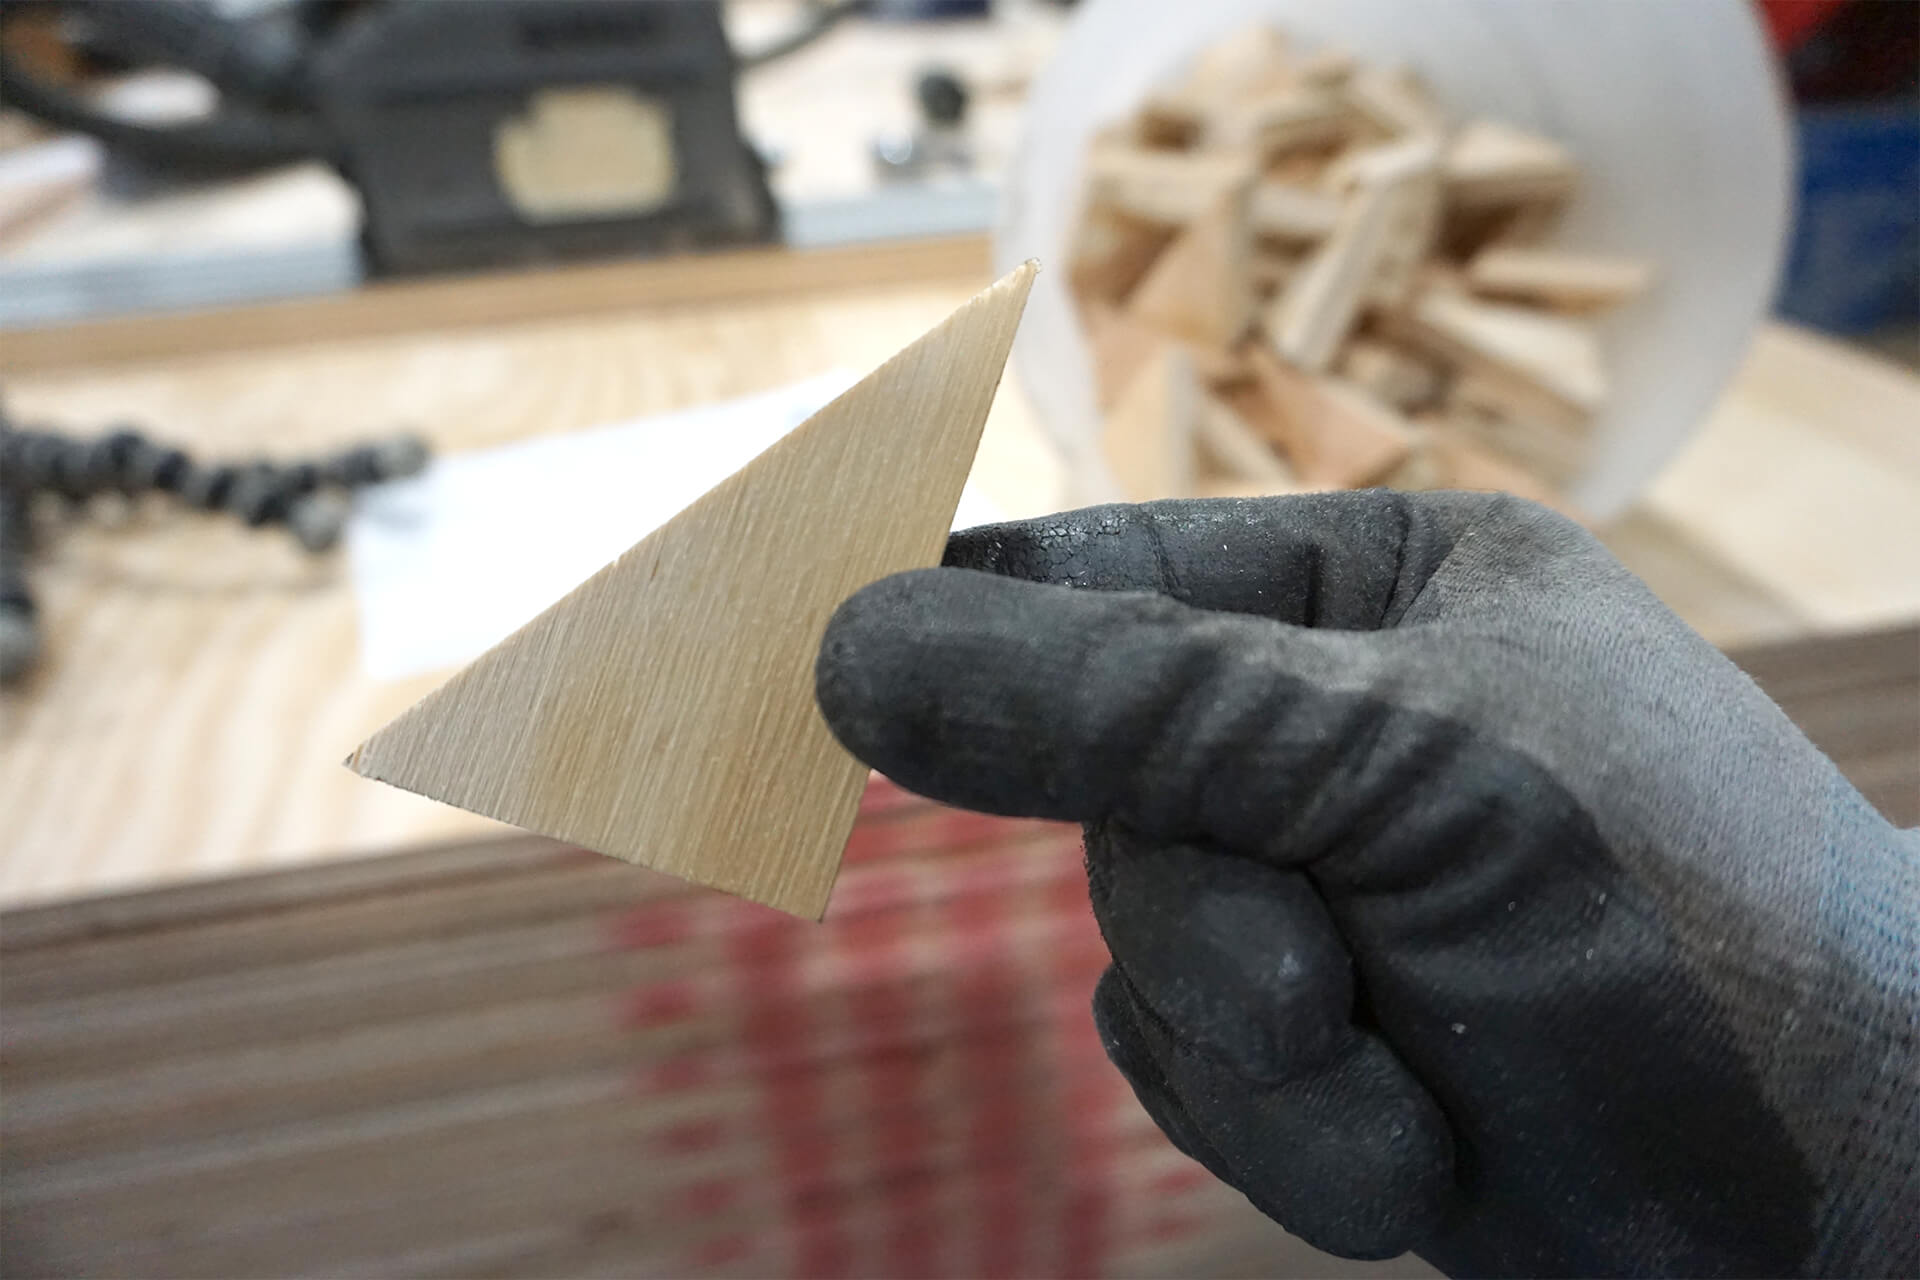
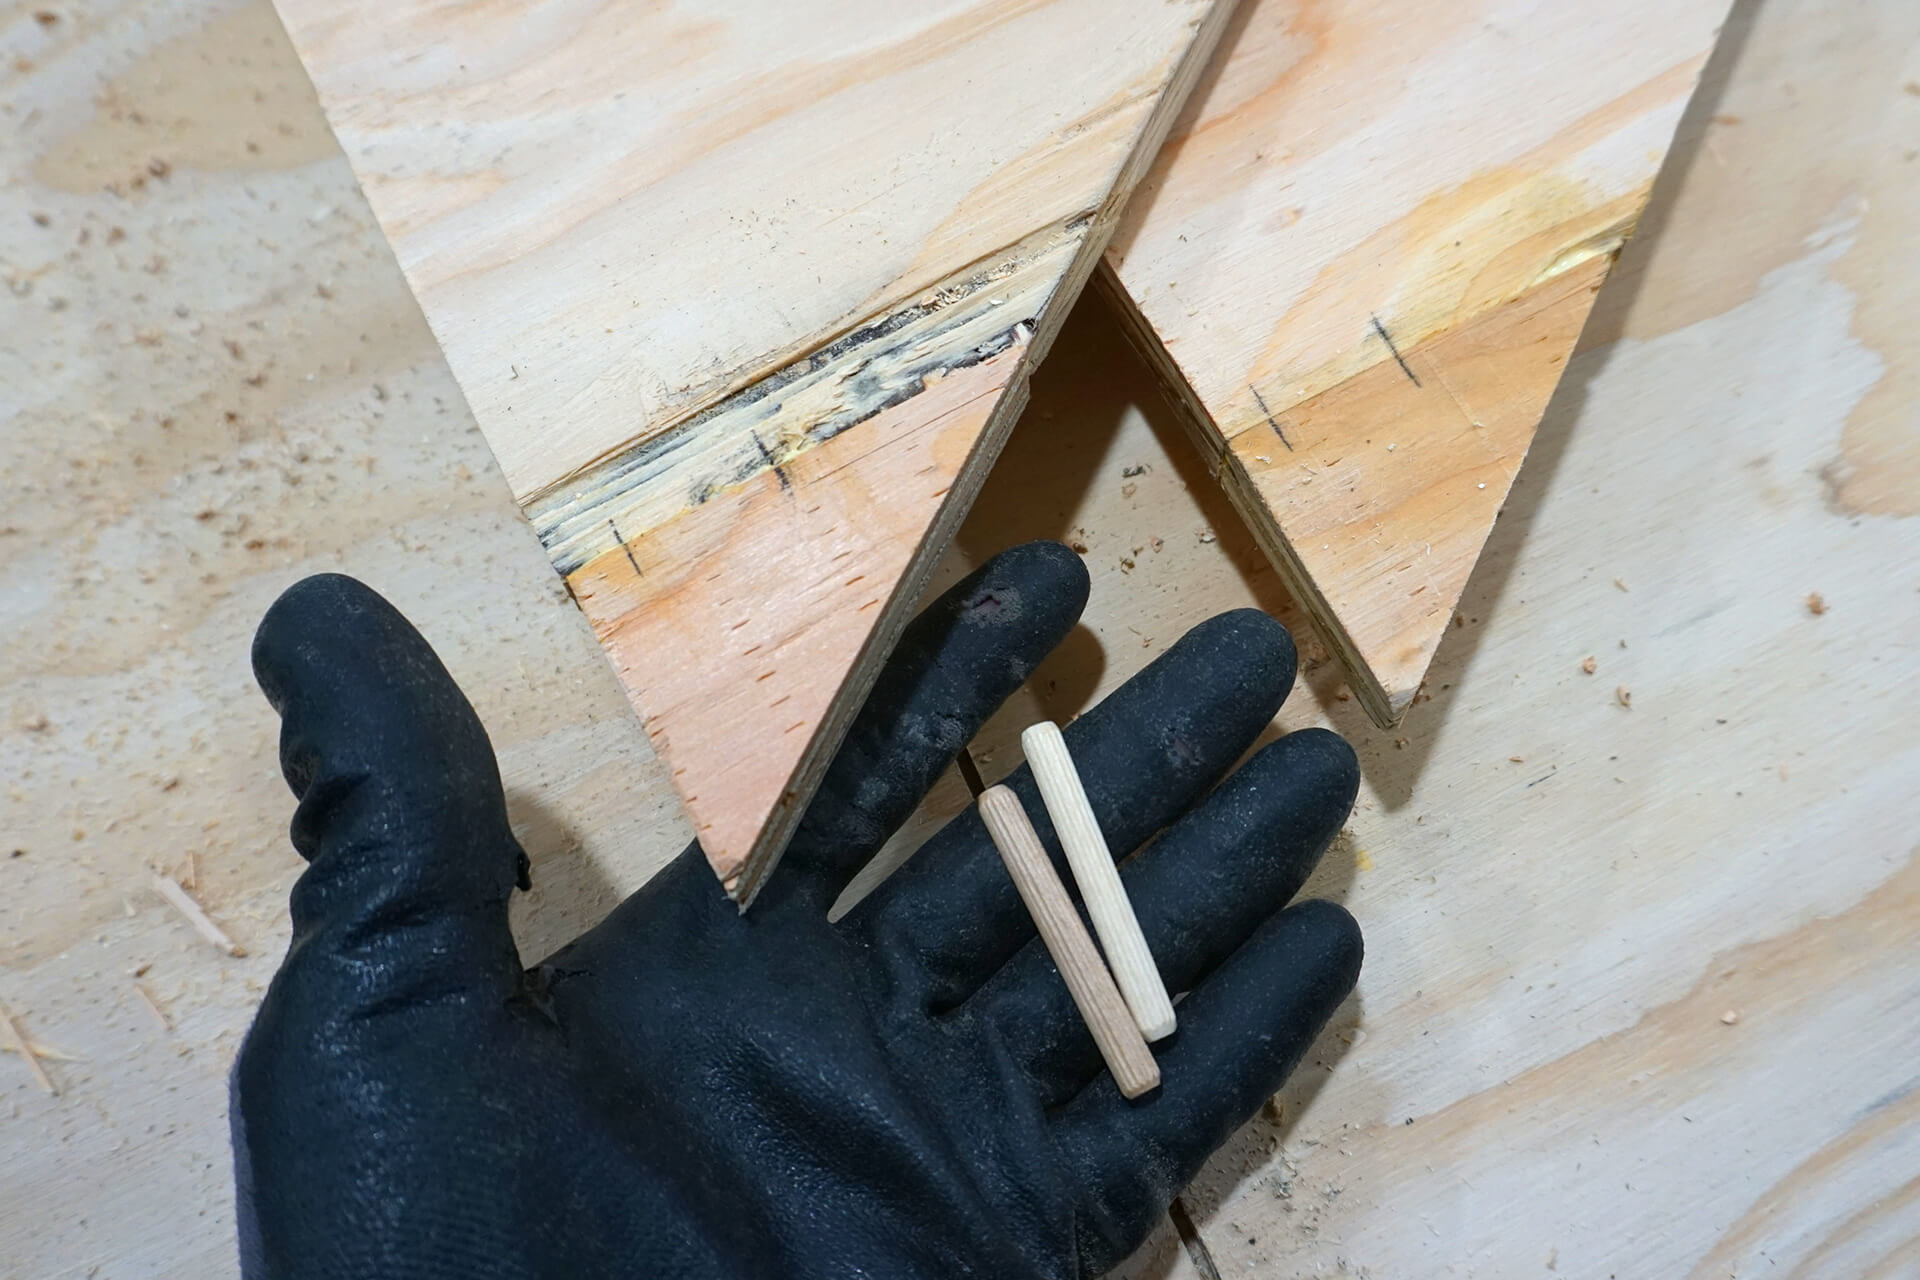
A completed Panel corner piece, with a bucket of them in the background.
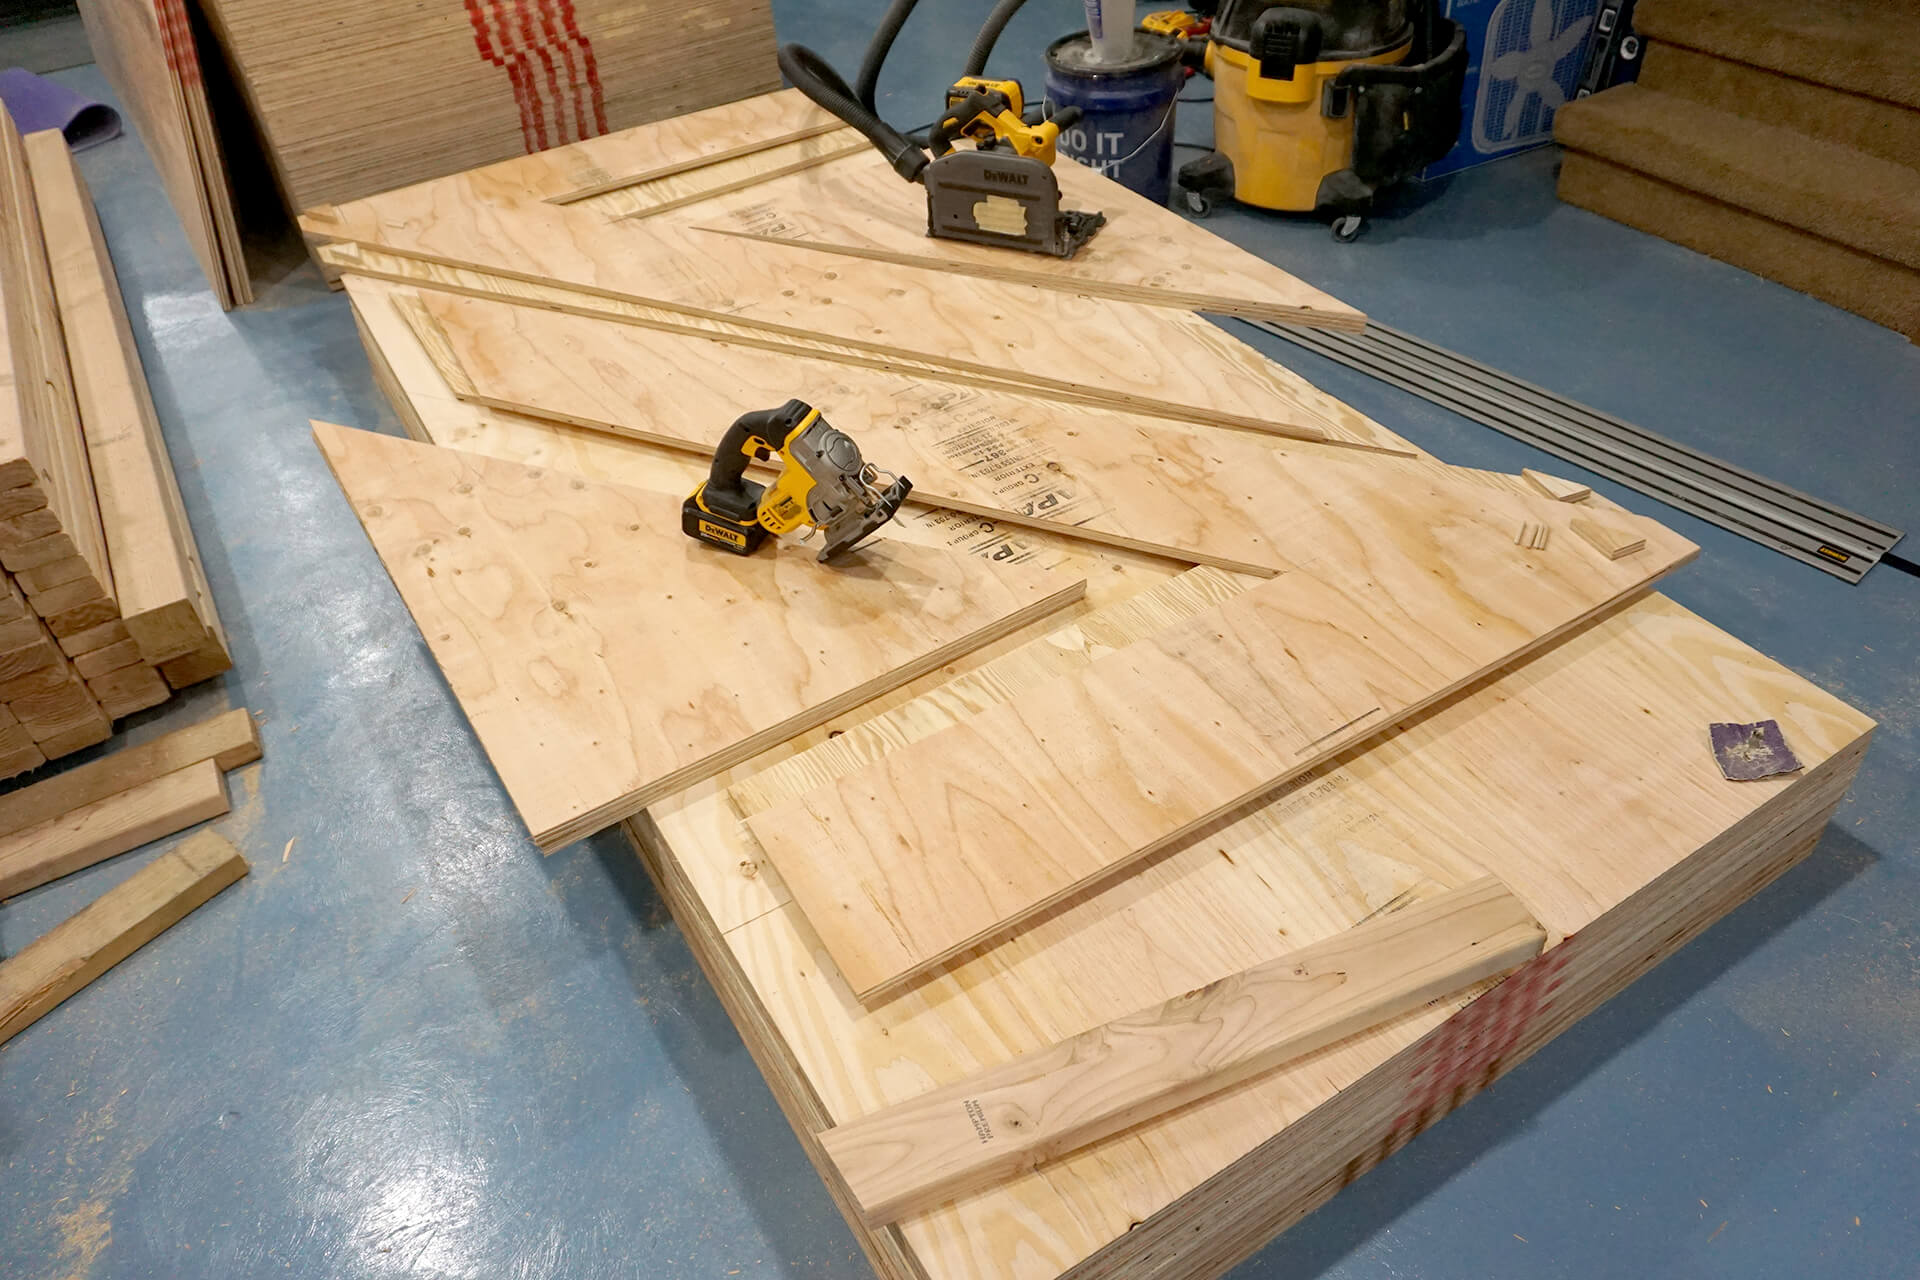
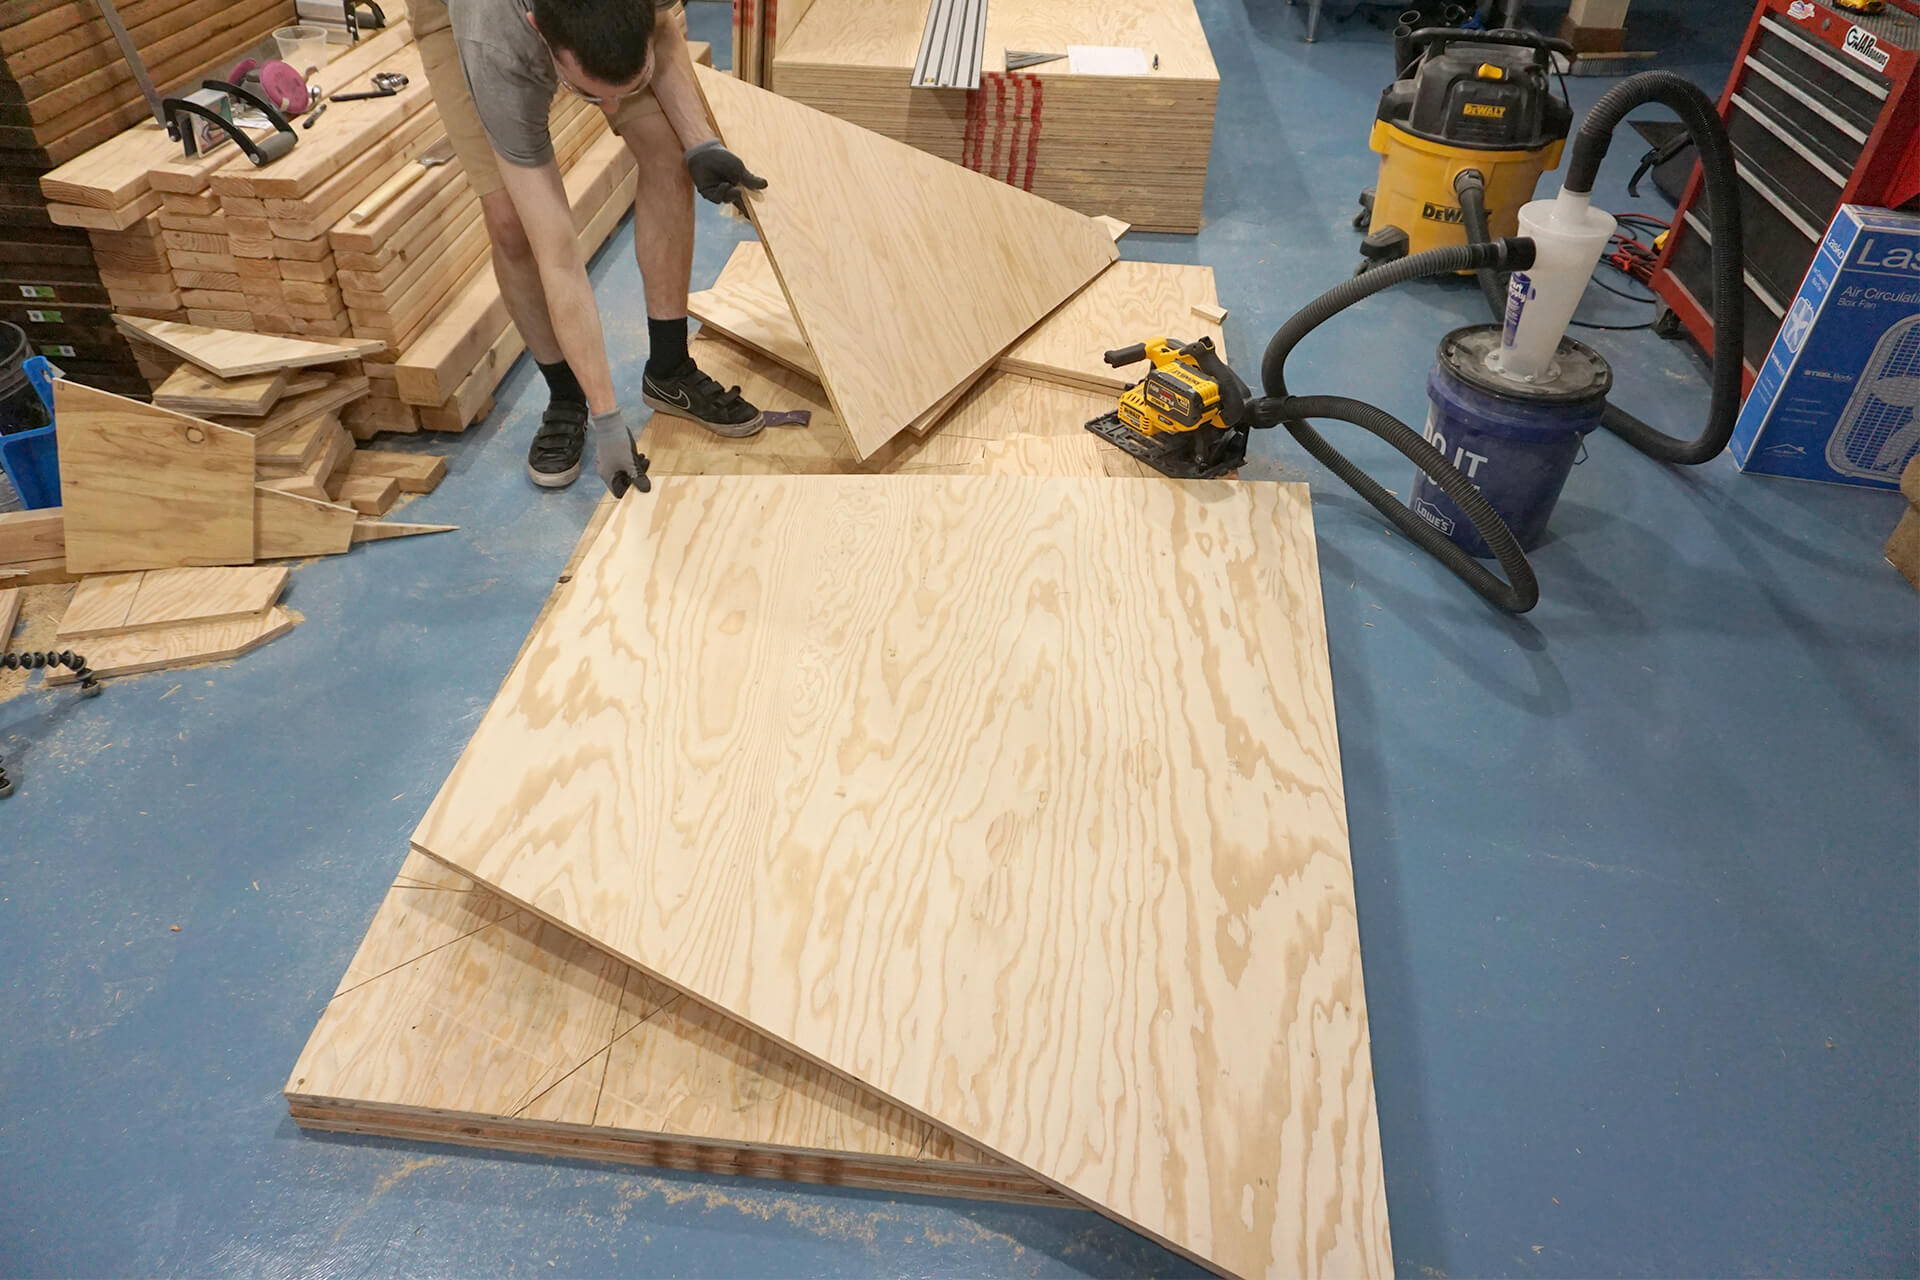
Finish cutting the first two Panels, which will form a set (mirror images of each other) due to the alternating good side up of the plywood.
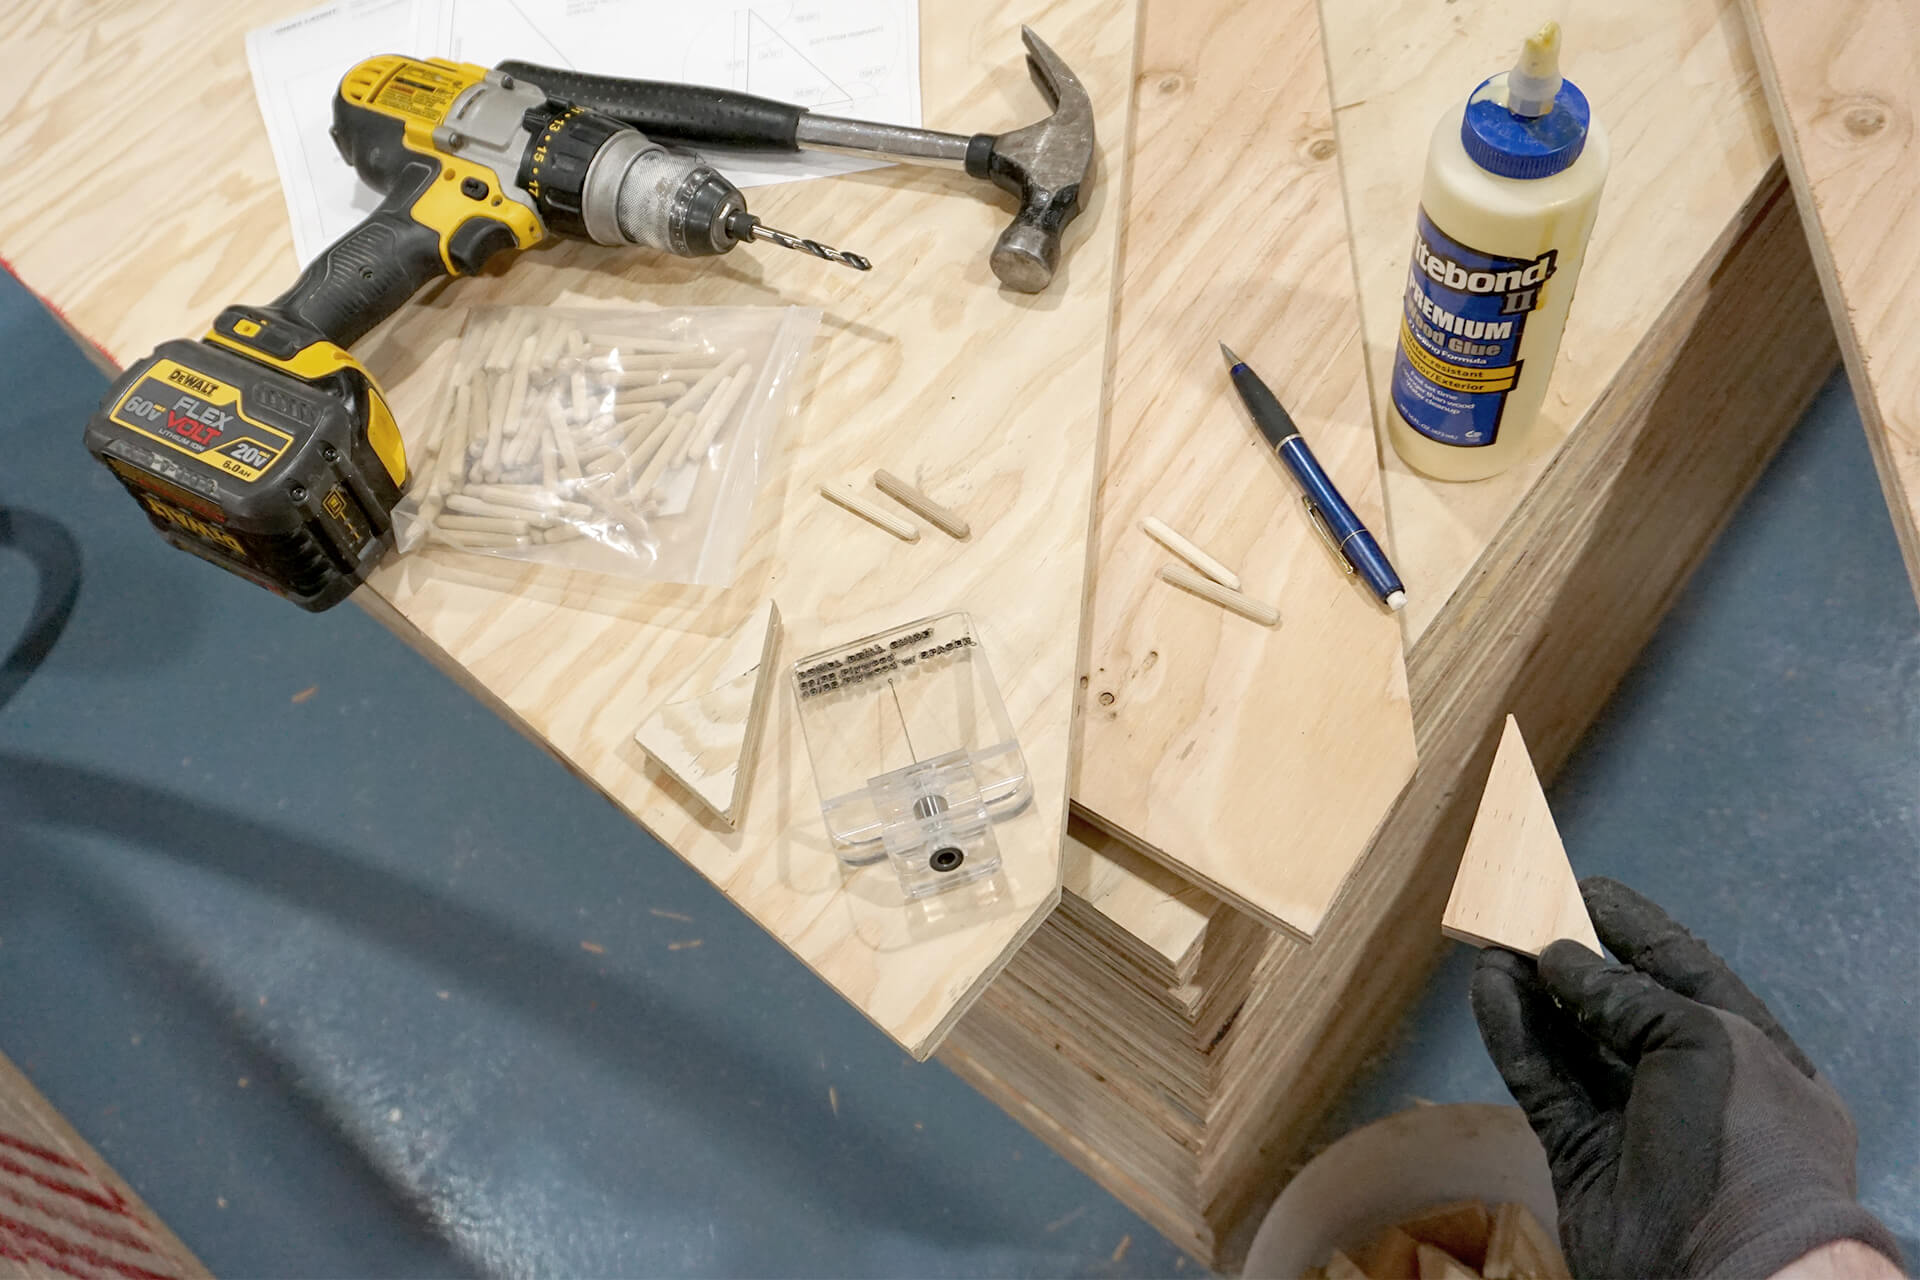
Add the corner pieces as each Panel set is cut. Use wood glue and dowels (or an equivalent fastener) to attach them.
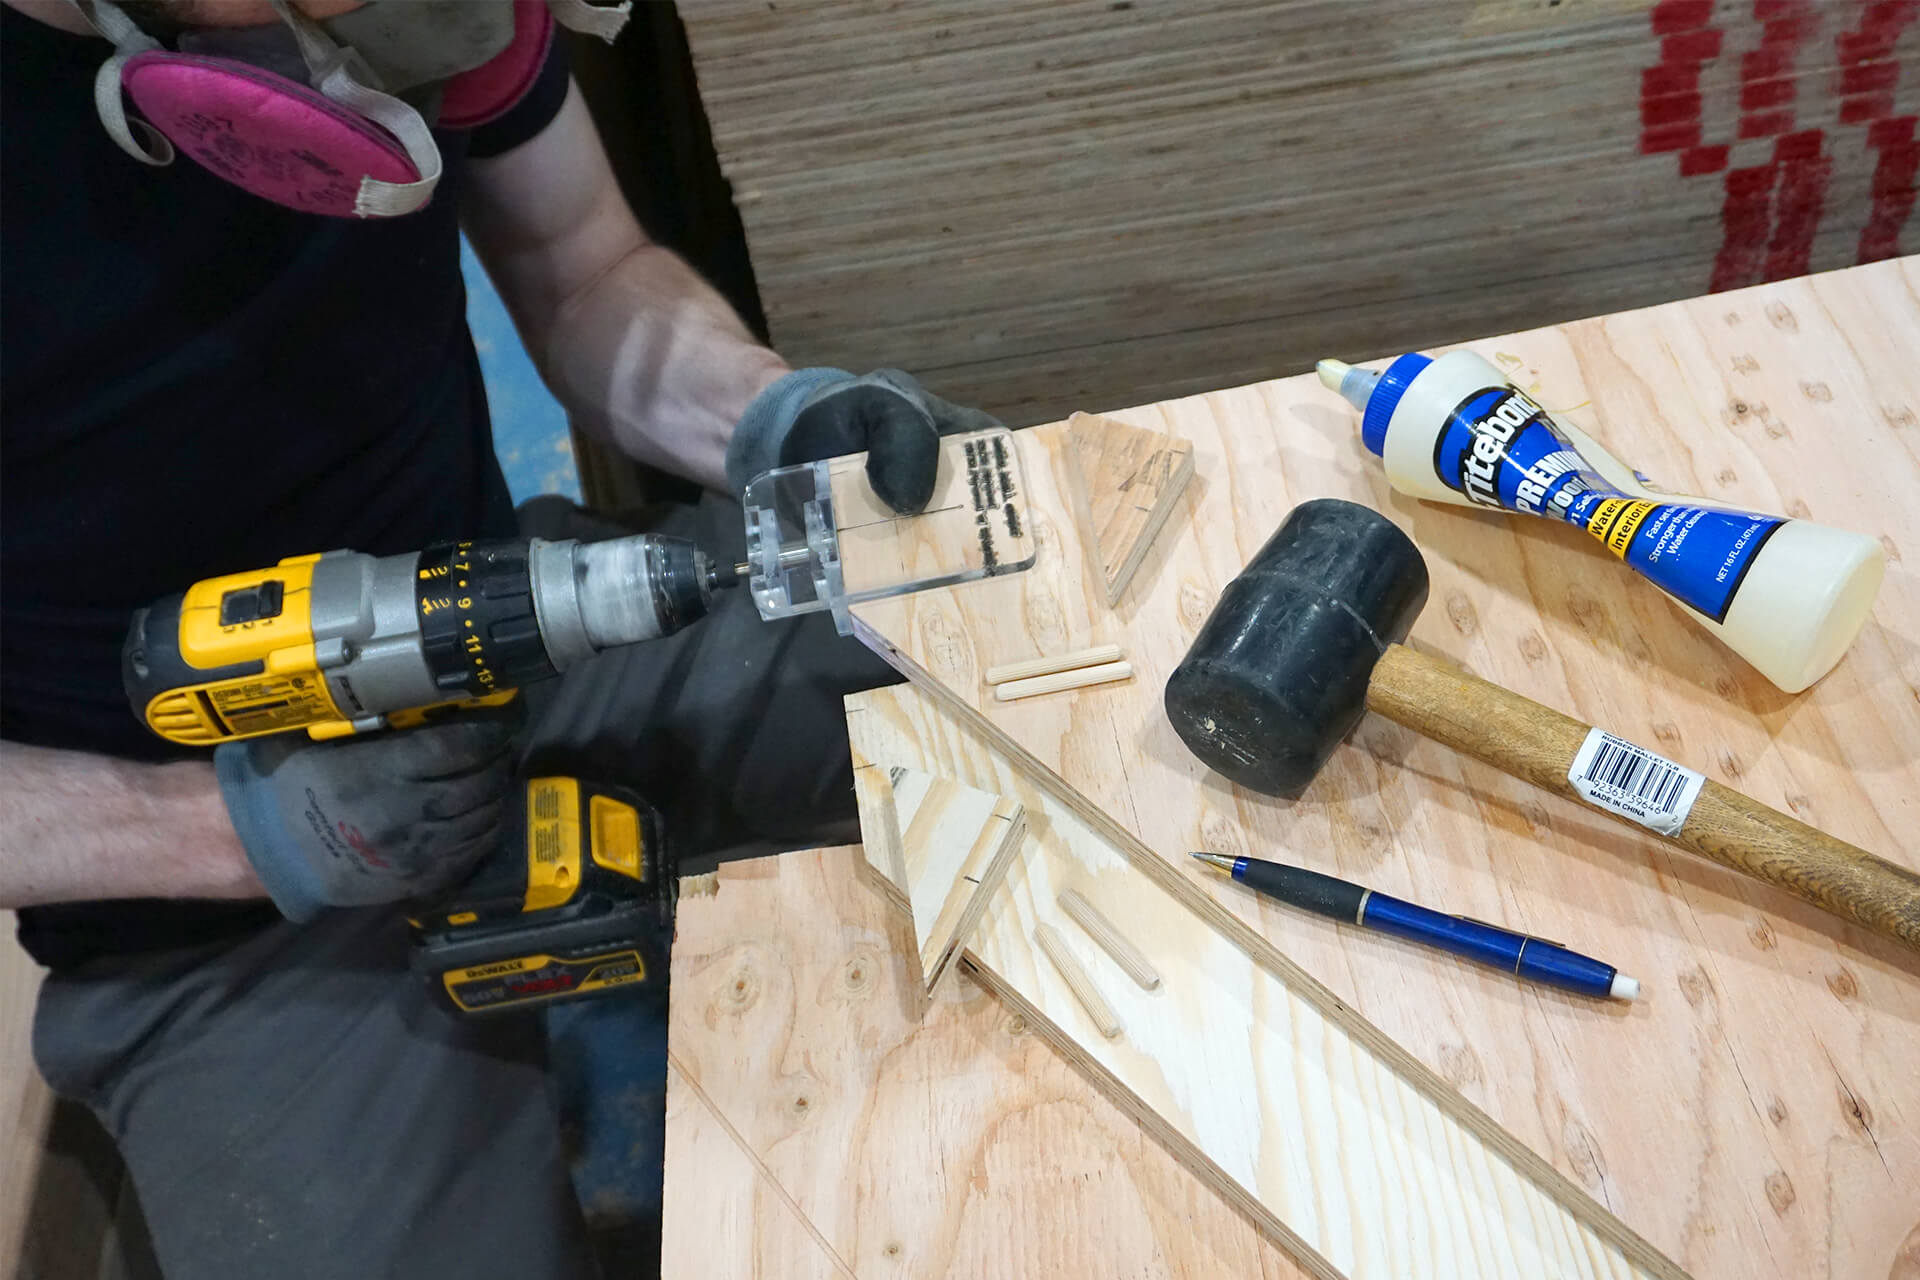
Mark and drill for dowels. A domino tool can also be used. Any method that results in a sturdy butt joint is acceptable. Pictured is a homemade drilling jig.
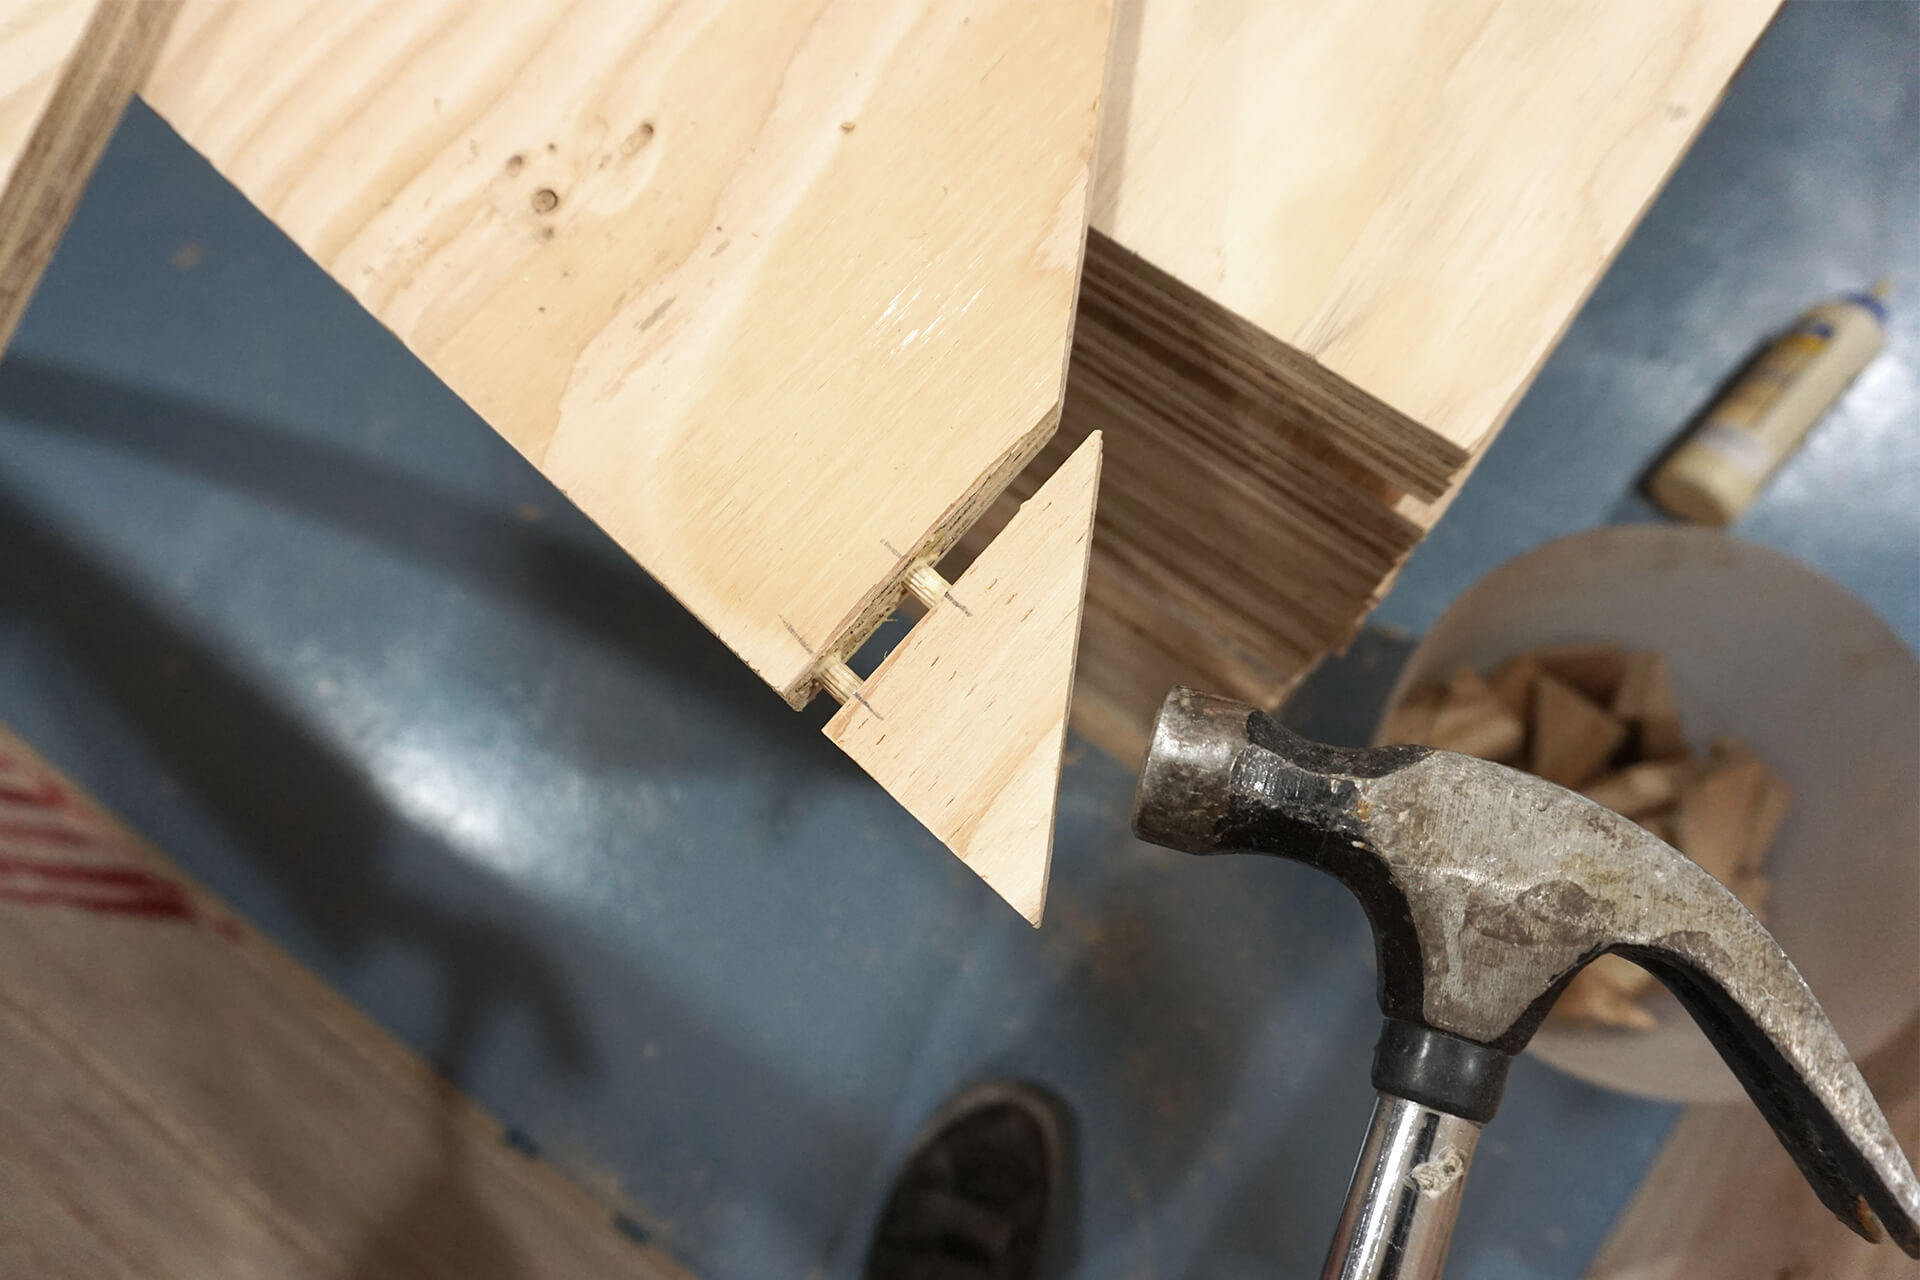
Apply glue to the edge, insert glue-covered dowels (or dominoes), and hammer the corner piece into place until flush.
Detail shot showing the corner pieces installed.
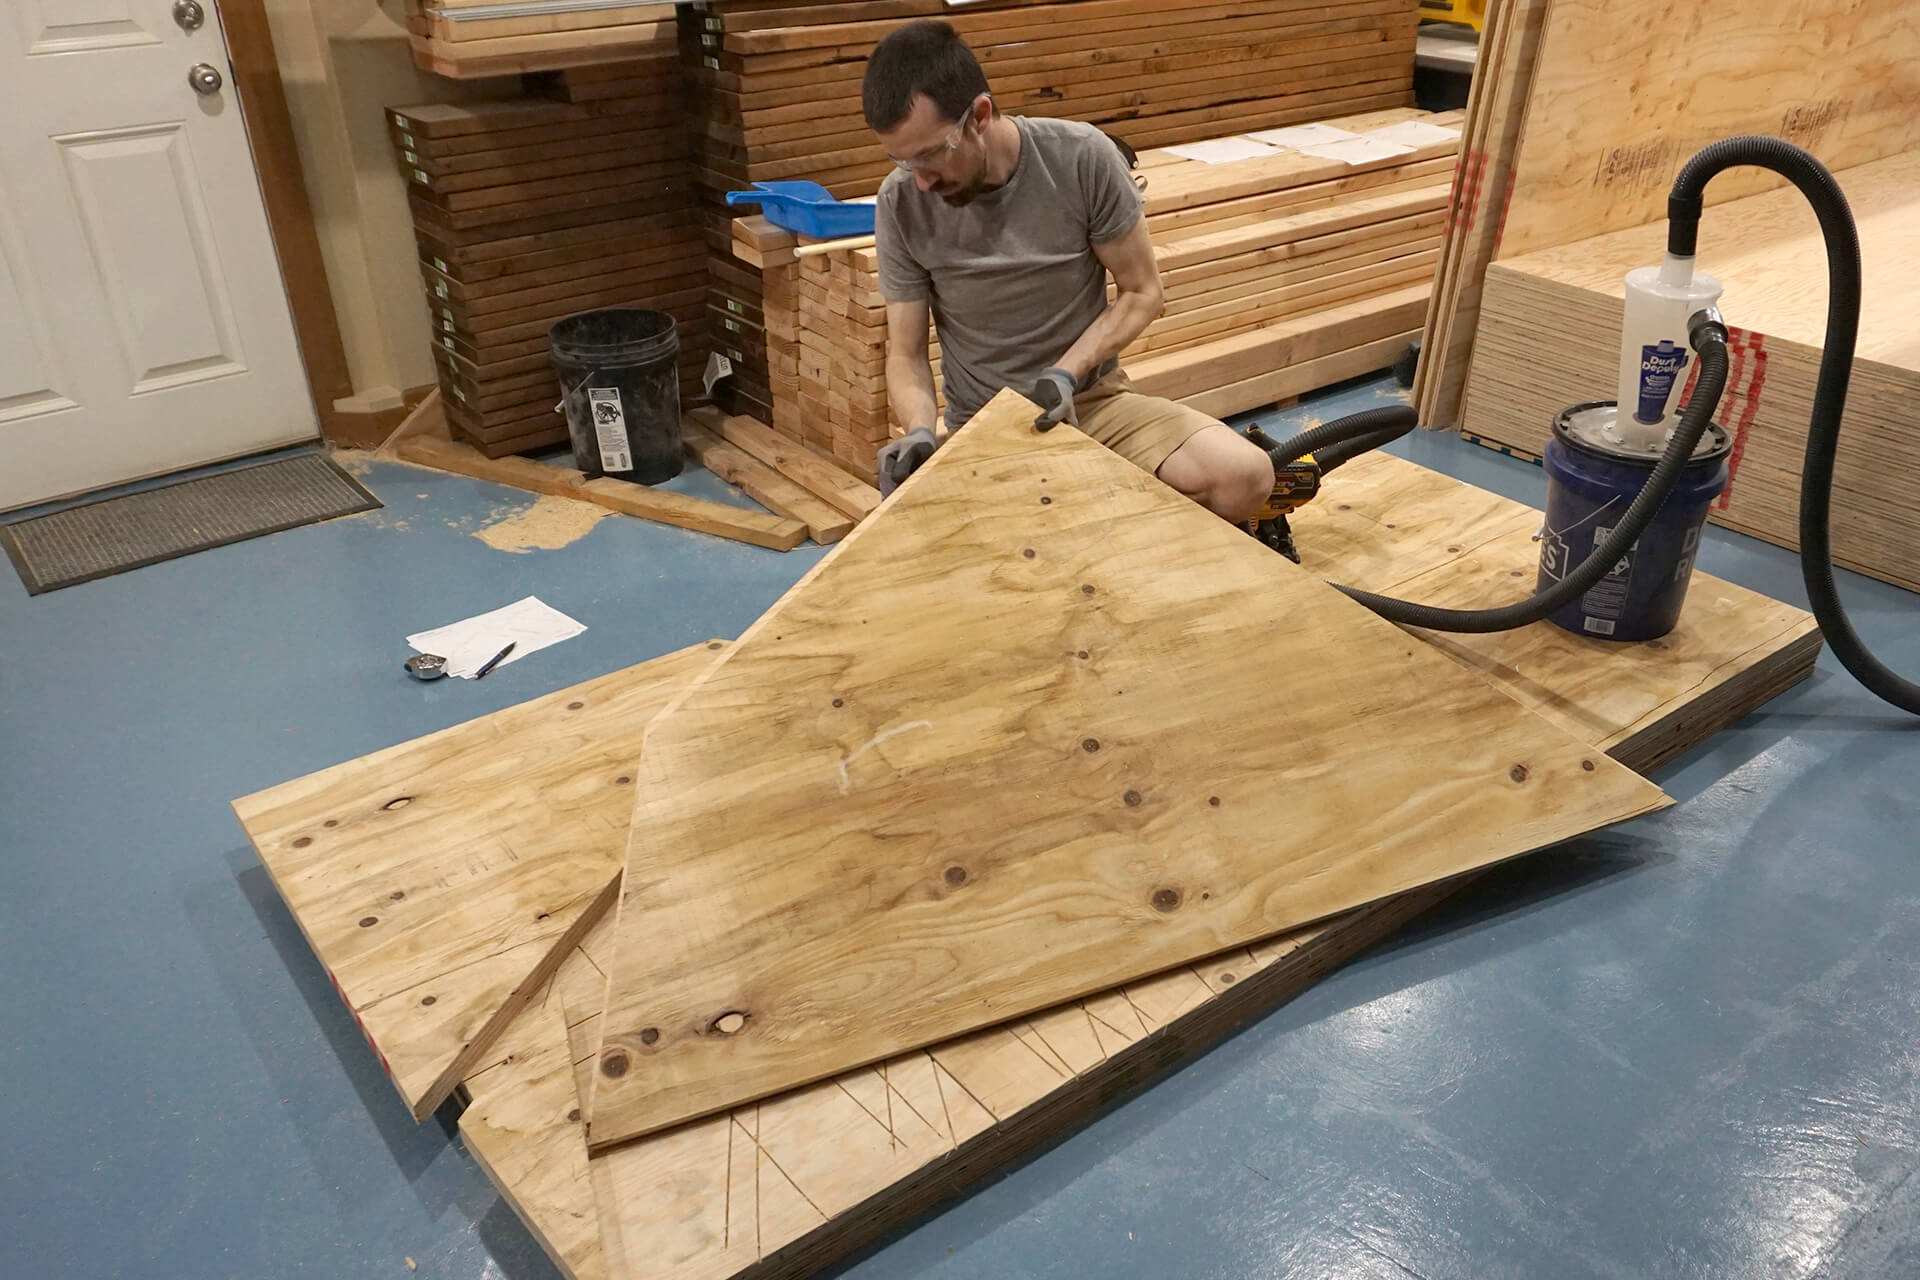
Repeat for all of the Panels. Ensure the plywood is perfectly stacked and aligned when cutting, and double-check measurements to avoid compounding errors.
Some of the Panels are cut to be Panel-Windows, and one is cut to be a Panel-Egress. Place some plywood remnants underneath these sheets as a sacrificial cutting surface.
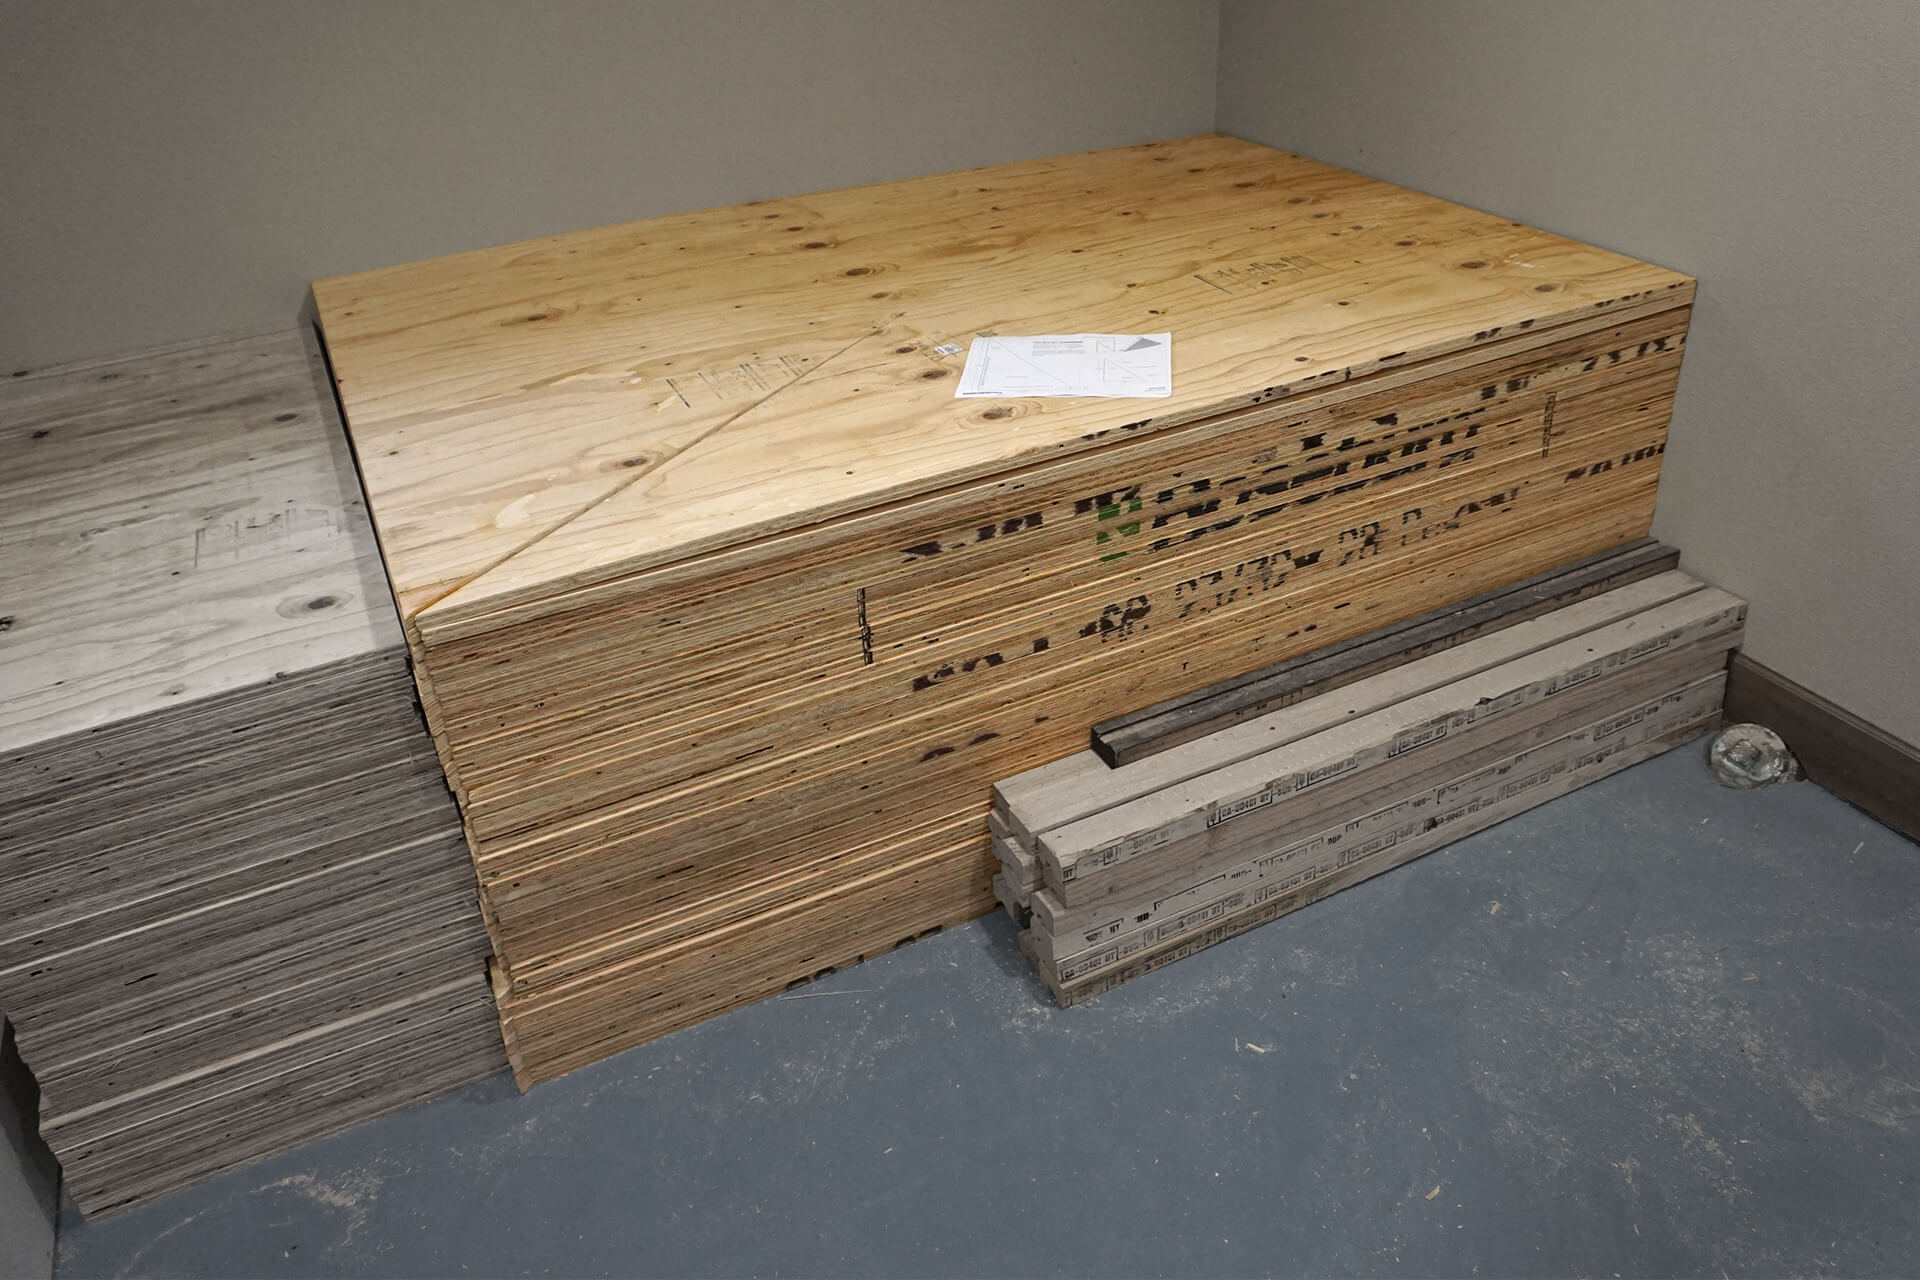
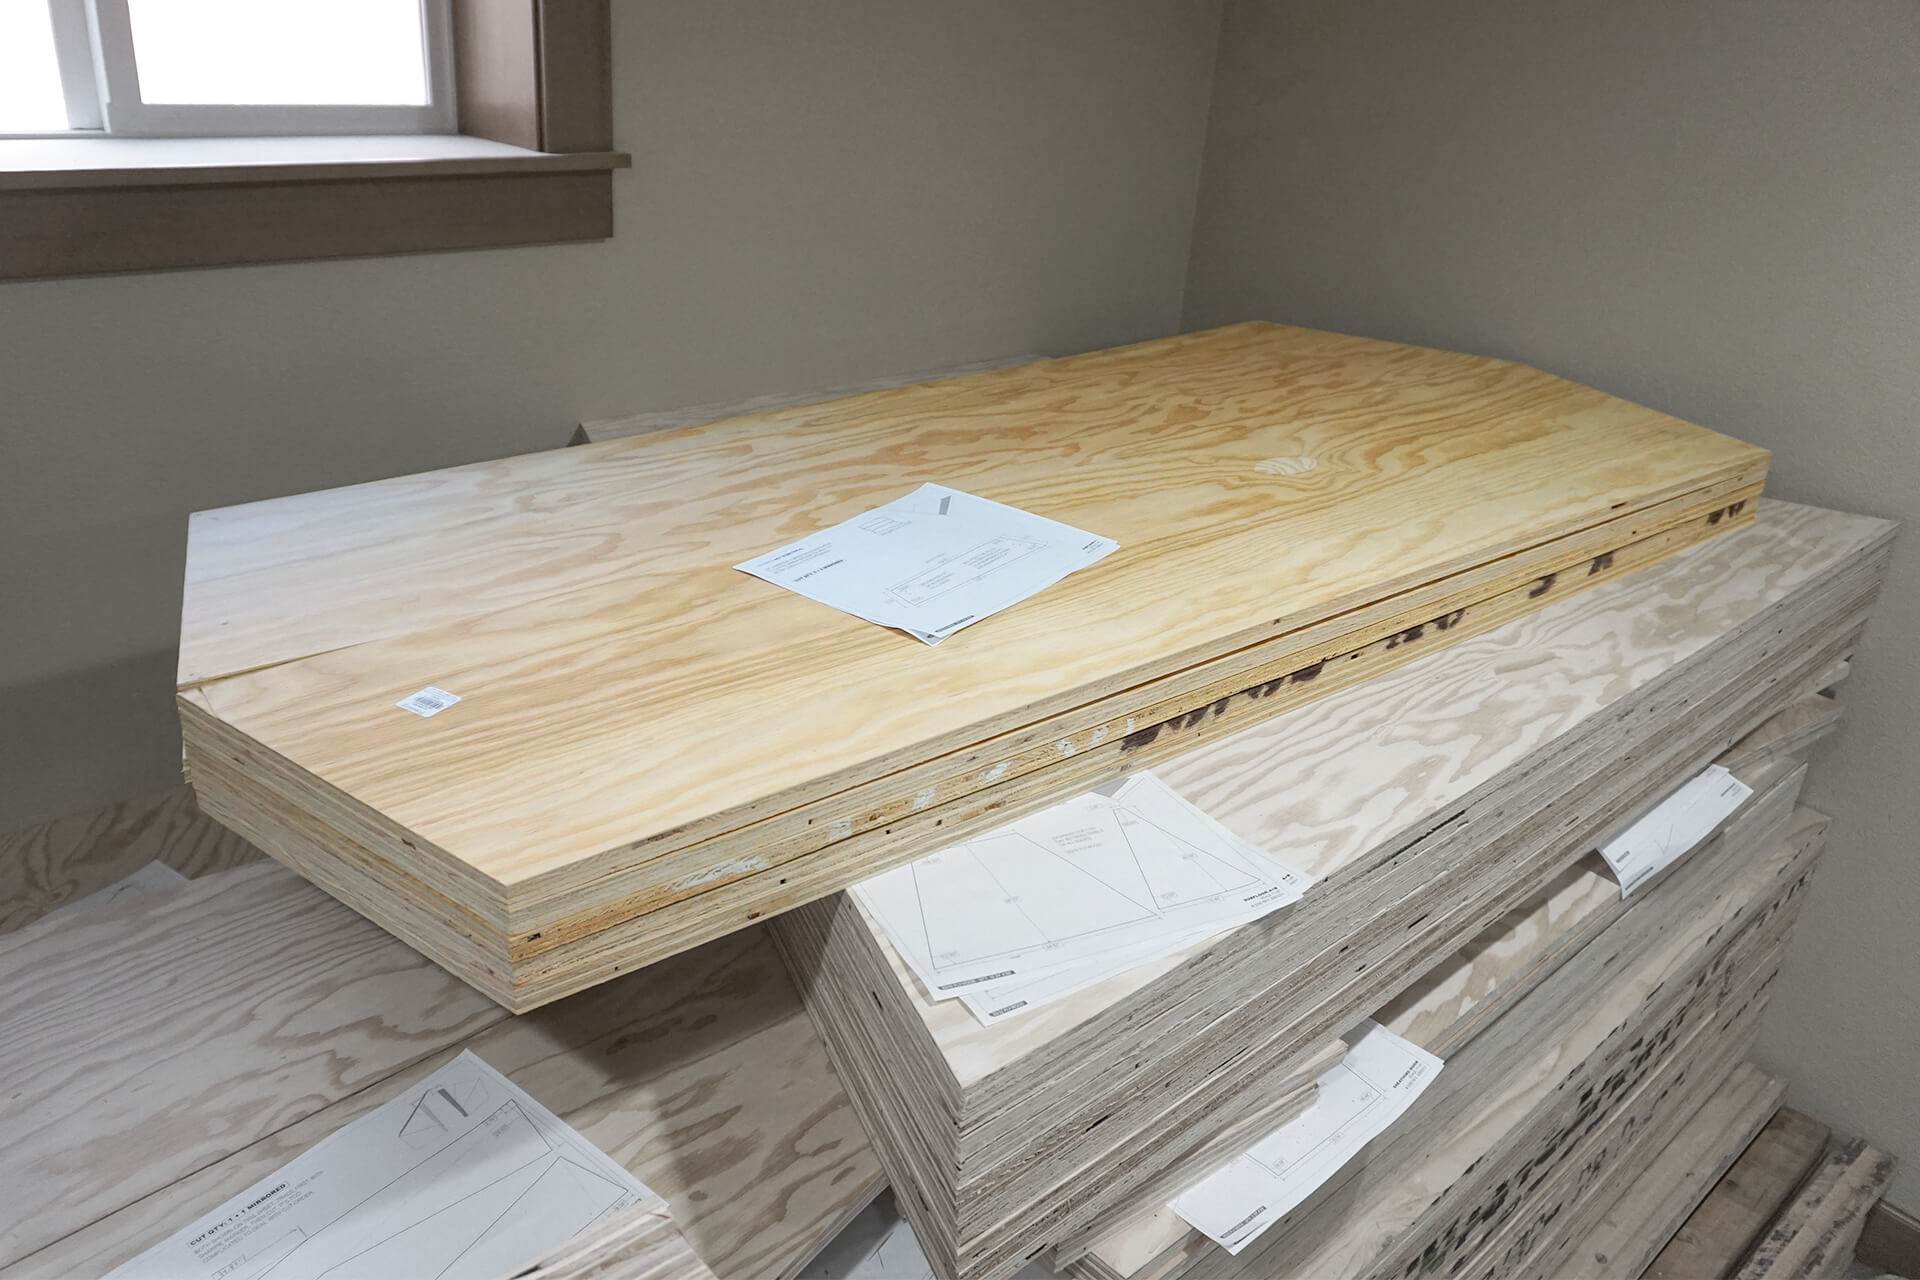
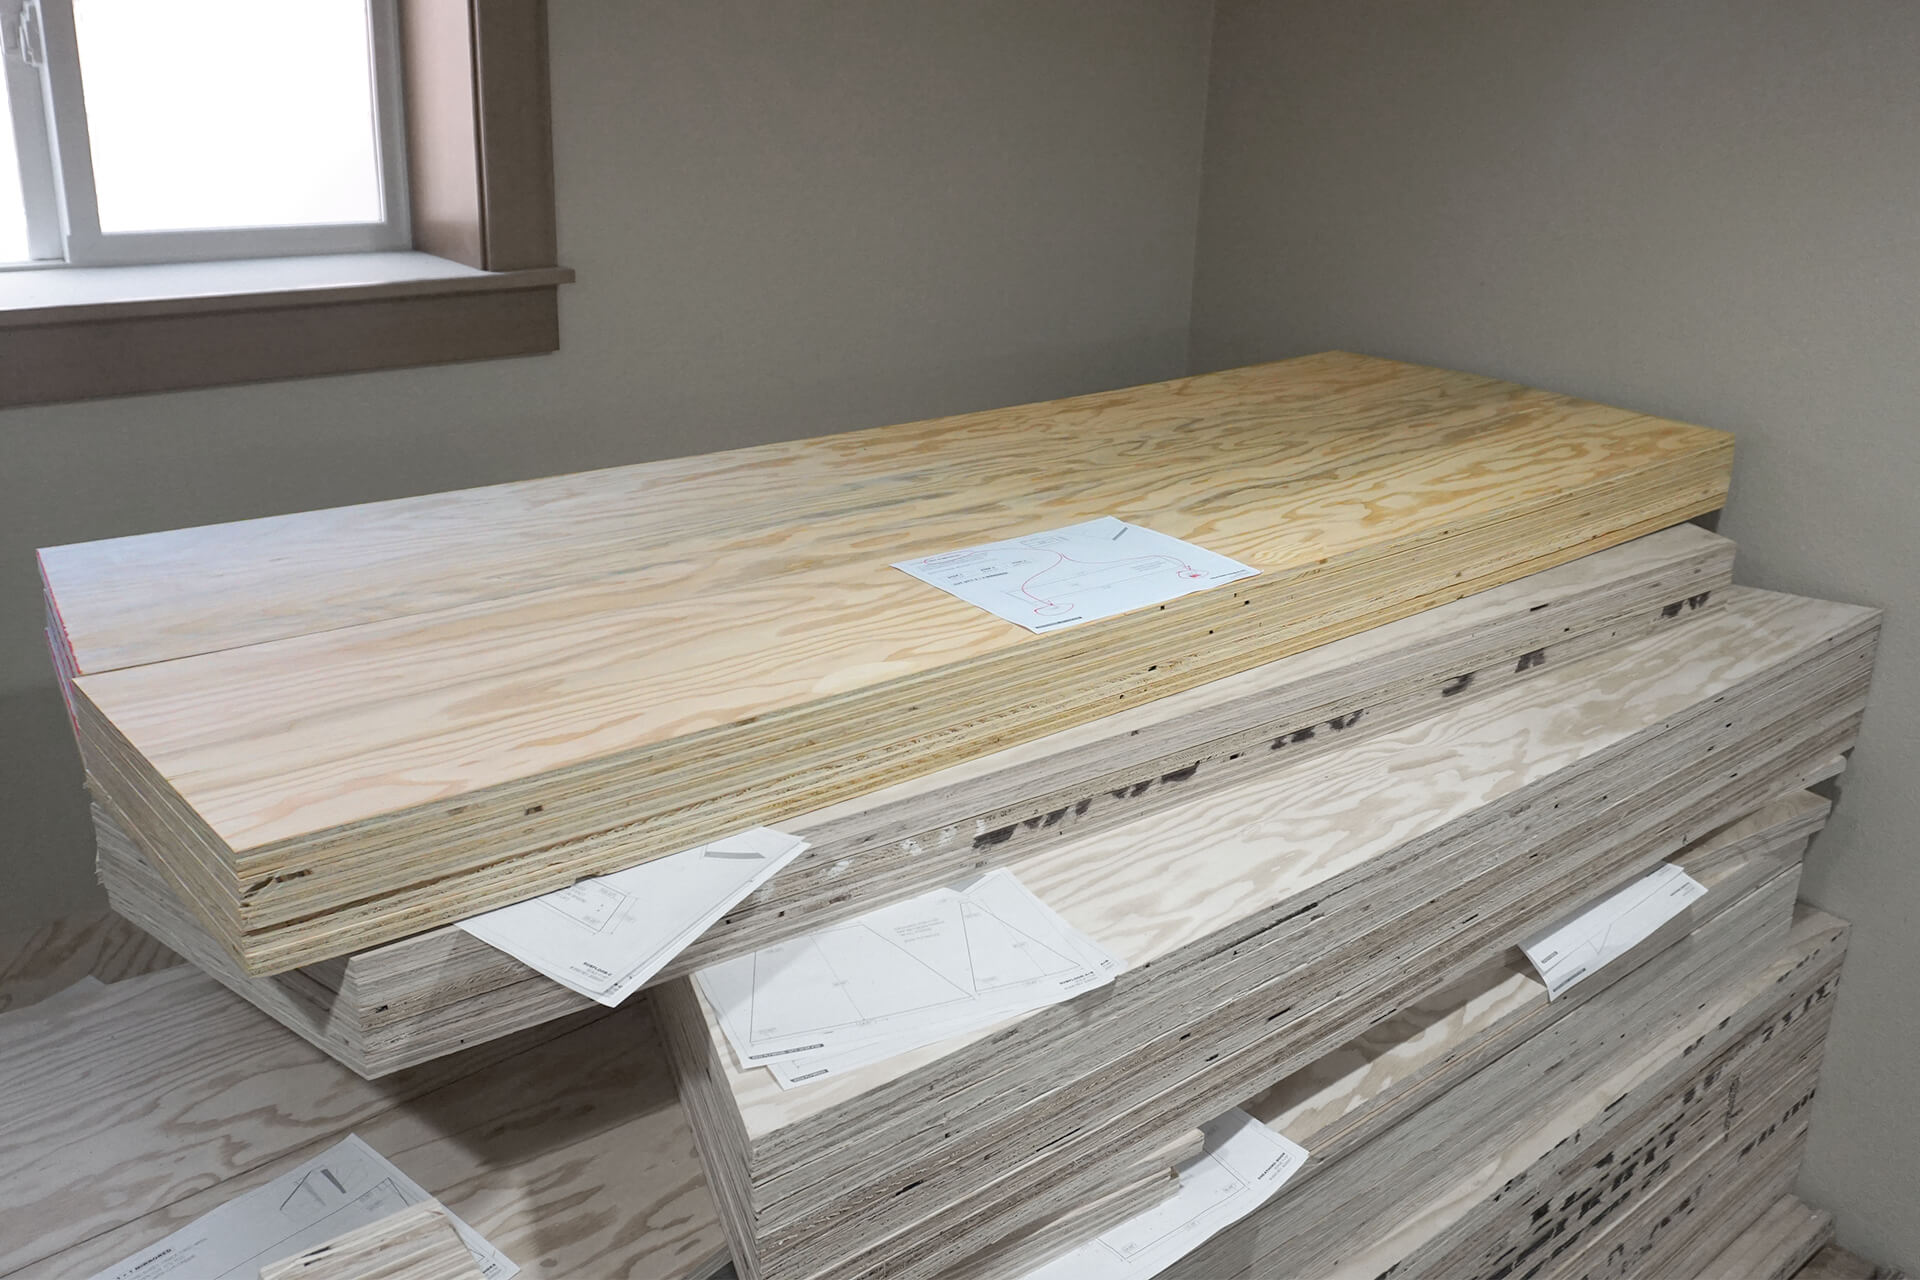
Panels, Panel-Windows, and Panel-Egress, completed and stacked with remnants pictured to the left.
Cut the Panel-Bases.
The Panel-Bases have mirrored counterparts, so pay attention to the stacked plywood orientation.
Cut the Panel-Doors. Move the plywood remnants under these sheets as a sacrificial cutting surface.
The Panel-Doors are a variant of the Panel-Bases, with the only difference being space for the door.

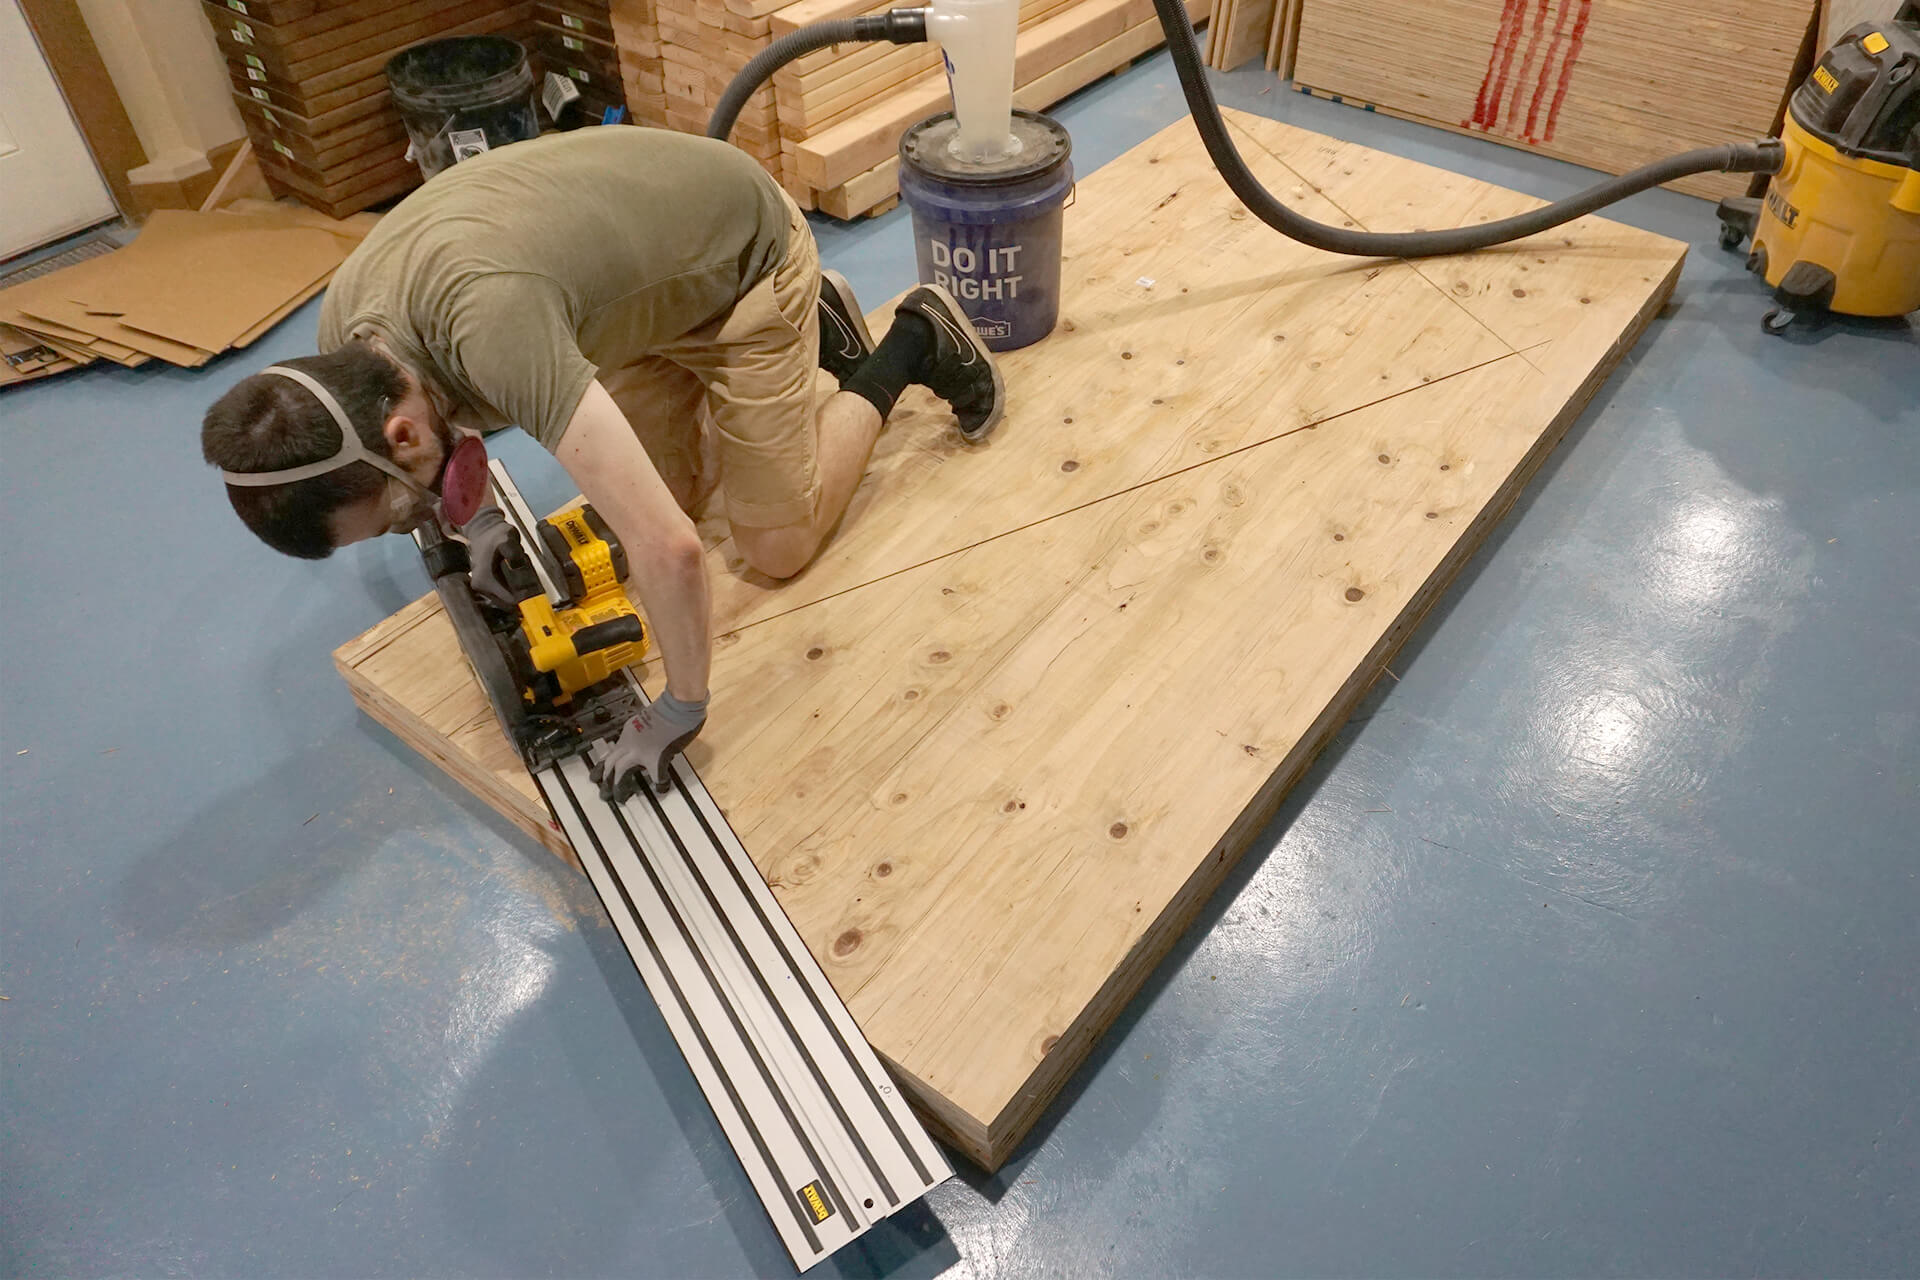
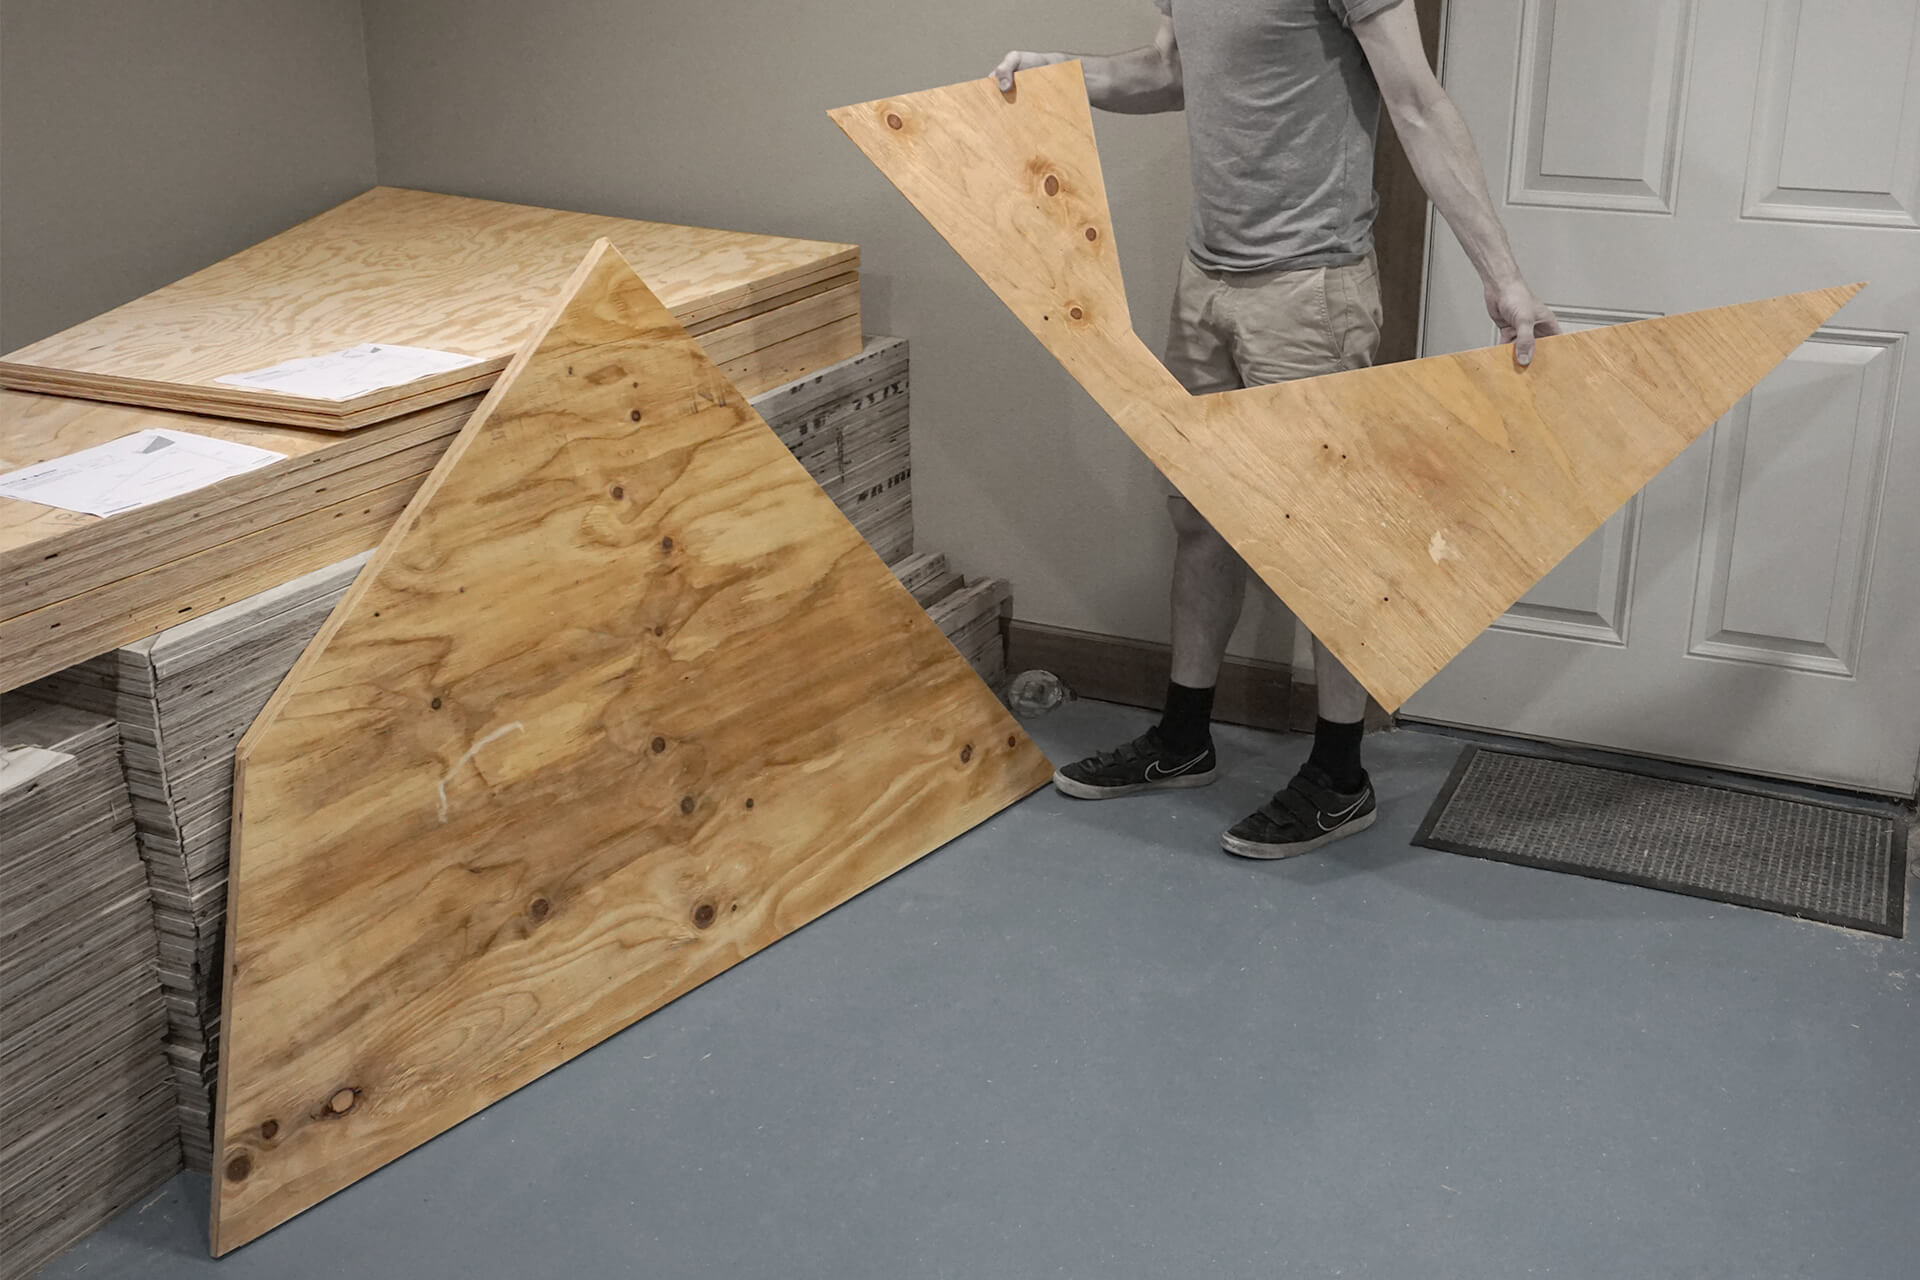
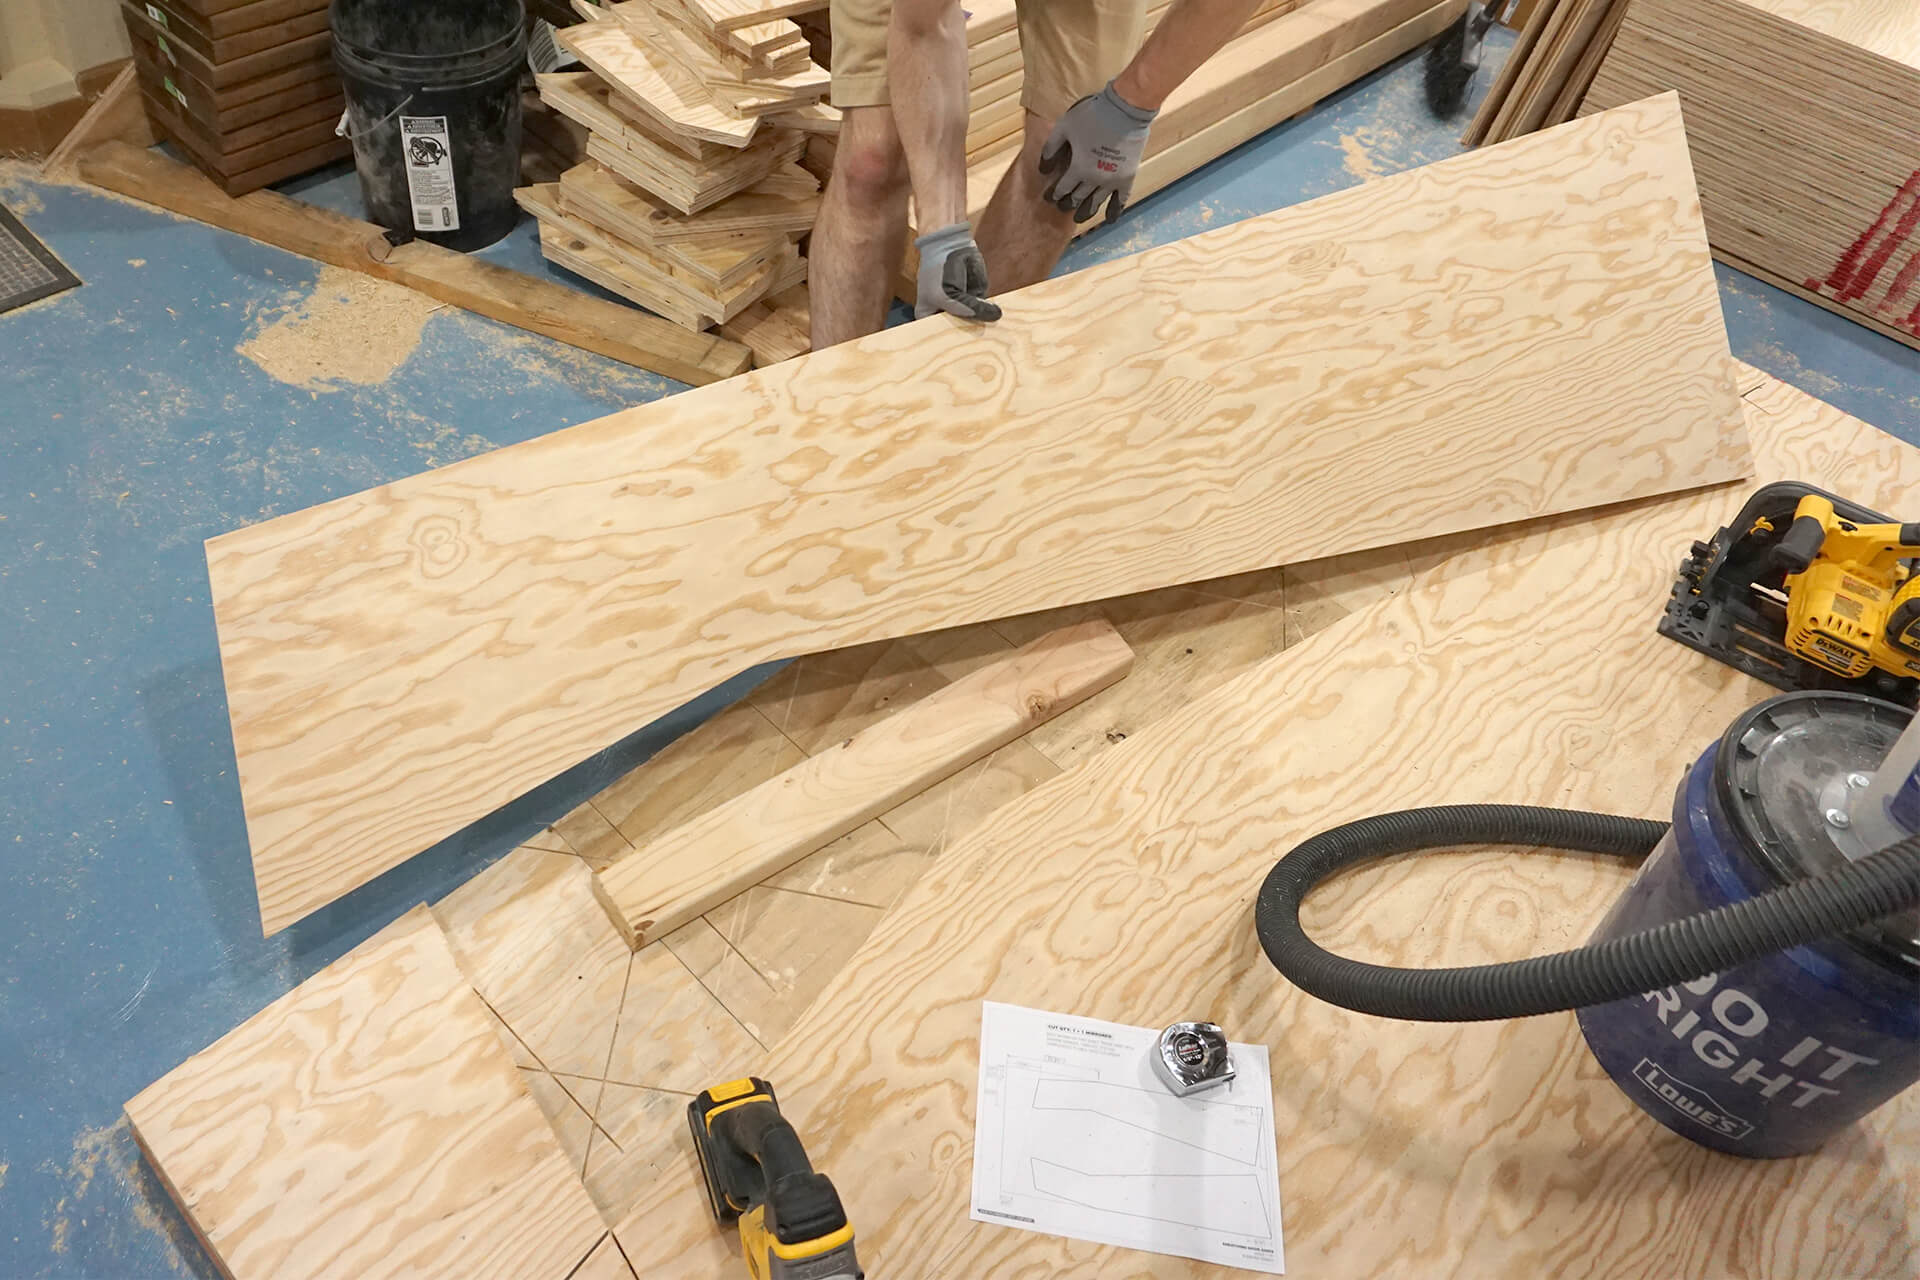
Even the most complicated panel shapes are easy to cut because the construction drawings reference the plywood edges for markings.

Cut the Panel-Door-Tops. Move the plywood remnants under these sheets as a sacrificial cutting surface.
The Panel-Door-Tops have mirrored counterparts, so pay attention to the stacked plywood orientation.
Panel-Bases, Panel-Doors, and Panel-Door-Tops completed and being added to the stack.
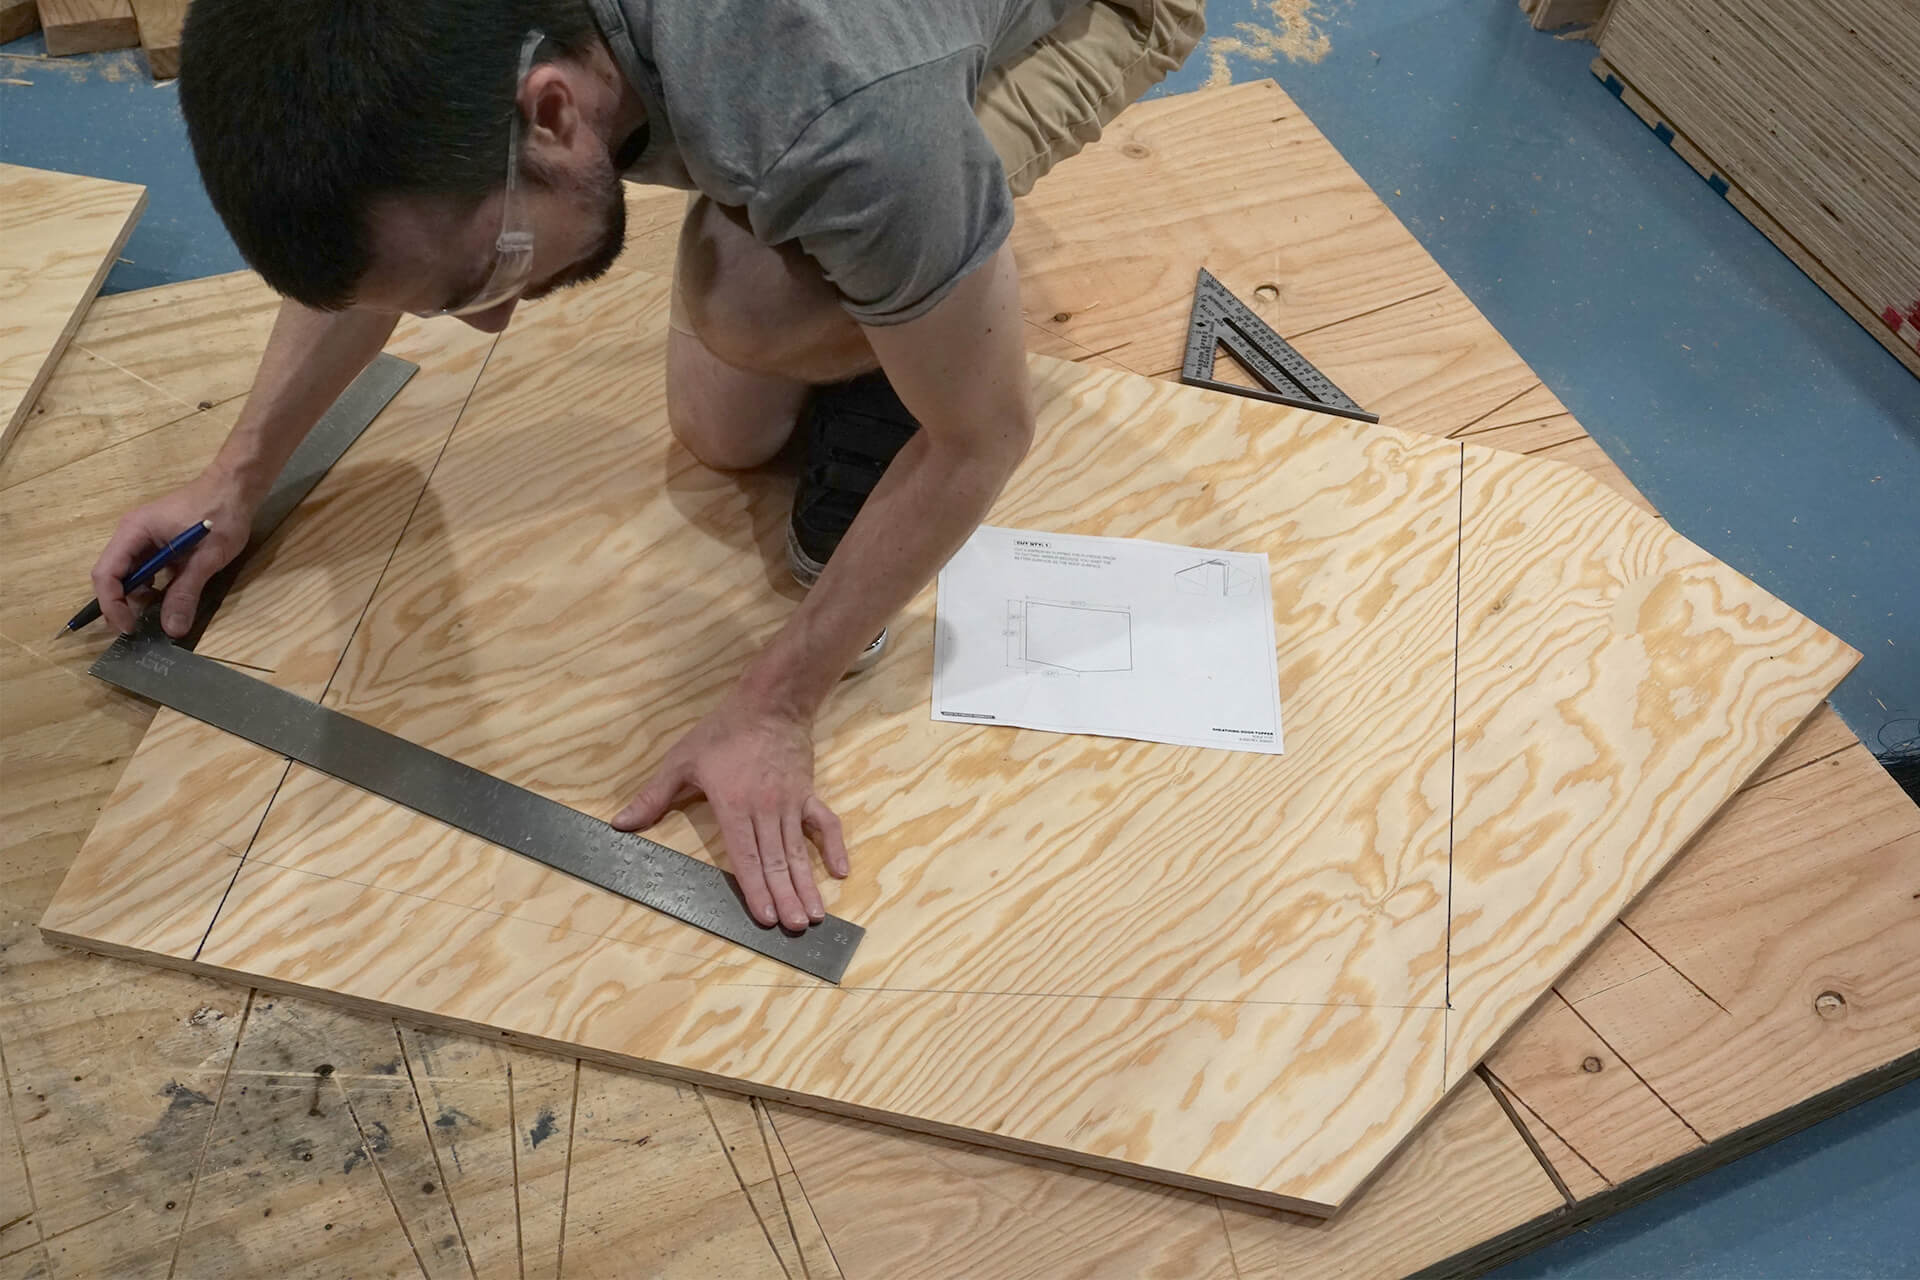
Cut the Panel-Door-Topper. It can be measured, marked, and cut from one of the Panel-Door-Top remnants.
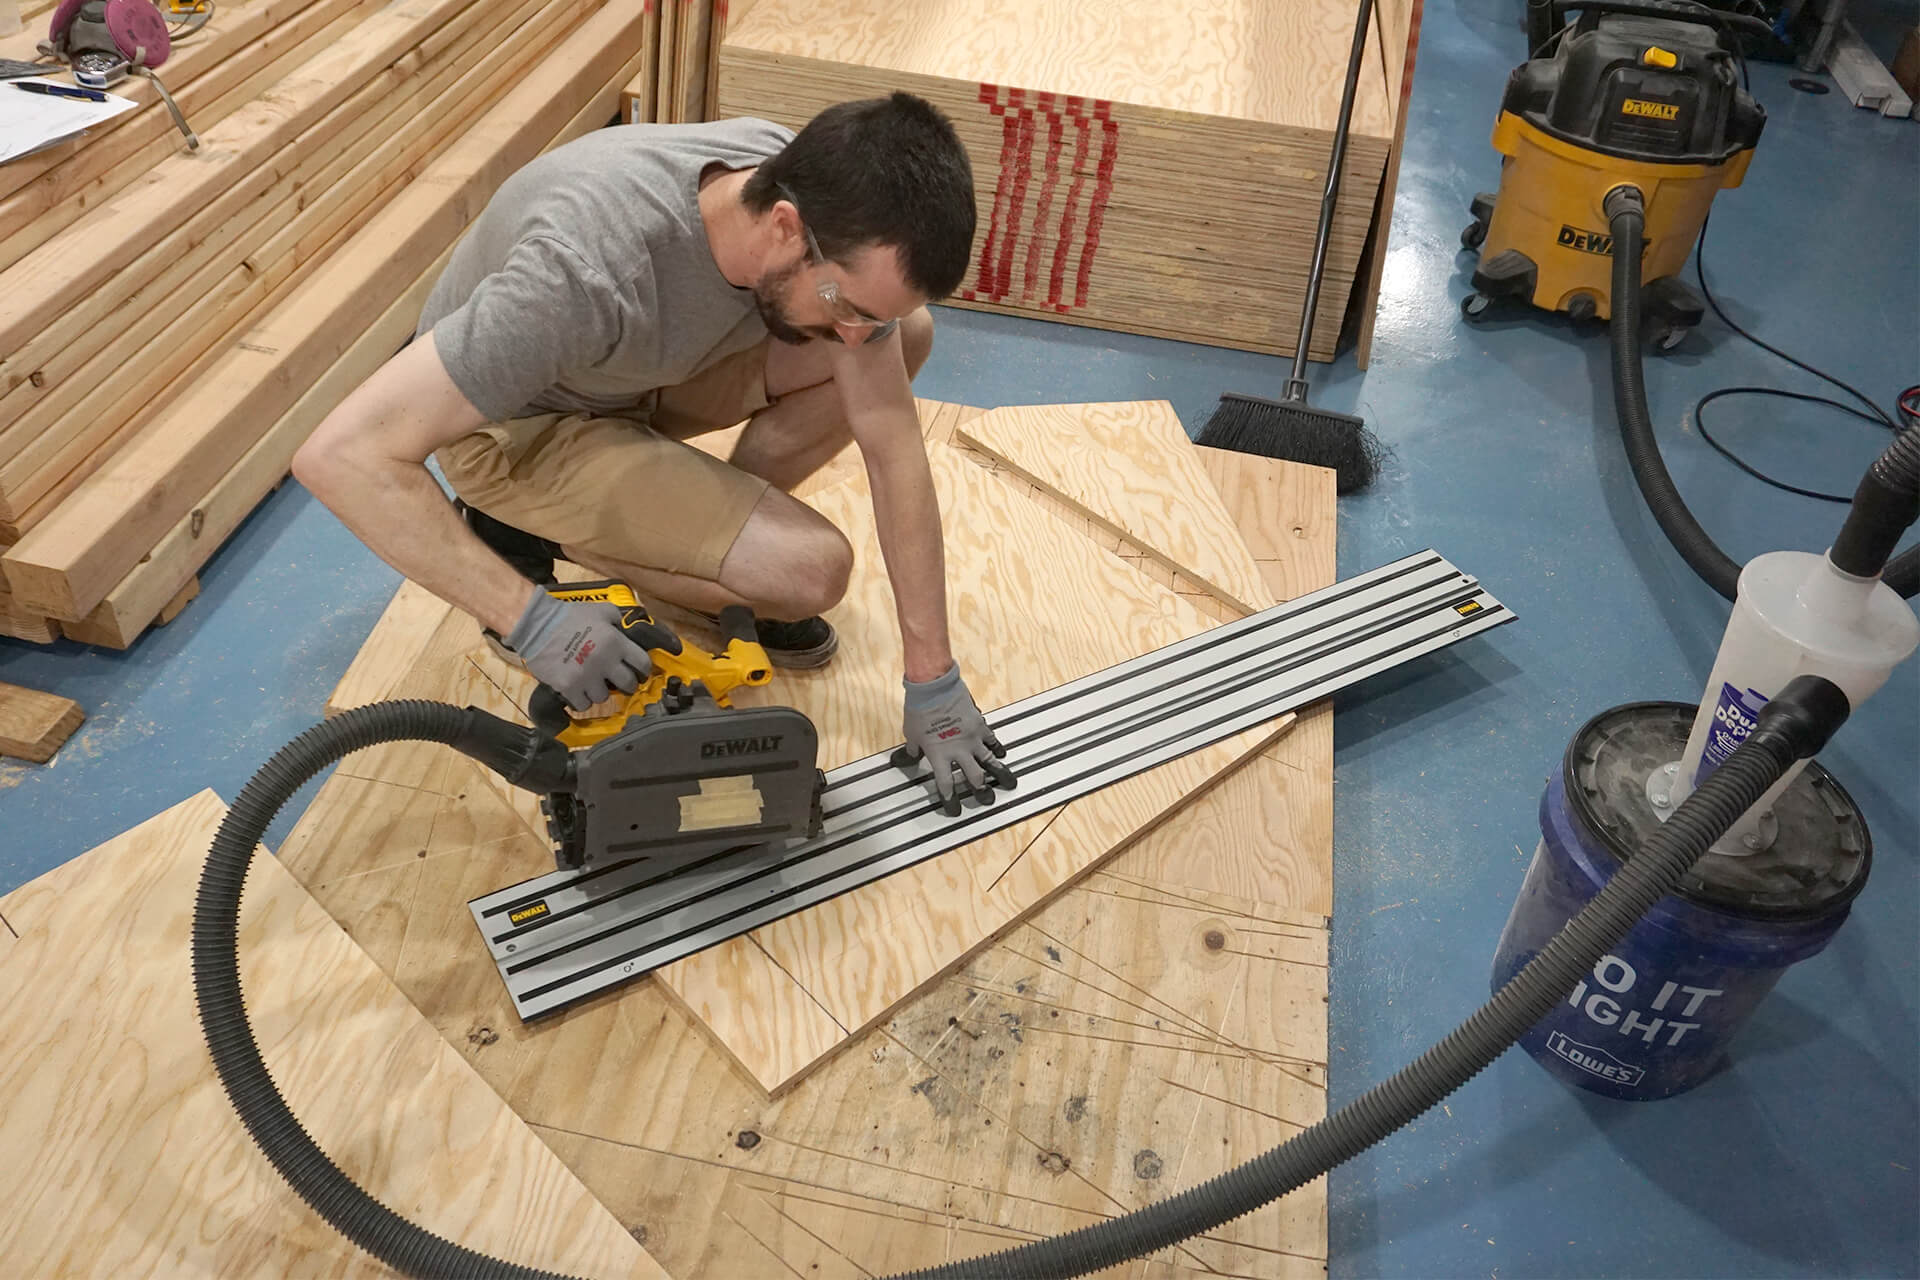
The Panel-Door-Topper is a single part (no mirrored counterpart), so adjust the saw depth to cut through only one sheet of plywood.
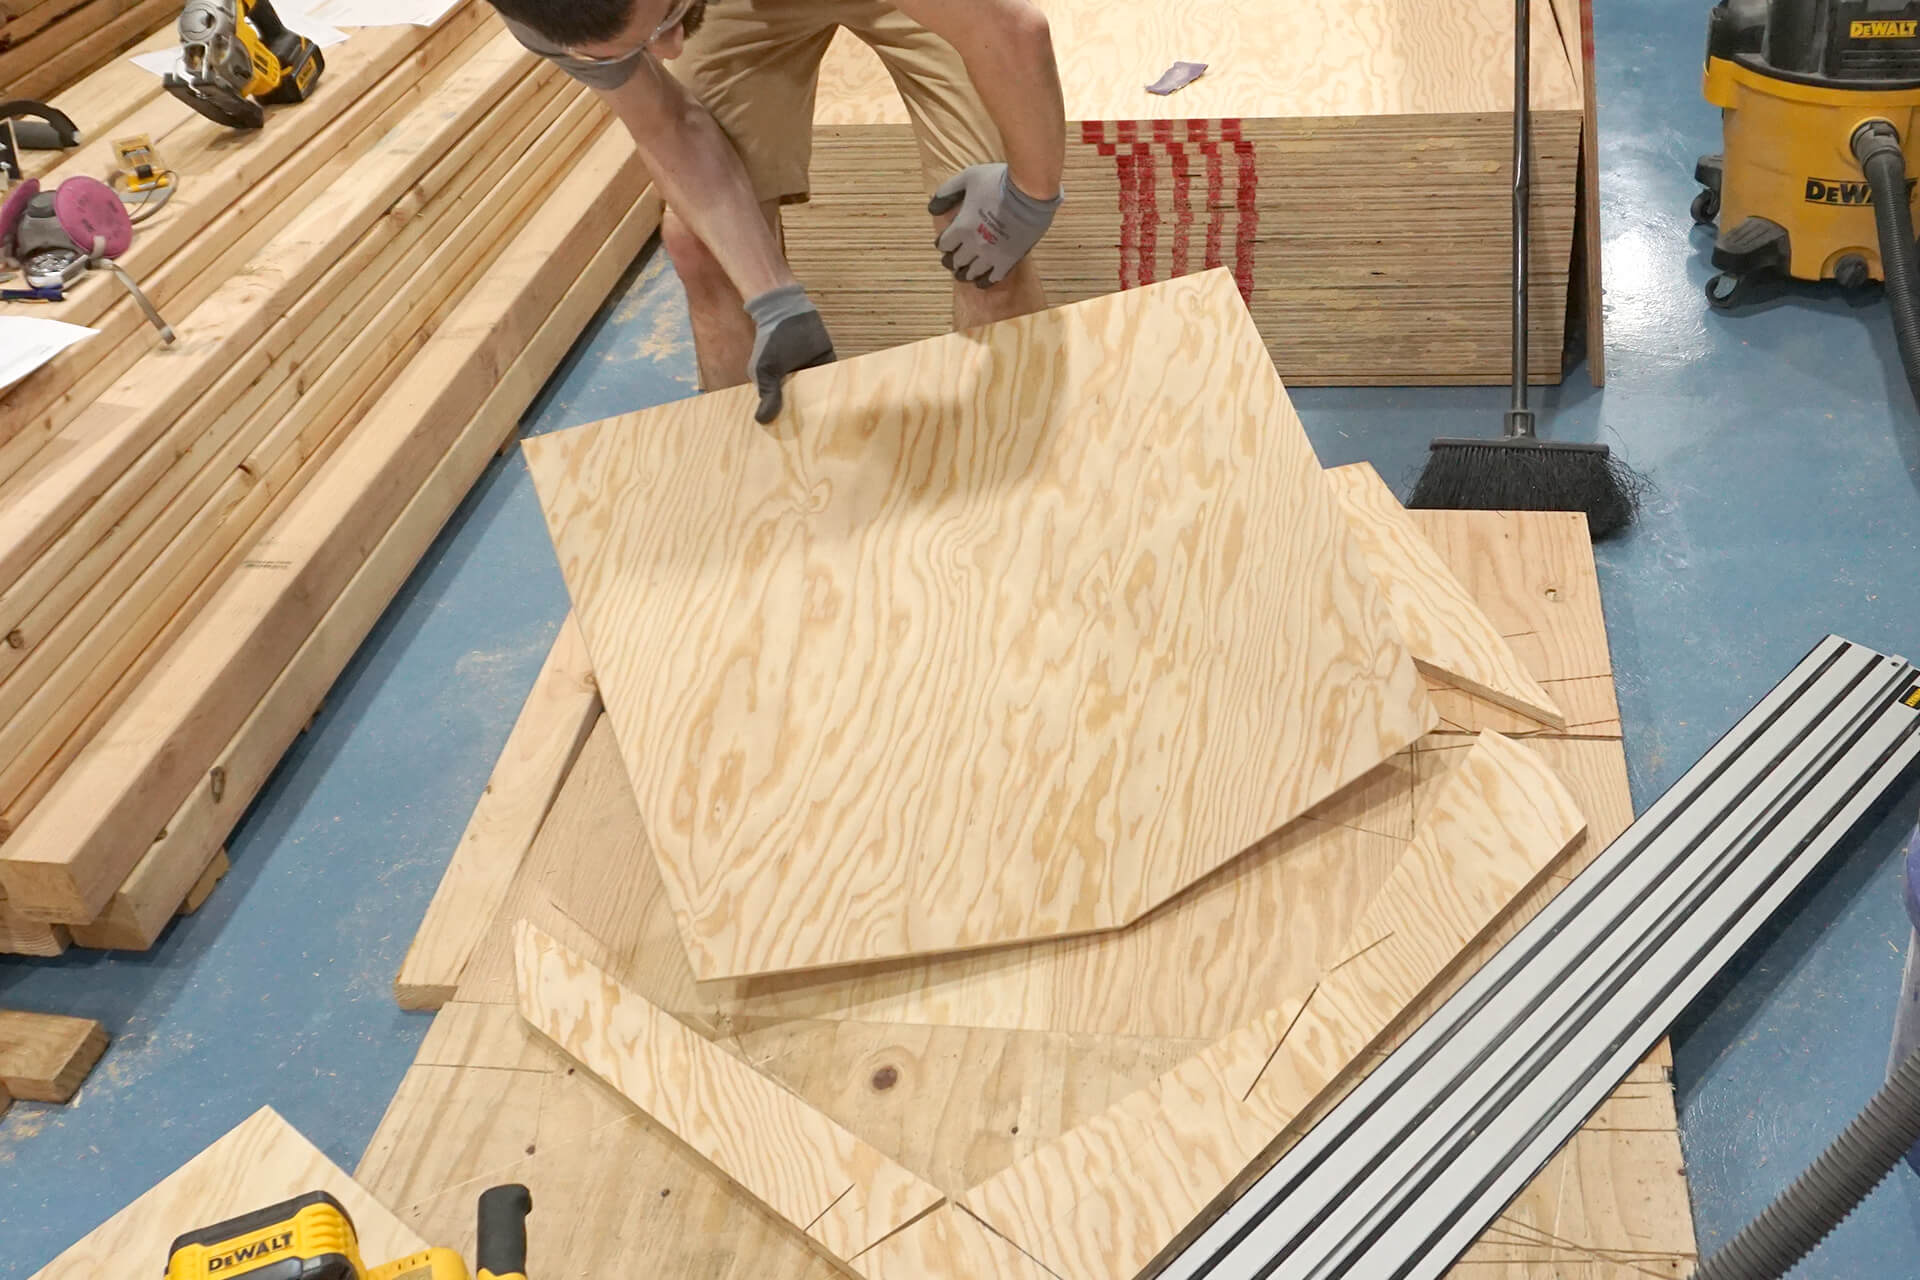
The completed Panel-Door-Topper.
Cut the Panel-Door-Sides. Cut one, then flip it over to mark the cut lines for its mirrored counterpart.
The first completed Panel-Door-Side.
Cut Subfloor-A and B parts next. They have no mirrored counterparts, so stack the plywood in the same orientation when cutting two at a time.
The first completed Subfloor-A and B parts after cutting.
Panel-Door-Topper (hidden), Panel-Door-Sides, and Subfloor-A and B parts, completed and stacked.
Cut the Subfloor-C parts. This part has a mirrored counterpart, so alternate the orientation when cutting two at a time.
Subfloor-Cs completed and stacked.
Cut the Panel-Foundation. Start by ripping them to the proper width.
Cut the angled ends on the chop-saw. These parts have mirrored counterparts, so flip the sheets accordingly.
Set up a stop block to quickly cut repeated lengths.
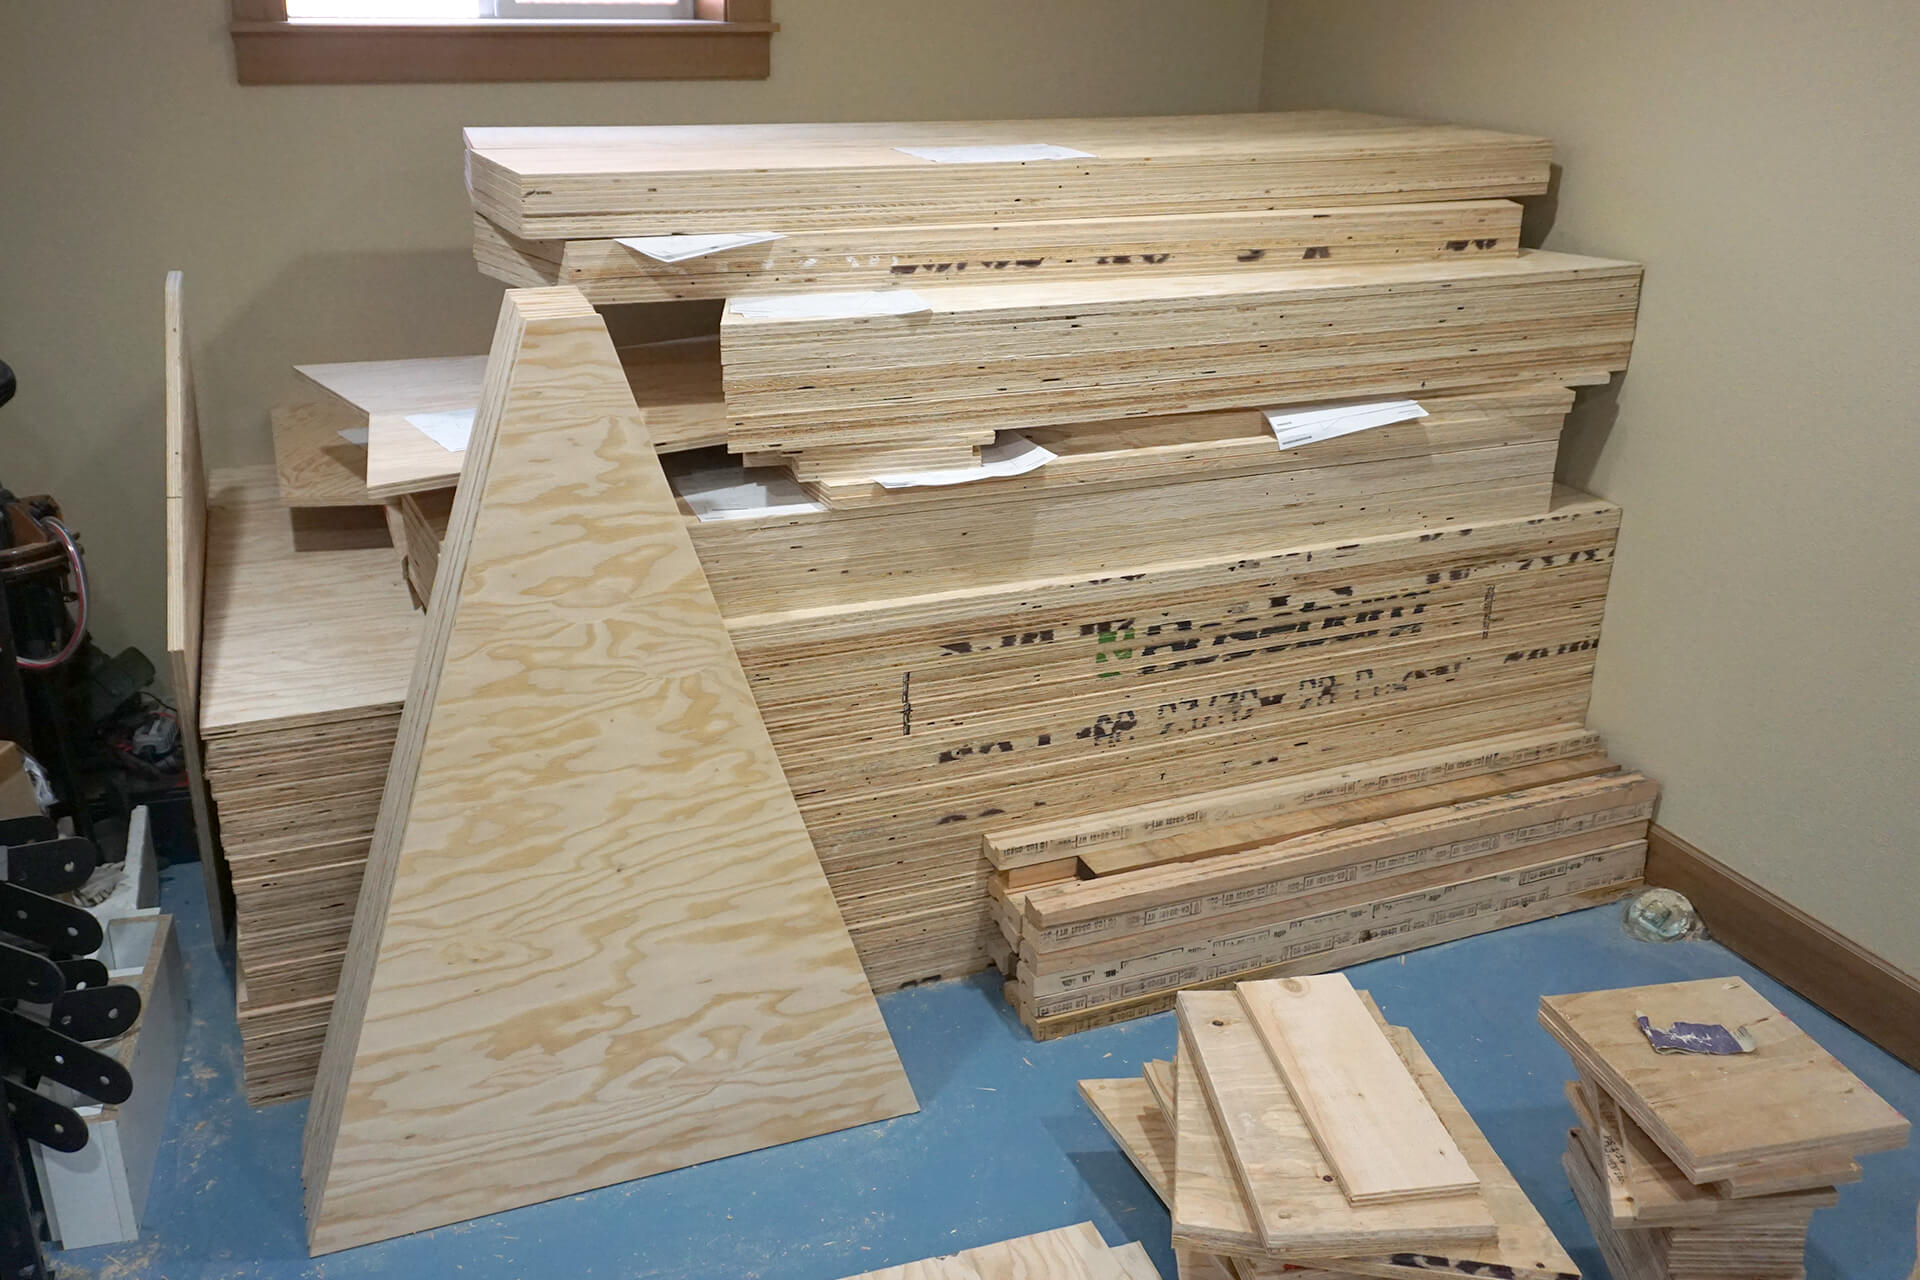
Panel-Foundations completed and stacked.
Congratulations on completing the prefabrication of the panels!
Next Step