Spray Foam
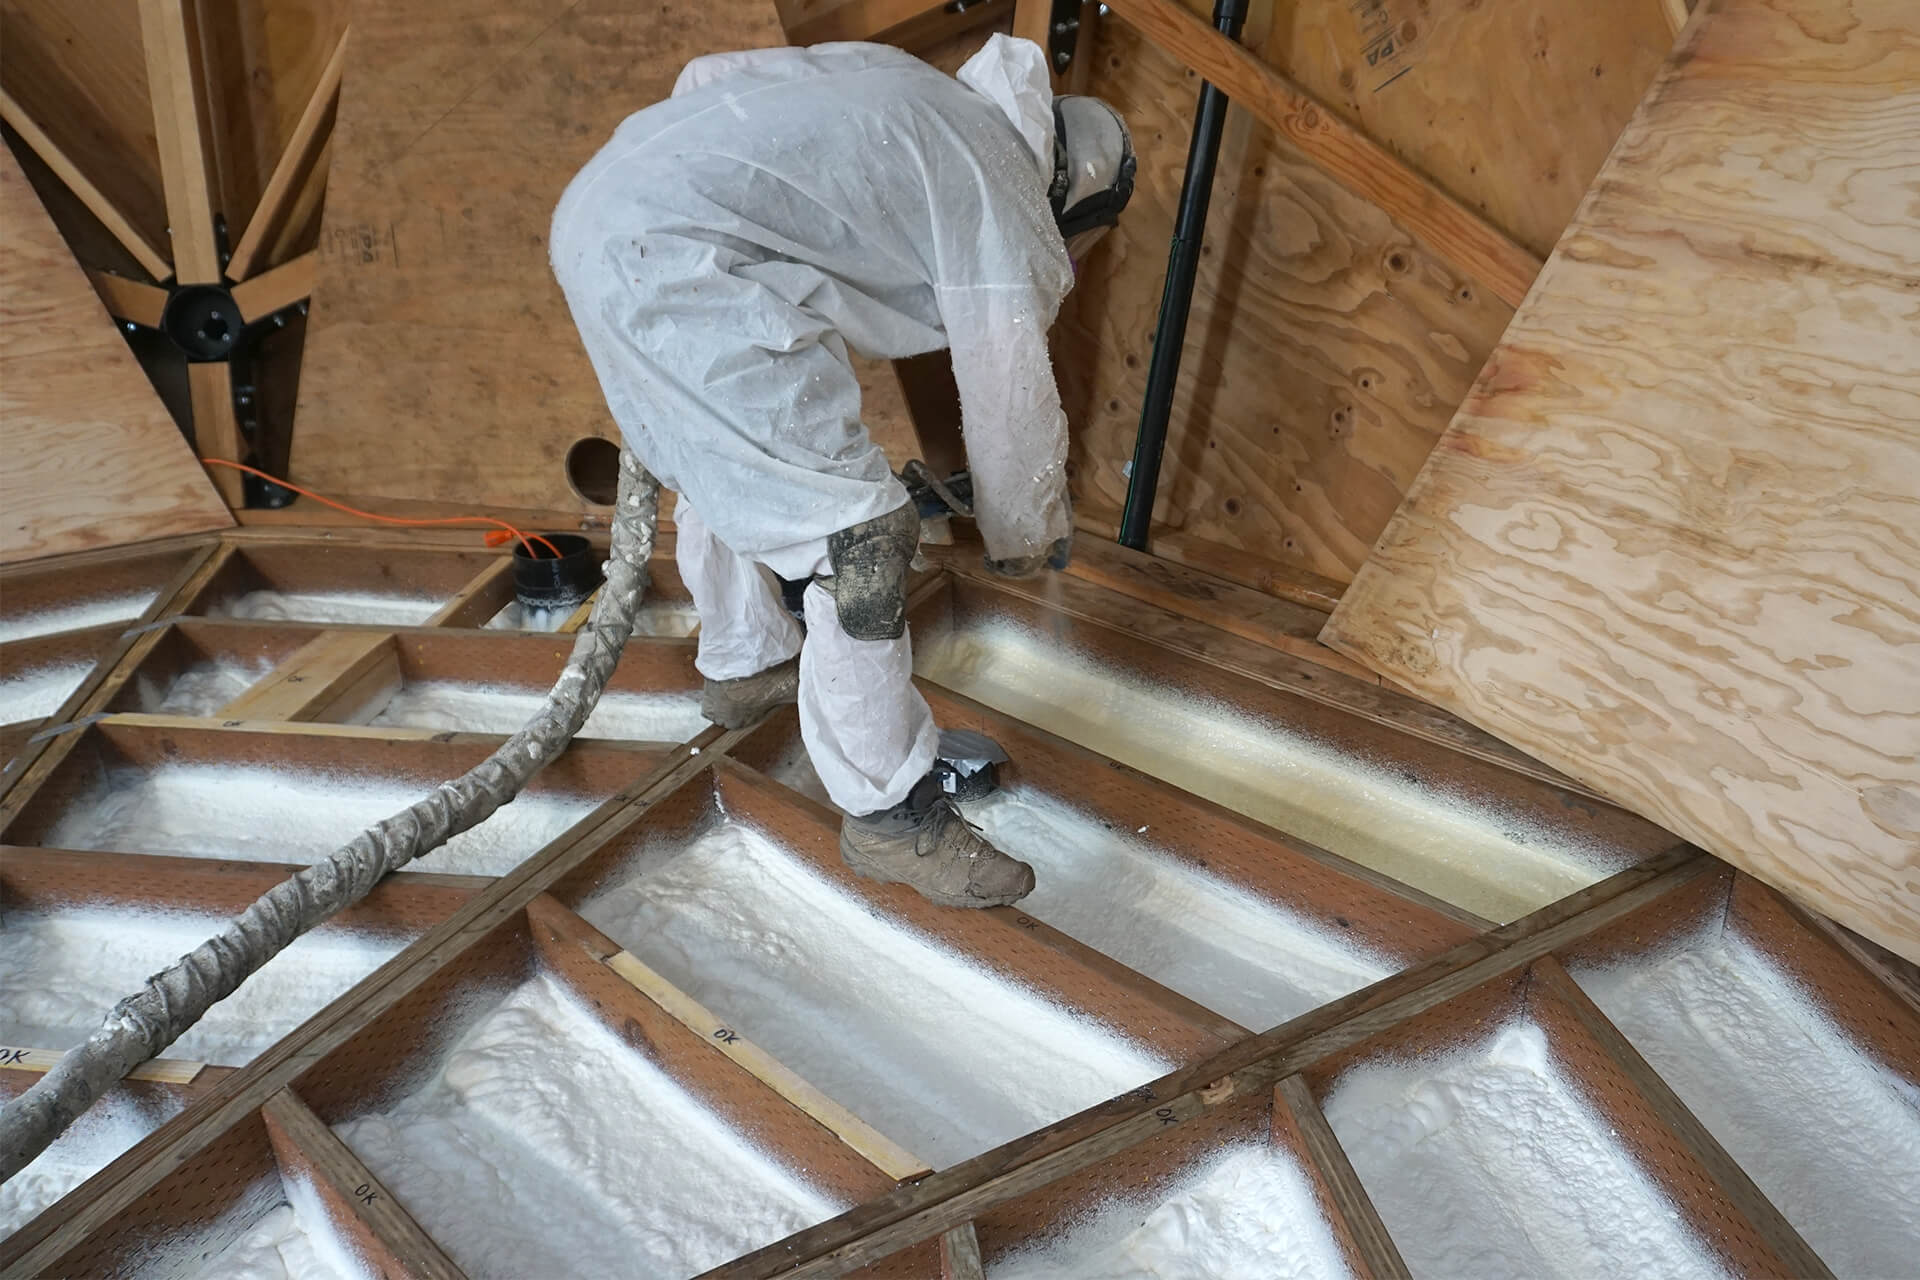
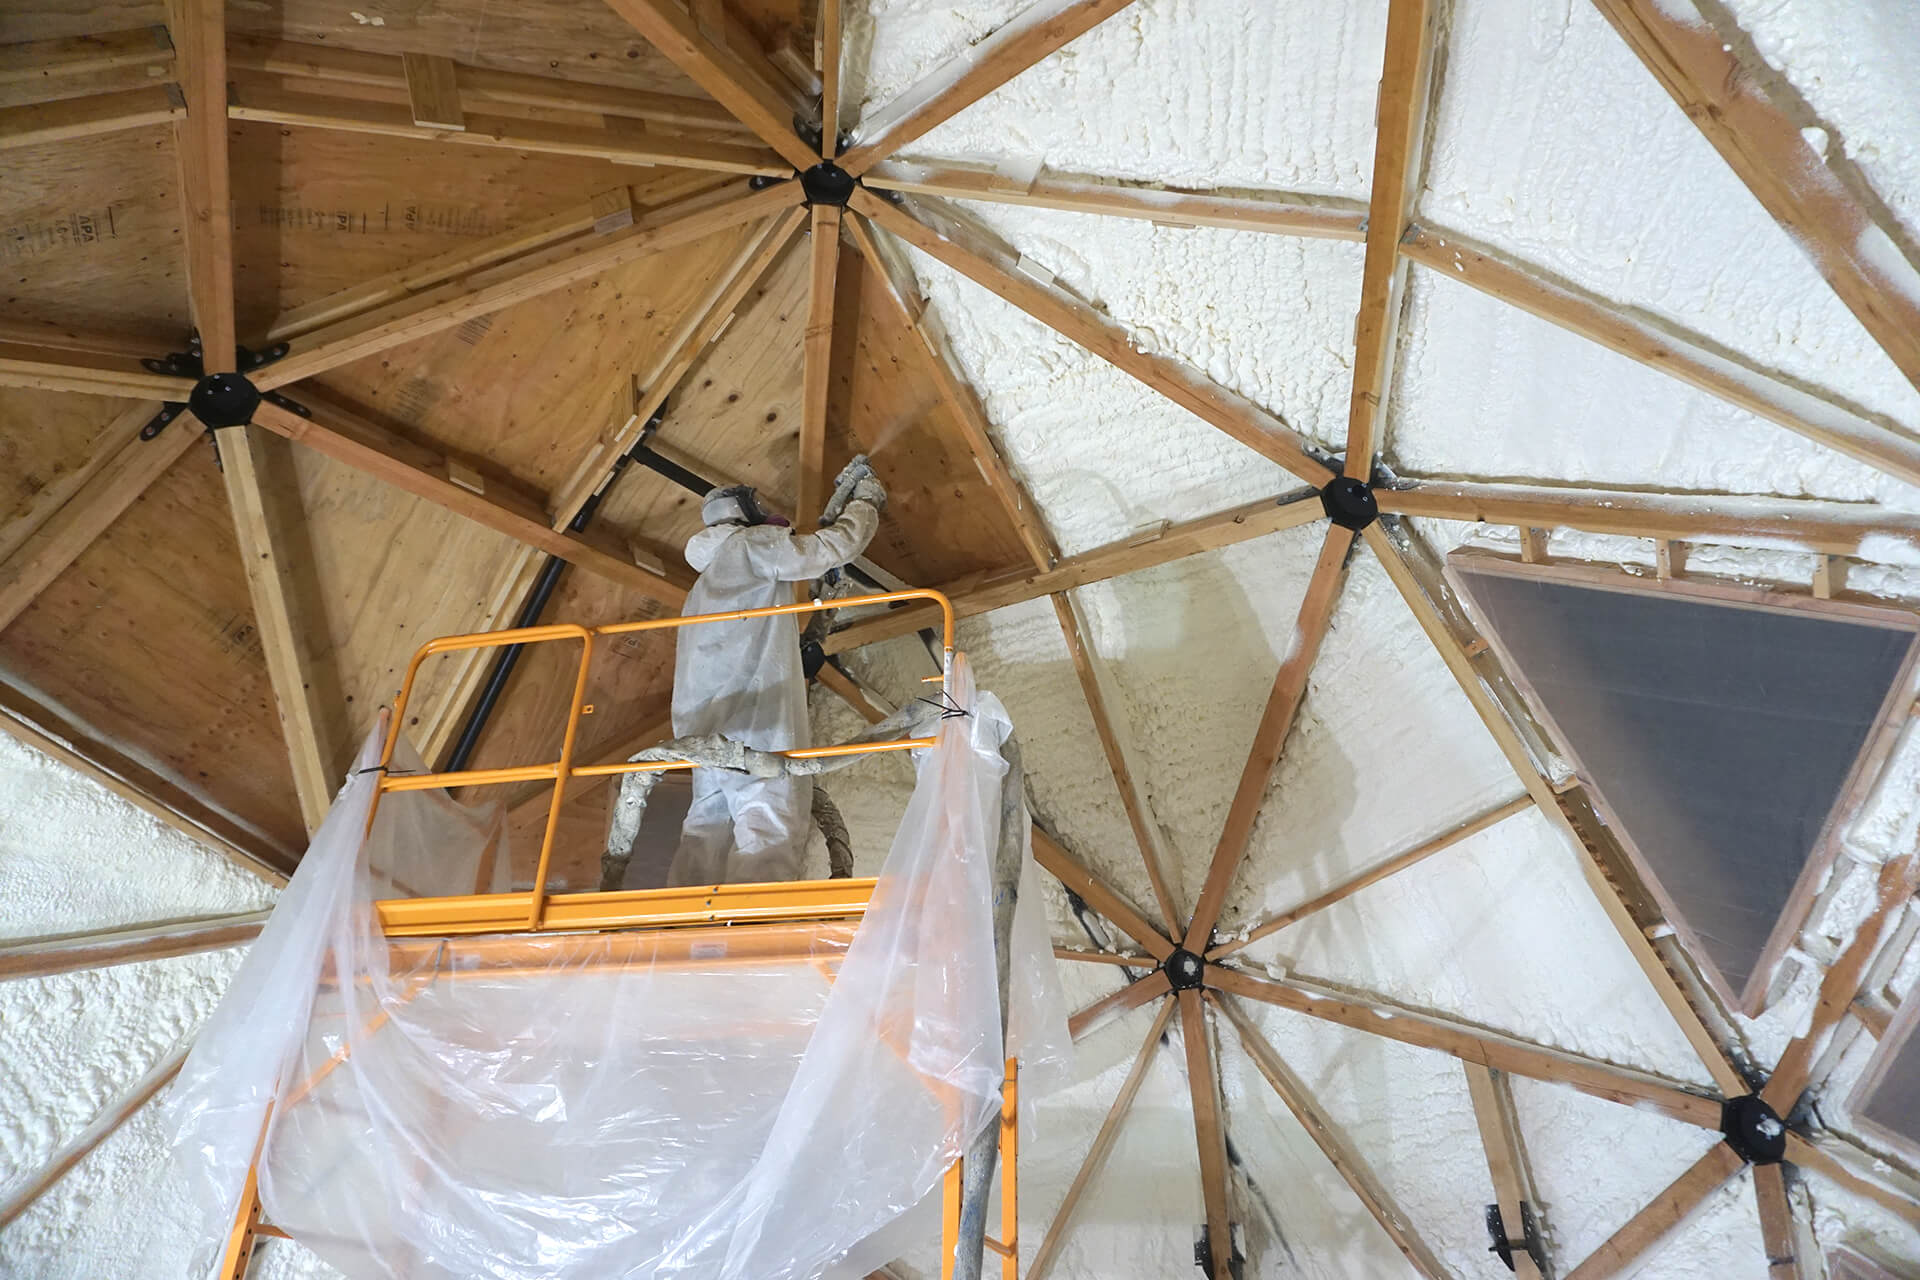
Have the spray foam professional begin with the floor, spraying up to the marked lines to ensure the correct thickness. Andrew from The Spray Foam Company is shown here.
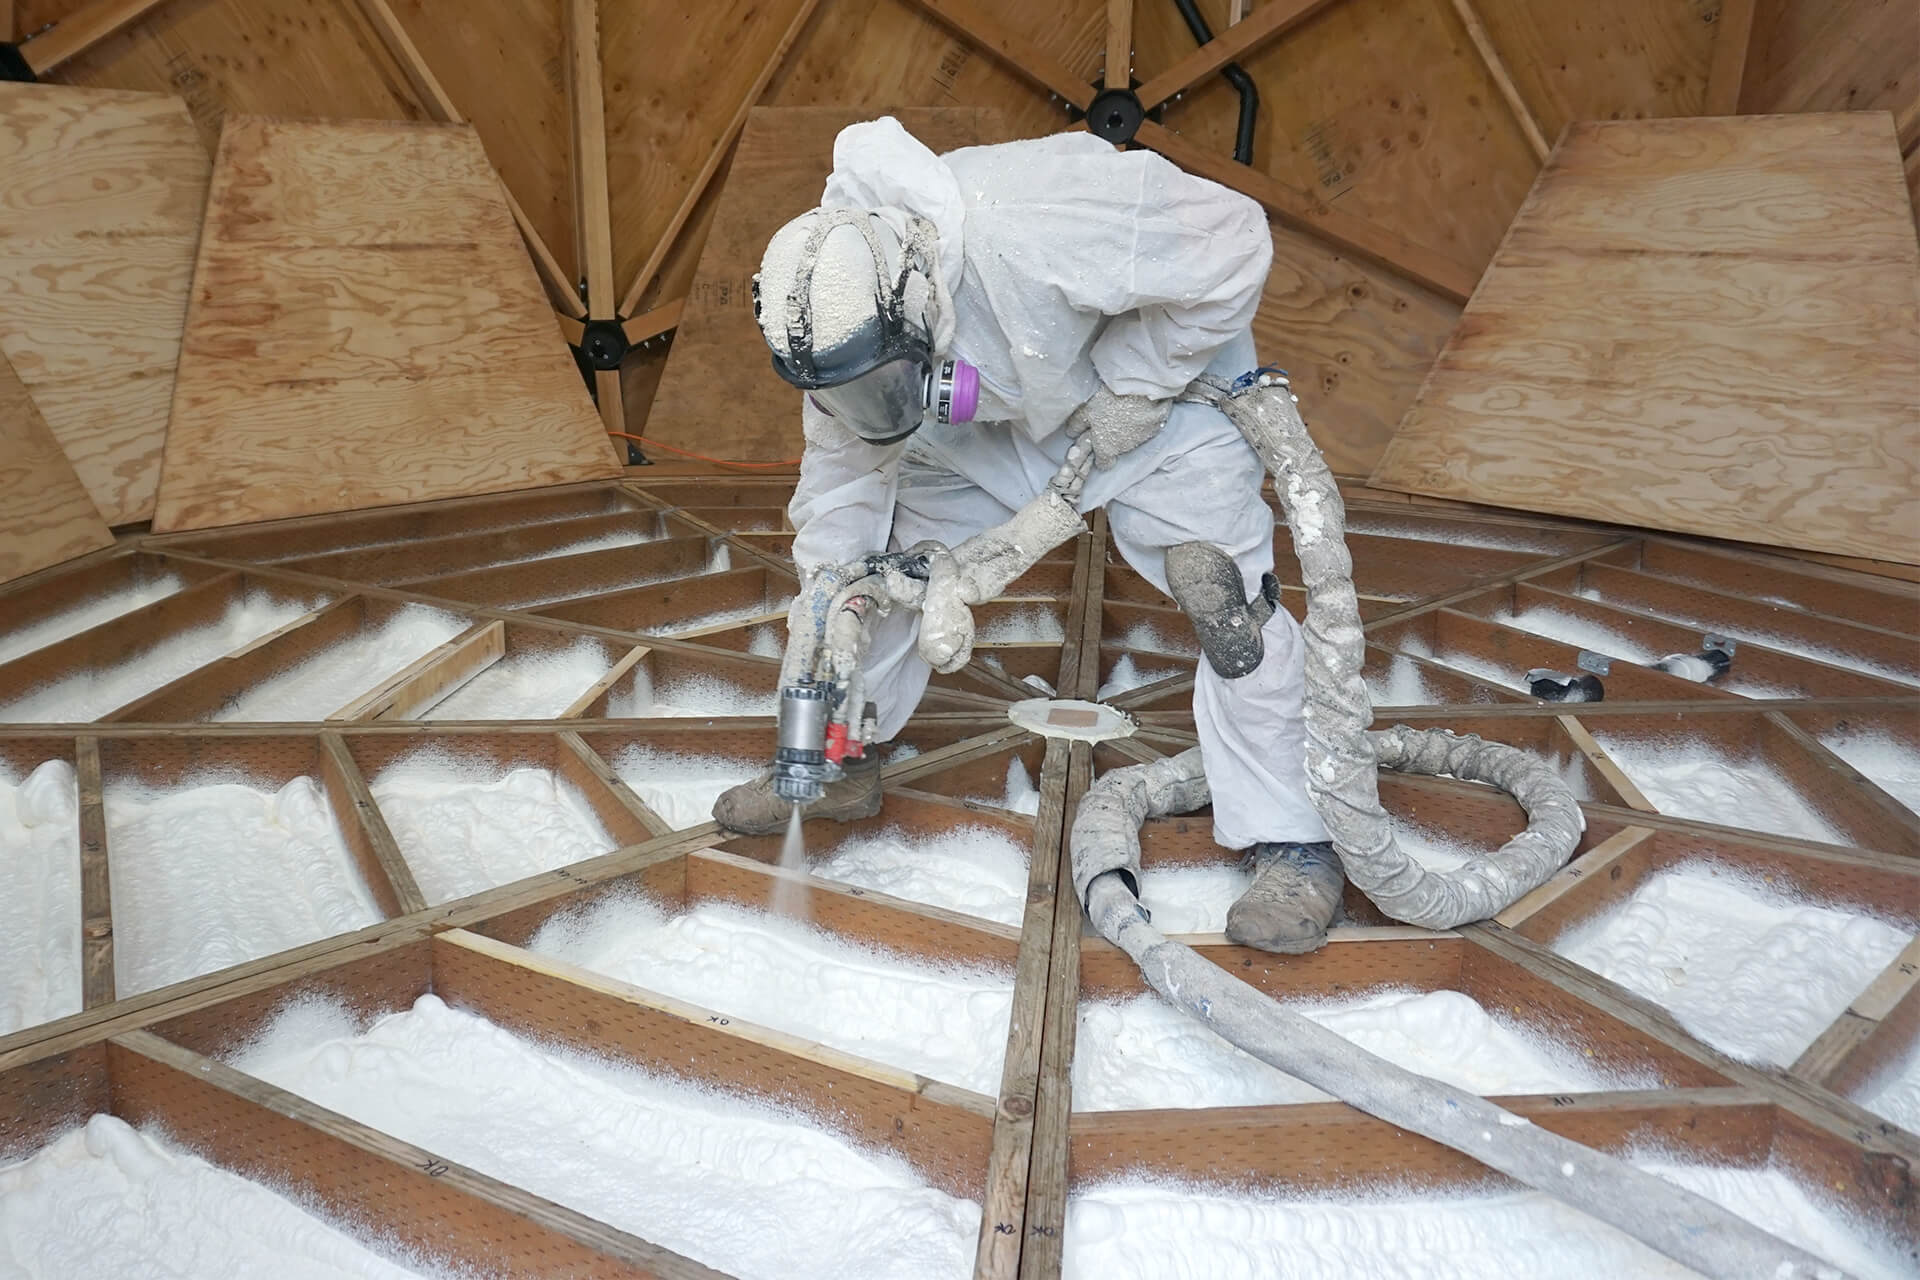
It will likely take two or more passes to achieve the proper thickness. SES Foam’s Nexseal 2.0 LE product being sprayed here.
Lay down the subfloor panels and cover the whole floor with plastic. Staple the edges of the plastic to the perimeter lumber.

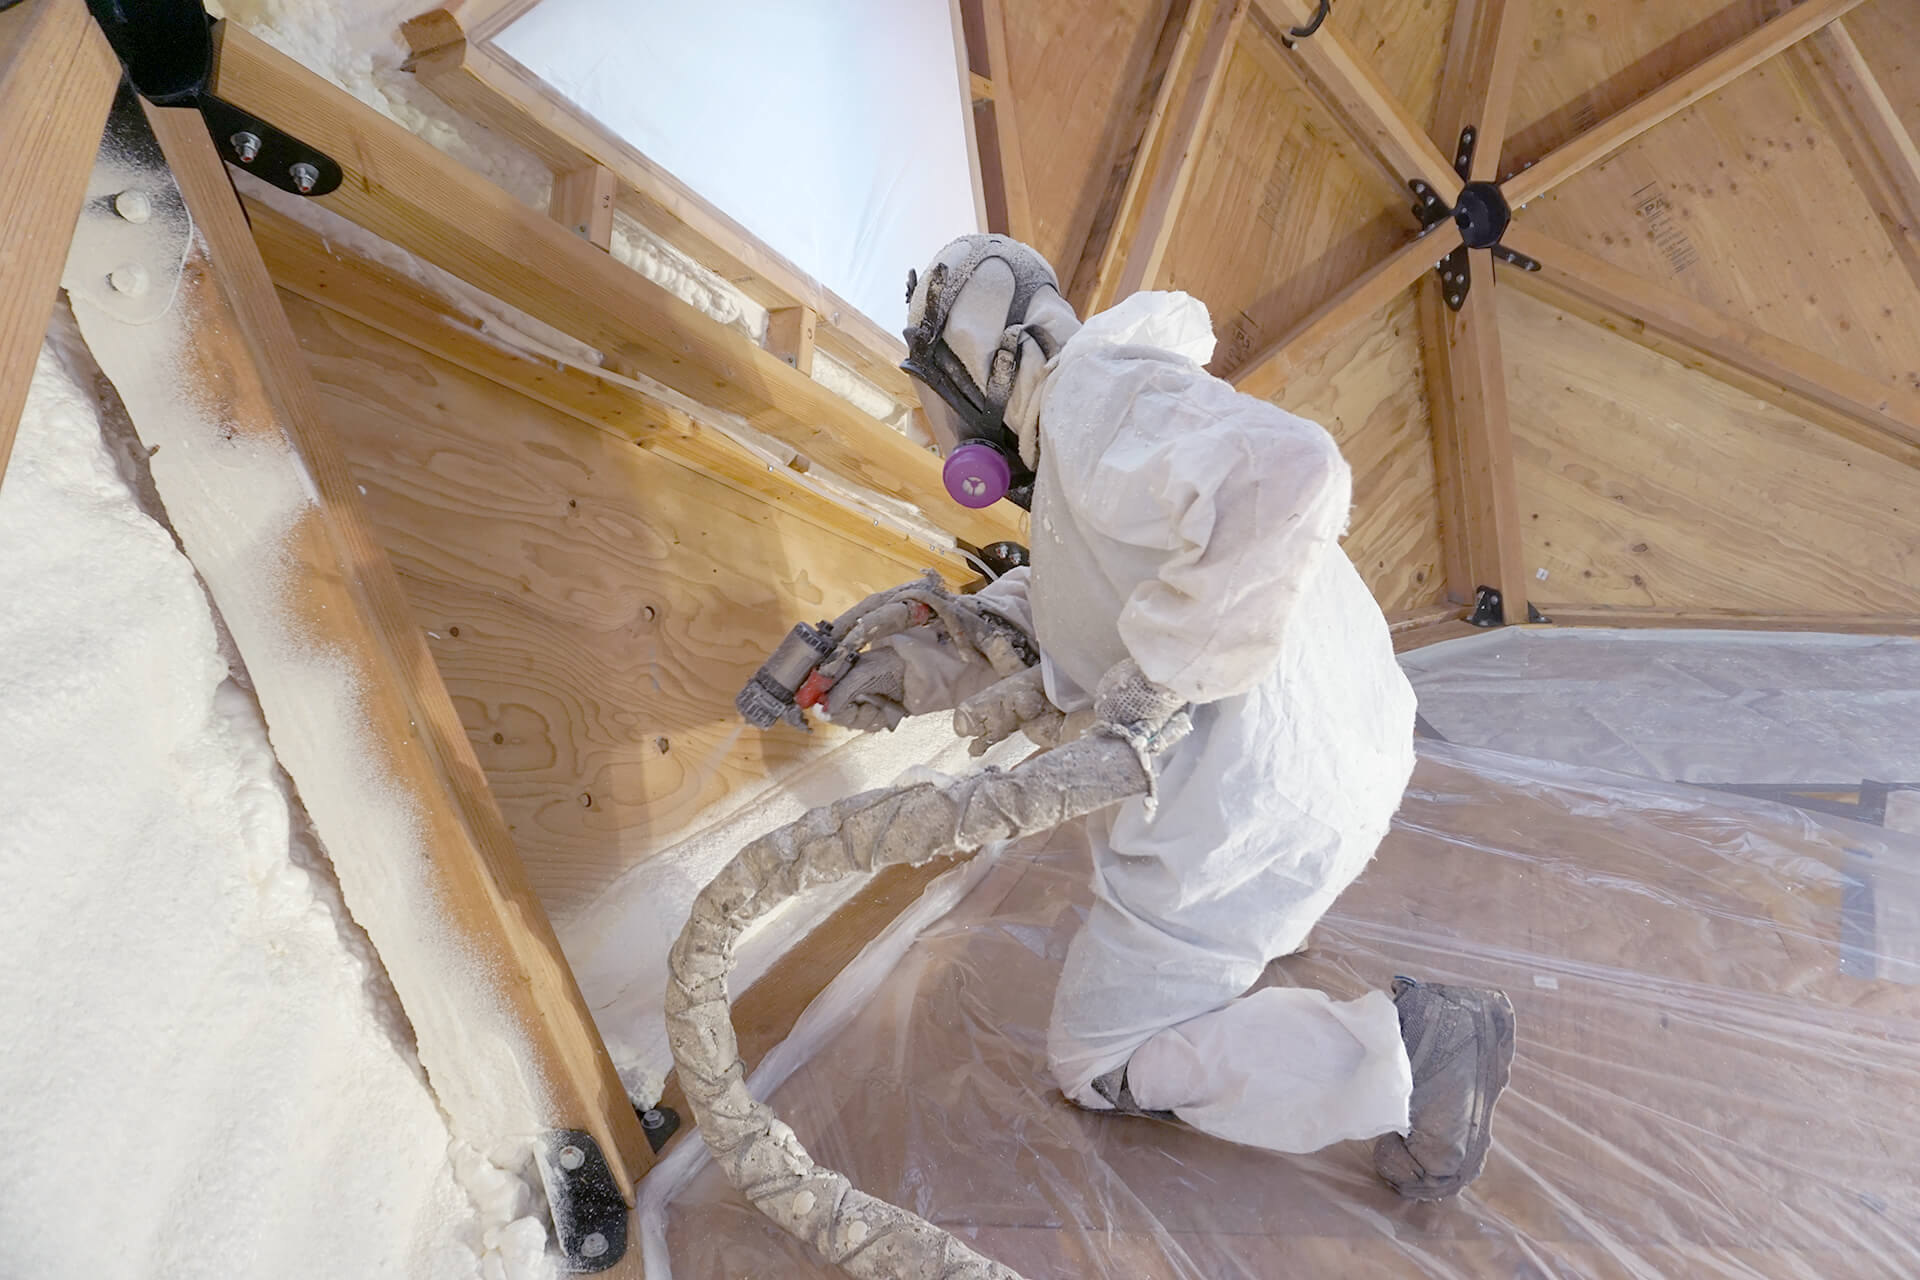
Have the spray foam professional fill the bulkheads in the floor, the voids in the Door Wall, and then spray the reachable areas.
Rebuild the scaffolding and protect it with plastic if desired, as spray foam droplets tend to get everywhere.
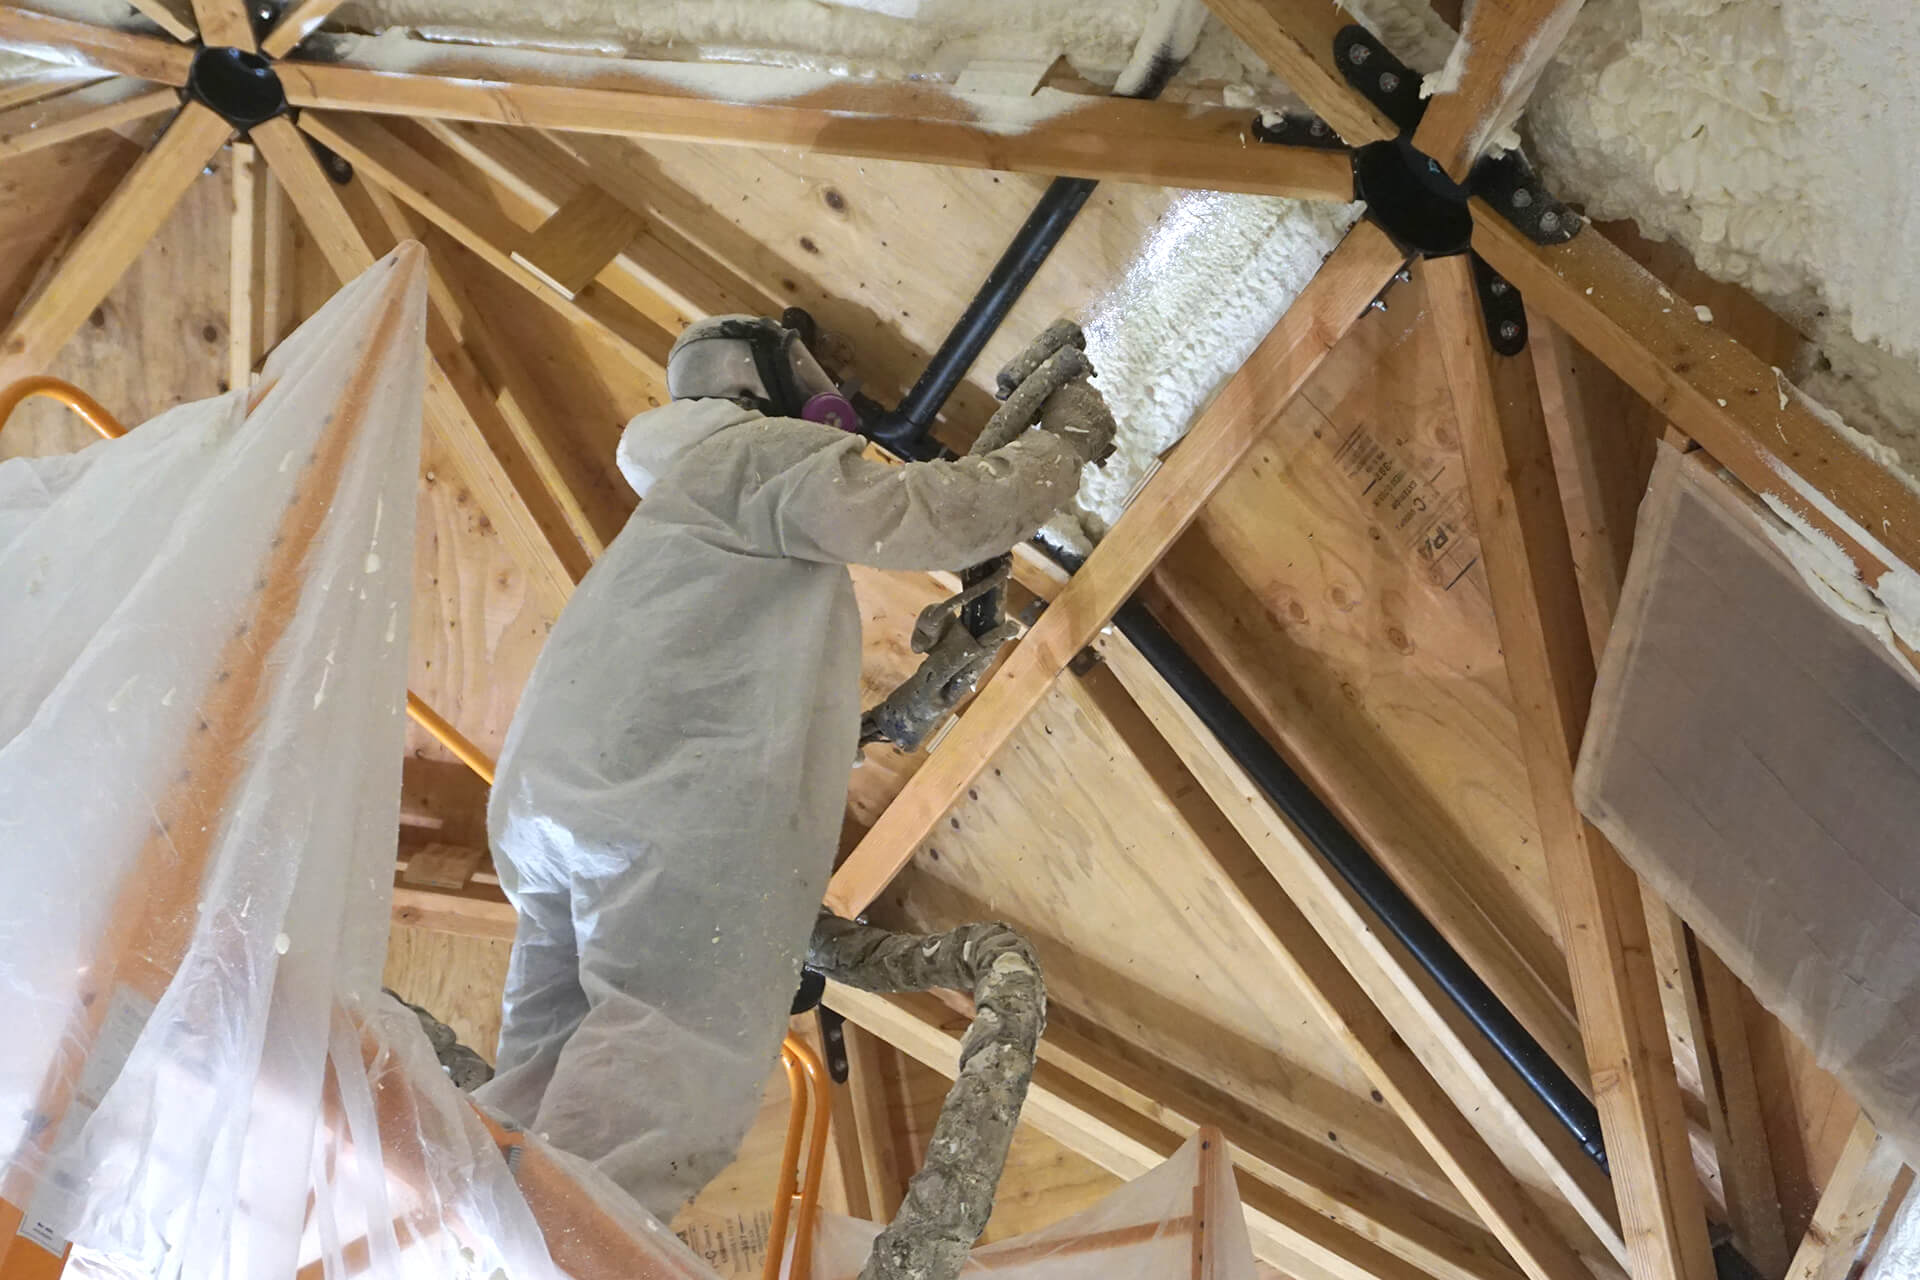
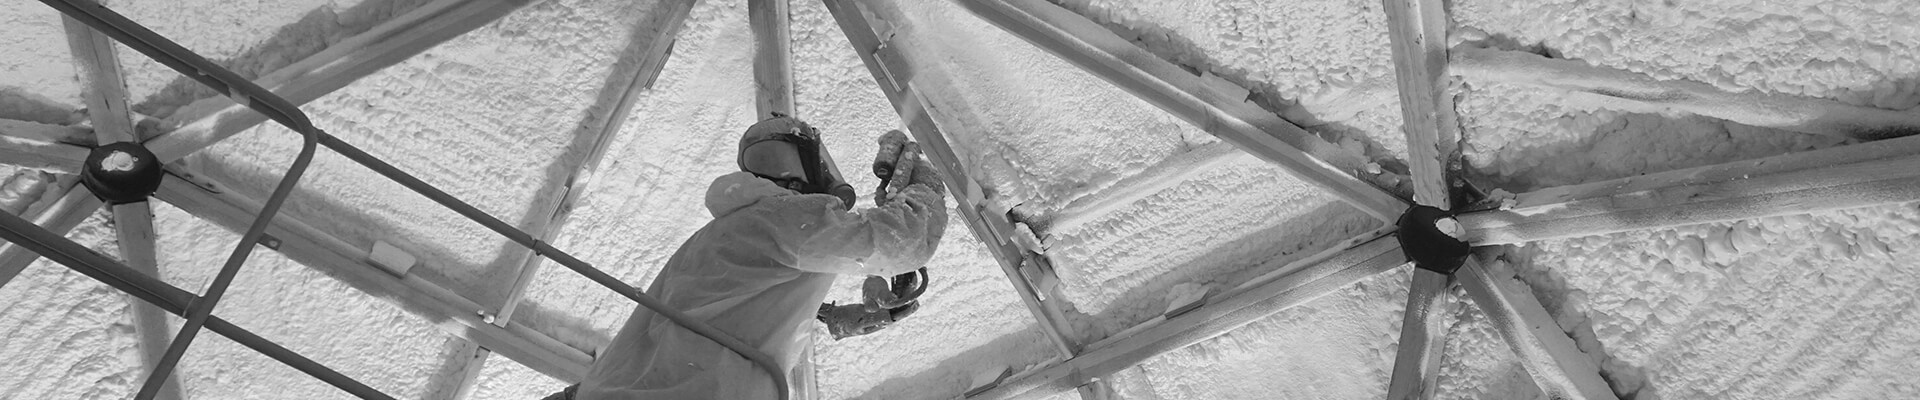
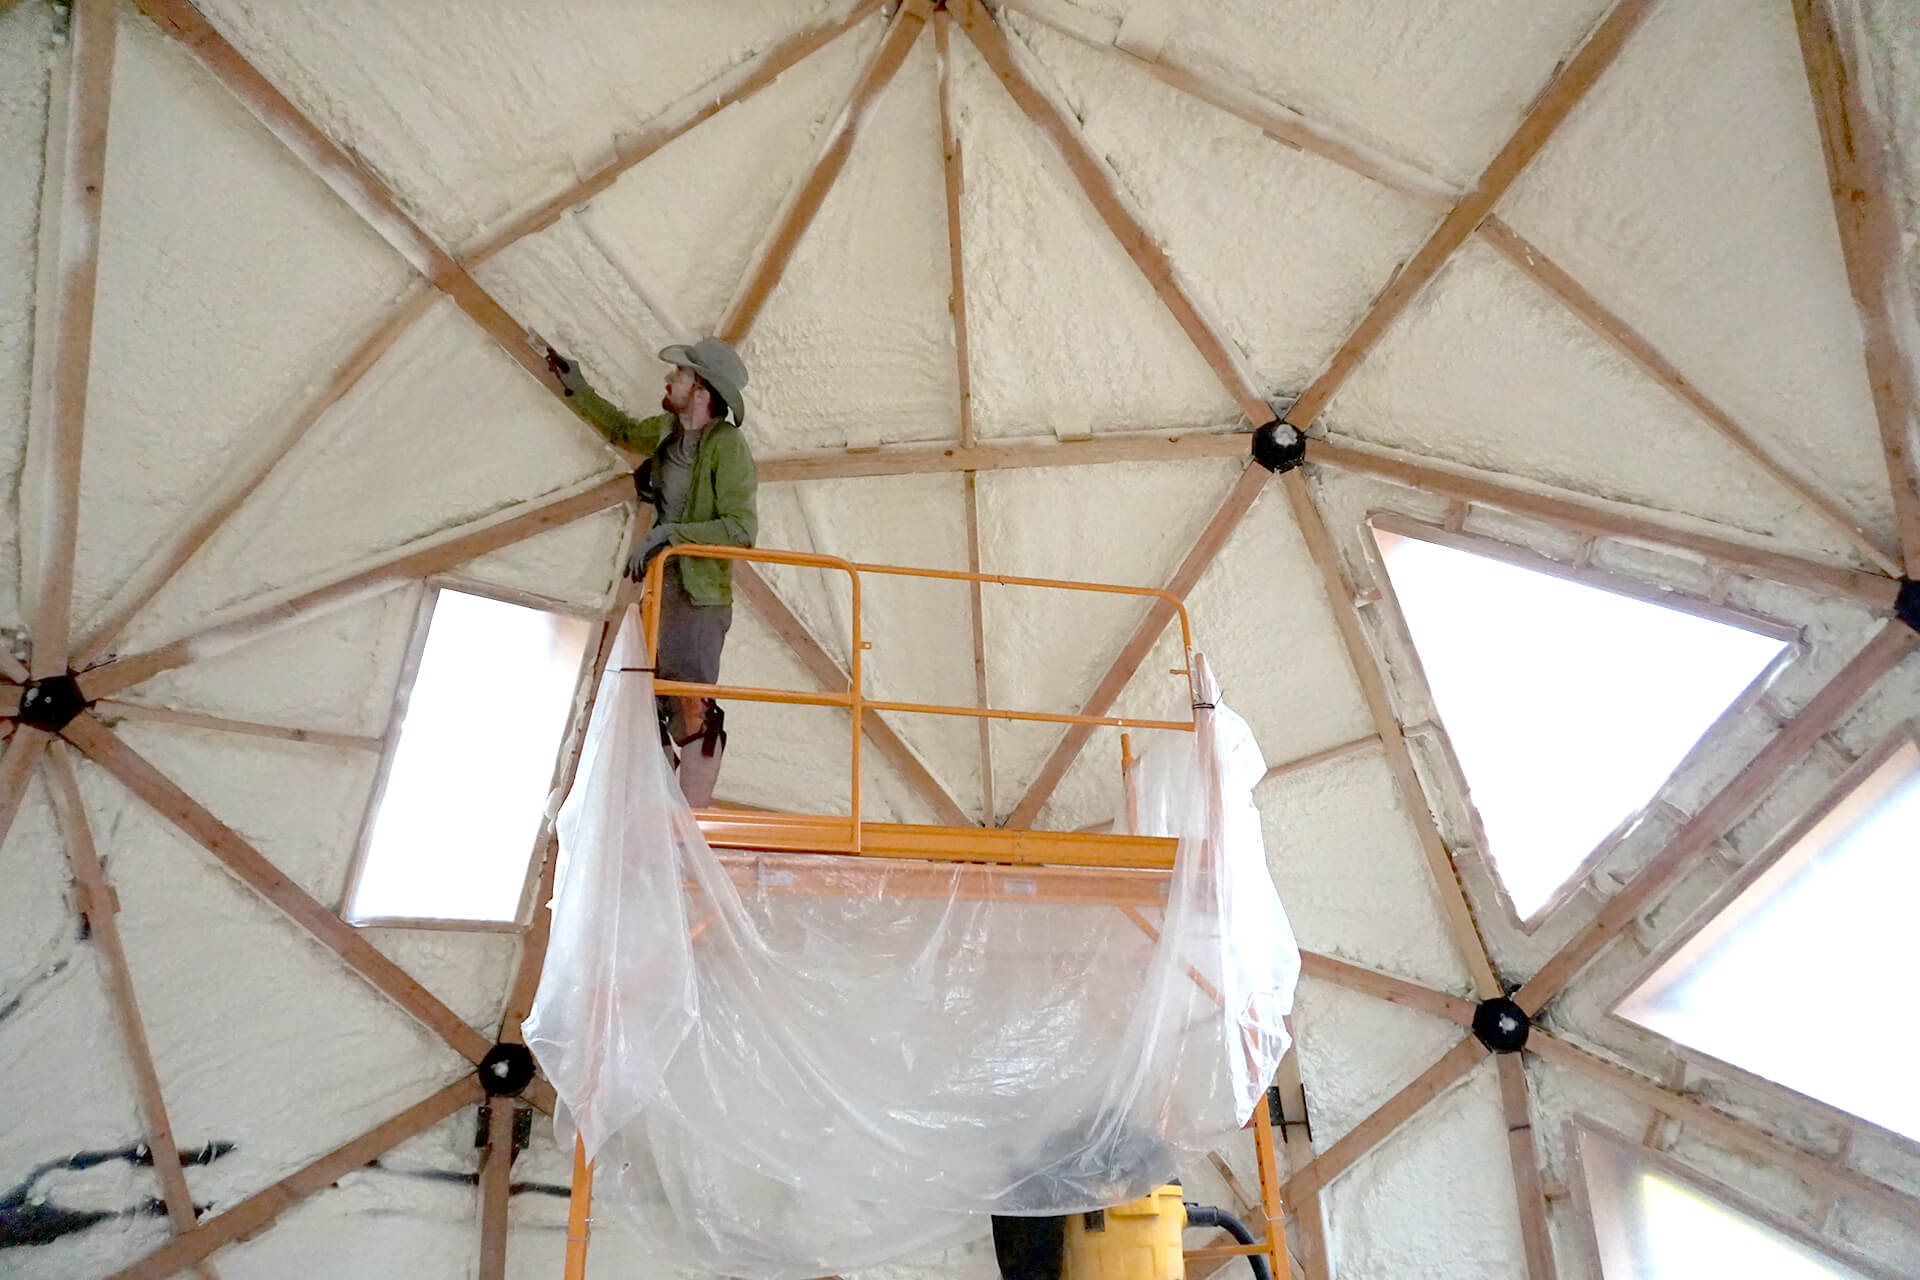
Have the spray foam professional spray the rest of the area, which should all be reachable with the scaffolding.

There should be no visible plywood surfaces, and all outer Struts and Studs should be fully covered in foam and indistinguishable if the proper foam thickness (~5.5") is achieved.
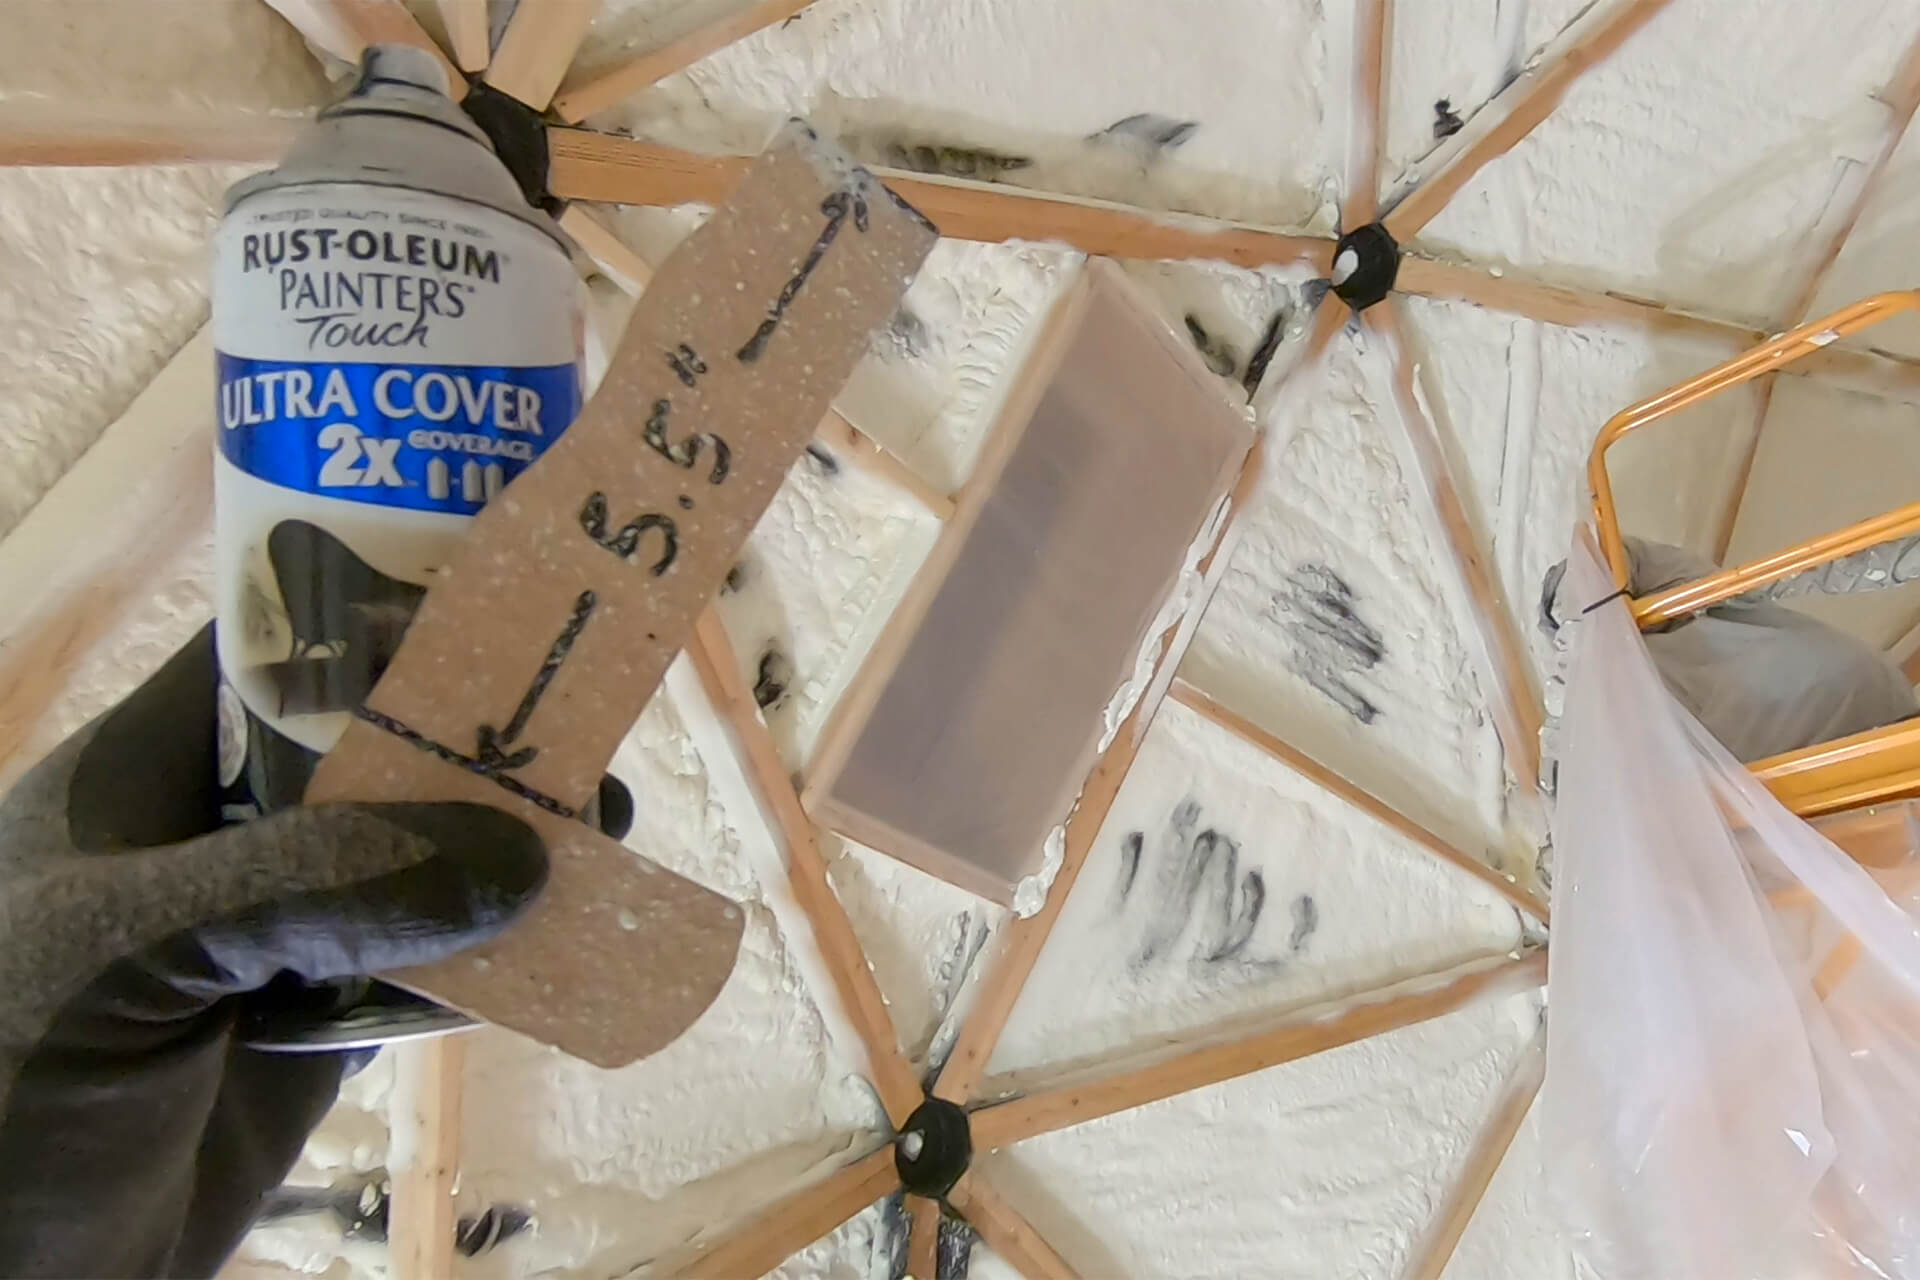
Before shutting down or packing up, politely ask for permission to mark potential low spots. A depth gauge (for the desired maximum void between the inner wall and foam) is shown here.
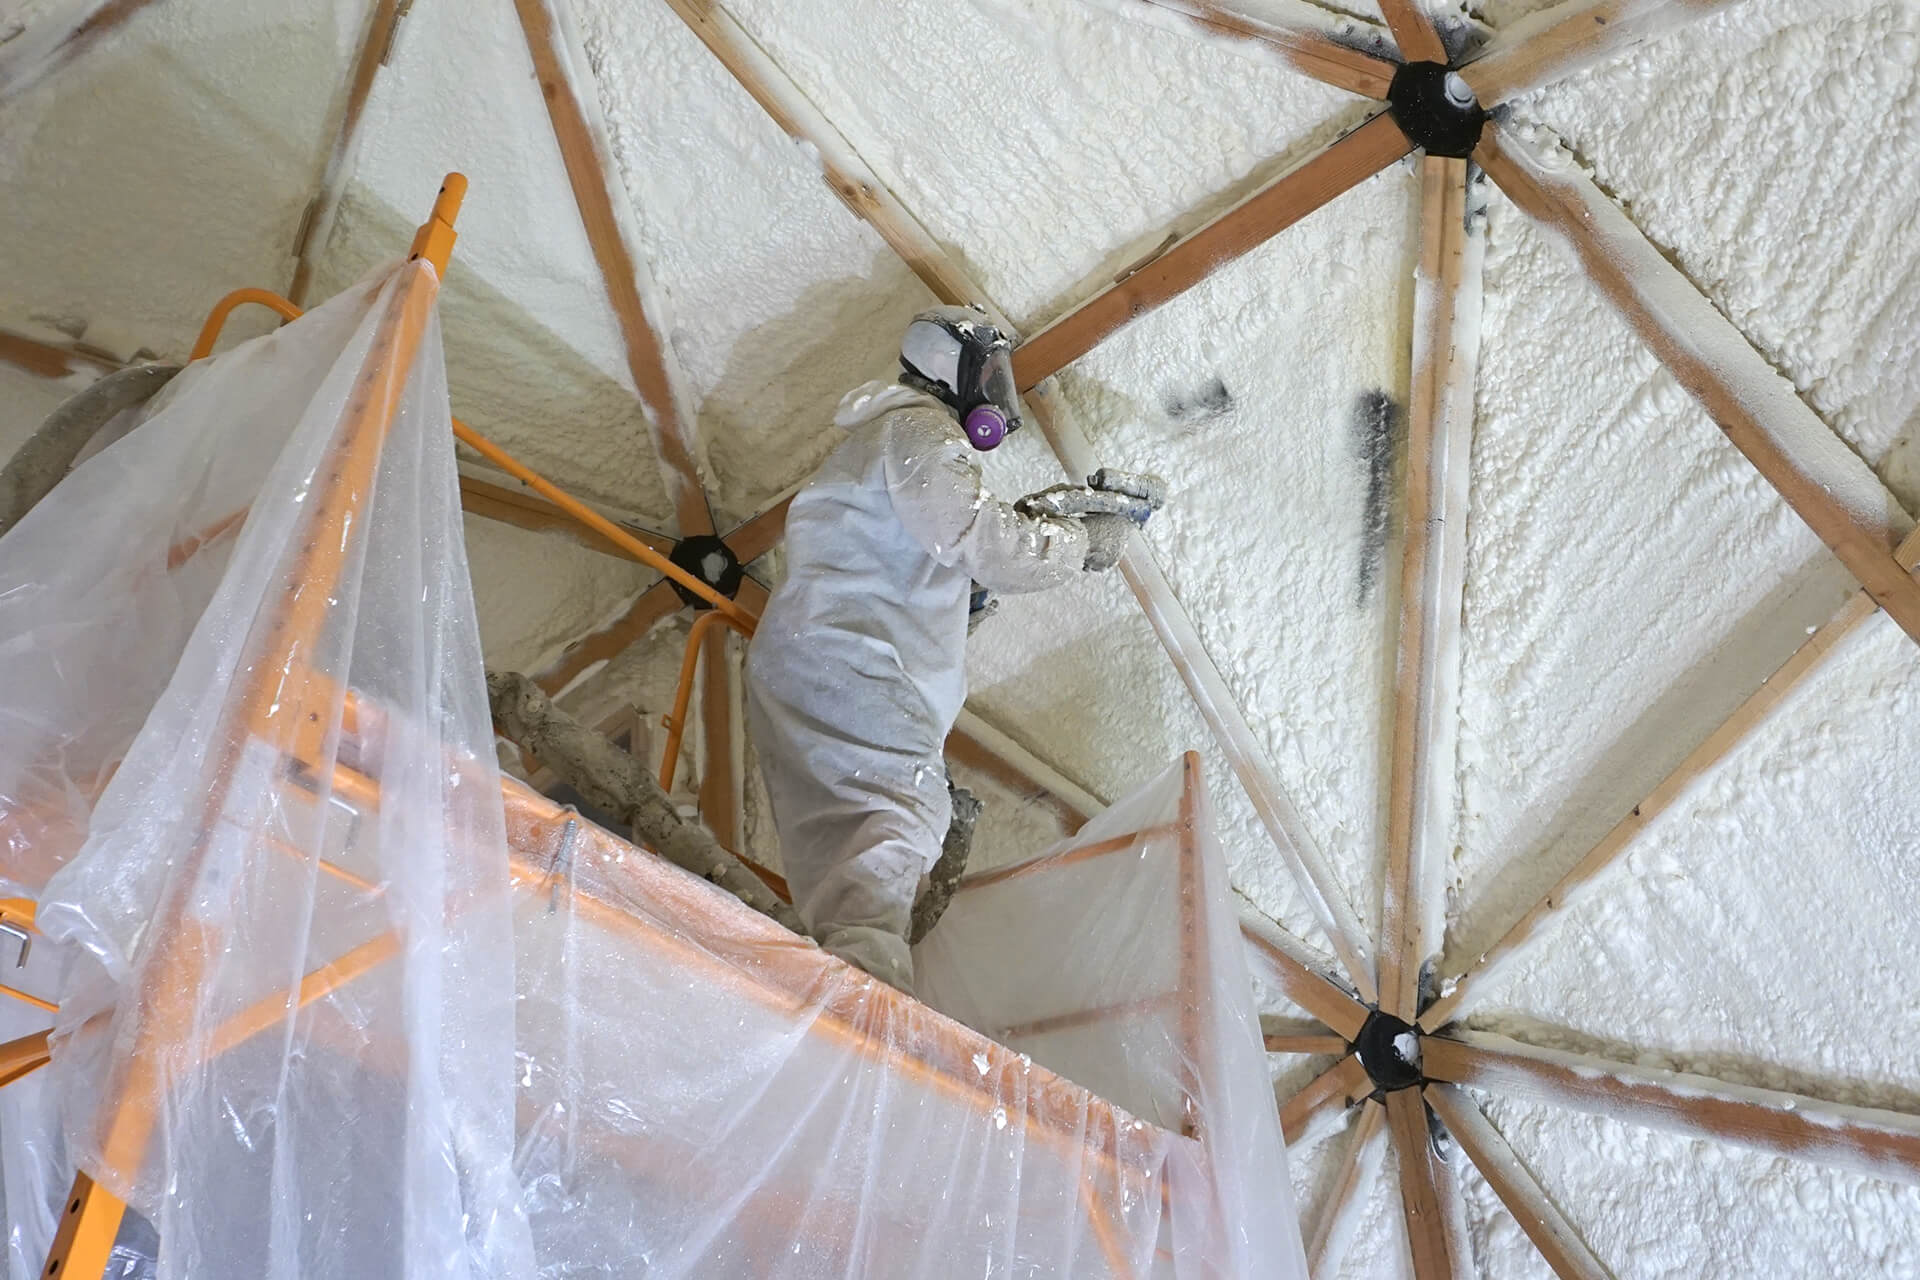
Have the spray foam professional spray the marked areas. It’s fair to get what you paid for, which is a much thicker application of spray foam than most professionals are used to.
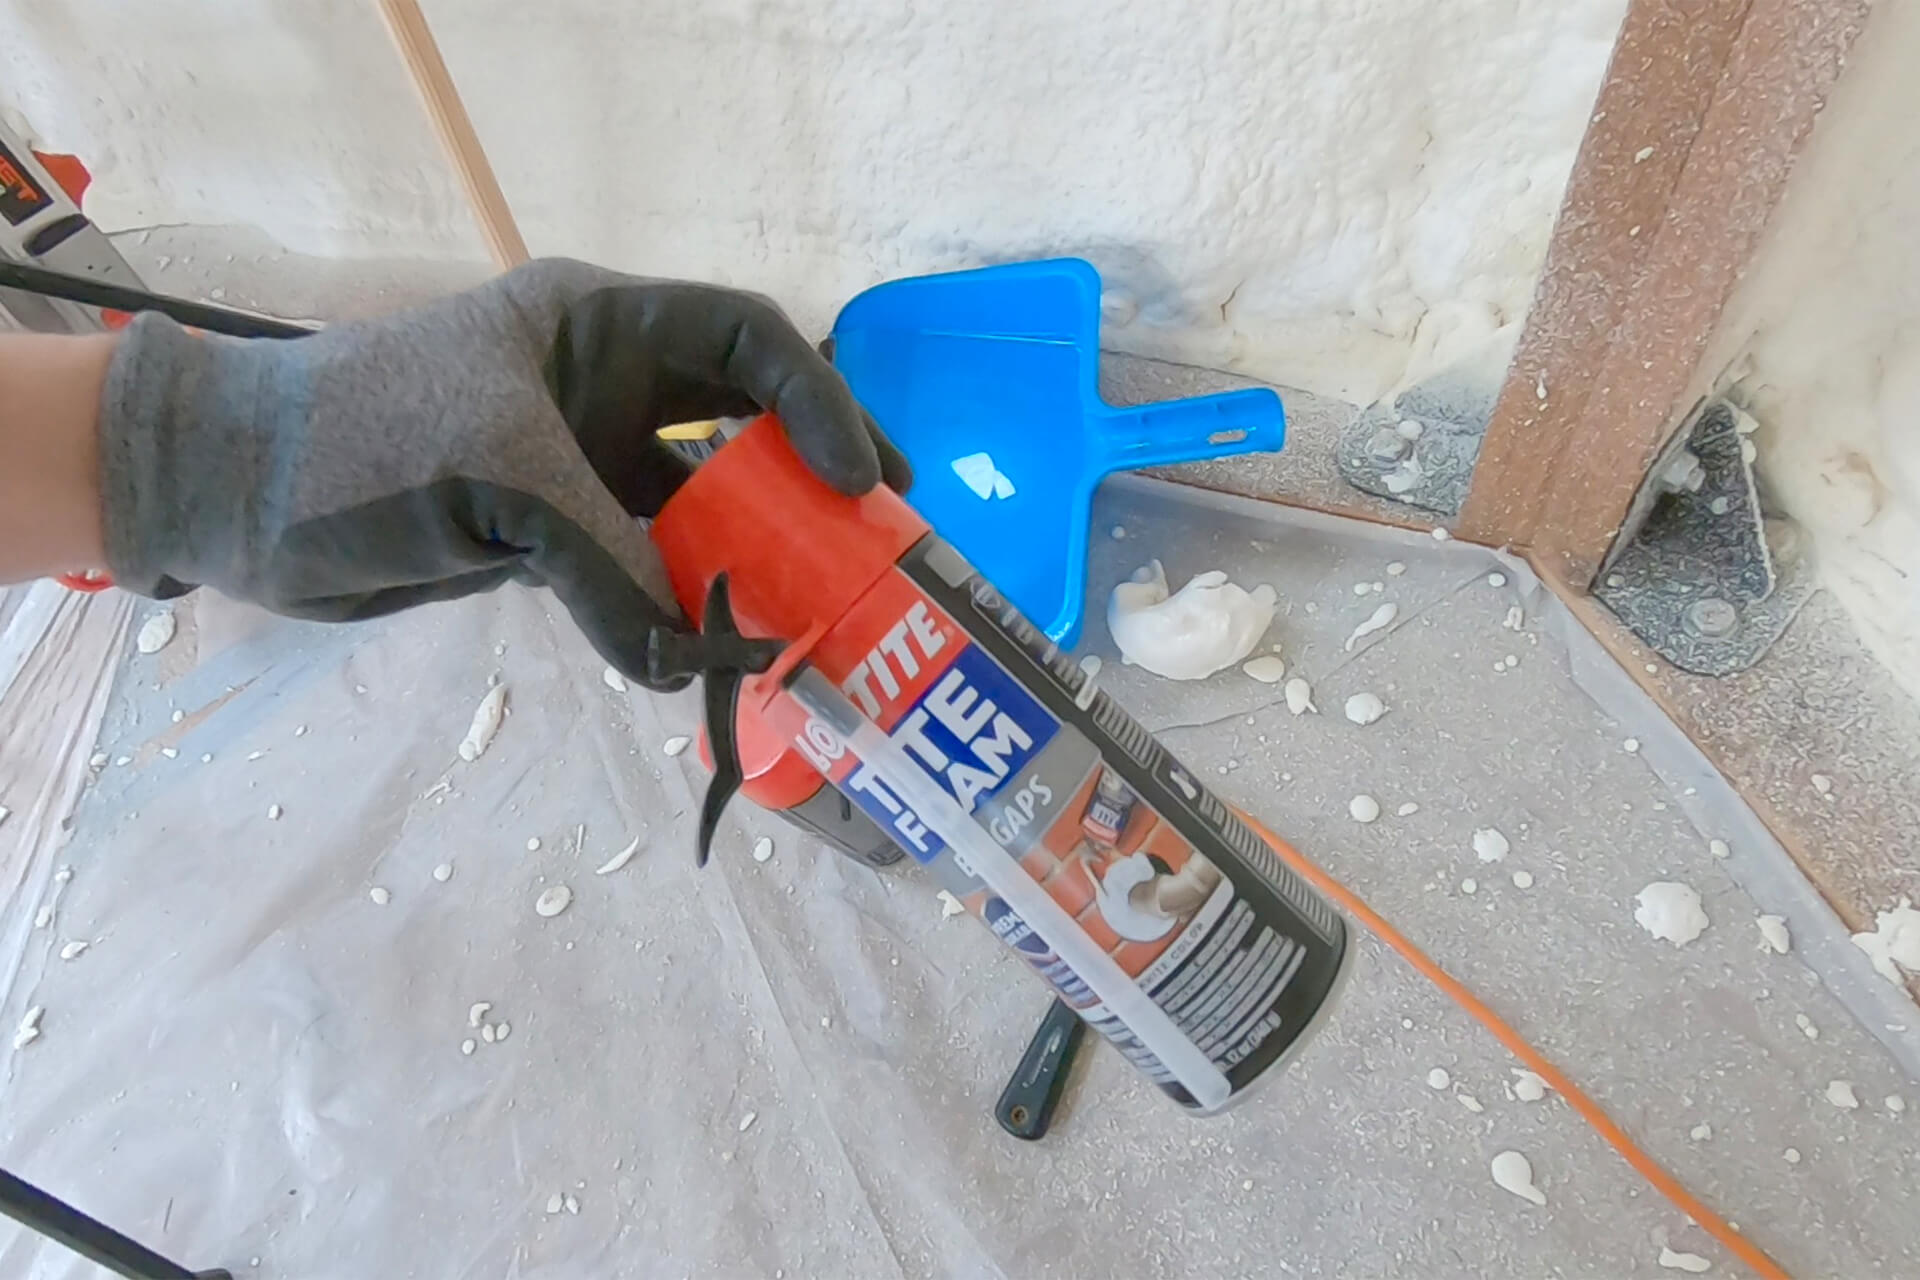
Canned foam can be used to fill any small voids that were missed. Mark all spots with a critical eye beforehand to ensure the entire can can be sprayed in one go.
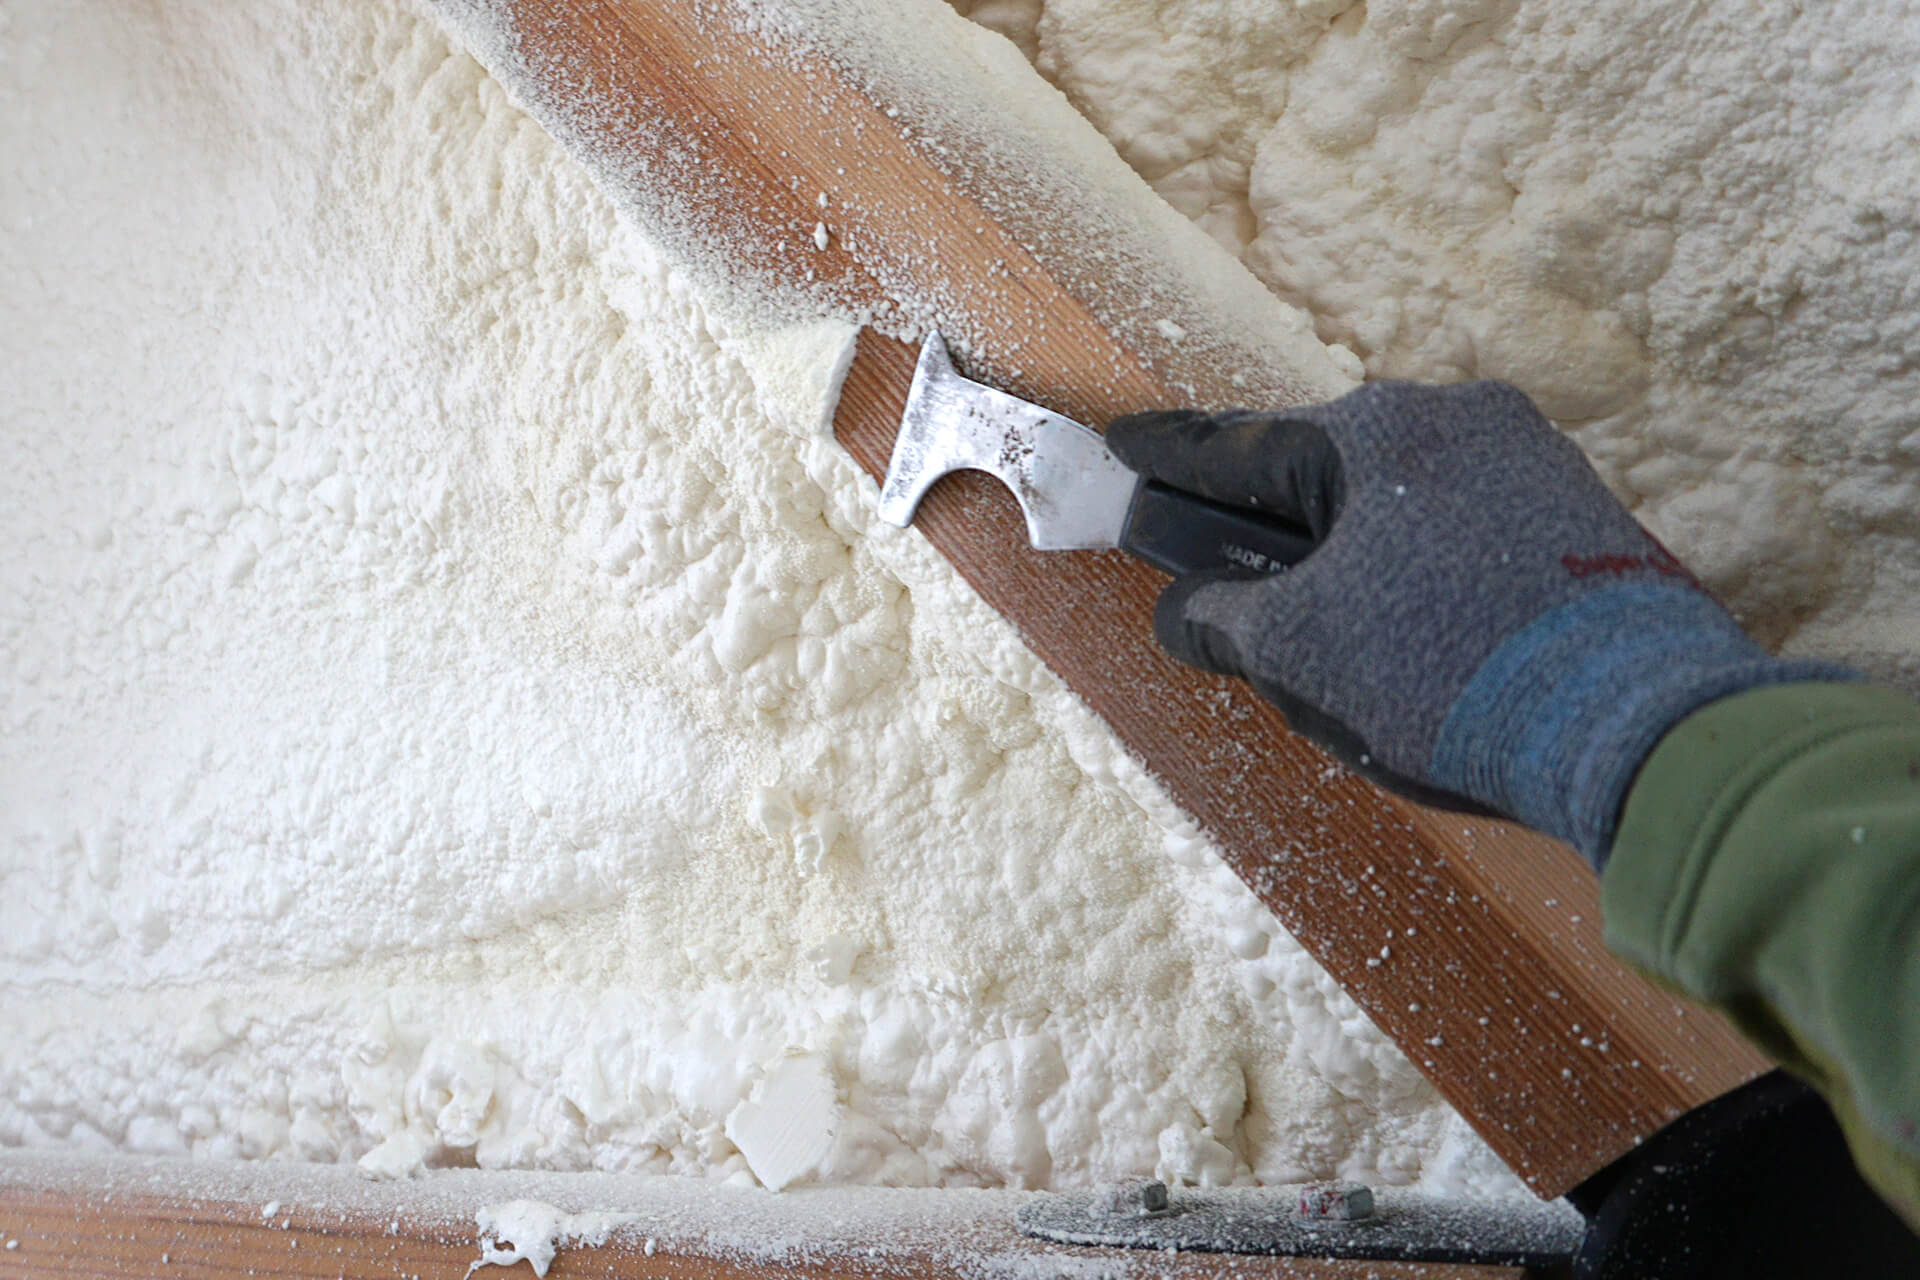
Use a sharp putty knife to scrape off spray foam overspray.
Remove the overspray from all innermost surfaces, where the wall coverings (whether drywall or wood planks) will attach.
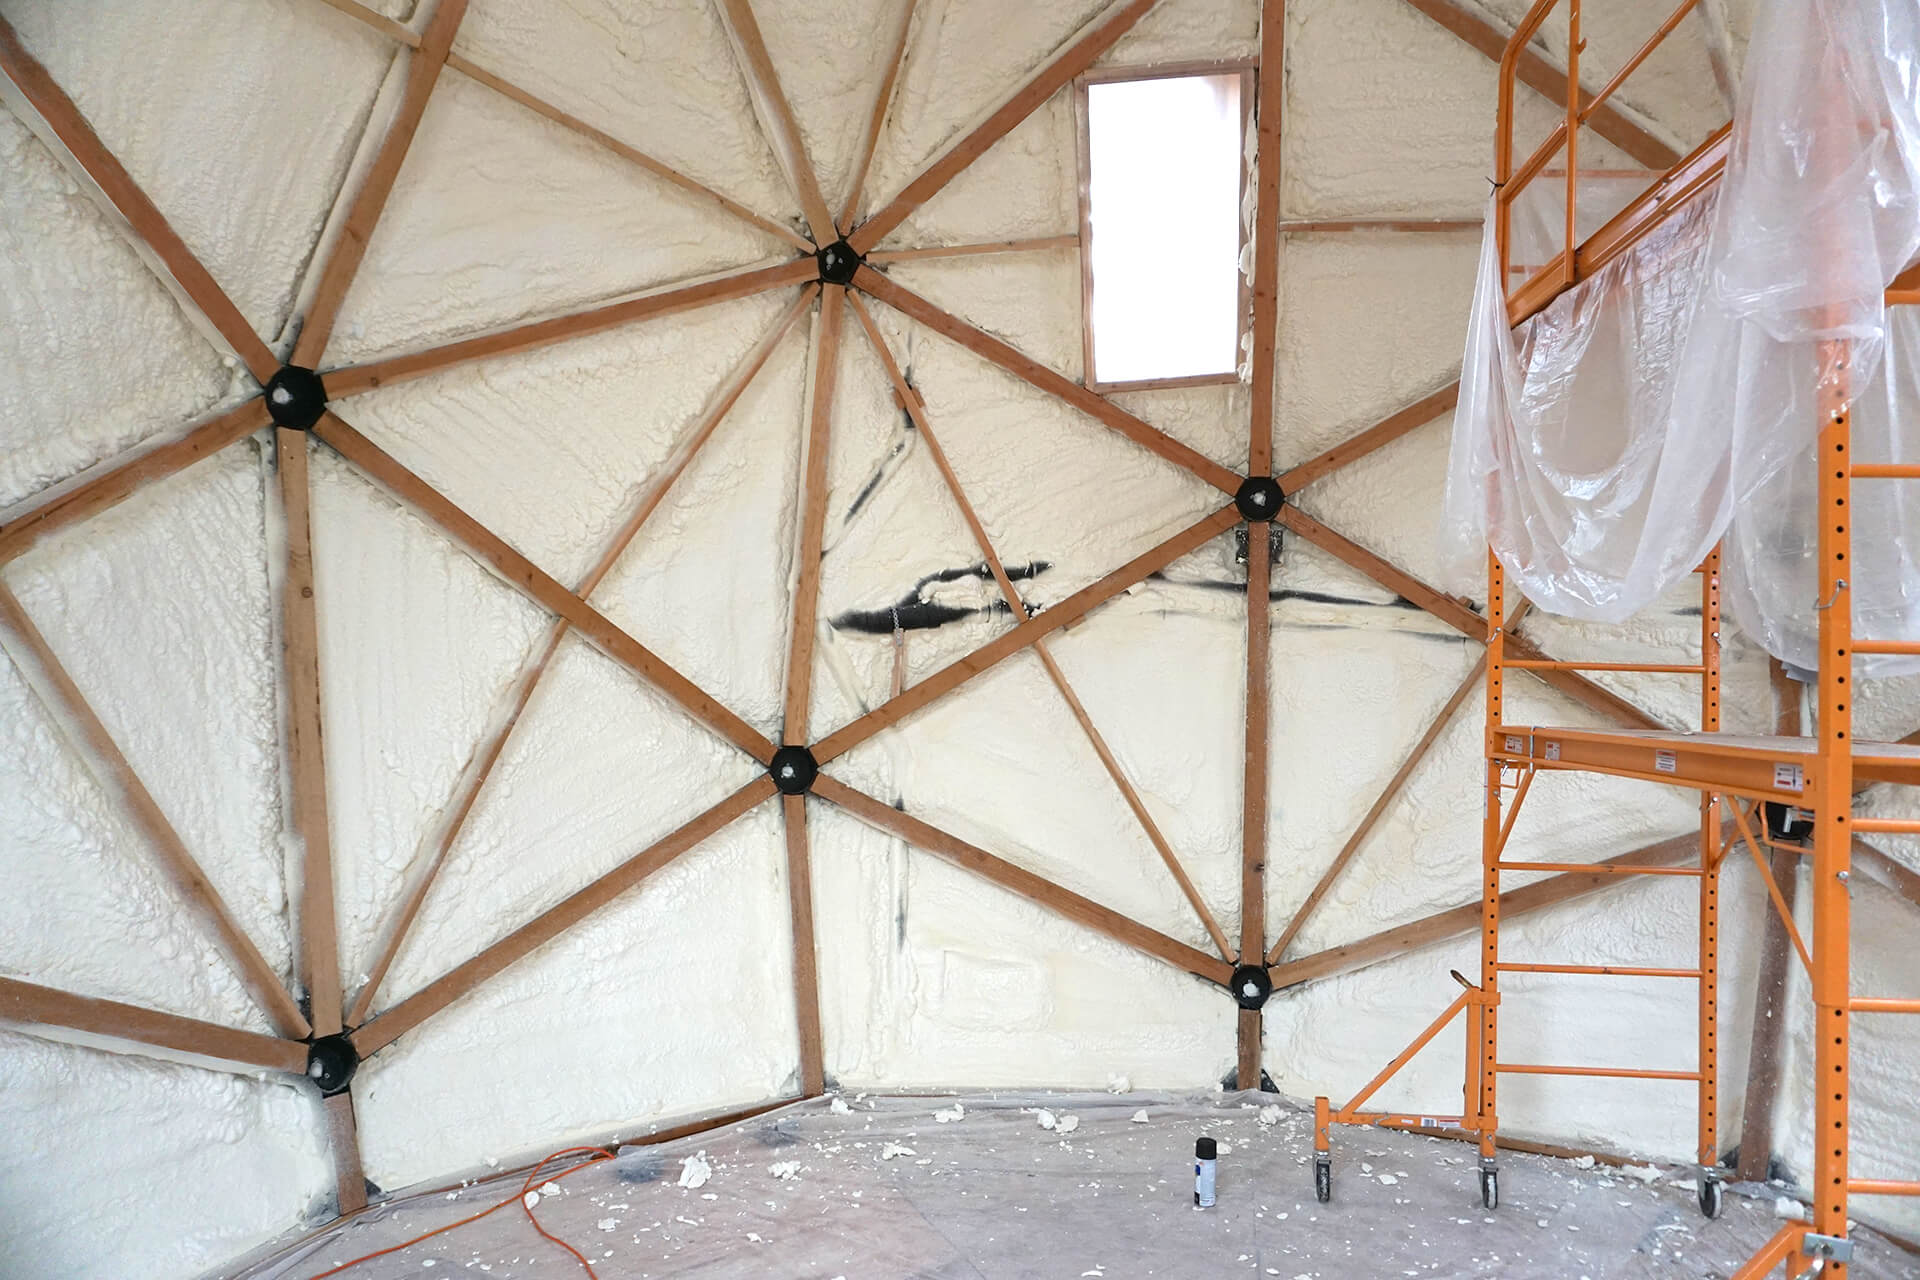
Congratulations on completing the spray foam! The foam will be covered with mineral wool, so now is the time to have it inspected. It may be a partial (ideally not) if the inspector needs to see the mineral wool as well.
Inspection: Insulation/Vapor Barrier (partial?)