
Prefab – Floor
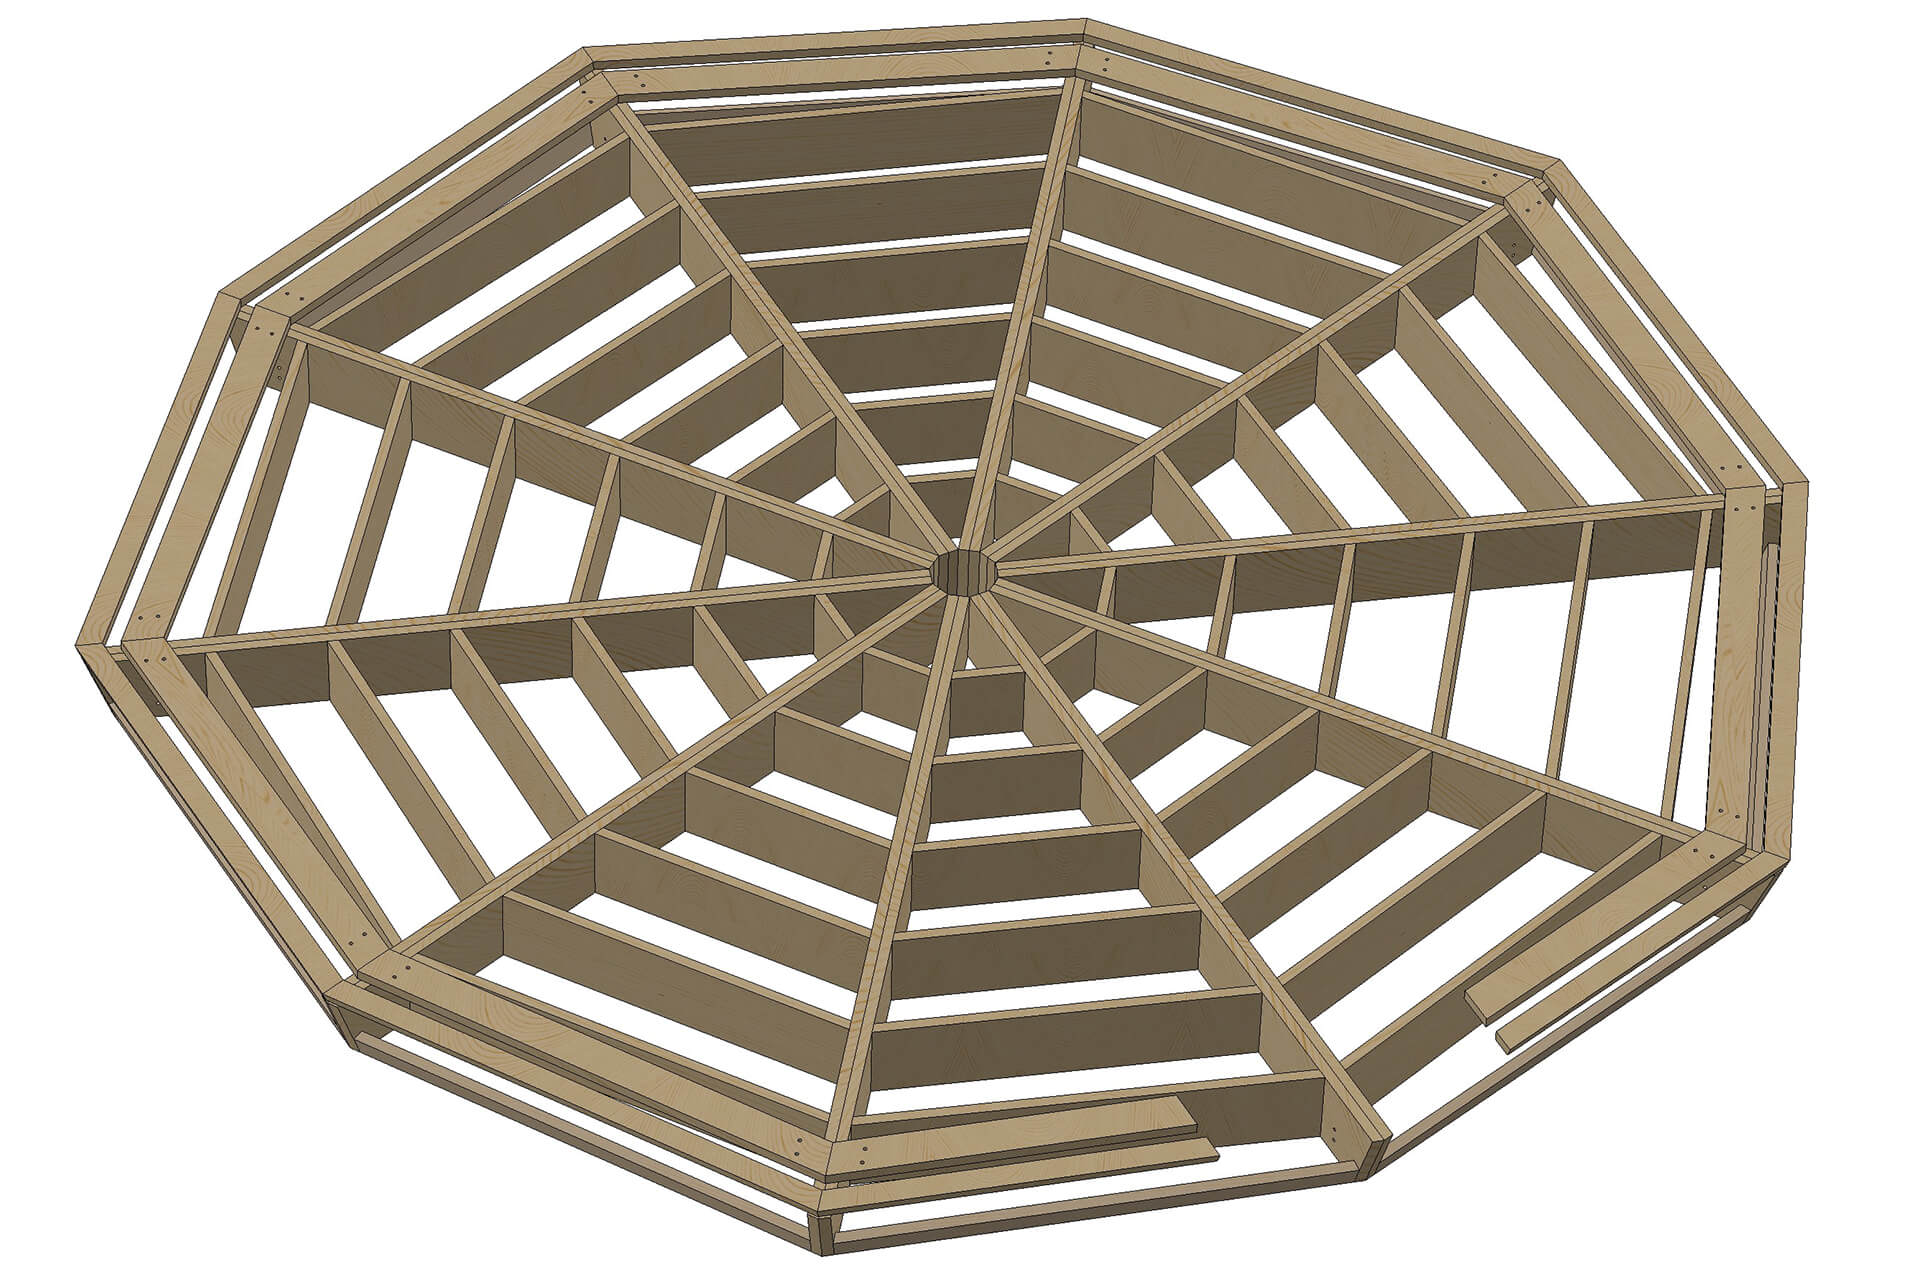
The floor is to be cut from lumber. Pressure treated may be optional since this floor is 18” away from soil and the bottom is to be covered.
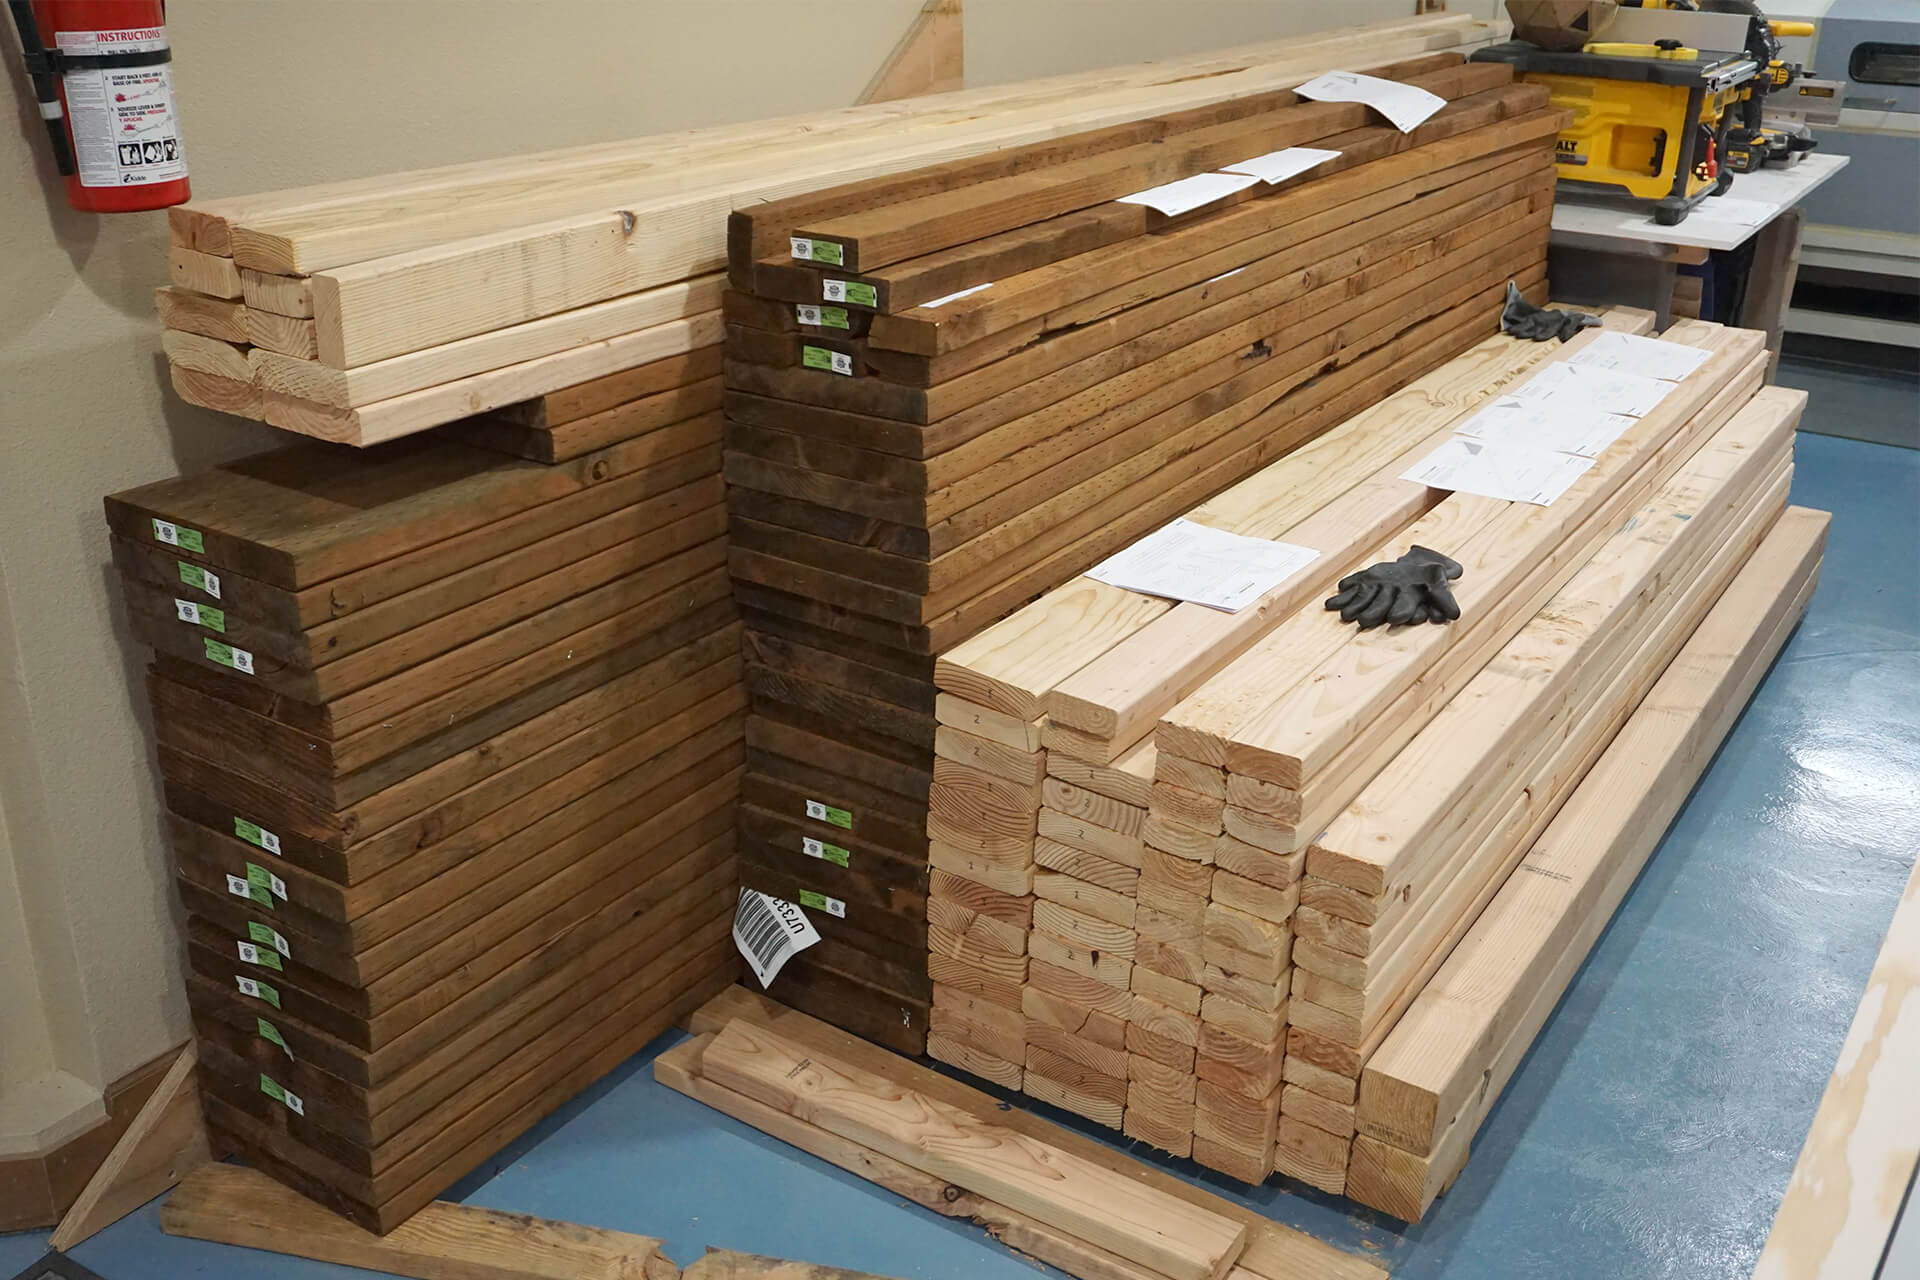
The lumber should be dry and dimensionally stable, but it can also be cut green if need be. If drying the lumber, stack it with spacers (not shown).
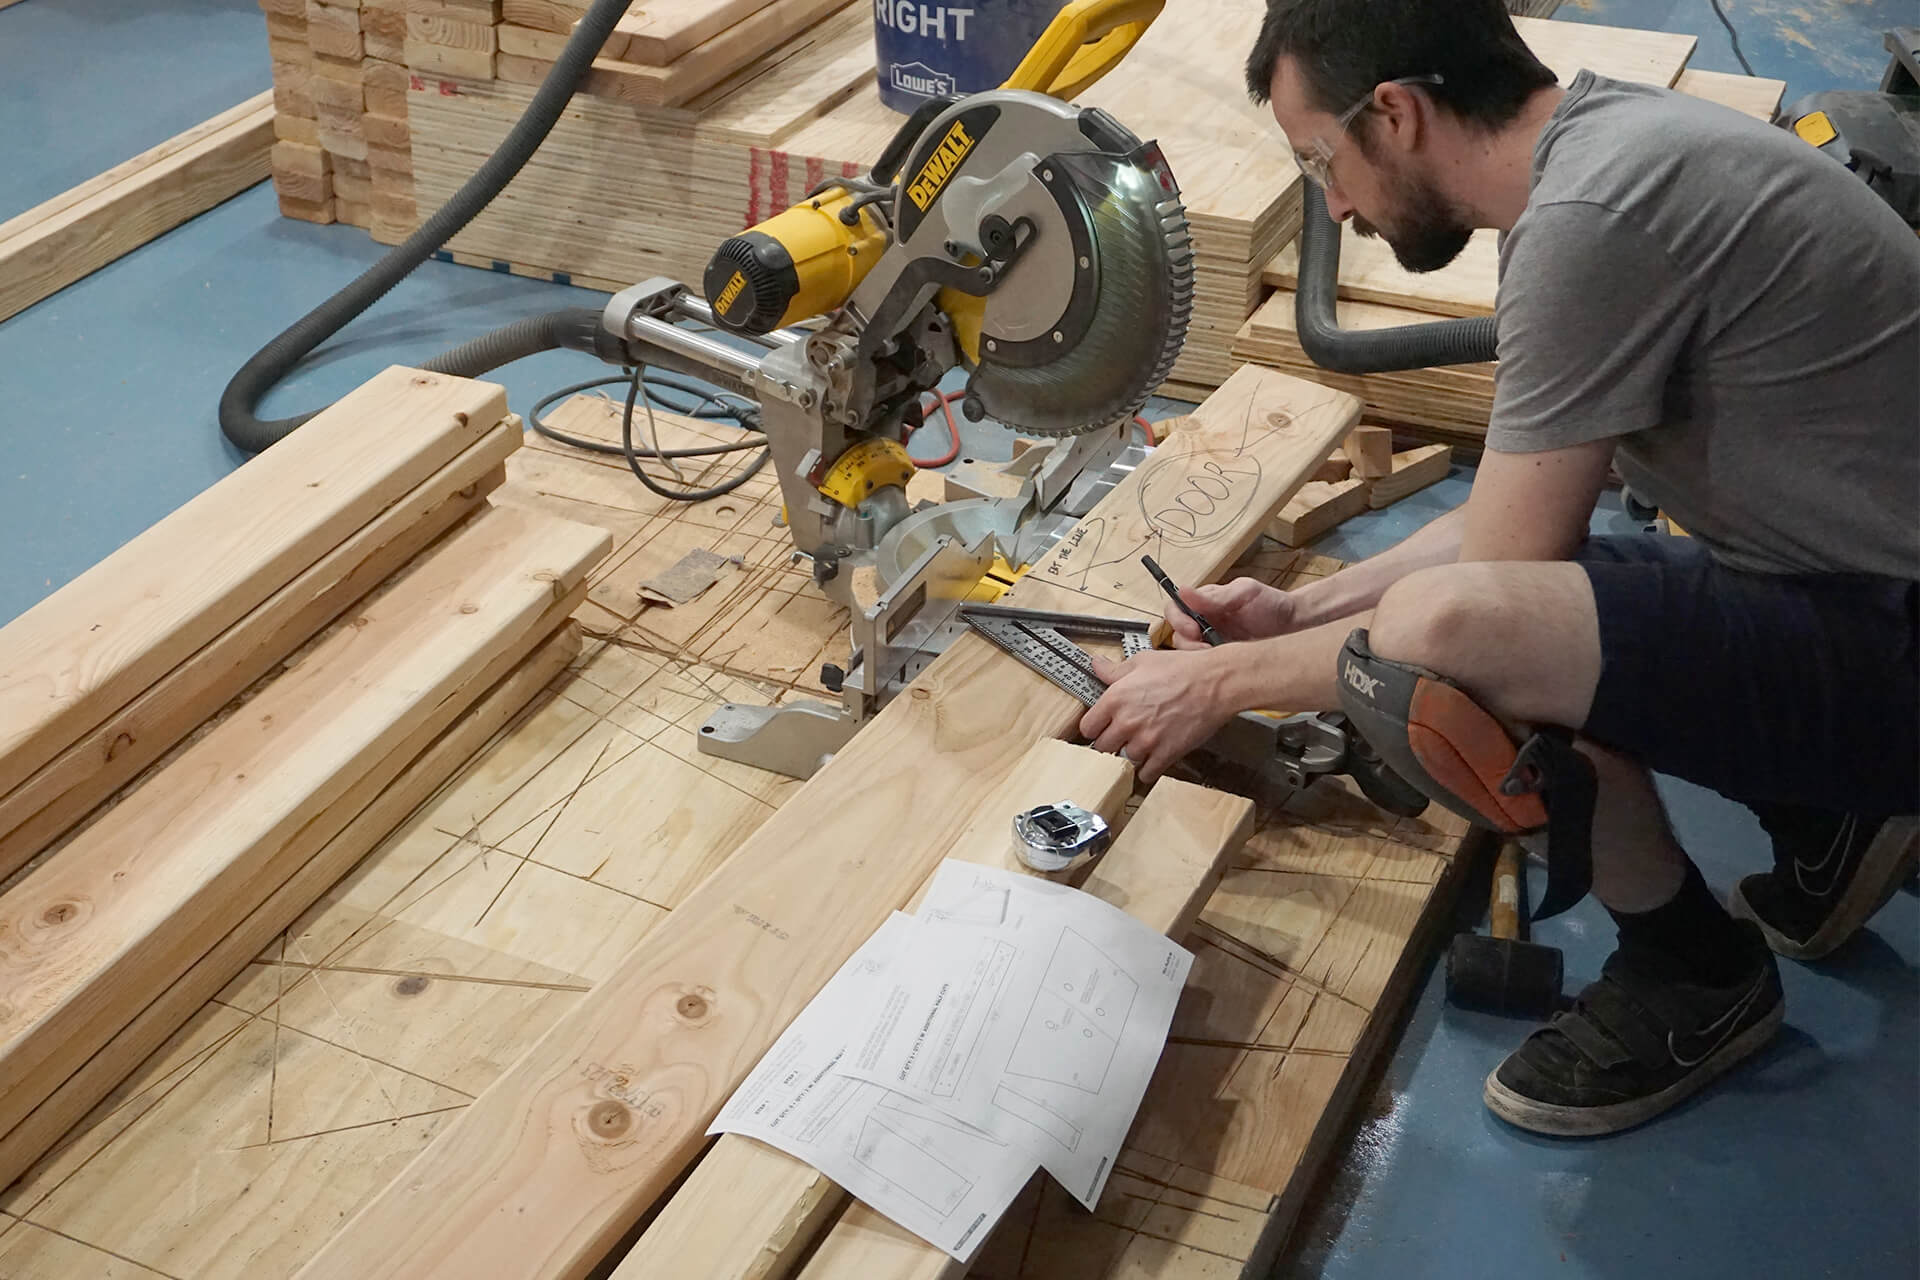
Measure and cut the Sill-Plate-Ins and Sill-Plate-Outs. These angles and lengths need to be very accurate - They will dictate the starting locations of the Struts.
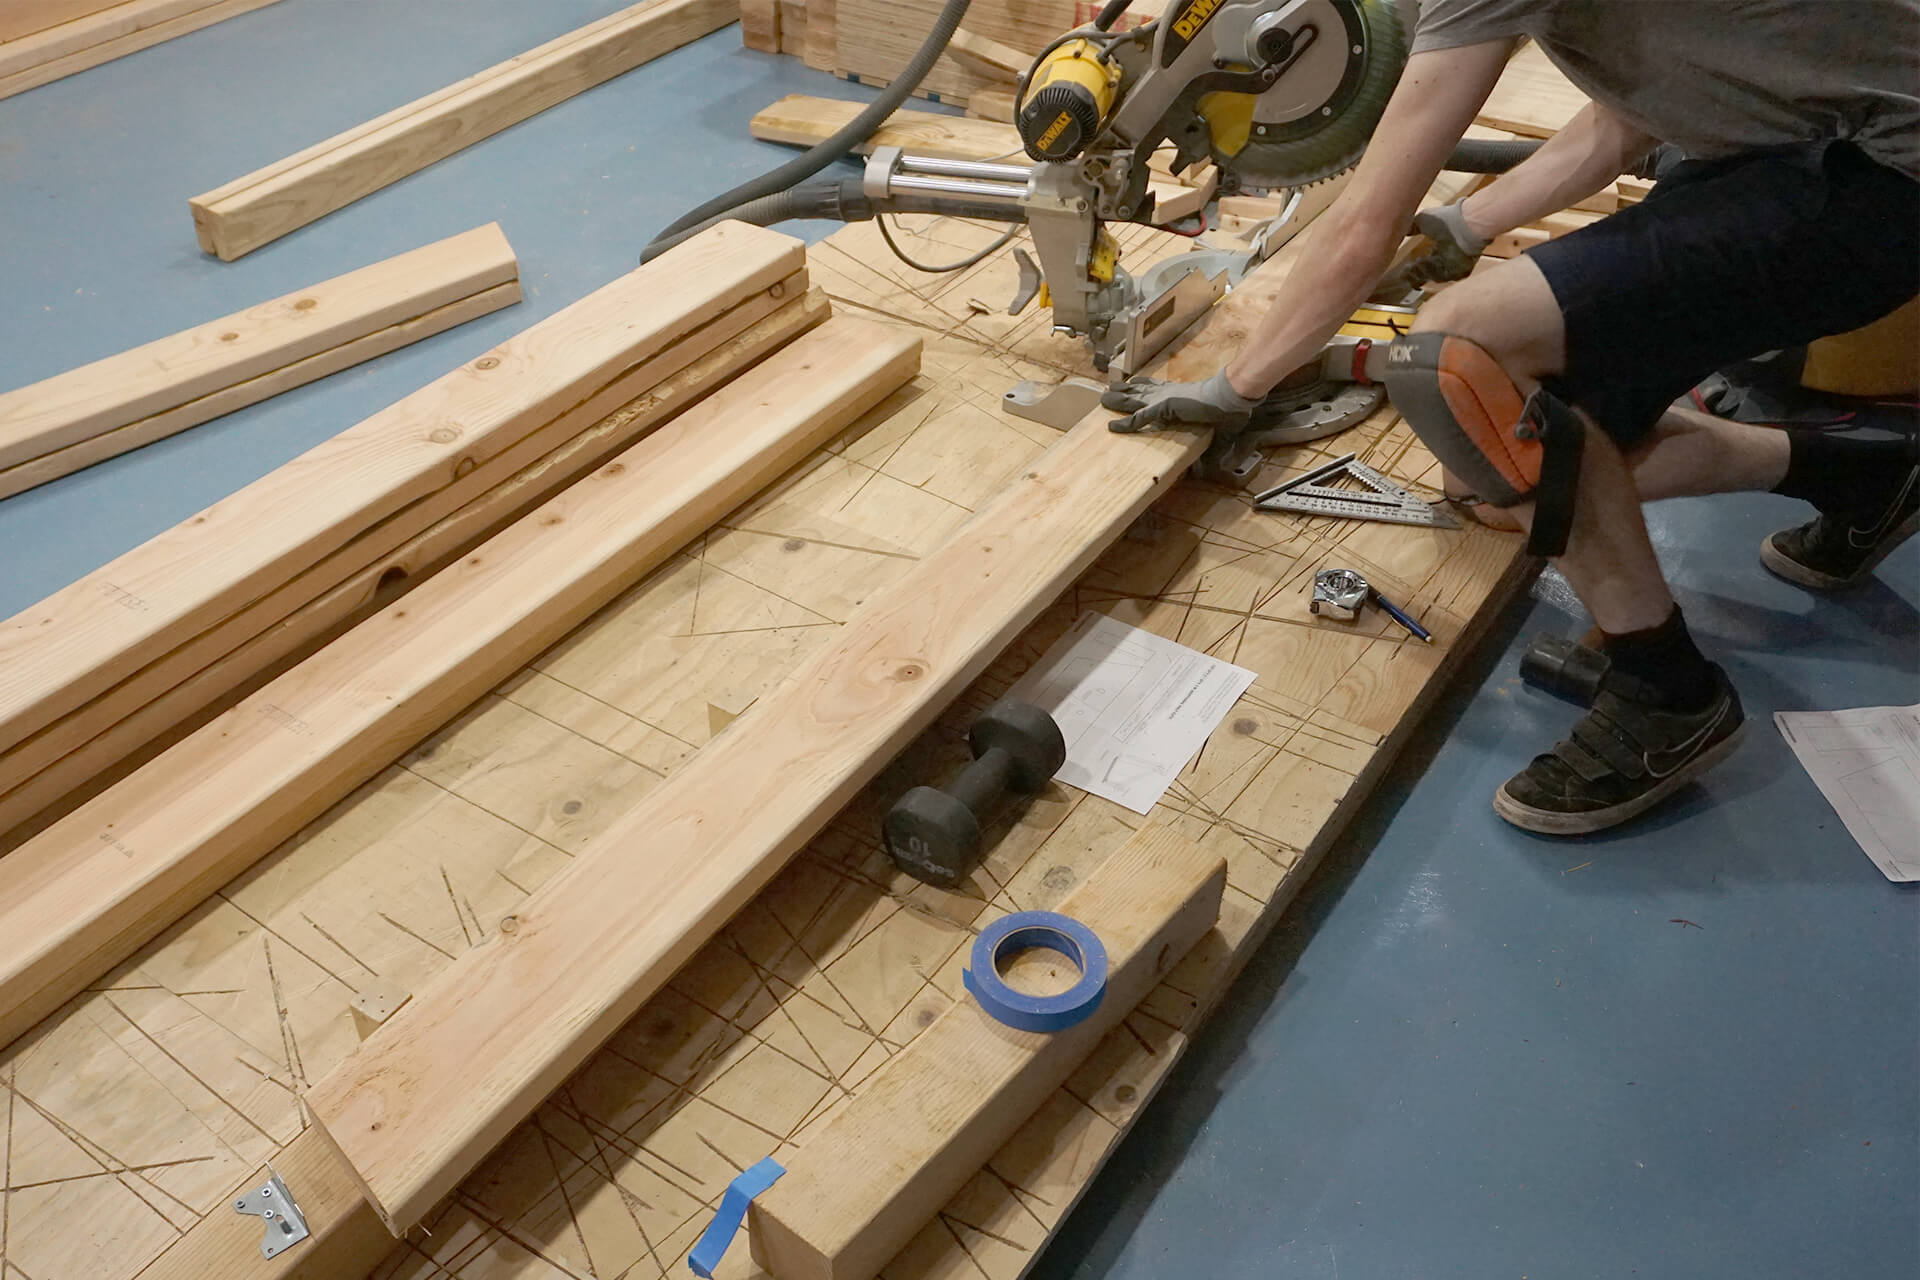
Cut all of the first angled ends, then set up a stop block for repeated cuts to achieve the correct length. Each side of the sill plates has a different angle, so adjust the saw swing accordingly.
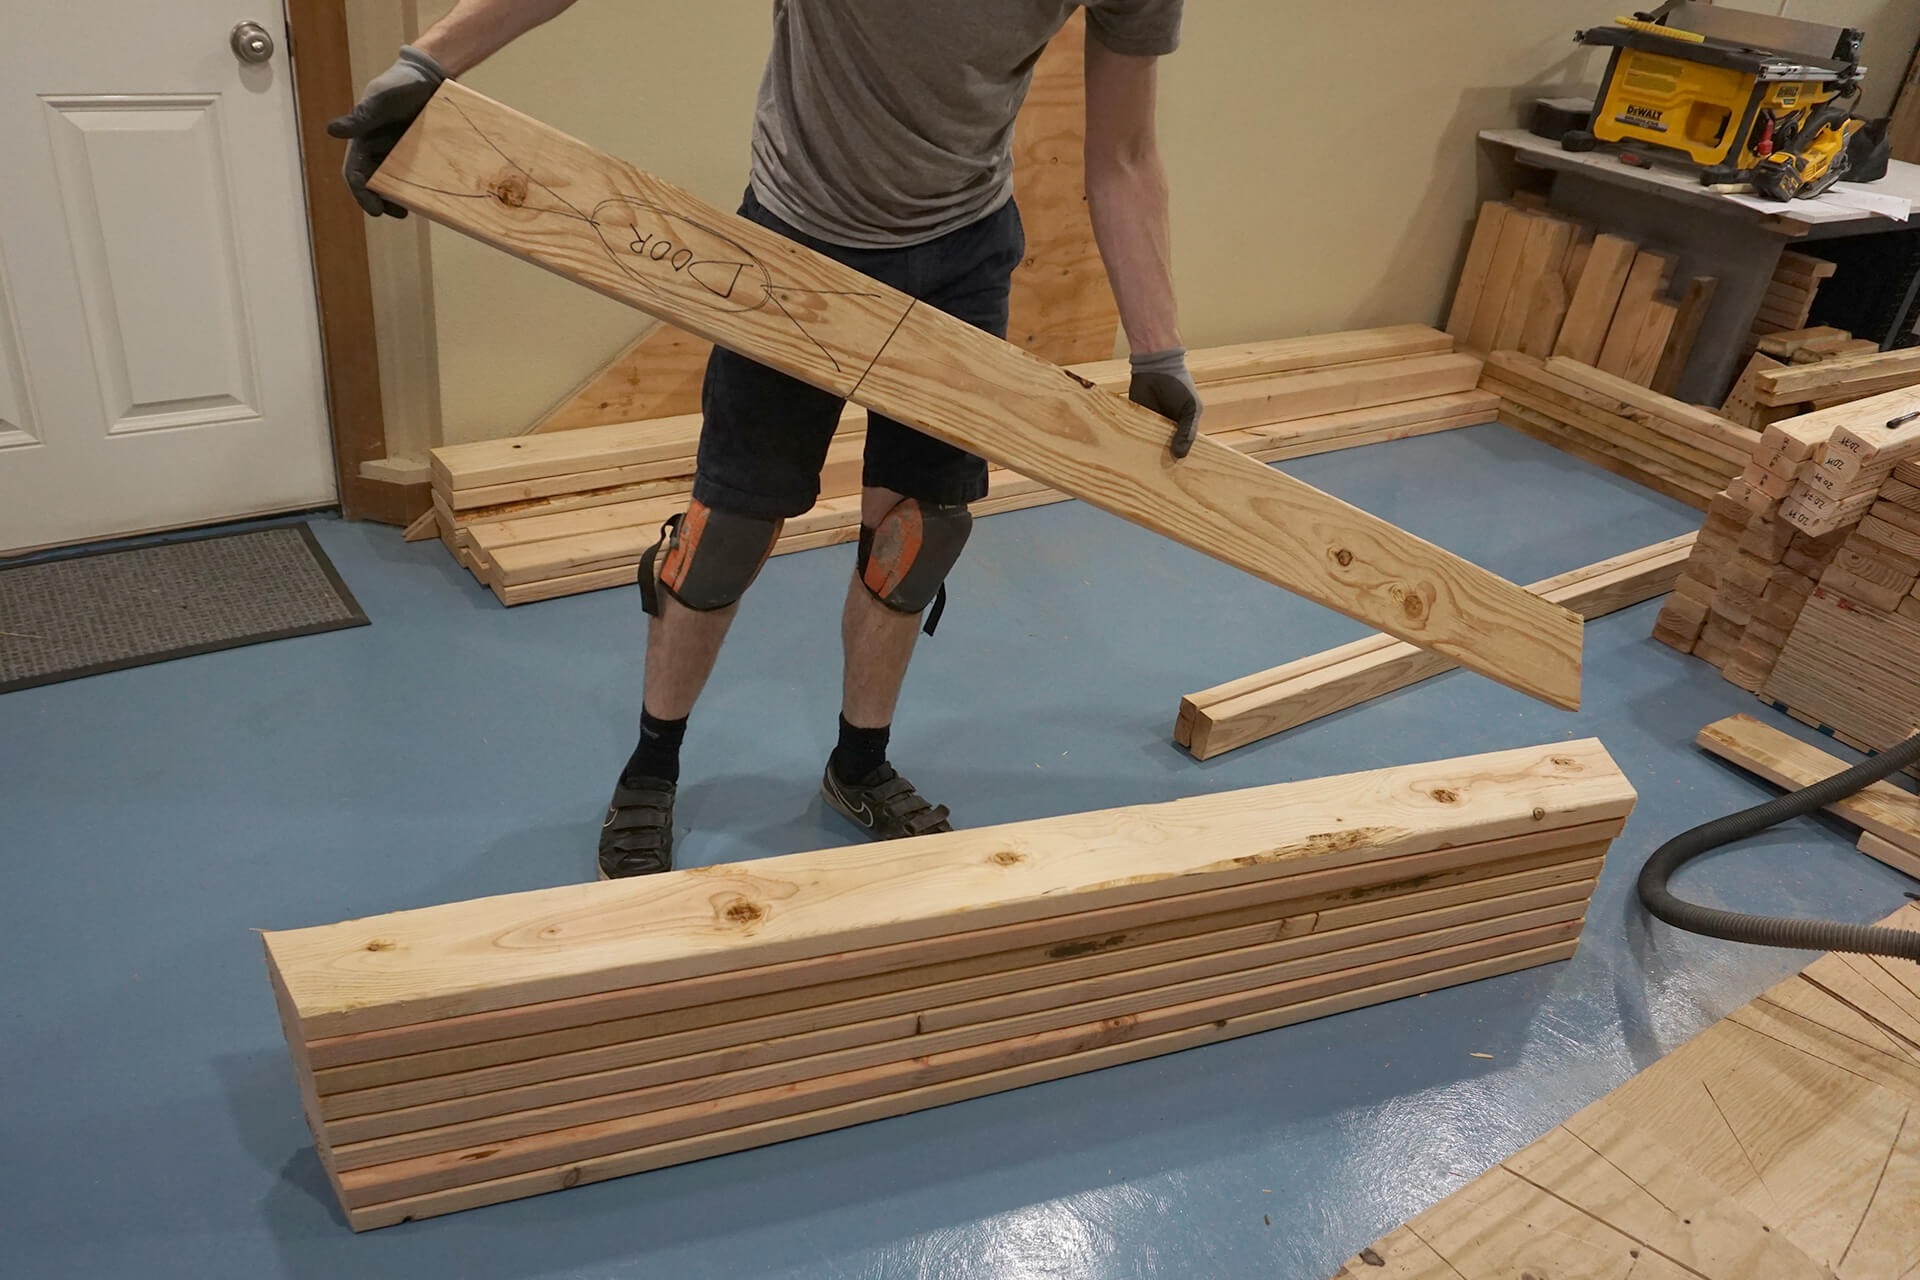
Completed Sill-Plate-Ins. The door location is pre-marked and will be fully cut after initial assembly.
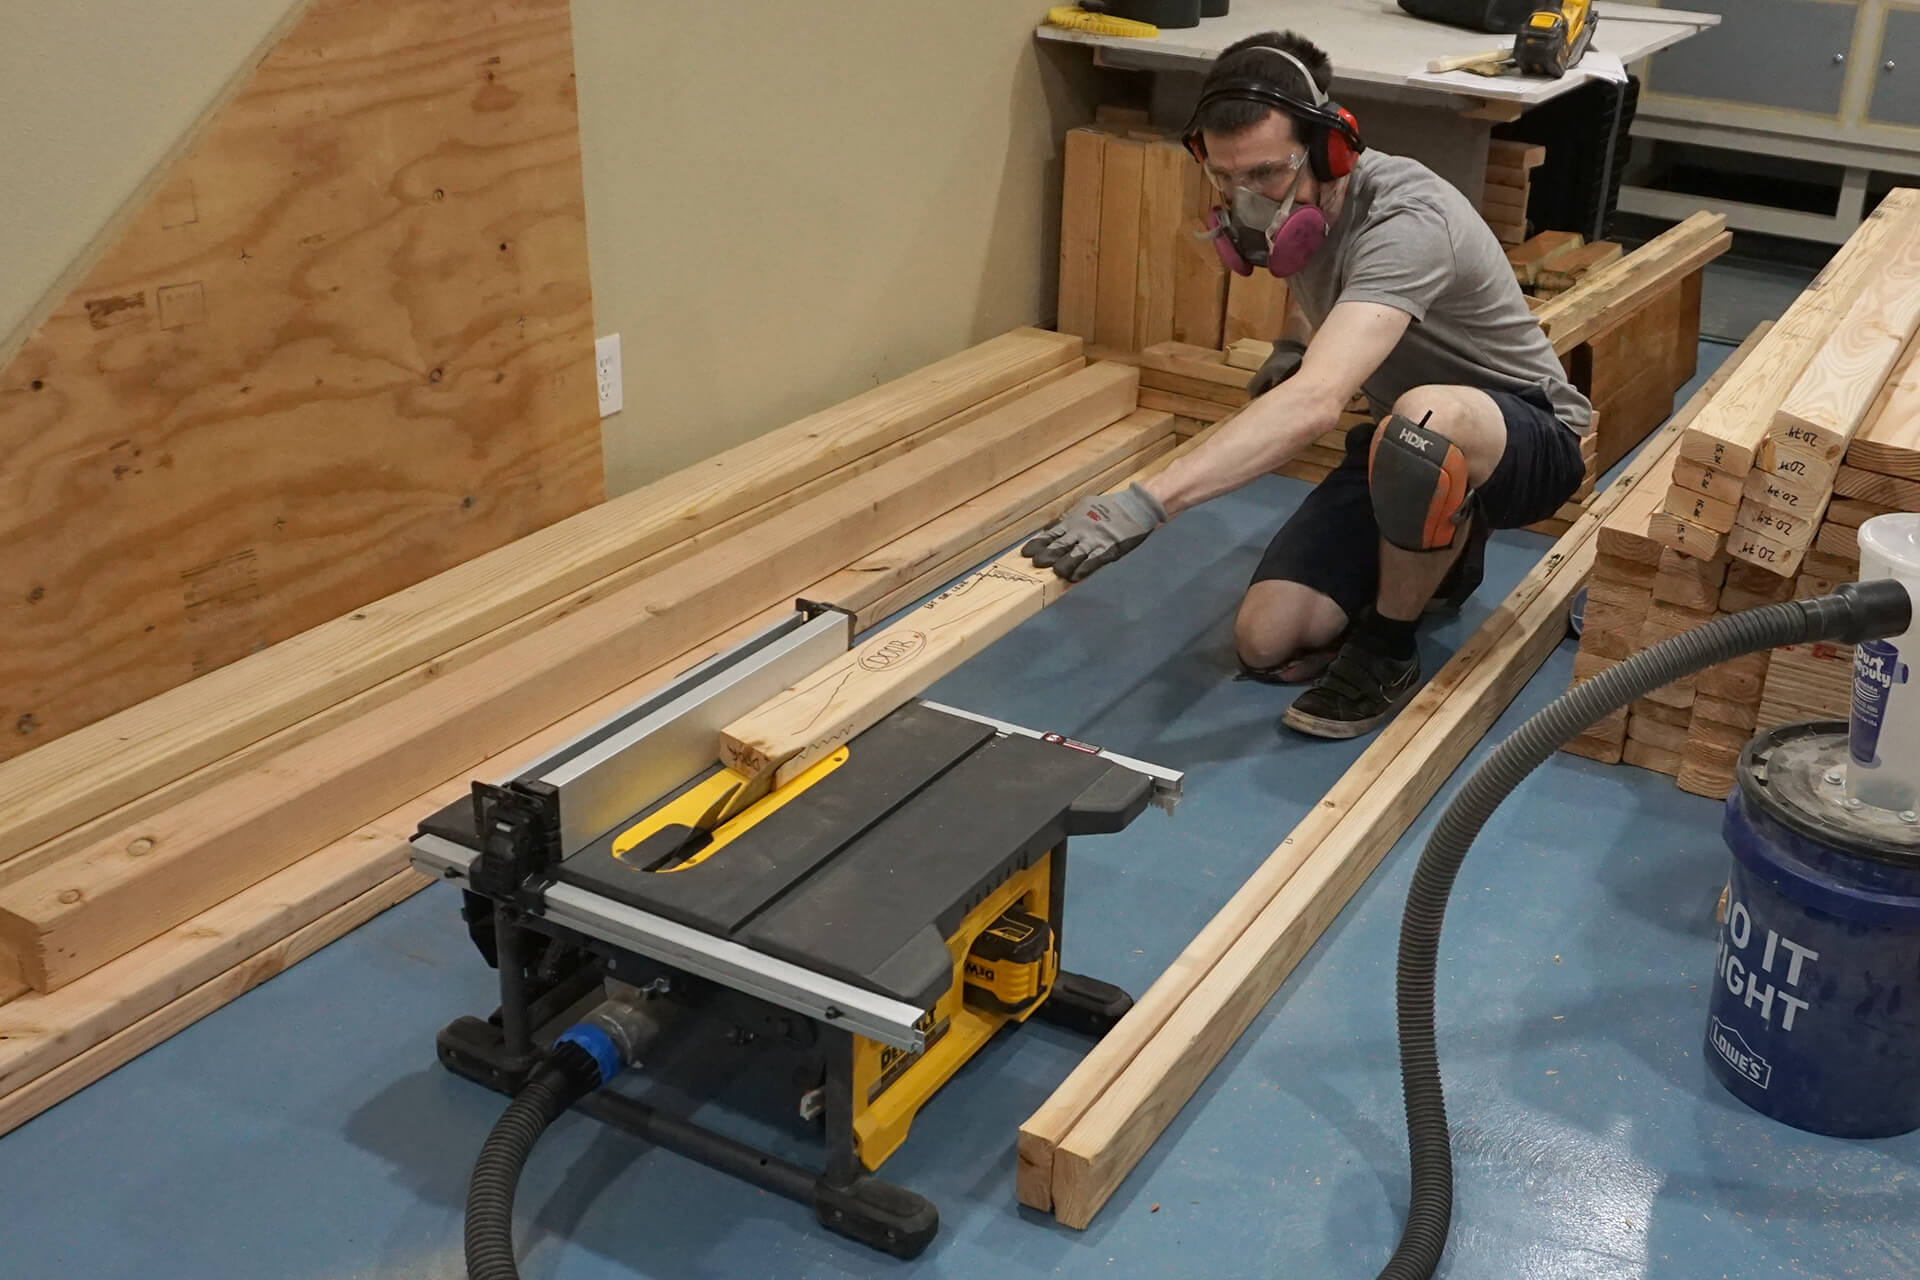
Rip the beveled side of the Sill-Plate-Outs.
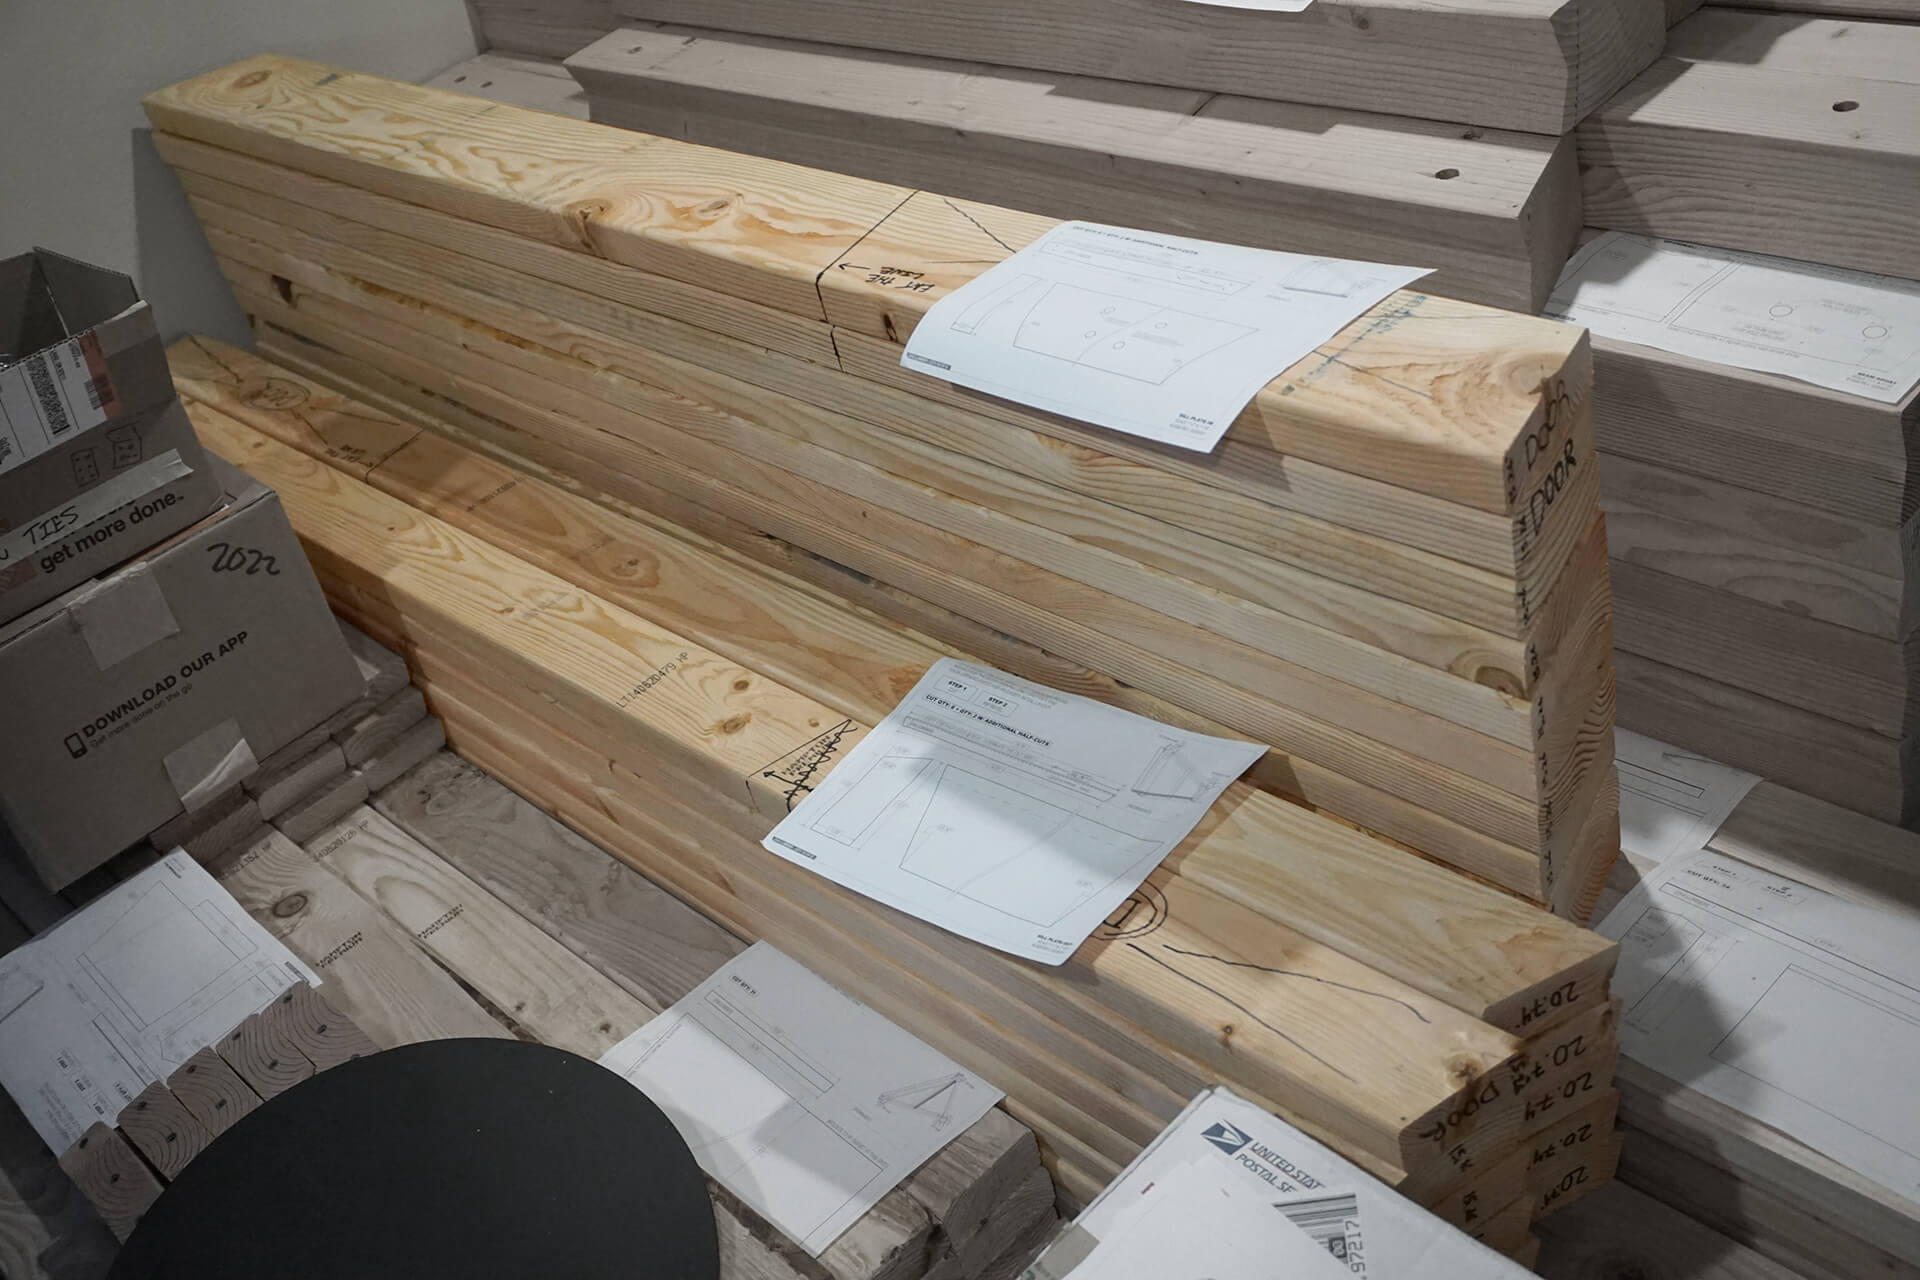
Sill-Plate-Ins and Sill-Plate-Outs, completed and stacked atop the Strut pile.
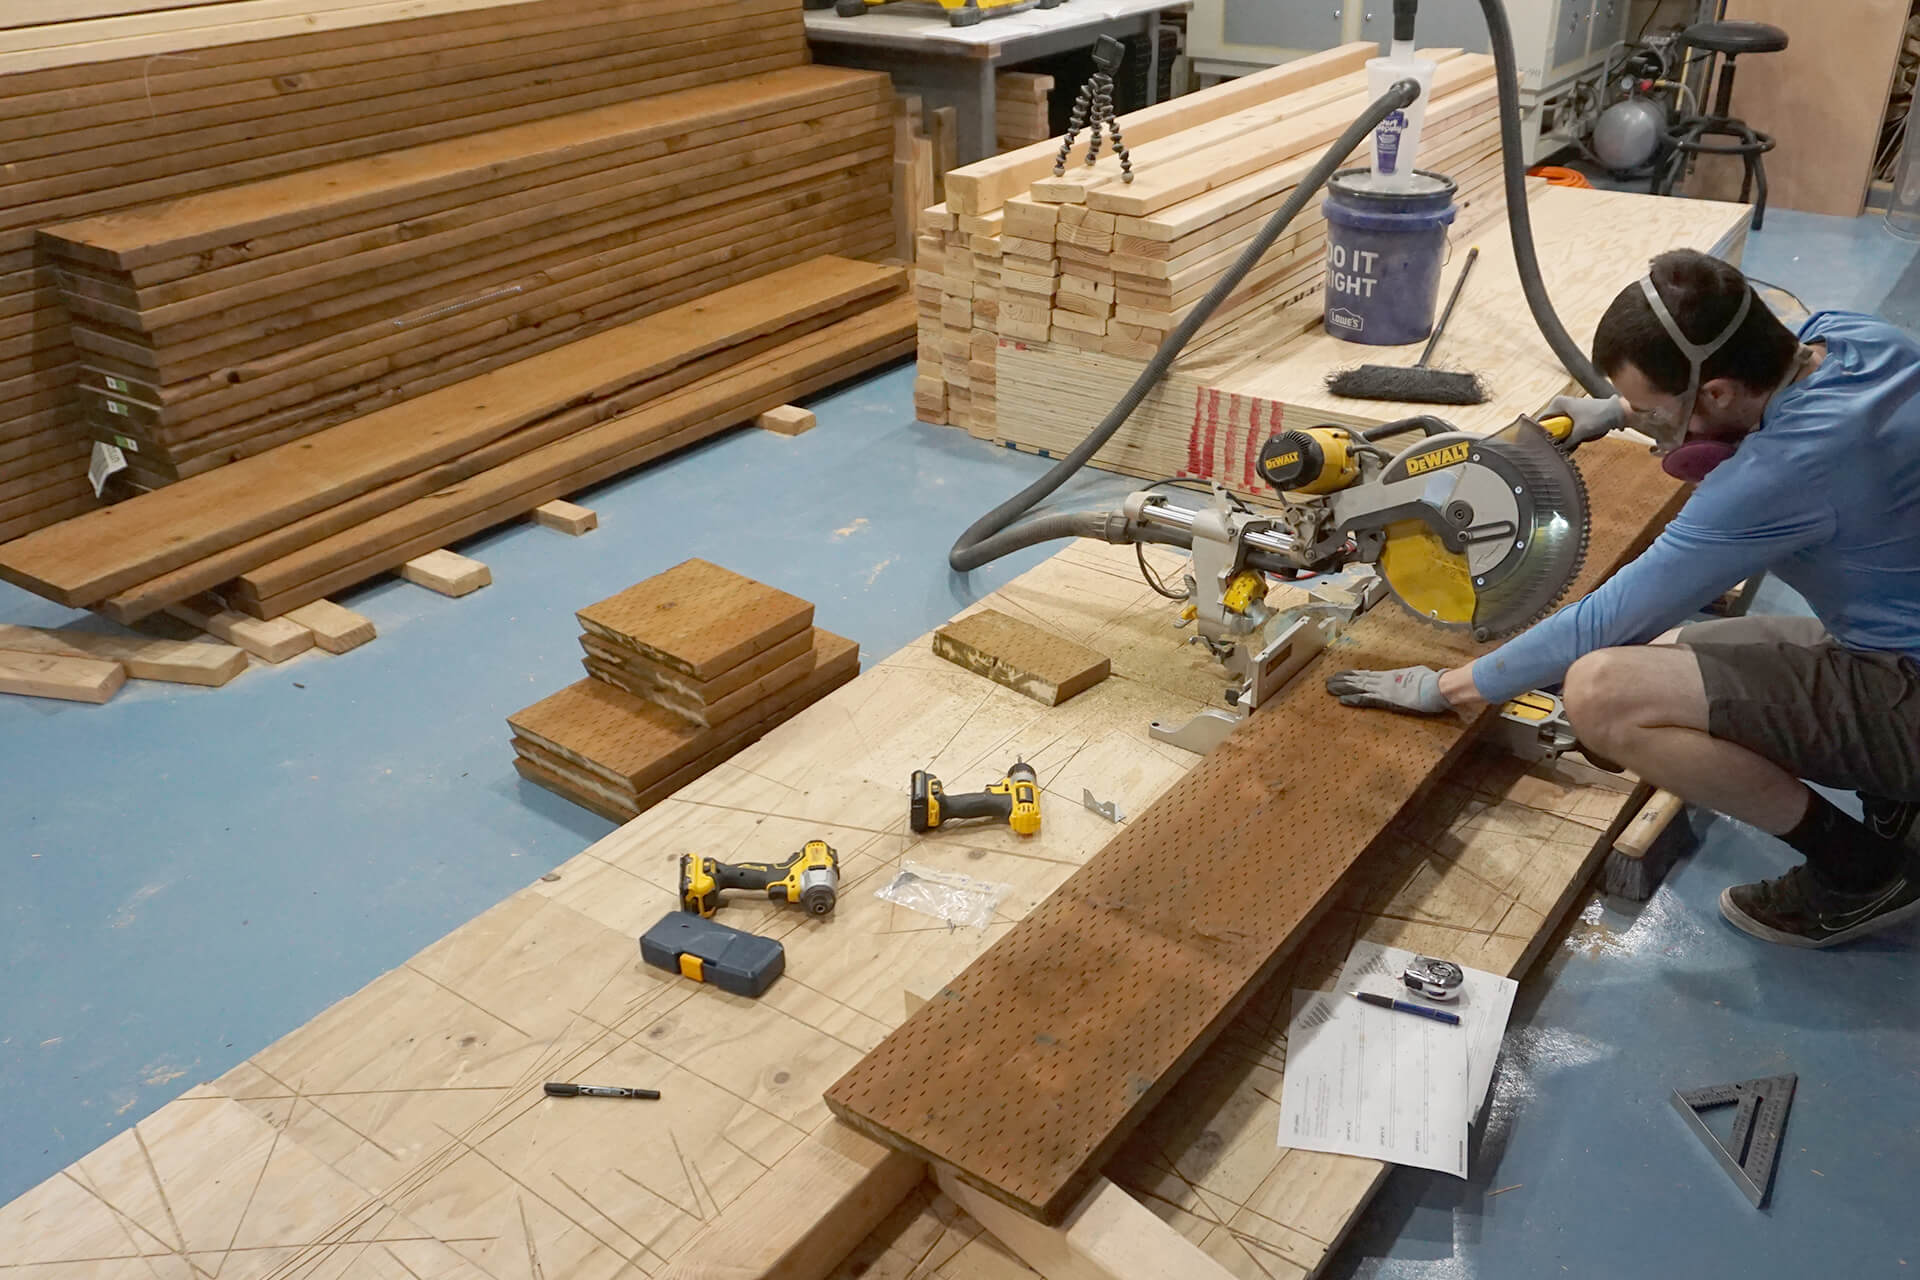
Cut the various Floor-Joists, following the suggested layout in the drawings to optimize material use.
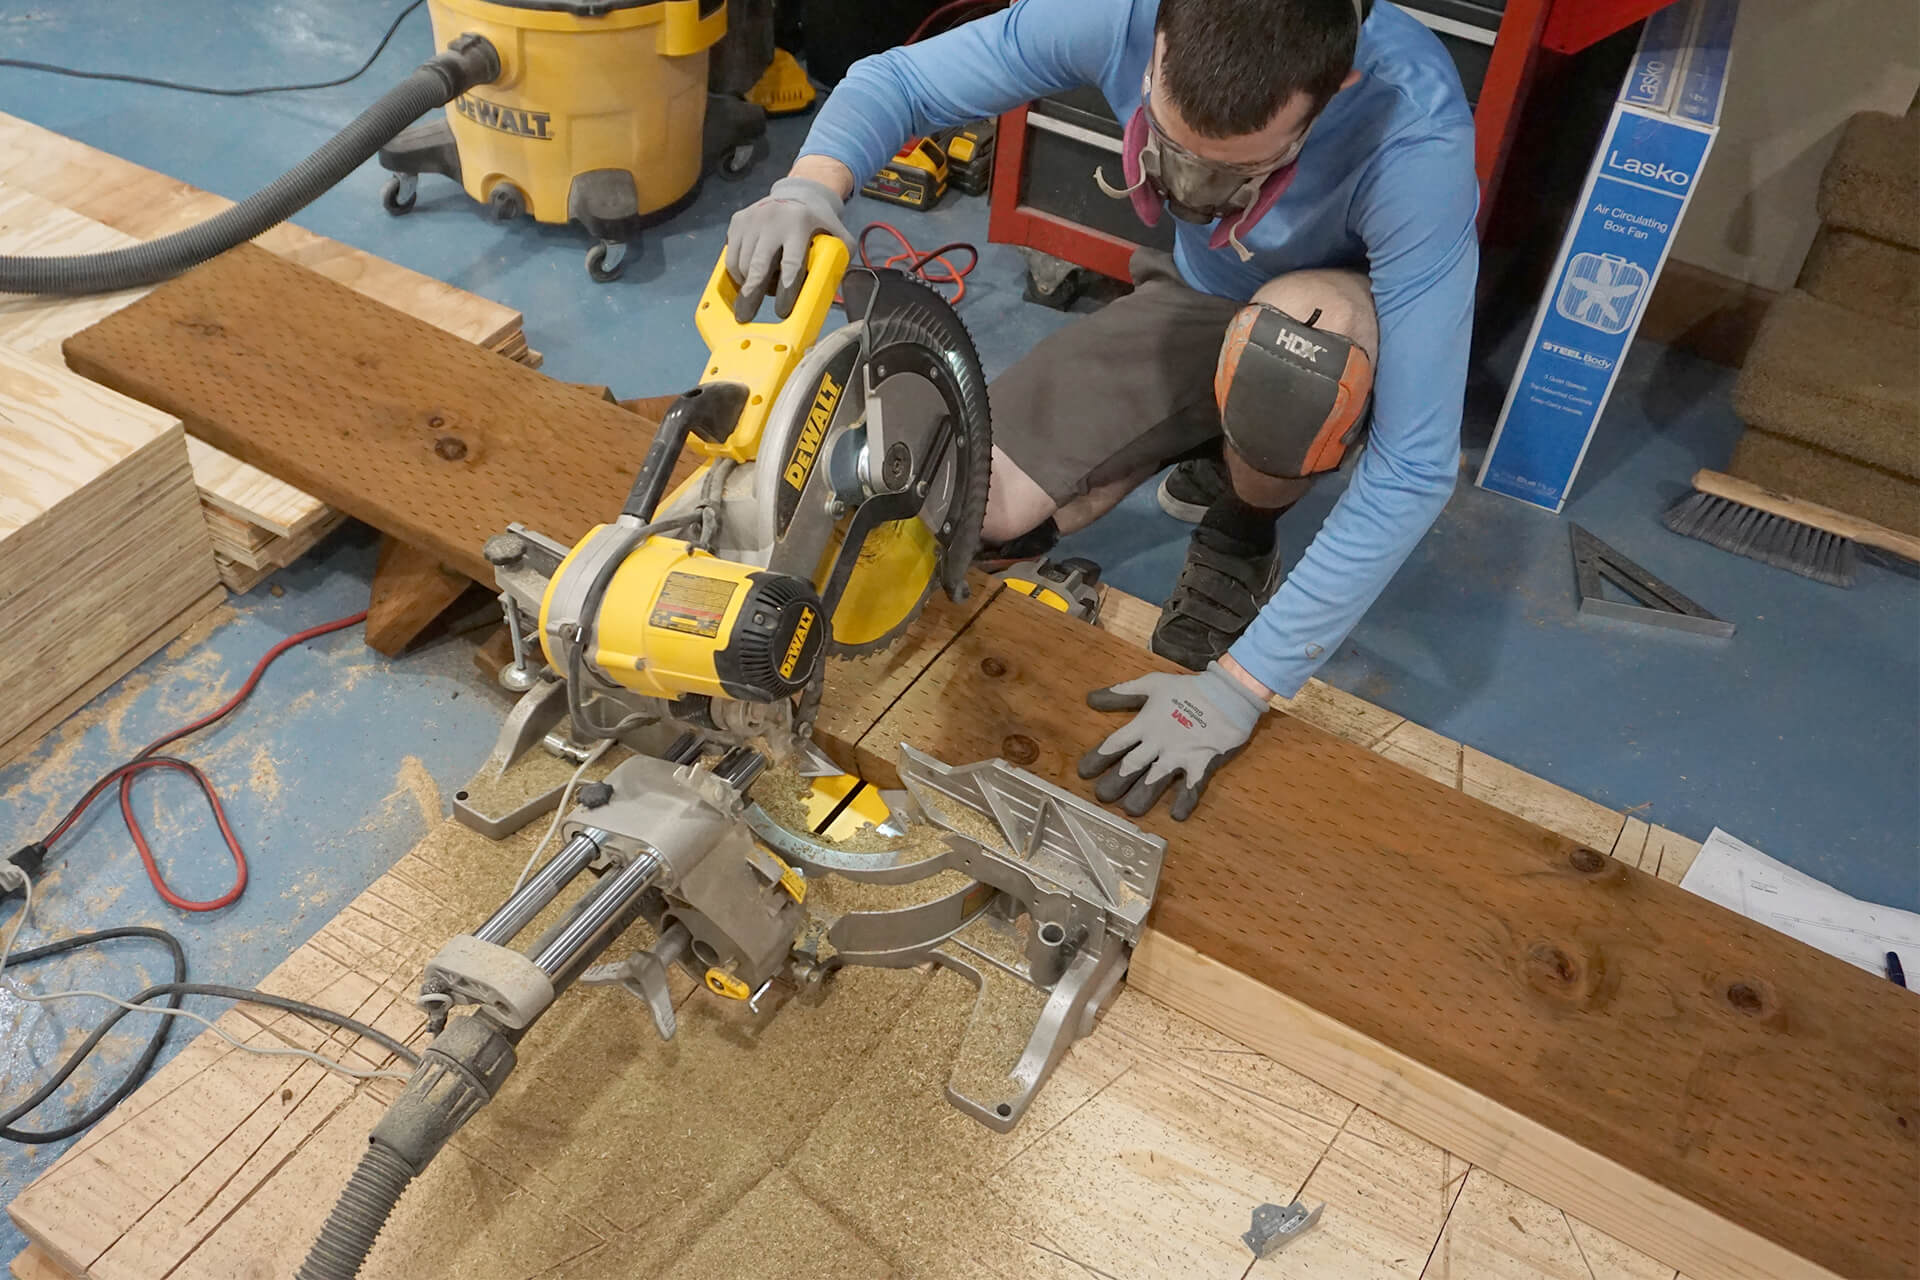
Adjust the saw tilt to cut the bevel. The 2x12 lumber can be cut in a single pass, thanks to the saw's size and sliding action.
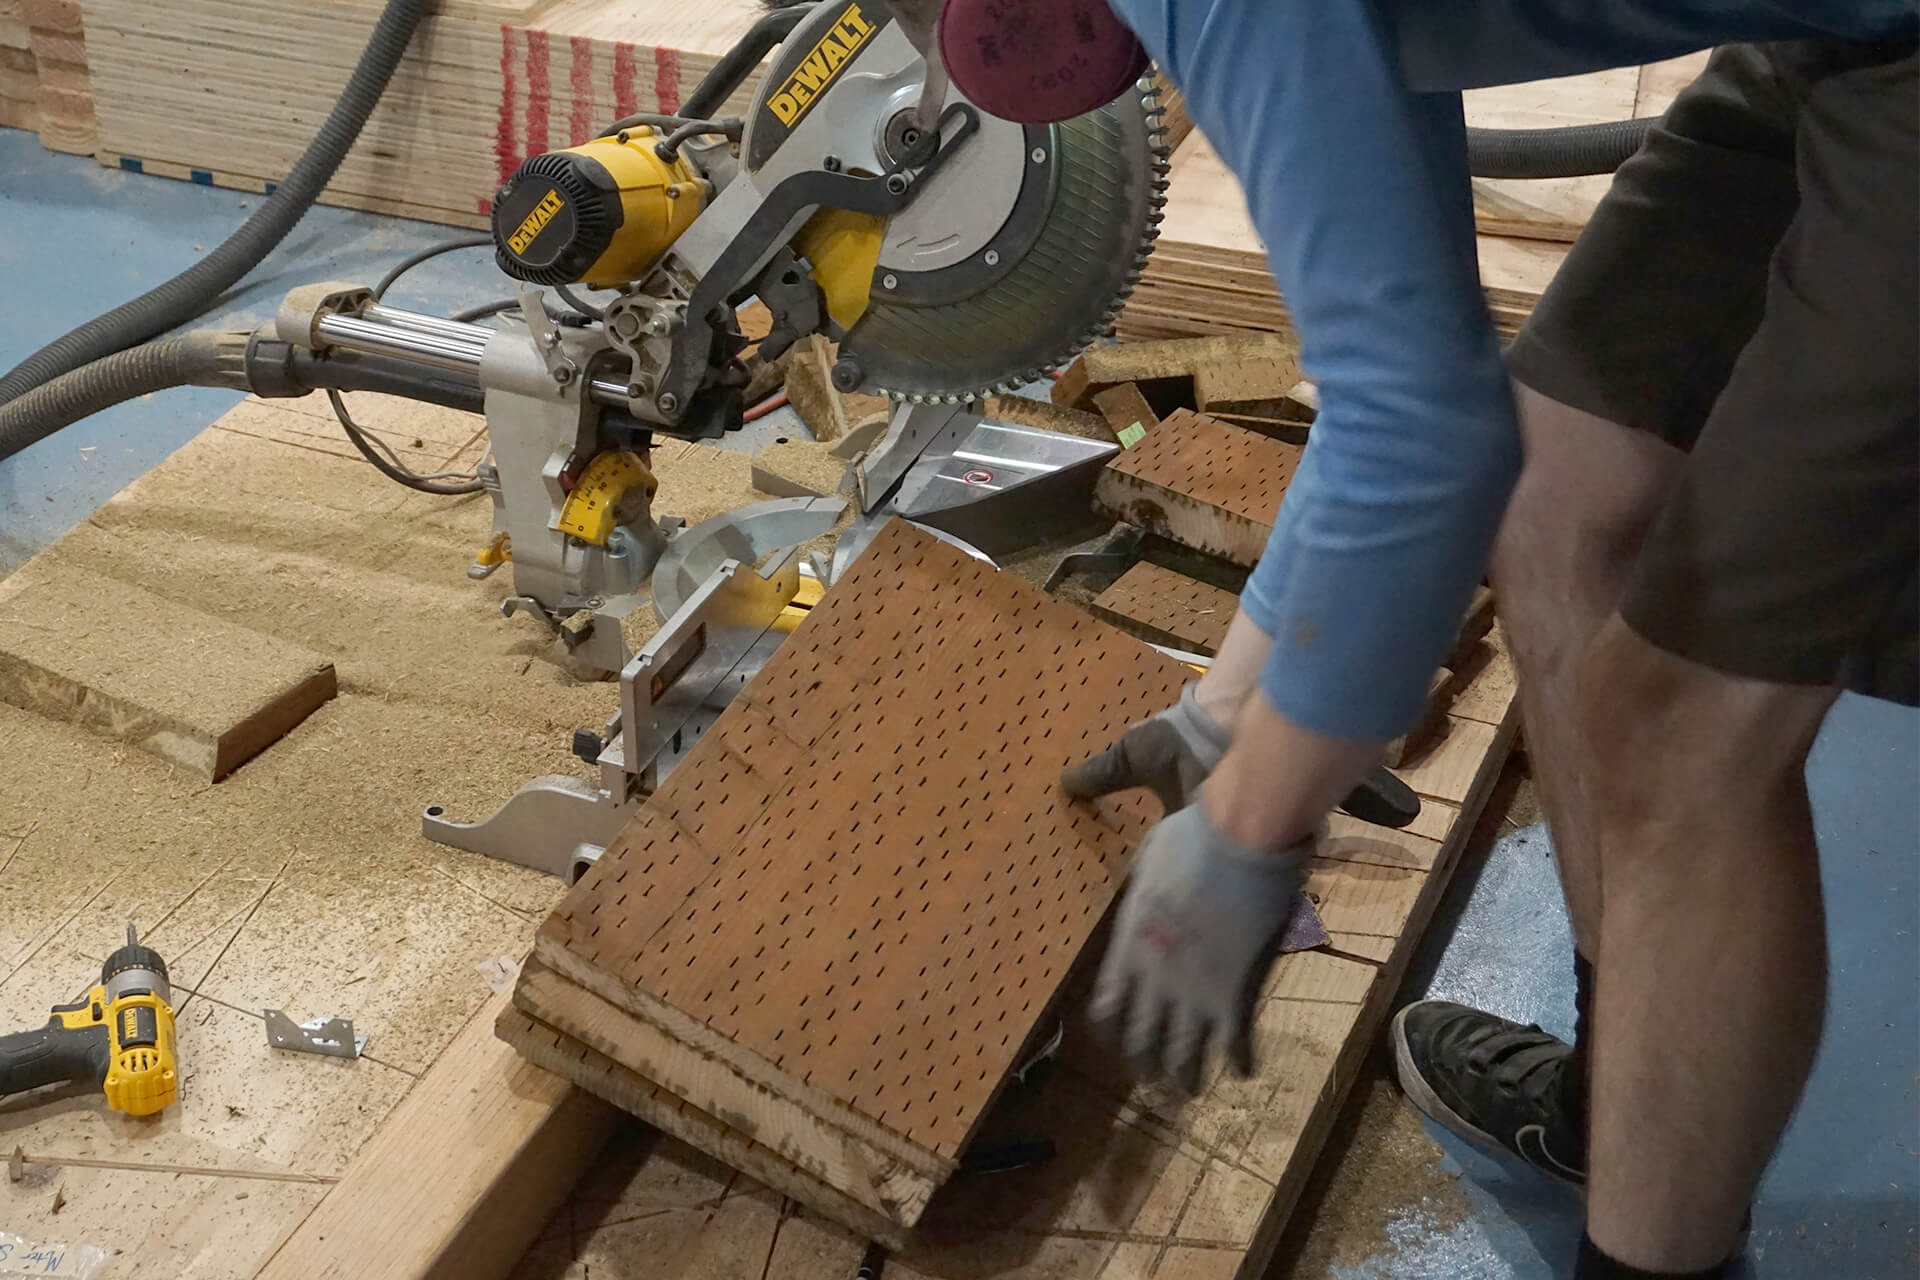
Some of the smaller Floor-Joists to be cut.
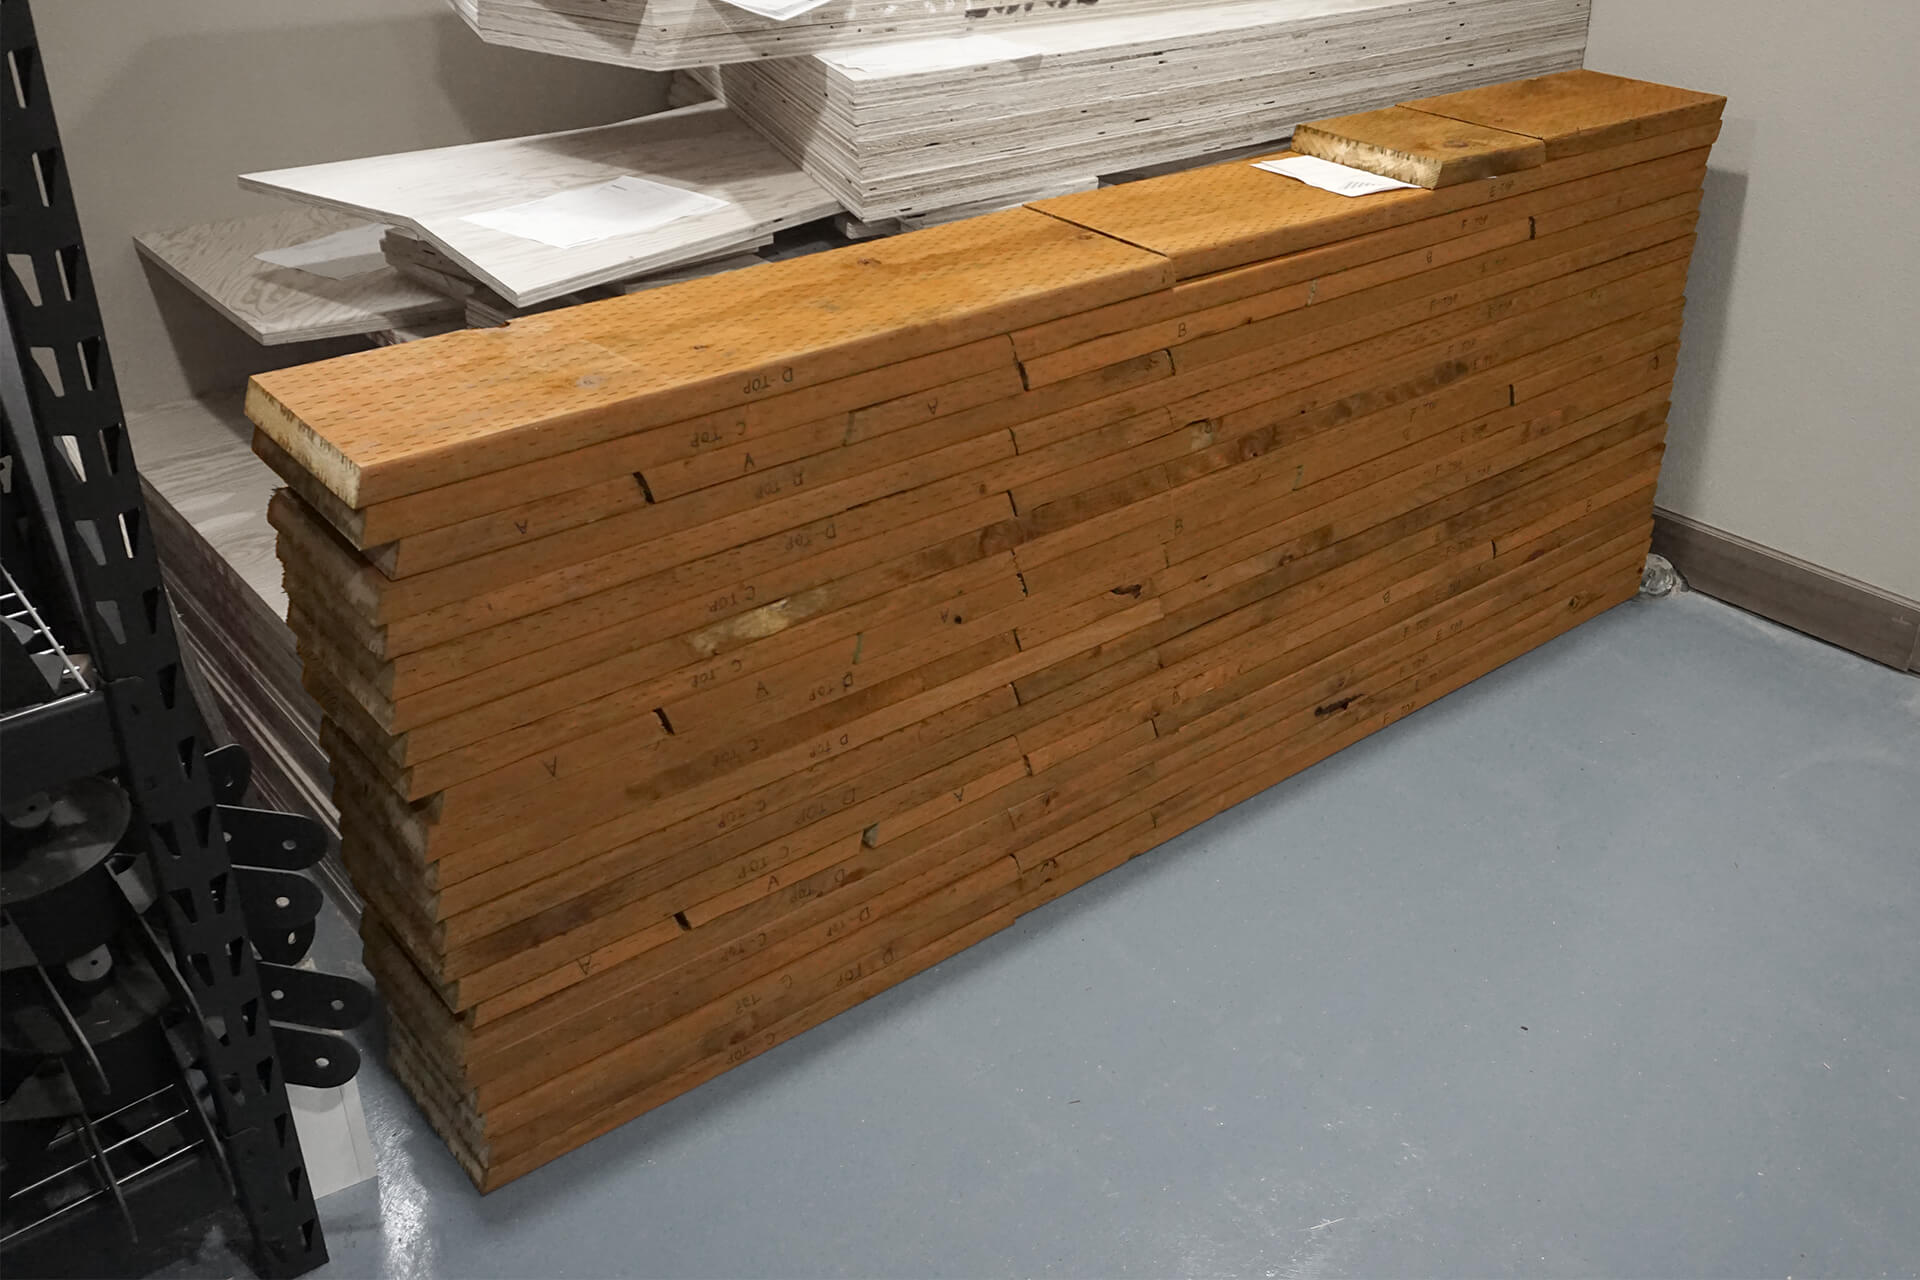
Floor-Joists completed and stacked with future assembly in mind - note the grouping of various sizes. Stack with spacers if lumber is not already dry.
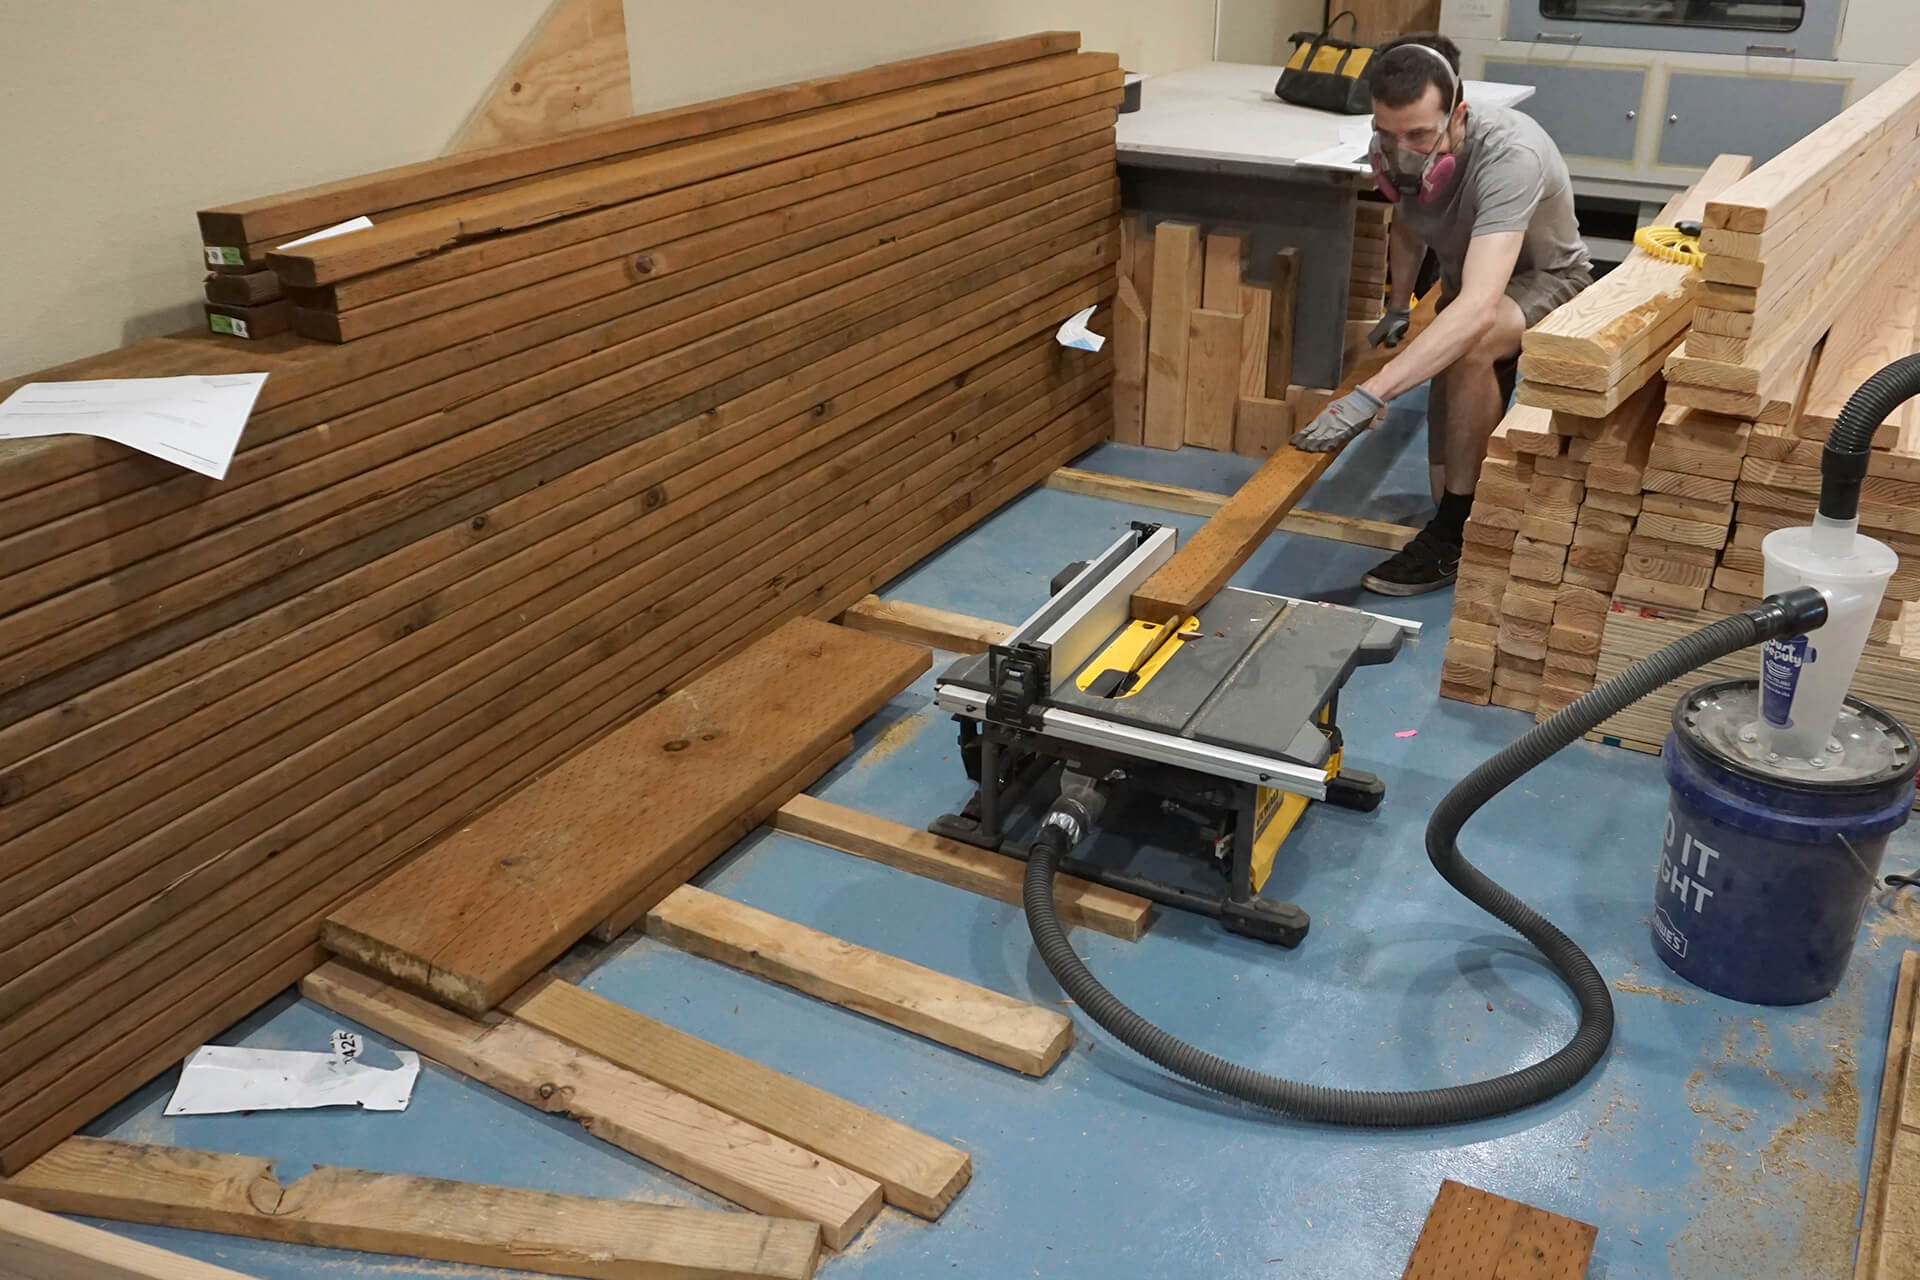
Rip the beveled side of the Floor-Panel-Supports.
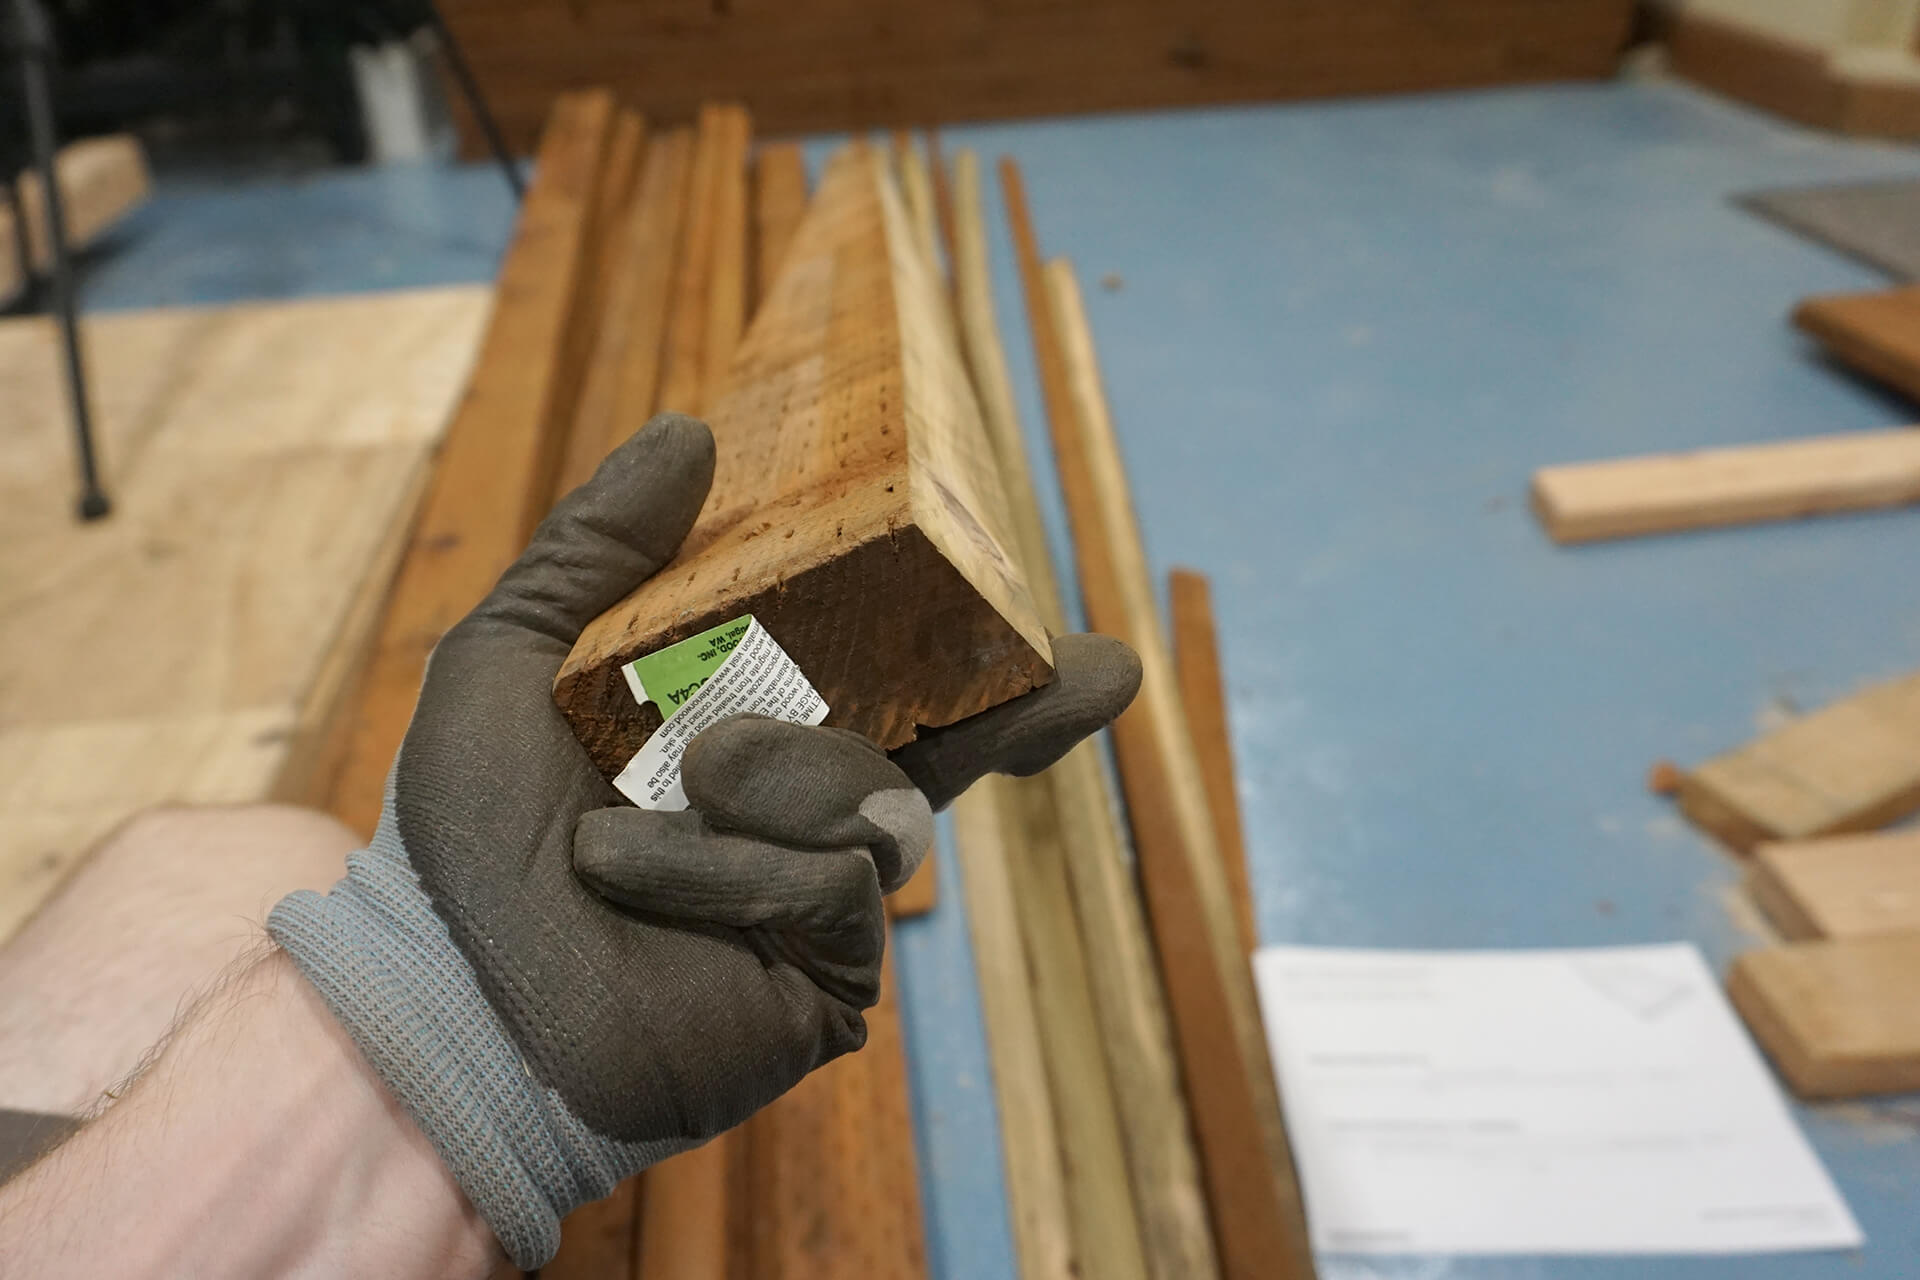
Detail shot showing the bevel, which provides a mounting surface for the Panels.
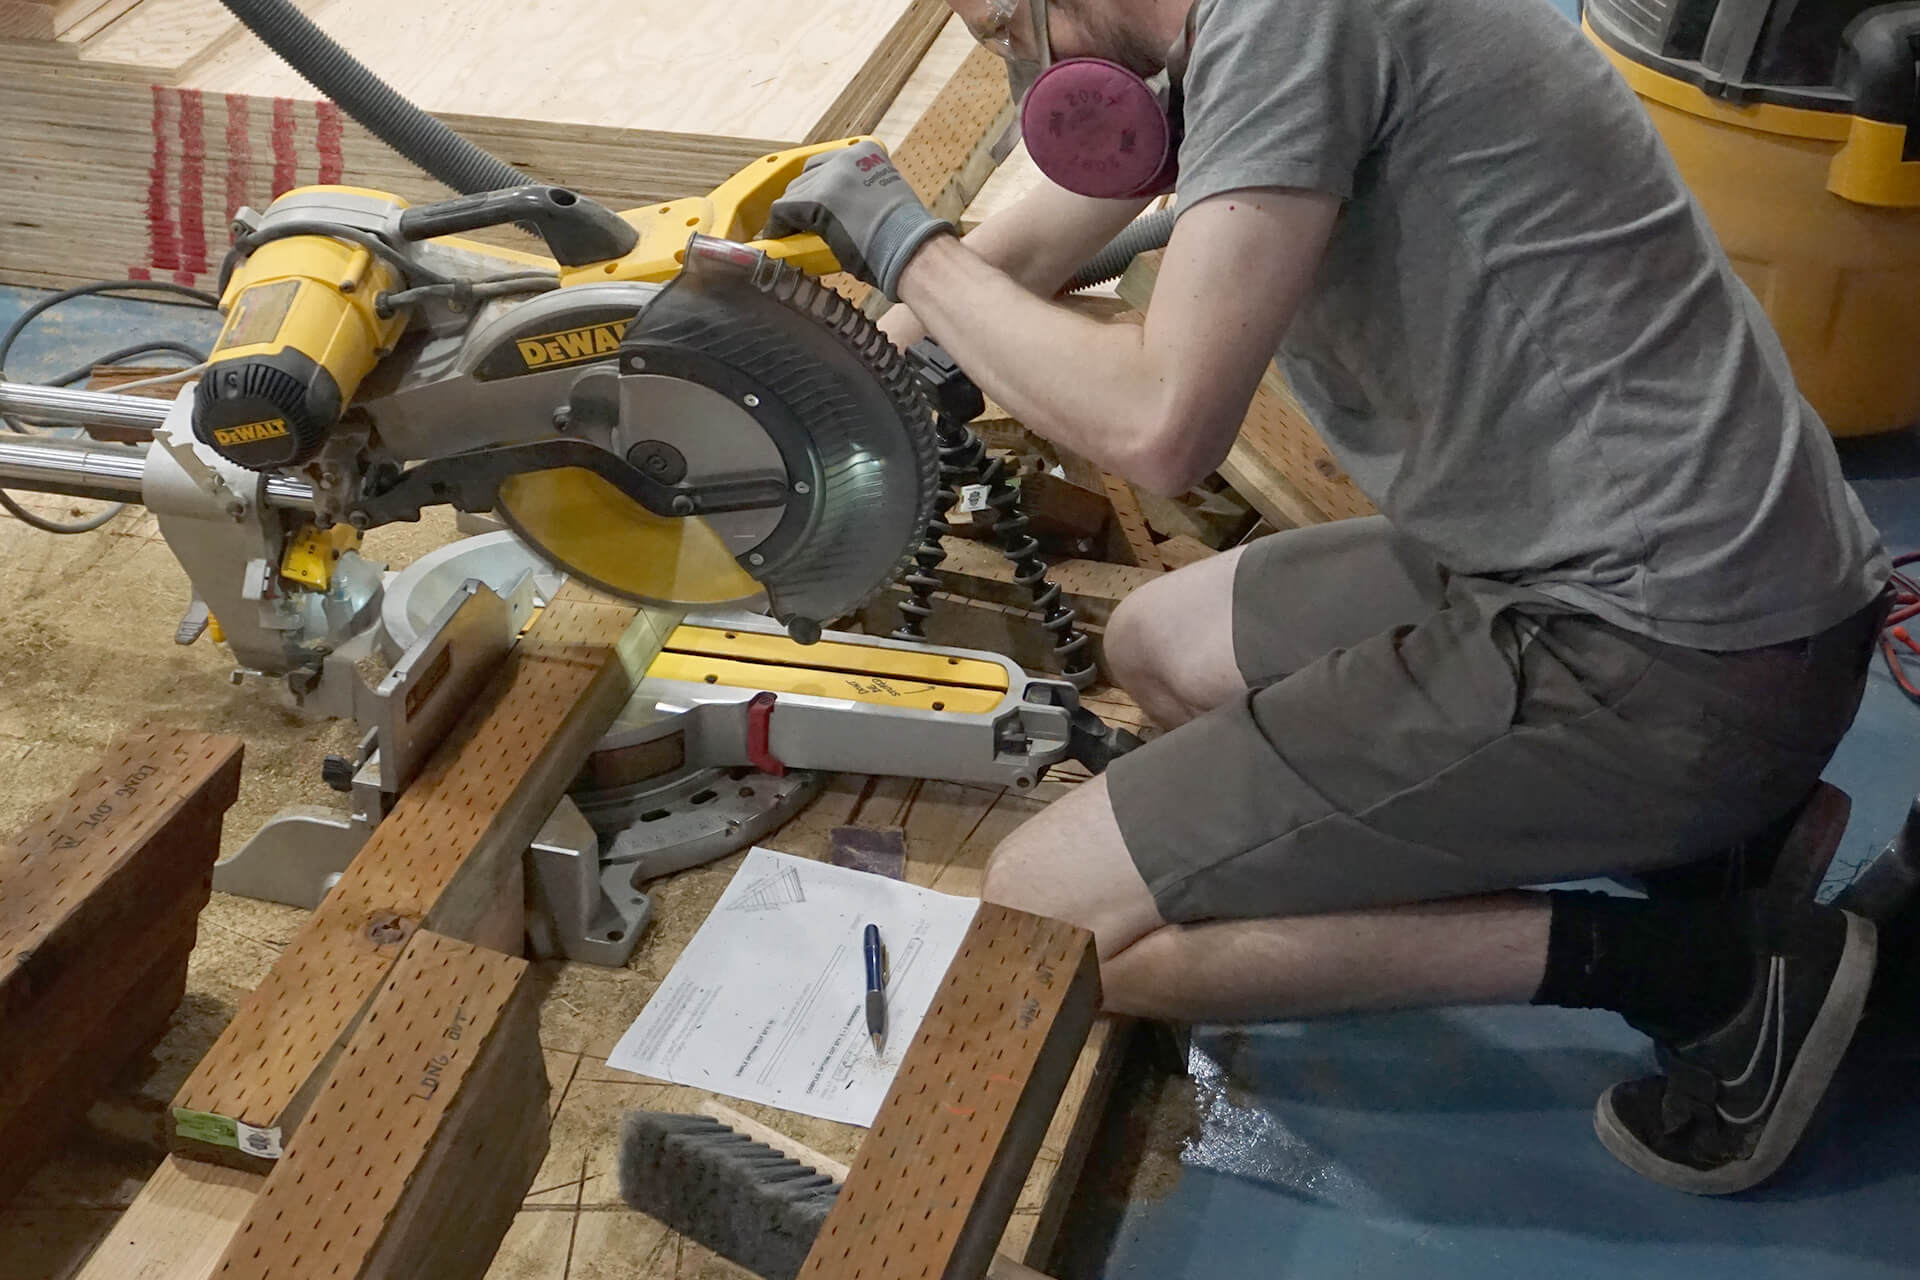
Cut the ends of the Floor-Panel-Supports, which have compound angles. Adjust the swing and tilt of the saw accordingly.
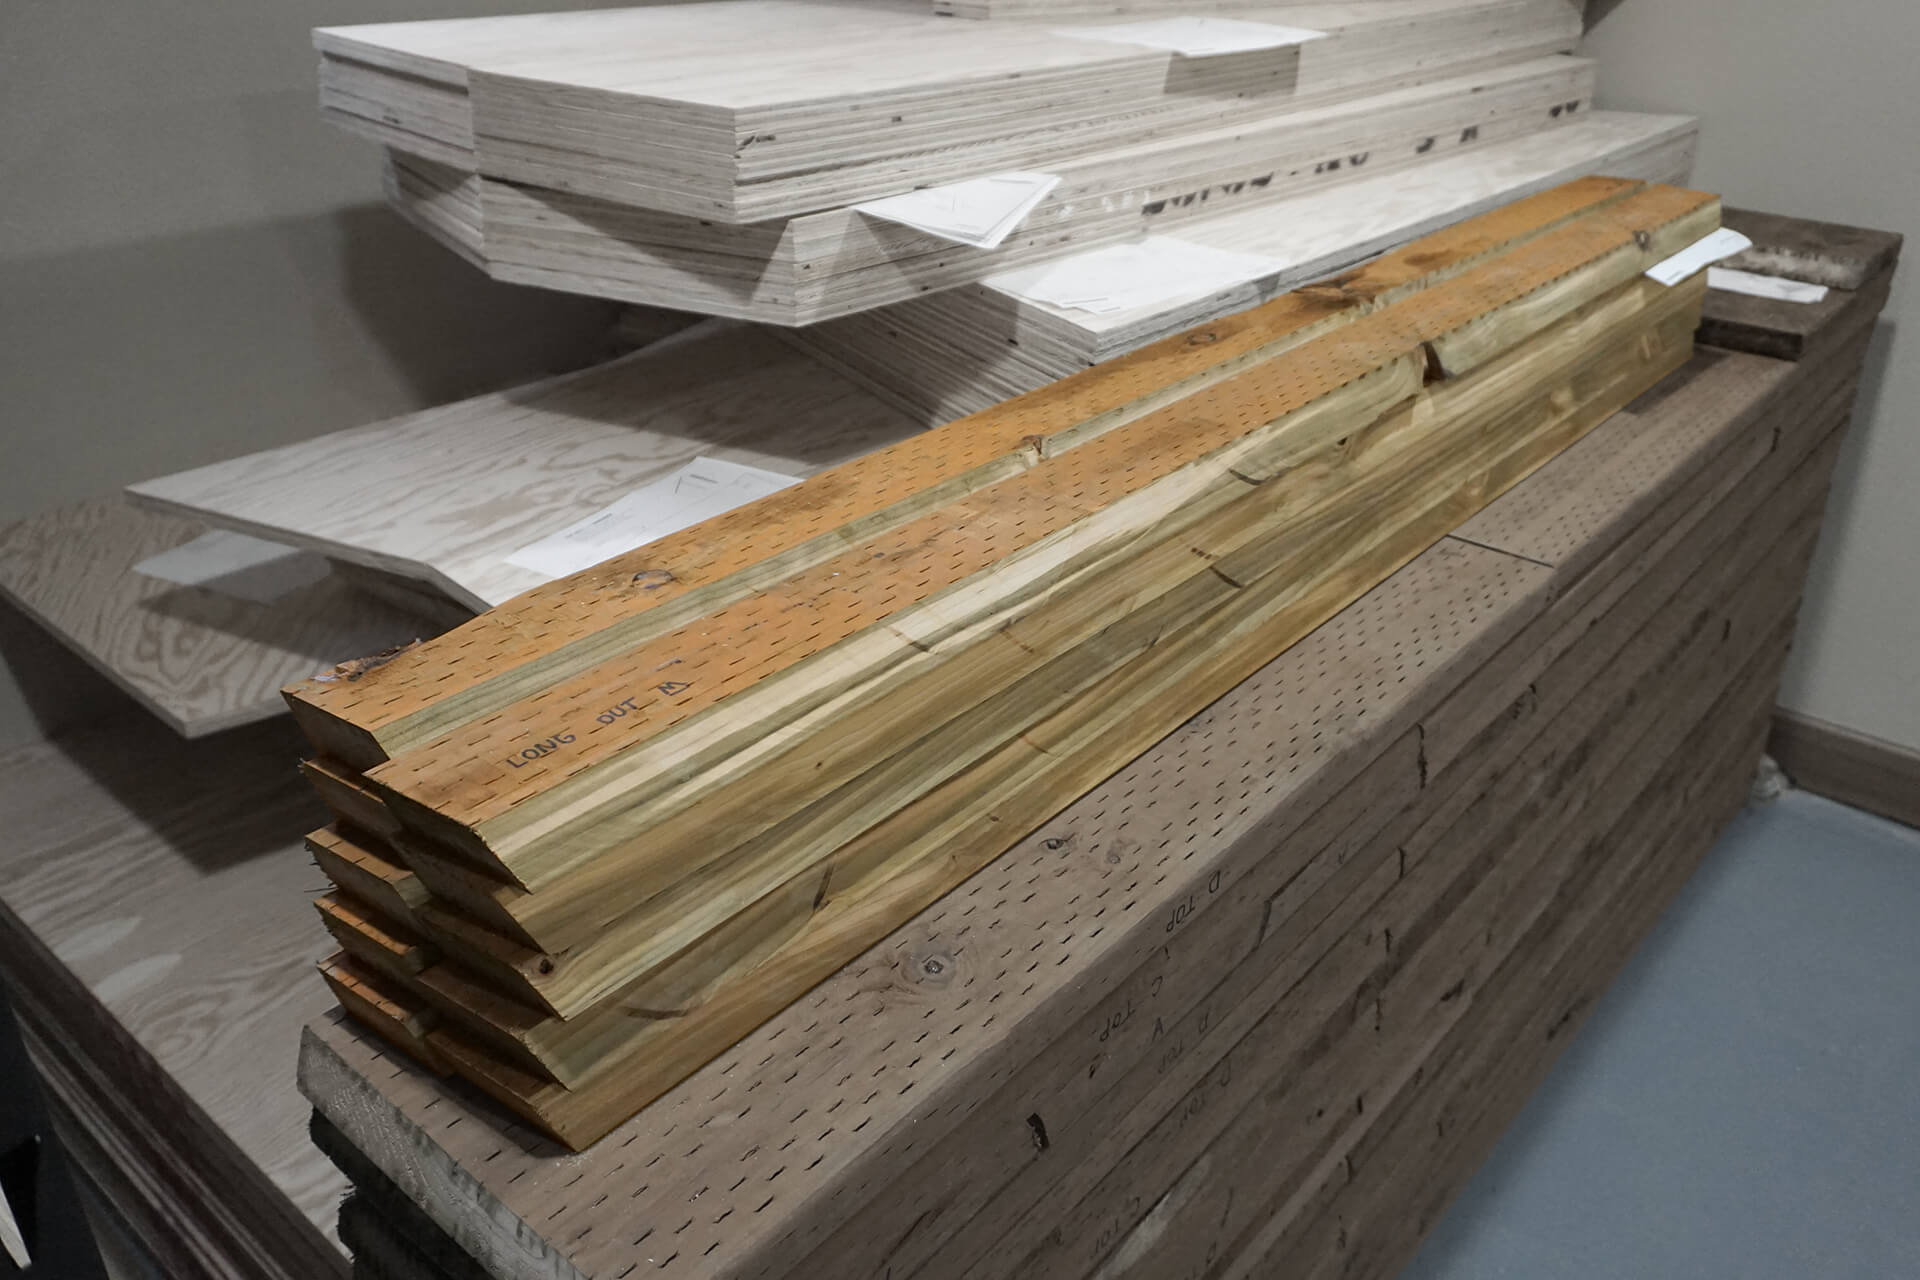
Floor-Panel-Supports completed and stacked. The ends are labeled, and half are mirrored parts, as indicated in the drawings.
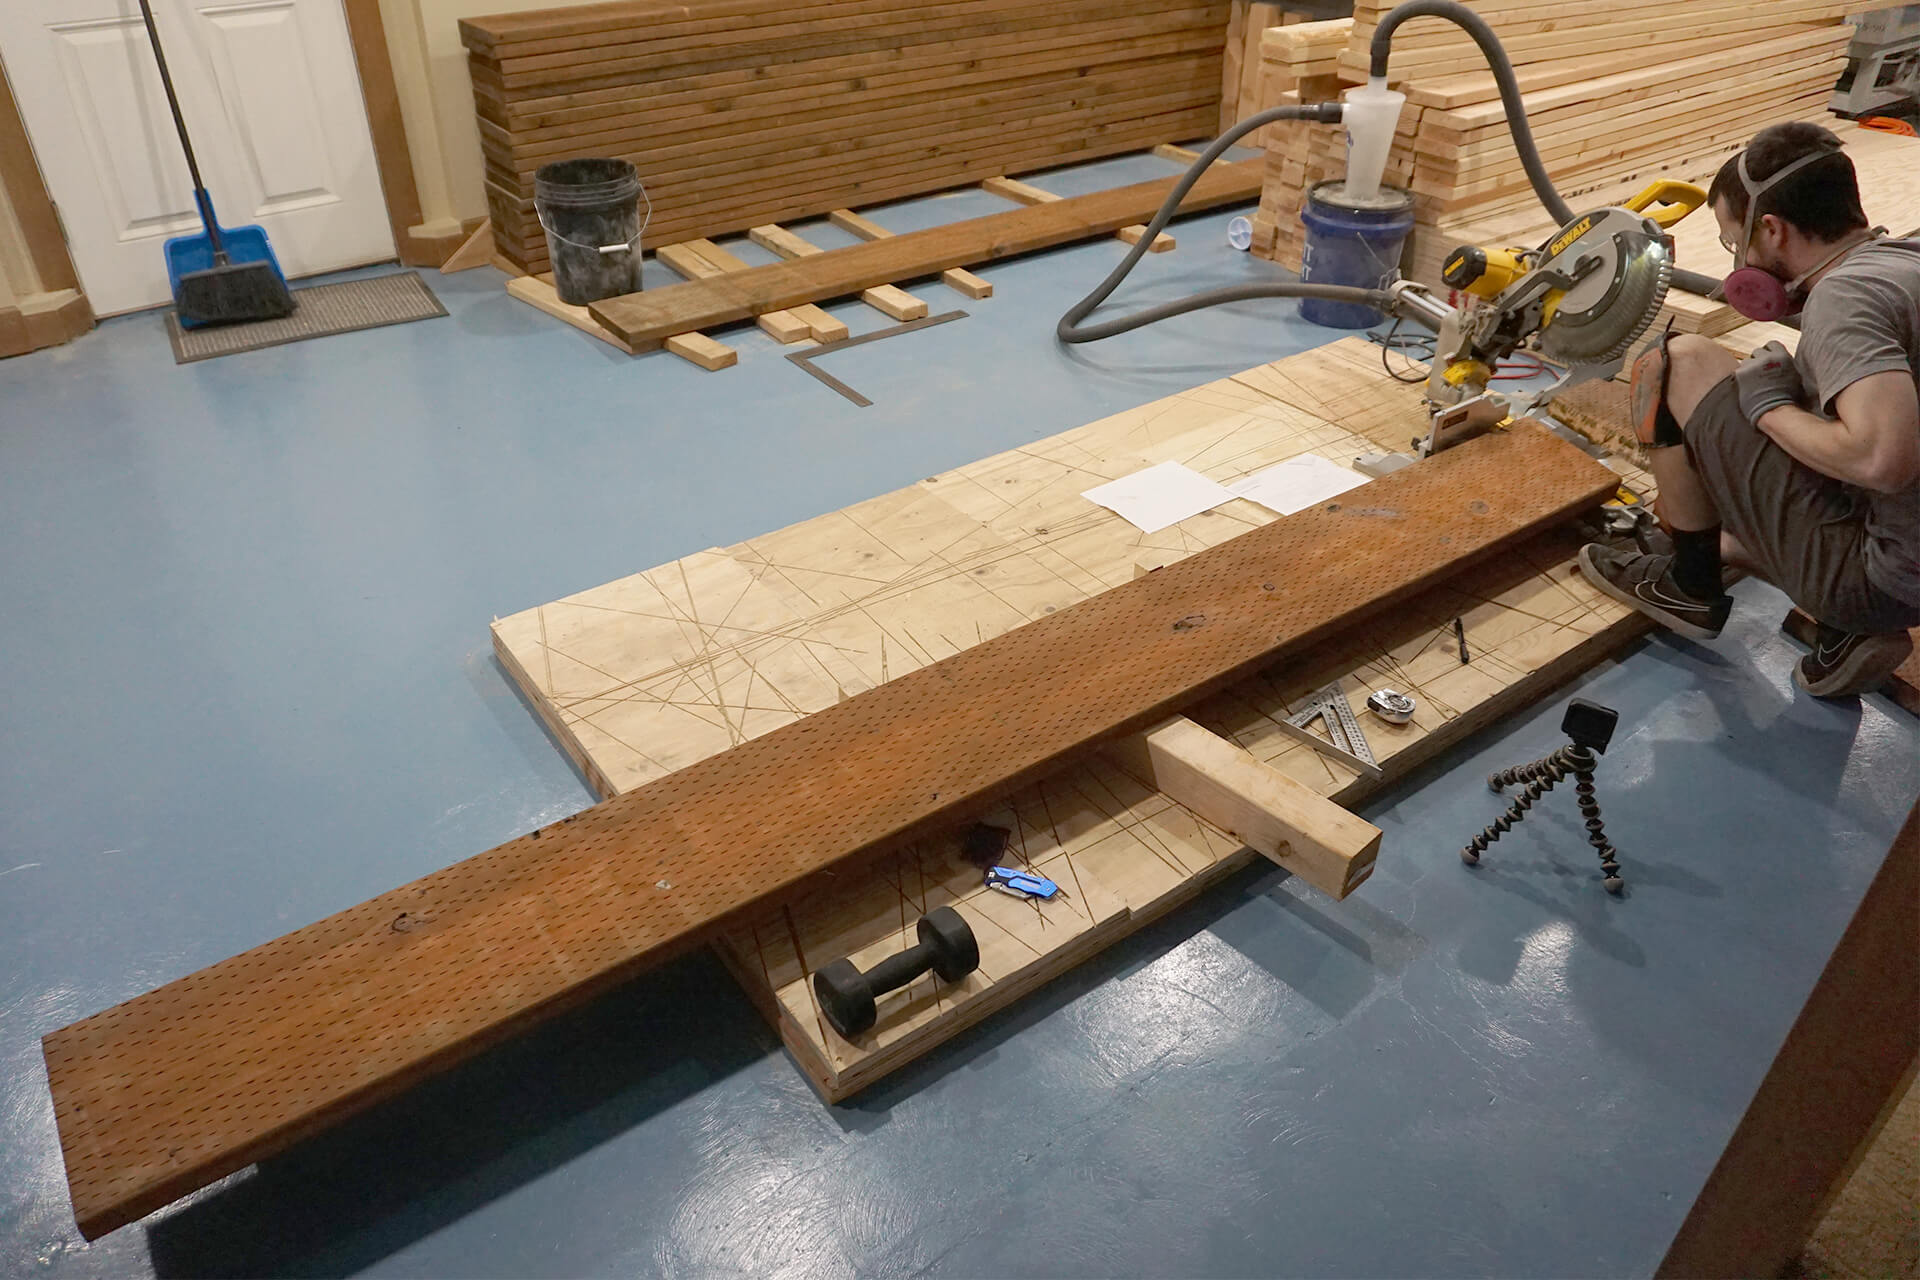
Cut the Floor-Beam-Longs and Floor-Beam-Shorts.
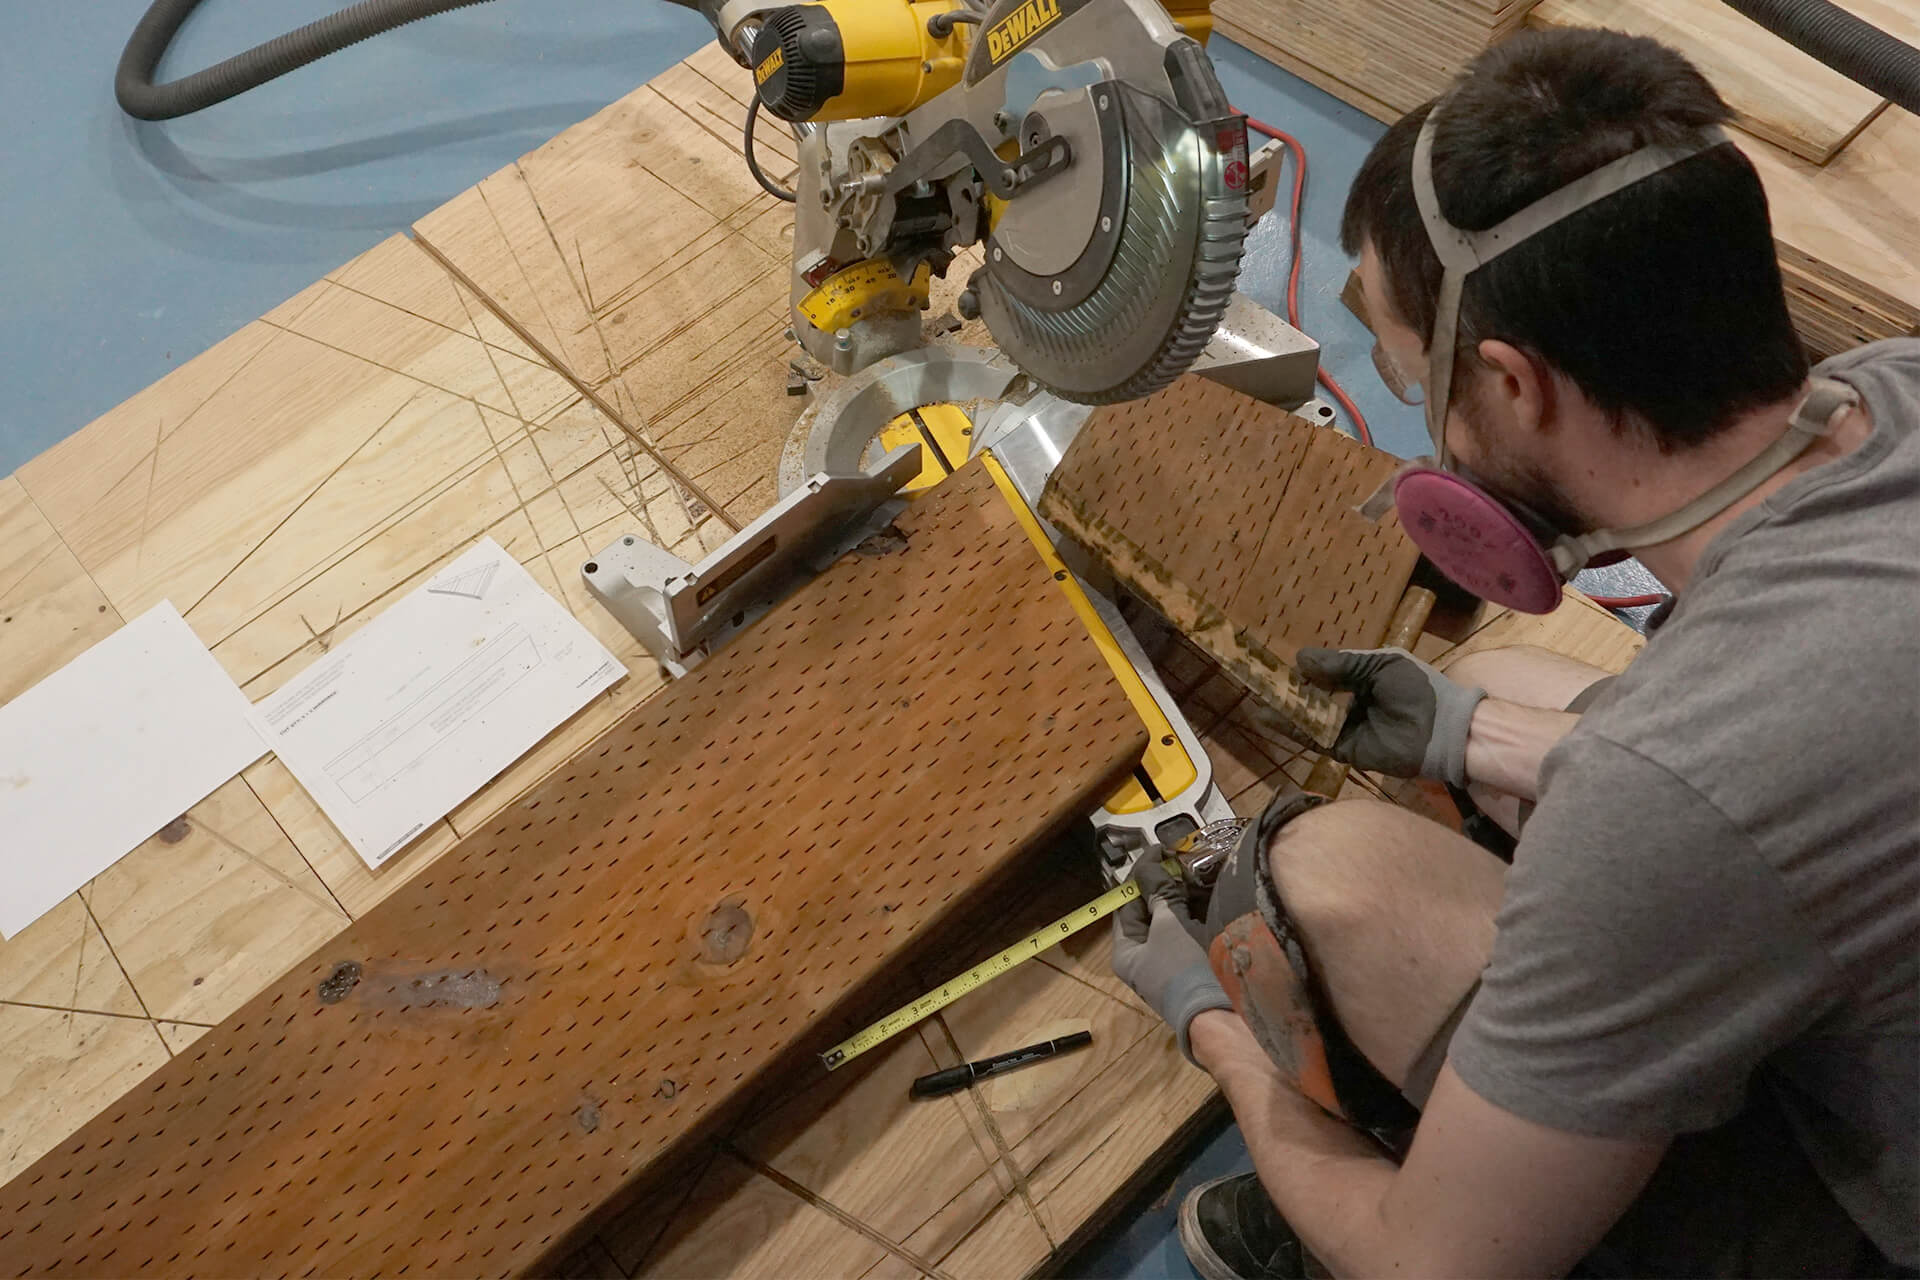
Pick a side to cut so that lumber defects are removed with the remnant piece.
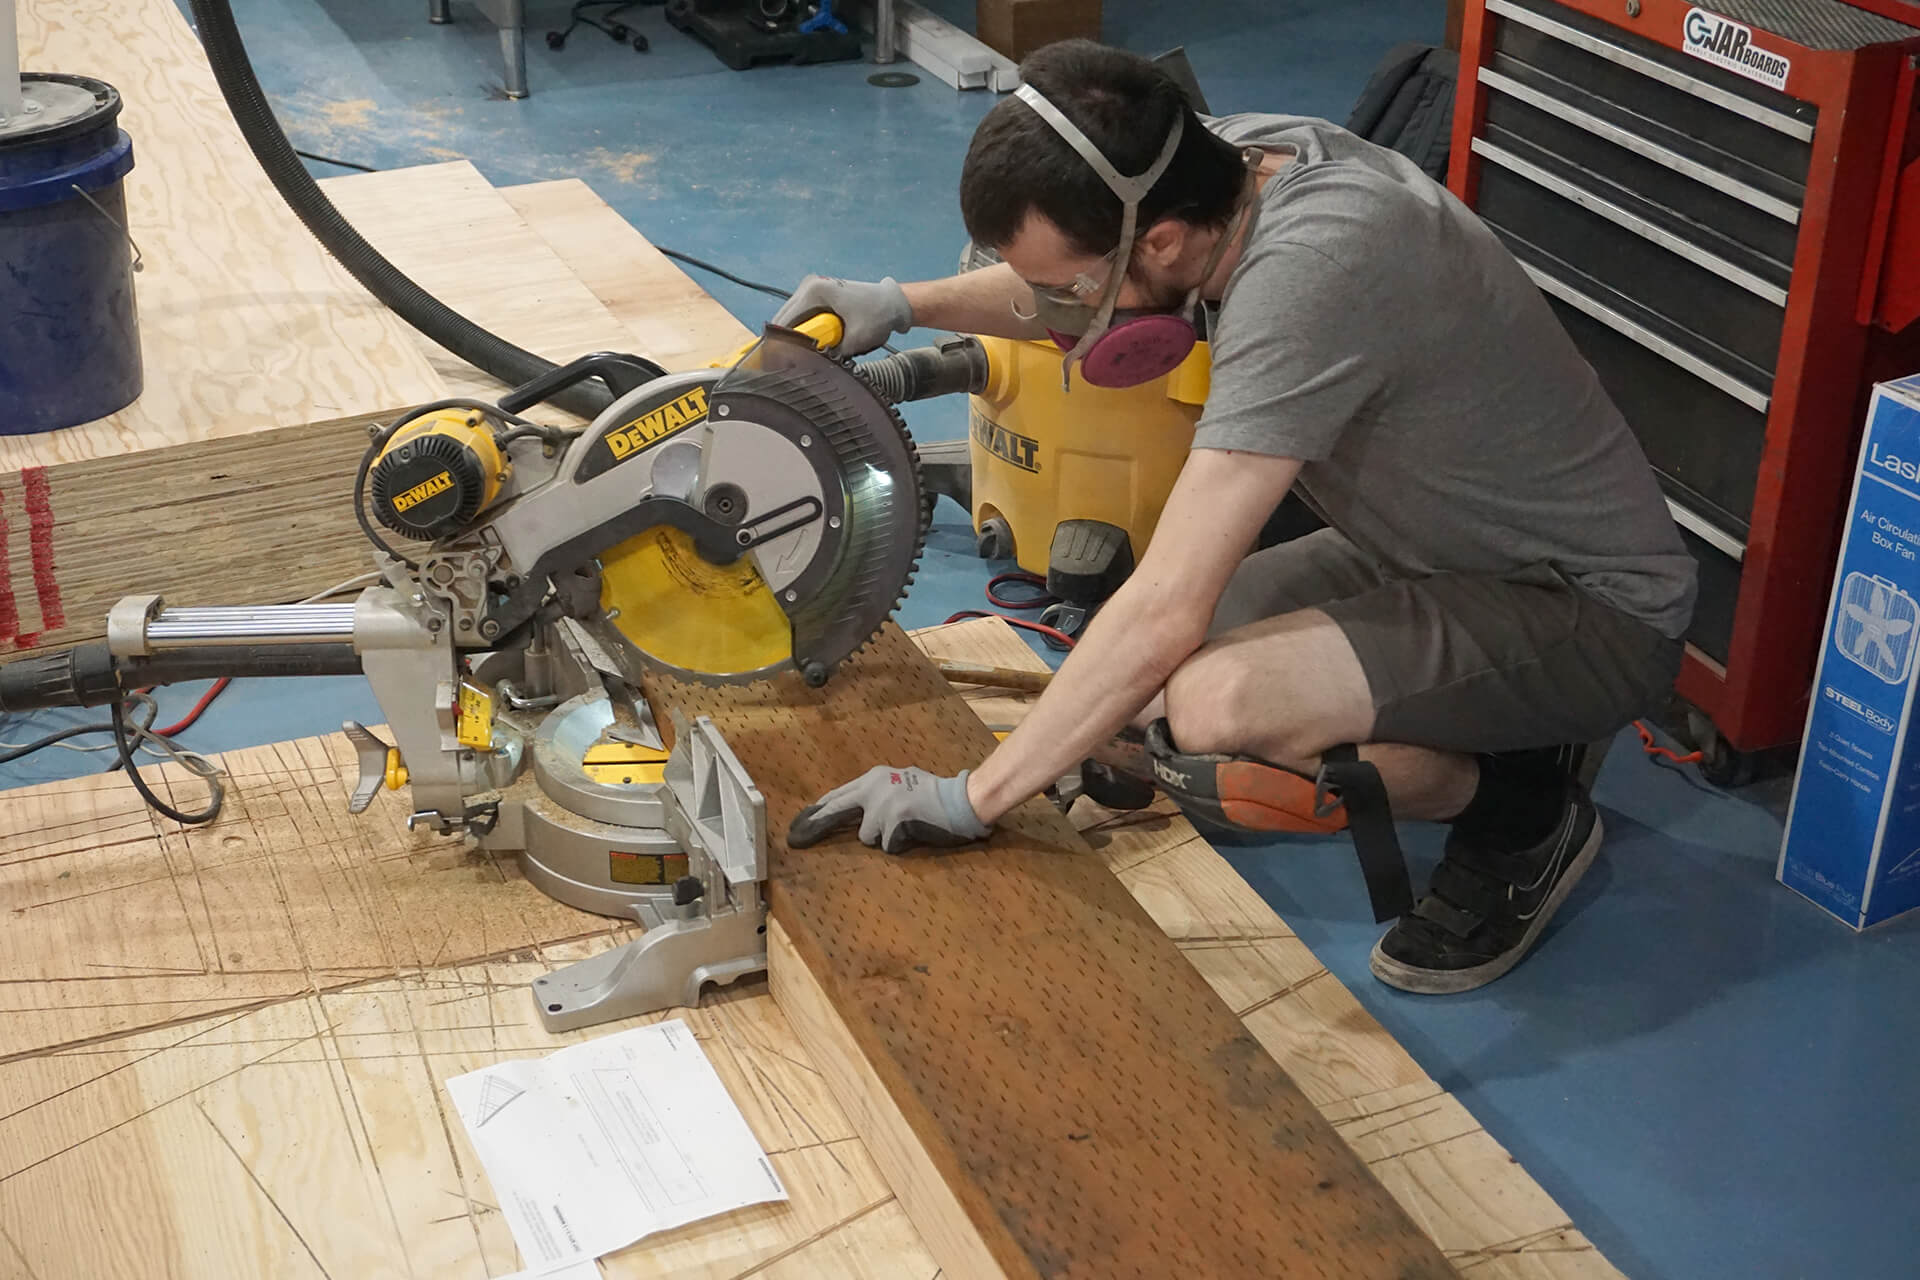
One end requires a compound angle, and the other a straight cut. Adjust the swing and tilt of the saw accordingly.
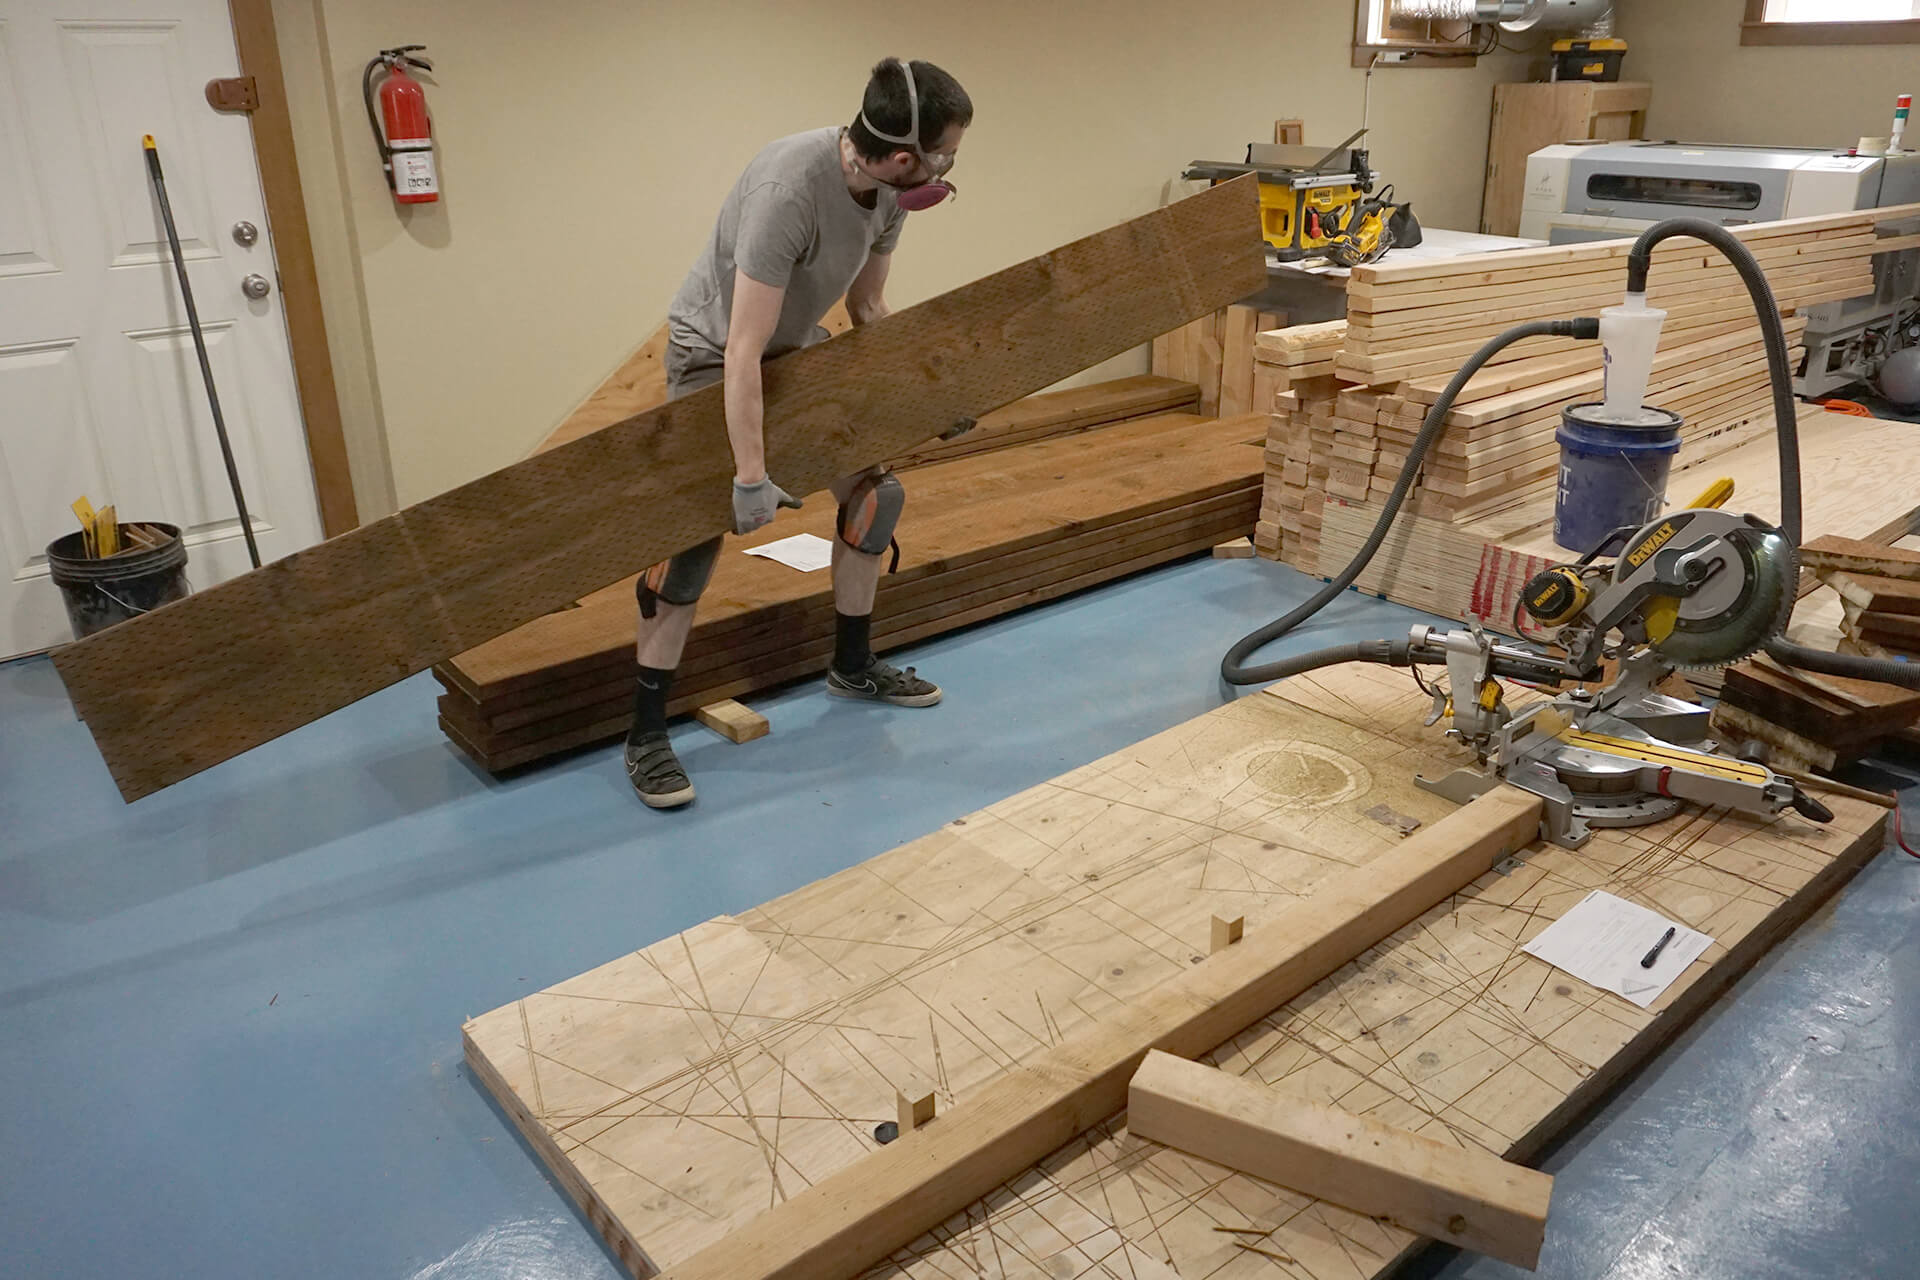
These pieces are large, heavy, and ideally straight and true. The more warped they are, the more difficult assembly will be. A powered hand planer resolves most assembly issues.
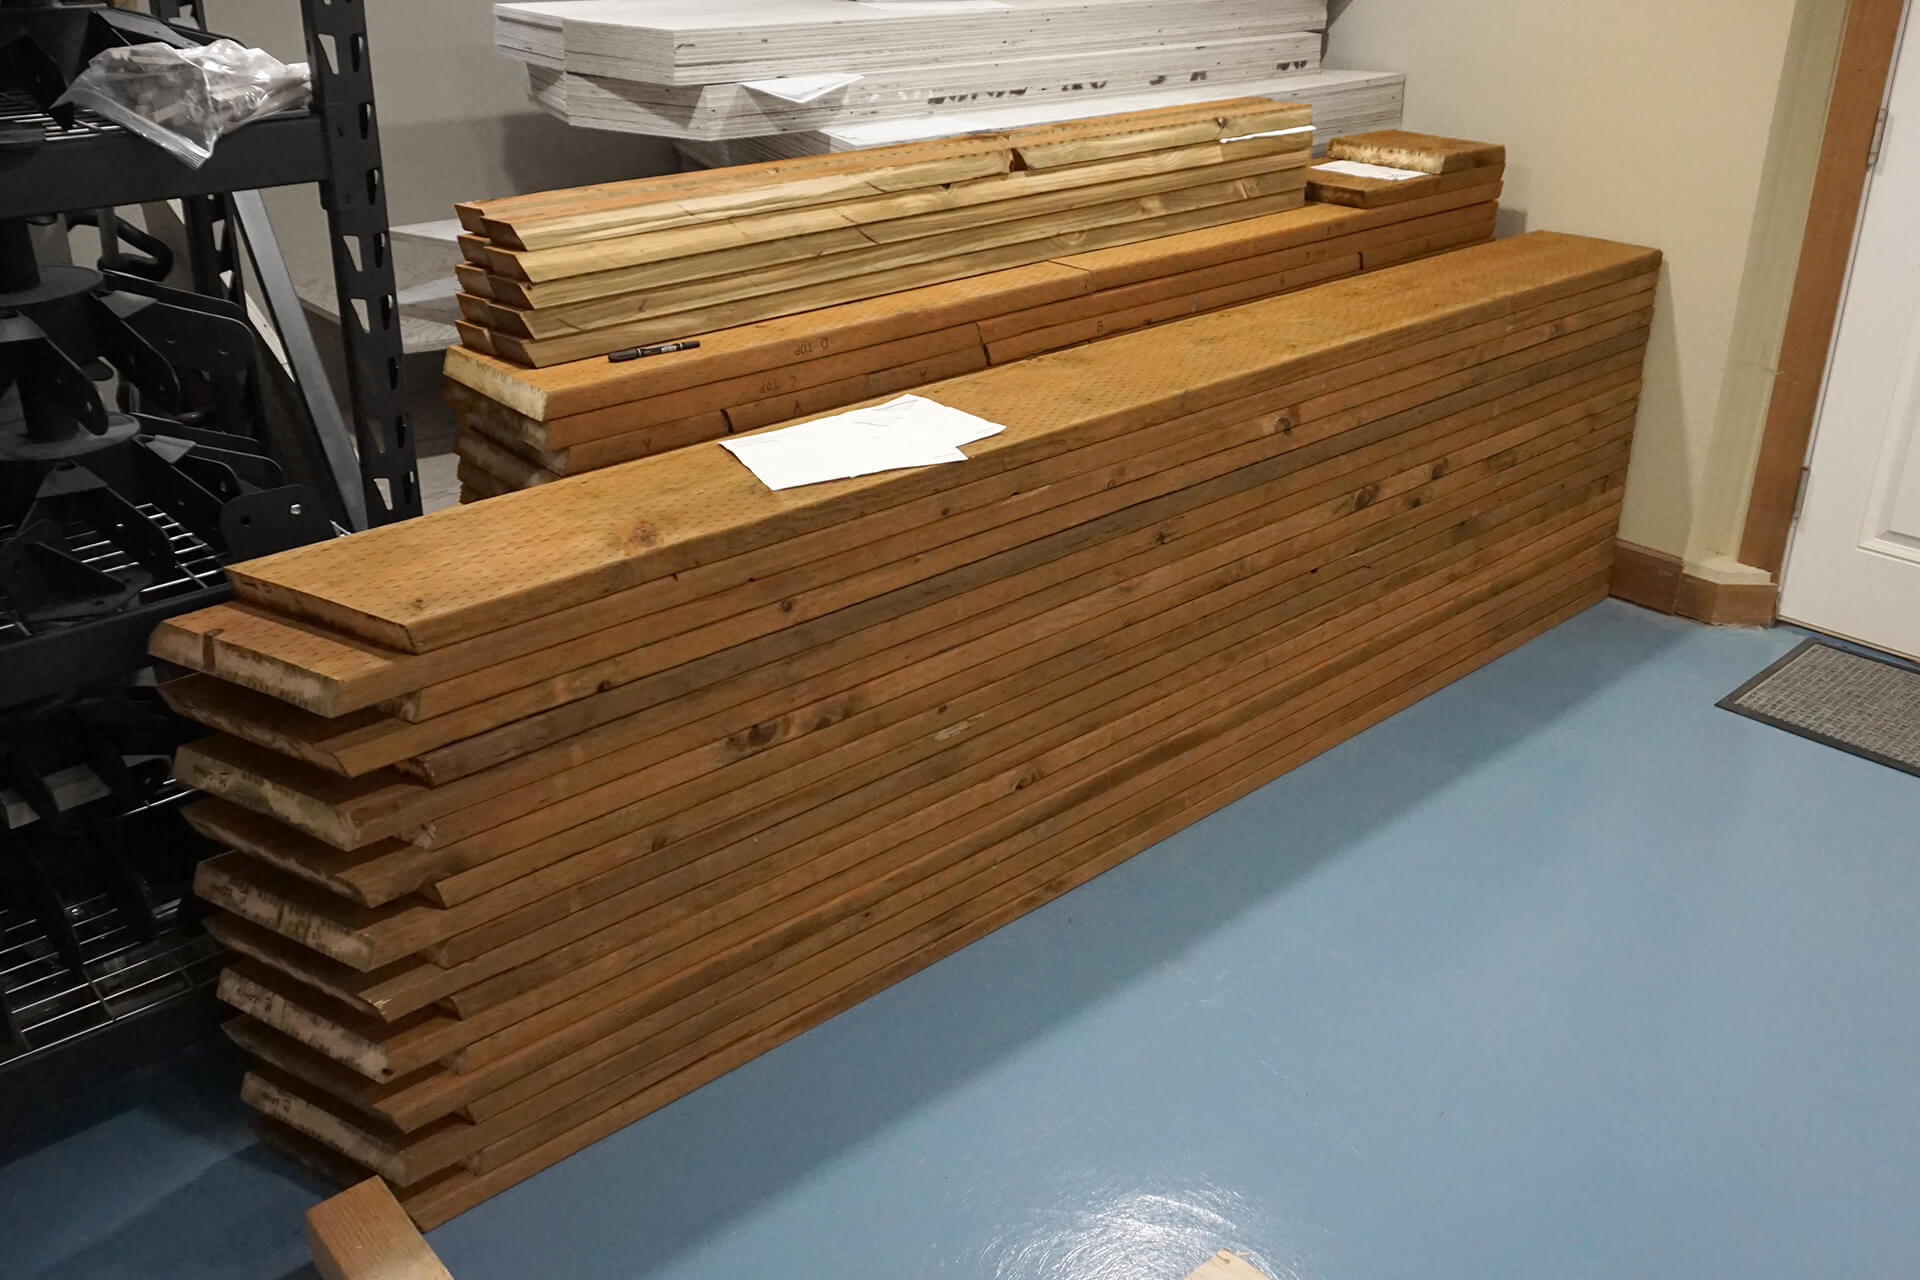
Congratulations on completing the prefabrication of the floor! If the lumber isn’t already dry, stack it with small spacers to allow for airflow (not shown). Otherwise, surface mold growth may occur, which can be solved later.
Next Step
© 2025 Dodeca Domes. All rights reserved.

