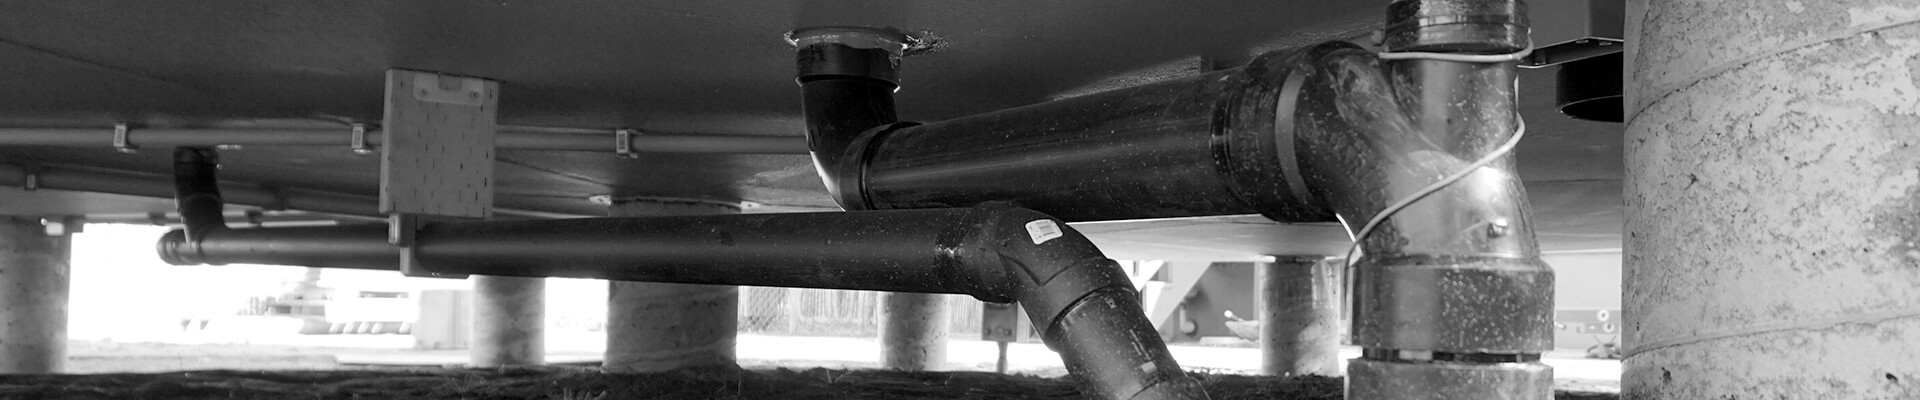
Underfloor – Conduit
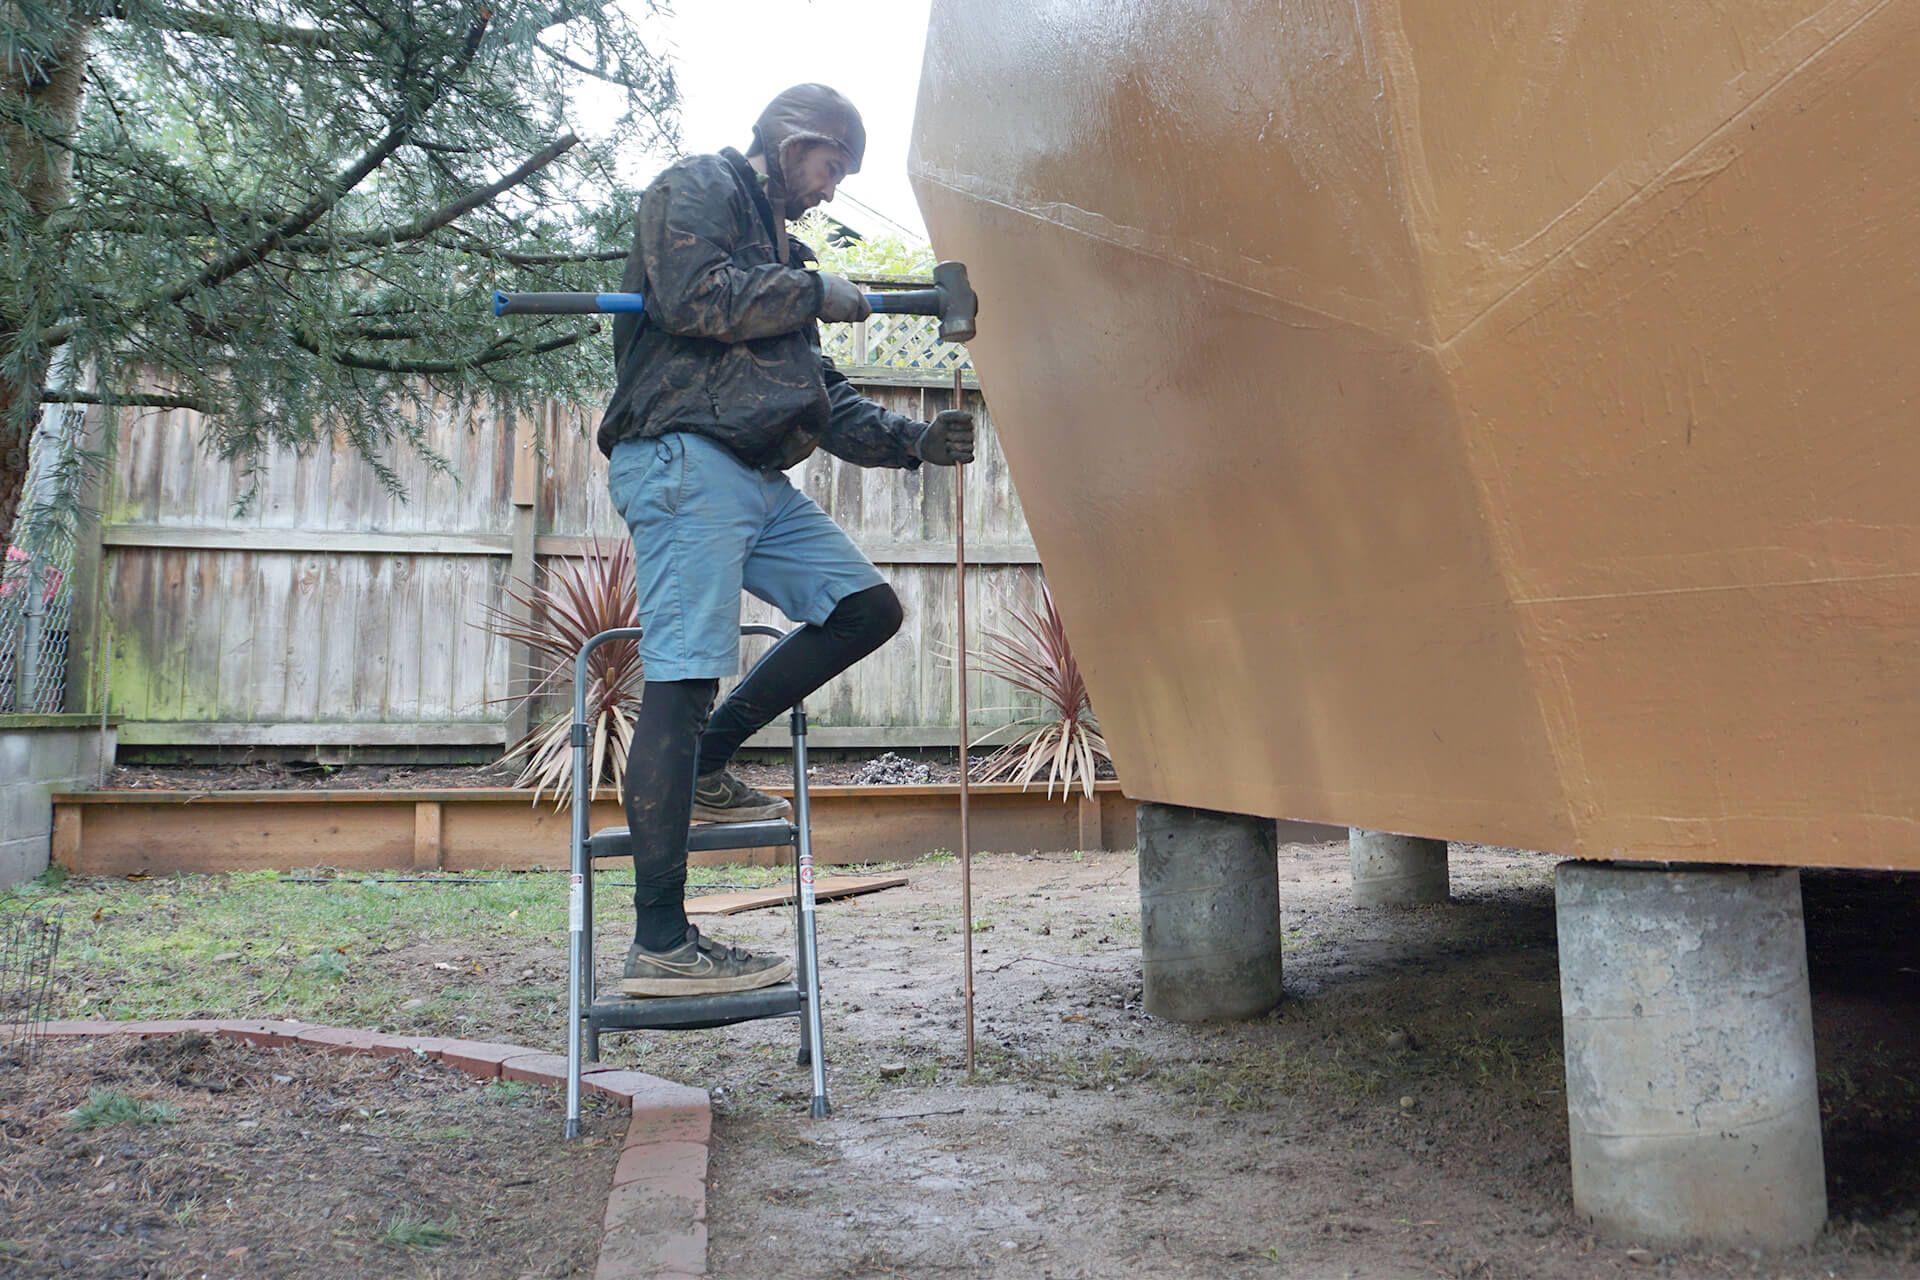
Hammer two 8-foot grounding rods into the earth, ensuring they are separated by at least 6 feet. Mark both locations clearly, as they will be difficult to locate once buried.
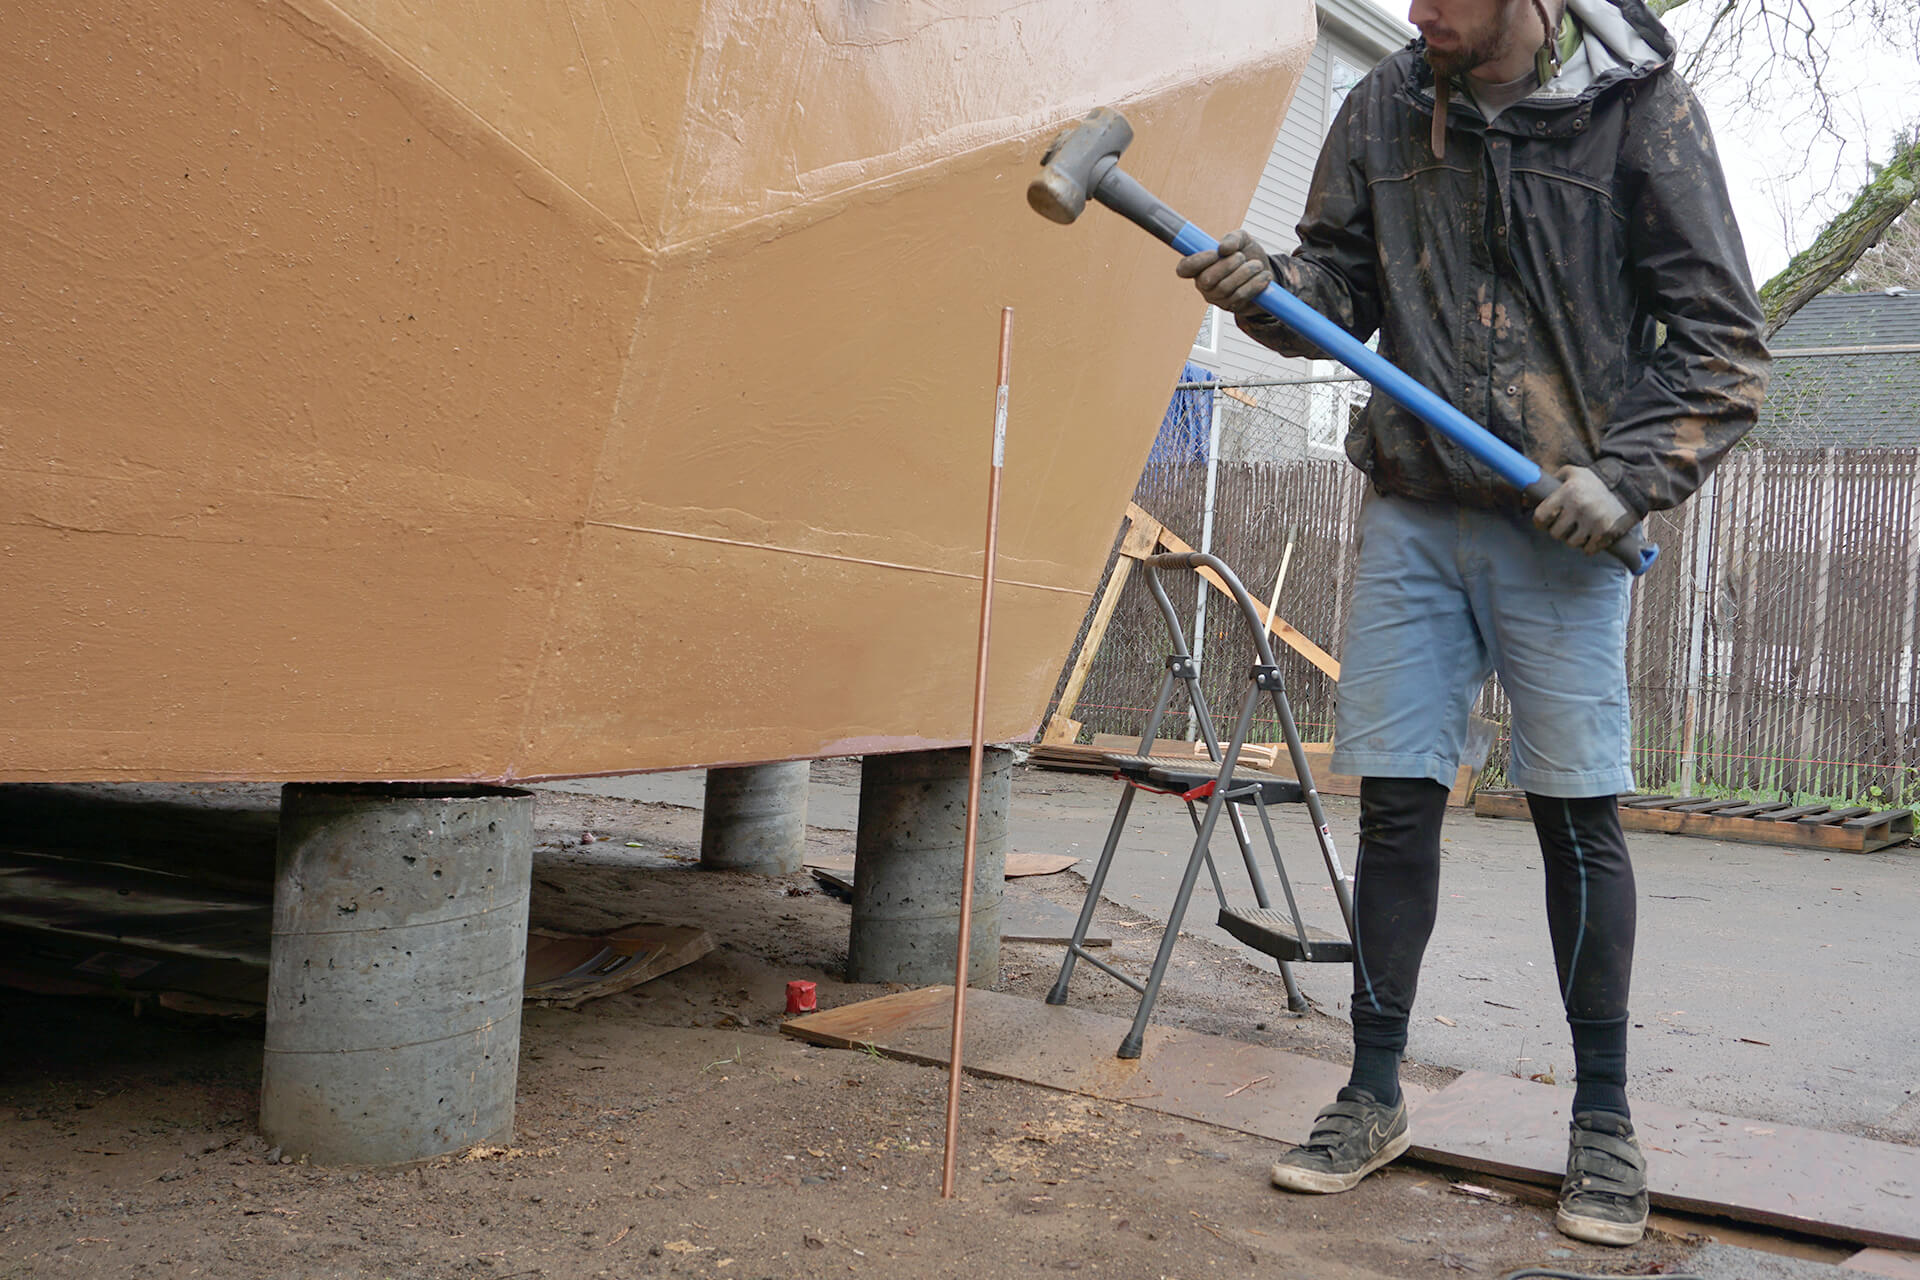
One of the grounding rods can be placed near the electrical stub-out for wiring convenience.
Inspection: Grounding Electrode (delay?)

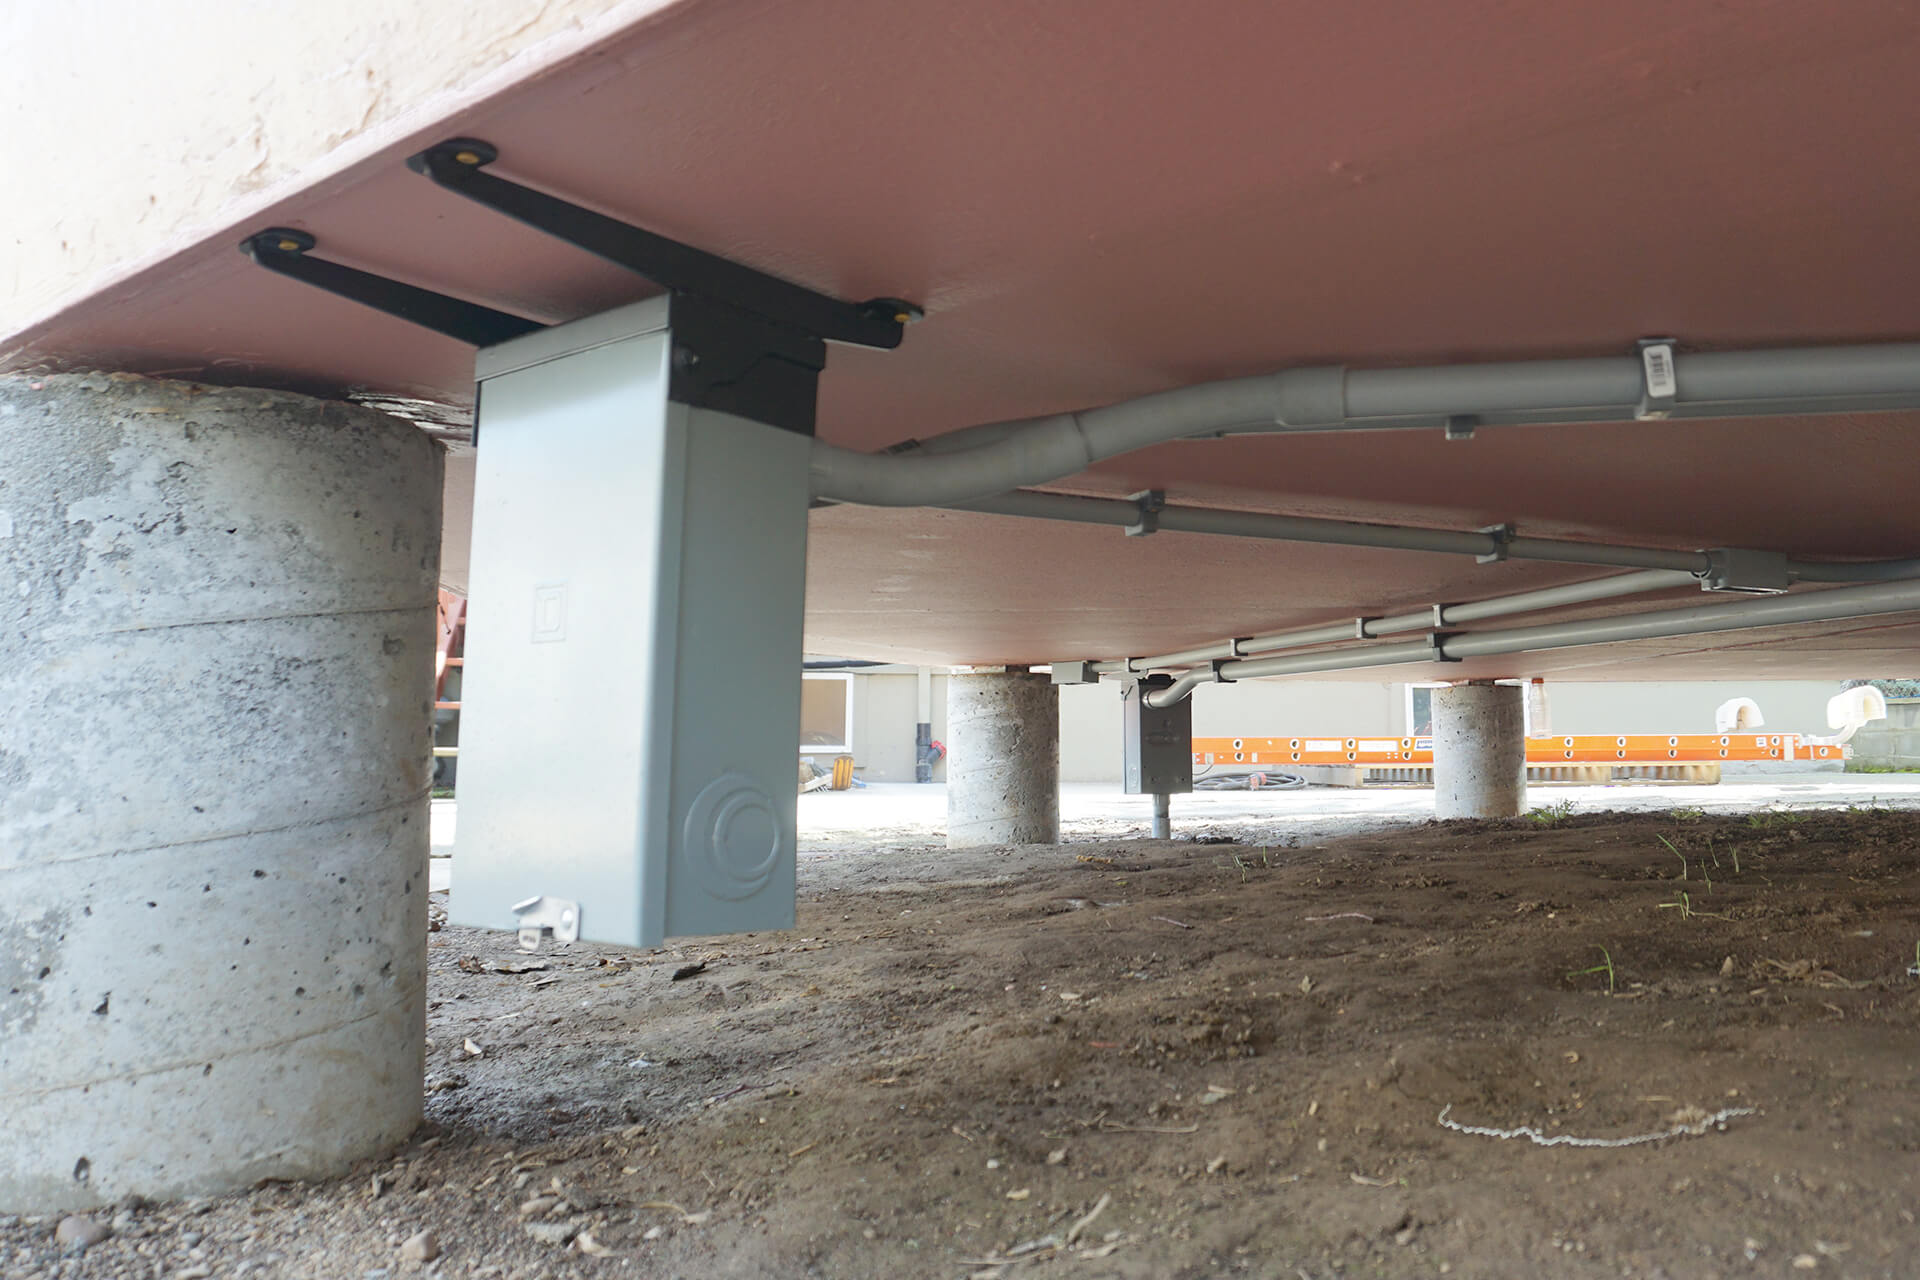
A custom steel bracket is shown here, welded to the electrical disconnect box for an alternate mounting method.
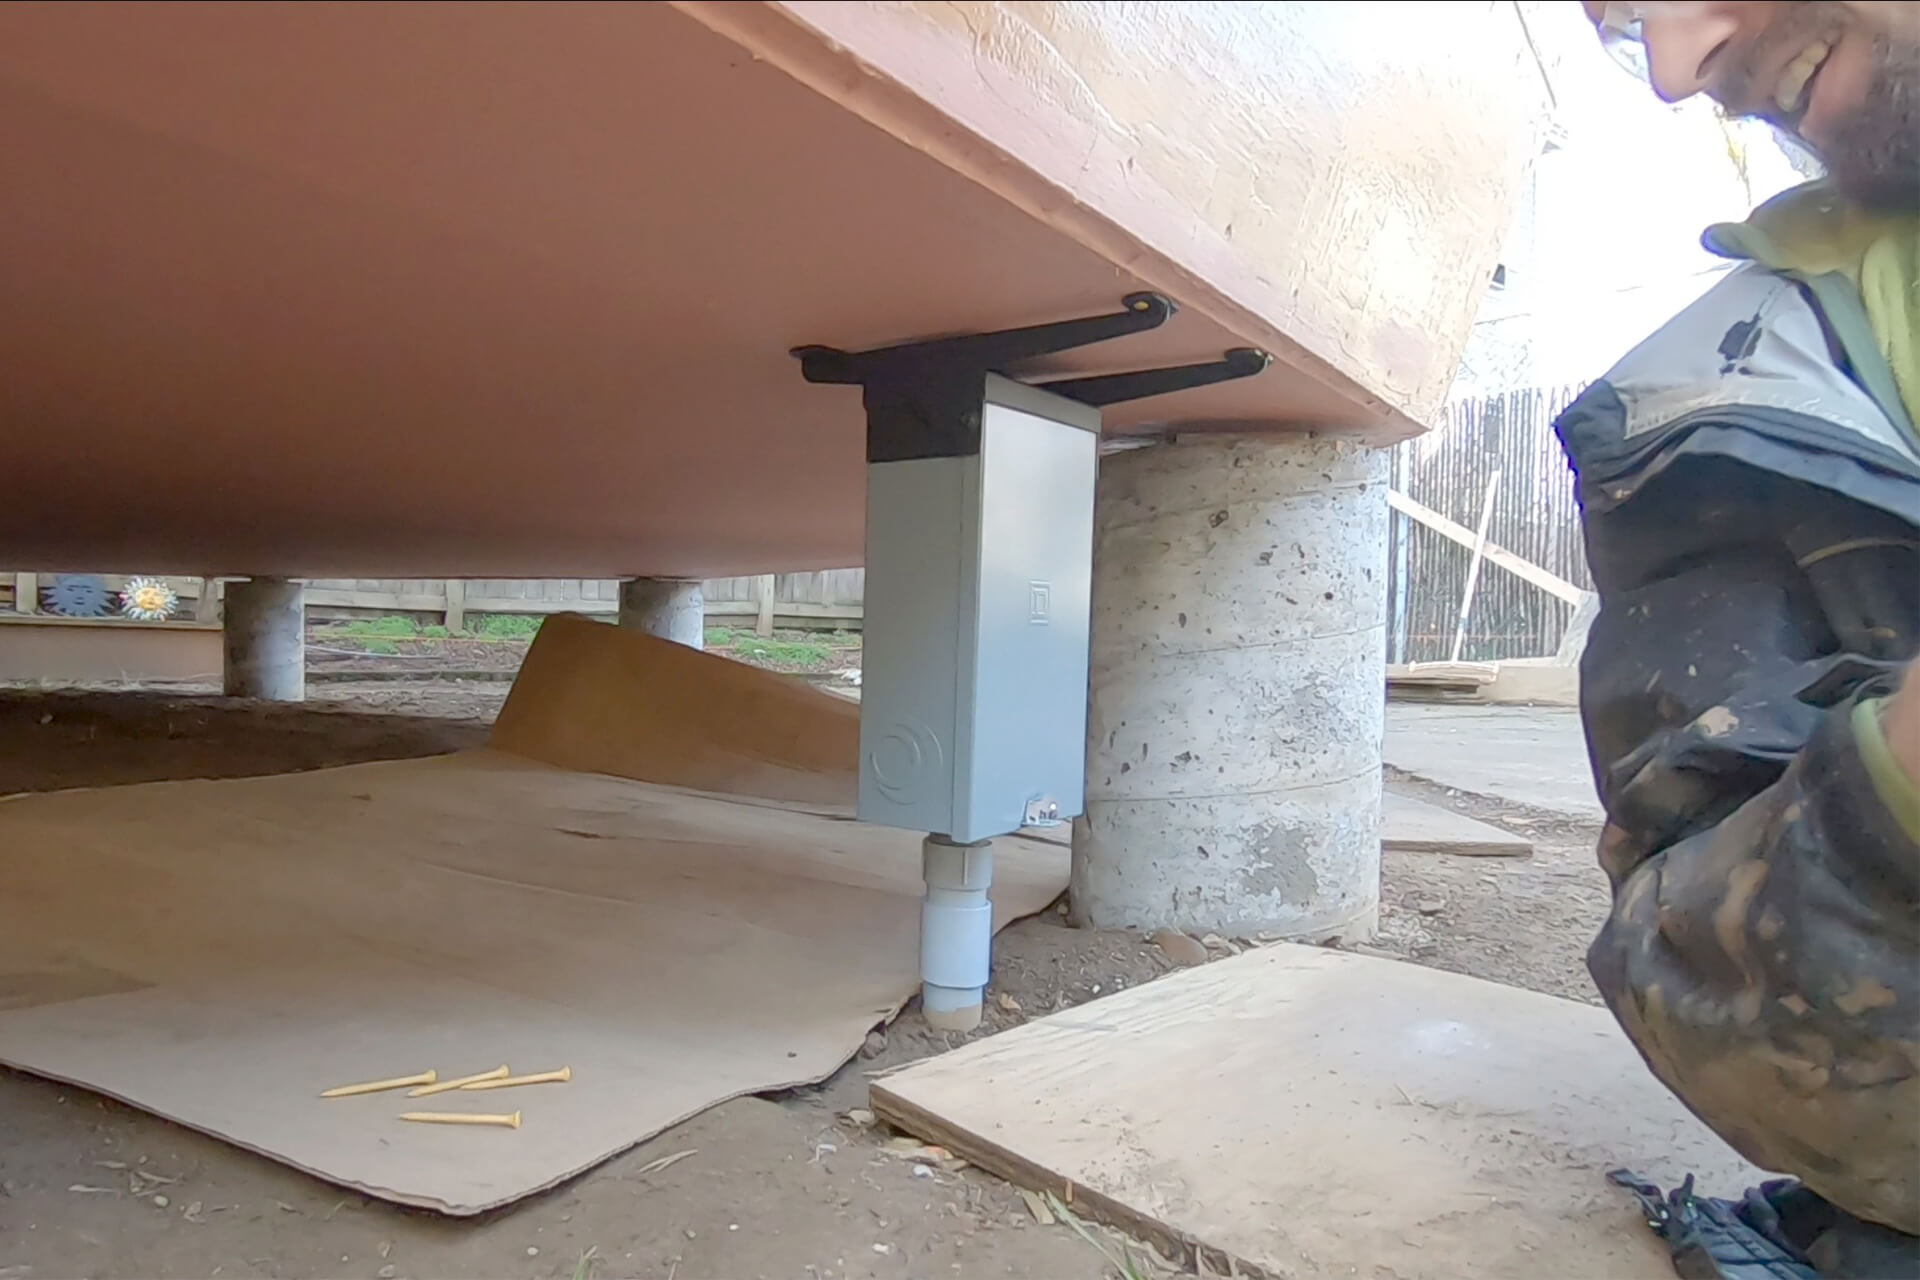
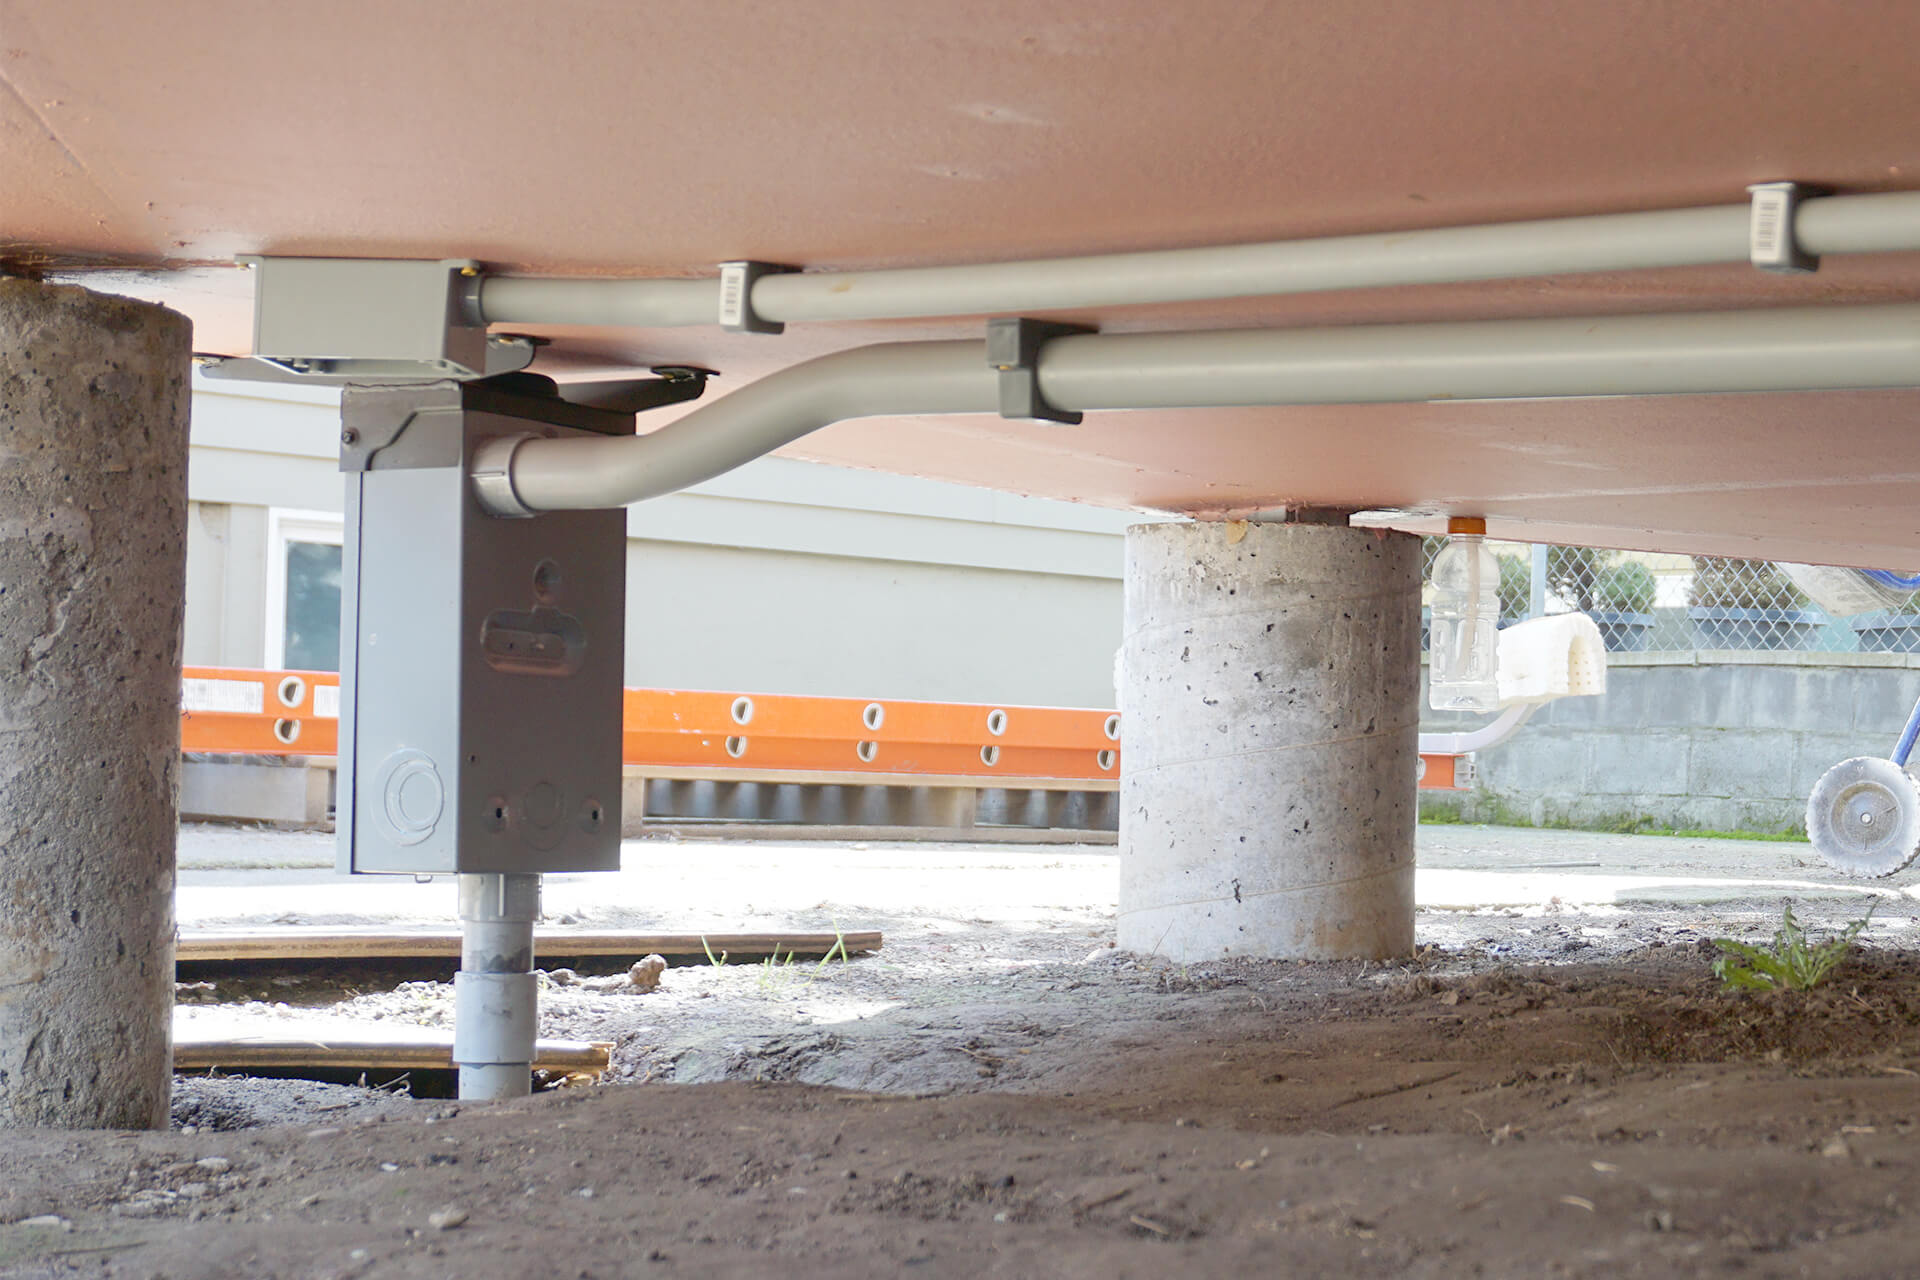
Mount an electrical disconnect box / outdoor circuit breaker directly above the electrical stub-out location. This is required by code to provide a means of disconnecting power at this spot.
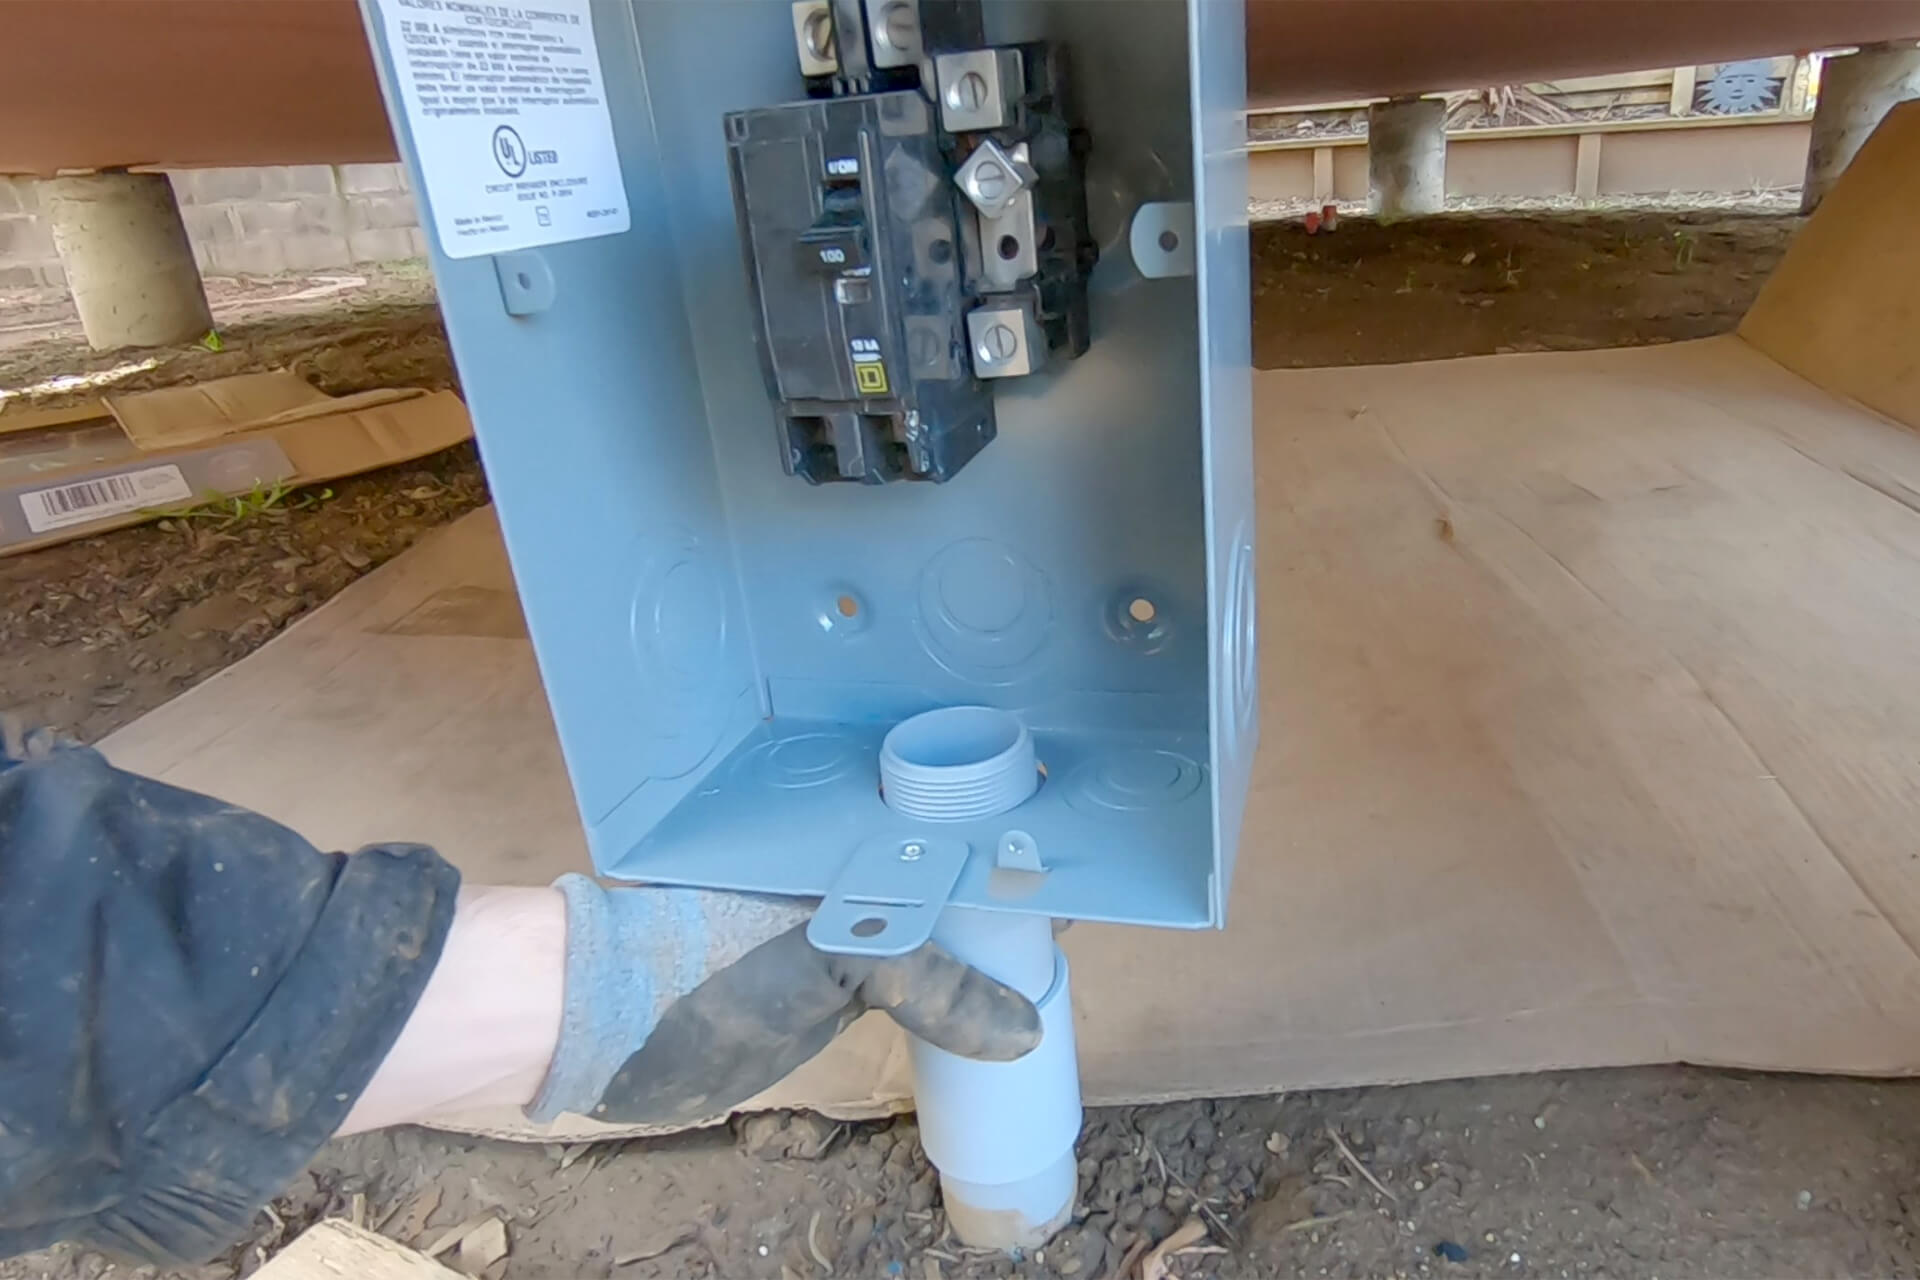
Attach the electrical stub-out to the disconnect box. Glue all fittings and secure with a metal nut (not shown), capping it with a plastic nut (not shown).
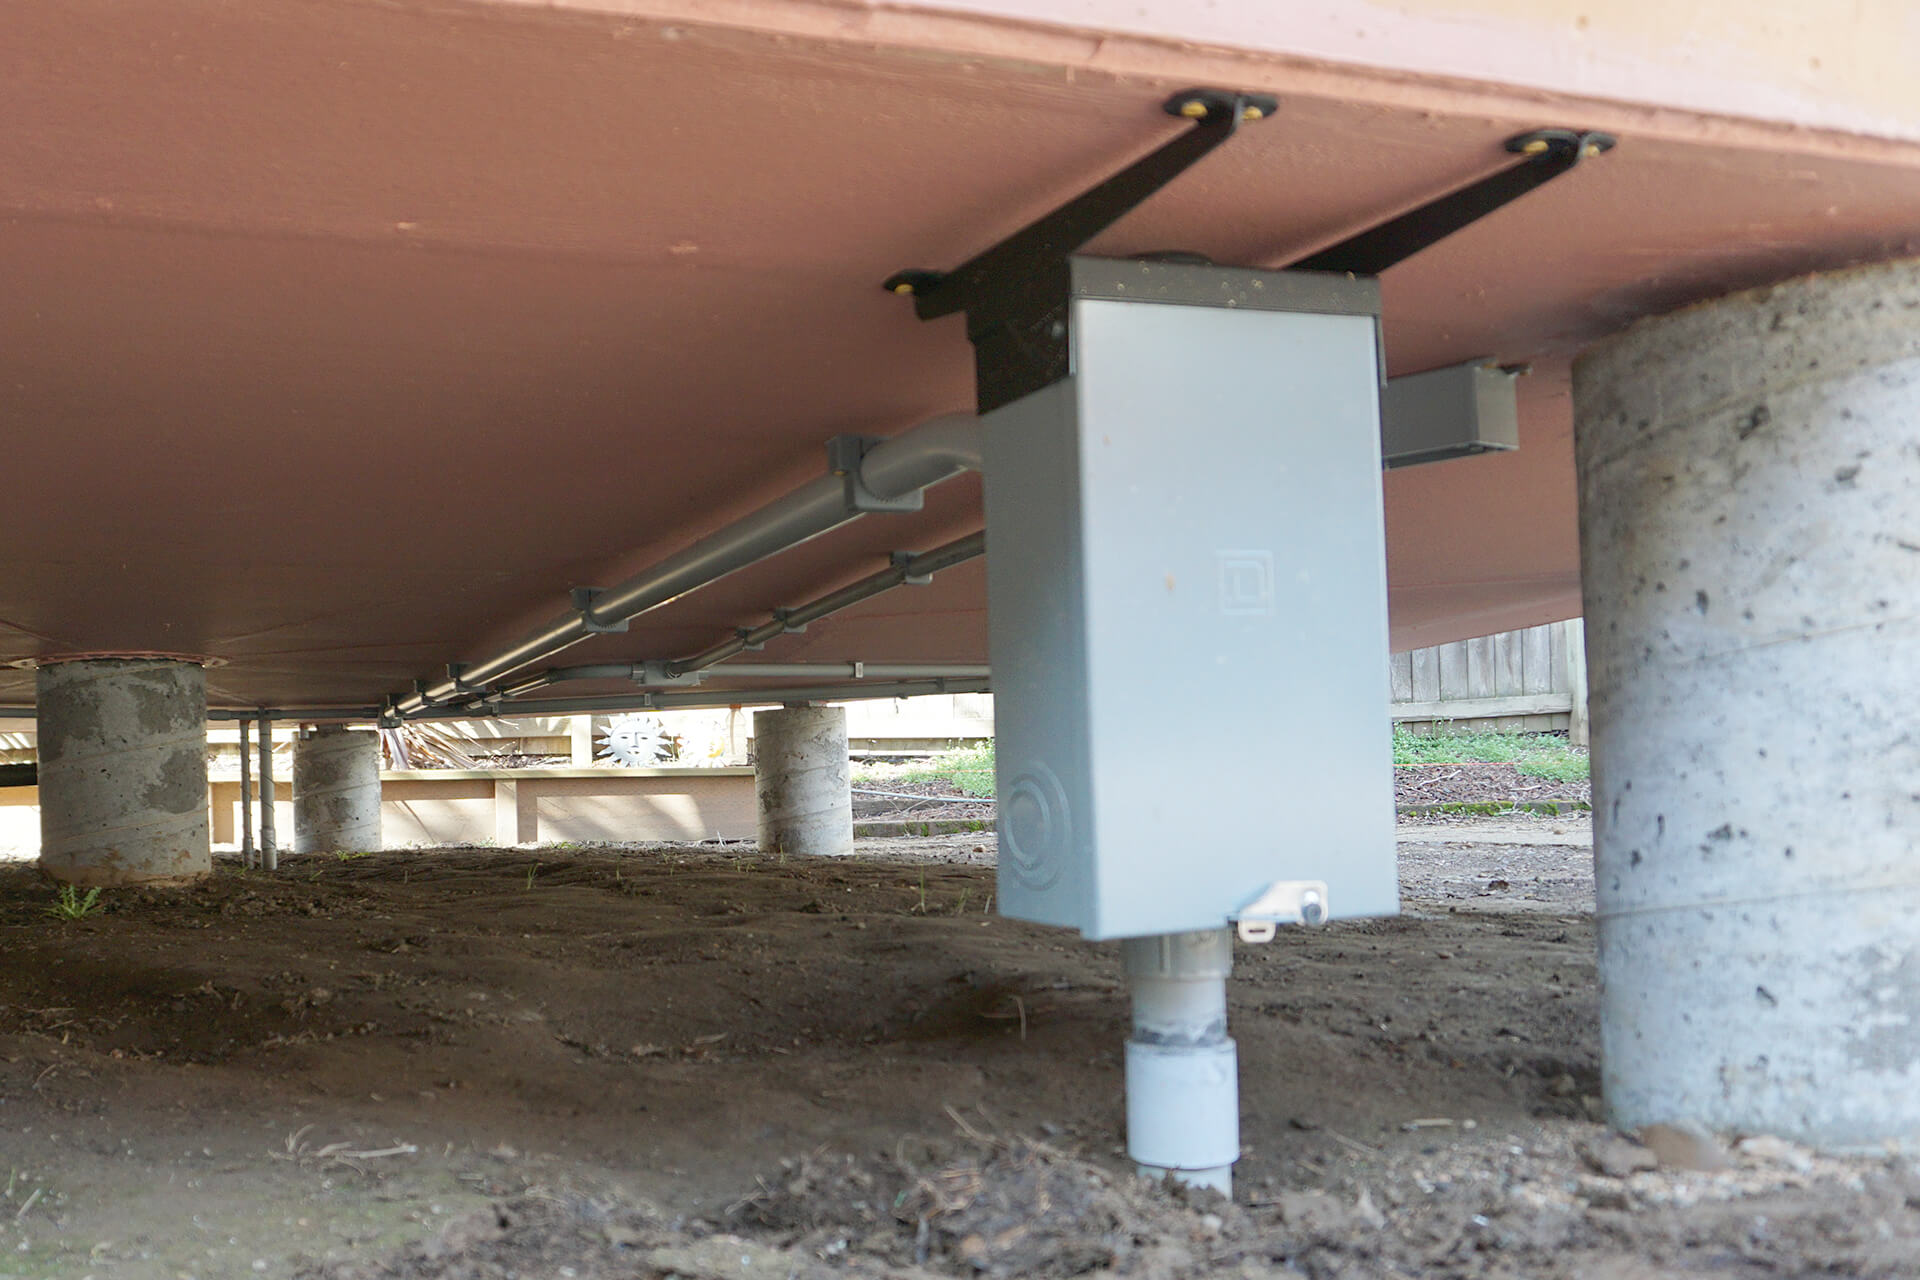
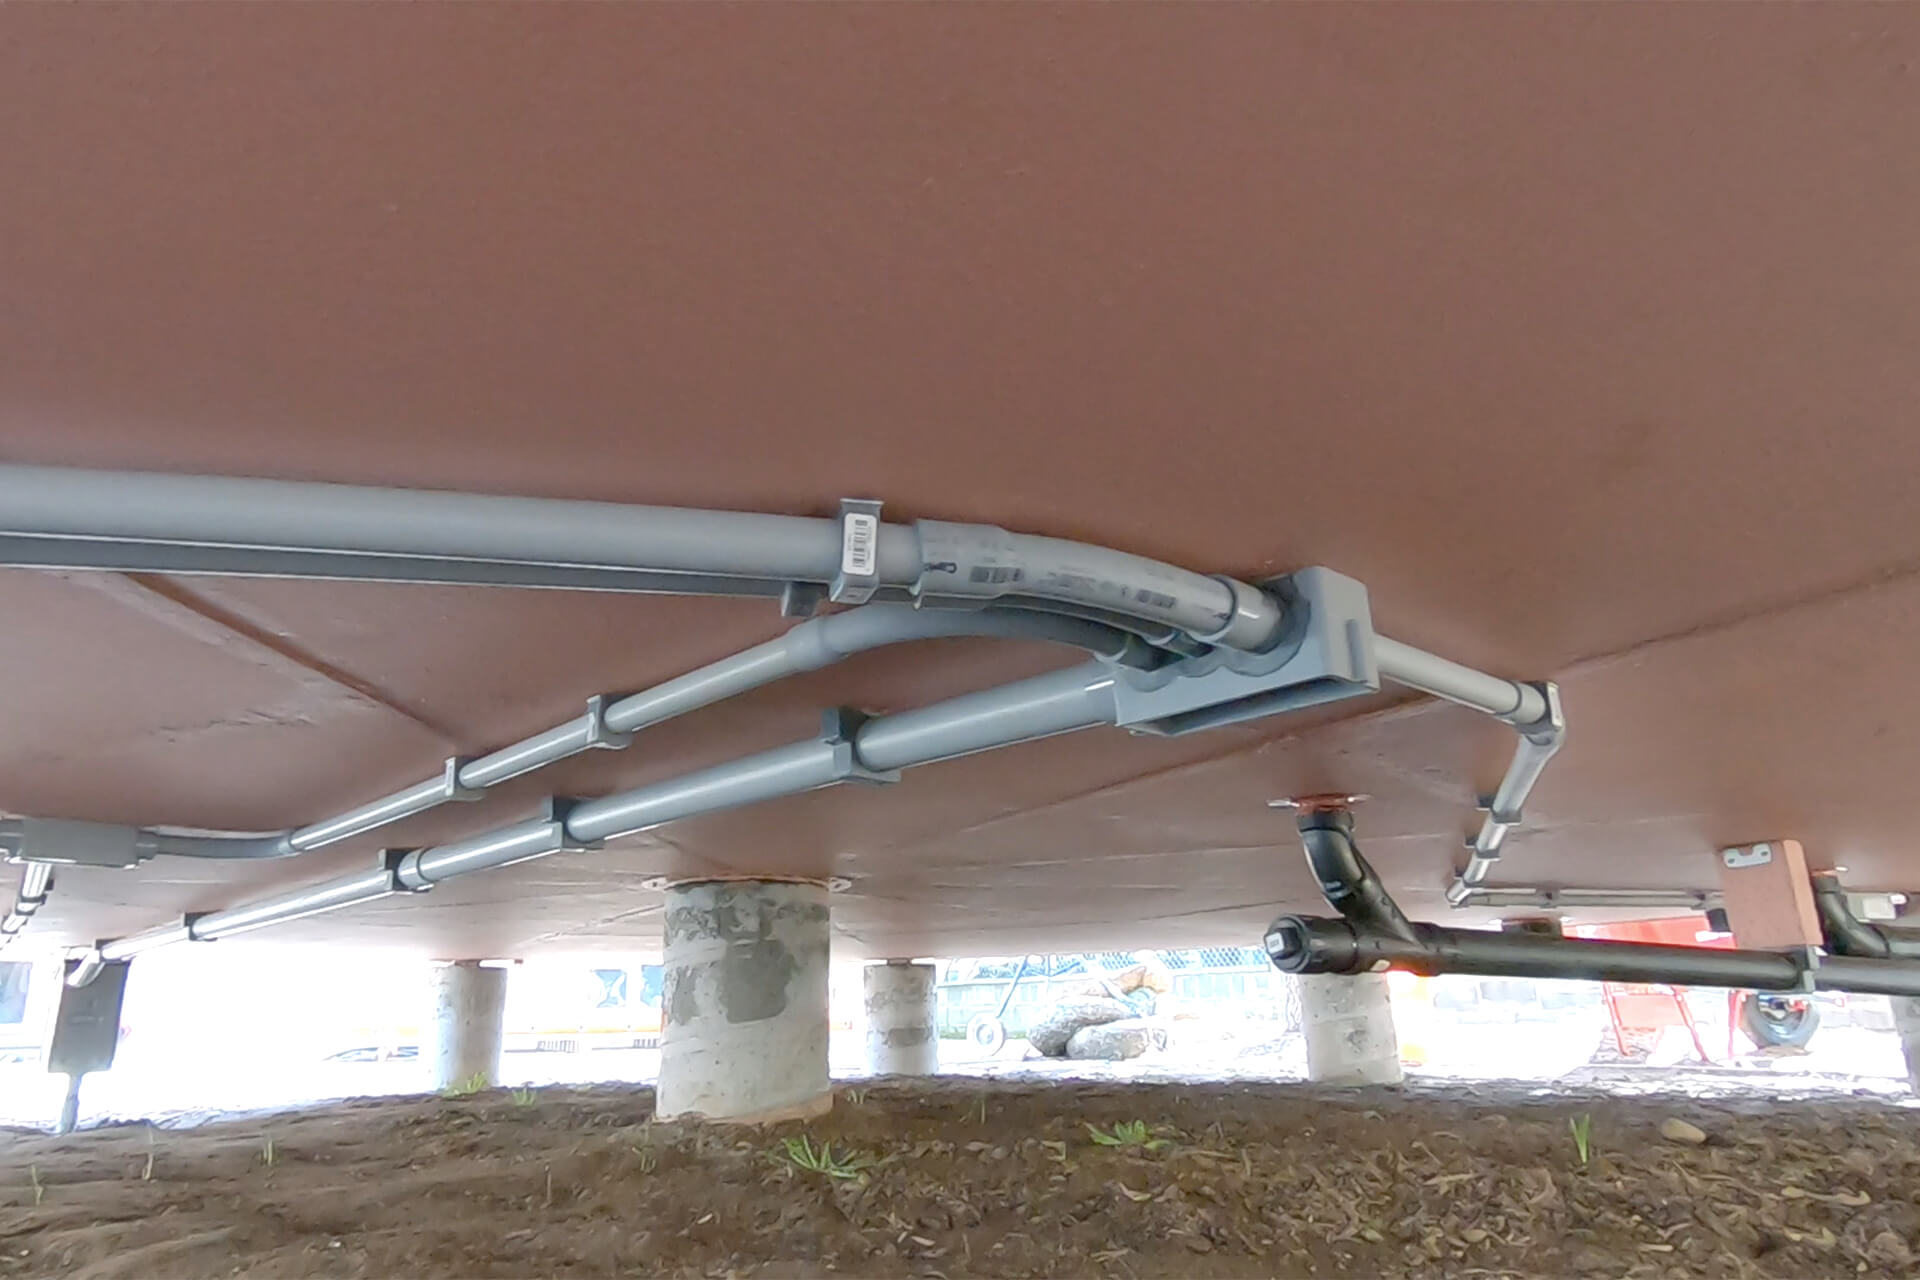
Run conduit from the electrical disconnect to the floor penetration, as well as to the various crawlspace outlets.
Detail shot showing the backside of the electrical disconnect.
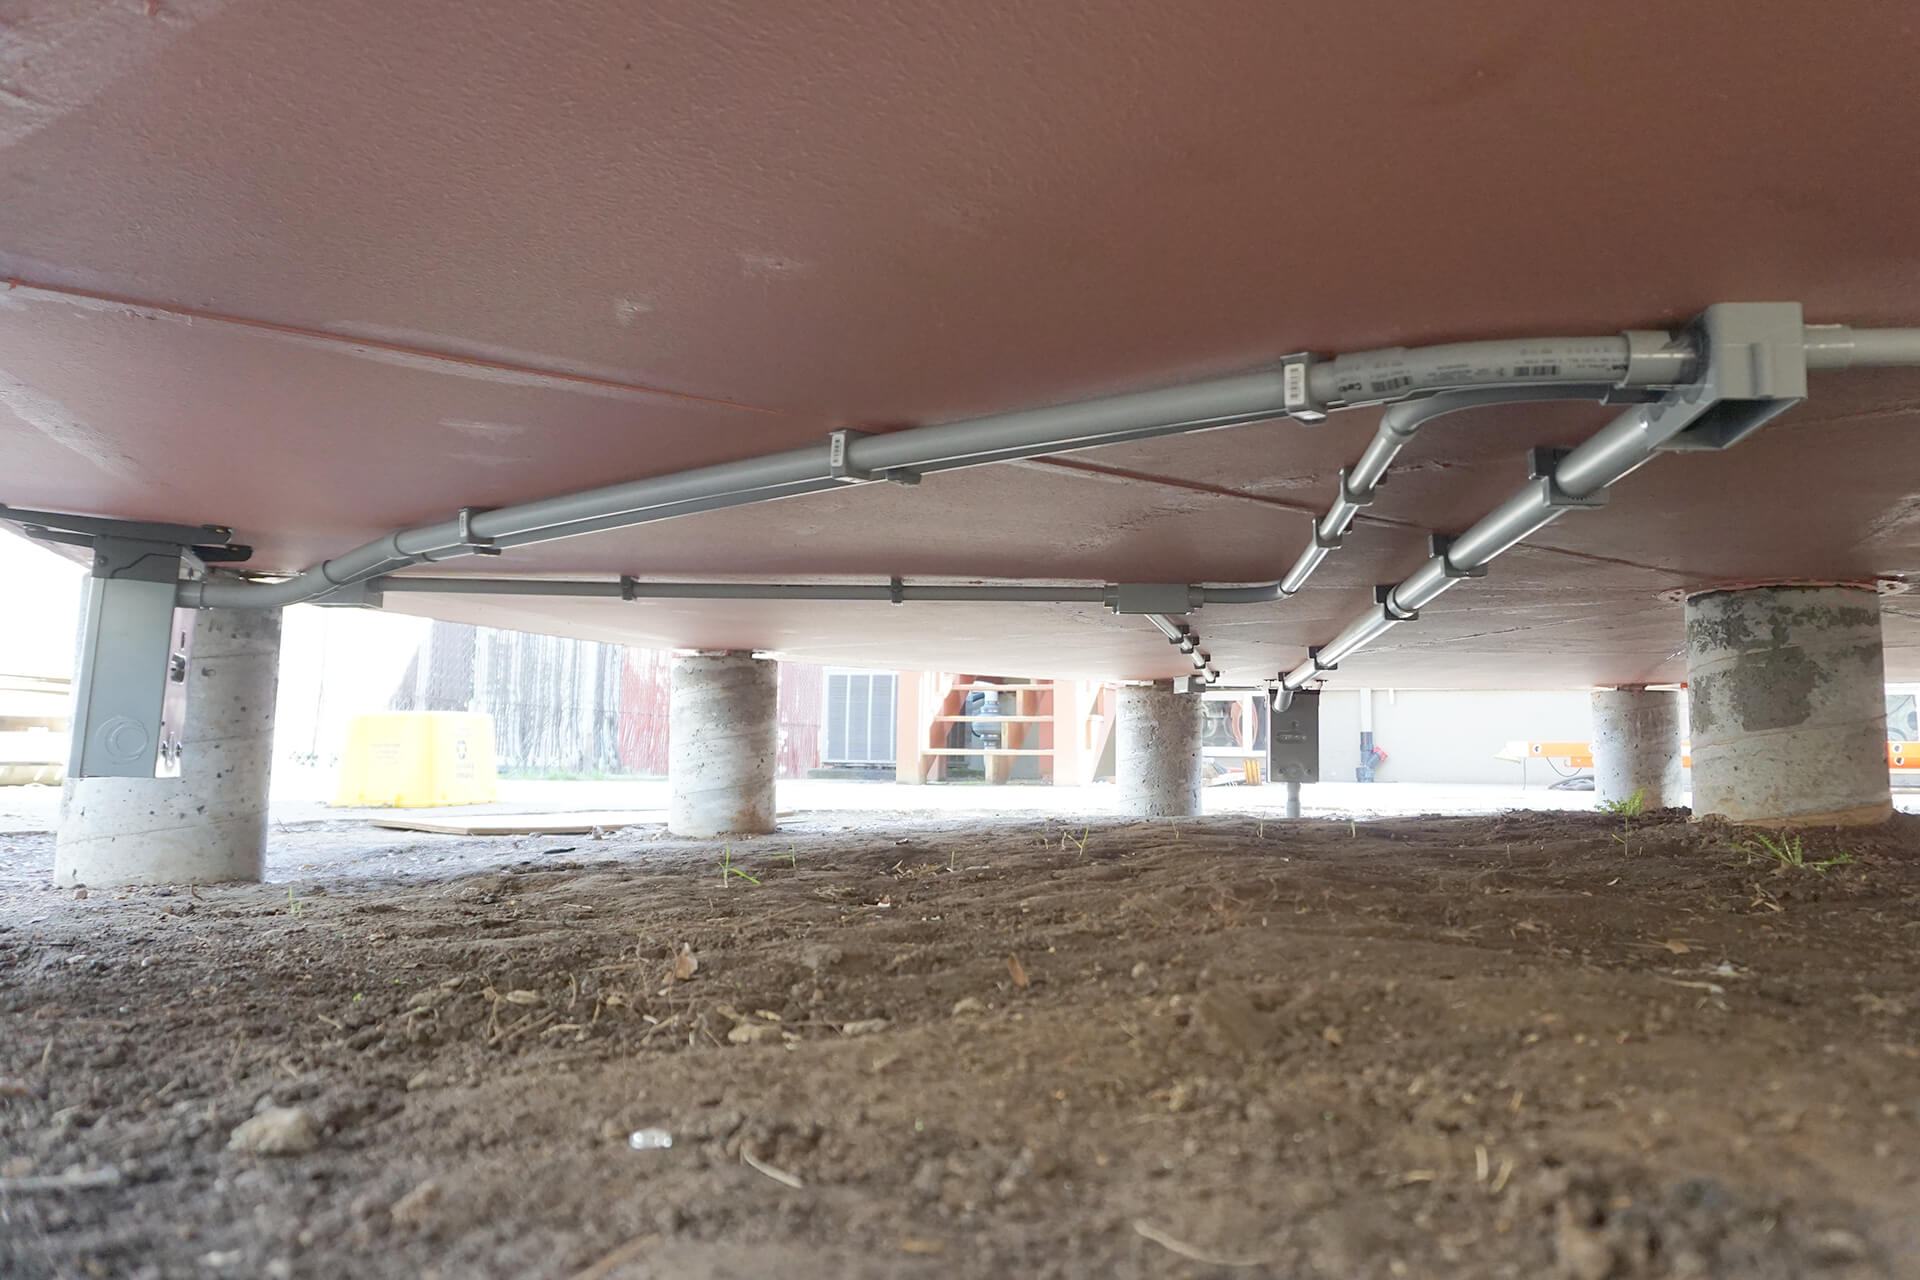
Optional: Add a second electrical disconnect (left) for a future hot tub. The floor penetration fitting (right) is modified to accommodate multiple conduit connections.
Detail shot showing the hot tub electrical disconnect.
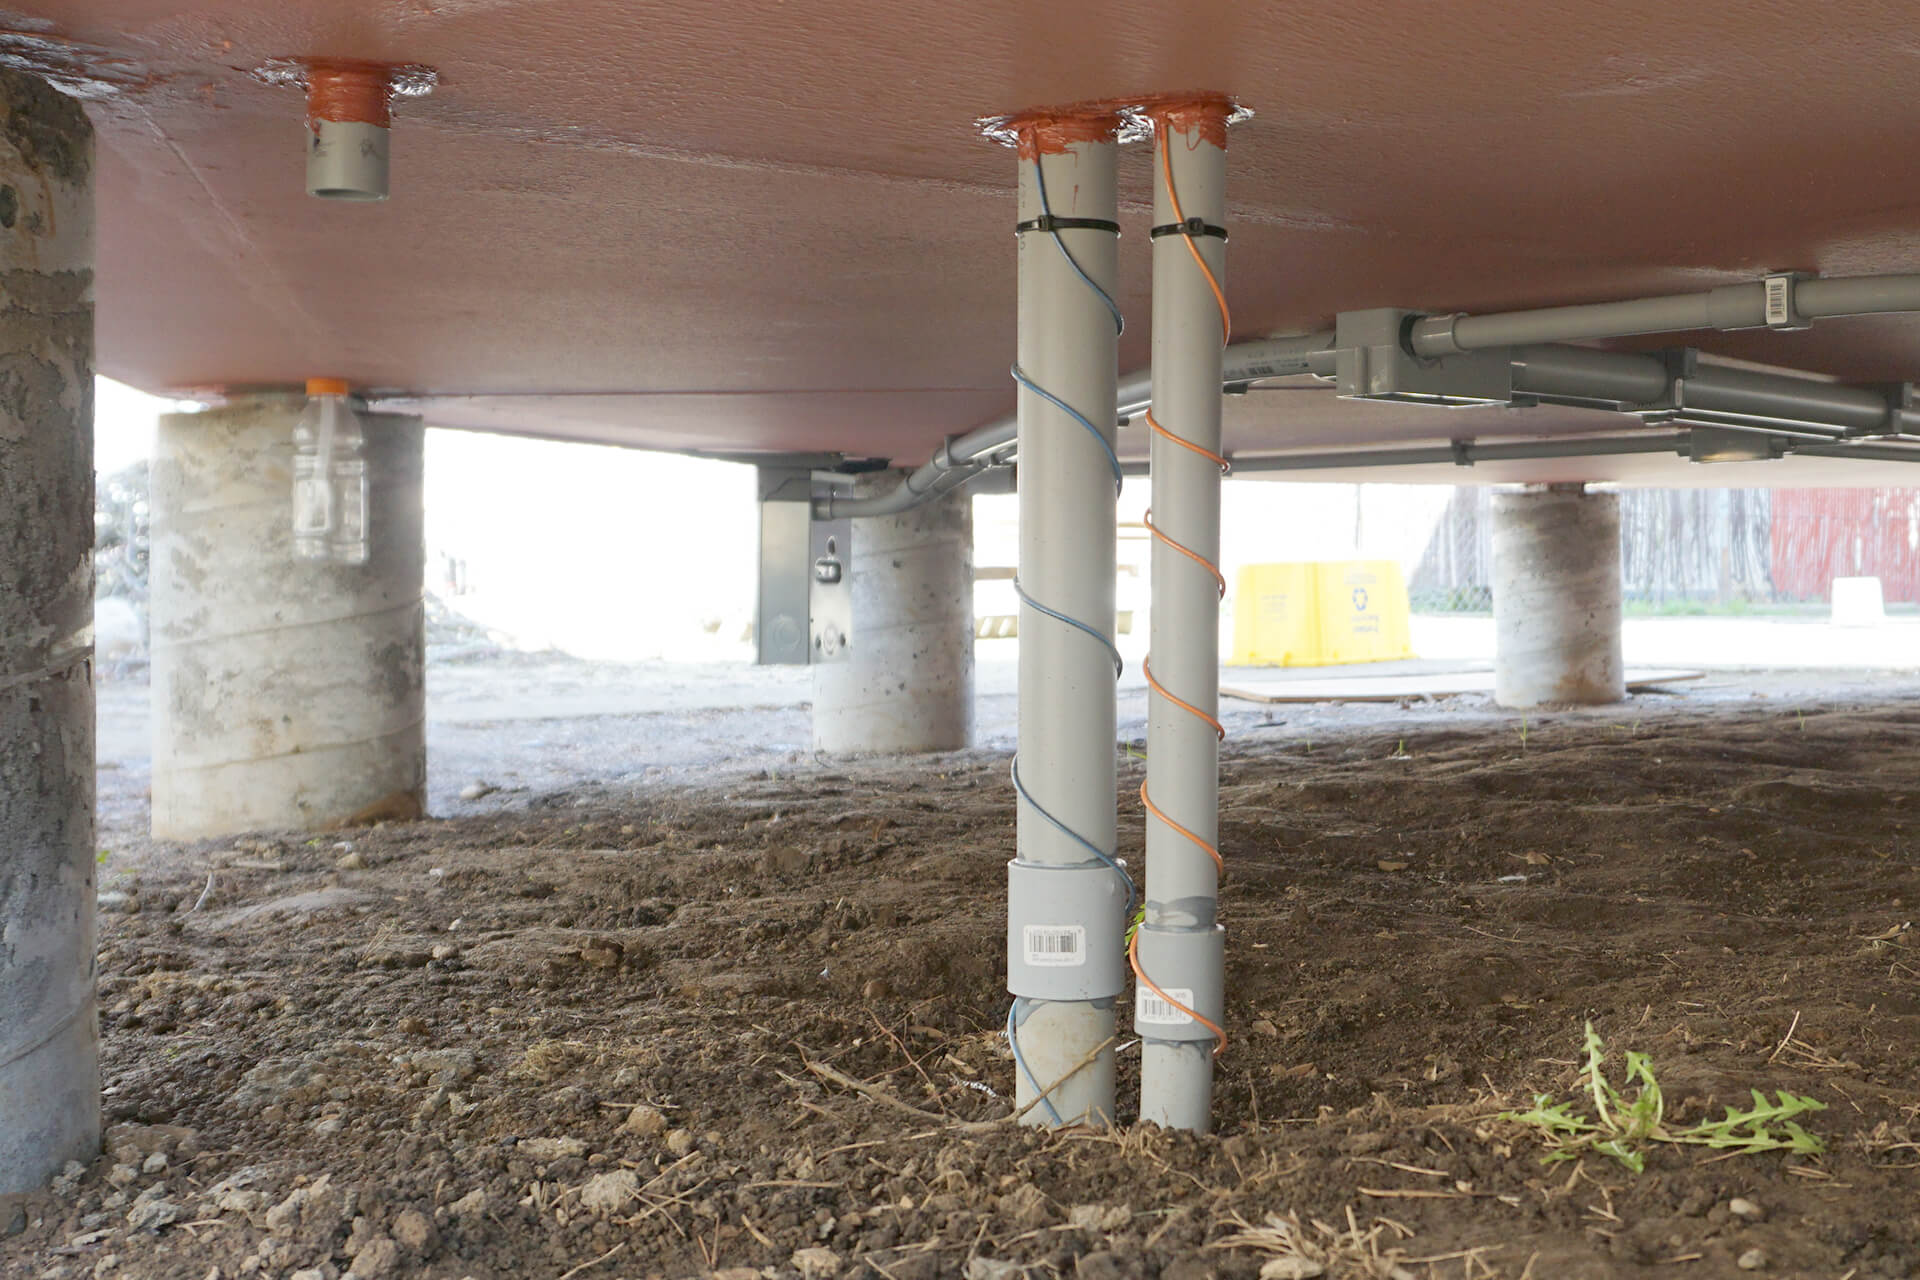
Connect the water conduit (blue tracer wire) and the data conduit (orange tracer wire) to the floor penetrations. The utility closet drain is also shown here (left).
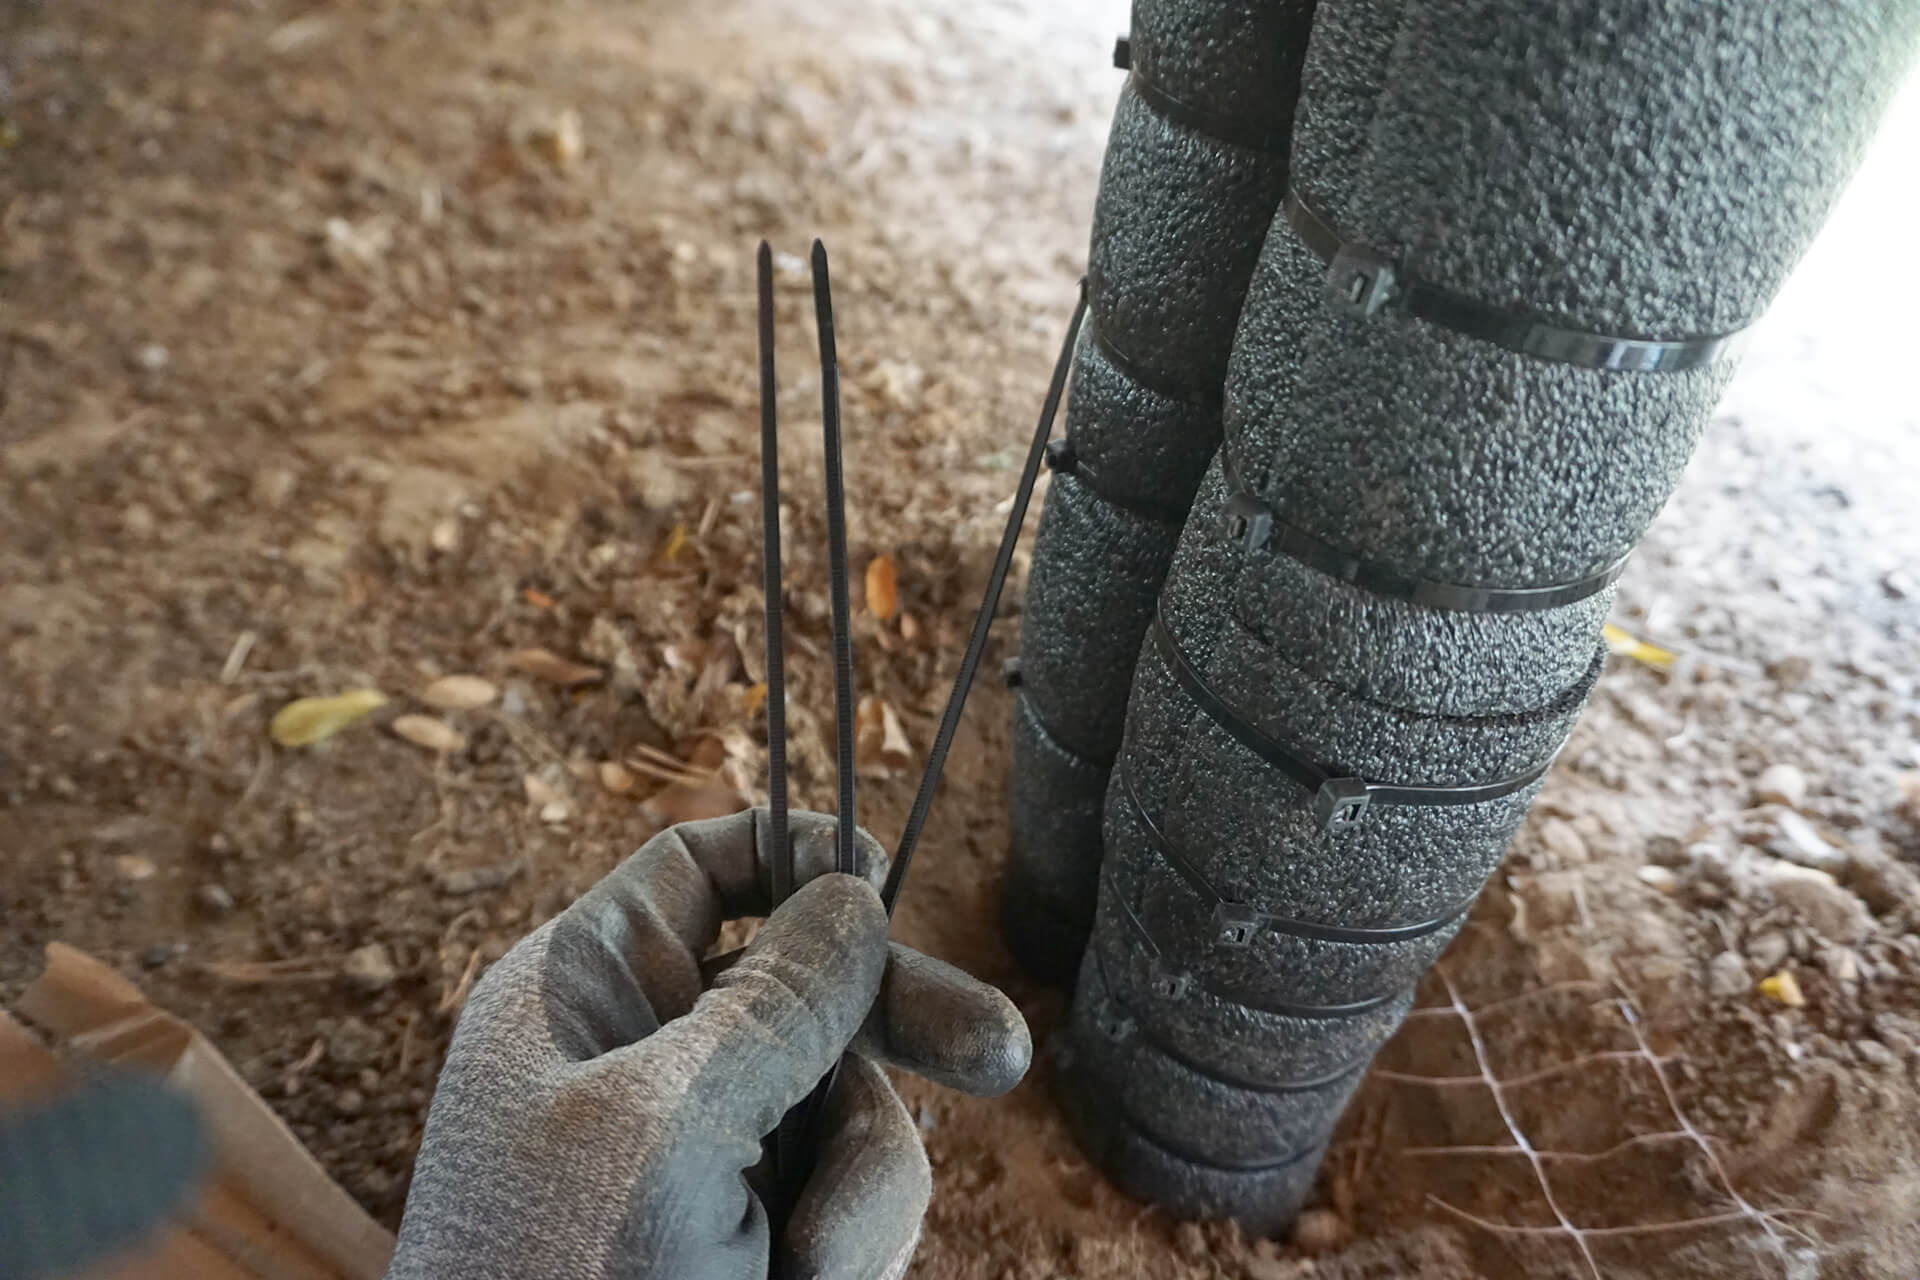
Insulate the water (and data) conduit. The insulation should begin a few inches below ground and extend up against the floor covering.
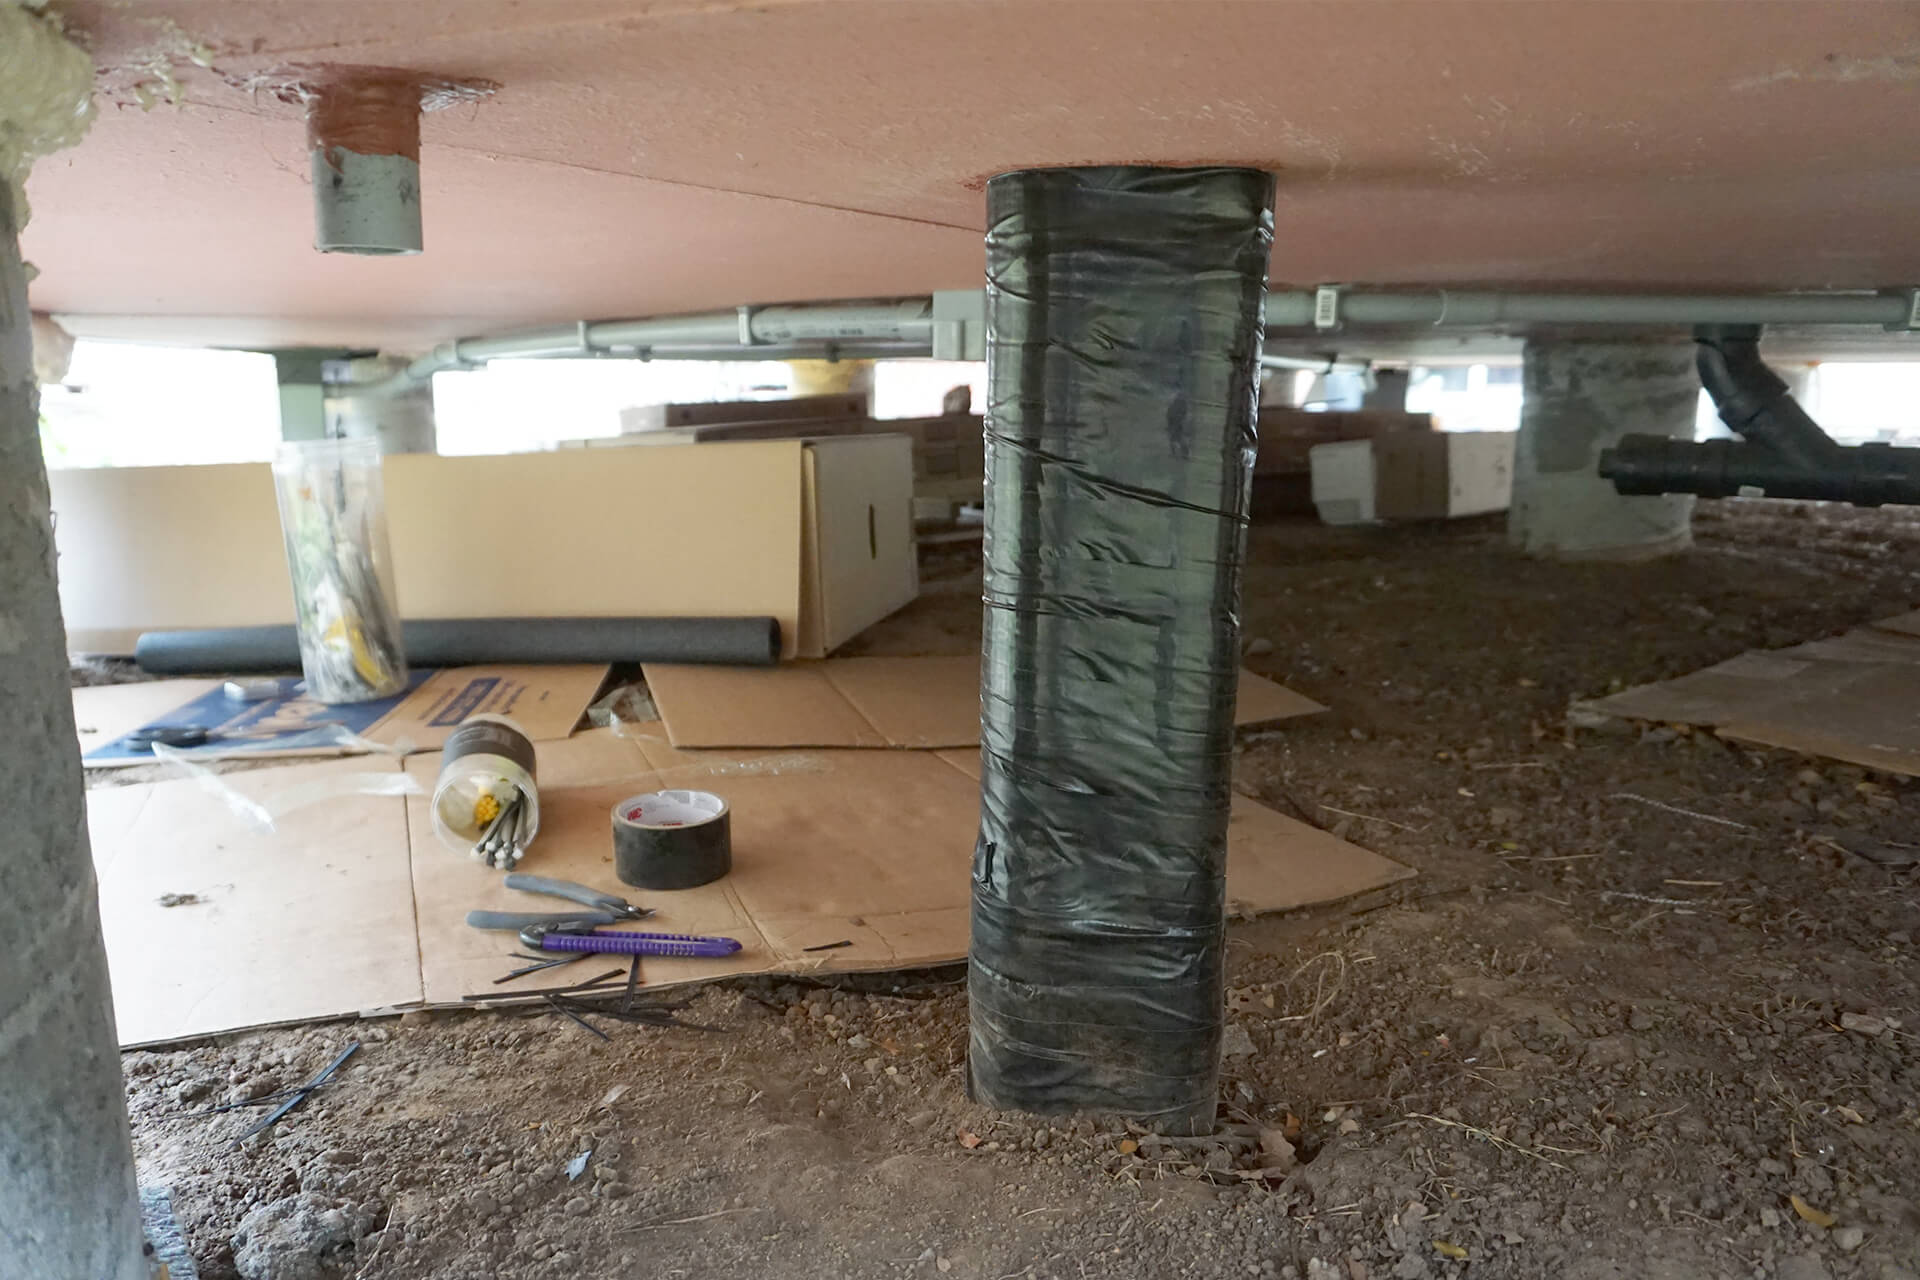
Wrap the insulation in tape to protect it from rodents and weather. Black duct tape shown here.
Congratulations on completing the underfloor systems!
Next Step