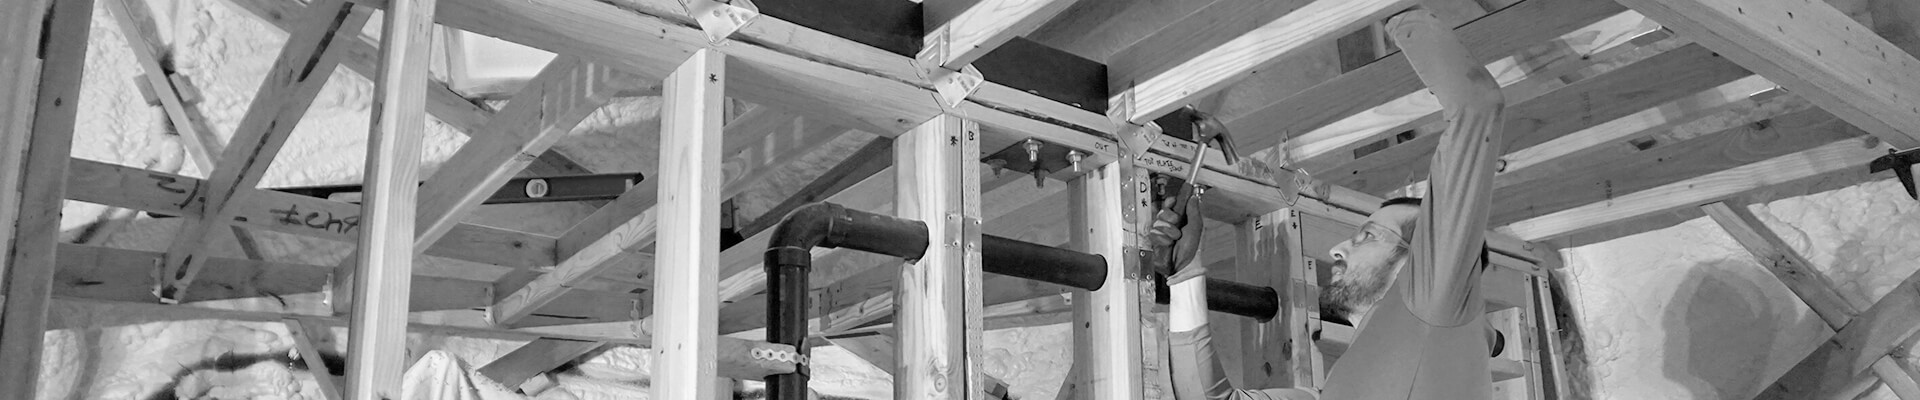
Room Framing – Walls
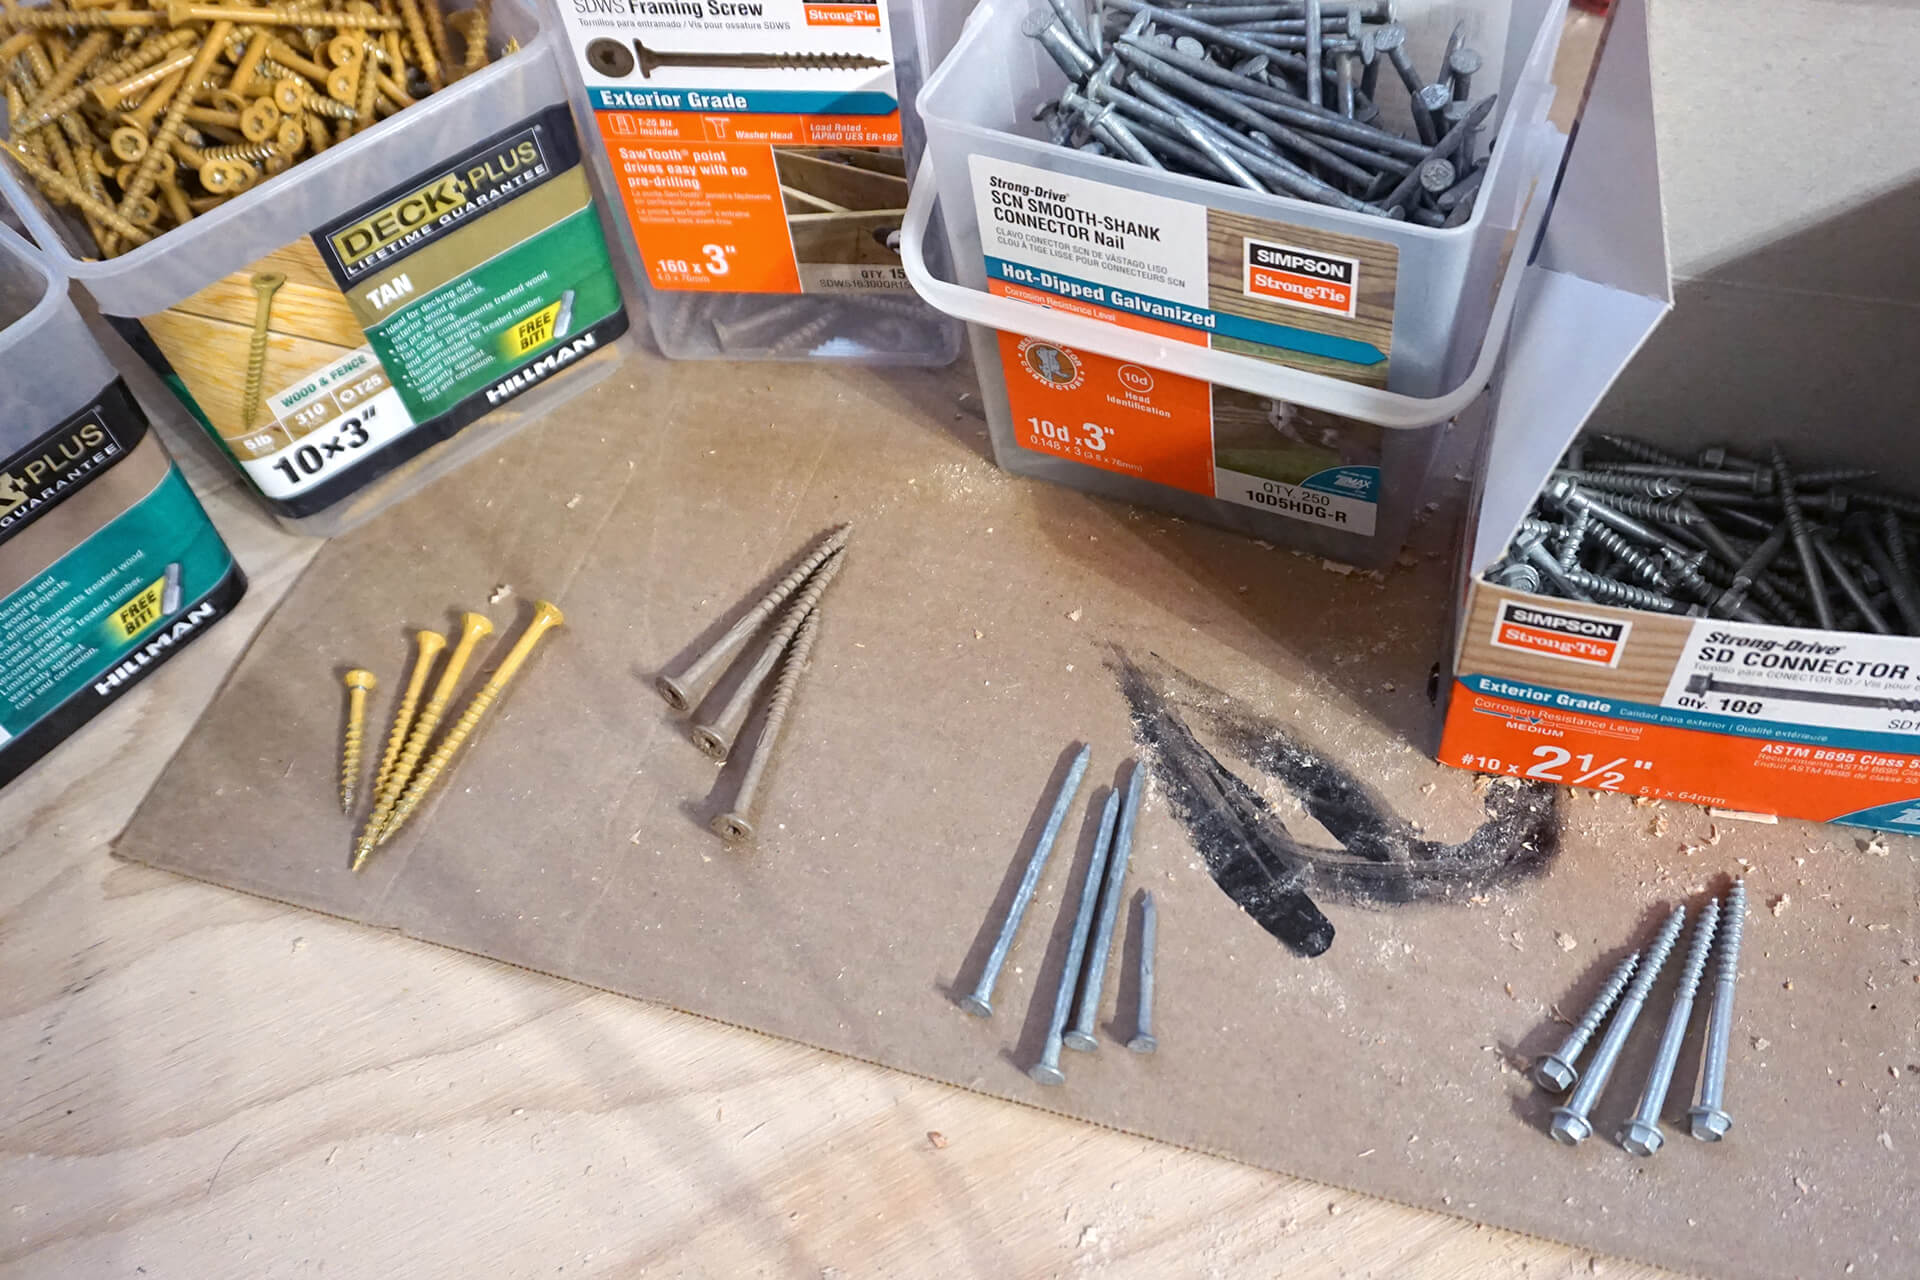
Use the appropriate fasteners, which may include those specified in the plans, by part manufacturers, or the building codes.
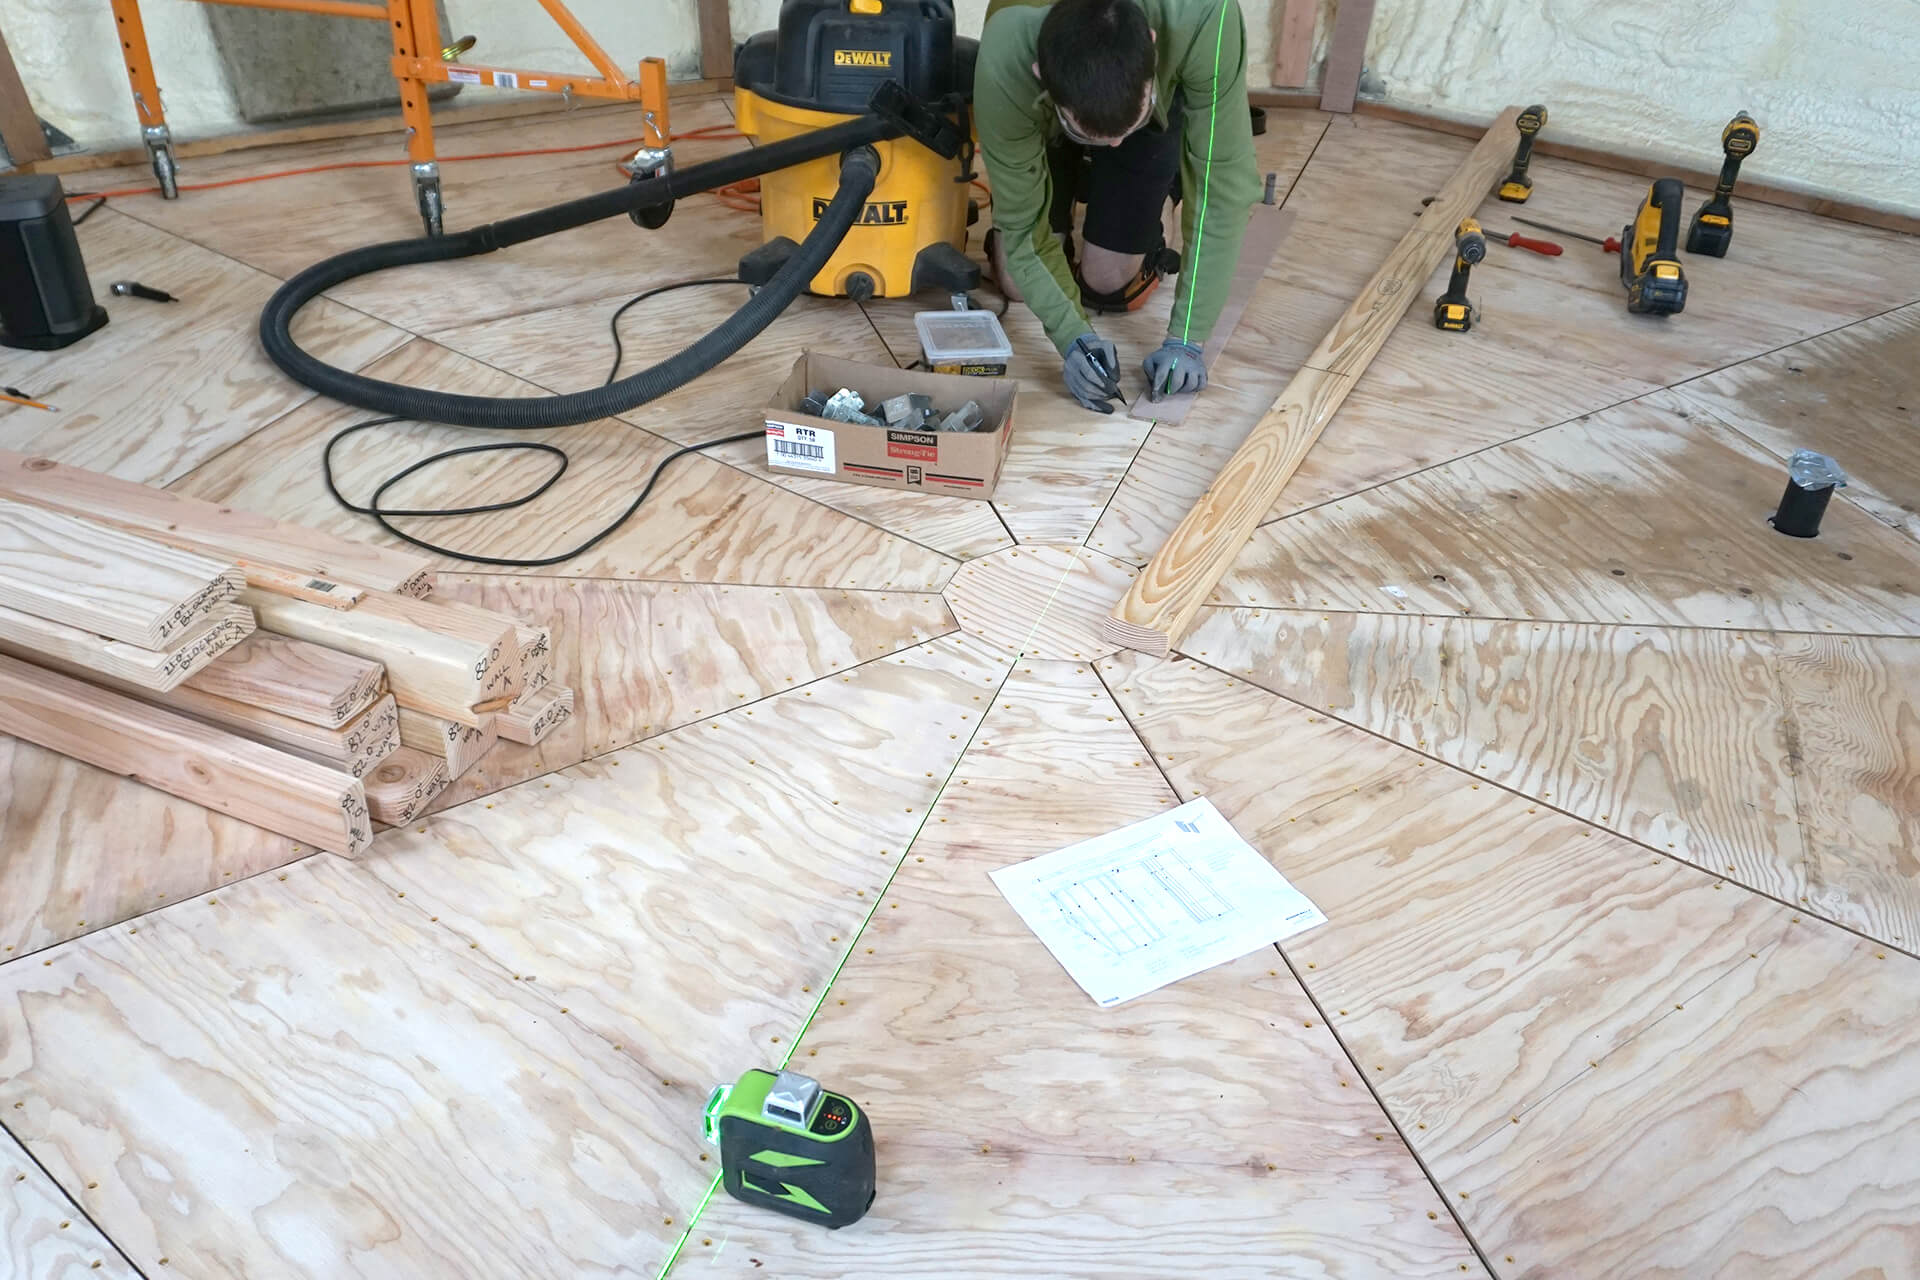
Mark the bottom plate location for Interior-Wall-A on the subfloor. Interior-Wall-A is a 2x4 wall, aligns with an existing dome Strut, and straddles a subfloor panel joint.
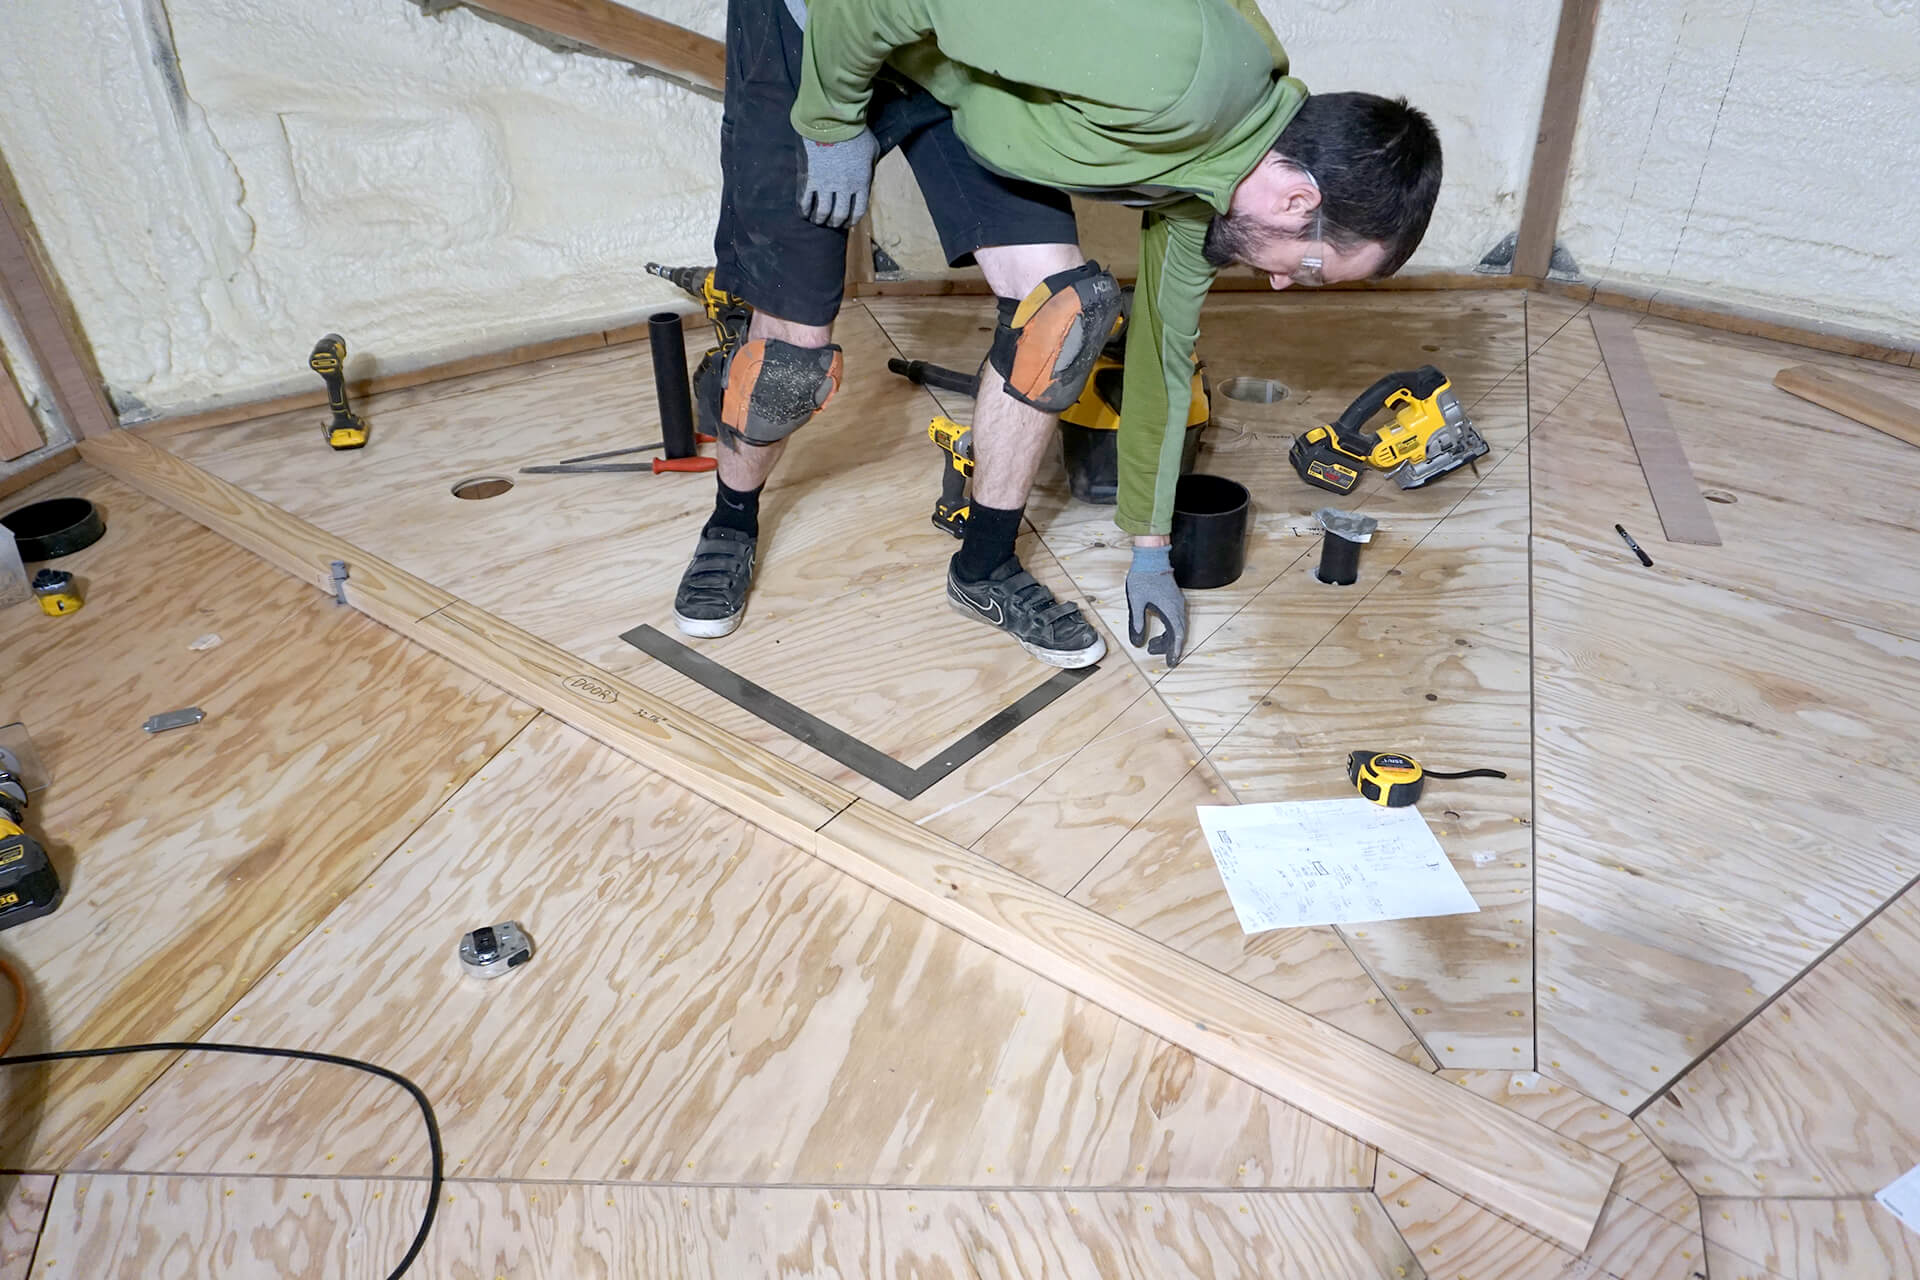
Mark the bottom plate location for Interior-Wall-B on the subfloor and up the foam. Interior-Wall-B is a 2x6 wall with no obvious alignment points.

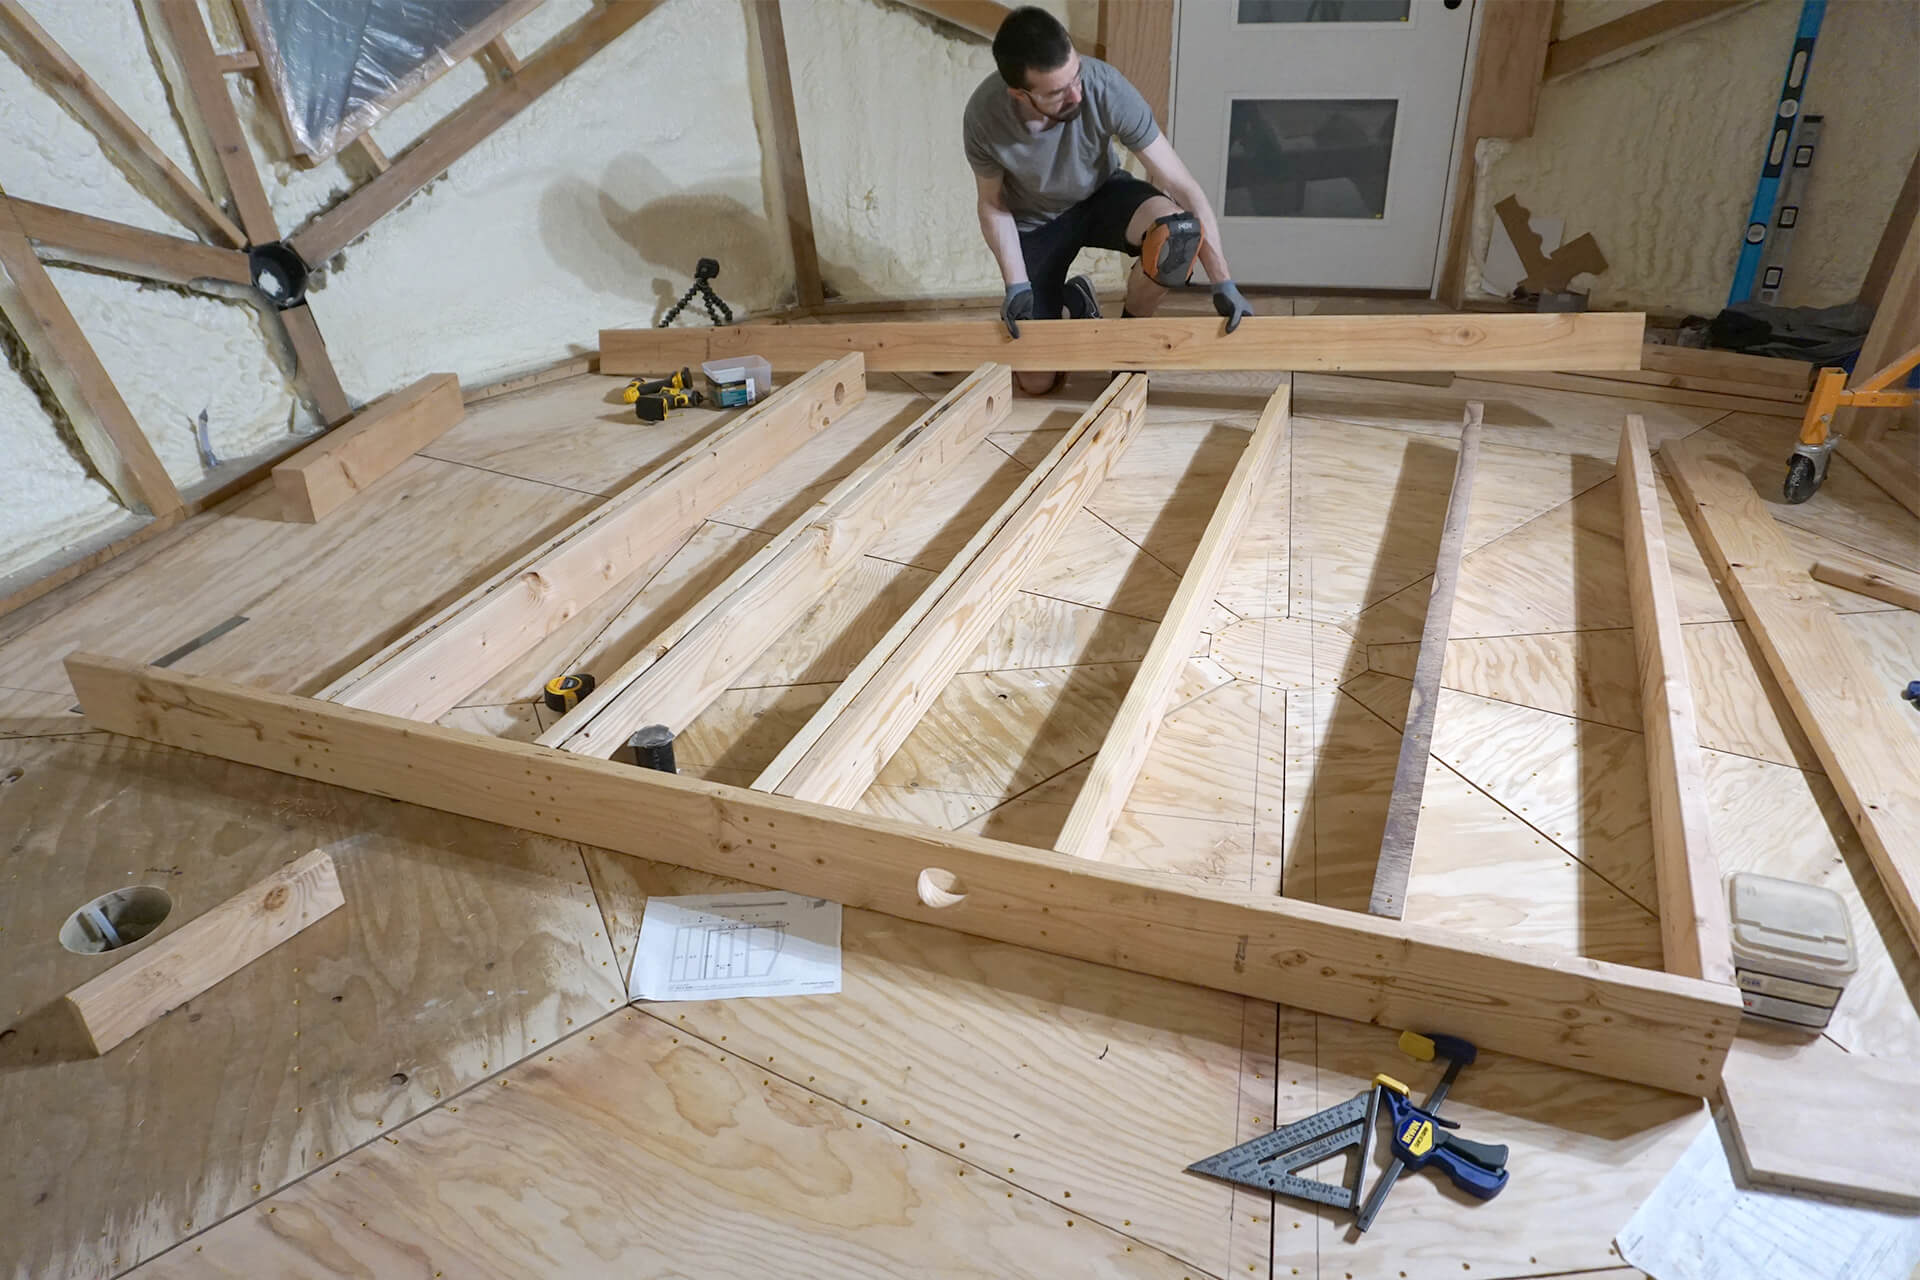
Build Interior-Wall-A on its side. The level, flat subfloor provides an ideal surface for assembling these prefabricated parts.
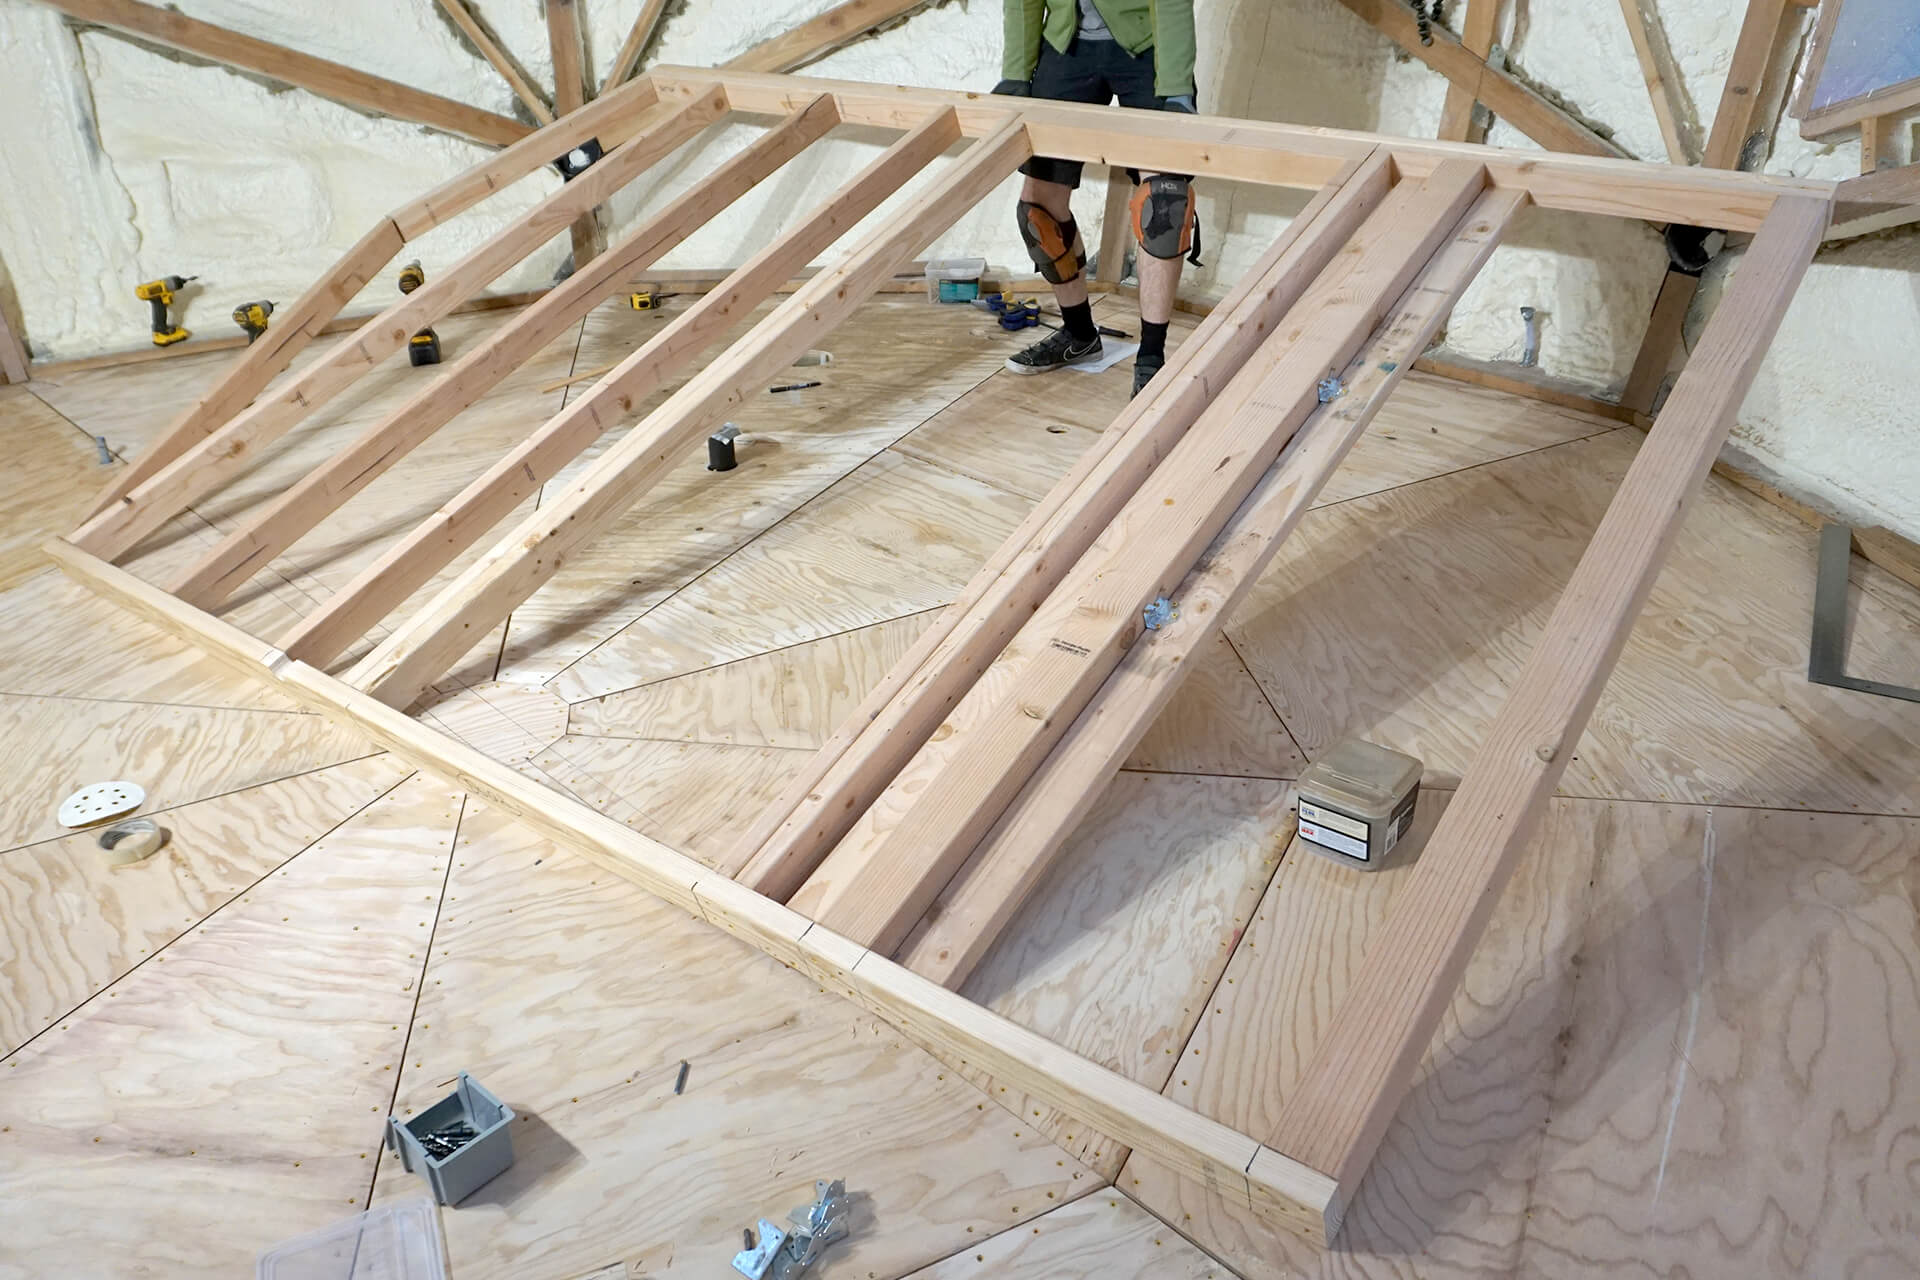
Lift the completed wall and set it aside to clear space for building the next wall.
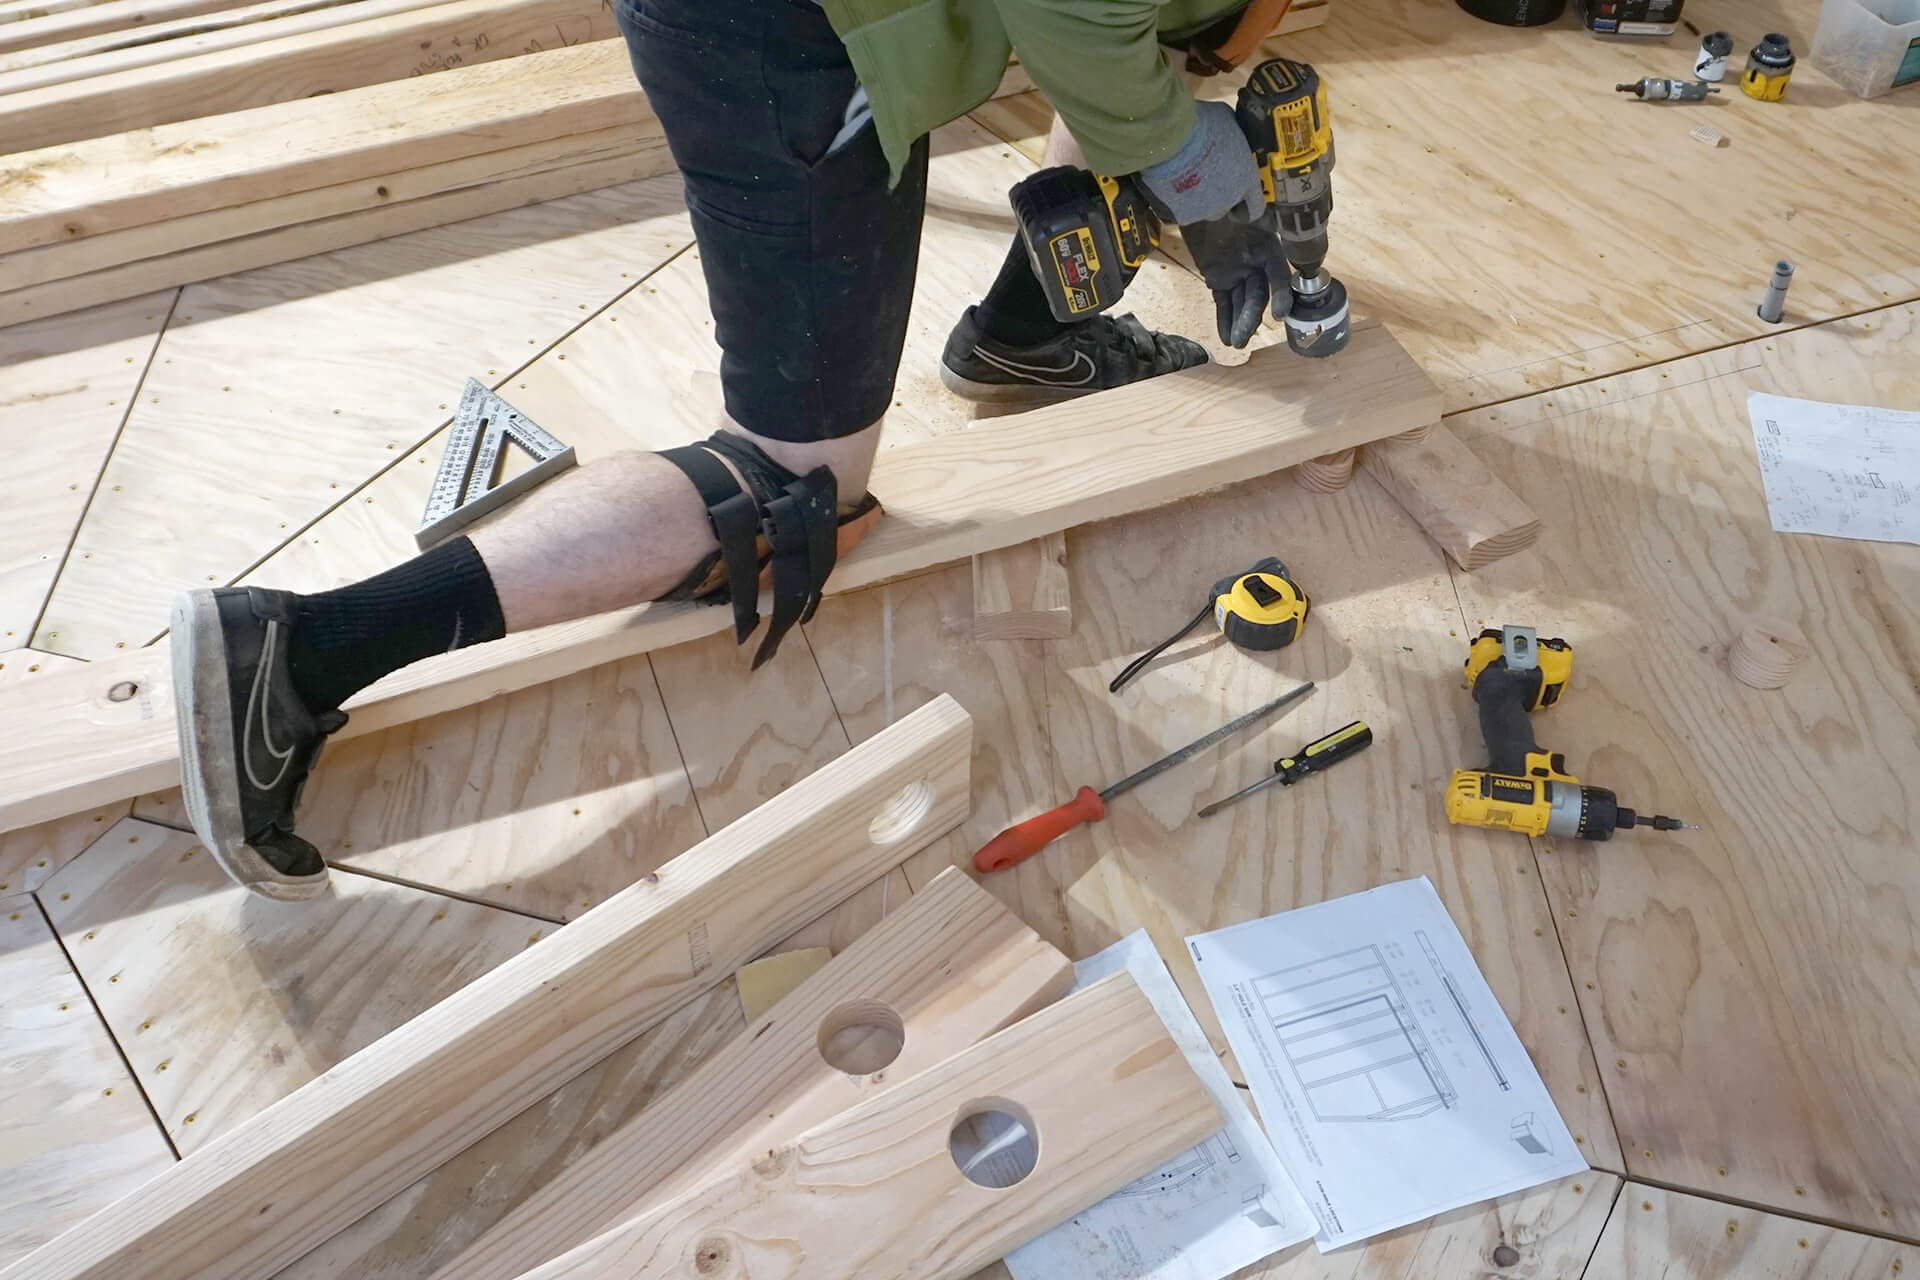
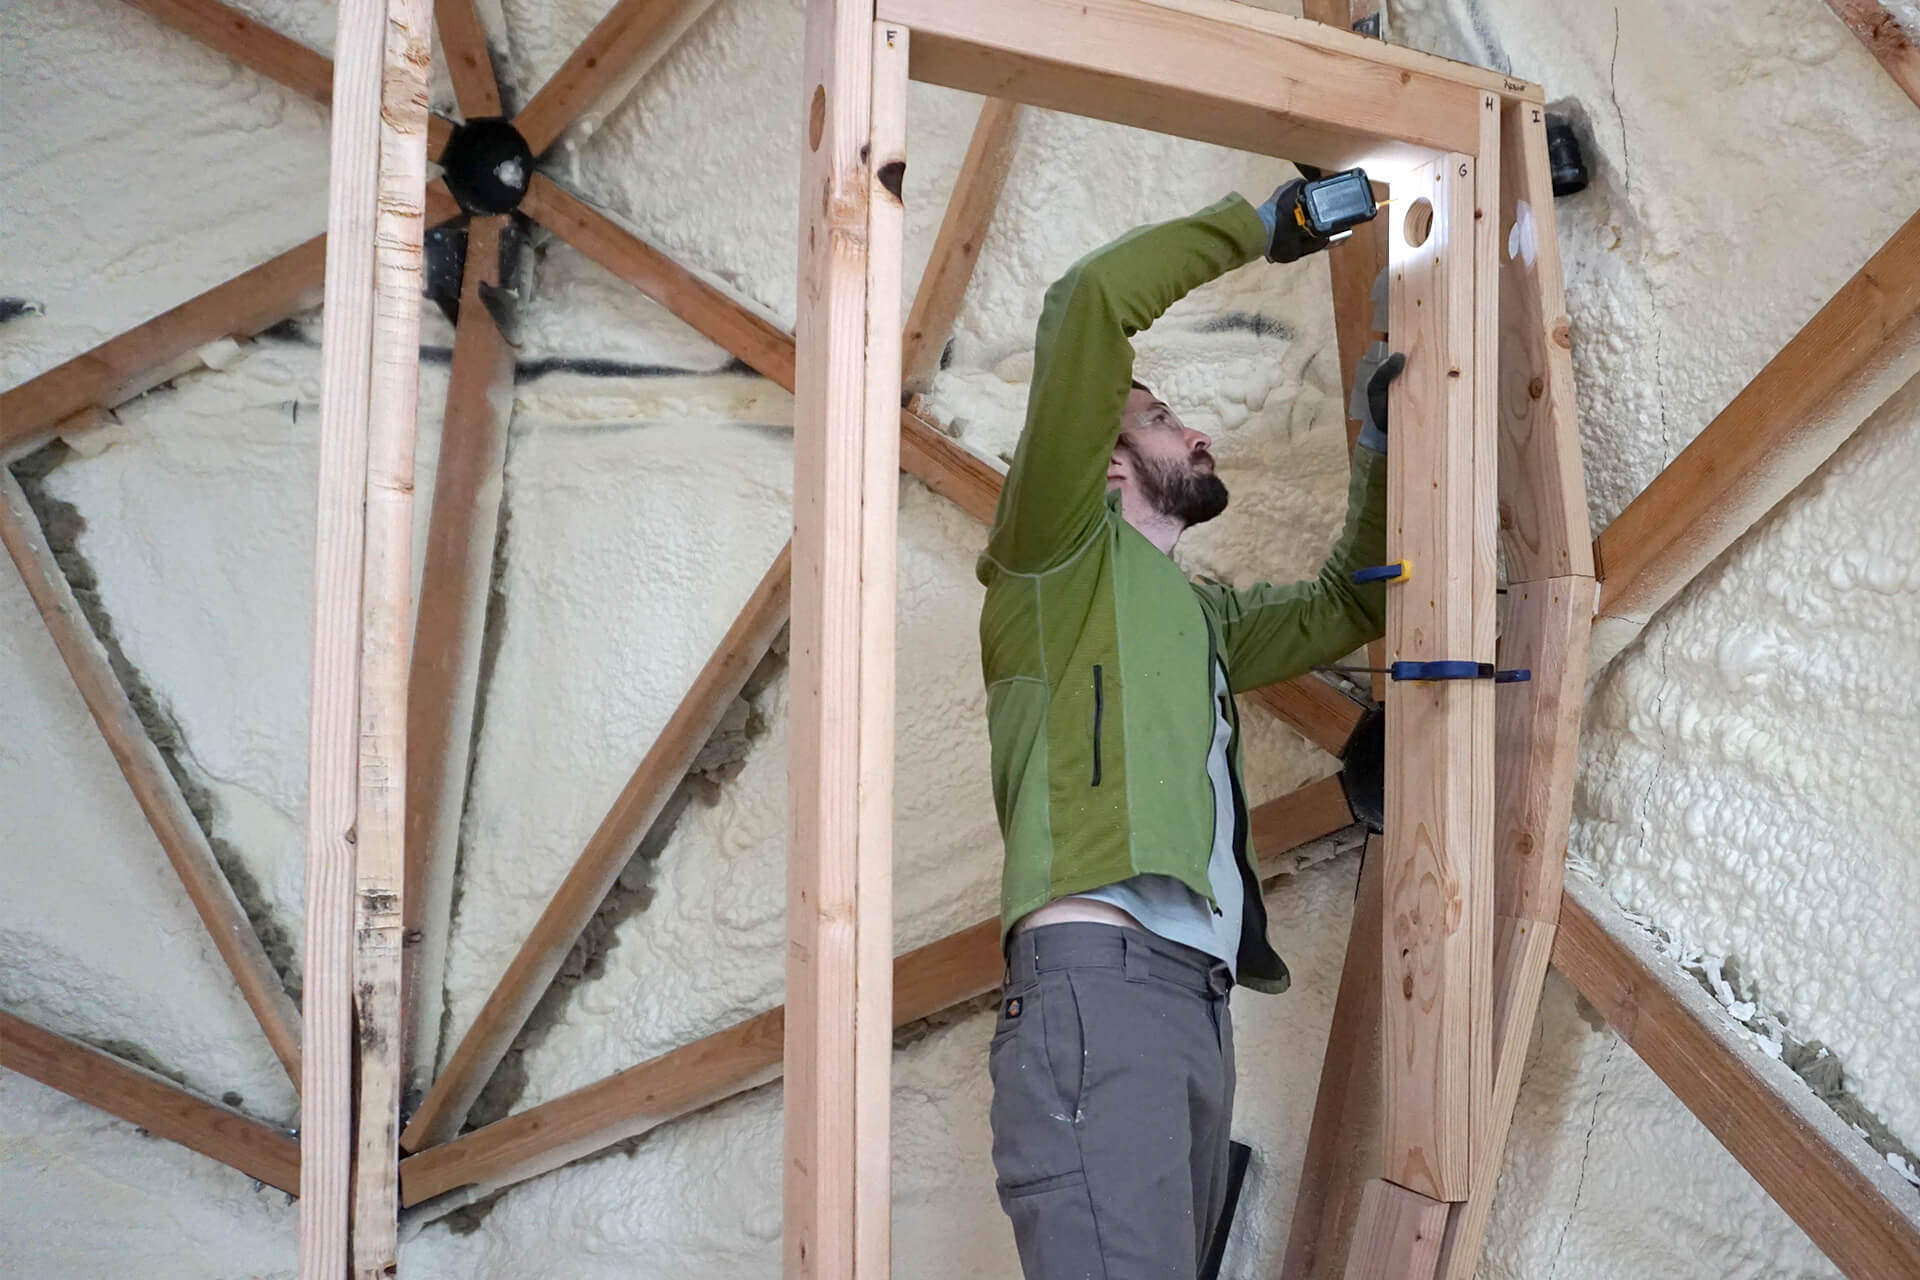
Build Interior-Wall-B. Begin by boring holes at the specified locations with a hole saw. These holes will accommodate an in-wall vent pipe.
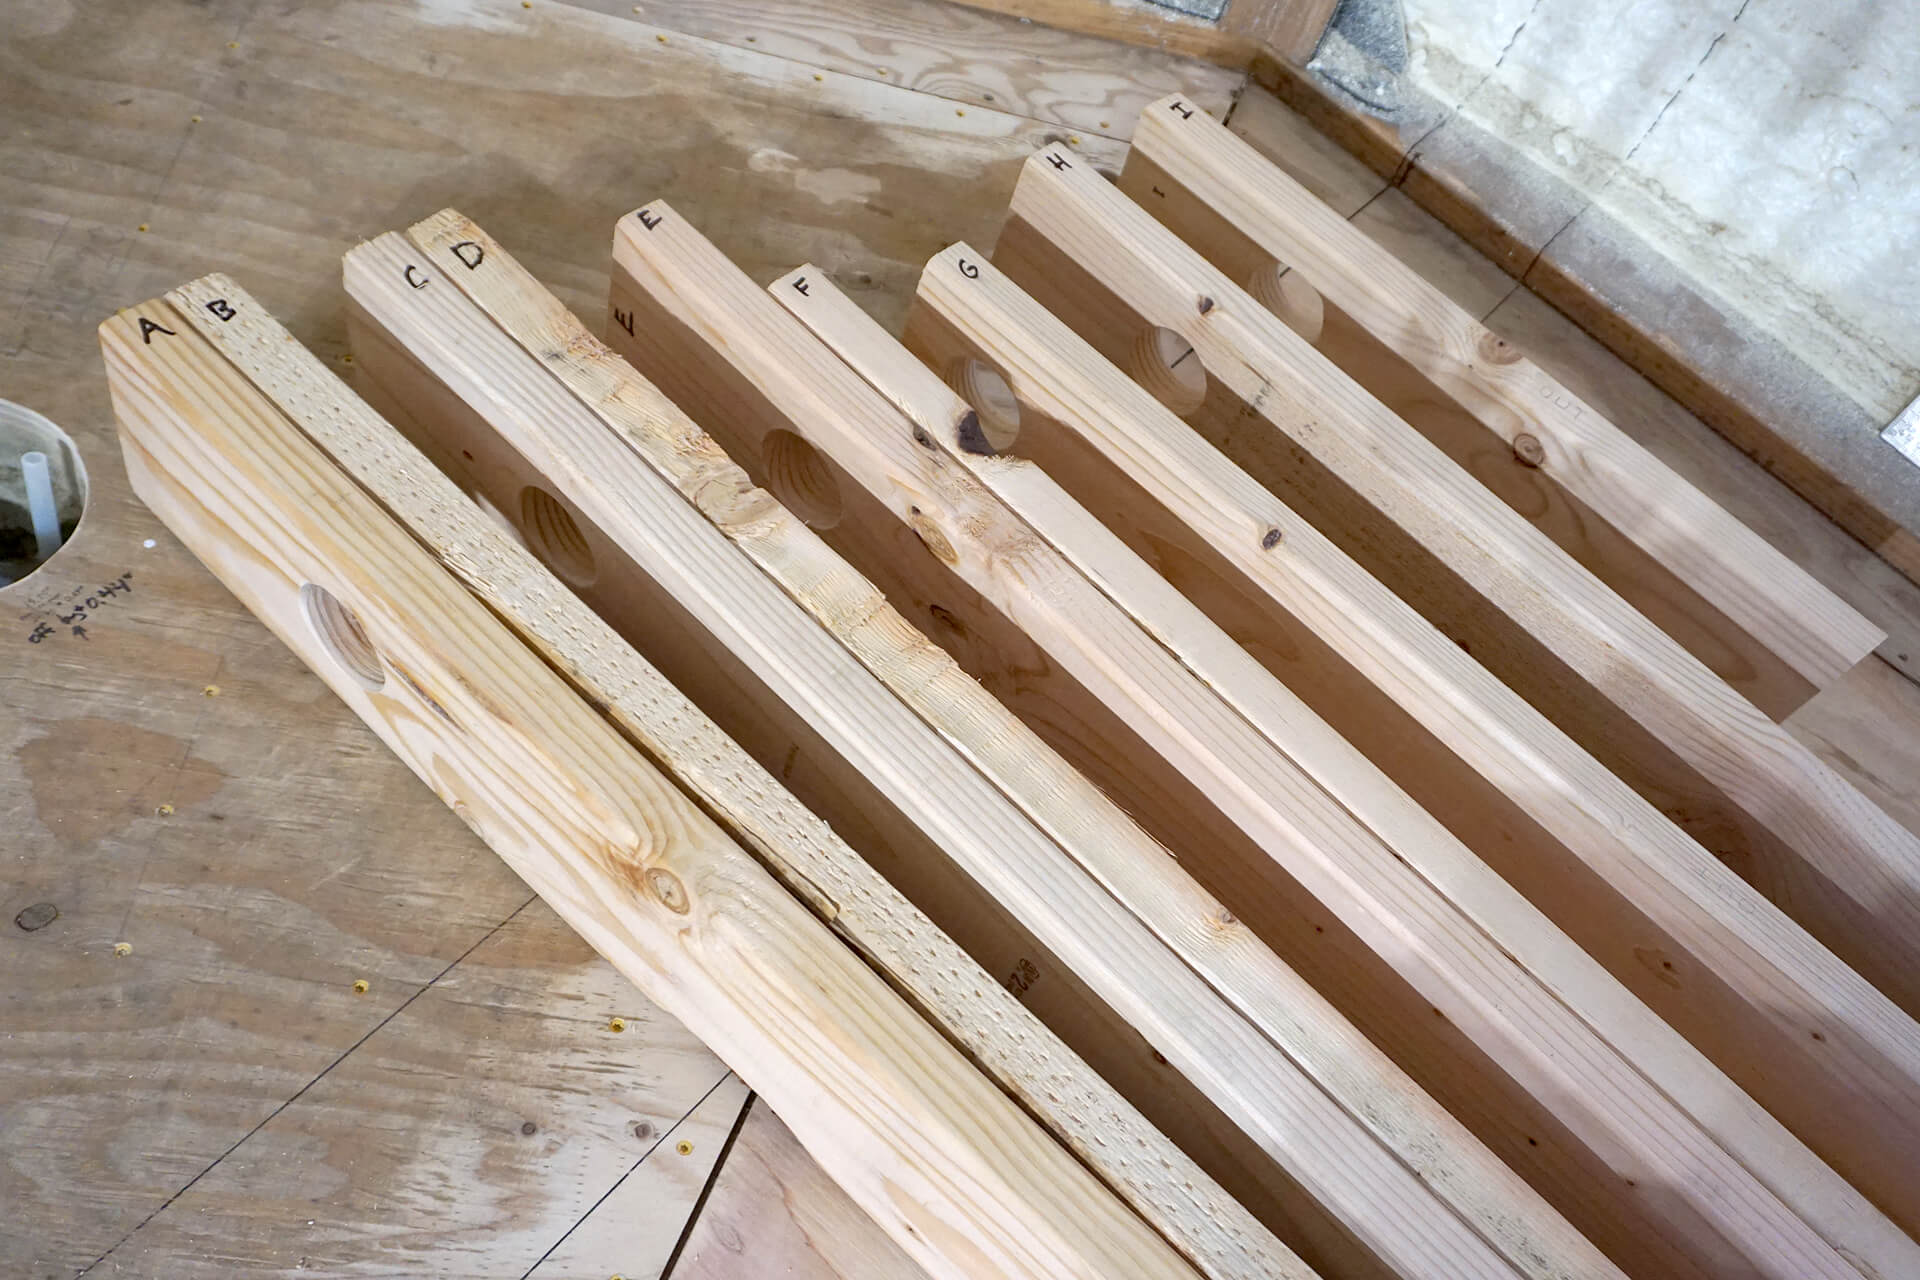
Mark the stud order. When properly assembled, the different height holes will ensure the vent pipe slopes correctly.
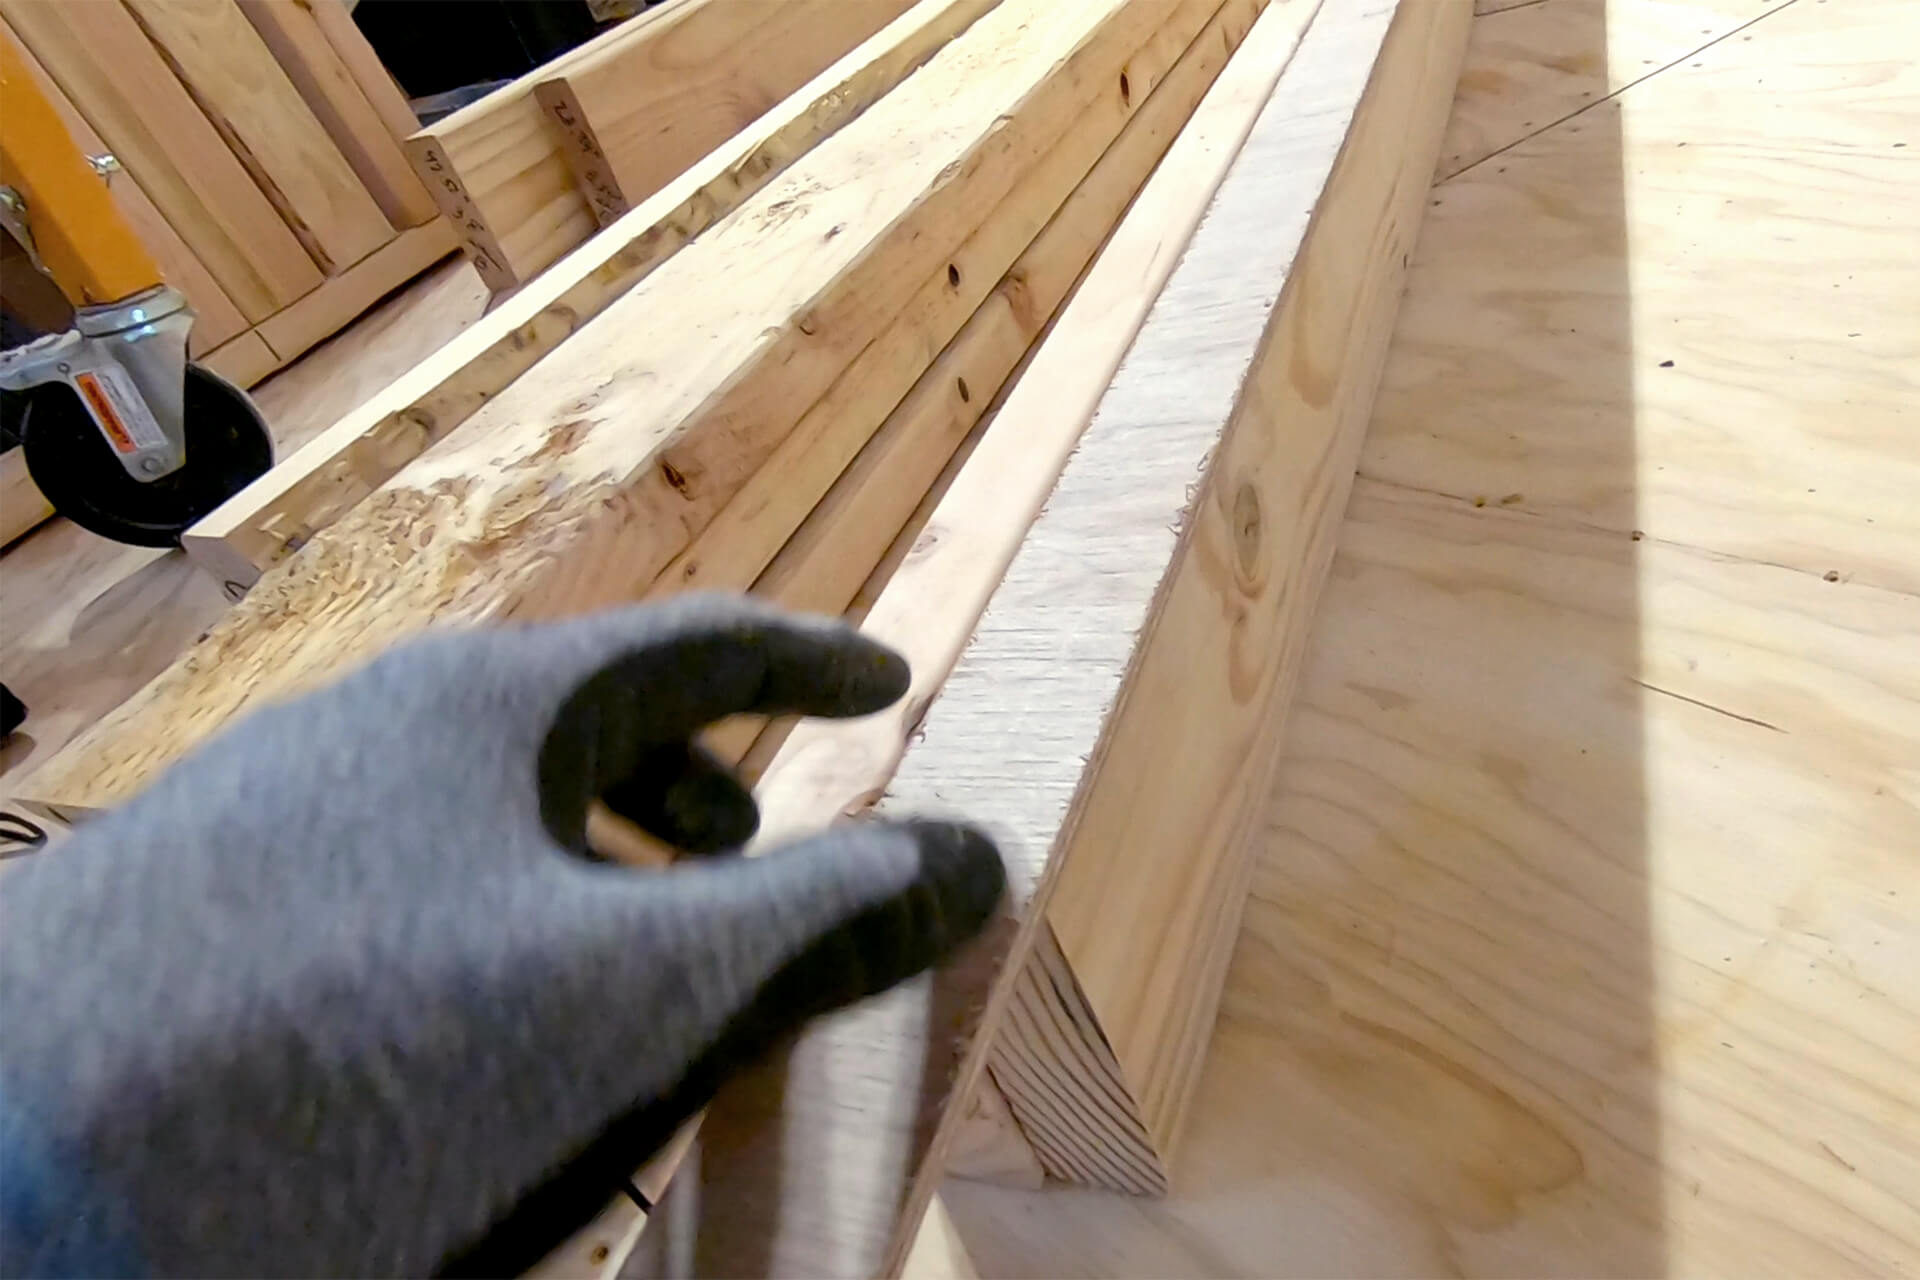
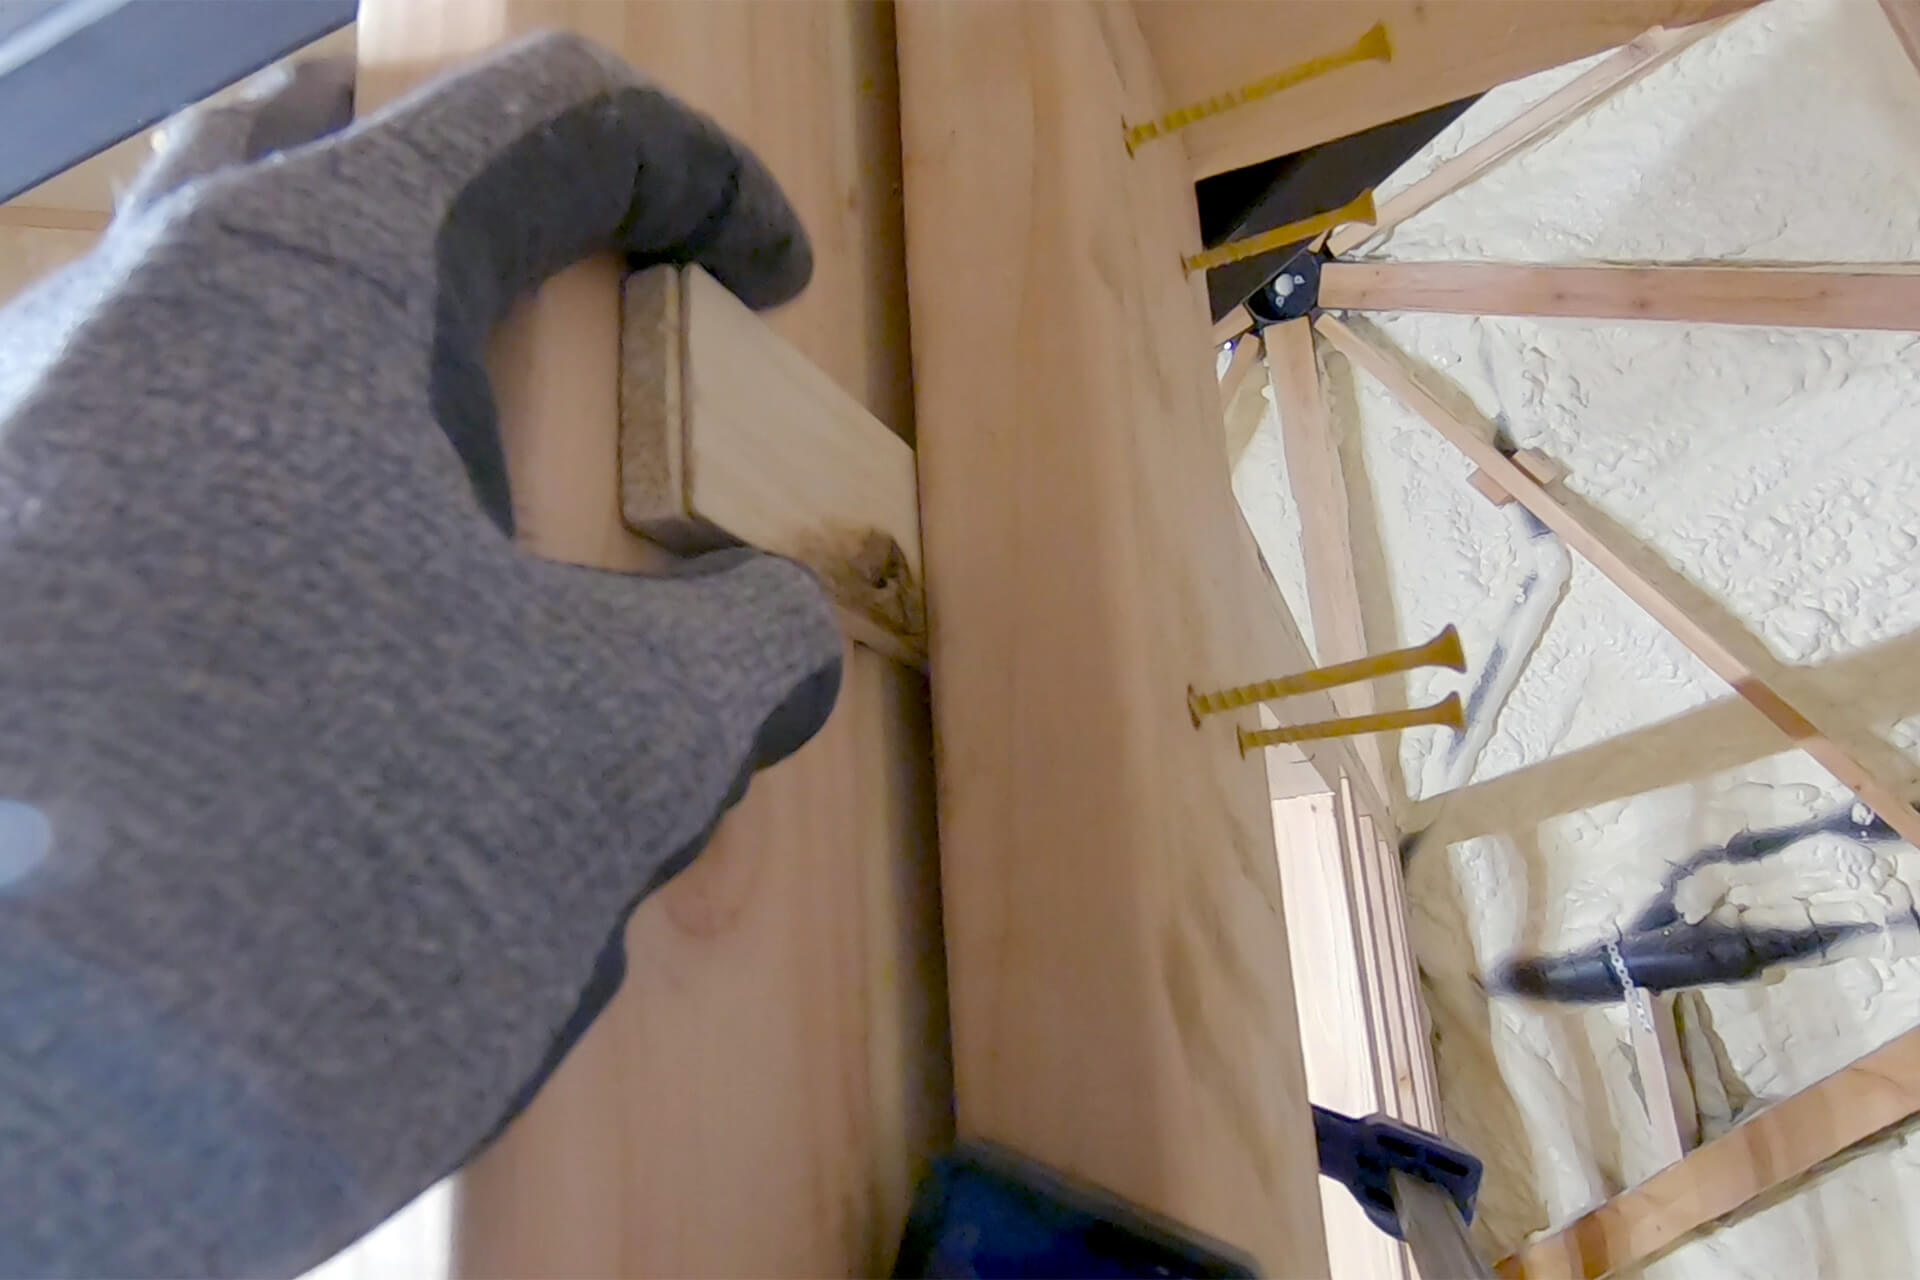
Shim any studs as needed to ensure they are all the same size. A 1/4" plywood strip is shown here, to be glued, screwed, and planed to the desired thickness.
Build most of Interior-Wall-B on its side. The hole in the bottom plate will straddle the waste pipe protruding from the subfloor.

Position the wall in its proper location, using the lines previously marked on the subfloor and foam as reference.
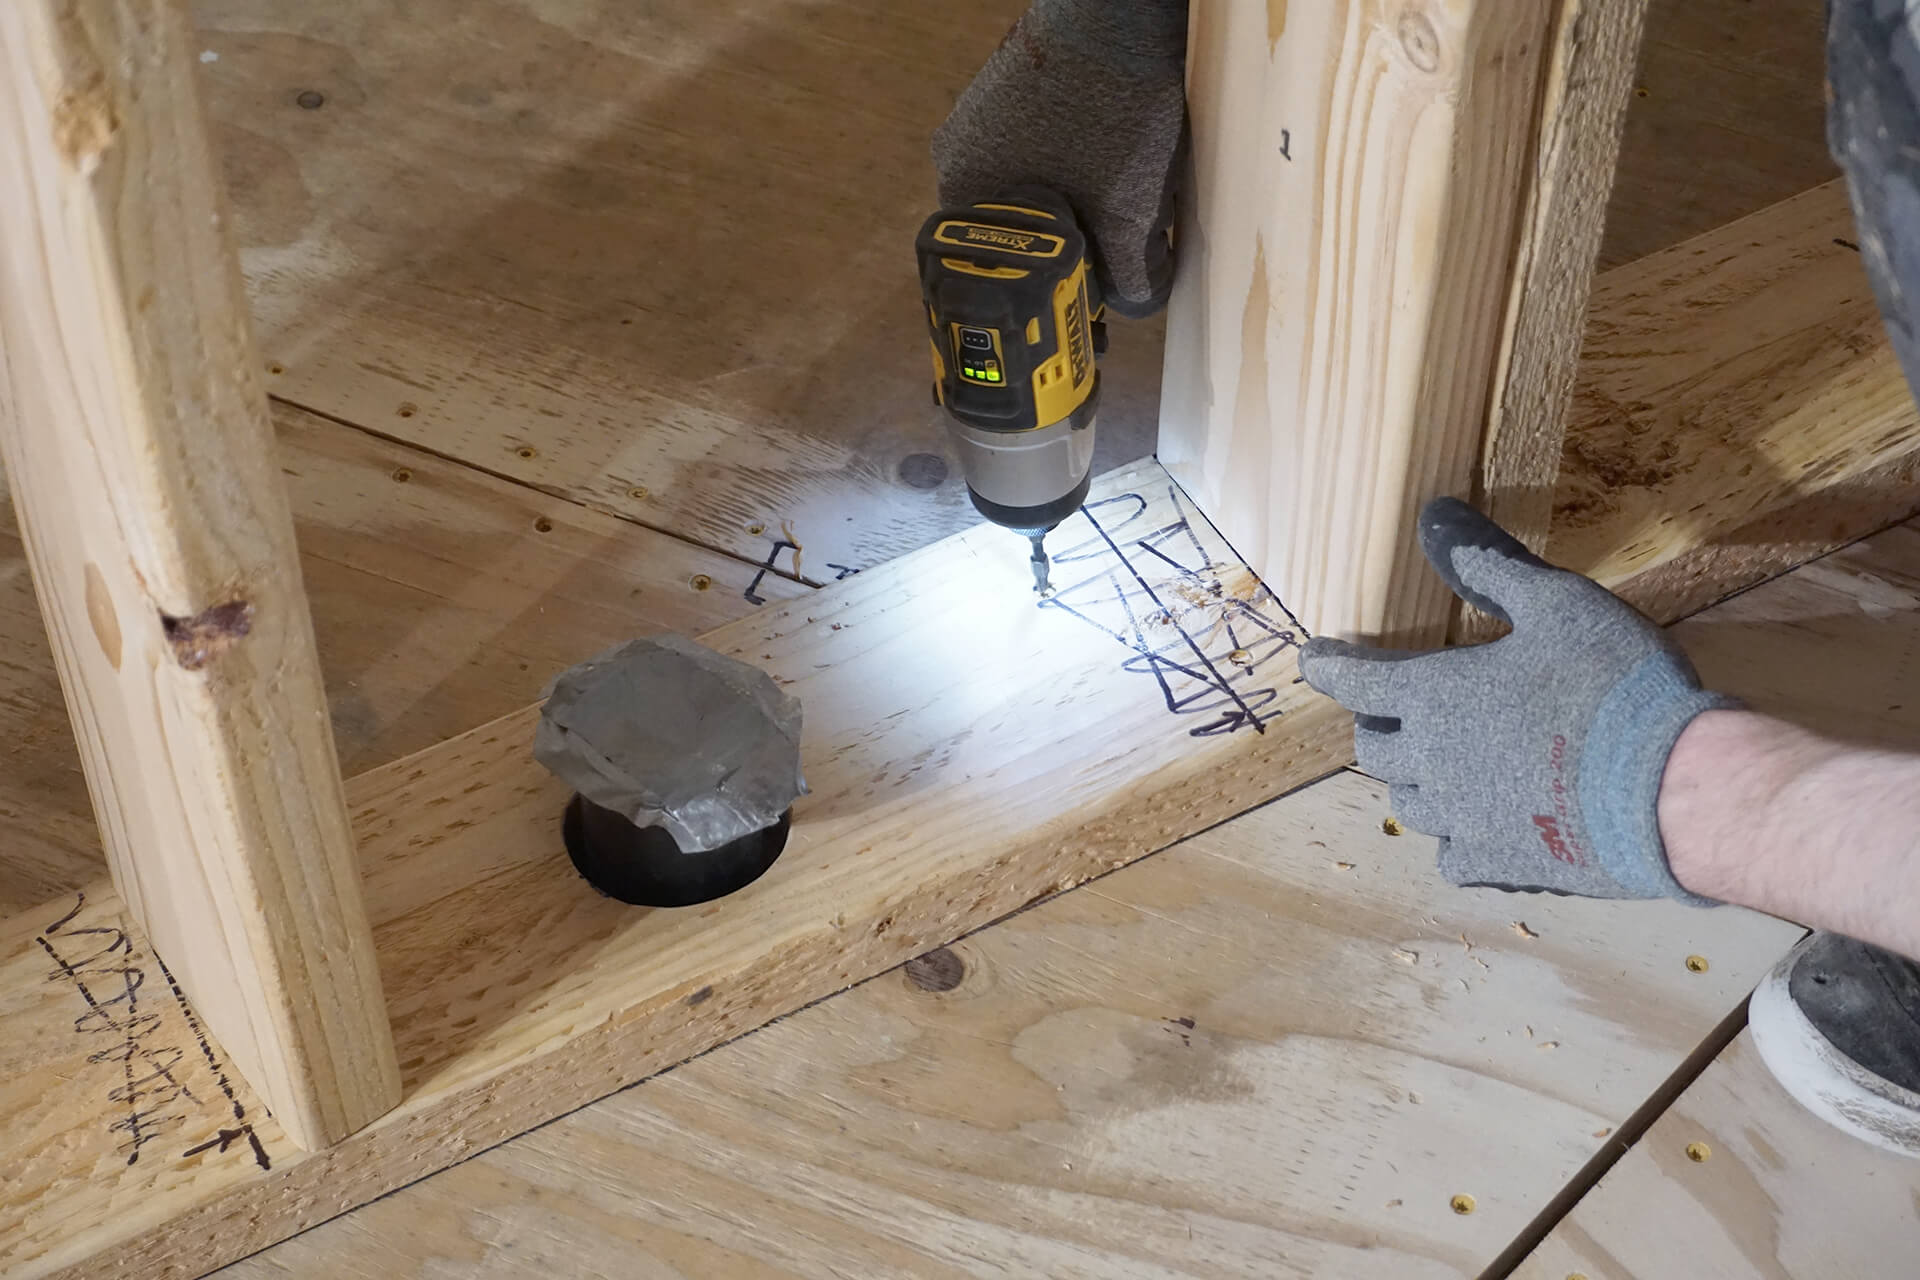
Secure the wall in place by screwing through the base plate, subfloor, and into the floor beams and joists beneath.

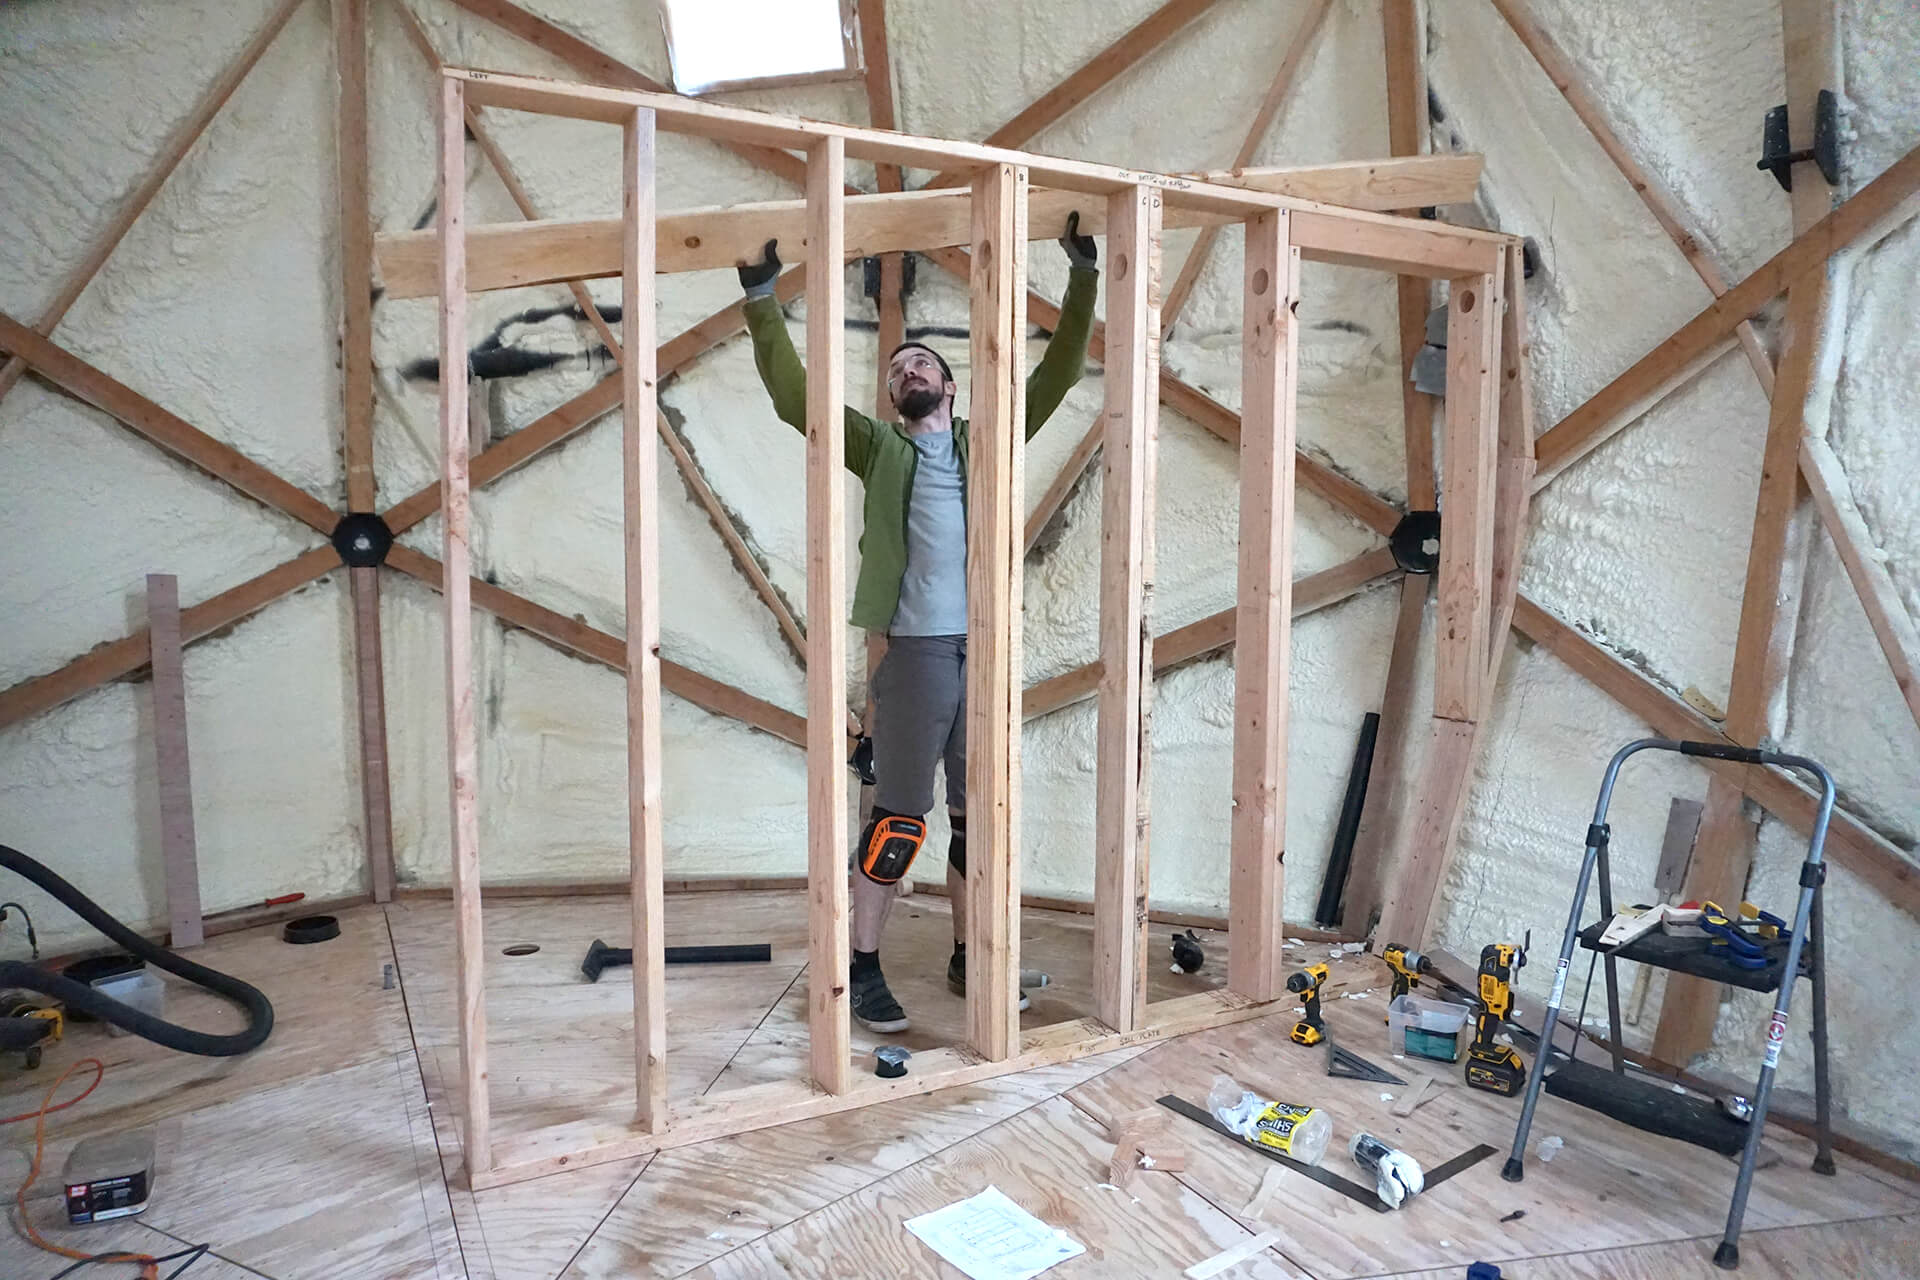
Continue building the rest of Interior-Wall-B. Use clamps and the dome struts to position the remaining studs and ensure the wall is plumb. Shim as needed for a secure fit.
Attach the final studs.
Attach the second top plate to finish off the framing of Interior-Wall-B.
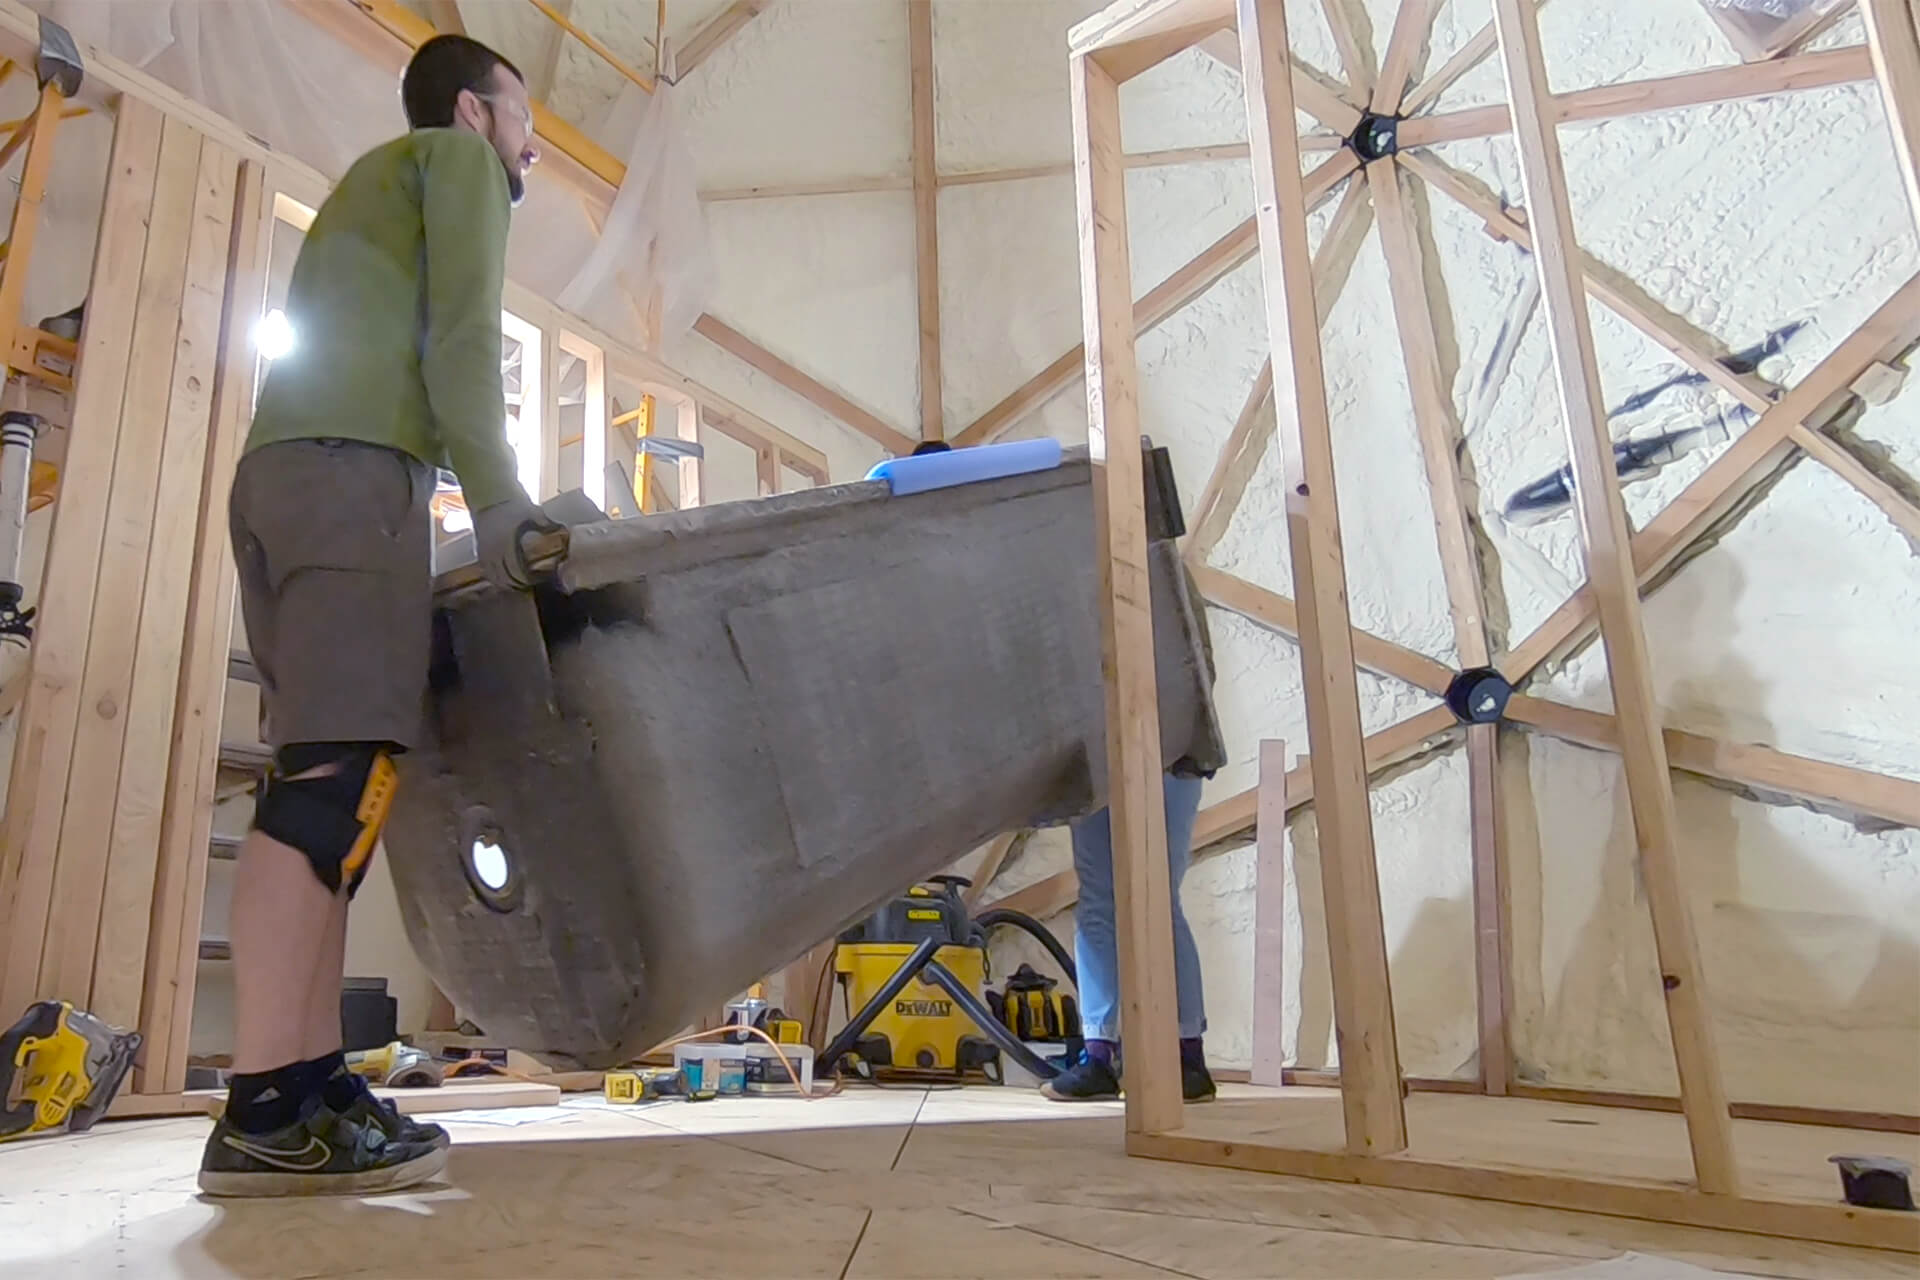
Move the shower into the bathroom space now, as it will not fit through the doorway framing later.
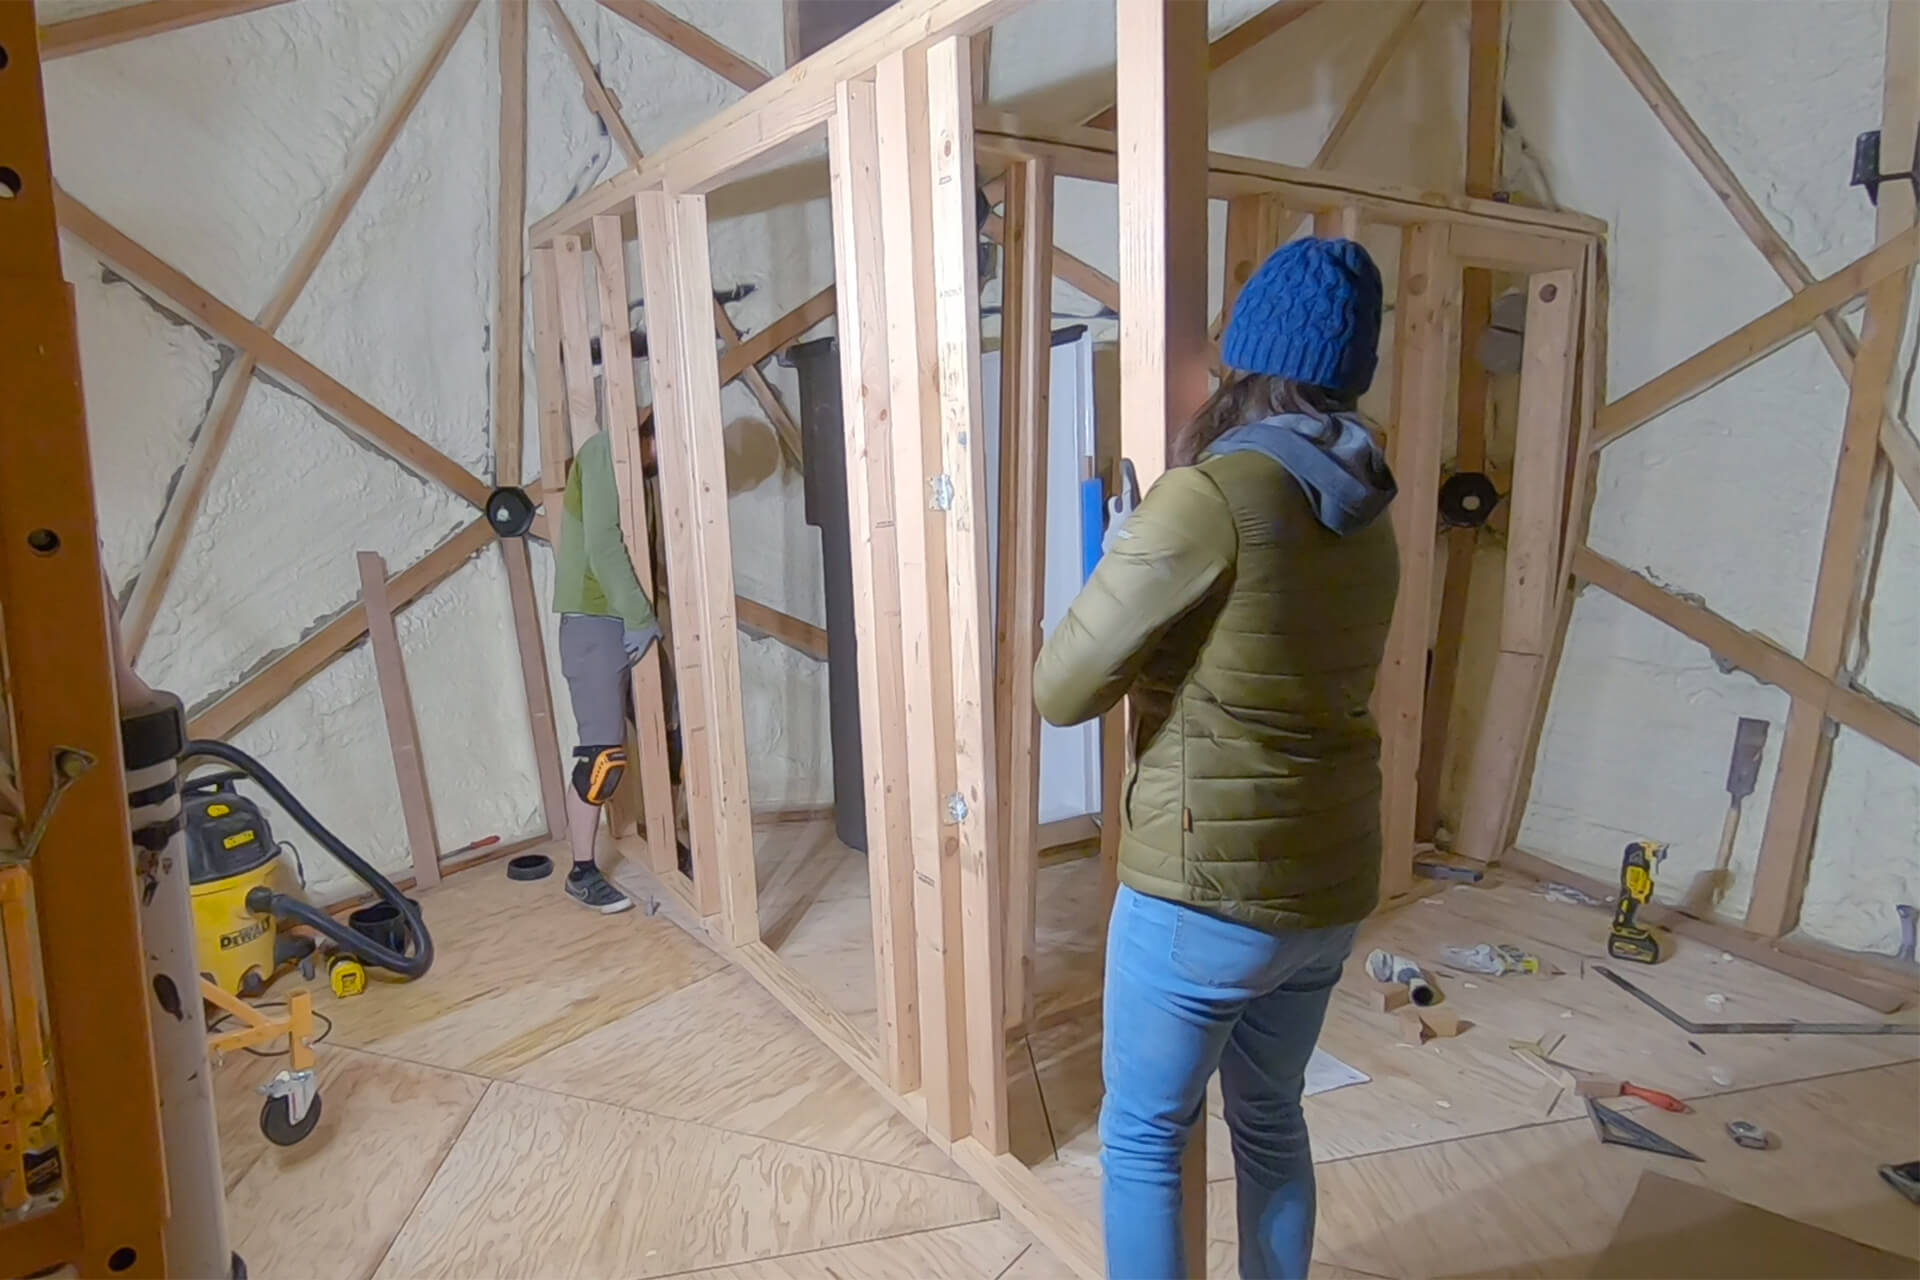
Position the Interior-Wall-A in its proper location, using the dome struts and lines previously marked on the subfloor as reference.
Shim between the walls as needed to ensure they are plumb.
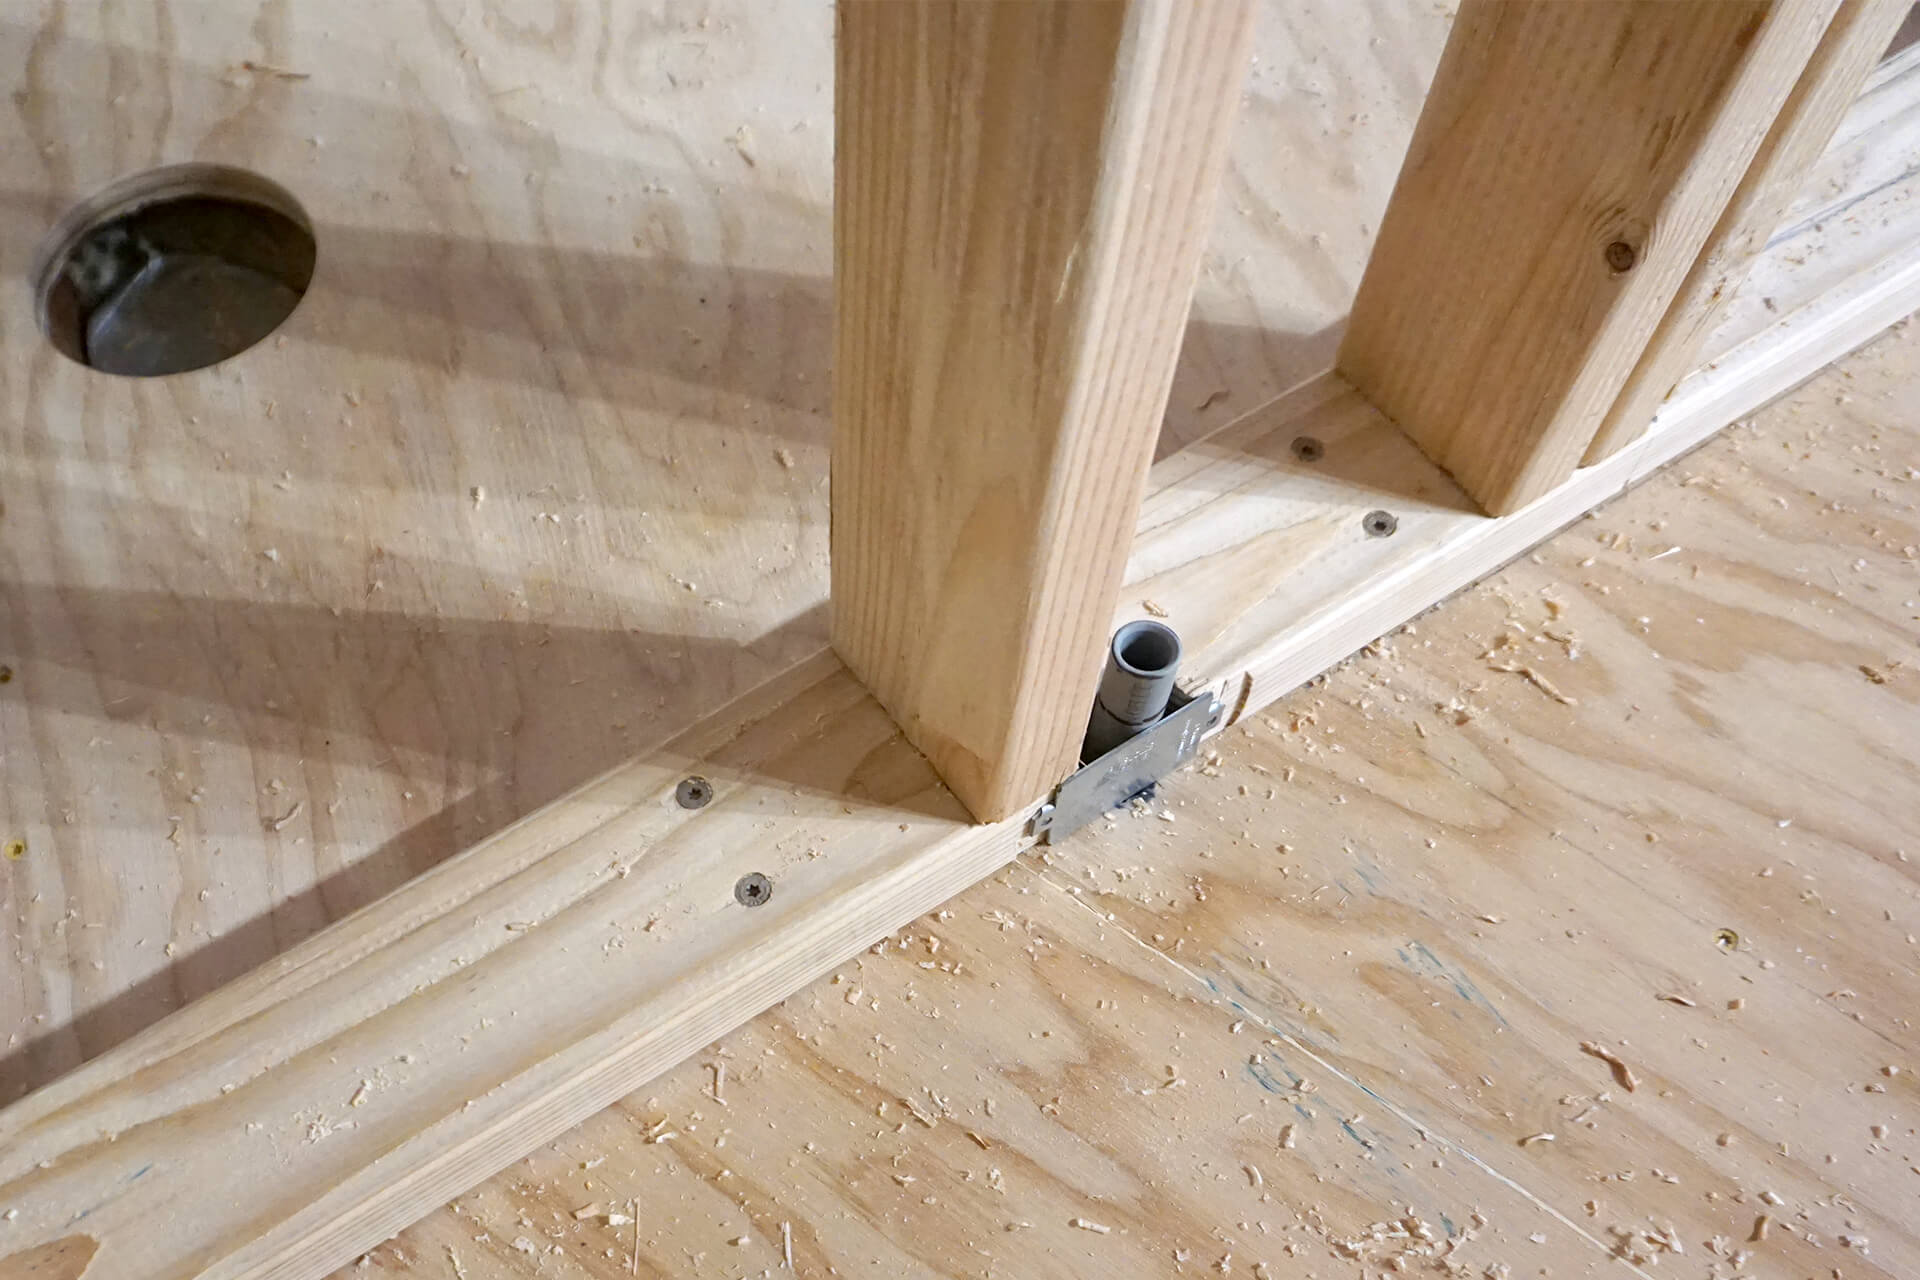
Secure the wall in place by screwing through the base plate, subfloor, and into the floor beams beneath. Protect the thermostat wire conduit with a nail plate. Do not screw the door opening.
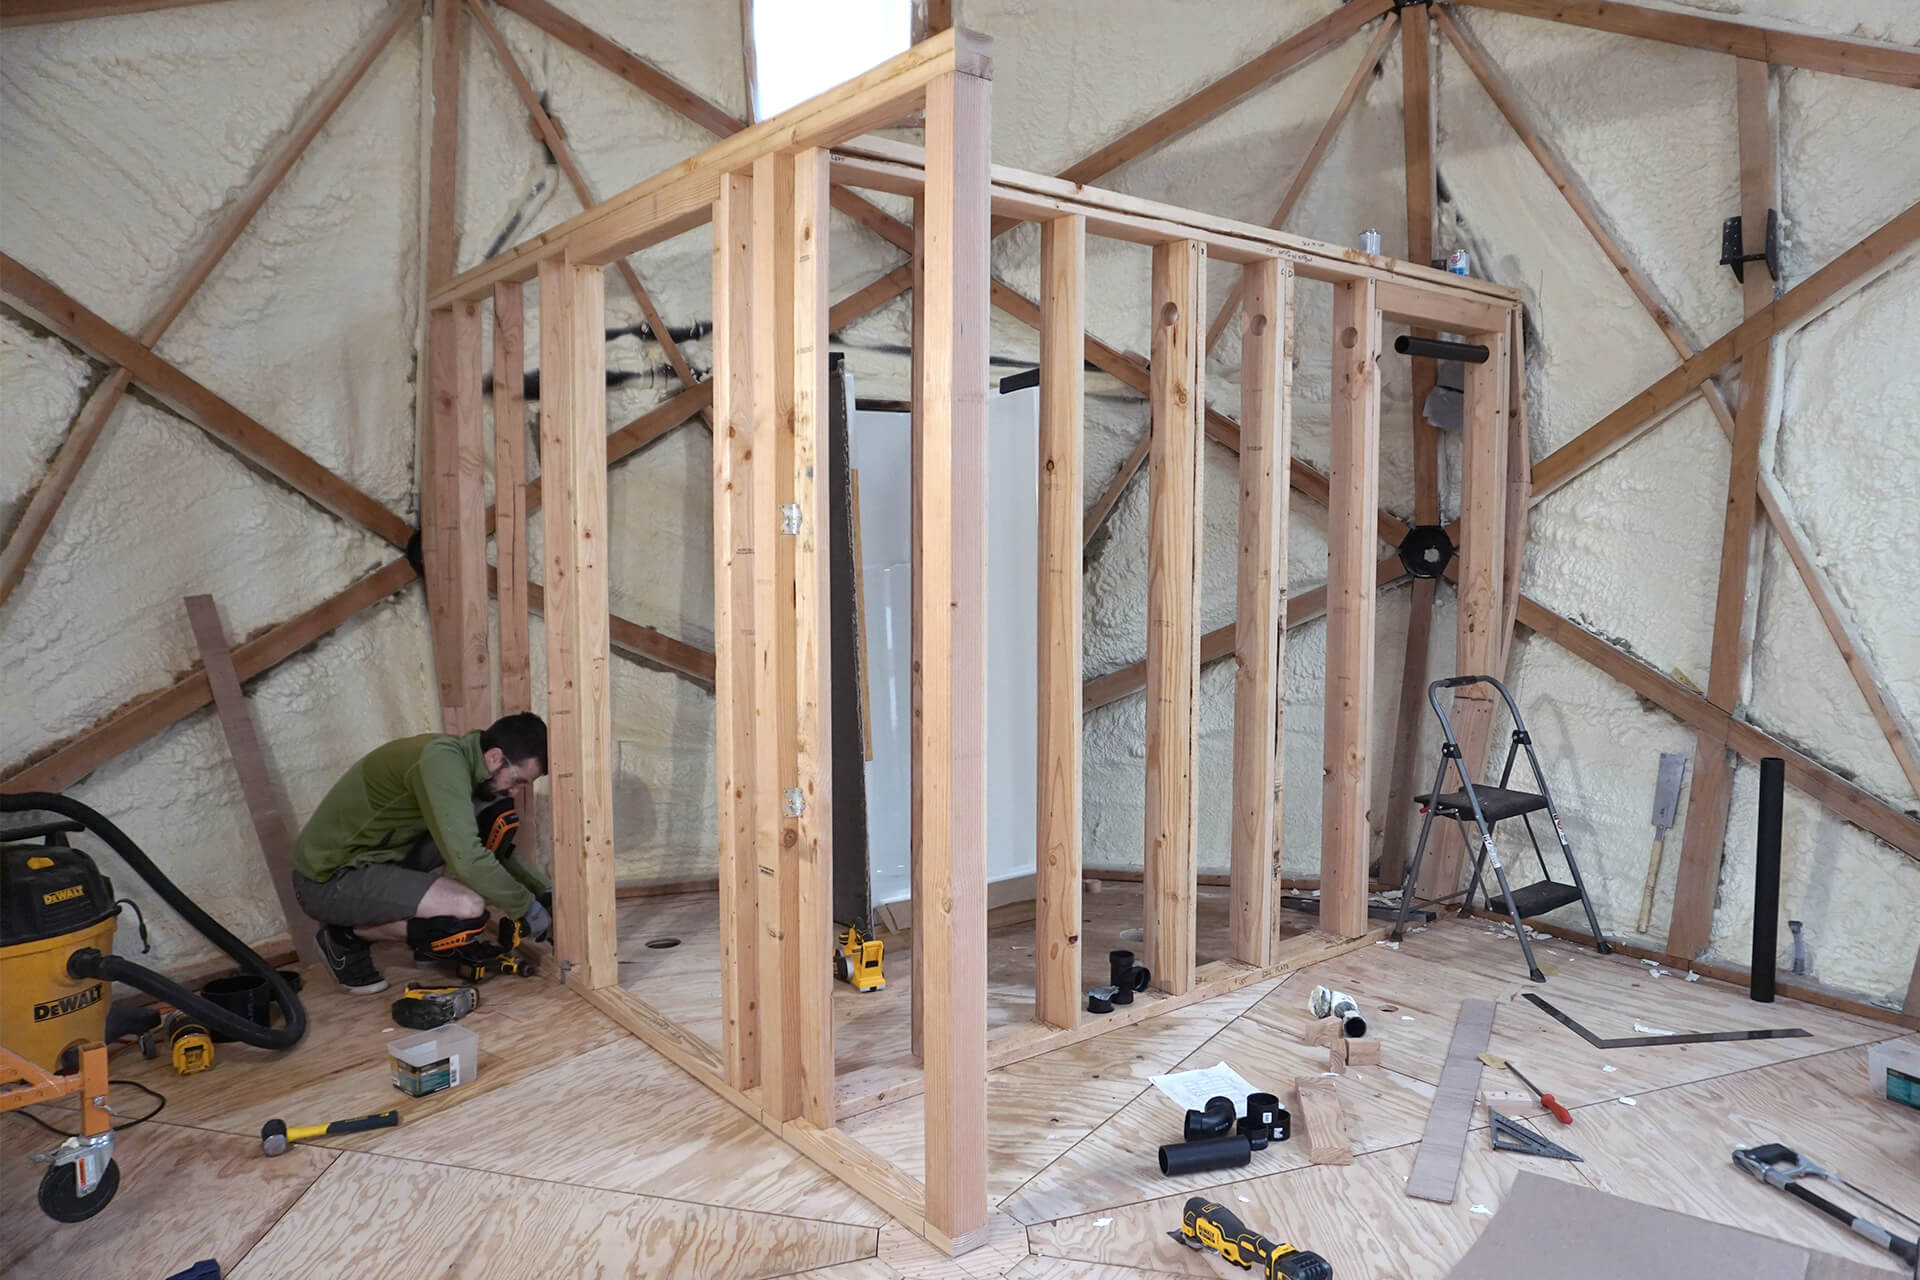
Congratulations on completing the framing of the interior walls!
Next Step