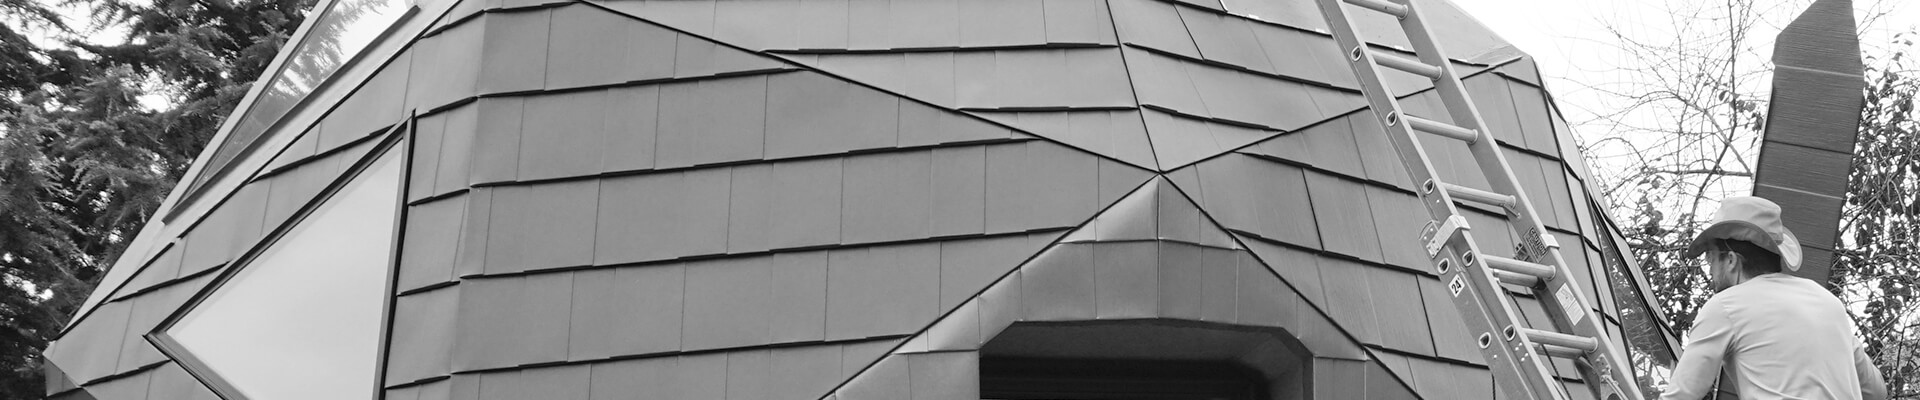
Roofing – Windows
Coat the top of each completed panel with an STPE-type material or equivalent. Prosoco R-Guard Fast Flash is shown here. Then, attach the Siding Starter Strips.
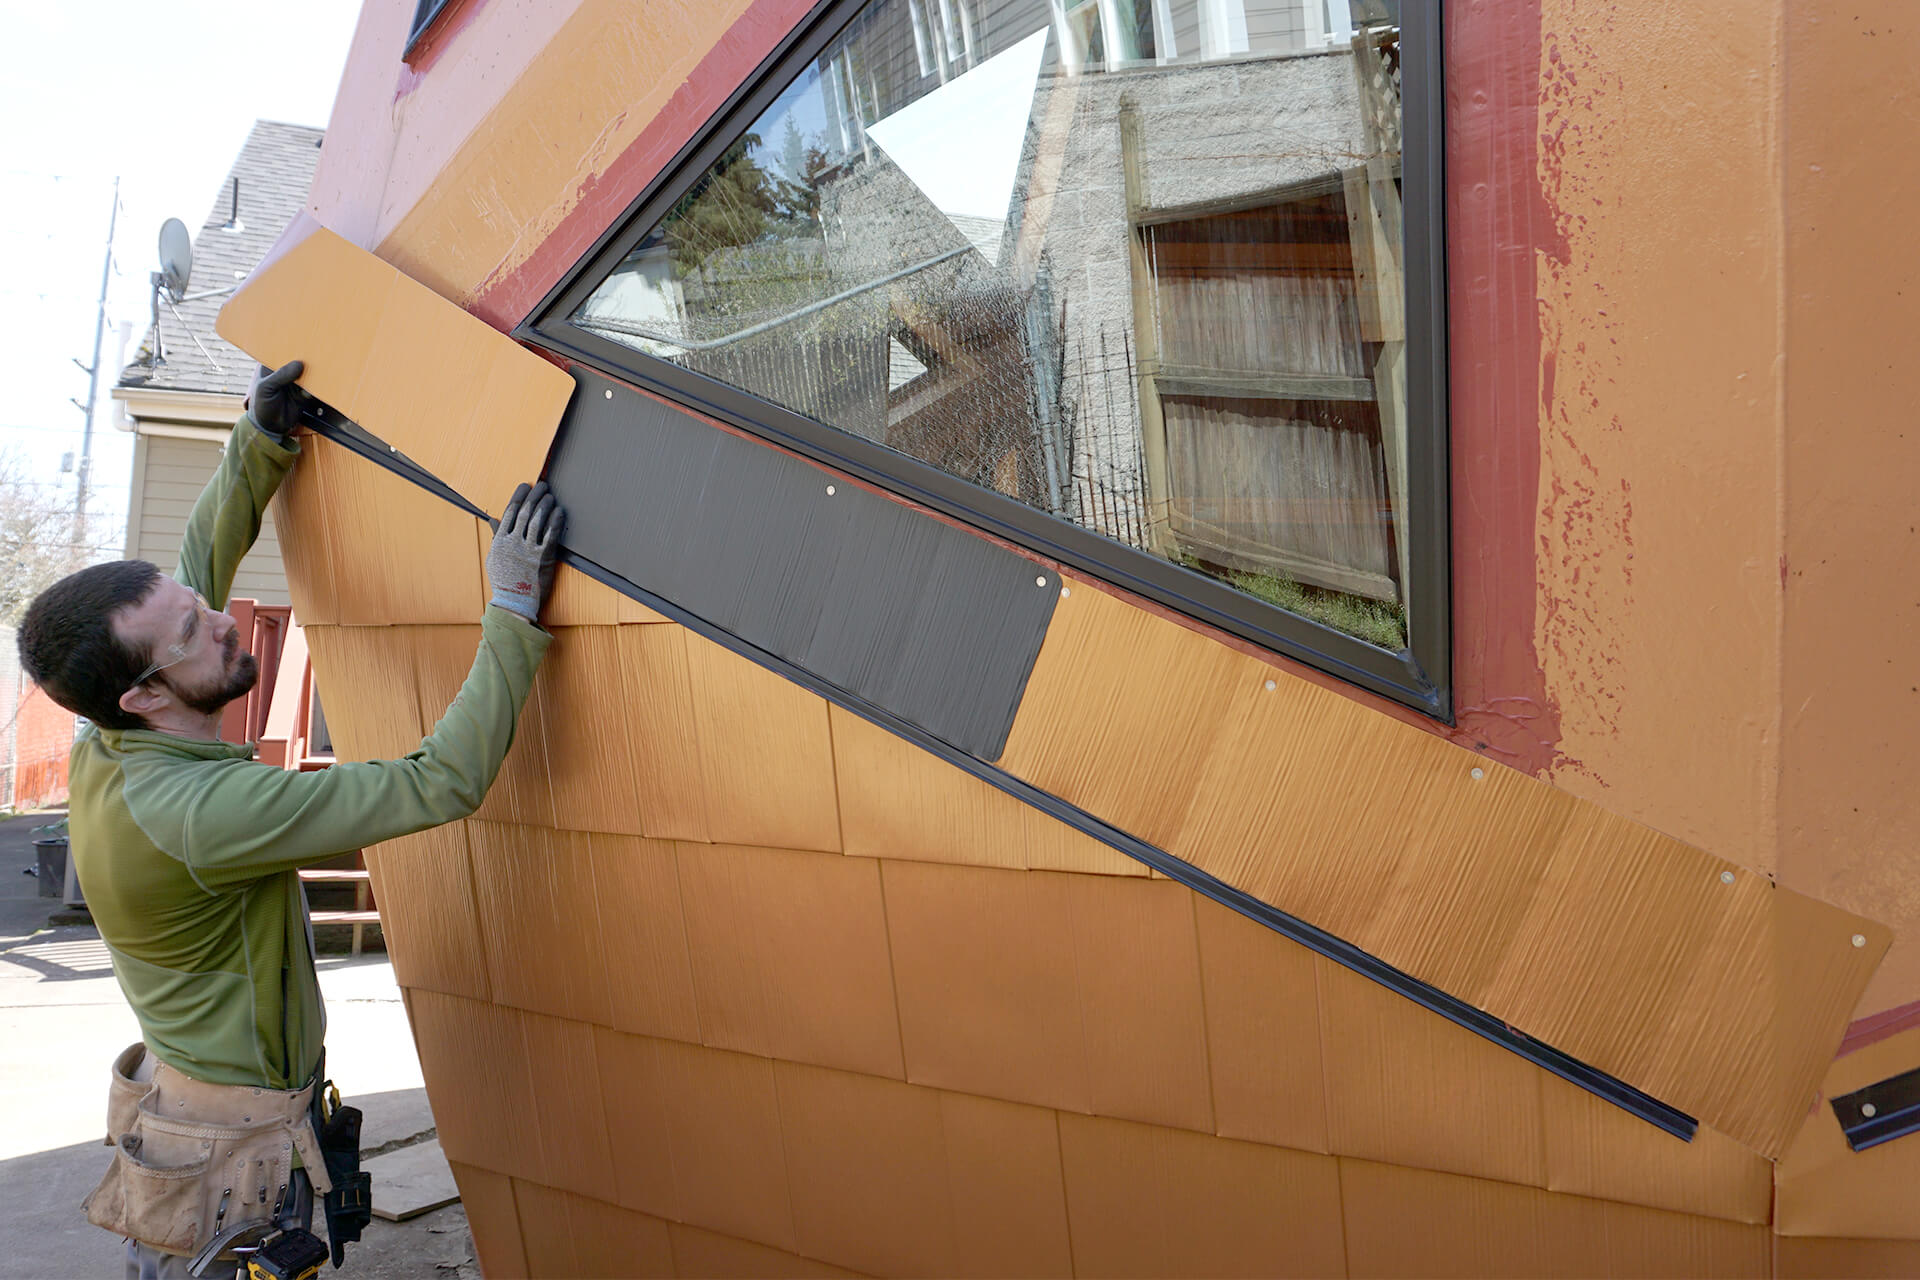
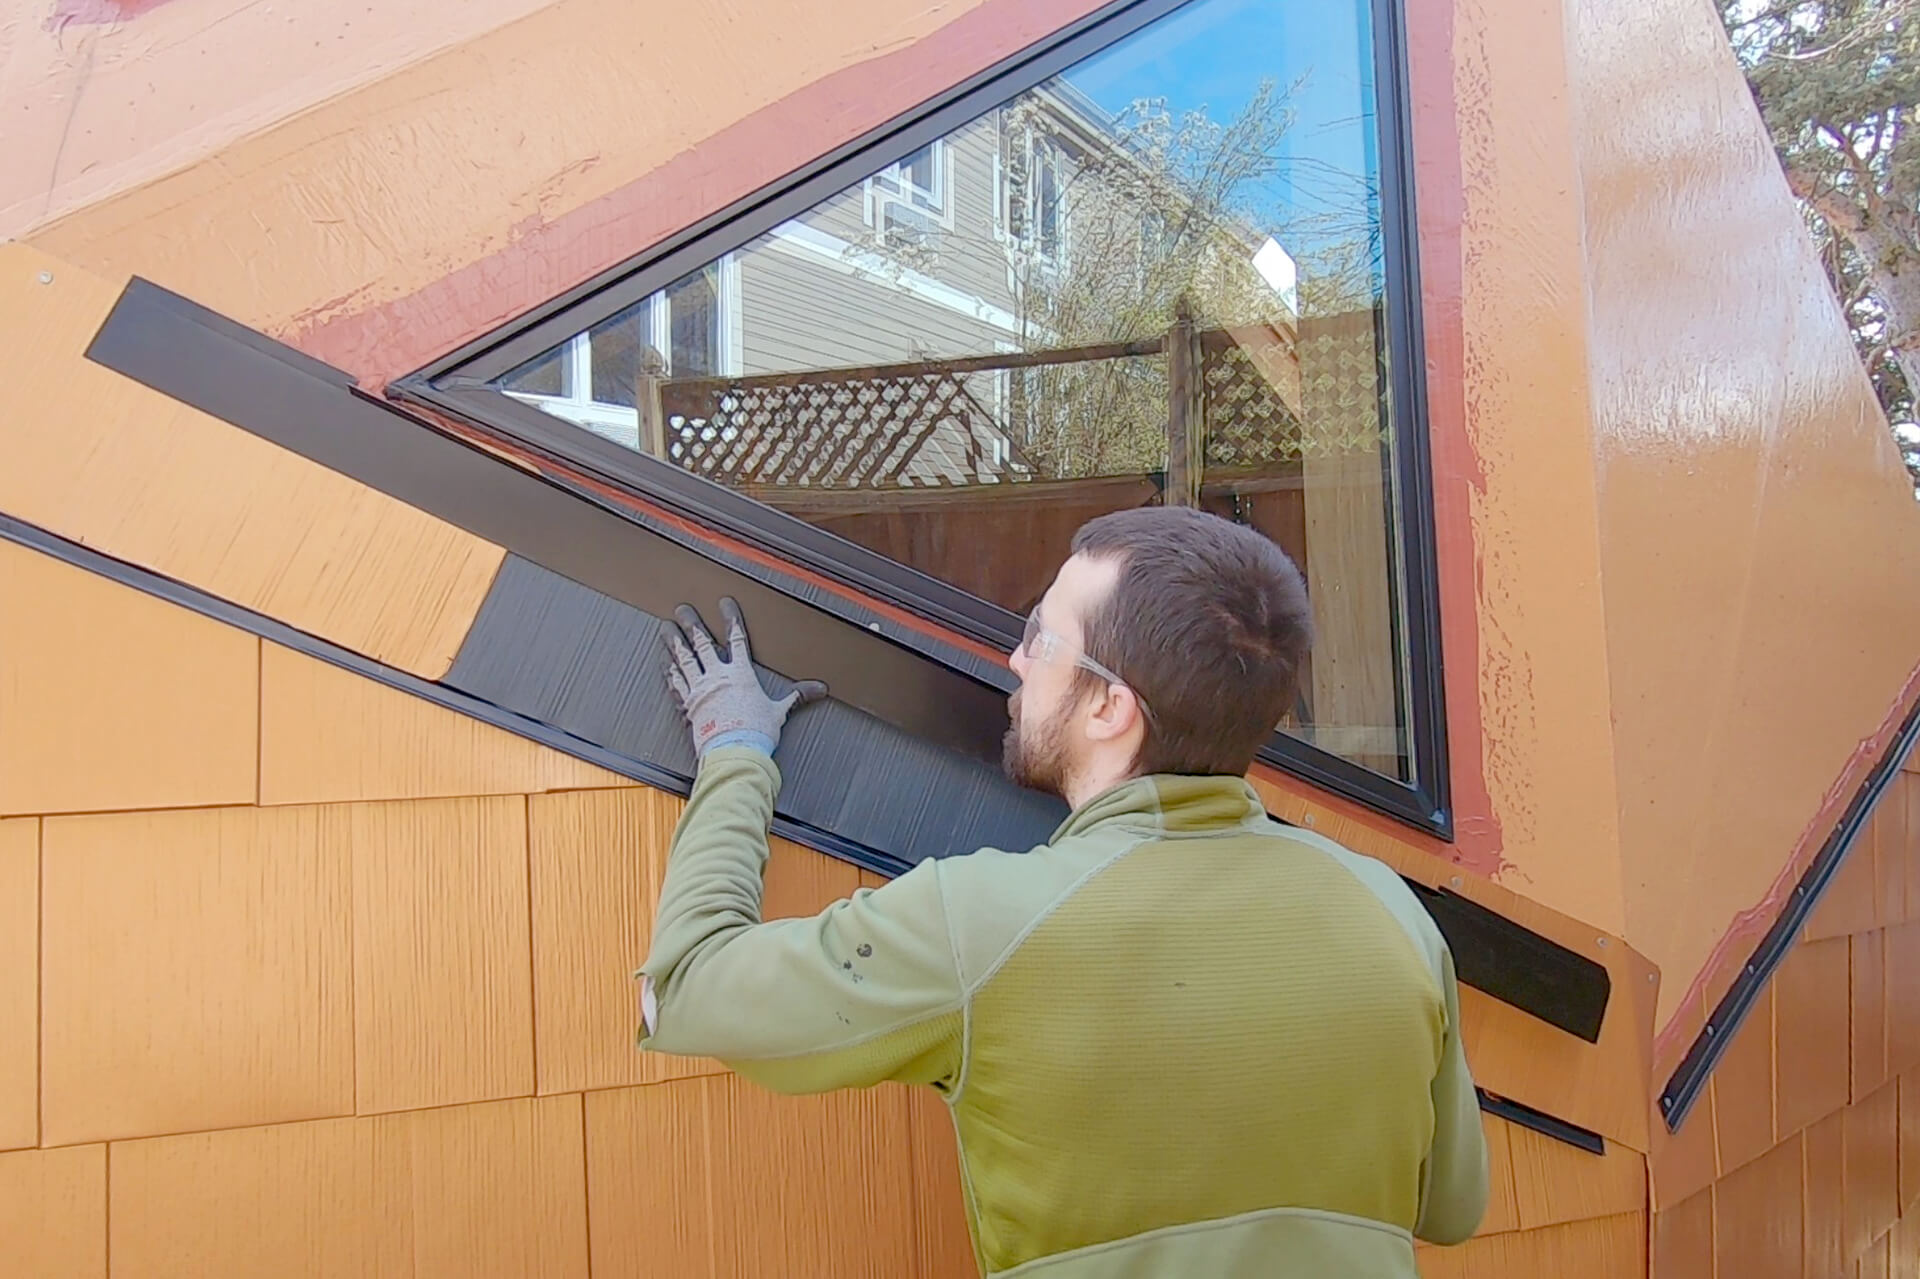
Cut, flatten, and attach shingles to create a hidden roof surface below the window. This hidden roof should overlap itself, as well as overlap the nail heads on the Siding Starter Strip.
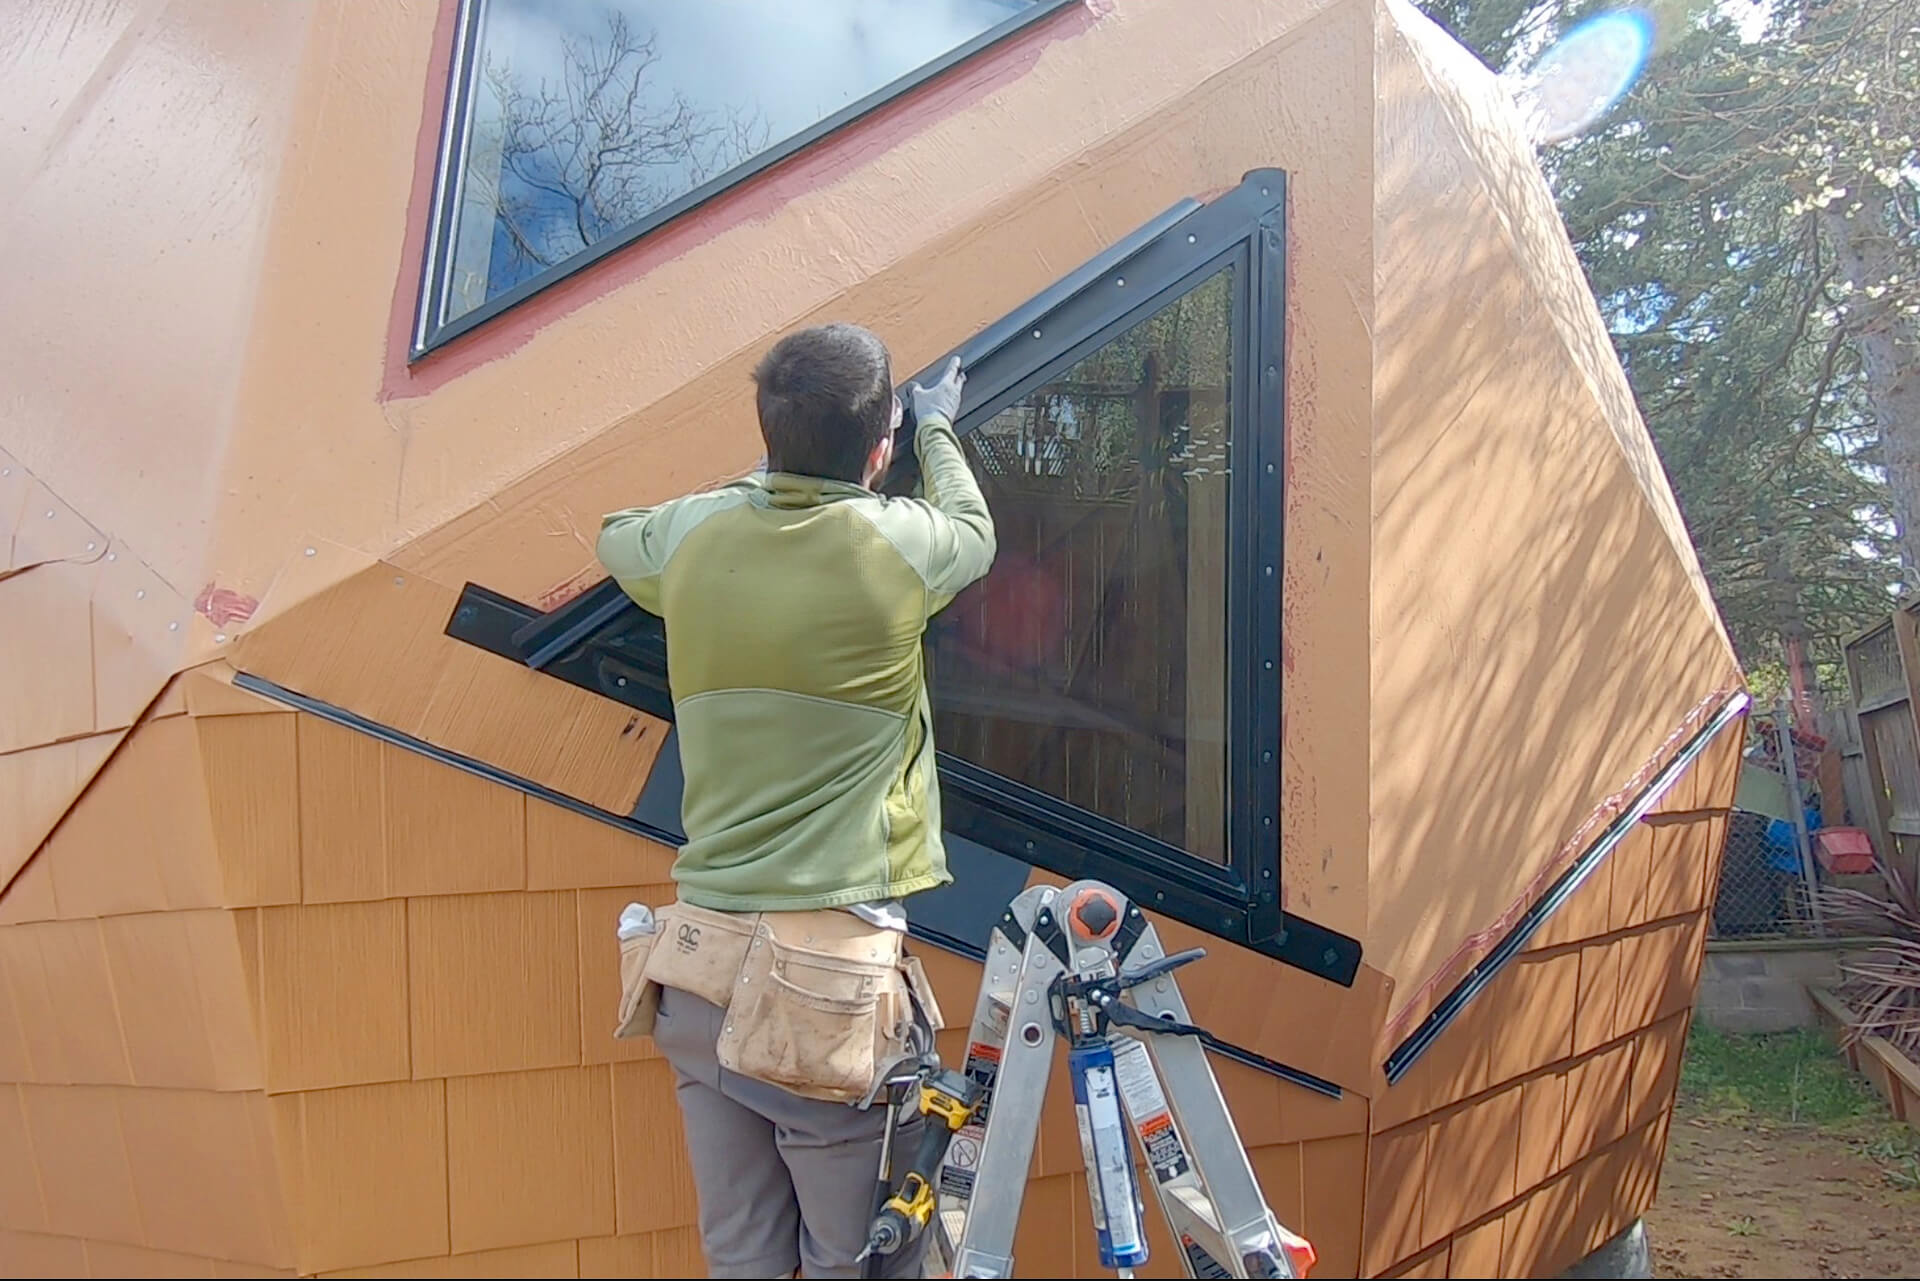
Apply a thick bead of caulking along the bottom of the window frame to prevent rain from getting behind the flashing. Chemlink M-1 sealant is shown here.
Cut the bottom flashing, then press it tightly against the still-wet caulking.
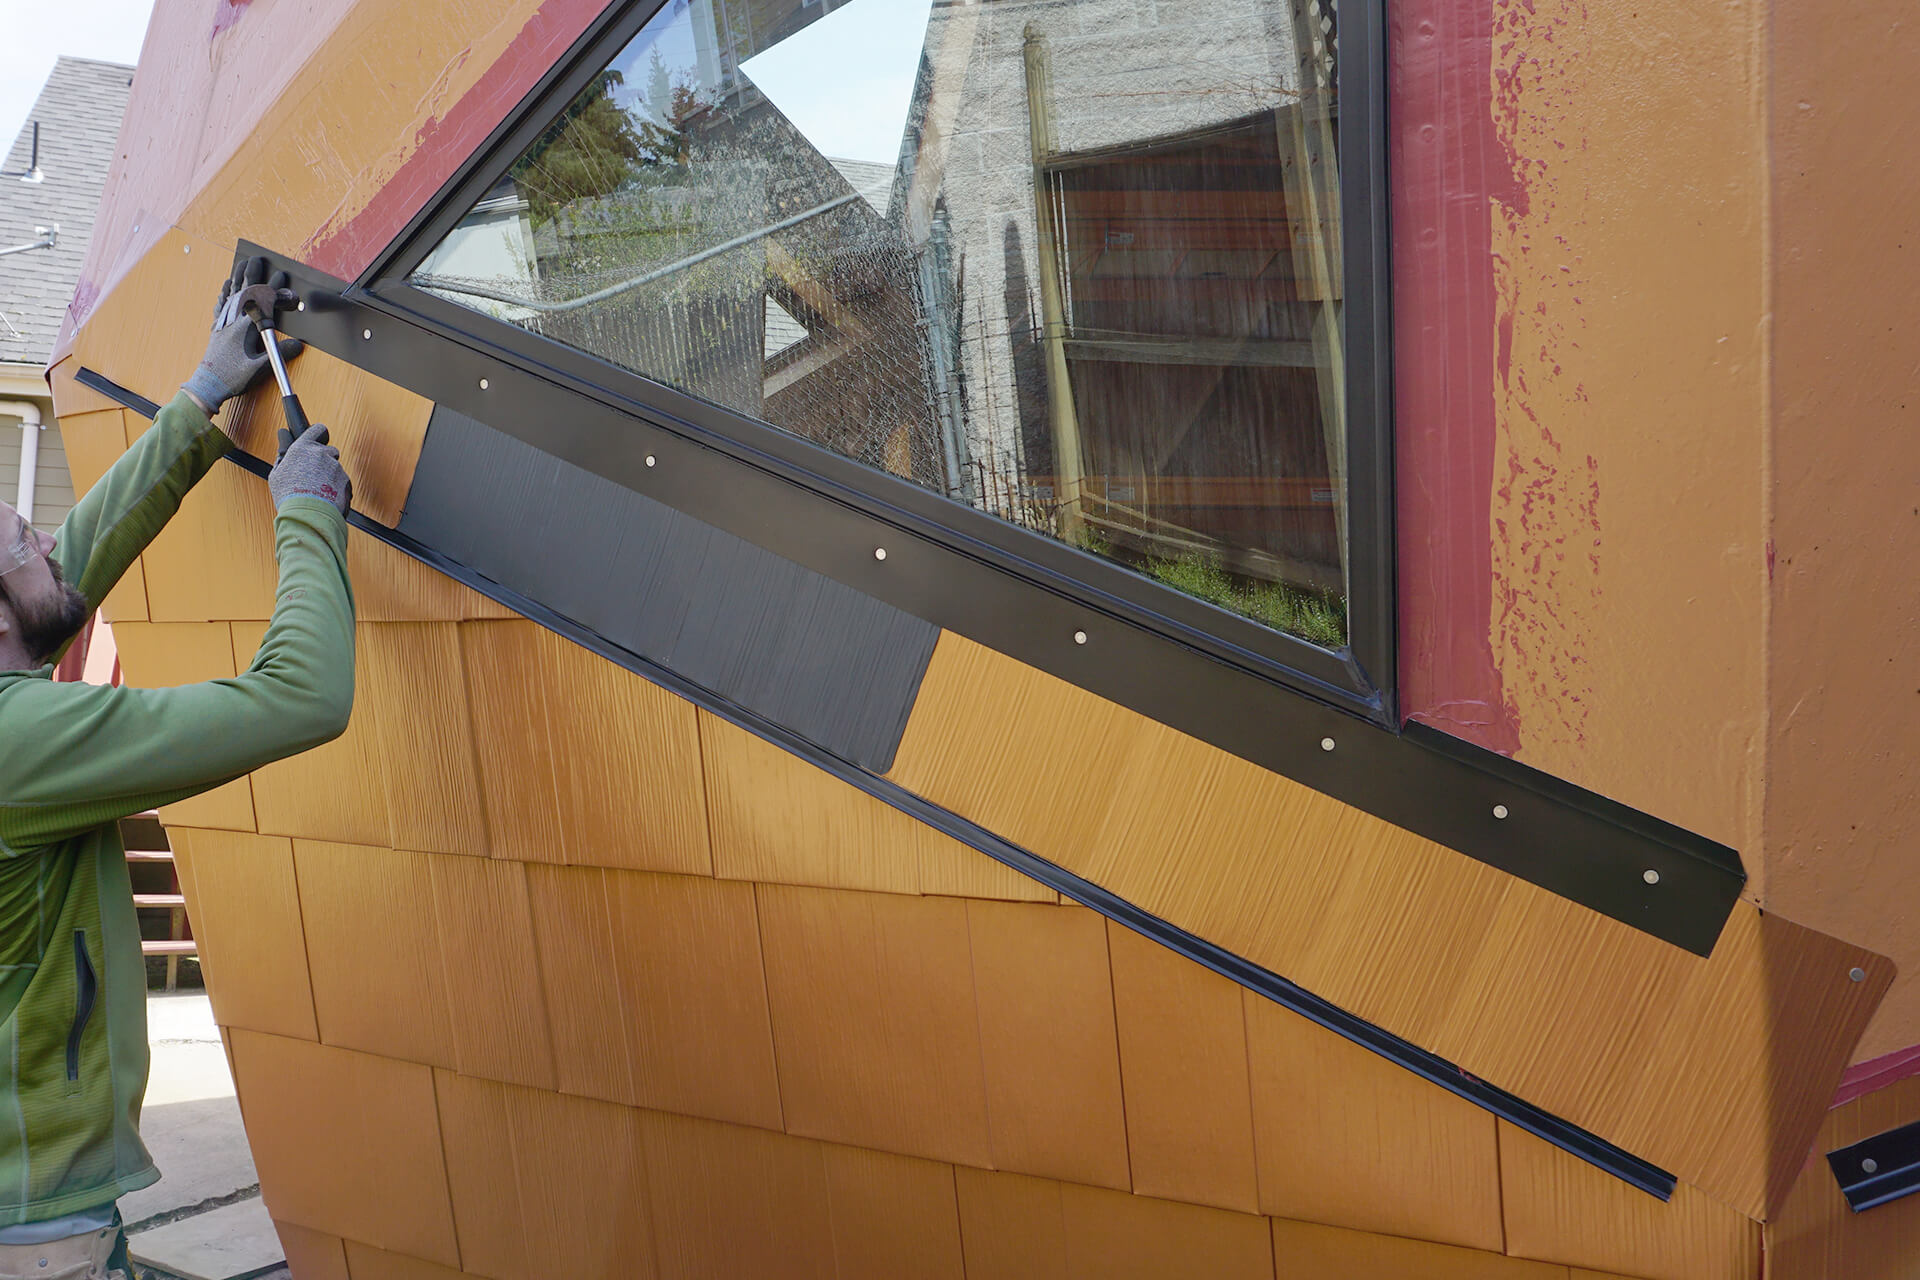
Fasten the flashing. Pre-drill and nail as usual.
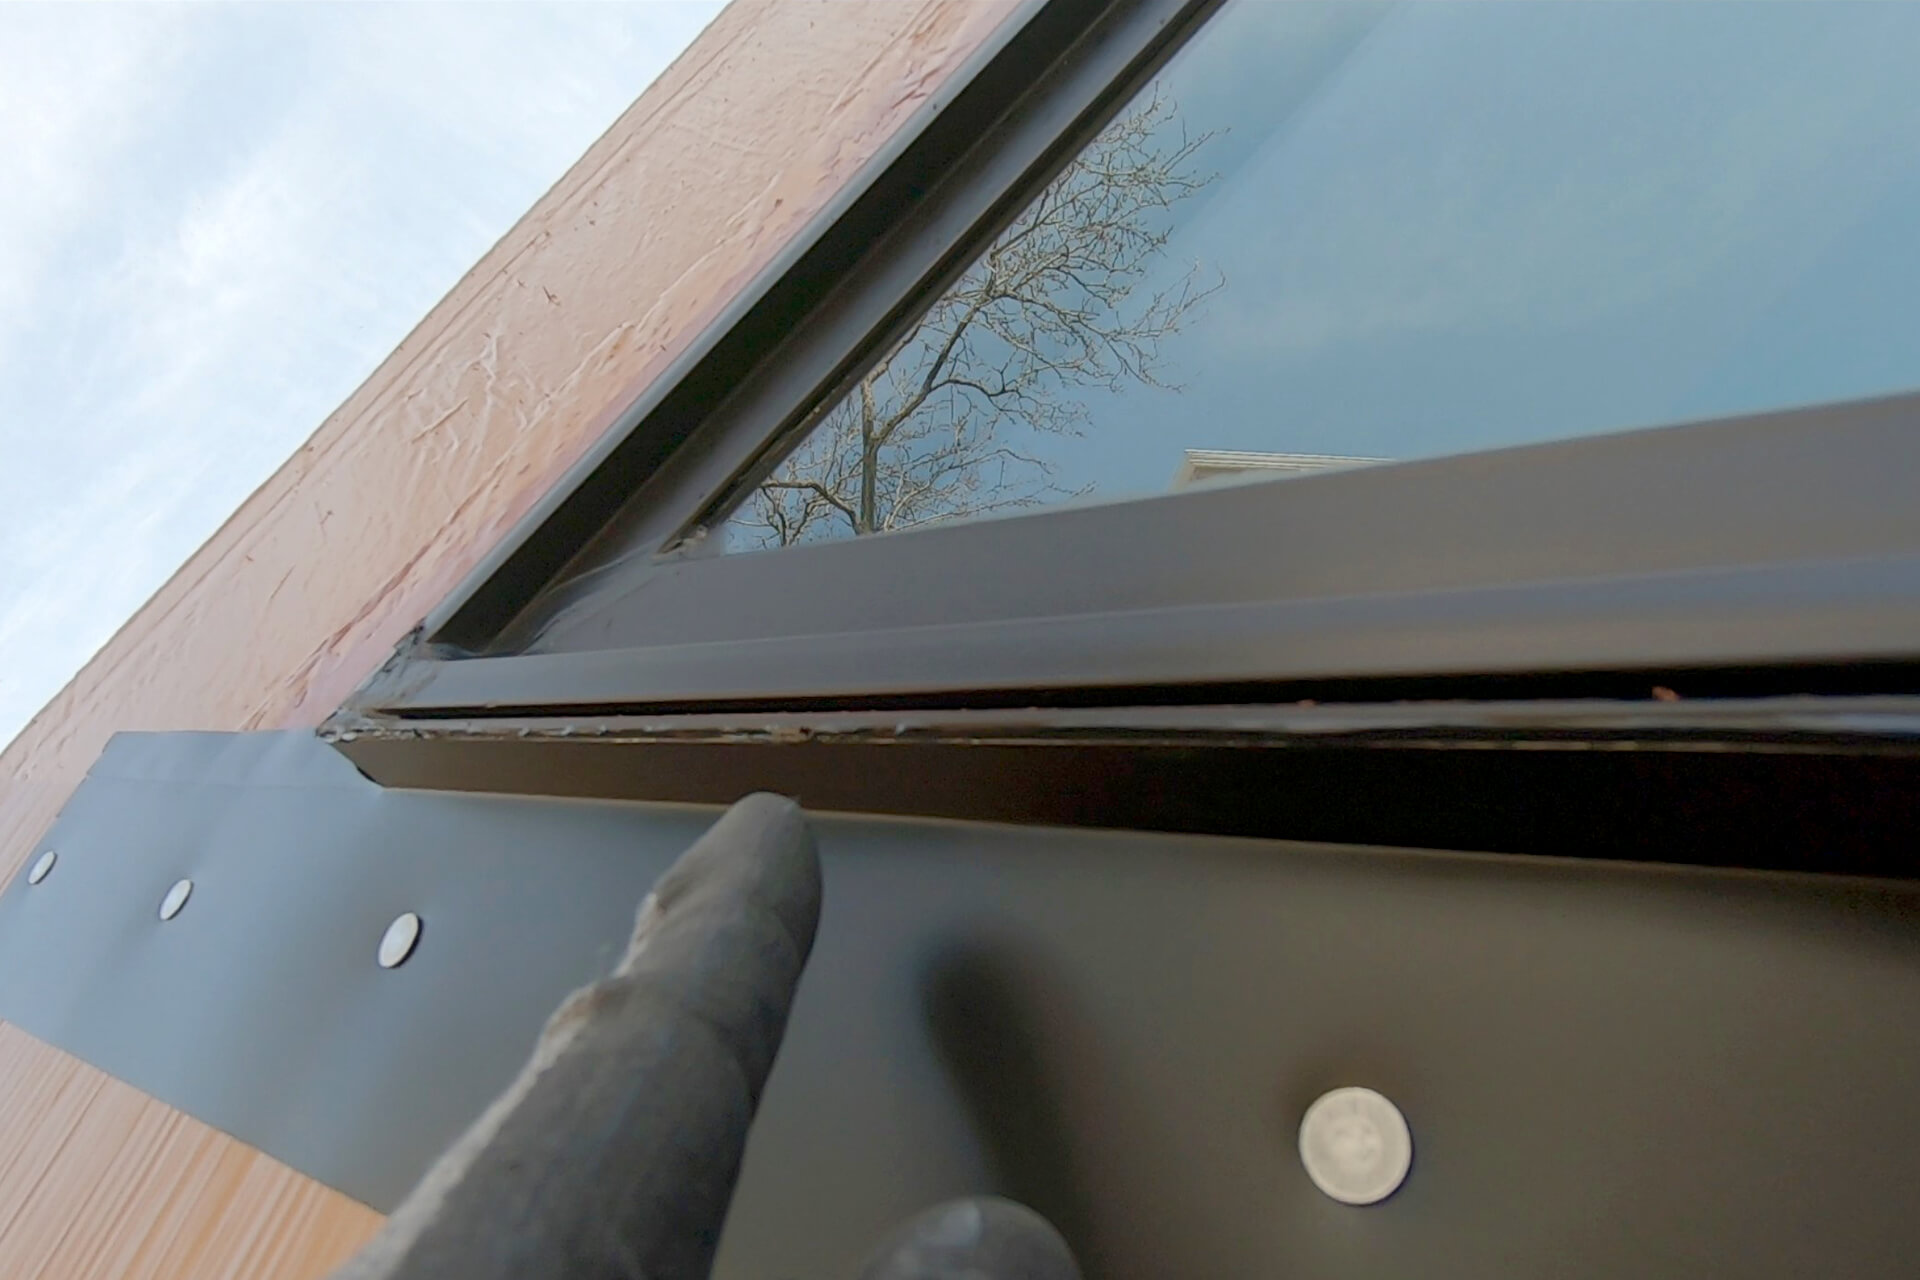
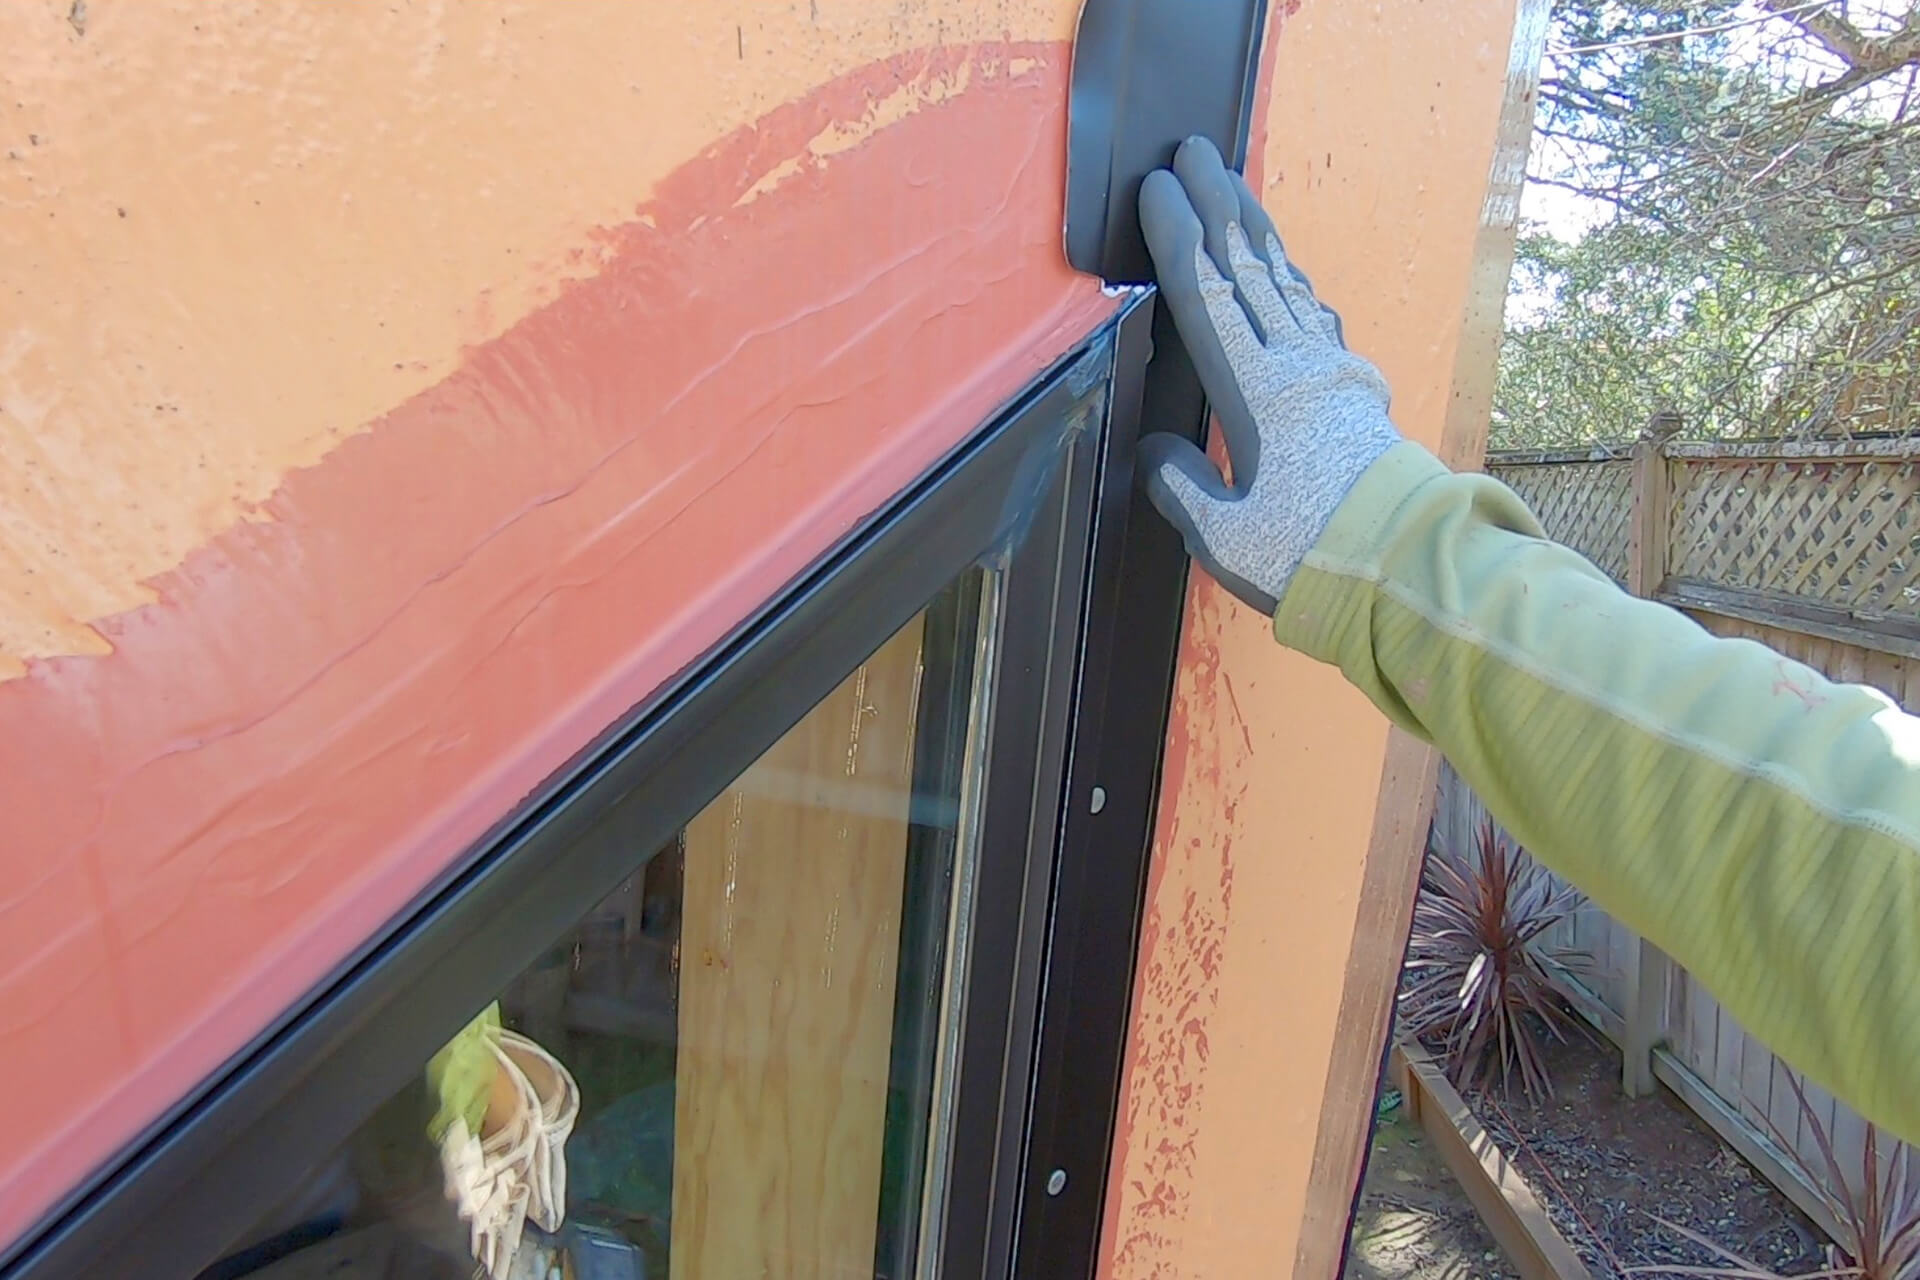
Caulking should squeeze out between the flashing and window frame (as shown) if applied correctly. Clean excess caulking with a gloved finger for a neat finish.
Cut the side flashing. Apply a bead of caulking along the inside corner of the flashing, then attach it, pressing the still-wet caulking tightly against the window frame.
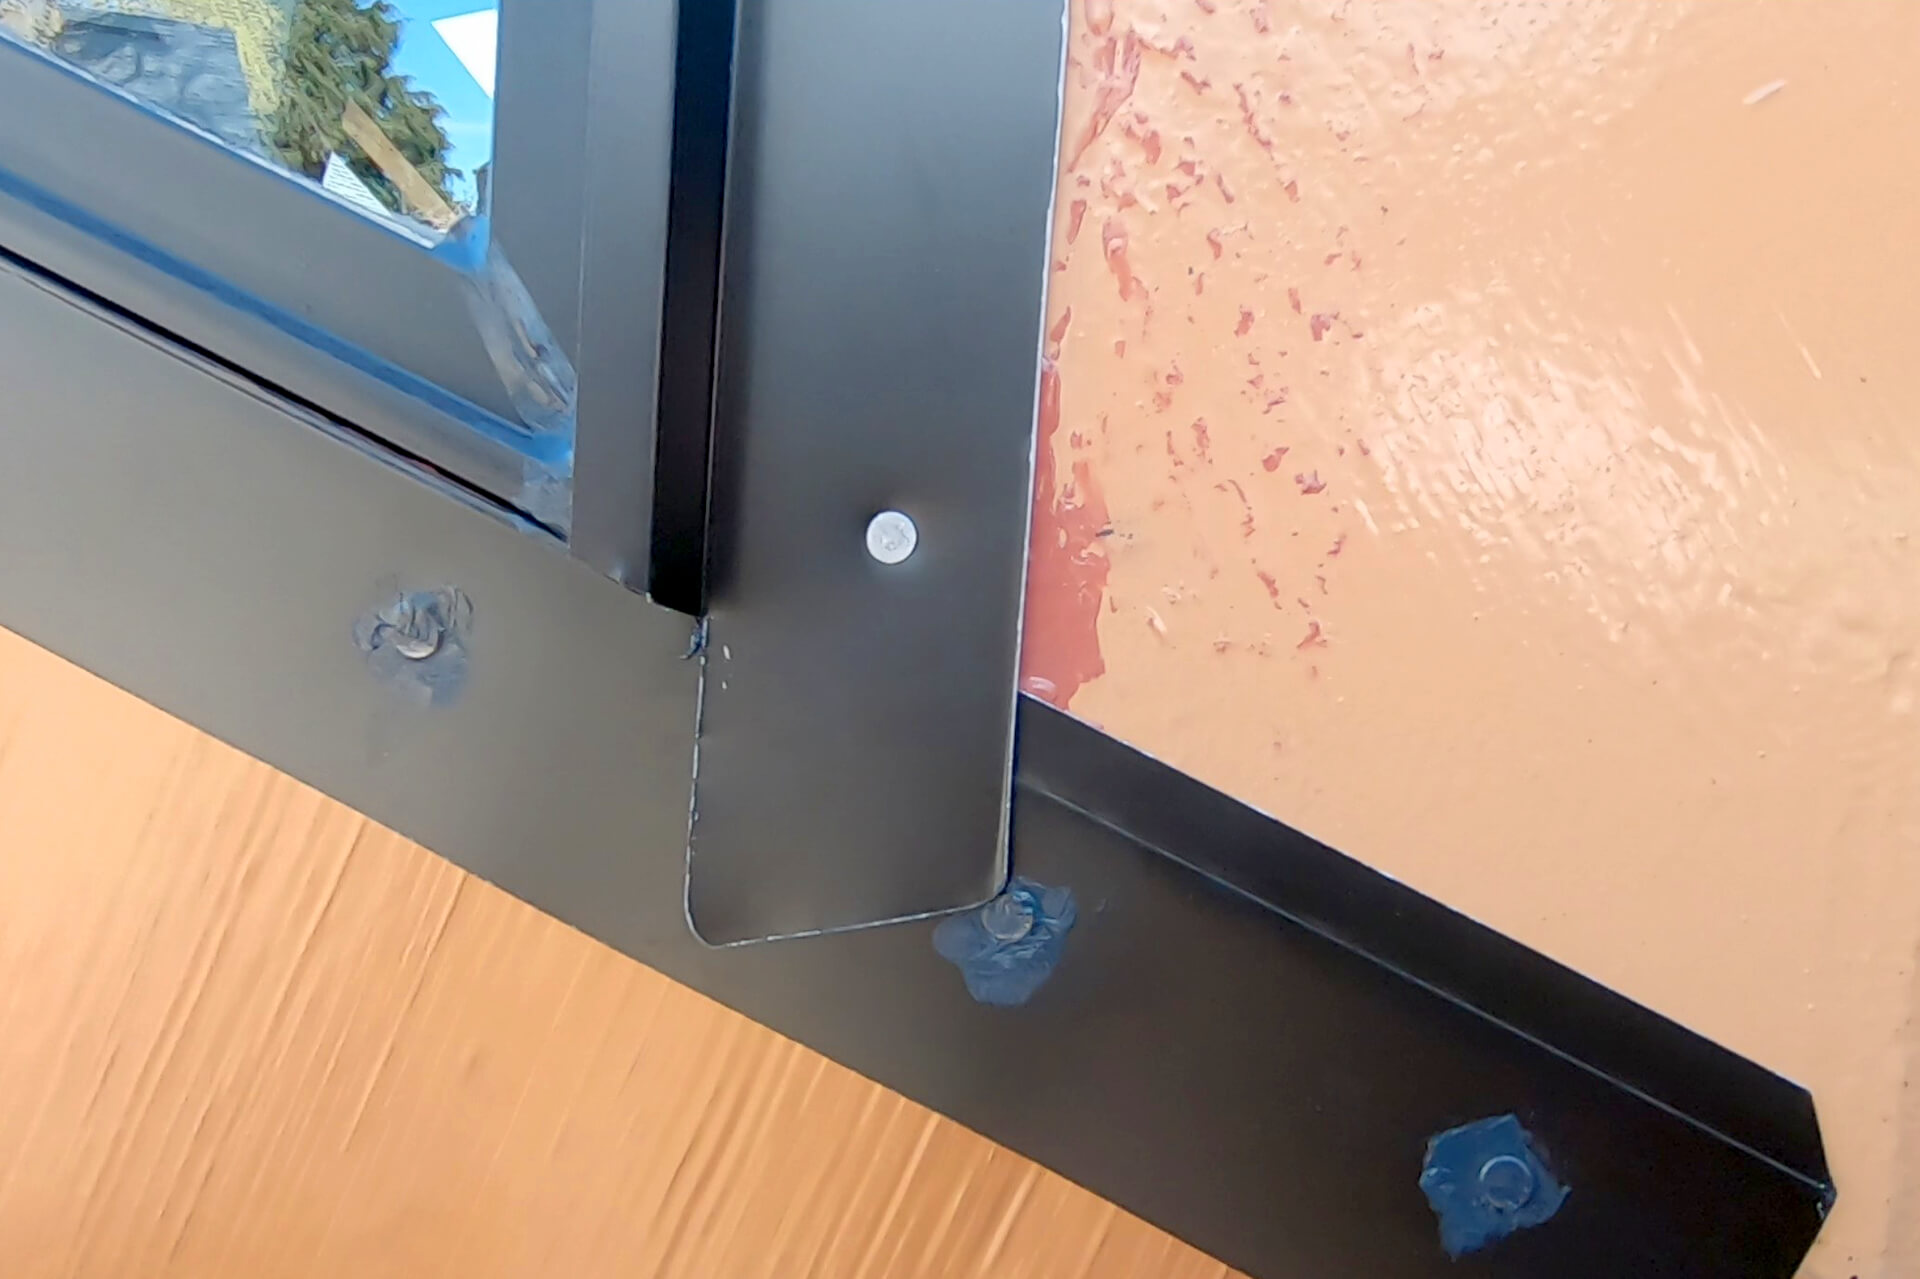
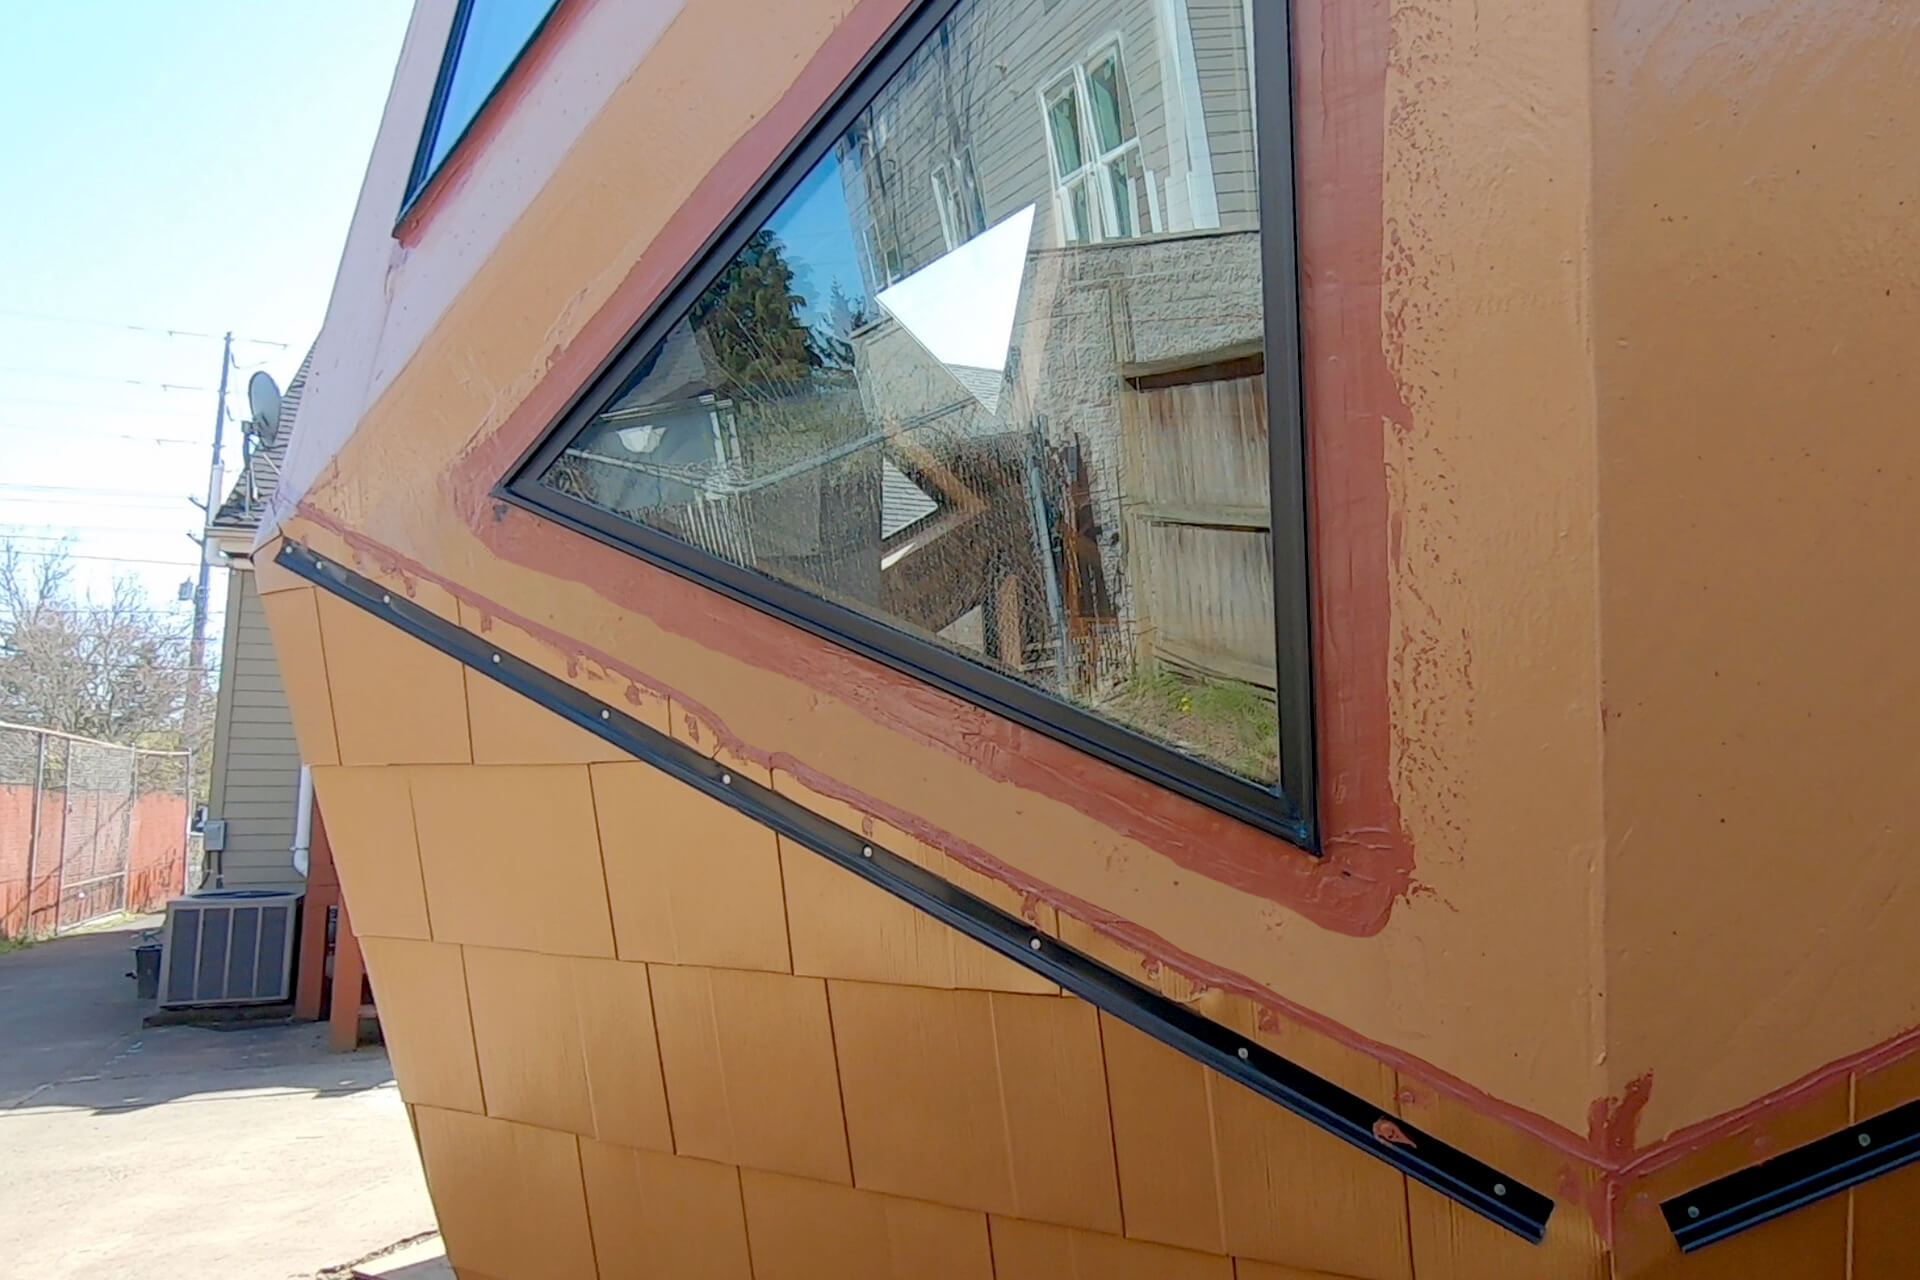
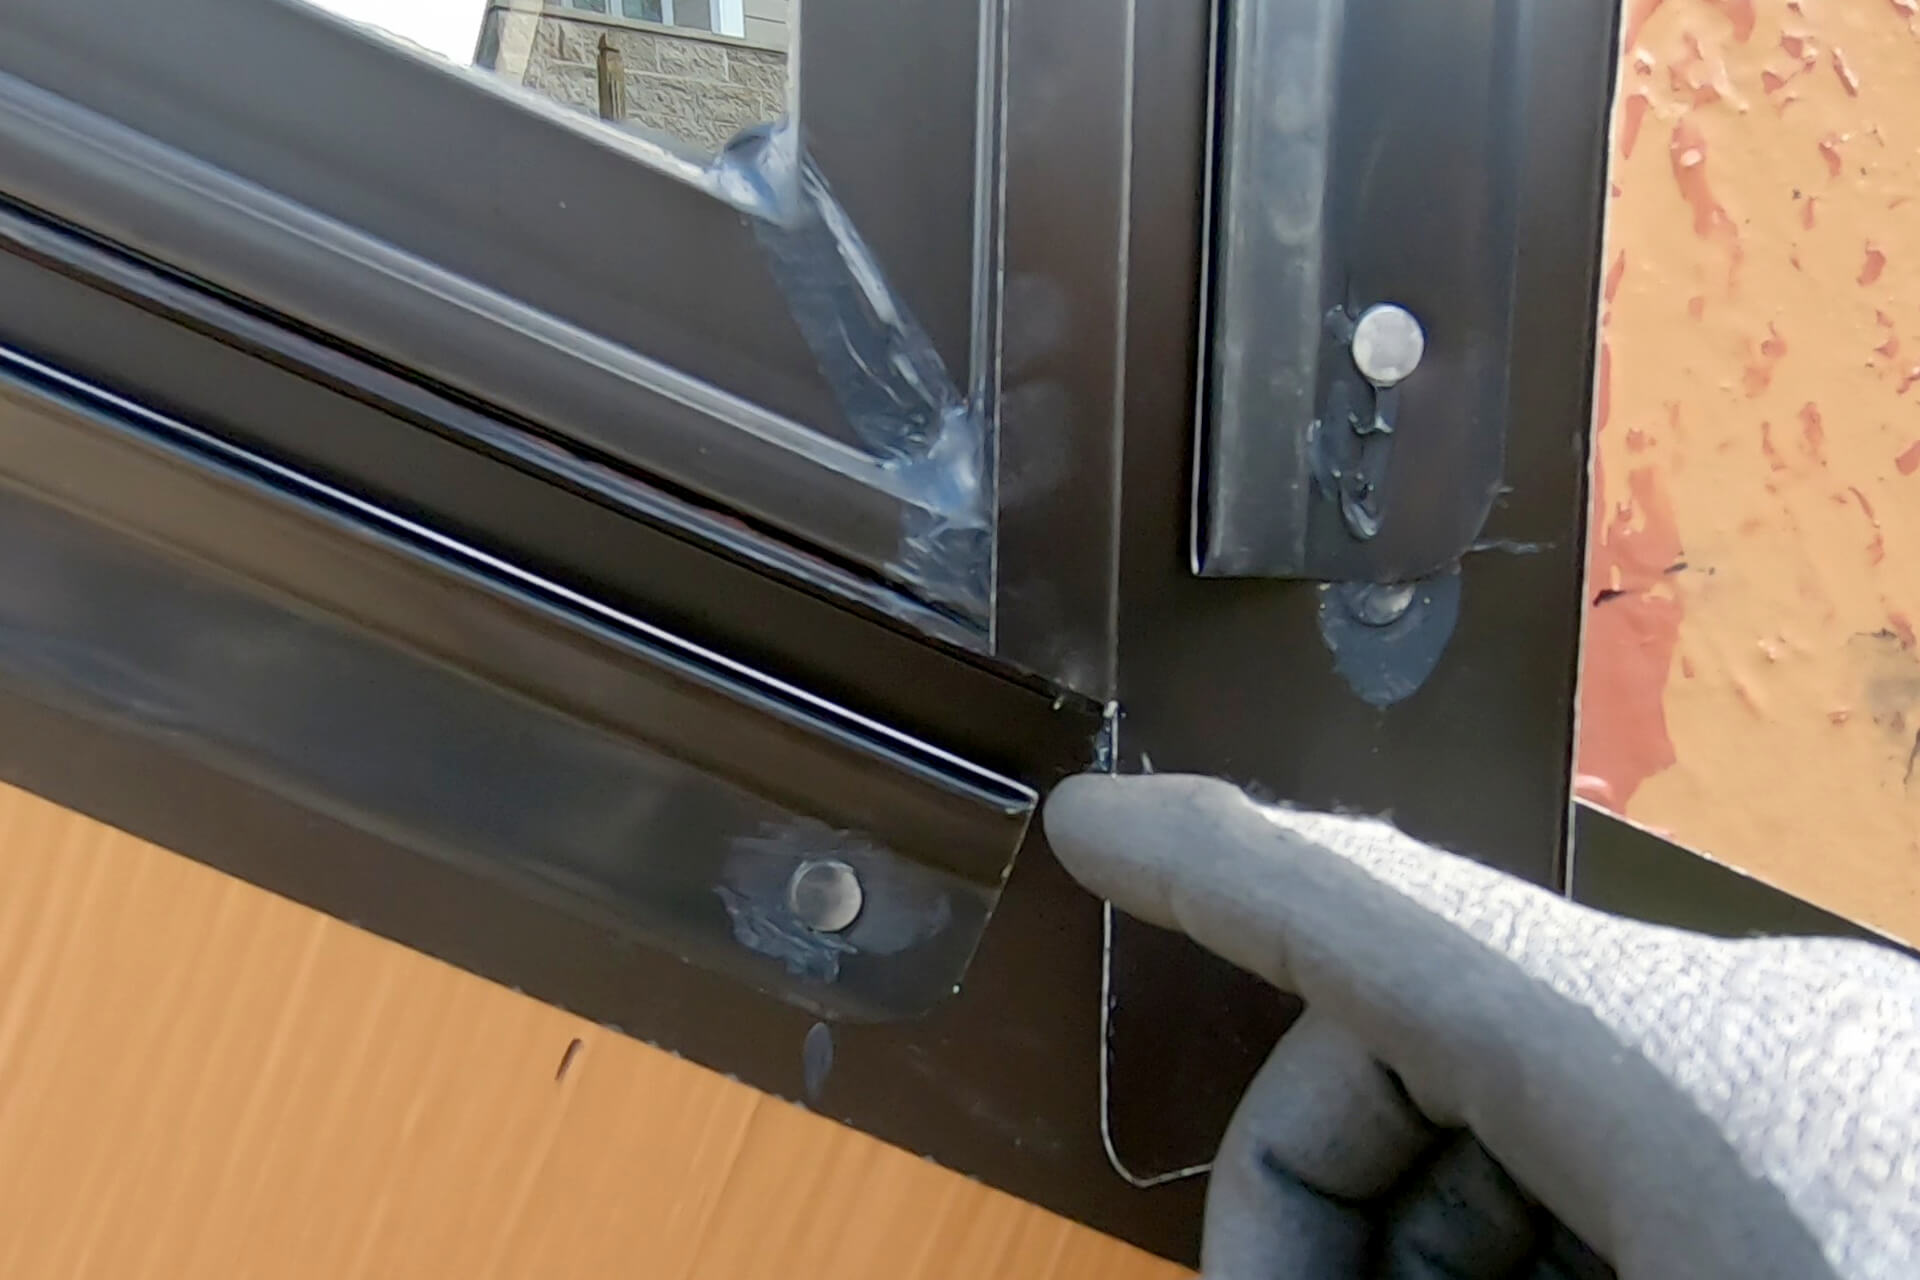
Detail shot showing the side flashing overlapping the window frame and bottom flashing. Apply caulking over the fastener heads of the bottom flashing as shown.
Detail shot showing the top of the side flashing and how it is cut to match the window frame.
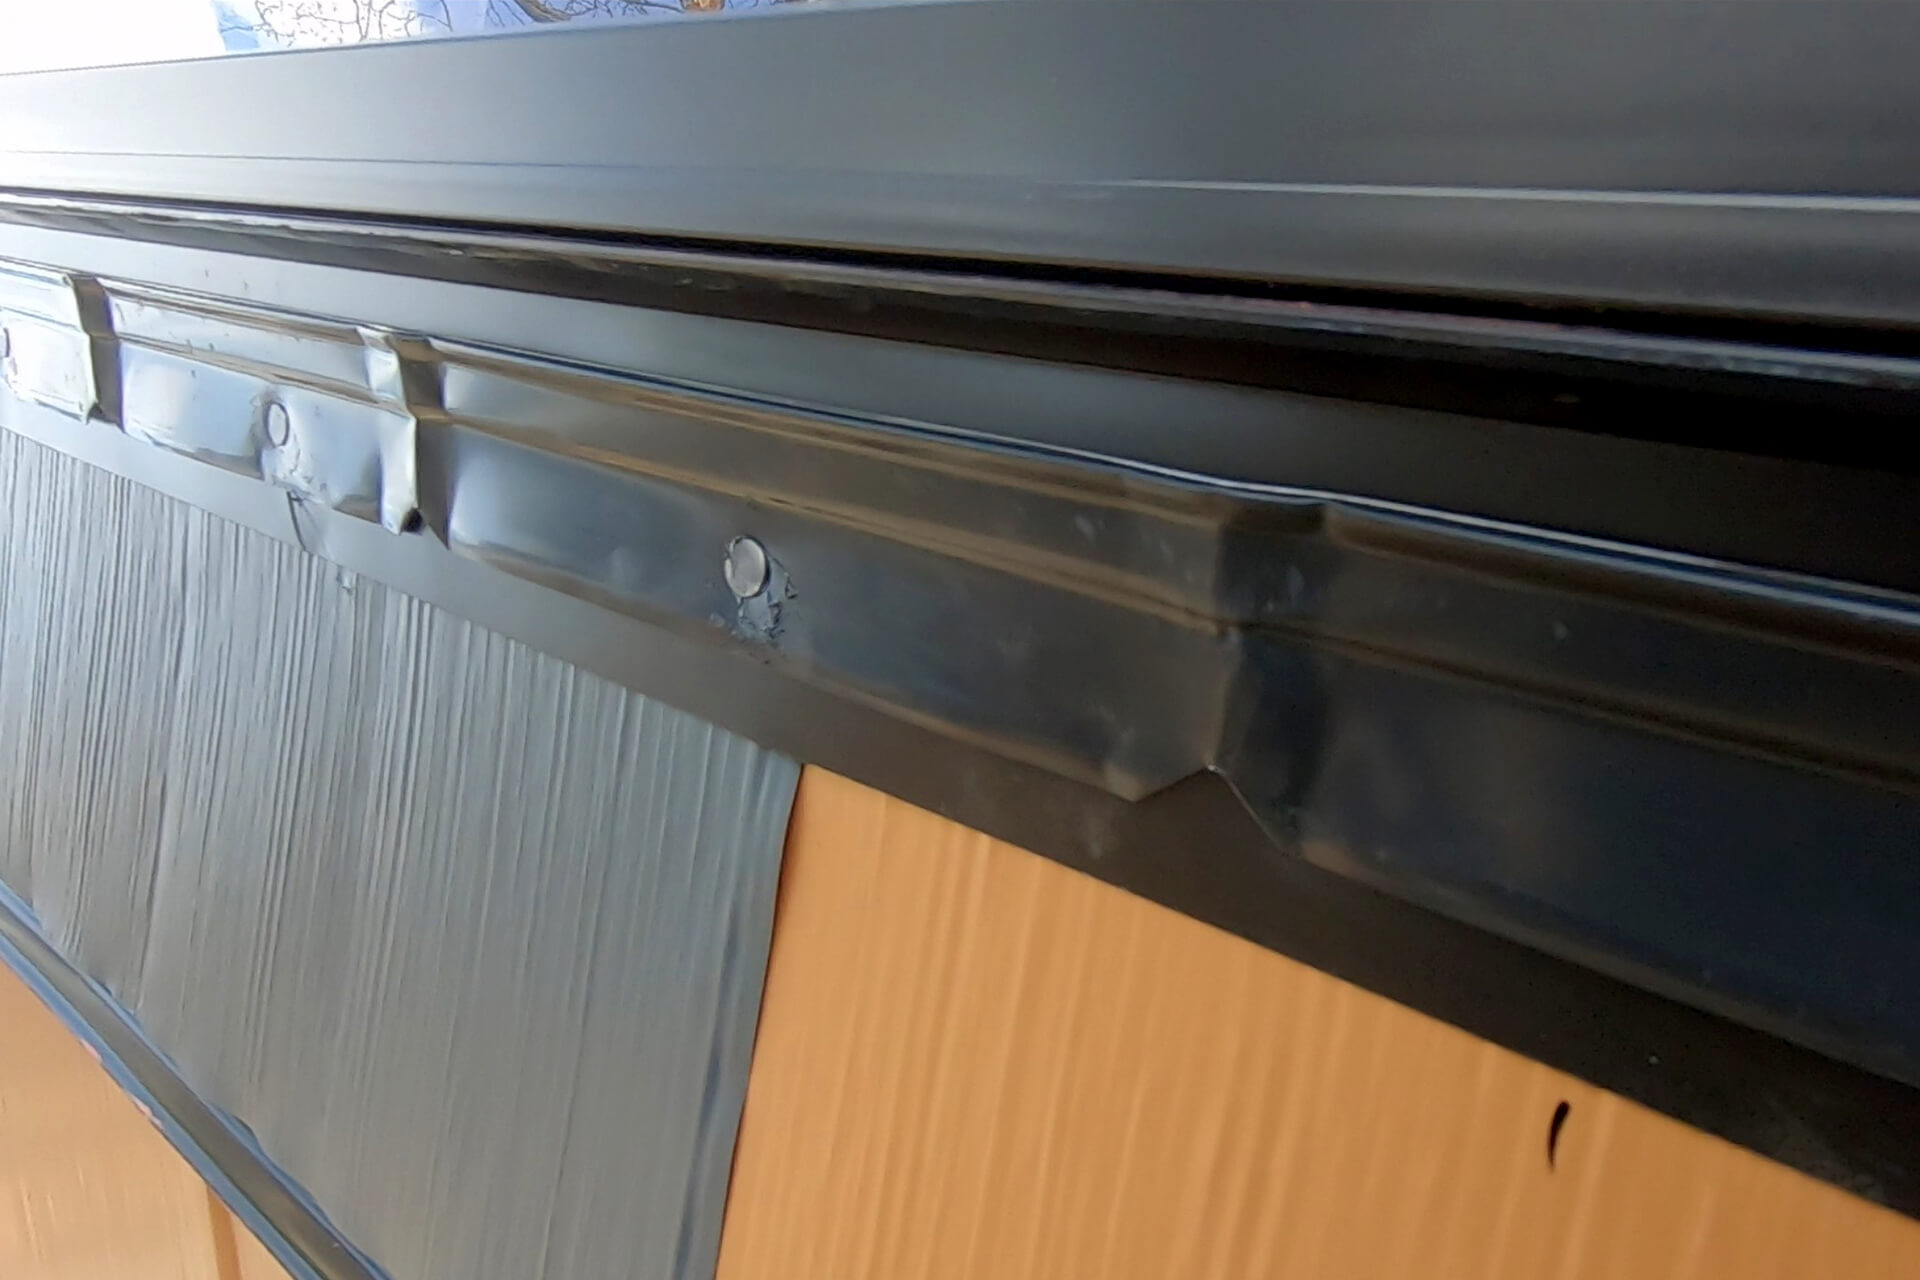
Cut and apply the top flashing. Caulking is optional for this piece, as wind-driven rain is unlikely to penetrate the overlapping lip.
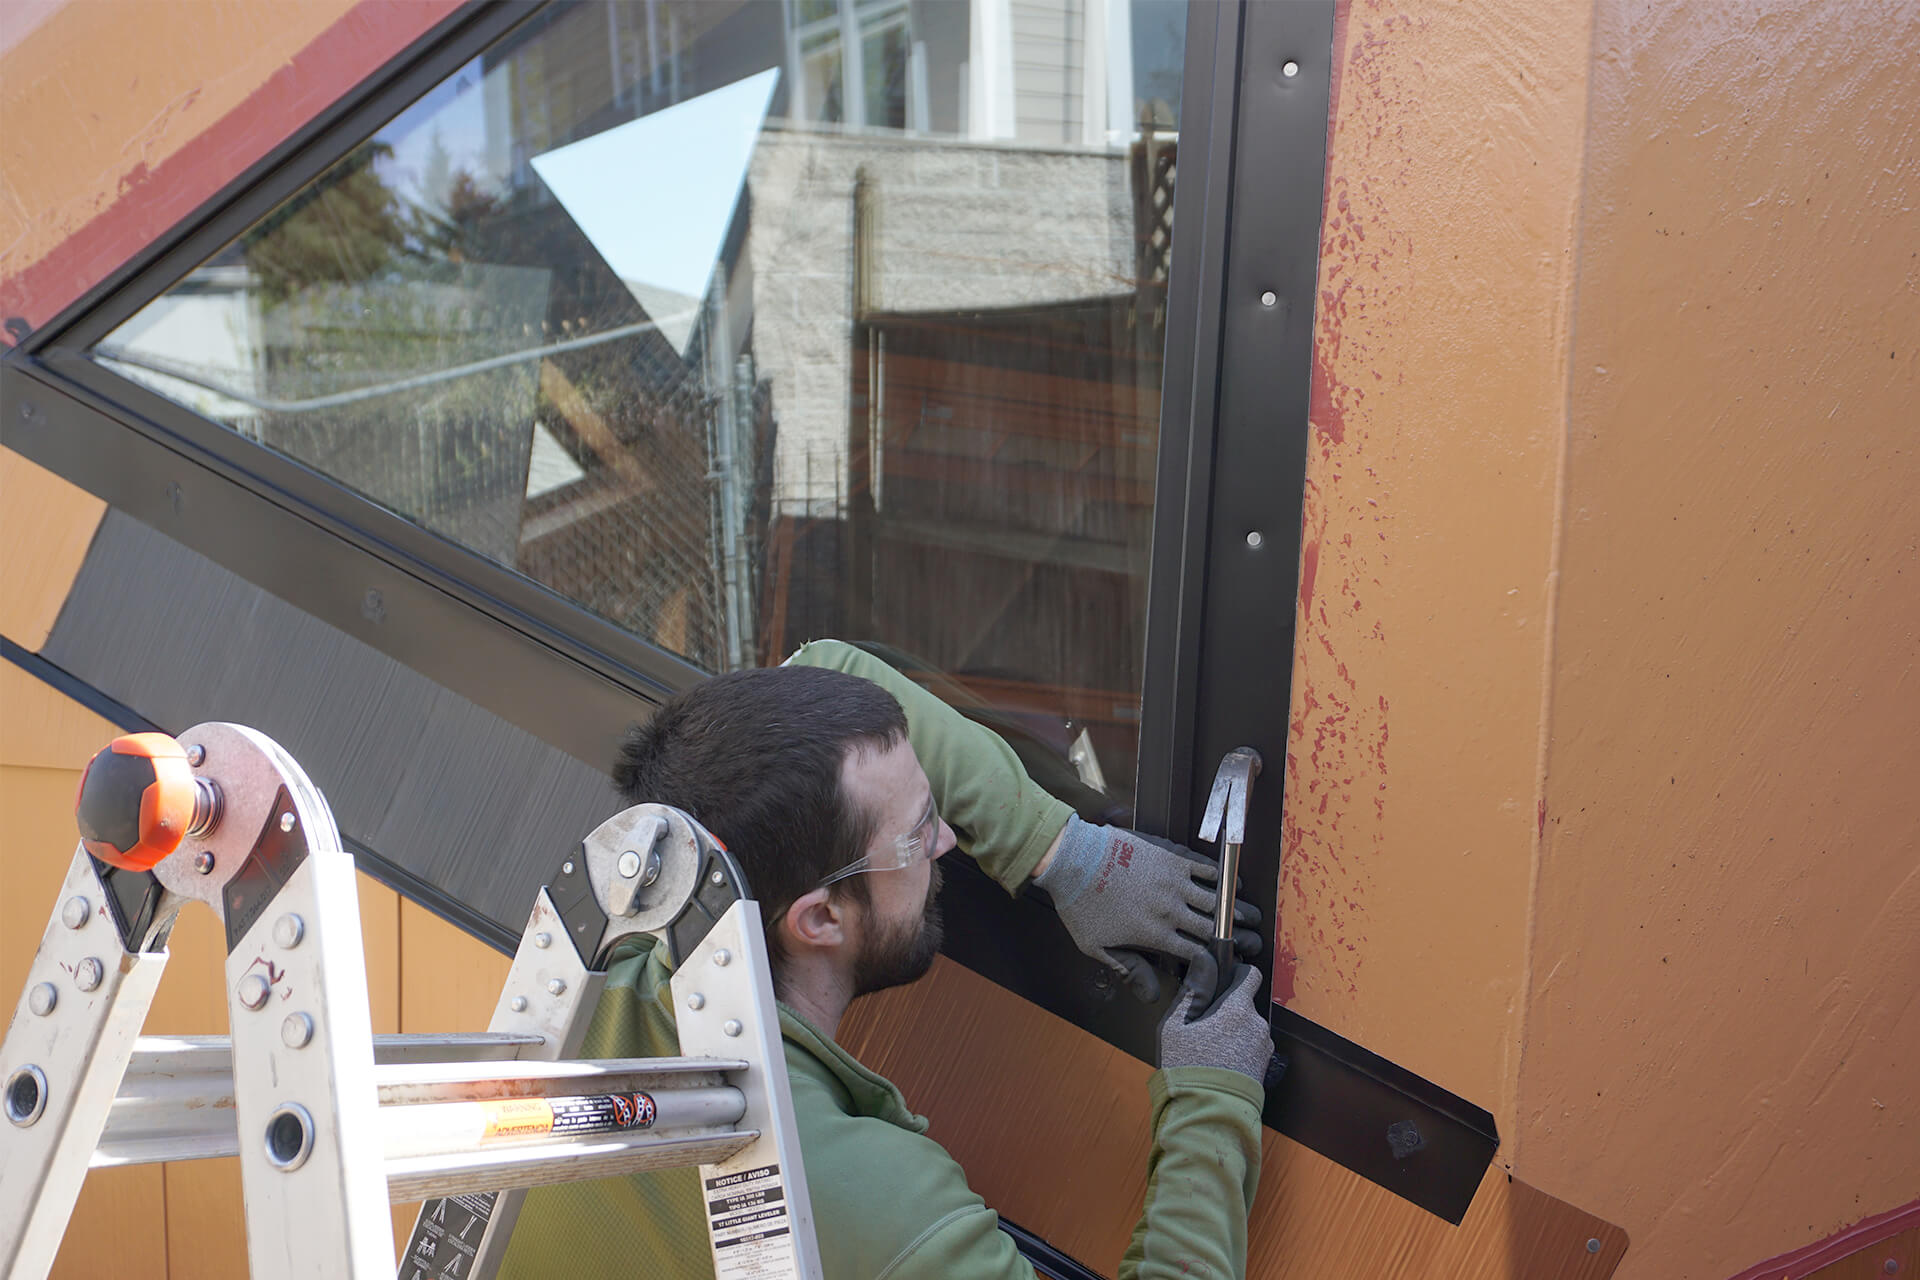
Fasten the flashing. Overlap the top corner and fold it over the side flashing. Caulking in the corner under the flashing is a good idea.
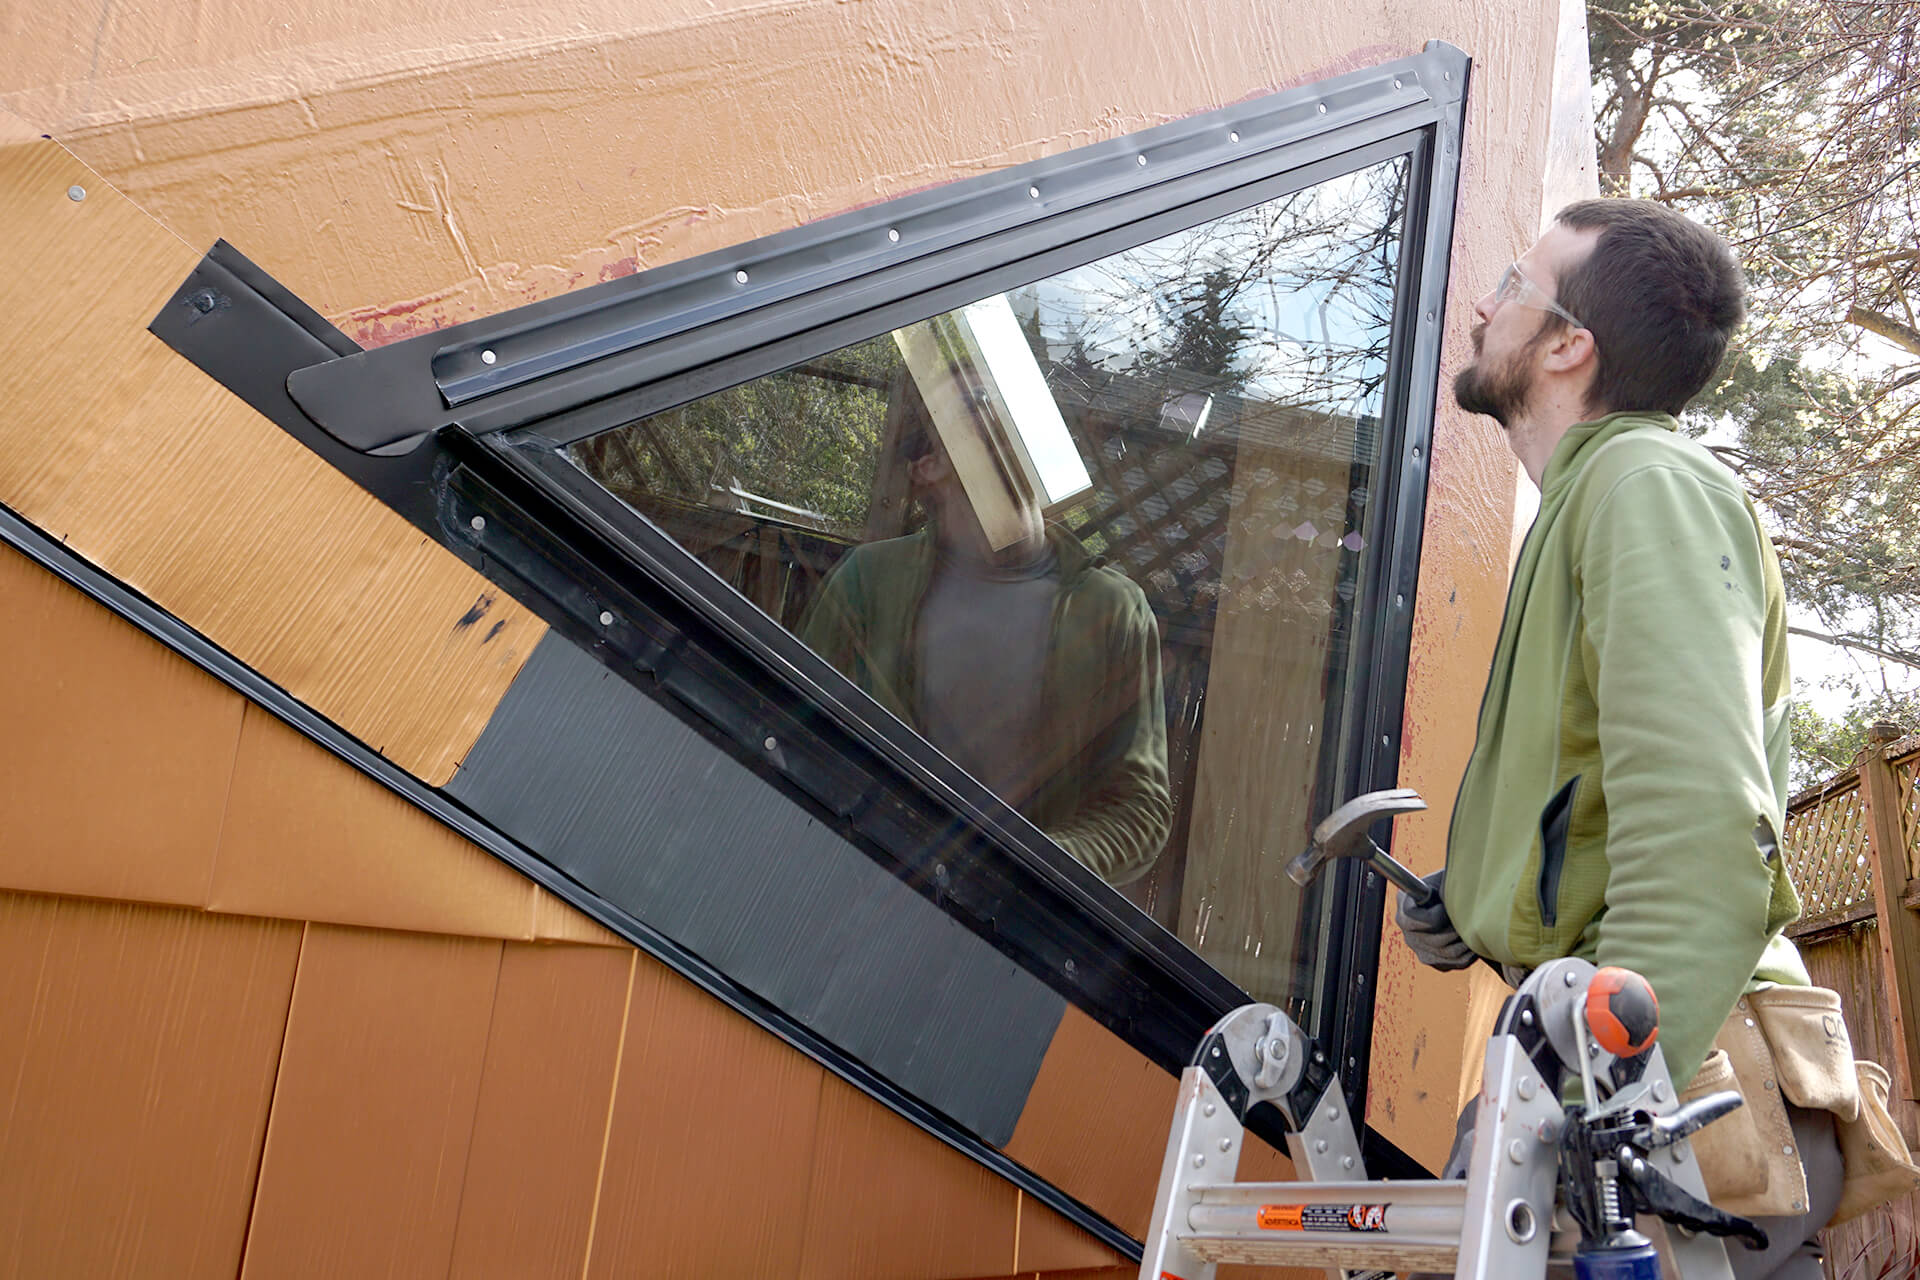
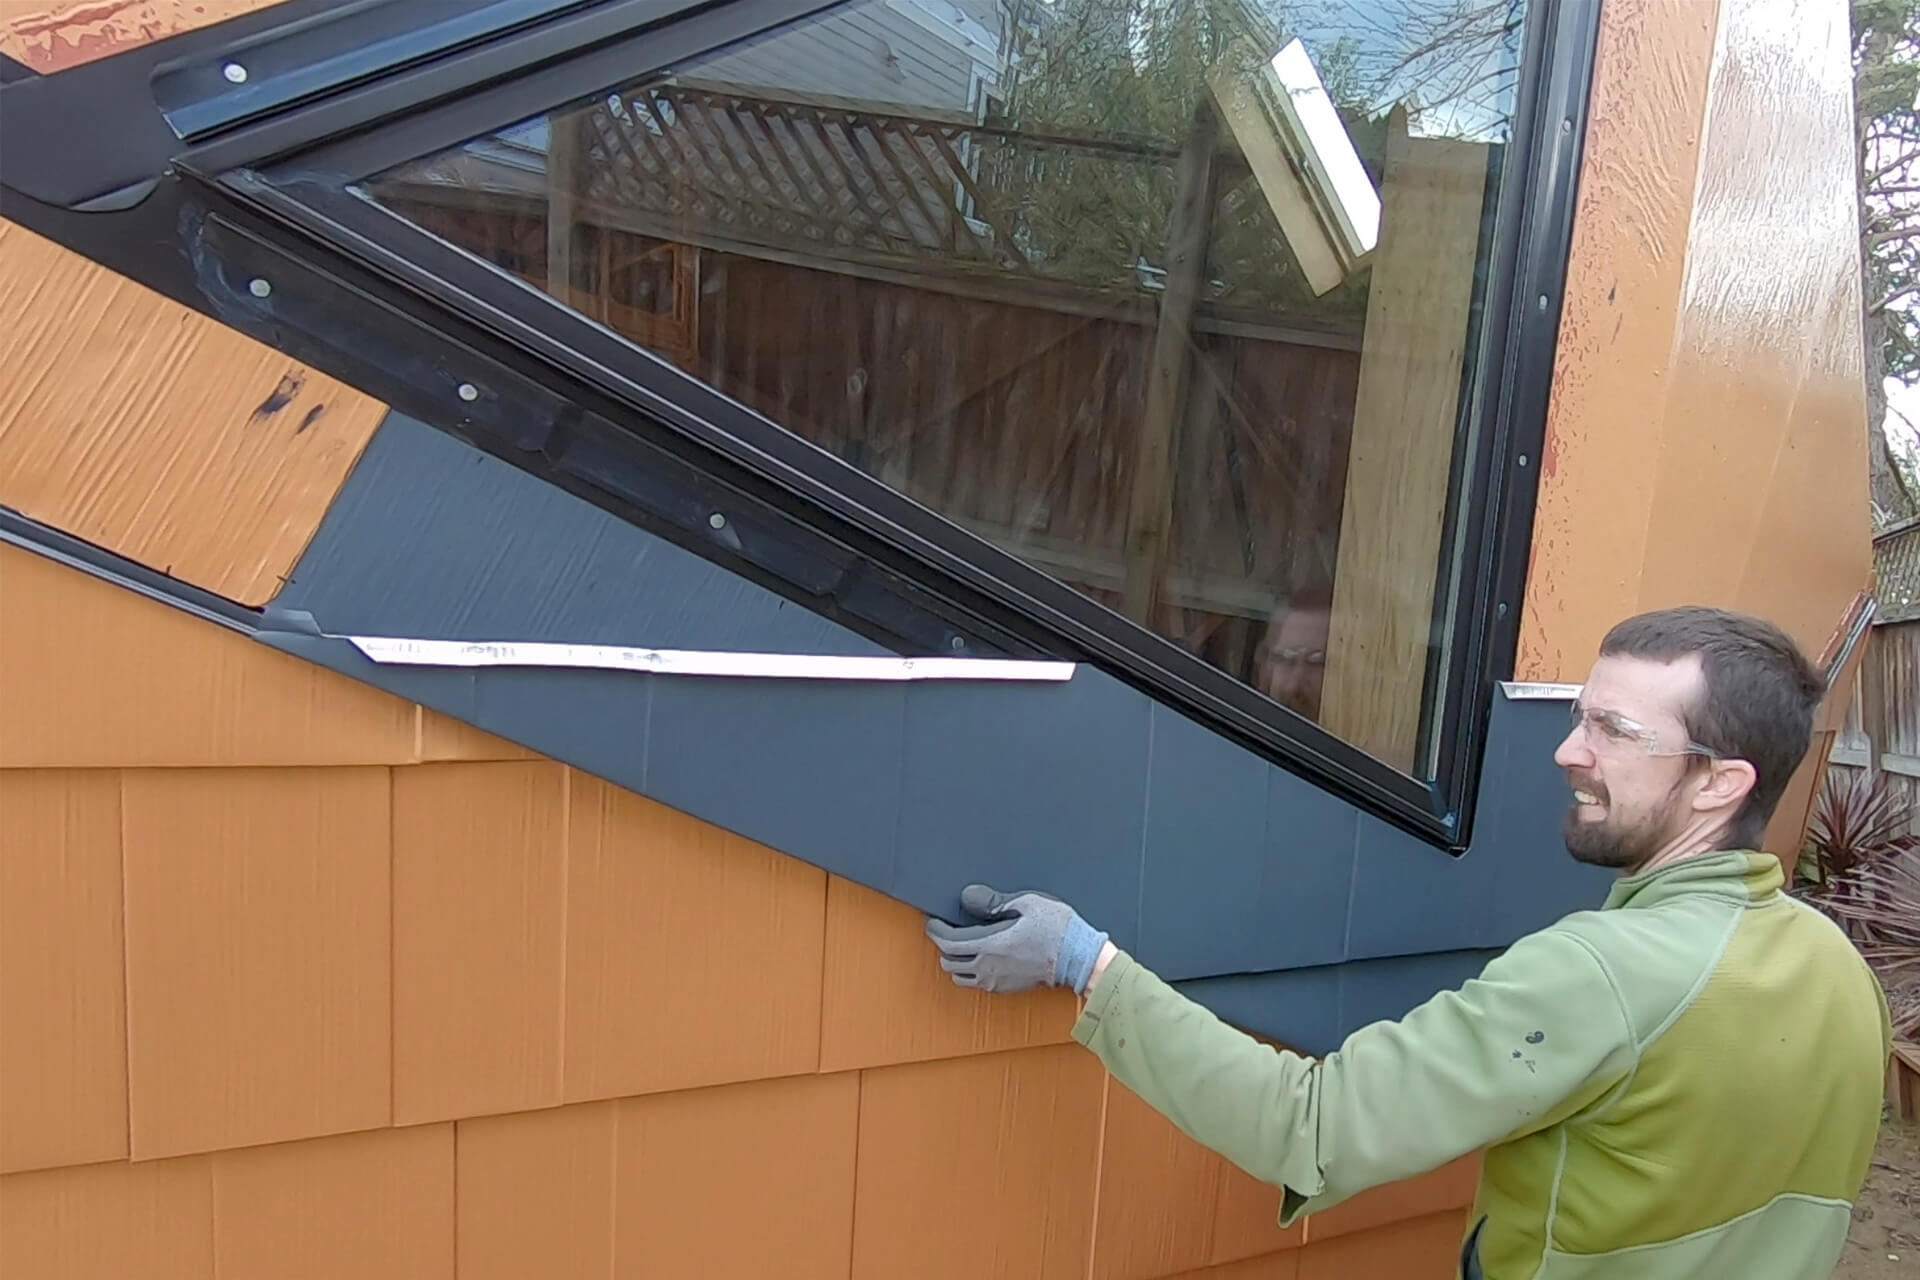
Attach the Siding Starter Strips to all three sides of the window. Pre-drill, apply caulk into the hole, then nail. This ensures water will not follow the nail path.
Use a spacer to ensure a proper and uniform distance of approximately 0.5" (a finger's width), the minimum space required to fit a hooked edge of a shingle.
Bend and snip the bottom Siding Starter Strip to create a path for water. It is easiest to do this before attaching.
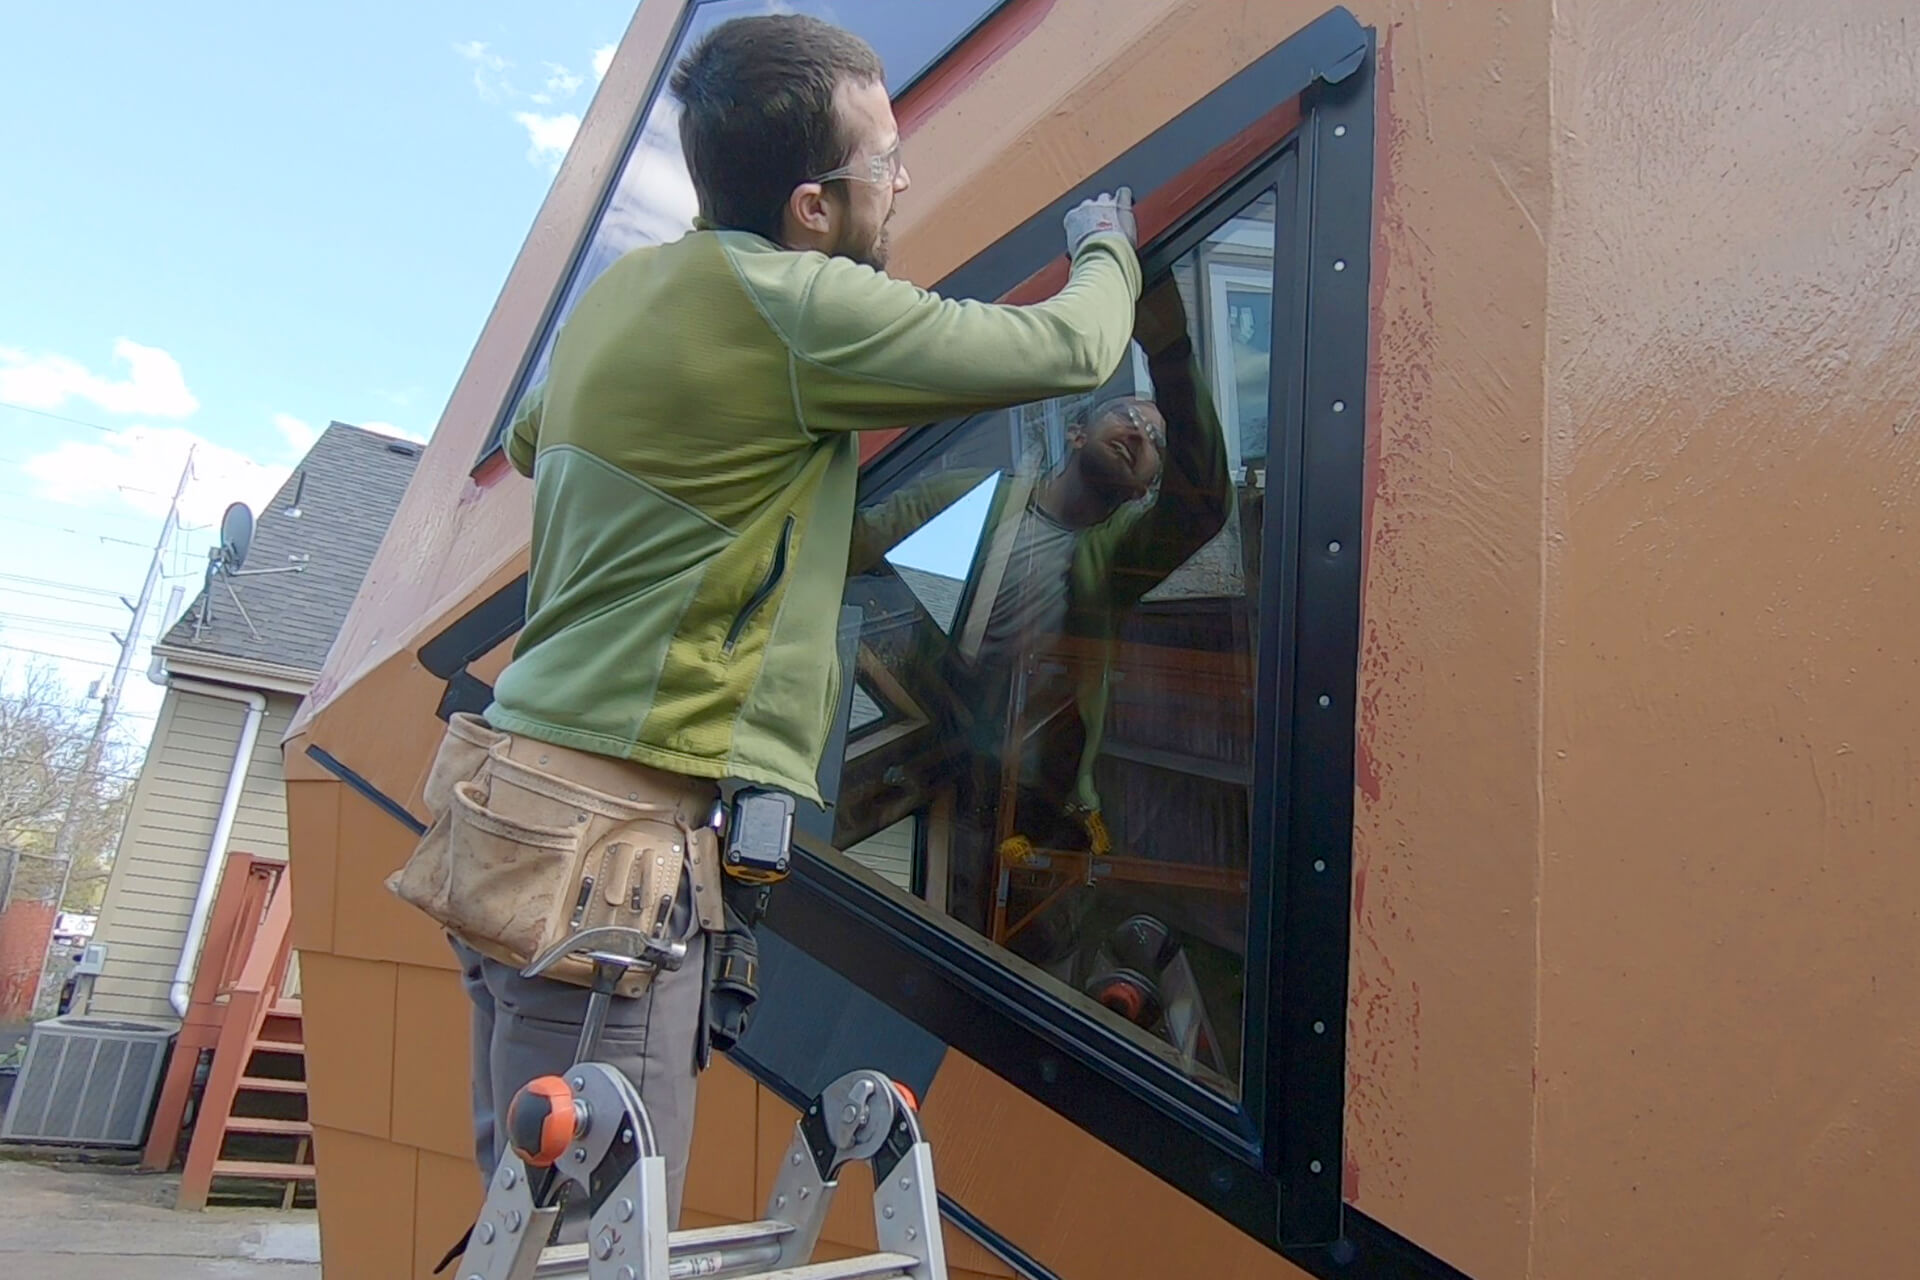
The Siding Starter Strips installed. The window is now ready for shingles.
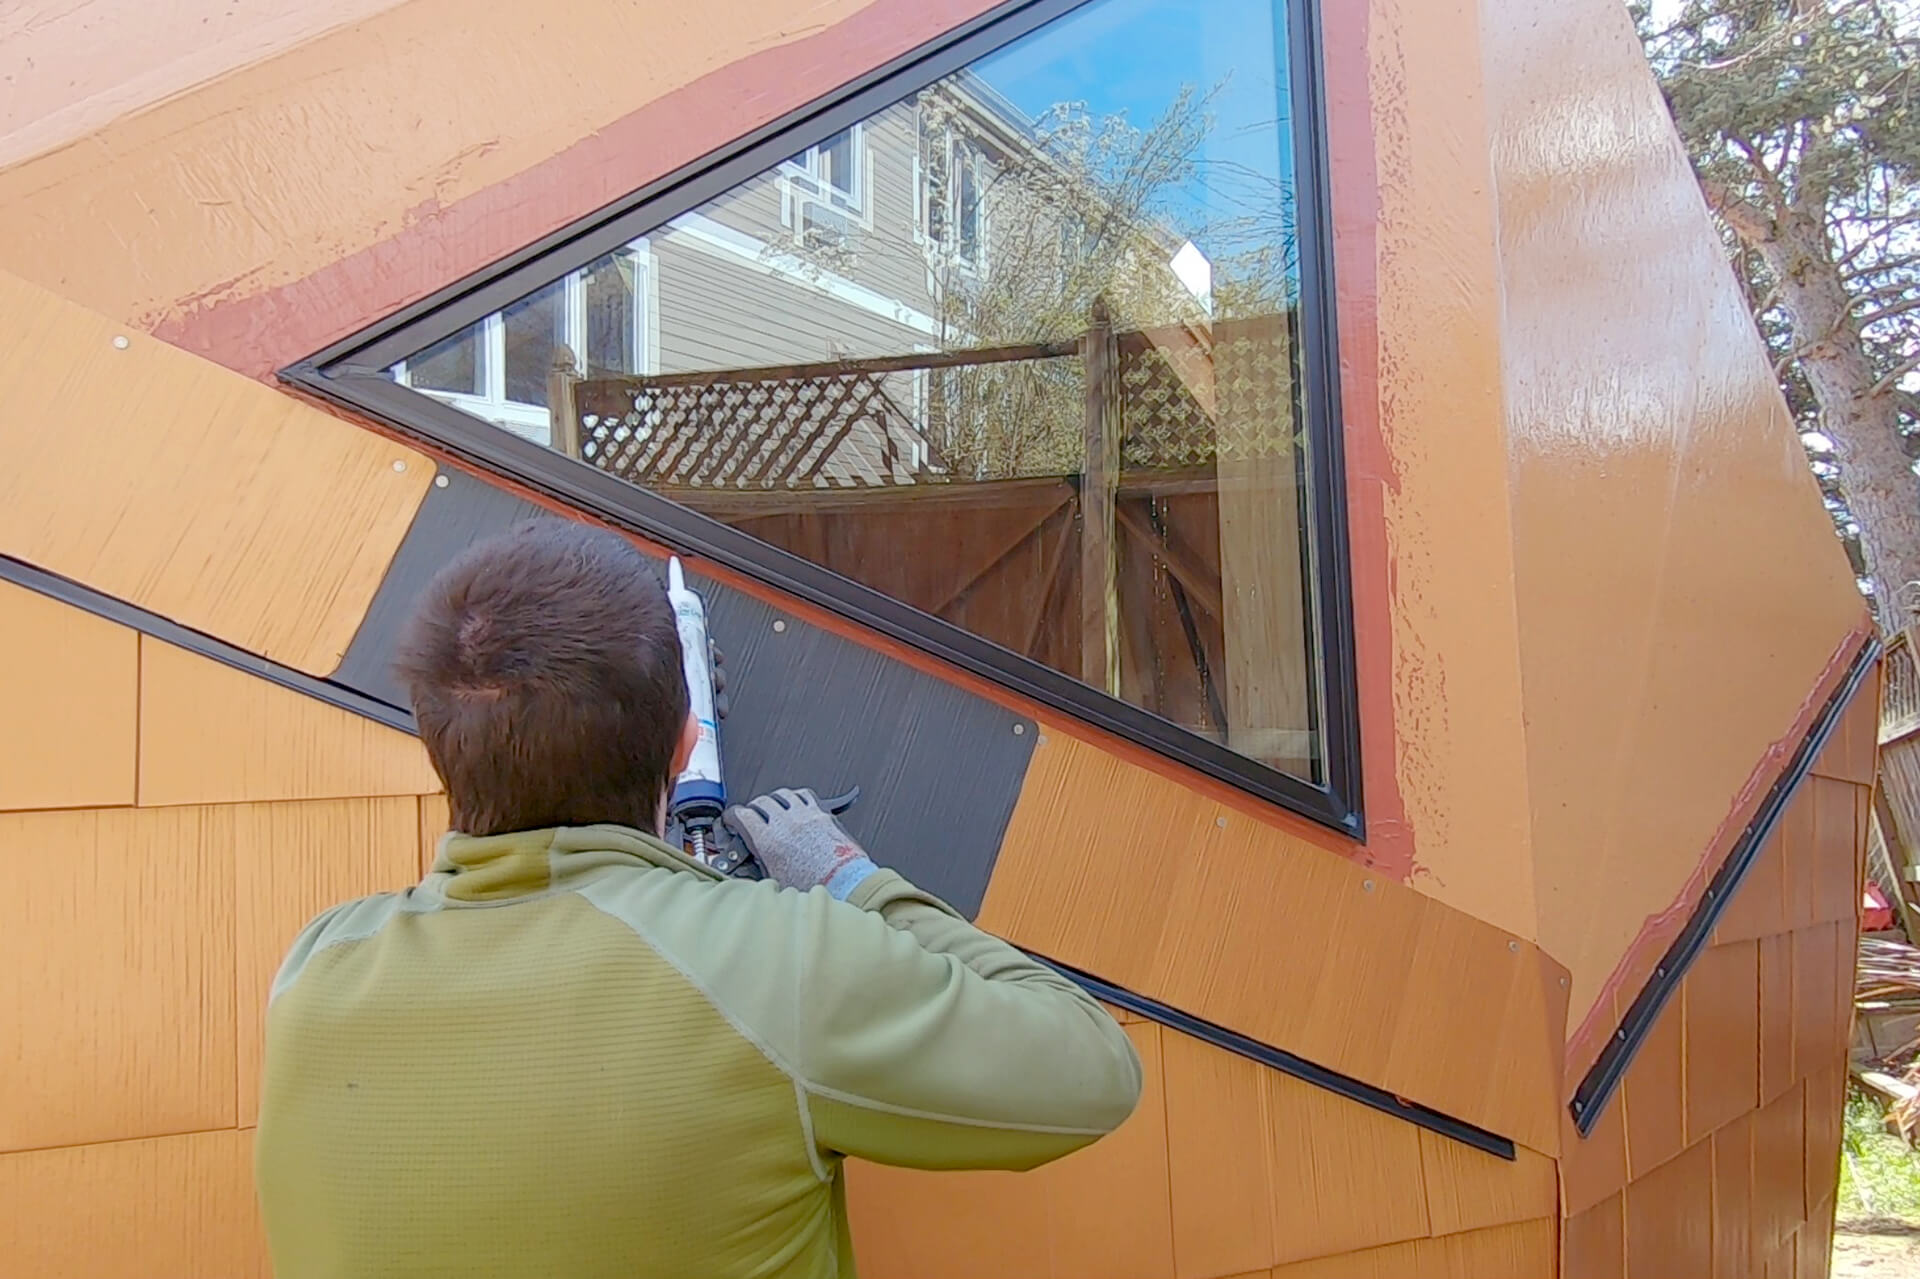
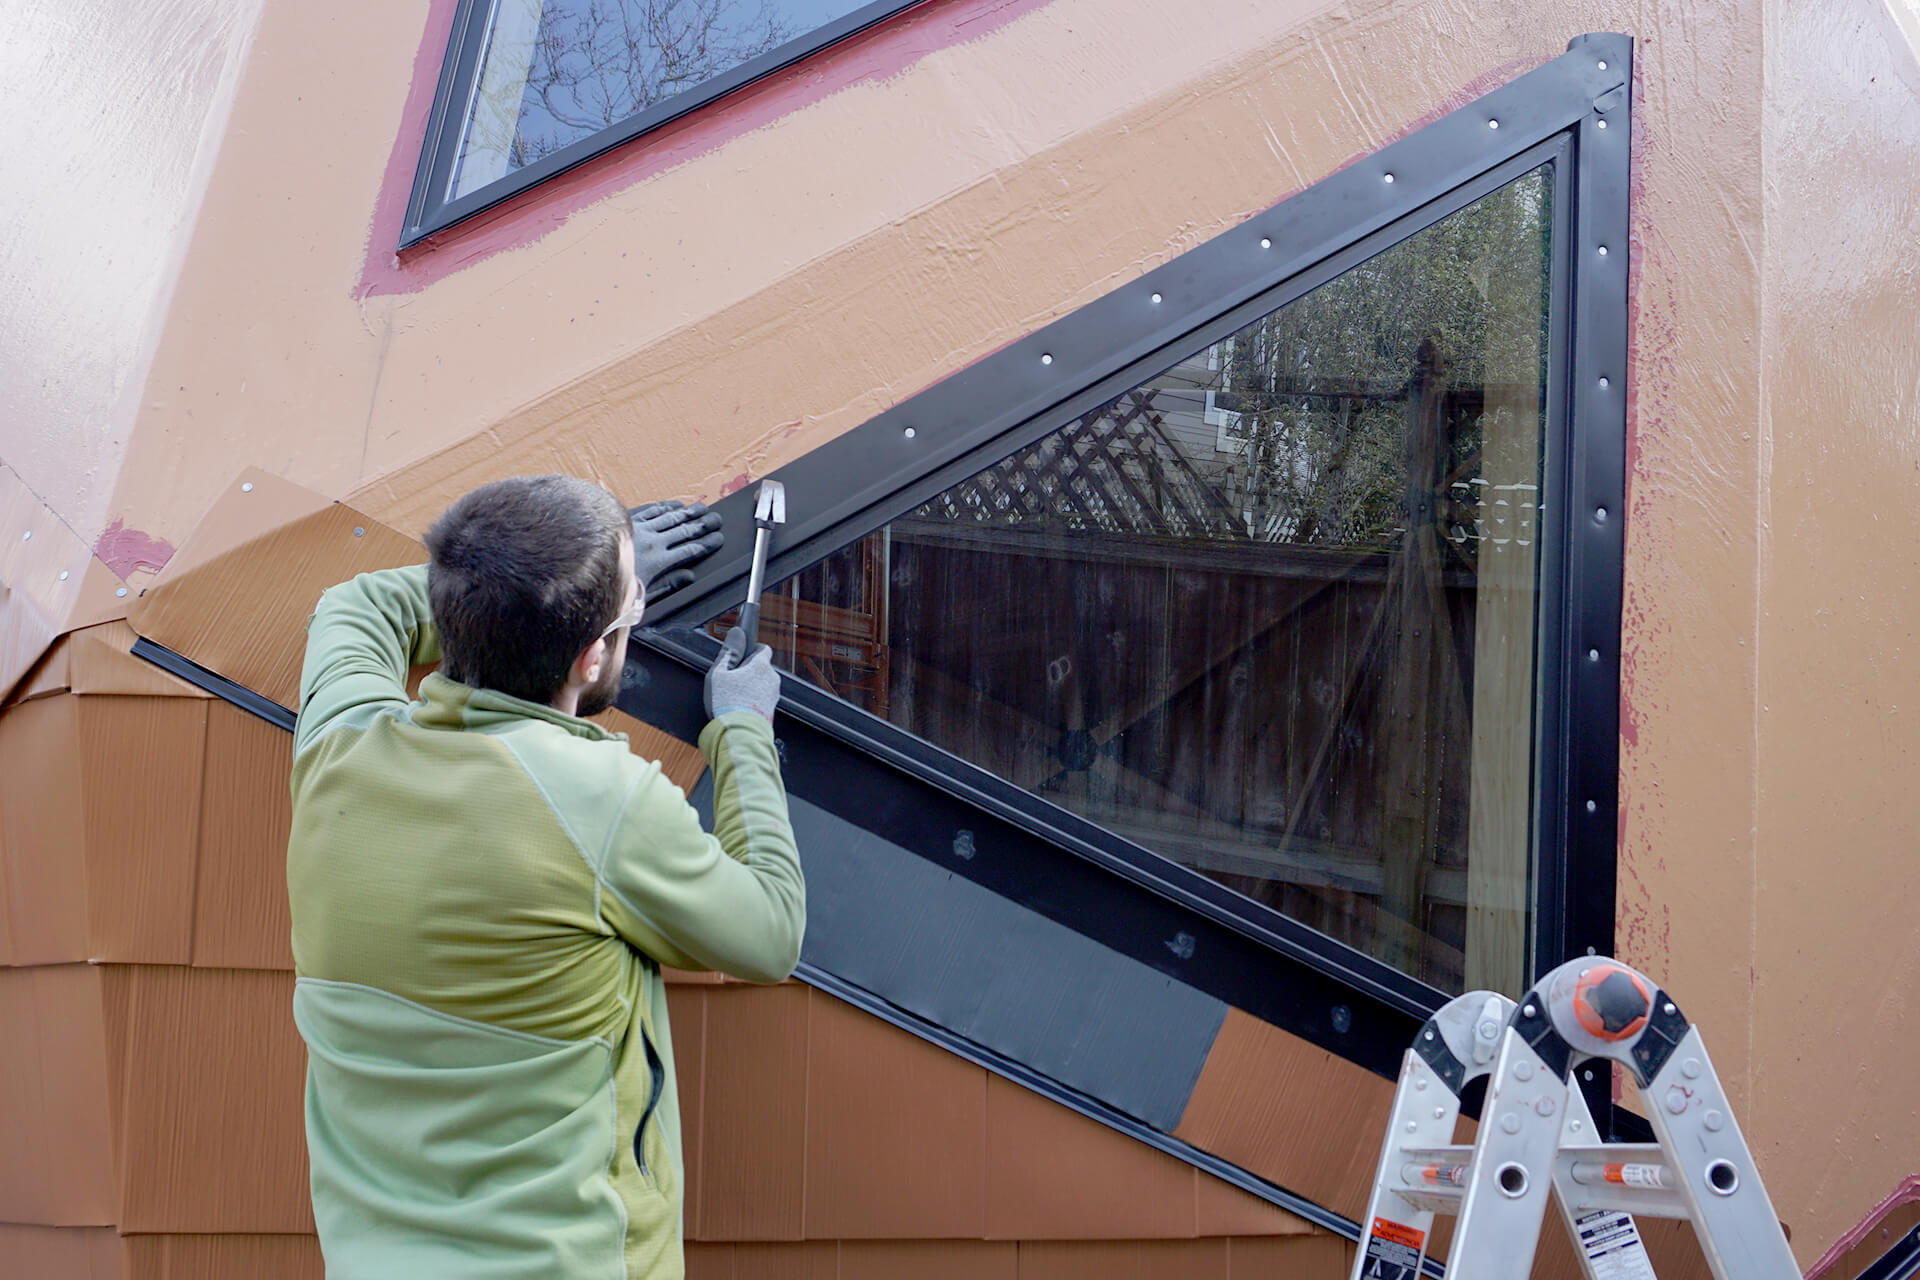
Install the shingles. Place a ~0.2” plastic spacer and apply caulking under the nailing clip locations (not shown) to create a gap for water flow along the hidden roof.
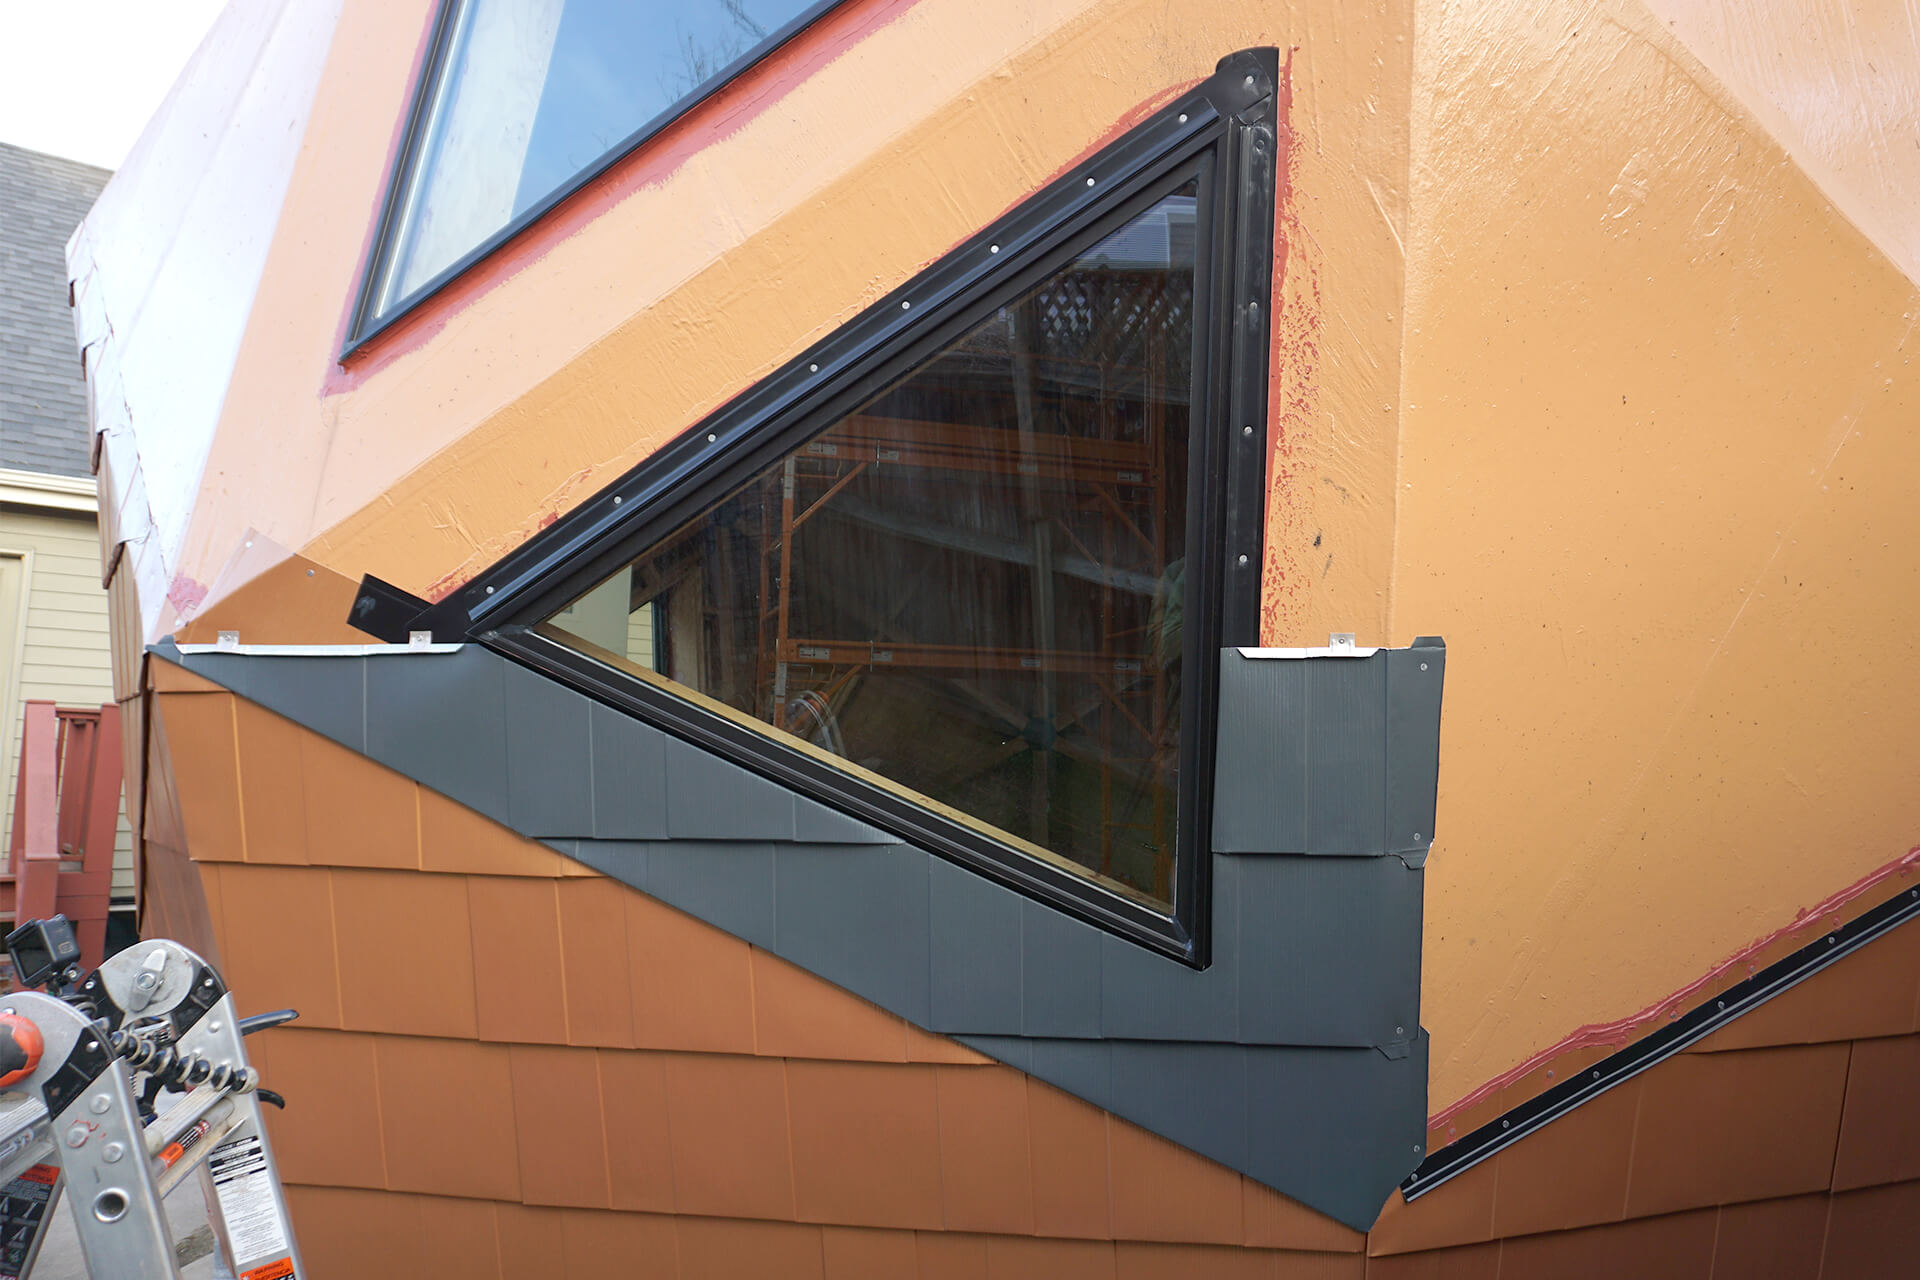
The bottom shingles hook on three sides: Leave the left edge with a 90-degree bend, hook the bottom and right edges, then use a screwdriver to bend the remaining edge into a hook.
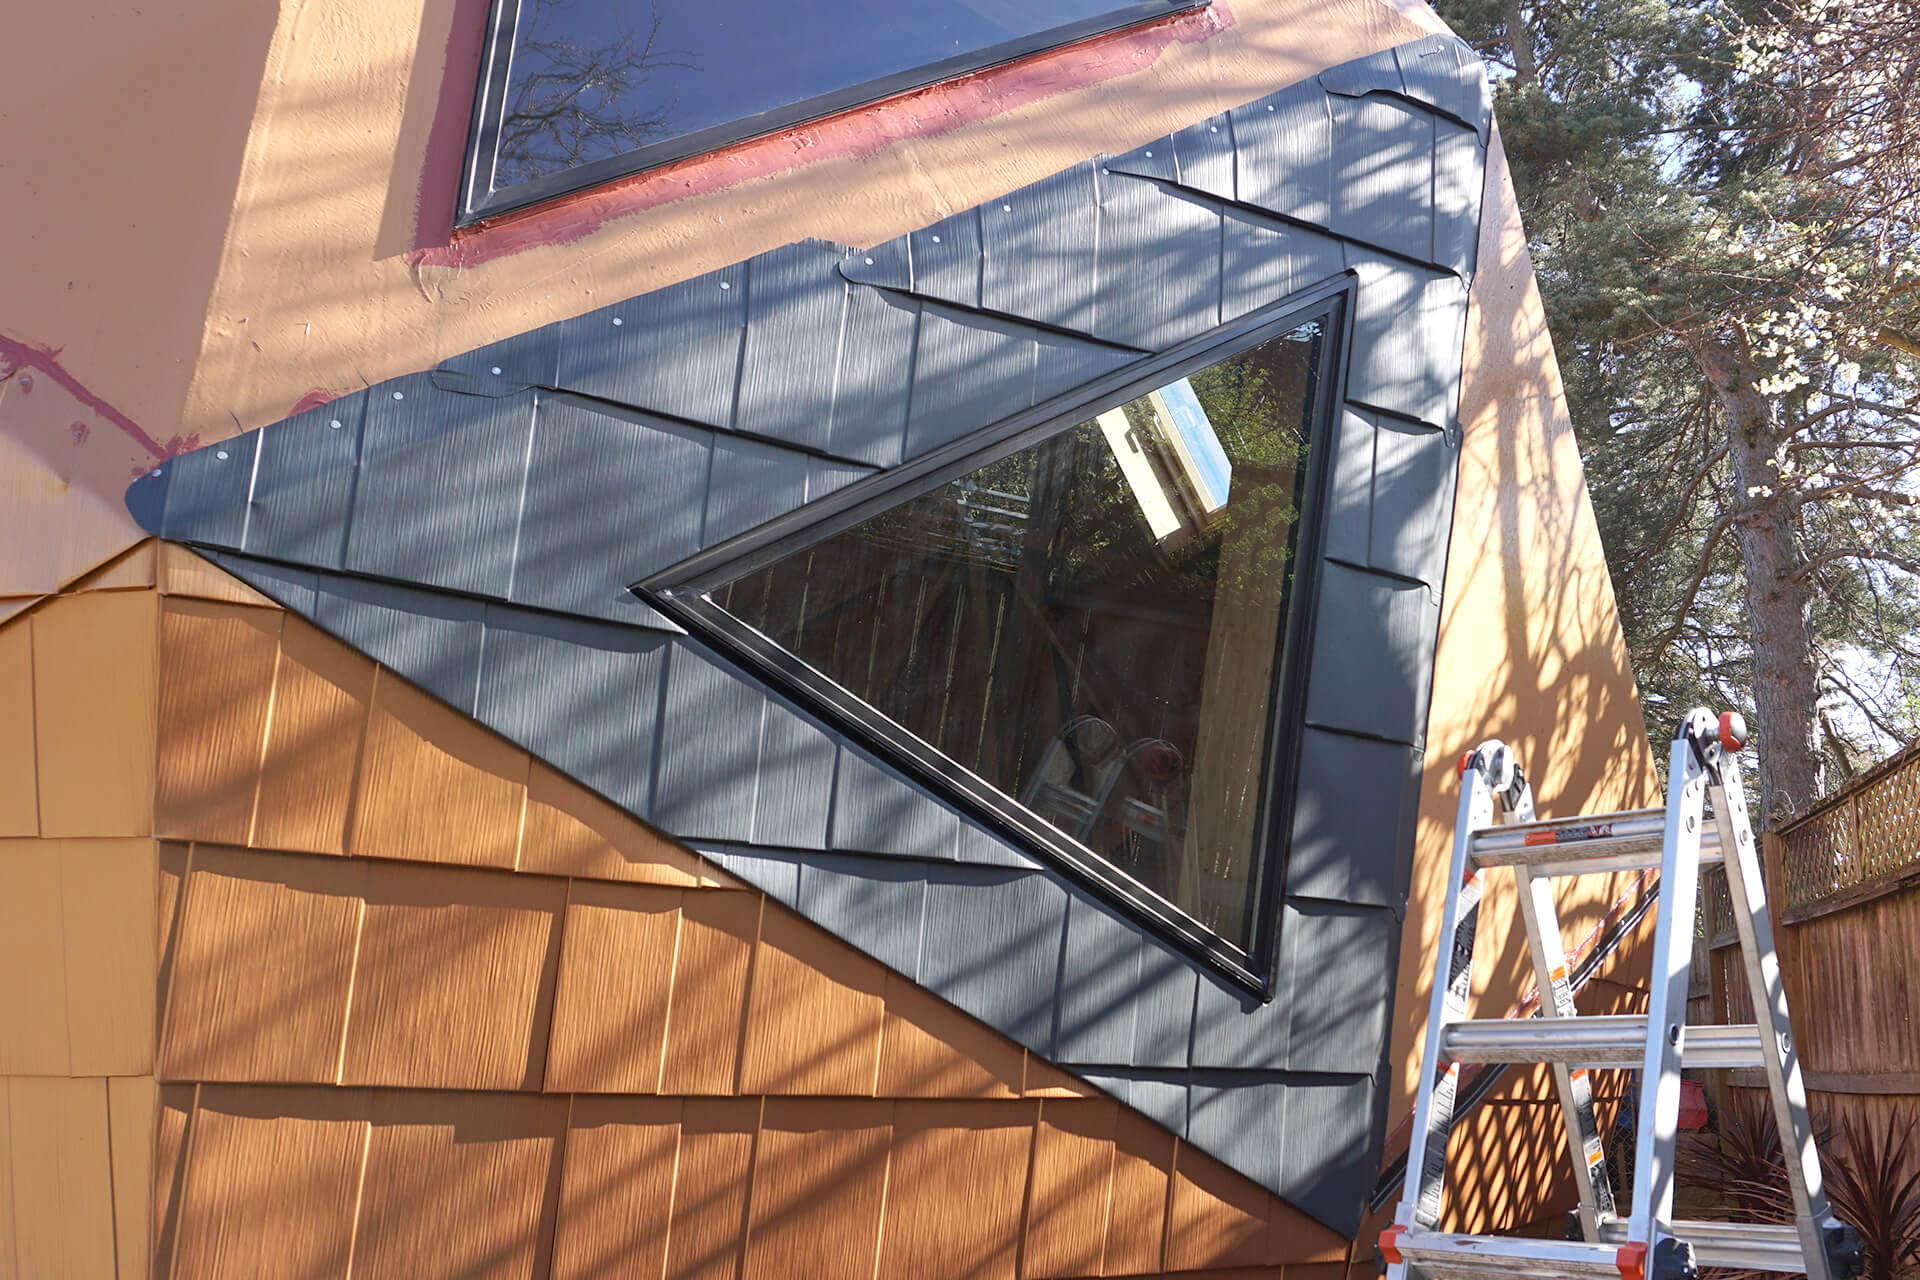
The completed shingling of a dome window panel.
Next Step