Room Framing – Shelf
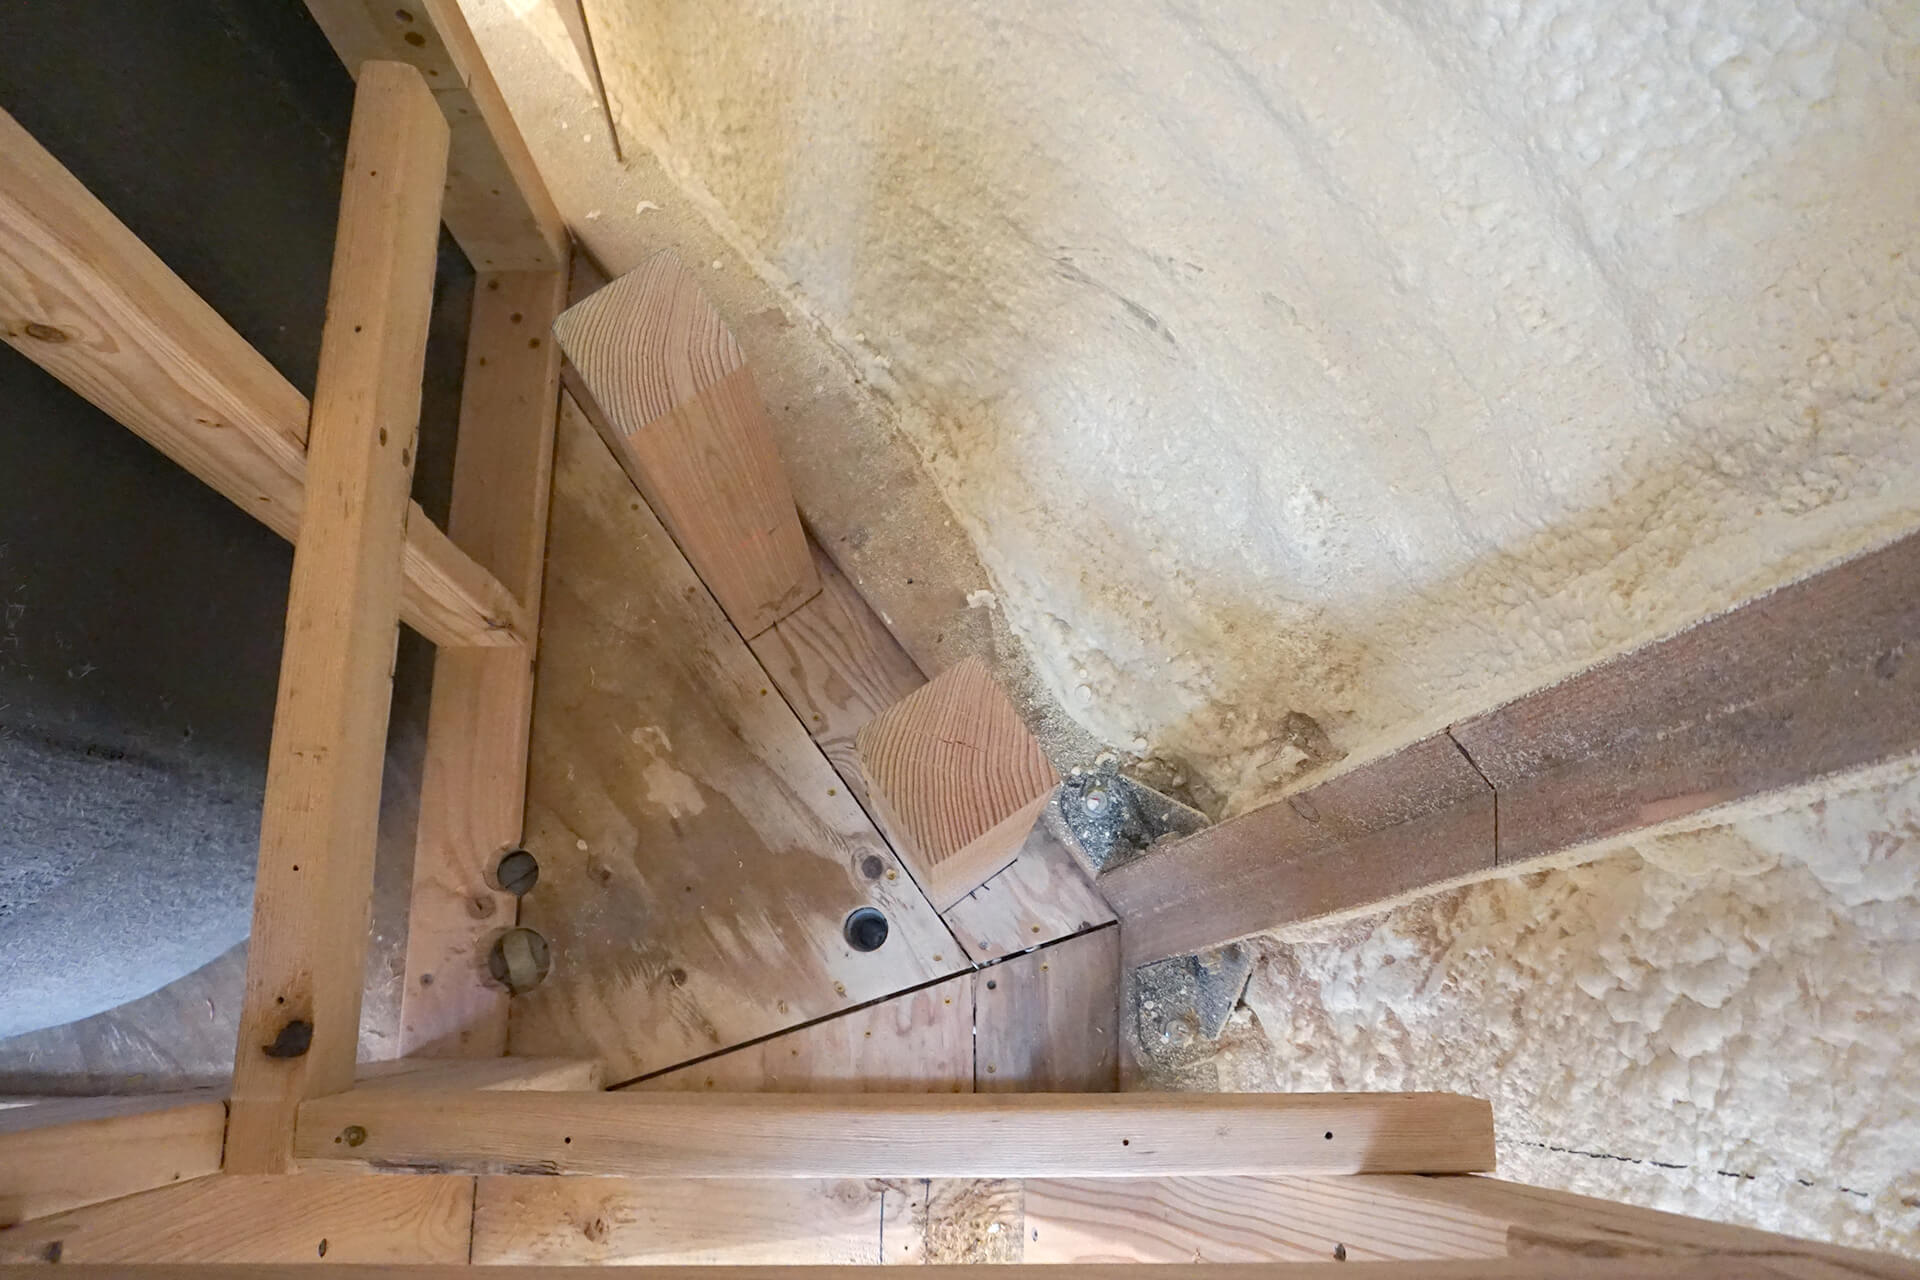
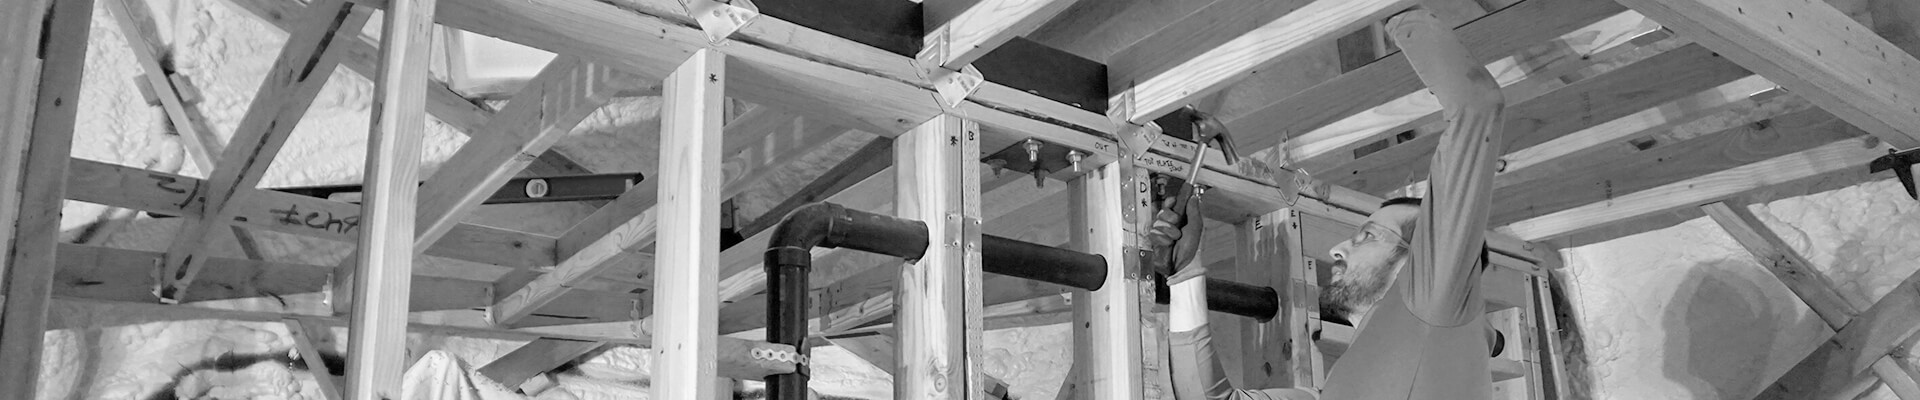
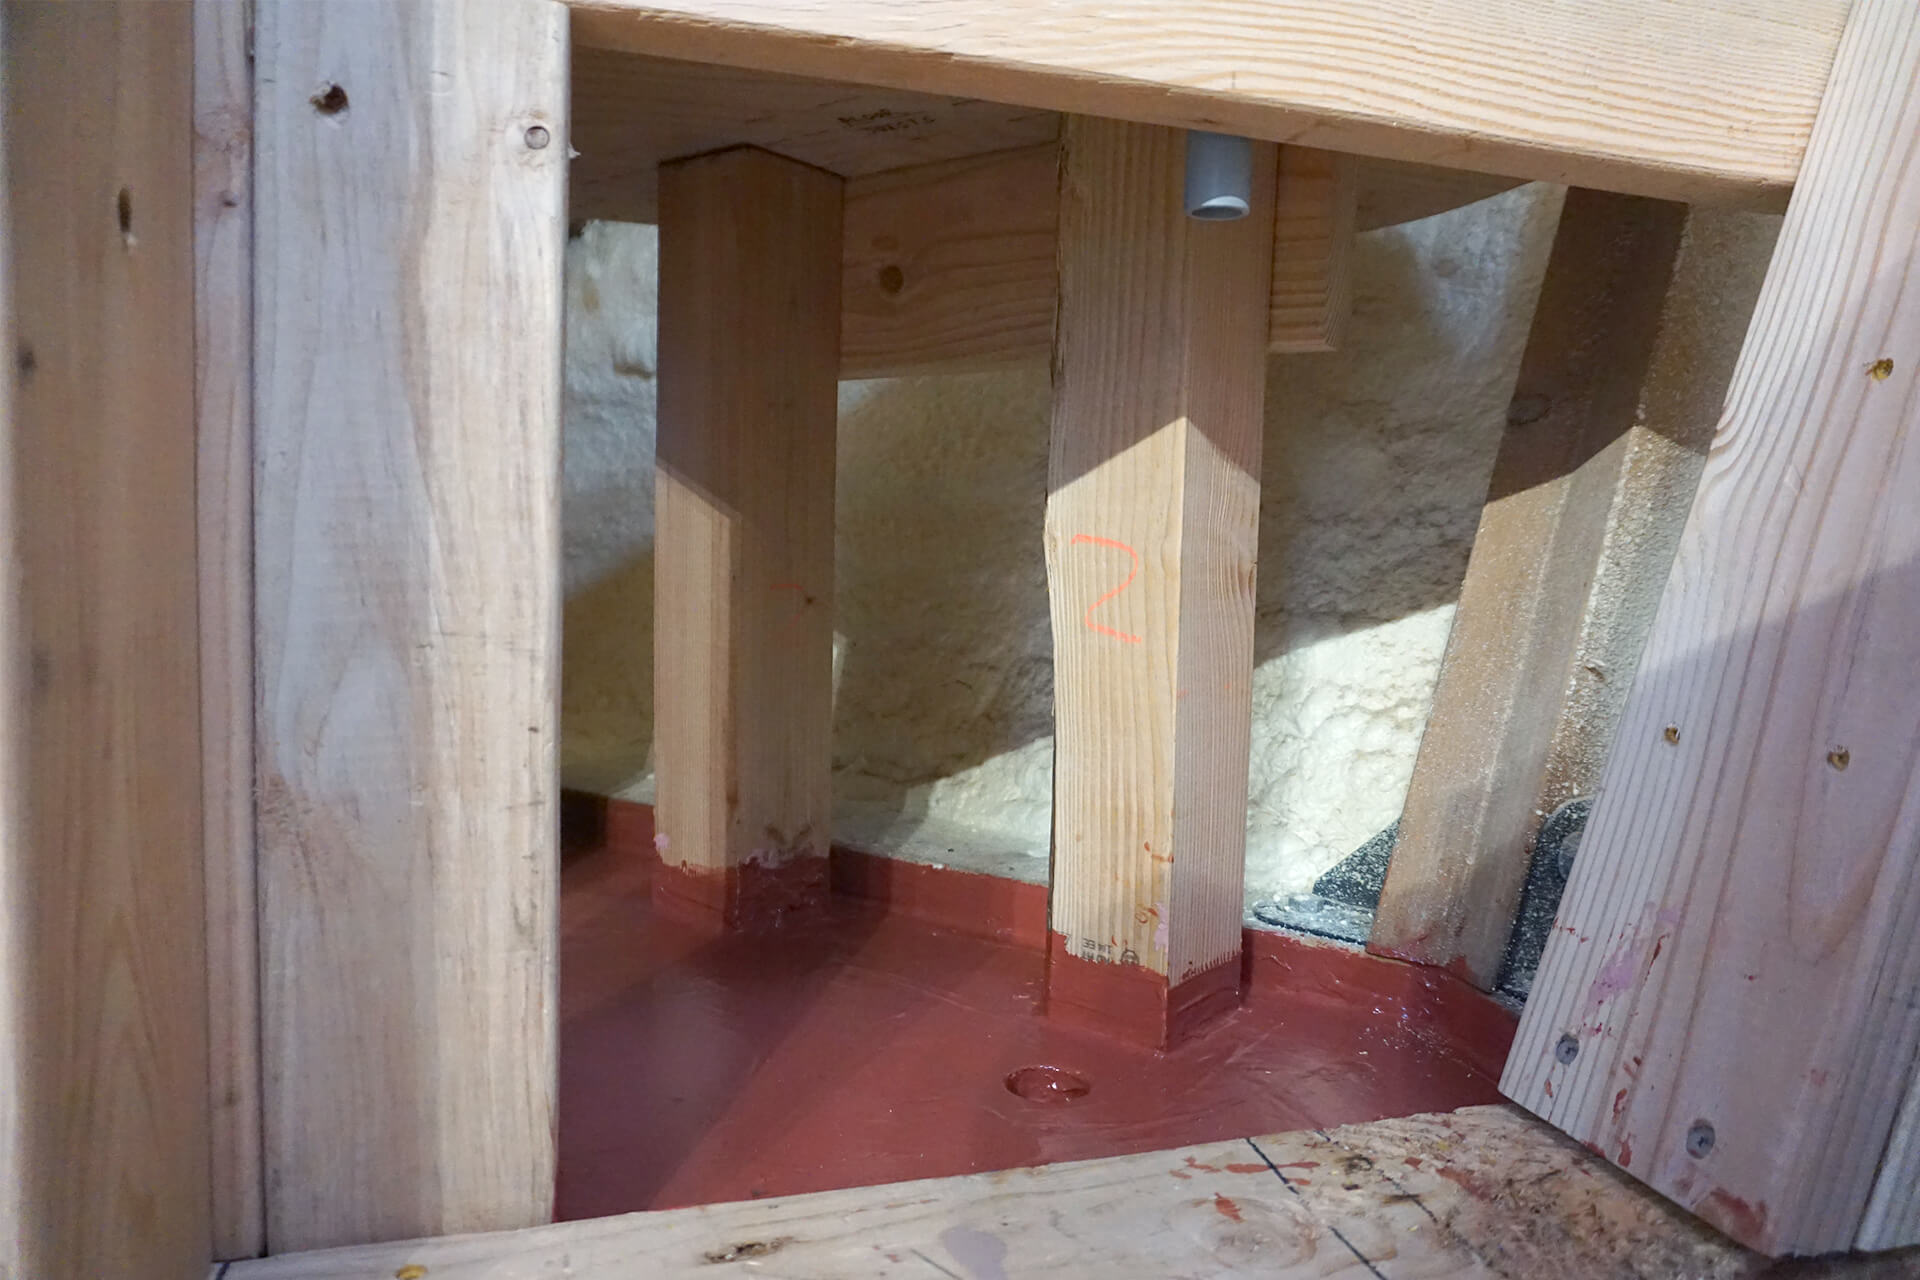
Cut the Water-Heater-Shelf lumber according to the drawings. Install the blocking and columns. This shelf is designed to support a heavy (~450 lb) load.
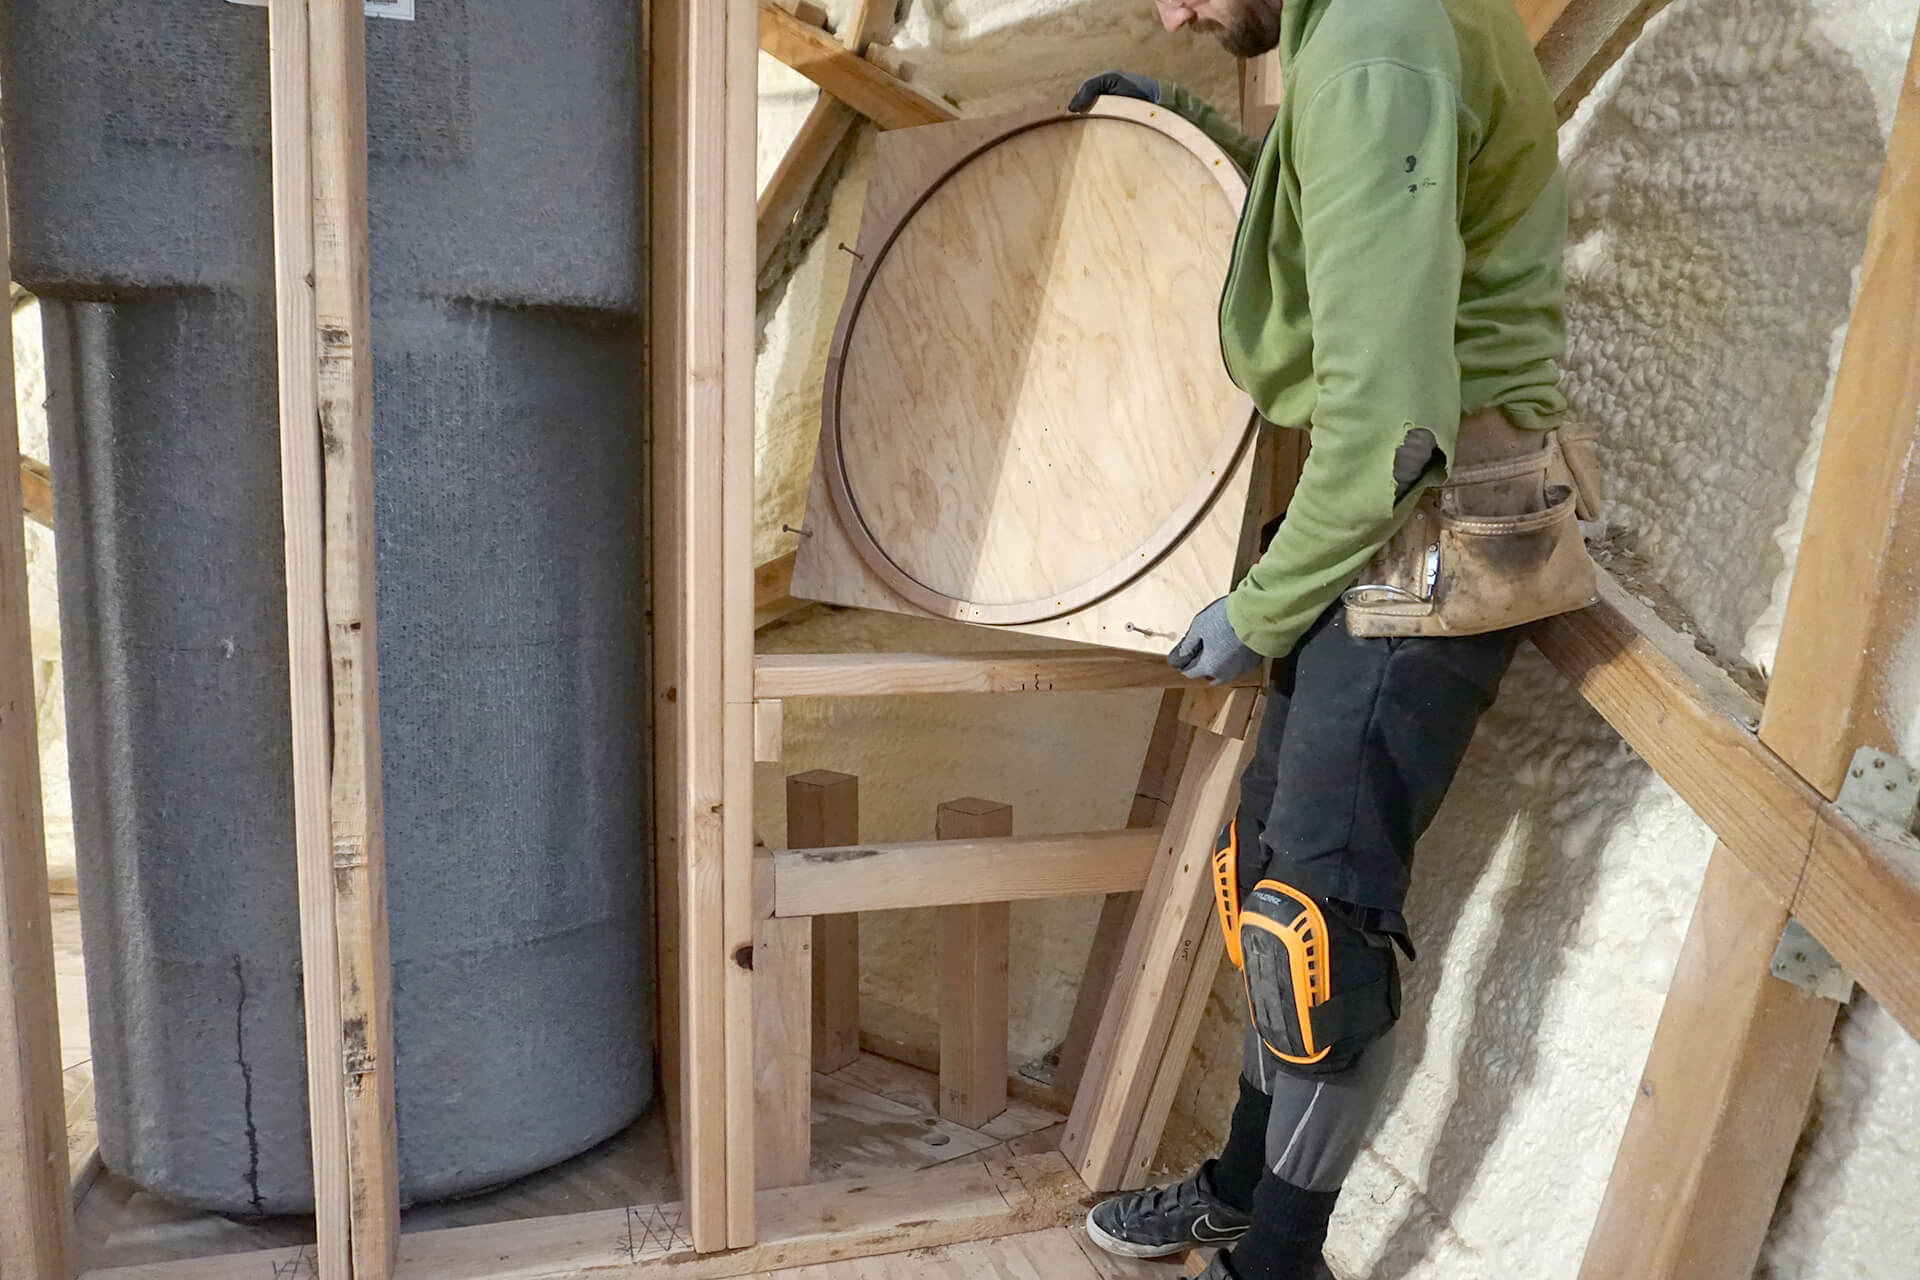
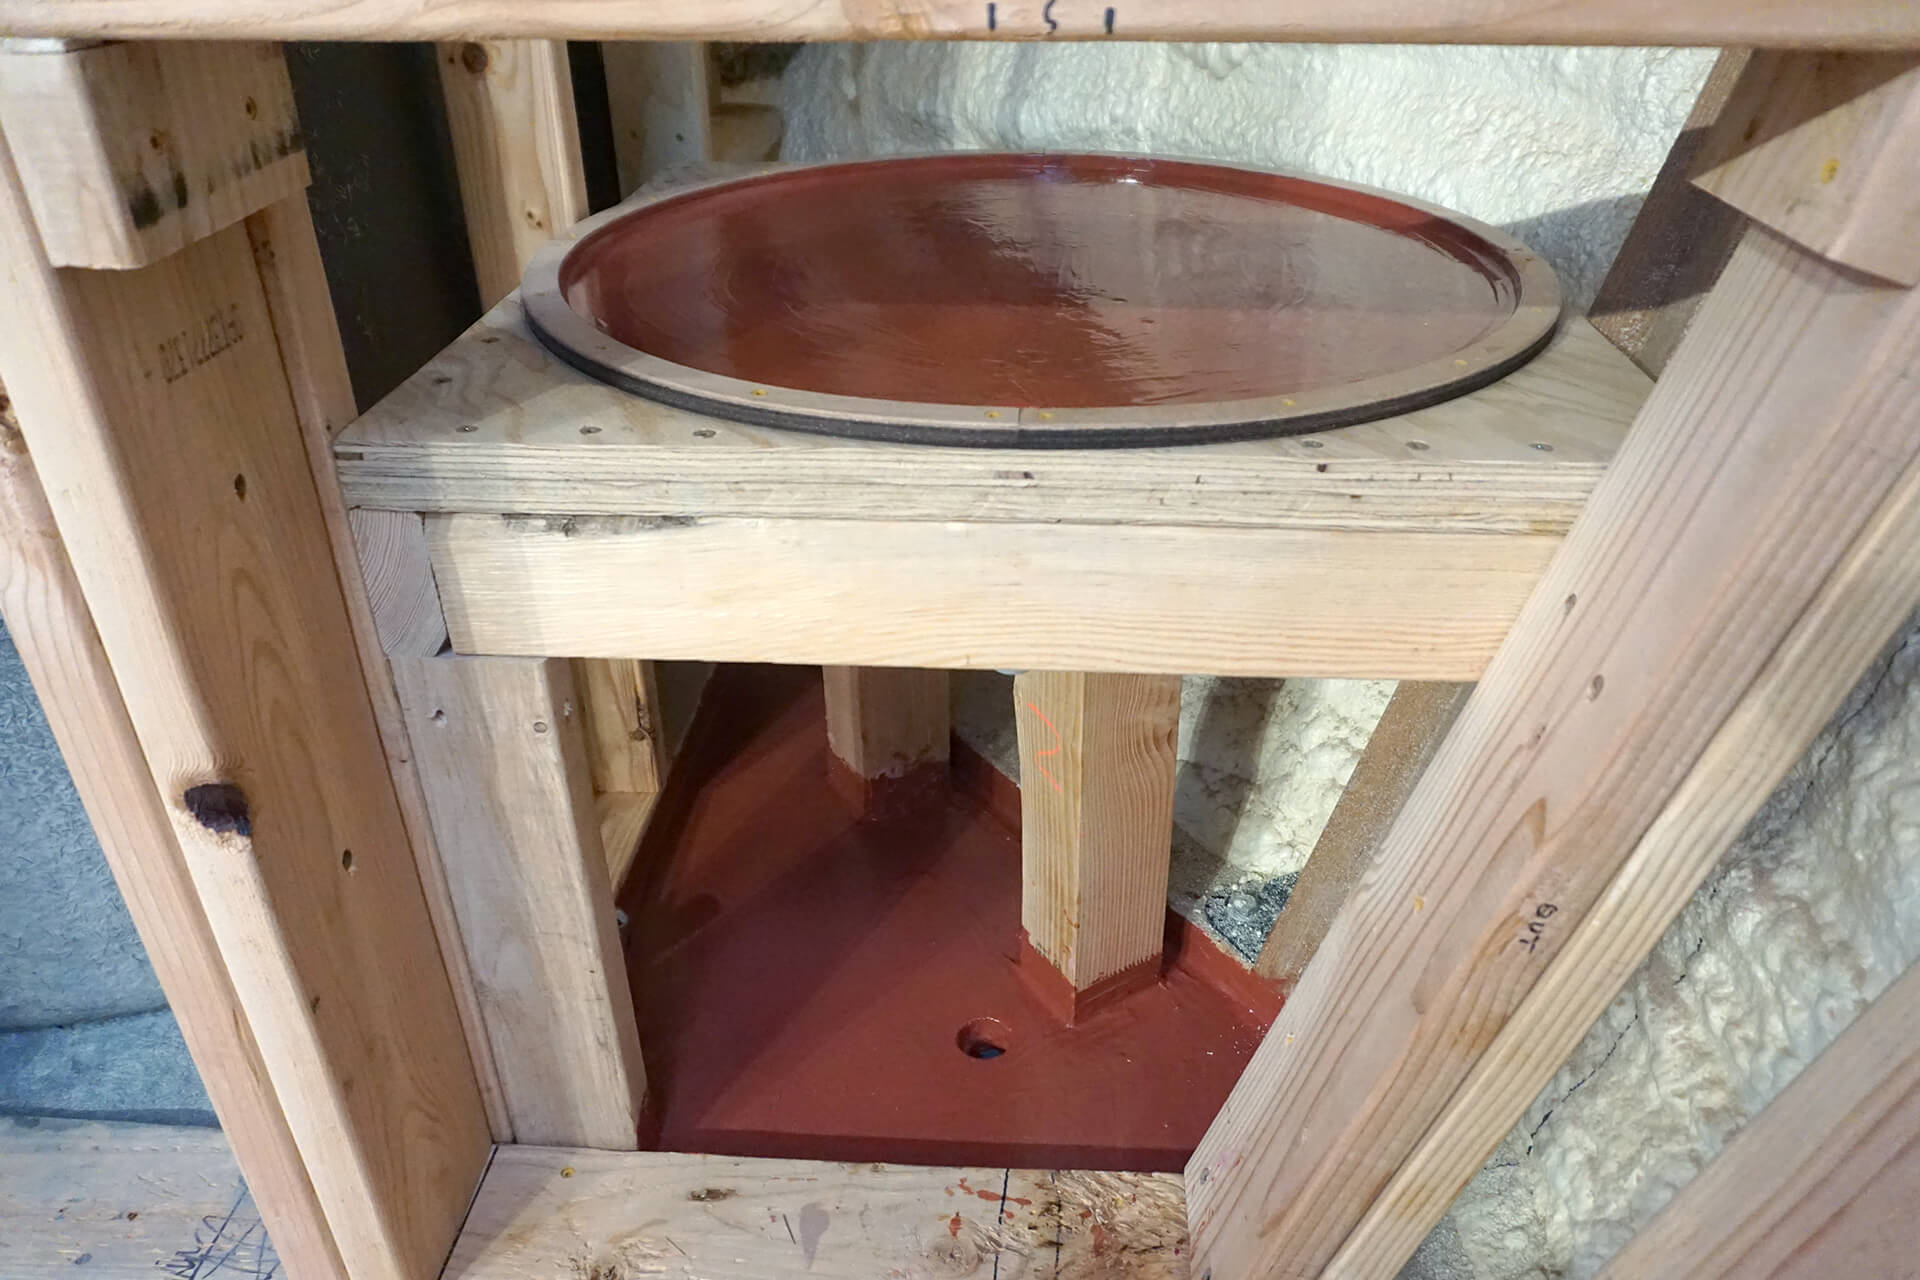
Build the shelf top from sistered plywood sheets and an upper ring. Secure the shelf to the blocking and columns with 3” framing screws.
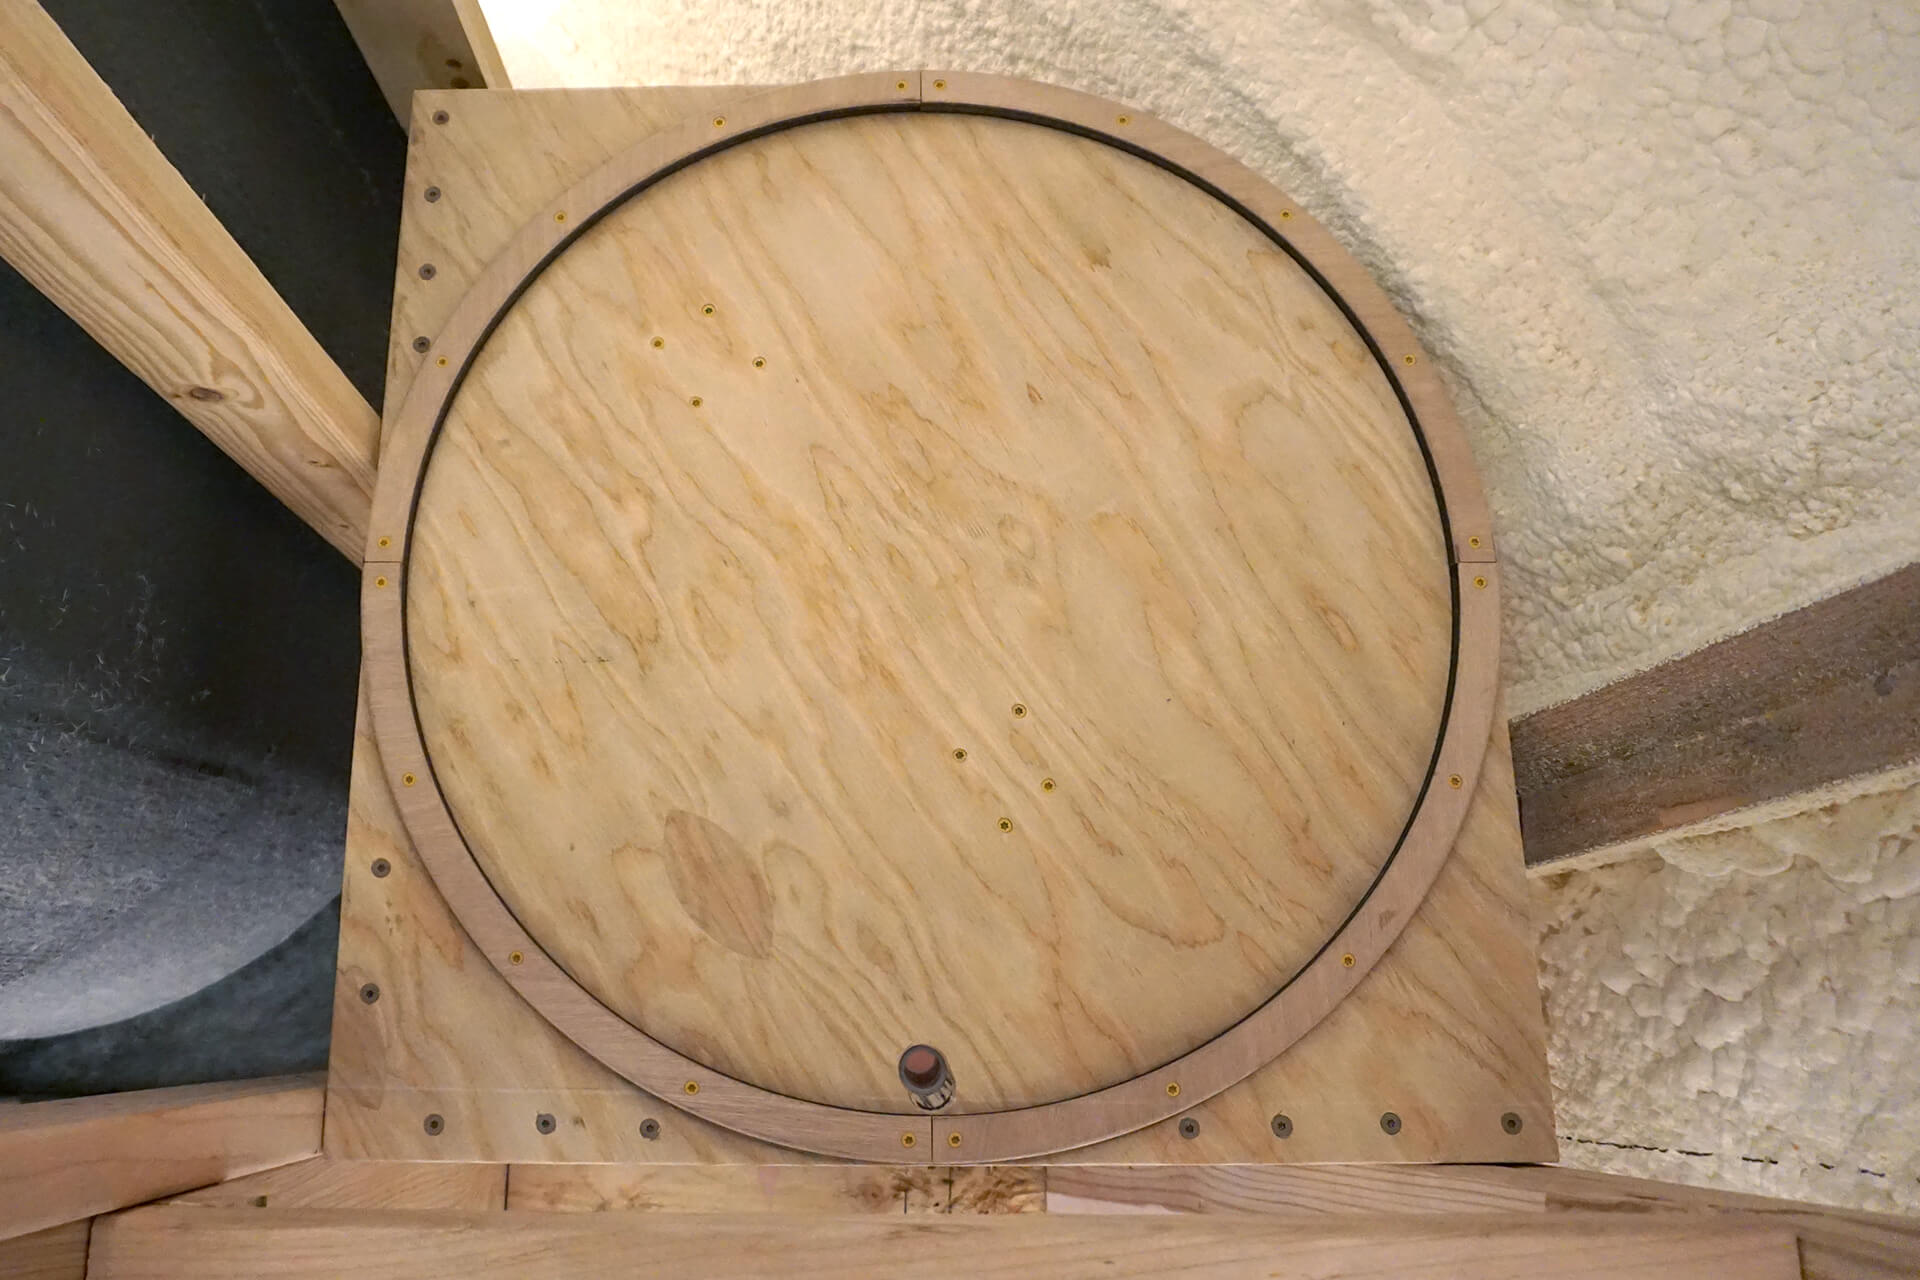
Drill a drain hole inside the ring. Carve a channel to direct the drain to the perimeter of the circle. Sleeve the circle with a piece of conduit to ensure any slow leaks drip down.
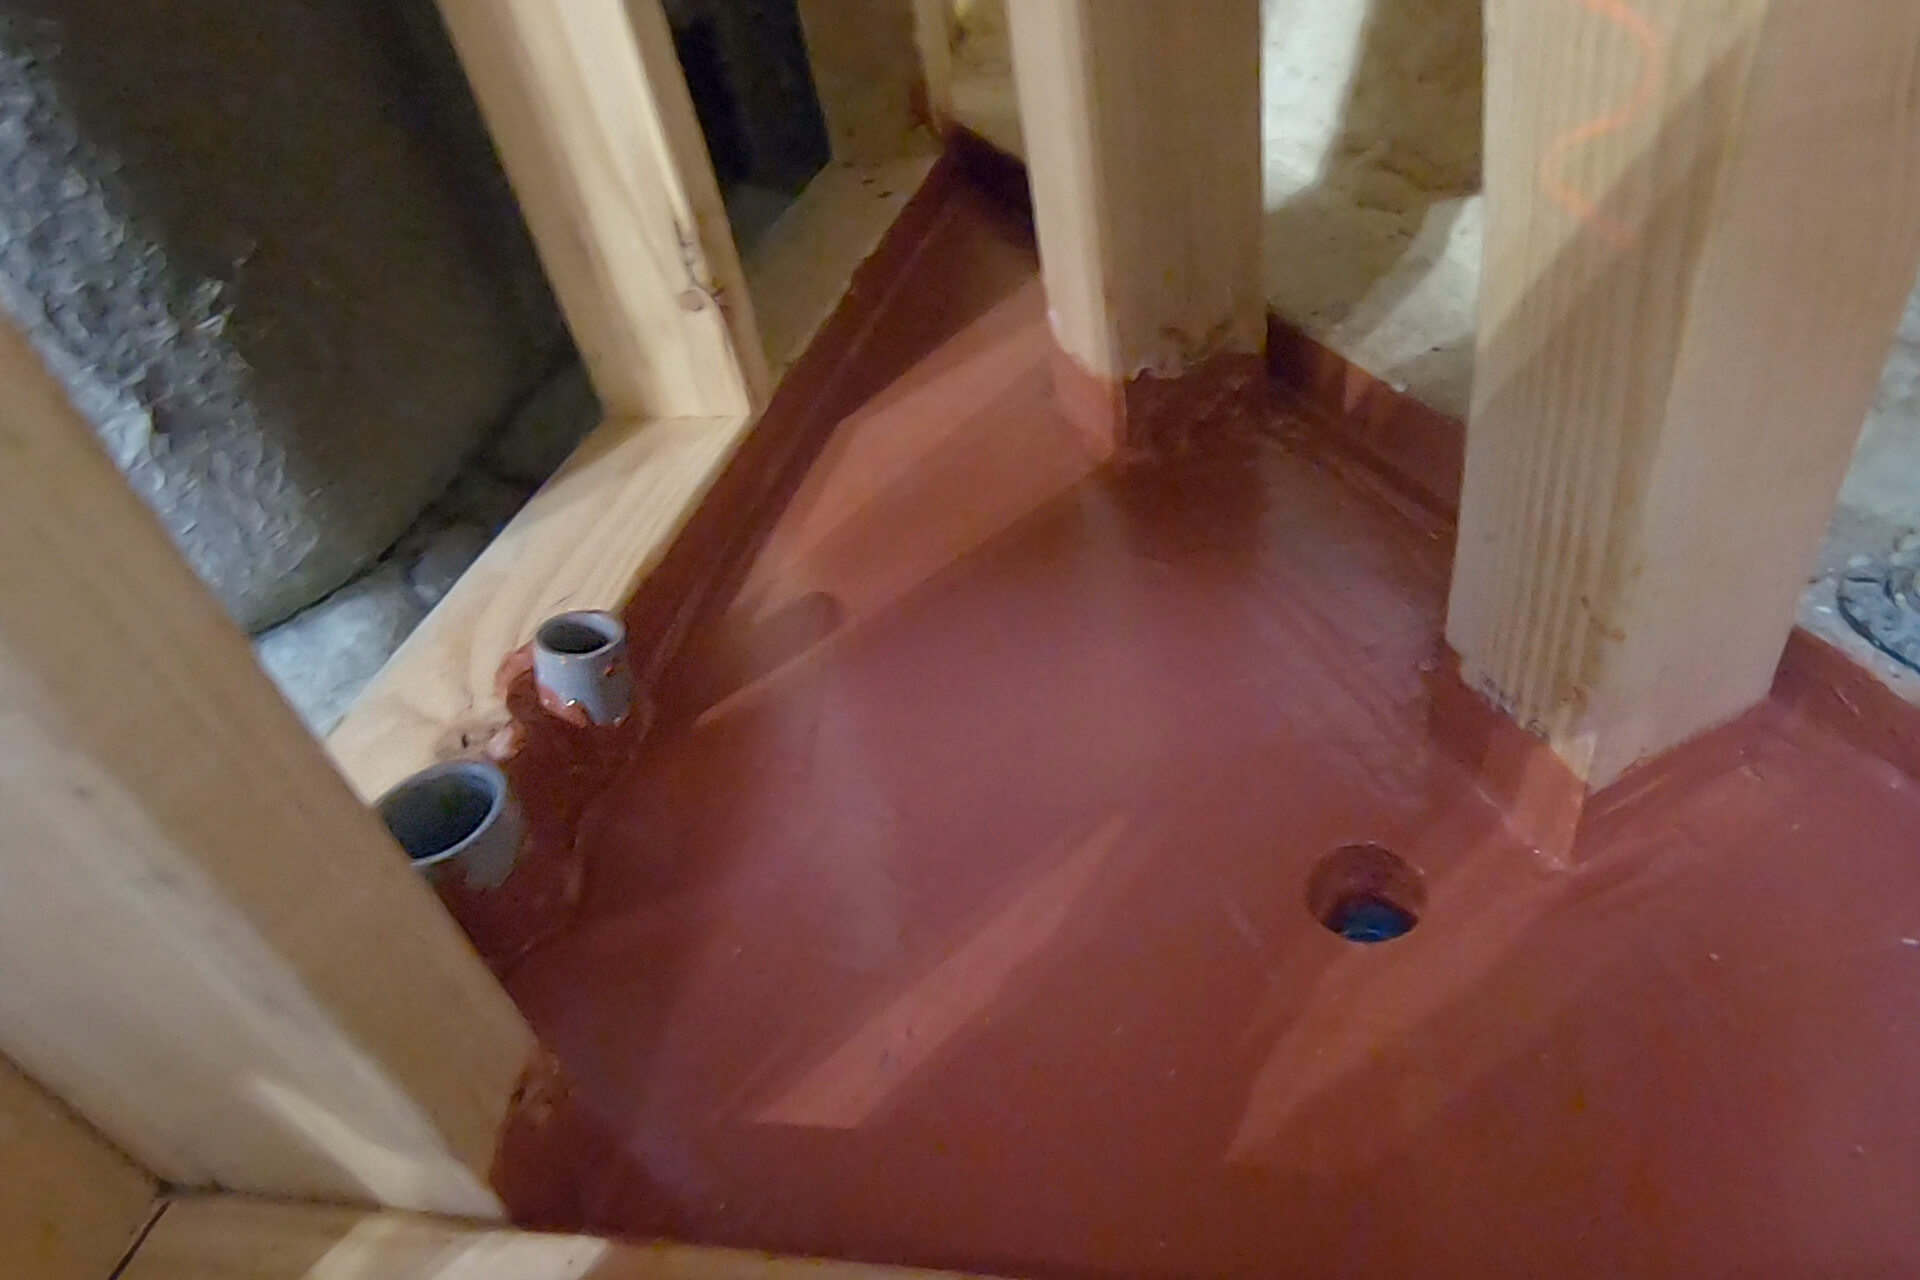
Ensure the water and data conduit protrudes through the subfloor, then coat the area with a fluid-applied waterproof membrane. Prosoco R-Guard Fast Flash shown here.
Detail shot showing the underside of the shelf.
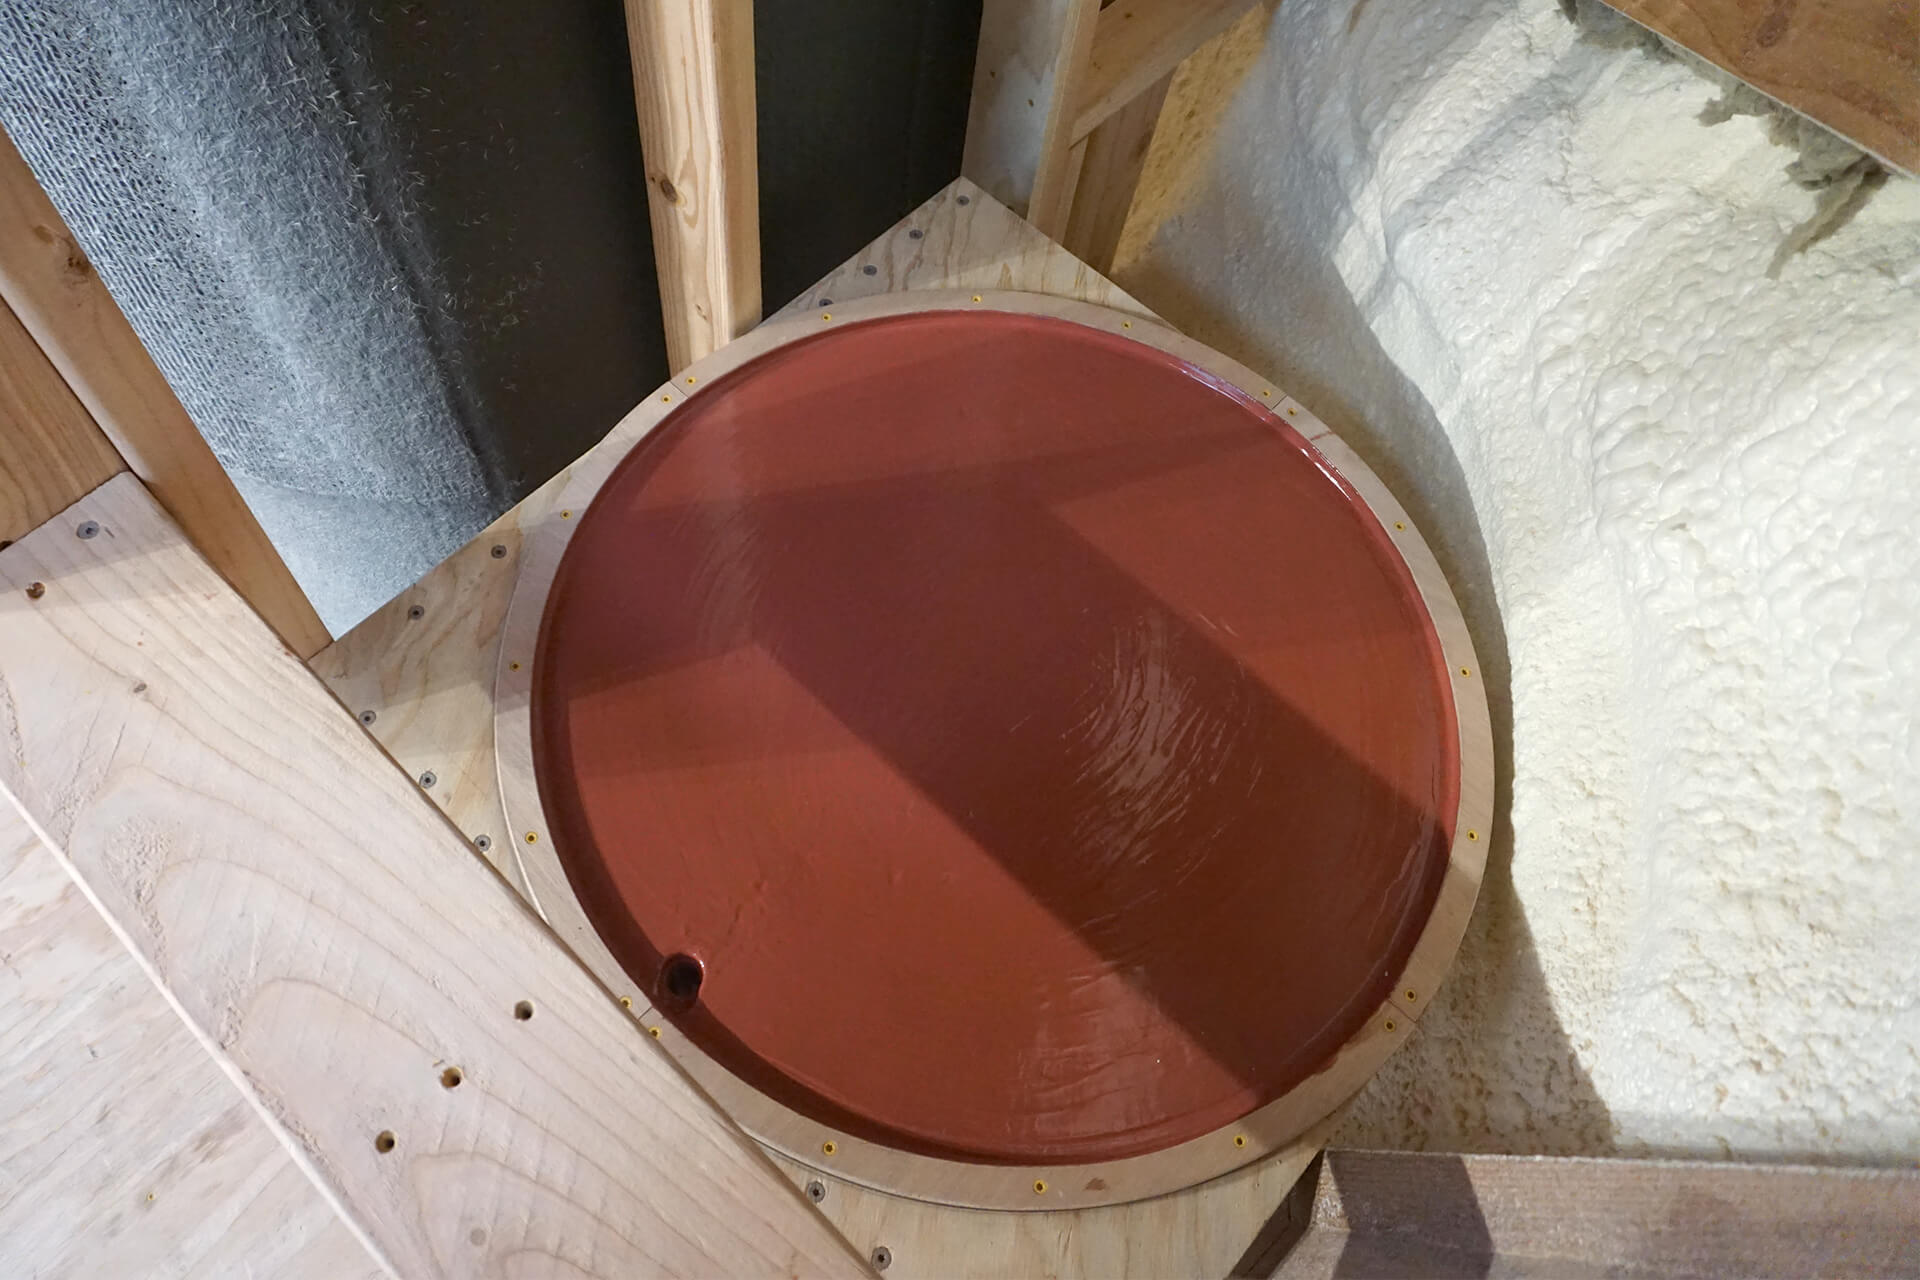
Coat the shelf top and inside lip with a fluid-applied waterproof membrane, acting as a built-in drip pan. Prosoco R-Guard Fast Flash shown here.
Congratulations on completing the water heater shelf!
Next Step