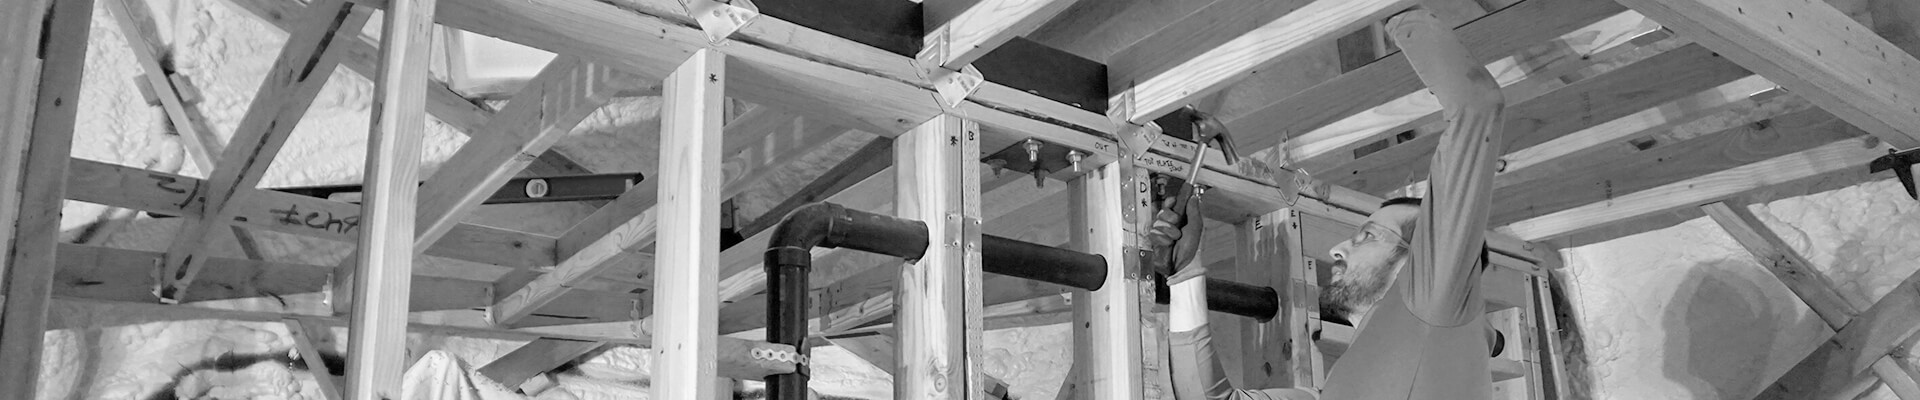
Room Framing – Subfloor
Add plywood sheathing inside the framing to create a solid surface for mounting the TV and soundbar.
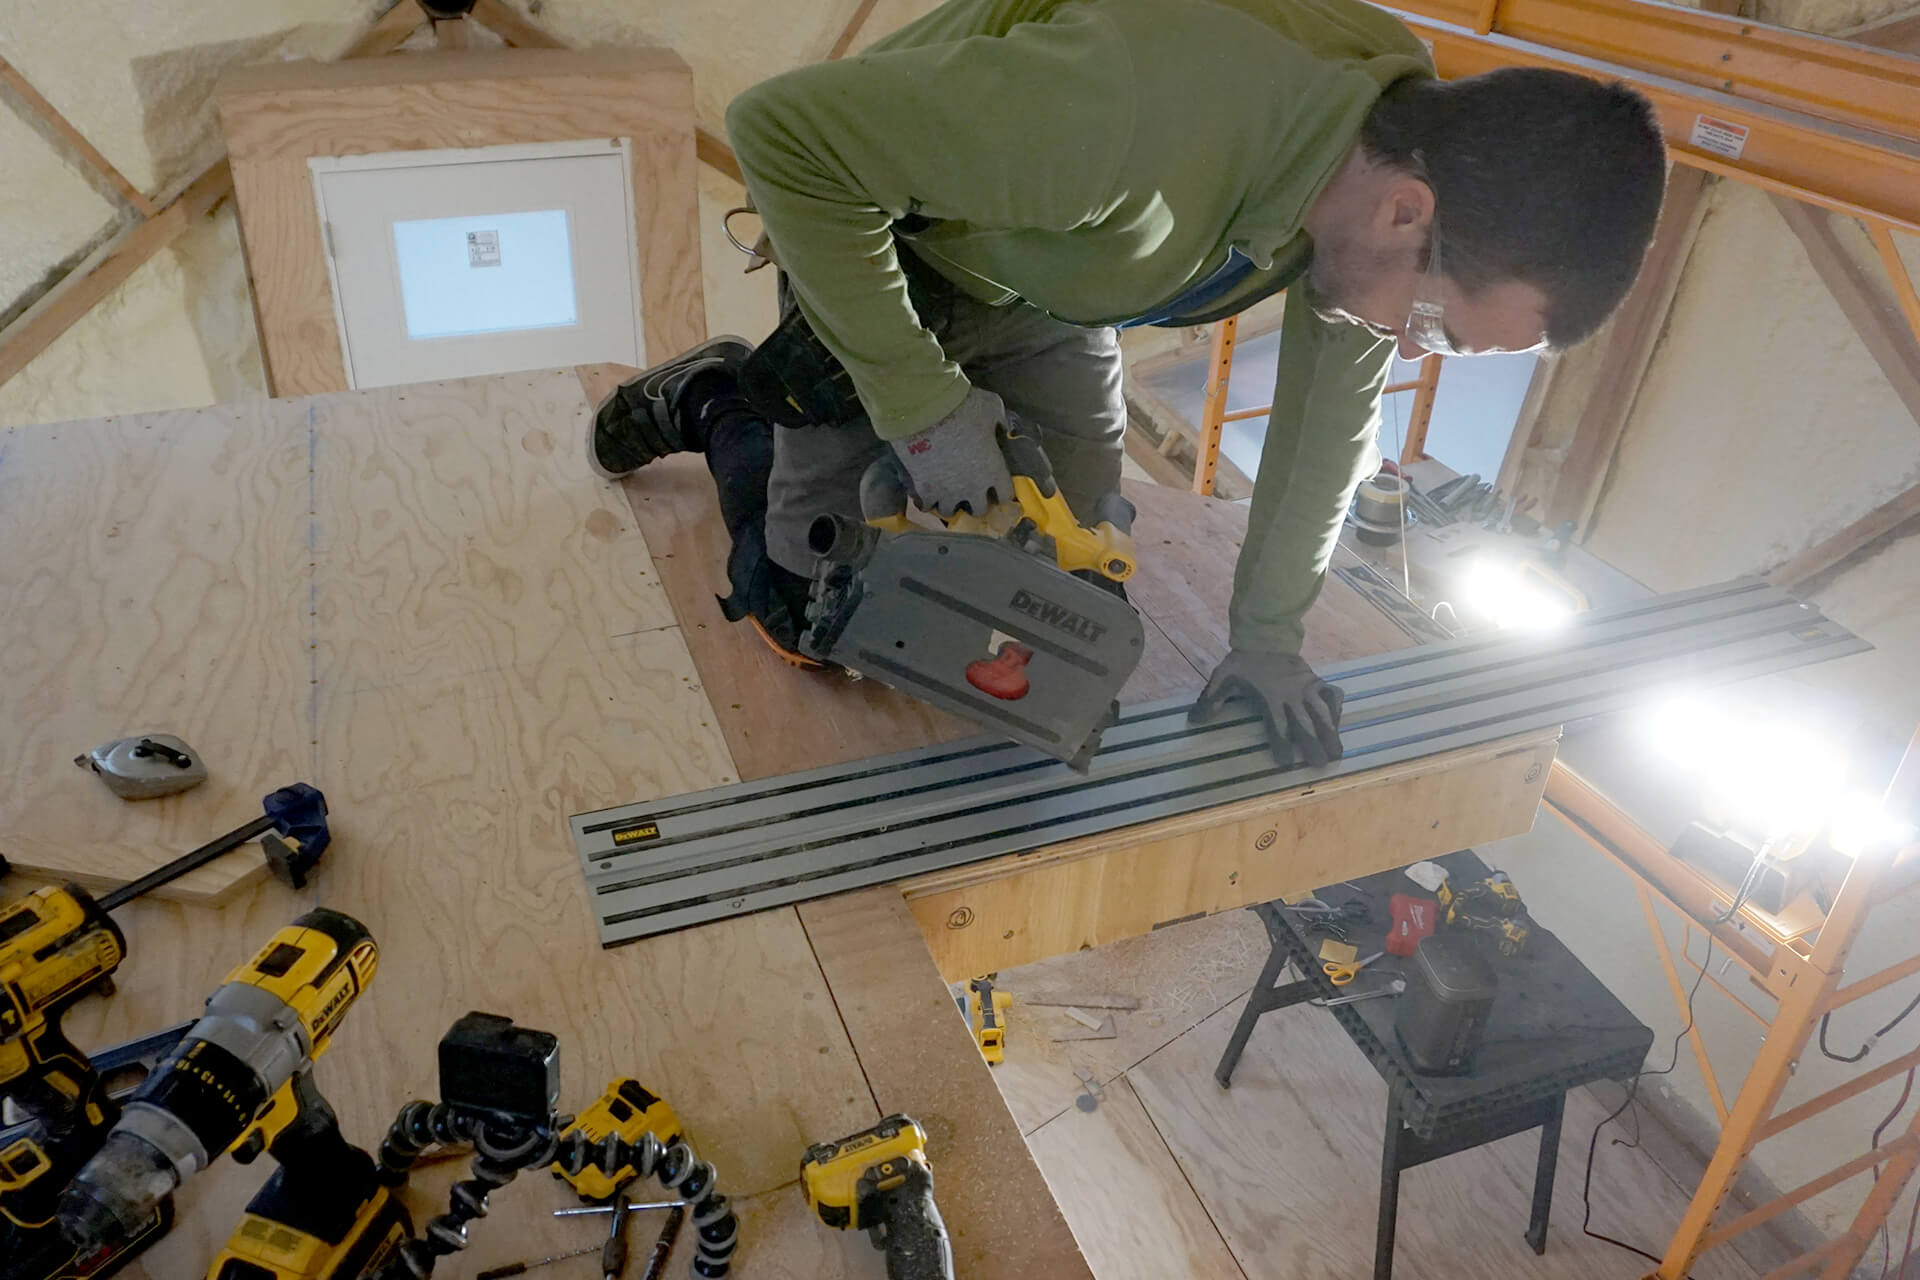
Start with the largest subfloor panel. Position it in place, then mark the locations of the floor joists and any blocking onto the subfloor panel.
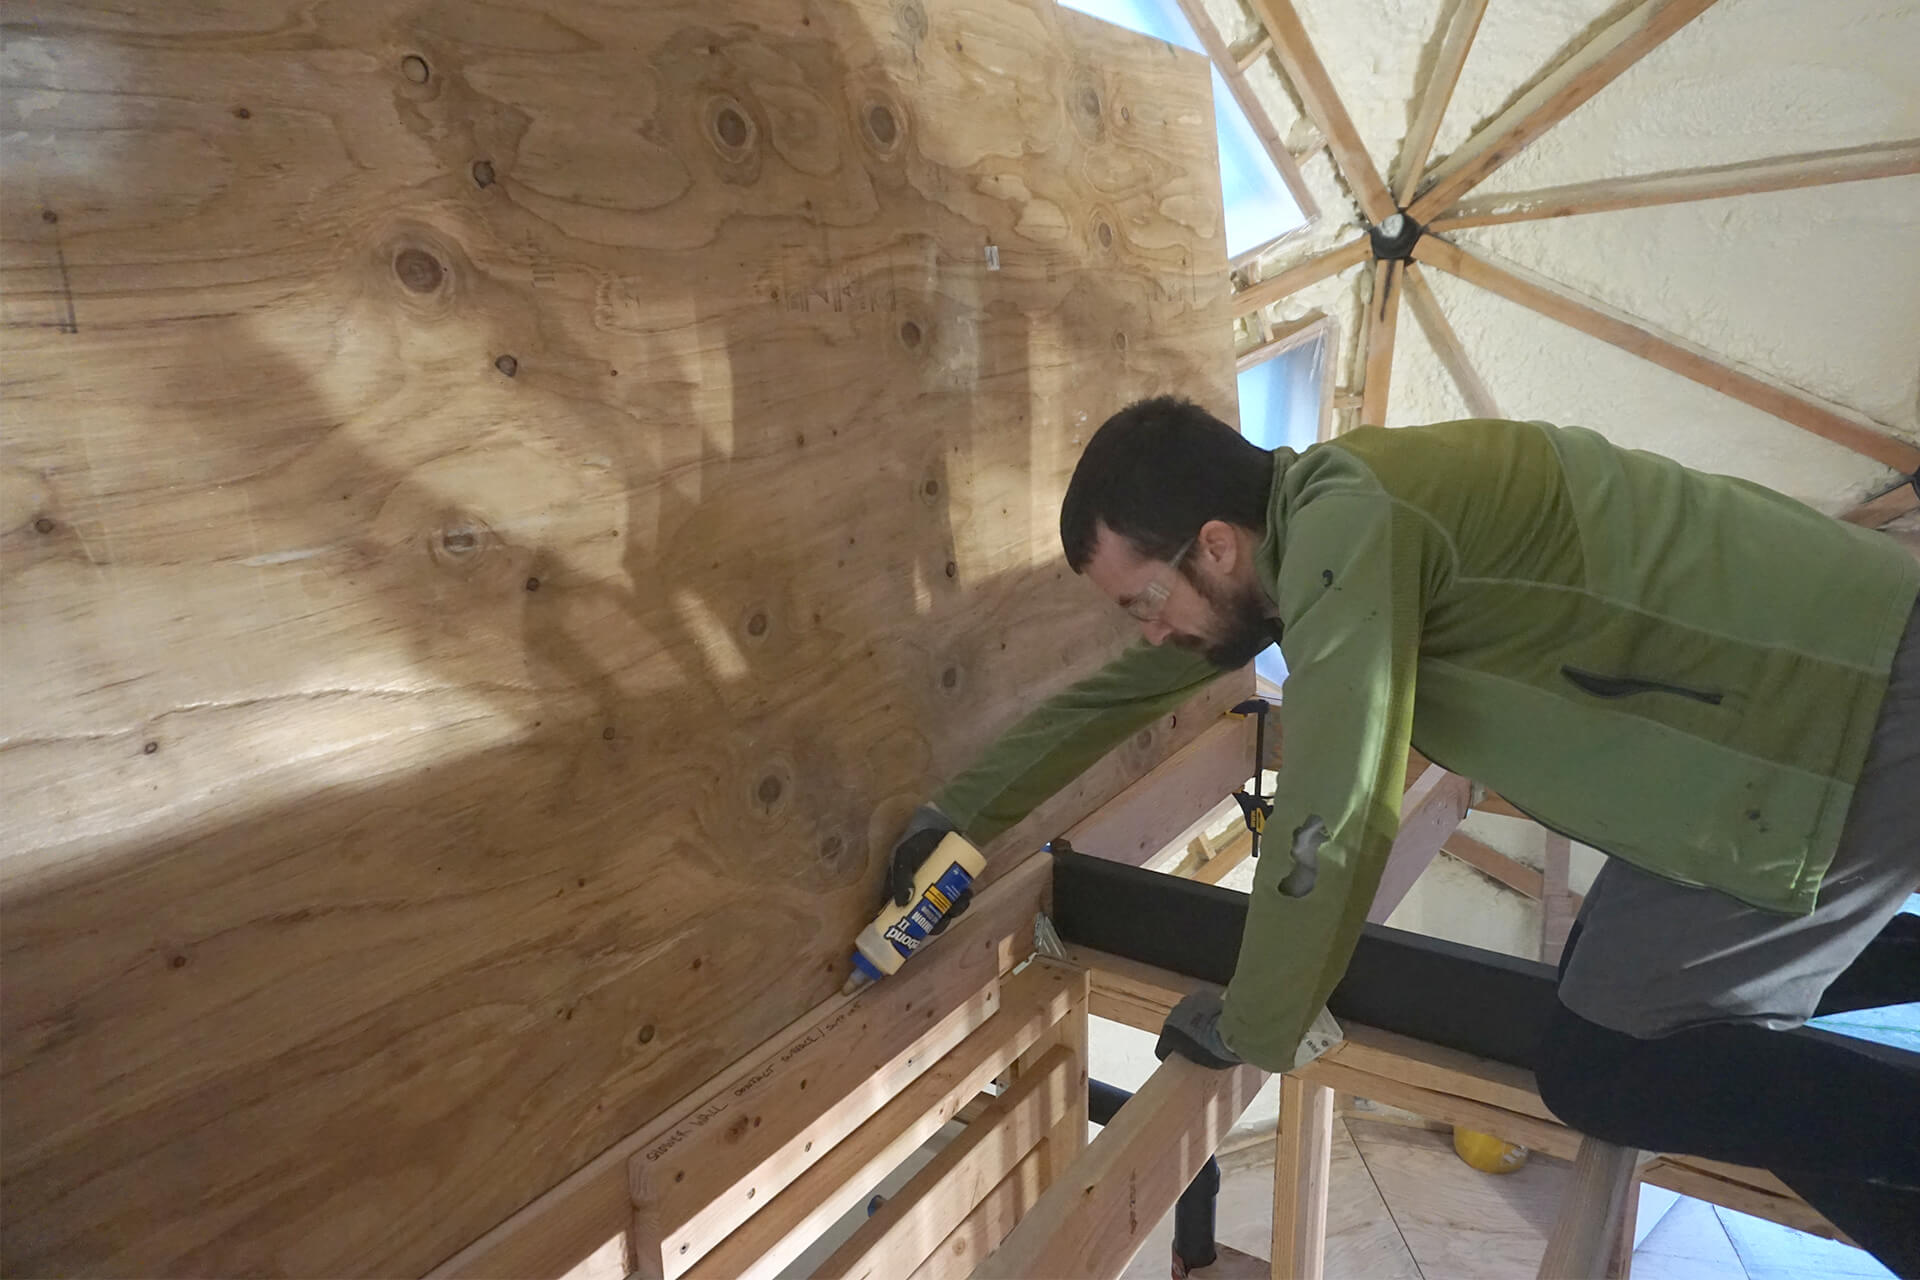
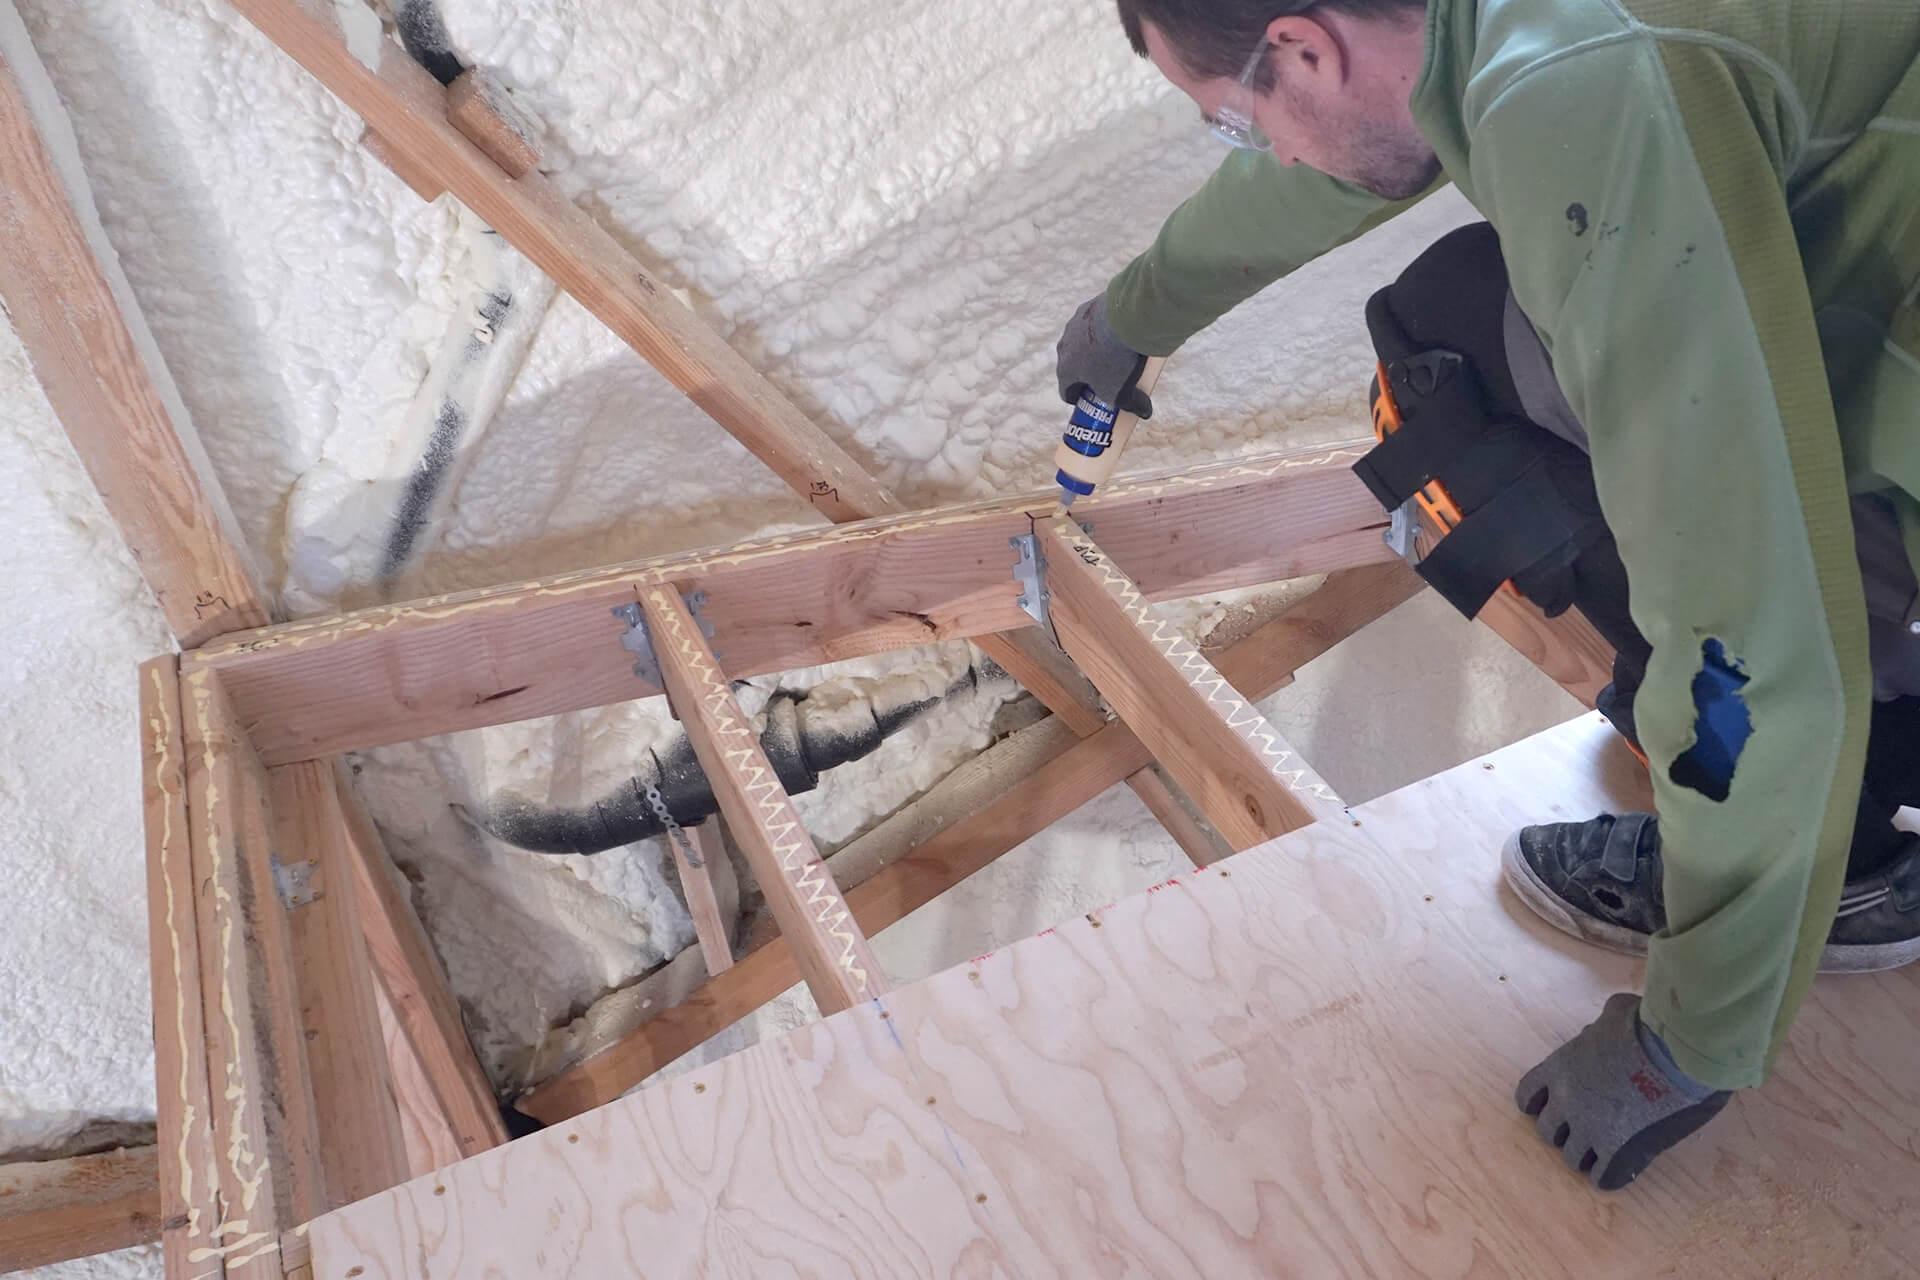
Lift the panel, then apply wood glue to the floor joists underneath it.
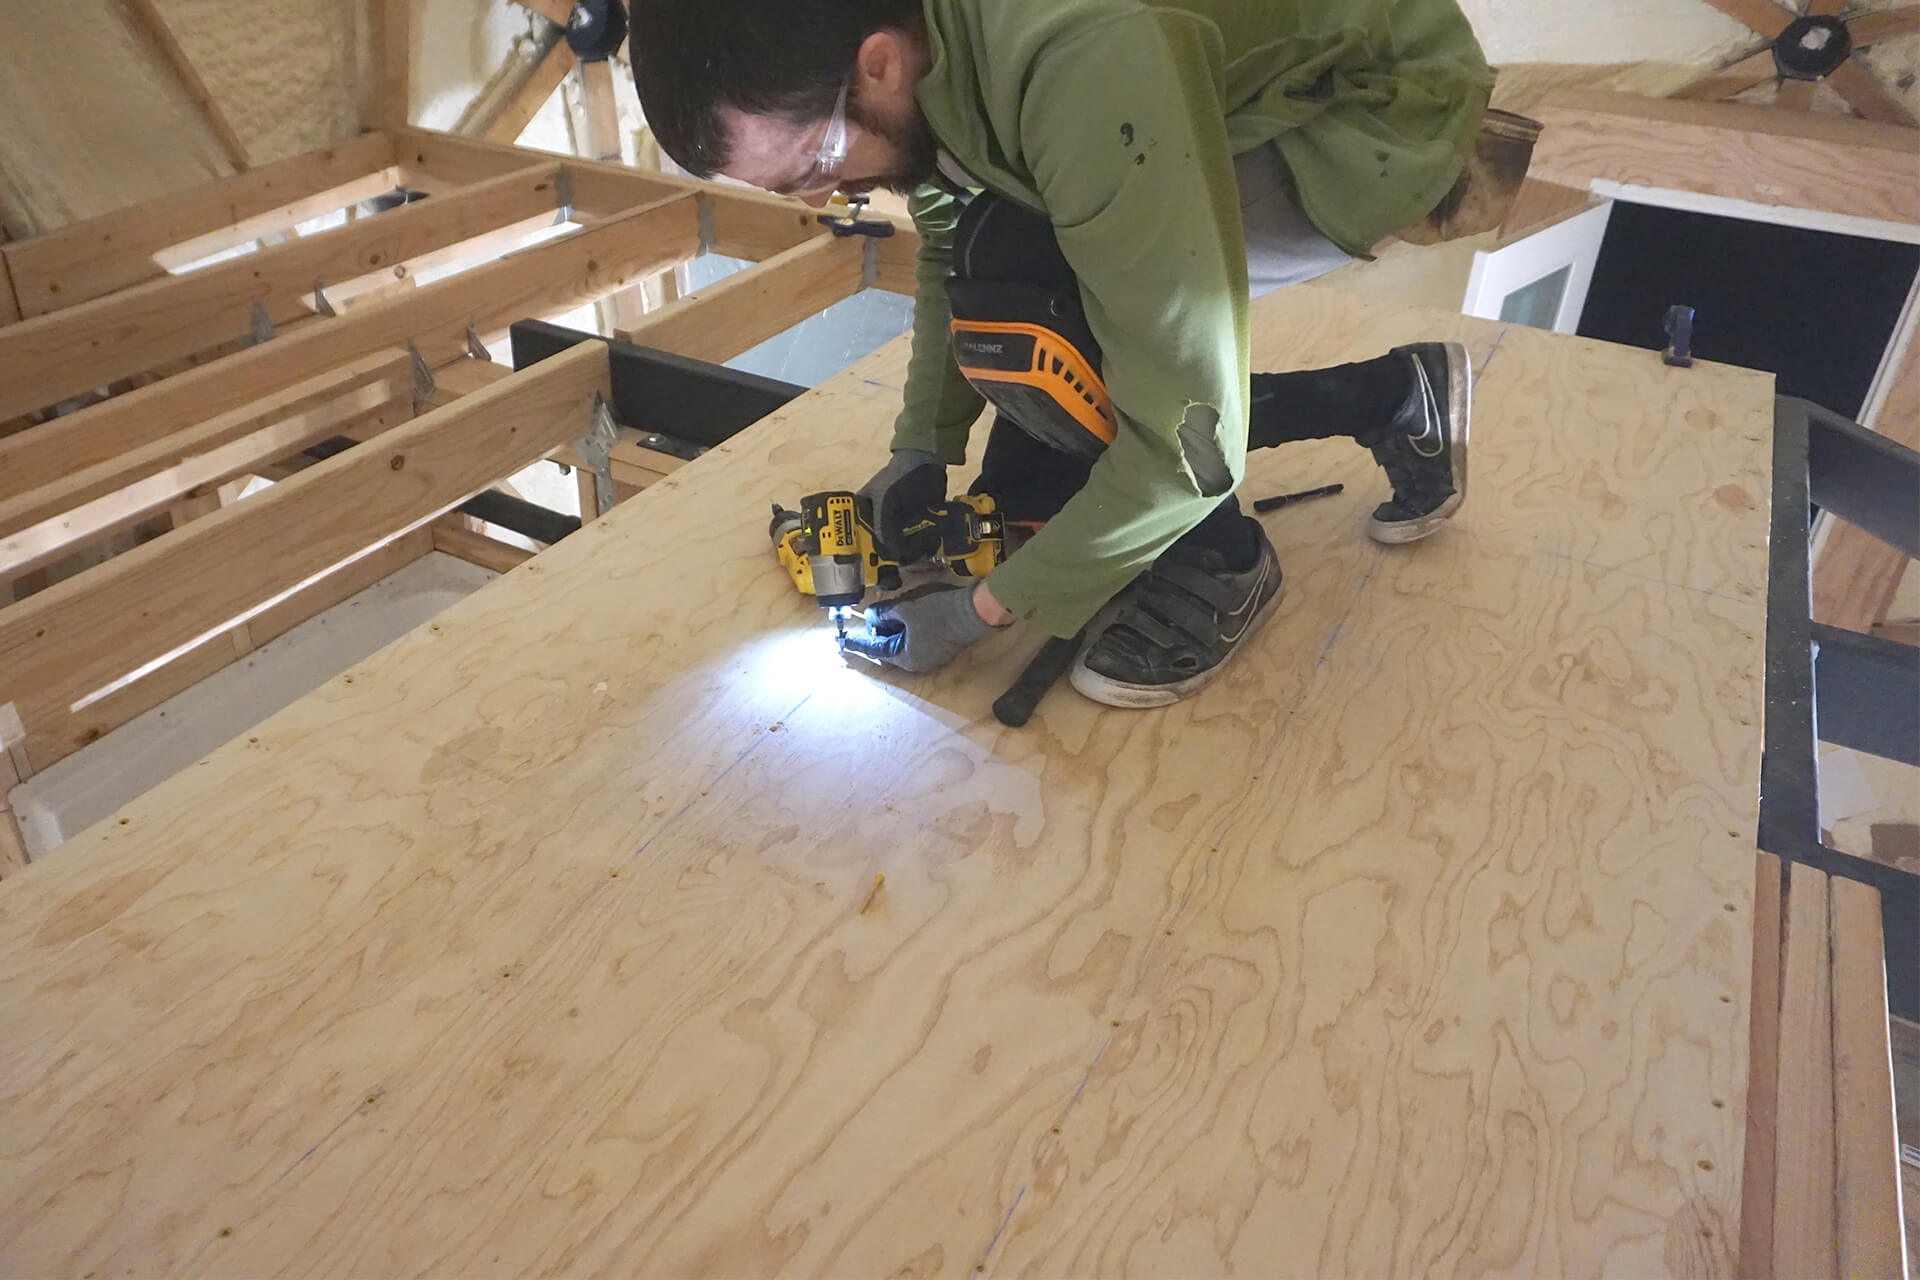
Clamp the panel into place, then pre-drill, chamfer, and screw #8x2” wood screws every few inches. This glue-and-screw method ensures a squeak-free subfloor.
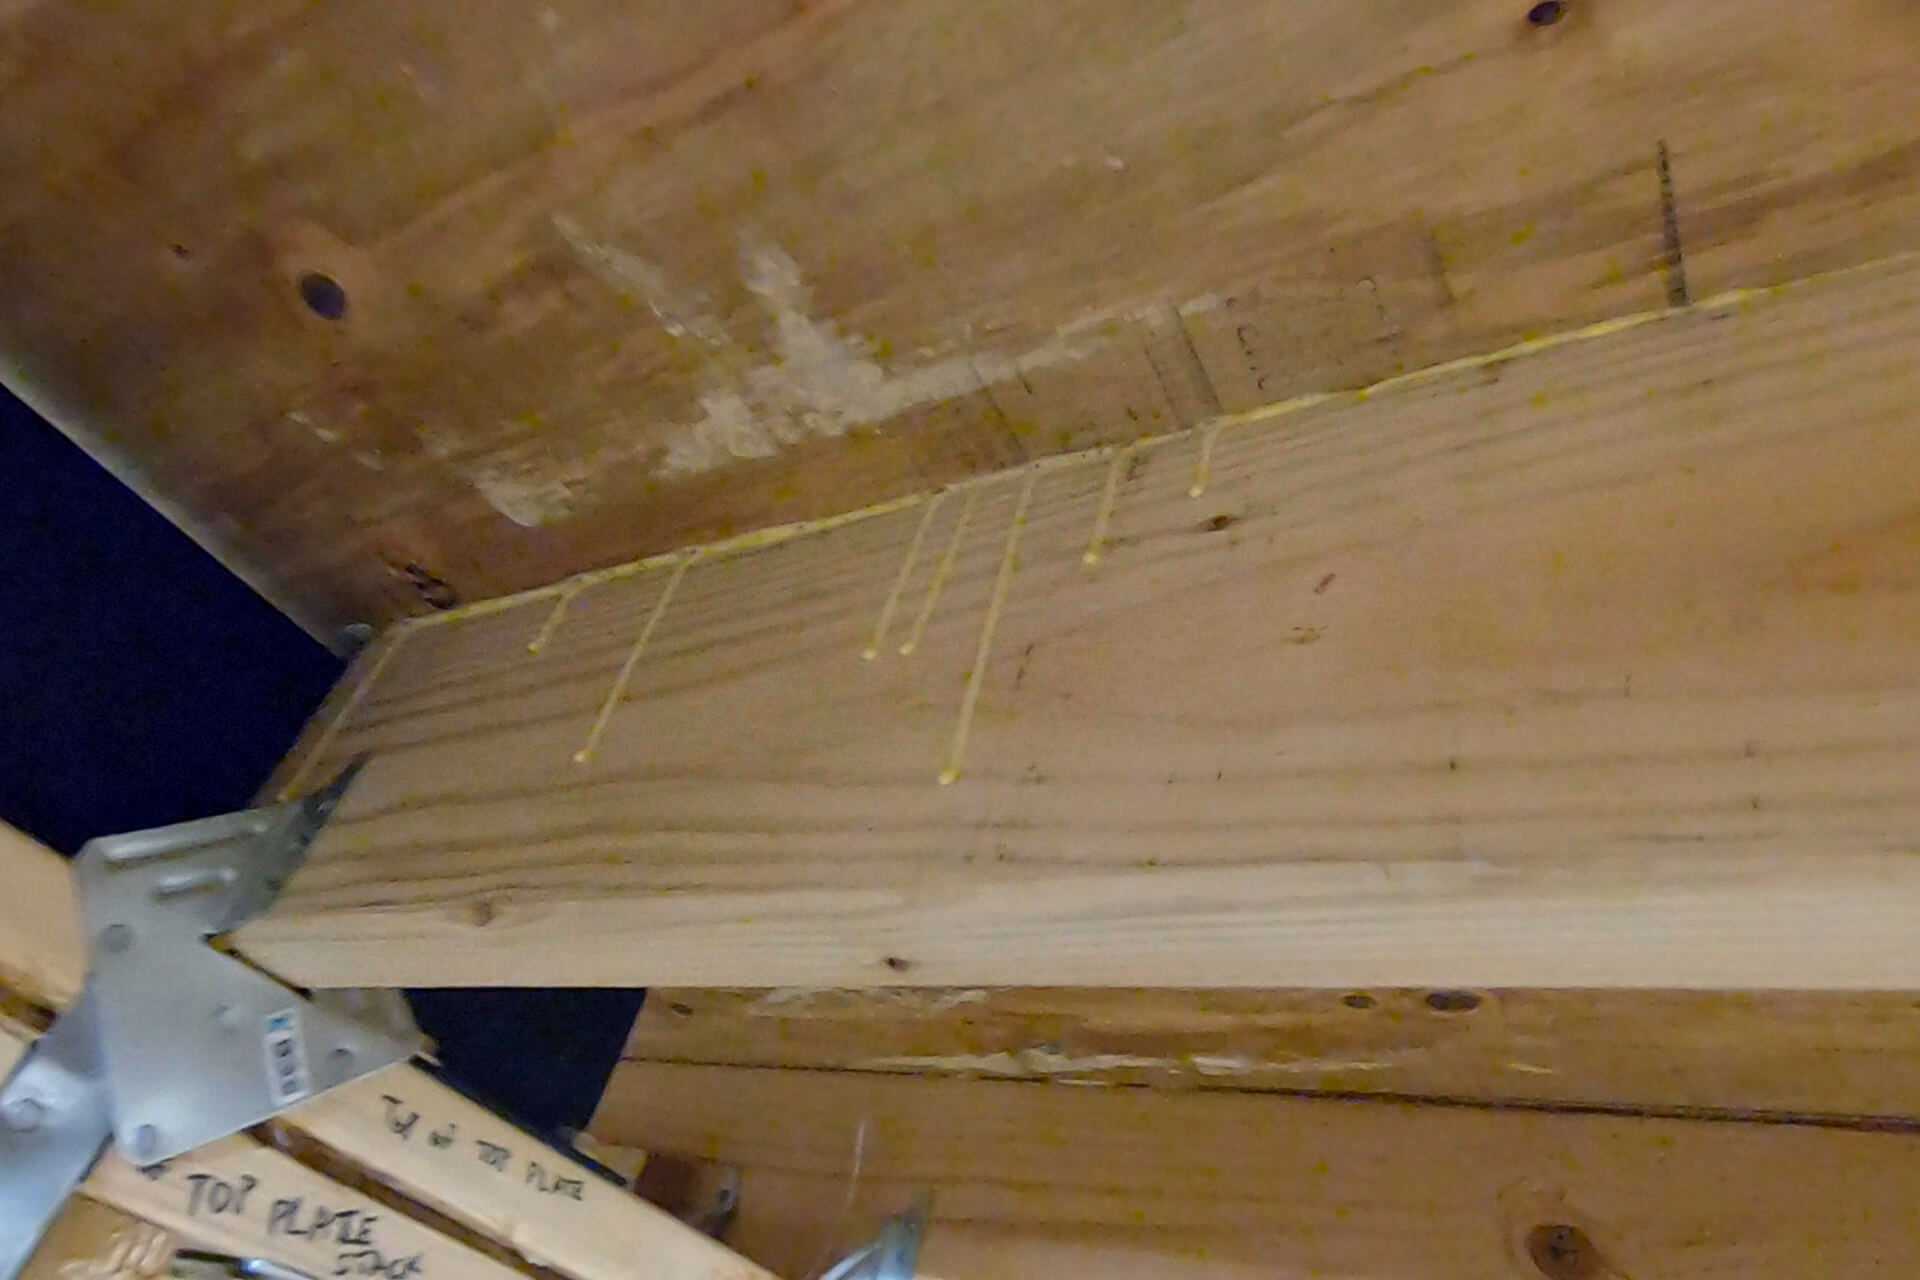
Detail shot showing the underside of the installed subfloor panel, where glue should be oozing out if applied correctly.
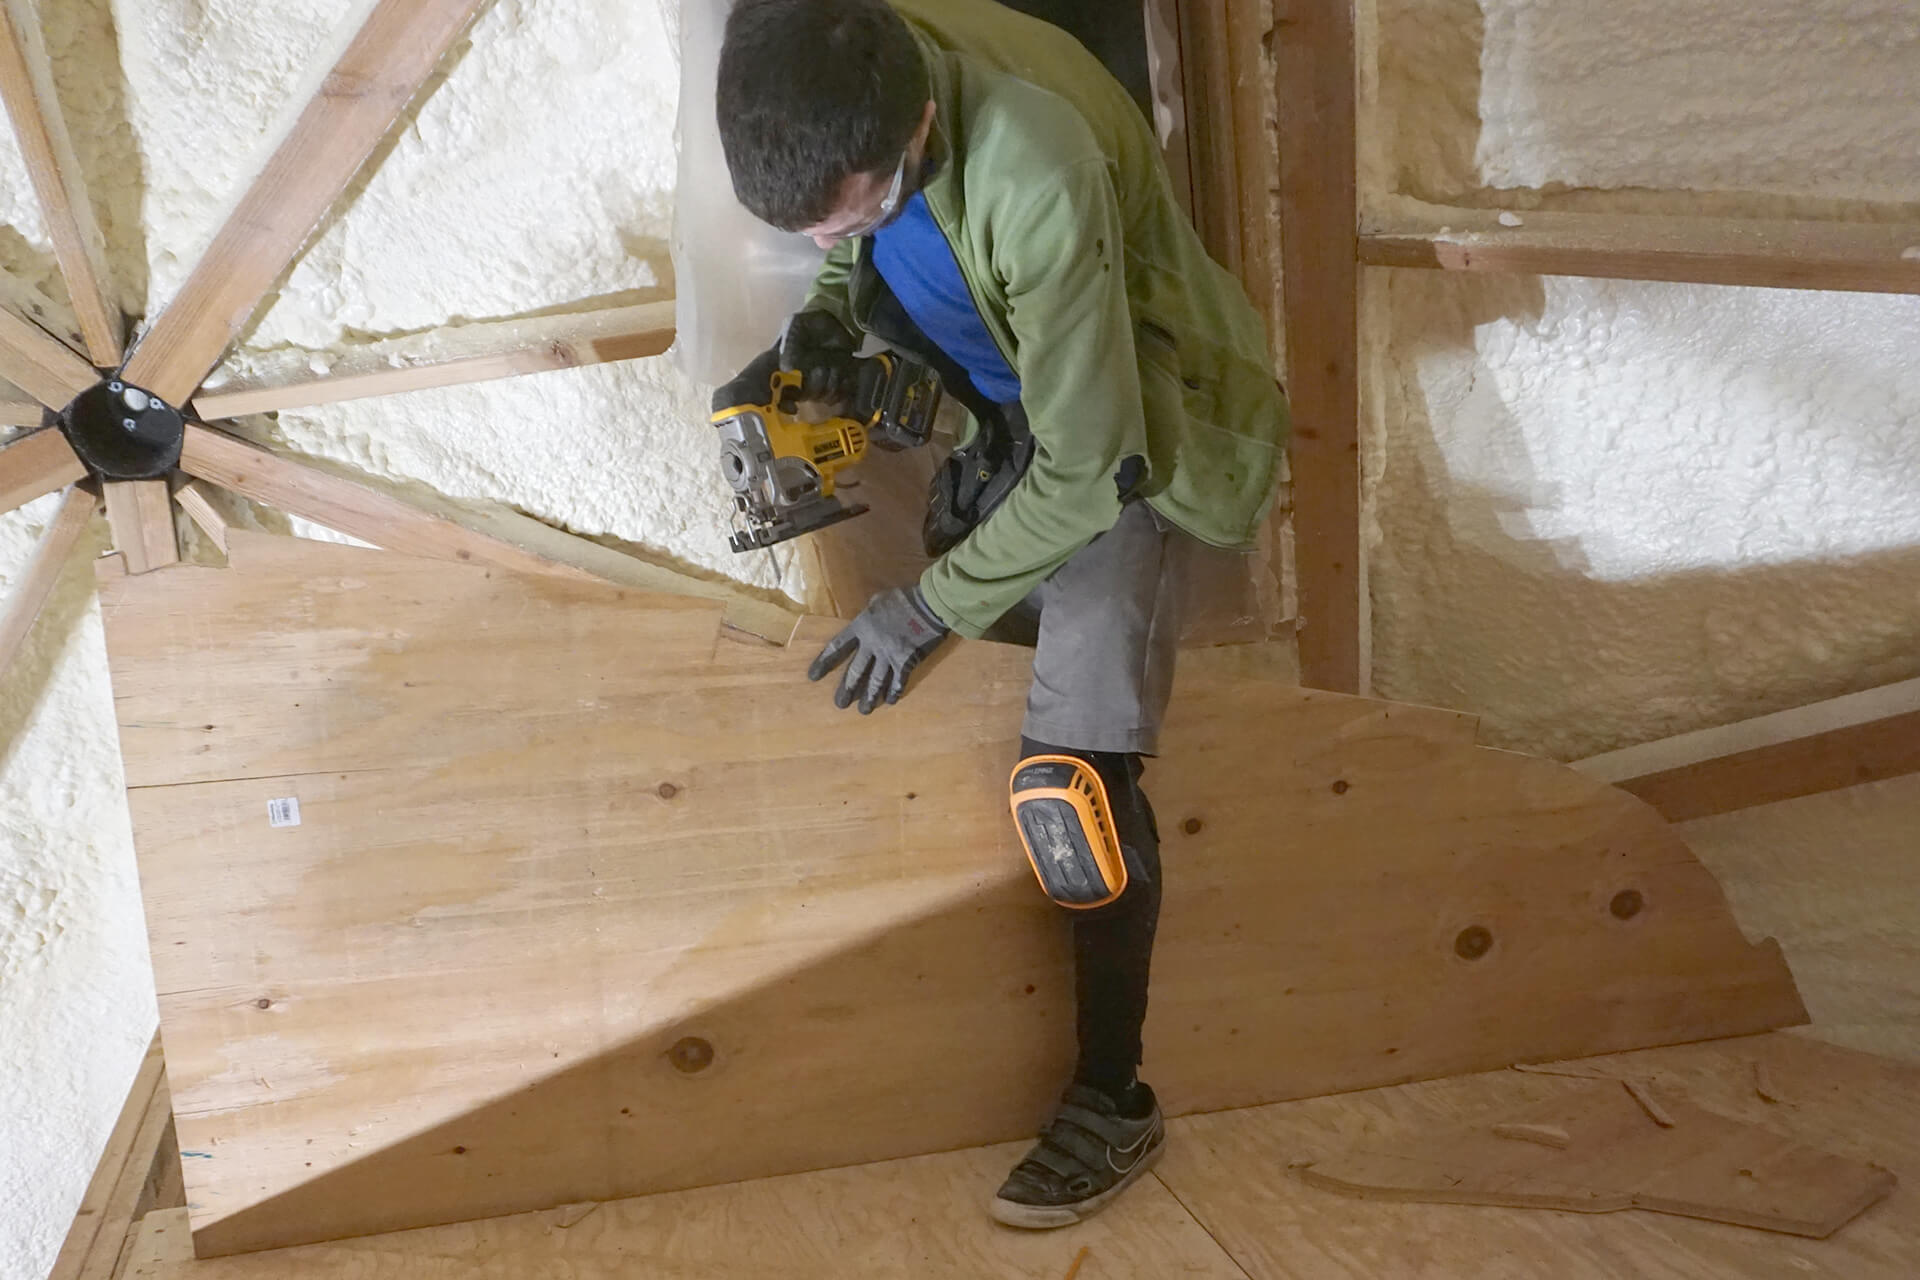
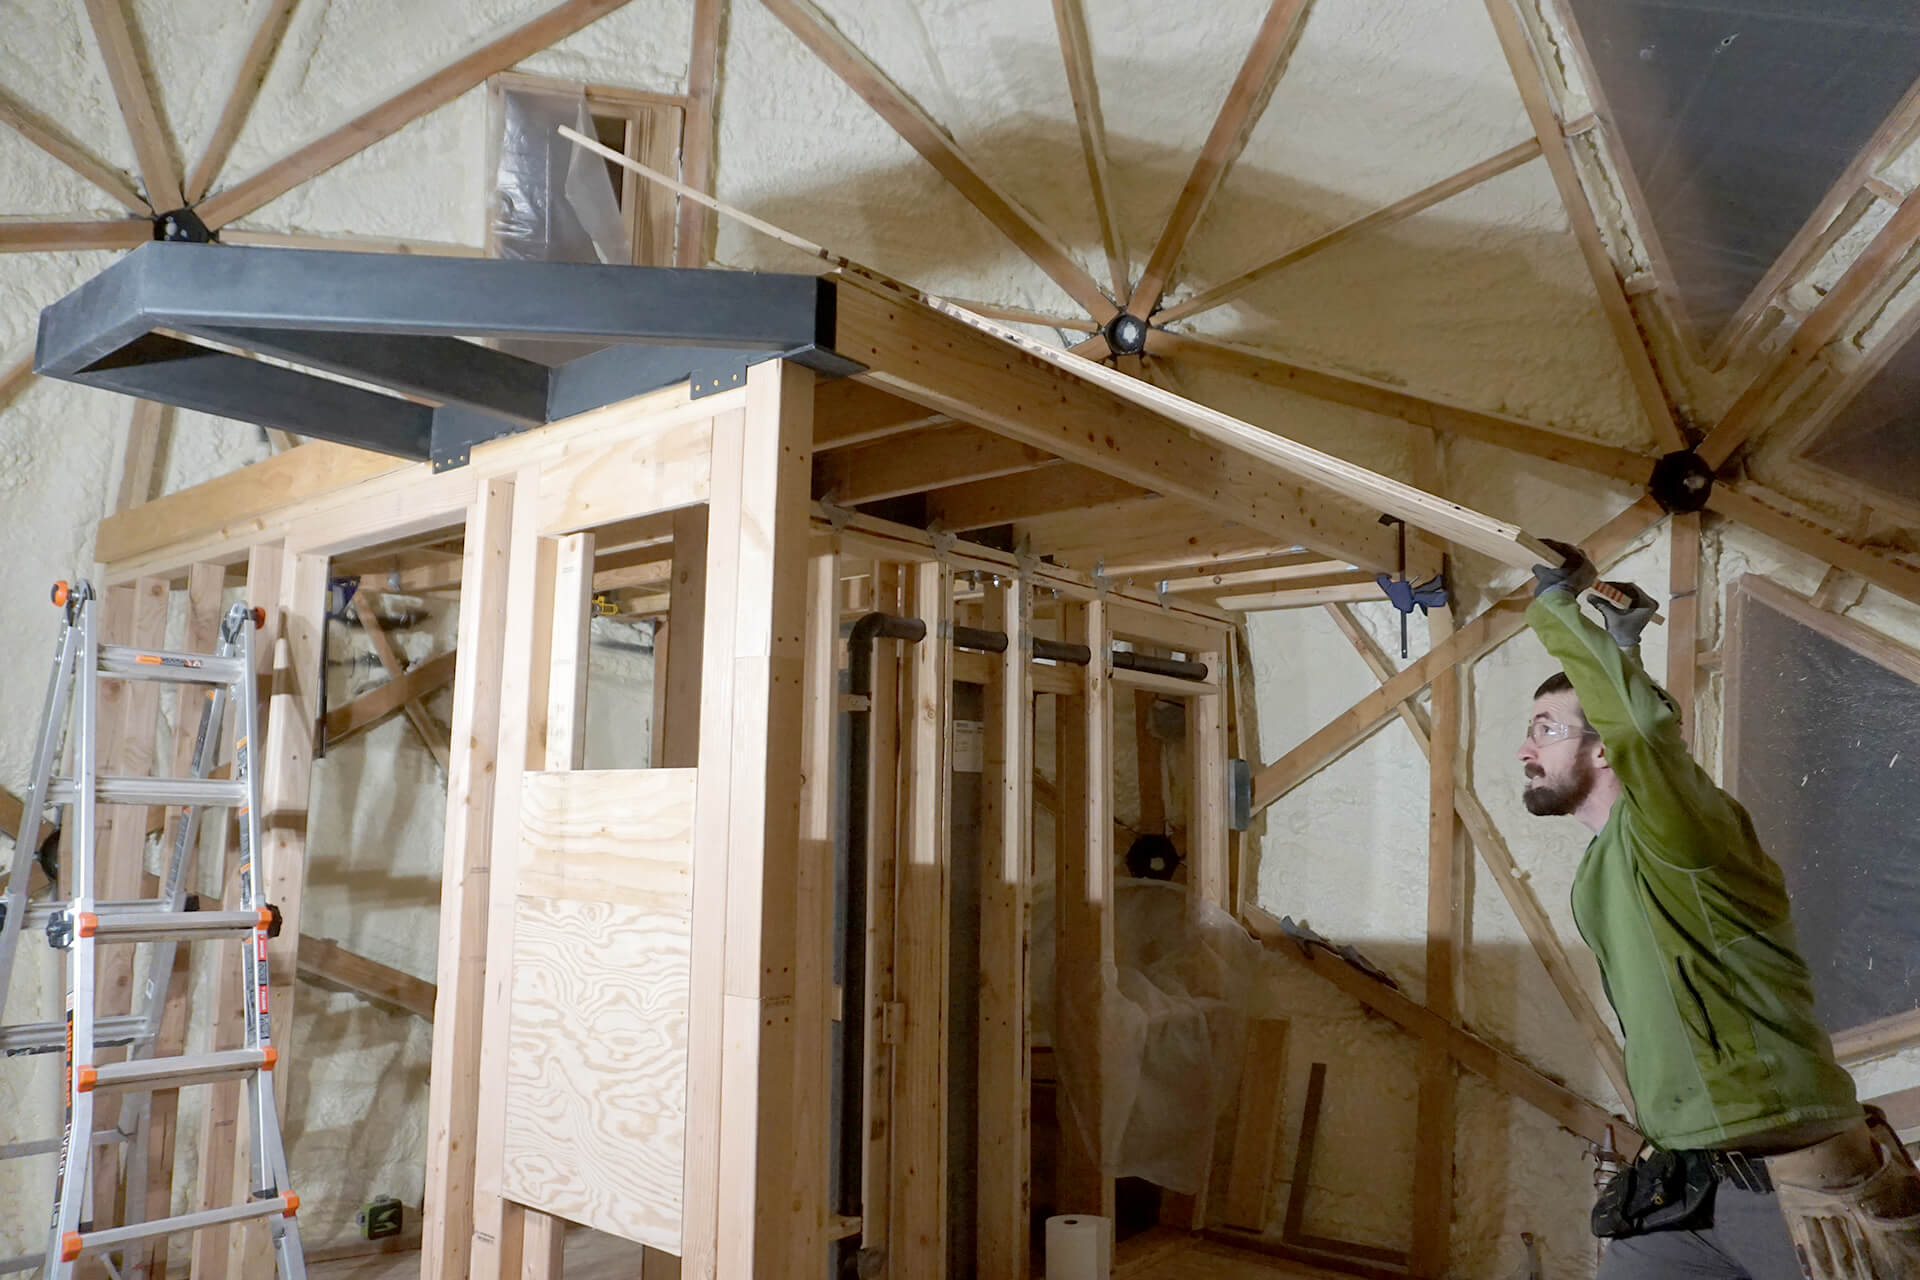
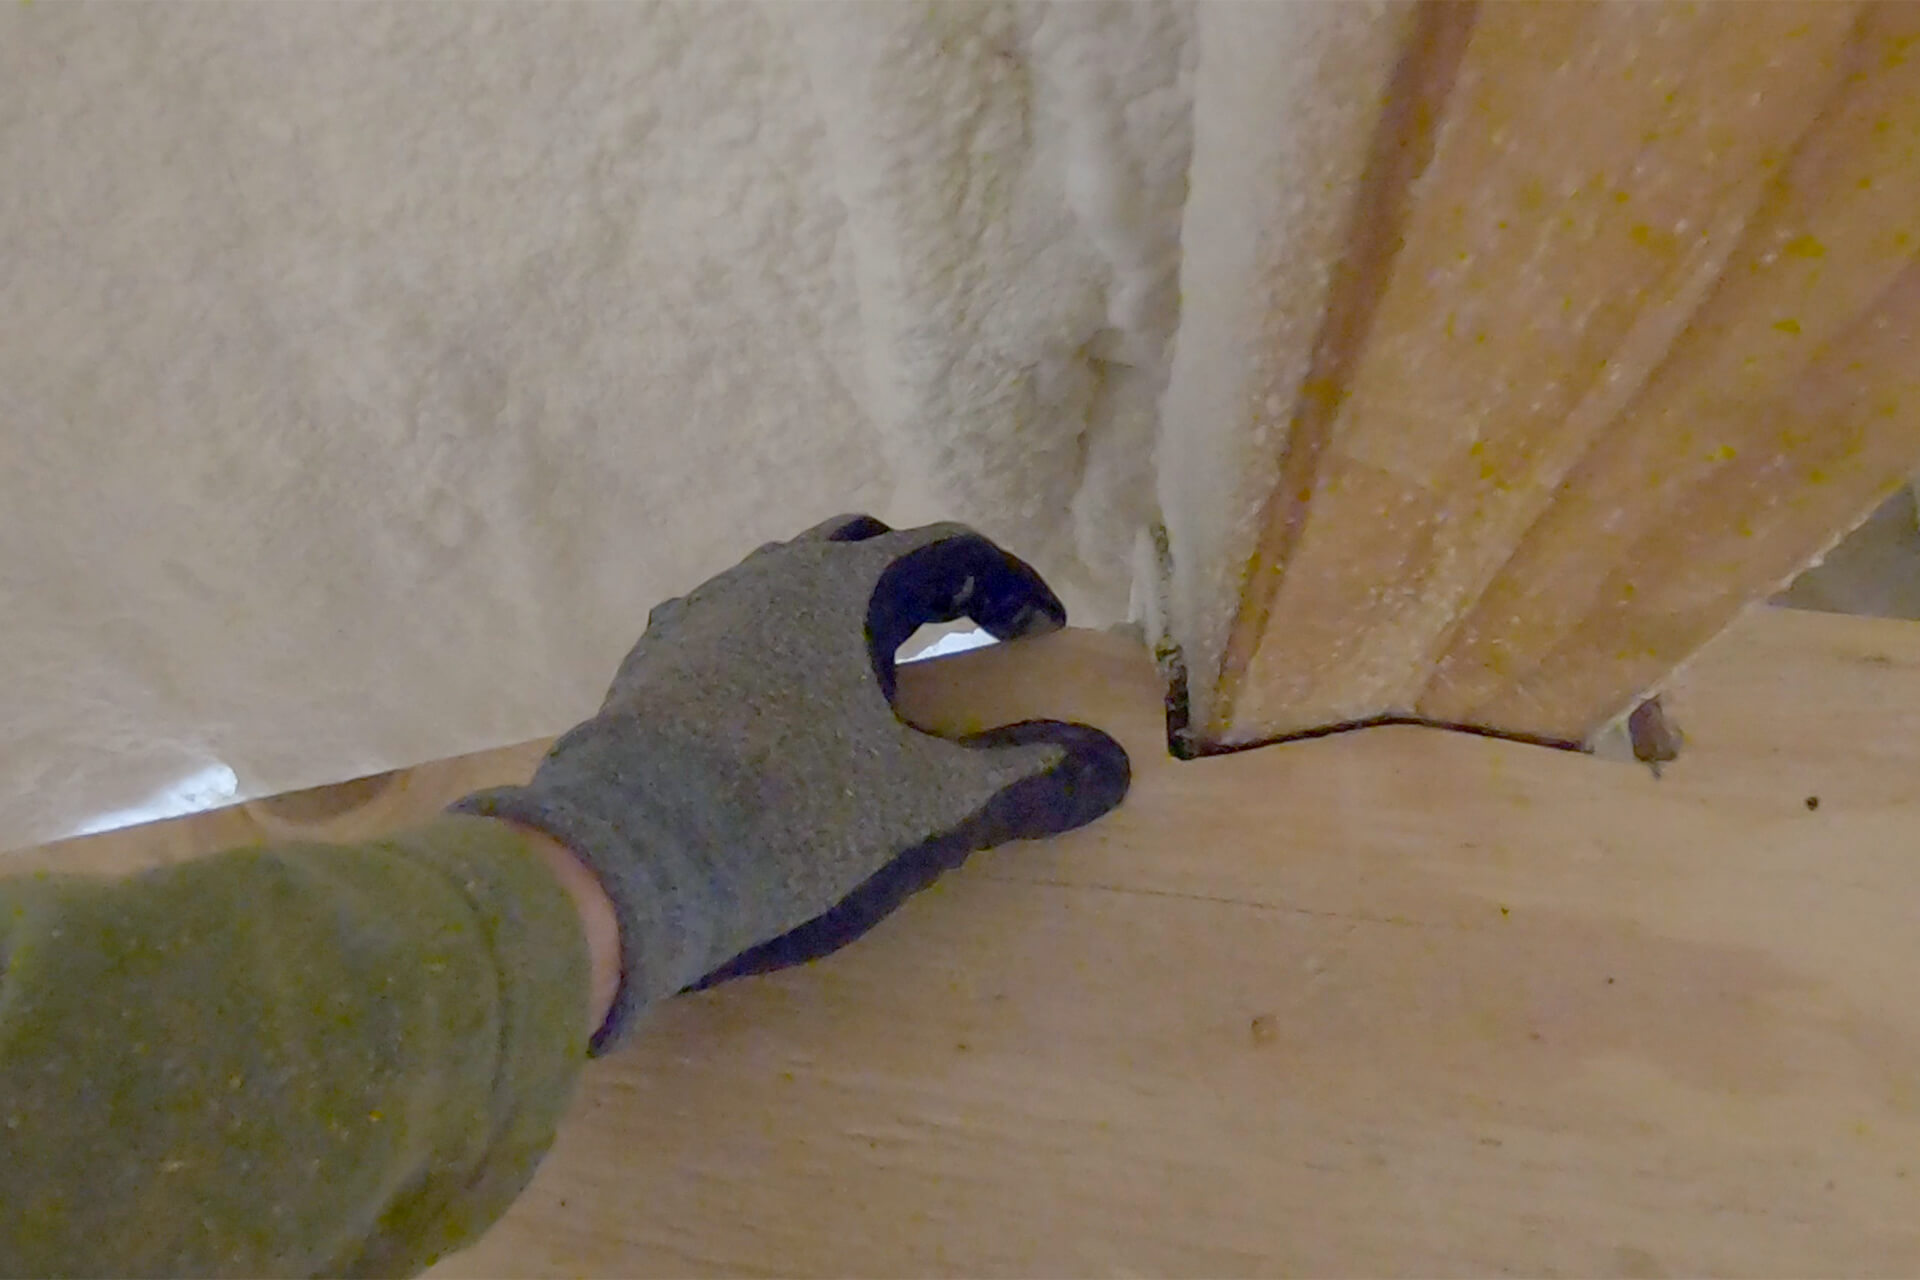
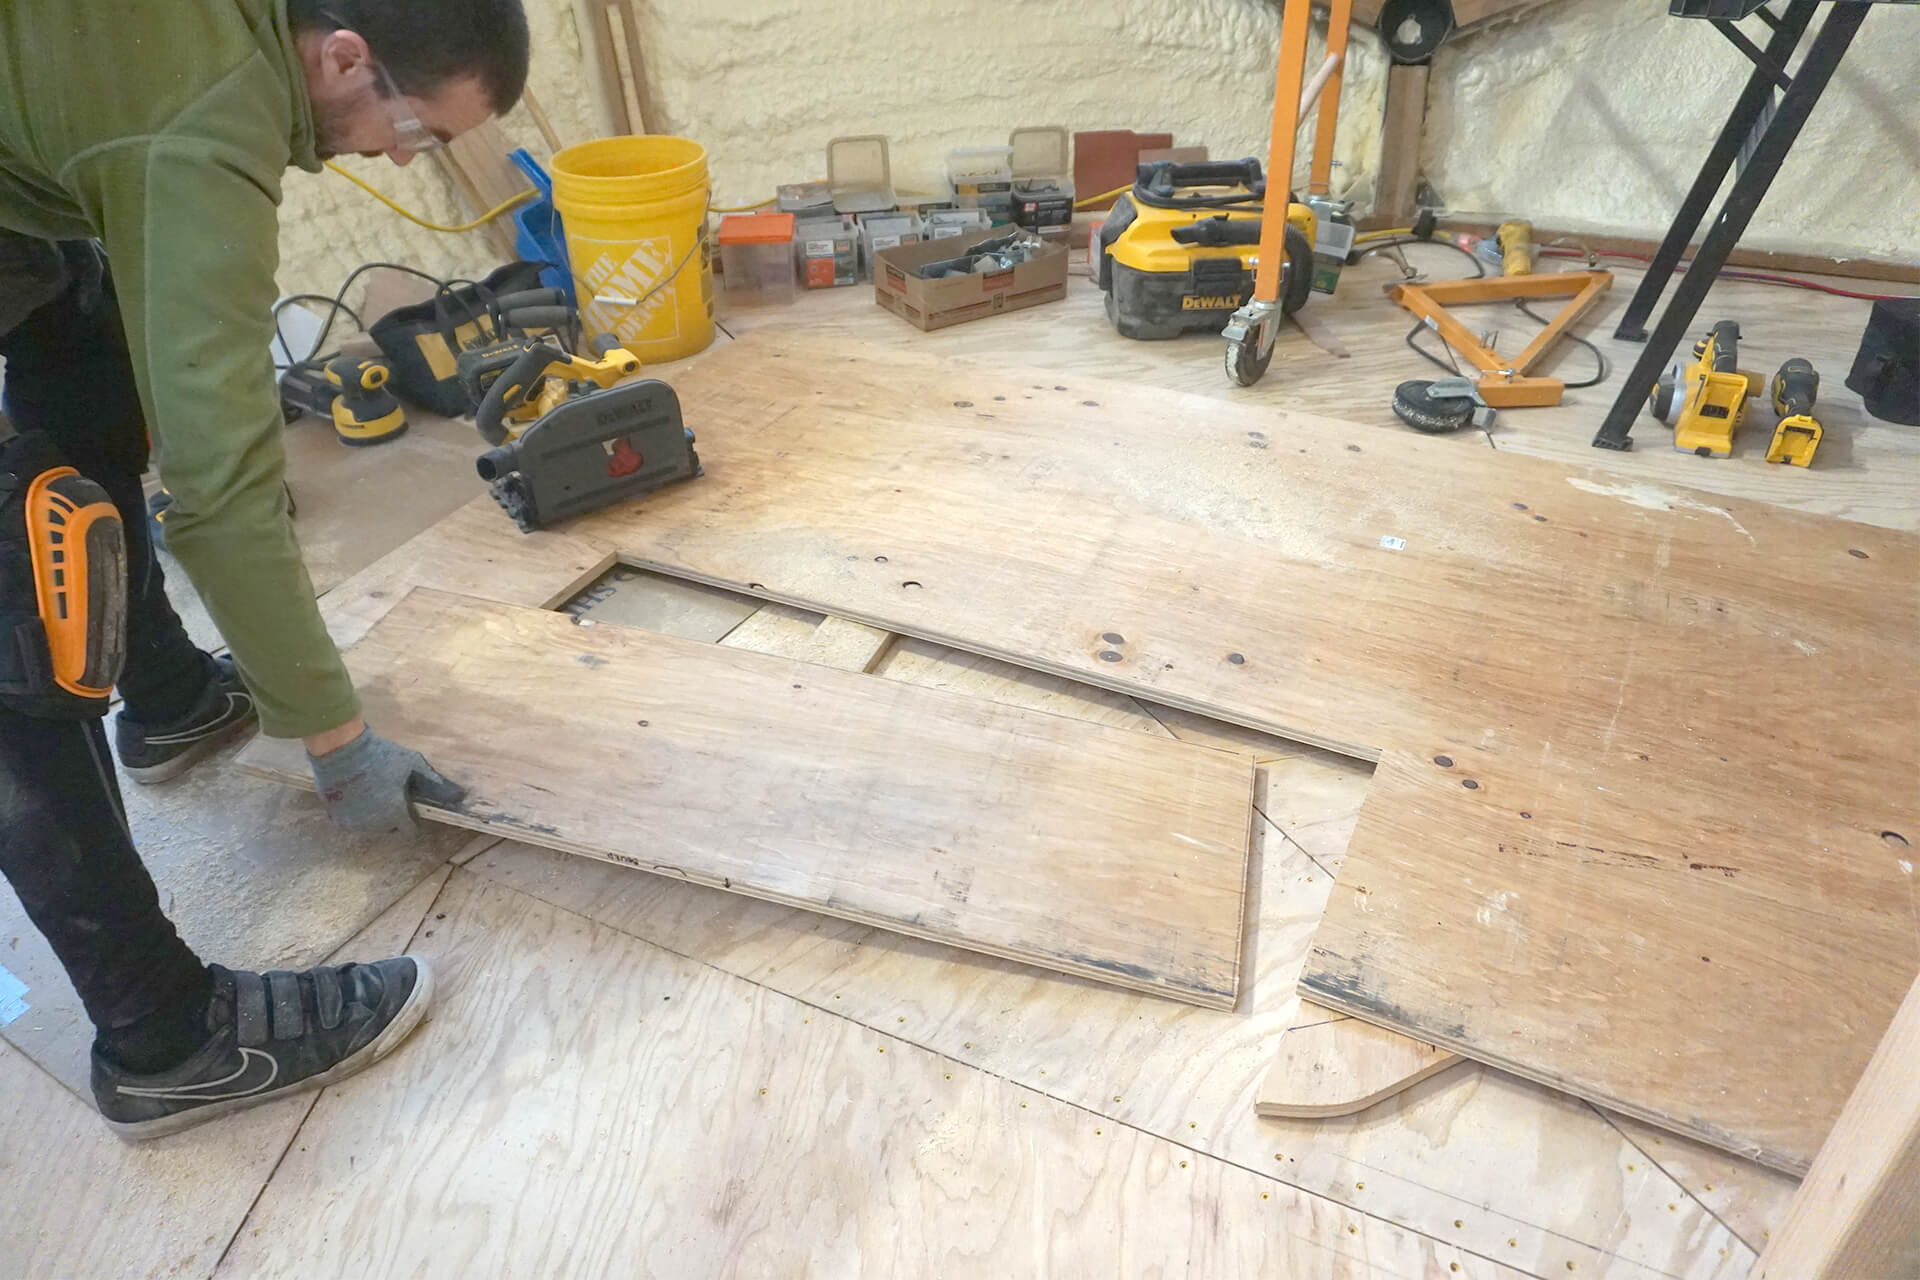
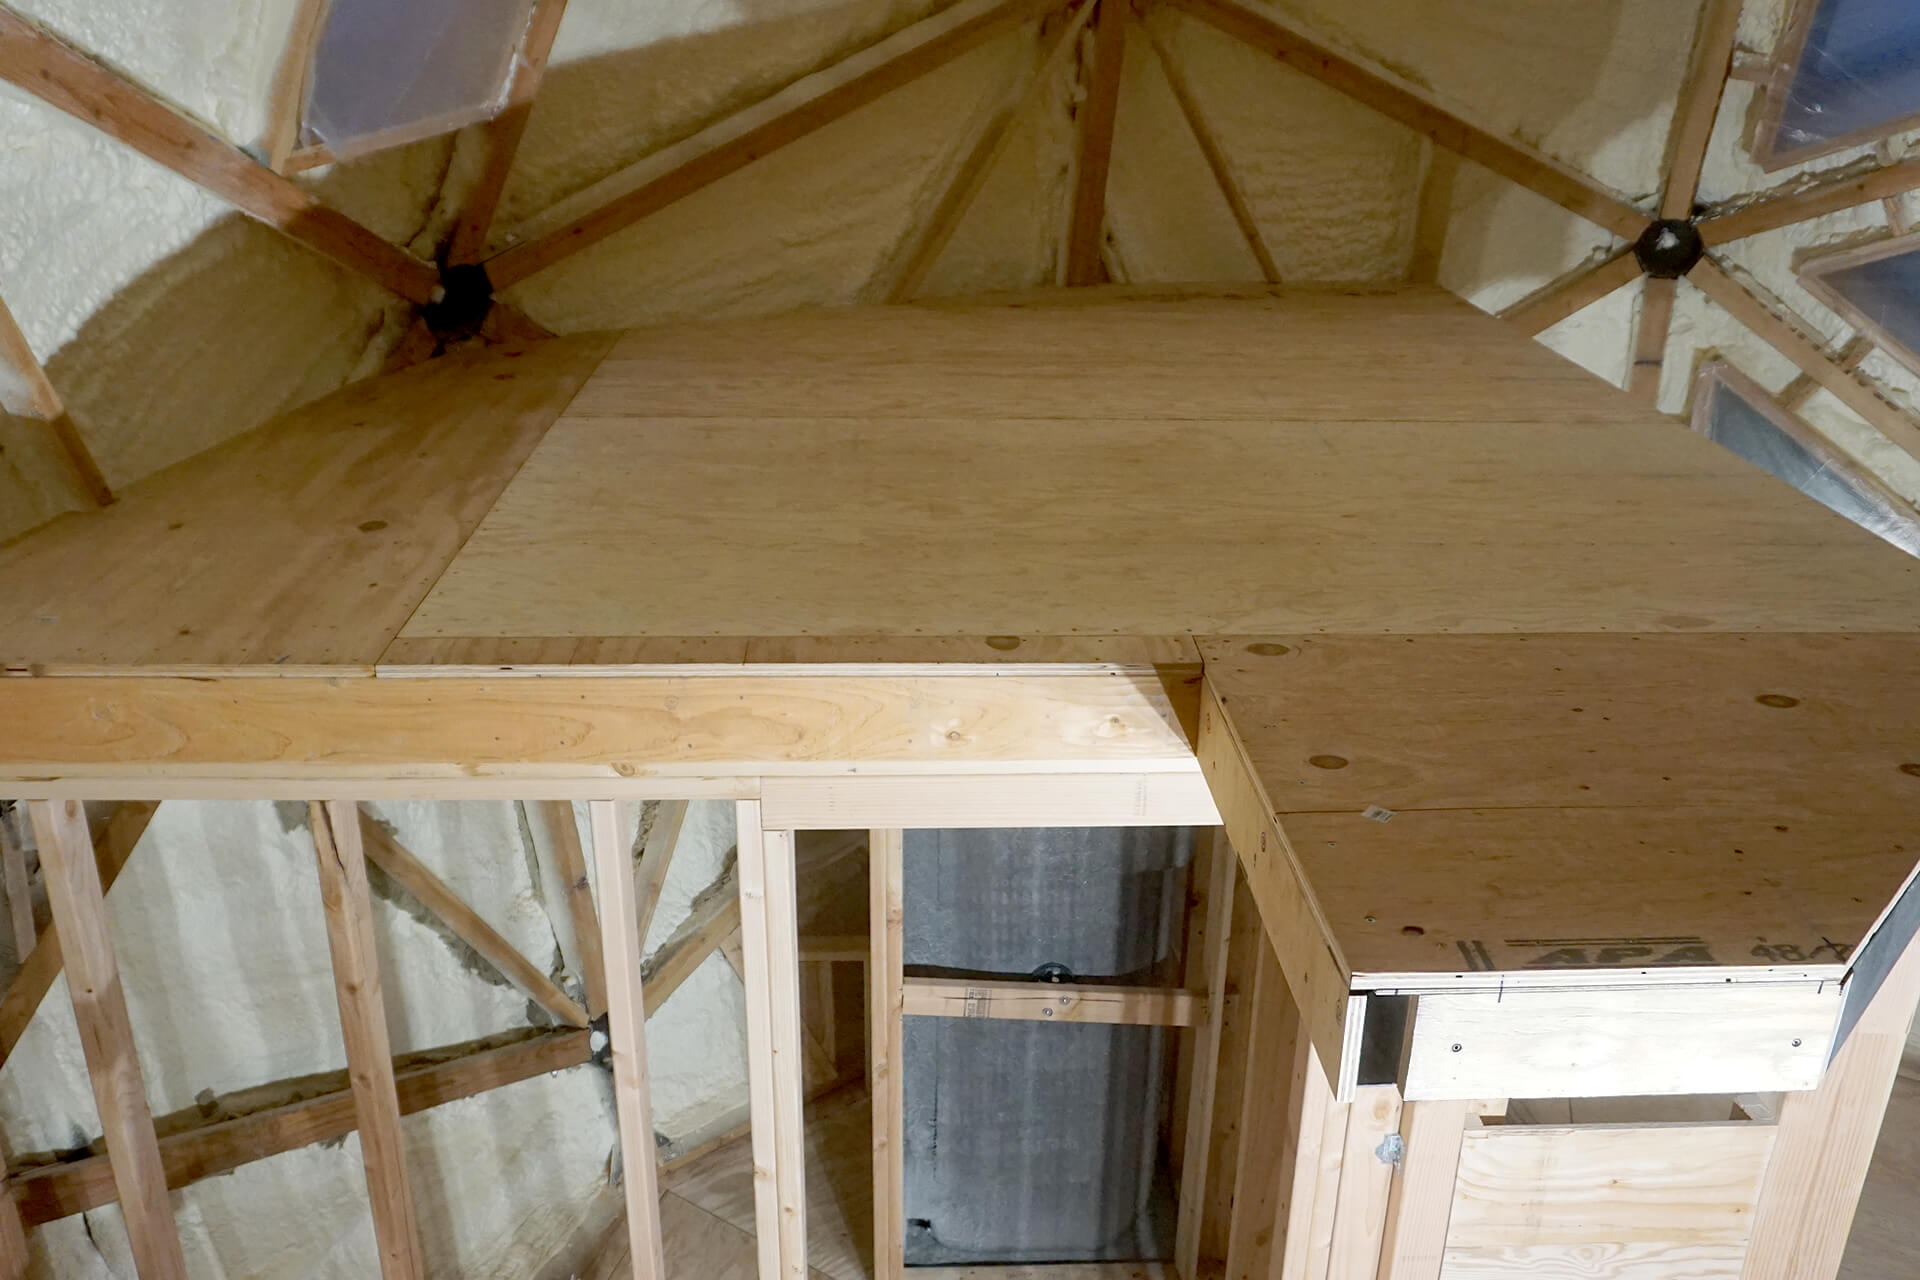
Notch the perimeter subfloor panels for clearance around the dome struts and studs.
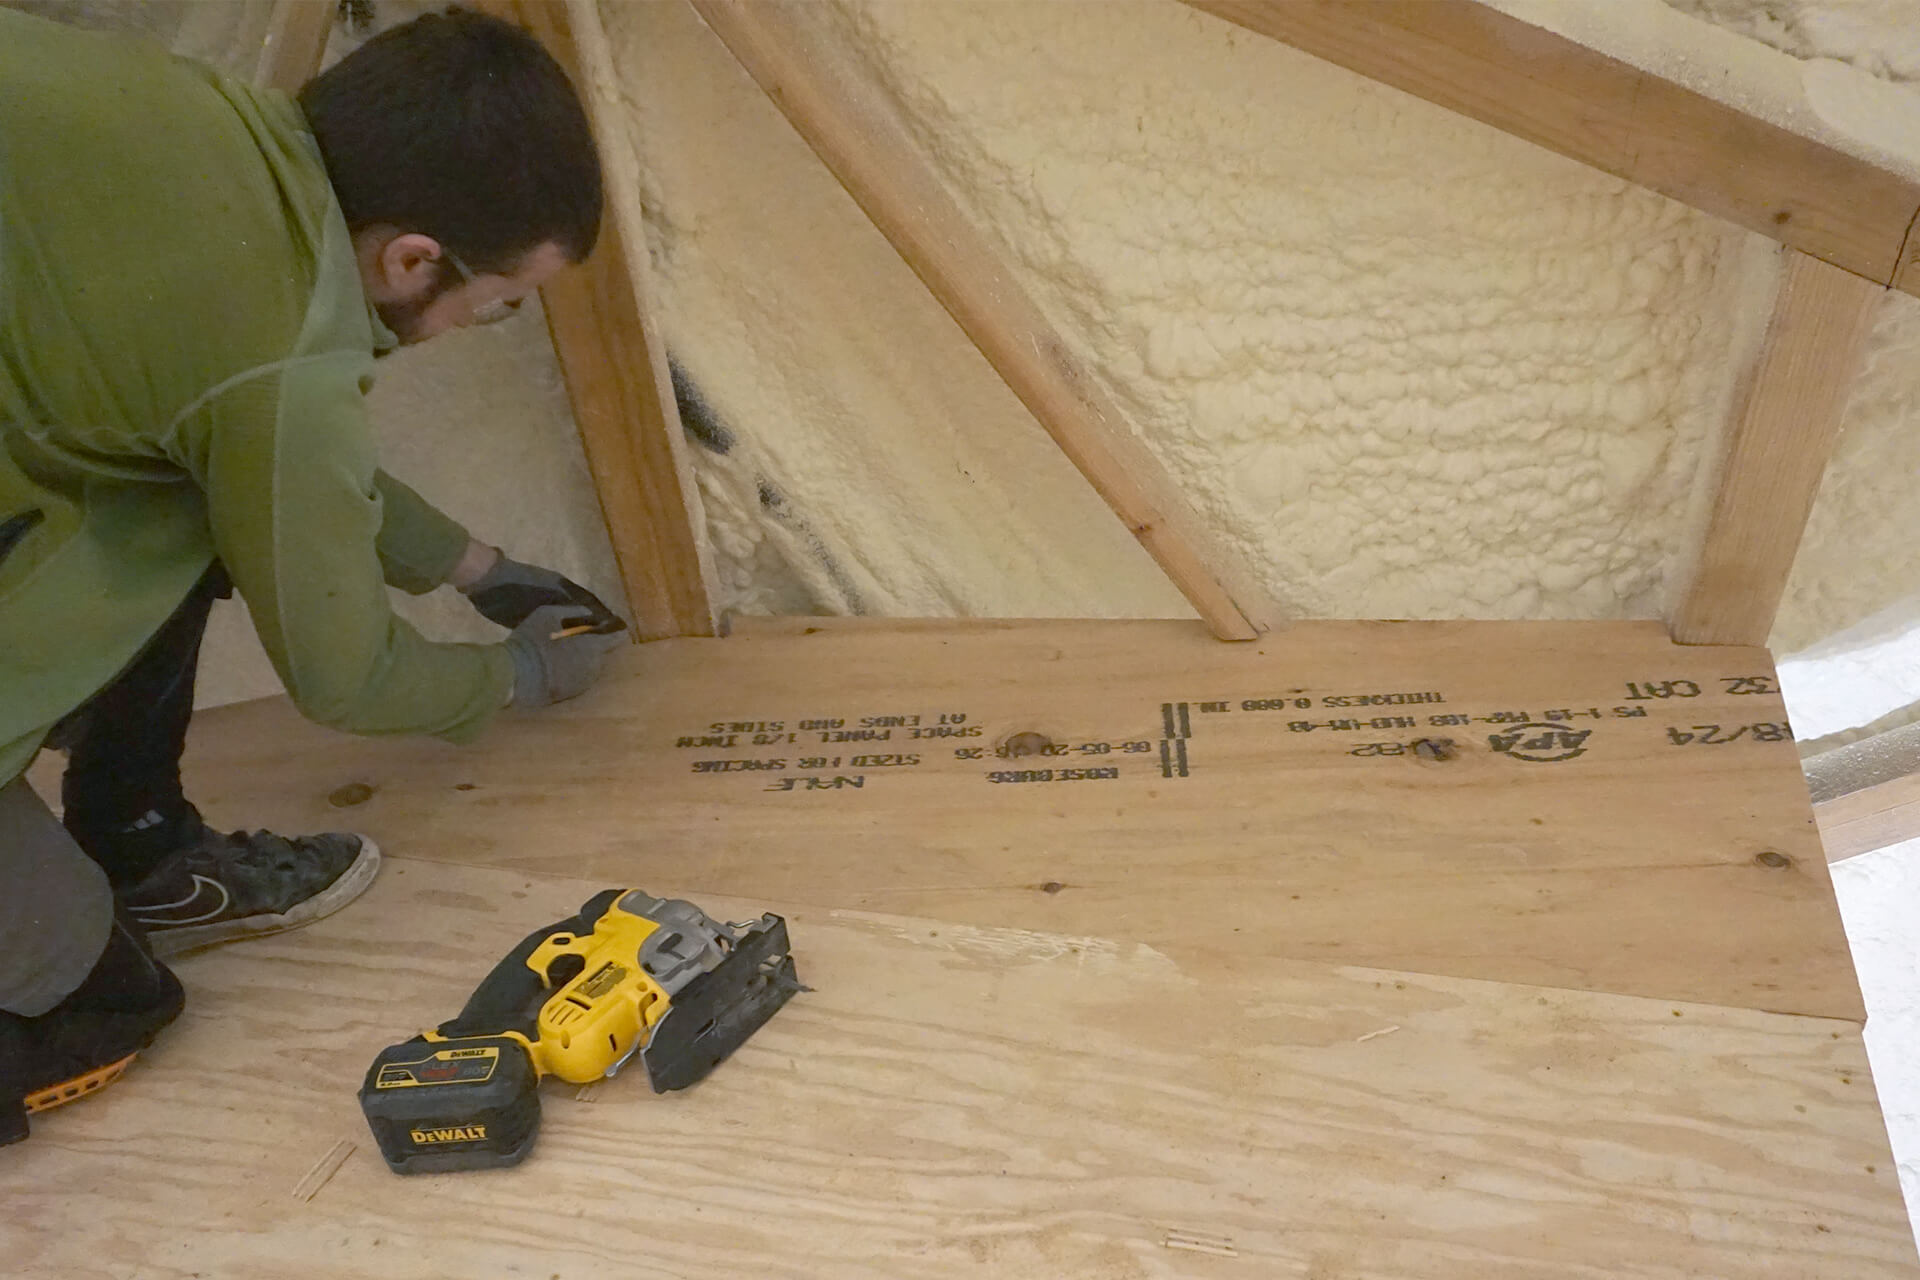
Dry fit and test clearance. Subfloor panels should be placed with a ~0.125” gap between all edges.
Perimeter subfloor panels are designed to extend beyond the floor zone to allow for the installation of future blocking, which will provide a surface to secure the wall coverings.
After achieving proper clearance in a dry fit, lift the panel and apply wood glue to the floor joists underneath it.
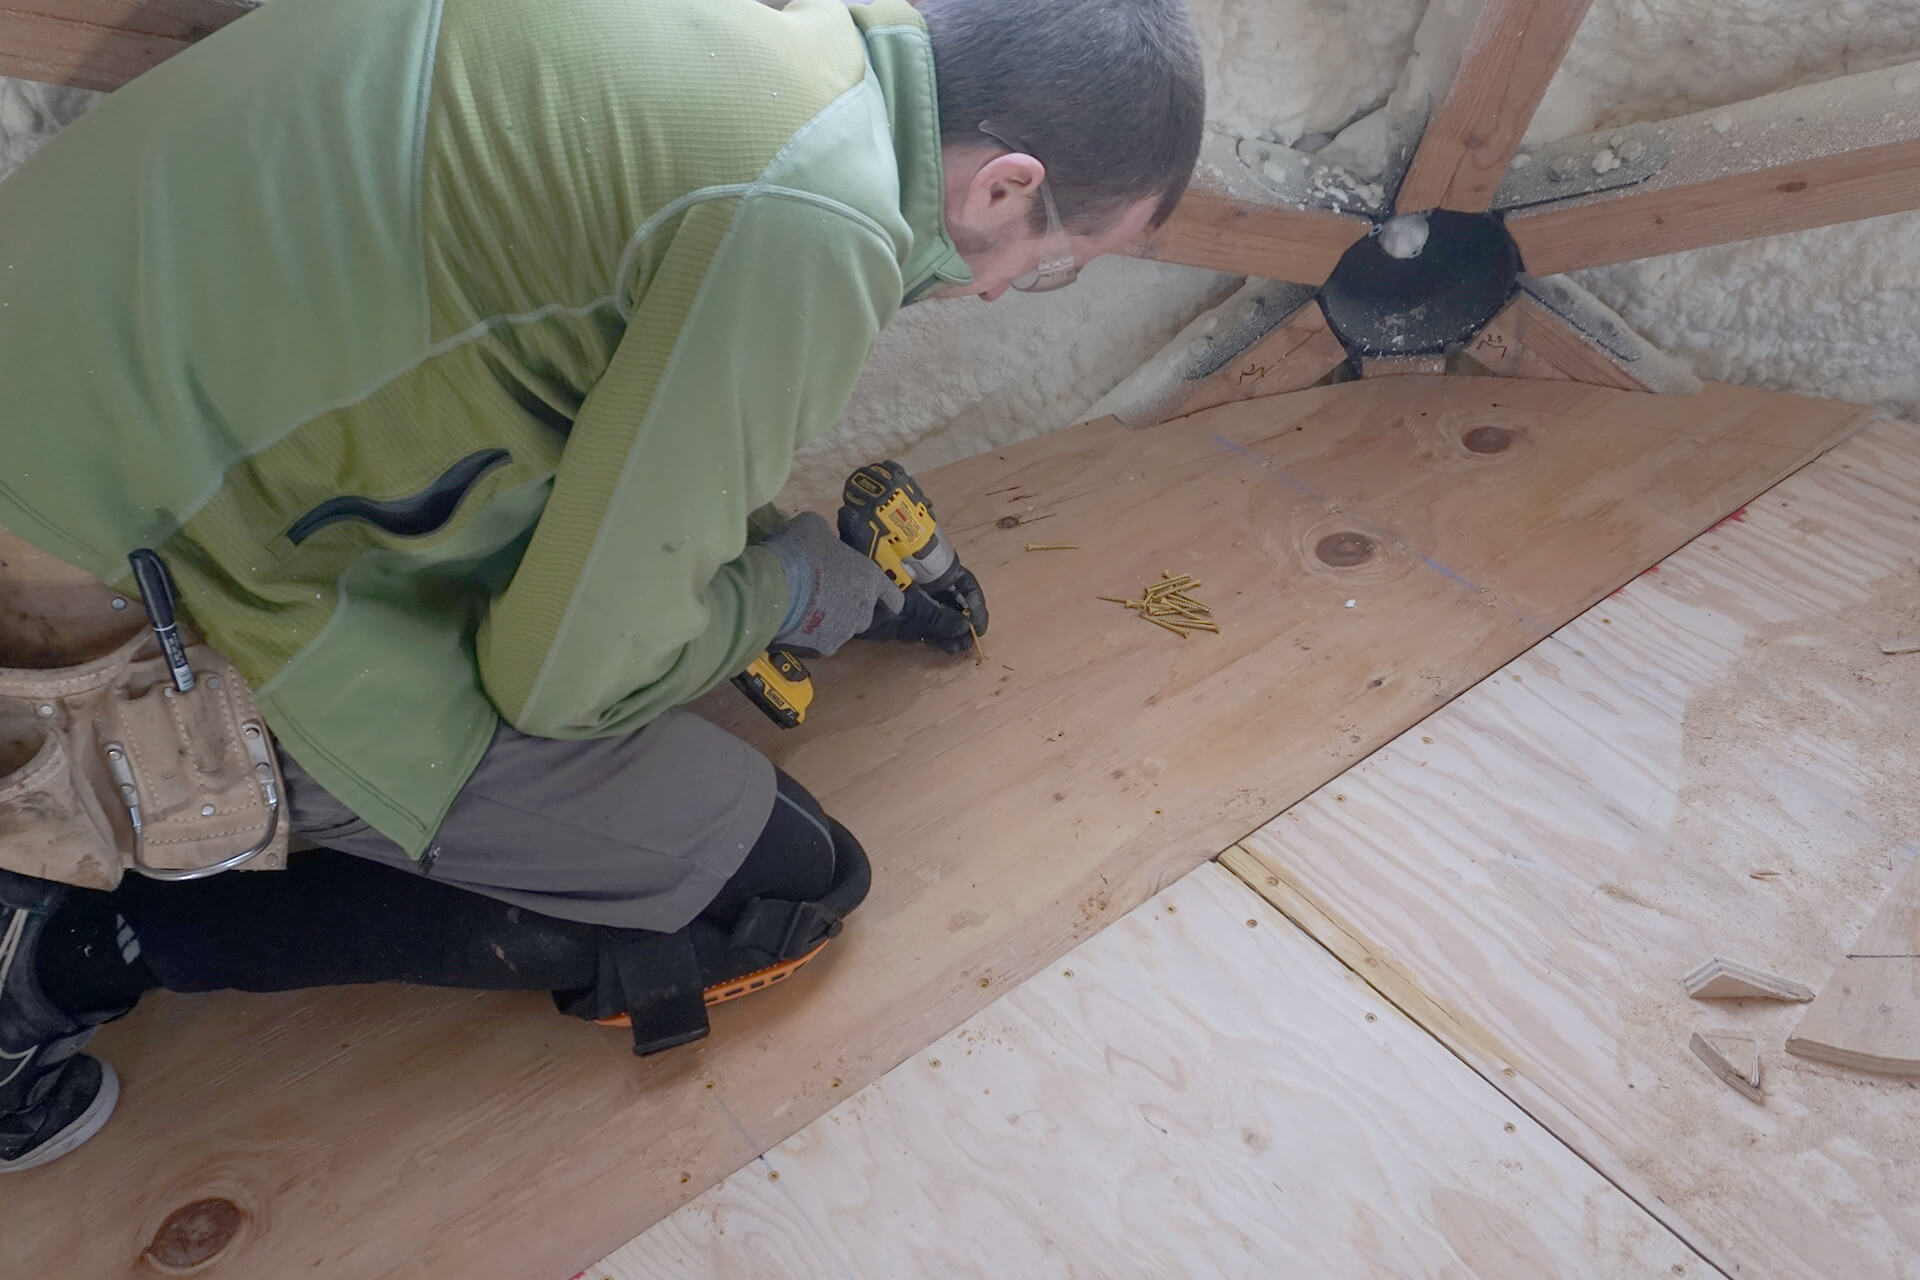
Clamp and screw as usual, then repeat for remaining subfloor panels.
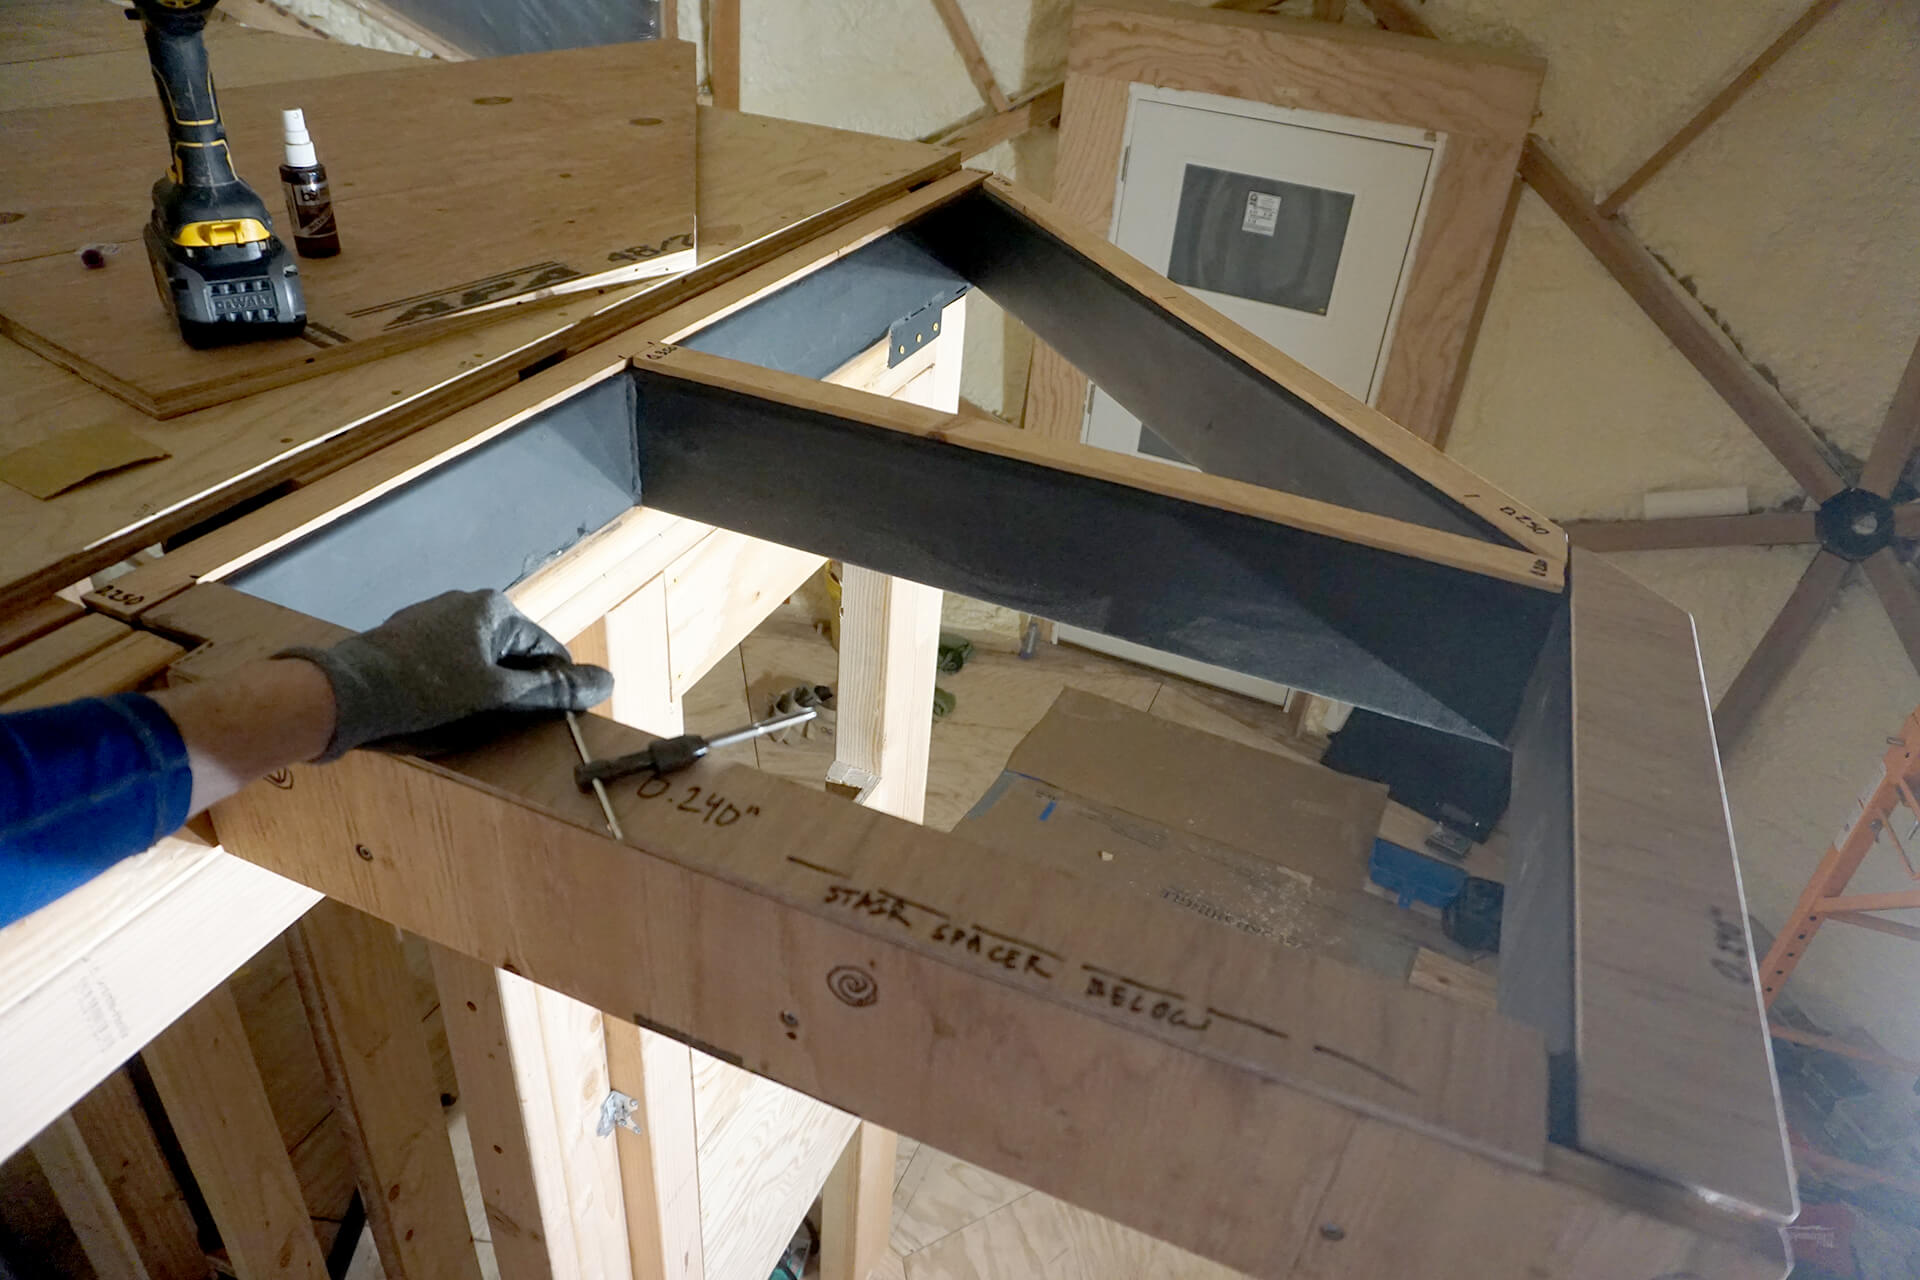
Glue shims (with CA glue) to the metal cantilever as needed to match the height of the floor joists.
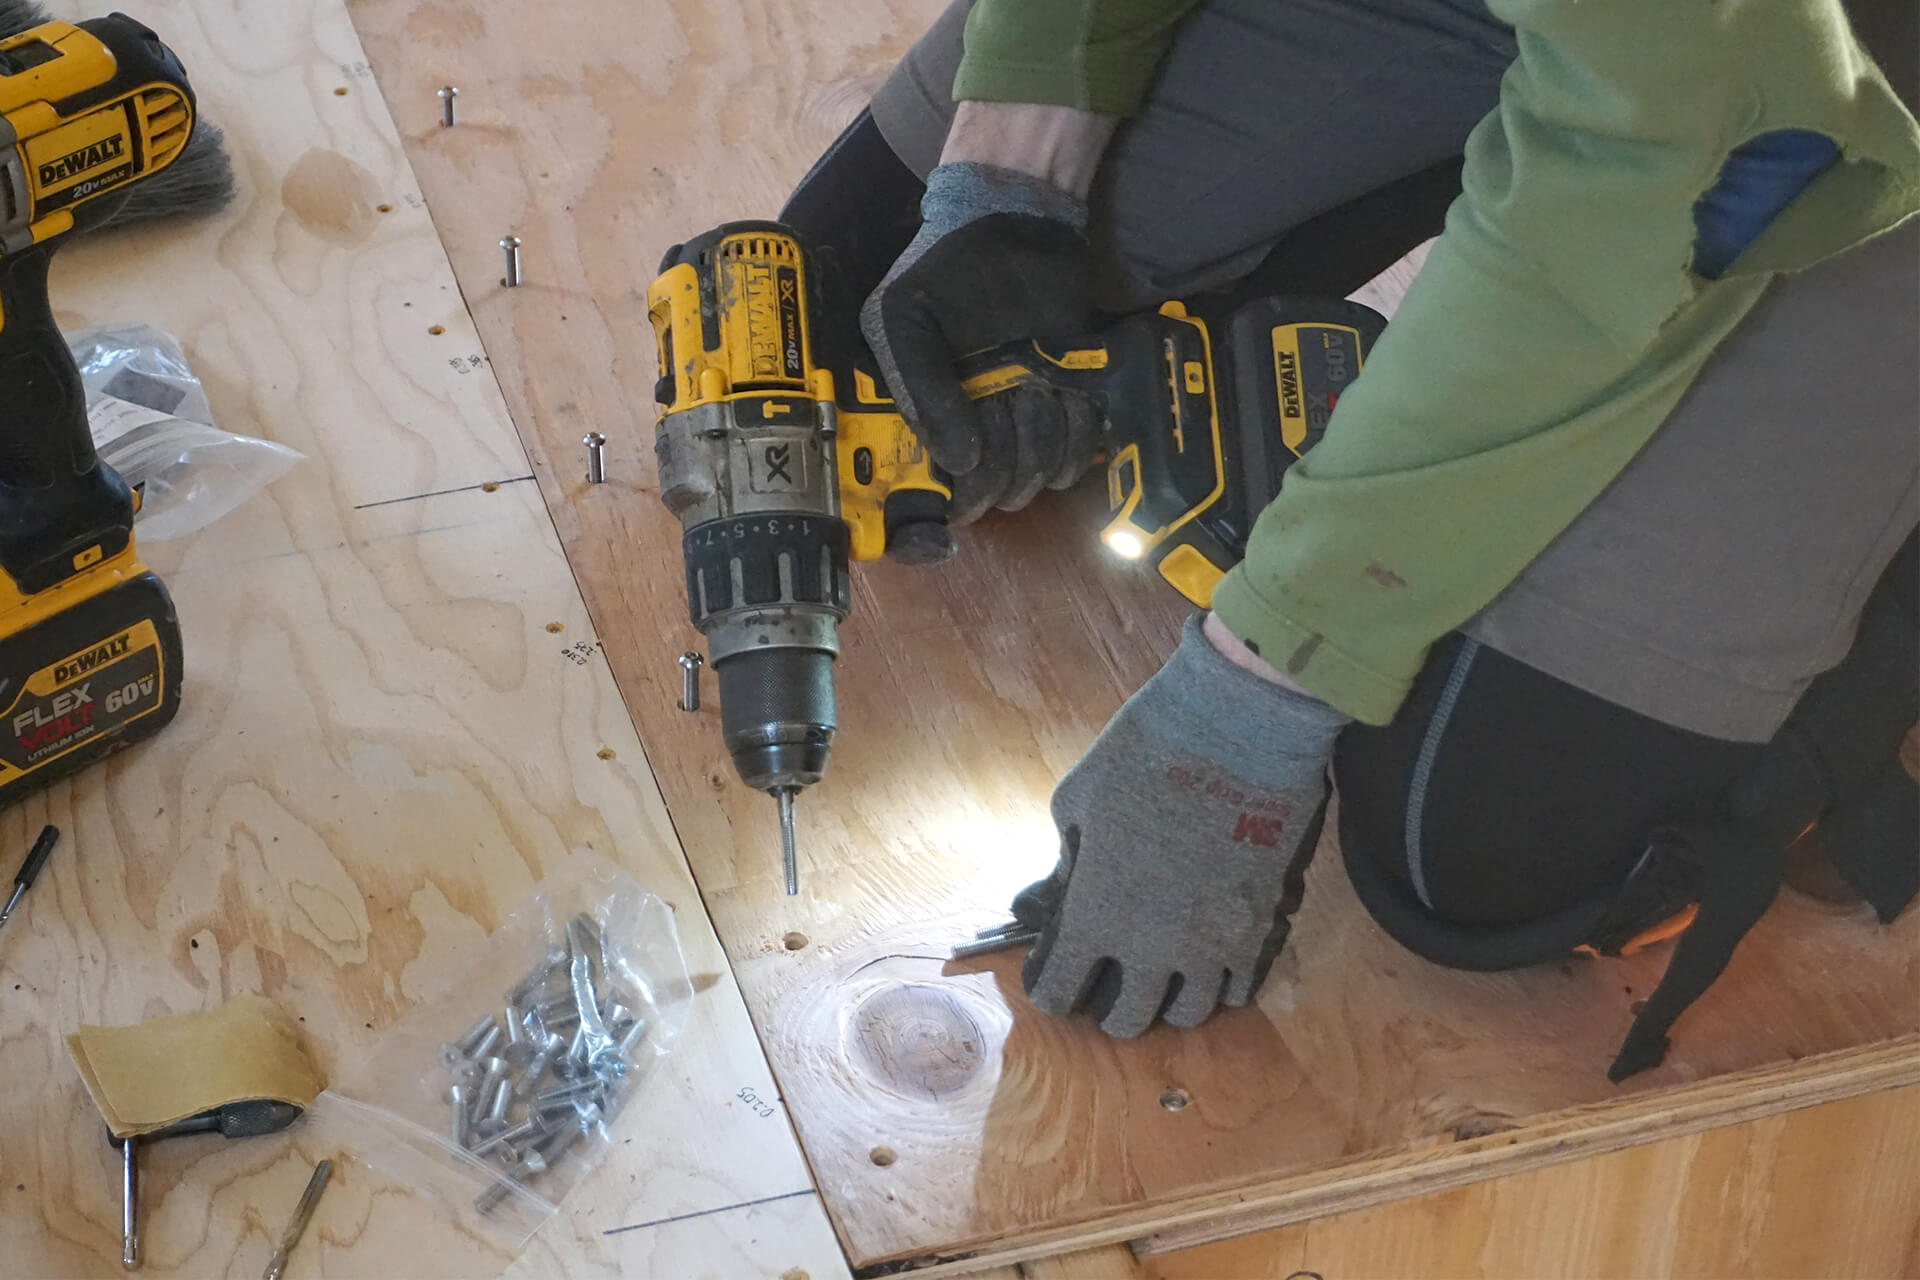
To attach the subfloor to the metal: Clamp the panel into place, then drill, power-tap (shown here), chamfer, and secure with a machine screw (and thread-locker) every few inches.
Trim the subfloor as needed to ensure it does not protrude beyond the framing.
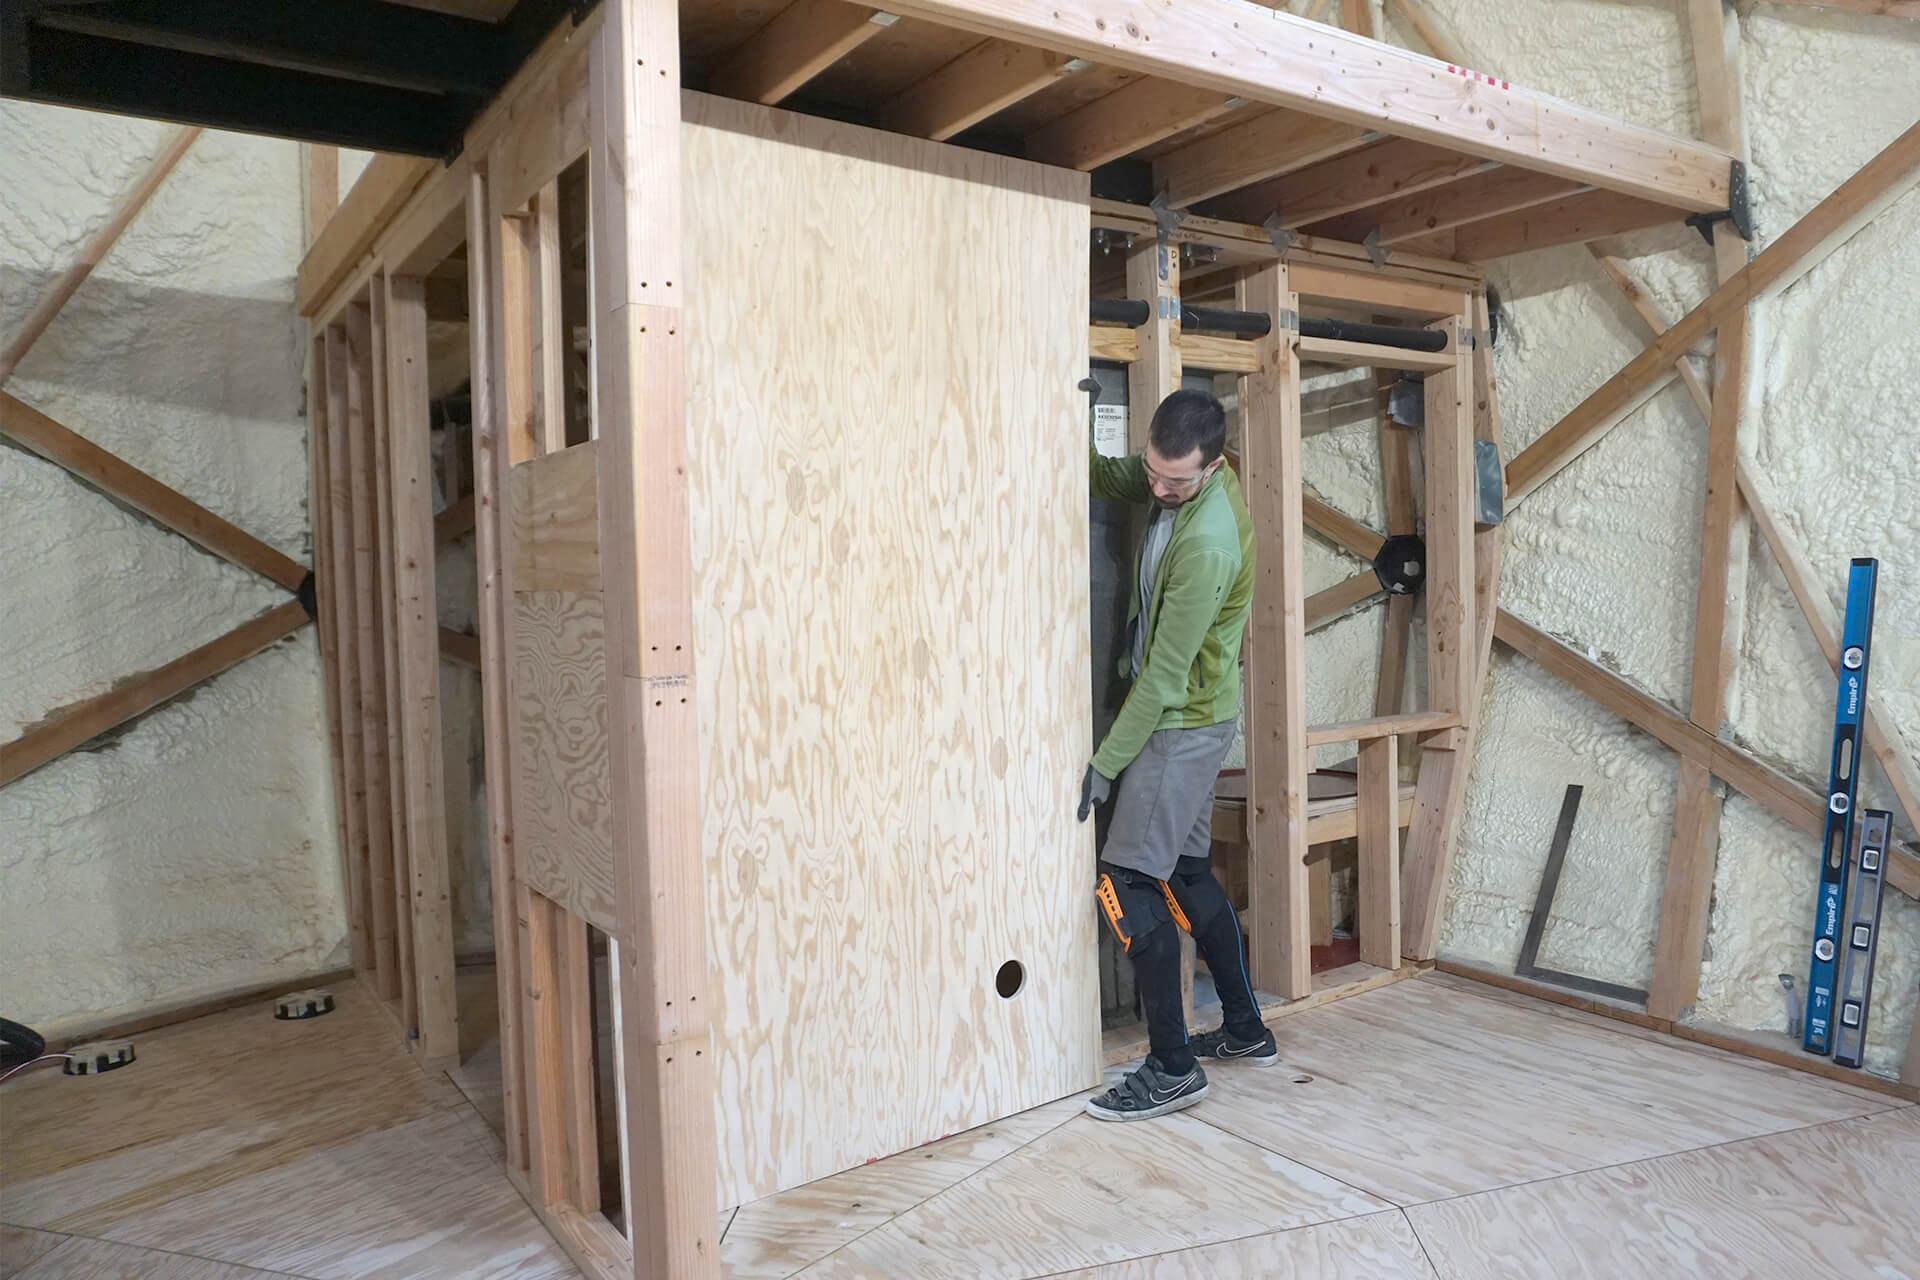
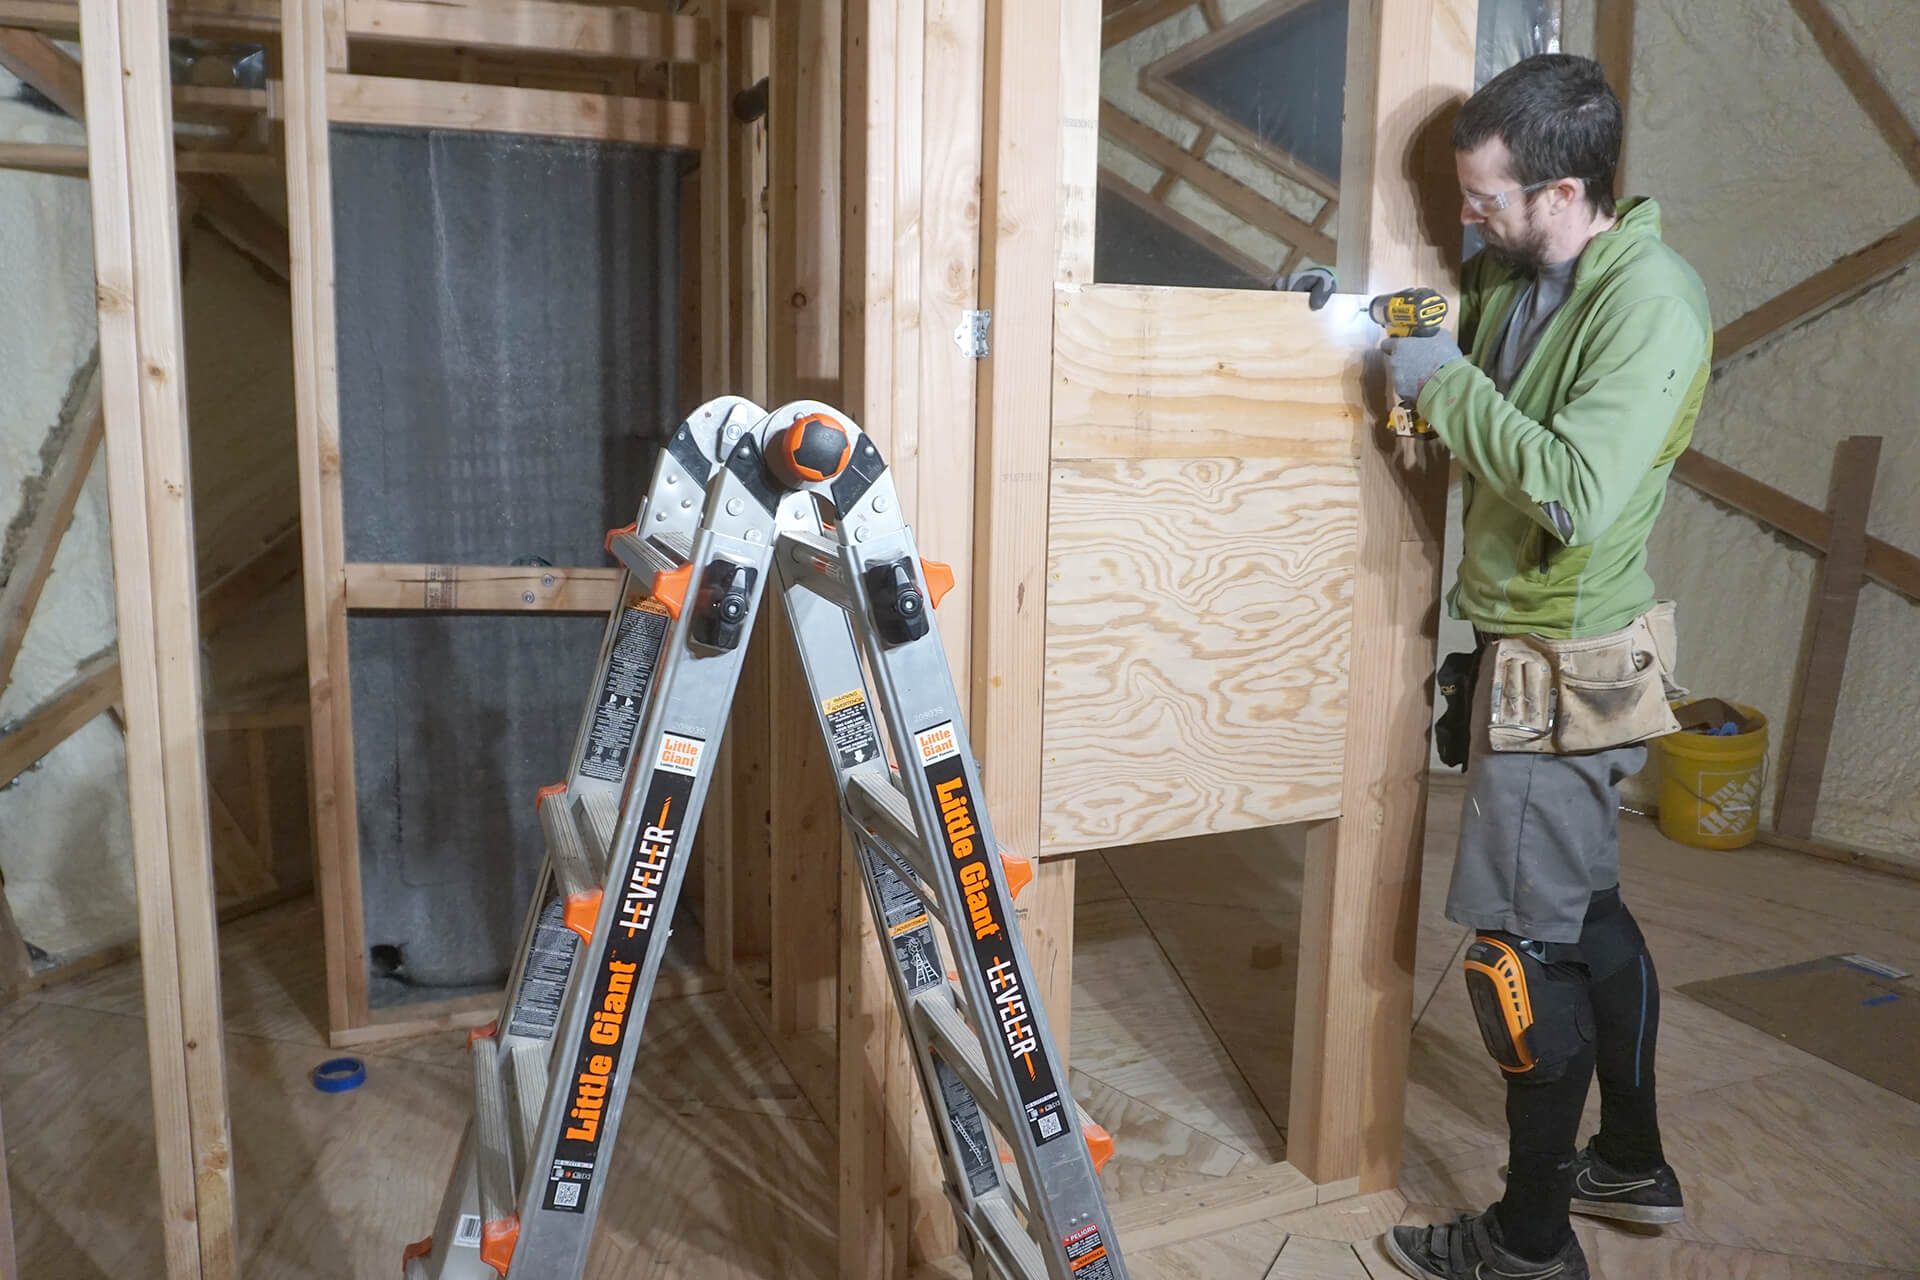
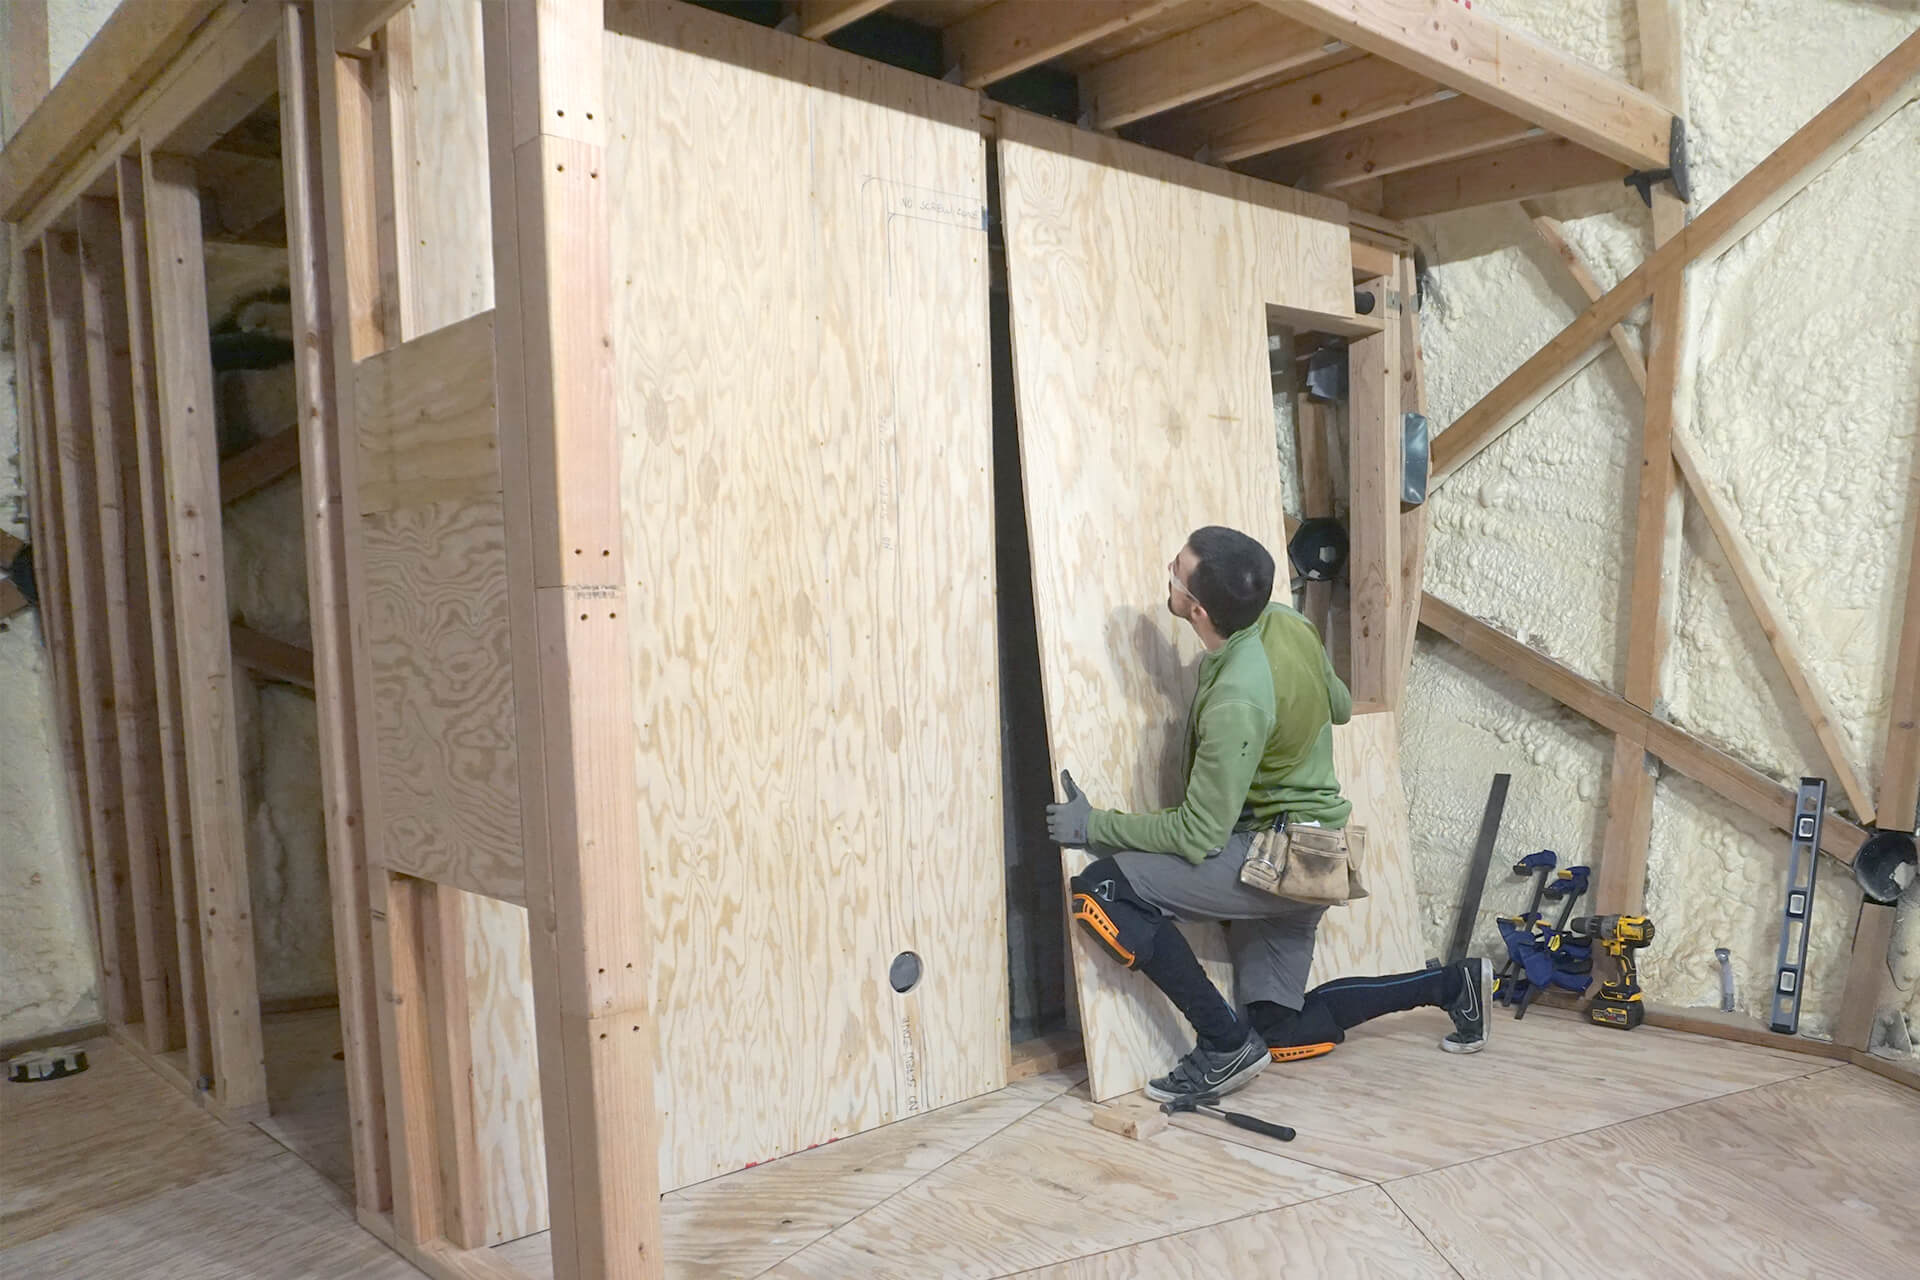
Sheath the kitchenette area with plywood to create a solid surface for mounting cabinets. Cut a hole where the sink waste pipe will exit the wall.

Clamp the panel into place, ensuring a ~0.125” gap between all edges. Pre-drill, chamfer, and screw in place. Mark the behind-wall vent pipe location.
Trim the utility closet opening in the sheathing.
Continue sheathing the kitchenette wall around the utility closet opening.
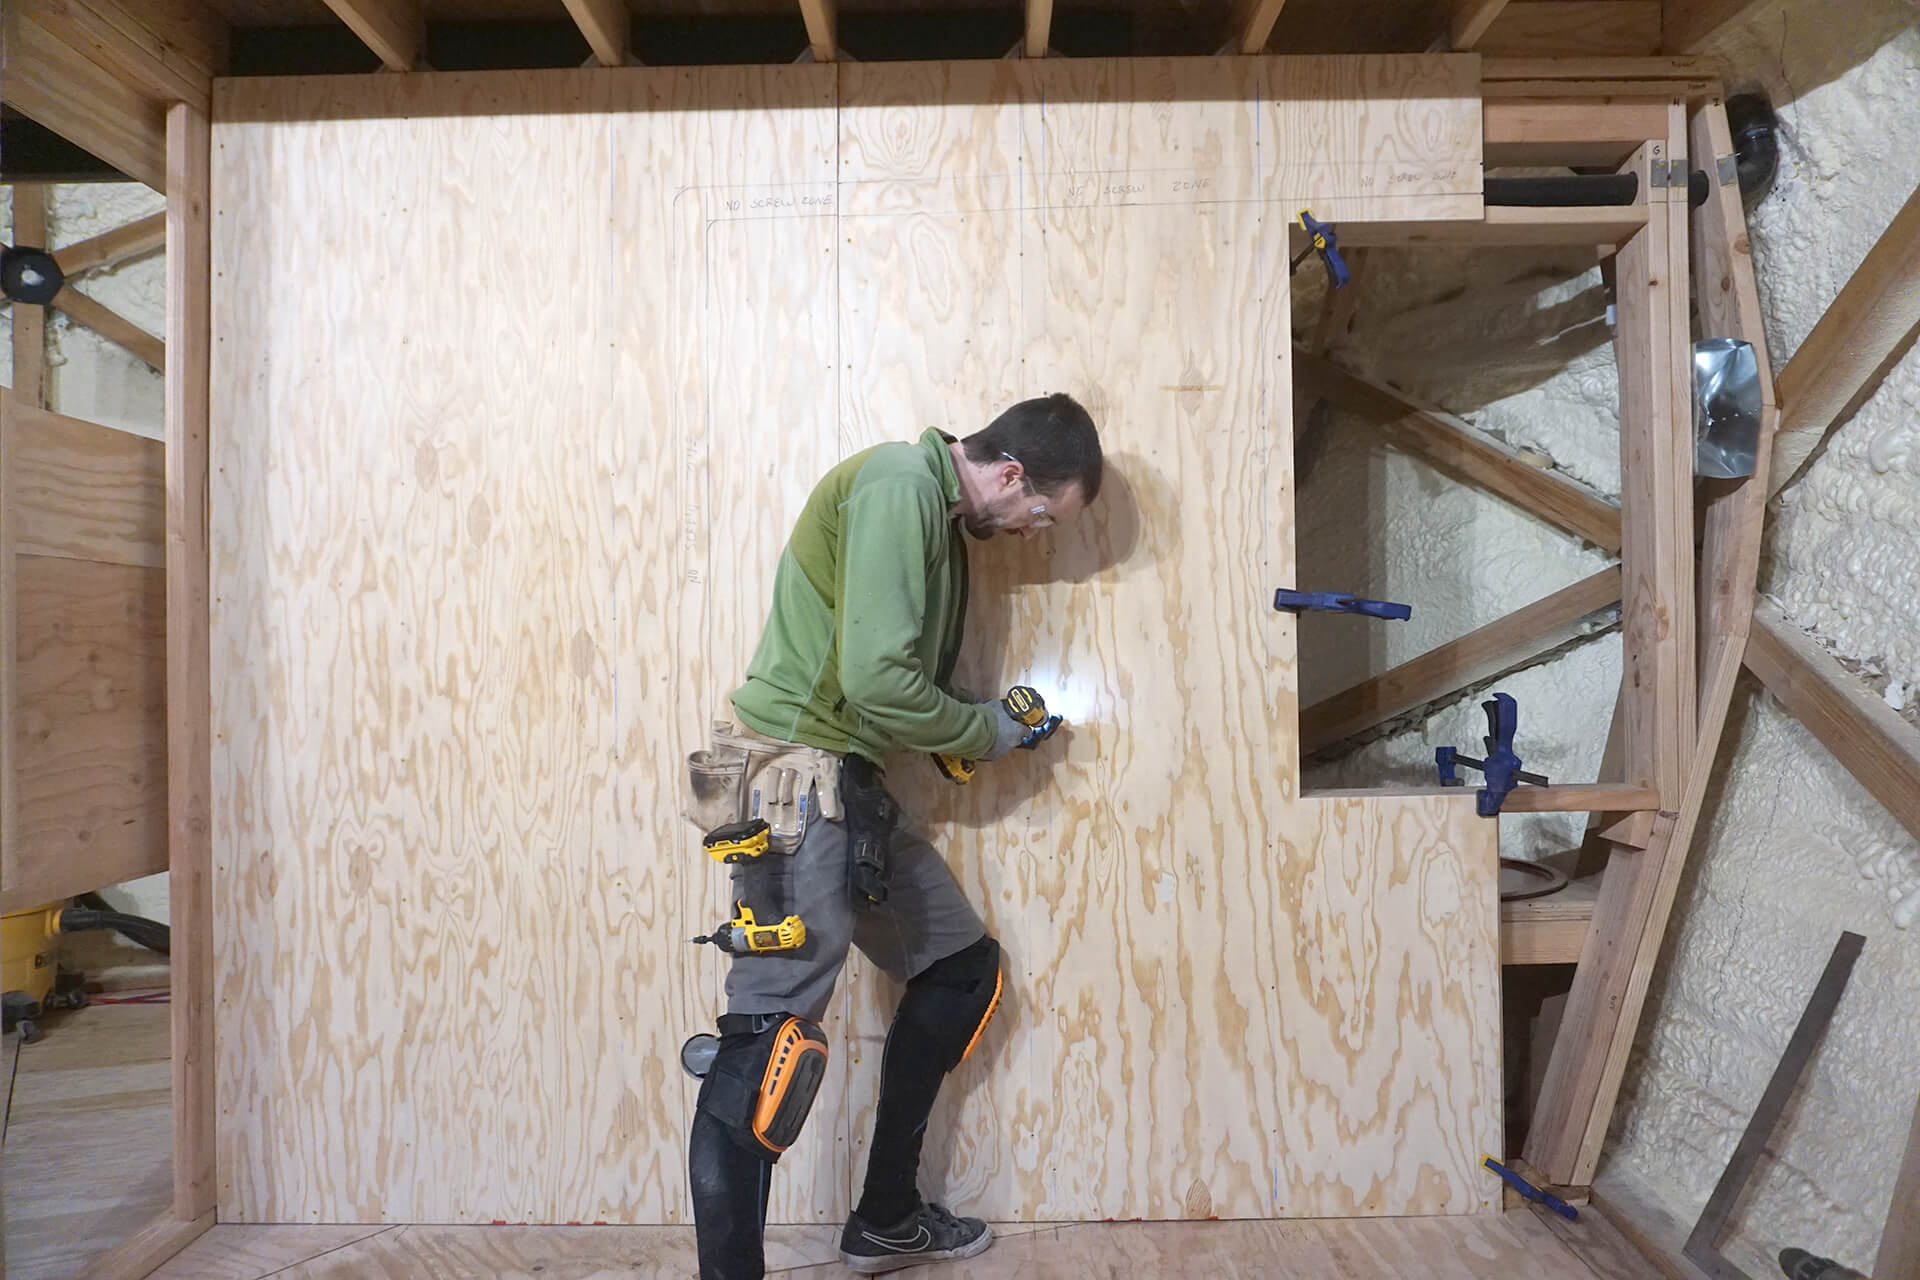
Mark the behind-wall vent pipe location before screwing to prevent accidental punctures. The marks will also come in handy during cabinet installation.
Congratulations on completing the upper subfloor!
Inspections: Framing (complete the partial), Shearwalls (complete the partial), (and Shower Pan/Bathtub Test?)