
Roofing – Peak
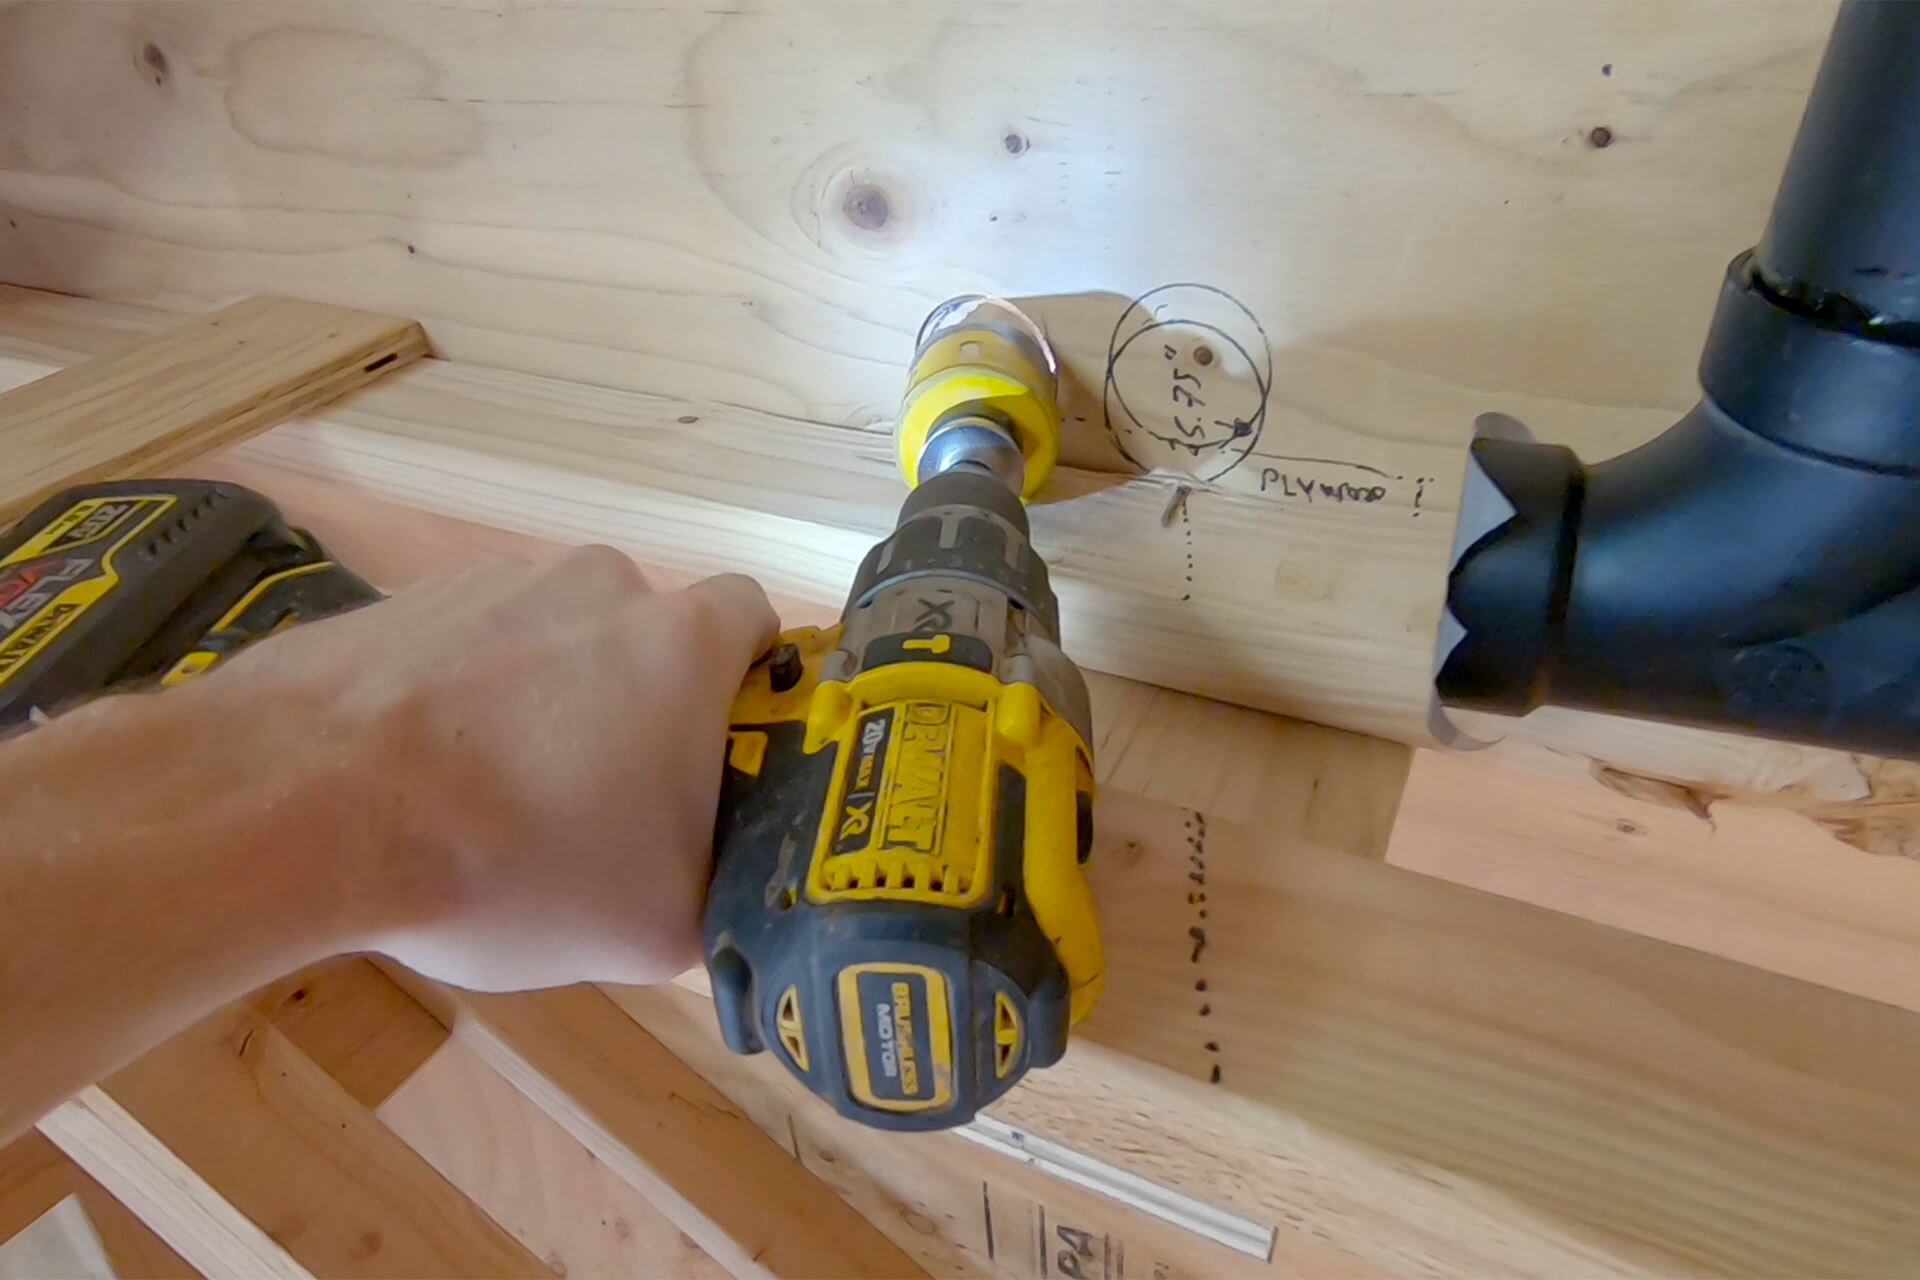
Locate and hole-saw the plumbing vent pipe location. Ensure the hole is drilled through the roof plumb (as shown) so the vent pipe exits plumb as well.
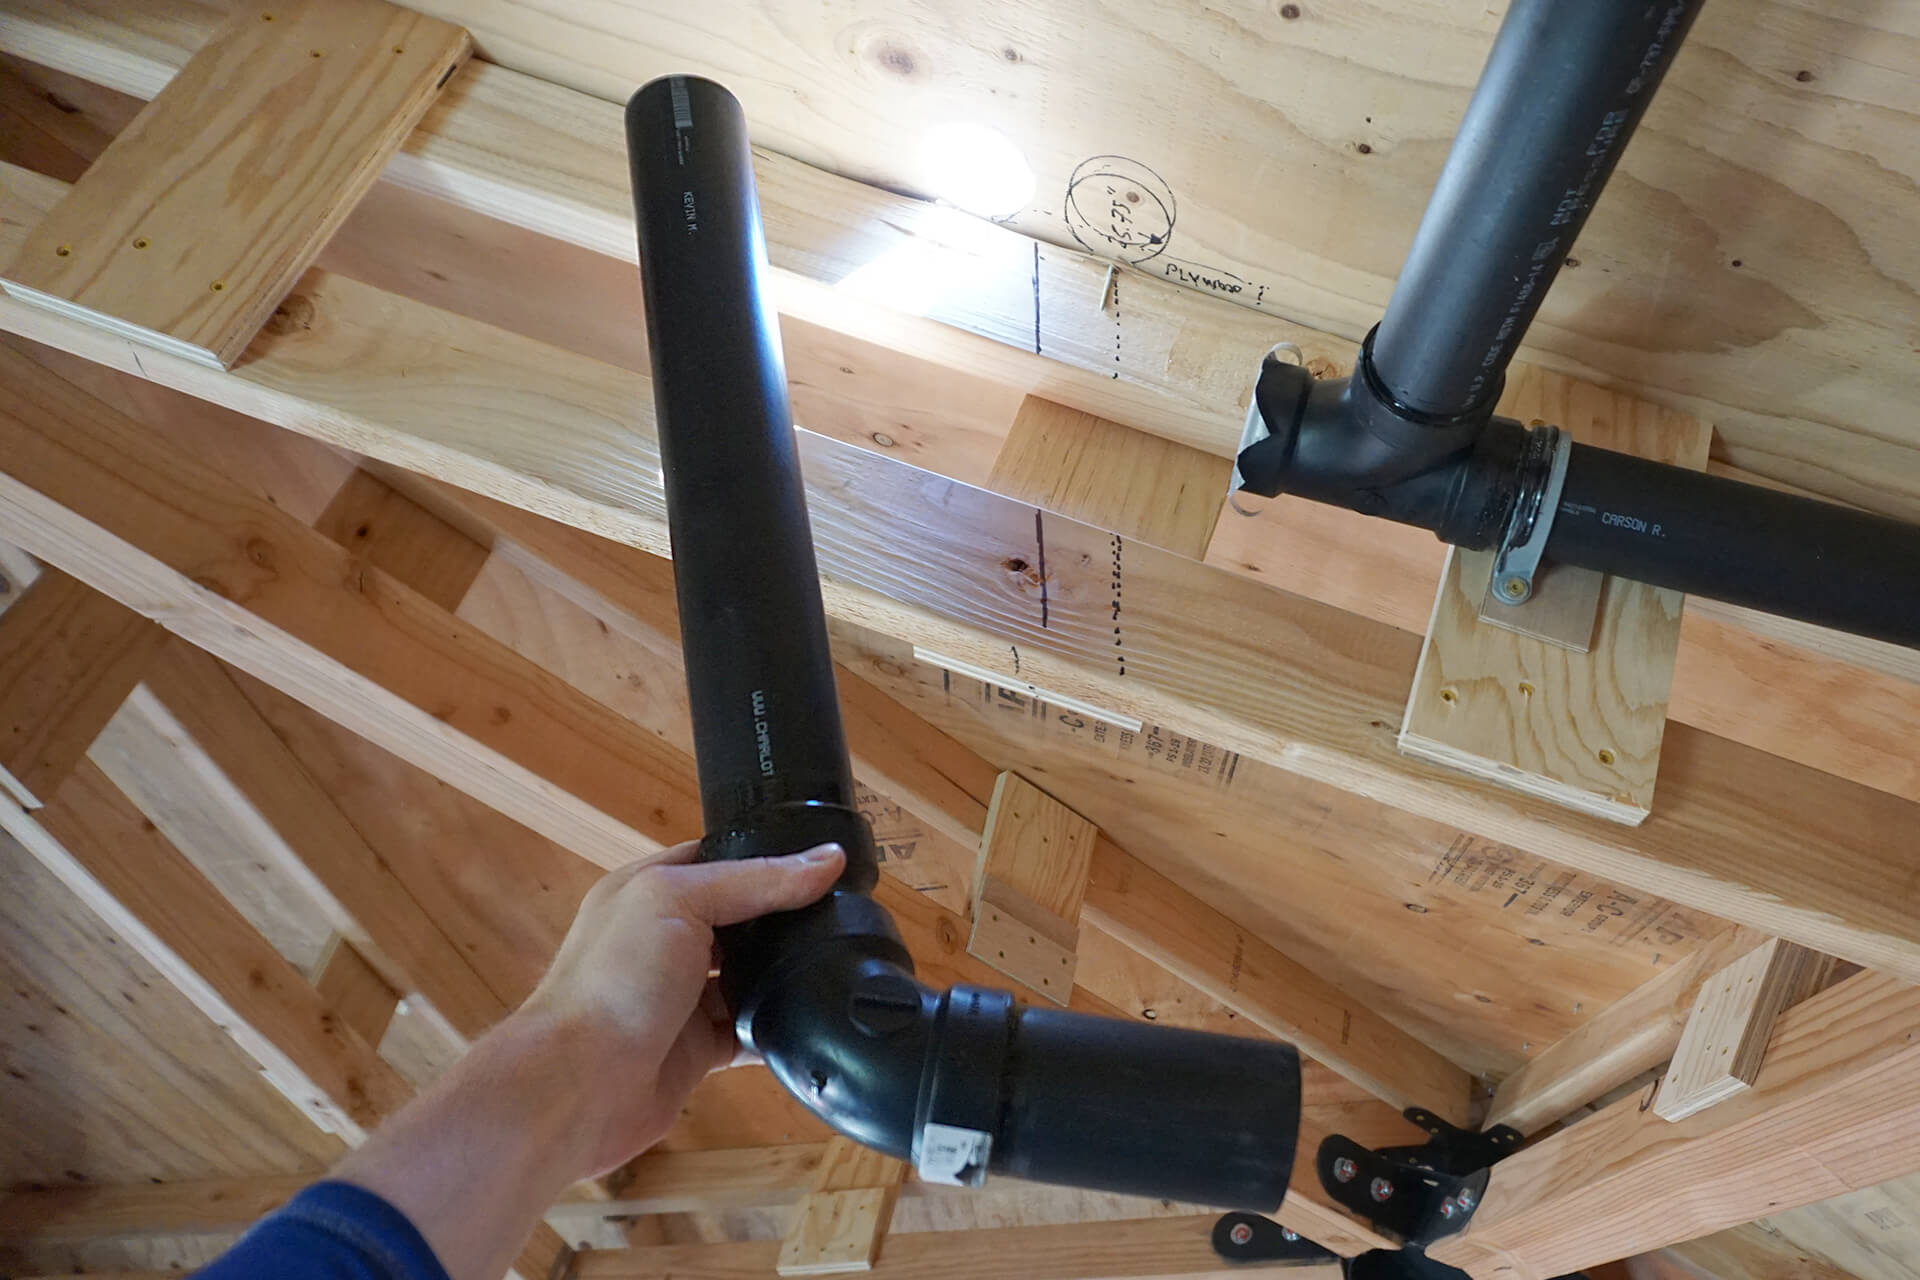
Typically, in a single-vent setup, the plumbing vent diameter should match the waste pipe diameter. However, in this case, the primary structure has vents that contribute to that rule.
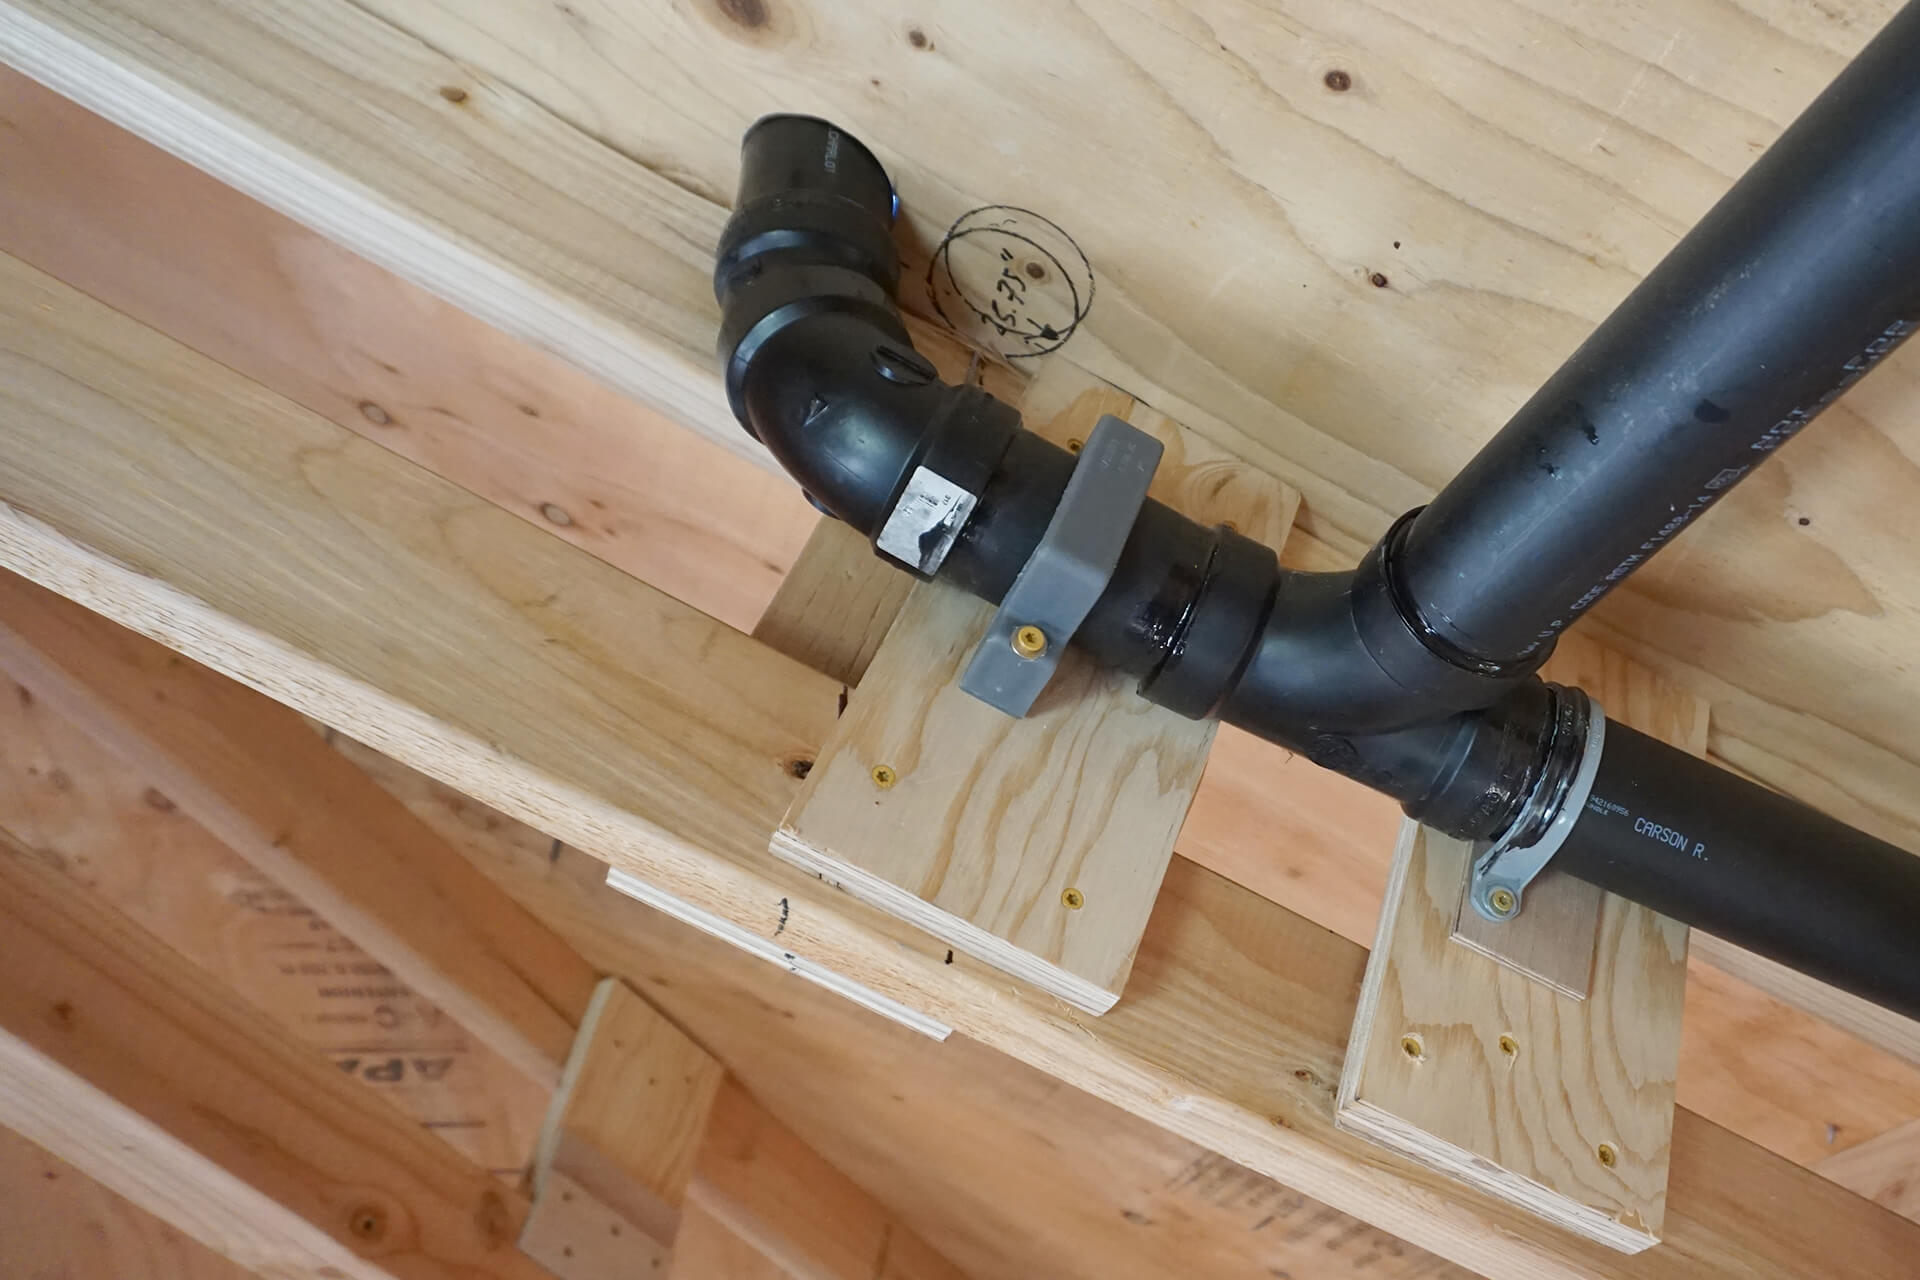
Assemble and install the plumbing vent. Secure it tightly to prevent the pipe exiting the roof from wiggling. Only the parts shown to the left of the strap are needed to complete the roof.
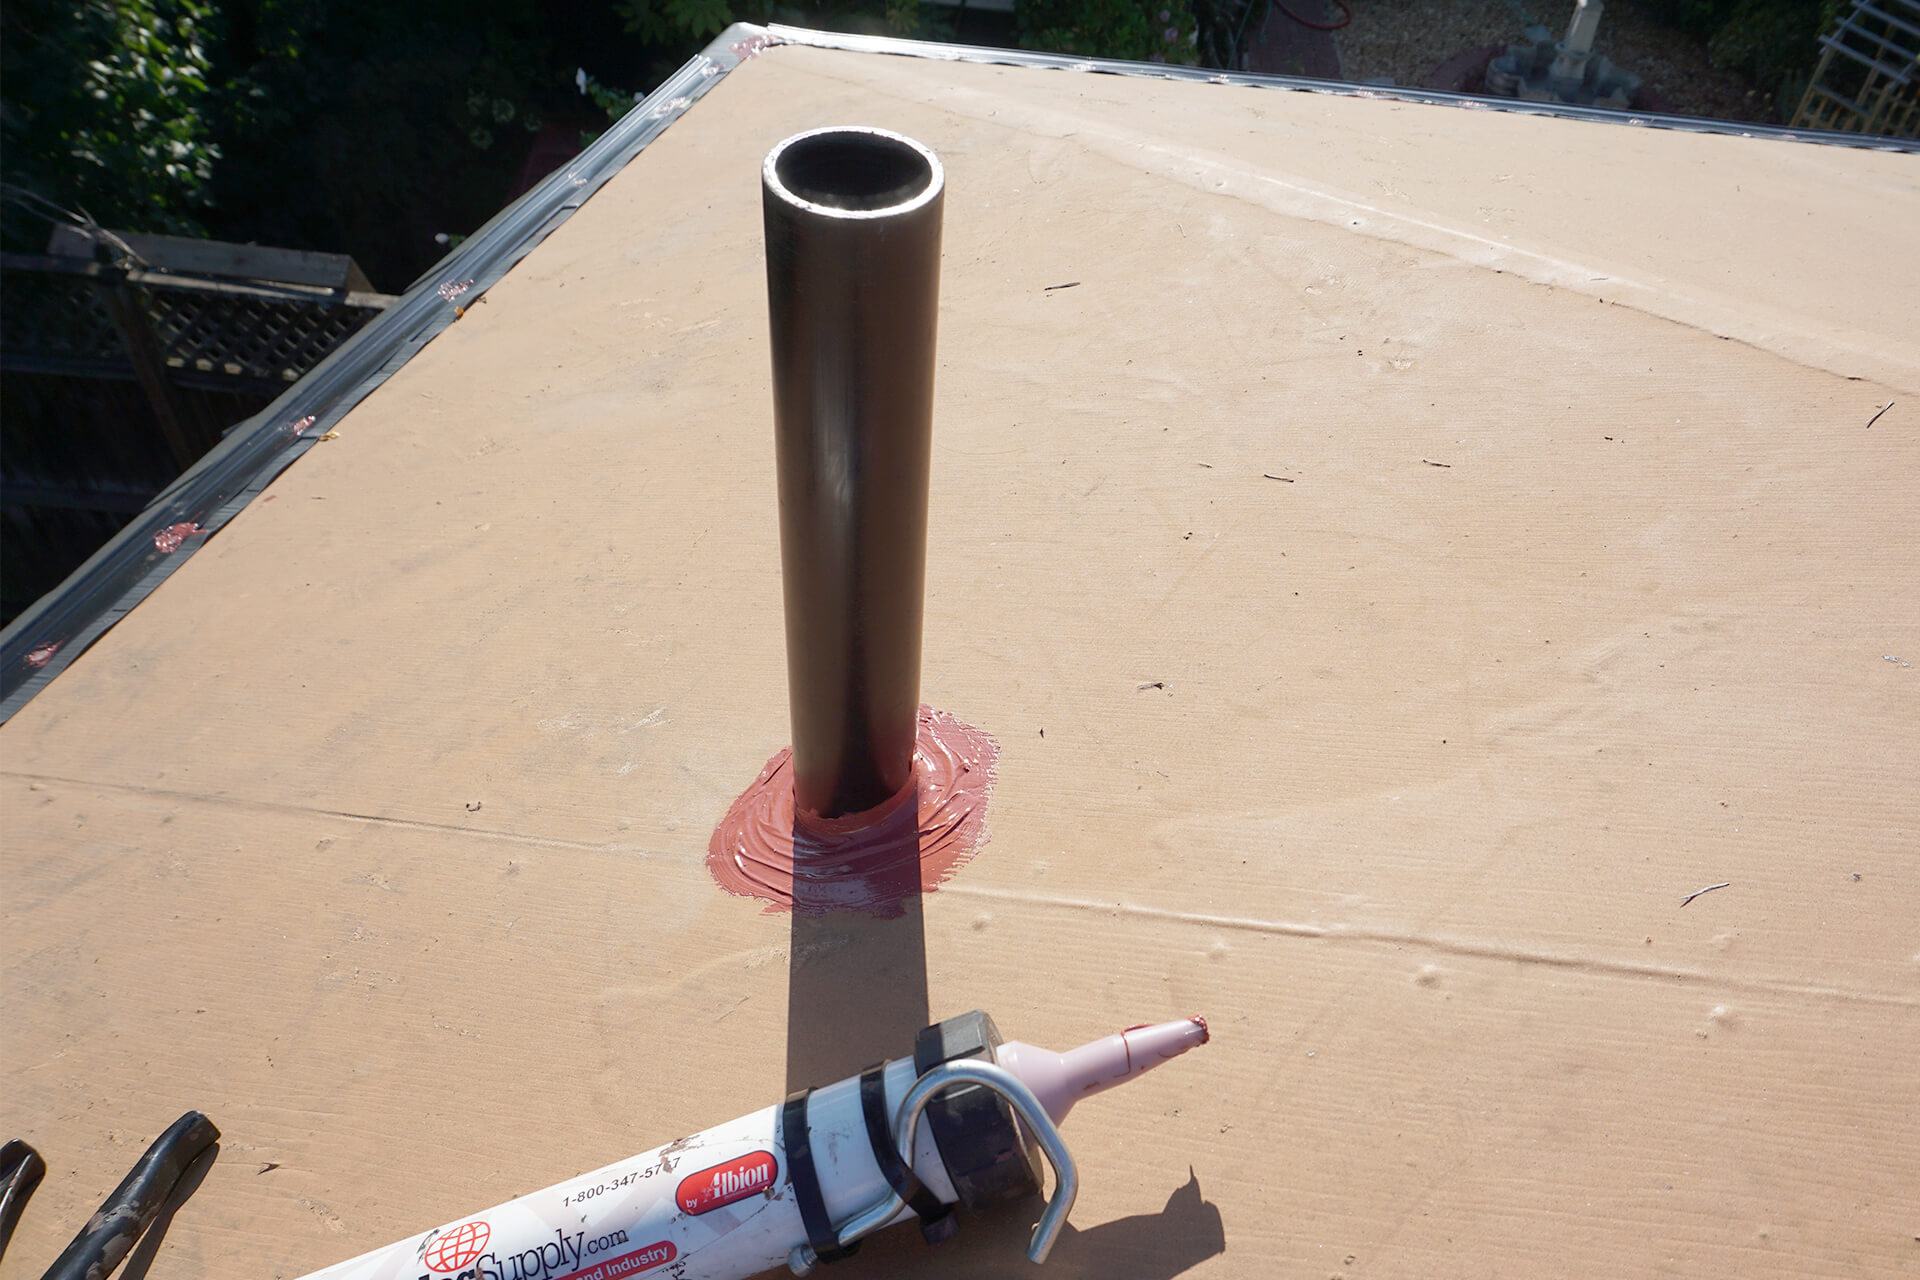
Caulk around the vent pipe with an STPE-type material or equivalent. Prosoco R-Guard Fast Flash is shown here. Reminder: Always wear a harness when working on the top panels.
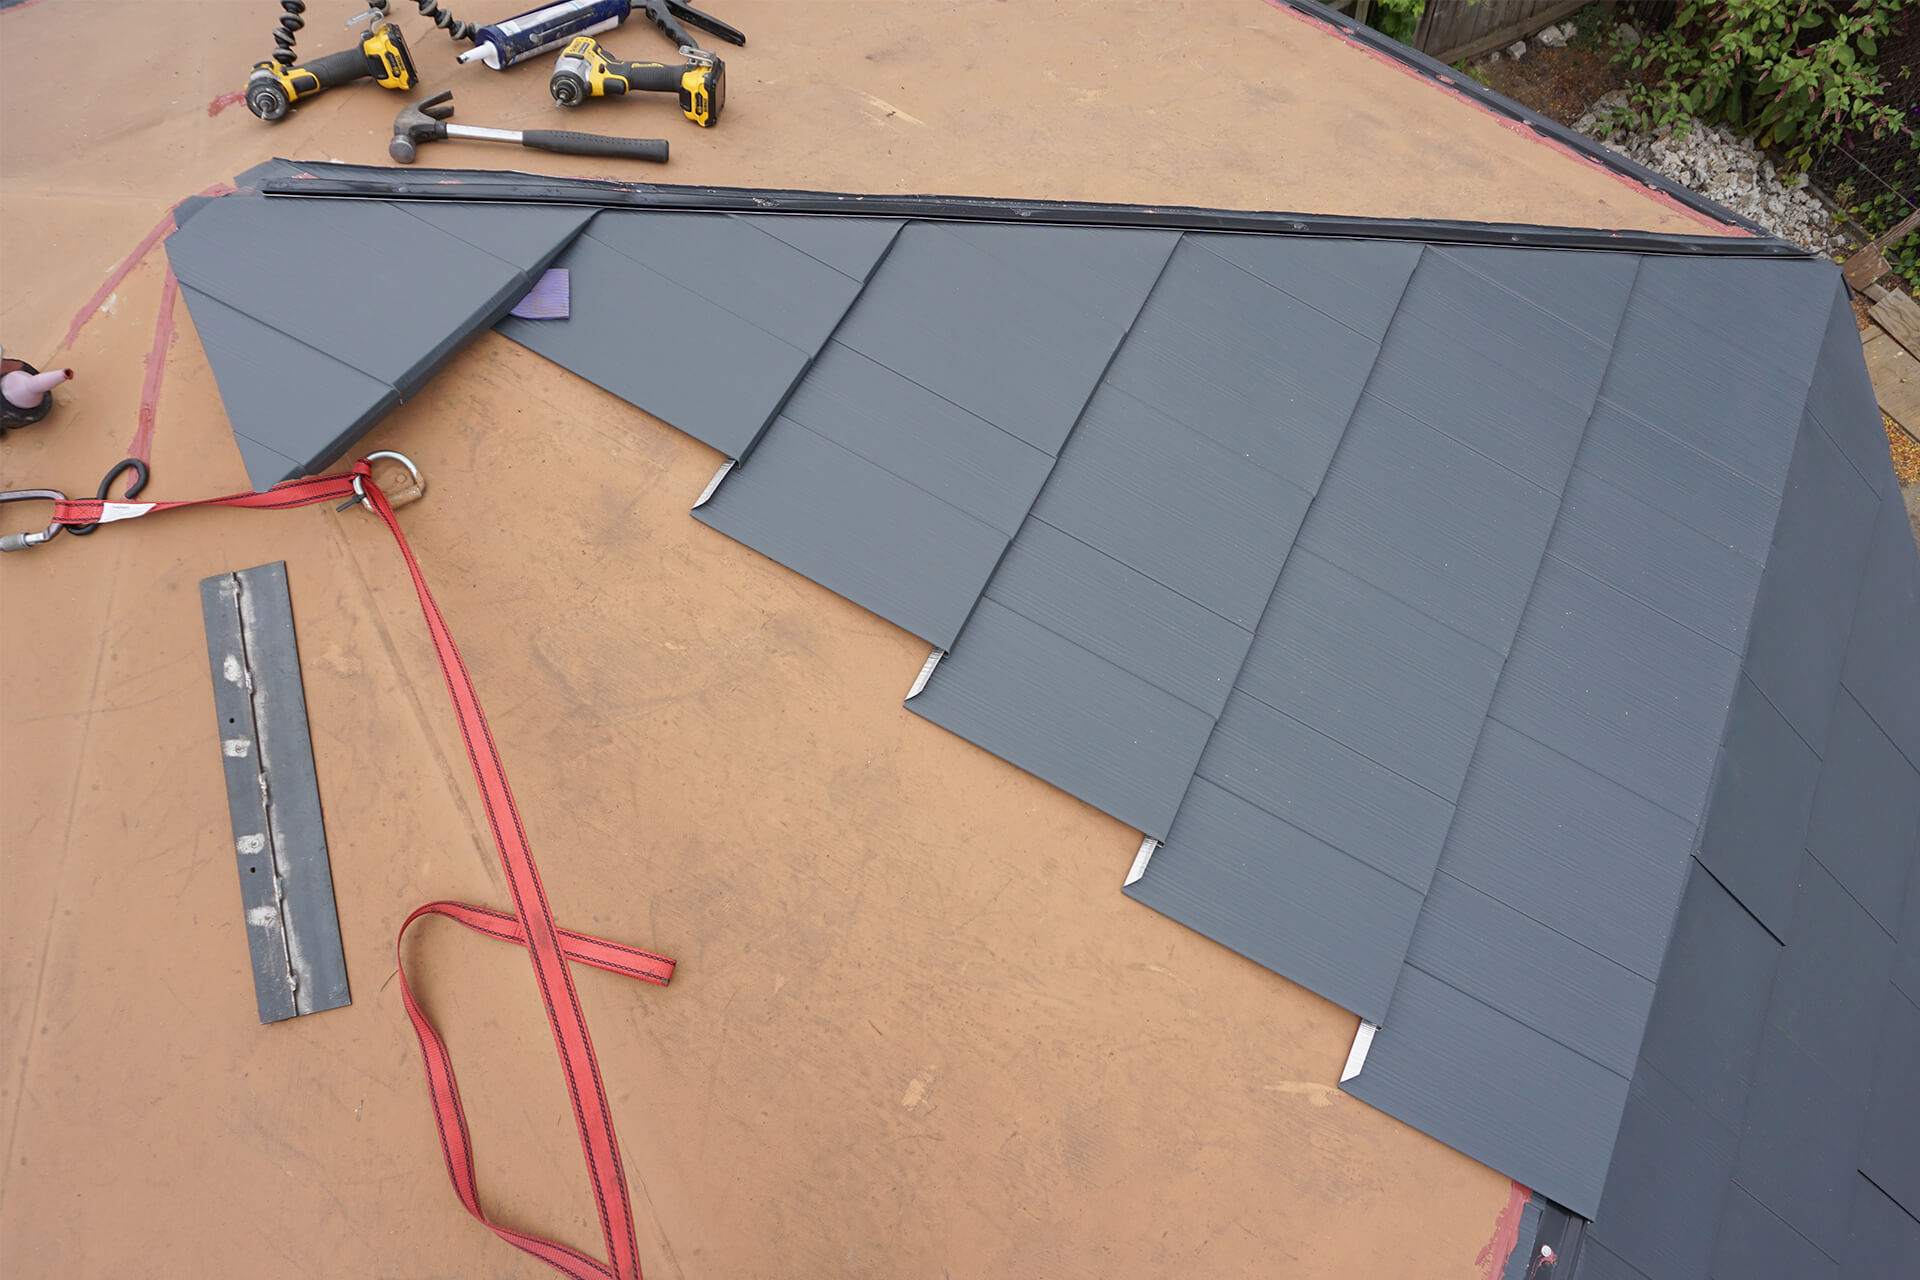
Shingle the first top-level panel as shown. It will be finished last. Continue shingling the panels counterclockwise as usual. The ladder should be set up to provide access to this panel.
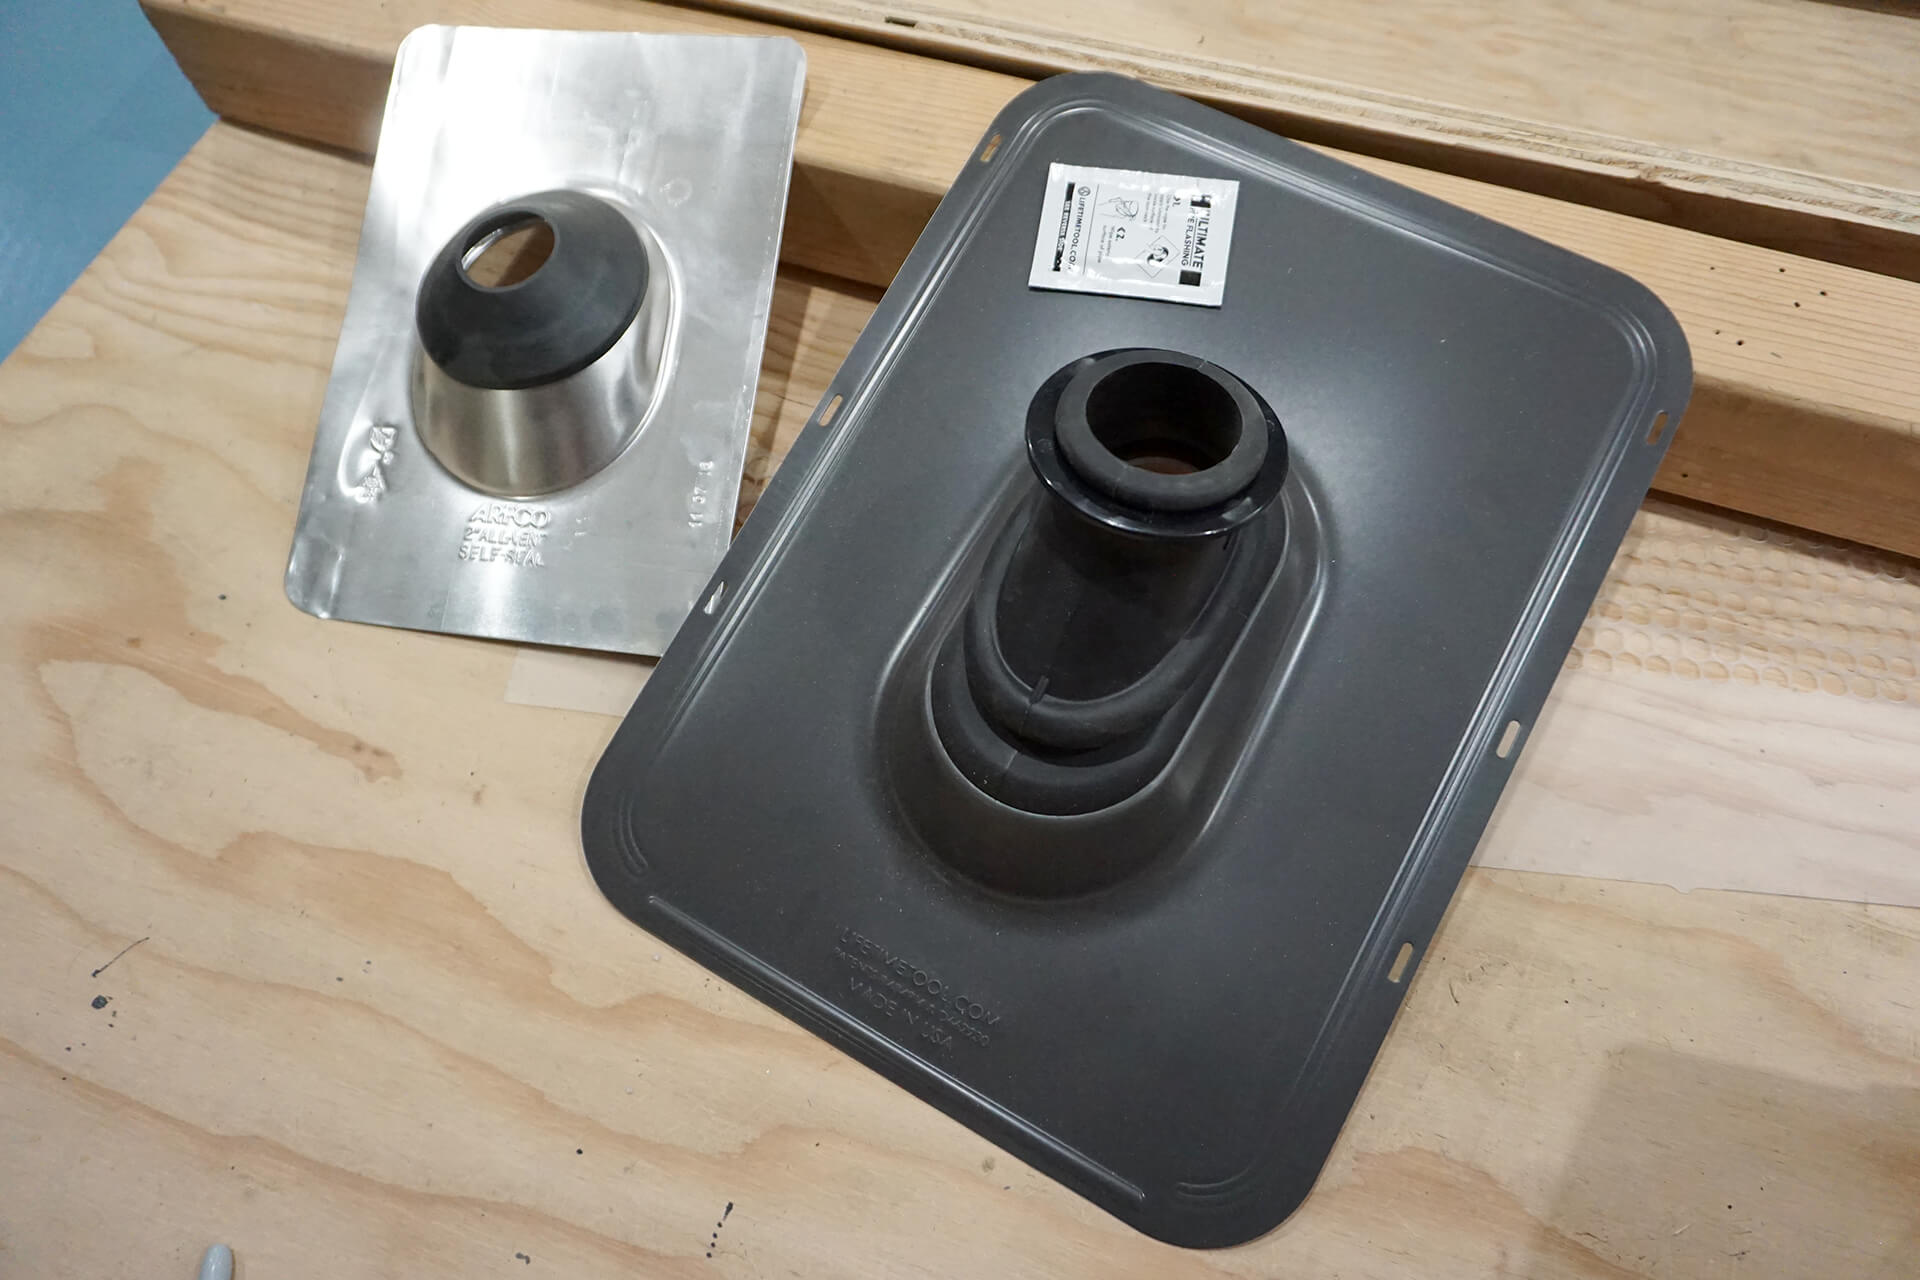
Install a vent pipe boot that matches the quality and longevity of a metal roof (right). Use only the rubber from the inferior boot (left) for redundancy.
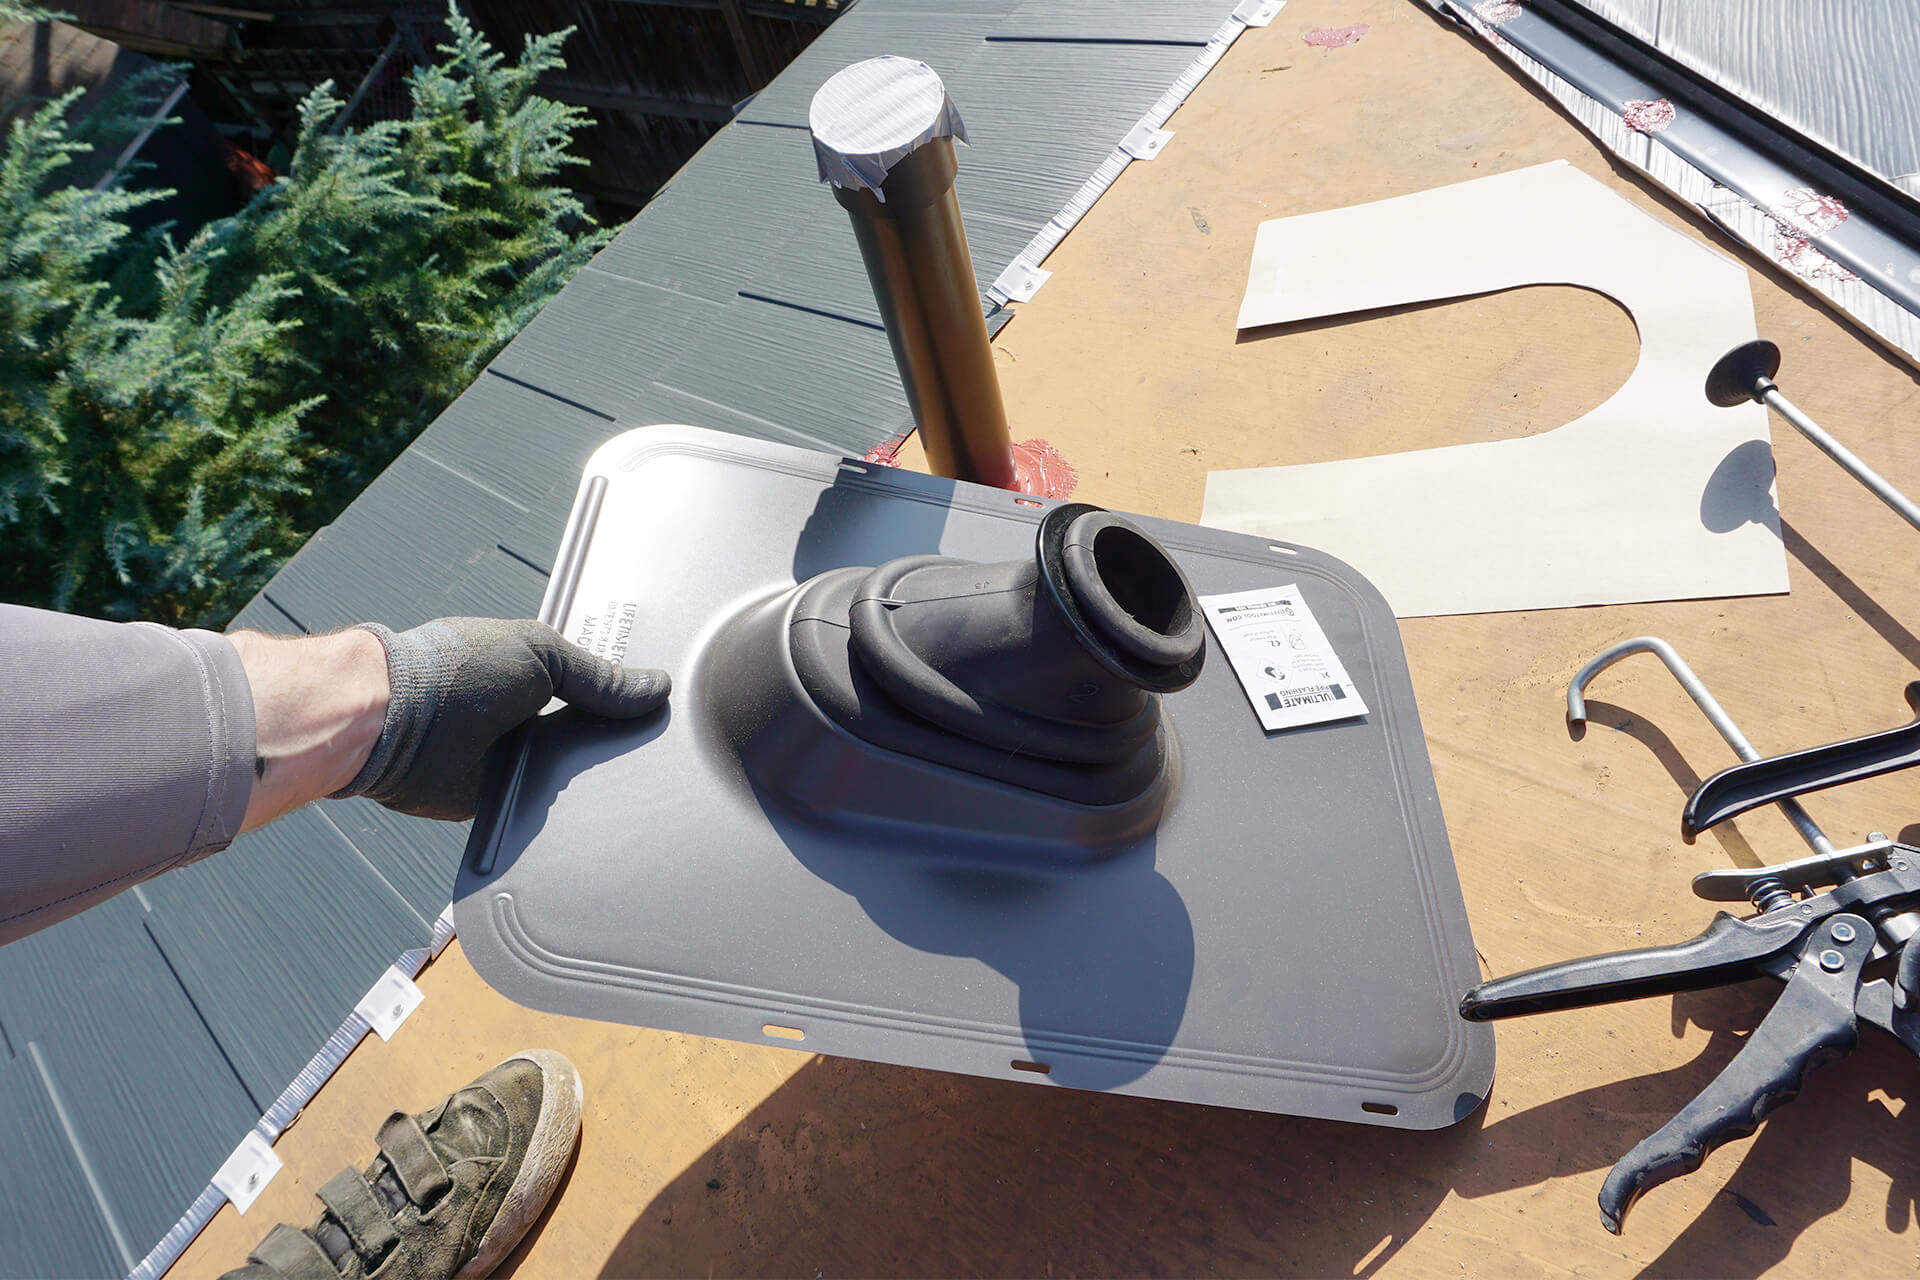
Use the included lube to slide the vent pipe boot over the pipe. Create a paper template (shown here) to mark the cut and fold lines on the proceeding shingles.
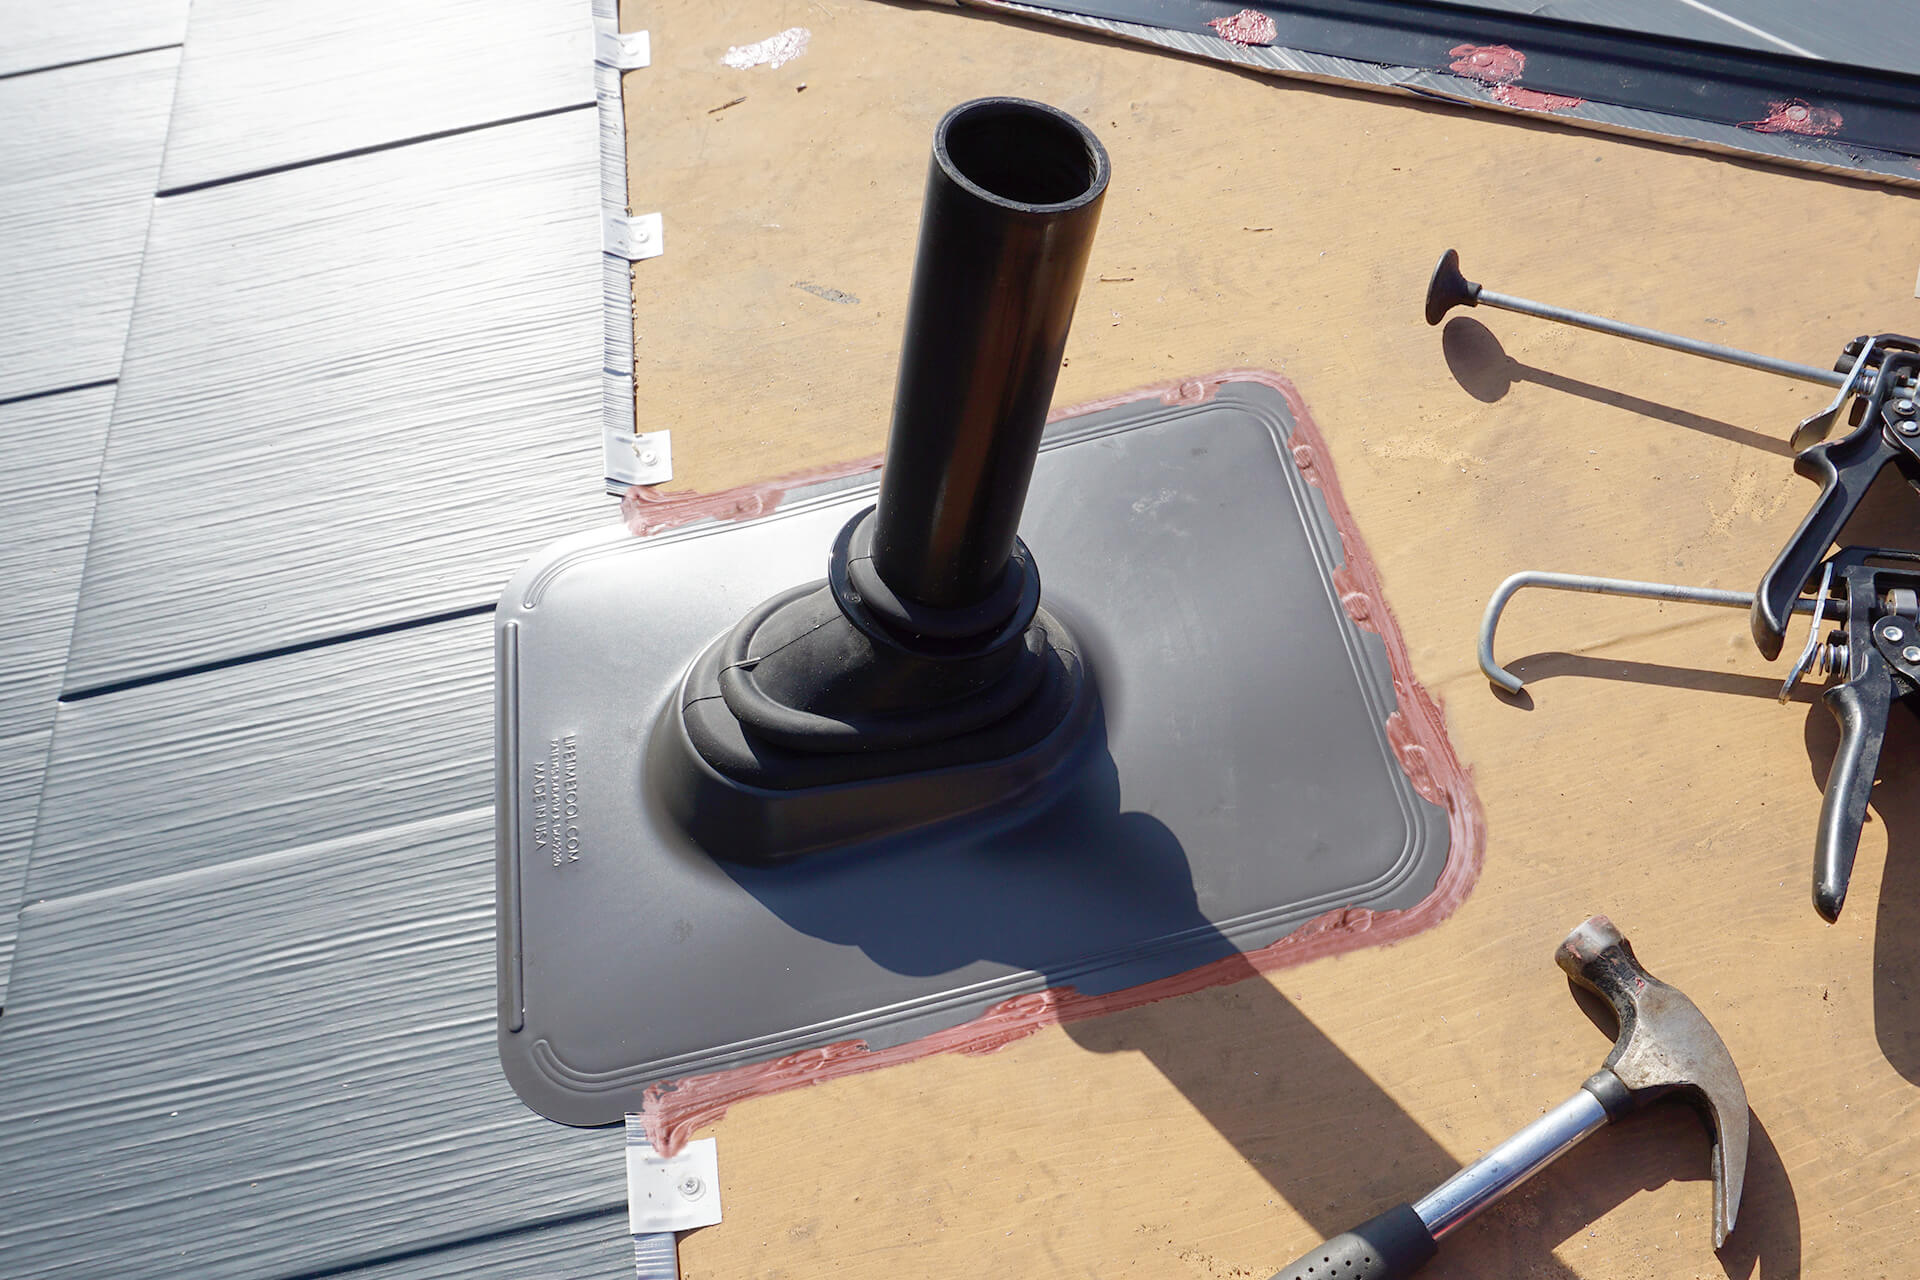
Install the vent pipe boot and apply caulk. Prosoco R-Guard Fast Flash is shown here. Vent cover should overlap the shingle below (as shown).
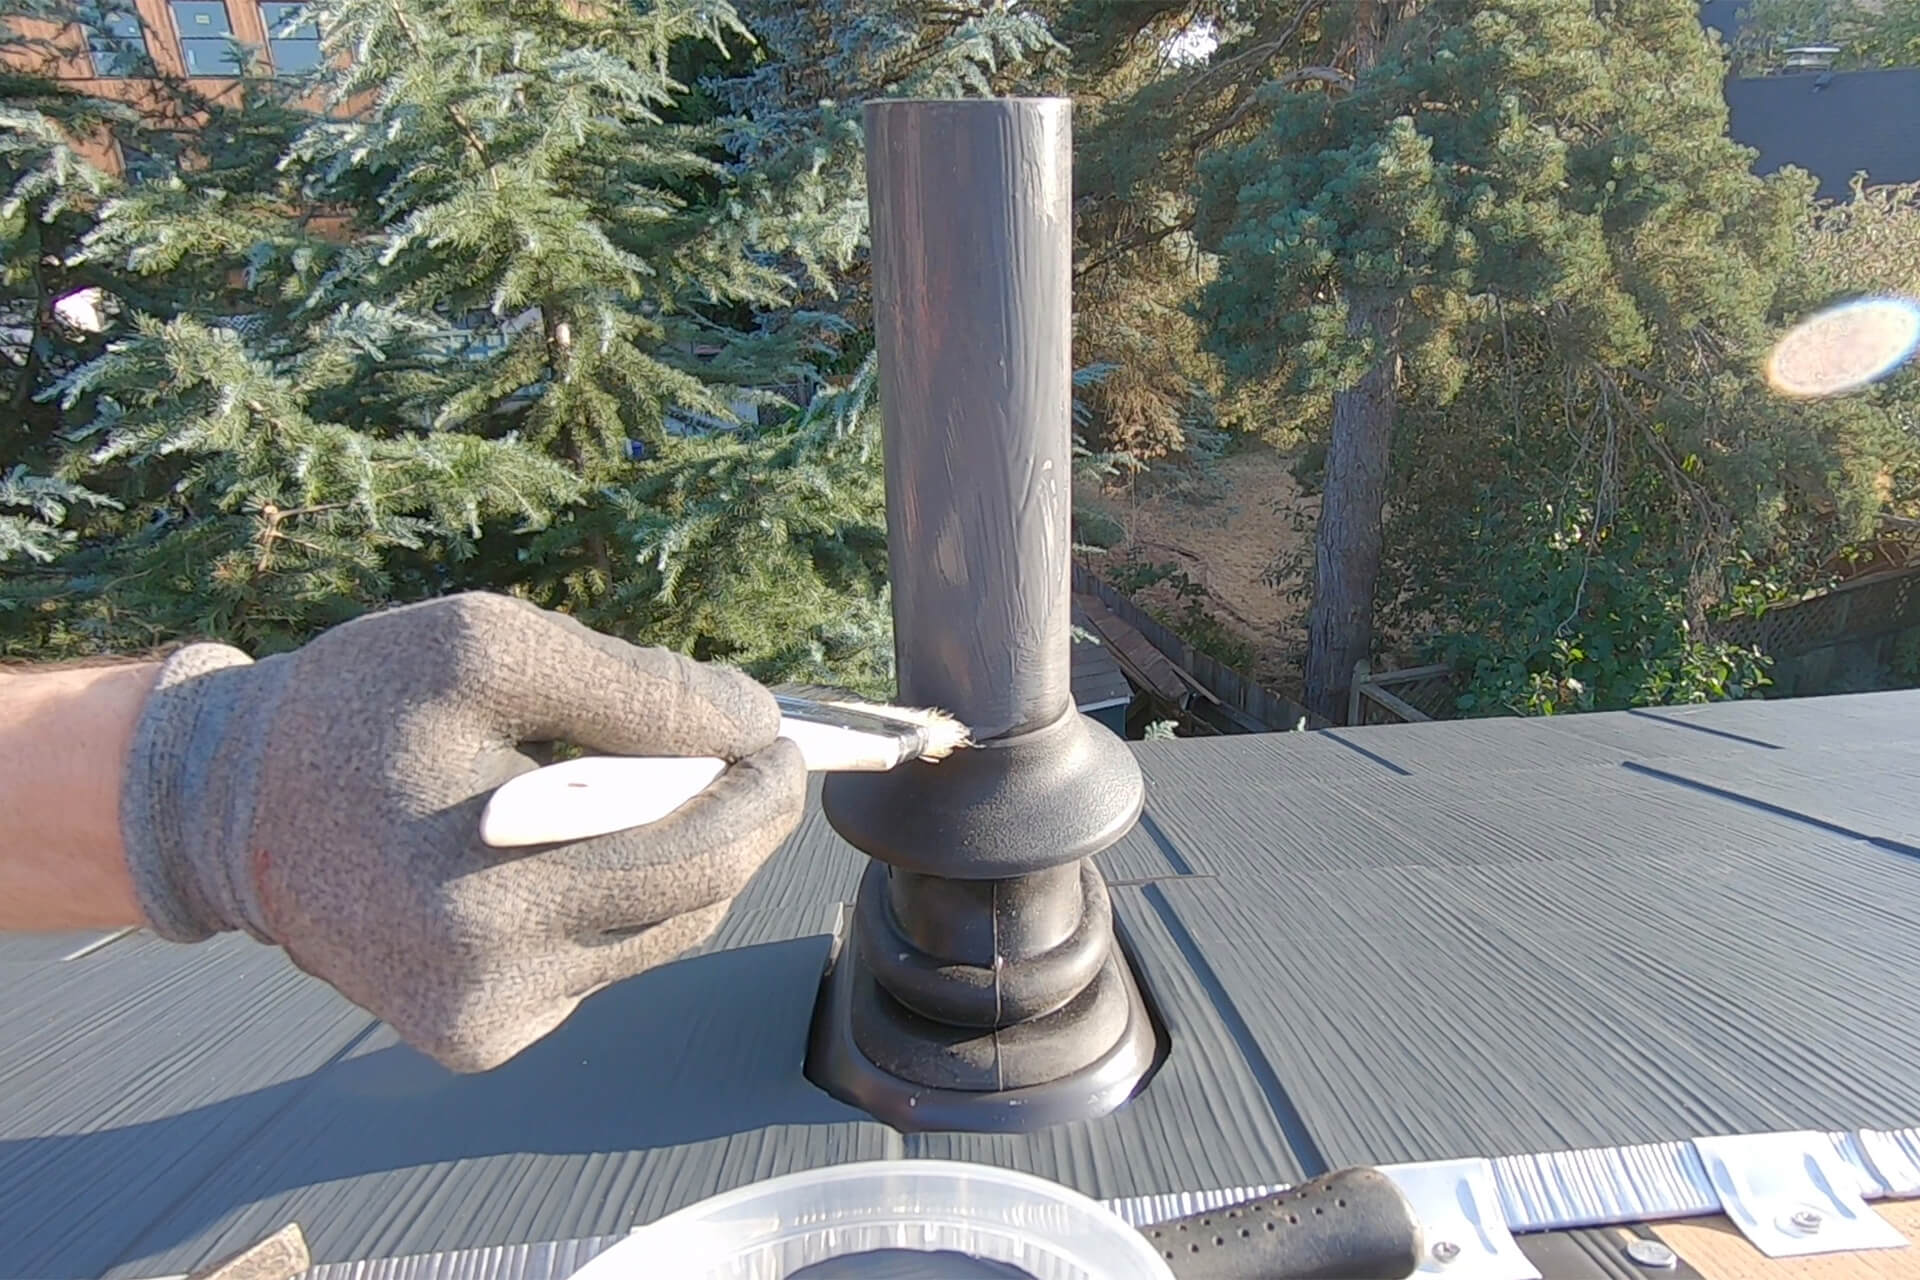
Remove the rubber from the inferior boot, and stack it onto the pipe for redundancy and longevity. Lightly sand and paint the pipe to protect it from sun damage. Continue shingling.
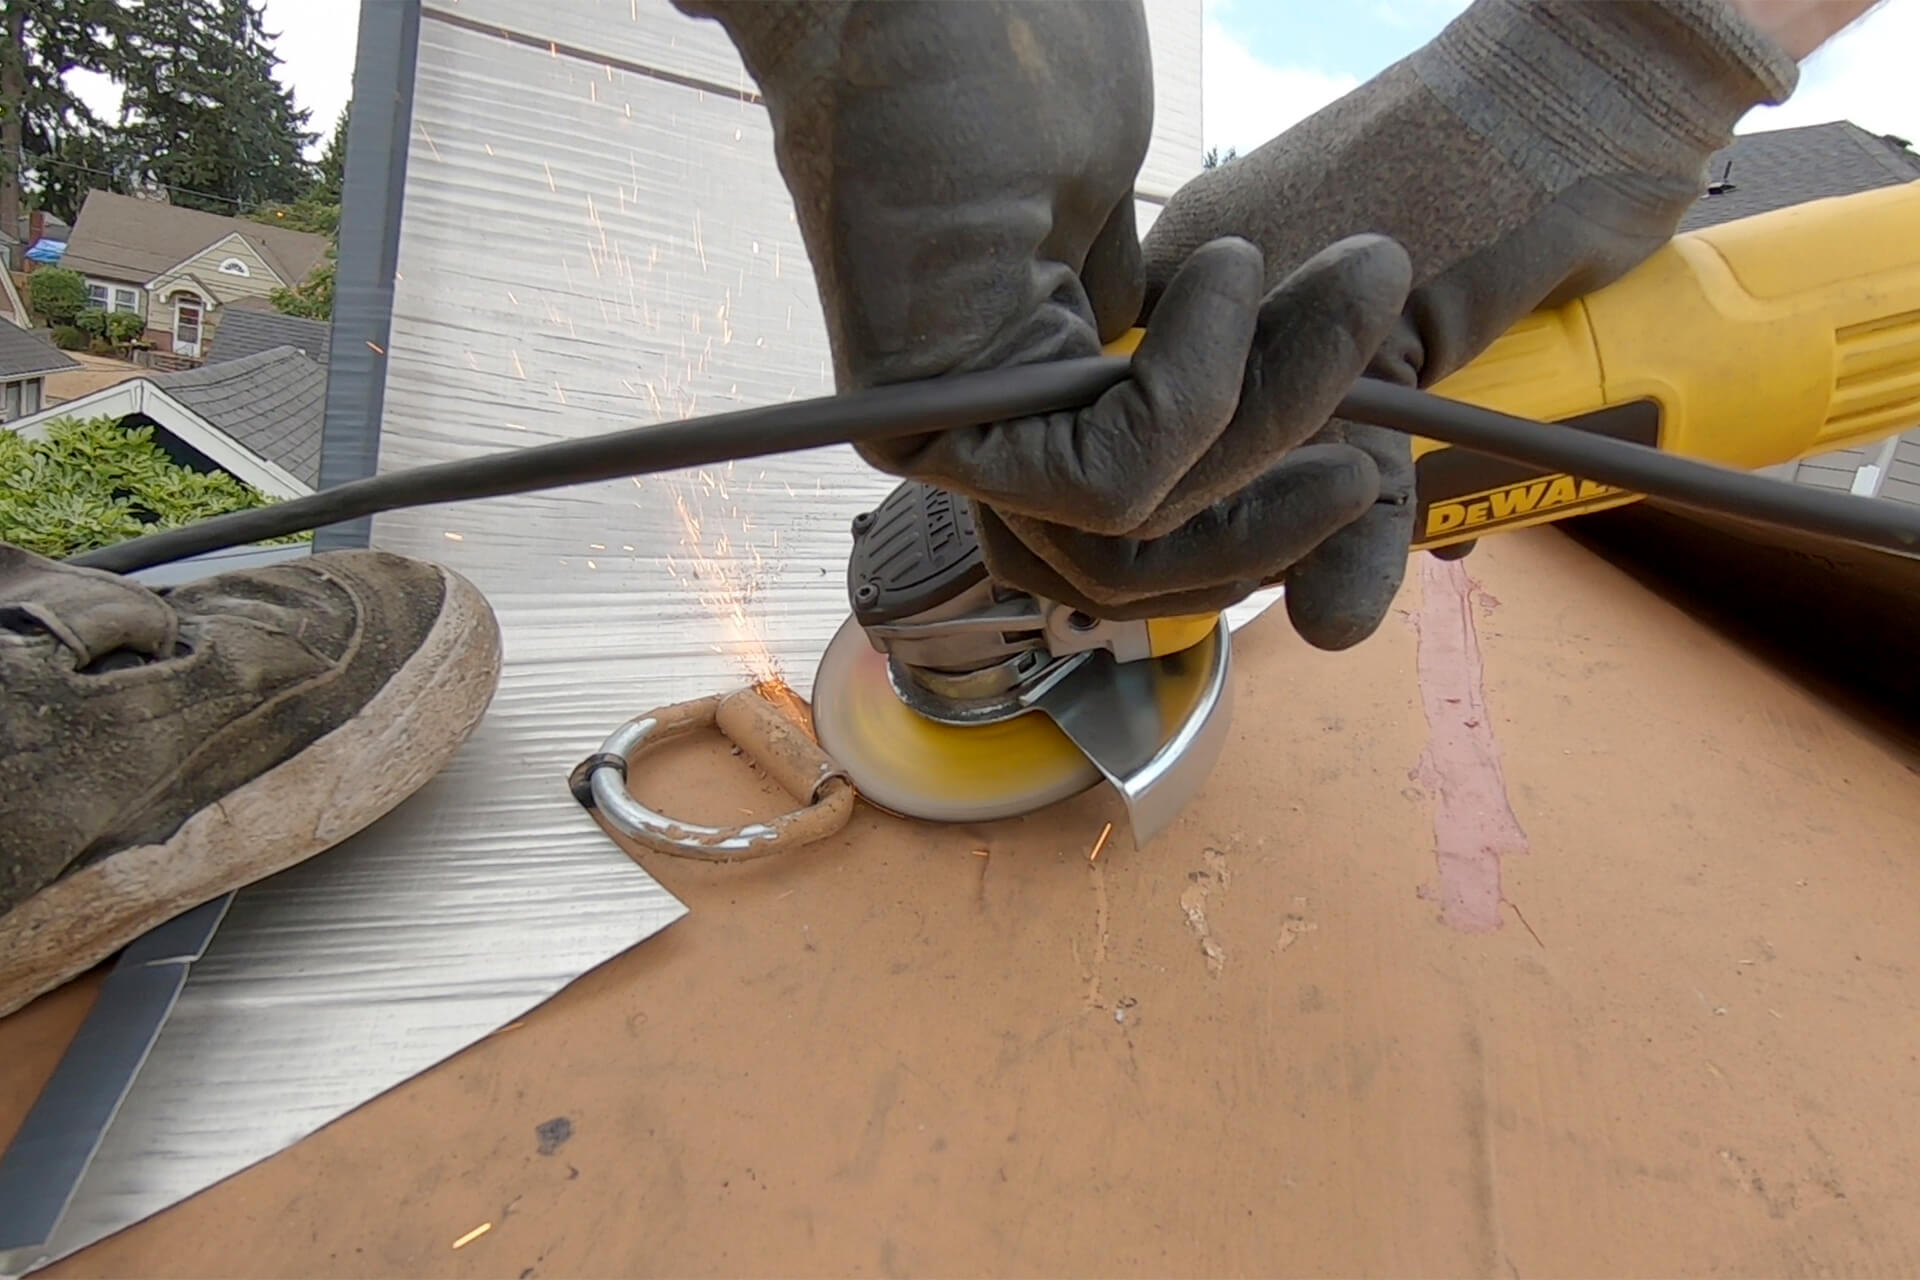
Cut off unused roof anchors as needed to fit the shingles. A scrap shingle can be used to protect the membrane. Caulk over any nicks or exposed metal after removal.
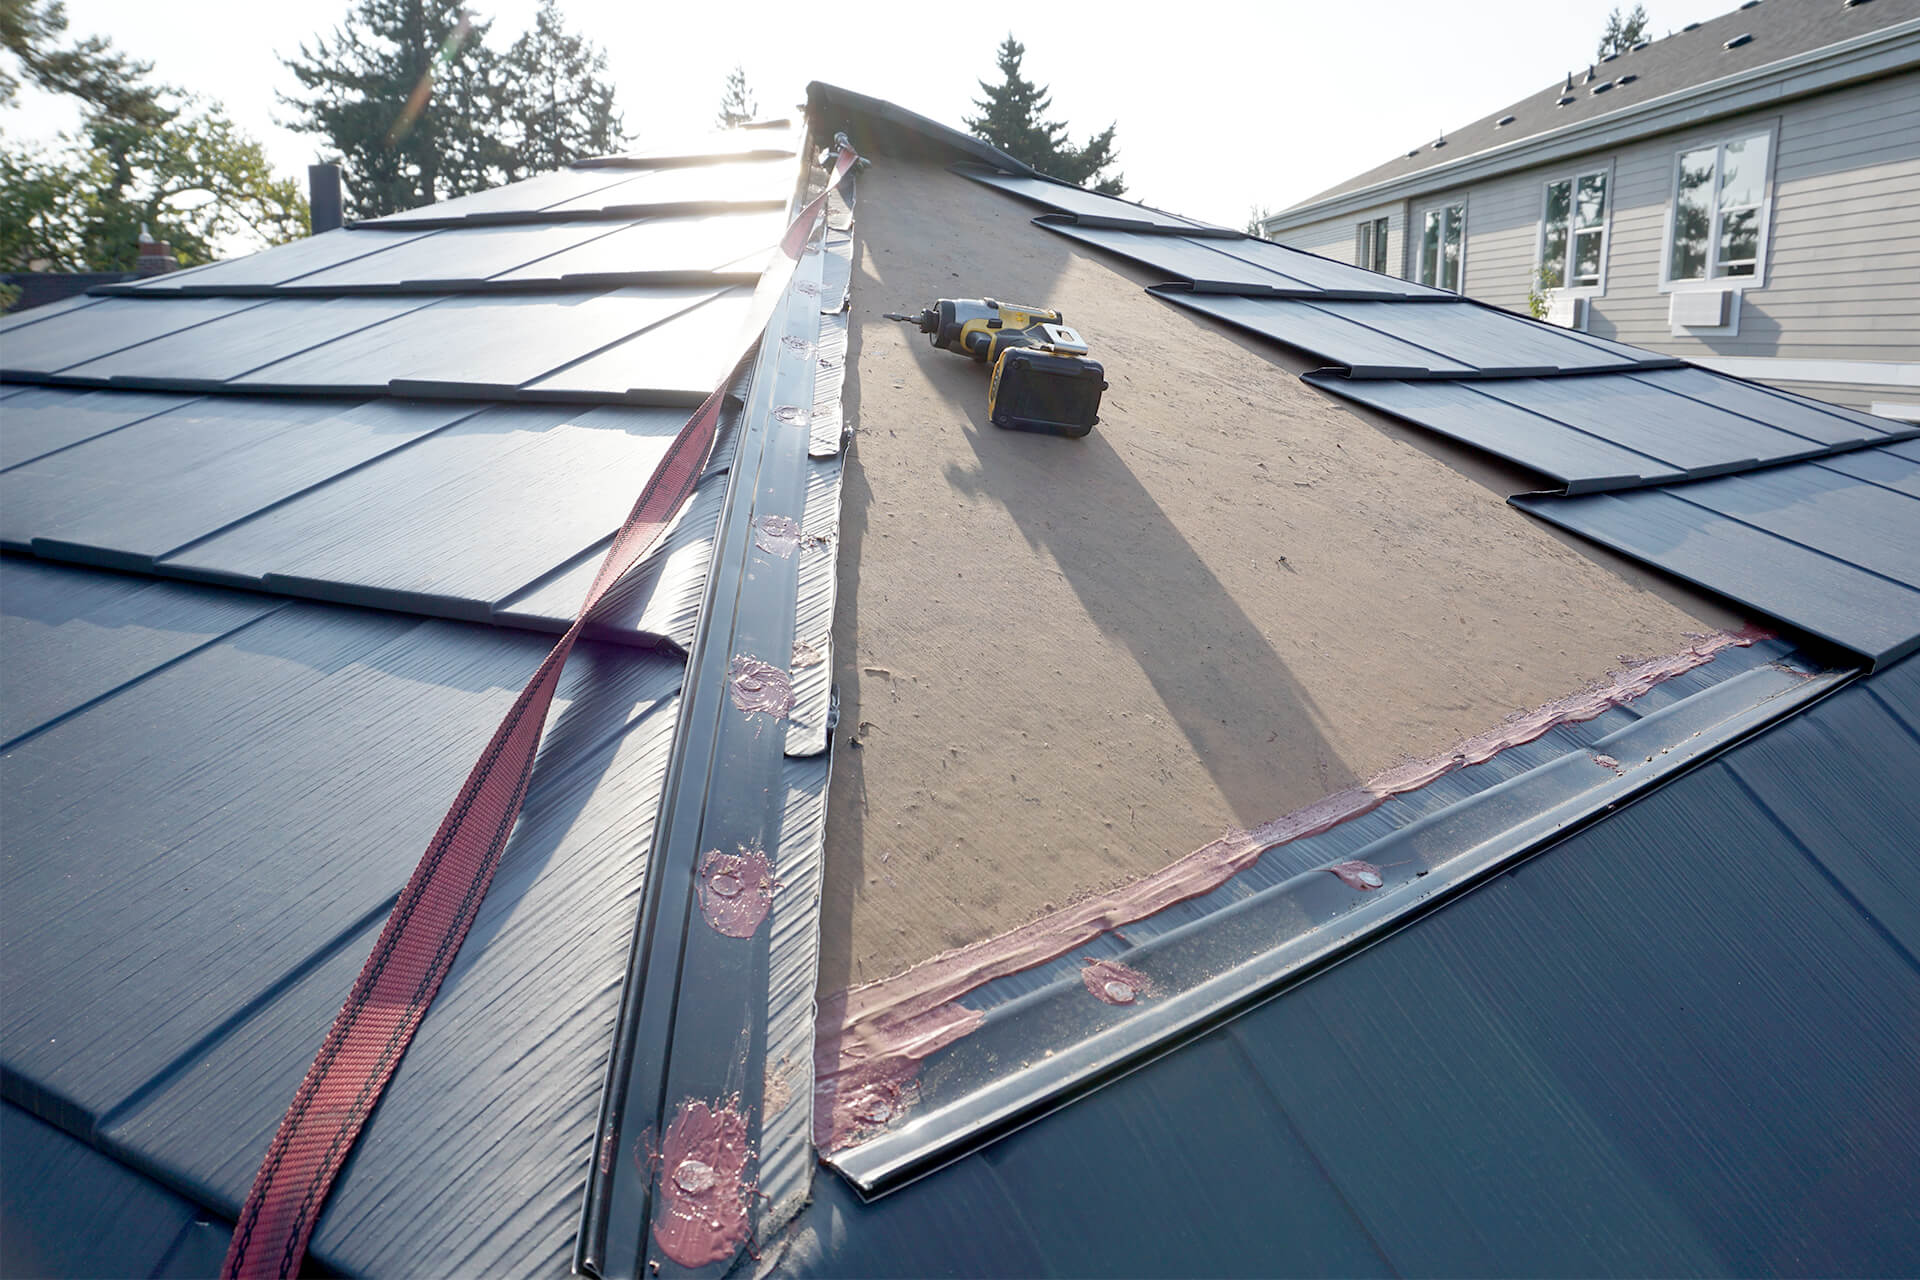
For the final panel, shingle from the bottom up, hooking the new shingles into the existing ones. Manually fold over the left edge to hook it under the Siding Starter Strip.
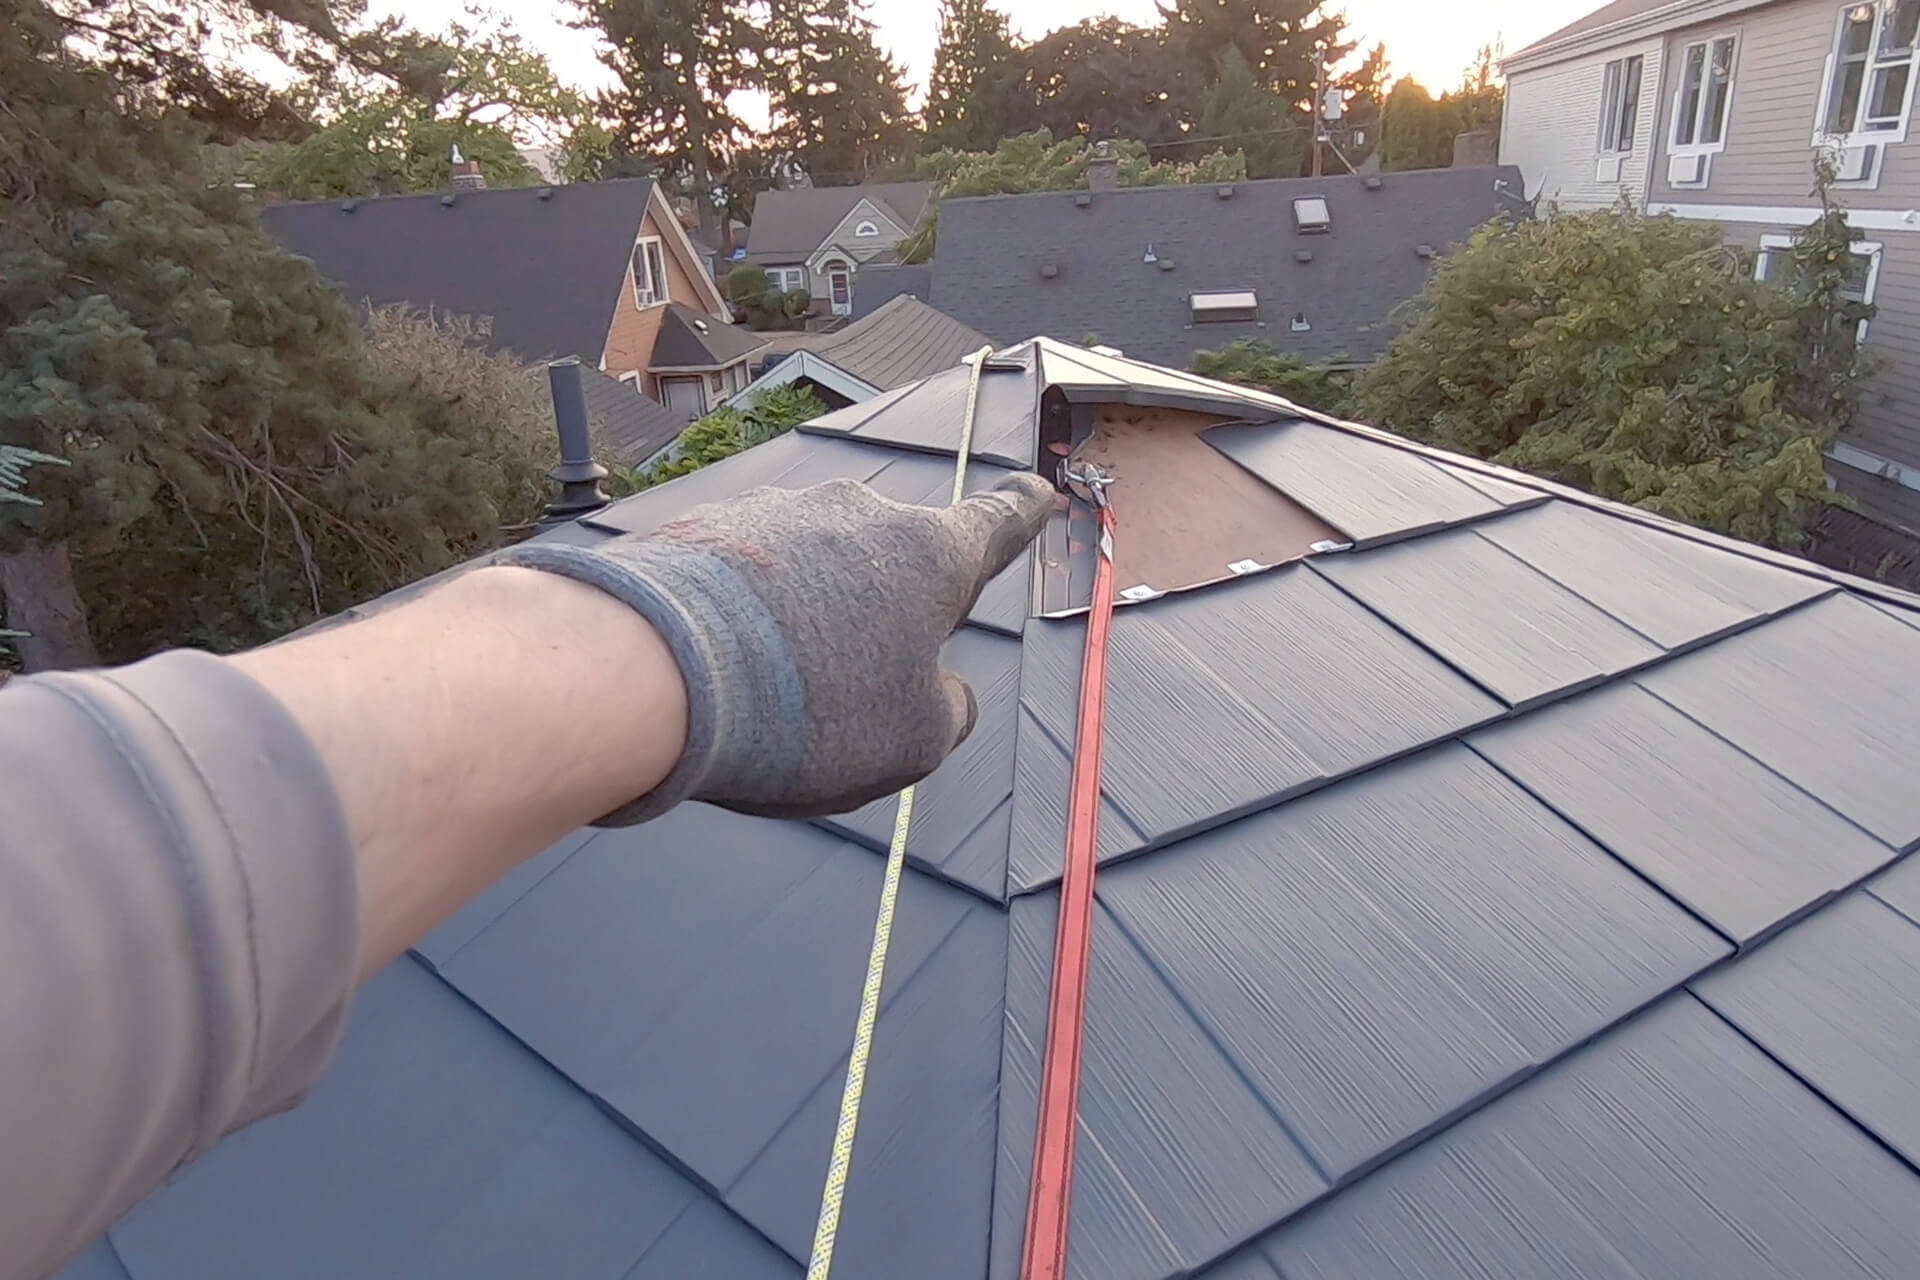
Find a safe alternative to the roof anchor, which will soon be shingled over and become inaccessible. Ropes slung over and tied to the foundation may work, but isn’t foolproof.
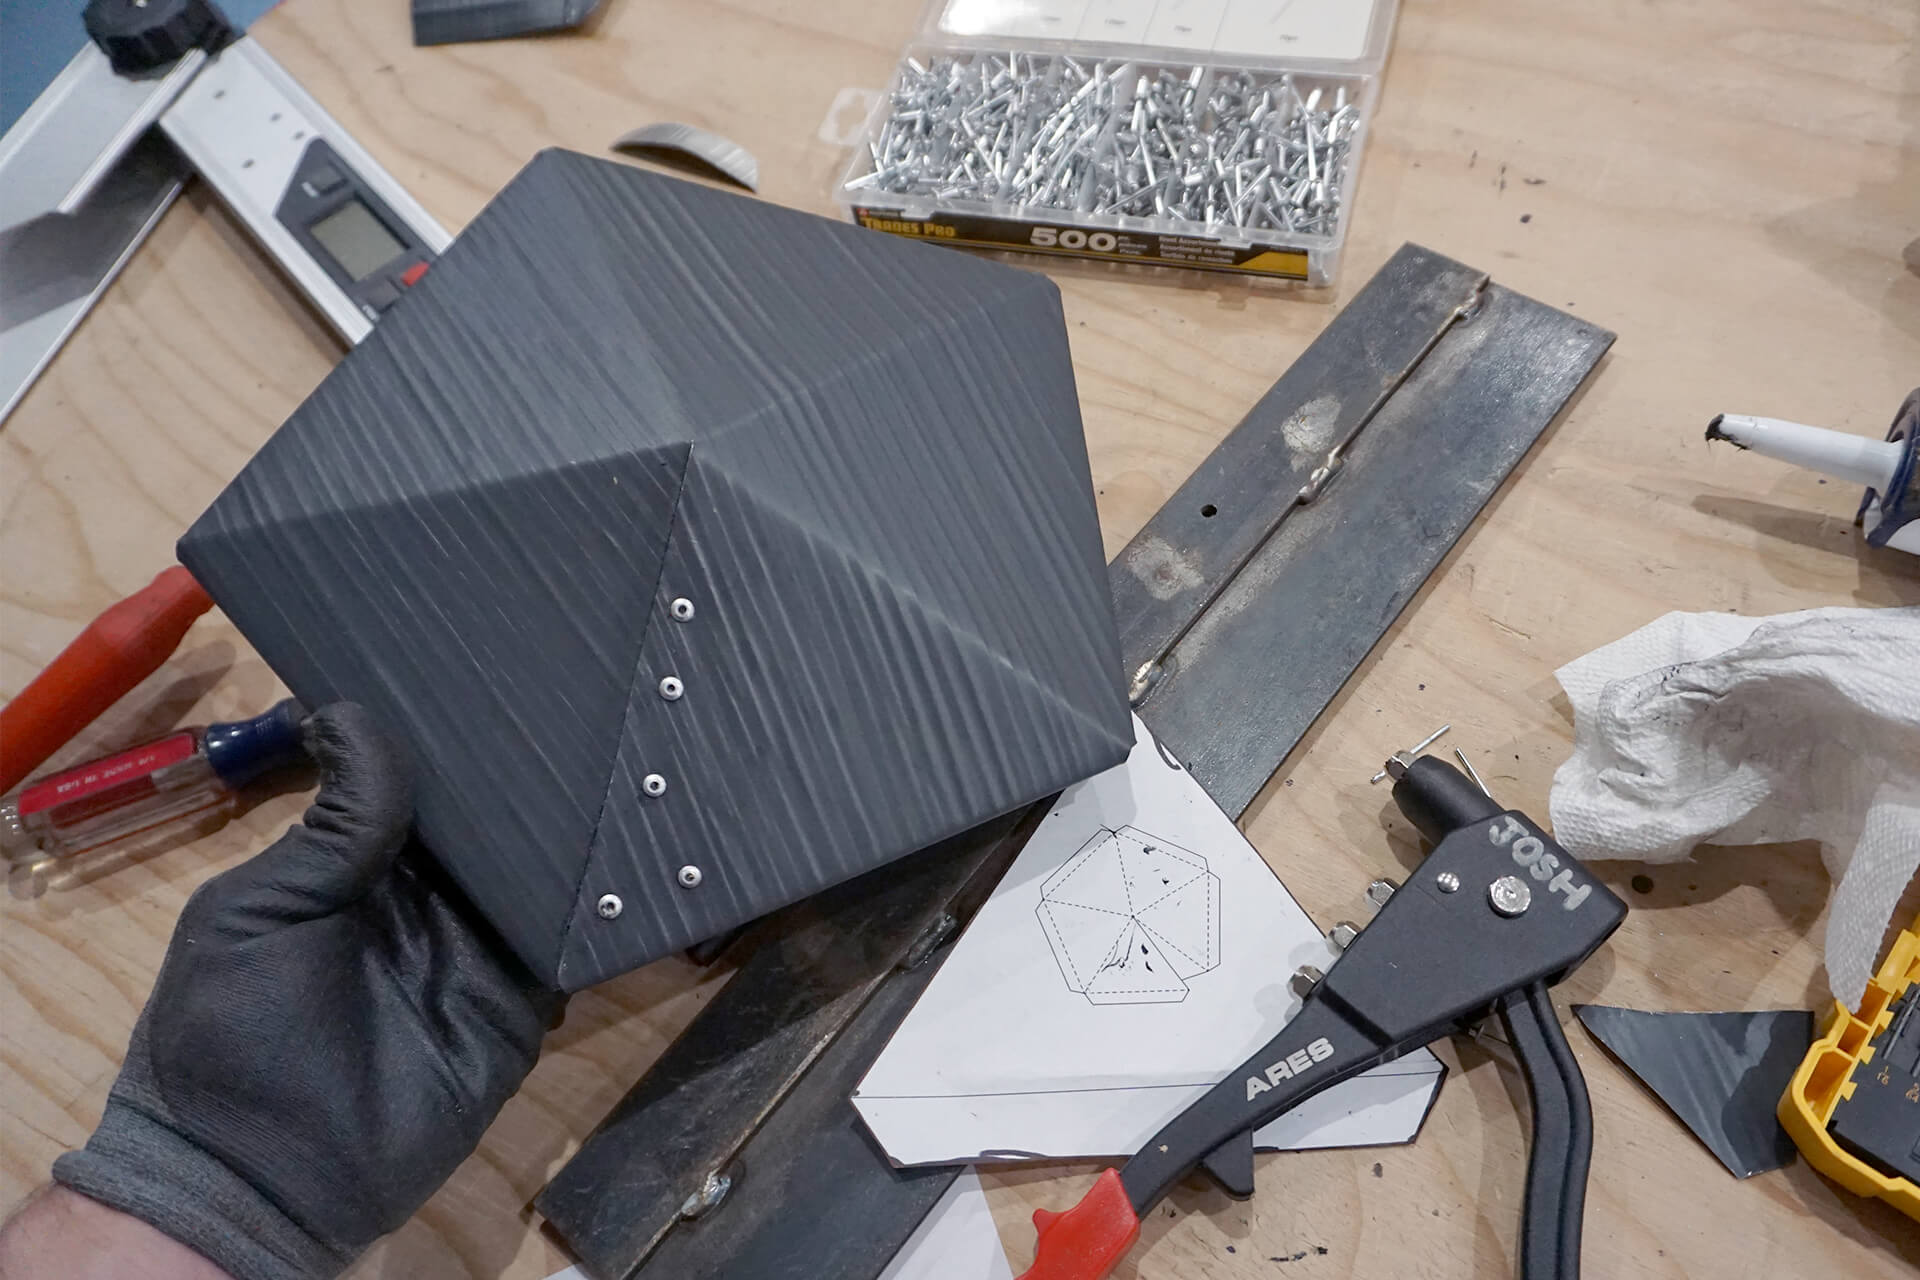
Use the paper template (shown here) to fabricate the topmost shingle. Caulk between the overlapped surfaces before riveting.
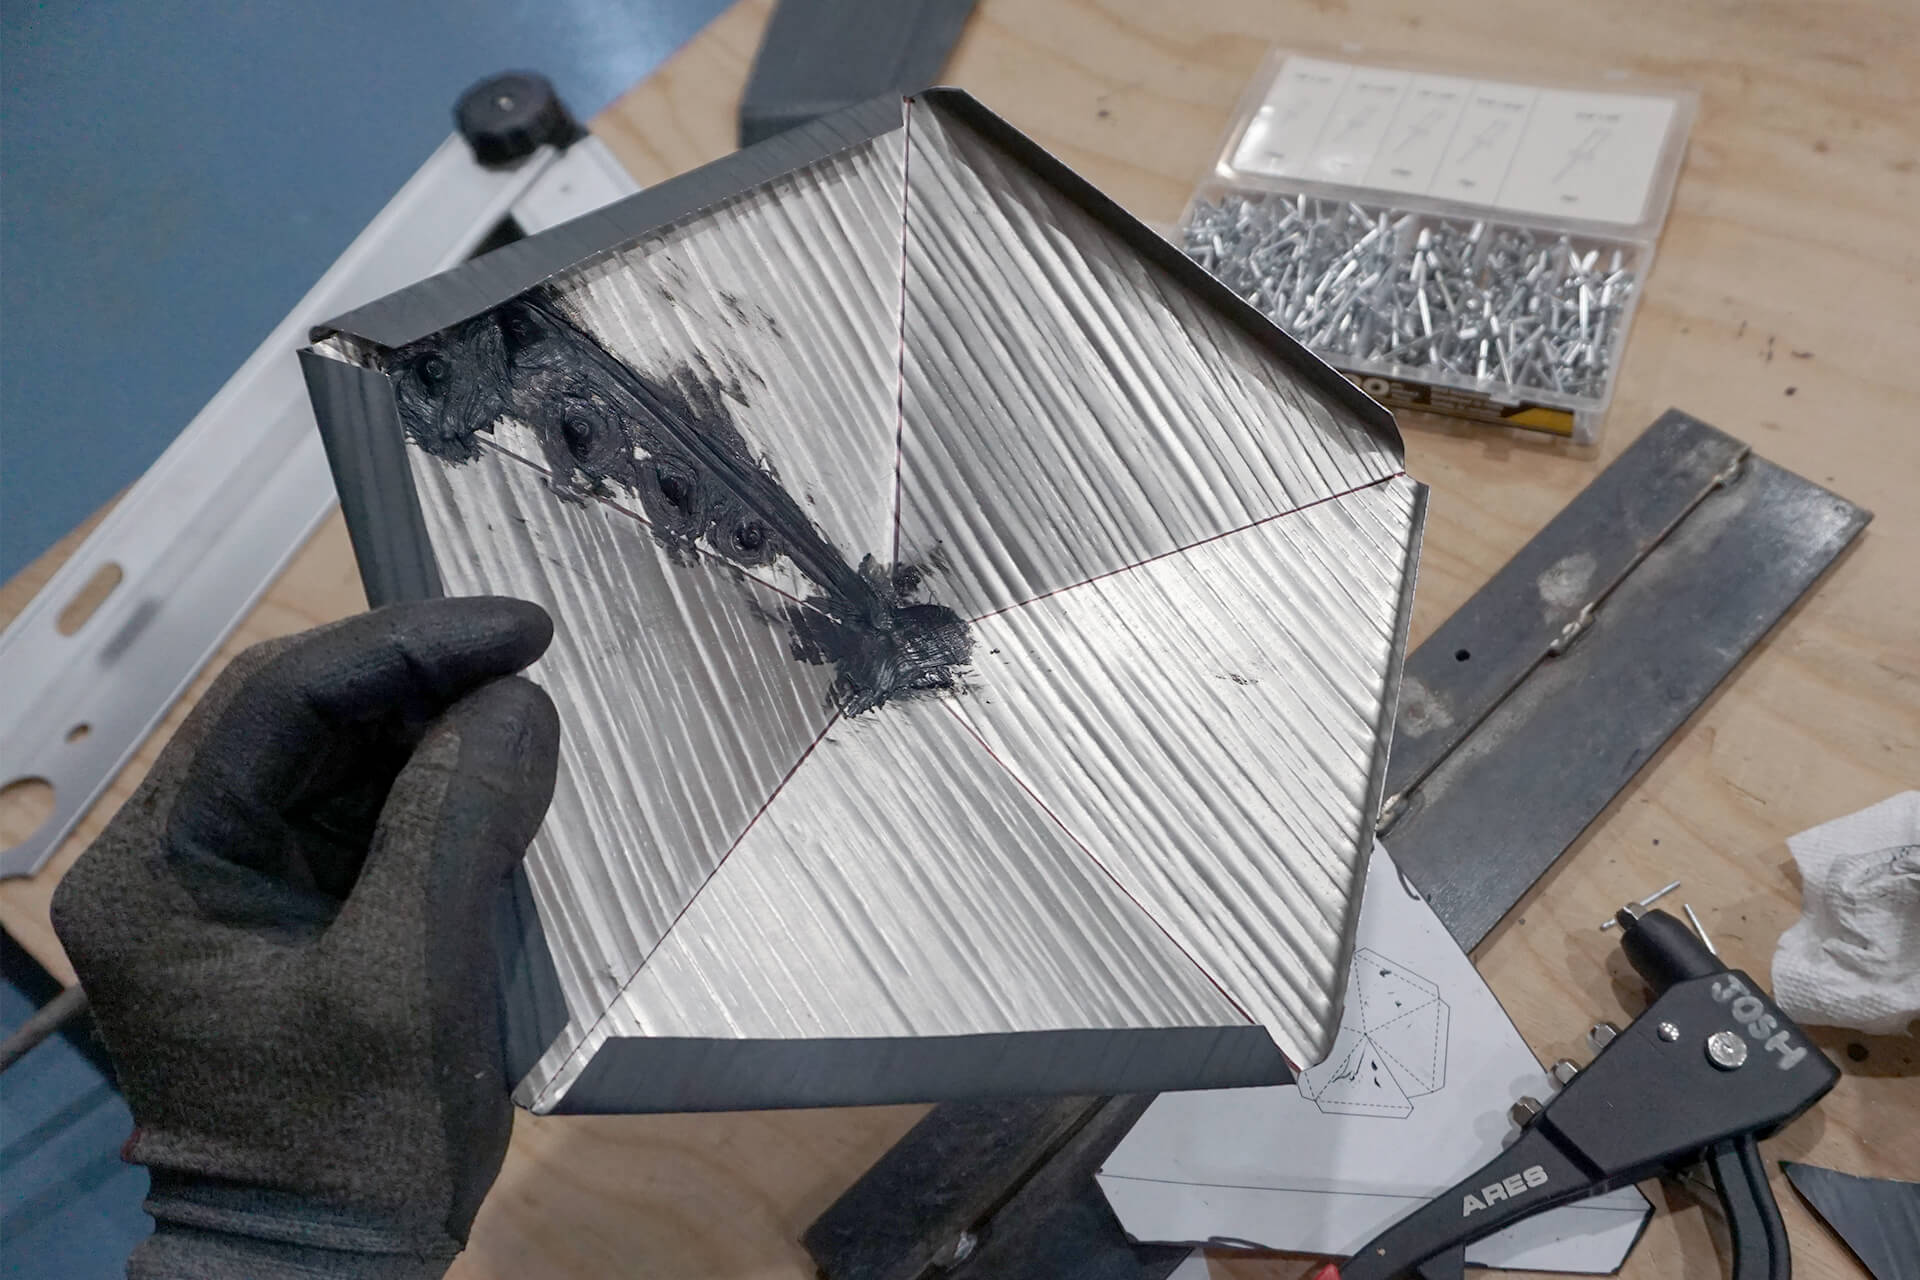
Caulk the back side of the rivets and seam for added protection. Note that two of the lips are not completely folded over yet. These will be folded over in place with a screwdriver.
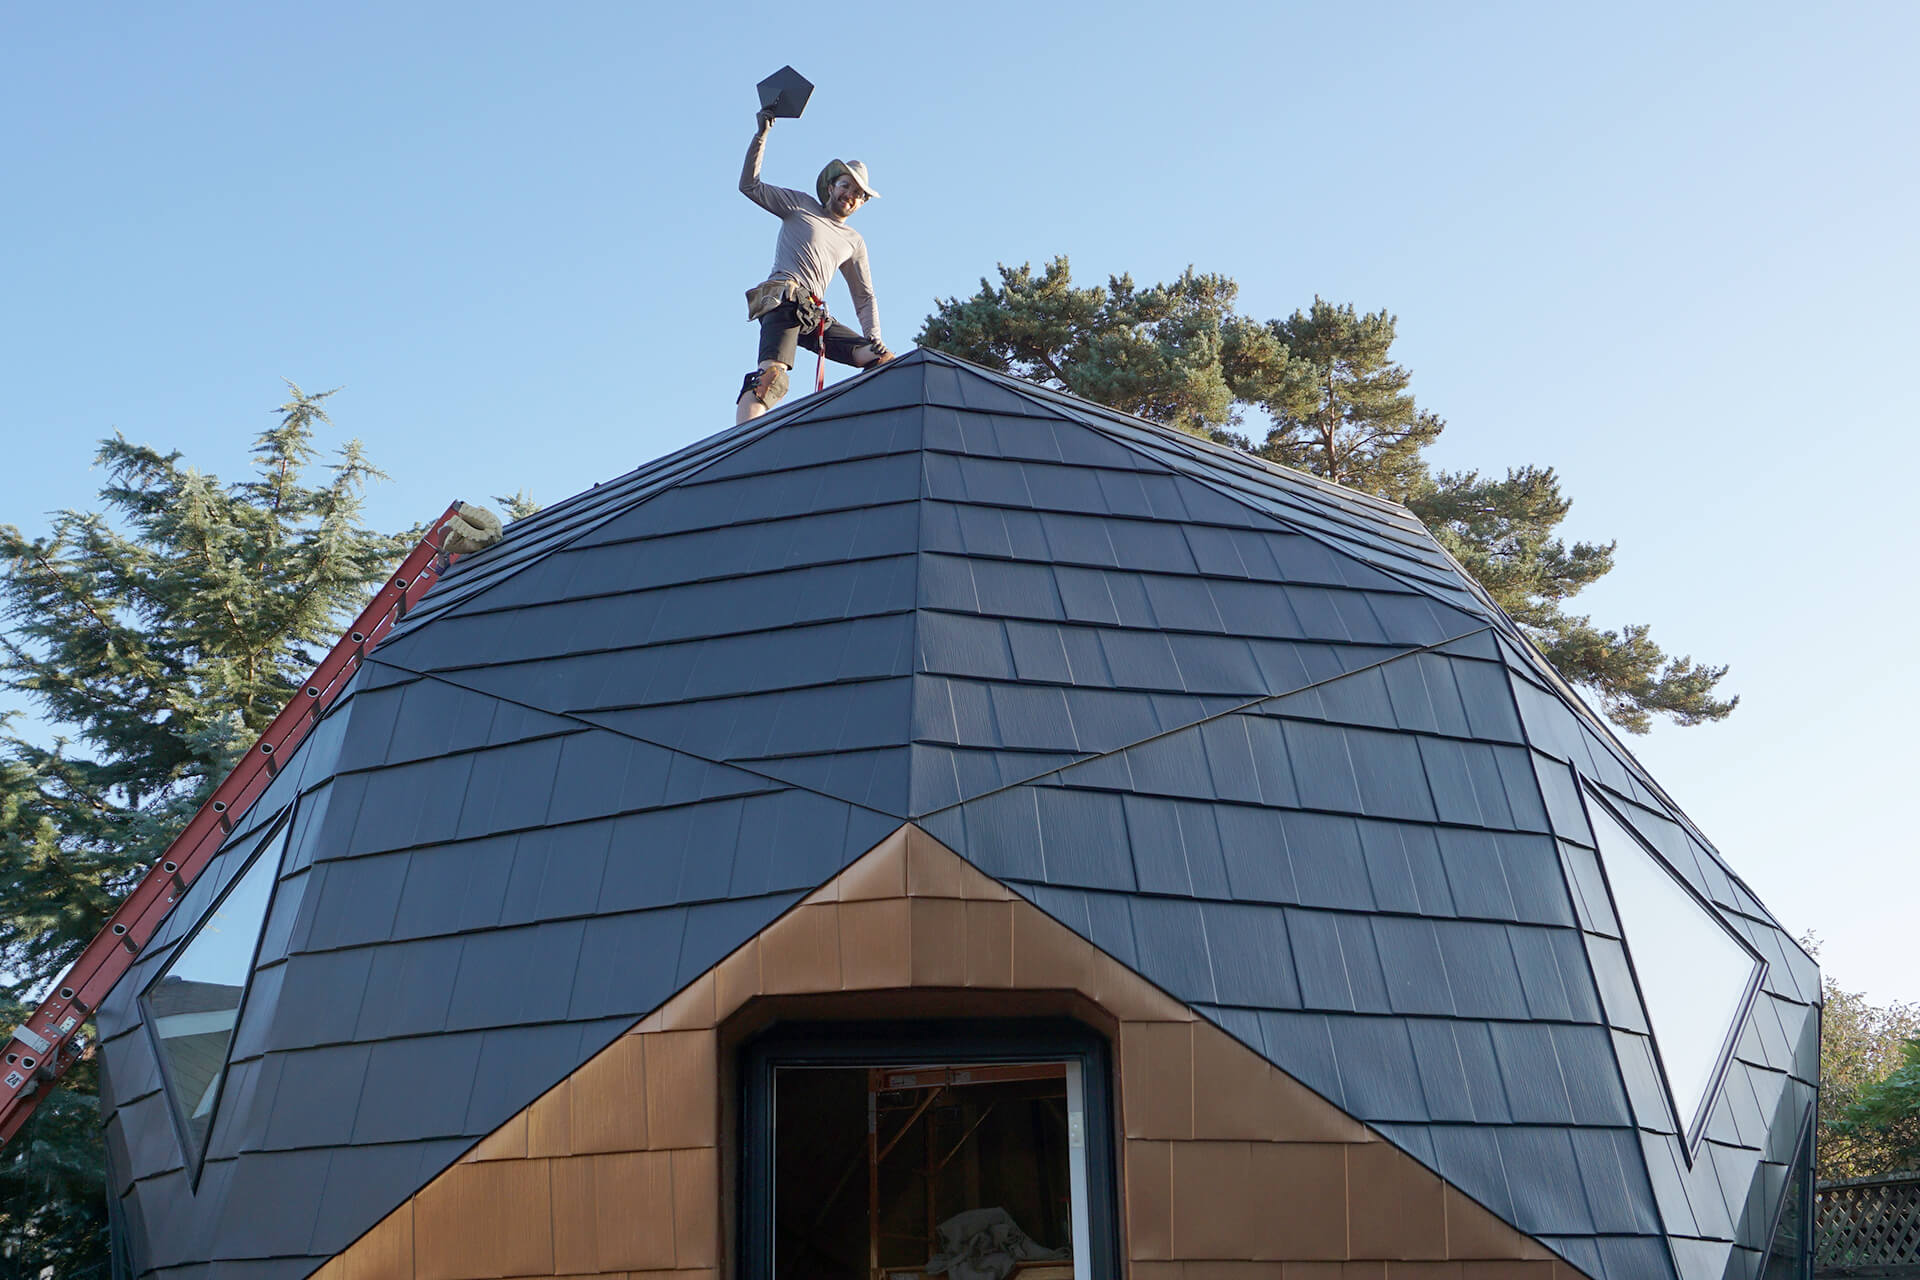
Posing with the topmost shingle.
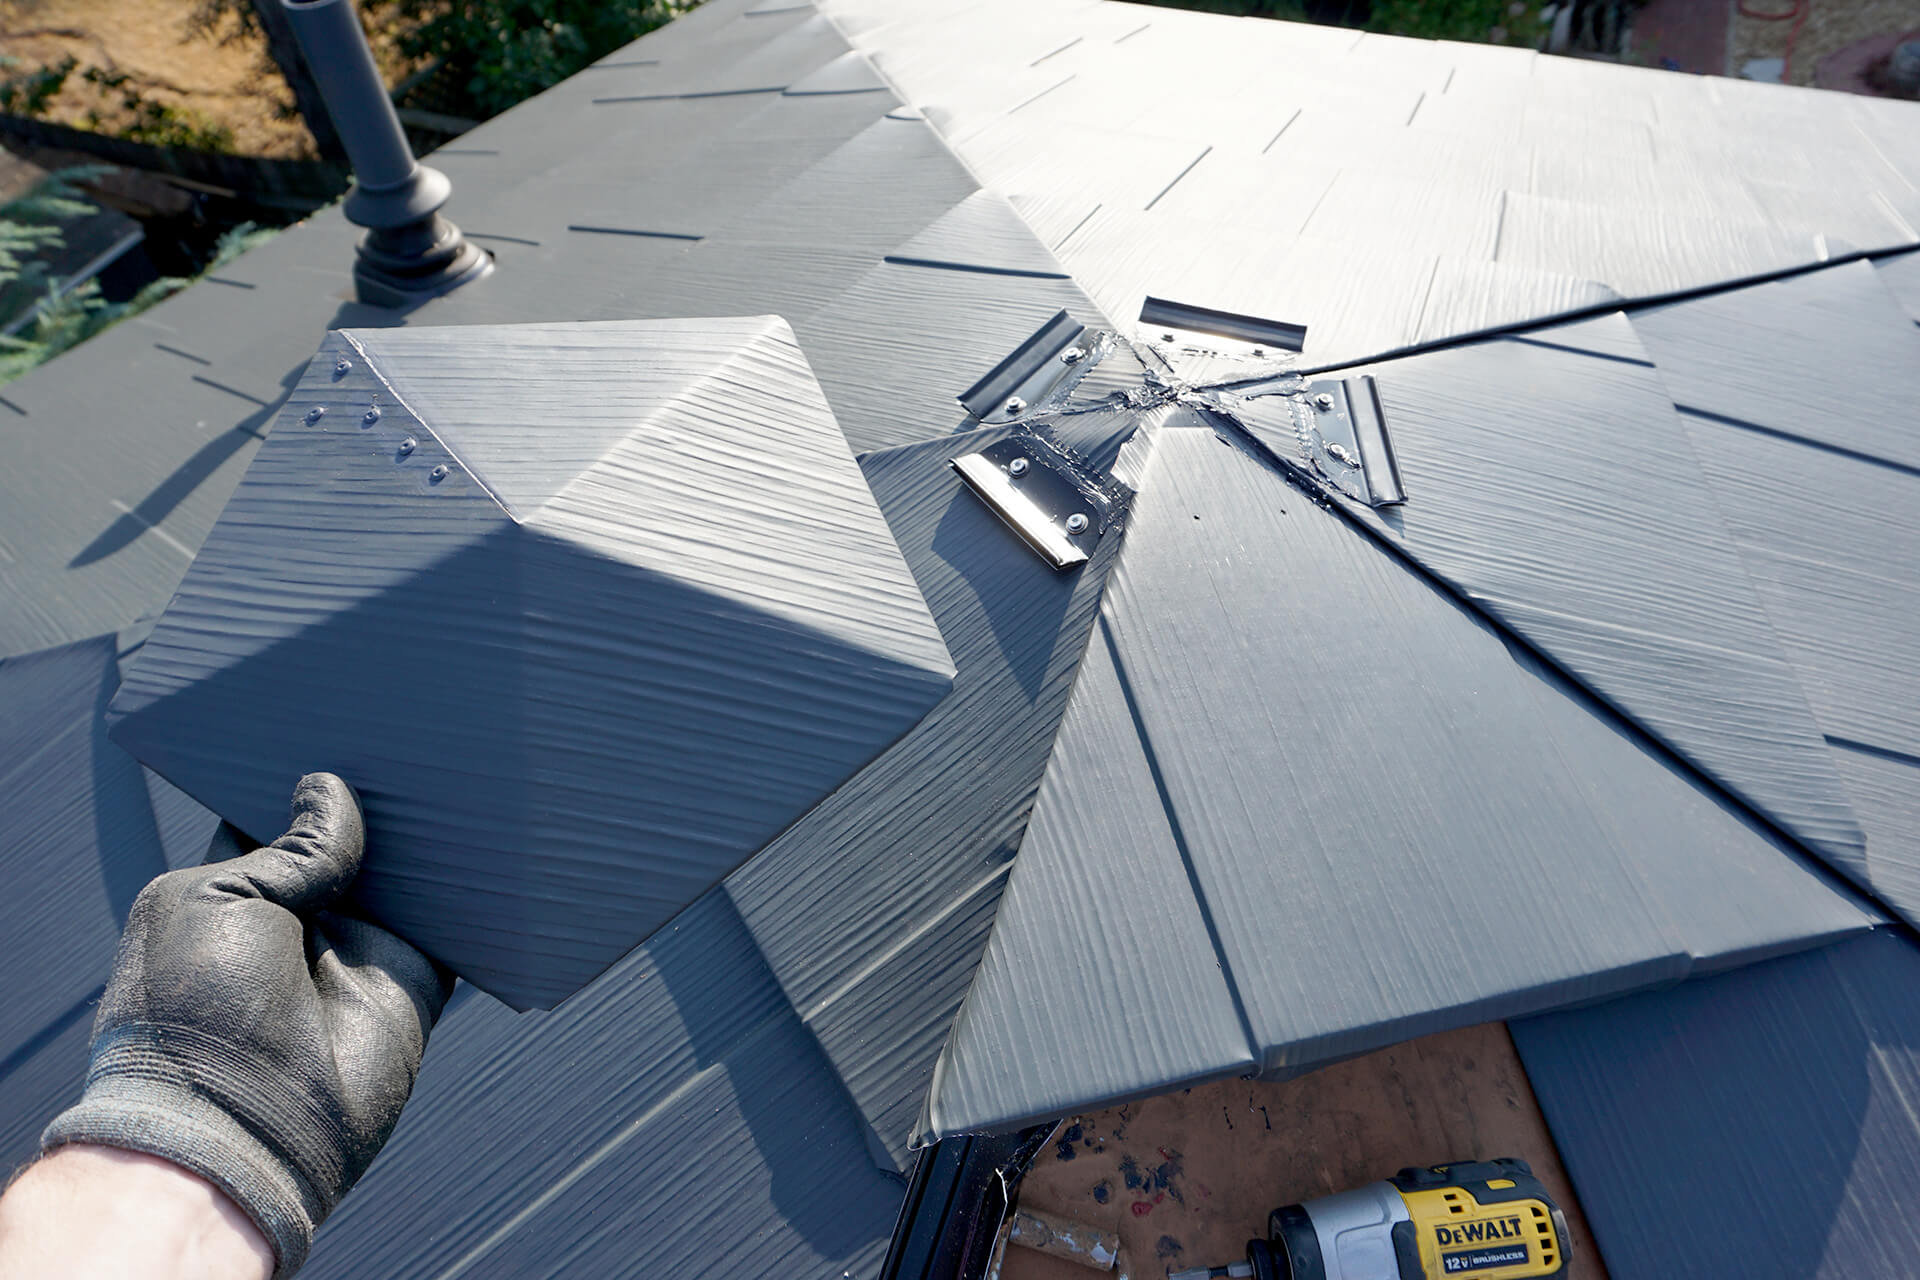
Paint the rivets for a clean finish, gather all tools, and carefully plan the final steps of installing the last few shingles.
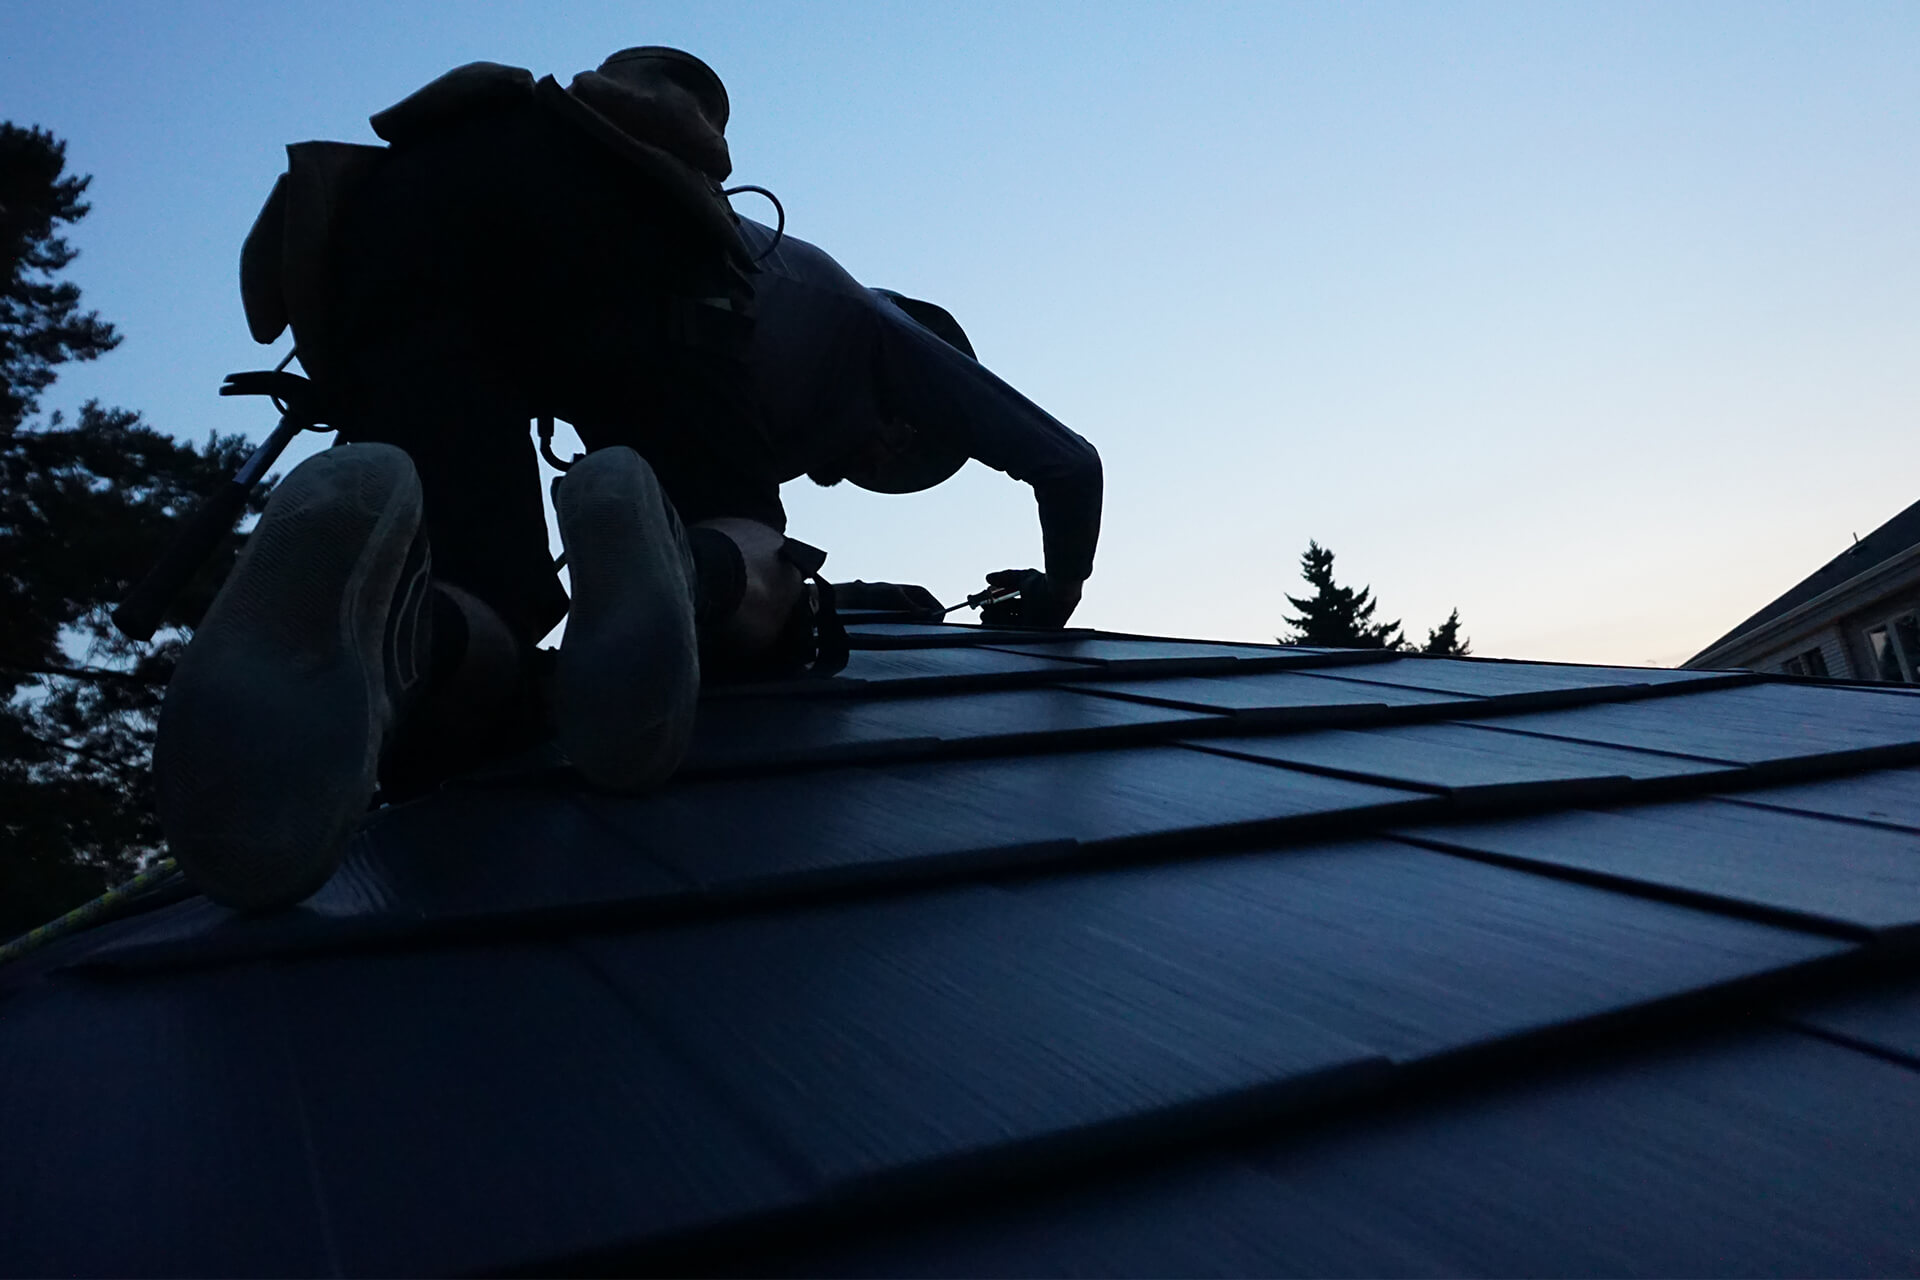
Install the last few shingles and top cap. Remain harnessed and tied to a roof anchor alternative. This is the most challenging part of the build. Wear grippy knee pads and shoes.
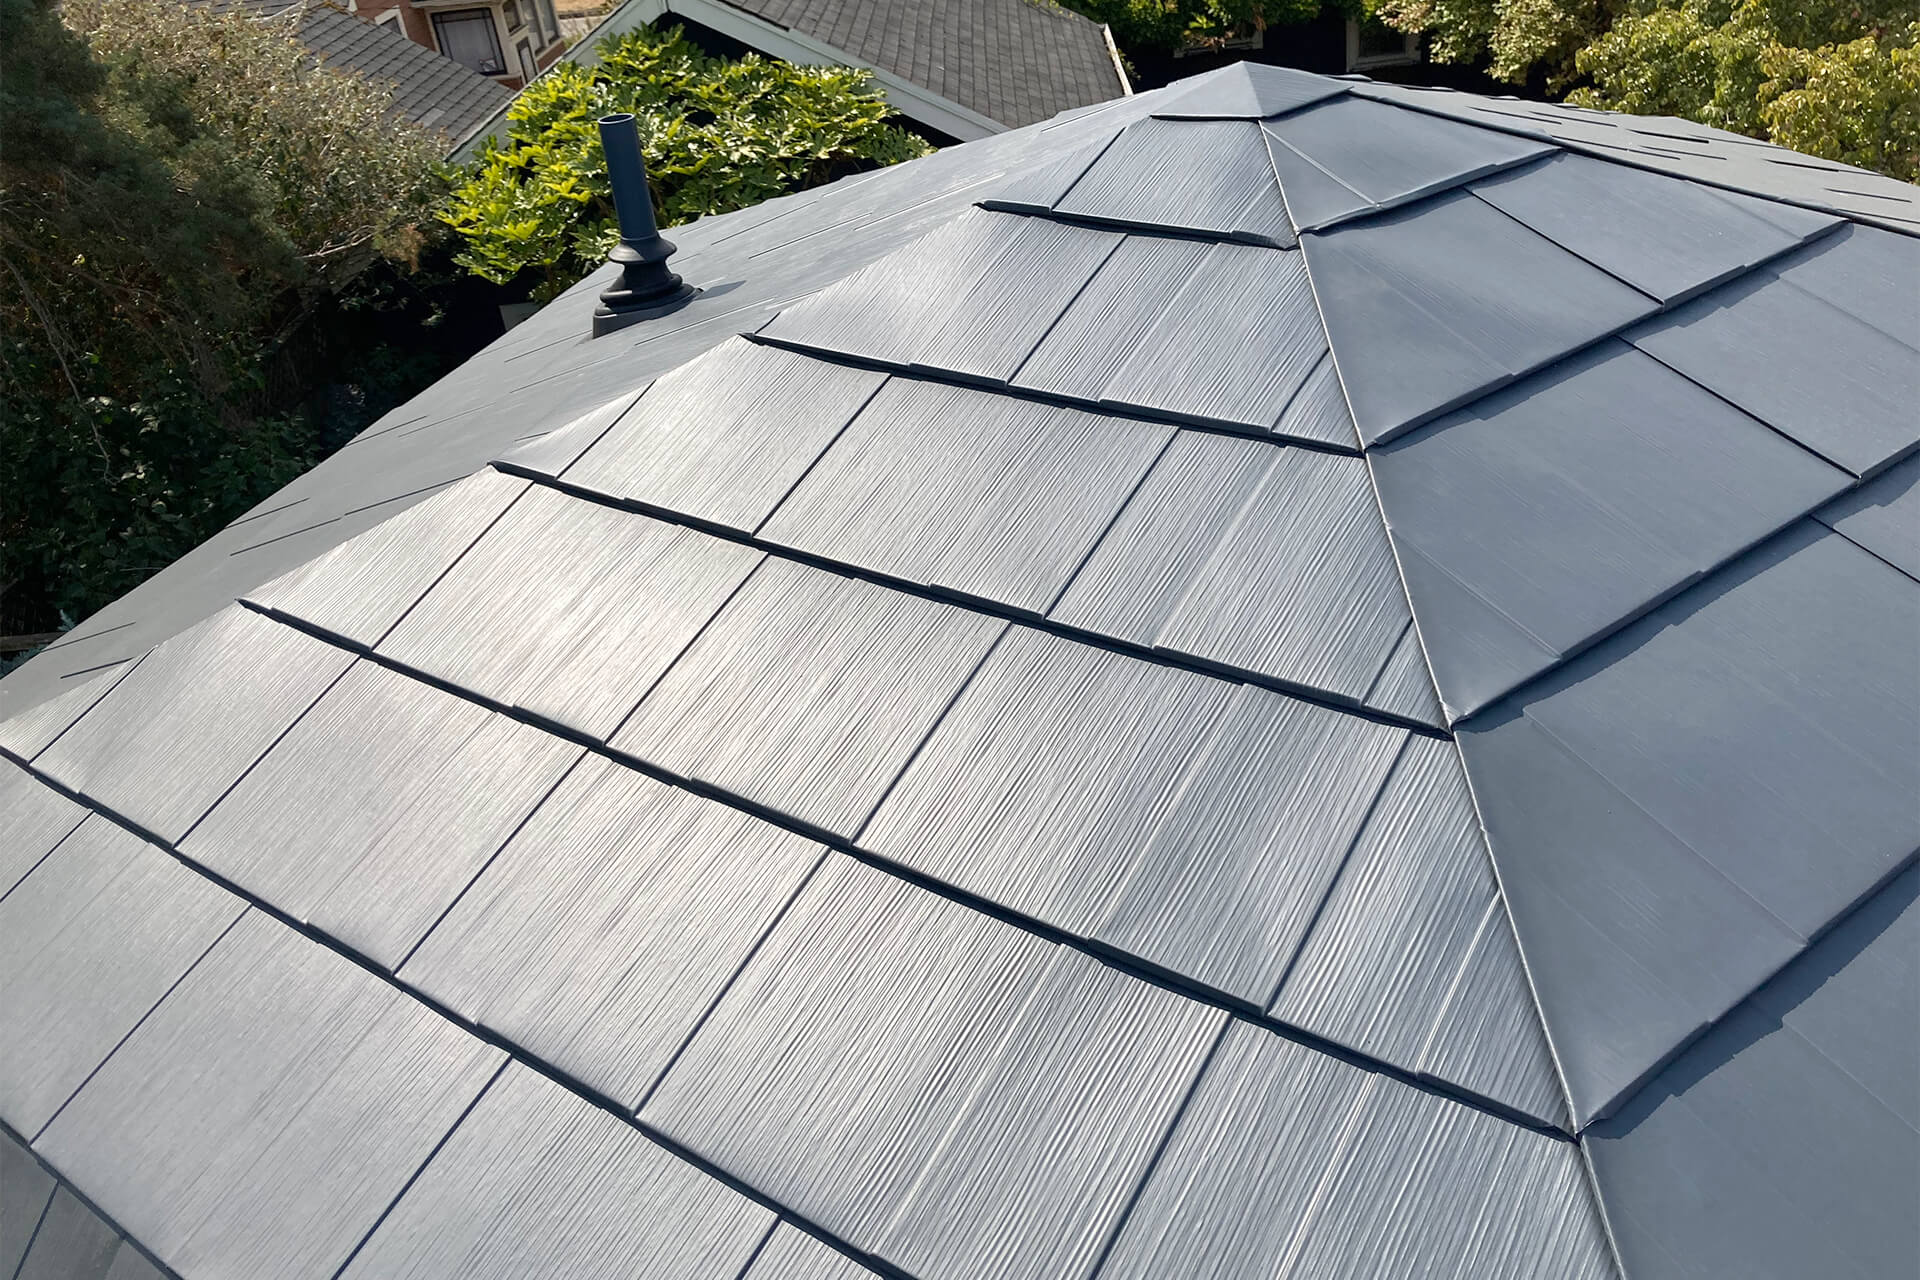
The completed shingling of the top of the dome. For a roof surface that will never be seen, it sure looks good.
Next Step
© 2025 Dodeca Domes. All rights reserved.

