
Prefab – Struts
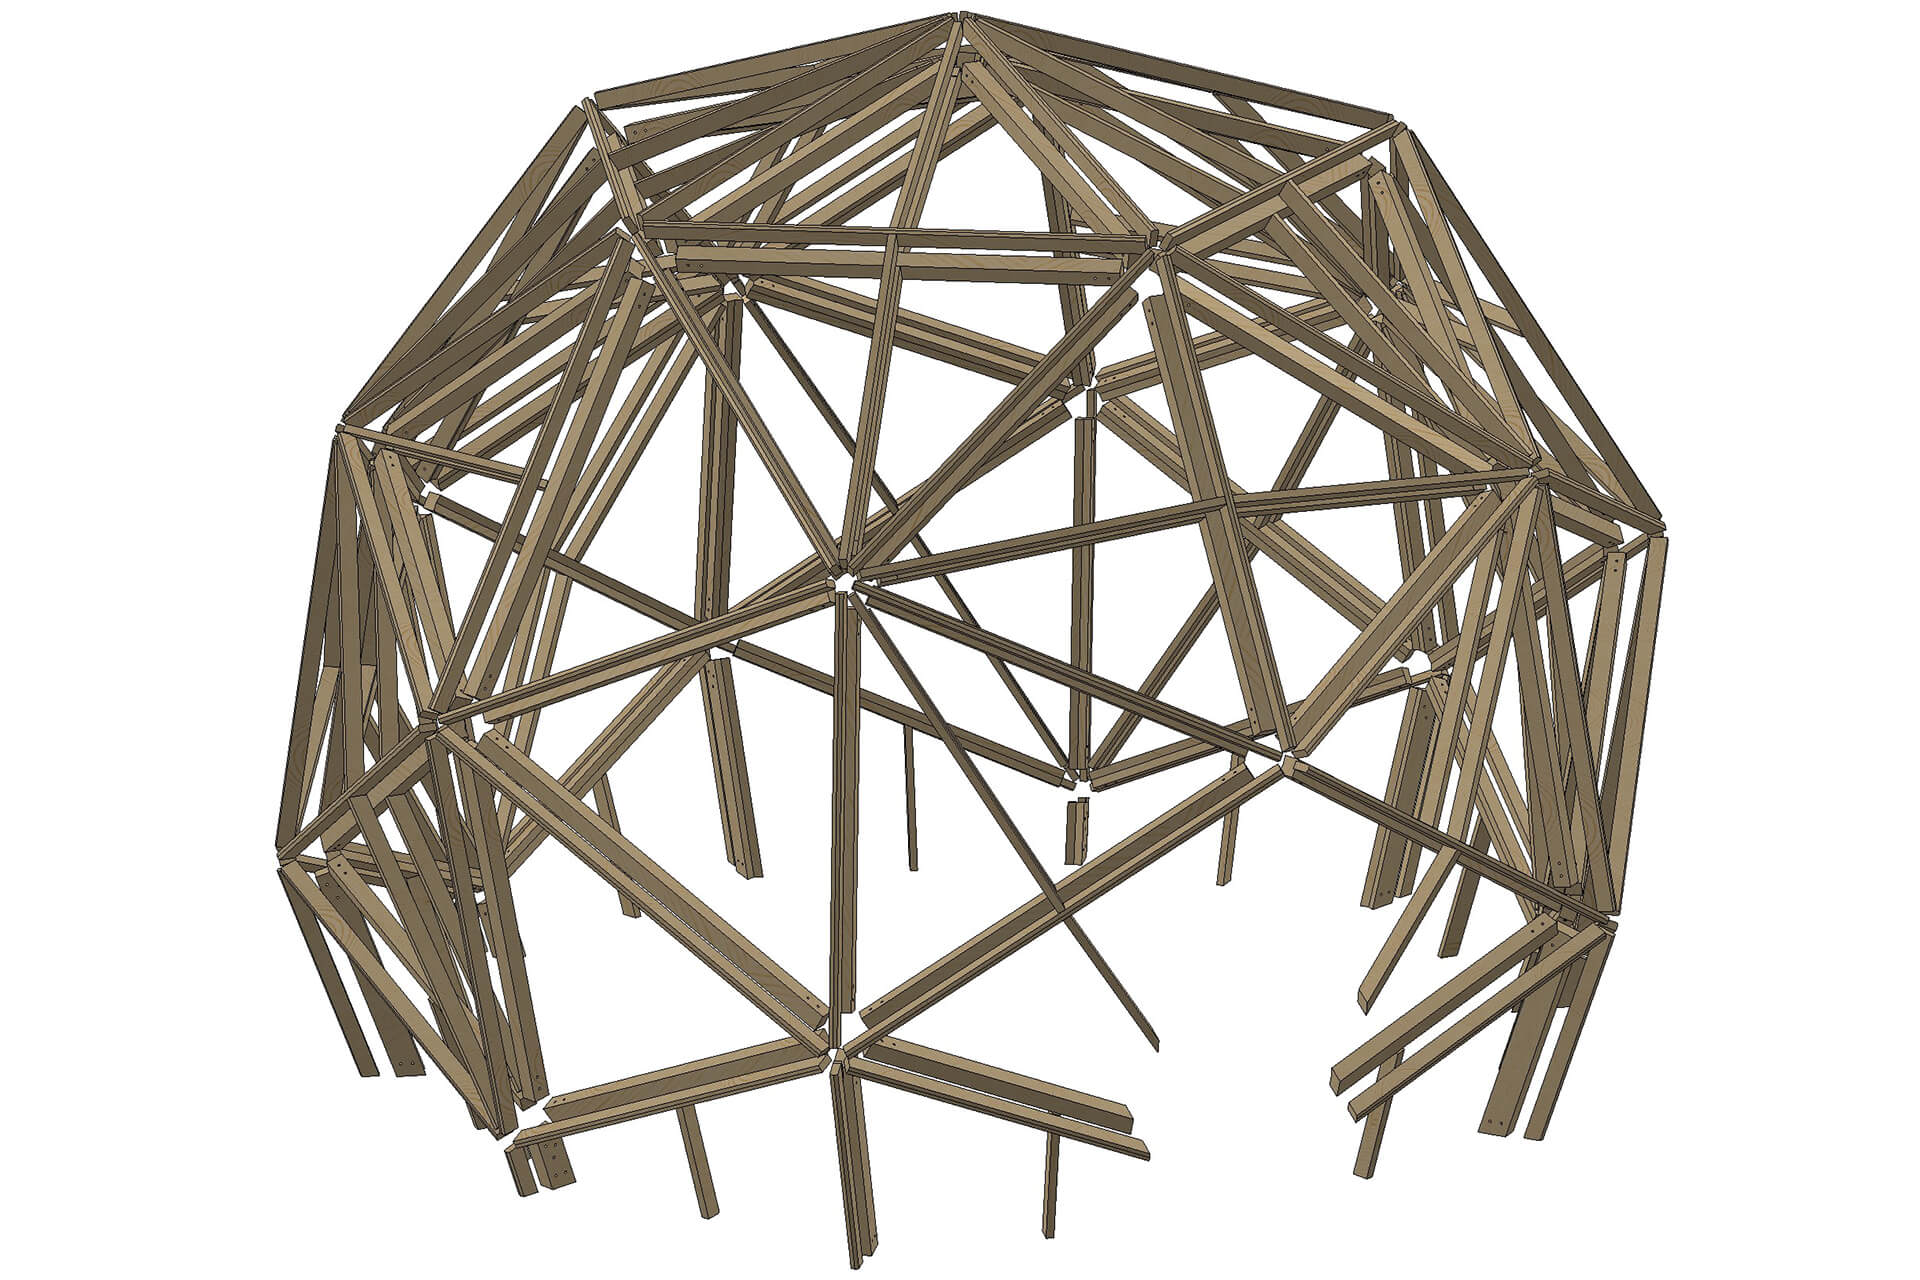
This is a hub-and-strut construction method. The hubs are purchased from Dodeca Domes. The struts, rafters, and studs (all shown here) are to be cut from lumber.
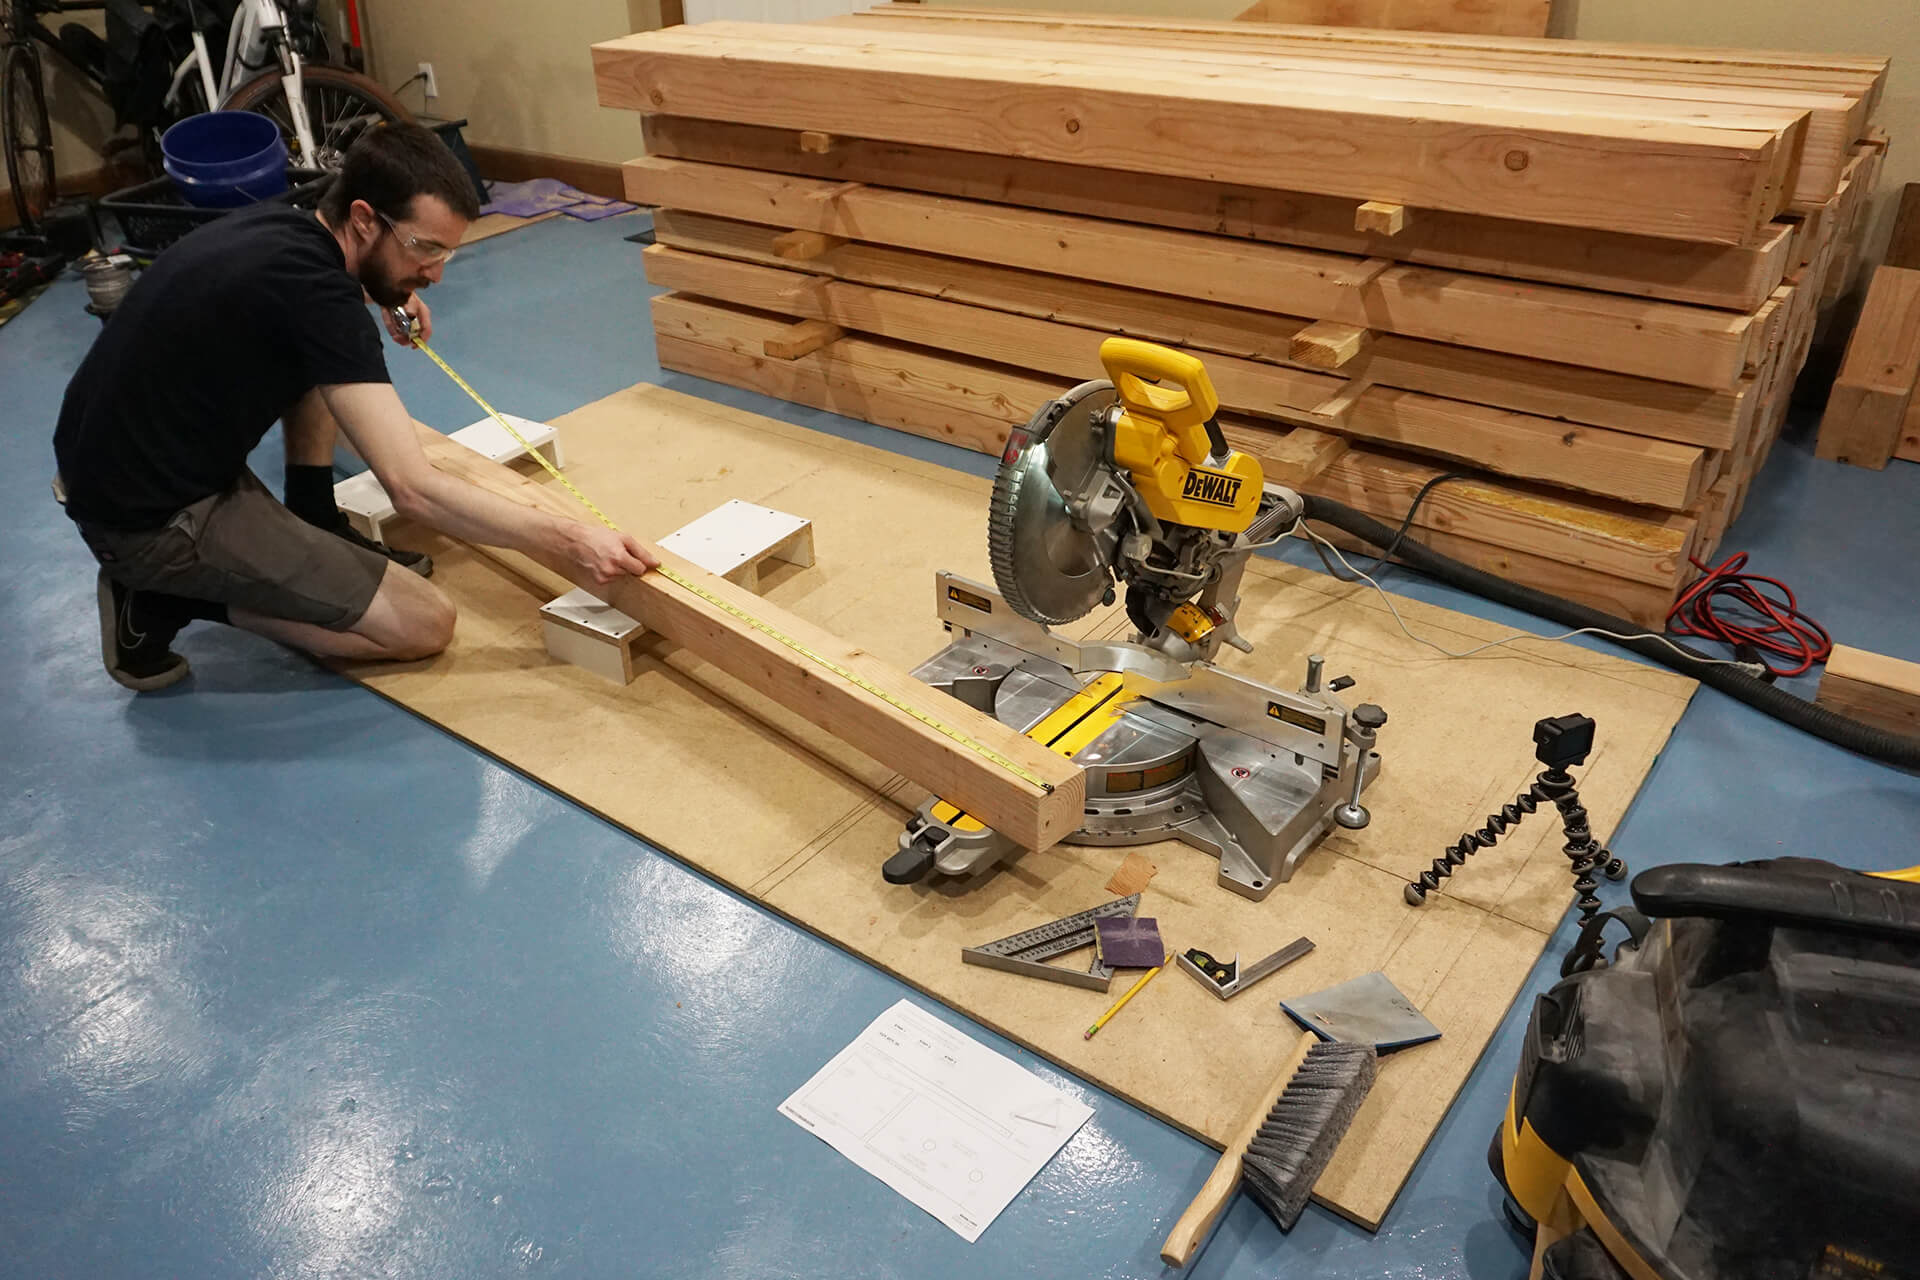
If the 4x4 lumber is dry and dimensionally stable, it’s time to create the Struts.
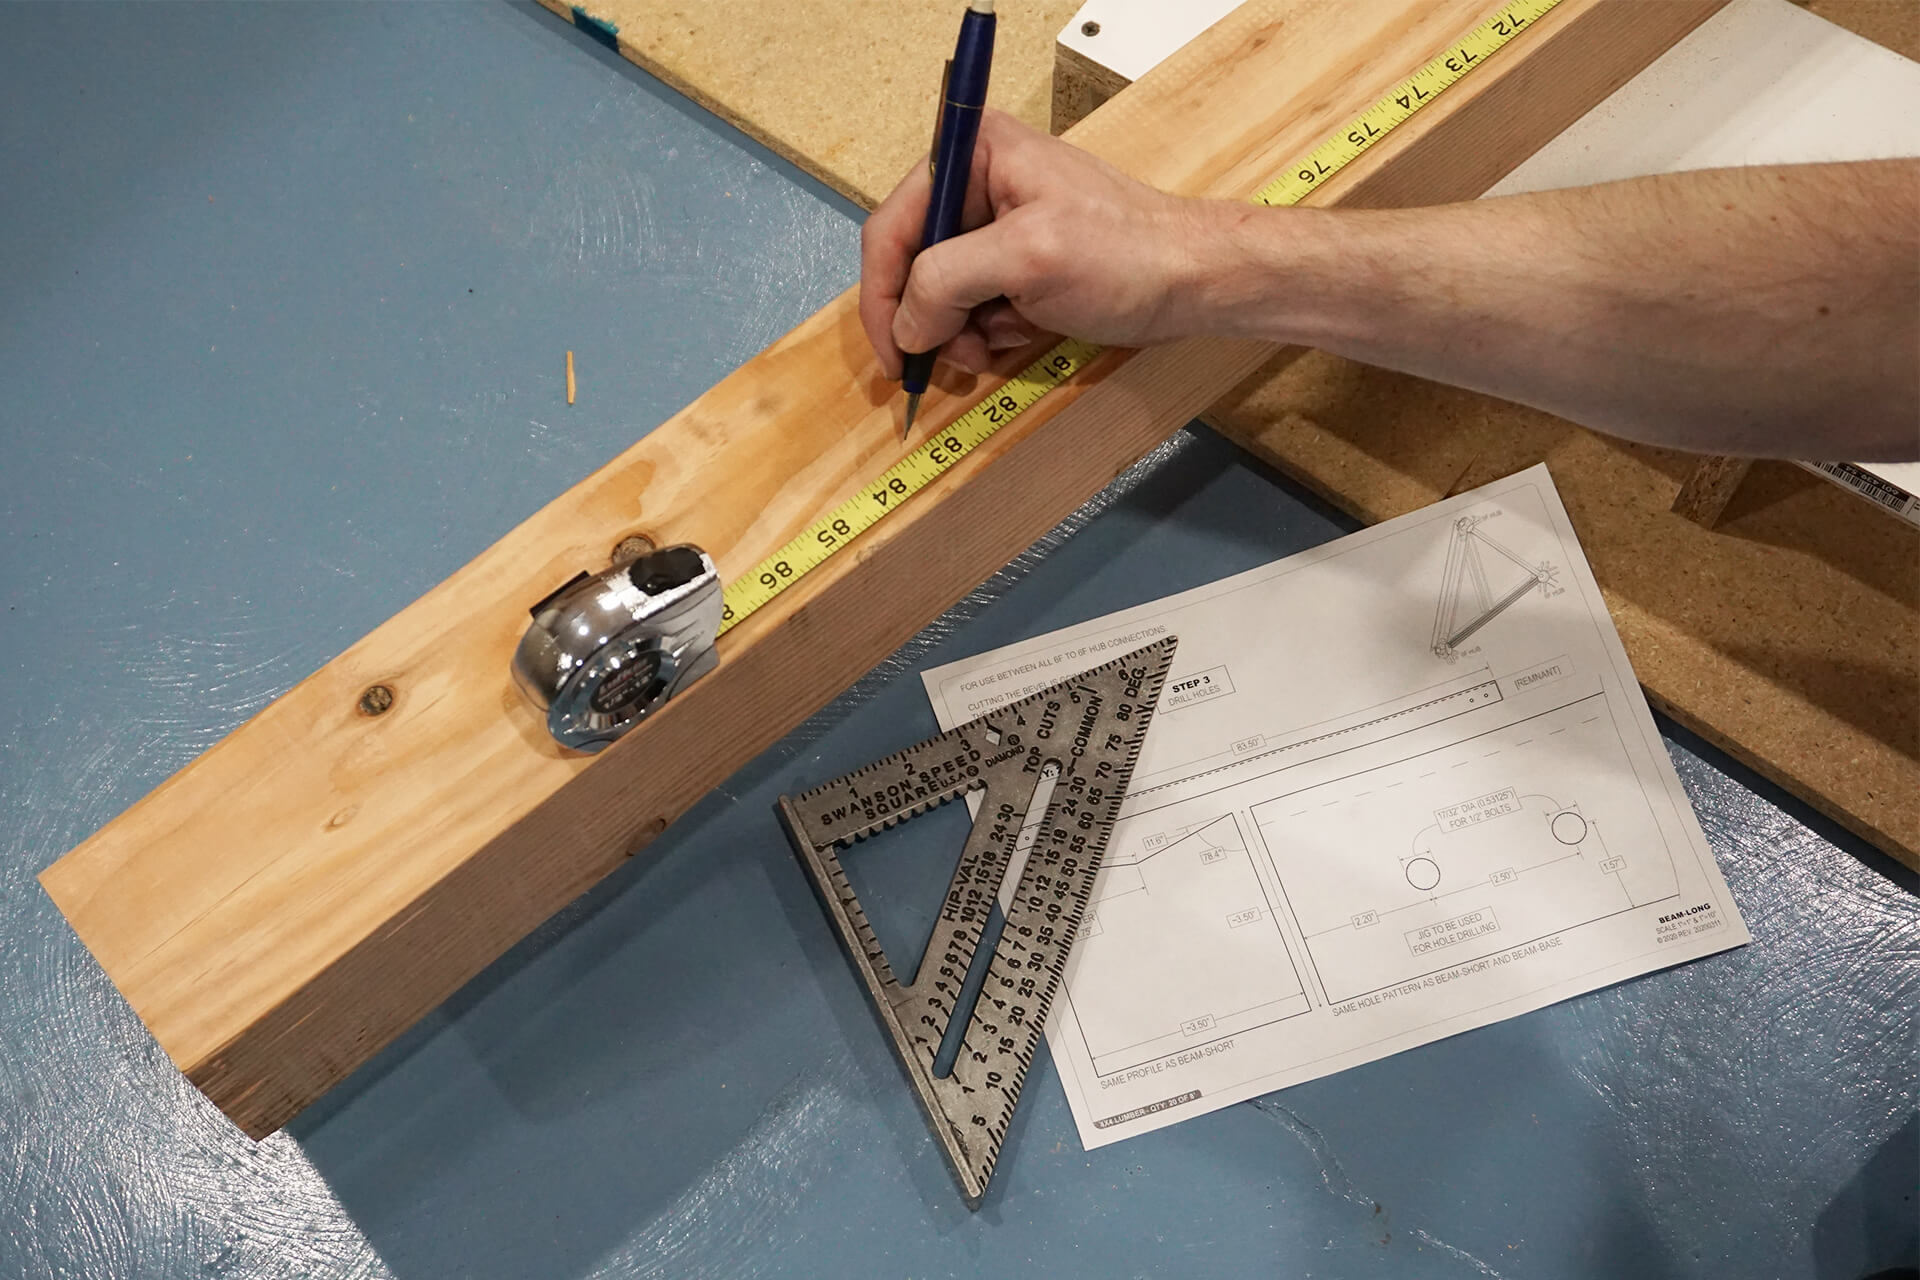
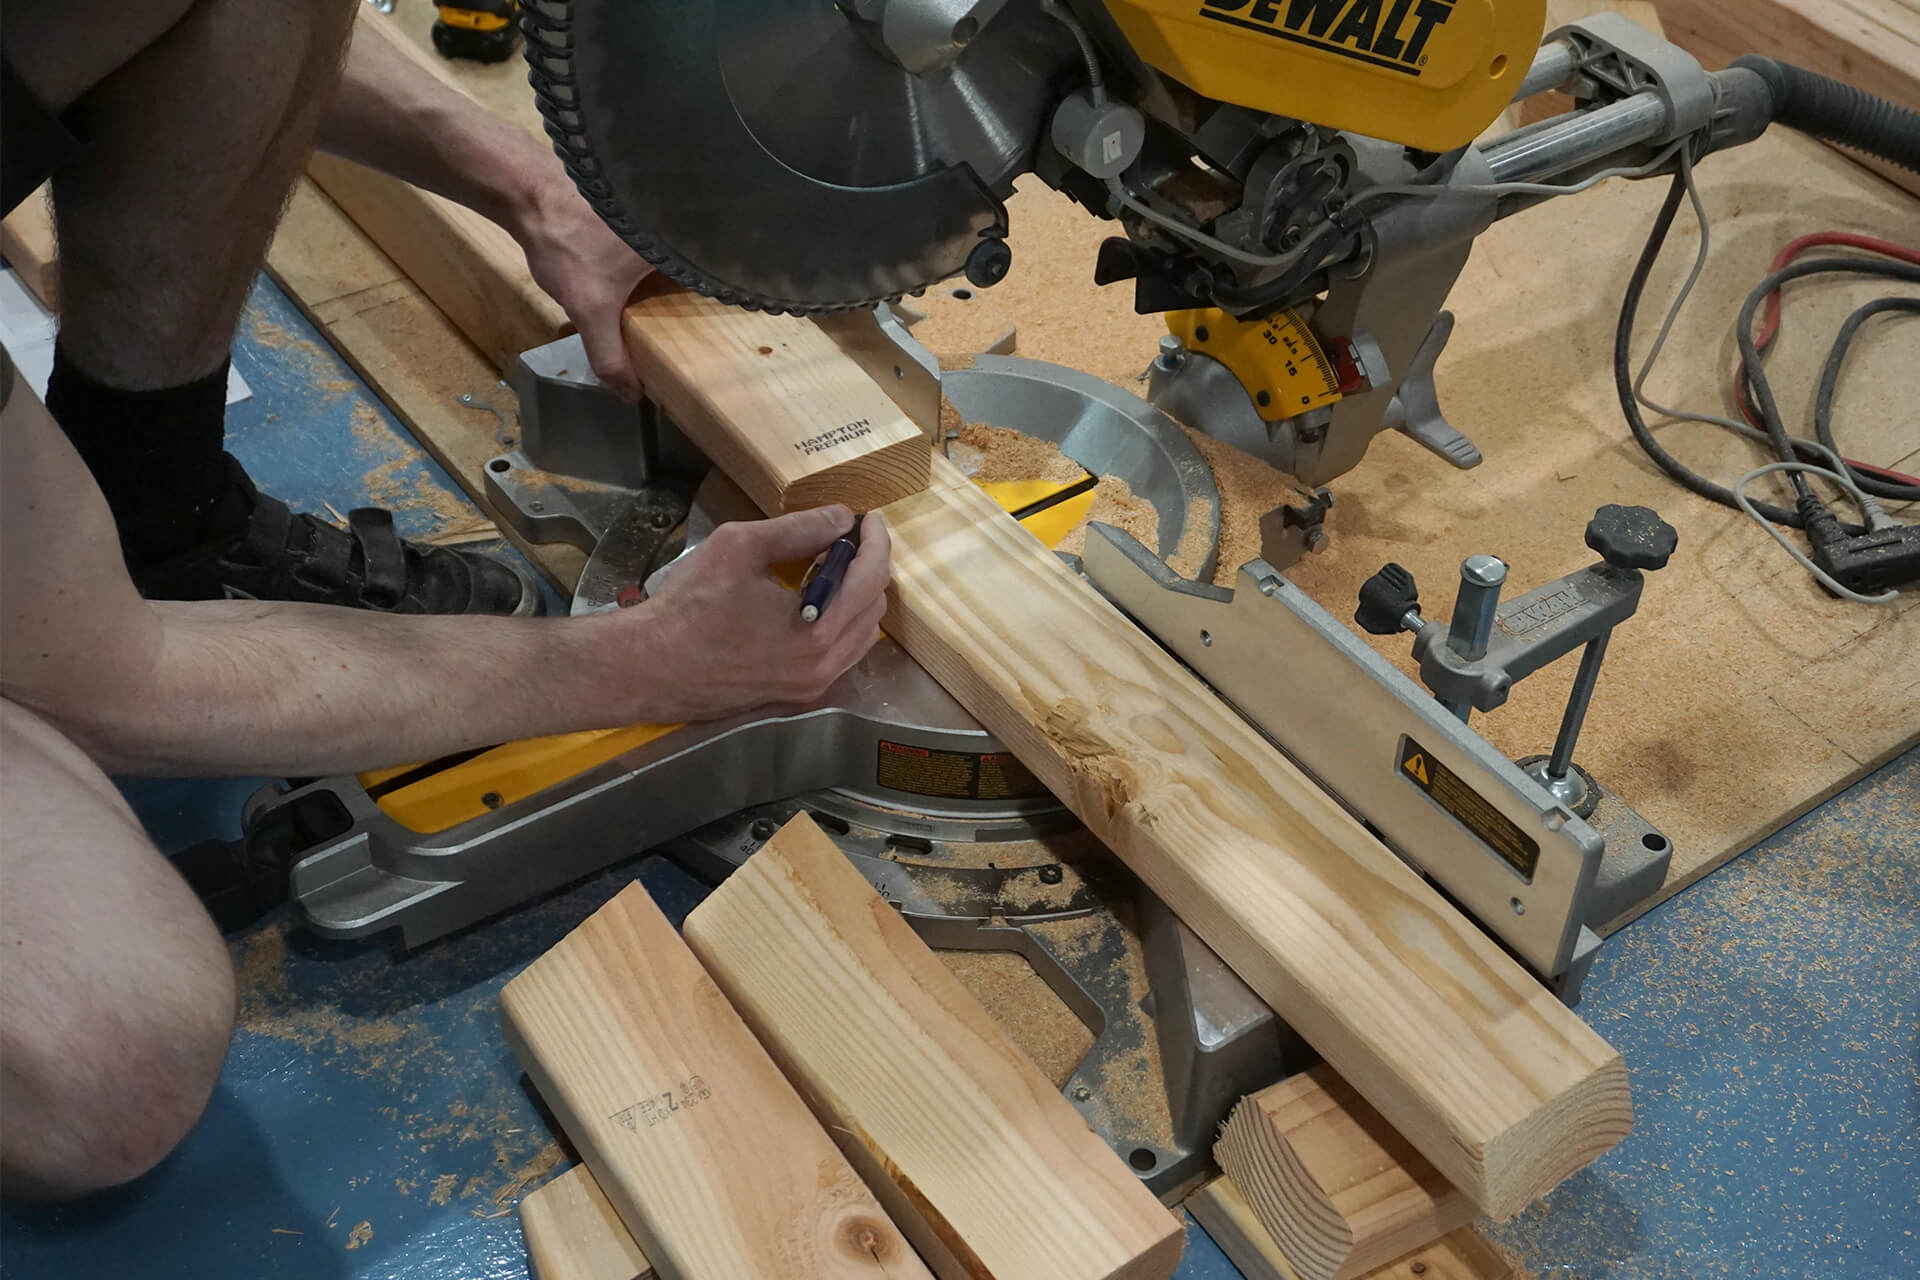
An accurate Strut length is critical for assembly. Do not rely on the factory-cut ends of the lumber to be true. Cut one end square, then measure and mark accordingly.
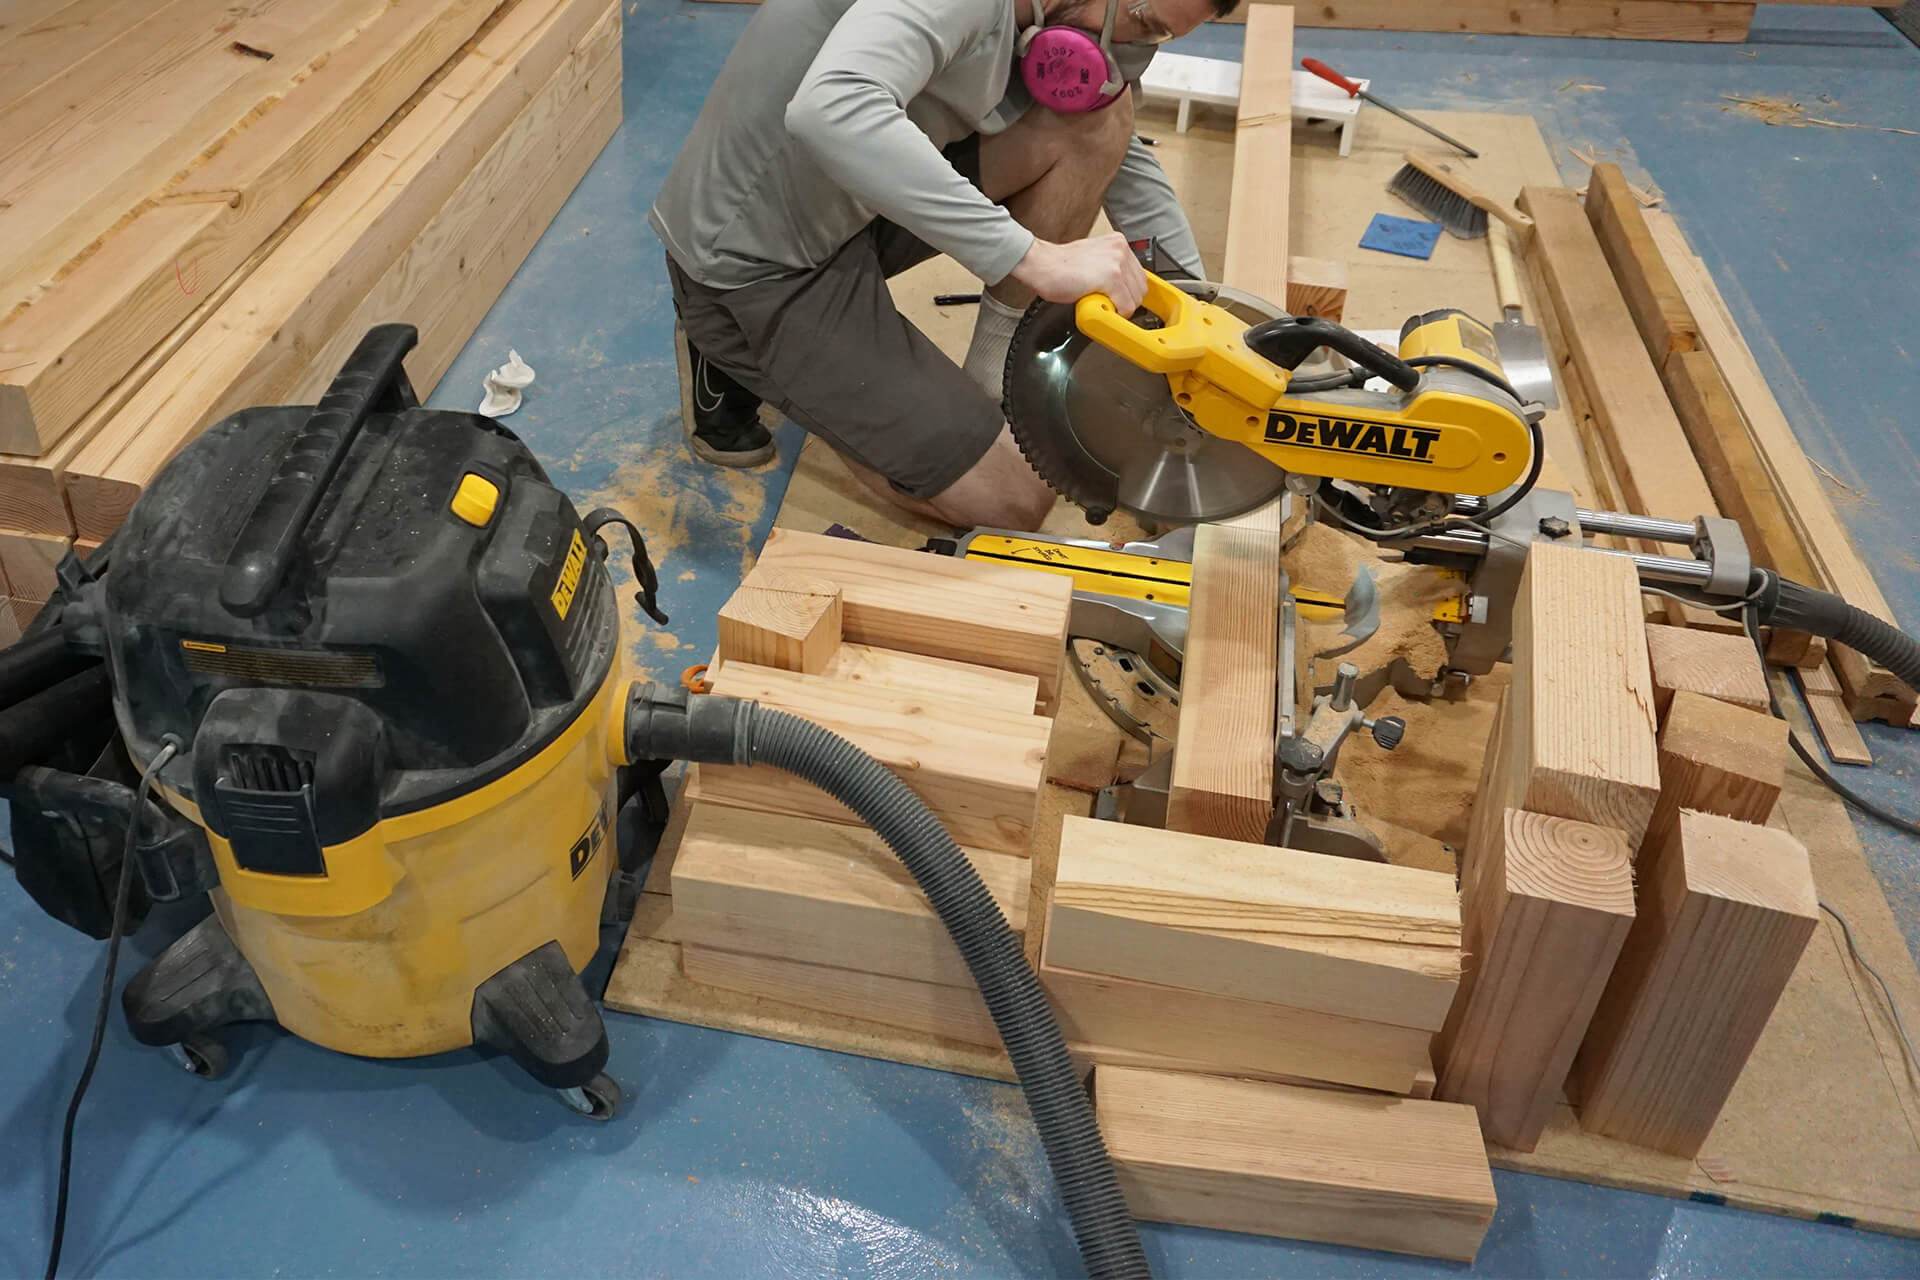
Cut all Struts to the specified lengths. There are two lengths and various quantities (QTY) for Strut-Longs, Strut-Shorts, and Strut-Bases.
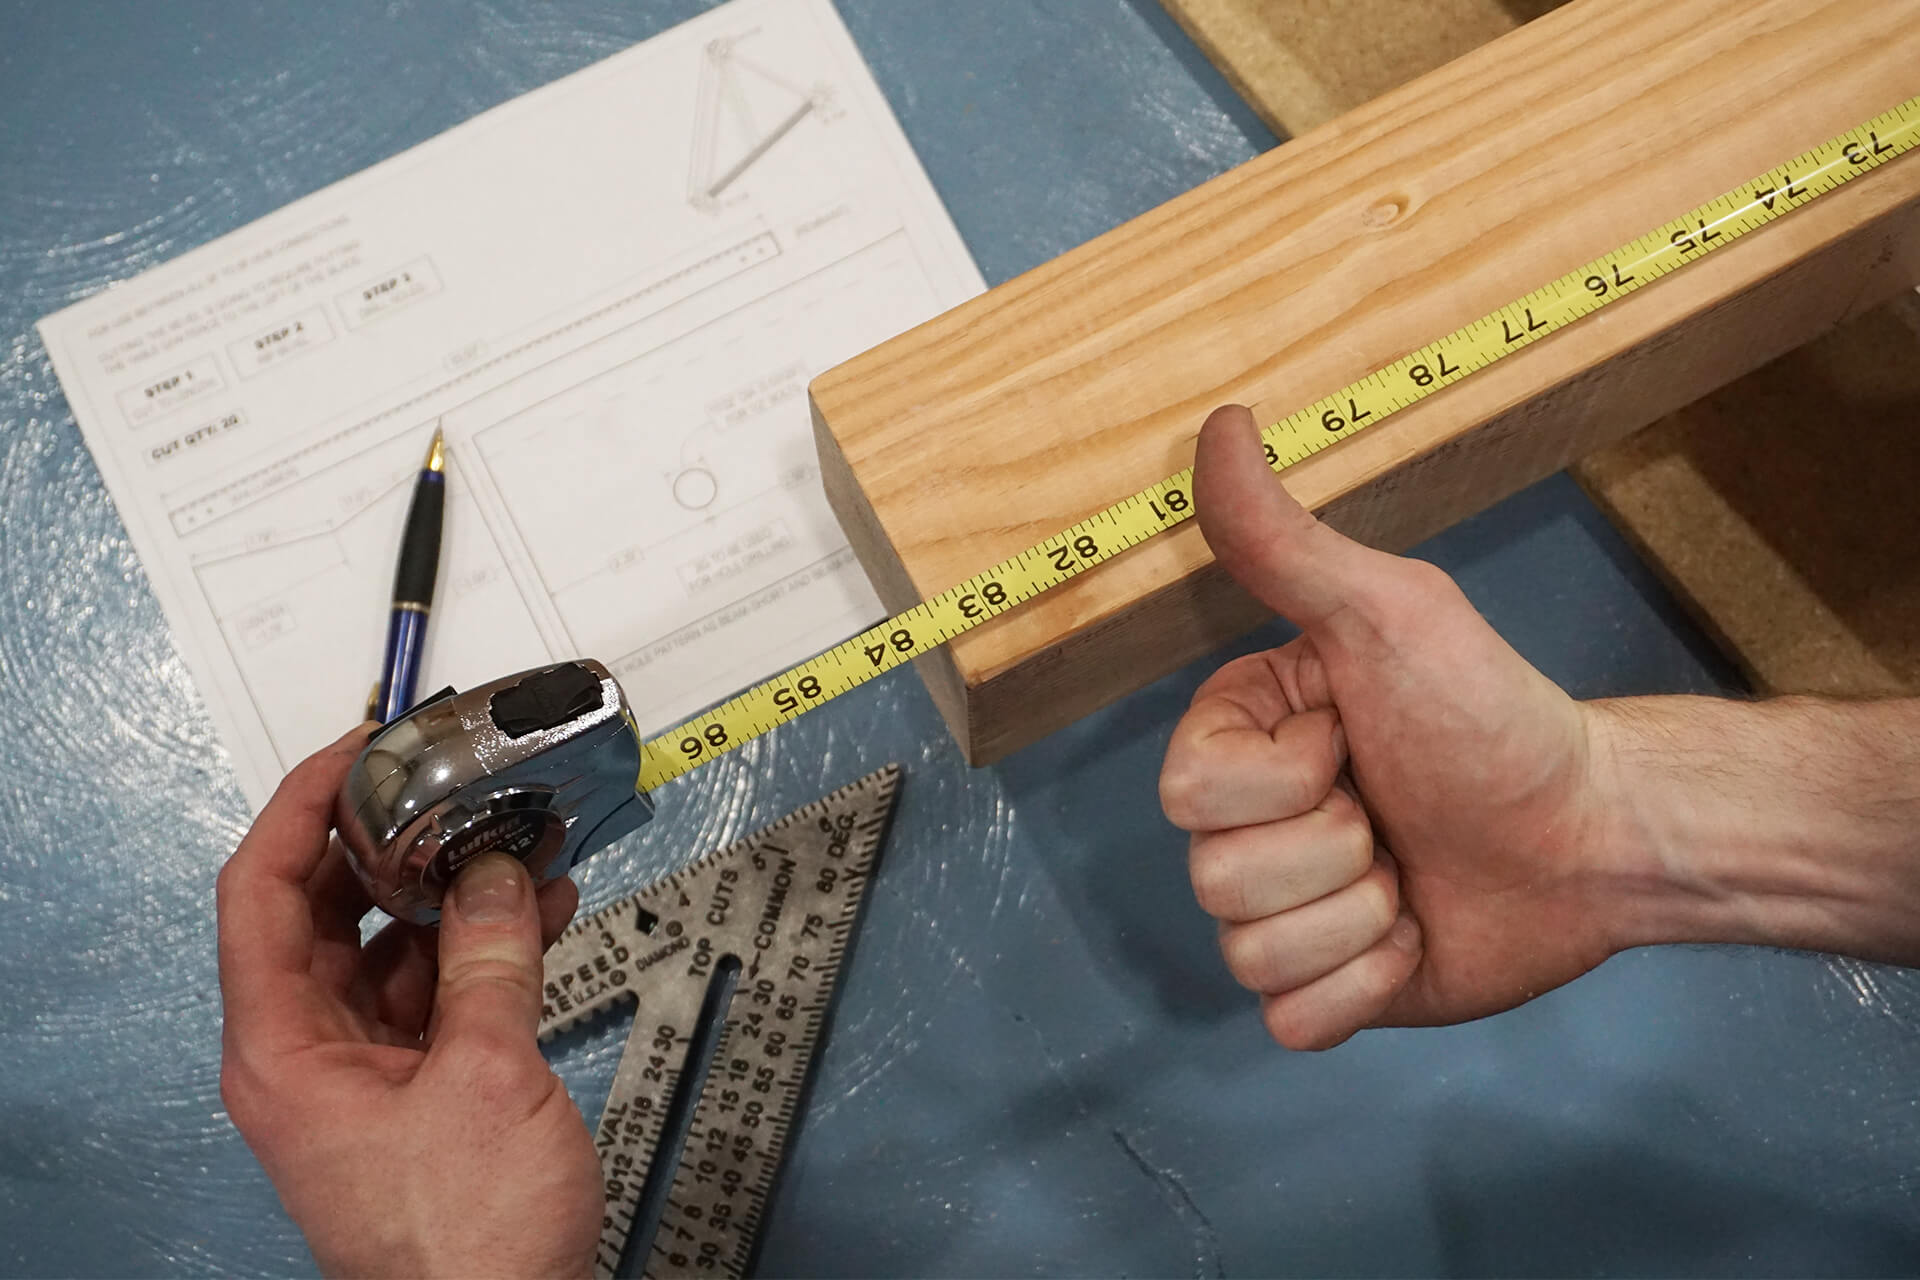
Confirm that each Strut length is precisely accurate. The drawings are in decimal inches, which requires a decimal inch tape measure (as listed in the Bill of Materials).
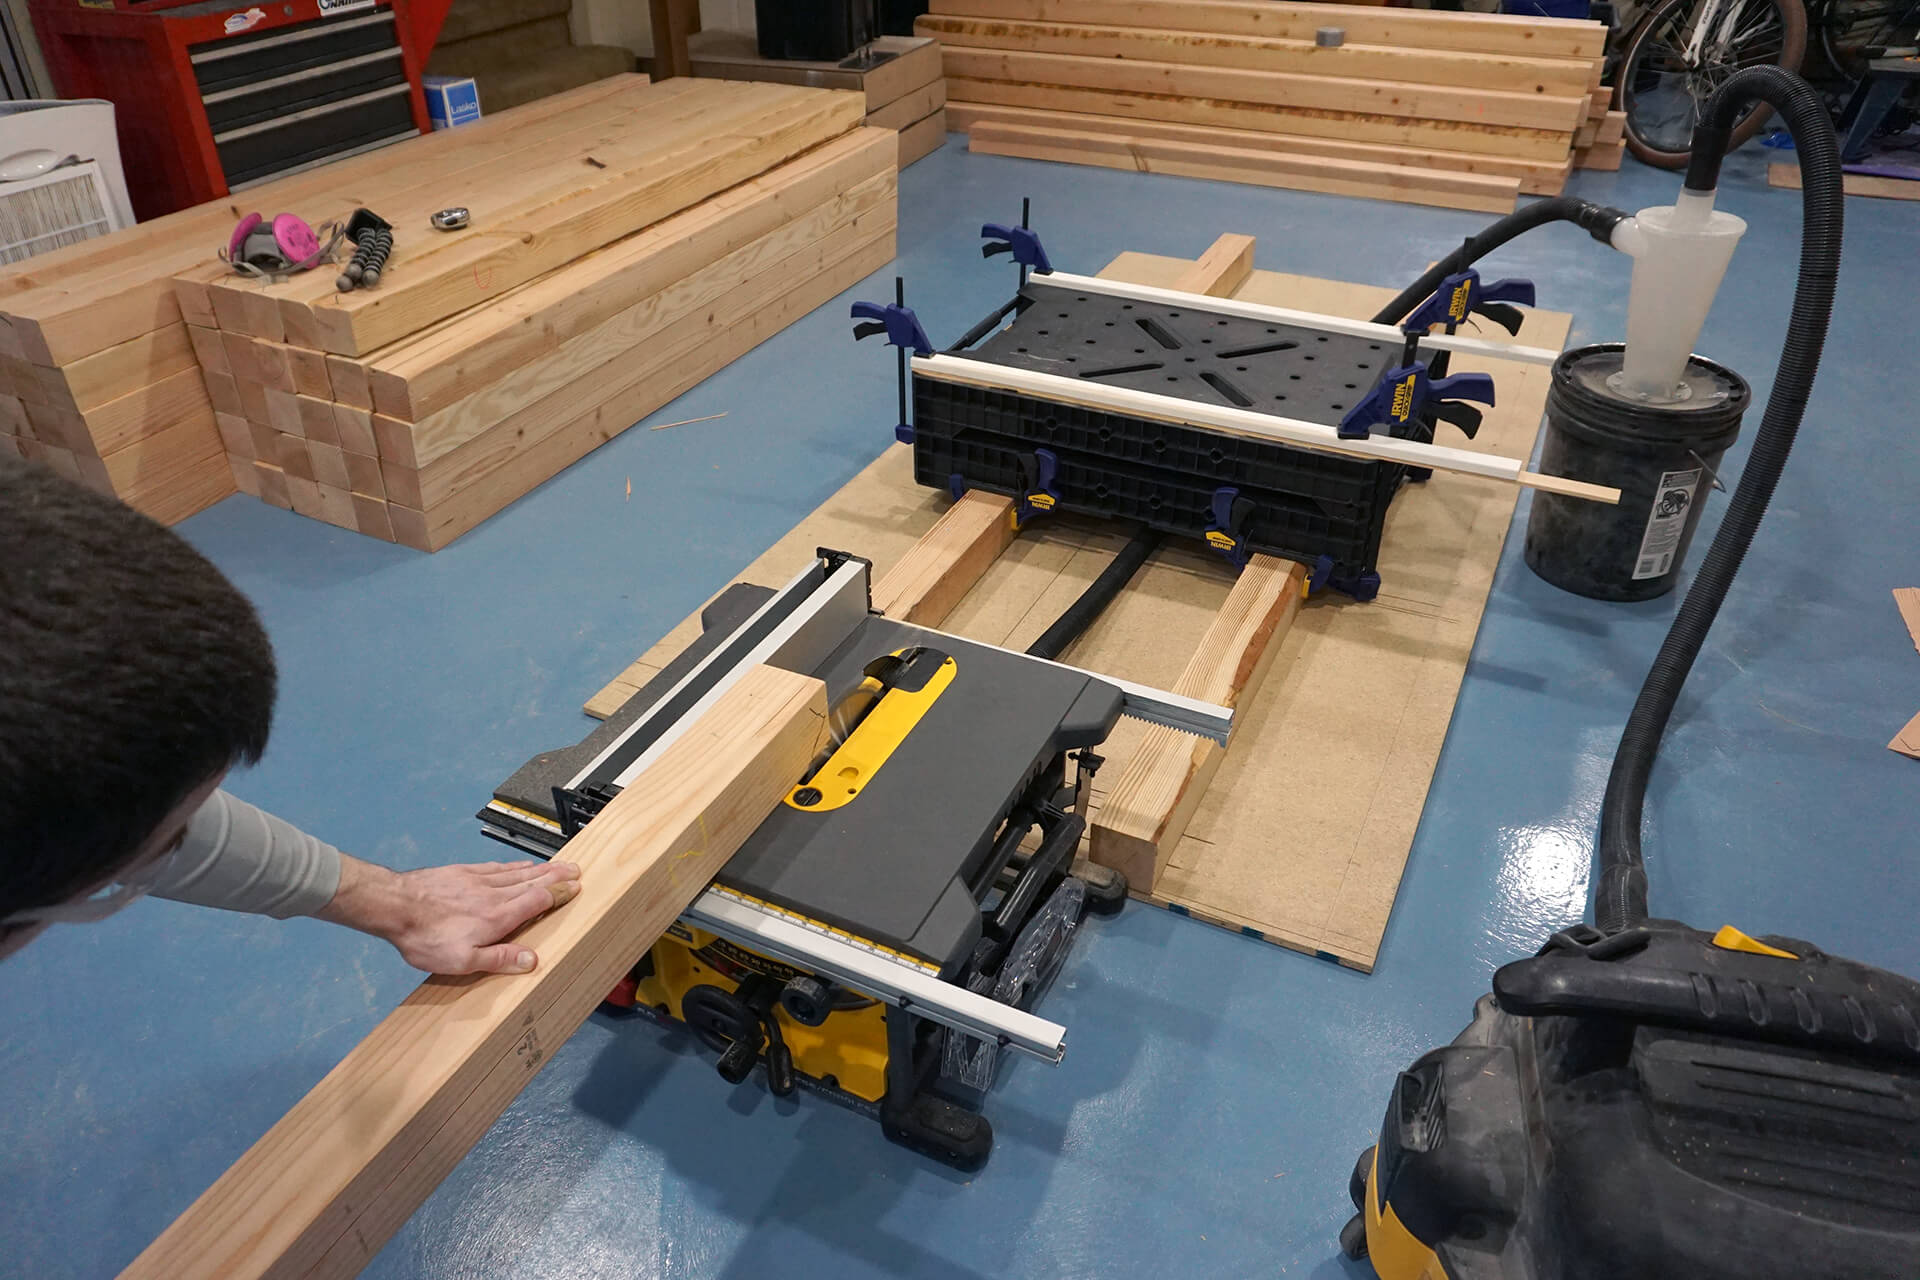
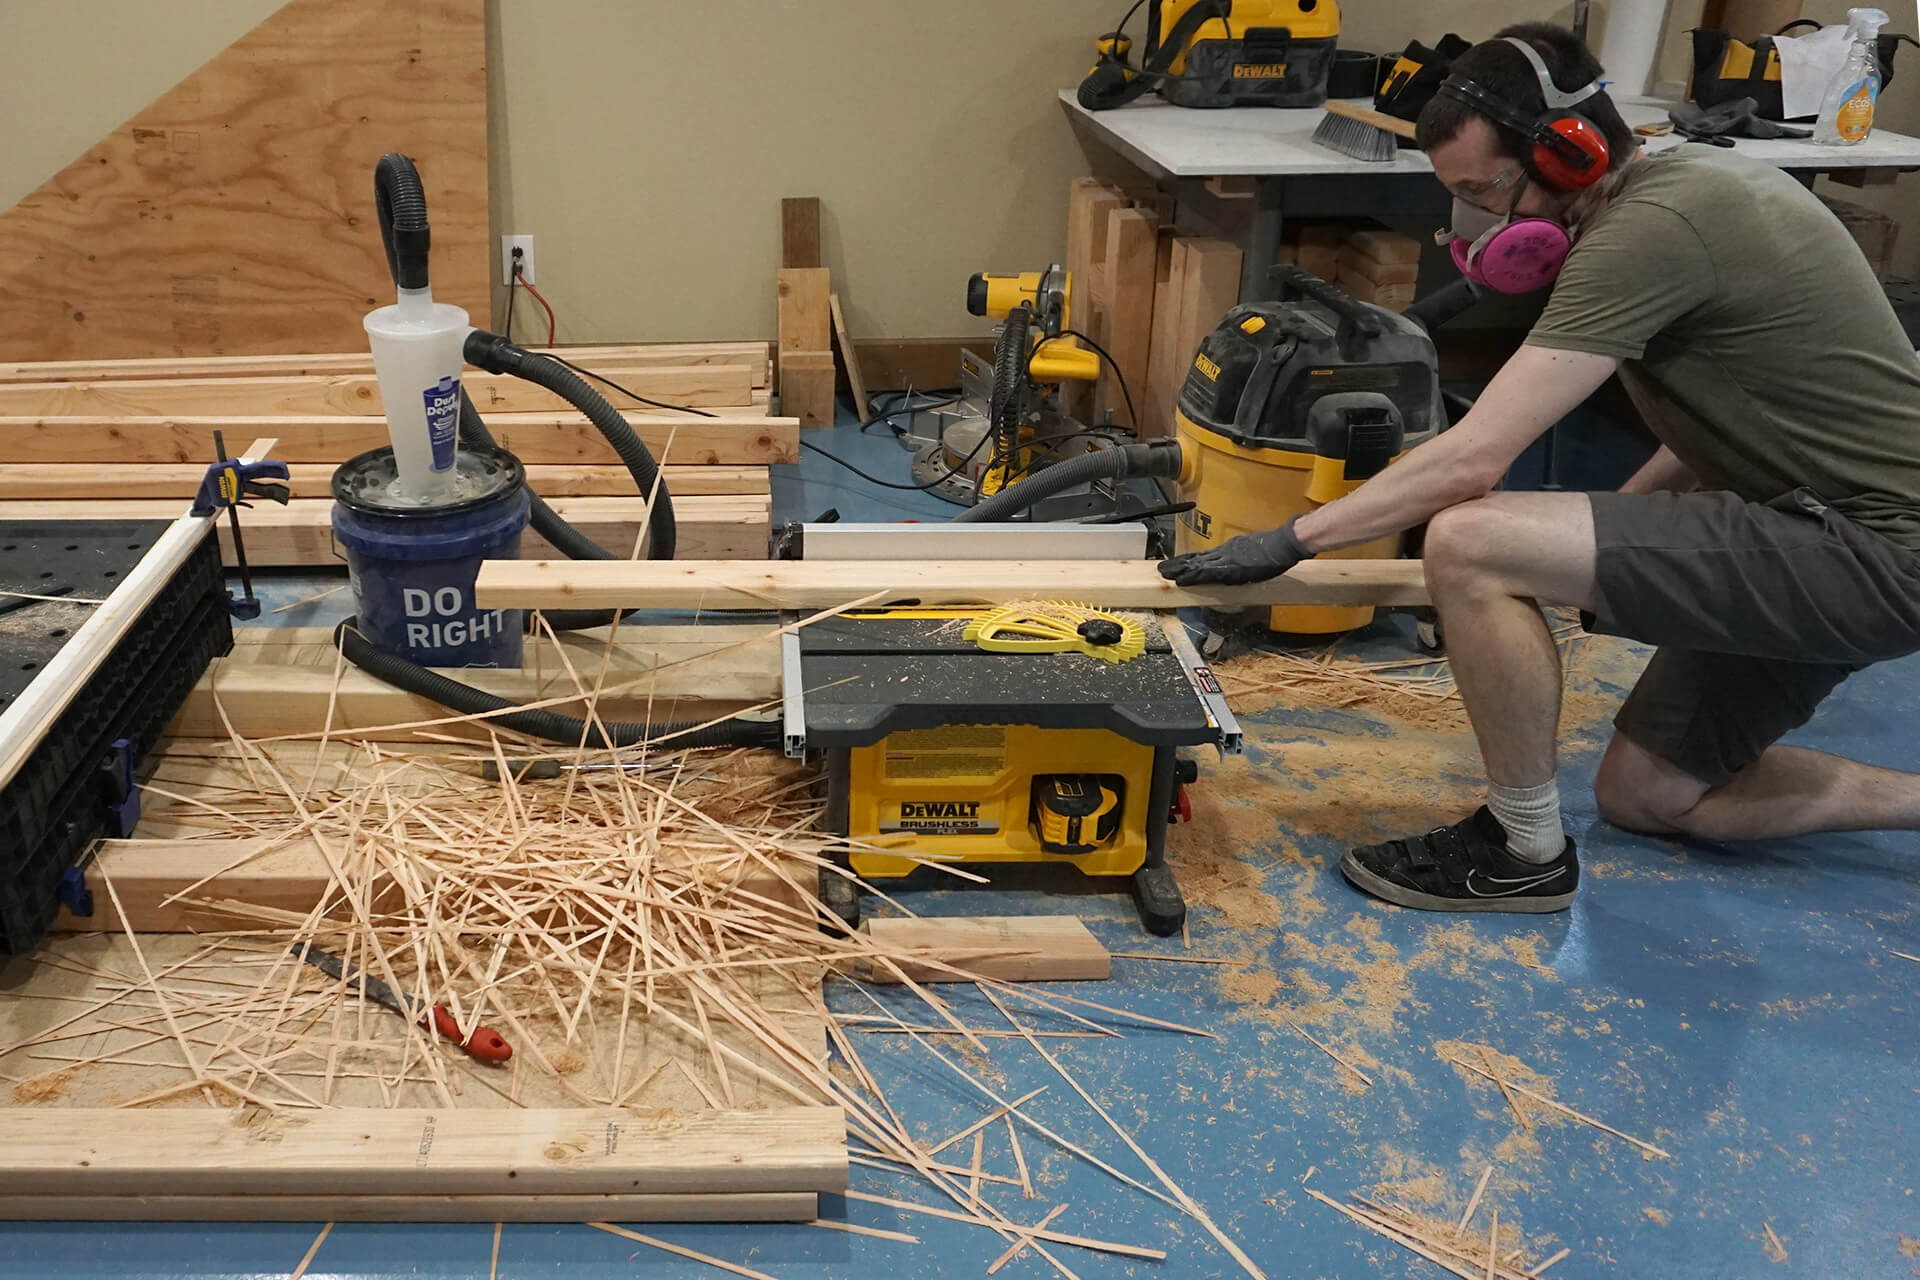
Mark the side of the lumber with the most defects or wane and rip the groove into that side.
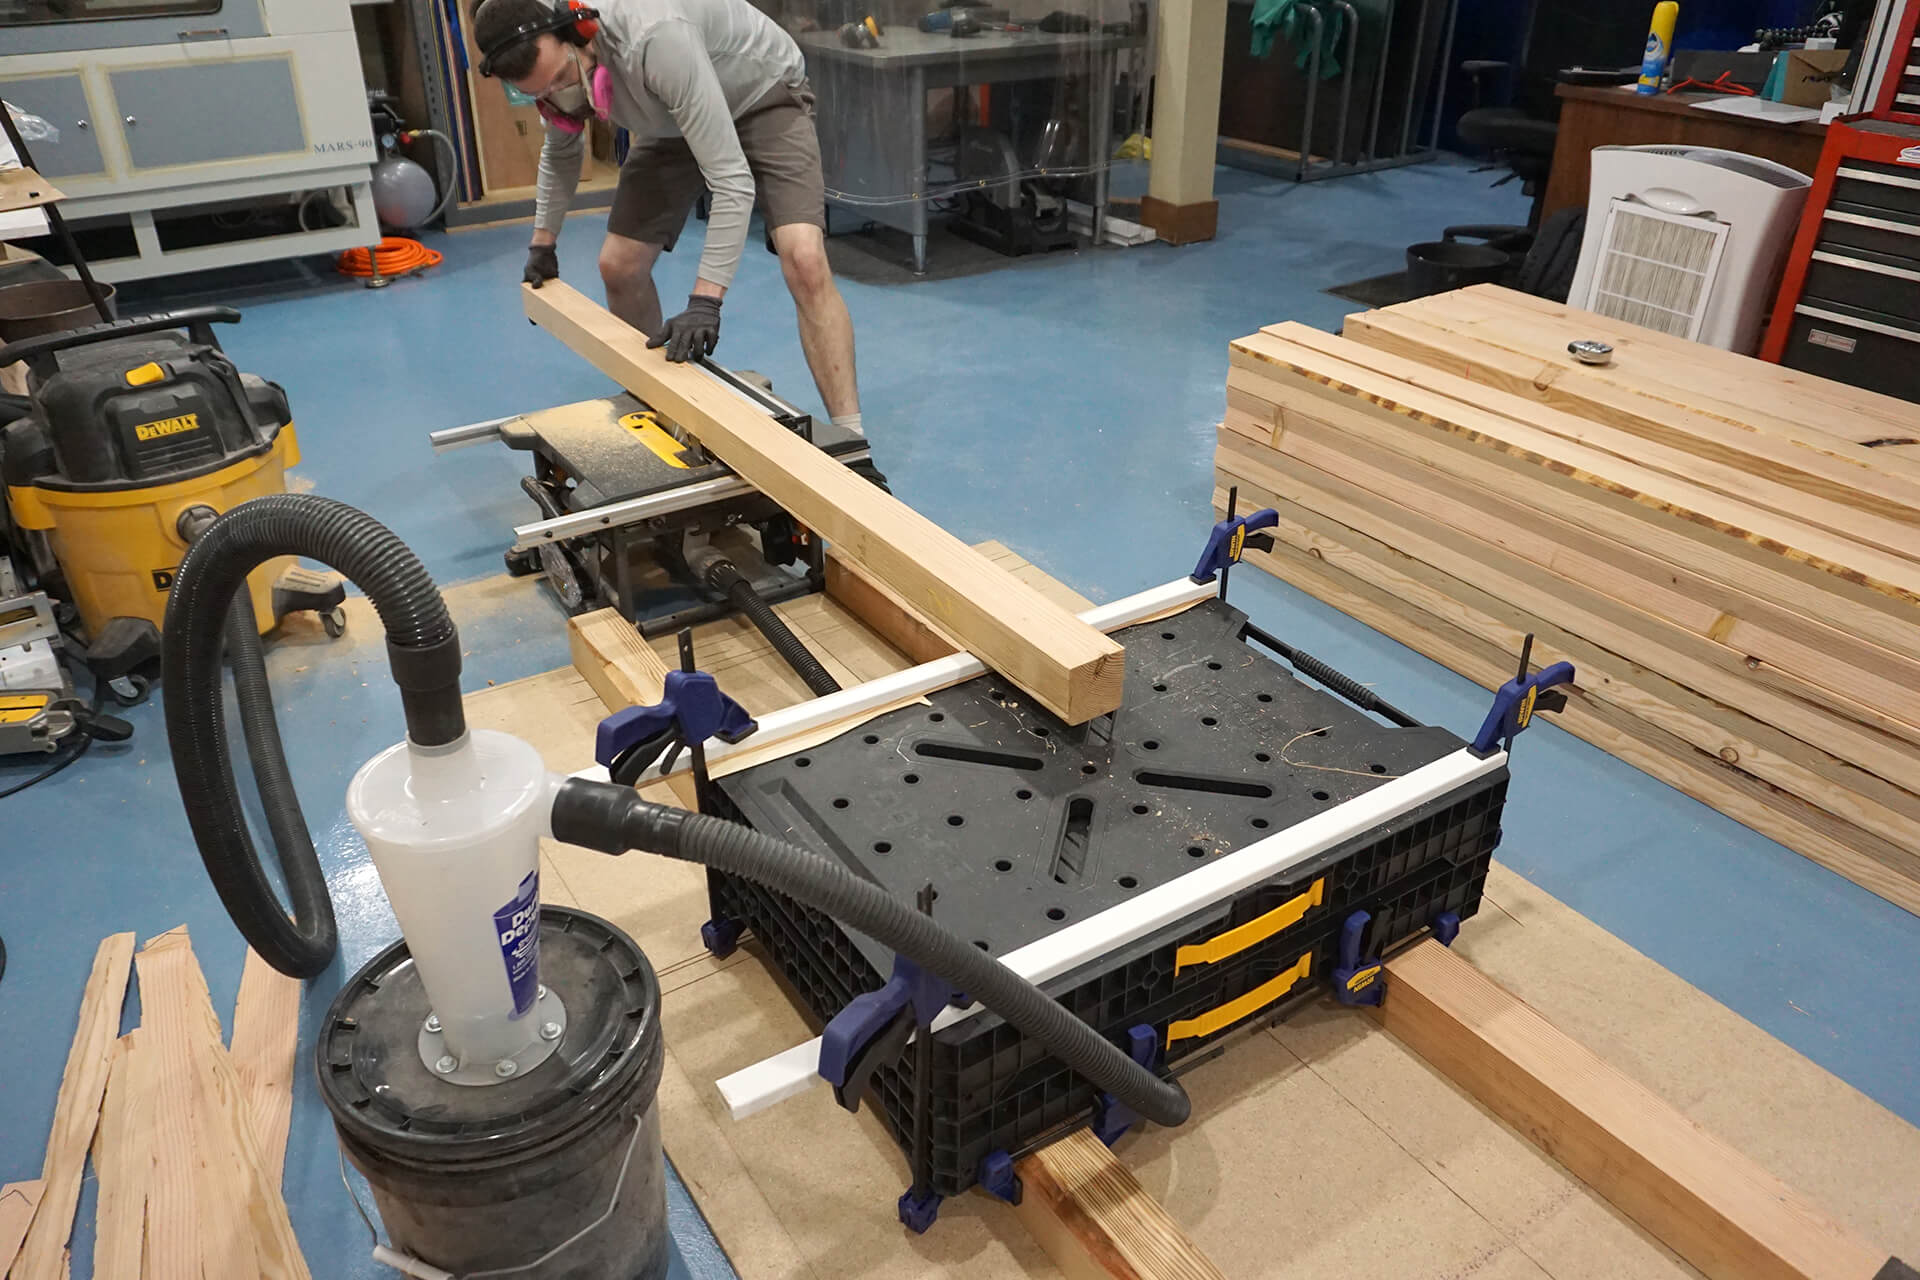
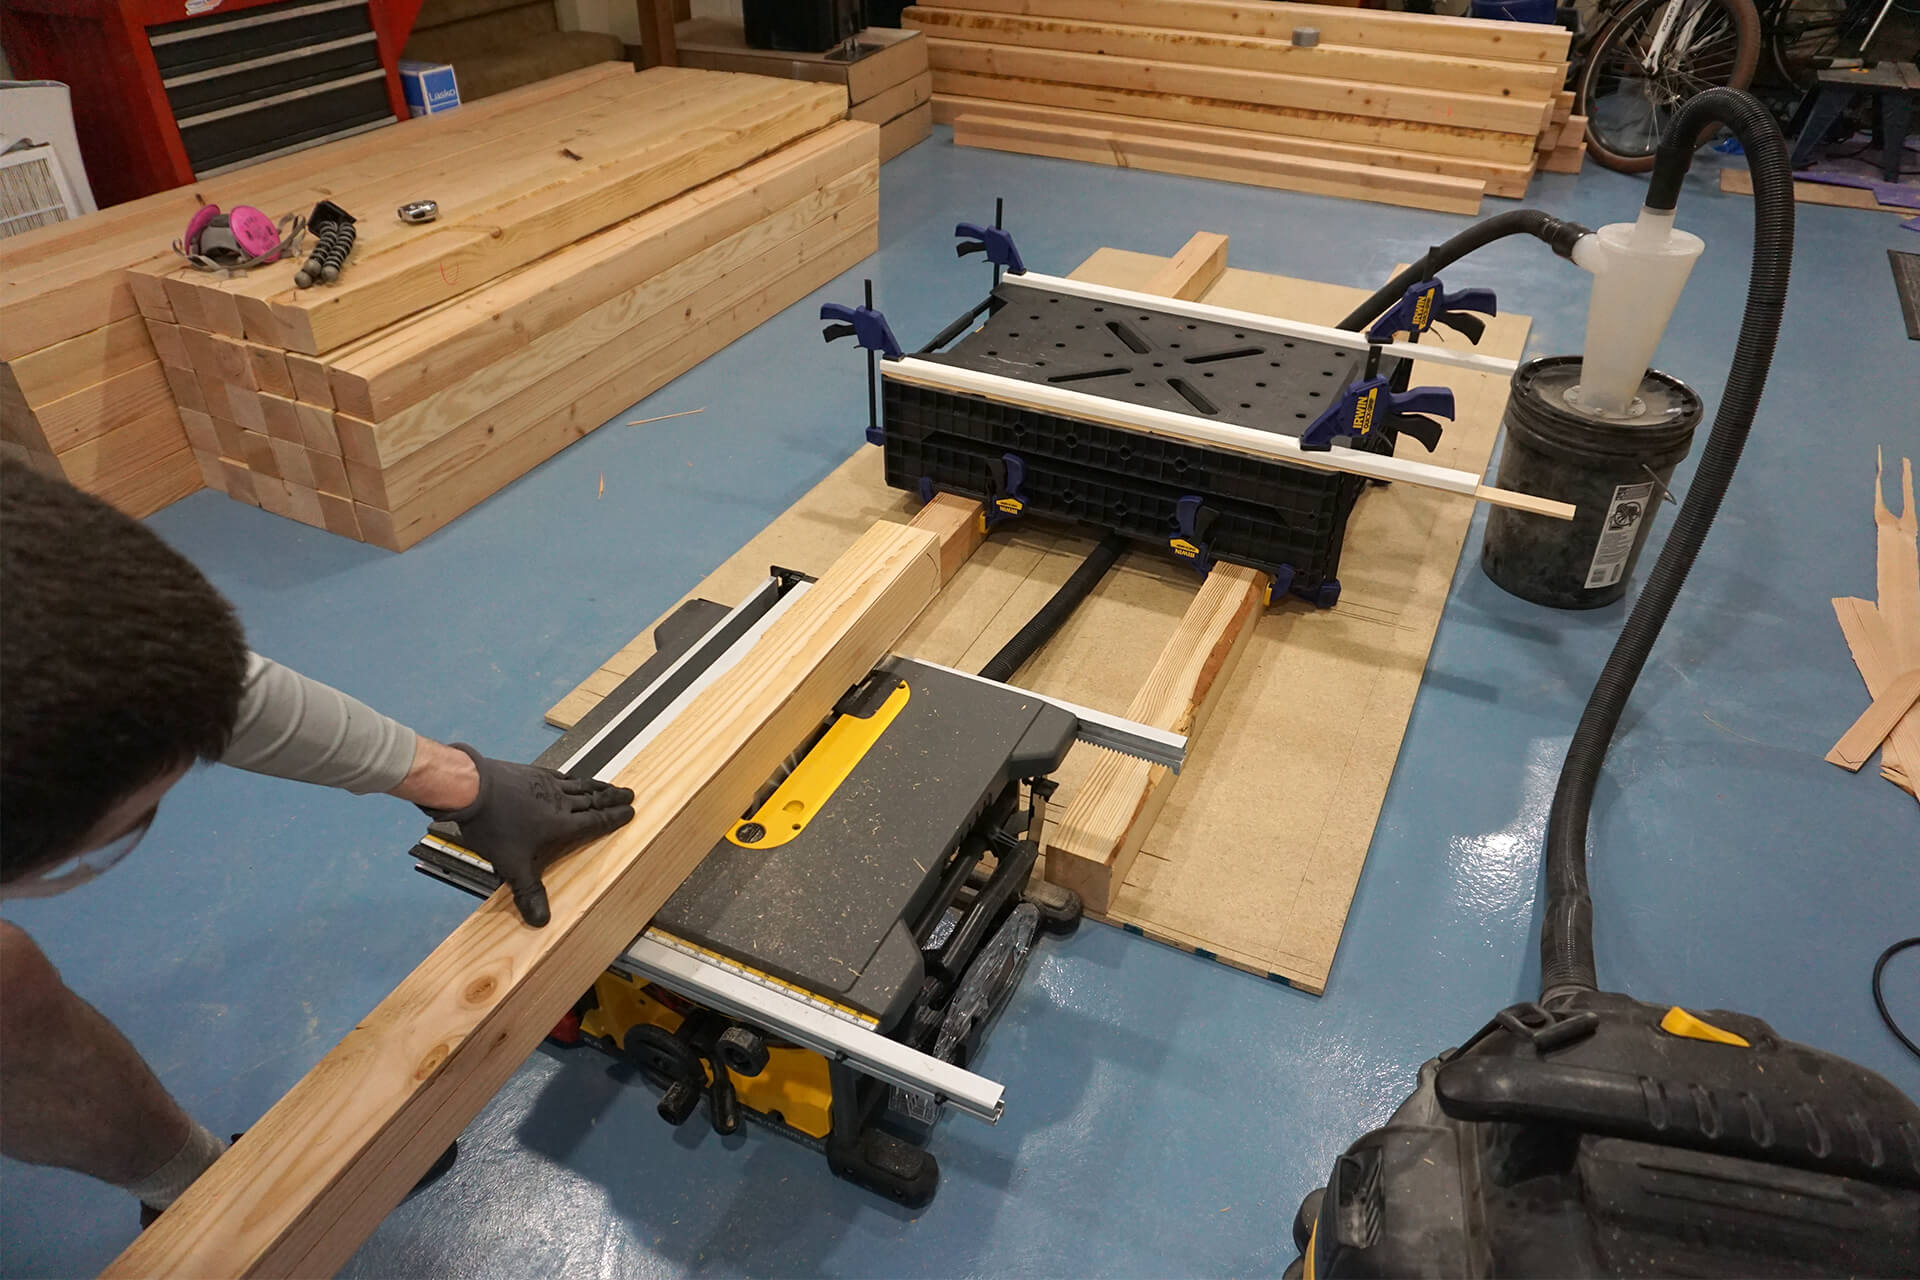
An outfeed table is helpful for maintaining control and accuracy during the cut.
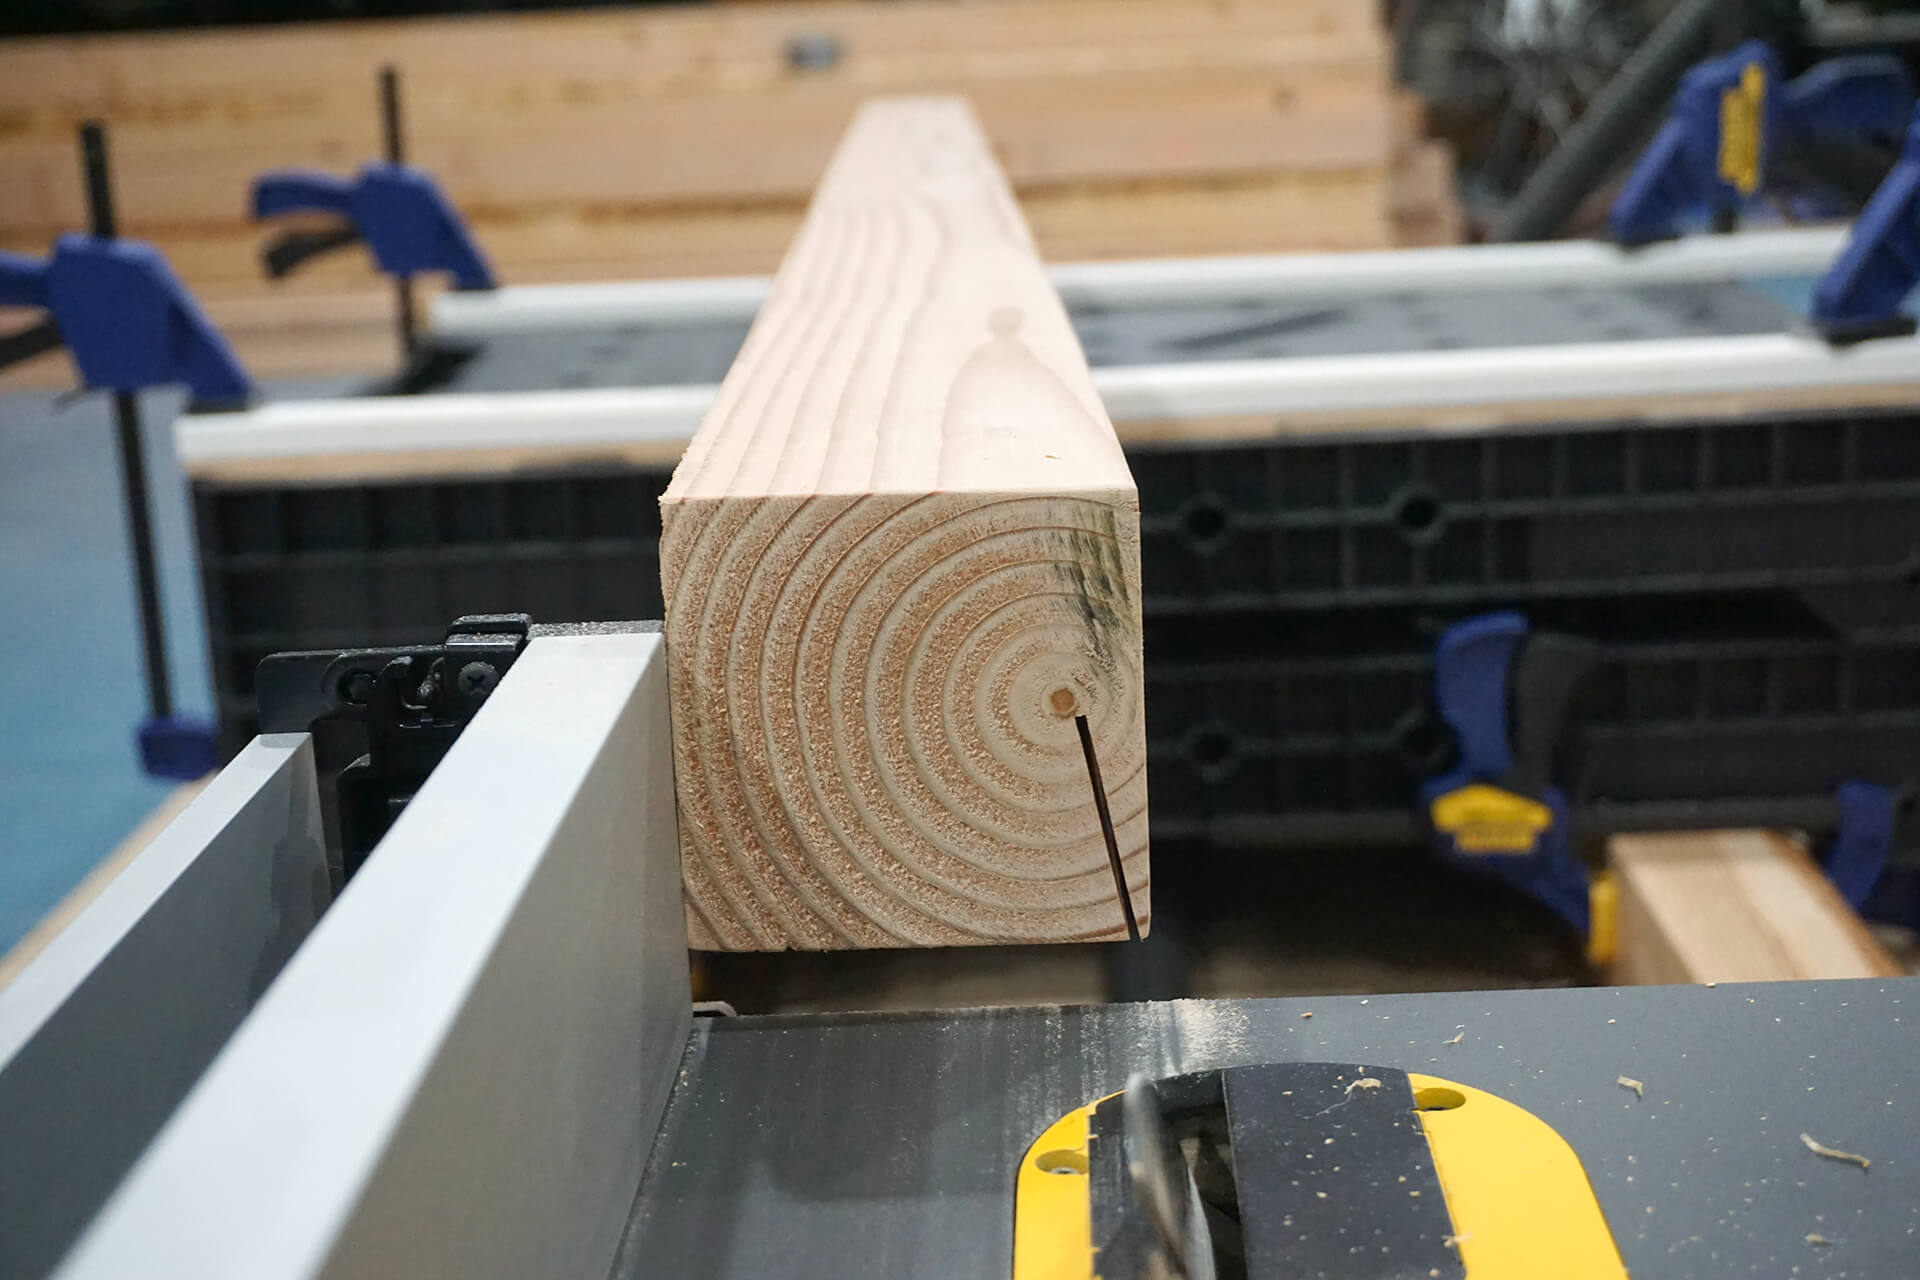
Rip half of the groove in one pass. The outfeed table supports the freshly cut Strut.
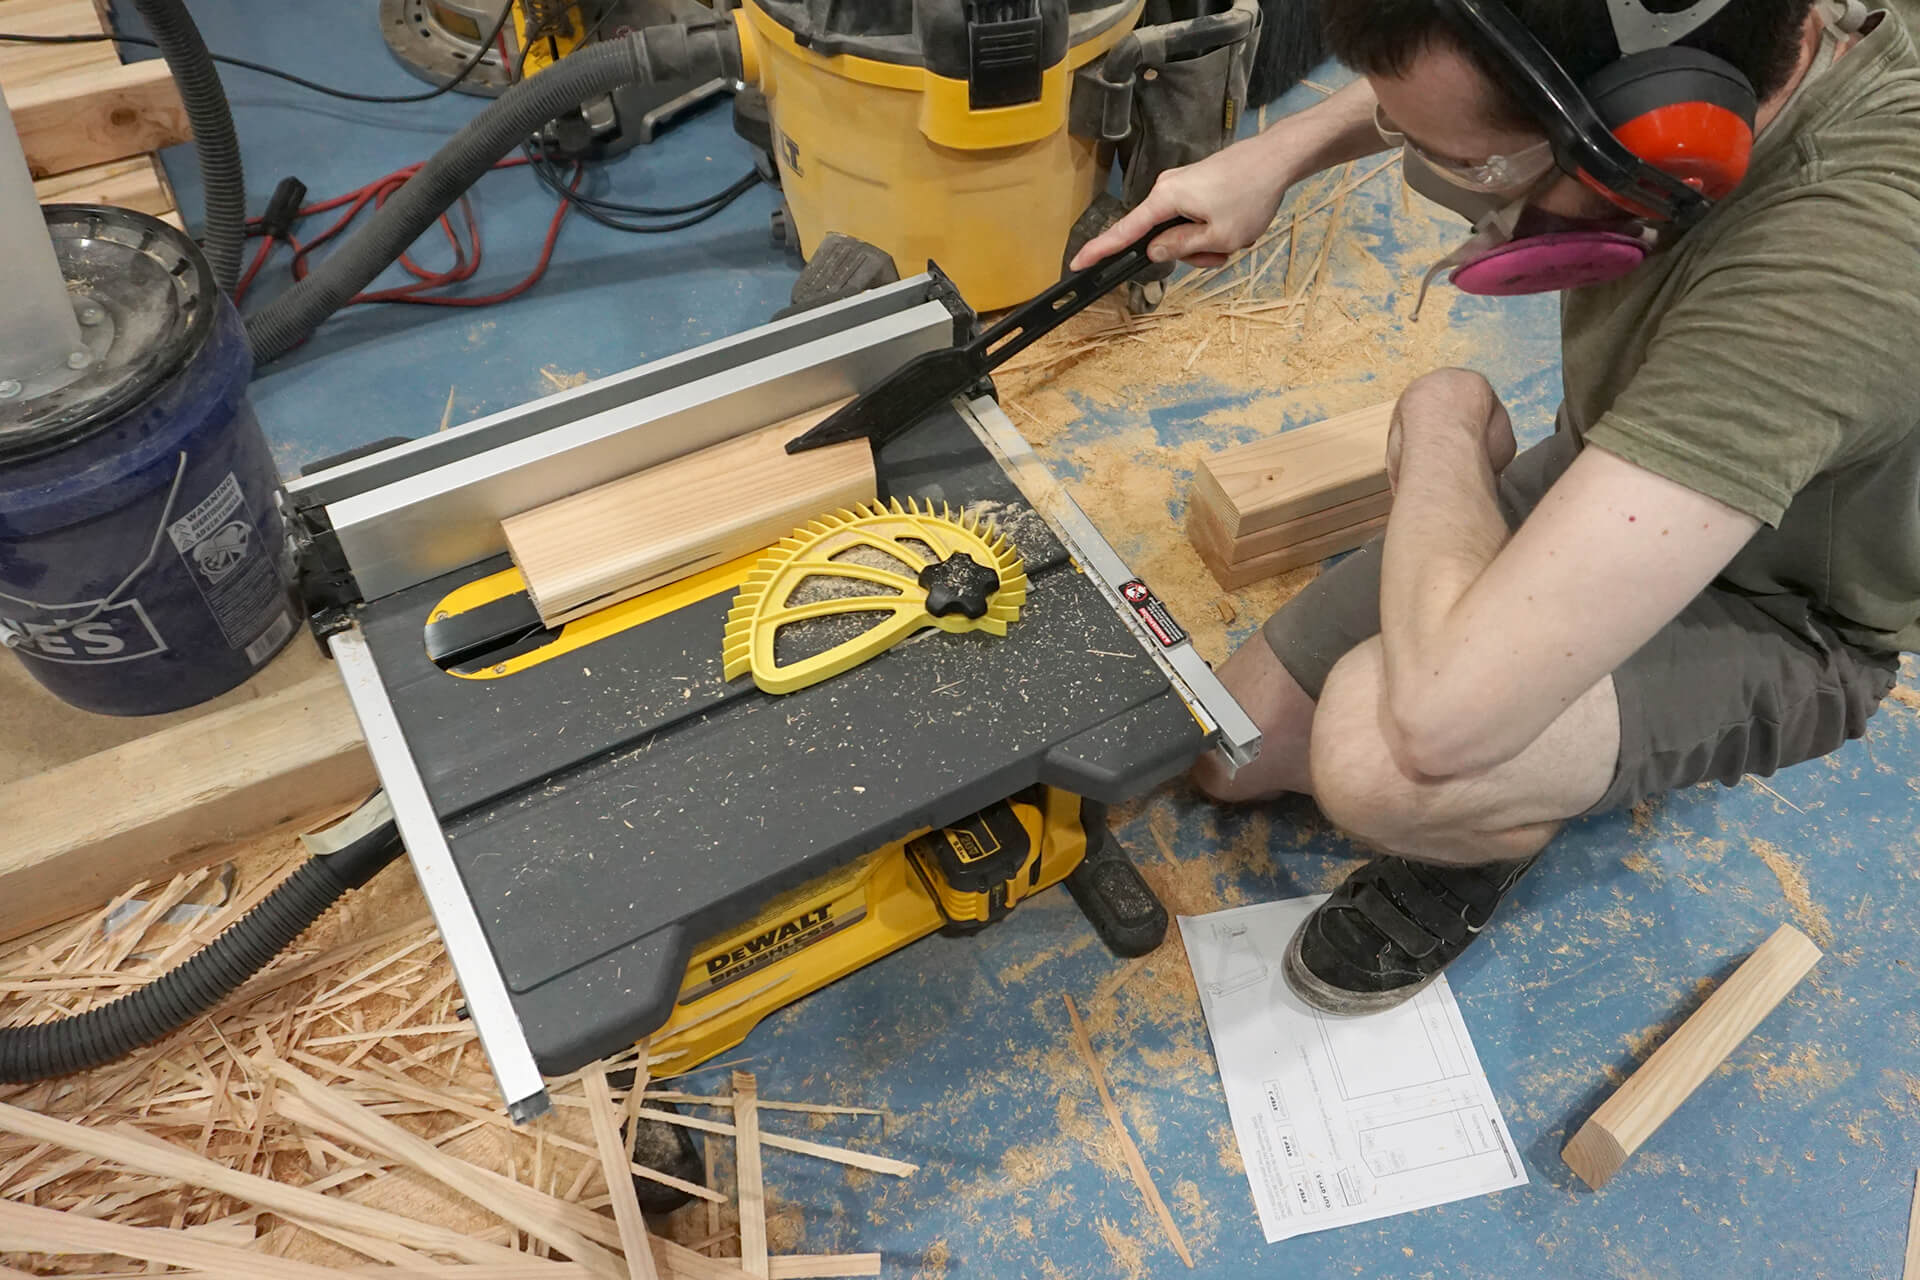
Flip the Strut and rip the other half of the groove.
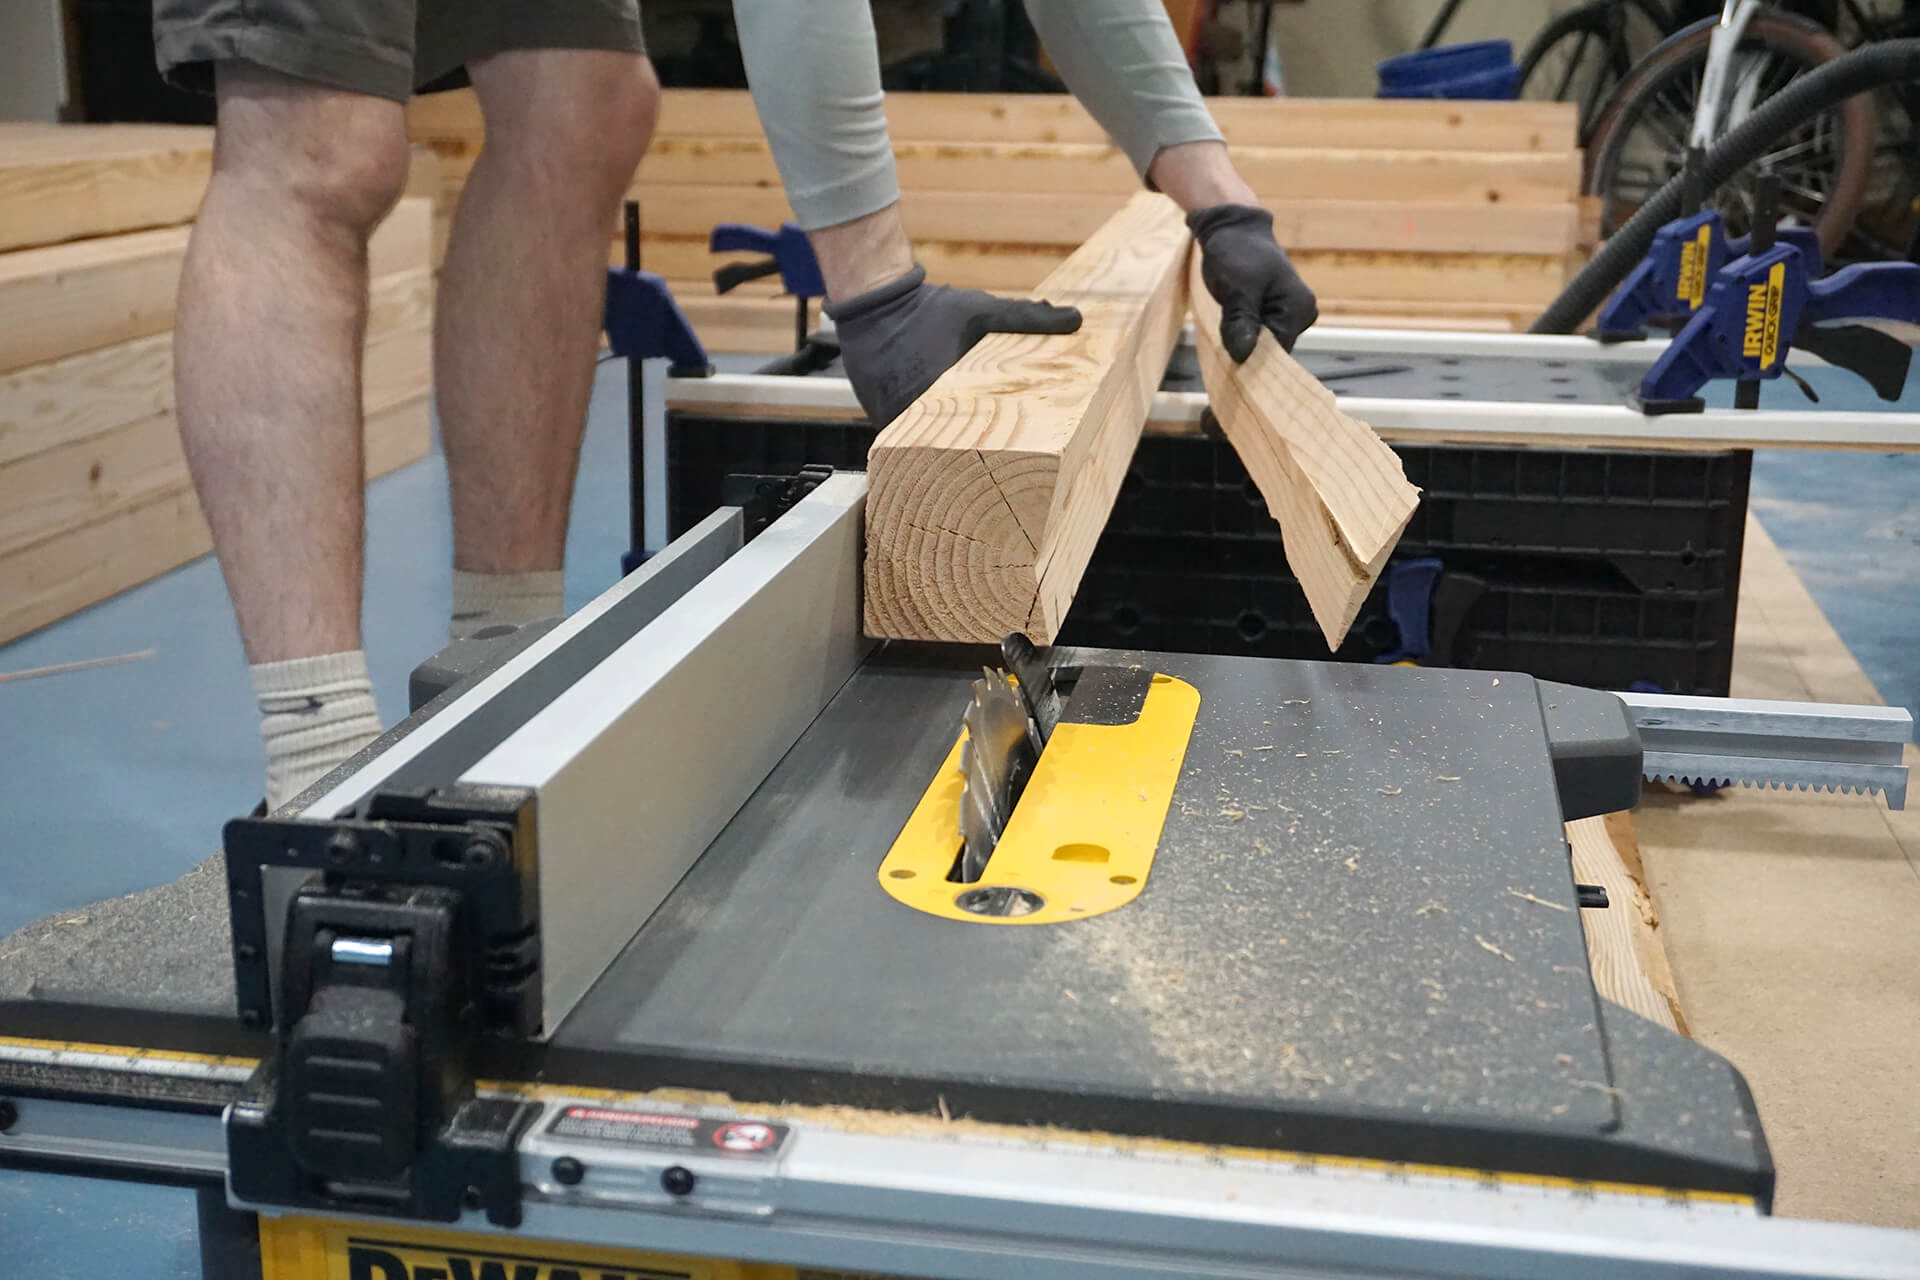
The groove should now be completely cut. The off-cut should fall away or be easily removed by hand. Adjust the saw blade depth if necessary.
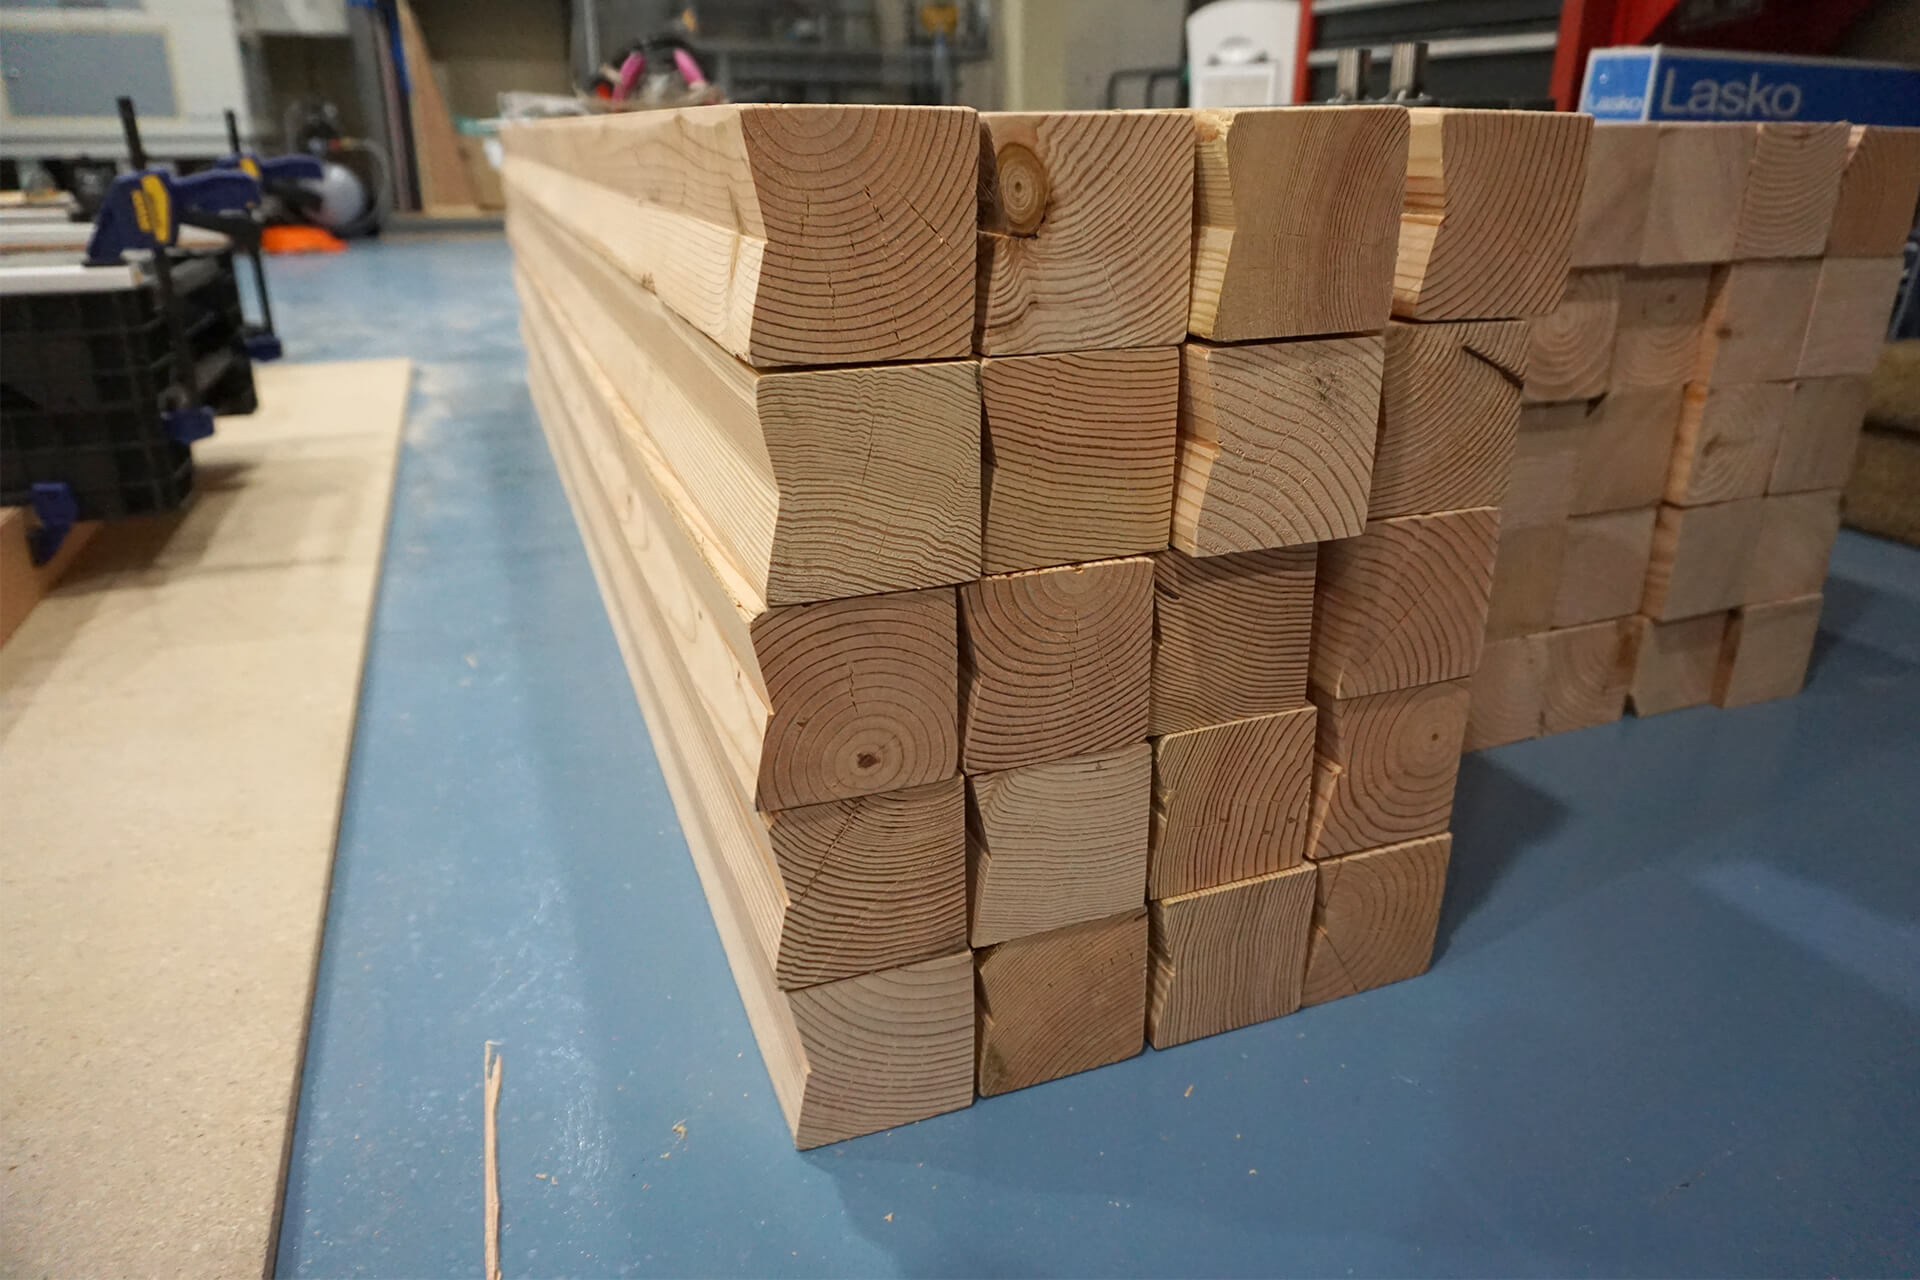
Strut-Longs and Strut-Shorts cut to length and grooved.
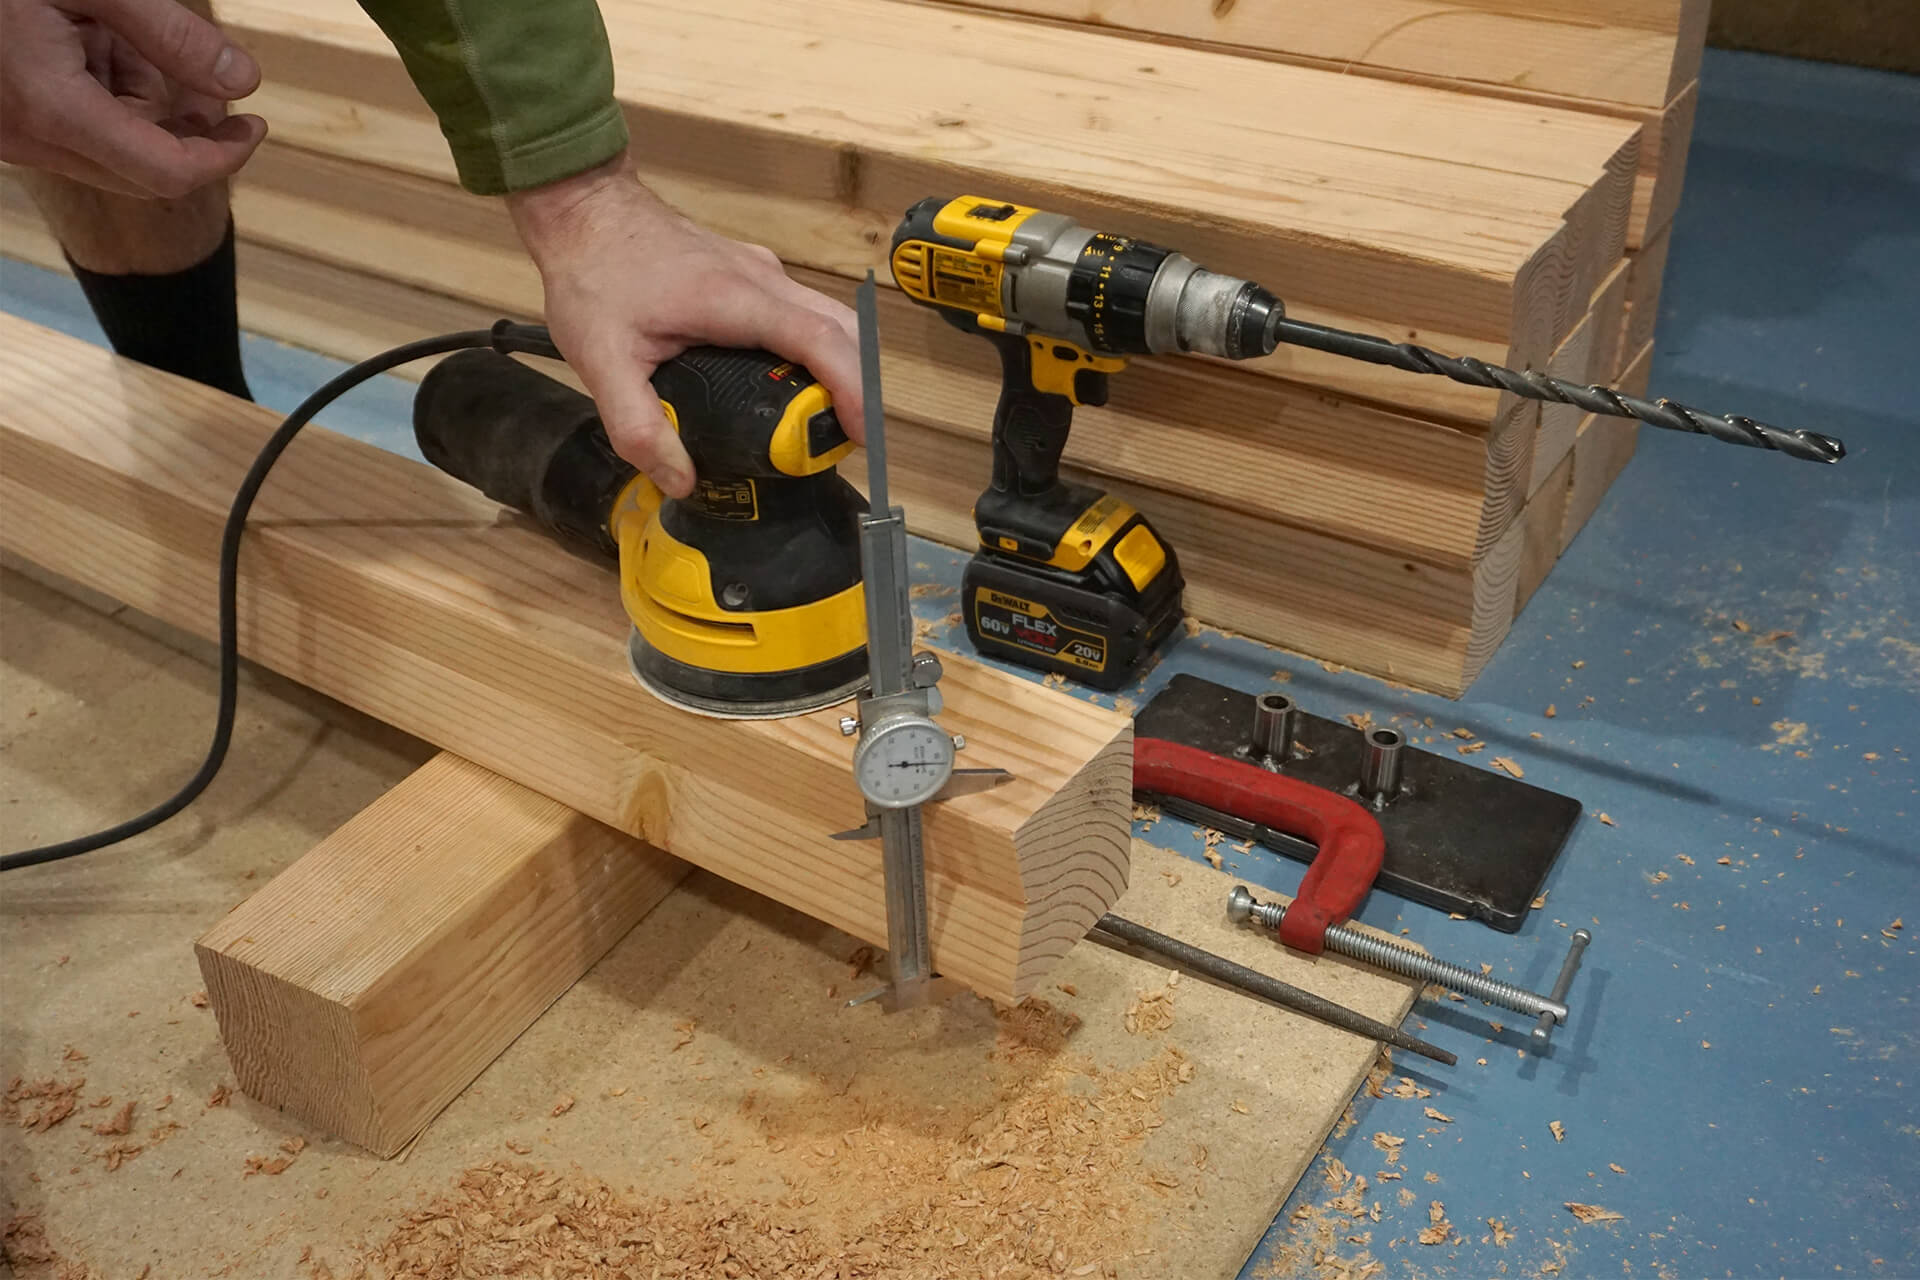
Ensure all Struts measure 3.50” at their ends. A powered planer or belt sander are more aggressive material removal options than the orbital sander (60-grit) shown here.
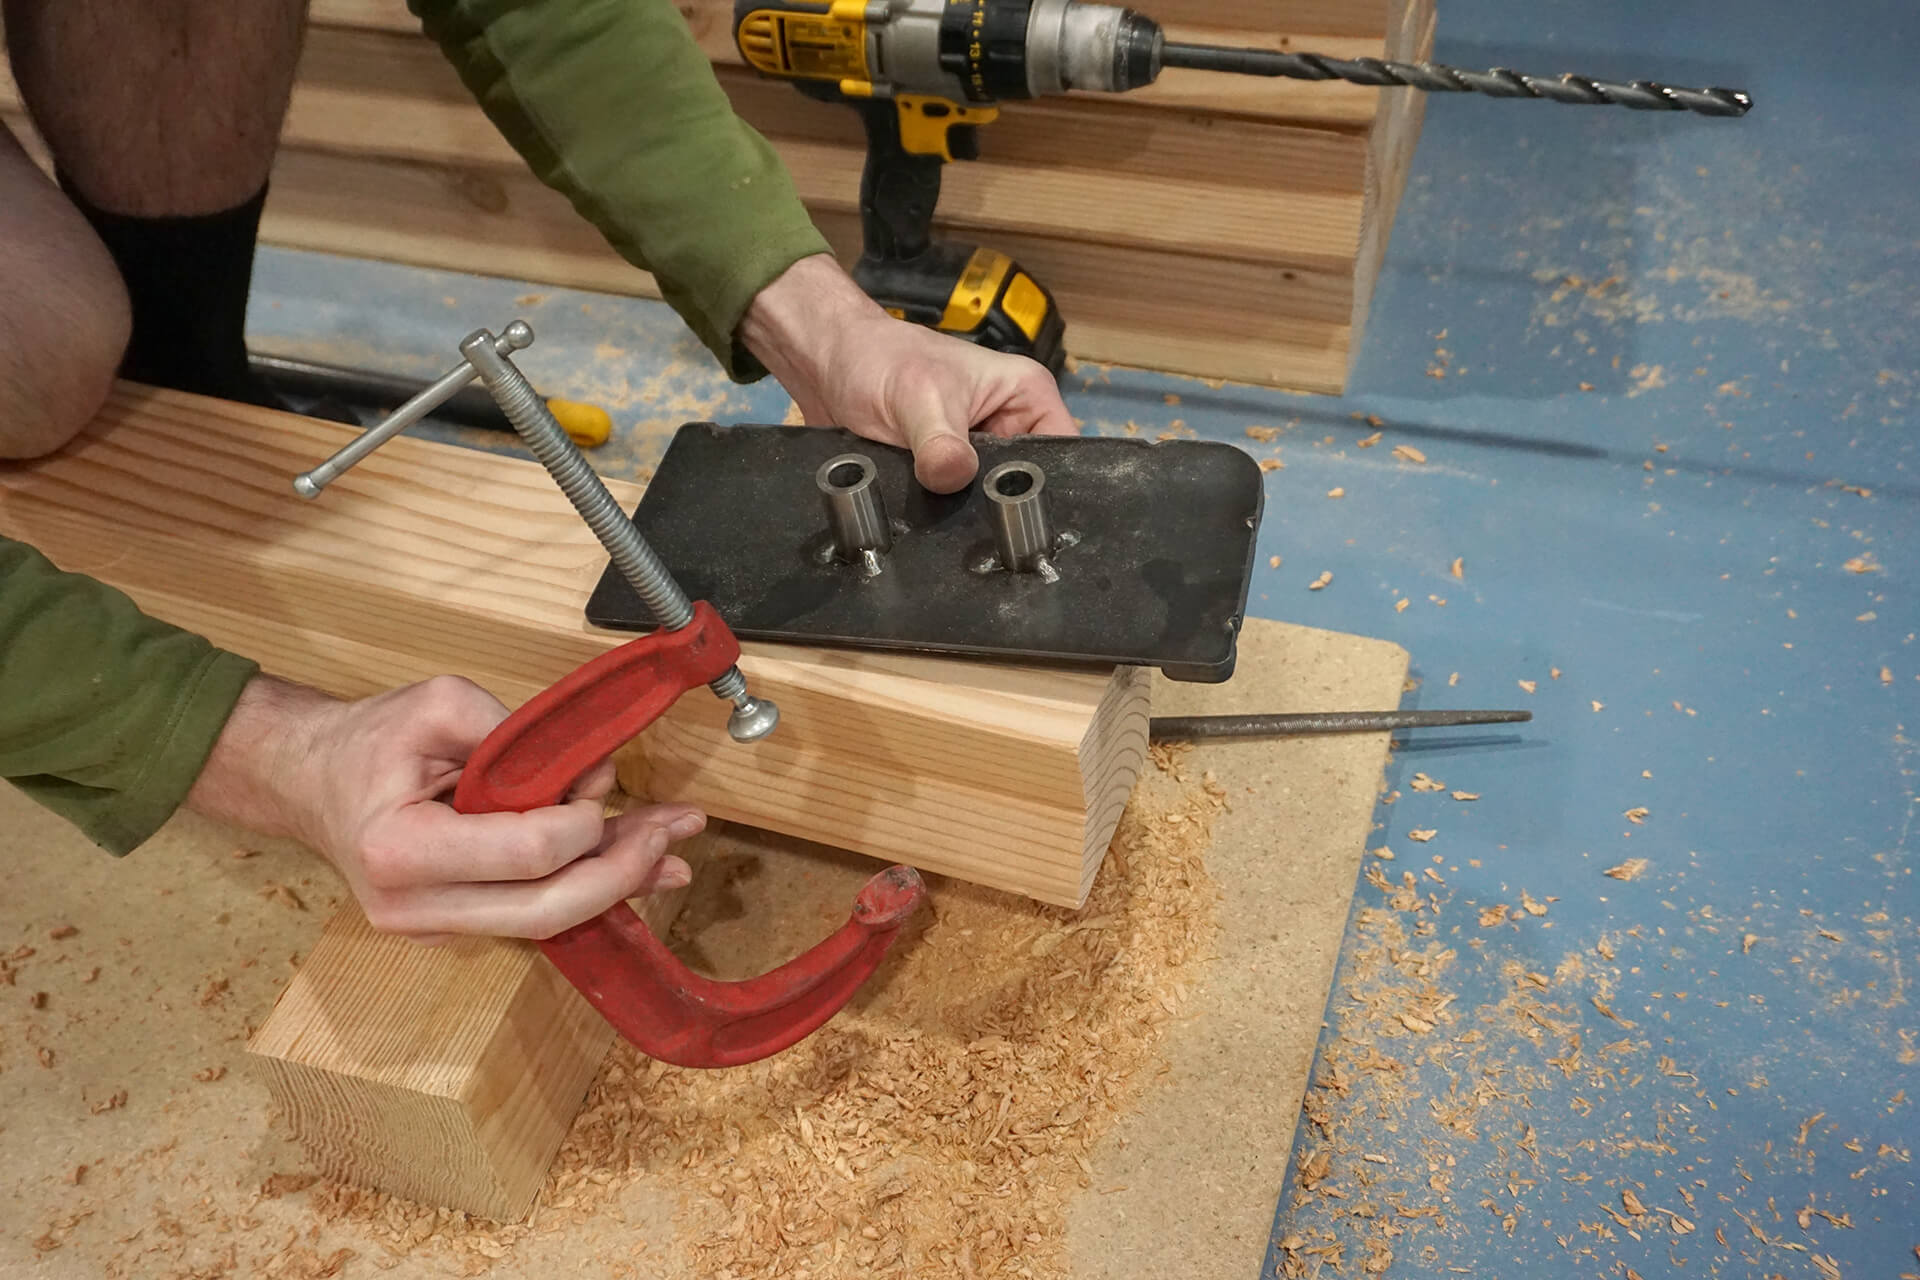
Clamp the provided drill jig. Note the proper orientation, which references the end and the non-grooved side of the Strut.
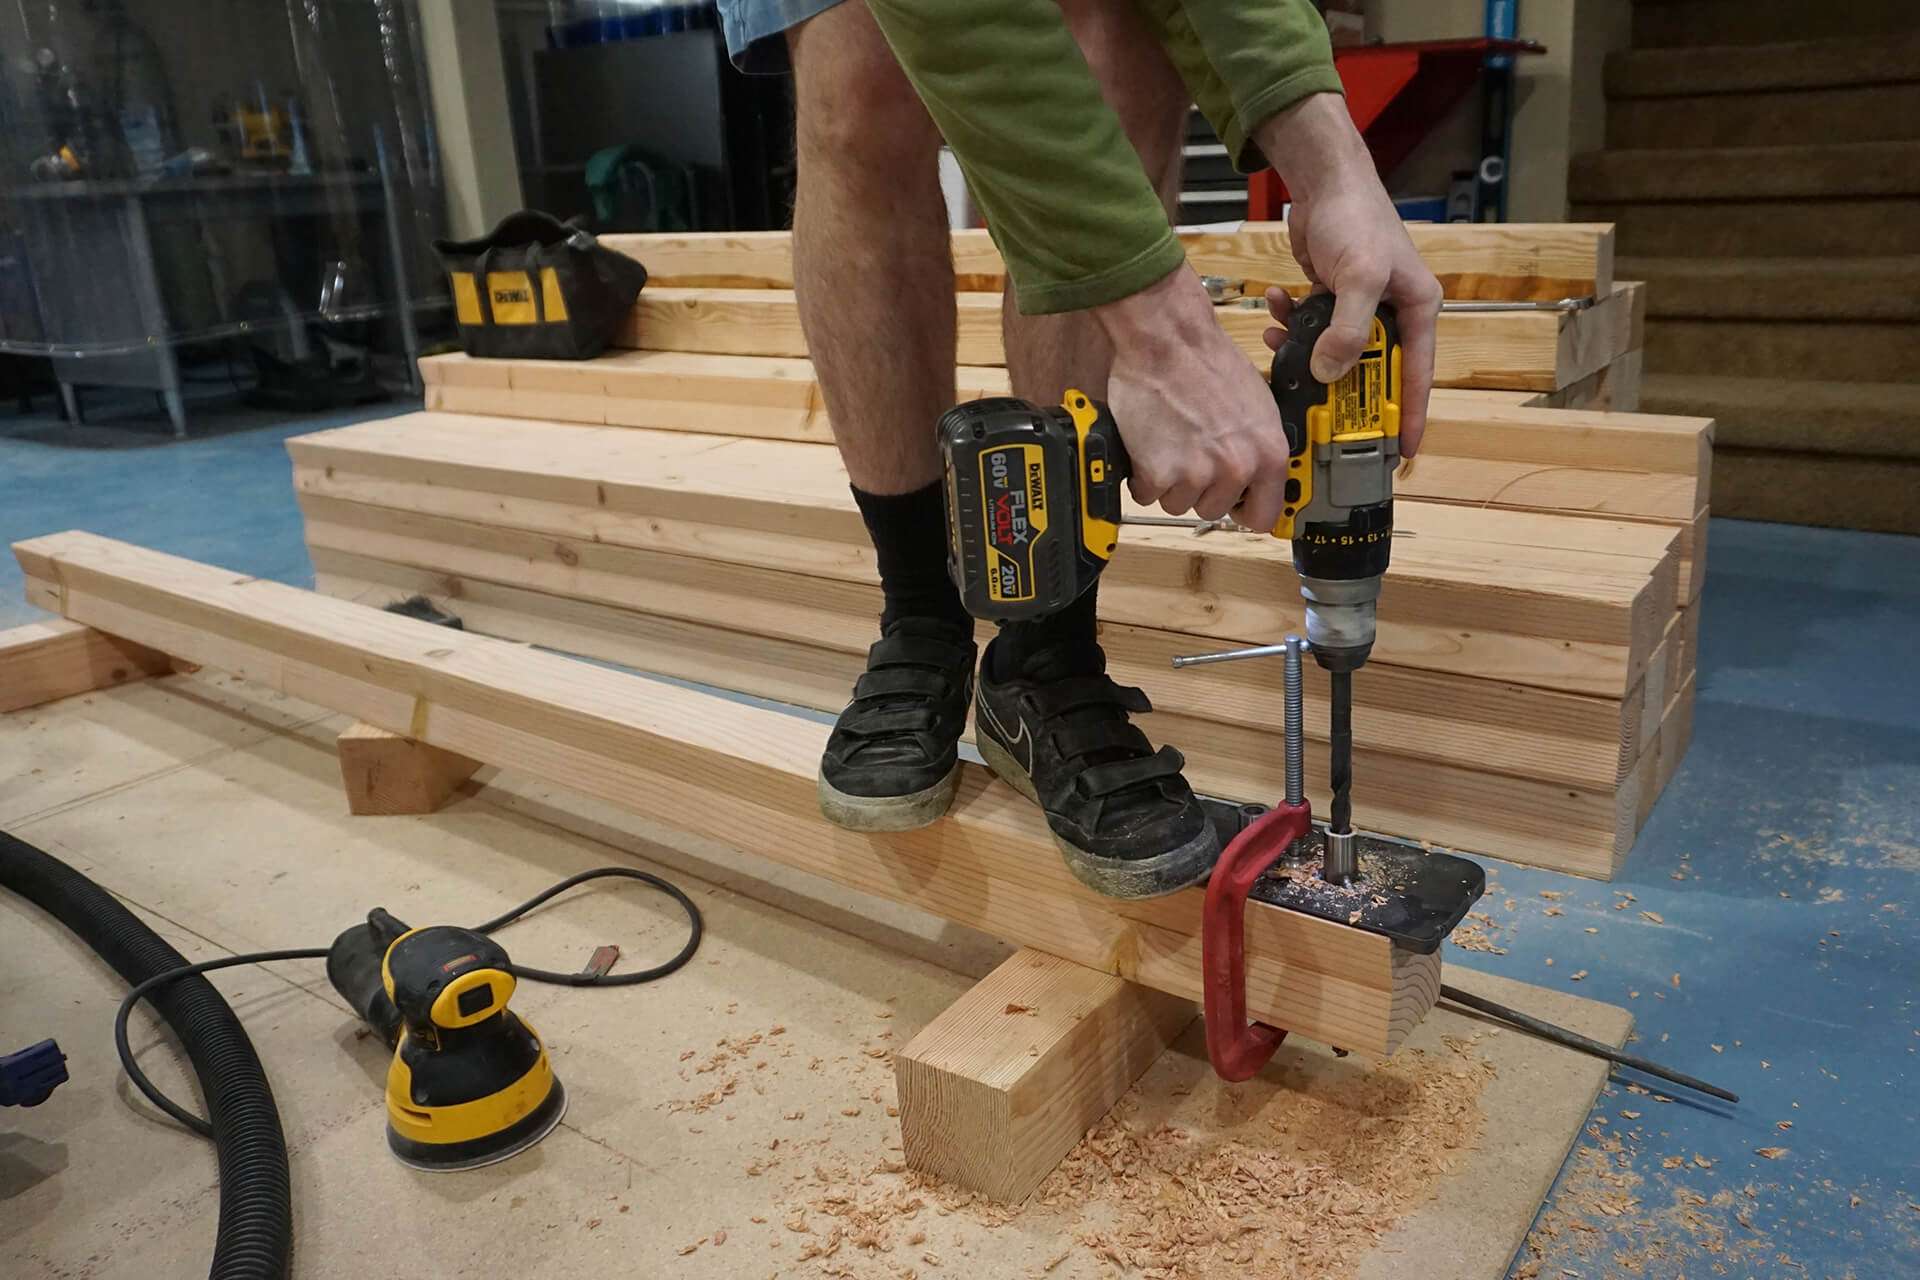
Drill the holes, clearing the wood chips occasionally to maintain a clean and accurate hole. The jig ensures a high level of accuracy.
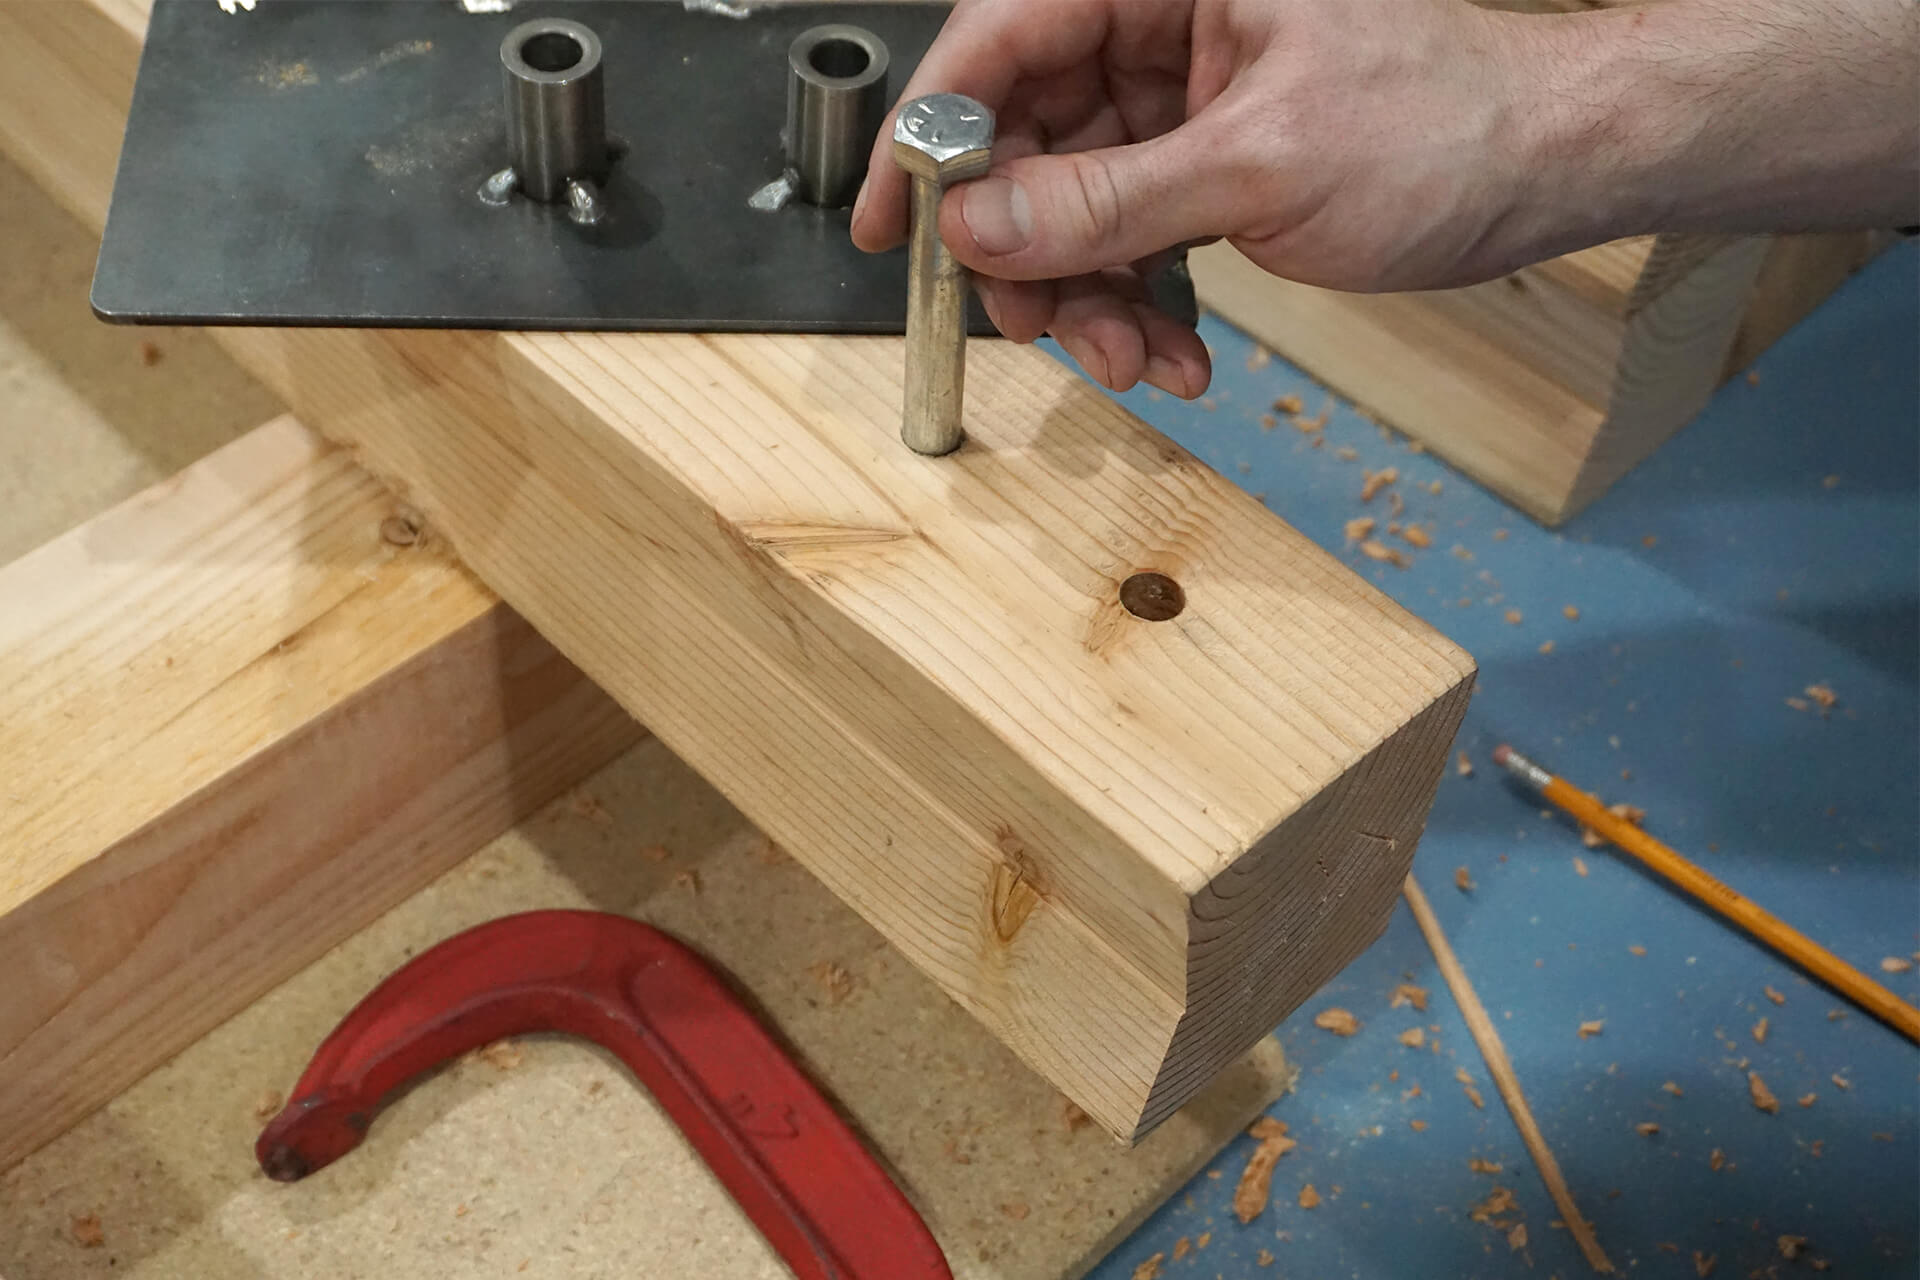
Test fit the hole with a bolt. There should be minimal play if drilled properly.
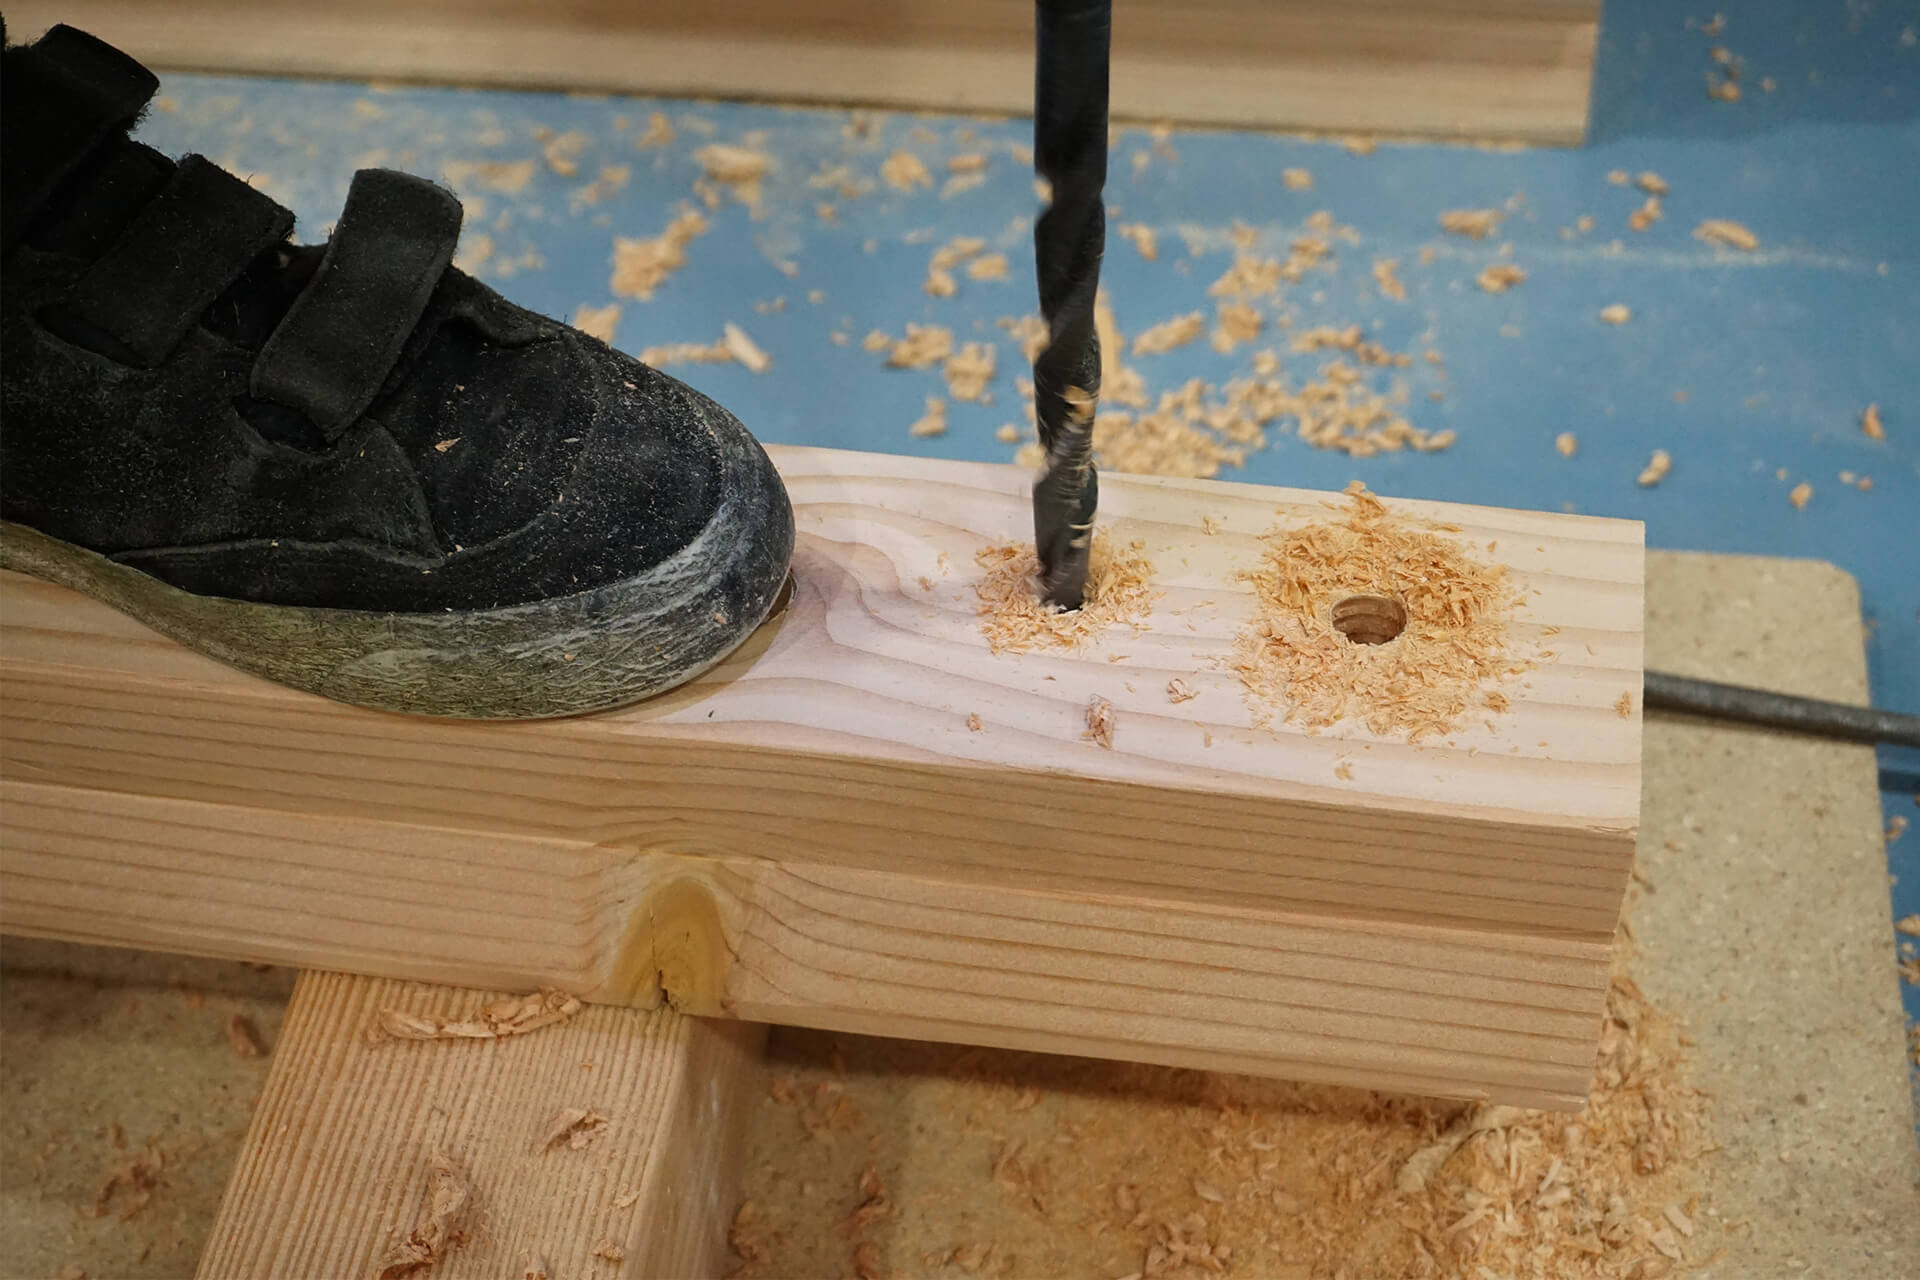
Tolerance can be loosened by slightly wiggling the drill bit without the jig. Loosen only as much as necessary. Test fit a single hub to assess the required amount.
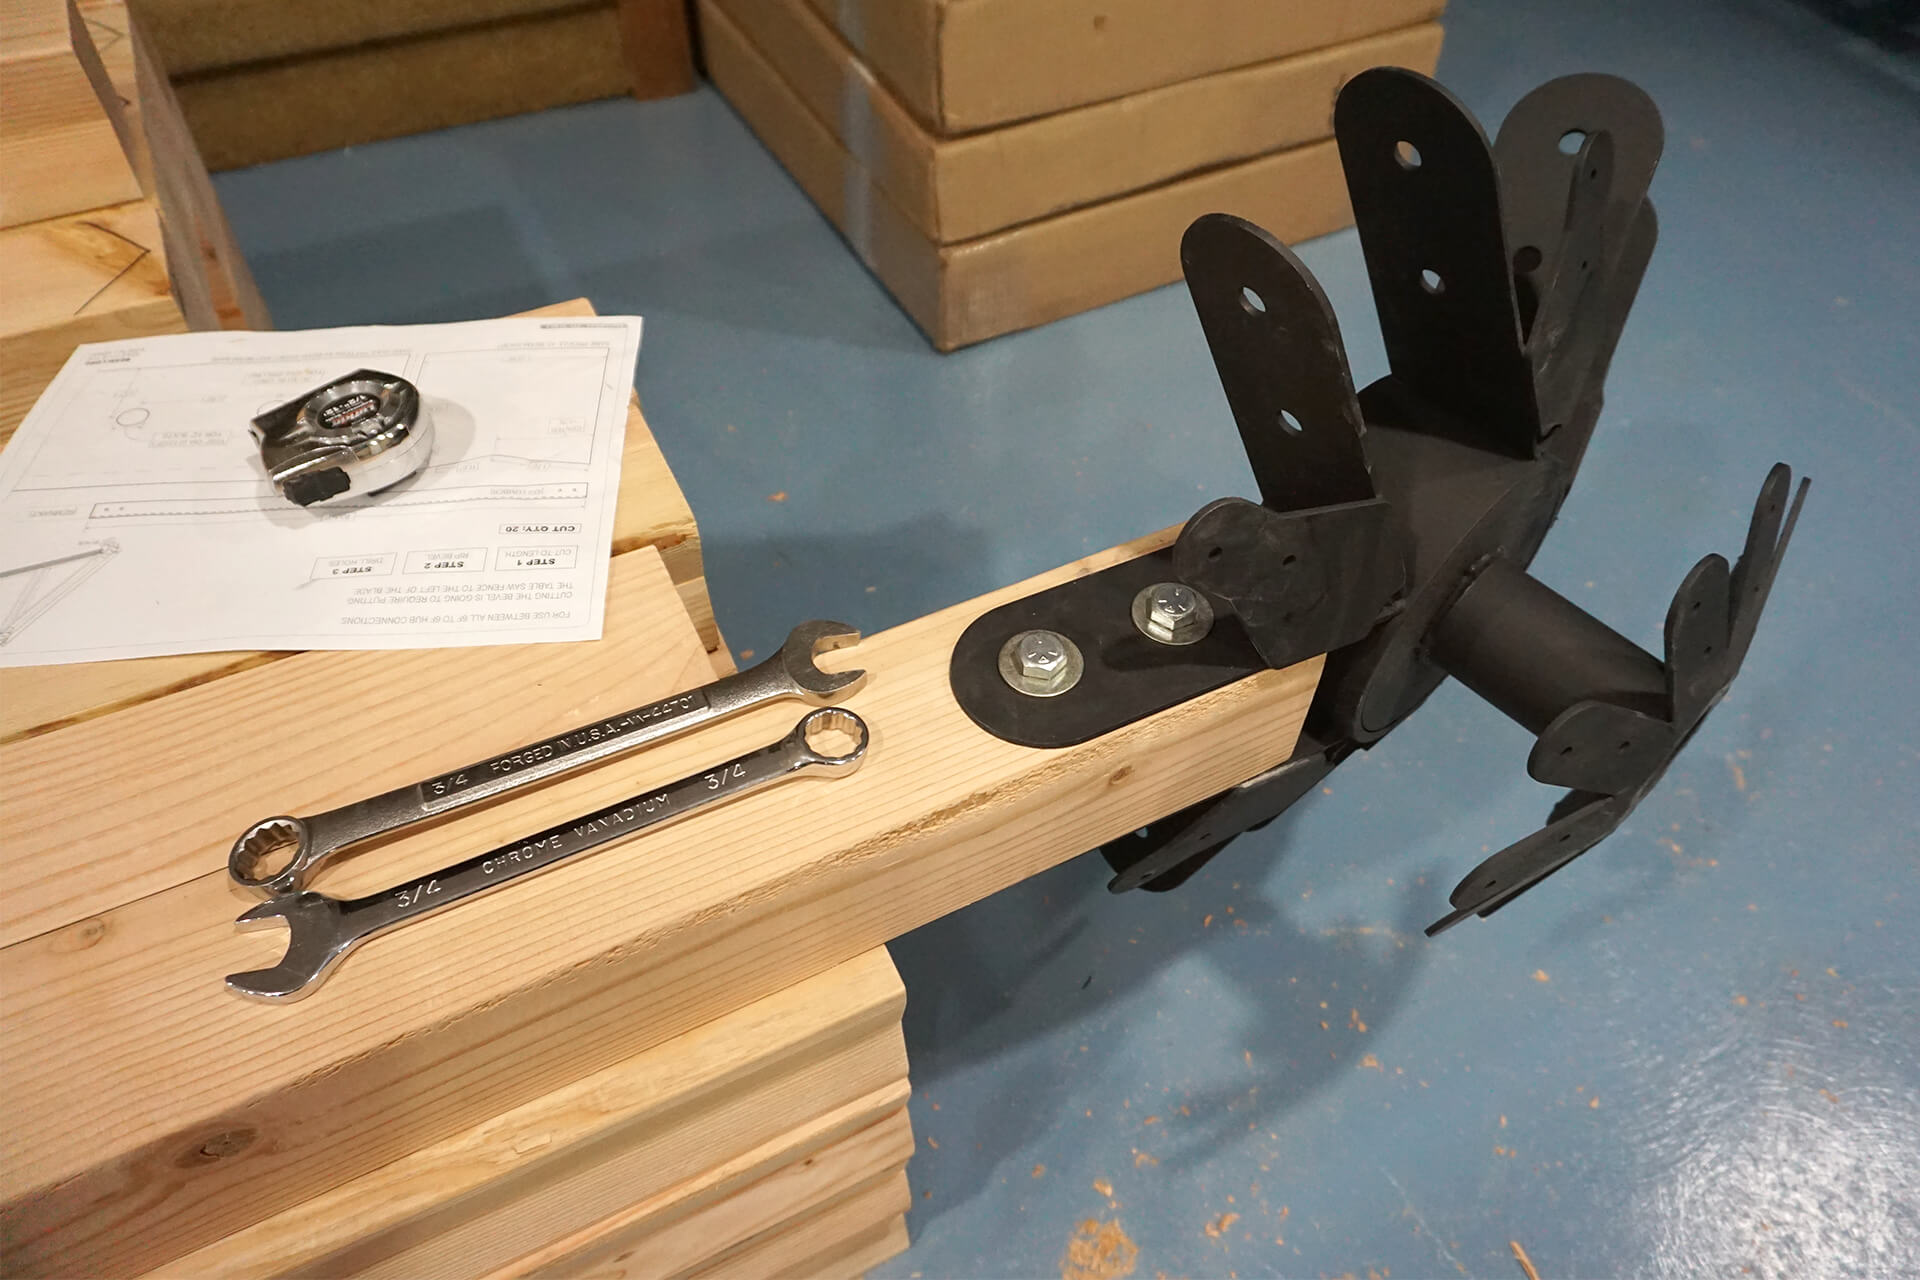
Test fit a hub. Ensure proper orientation (groove inward). It should fit snug, with little to no play even before tightening. Light hammering of the bolts is acceptable.
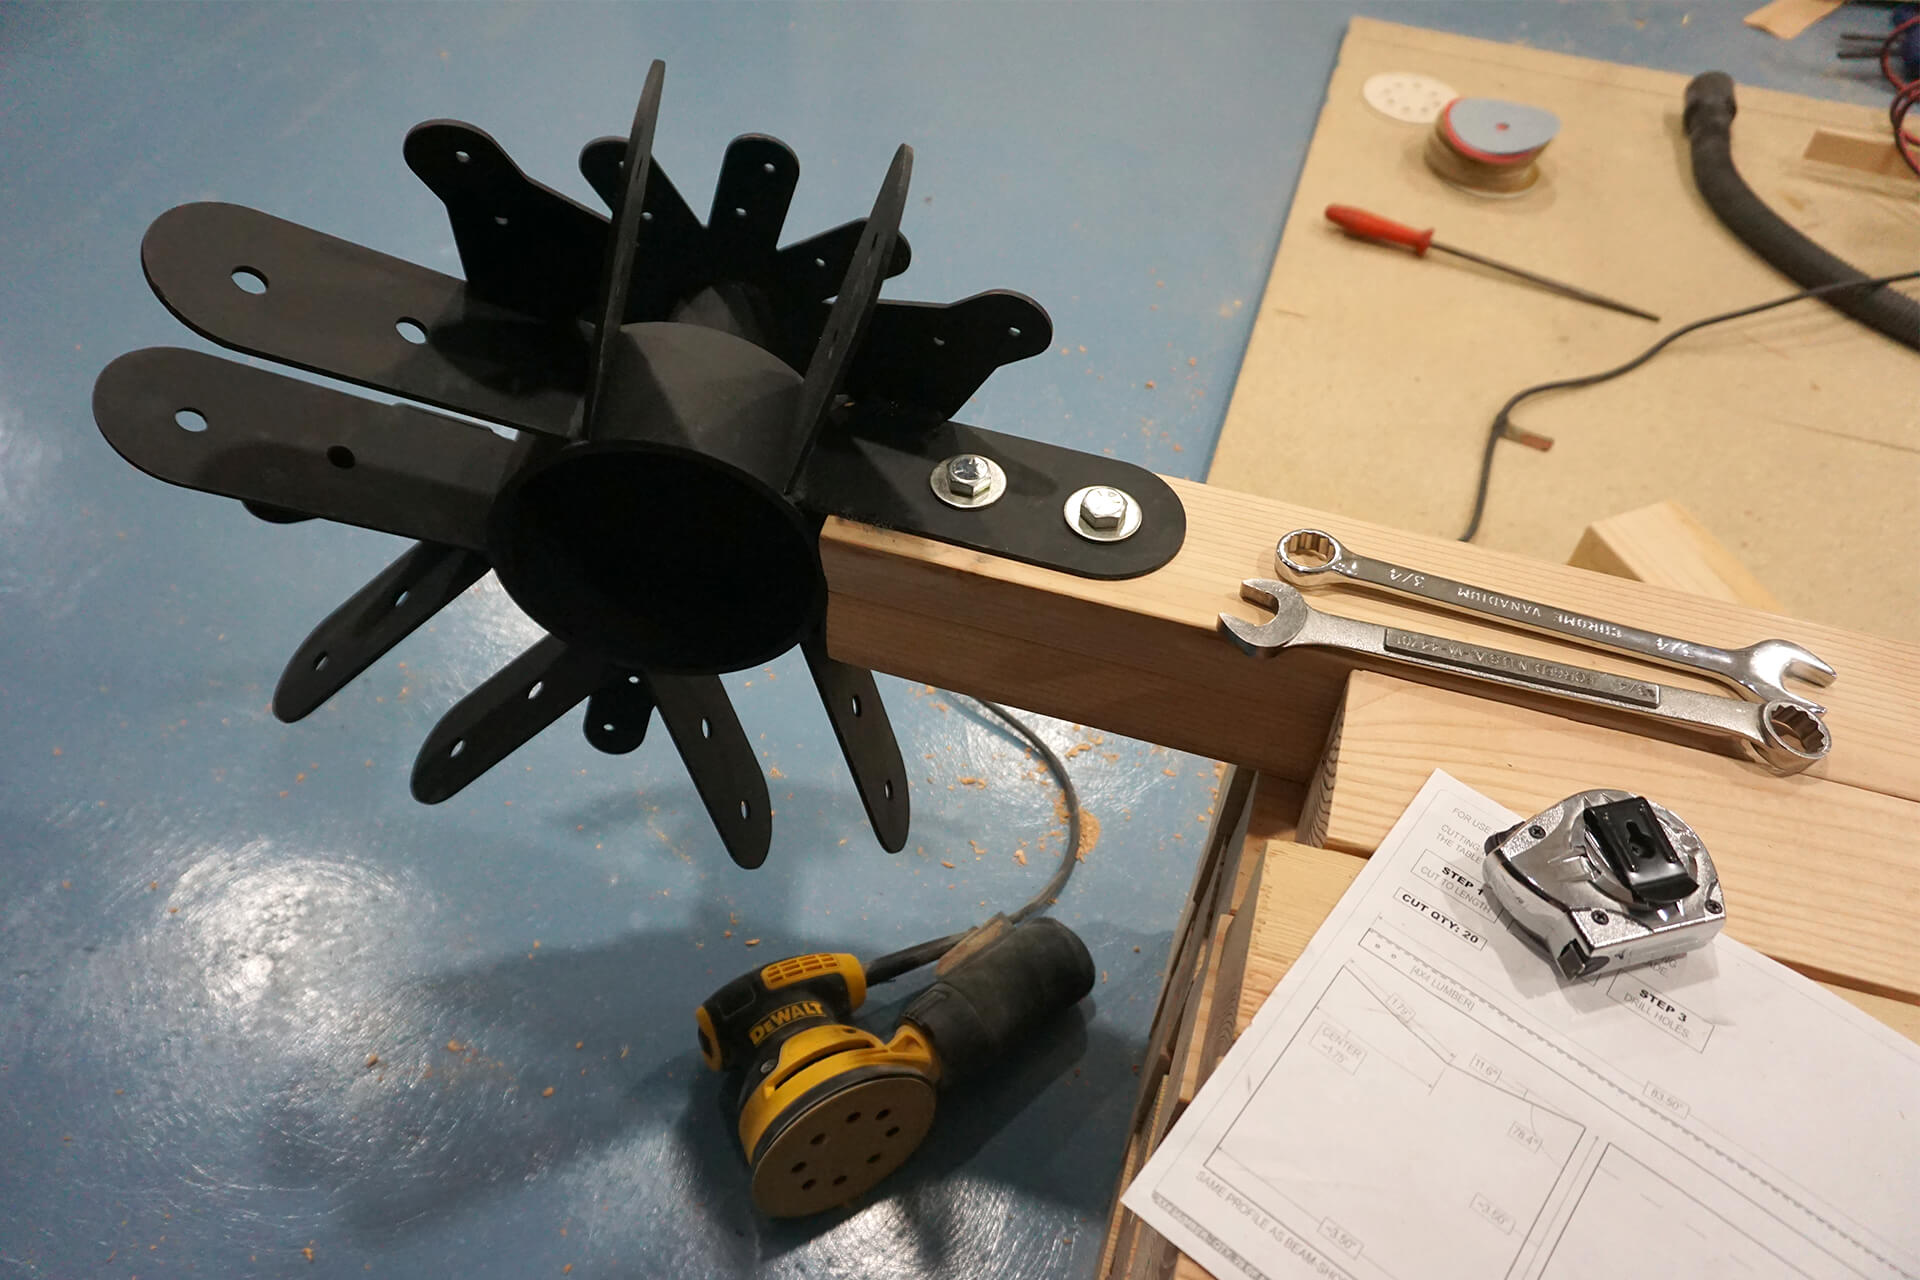
If the test fit is more than a minor struggle, loosen the tolerance. Tight tolerances are the goal, but they may be relaxed if necessary to avoid assembly issues.
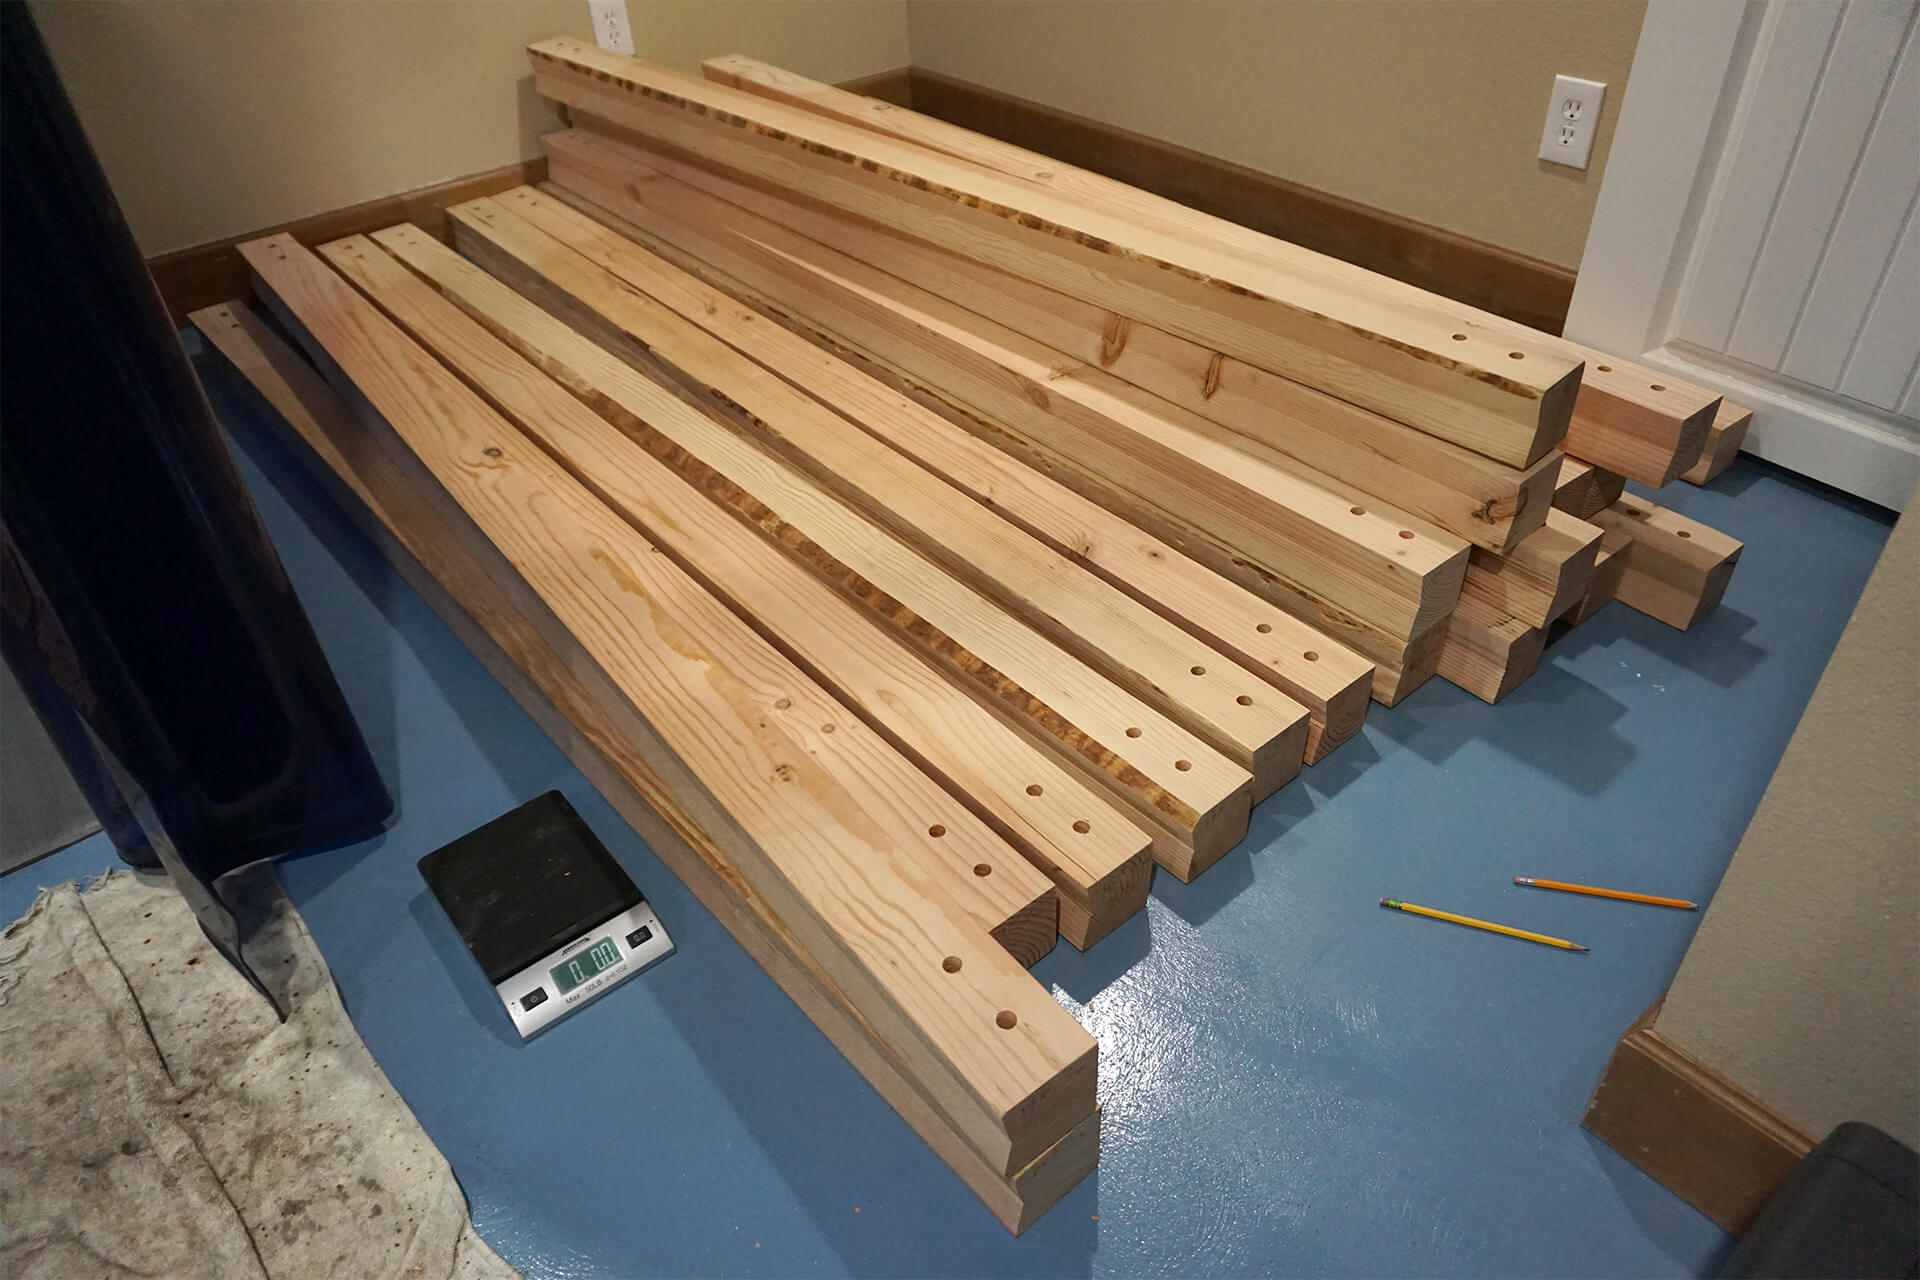
Finish drilling both ends of all Struts. Optionally, mark the weight of each Strut so that the heavier ones can be used lower in the structure.
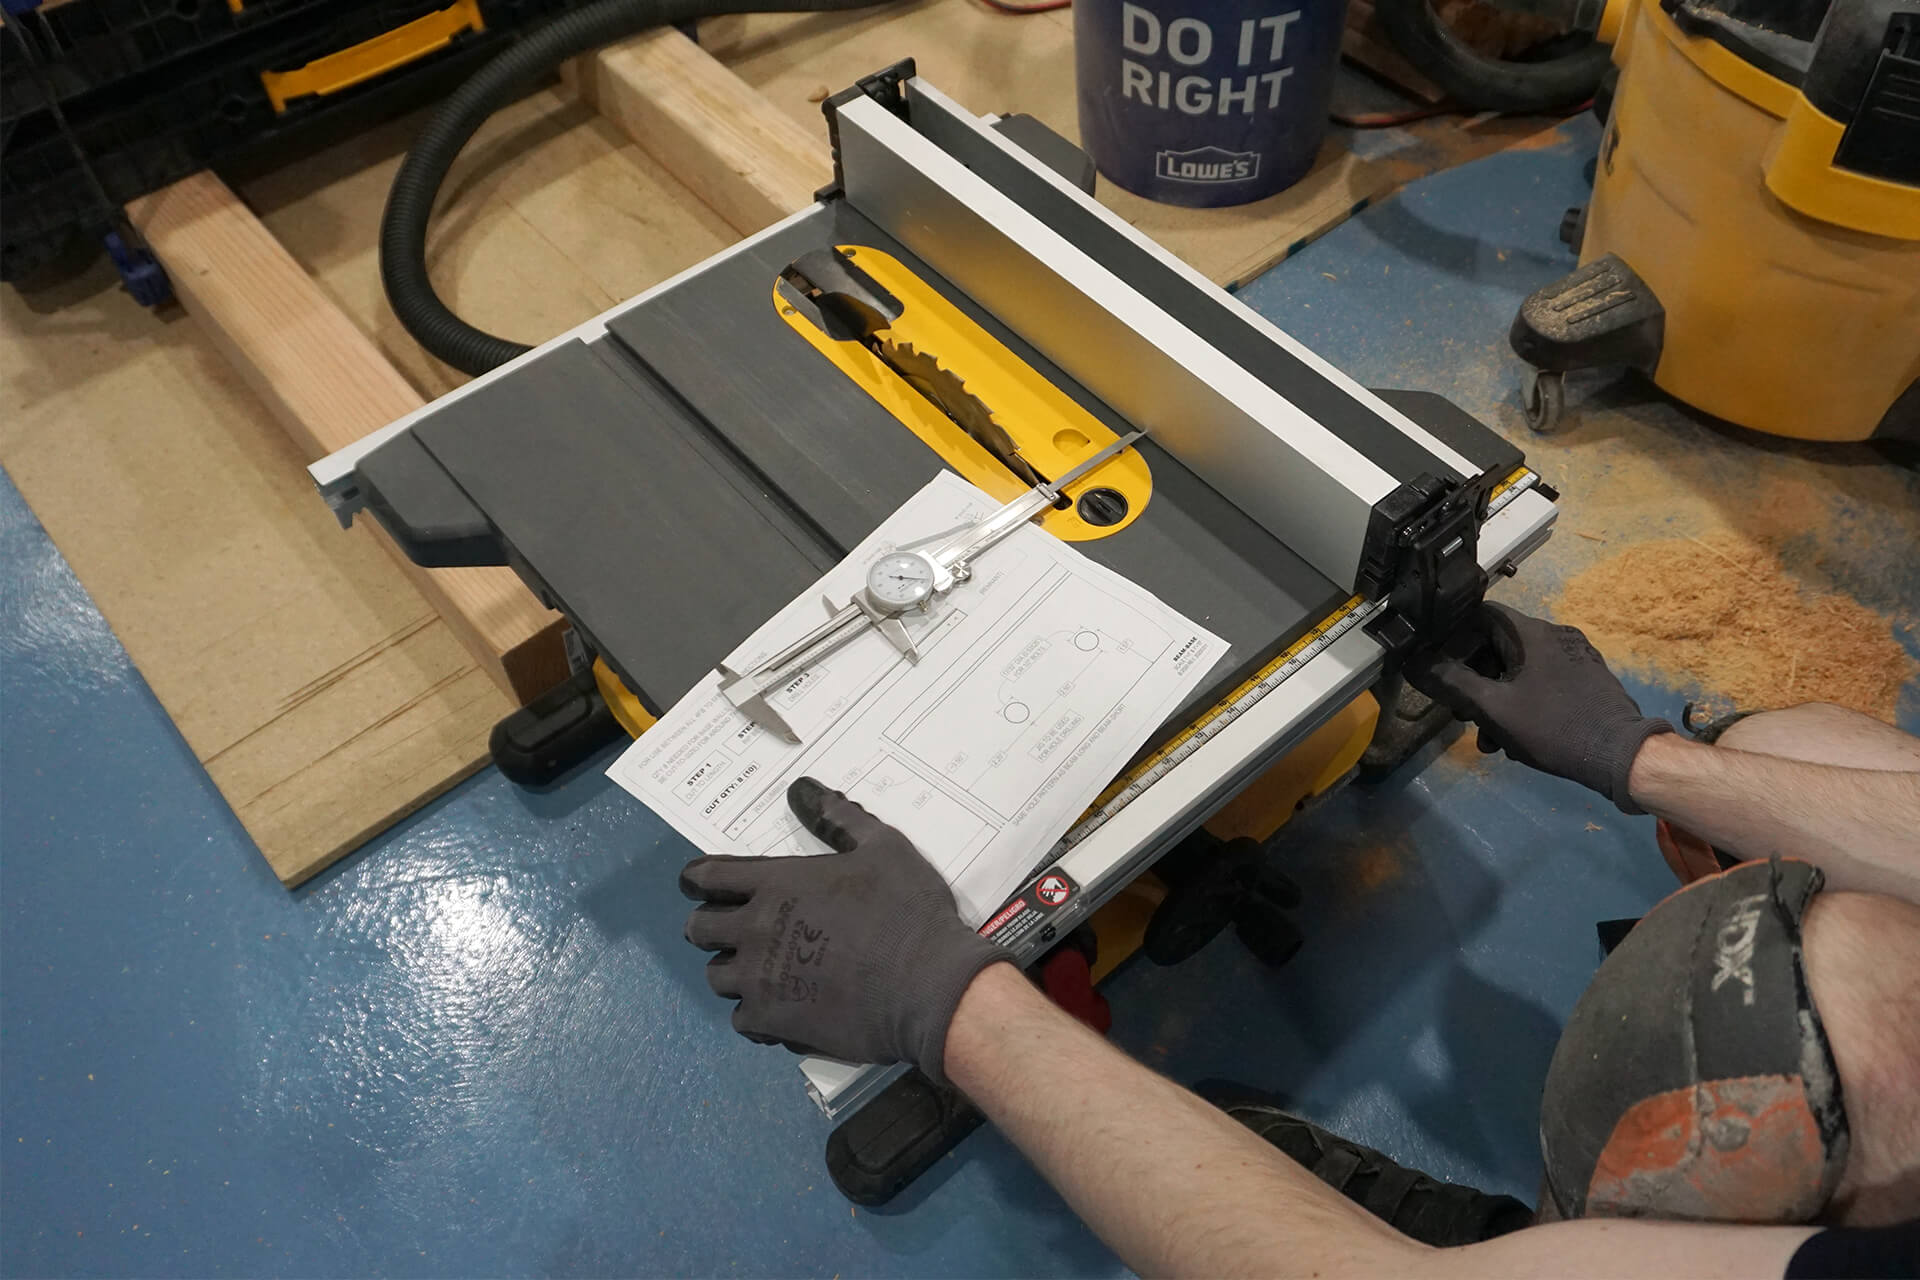
The Strut-Bases require a slightly different groove on one side. Adjust the saw after making the first half of the groove cuts.
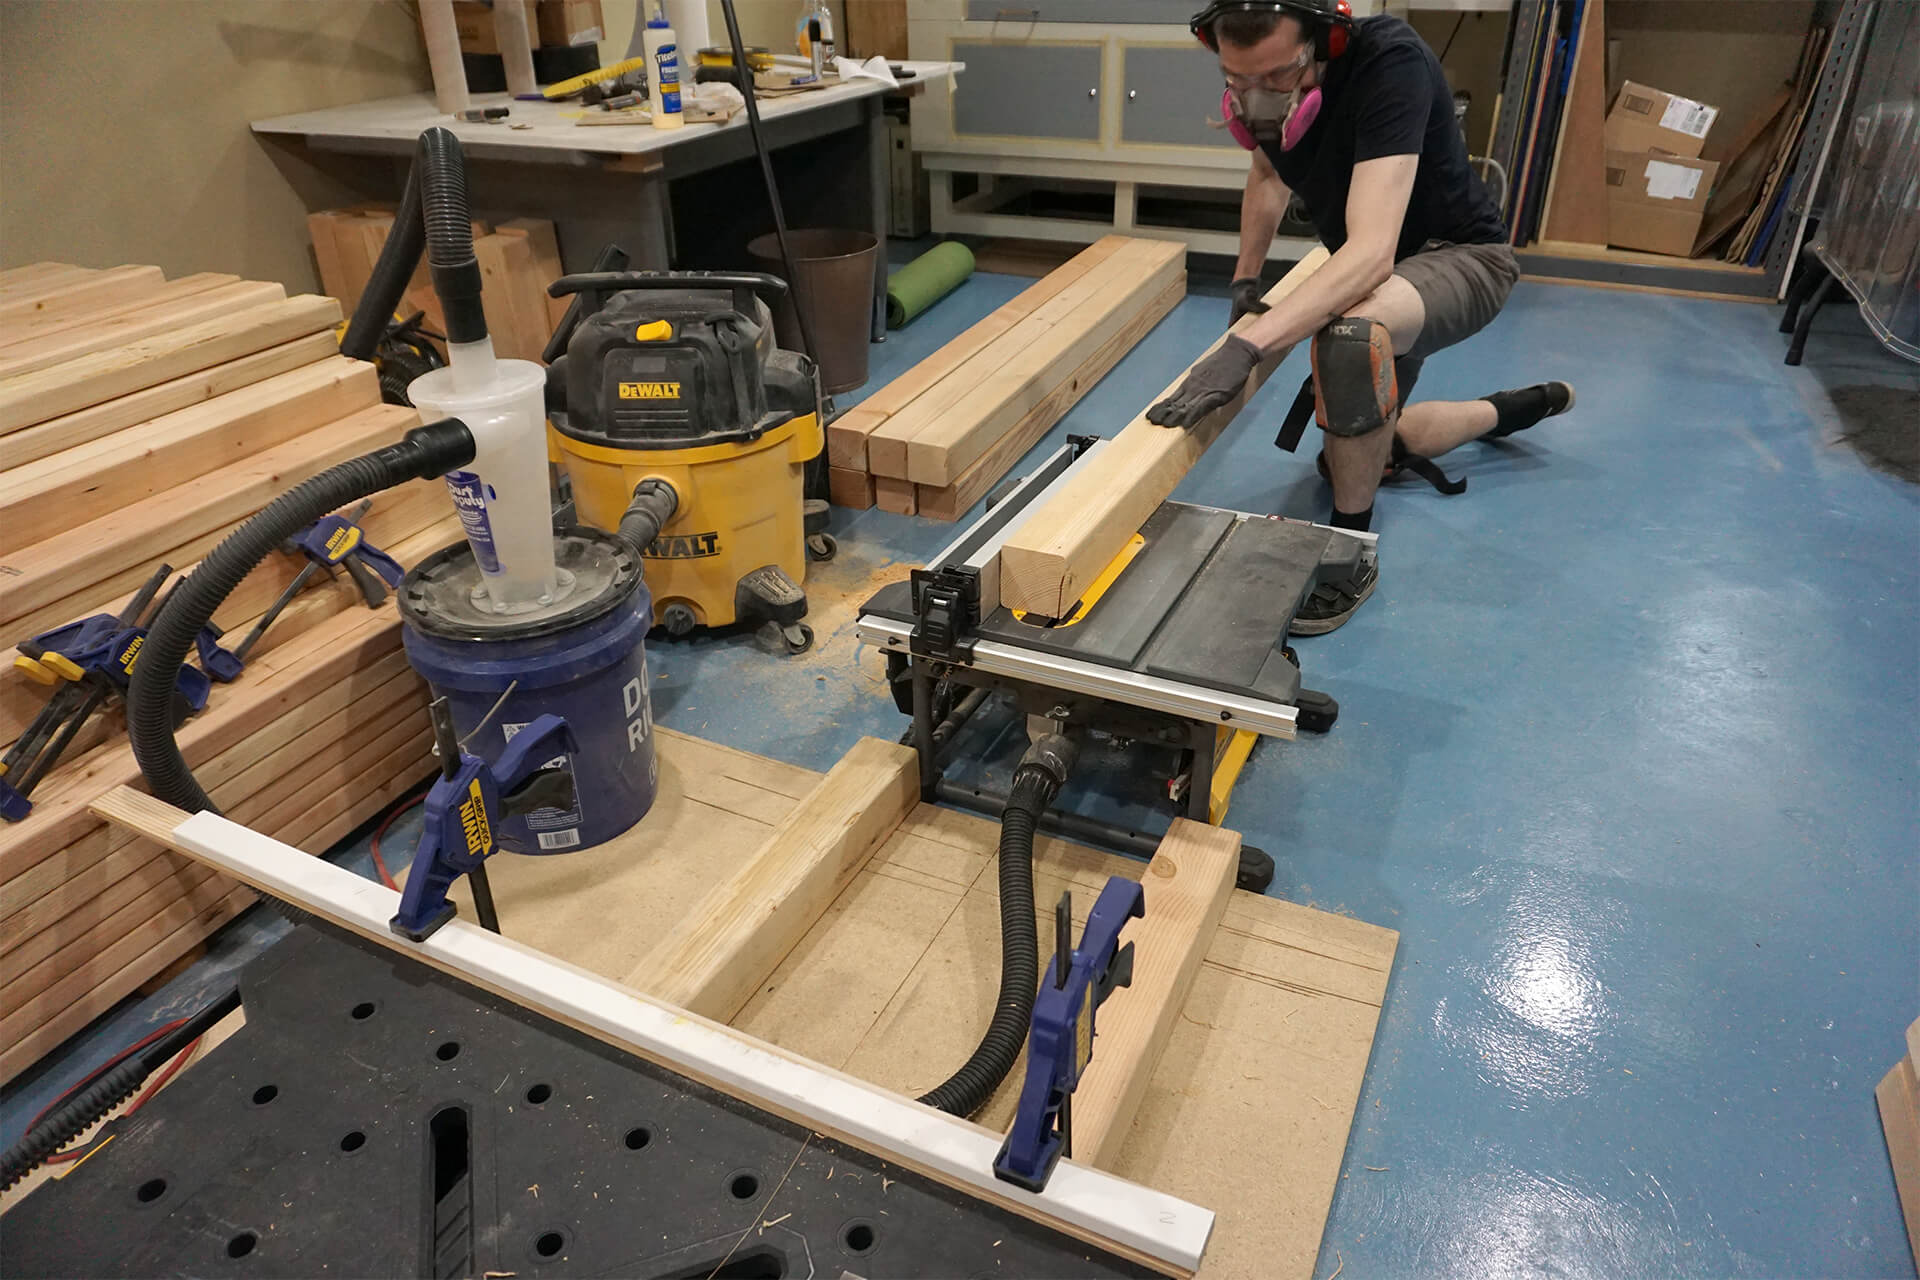
Rip the groove into all Strut-Bases.
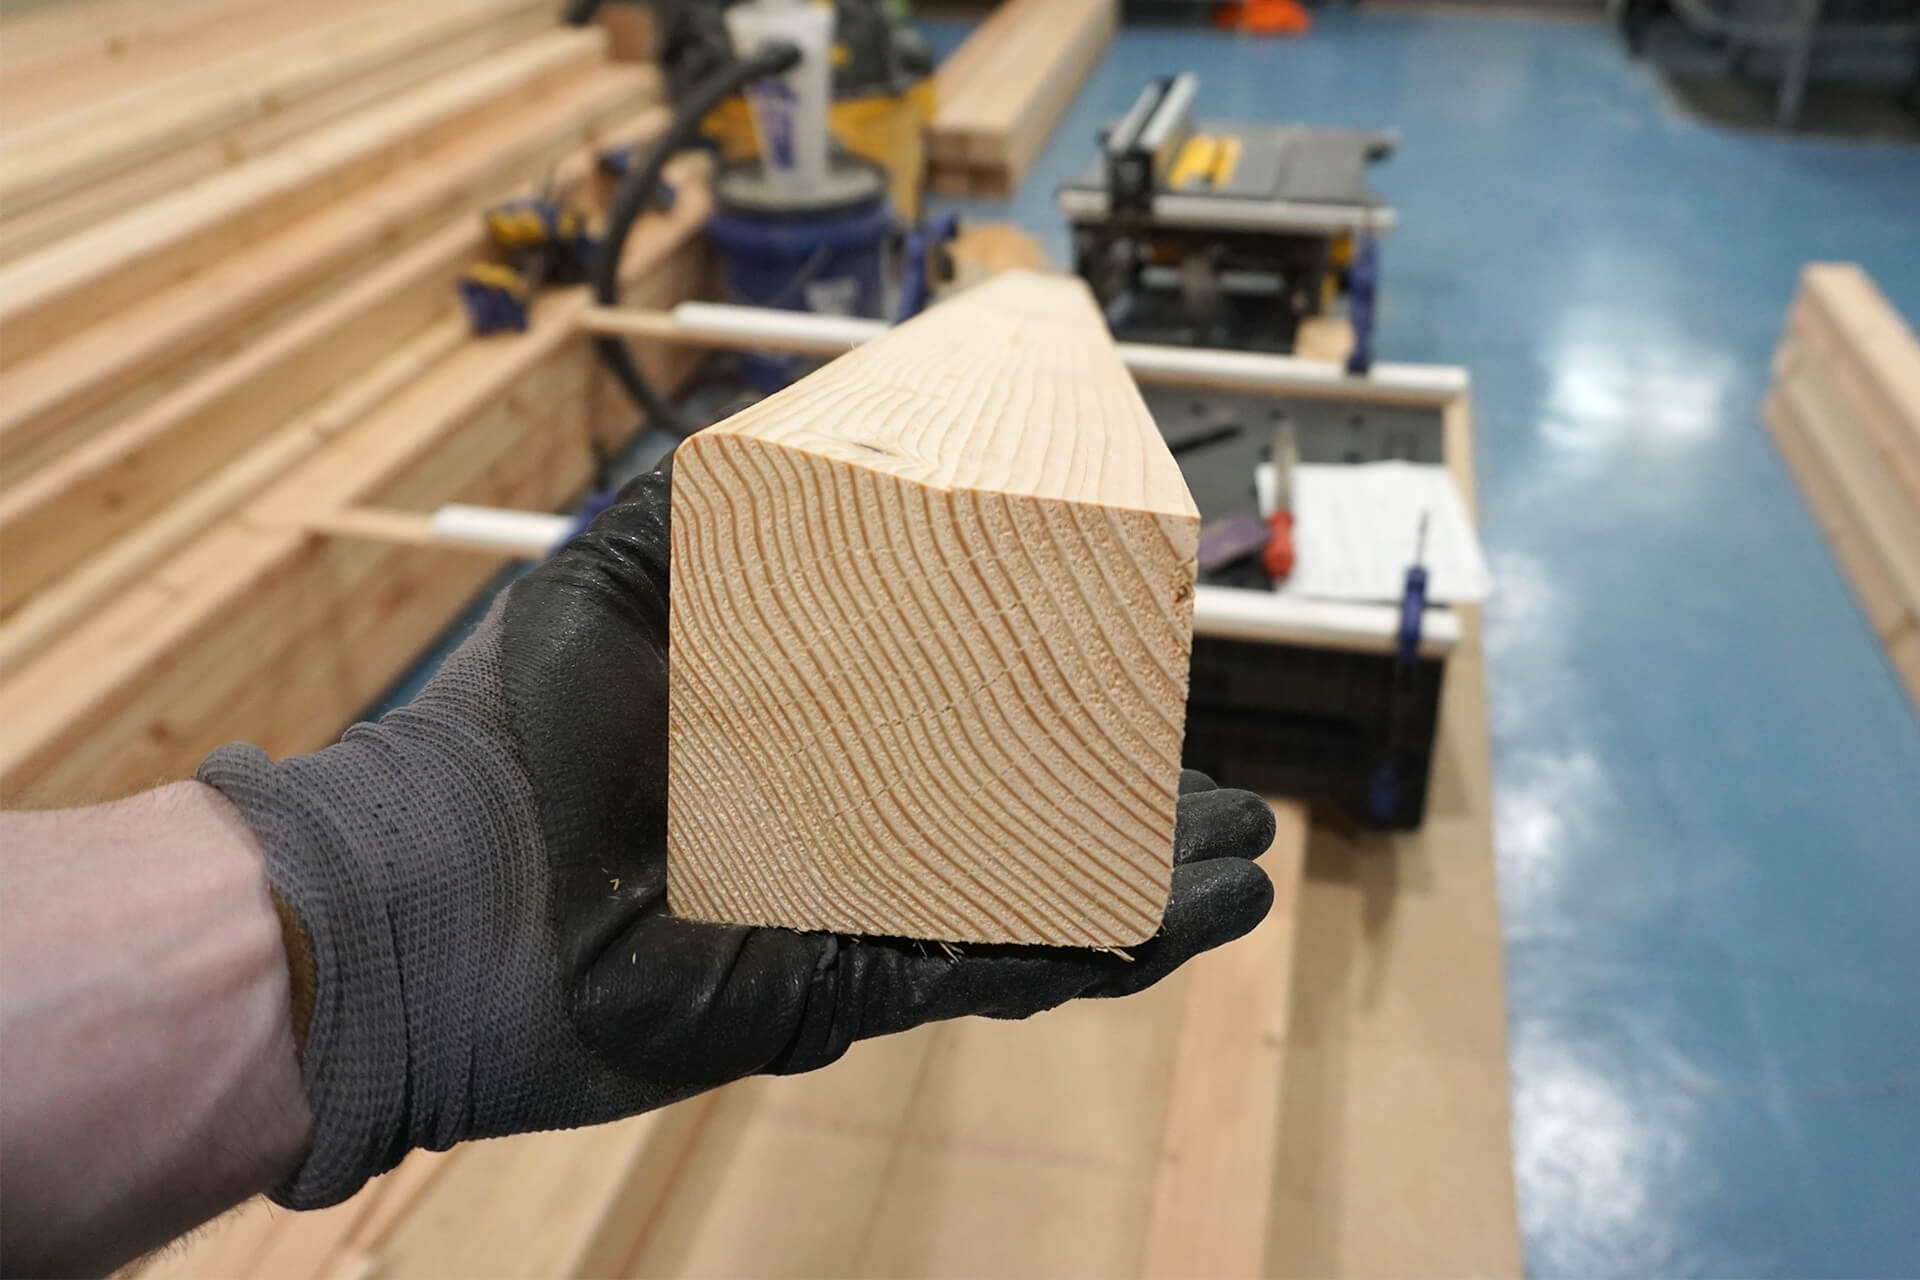
Strut-Bases have an intentionally asymmetrical groove.
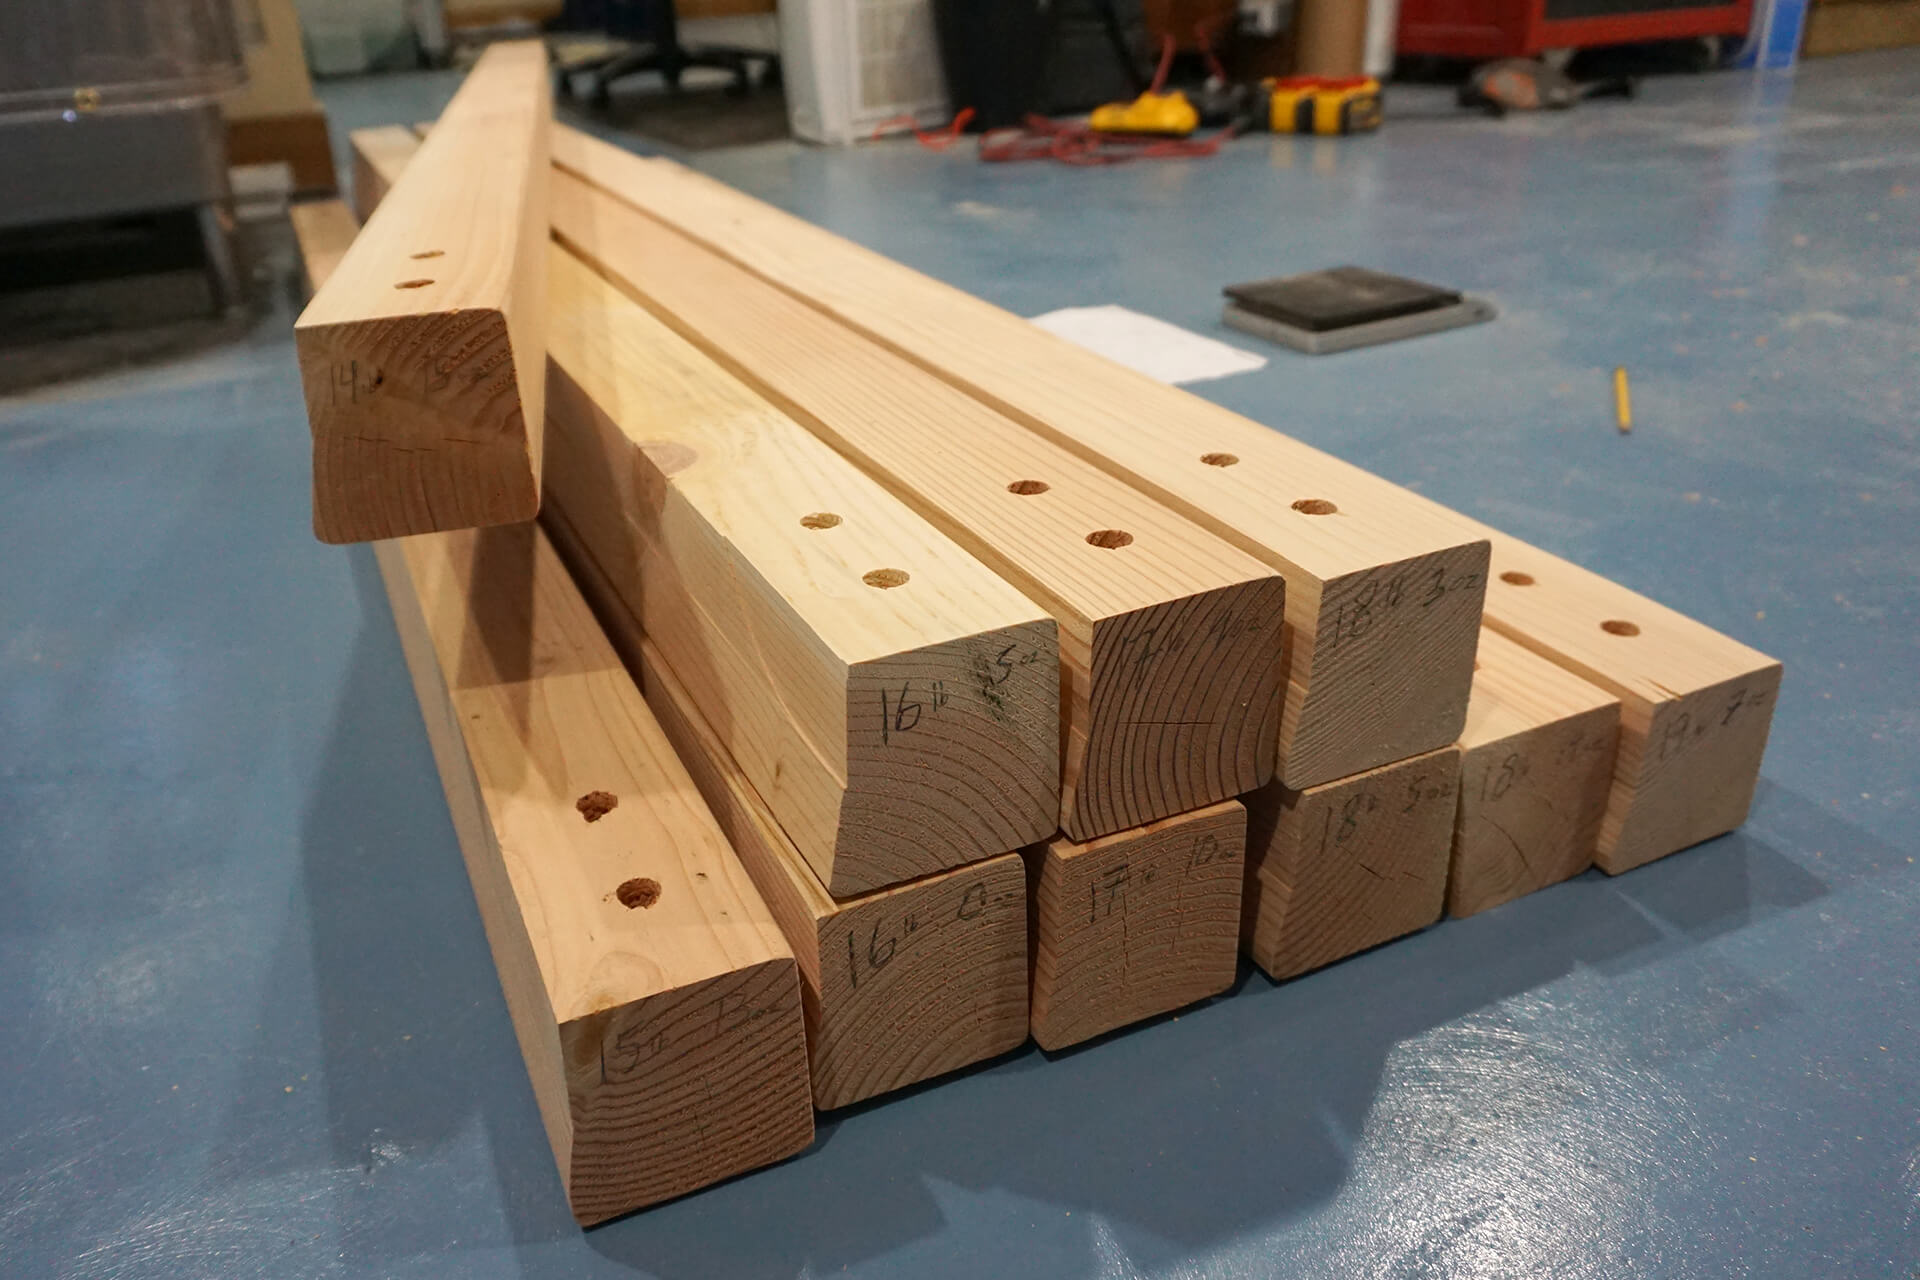
Drill the holes. Optionally, use the heaviest lumber, as these parts are at the bottom of the structure.
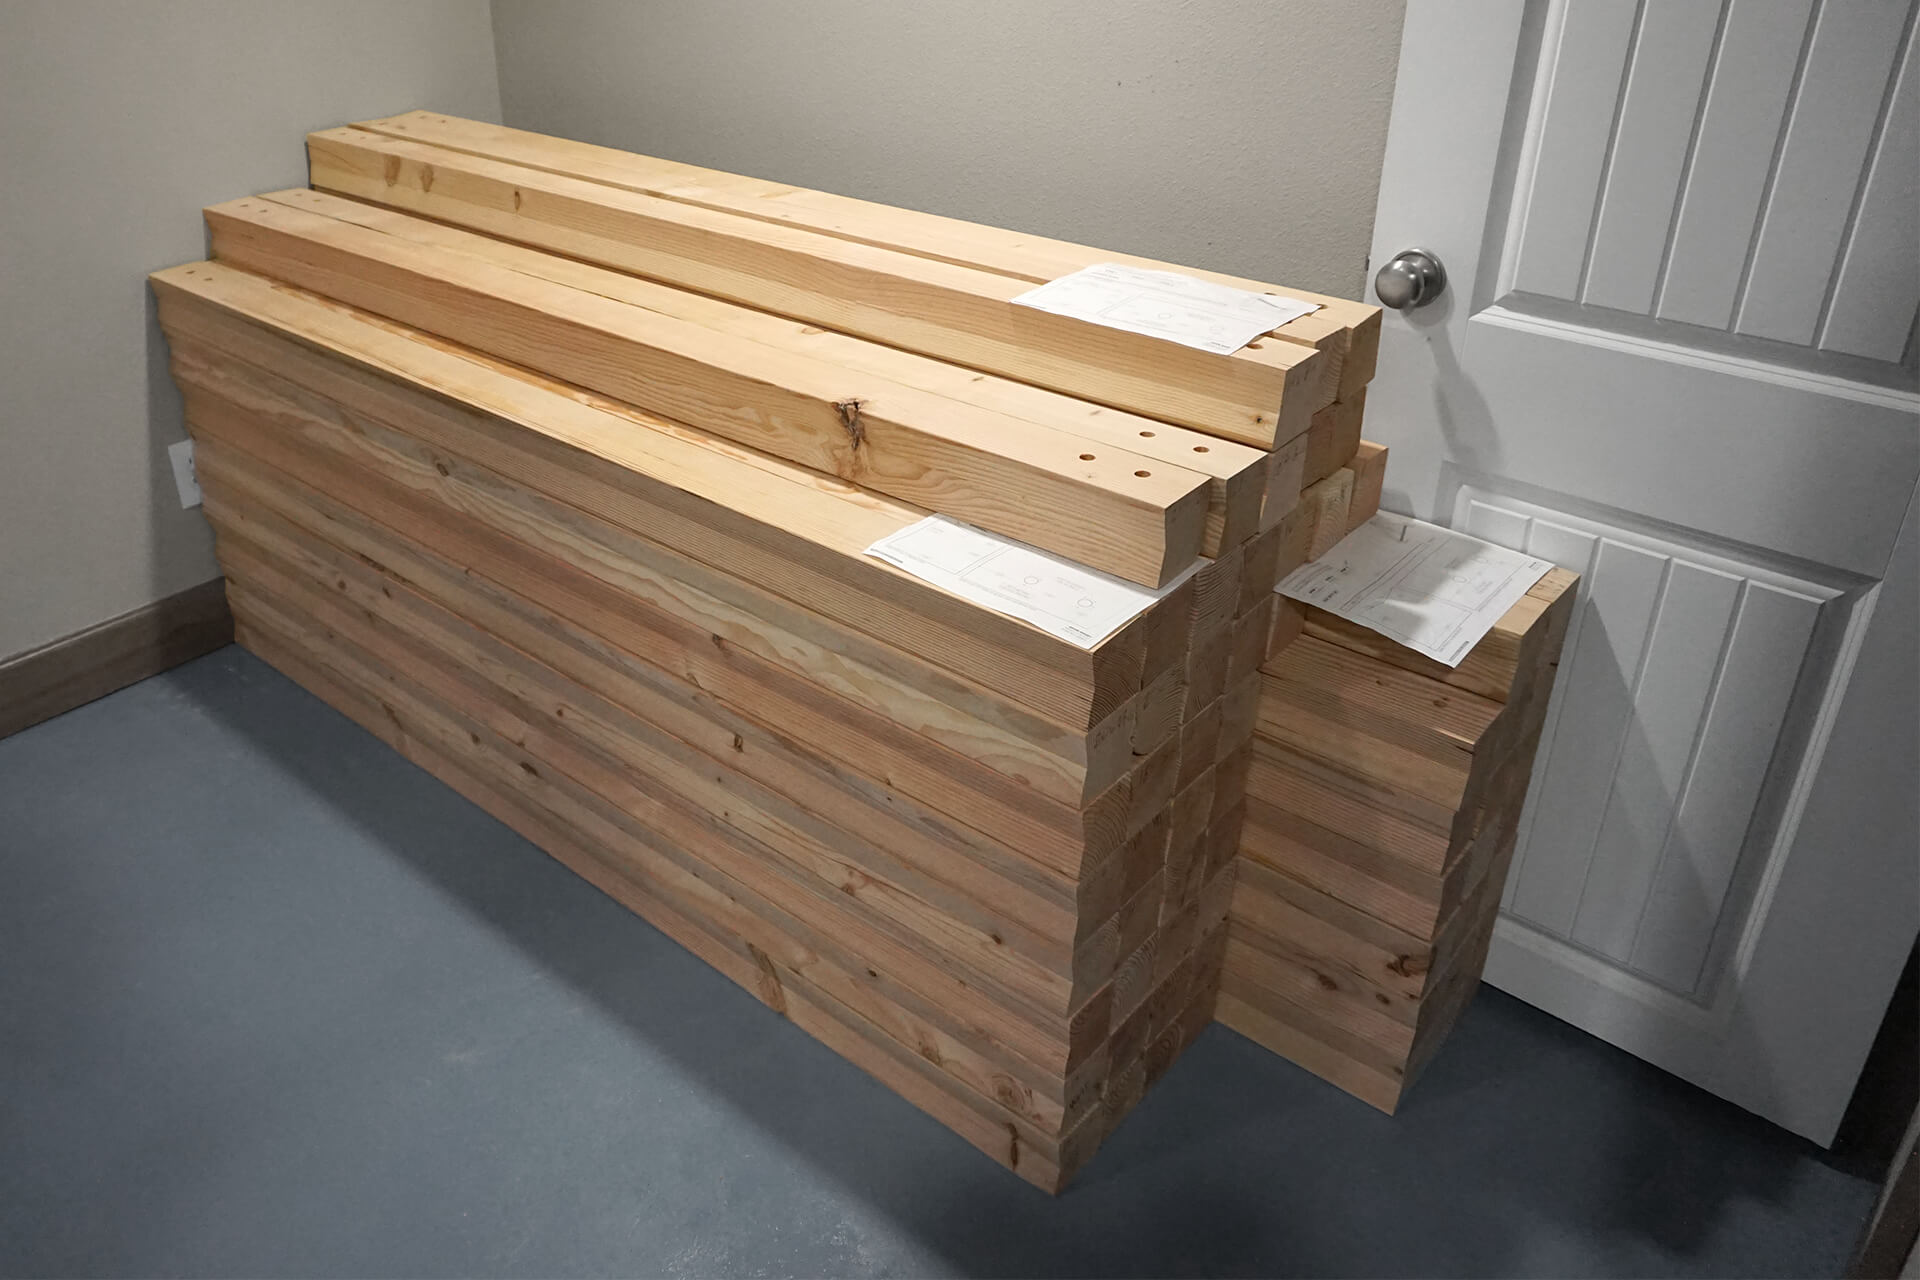
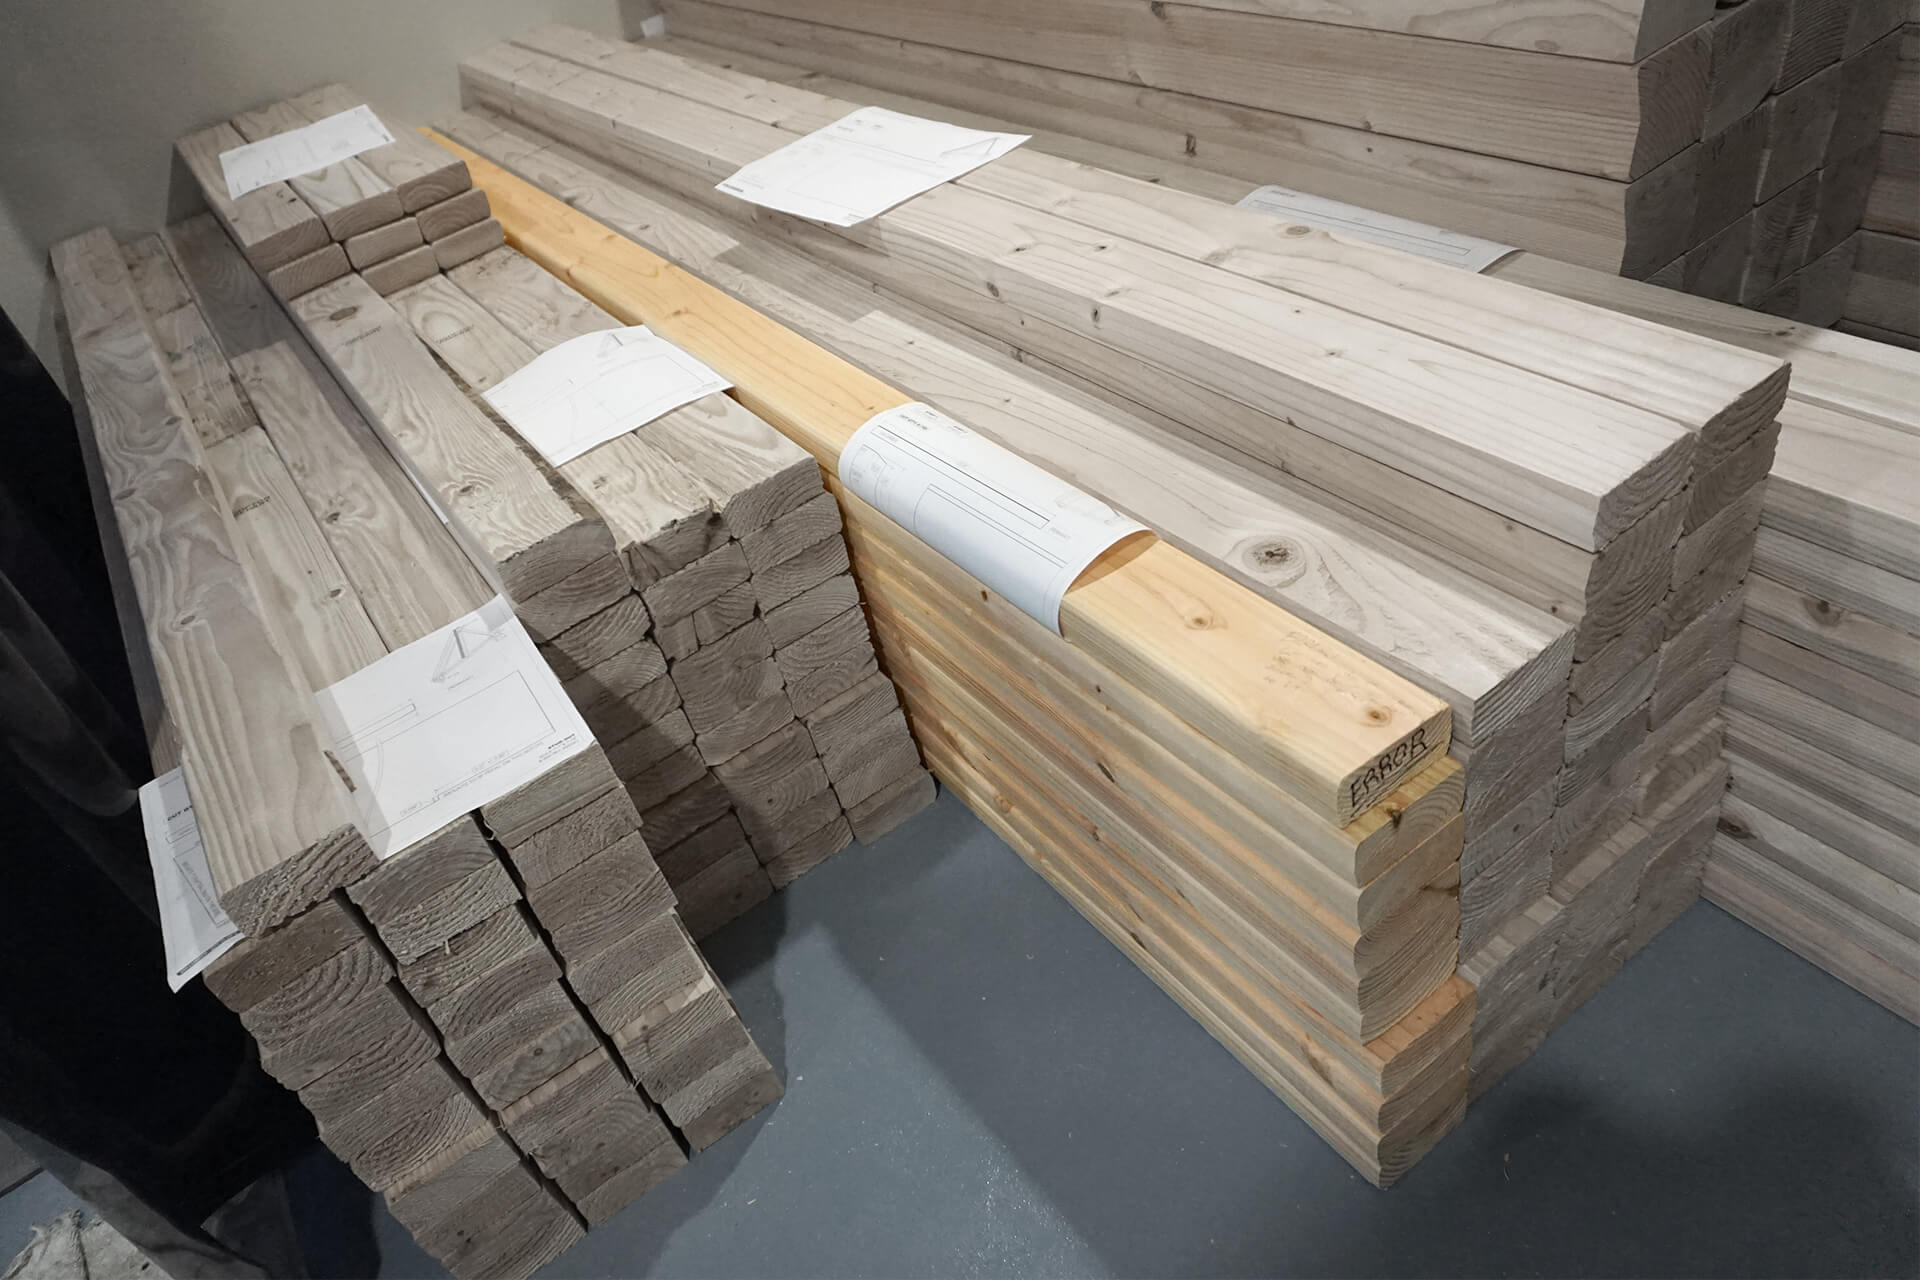
Strut-Longs, Strut-Shorts, and Strut-Bases, completed and stacked with construction drawings used as identifiers for future assembly.
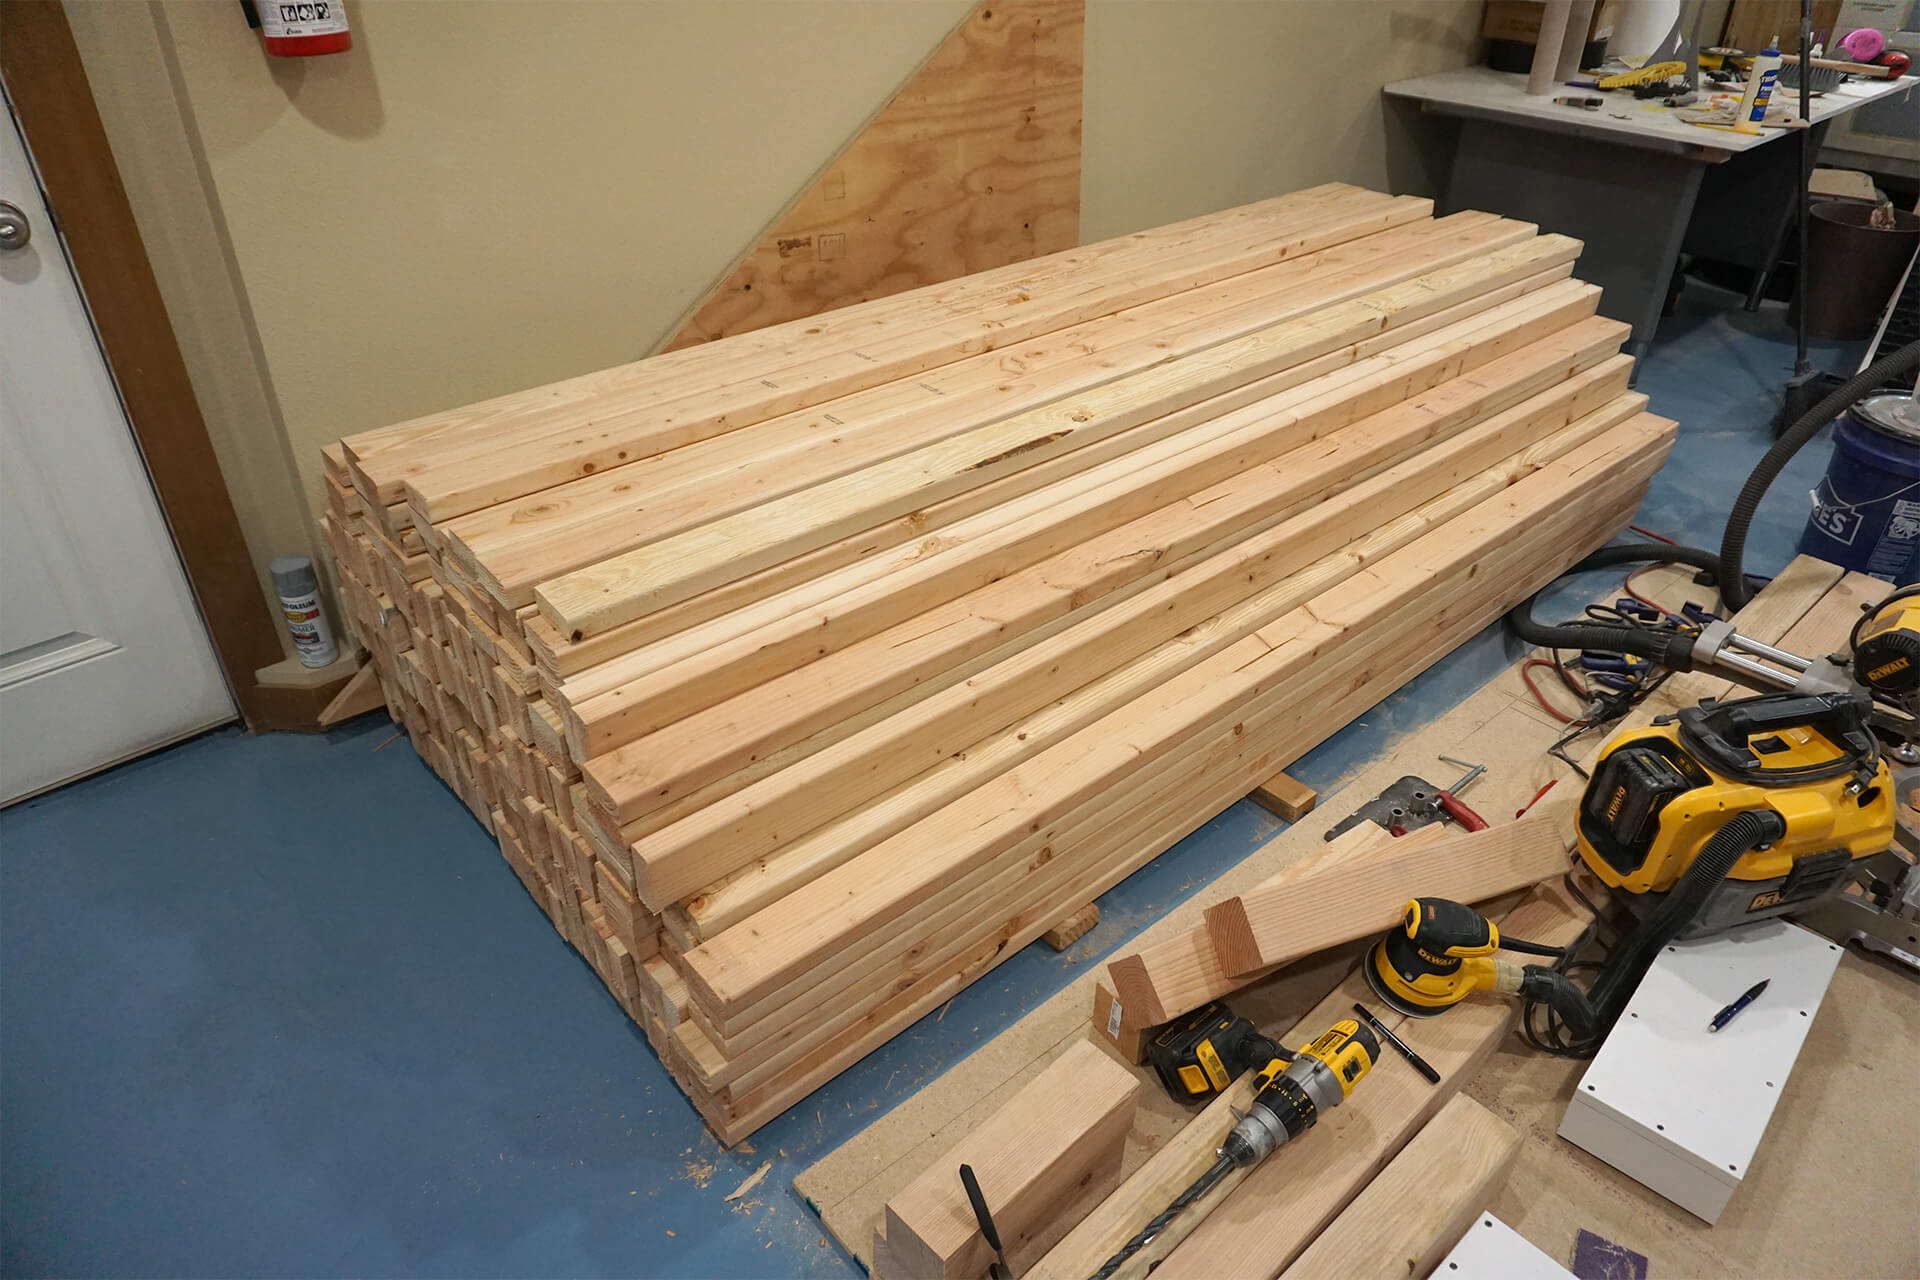
If the 2x4 lumber is dry and dimensionally stable, it’s time to create the Studs and Rafters.
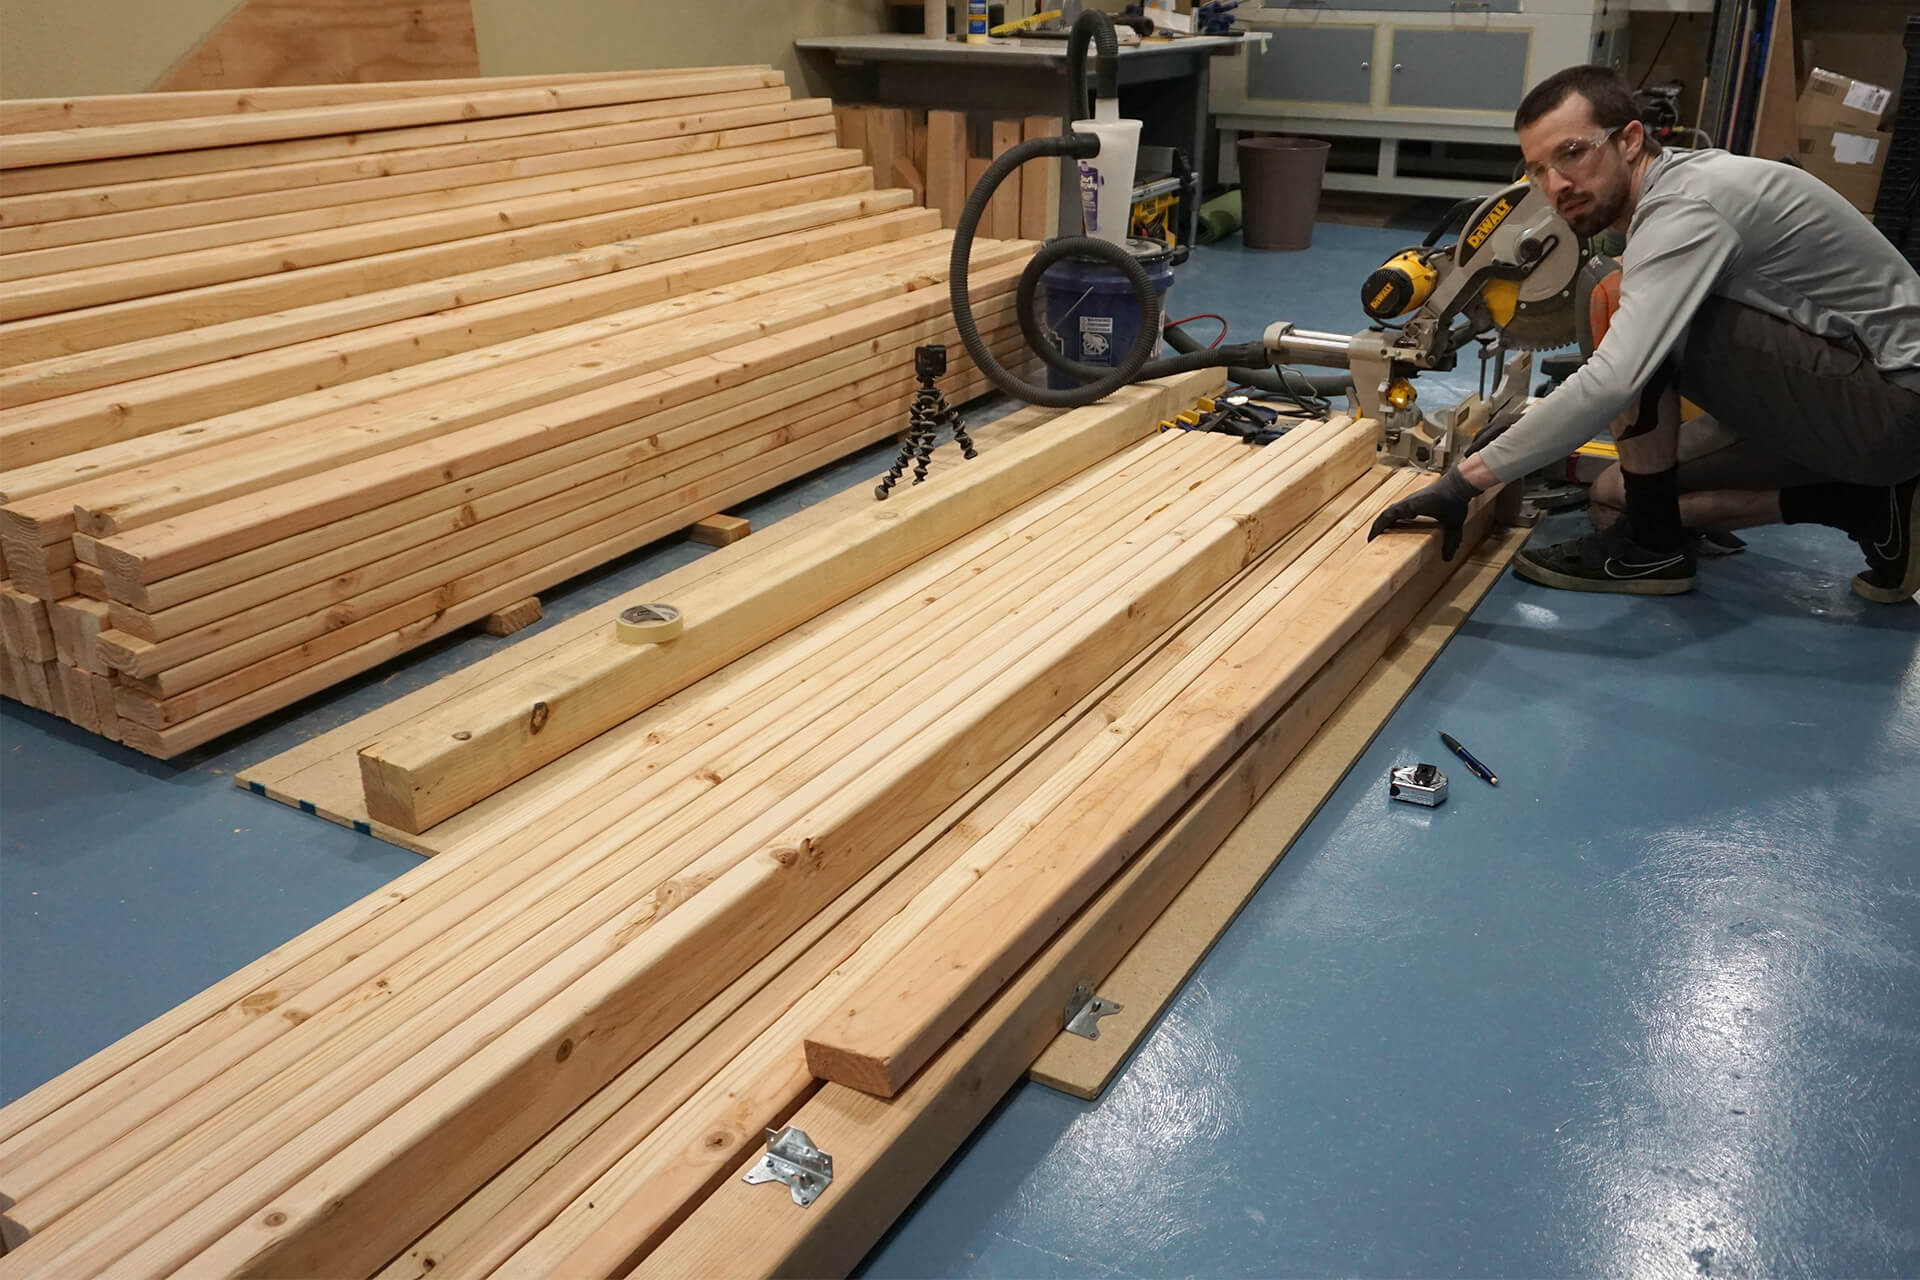
Set up a stop block to quickly cut repeated lengths. To save time, the factory-cut ends of the 2x4s can be used for these parts, as they are less accuracy-critical than others.
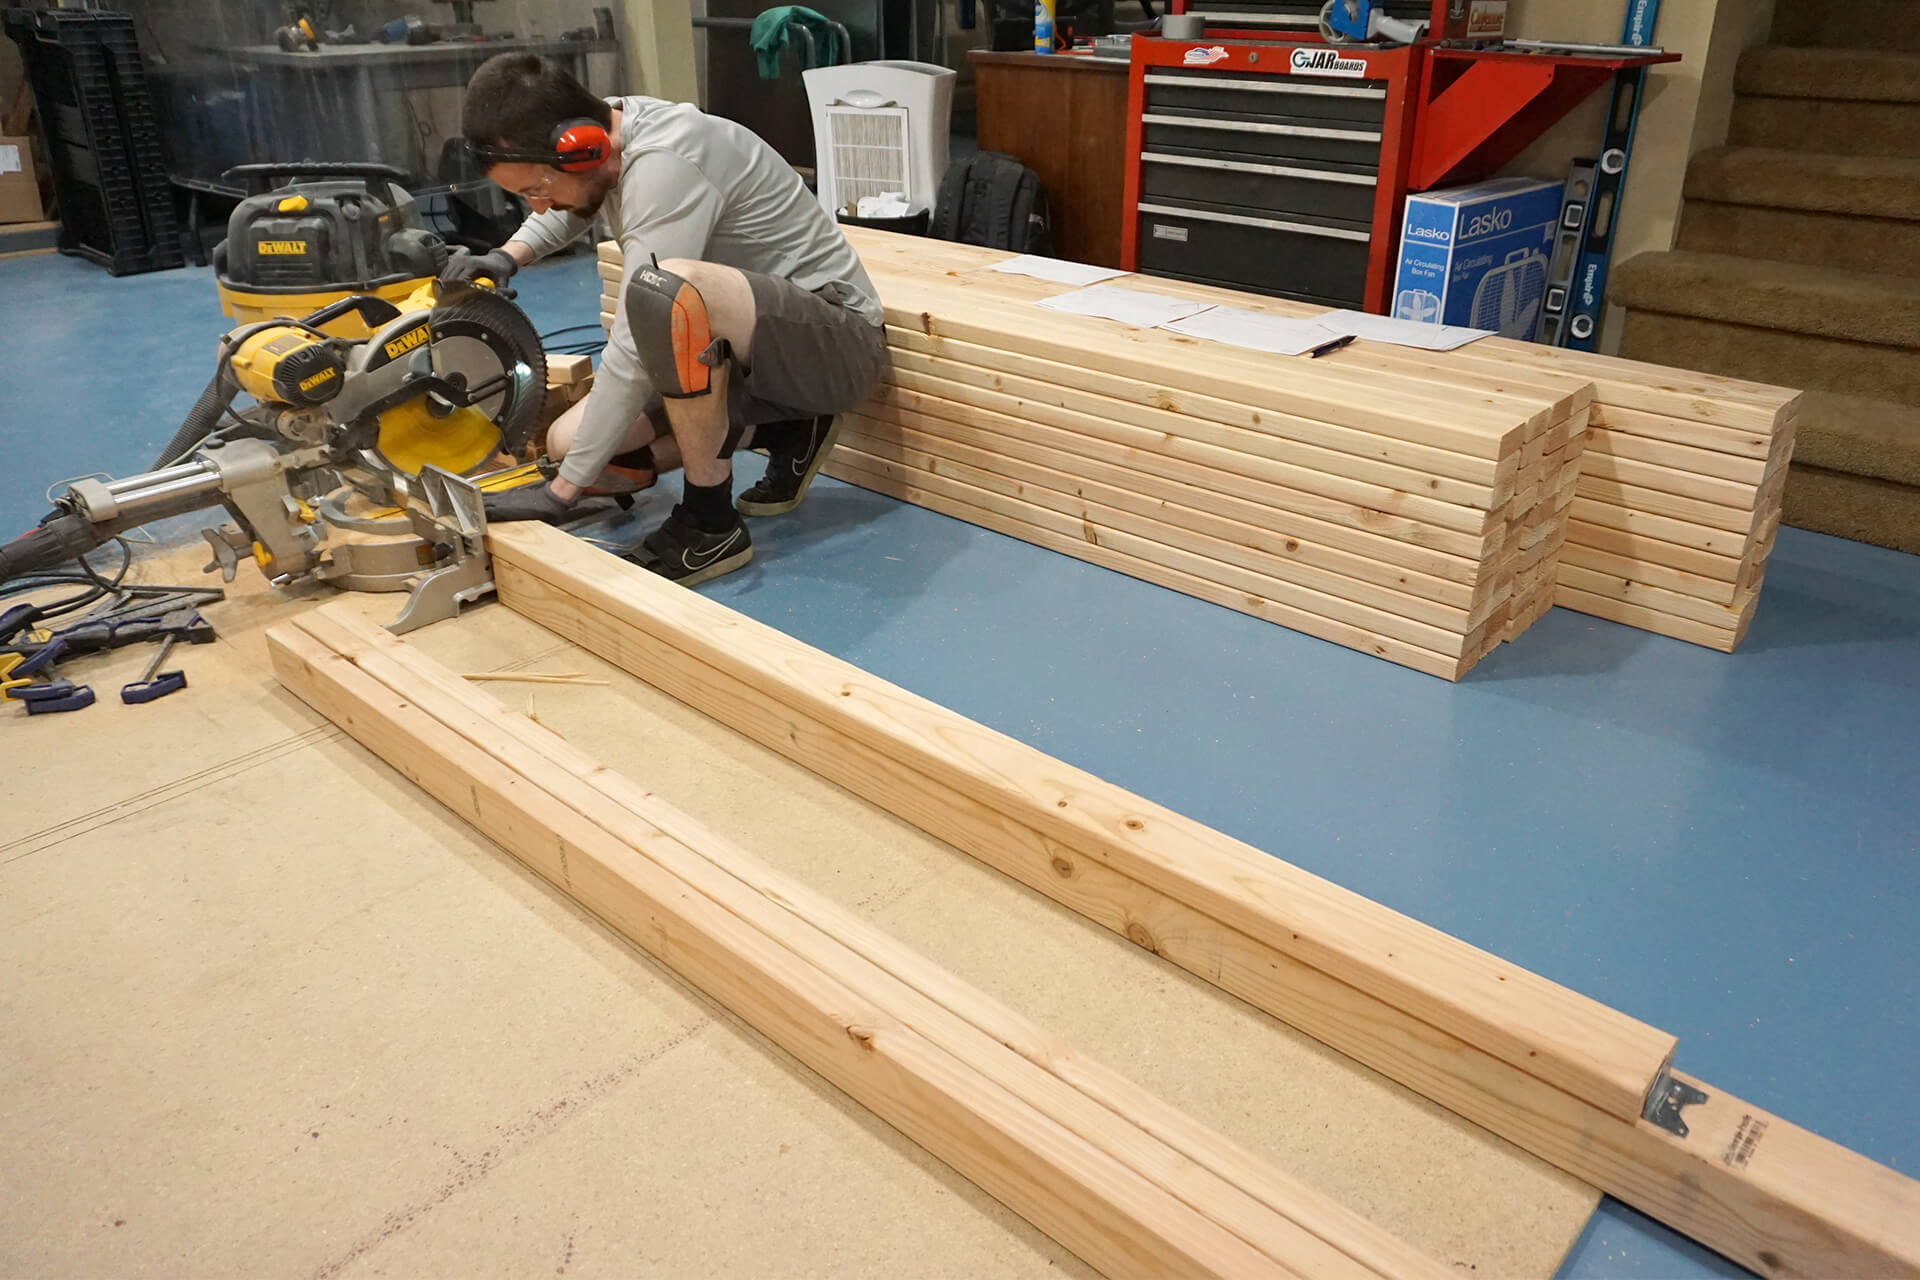
Cut the Stud-Outs. The ends are angled, so adjust the saw's swing accordingly.
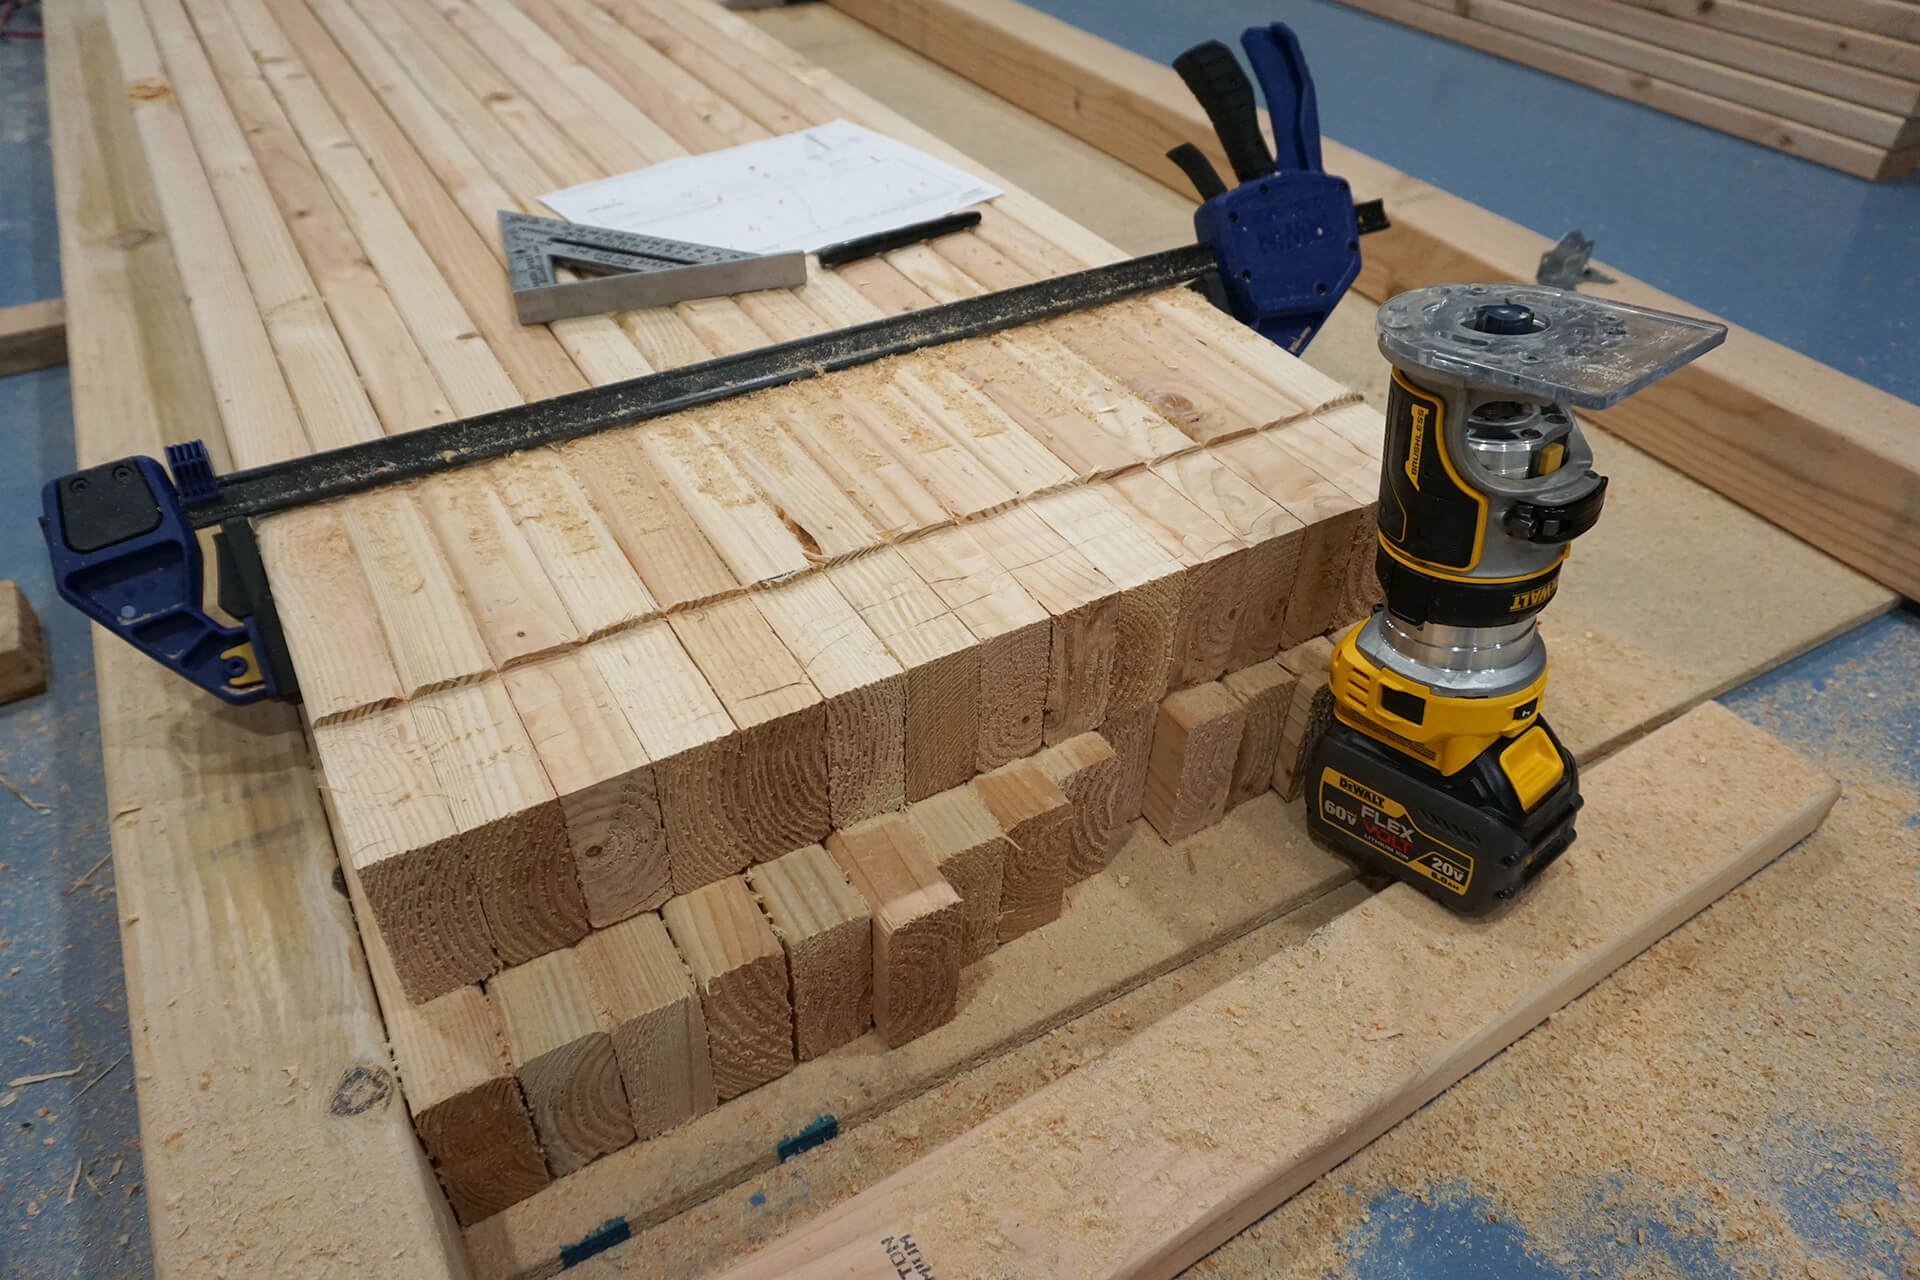
Clamp a group of Stud-Outs and use a router to quickly cut the notched ends.
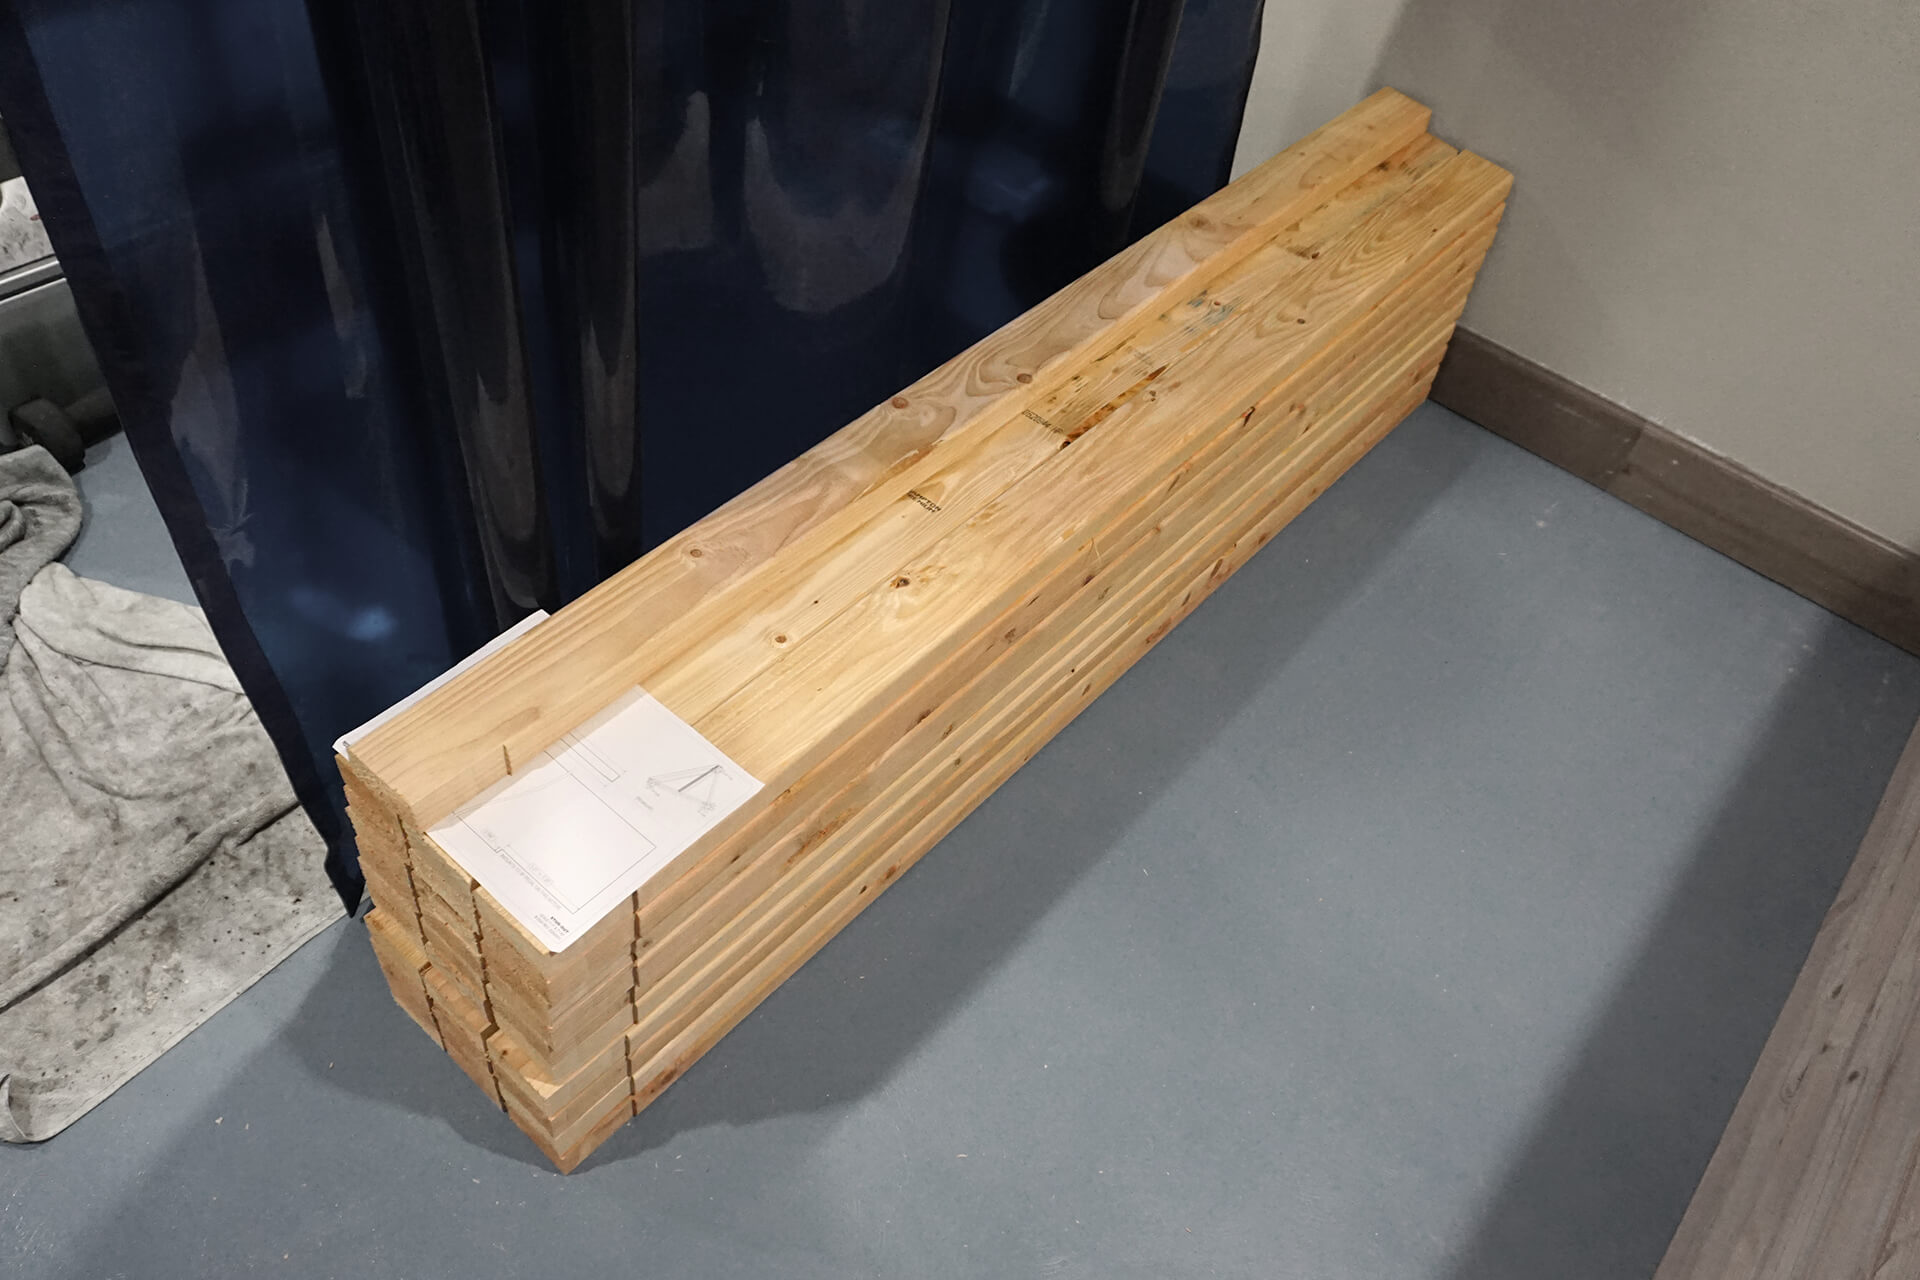
Stud-Outs completed and stacked.
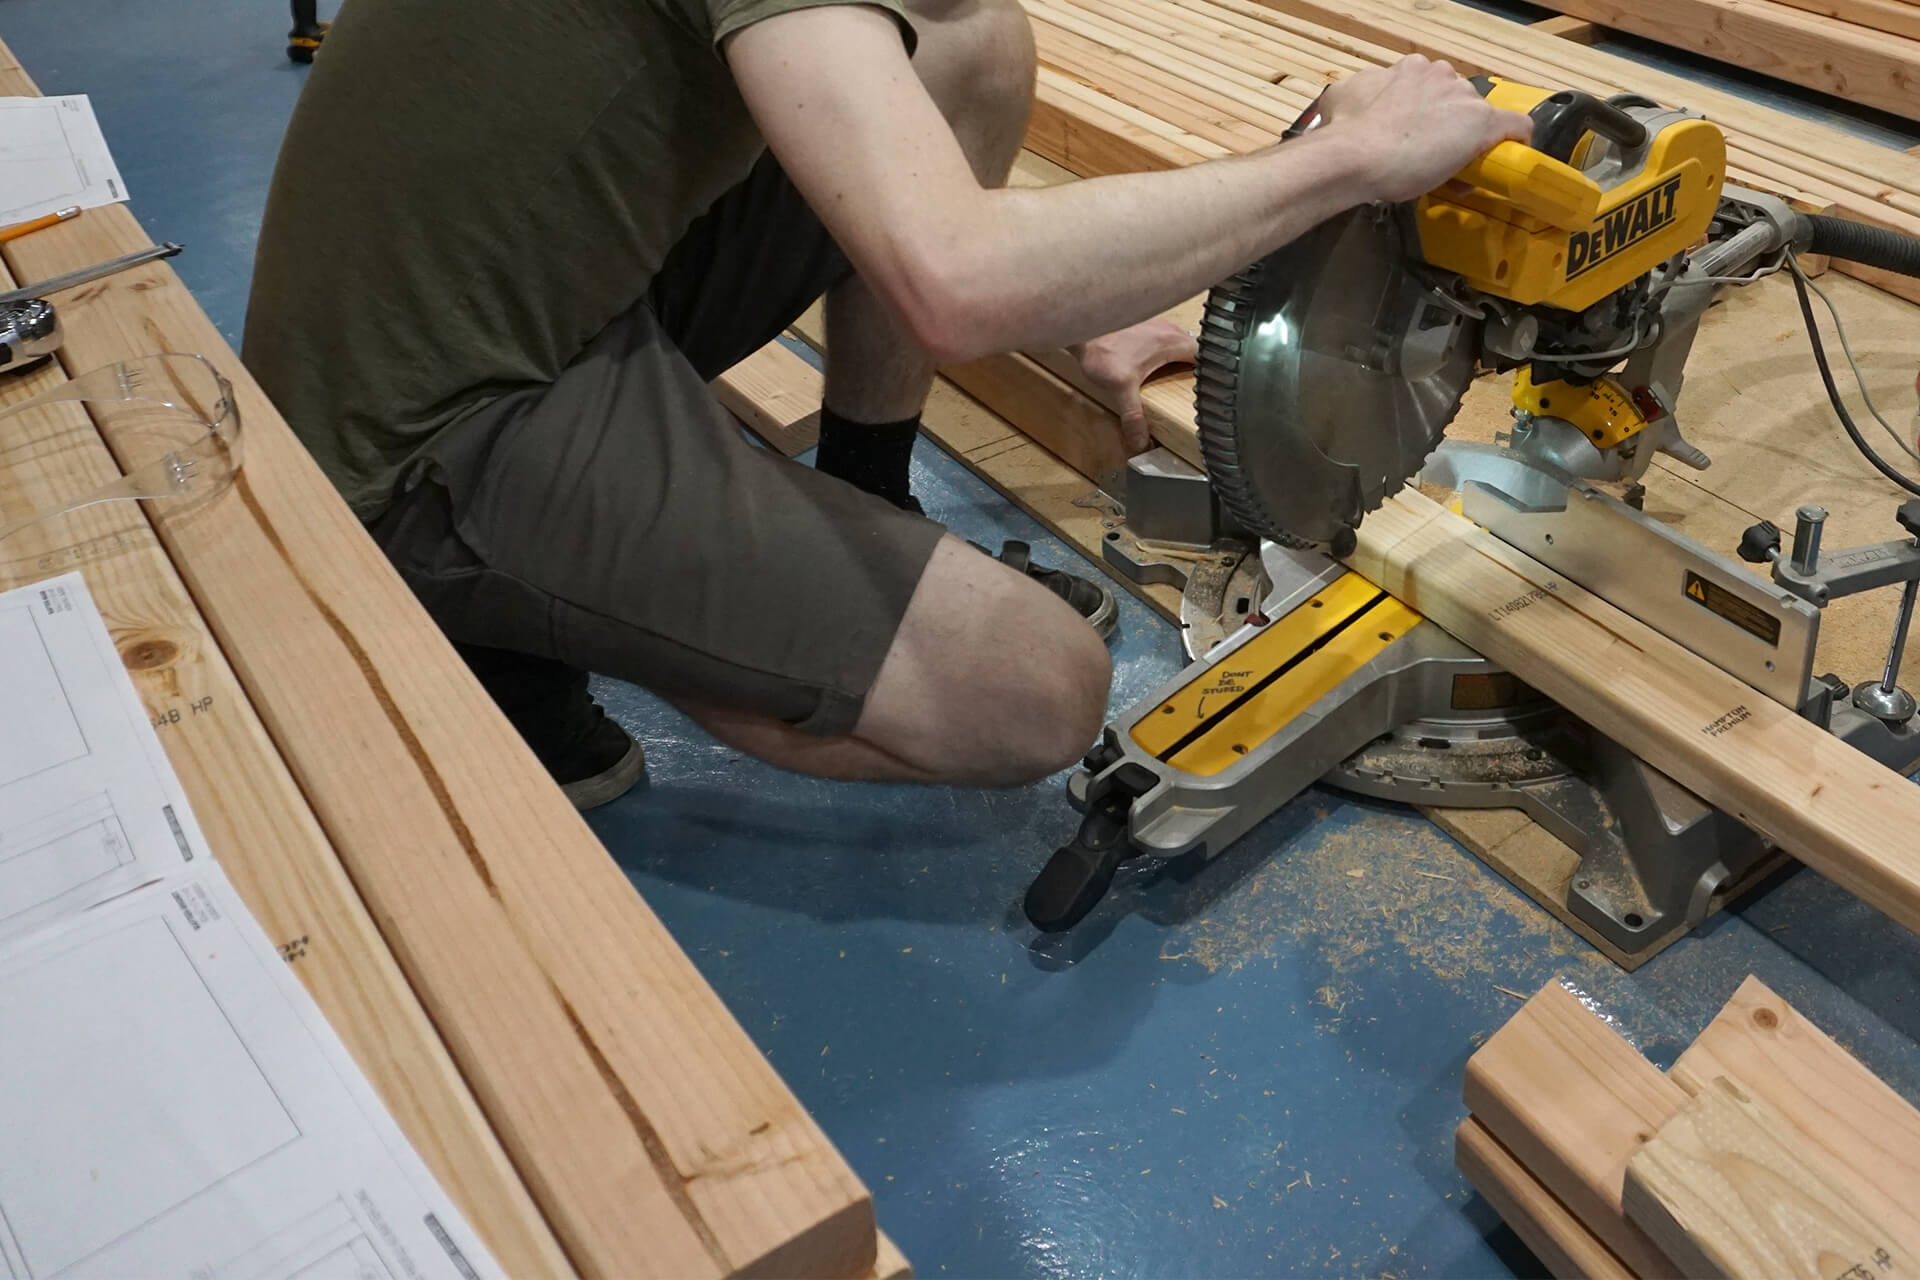
Cut the Stud-Ins. These do not have a notched end.
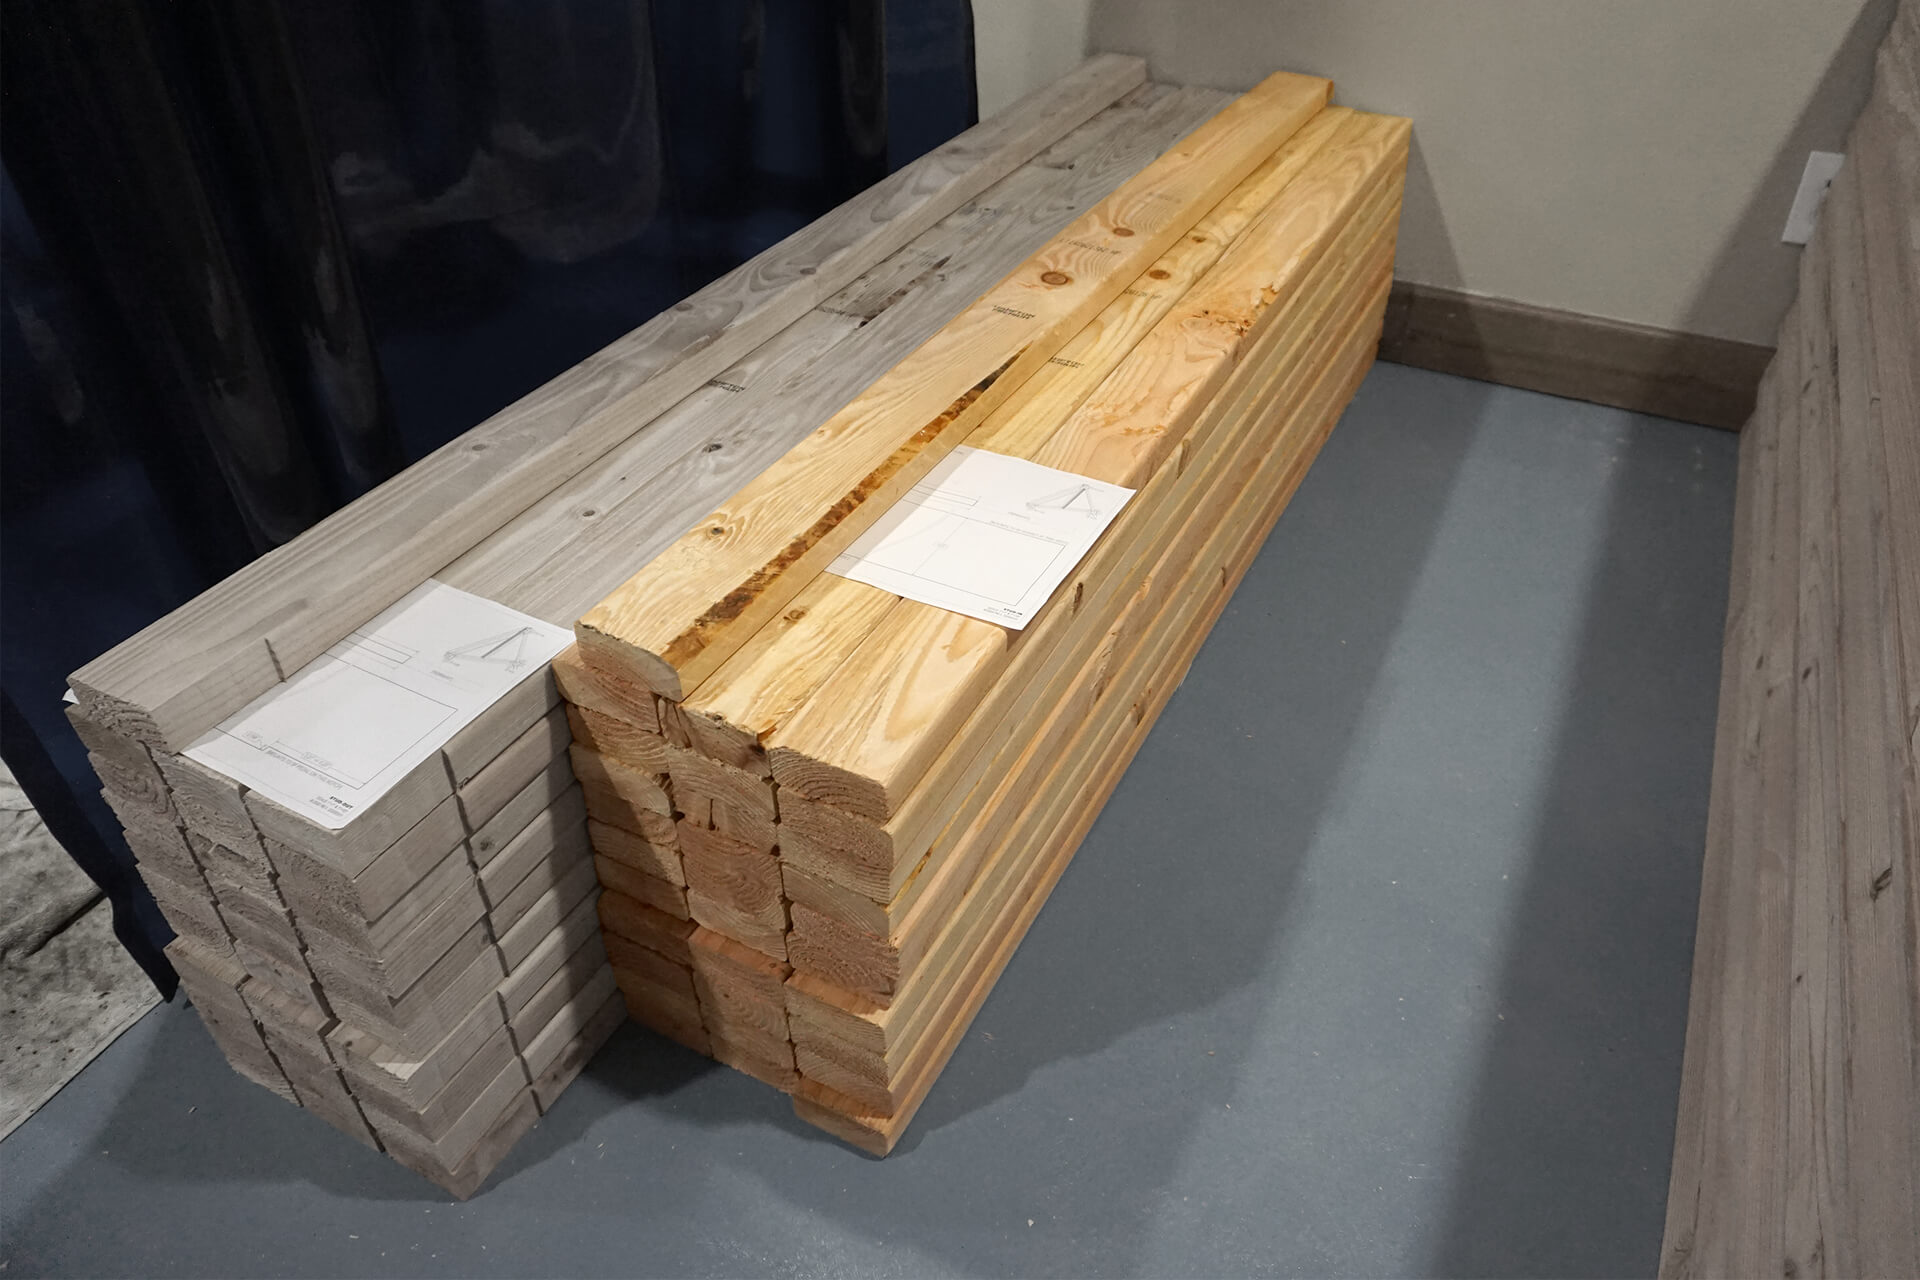
Stud-Ins completed and stacked.
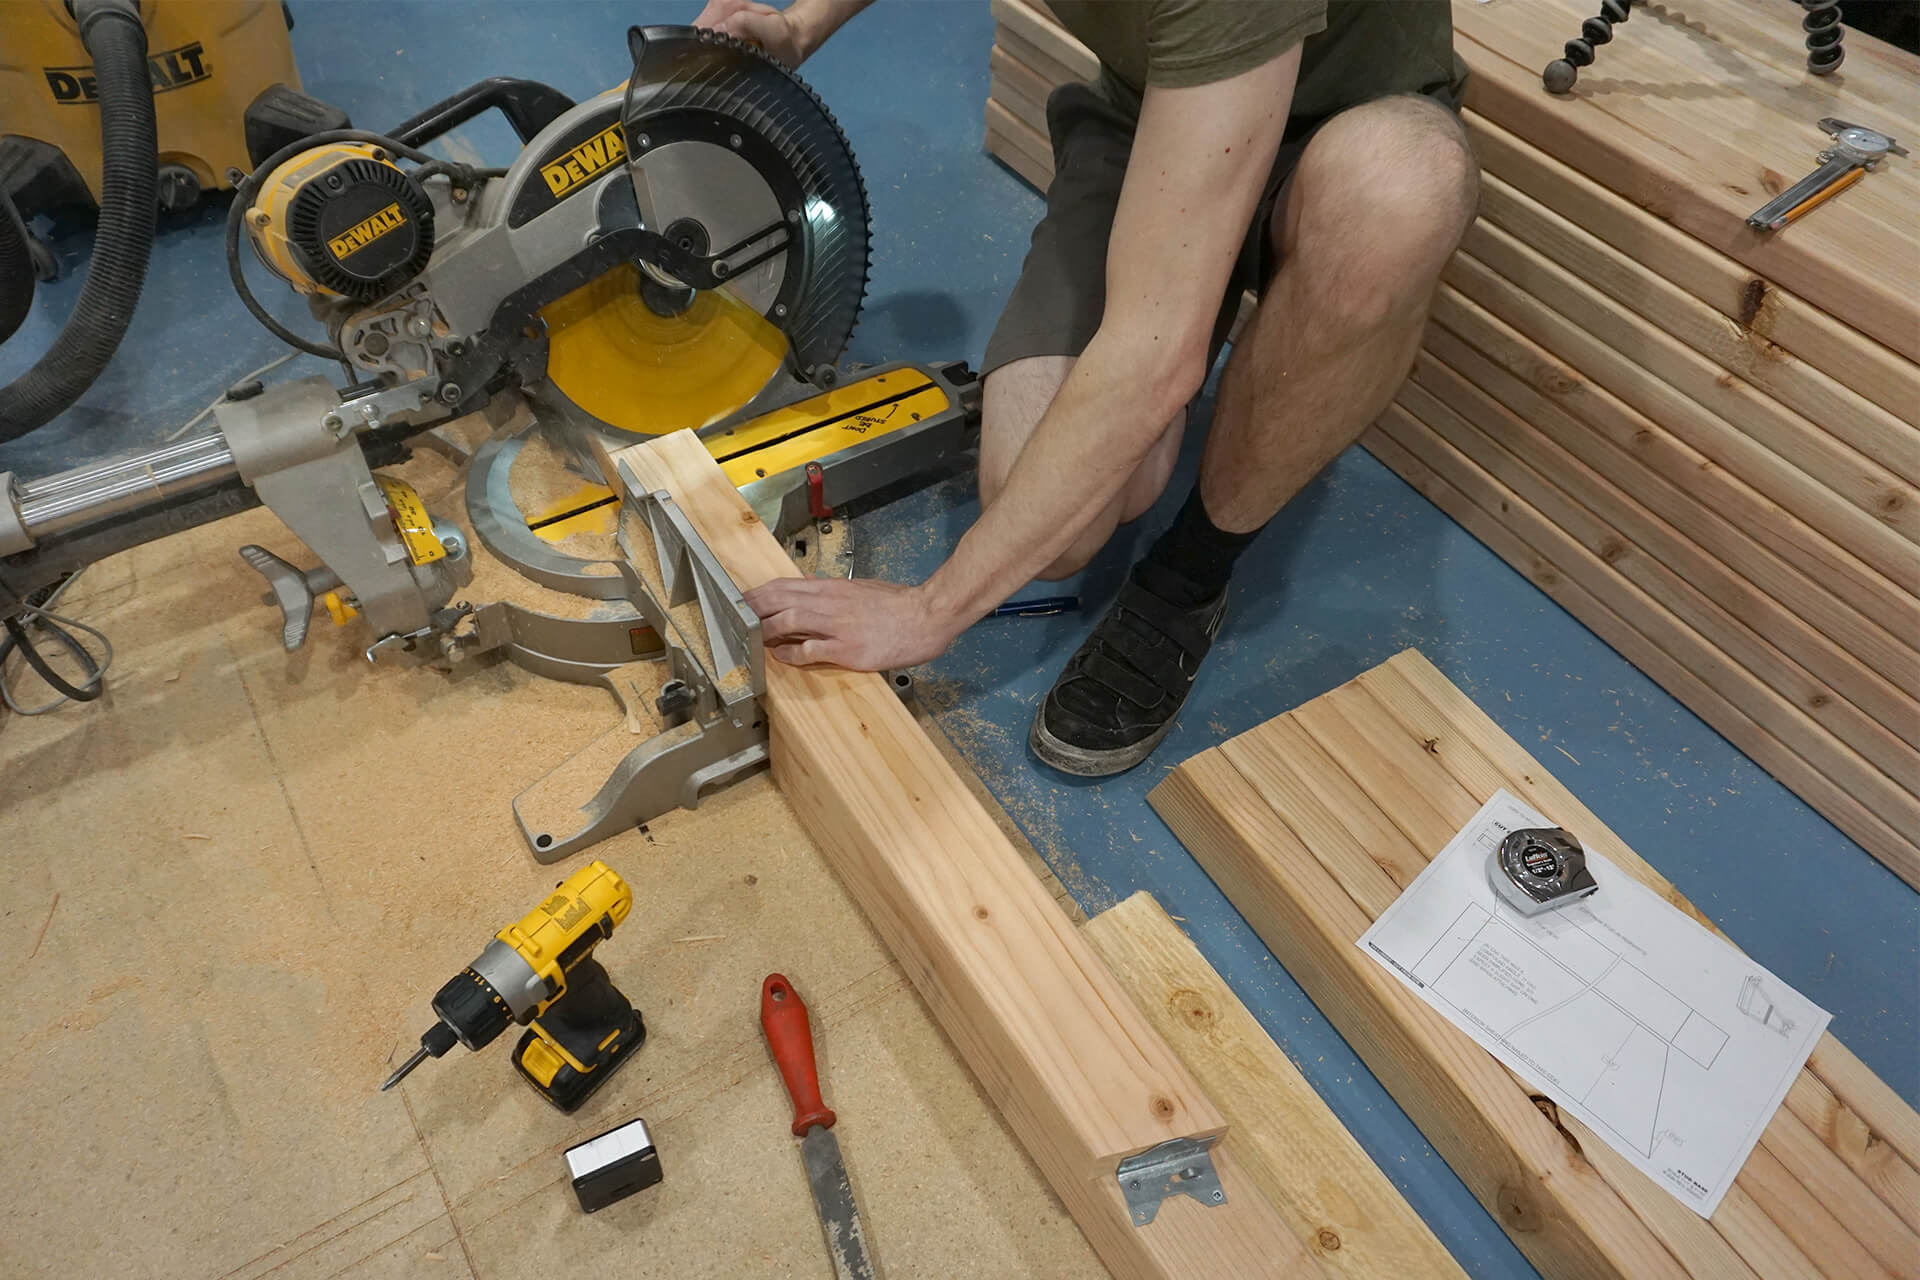
Cut the Stud-Bases. First, cut all the simple angled ends, then set the saw swing and tilt to cut the compound angles. An angled stop block is pictured to speed up the cuts.
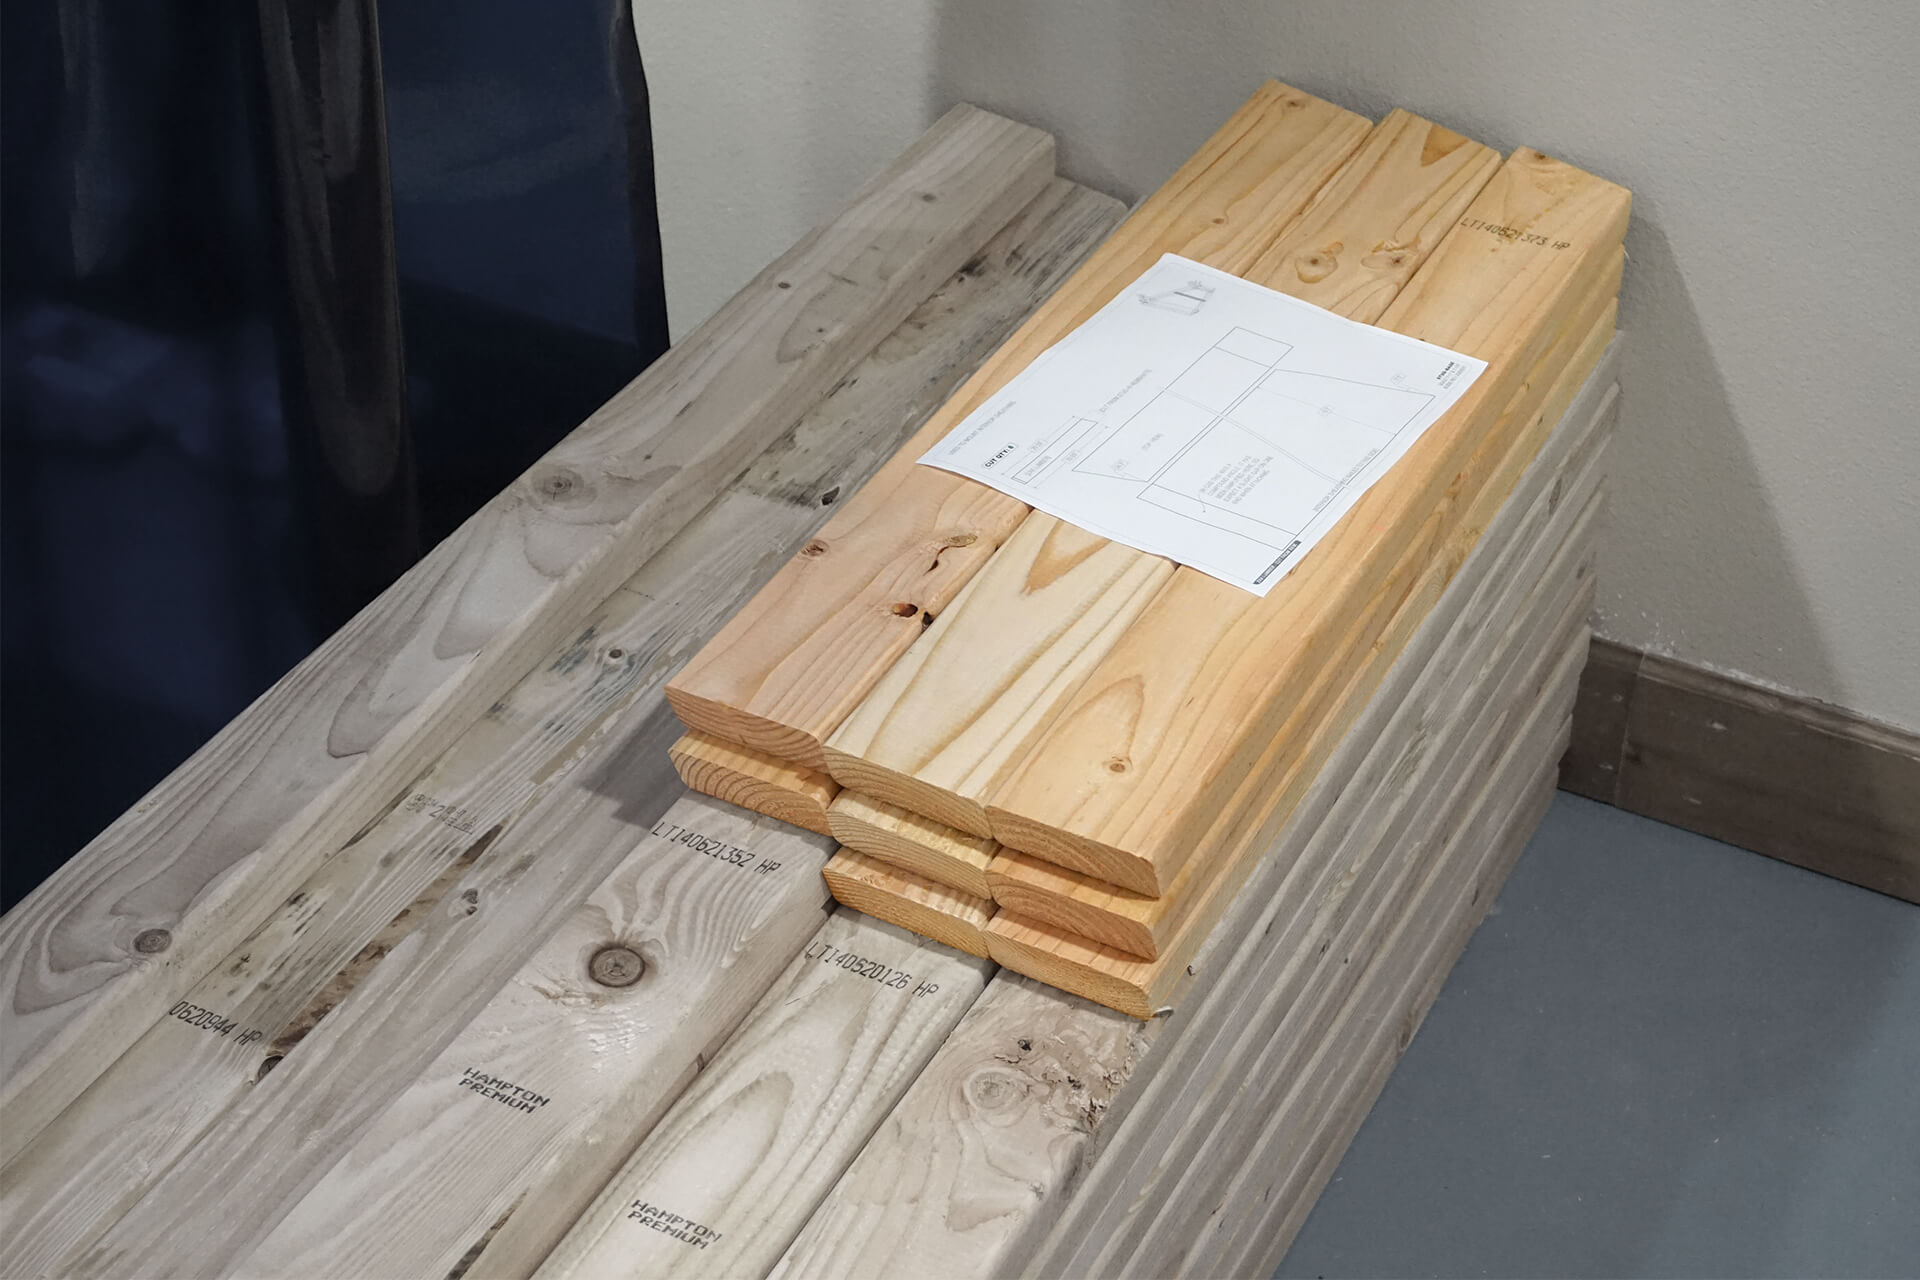
Stud-Bases completed and stacked.
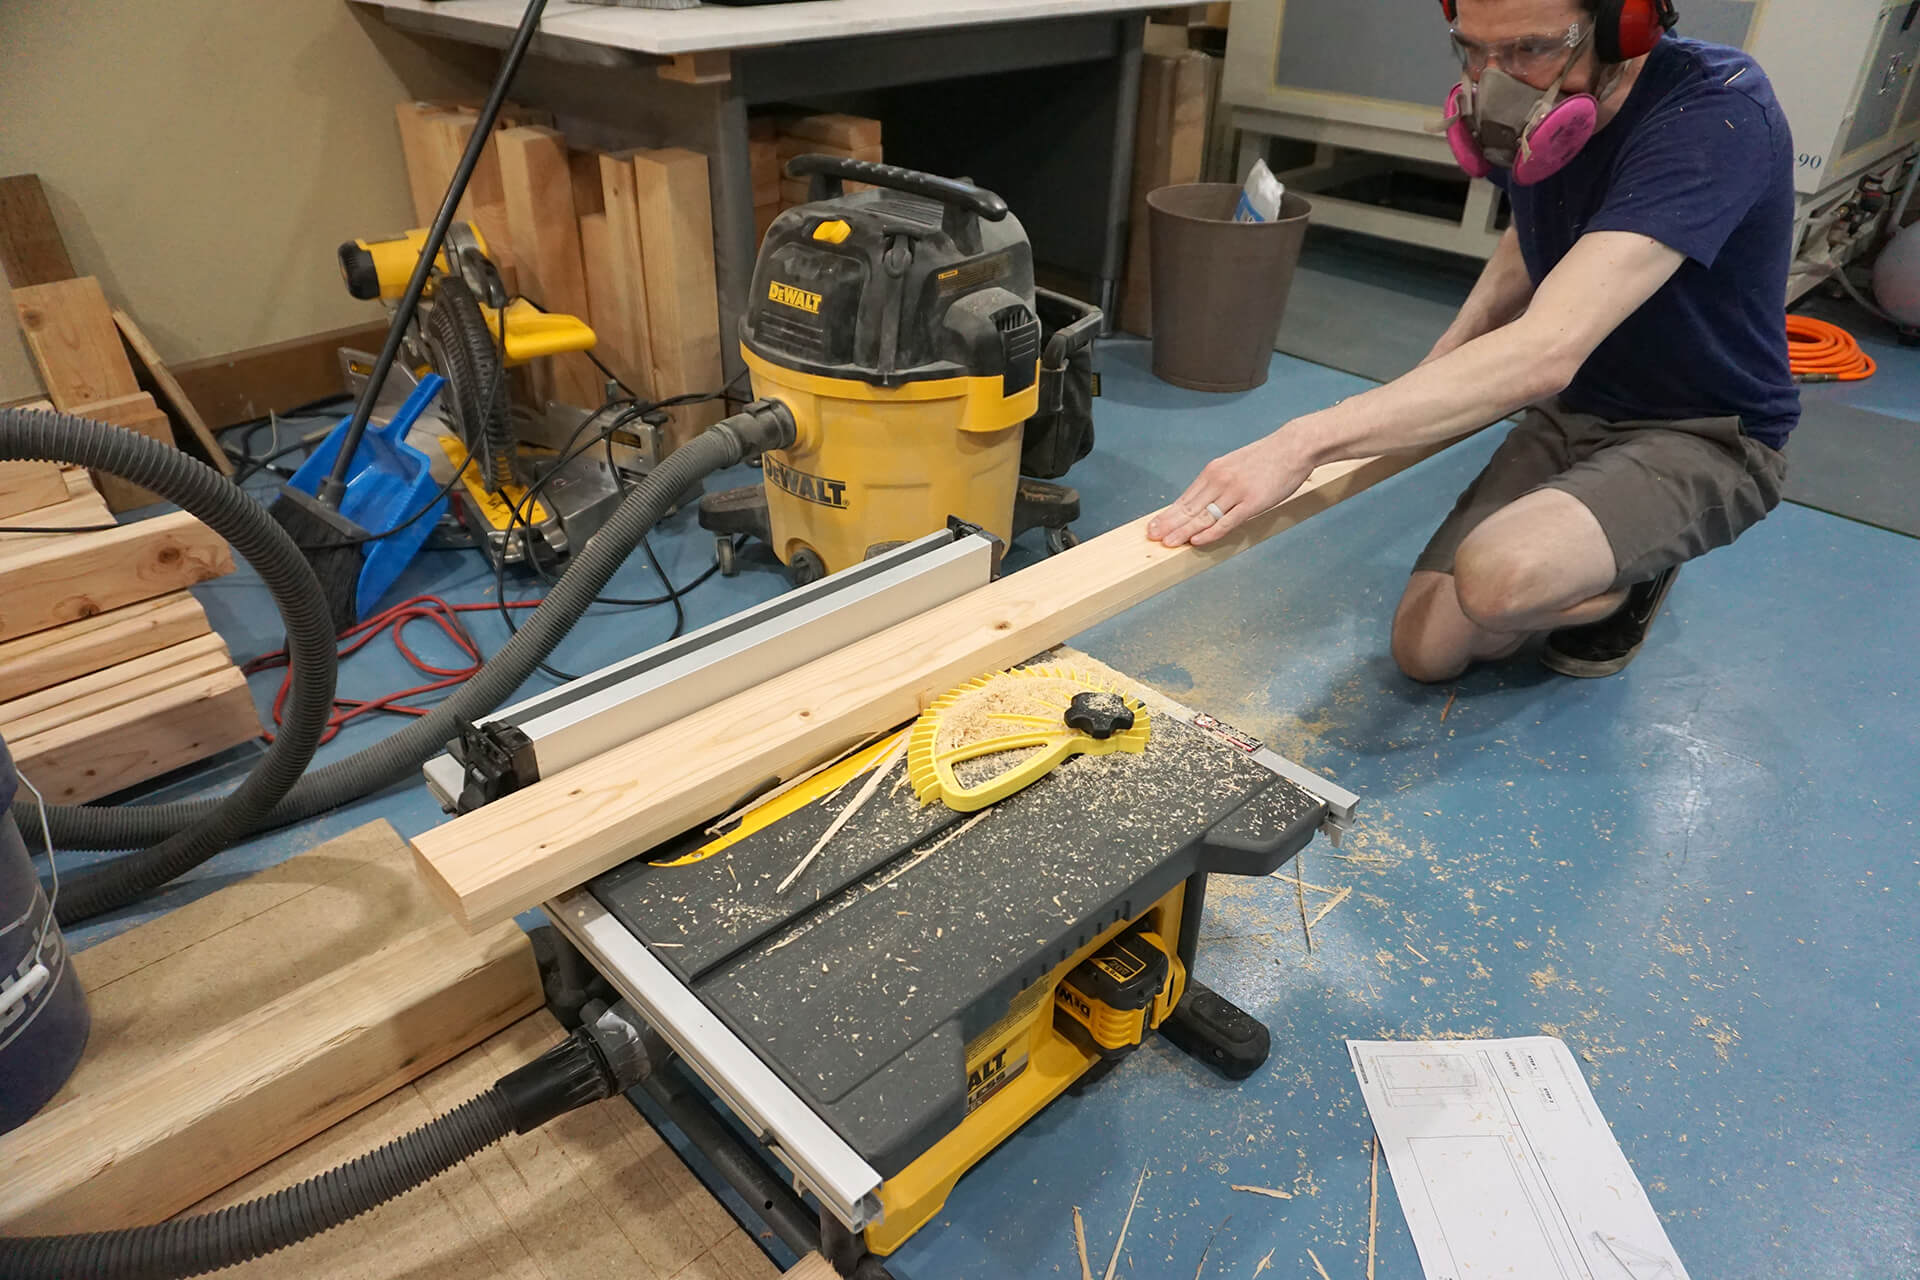
Cut the Rafter-Longs and Rafter-Shorts, then rip the bevel along their length.
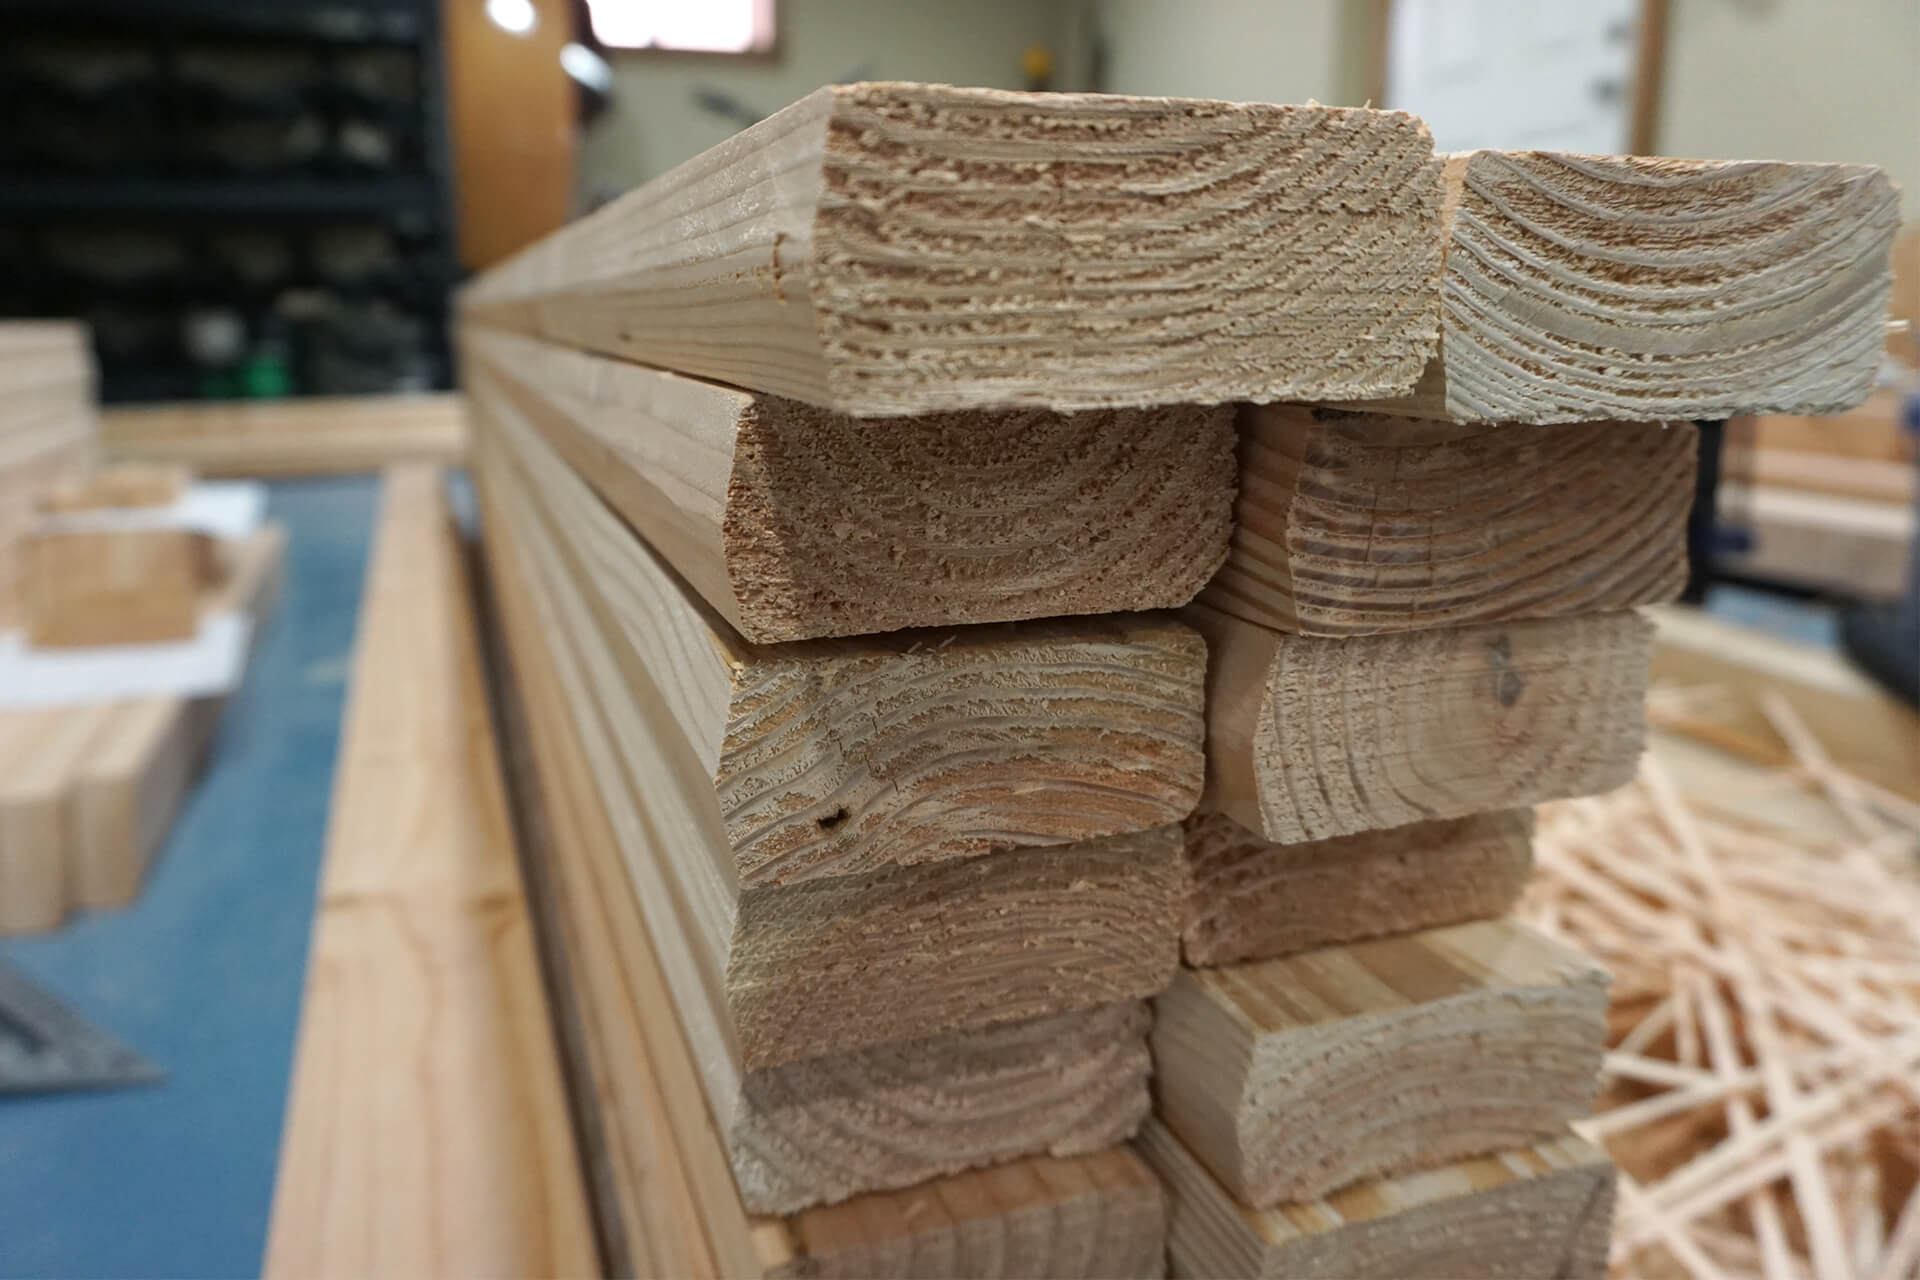
Detail shot showing the beveled profile. This beveled surface is where the plywood roof panels will sit and be fastened.
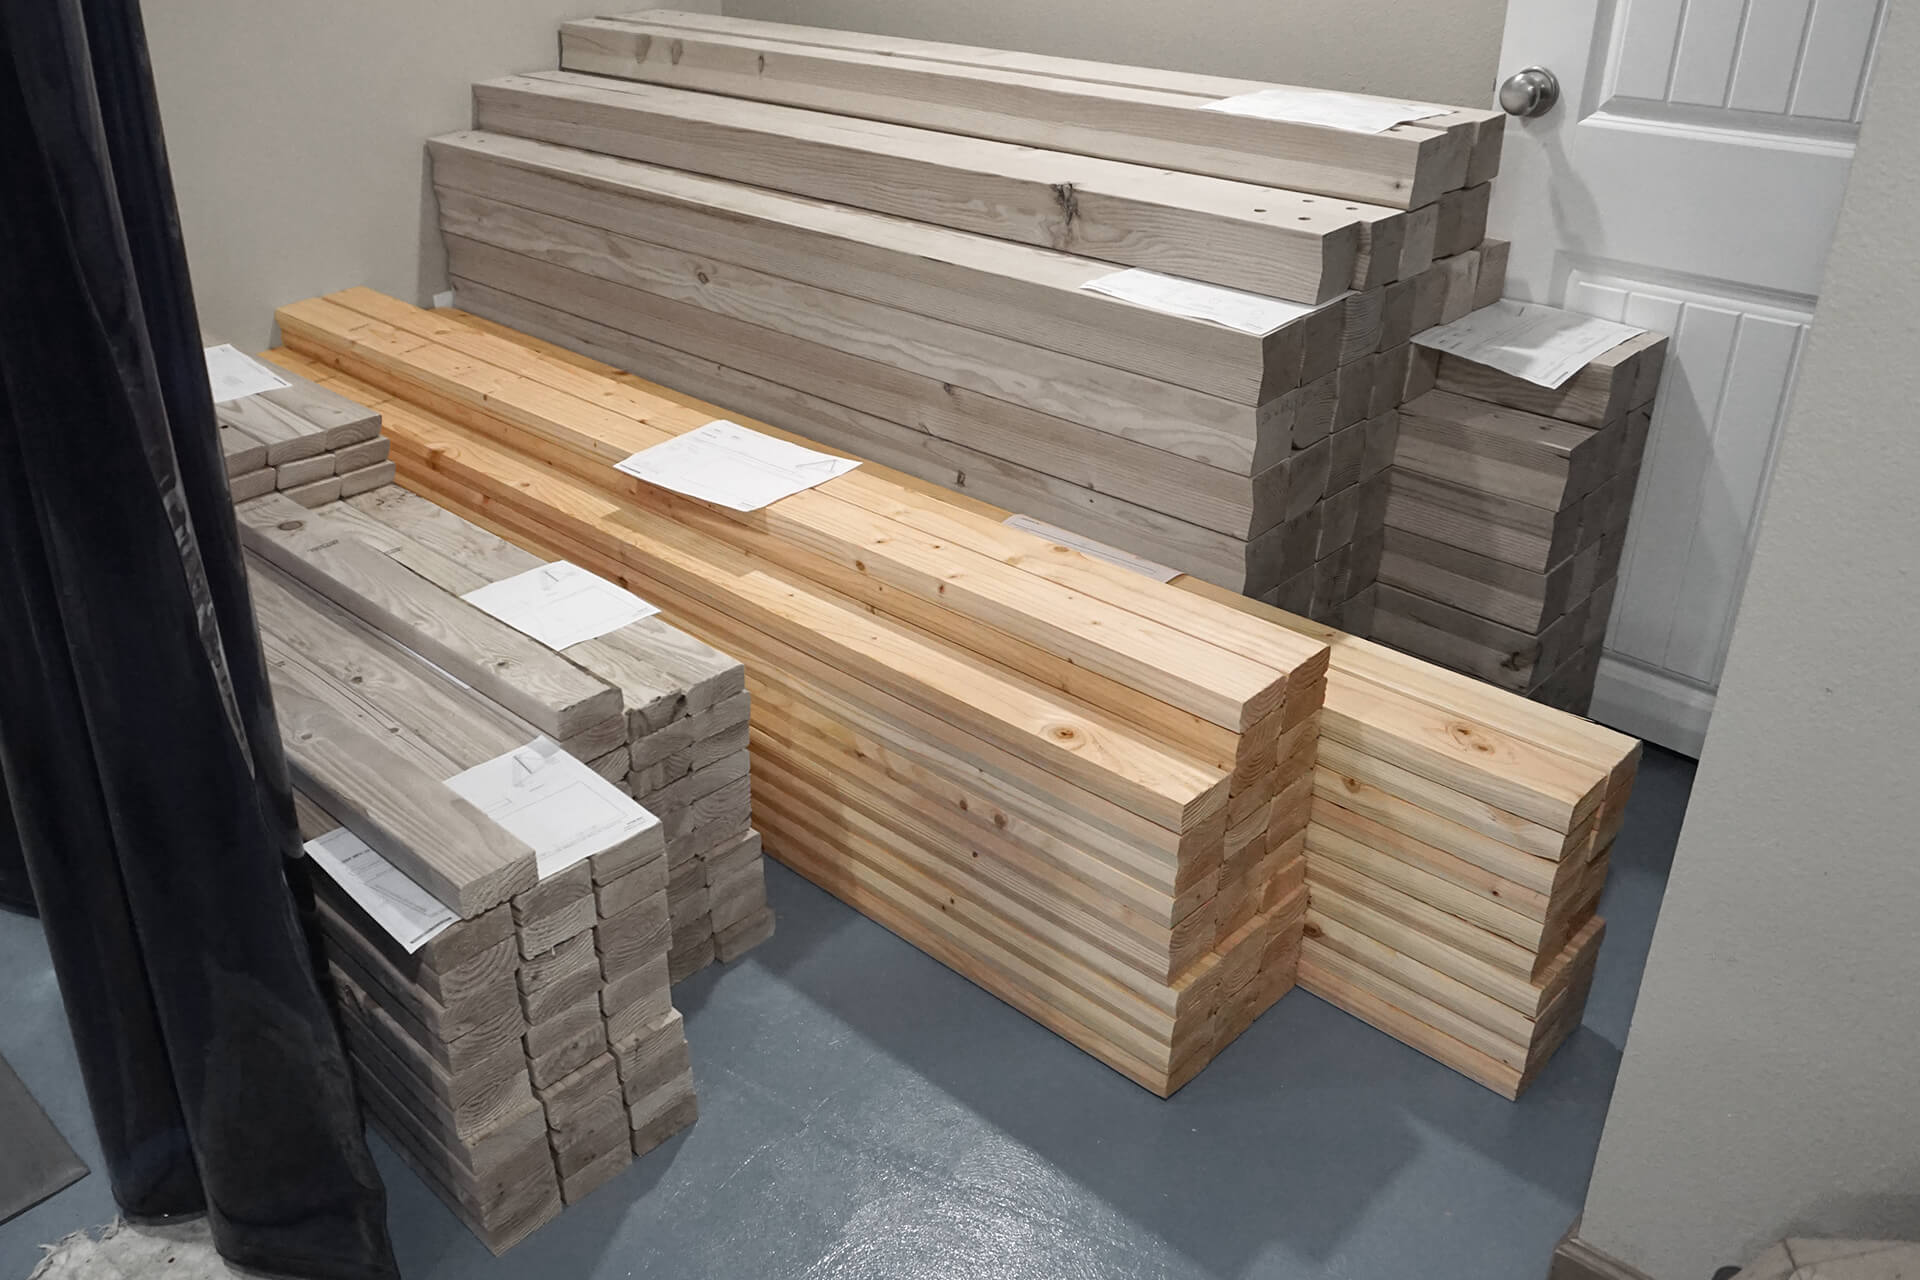
Rafter-Longs and Rafter-Shorts completed and stacked.
Cut and rip the Rafter-Bases. Only one edge gets beveled for these.
Rafter-Bases completed and stacked.
Cut the Rafter-Base-Talls and Rafter-Base-Shorts. They have slightly different angled ends, so adjust the saw swing accordingly.
Rip the bevel on the Rafter-Base-Shorts. They have a slightly different bevel than the previous parts.
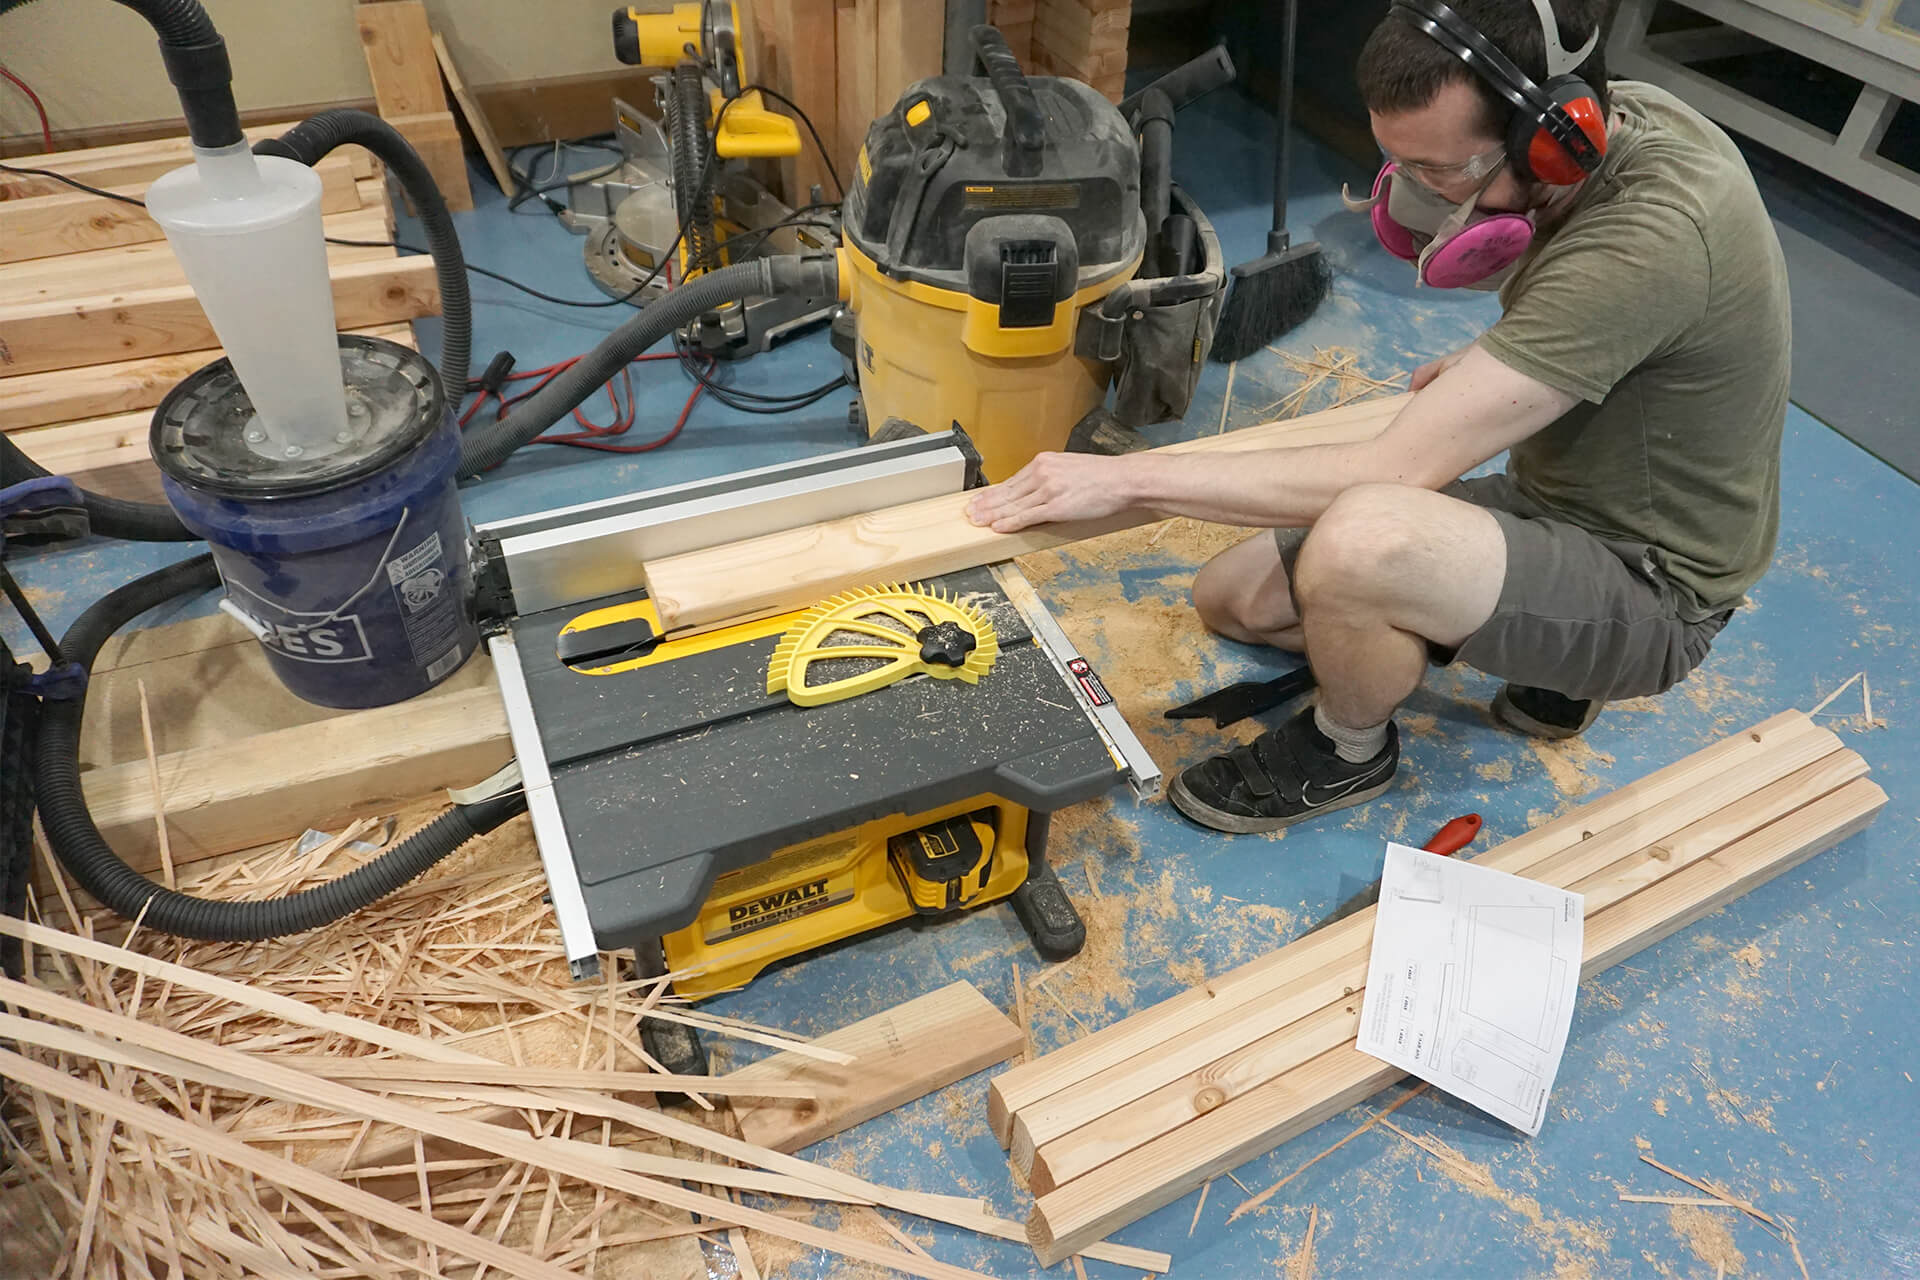
Rip the bevel on the Rafter-Base-Longs. They have a slightly different bevel than the Rafter-Base-Shorts.
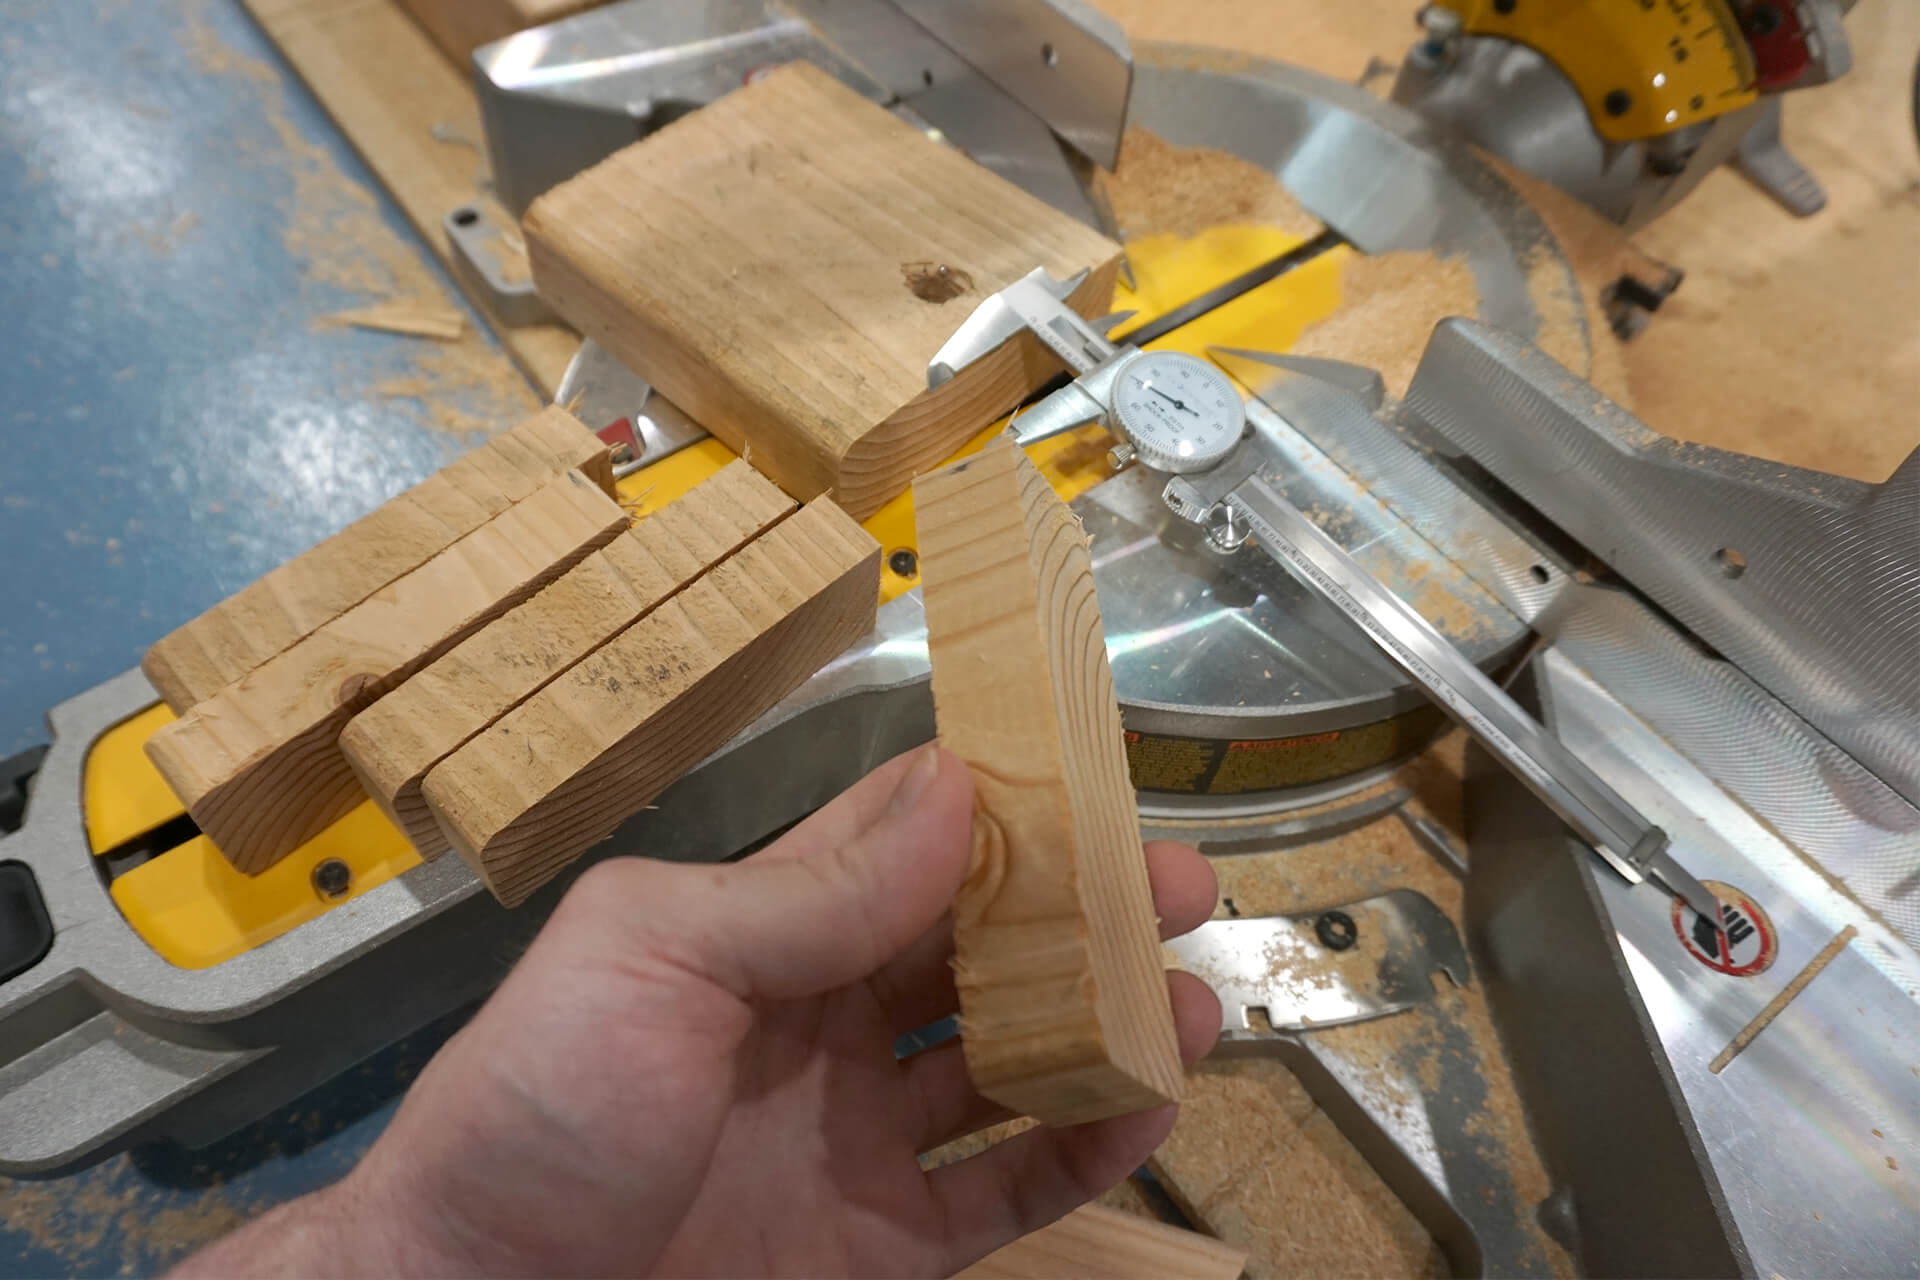
Cut the spacer blocks. These can be cut from a 2x6 remnant.
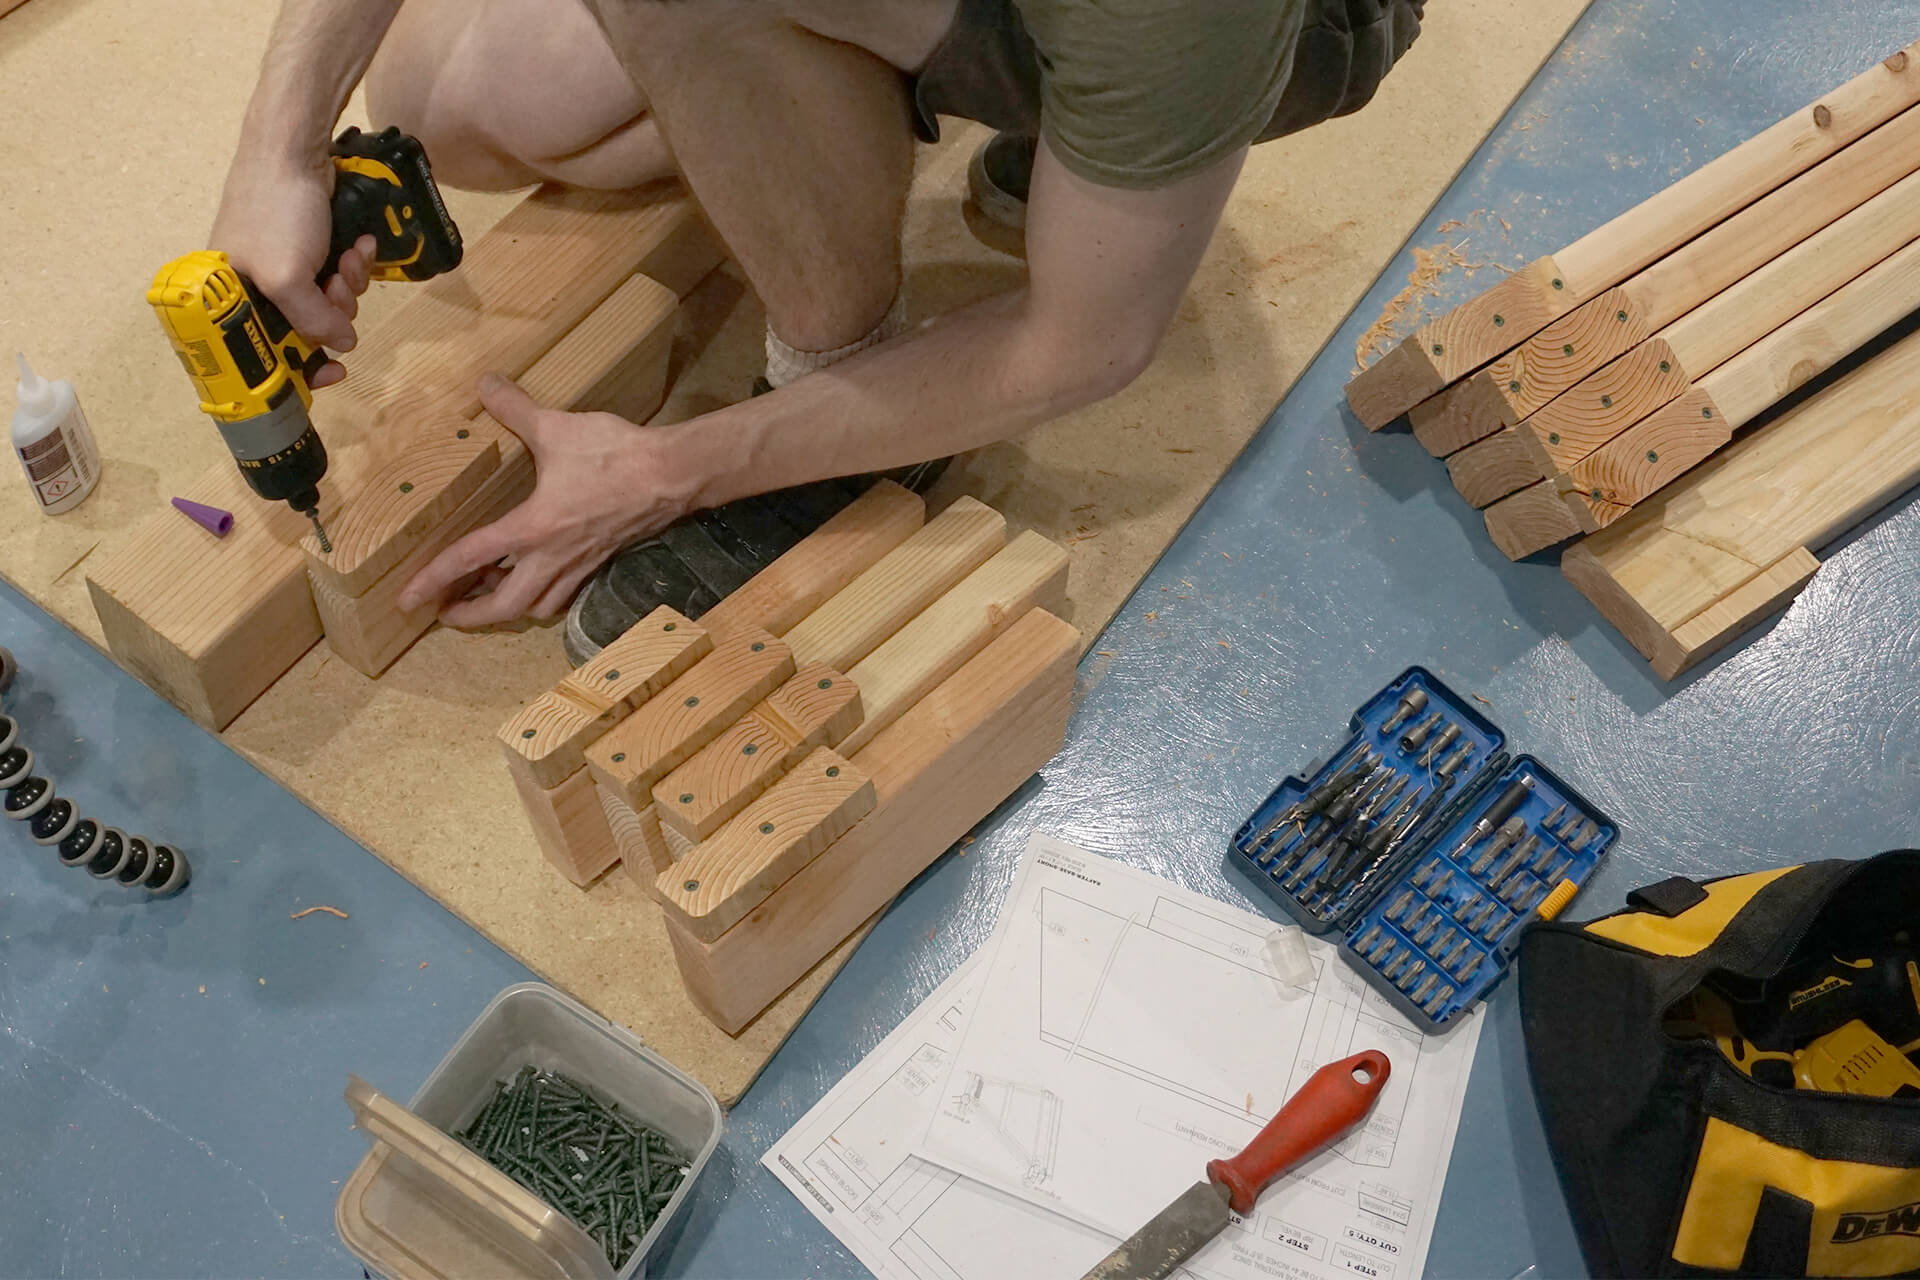
Pre-drill, glue, and screw the spacer blocks onto the Rafter-Base-Shorts and Rafter-Base-Longs. Match the screw placement shown here.
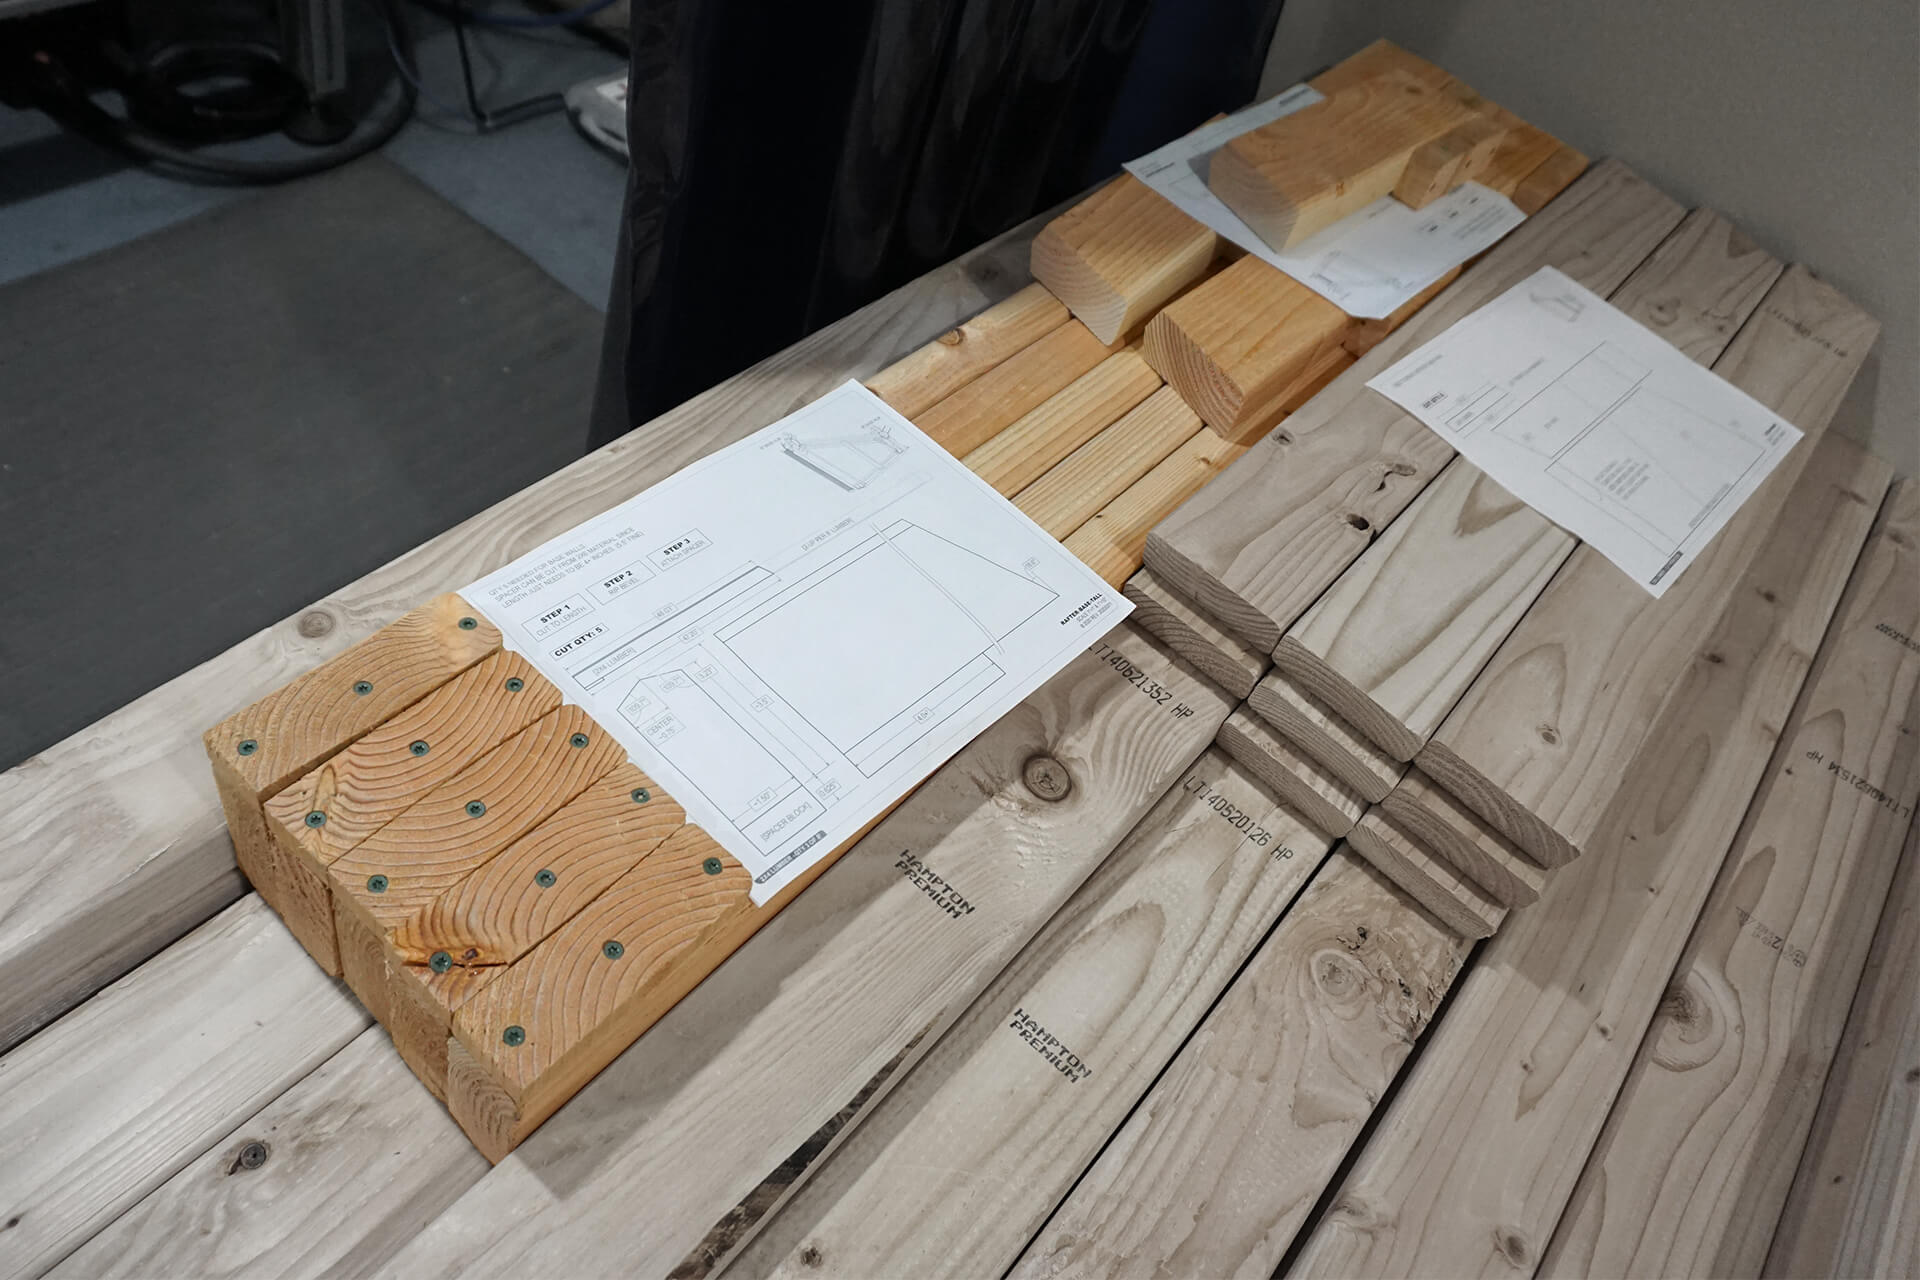
Rafter-Base-Longs and Rafter-Base-Shorts completed and stacked.
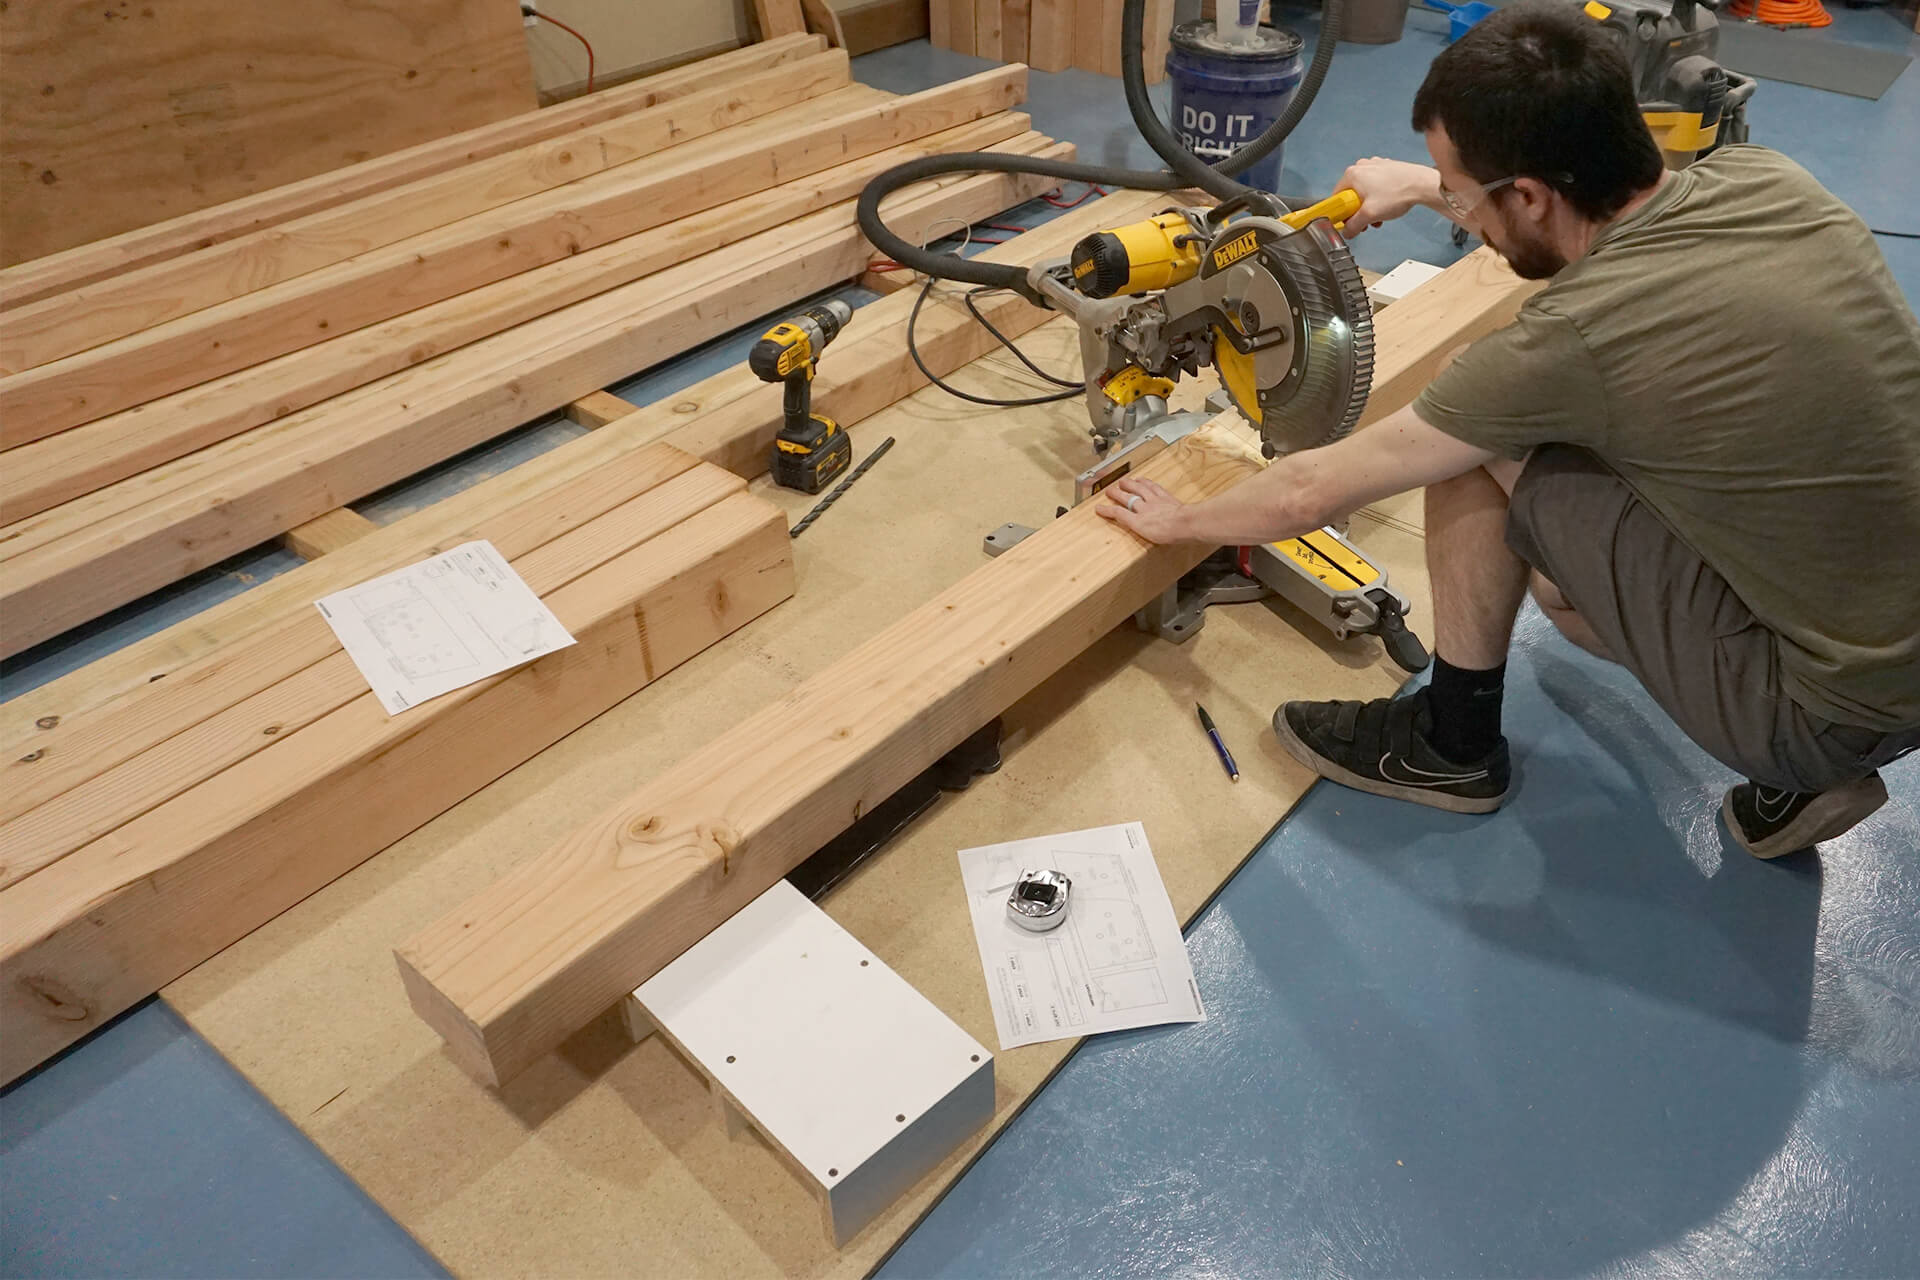
Cut the Strut-Base-Talls from 4x6 lumber. Do not rely on the factory-cut ends of the lumber to be true. Cut one end square, then measure and mark accordingly.
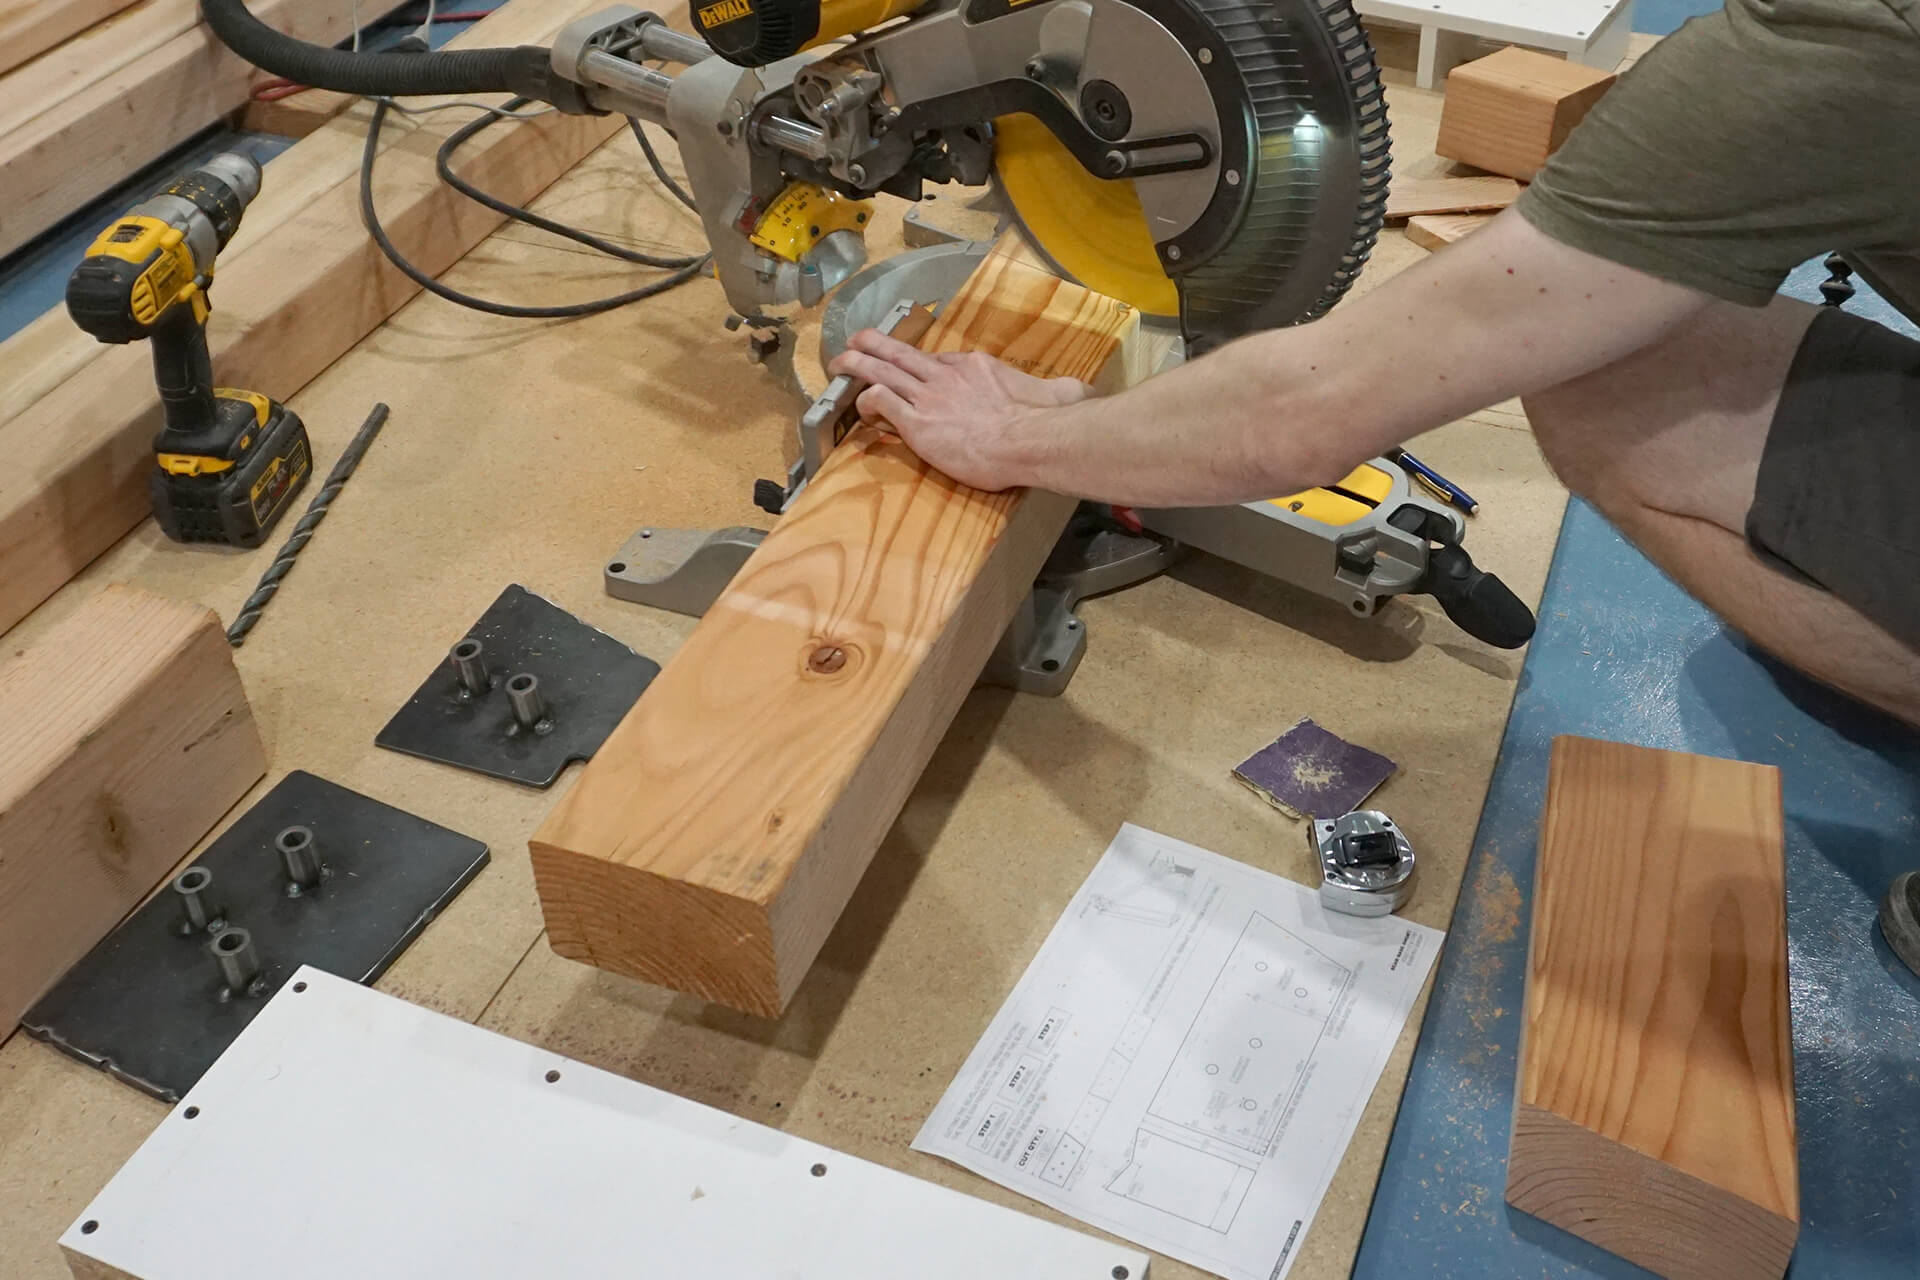
Cut the Strut-Base-Shorts from 4x6 lumber.
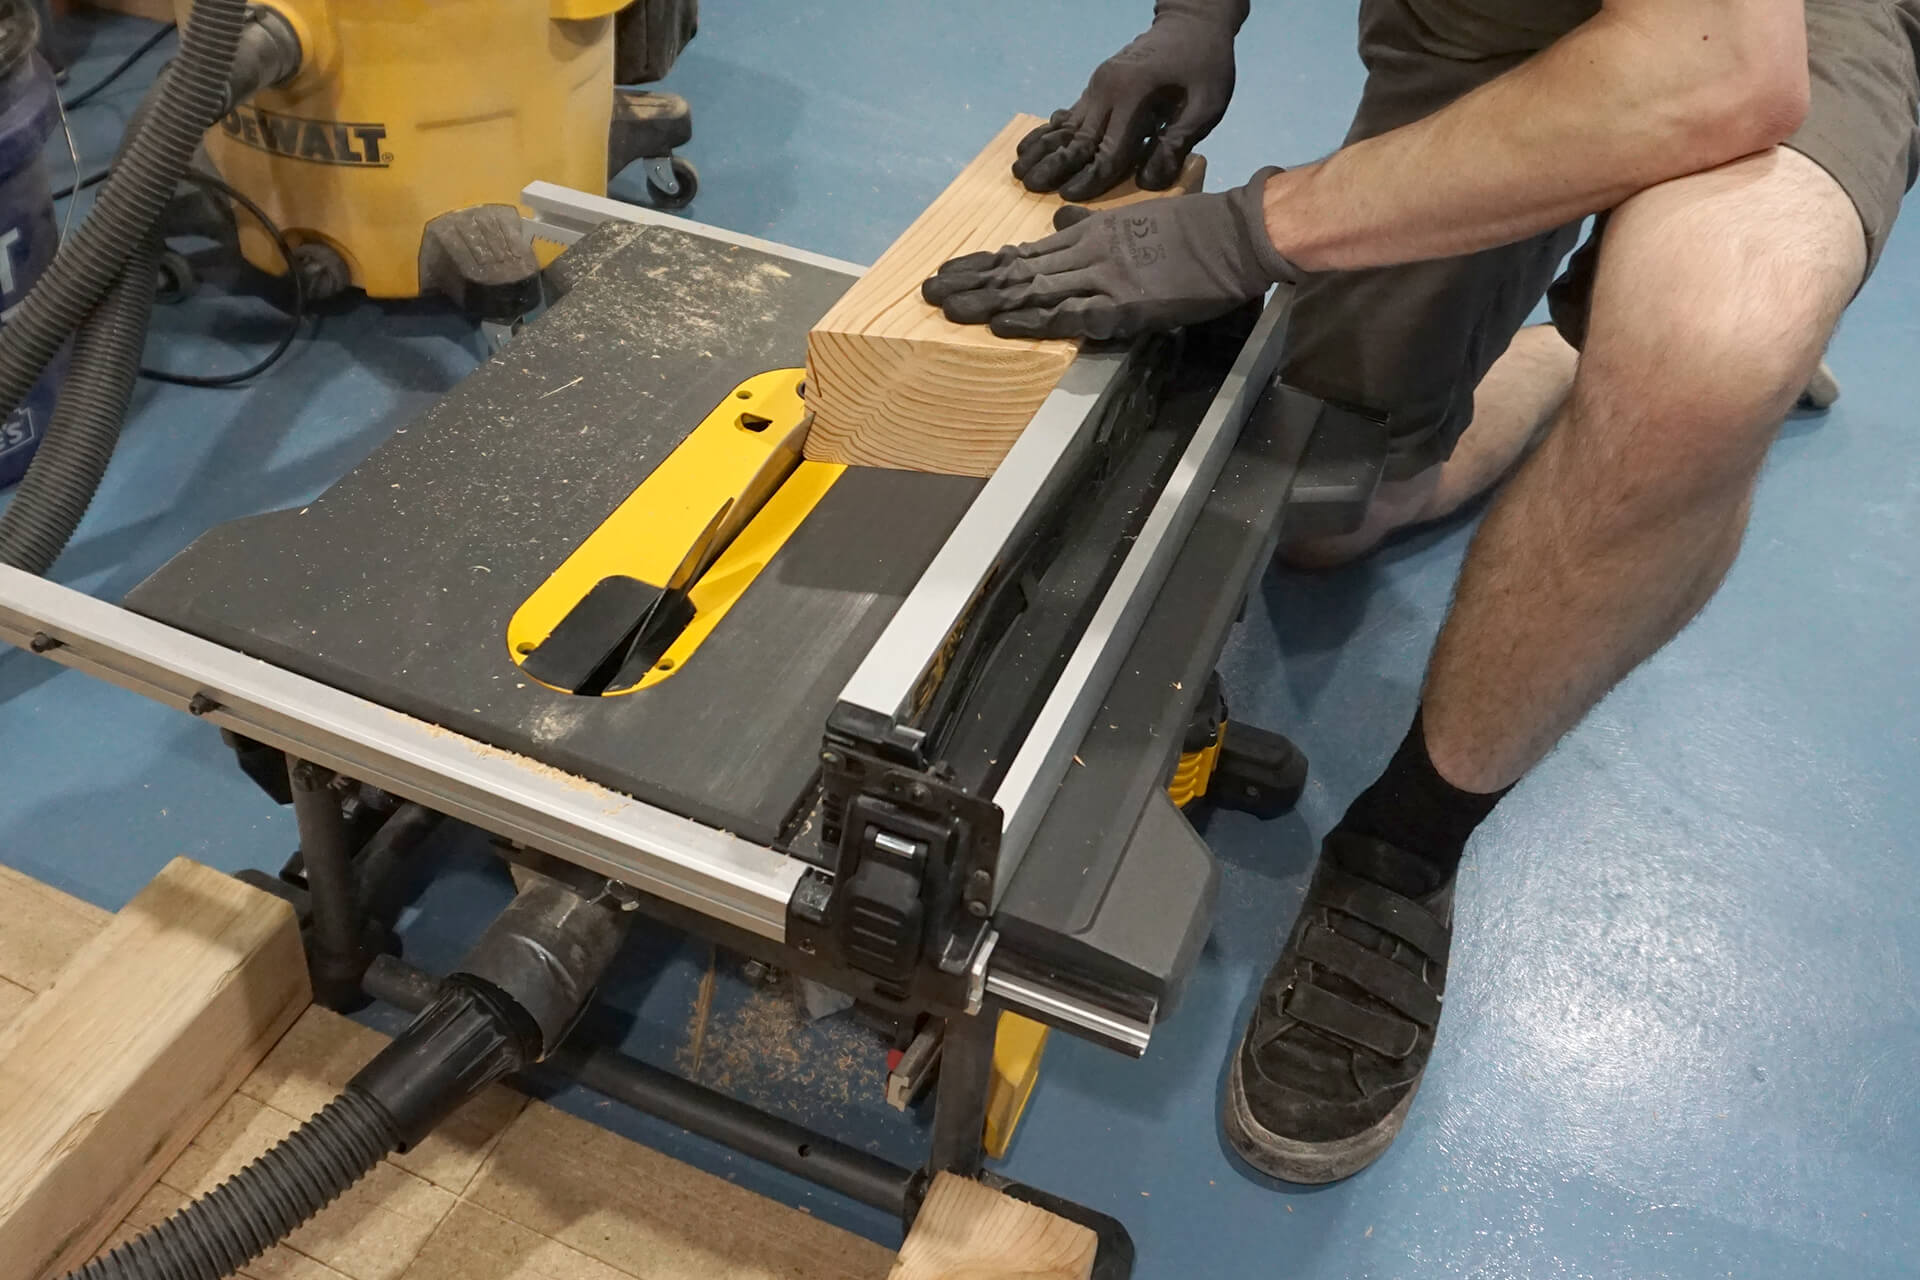
Rip the groove into the Strut-Base-Shorts. It’s a unique angle.
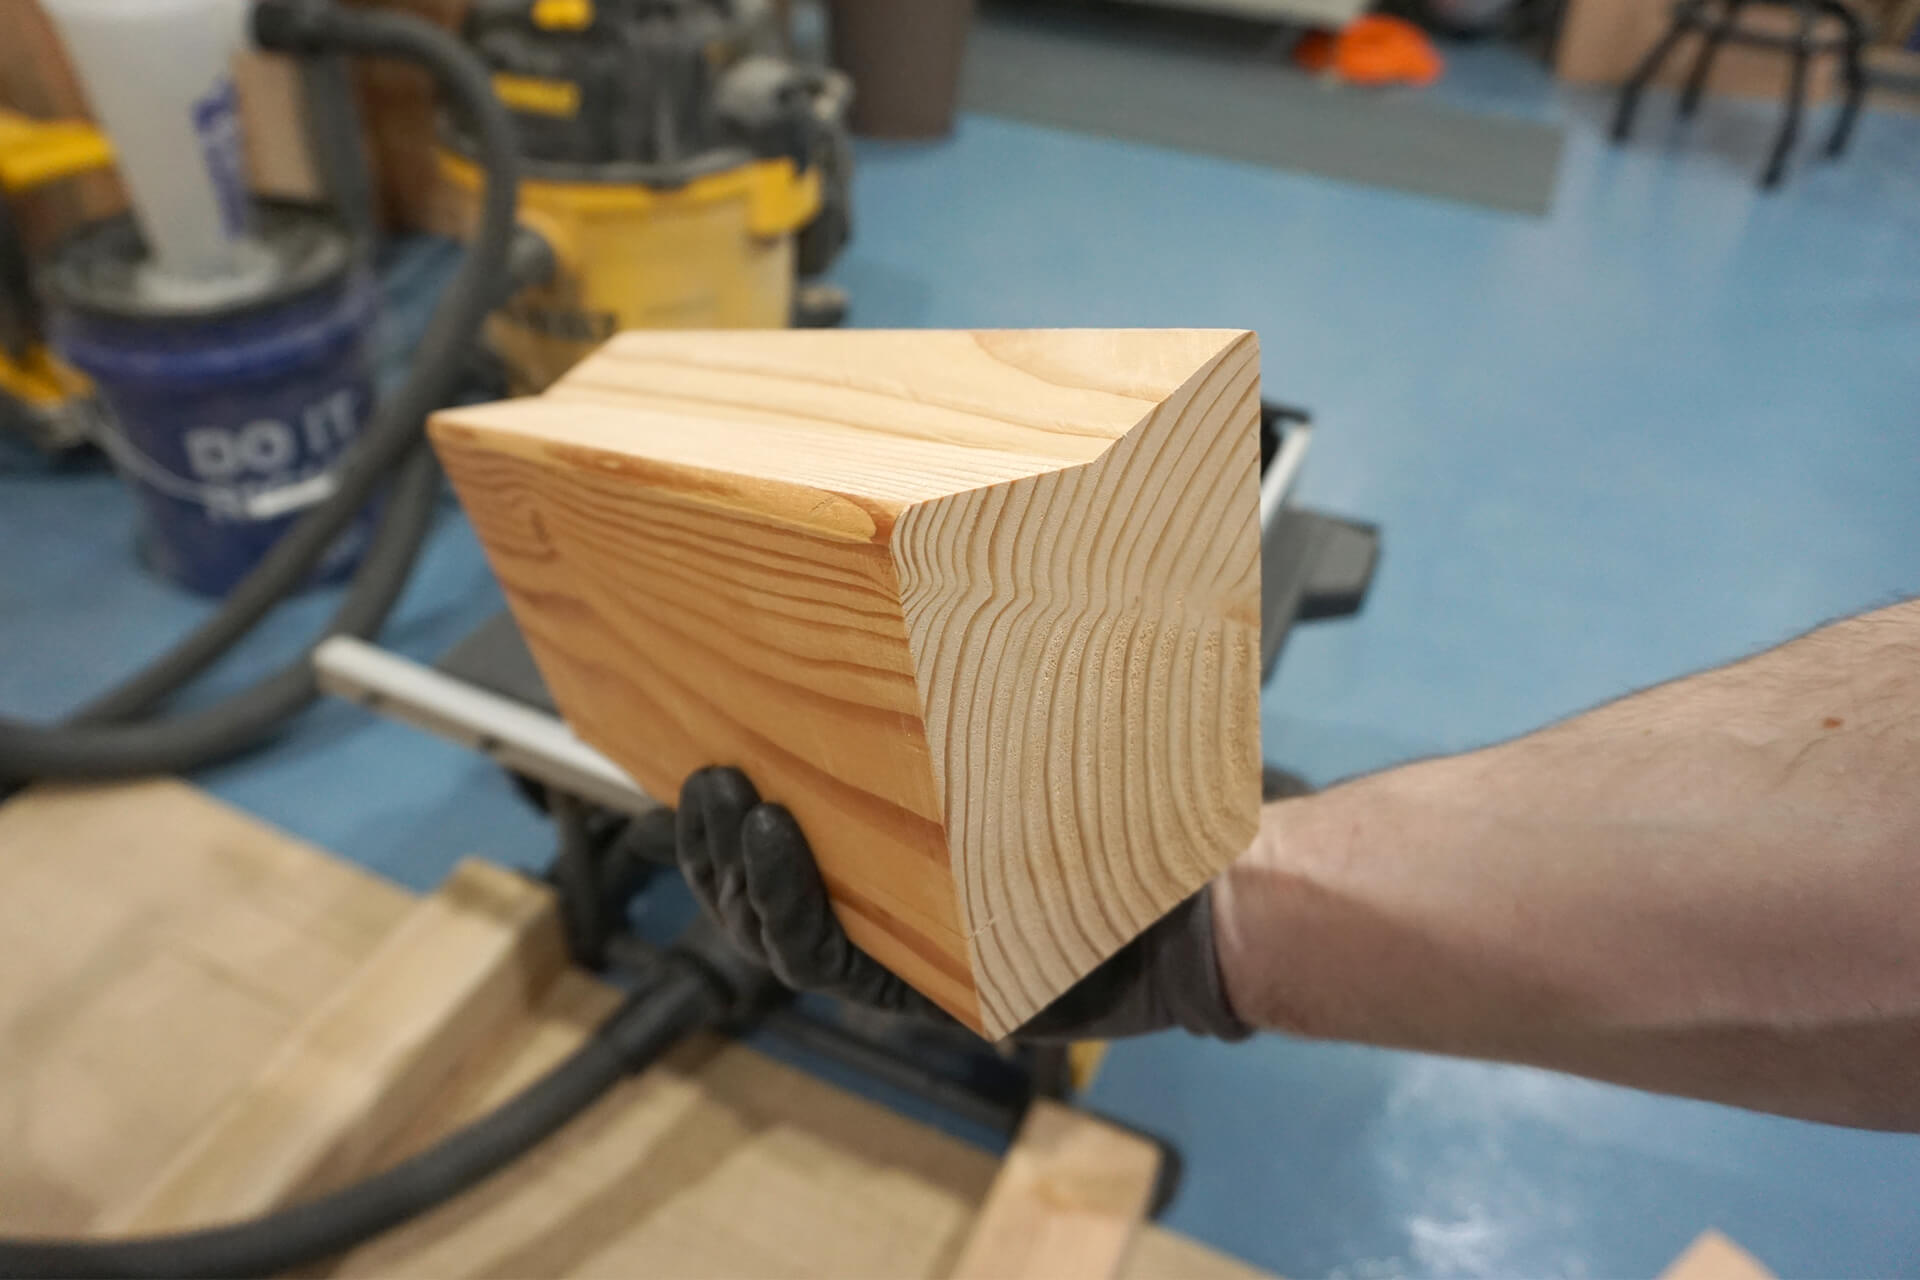
Detail shot showing the Strut-Base-Short groove.
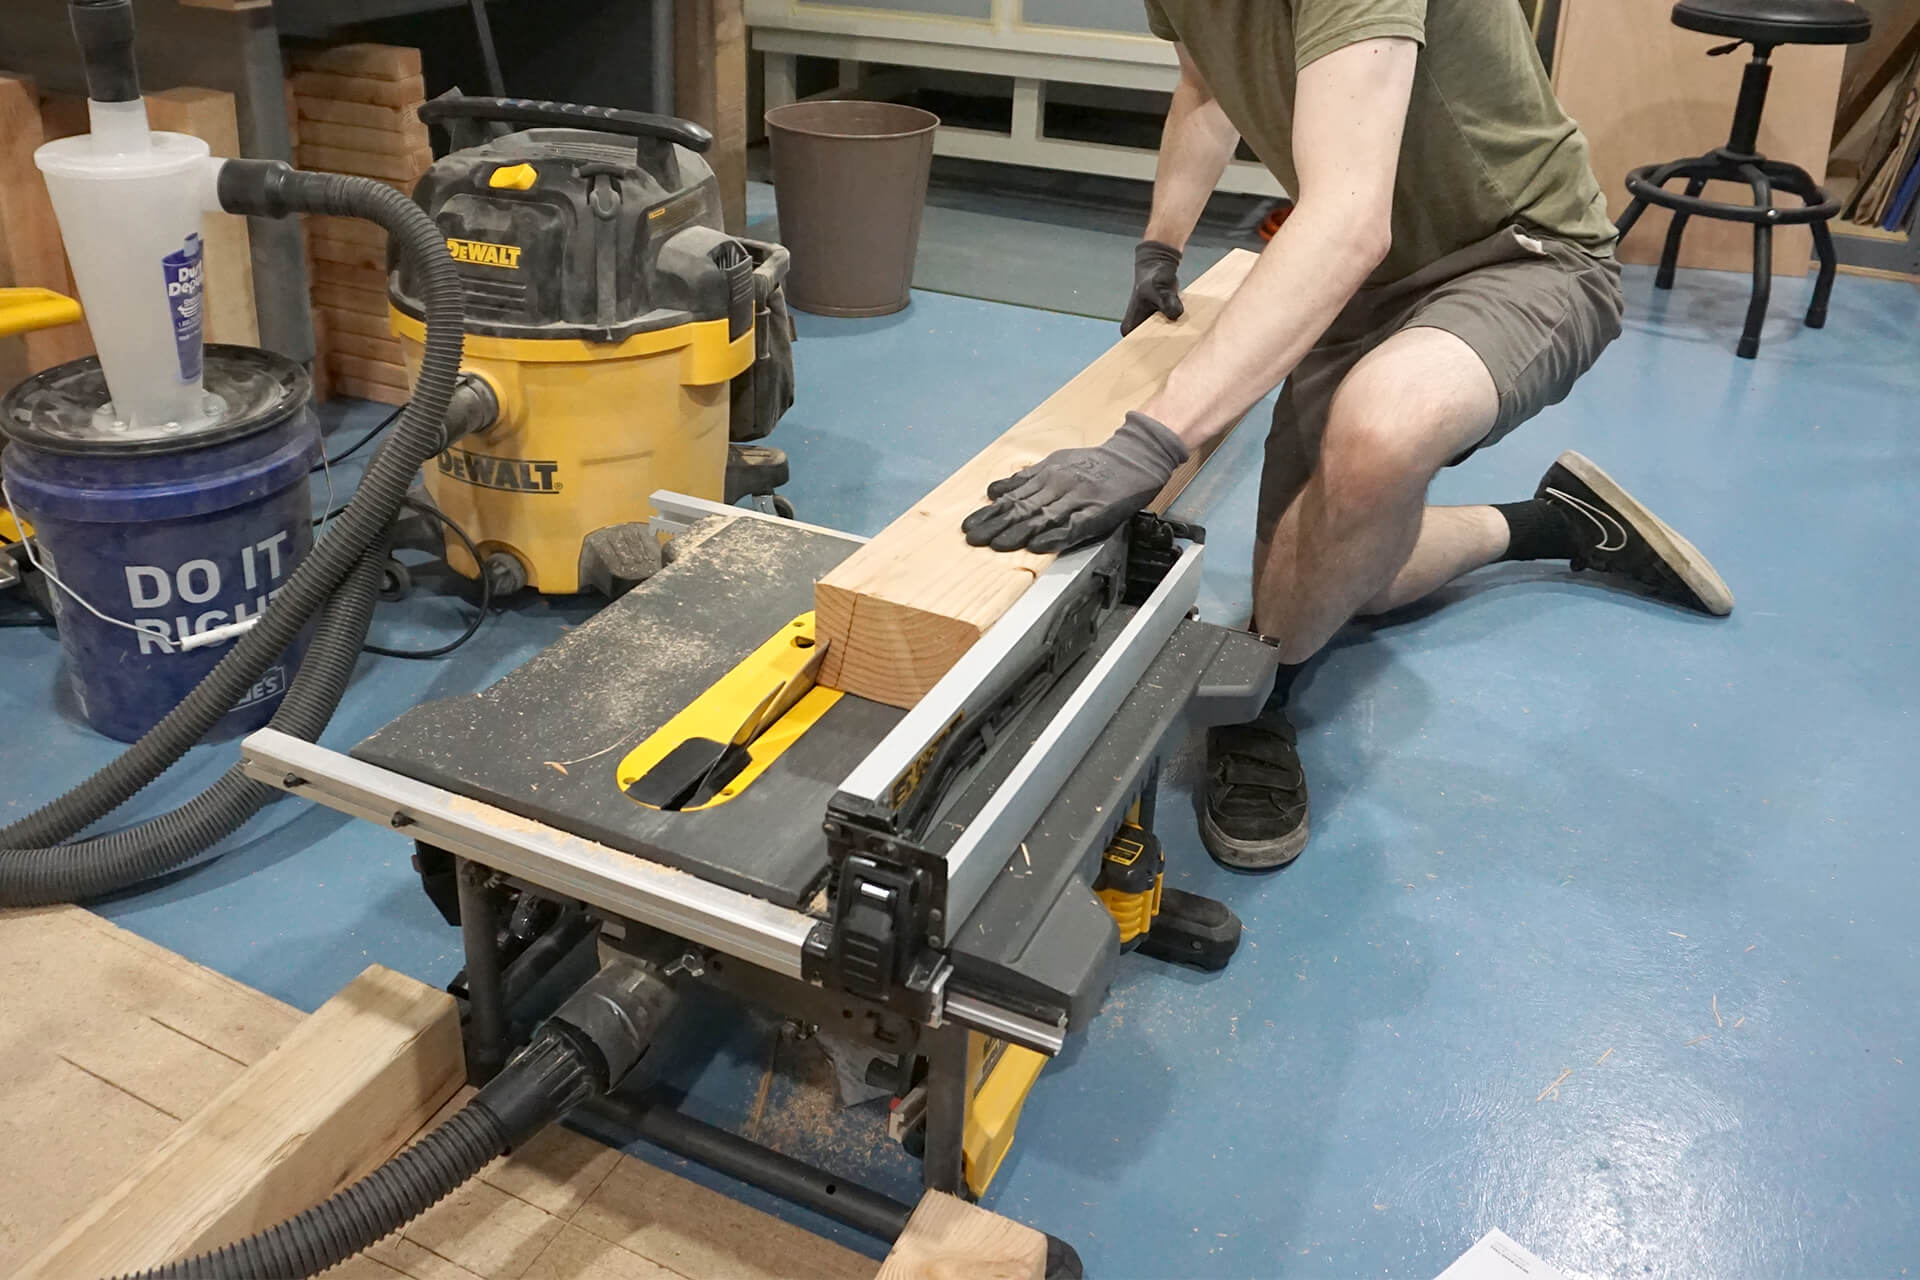
Rip the groove into the Strut-Base-Longs. It’s a unique angle, slightly different from the Strut-Base-Shorts.
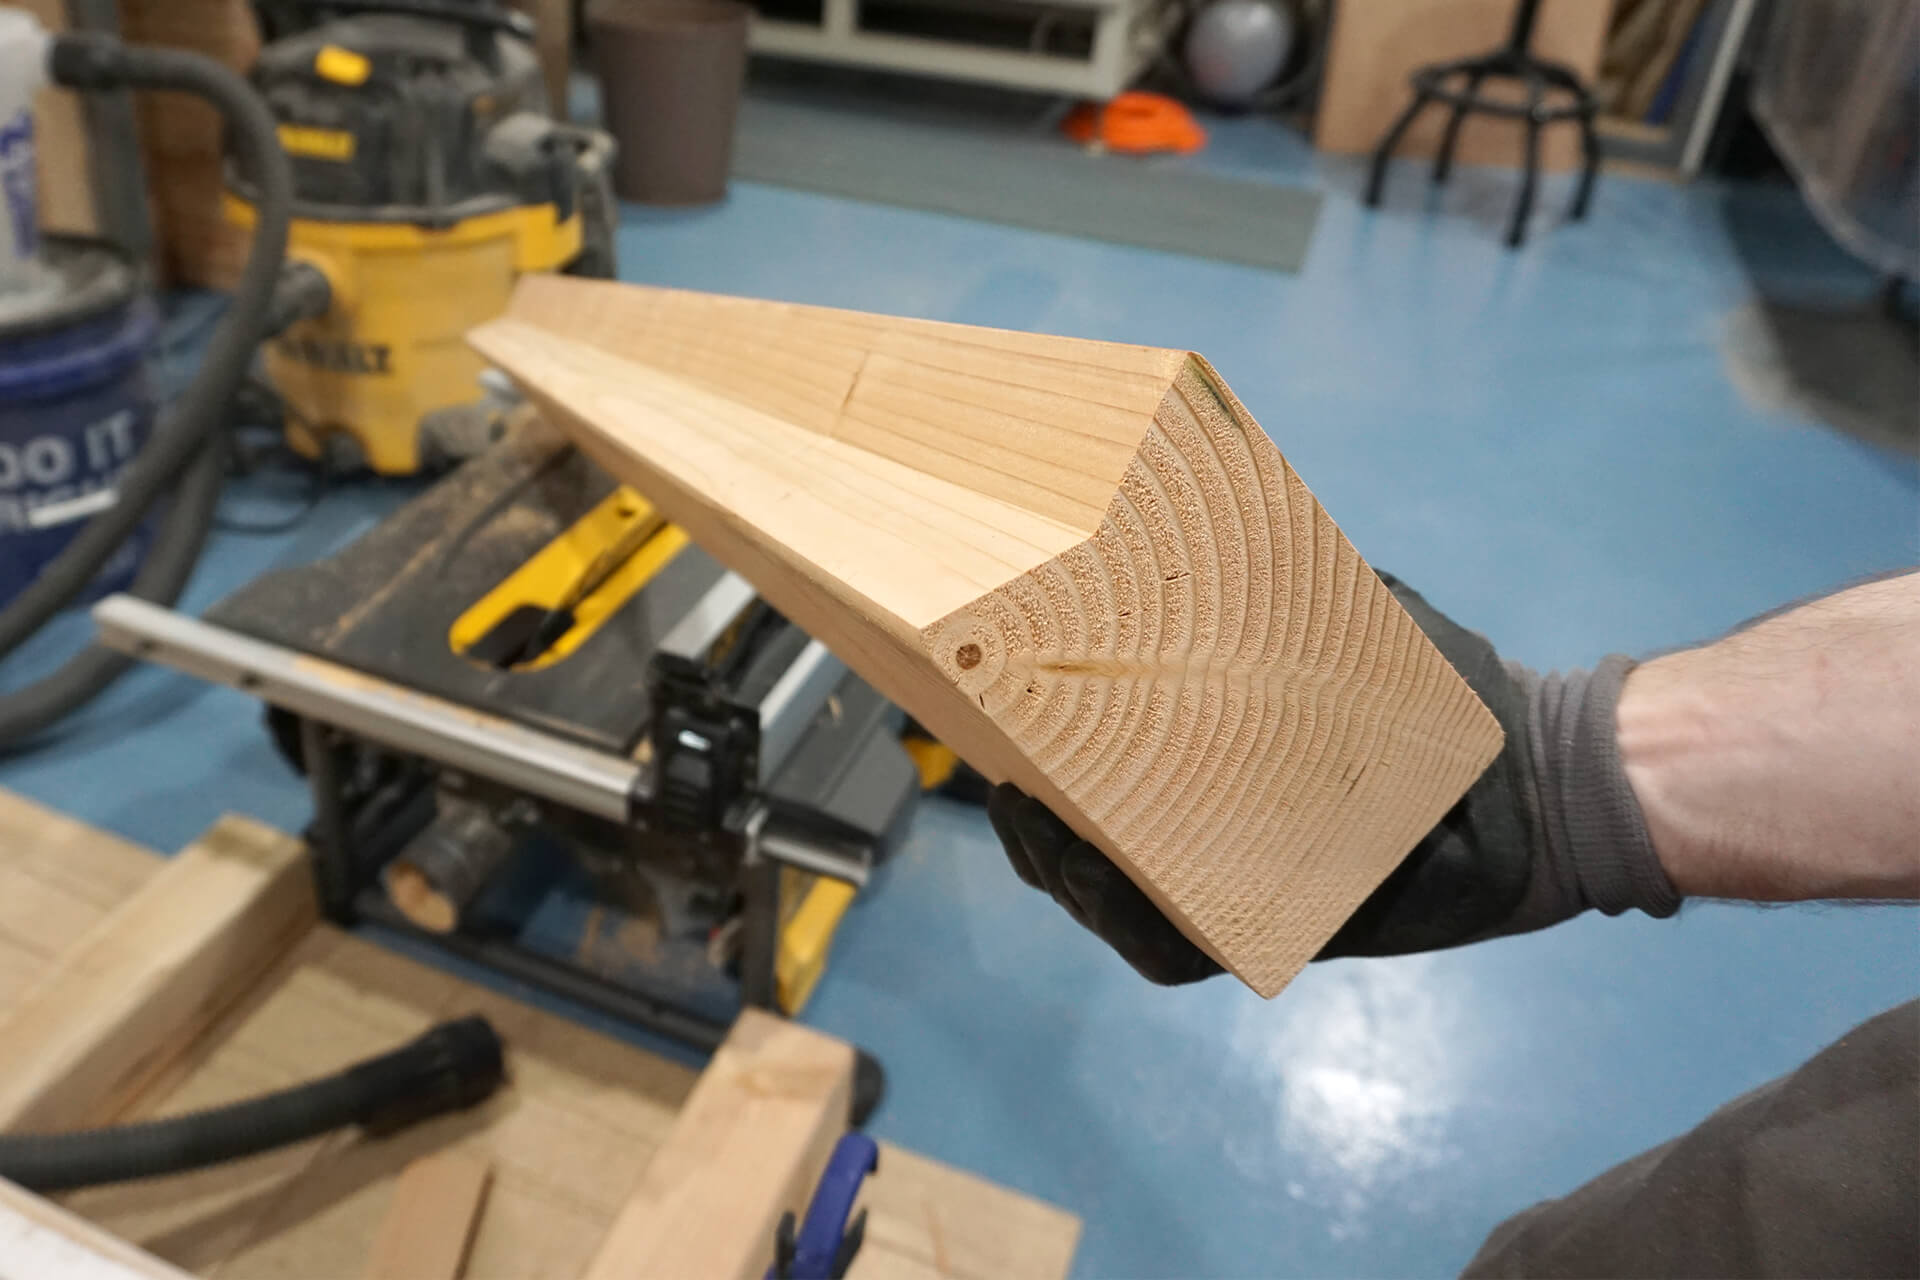
Detail shot showing the Strut-Base-Long groove.
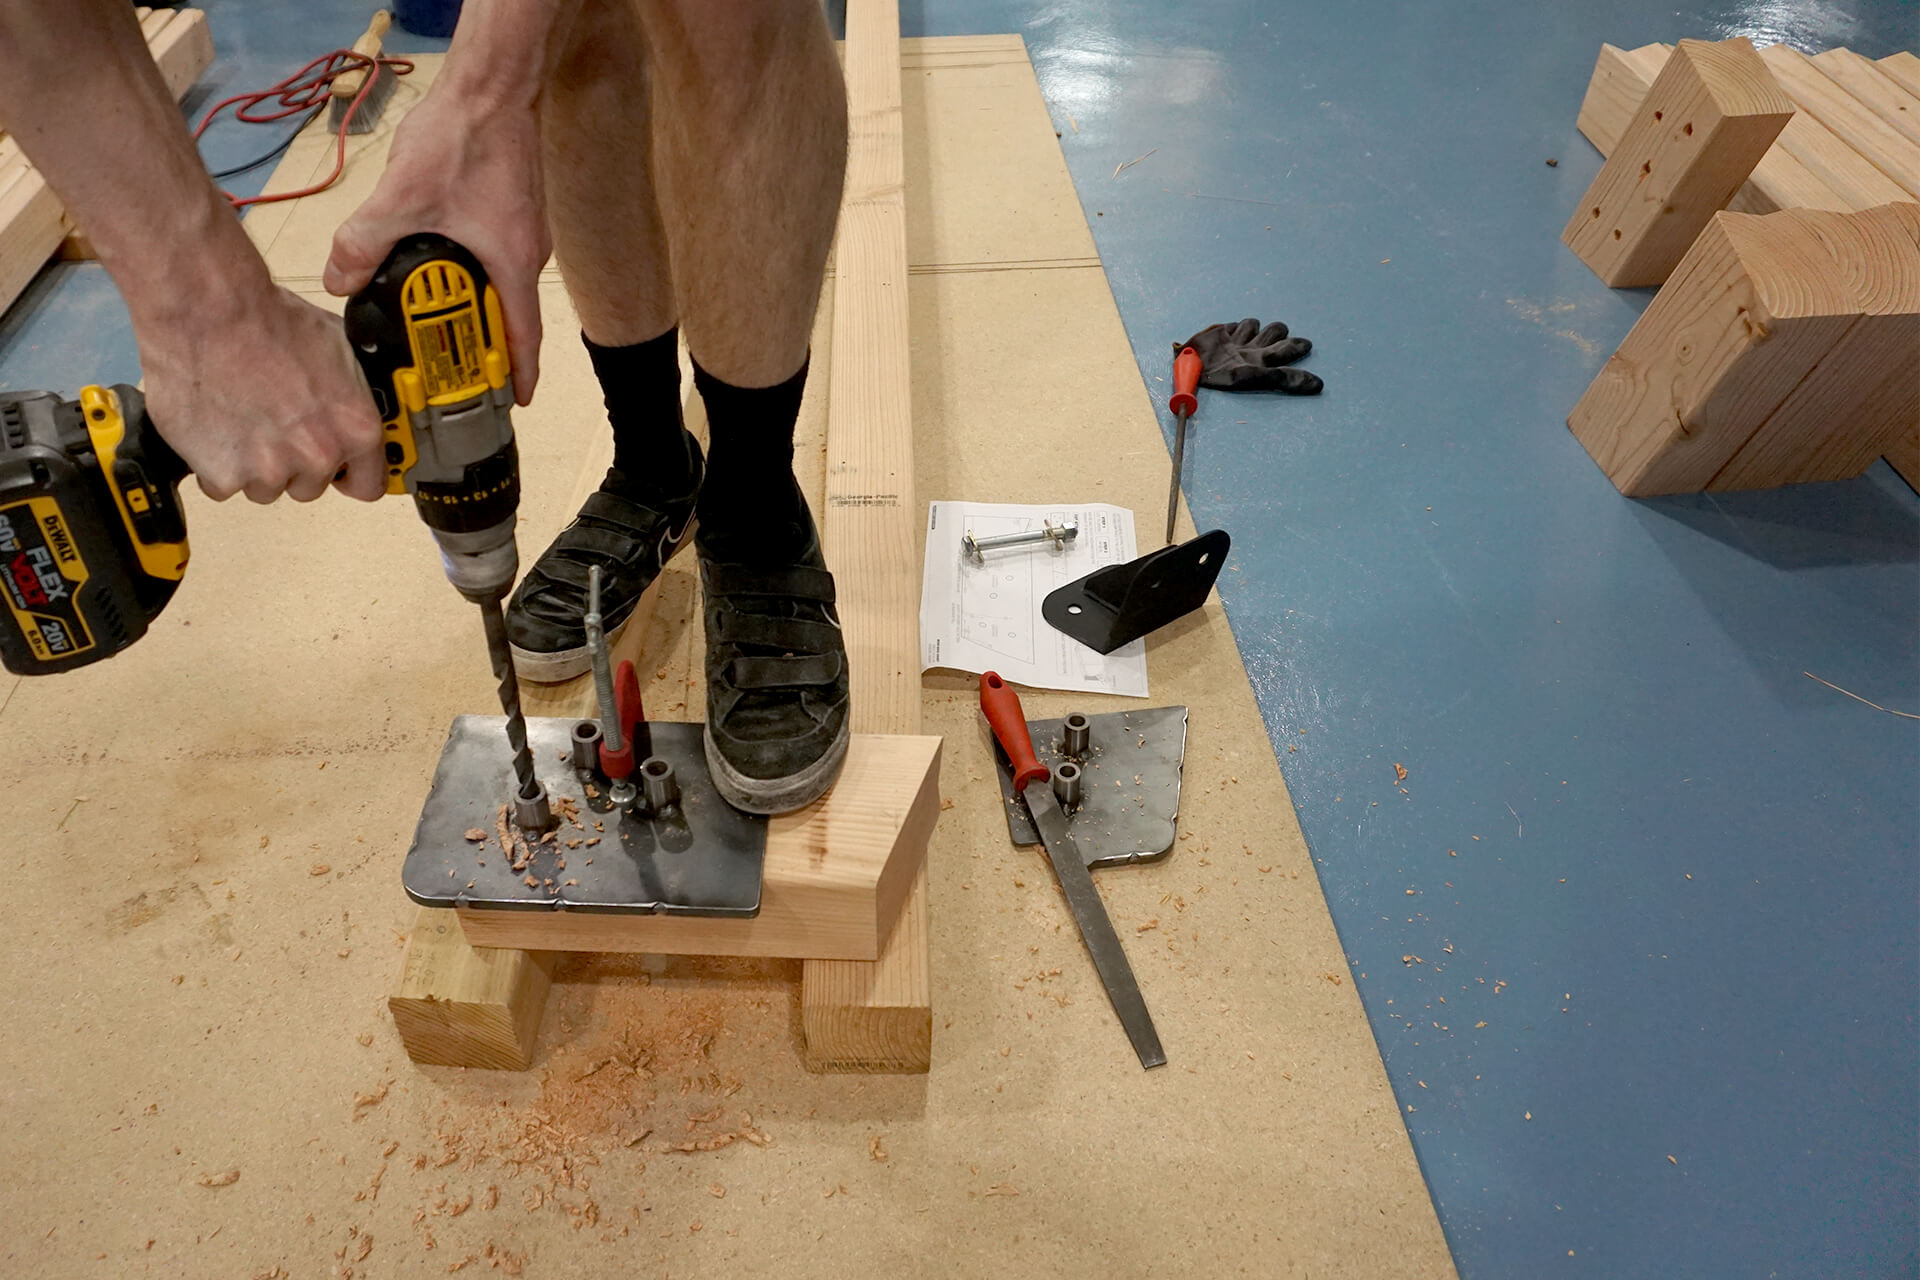
Drill the holes into the Strut-Base-Shorts using the correct jigs.
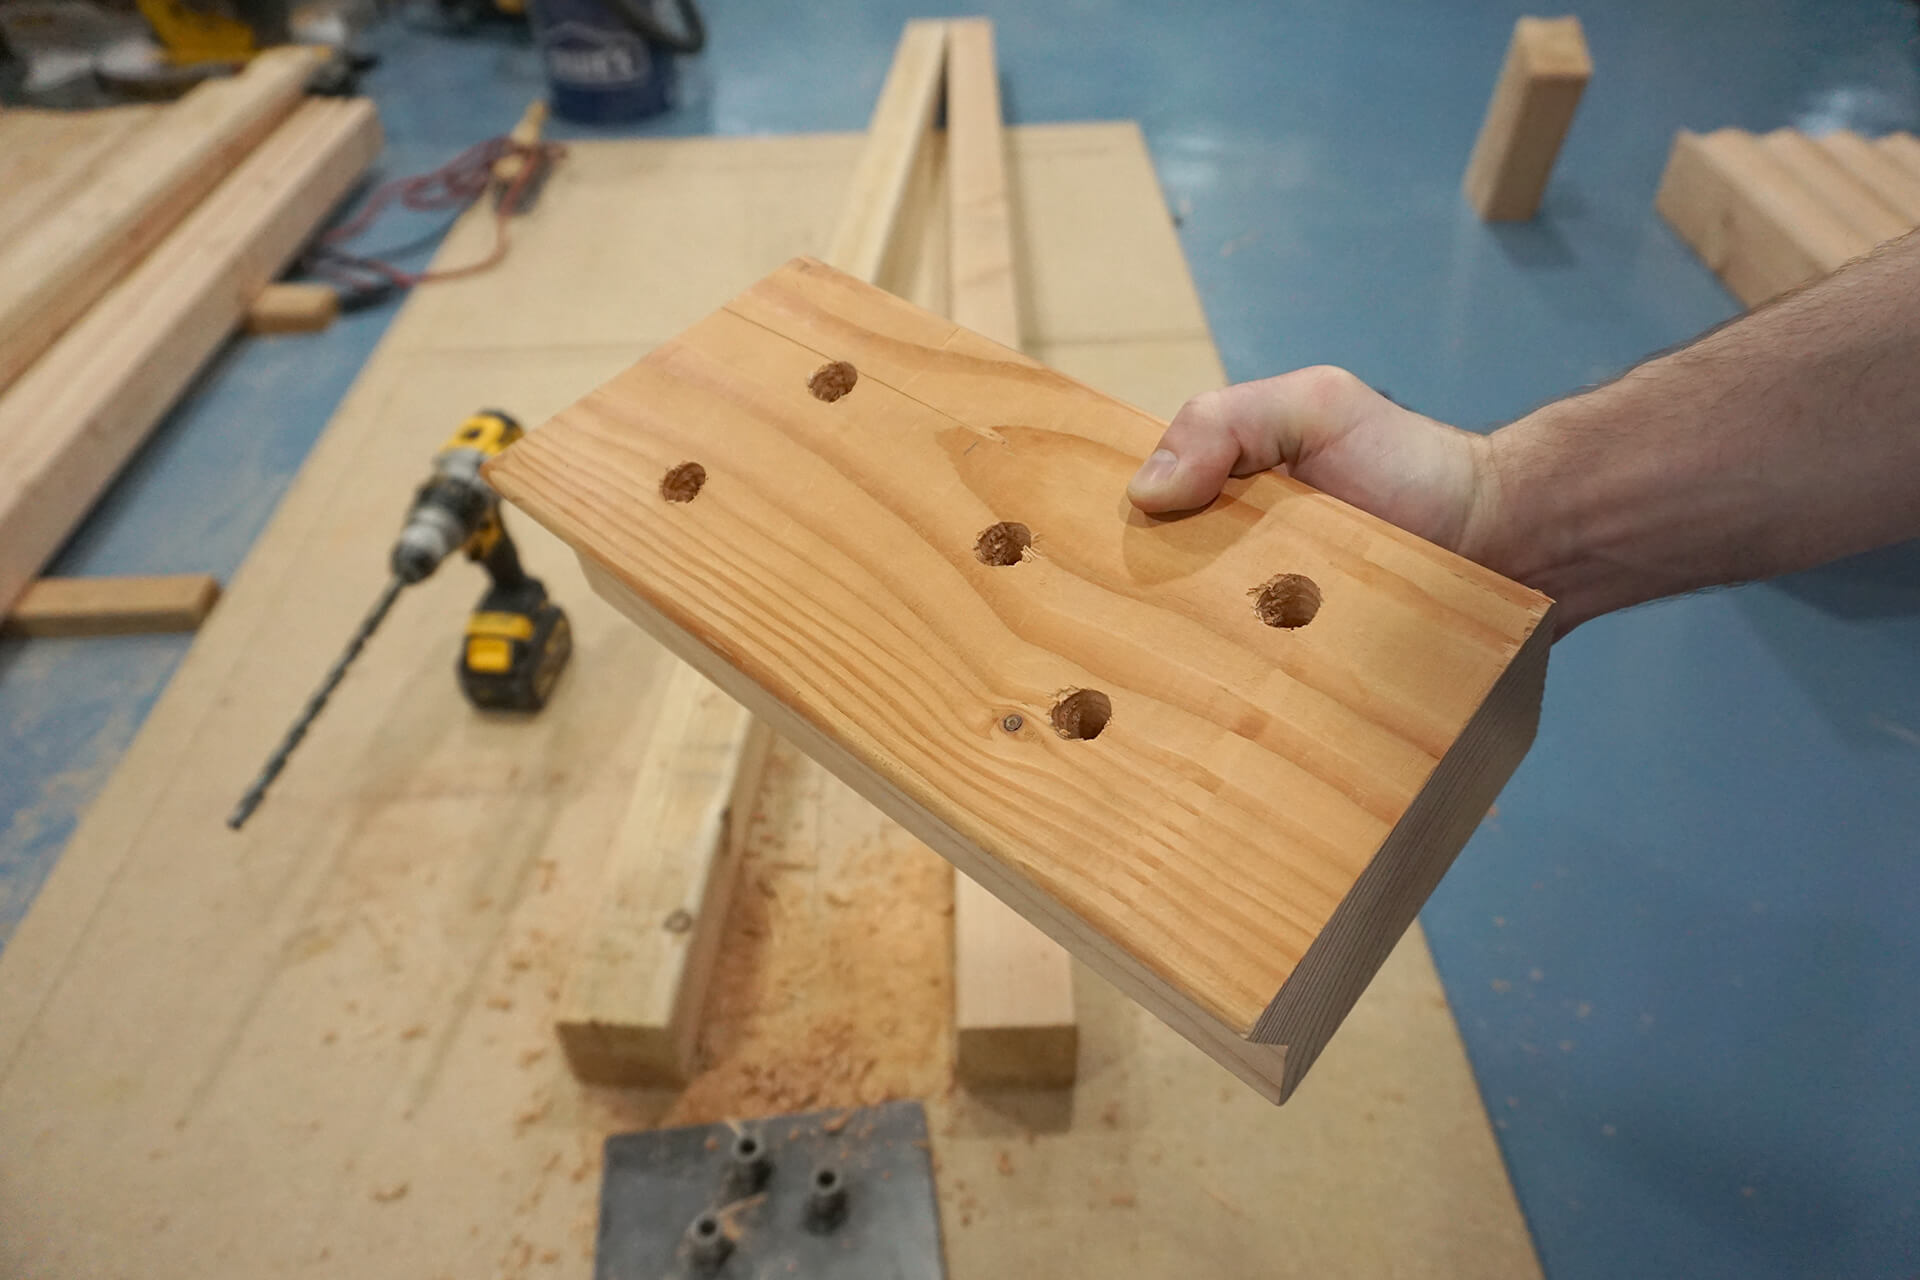
A completed Strut-Base-Short.
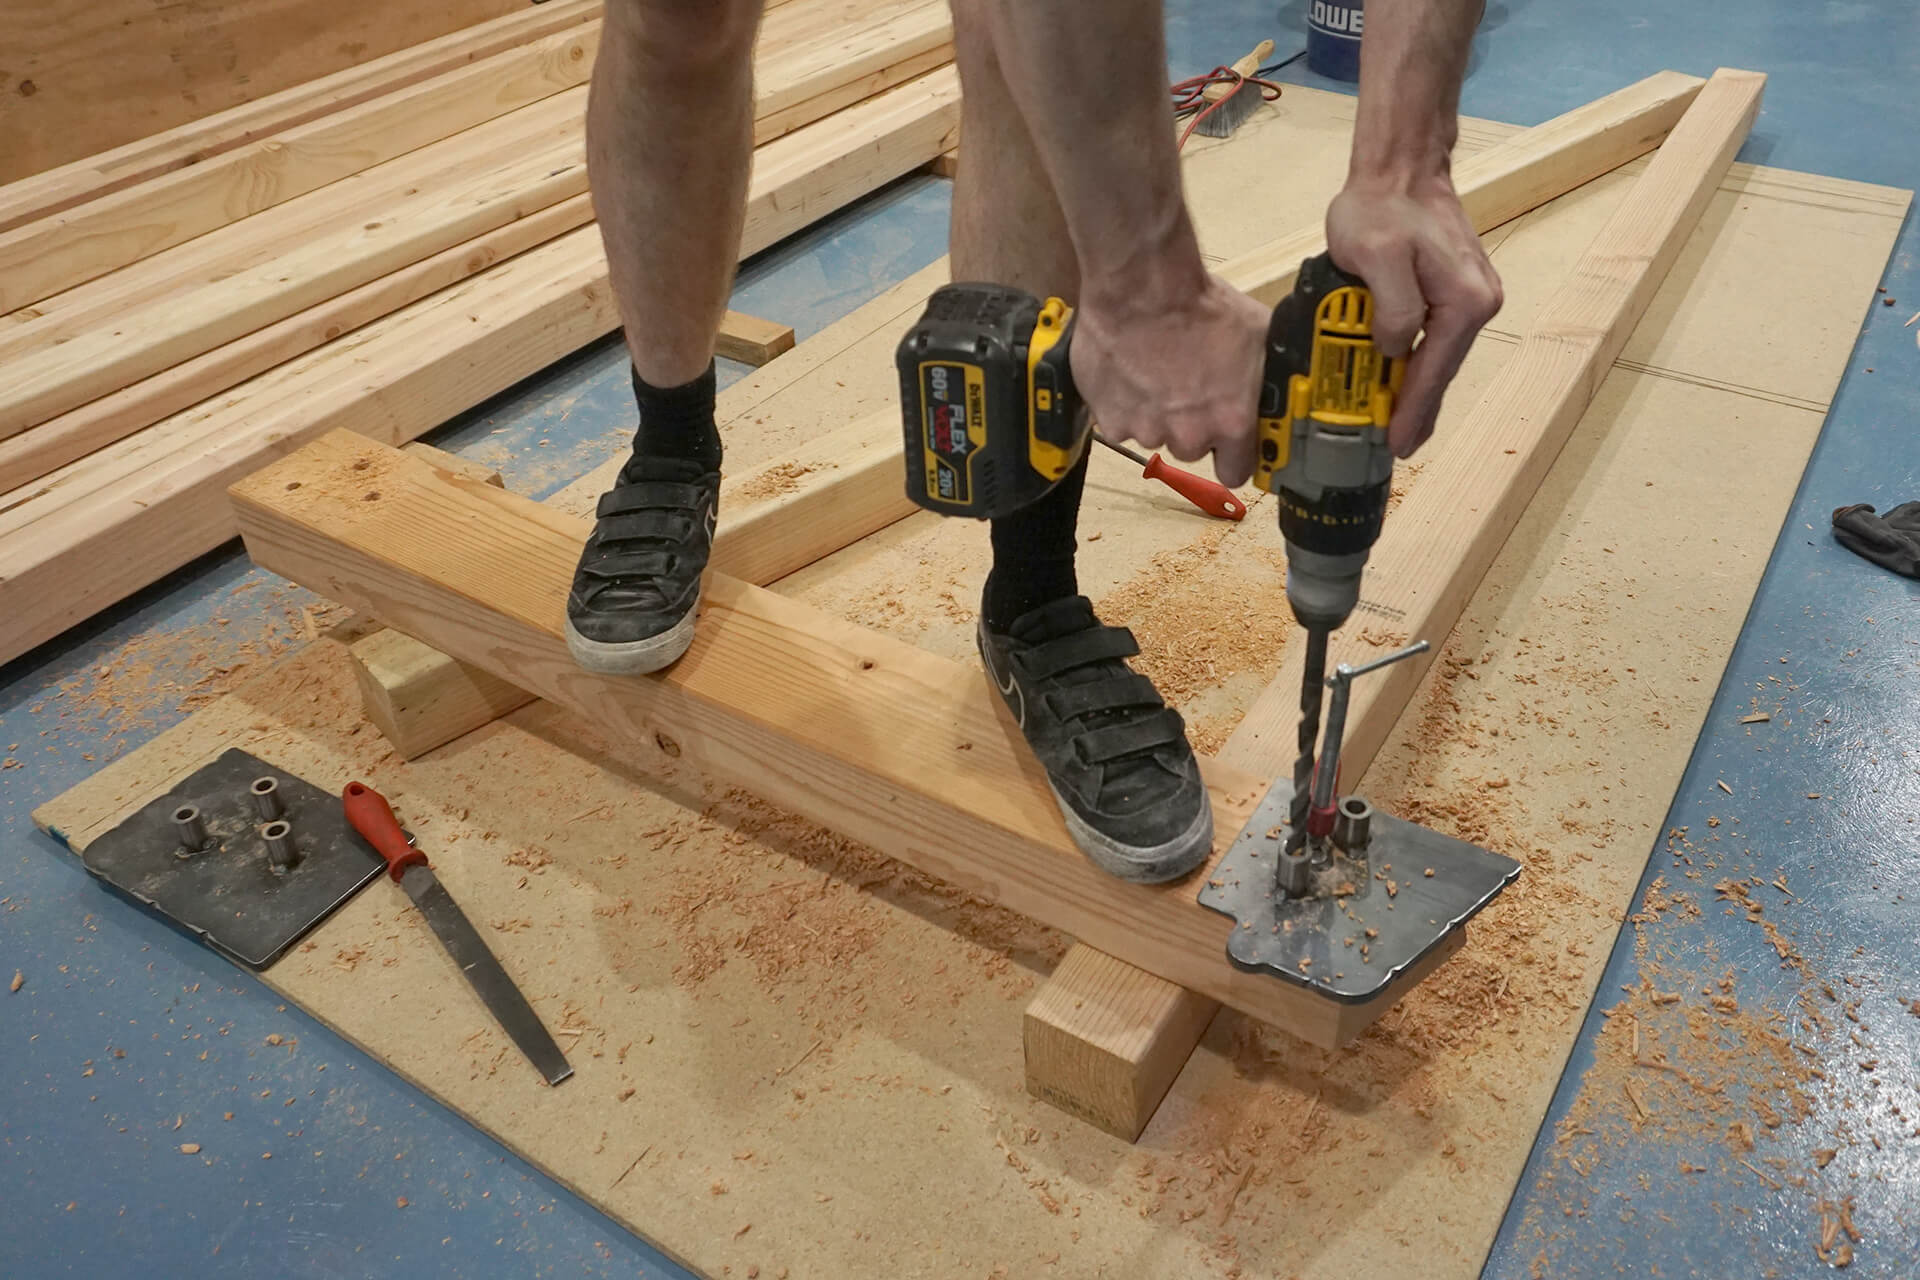
Drill the holes into the Strut-Base-Longs using the correct jigs.
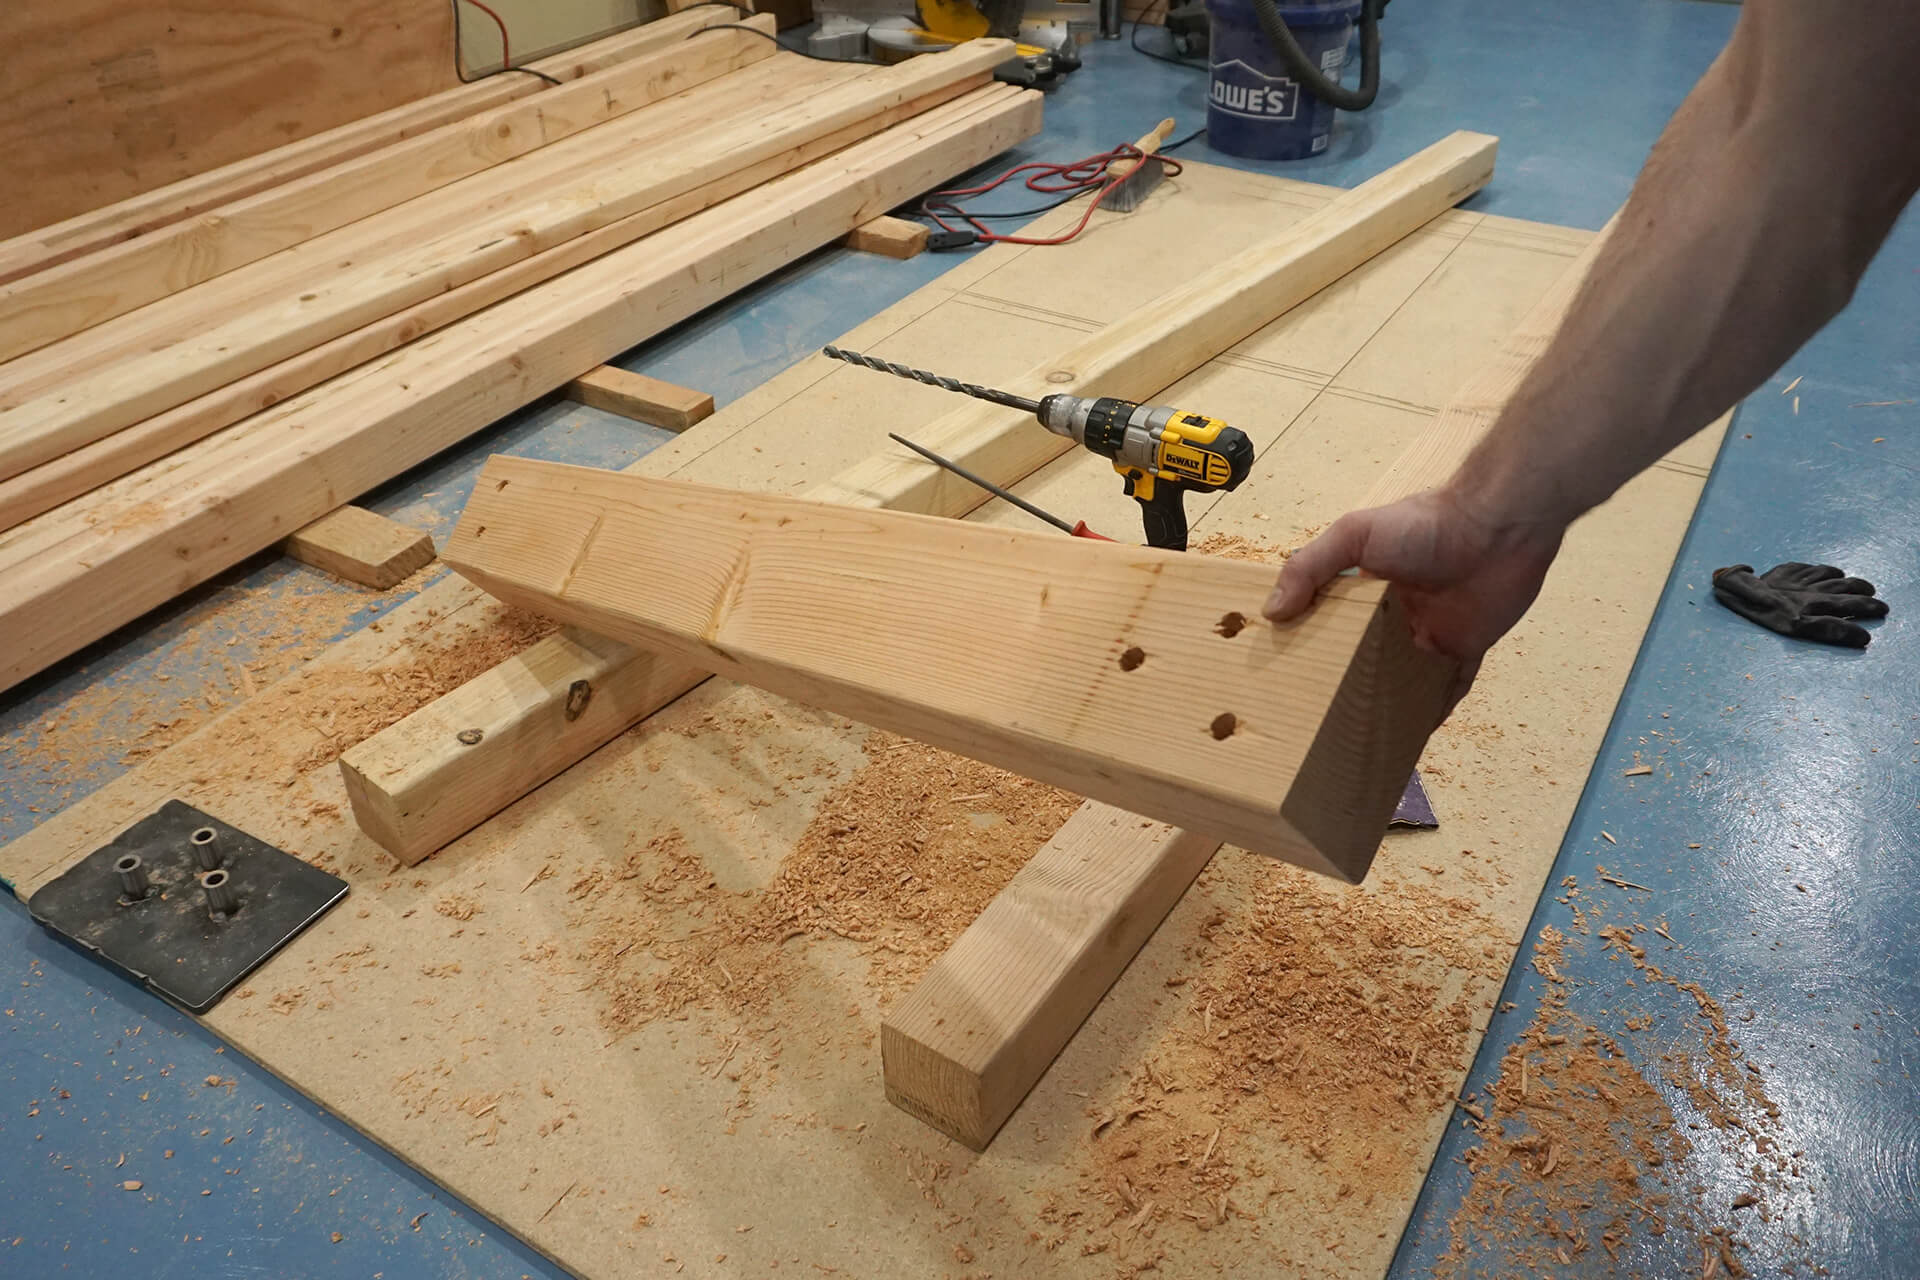
A completed Strut-Base-Long.
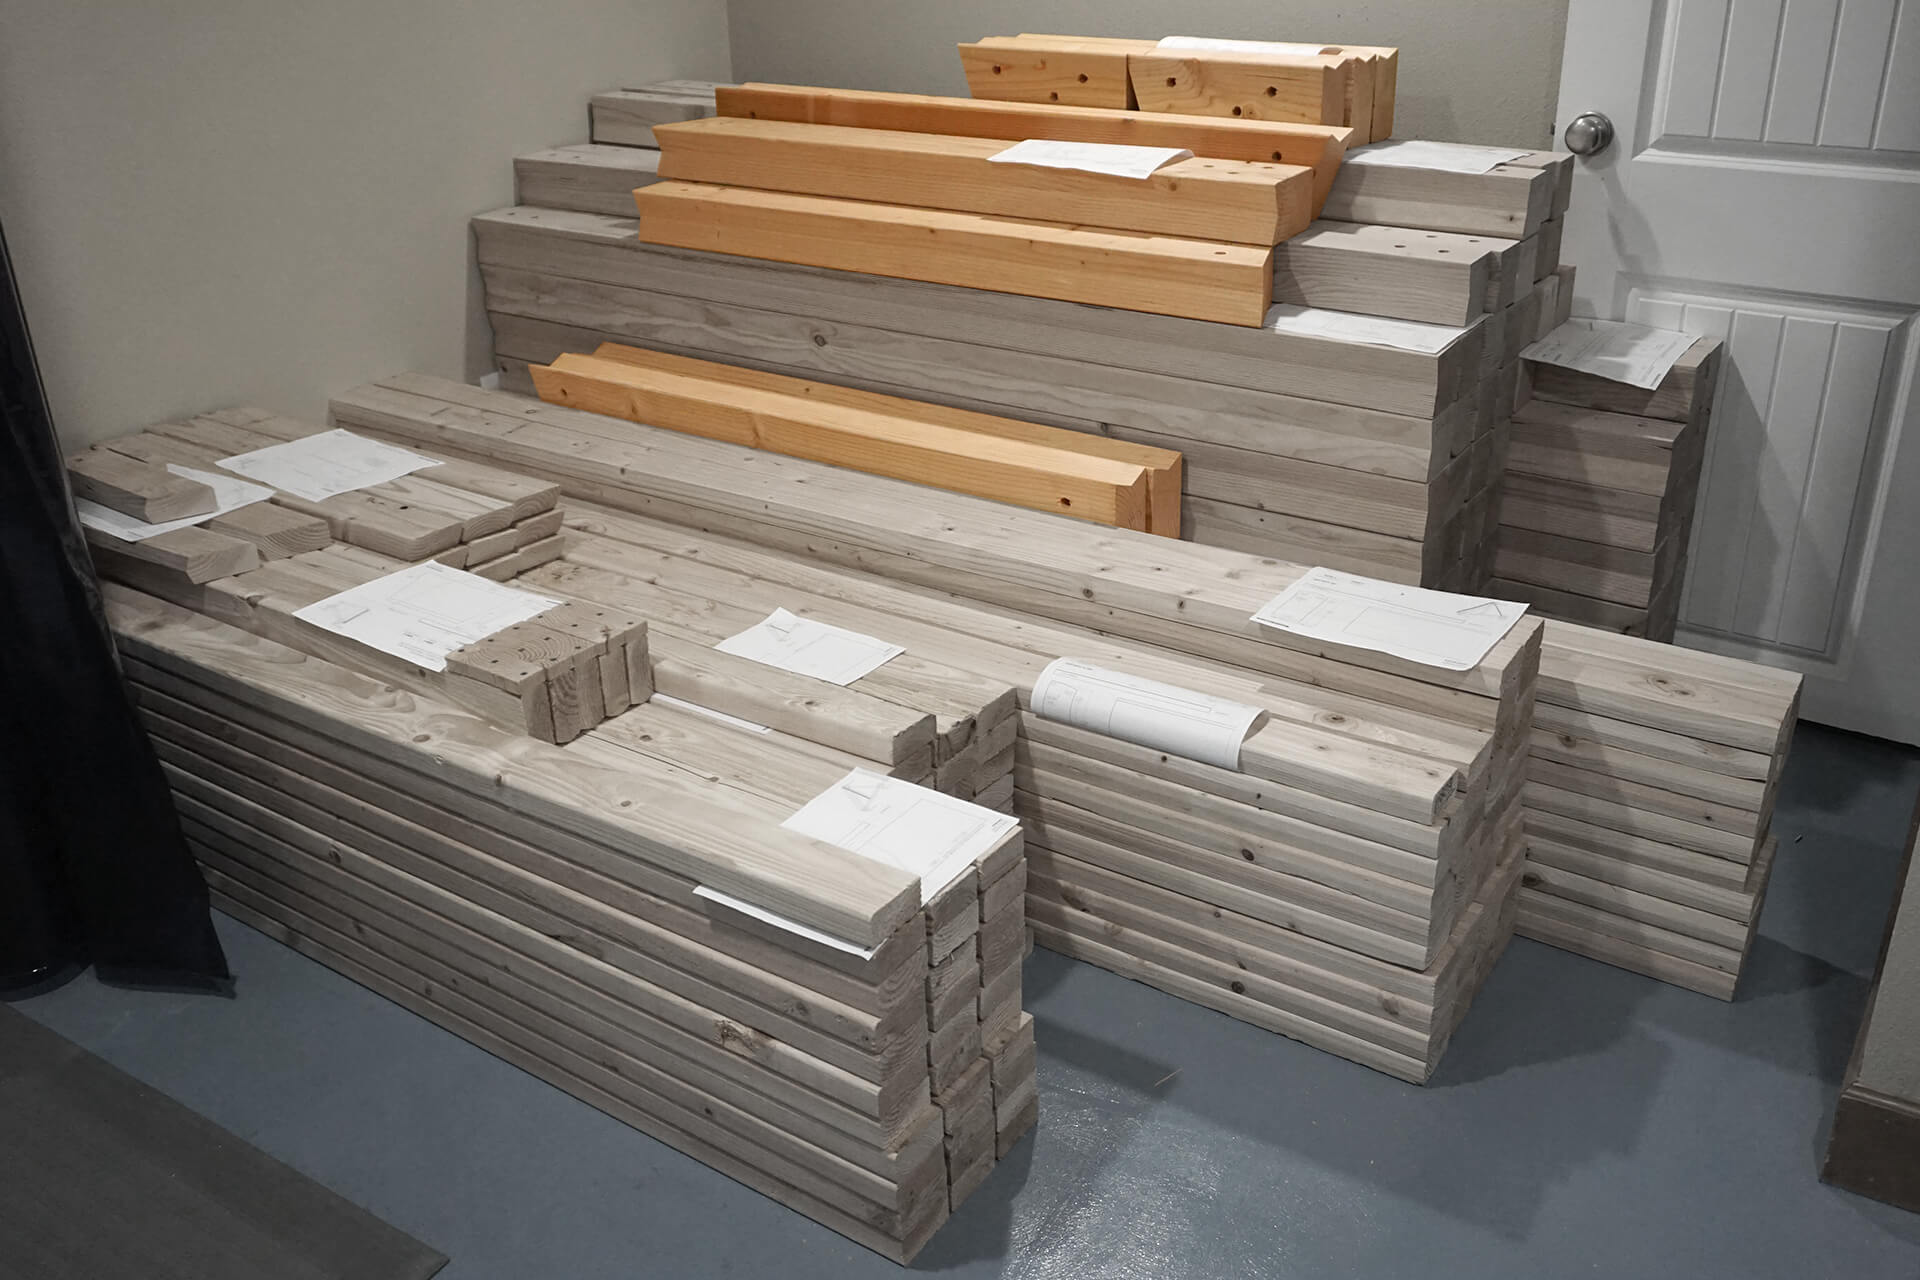
Strut-Base-Longs and Strut-Base-Shorts completed and stacked.
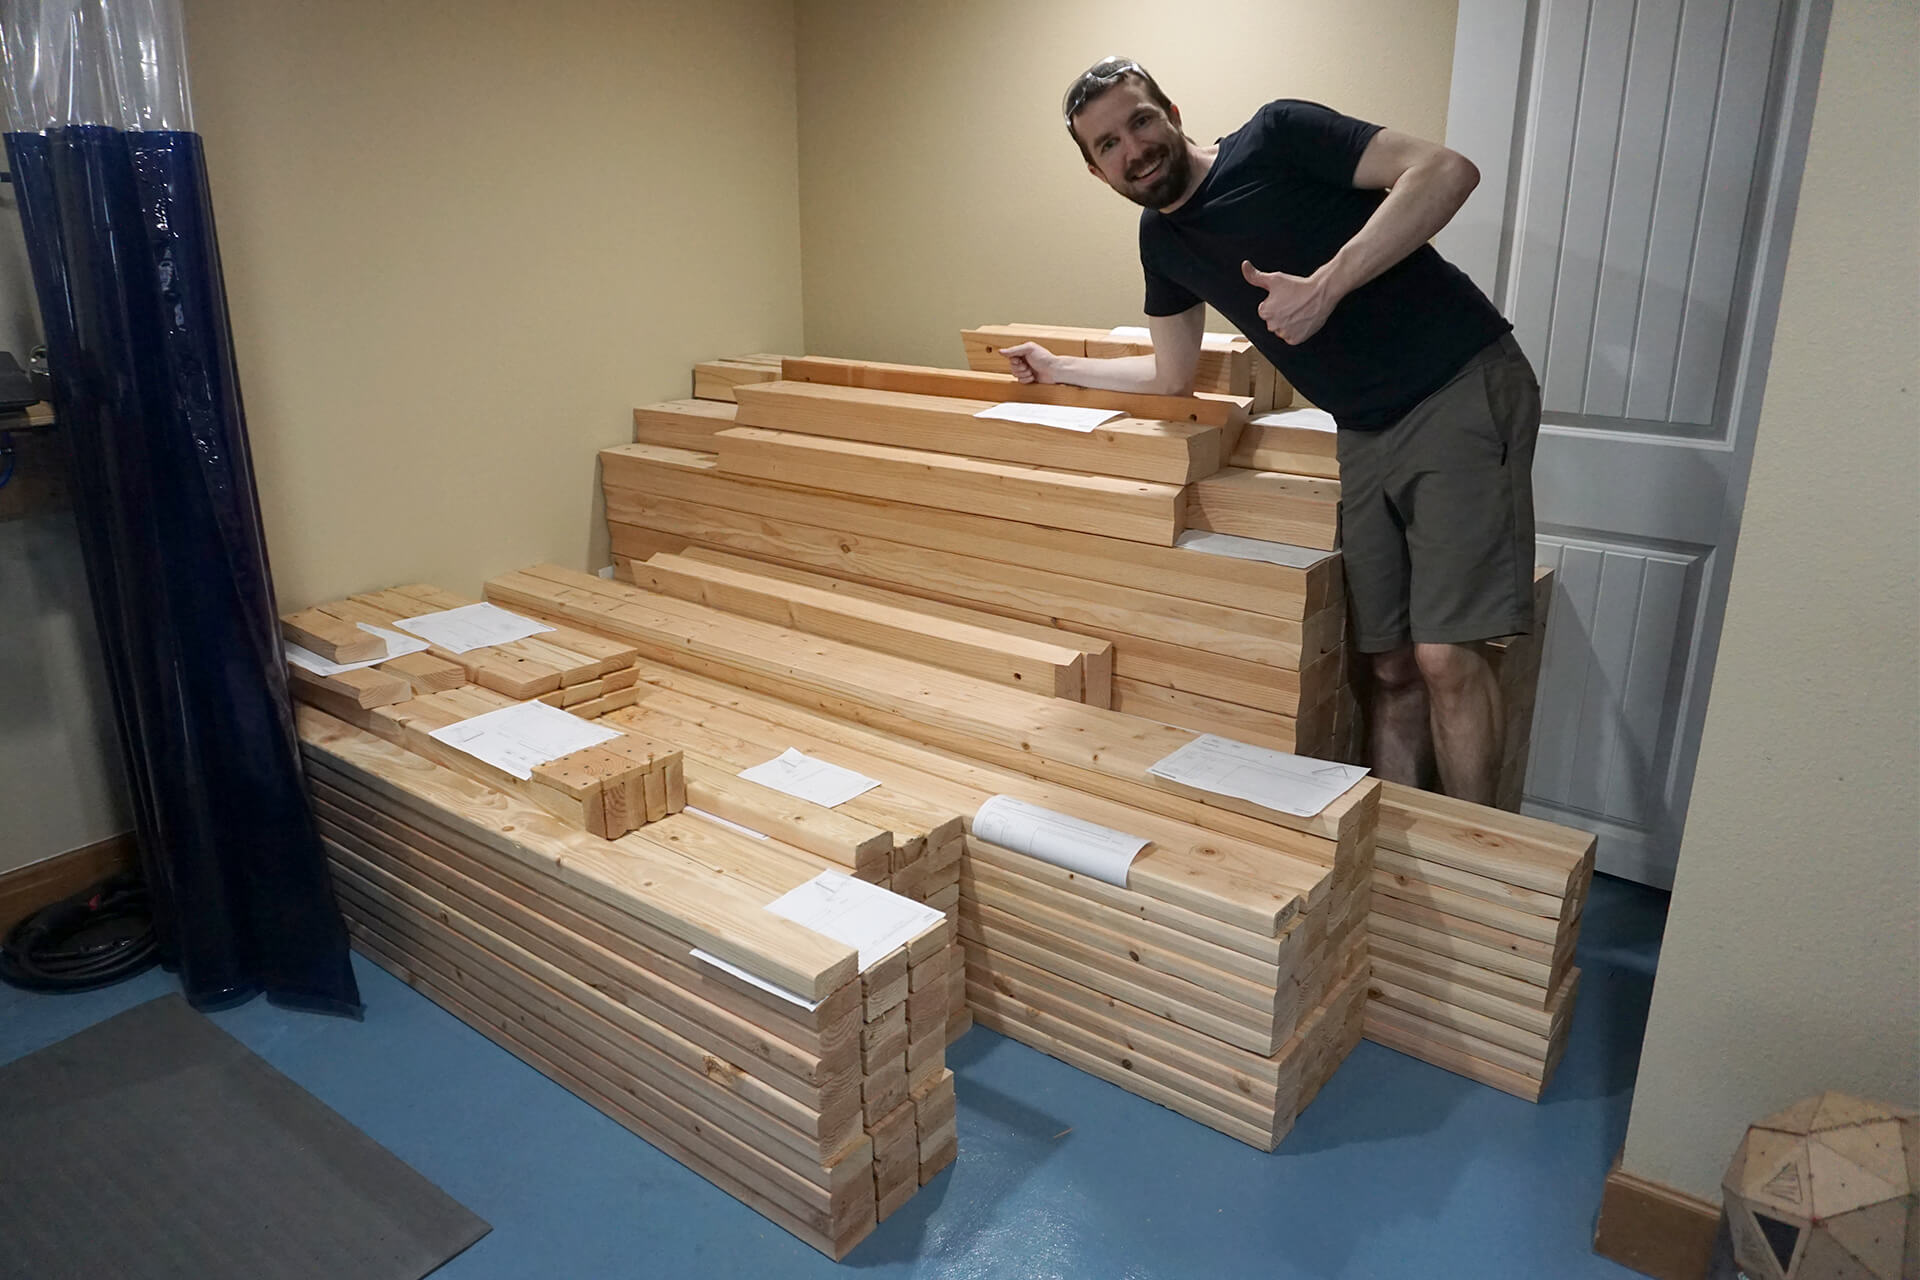
Congratulations on completing the prefabrication of the struts!
Next Step
© 2025 Dodeca Domes. All rights reserved.

