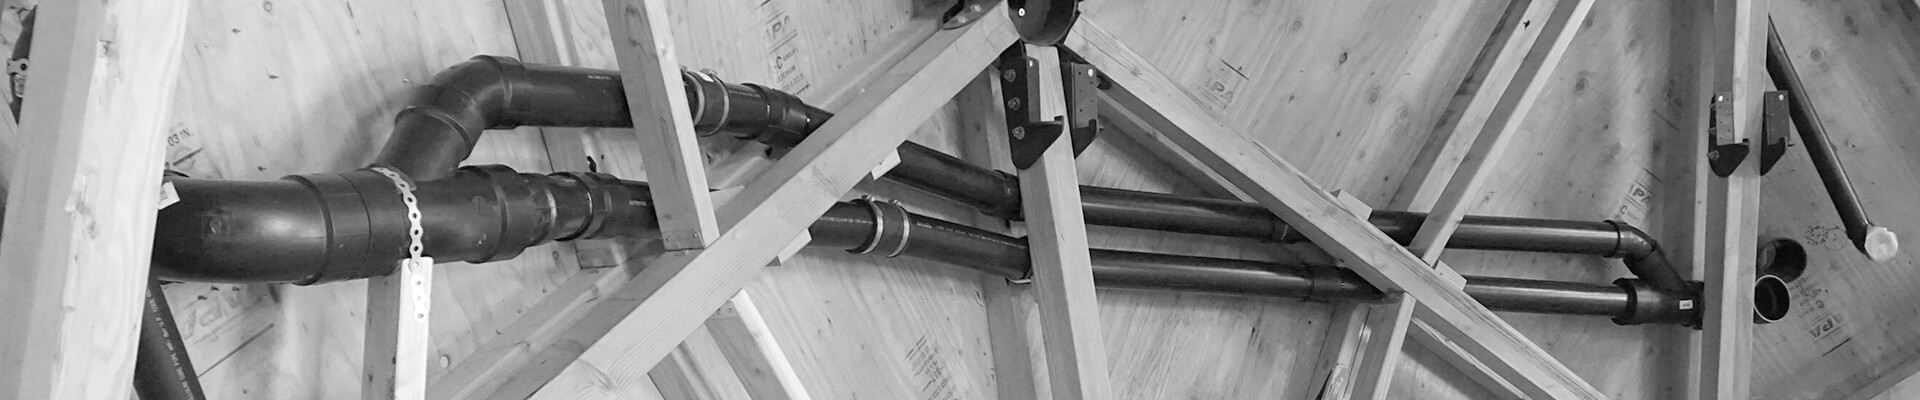
In-Wall – Brackets
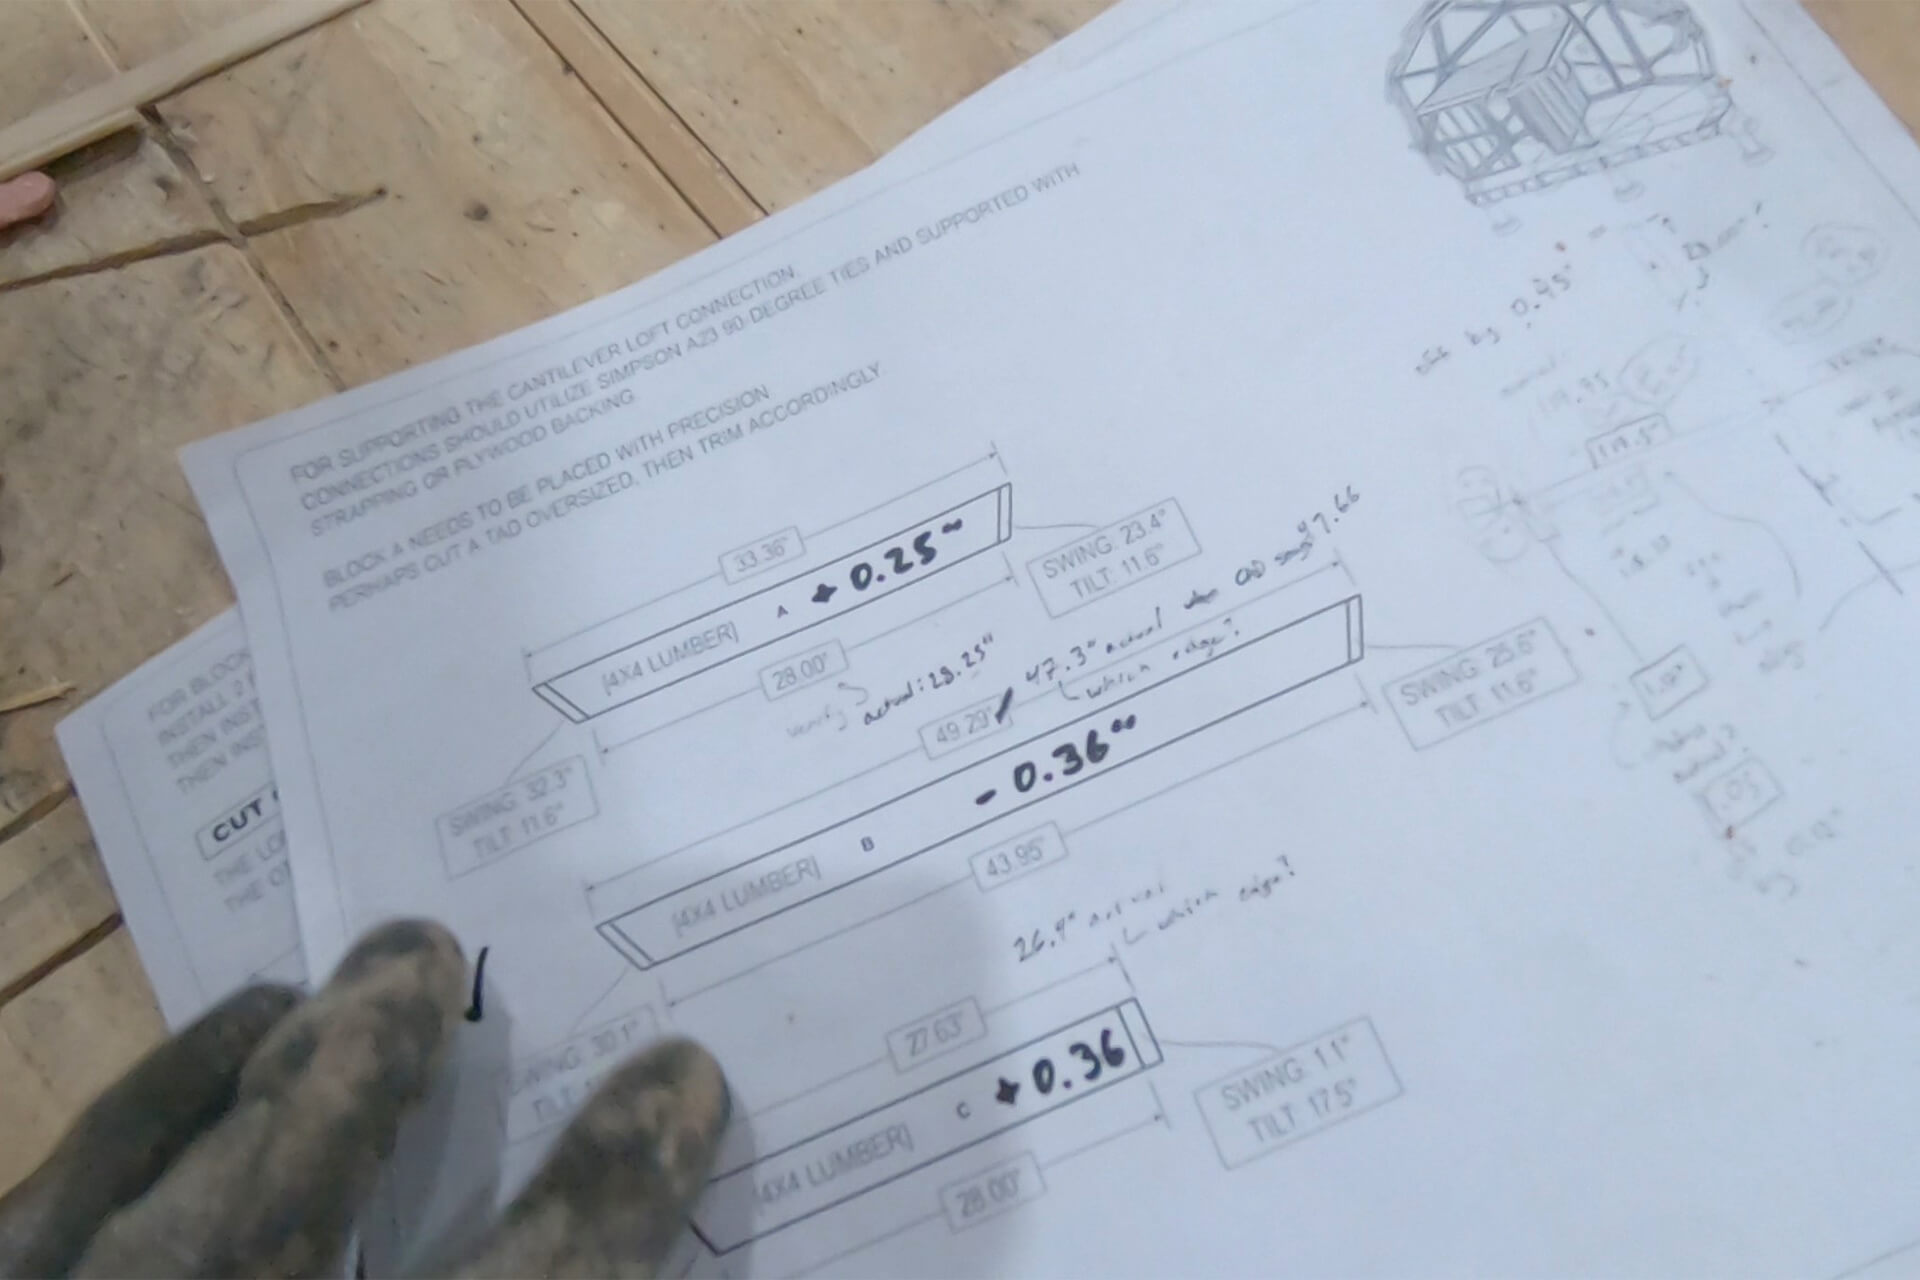
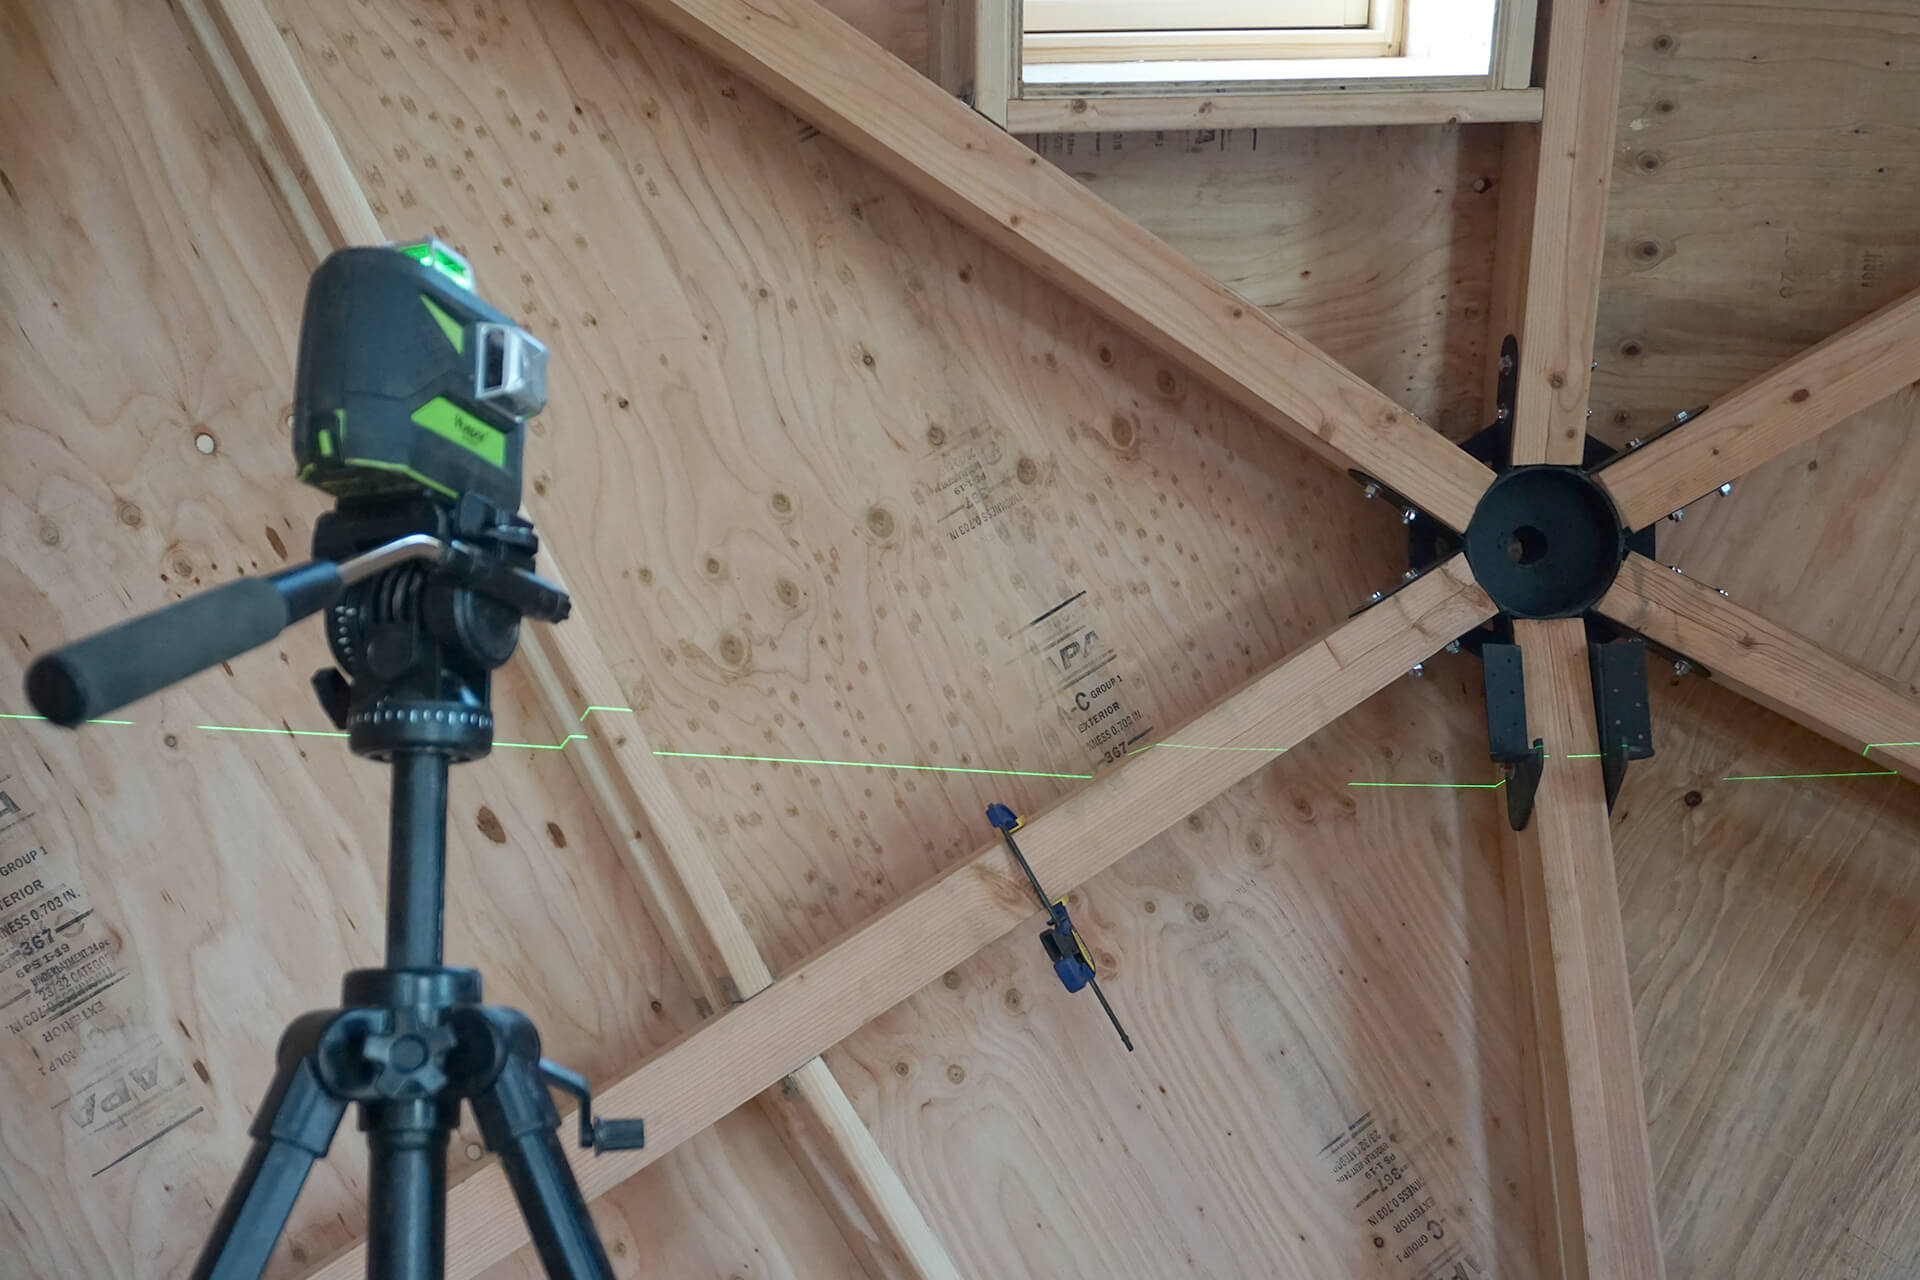
Use a laser to mark the location of the In-Wall-Column, then measure and adjust the drawing dimensions accordingly.
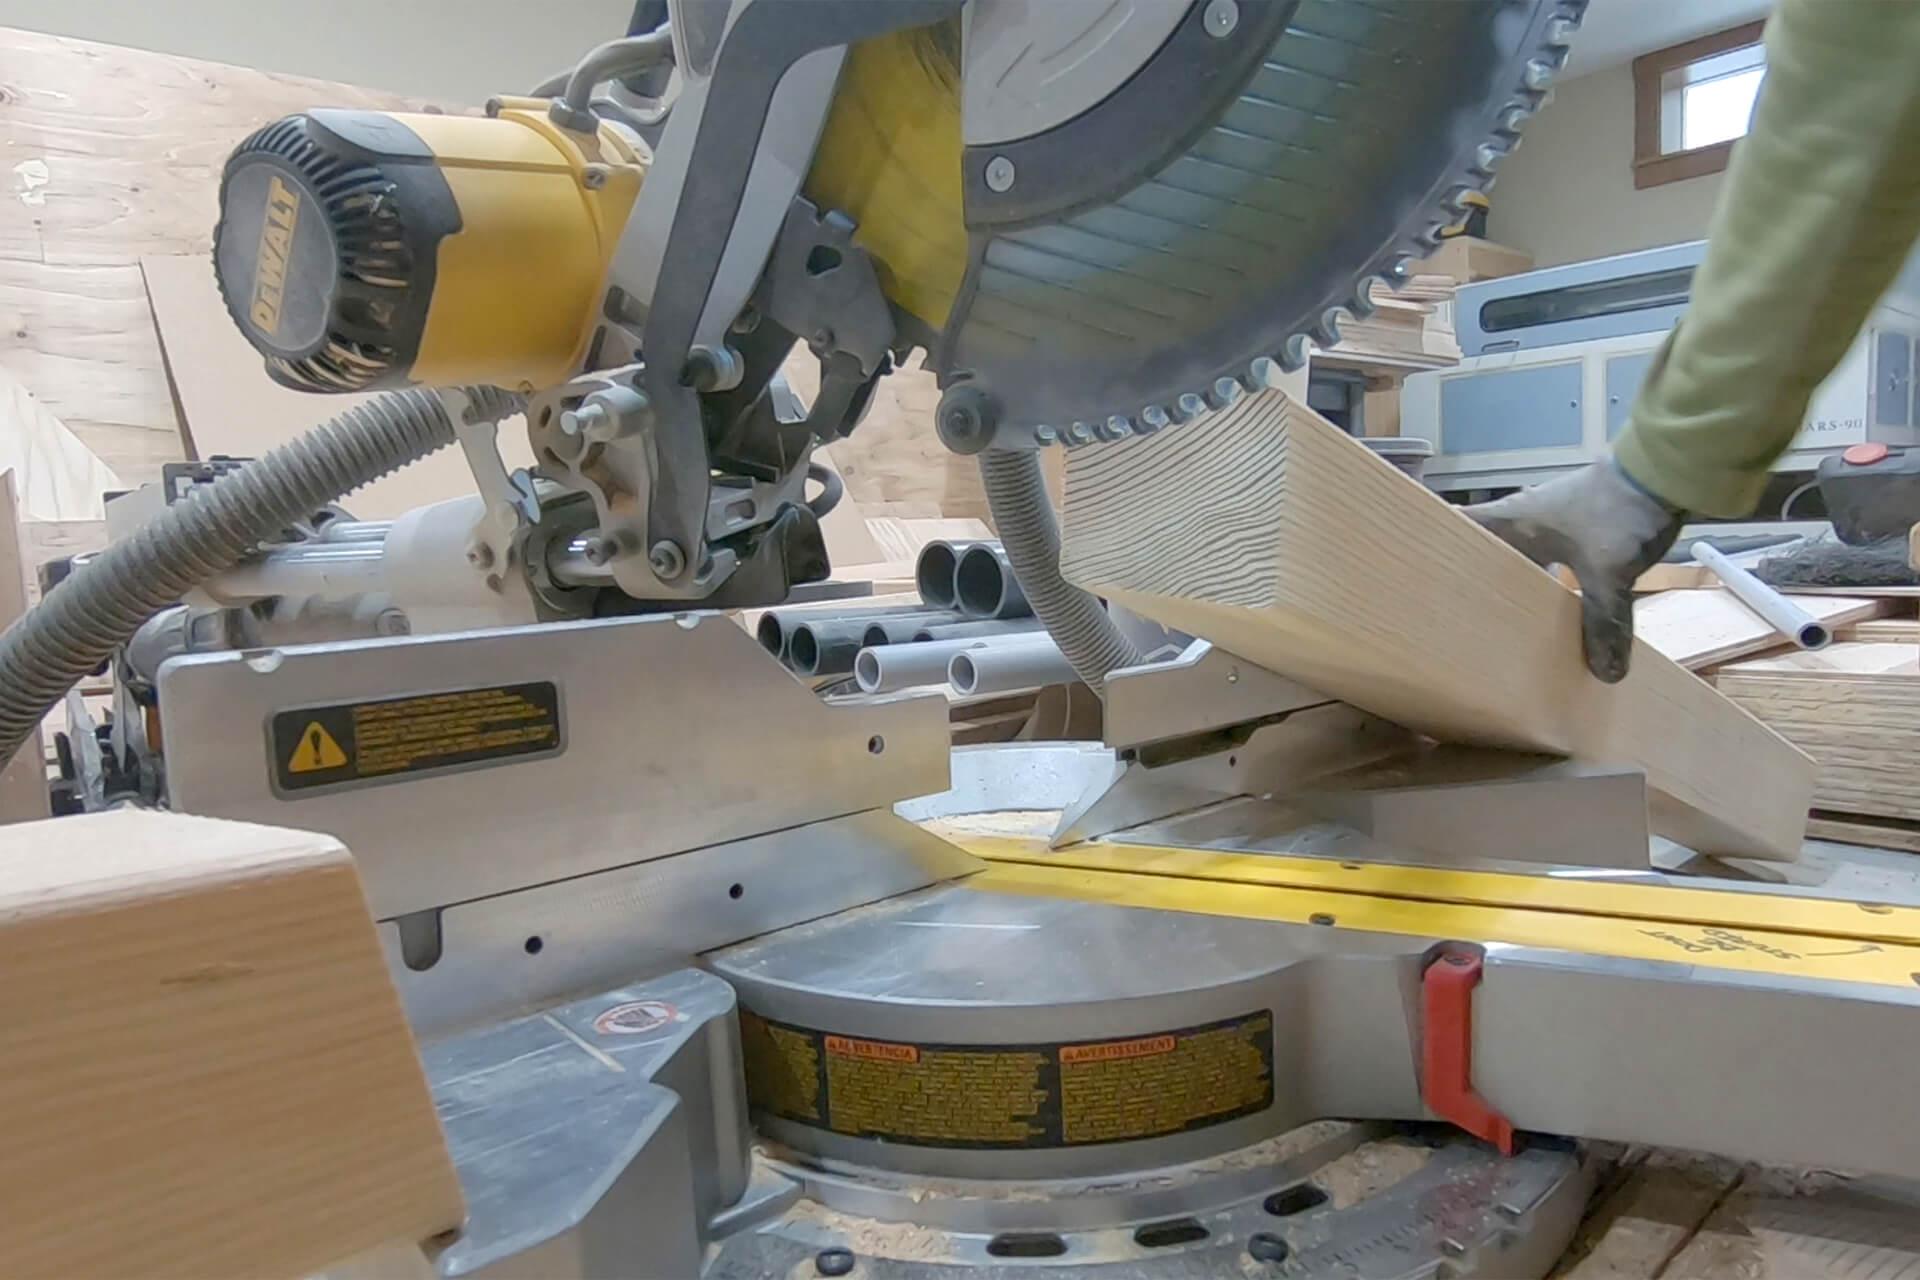
Cut the In-Wall-Column parts. Each end is a compound angle so adjust the swing and tilt of the saw accordingly. Consider cutting each part slightly too long, then test-fitting.
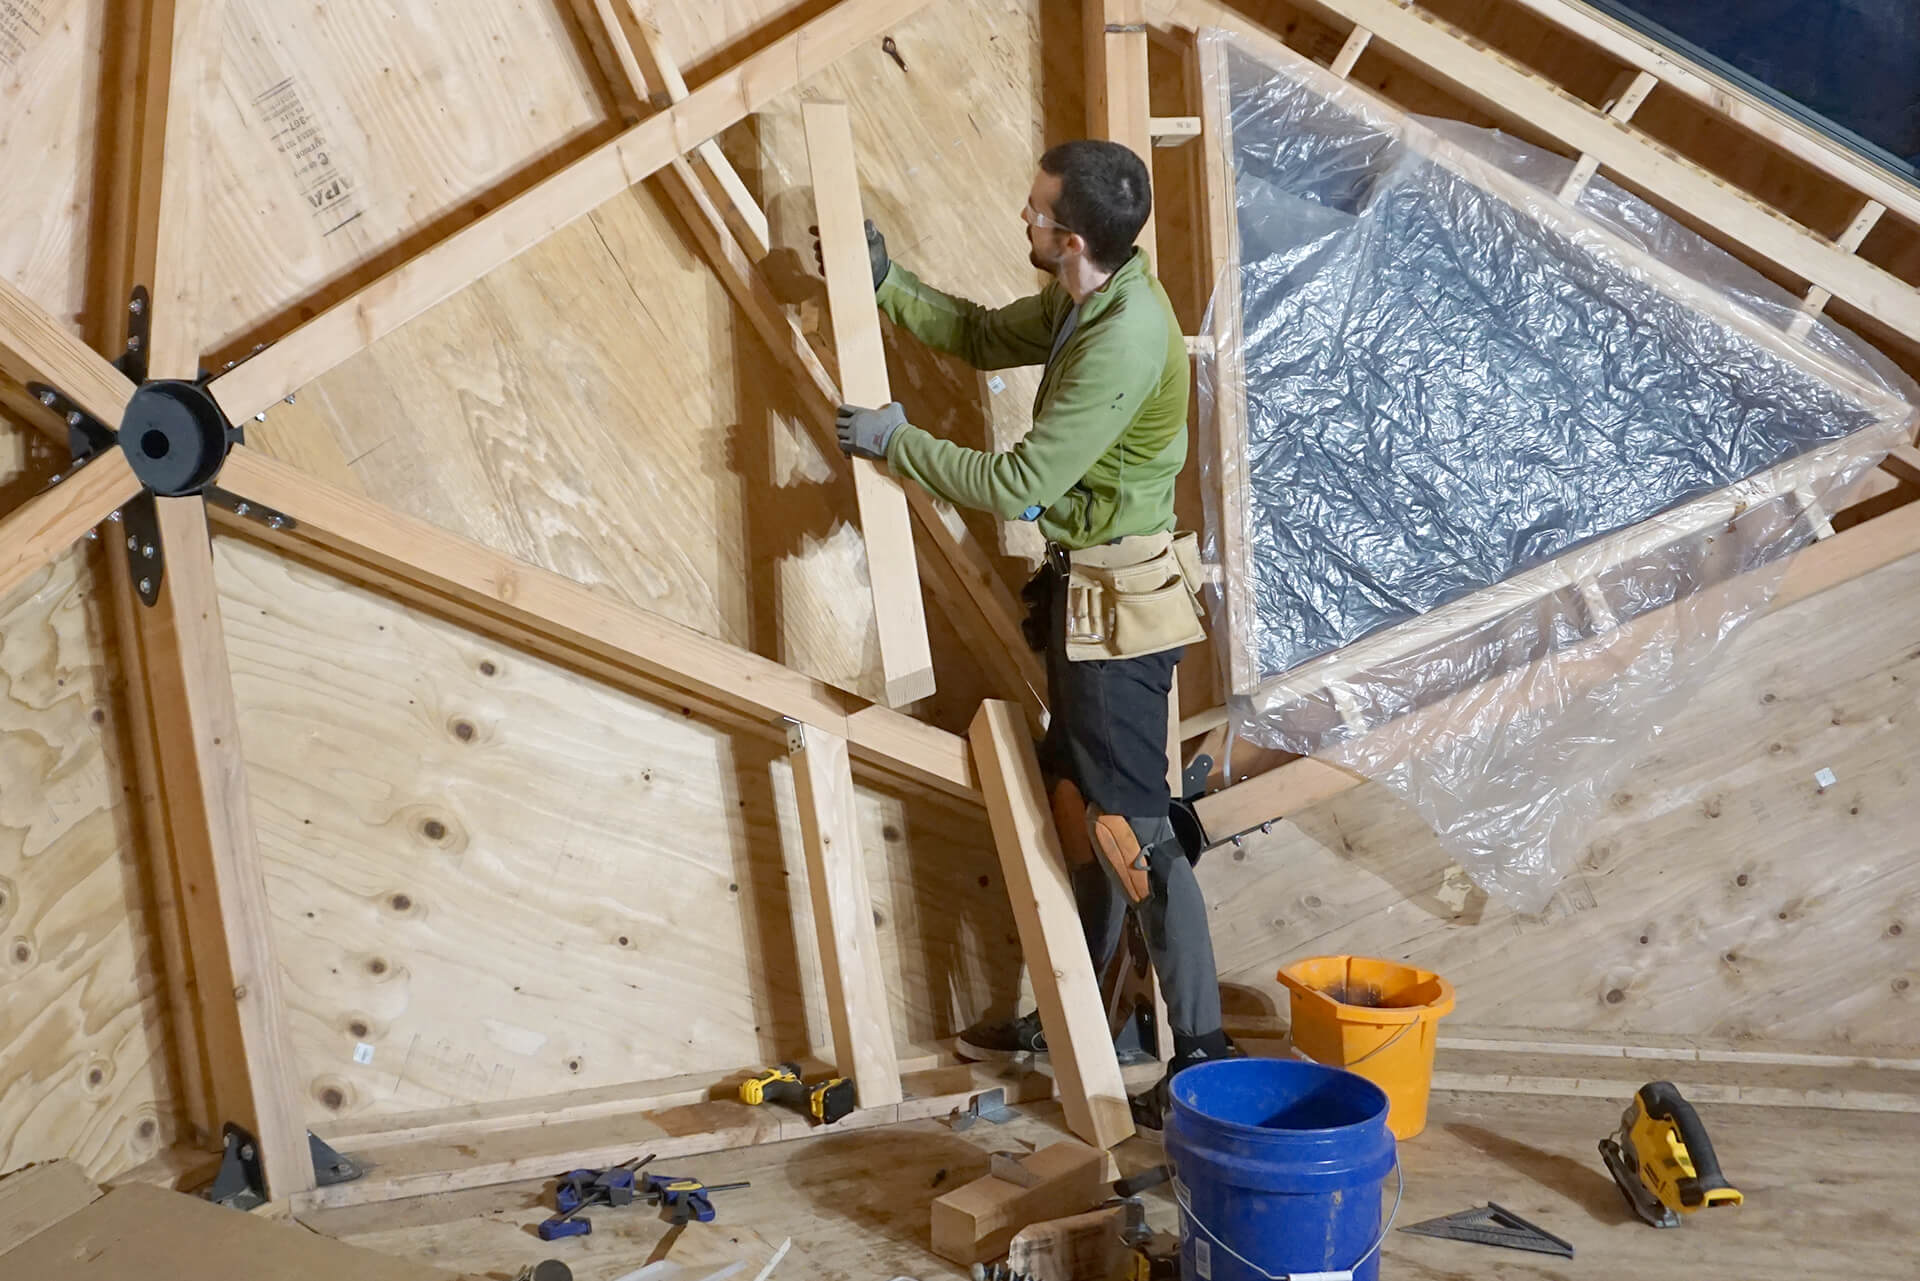
Attach the In-Wall-Column parts. Shim if necessary to ensure a tight fit that can support compressive loads.
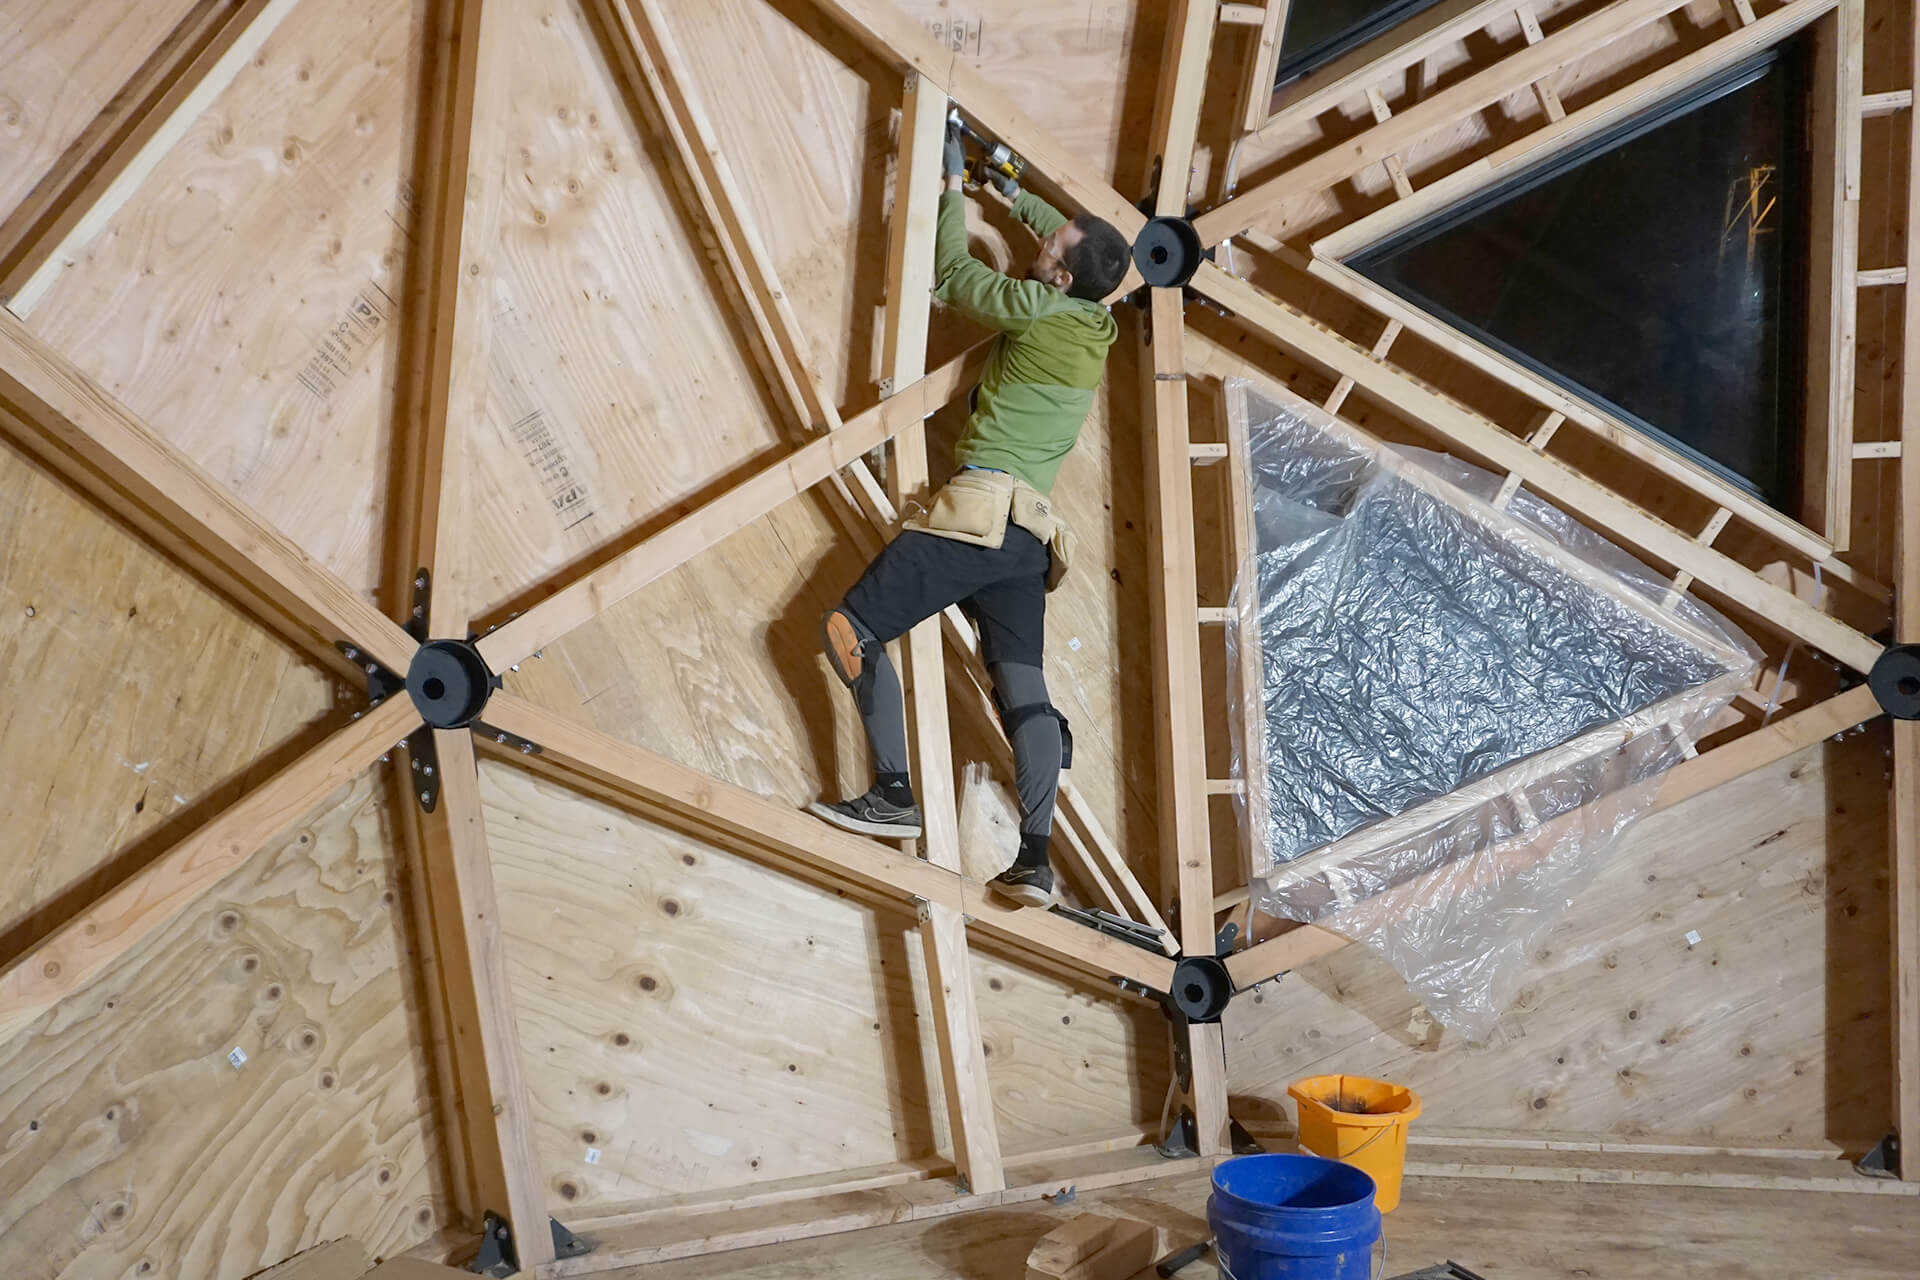
Finish attaching the column parts.
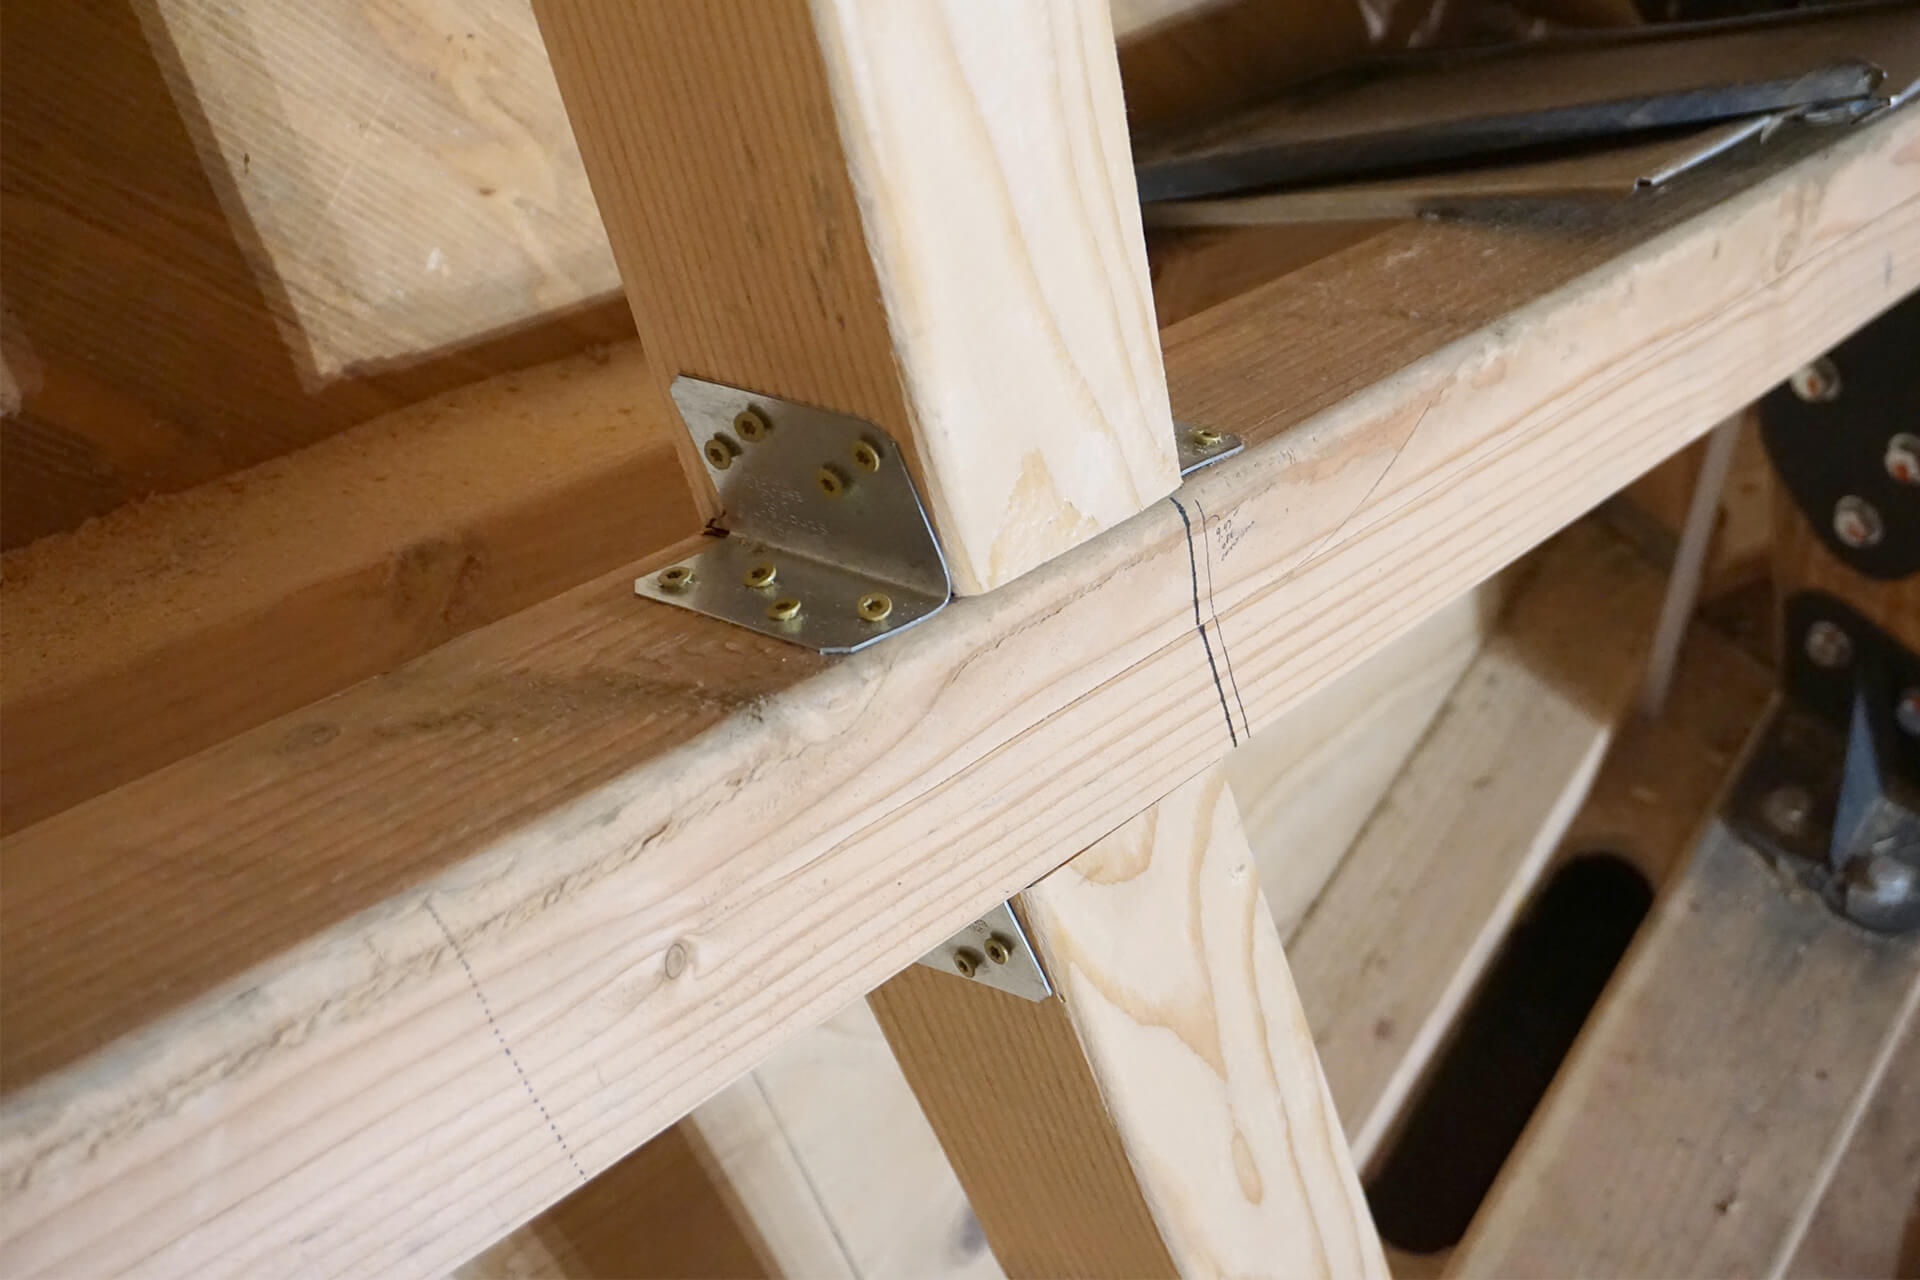
Metal 90-degree brackets, slightly bent to match the actual angles, are ideal for securing the column parts.
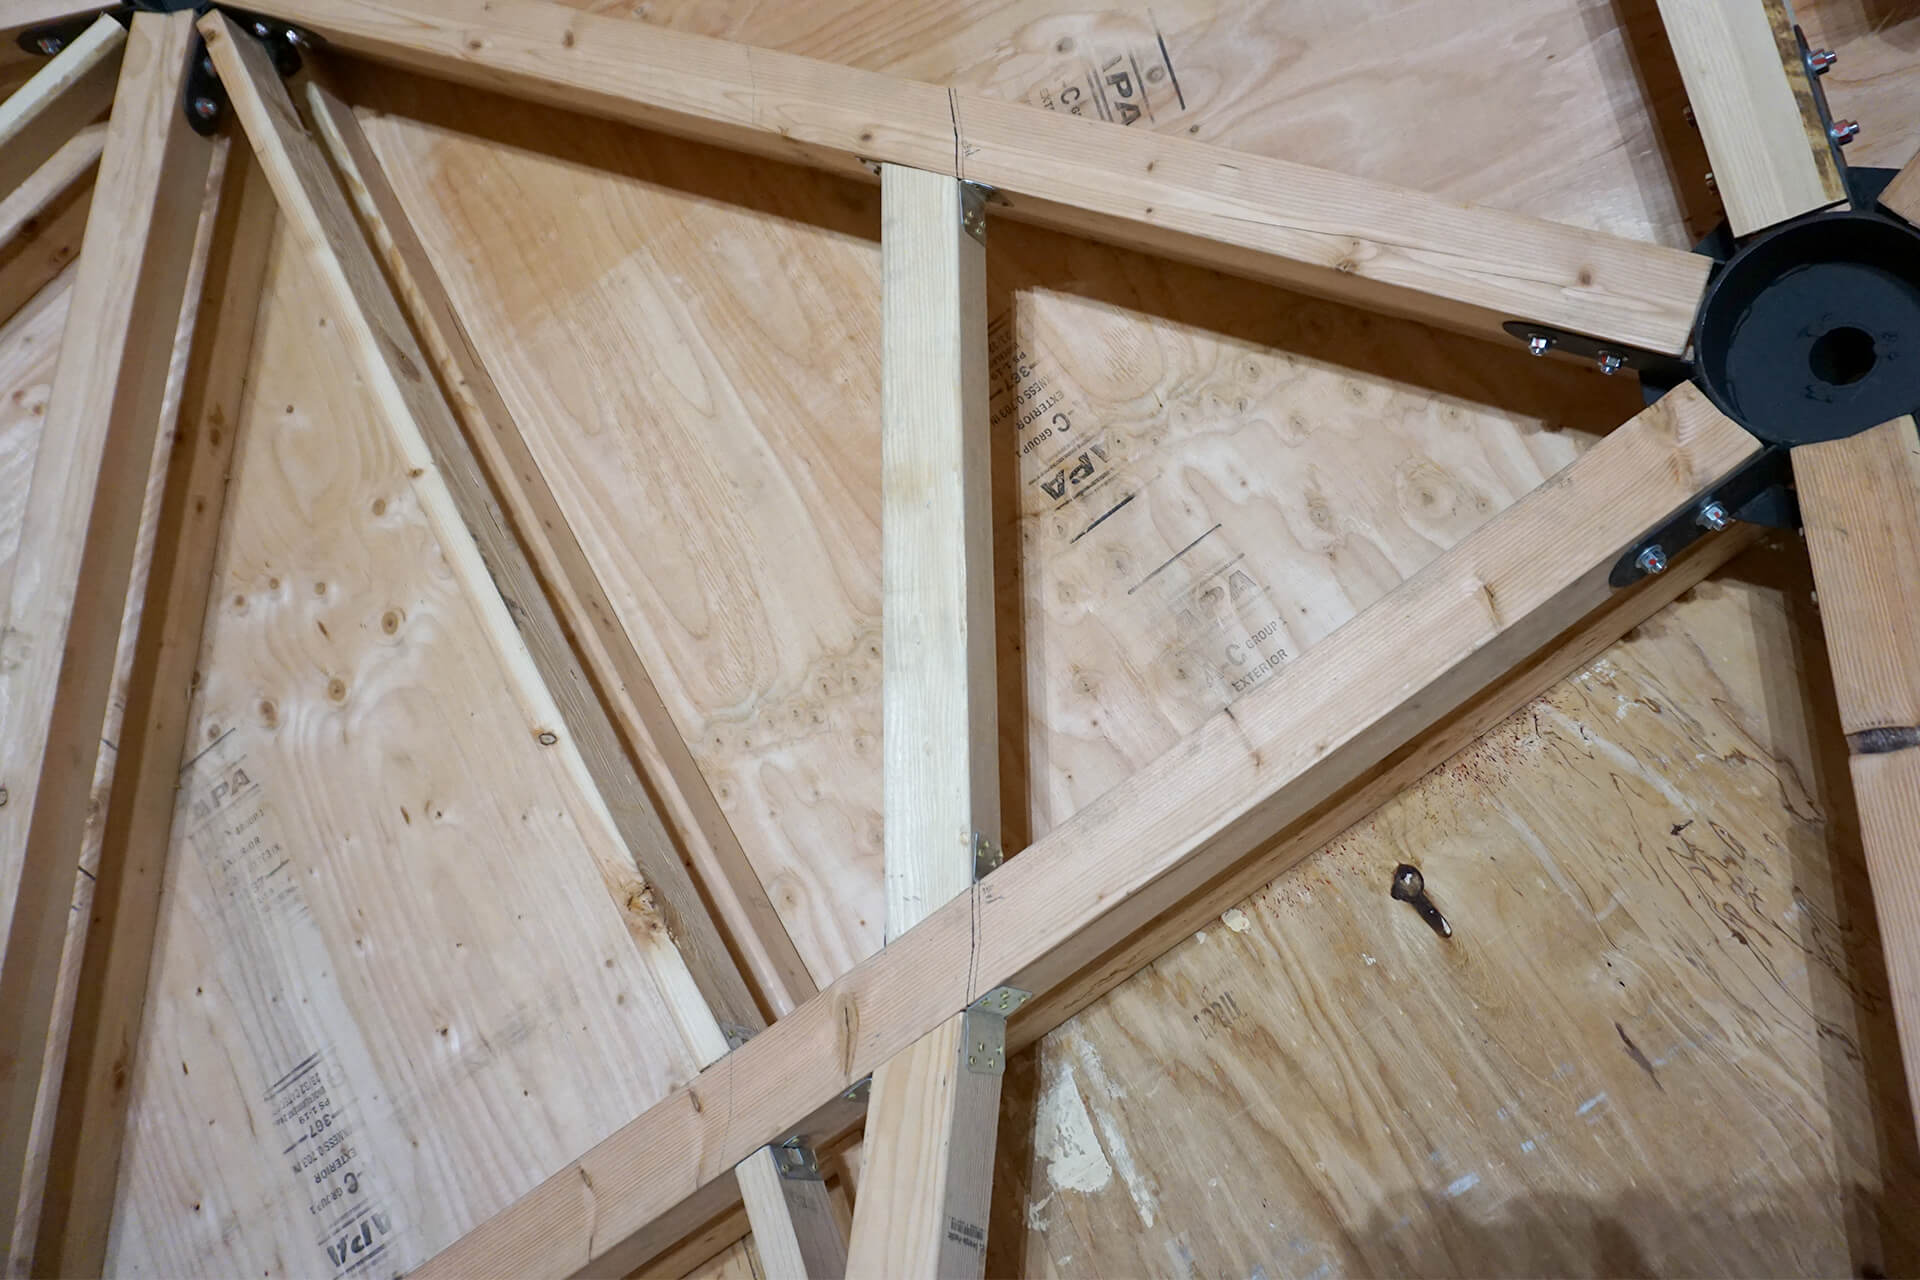
Ensure the column, particularly the top-most part, lines up perfectly with the marks.
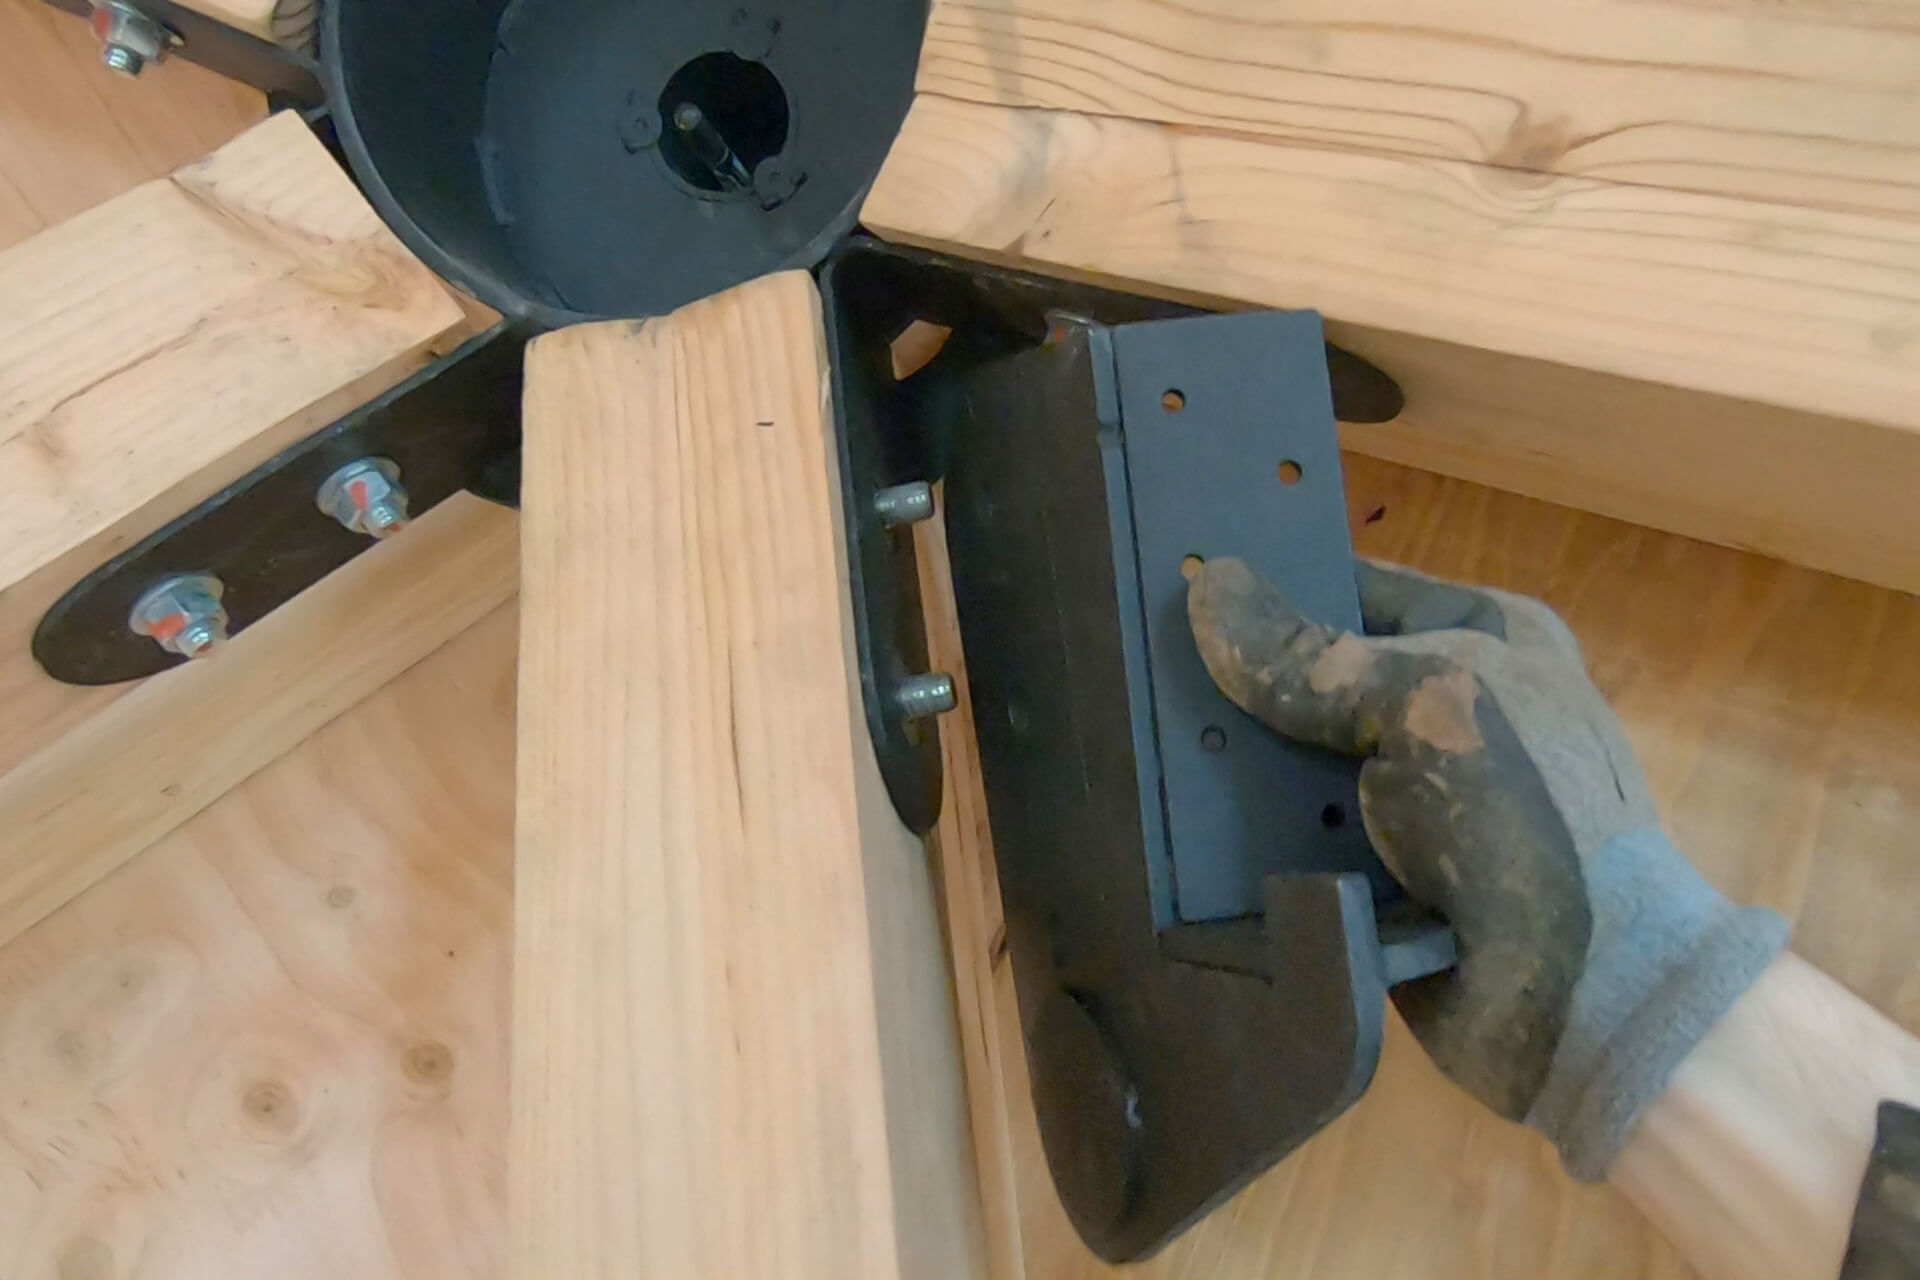
Two bolt holes for Bracket-A align with and attach to the existing steel Base-Hub. Center-punch the location of the third bolt hole.
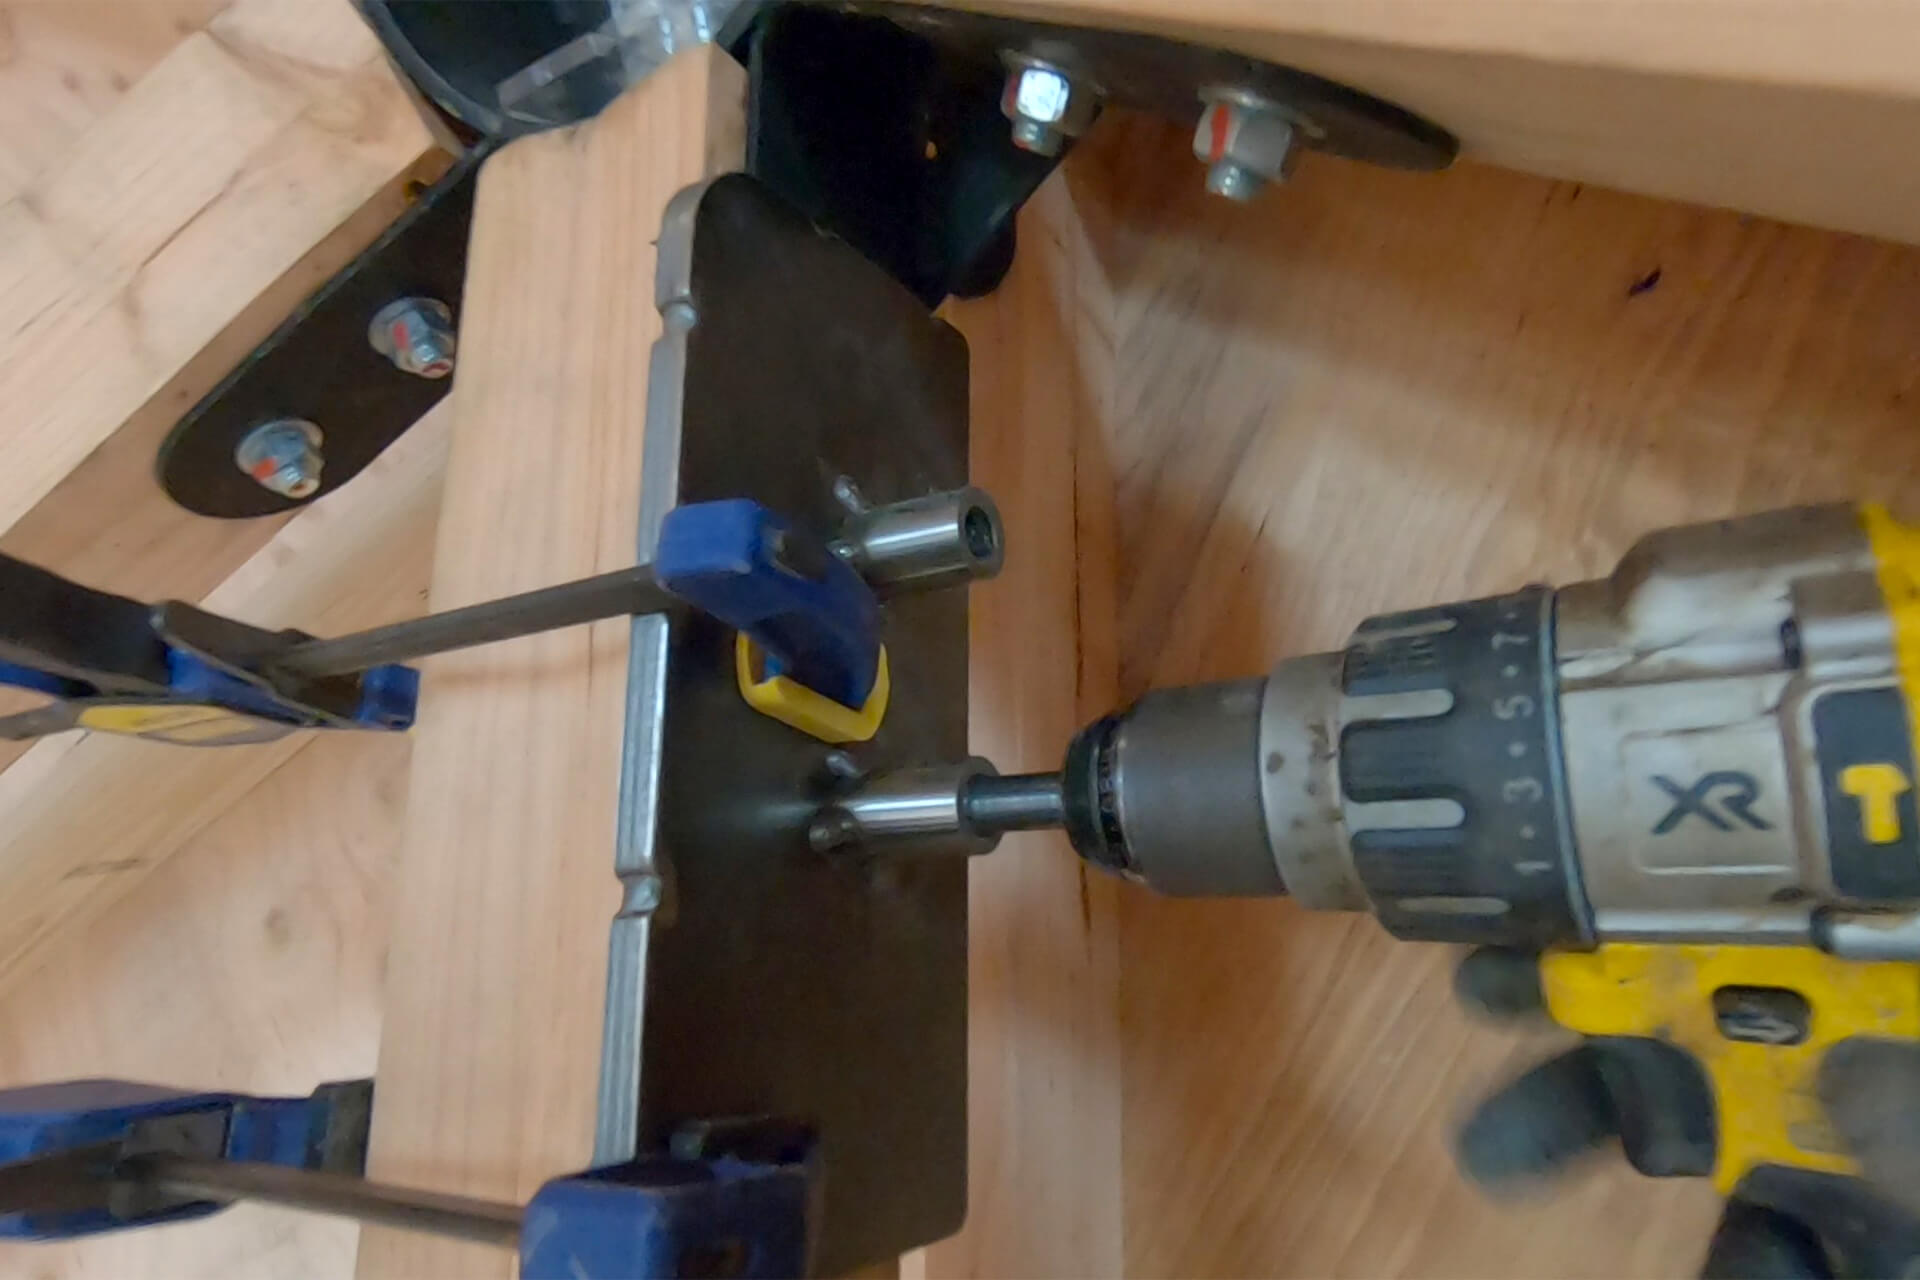
Repurpose the drill jig previously used on the struts to drill a straight and accurate hole.
Torque the bolts to 65 lb-ft and mark the bolts and nuts to indicate they have been torqued.
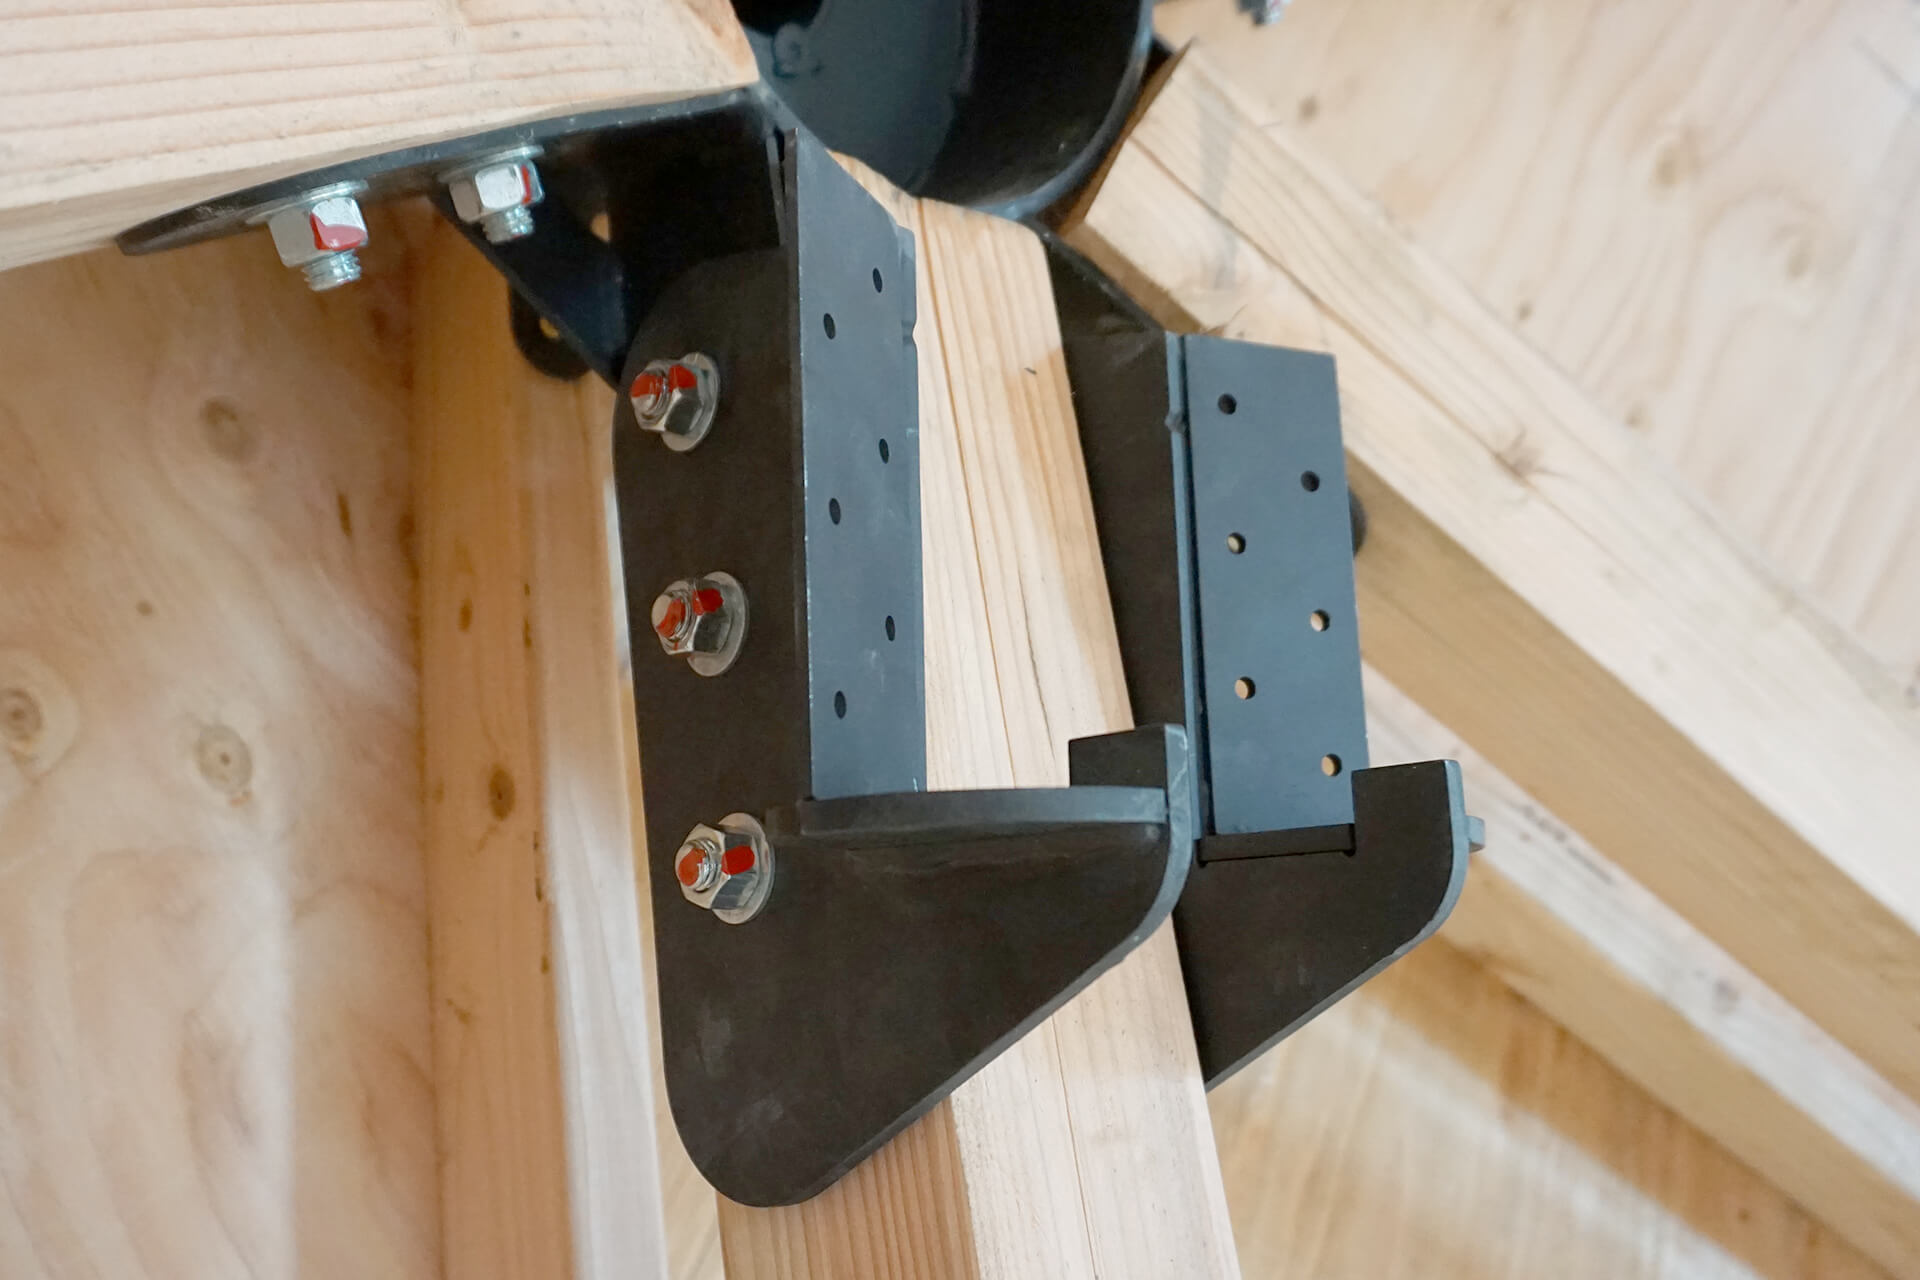
Align an auto-leveling laser with the lip of Bracket-A. Align the lips of the other brackets to this same height and mark the various holes.
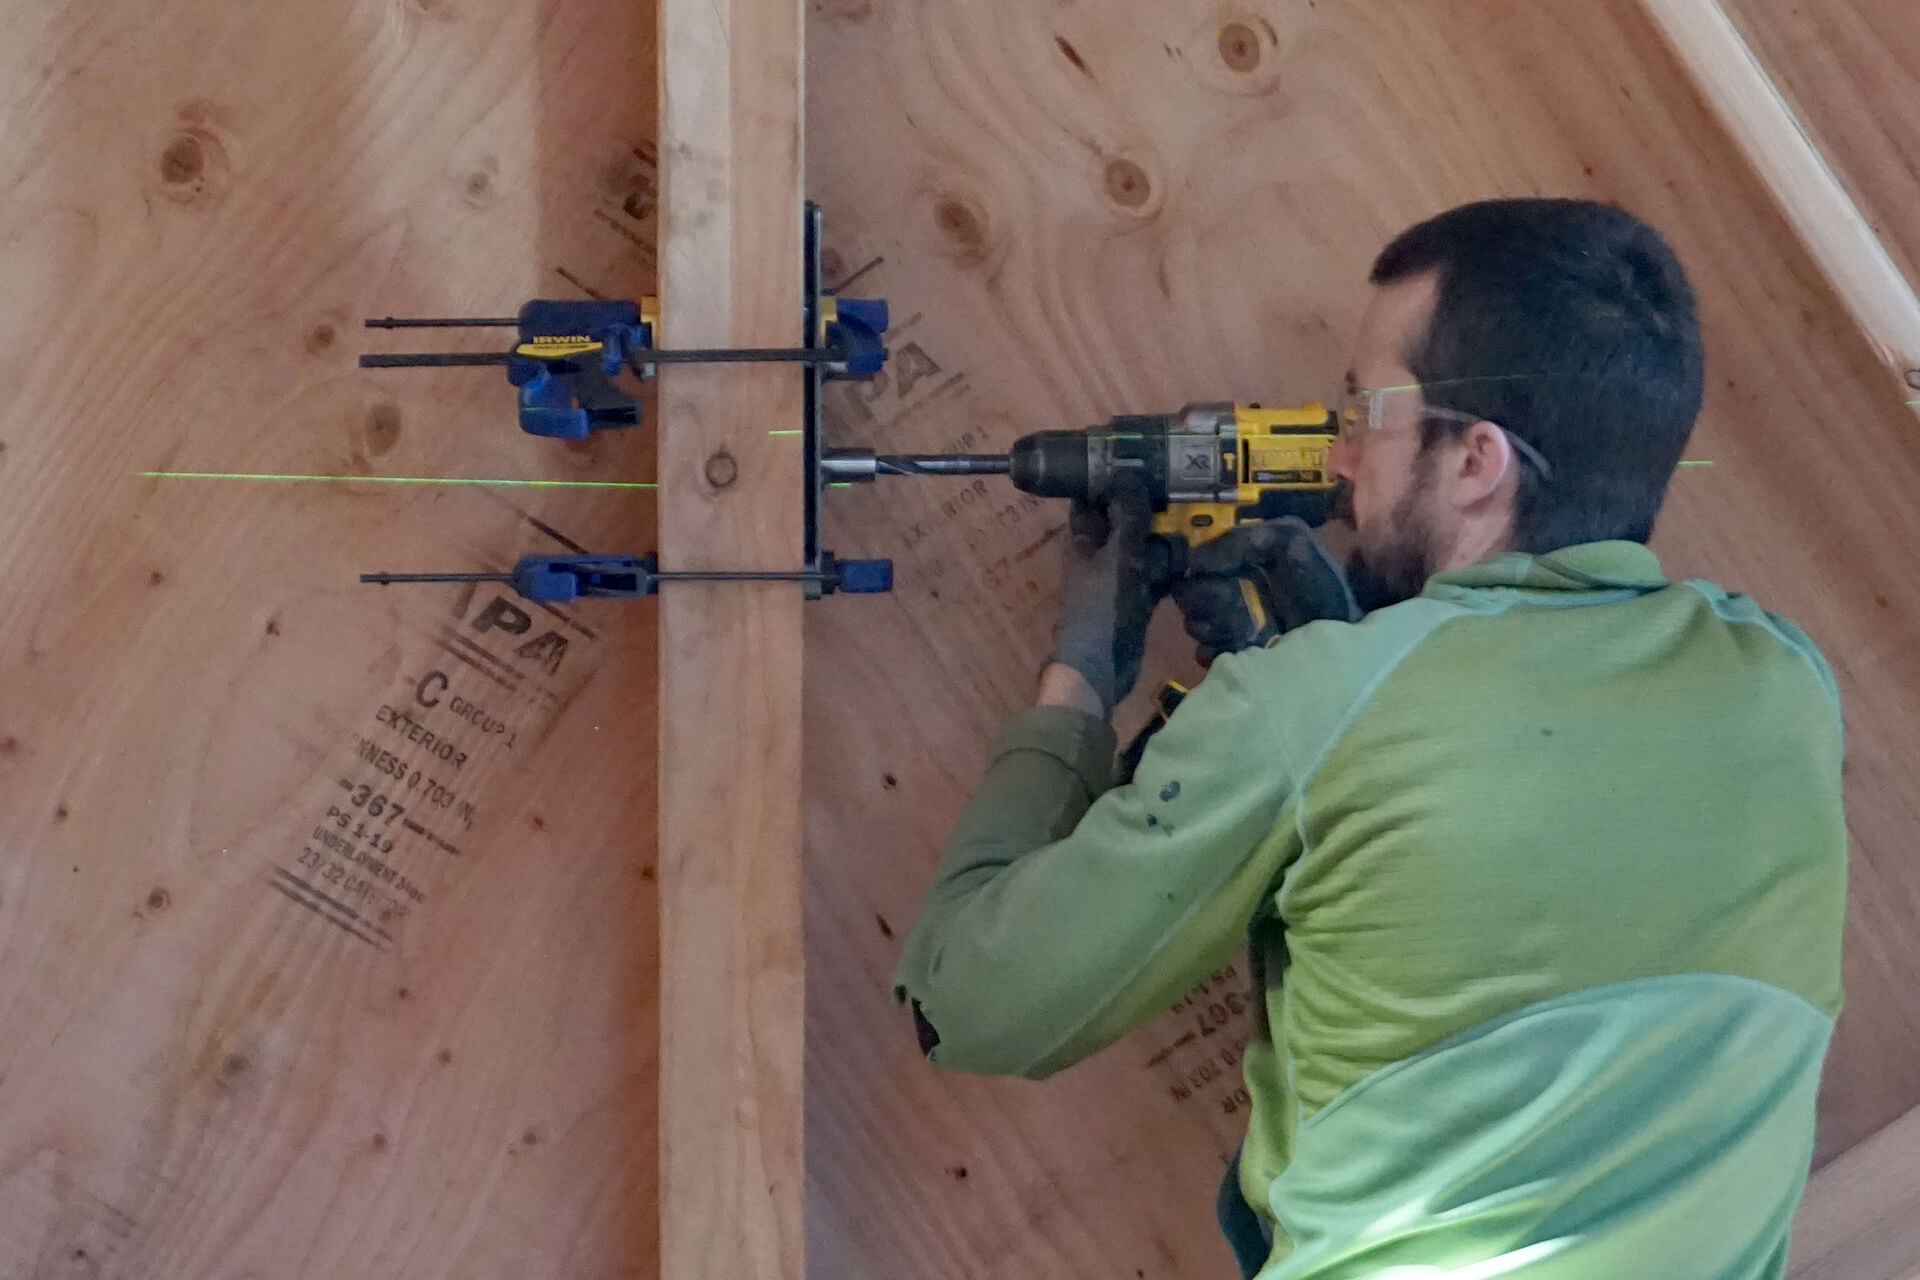
Drill the marked holes and install the brackets. Use the drill jig.

Bracket-A, Bracket-B, and Bracket-C installed at the perfect height.
Next Step