Subfloor
Caulk between the Floor Beams for air-sealing. Prosoco R-Guard Fast Flash is shown here.
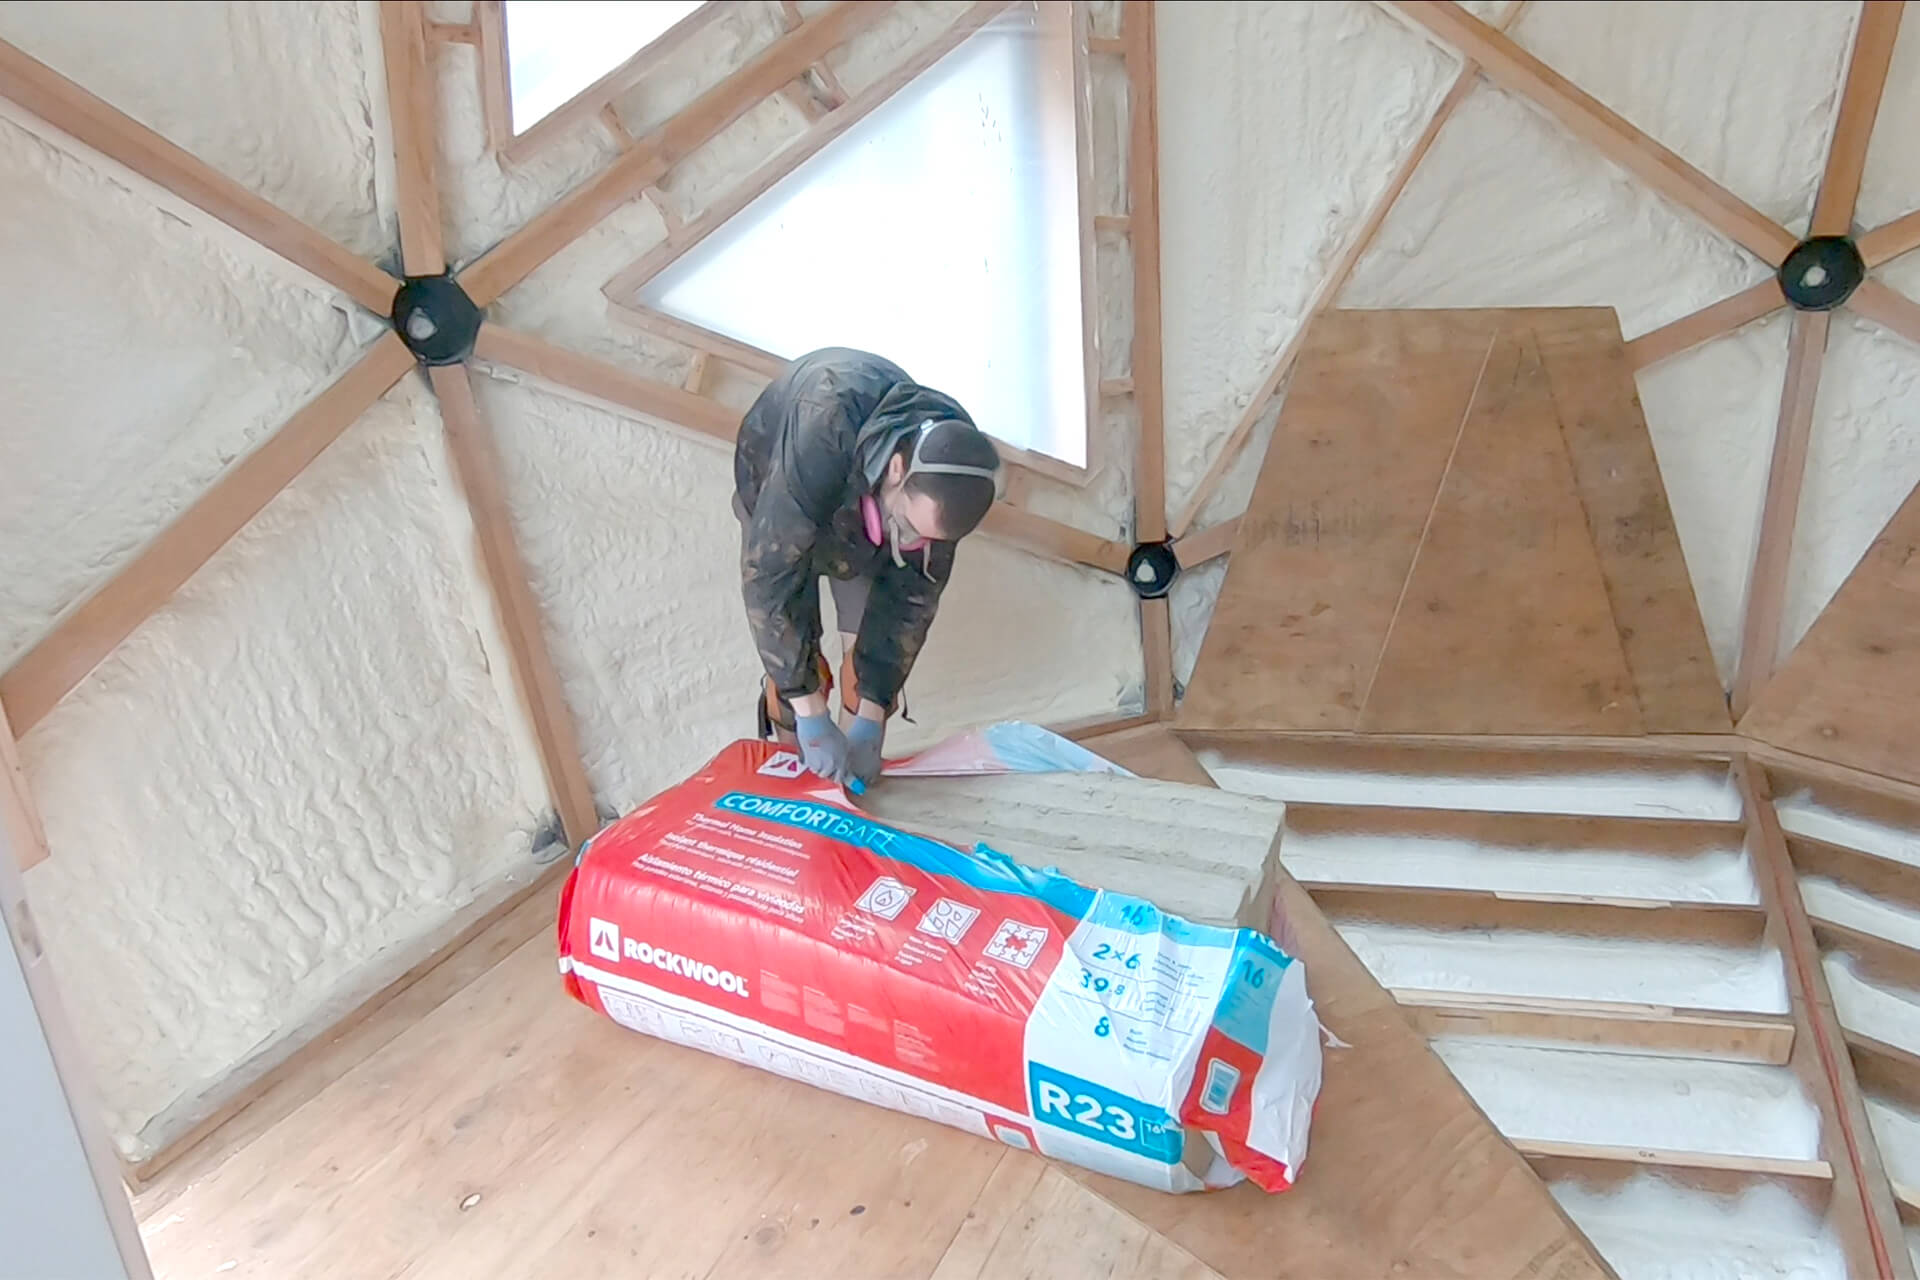
Cut the plastic around the mineral wool insulation with a knife and allow it to expand.
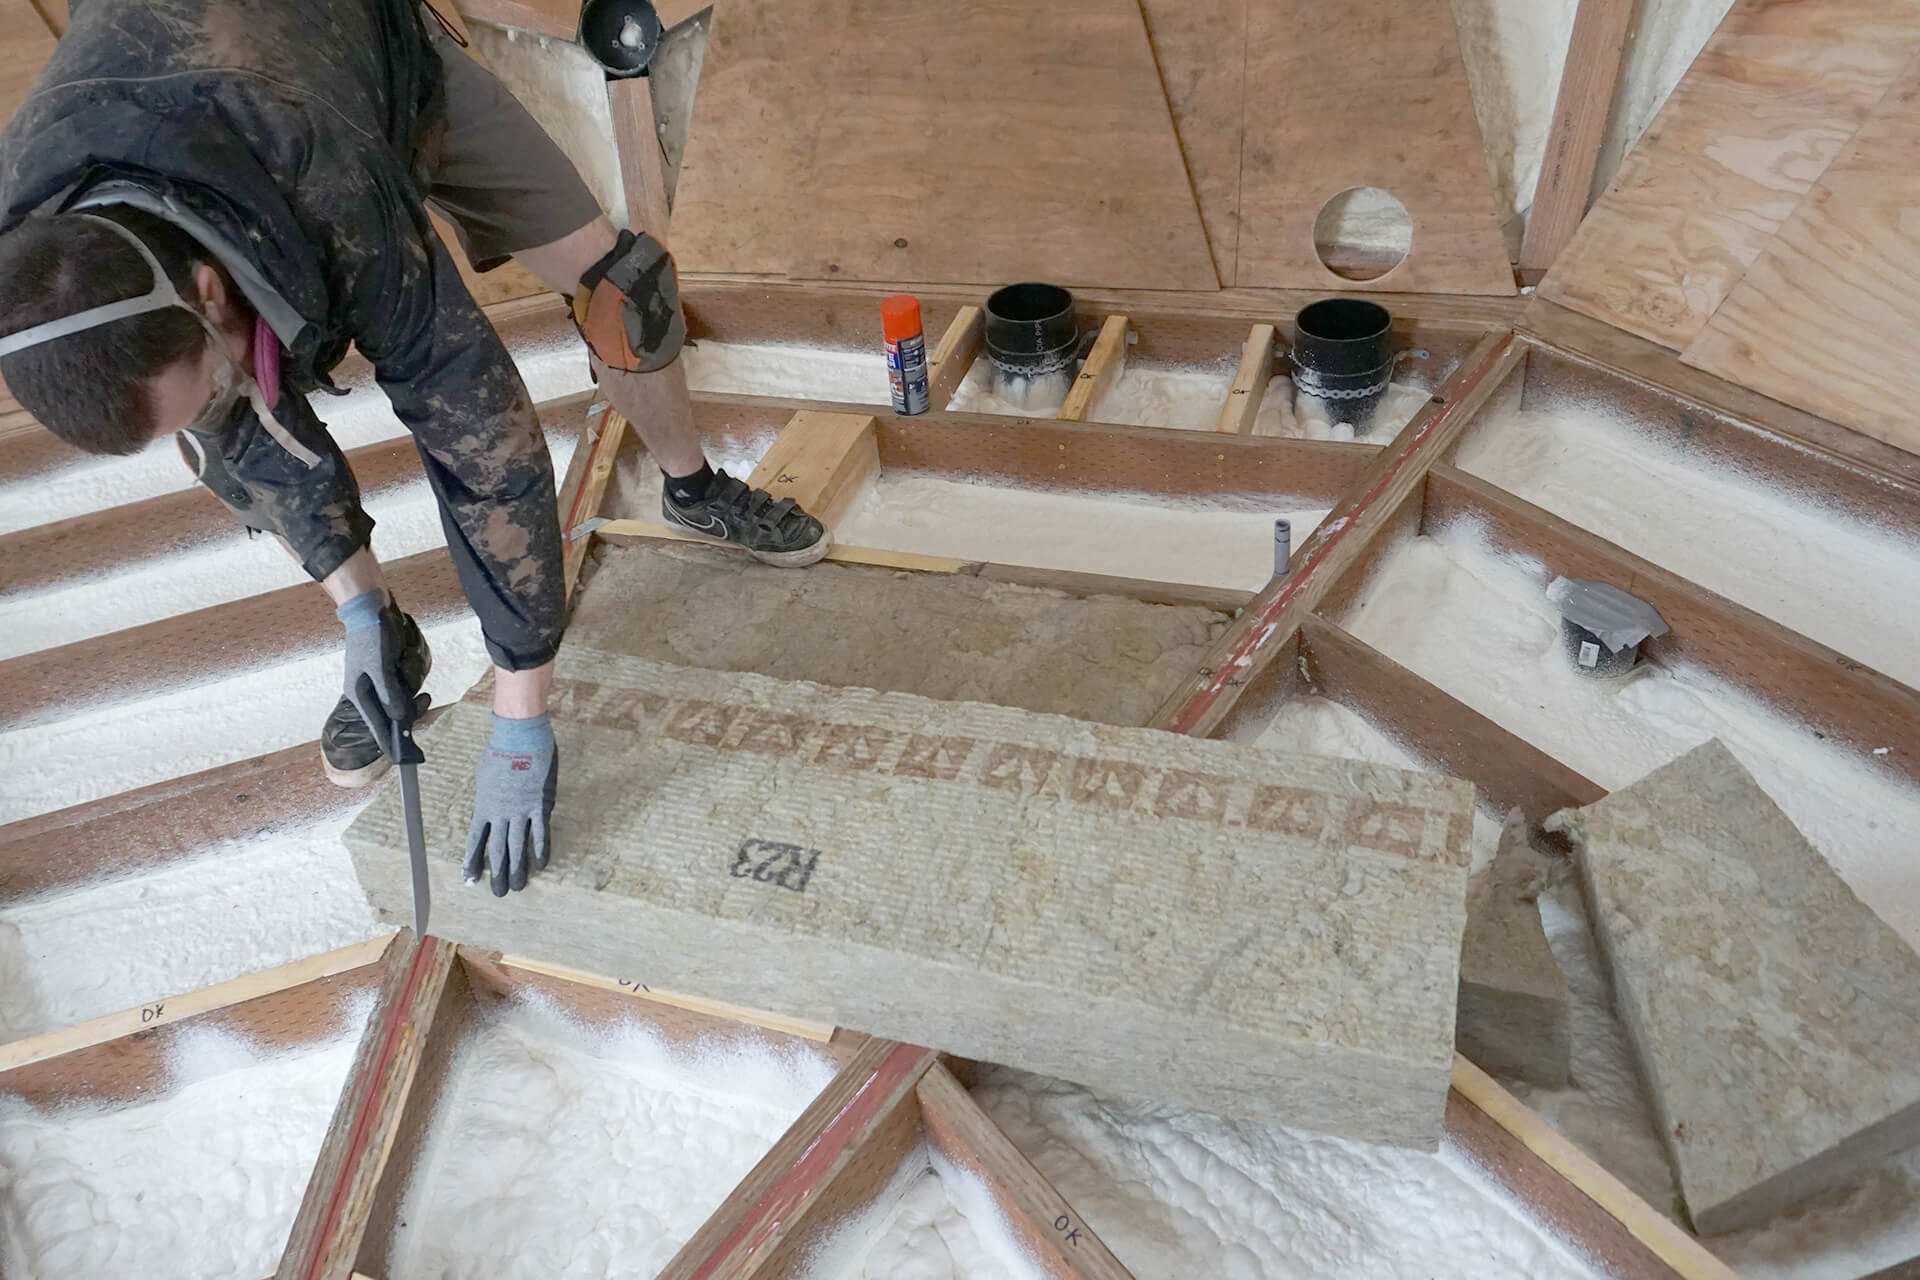
Cut the insulation to shape using a serrated blade, such as a bread knife. Carve the bottom of the mineral wool to match any high spots in the foam, ensuring a flush fit.

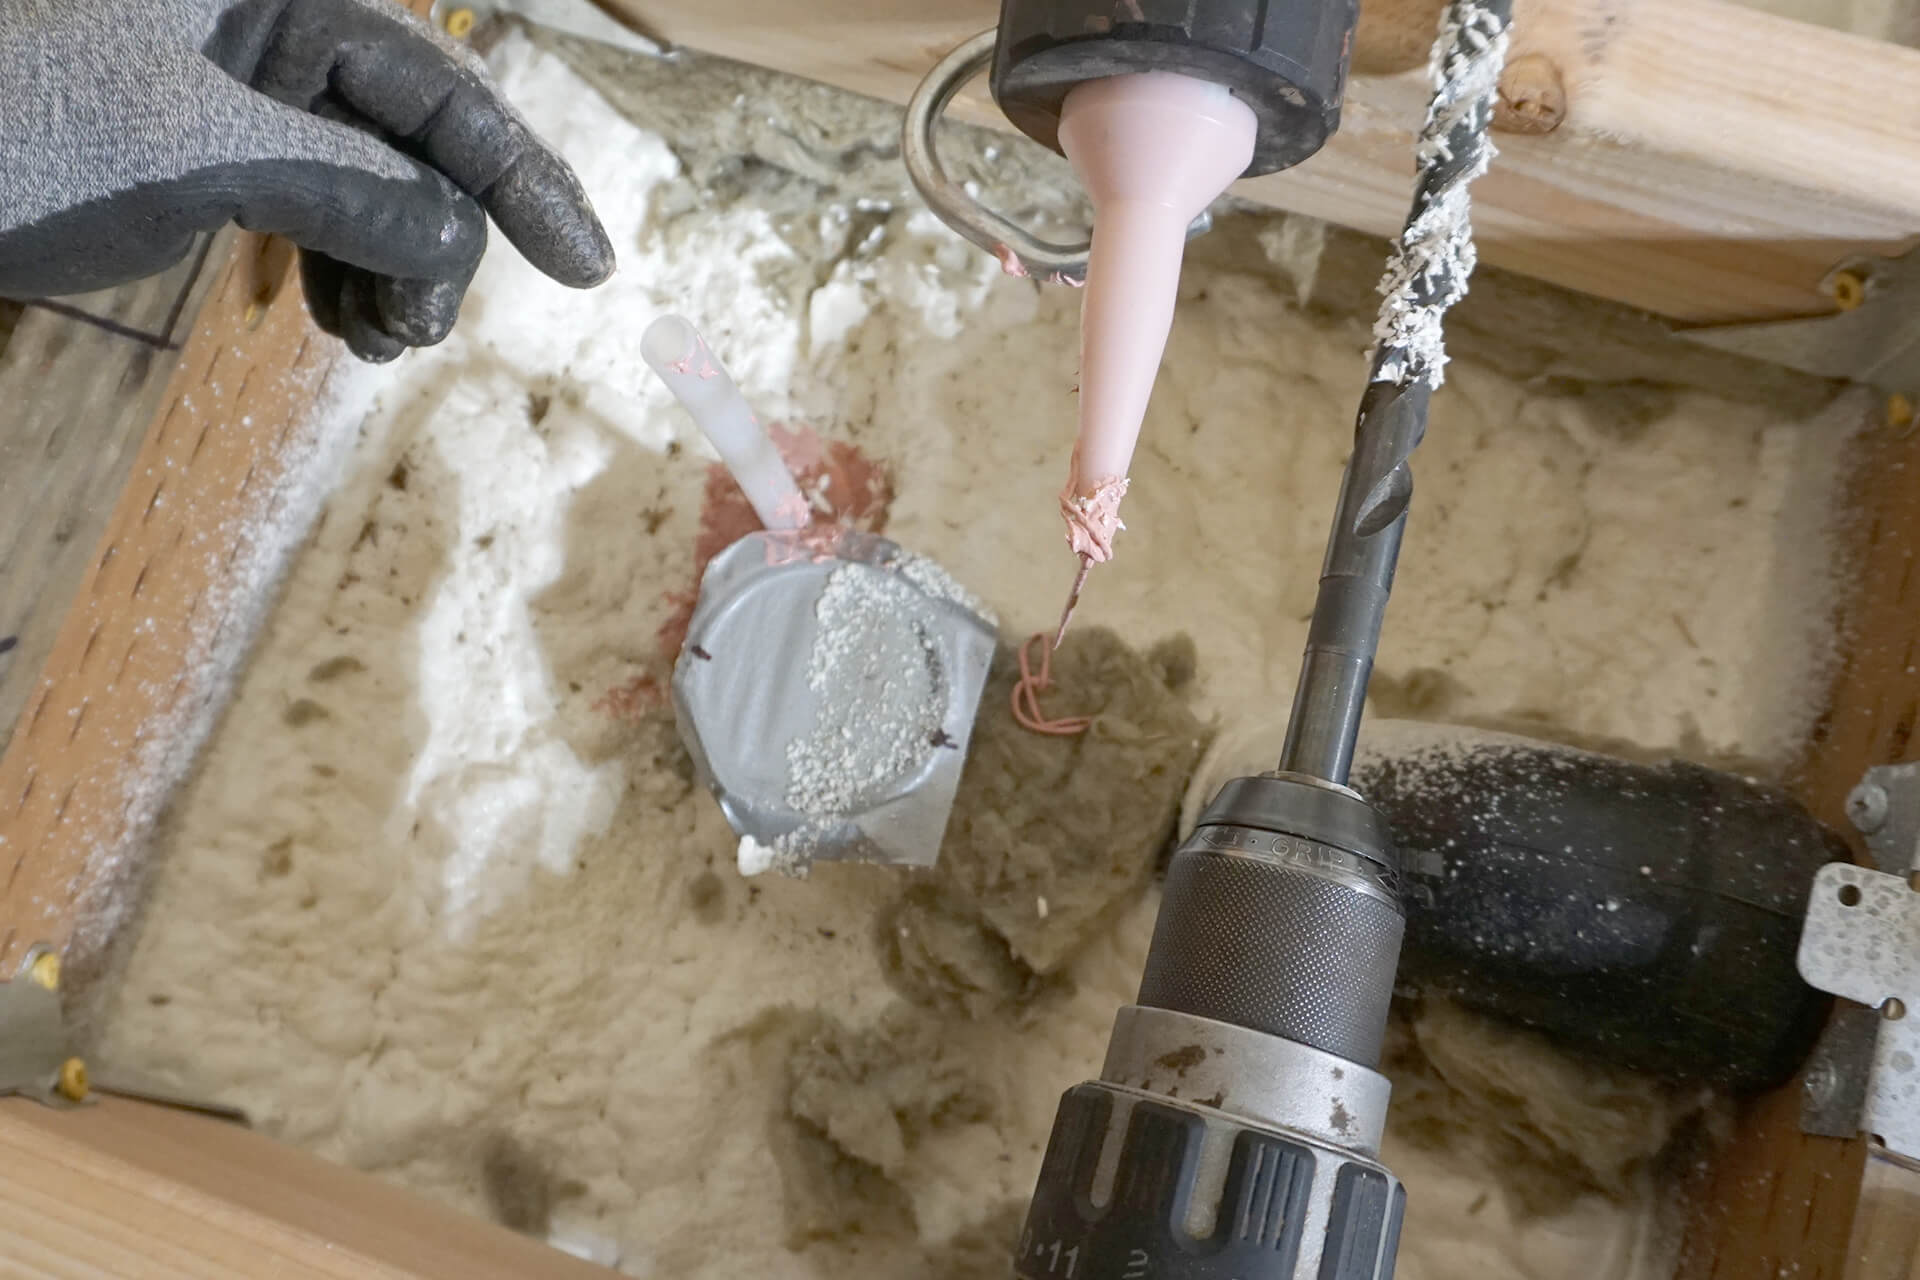
Install the thermostat wire conduit. Use a heat gun to angle it and notch towards the top of the Floor Beam to ensure it protrudes at the correct location above the subfloor.
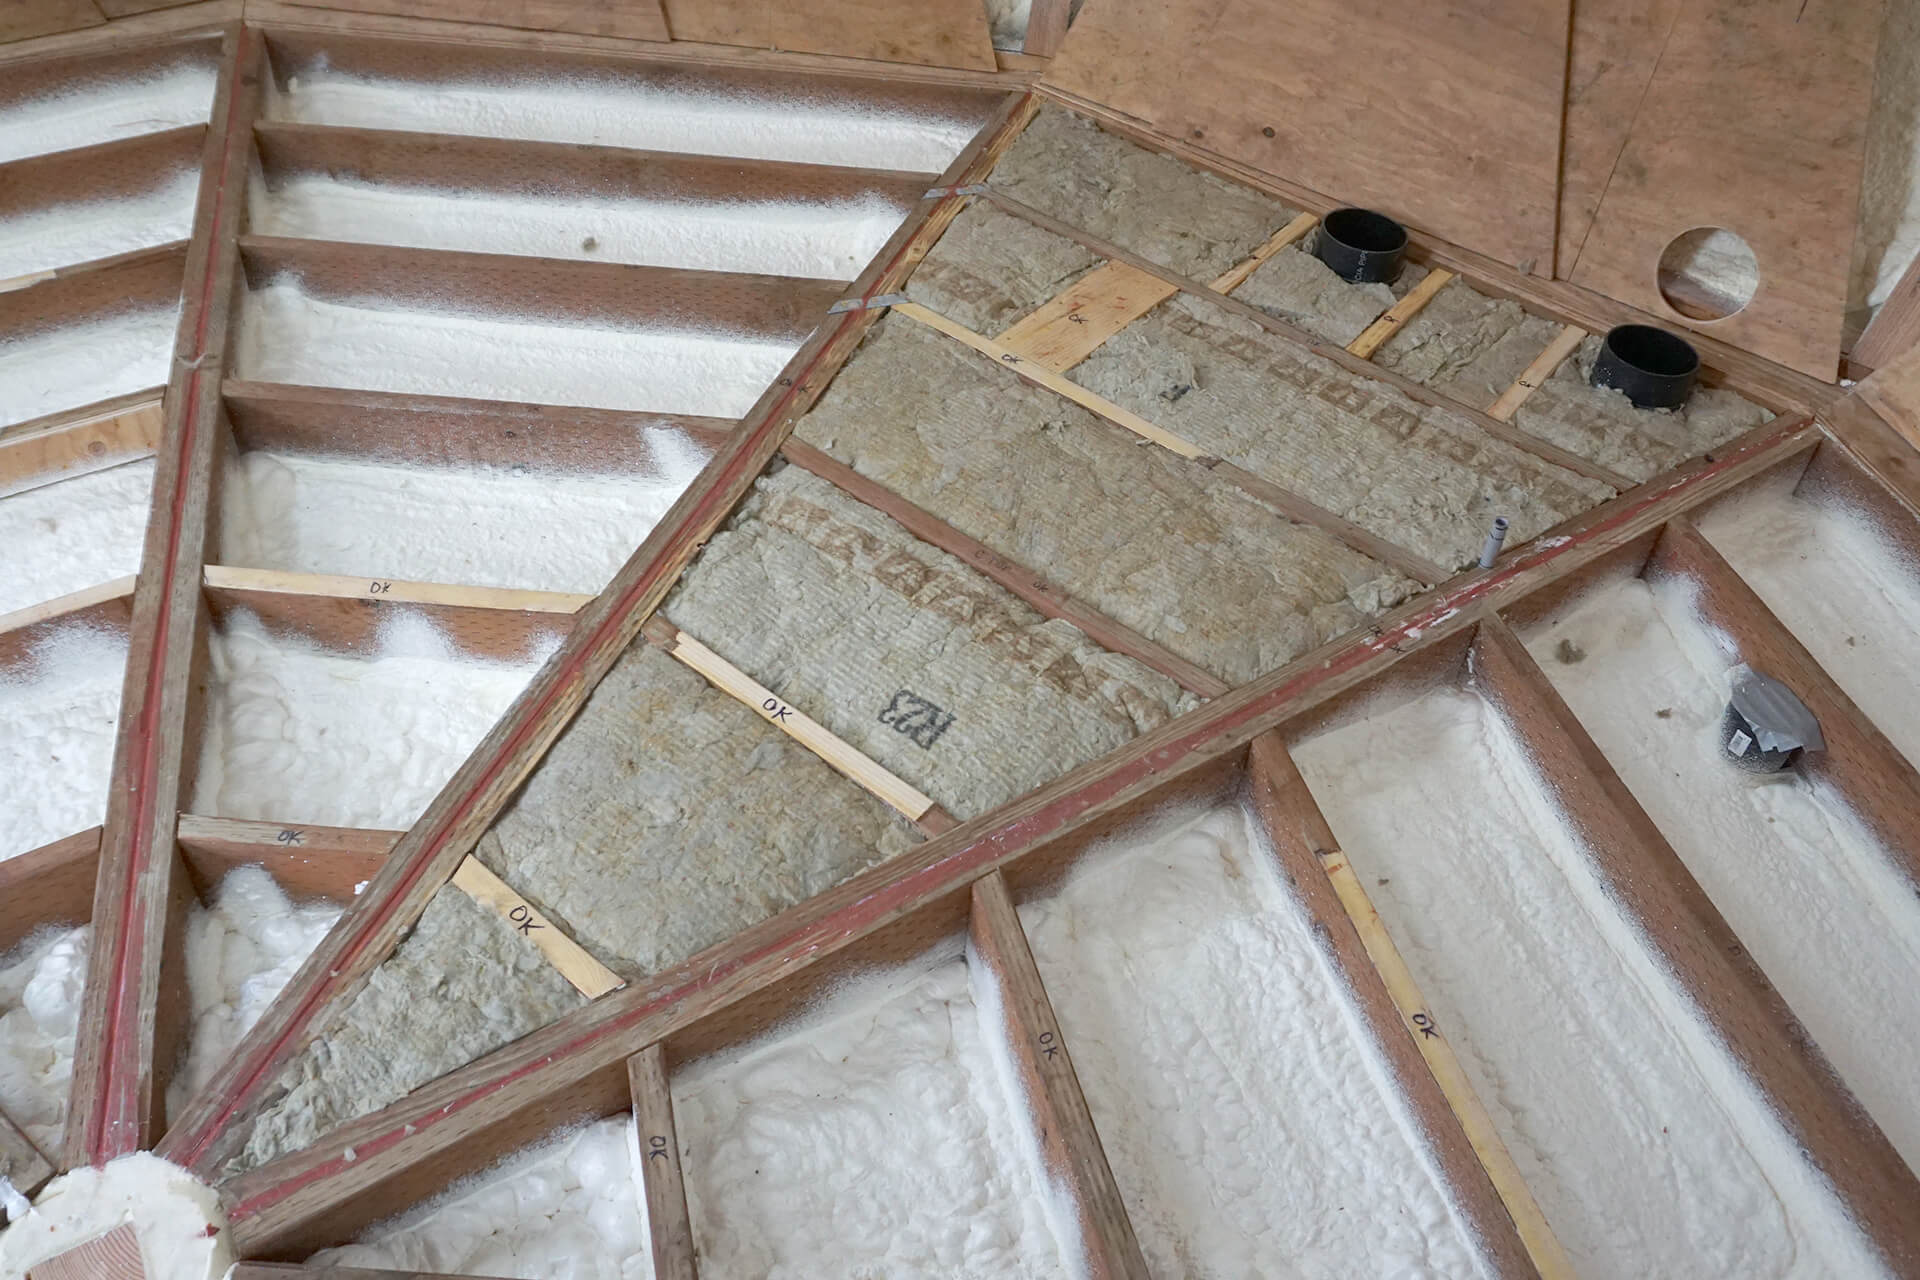
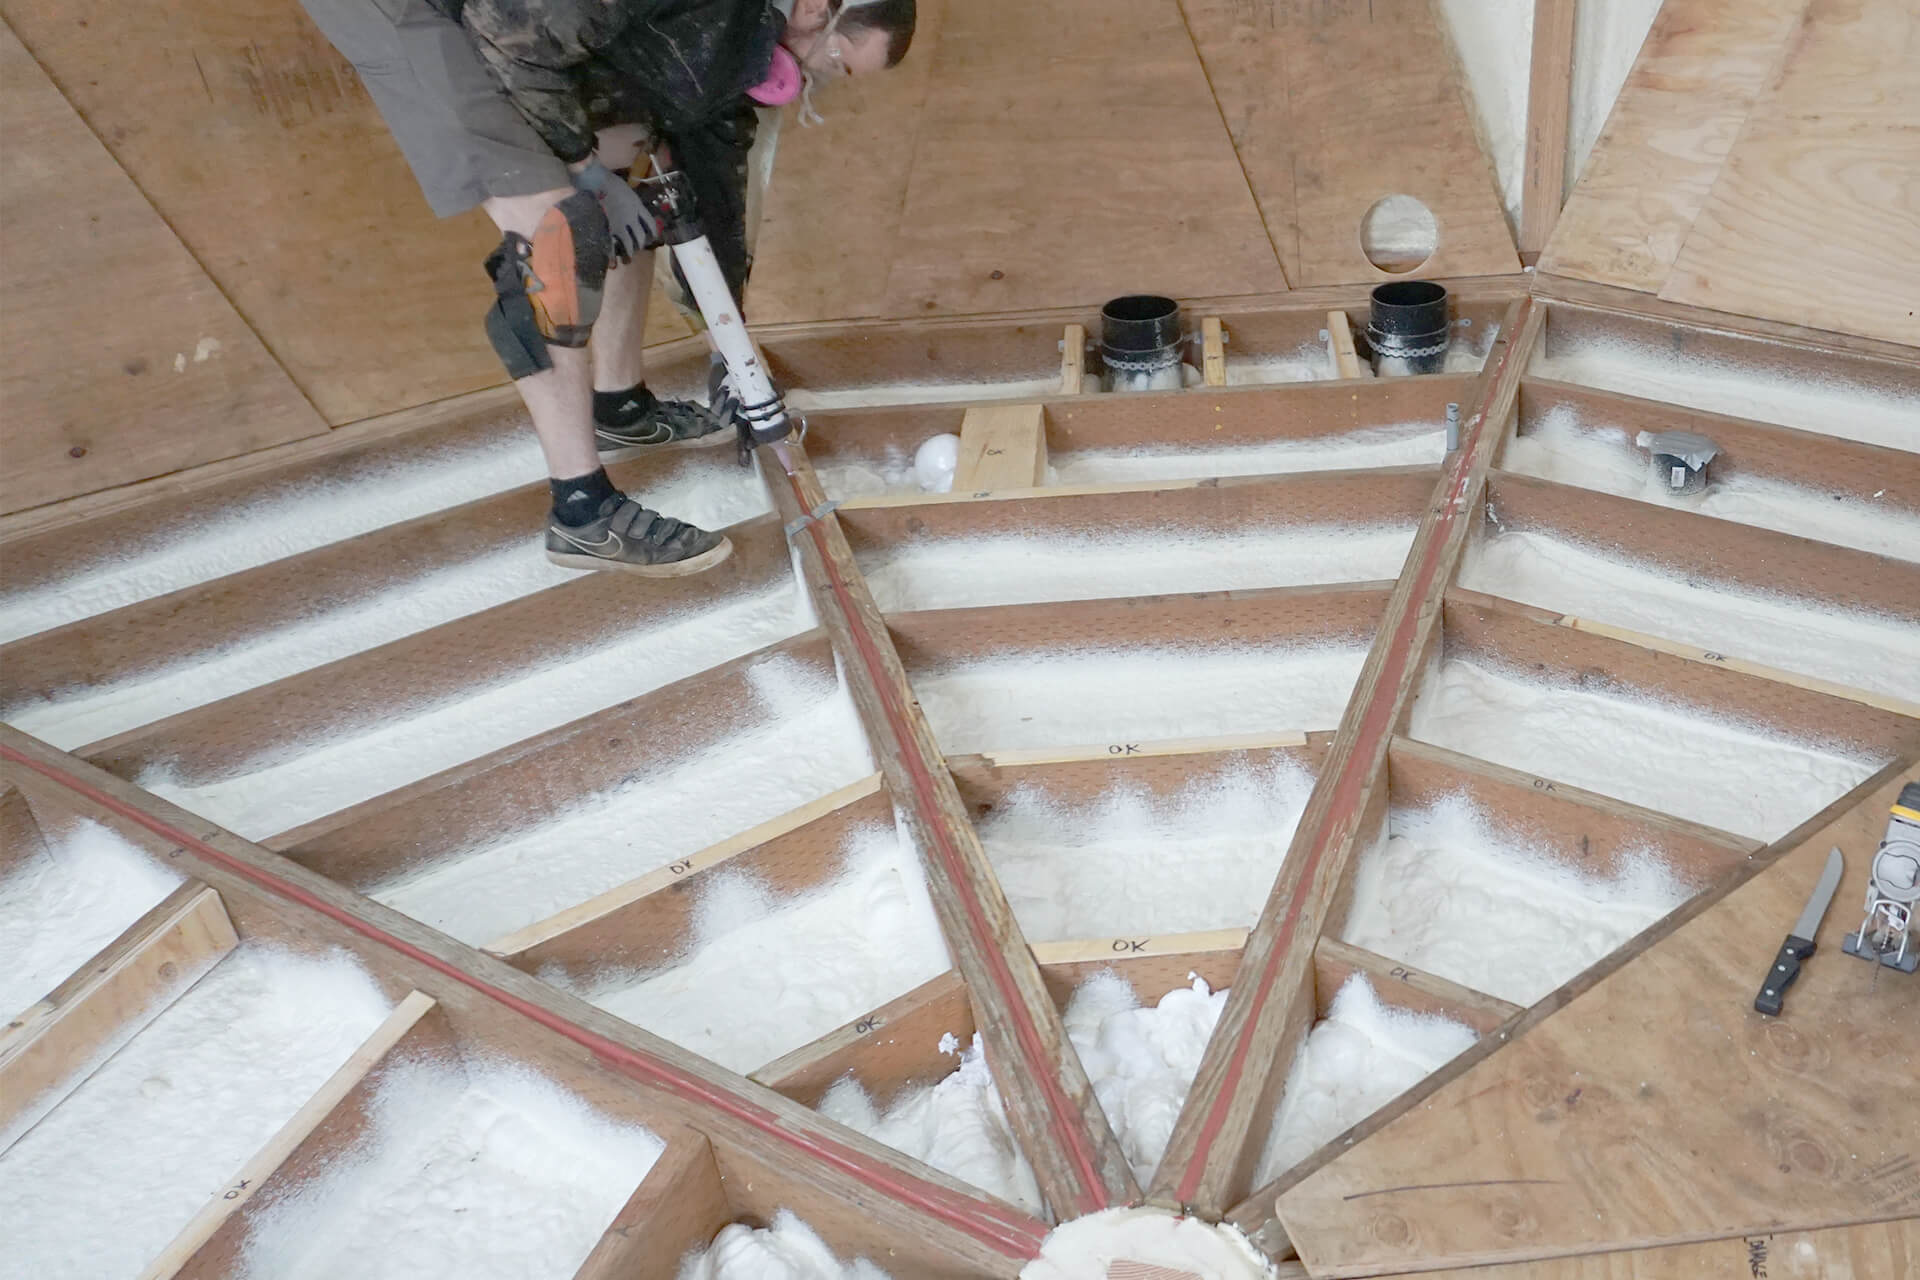
Install the insulation one floor slice at a time.
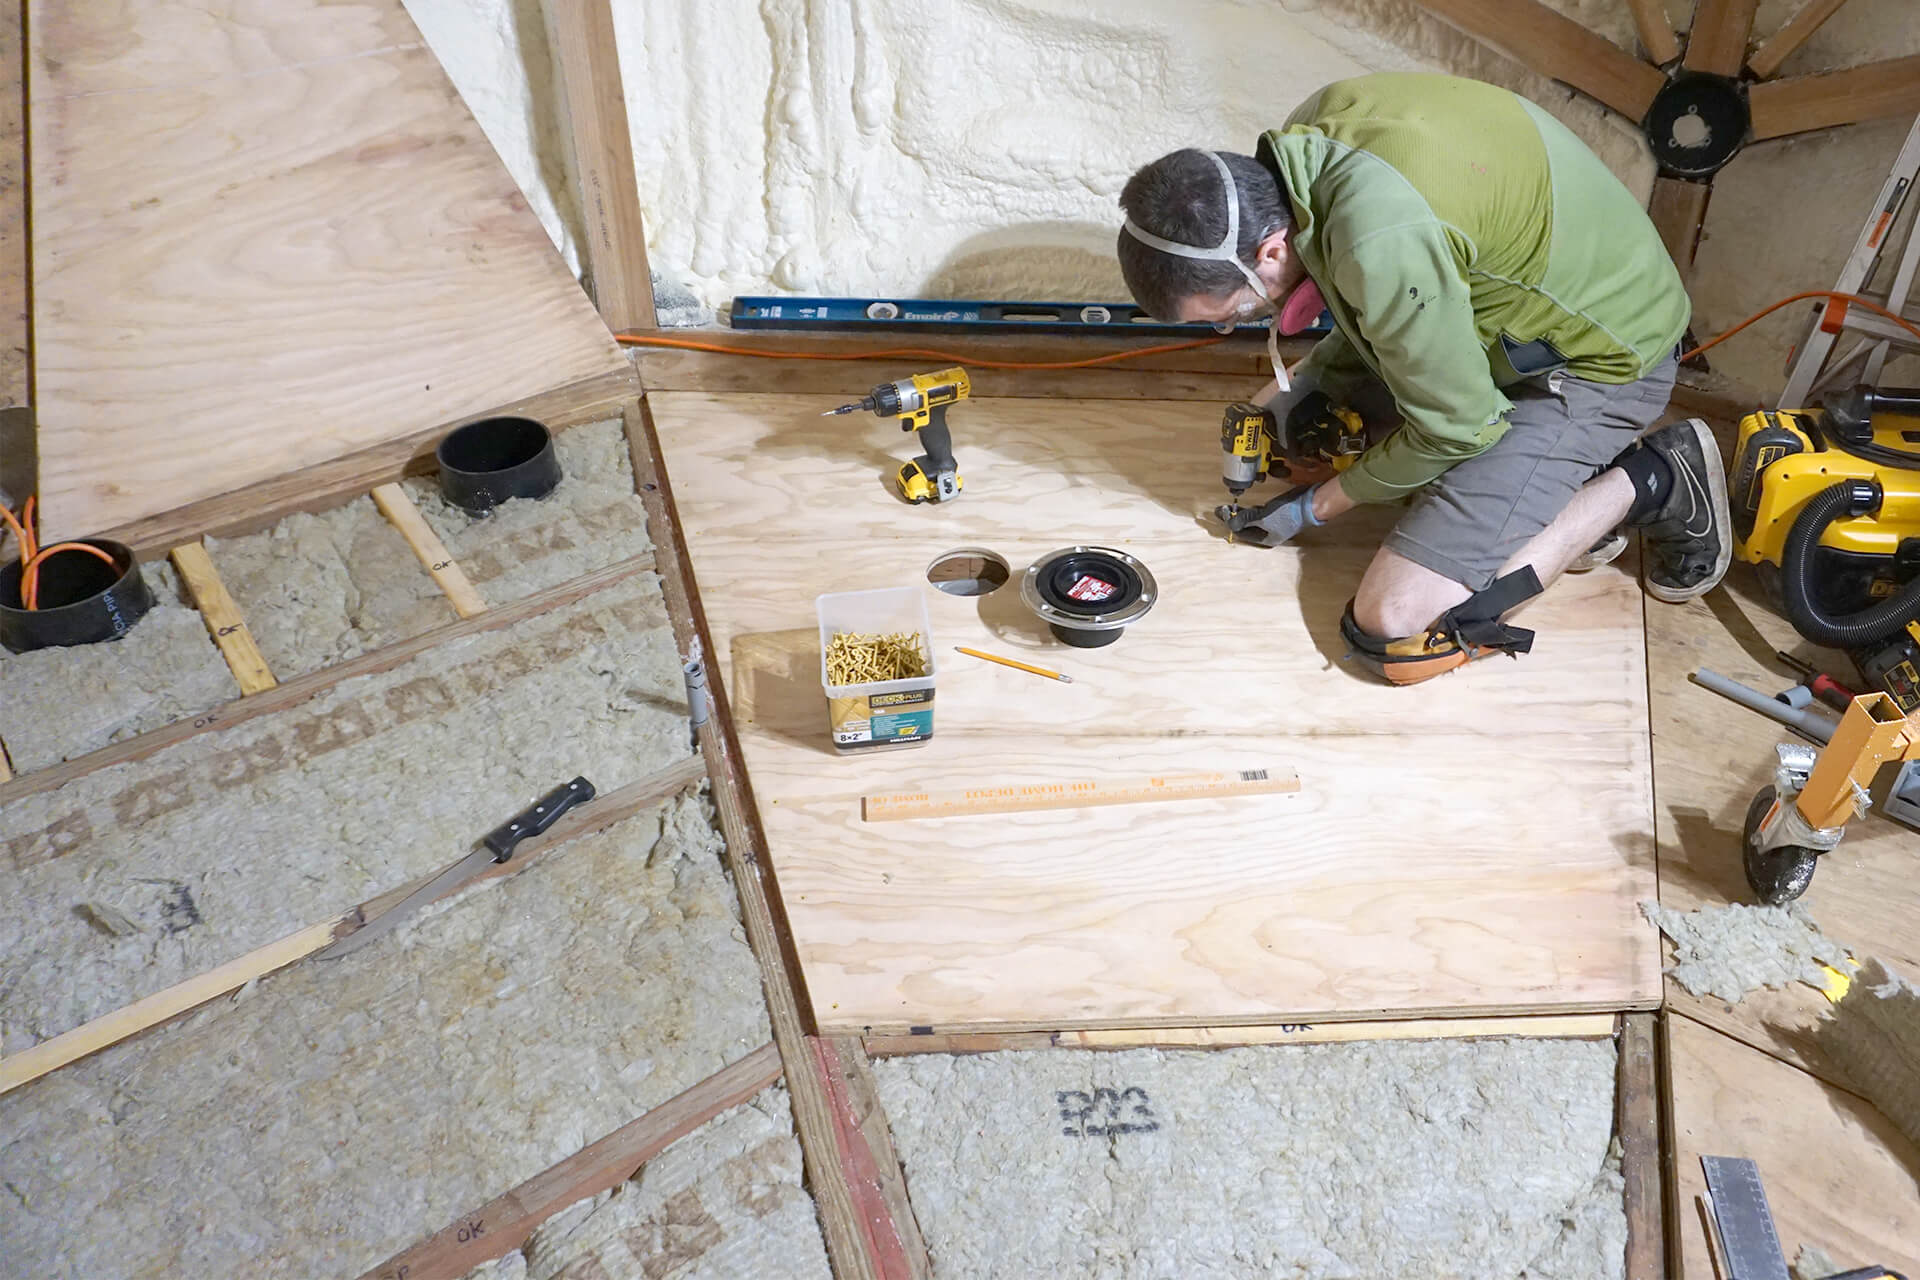
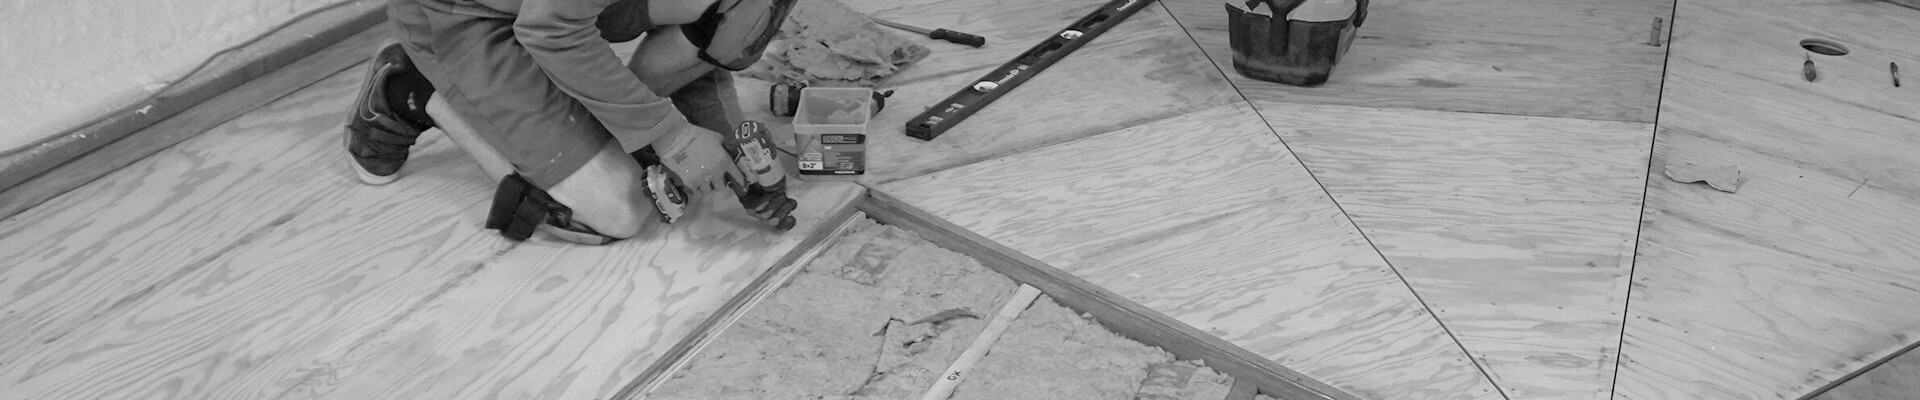
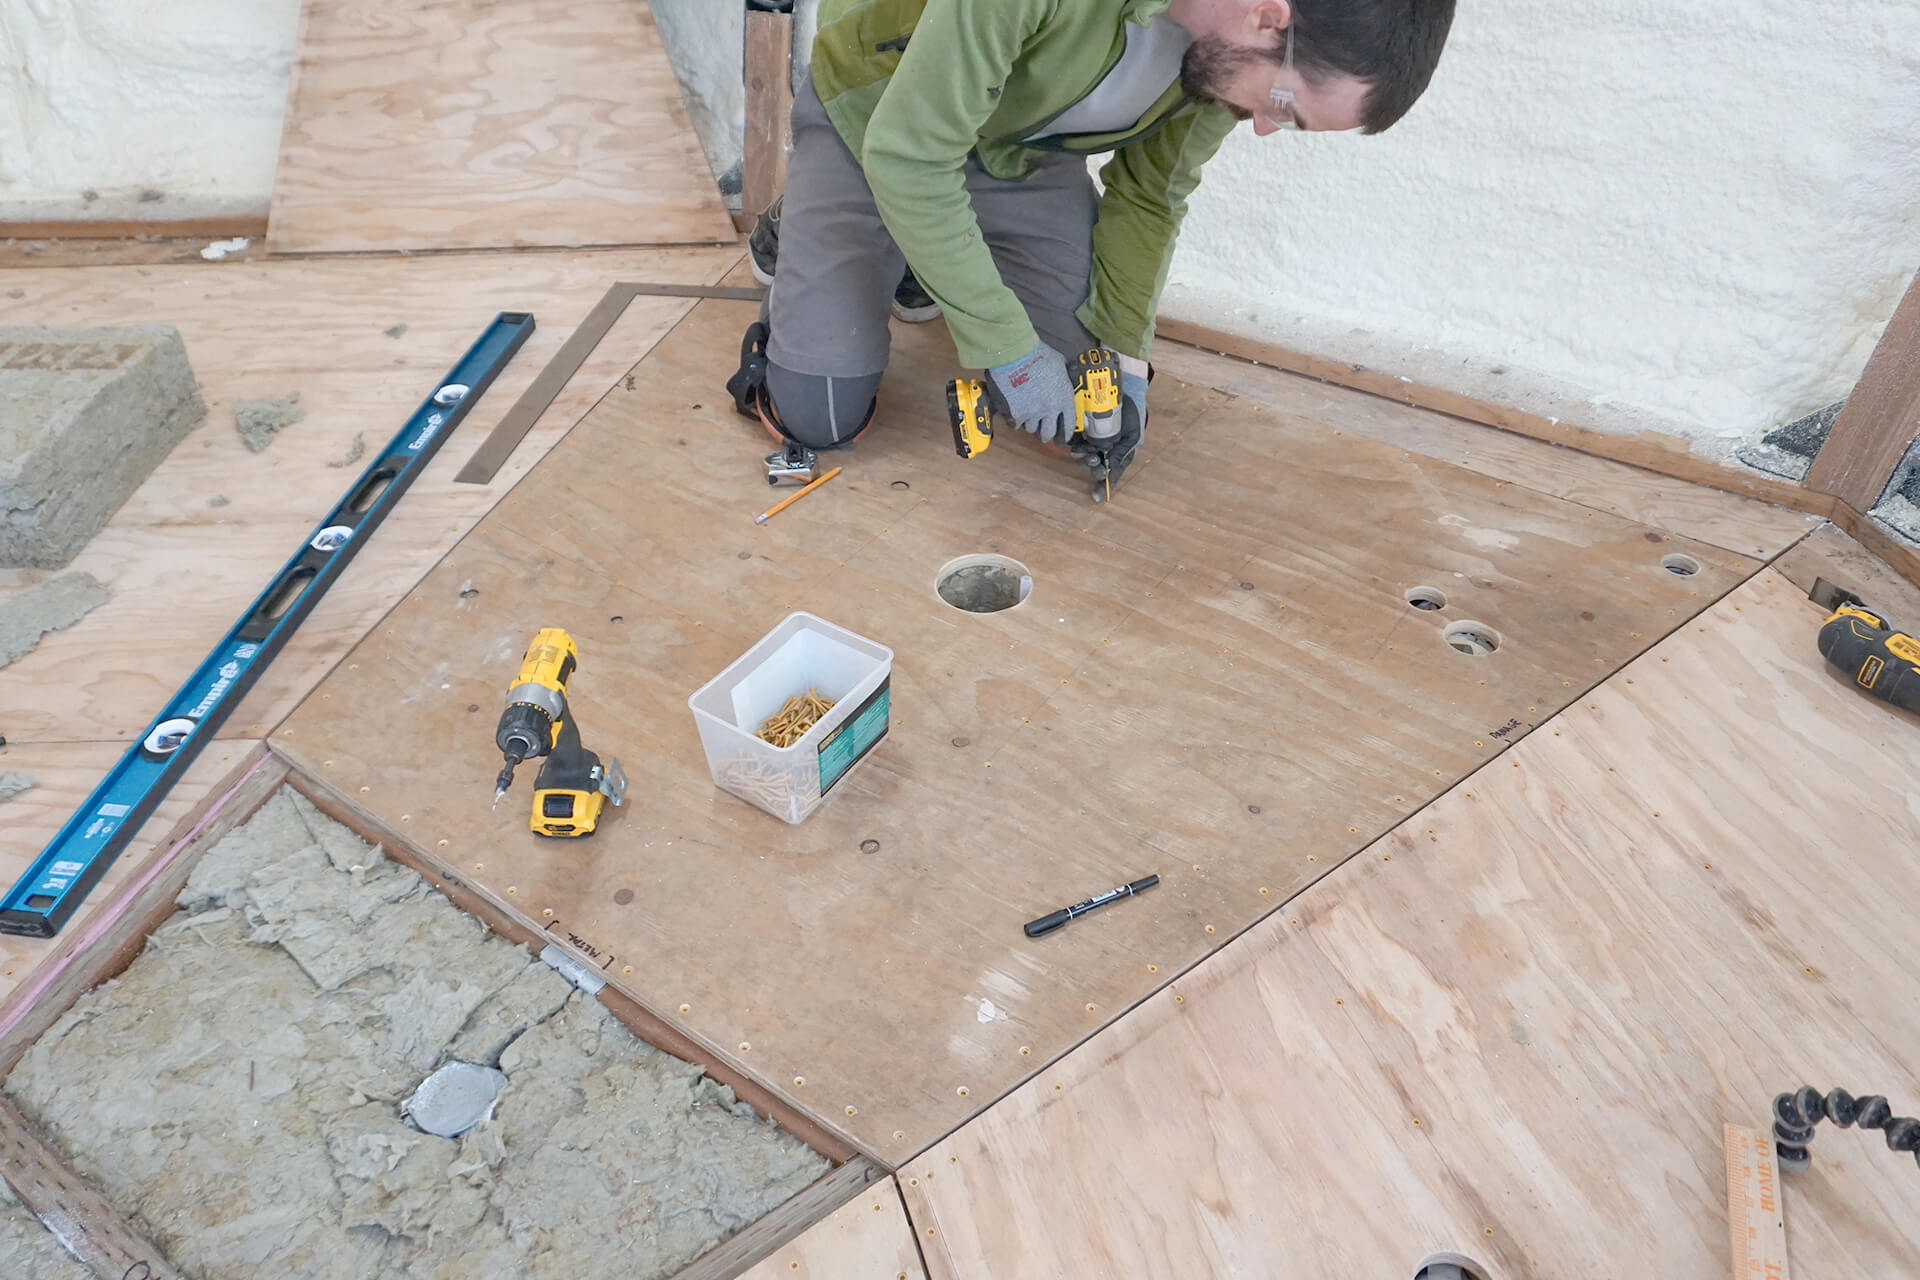
Secure the subfloor panels atop the completed insulation. Mark the locations of the floor joists and blocking. Pre-drill, chamfer, and screw #8x2” wood screws every few inches.
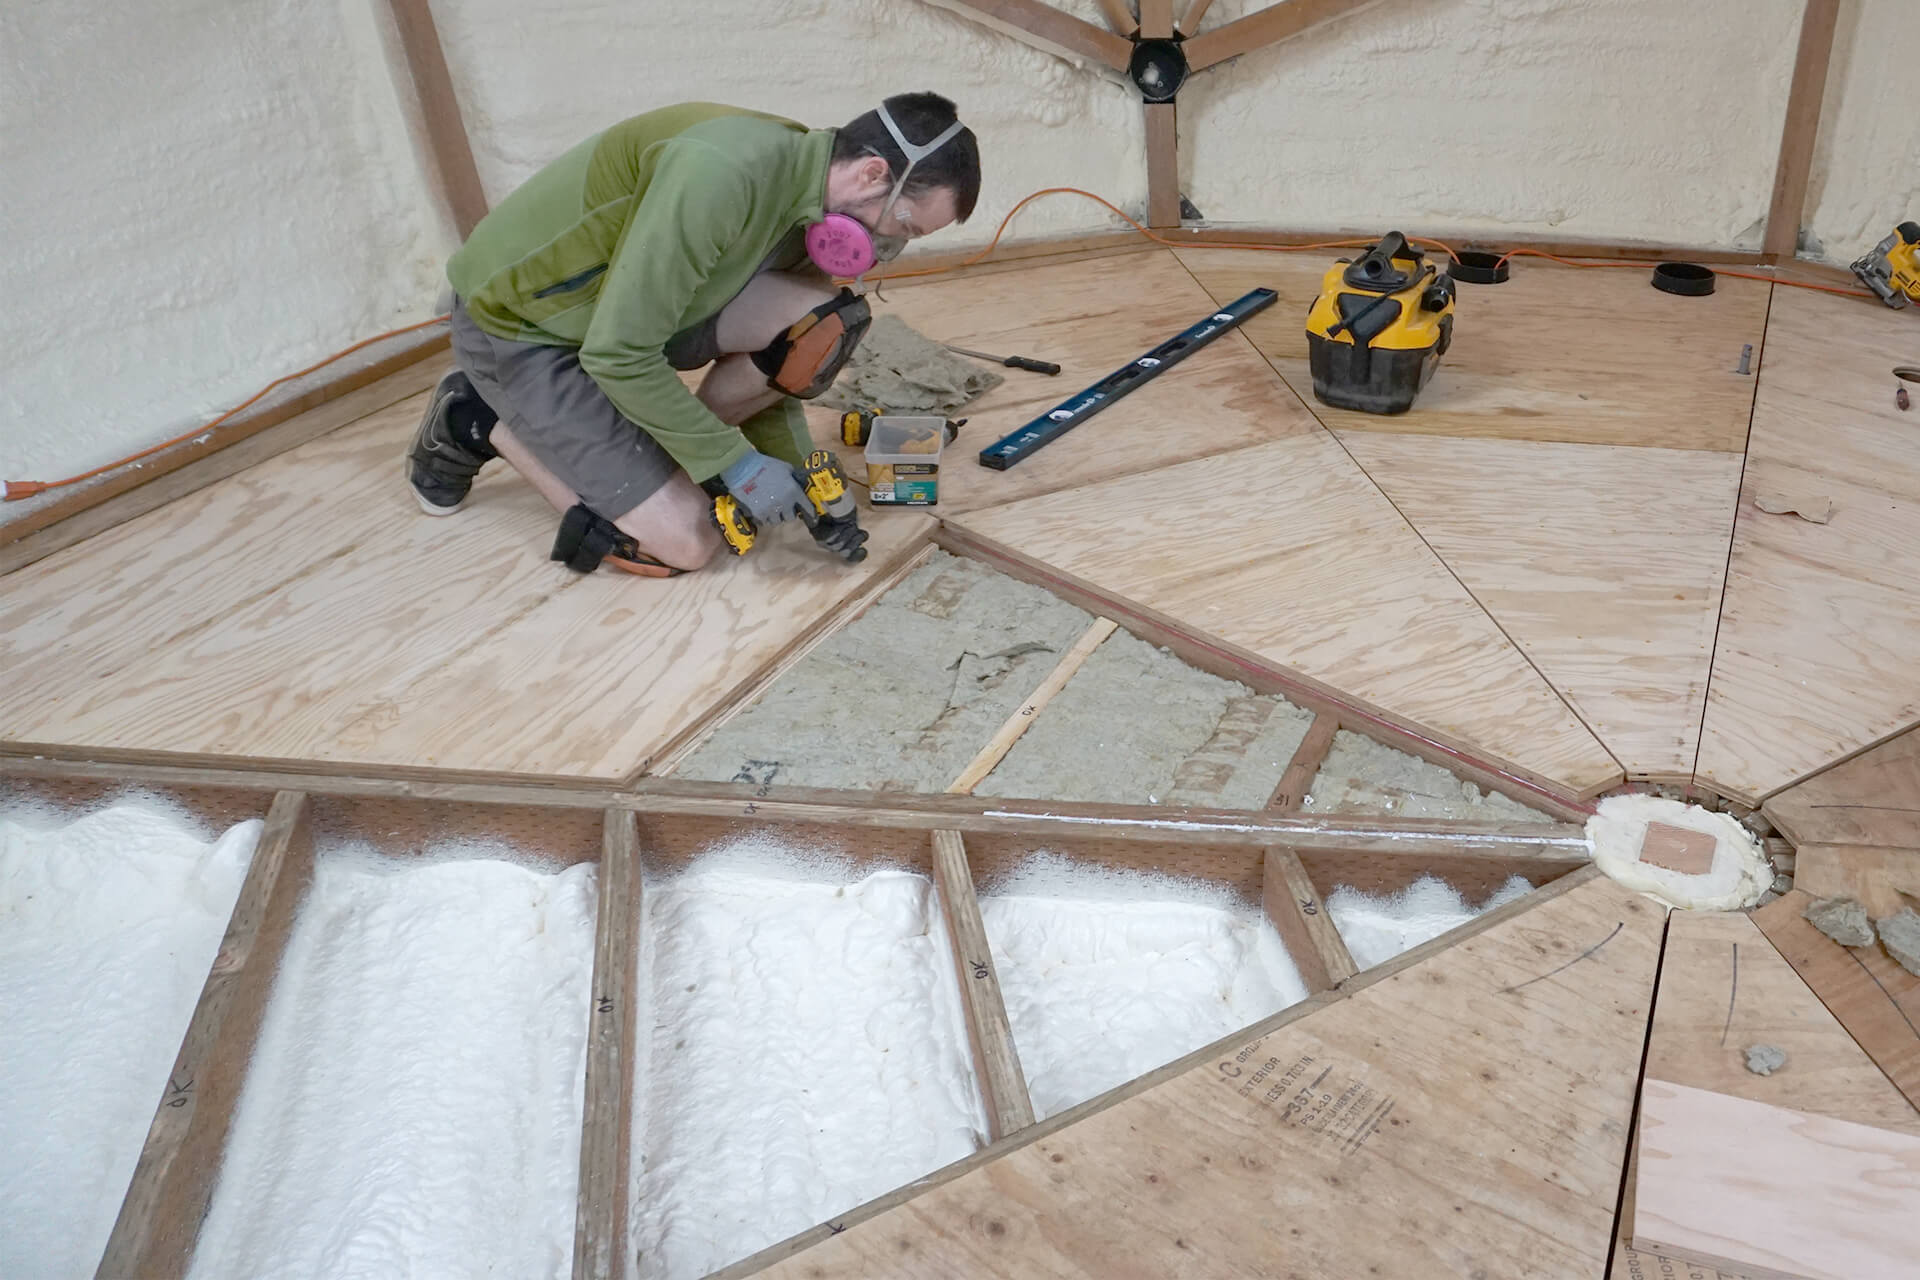
Continue insulating and securing subfloor panels.
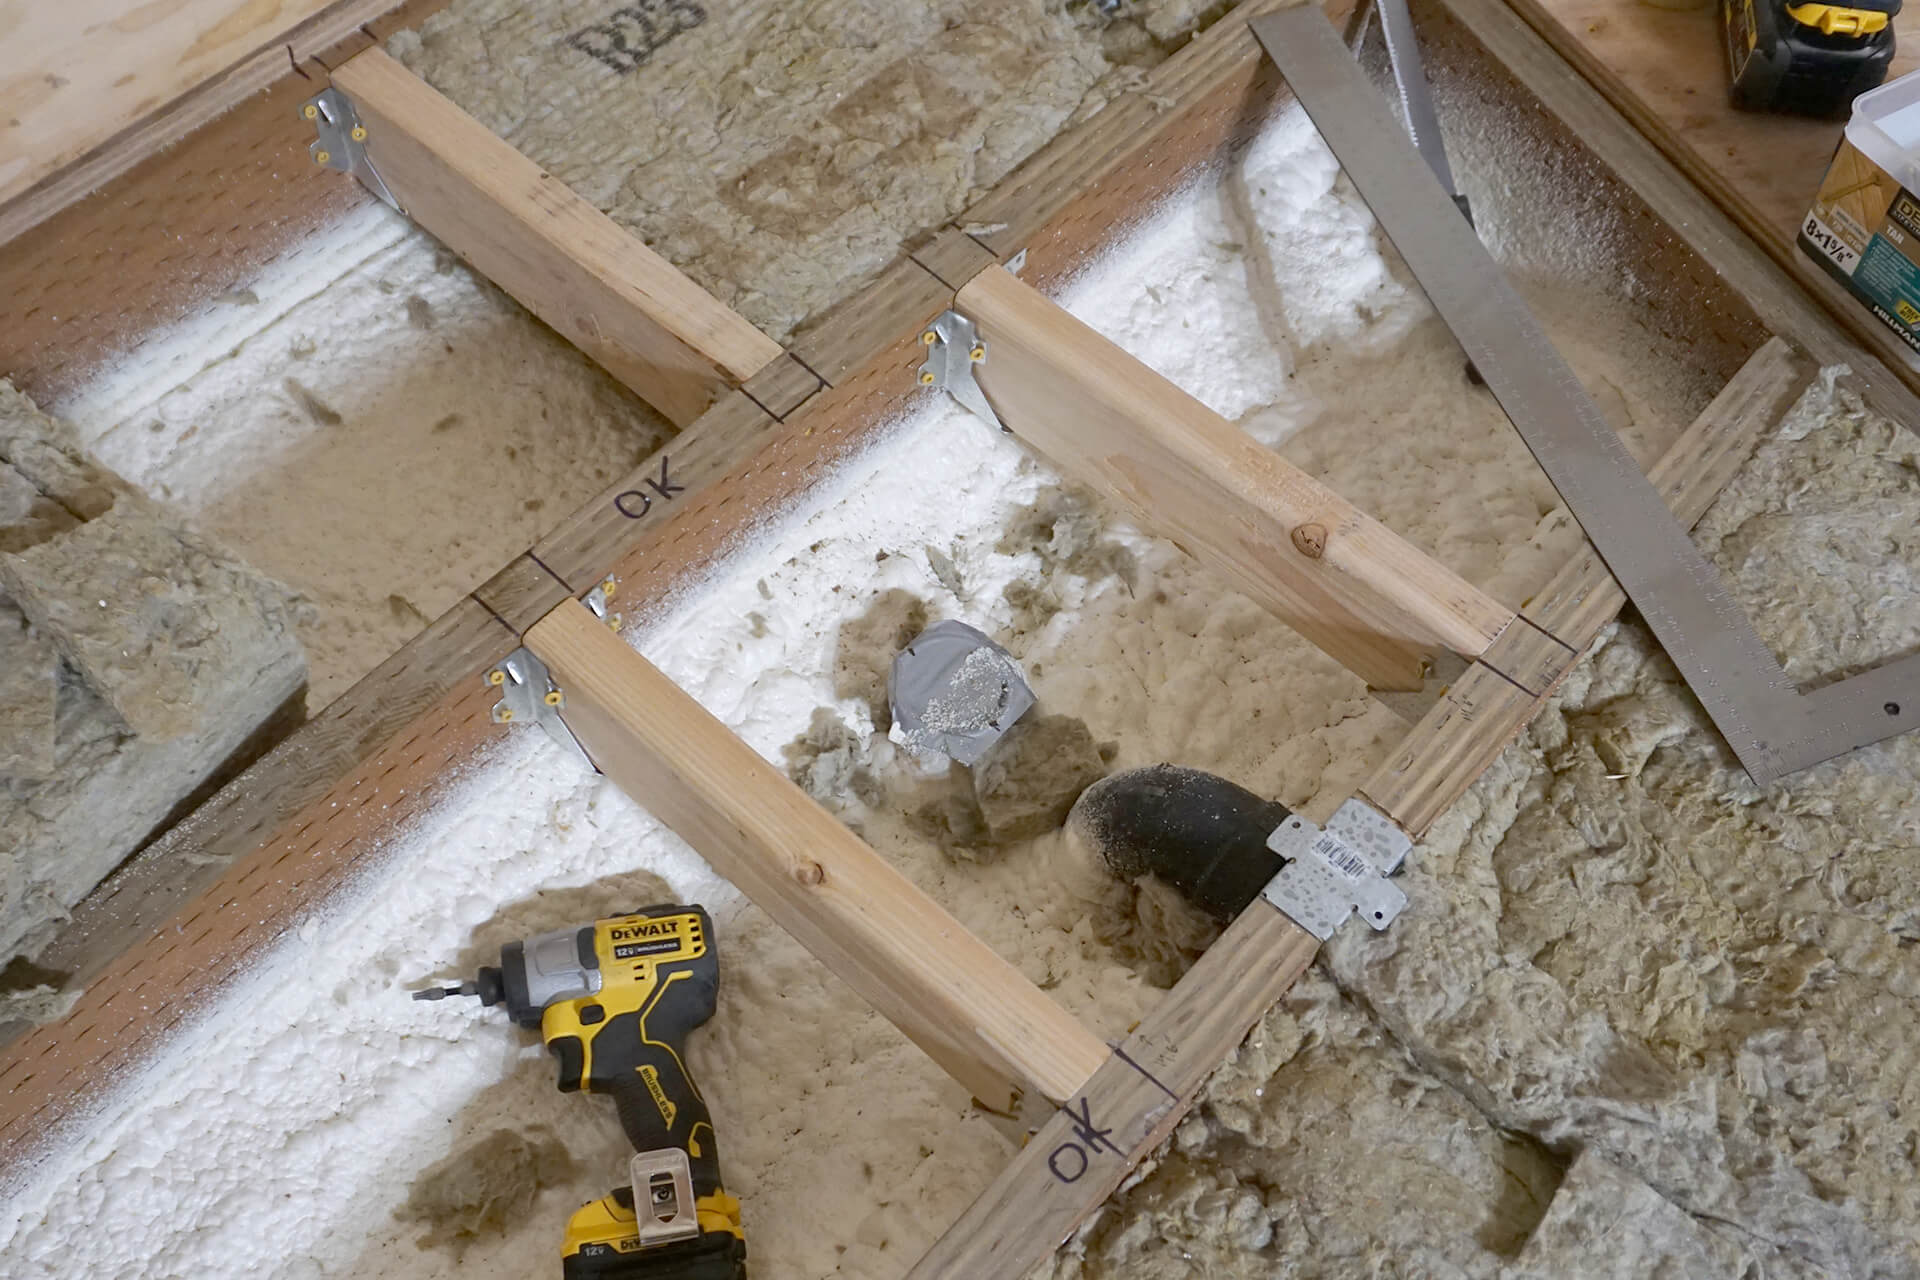
Install blocking around the shower P-trap area to provide additional floor support for the shower and hot water tank.
Optional: Install a drain tube under the shower P-trap area to monitor potential leaks in the shower seal. The tube terminates at the crawlspace into a plastic bottle, similar to the windows.
Mark and cut holes for the utility locations before securing the subfloor panels. Each hole should have enough clearance for the corresponding fittings.
Continue insulating and securing the subfloor panels. Once screwed down, they should not need to be removed ever again.
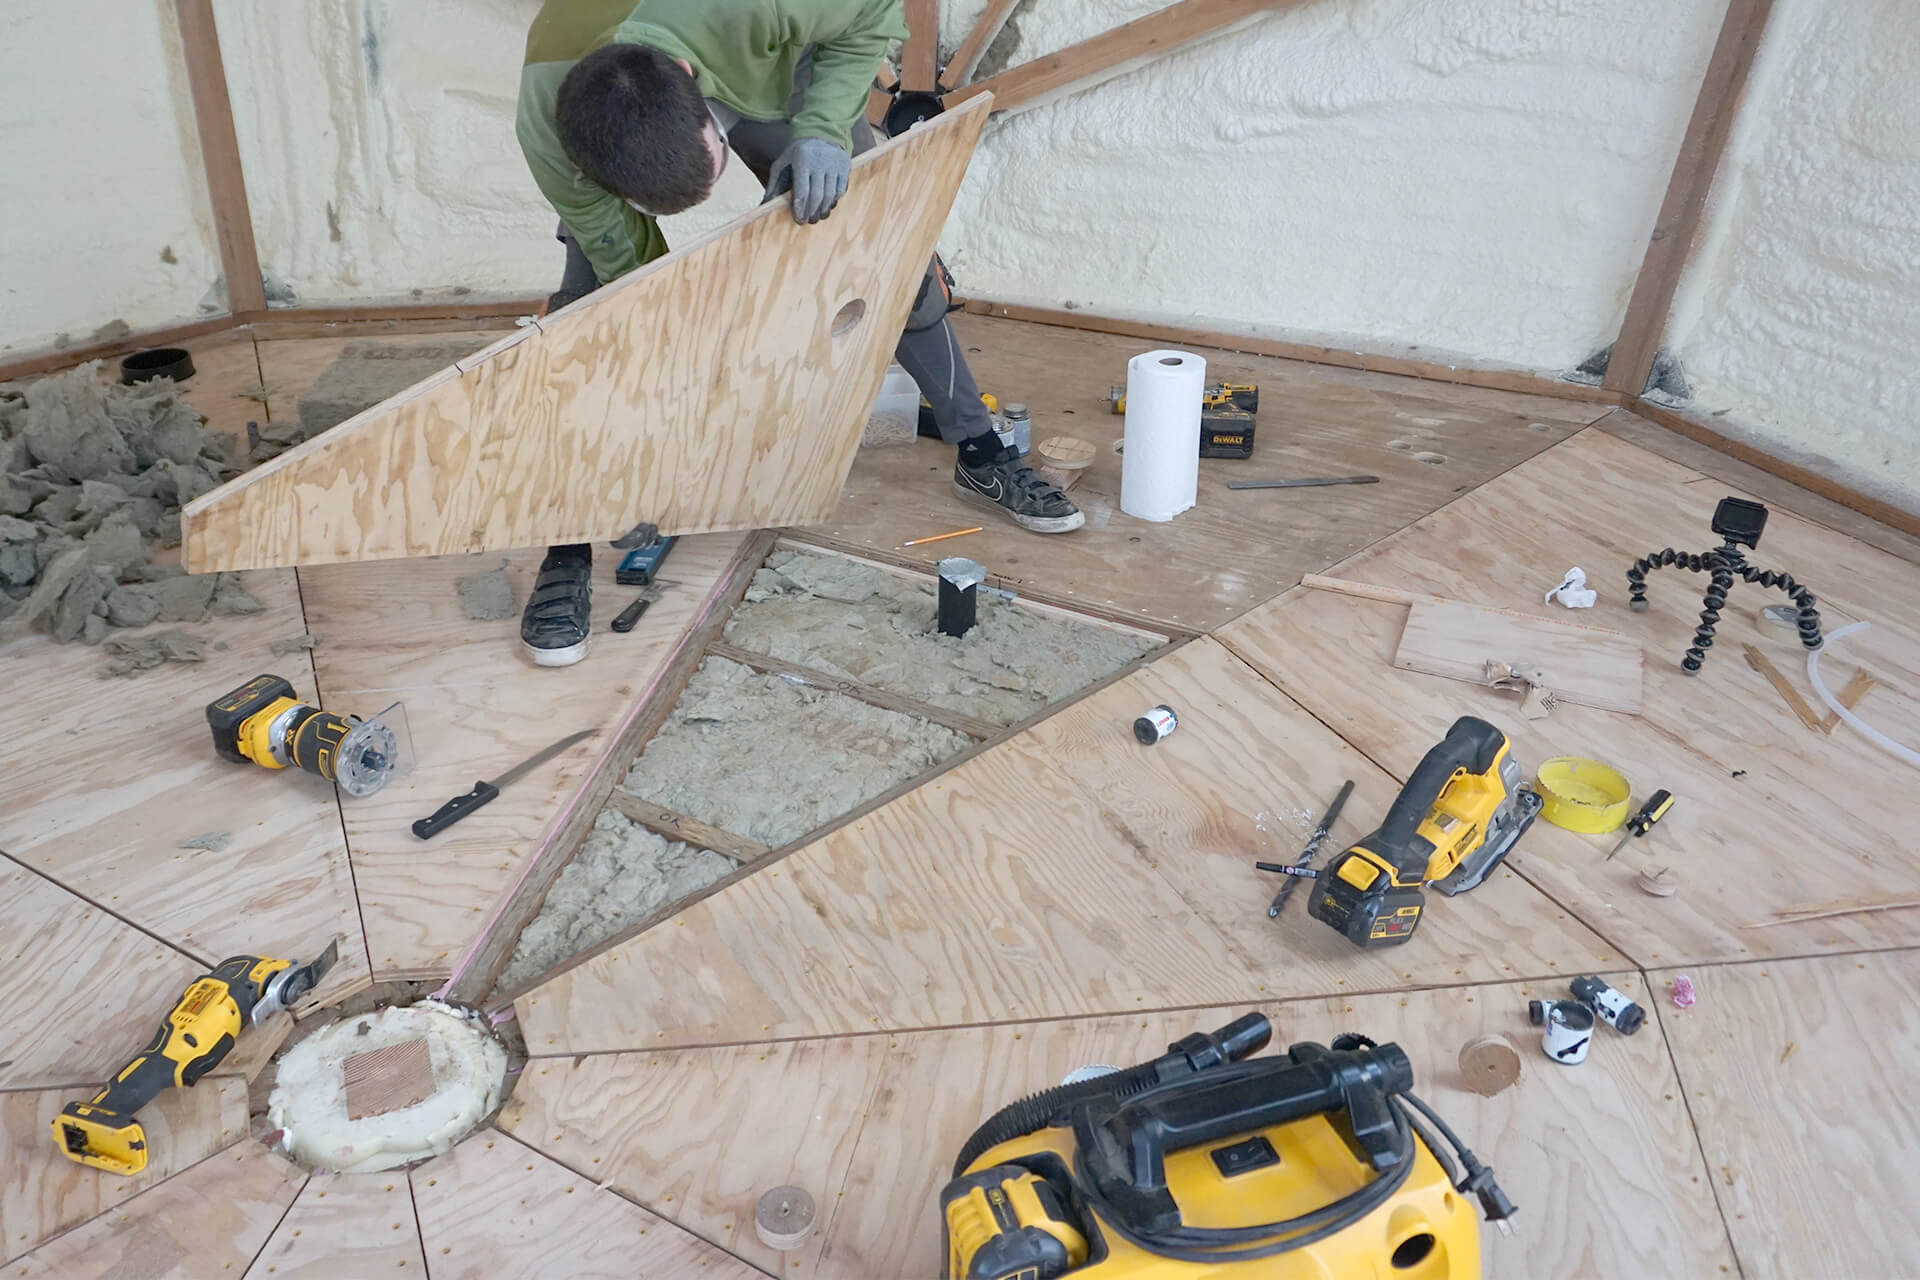
Install the final subfloor panel.
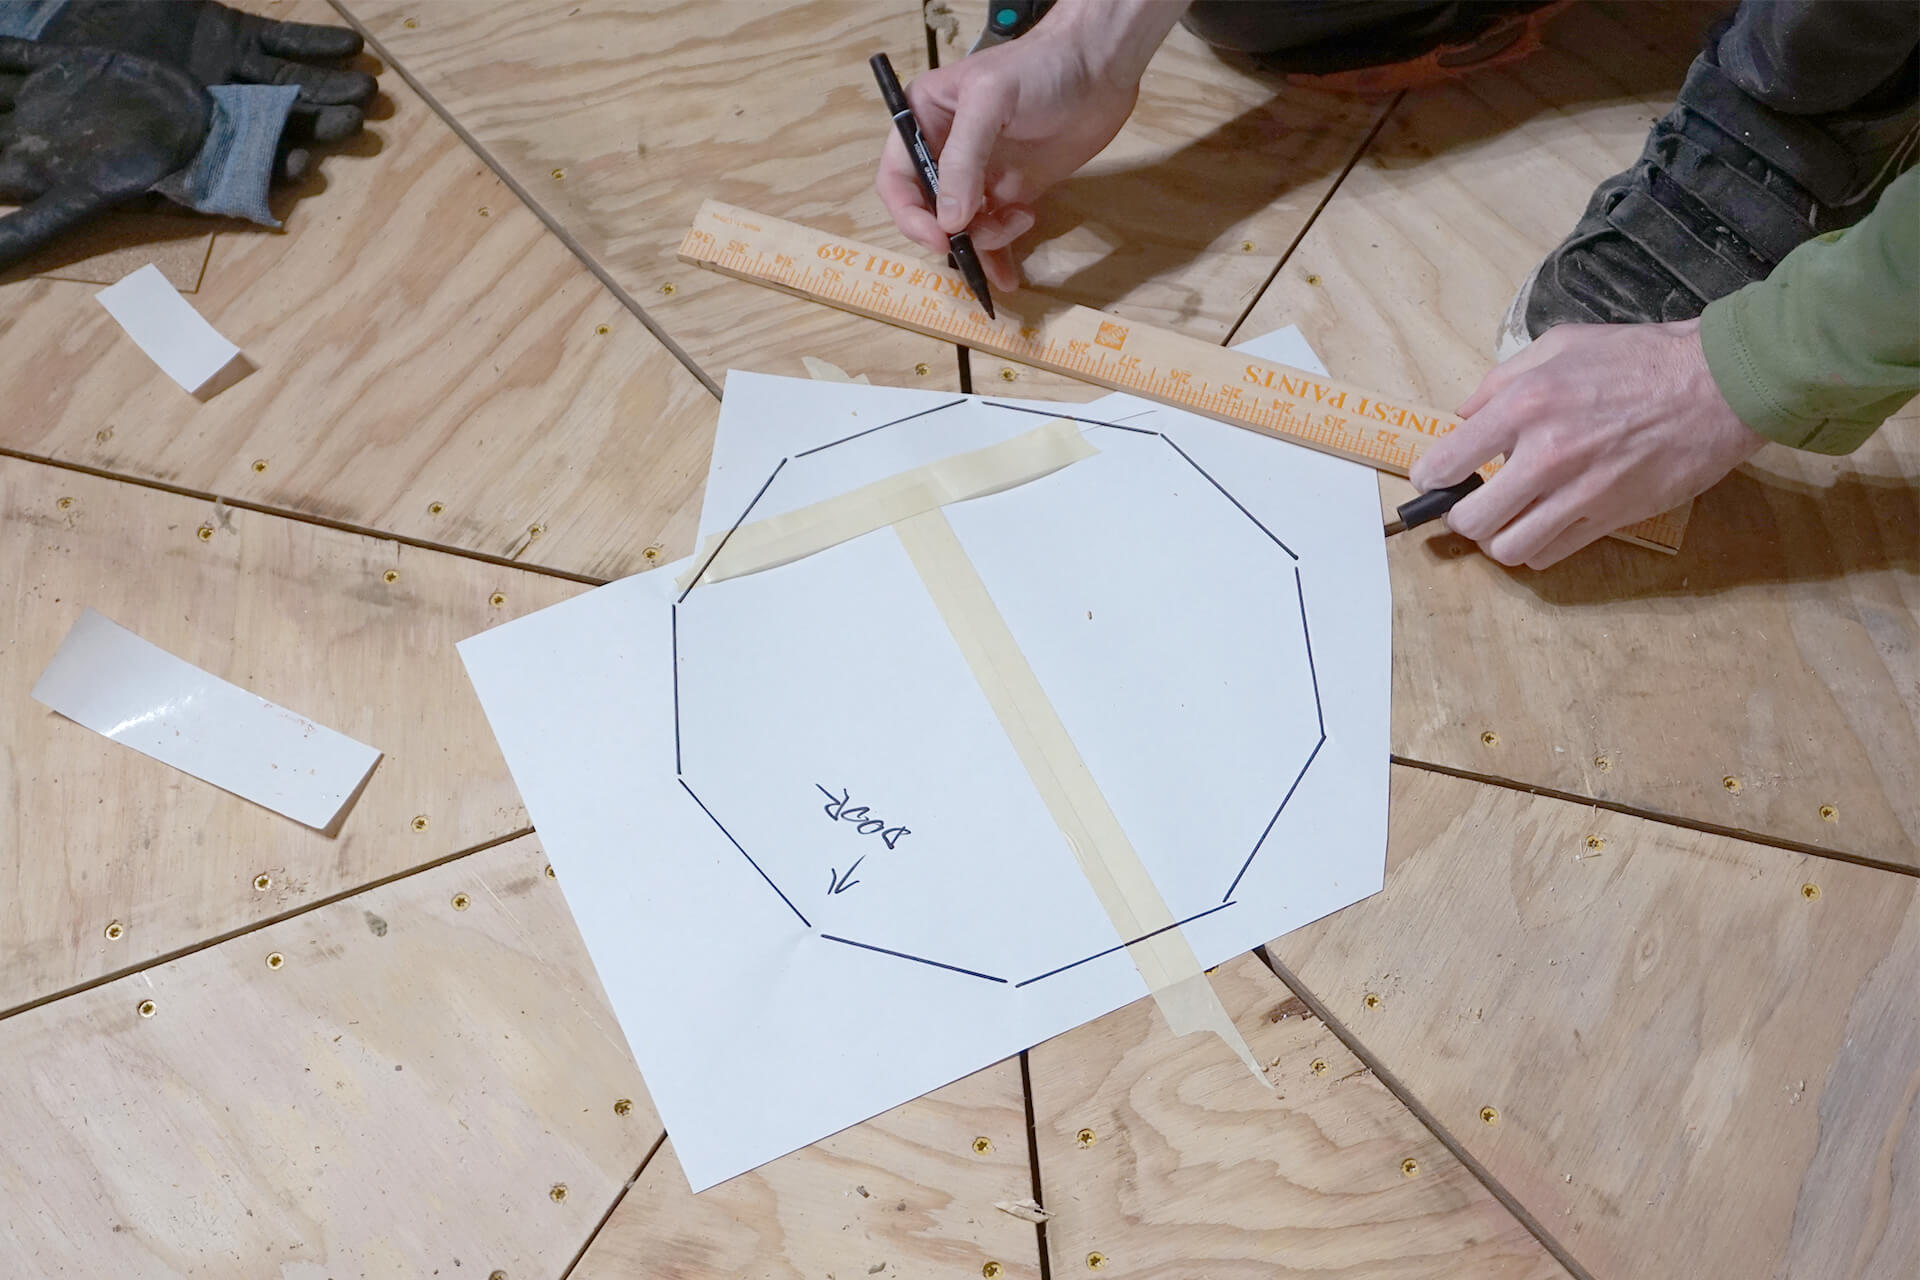
Create a paper template to assist in cutting the center panel. Mark the orientation, as it may not be perfectly symmetrical.

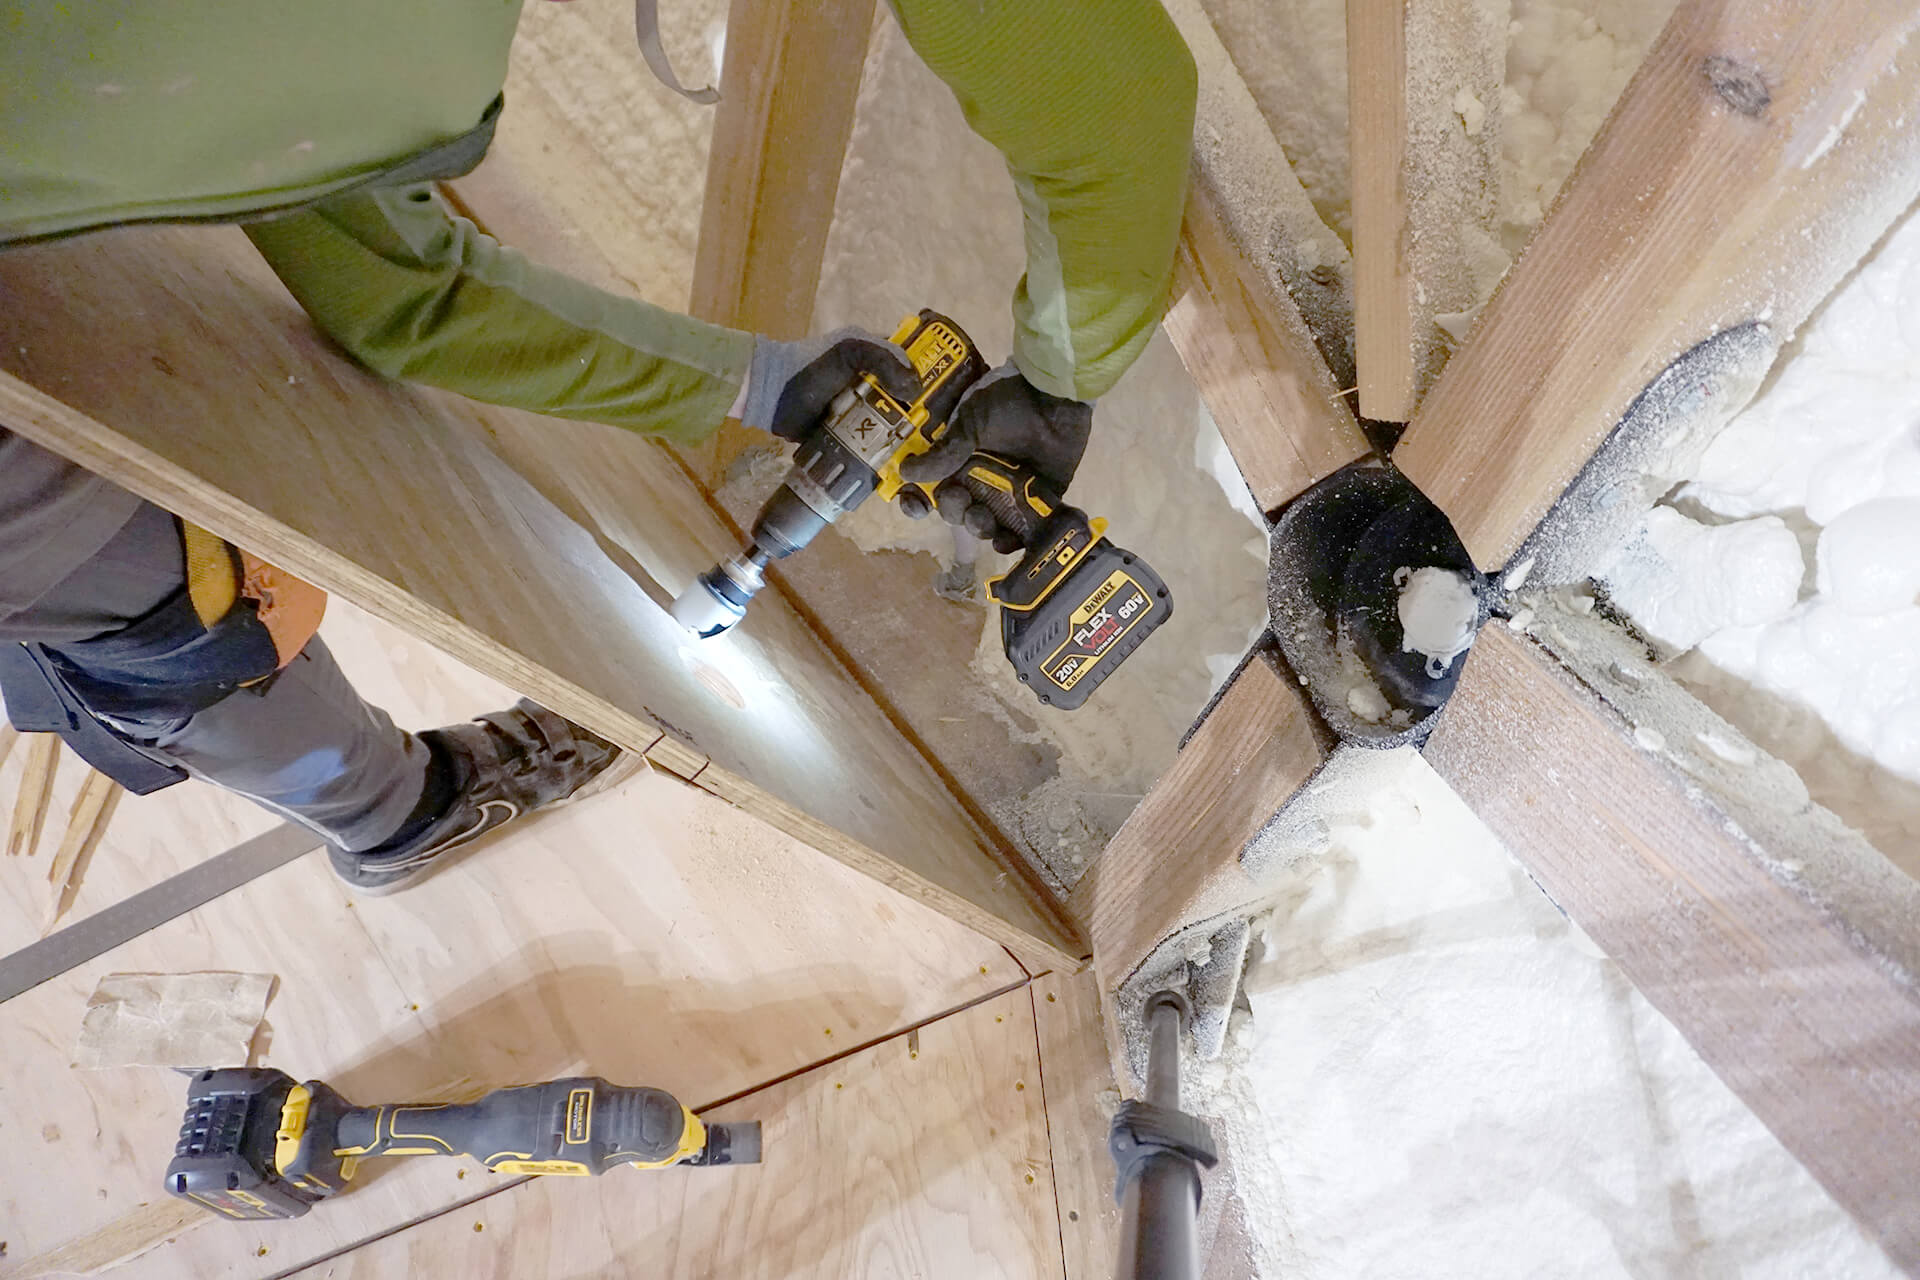
If necessary, use a router to ensure all Floor Beam connection points are on the same plane.
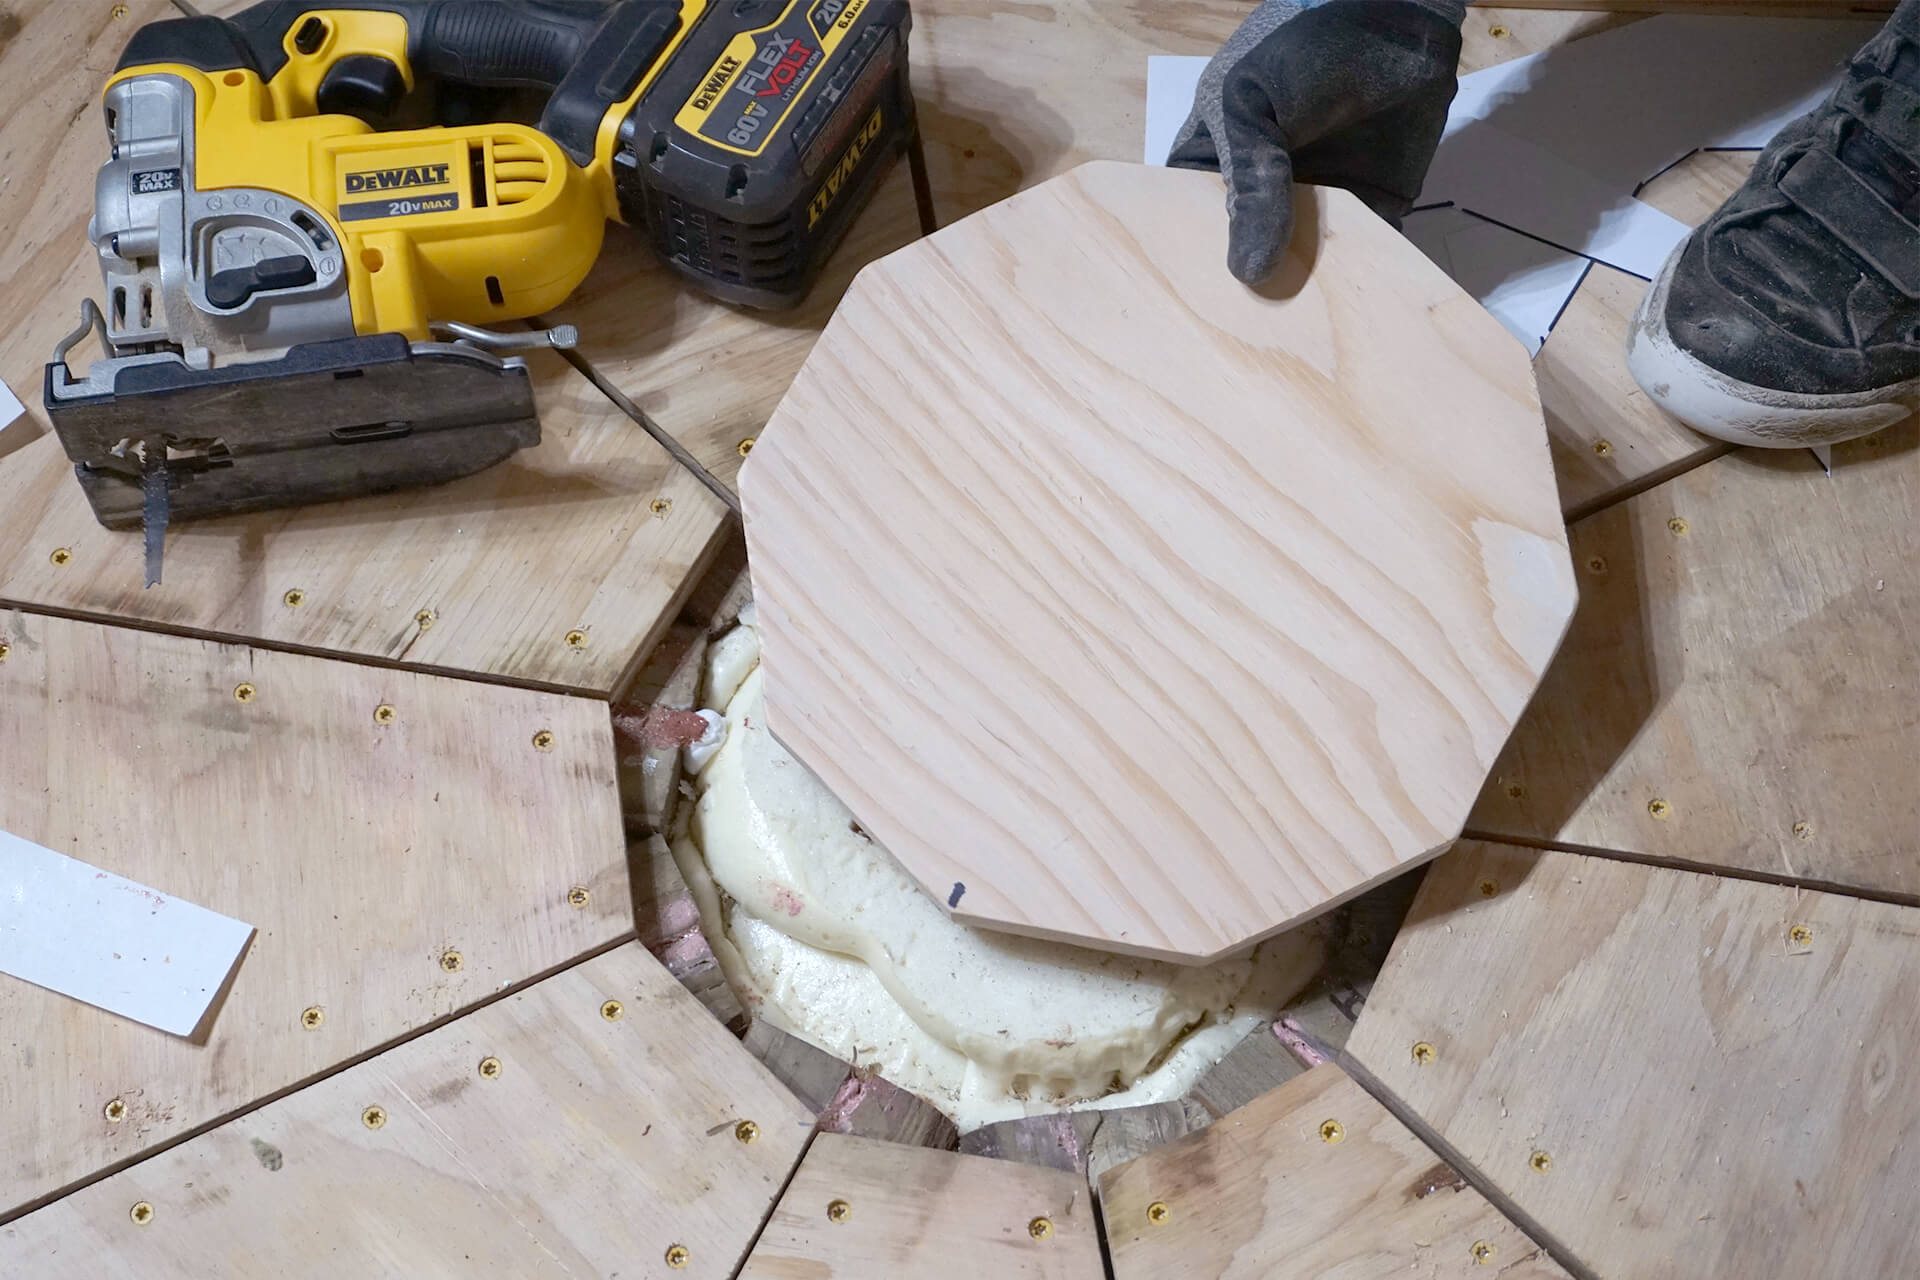
Test fit the center panel. It should fit flush and lie flat.
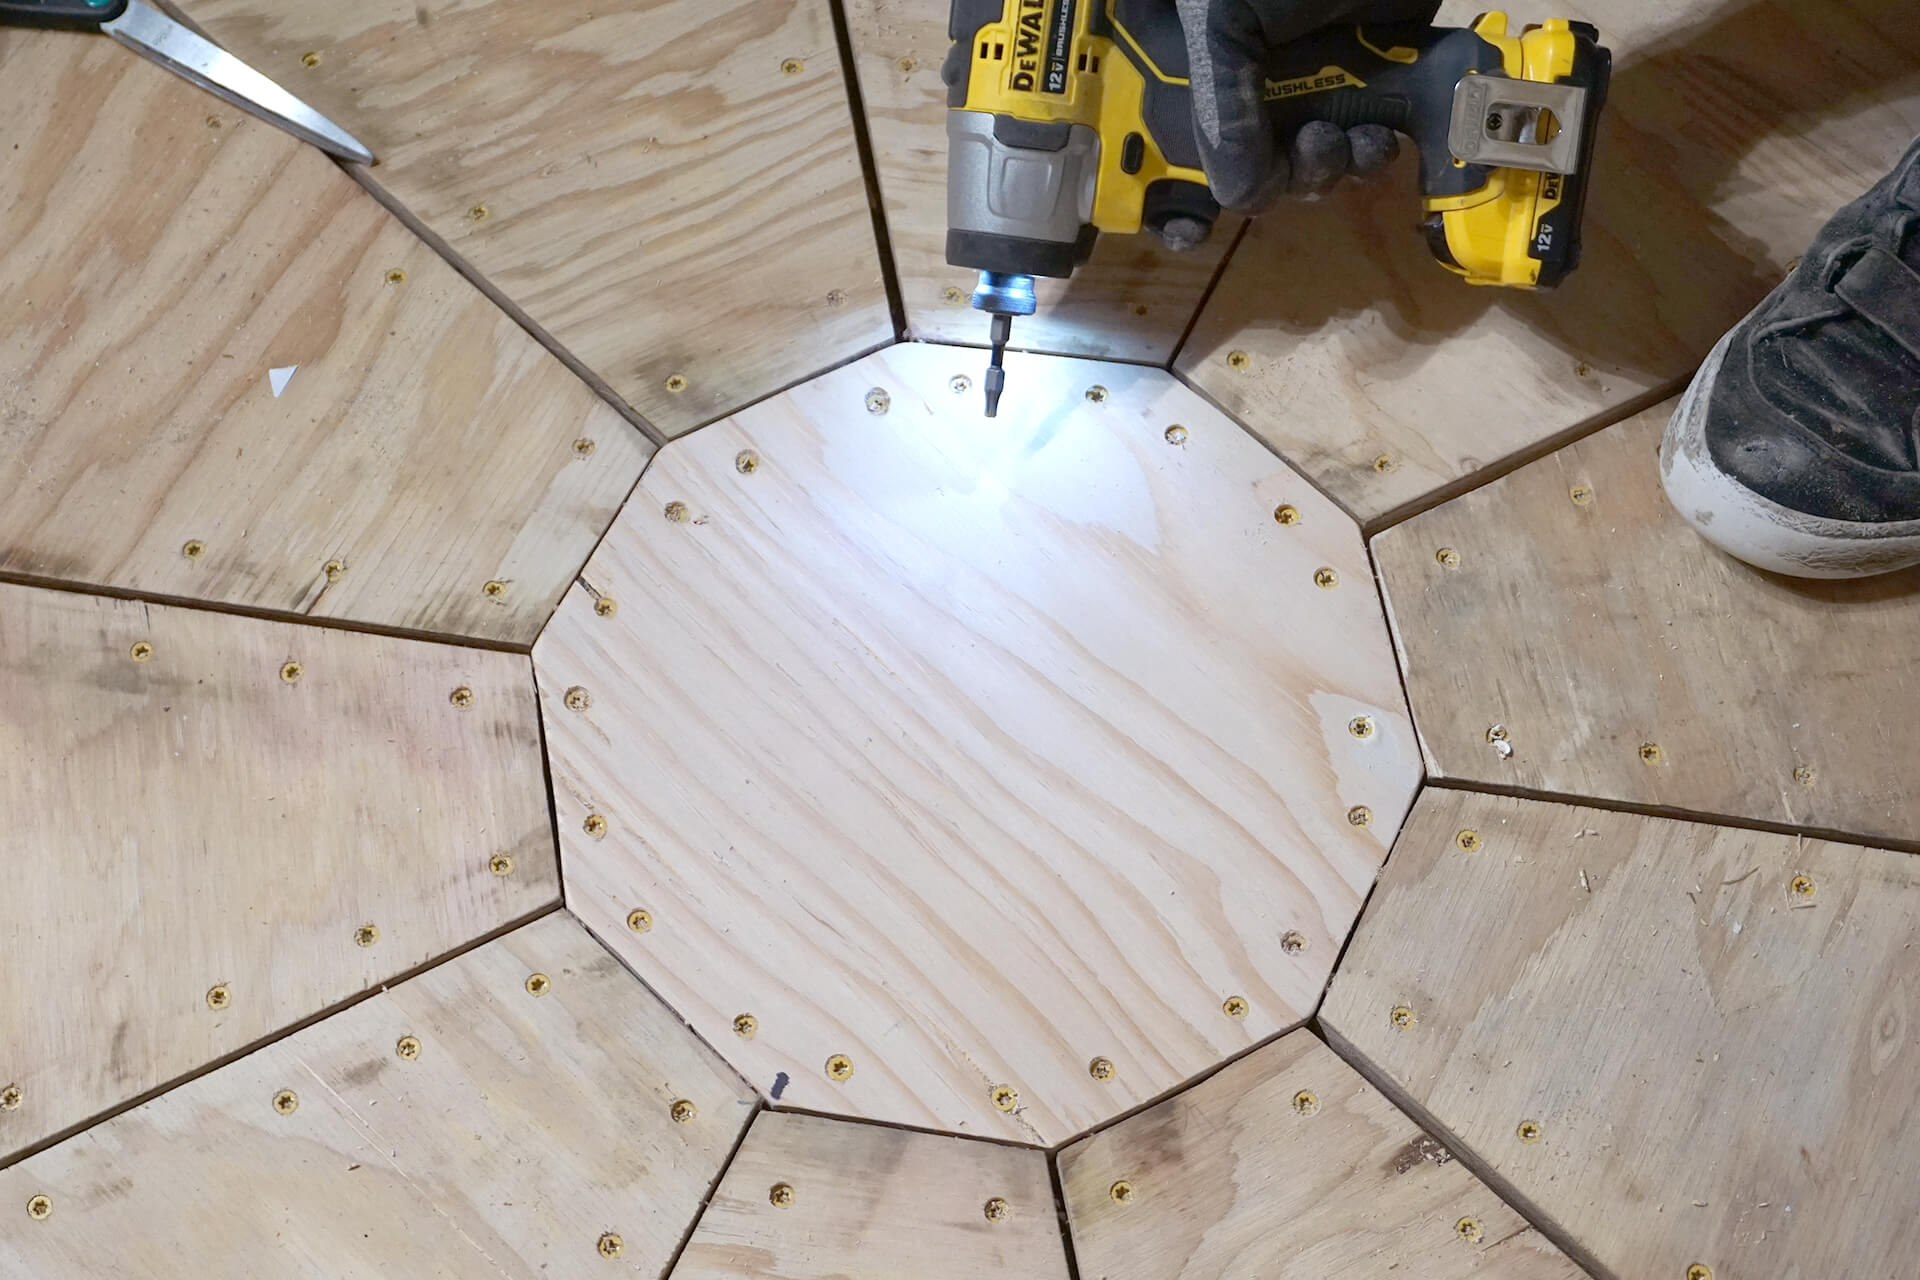
Pre-drill, chamfer, and screw #8x2” wood screws around the perimeter.
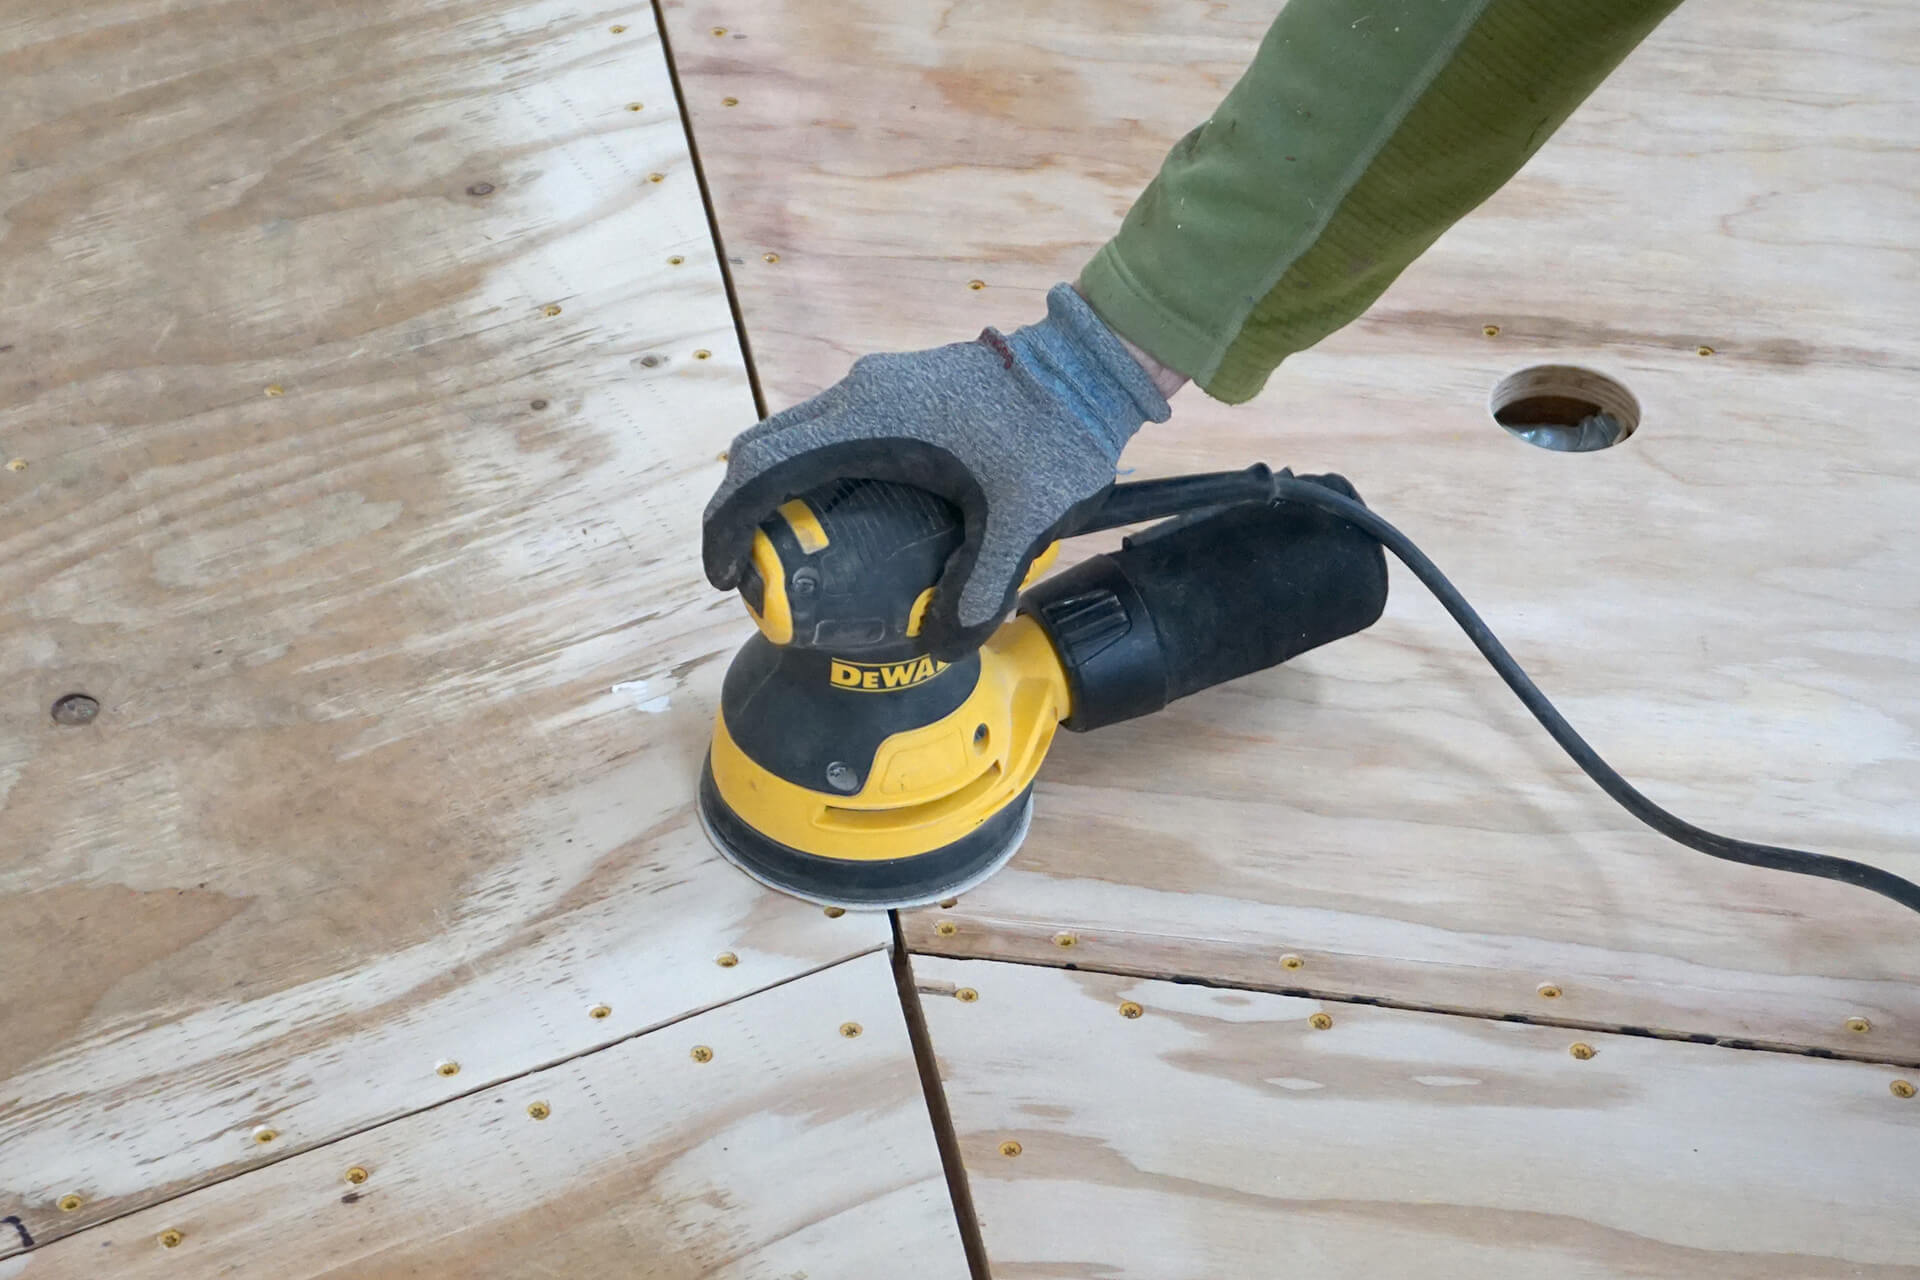
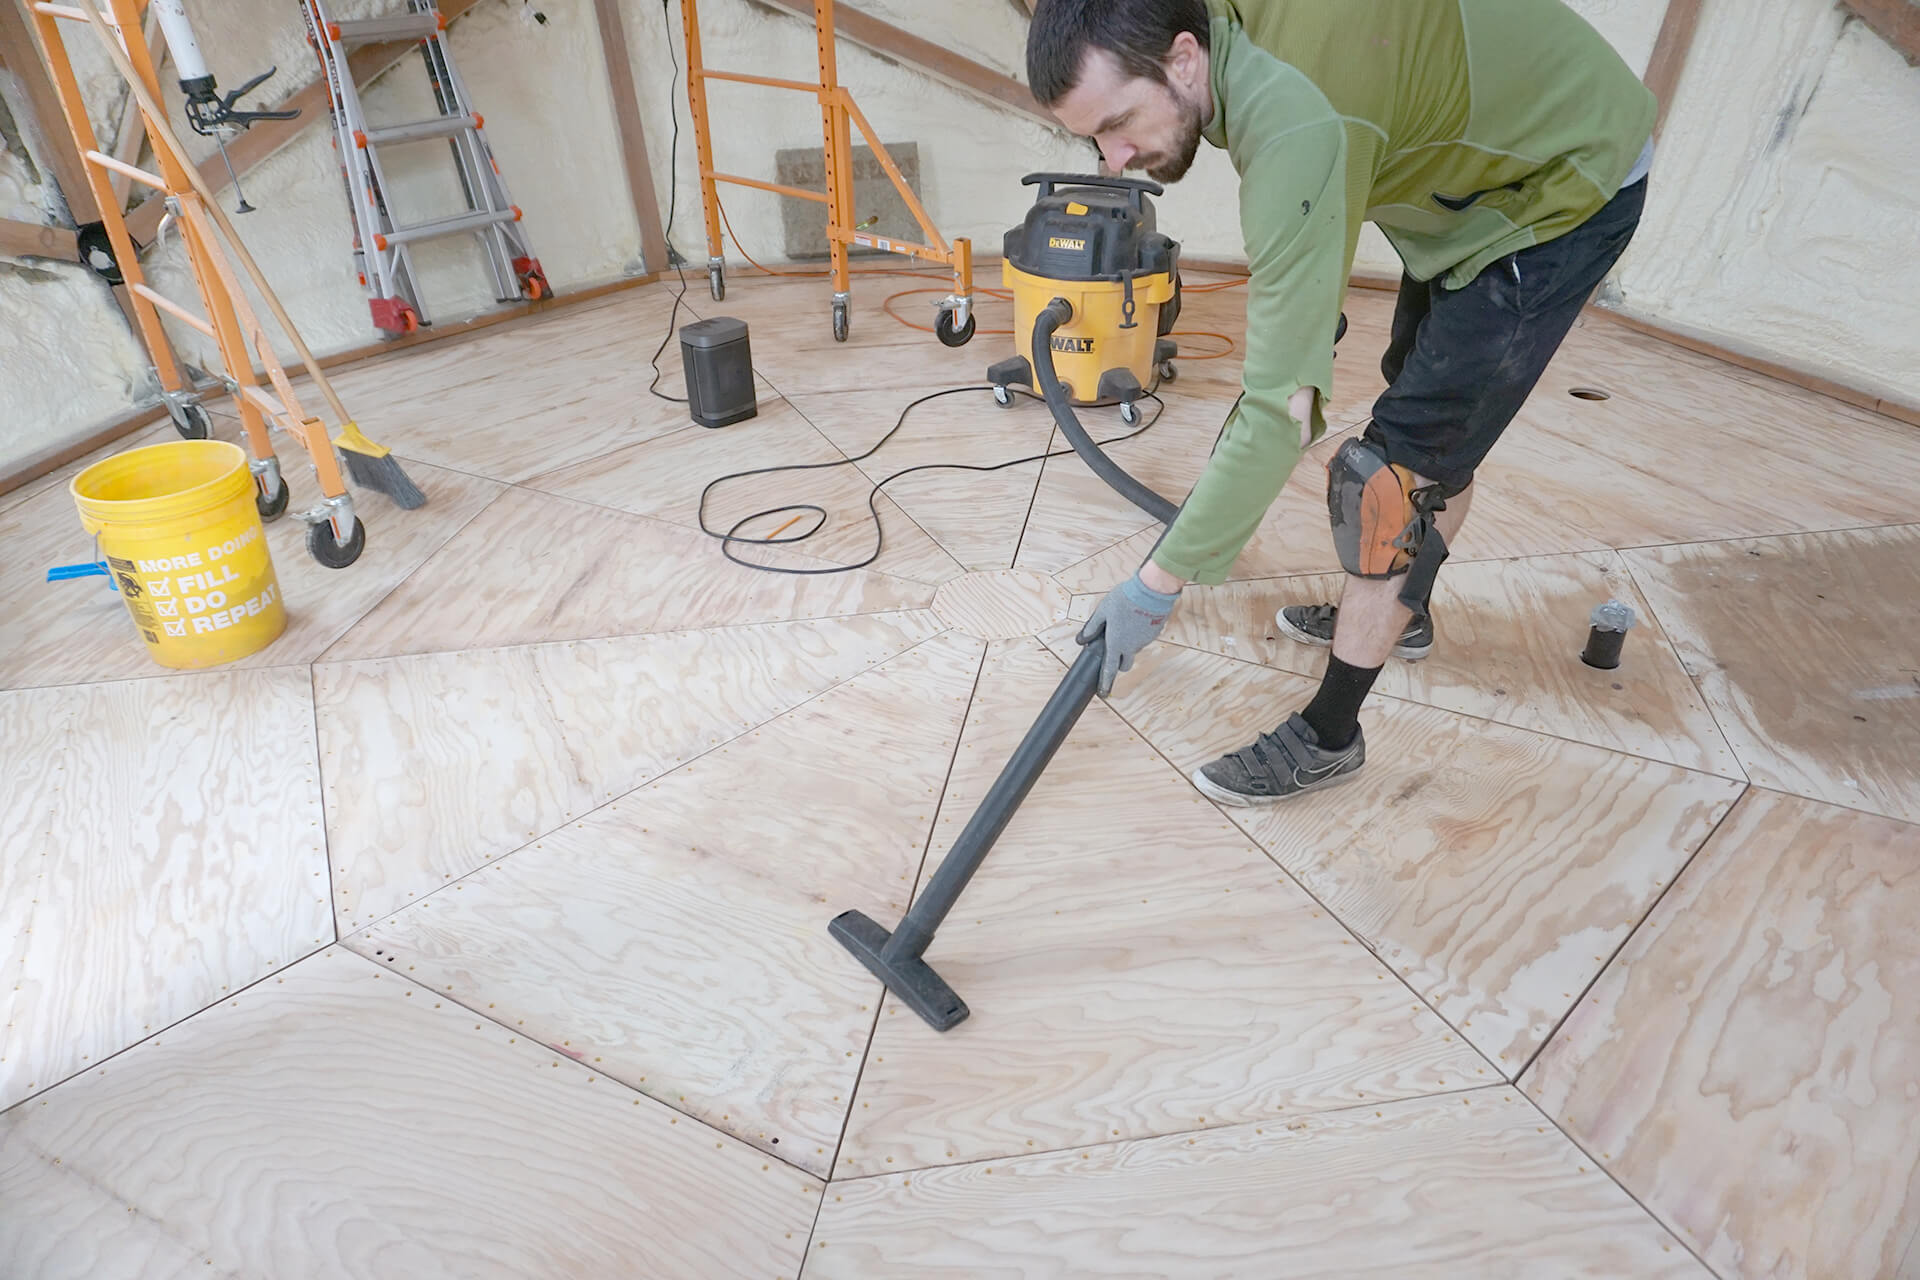
Sand between each subfloor panel to ensure a smooth, level transition.

For areas that require more material removal, consider using a belt sander or an angle grinder with a sanding disk (shown).
Congratulations on completing the subfloor!
Next Step