
Sealing
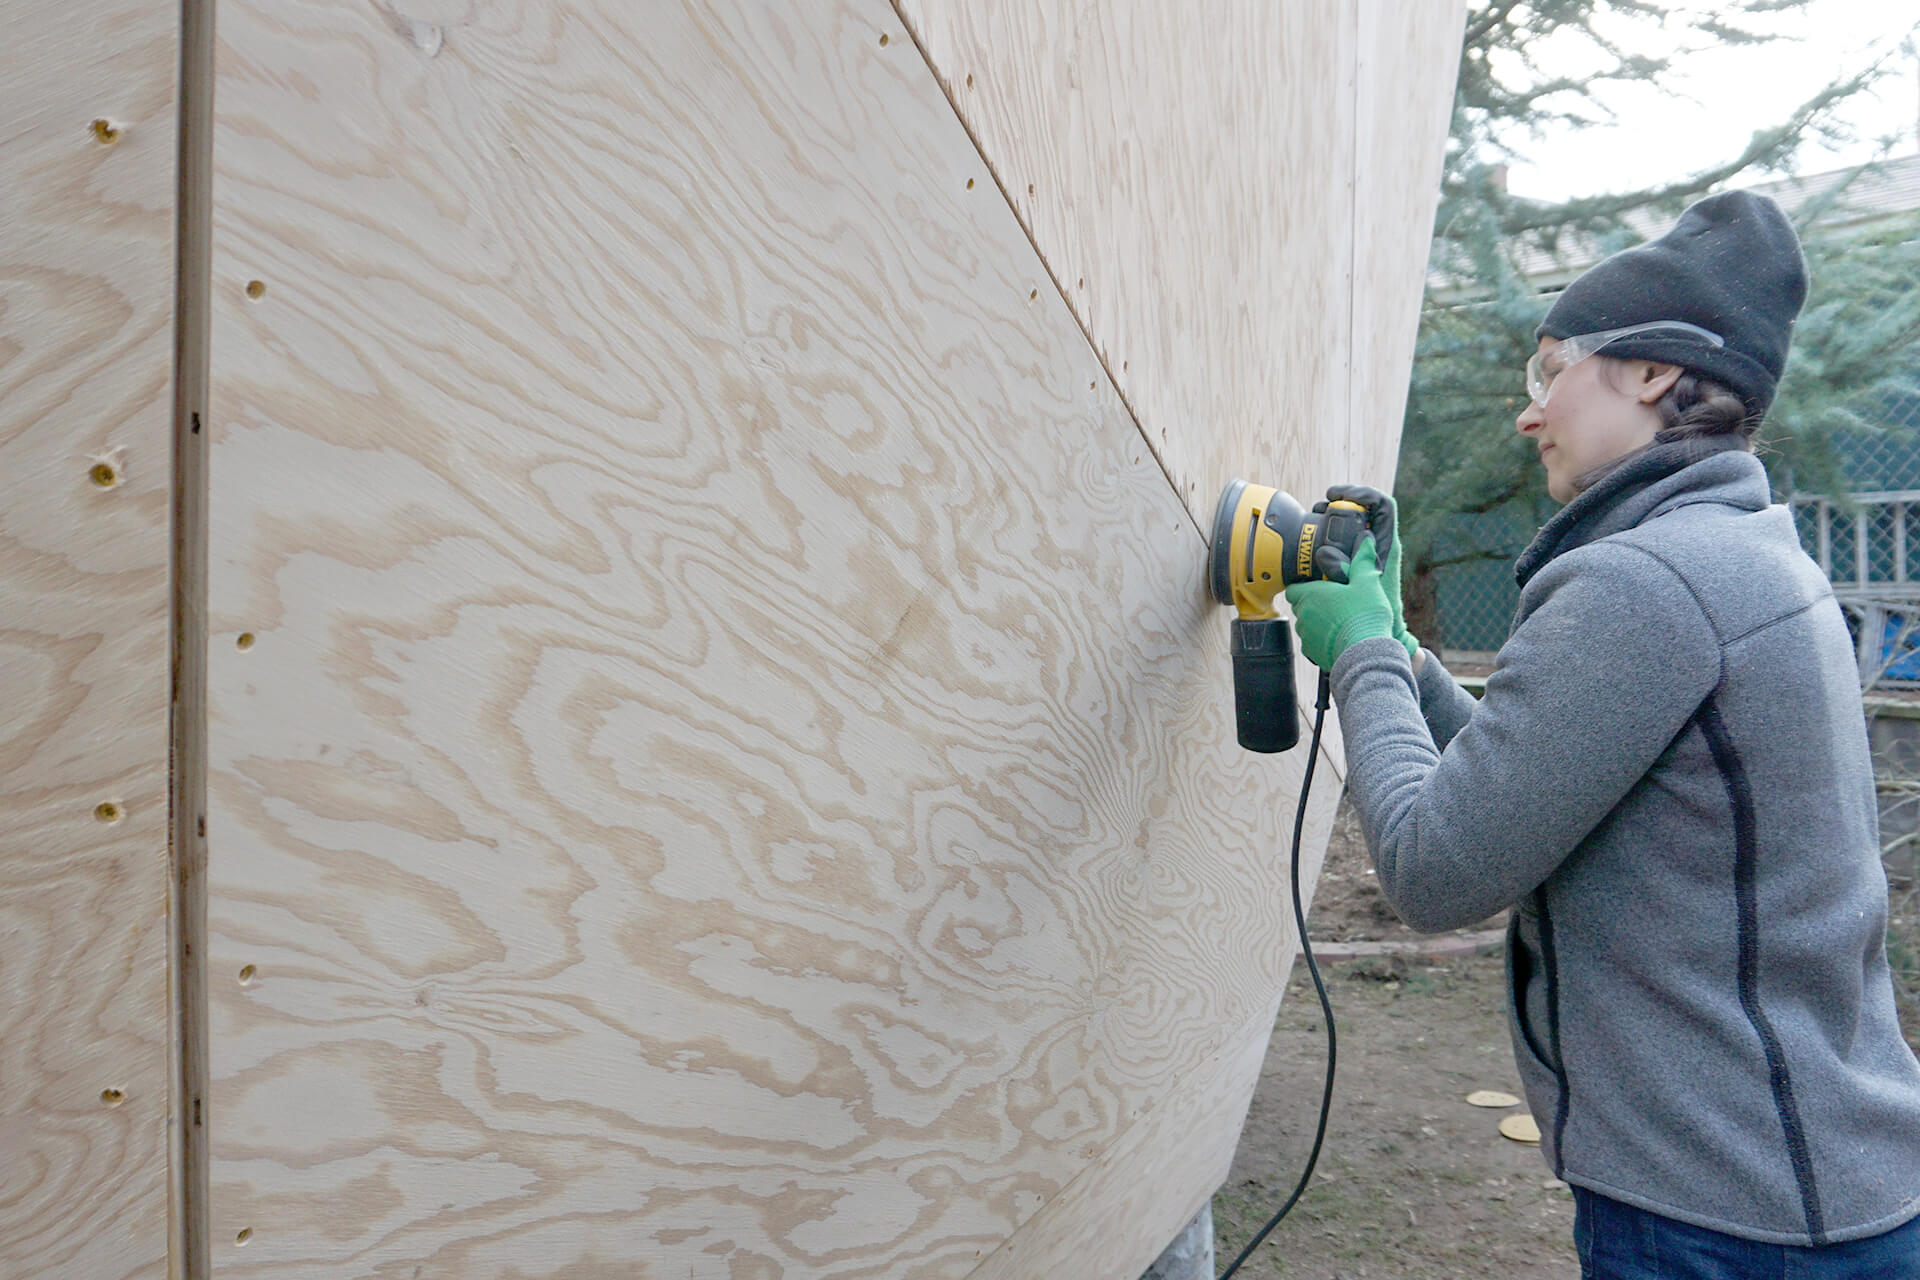
Sand the corners and ensure all screws are below the surface for a smooth, burr-free finish, ideal for a fluid-applied WRB.
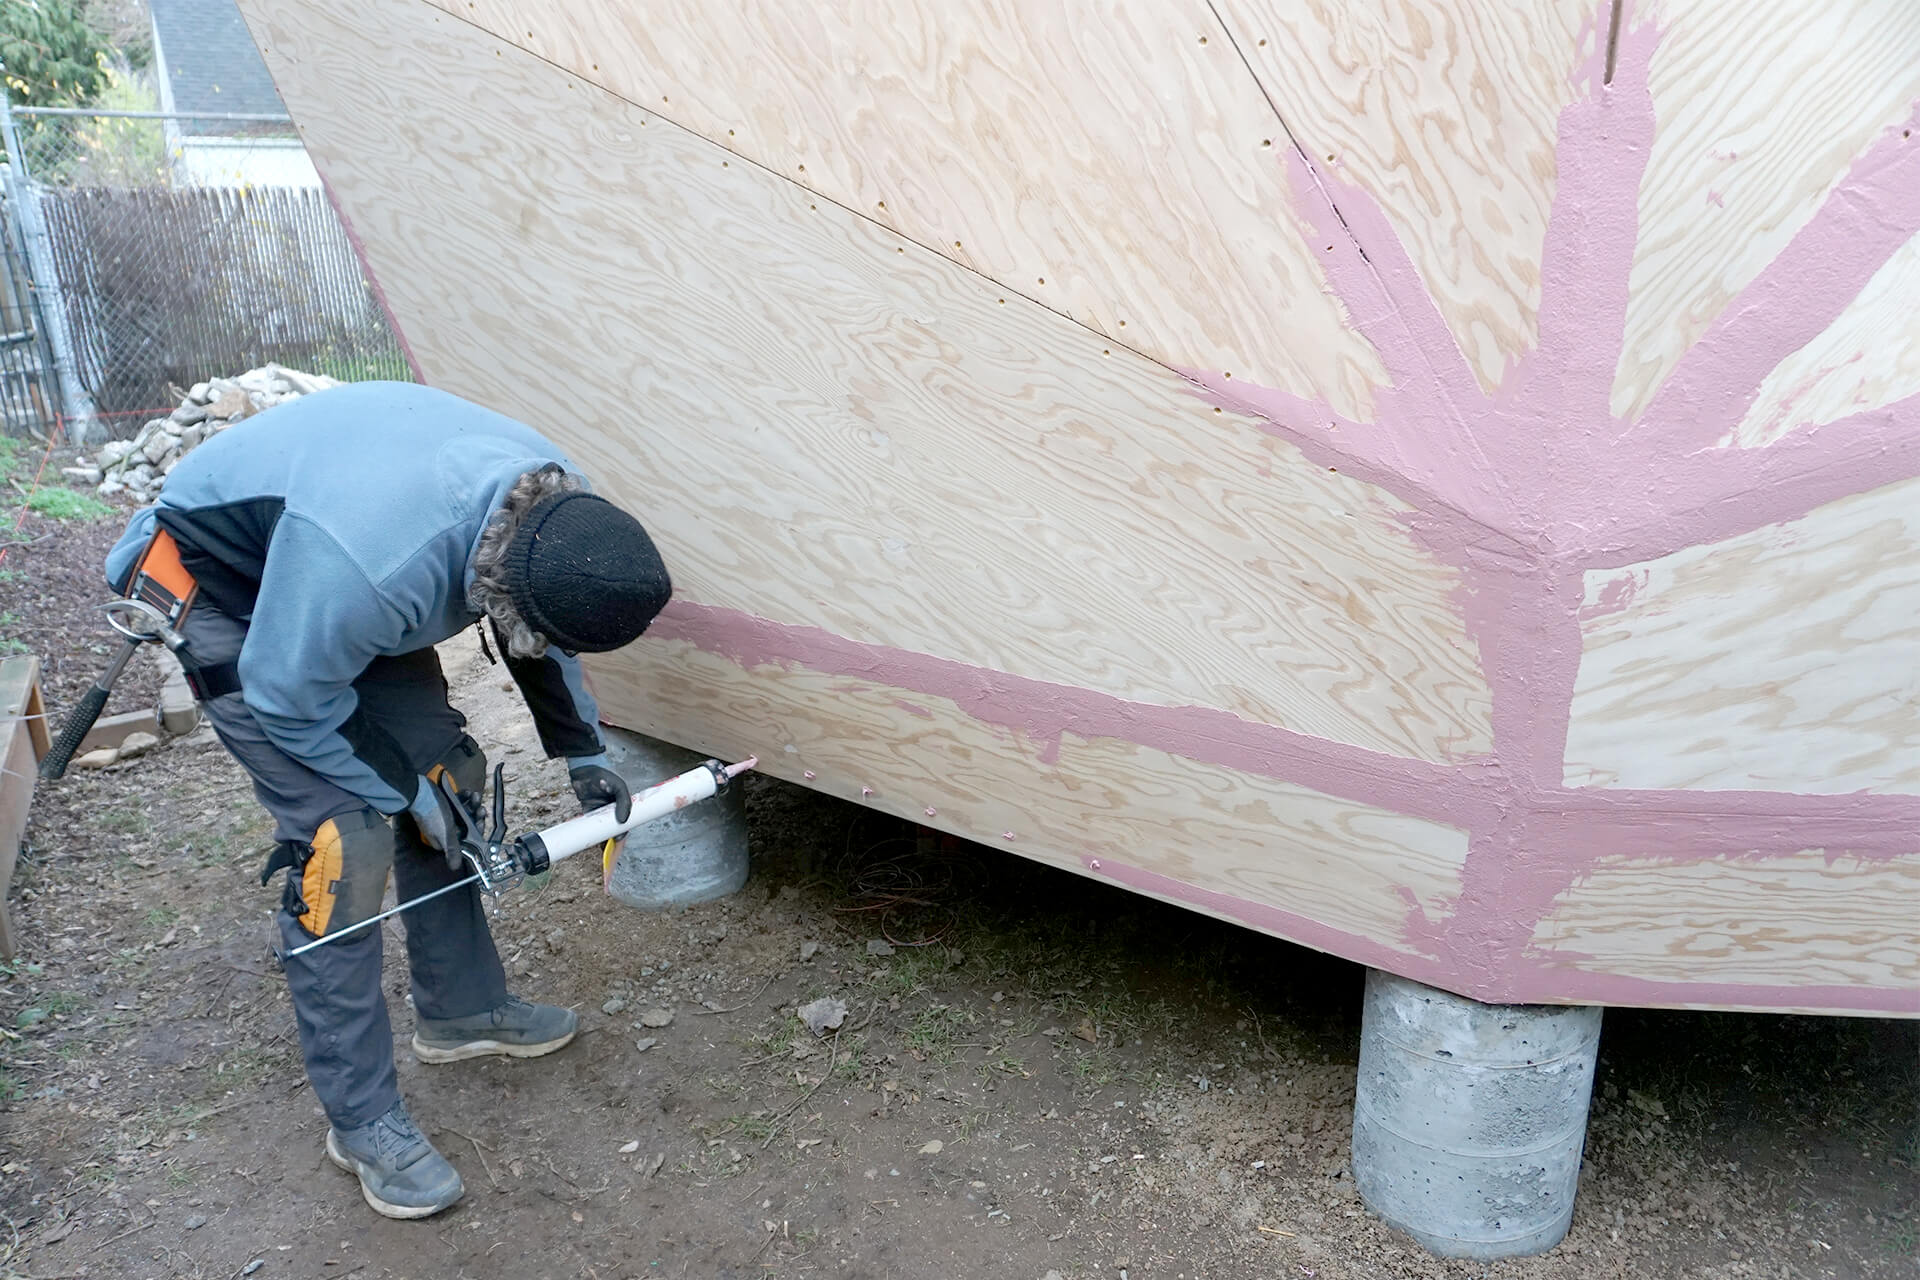
Fill all gaps, screw-heads, voids, and defects with an STPE-type material or equivalent. Prosoco R-Guard Joint and Seam Filler shown here.
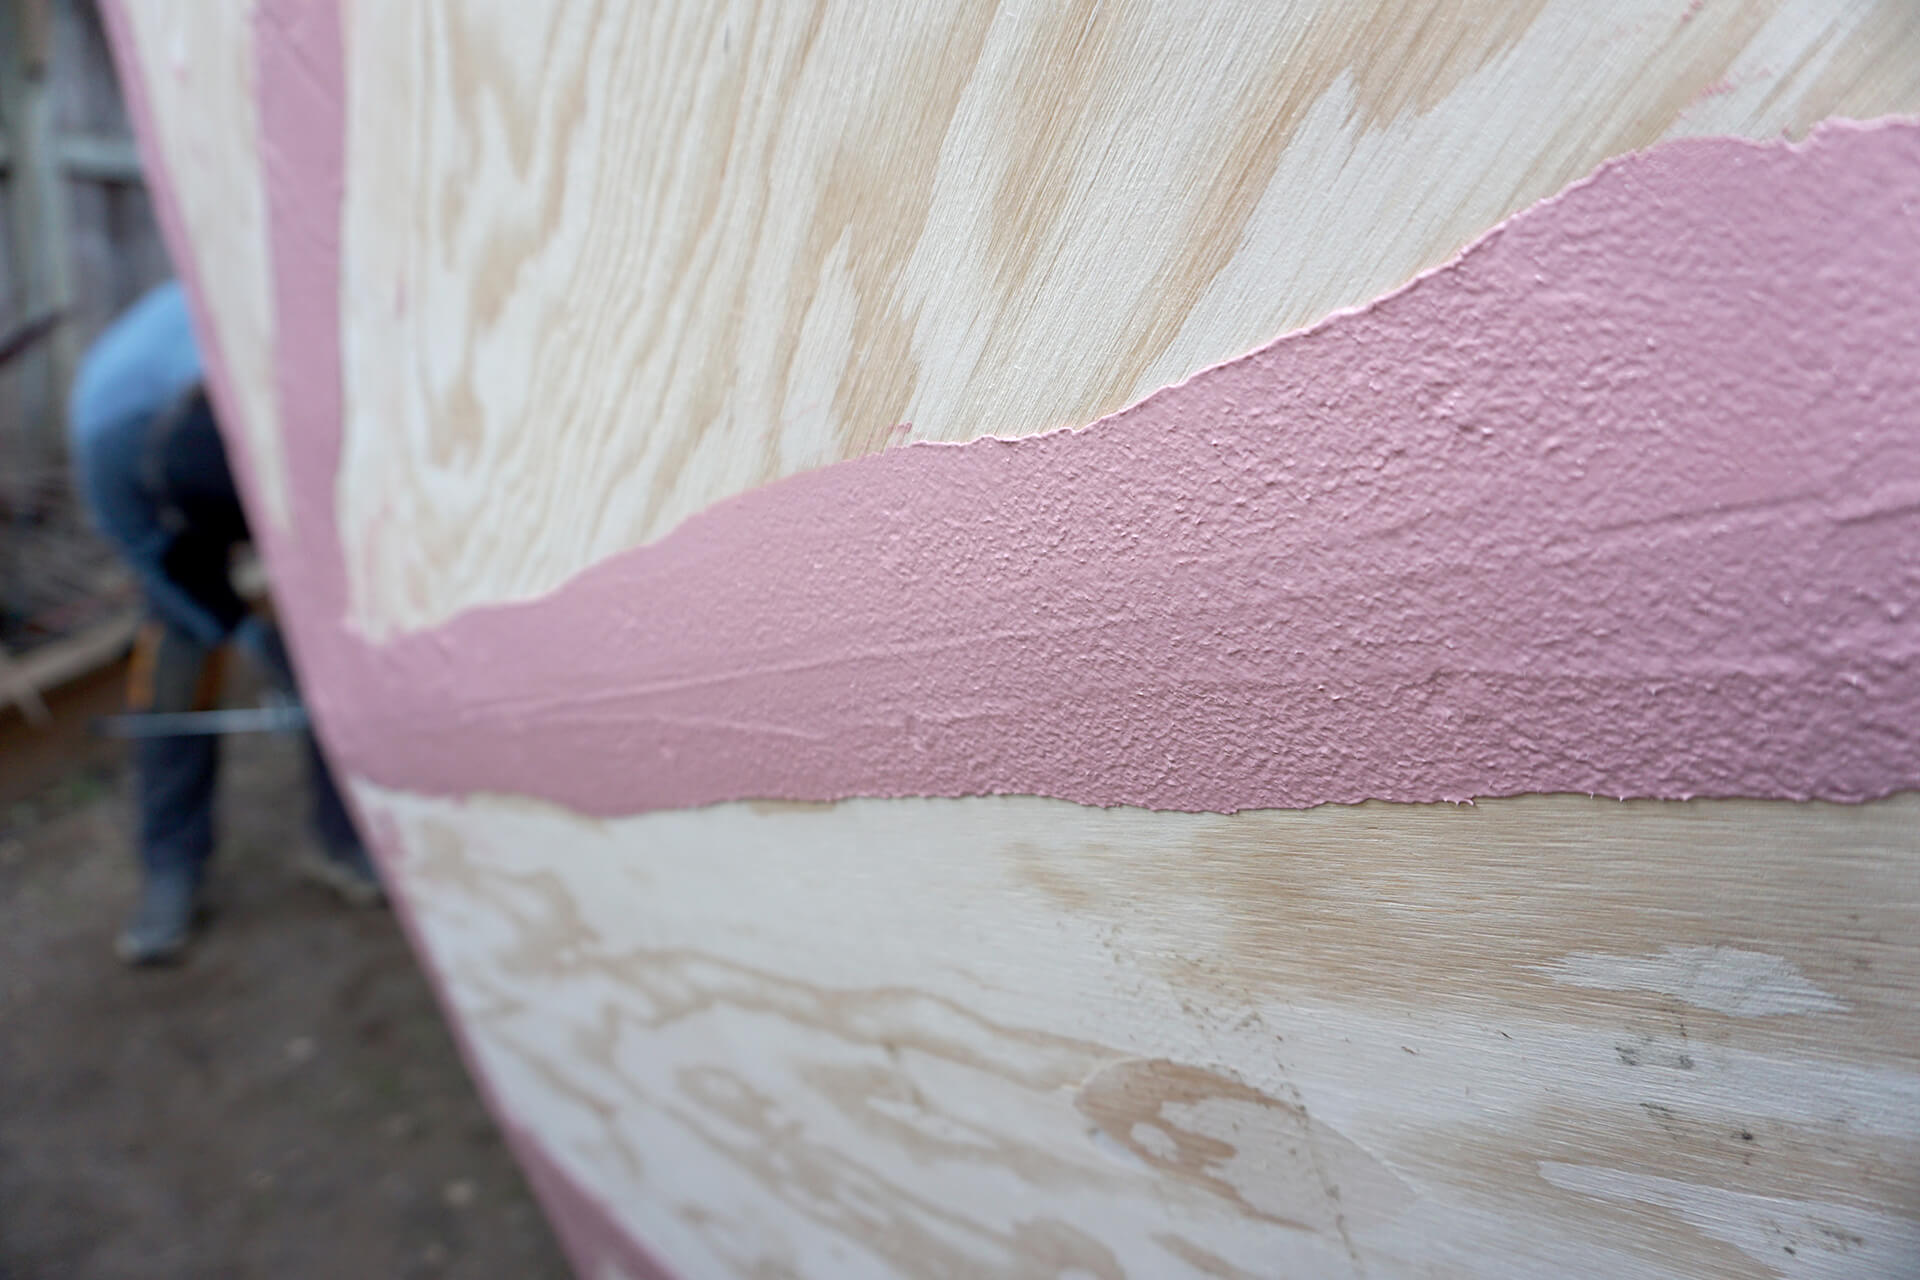
Trowel smooth to ensure good coverage and nice feathered edges. Pictured is an overkill, but thorough application.
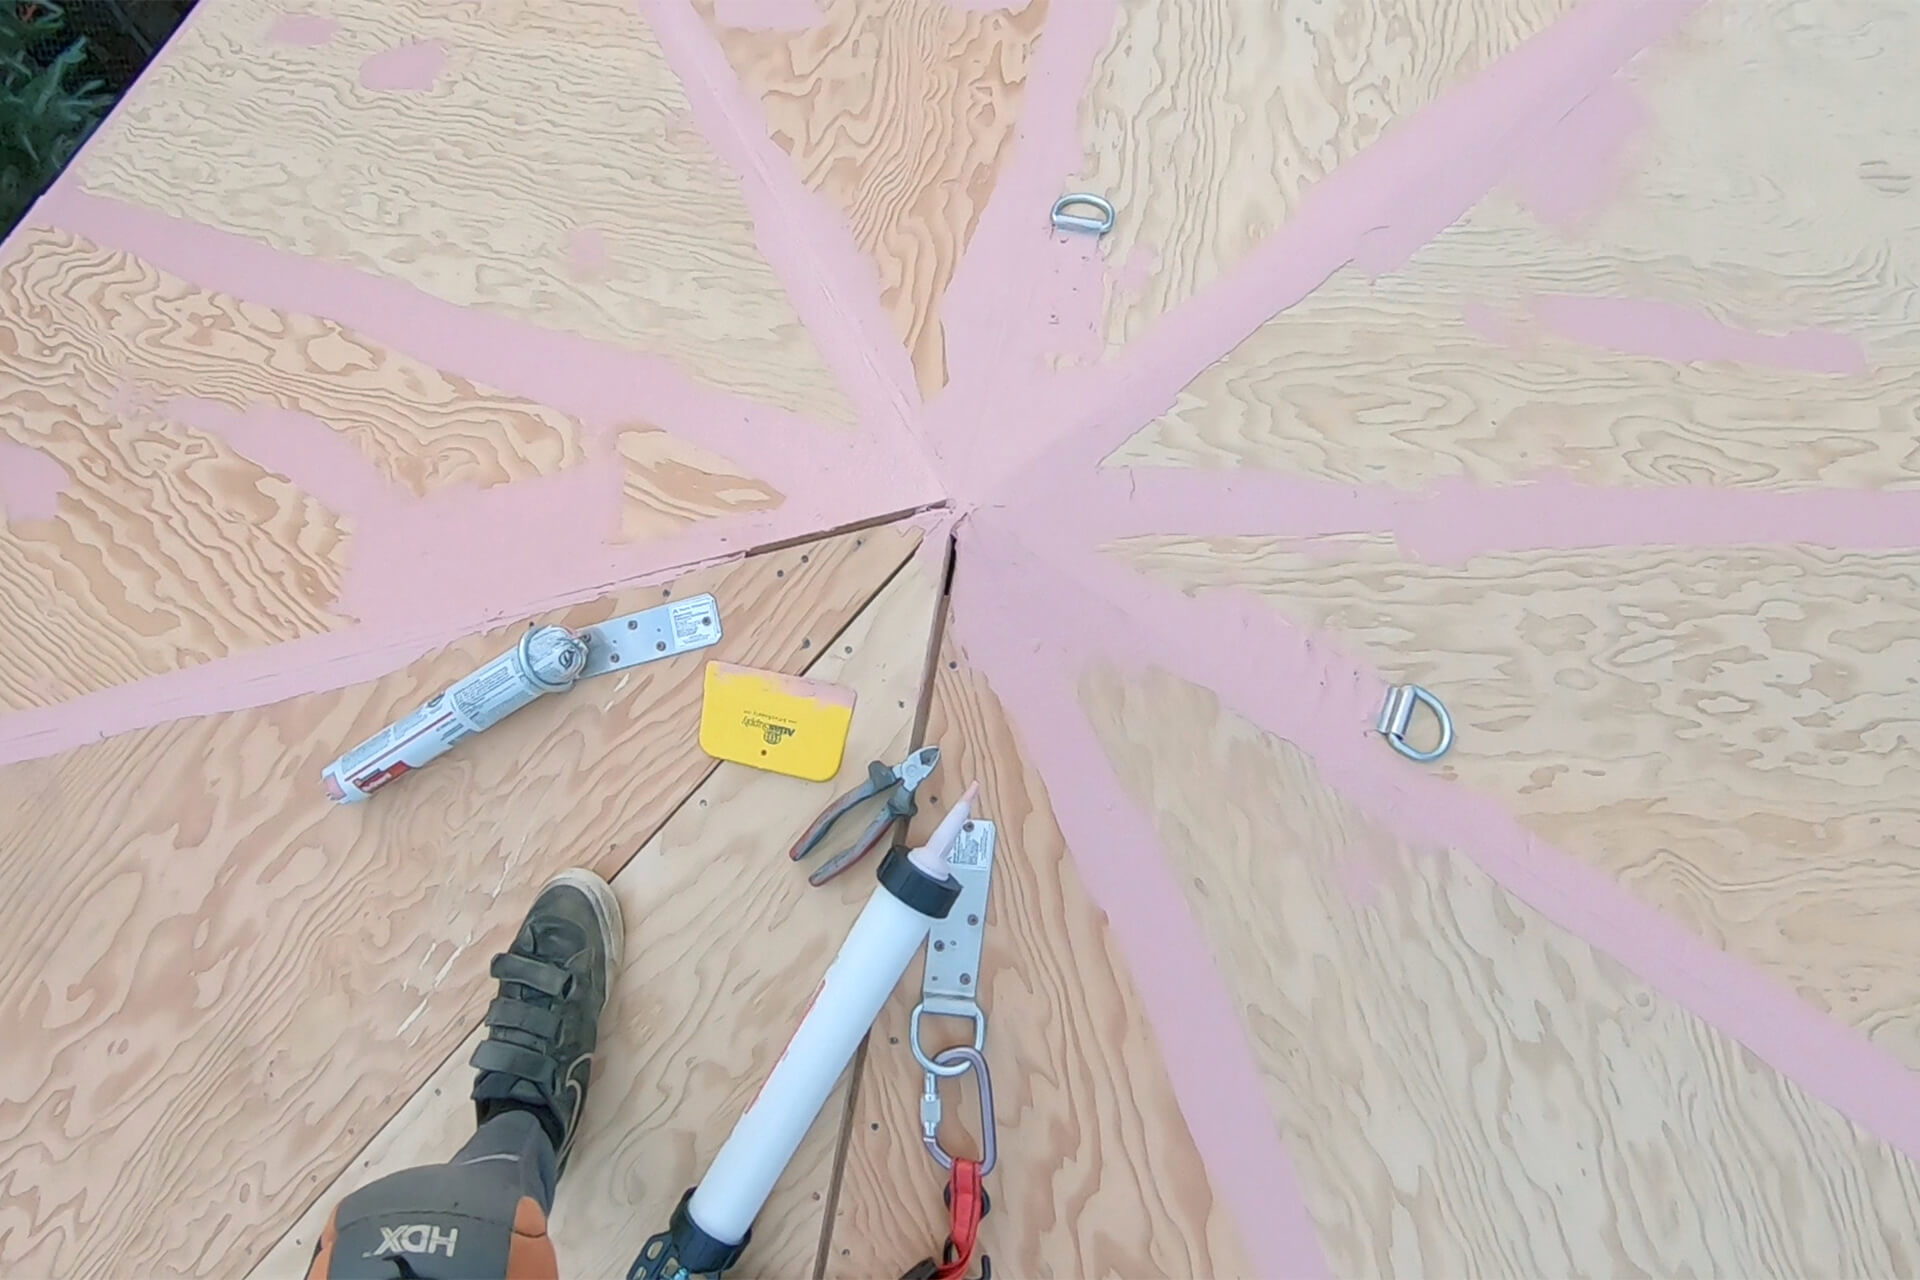
Coat roof anchor strapping. Four possible attachment points are shown, but only two were ever used. Extra anchors may need to be cut off just before finishing the roof.
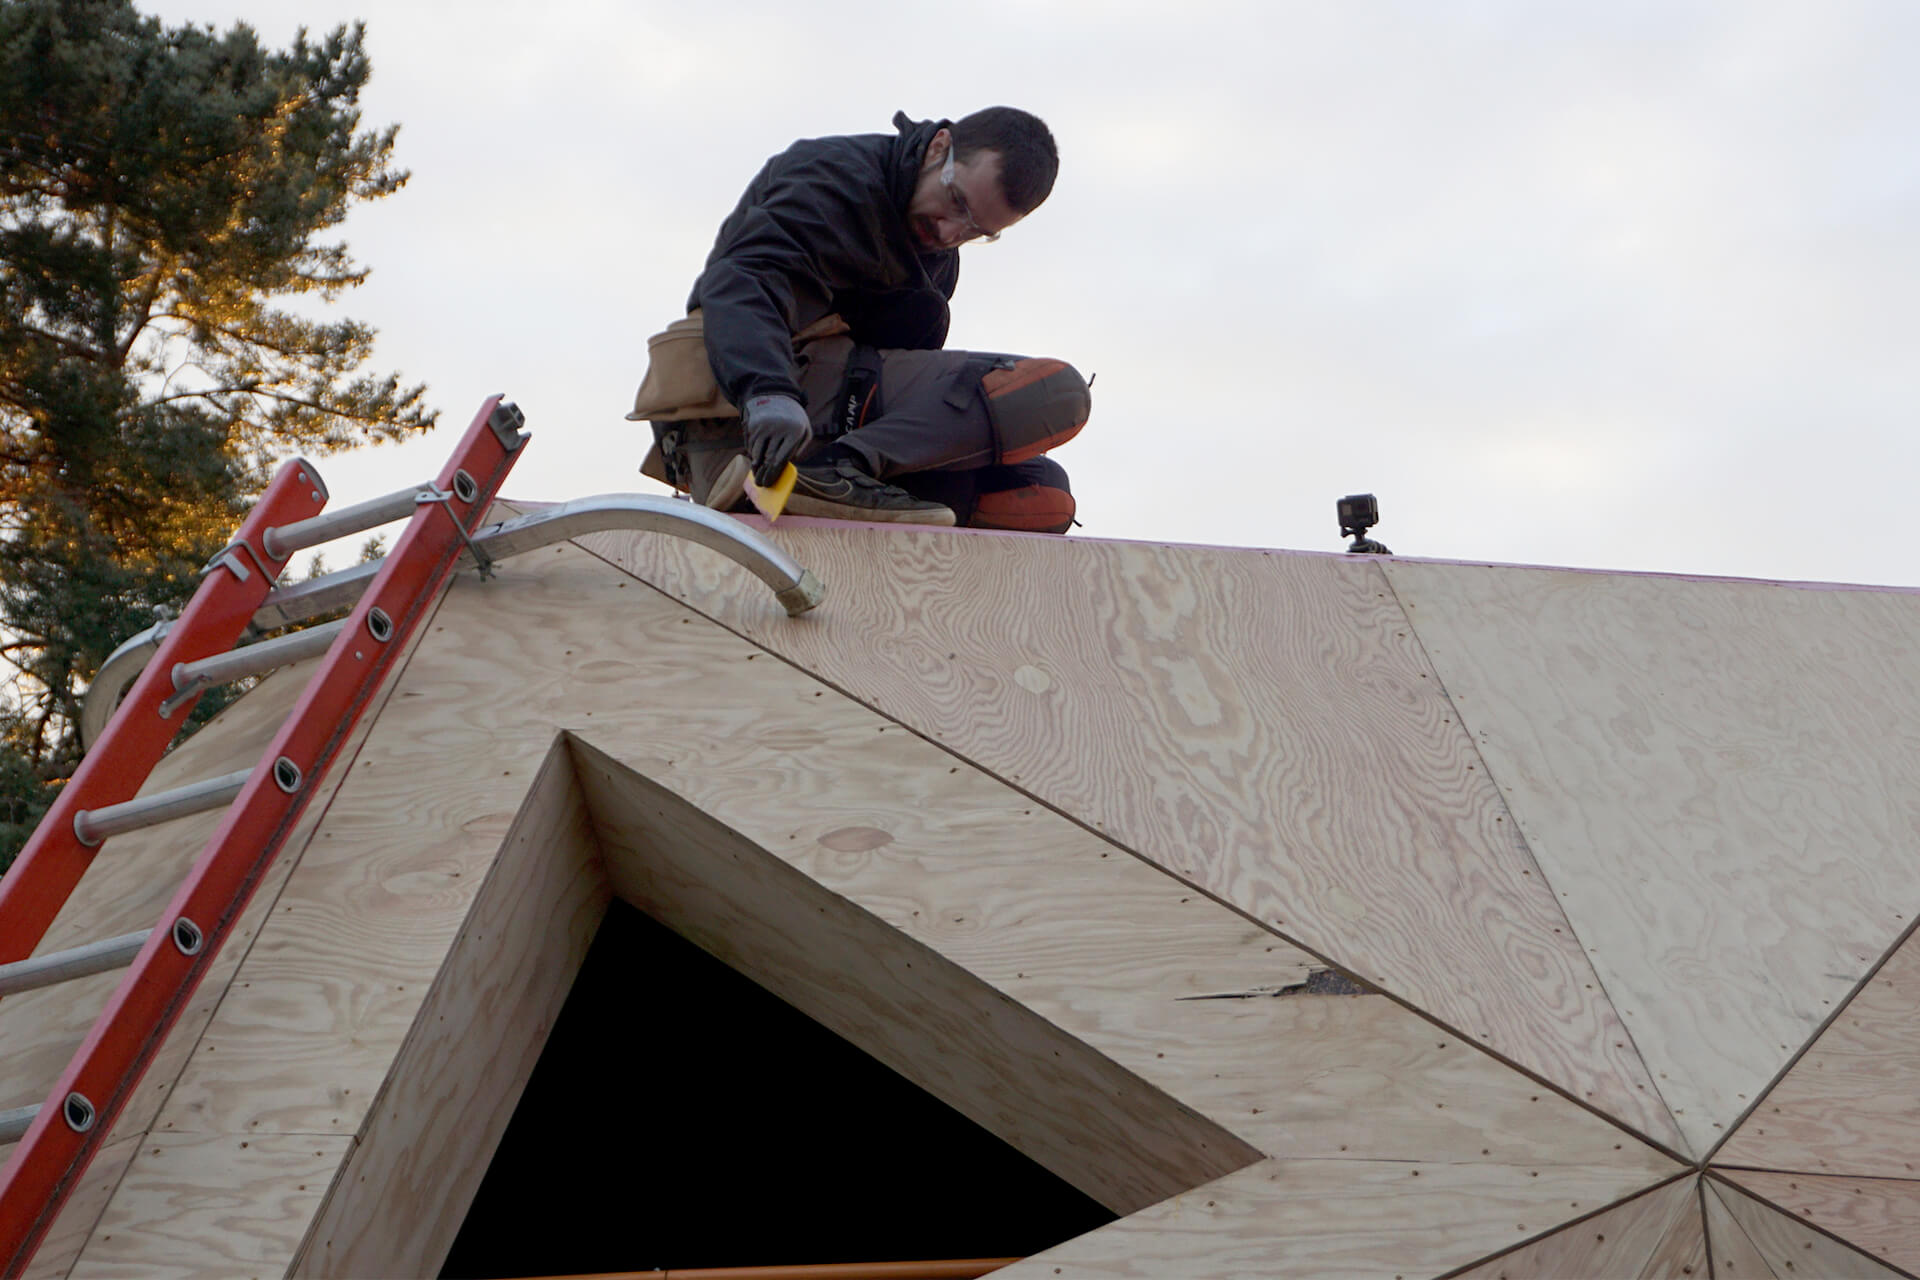
Always harness up and stay attached to roof anchors. Keep a tether attached to the roof anchor at all times, so it can be connected to the harness before stepping off the ladder.
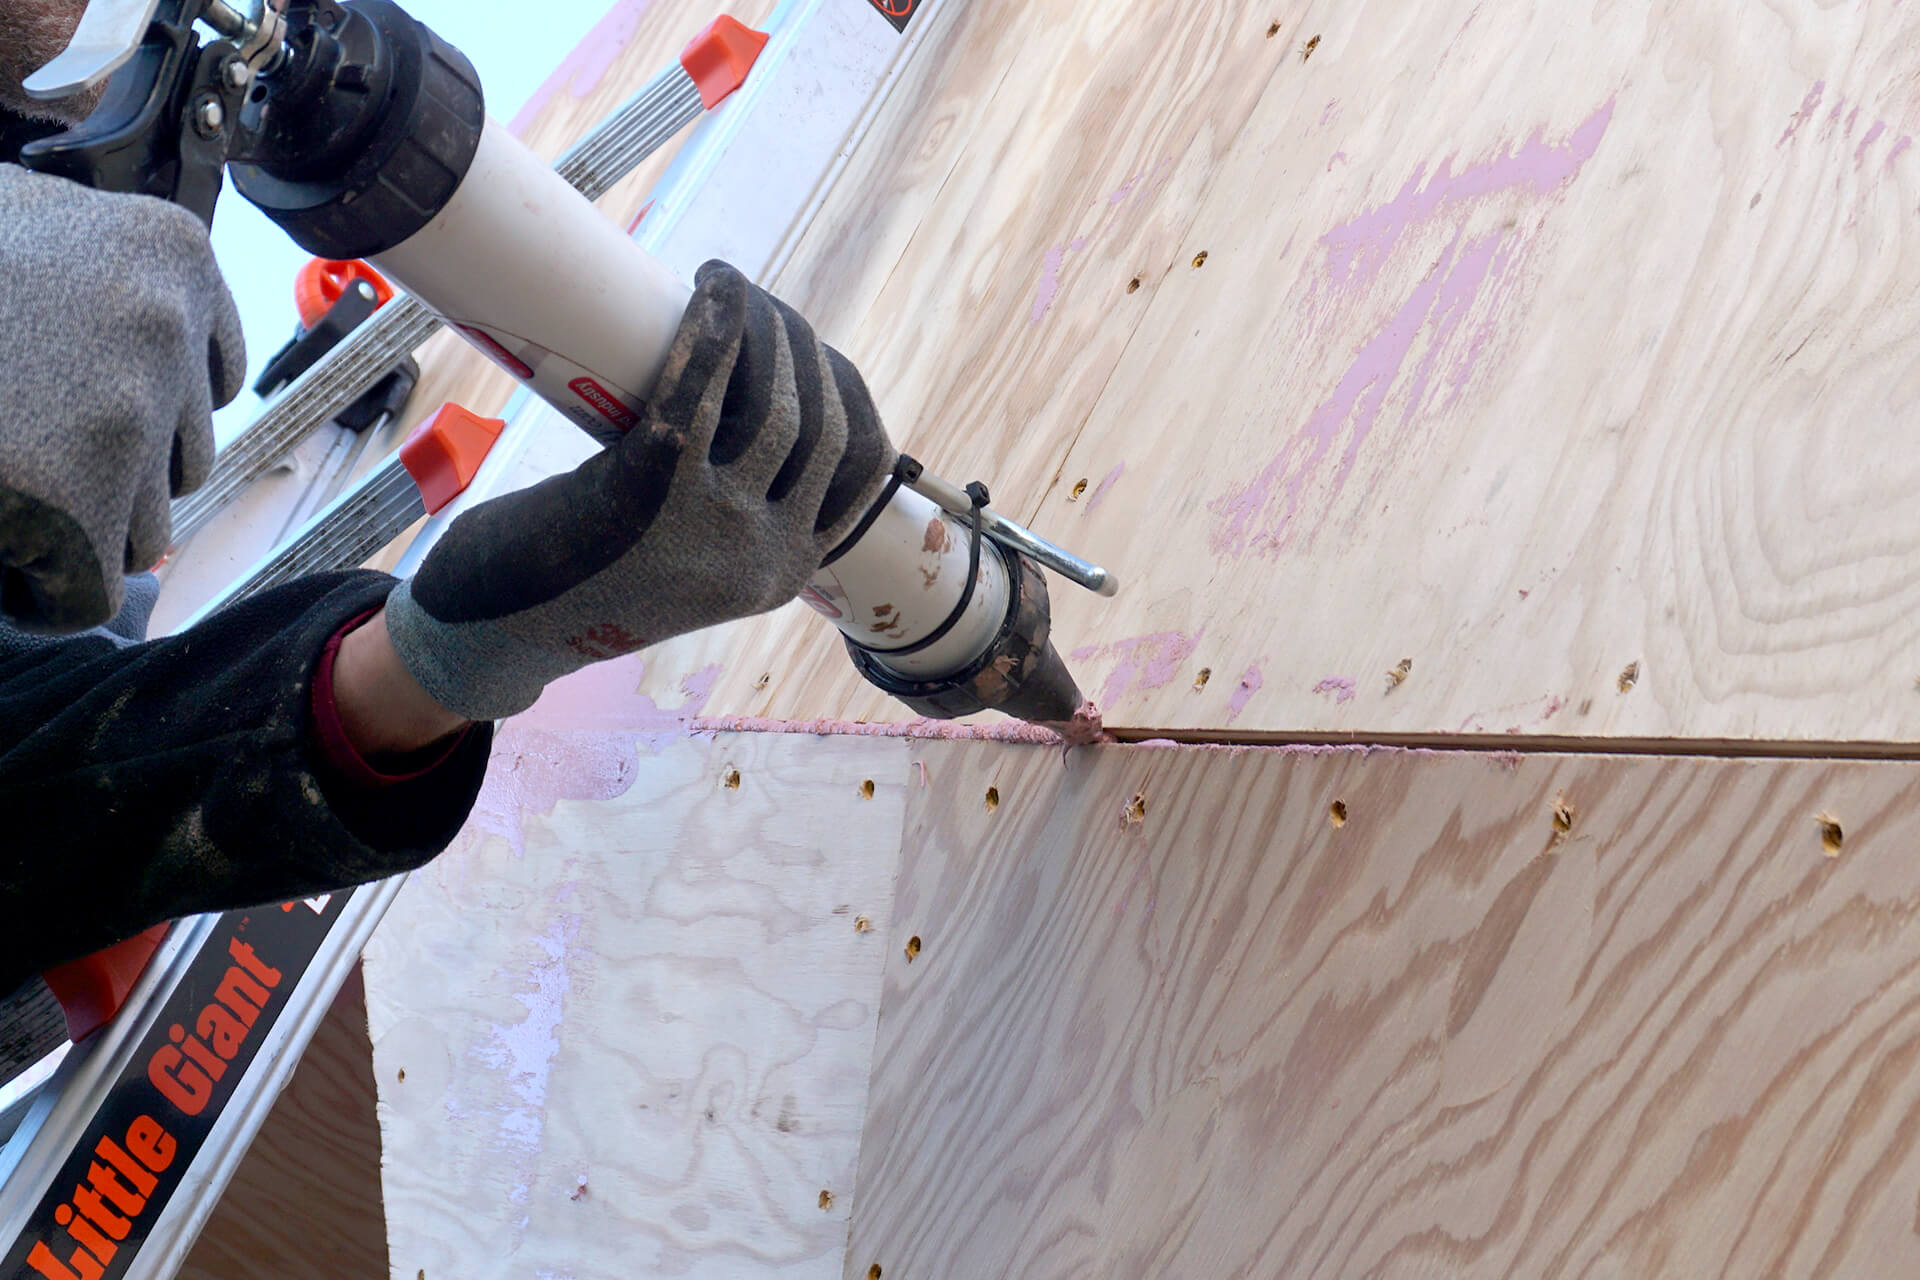
Detail of caulking a sheathing gap. If gaps are excessively large (which they shouldn’t be), consider gluing and brad-nailing a plywood strip to reduce caulking material usage.
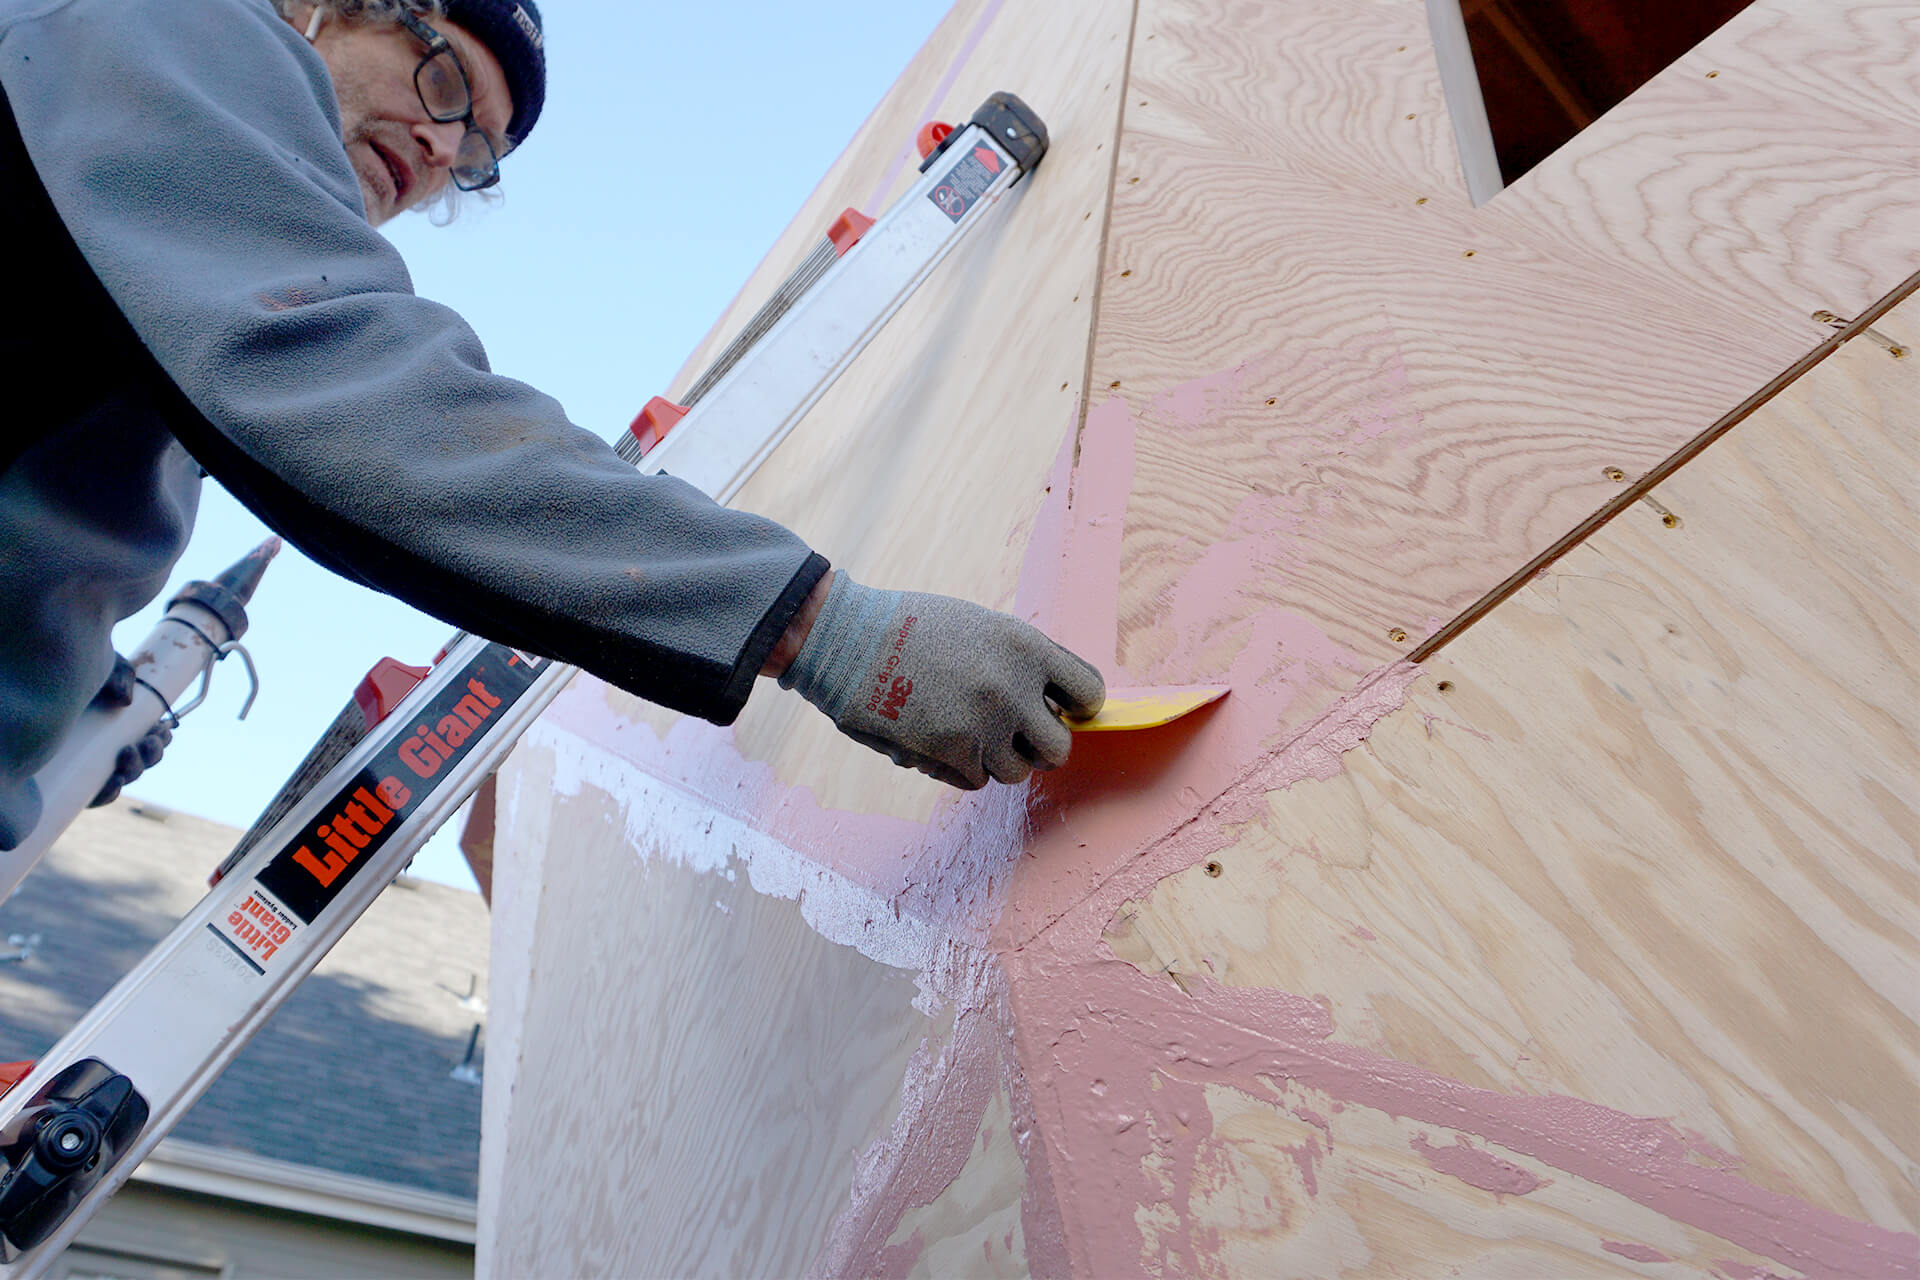
Detail of troweling a corner joint.
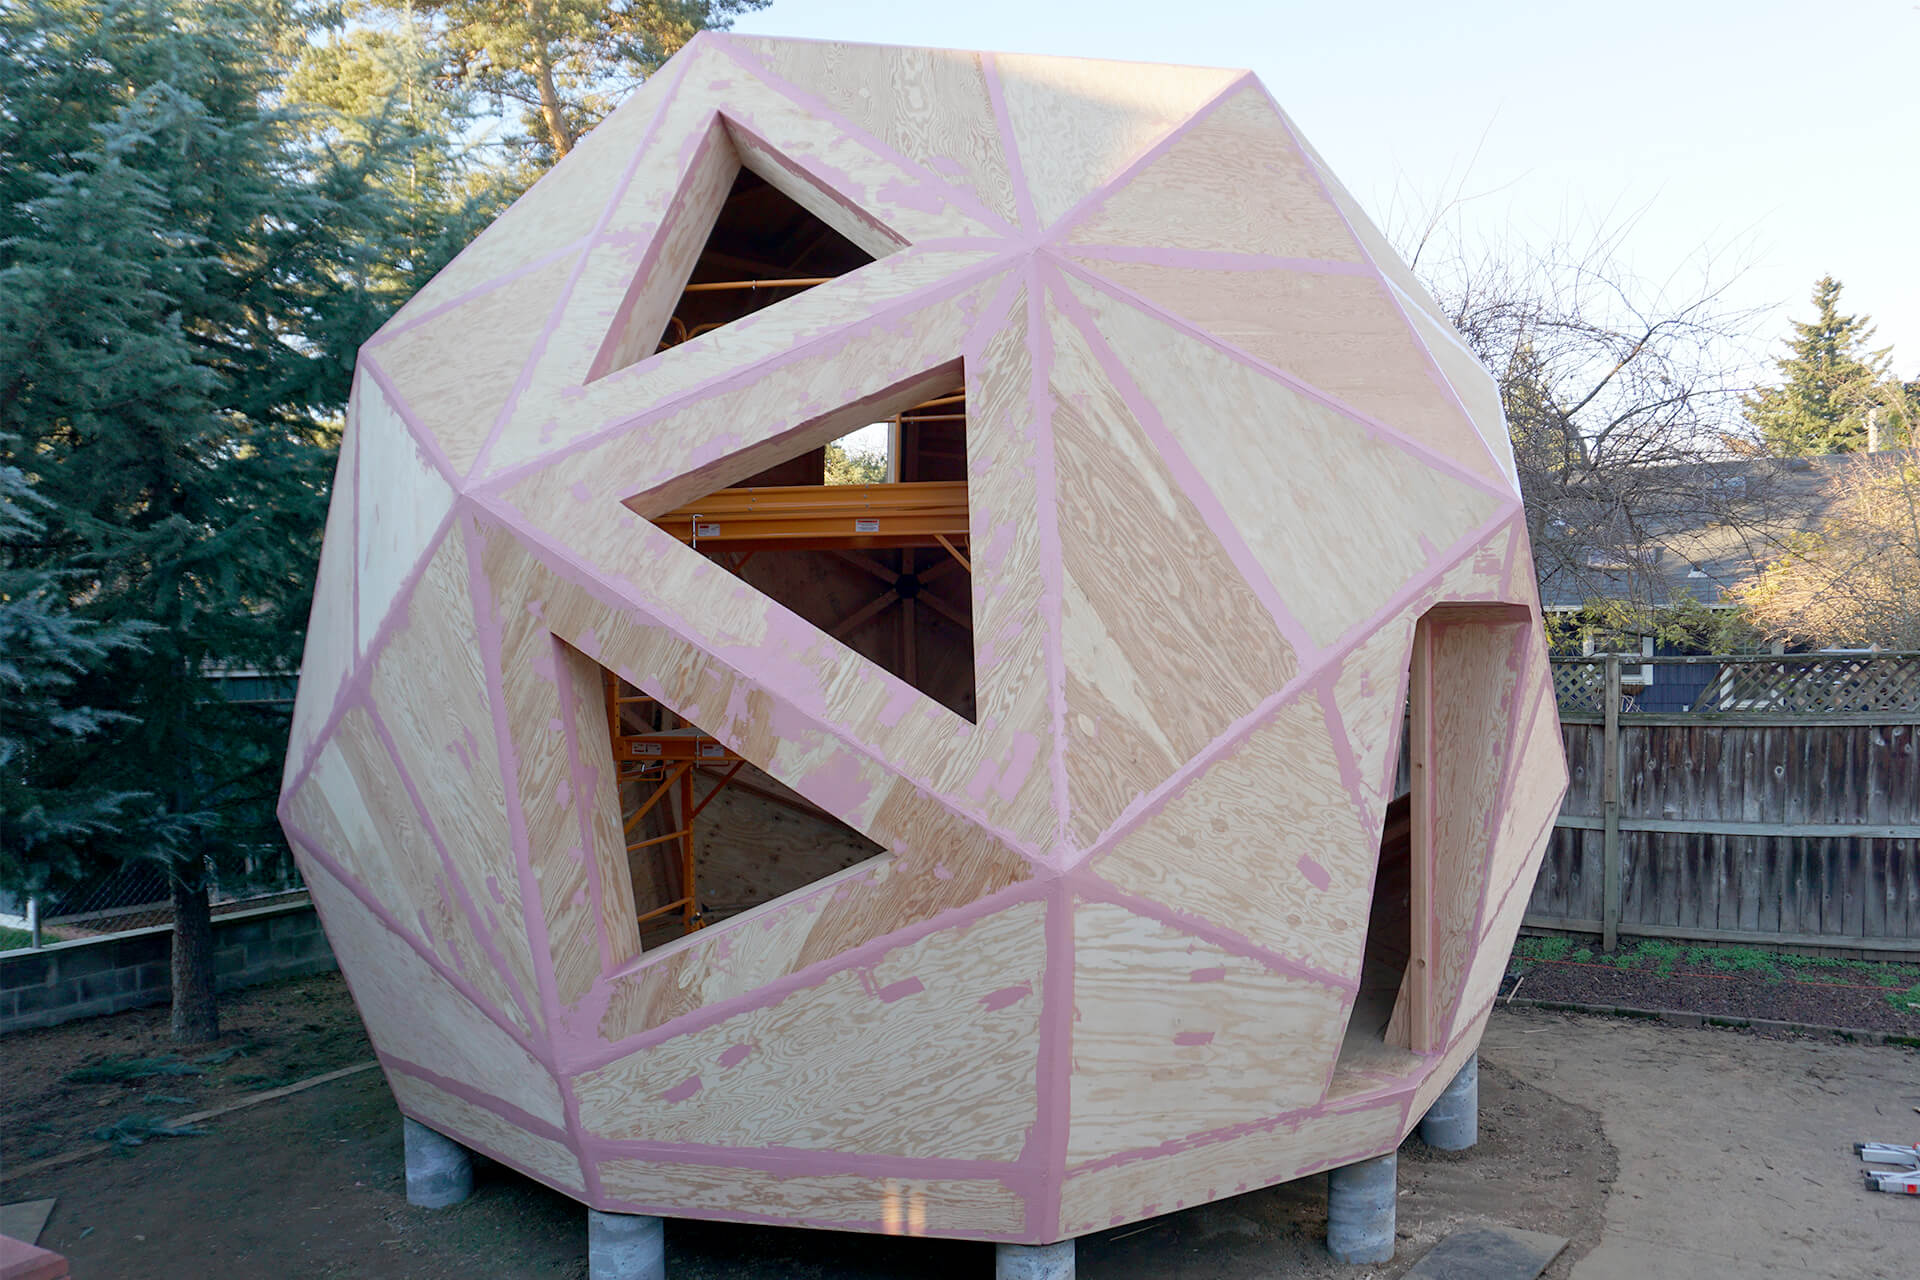
Cover all gaps, screw-heads, voids, and defects.
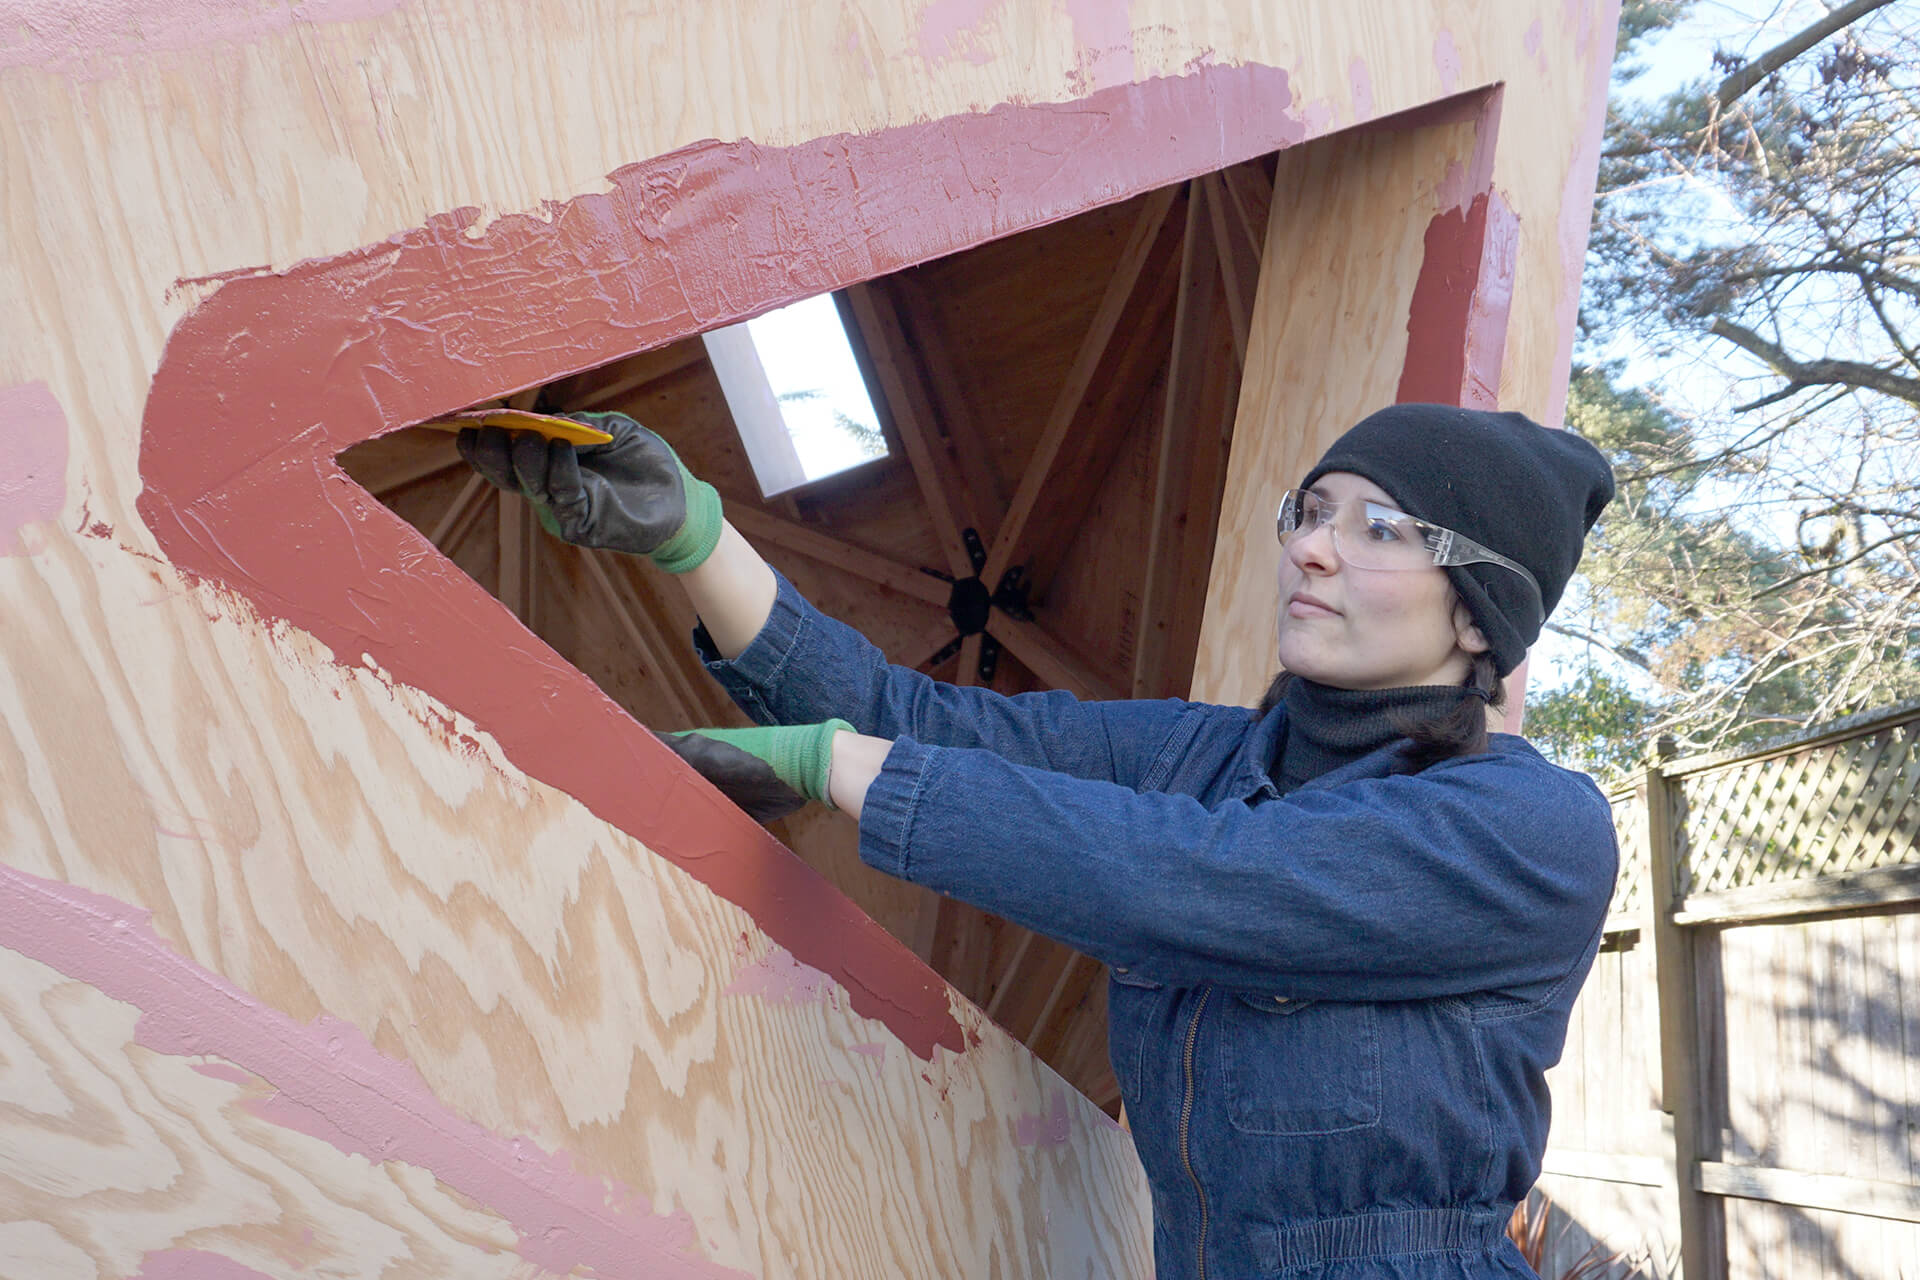
Coat window opening corners with an STPE-type material or equivalent. Prosoco R-Guard Fast Flash shown here.
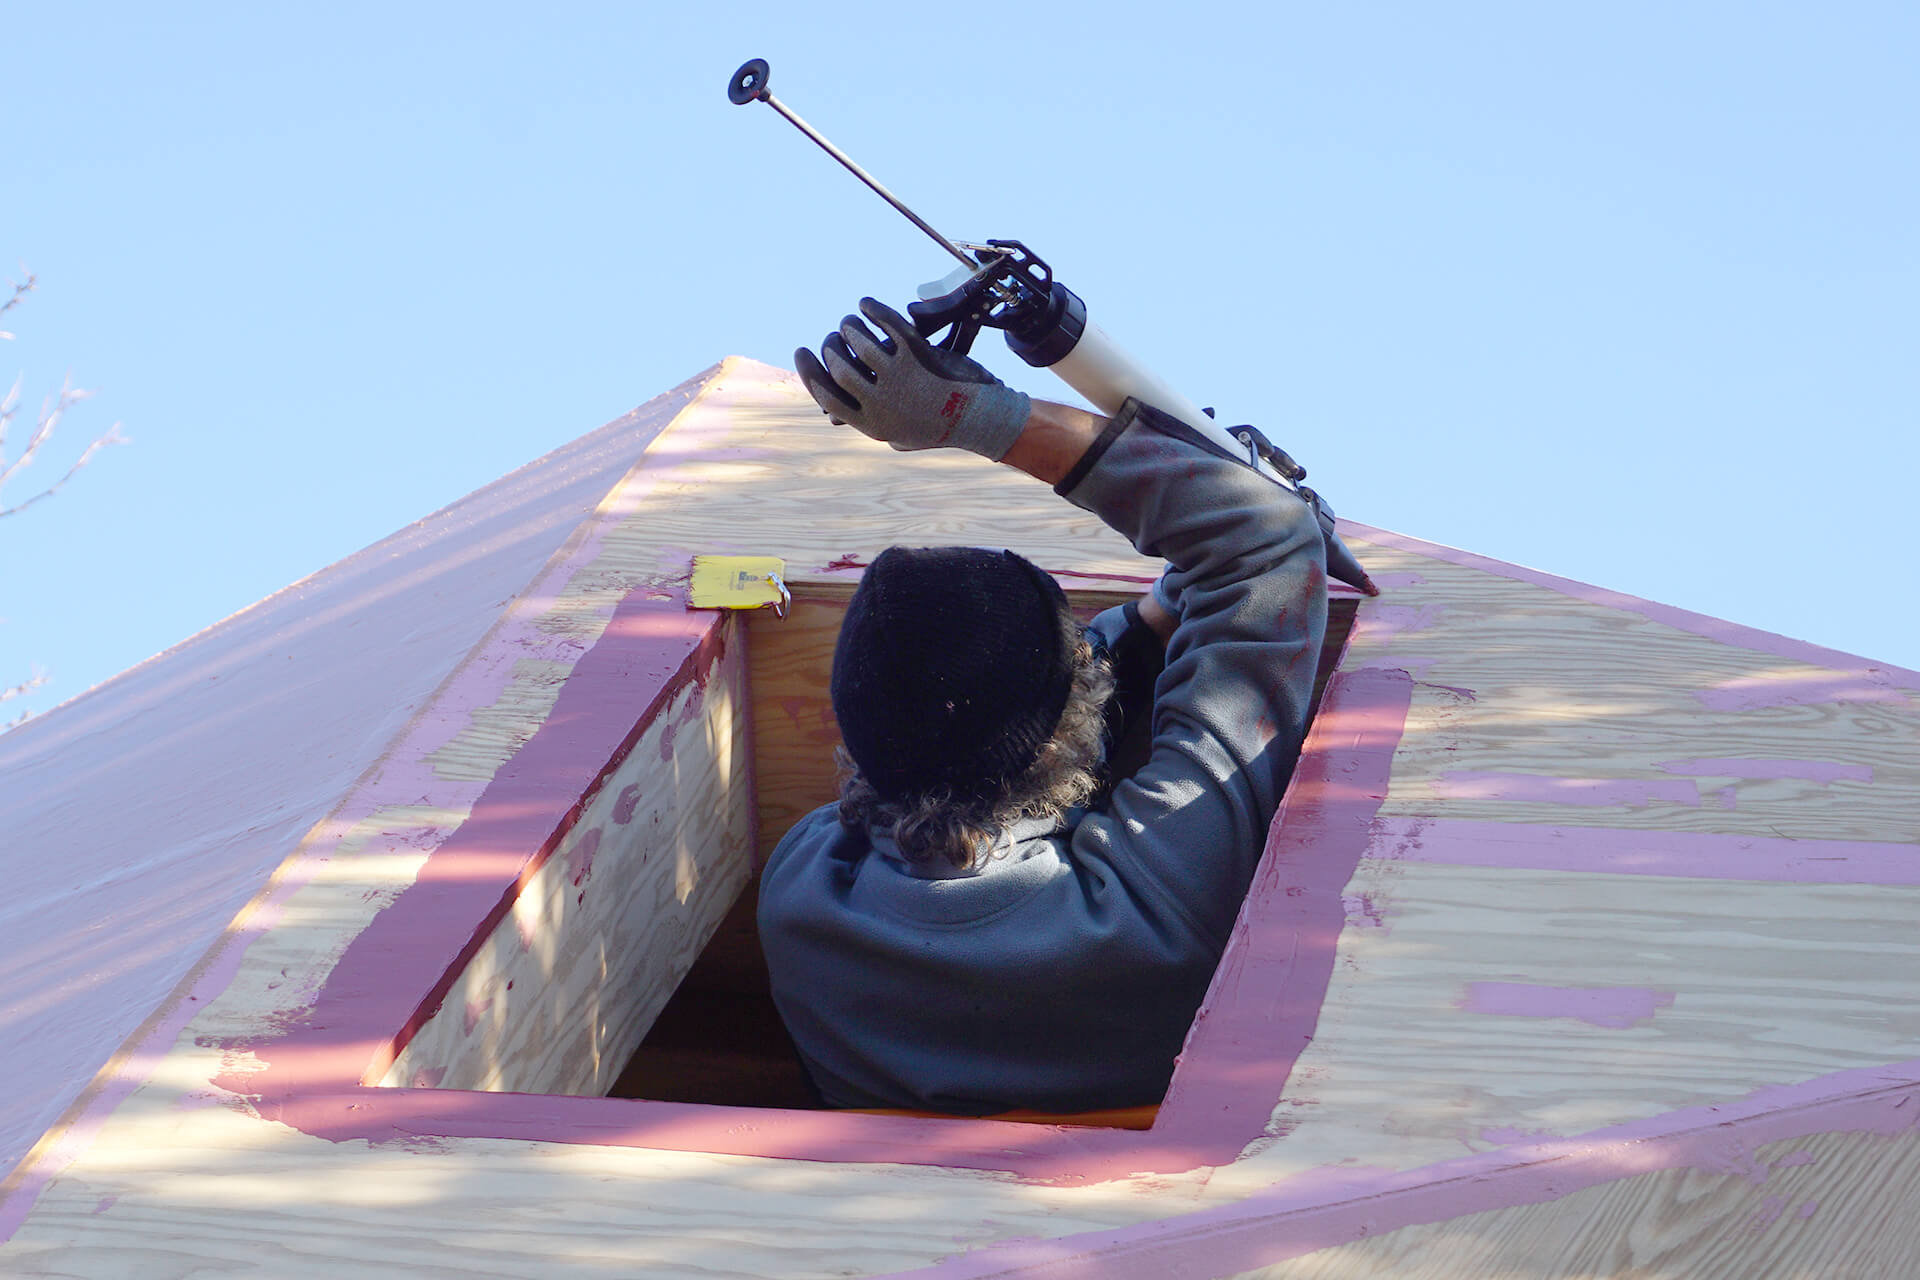
Coat the egress corners as well.

Use a wide roller and an extendable pole to coat the sheathing with an STPE-type material or equivalent. Prosoco R-Guard Cat 5 shown here.
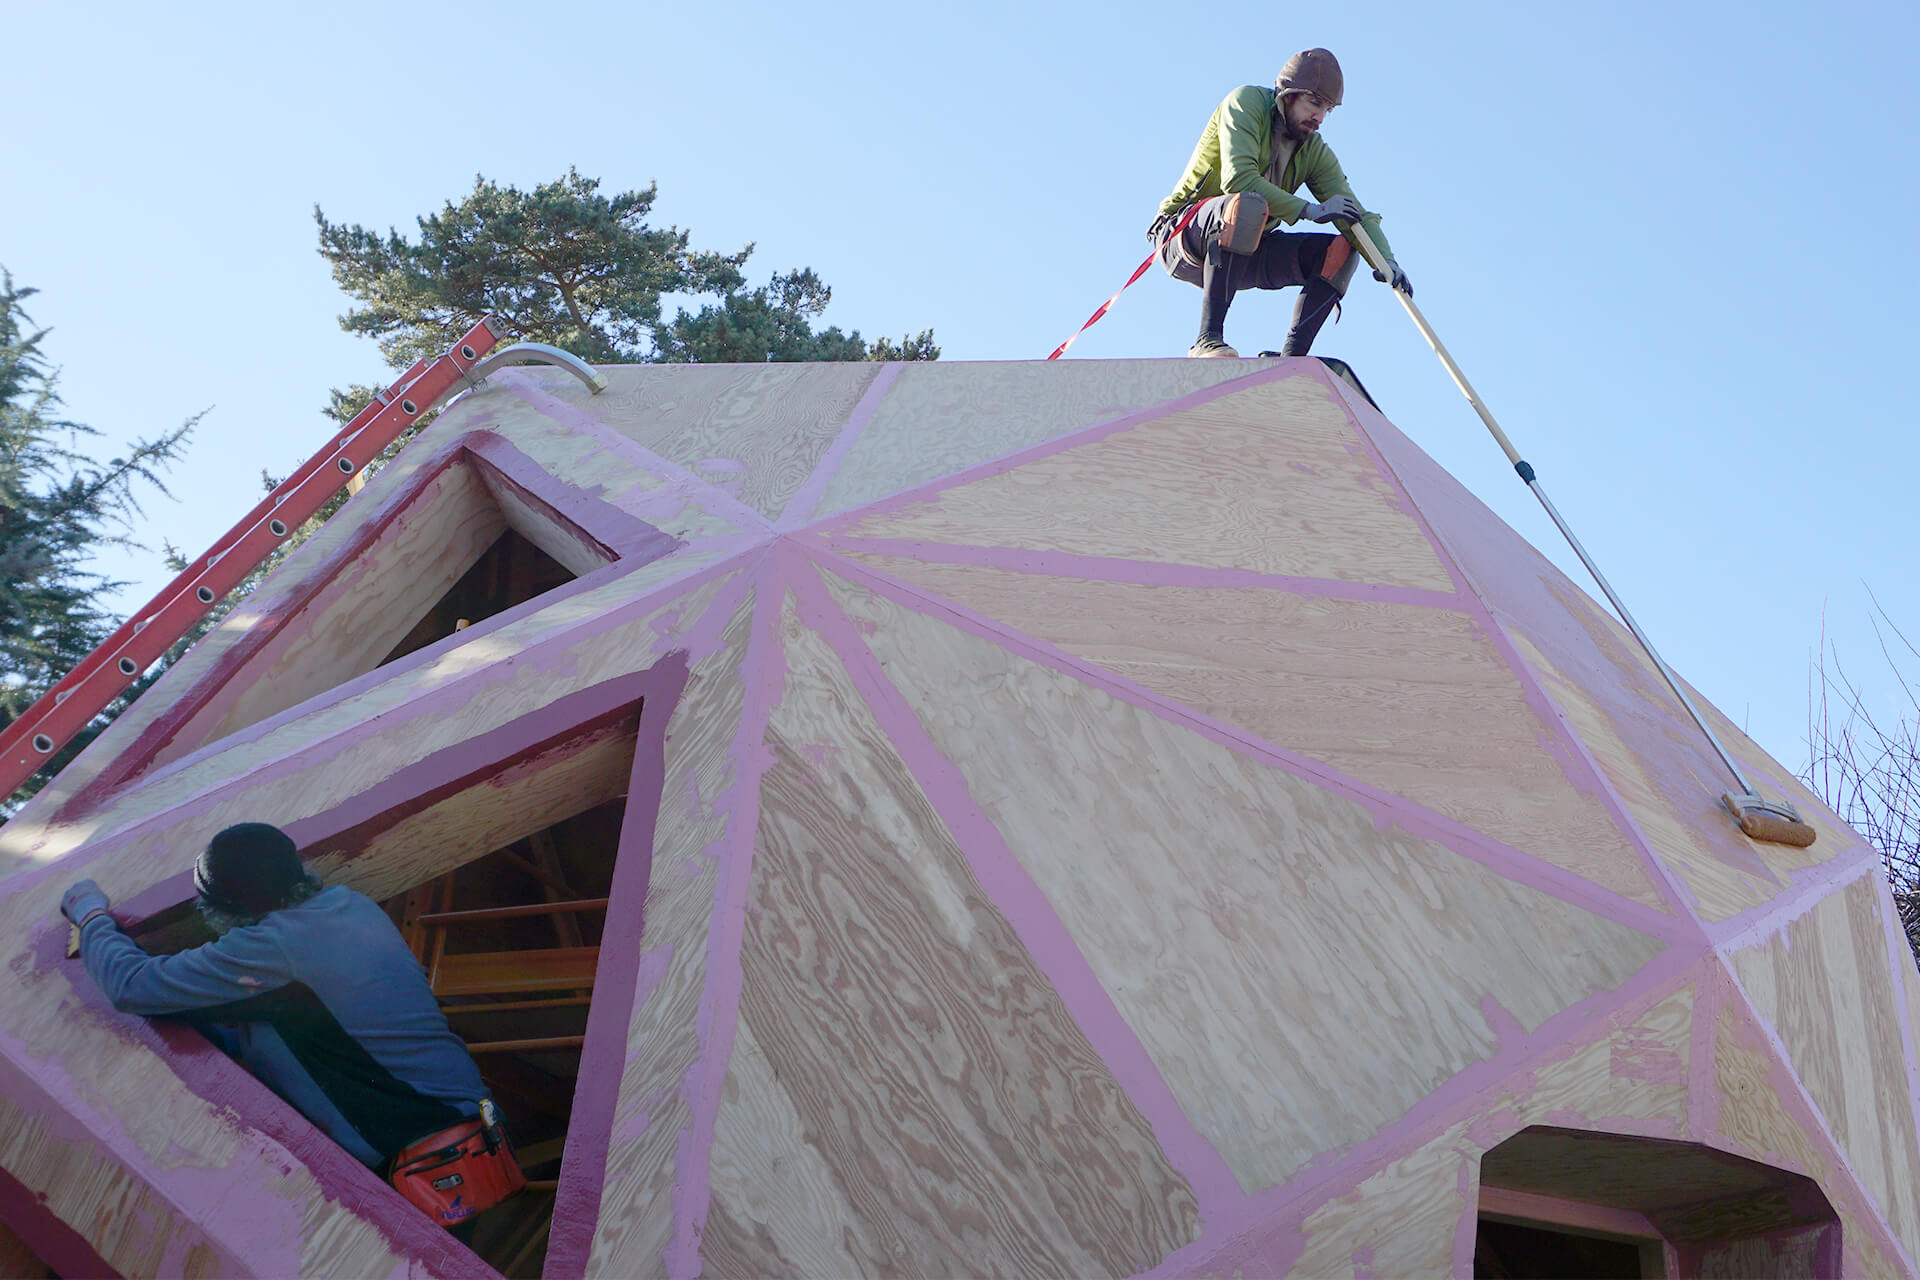
Use an 8' (2.5 m) pole to reach all surfaces while standing on the top pentagon and the ground.

Coat every exterior surface.
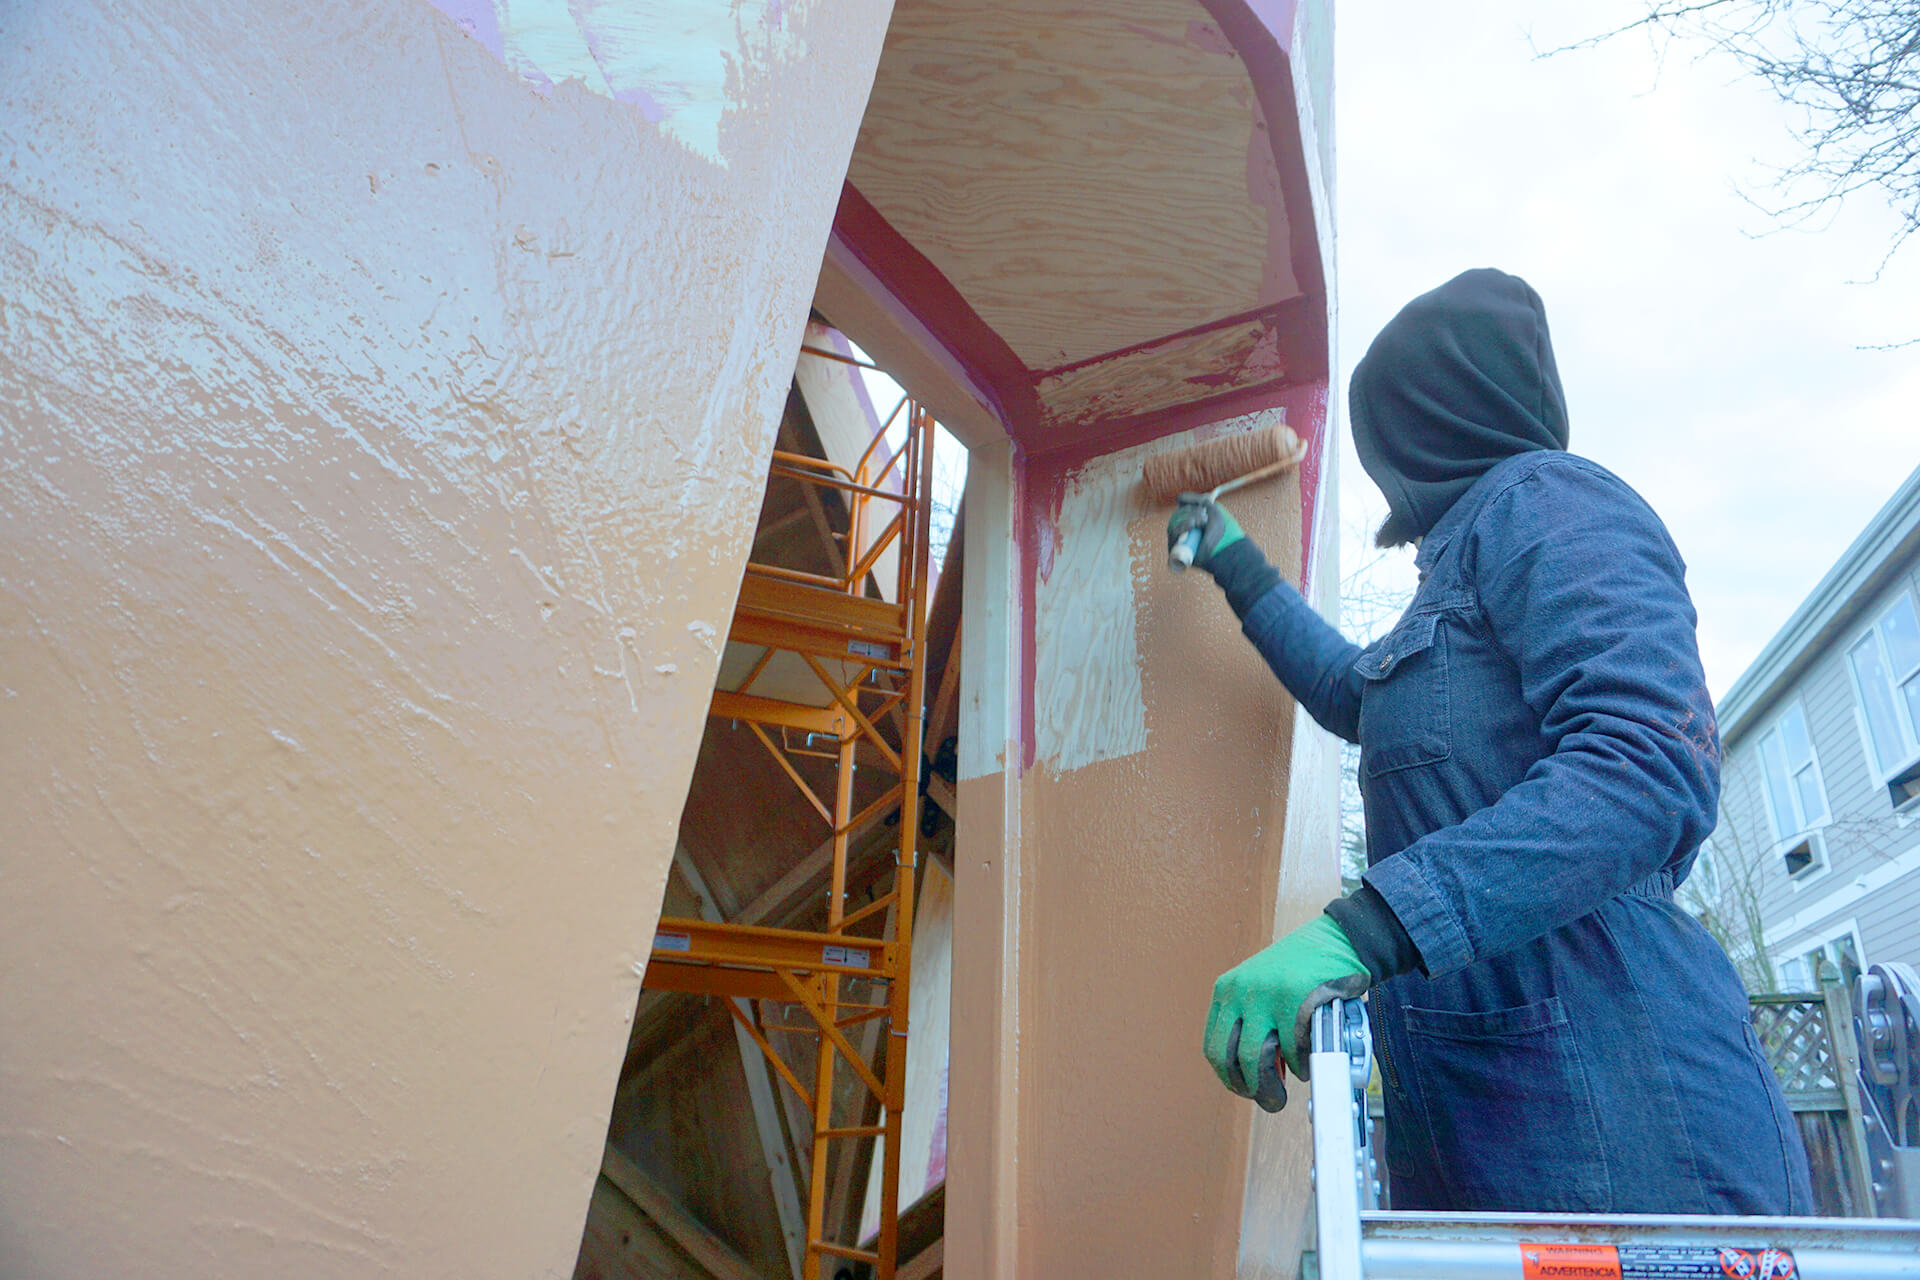
Coat the entry and door framing.
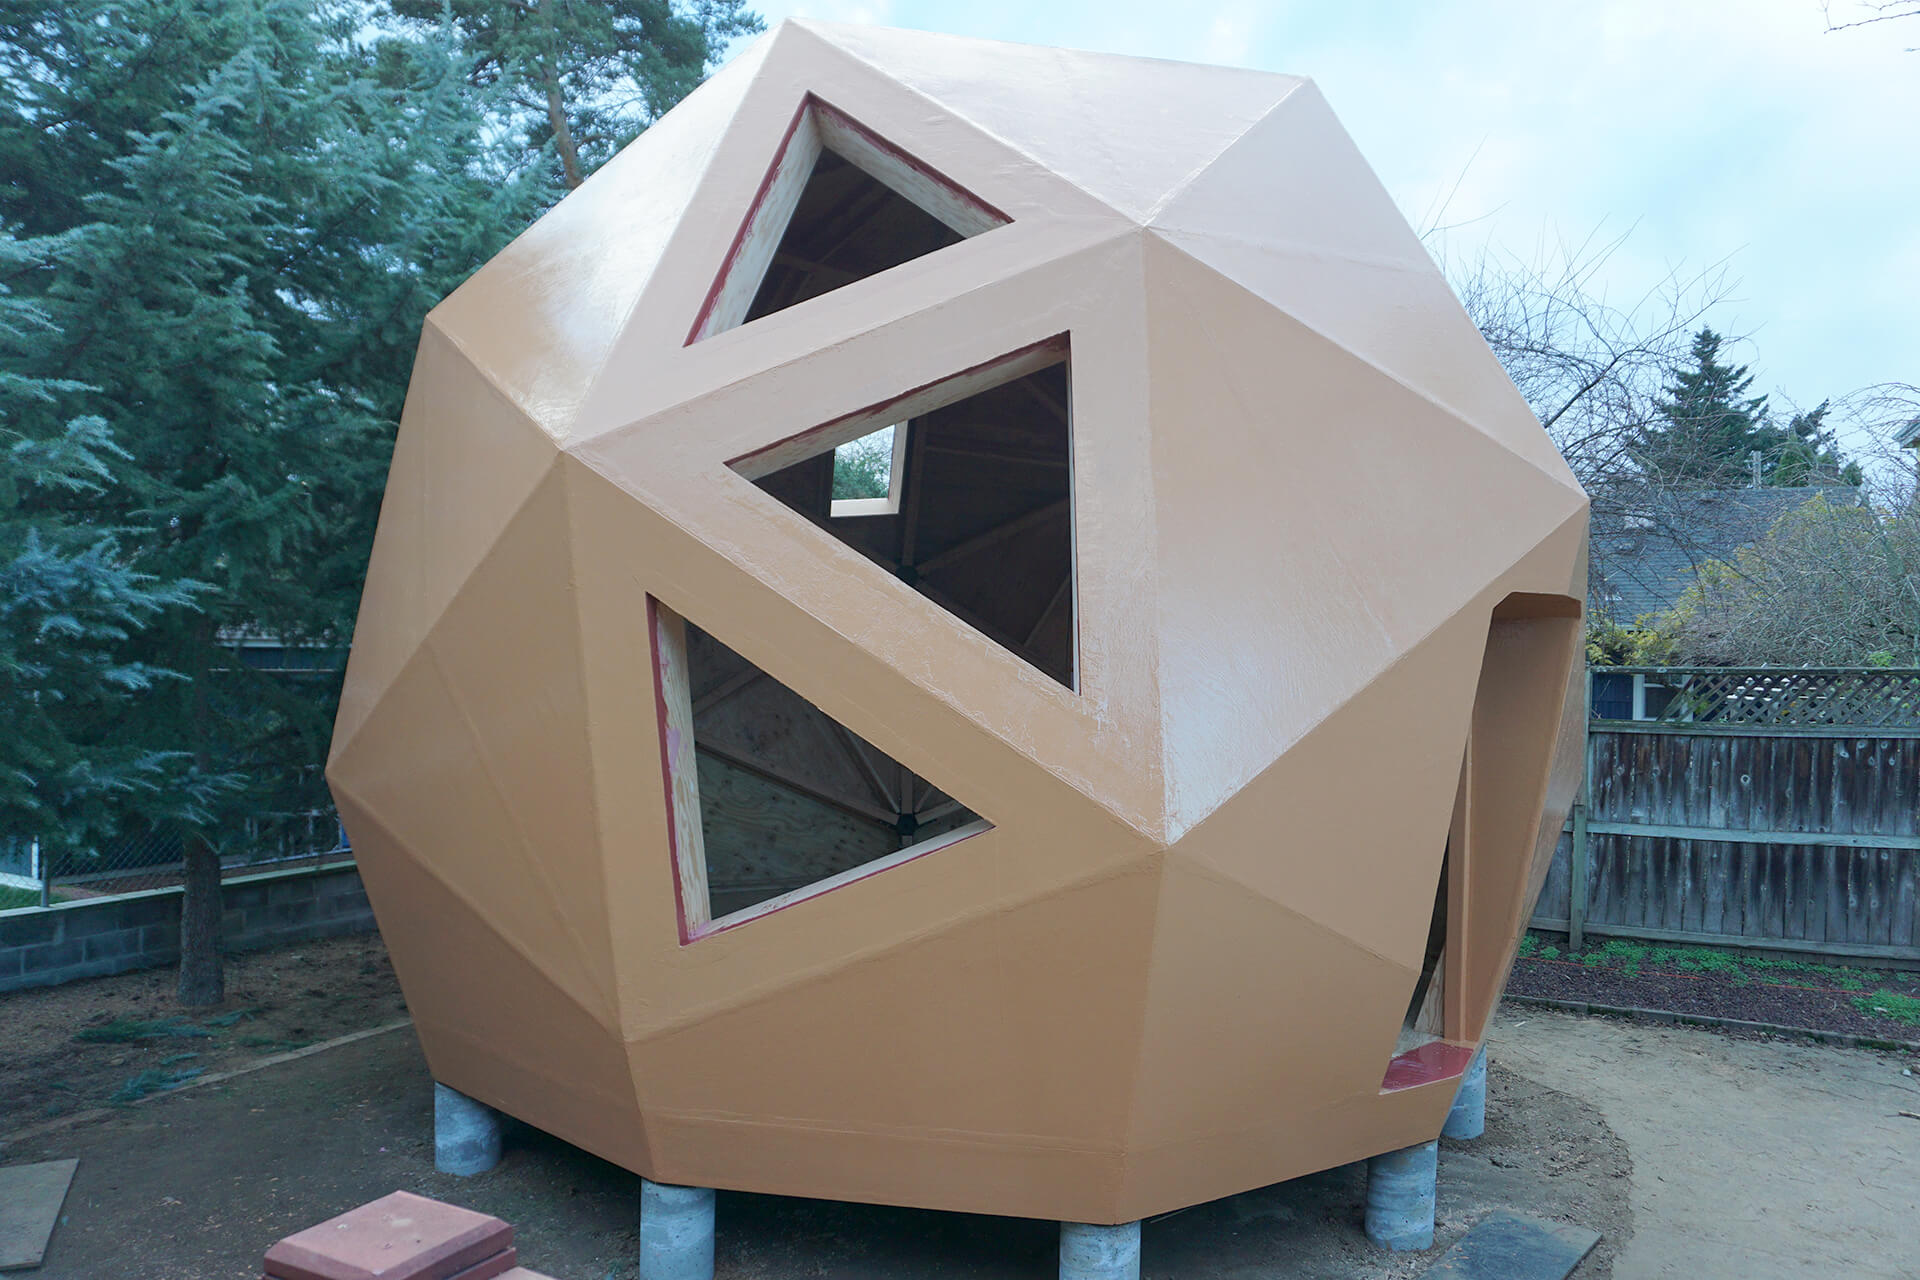
All exterior surfaces are coated. Next, proceed with installing the windows.
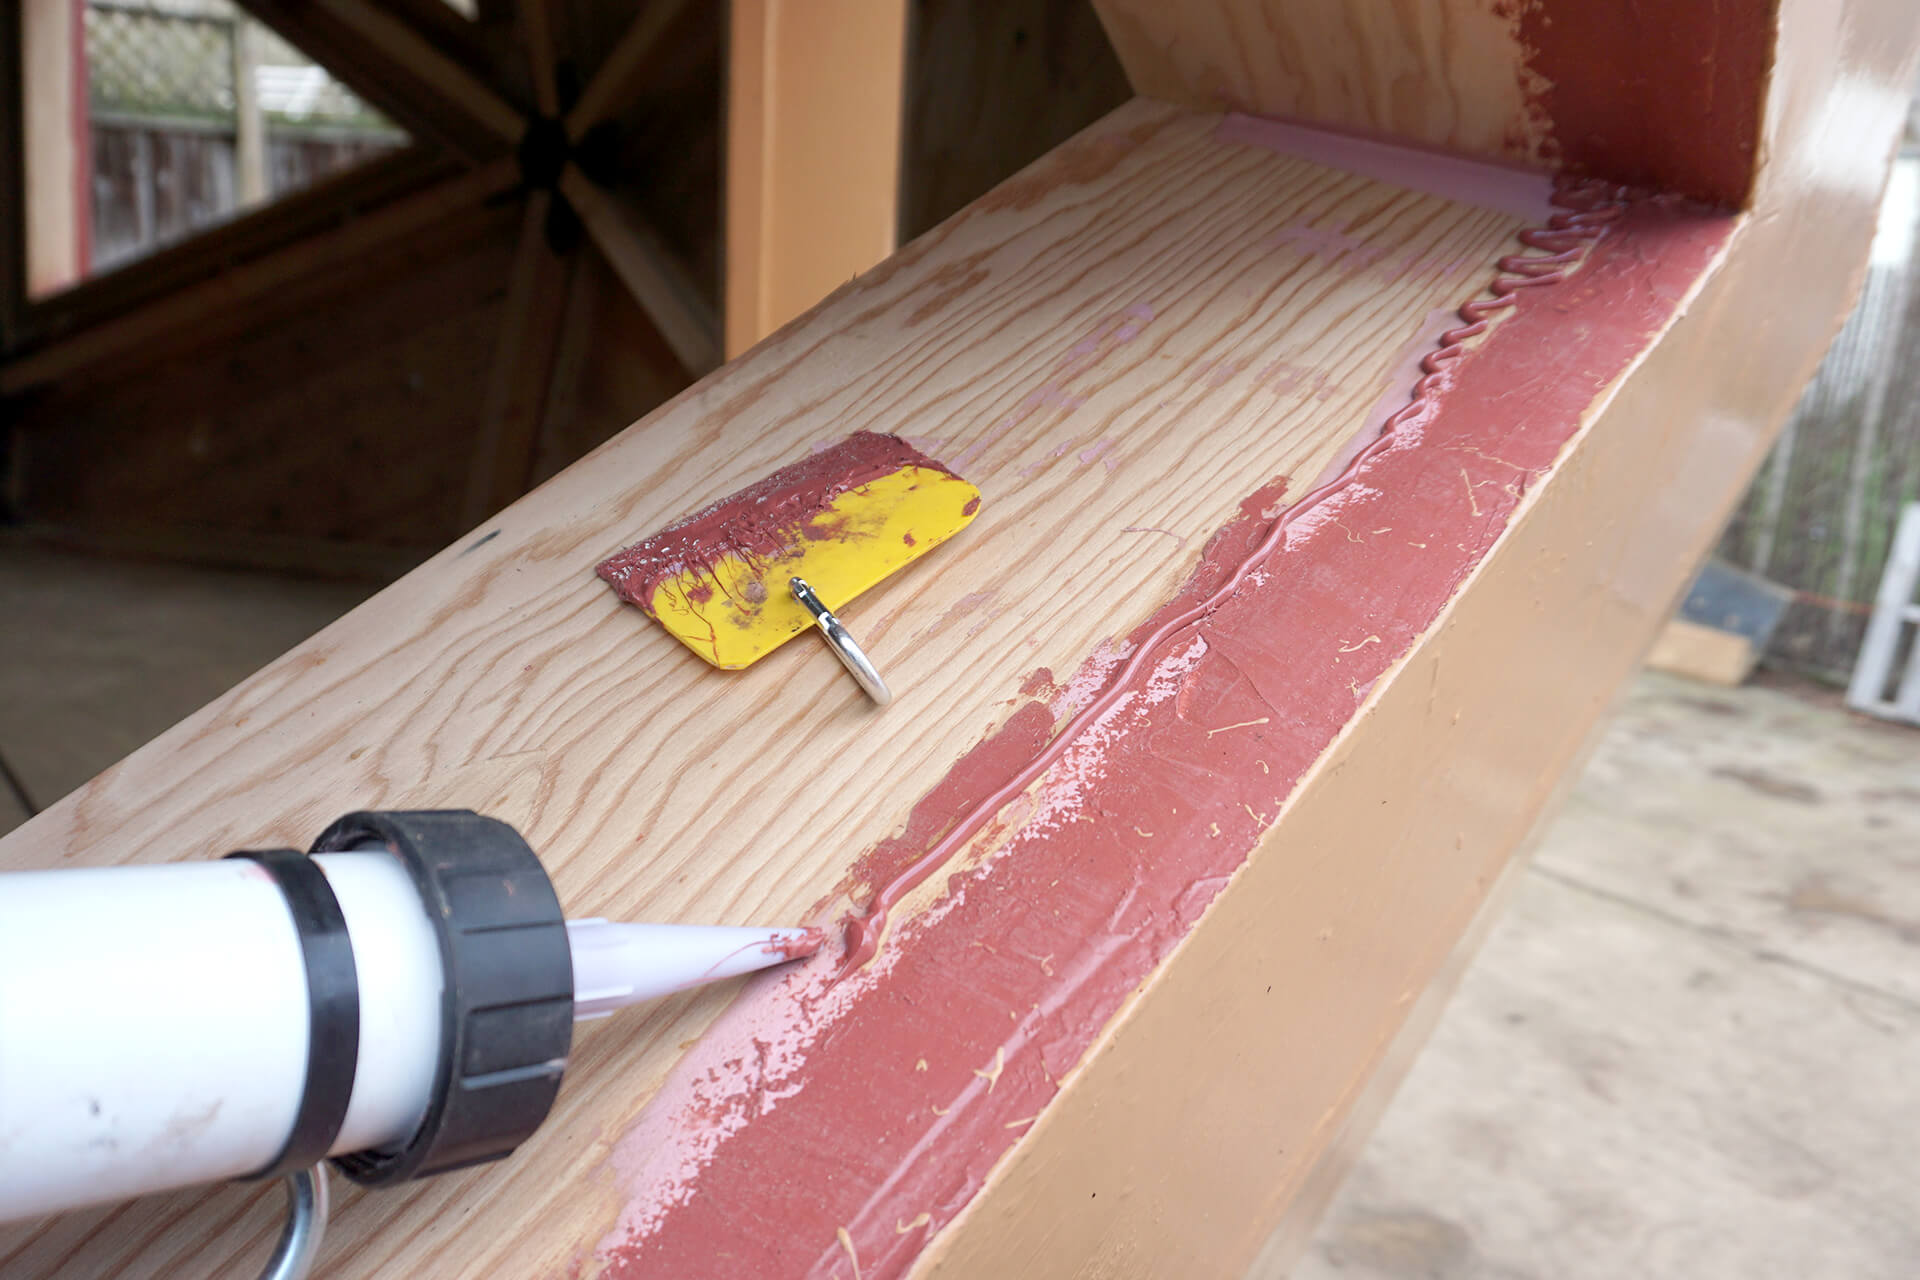
Widen the window coating if necessary. The coating should extend into the interior, beyond the width of the window assembly.
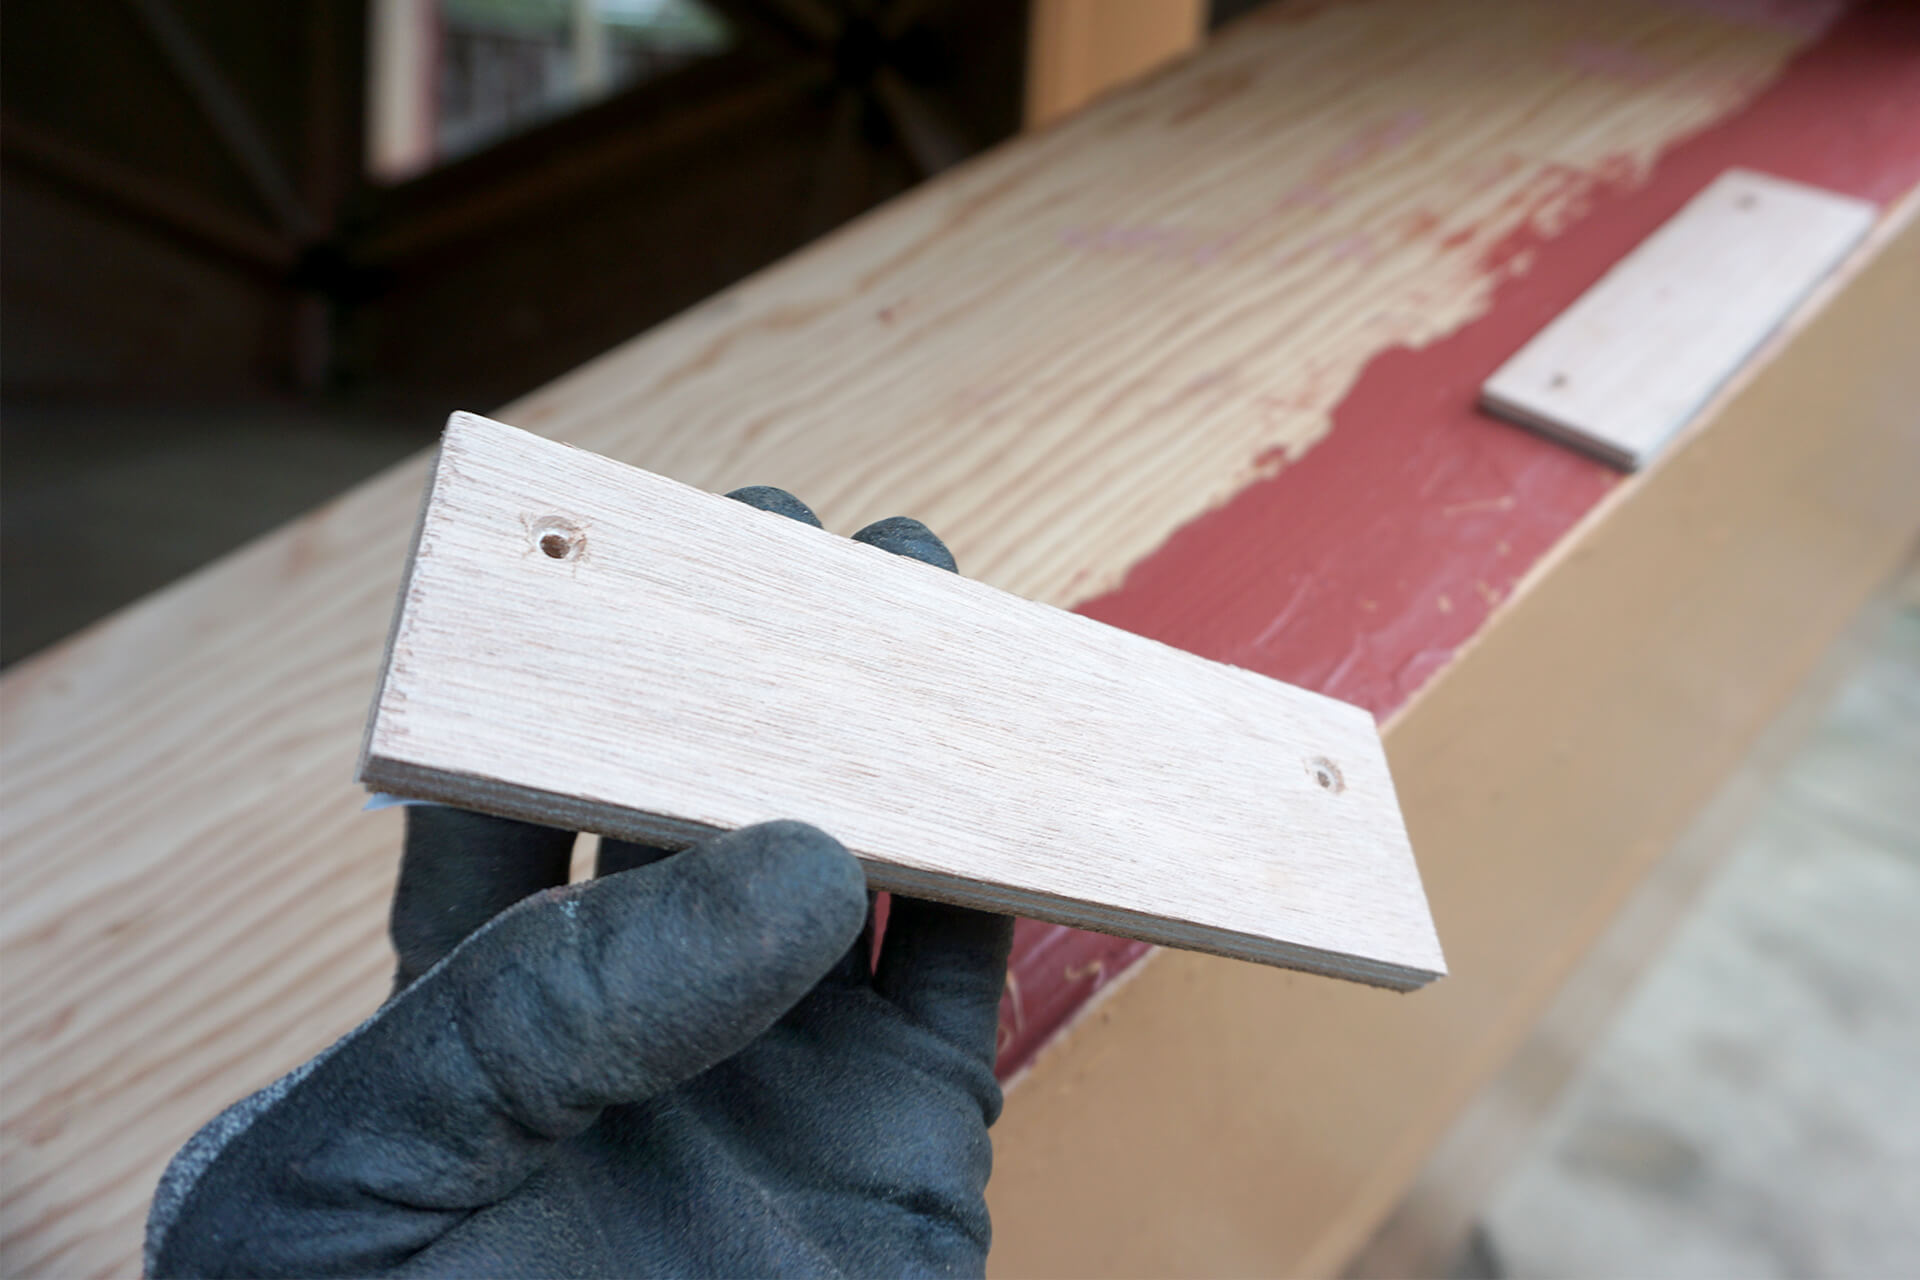
Create window block spacers. The spacers should be thick enough to center the window in the rough opening. Marine-grade plywood material is shown here.
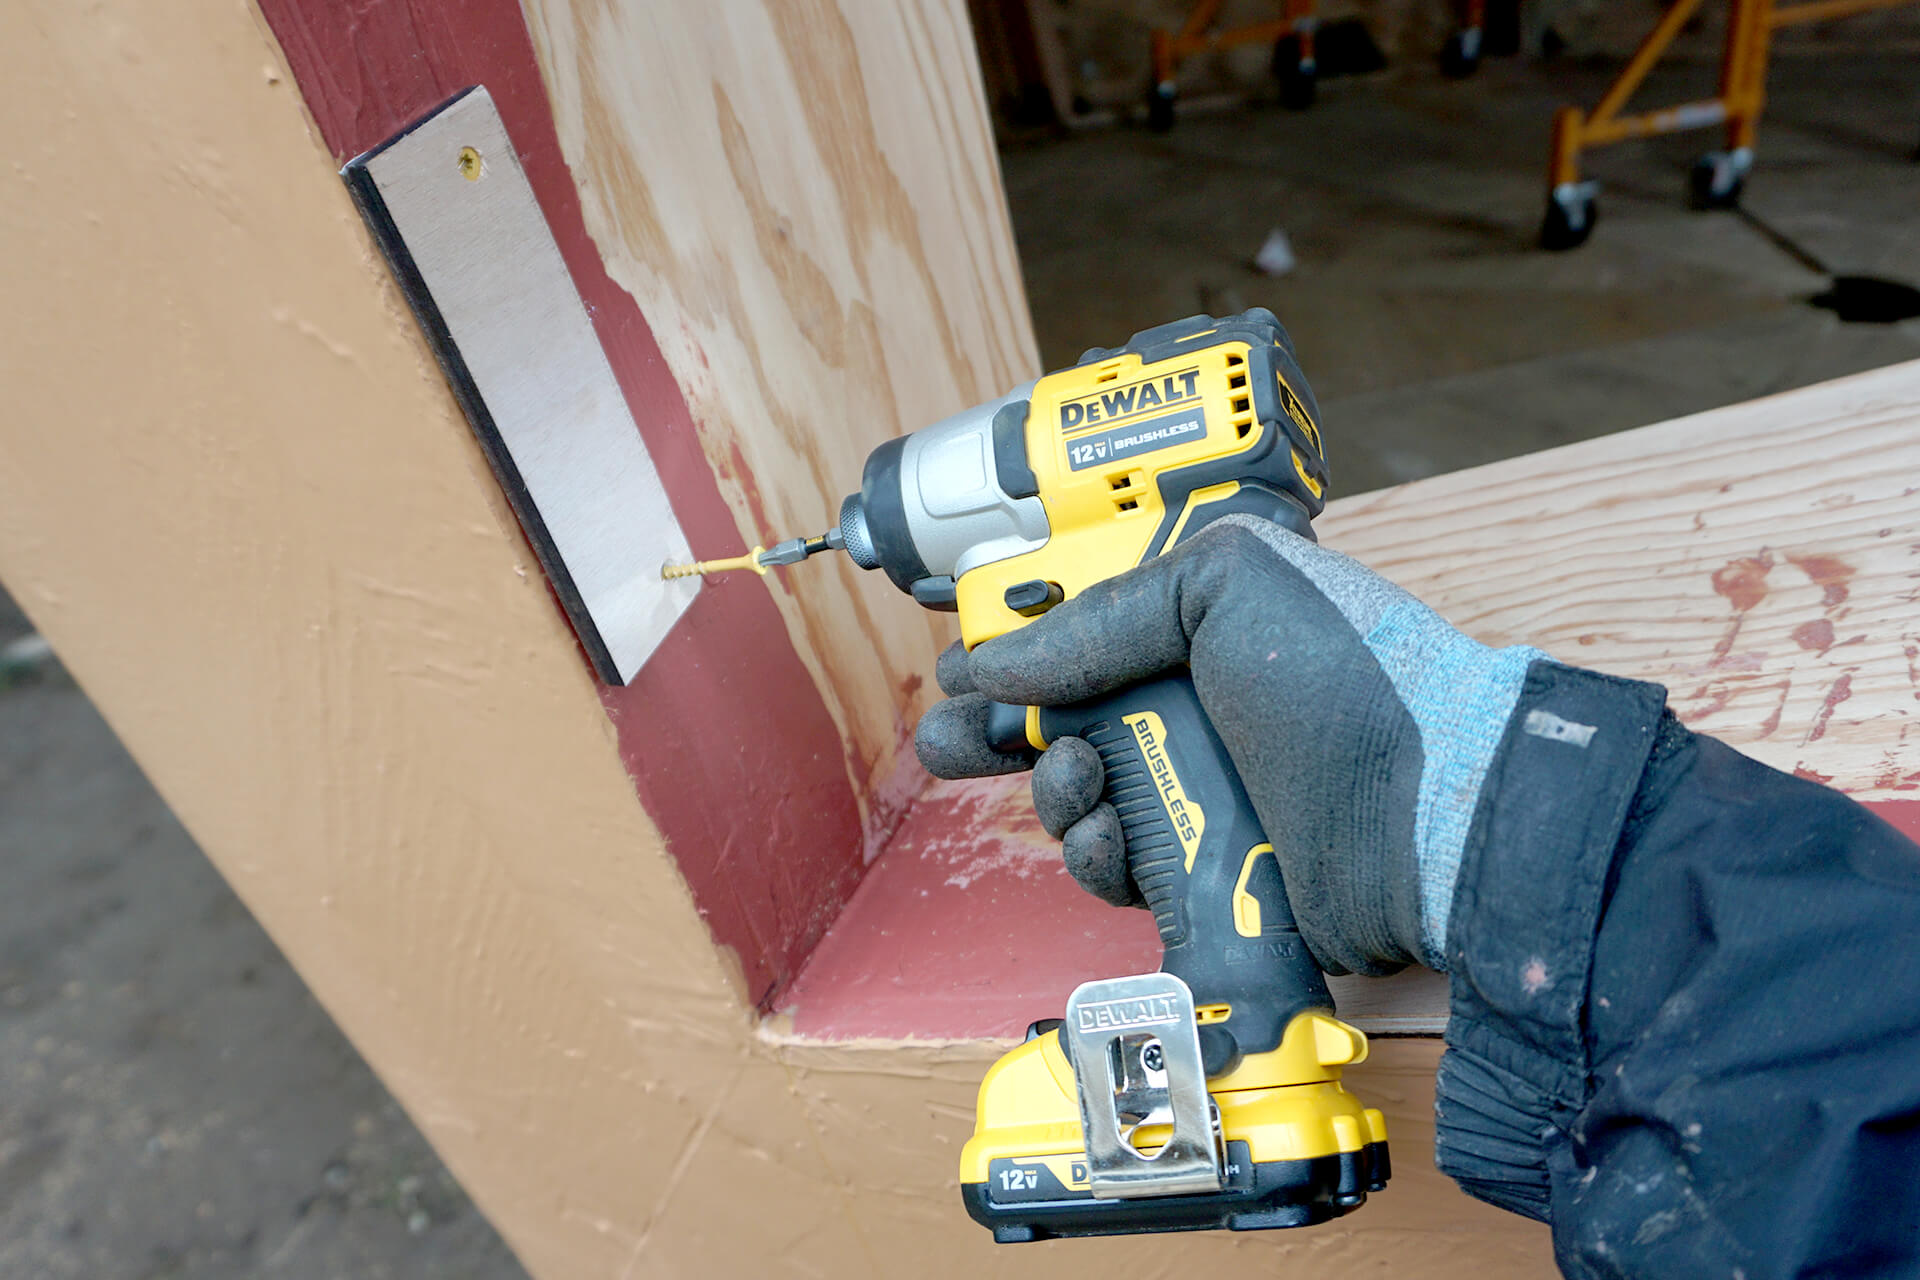
Attach window block spacers along the two surfaces of the Window-Boxes that bear the weight of the window. One surface does not receive spacers.
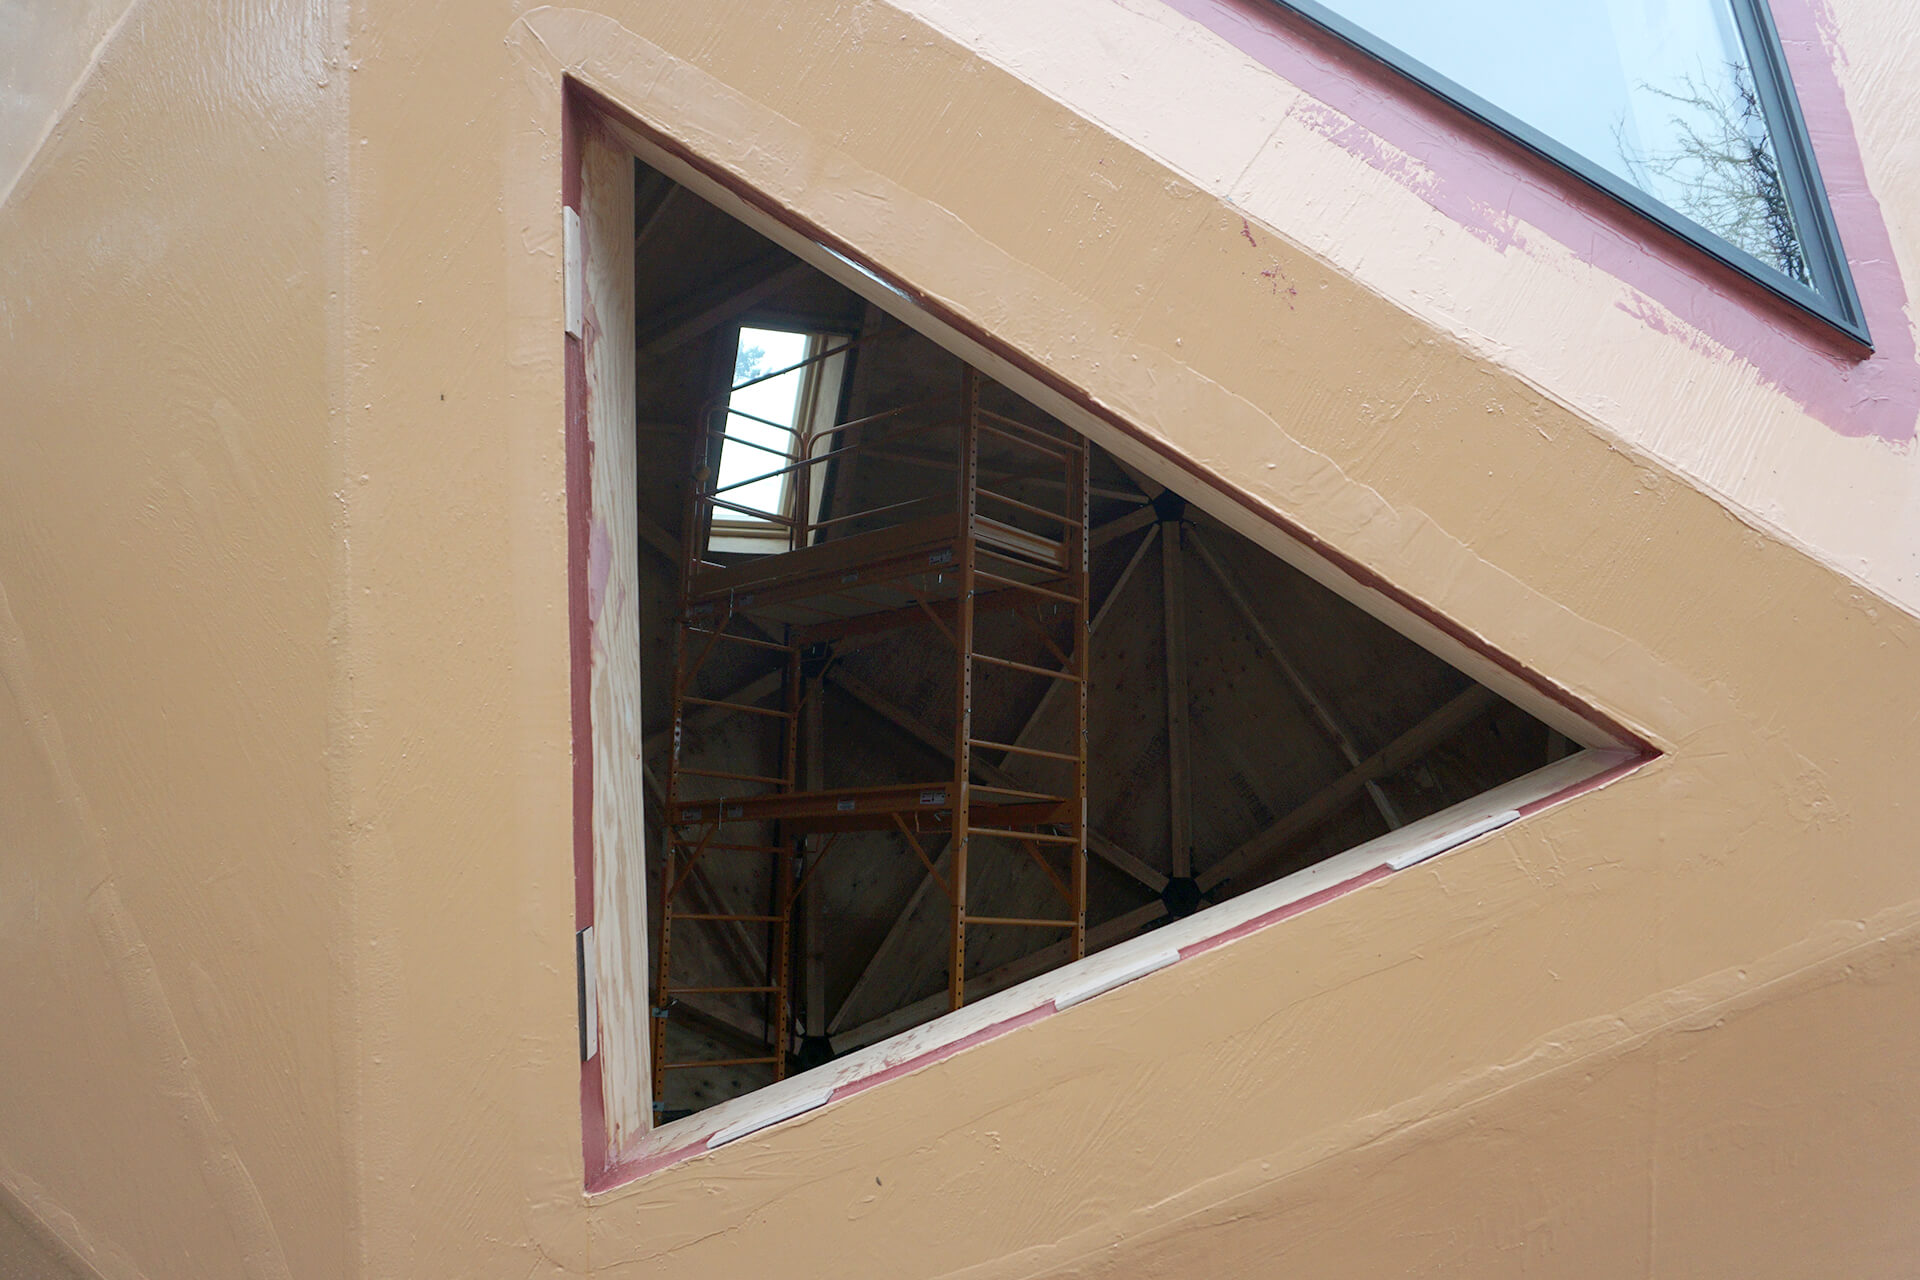
A prepared window opening, ready for installation.
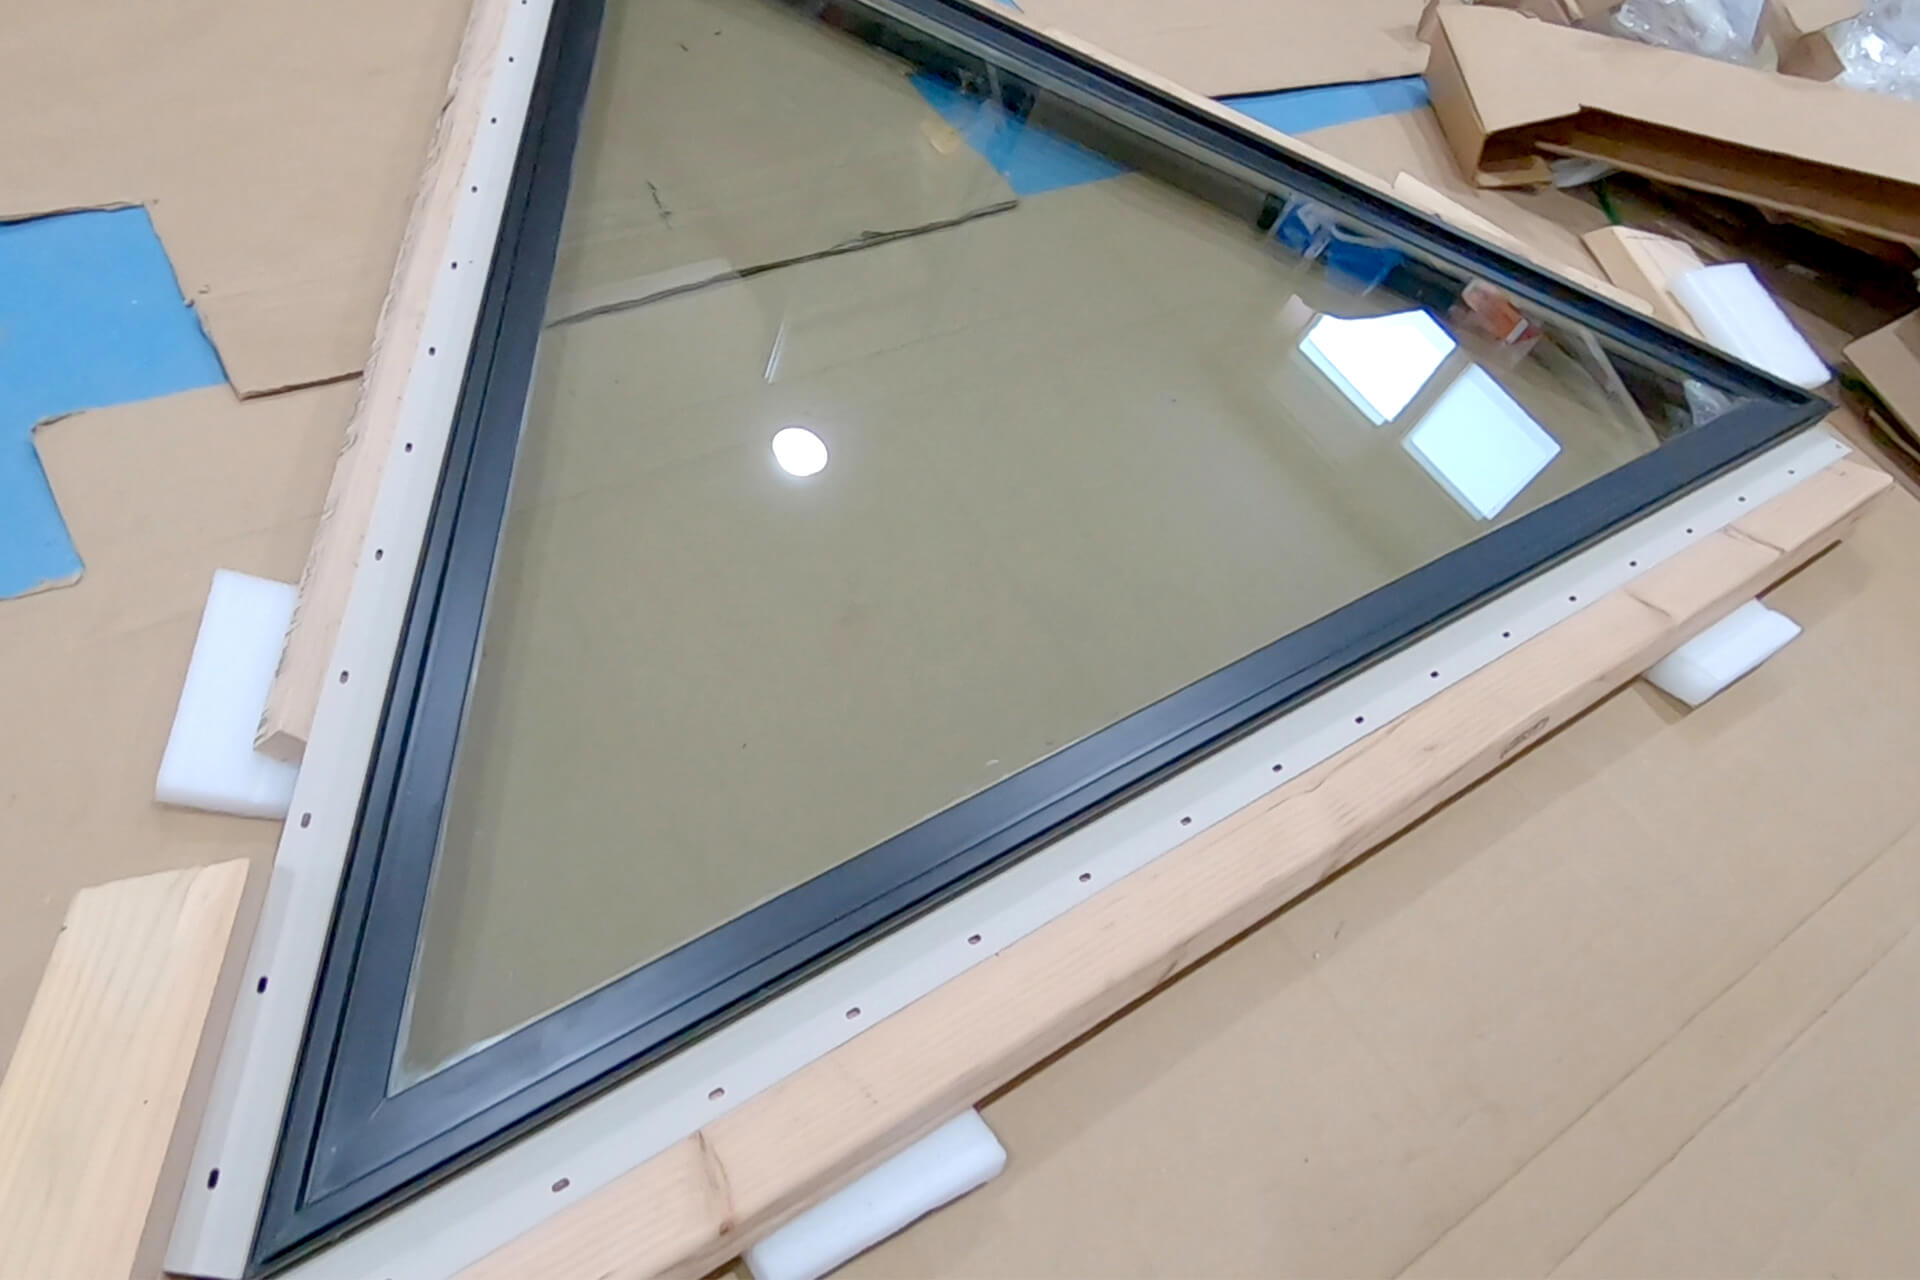
Attach the nailing fins to the window. These were the collapsible type, which were glued (with CA glue) in the open position for added strength.

Install the windows from top to bottom. They can be slid up a ladder and positioned into place. Having a helper inside the dome is useful for positioning.

Installing windows from top to bottom reduces the risk of damage, as nothing can be dropped onto a higher window.
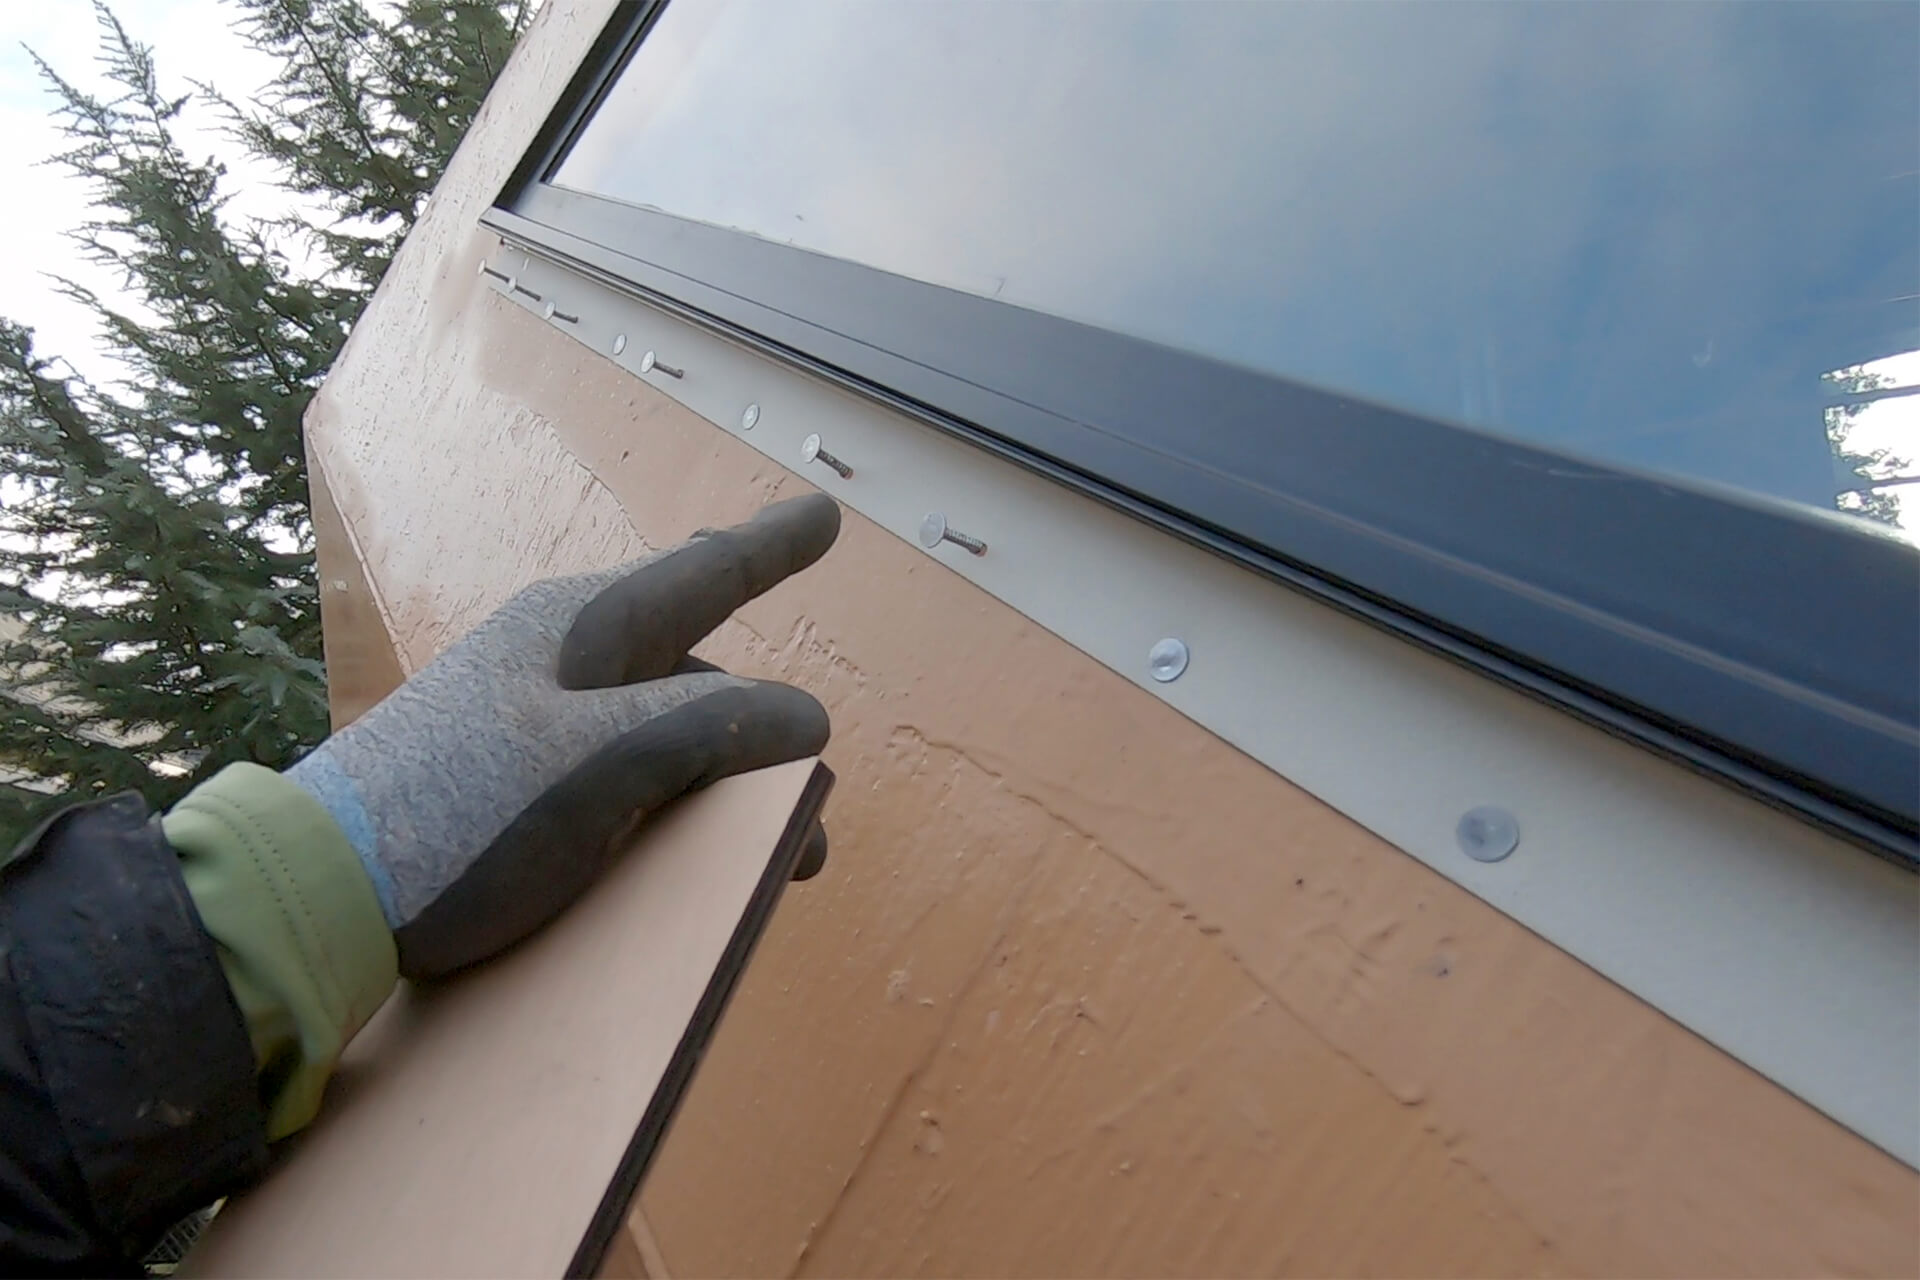
Nail the nailing fin once the window is evenly spaced in the rough opening. Use a rigid scrap piece (plywood is shown here) to protect the window frame while hammering.
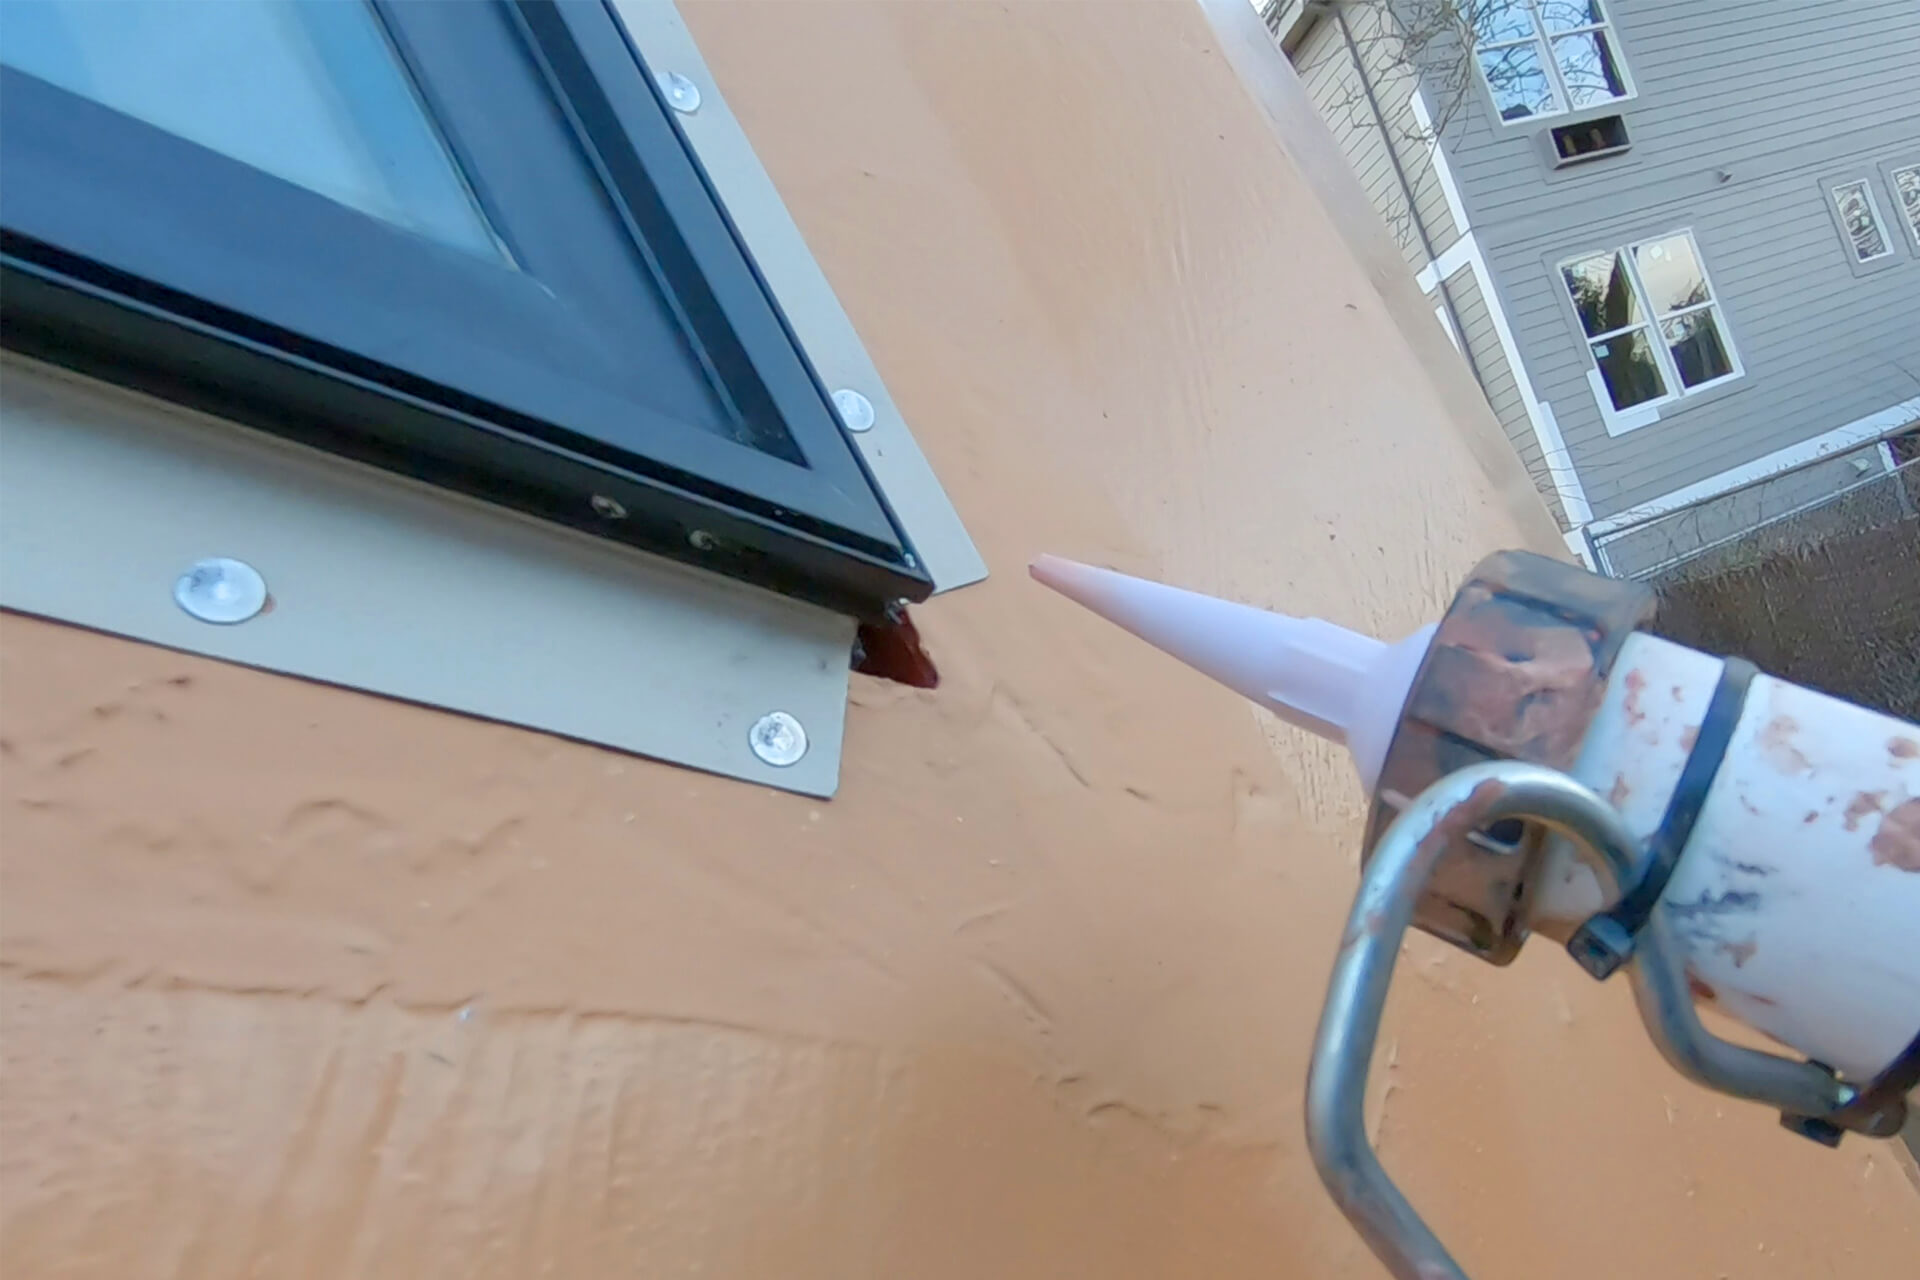
Fill corner gaps with an STPE-type material or equivalent. Prosoco R-Guard Joint and Seam Filler shown here.
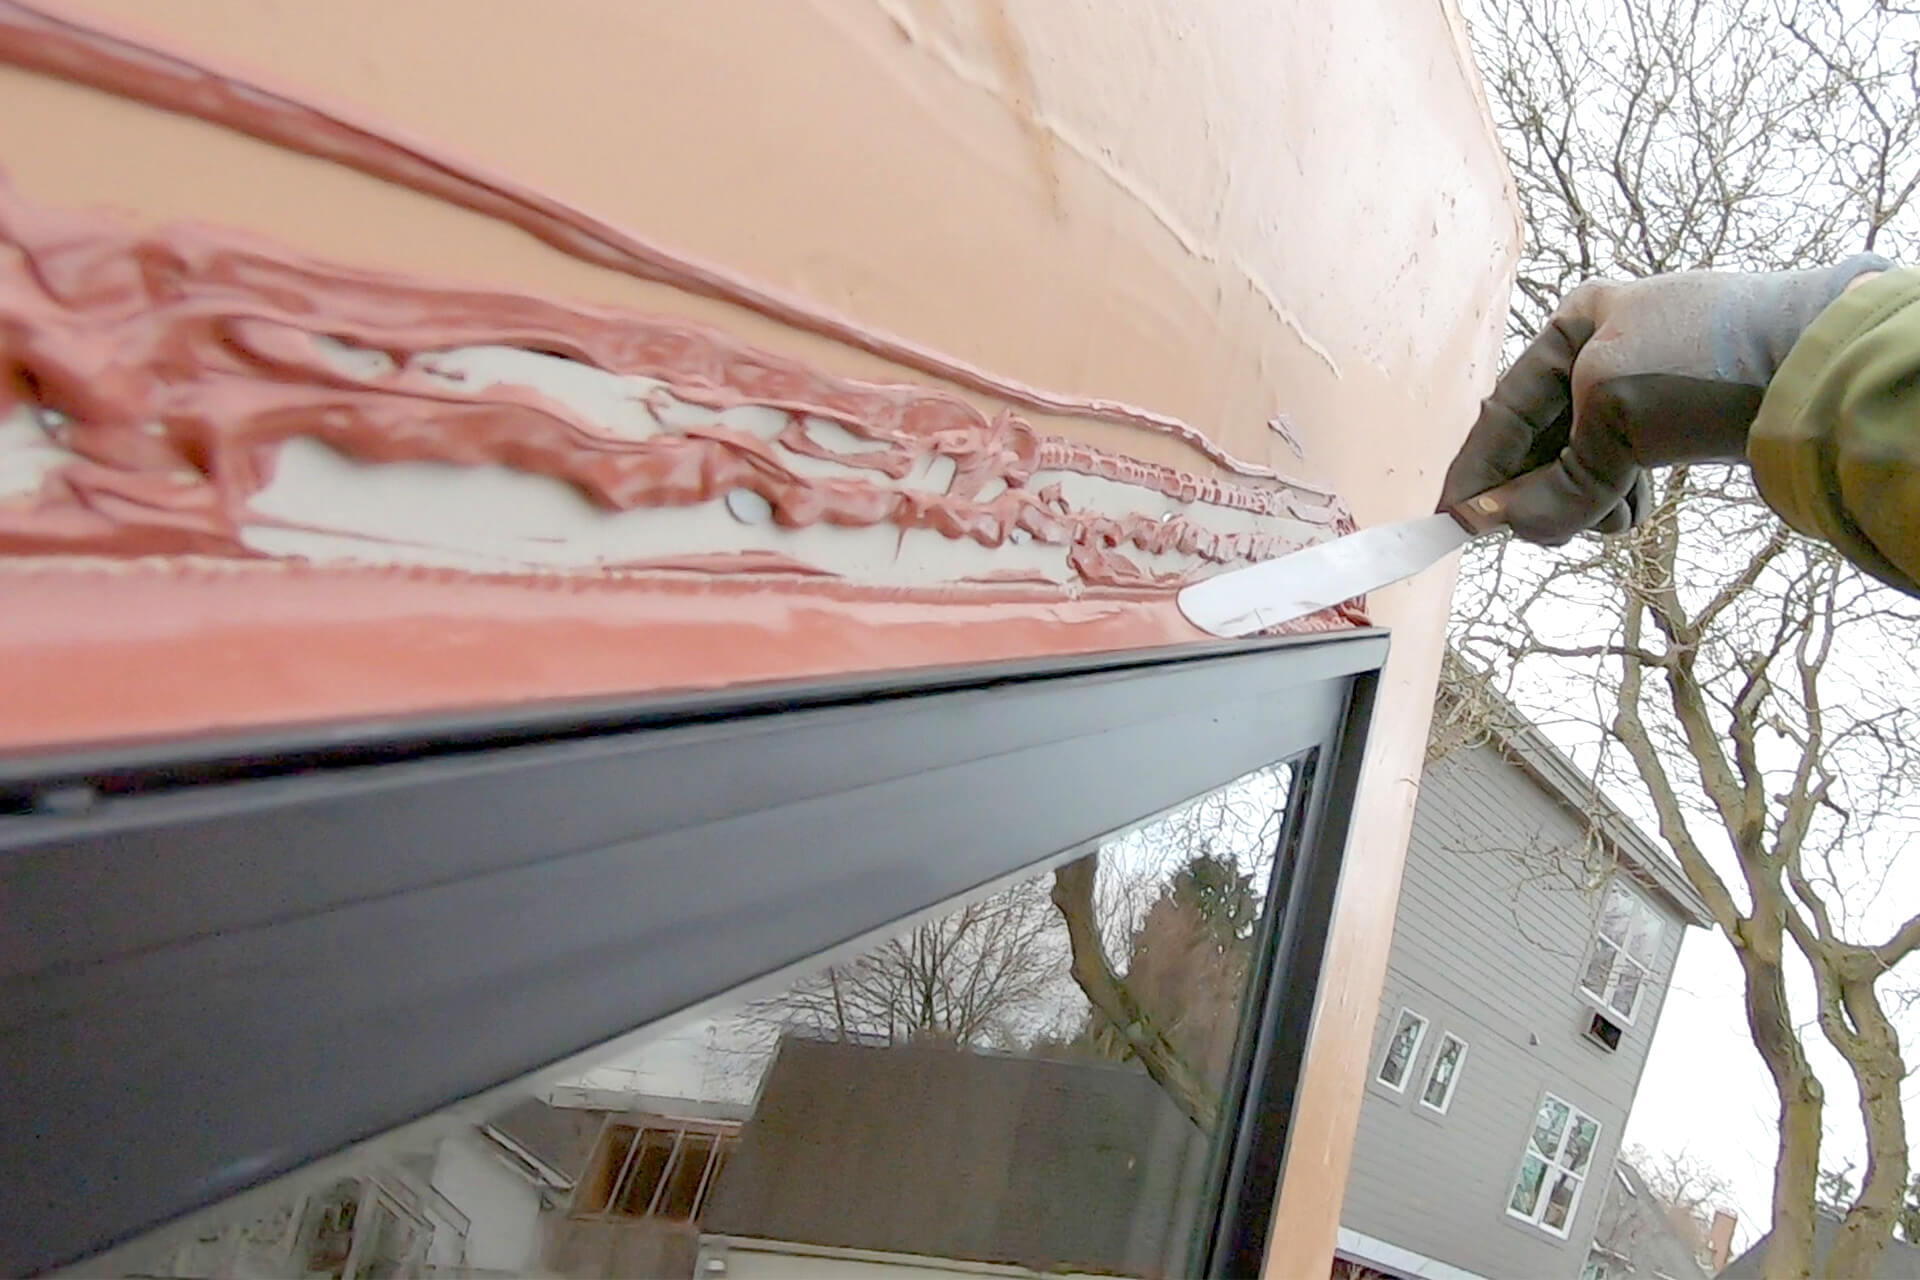
Coat window nailing fin and frame lip with an STPE-type material or equivalent. Trowel a smooth but tight radius onto the frame. Prosoco R-Guard Fast Flash shown here.
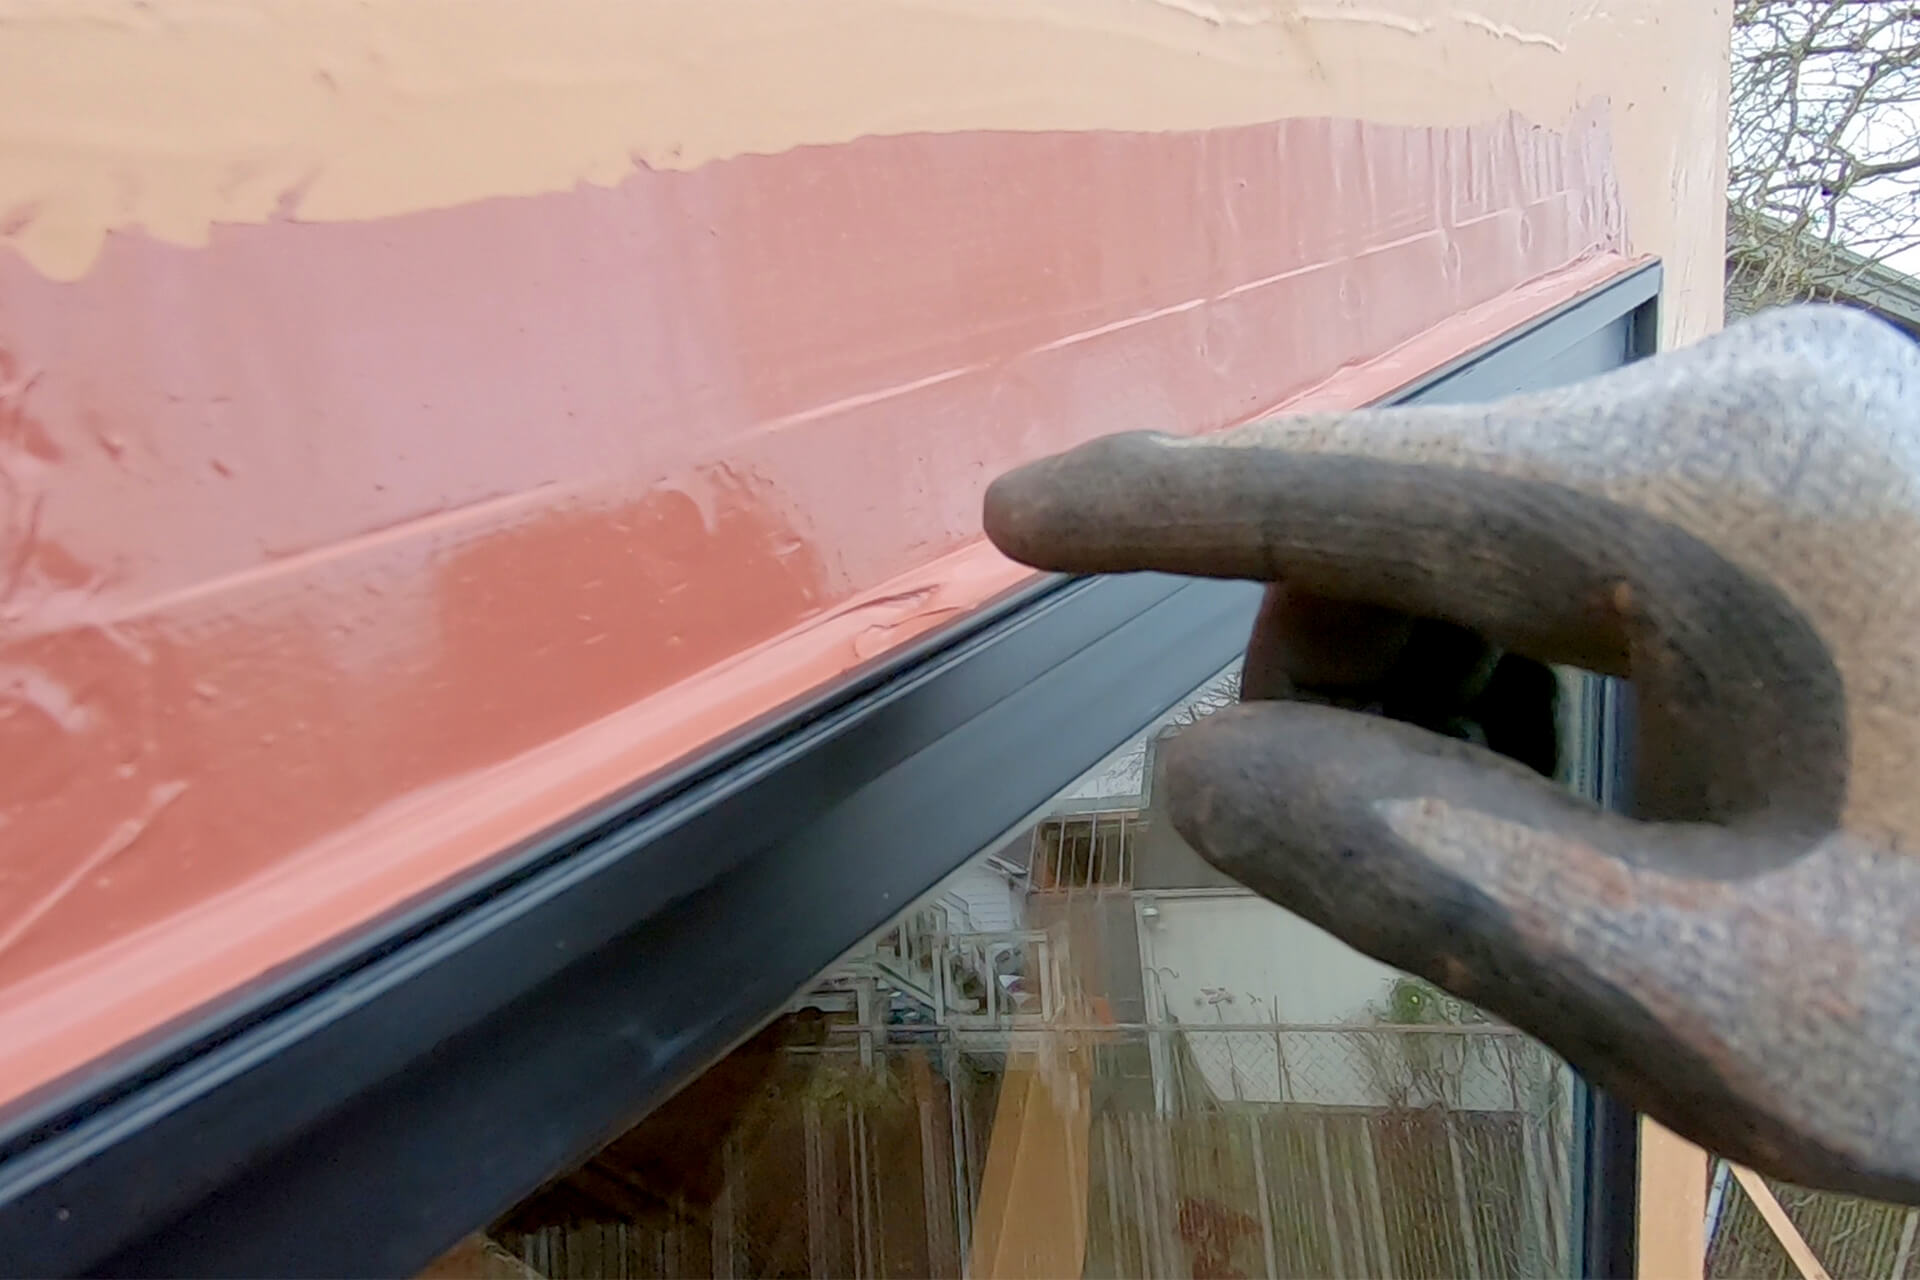
Trowel over the nailing fin. The radius should be tight, as metal flashing will eventually butt up against the window frame surface during roofing. A radius that’s too large may interfere with this.
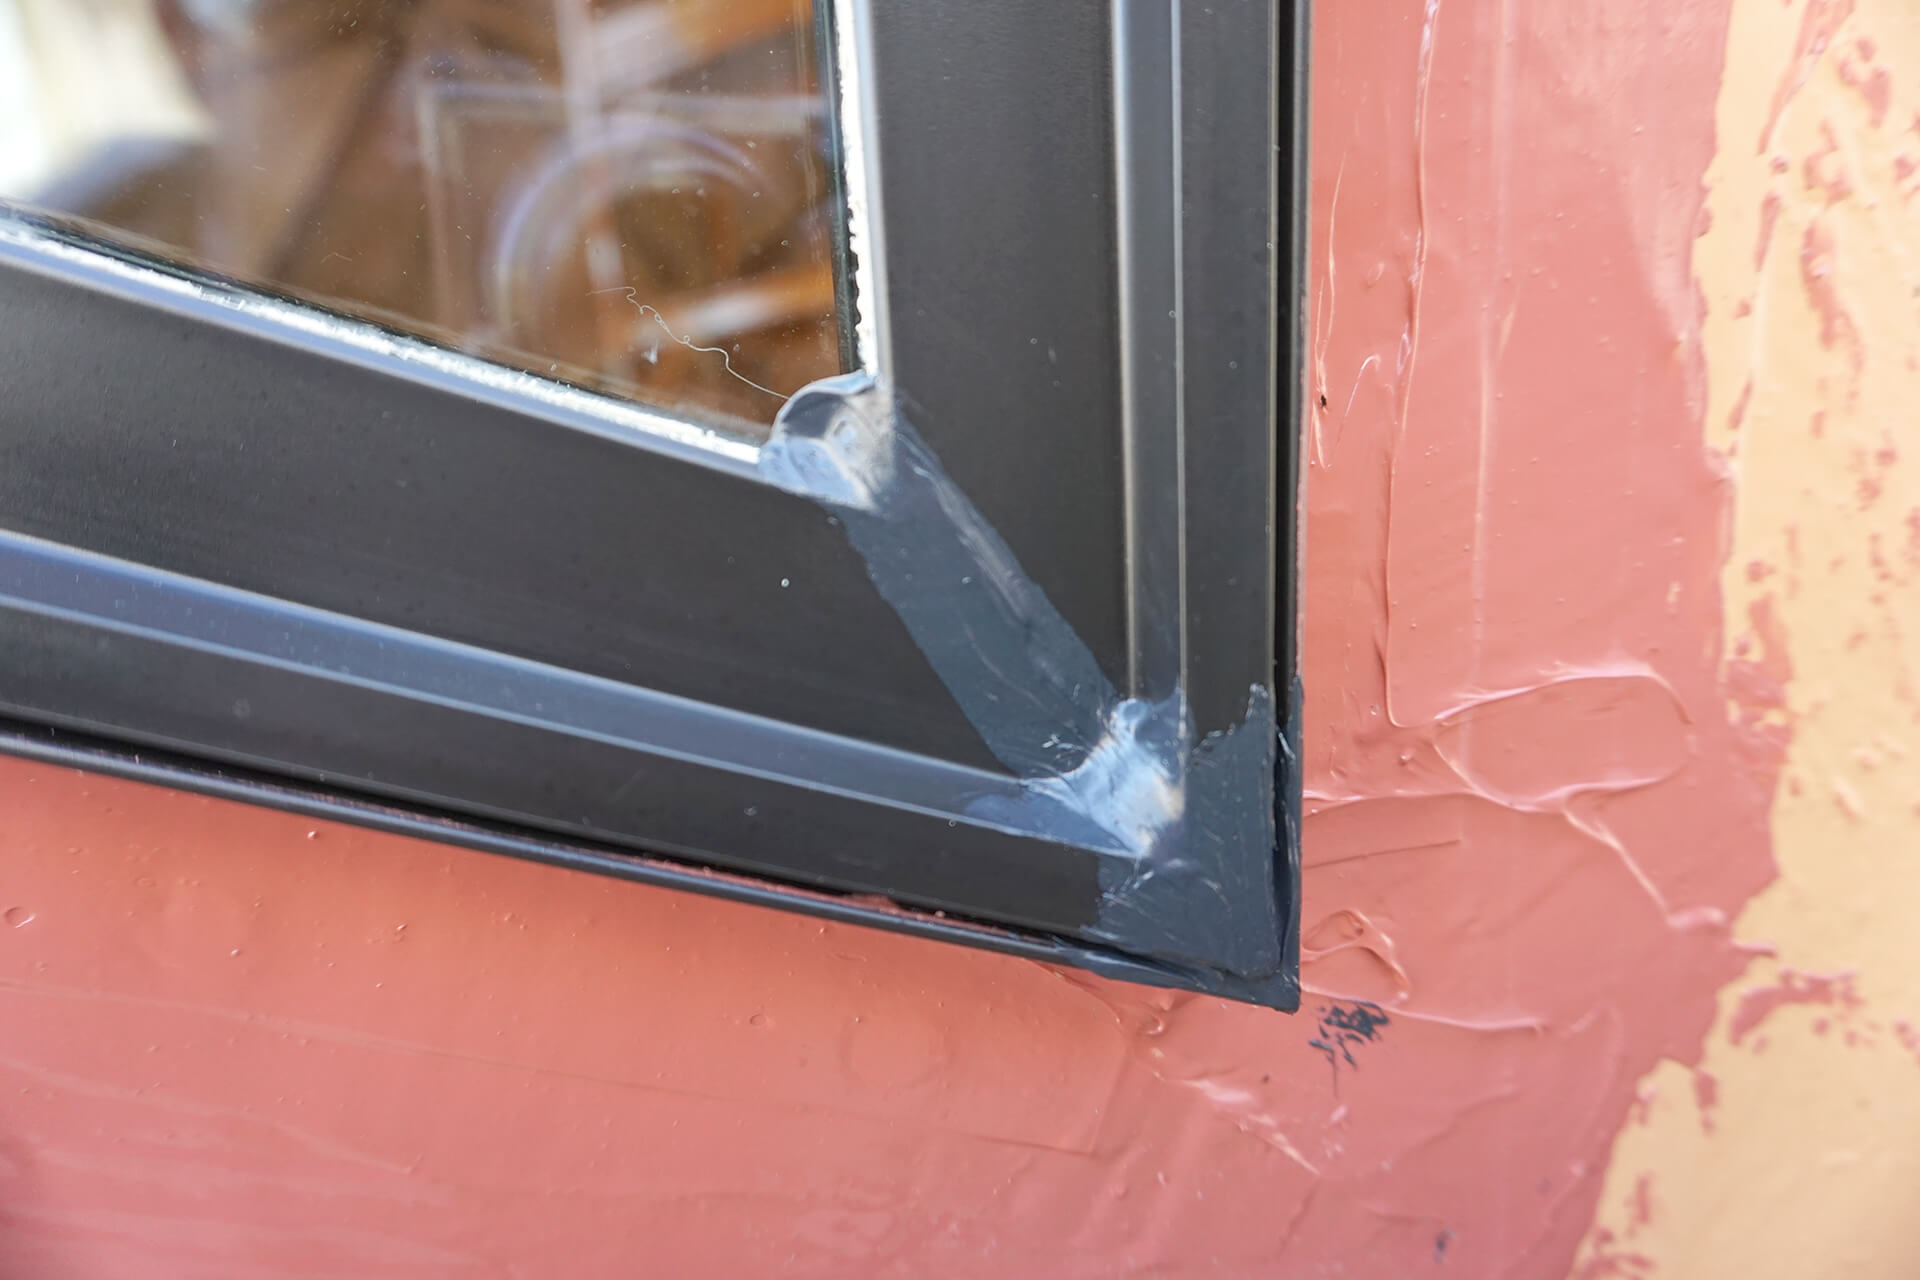
Coat all three corners of each window with sealant, as the mitered corners of fiberglass windows are (unfortunately) not made watertight. Chemlink M-1 sealant shown here.
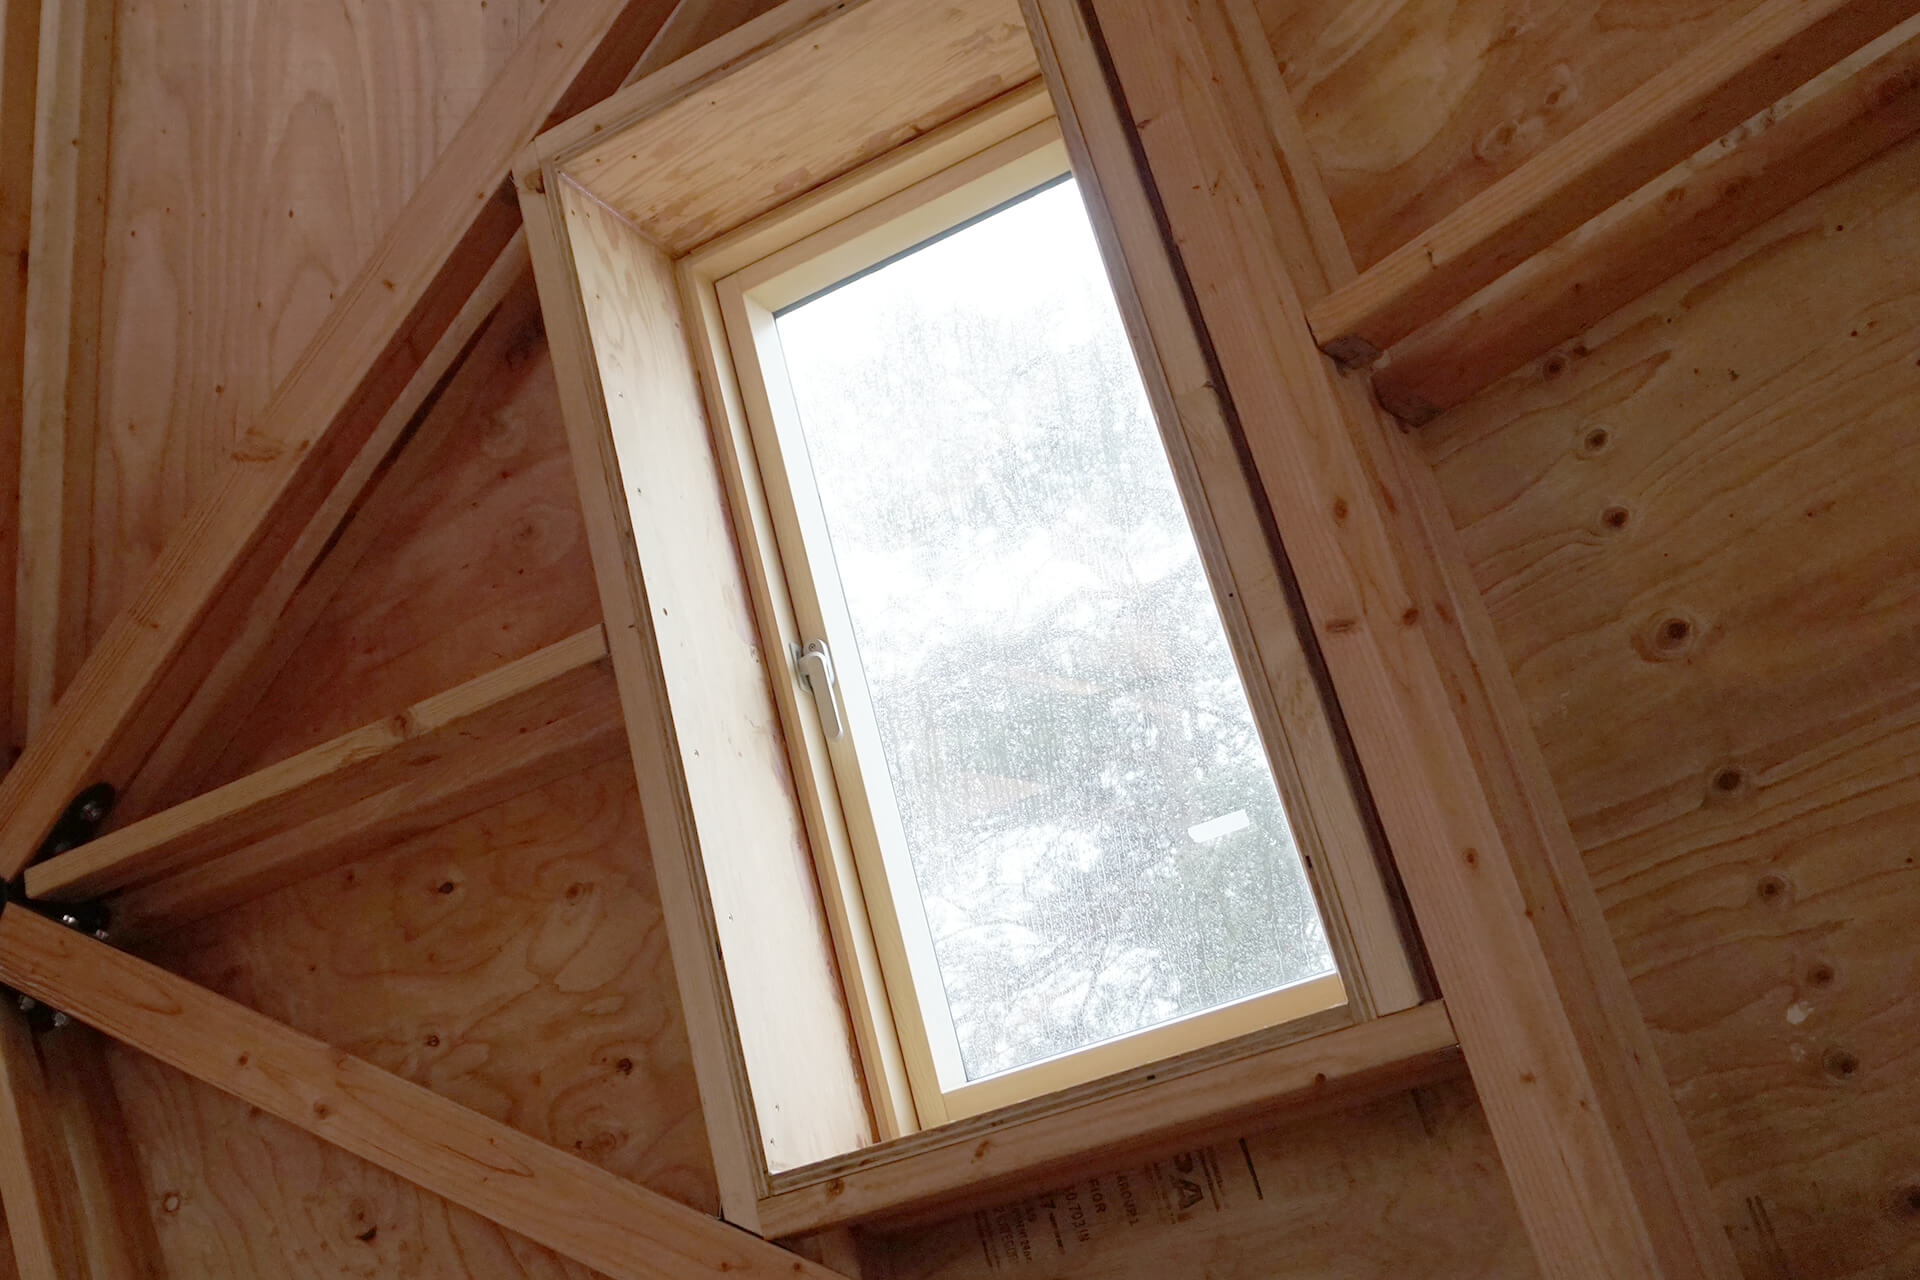
Install the egress in the same manner: coat the outside frame with an STPE-type material or equivalent (not visible in this interior photo). Prosoco R-Guard Fast Flash was used.
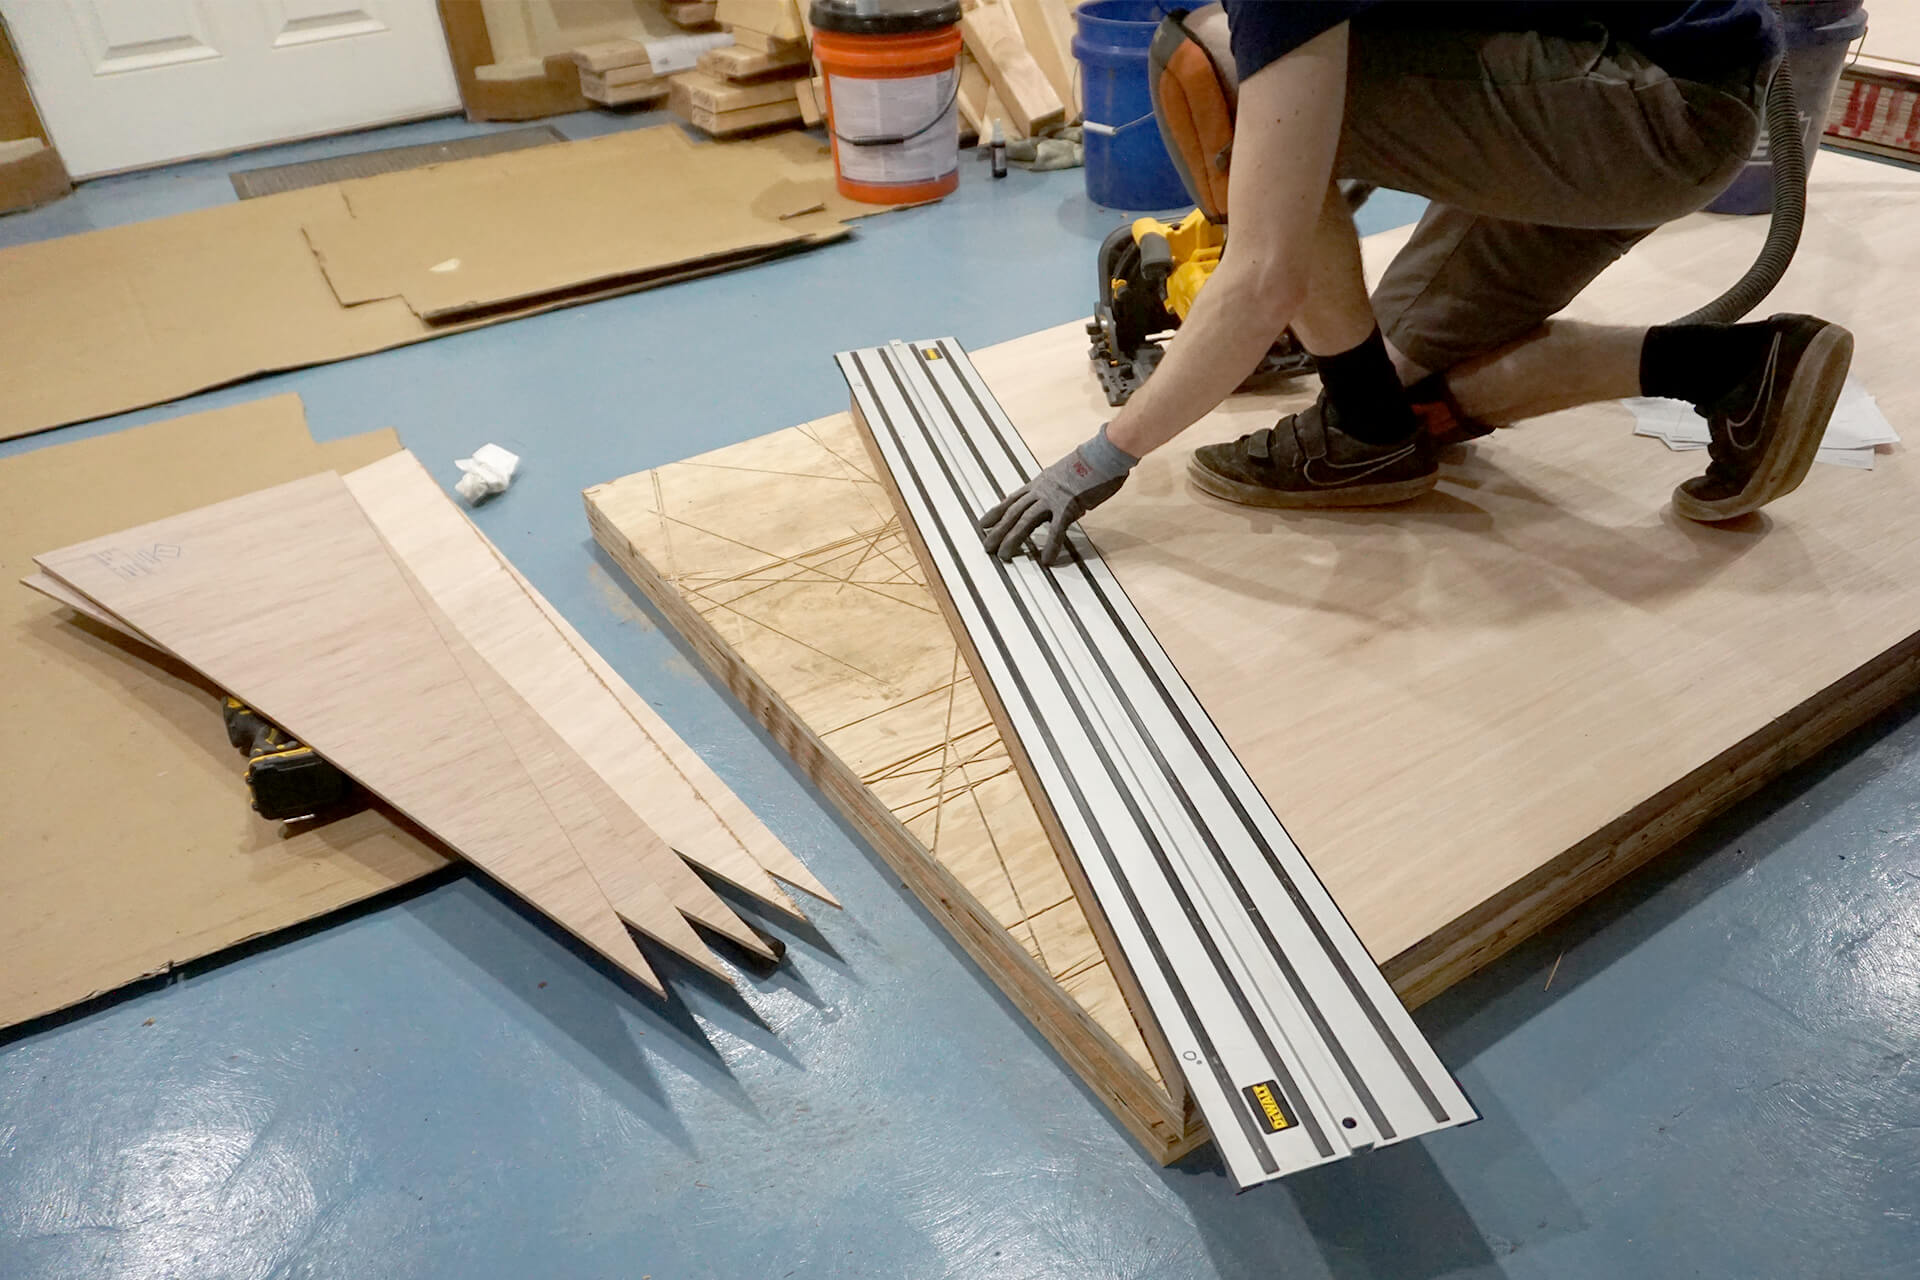
Cut Crawl-Cover-A and B from marine grade plywood. Stack material to cut multiple sheets at once.
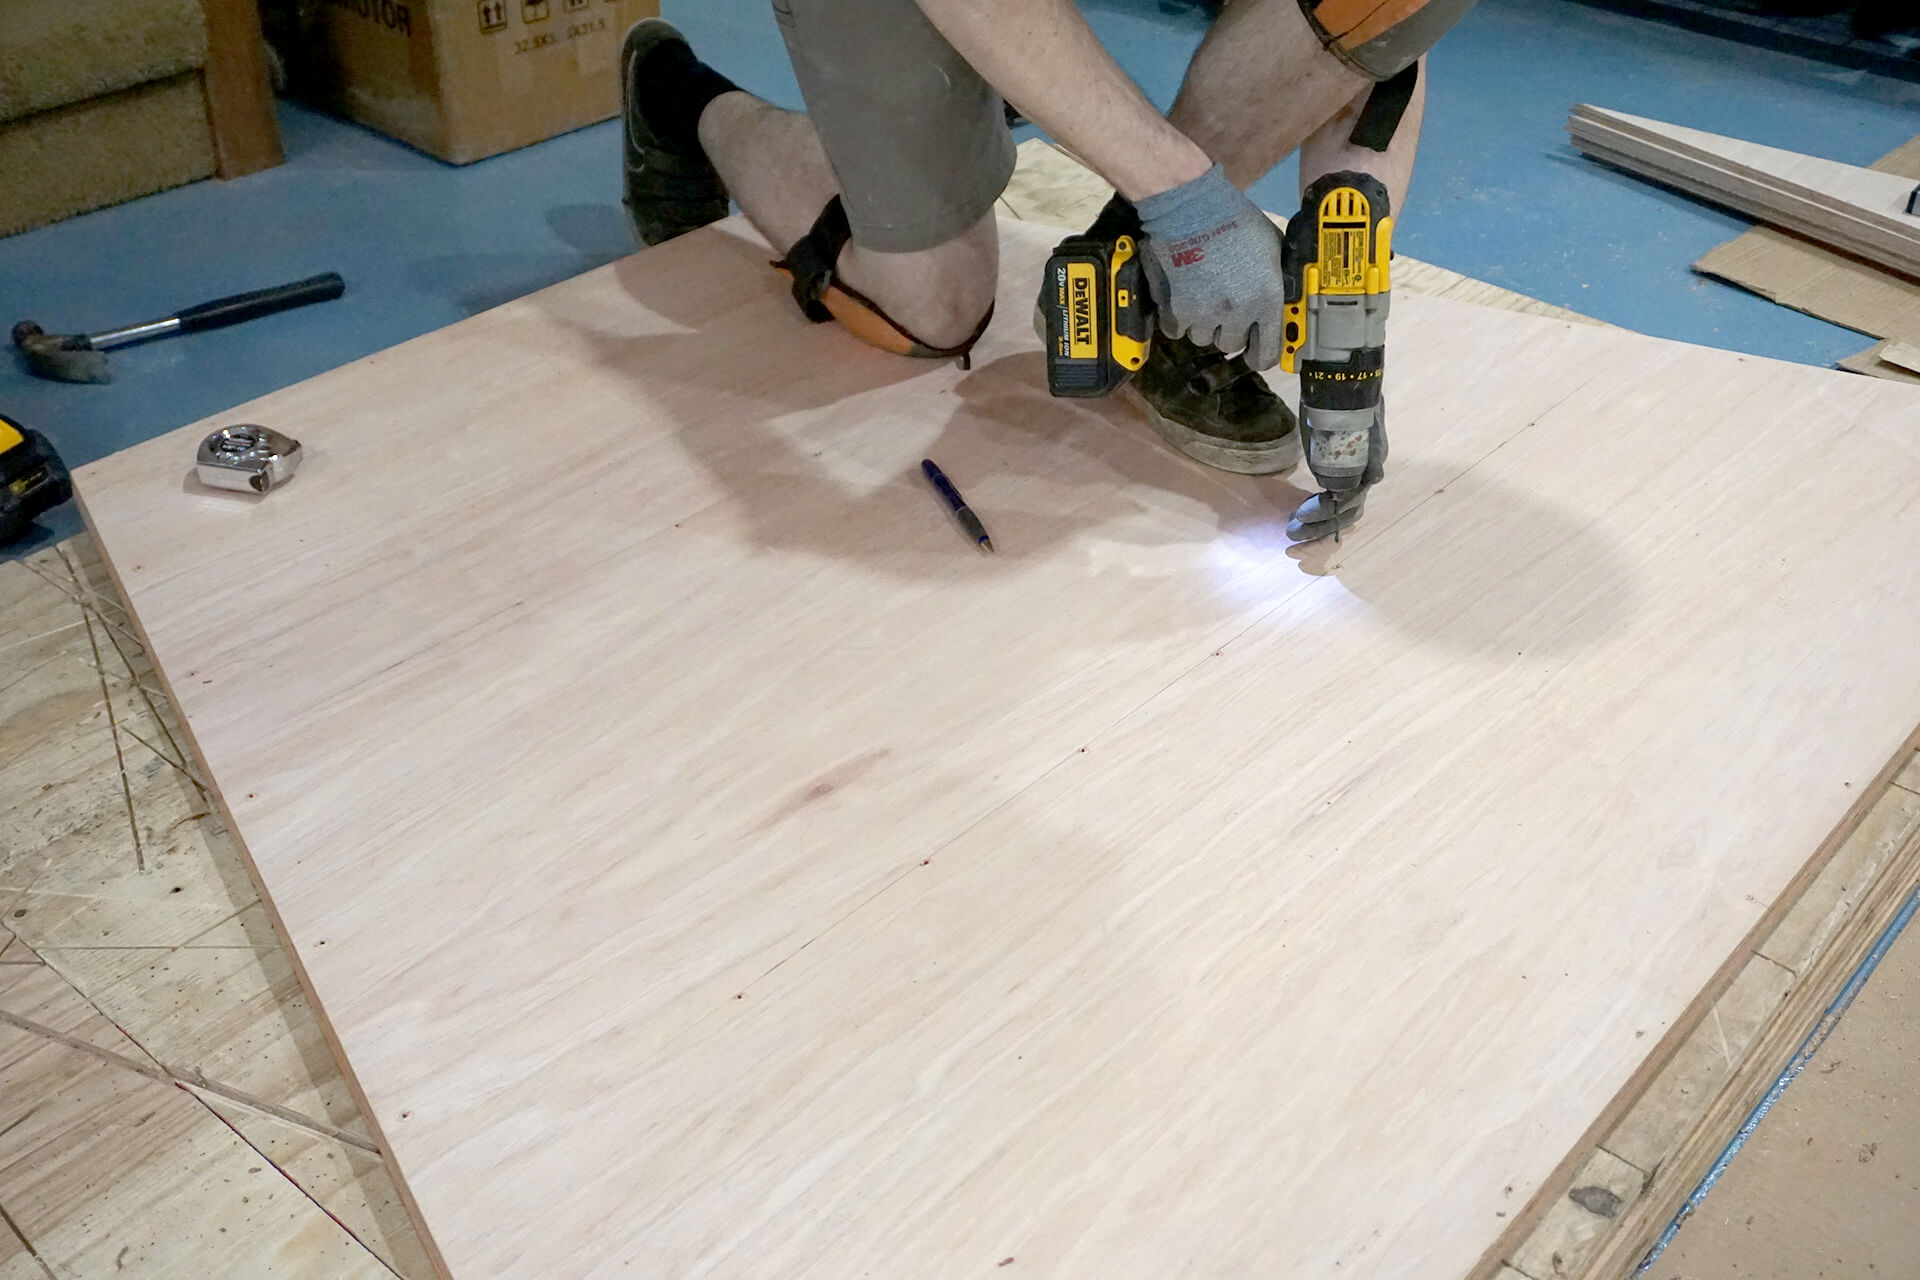
Measure and mark the Floor-Joist locations, then pre-drill holes. Stack sheets to drill multiple at once.
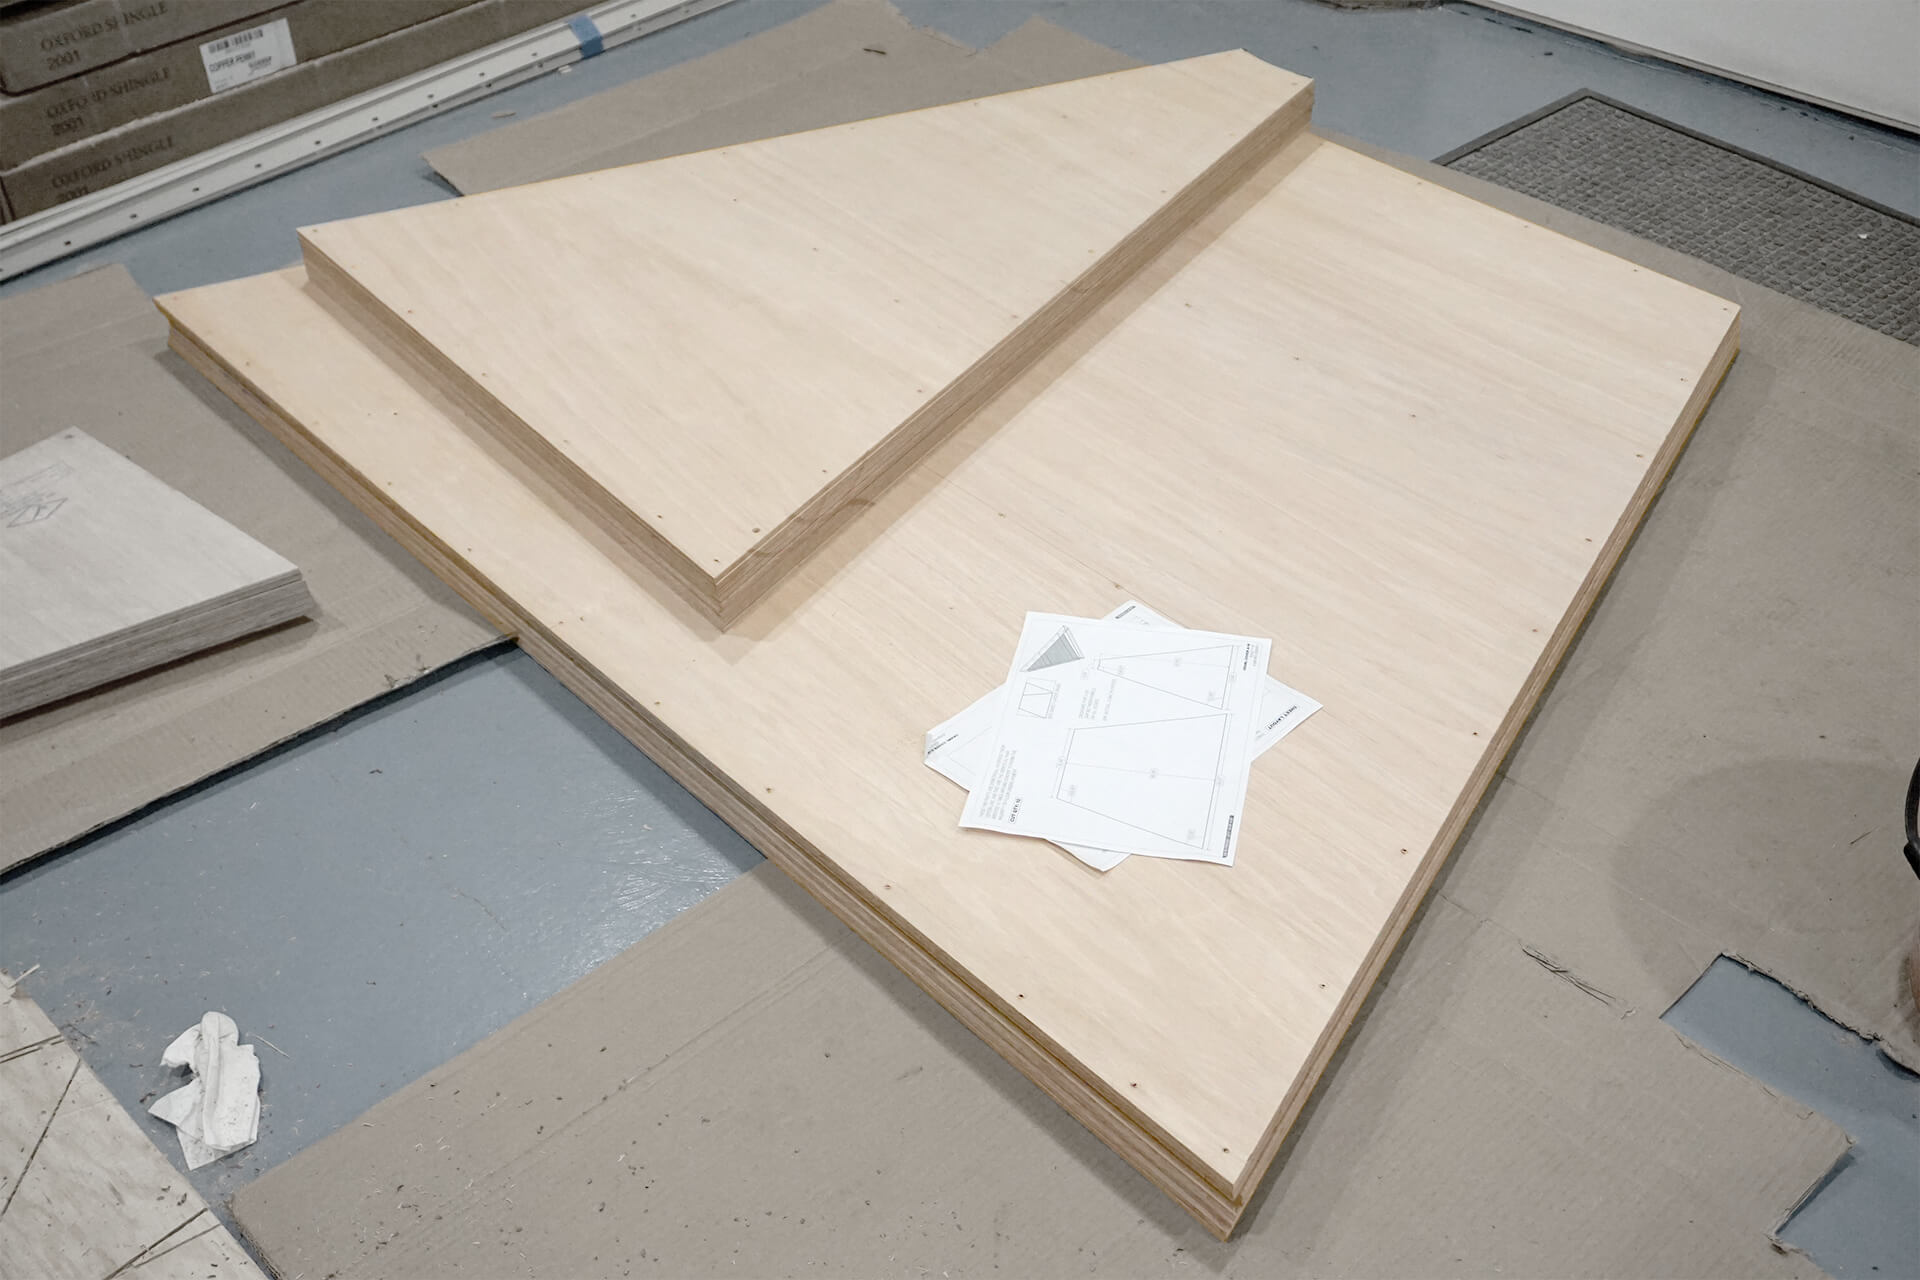
A stack of the completed Crawl-Cover-A's and B's.

Cut and pre-drill Crawl-Cover-C's.
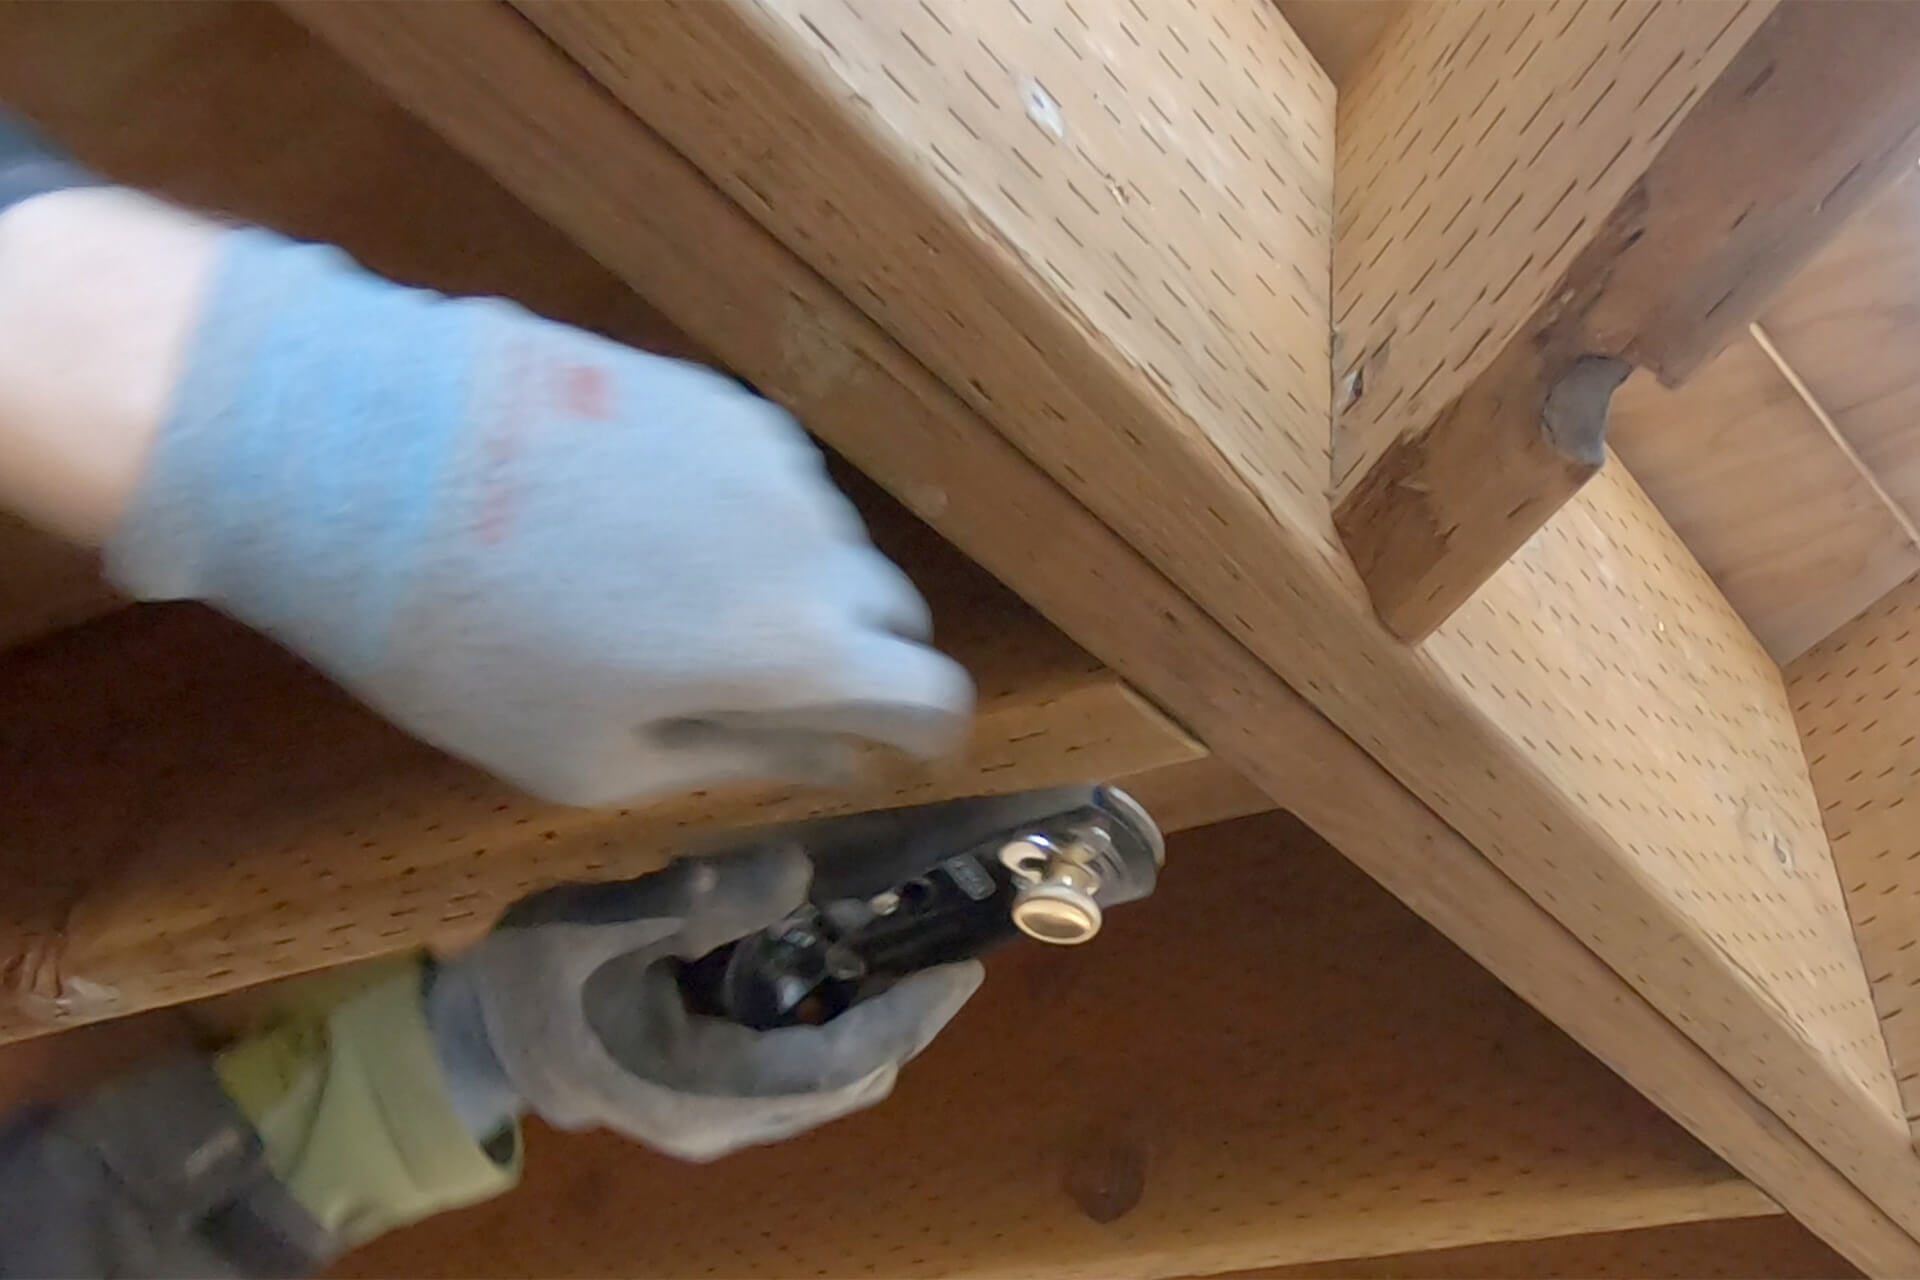
Plane the underside of any Floor-Joists that are sitting low enough to cause a potential attachment or alignment problem for the Crawl-Covers.
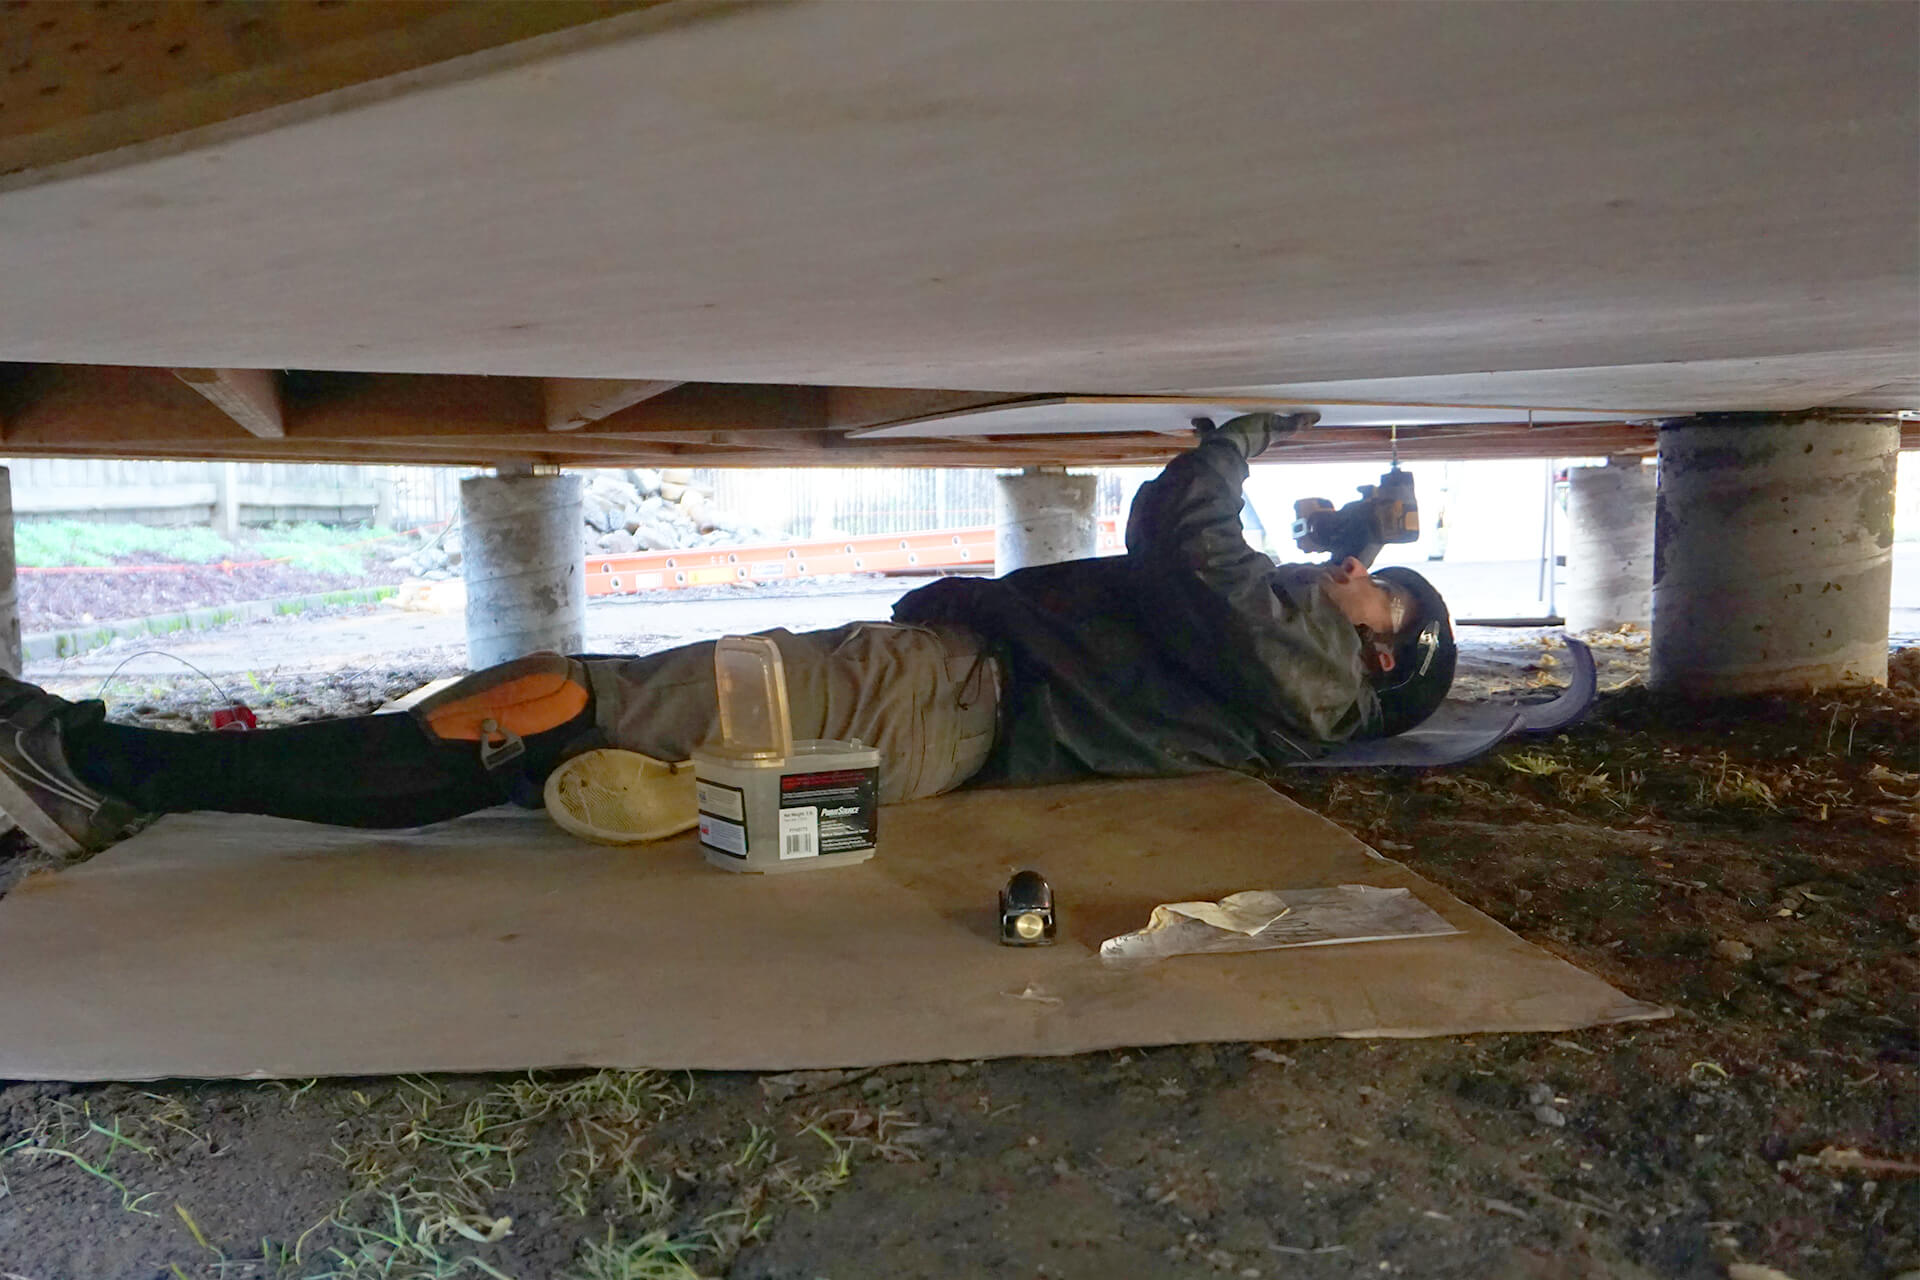
Attach all Crawl-Covers to the underside of the Floor-Joists. Wear a helmet to support your neck while working.
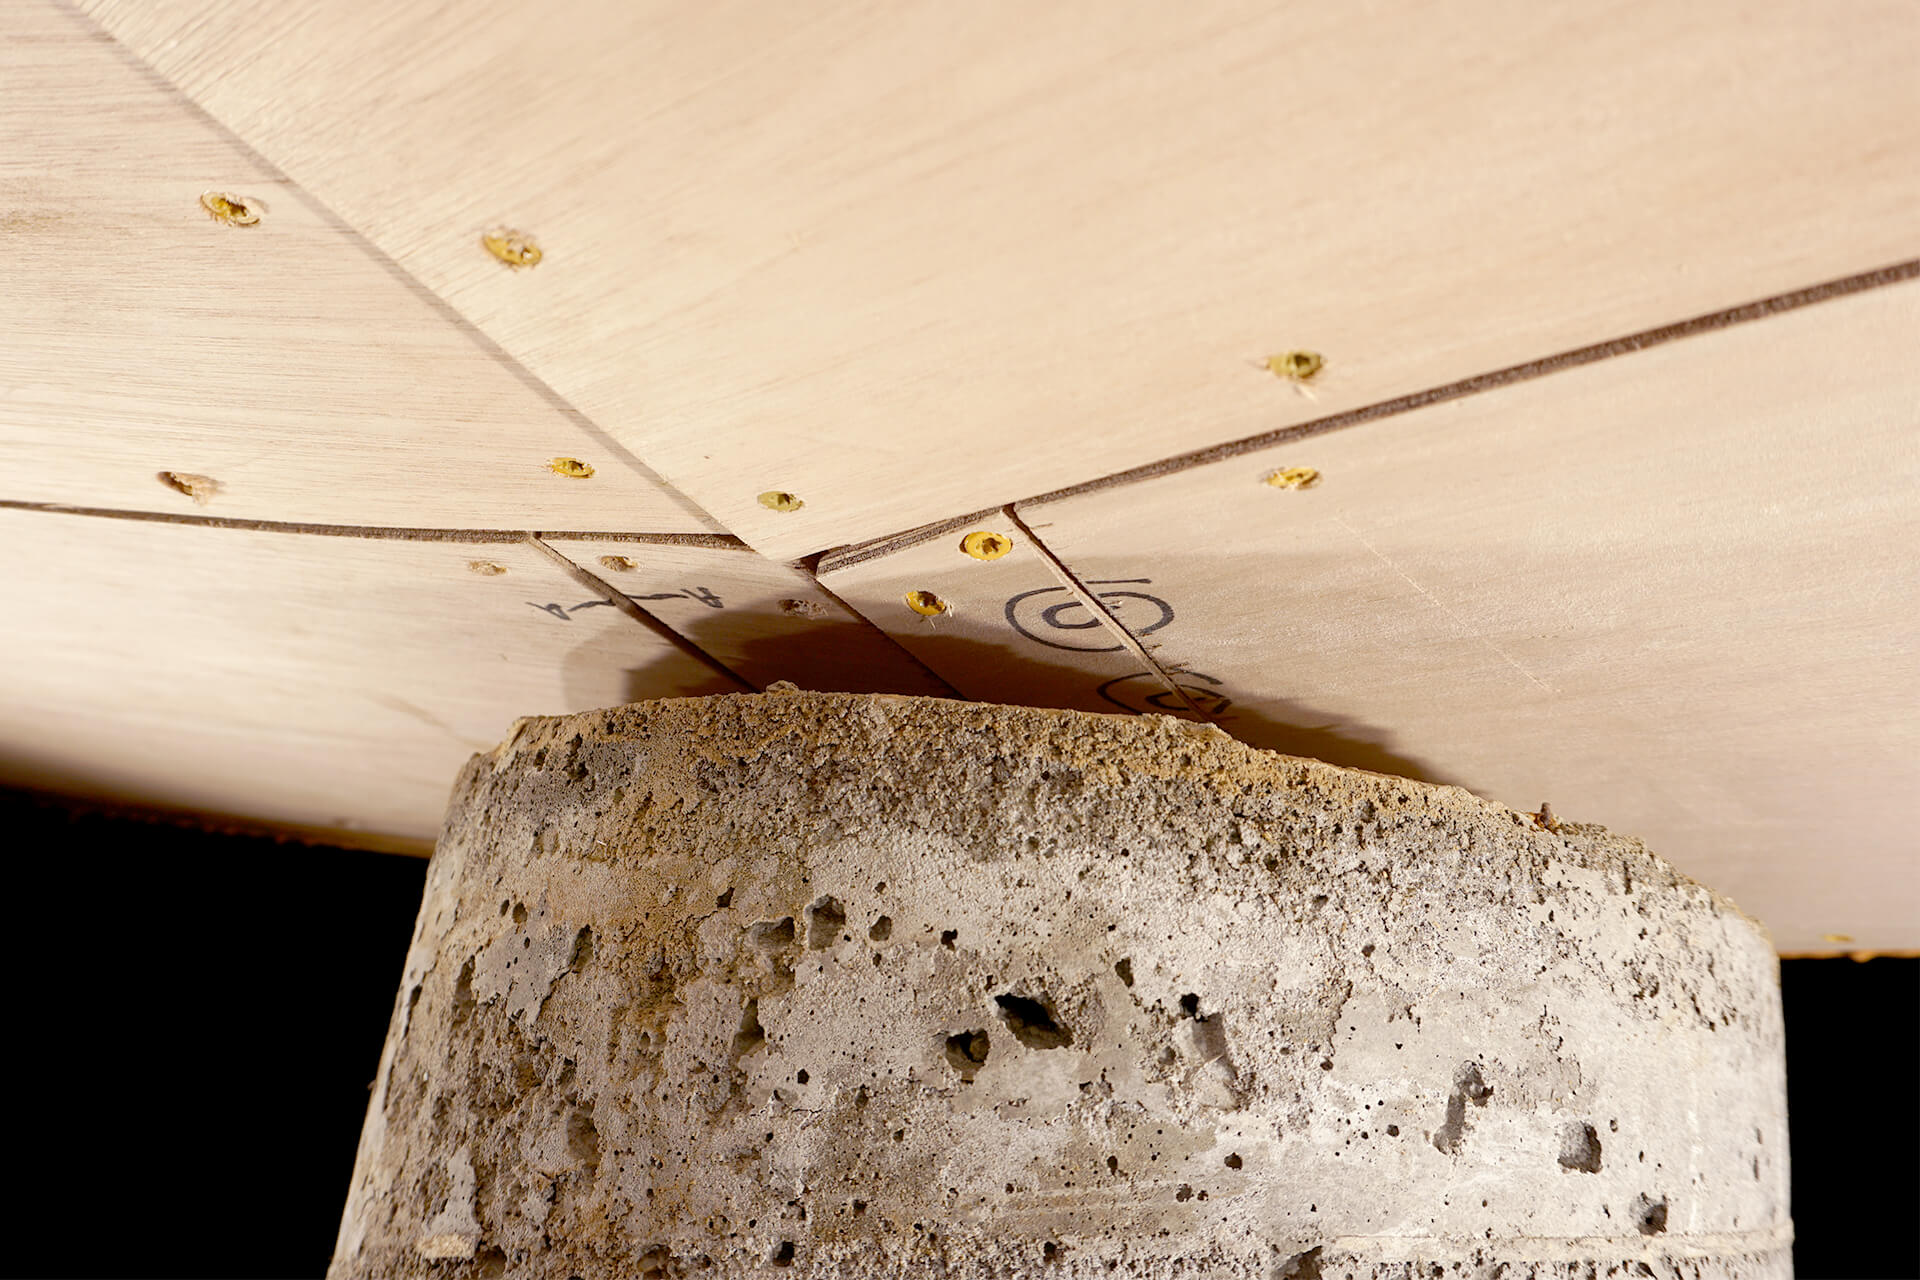
Cut one tab of the Crawl-Cover-Cs in order to slide them into position. Then reattach to ensure good coverage around the foundation post bases.
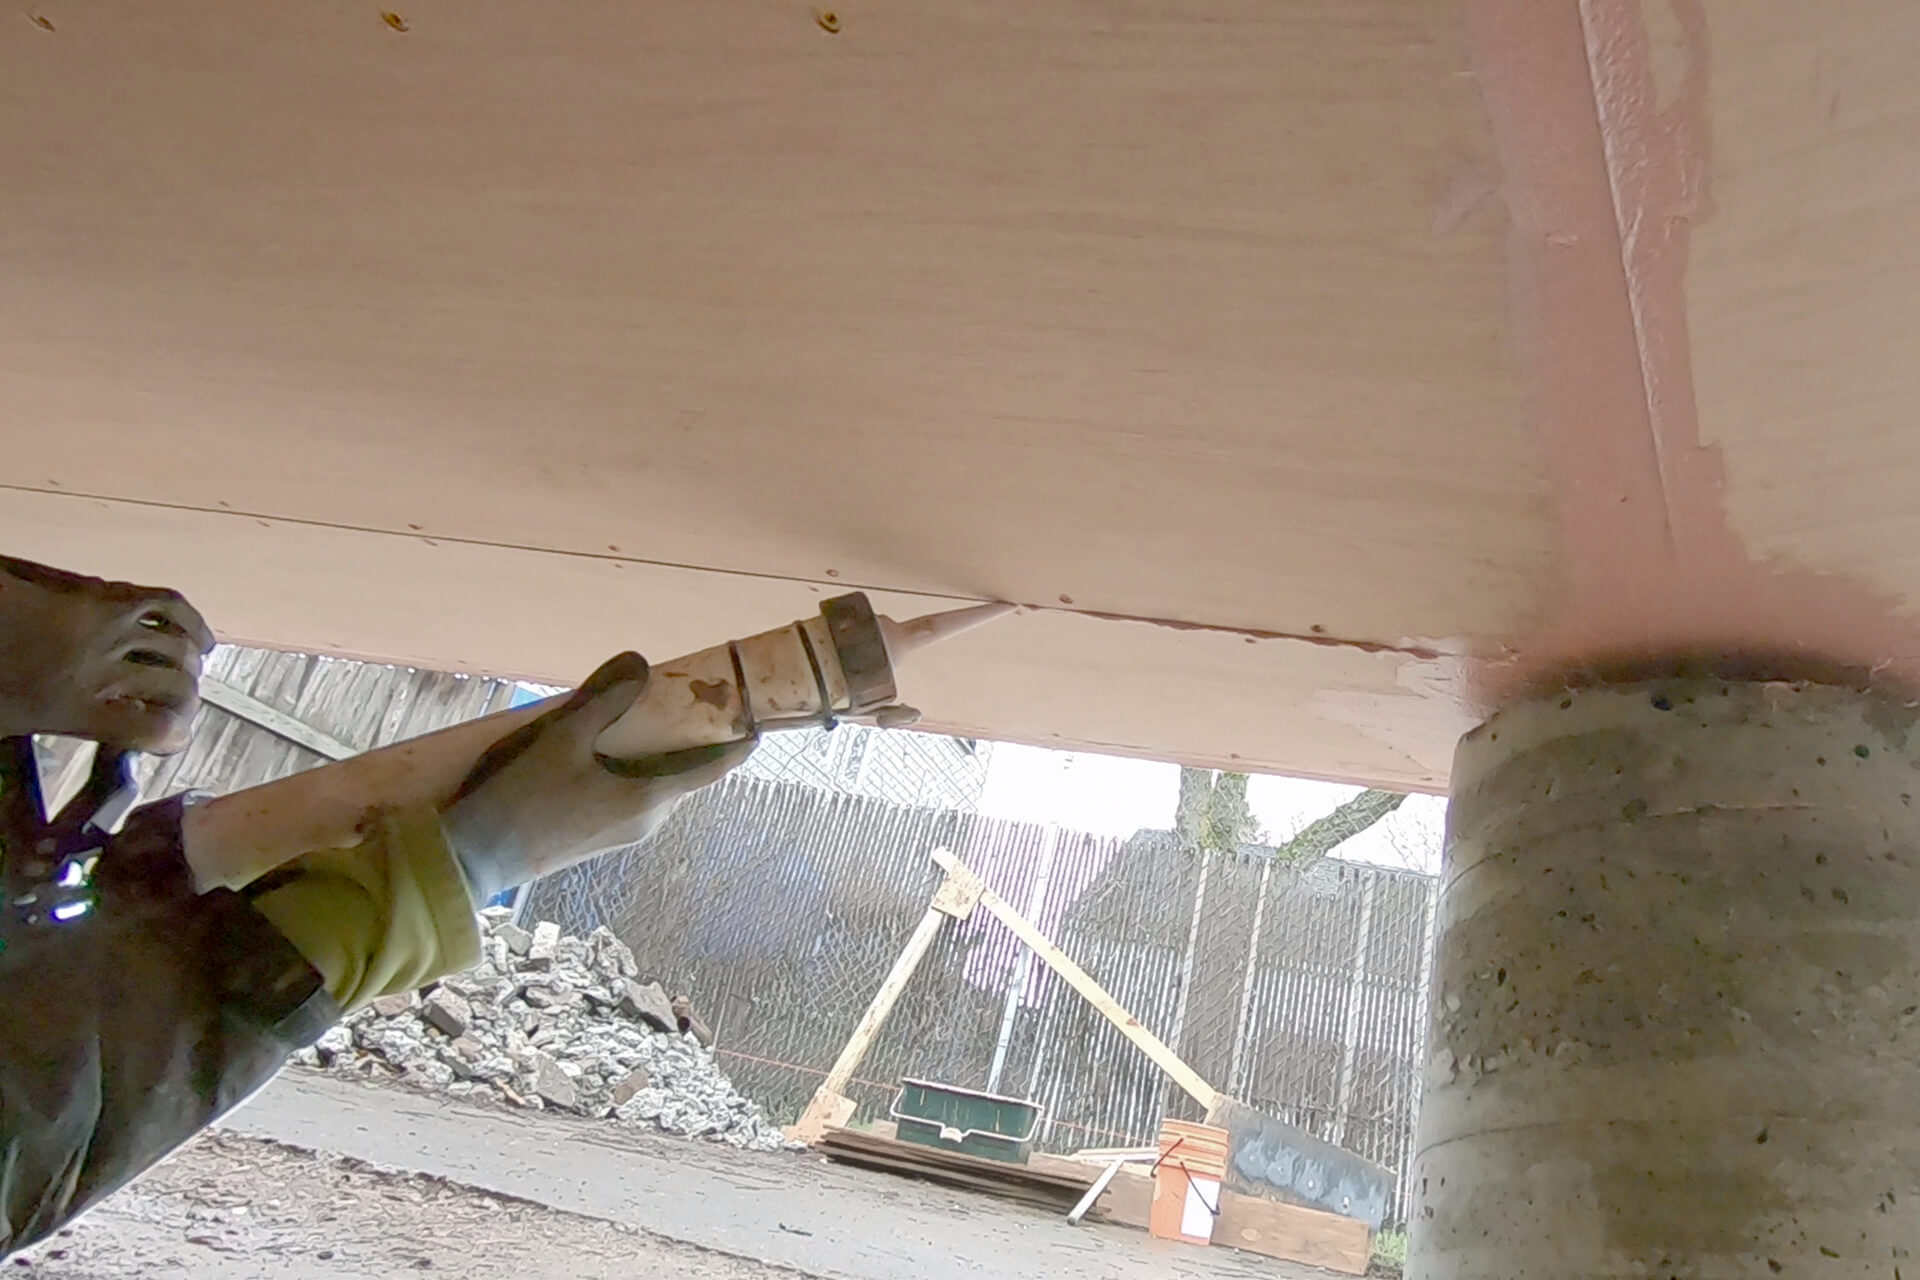
Fill all gaps, screw-heads, voids, and defects with an STPE-type material or equivalent. Prosoco R-Guard Joint and Seam Filler shown here.
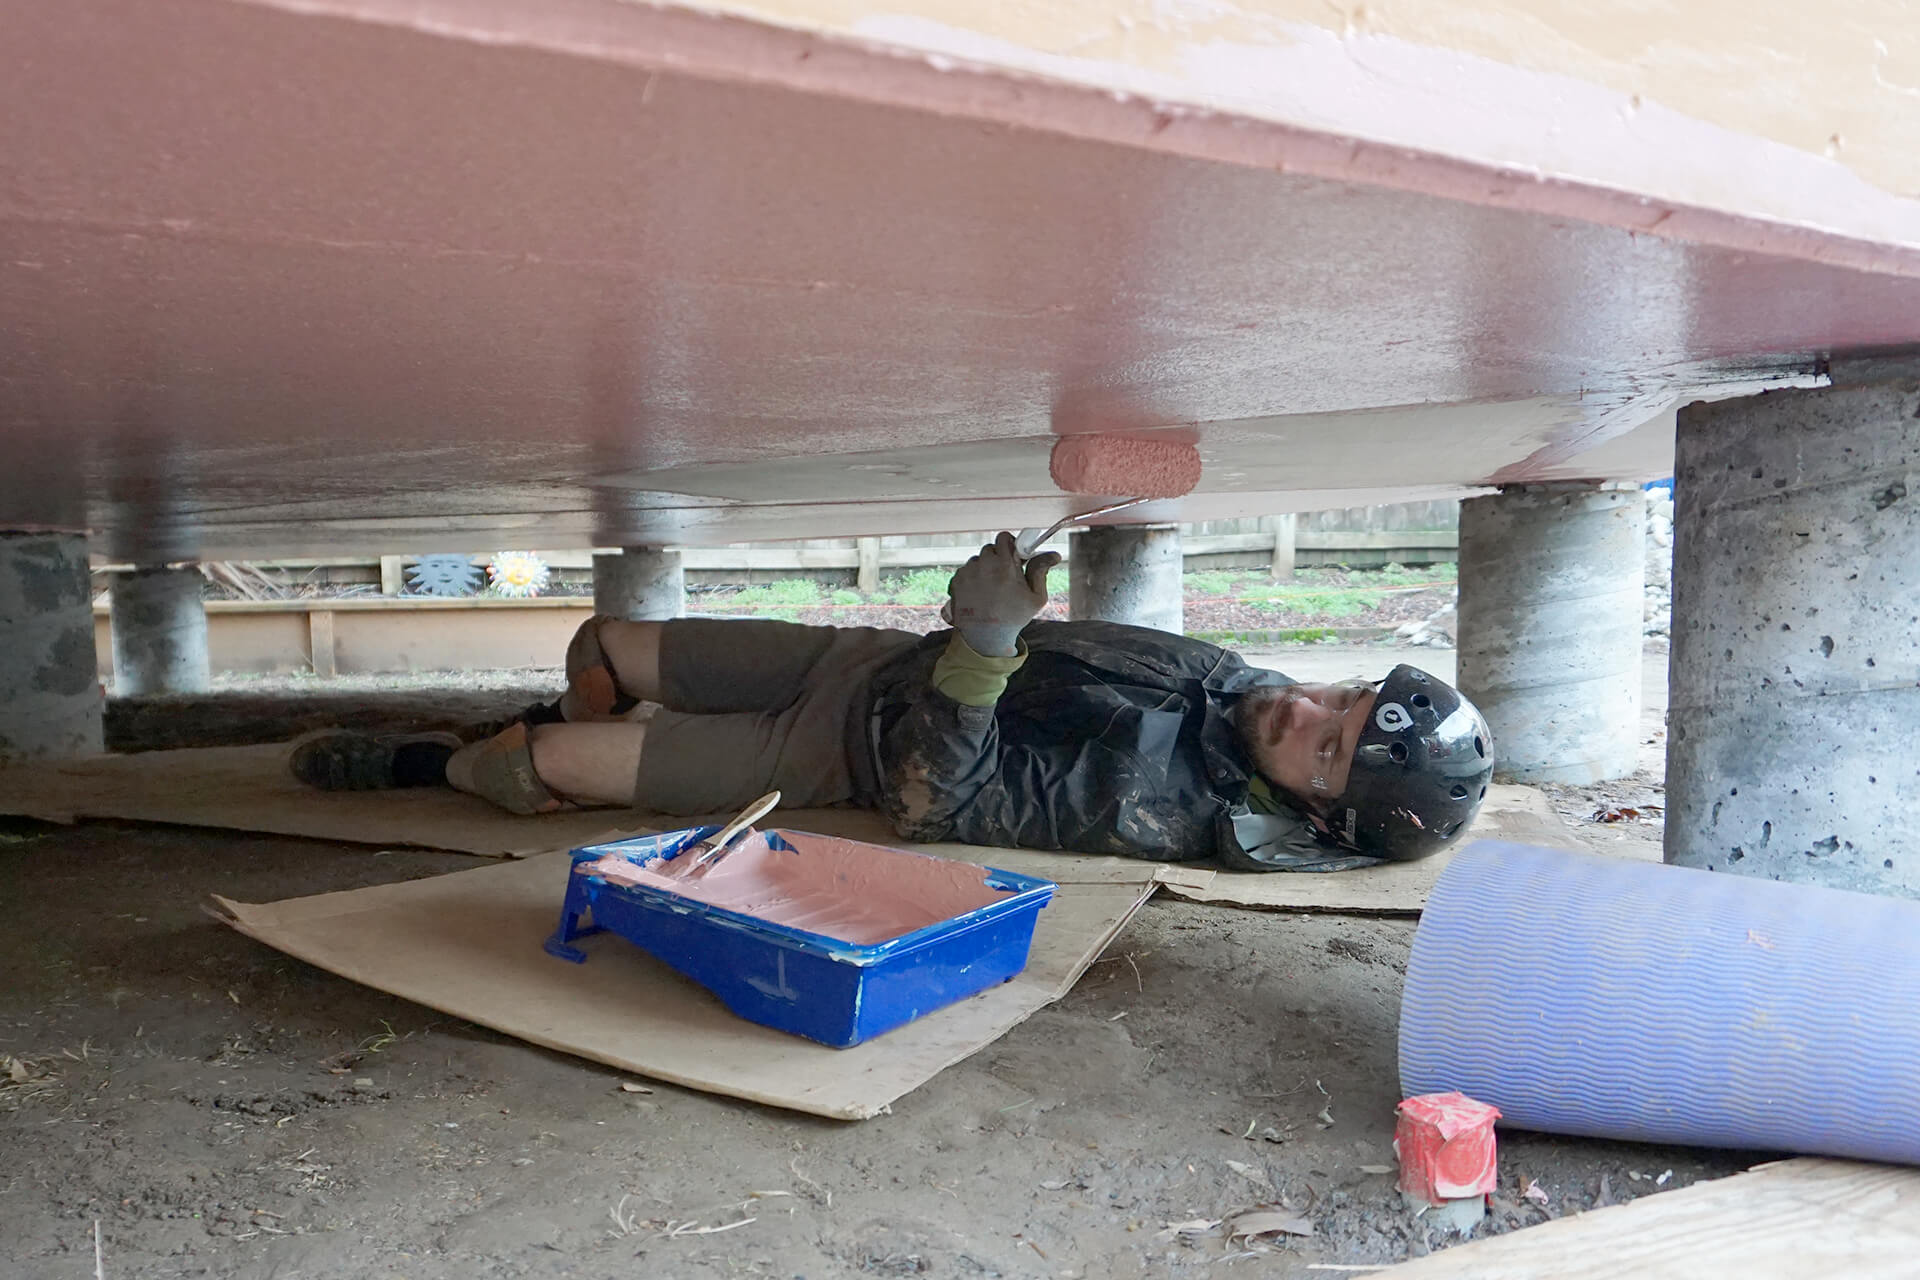
Coat the surface with any waterproof layer. Prosoco Prosoco R-Guard MVP (acrylic based) shown here, which is a less expensive (and less robust) alternative to Prosoco R-Guard Cat 5.
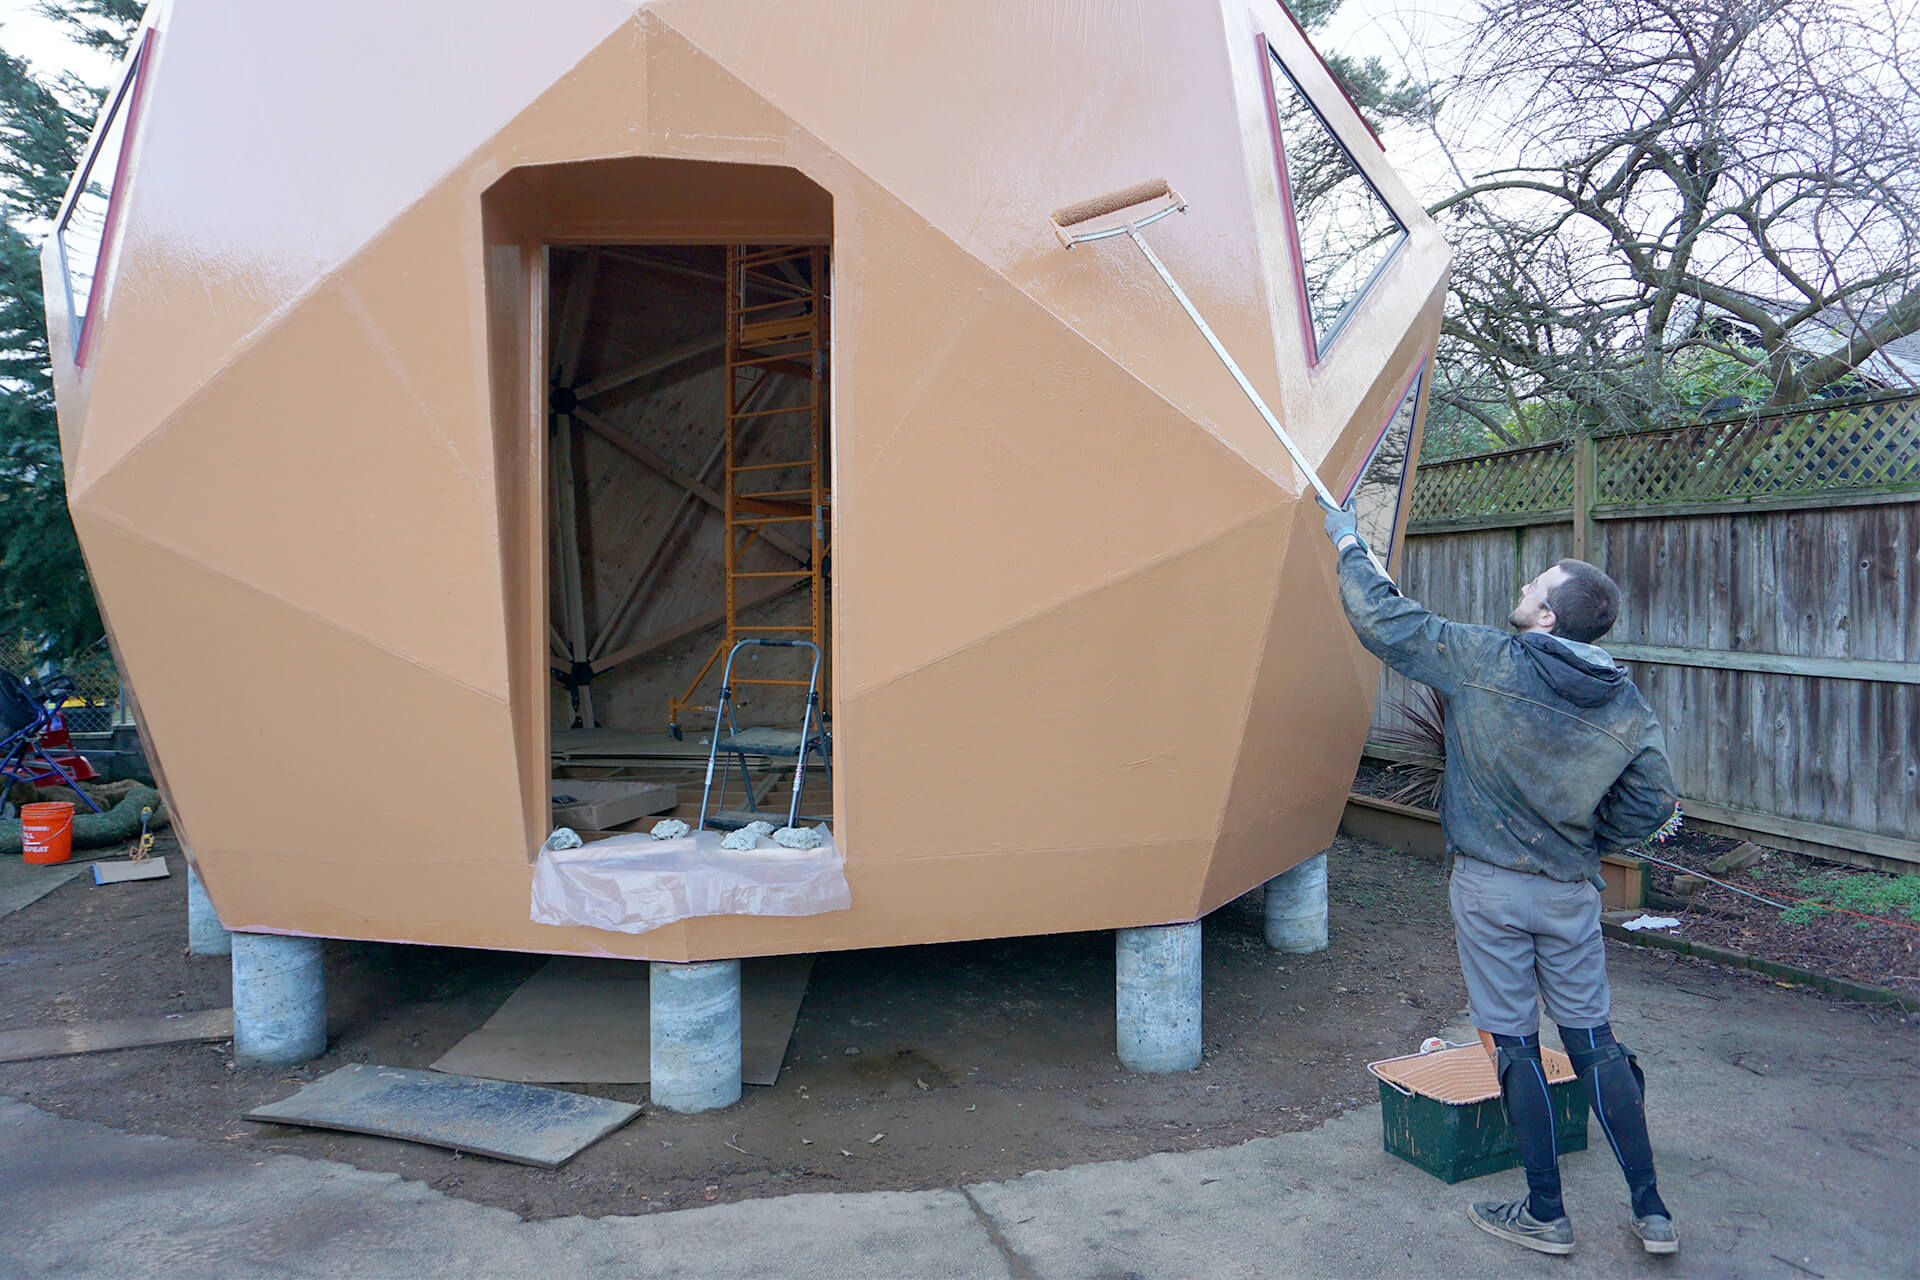
Coat the entire exterior again with the same base-coat material. The second coat applies faster and ensures a thick application. Prosoco R-Guard Cat 5 is shown here.
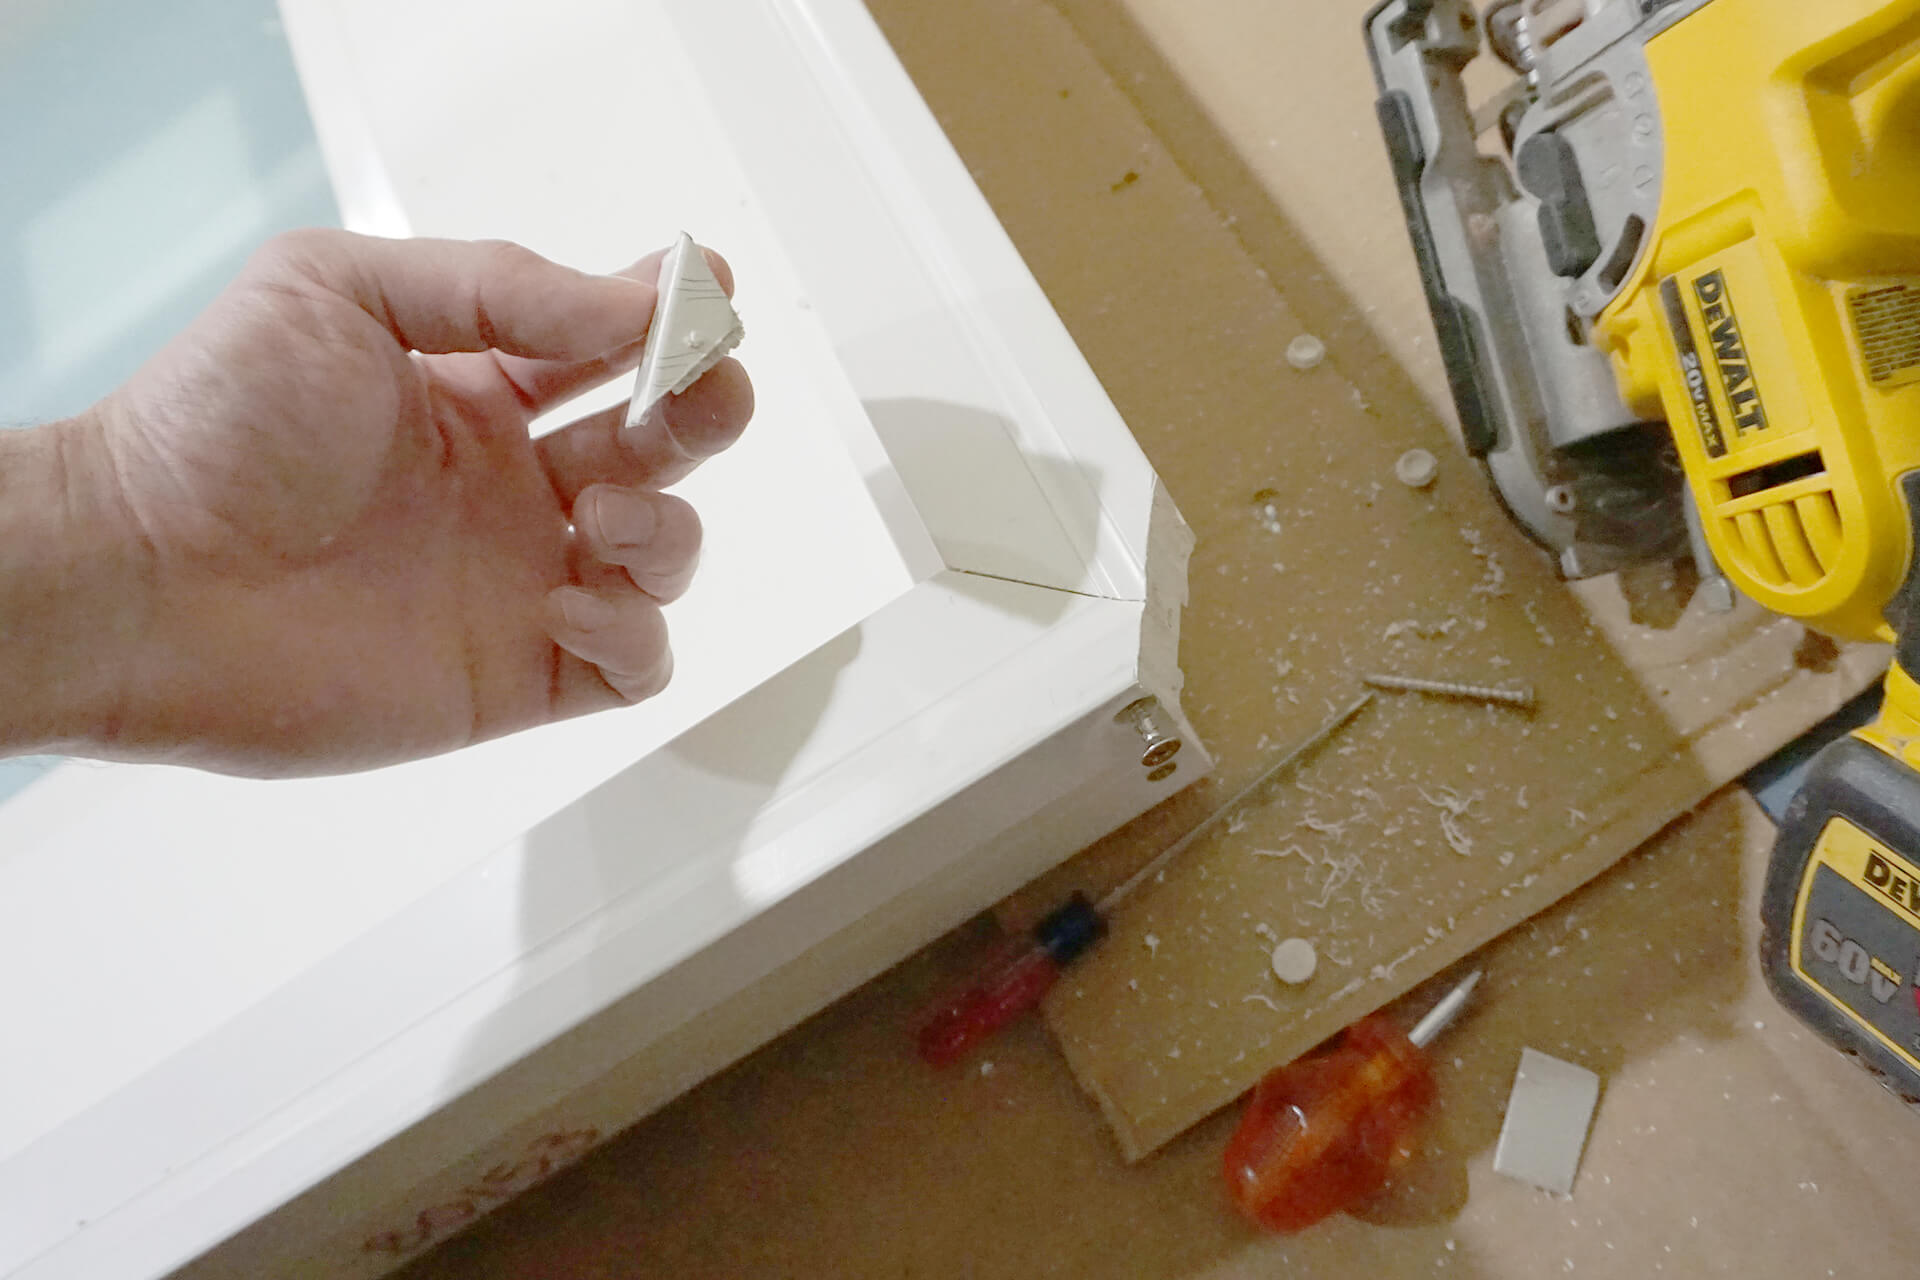
Cut the corners of the door frame to clear the beveled top surface of the entryway. Back screws out if need be to prevent damaging the saw blade.

Pivot the door into place. Ensure the door is centered and flush against the door framing.
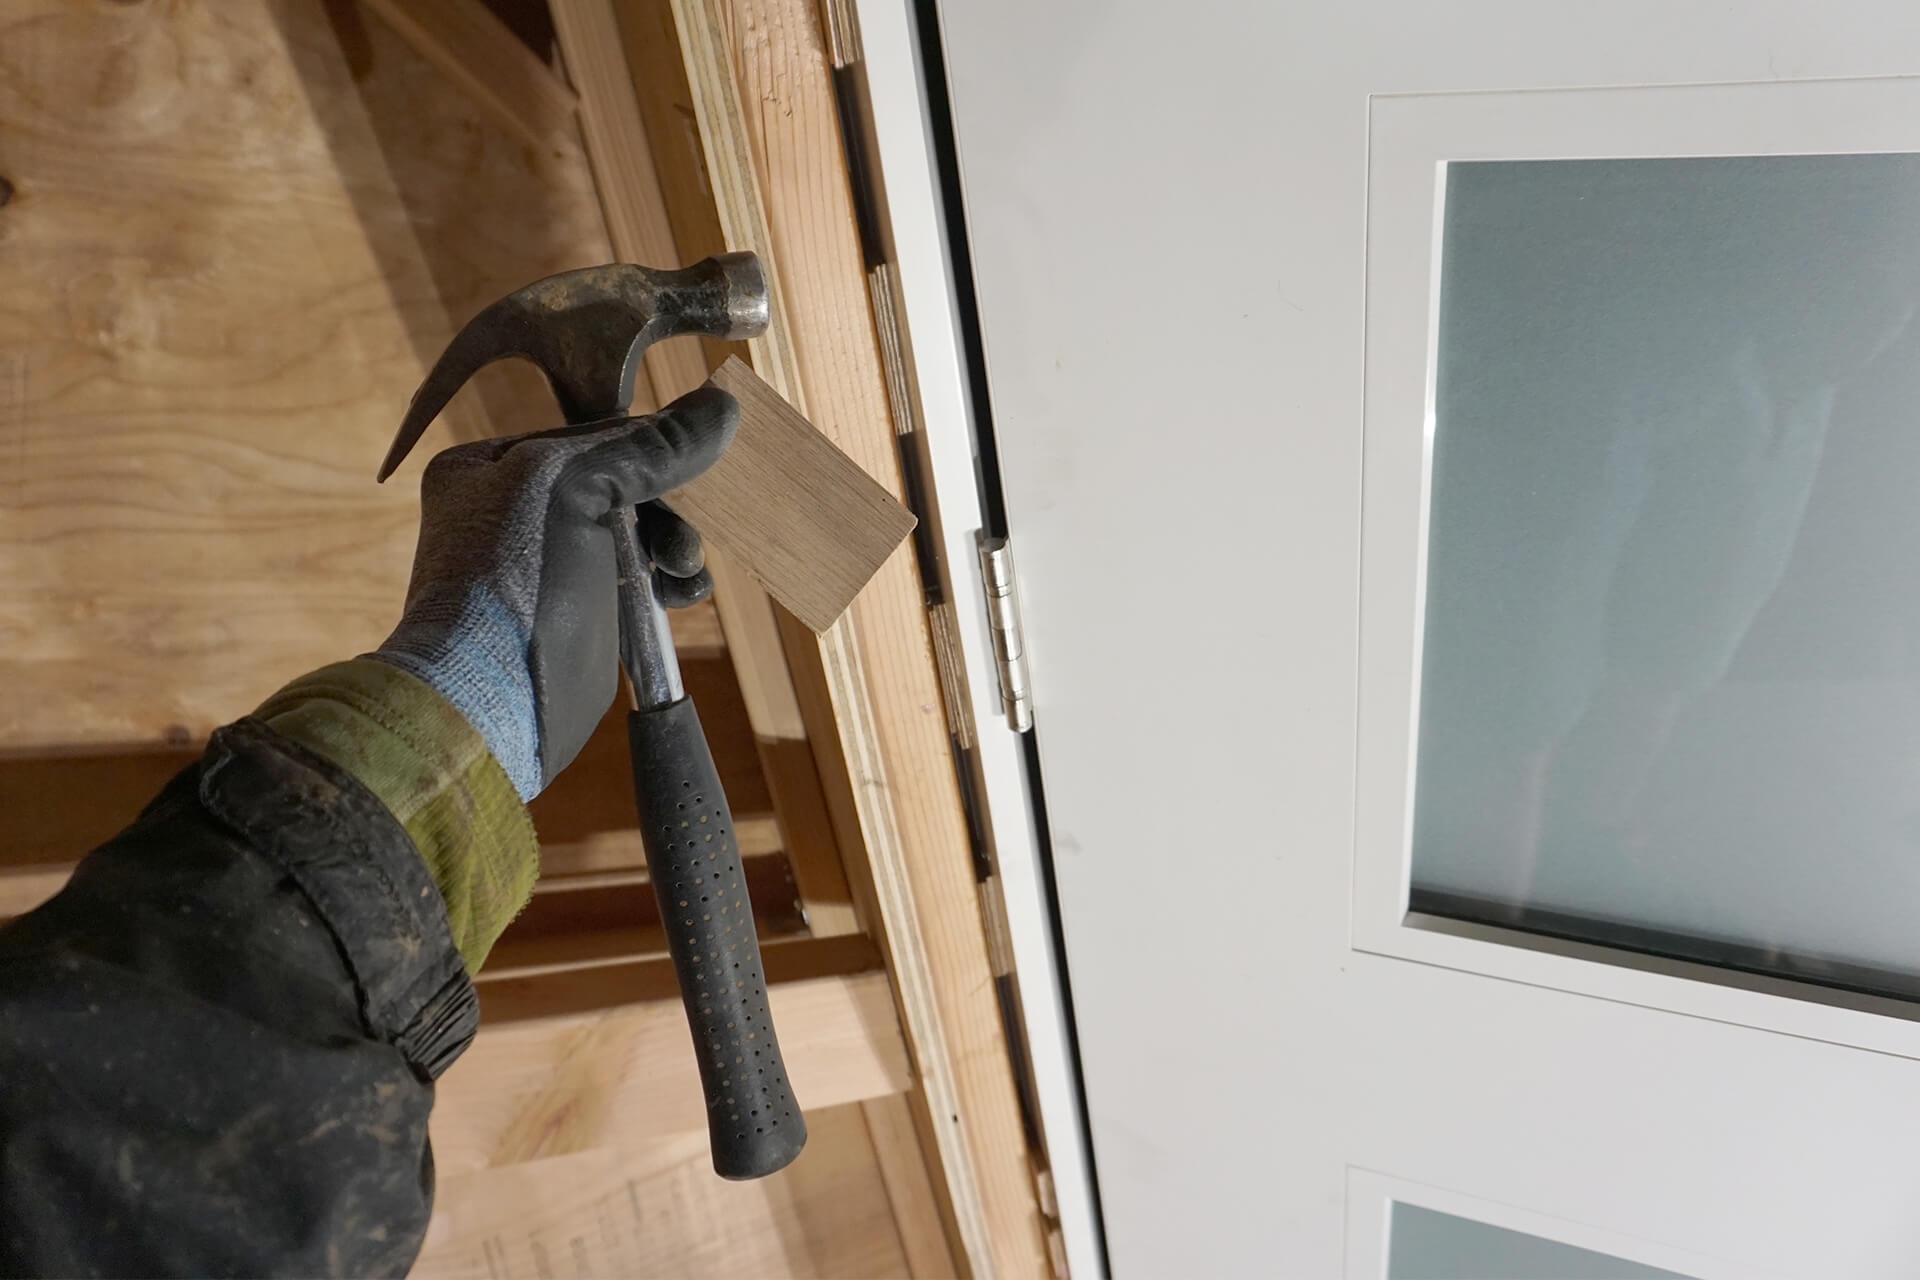
Use shims or spacers to level, square, and plumb the door. With the door open, screw through the door frame, spacers, and into the framing.
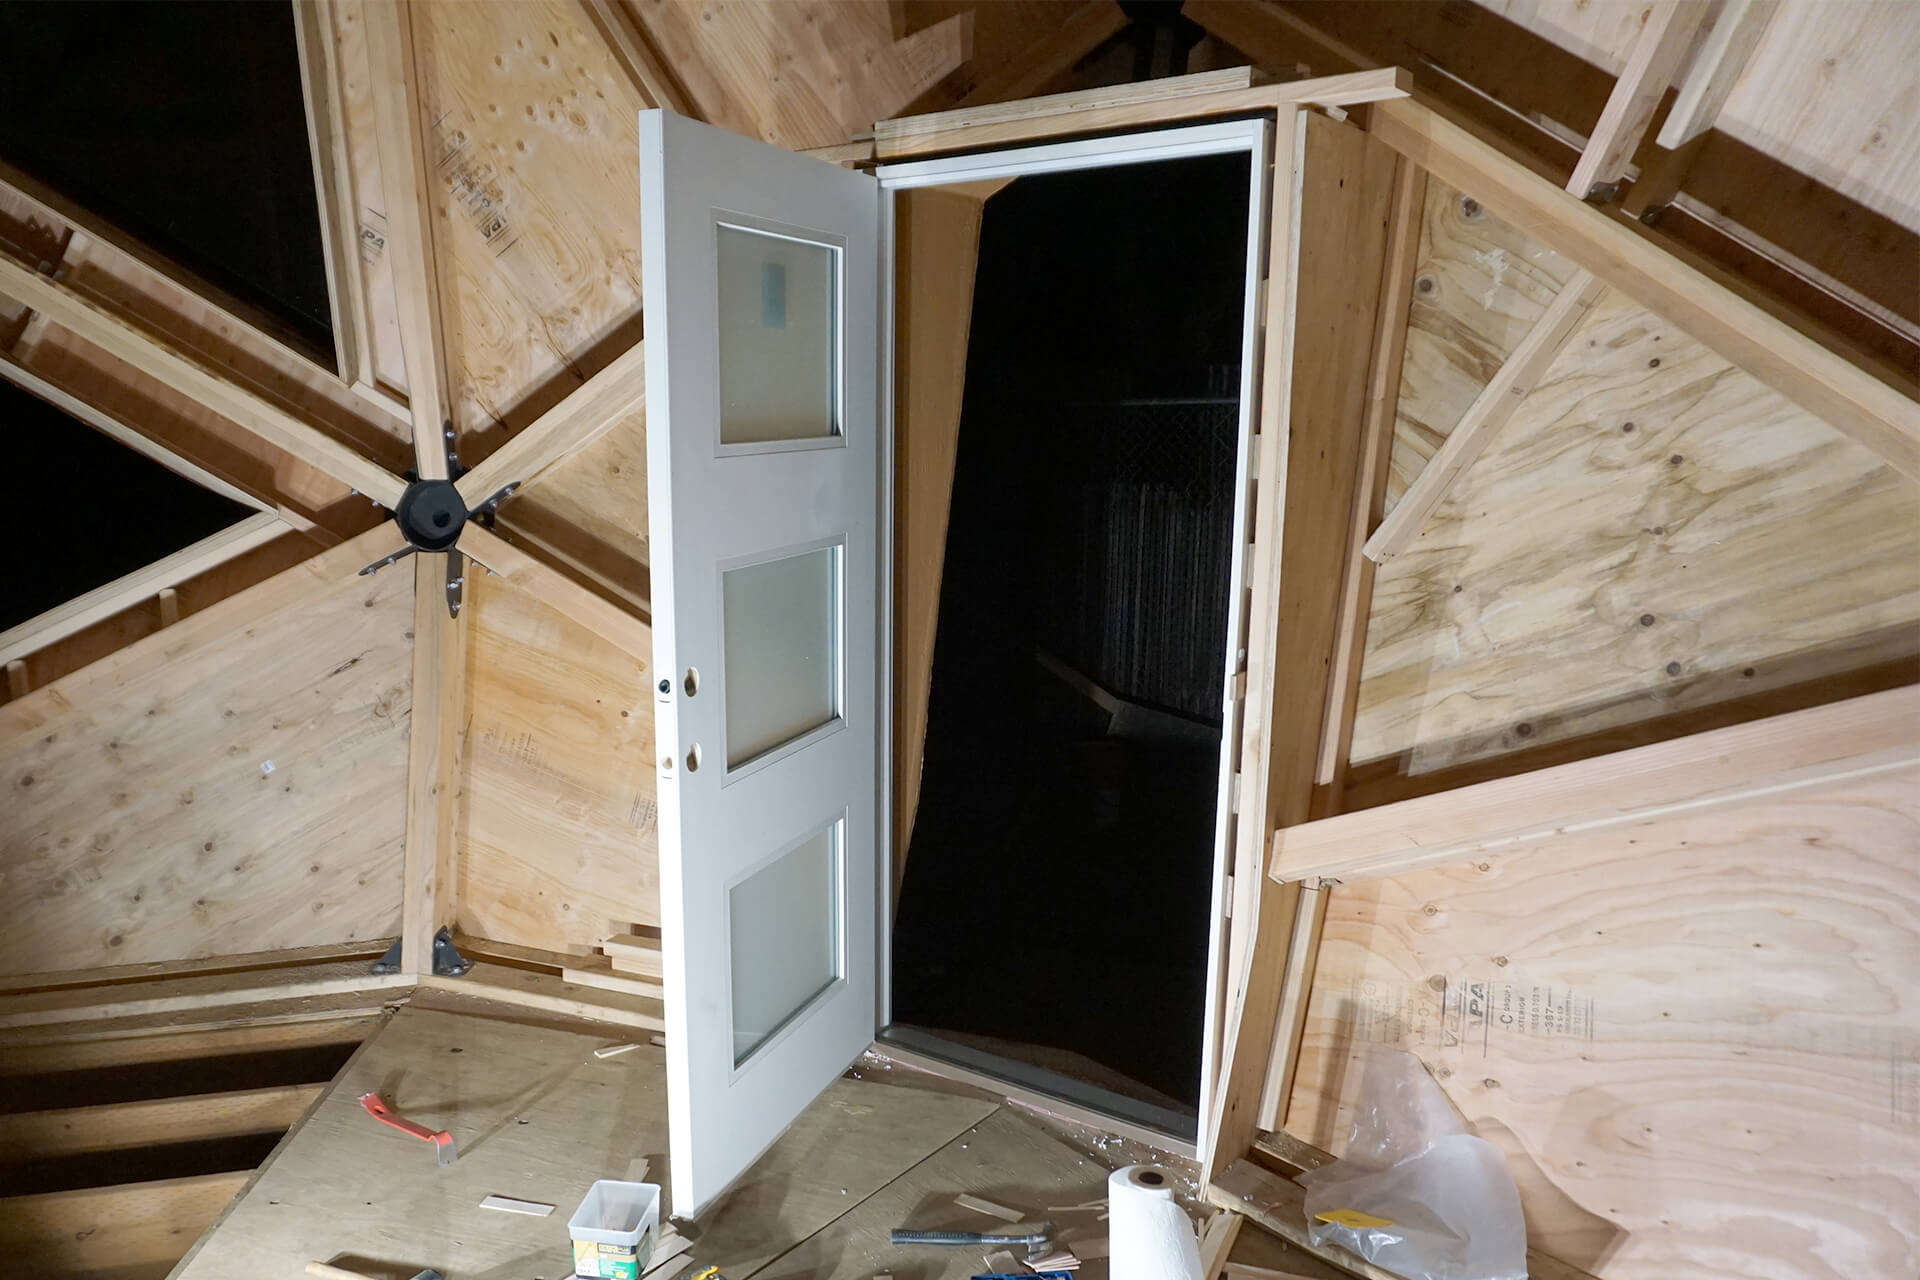
The spacing between the door frame and the framing is not critical, allowing for shimming. However, the spacing between the door and the frame is important and should be uniform.

Congratulations on completing the sealing! Before proceeding with the installation of shingles, call for various inspections. Some of these inspections may result in partials, as the interior walls are not up yet.
Inspections: Framing, Shearwalls, and Roofing
© 2025 Dodeca Domes. All rights reserved.

