
Roofing – Base
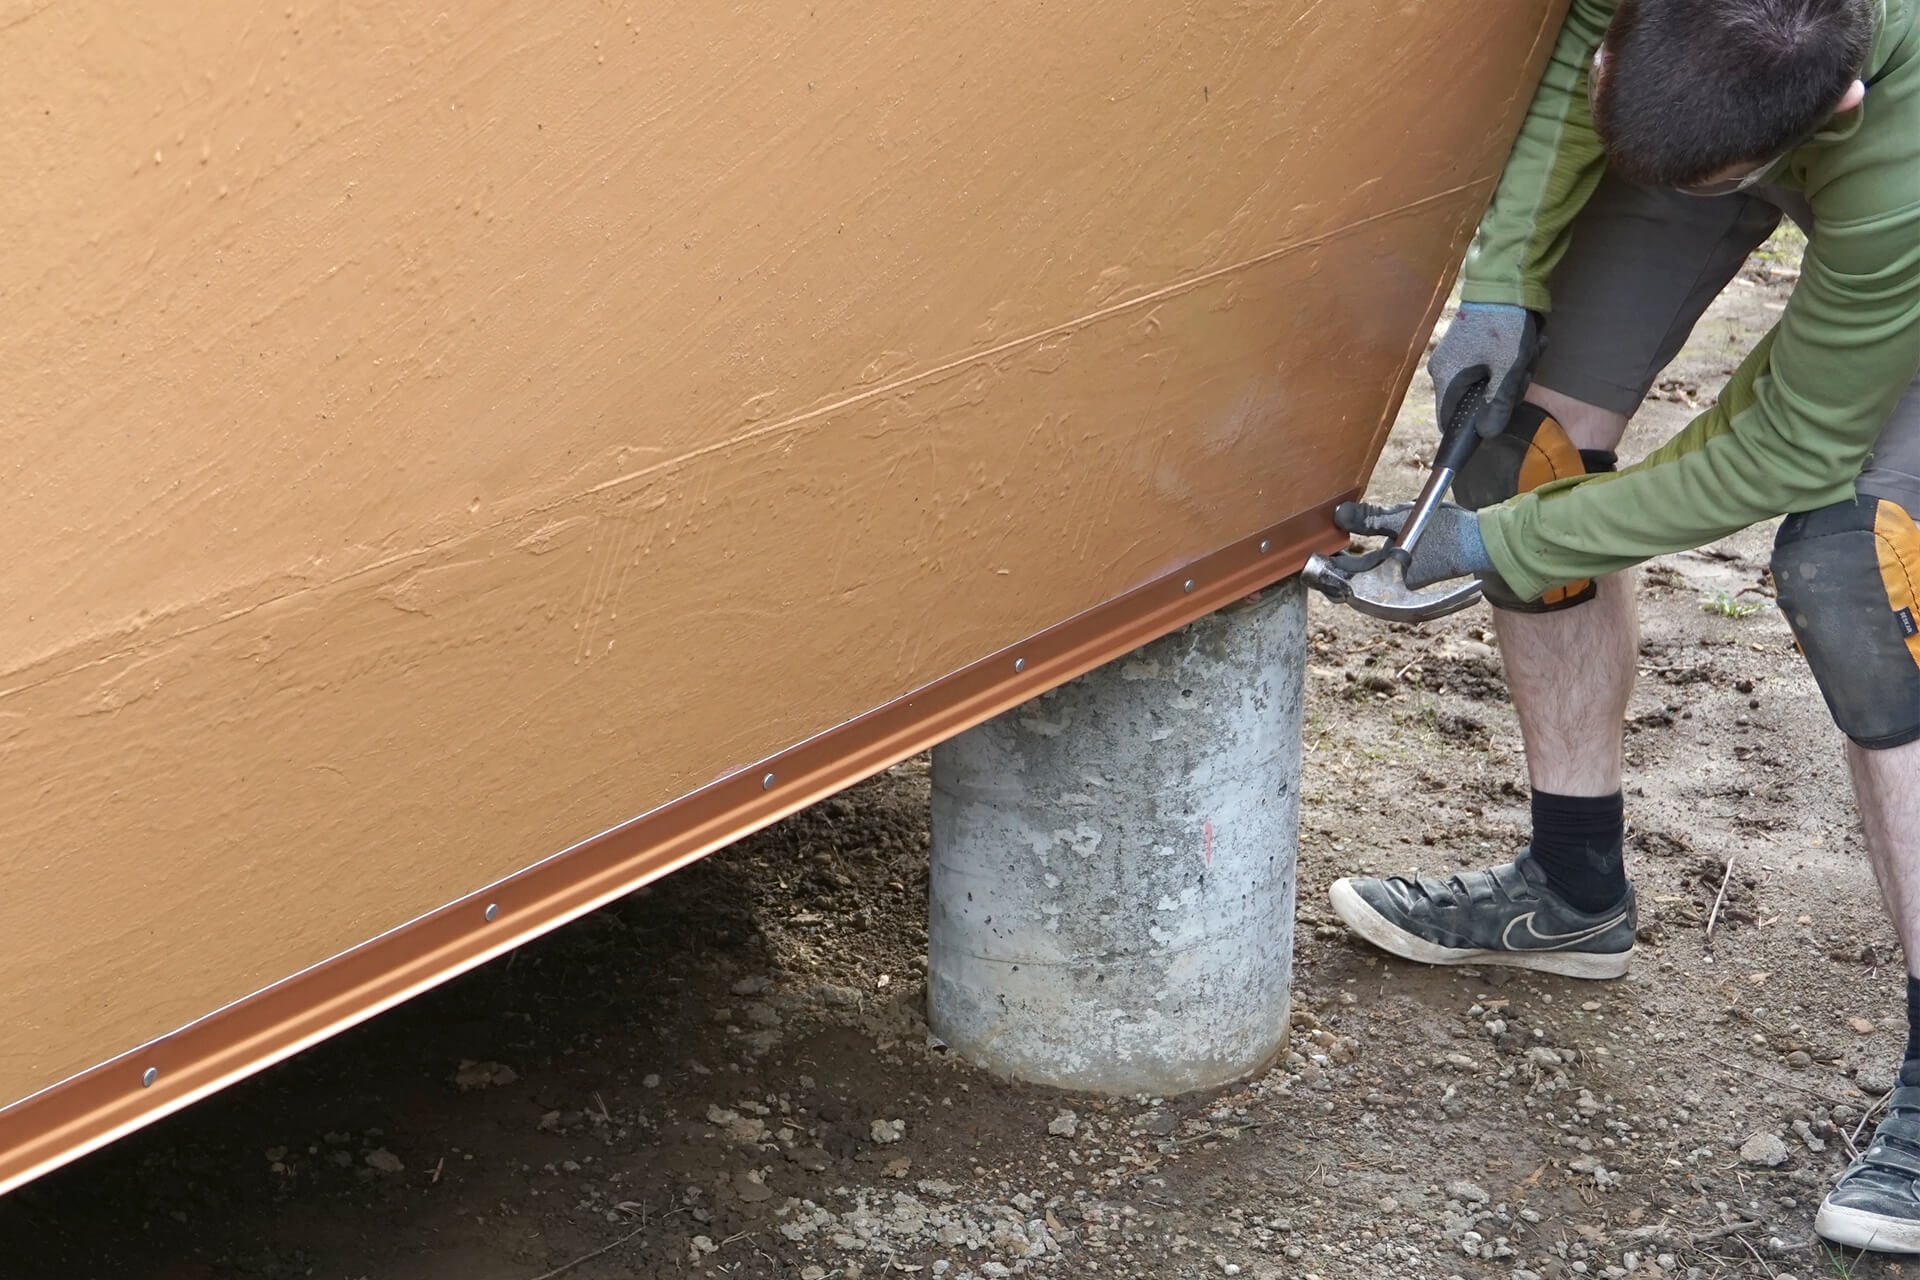
Install the Eave Starter Strip along the base of the dome.
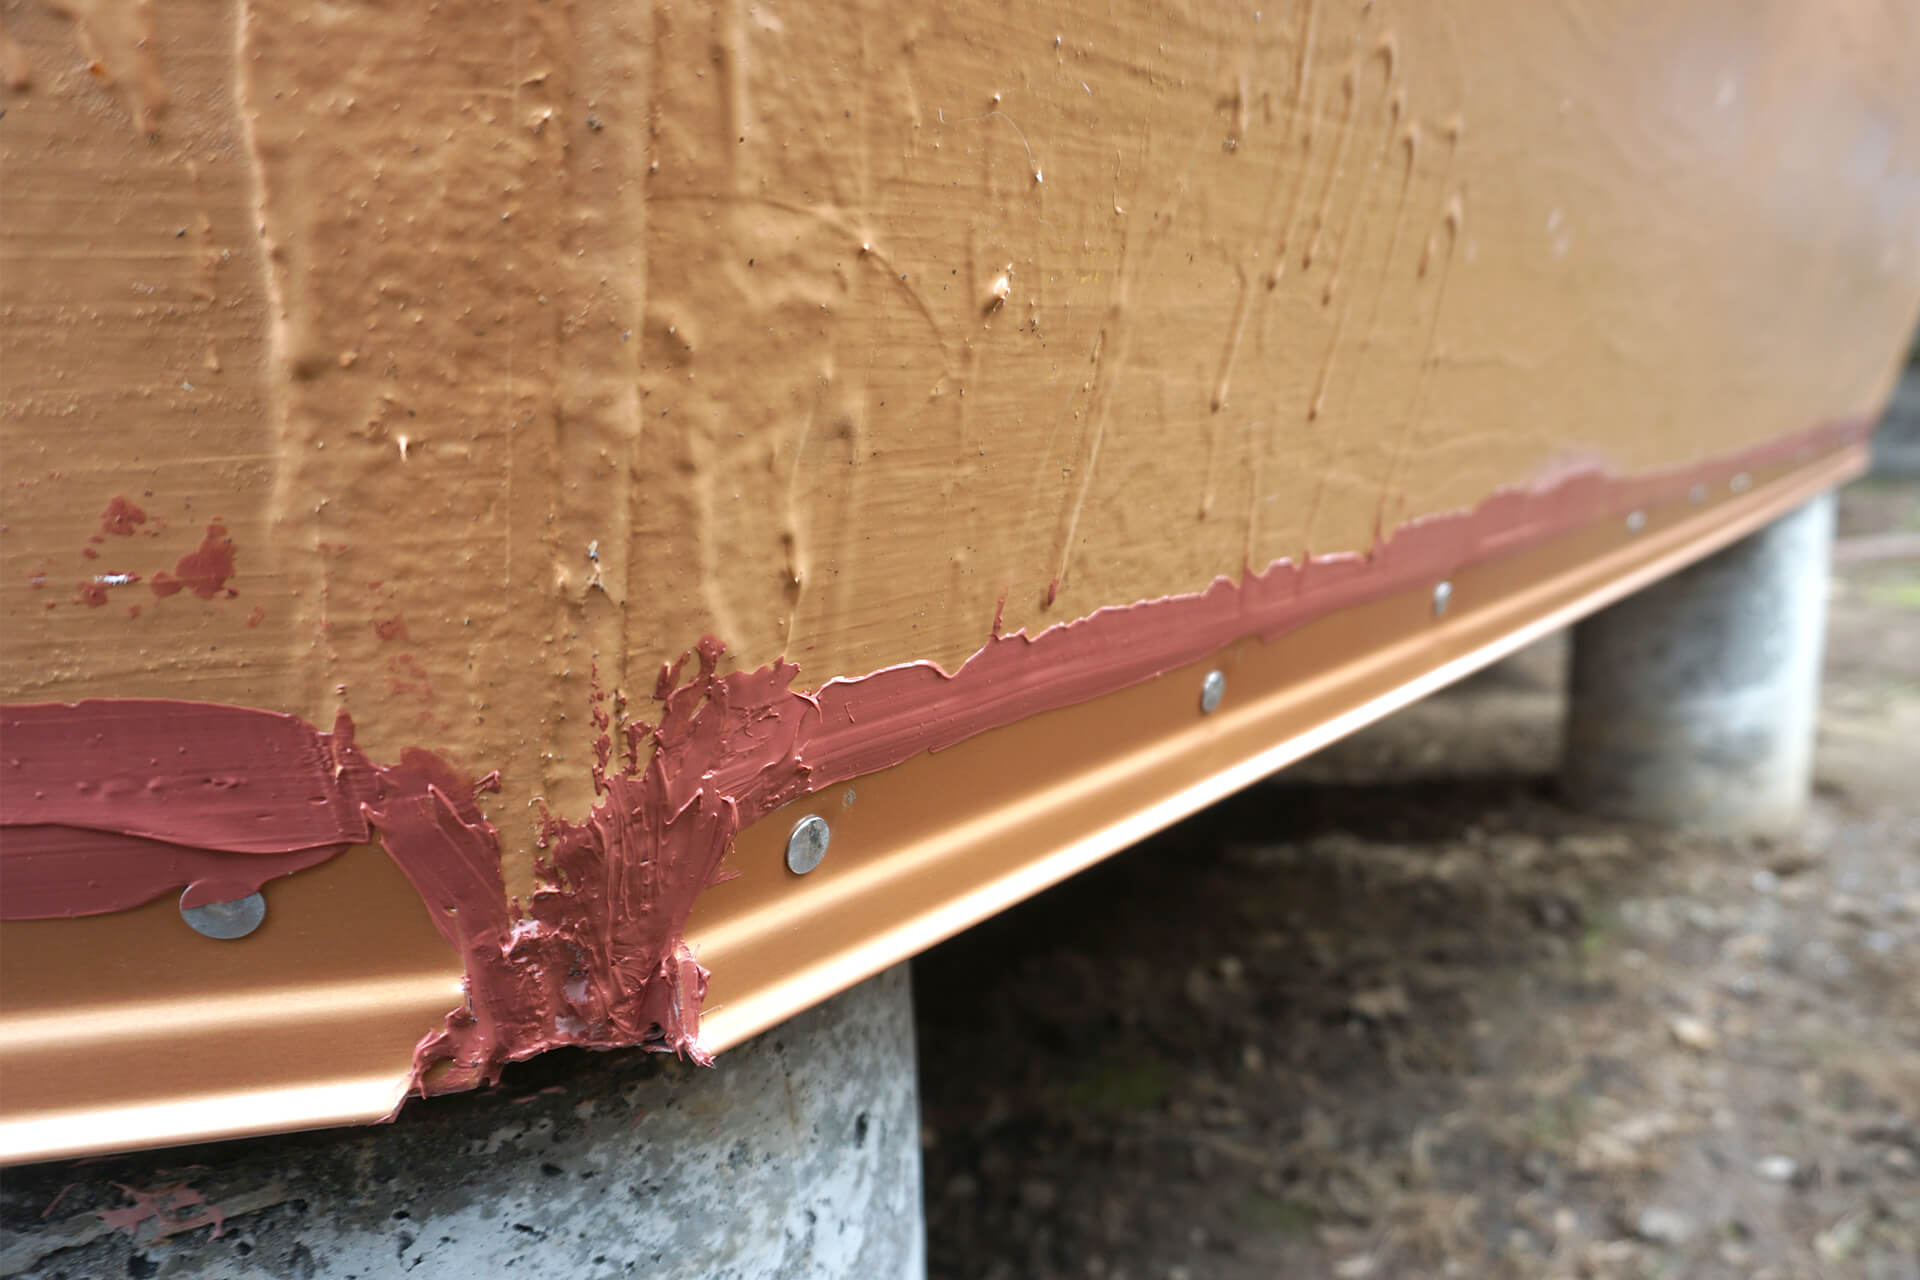
Coat the top of the Eave Starter Strip with an STPE-type material or equivalent. Trowel smooth. Prosoco R-Guard Fast Flash is shown here.
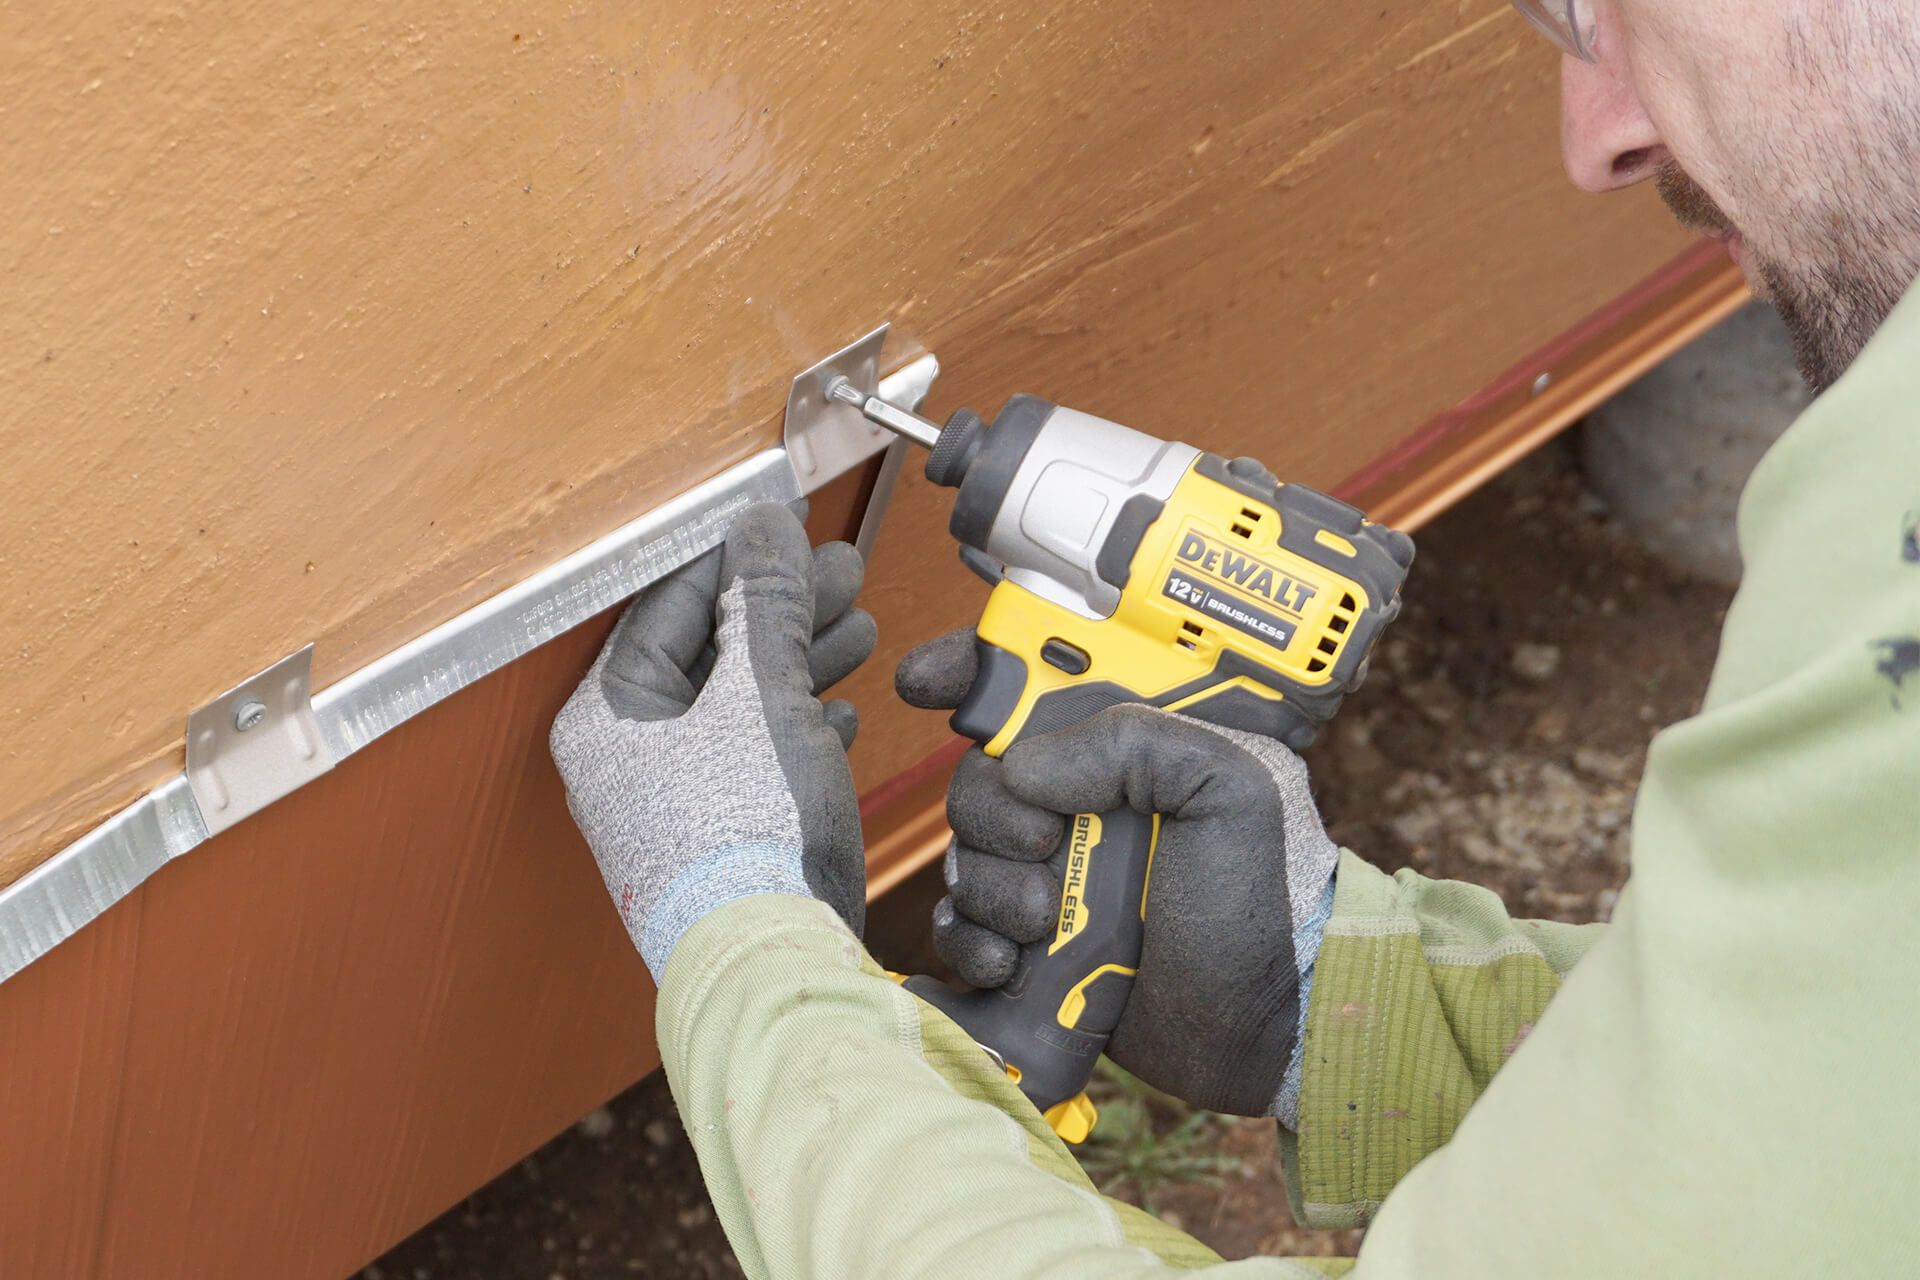
Attach shingles with nailing clips and stainless steel screws. Aluminum ring shank nails can also be used, but they may cause significant wood blow-out.
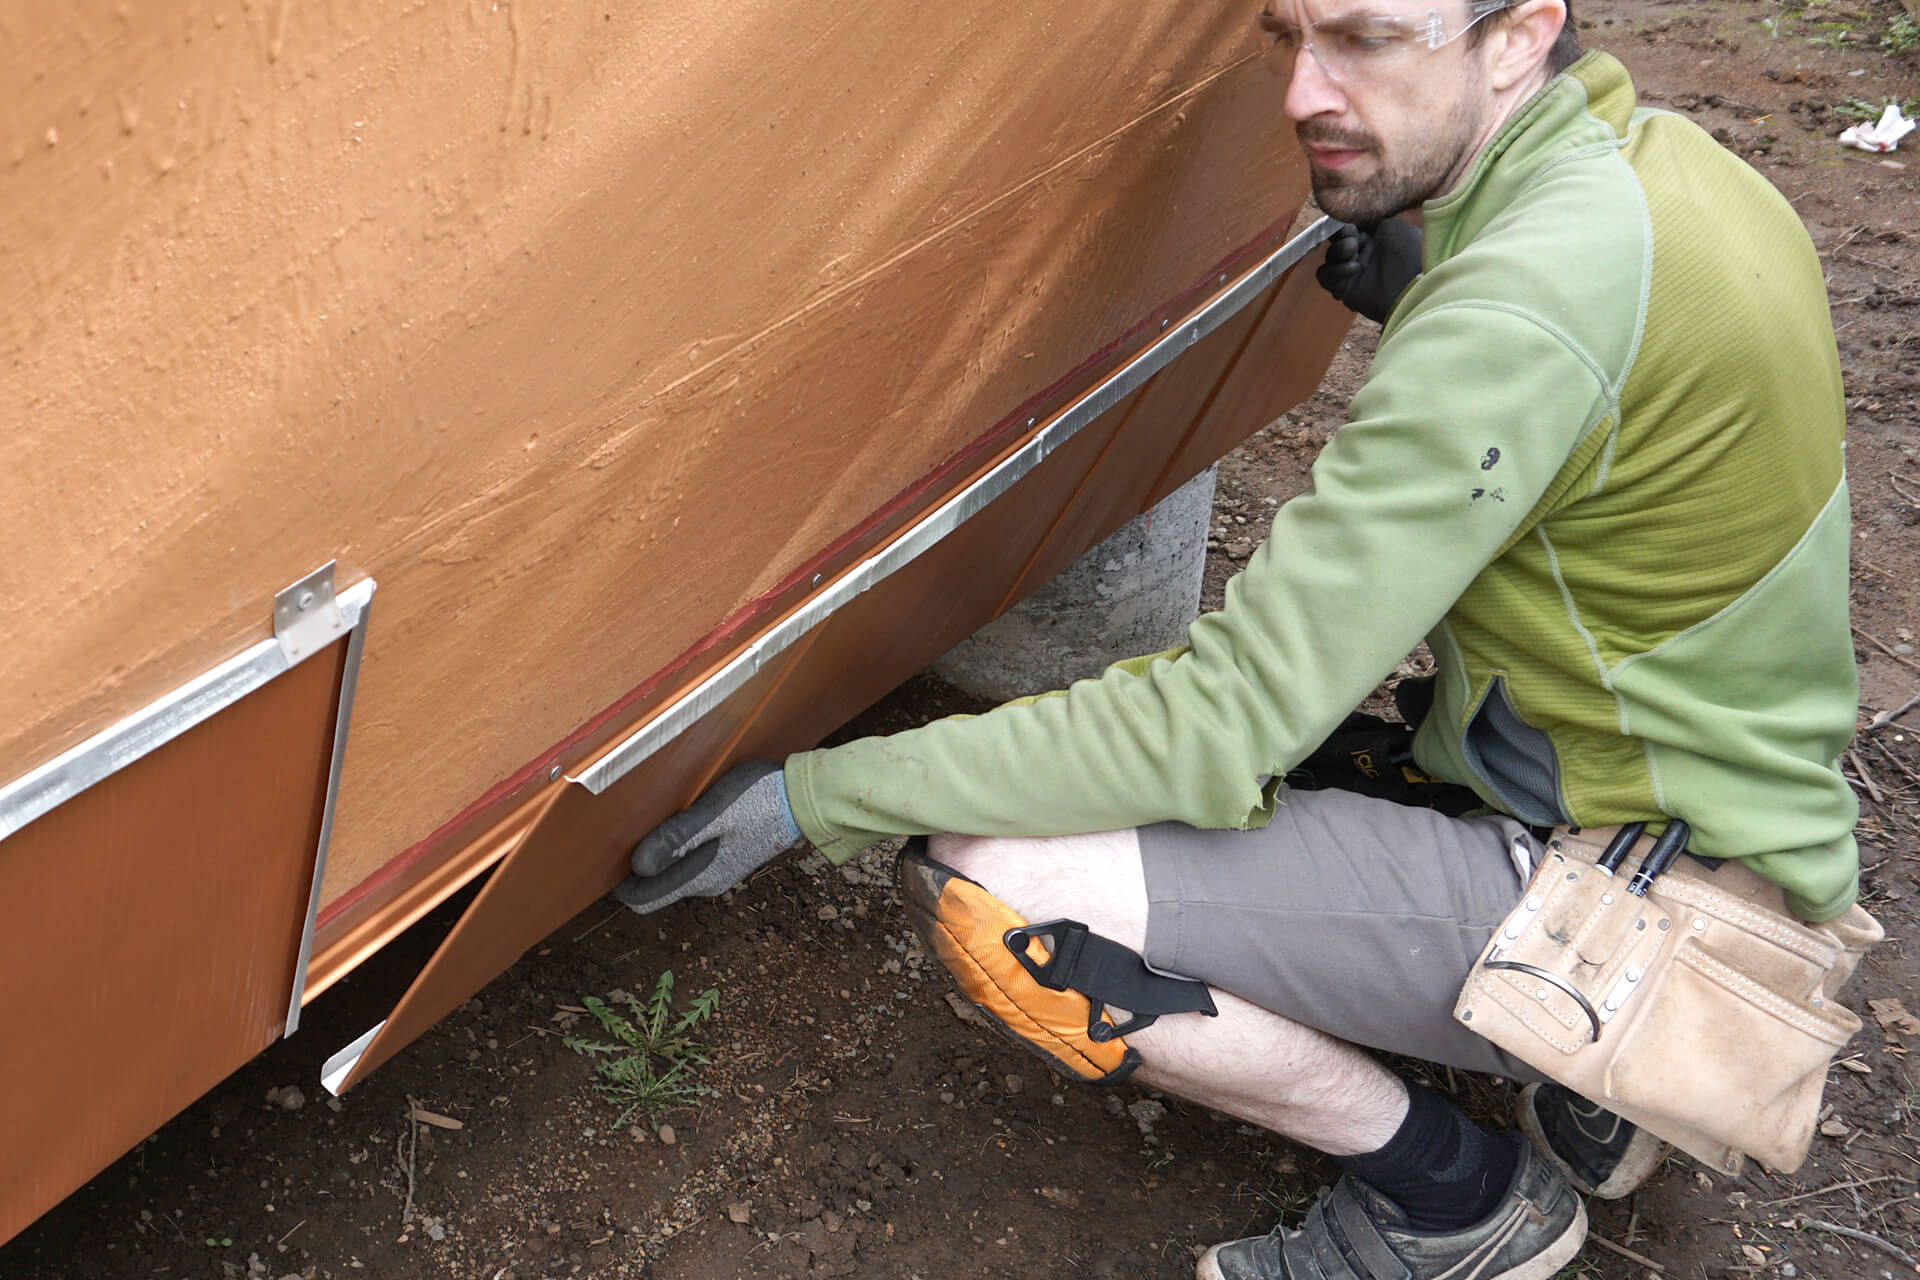
The interlocking design of these shingles requires installation from the bottom up, left to right.
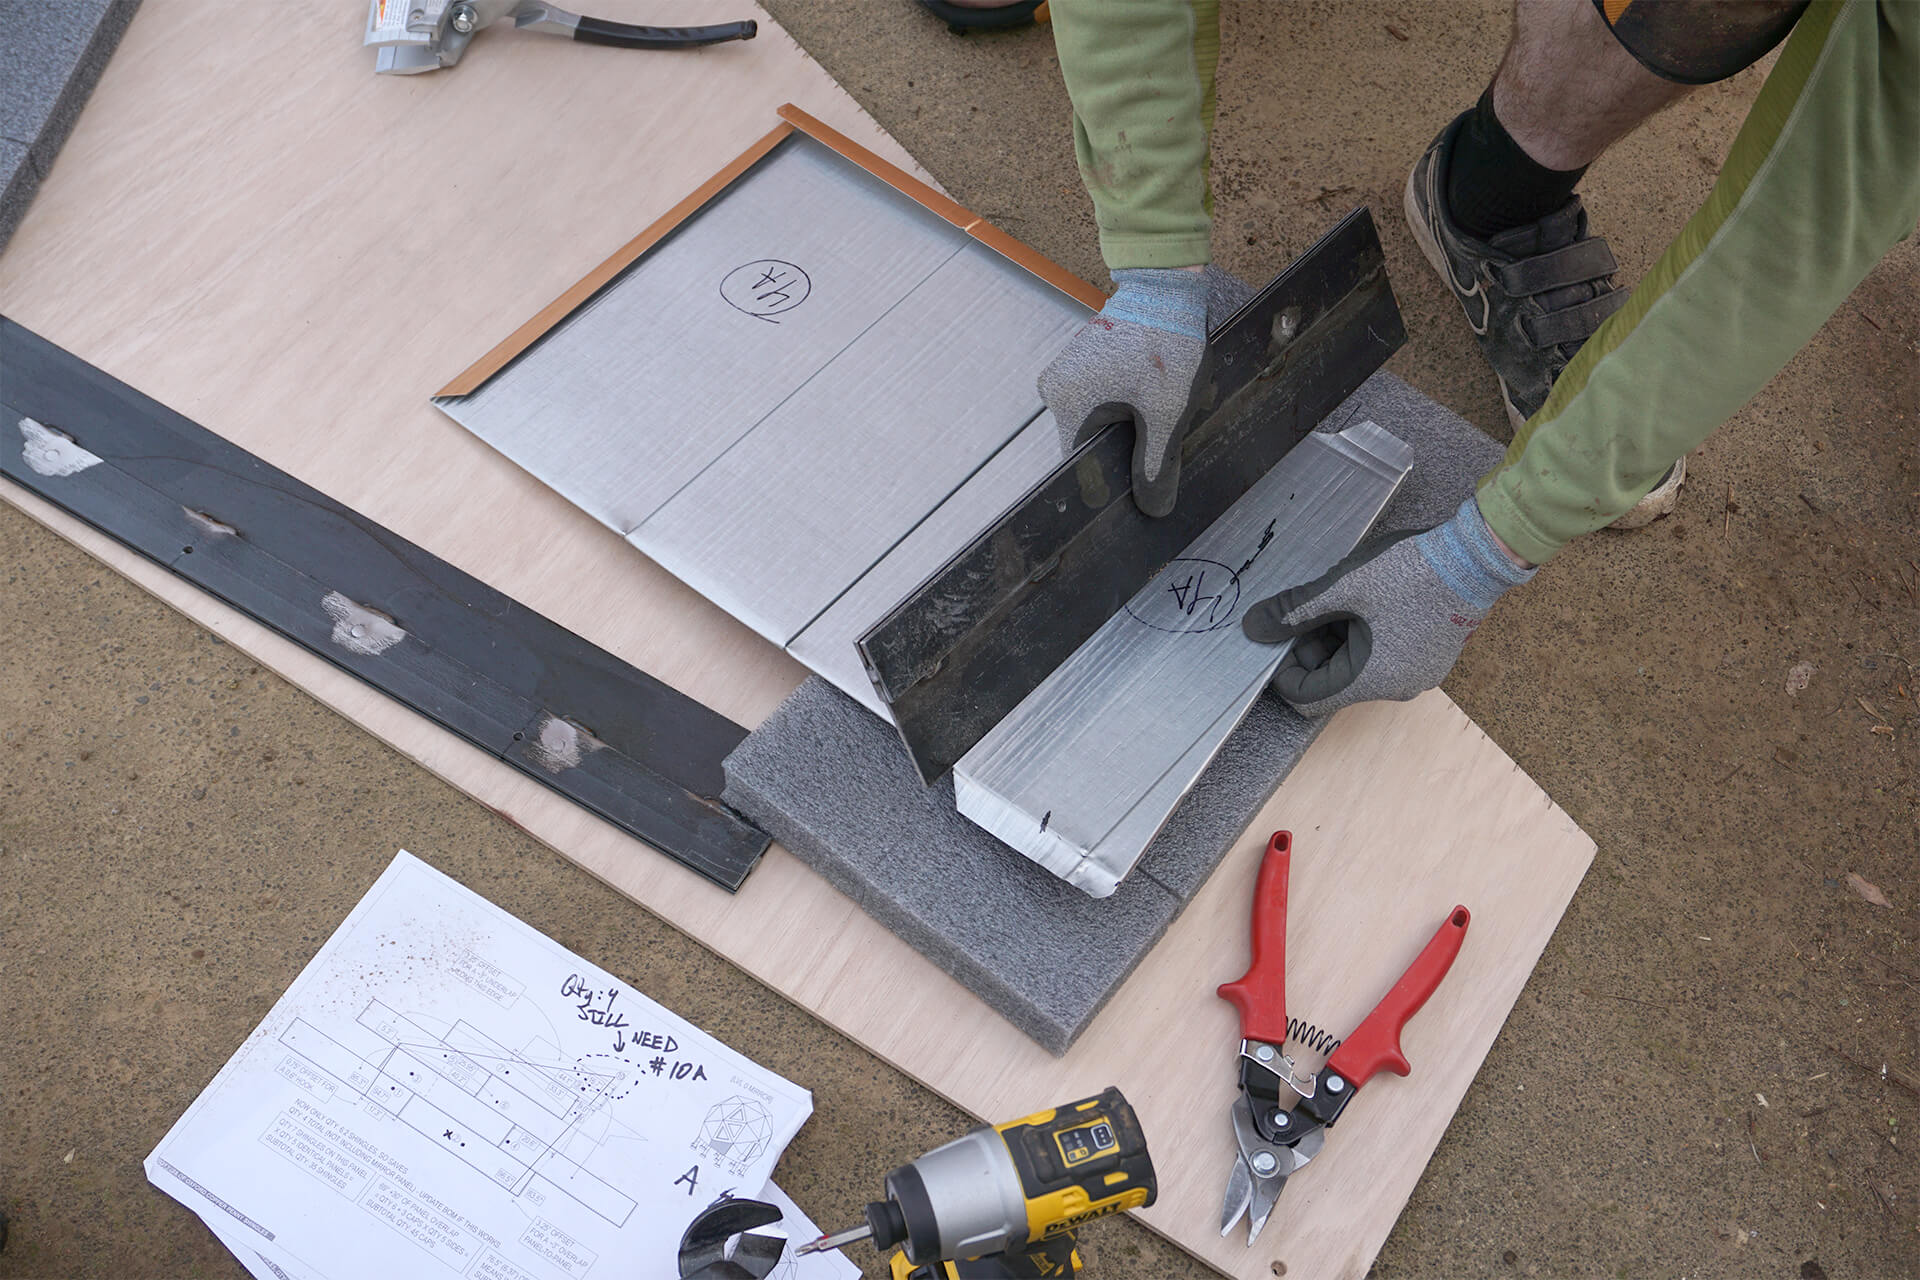
Bend the underlapping edges using a straightedge and a block of foam. Custom-fabricated ~18” and ~30” sheet metal folding tools are shown here.
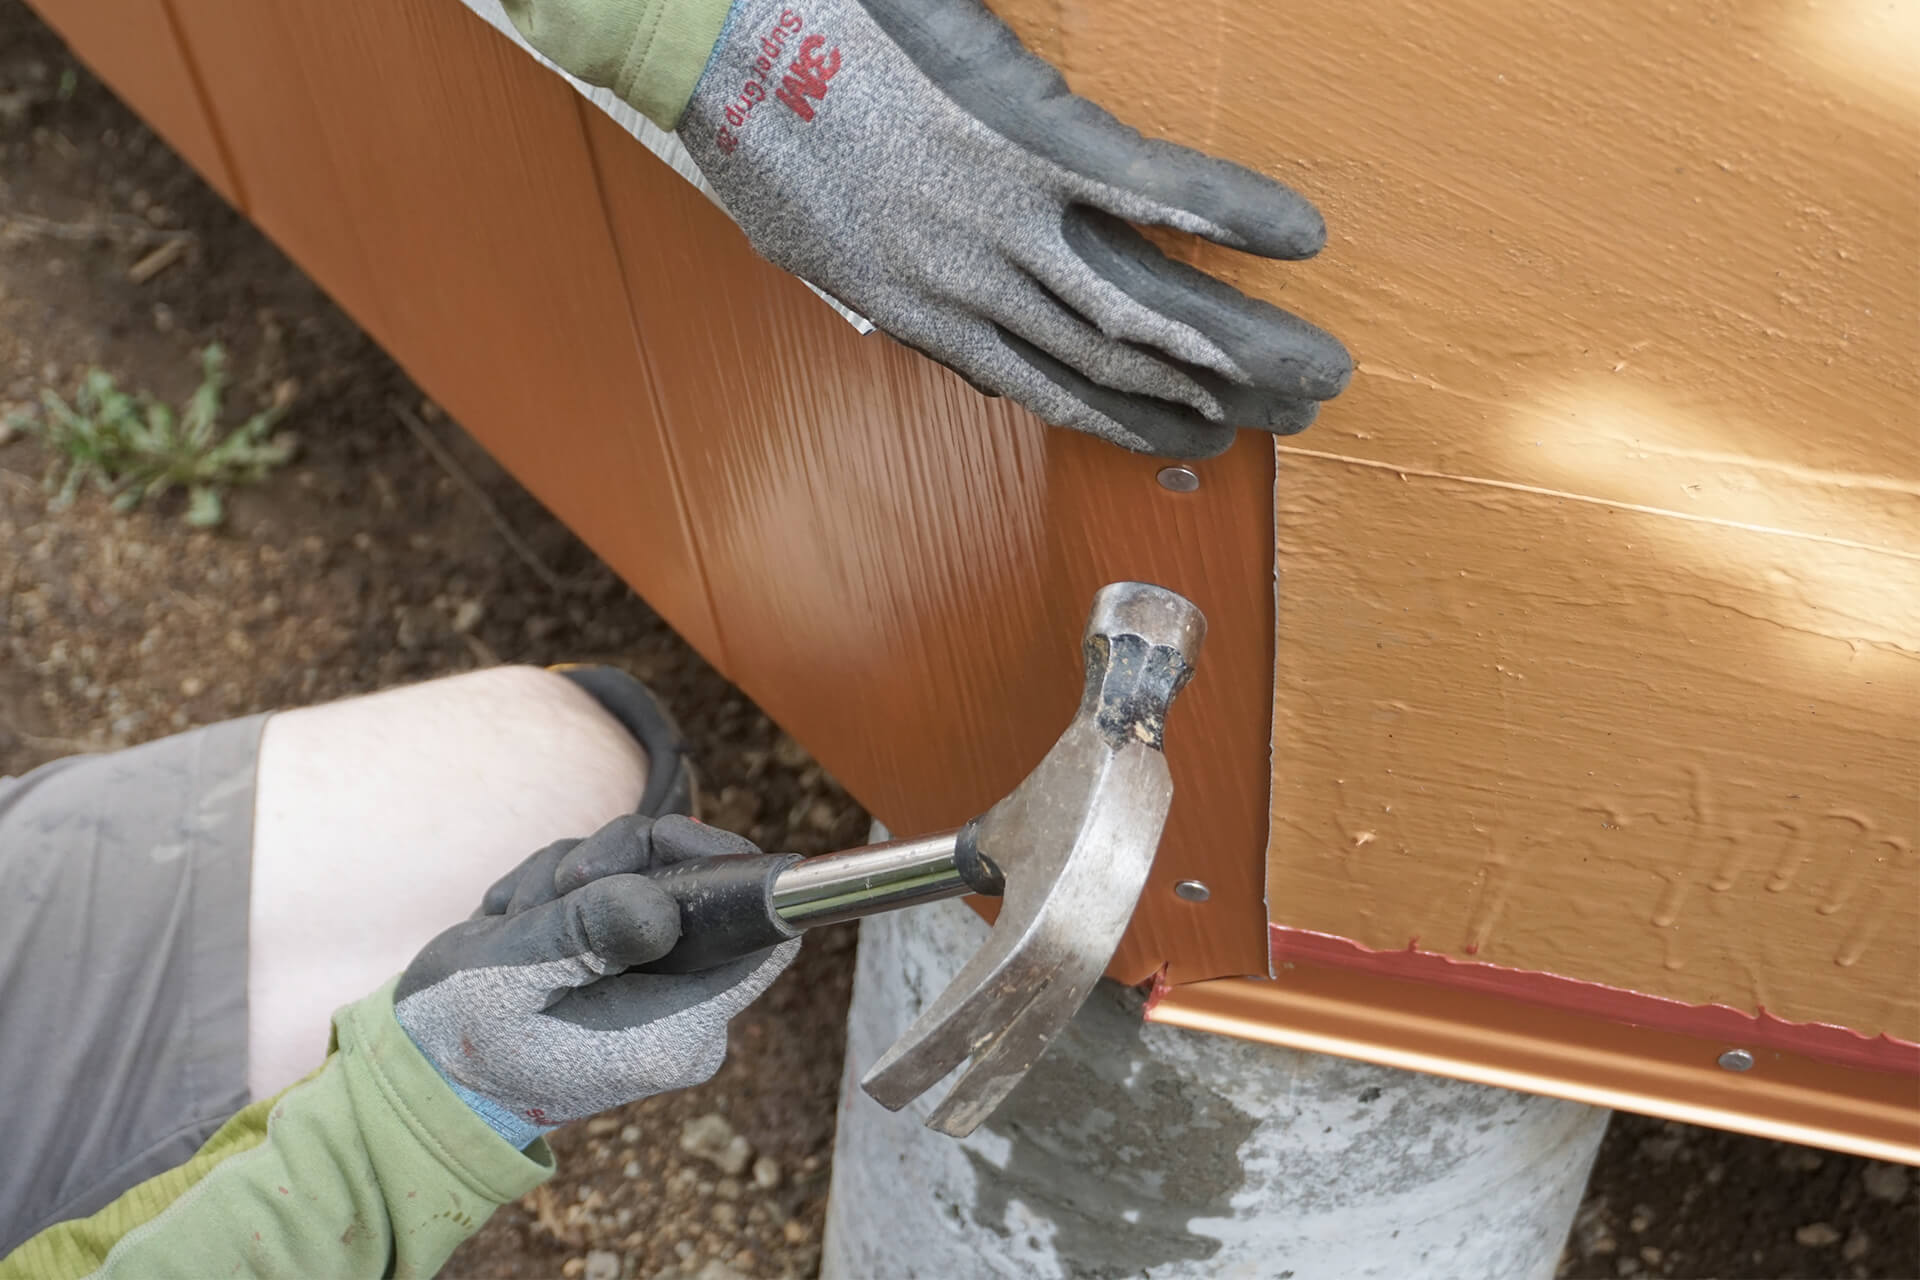
Wrap the underlapping edges around corners. Pre-drill to ease nailing, prevent wood blow-out, and create a cleaner, more watertight hole for the nail in the WRB coating.
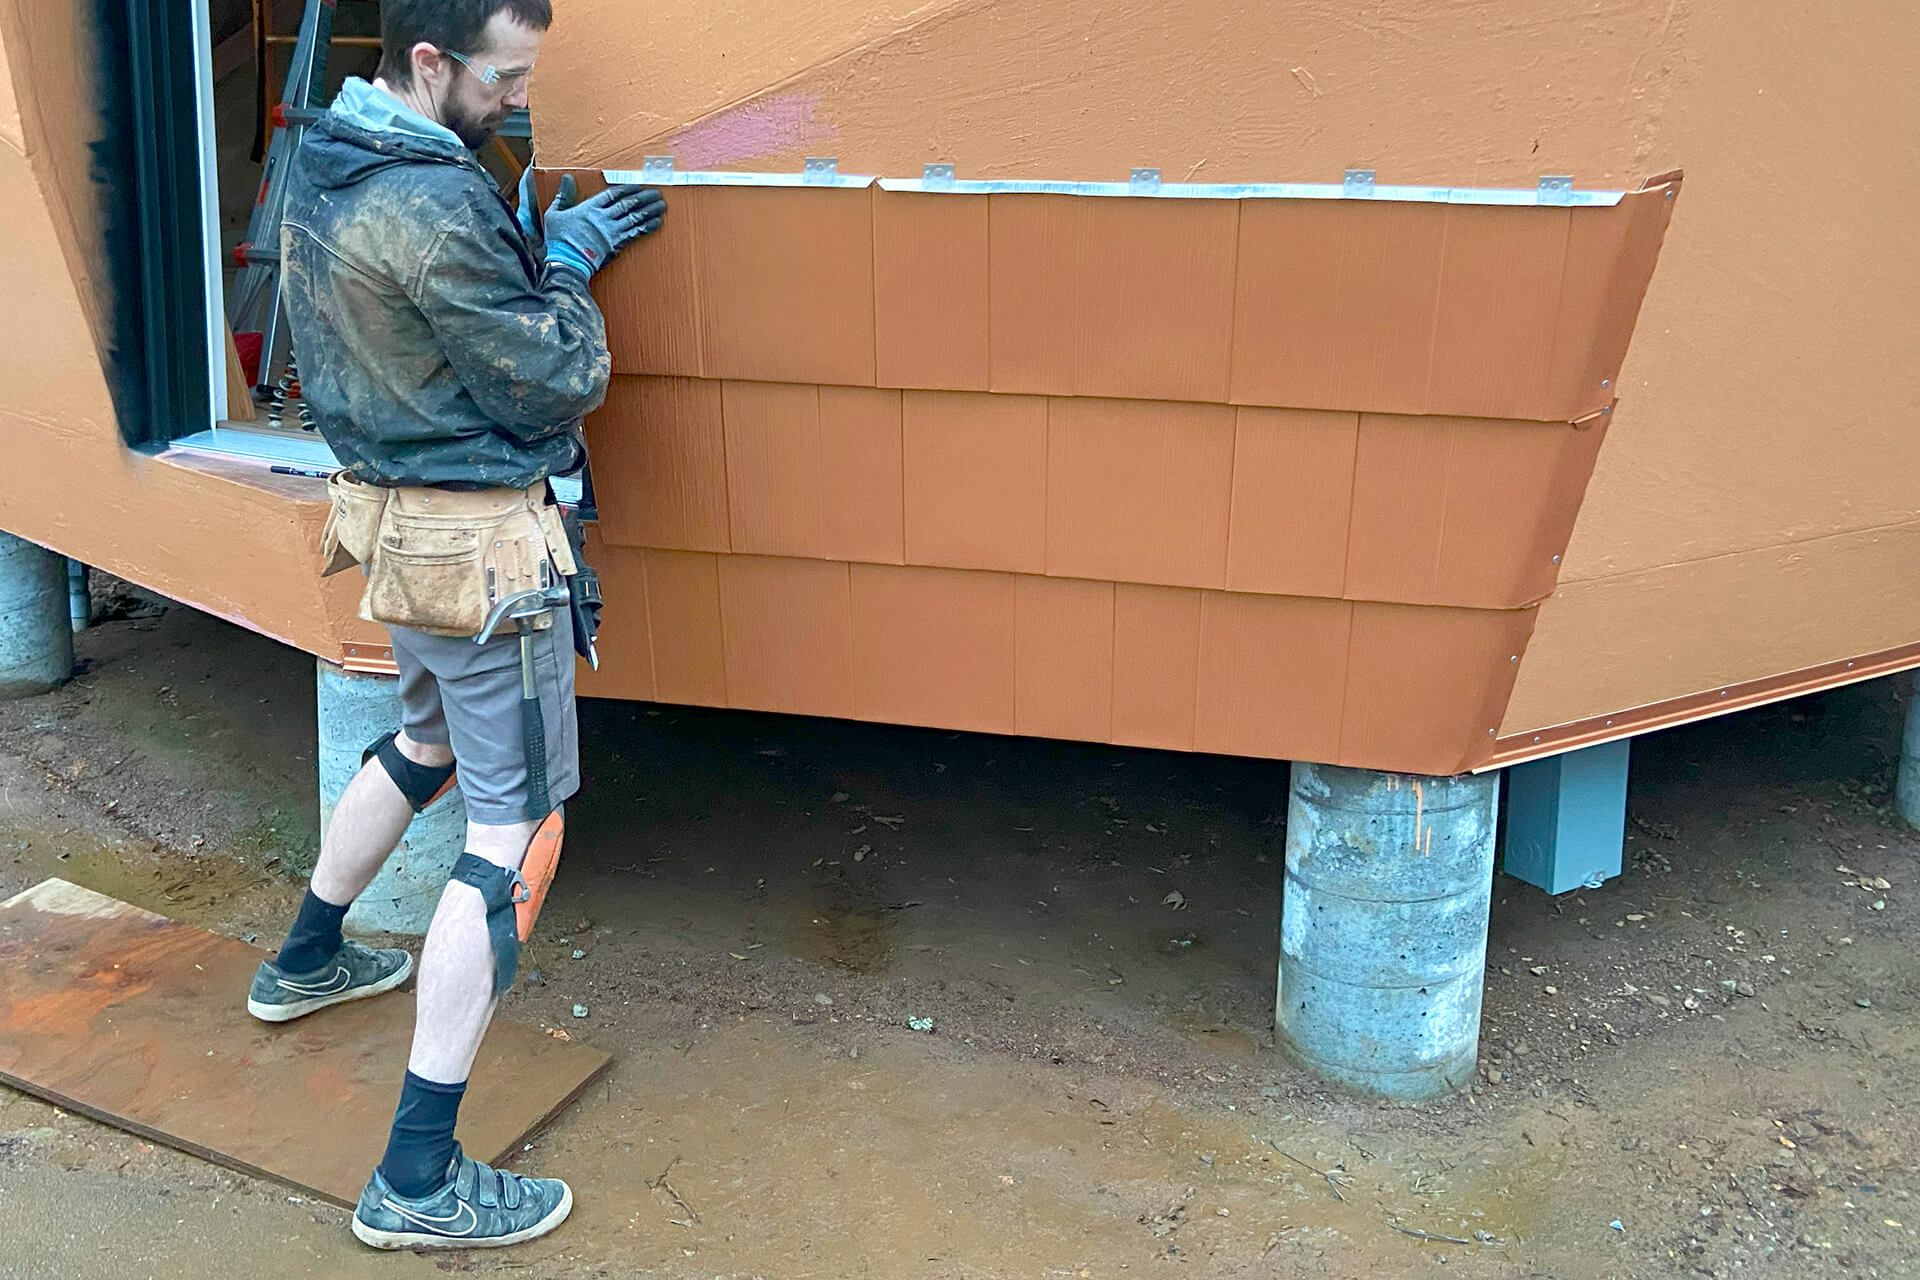
Continue attaching shingles. Pictured is the first dome panel to be shingled. Five nailing clips are recommended per uncut shingle length, approximately one clip per foot.
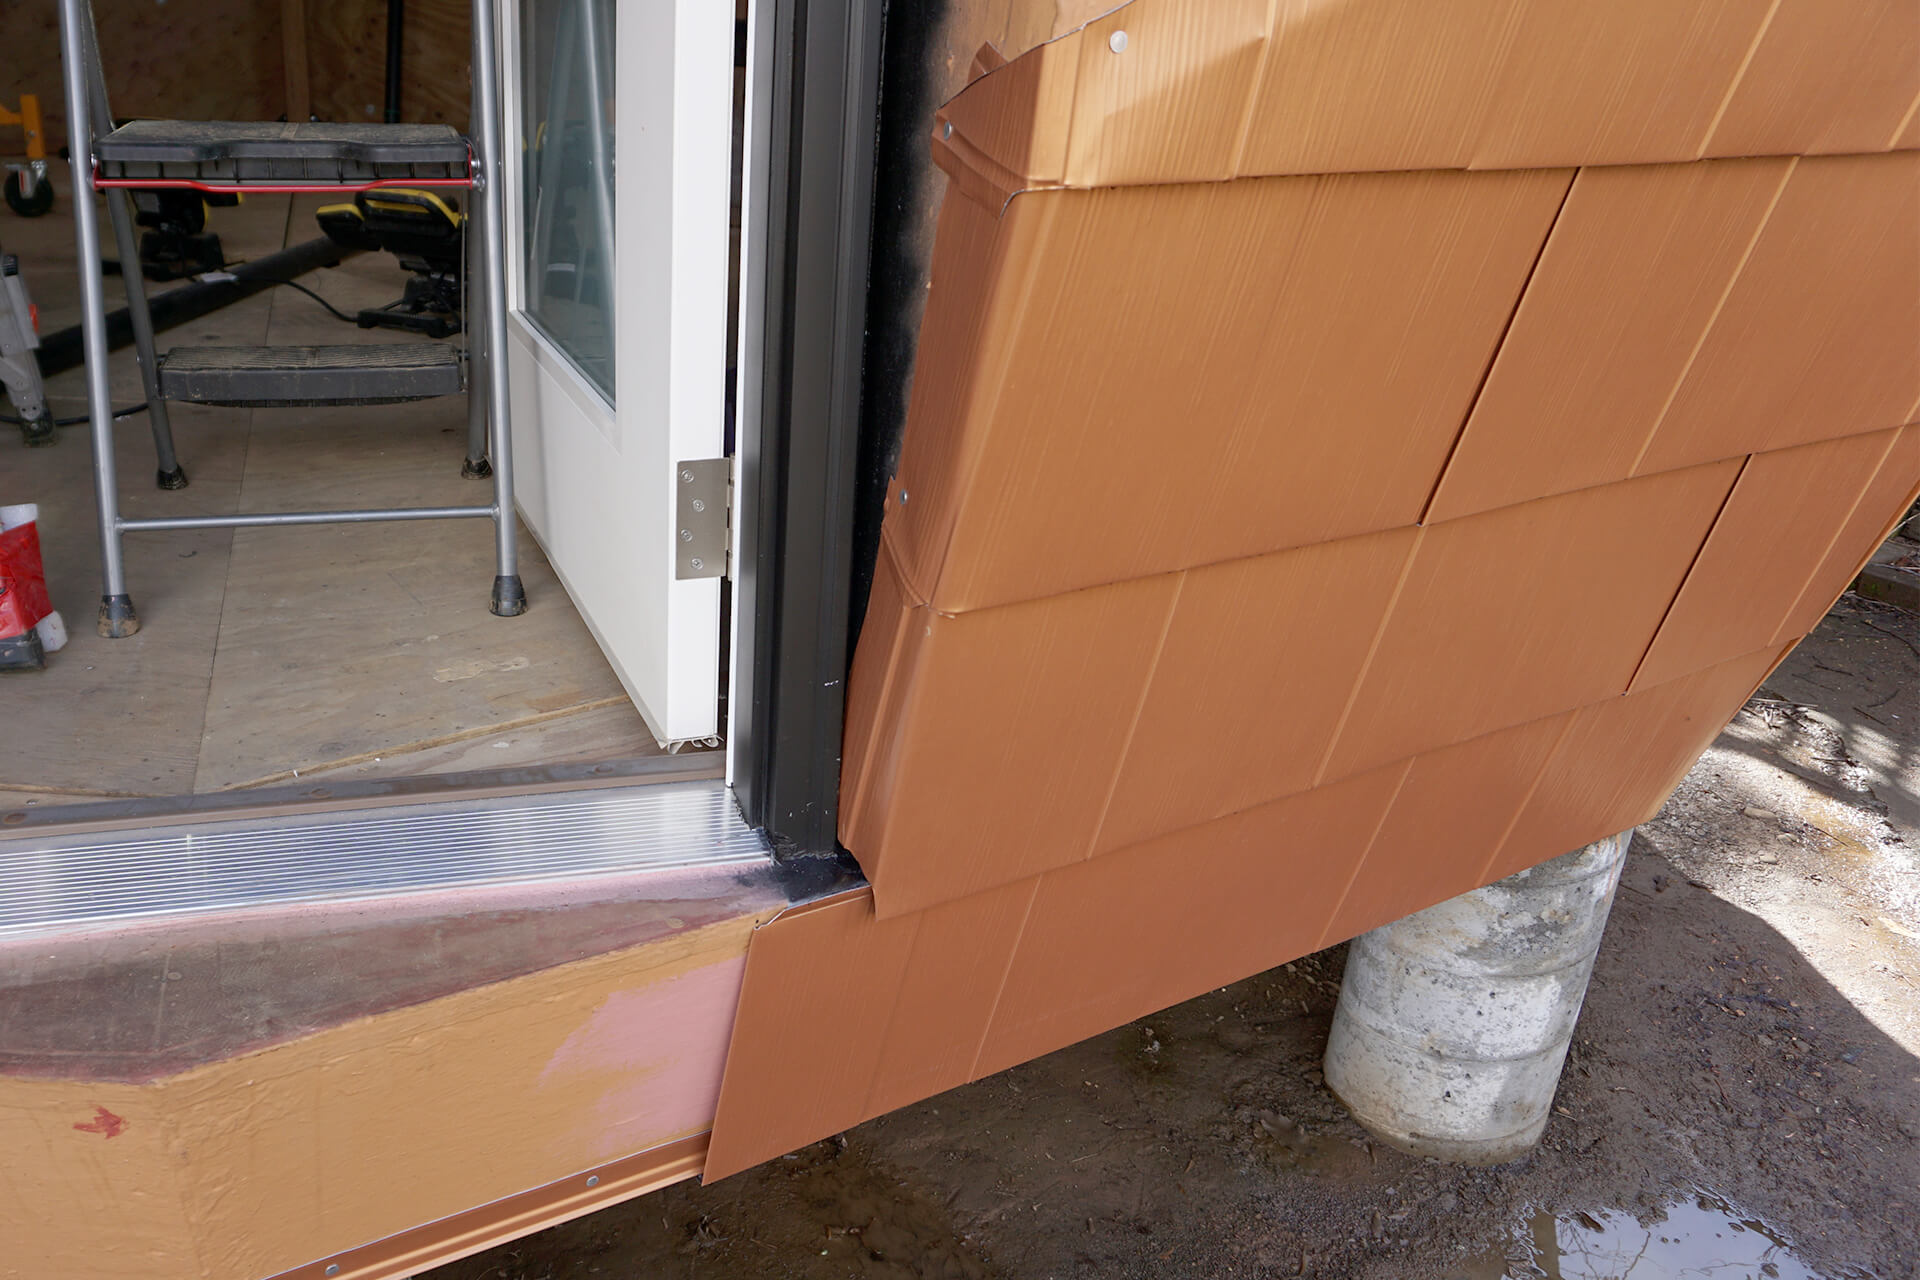
Treat the door opening as an underlapped edge and wrap the corner. The lowest-leftmost shingle is skipped, as it will be installed later to complete the level.
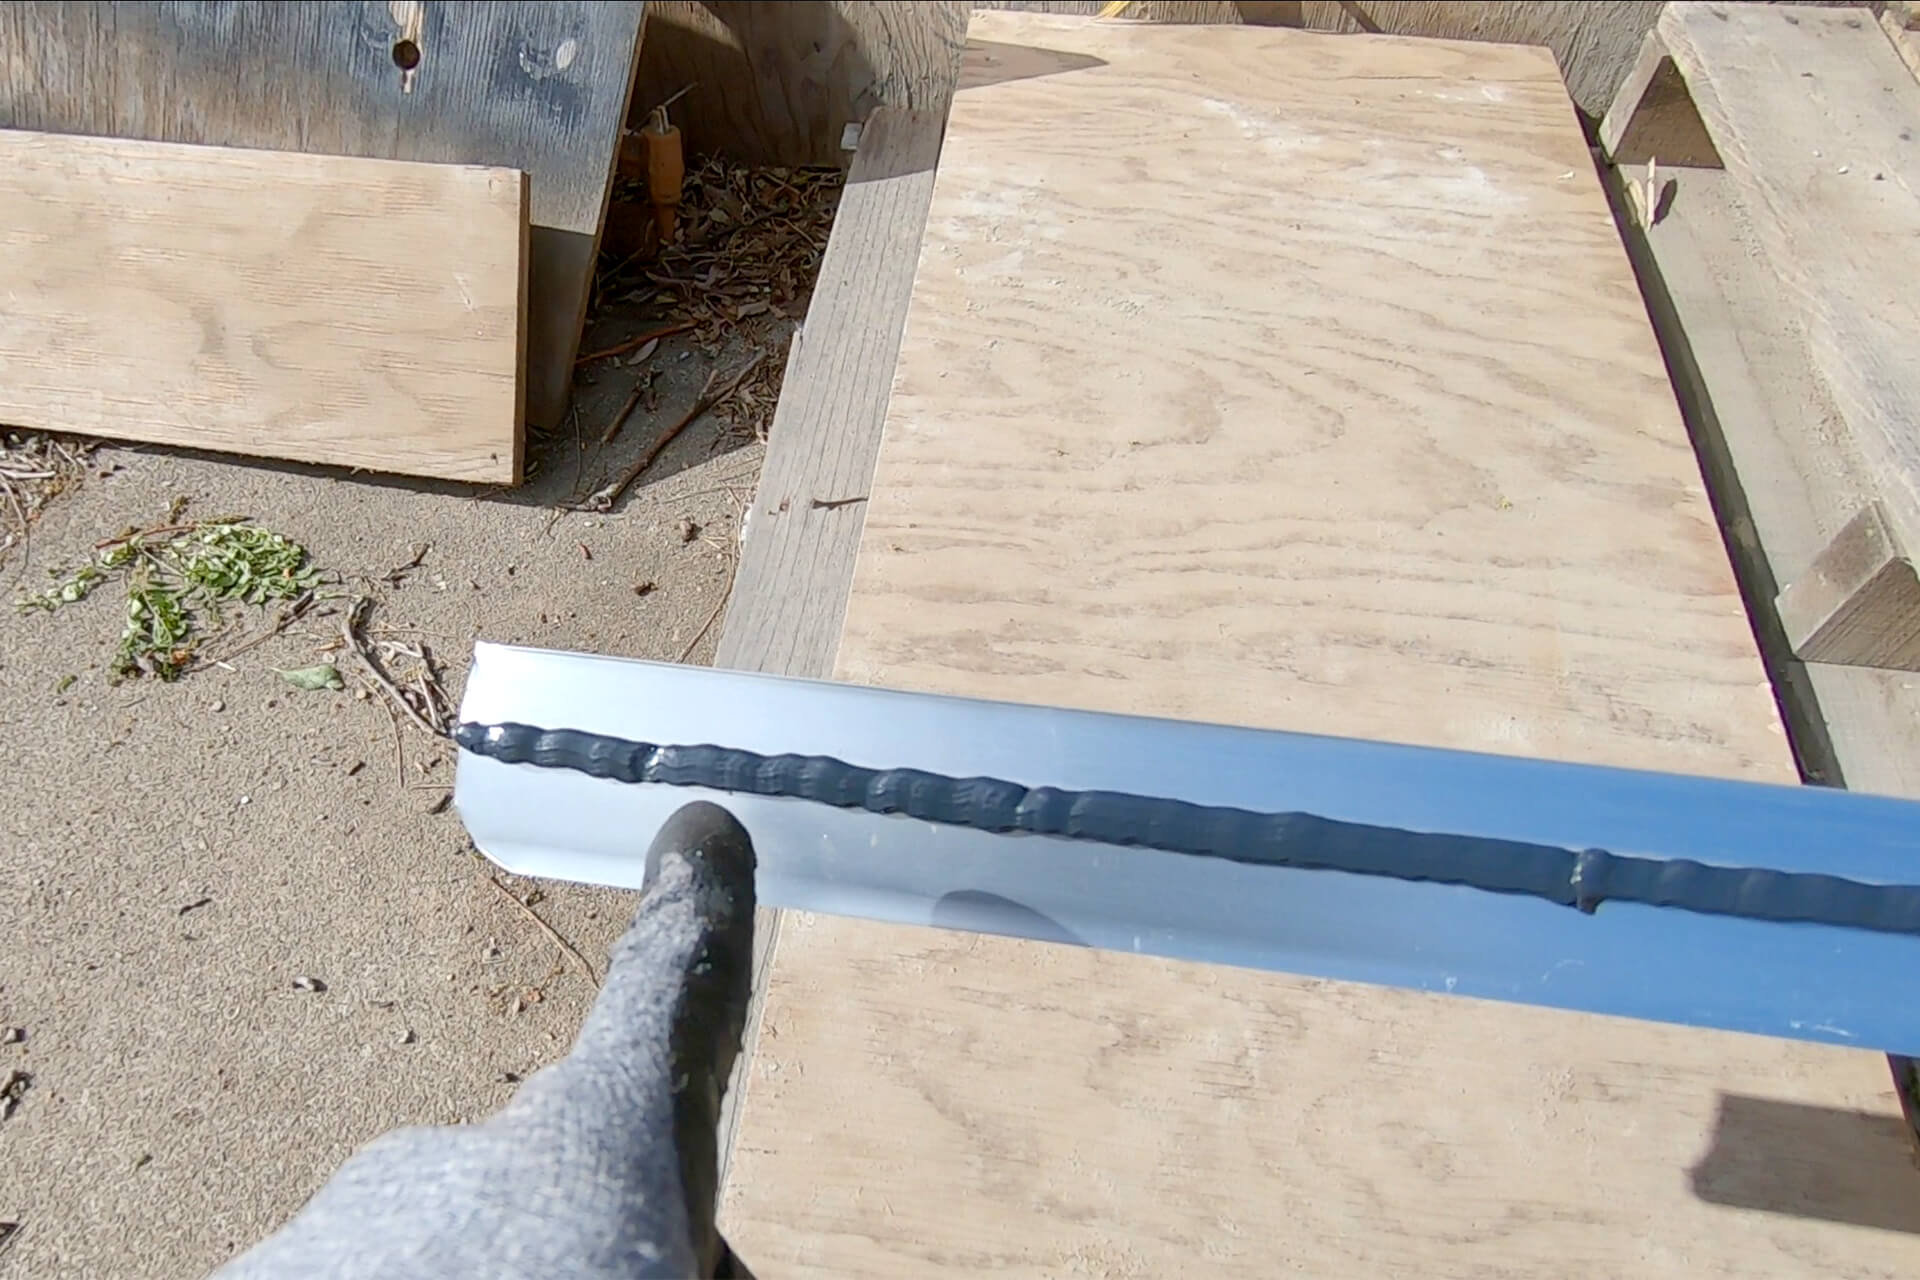
Apply a thick bead of caulking along the length of each Siding Starter Strip that will be installed on a vertical edge to prevent wind-driven rain. Chemlink M-1 sealant is shown here.
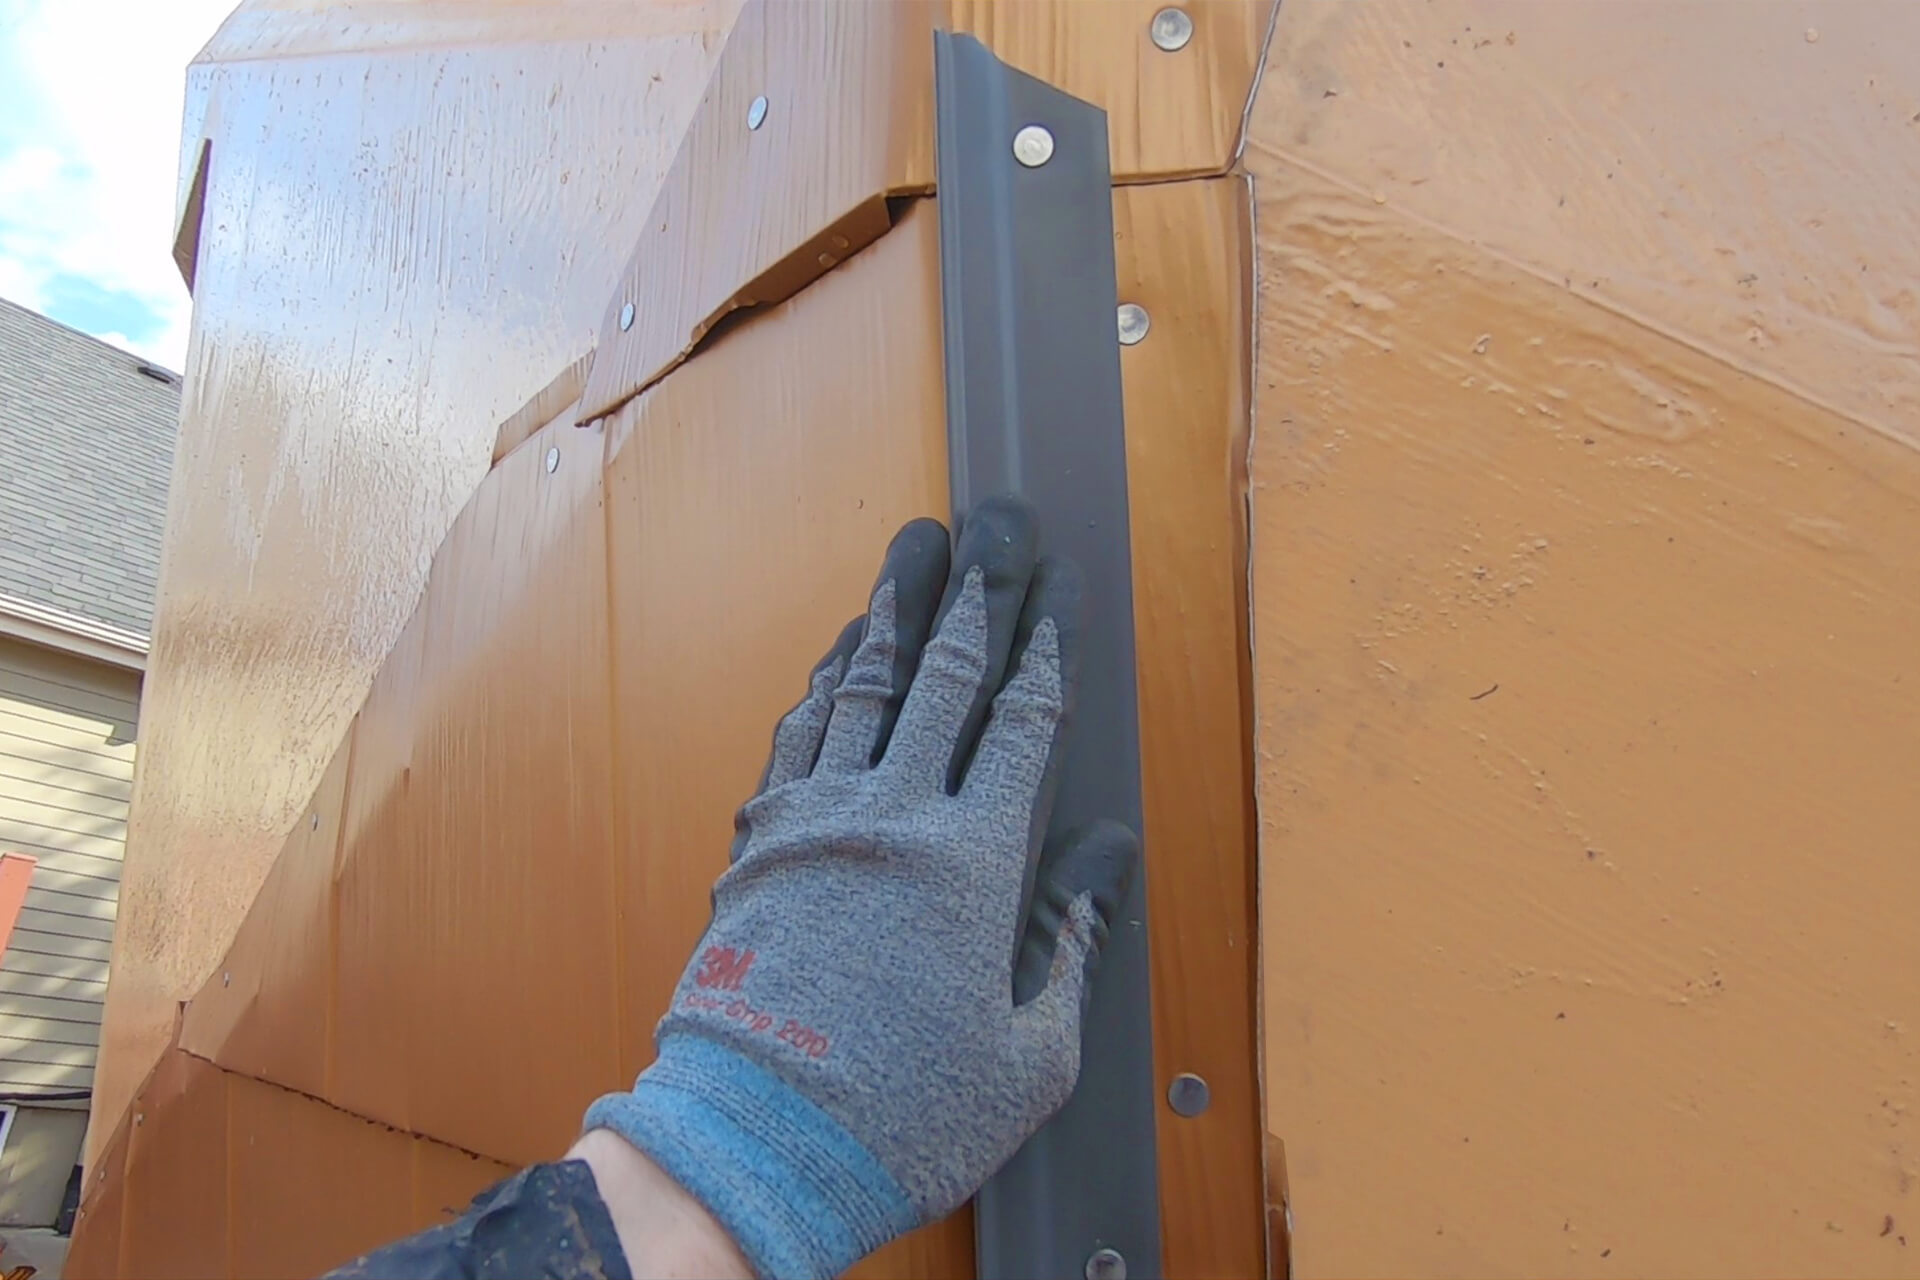
Attach the Siding Starter Strip over the vertical underlapped edge. A Siding Starter Strip is installed over every underlap so that the next panel of shingles has a place to lock into.
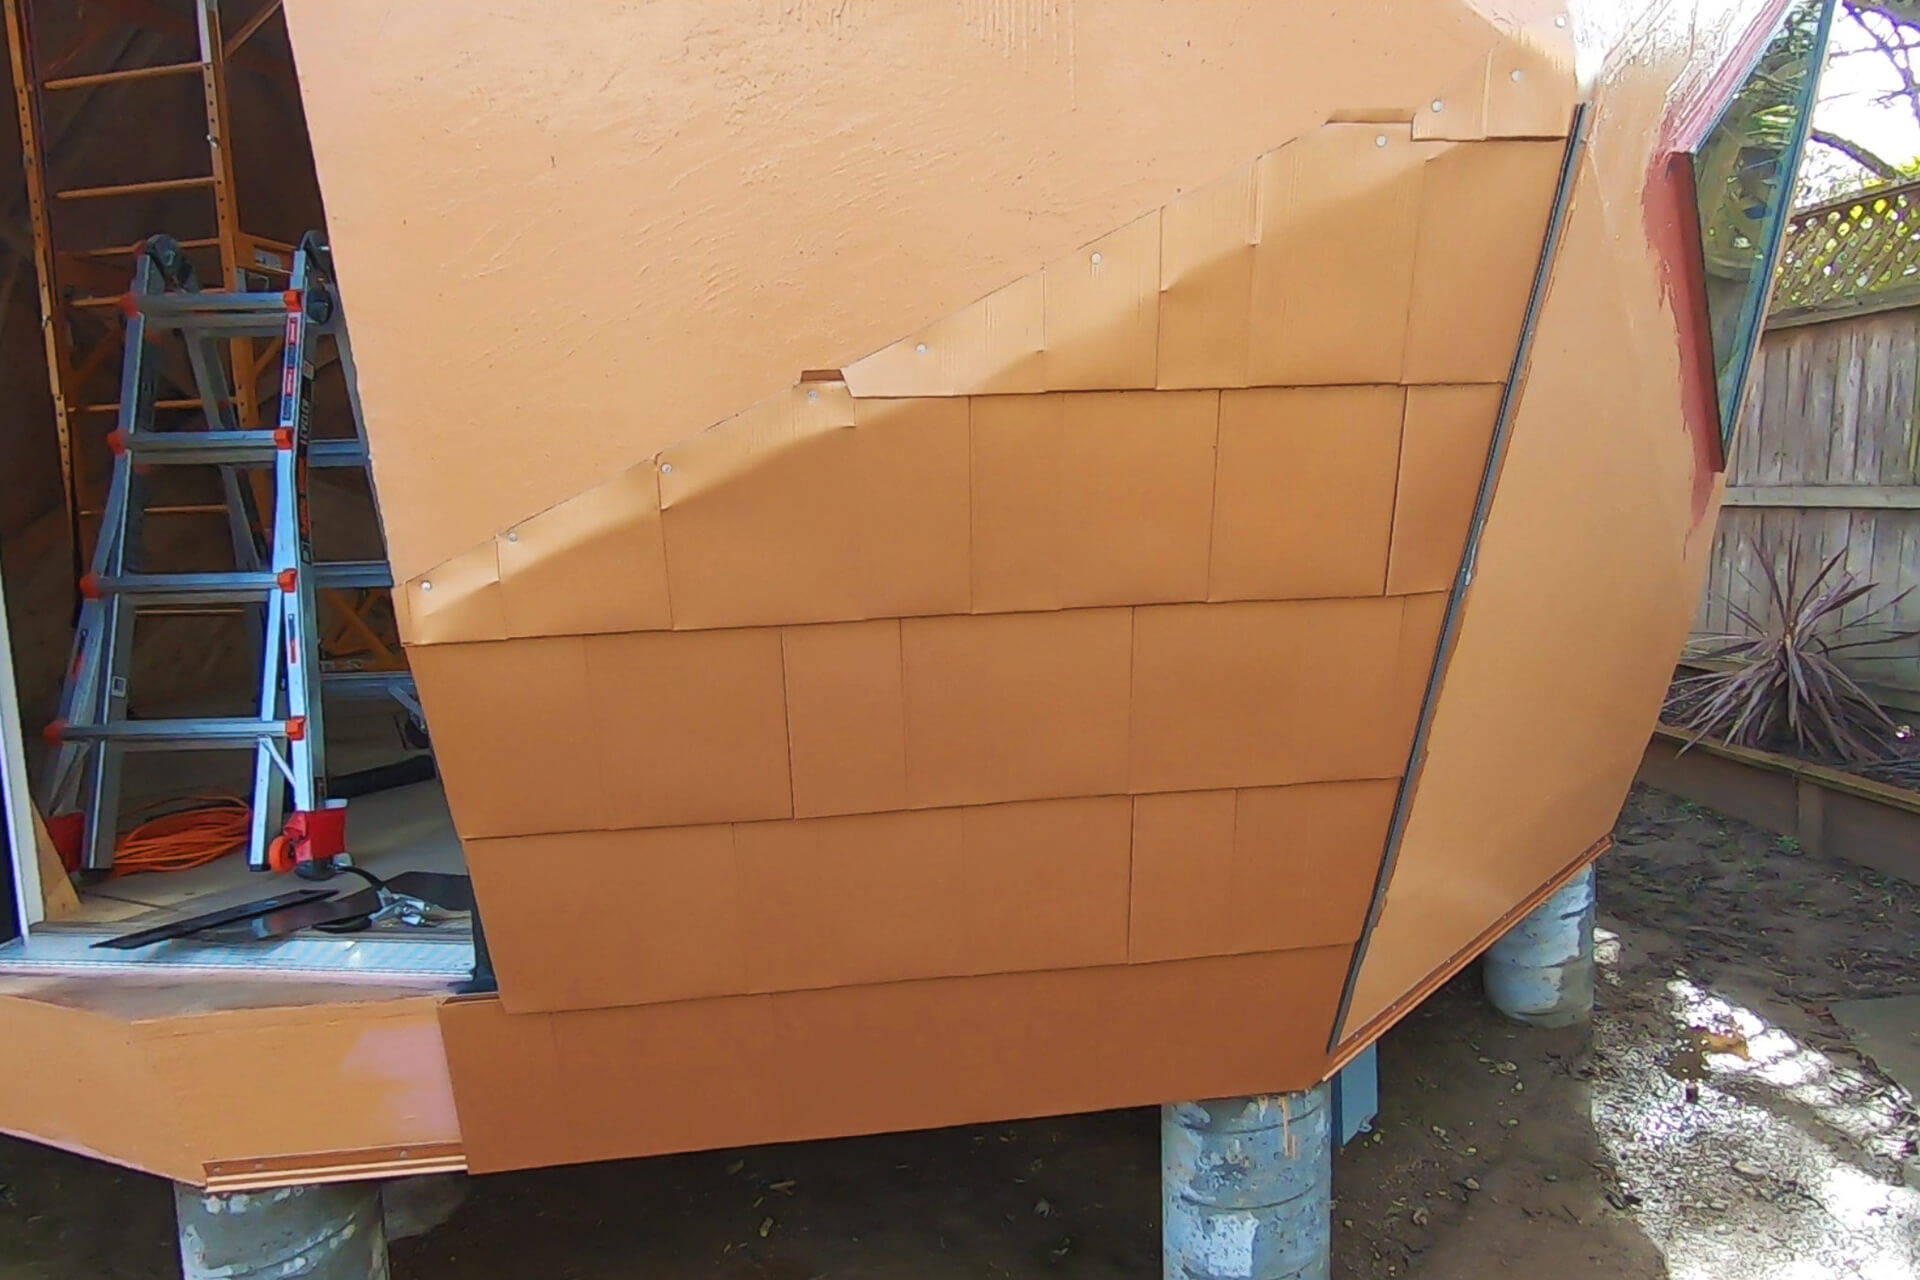
The completed shingling of the first dome panel. Subsequent panels will be completed in a counterclockwise order, from the bottom level to the top.
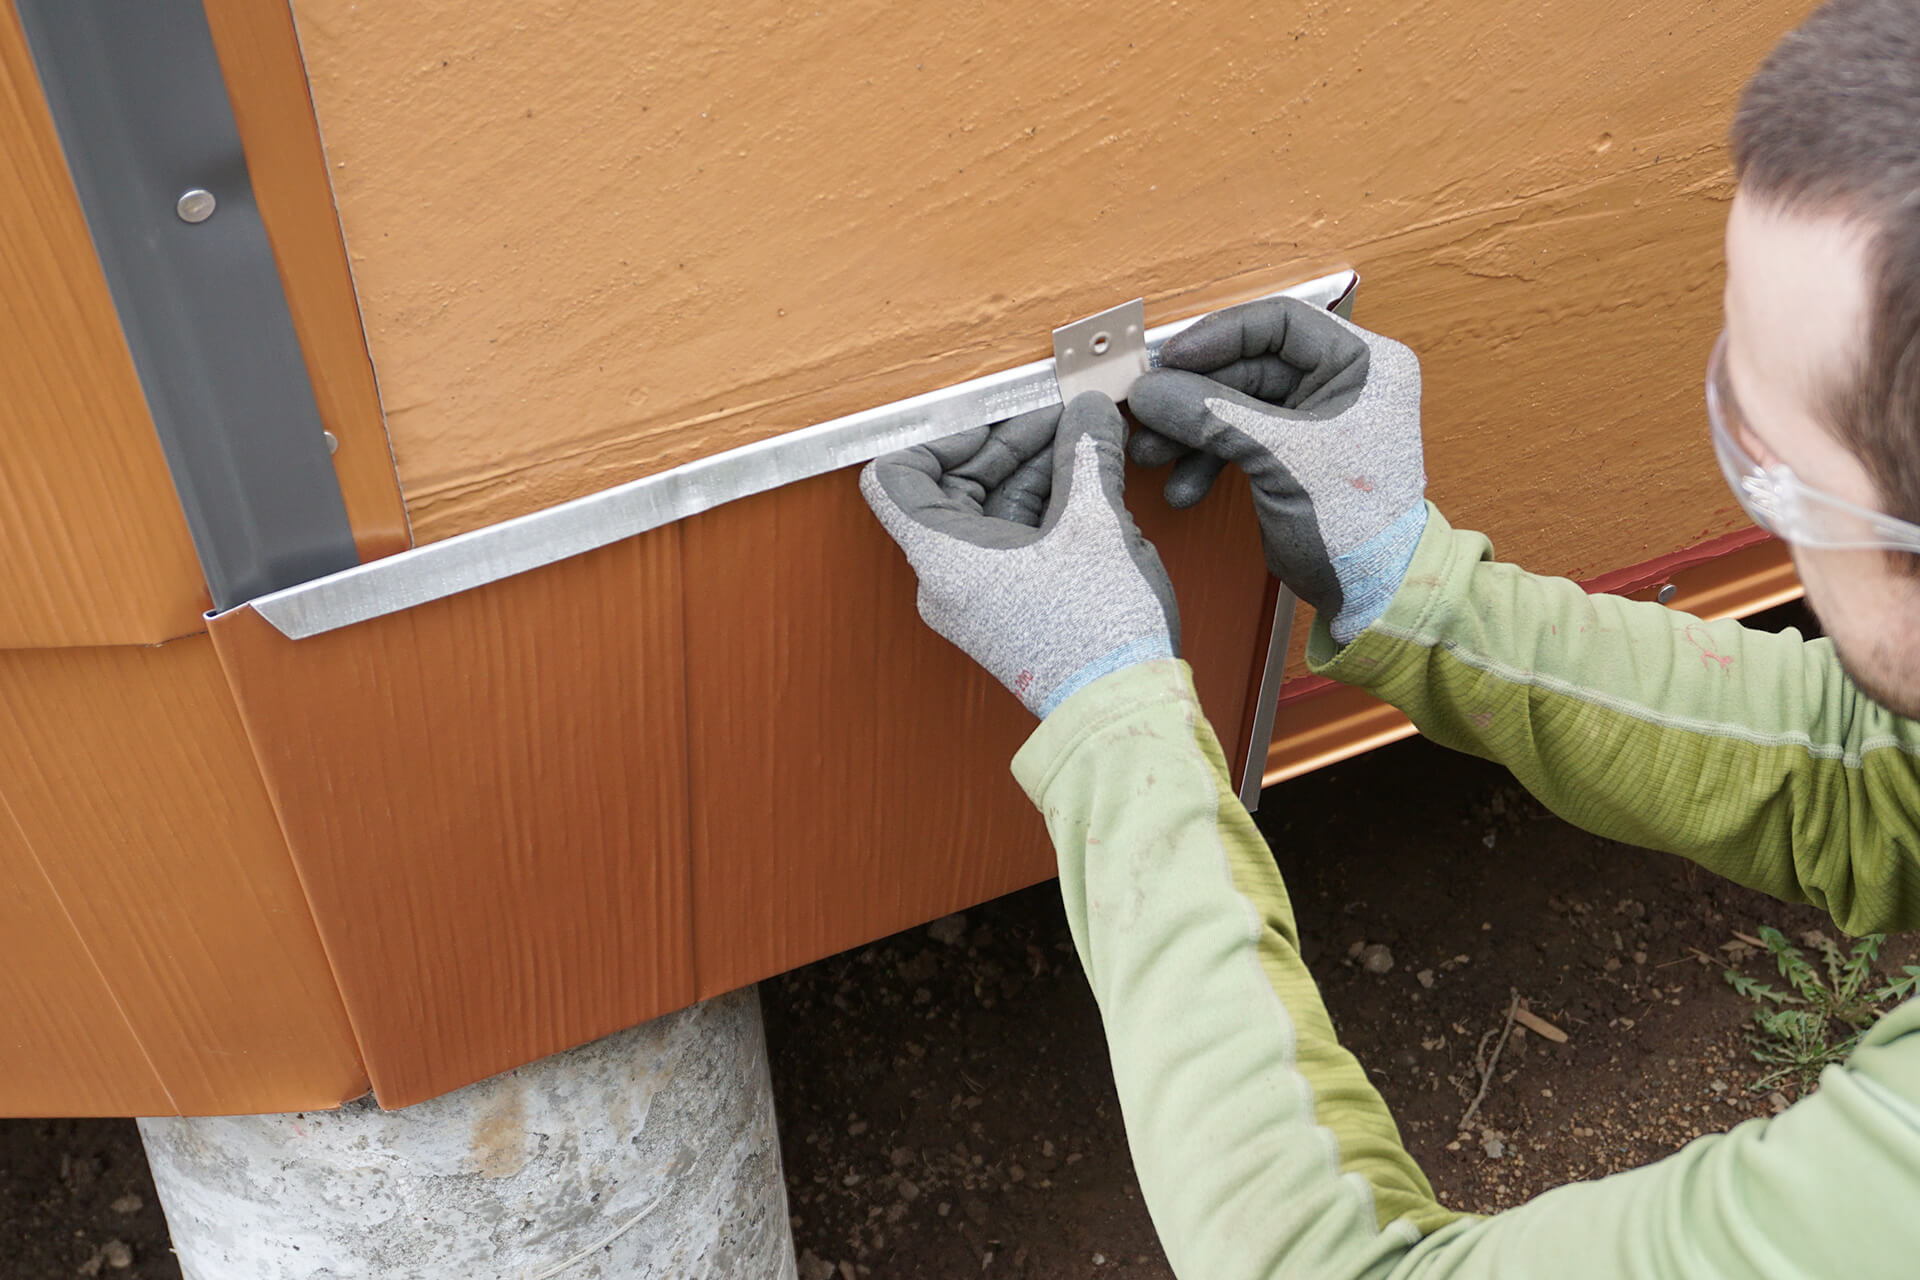
Hook the first shingle of the next panel onto the Siding Starter of the previous one. Ensure both lips of the Siding Starter are hooked, so only the shingle is visible when looking into the seam.
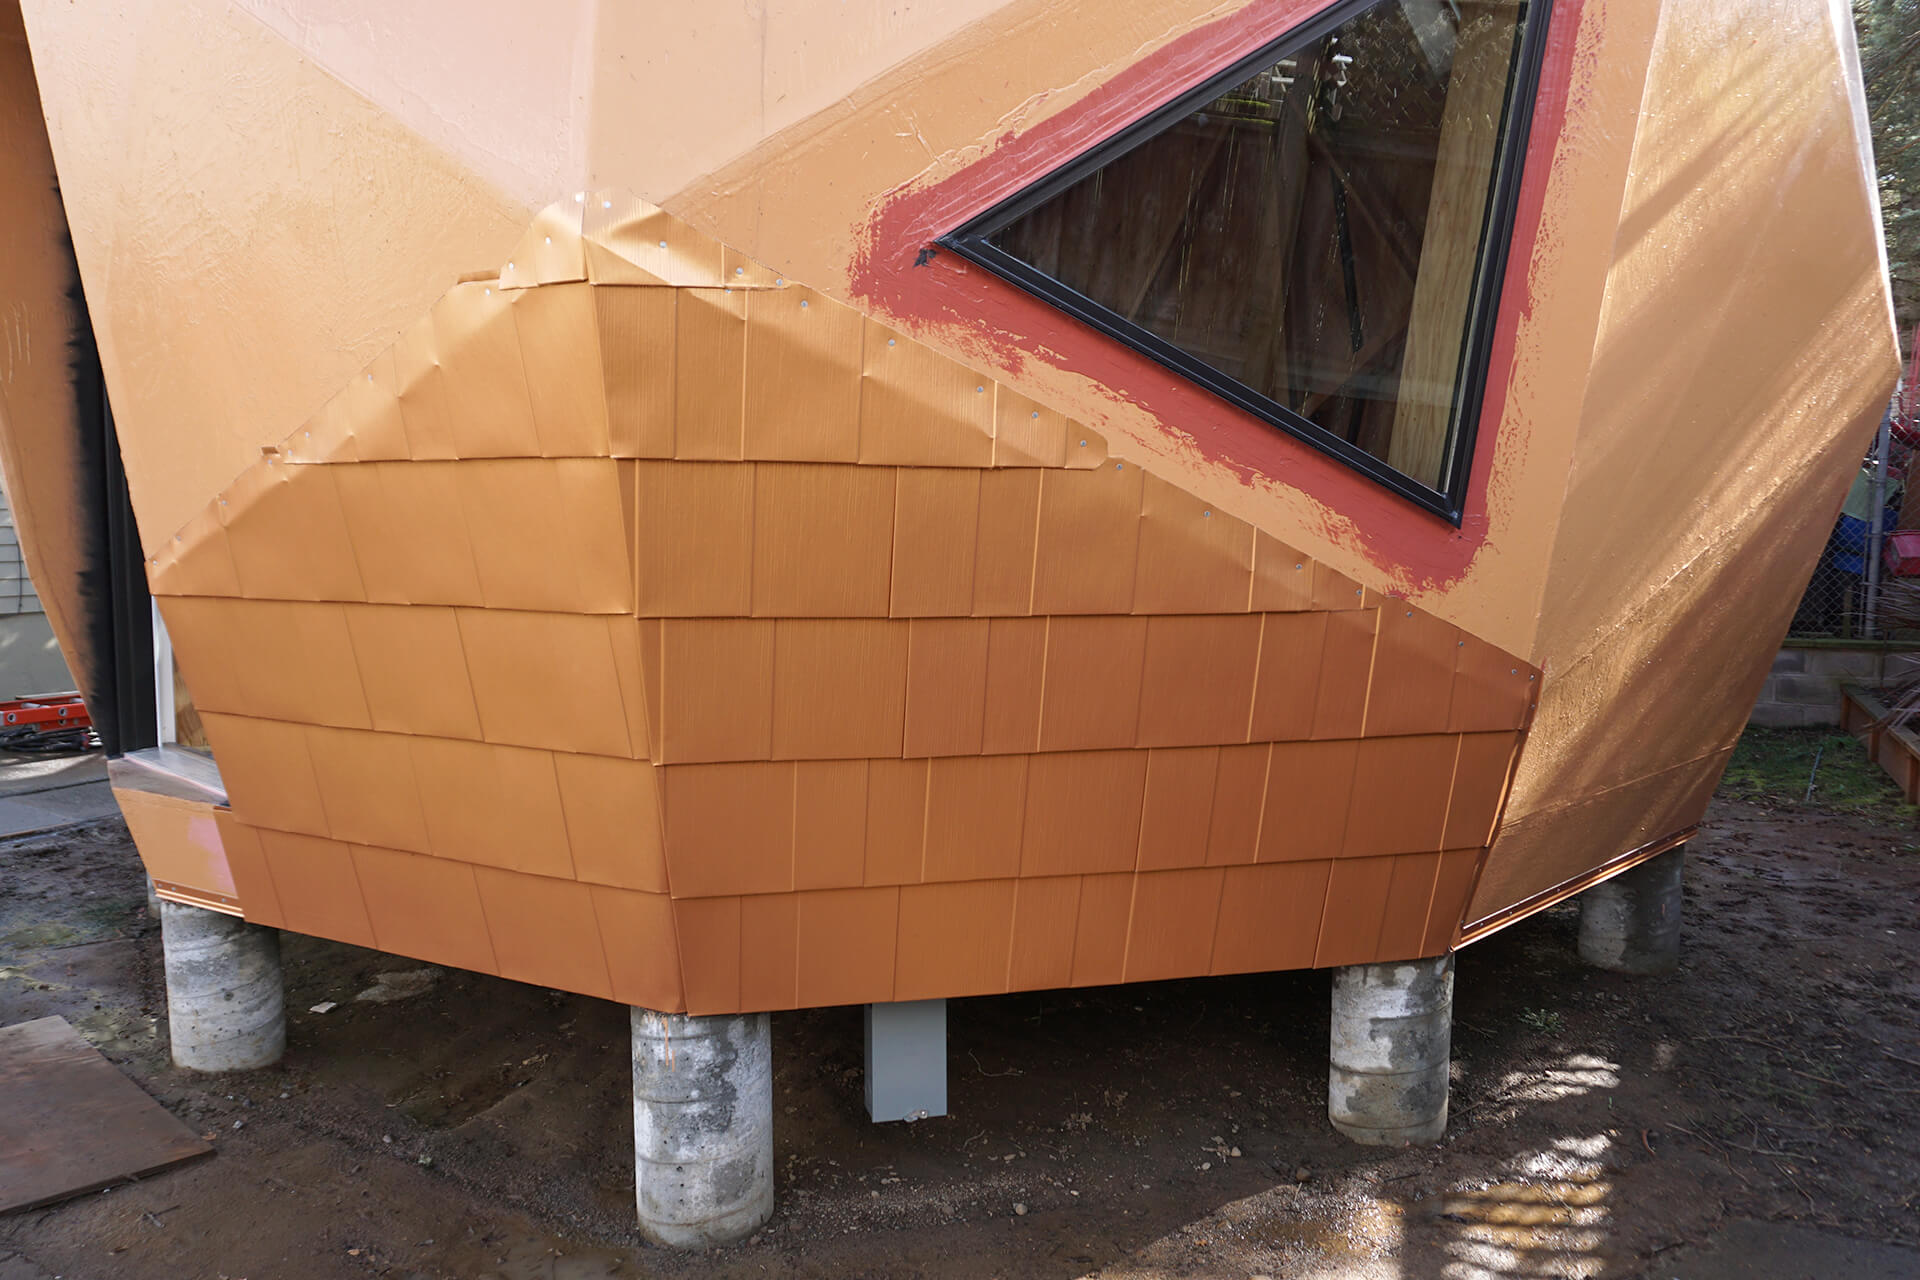
The completed shingling of the second dome panel.
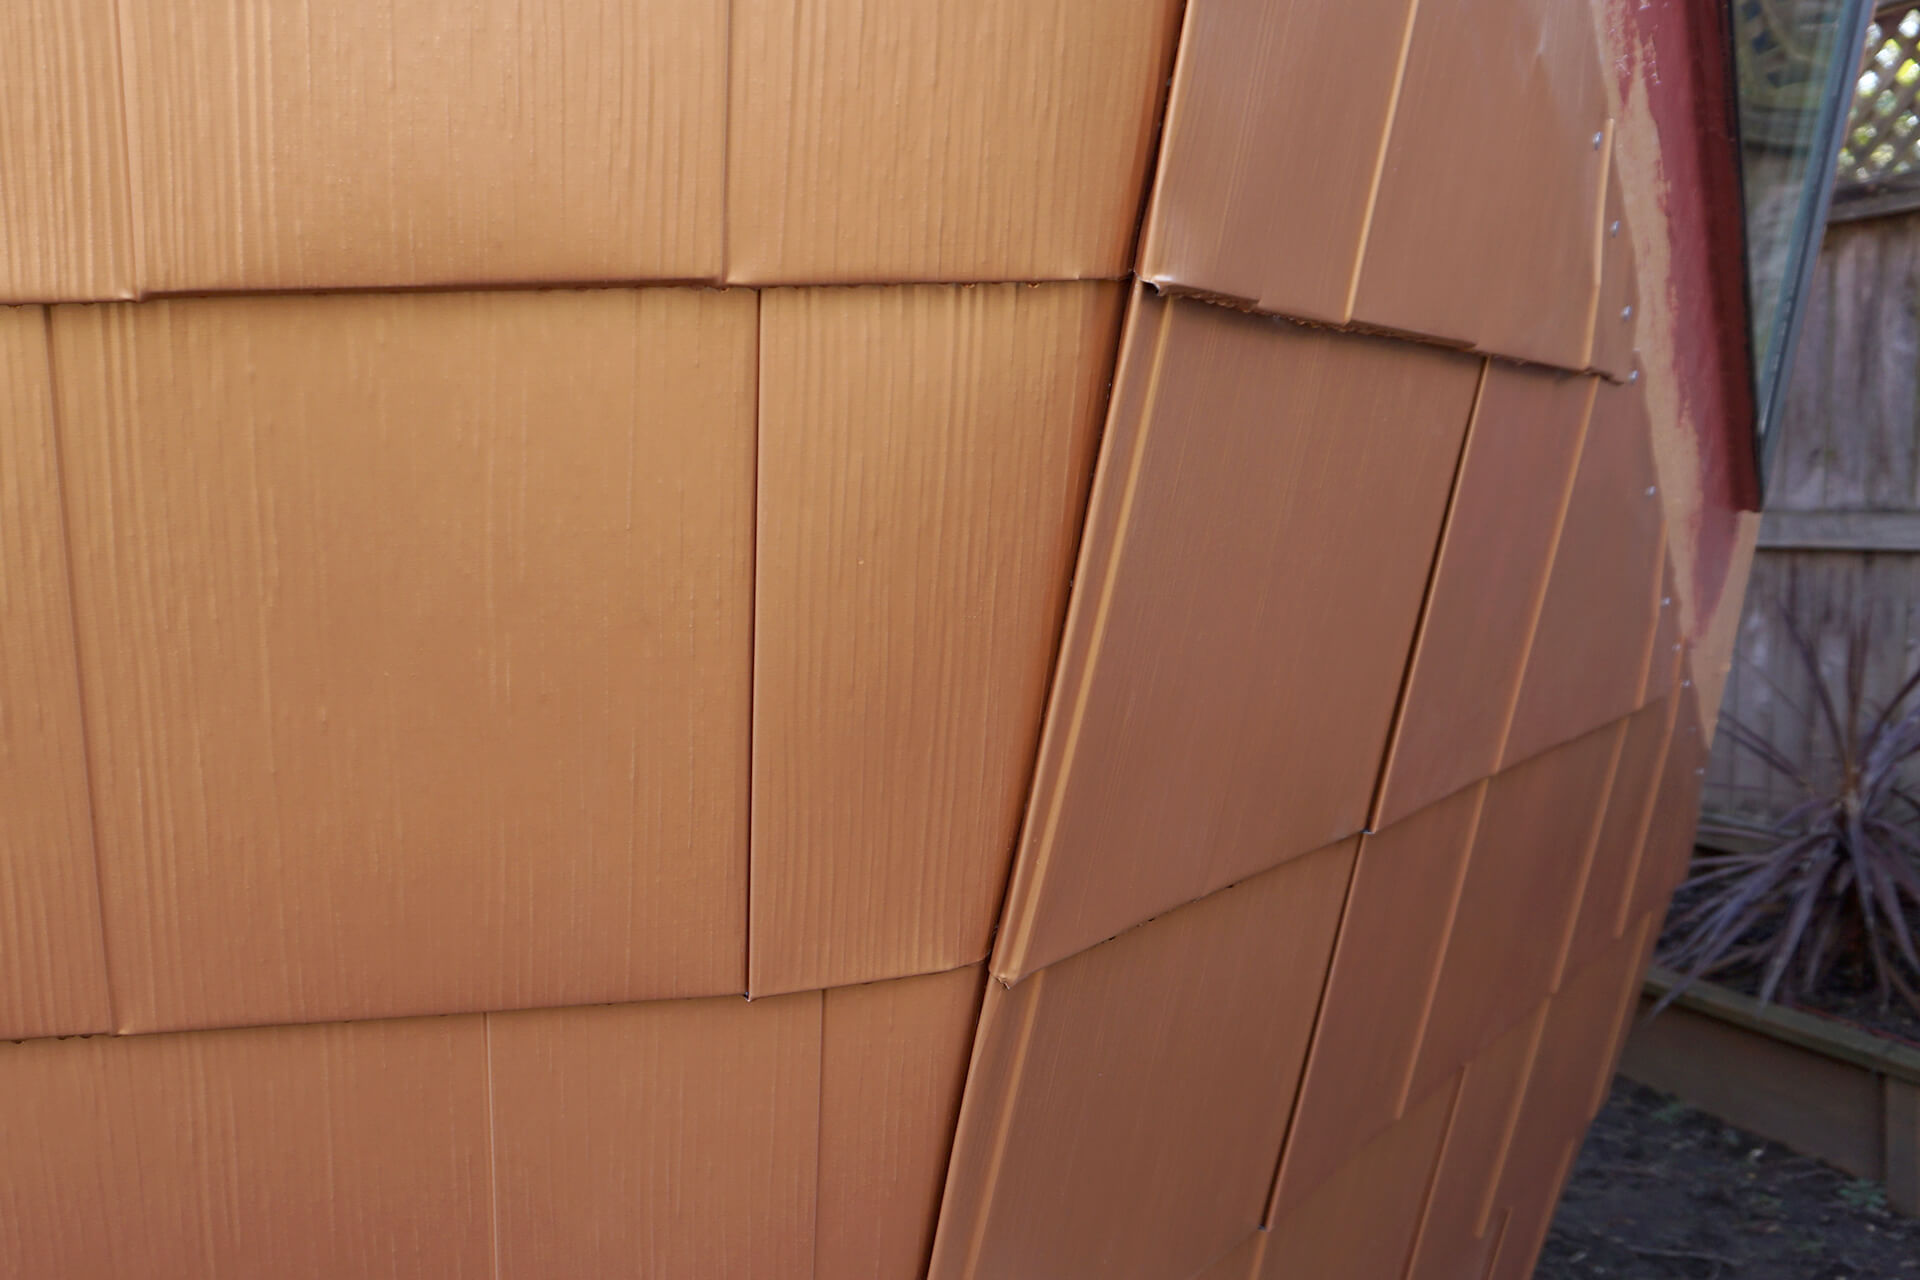
Detail shot showing the hooked edge of a shingled panel. The Siding Starter is completely hidden, with only the edge of the shingle hook visible.
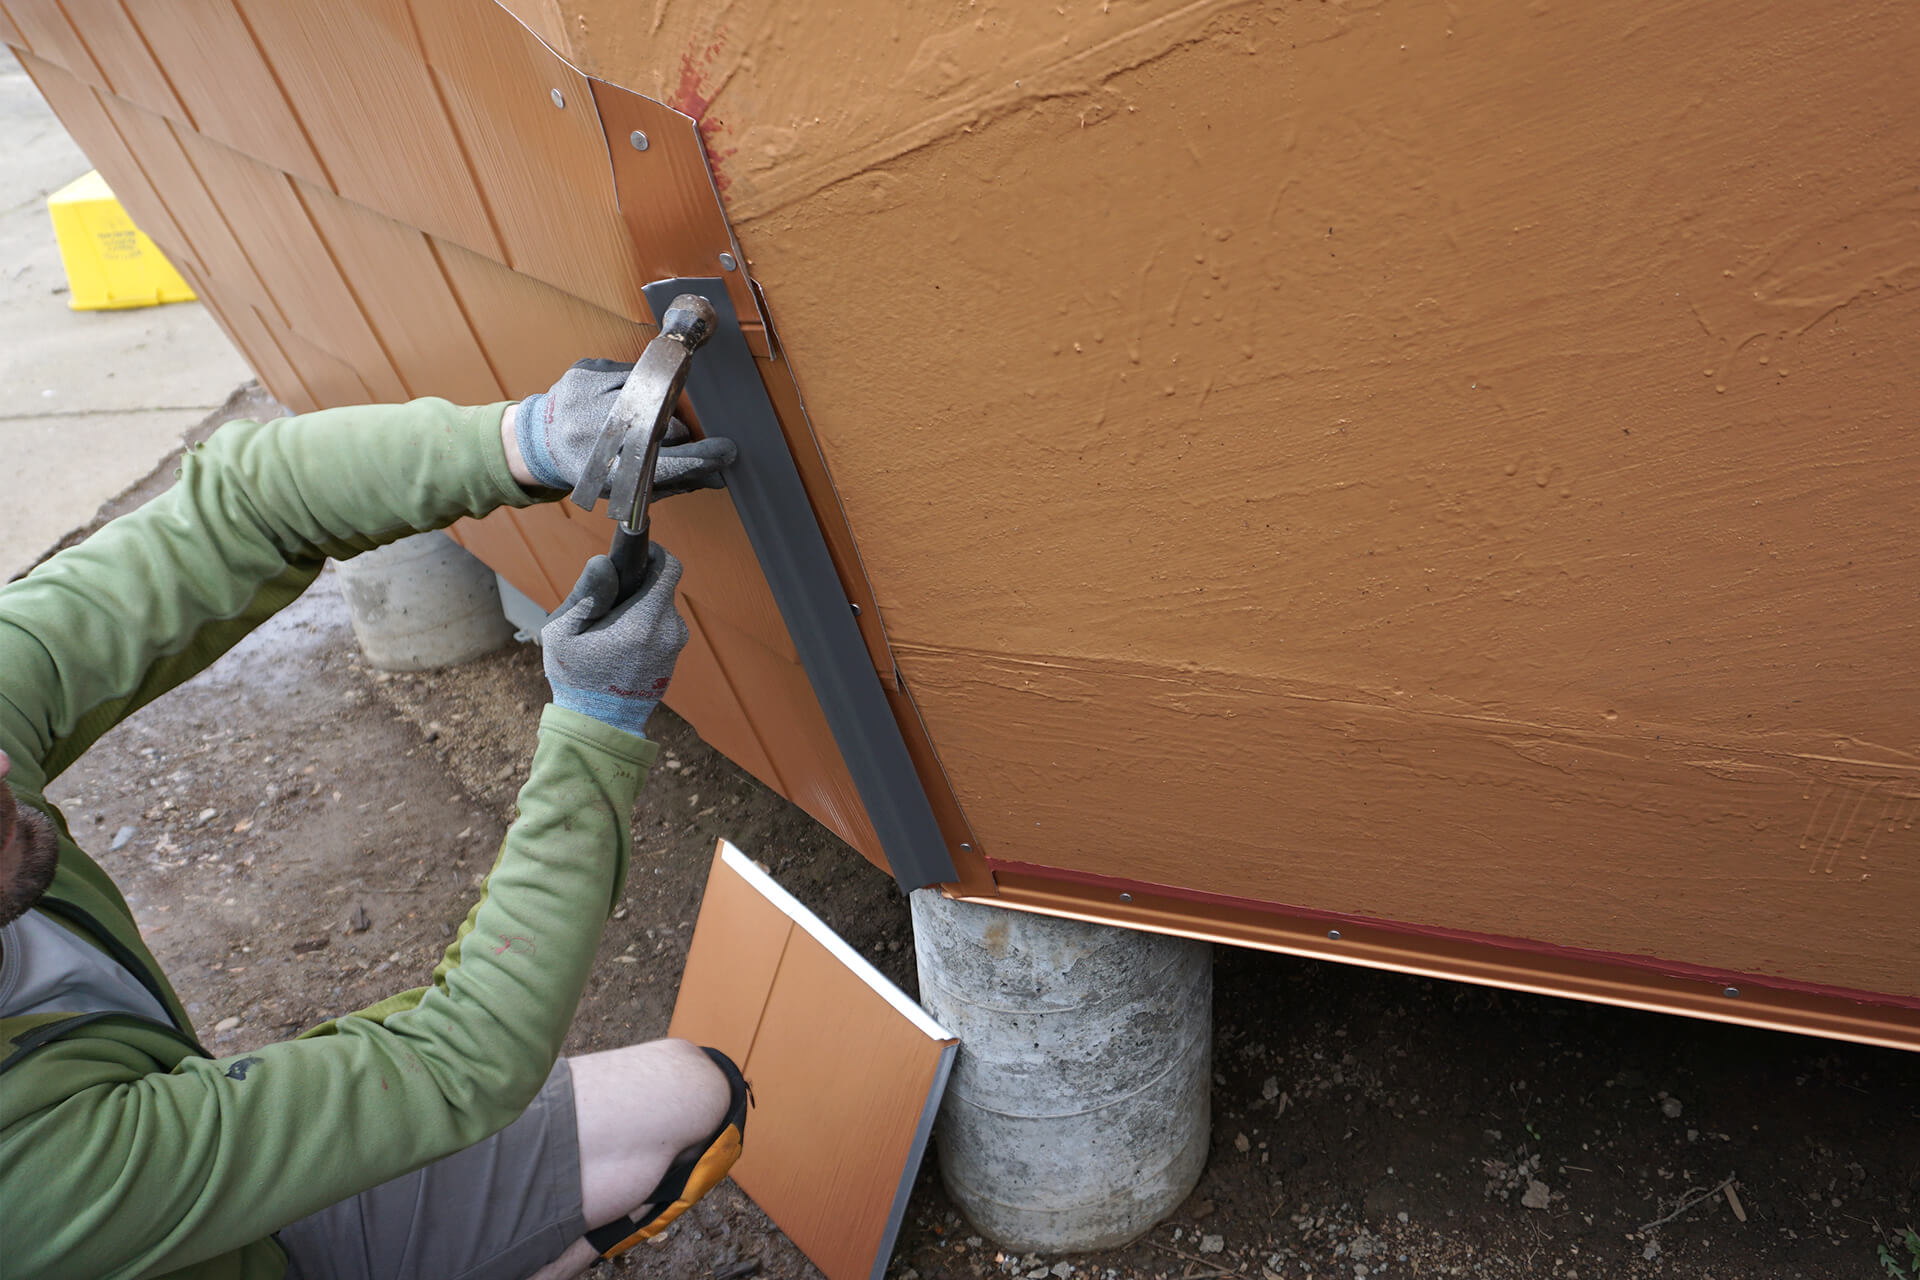
Repeat the steps for the next panel: Attach the Siding Starter Strip along the vertical underlapped edge, ensuring caulking is applied.
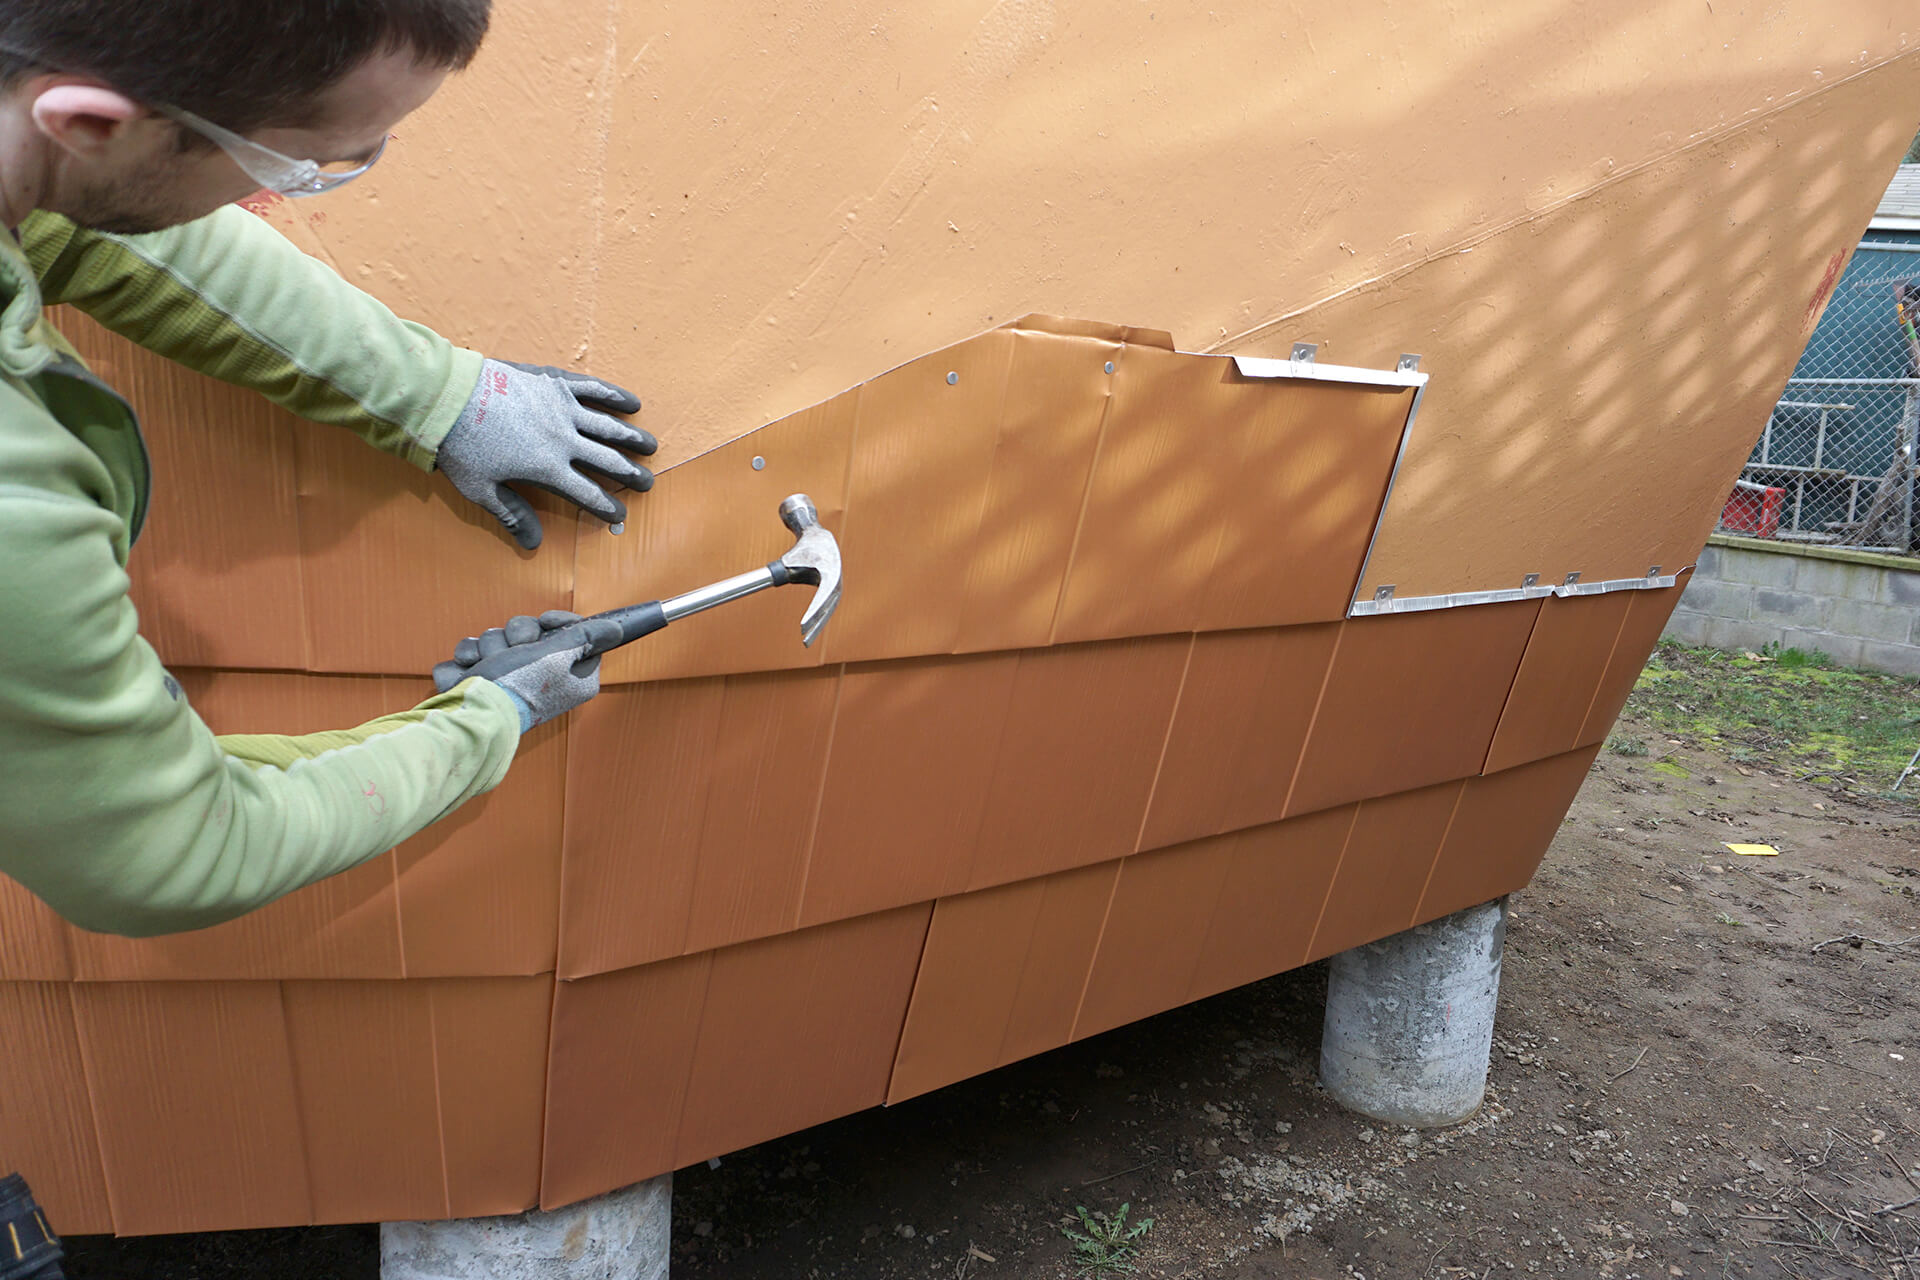
Continue shingling the remainder of the base panels.
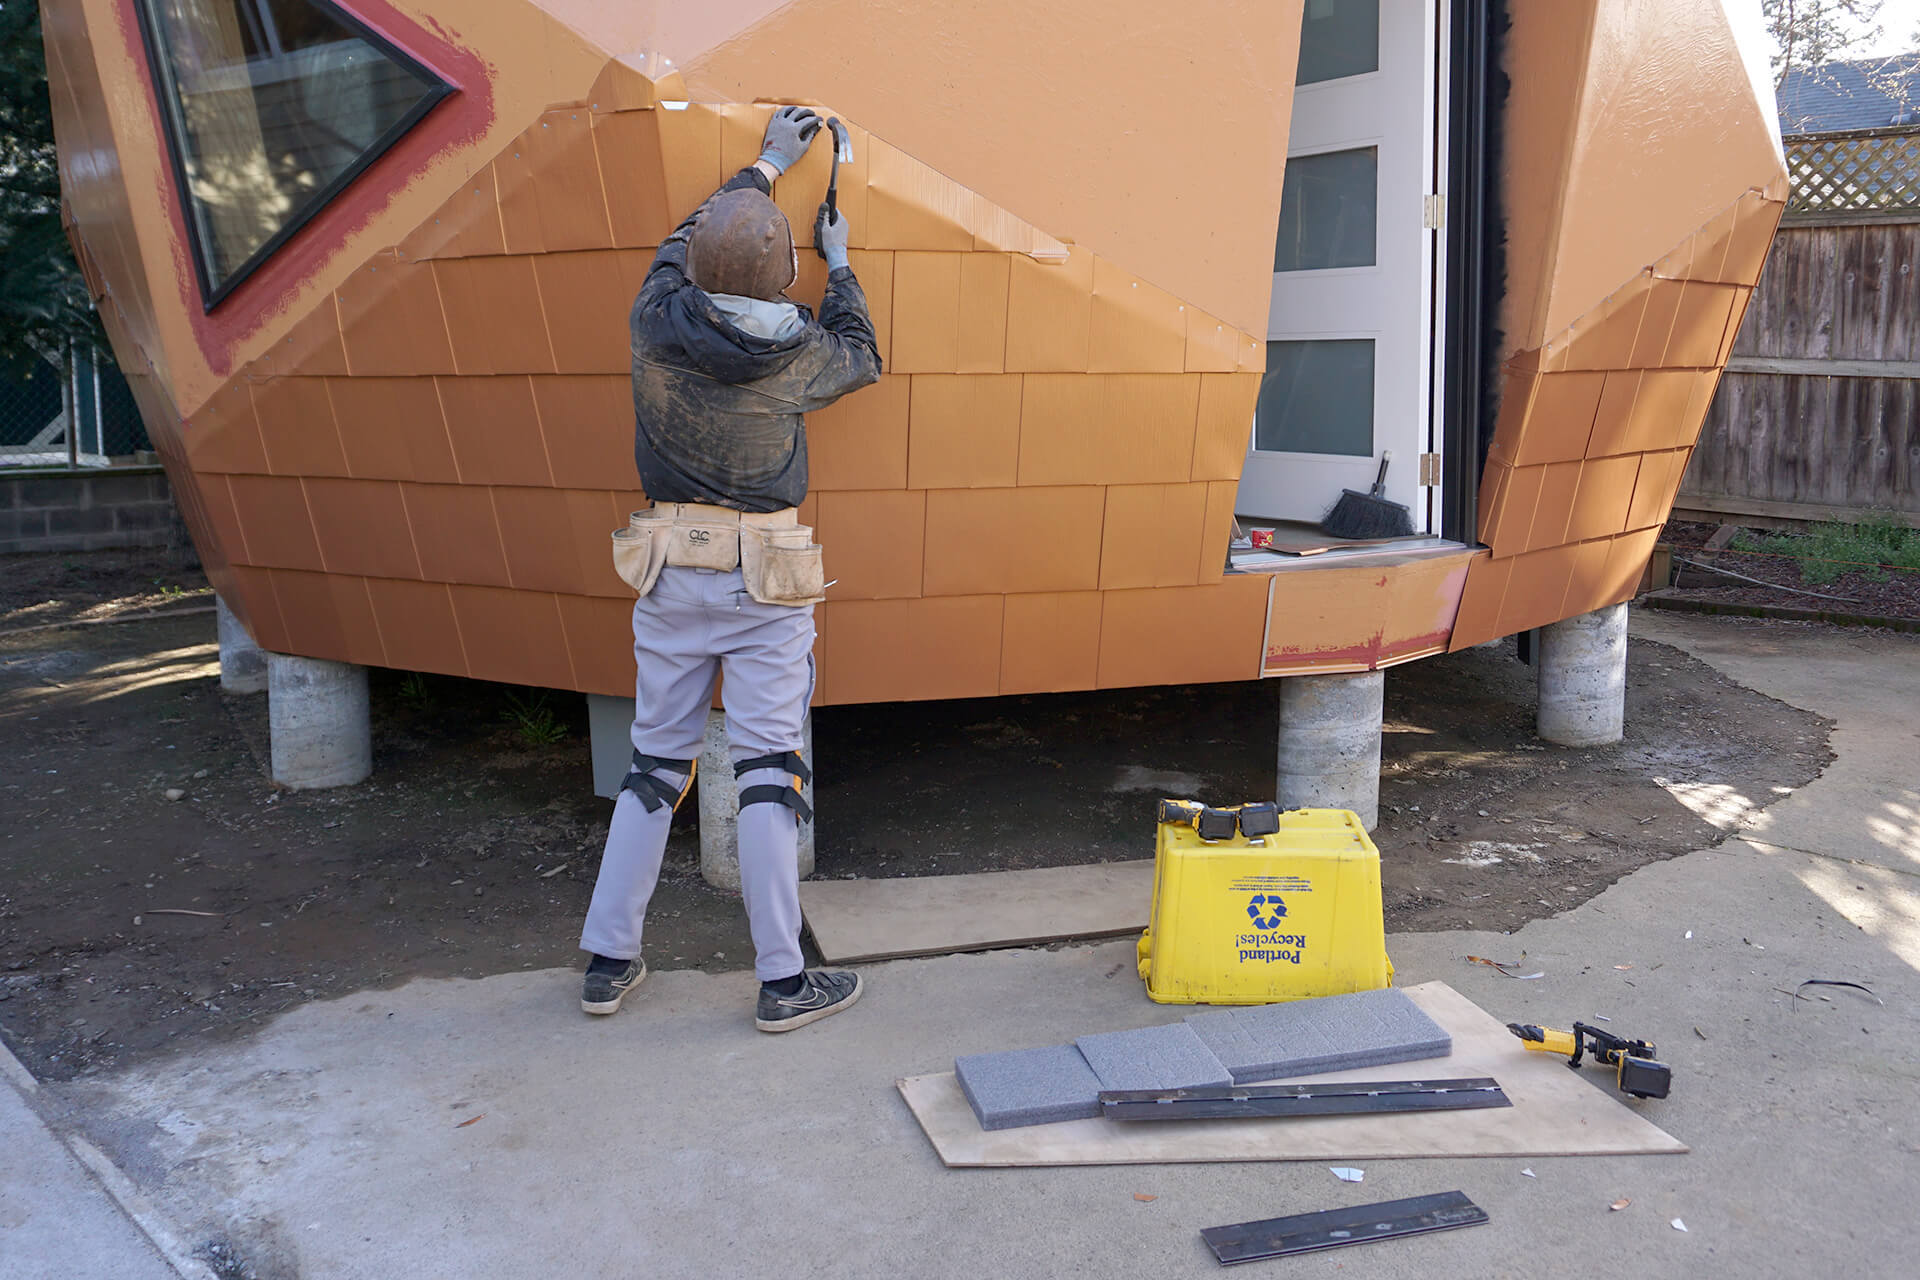
The last of the base panels being shingled.
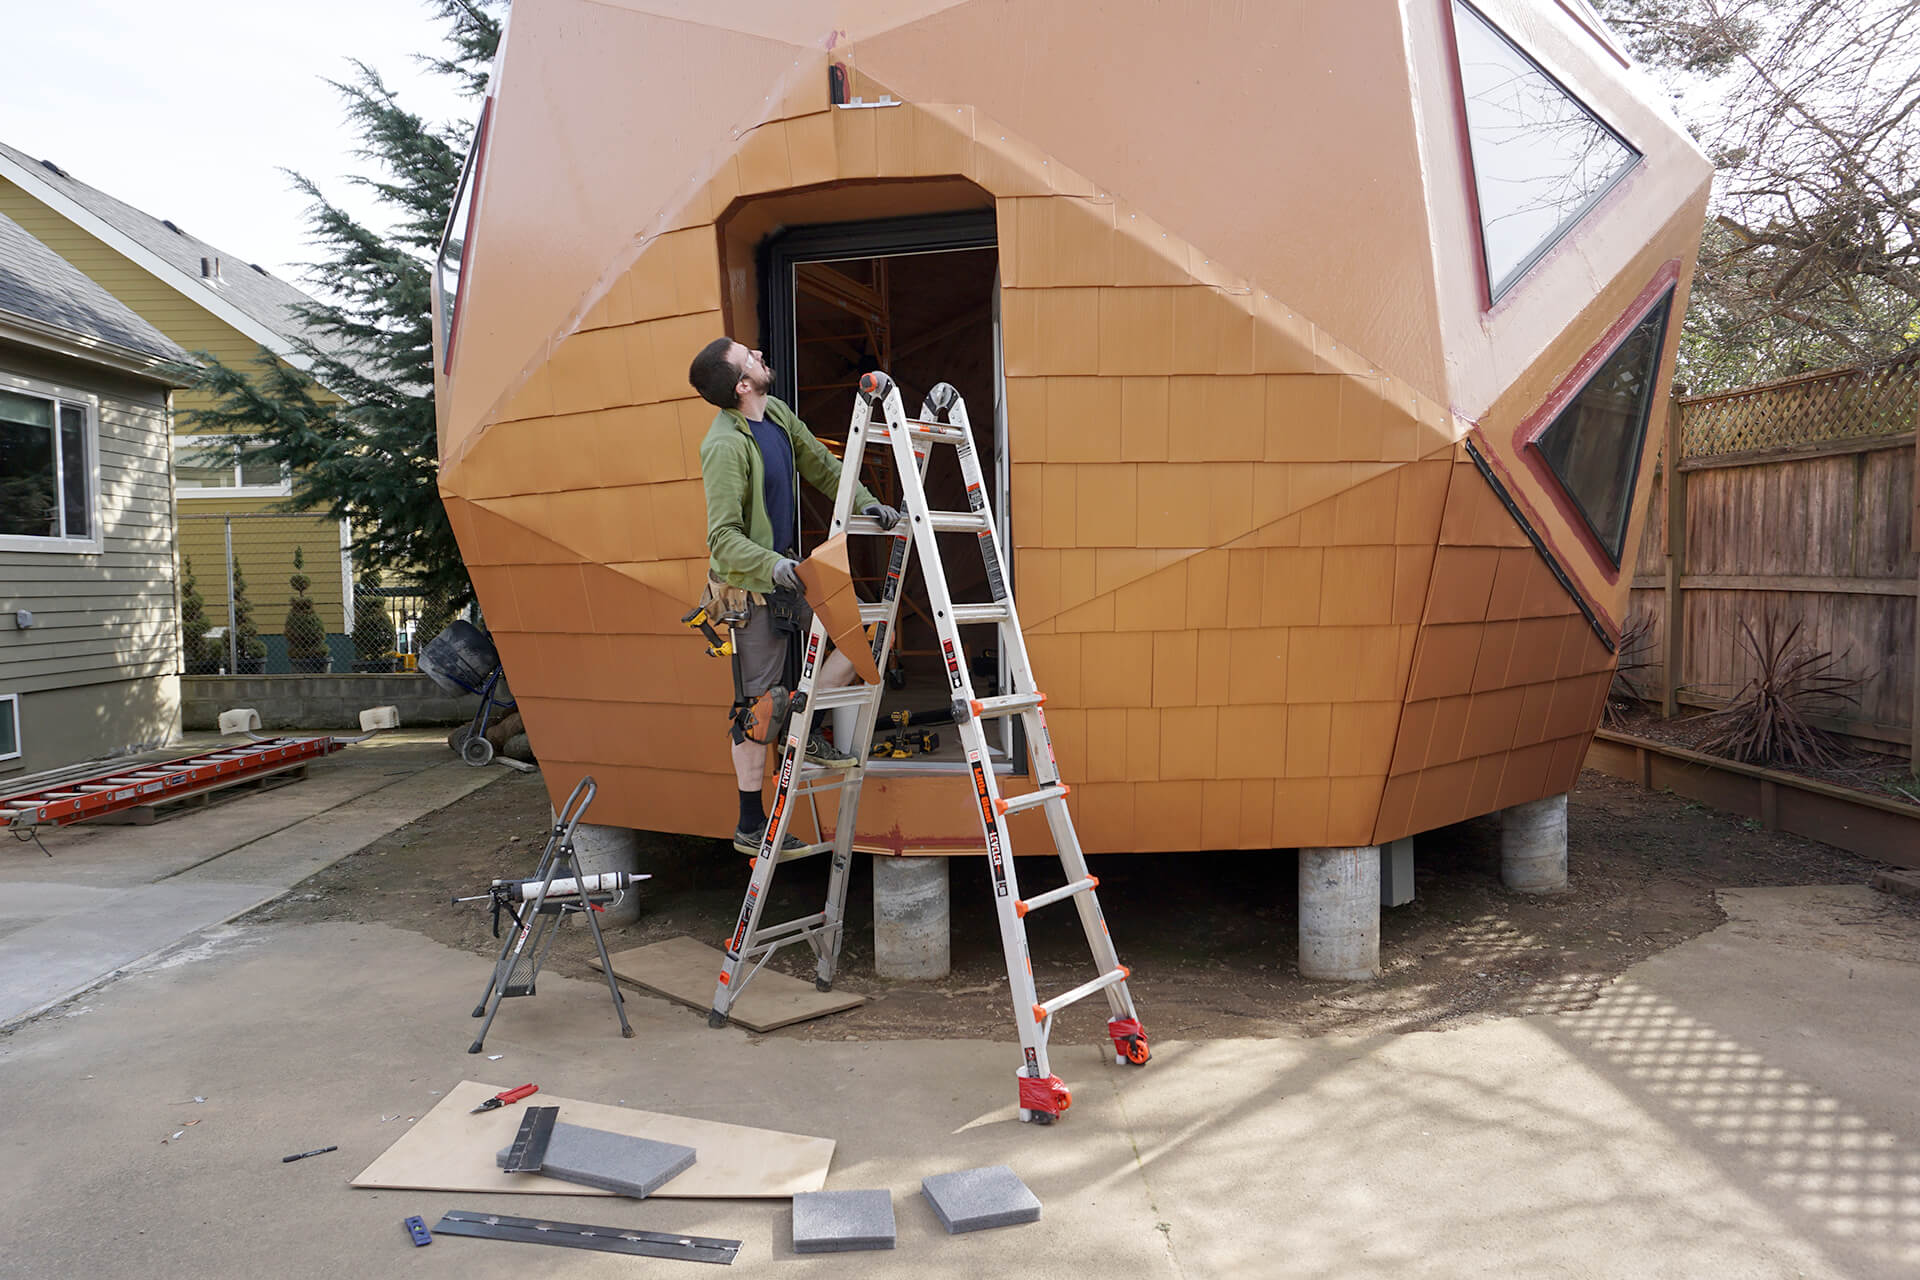
Shingle around the door next. As always, consult the drawings for the plan.
Next Step
© 2025 Dodeca Domes. All rights reserved.

