In-Wall – HRV Ducts
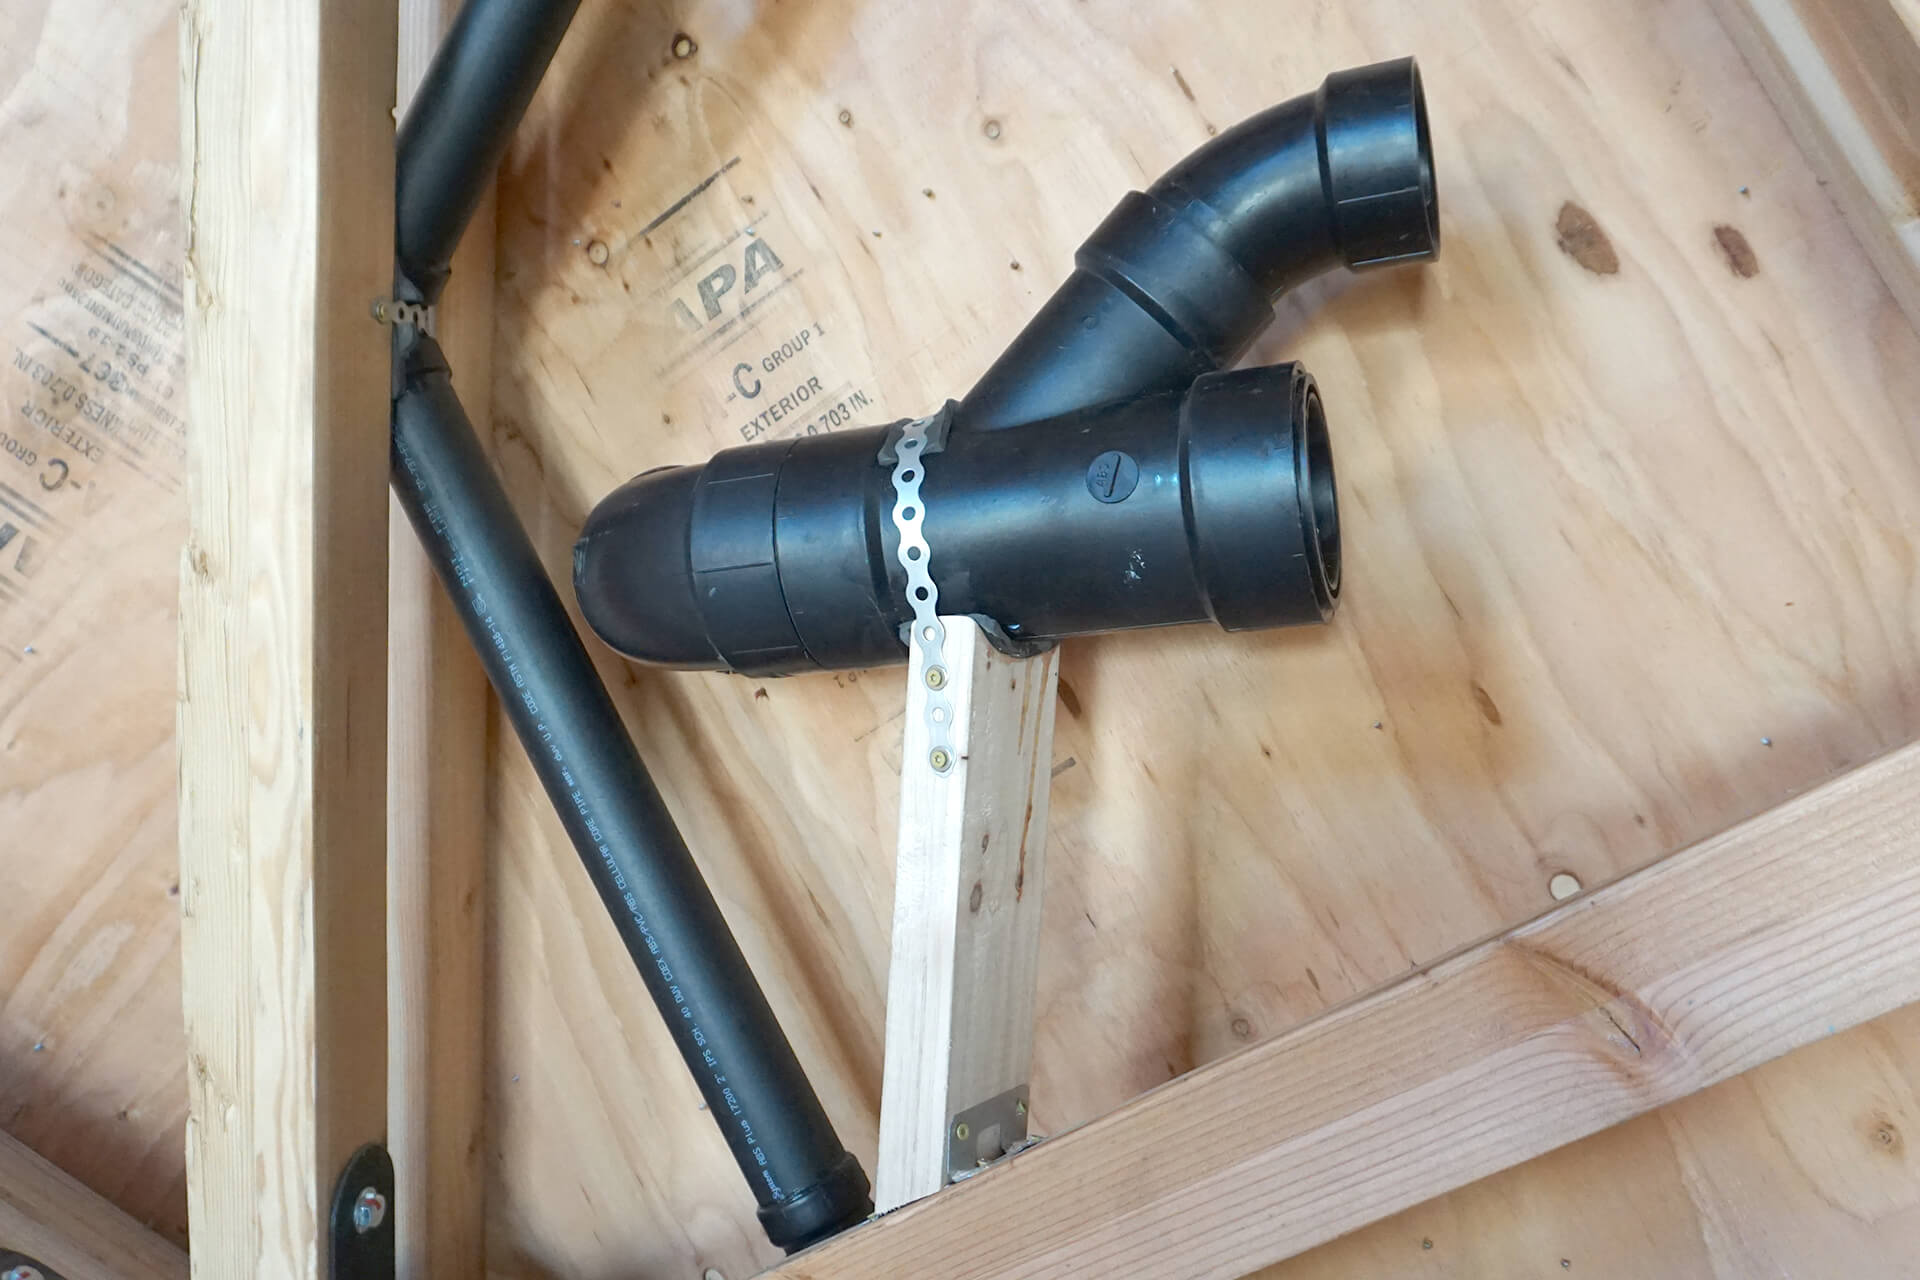
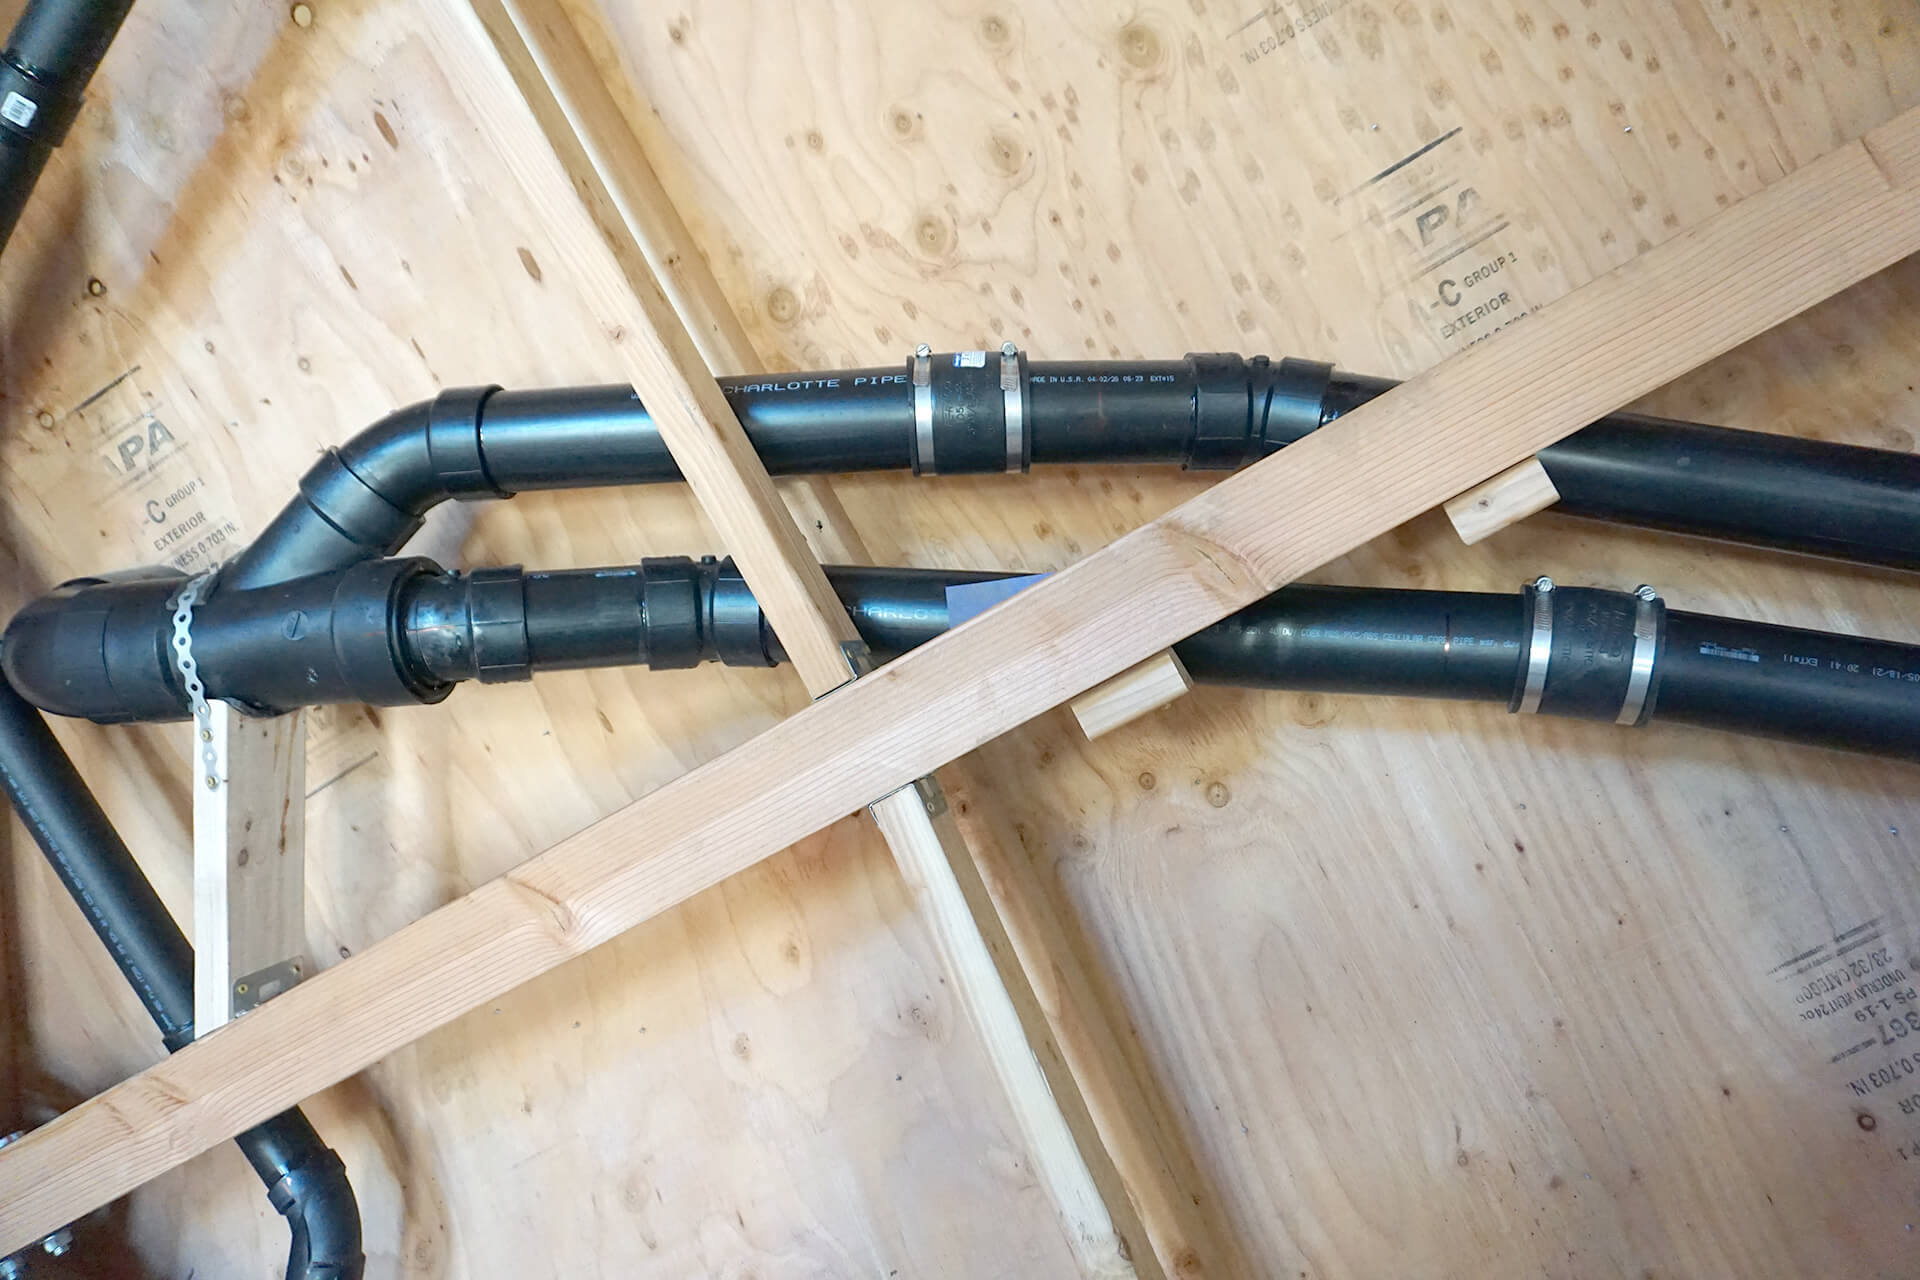
Use blocking and metal strapping (shown here) to secure the HRV pipe in place. Rubber or foam can also be used to ensure a snug, noise-free connection.
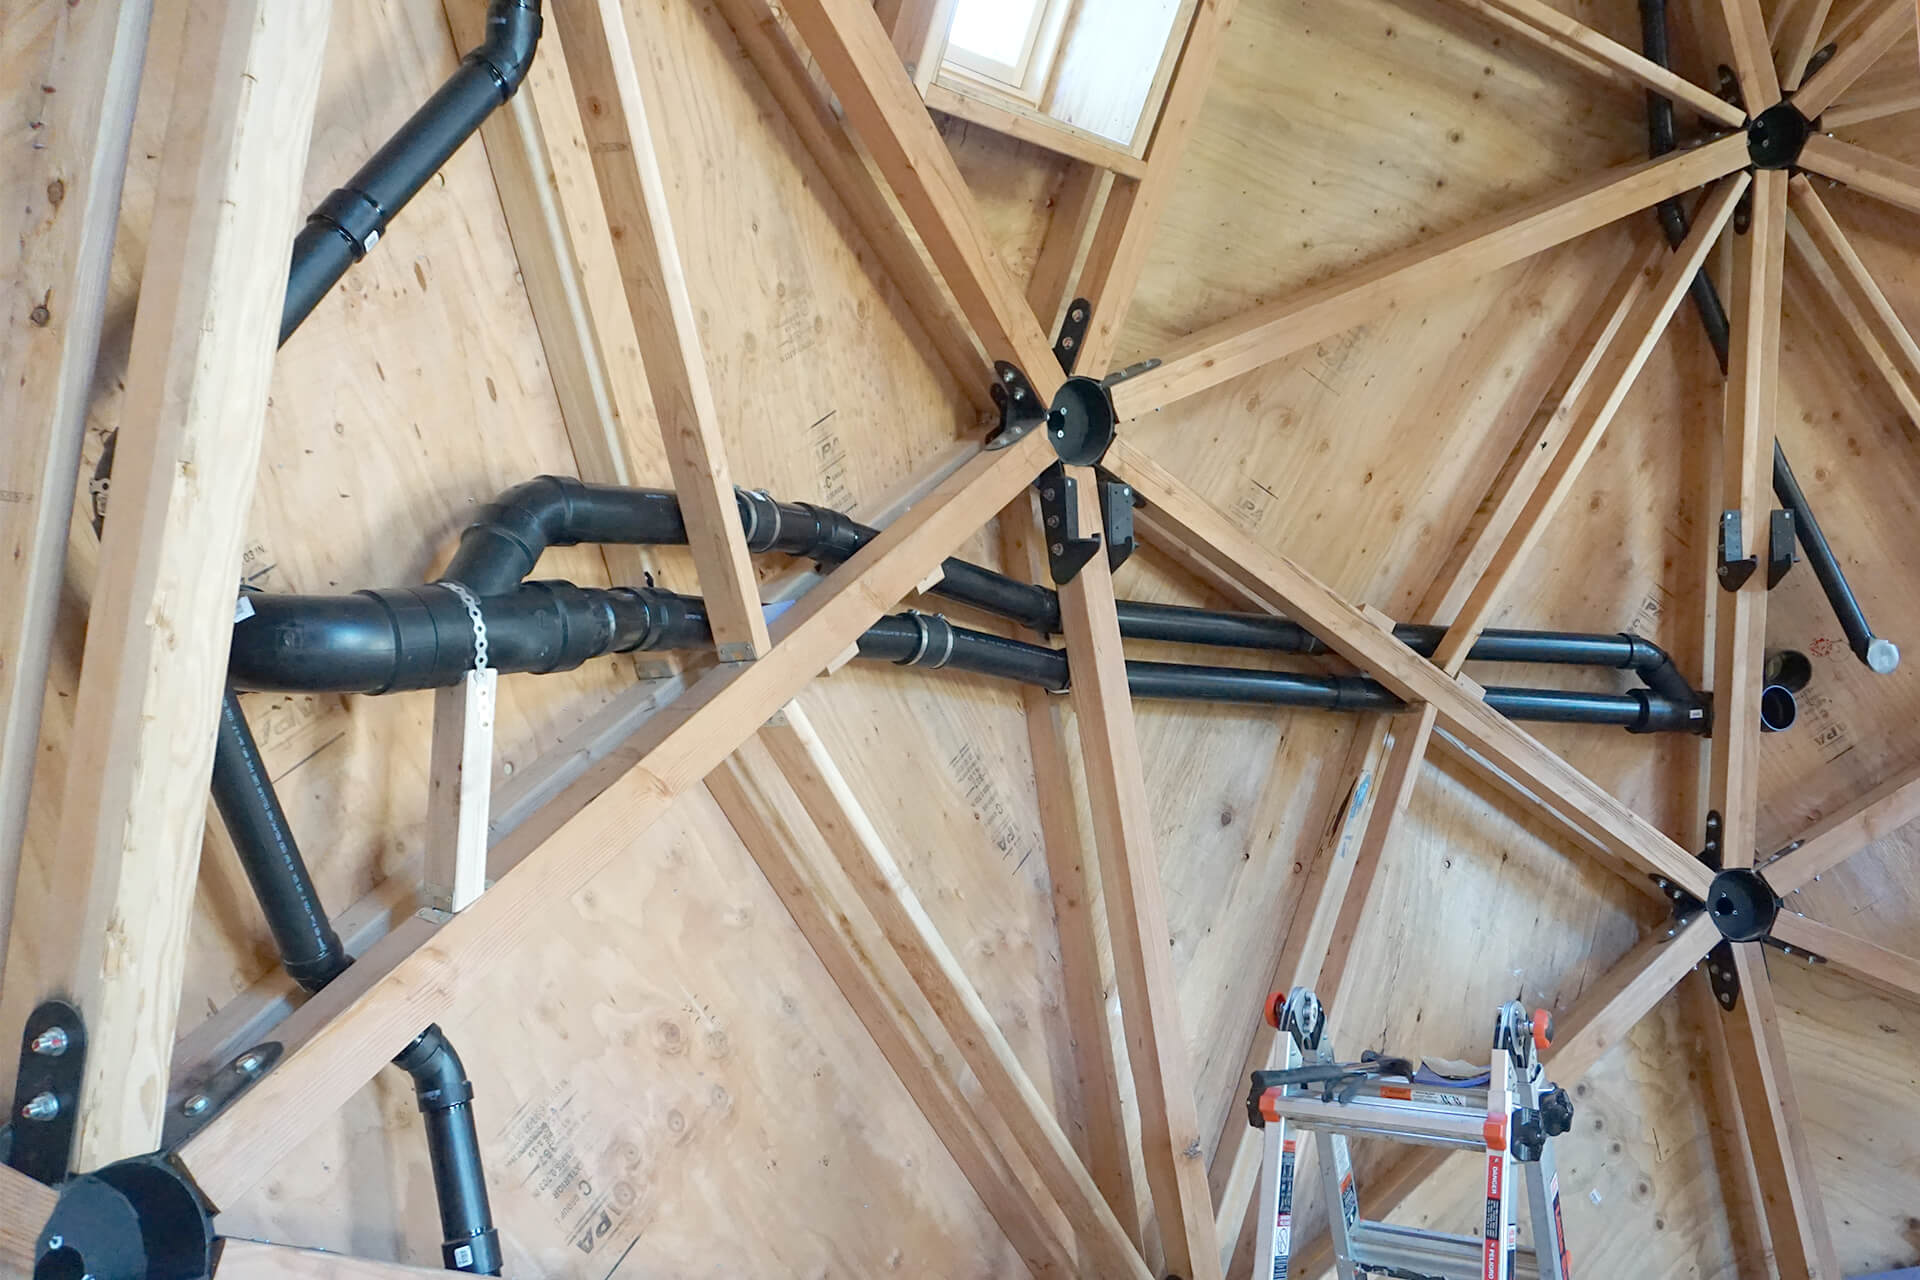
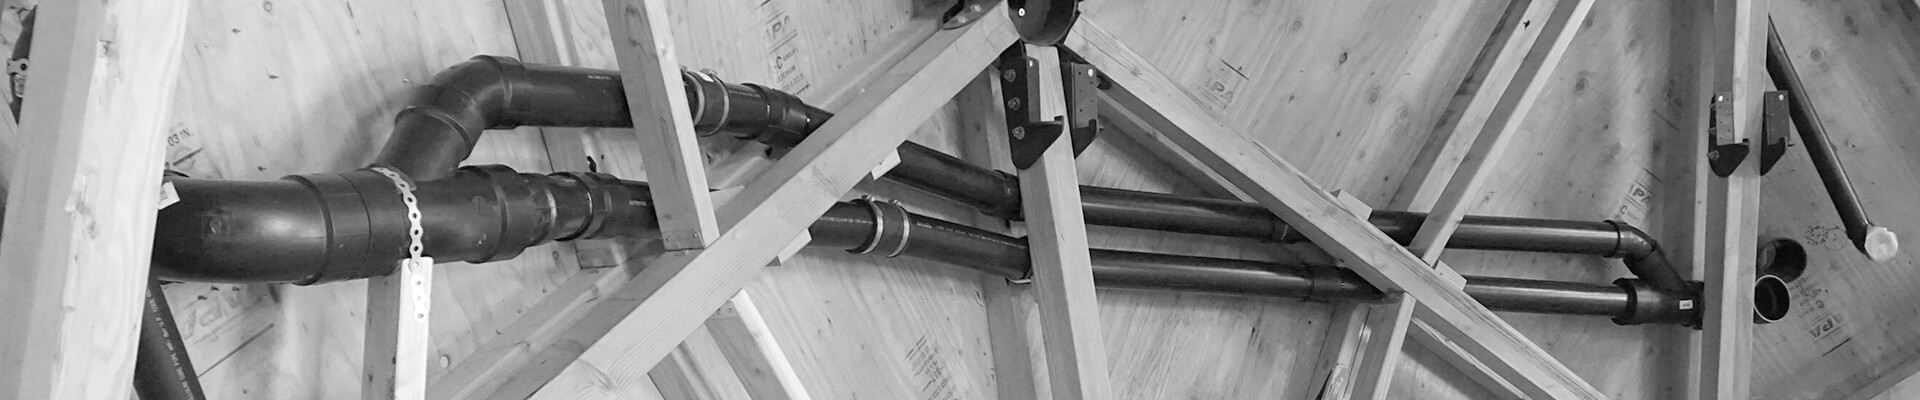
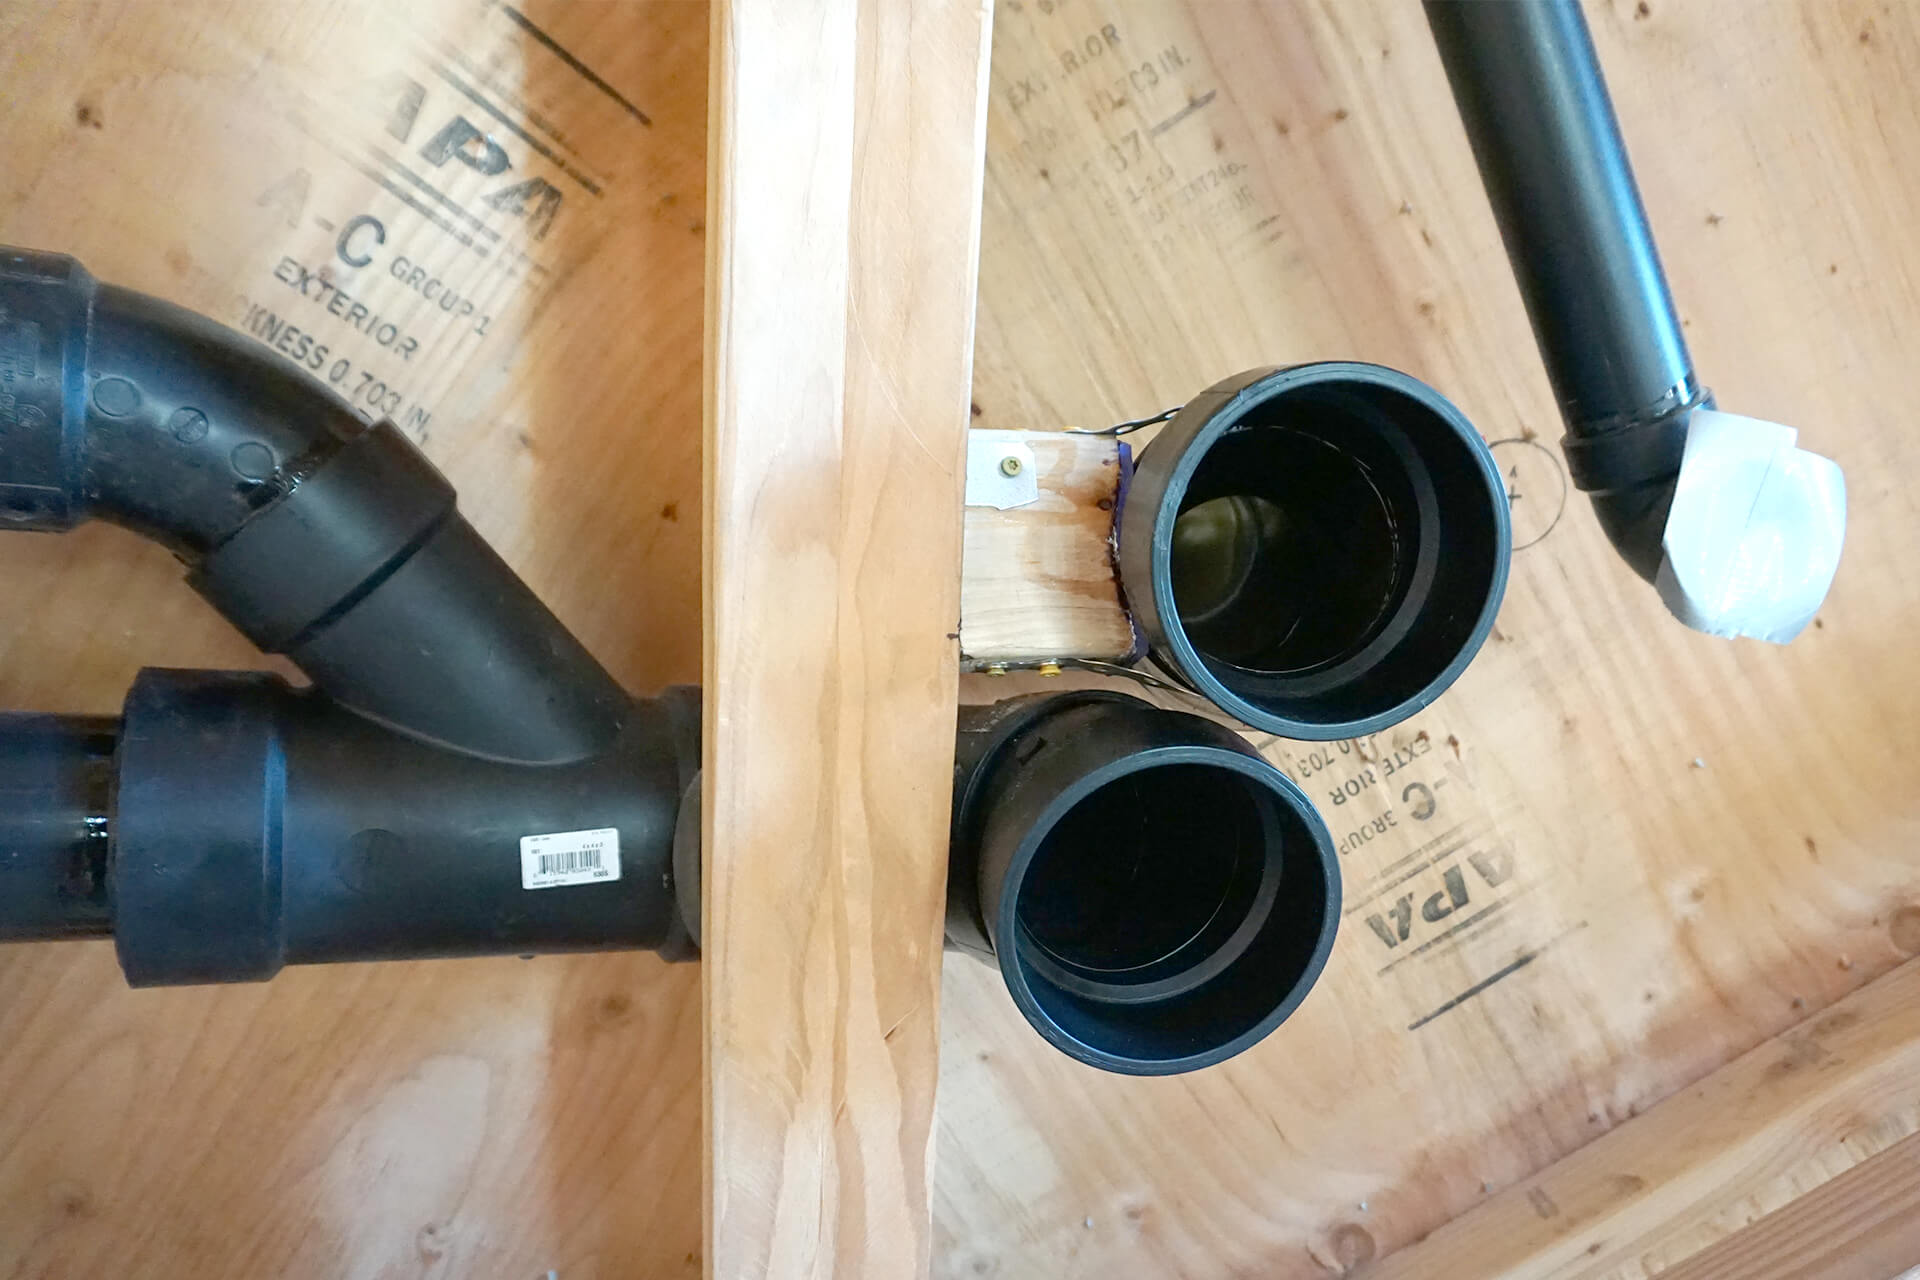
Turn the 4” (nominal) diameter HRV intake pipe into two 3” (nominal) diameter pipes in order to fit it between the walls.
Use angled fittings and flexible couplings to navigate the space. No Struts or Studs should need to be cut.
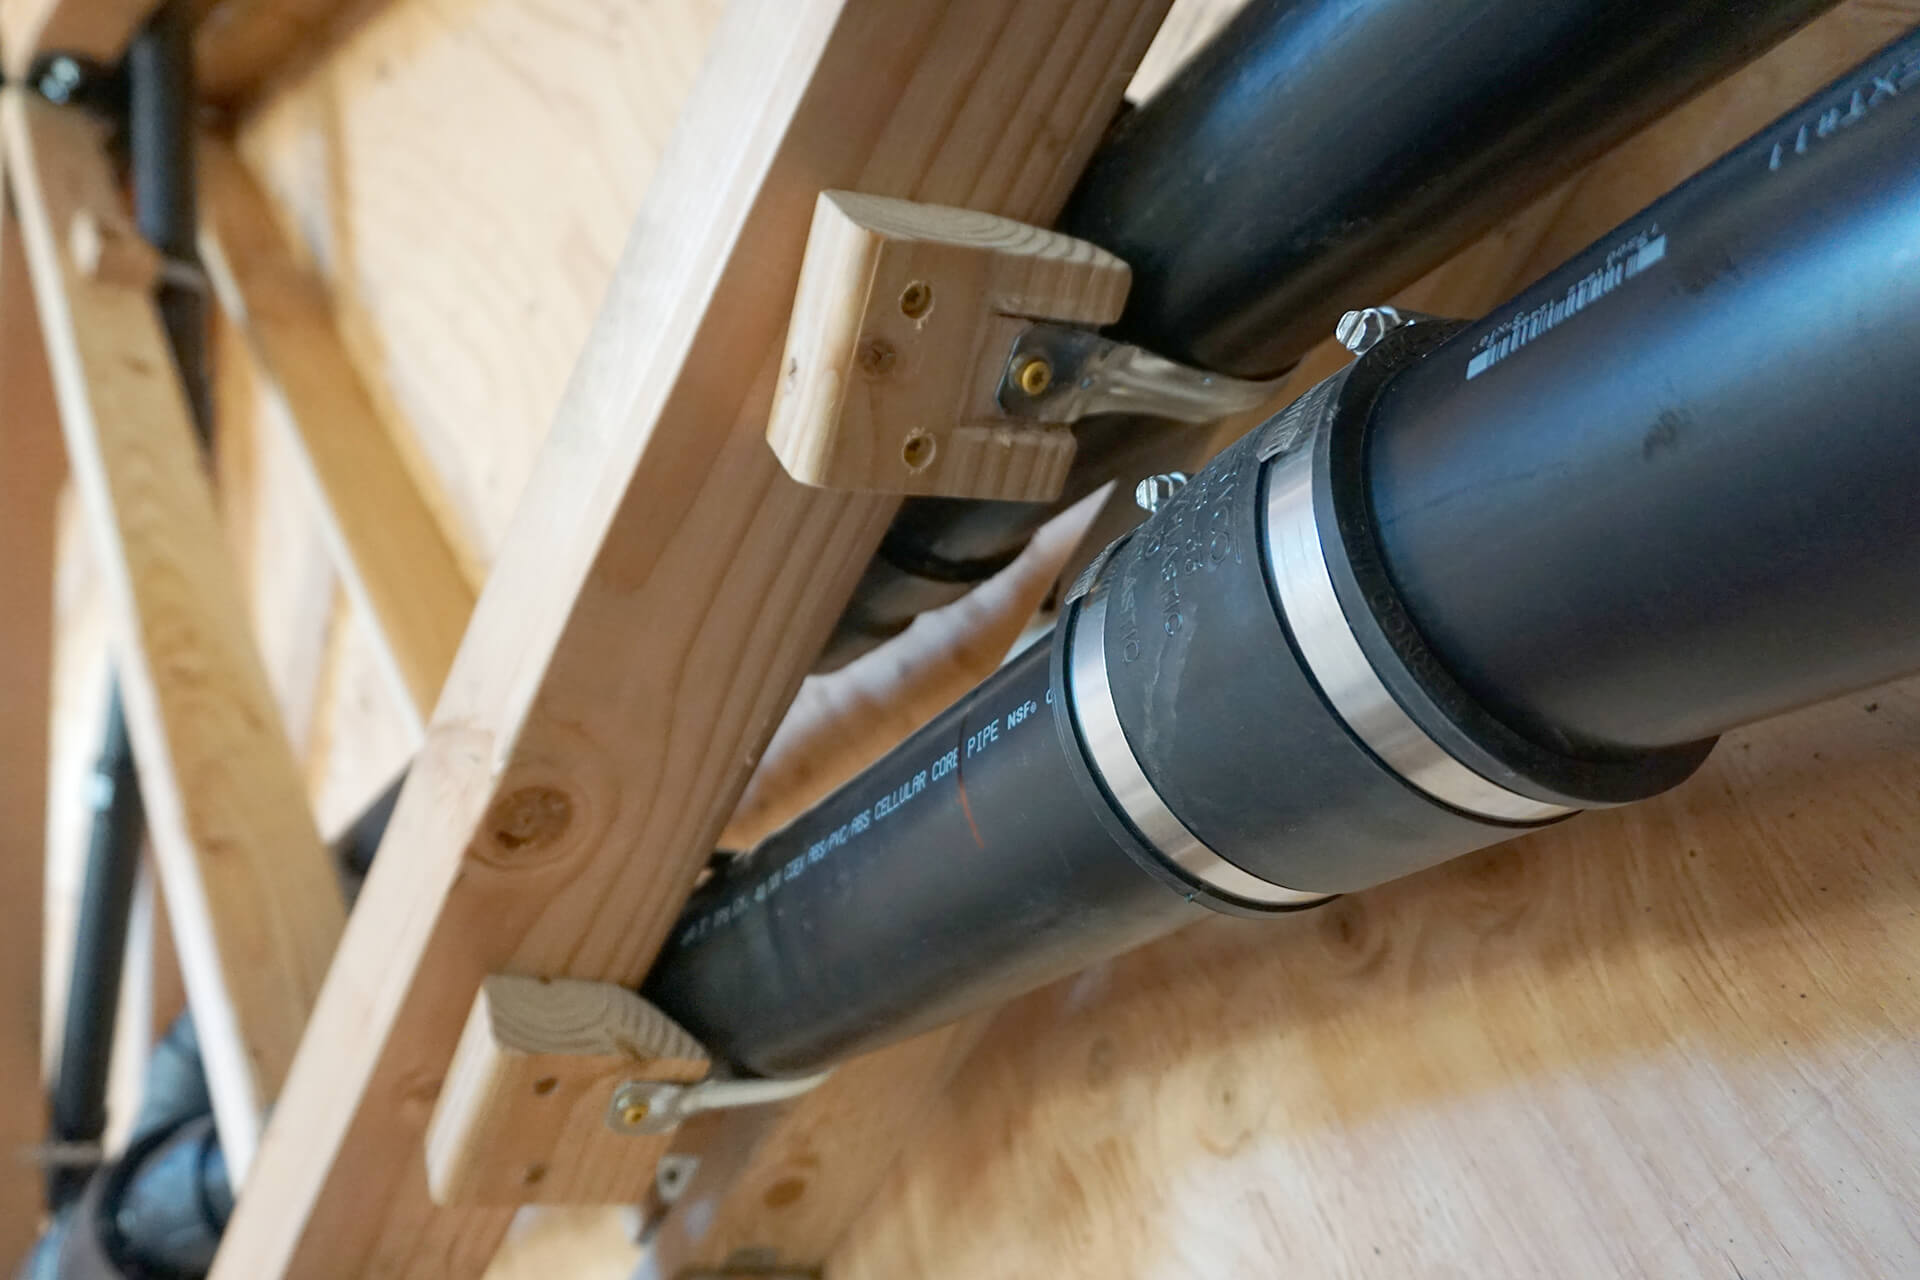
Secure the pipes to the inner Struts and Studs using wood blocking and metal strapping or pipe clamps.
Rejoin the two intake pipes into one at the point where it enters the utility closet. Slightly trim the Struts (mainly the outer one) to accommodate the larger pipe.
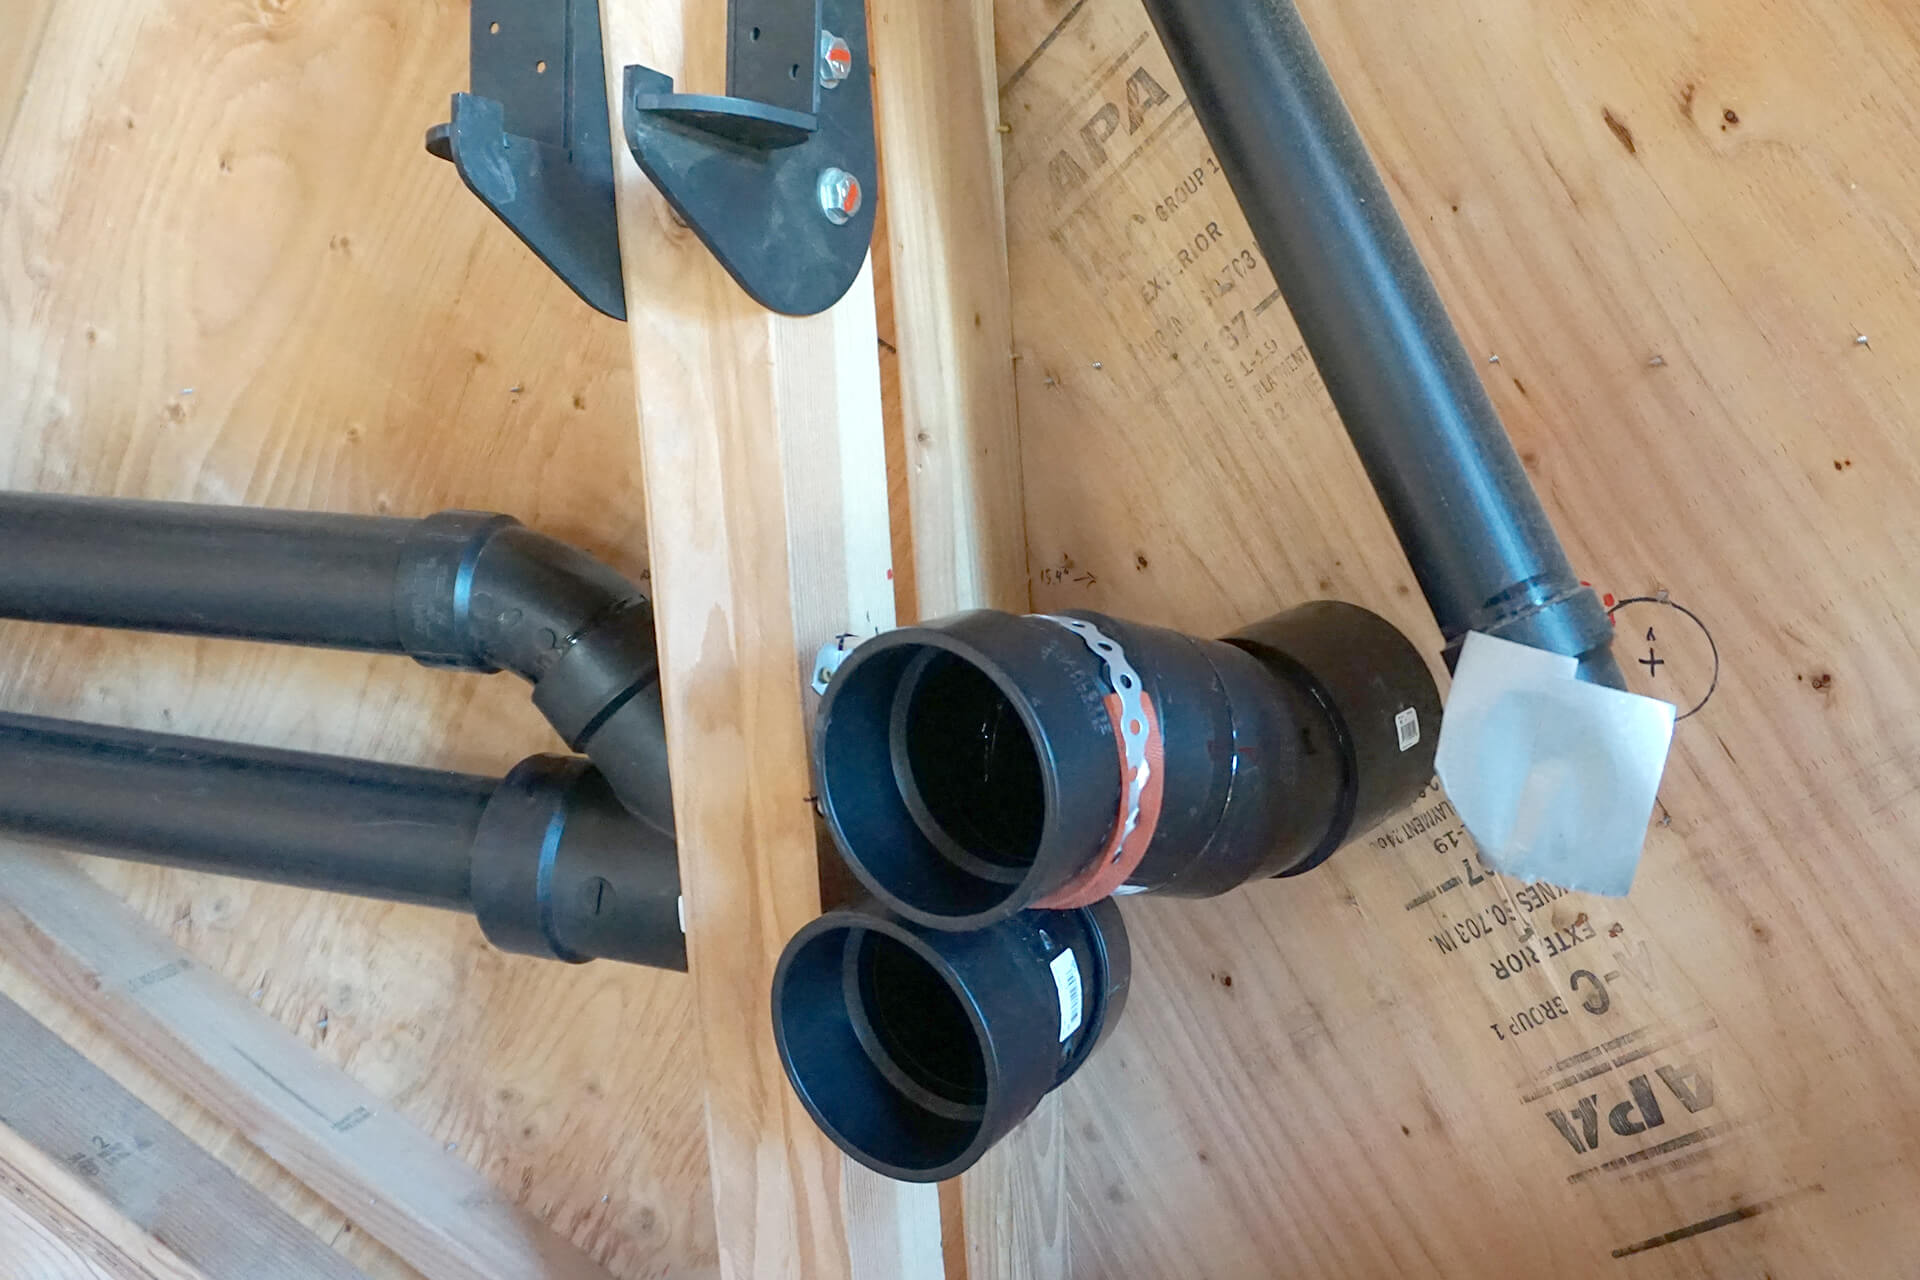
Ensure the HRV intake pipe and exhaust pipe are secured in place and breach the inner wall plane as shown.
Next Step