Room Framing – Upper Floor

Shim the brackets as needed to ensure their bases are on the same, level plane.
Lay out the rim joists.
Notch the dome wall studs as needed to allow the rim joists to span the distance unobstructed.
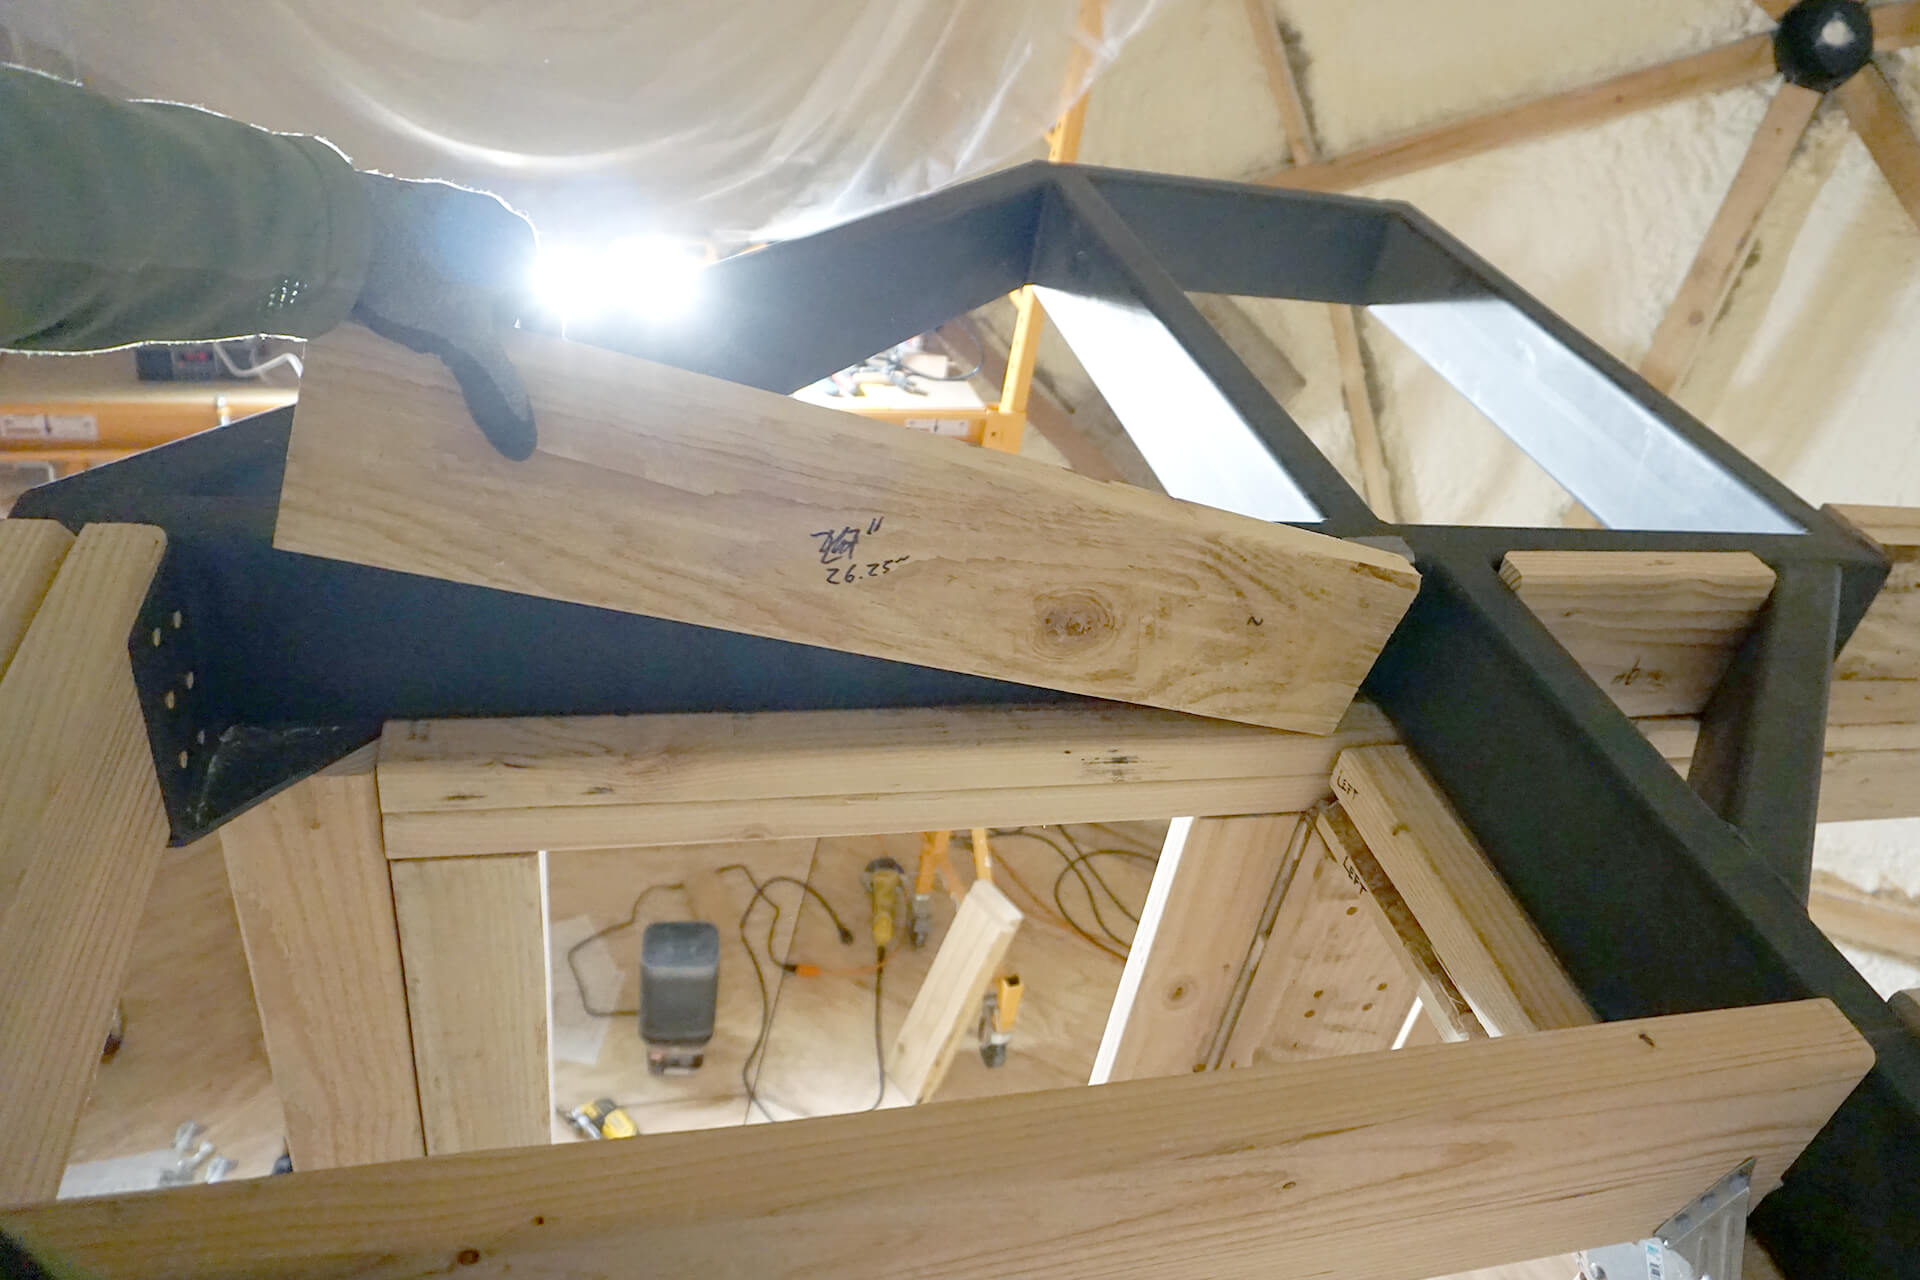
Attach the rim joists to the brackets. Shim as needed to ensure the rim joist is plumb.
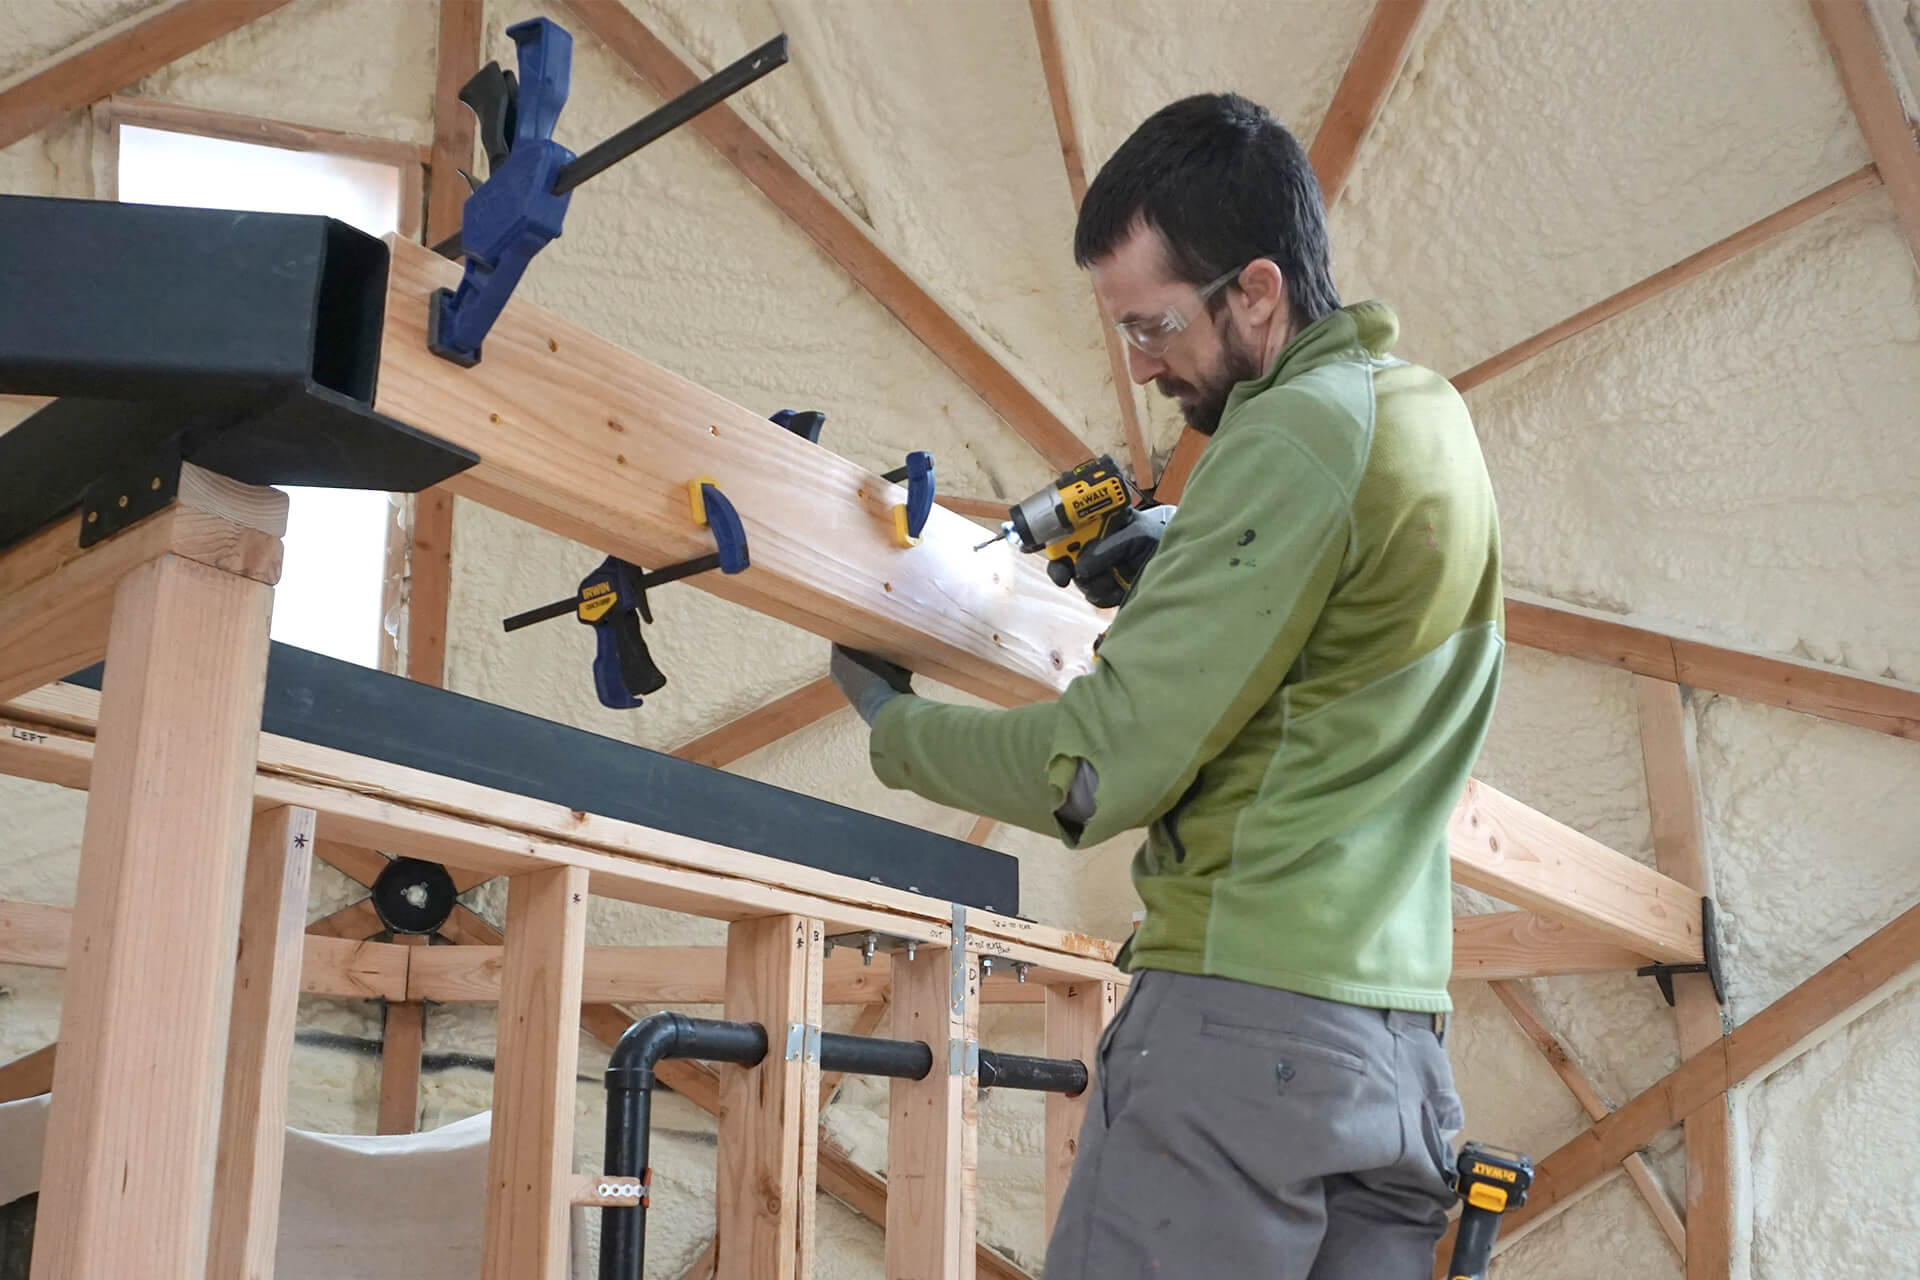
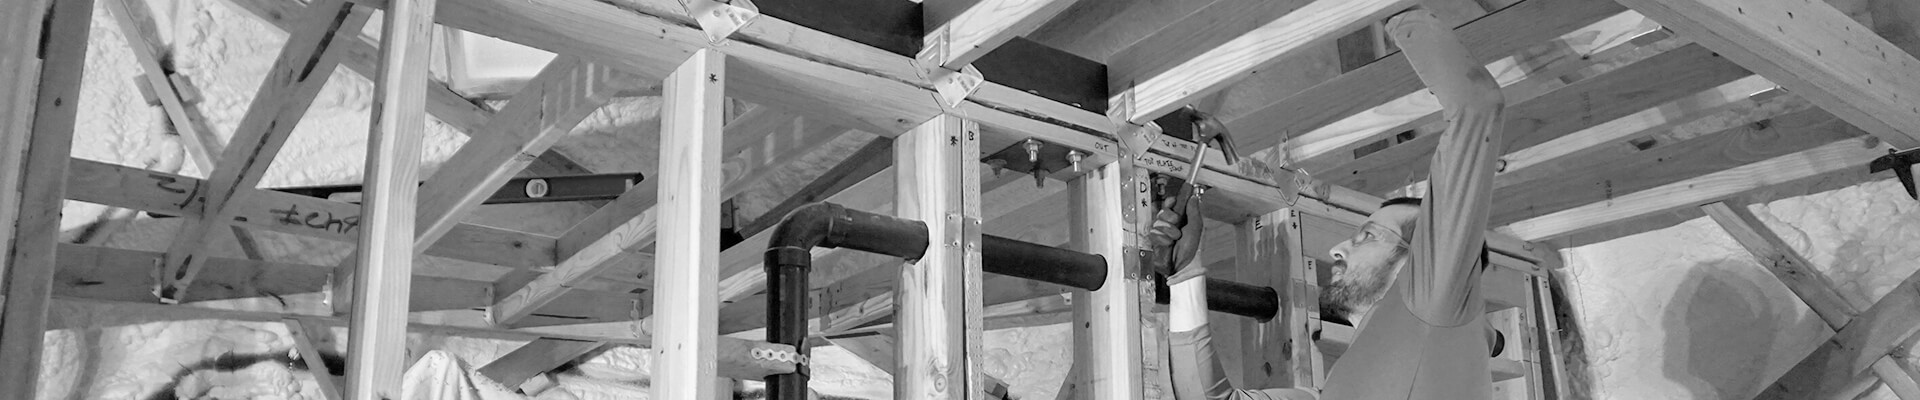
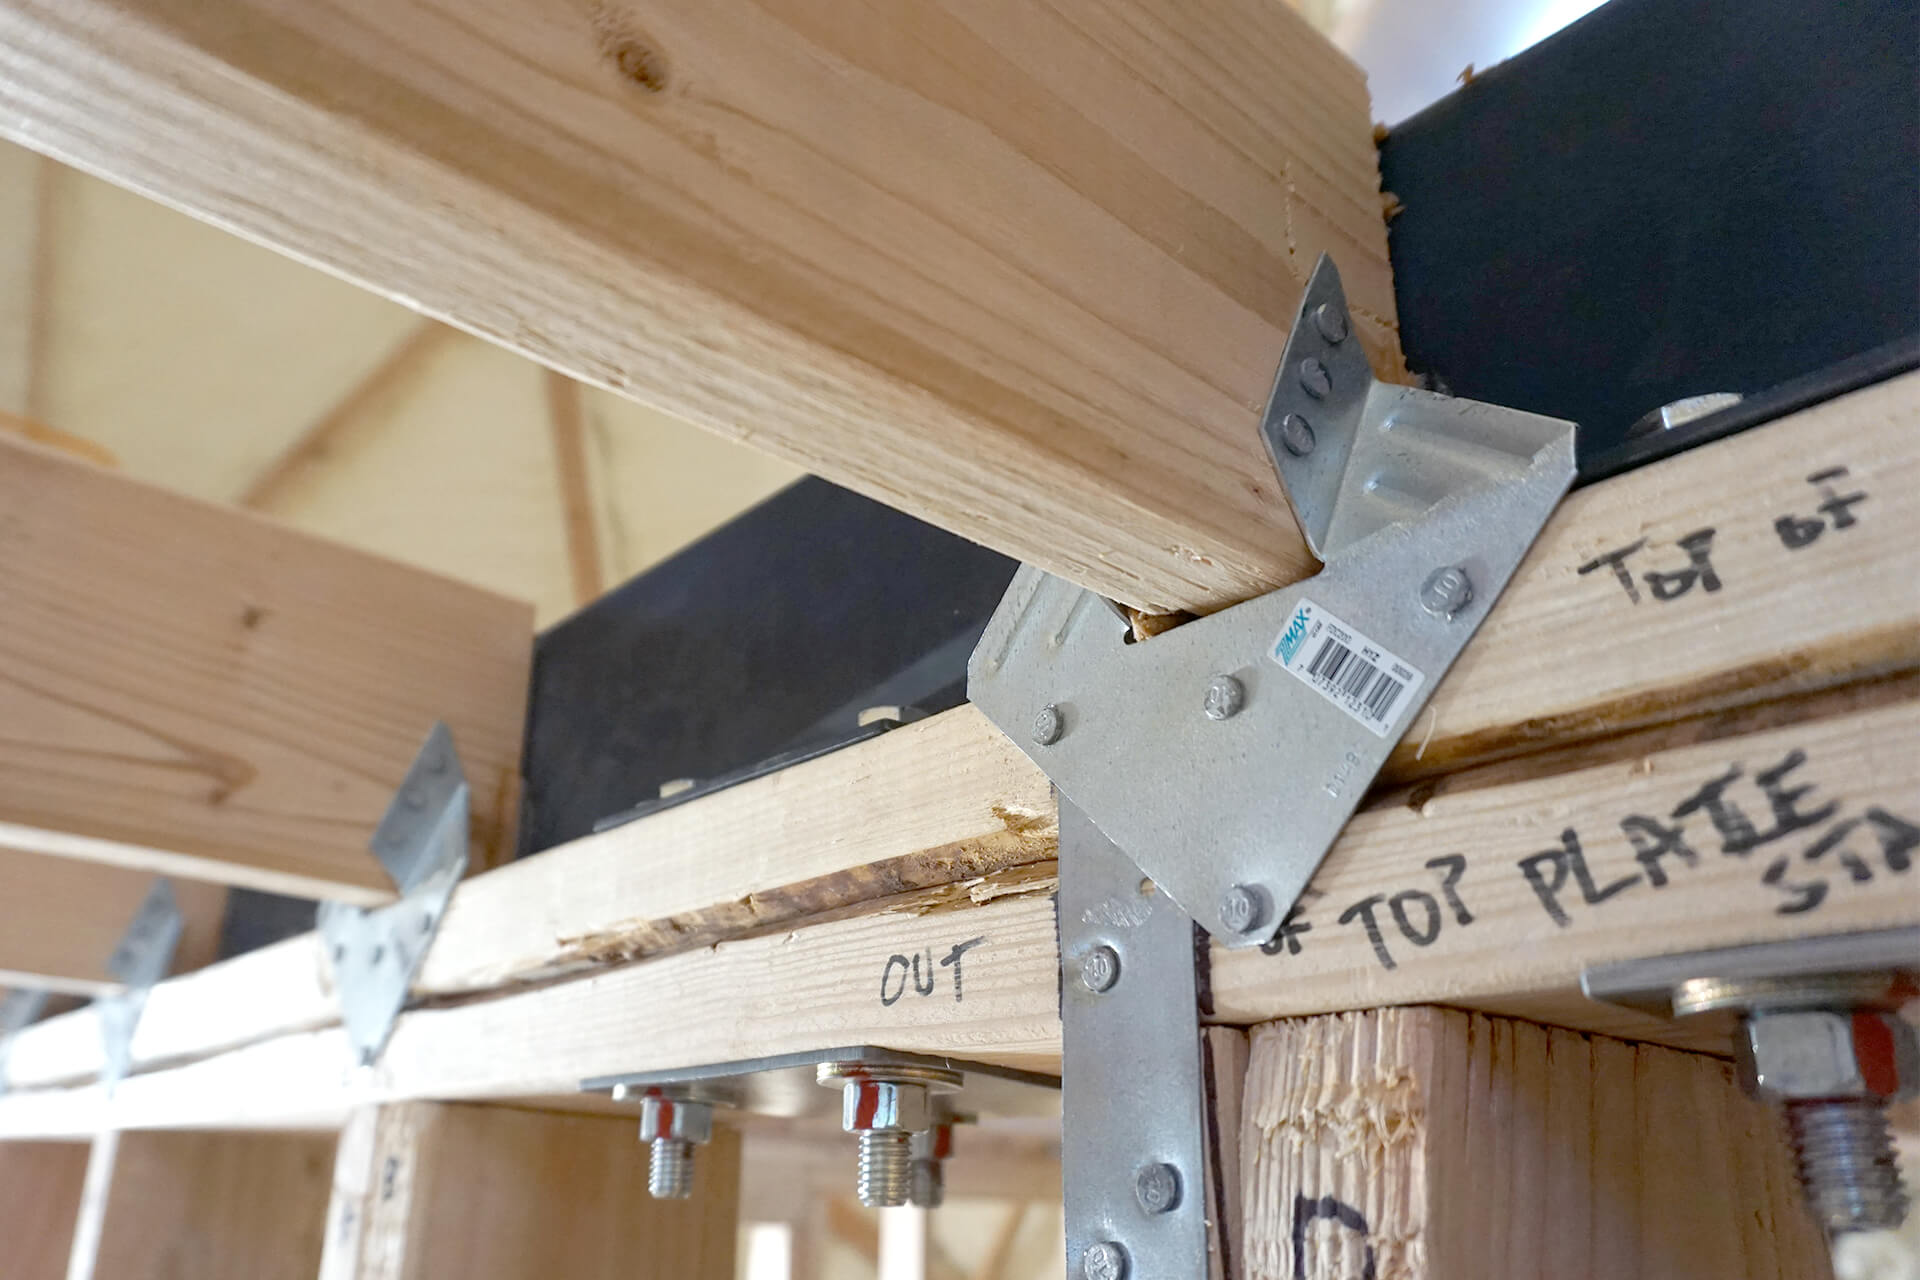
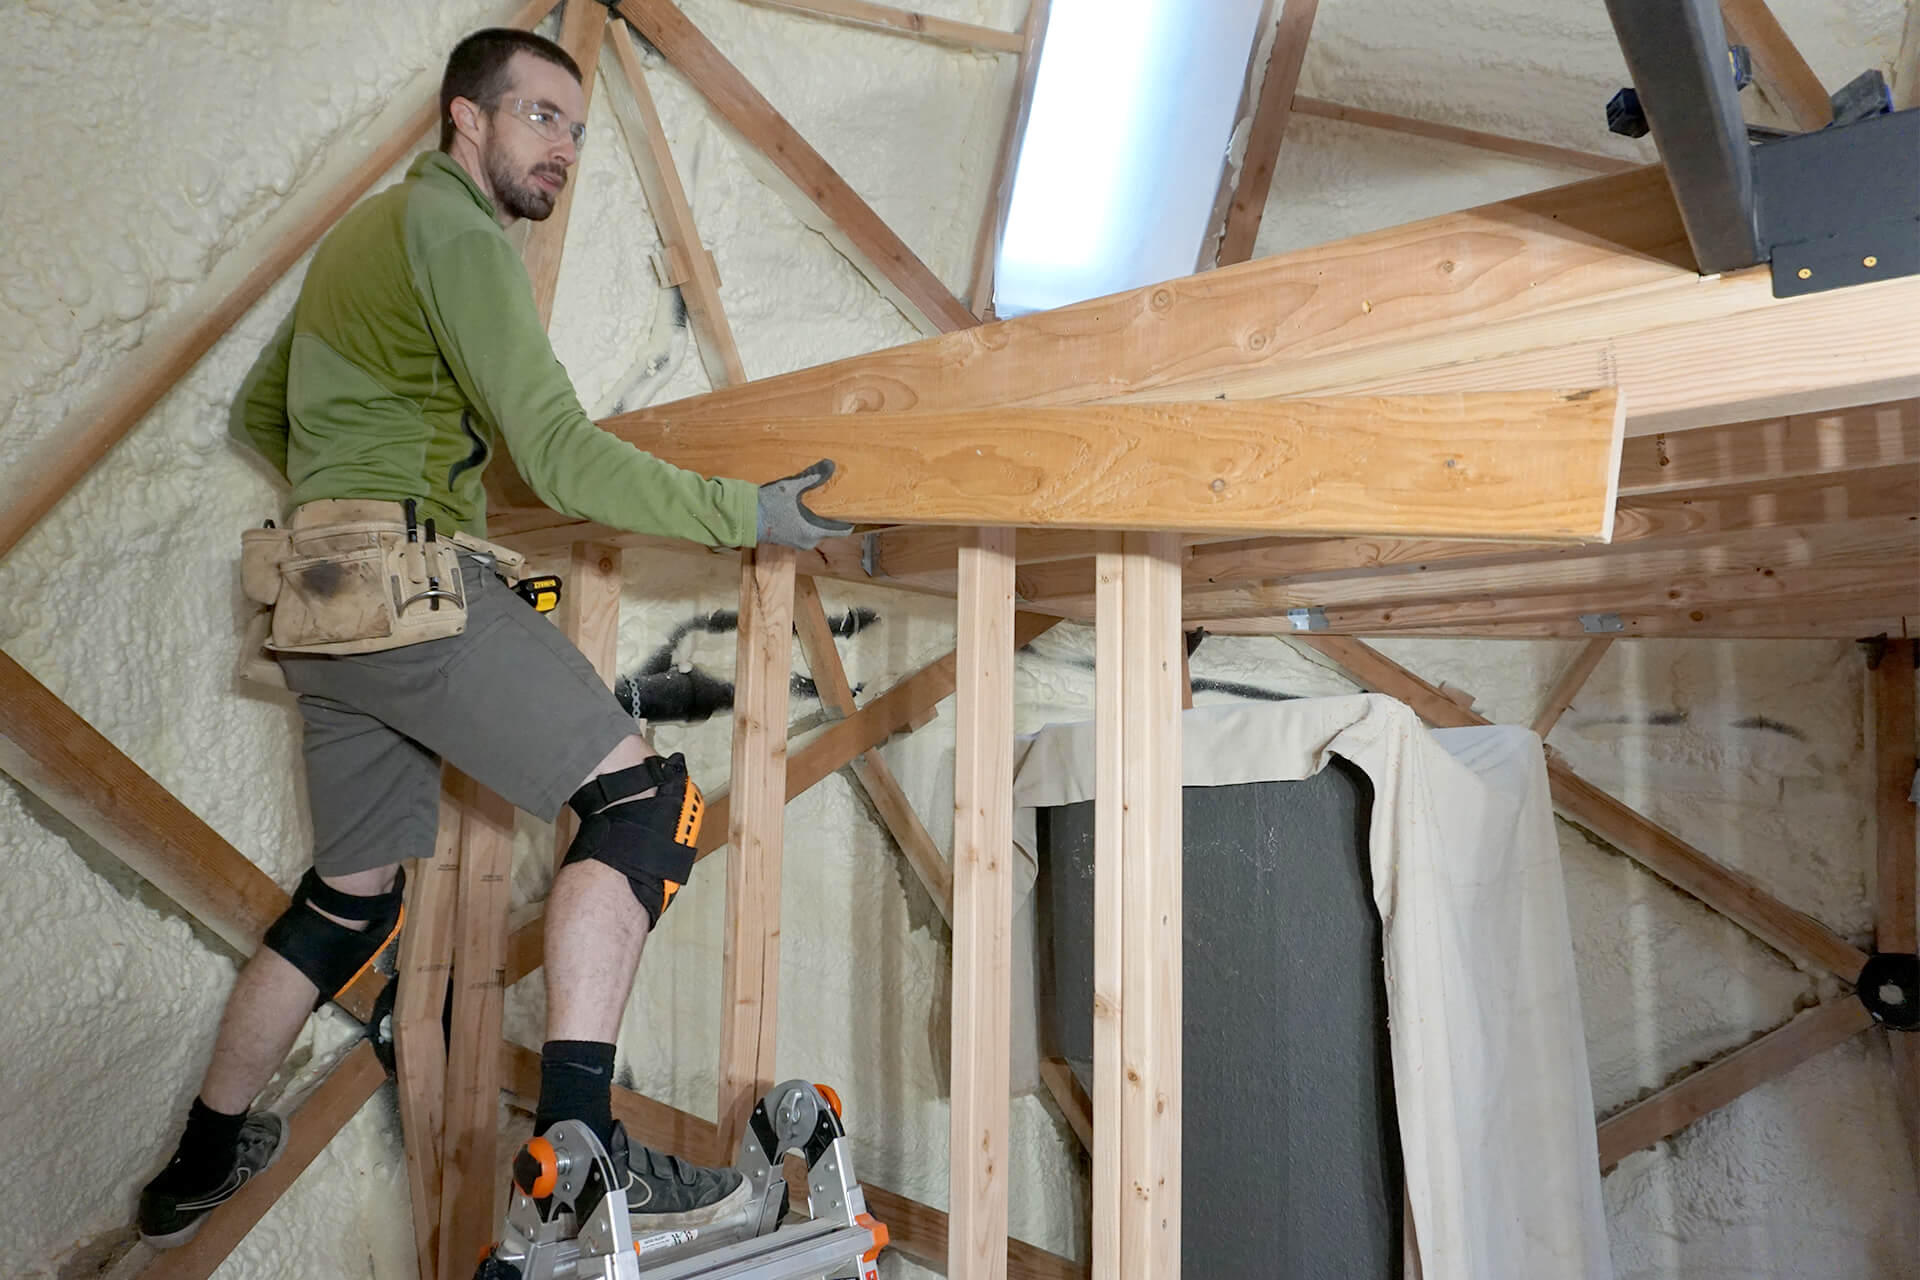
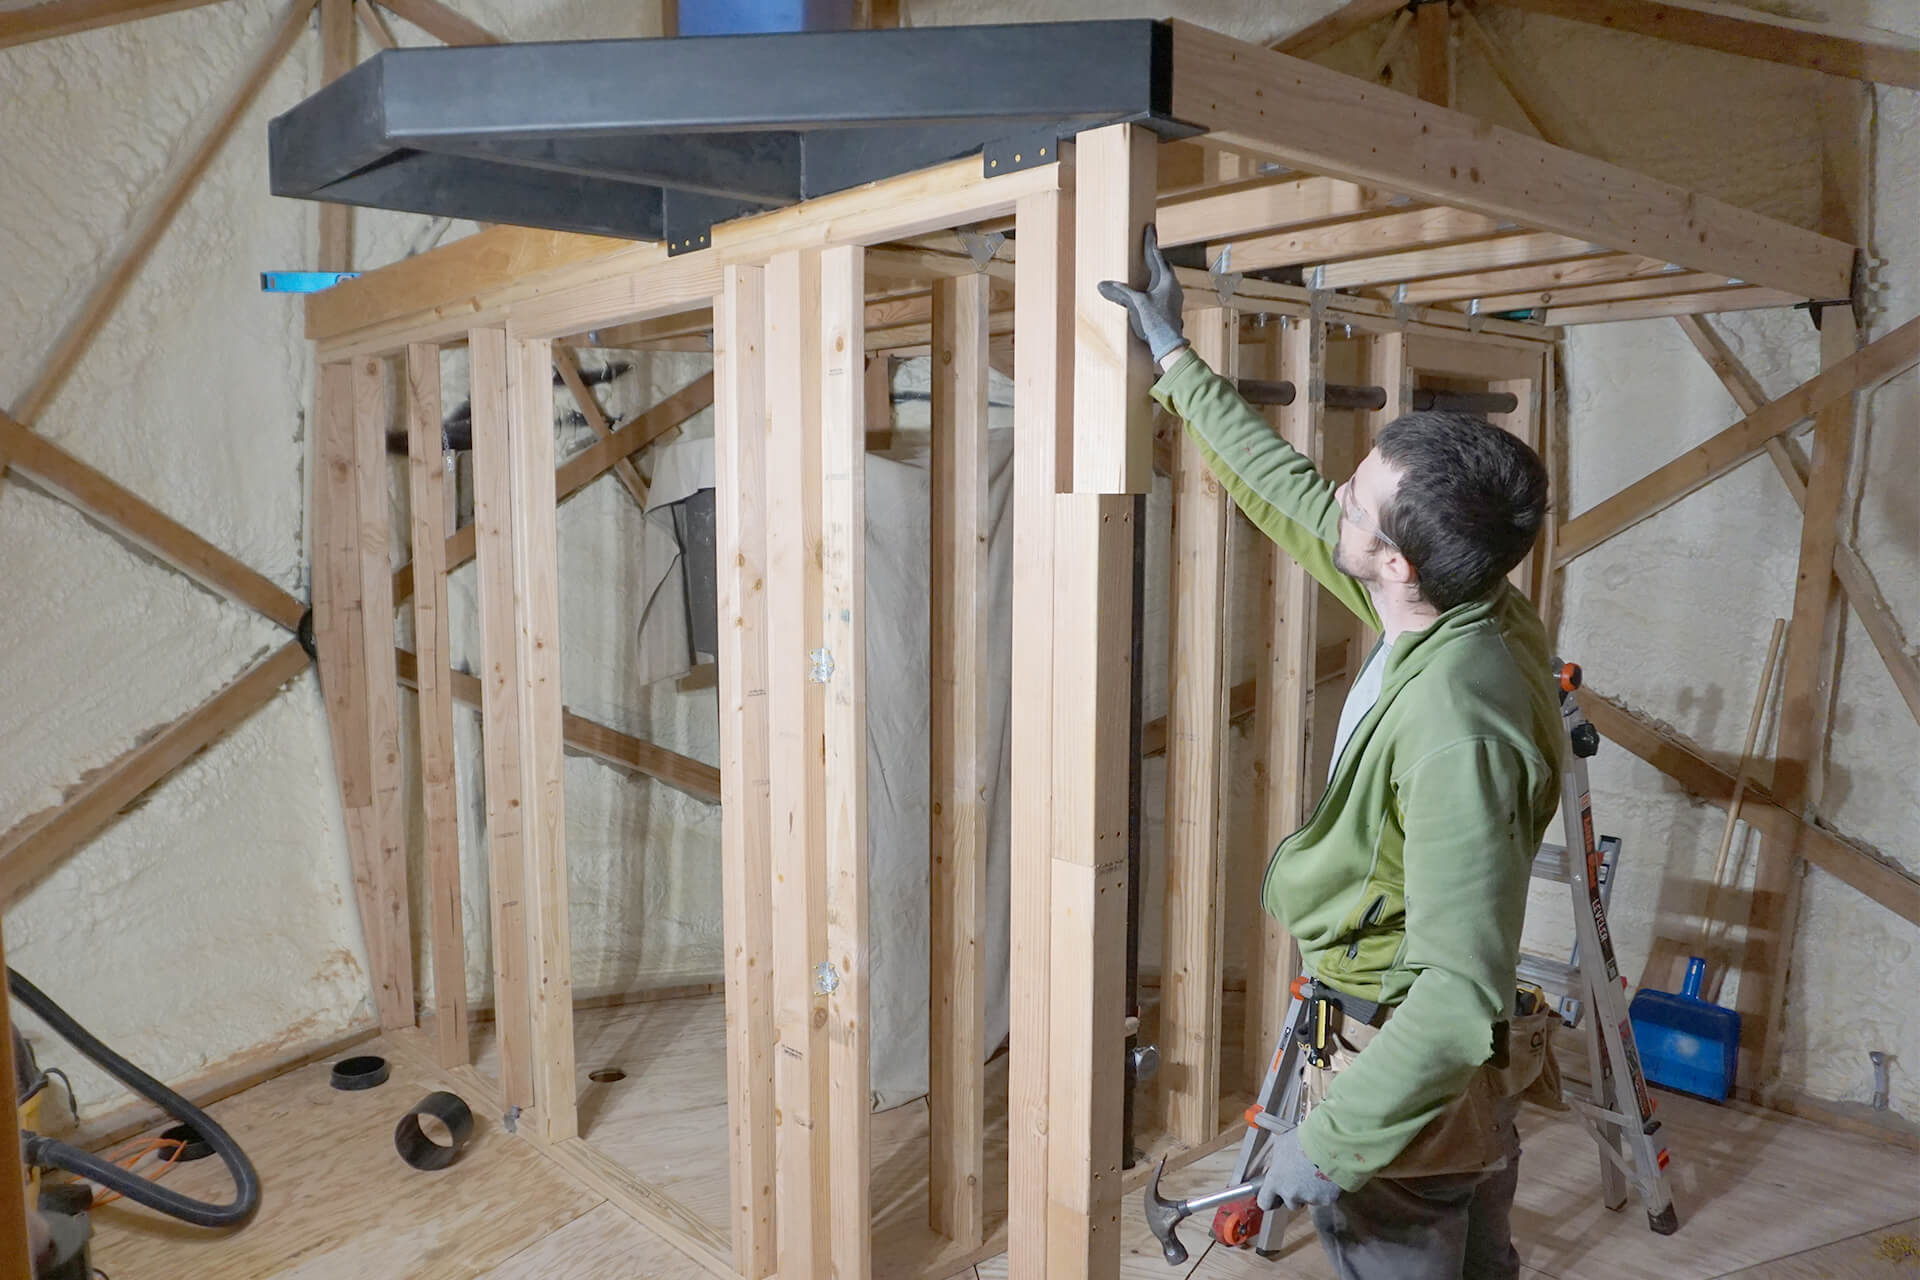
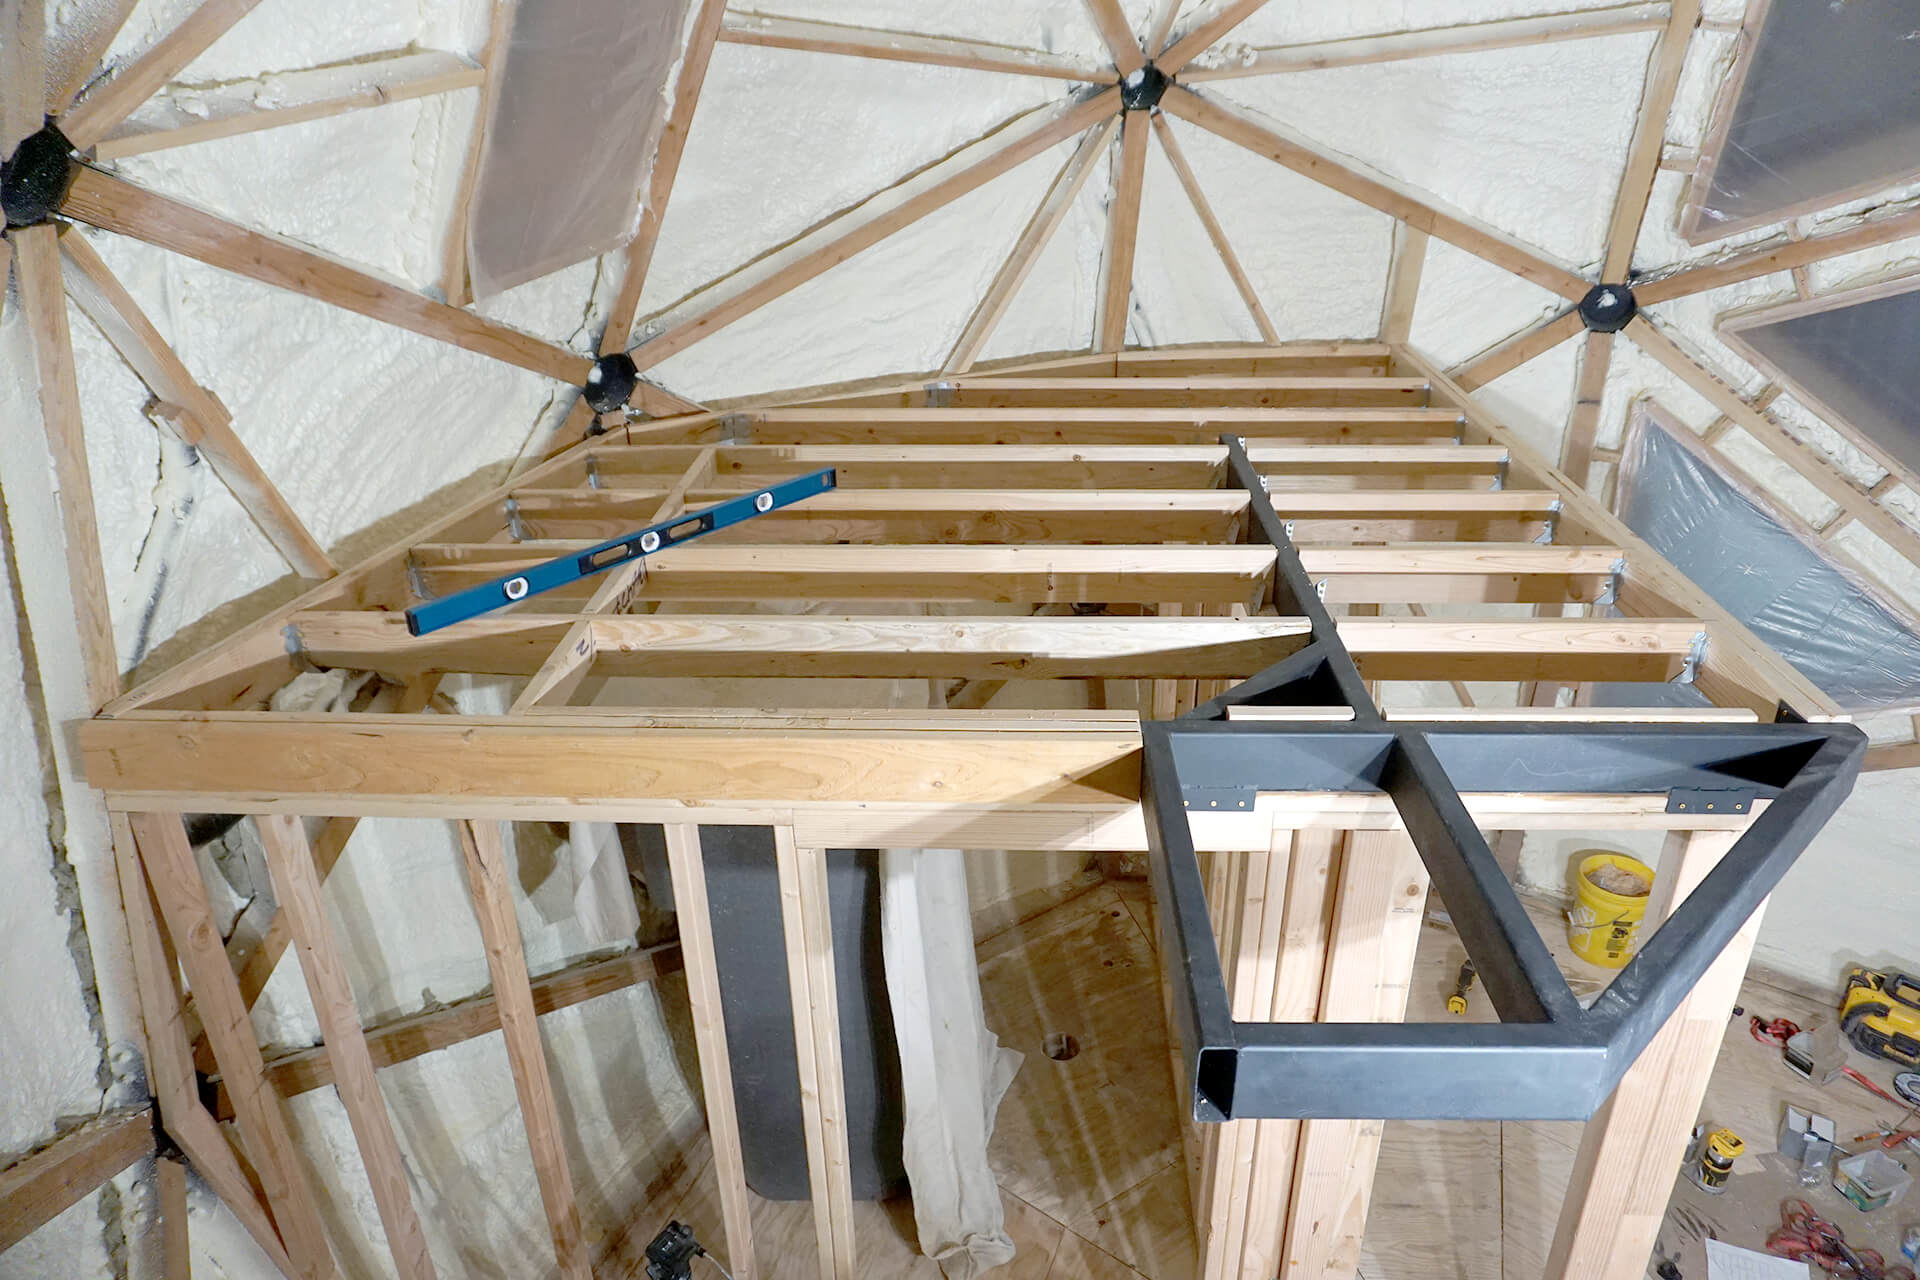
Create the upper floor beam by sistering lumber. Glue and screw the pieces together to form a single beam. Attach the beam to the bracket and steel cantilever.
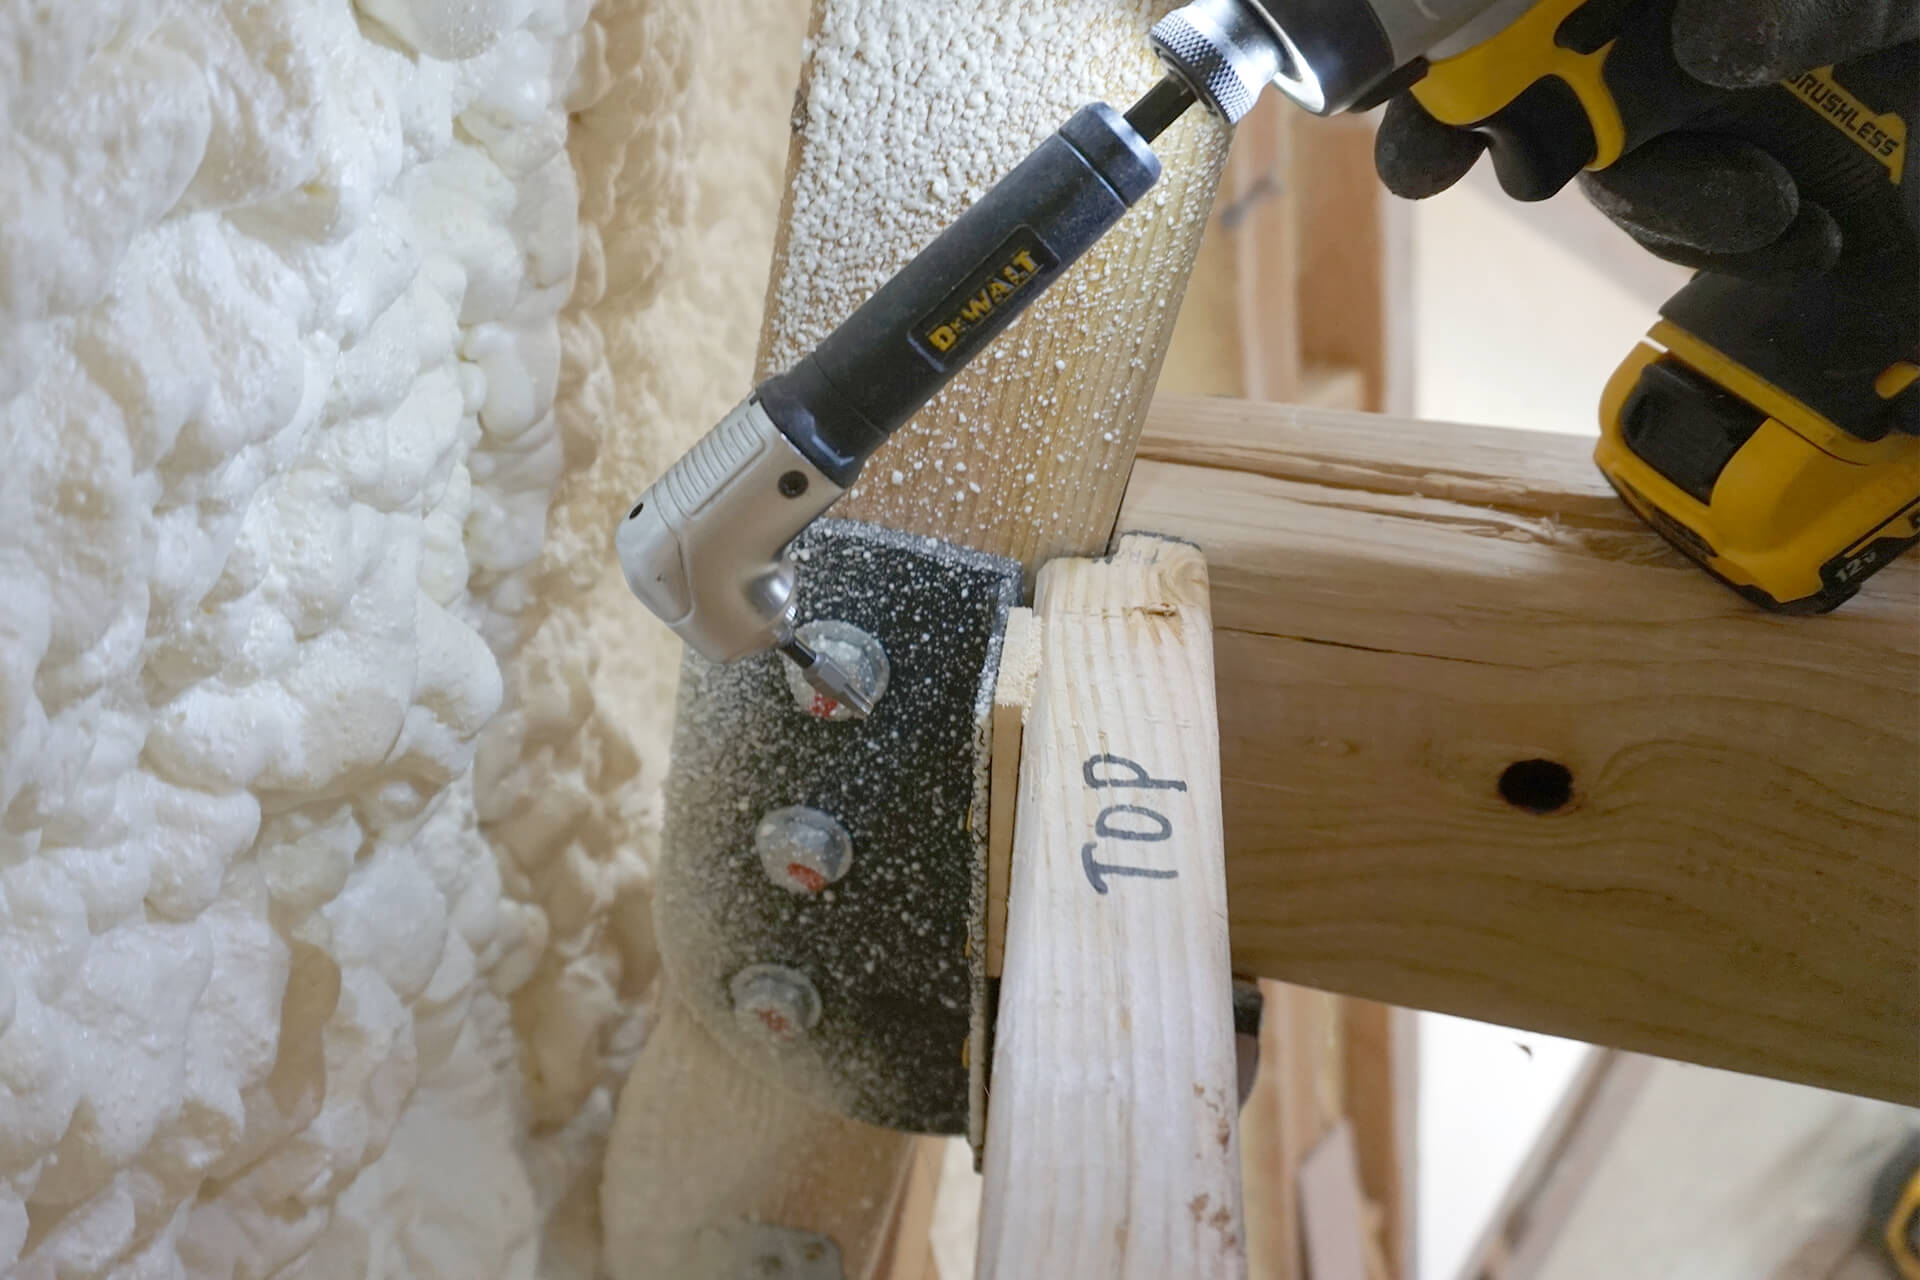
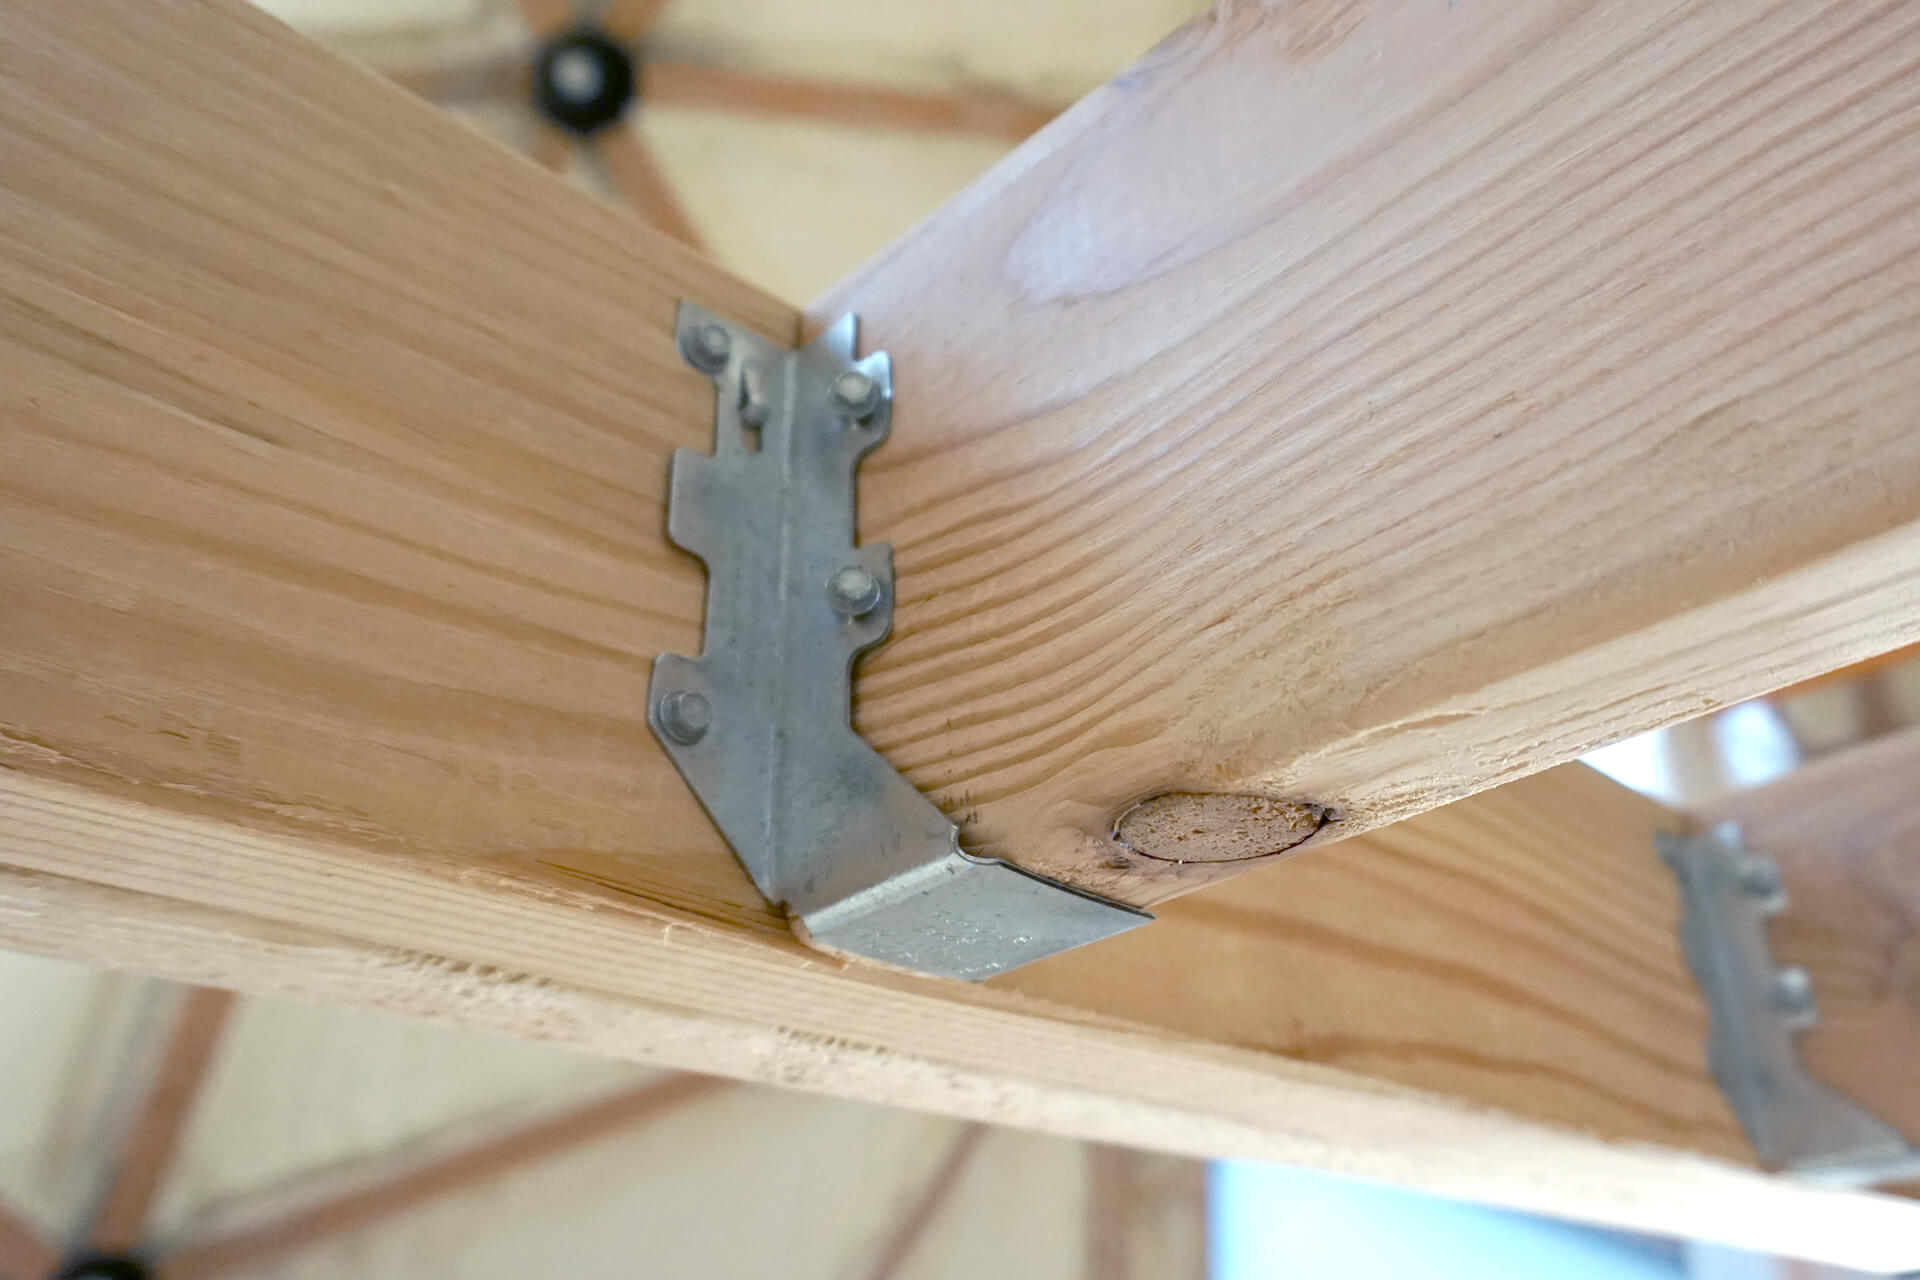
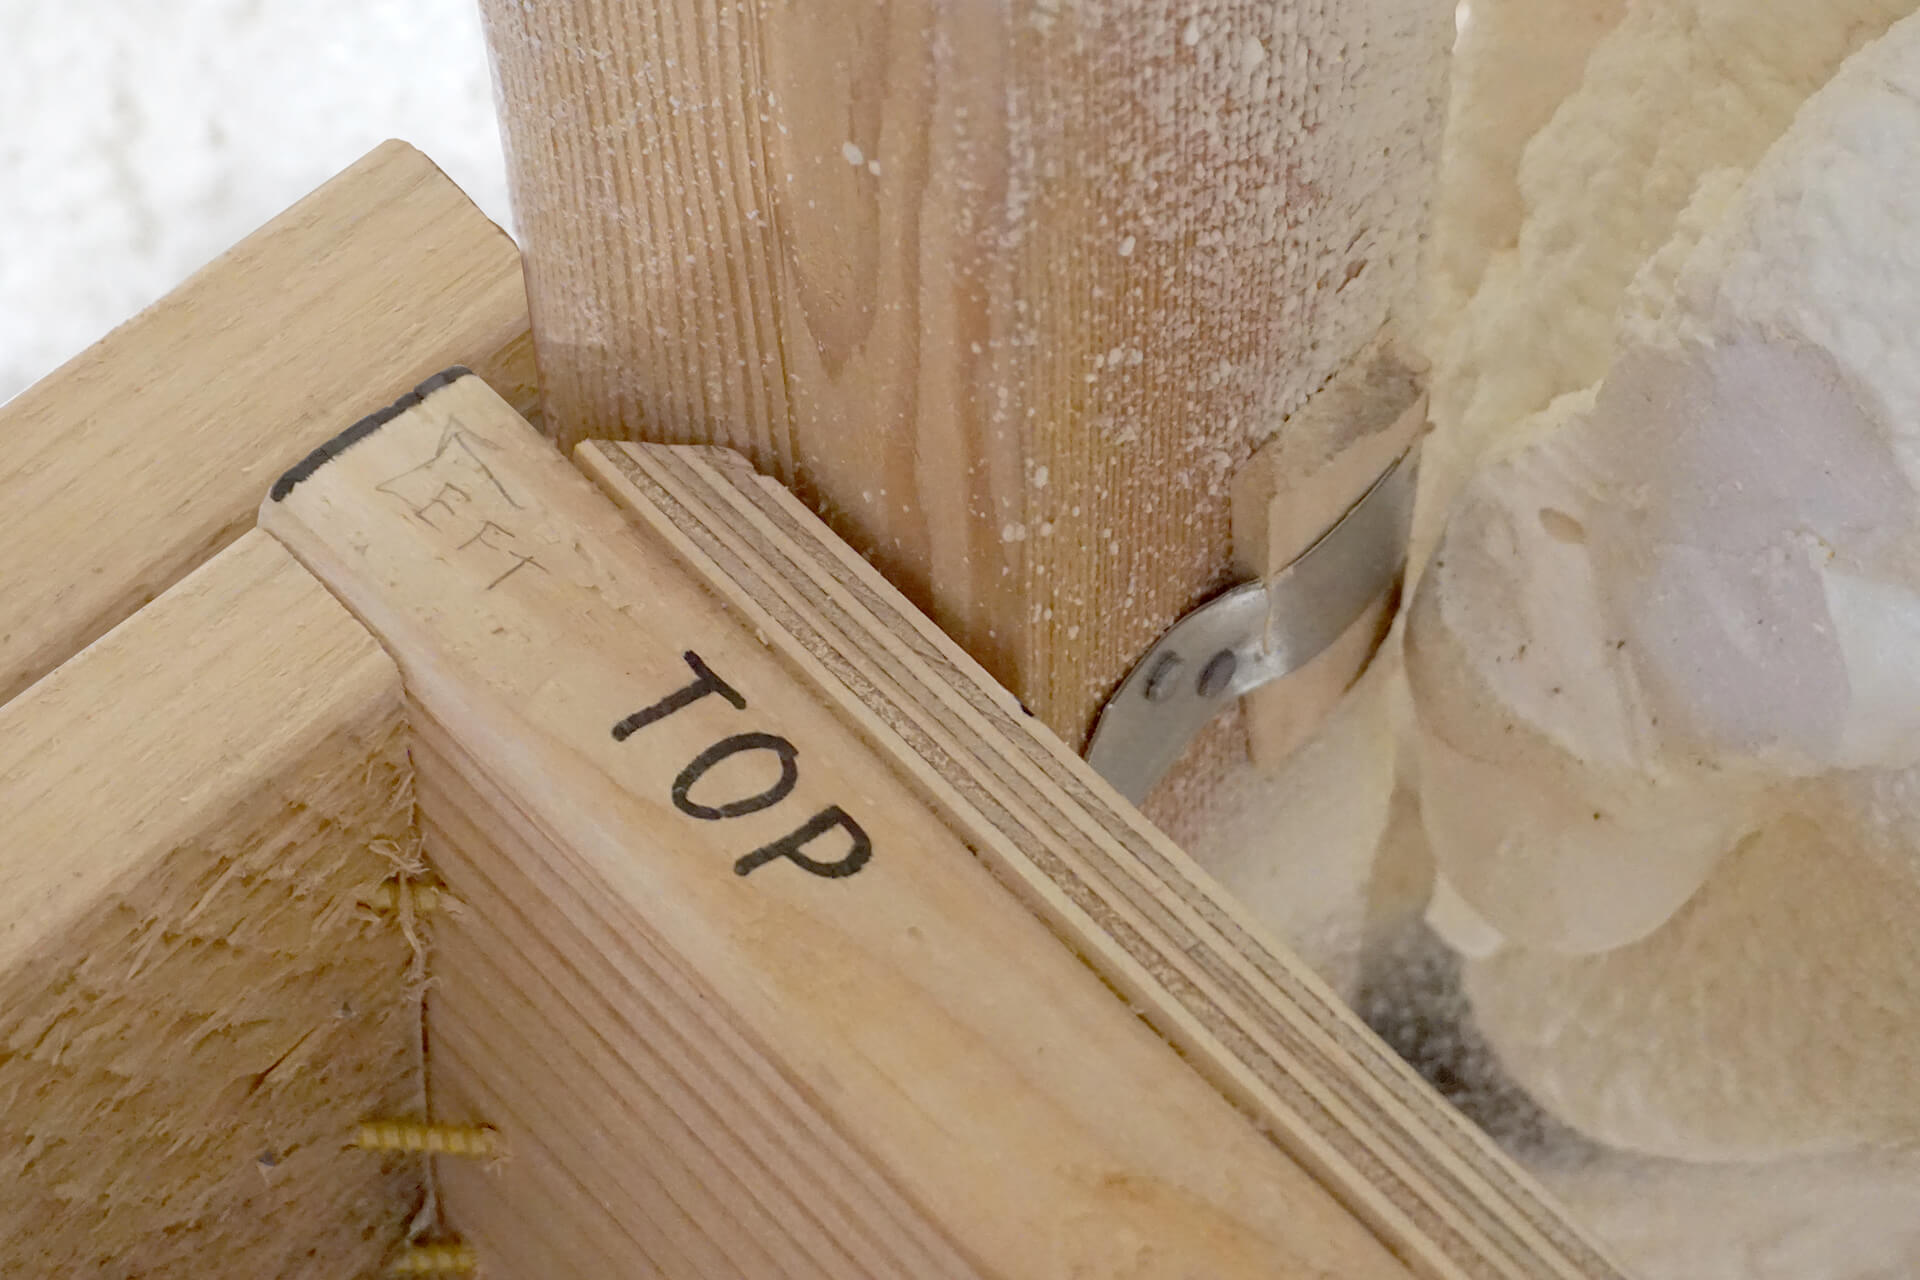
Detail shot showing the rim joist and upper floor beam attachment point. Note the notch and shim used to mount the rim joist plumb.
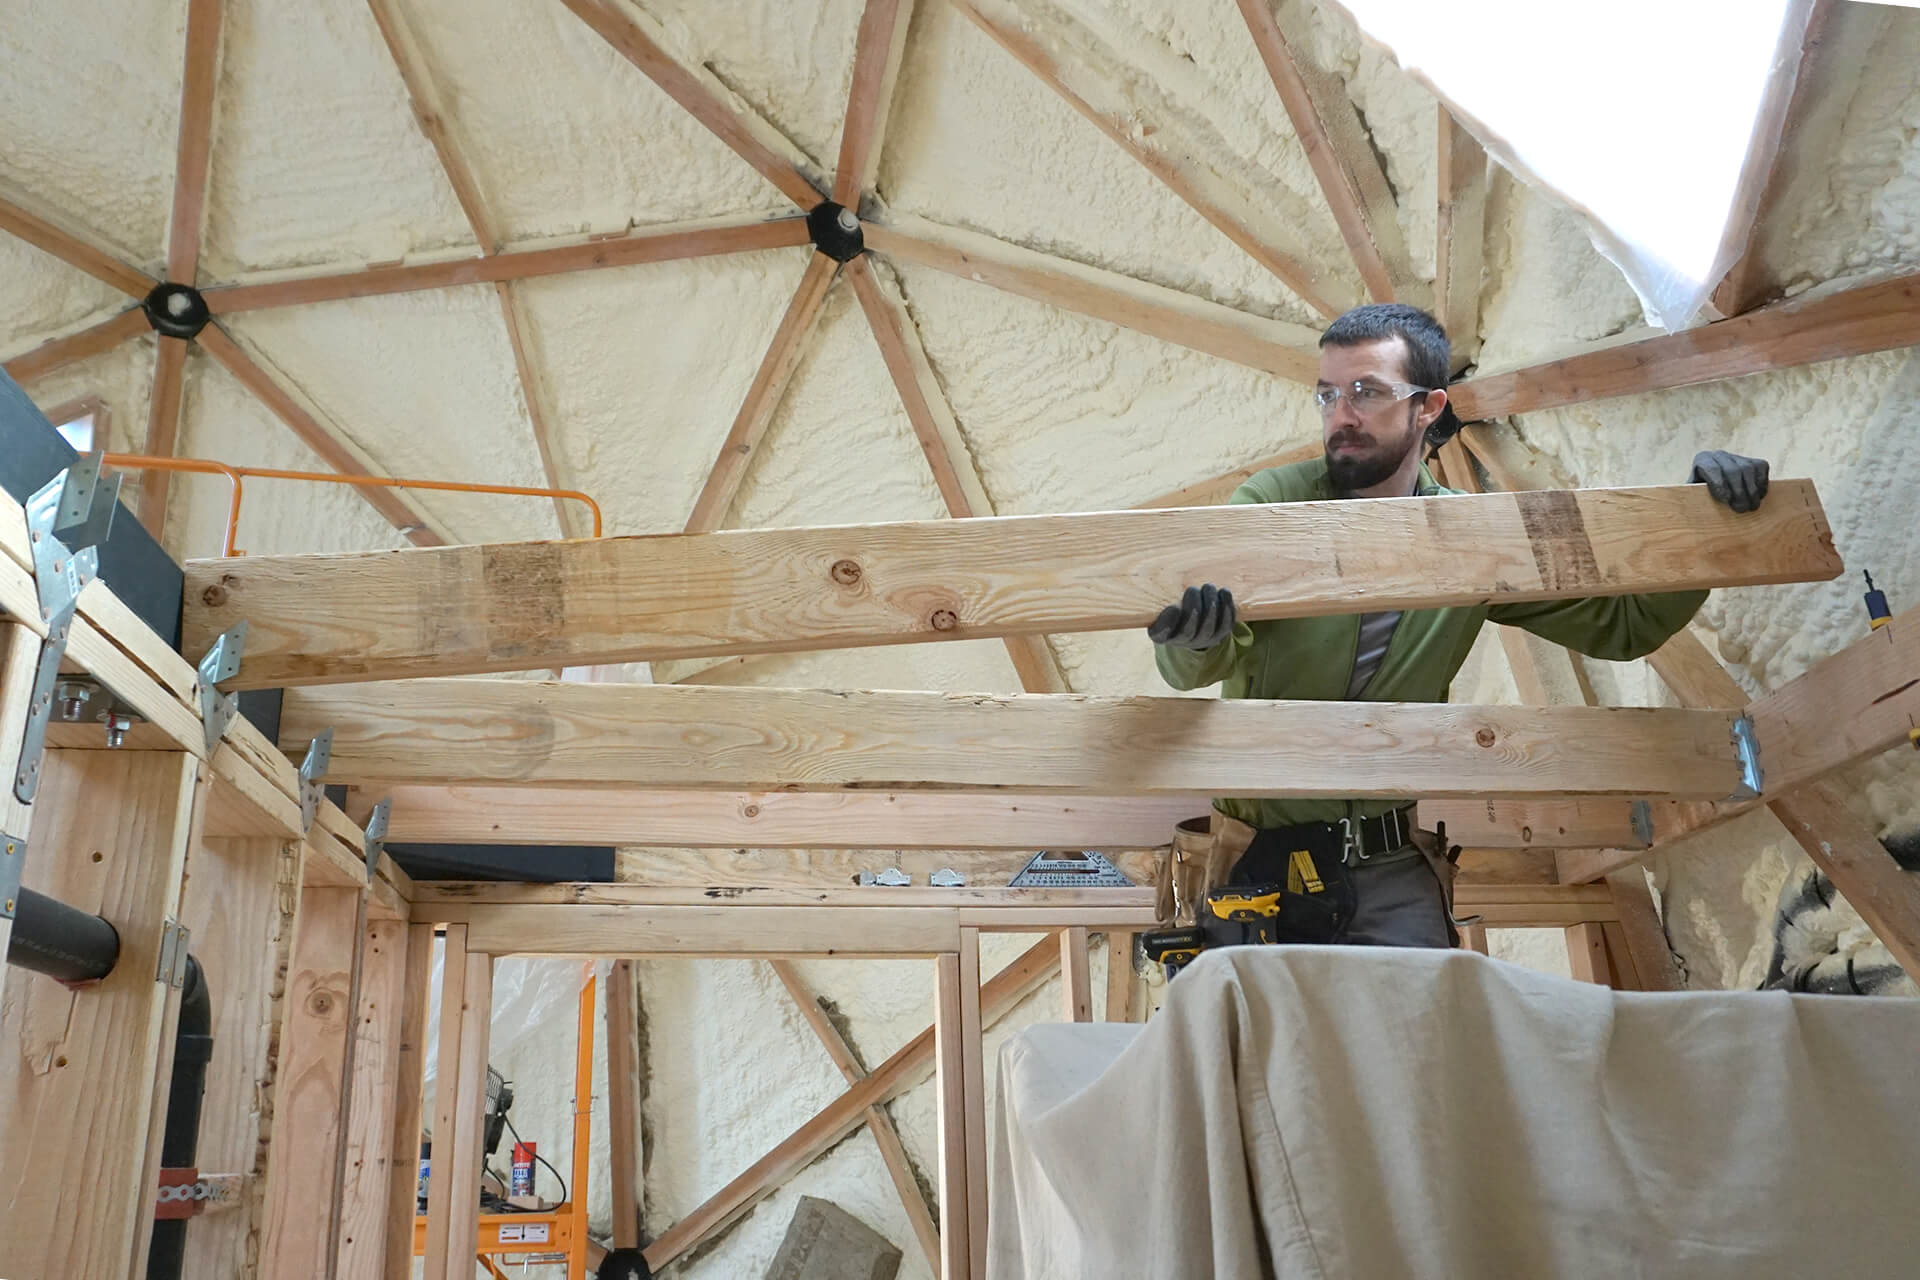
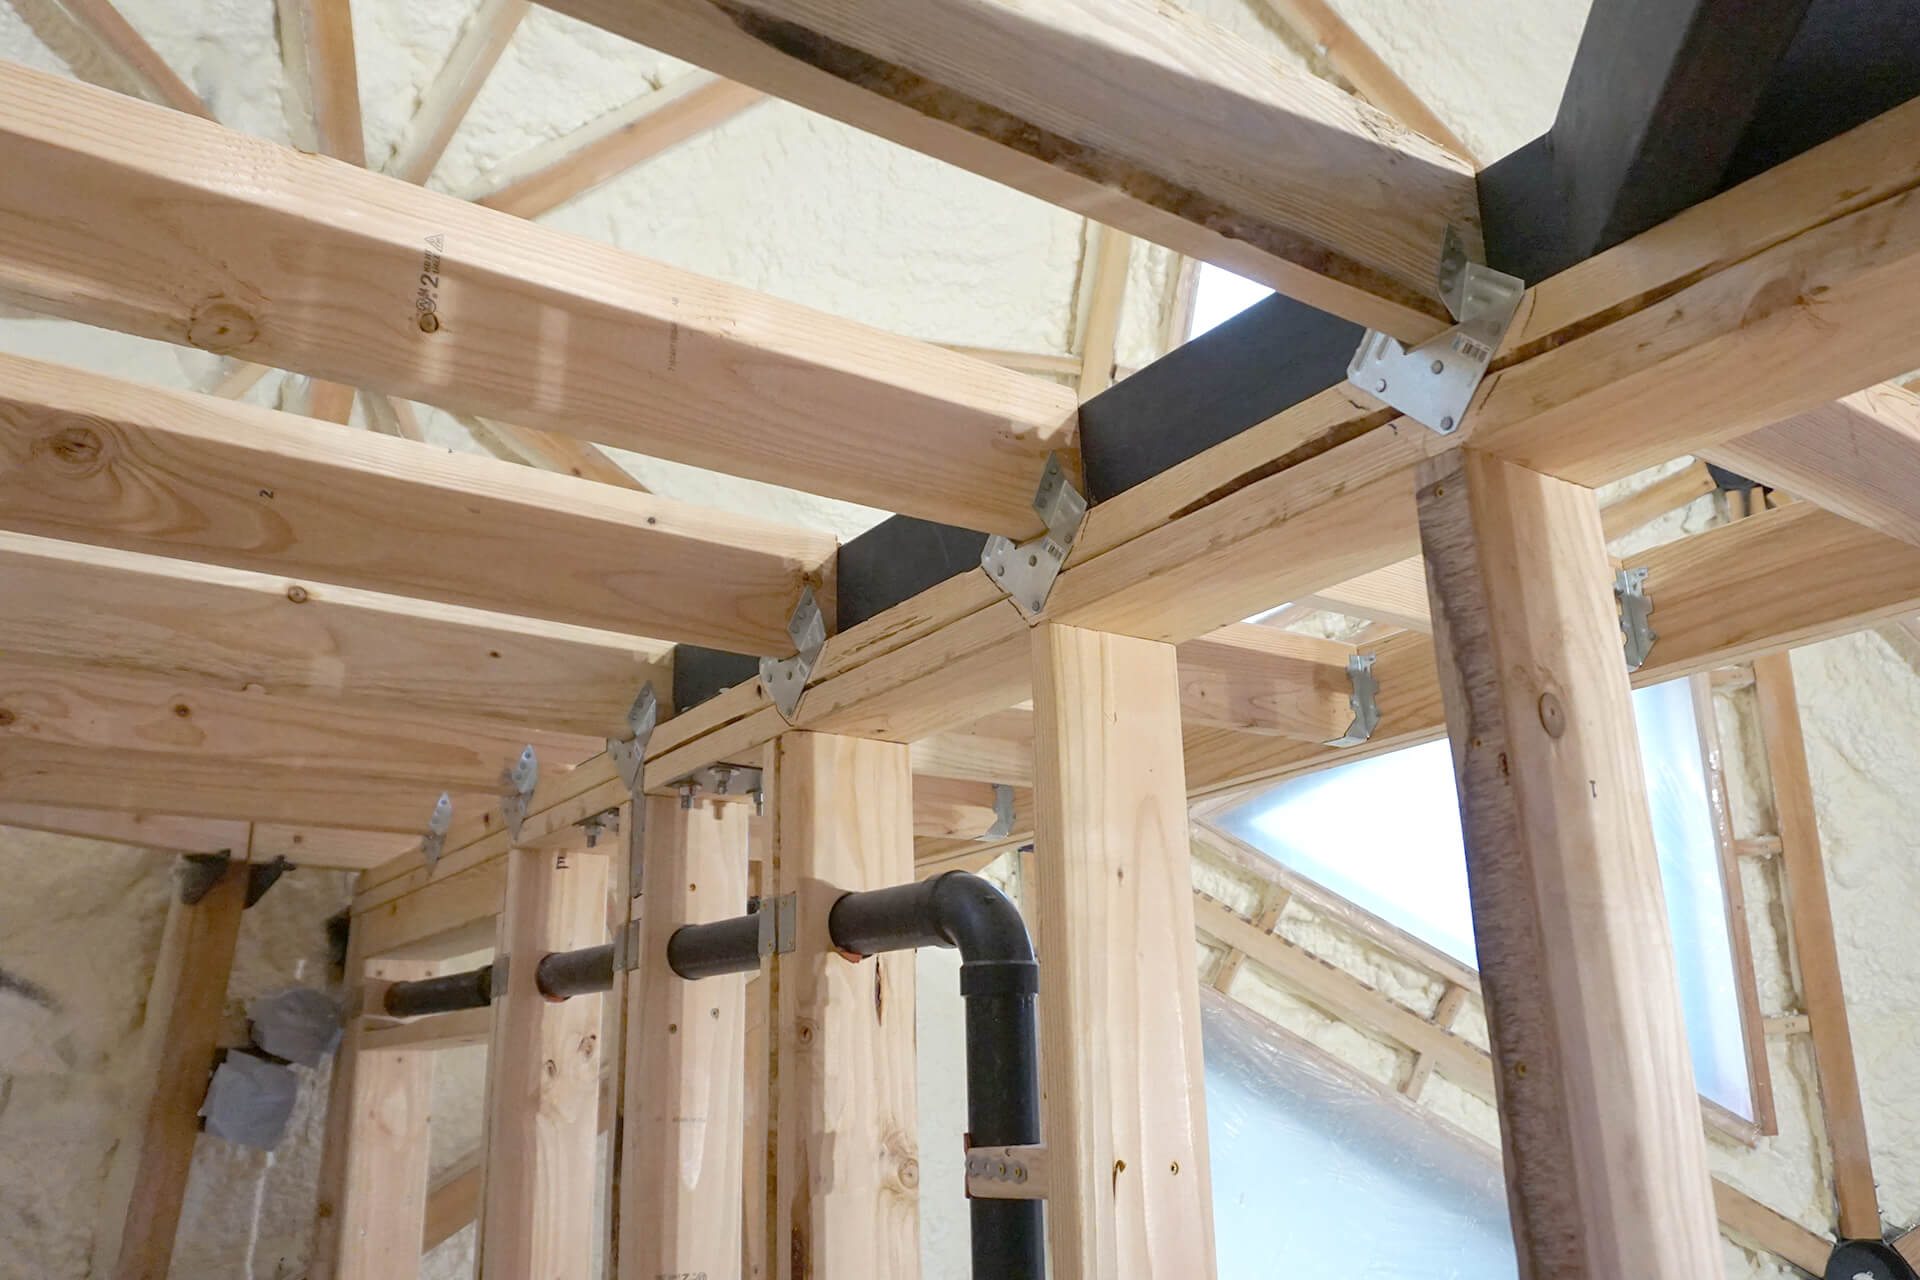
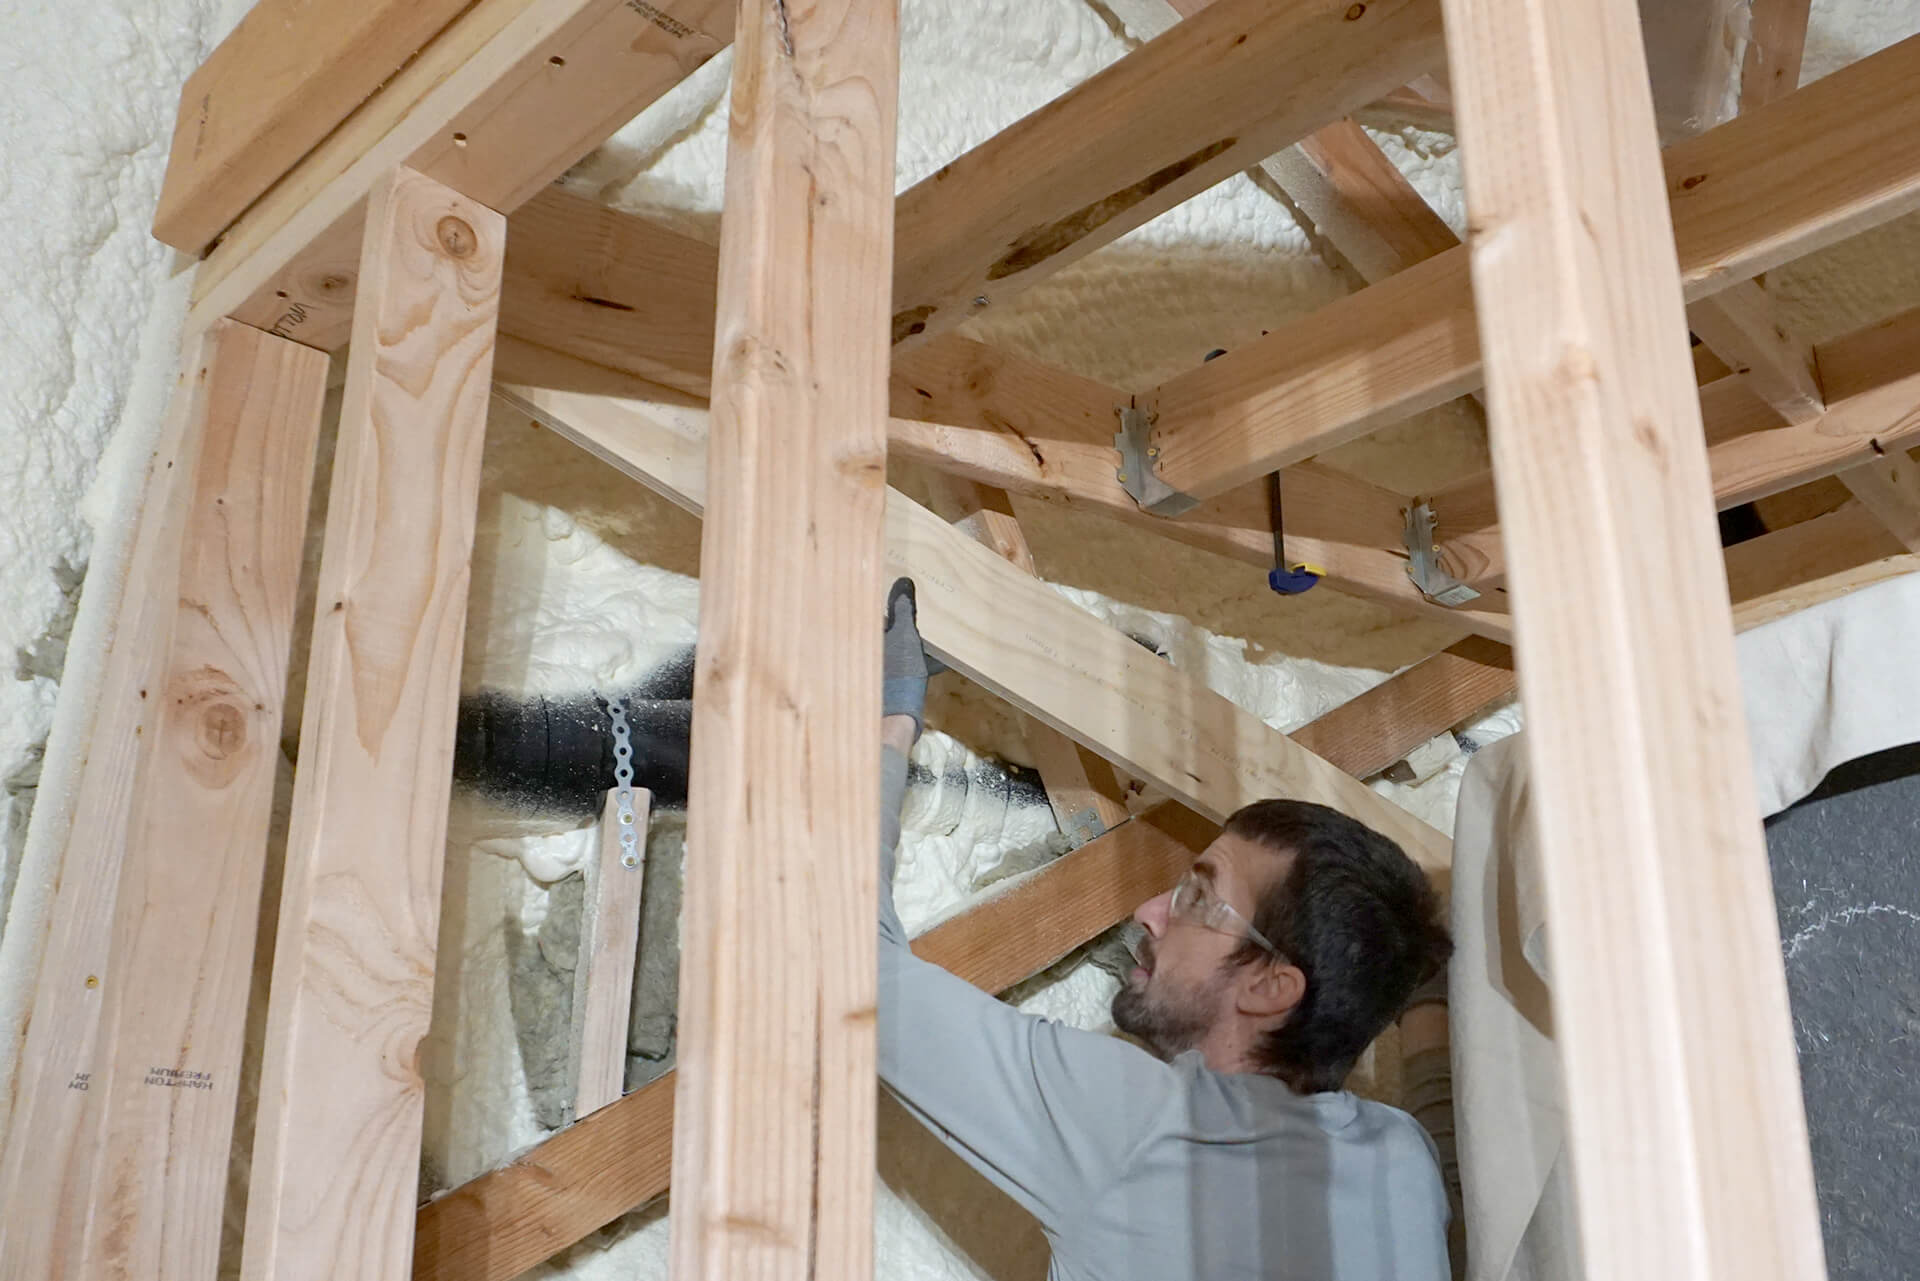
Install the floor joists with various hardware brackets.
Install blocking between the floor joists.
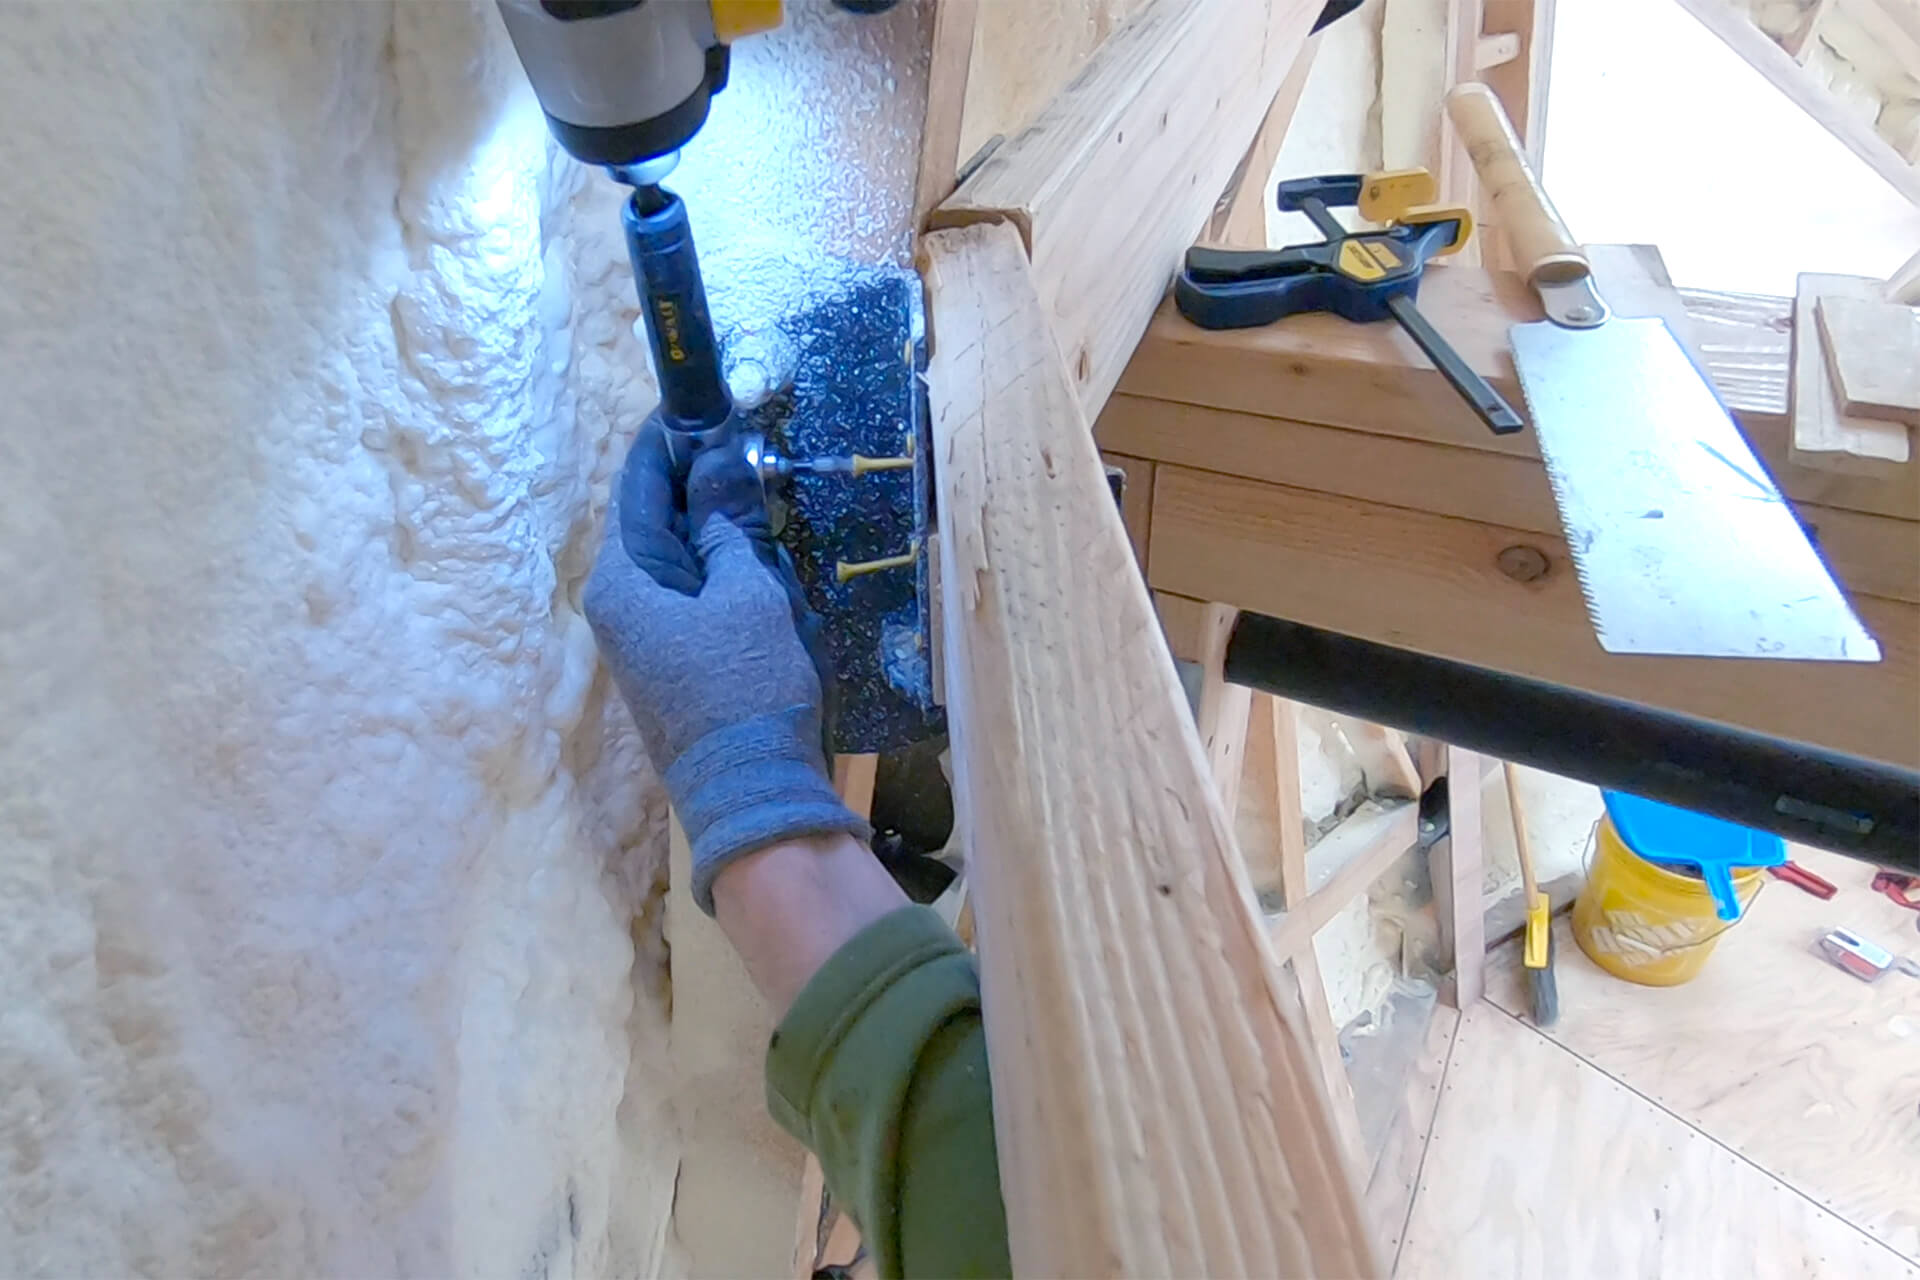
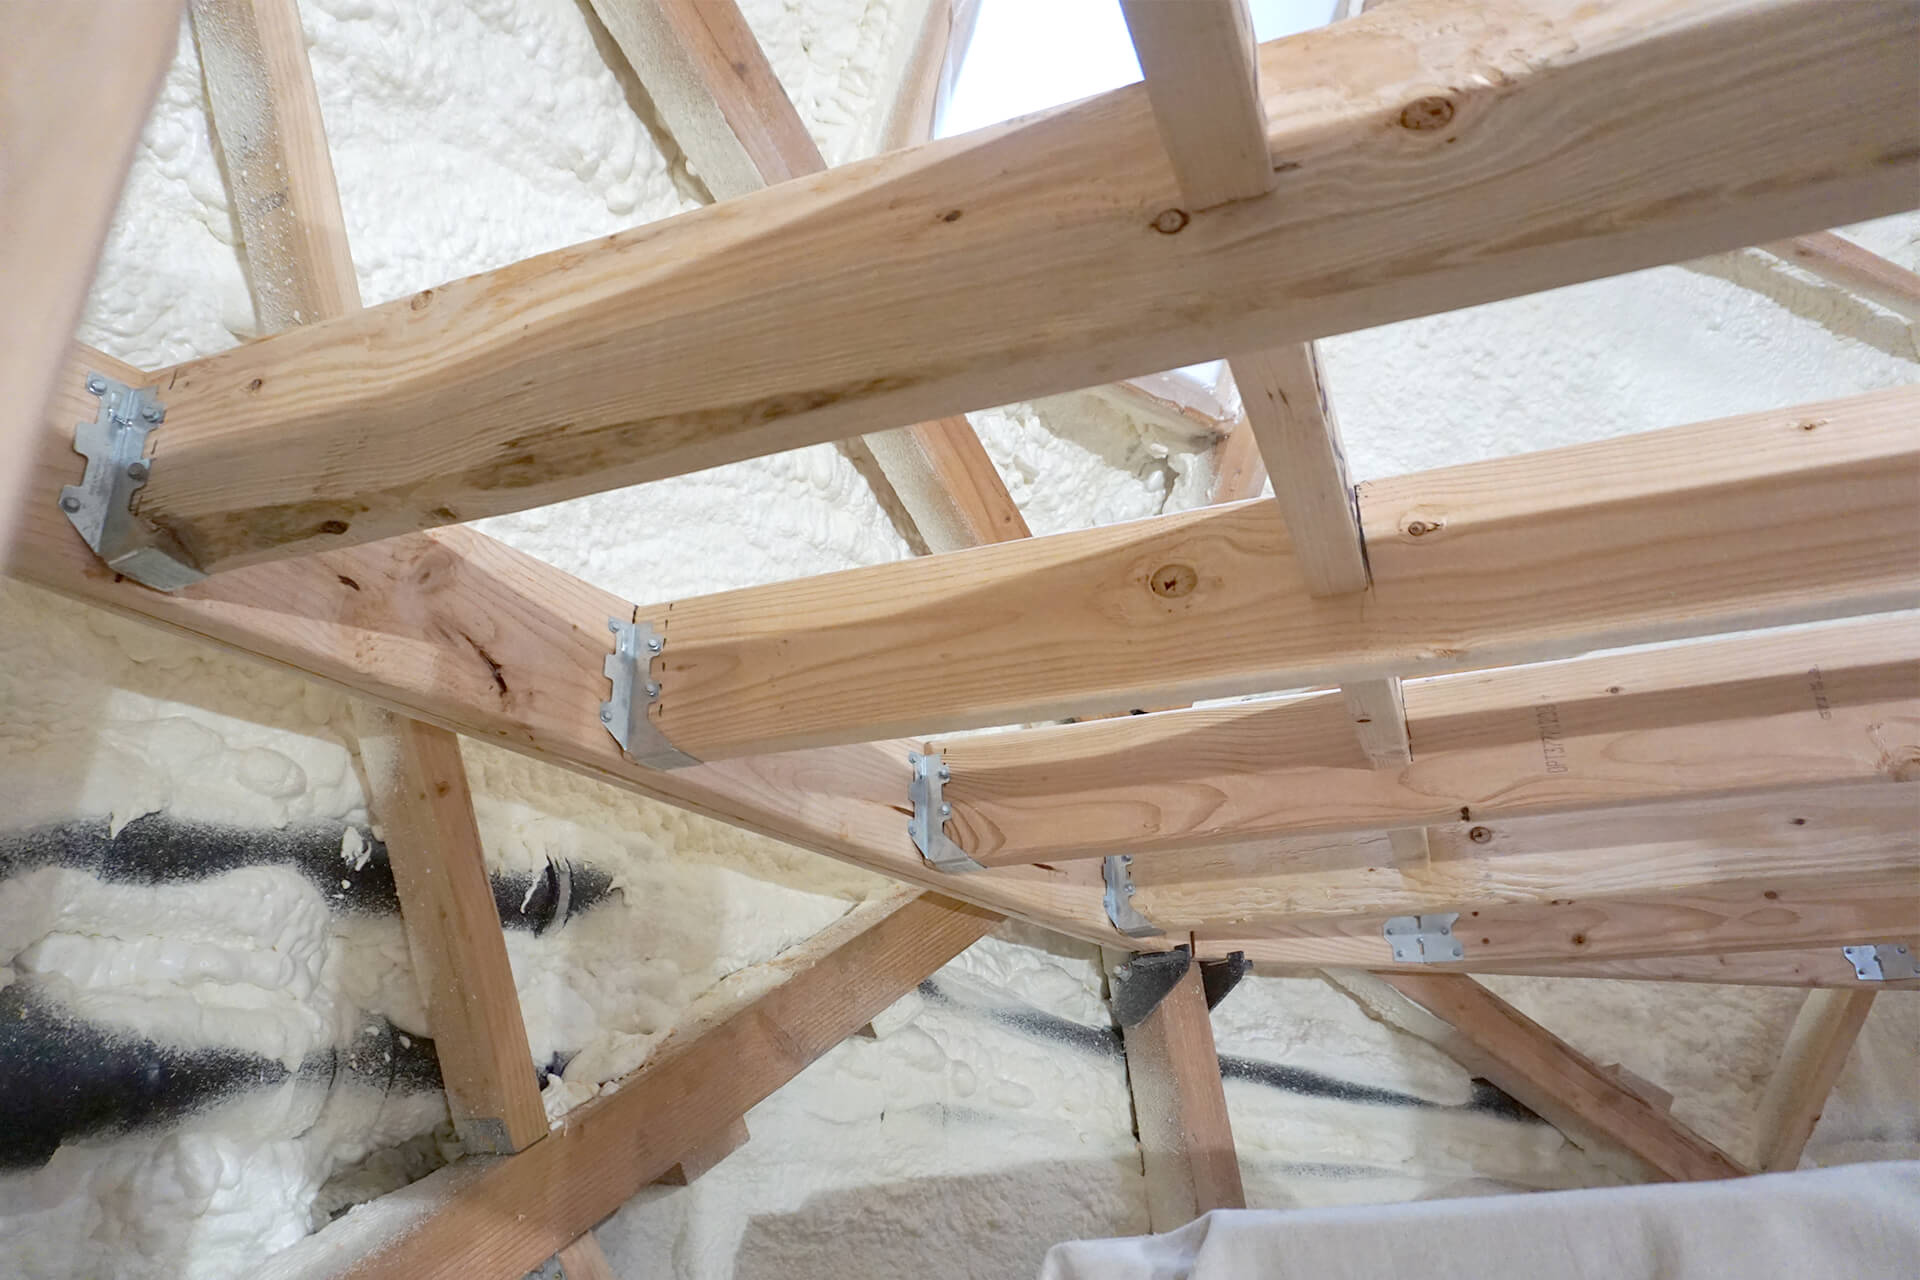
Detail shot showing a joist hanger bracket properly installed, using the correct hardware and screw length.
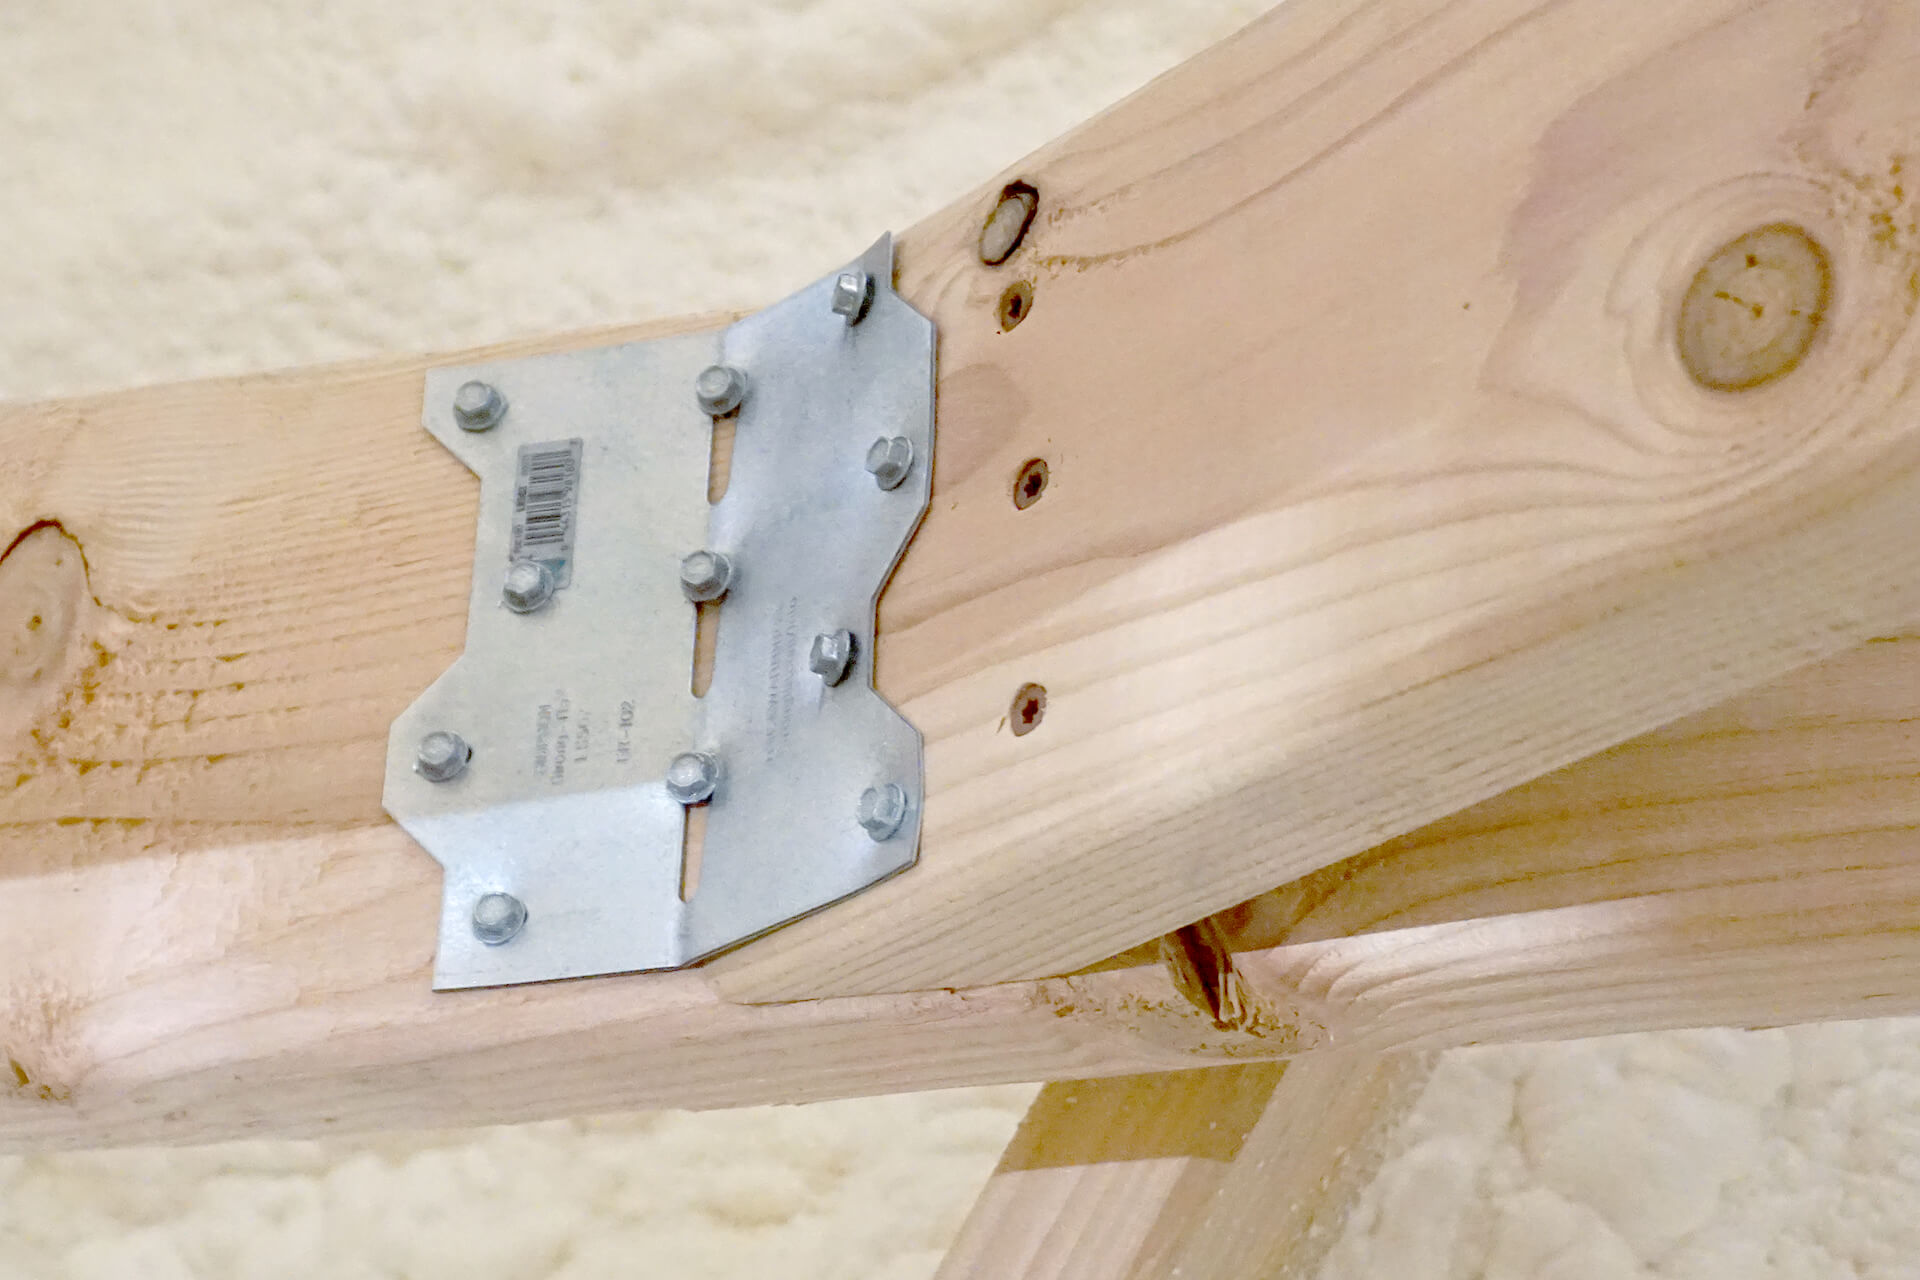
Detail shot showing an angle-adjustable bracket reinforcing a sharply angled floor joist attachment point.
Use hurricane tie brackets where the joists sit atop the wall.
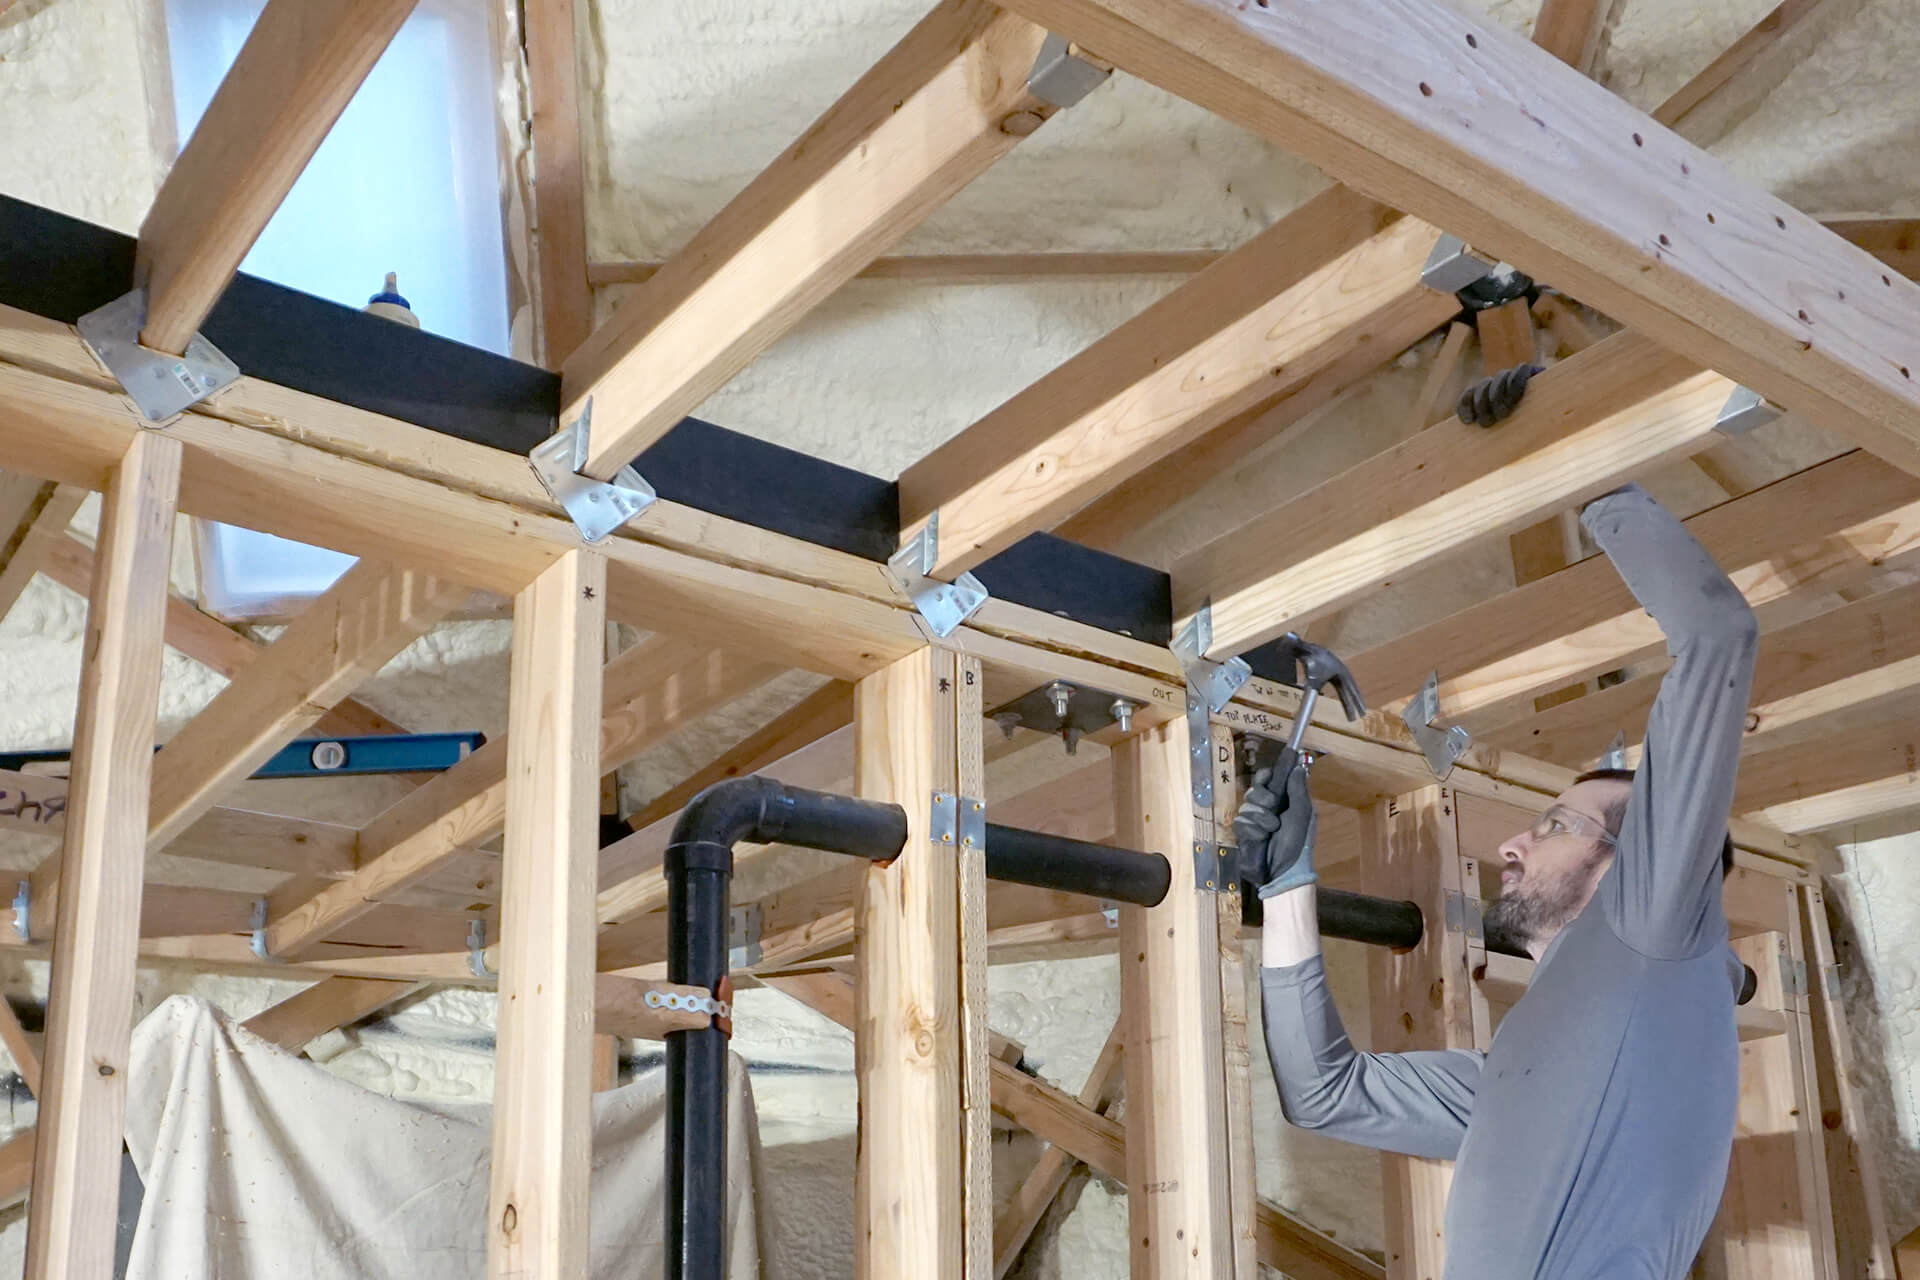
Continue installing floor joists.
Detail shot showing a hurricane tie bracket. Nails are used here because their heads provide a more flush surface for the future wall covering.
Install blocking around the steel cantilever. This blocking will serve as a surface to secure the subfloor.
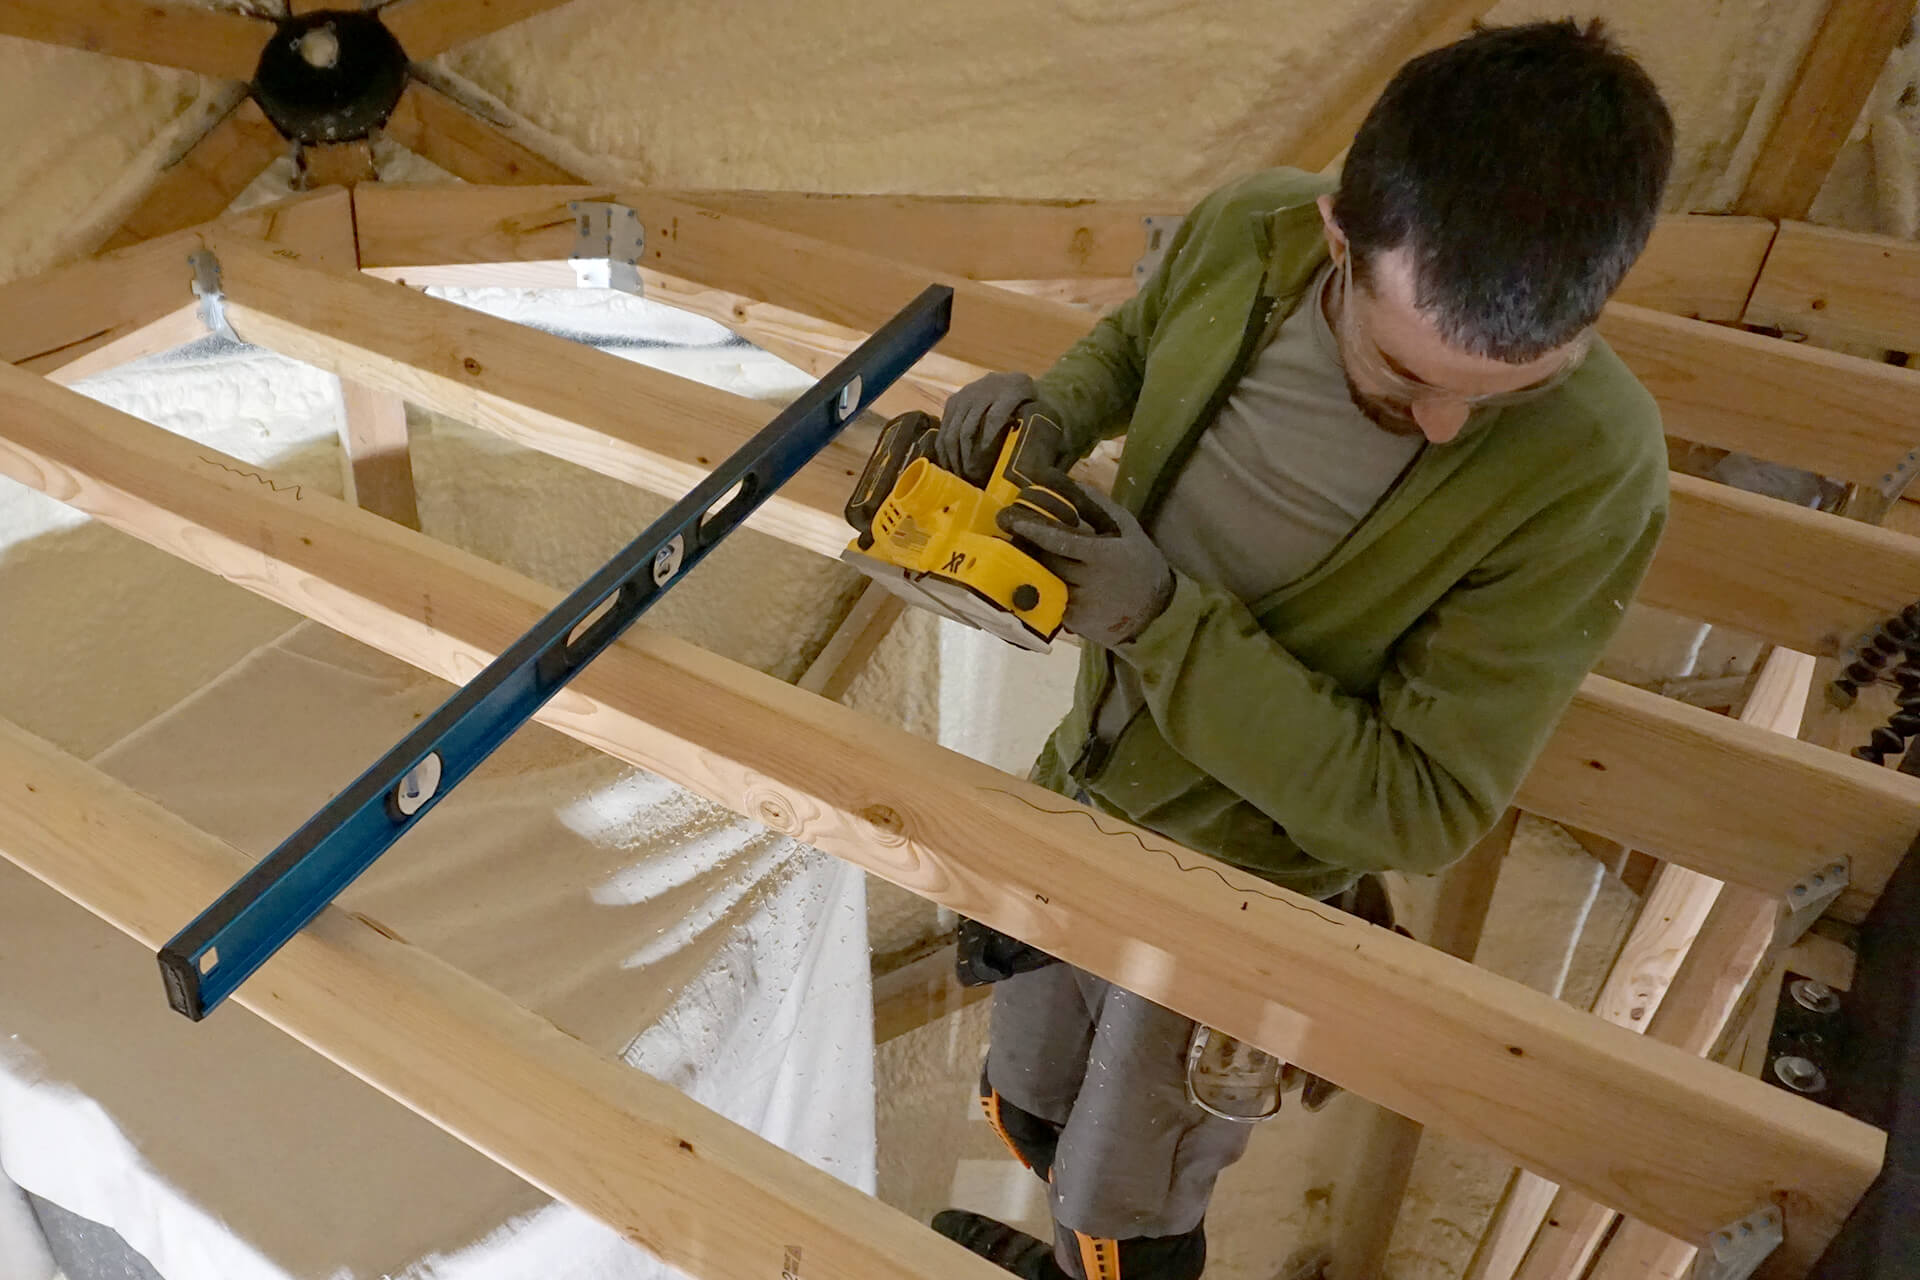
Use a planer to trim any high spots from the floor joists.
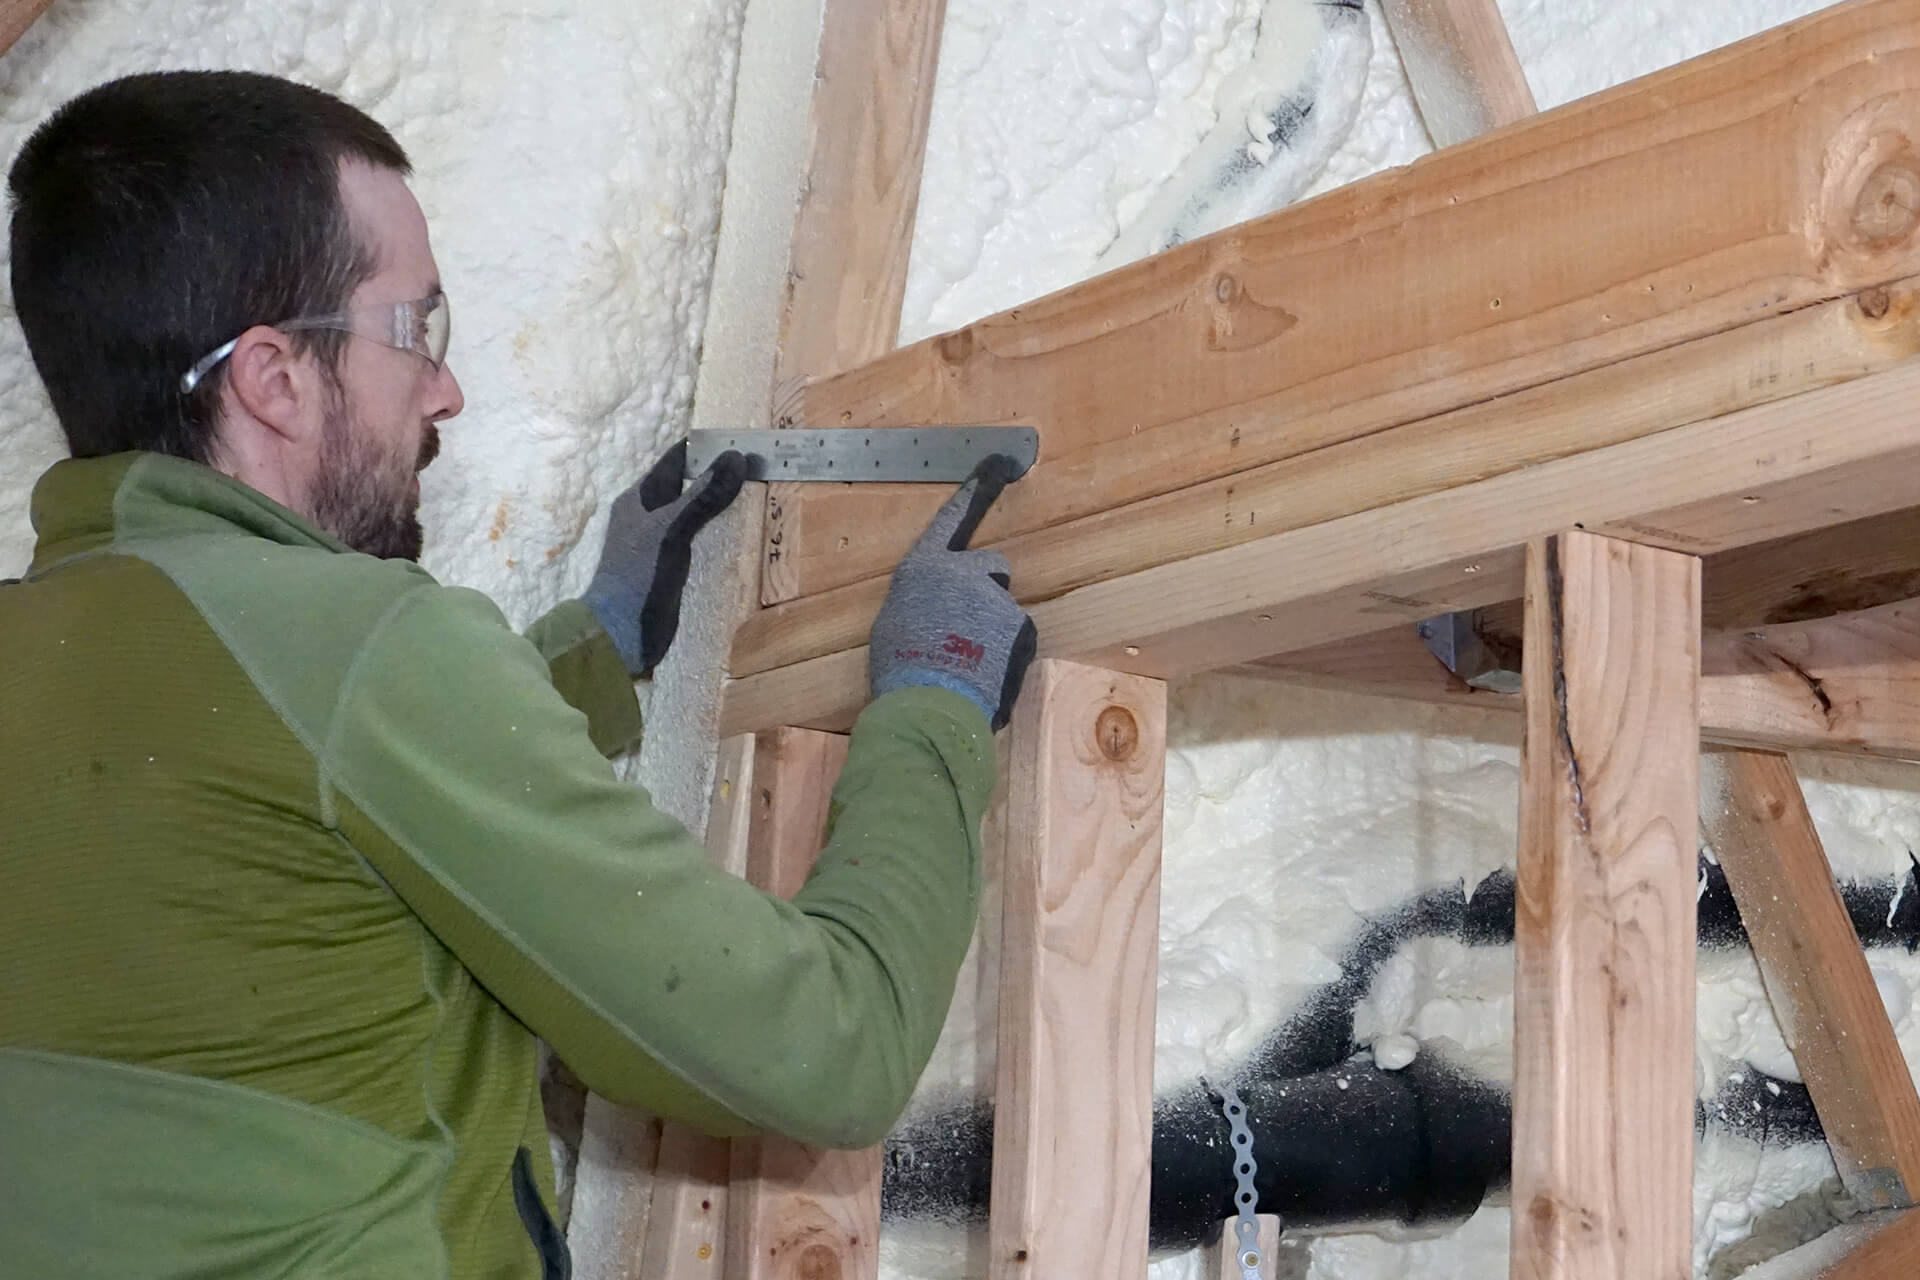
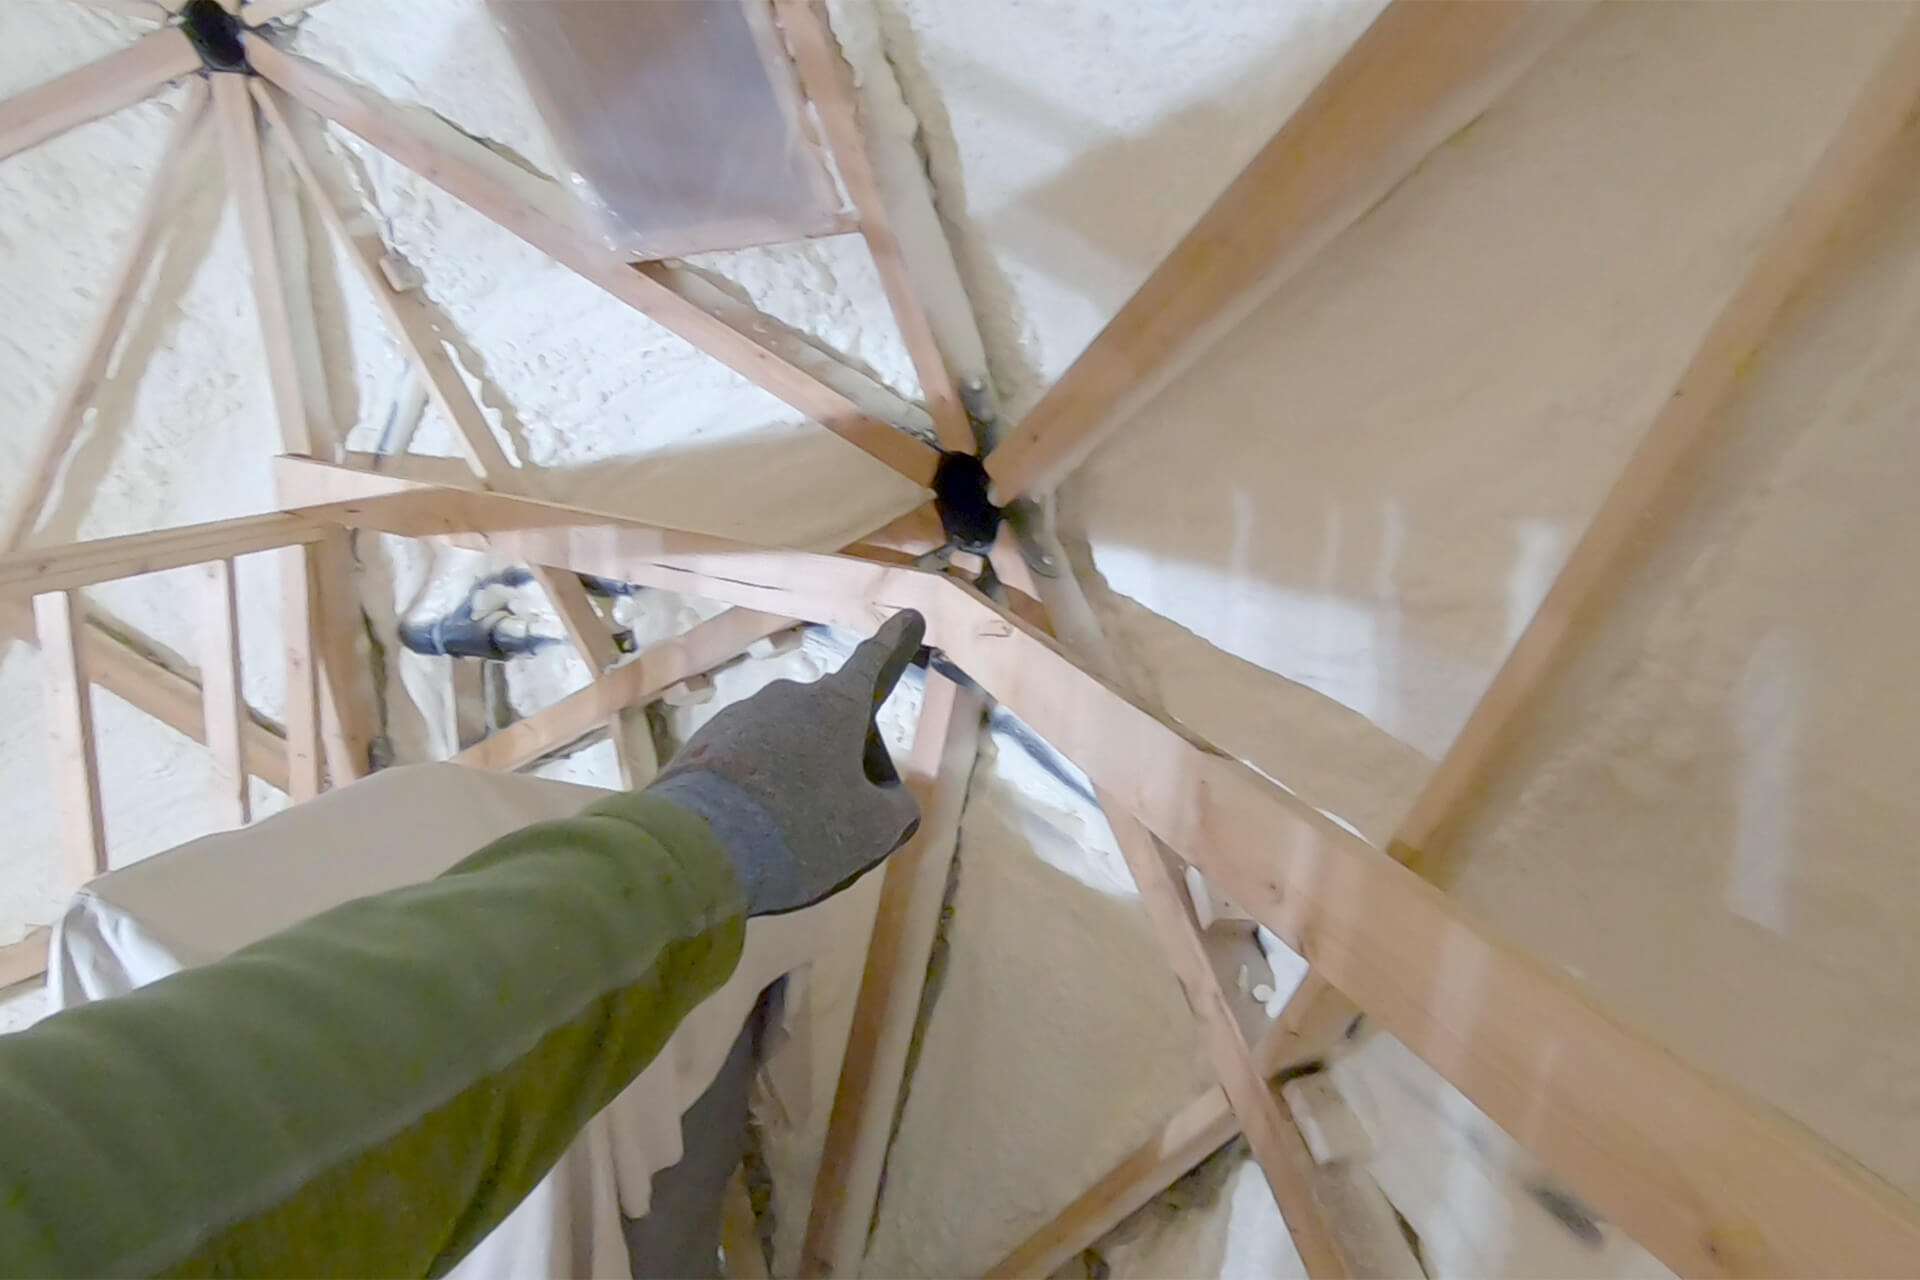
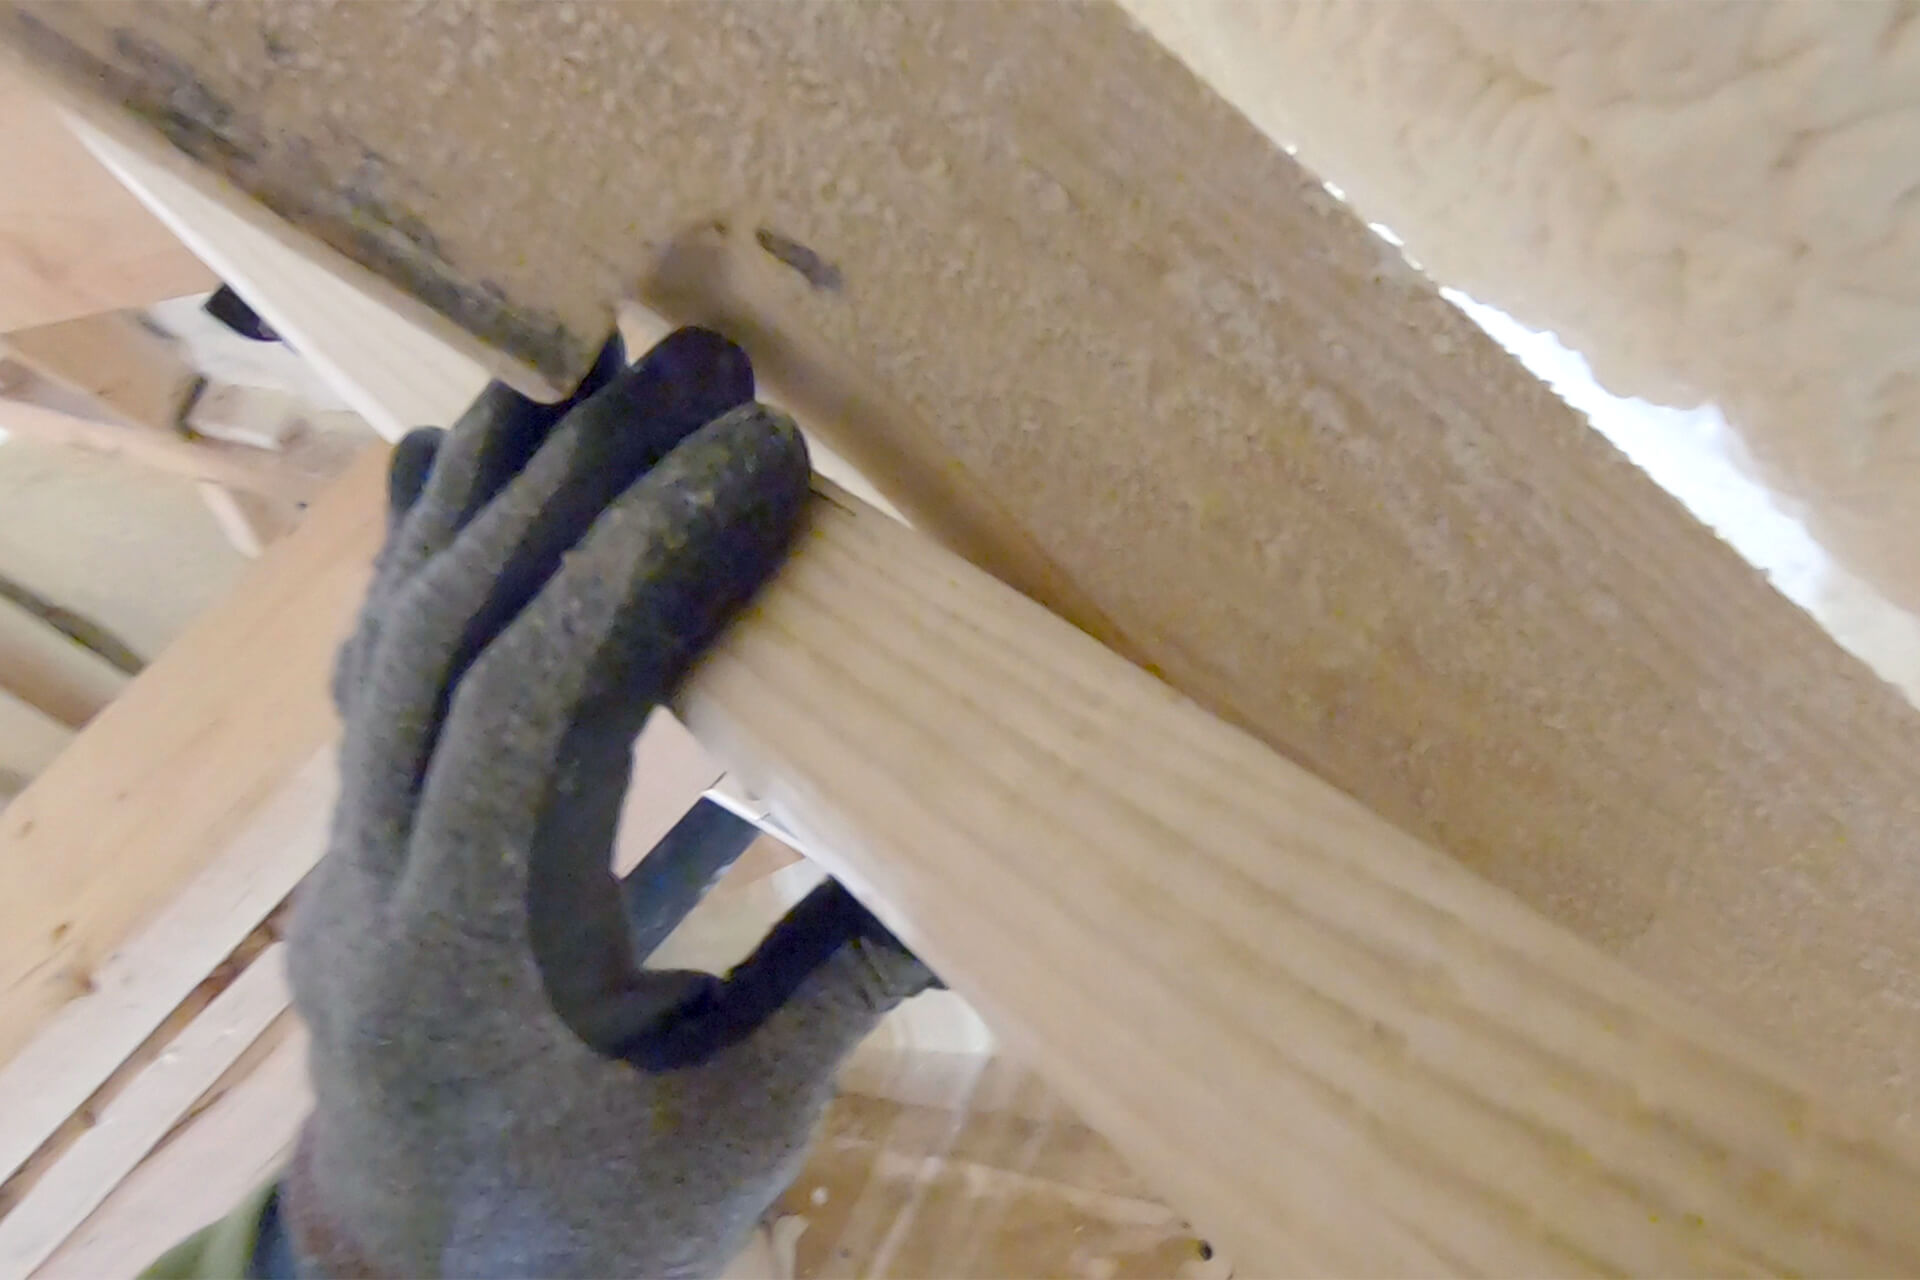
Install strapping to secure the rim joist to the dome strut. Router the thickness of the strapping into the rim joist for a flush fit, then nail the strapping tightly to maintain tension.
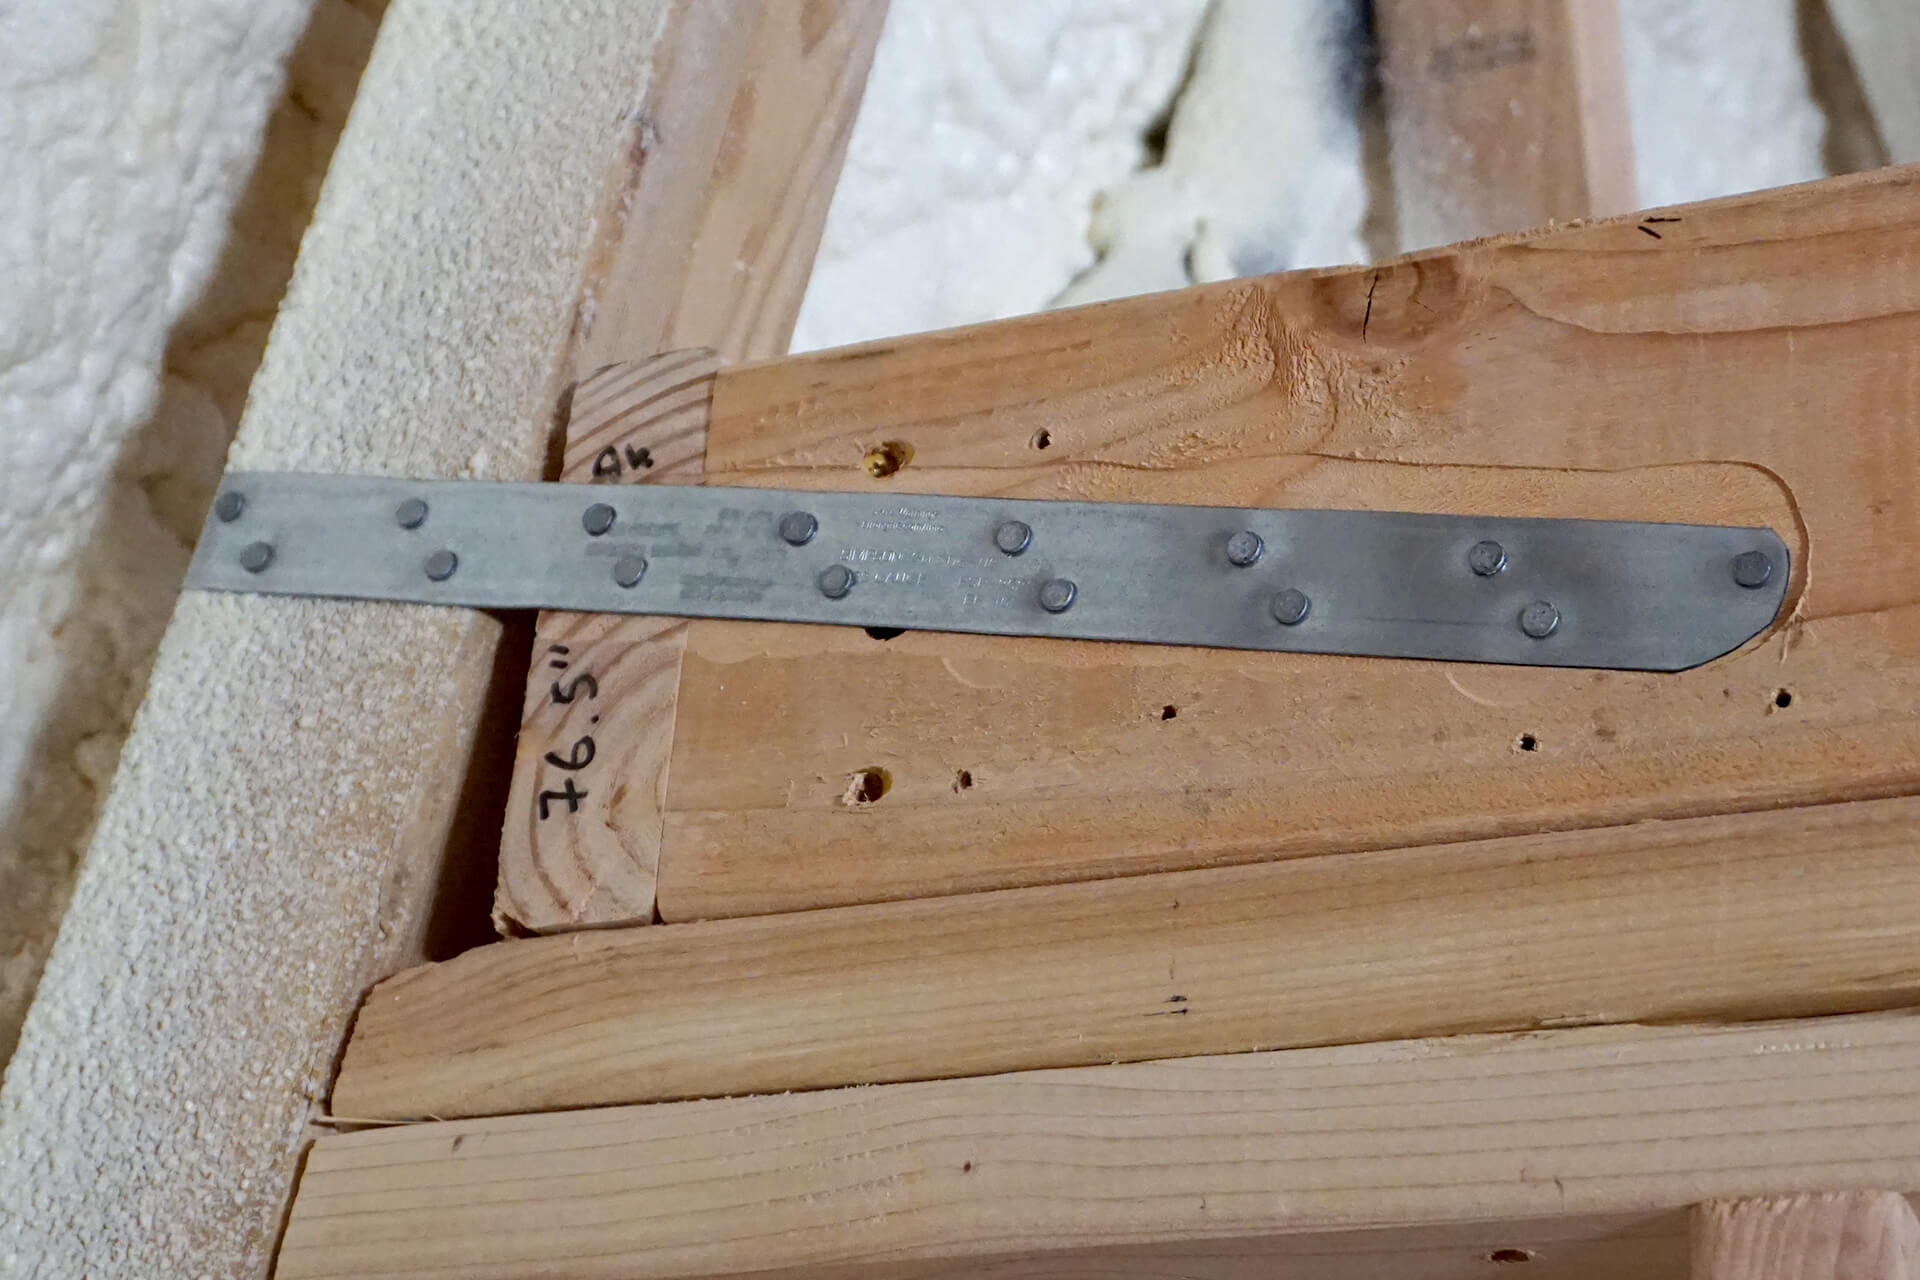
Detail shot showing the installed strapping. Nails are used here because their heads provide a more flush surface.
Sister another rim joist to the just strapped rim joist. This creates a strong, thick lumber zone for attaching one side of the spiral stair platform.
Optionally, sister plywood to the back of any rim joist that may need stiffening. Glue and screw the pieces together.
Detail shot showing the plywood sistered to the rim joist, along with a wooden wedge that was hammered into the strapping to maintain tension.
Note: The wall was extended to accommodate a larger TV, allowing for design tweaks in the framing that could have eliminated the need for the steel cantilever. Doh!
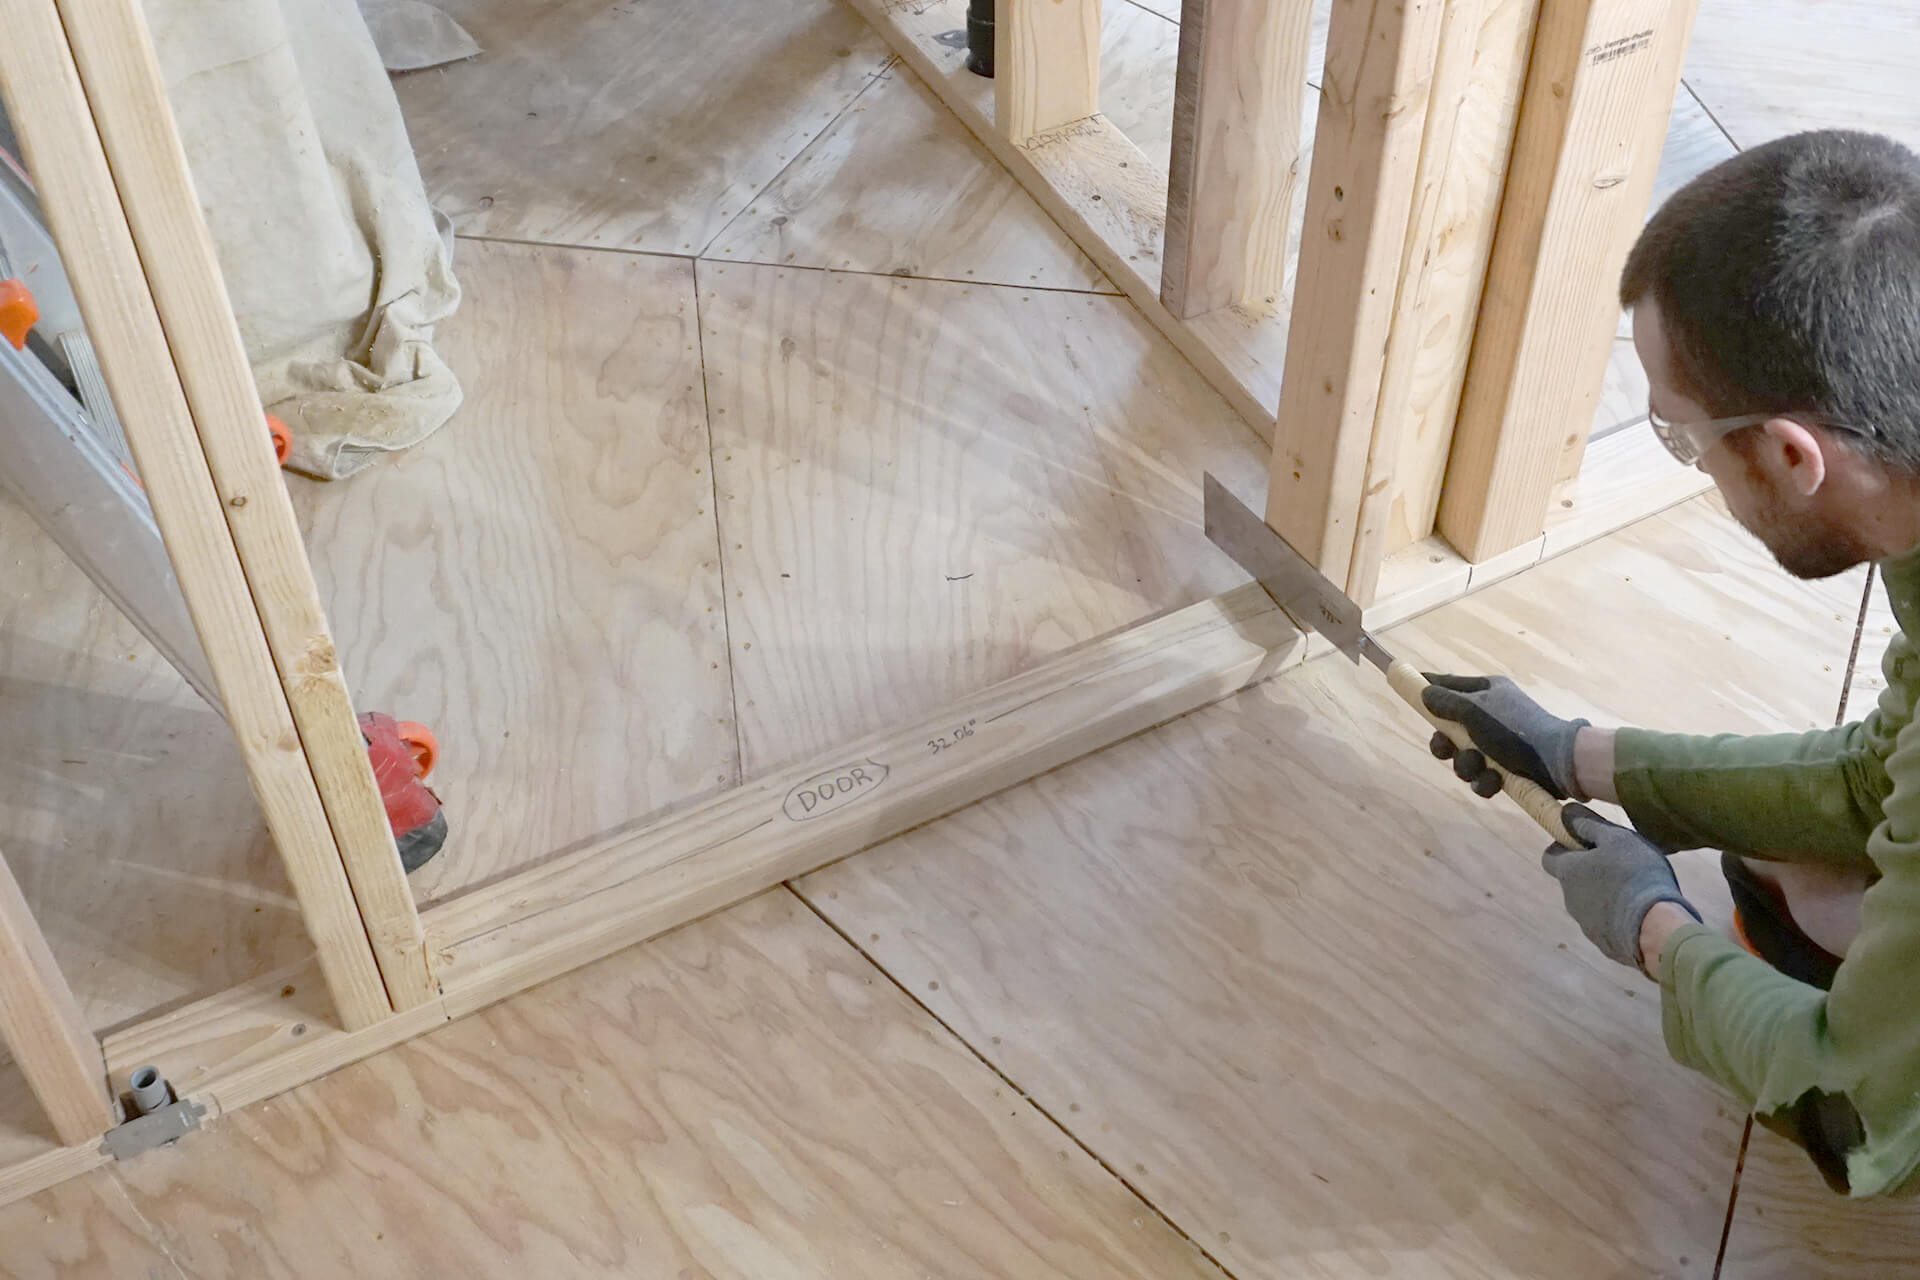
Cut the bottom plate flush with the bathroom door opening.
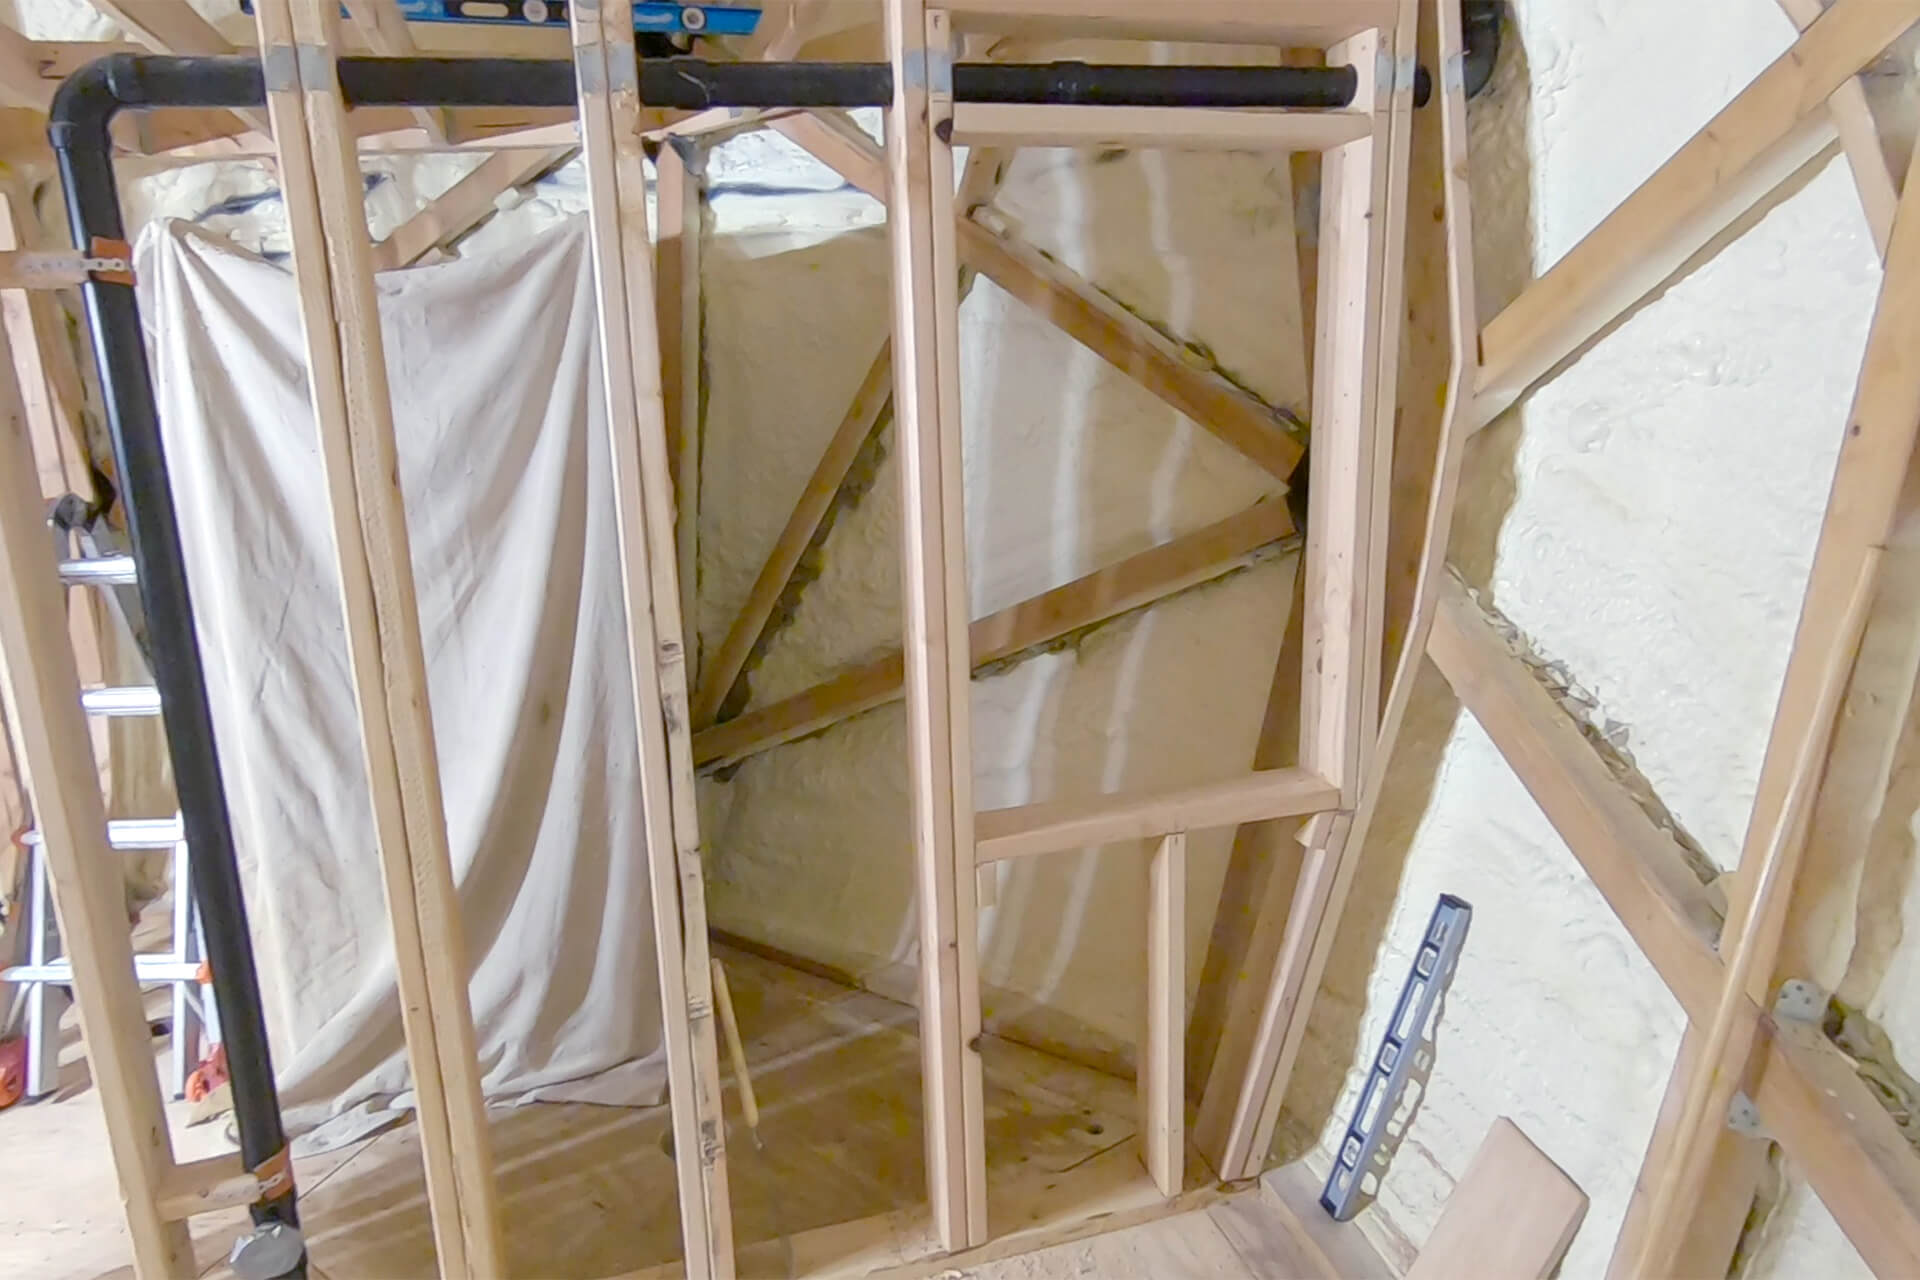
Finish framing the utility closet opening, which is large enough to pass the water heater and HRV unit through.
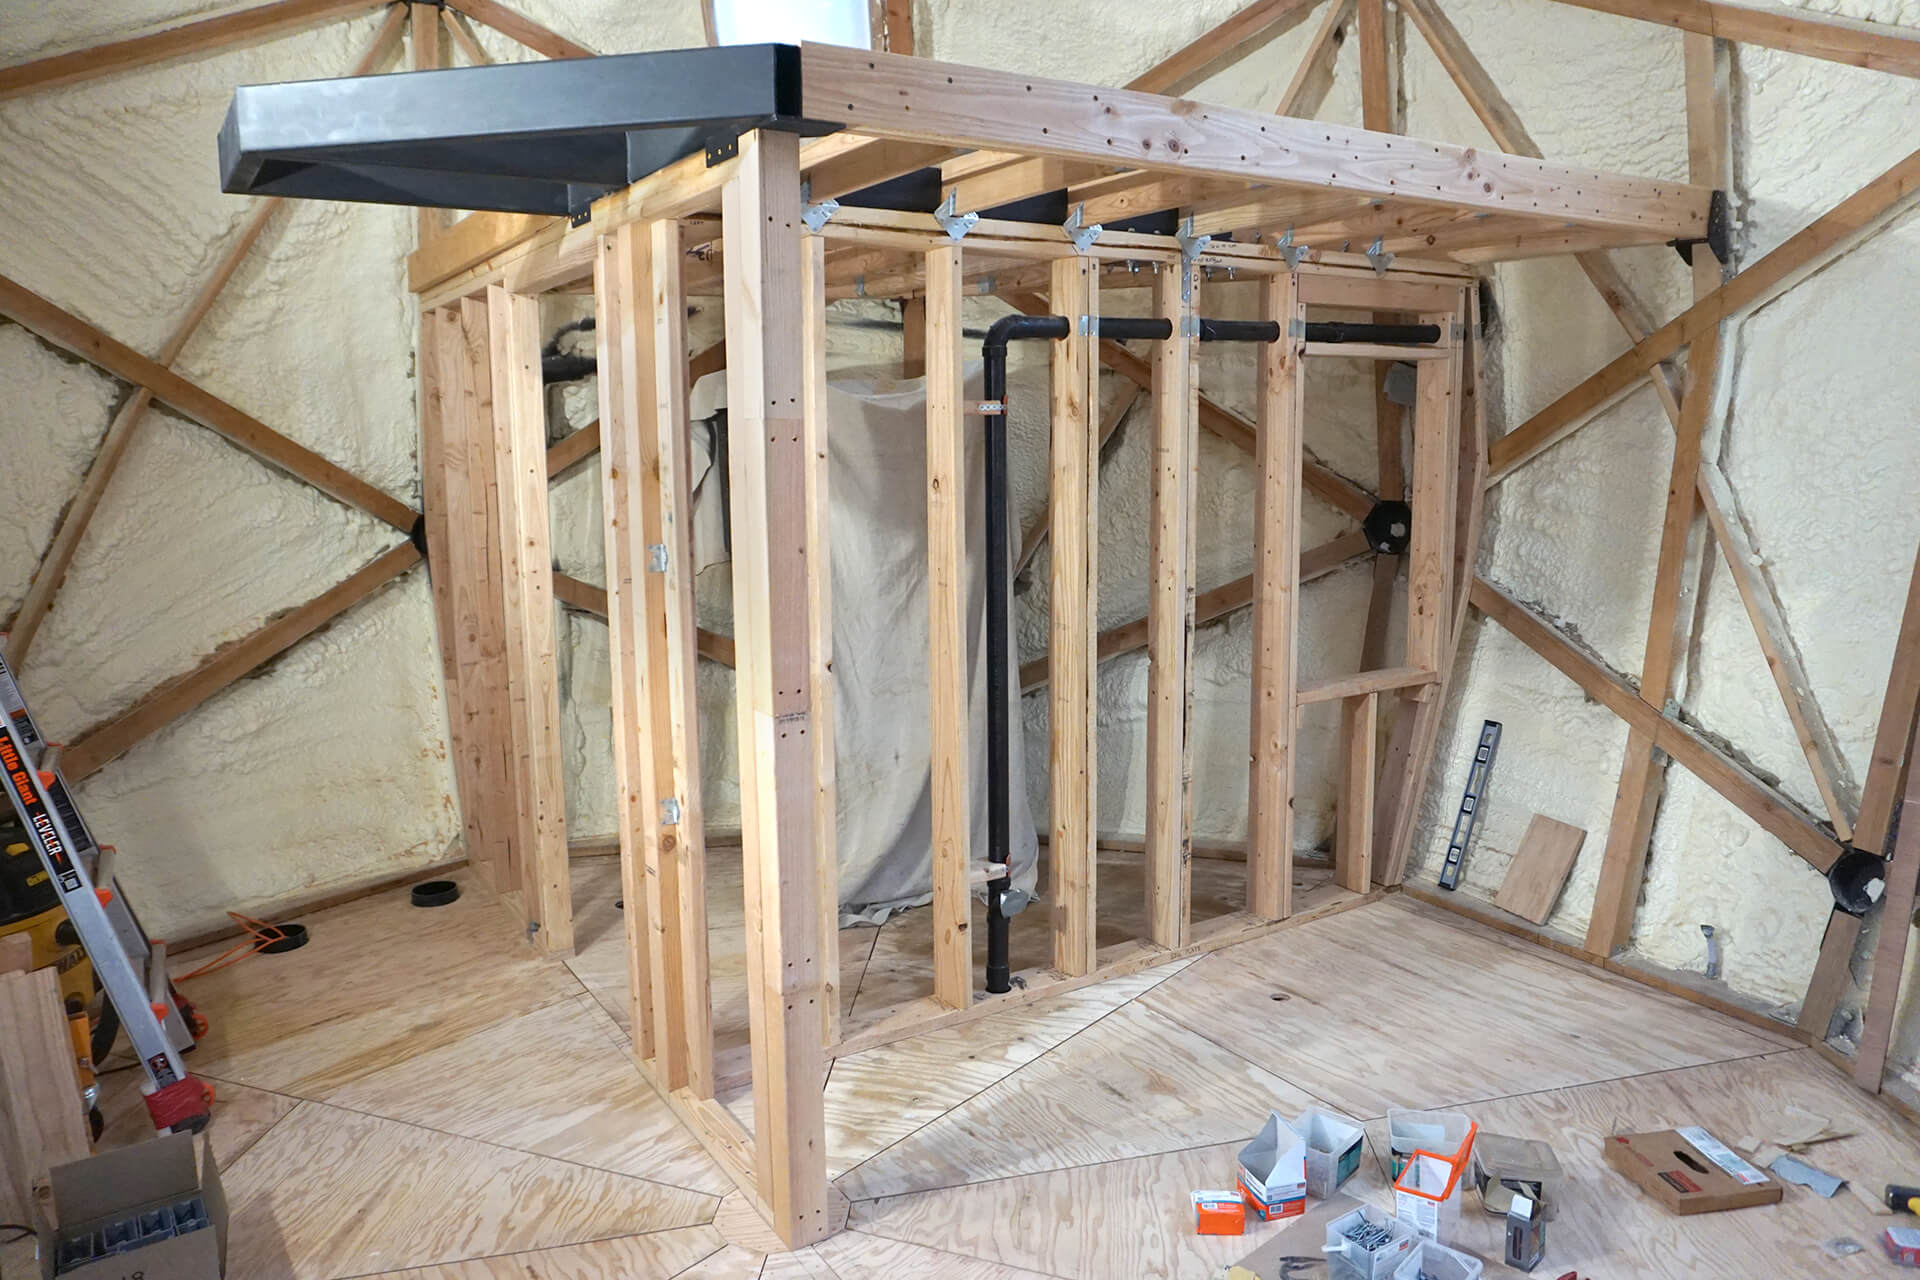
Detail shot showing the rough framing of the room.
Congratulations on completing the framing of the upper floor!
Next Step