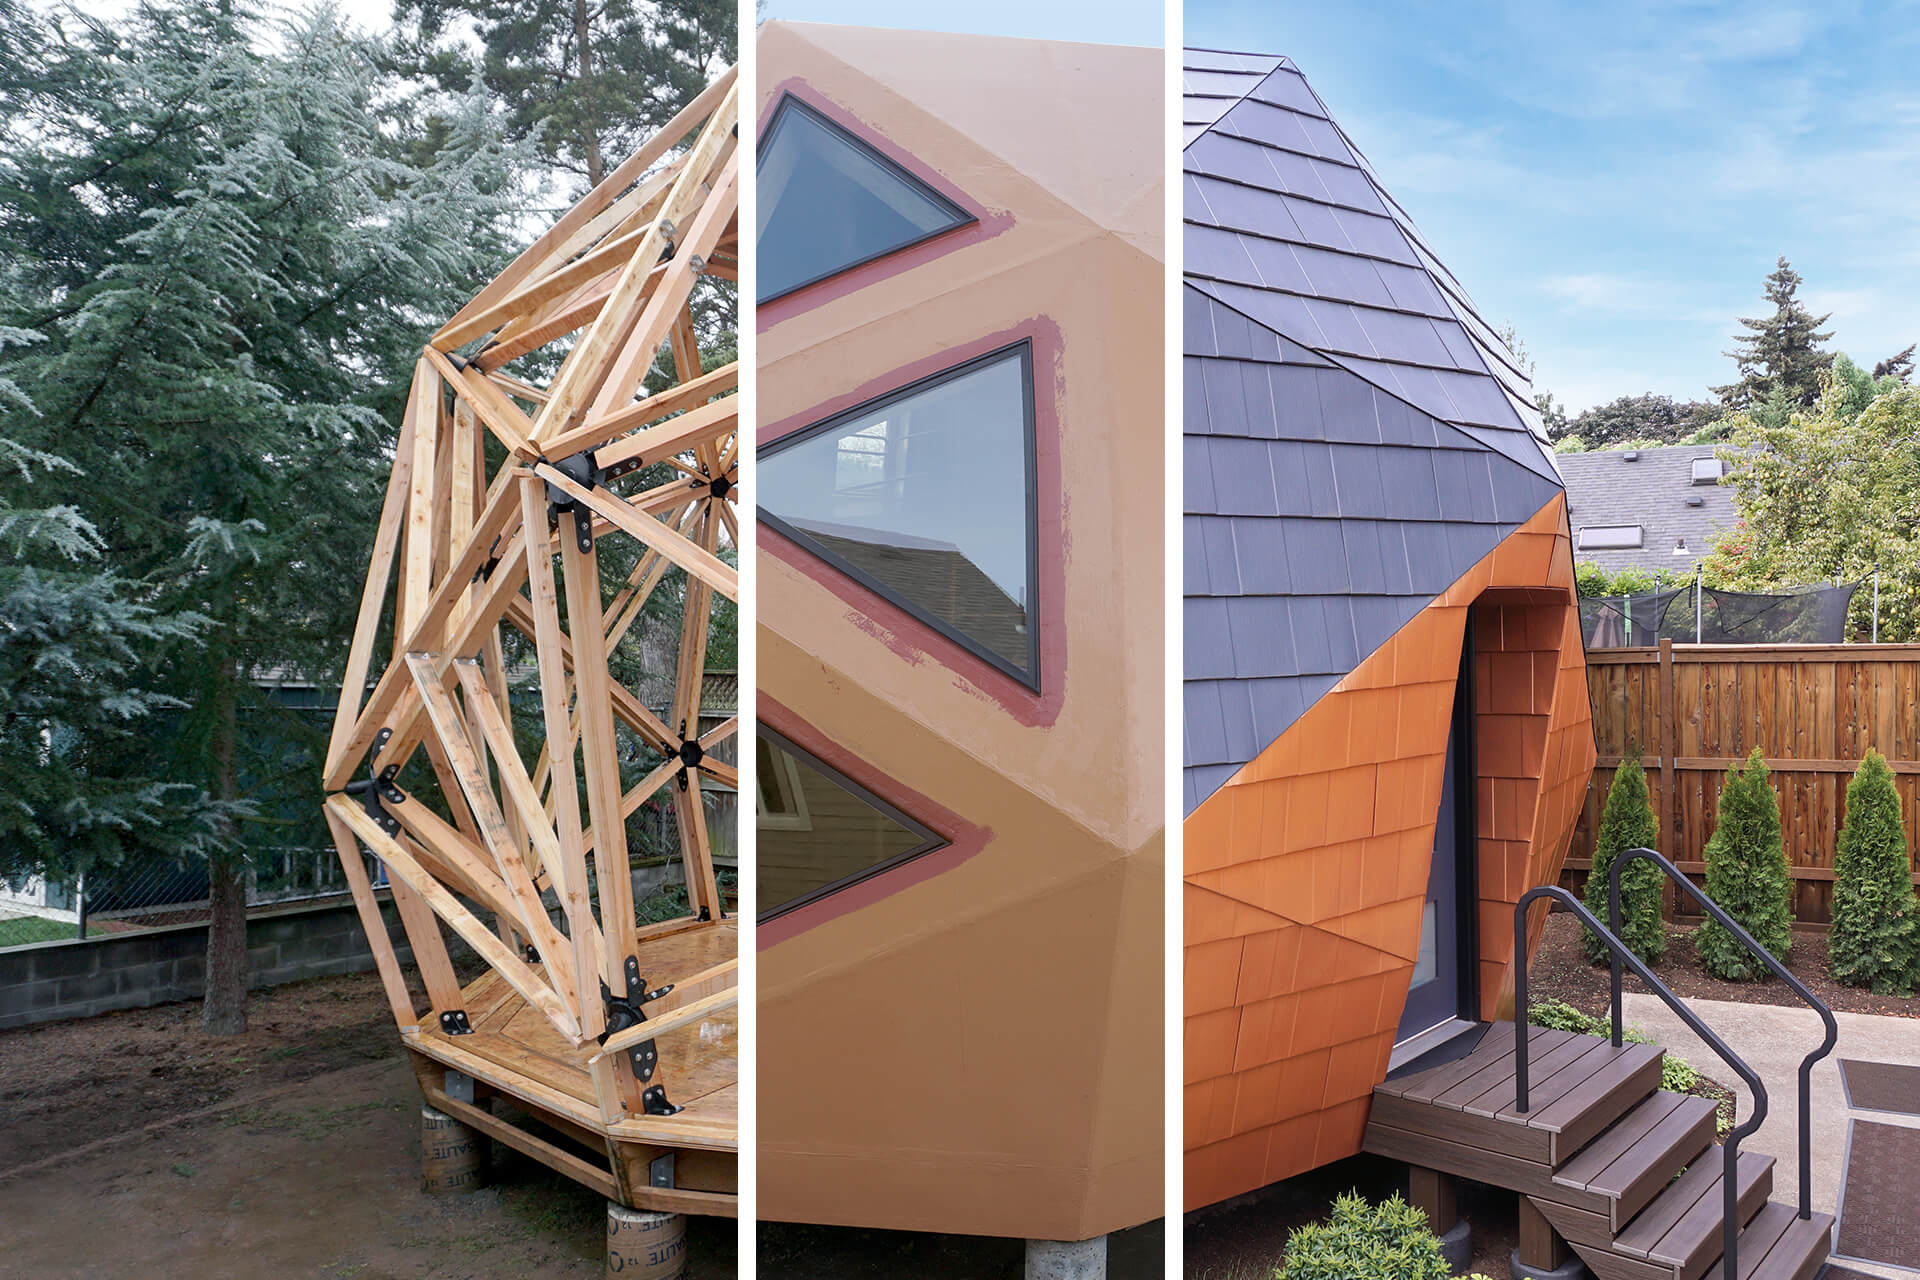
Build Instructions – Overview
The following is a brief overview of what it takes to build the Mini Dome. For a more detailed, step-by-step process, buy the book.
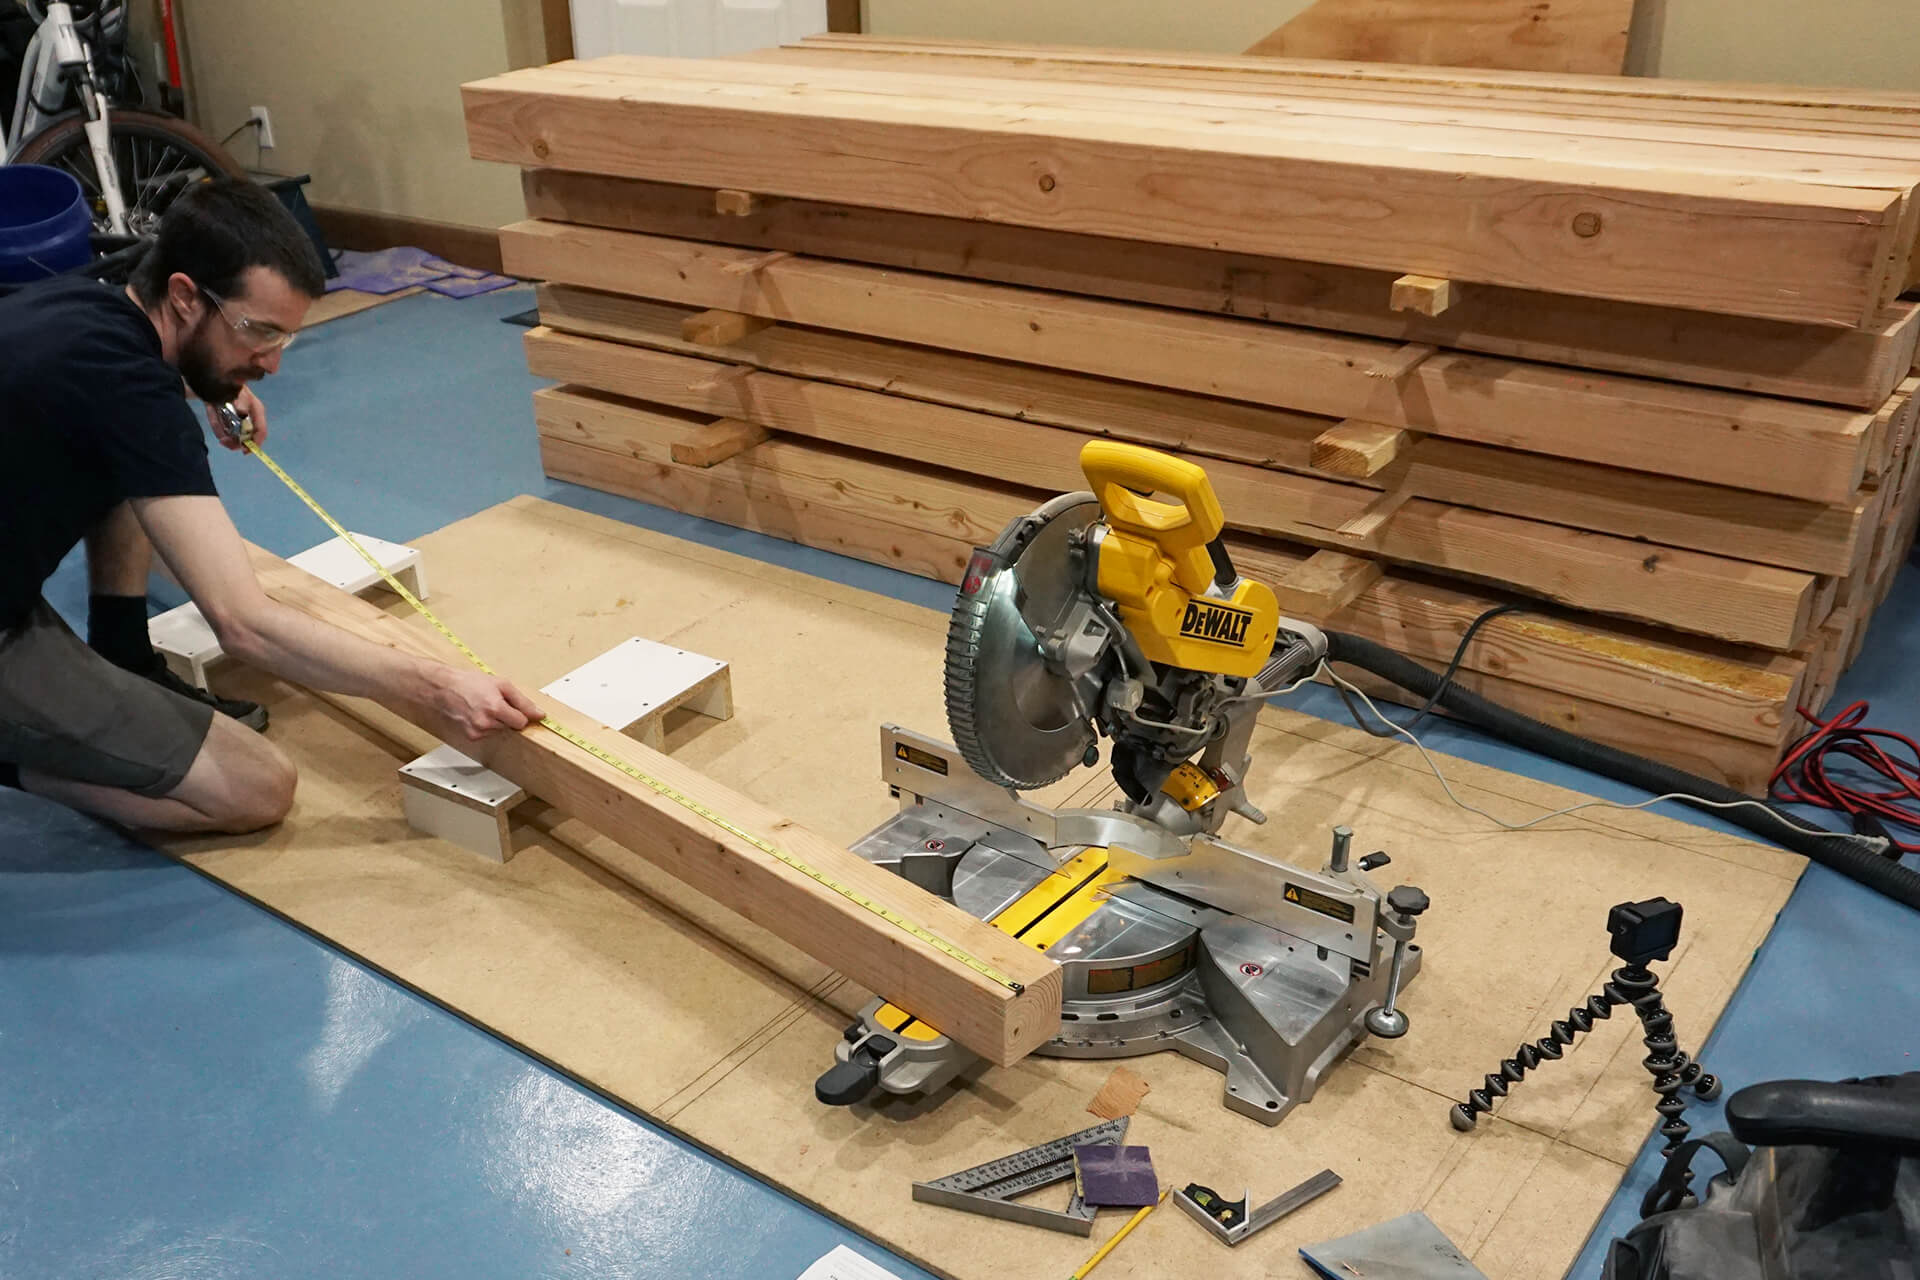
Chapter 1: Prefab - Prefabricate the struts, panels, floor framing, room framing, and rebar cages.
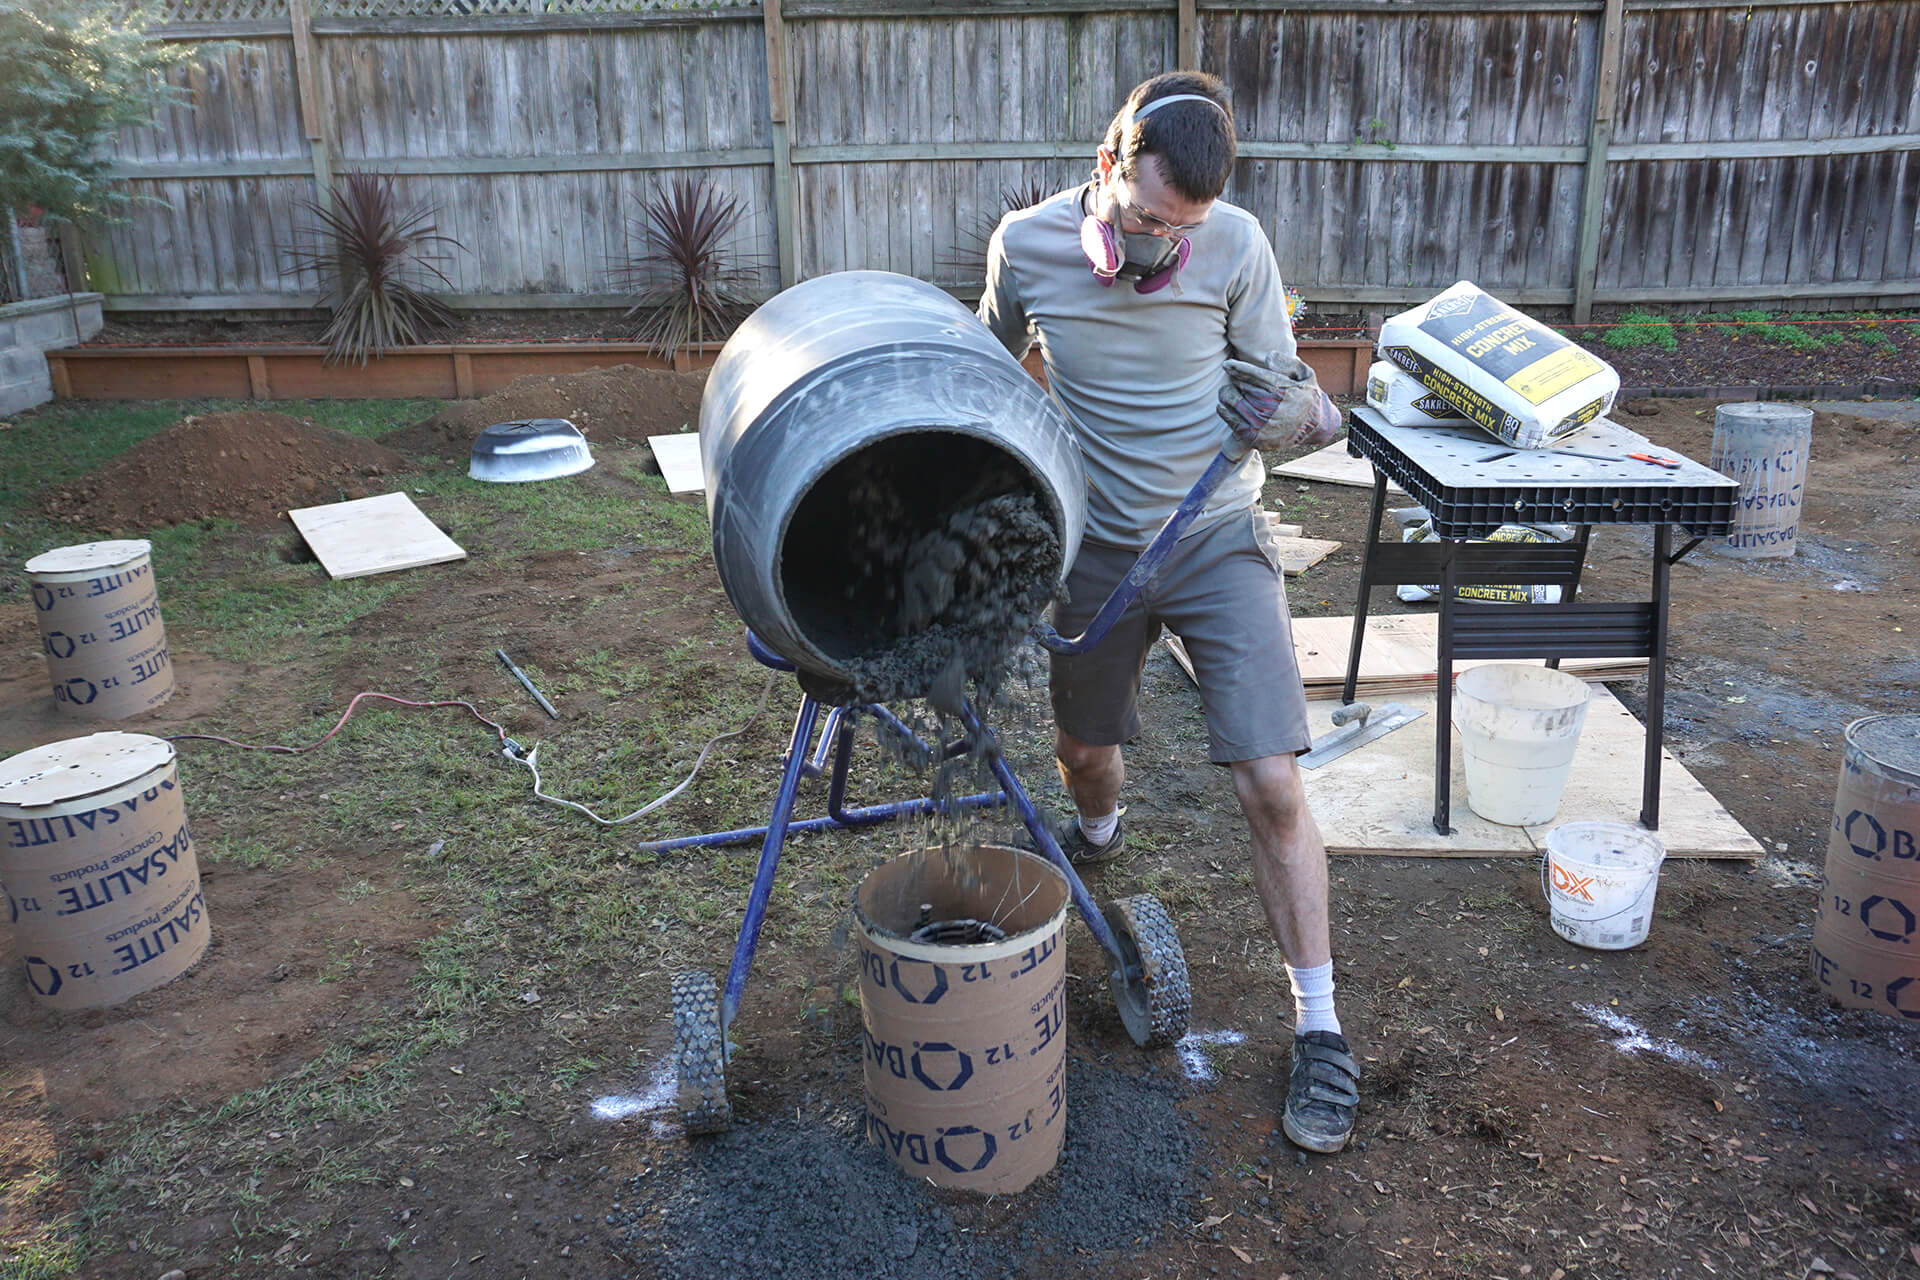
Chapter 2: Foundation - Dig the holes and pour the concrete piers.
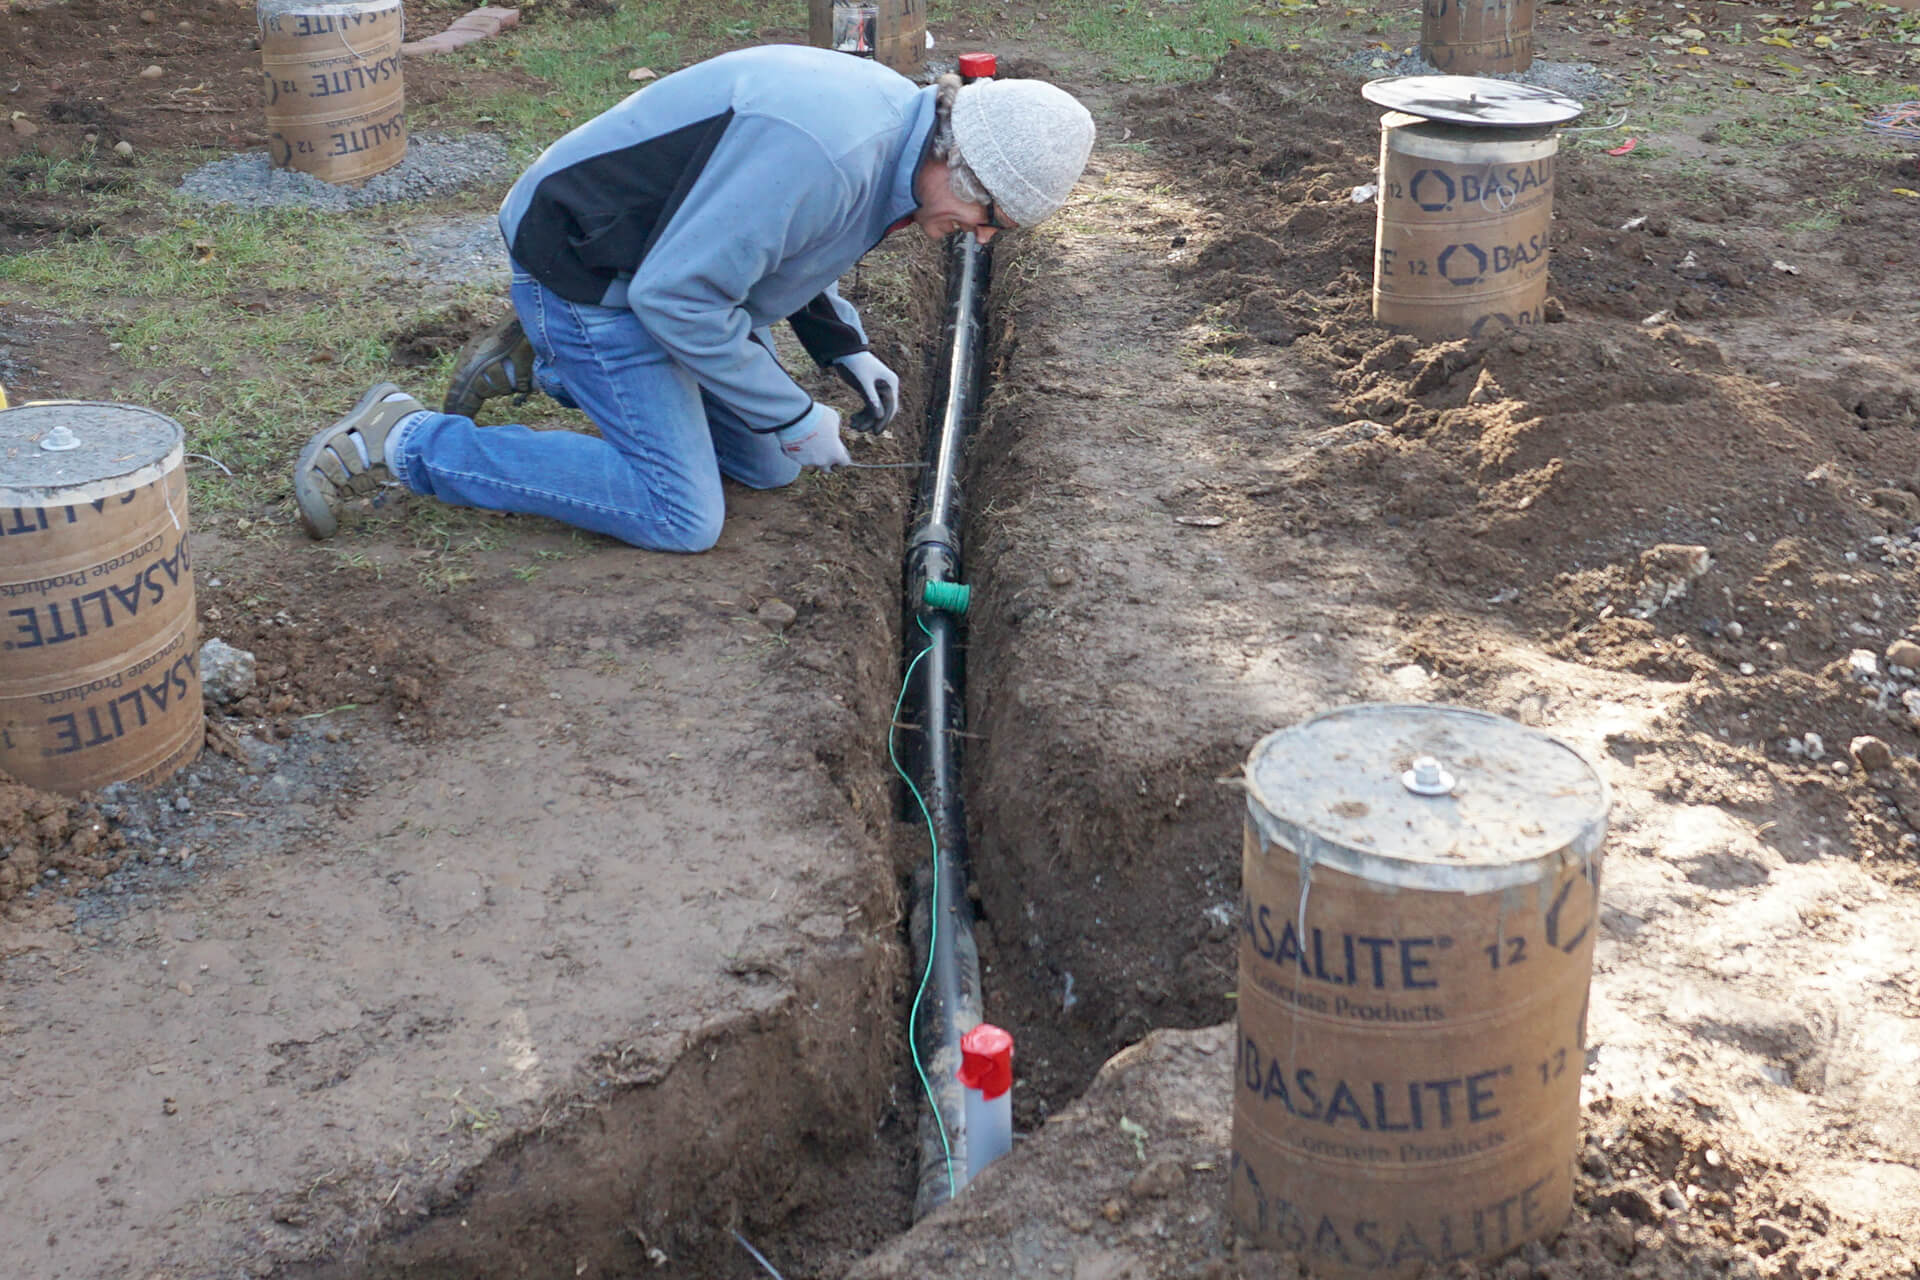
Chapter 3: Utilities - Trench and run the sewer, water, electrical, and data conduit to the stub-out locations.
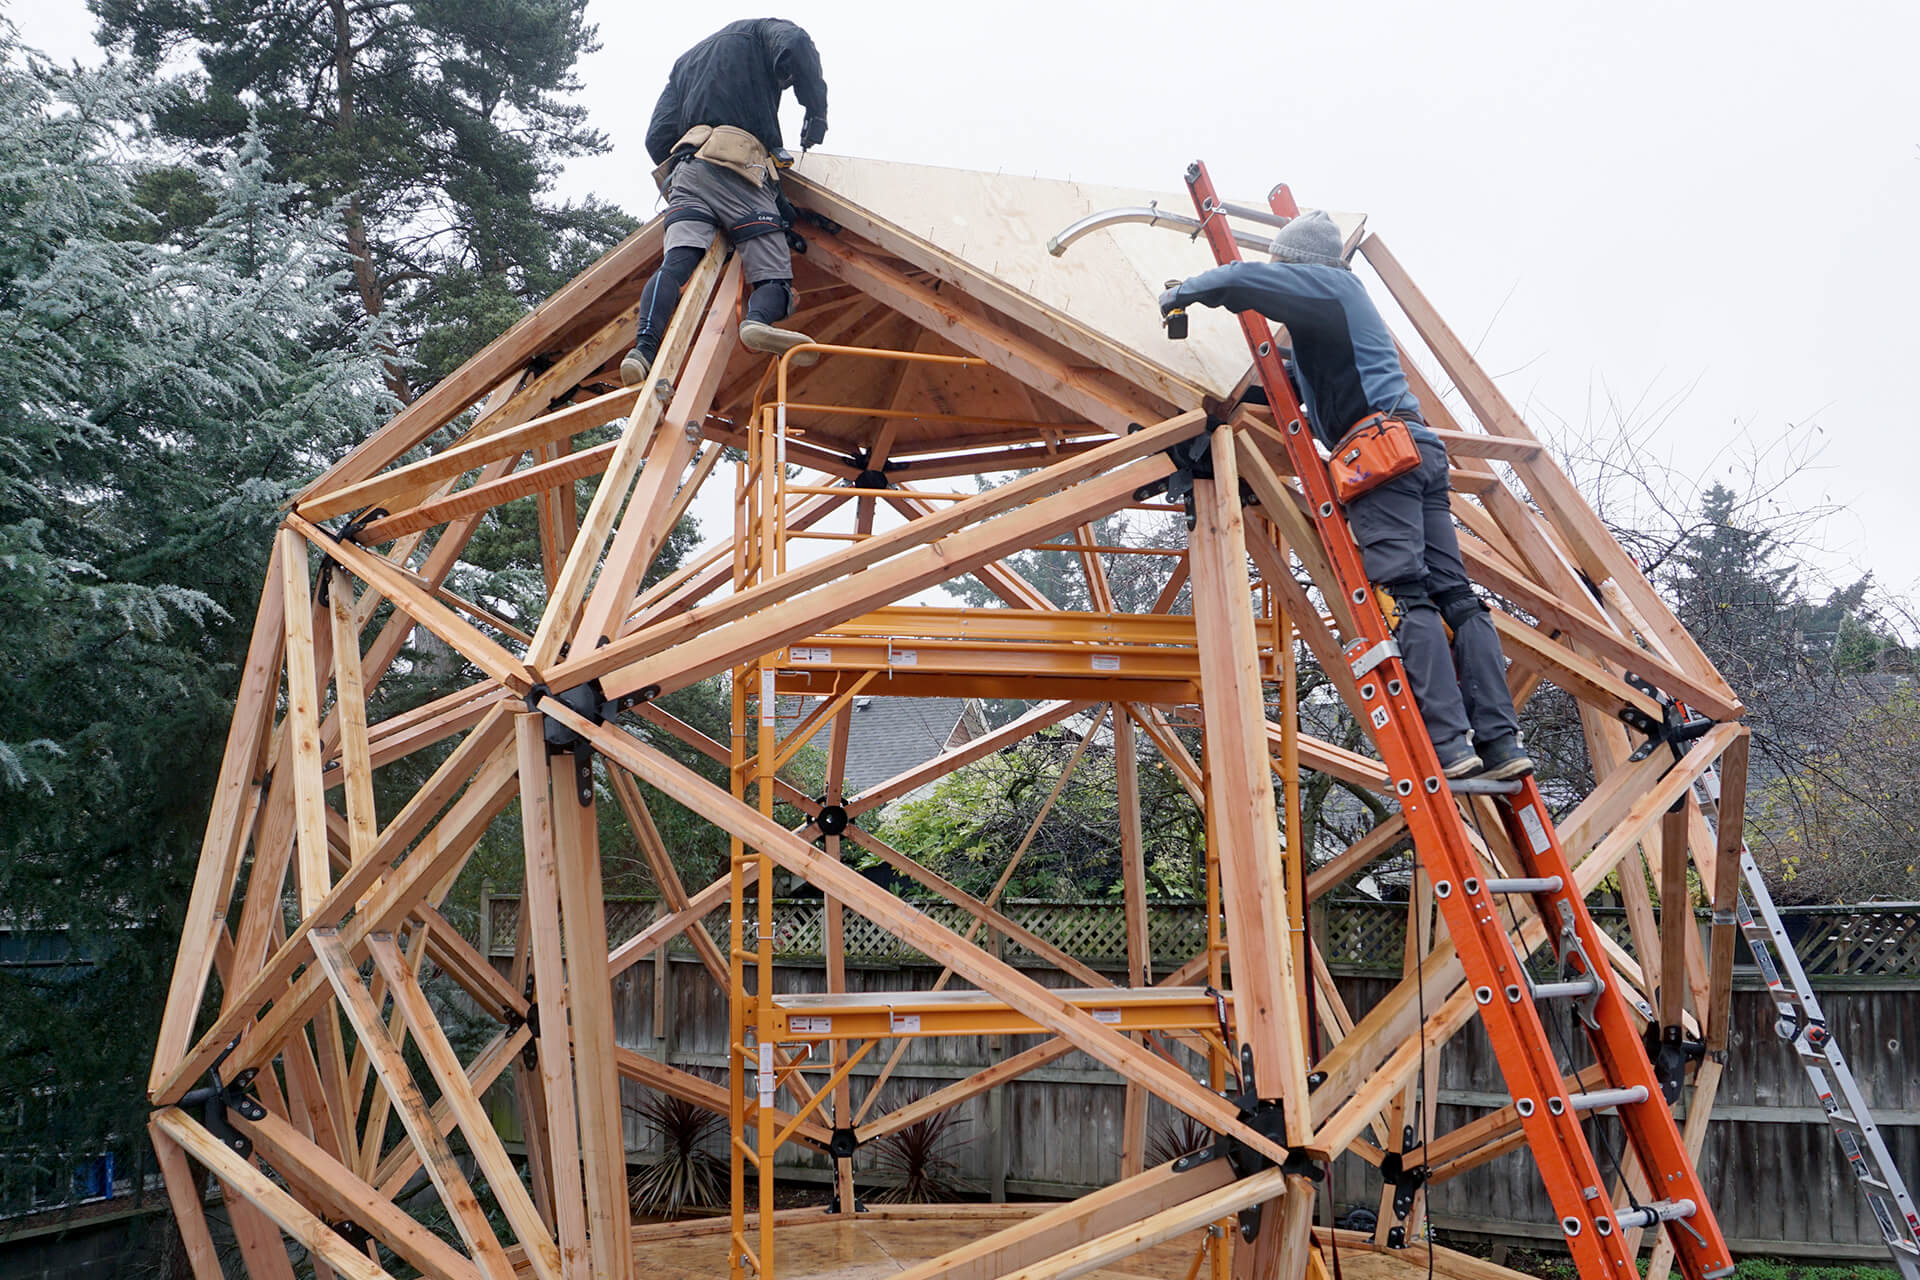
Chapter 4: Framing - Frame the floor, inner wall, outer wall, and install the sheathing.
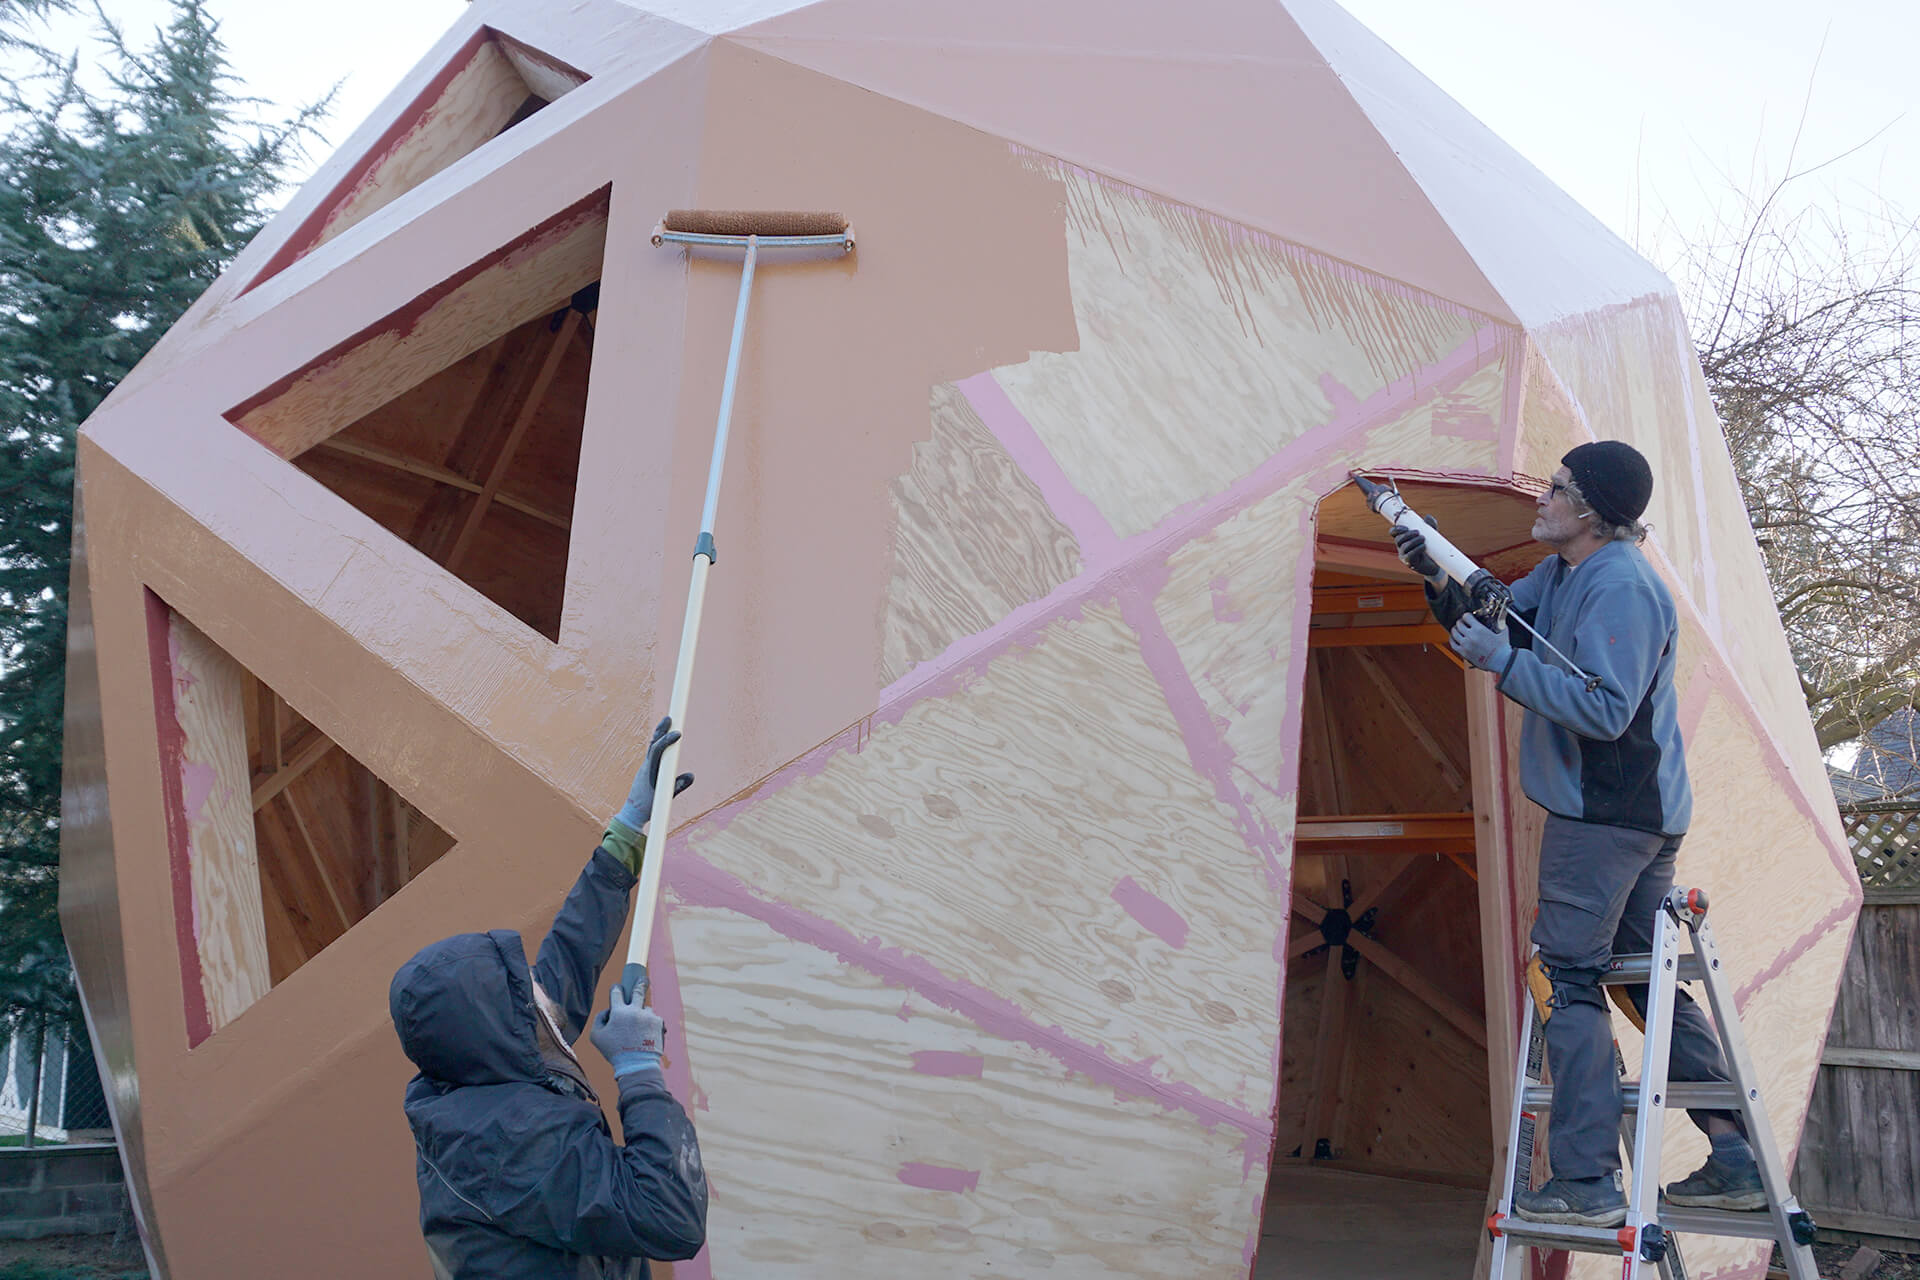
Chapter 5: Sealing - Apply an underlayment, install the windows, cover the crawlspace, and install the front door.
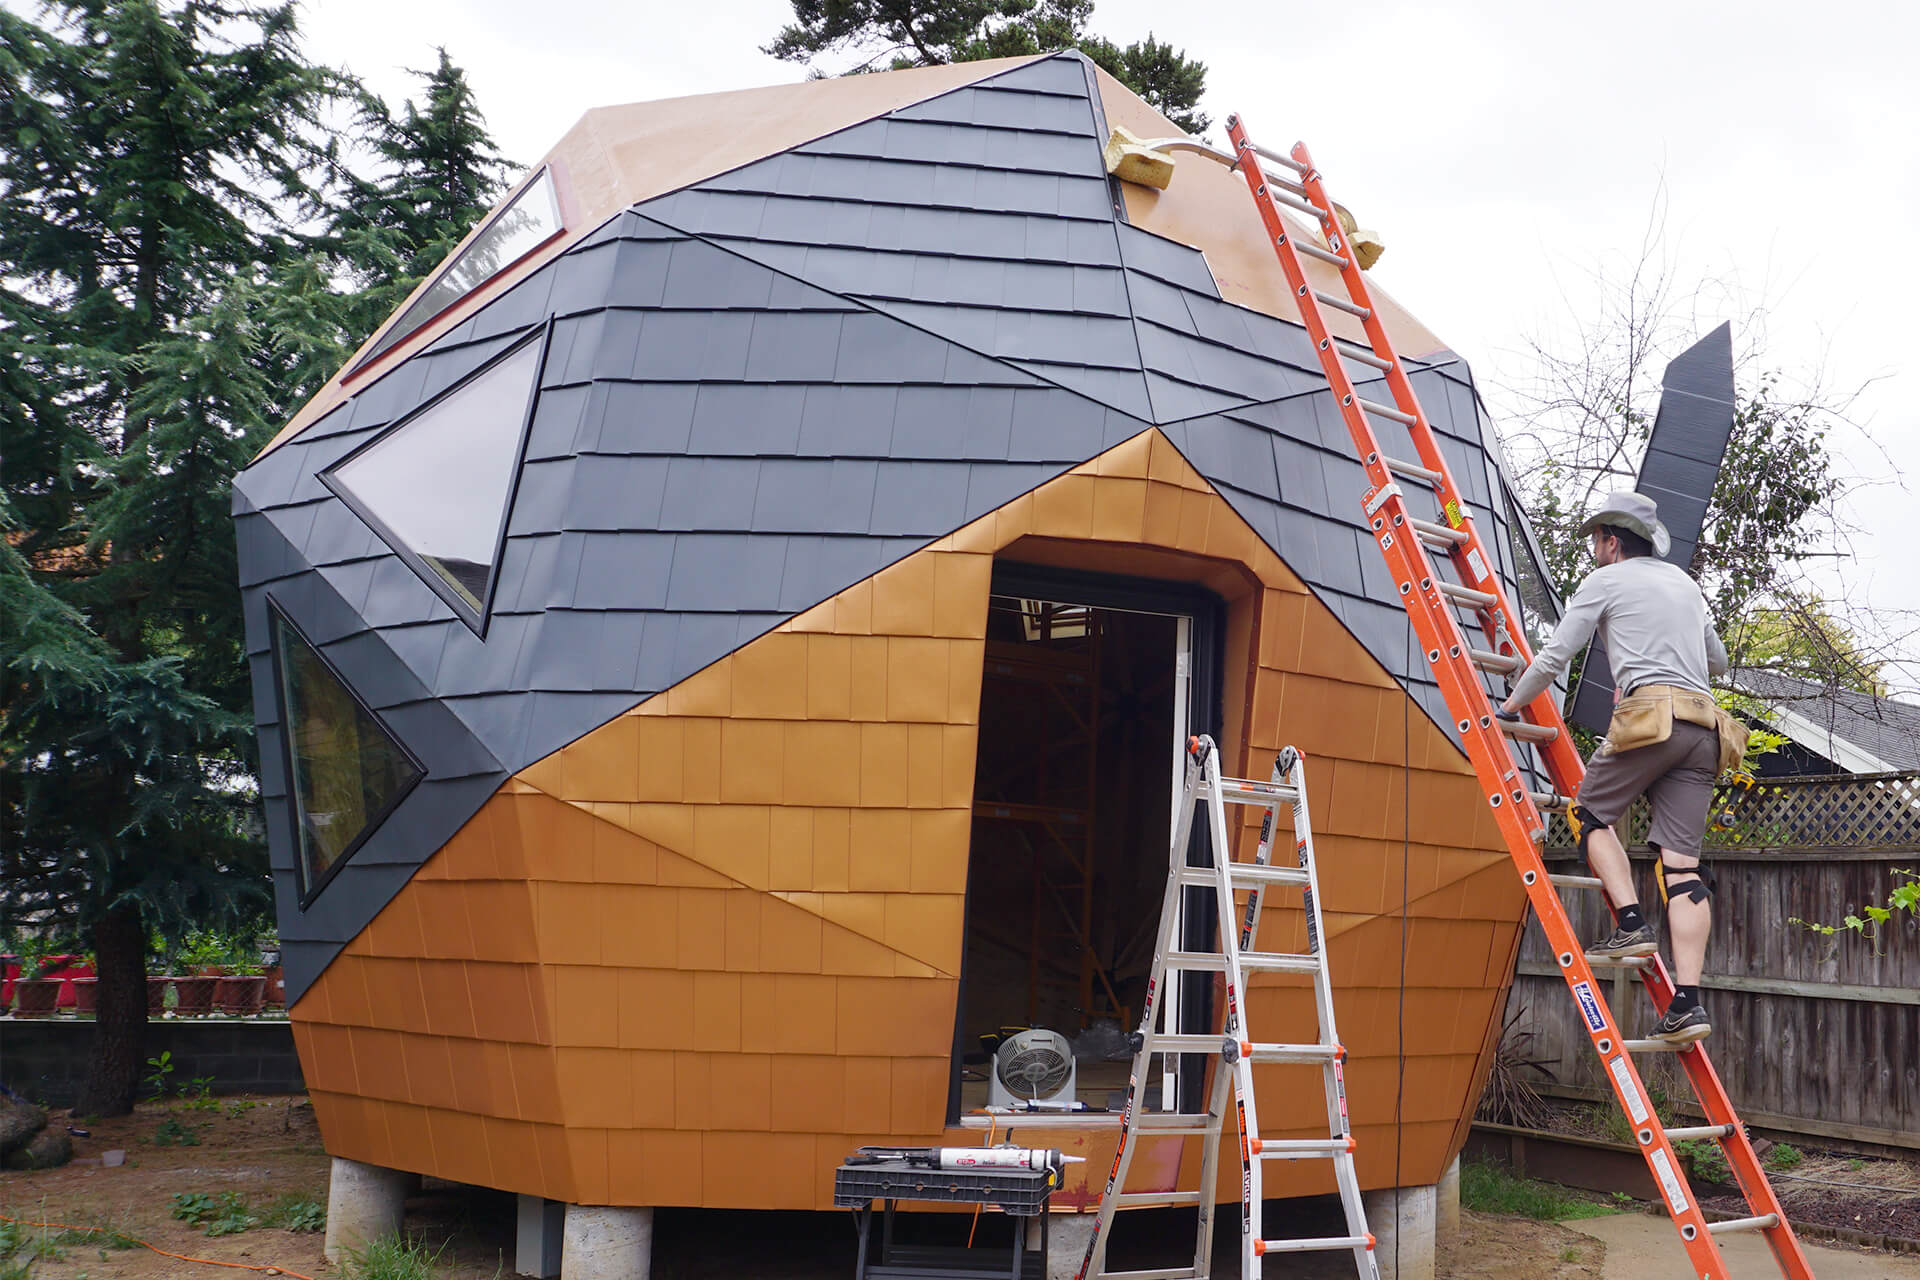
Chapter 6: Roofing - Install roof joist supports and paint the door frame. Cut and install the metal shingles, the flashing, and the vents.
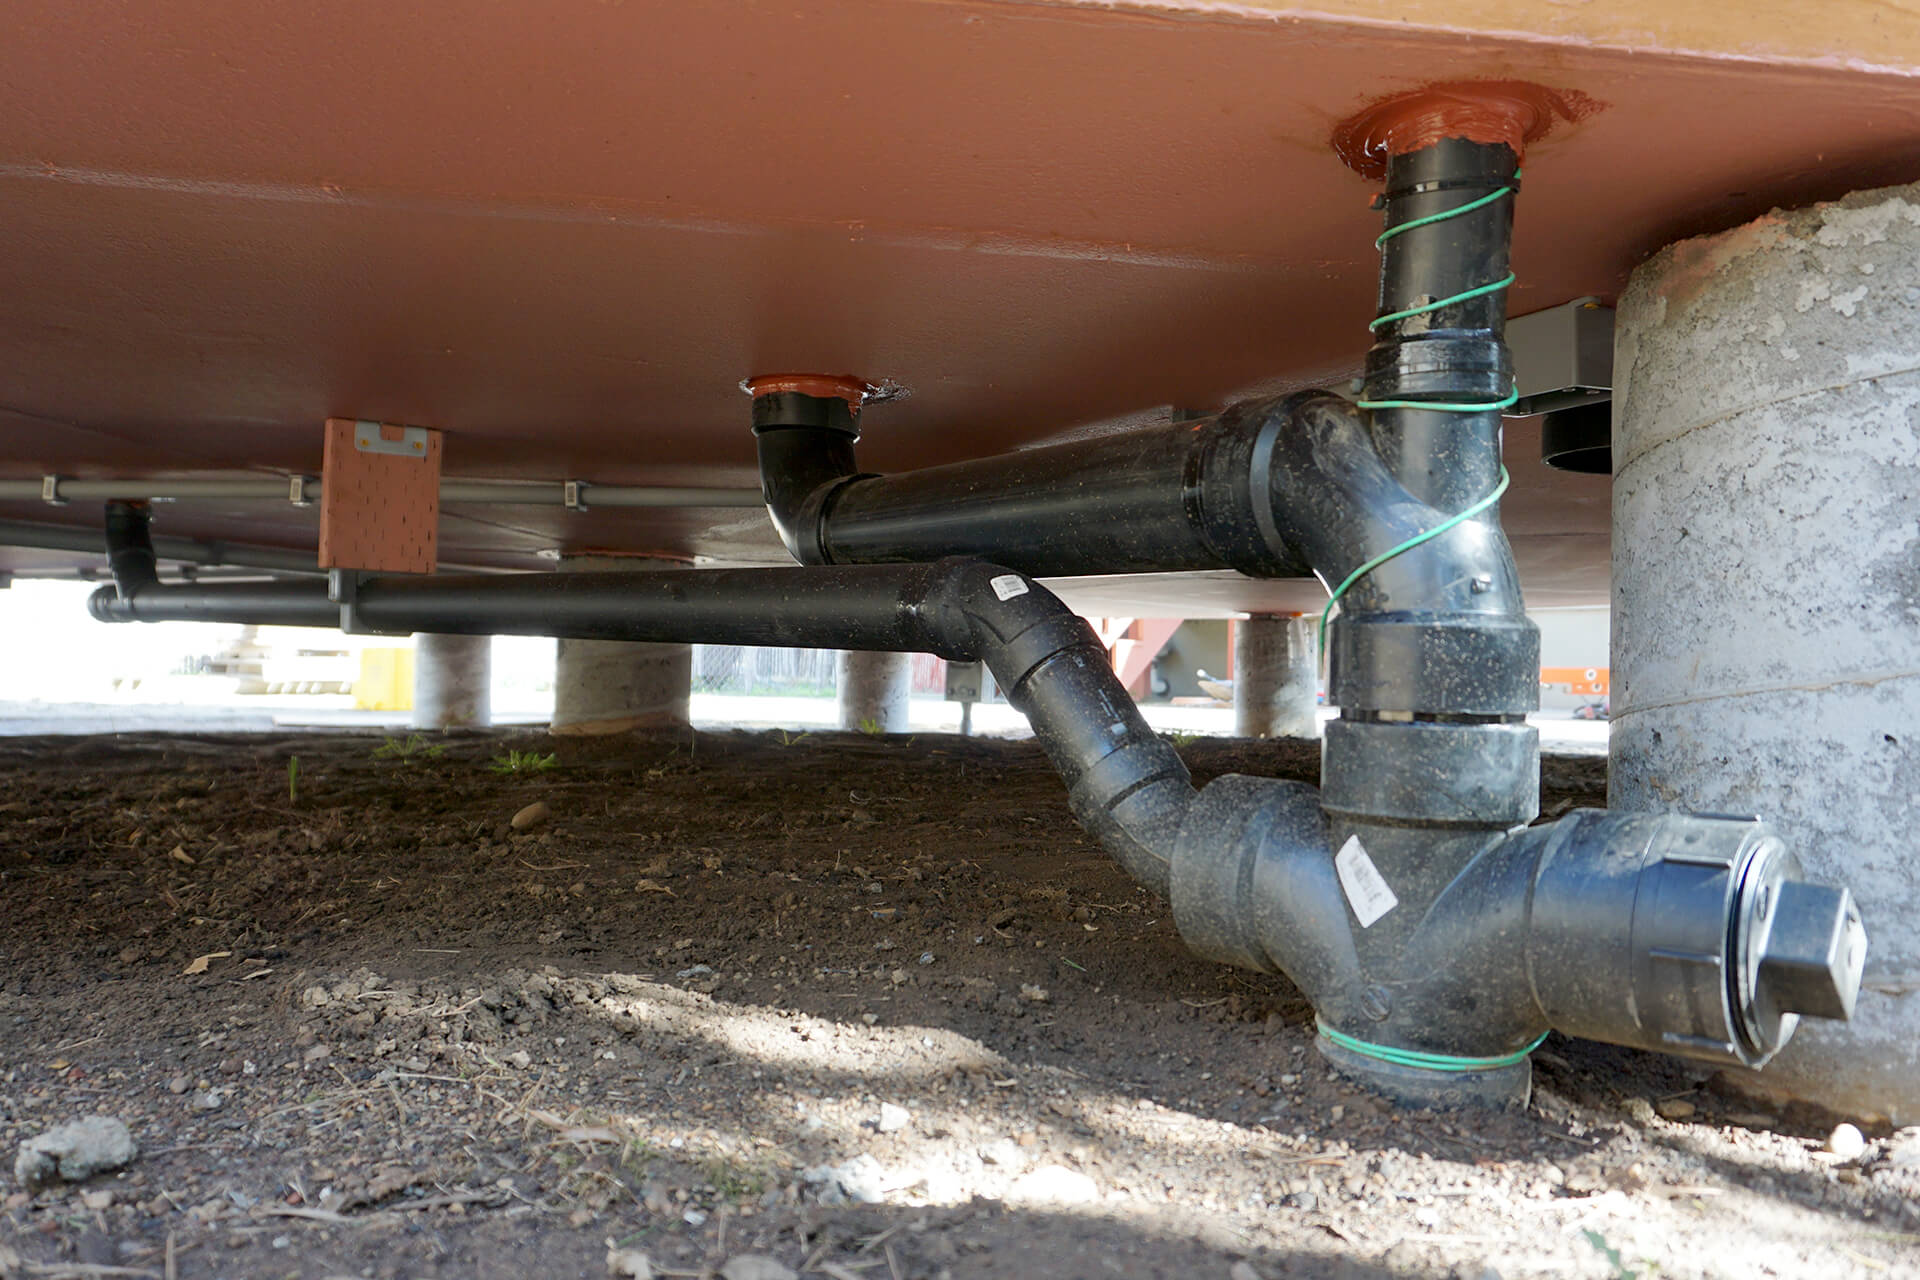
Chapter 7: Underfloor - Install the window weep tubes, HVAC ducts, waste pipes, water conduit, data conduit, electrical conduit, utility closet drain, and thermostat conduit.
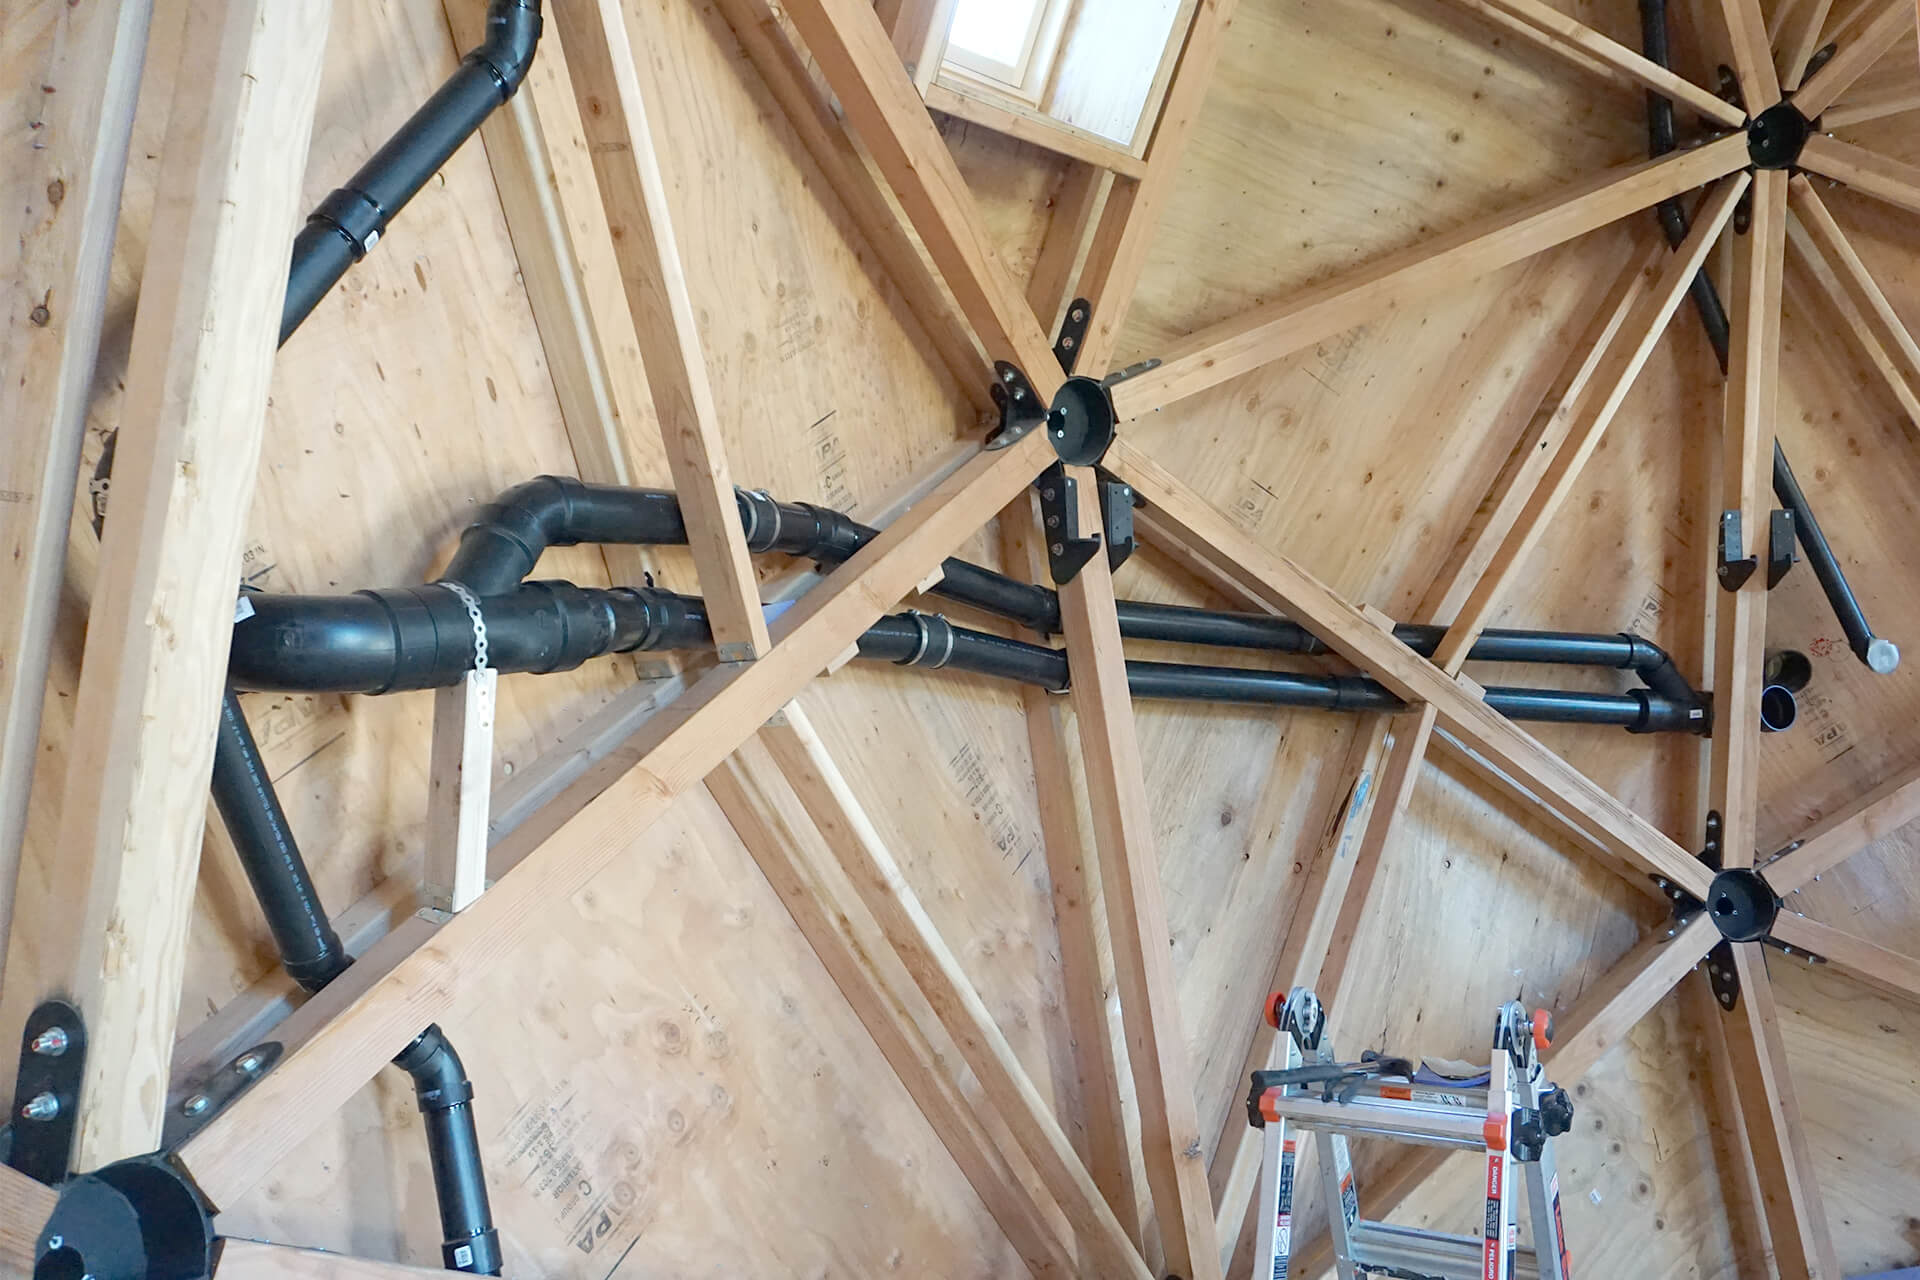
Chapter 8: In-Wall - Install the window blocking, support column, brackets, vent pipes, door wall, and HRV ducts. Re-torque all connections and apply a wood treatment.
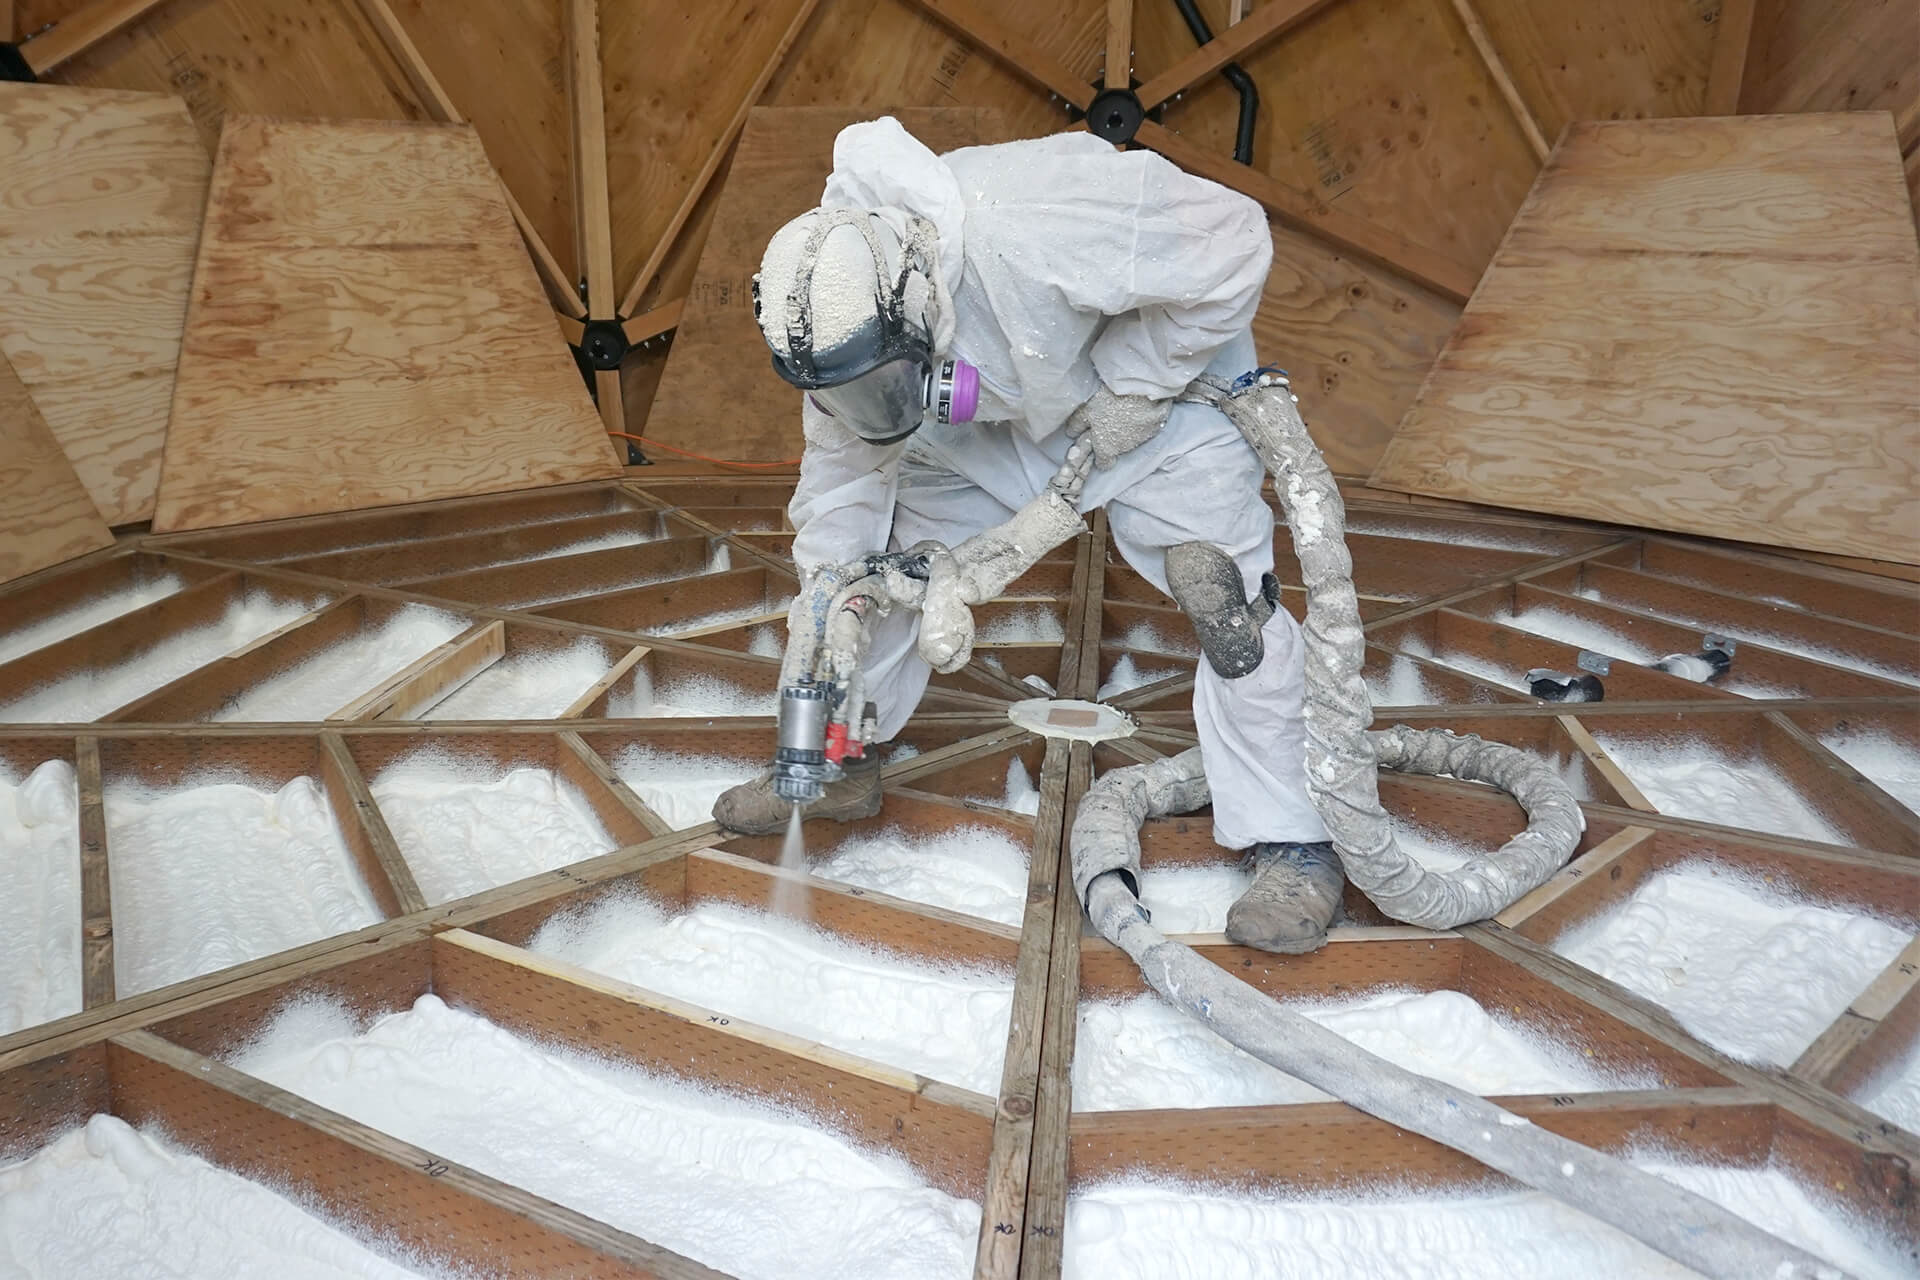
Chapter 9: Spray Foam - Have the dome sprayed with closed cell, 2lb, high lift, HFO blower, low VOC, polyurethane foam. Cured SPF is inert, odorless, and does not off gas.
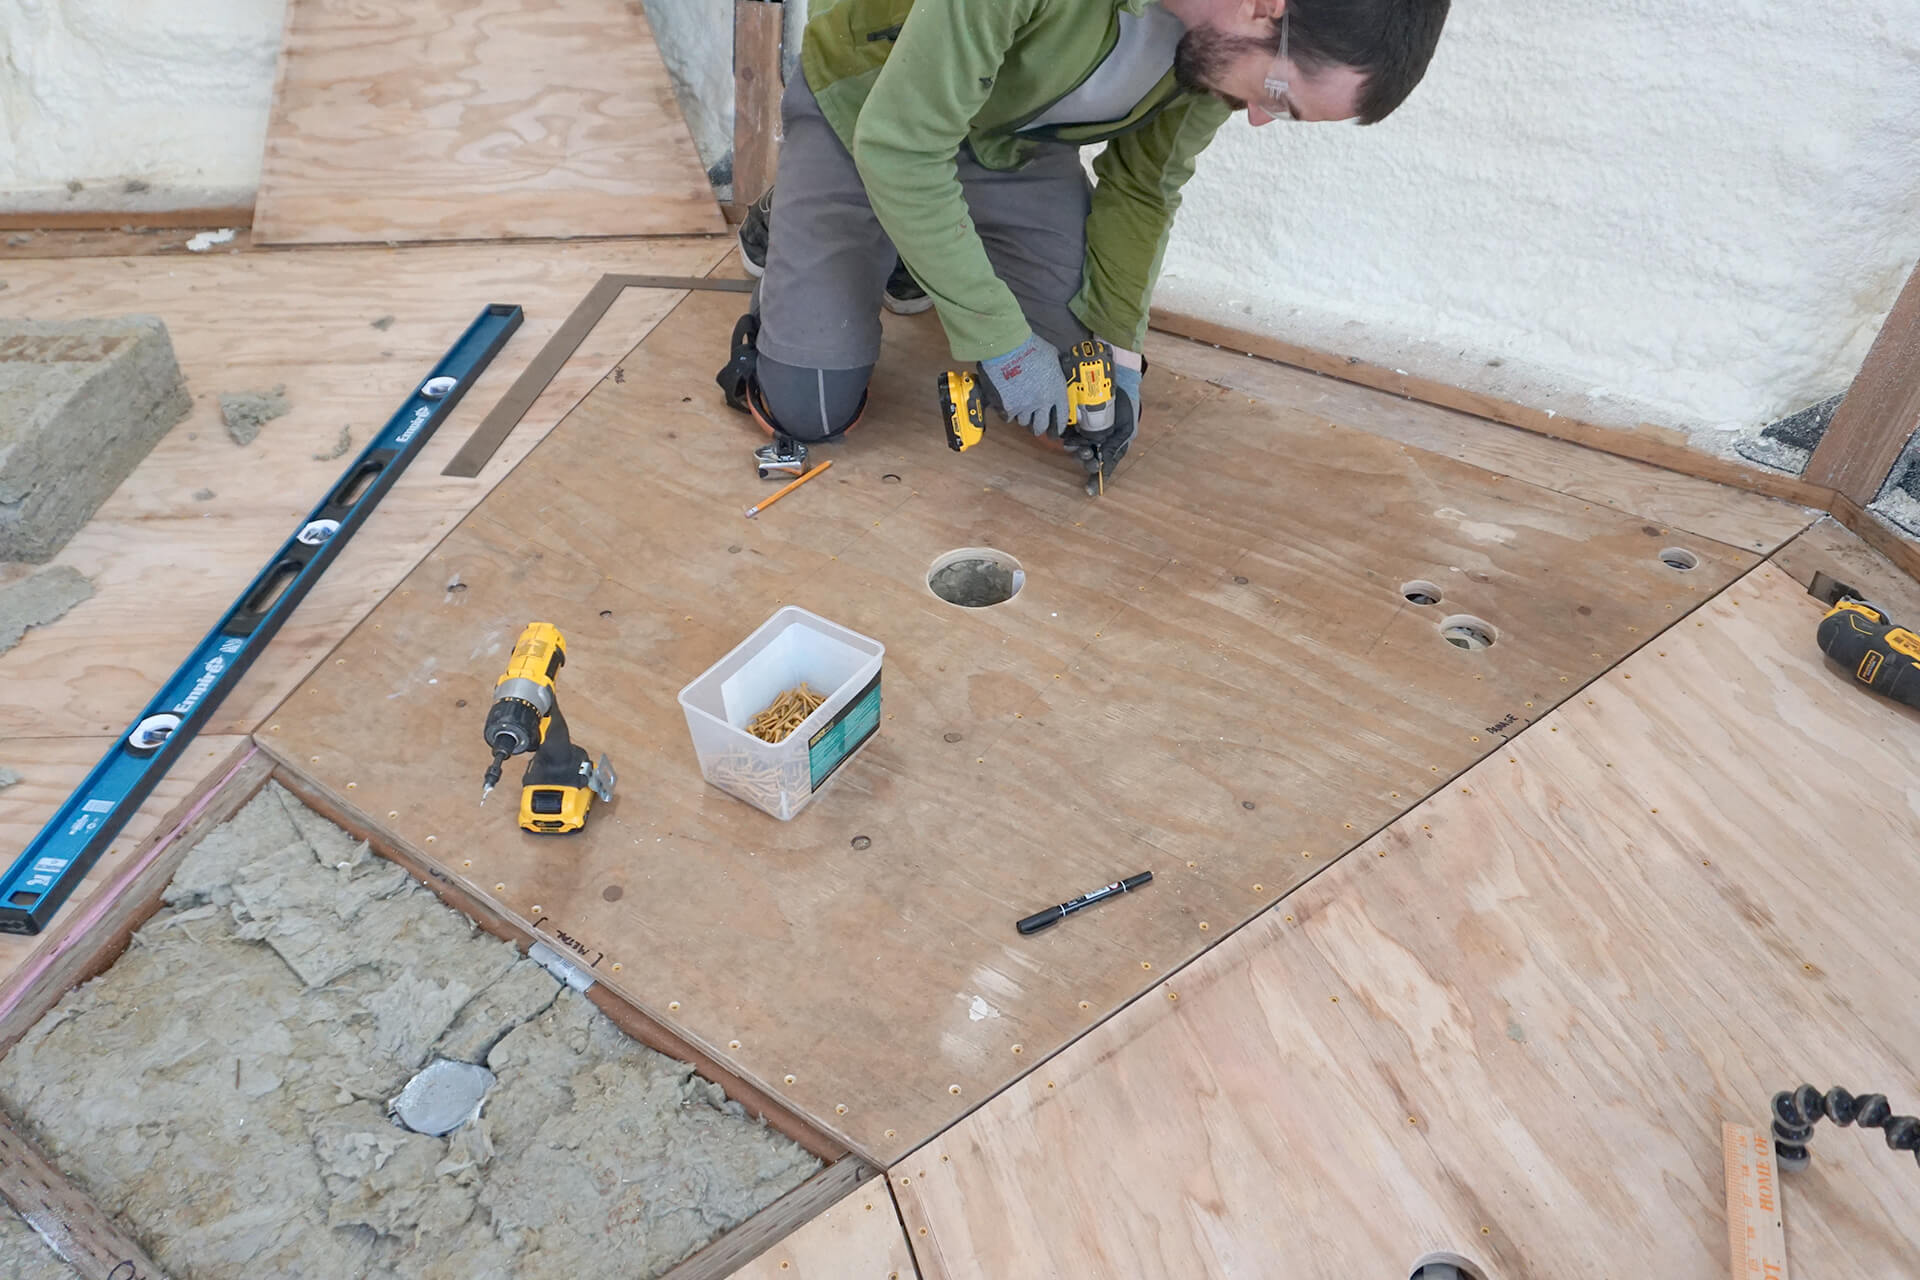
Chapter 10: Subfloor - Seal the floor beams, cut and install mineral wool, and screw down the subfloor.
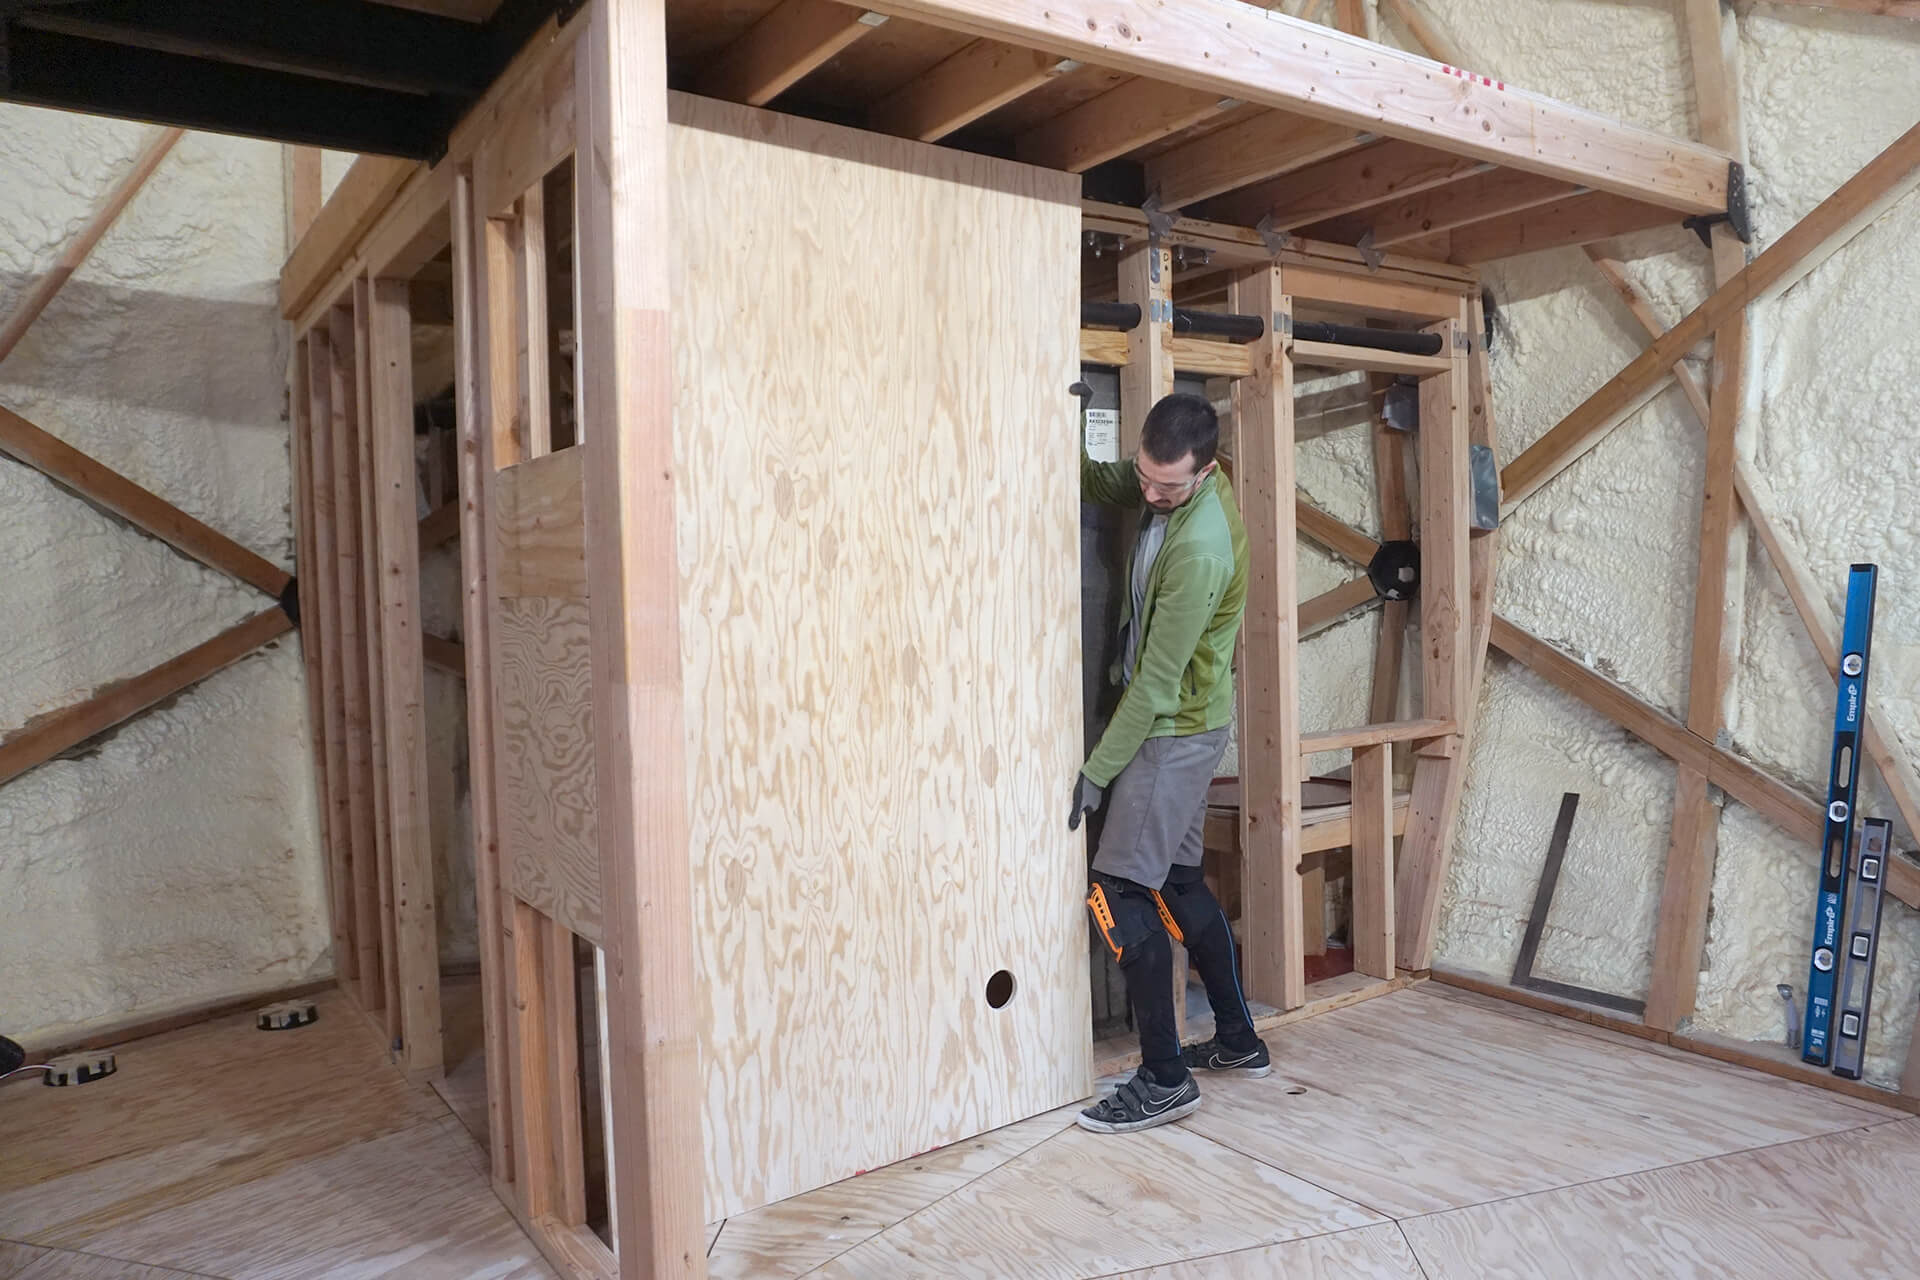
Chapter 11: Room Framing - Erect the interior walls, plumb the vent pipe, frame the upper floor, install the shower, build the water heater shelf, and install the upper subfloor.
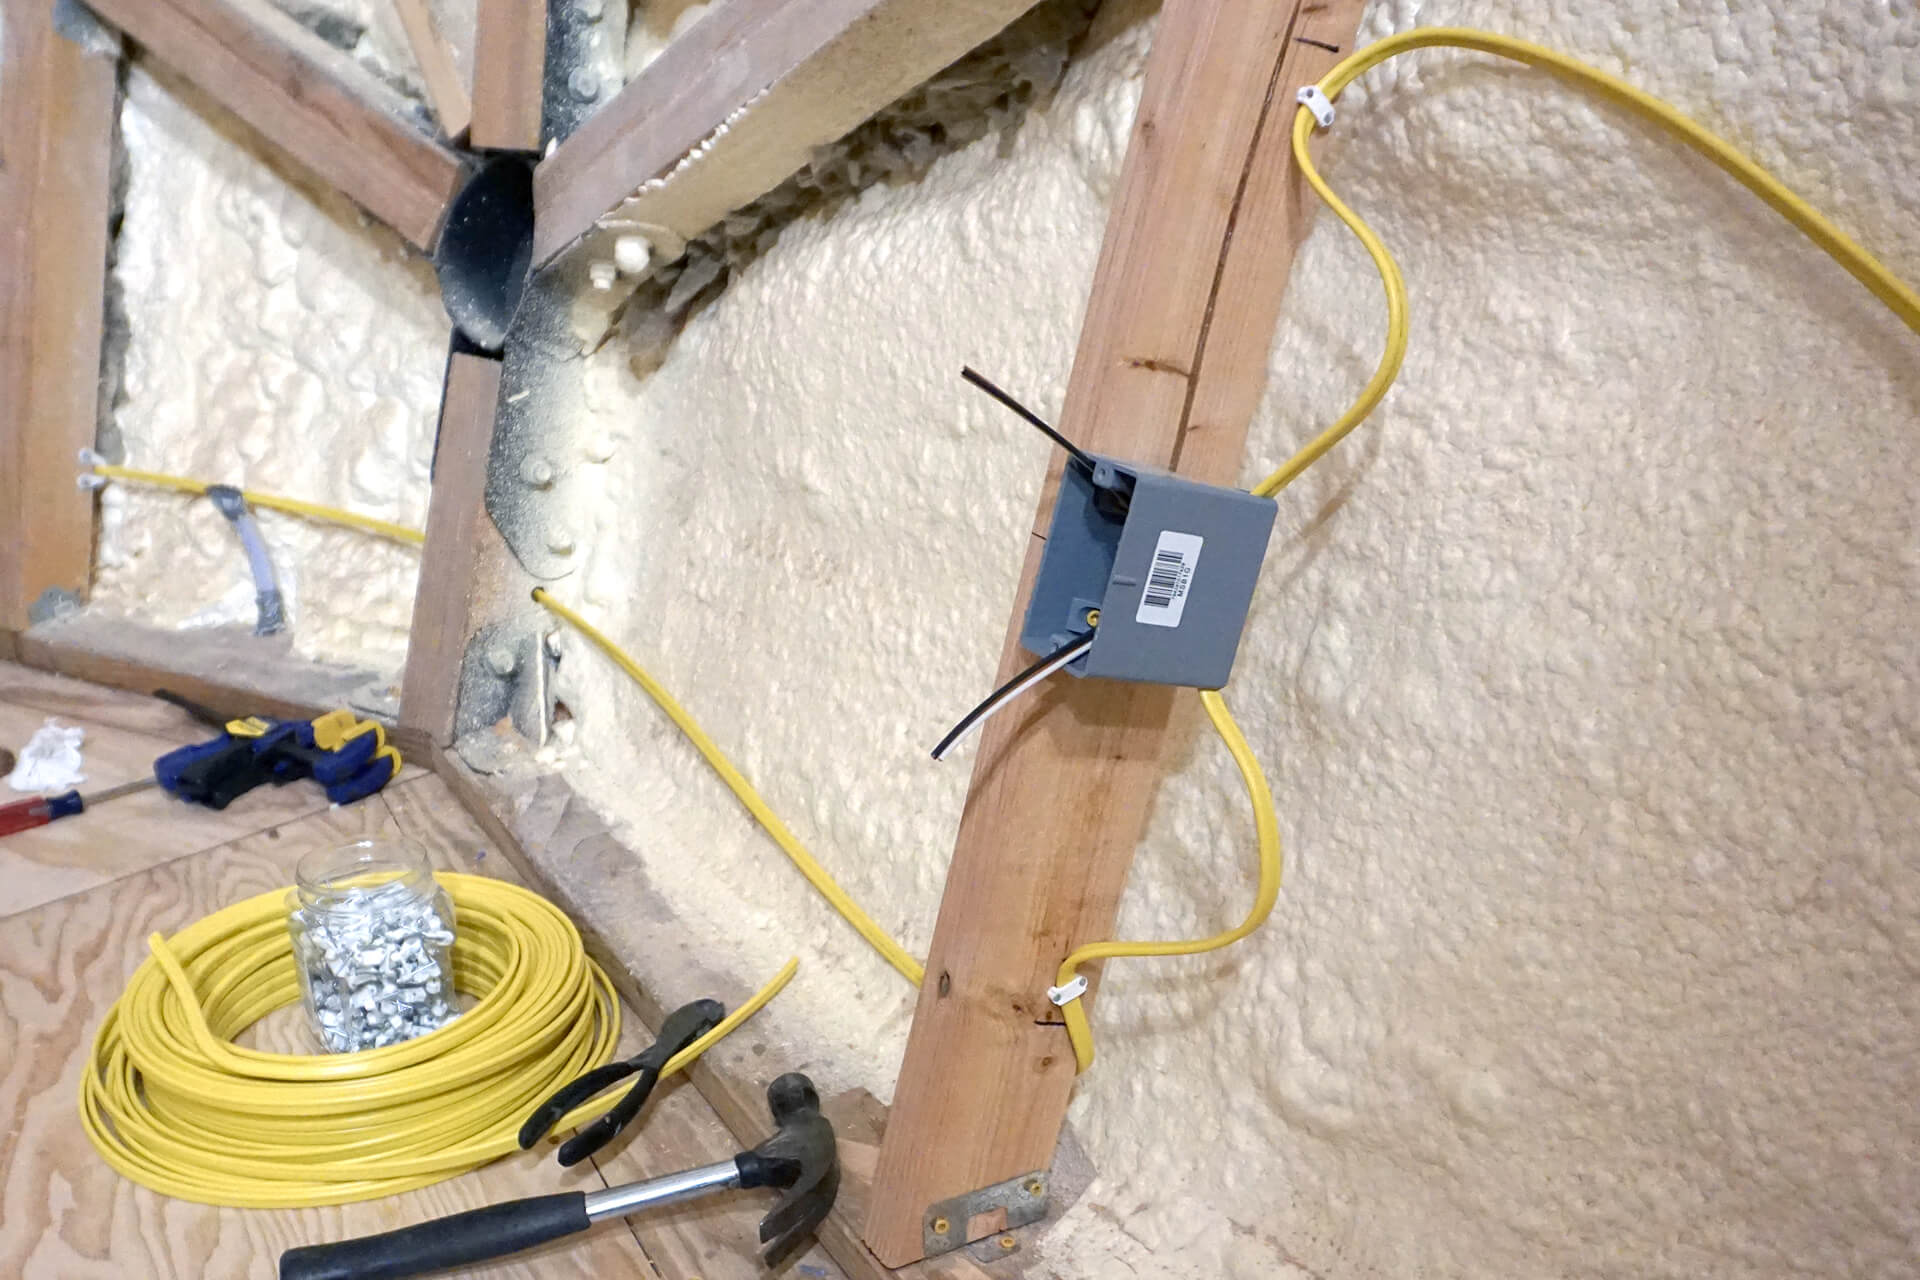
Chapter 12: Electrical - Install the panel, HRV unit, and electrical boxes. Wire the feeder and branch circuits.
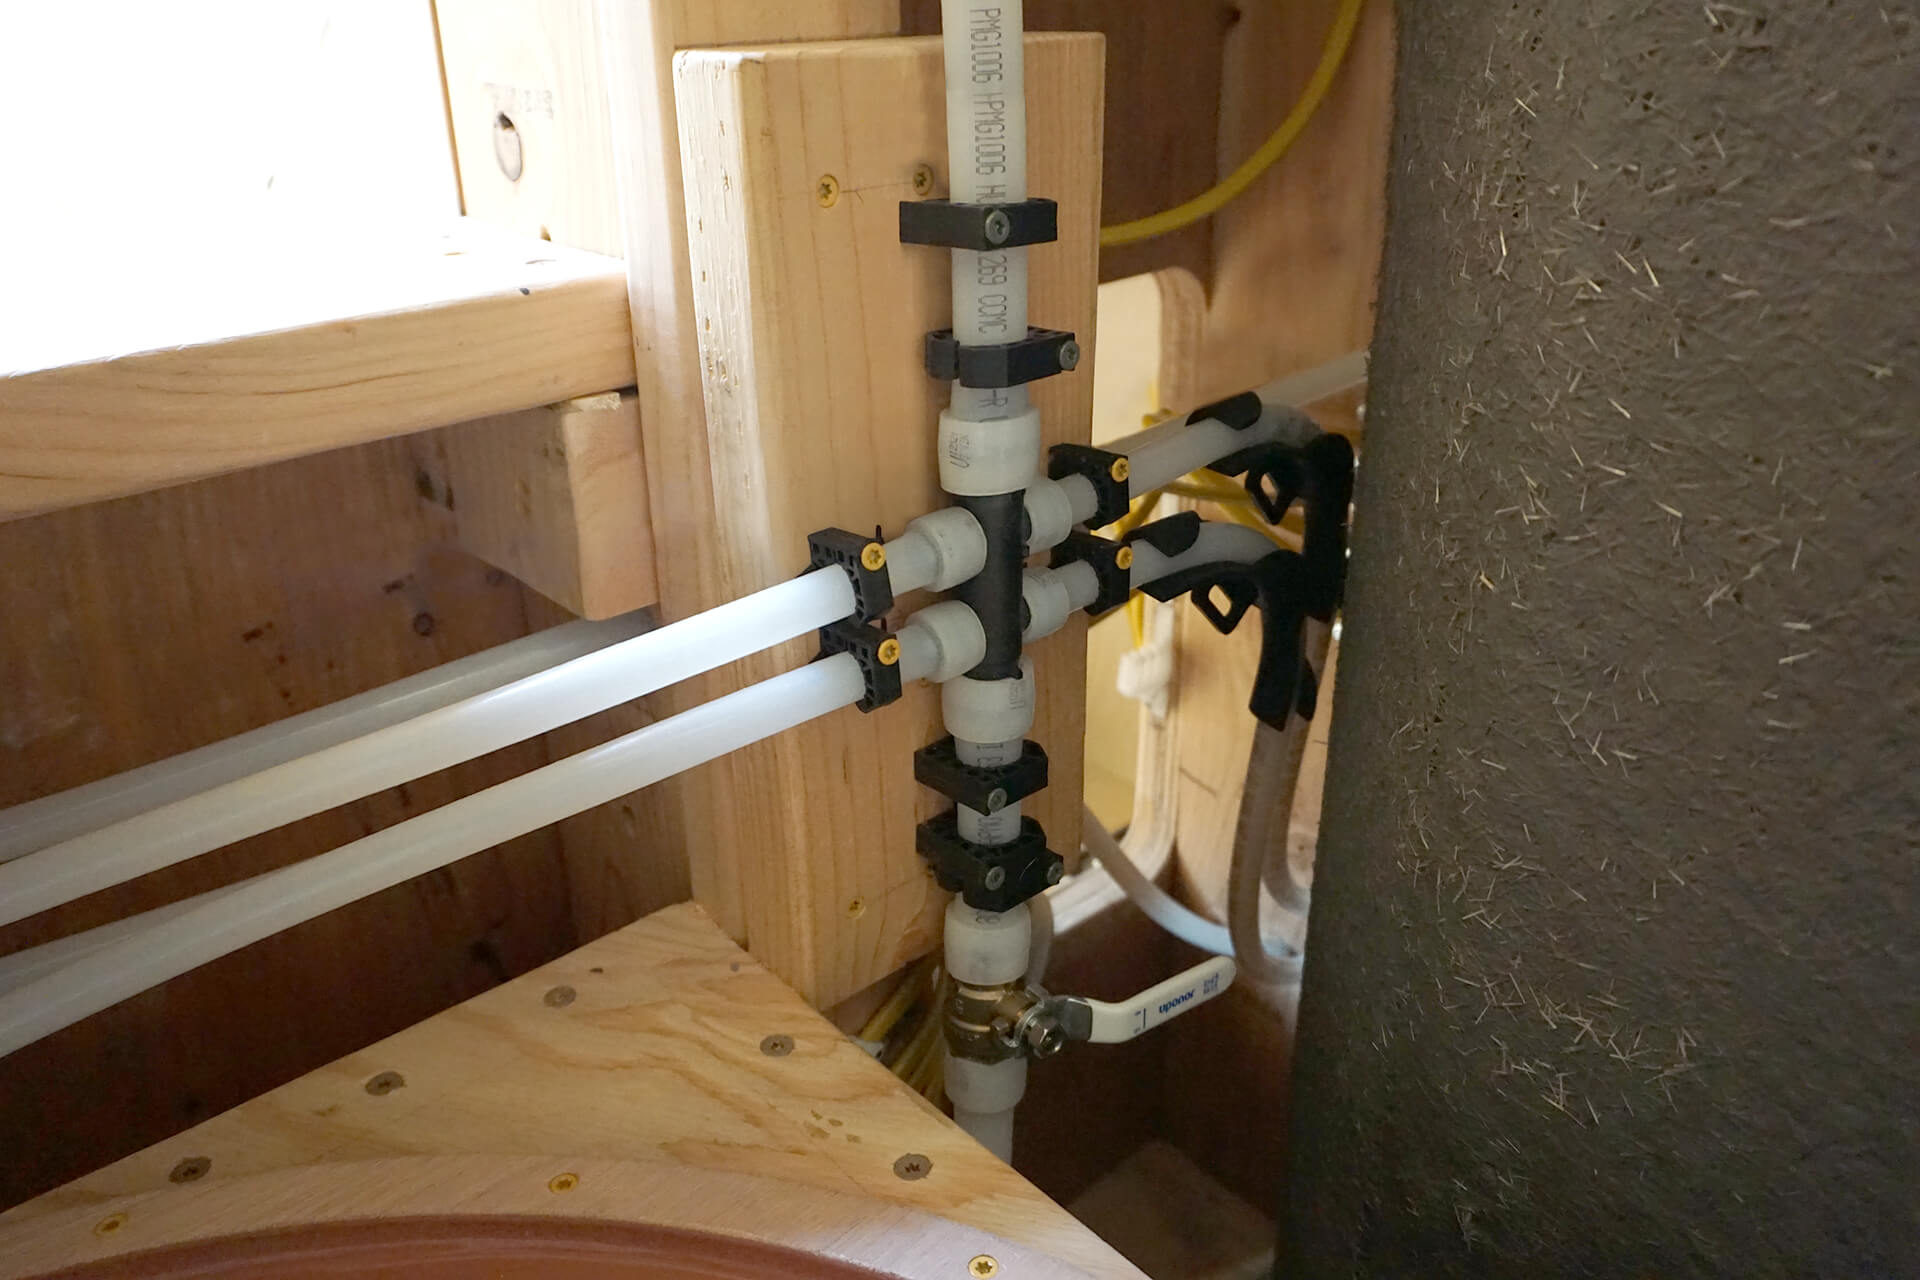
Chapter 13: Plumbing - Run tubing to all fixtures, install the water heater, and connect to the water supply.
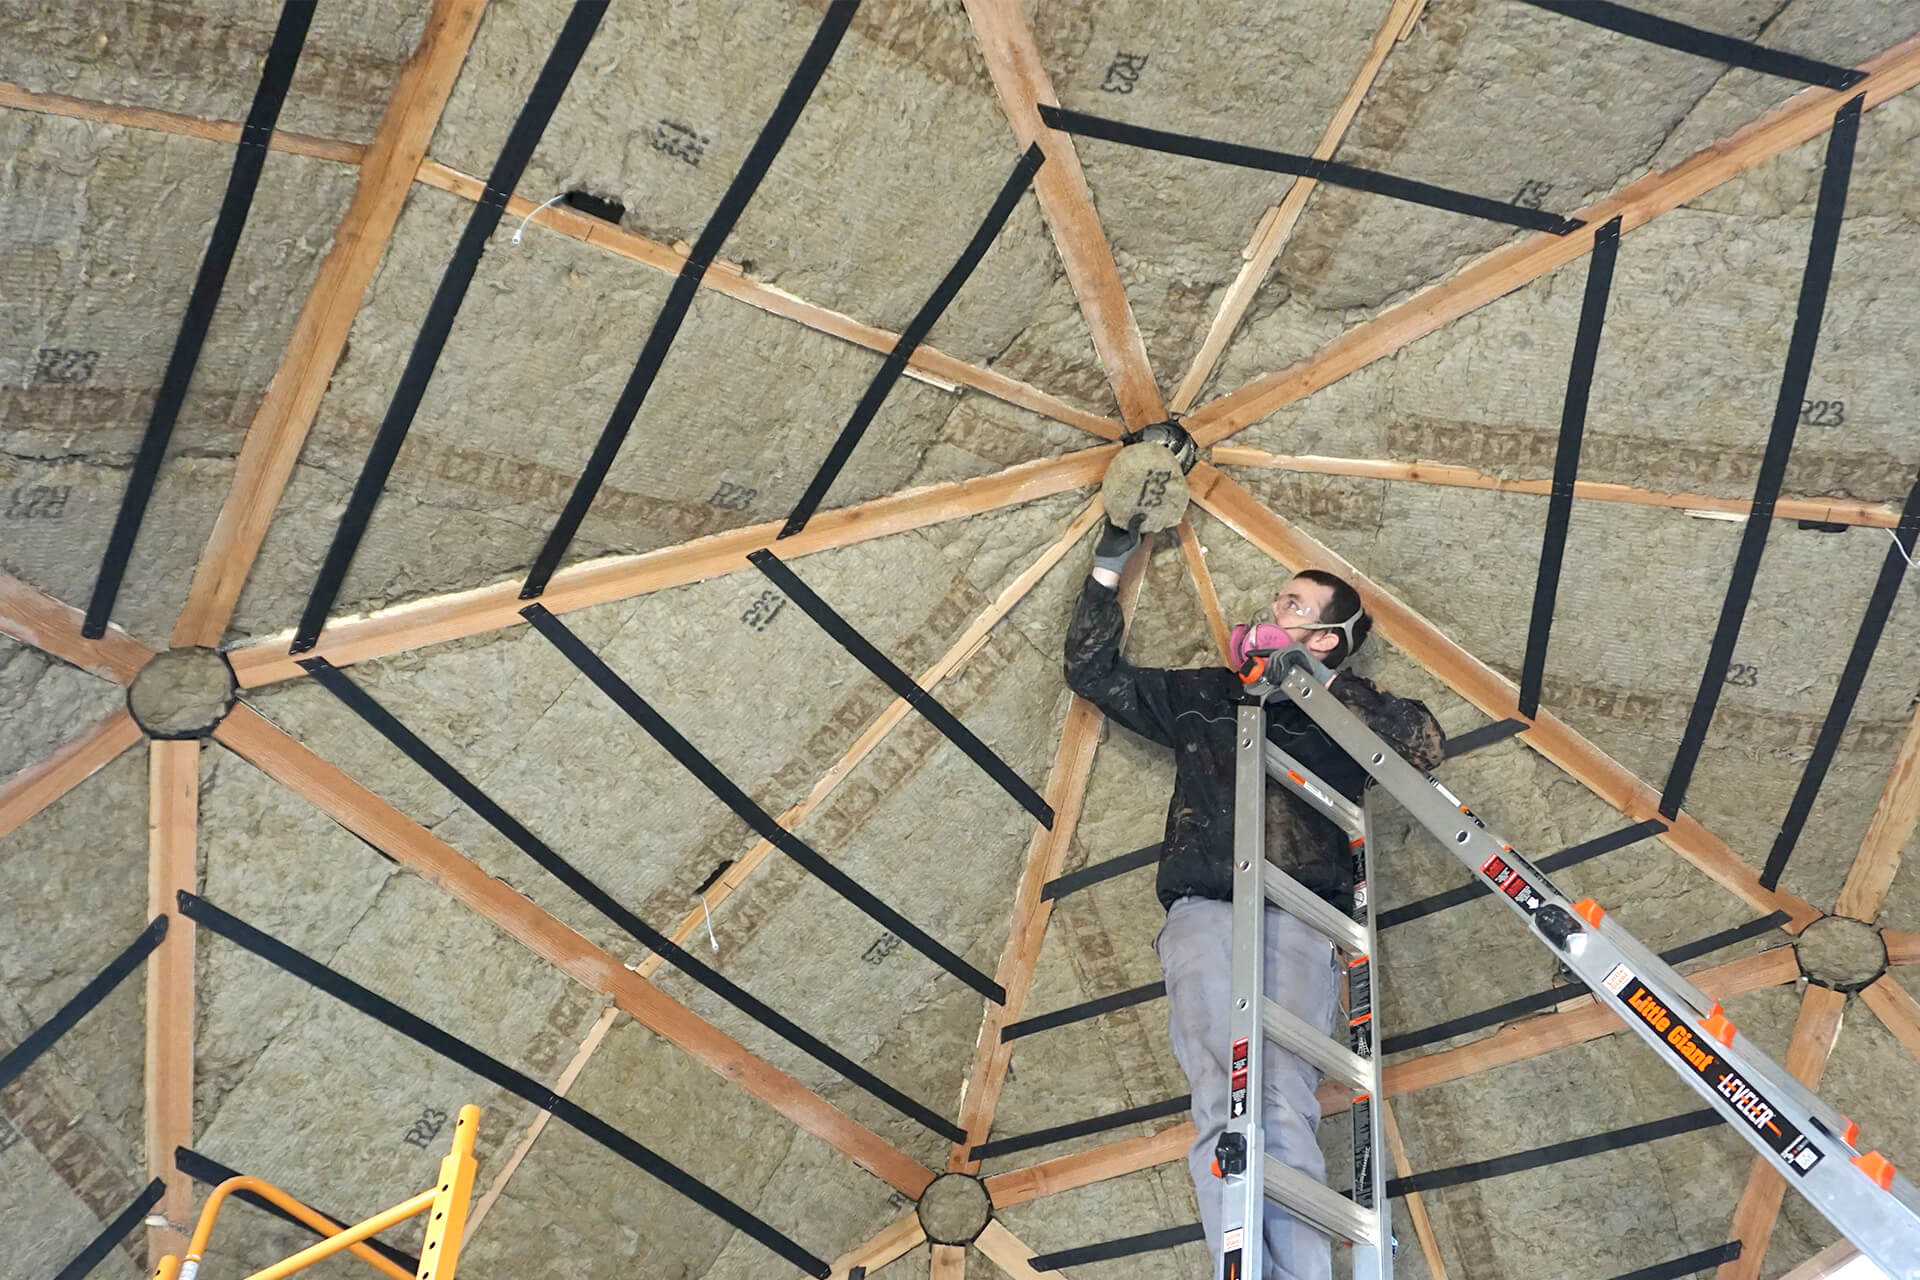
Chapter 14: Soft Insulation - Cut and secure the mineral wool into the walls.
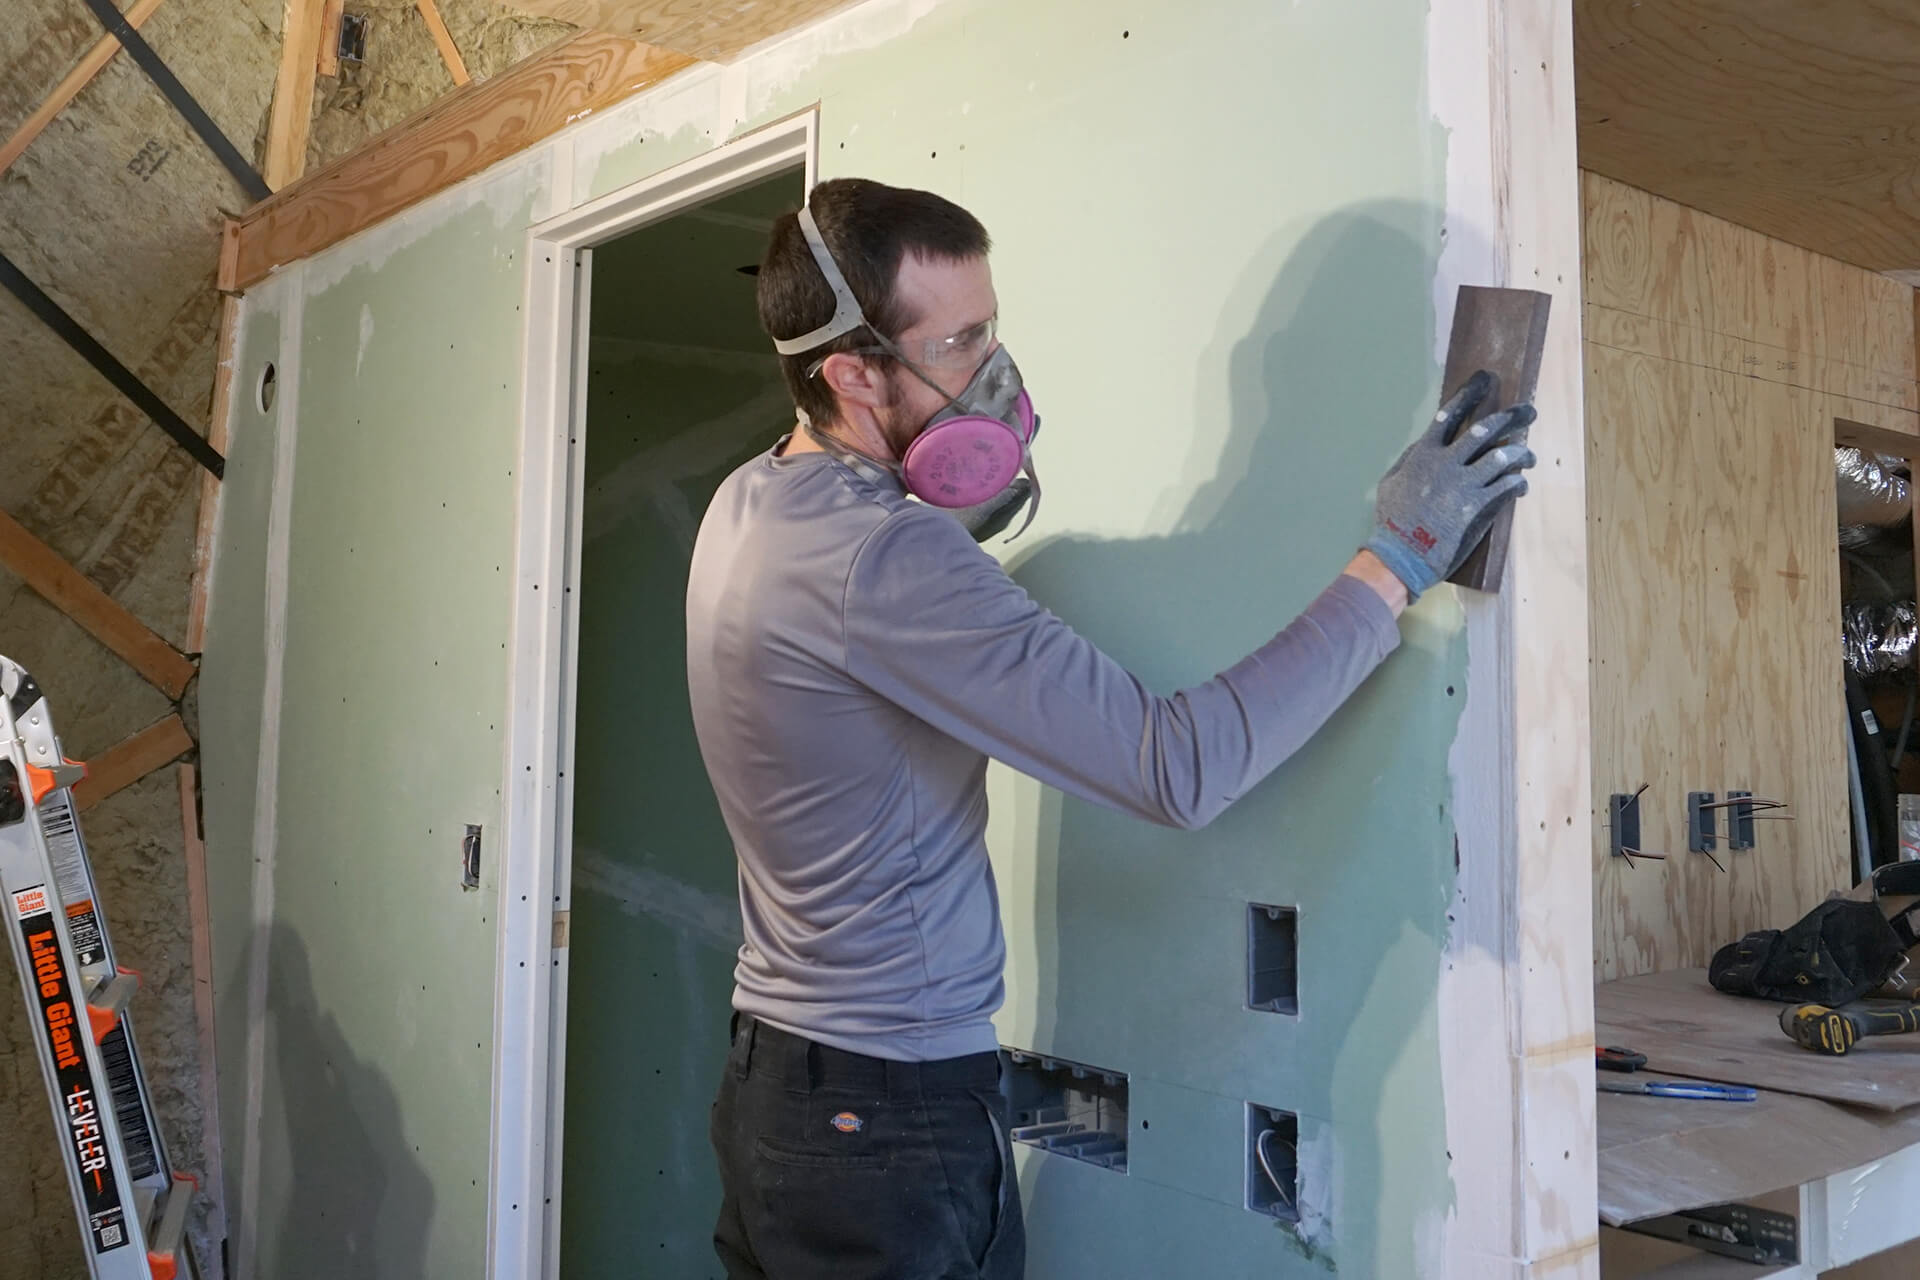
Chapter 15: Drywall - Install blocking, hang the bathroom door, install plywood panels, cut and hang drywall, apply and smooth drywall mud, and primer the walls.
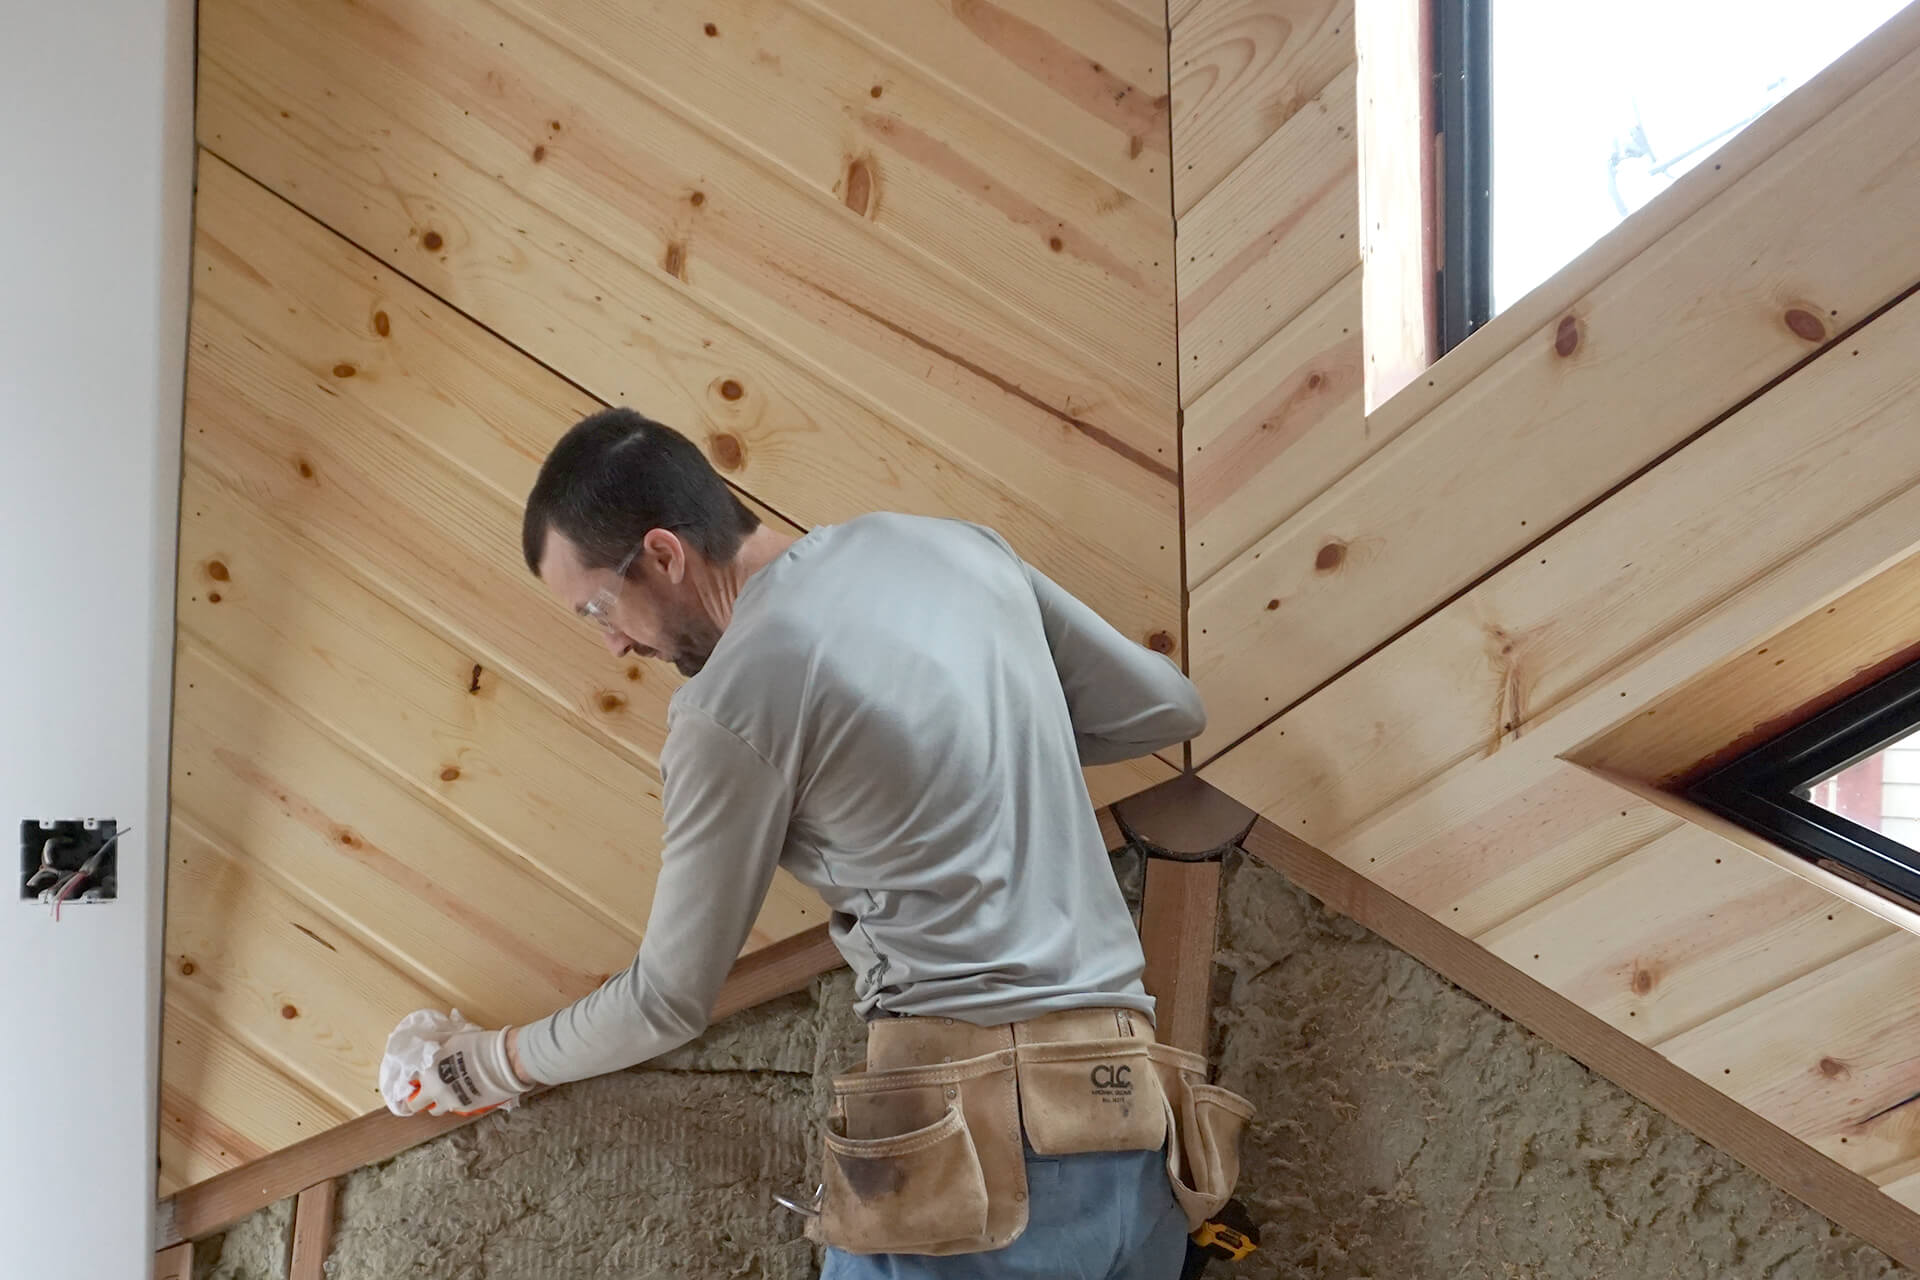
Chapter 16: Wood Paneling - Sort planks, create a cutting jig, cut panels, mark screw locations, apply a wood finish, and install the panels.

Chapter 17: Kitchenette - Hang the upper cabinets, secure the countertop, install the sink, fit the utility doors, and panel the backsplash.
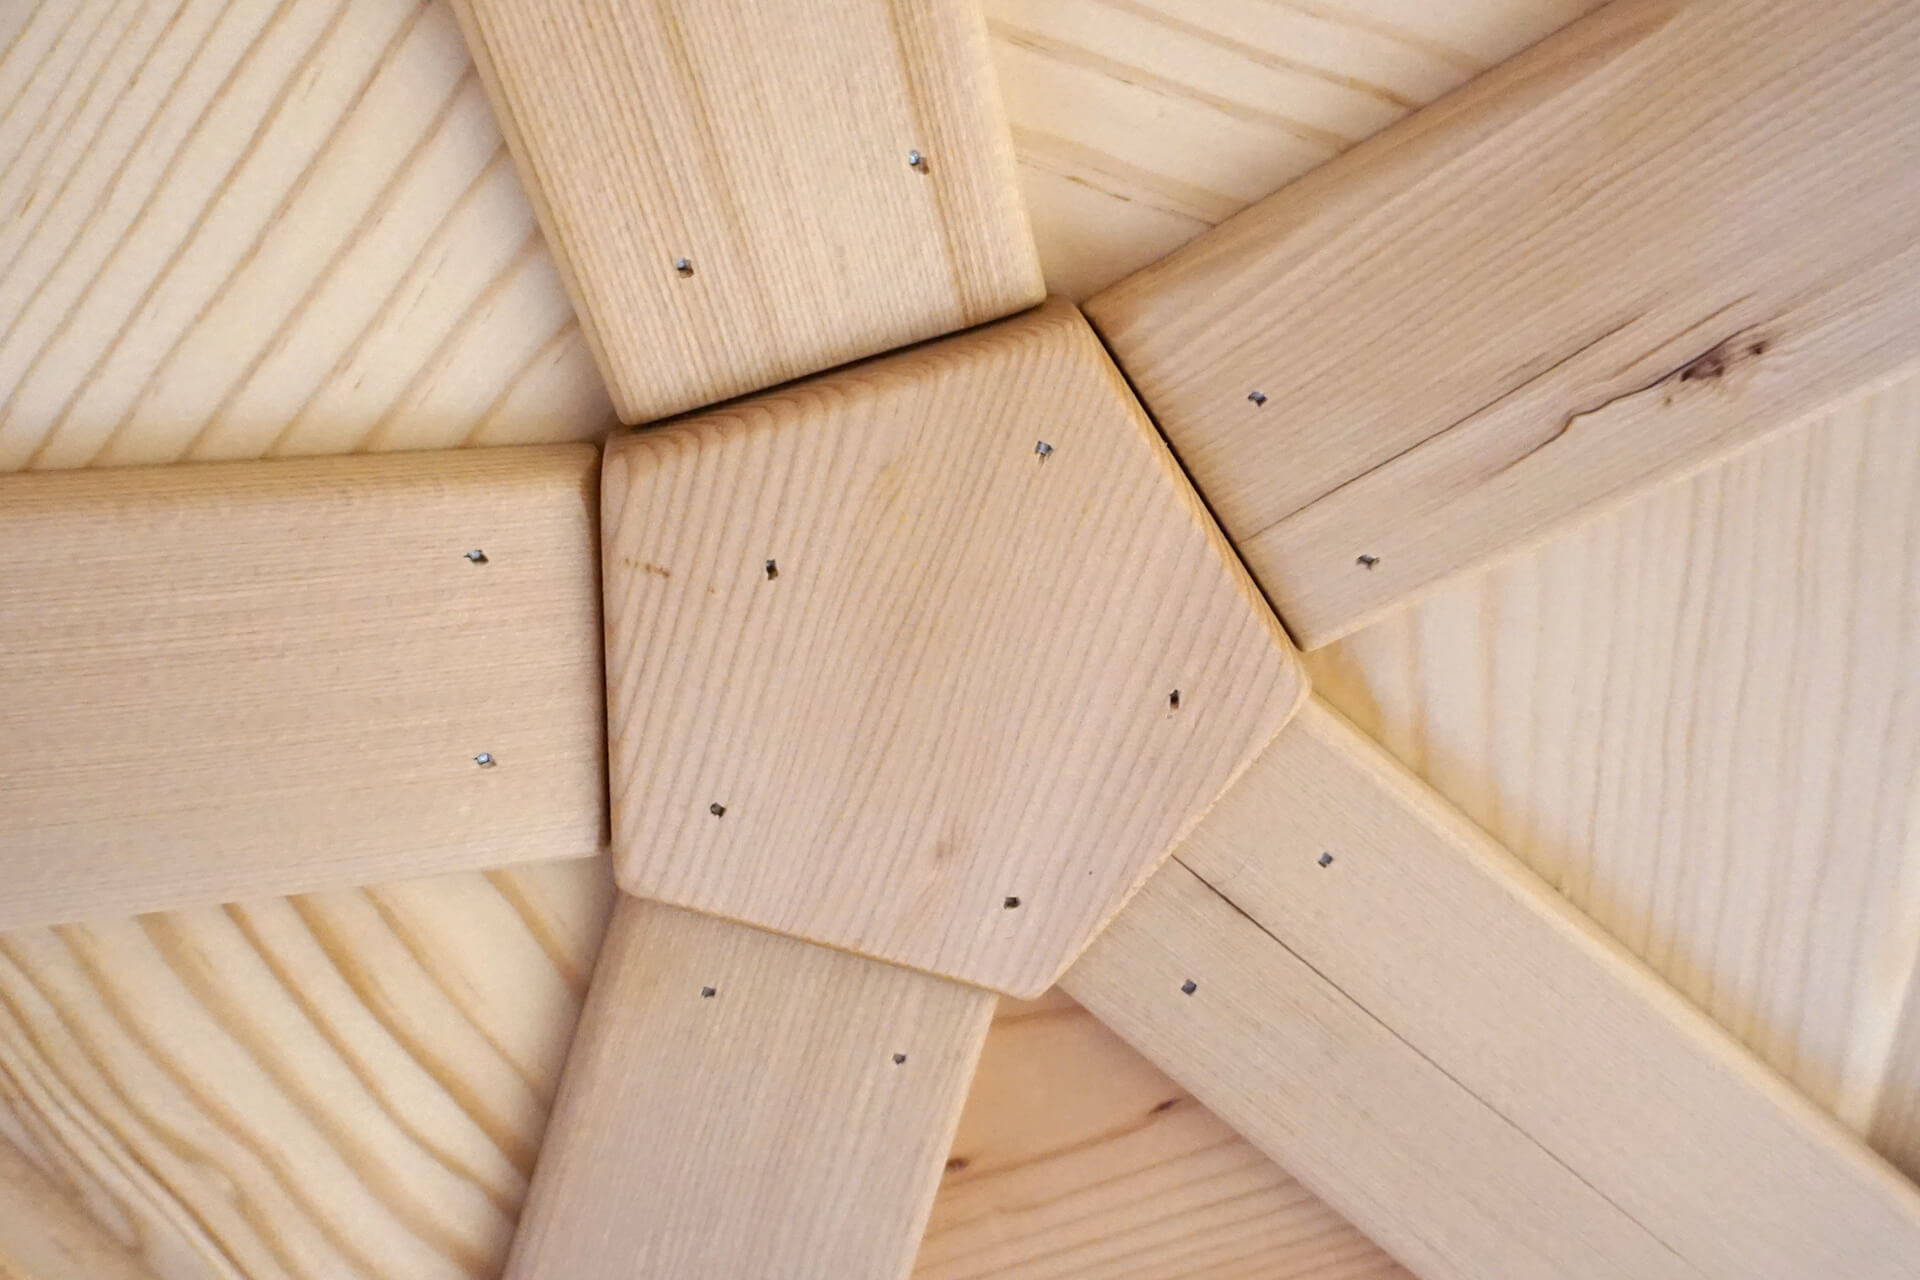
Chapter 18: Panel Trim - Fill exposed fasteners with wood putty. Cut, finish, and install the trim pucks and trim straights.

Chapter 19: Painting - Caulk the shower and inside corners. Paint the bathroom door, utility door, walls, and front door.
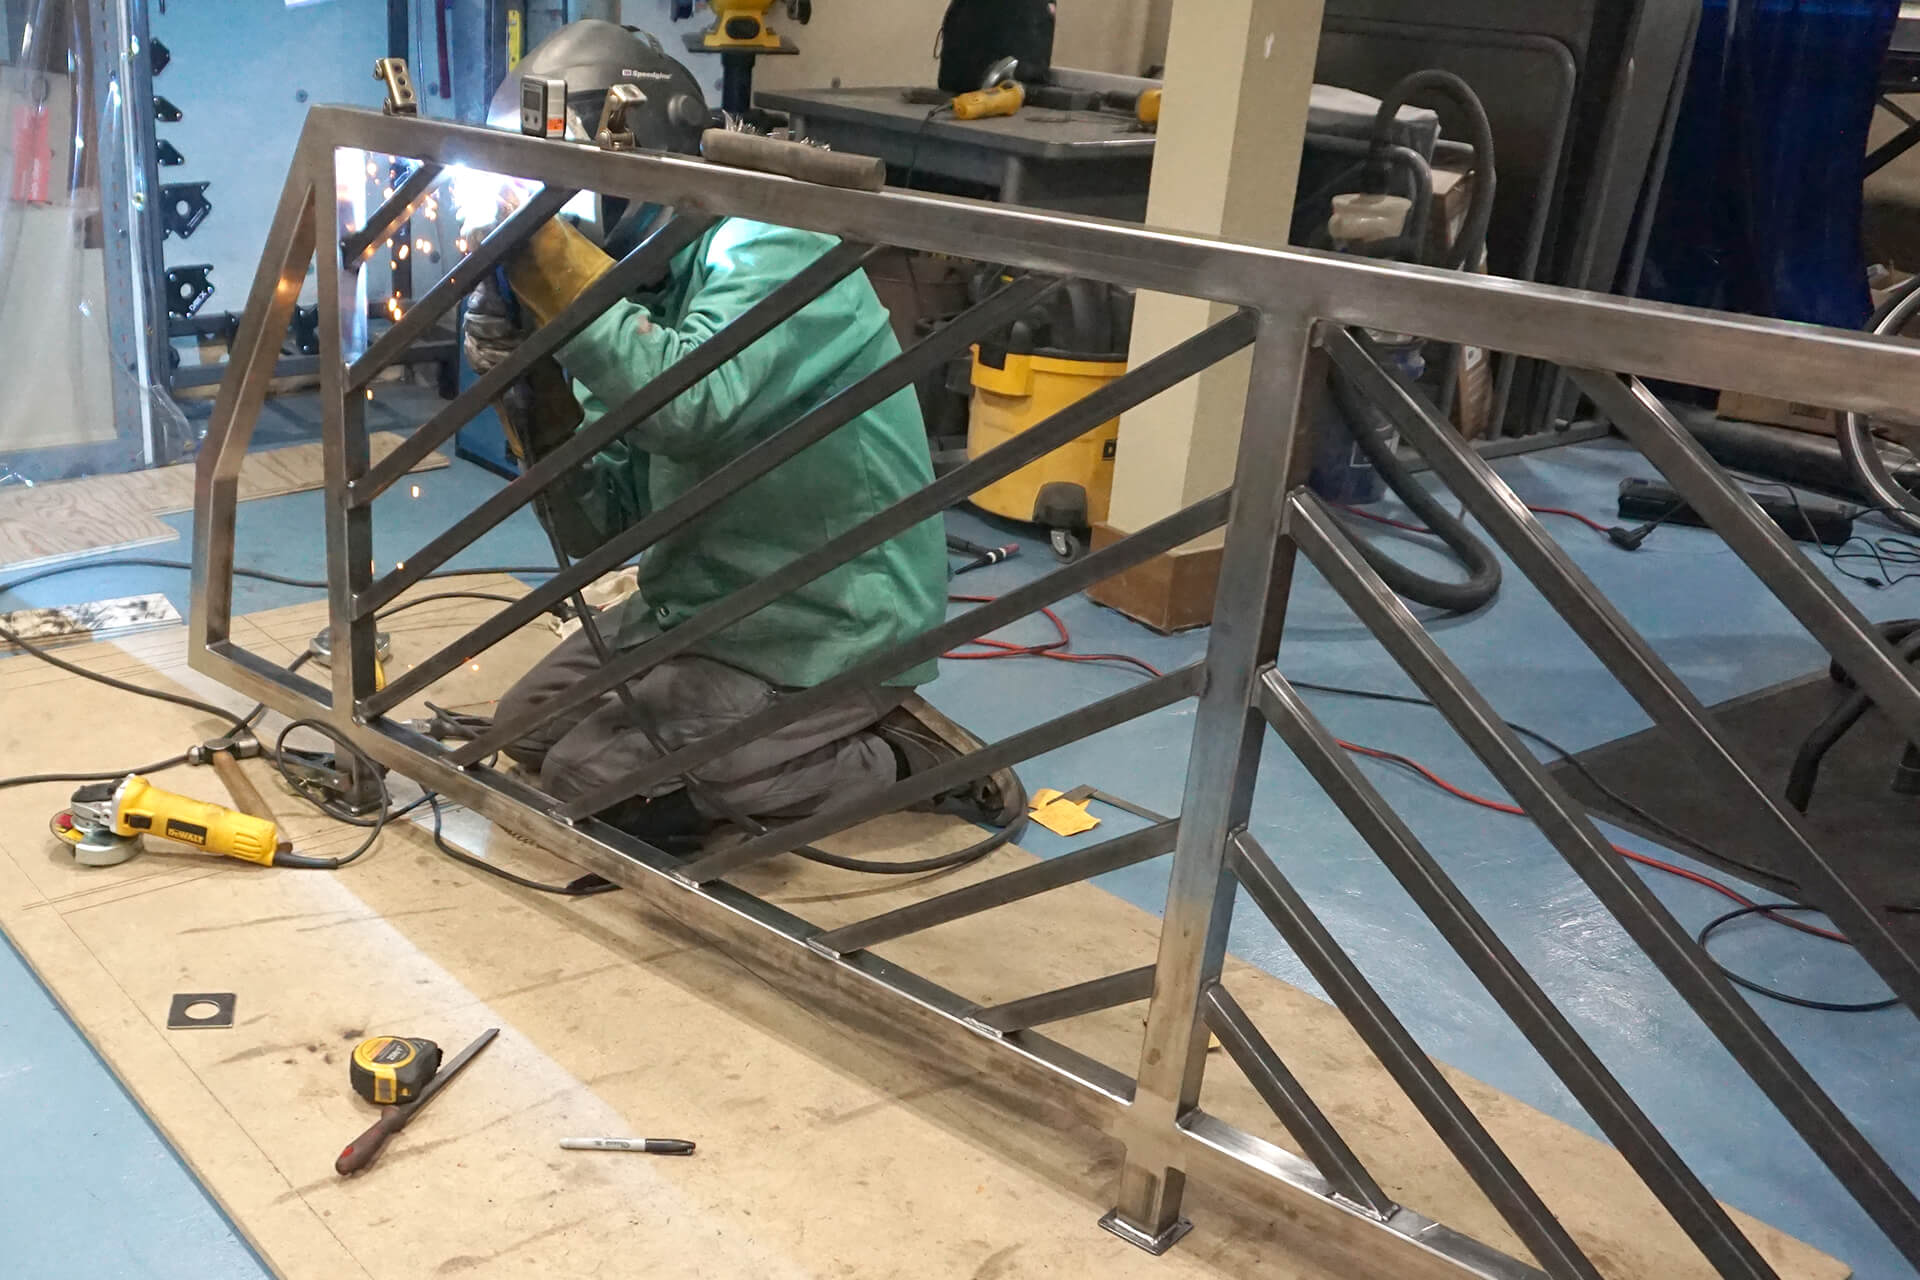
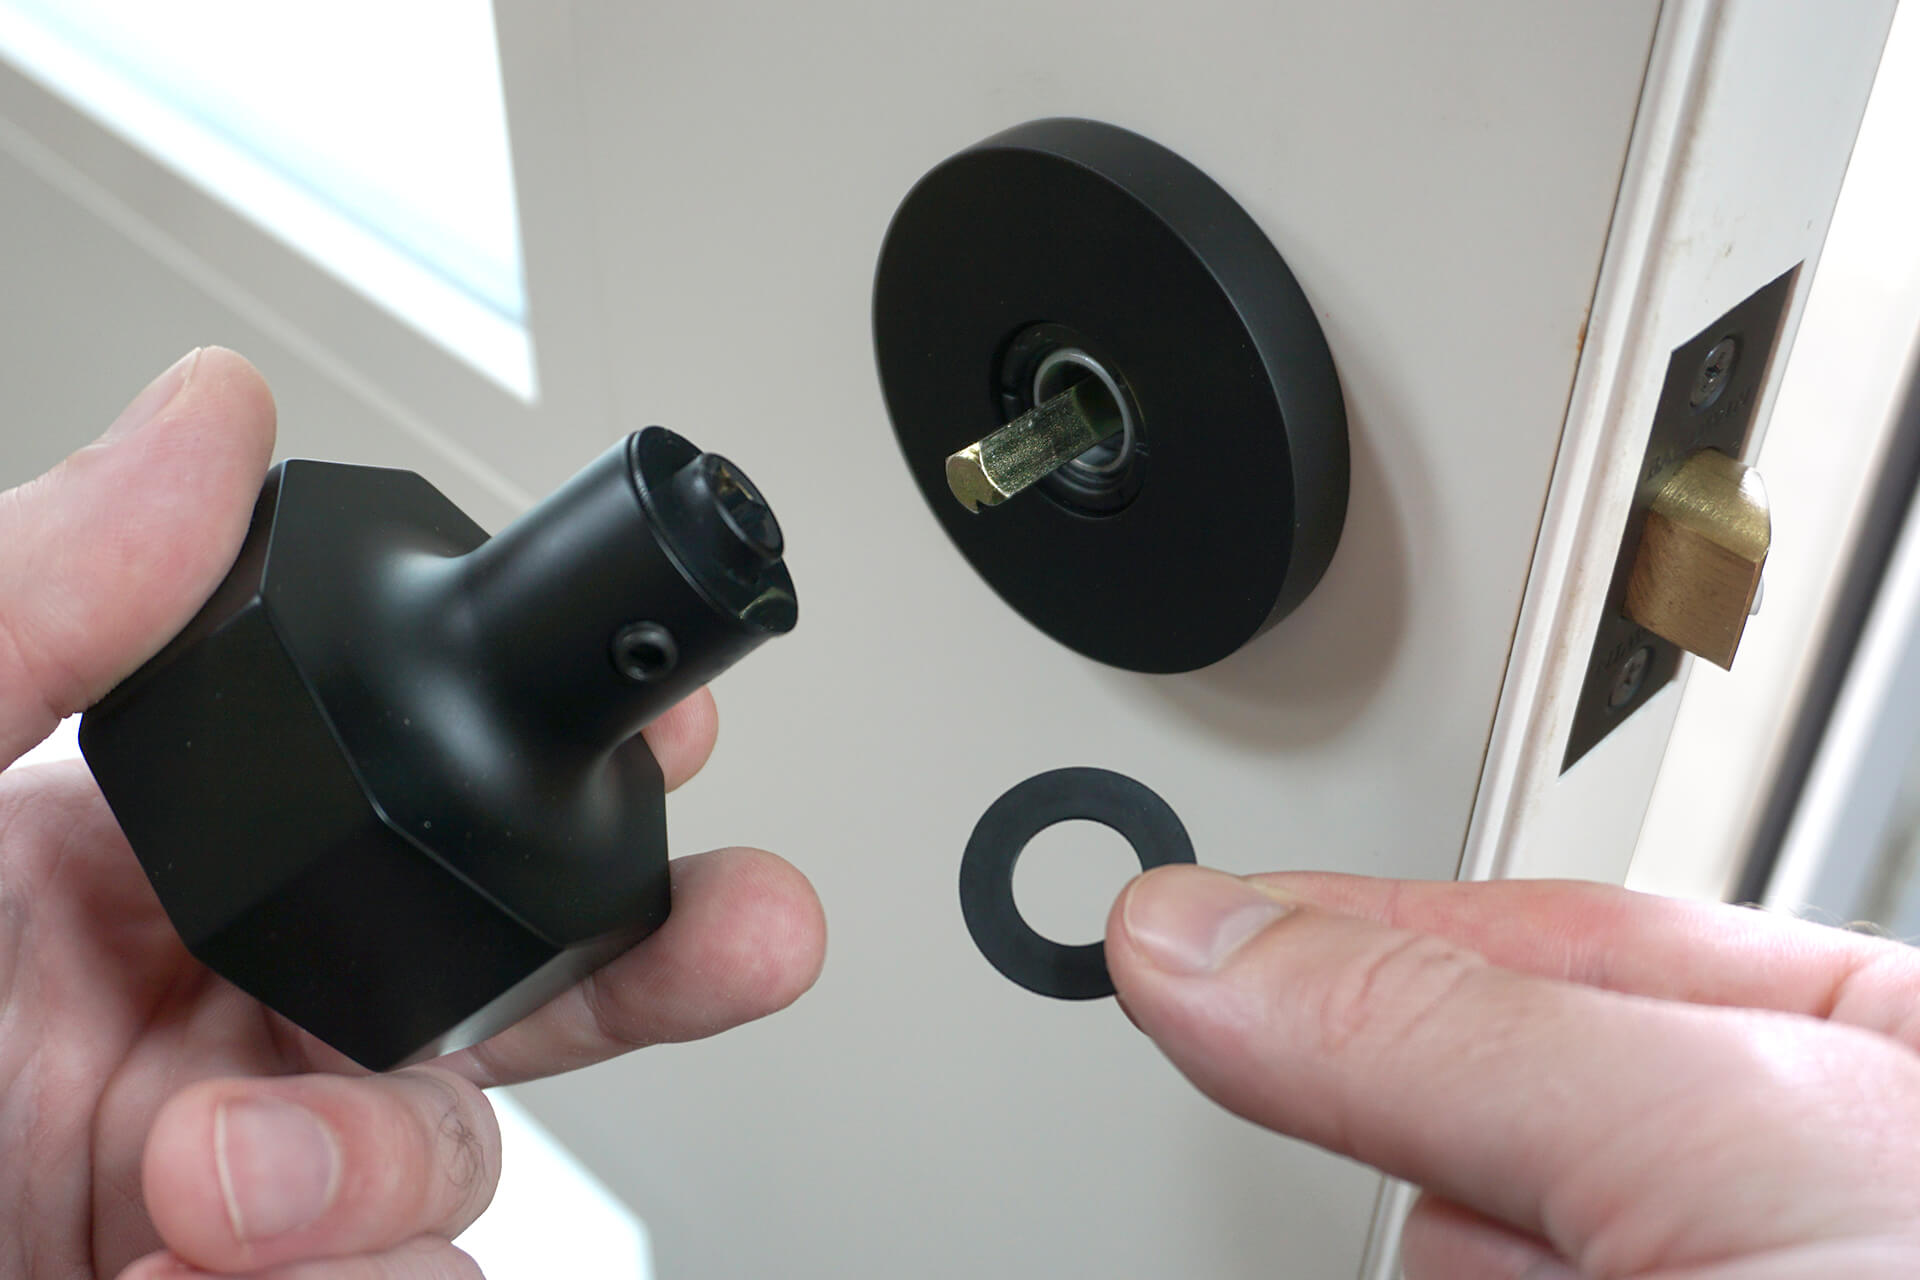
Chapter 20: Metalwork - Cut, weld, and grind the metal pieces. Have them powder coated.
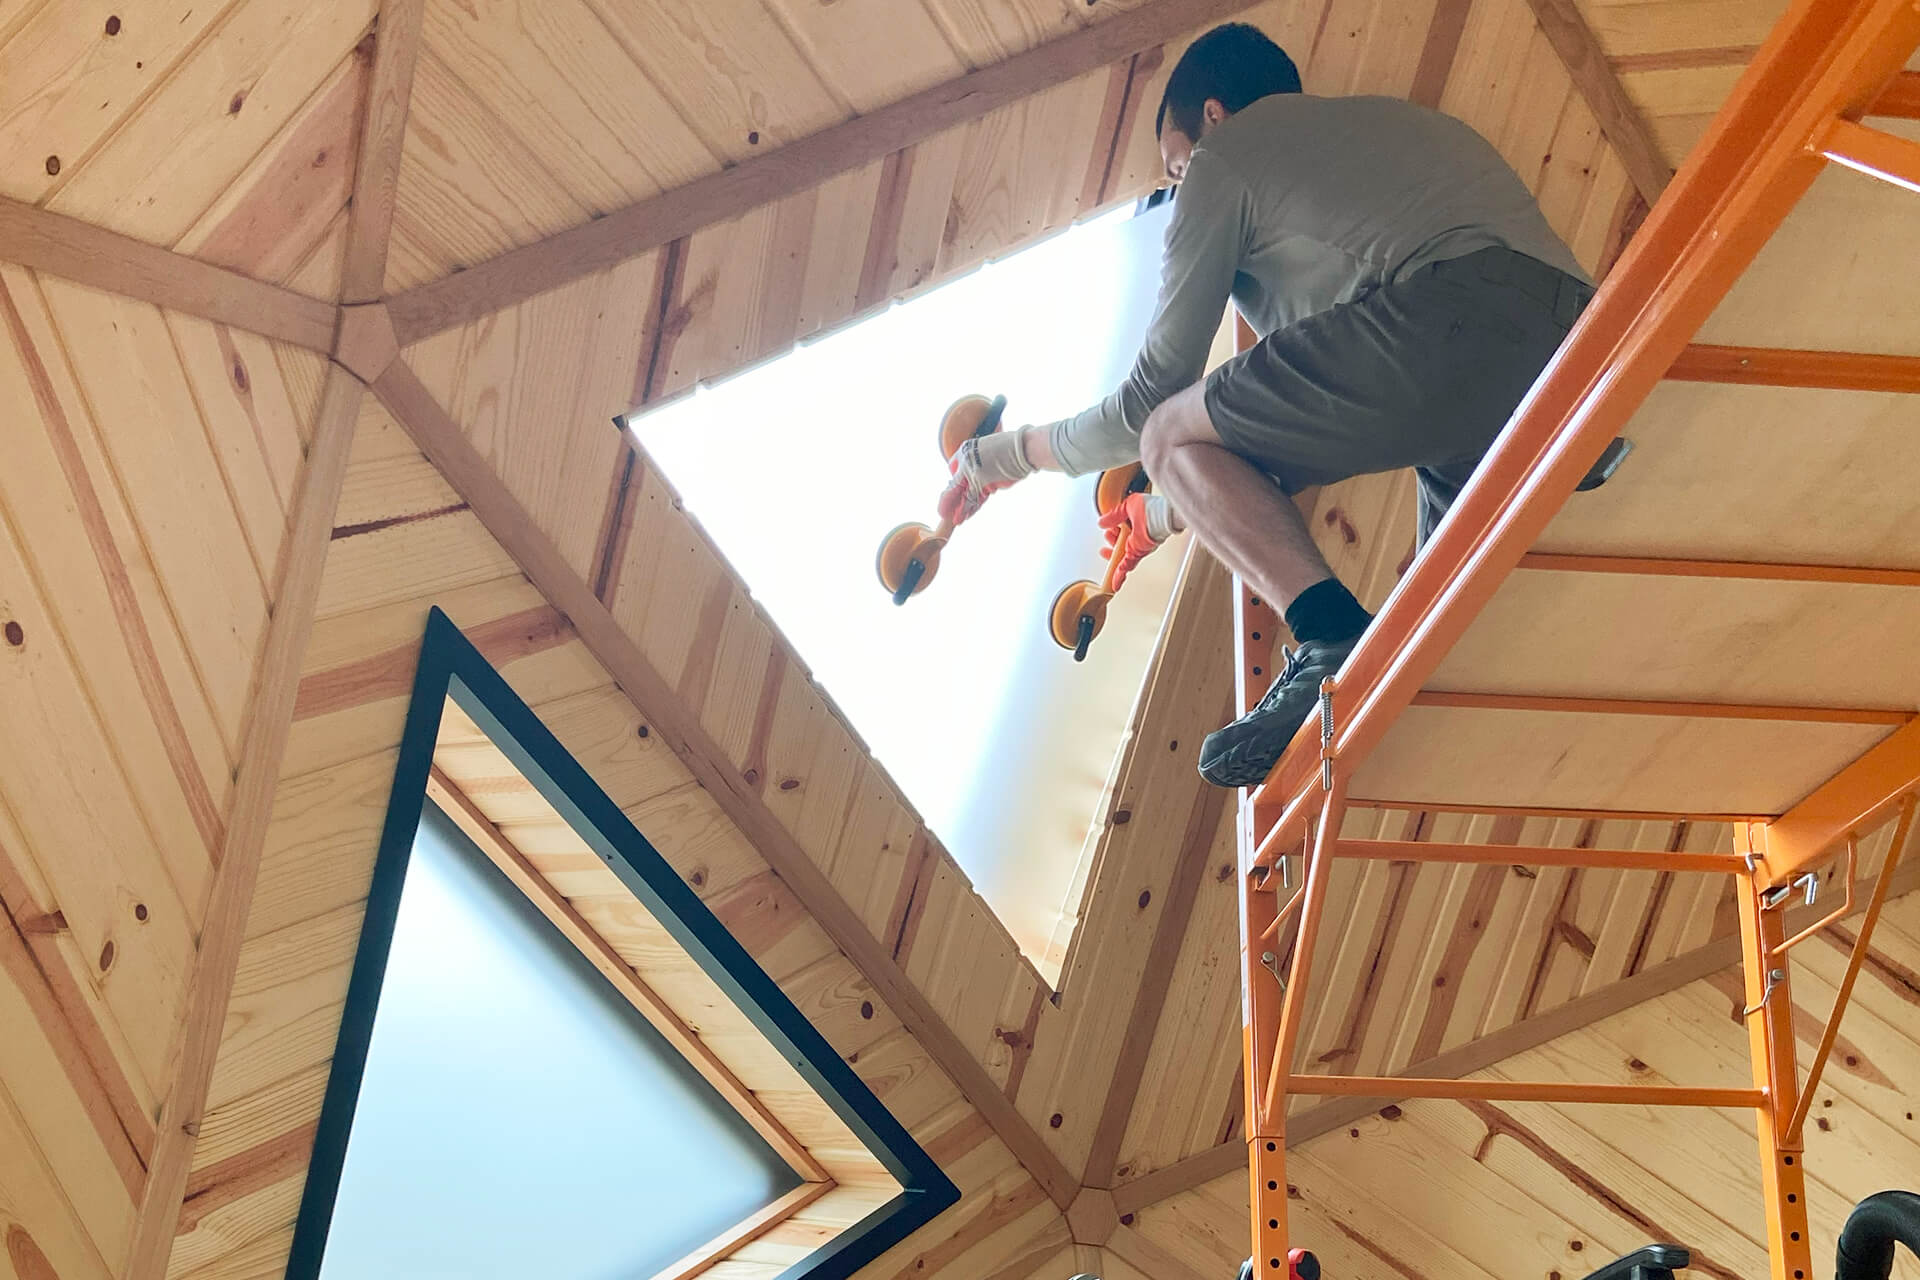
Chapter 21: Acrylic - Cut and install the wooden trim, install the frosted acrylic, and install the metal window buck trim.
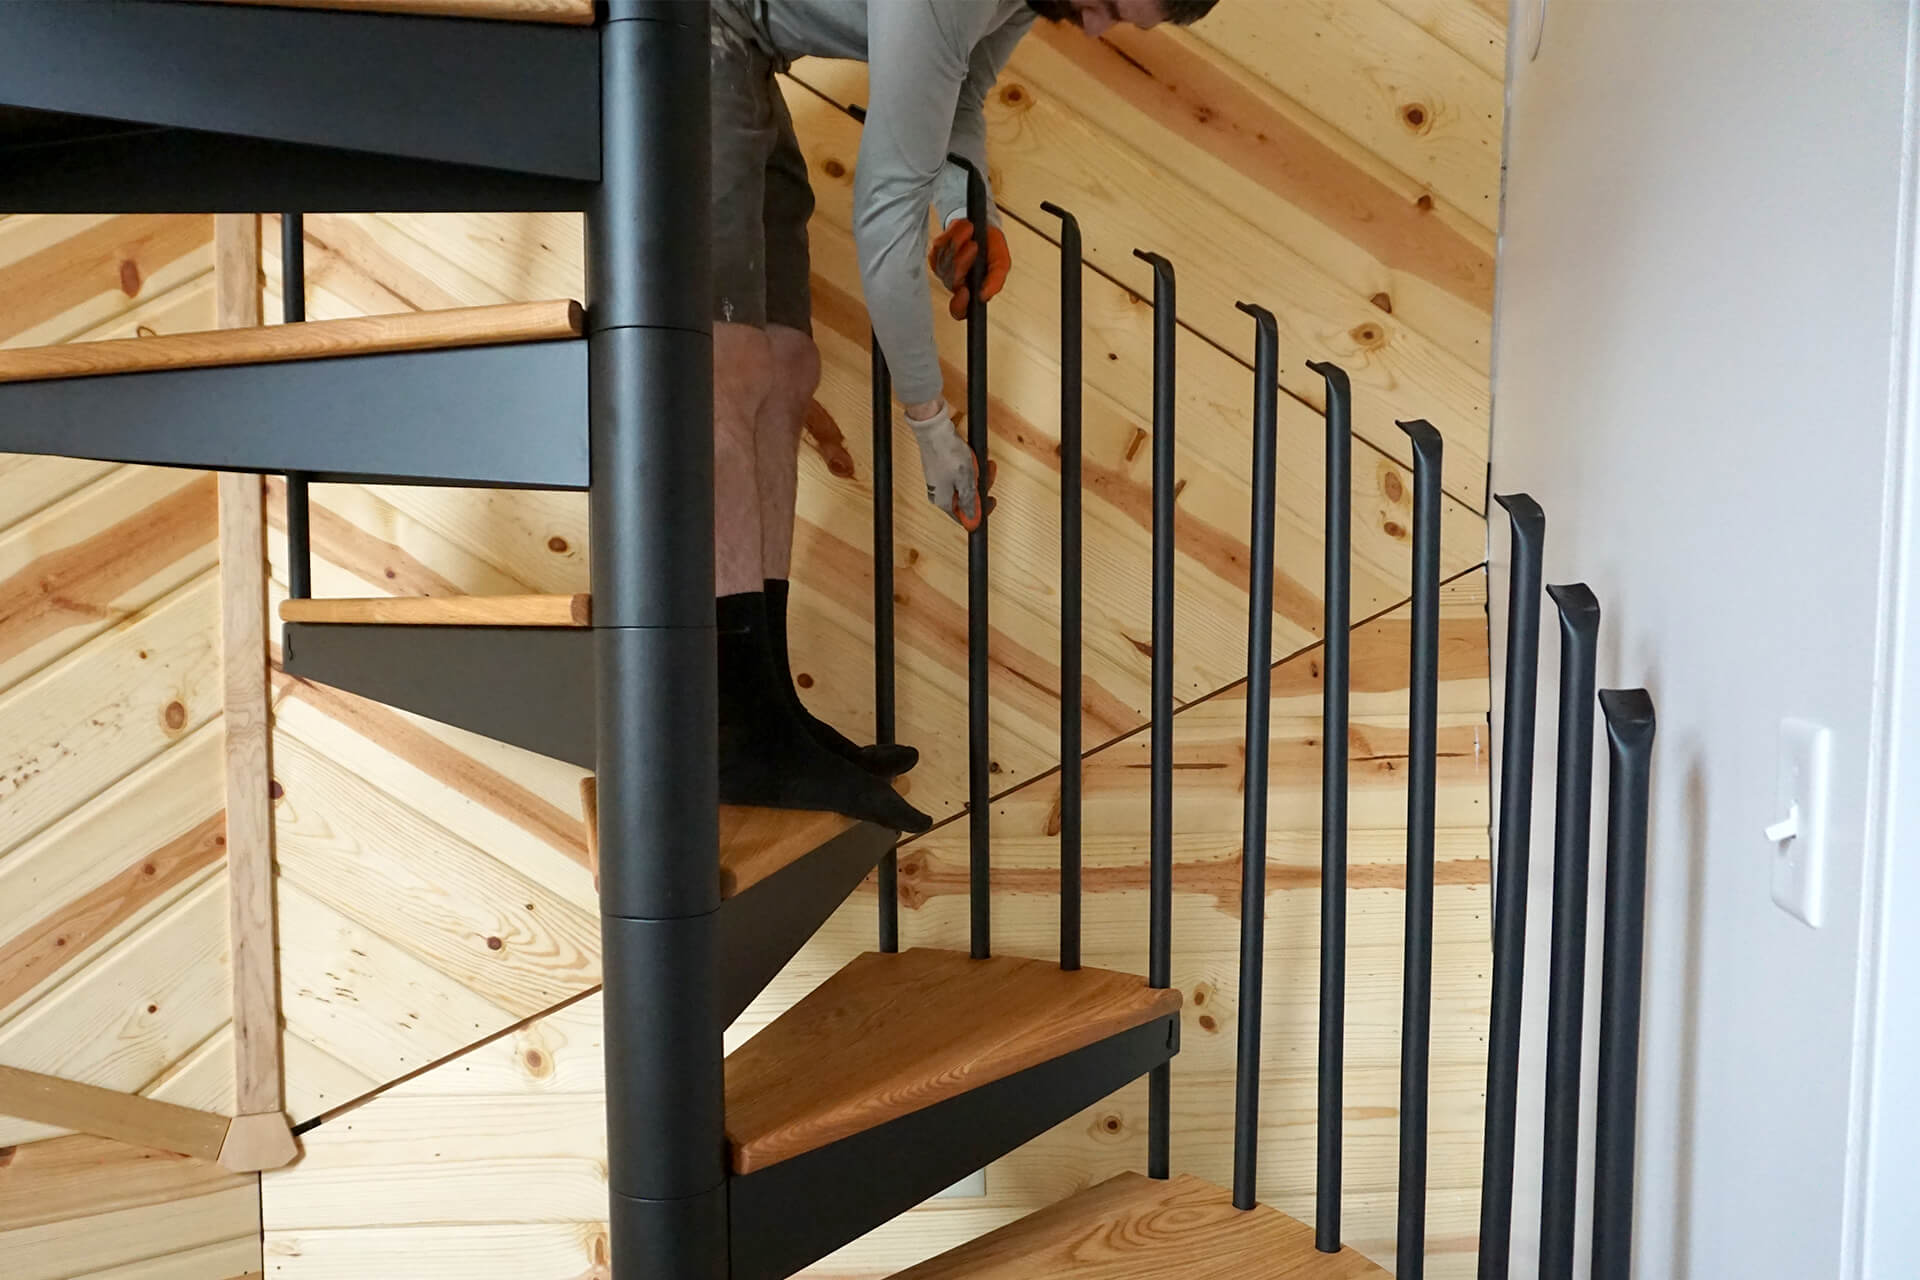
Chapter 22: Spiral Staircase - Install the spiral staircase and railings.
Chapter 23: Finishing - Finish the electrical, plumbing, doors, vanity, cabinets, utility closet, and bathroom.
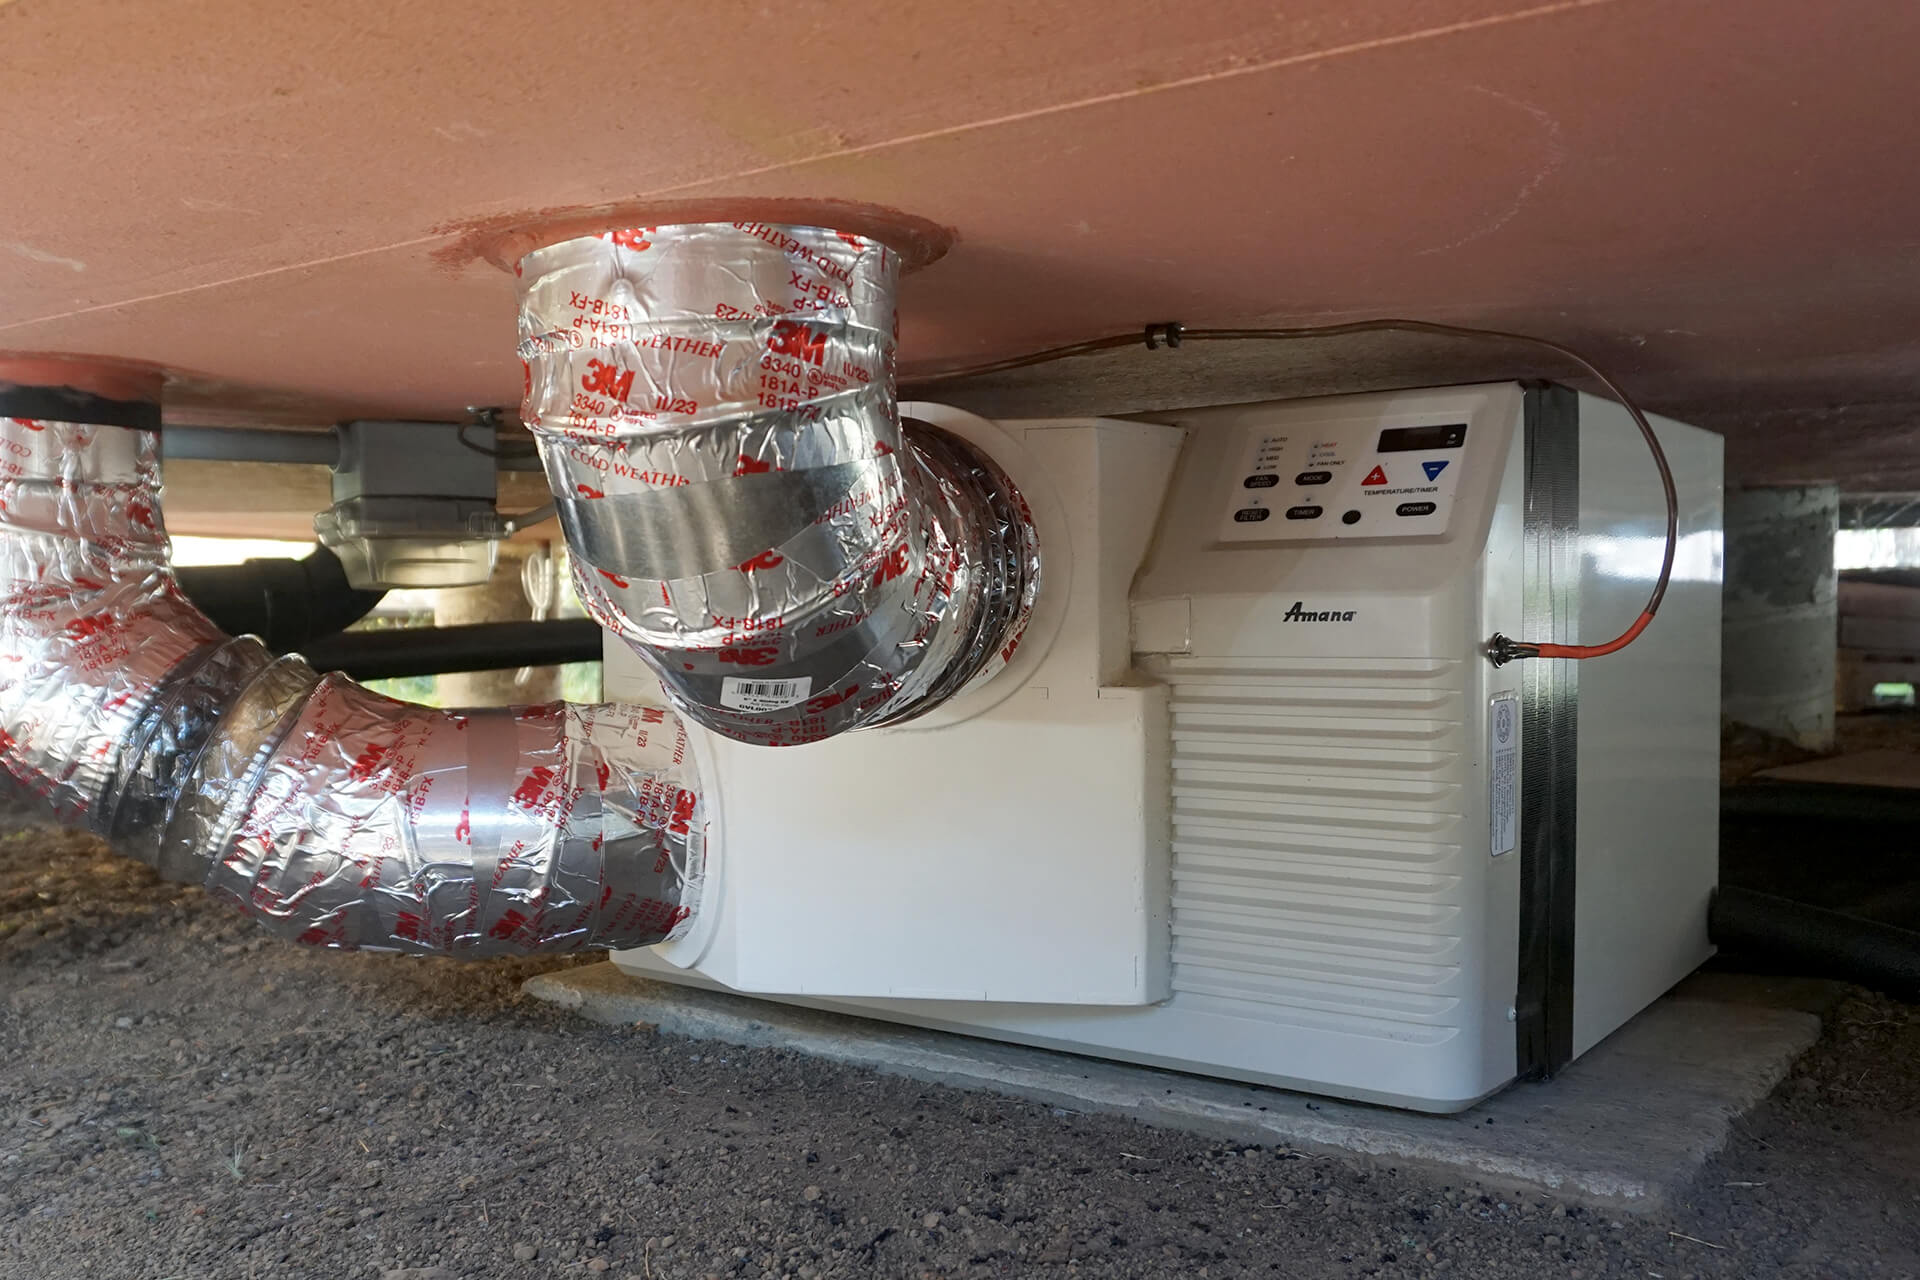
Chapter 24: HVAC - Modify a mini PTAC unit. Install it outside and duct it to the inside.
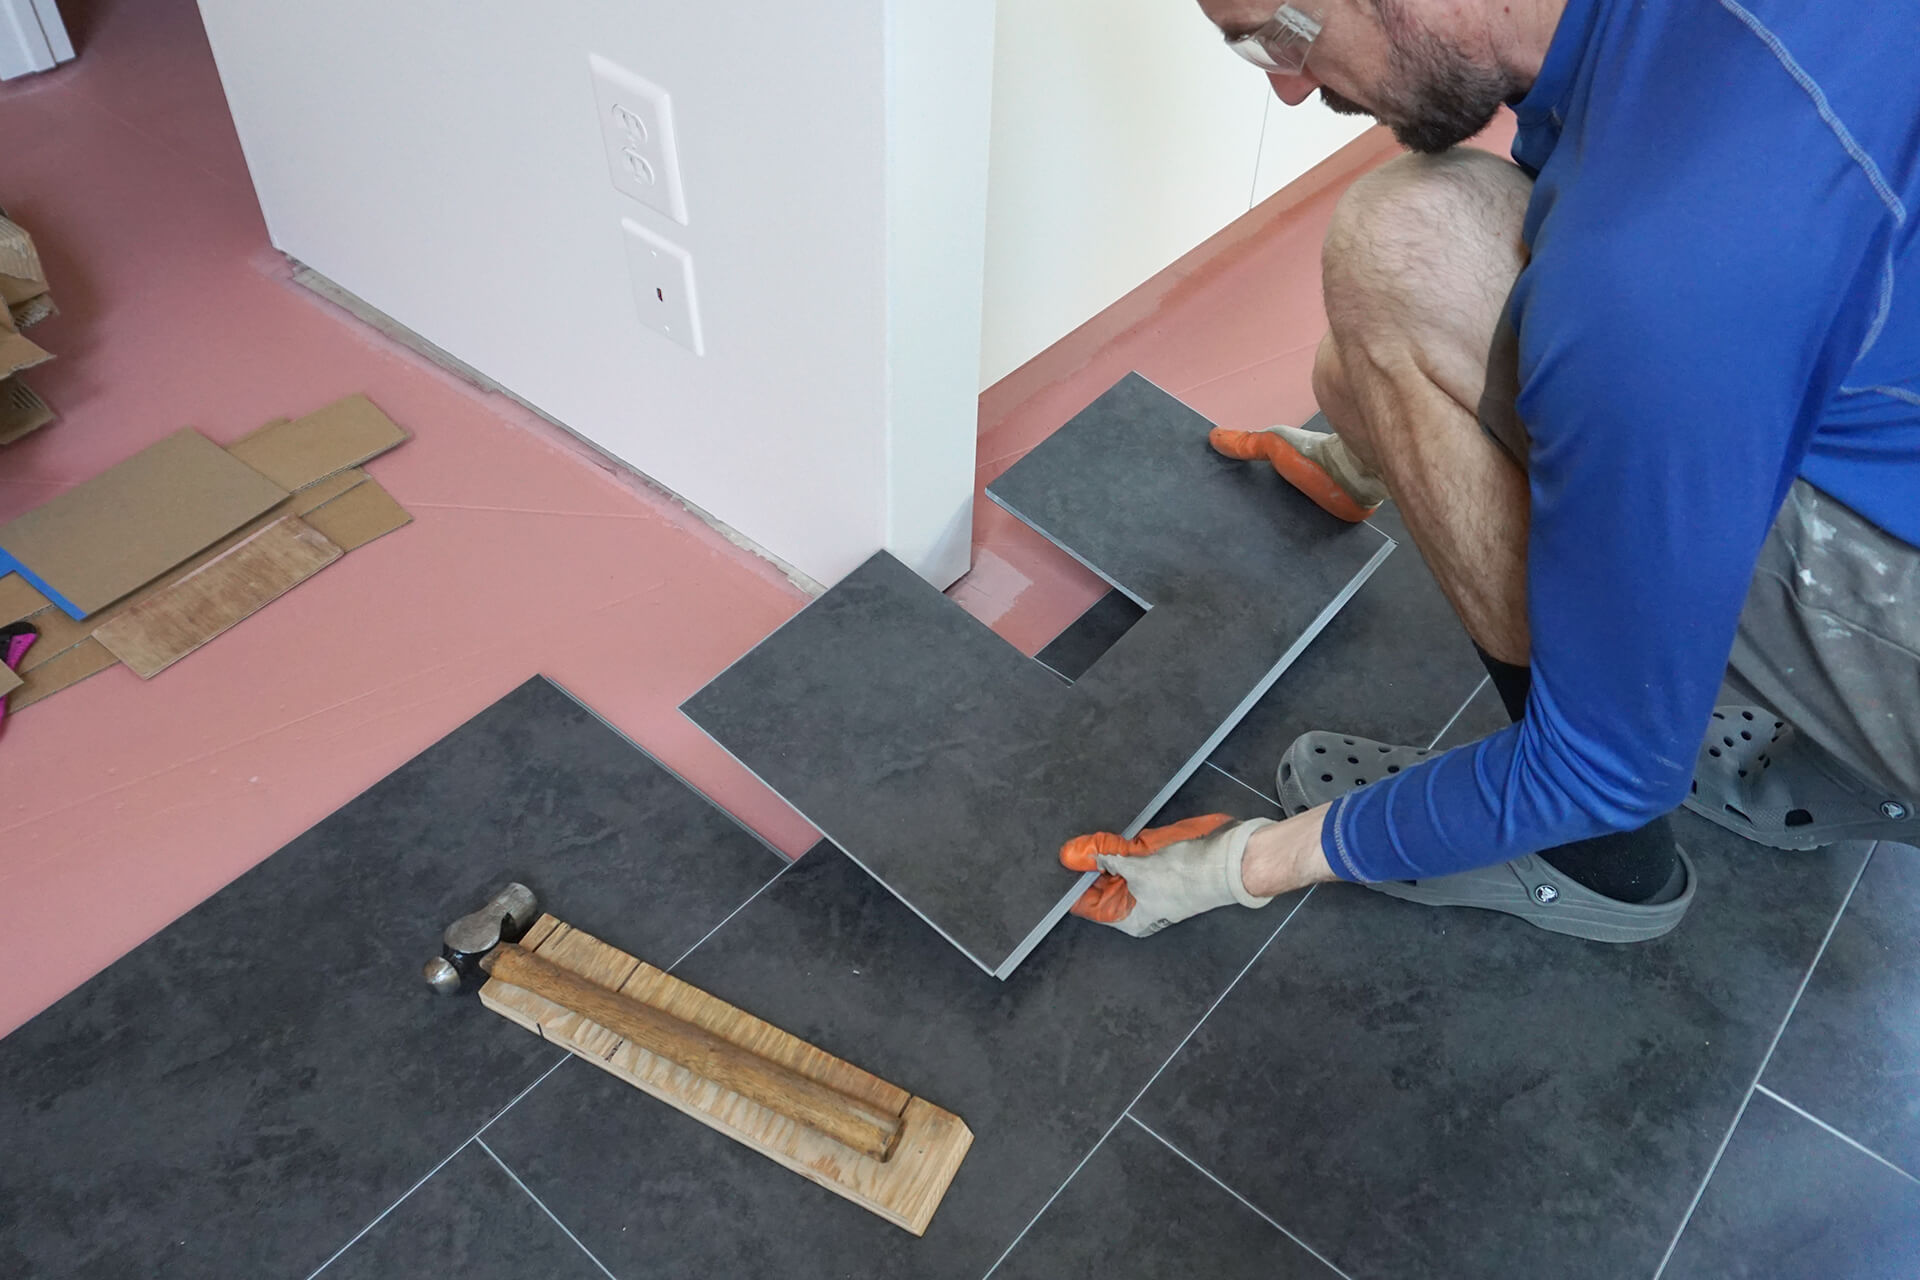
Chapter 25: Flooring - Install the uppler flooring, prep the main subfloor, and install the main flooring.
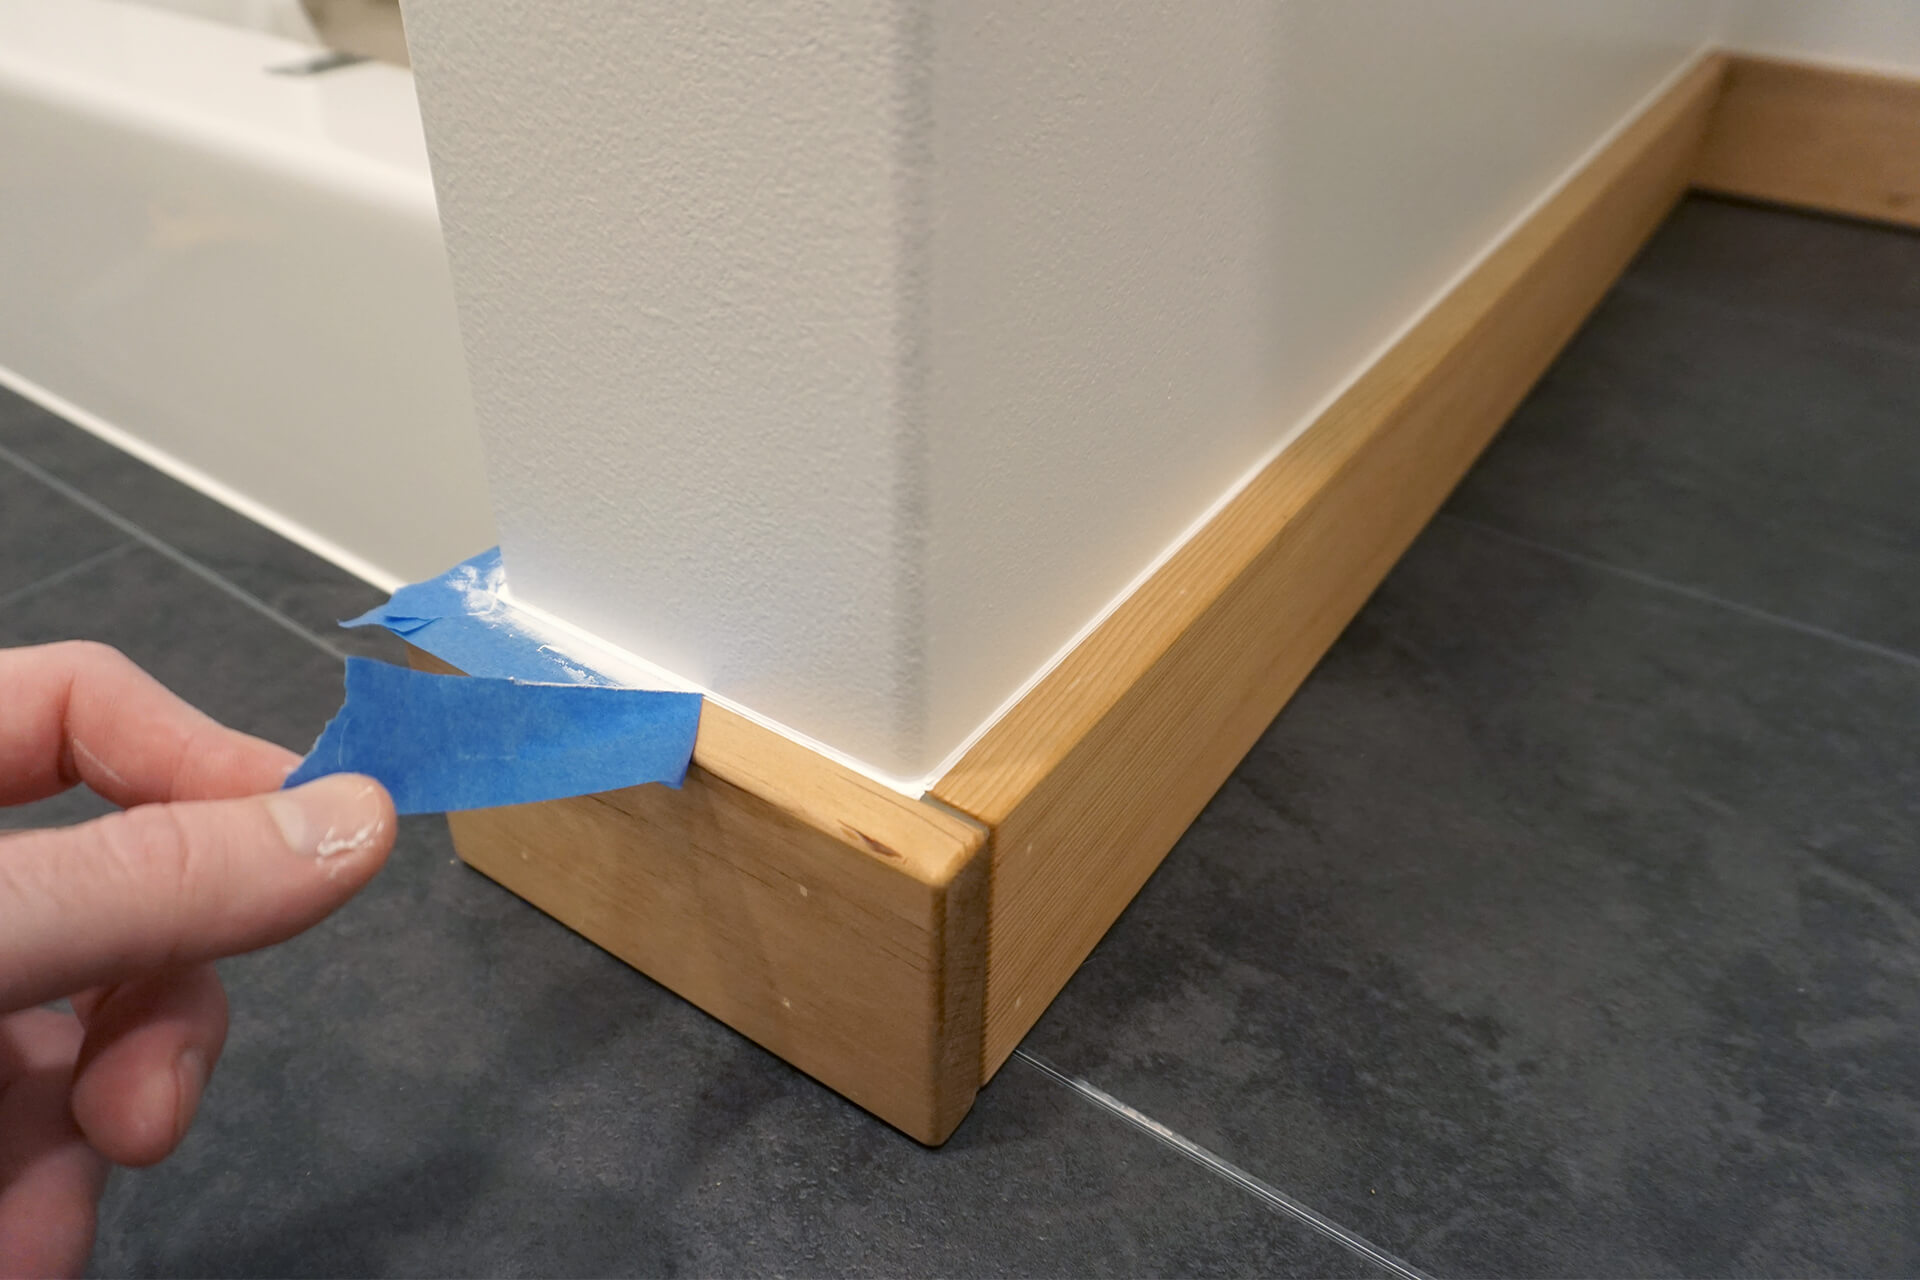
Chapter 26: Final Trim - Measure, cut, finish, and install the door casings, baseboards, and panel trim.
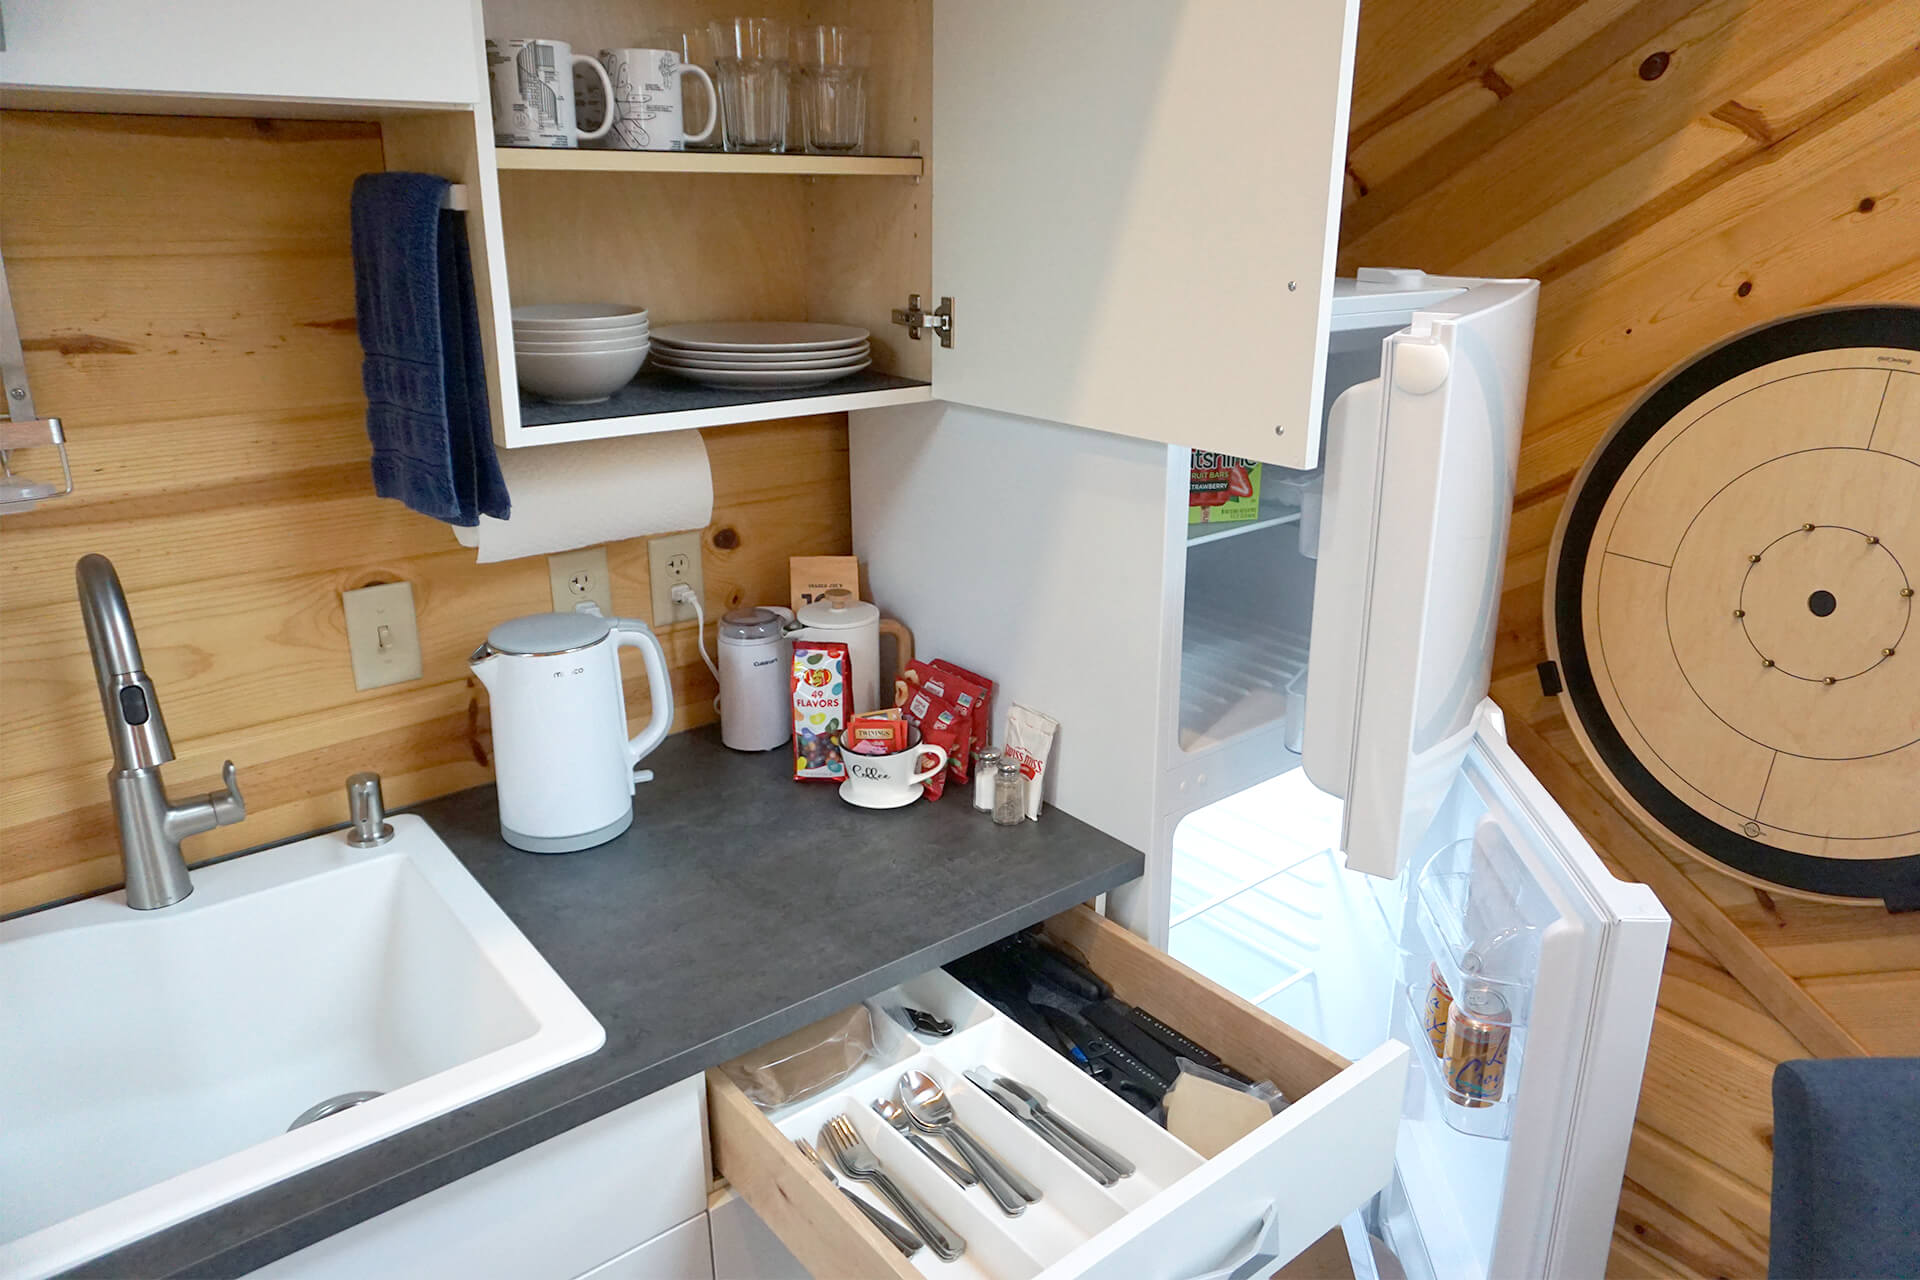
Chapter 27: Furnishing - Install the toilet, refrigerator, dining table, sofa bed, TV, bed, side tables, and many other smaller items.
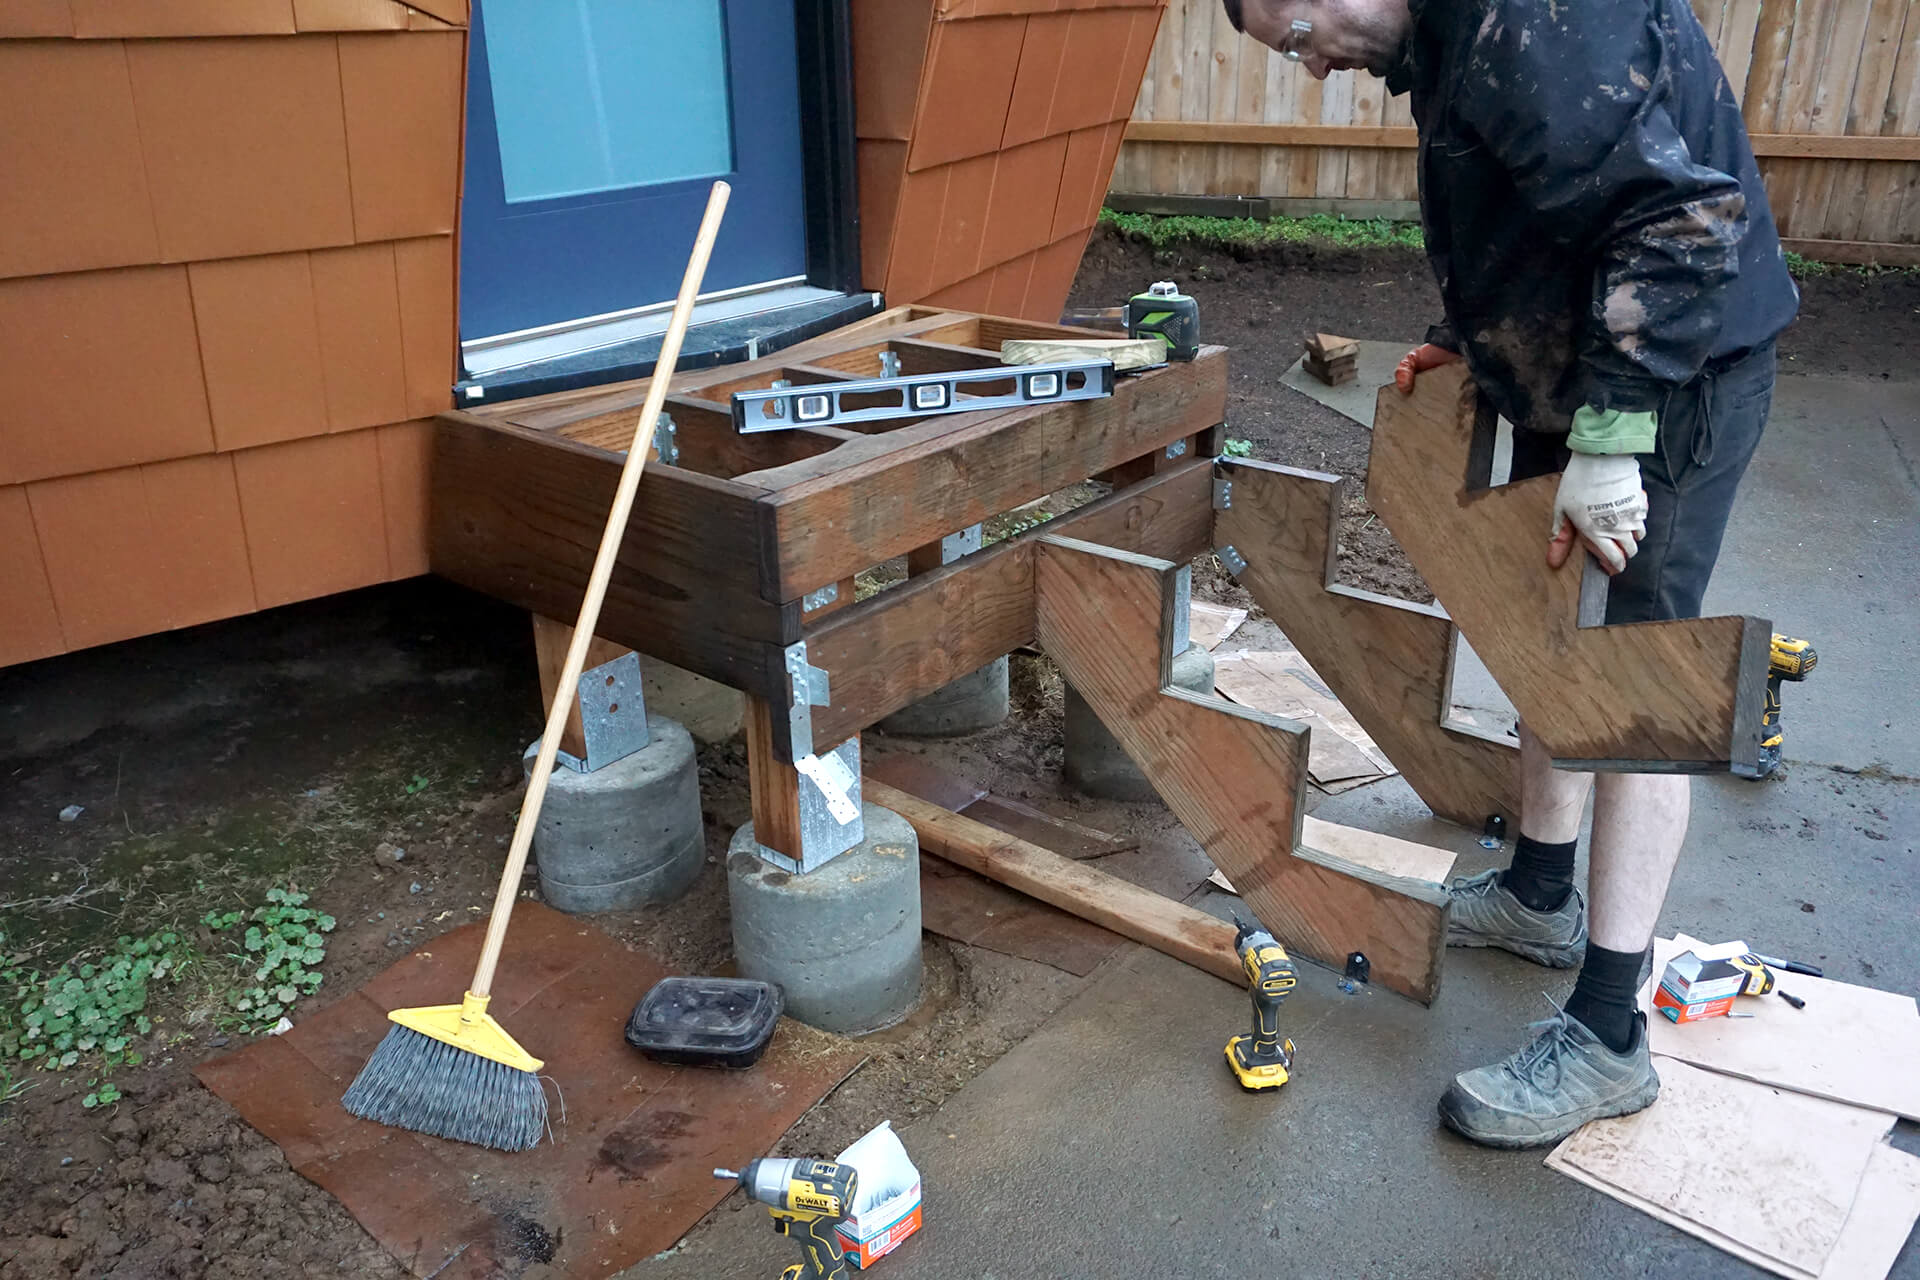
Chapter 28: Porch - Make room for the porch, pour the foundation, build the frame, and surface the framework with planks and handrails.

Chapter 29: Finished - Landscape and photograph the finished product.
For a complete documentation of the construction process, buy the book.