
Framing – Floor
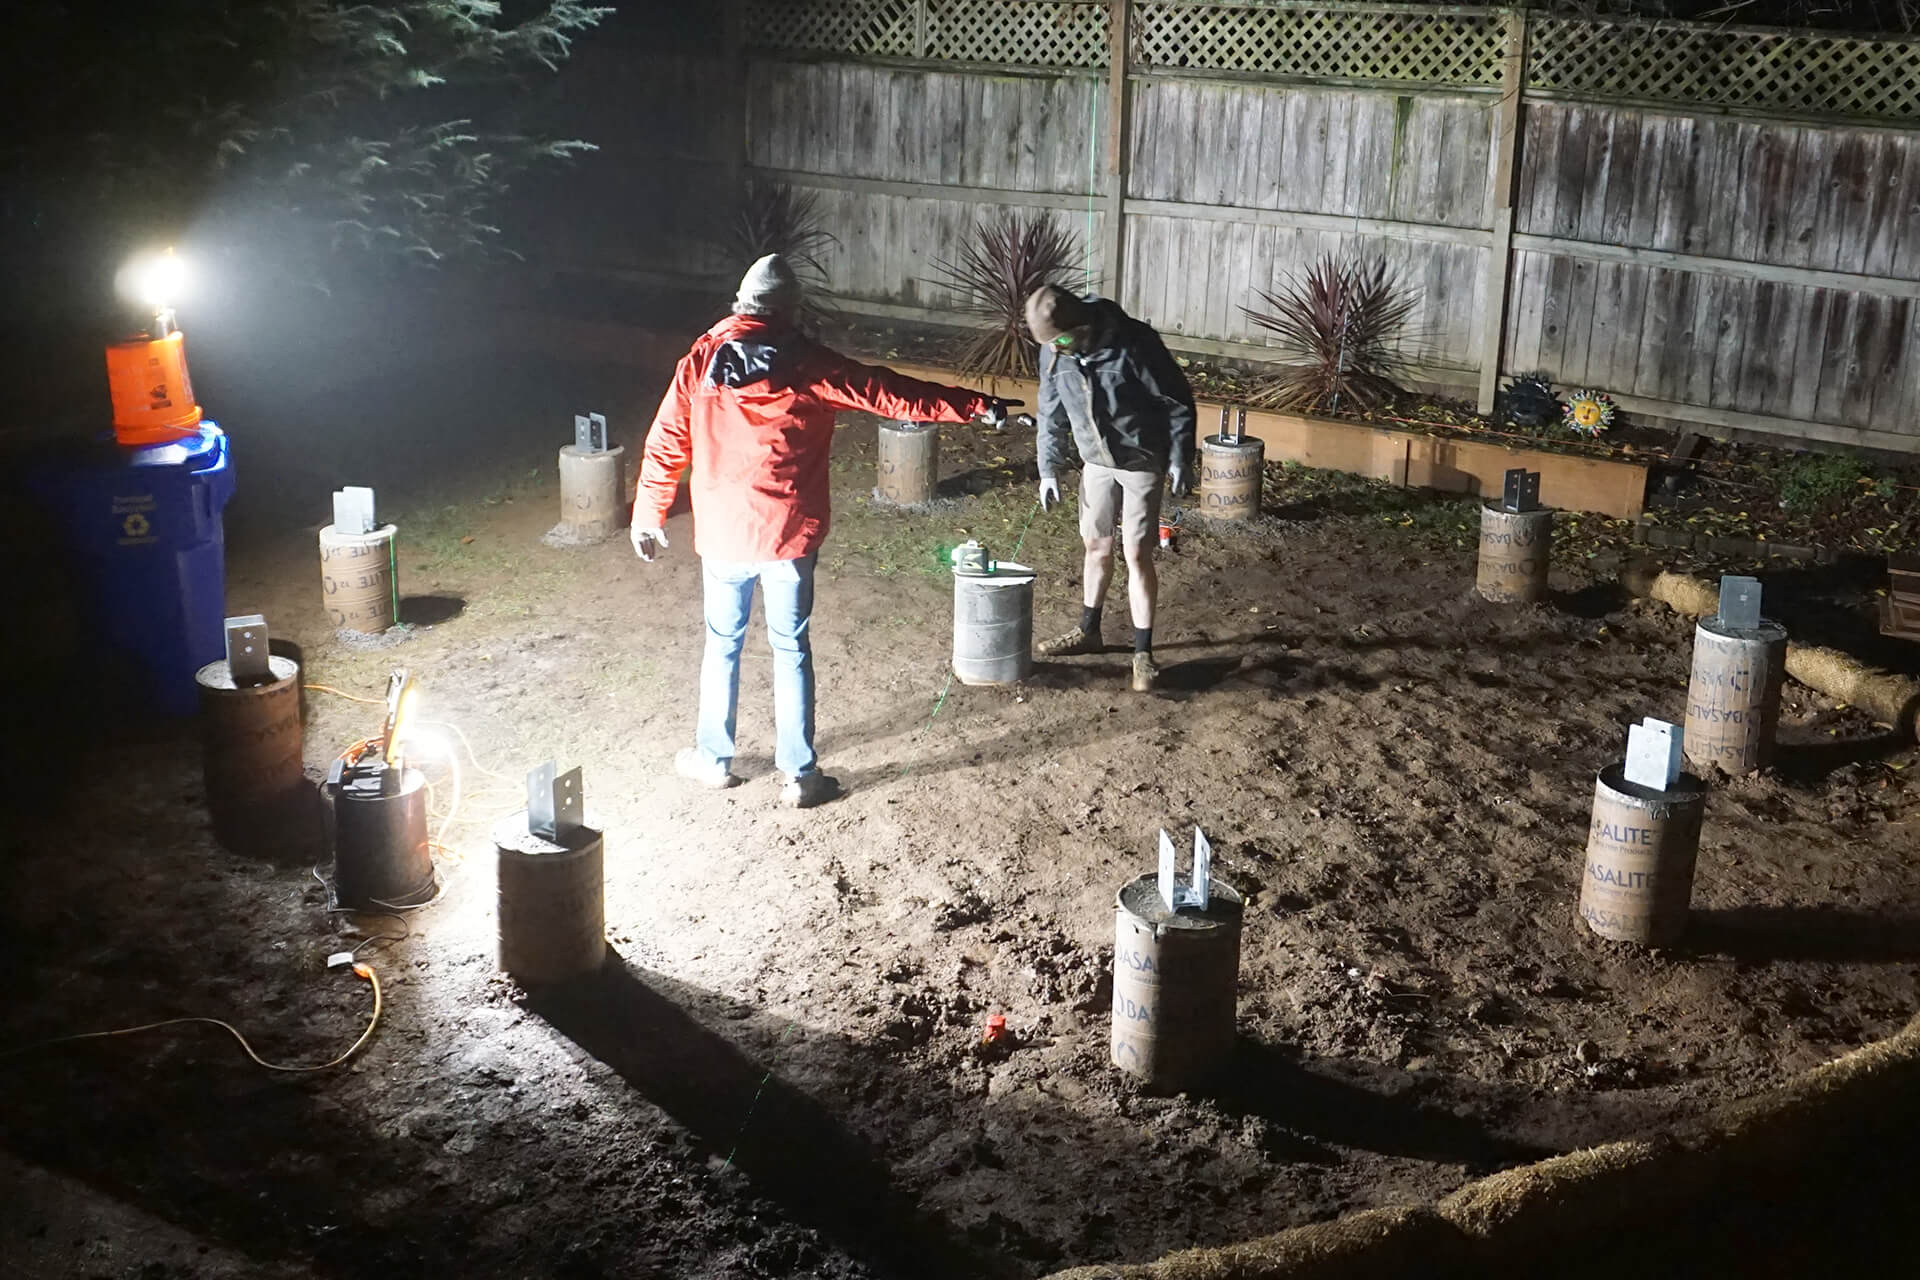
Install the post bases onto the concrete piers. Align them using a laser and a jig that pivots on the center pier.
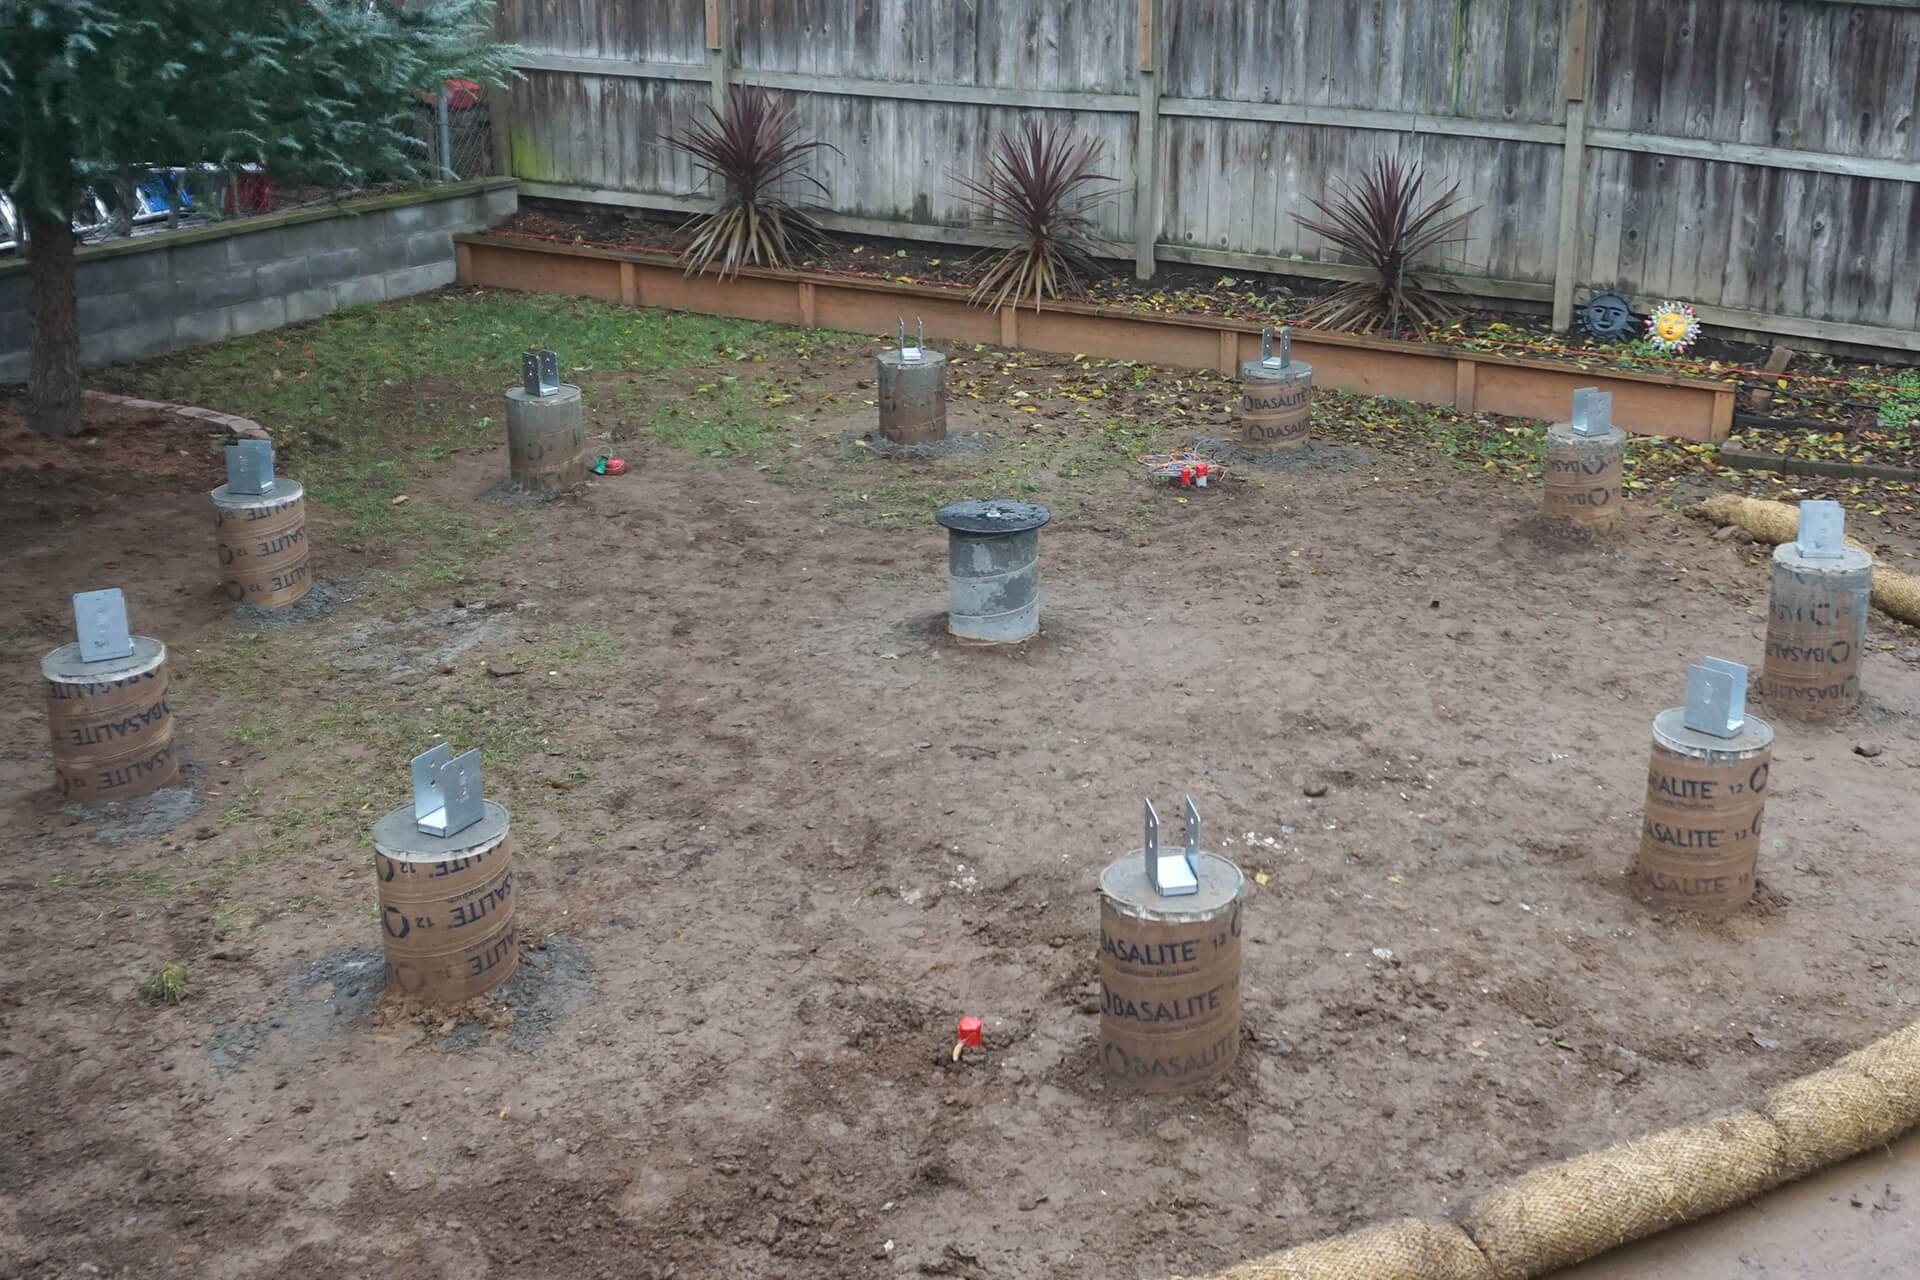
Perfectly aligned post bases simplify the floor assembly. These post bases are designed with minor positional adjustability for precise placement.
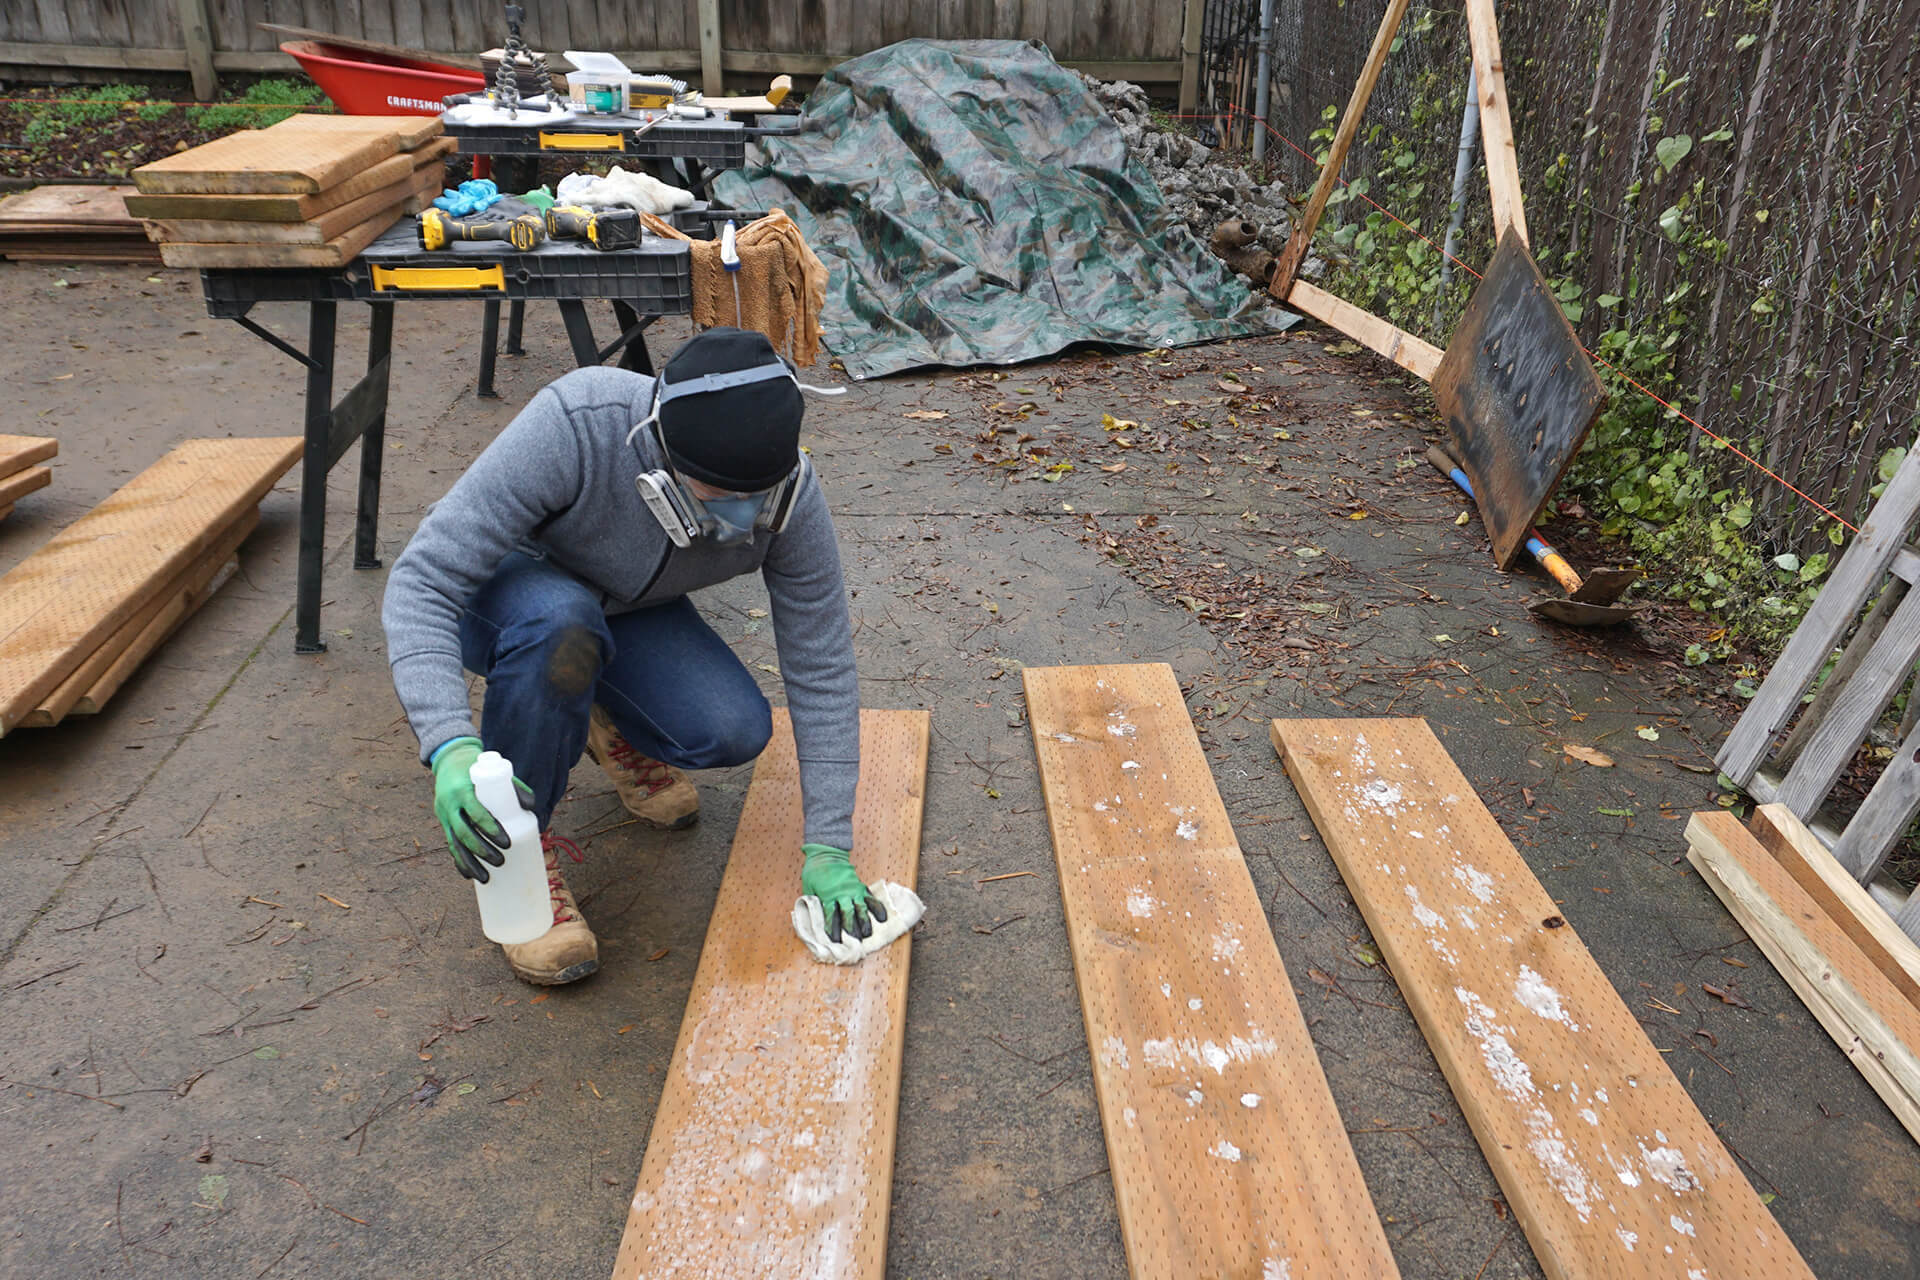
Treat any surface mold as needed. This was the only lumber with mold present, likely due to being stacked without spacers while still wet.
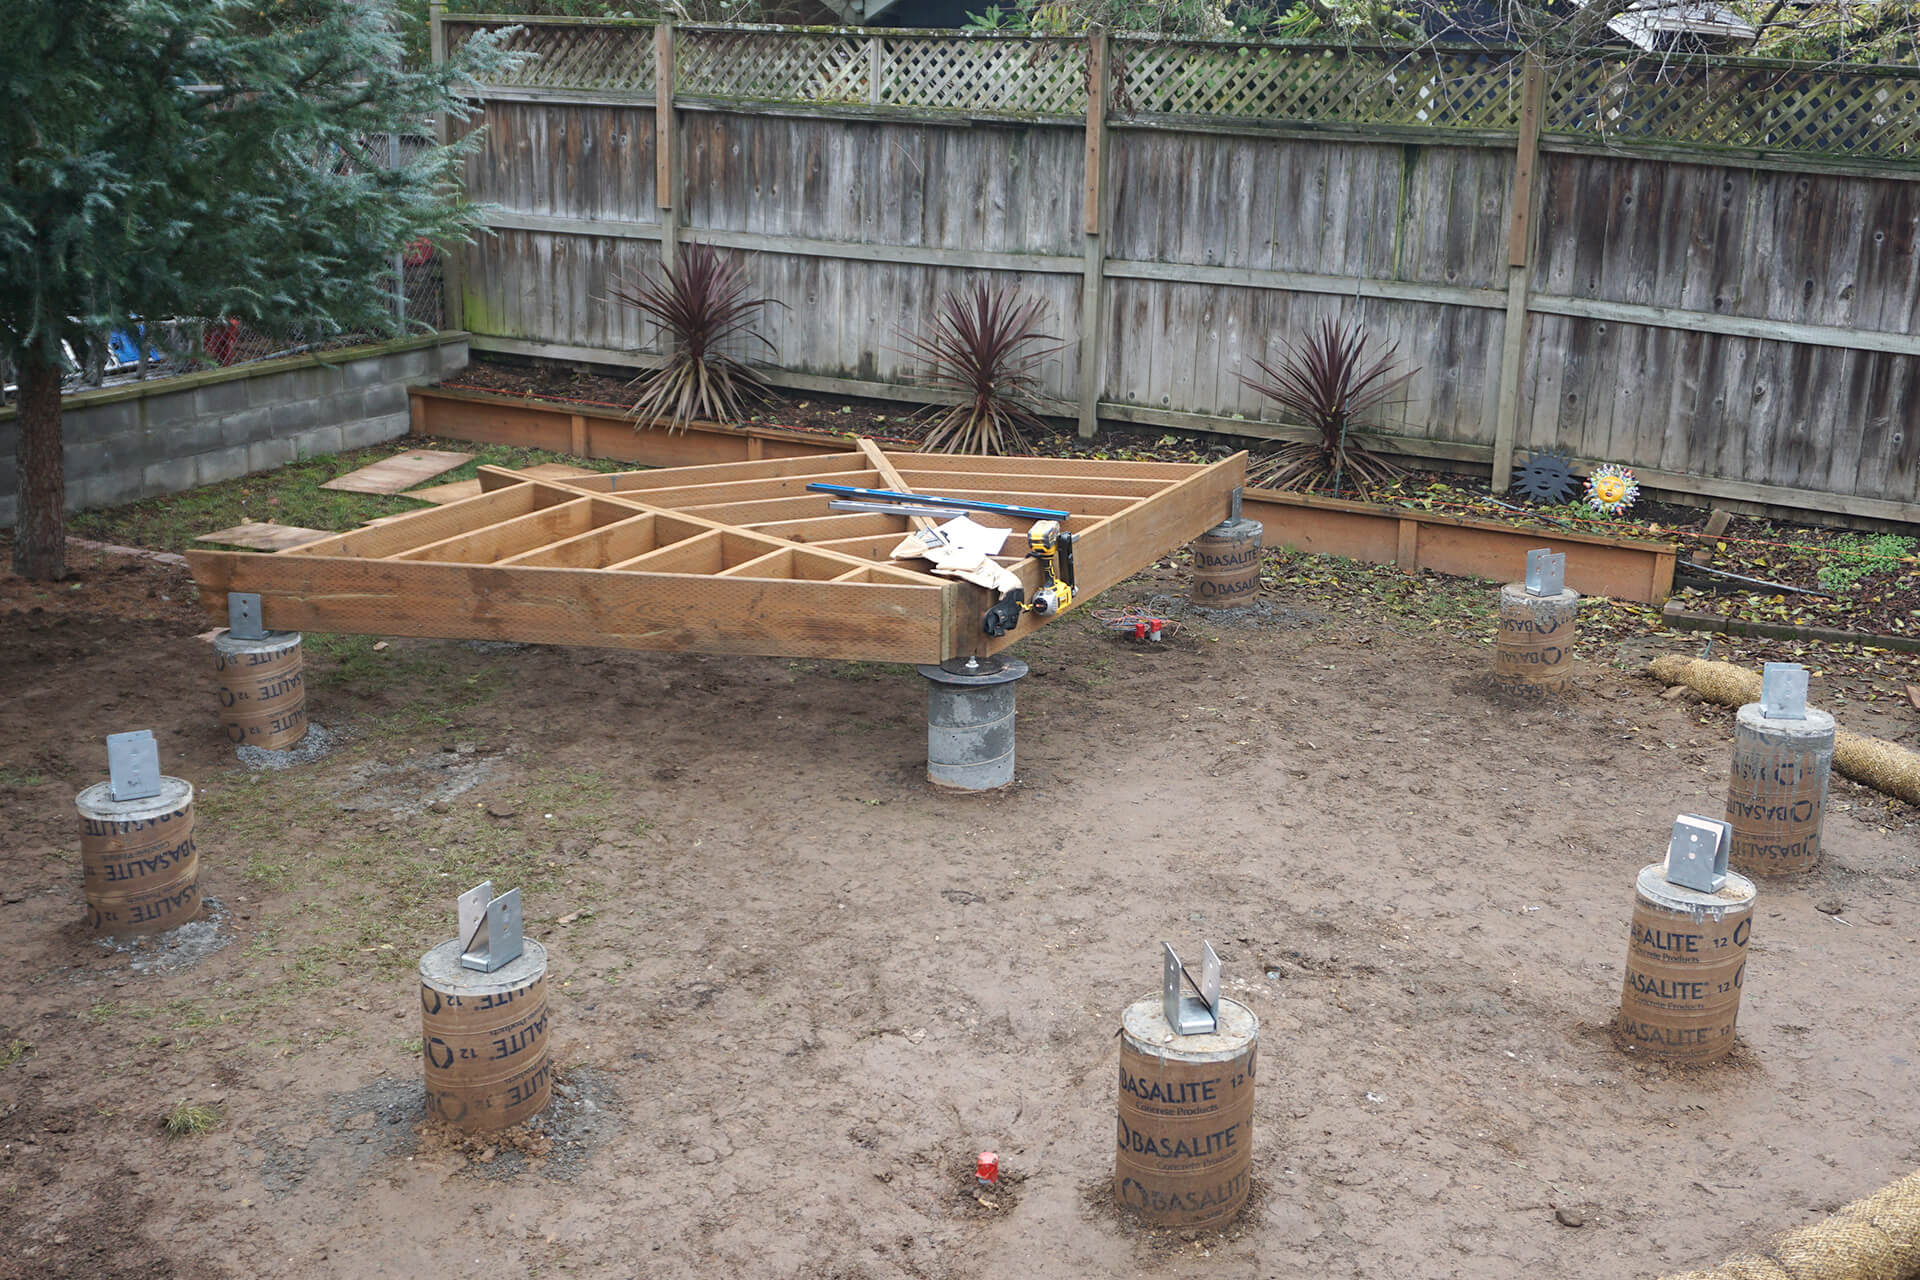
Start assembling the floor. Keep in mind that the beams are different lengths, and each floor slice is a mirrored image of the one next to it.
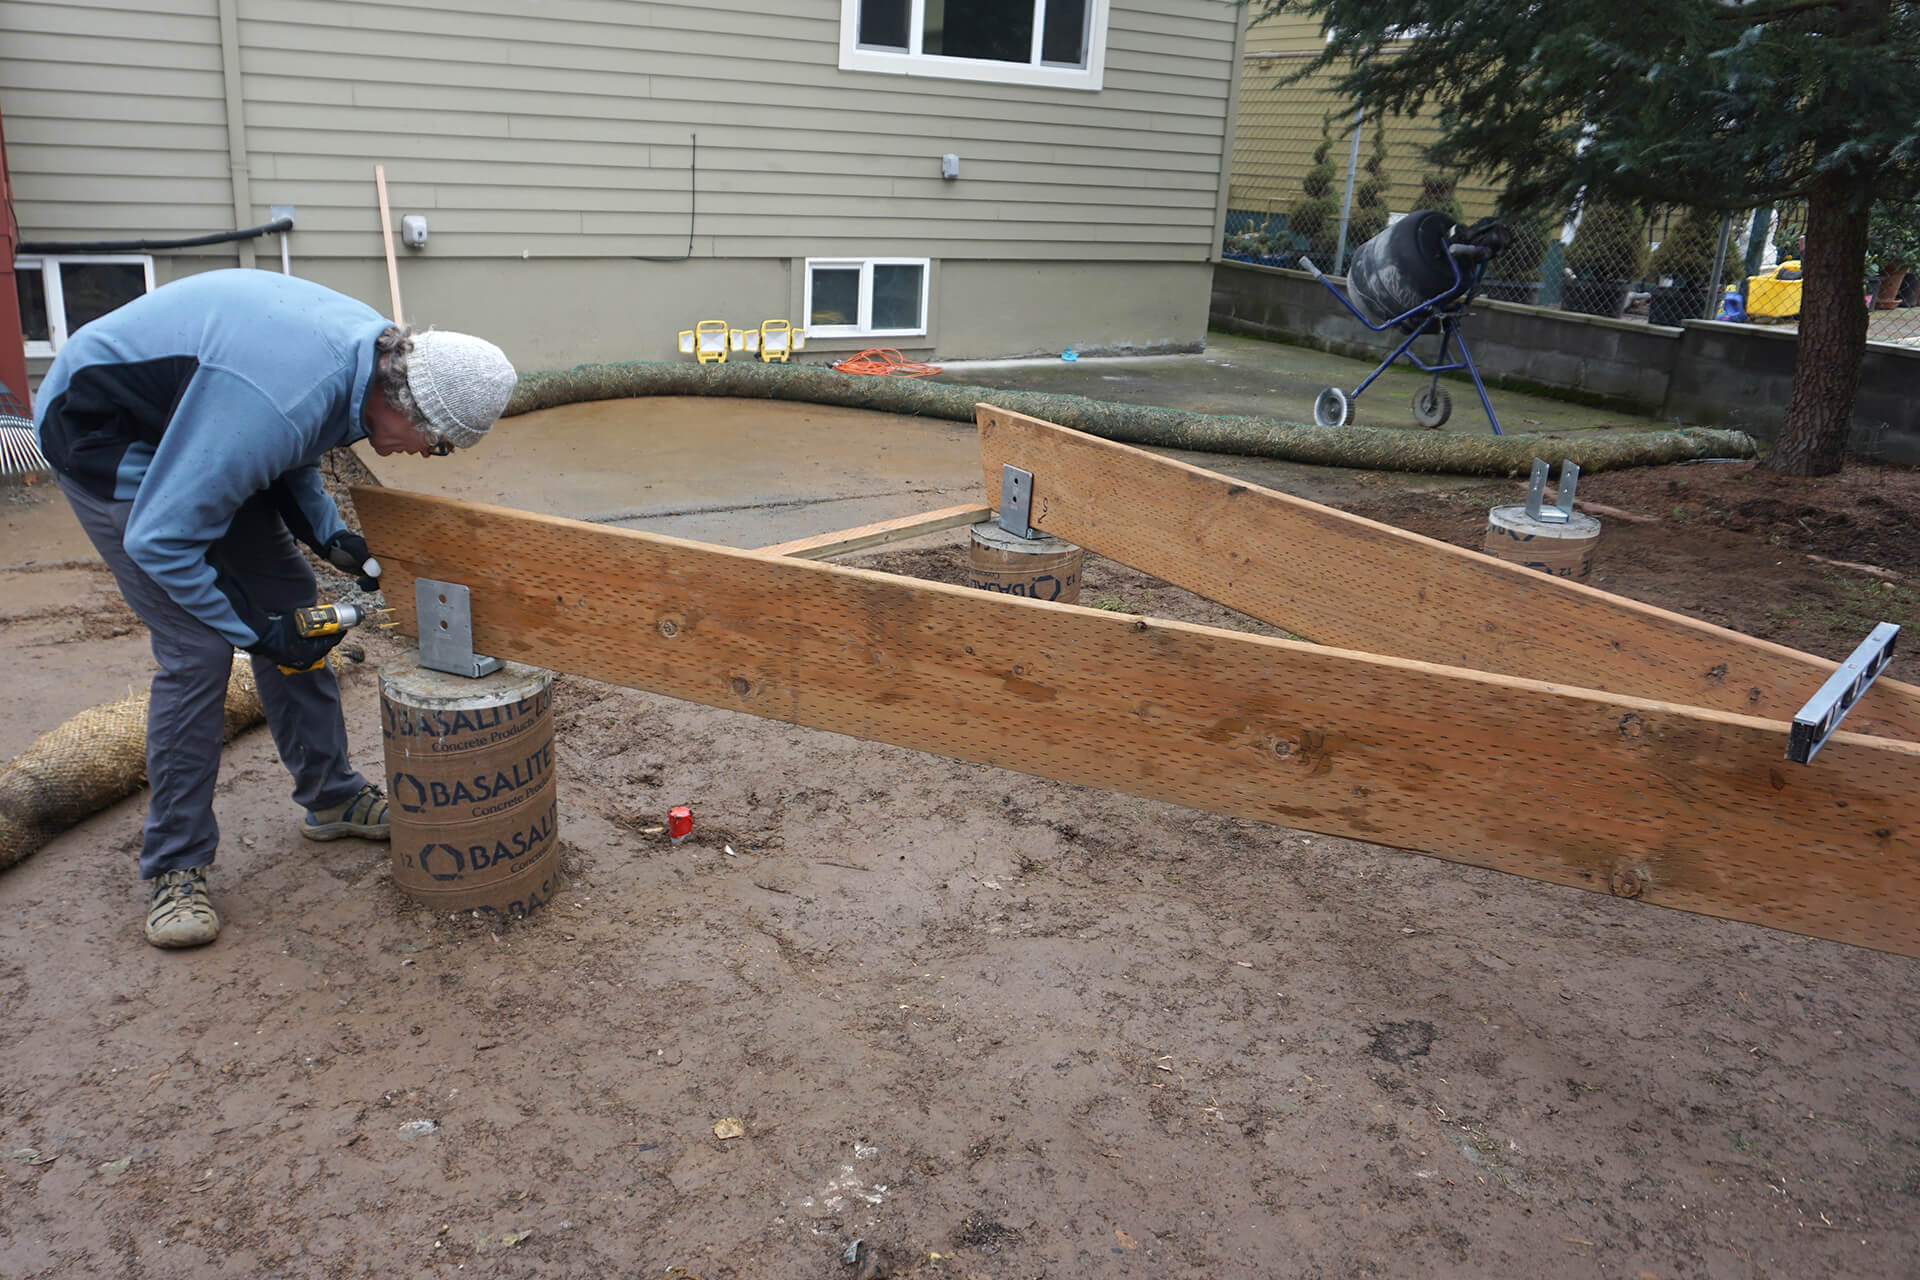
Attach the Floor-Panel-Support to the corresponding Floor-Beam-Long and Floor-Beam-Short. Each floor slice can be assembled in the same location and then moved once complete.
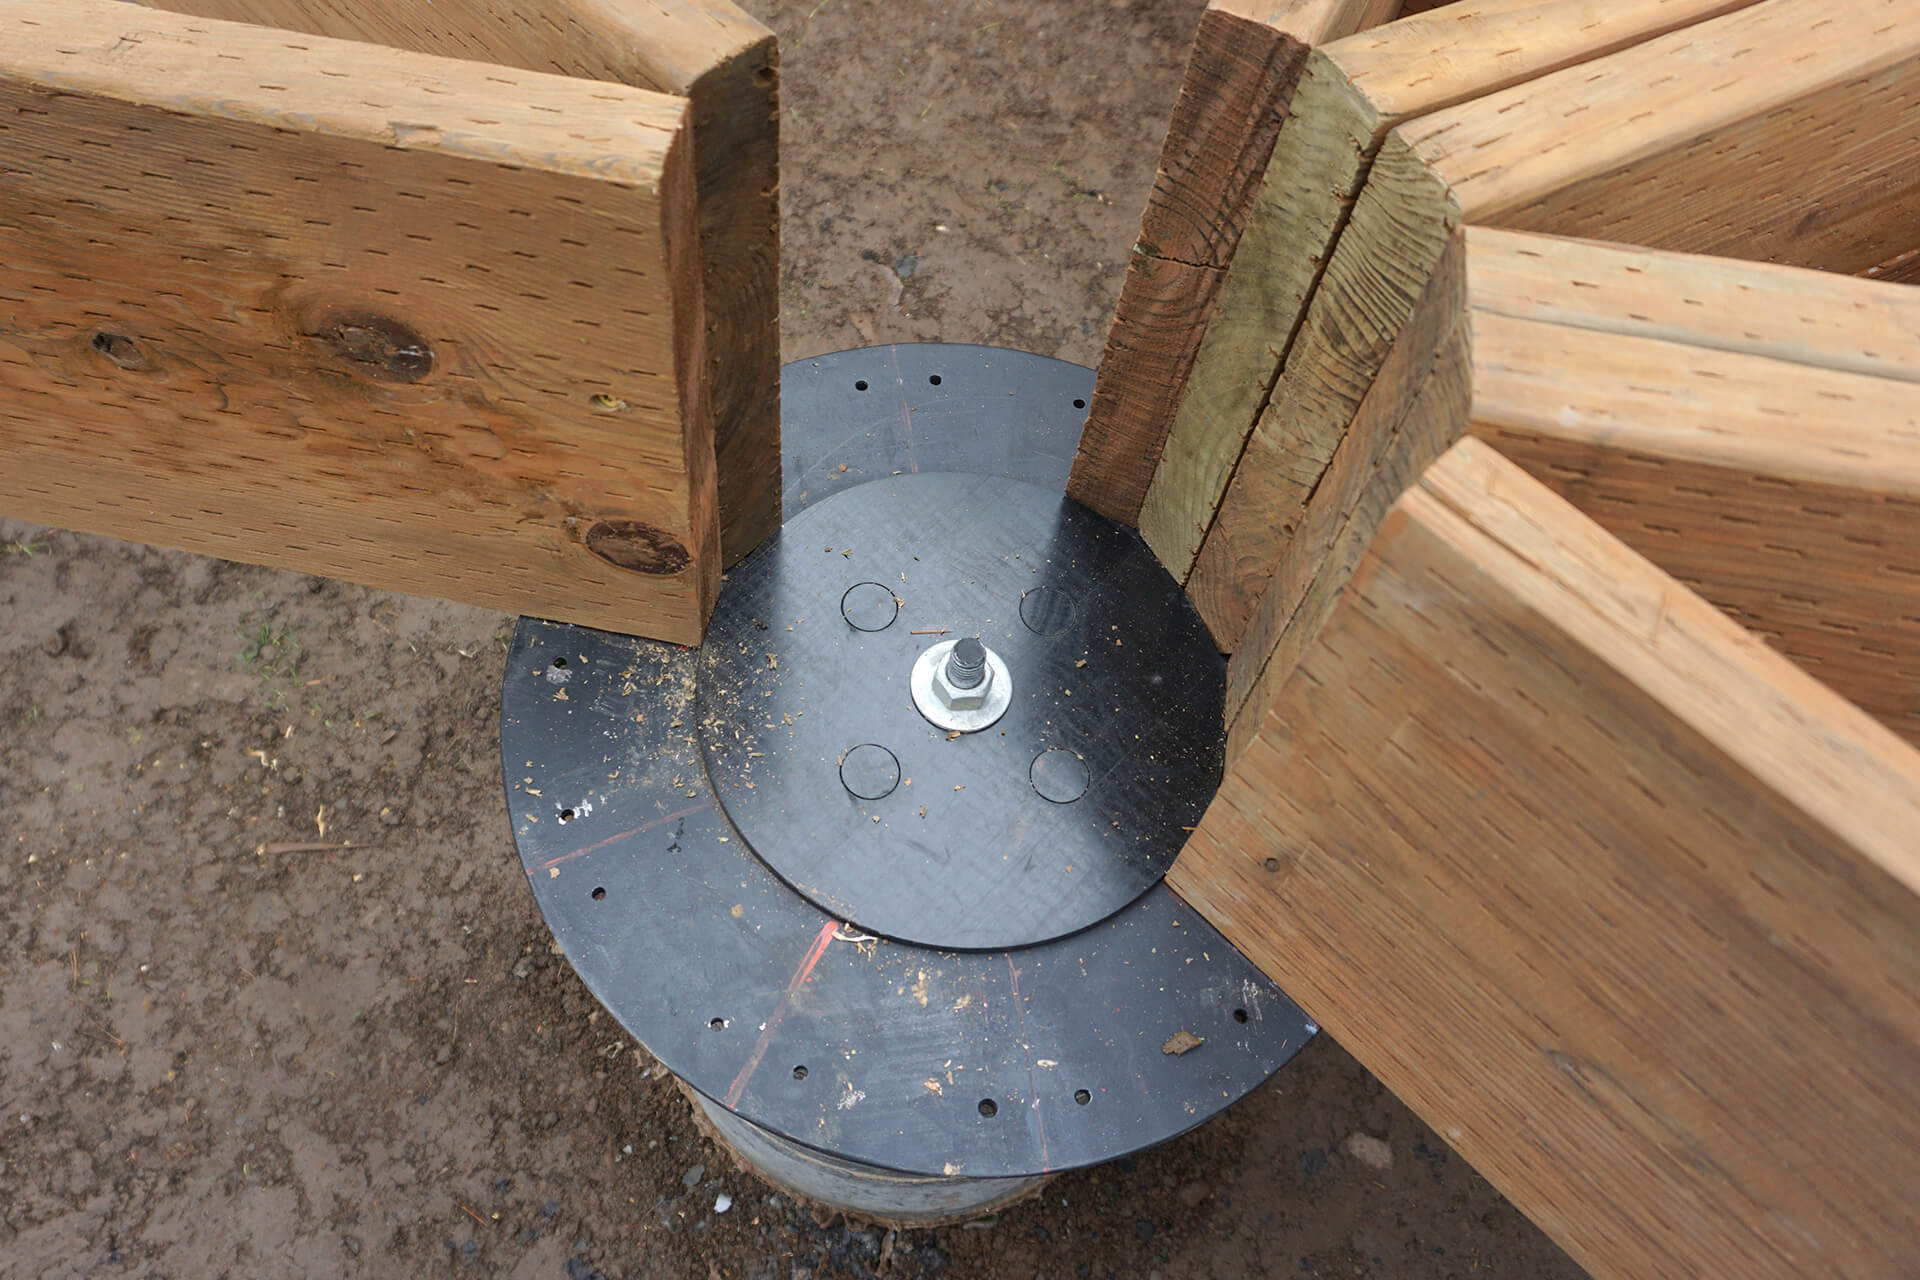
Screw the Floor-Beam-Long and Floor-Beam-Short of each floor slice together to ensure a gap-free joint. A circular spacer on the center pier can be helpful for alignment.
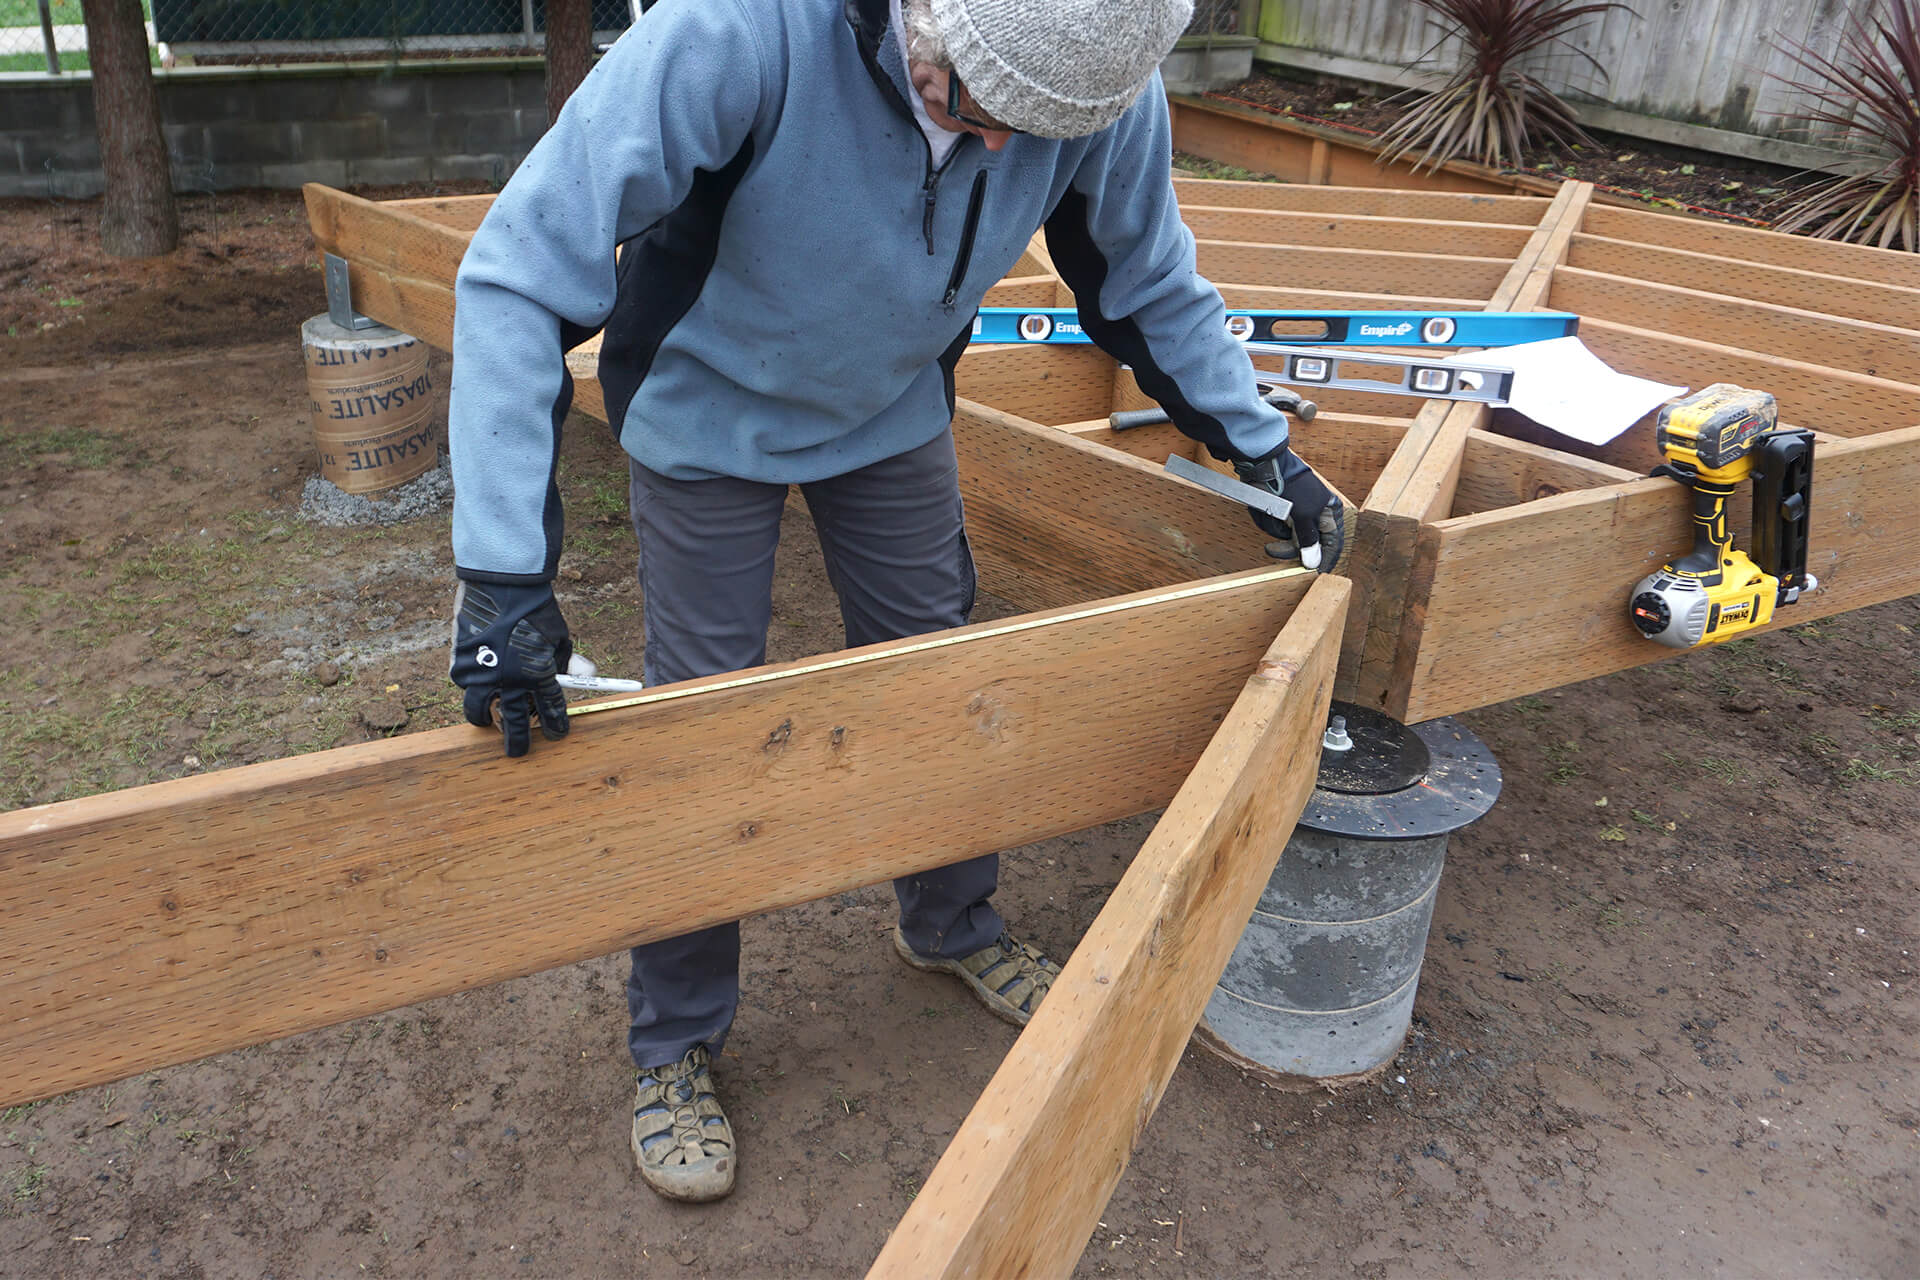
Measure and mark the location for each Floor-Joist.
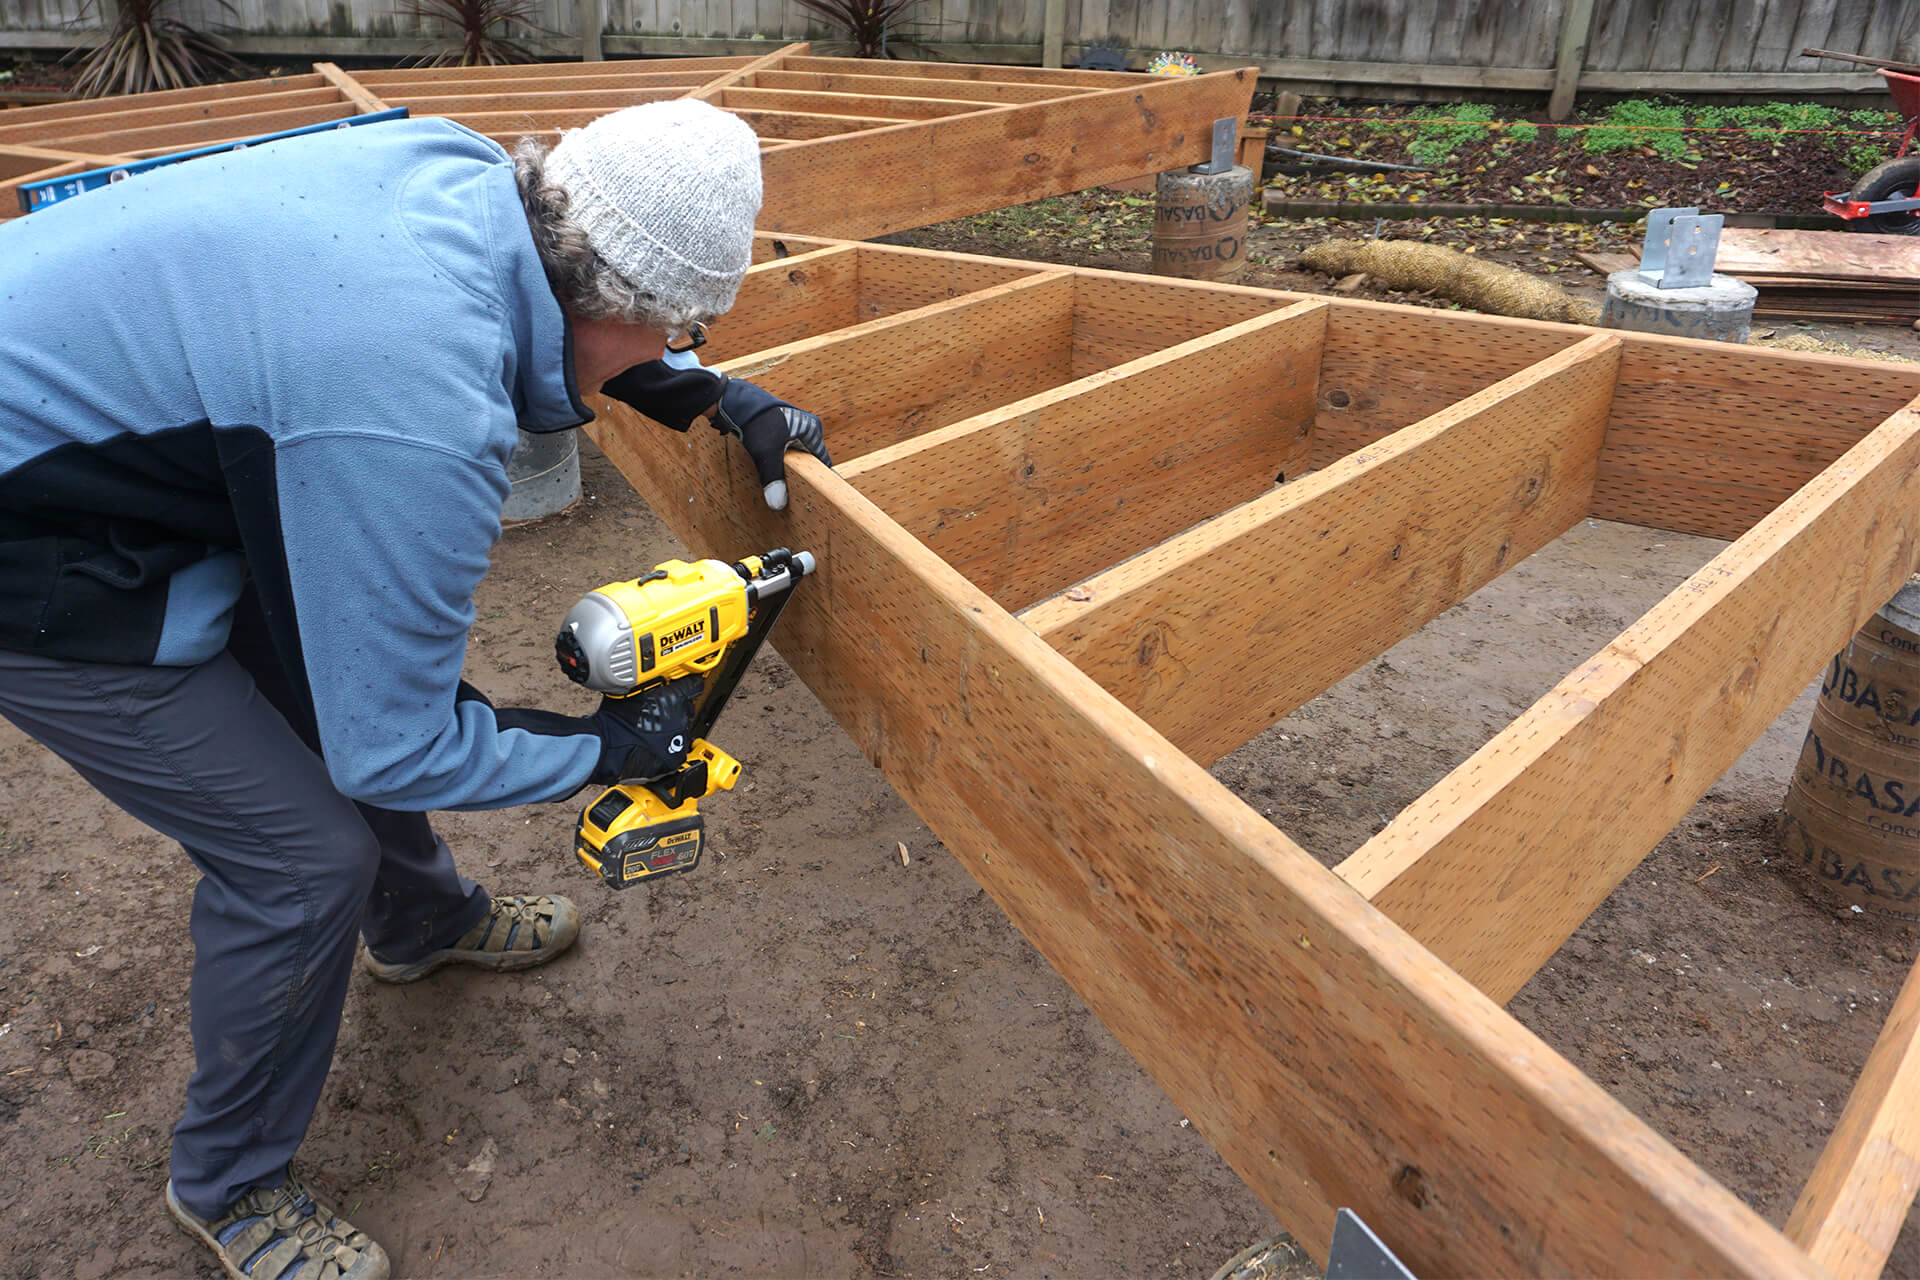
Attach the Floor-Joists. While a nail gun is shown, stainless or coated screws also work. This is the only use of the nail gun for the entire project.
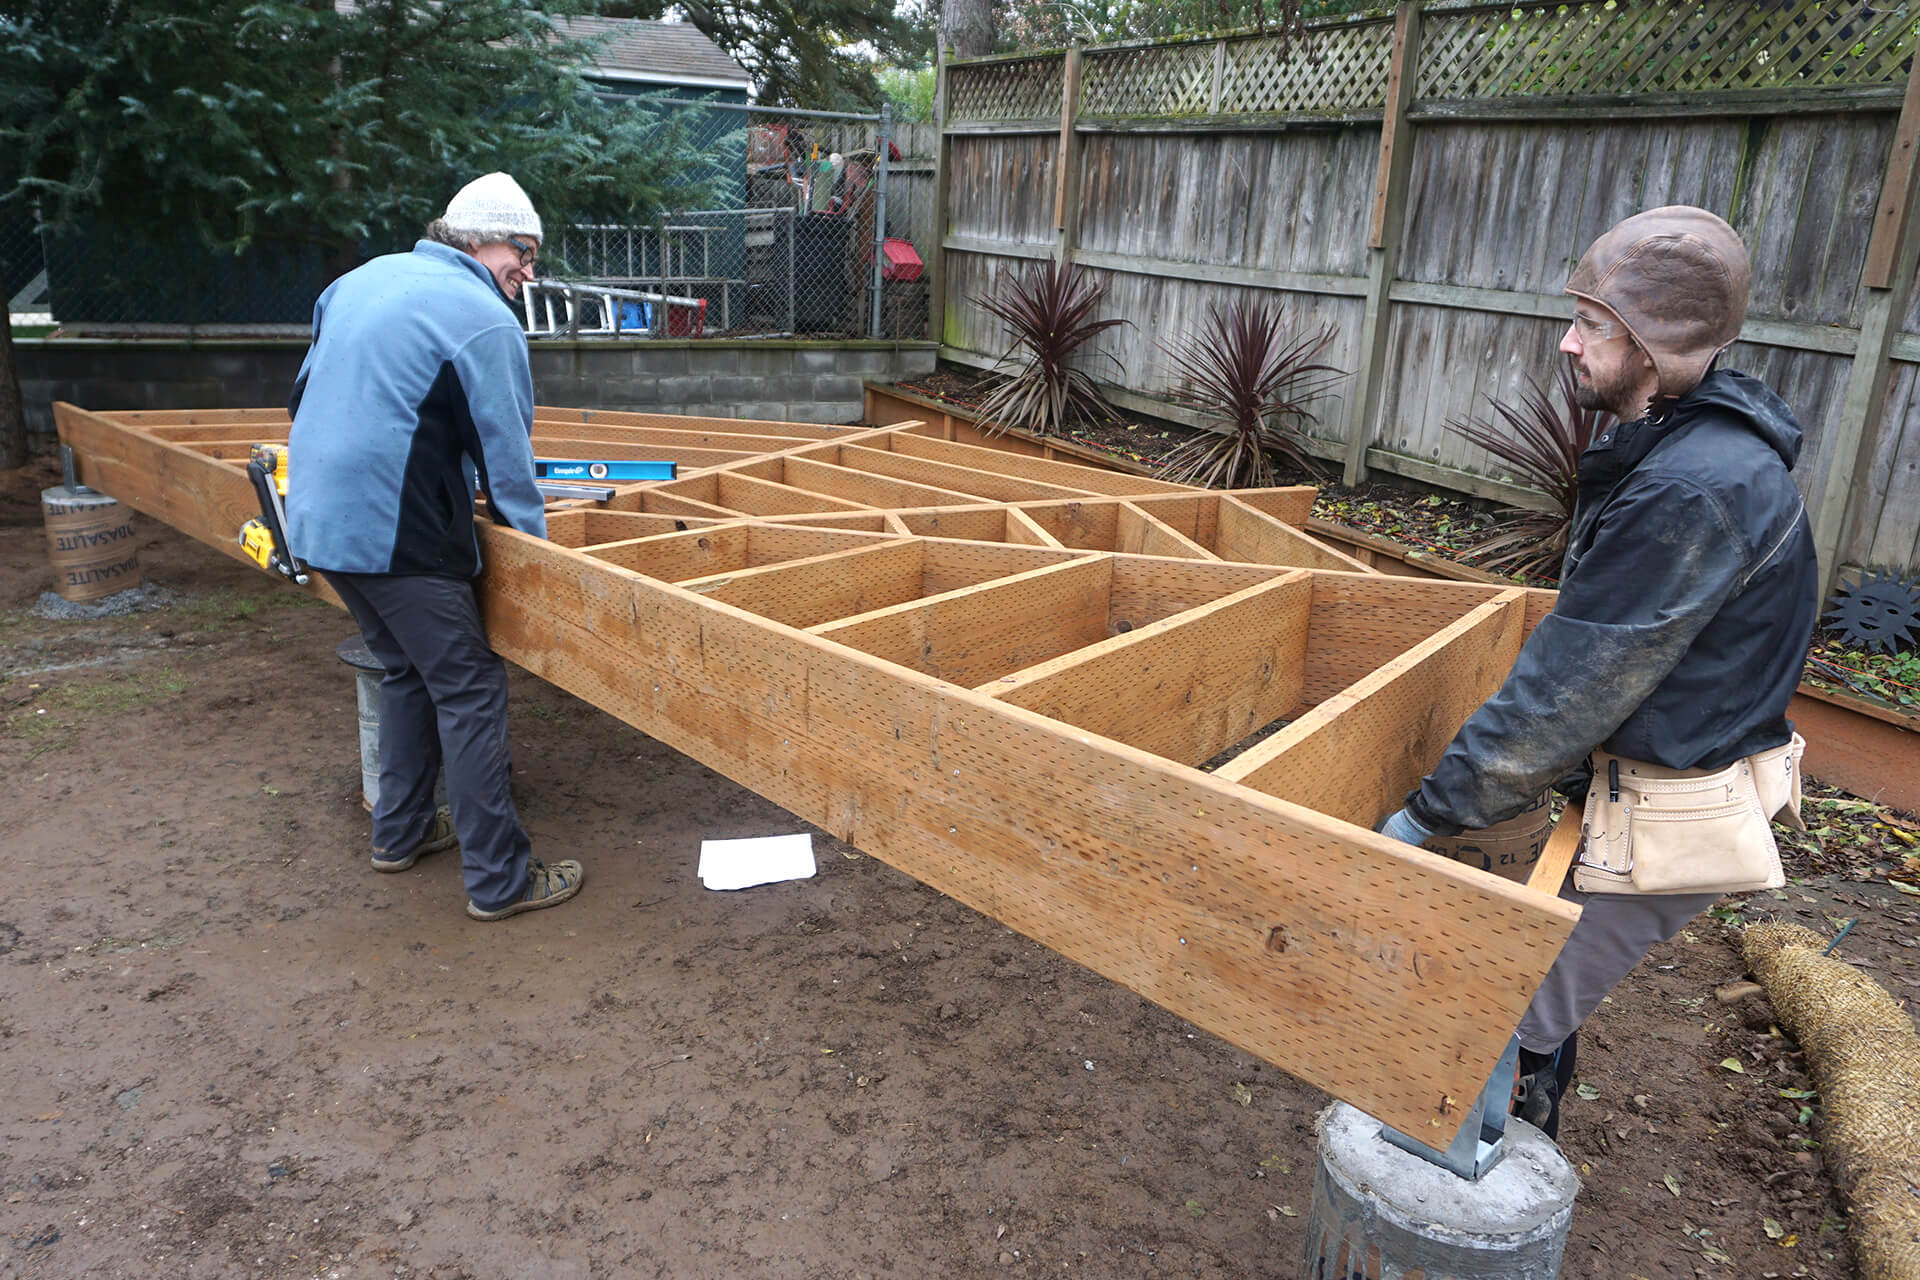
Move the completed floor slice to its desired location.
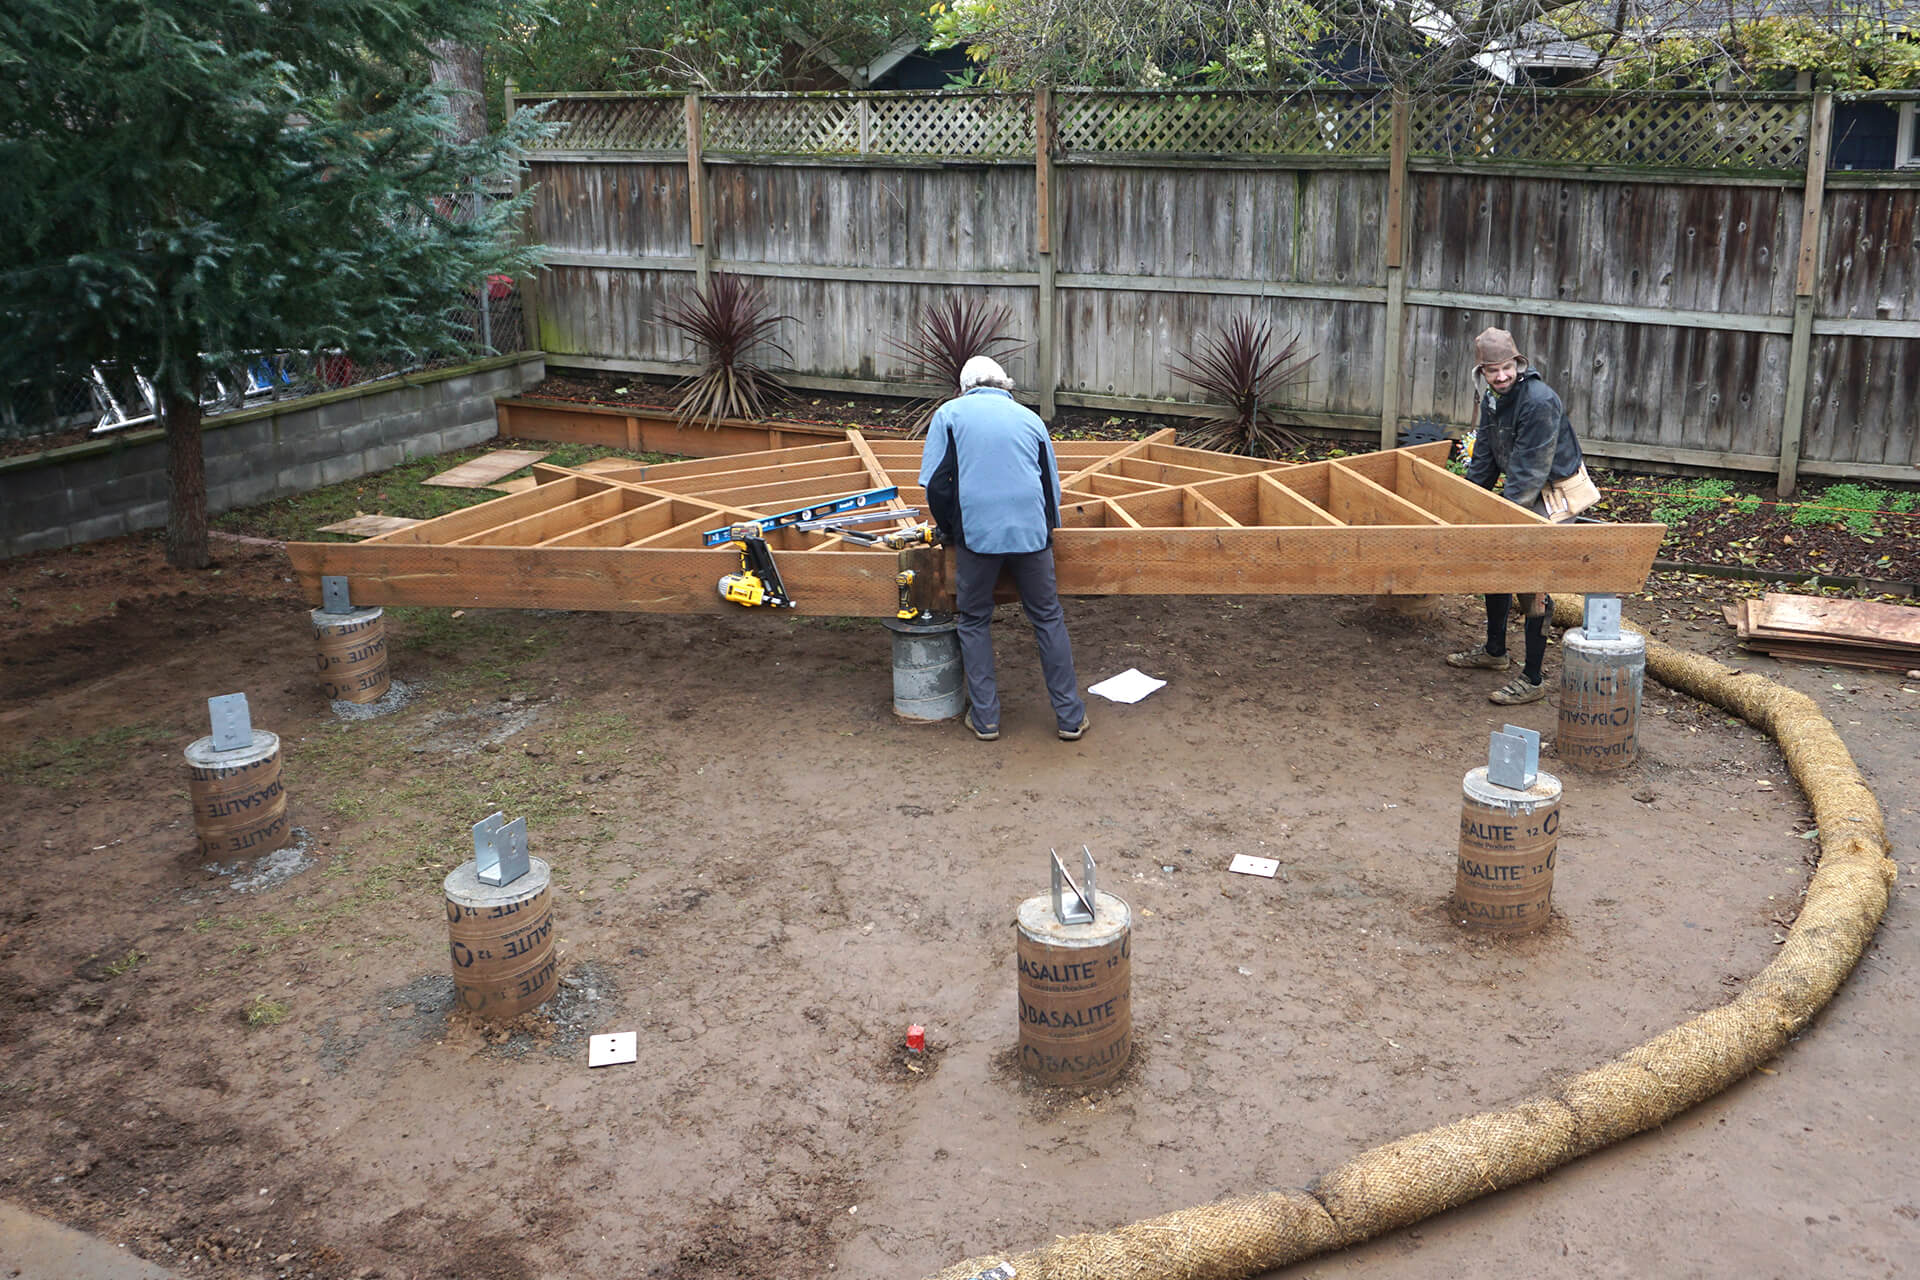
Keep track of where each floor slice goes (there are two variants) to avoid rearranging or reassembling.
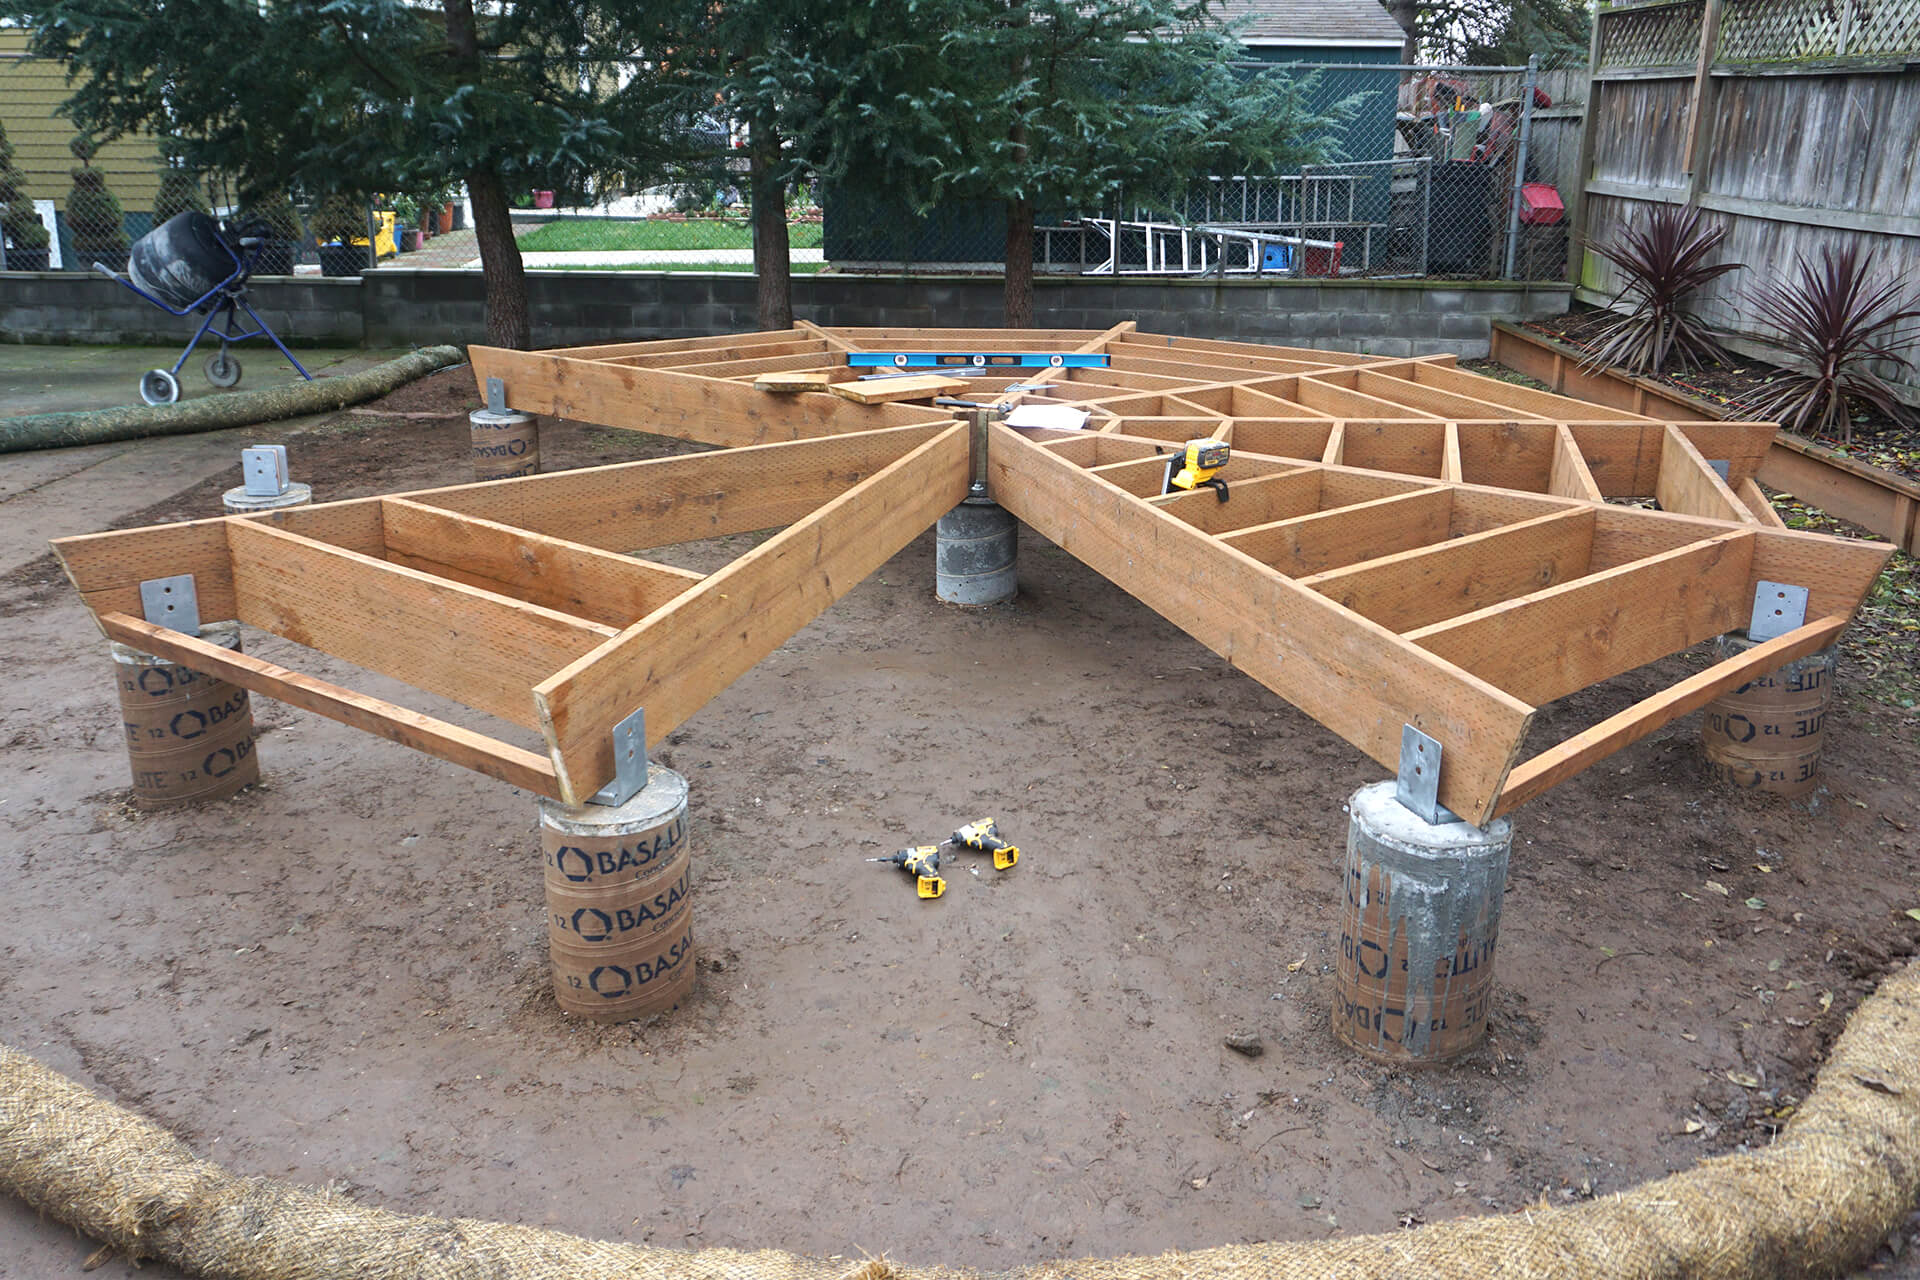
Continue assembling floor slices.
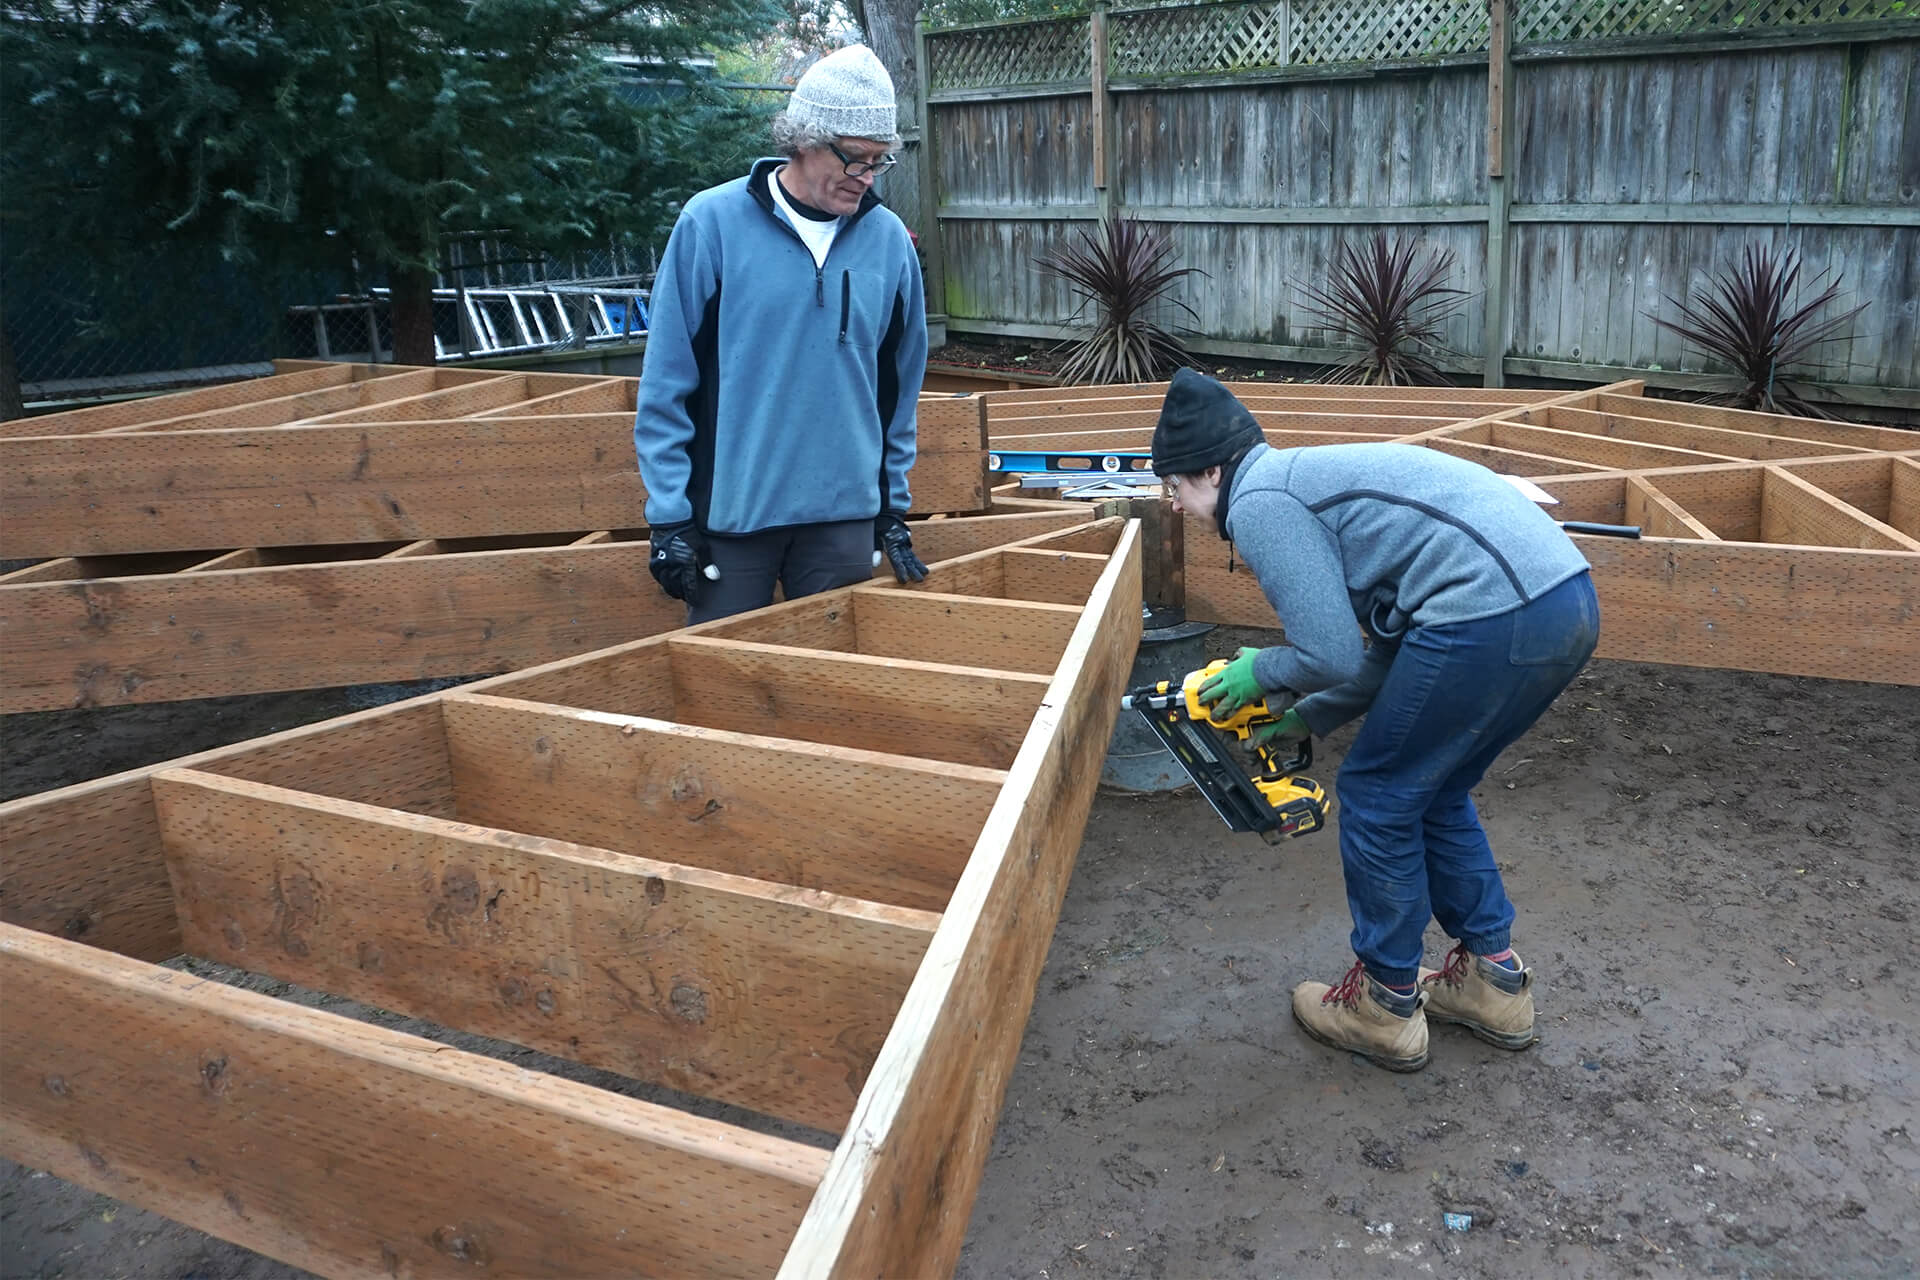
Set completed floor slices on top of others as needed to create space for assembling the last few slices.
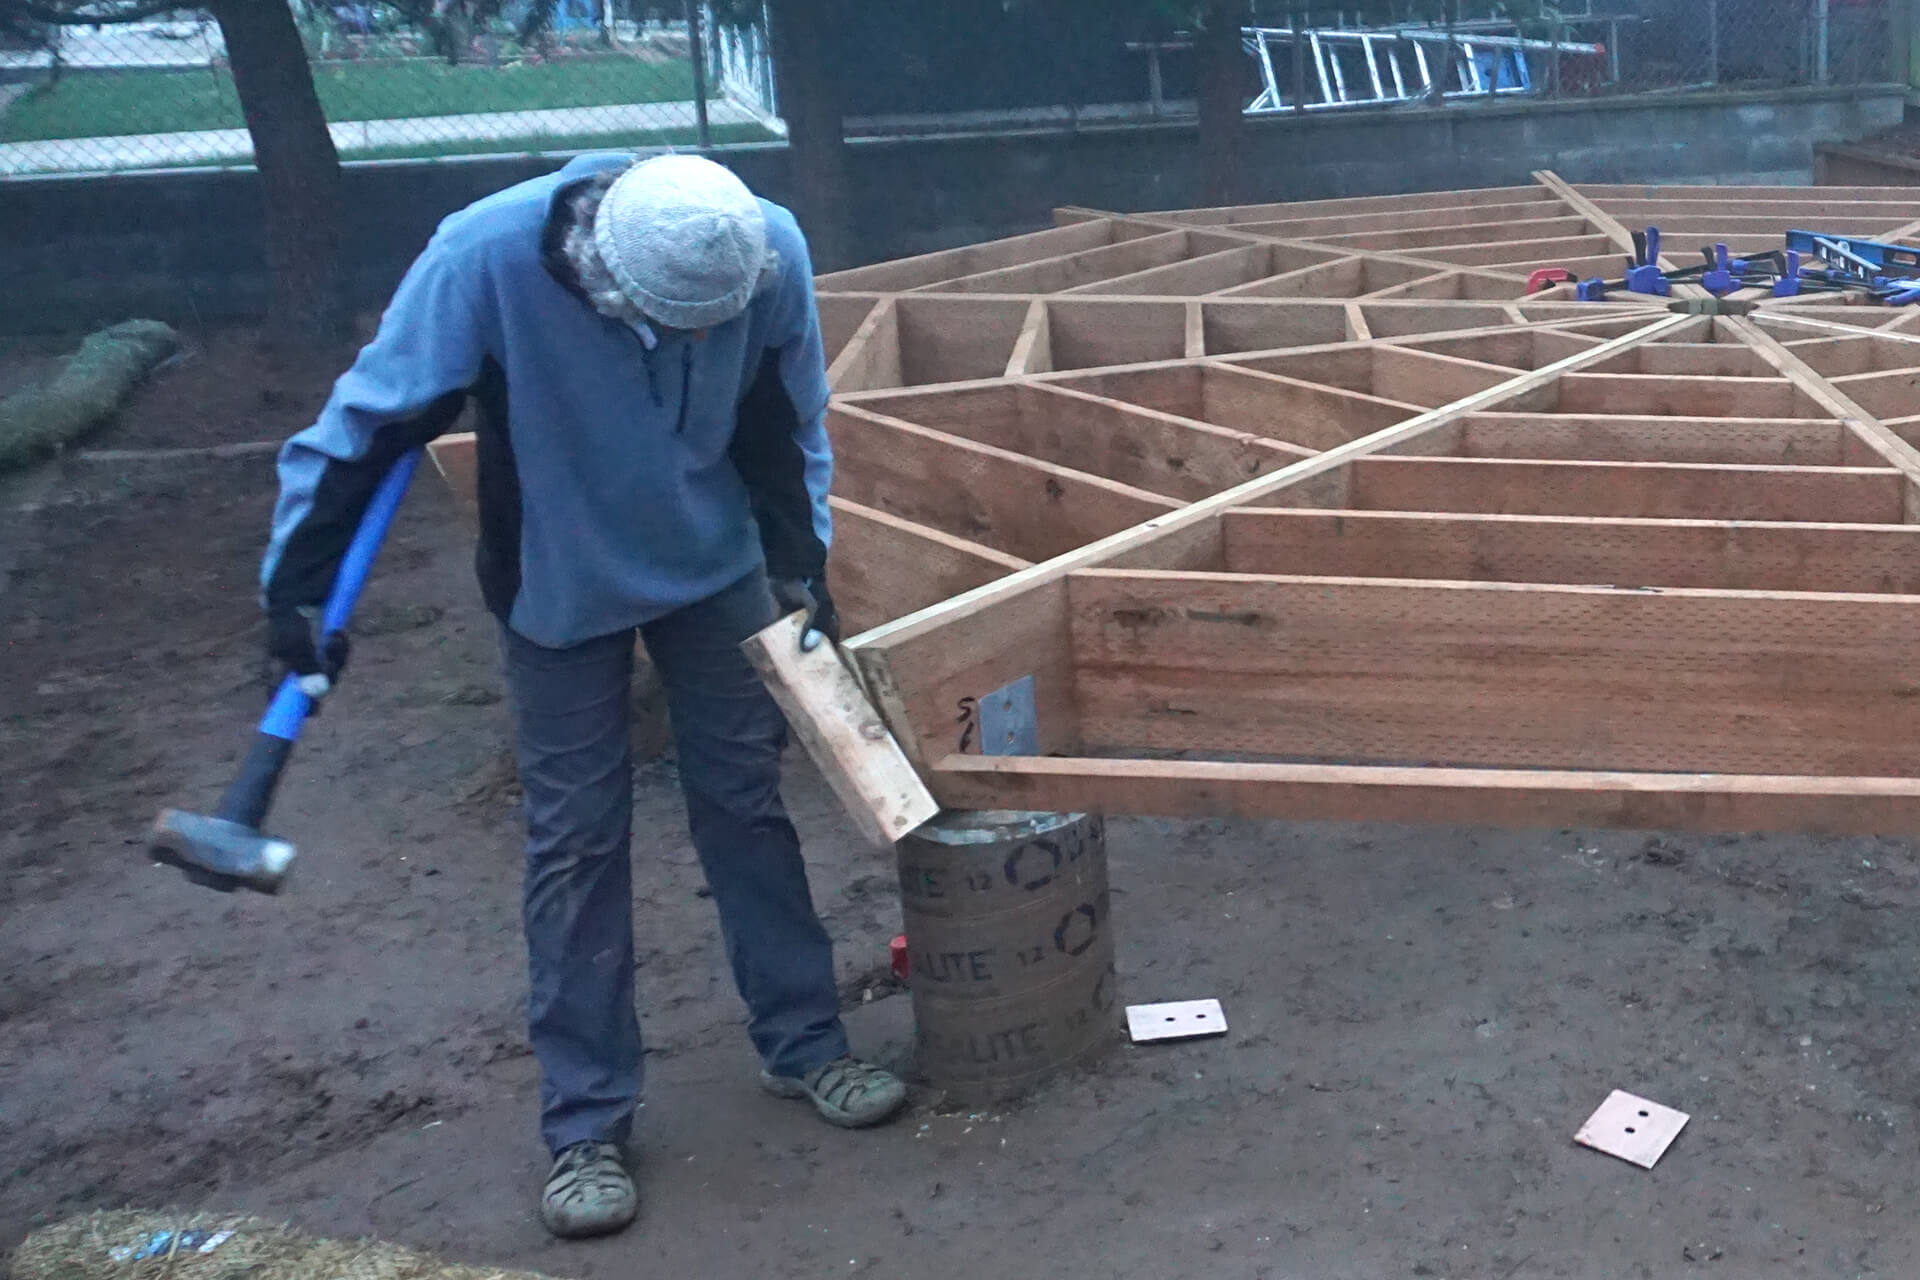
Ensure all floor slices meet in the middle. Use clamps to temporarily hold positions.
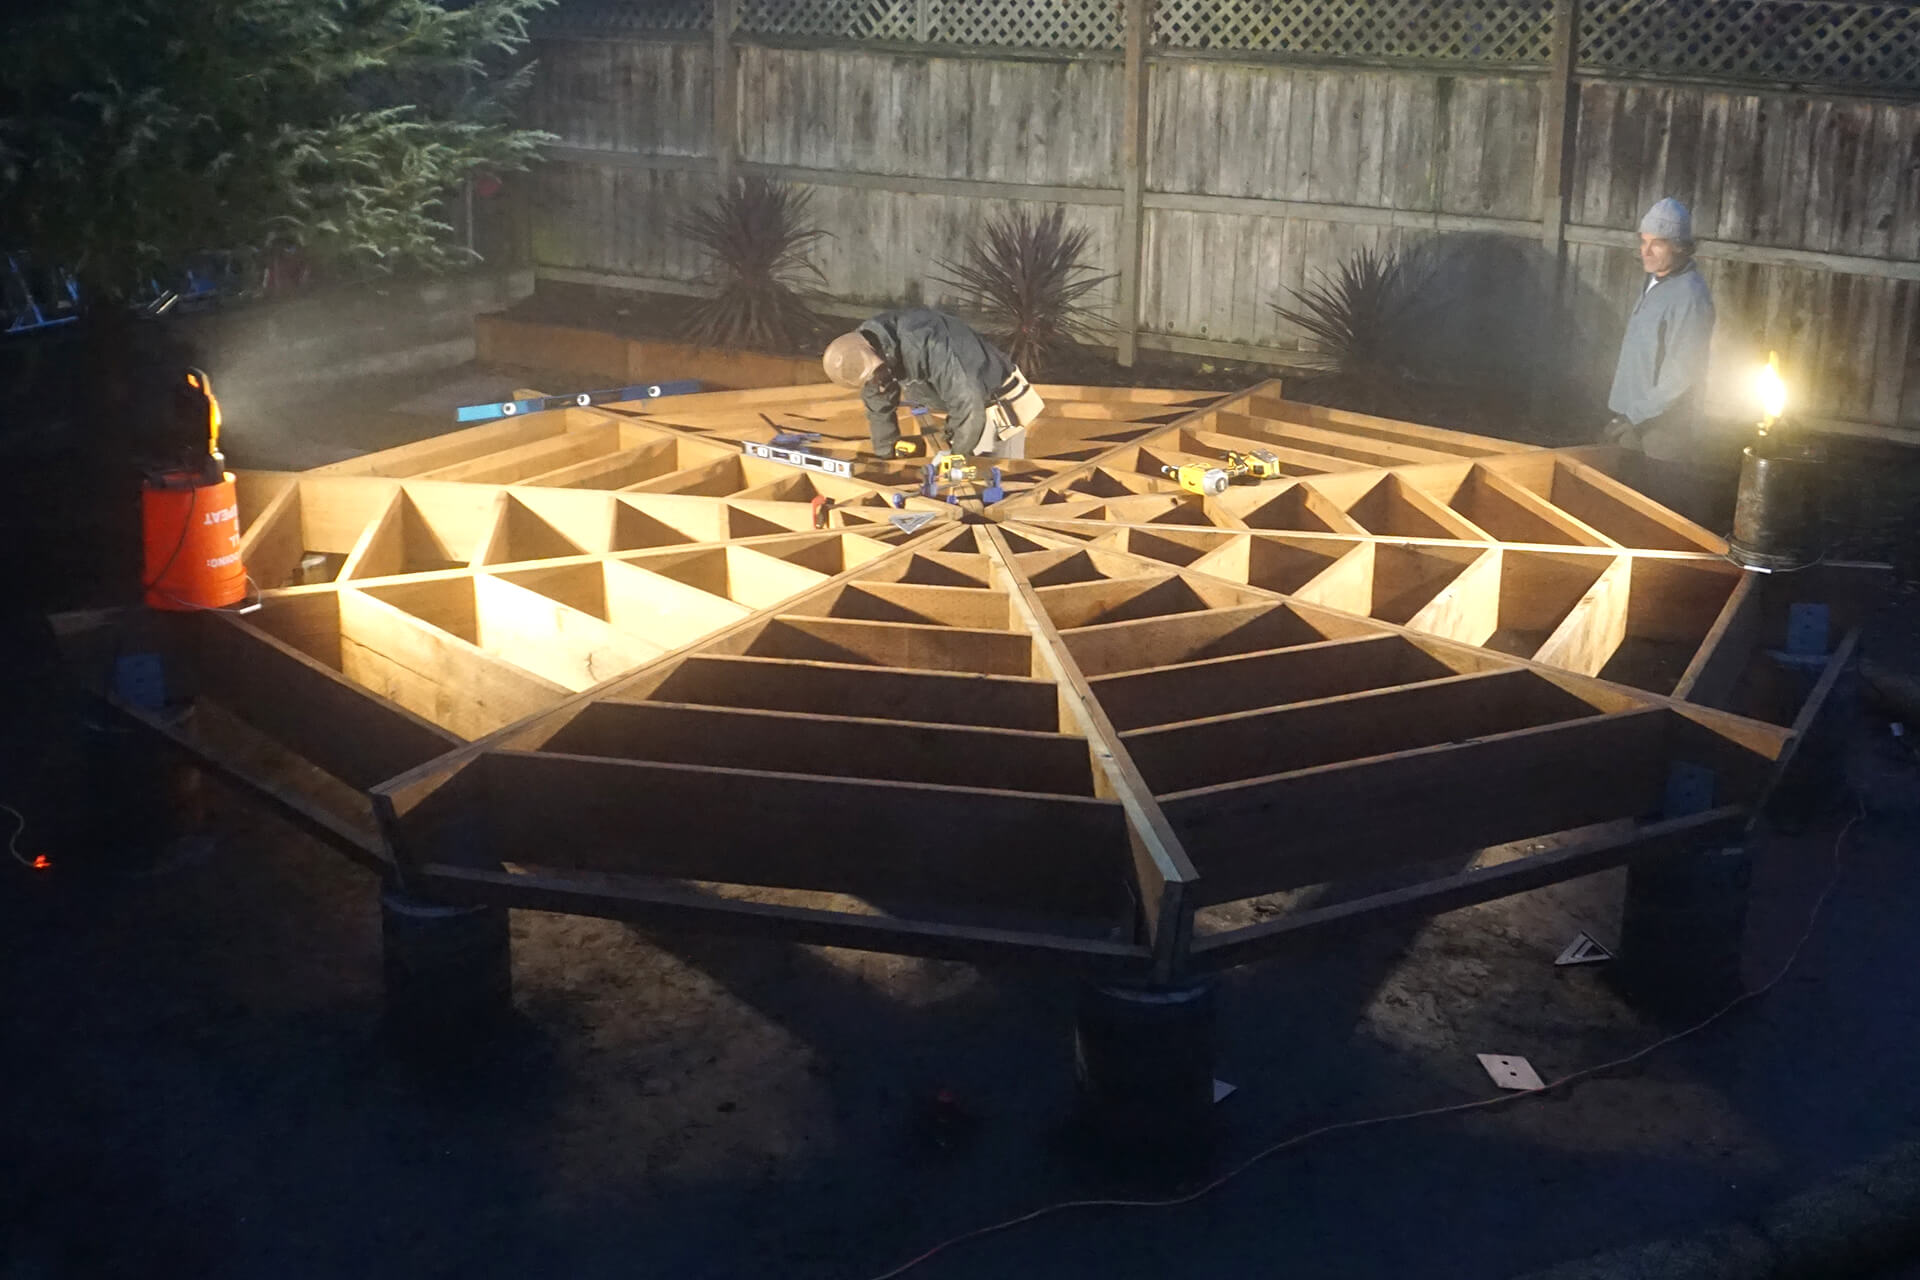
Screw the slices together by sistering the various Floor-Beams. Then, secure the slices to the center pier with screws from below.
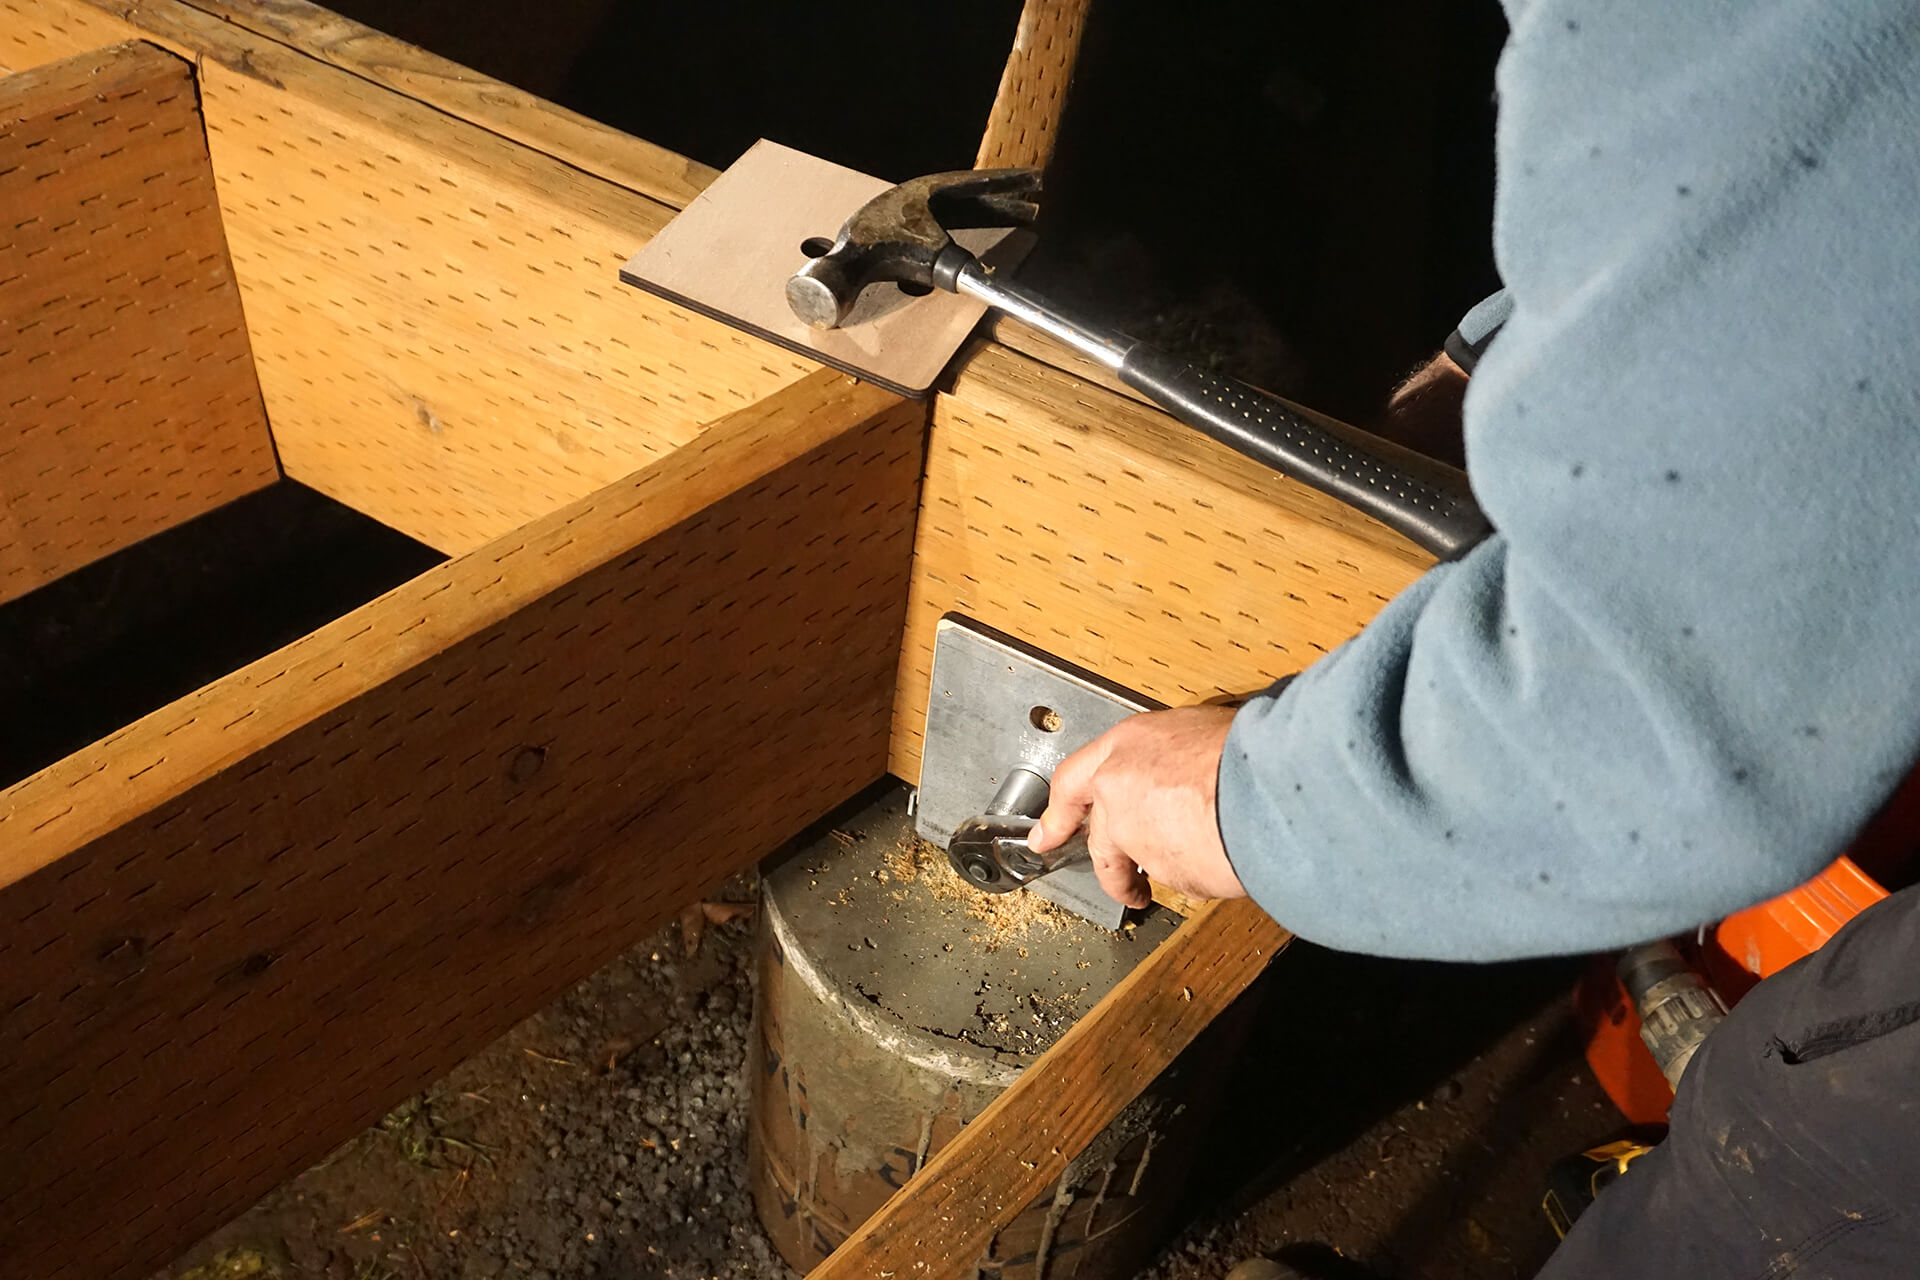
Place wooden spacers between the newly sistered Floor-Beams to fill the gaps in the post bases. Then, drill and bolt the Floor-Beams to the post bases.
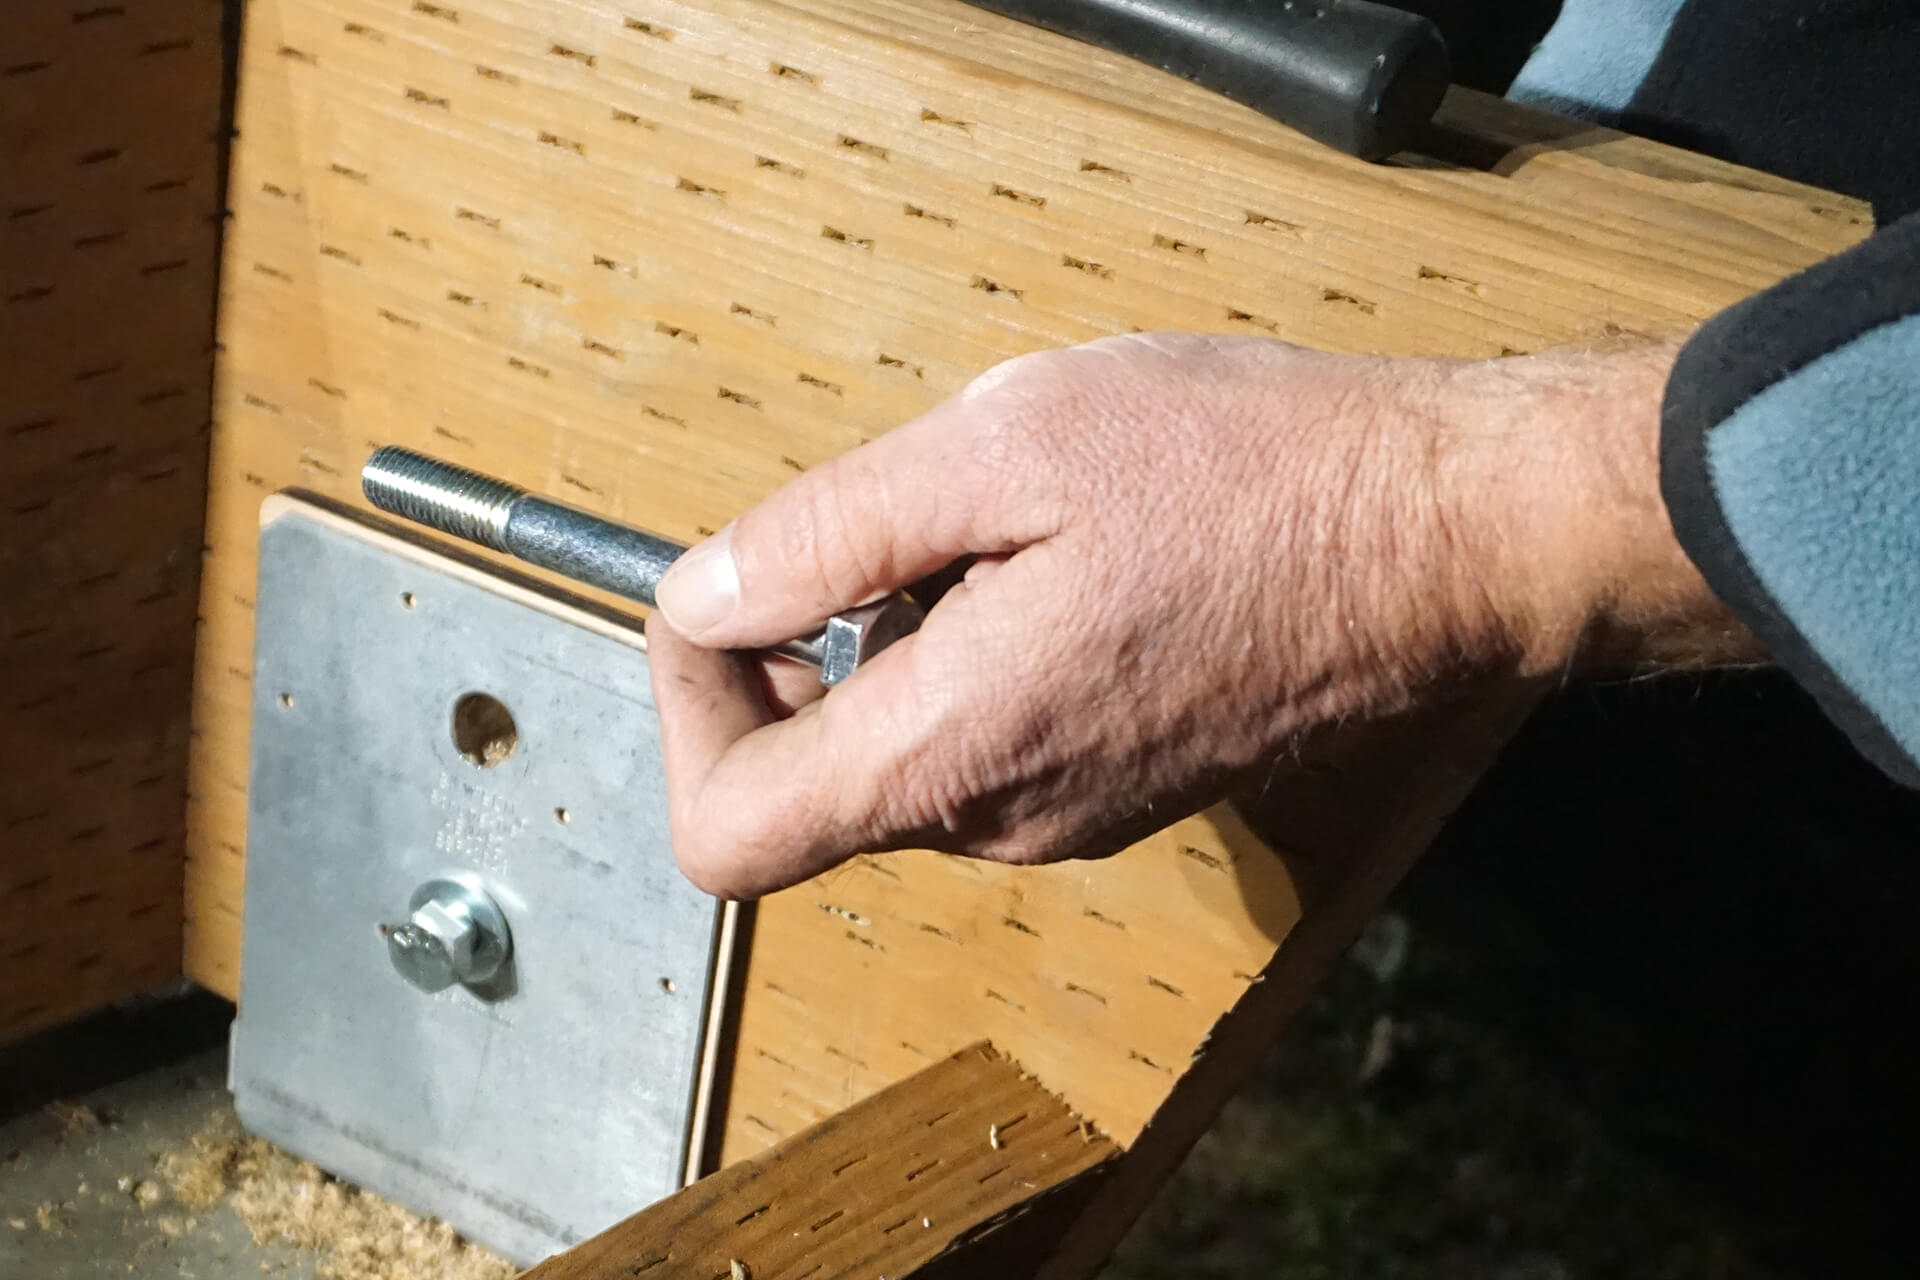
Detail shot of the floor-to-post-base connection. Some post bases may require wooden spacers, while others may not, depending on the alignment of the components.
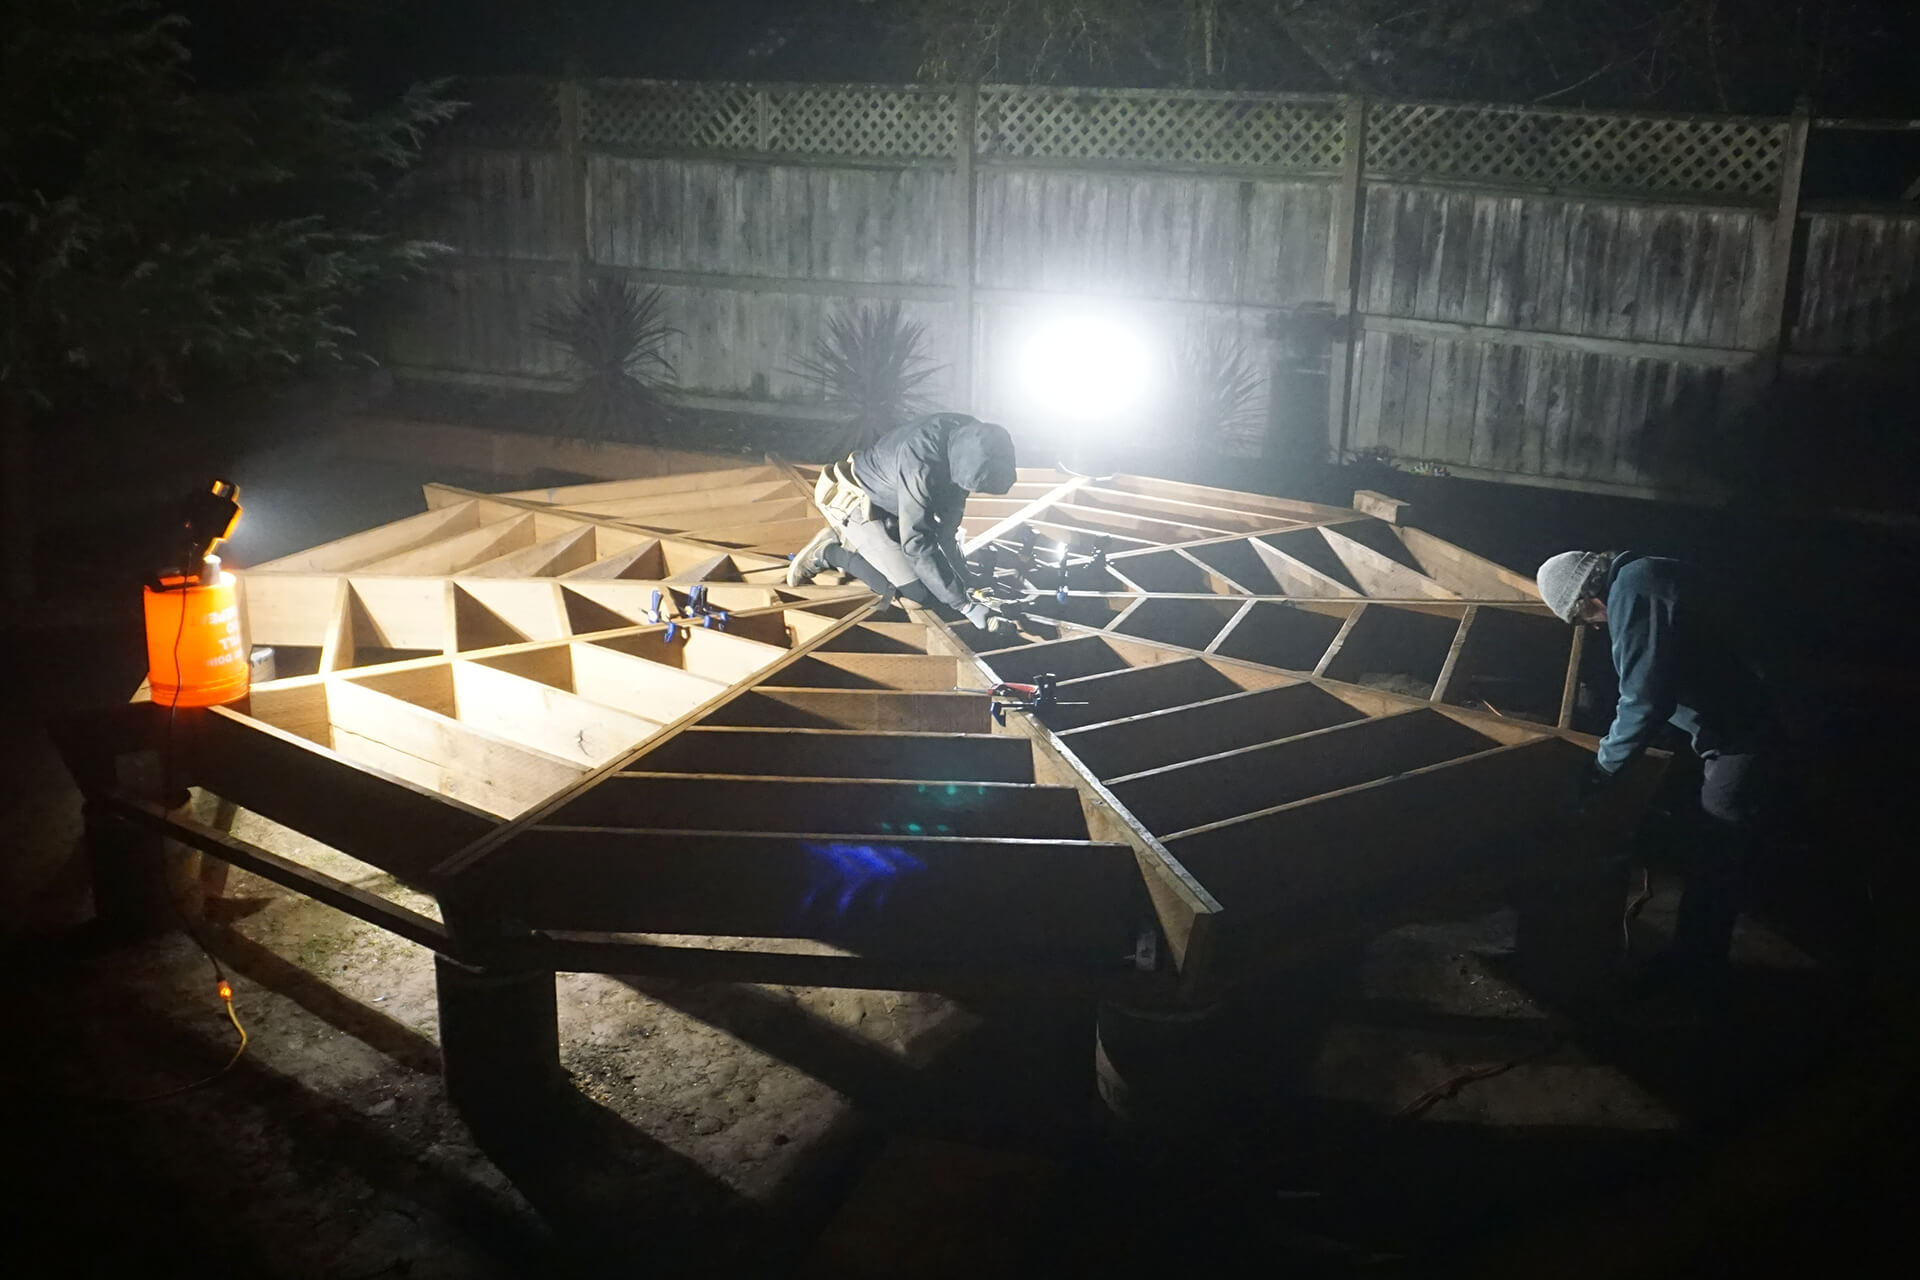
Continue clamping and screwing until the floor is one solid unit.
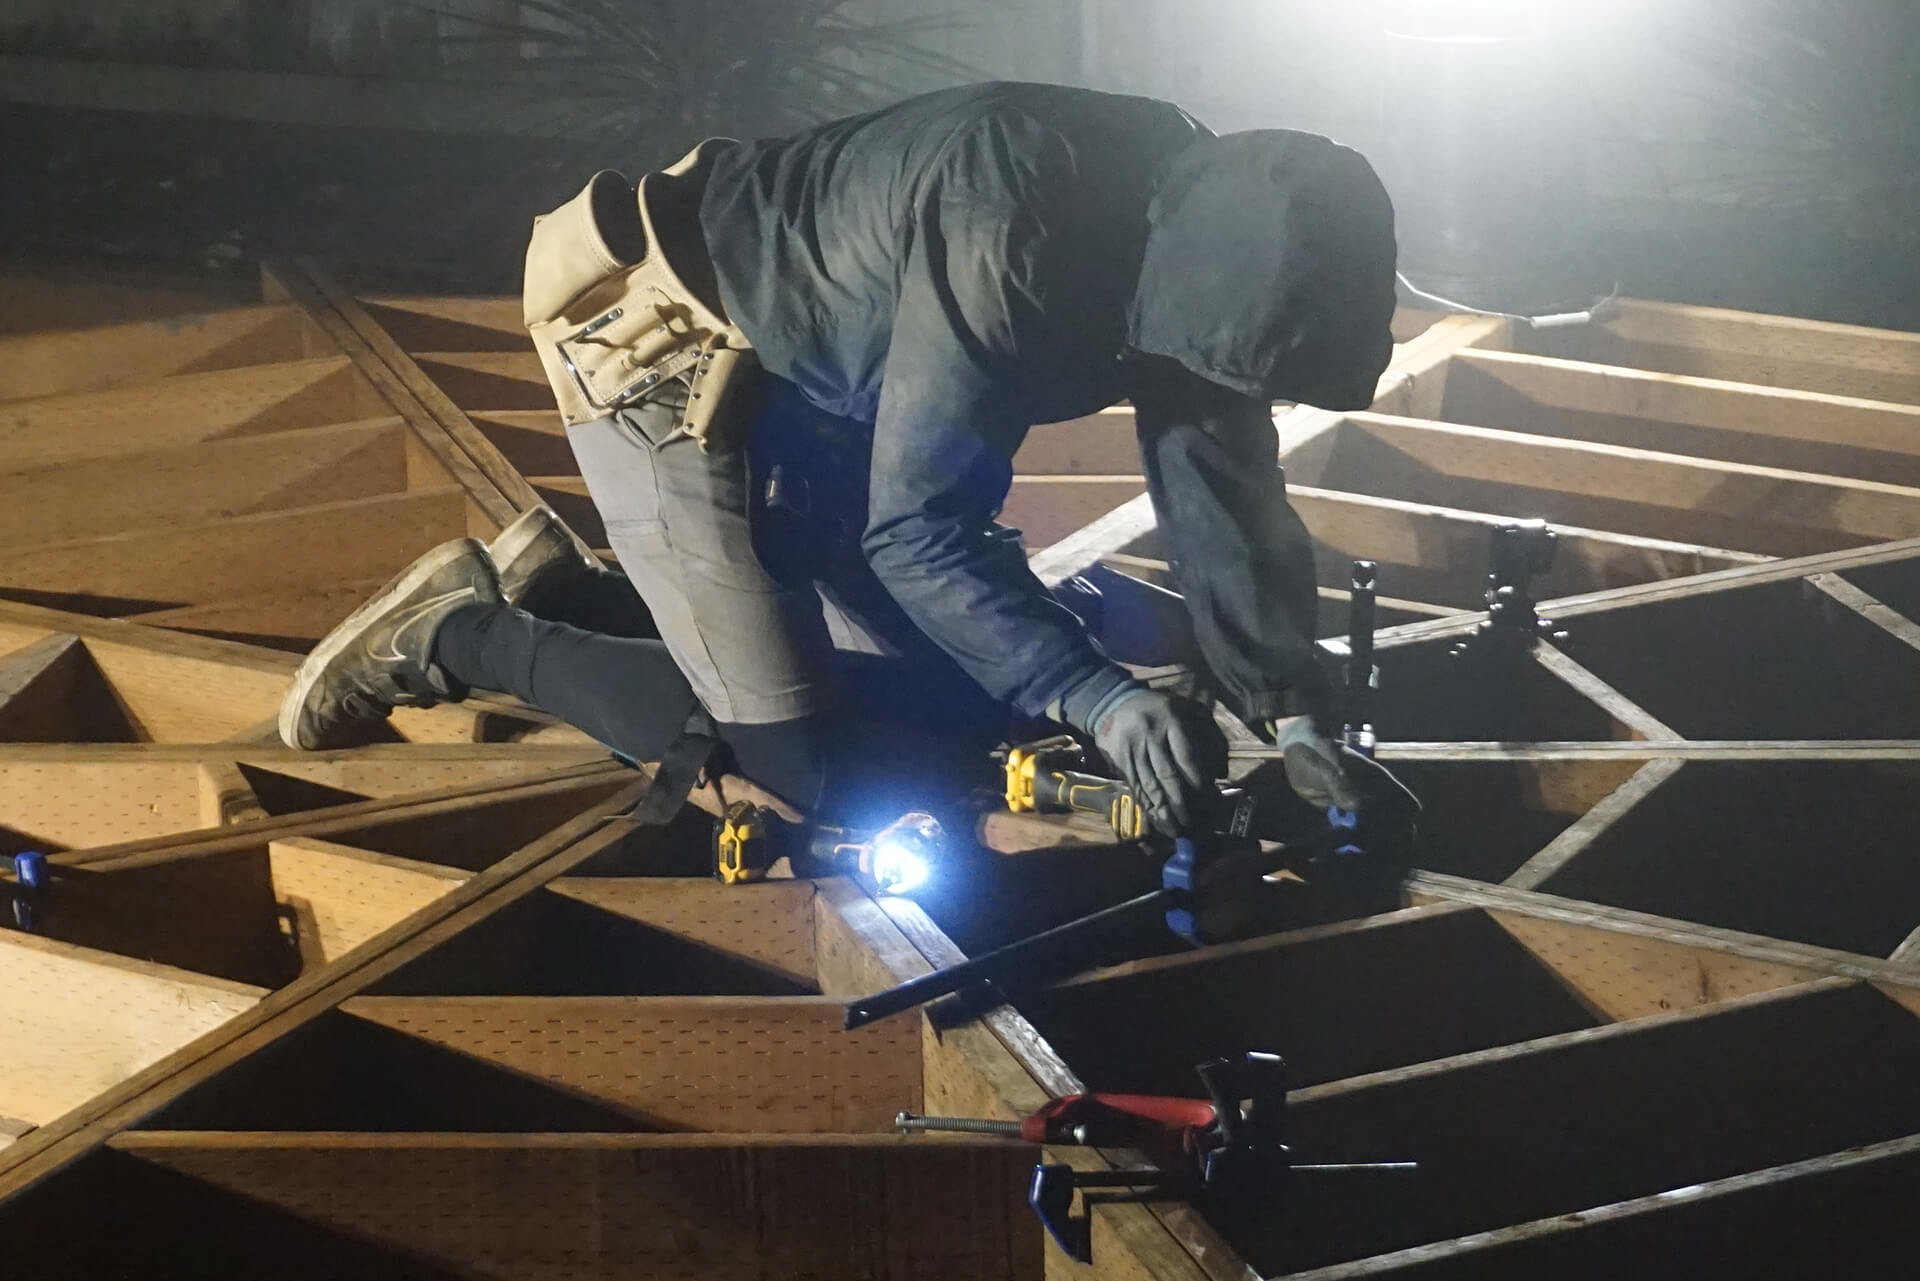
The entire floor can be installed in a single day thanks to prefabrication and a helper.
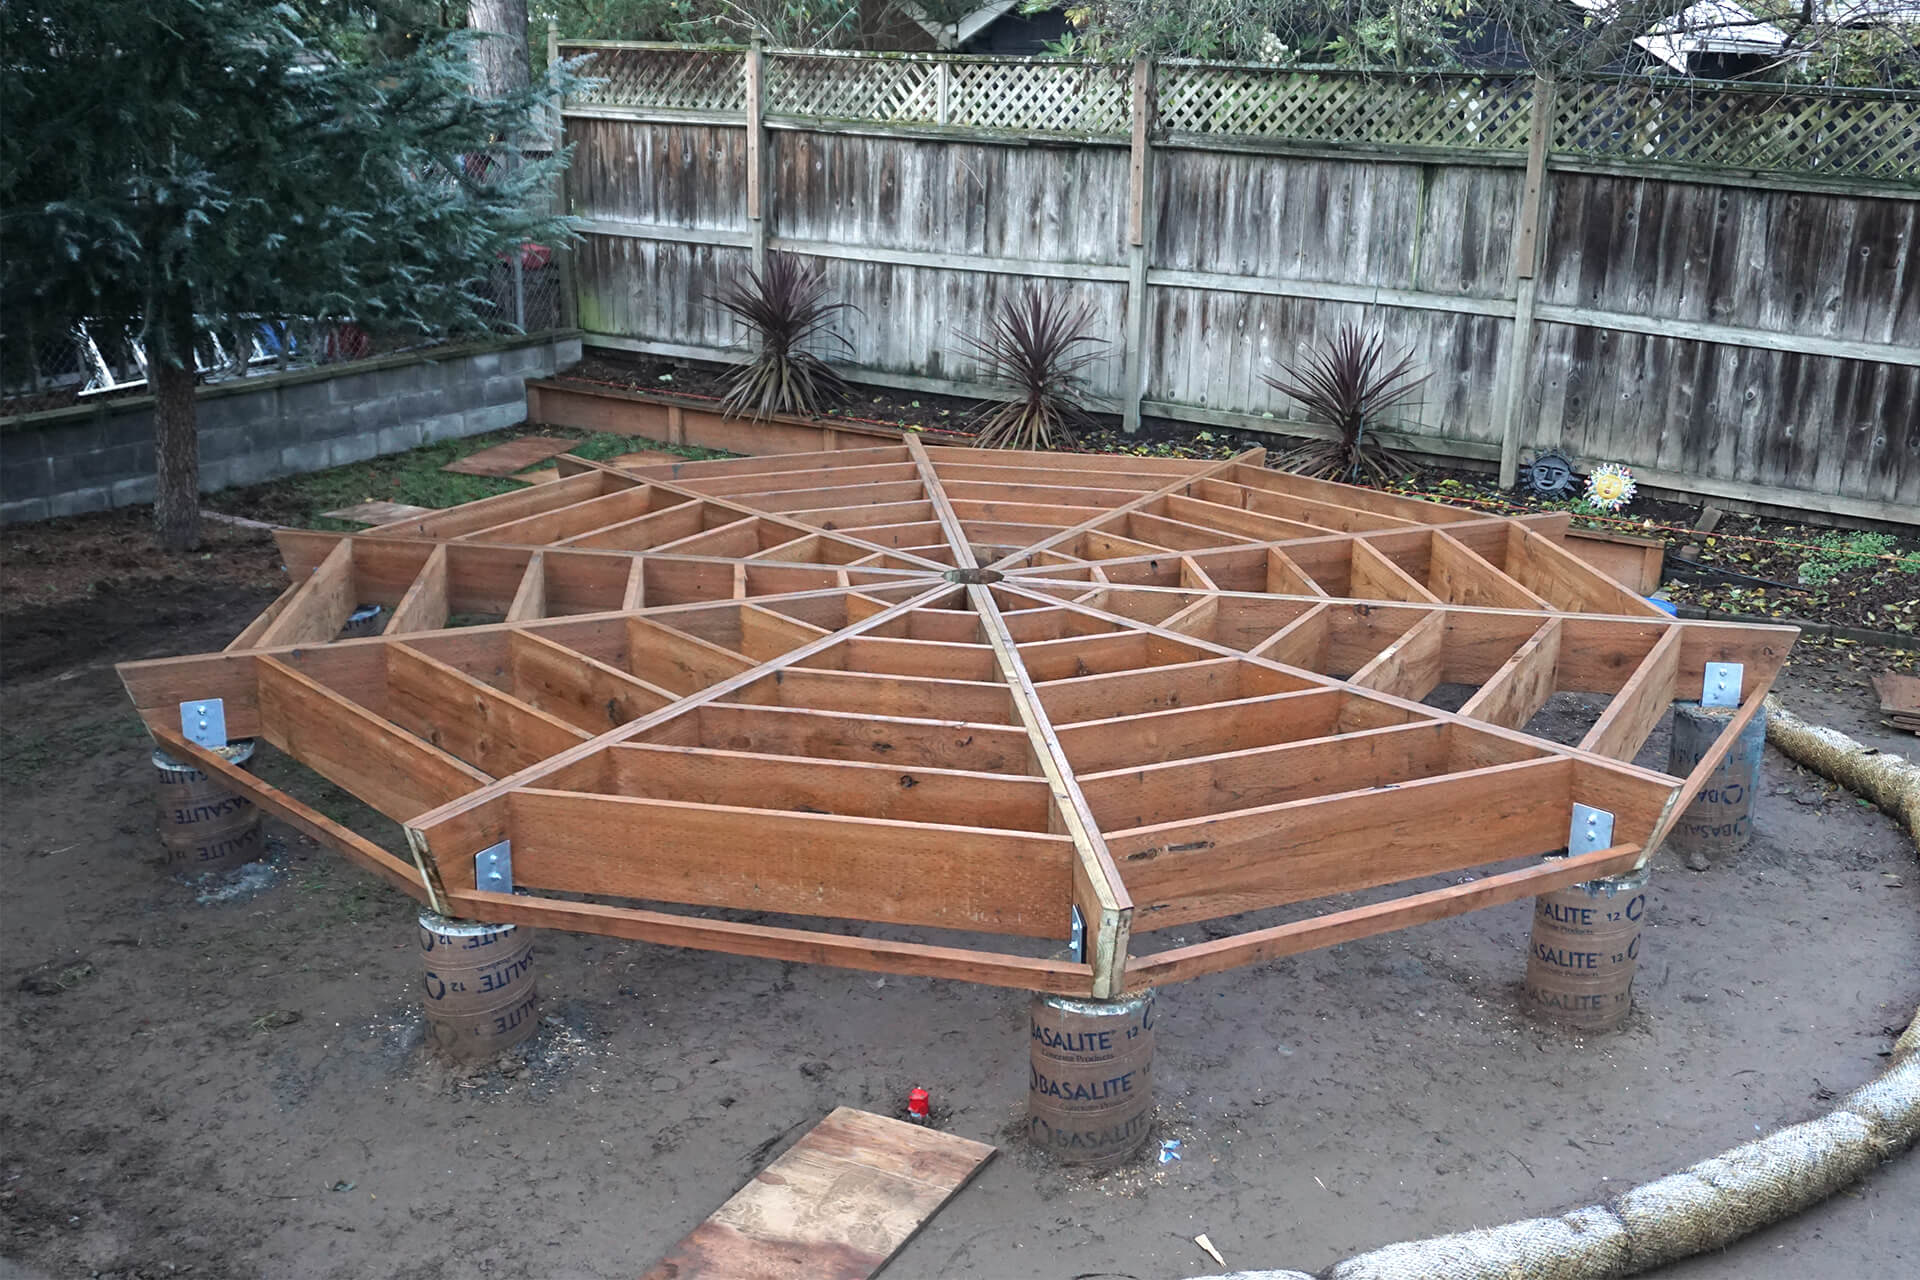
Congratulations on completing the floor!
Next Step
© 2025 Dodeca Domes. All rights reserved.

