
Roofing – Prep
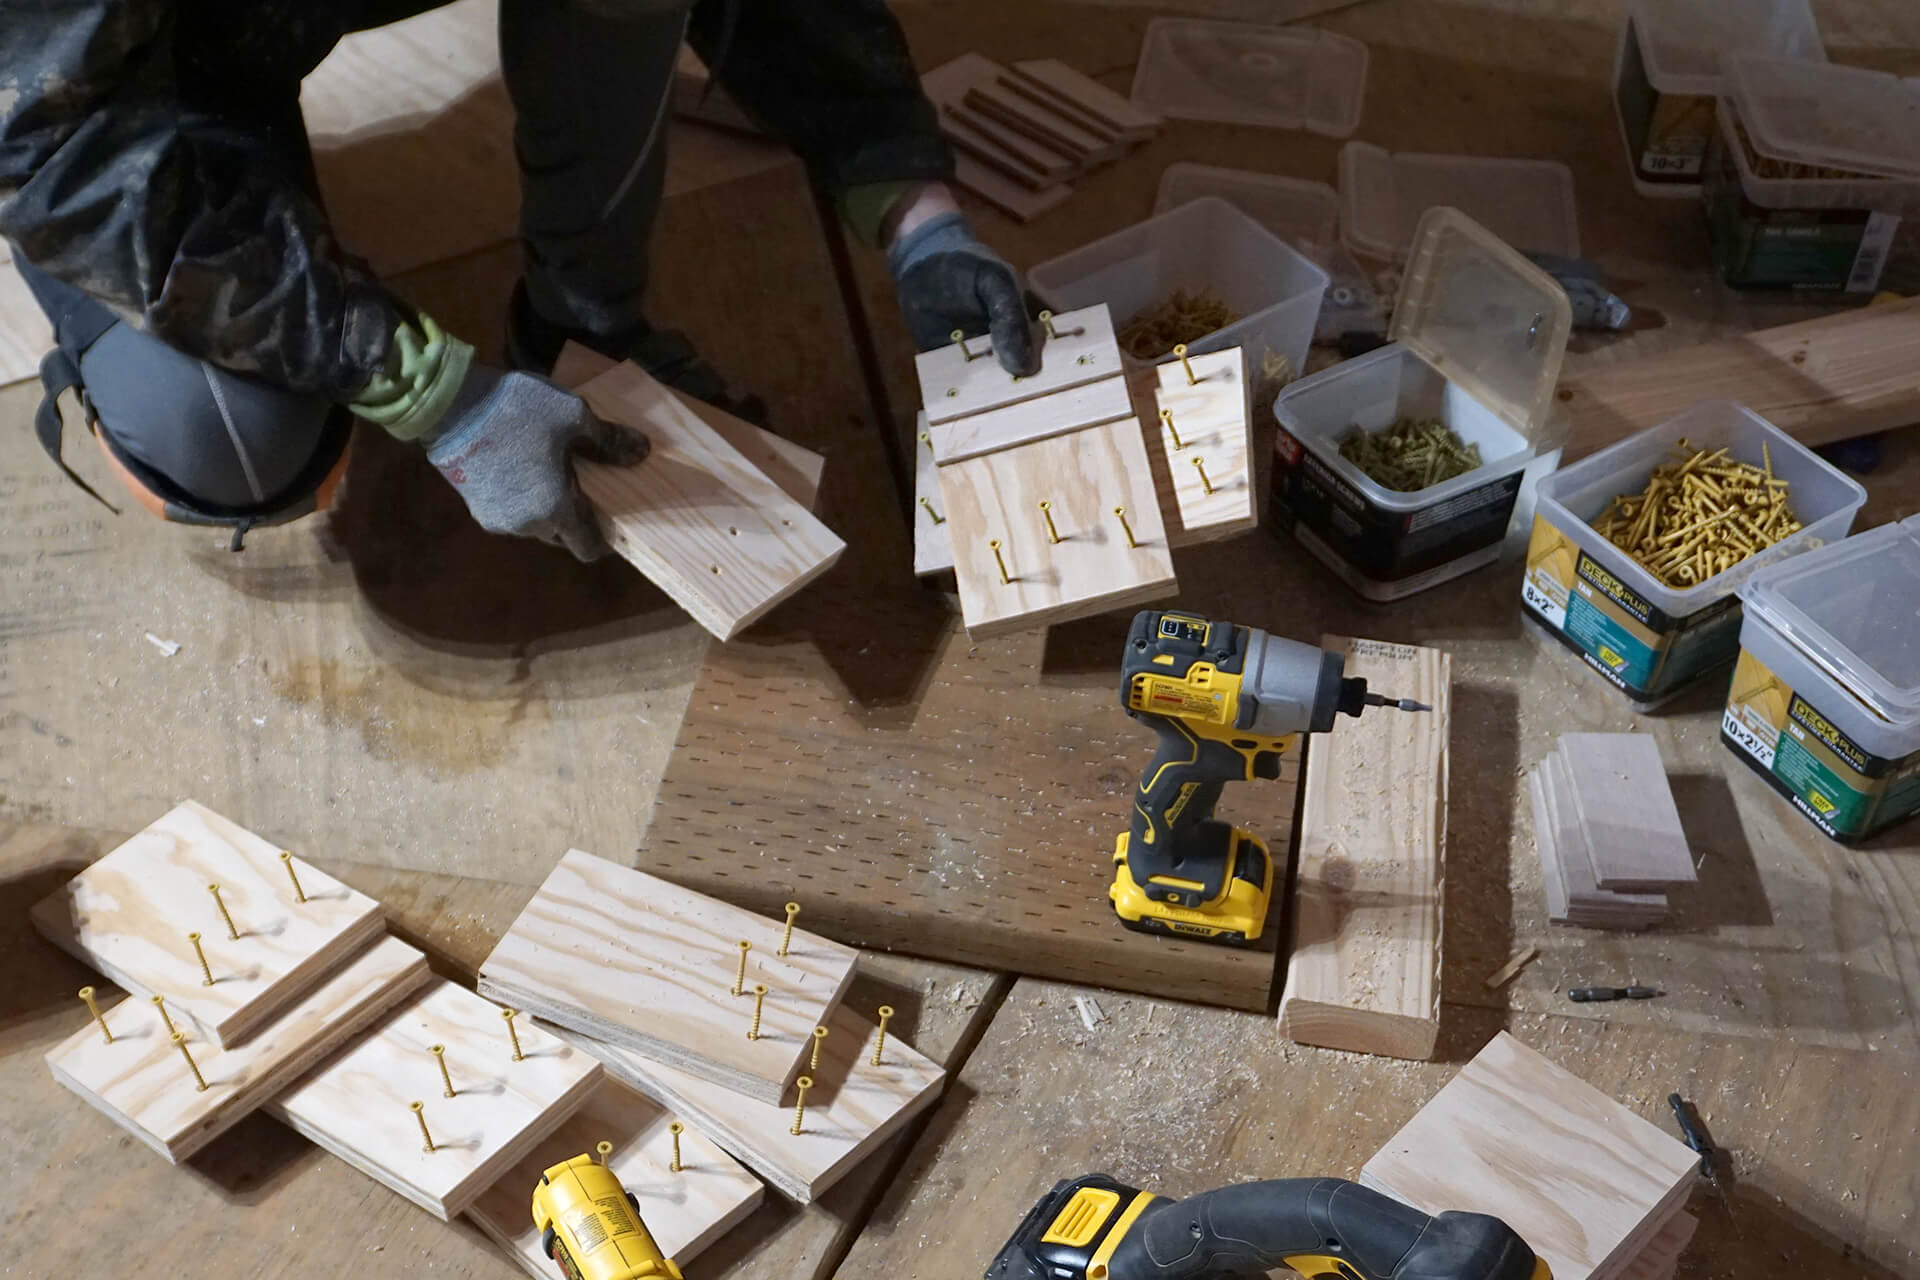
Cut and pre-drill the Roof-Joist-Supports. These are used to reinforce the topmost pentagon of the dome, providing extra support for walking and snow loads.
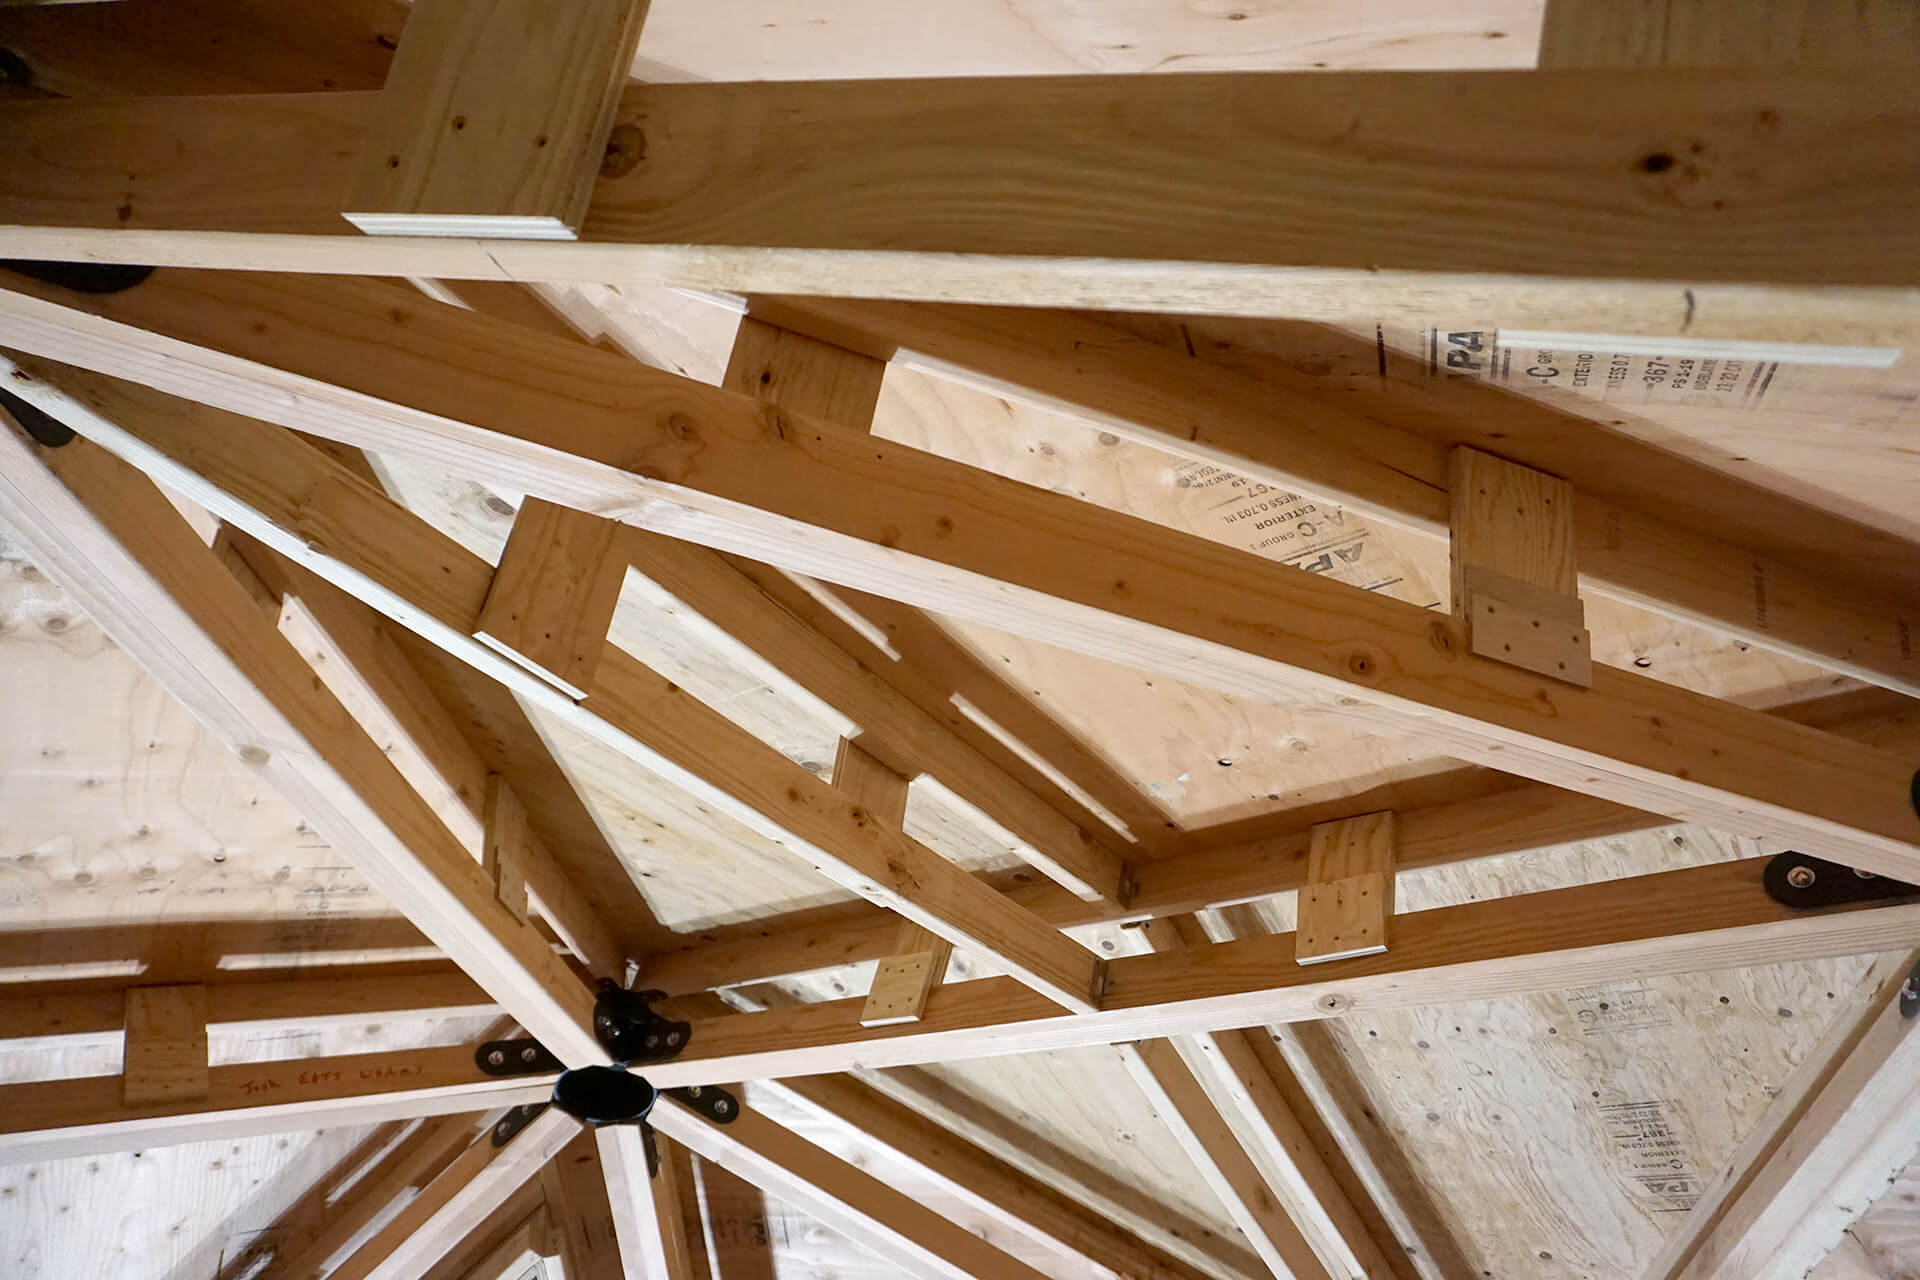
Install the Roof-Joist-Supports, which connect the Joists to the Struts and Studs at various points.
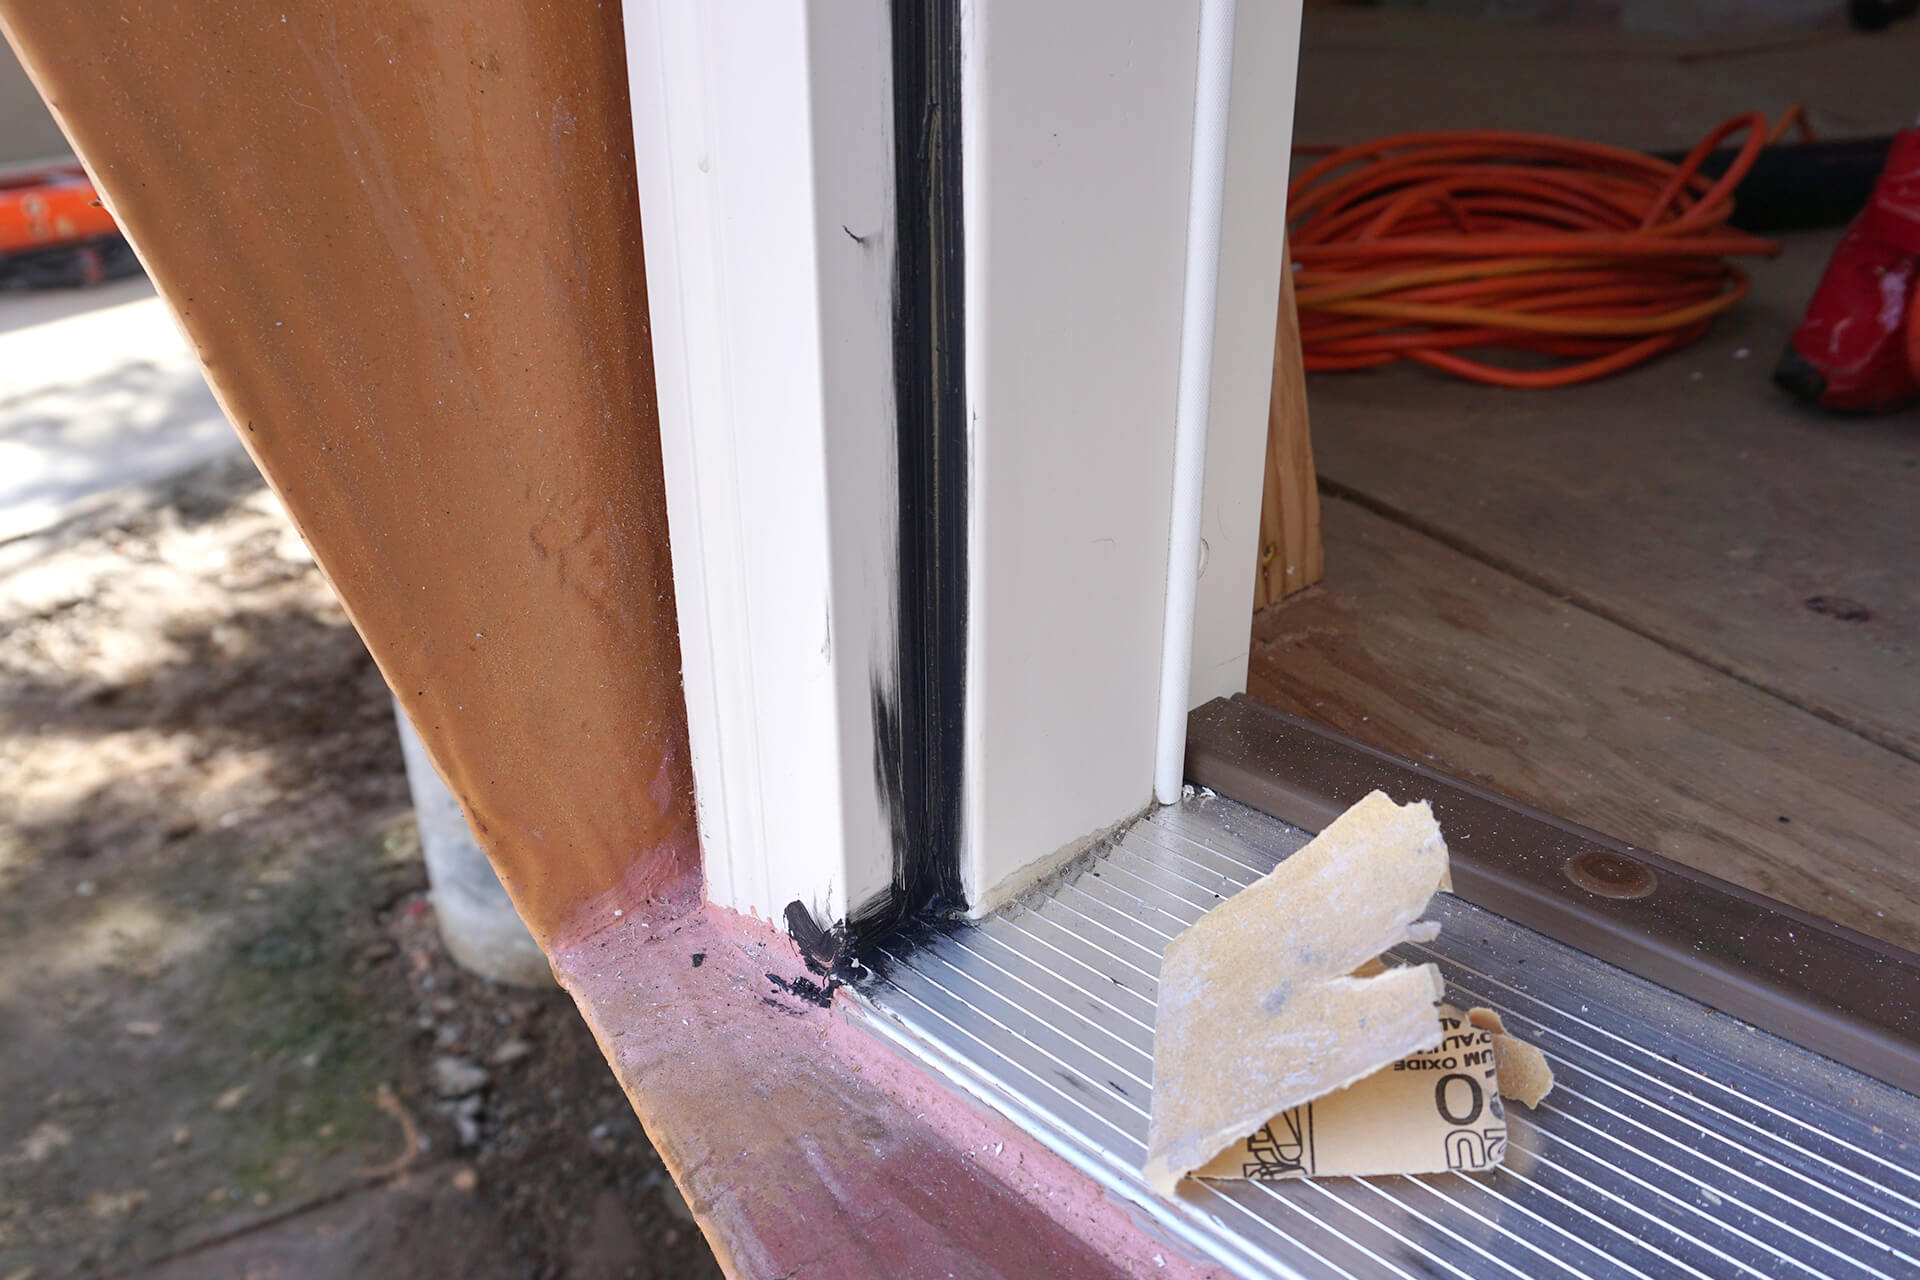
Lightly sand the vinyl in preparation for paint, then weatherproof any seams in the door frame with paintable caulk. Chemlink M-1 sealant is shown here.
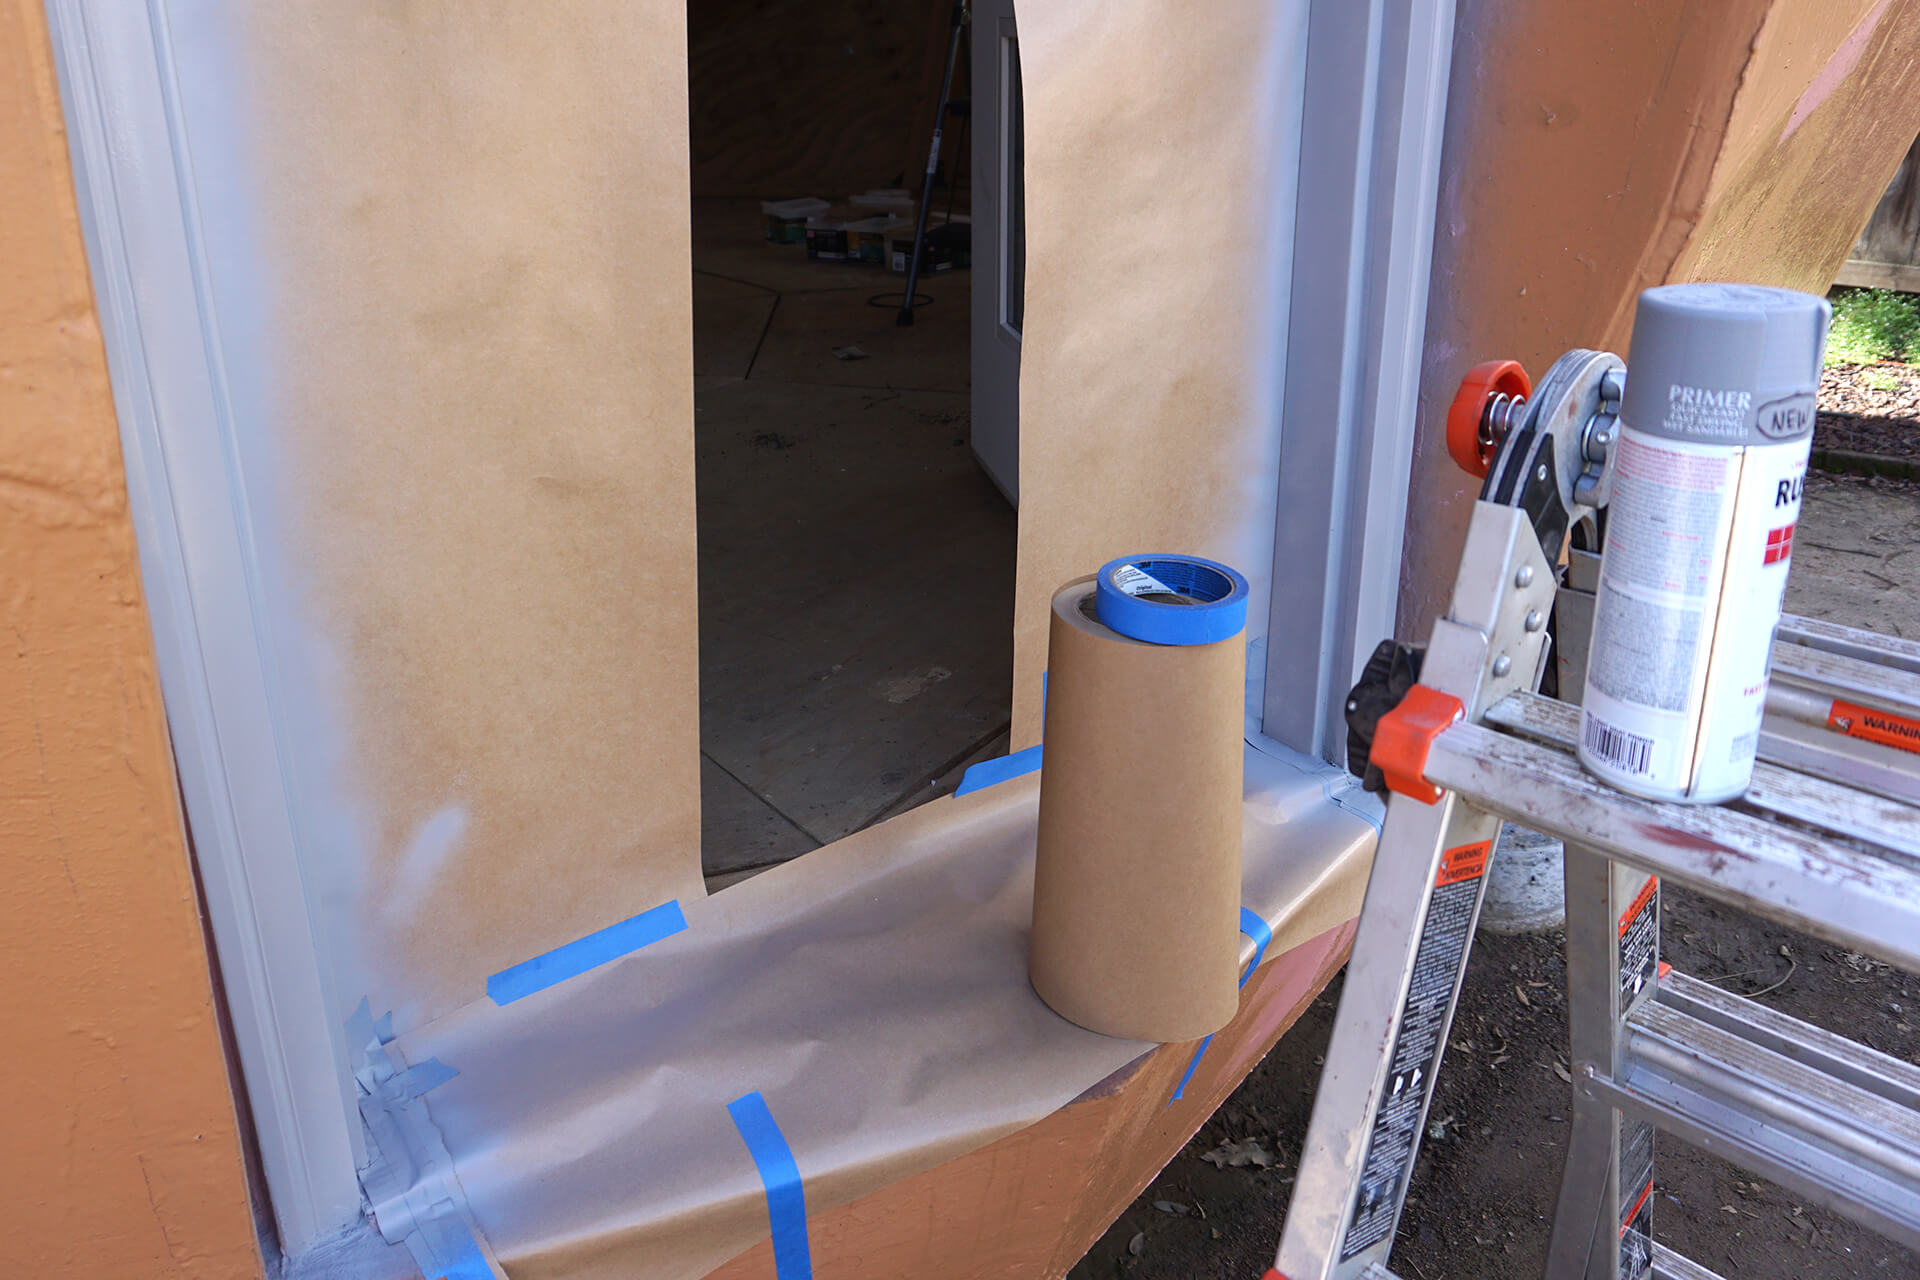
Tape off and prime the prepped door frame. Rust-Oleum Automobile Primer Spray Paint is shown here.
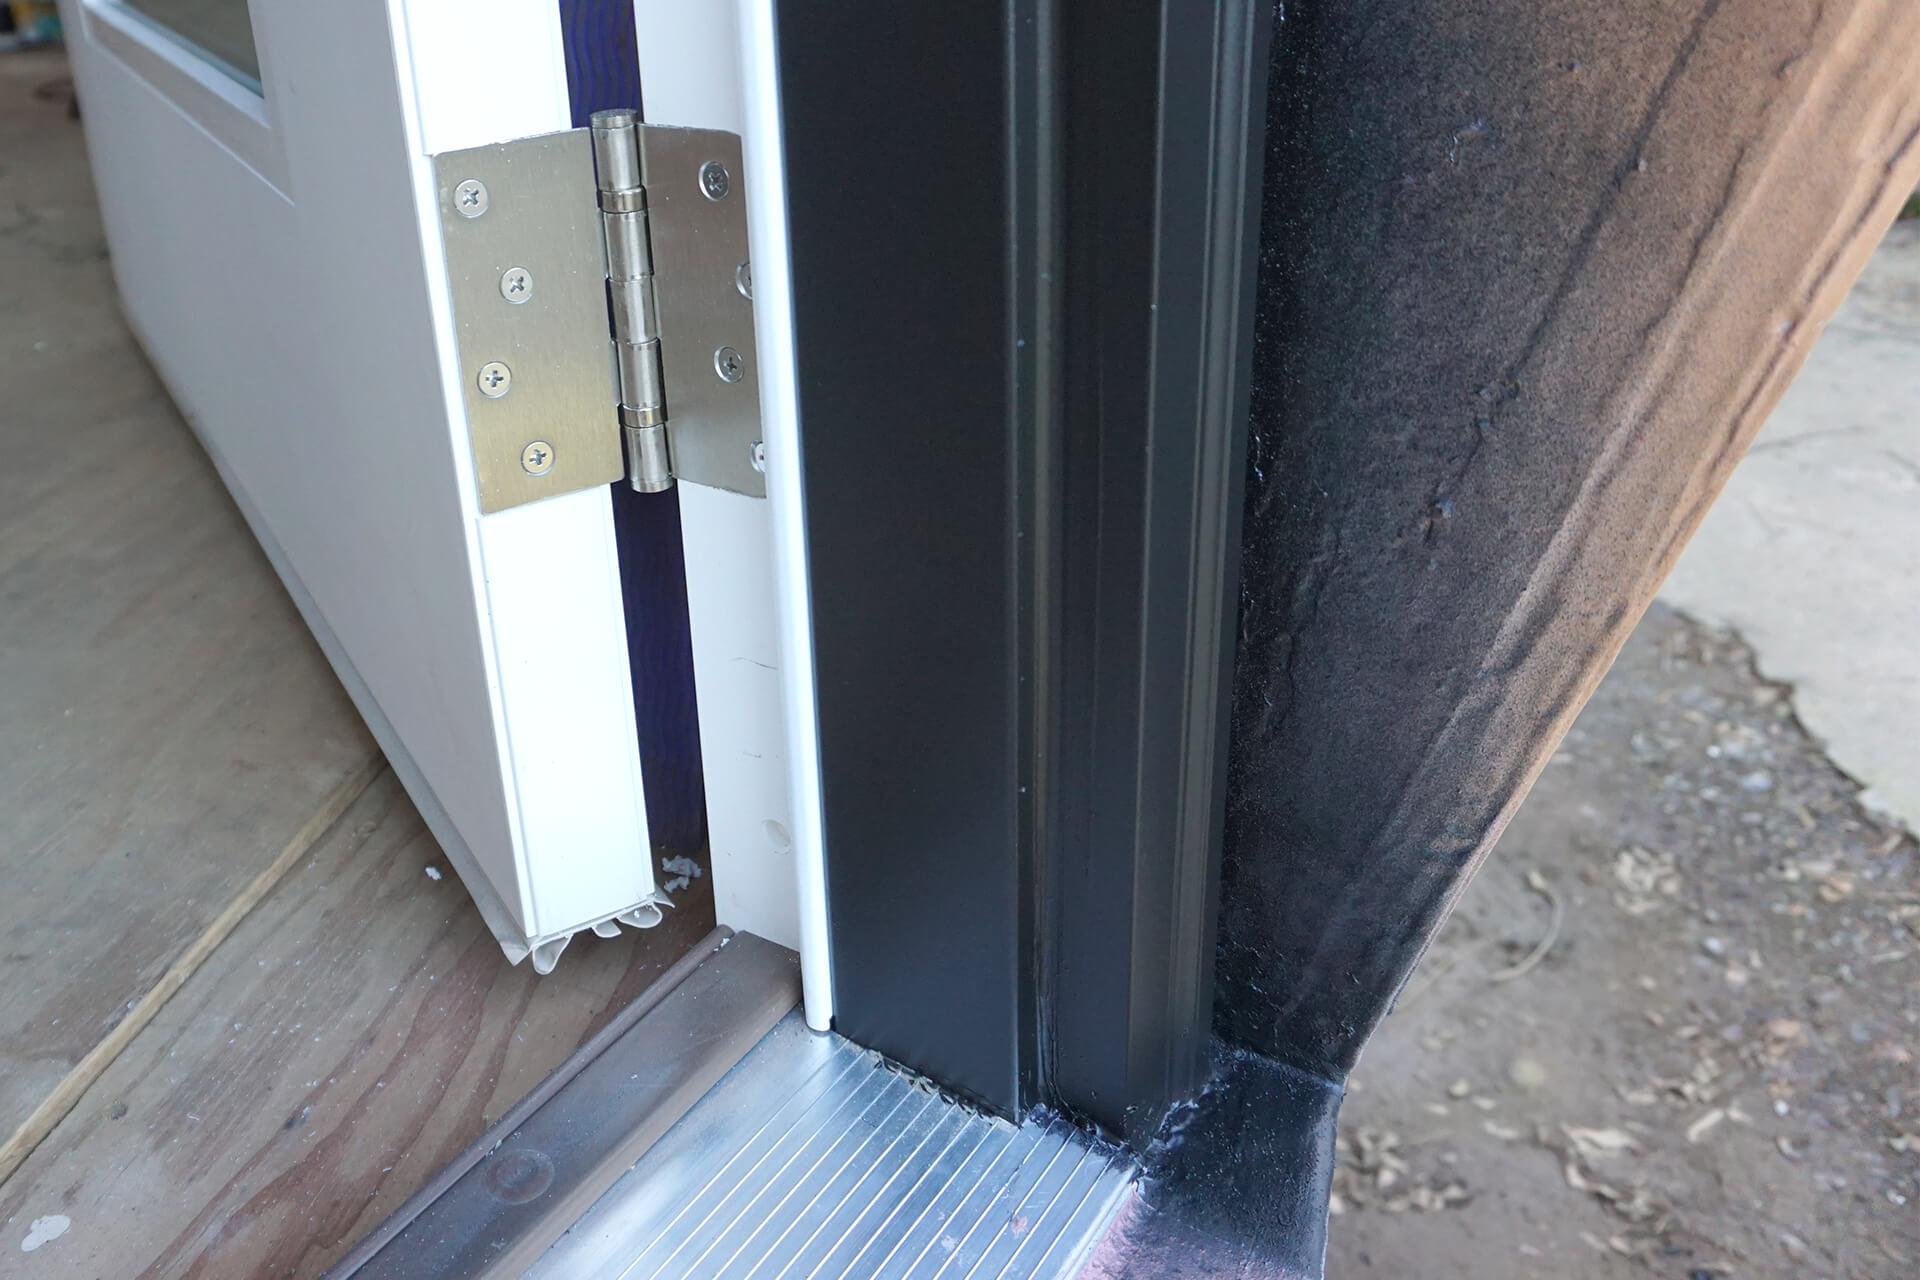
Paint the door frame, then remove the tape. The overspray shown here is intentional to darken the door frame gap. Rust-Oleum Satin-Black Spray Paint is shown here.
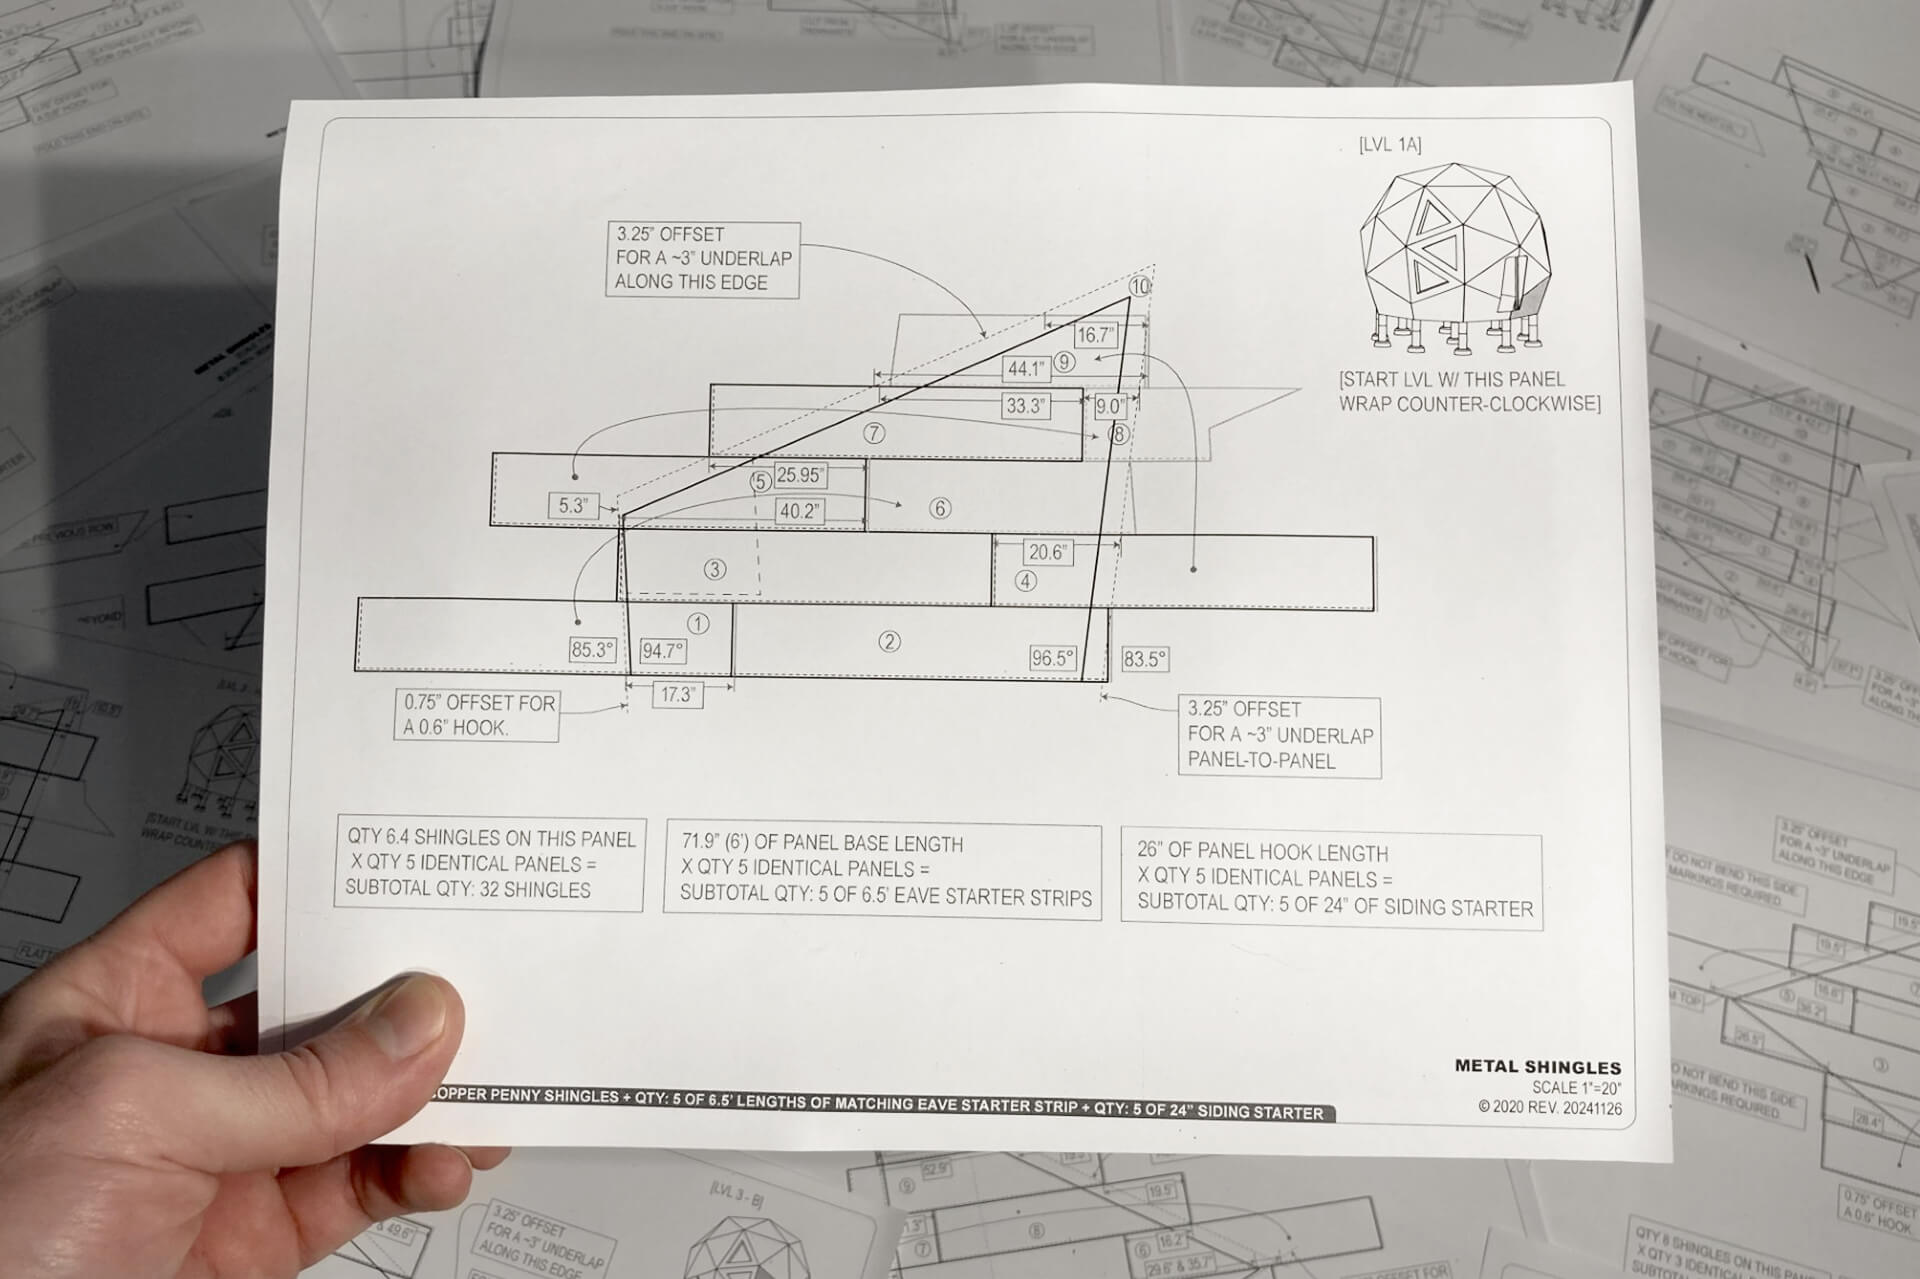
Consult the roof construction drawings. The panel roofing order and the shape of each shingle are specified in the detailed drawings. Designed for the Classic Roof with Oxford Shingles.
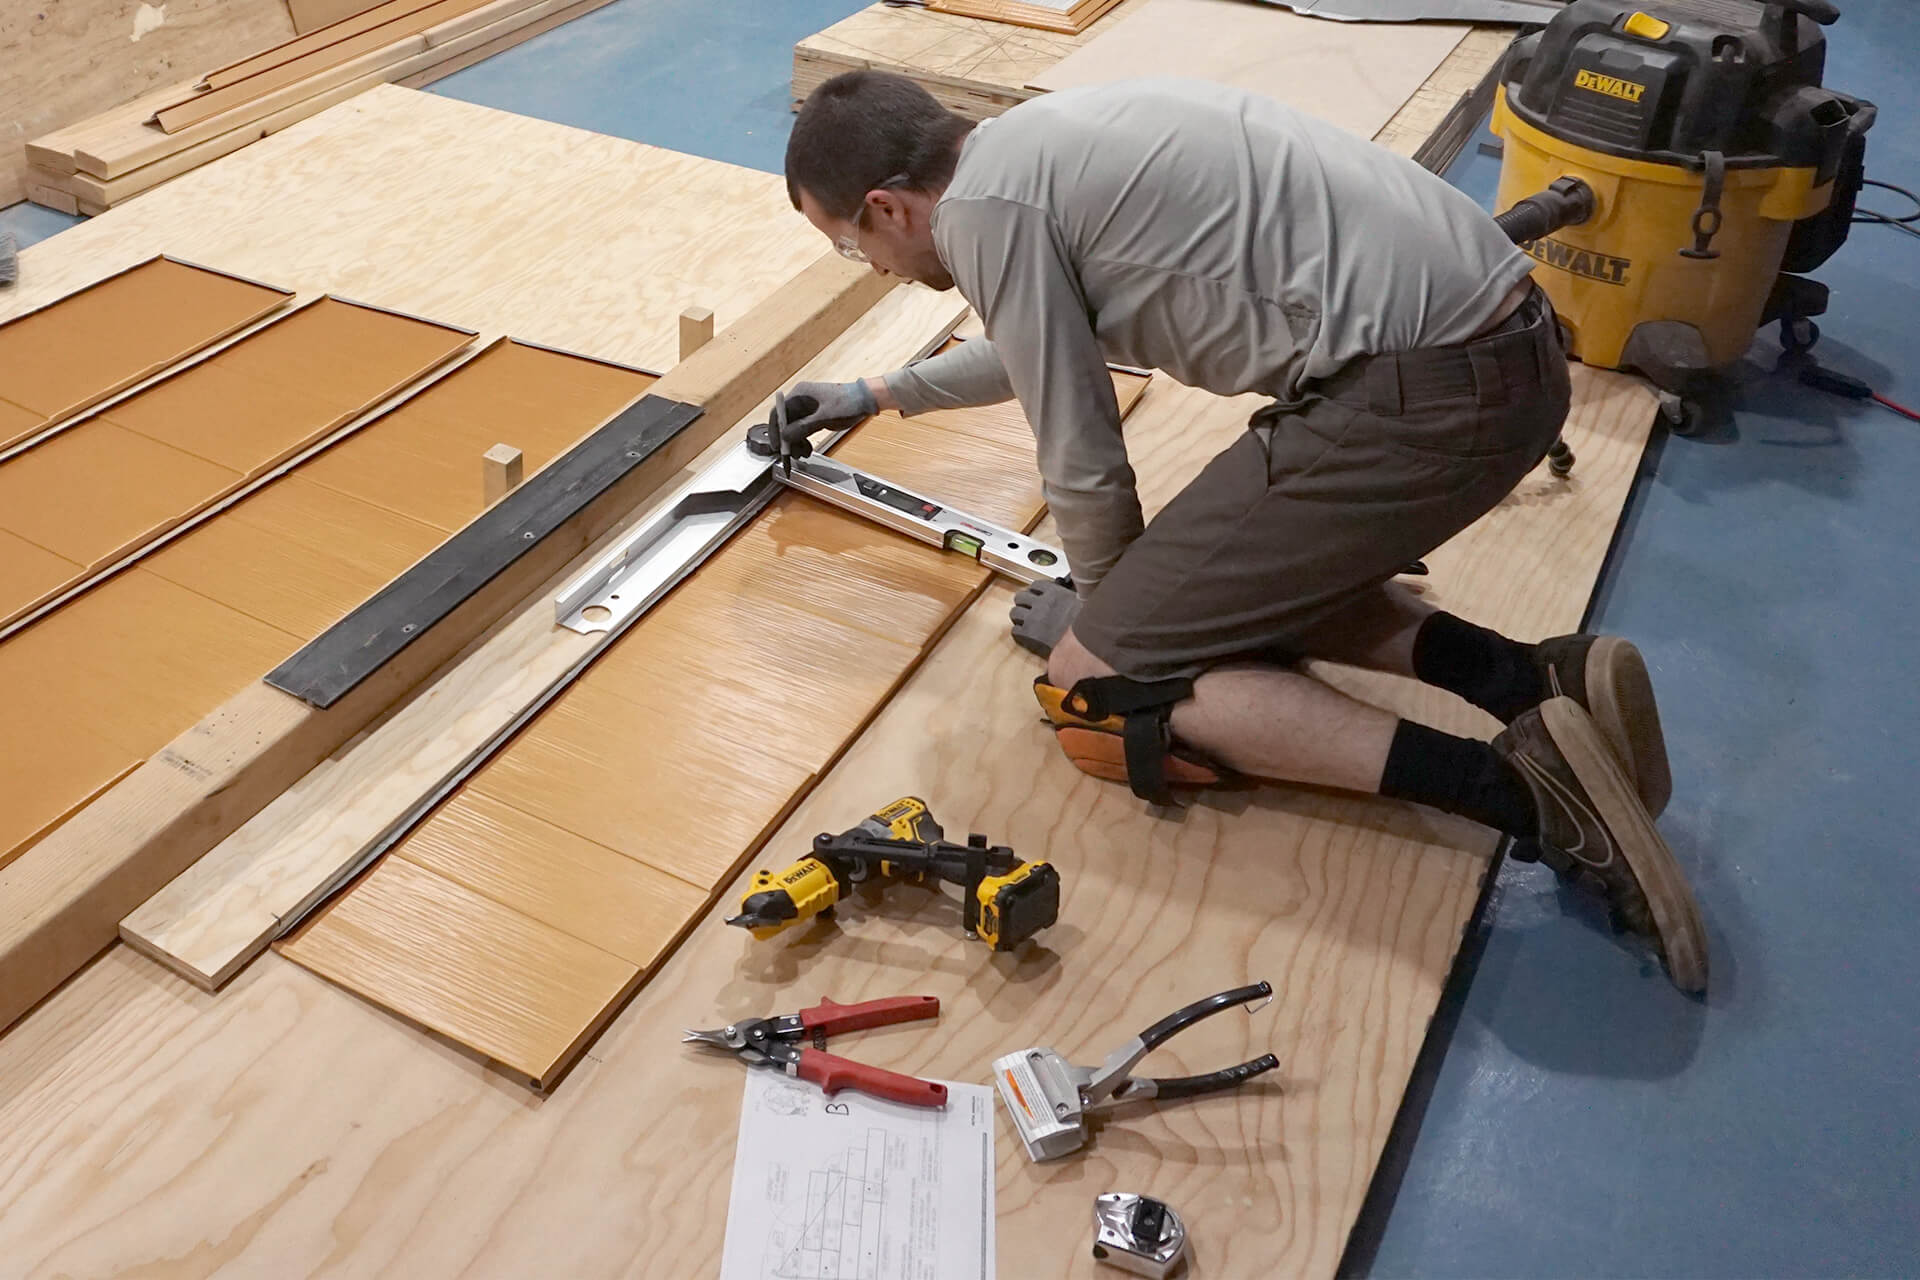
Measure and mark the shingles according to the drawings. Use a large digital angle finder for accuracy.
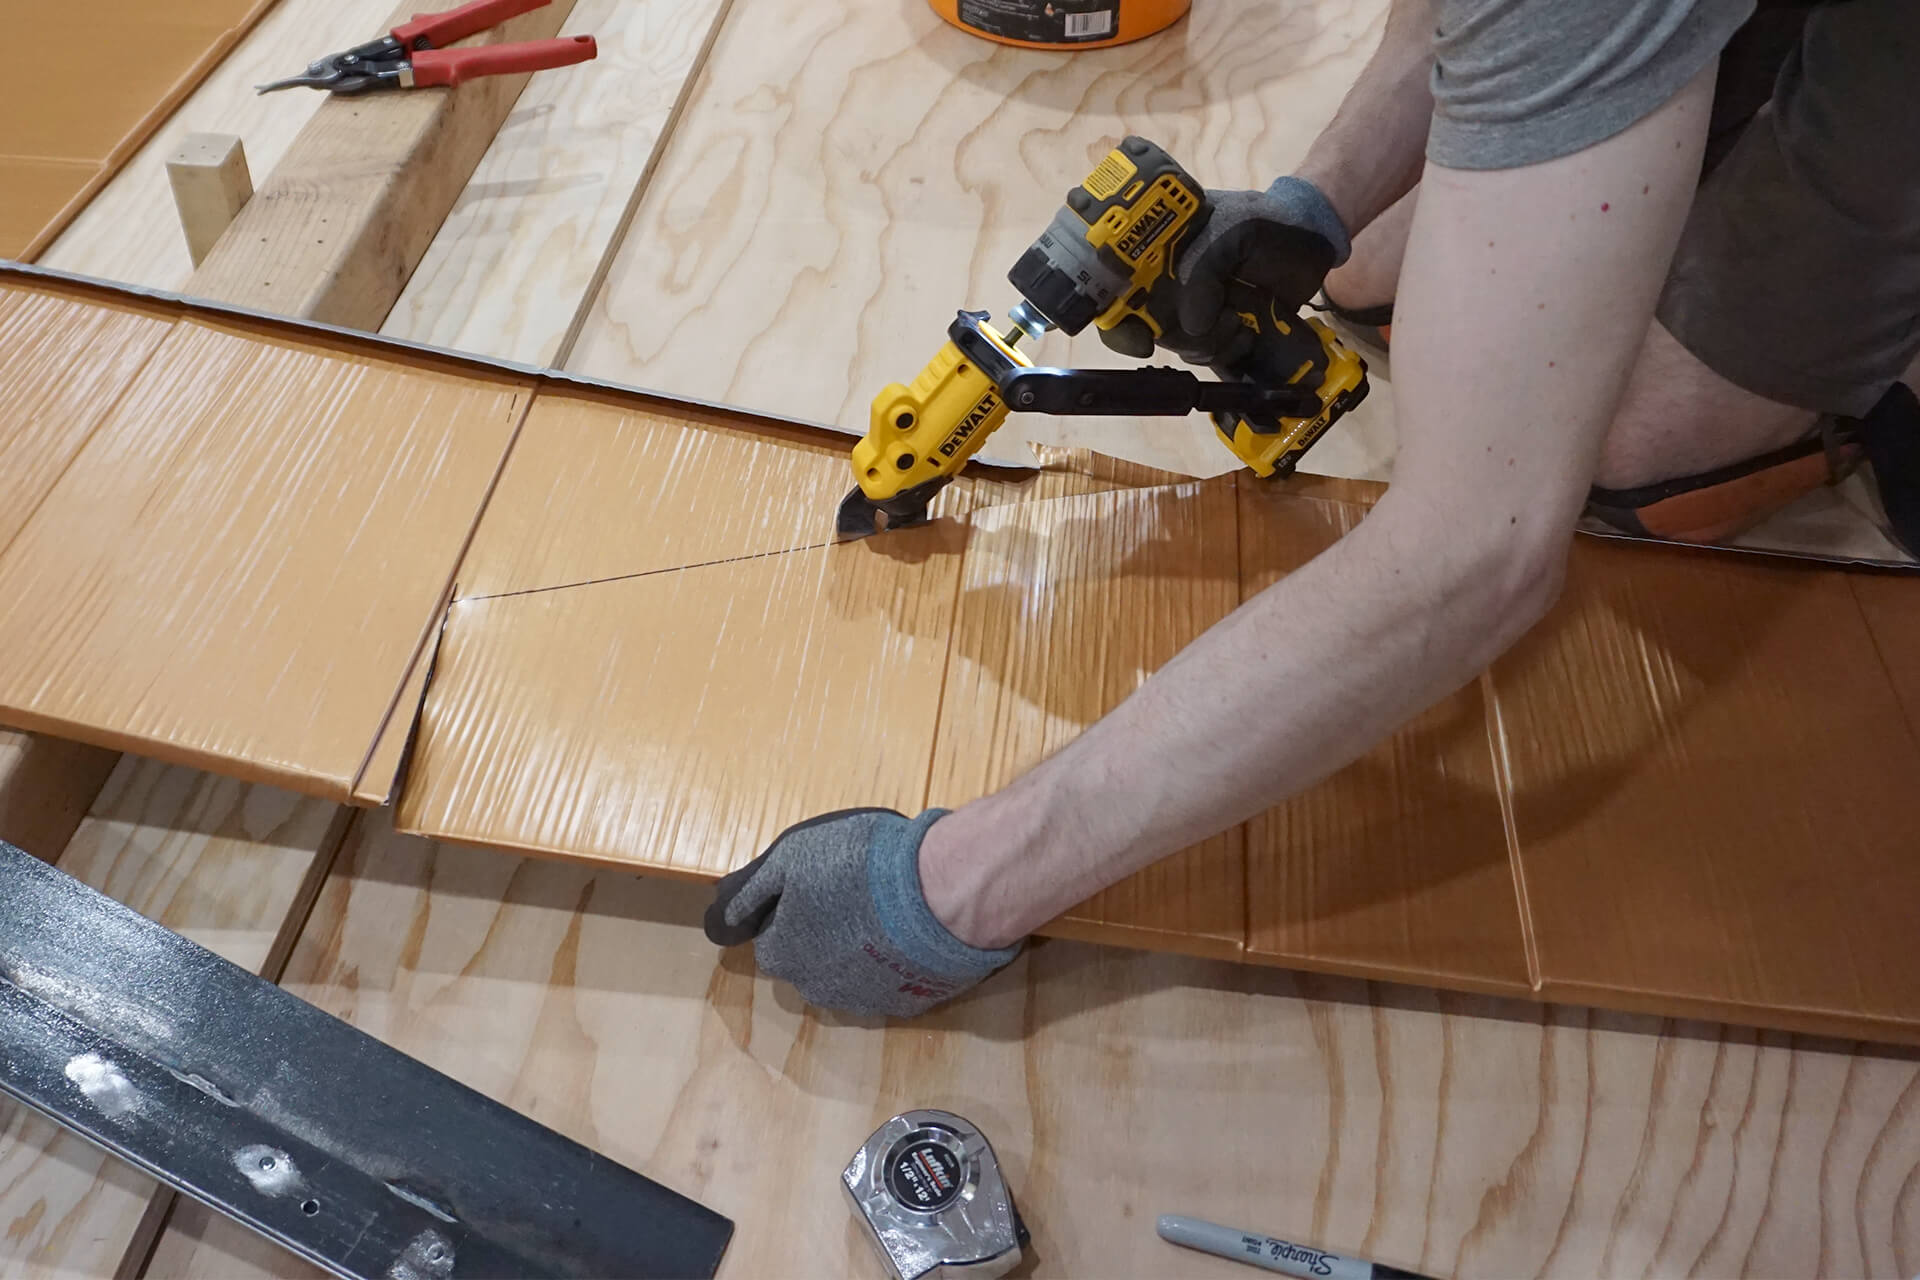
Cut the shingles along the marks using a metal shear drill attachment and aviation snips.
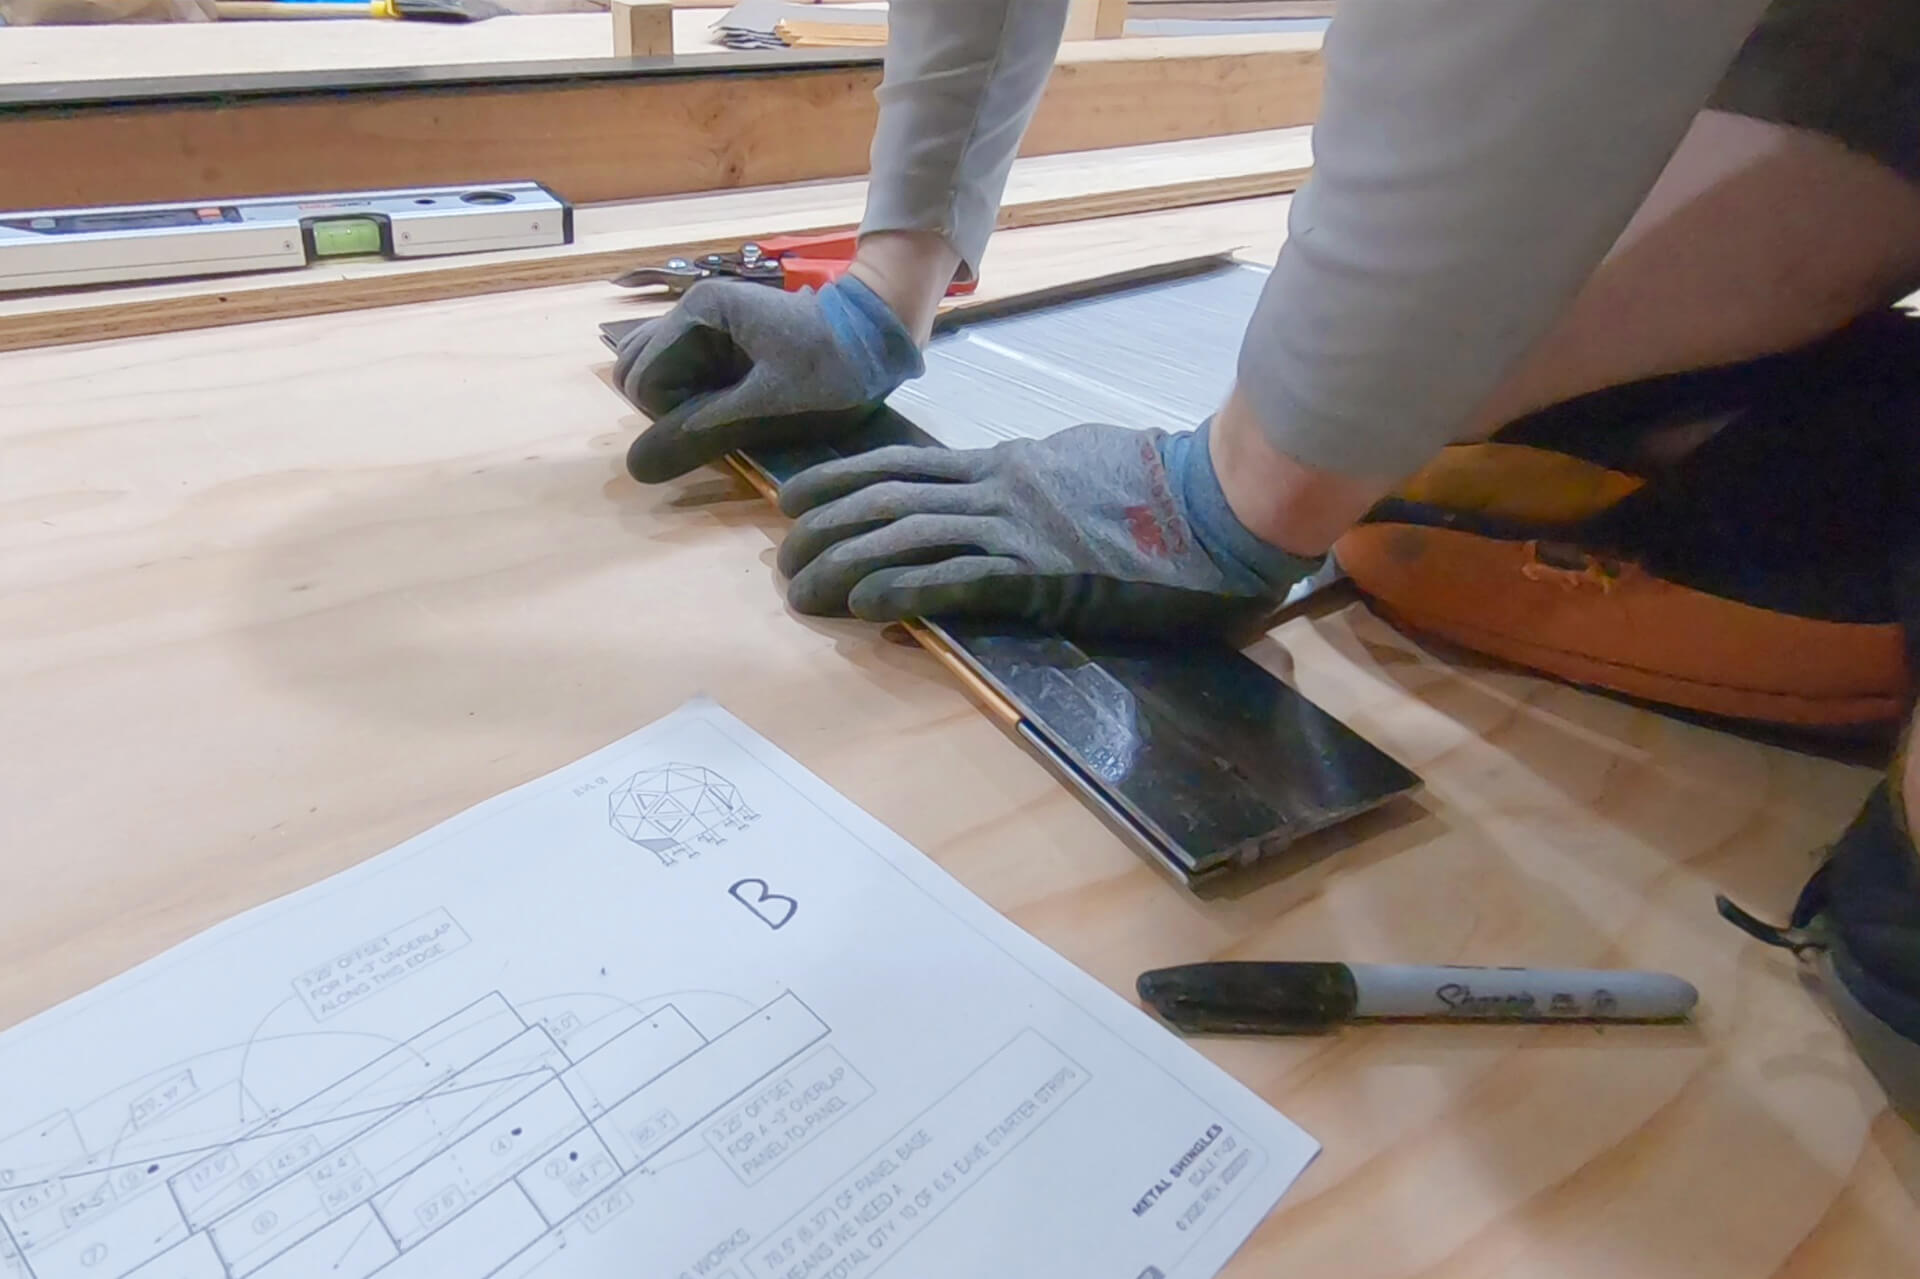
Bend a hook back into the shingles as needed. For the ideal bend, use an ~18” long sheet metal folding tool with a 0.13” throat and 0.60” channel. A custom-fabricated tool is shown here.
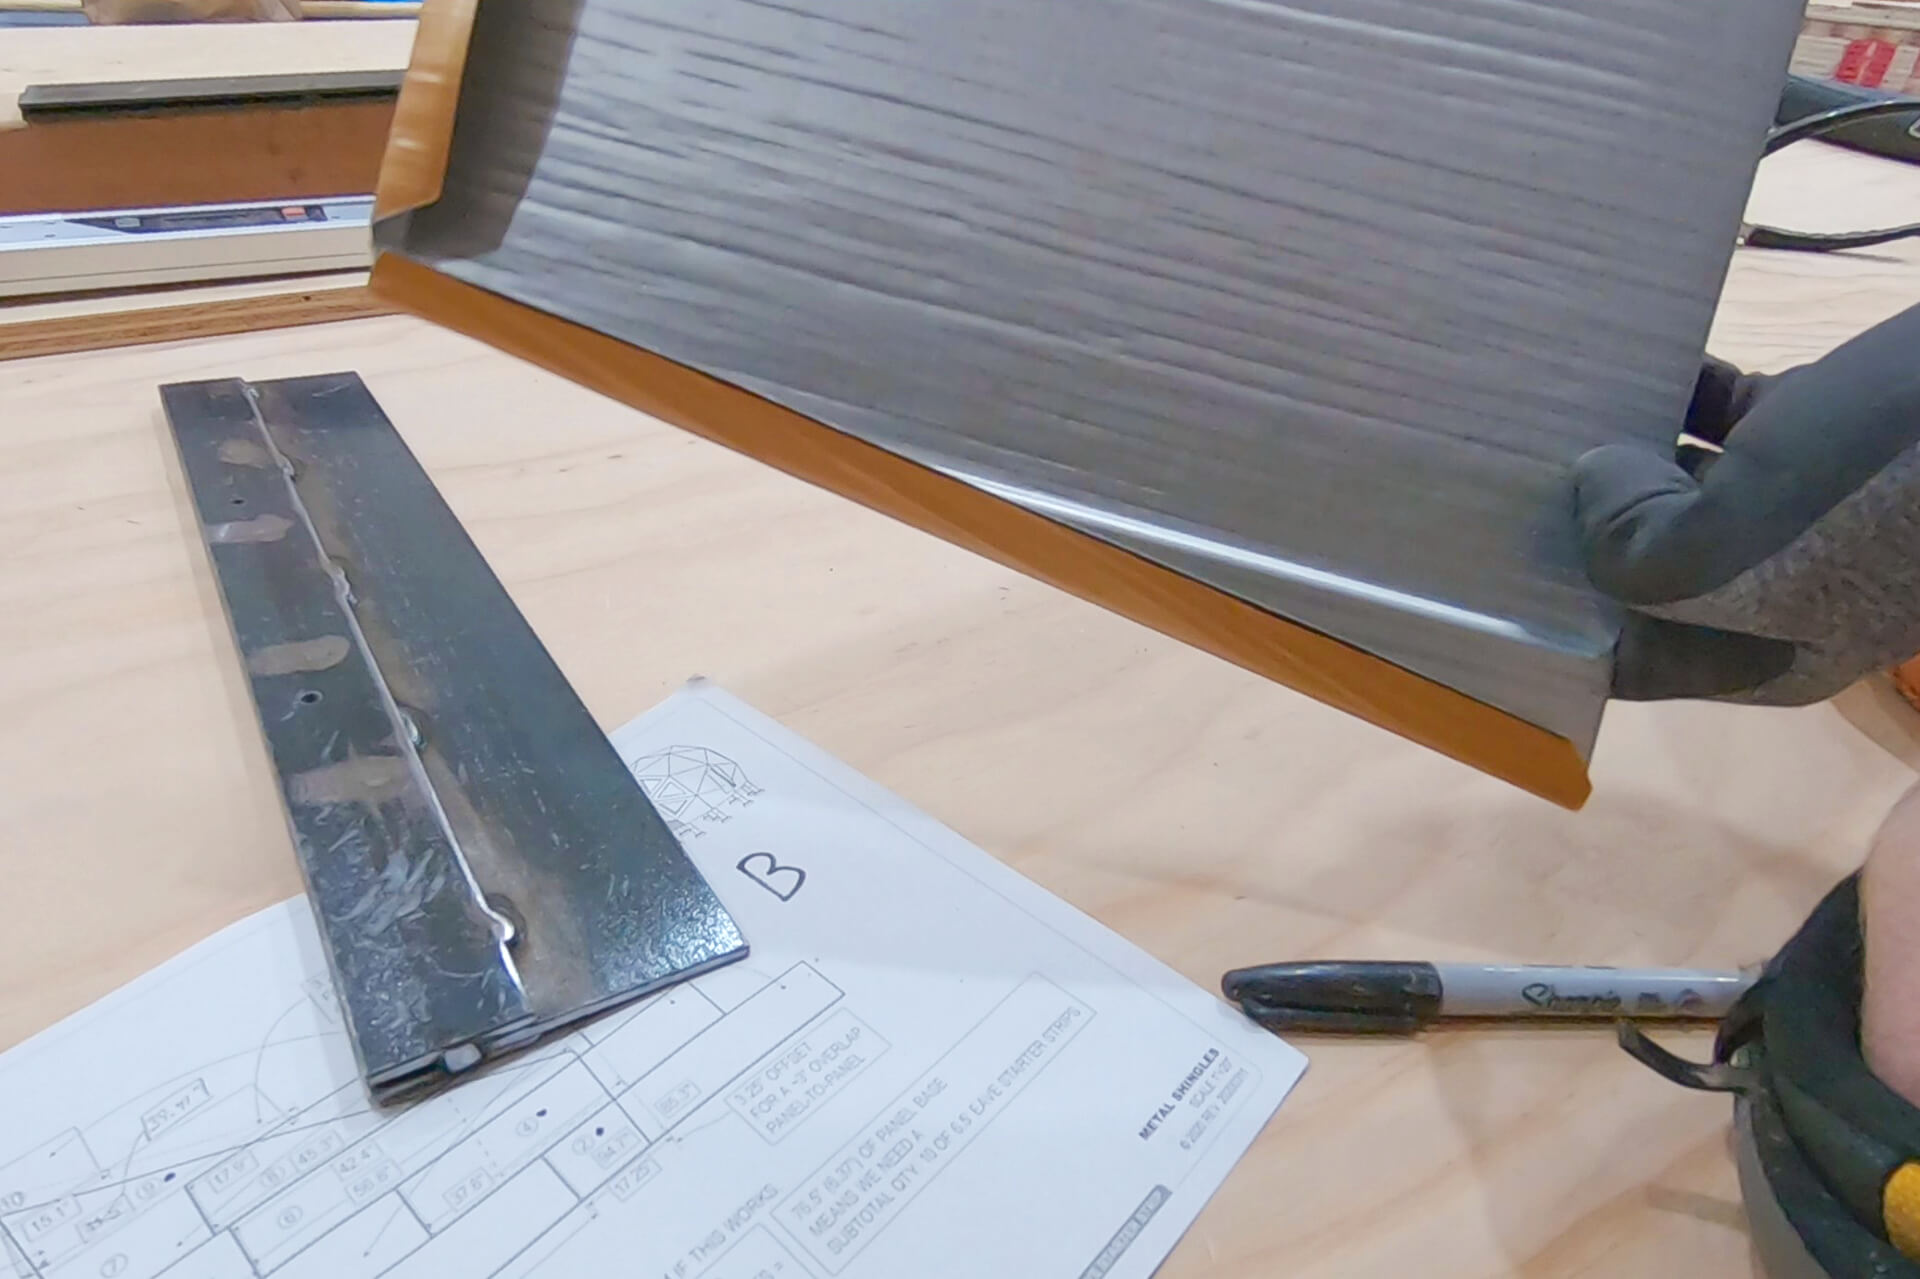
Detail showing a newly formed hook.
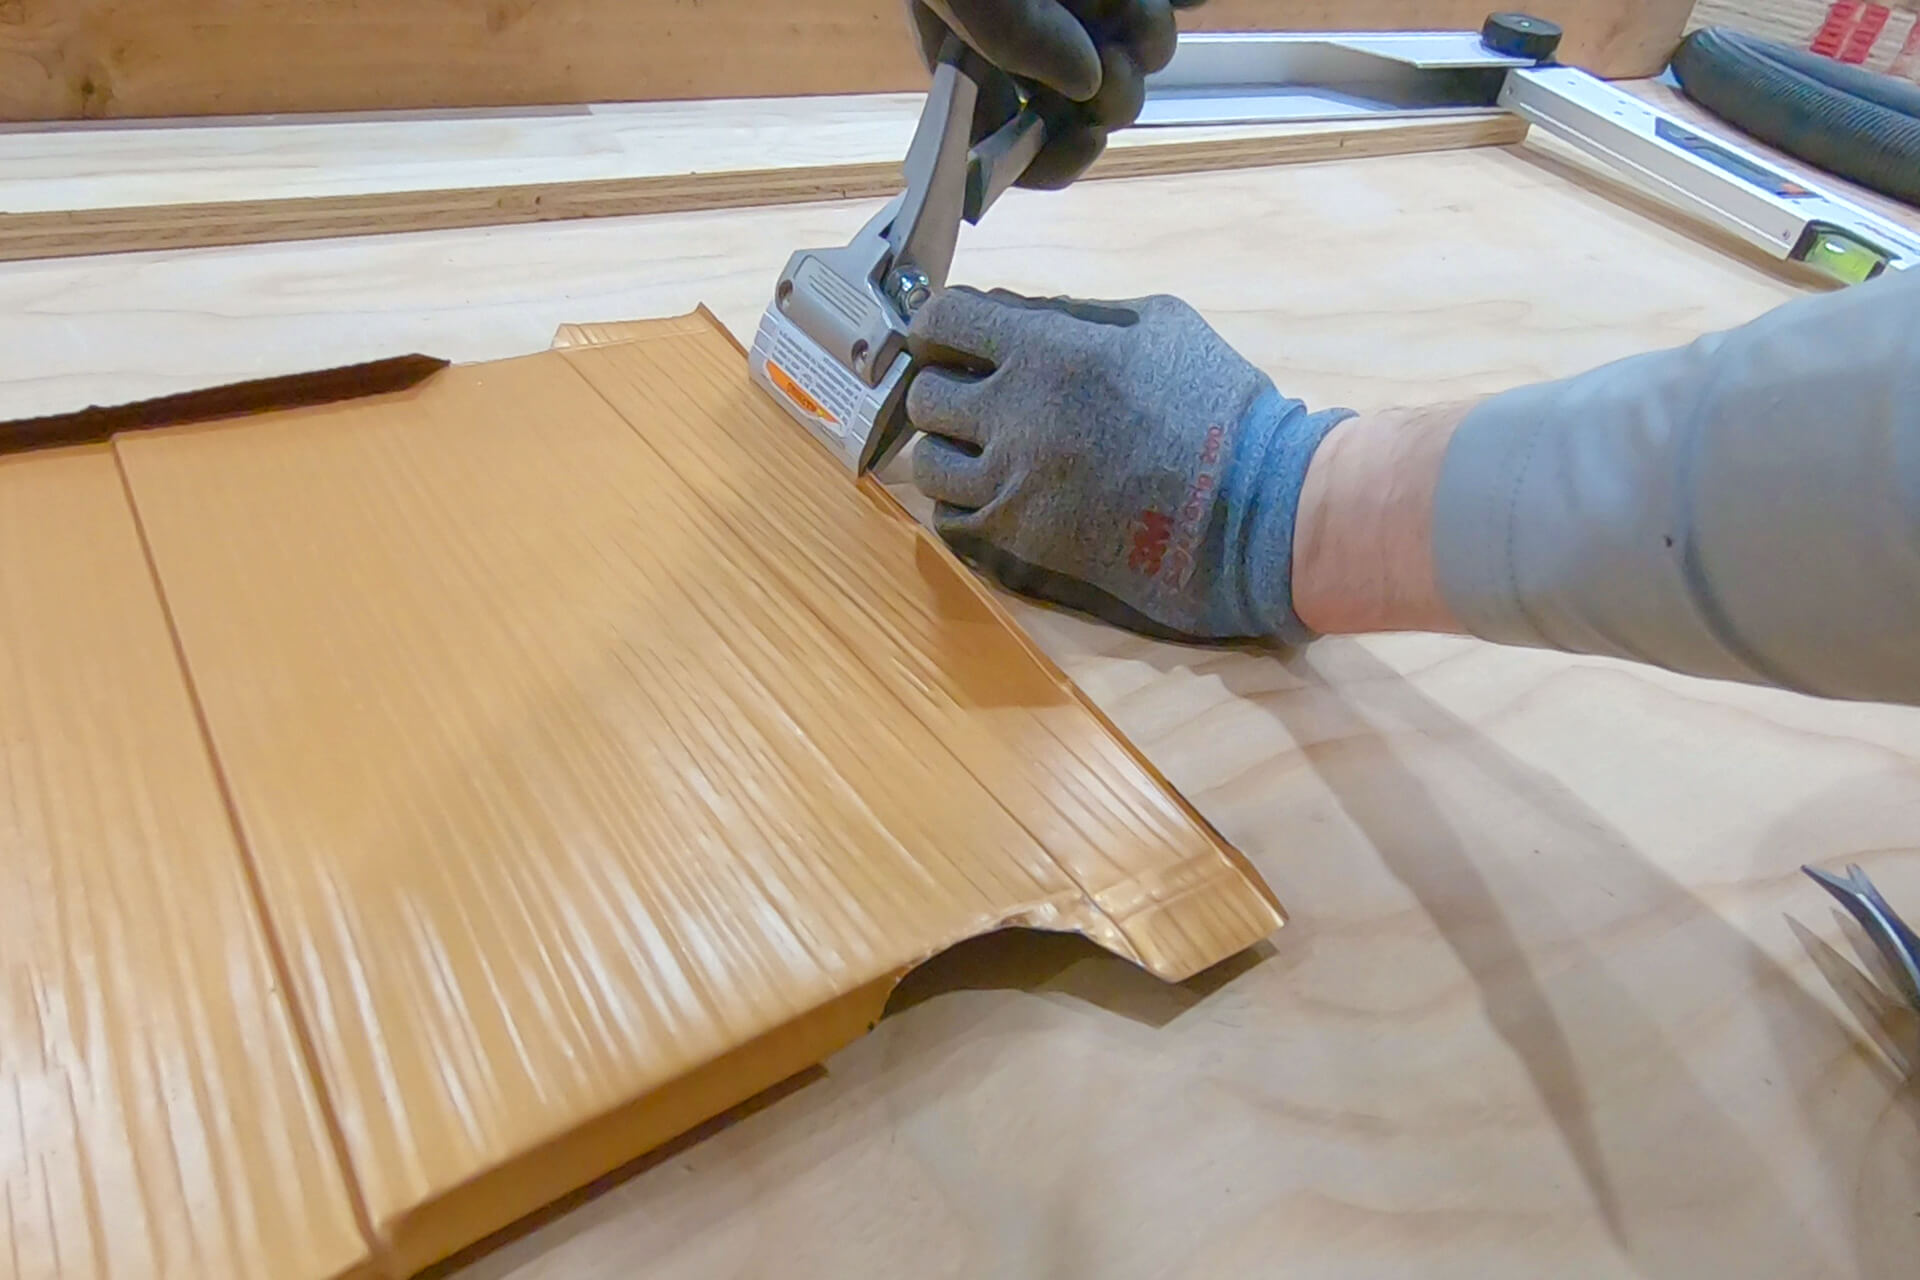
Bend a small lip at the end of any underlapped edge to prevent water from passing through. Use a hand seamer tool.
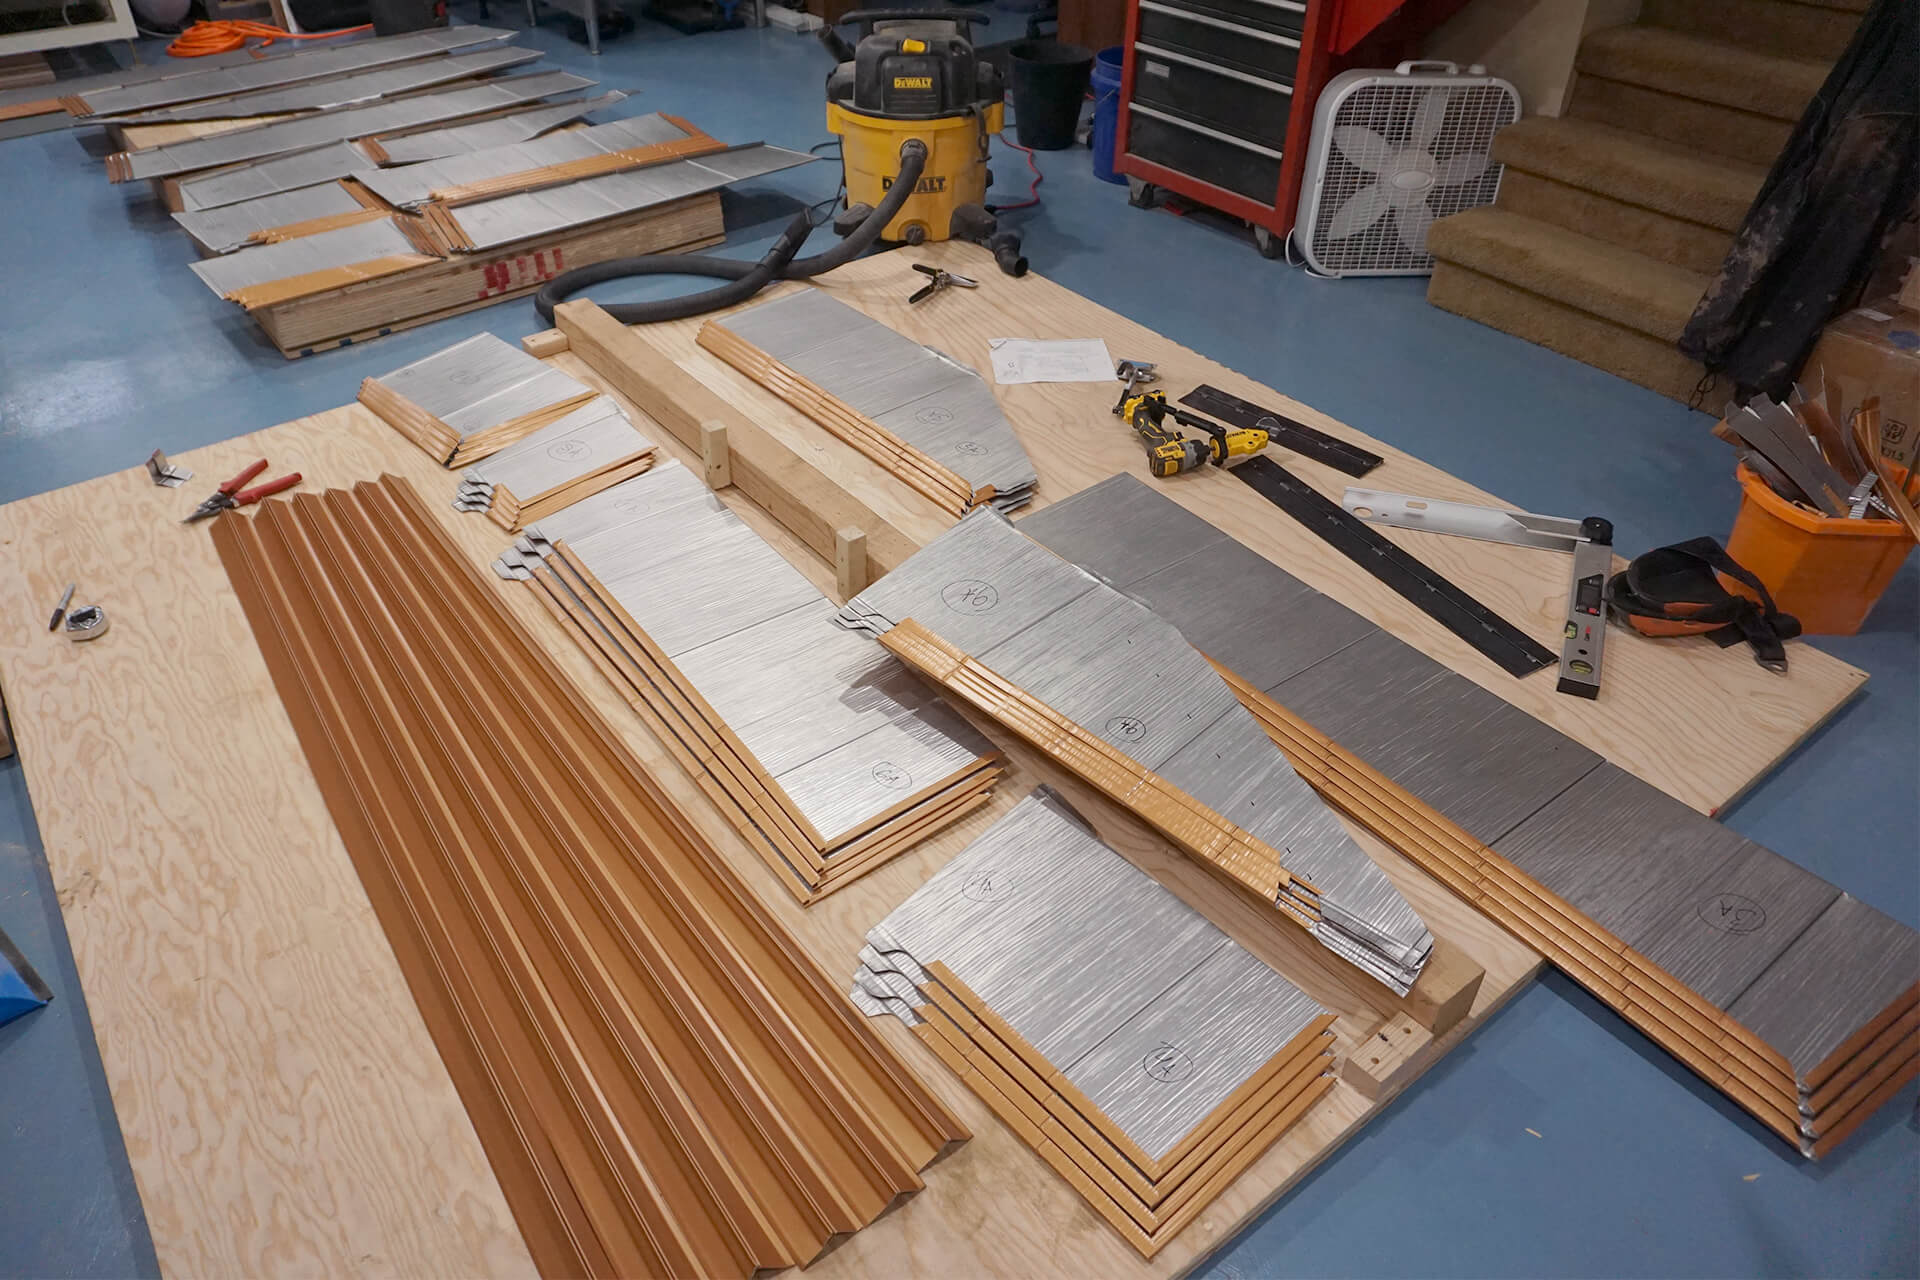
Prefabricate all of the shingles for one level of the dome, then repeat for the next level after installation. The dome is shingled from the bottom up, one level, and one panel at a time.
Next Step
© 2025 Dodeca Domes. All rights reserved.

