
Foundation
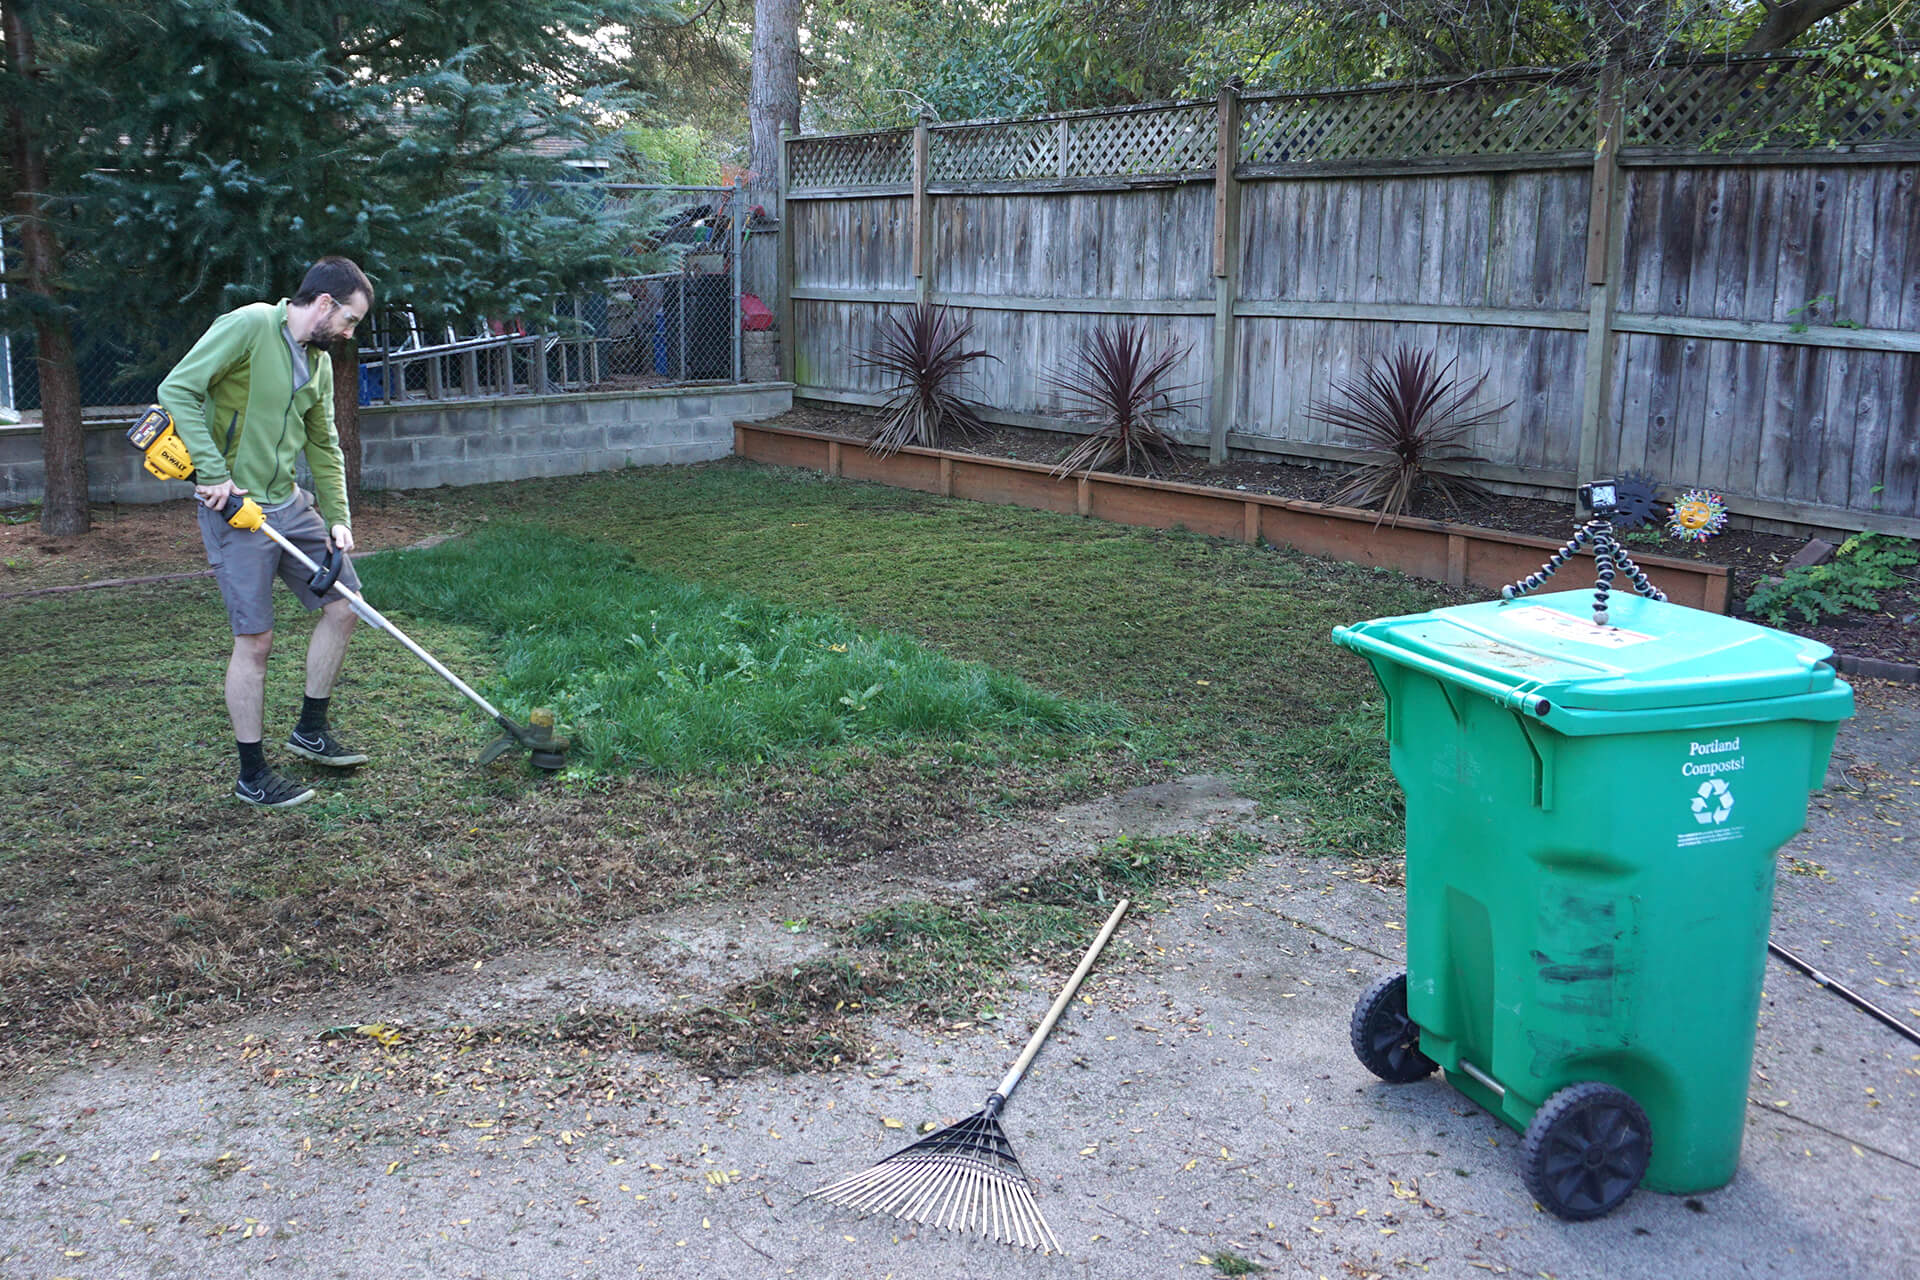
Clear vegetation from the work area.
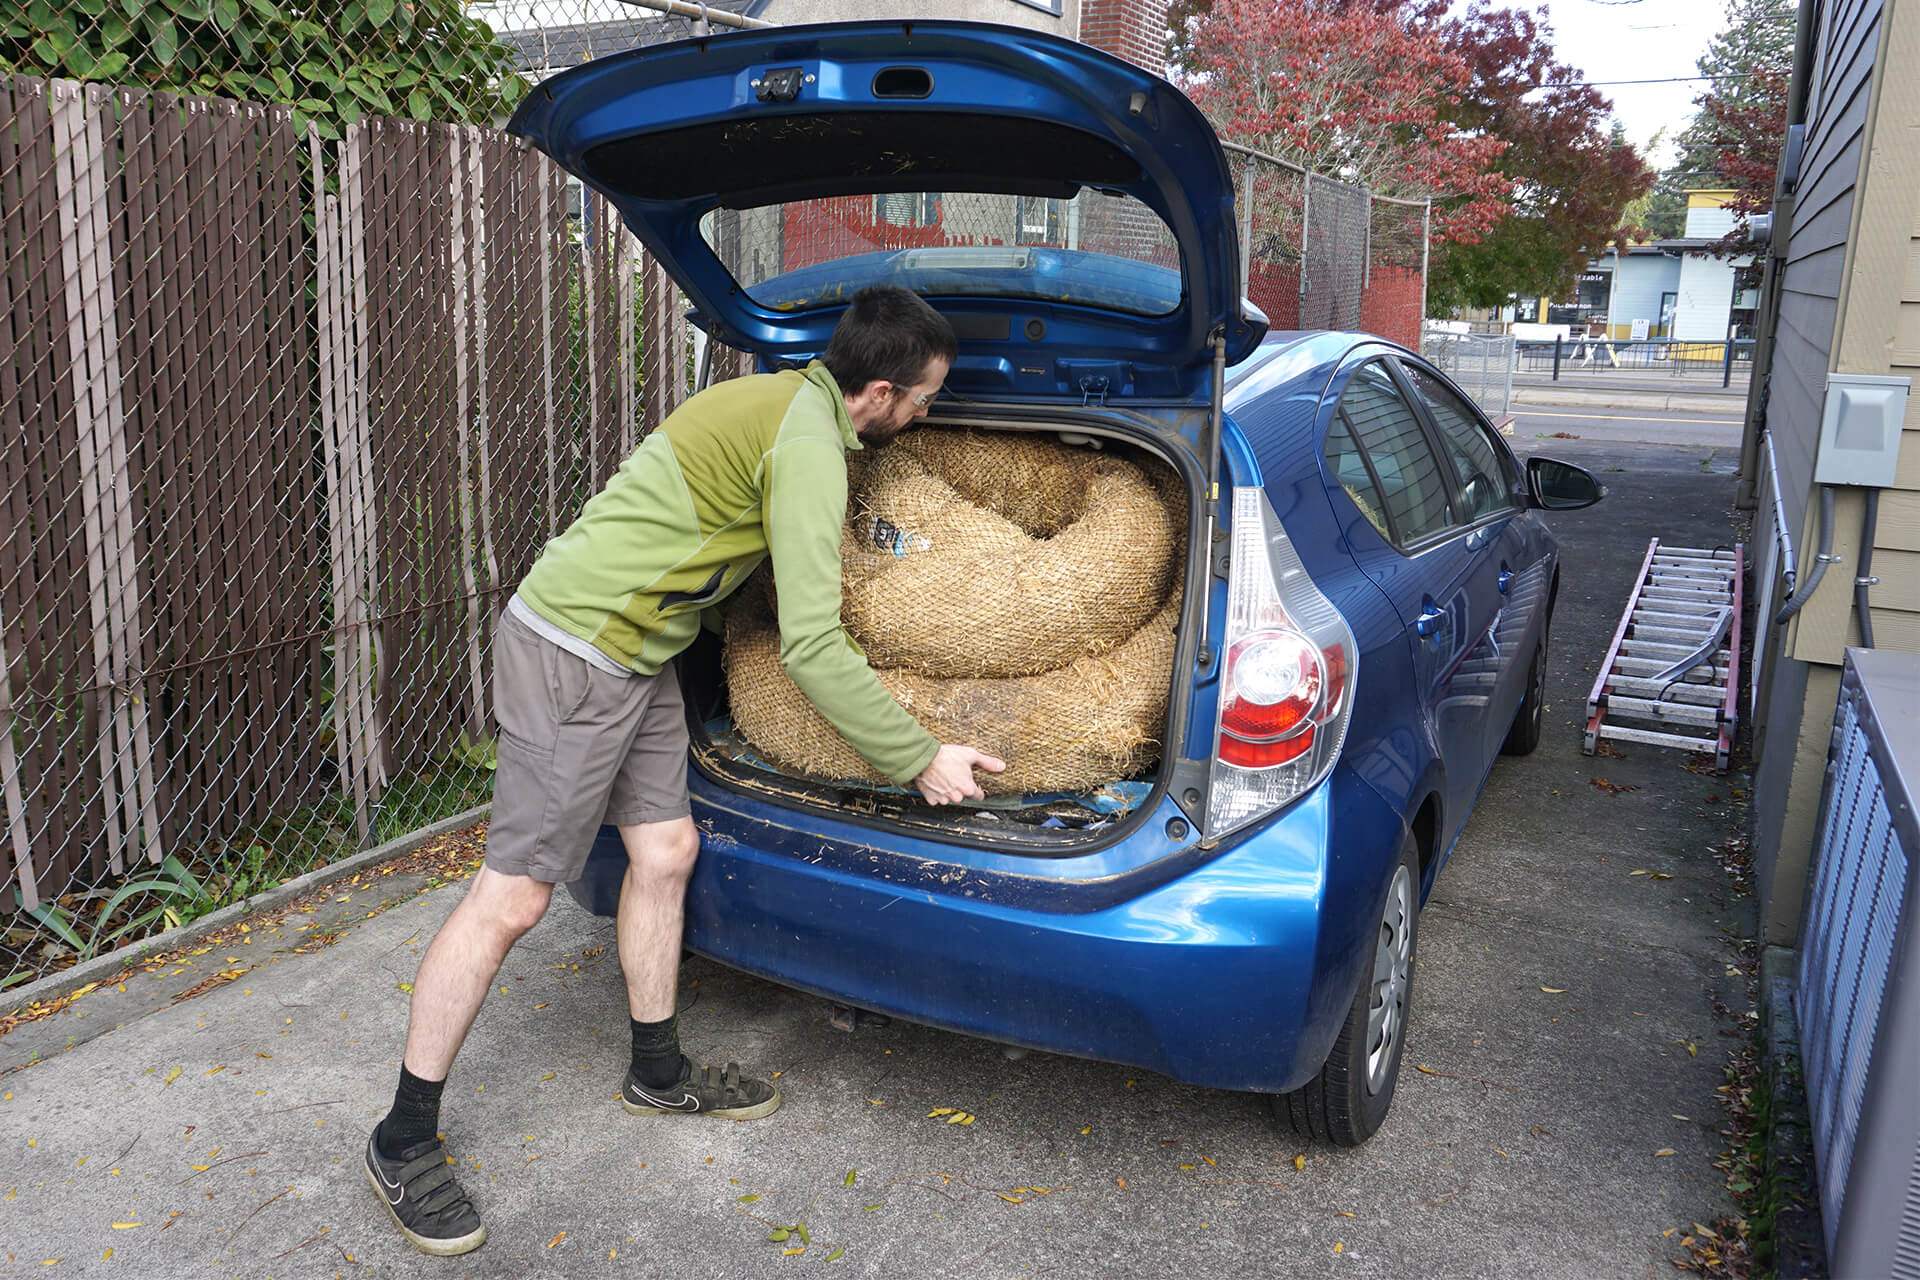
Purchase straw wattles if local erosion control code requires it. Tip: Ask around for used or old wattles that can be purchased at a discount.
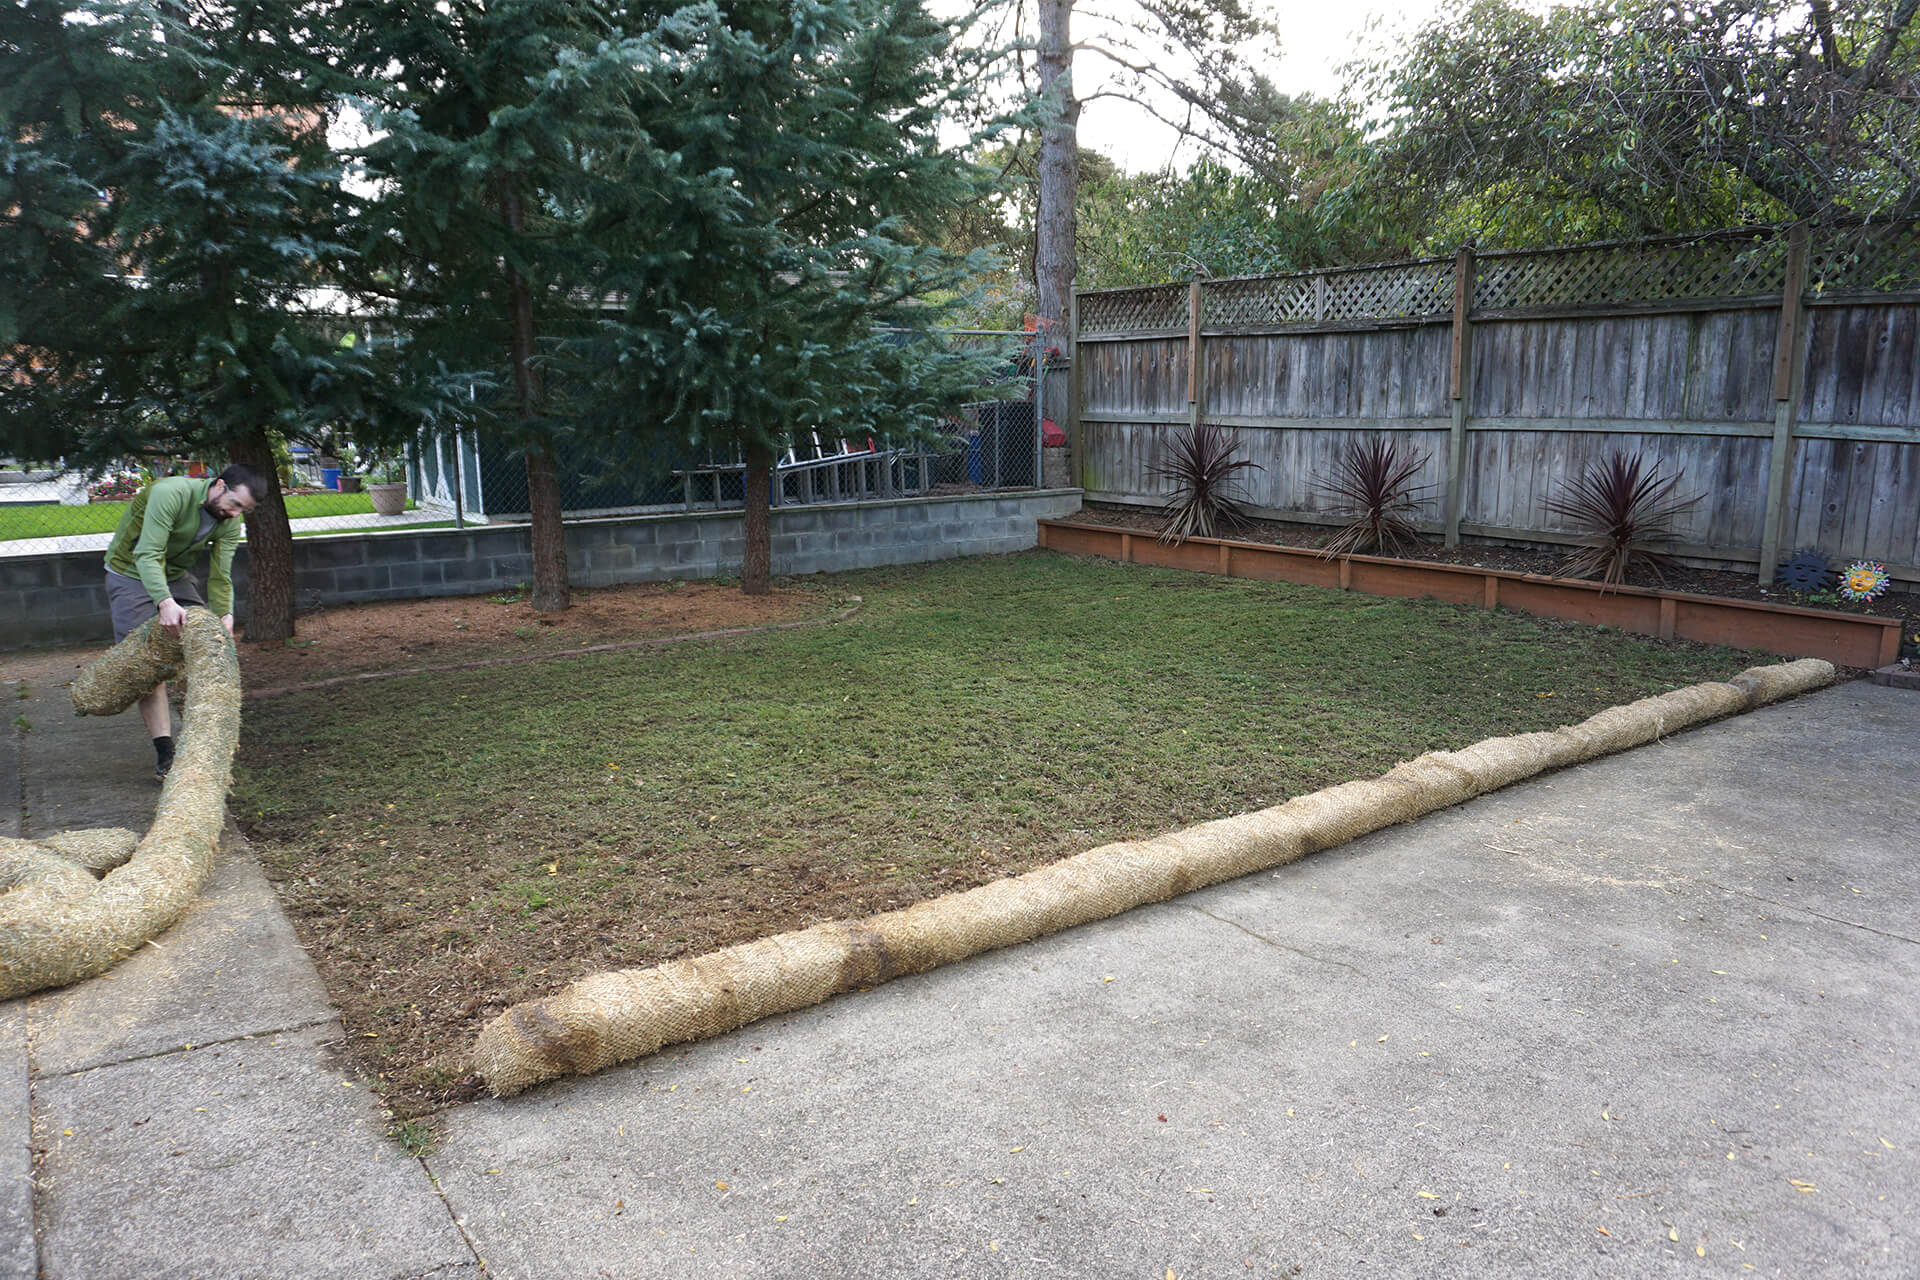
Stake the straw wattles around the work zone.
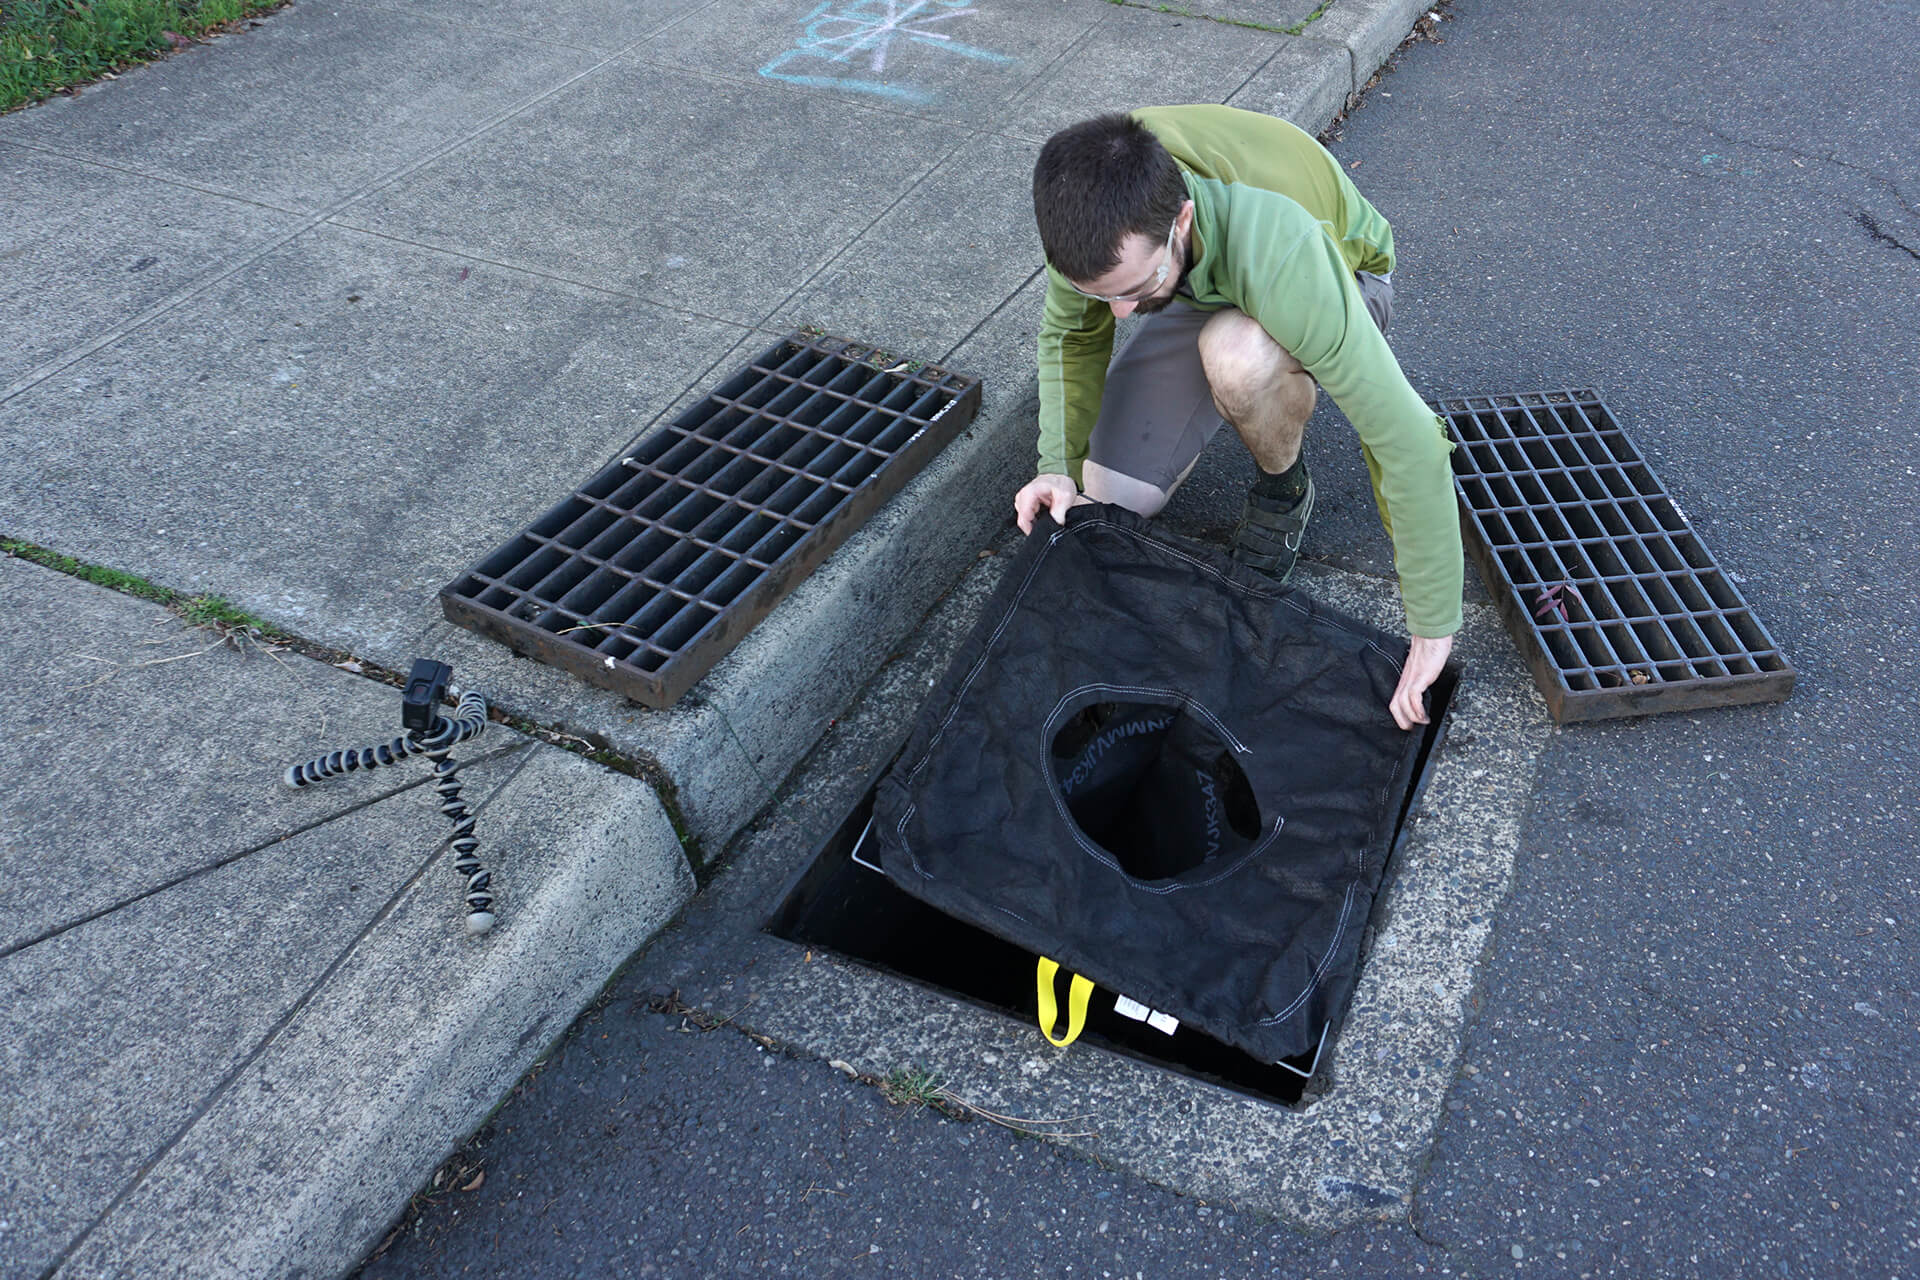
Purchase and install a catch basin in the nearest on street water grate if local erosion control code requires it.
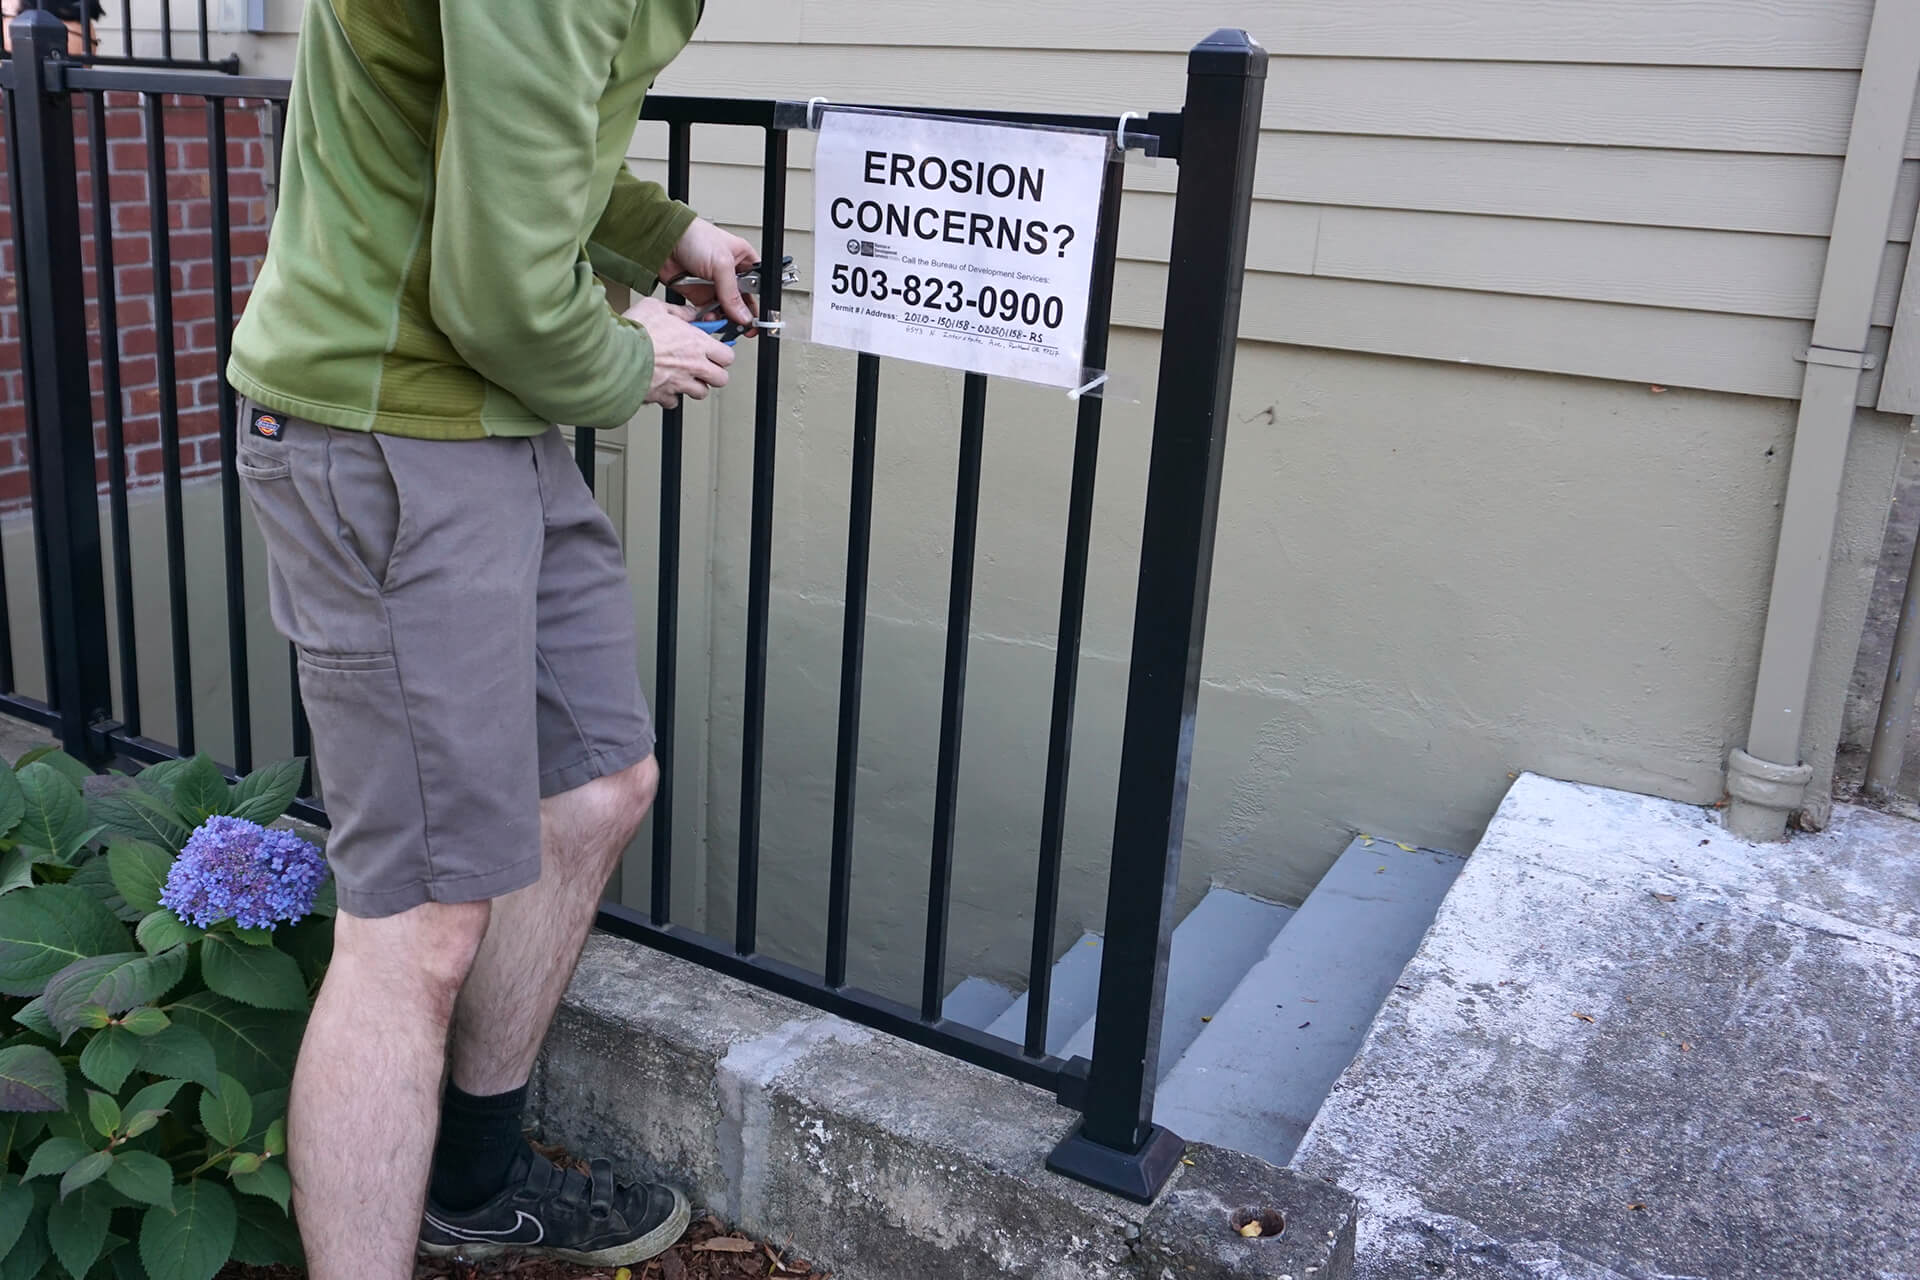
Print and install an erosion control sign if local code requires it. Then call for the first inspection.
Inspection: Erosion Control
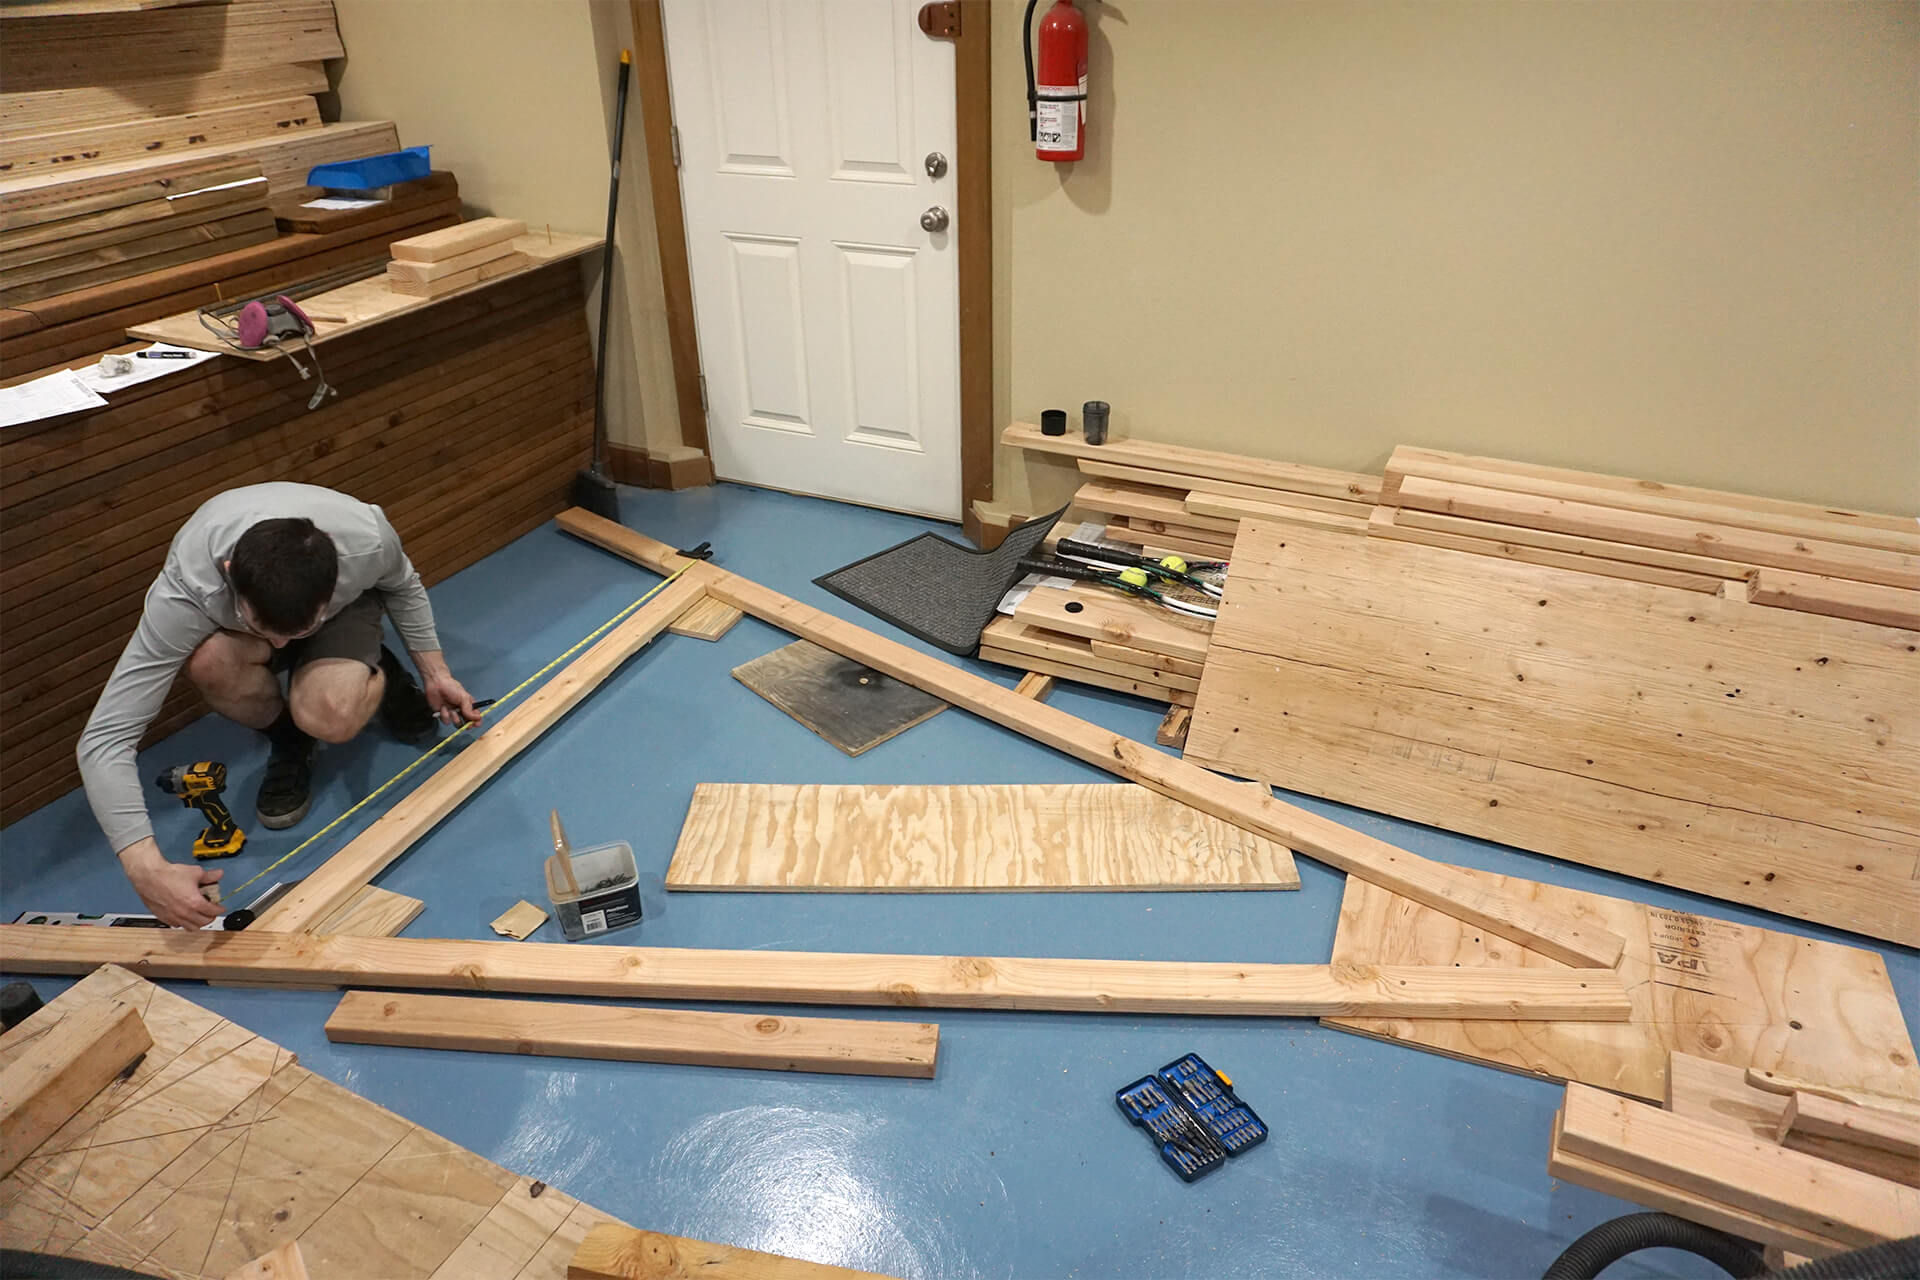
Build the hole jig to assist with foundation hole placement. Using a jig is easier and more precise than taking multiple measurements on-site.
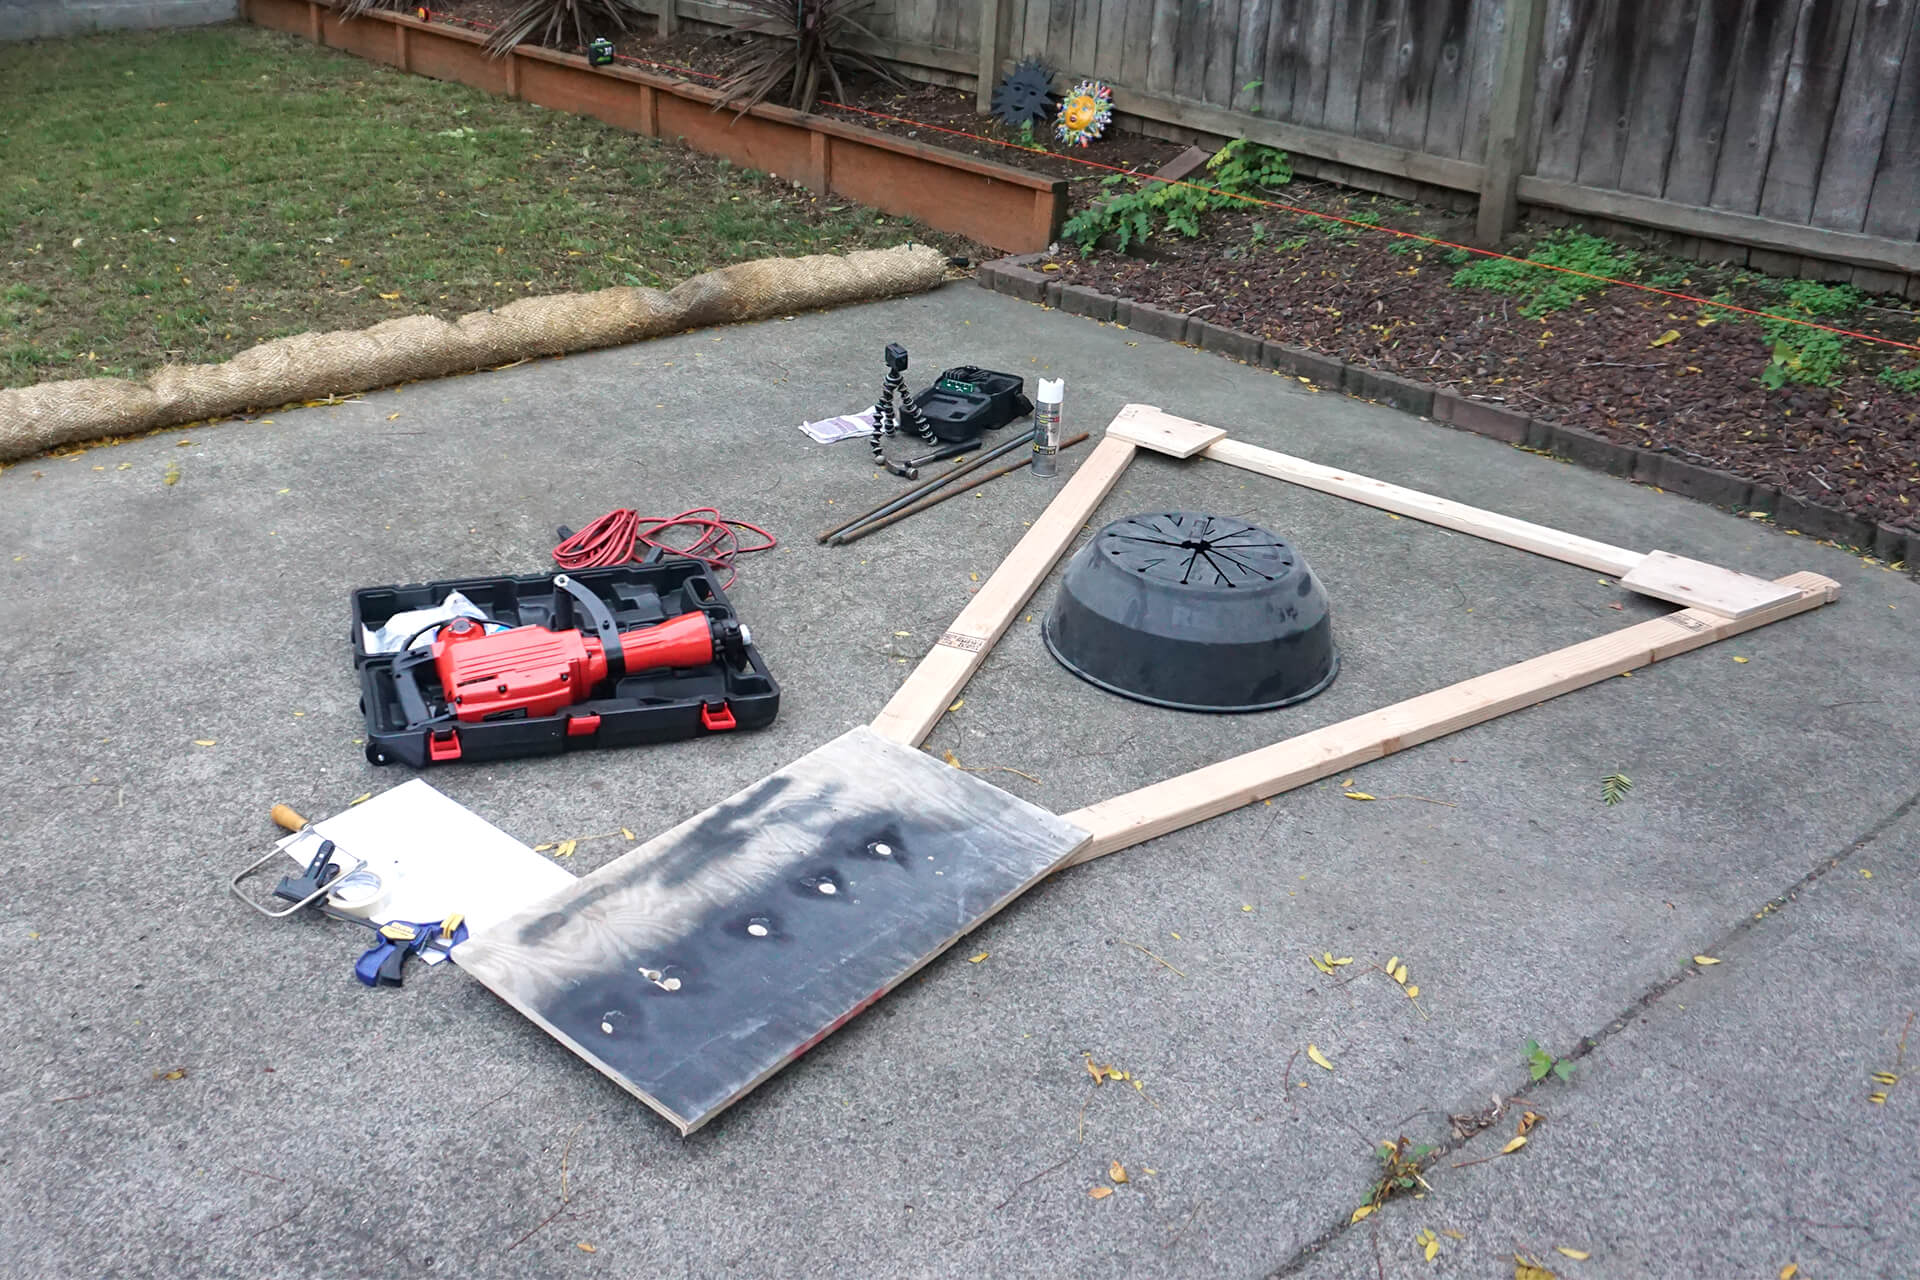
Gather the necessary tools: a laser, rebar, chalk spray, string, plastic footing, custom hole jig, and a cheap jackhammer (shown here).
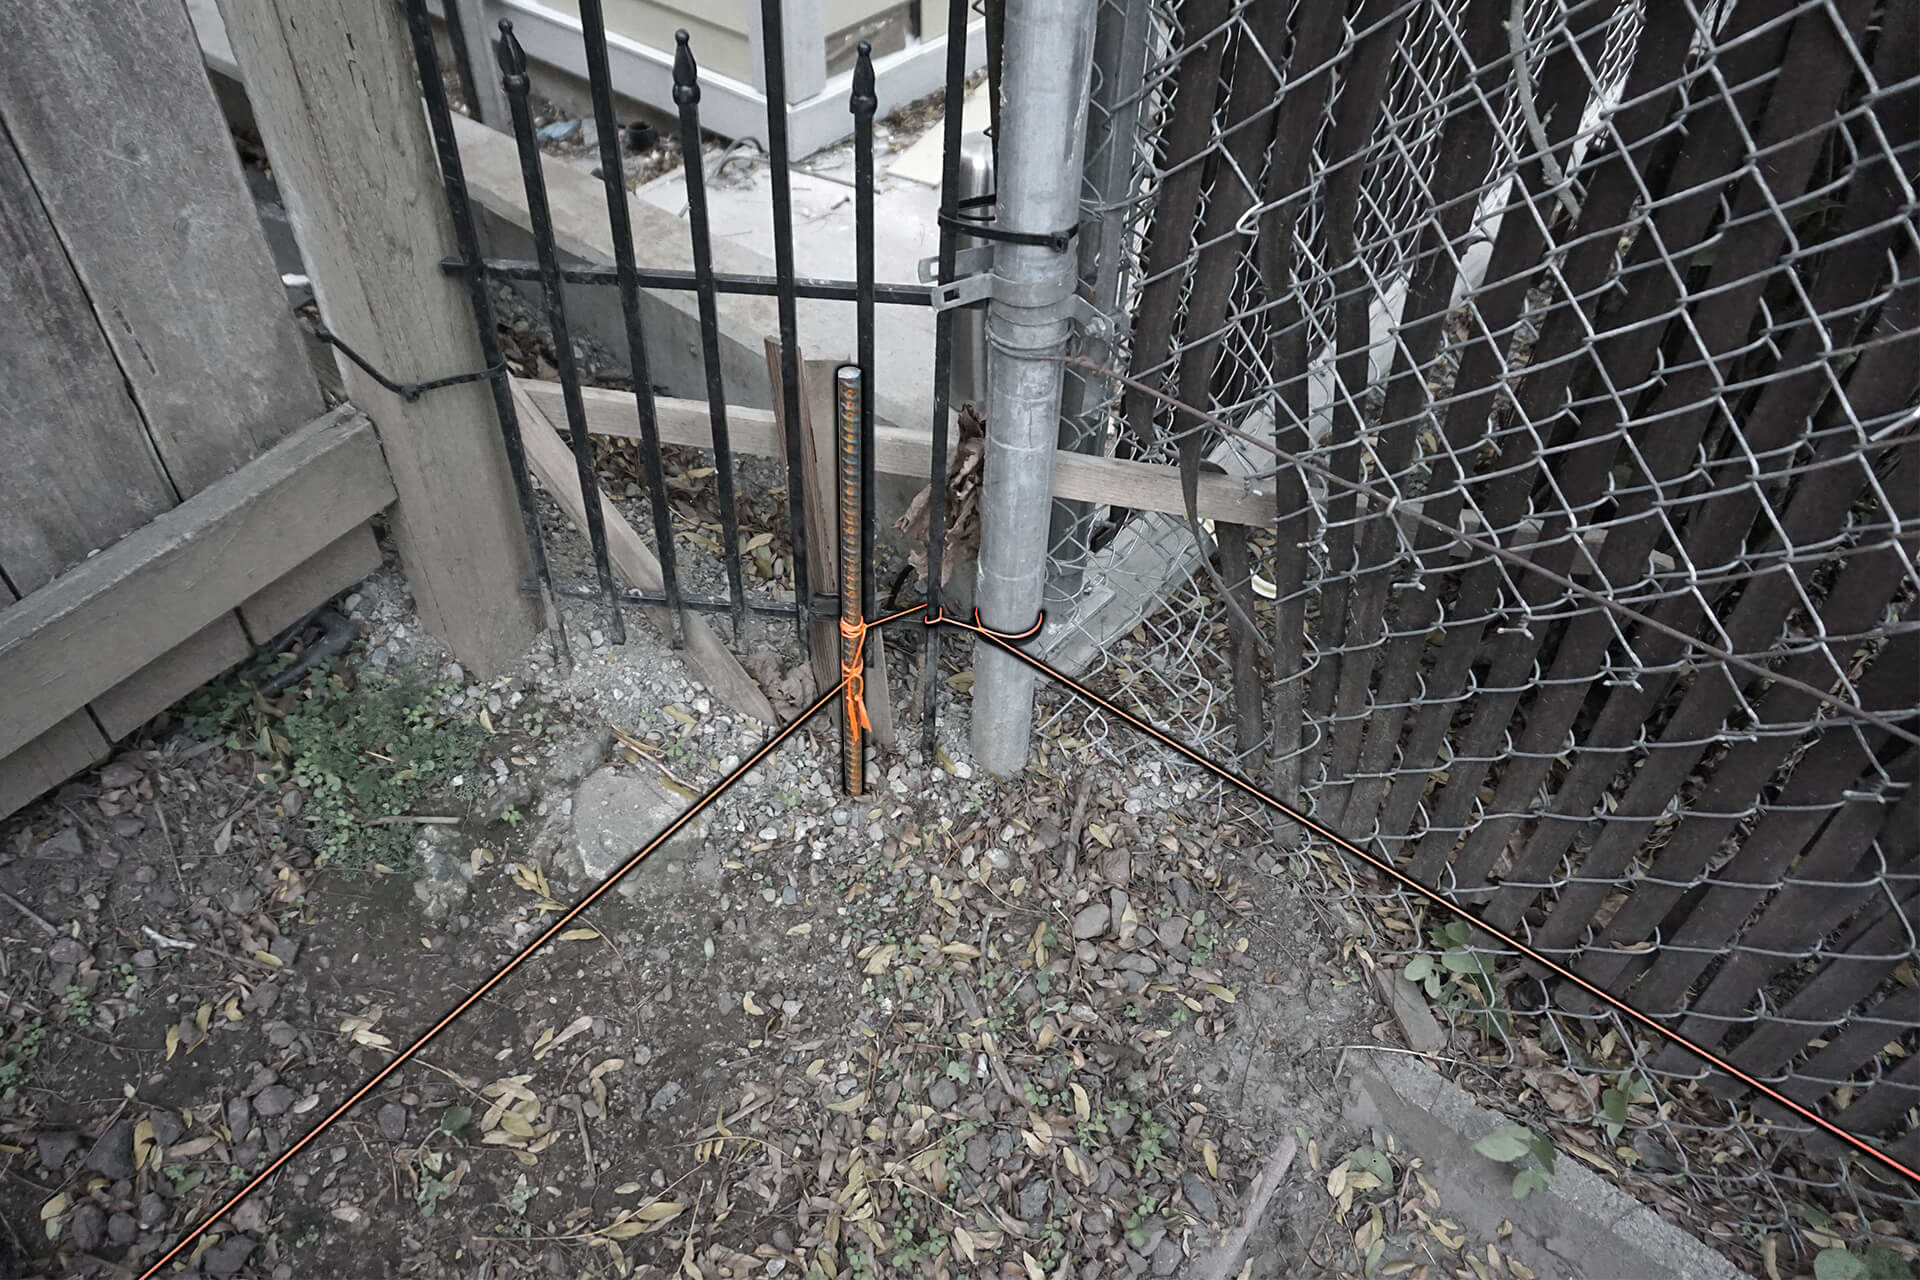
Locate the property line markers and string lines between them. Old property line markers are often just rebar. If they cannot be found and precision is critical, hire a surveyor.
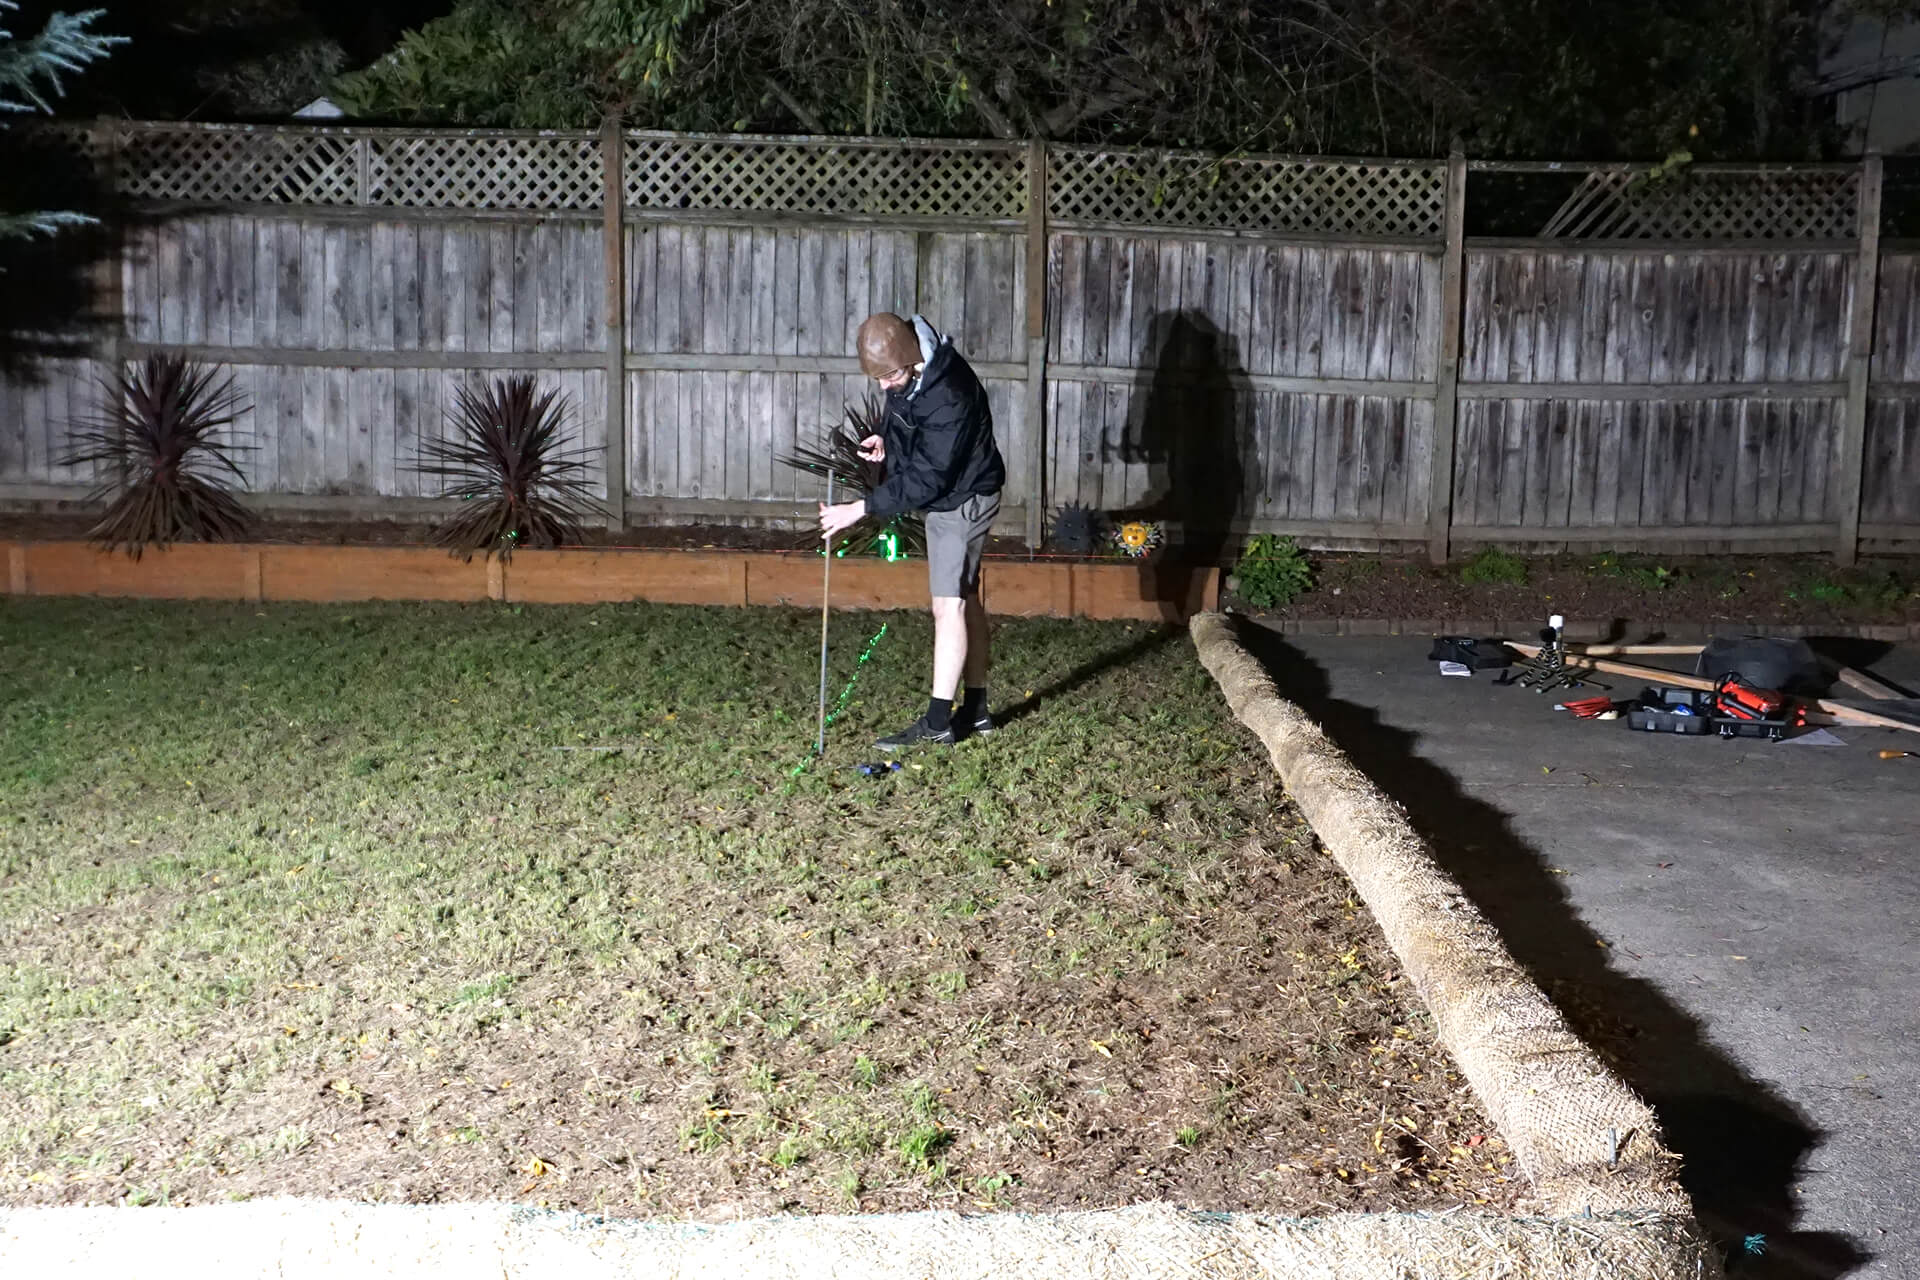
Mark the location of the center pier. Call for the setback inspection, or consider delaying it to combine with the footings inspection.
Inspection: Setbacks (delay?)
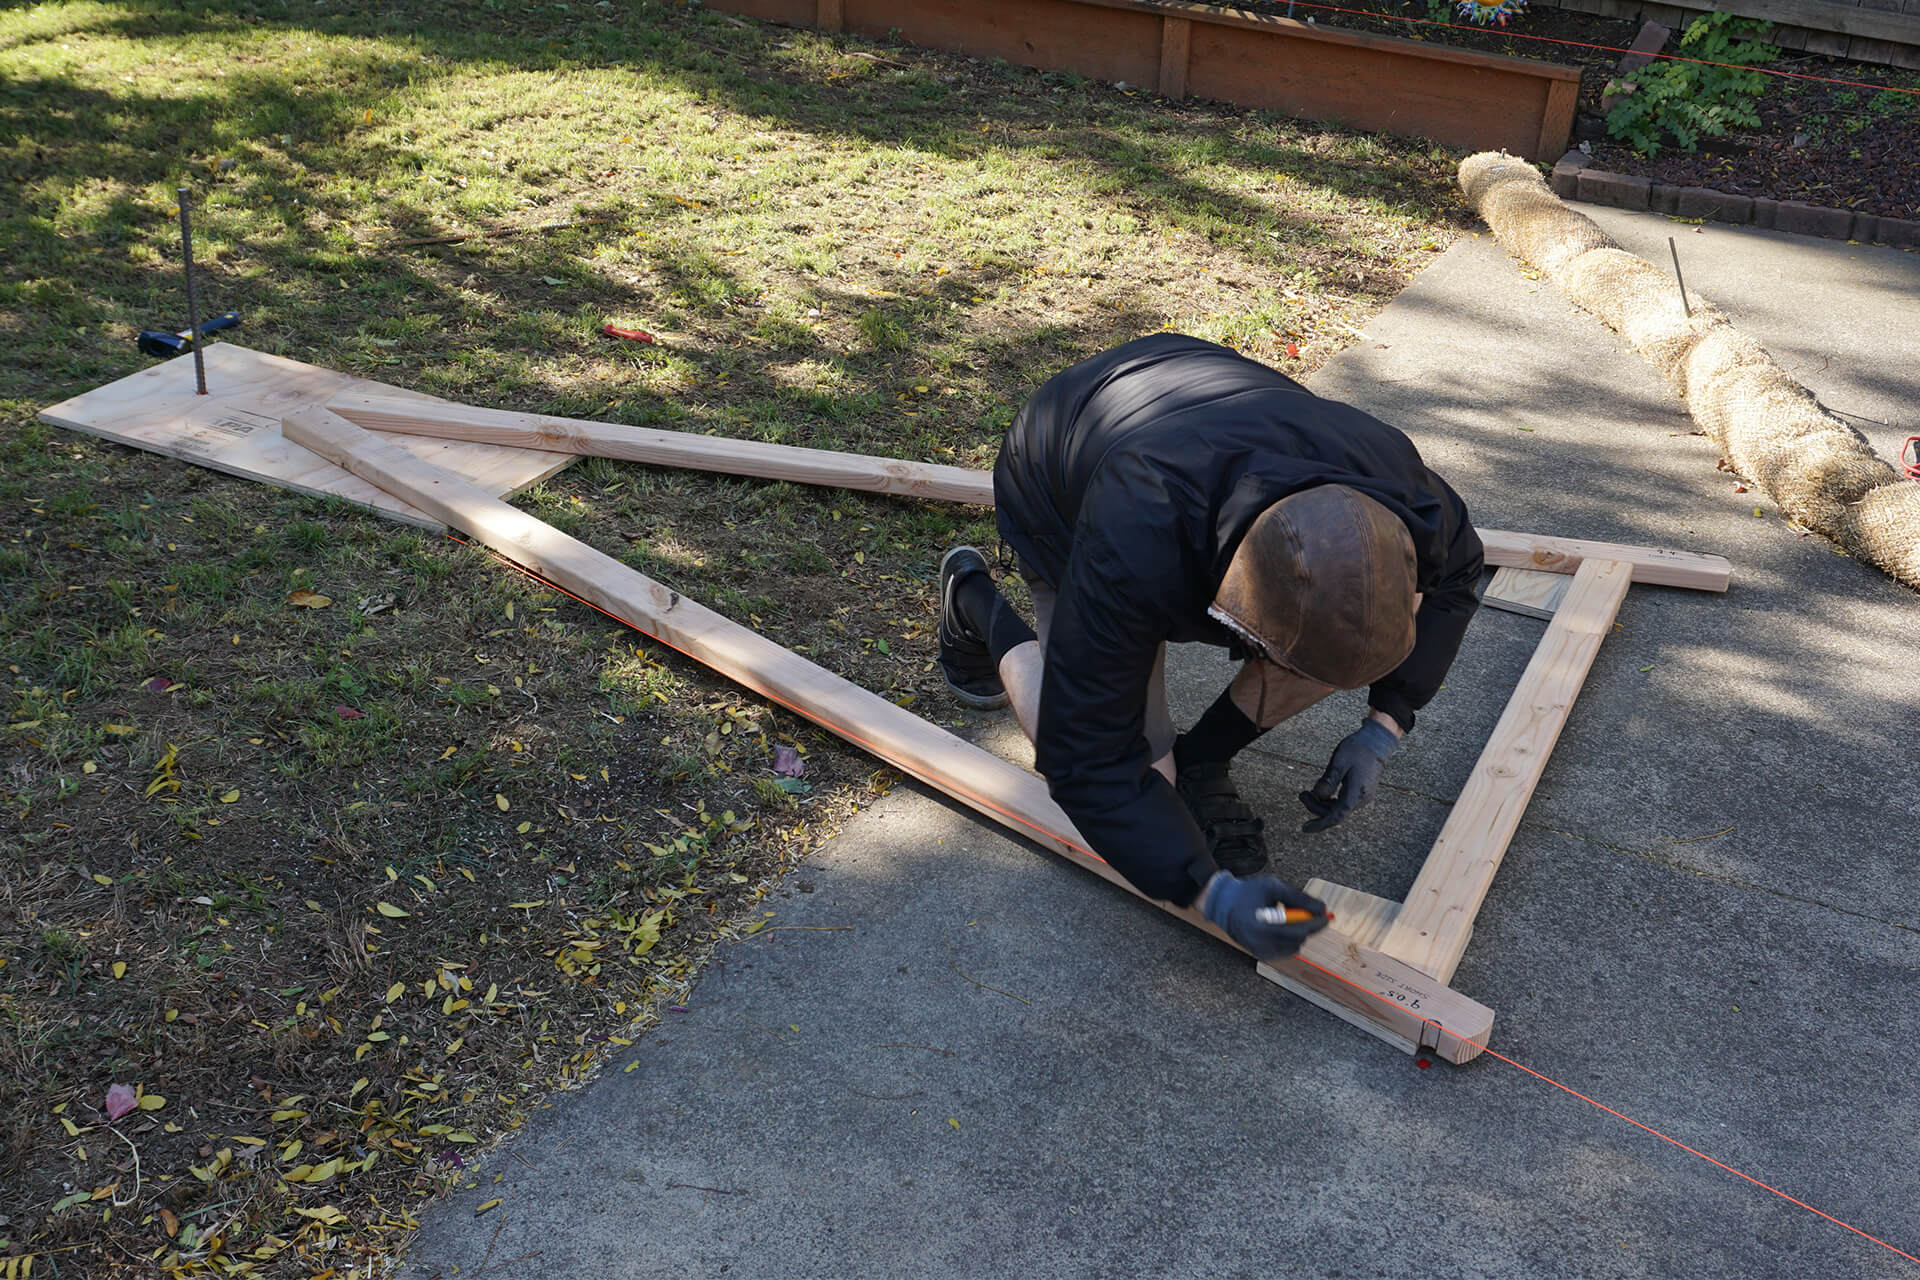
Align the hole jig with a reference string line pointing toward the front door. Mark the hole centers by flipping and rotating the hole jig along the center.
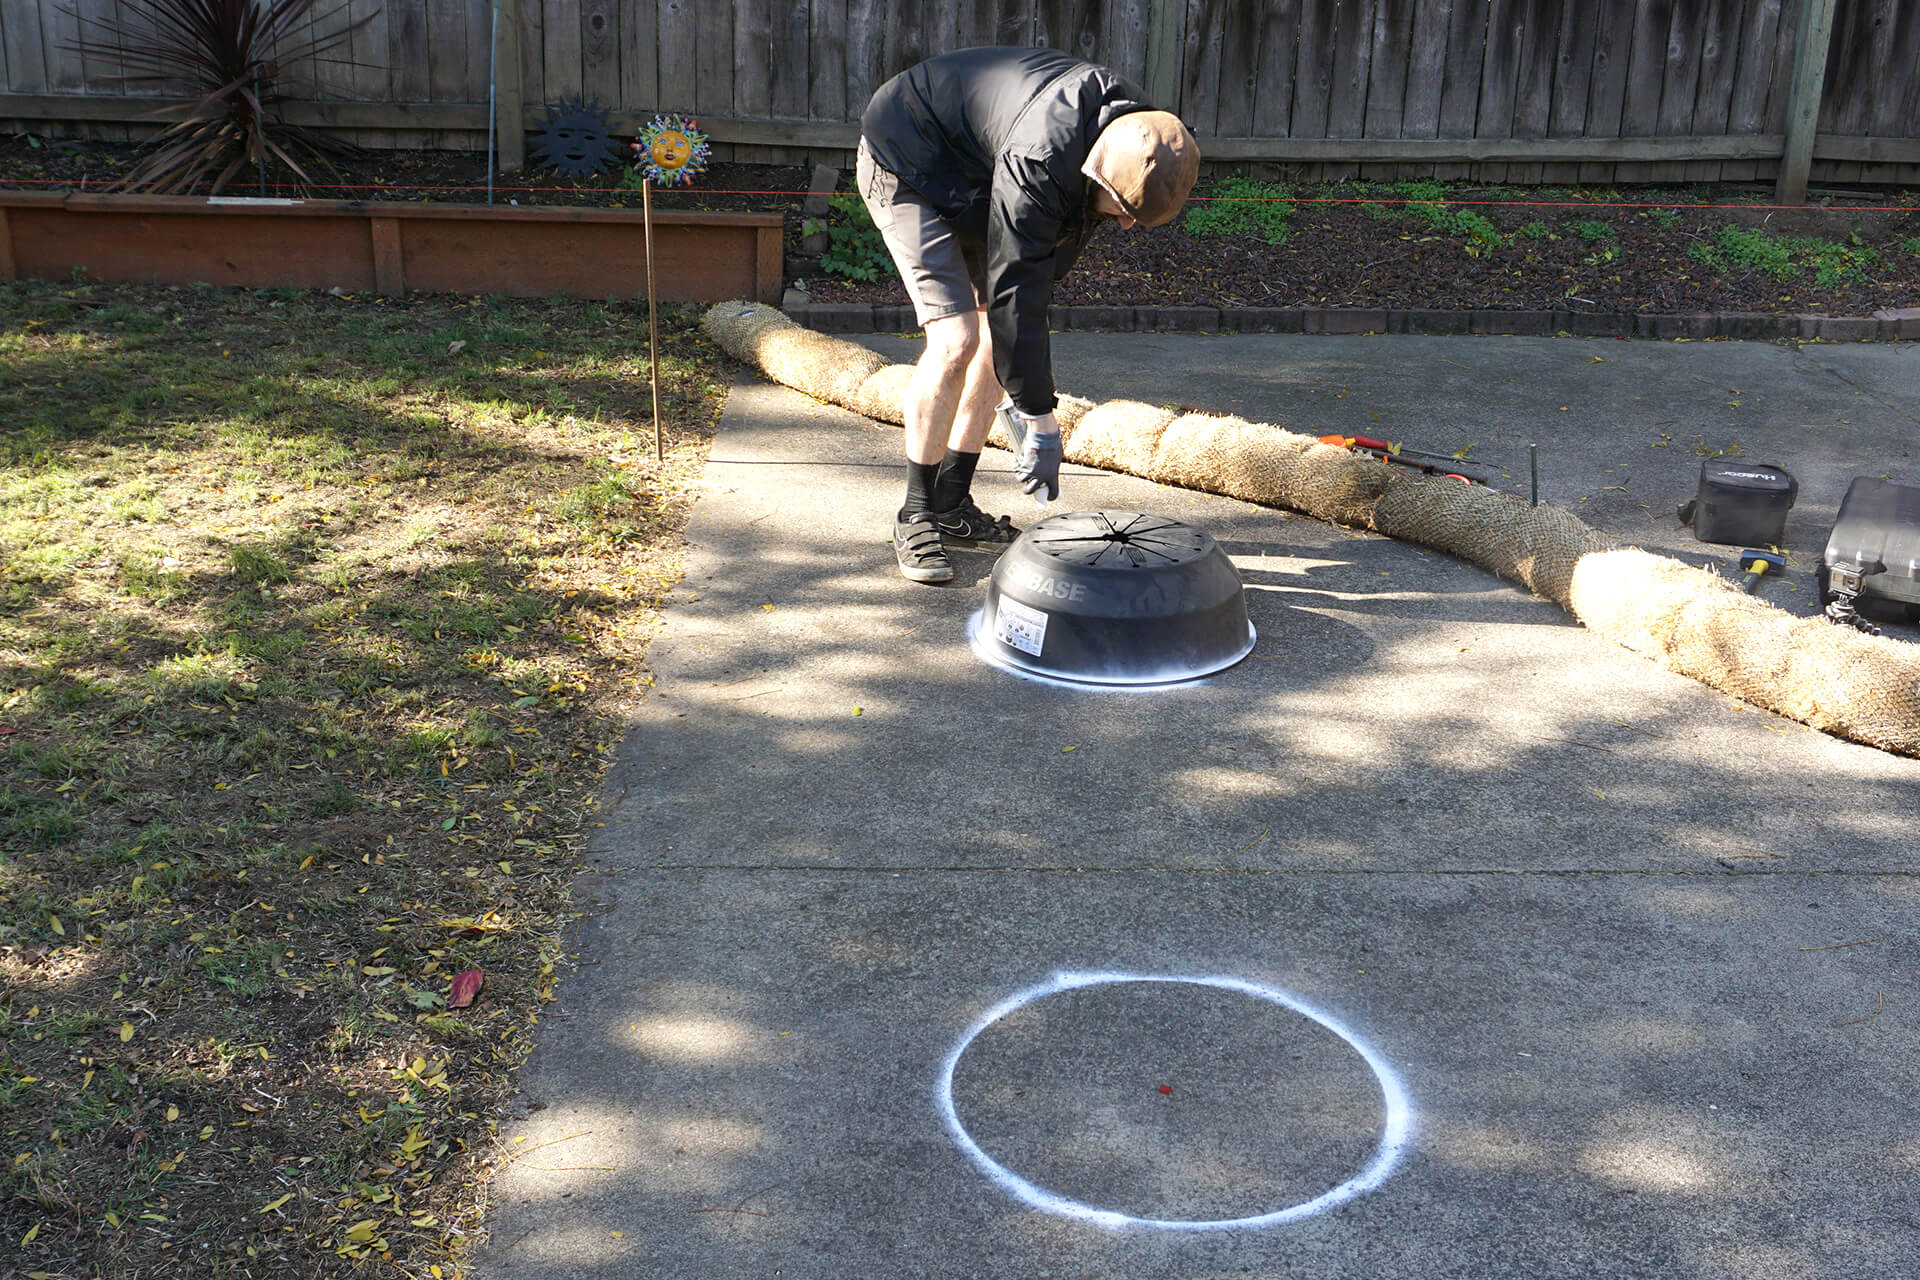
Mark footer diameters onto any existing concrete using a plastic footer and chalk spray.
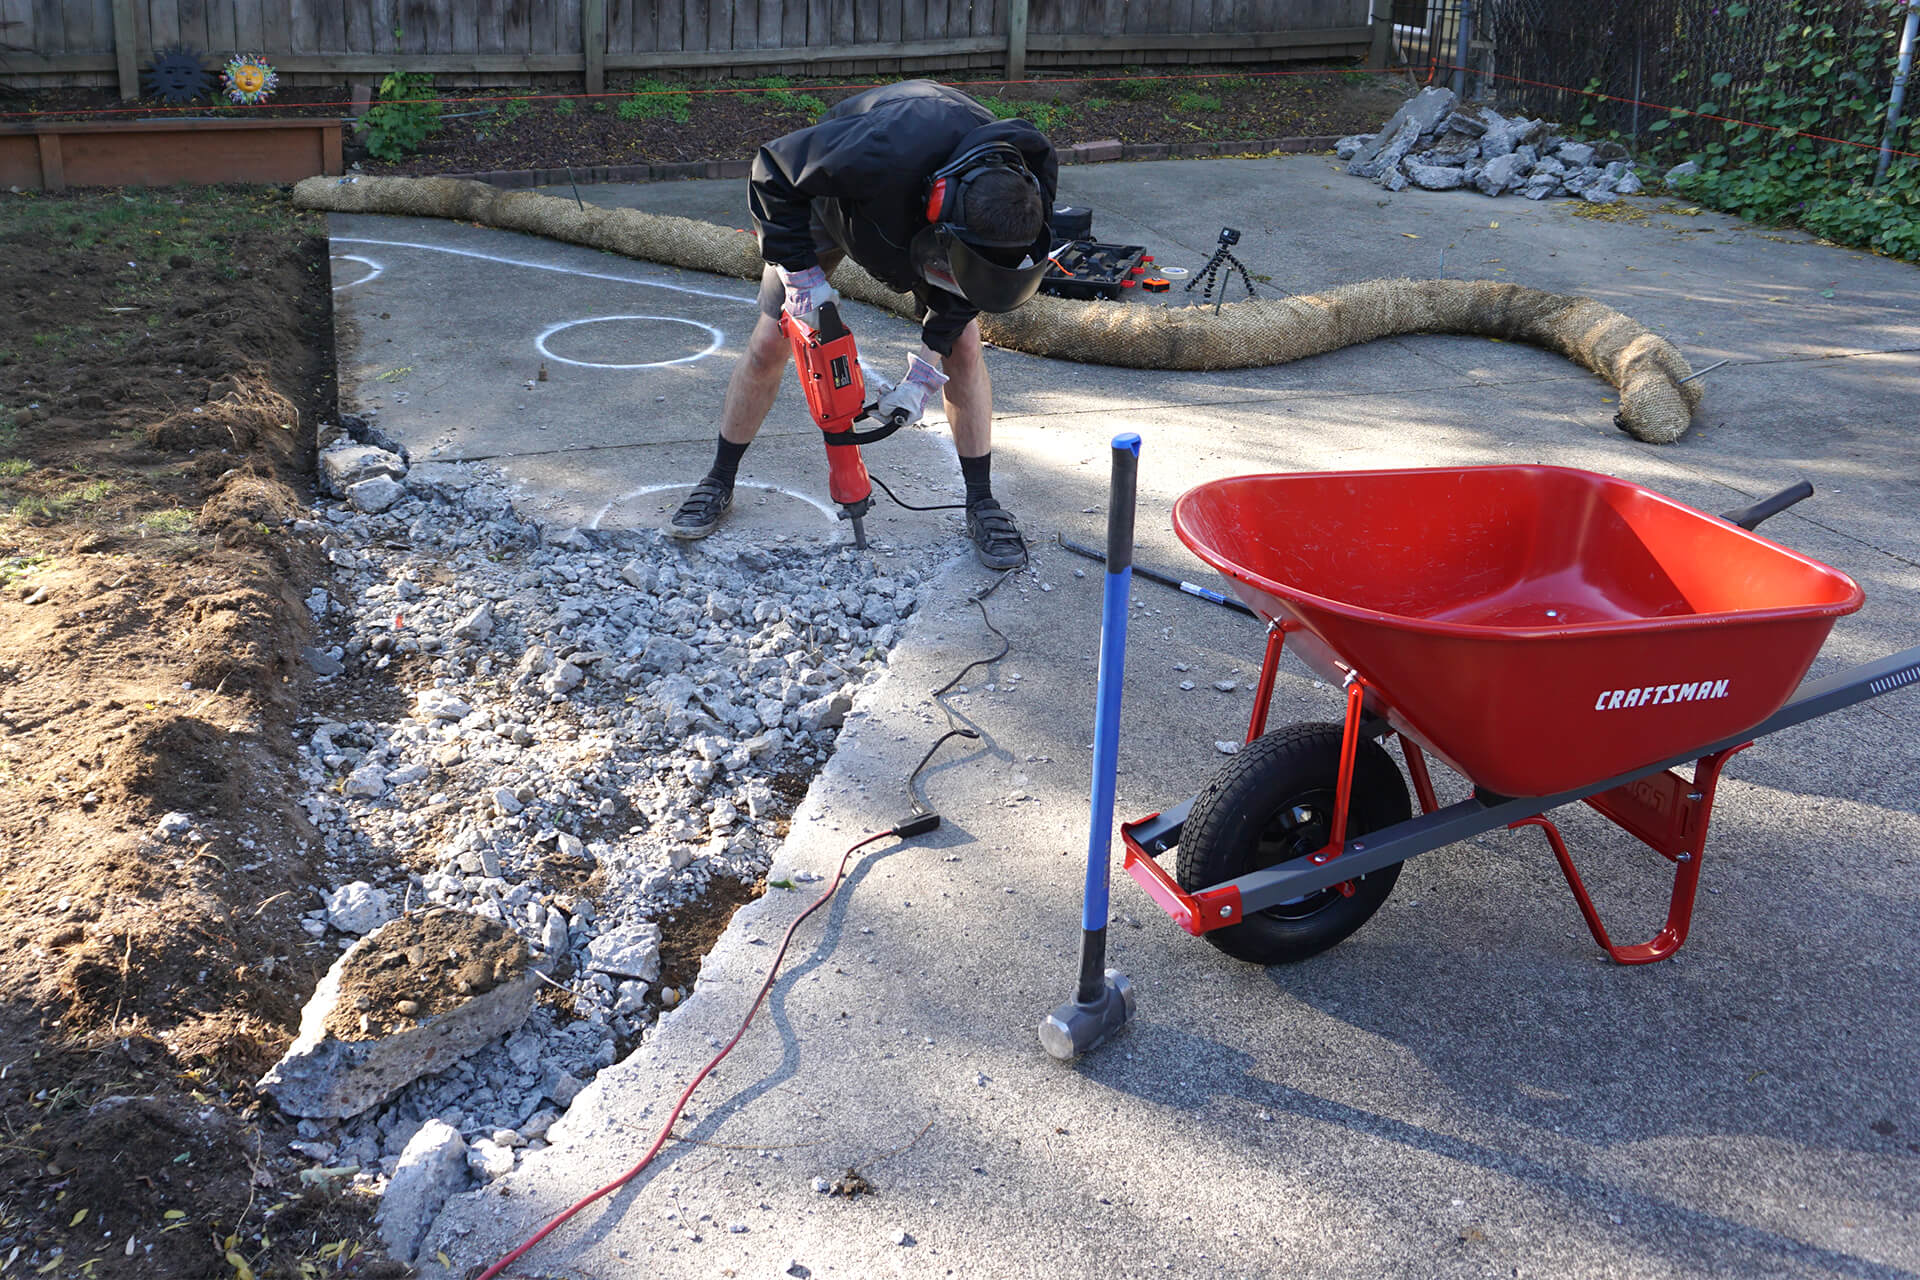
Bust up the concrete using a jackhammer. Wear double gloves to prevent blisters.
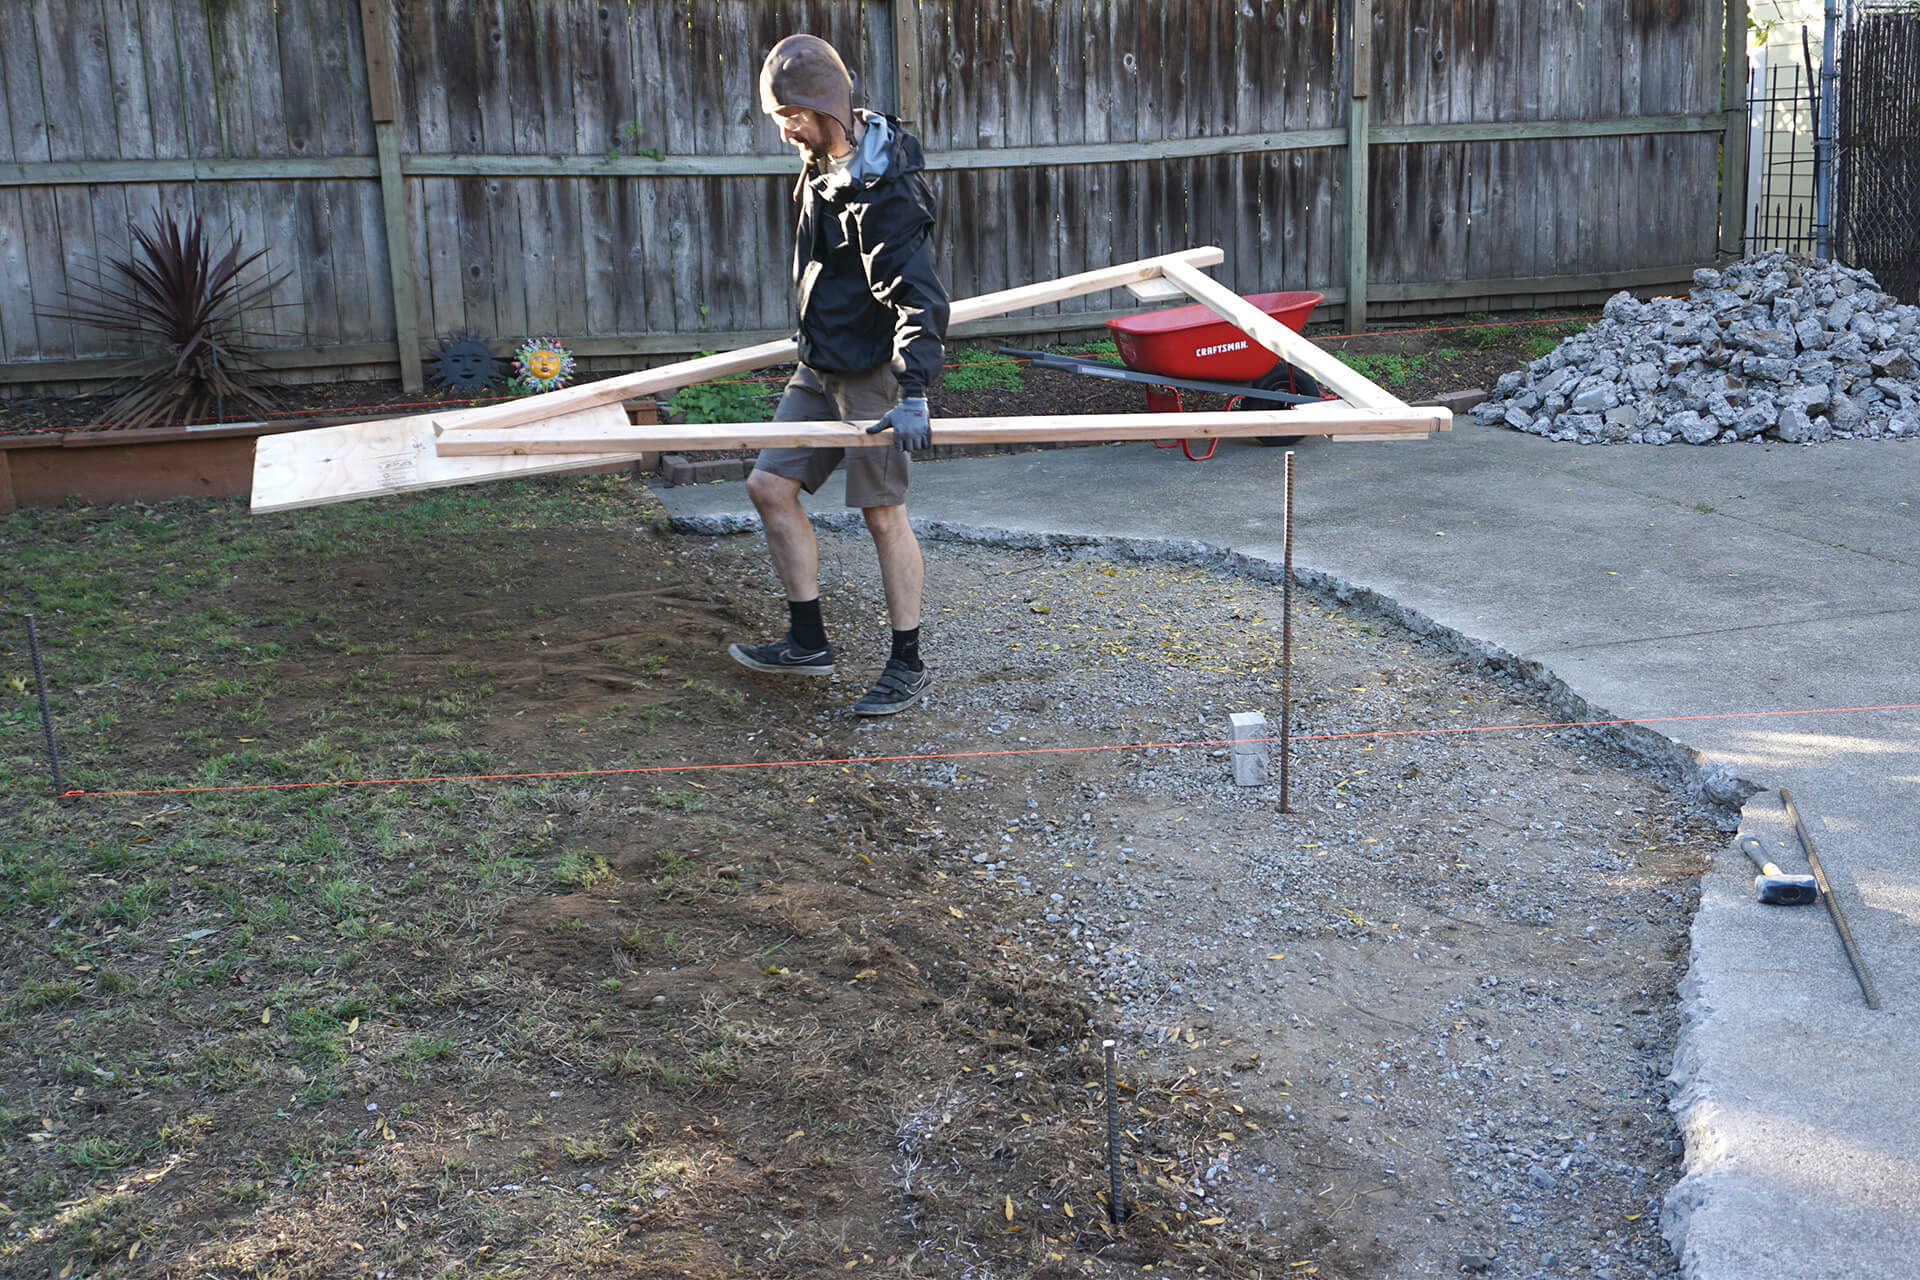
Mark the hole centers using the jig.
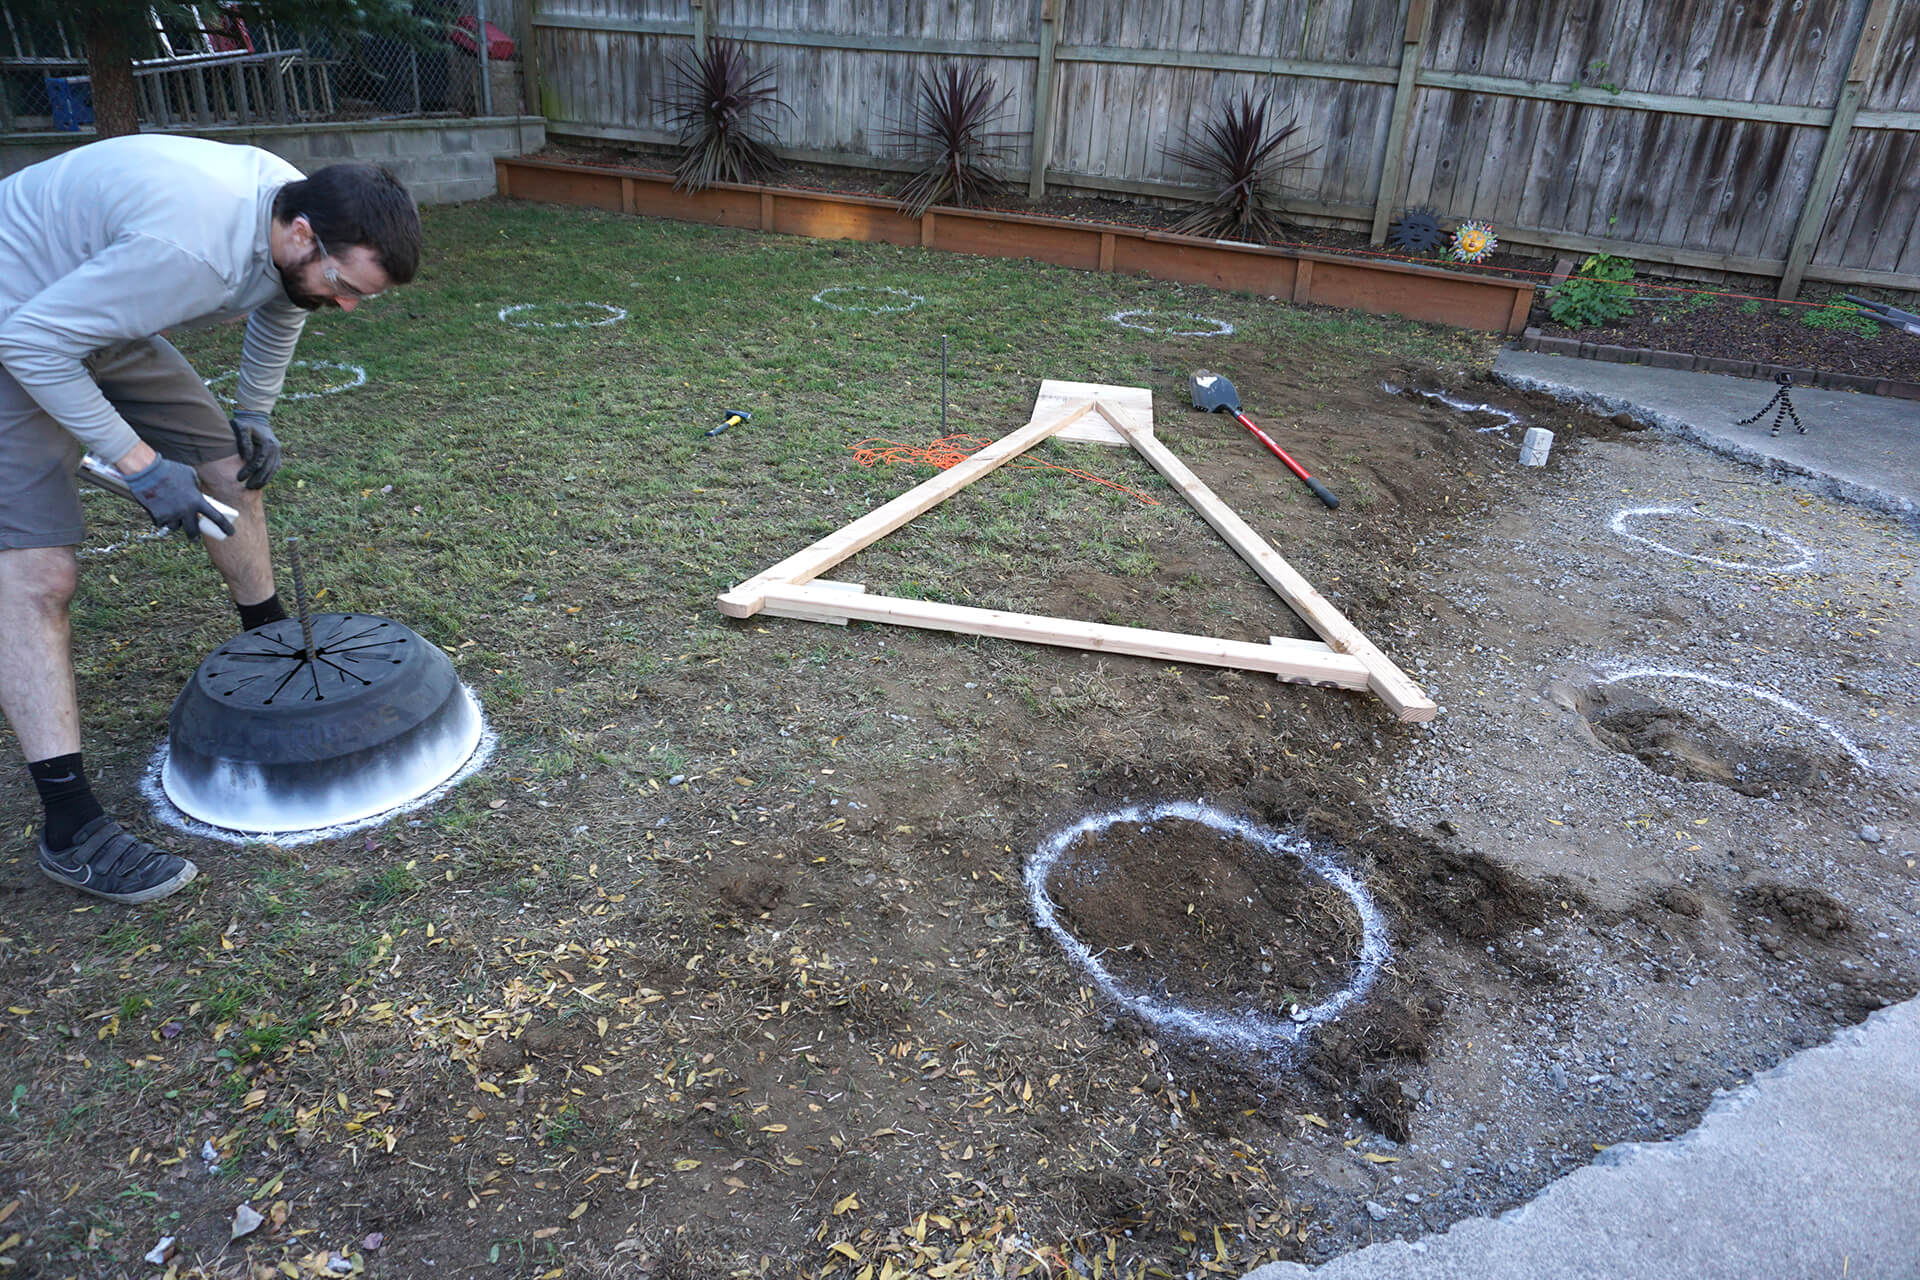
Mark footer diameters onto the soil using a plastic footer and chalk spray.
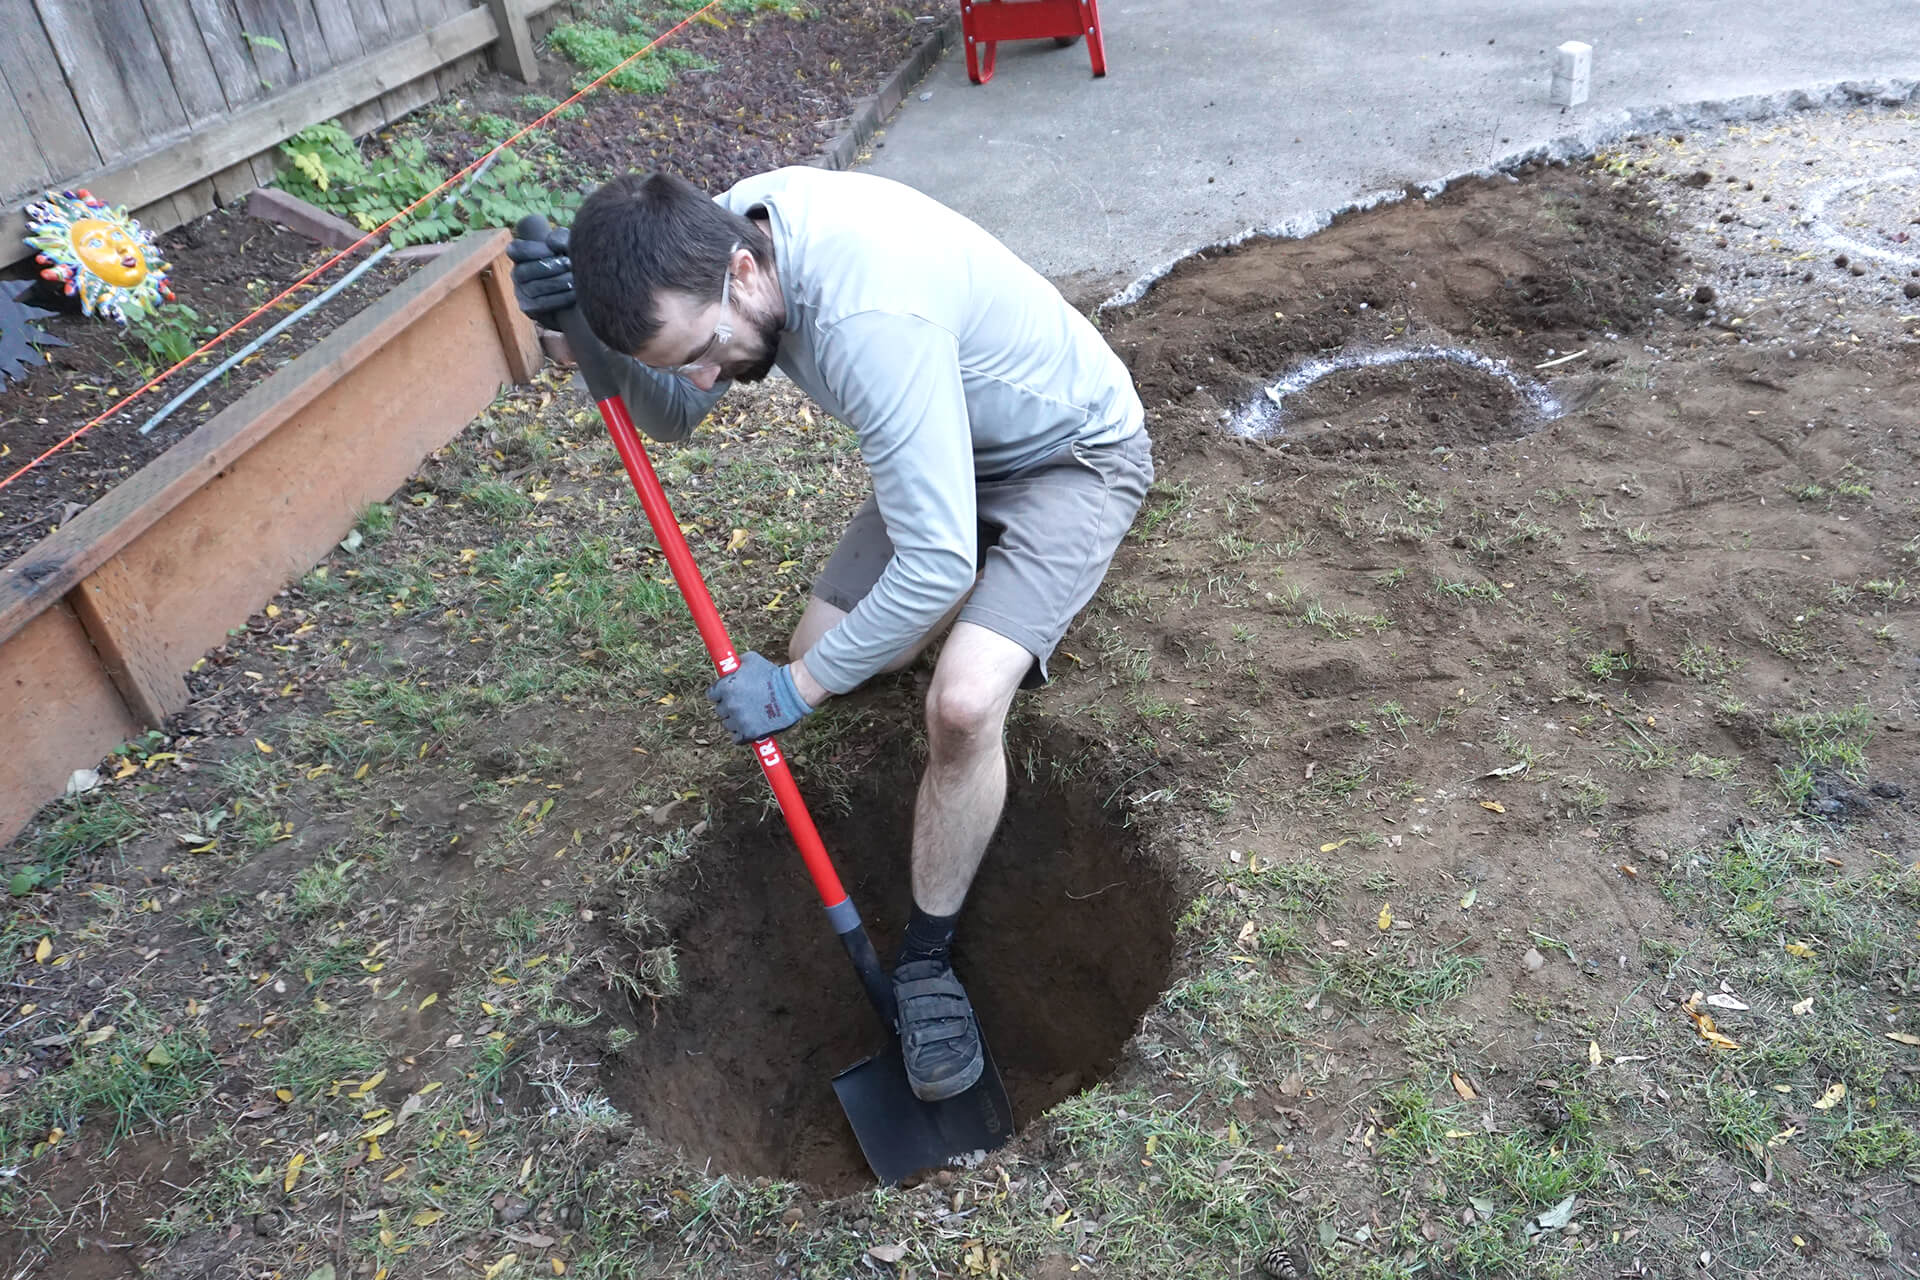
Dig the first hole to the depth called for in the plans. Ensure the depth meets local code requirements, which are often based on the frost line location.
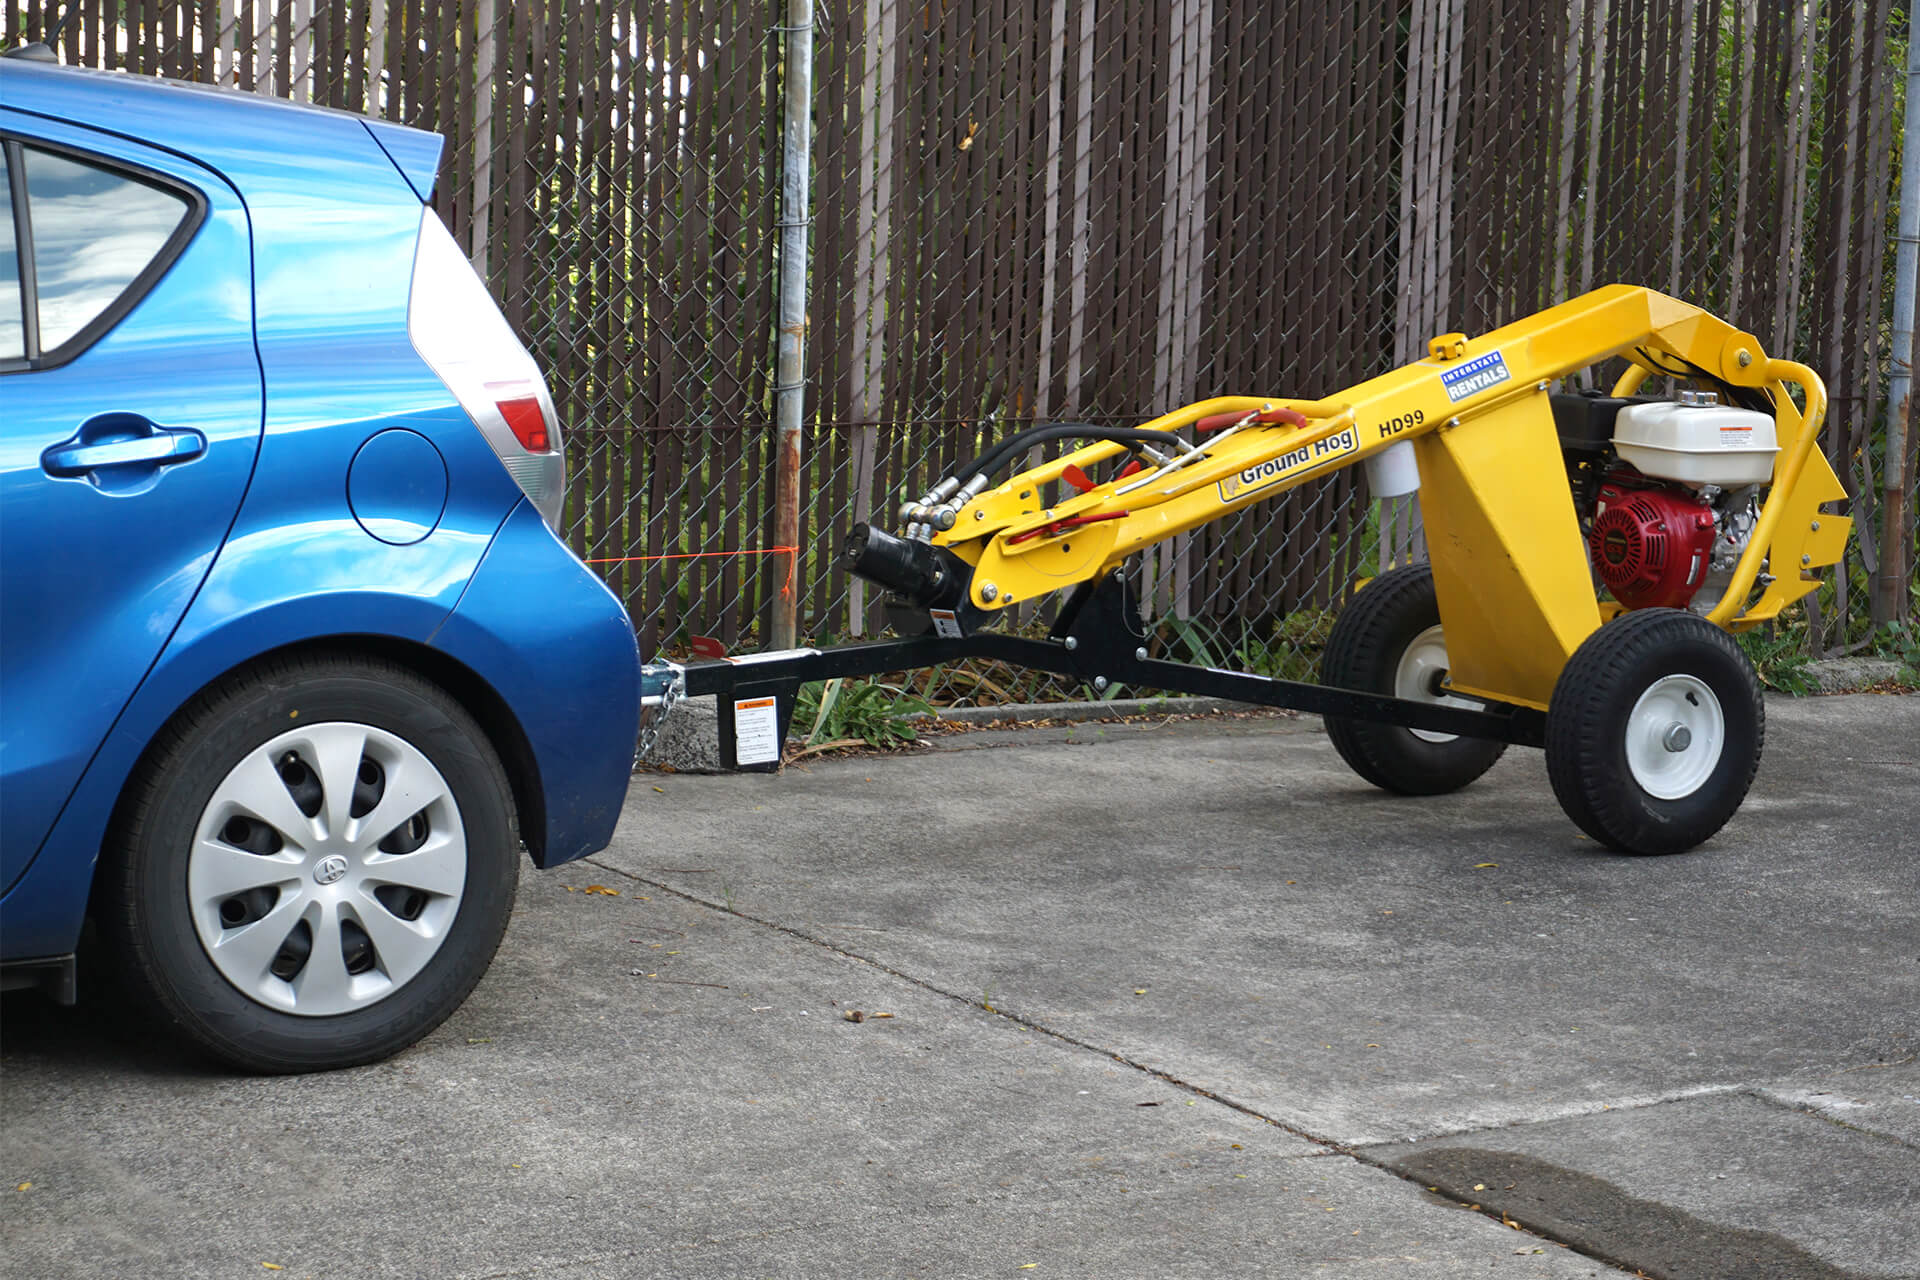
Rent a large hole auger.
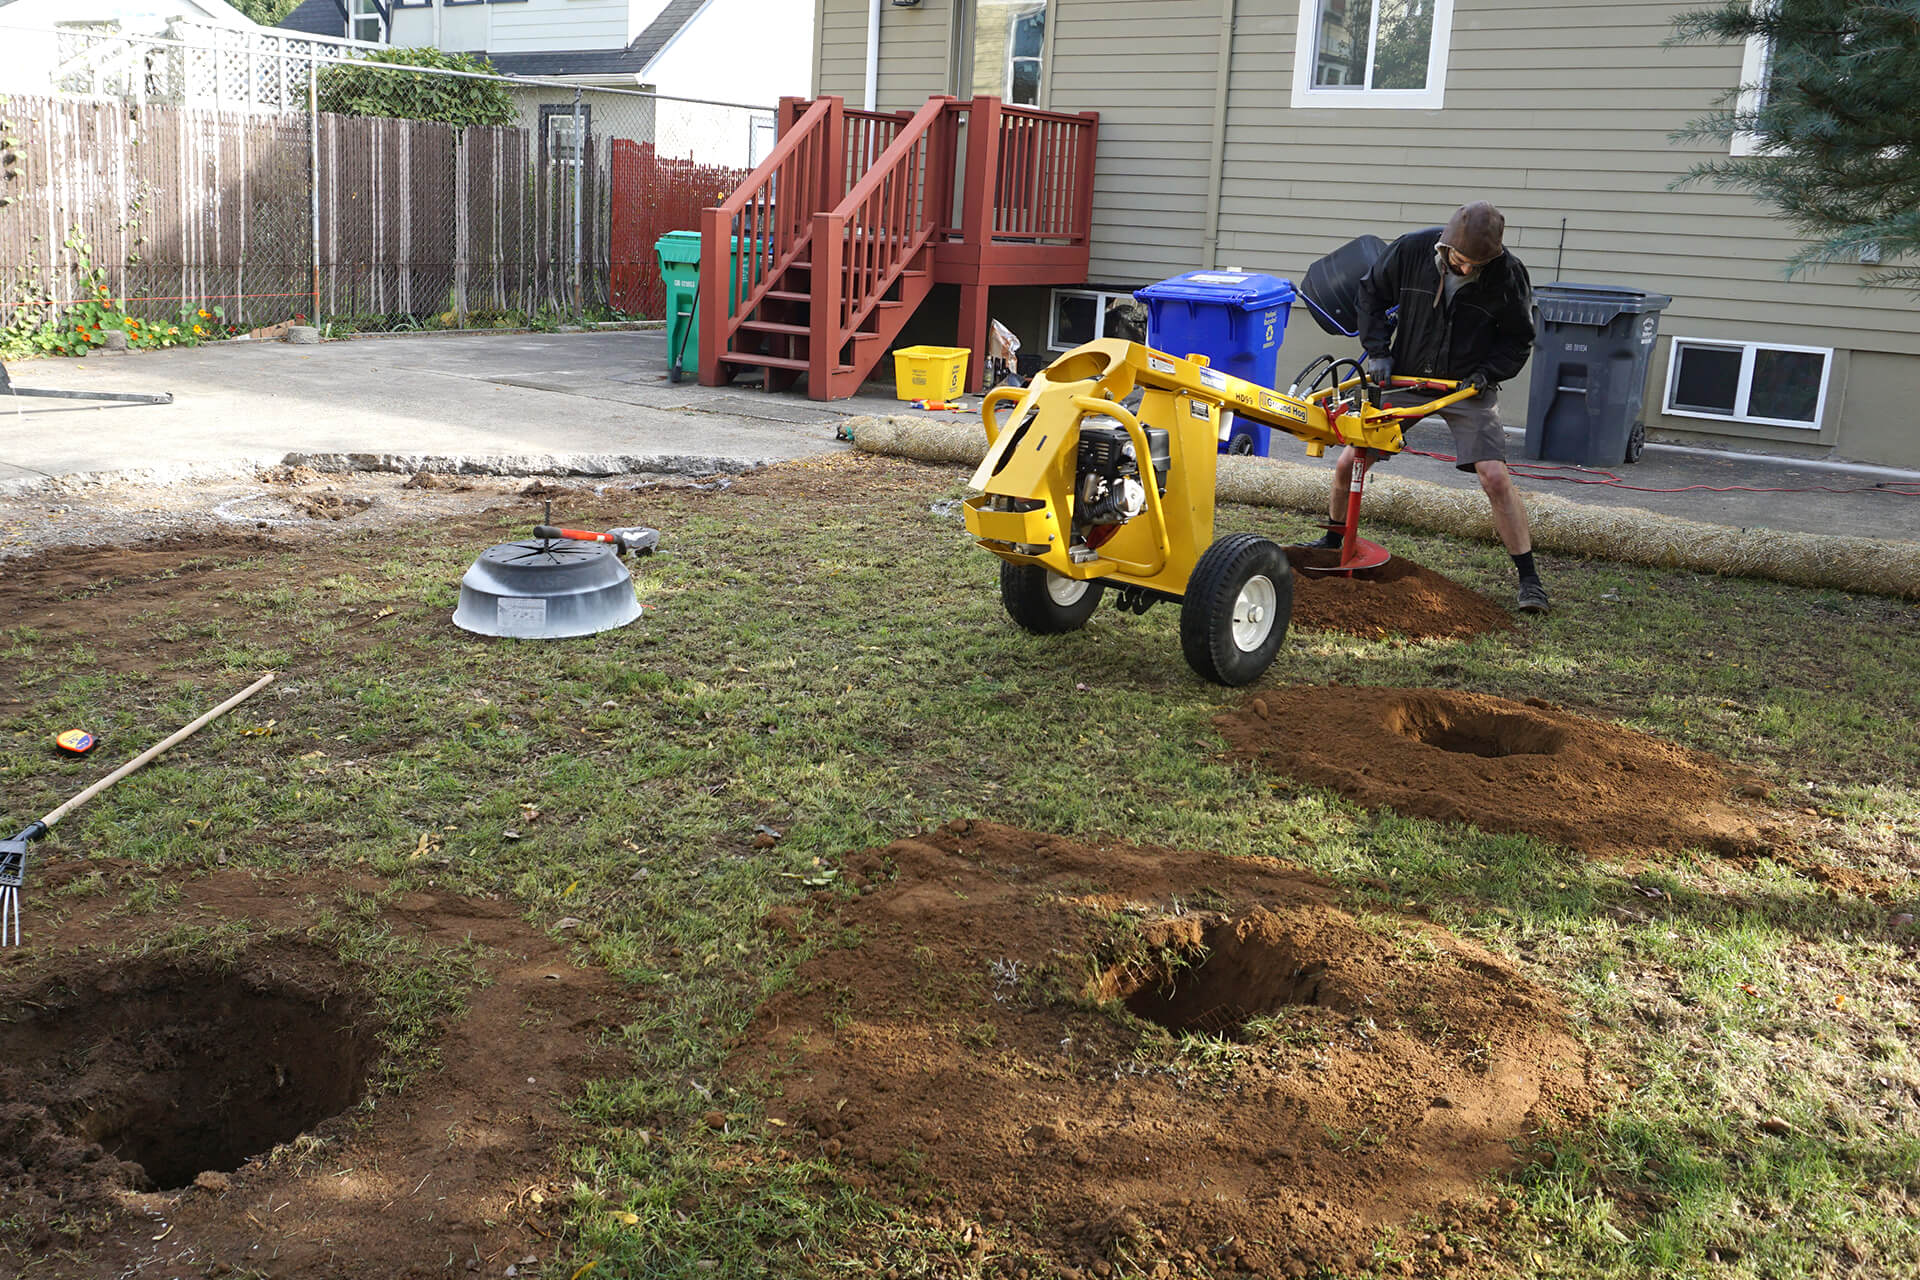
Use the auger to quickly dig the holes, but note that it may only be able to bore them at half the target diameter due to the auger's bit size limitations.
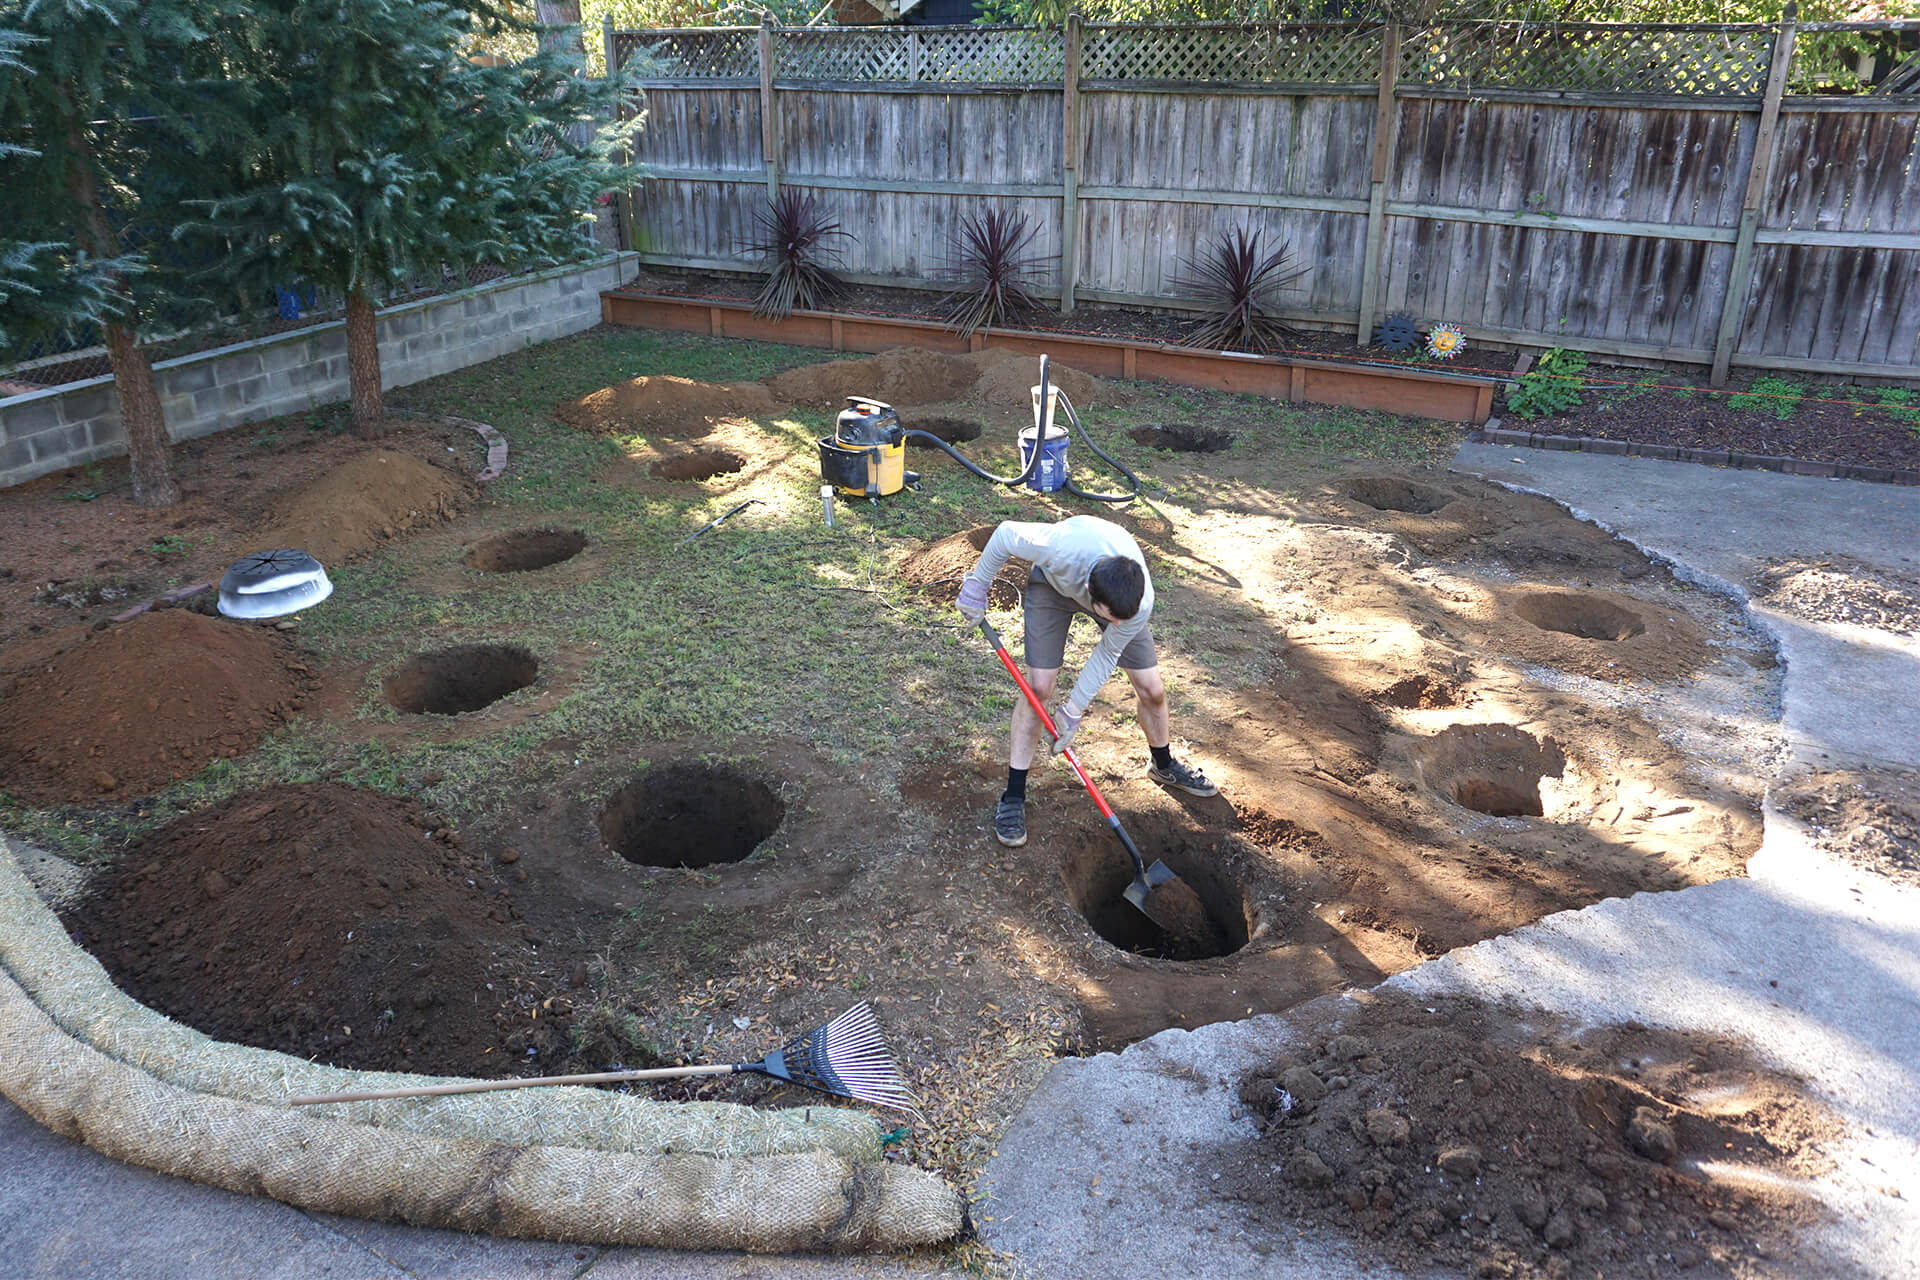
Manually shovel each hole to the target diameter. Do not disturb the soil at the base of the hole, as this will avoid the need for backfilling or compaction.
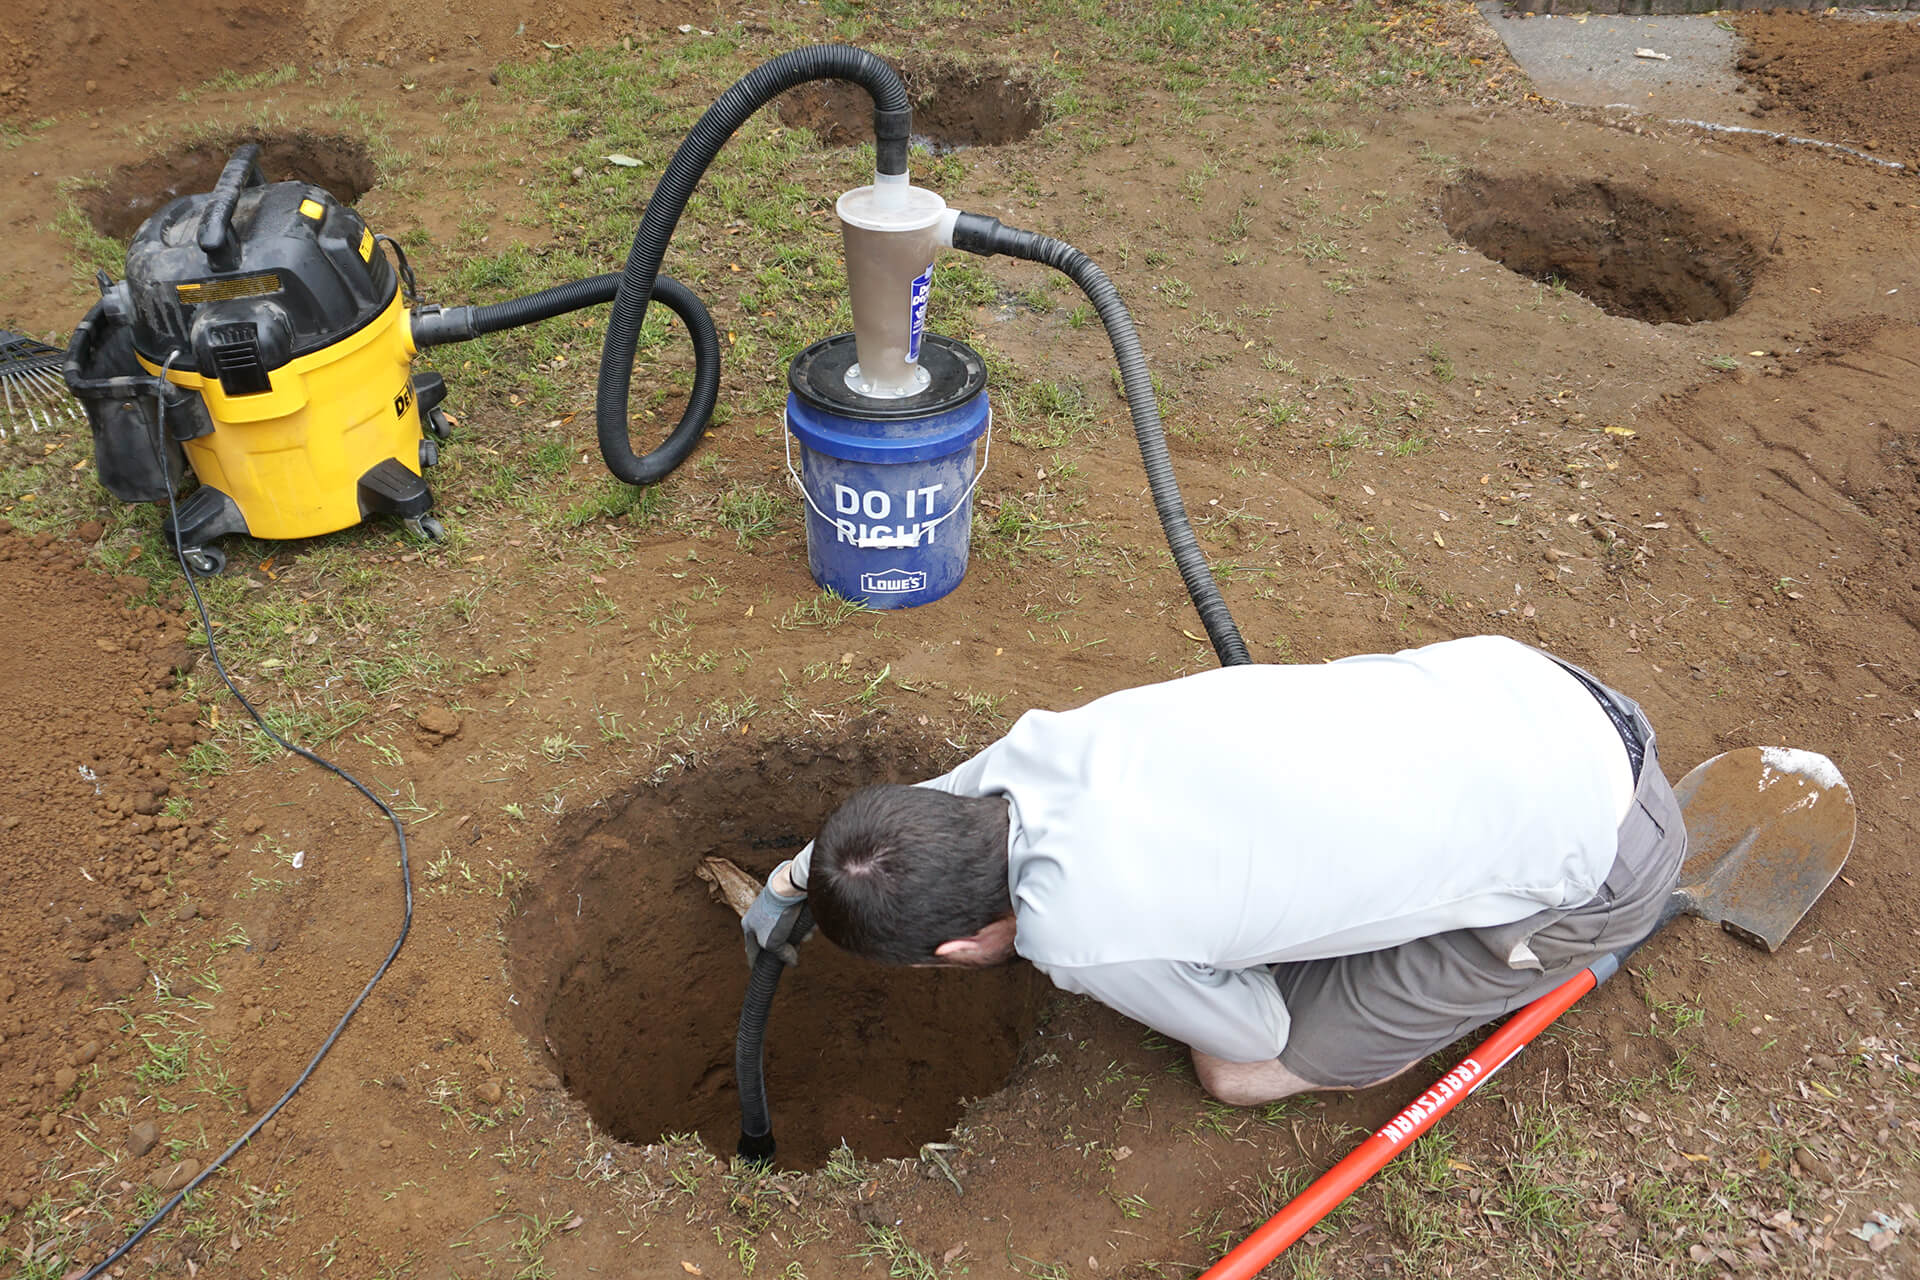
Remove any loose soil from the bottom of the holes. Call for the Footings inspection and be prepared to show the rebar cages as well.
Inspection: Footings (and Setbacks?)
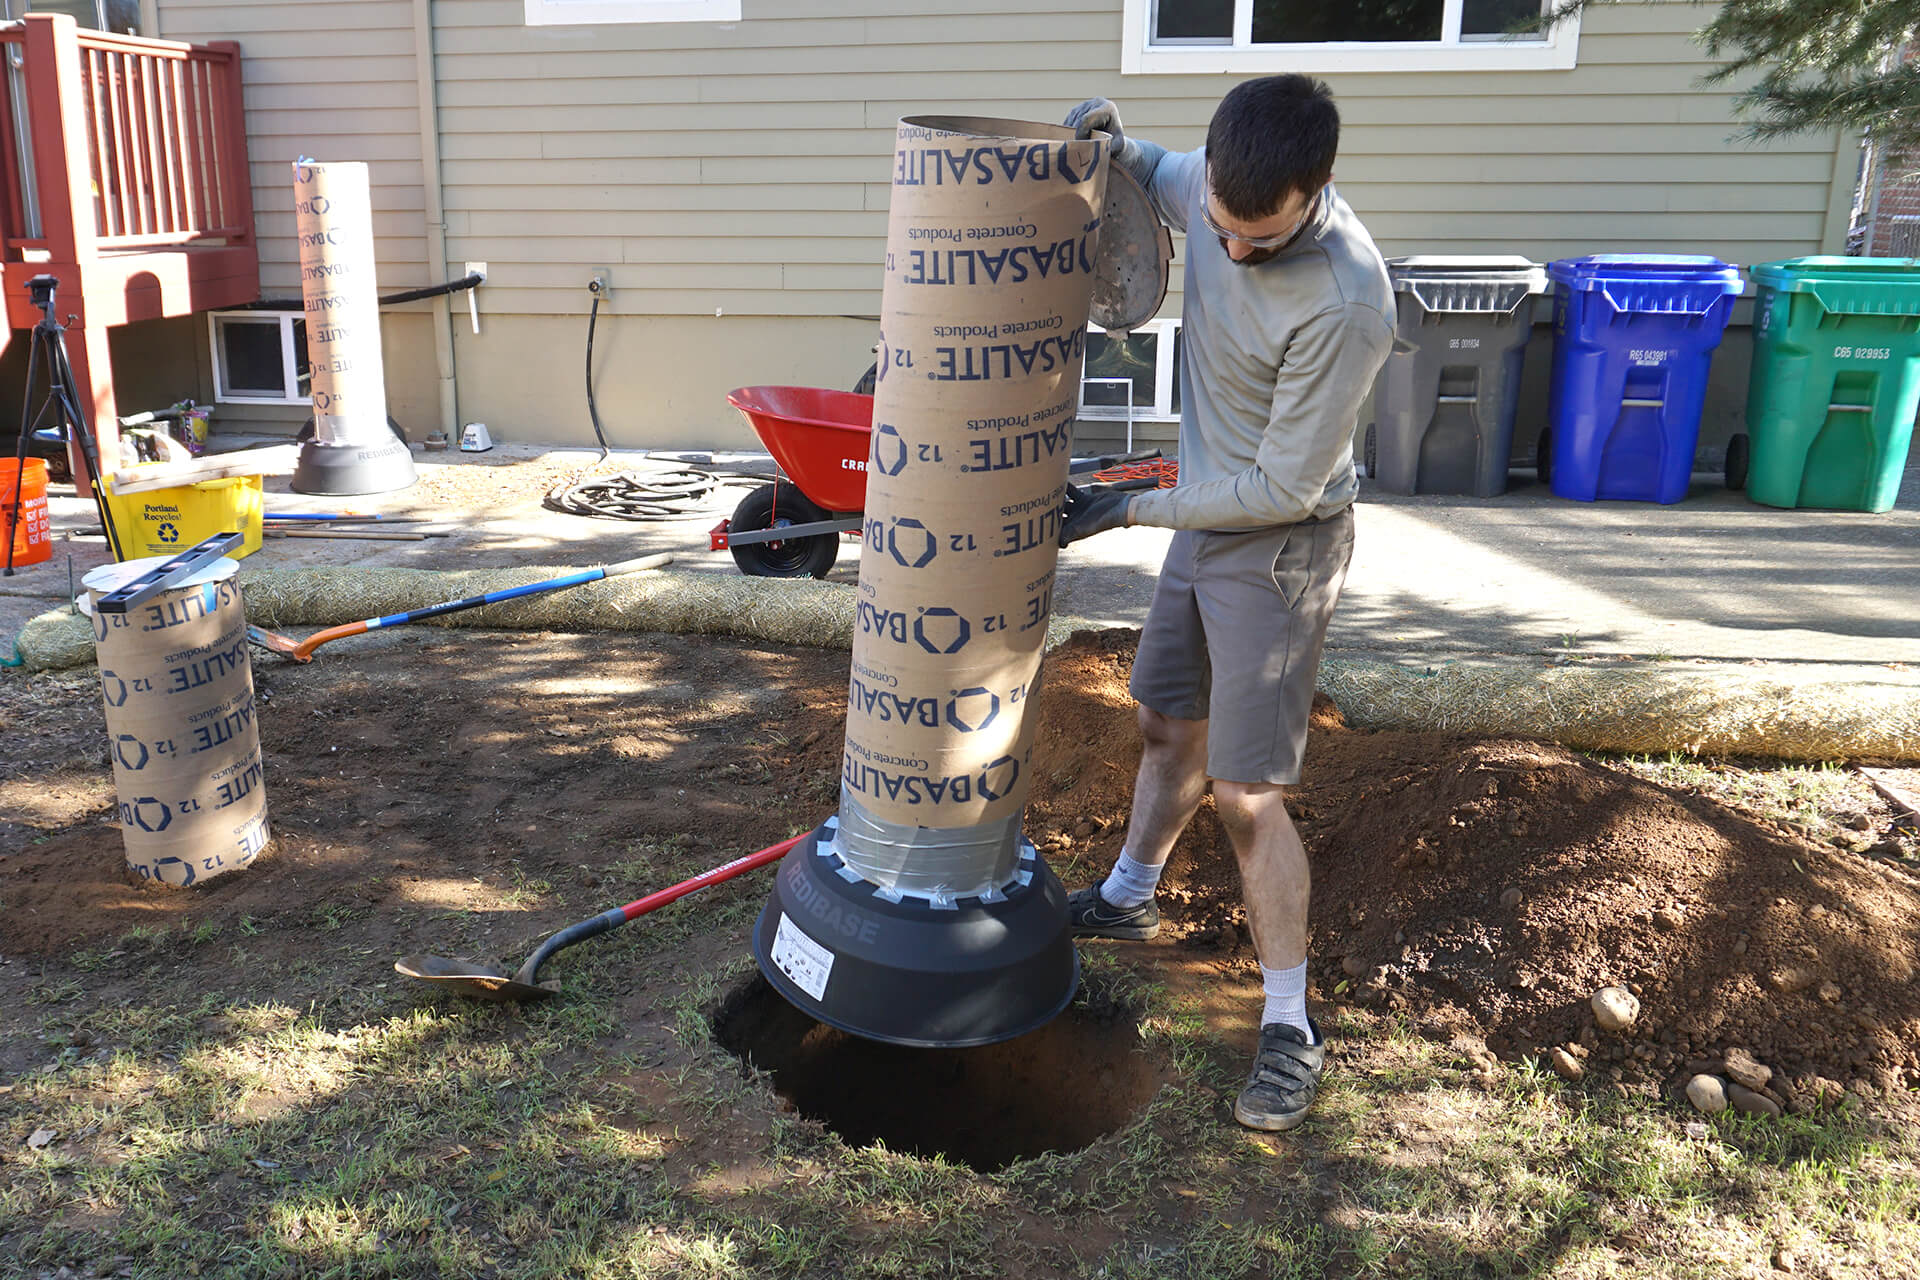
Attach the cardboard tube forms to the plastic footer forms. Cut every other plastic tab to match the tube diameter, then fold the remaining tabs up, staple them, and secure with tape.
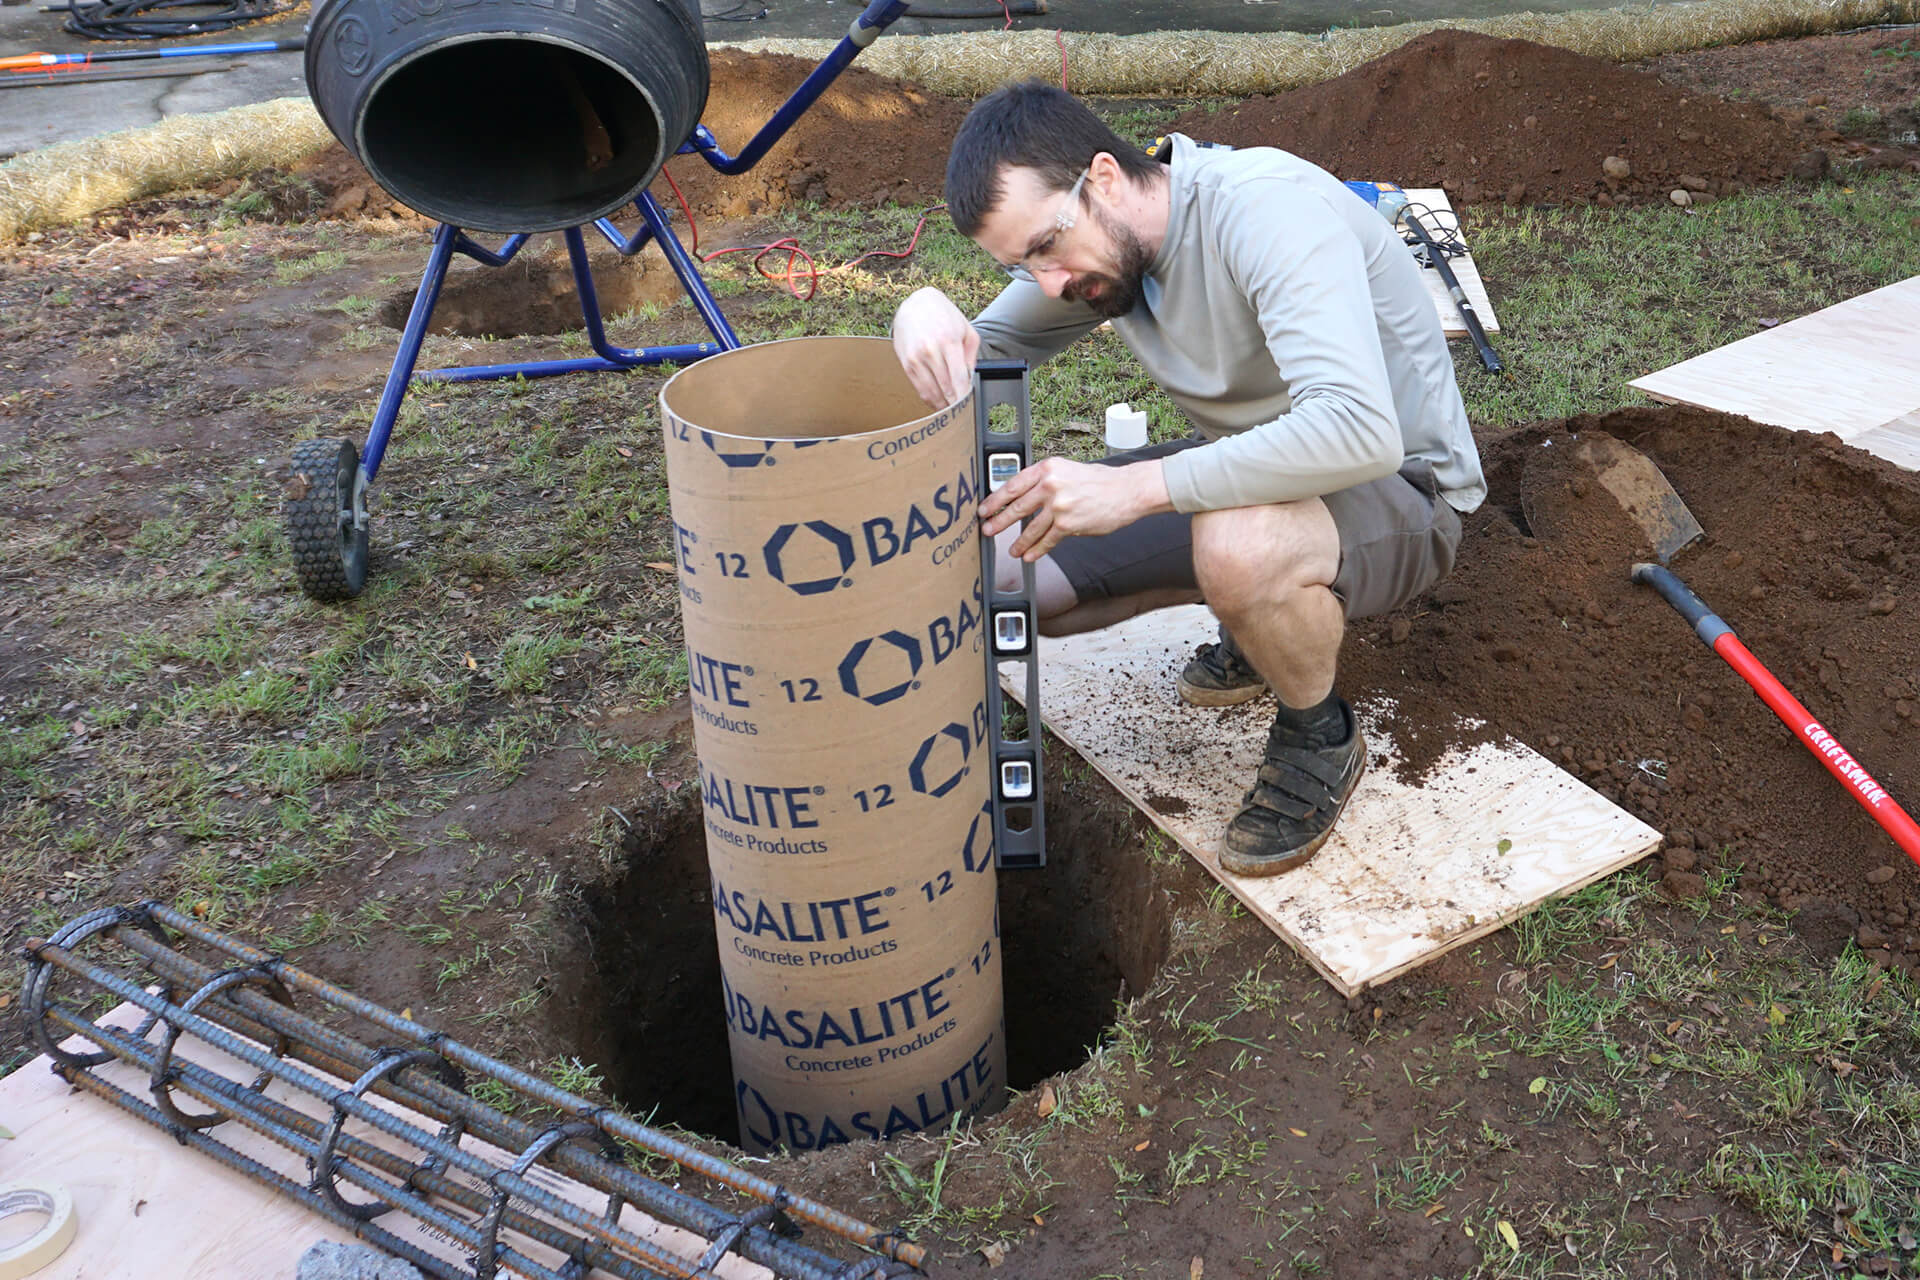
Position and plumb the form within the hole, starting with the center pier. Finish it to completion, then perform these same steps on all of the outer piers.
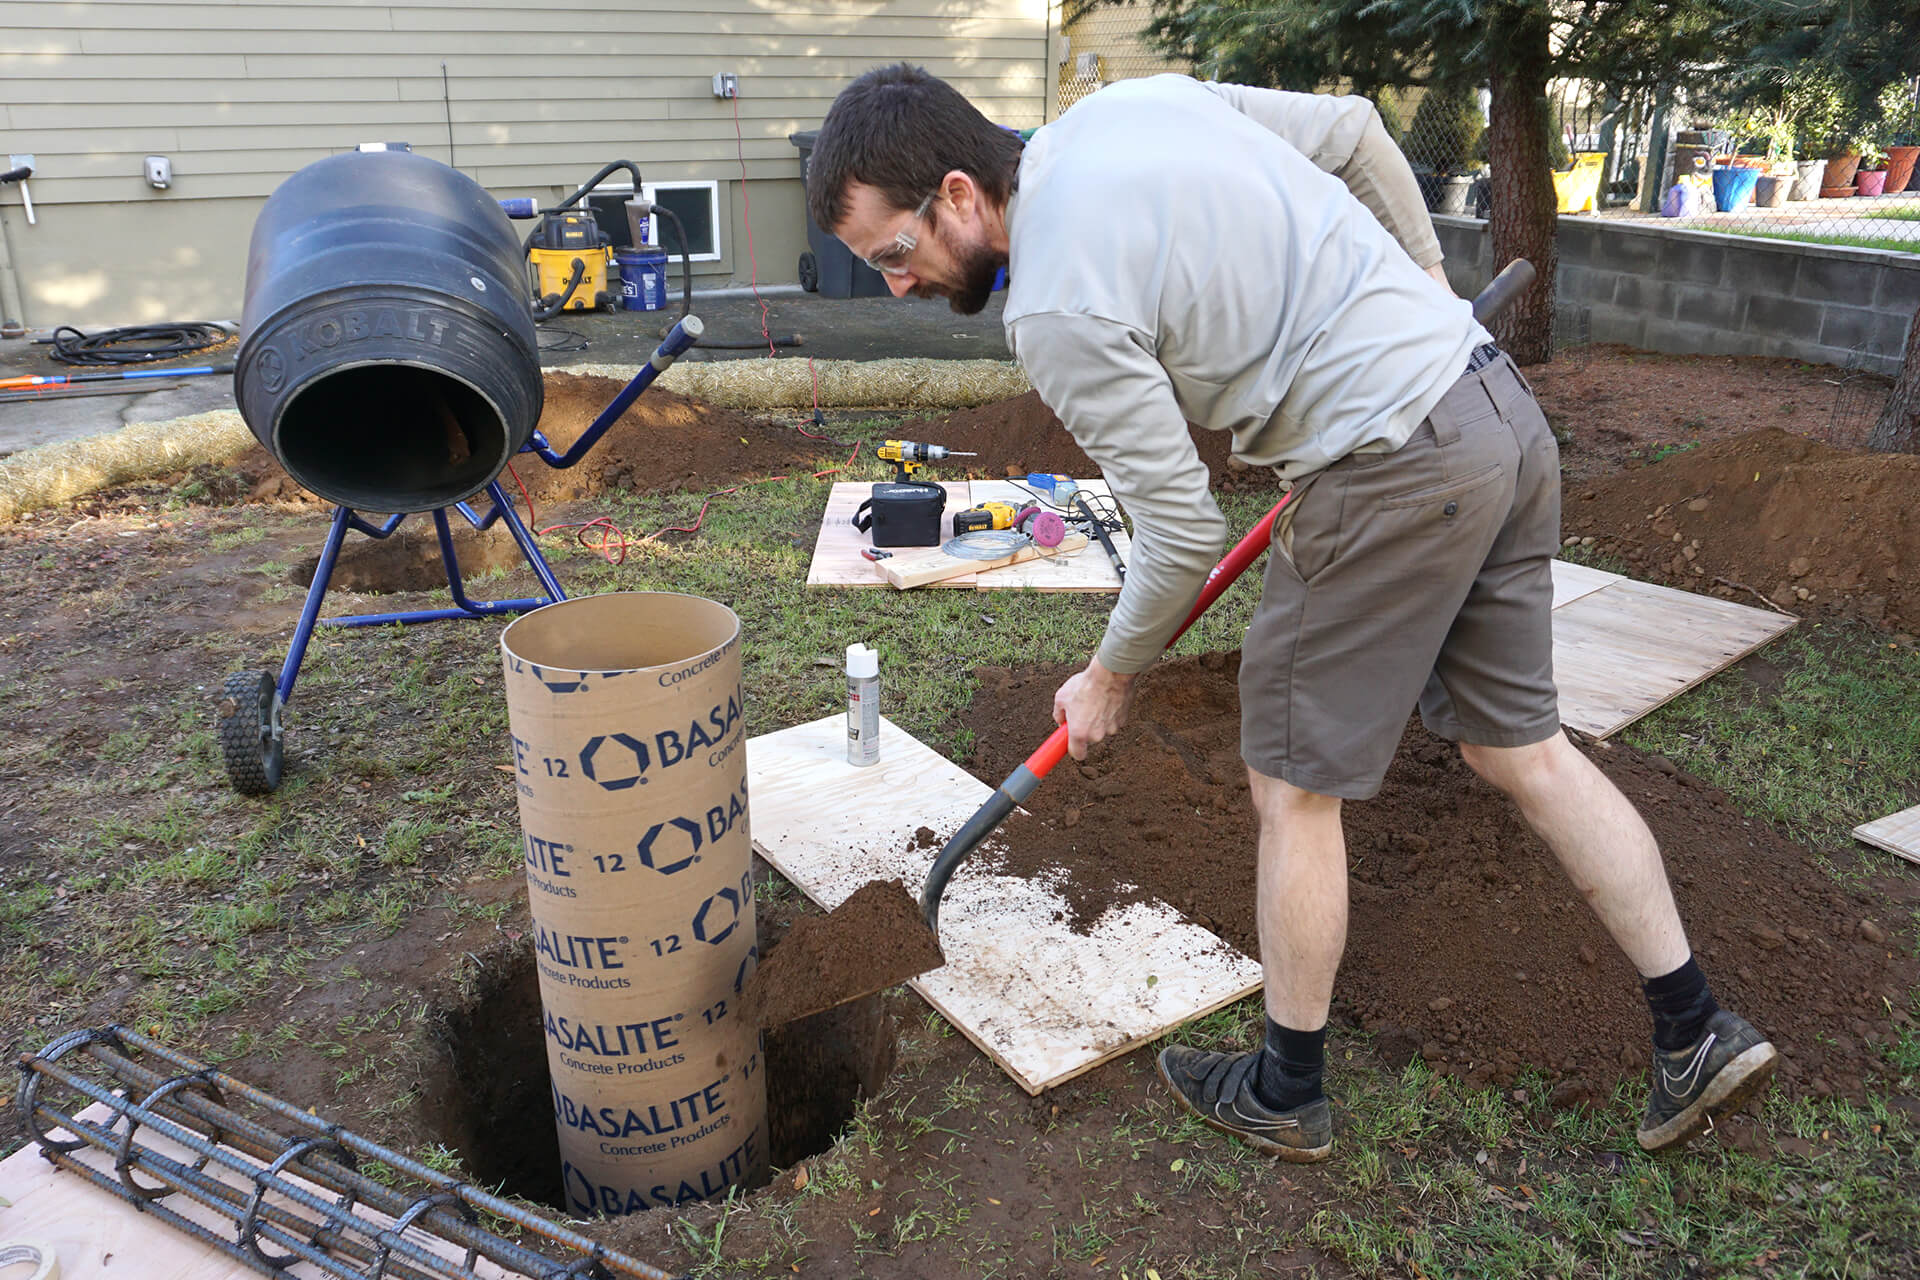
Backfill and evenly compact the soil around the form. Start with the center pier because it will serve as a fixed point of reference for positioning the outer piers.
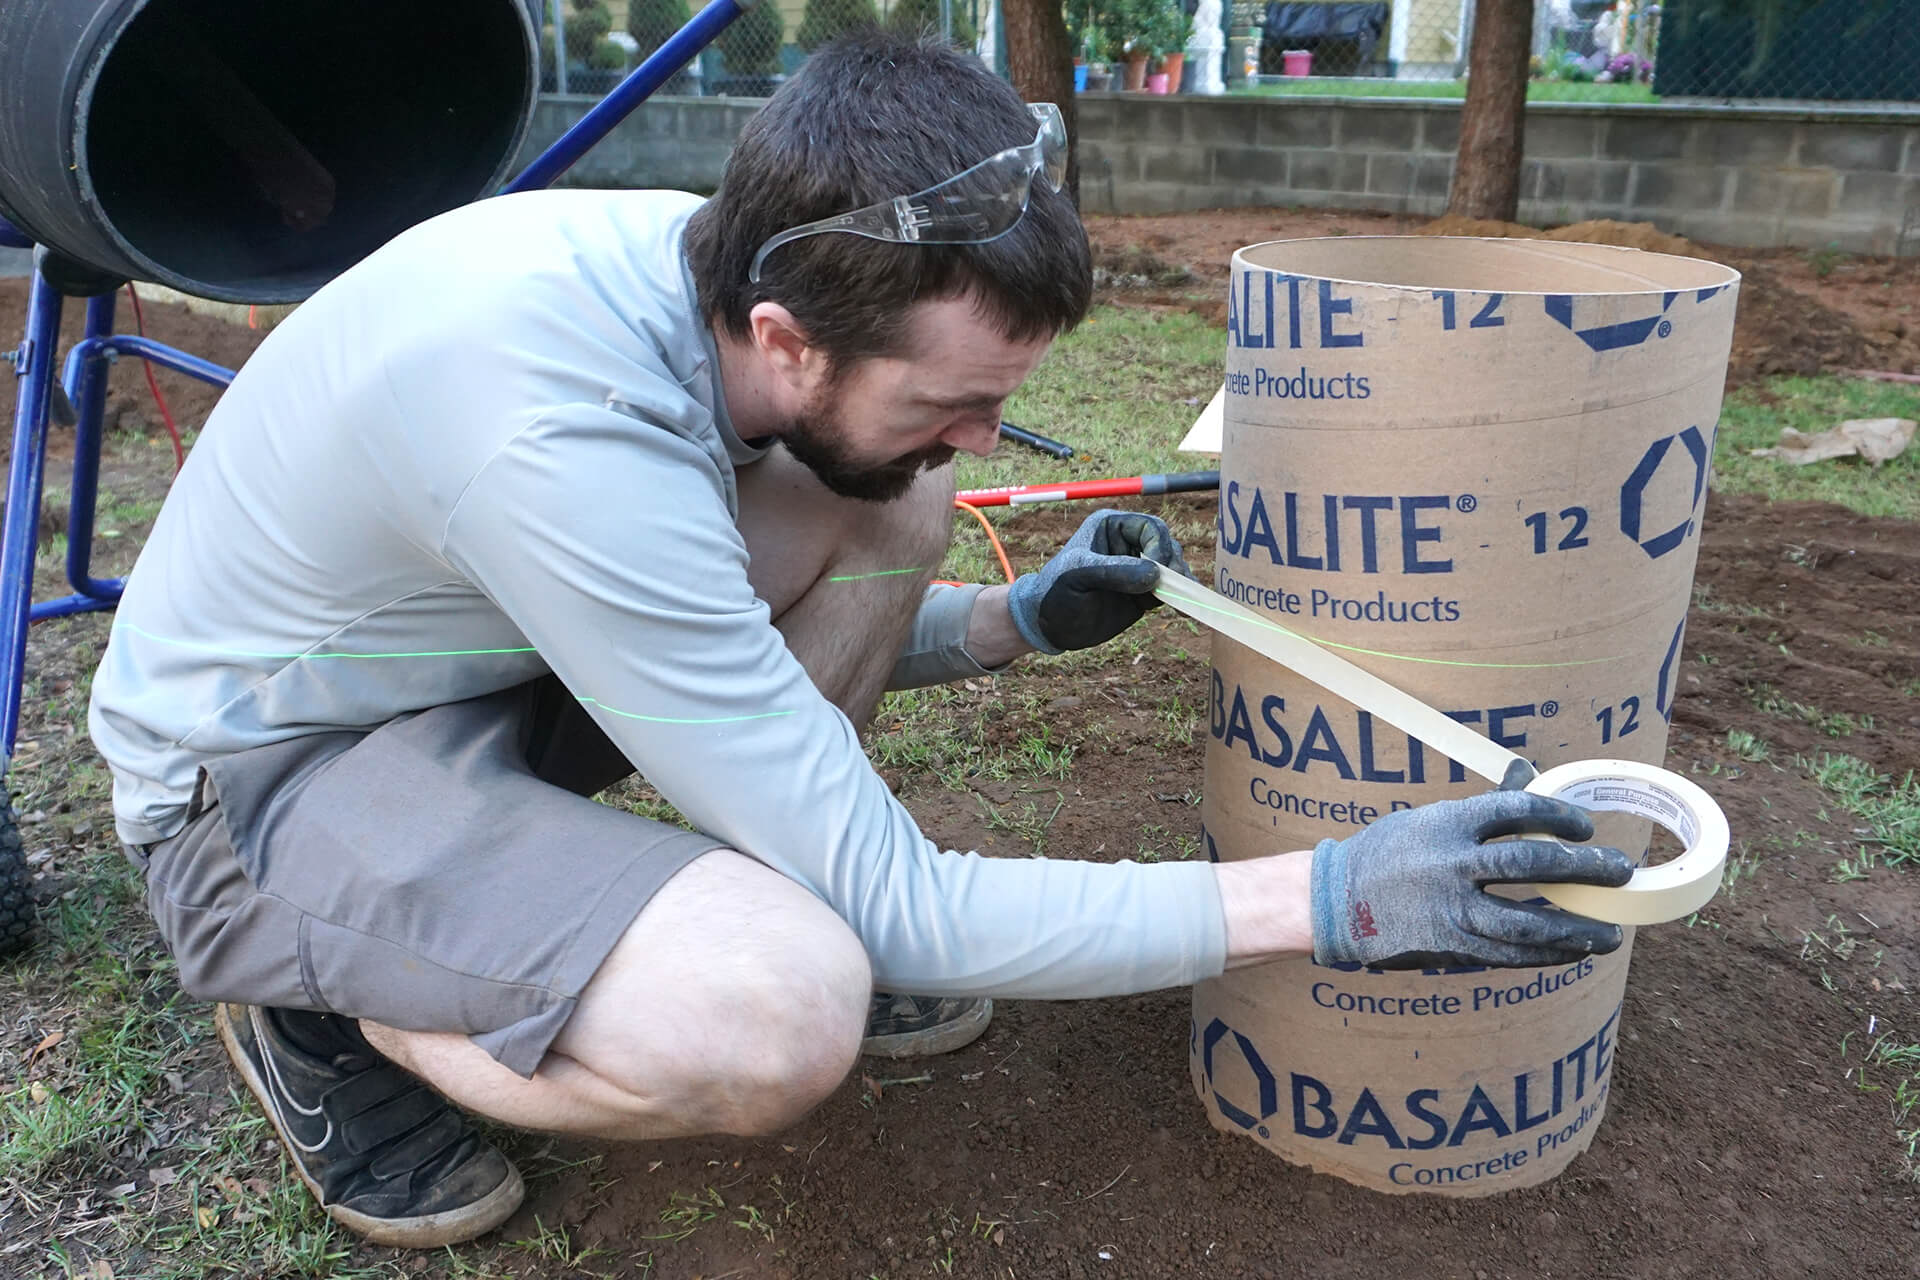
Mark the desired pier height using a self-leveling laser and tape. The center pier sits at a slightly different height than the outer piers. The concrete may cure to be ~0.2" below this line.
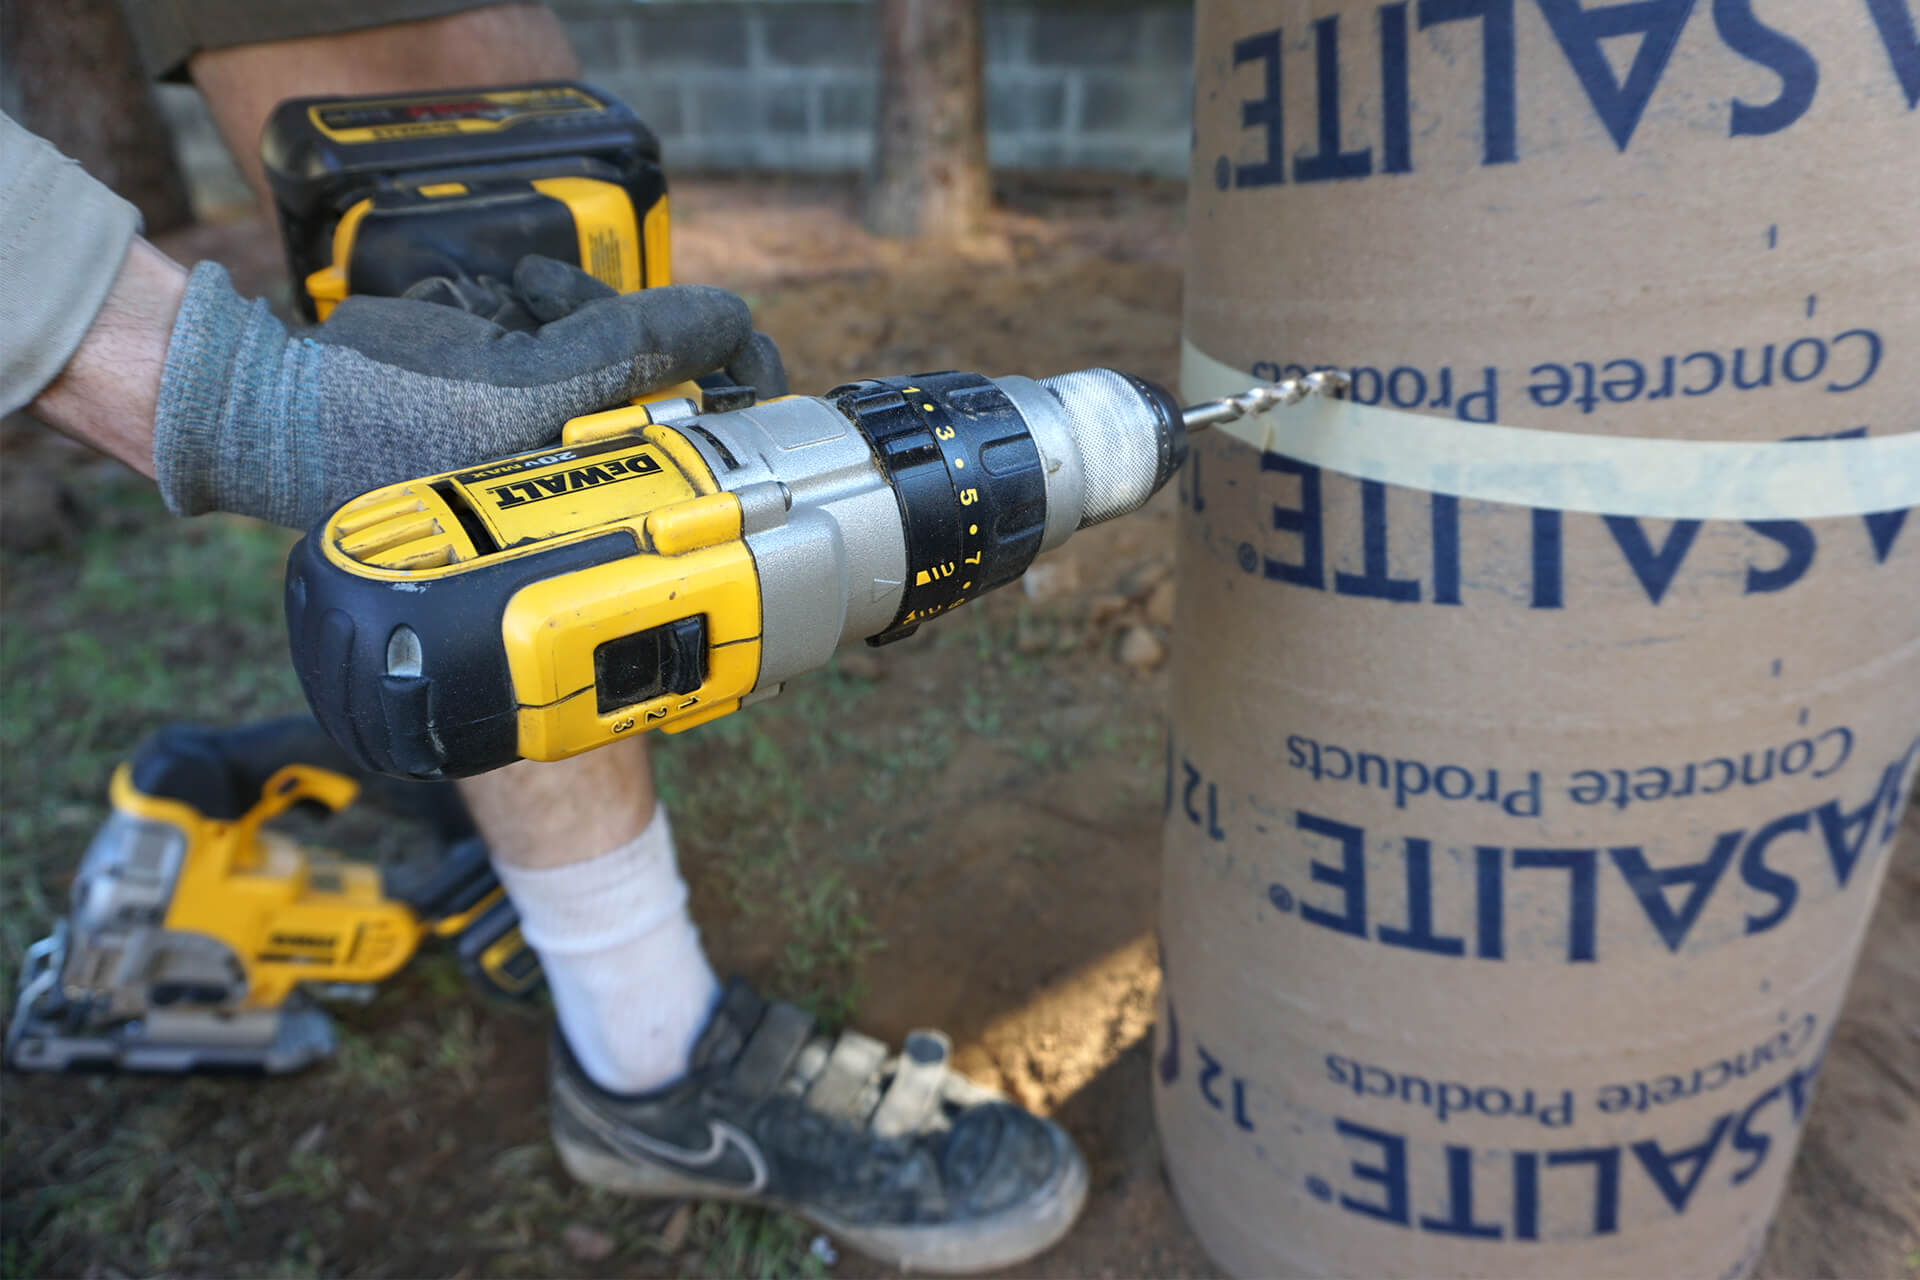
Drill an opening into the cardboard form just above the cut line. This will create enough space for a jigsaw blade to fit through when making the cut.
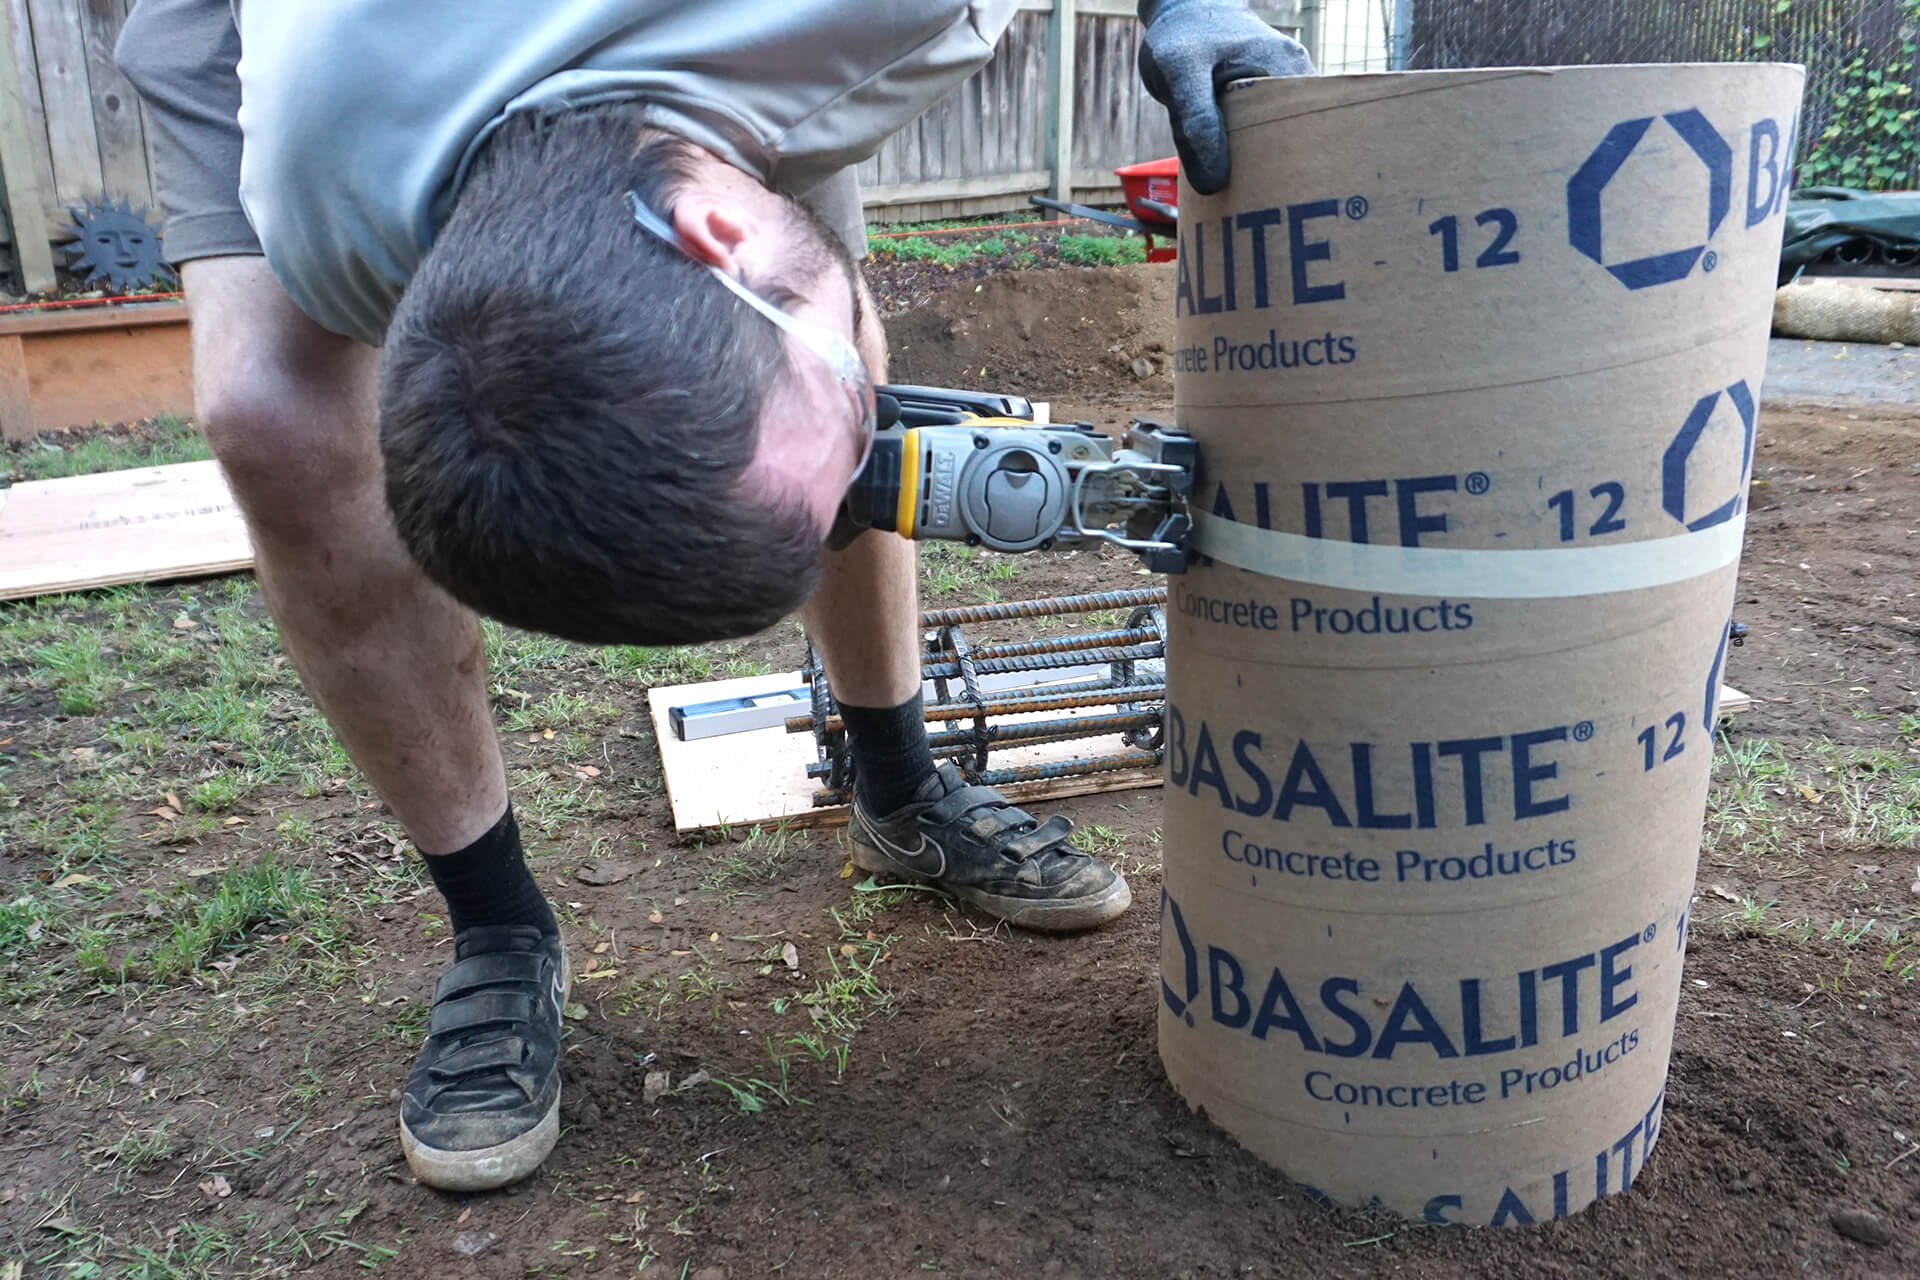
Cut along the marked line with a jigsaw. The result should be a perfectly level and accurate top surface of the pier form.
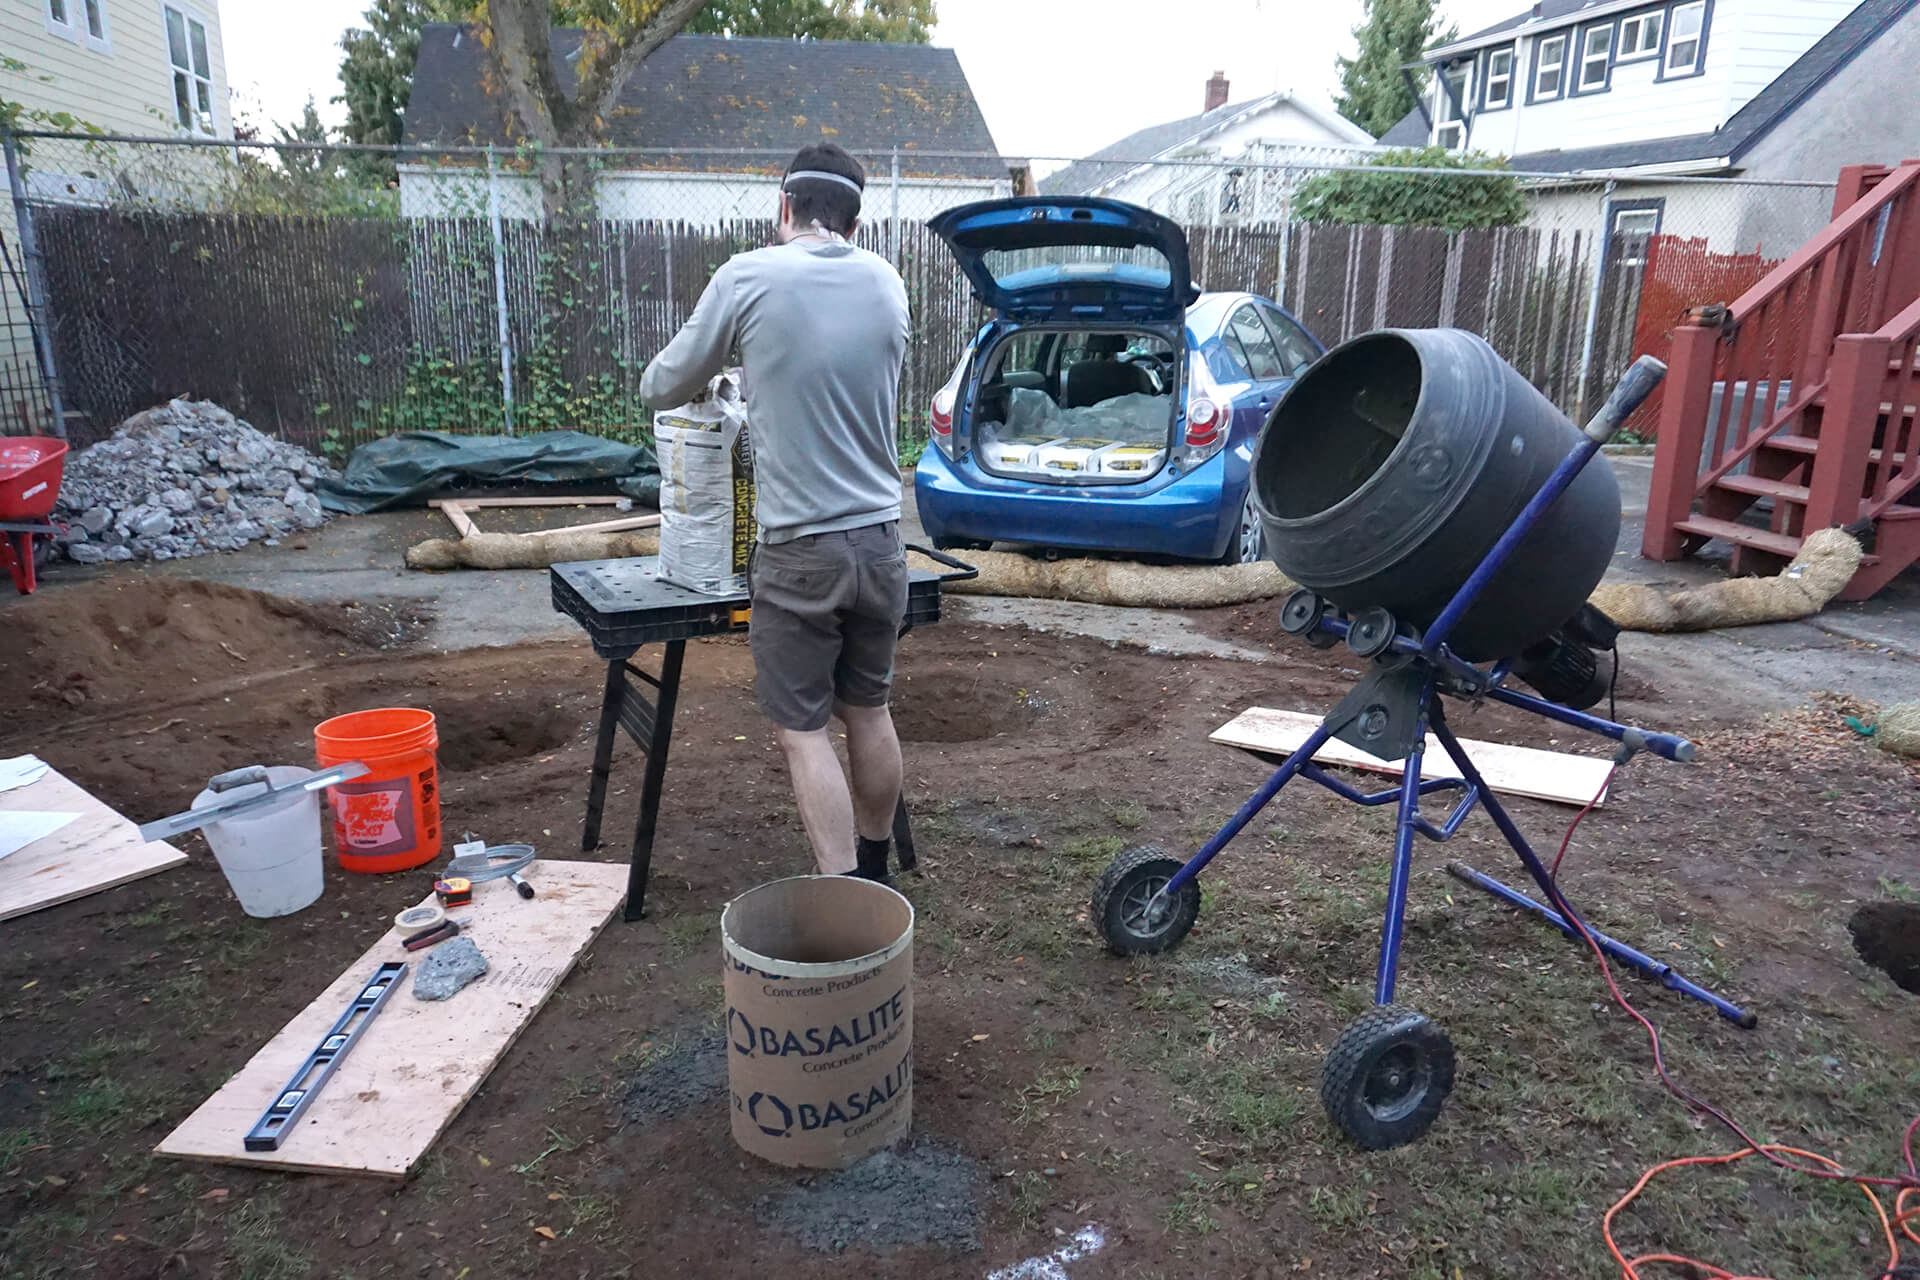
Pour the pier. The center pier is poured first and used as the reference point to locate the outer piers.
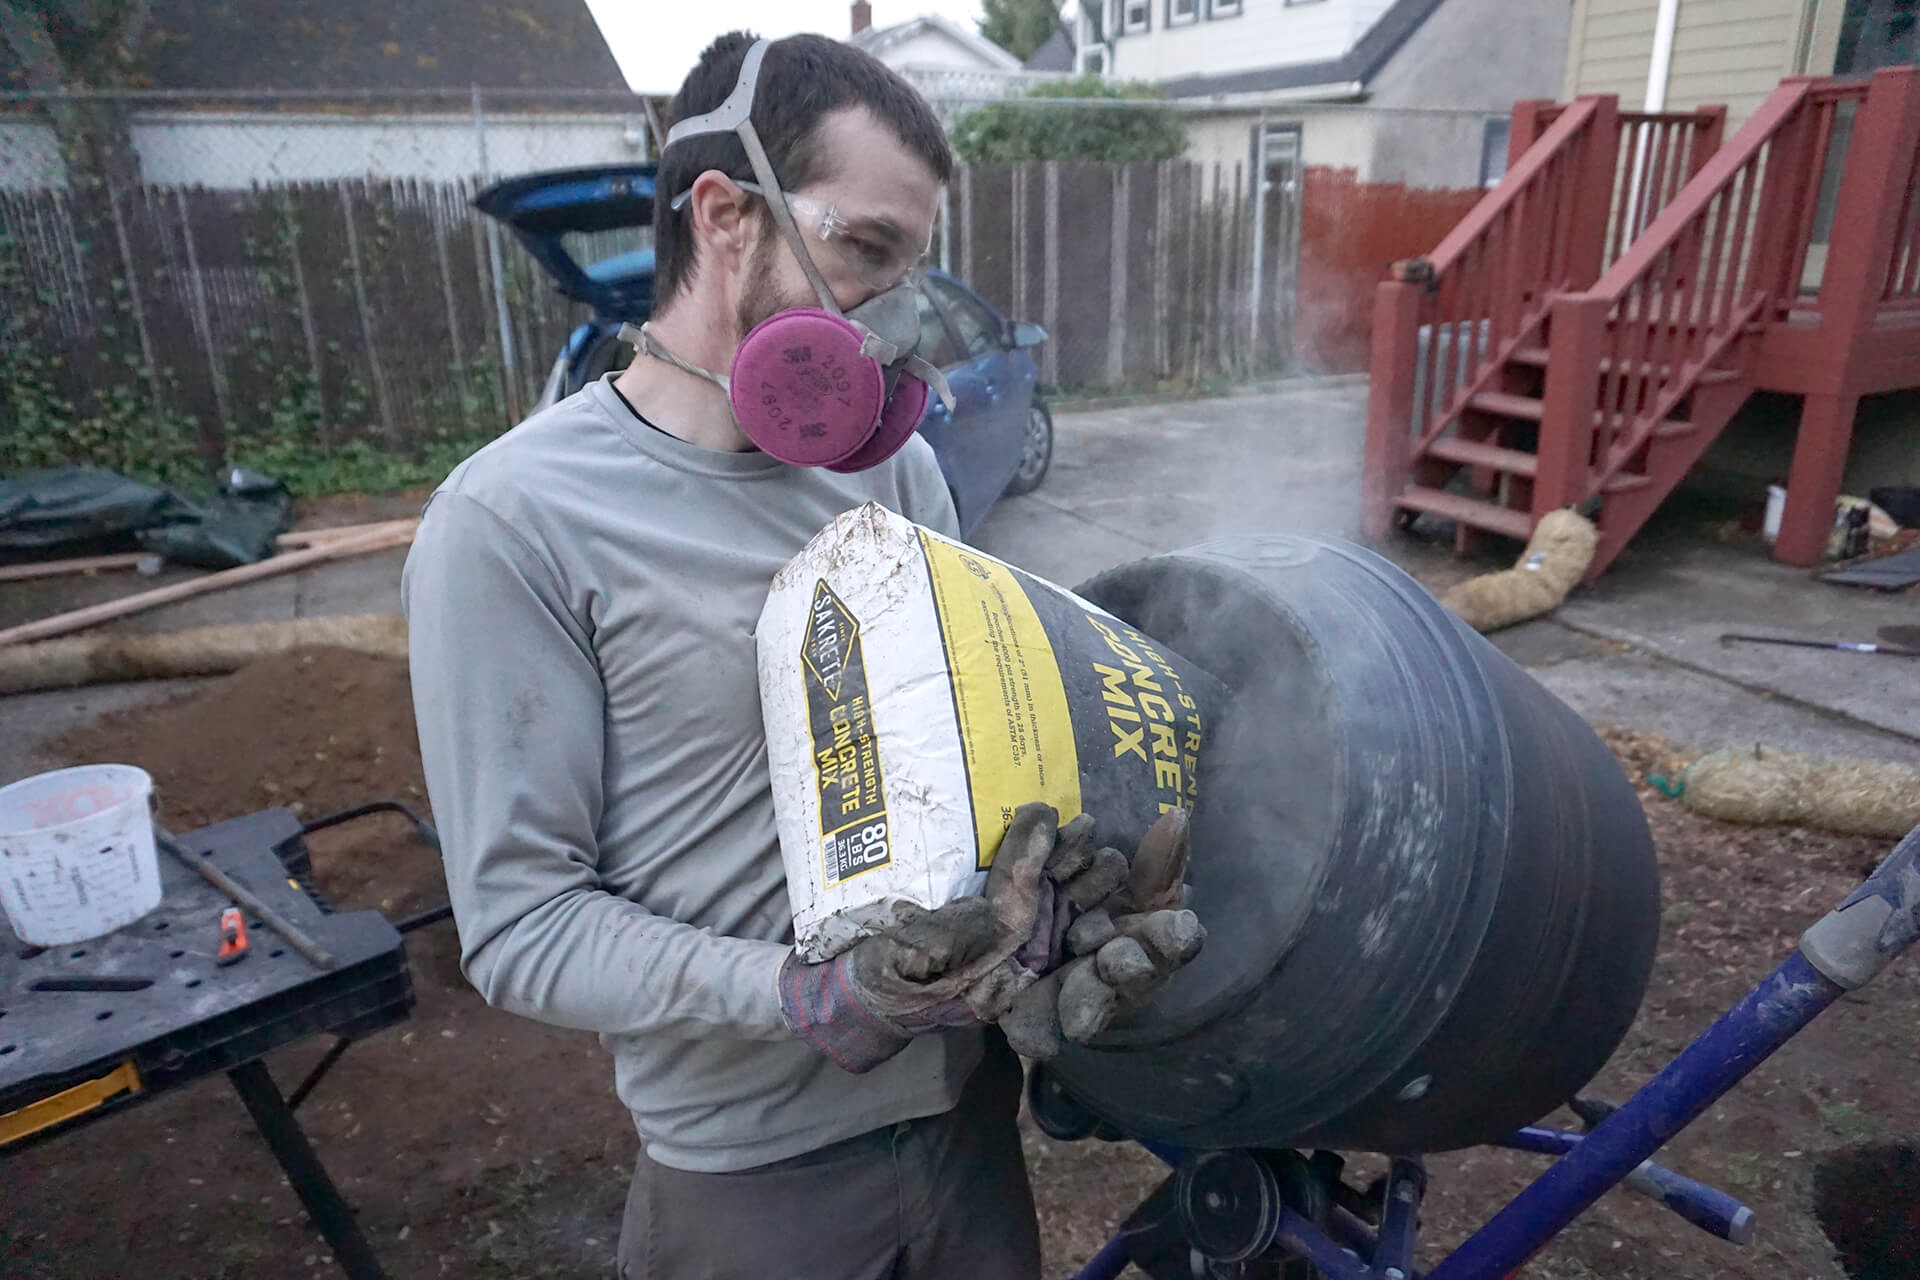
Mix with a concrete mixer to make the job easier. Mixers can often be purchased used from others who only needed them for one job.
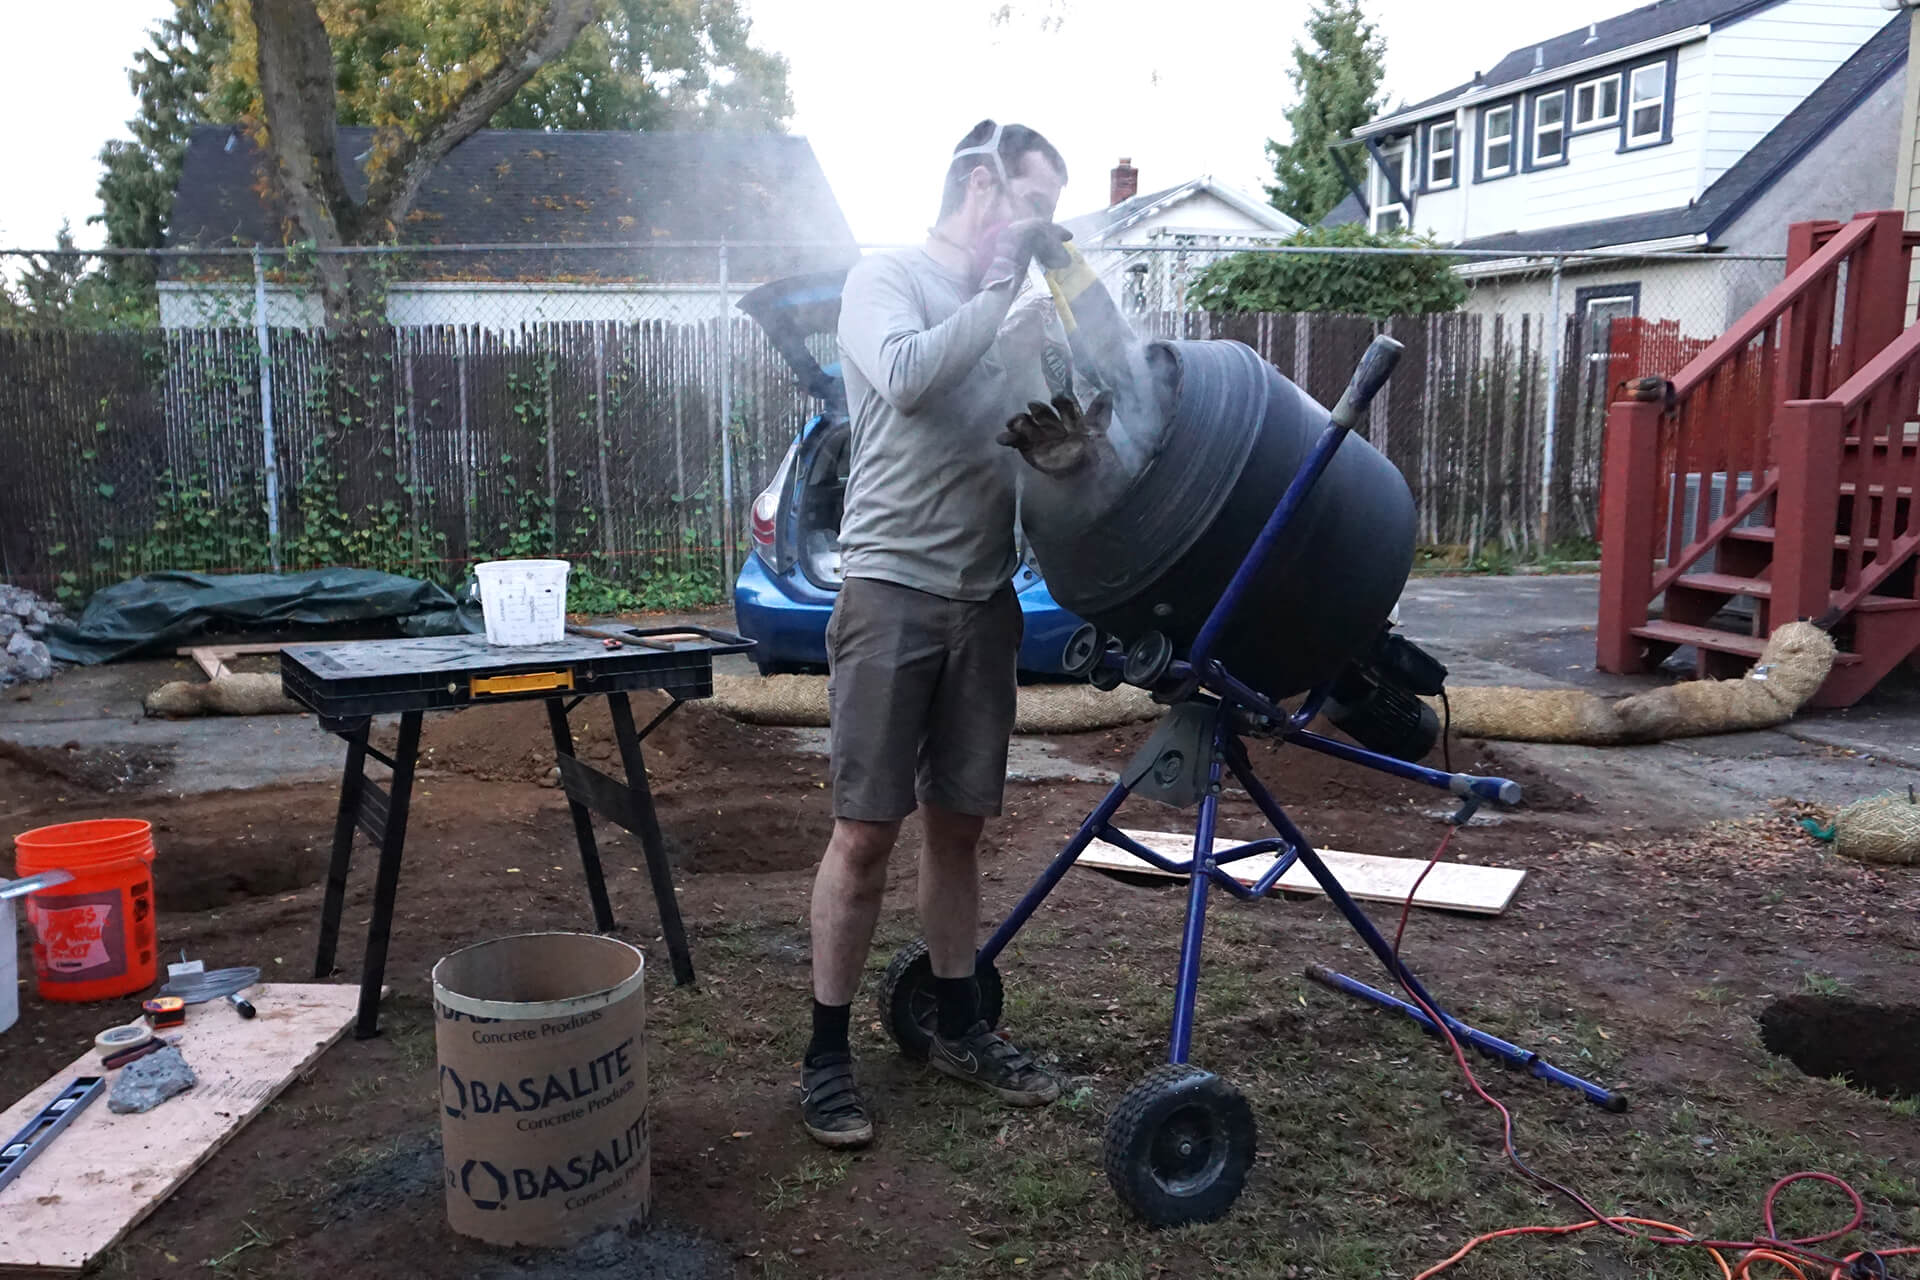
Develop a mixing routine and avoid breathing in the concrete dust. A rebar stick is a good manual mixing tool to help the mixer and ensure the concrete is fully saturated.
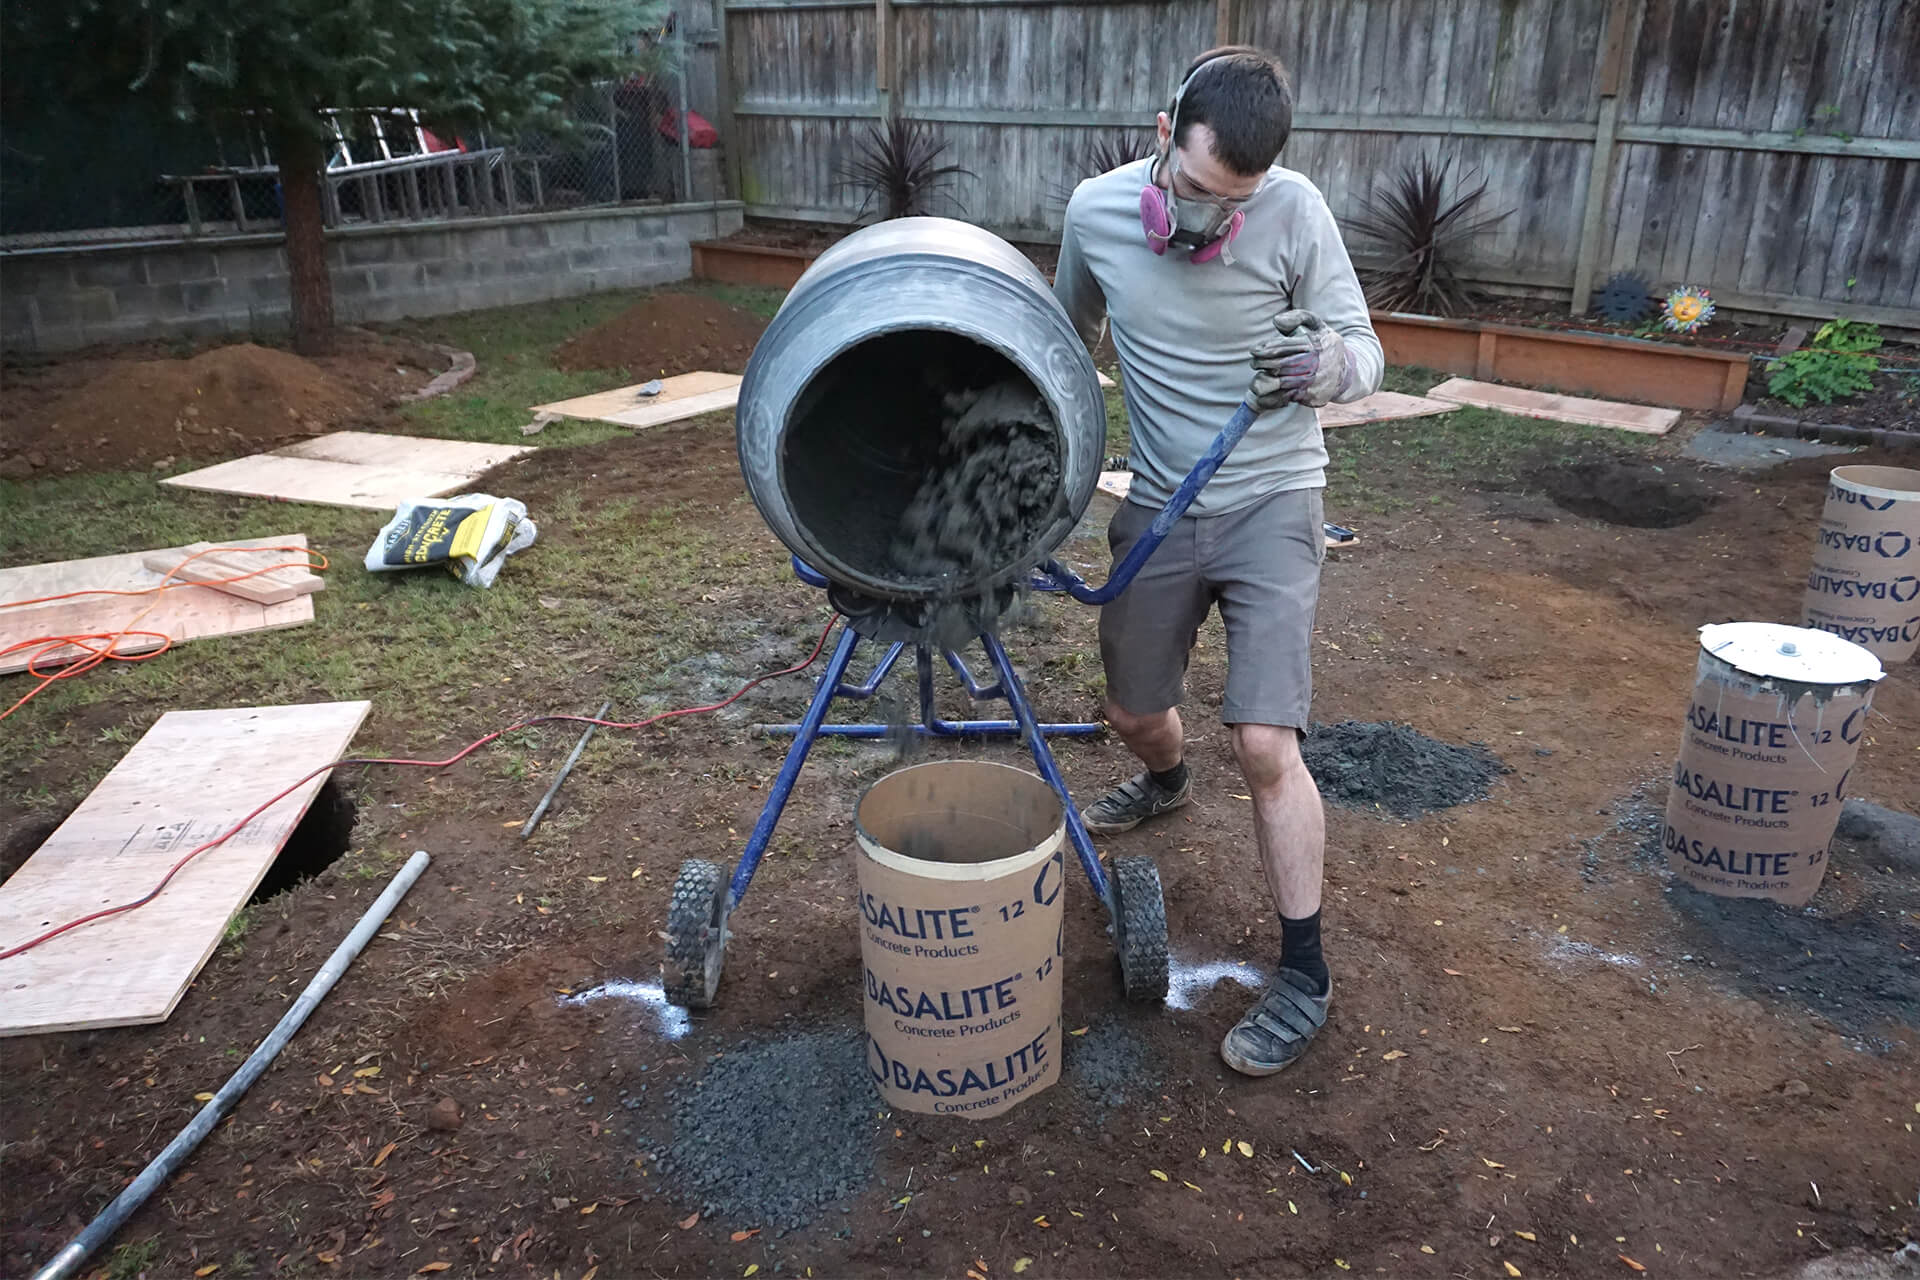
Do not add too much water. The concrete should have a chunky consistency, not soupy, as it leaves the mixer.
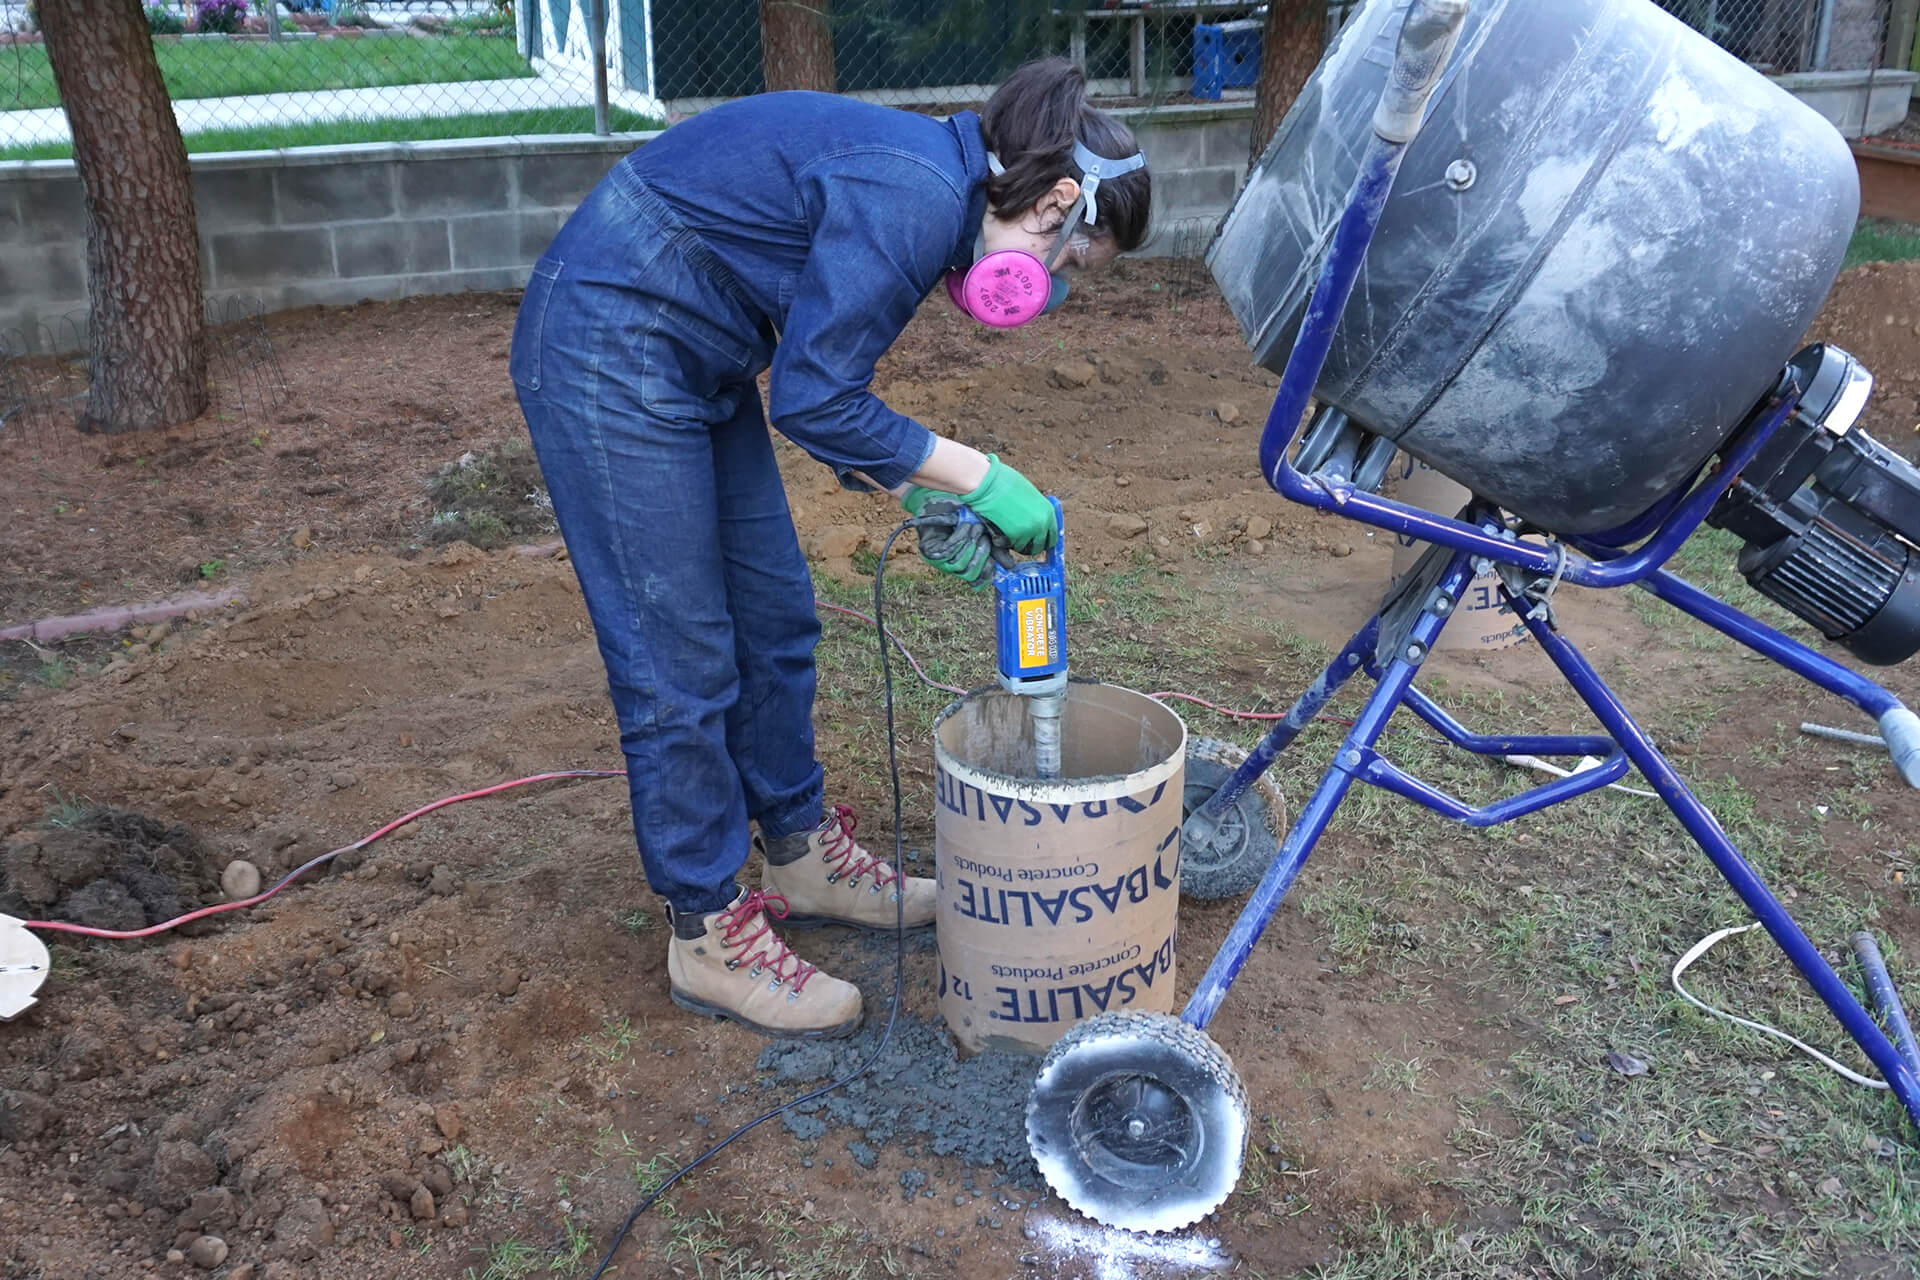
Vibrate after every dump of concrete. This ensures the mix reaches all areas of the form and eliminates air voids. Avoid over-vibrating, as this can cause the aggregate to sink to the bottom.
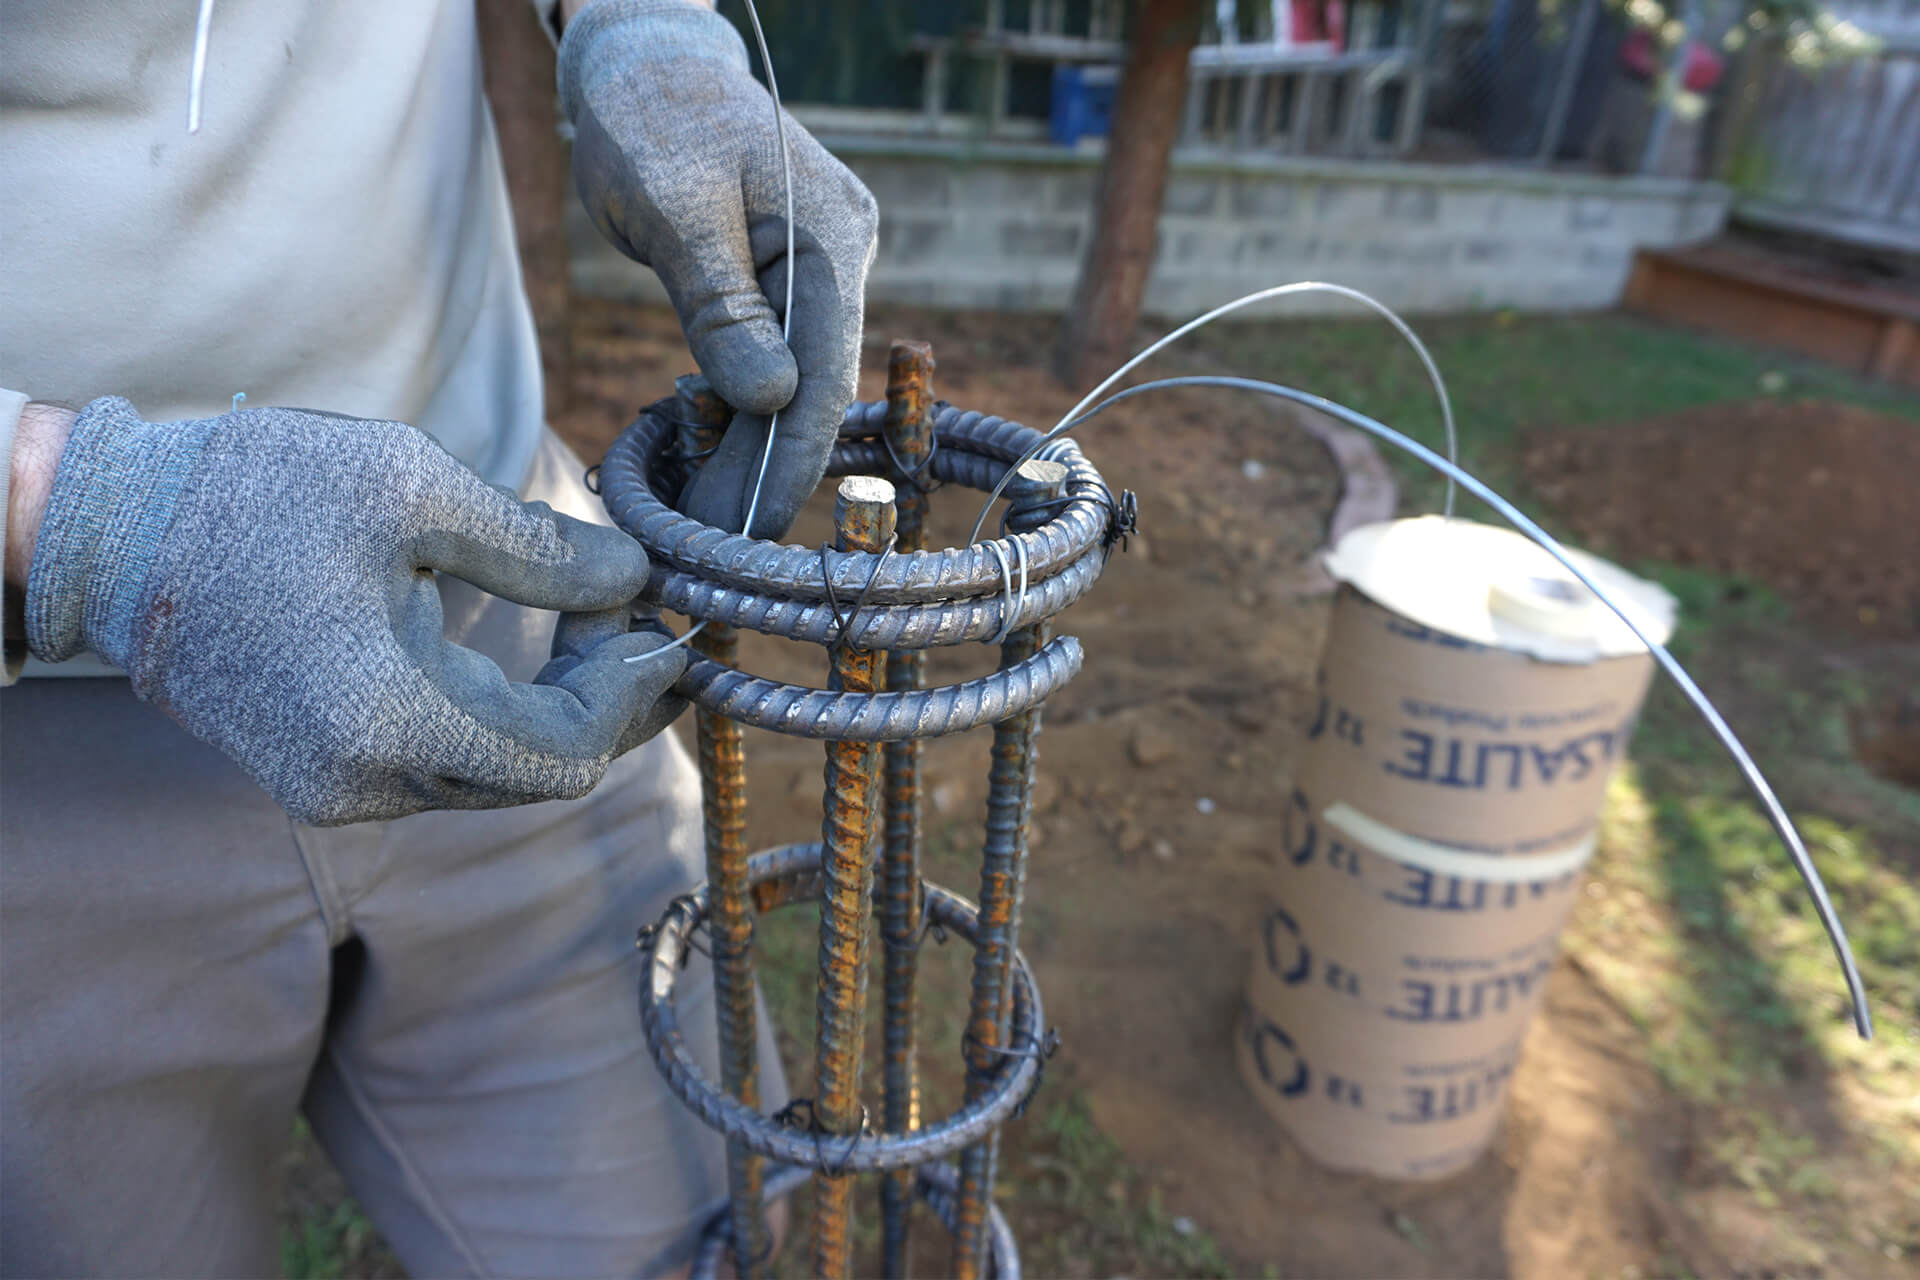
Use wire to secure the rebar cage at the proper height in the form. Place the rebar cages when the form is halfway filled with concrete, after one or two mixer dumps.
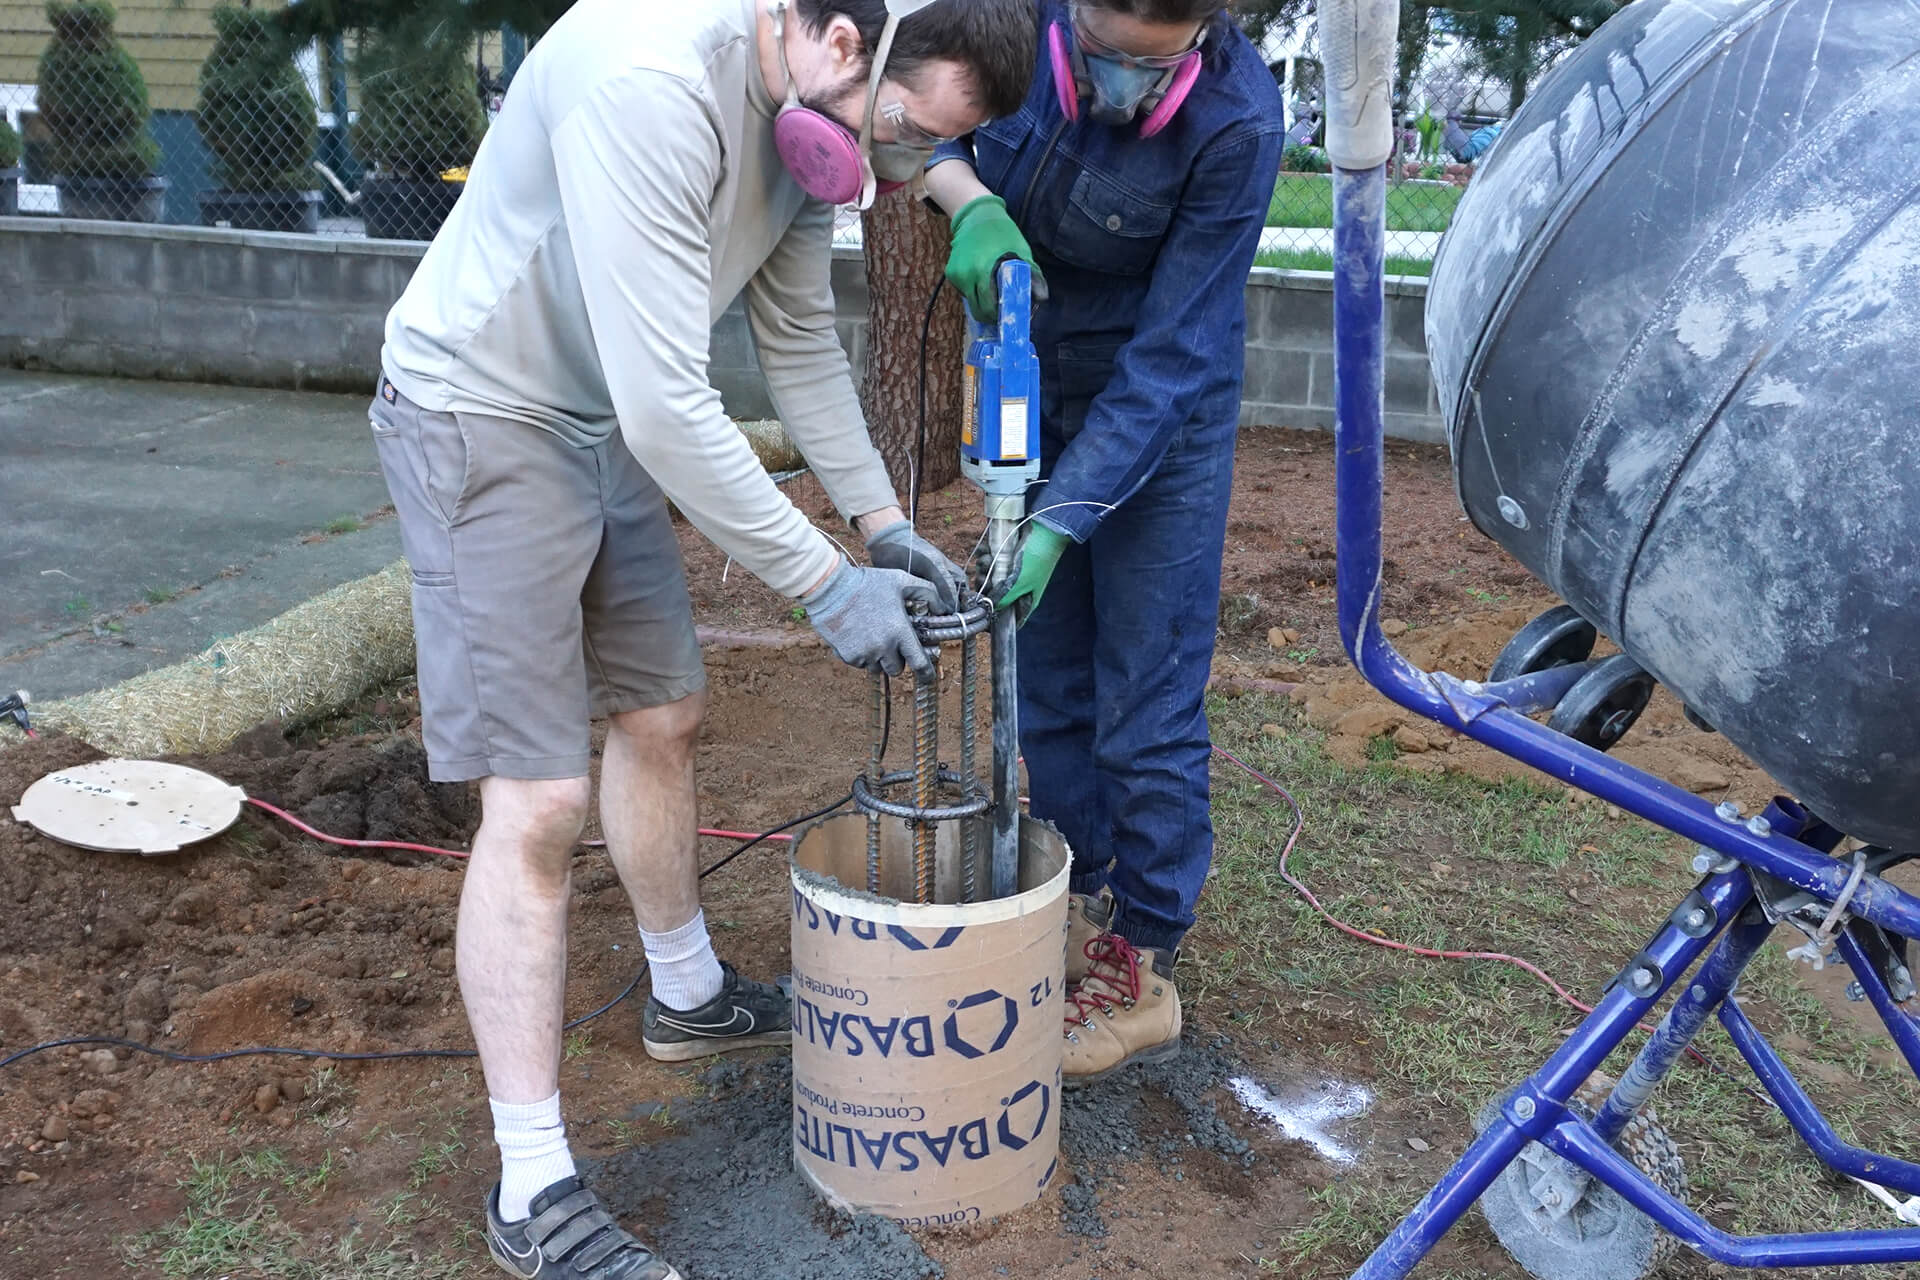
Sink the rebar cage into the freshly poured concrete using the vibrator. It’s easier to sink the cage than to raise it, so let the vibrator do most of the work, but be mindful of the desired depth.
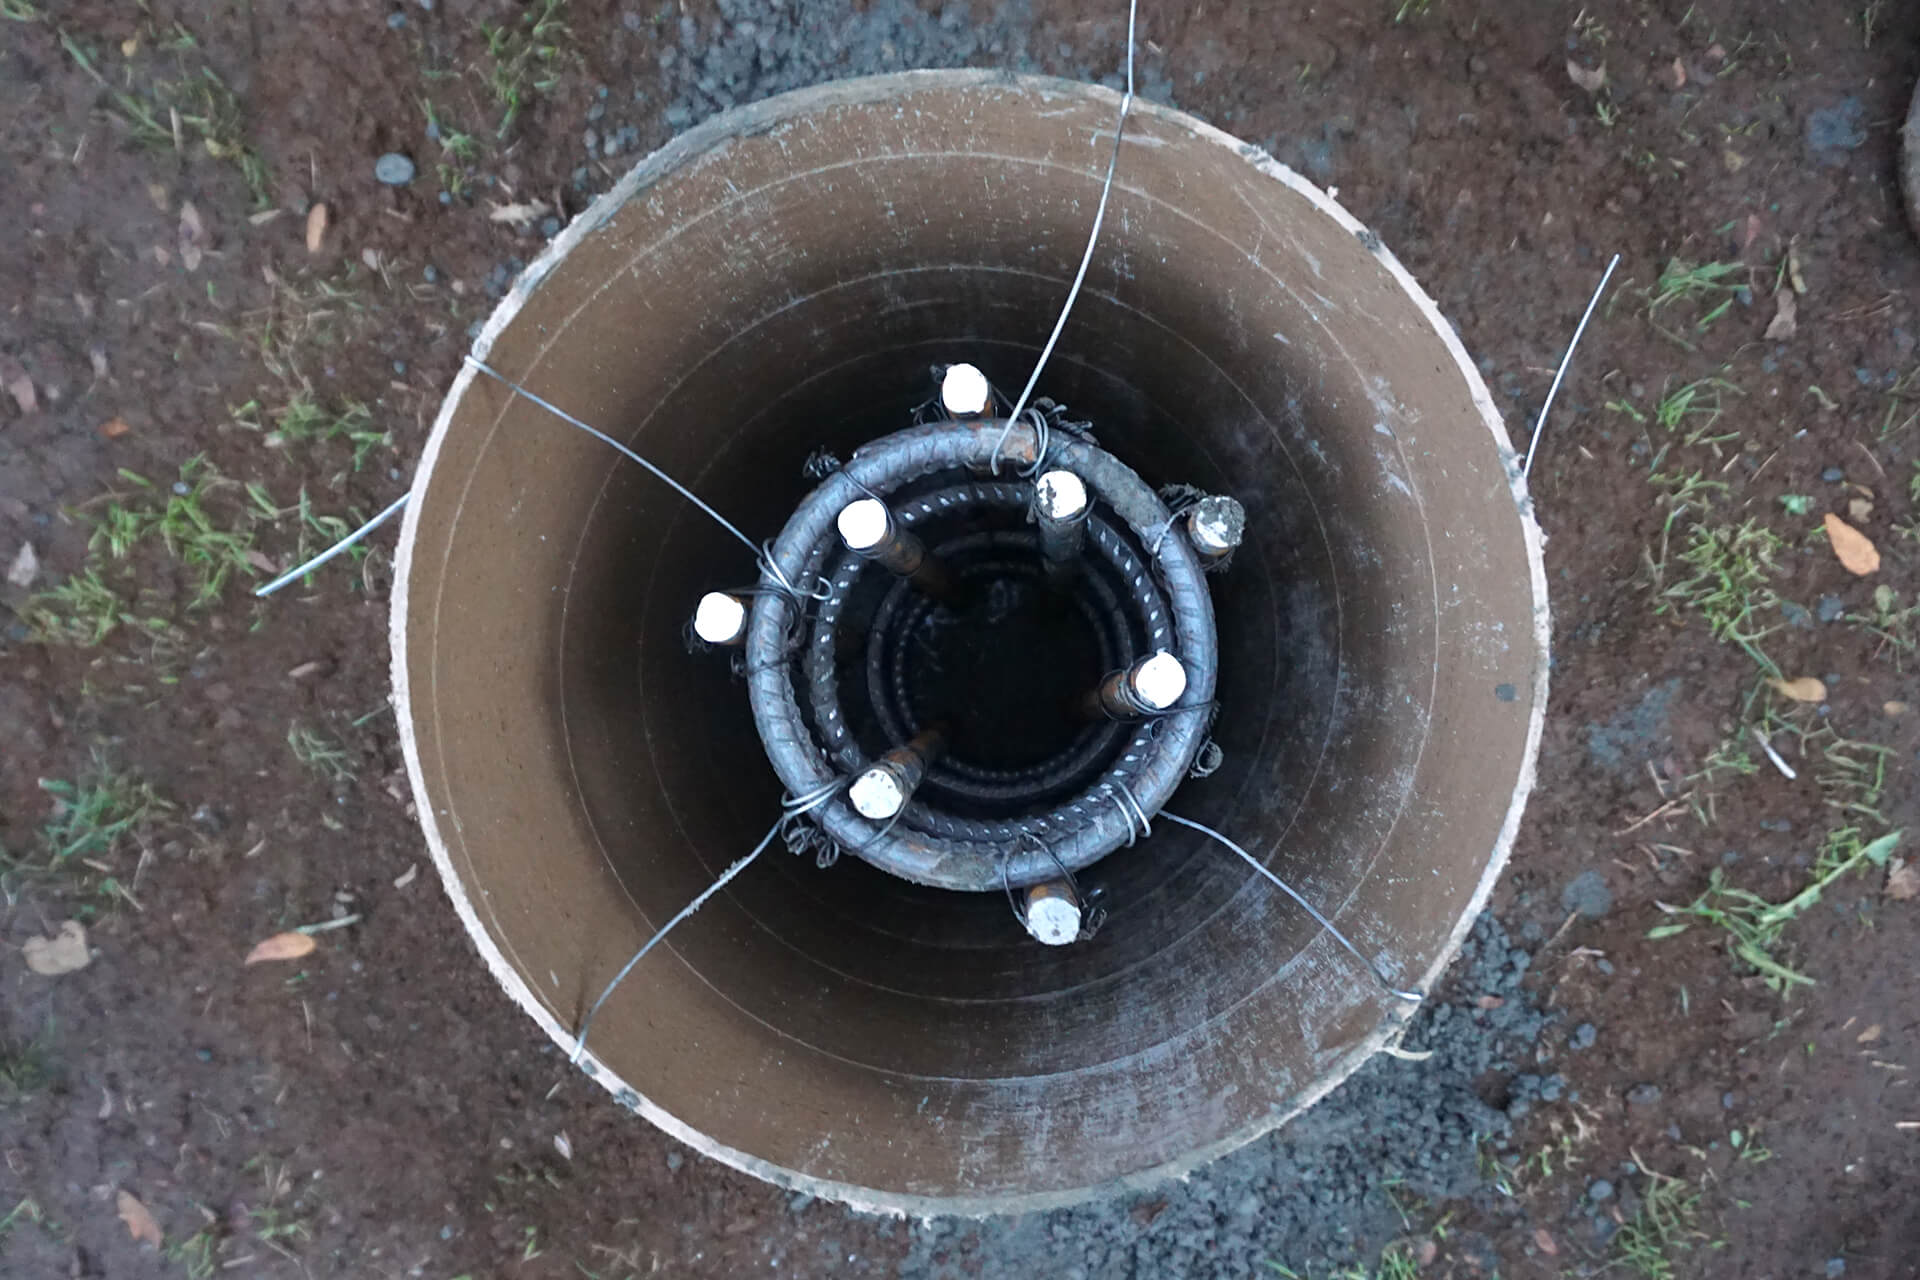
Use the wire to secure the rebar cage and prevent it from sinking further into the concrete during subsequent dump and vibration cycles.
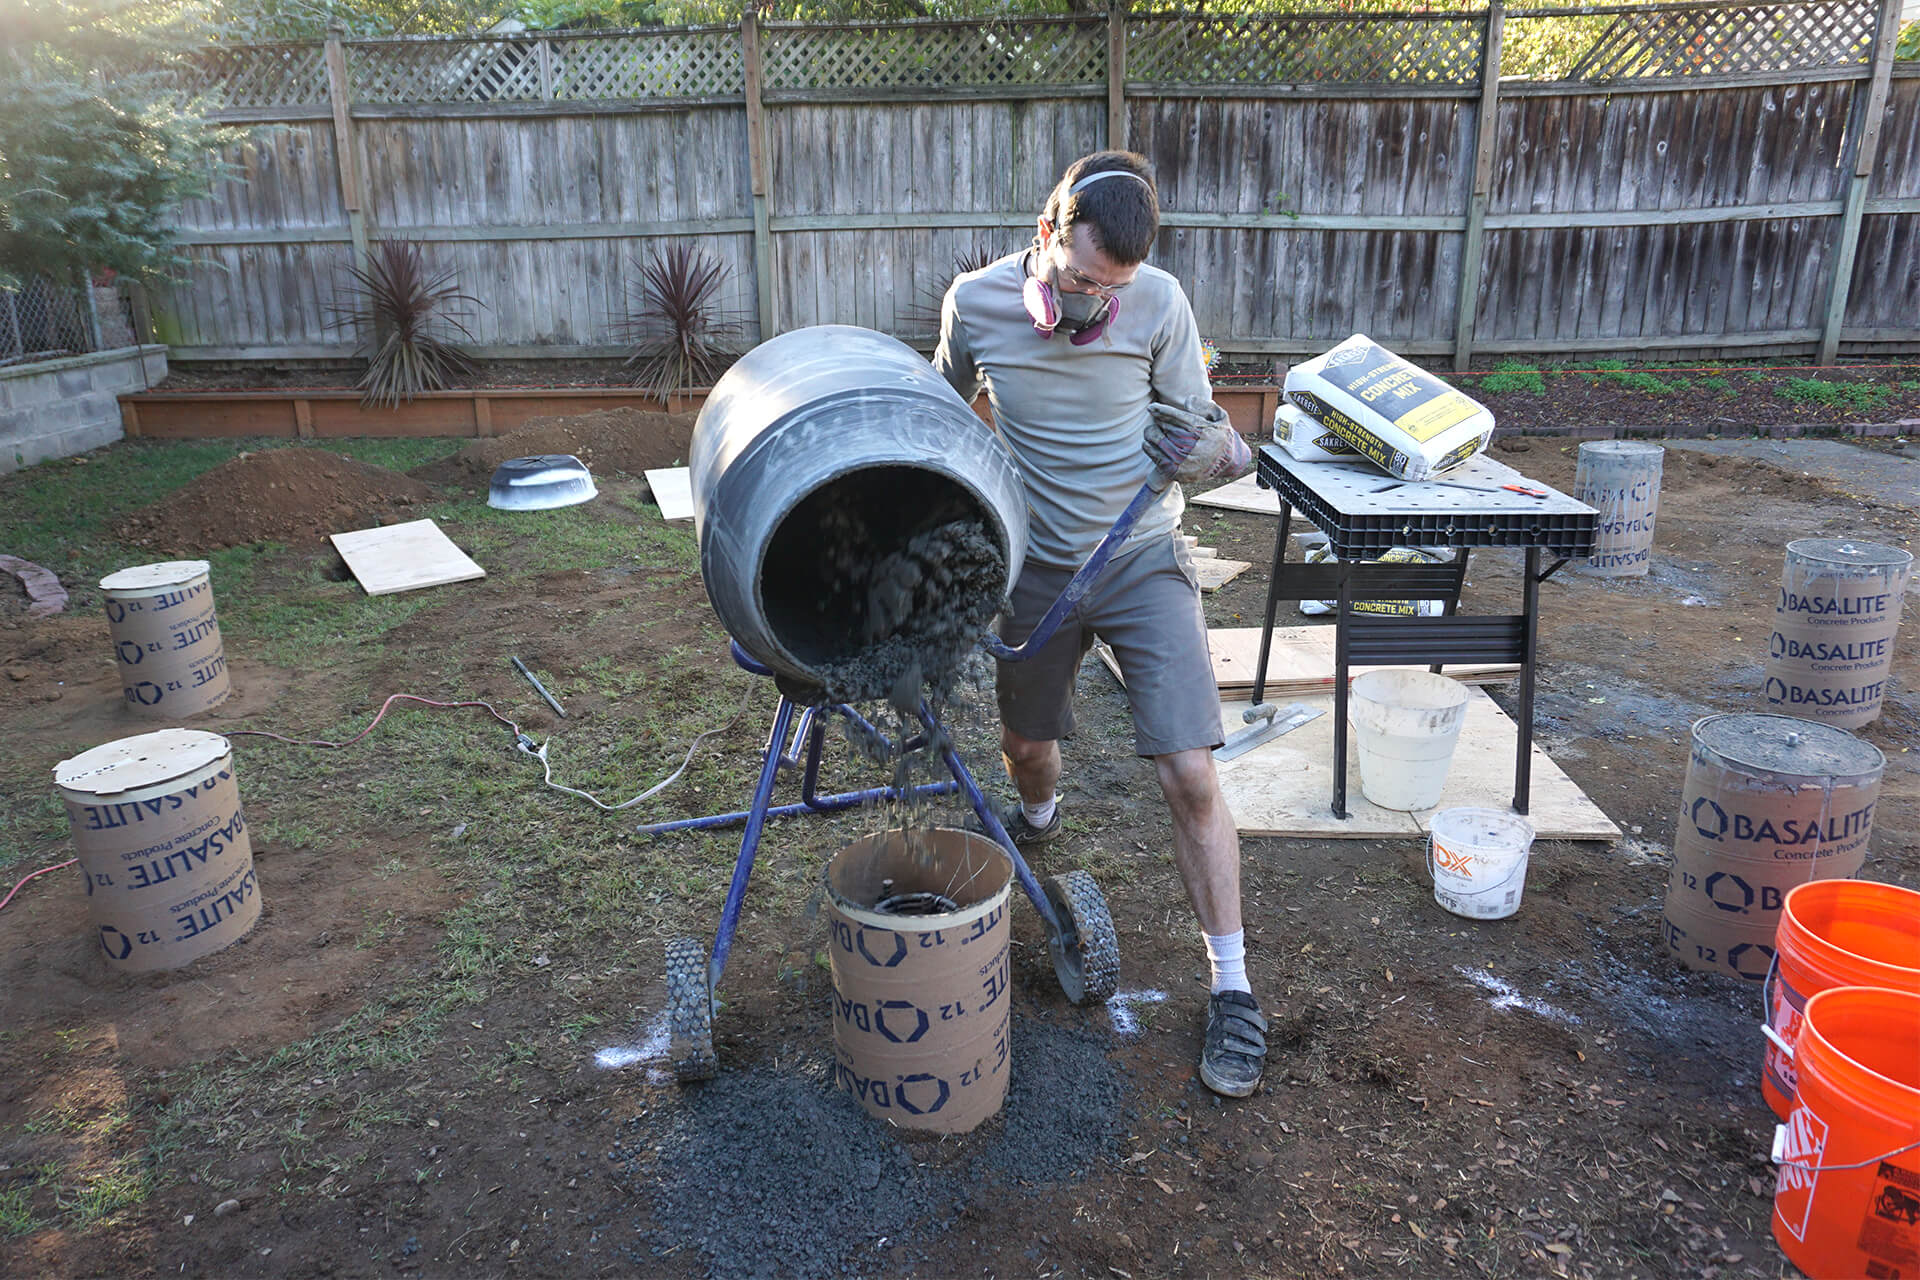
Fill the form with concrete, ensuring that the rebar cage is completely covered and the form is filled to the brim. Use the vibrator to eliminate air pockets.
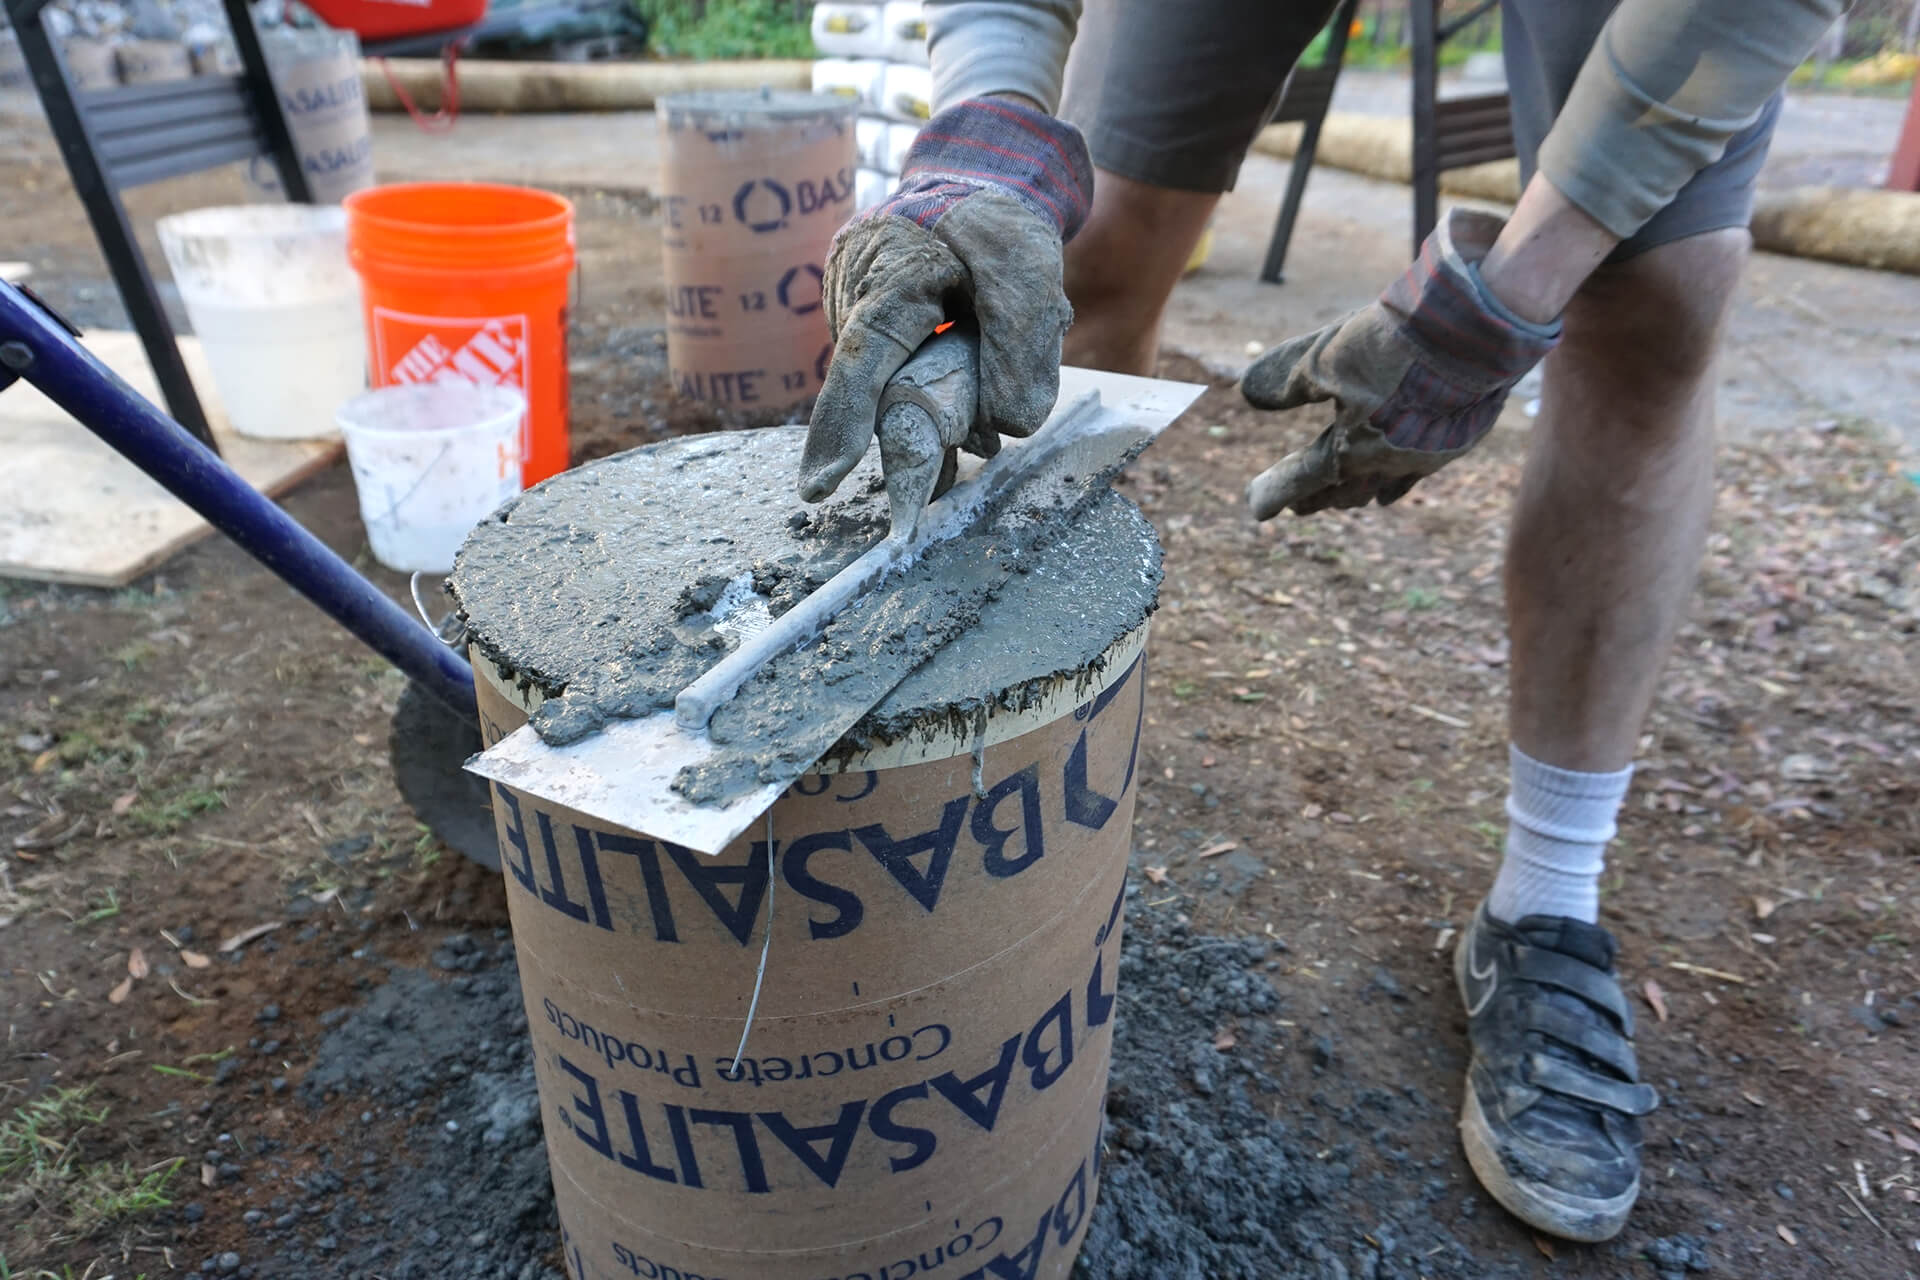
Screed the top flush.
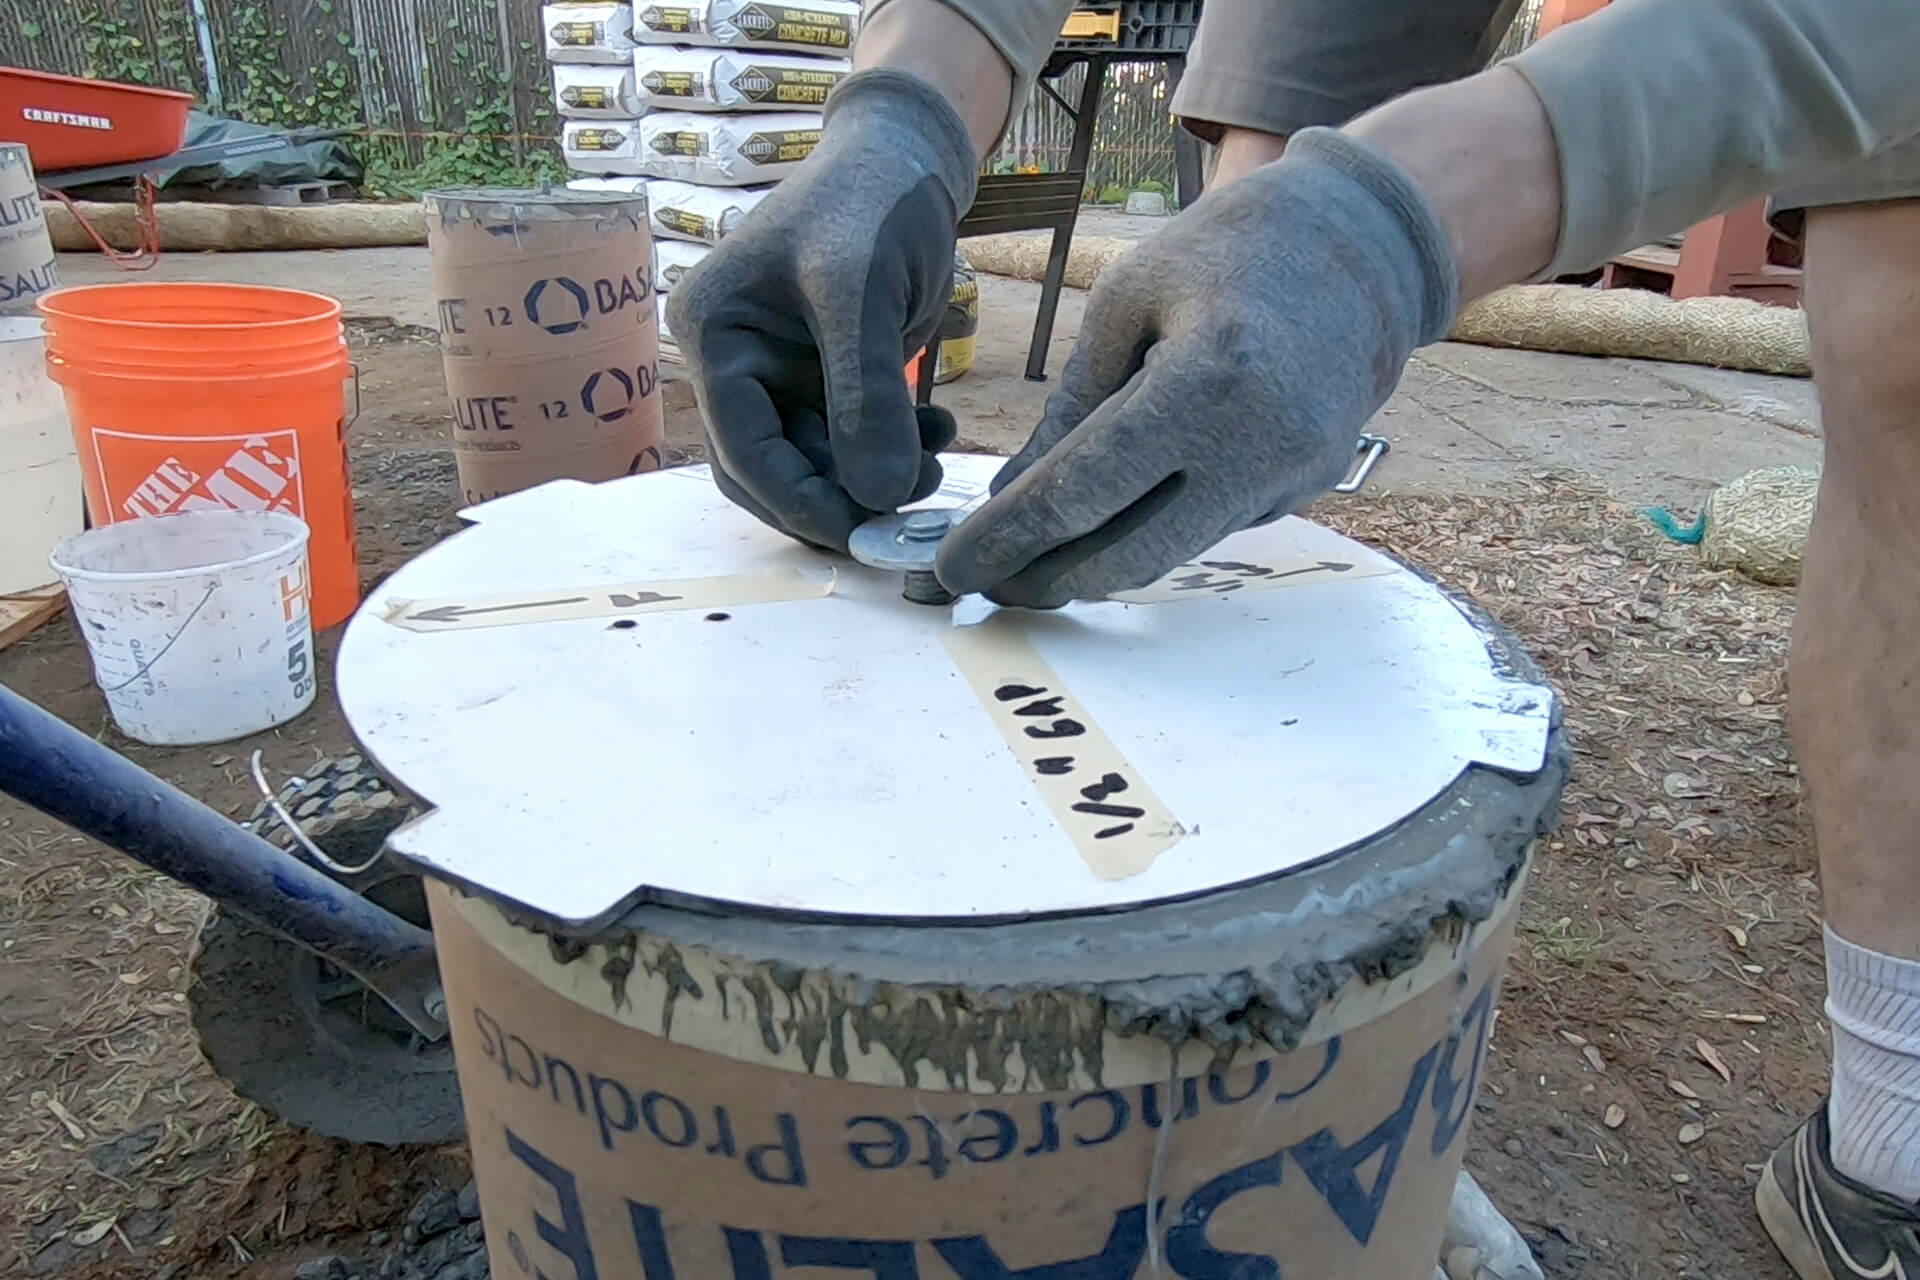
Insert the anchor bolt and use a jig to keep it centered within the pour. If the anchor bolt protrudes too far, it can be cut down. If it doesn’t protrude enough, a nut will not thread onto it.
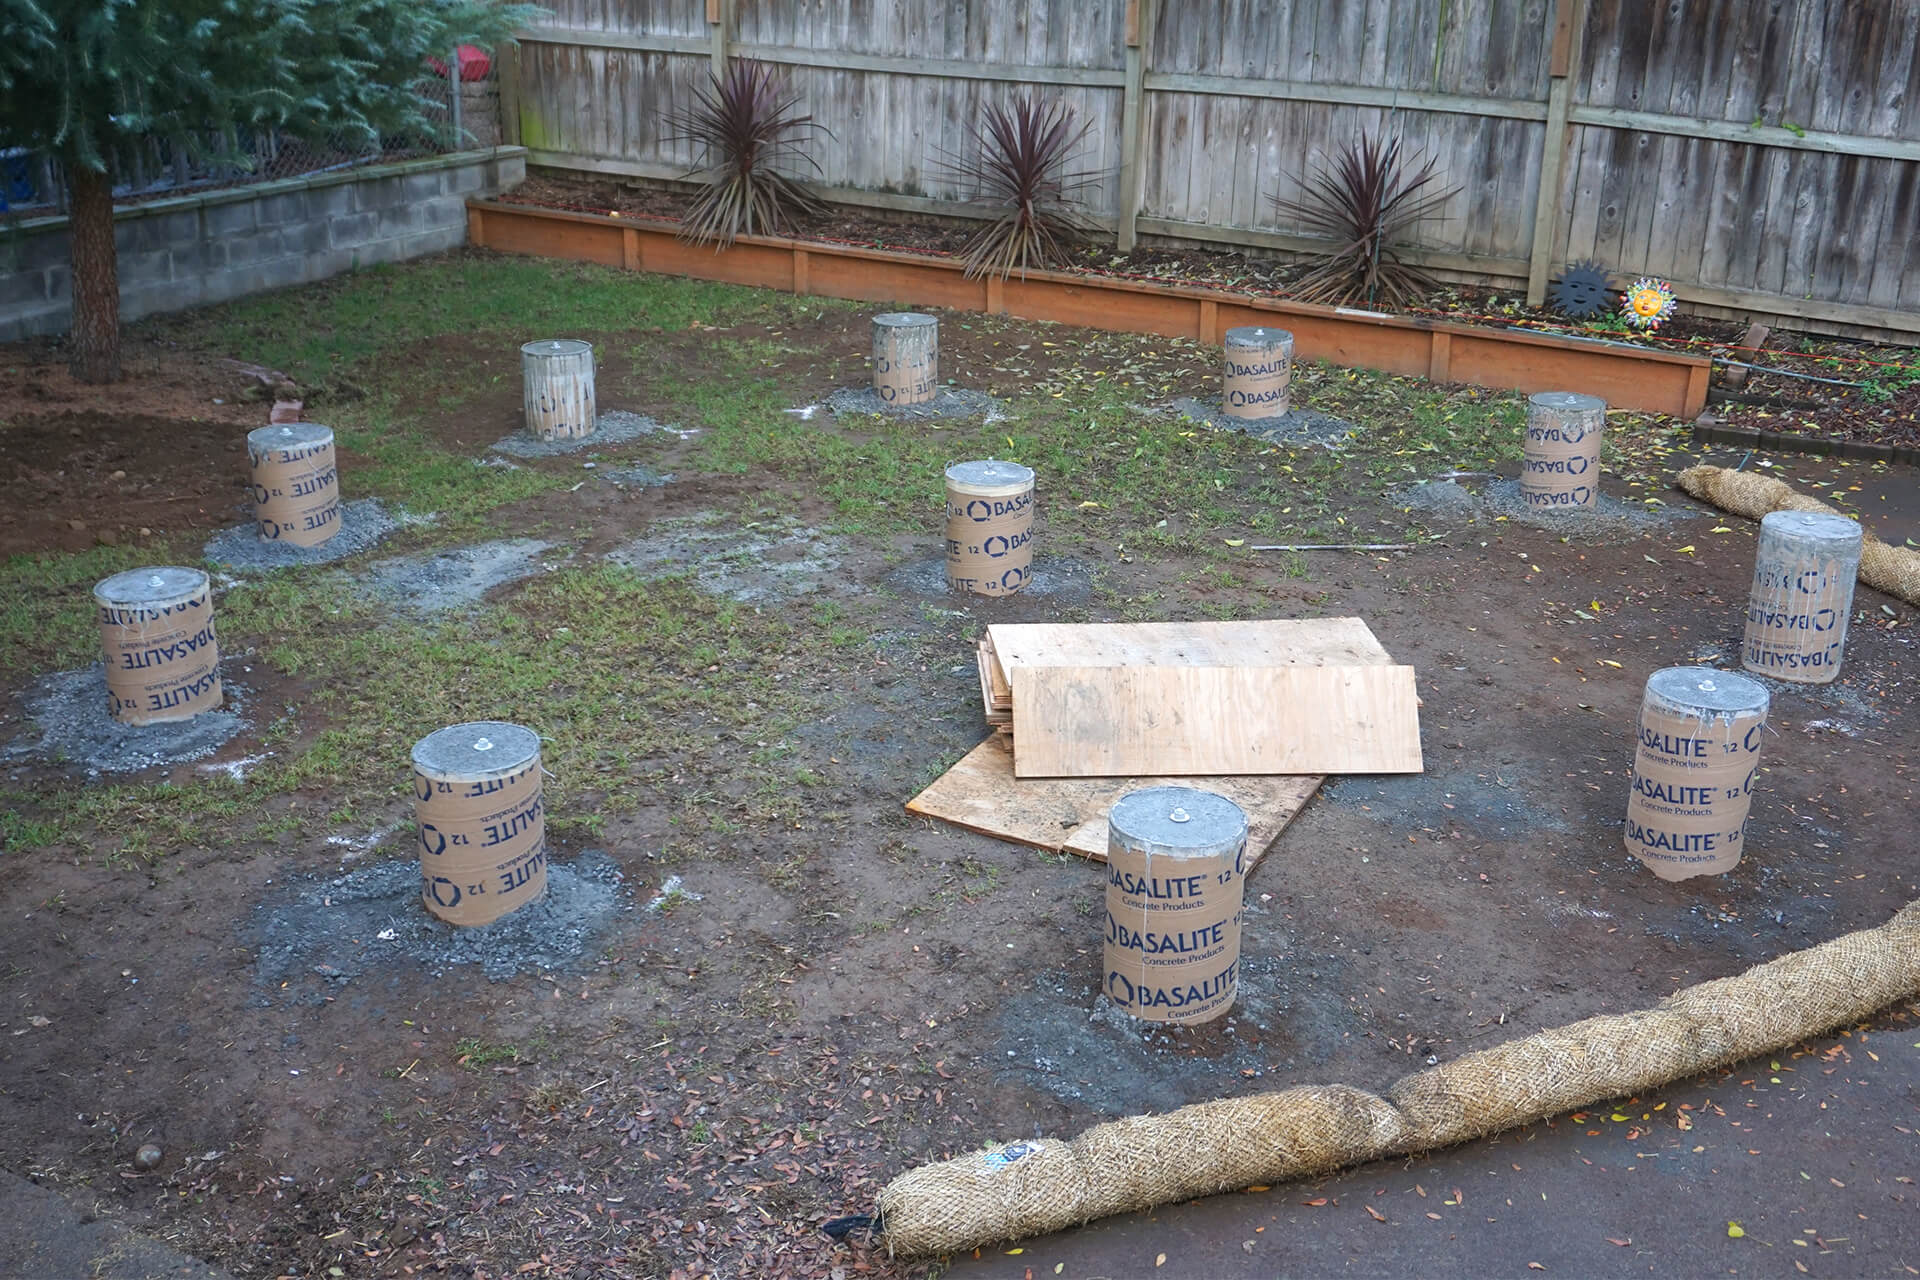
Congratulations on completing the foundation!
Next Step
© 2025 Dodeca Domes. All rights reserved.

