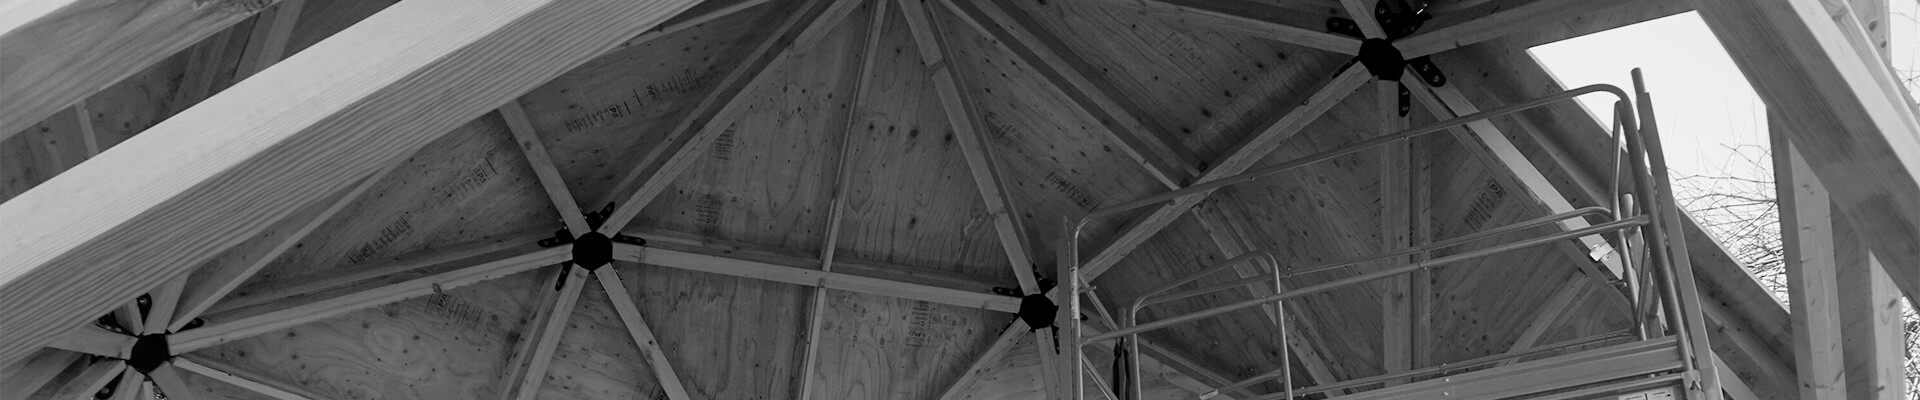
Framing – Sheathing
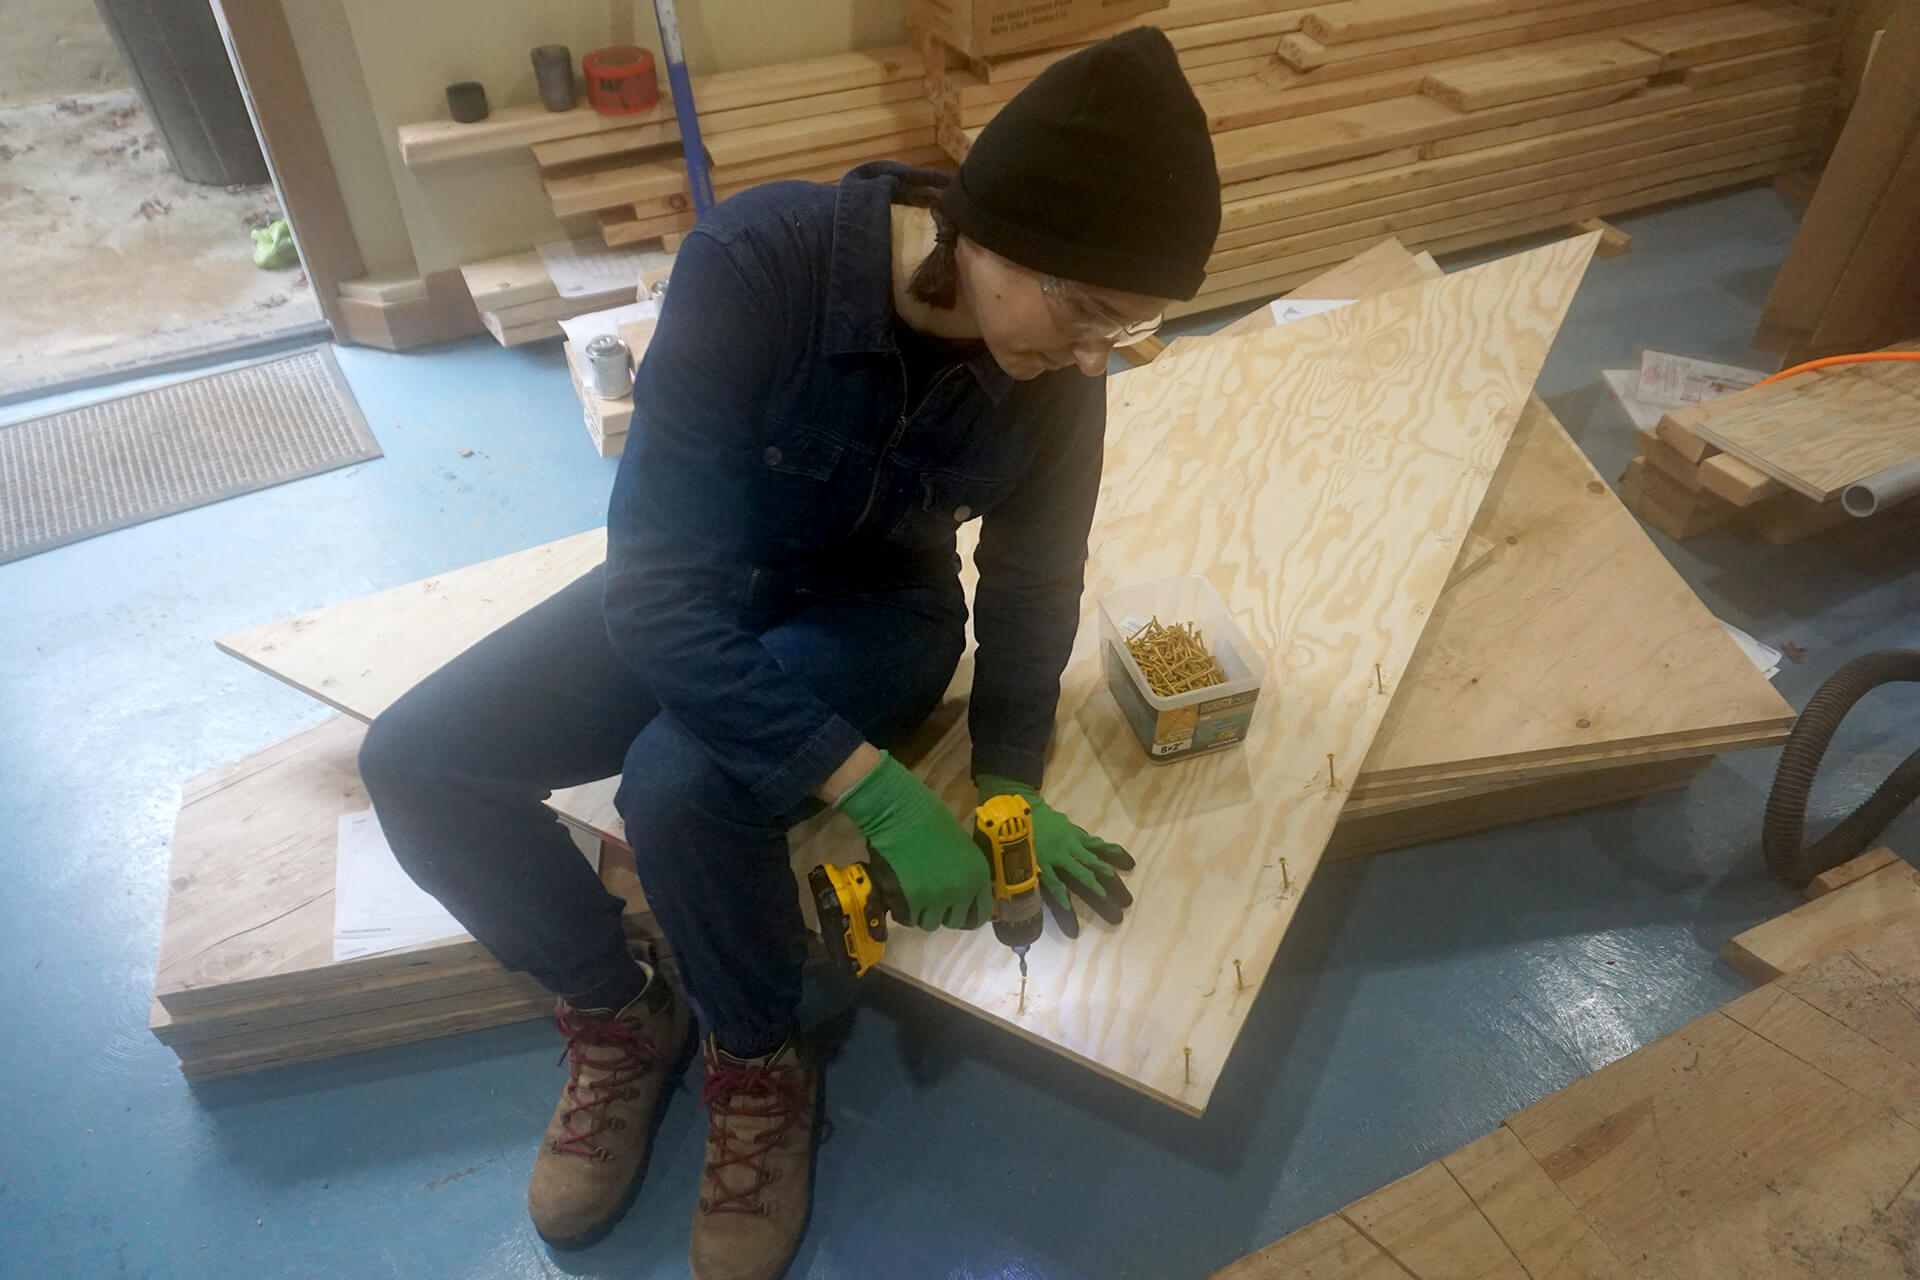
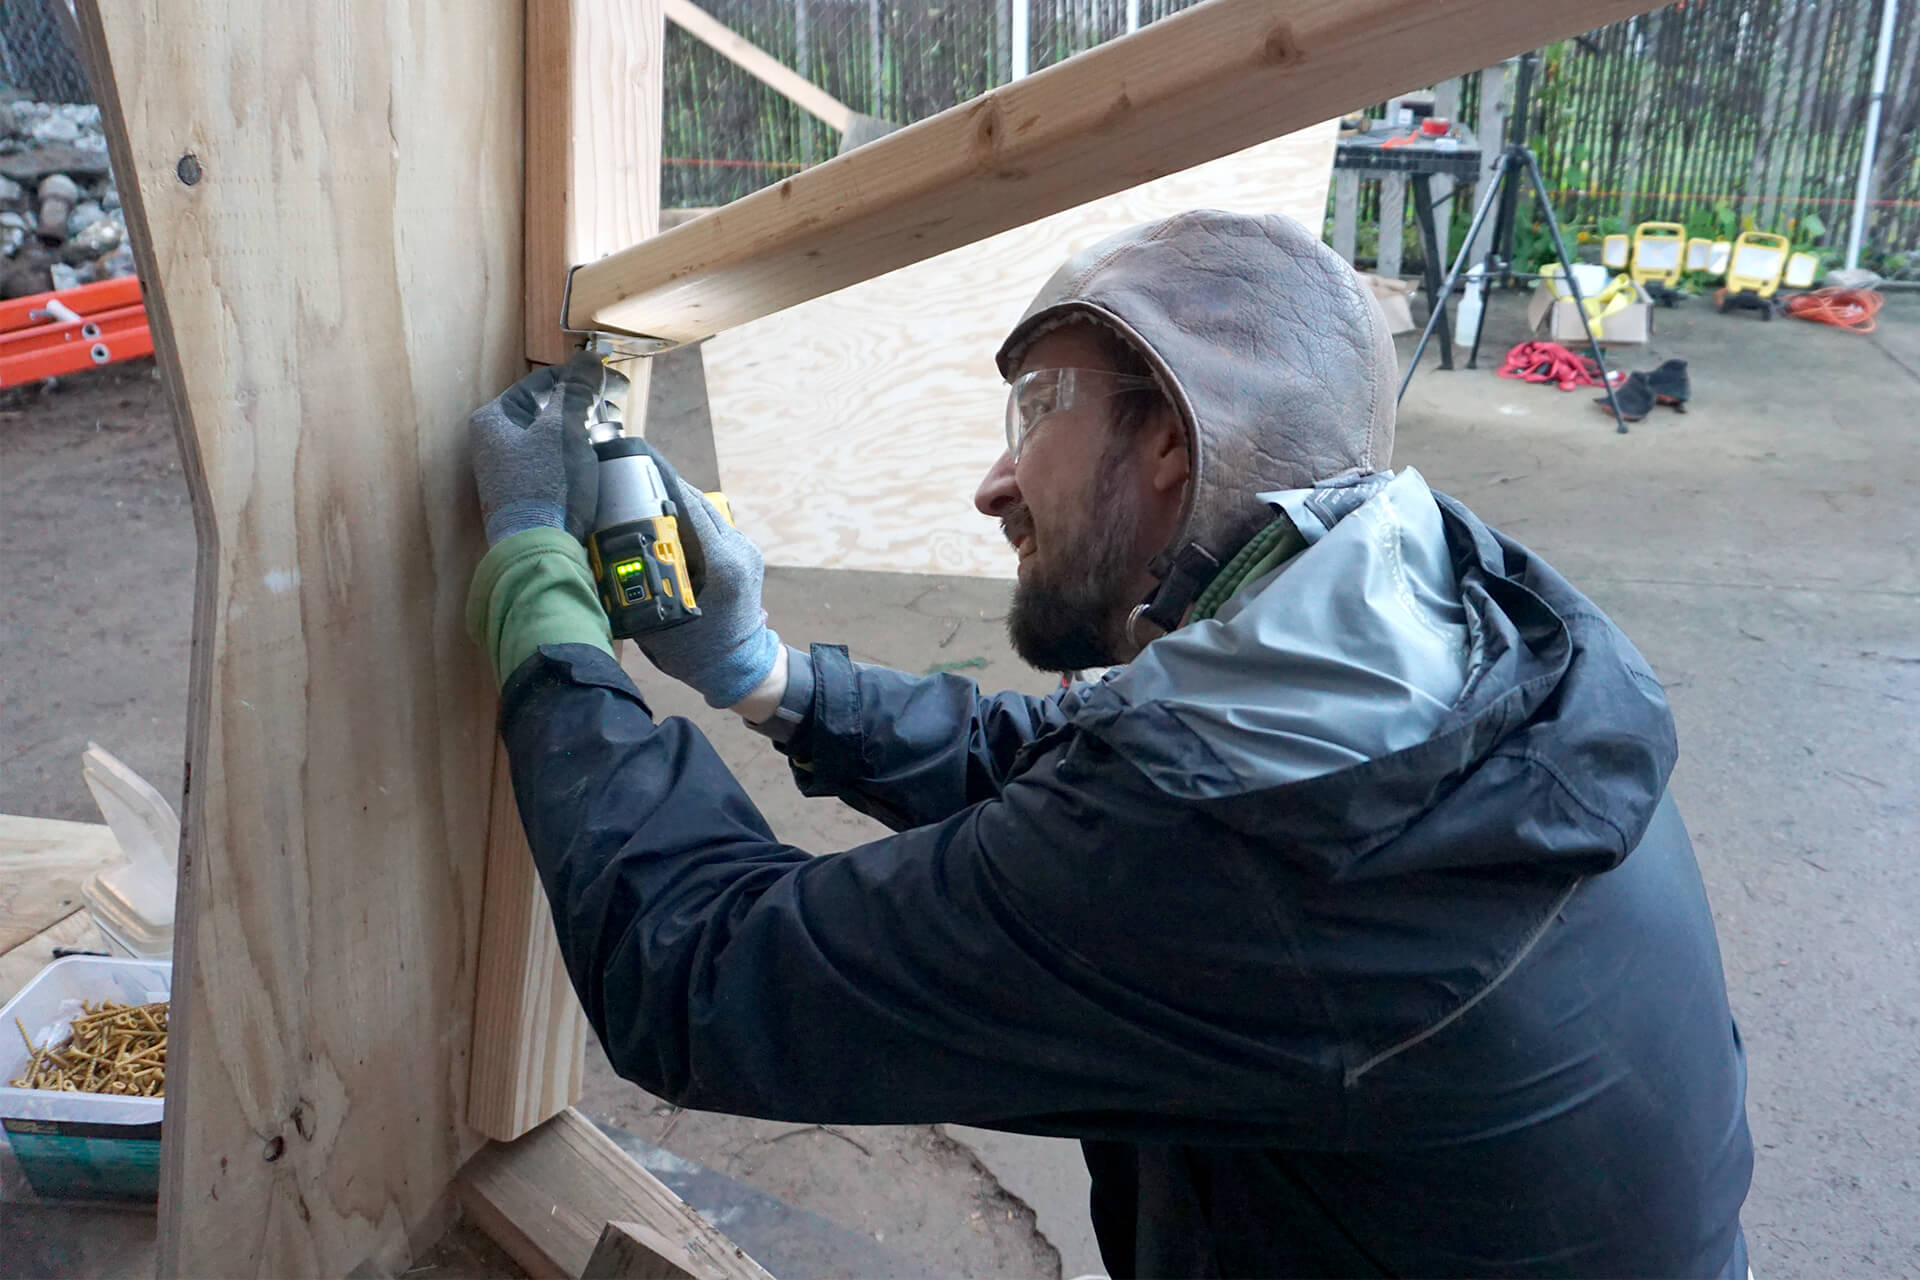
Pre-drill and pre-screw Panels. Ensure the better side is facing up. The pre-drilled holes need to be angled, but start far enough from an edge to get good bite.
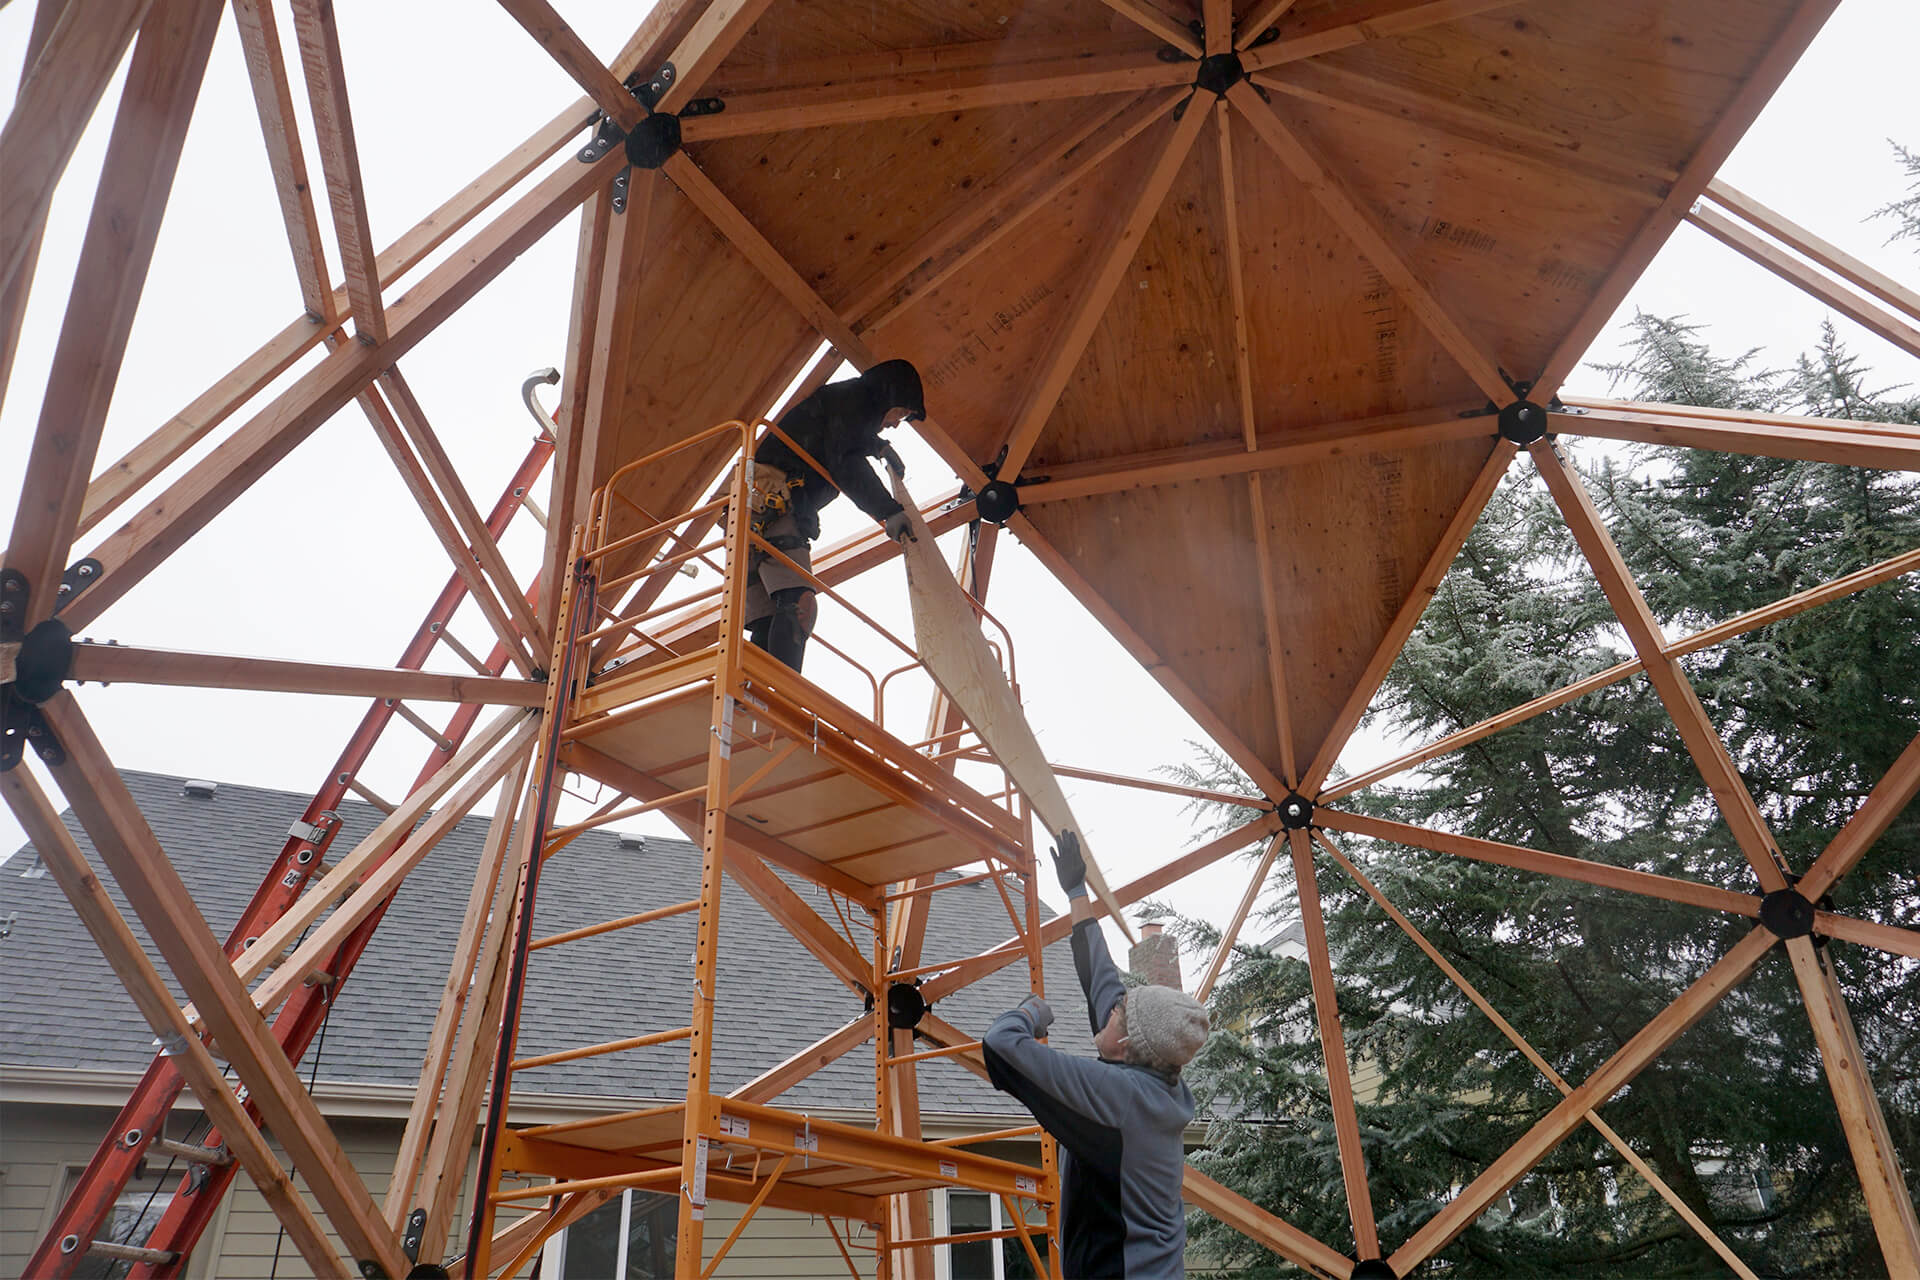
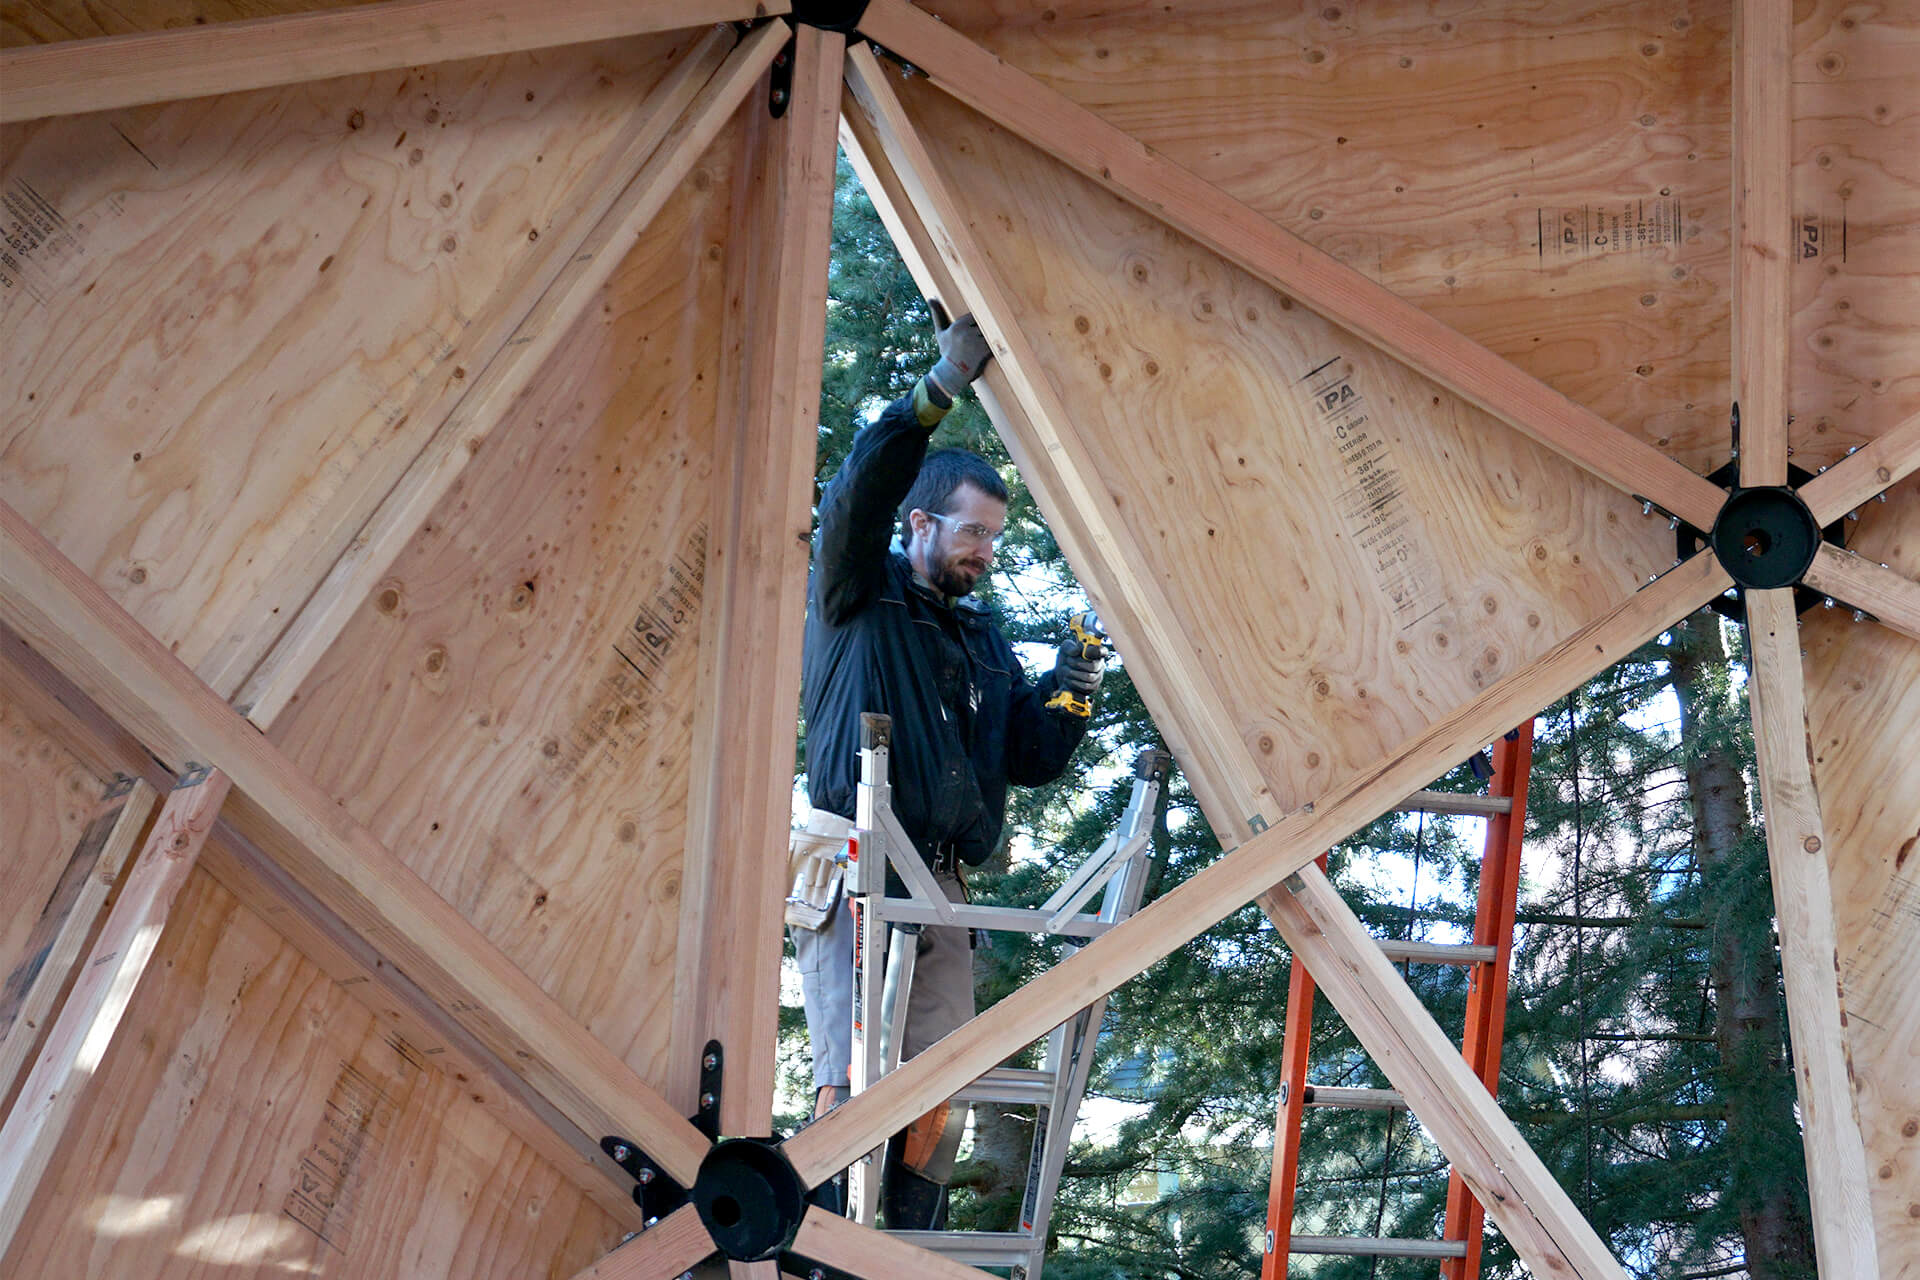
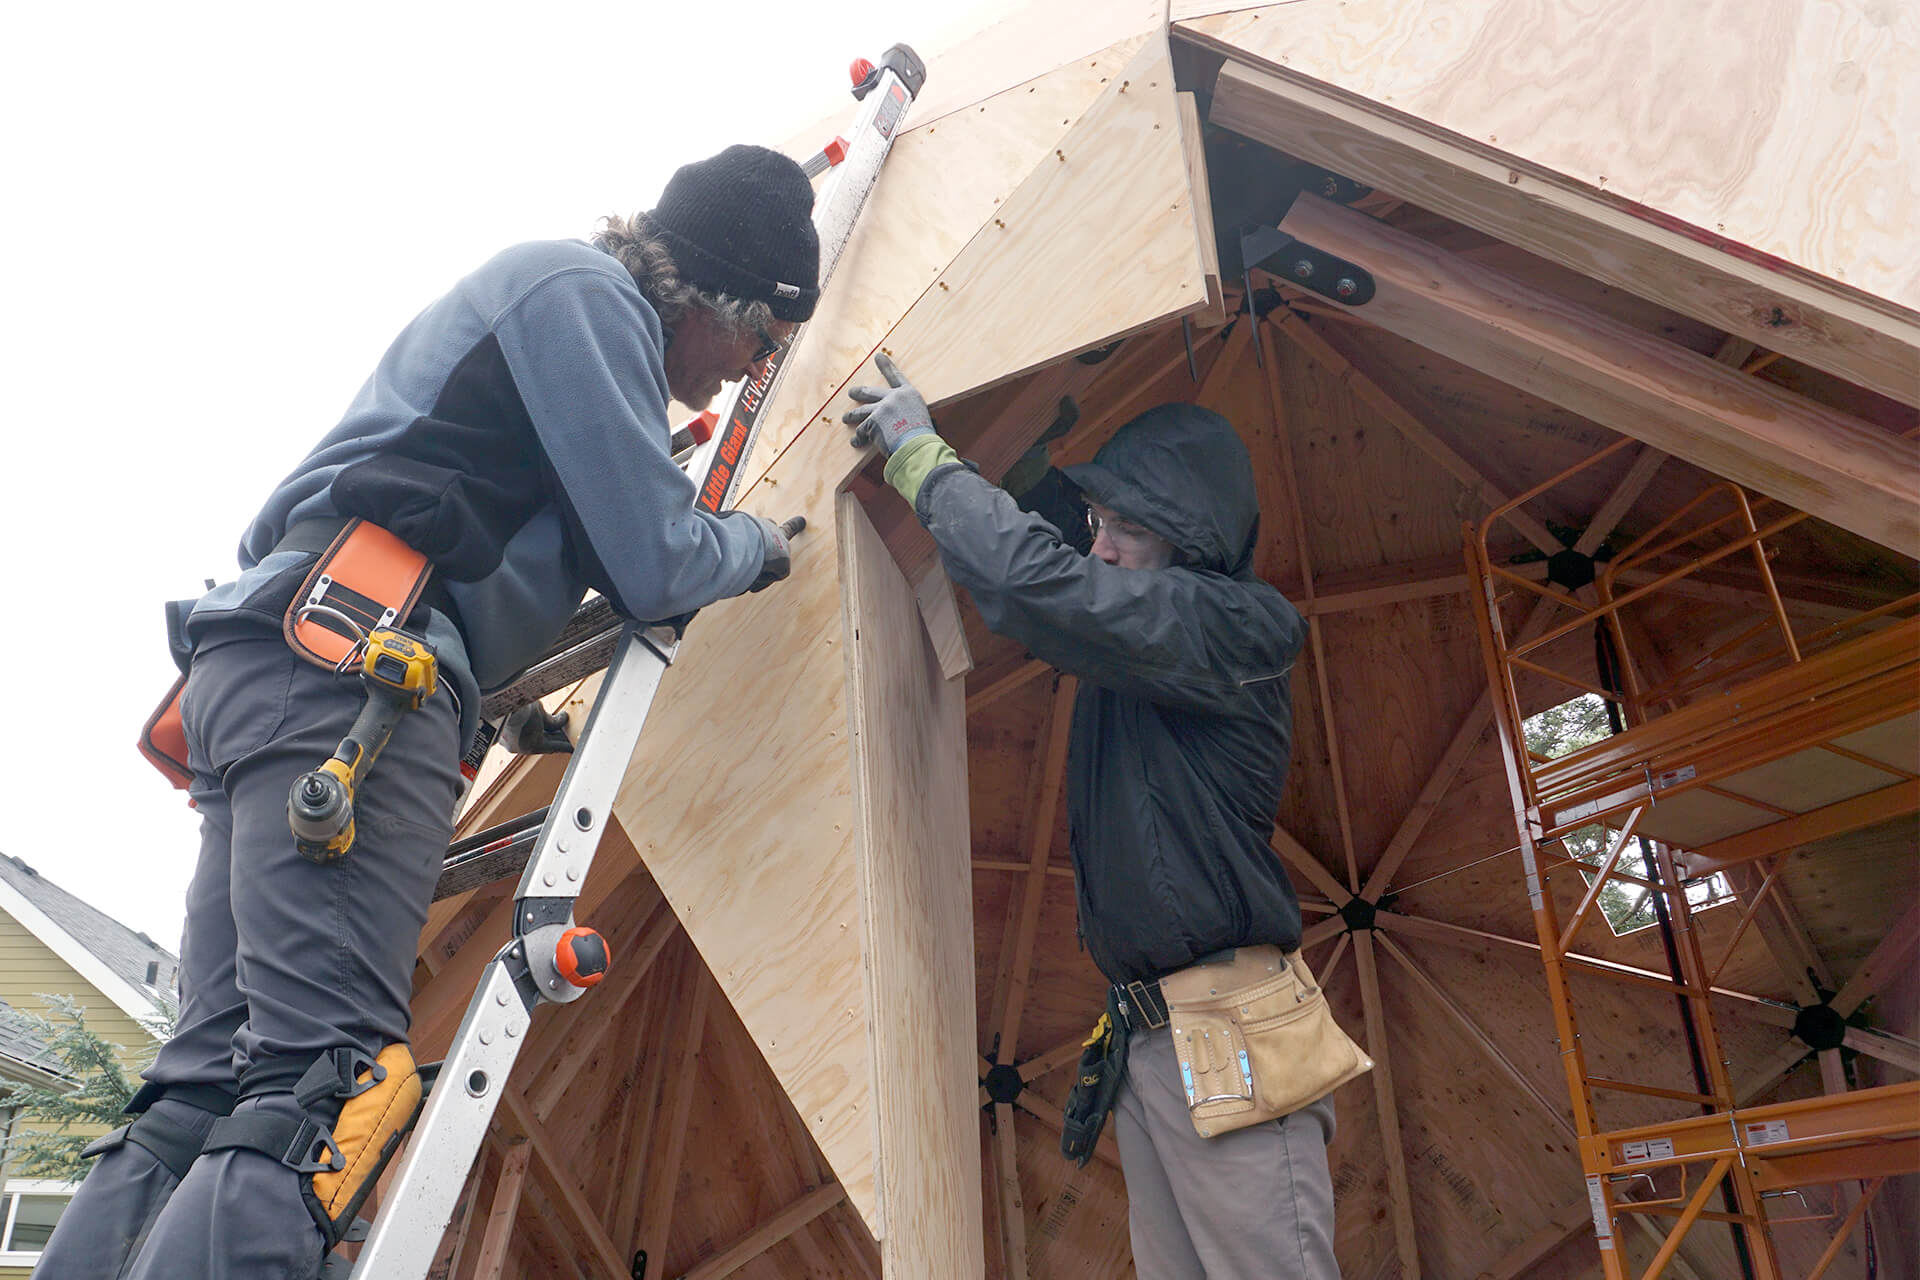
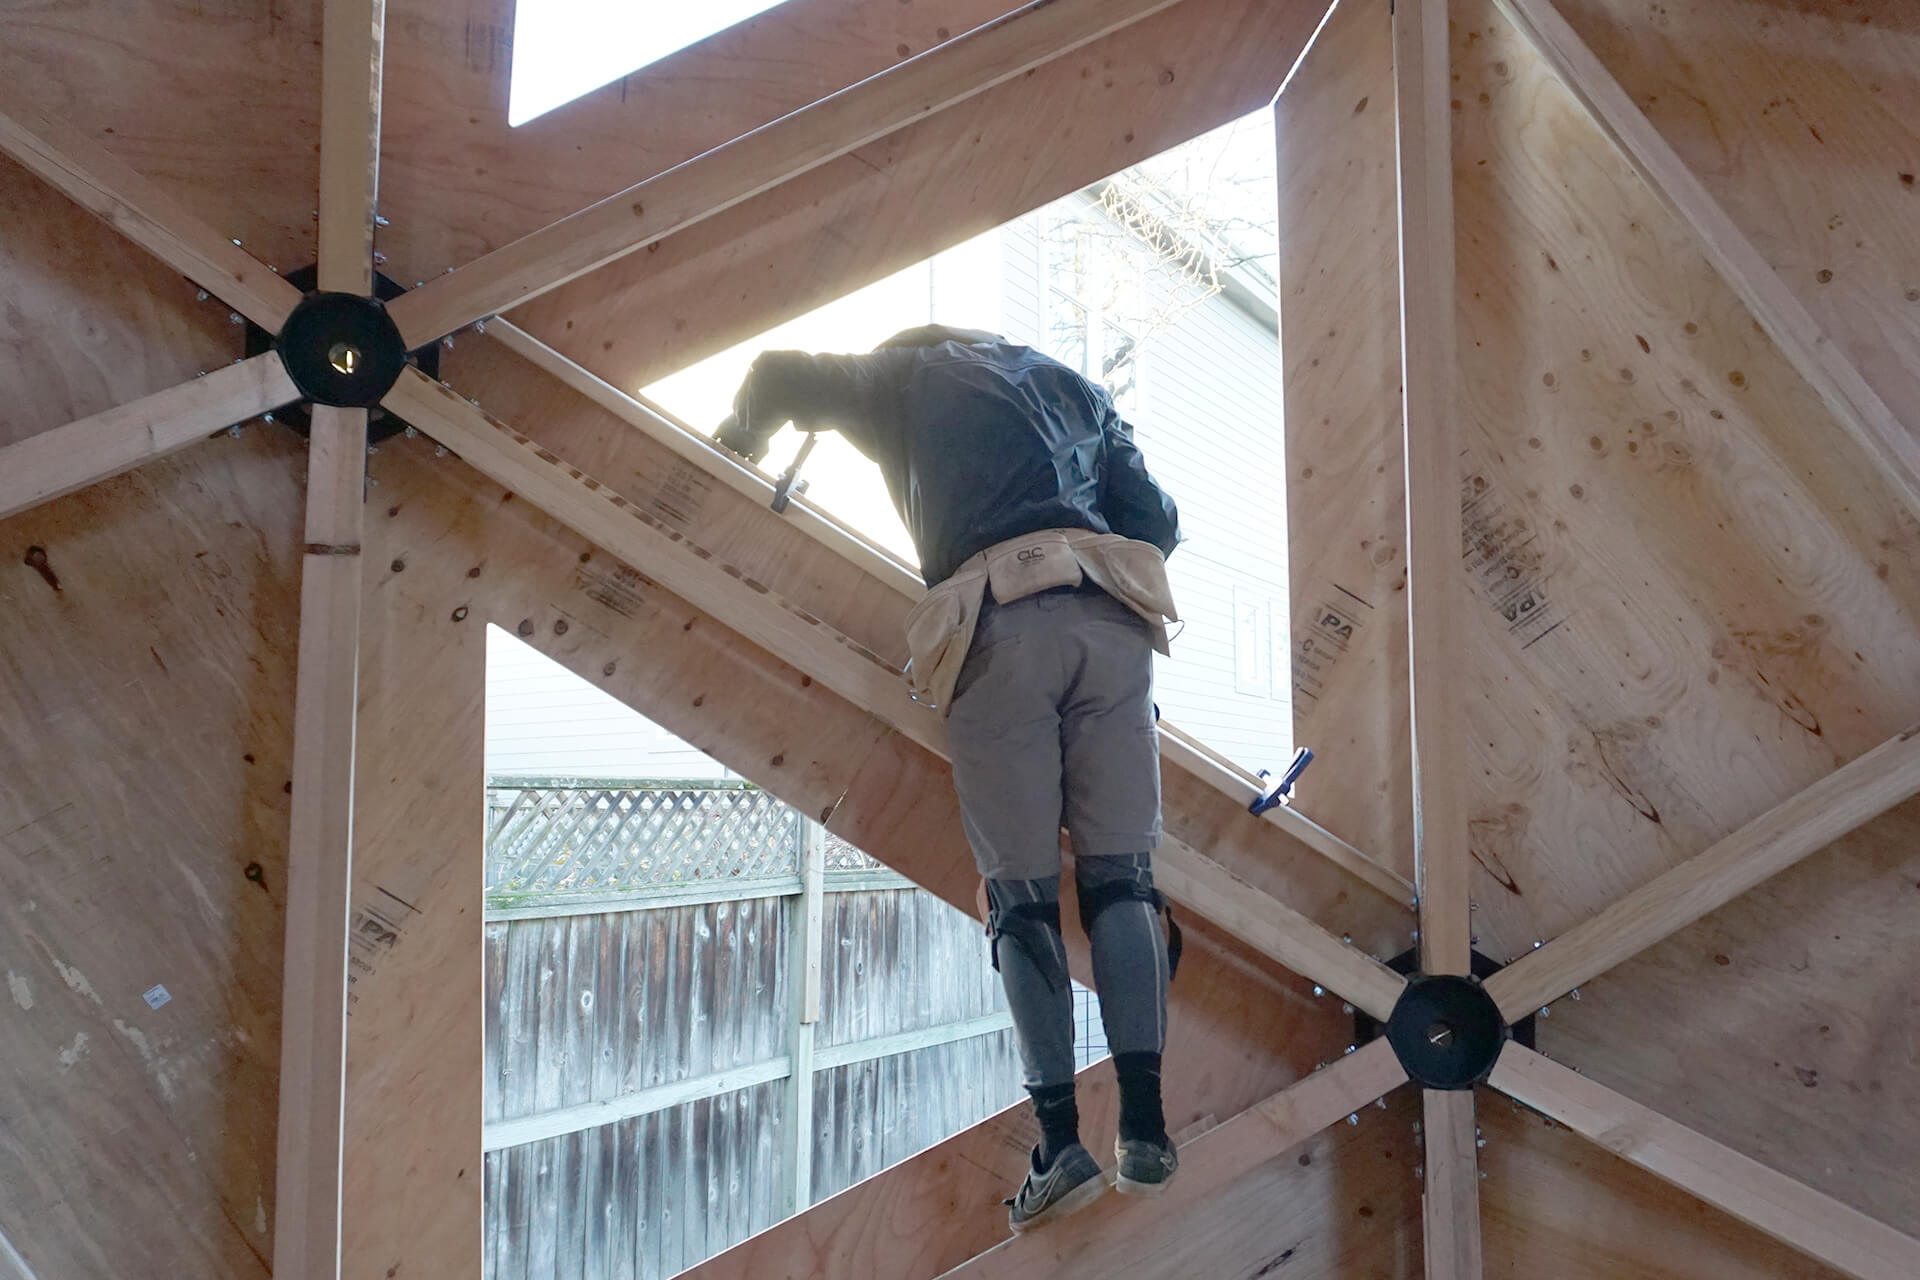
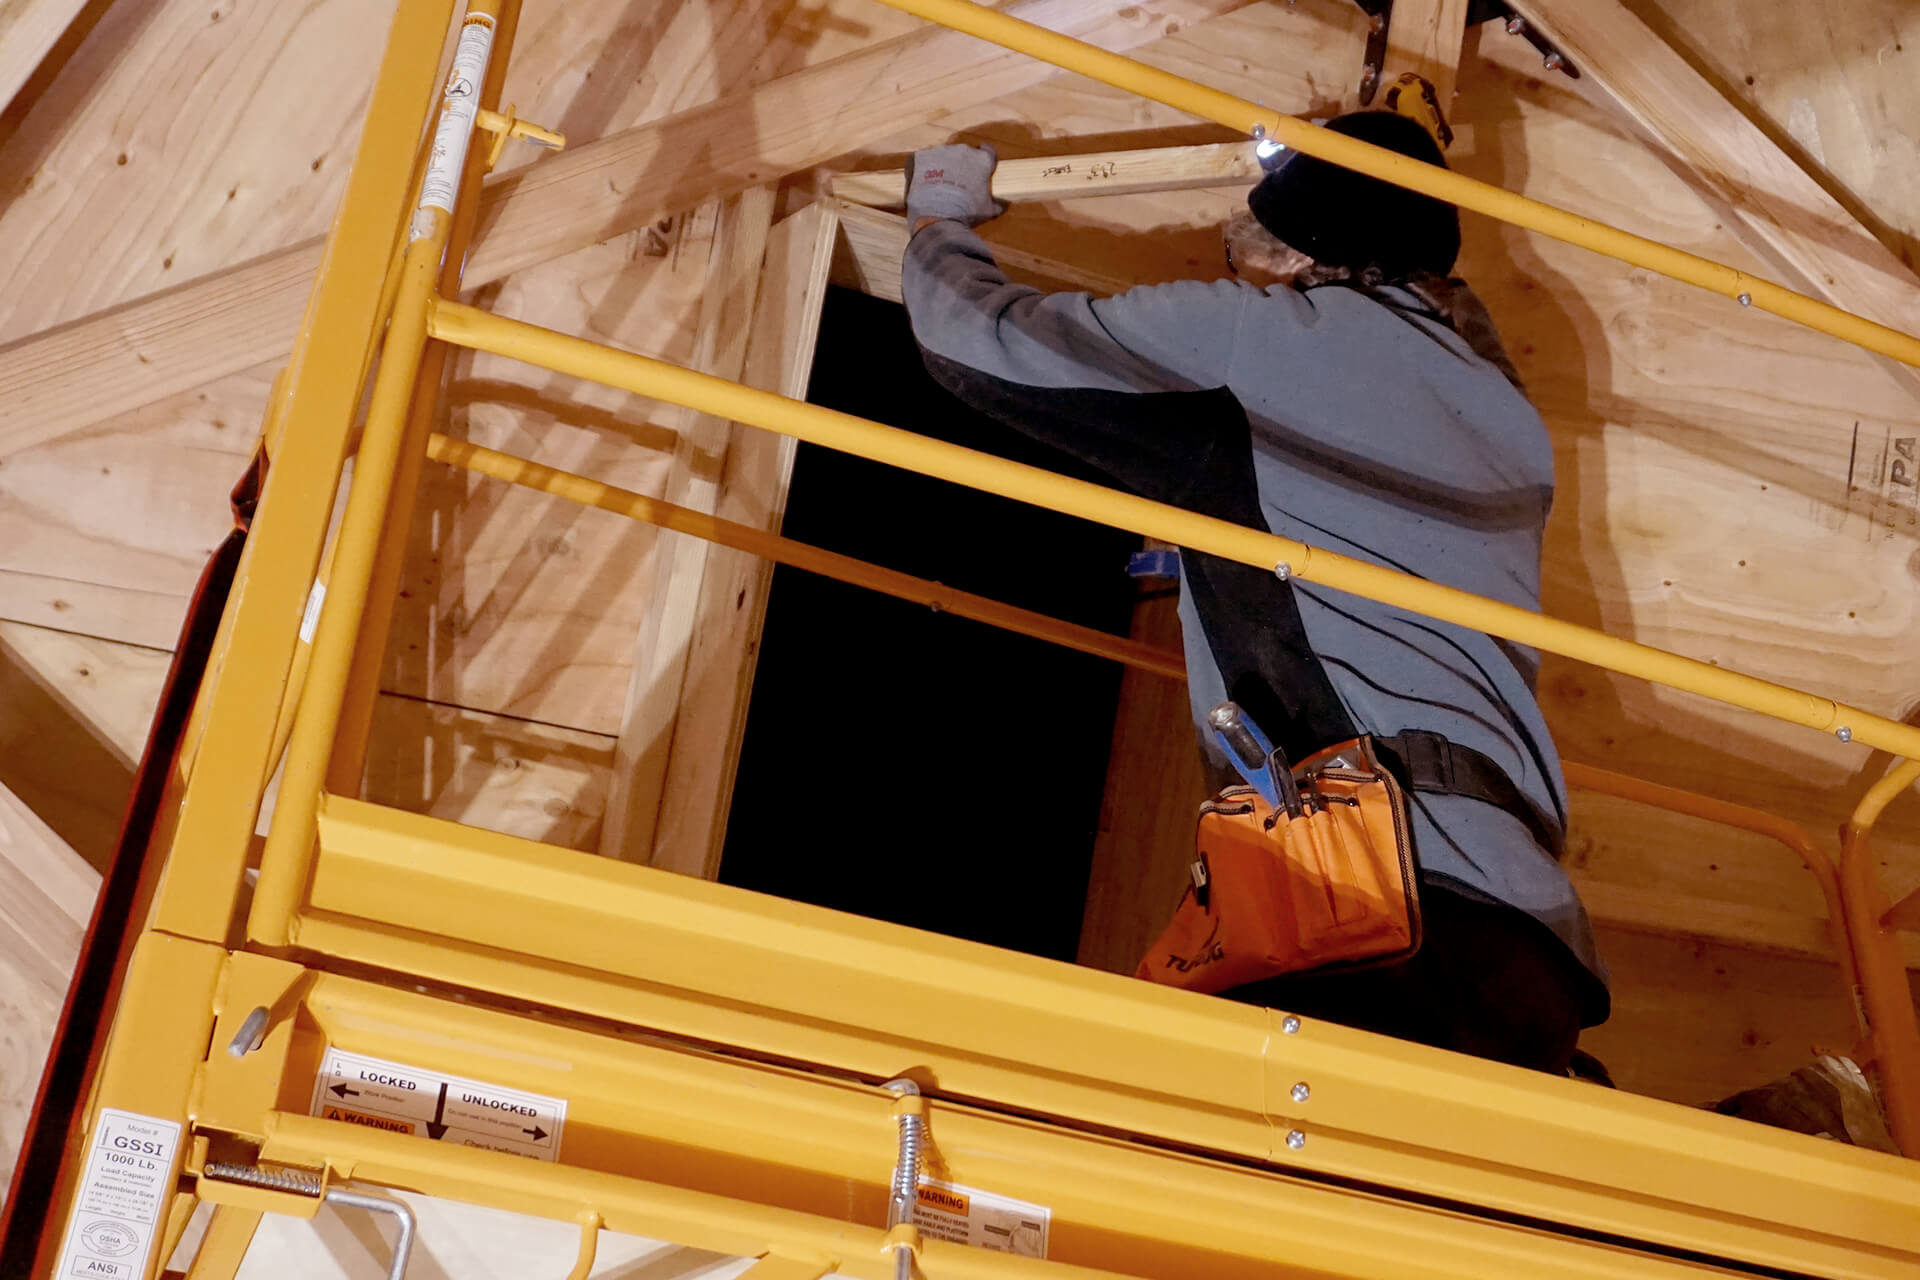
Attach the Panels from top to bottom. This approach provides more footholds and accessible harness attachment points during assembly.
Mitigate risk with proper harness use for the trickiest Panels. Pre-installing screws also reduces risk, as it eliminates one task in a risky position.
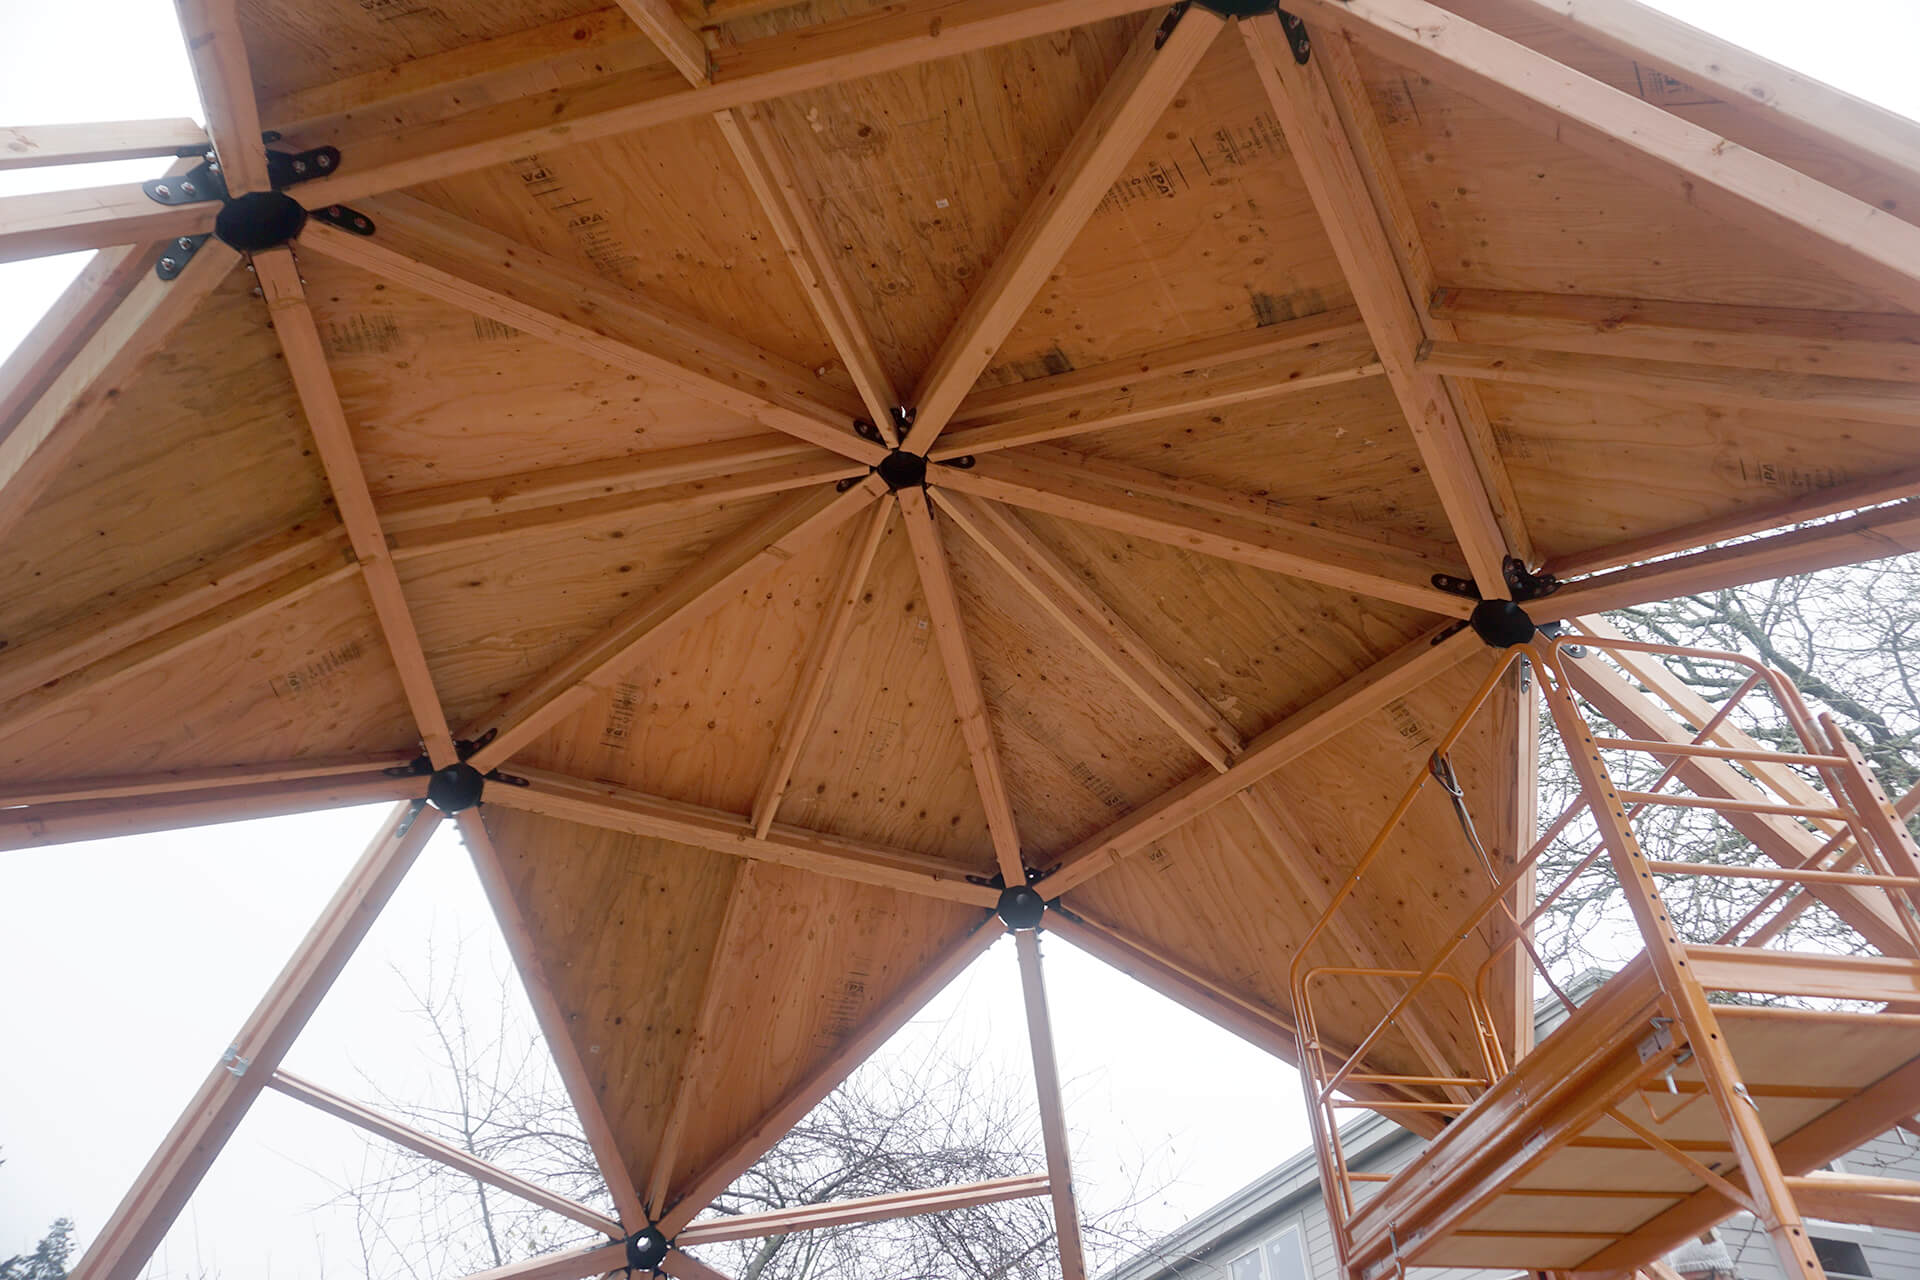
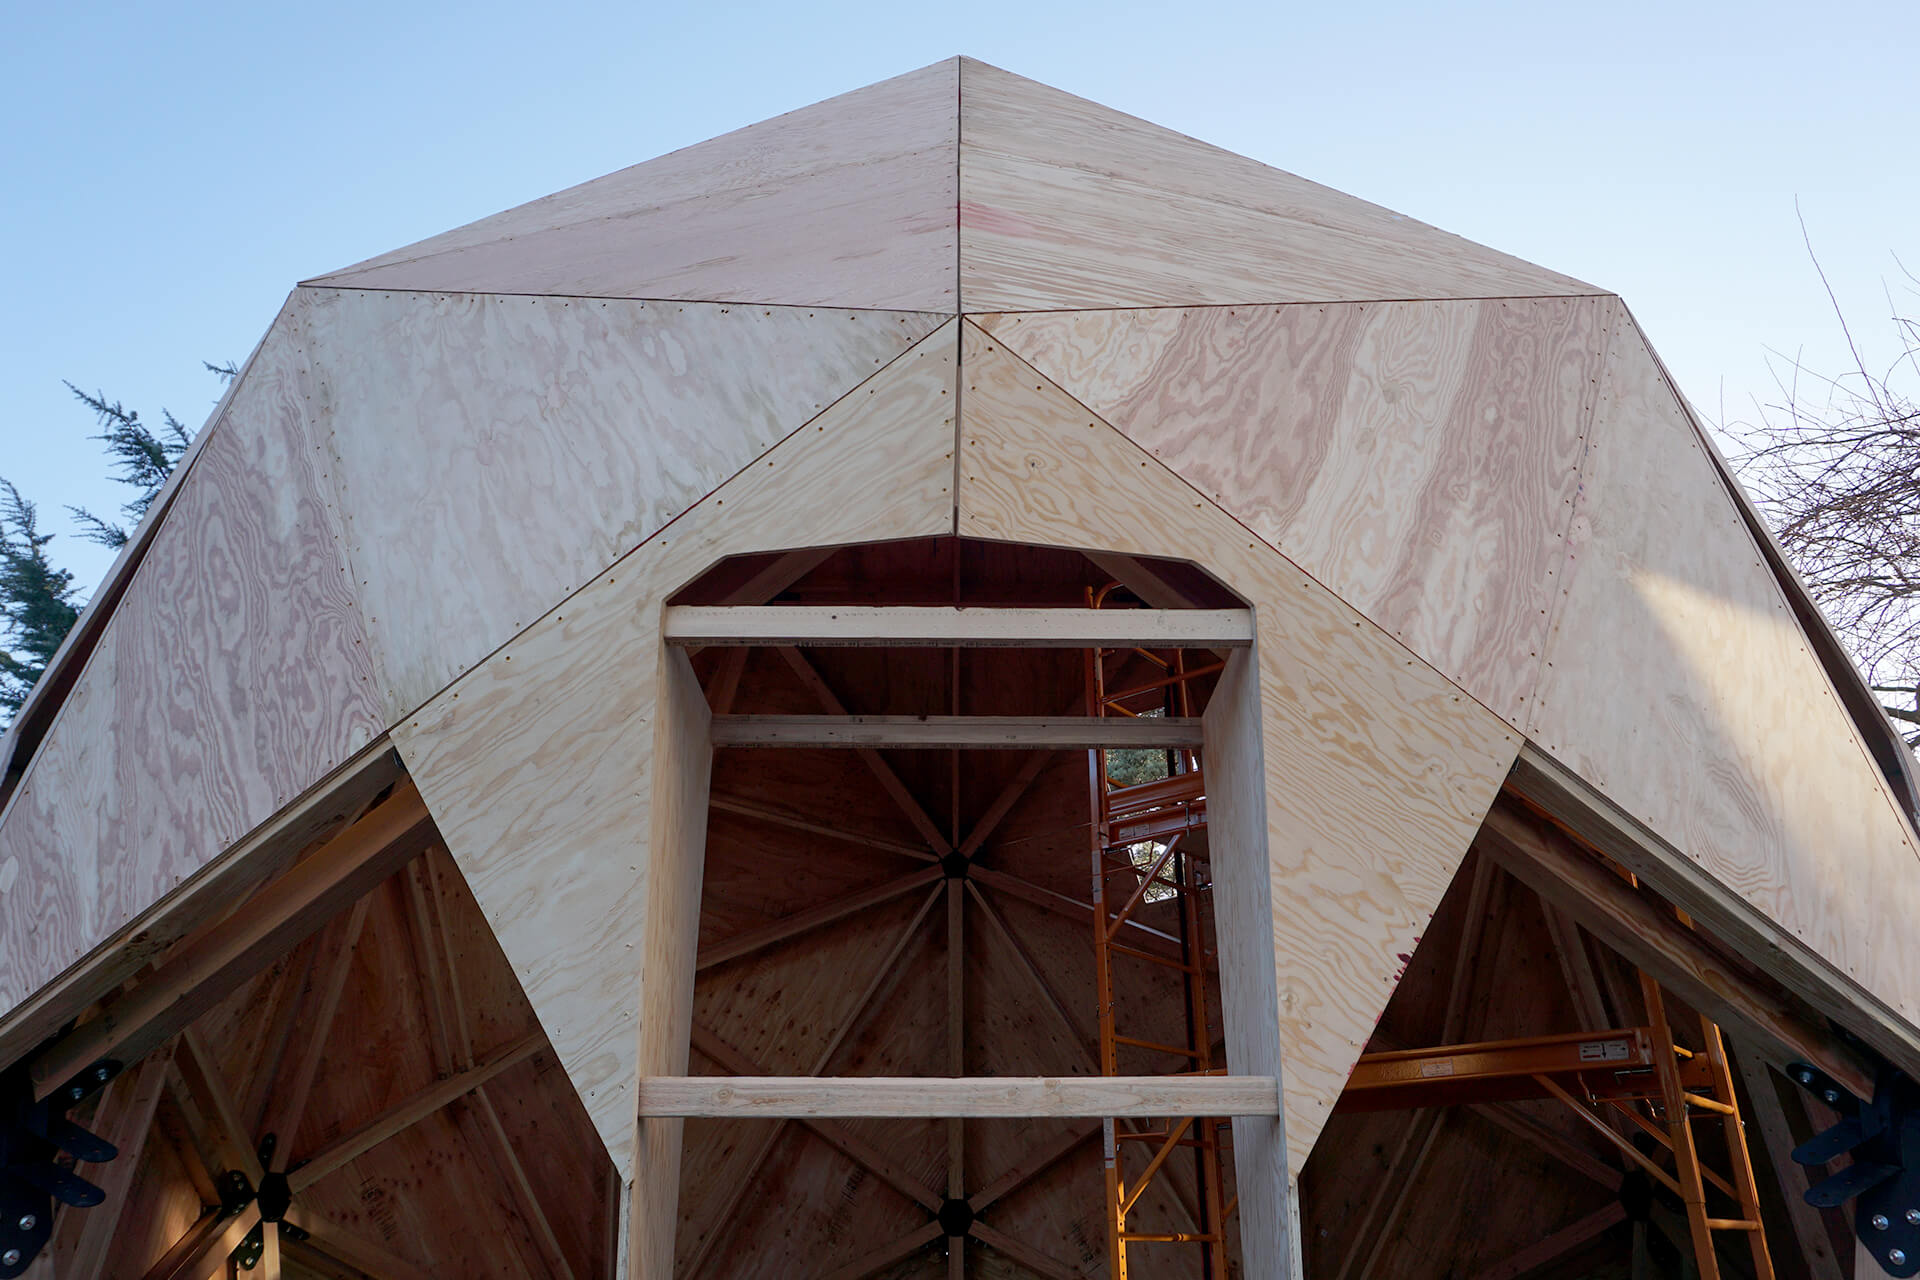
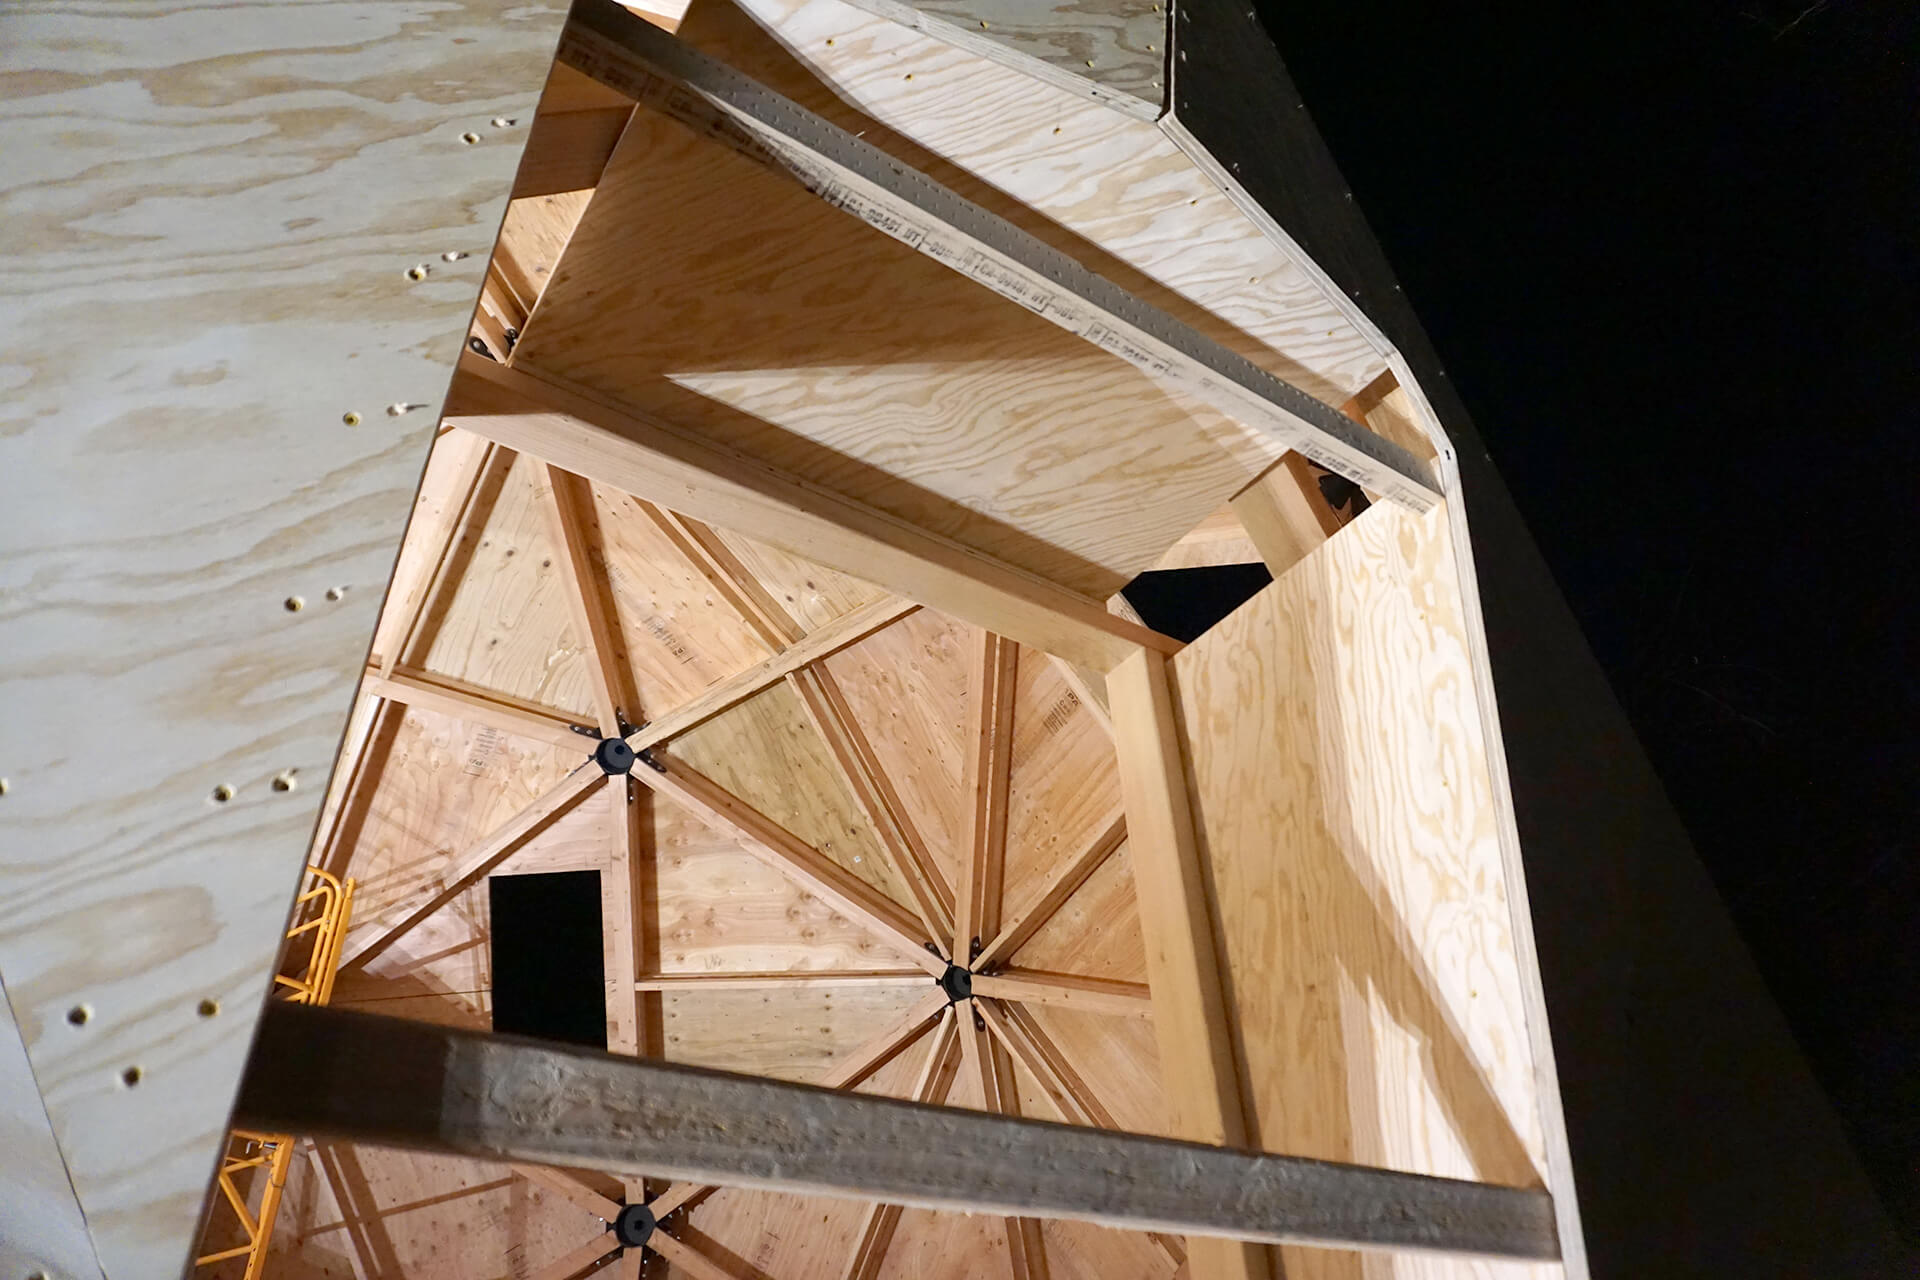
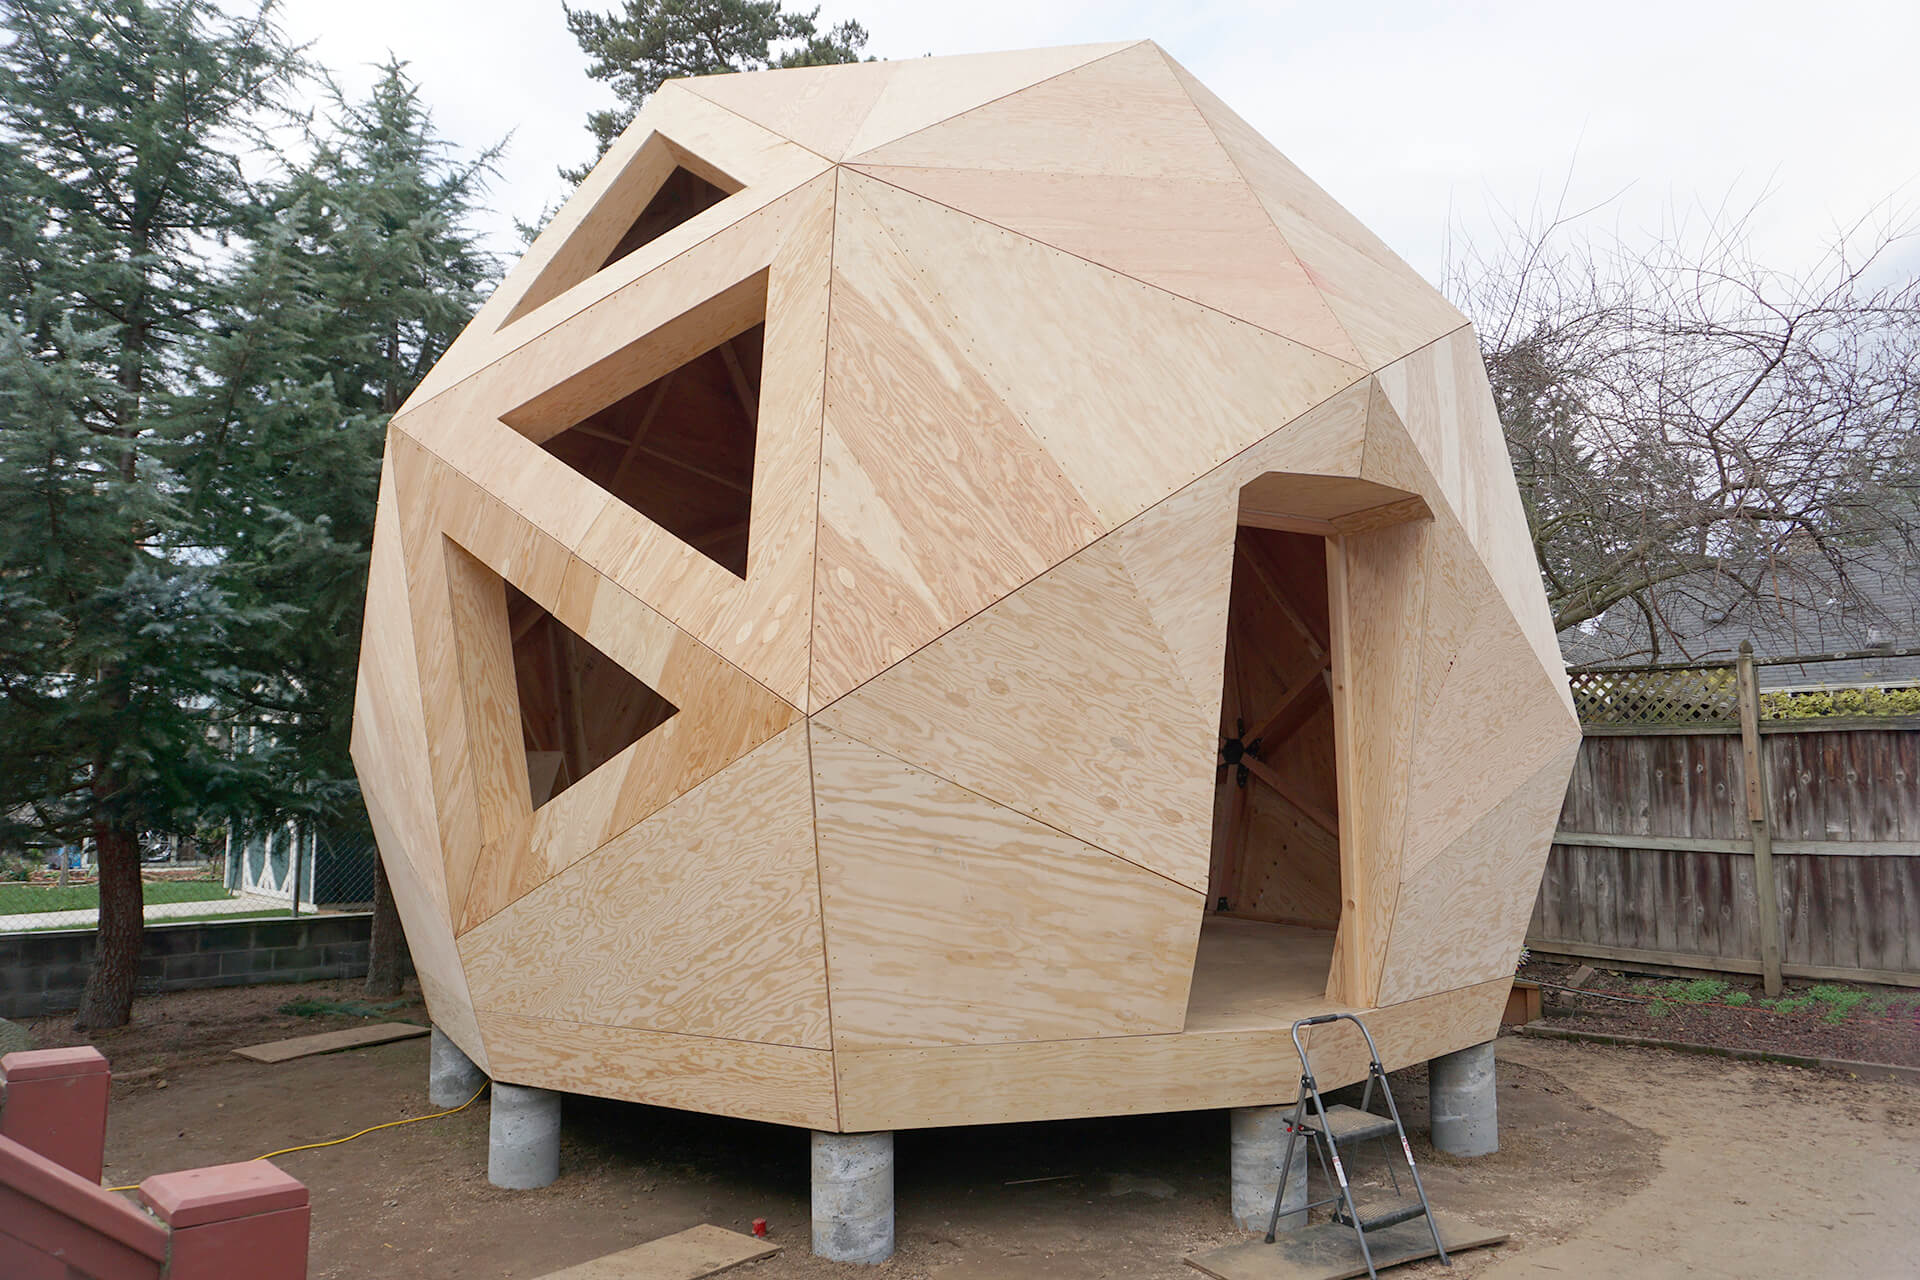
A cool star pattern of the sheathing.
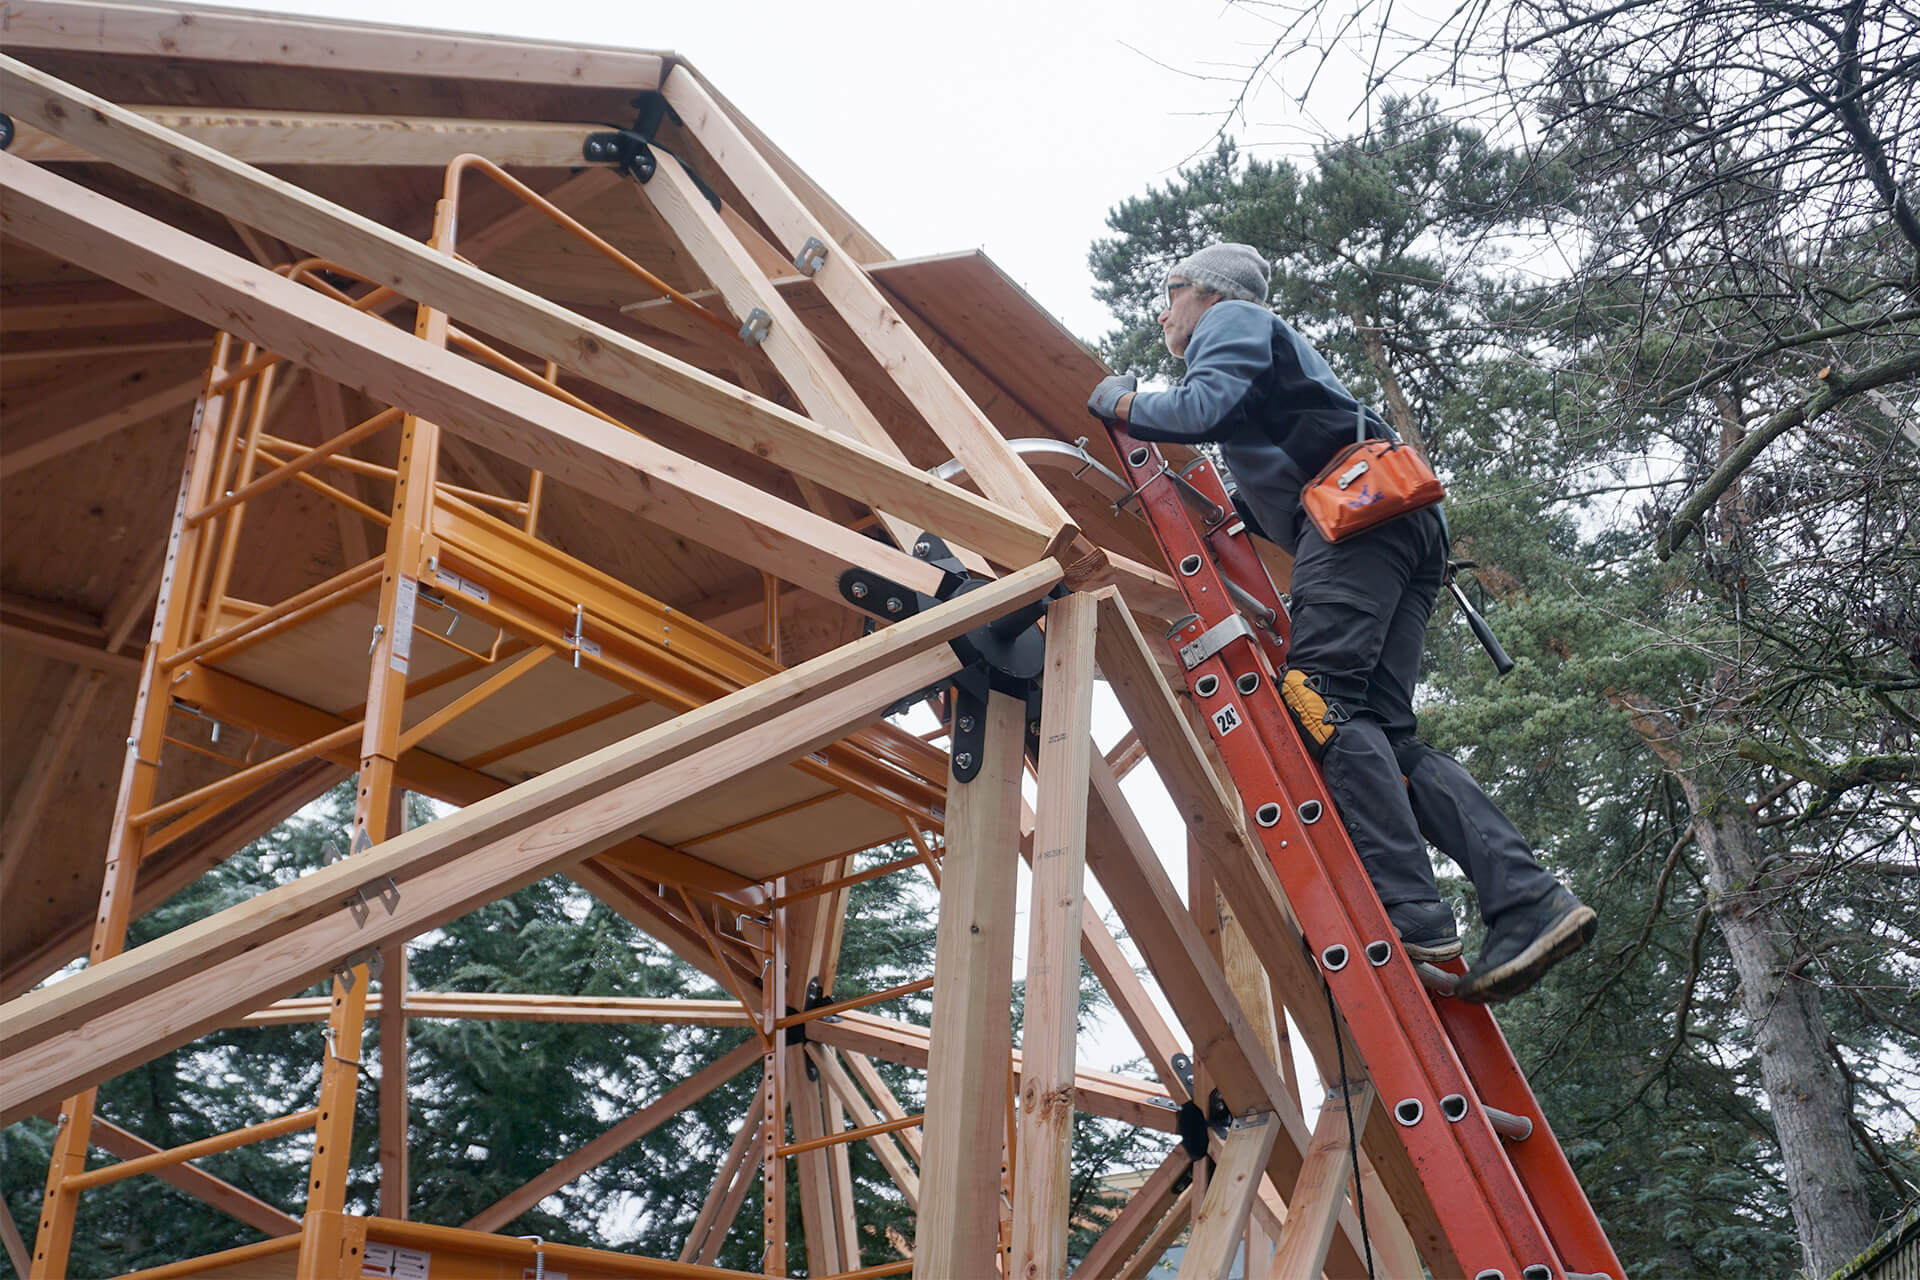
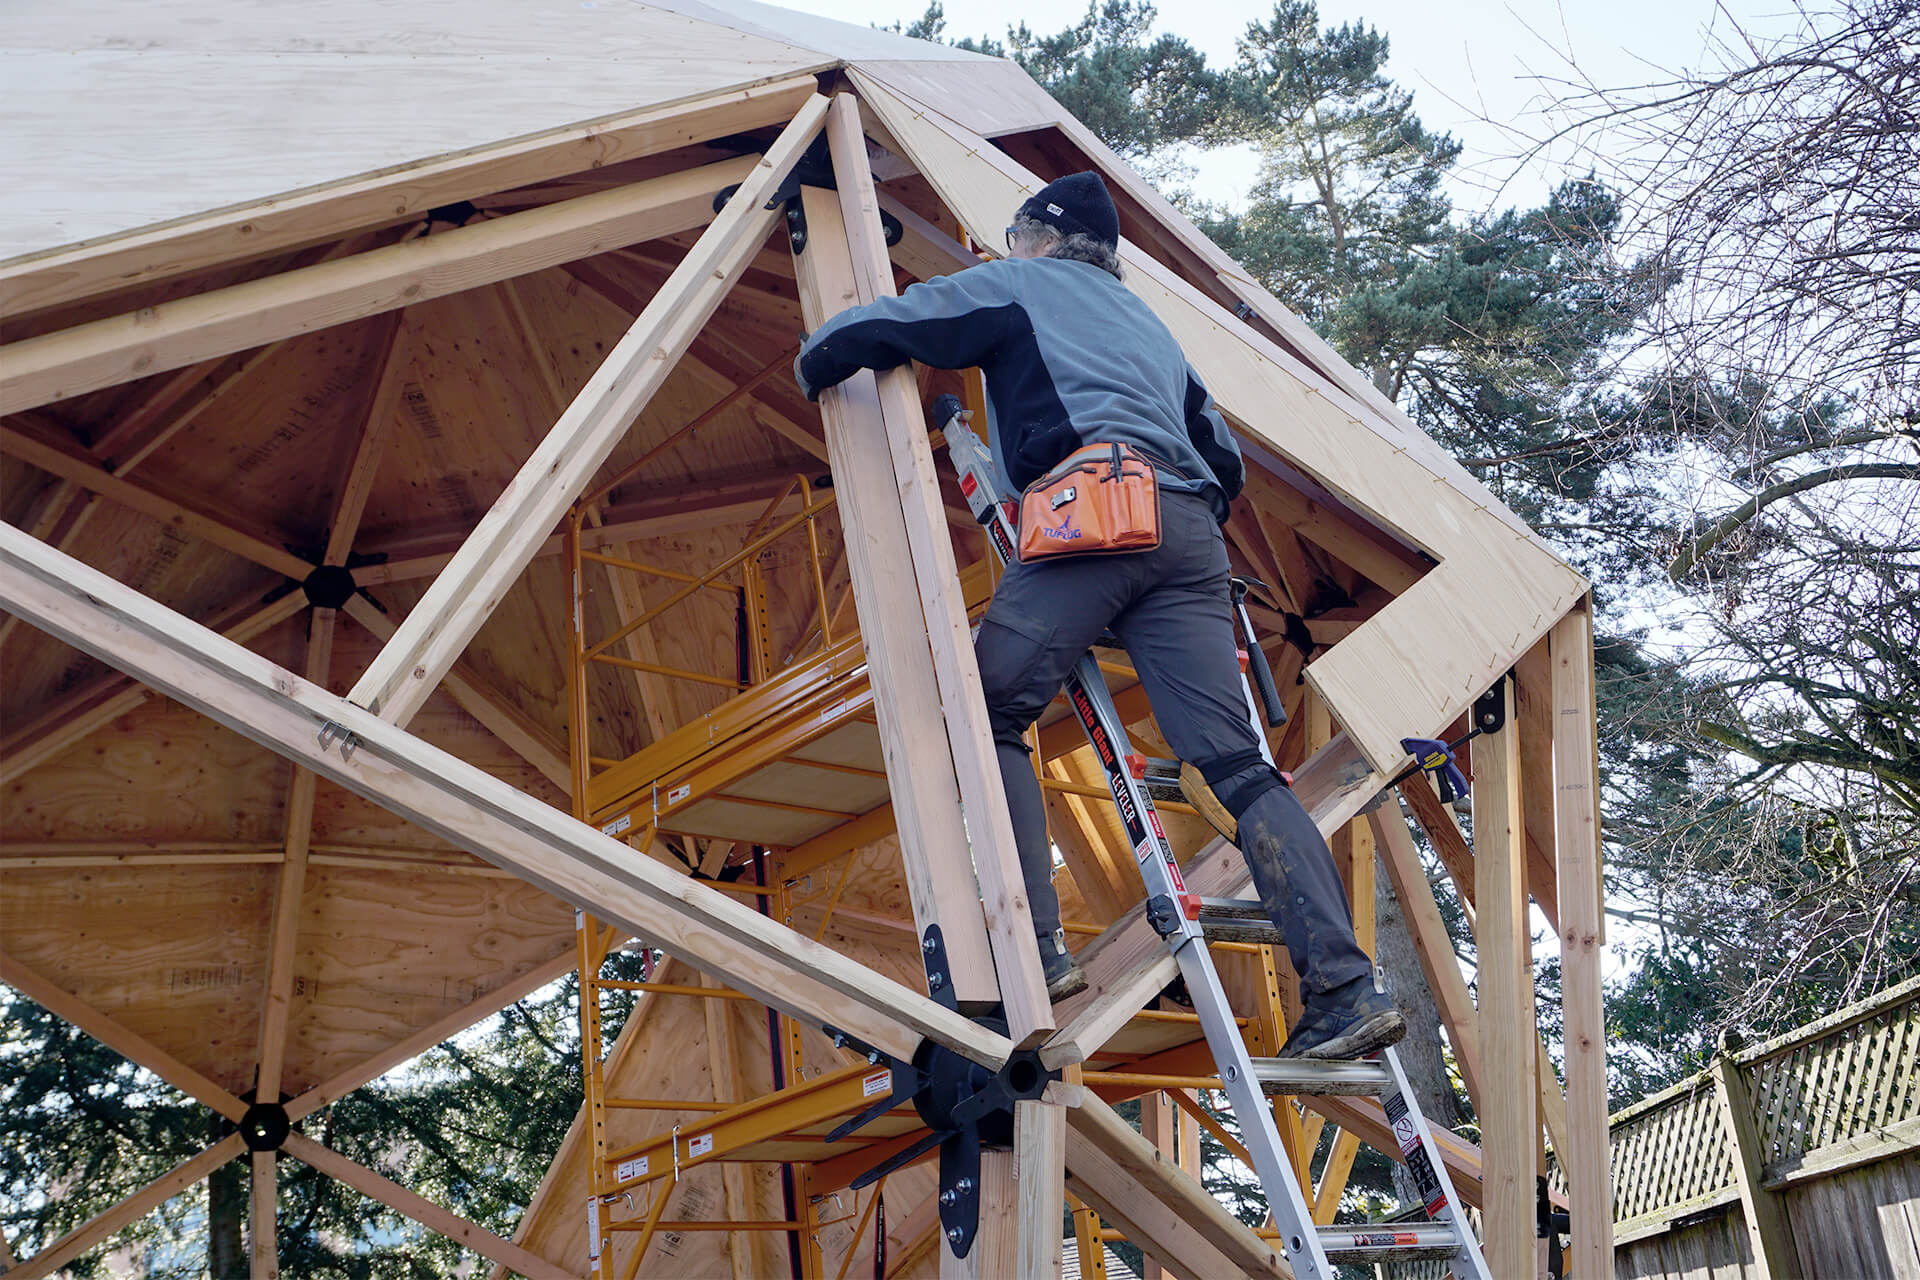
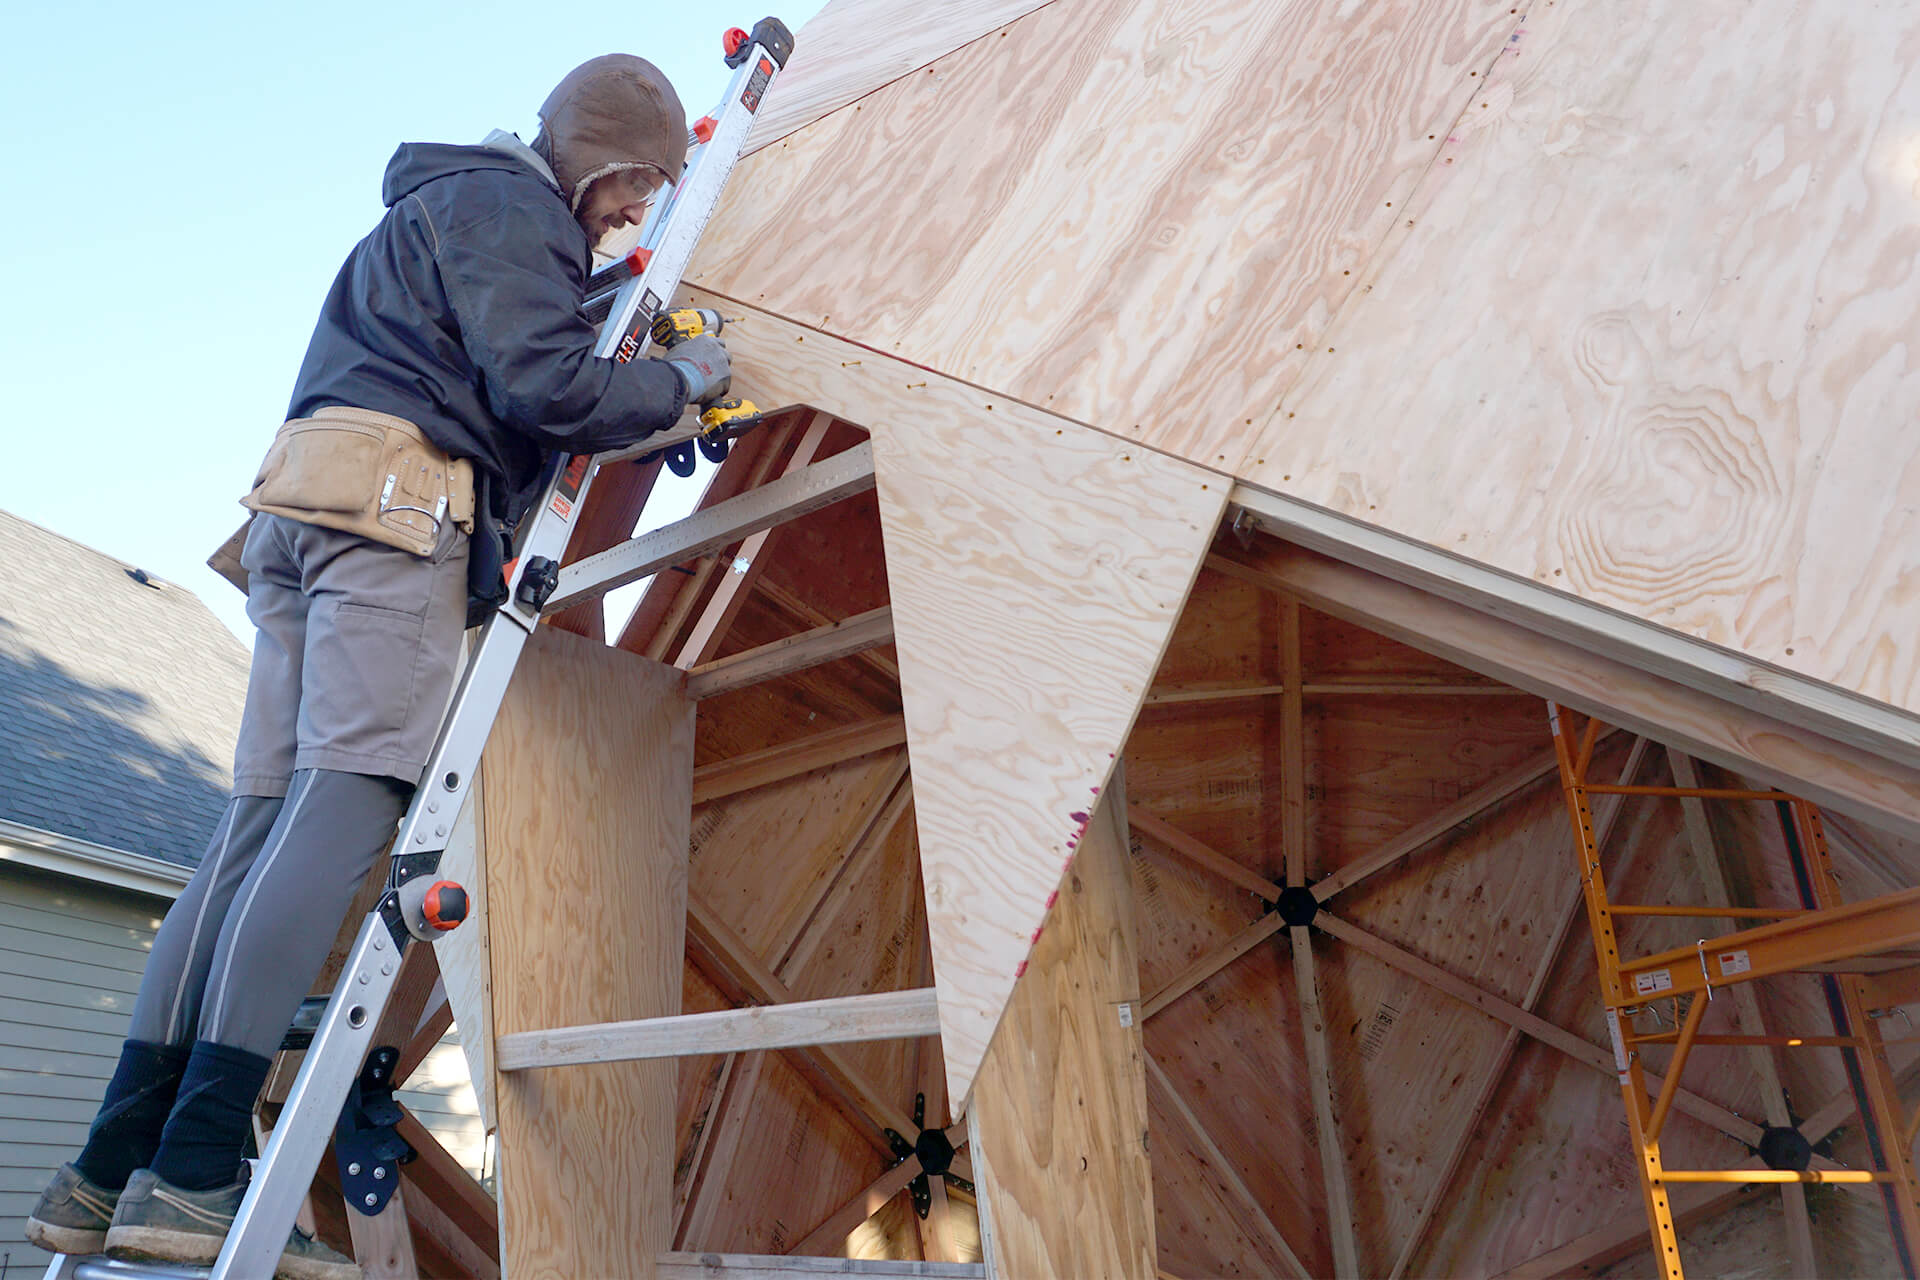
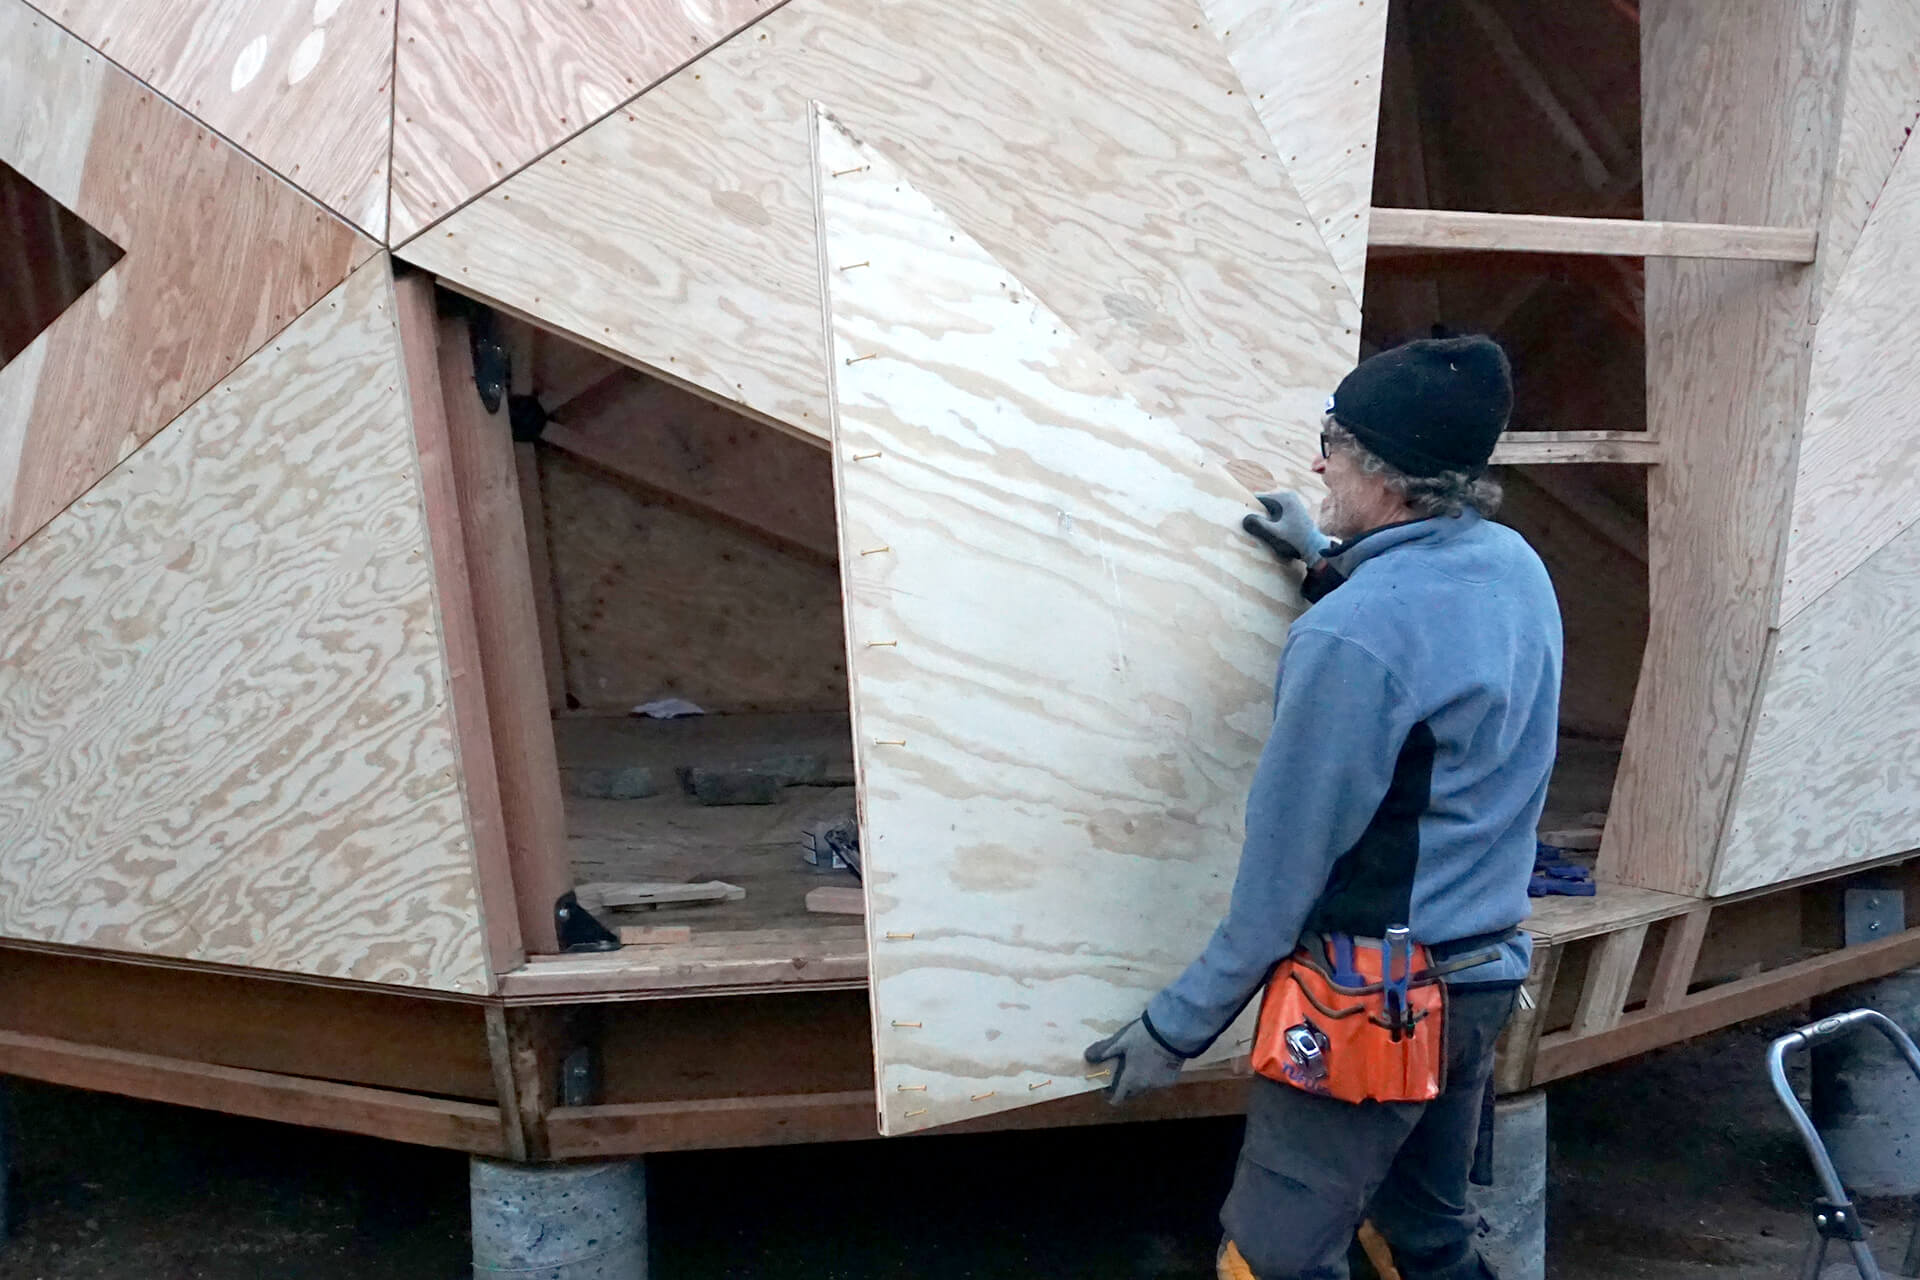
Panels can be slid or carried up a ladder while climbing it, but this requires a very secure ladder setup and a skilled climber.

Panels can be attached without a helper.
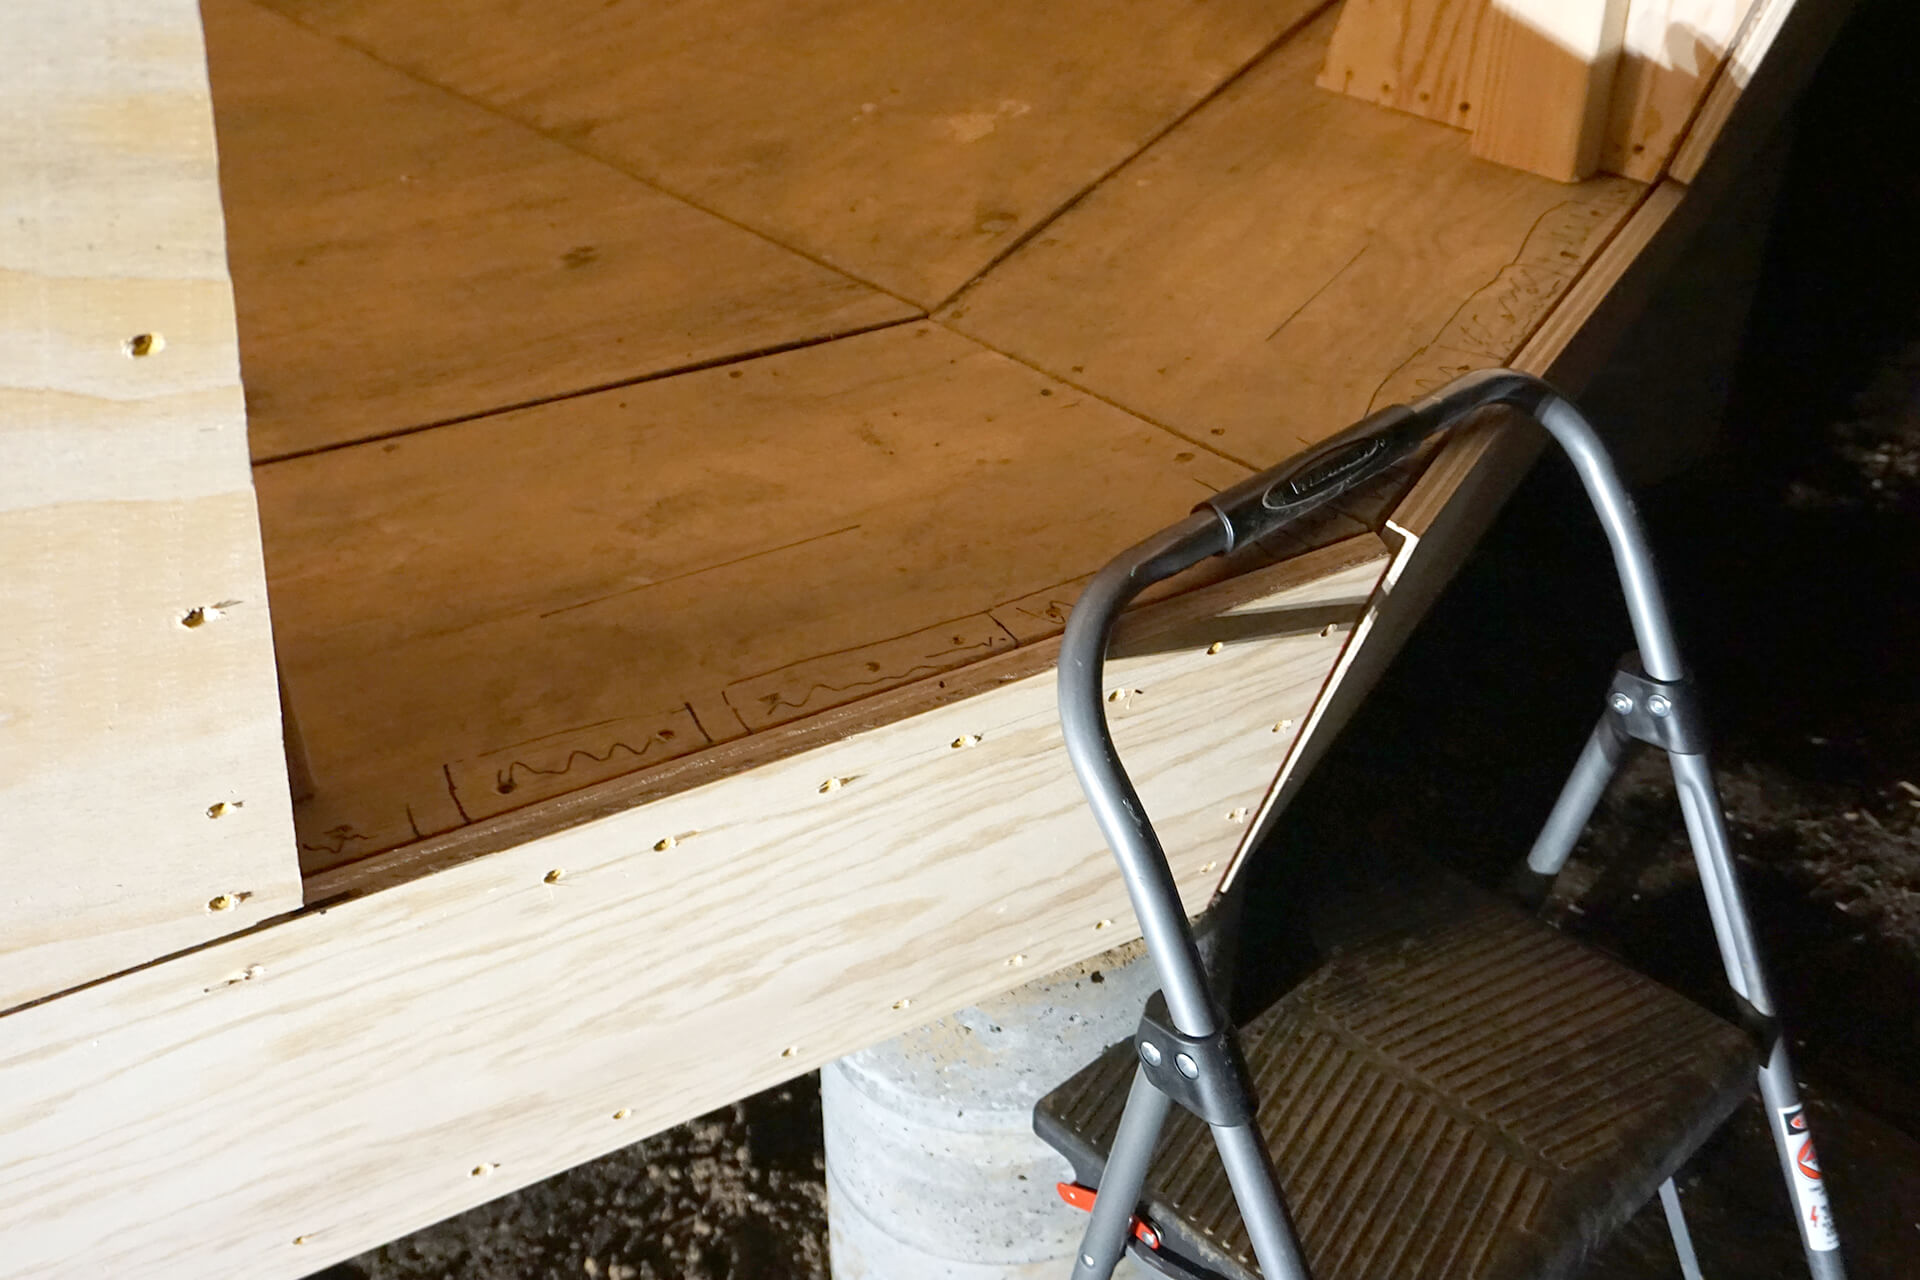
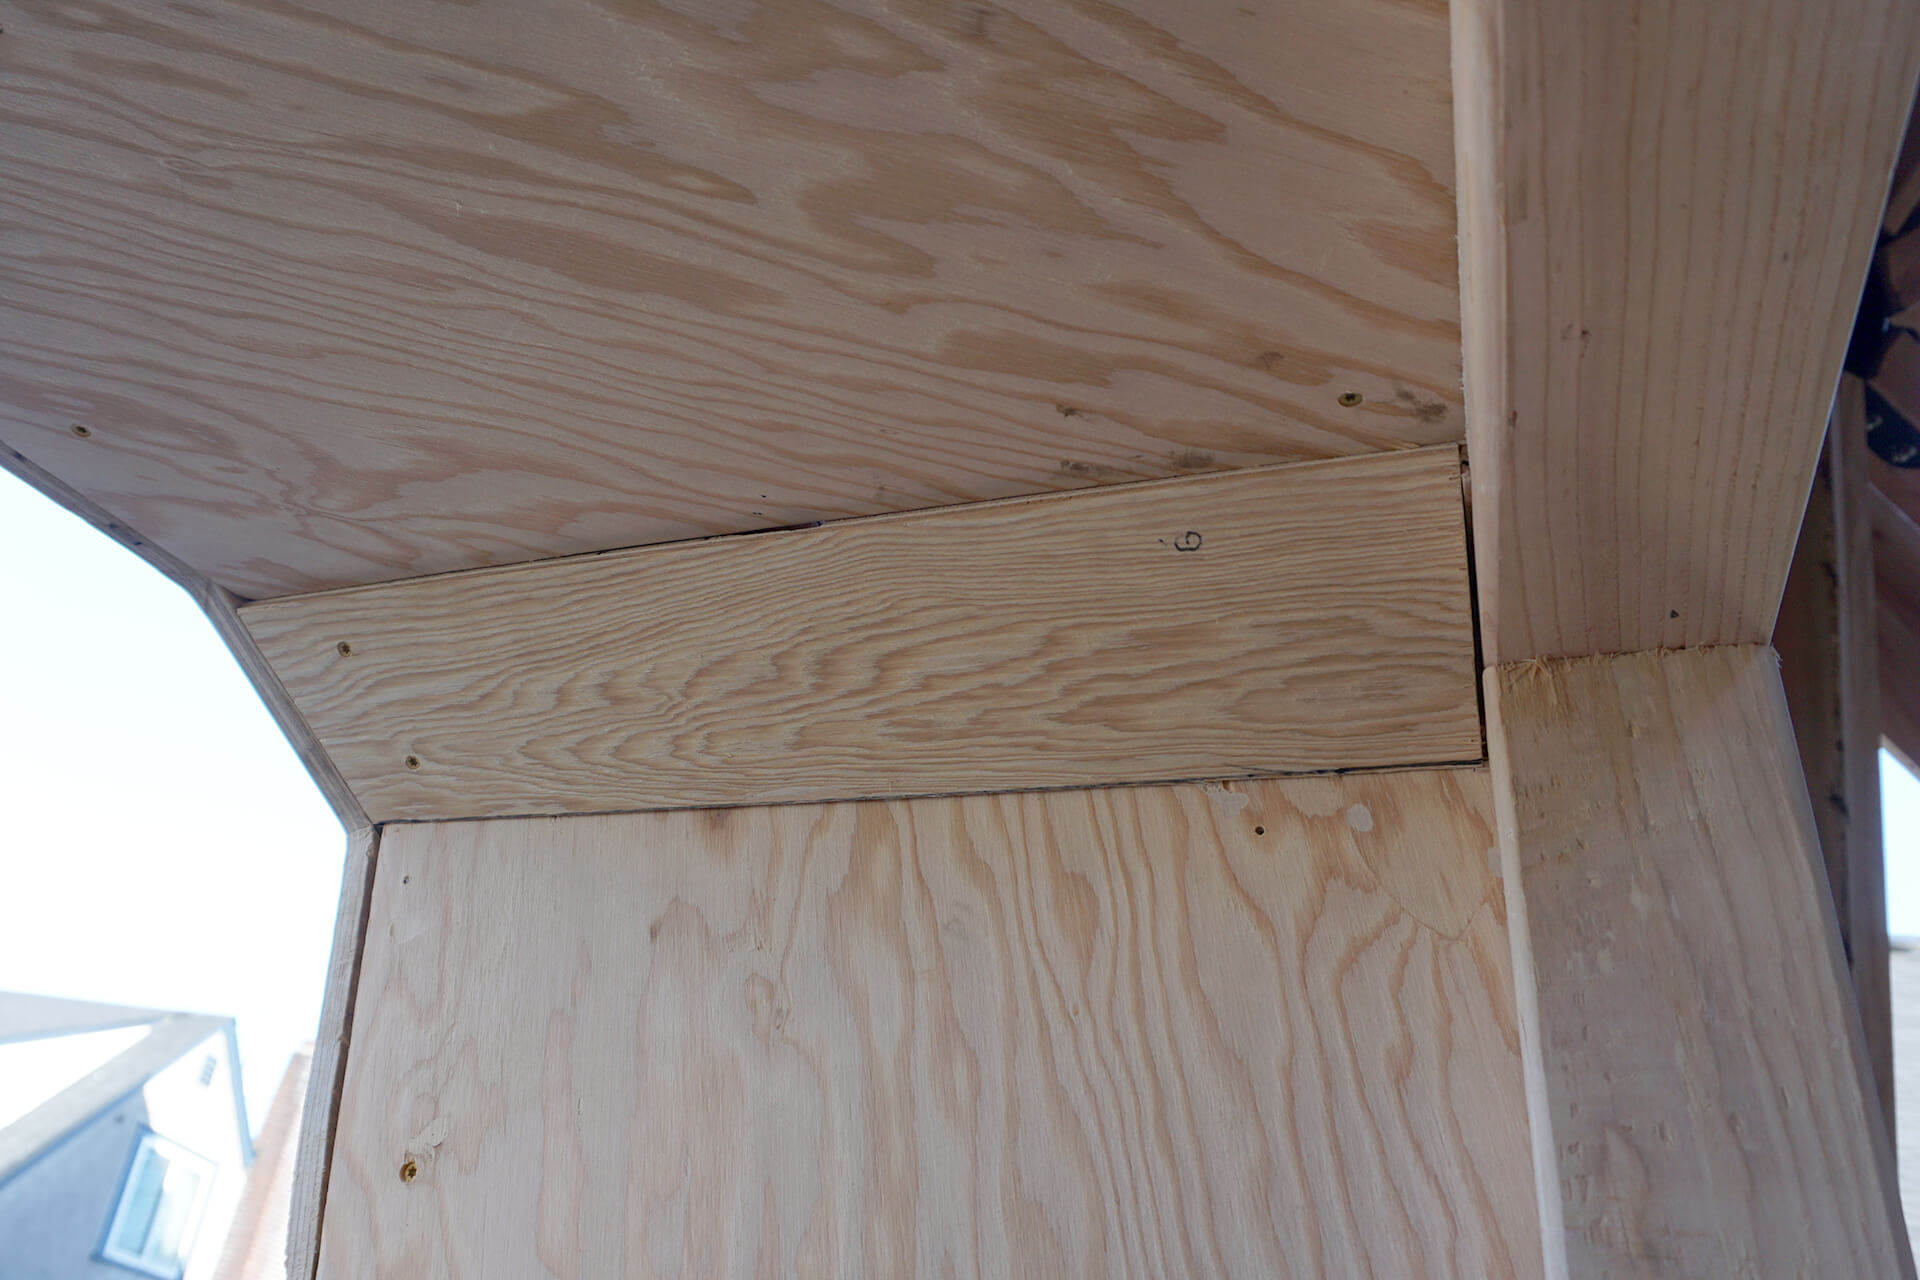
Trim the Panel edges with a track saw if needed to prevent alignment errors from compounding. Panels should not go past the center of the Rafter bevels. Two panels were trimmed in total.
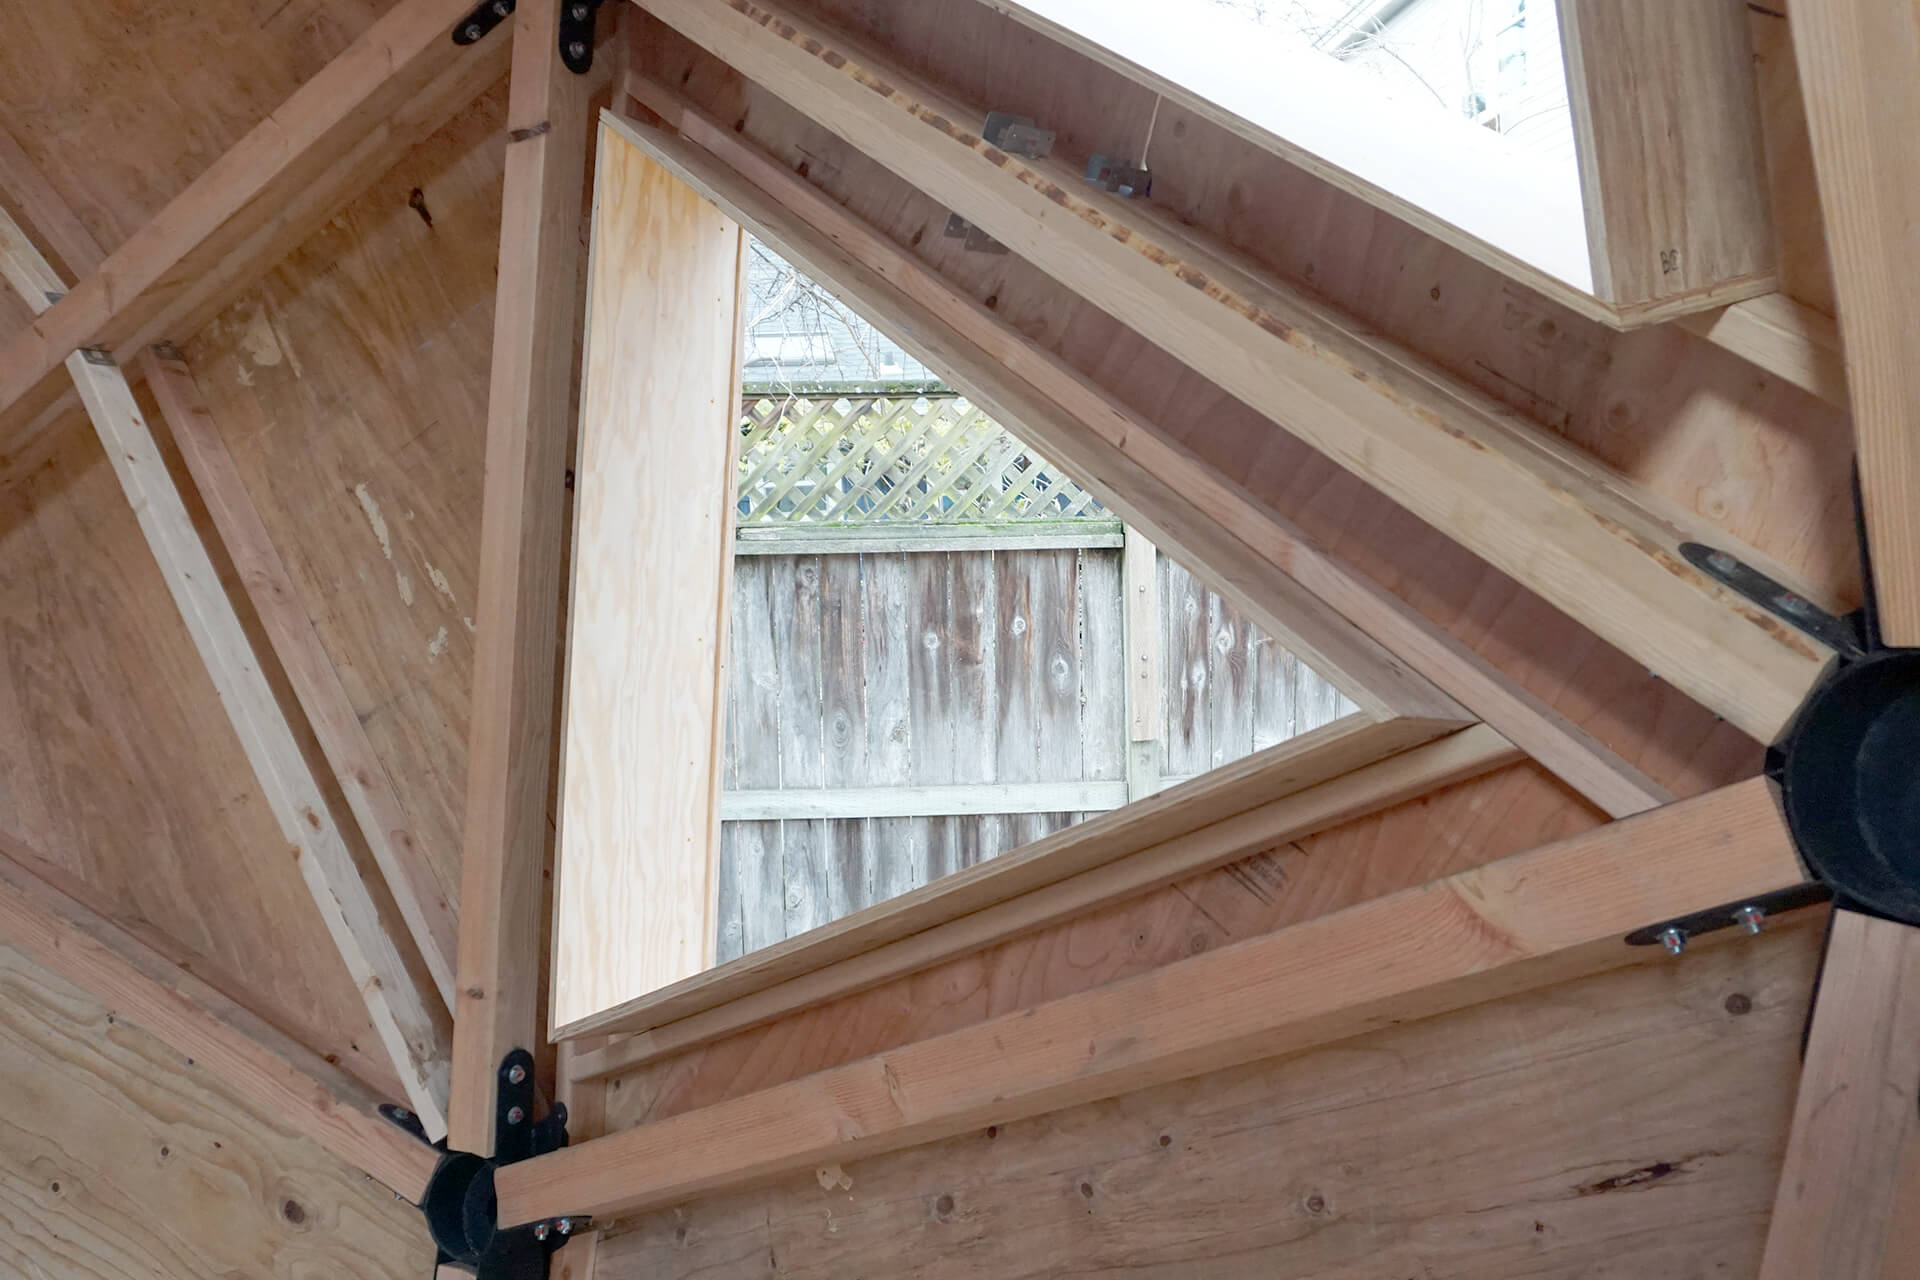
Keep track of where the Panel-Egress and Panel-Windows go.
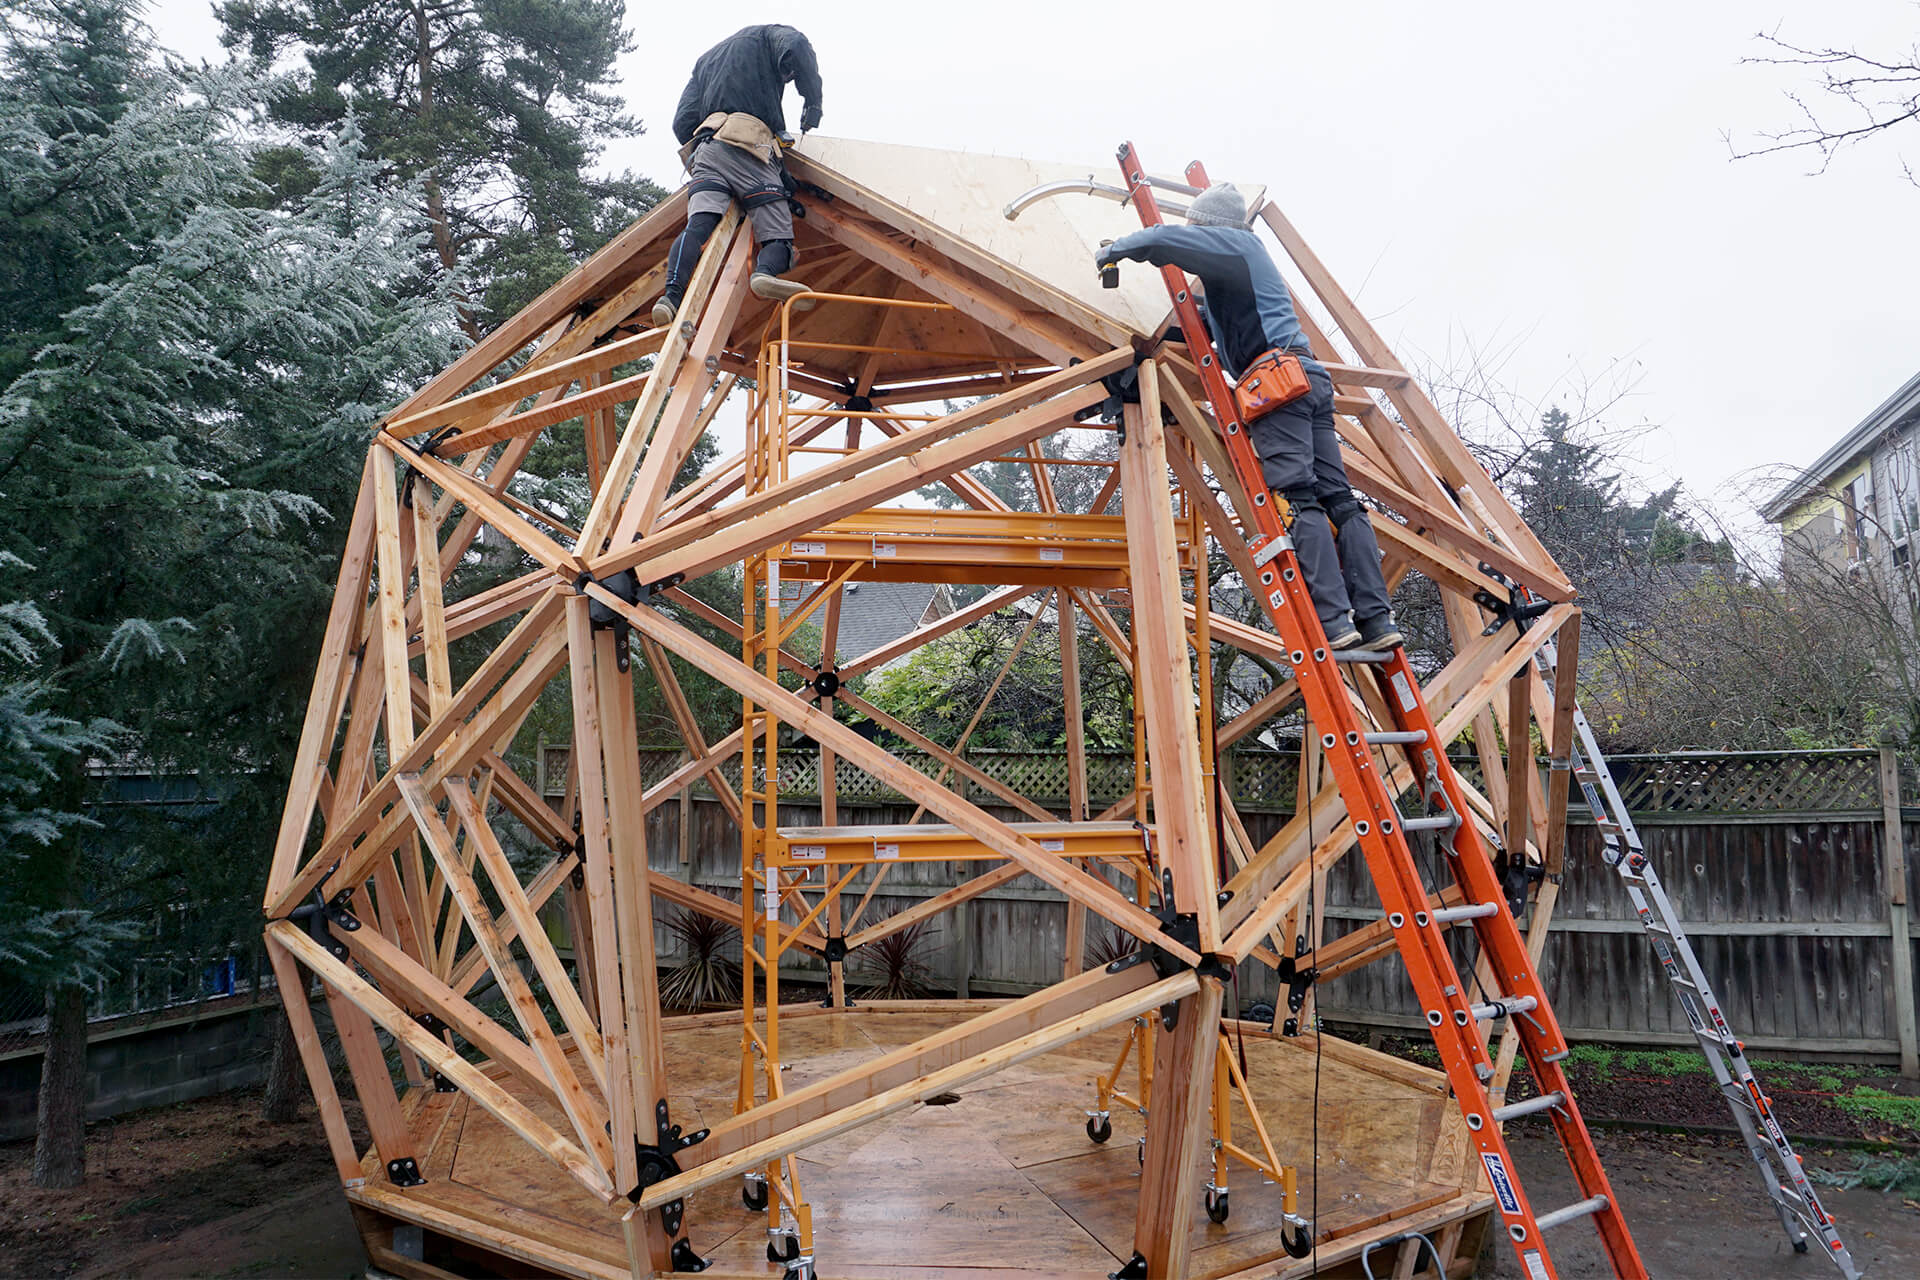
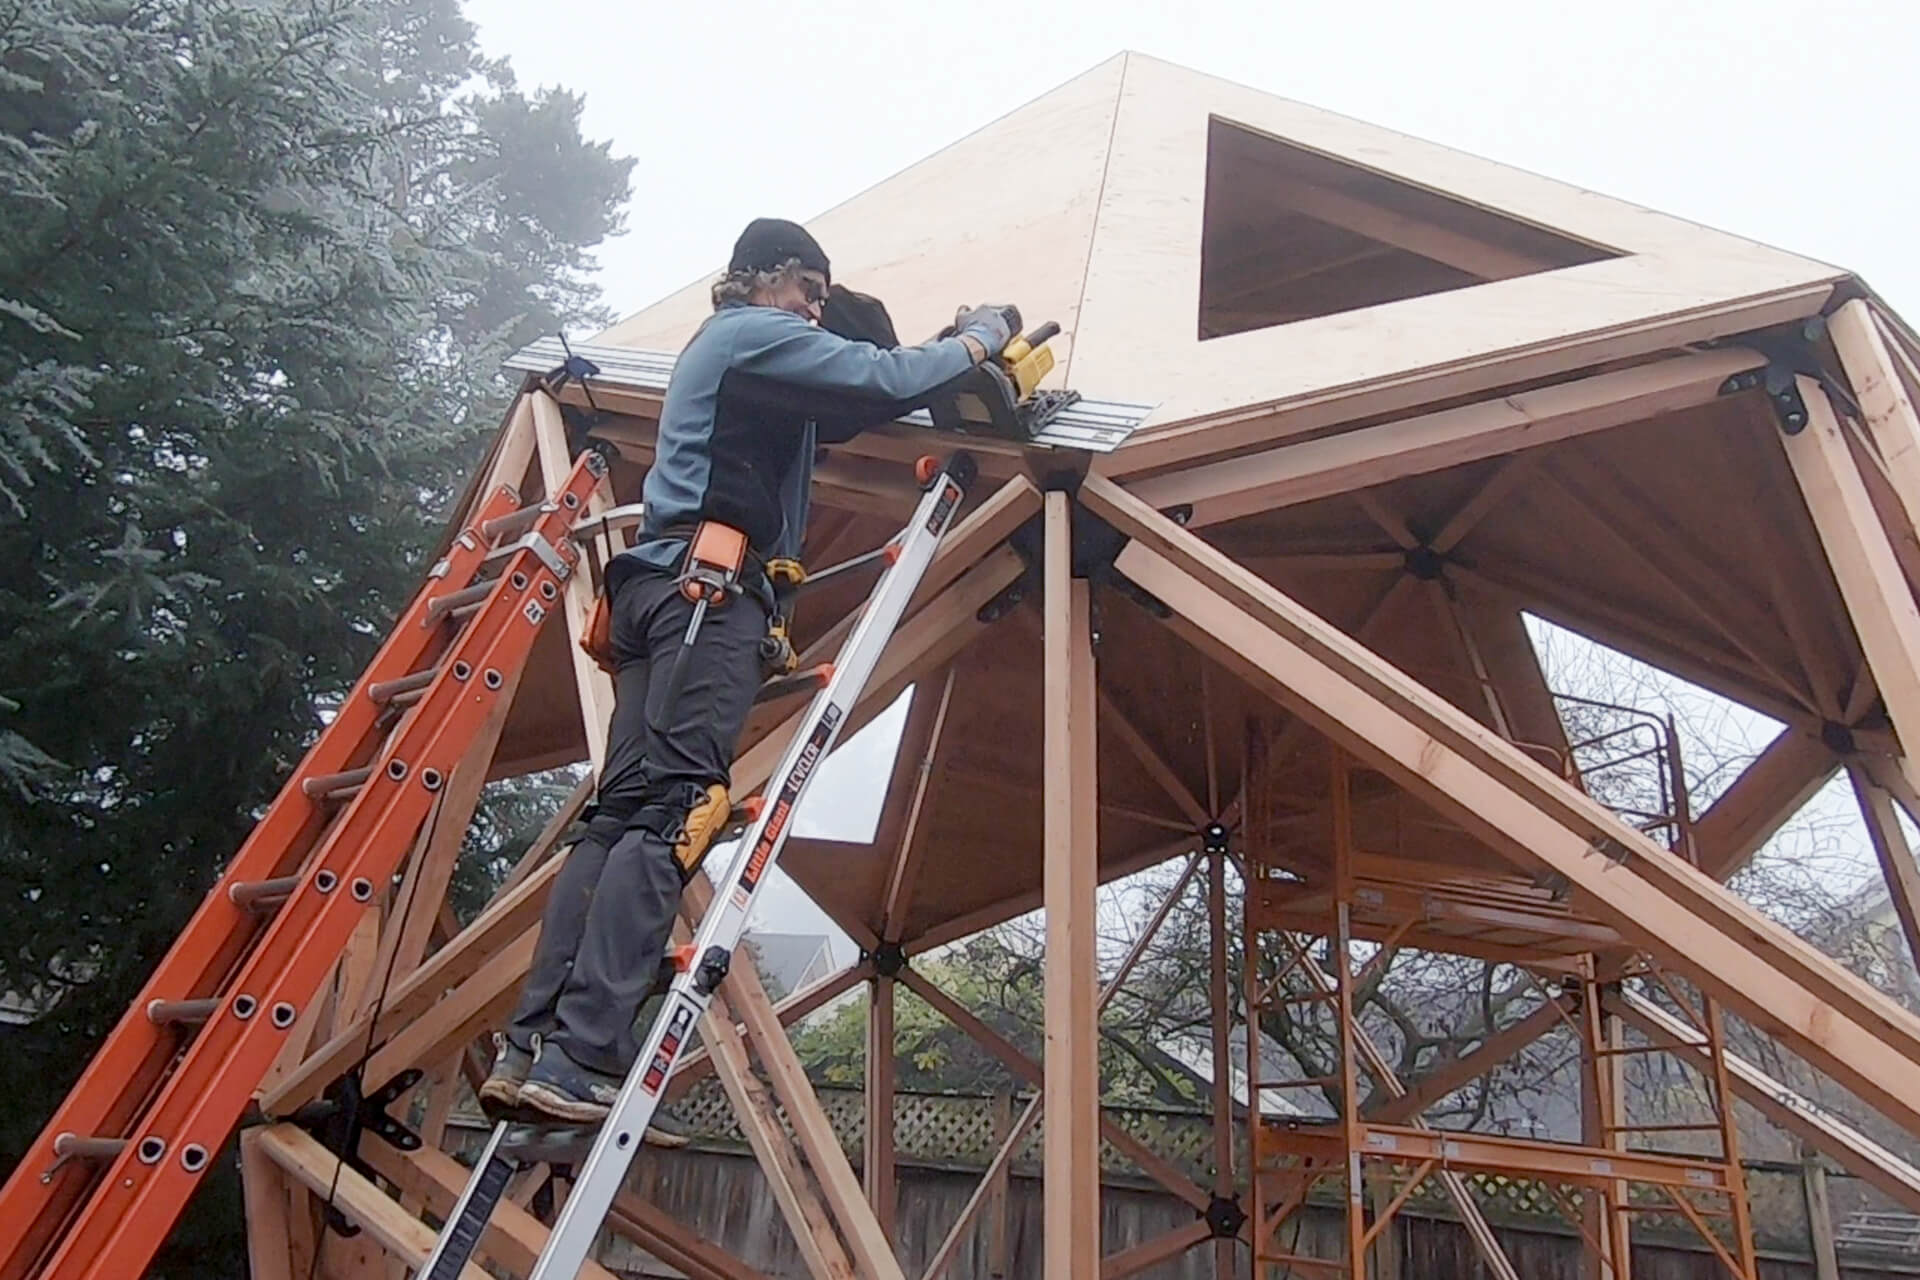
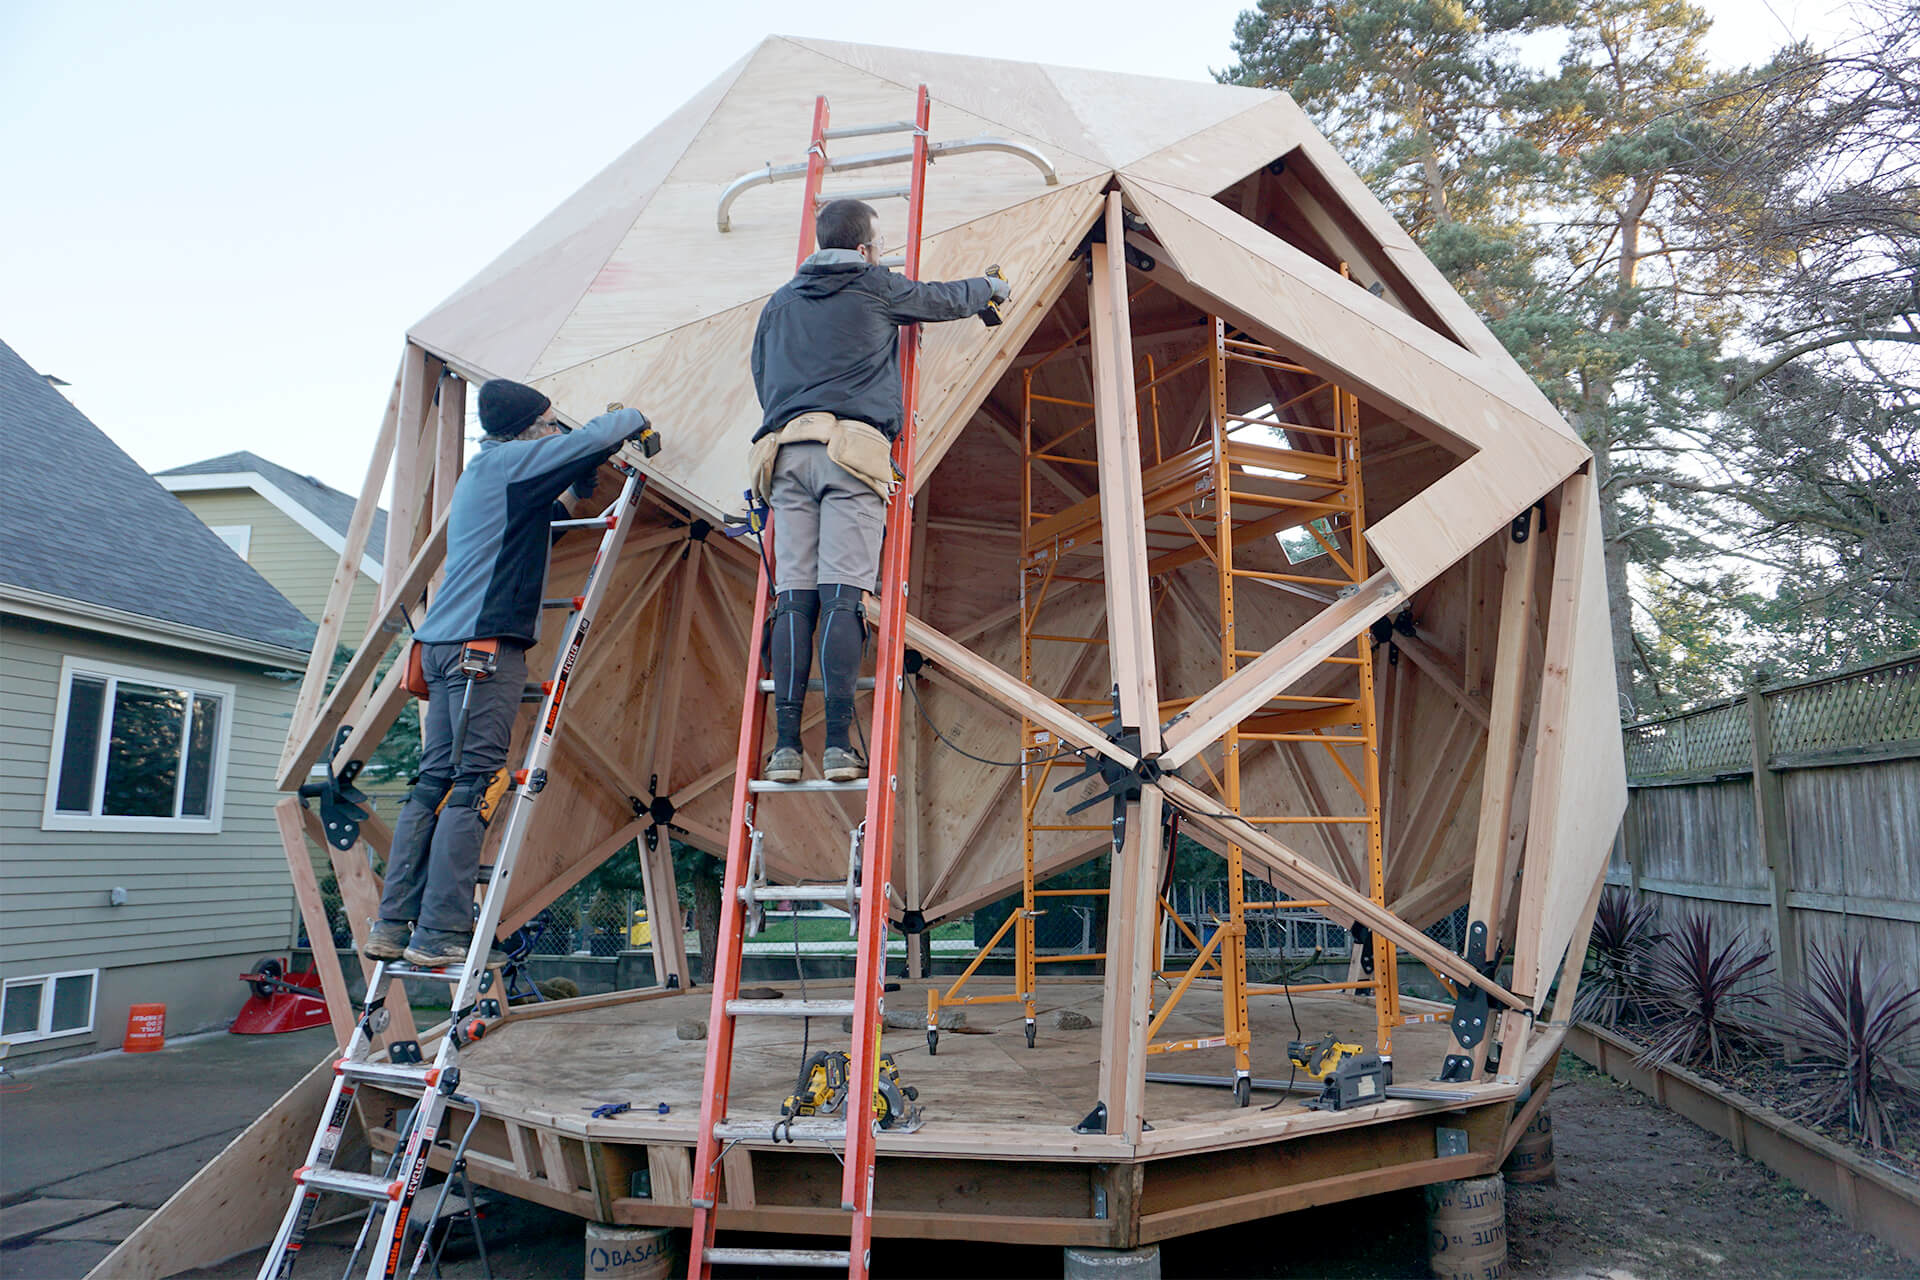
Continue sheathing.

Continue sheathing.
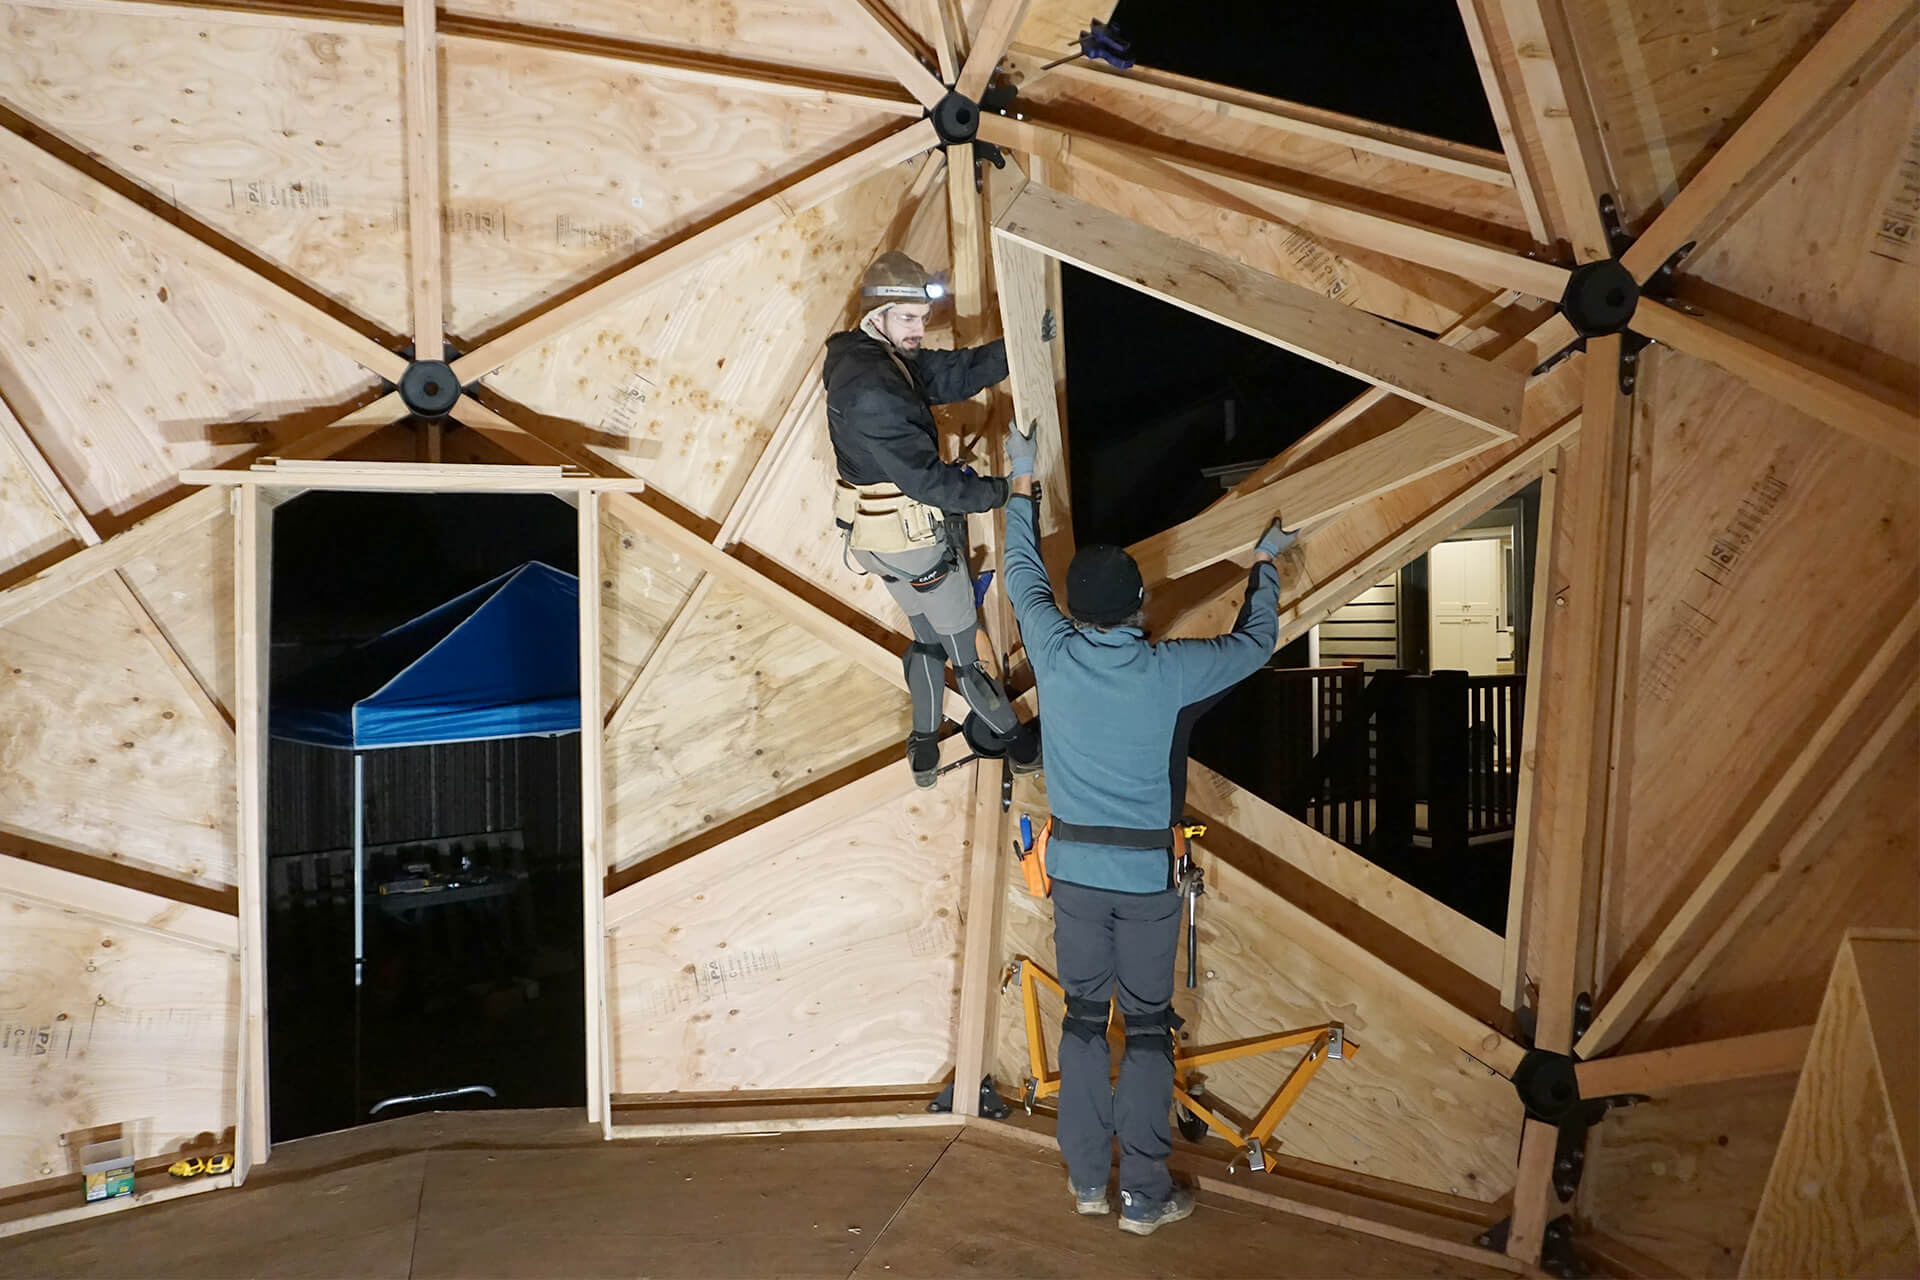
Clamps are essential if installing Panels without a helper. If a Panel-Window needs to be trimmed, take it down and trim all sides so the window opening remains centered.
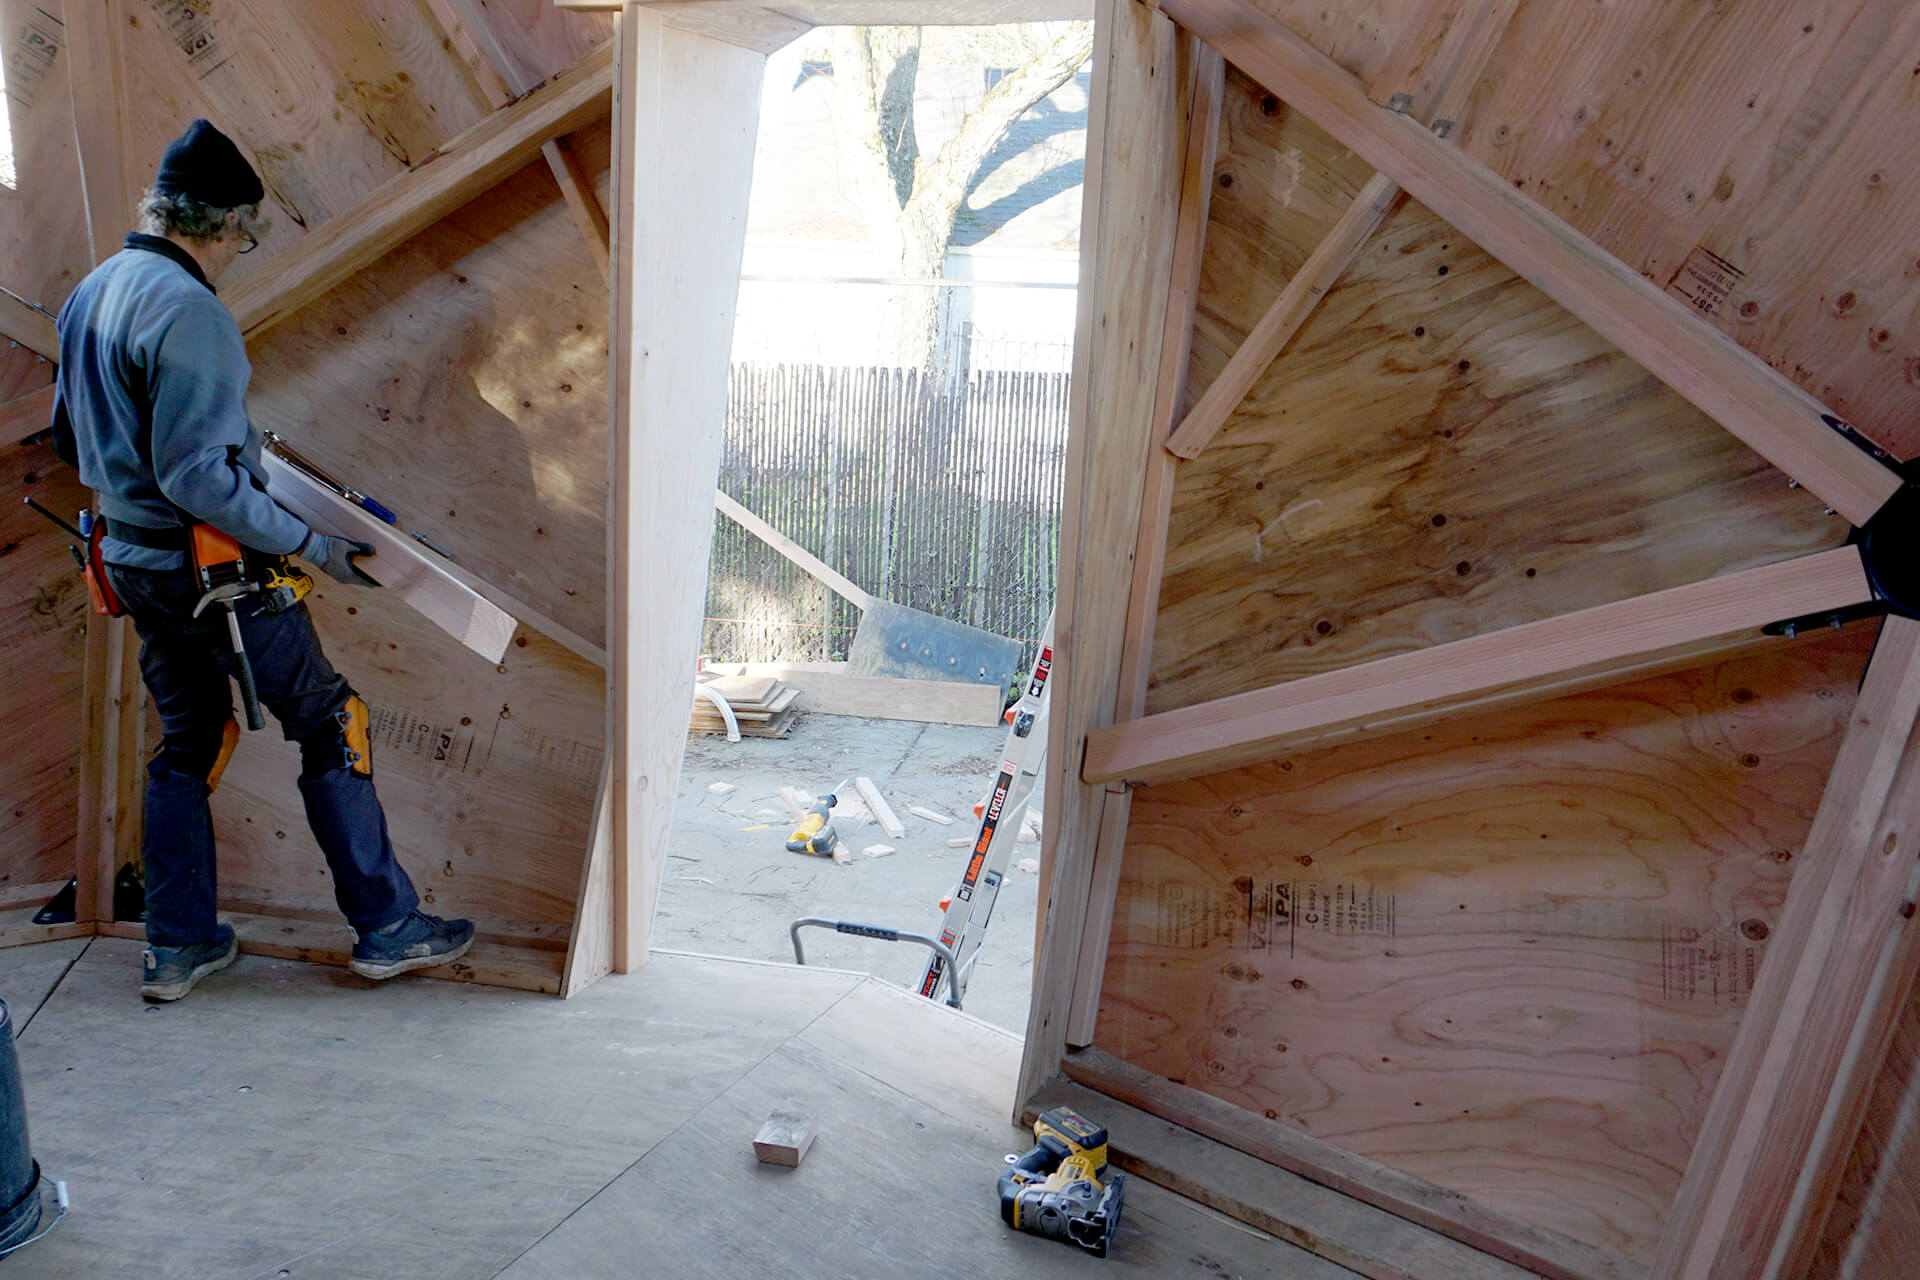
Sheathing the front is tricky due to the large opening, which provides no useful foot or handholds.
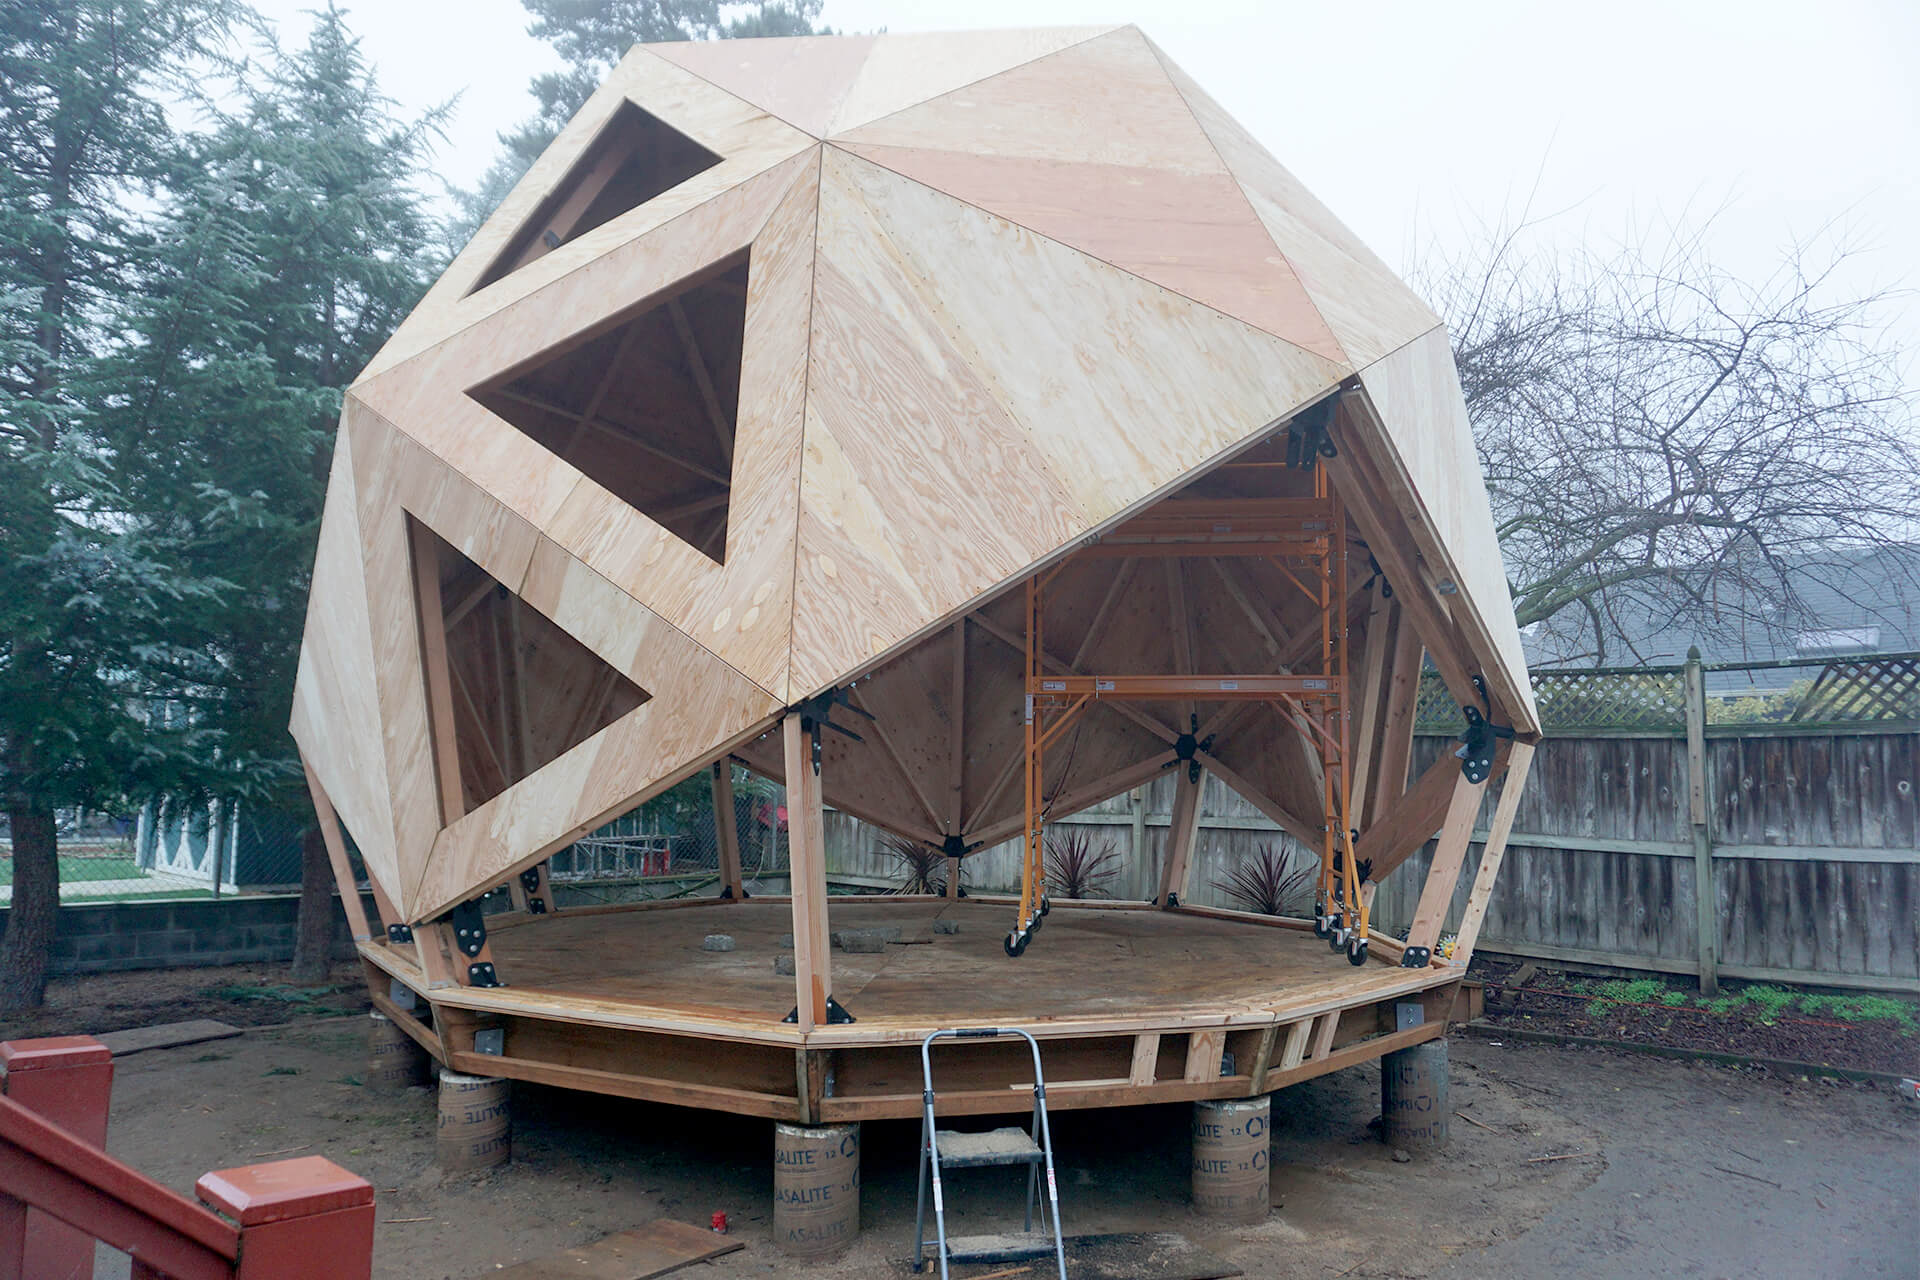
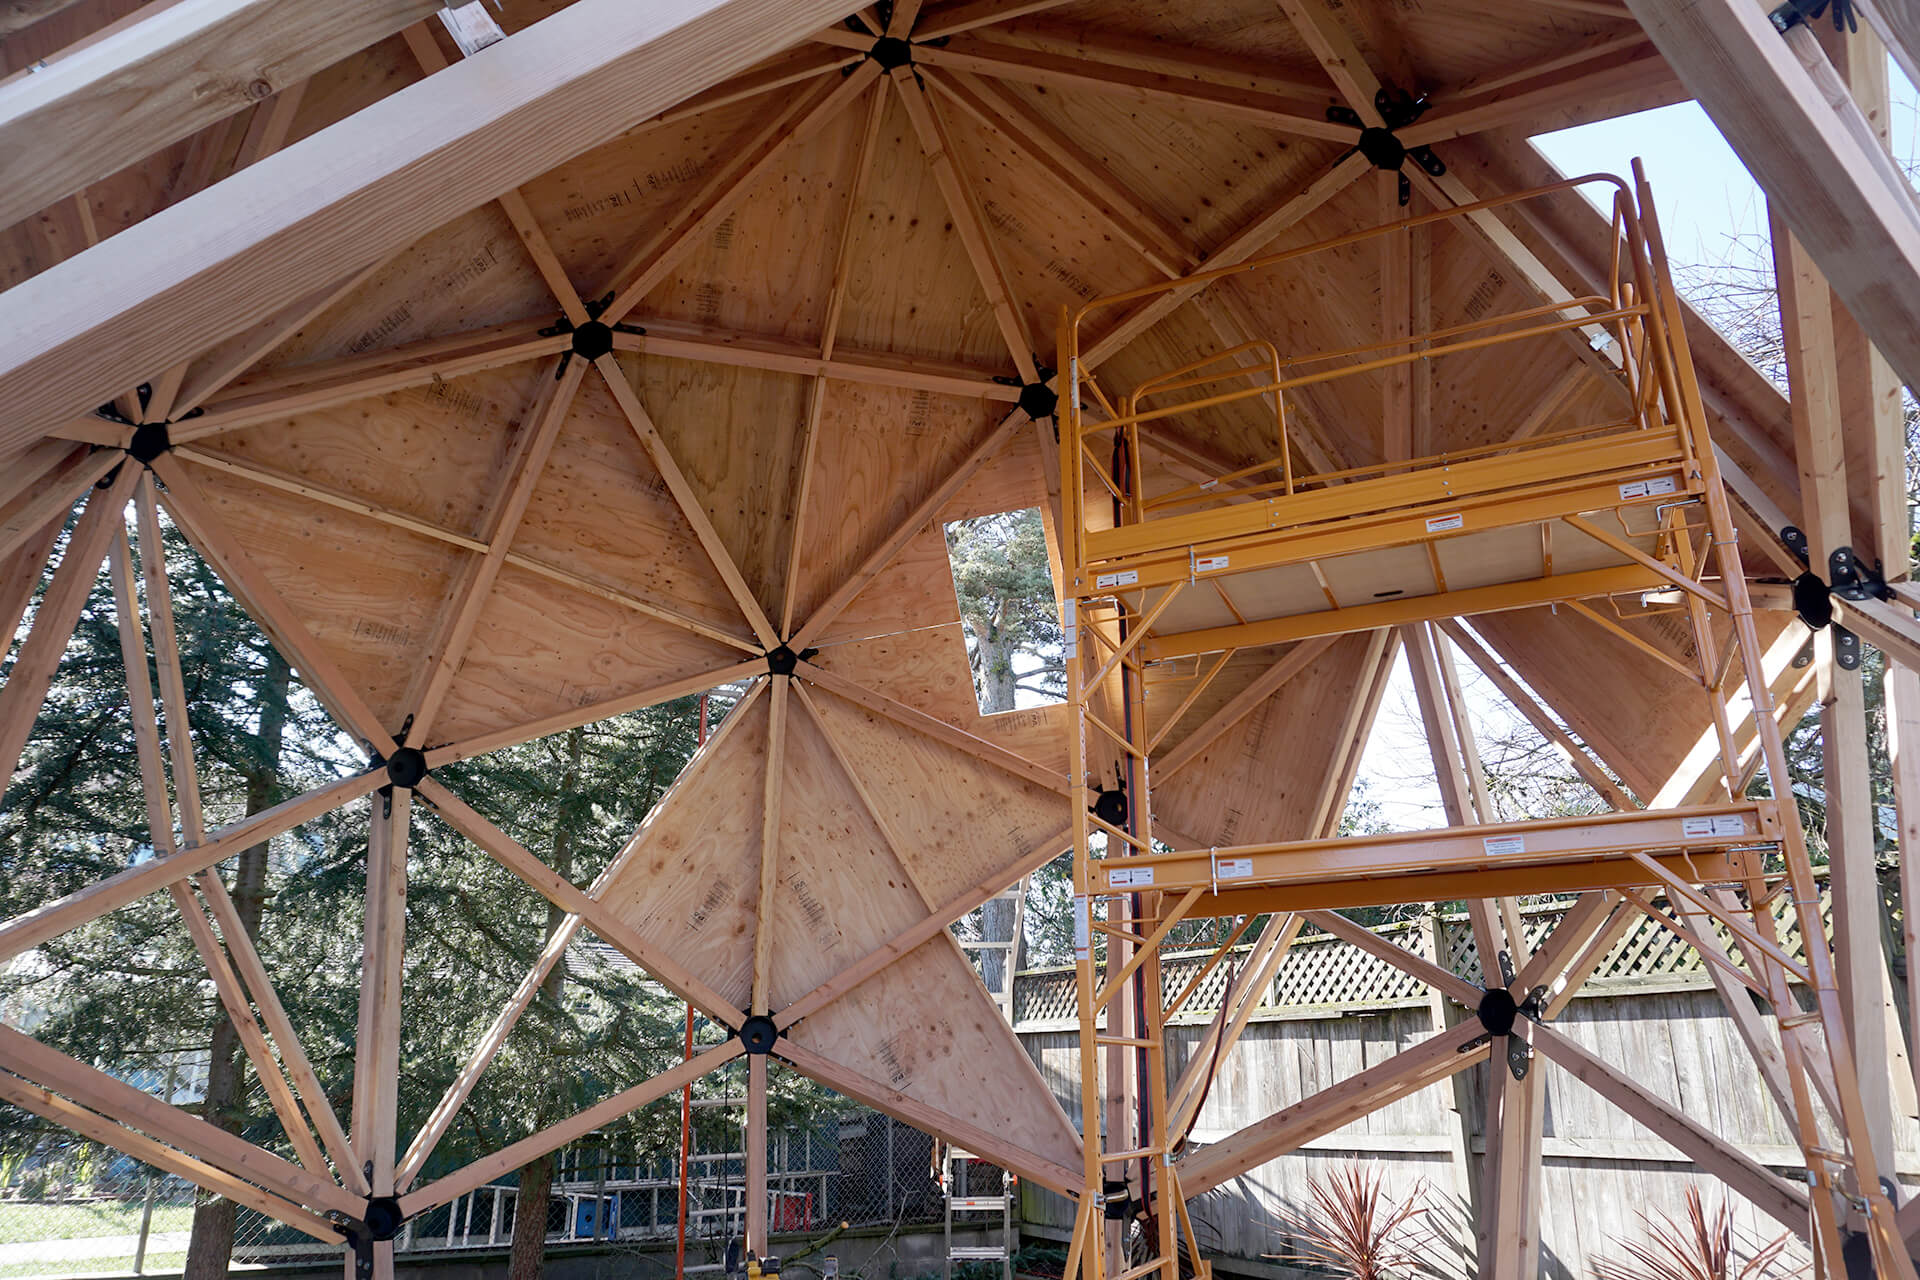
Progress shot.
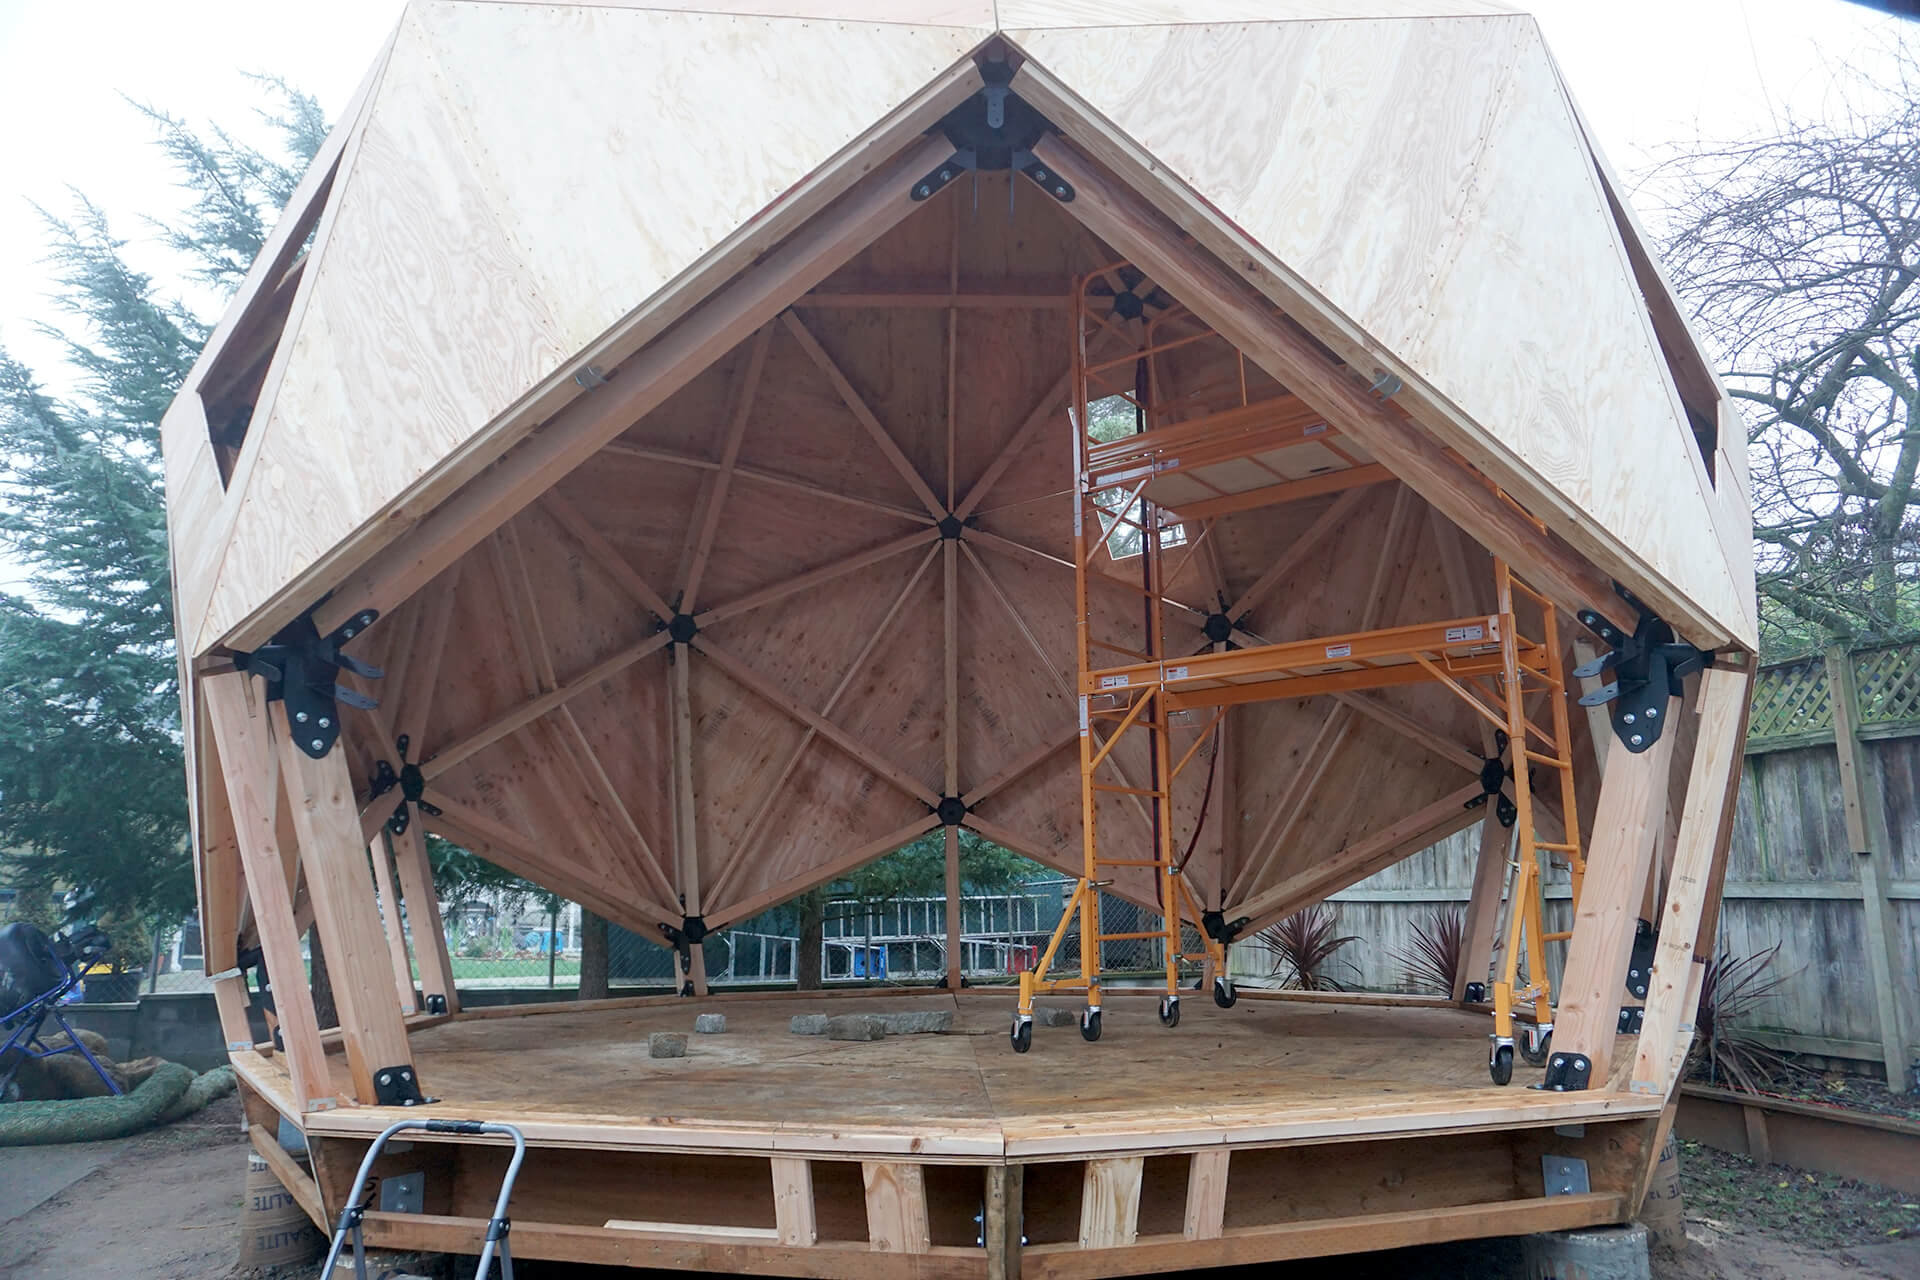
A view from the front.
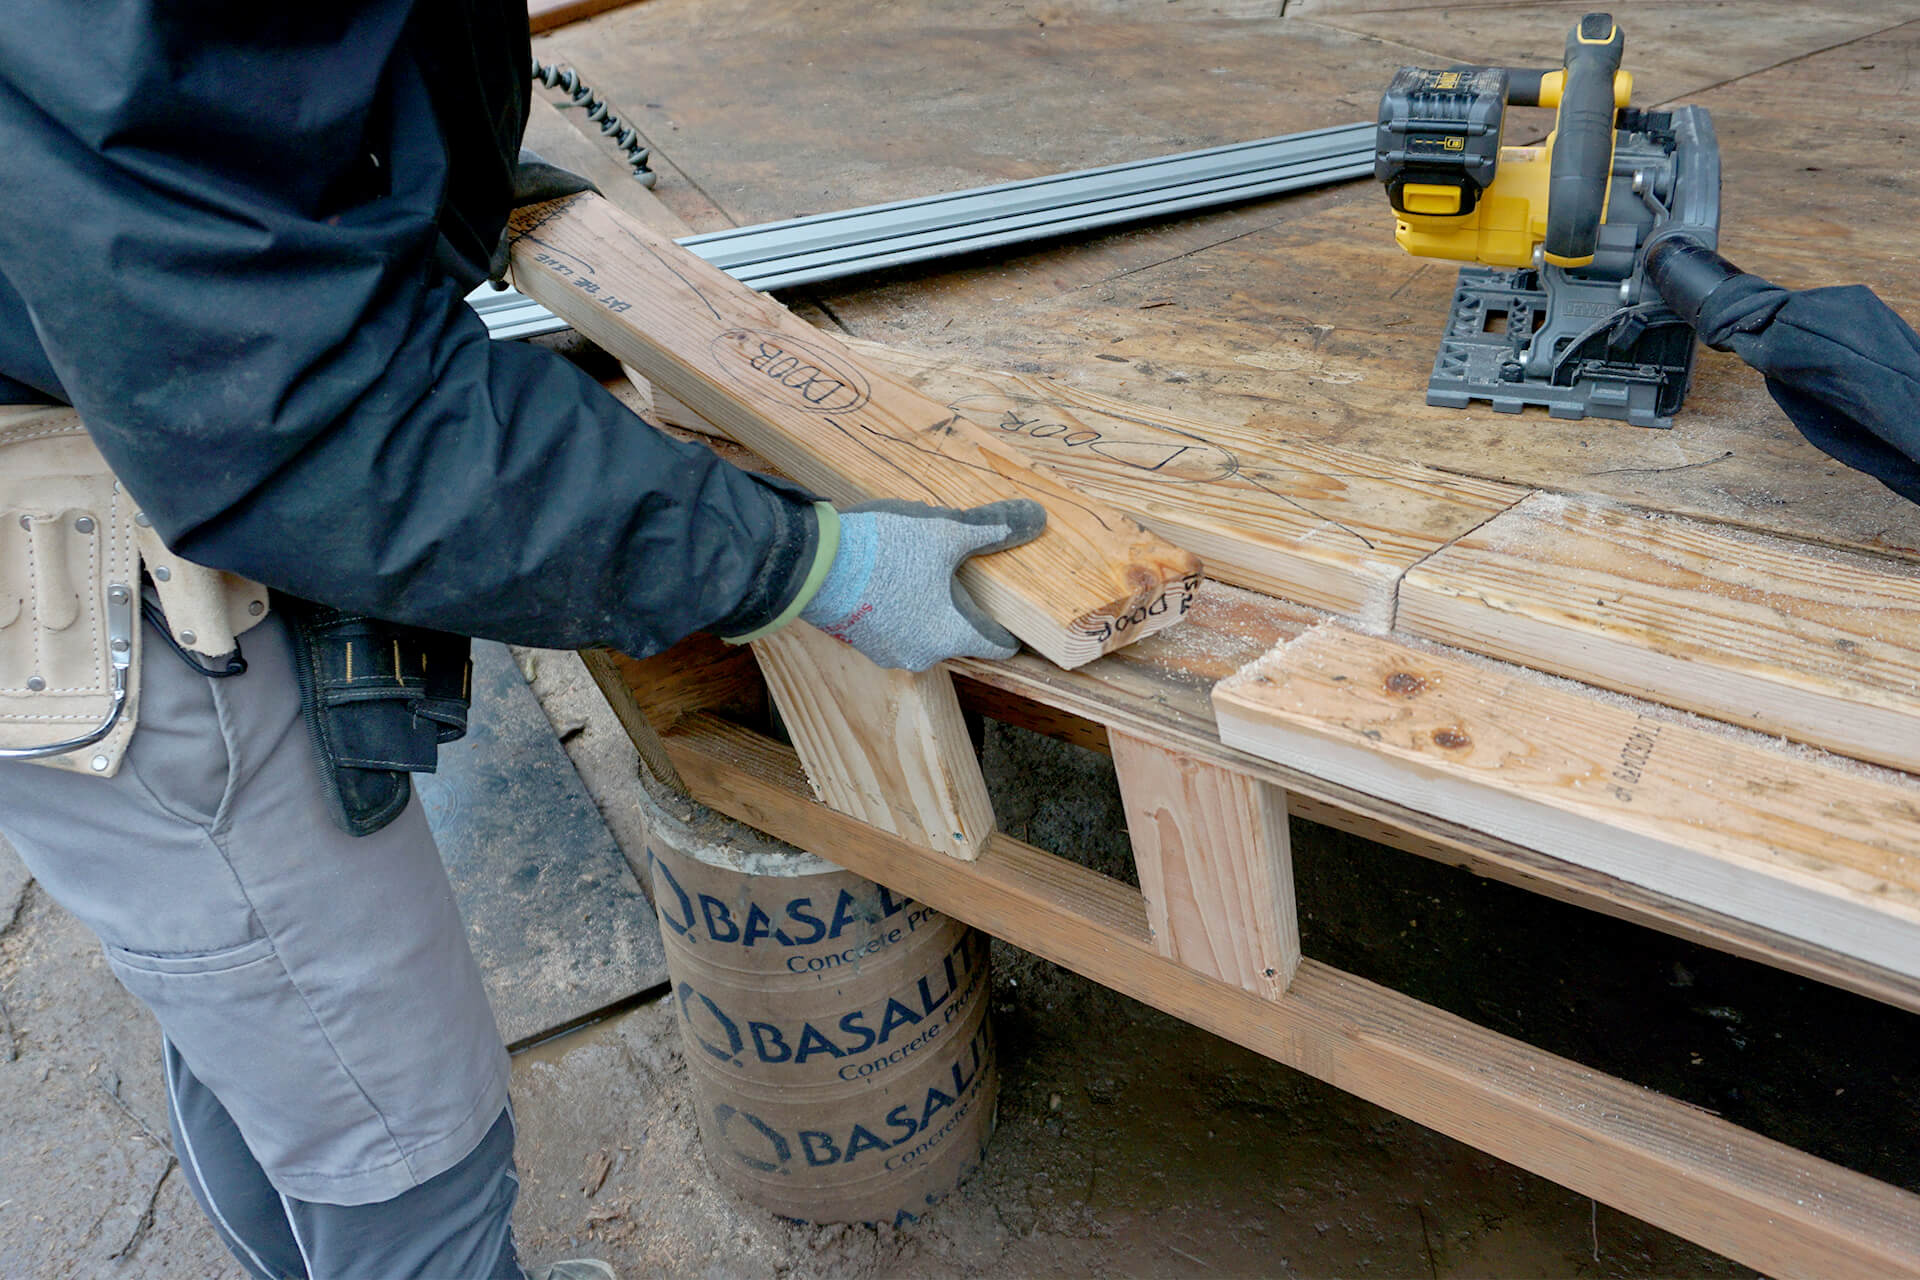
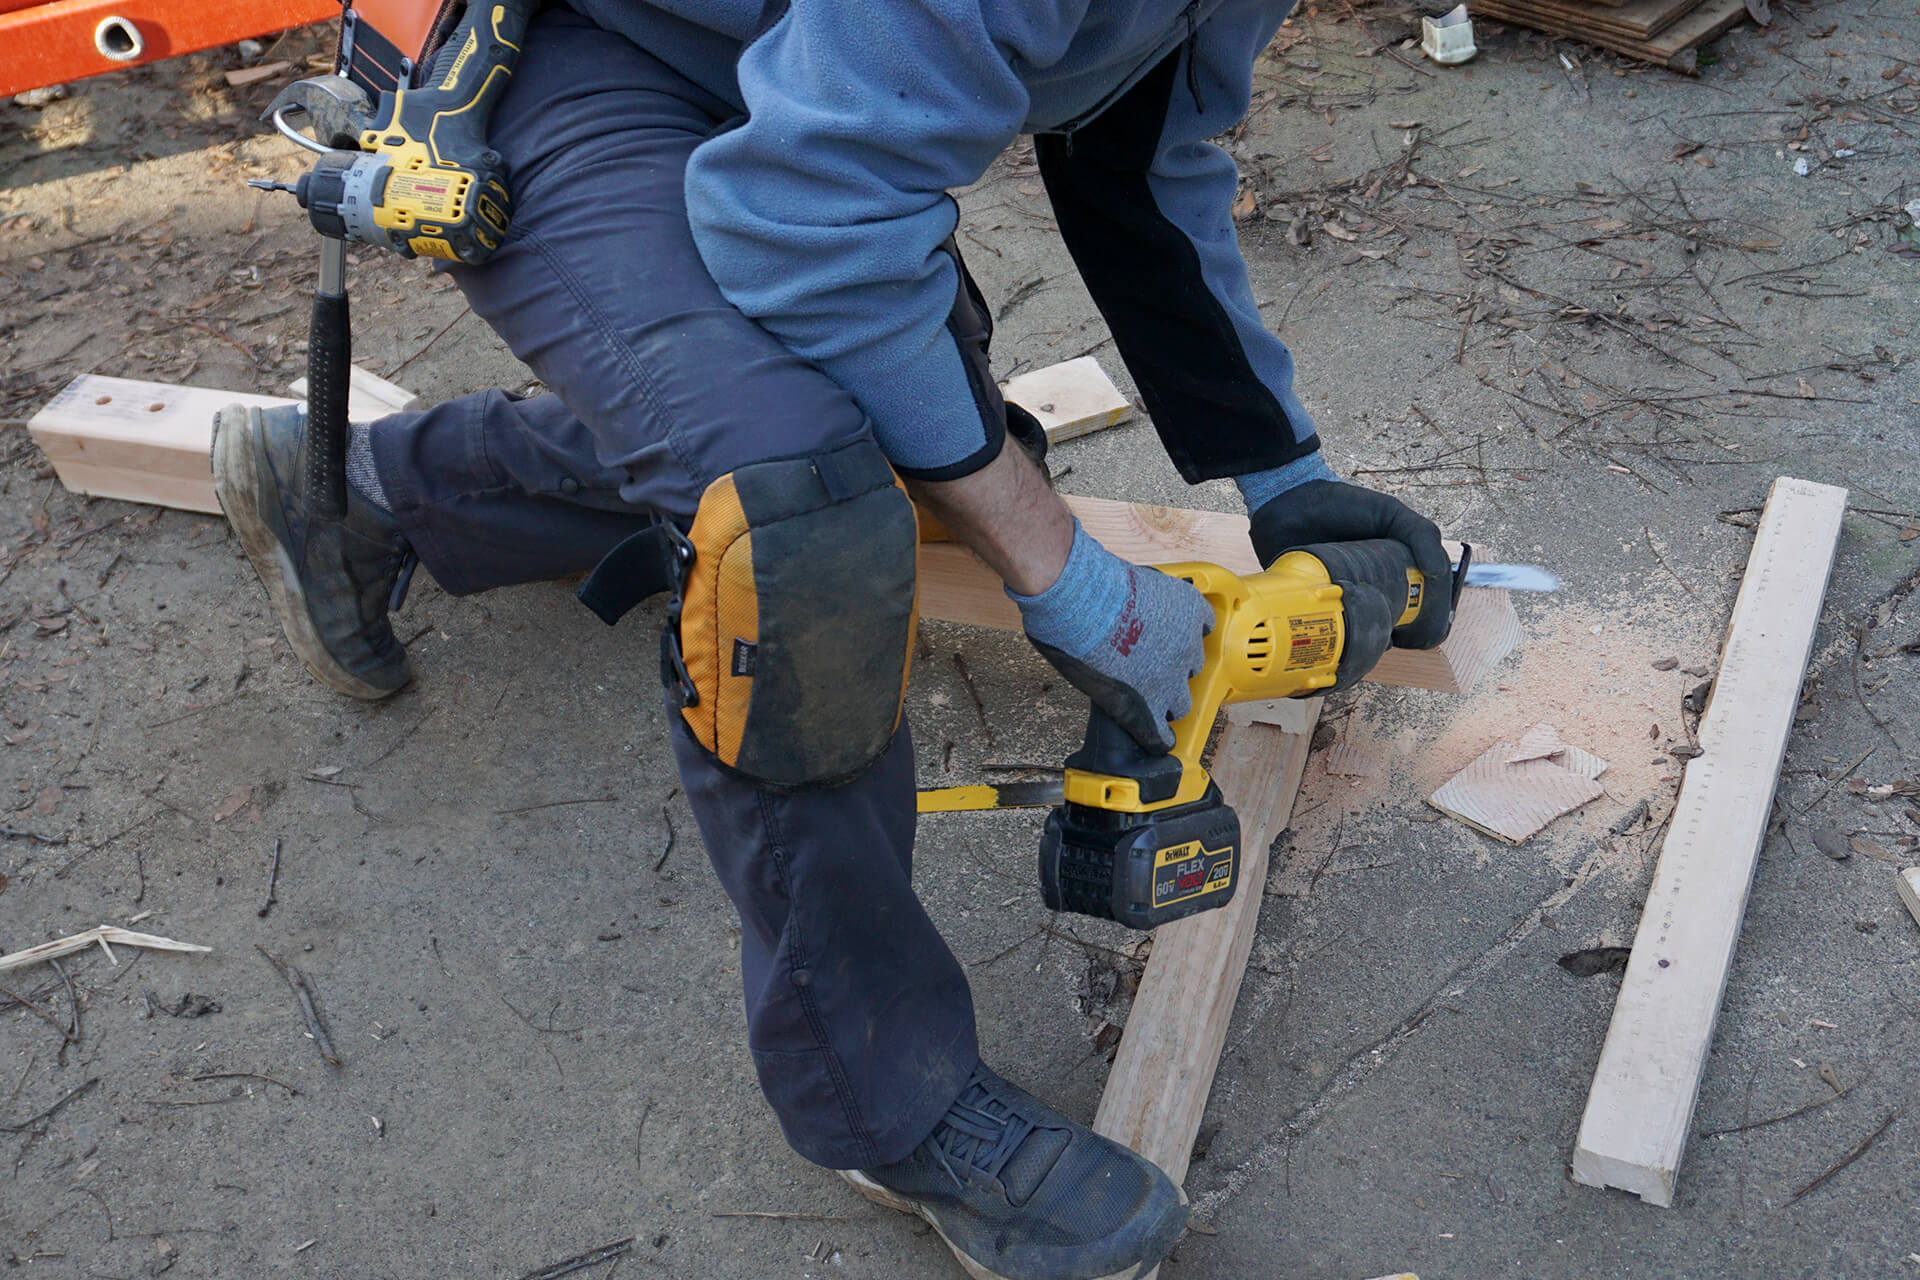
Trim the sacrificial portion of the Sill-Plate-Ins and Sill-Plate-Outs to accommodate the front sheathing and door.
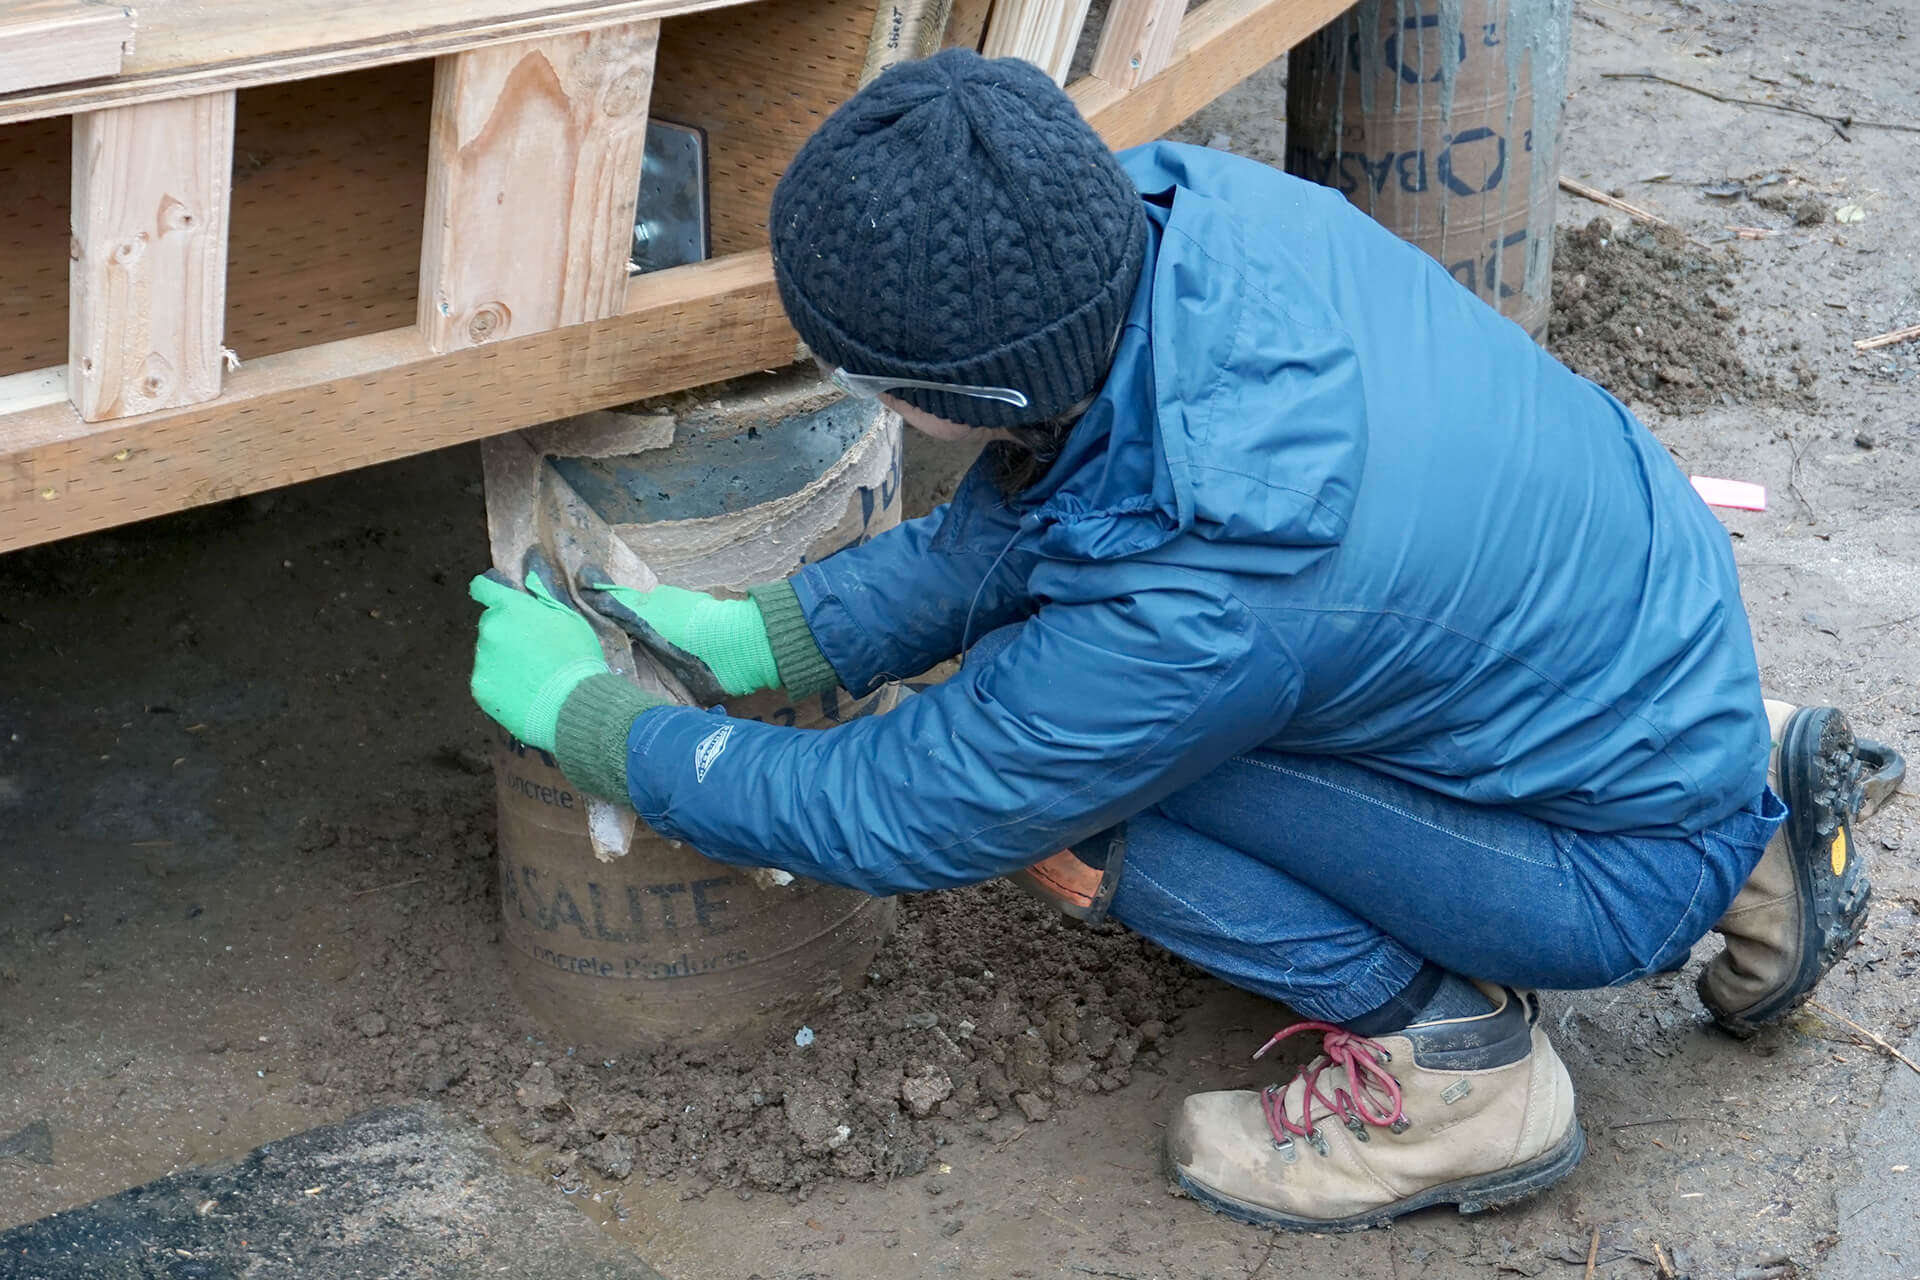
Remove the cardboard from the concrete forms, peeling it off just below the soil line.
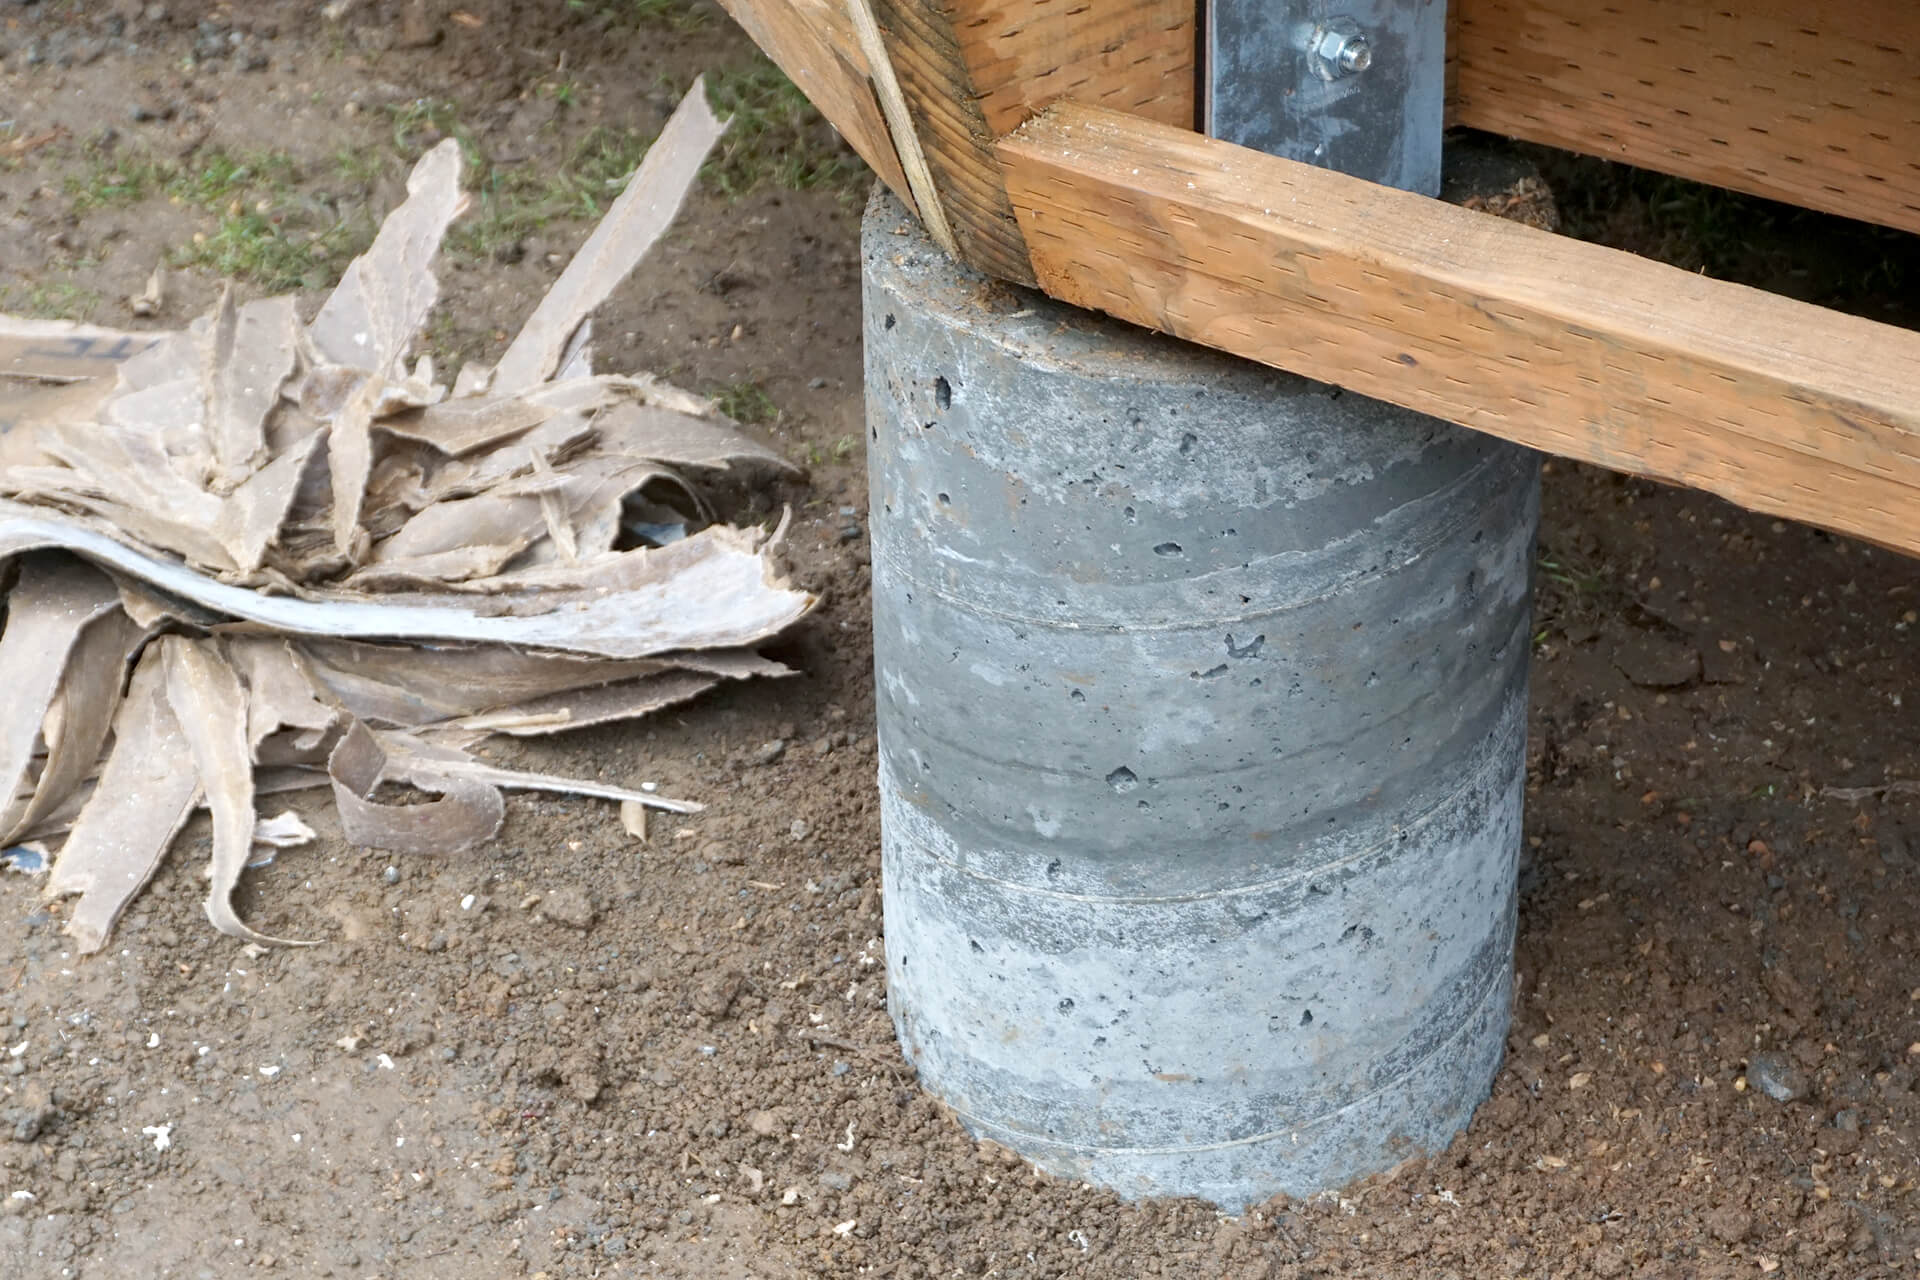
Minimal concrete voids indicate that the pour was properly vibrated.
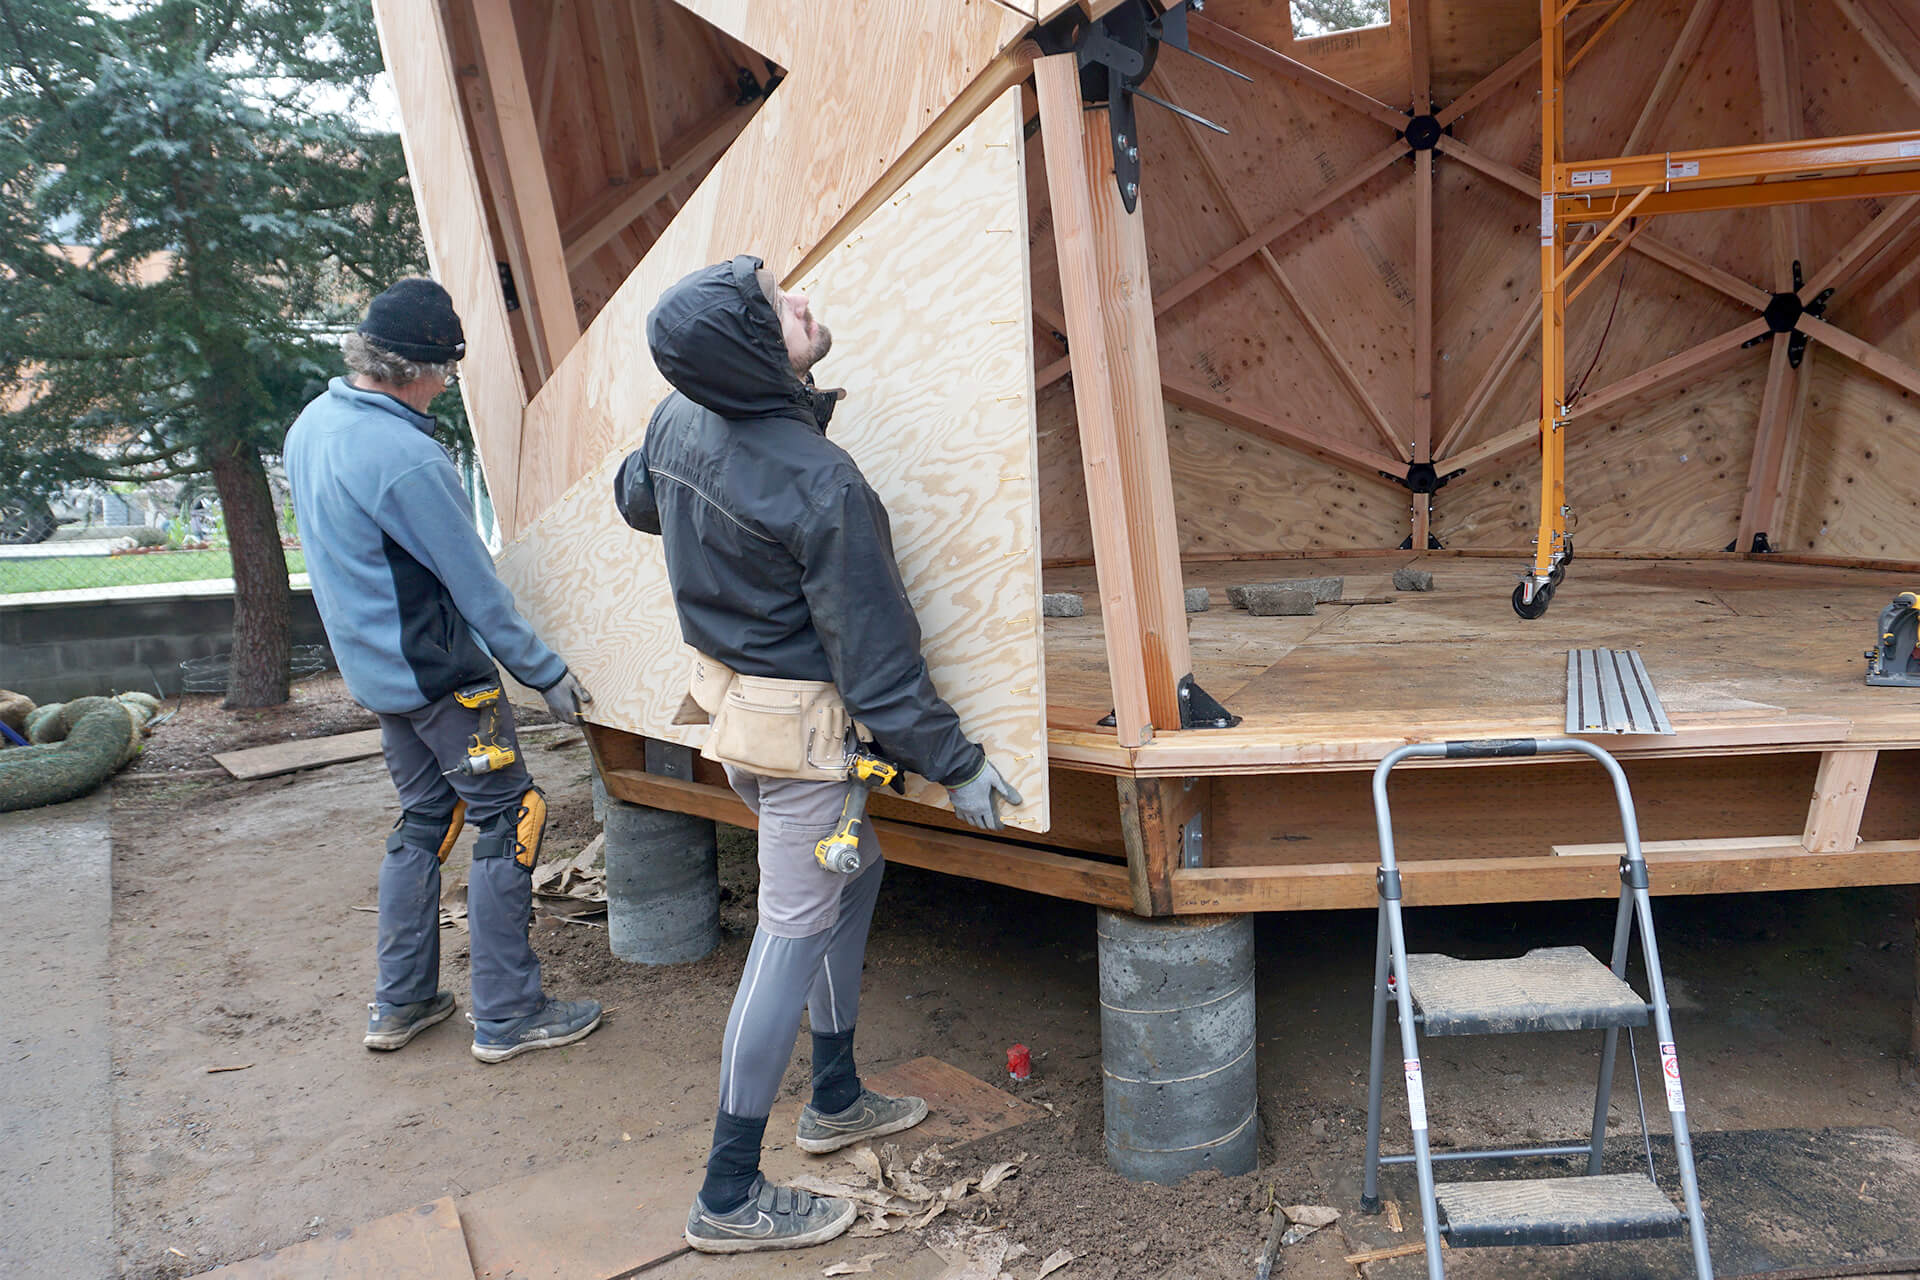
Attach the Panel-Bases along the bottom.
Attach the Panel-Door-Top and align it with the Panel-Door-Side.
Use temporary spacers to ensure the Panel-Door-Sides are parallel, correctly spaced, centered, and plumb to the floor. Then attach the other Panel-Door-Top.
Add blocking to secure the Panel-Door-Tops to the Panel-Door-Sides (blocking not visible in this photo).
Add more blocking to the Panel-Door-Sides, then shorten, align, and attach the remaining Rafter-Bases.
Attach the remaining portion of the Panel-Door-Tops, as well as the Panel-Doors.

Attach the Panel-Foundations.
Fabricate temporary steps or secure a step stool for dome access. Inspectors may not like the step stool option.
Add door framing and attach the Panel-Door-Topper. Then remove the temporary spacers.
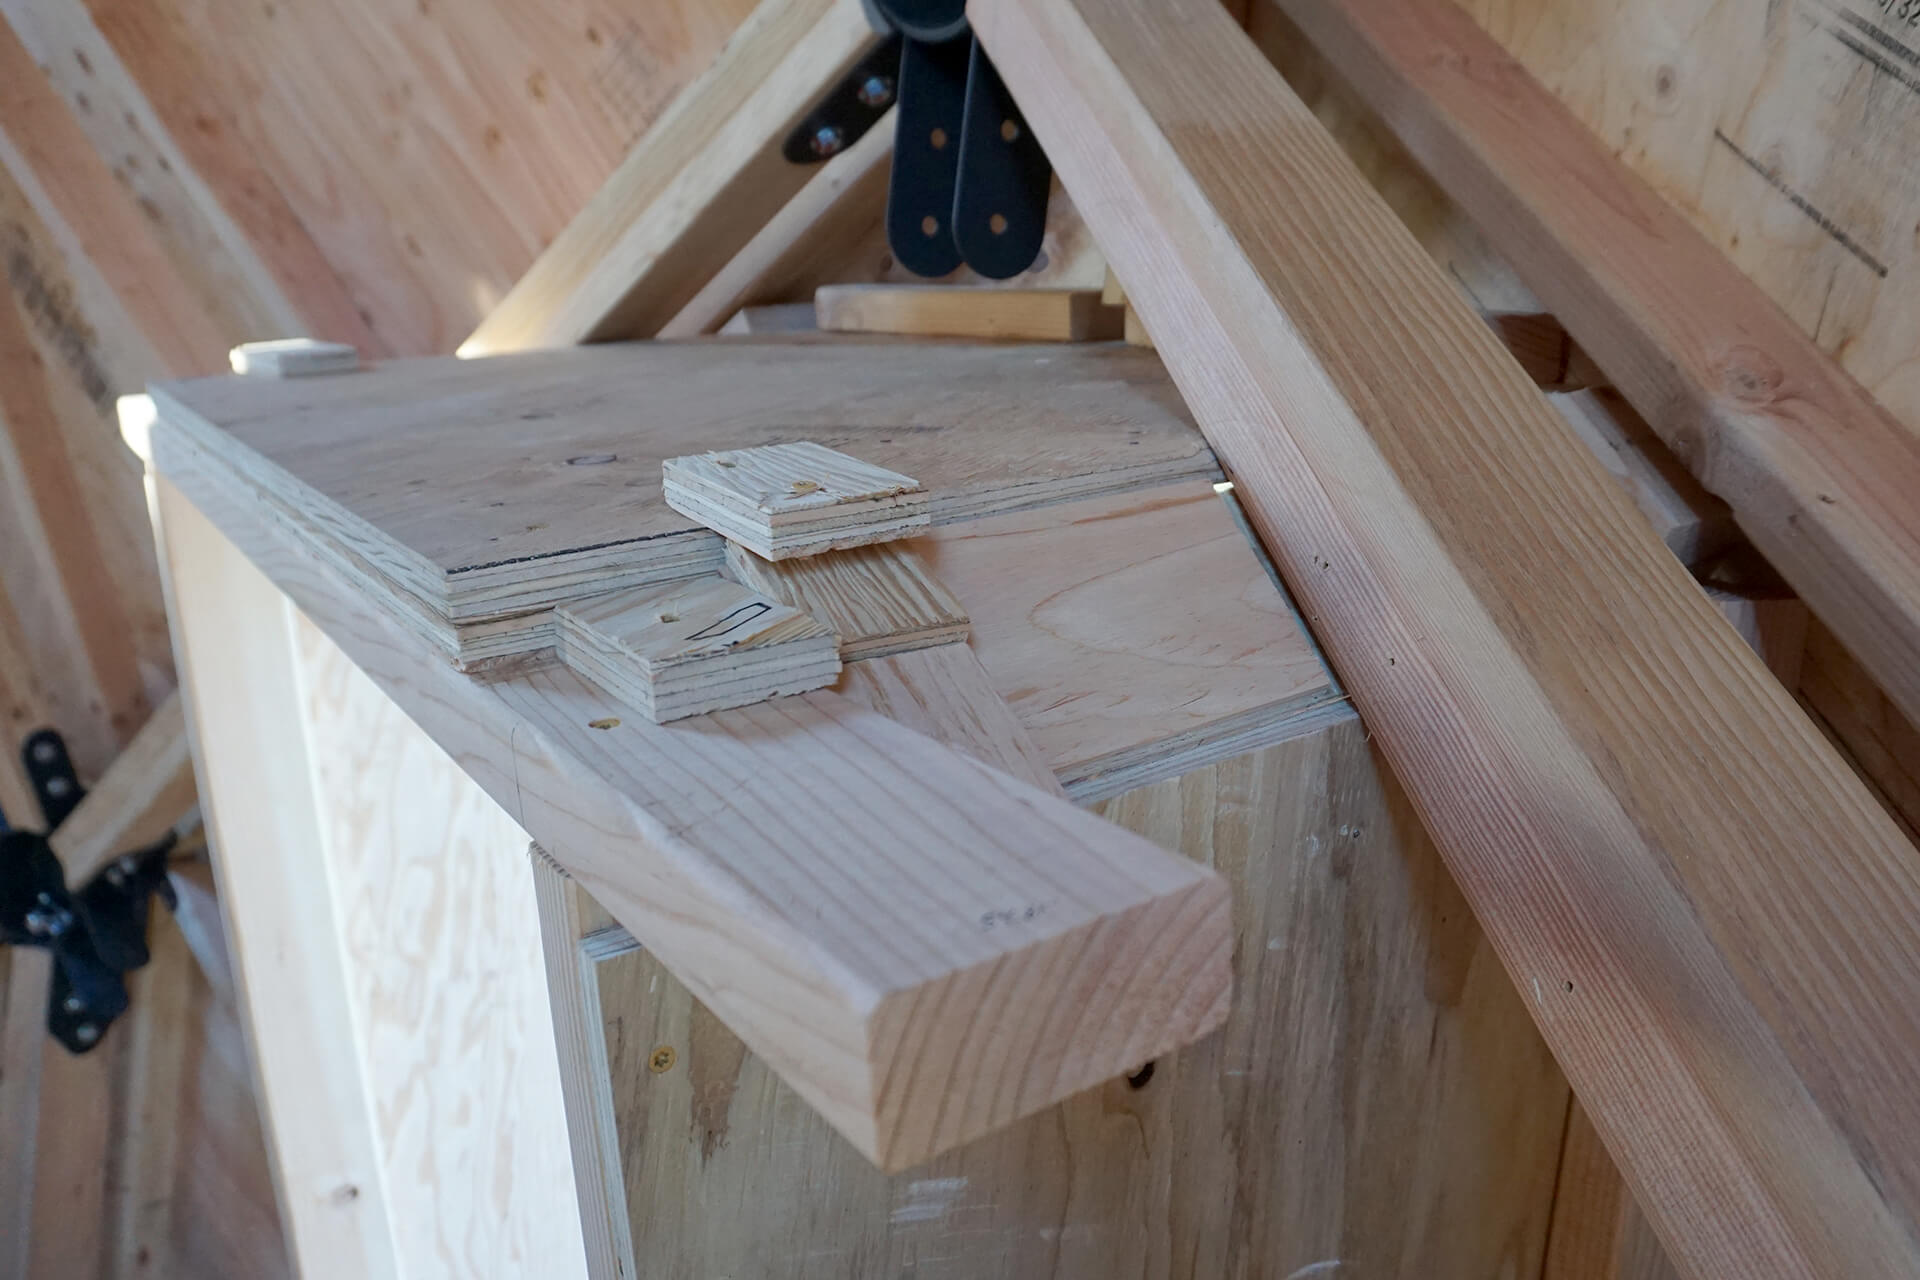
Cut and attach corner bevels to match the profile of the Panel-Door-Tops.
Detail showing the blocking and door framework from the inside. This will be hidden within the wall, so appearance is not a concern.
Modify the remaining two Strut-Bases to fit against the Panel-Door-Sides.
Attach the modified Strut-Bases. Use spacers and shims as necessary. Screw through the Panel-Door-Sides and into the Strut-Bases to attach.
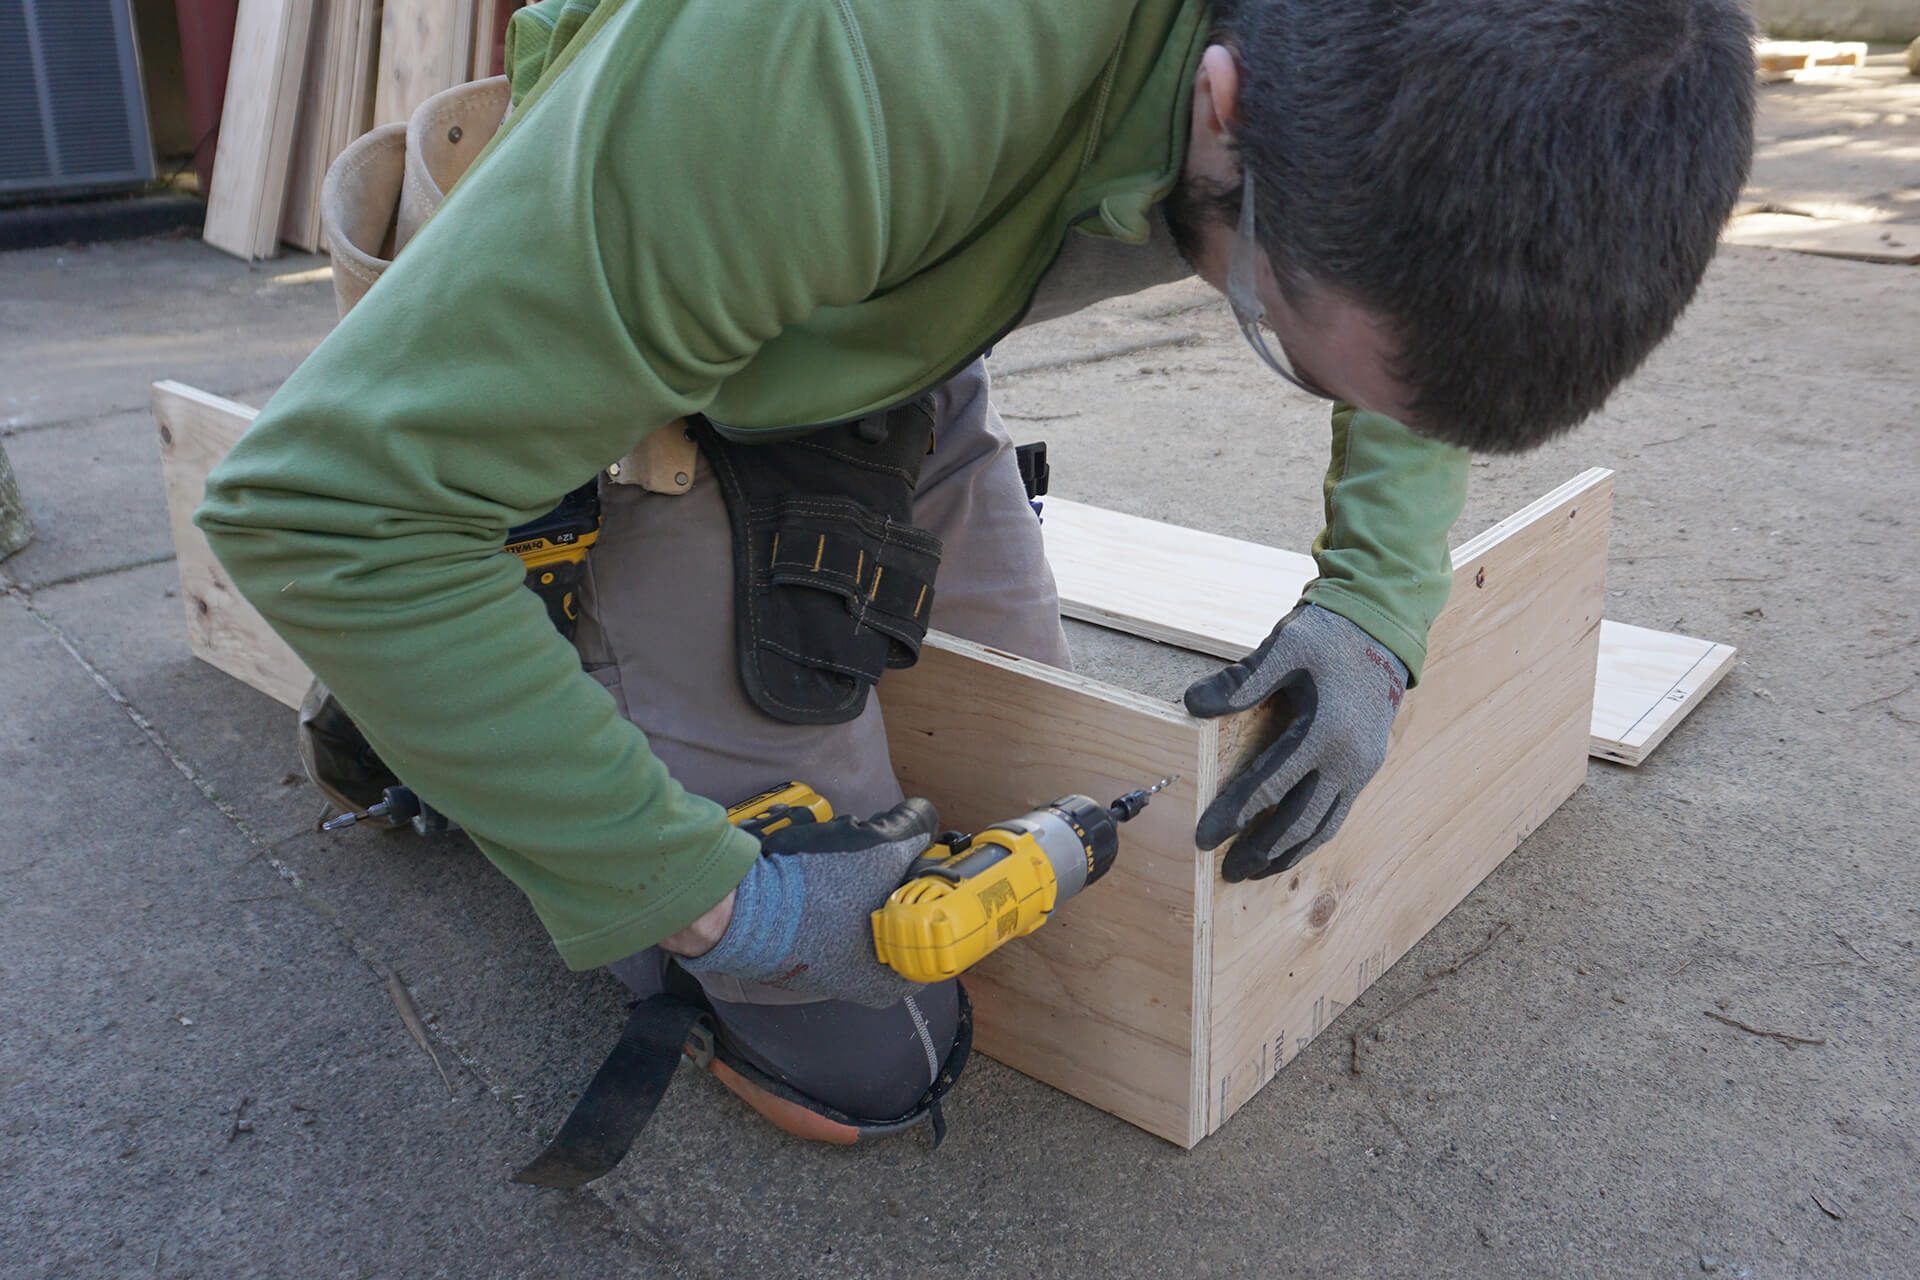
Cut and assemble the Egress-Box.
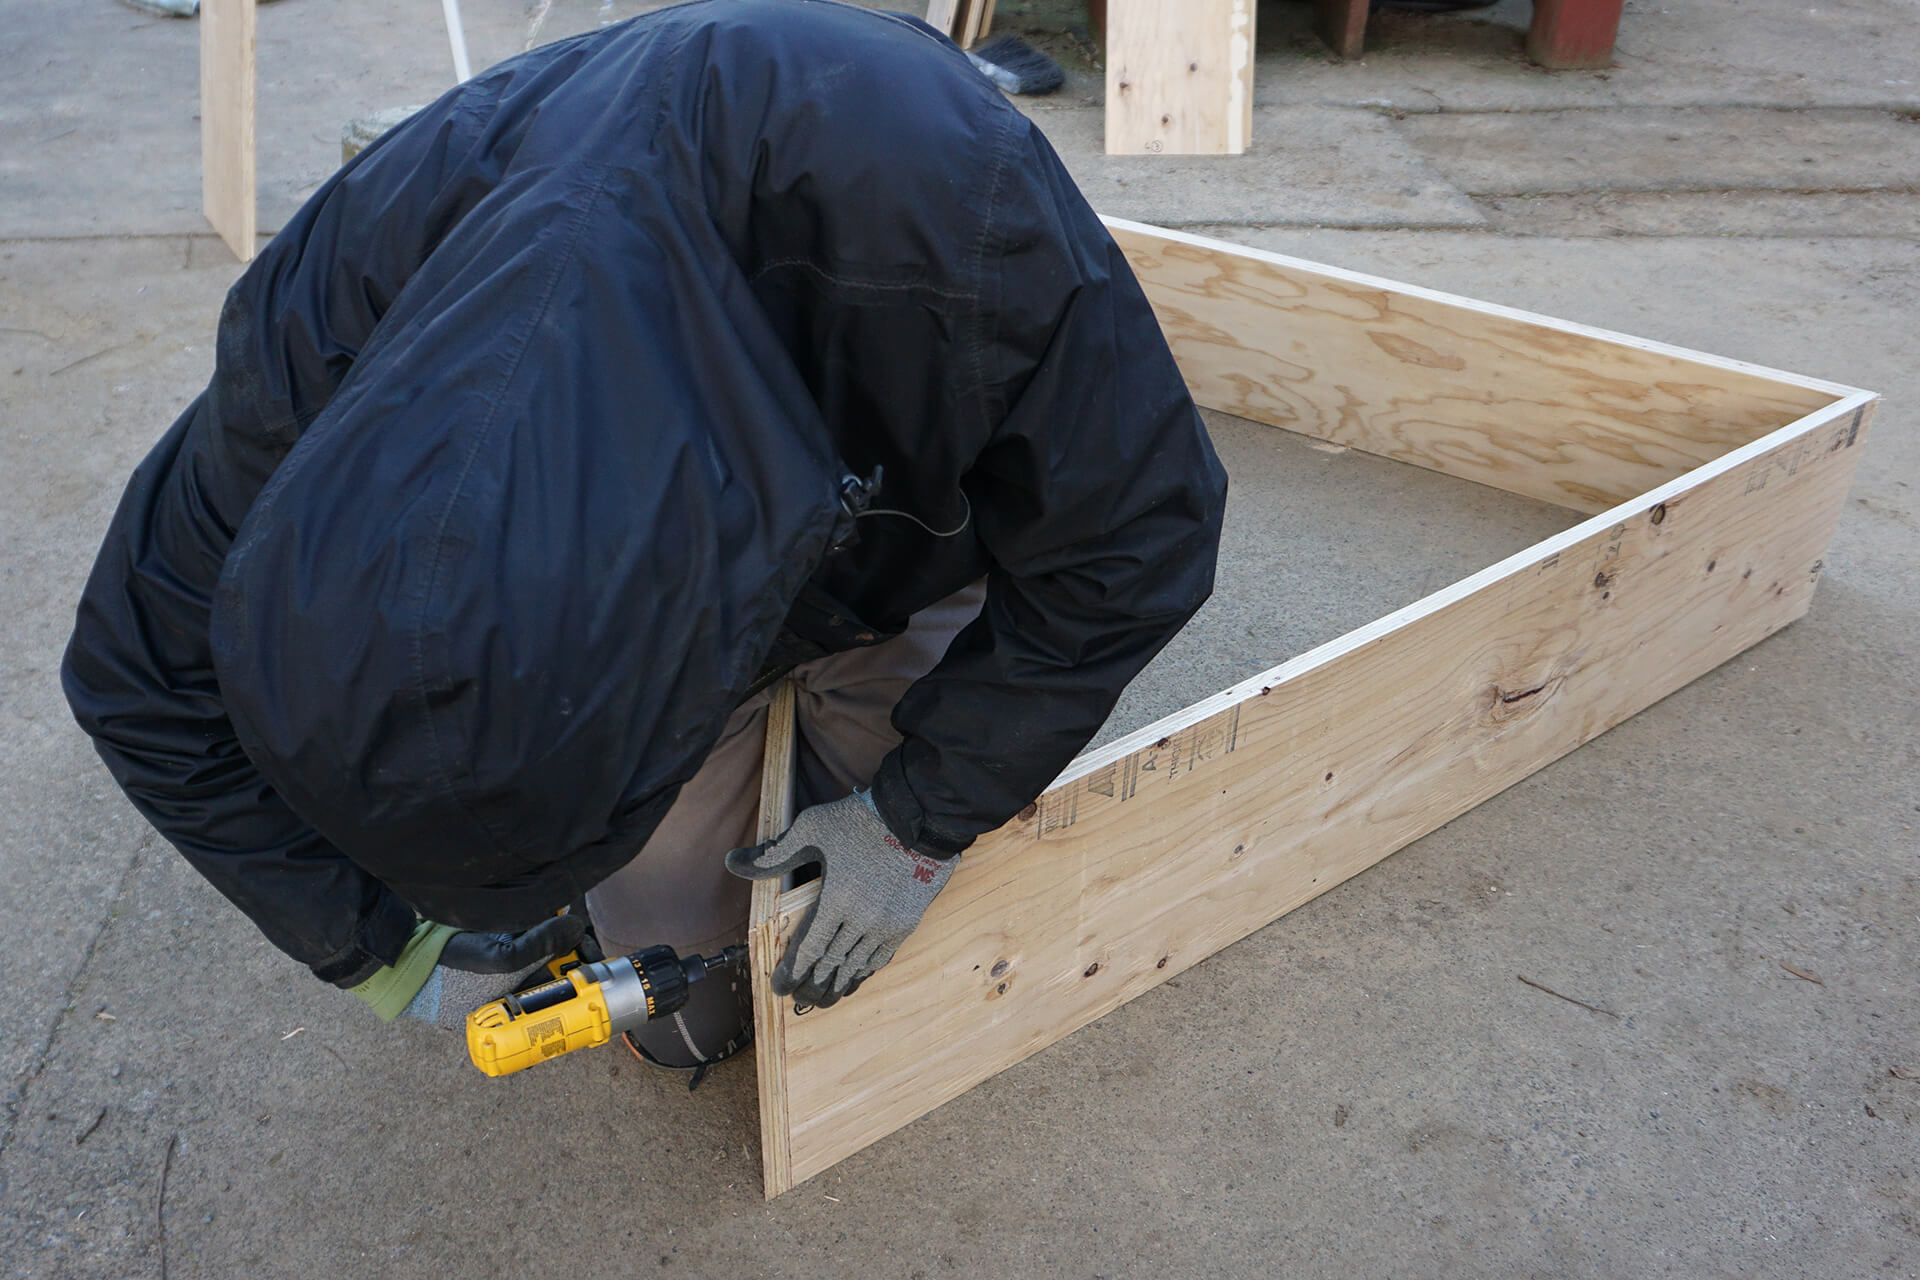
Cut and assemble the Window-Boxes.
Cut and install the Window-Blocking. Install two of the three pieces first, then add the final piece after the Window-Box is installed.
Install the Window-Boxes.
Install the Egress-Blocking and Egress-Box.
Trim the Window-Panels to match the Window-Boxes using a router, belt sander, or jigsaw, if necessary.
Congratulations on completing the sheathing!
Next Step