Room Framing – Vent Pipe
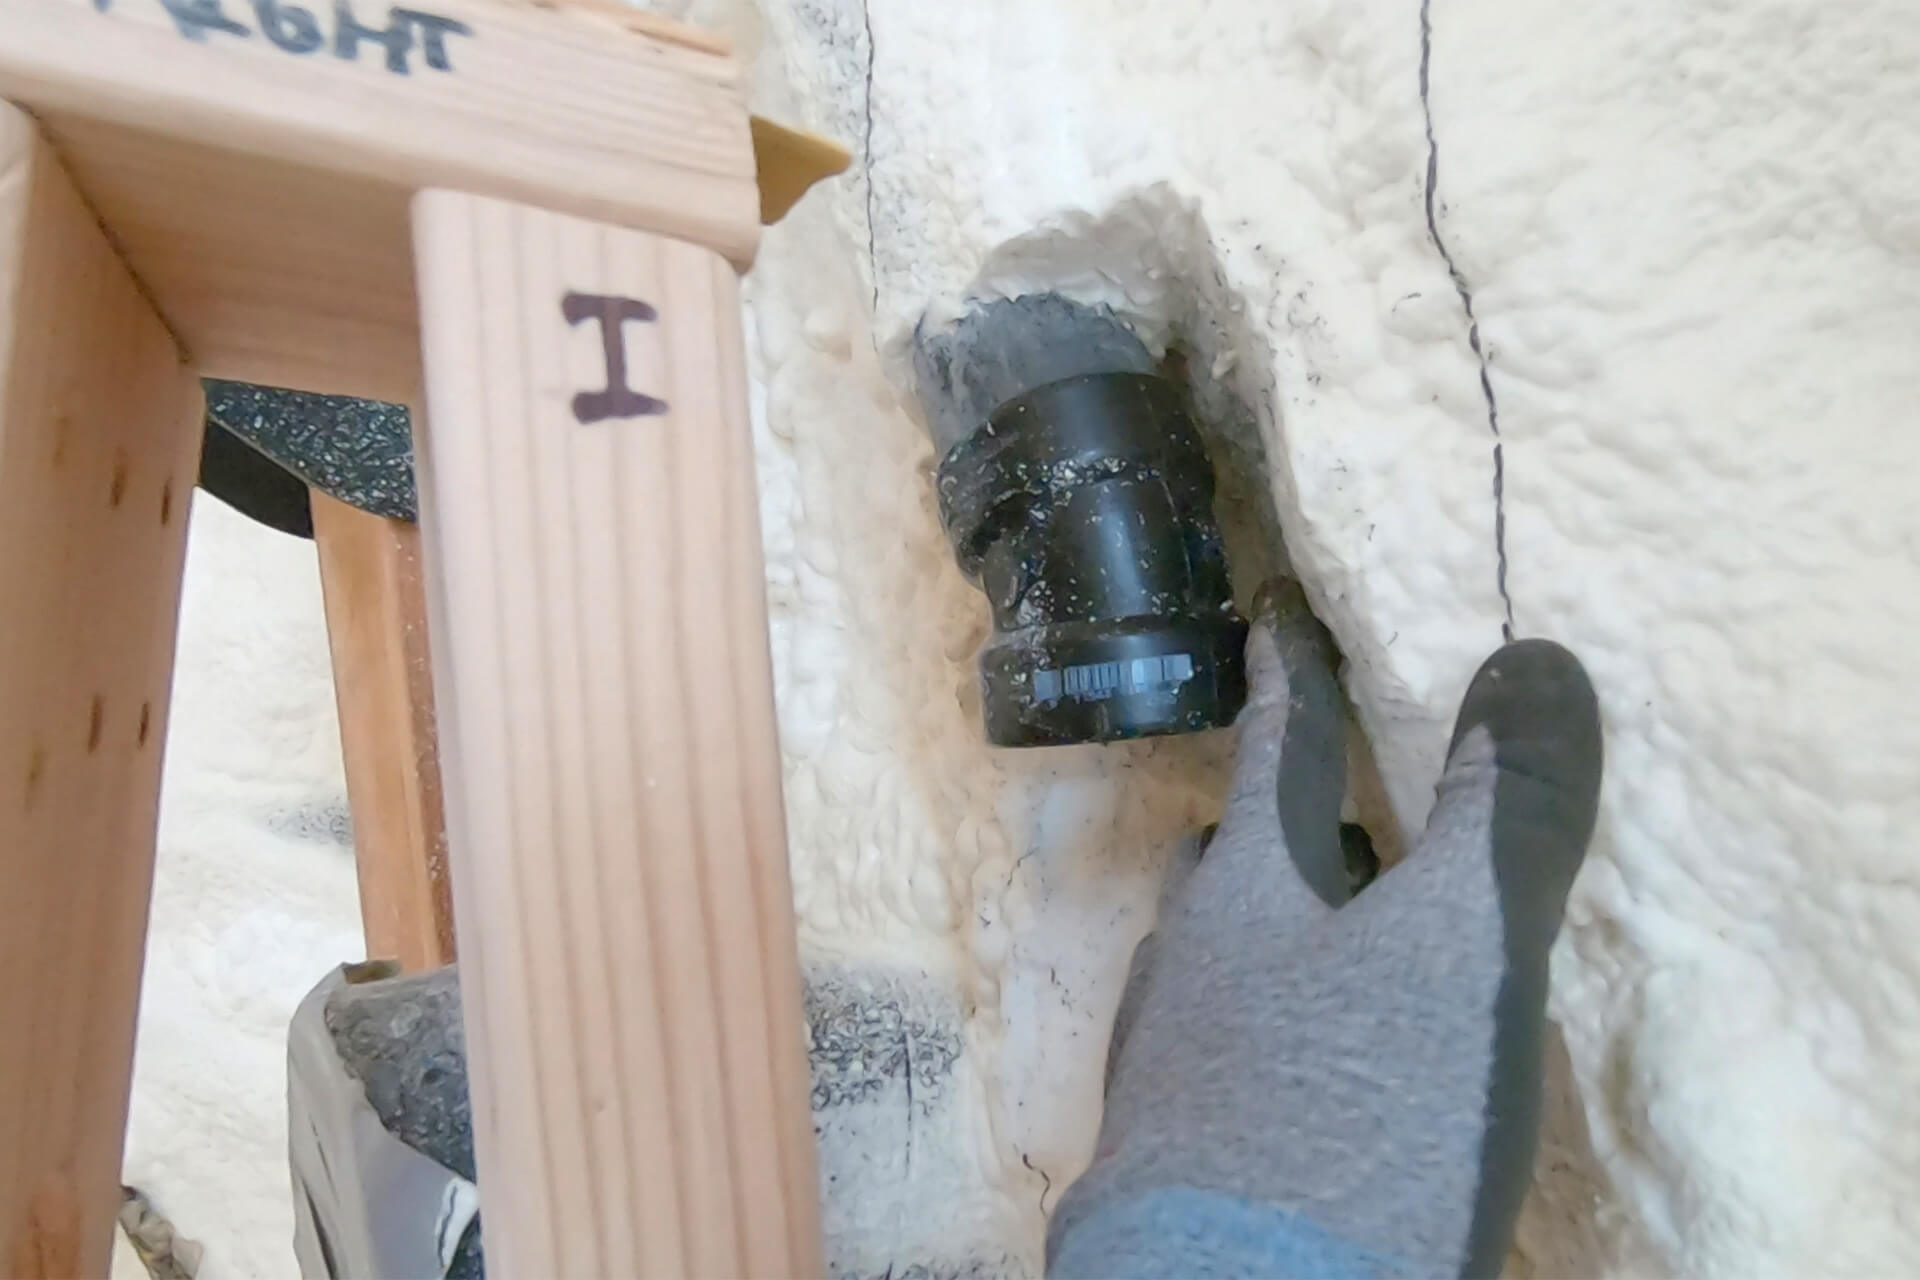
Carve the foam around the vent pipe to create space for placing fittings. Shorten or extend the vent pipe if necessary.
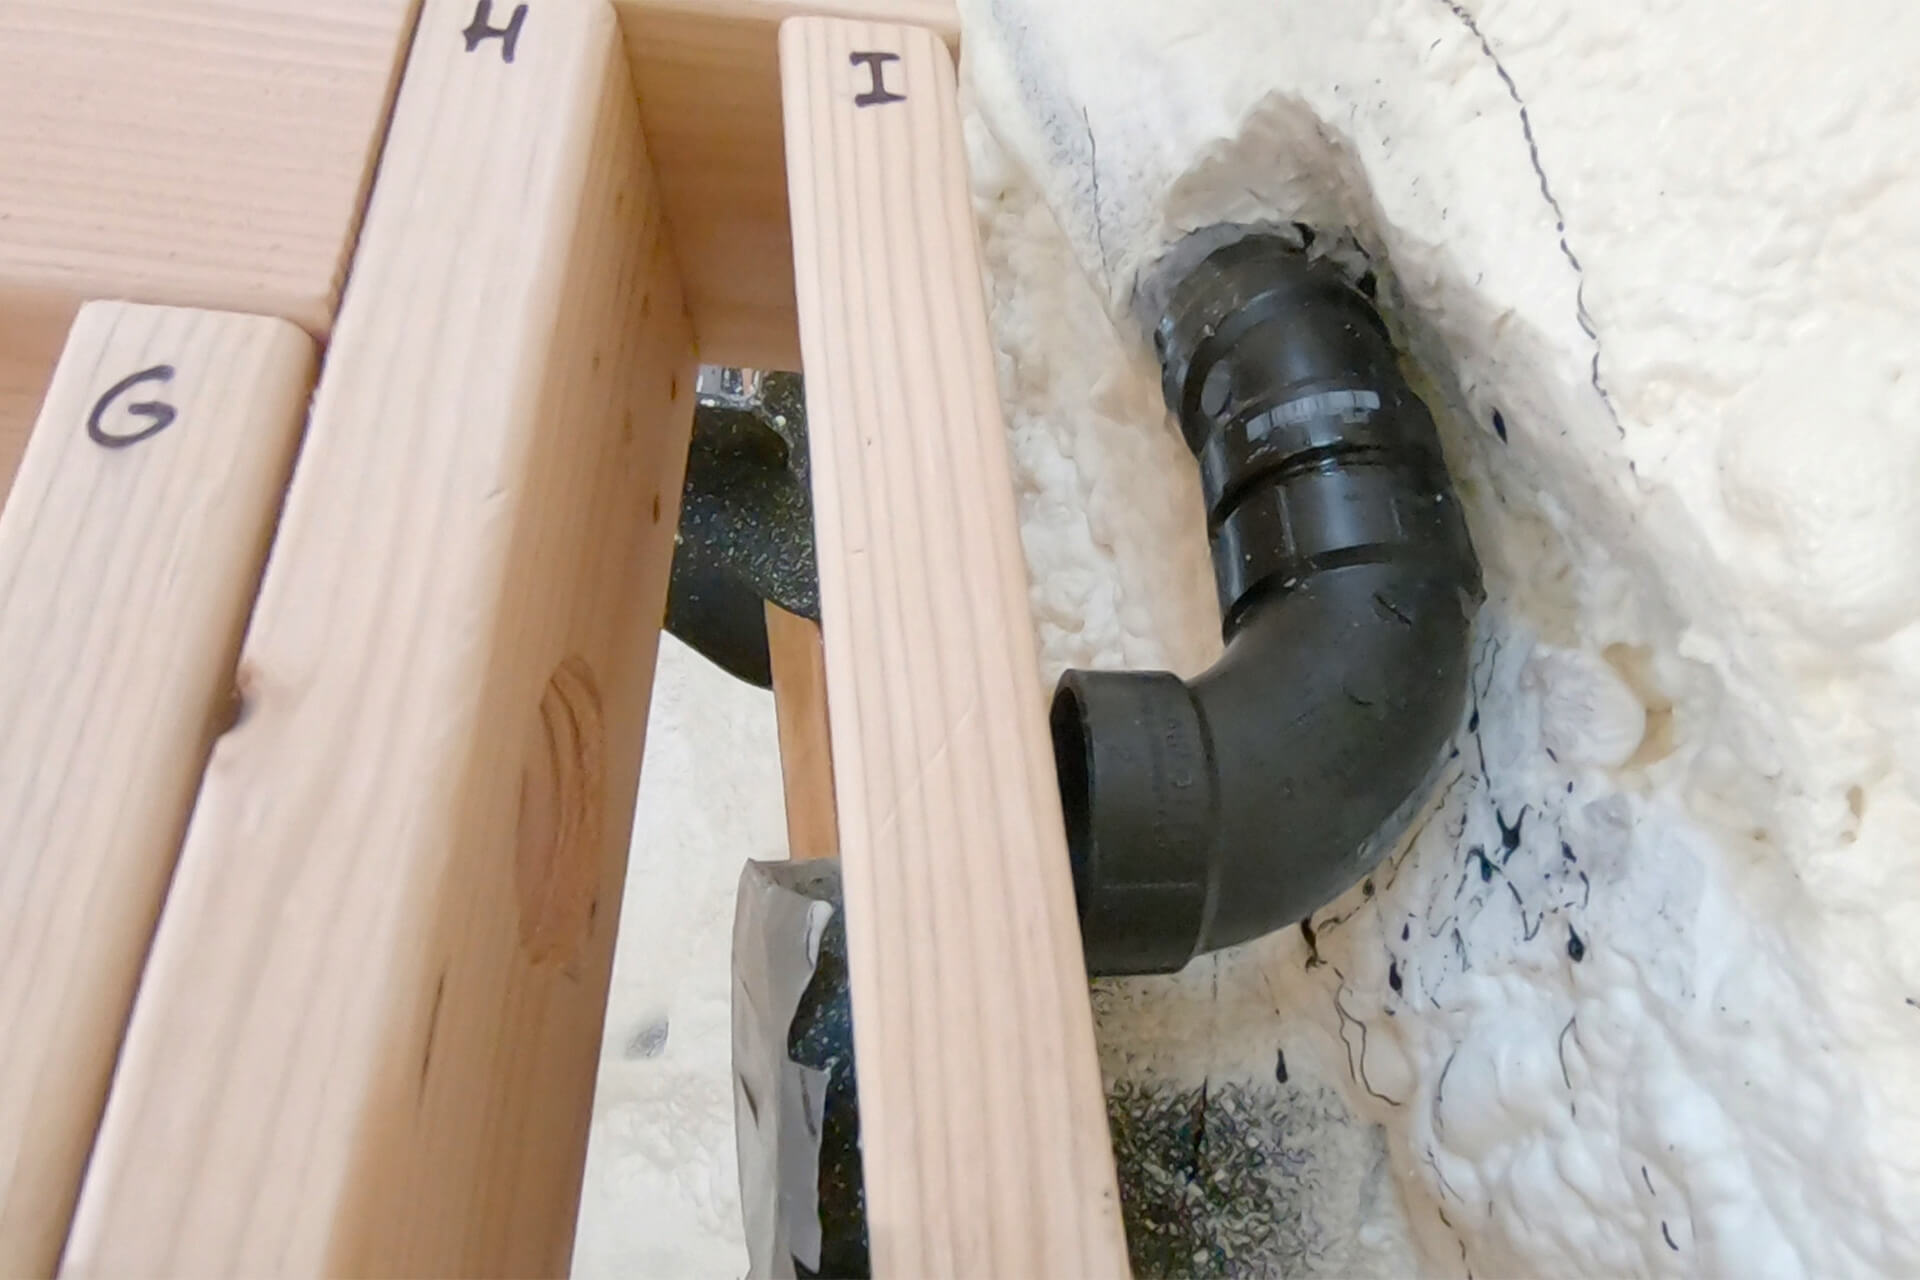
Use fittings to align the vent pipe opening with the wall holes. A 22.5-degree and 90-degree elbow fitting are shown here.
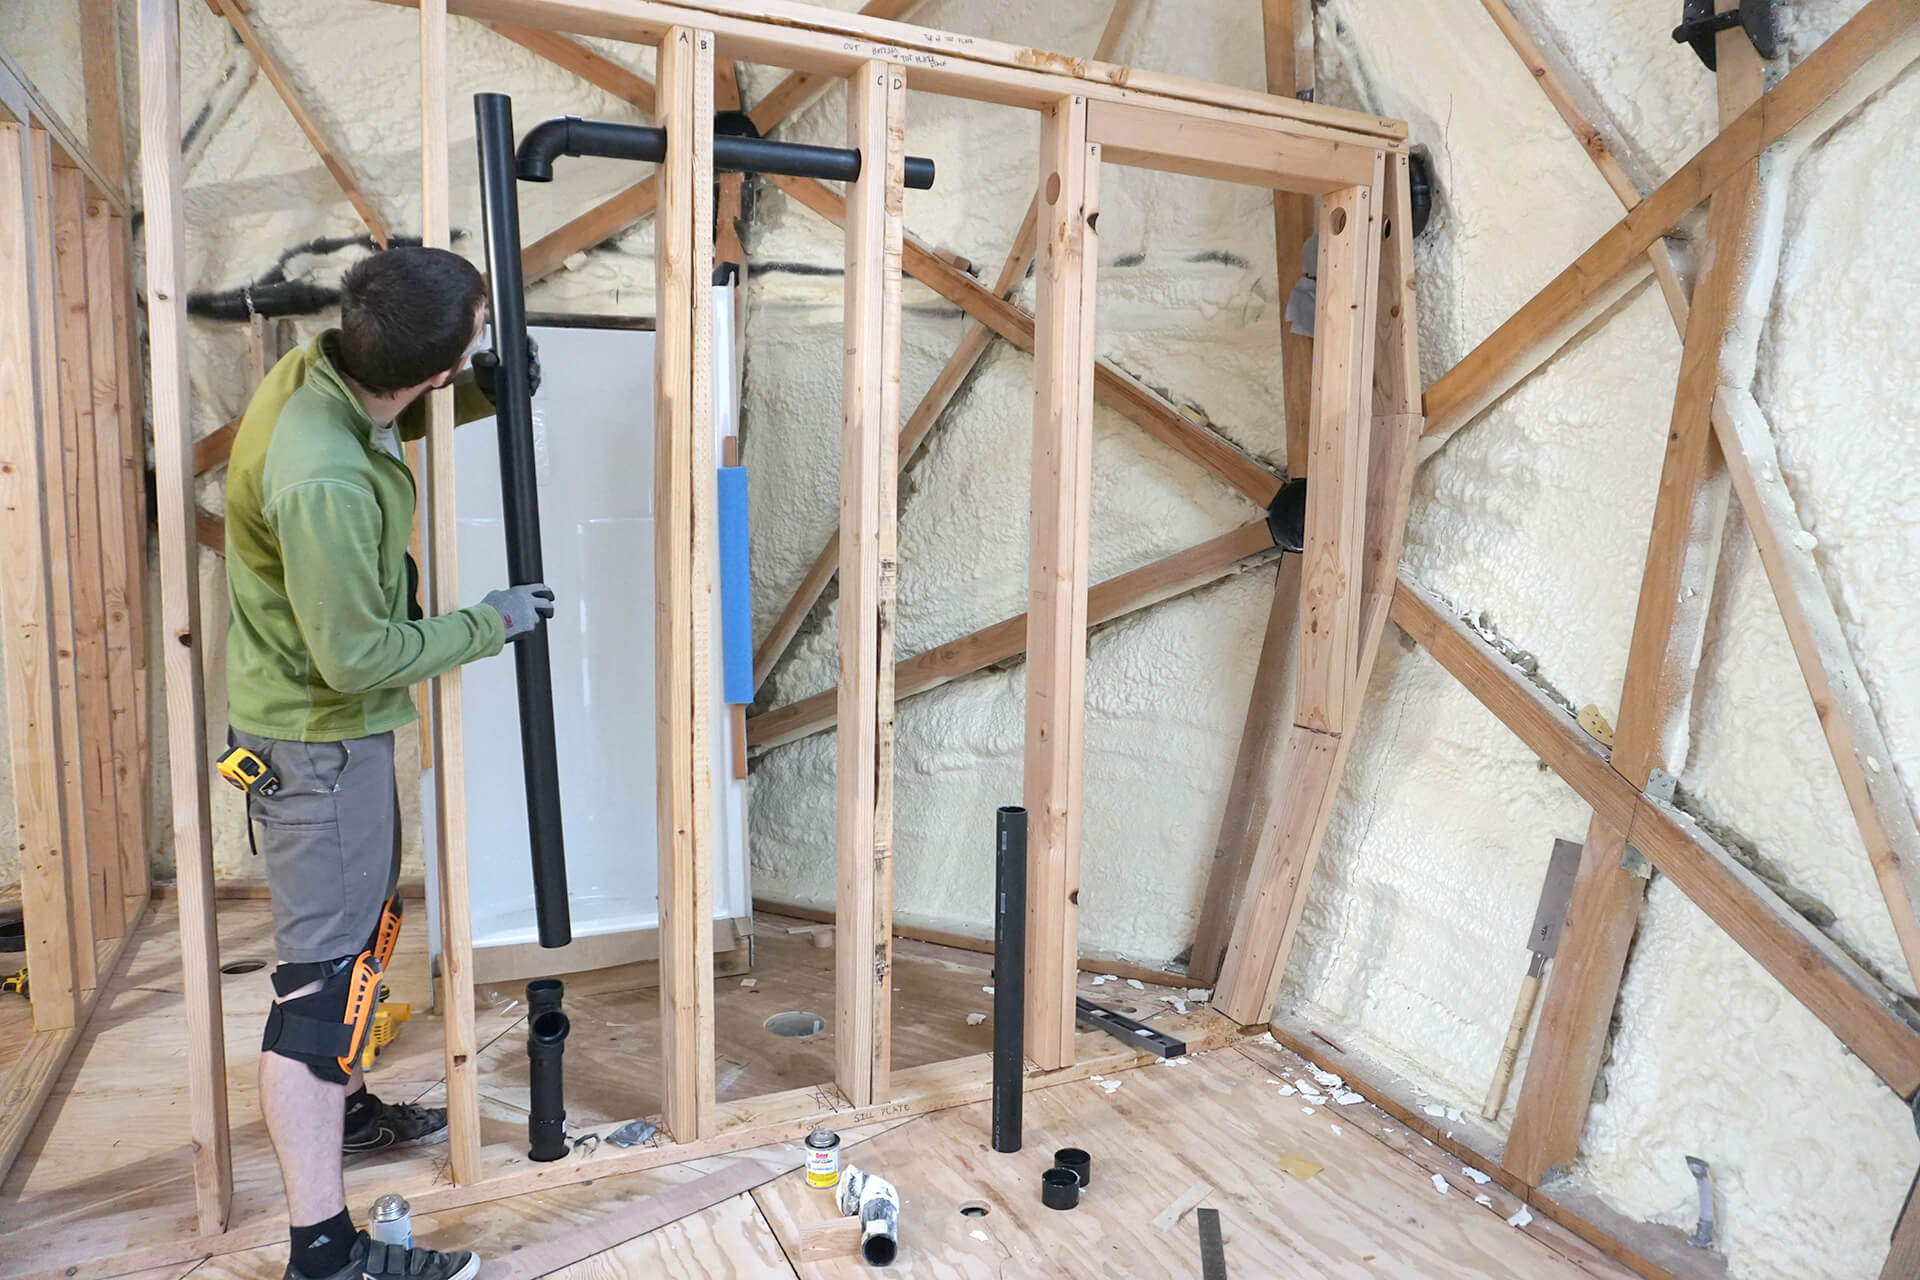
Begin assembling and gluing the vent pipe. The location and height of the sanitary tee fitting are critical for proper sink plumbing.
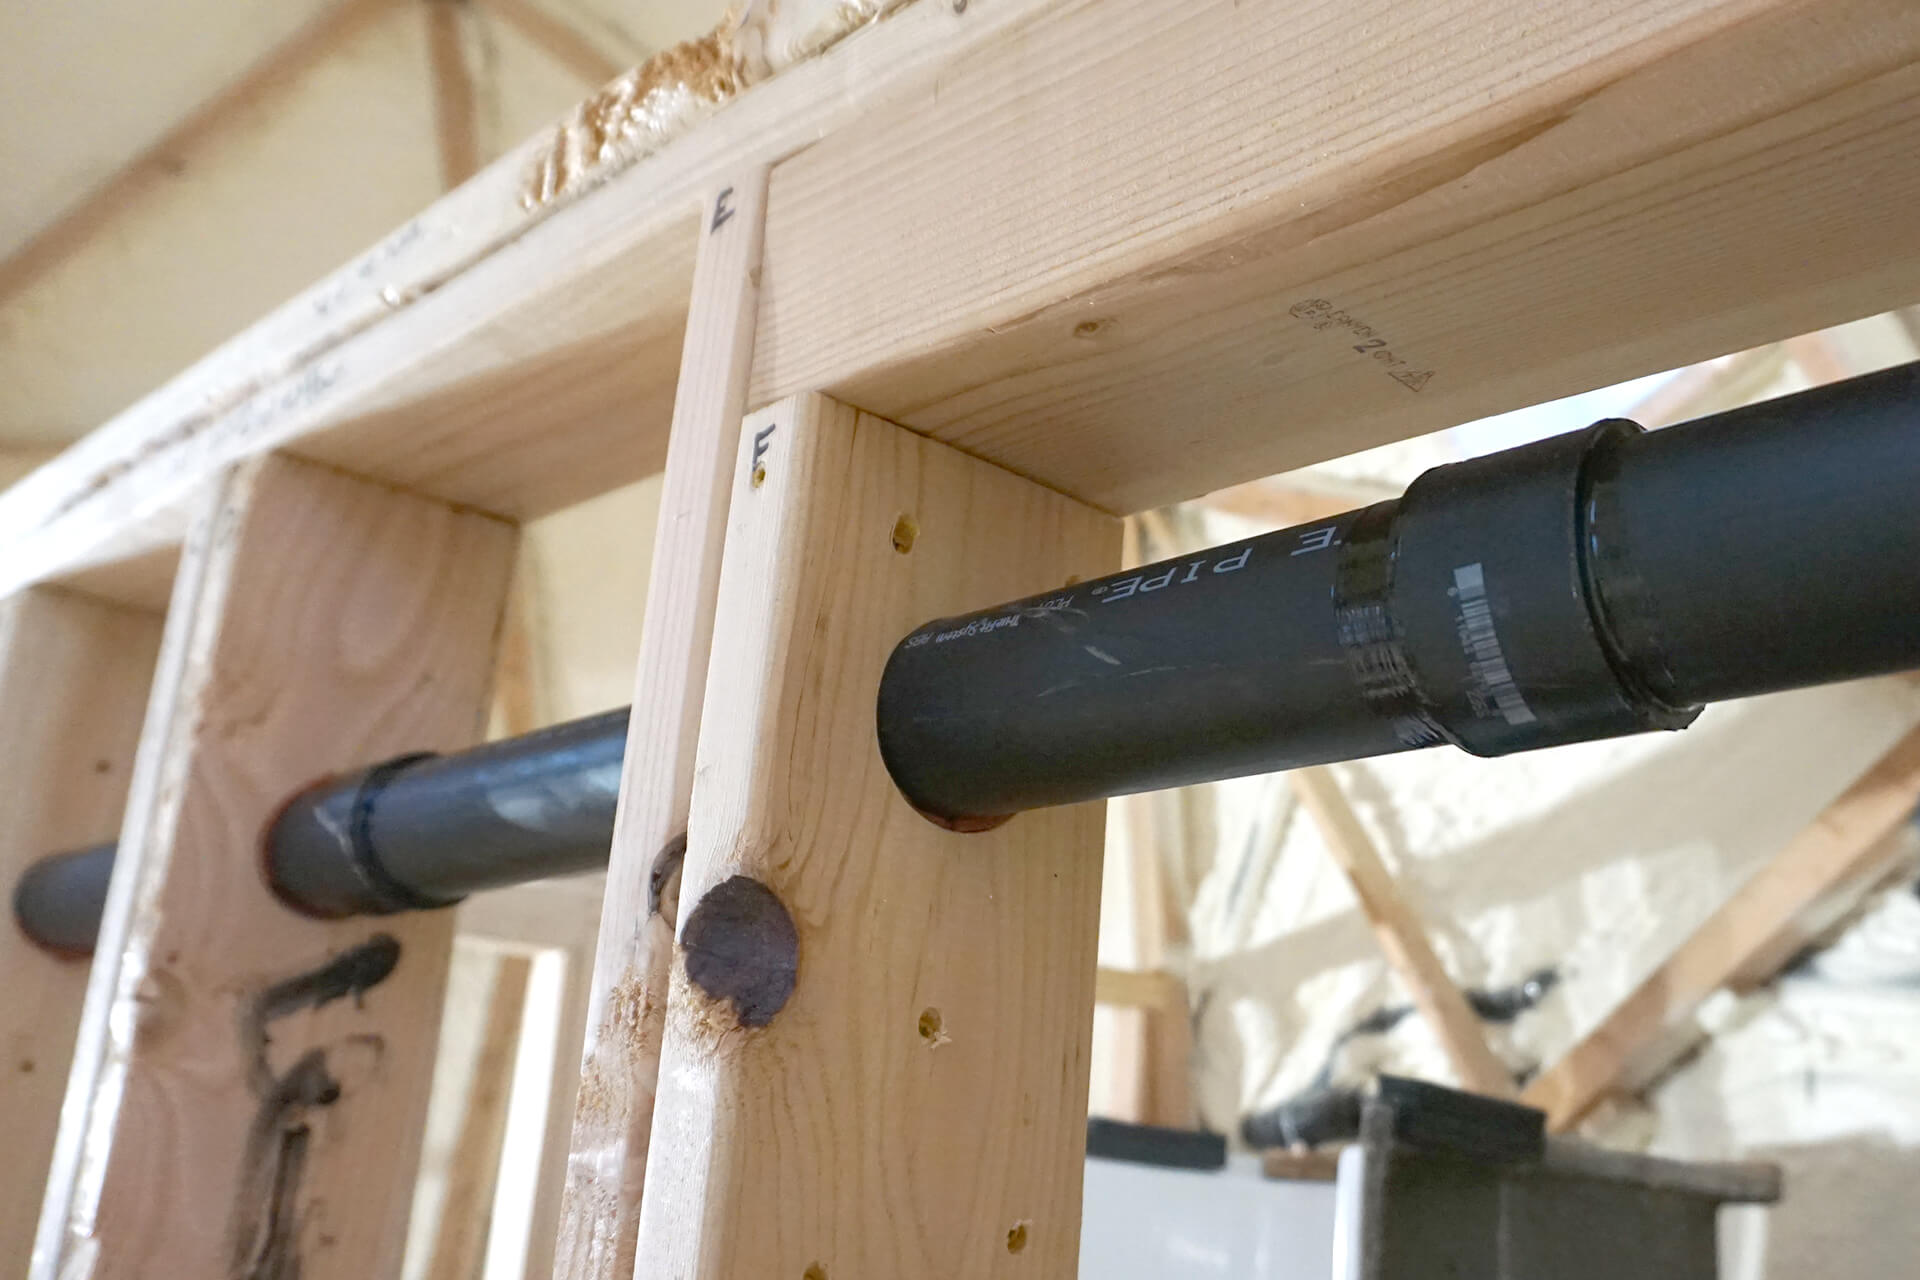
Use coupling fittings to connect the horizontal sections of pipe.
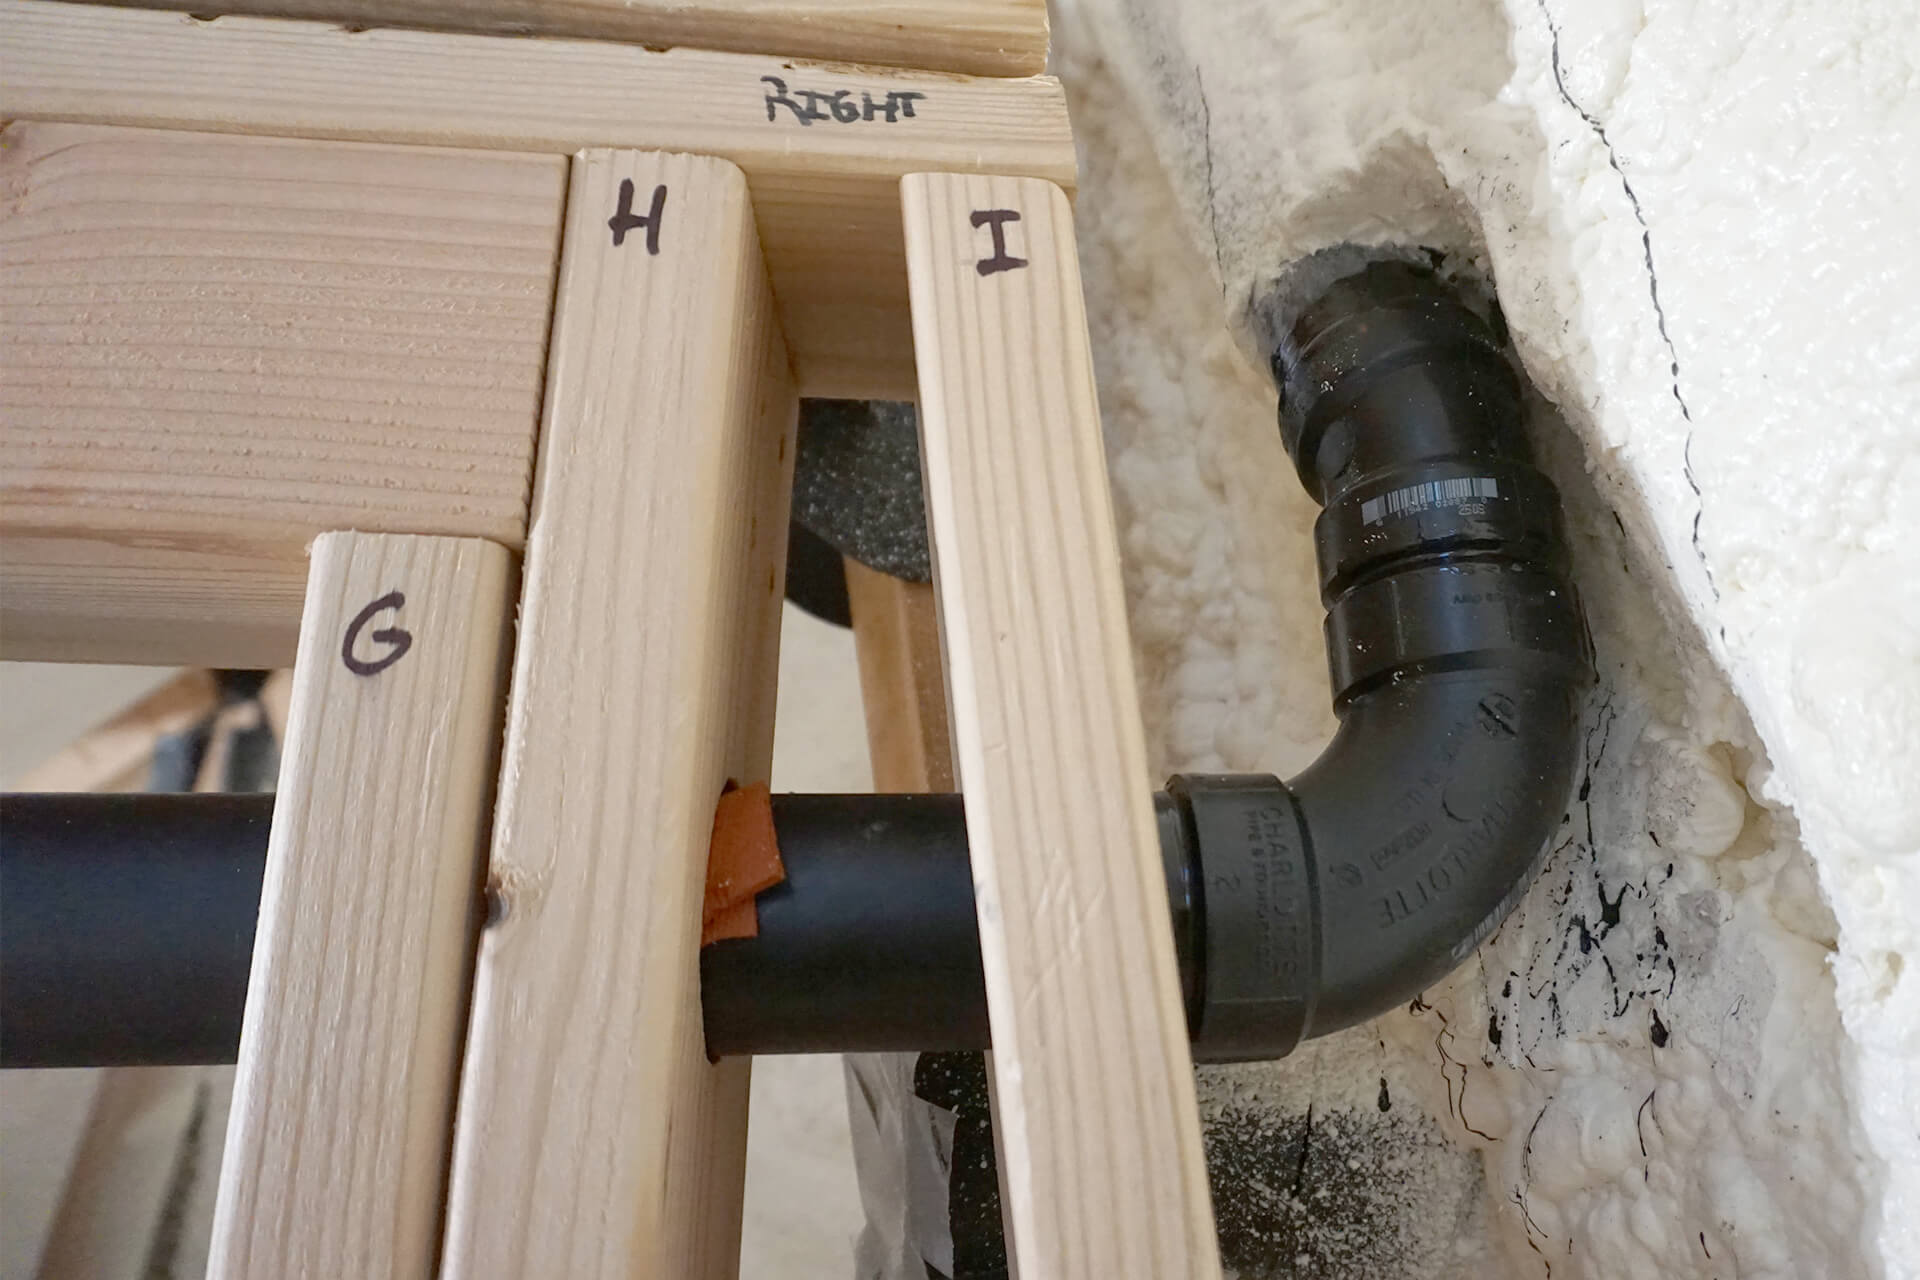
Complete the vent pipe path by connecting it to the fitting in the dome wall.
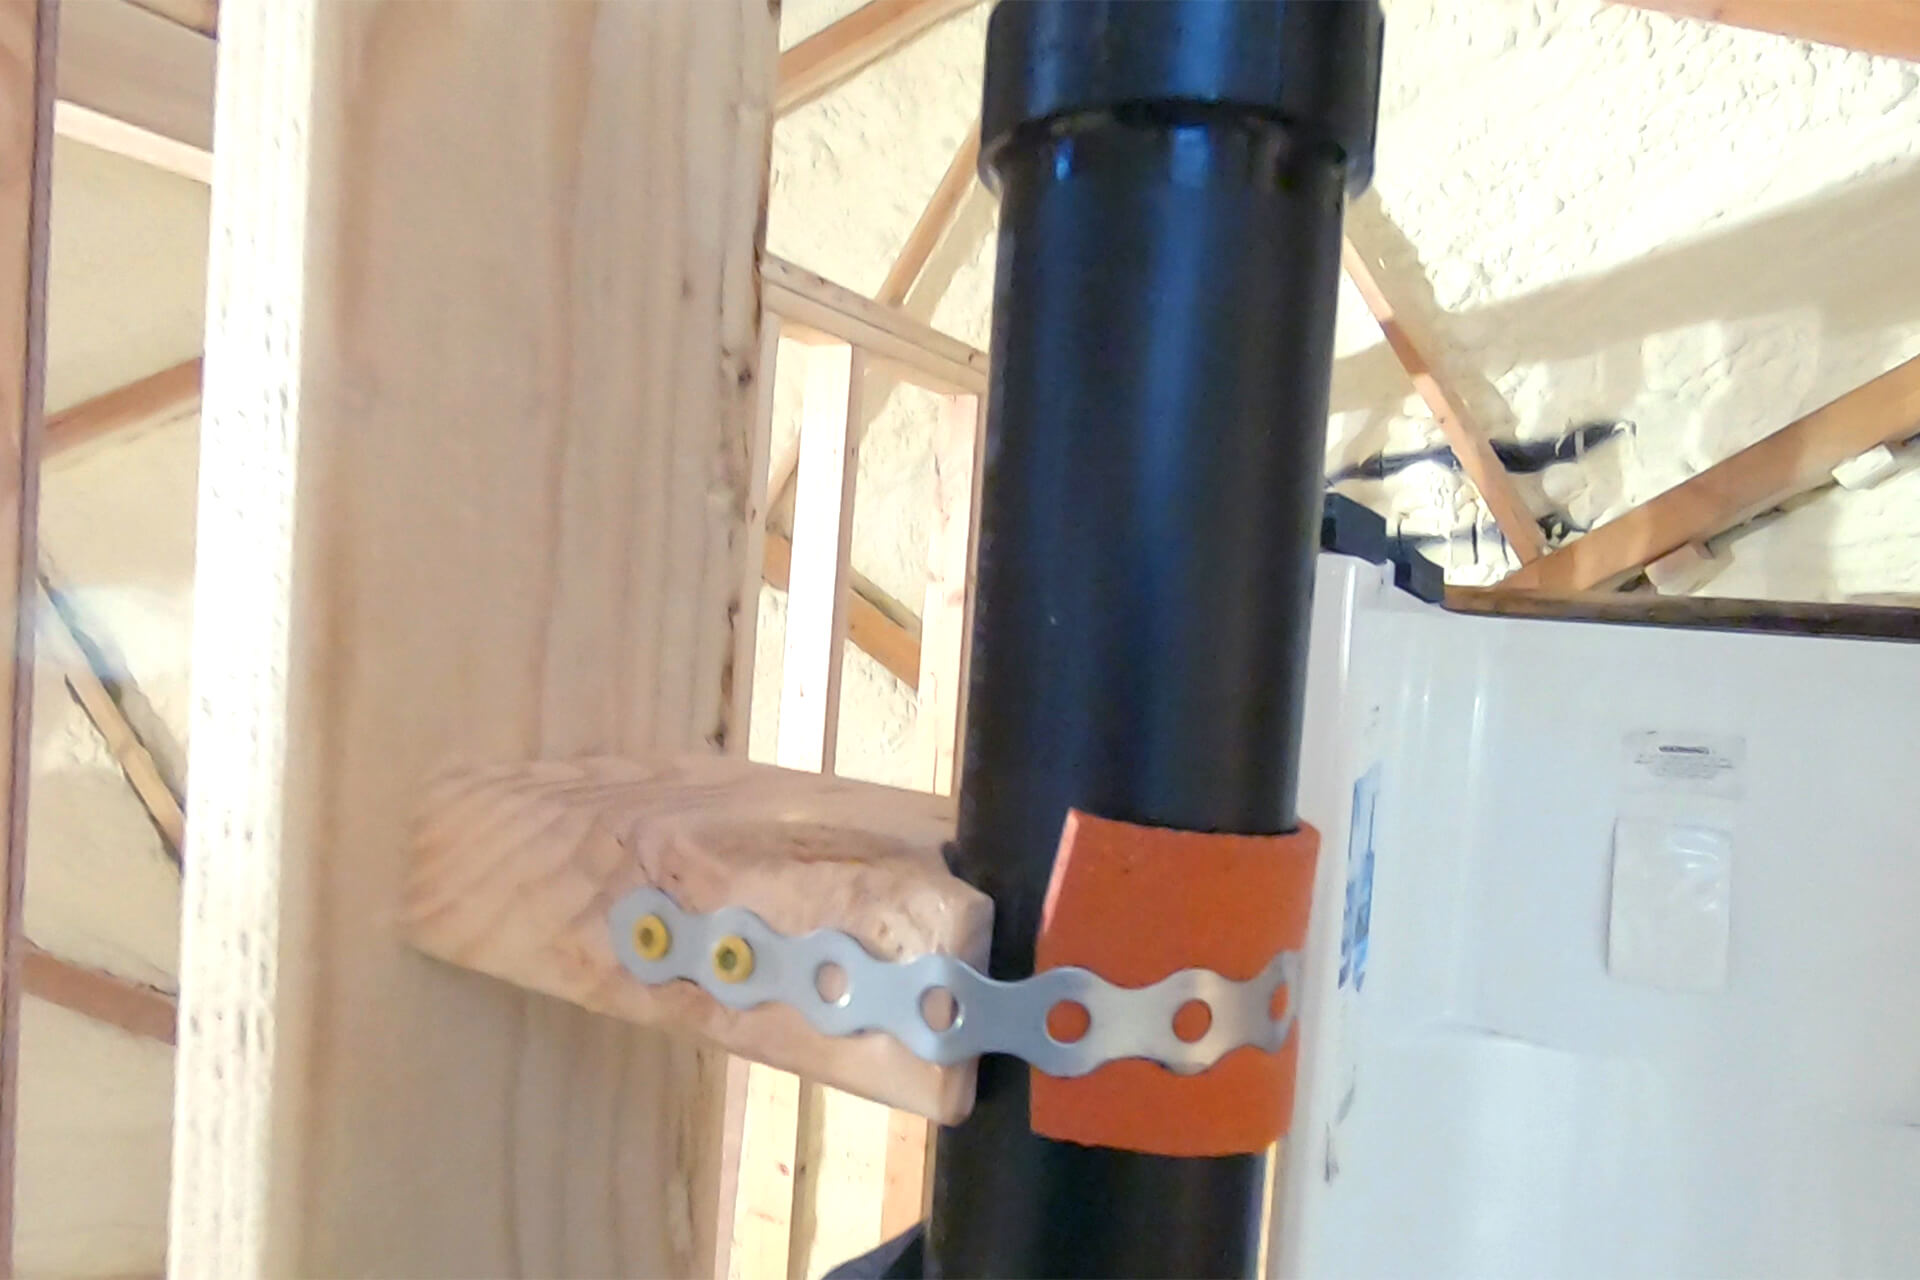
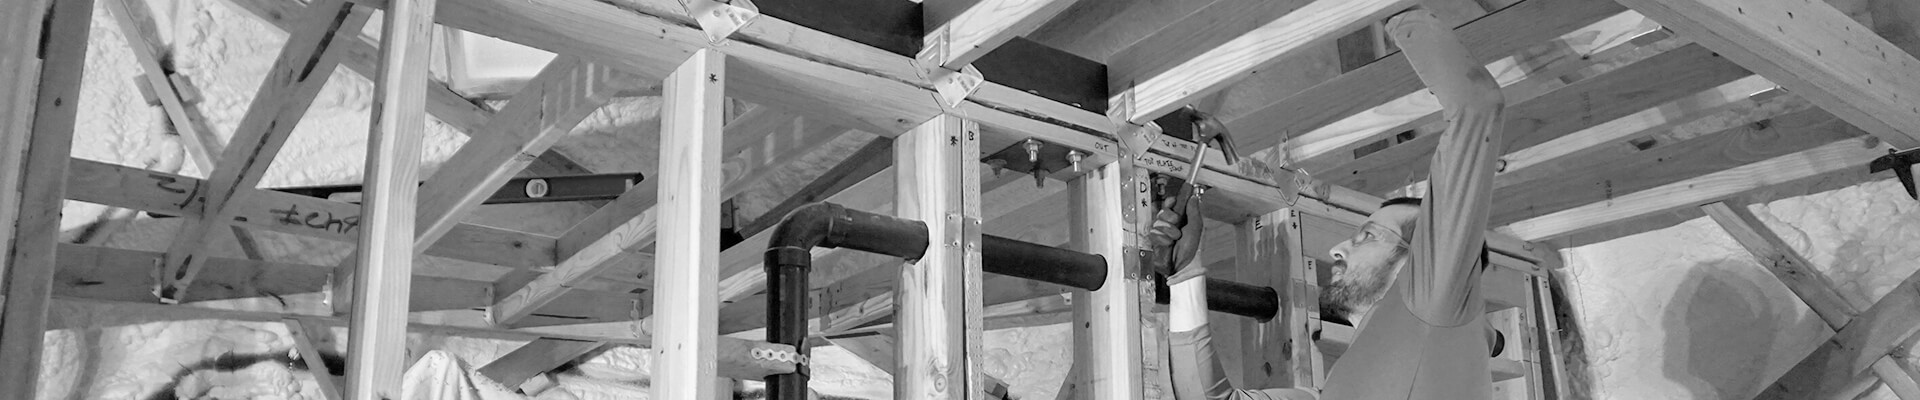
Use blocking and metal strapping (shown here) to secure the vent pipe in place. Rubber or foam can also be used to ensure a snug, noise-free connection.
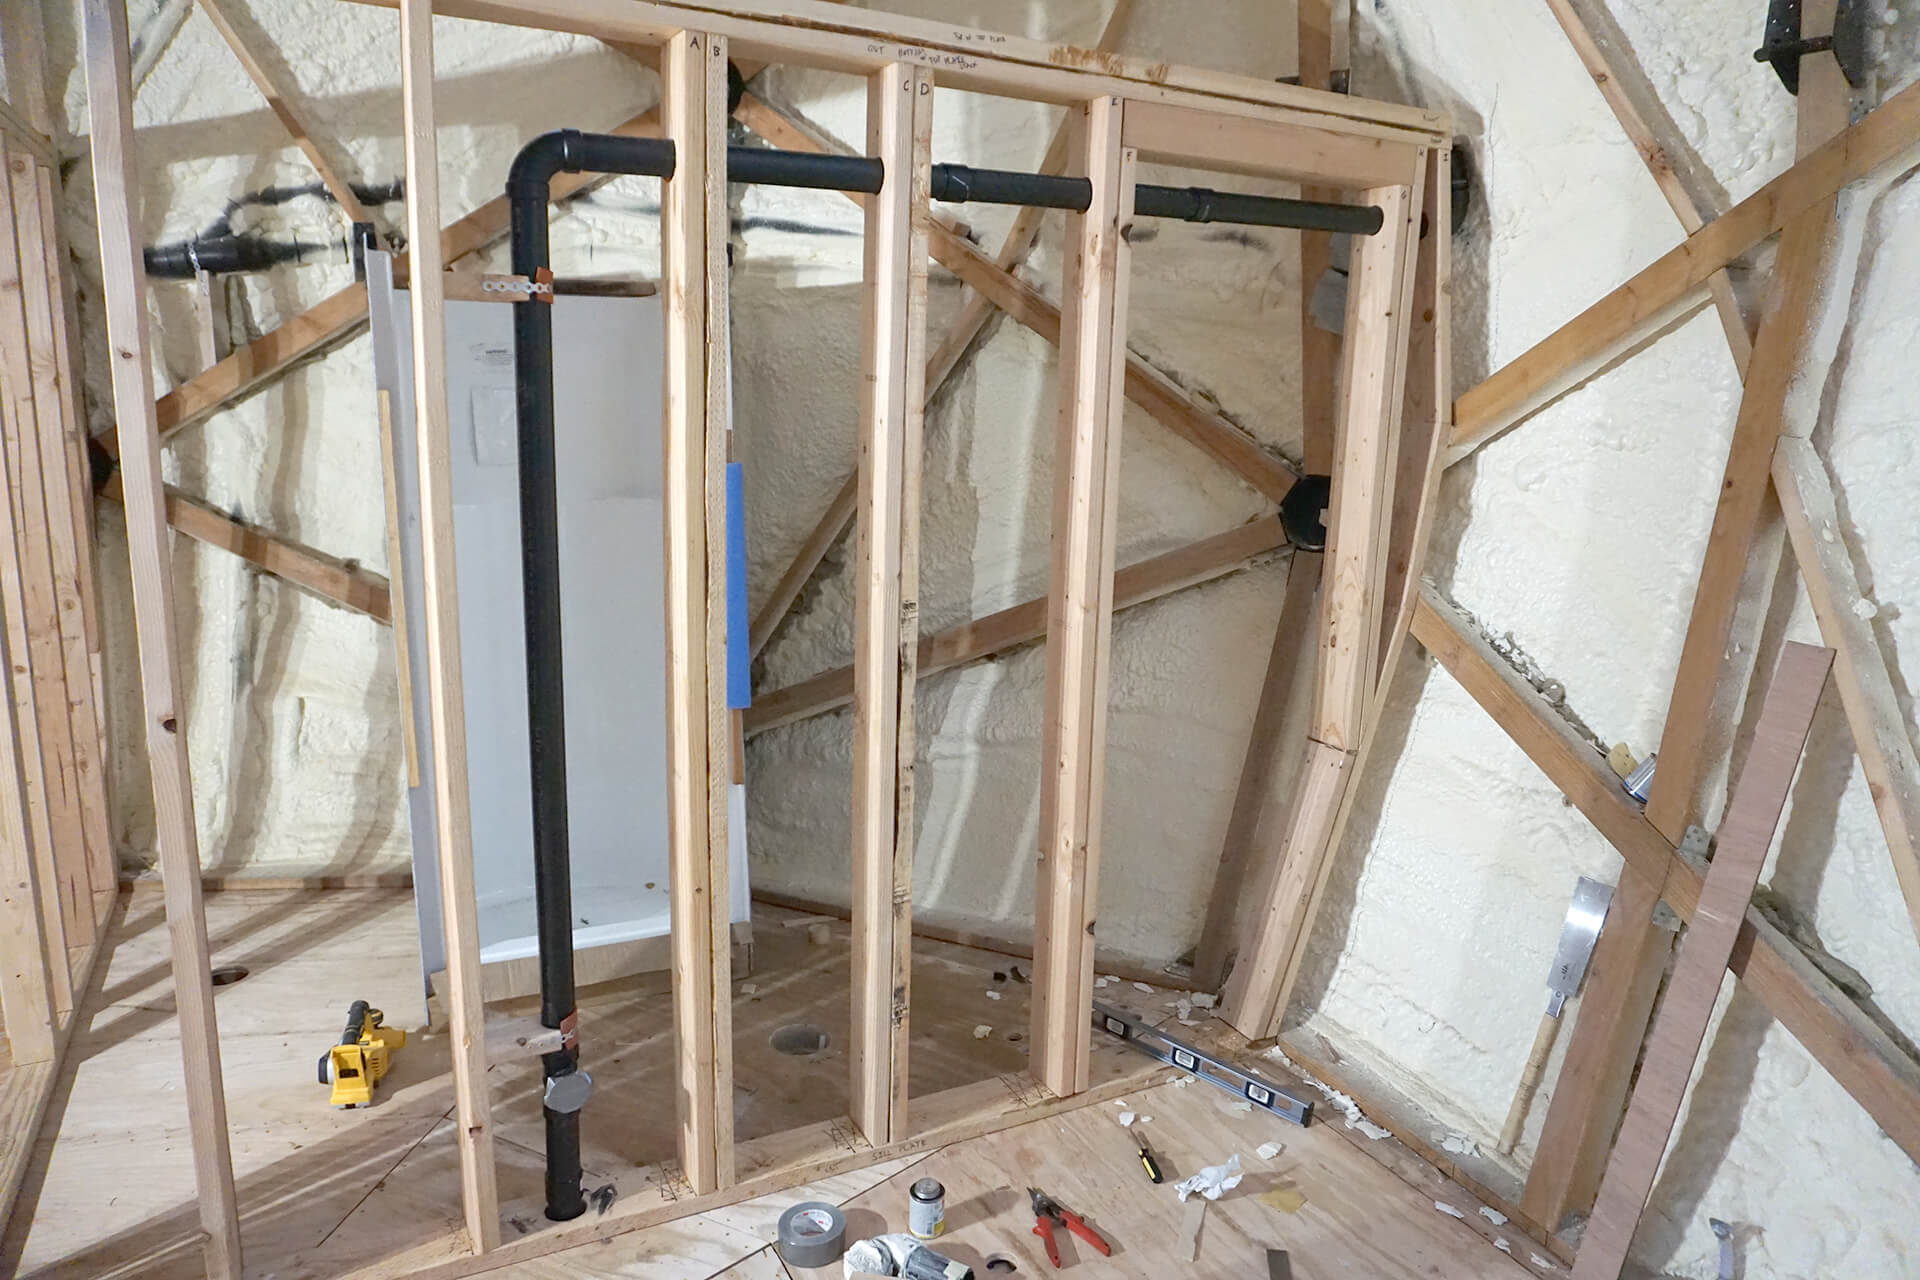
Congratulations on completing the vent pipe! Tape over the sanitary tee fitting to prevent sewer gases from entering the dome.
Next Step