
Utilities
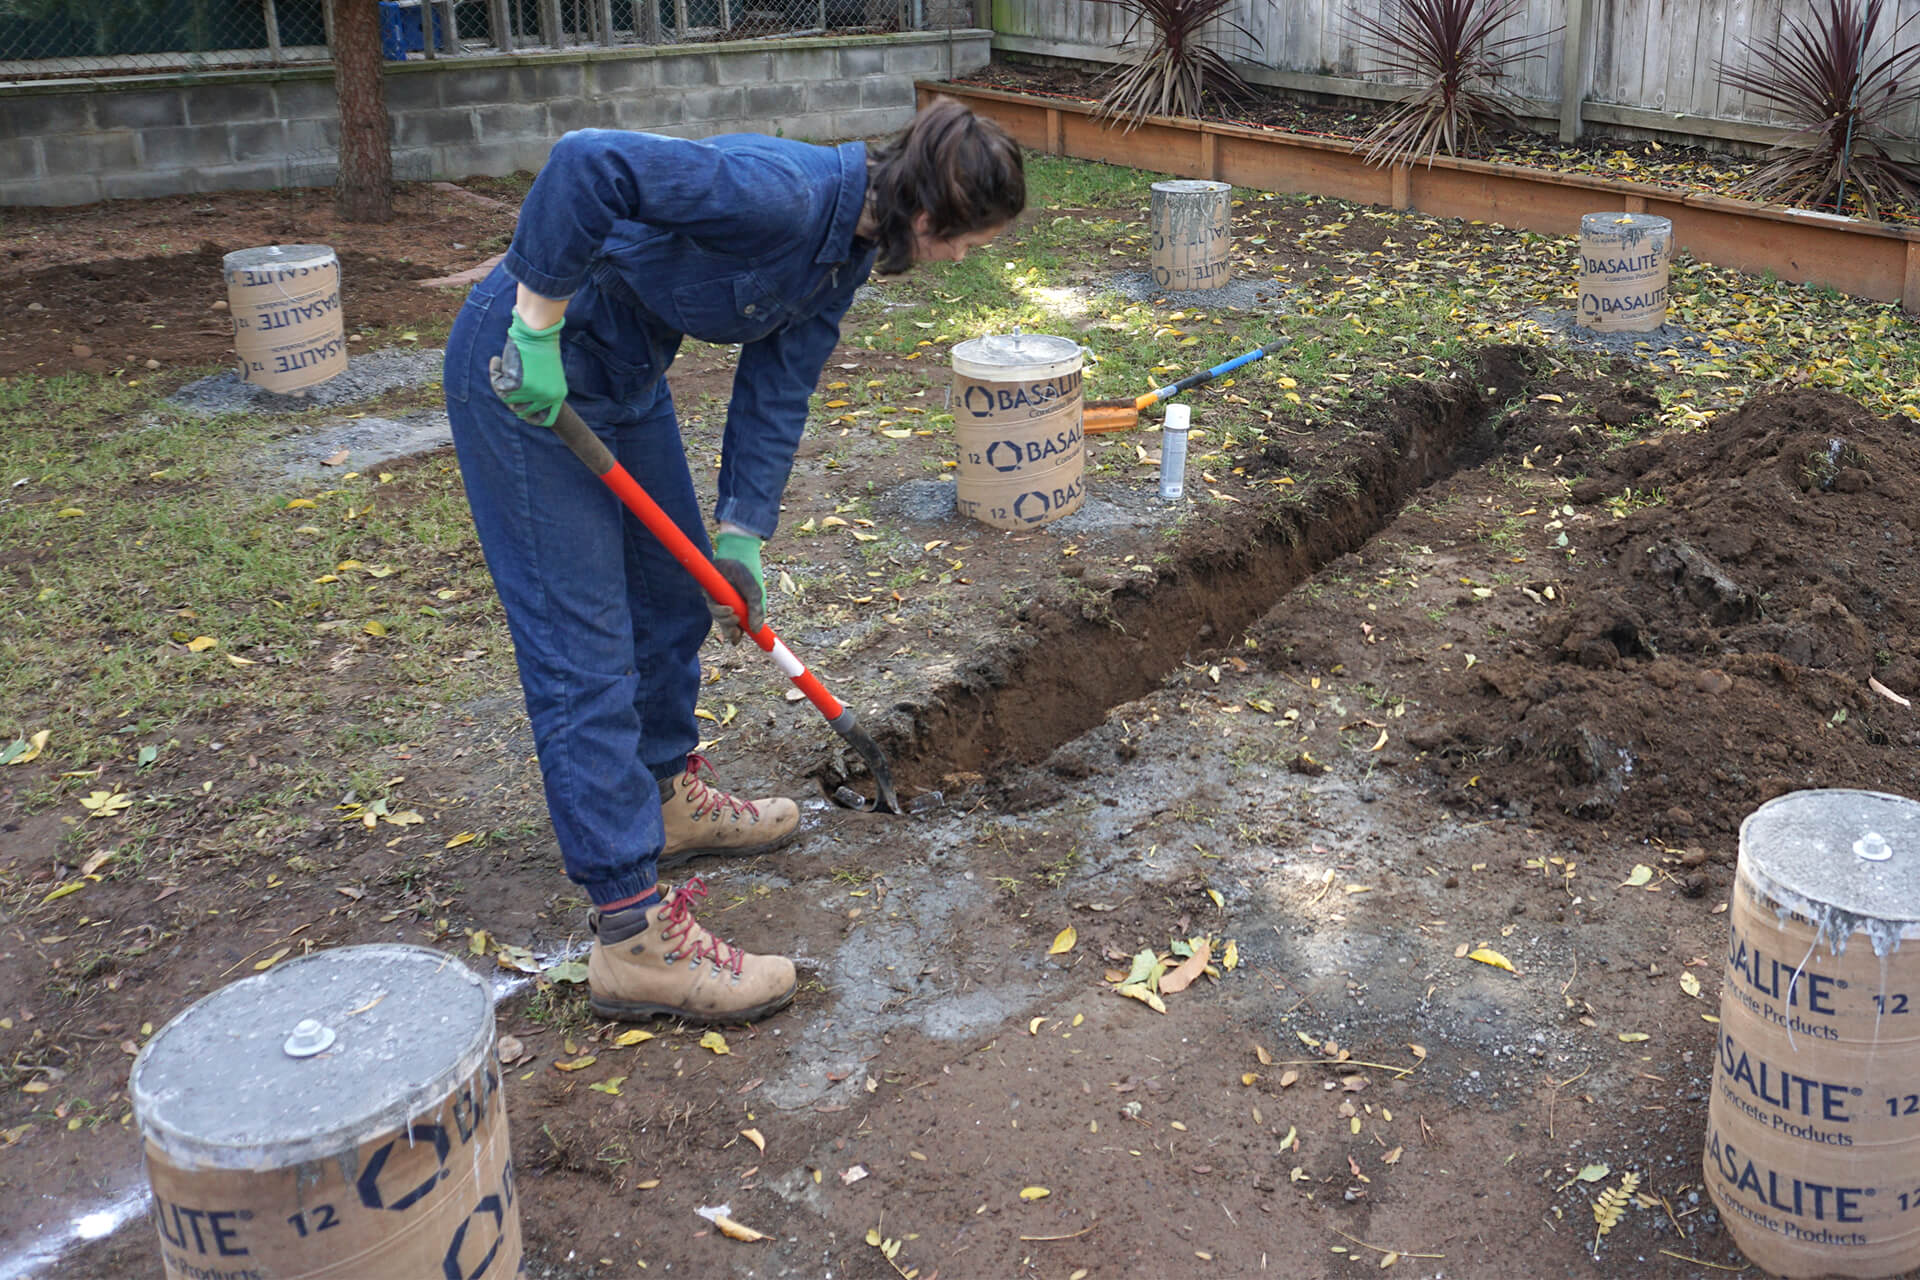
Mark the stub-out locations and dig the trenches. The stub-out locations are marked in the drawings, but the direction of the trenches will depend on the property.
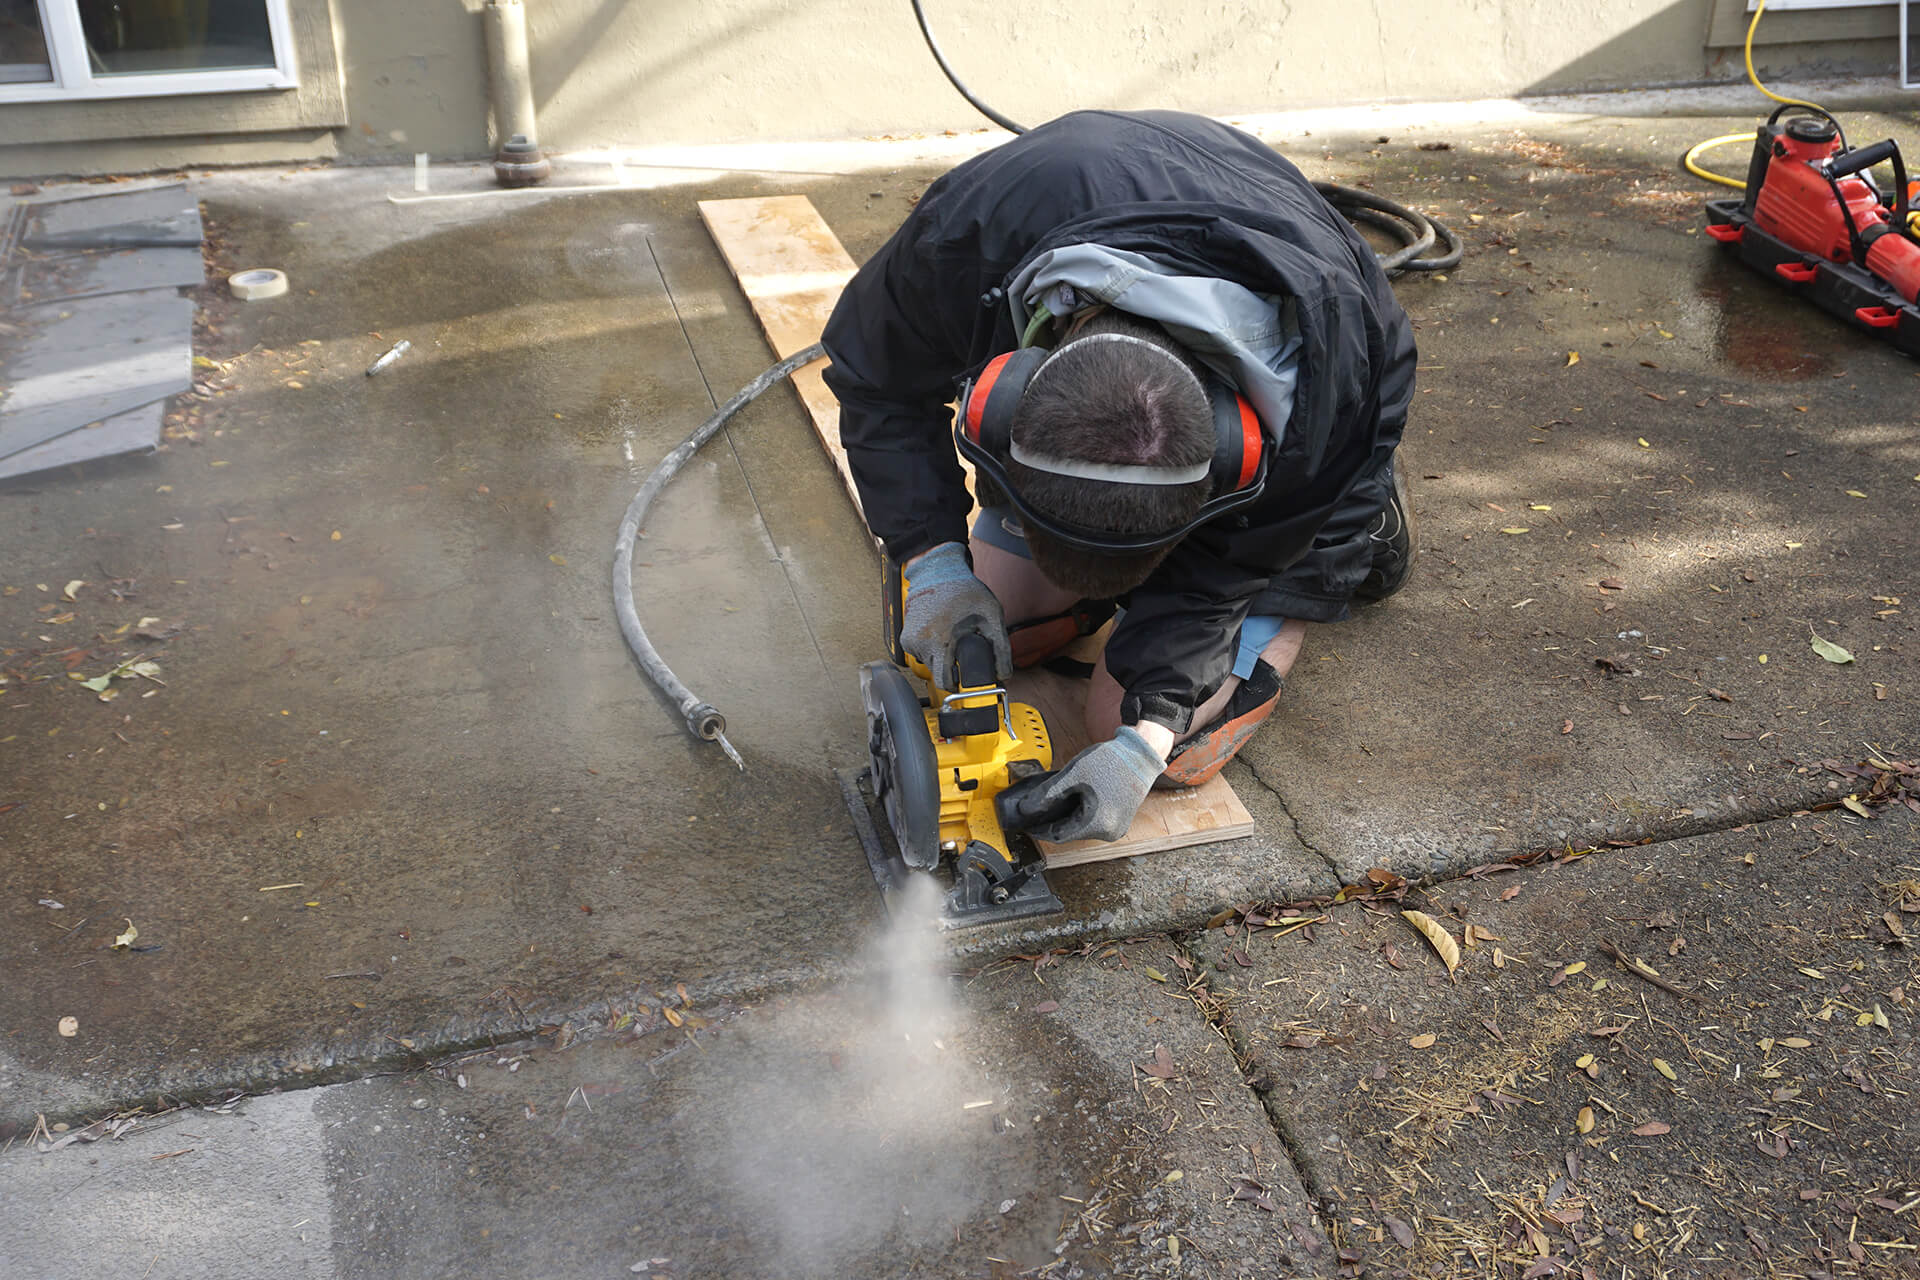
Cut the concrete if needed to continue the trench. A circular saw with a masonry blade and a plywood straight edge work well. Use water to keep the dust down. Don’t electrocute yourself.
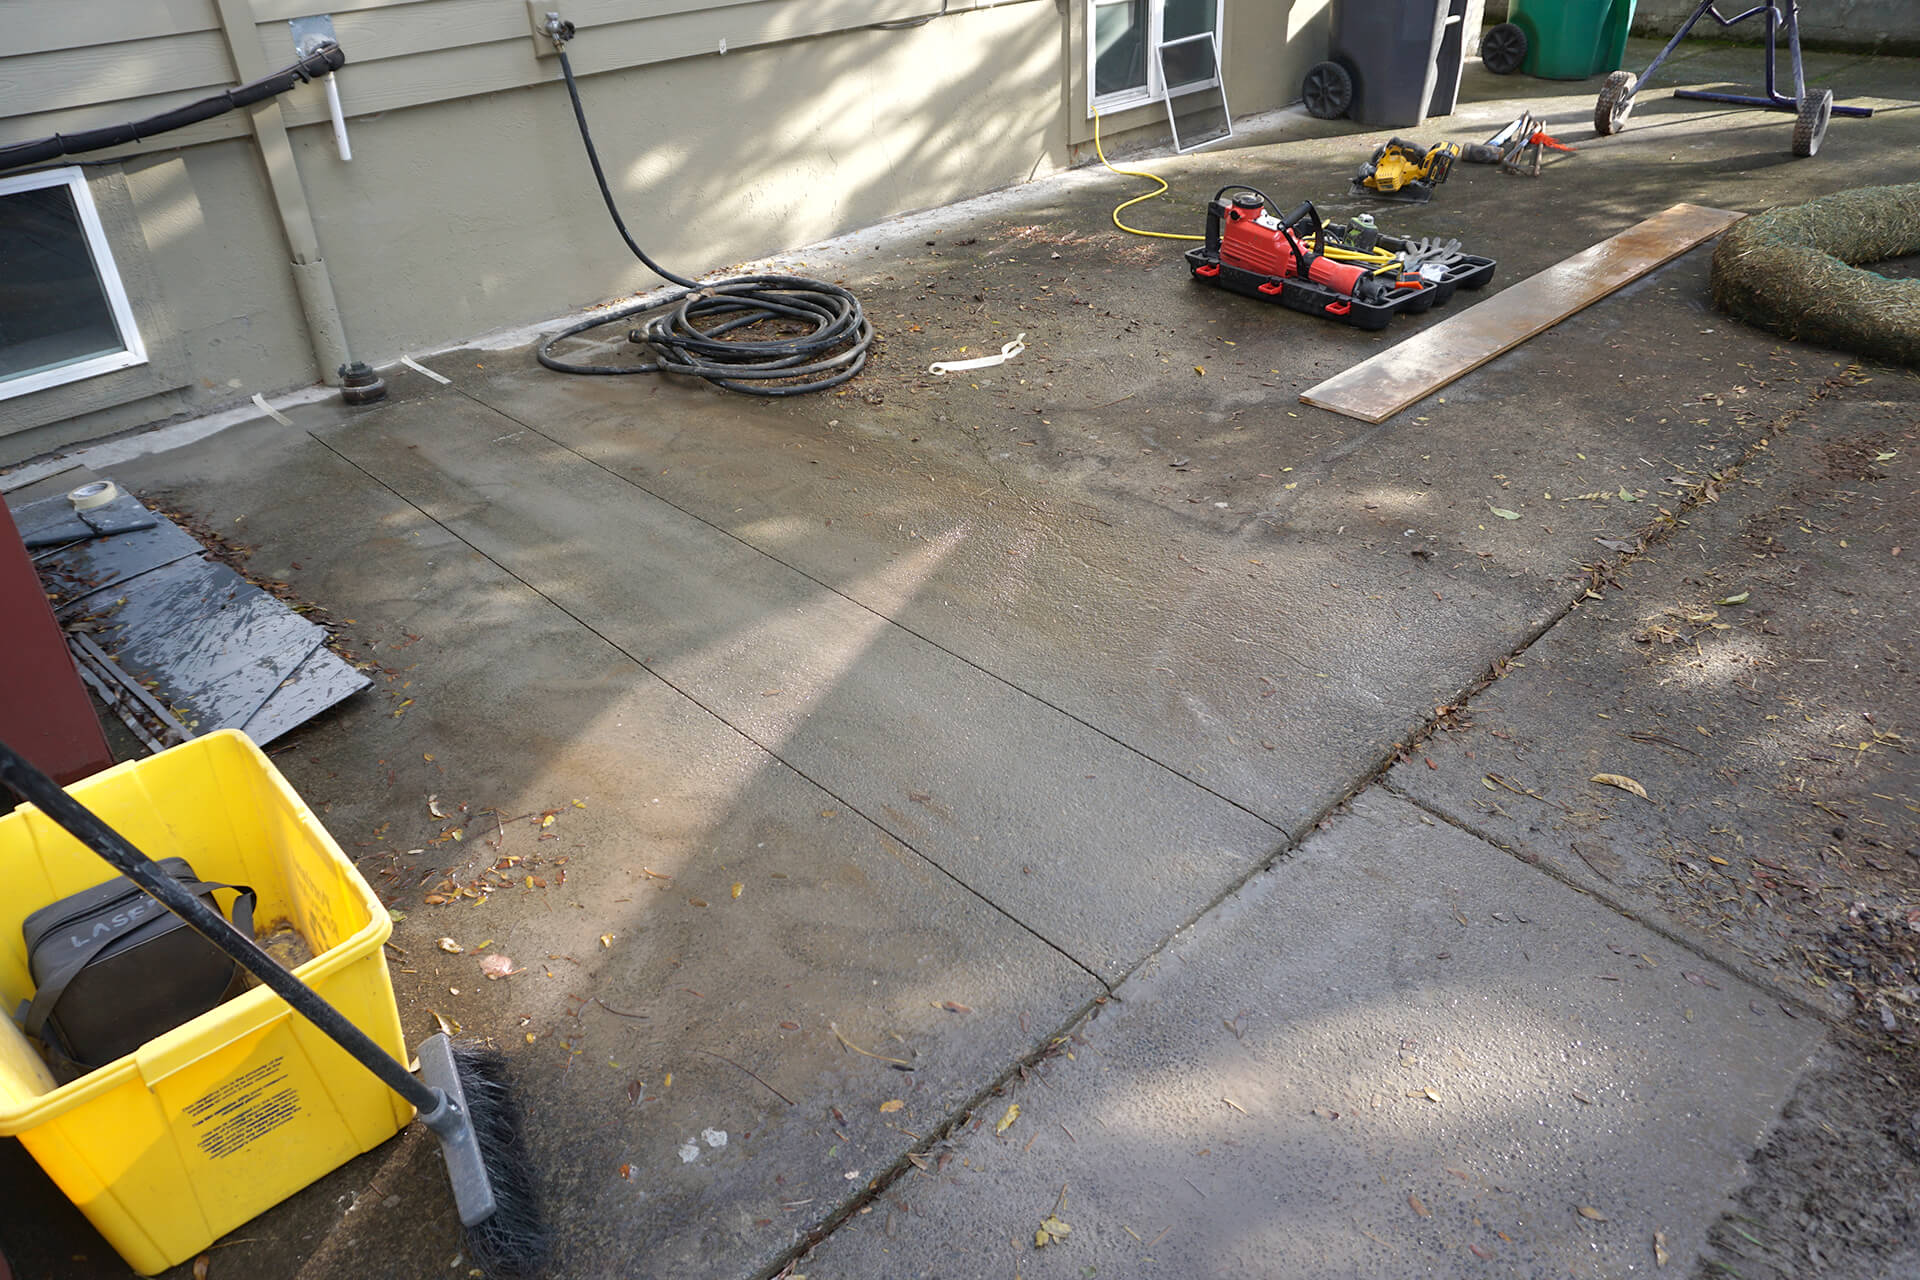
Keep the lines straight to ensure a clean appearance. Do not cut the full depth of the concrete, as the roughness beneath the cut line will help the new concrete bond.
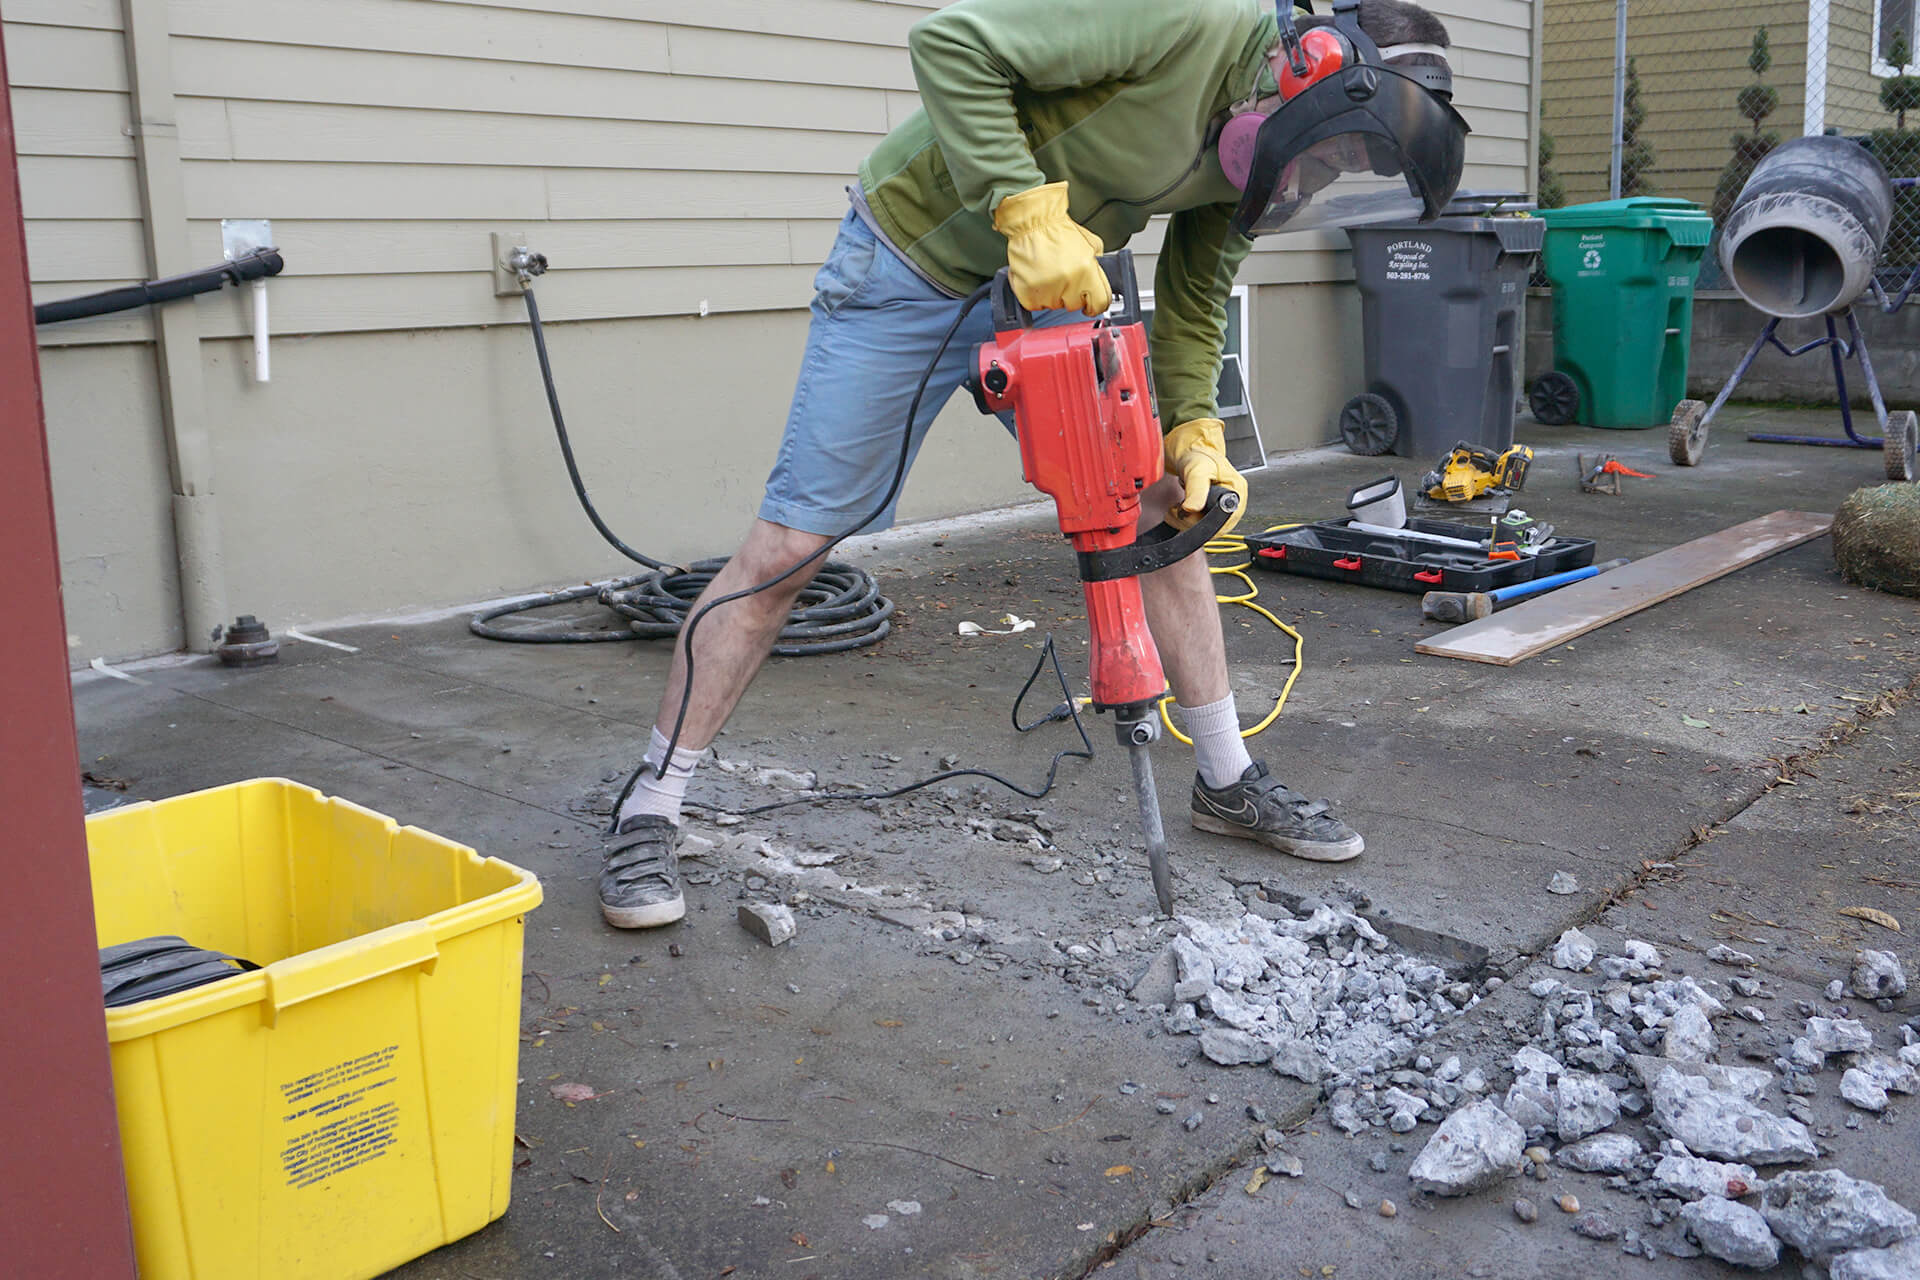
Jack hammer the concrete and continue the trench all the way up to the primary structure.
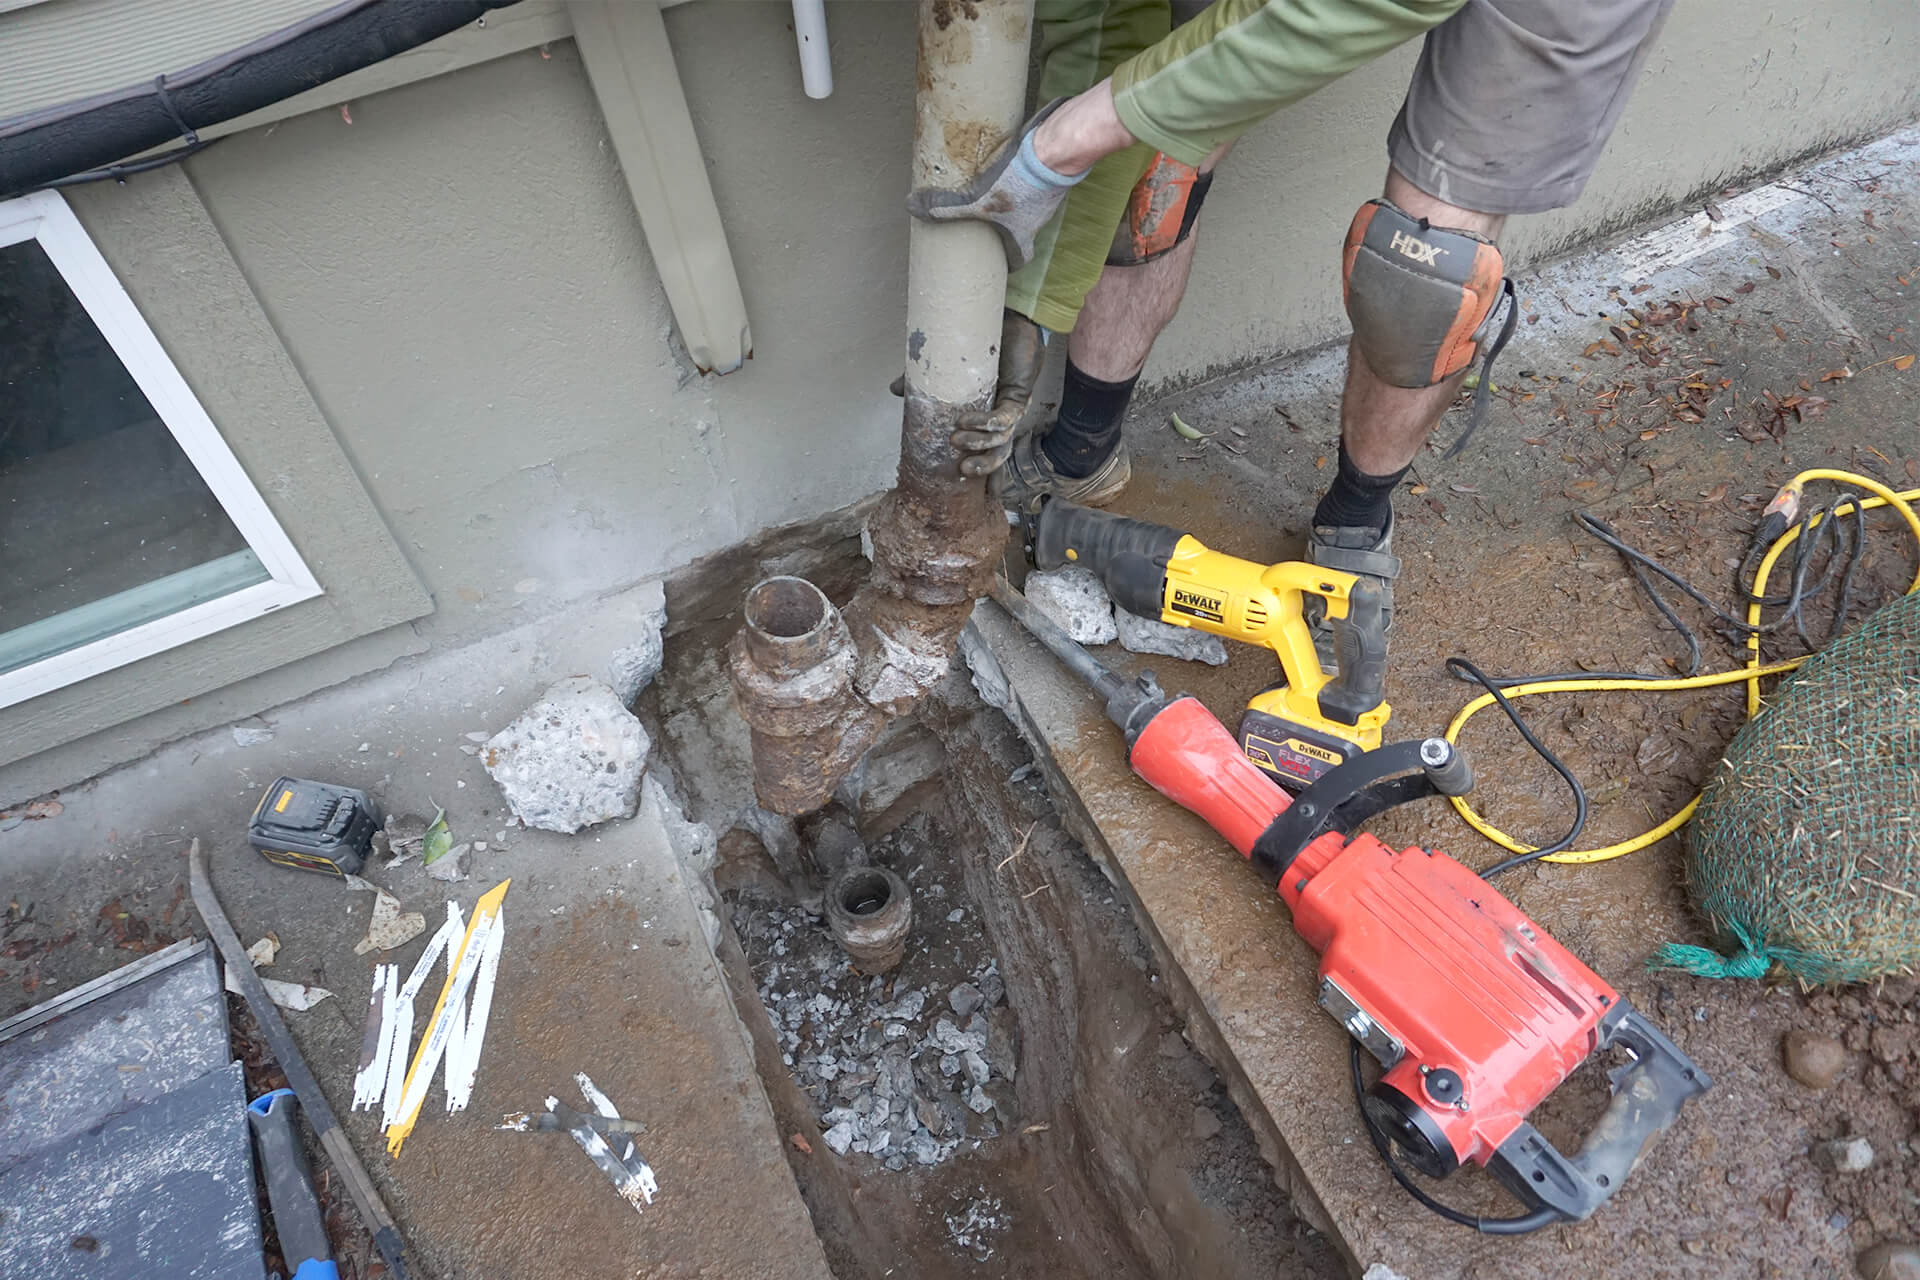
Remove the old iron waste line, as it will be completely rebuilt with plastic. Conveniently, the downspout location aligns with the main waste chute inside.
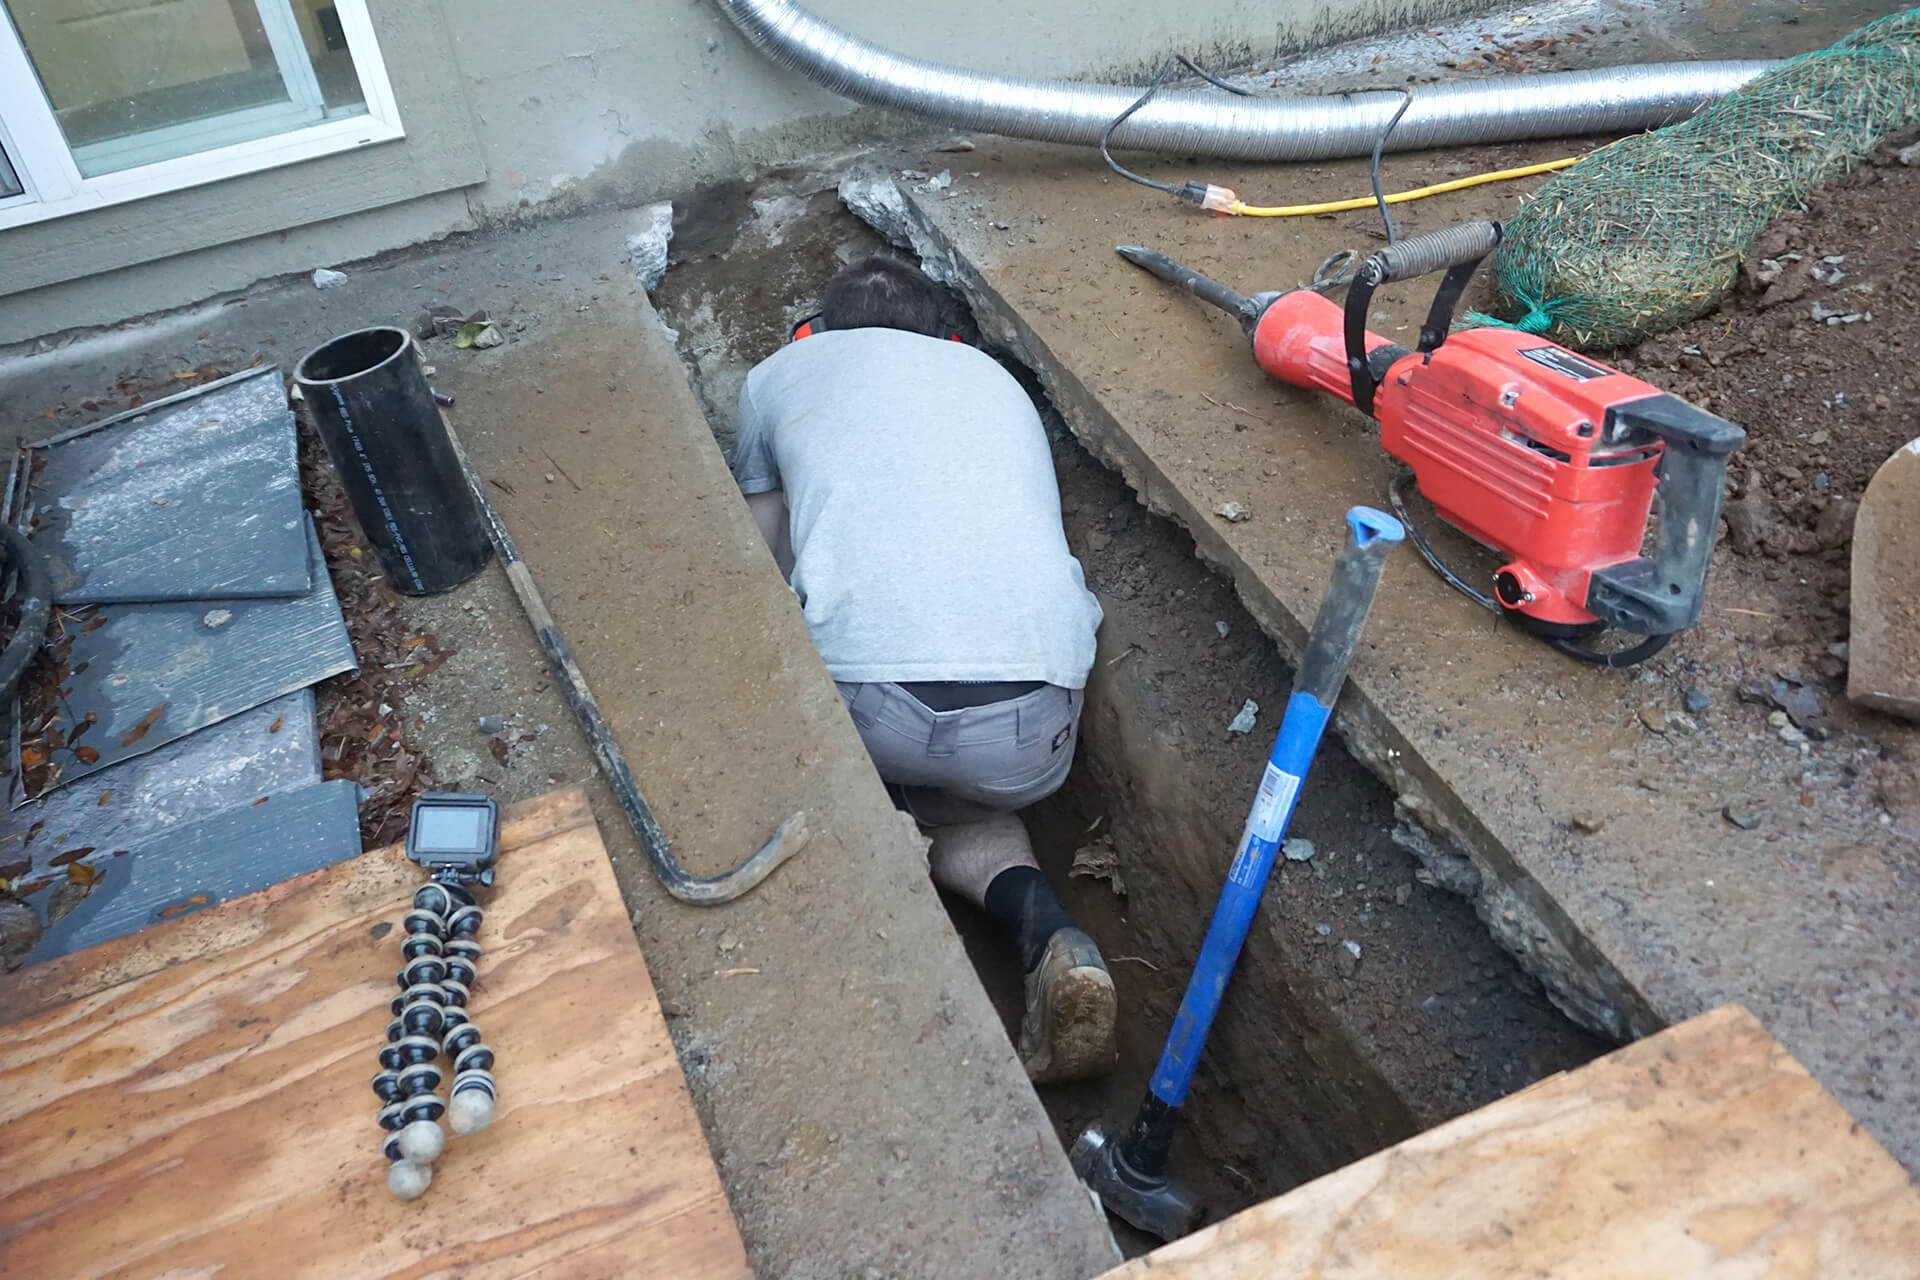
Cut holes into the foundation for utilities to pass through.
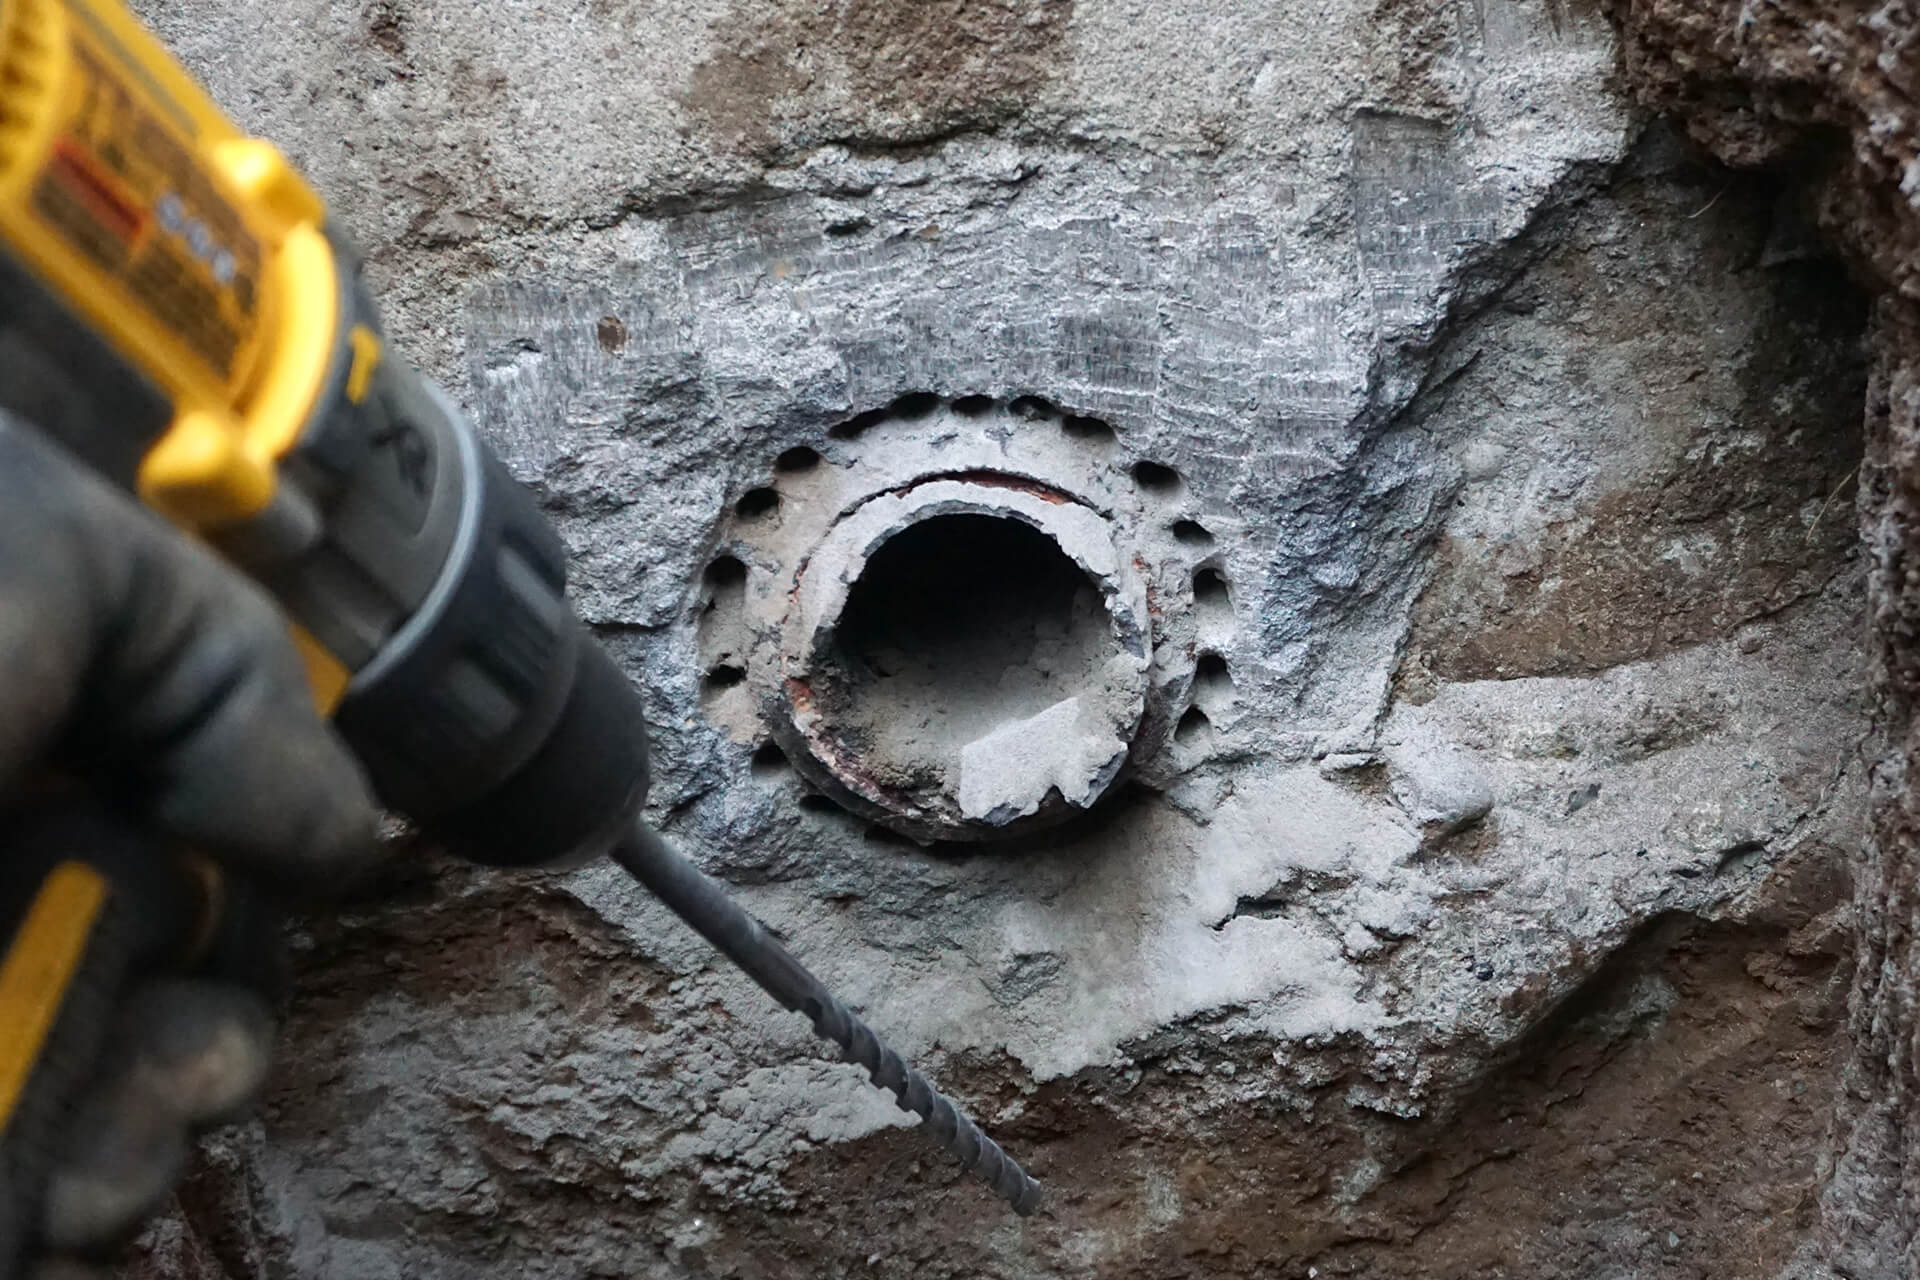
Big holes, like those for the waste pipe, can be cut with many small holes. A true hammer drill works better than the one shown here. Other holes can be cut with masonry hole saws.
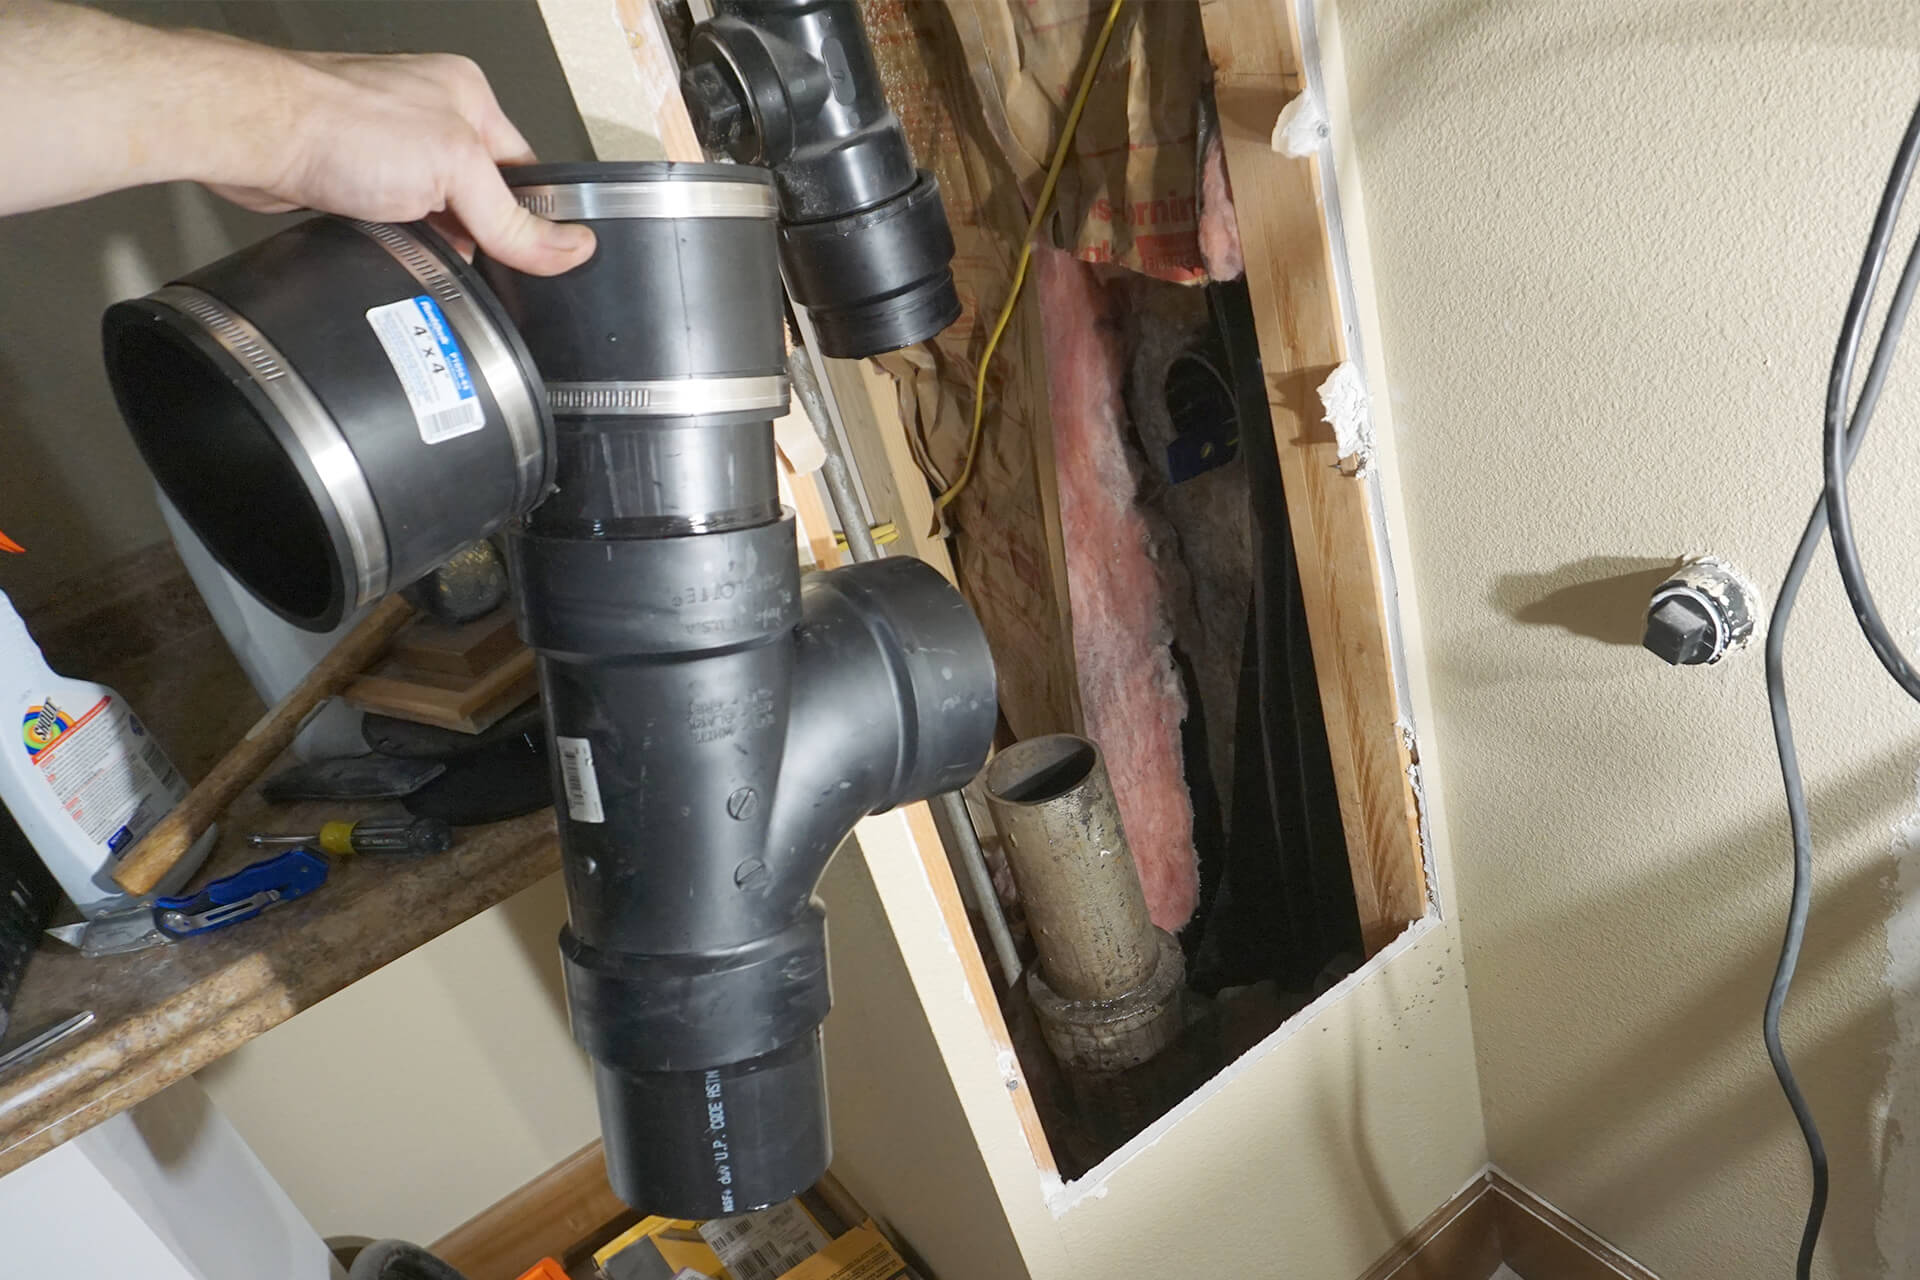
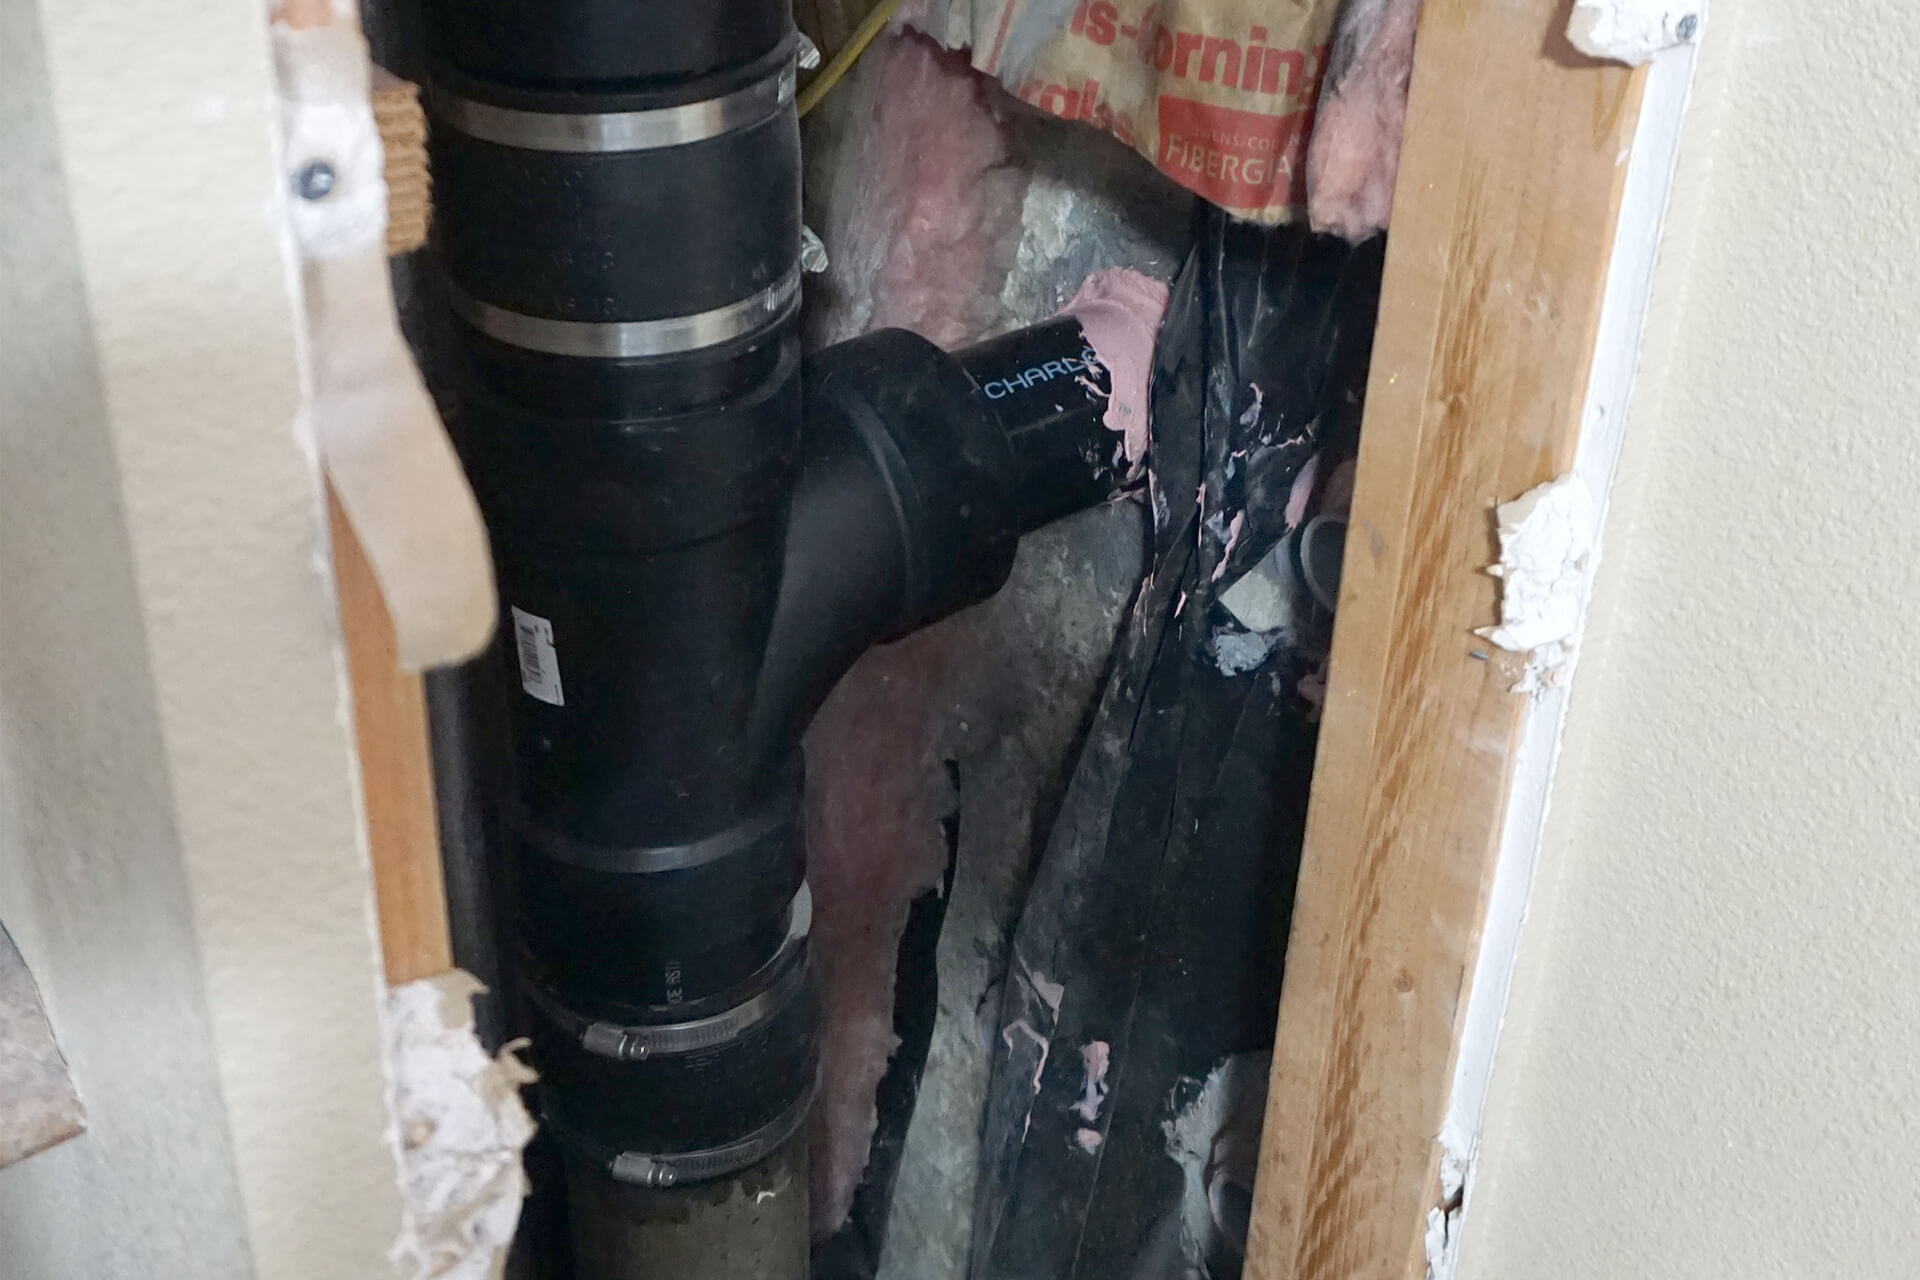
Build and install a fitting assembly to branch off the primary home’s waste pipe.
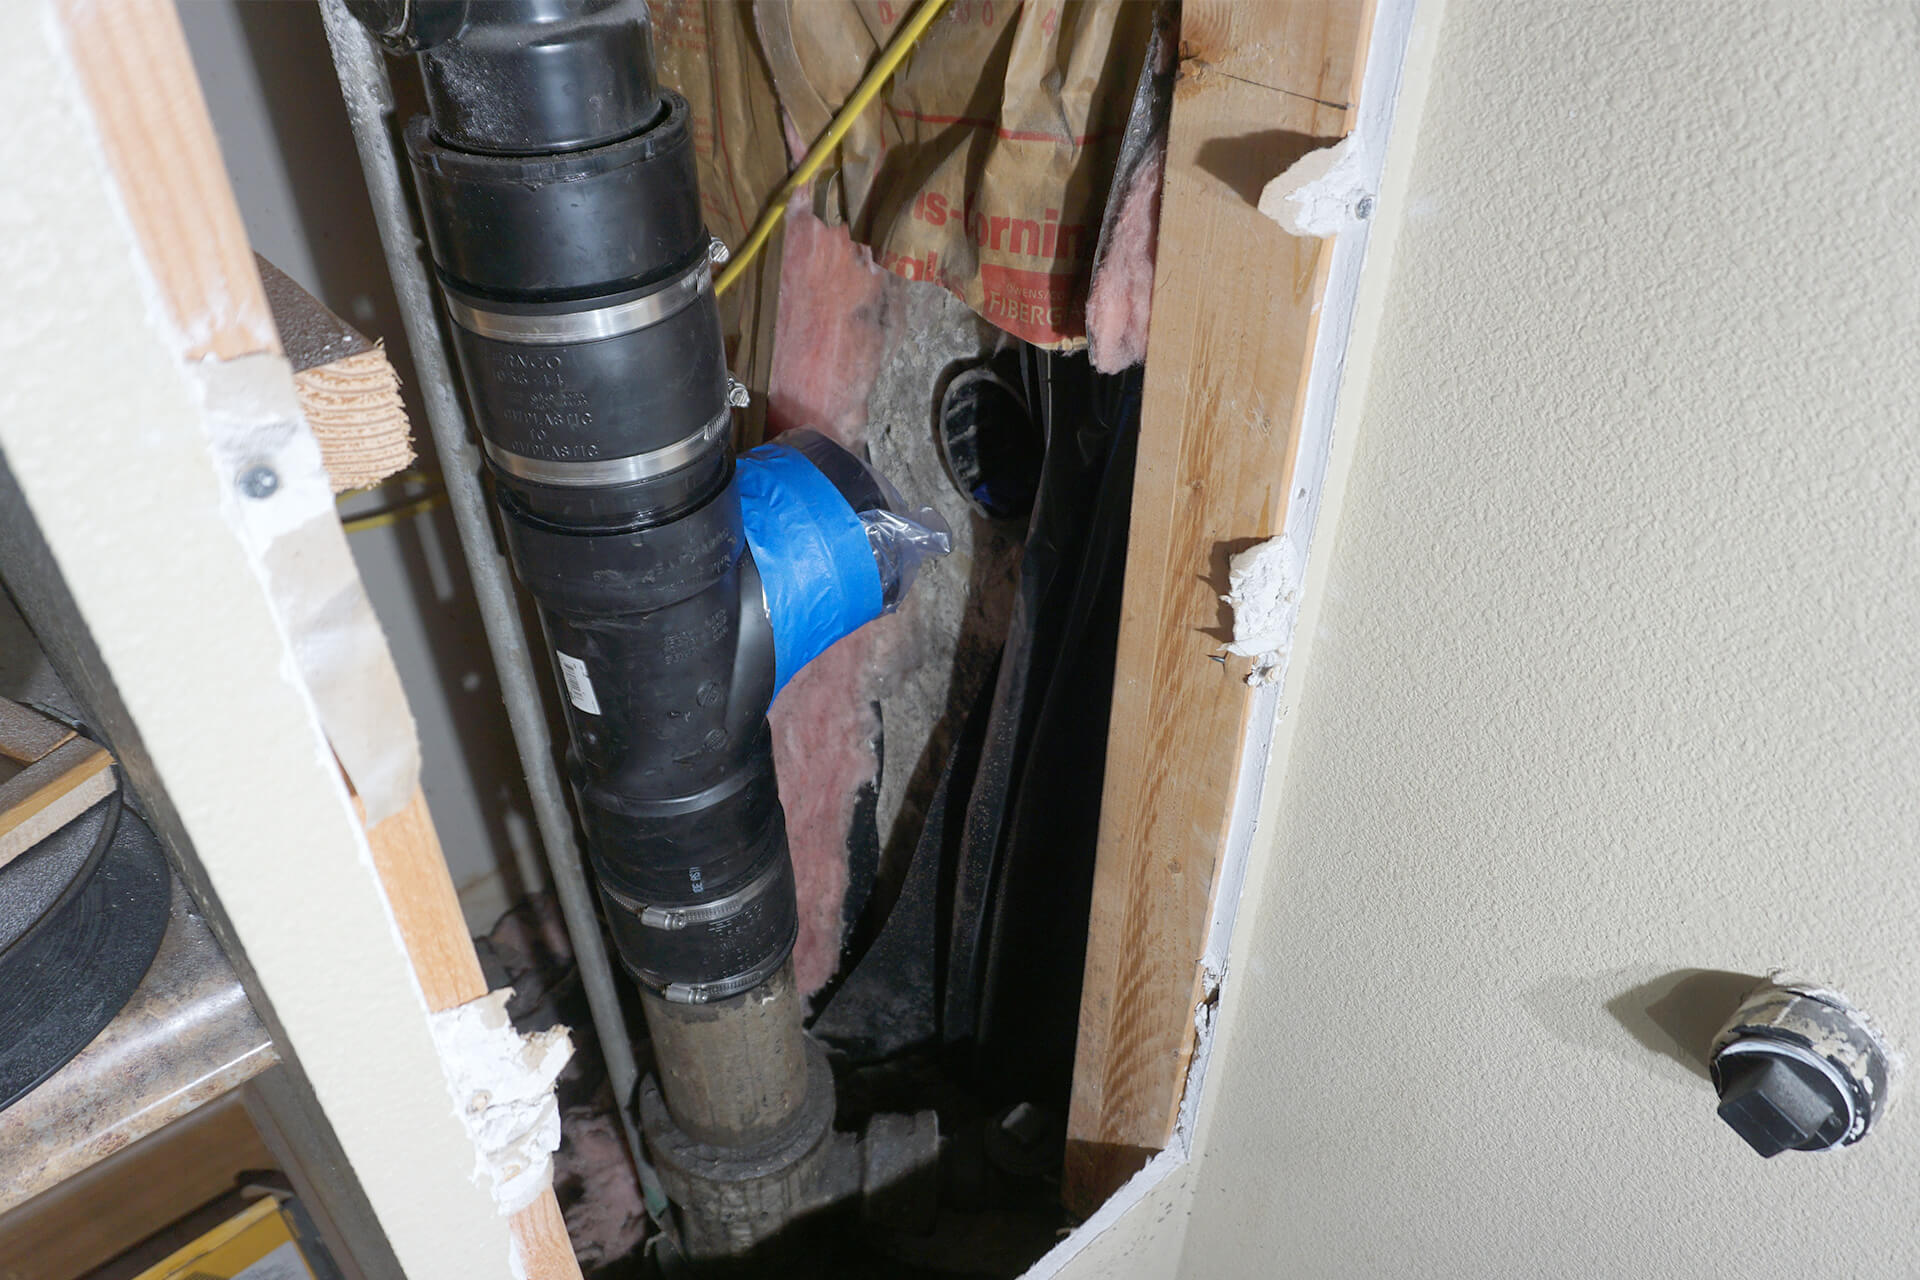
Temporarily seal off the branch opening to keep the main waste pipe in use while work continues.
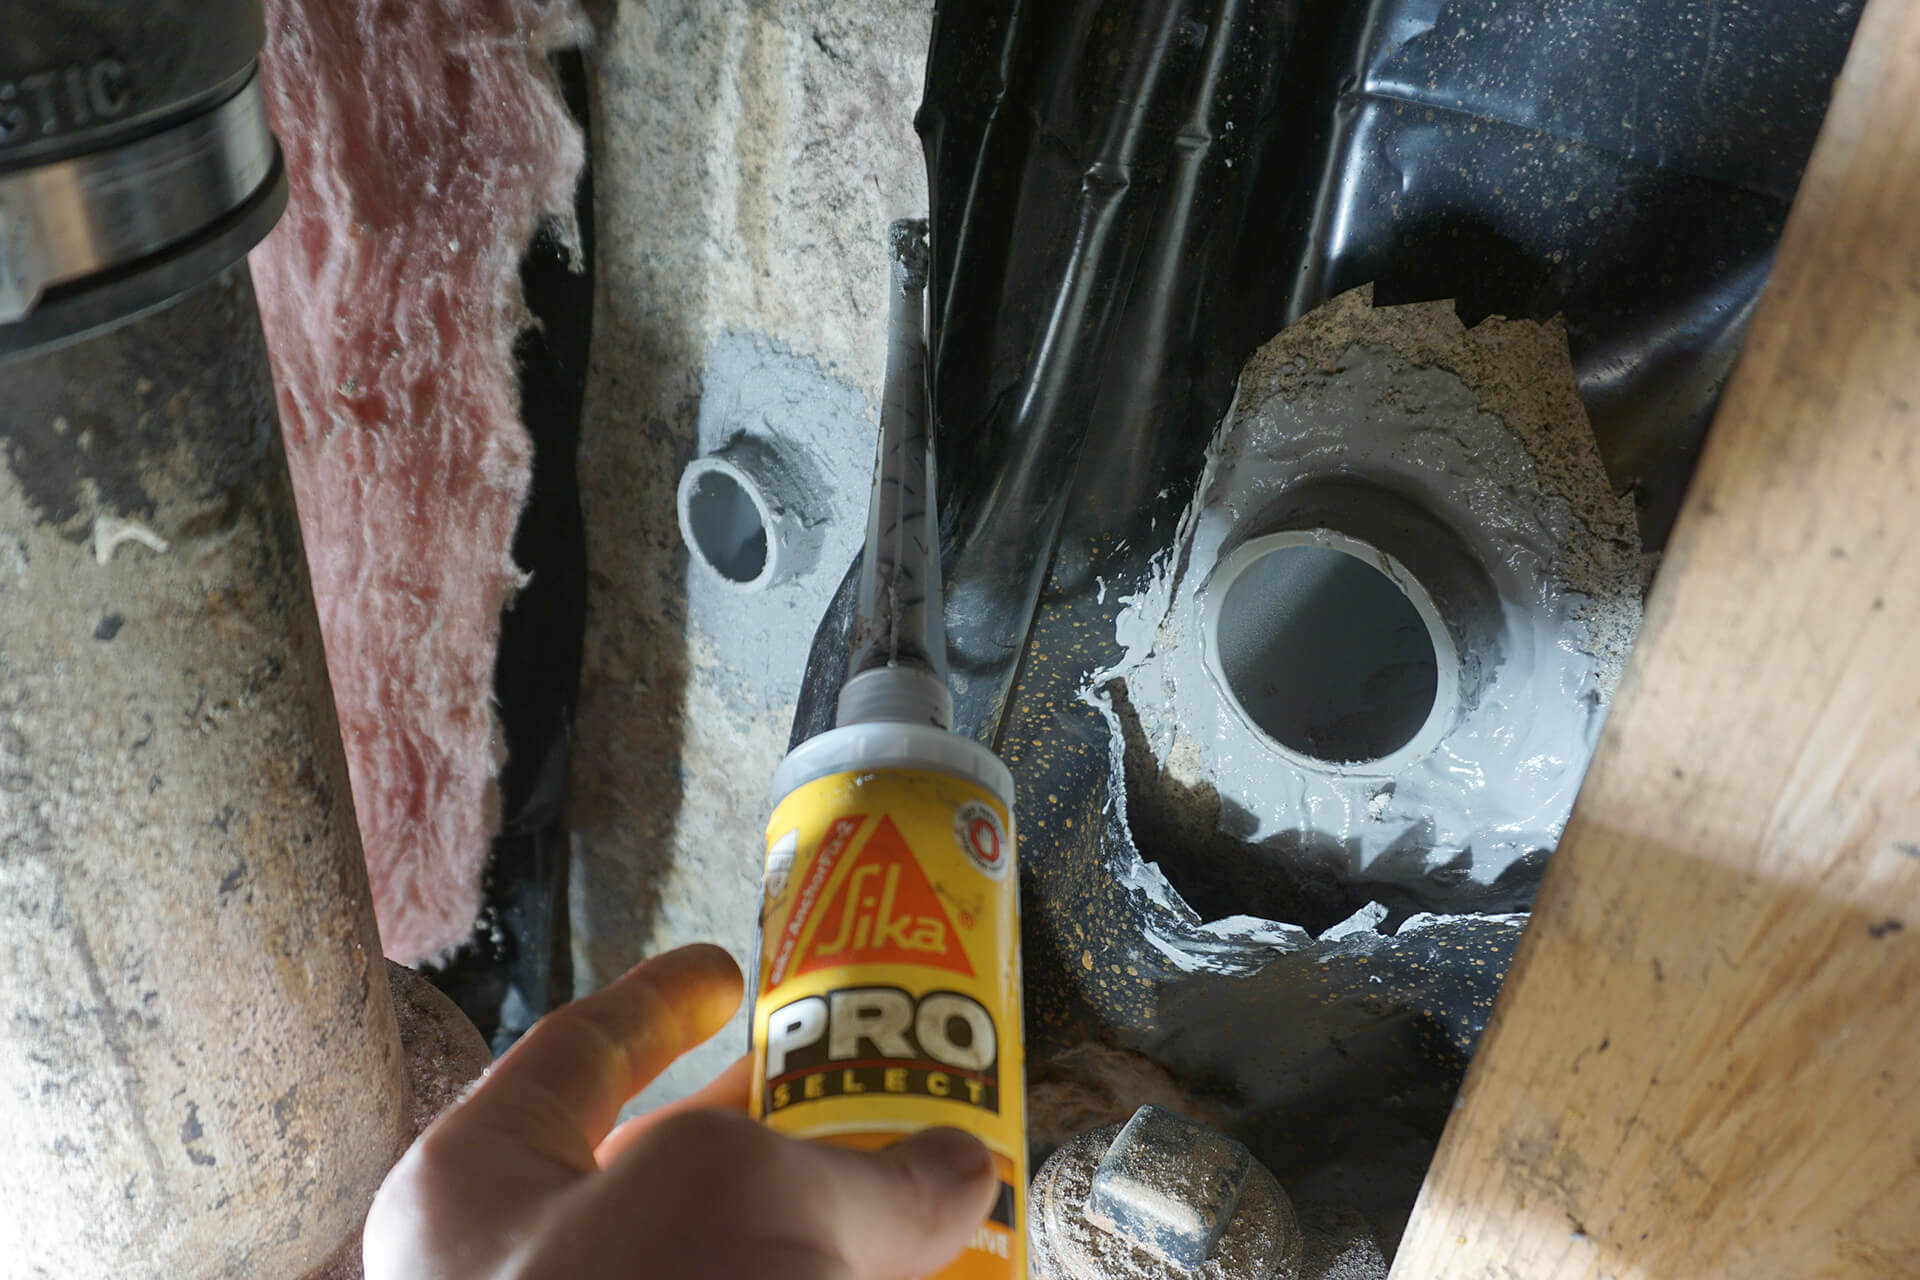
Sleeve foundation holes with a larger diameter conduit and secure the sleeve in place using epoxy.
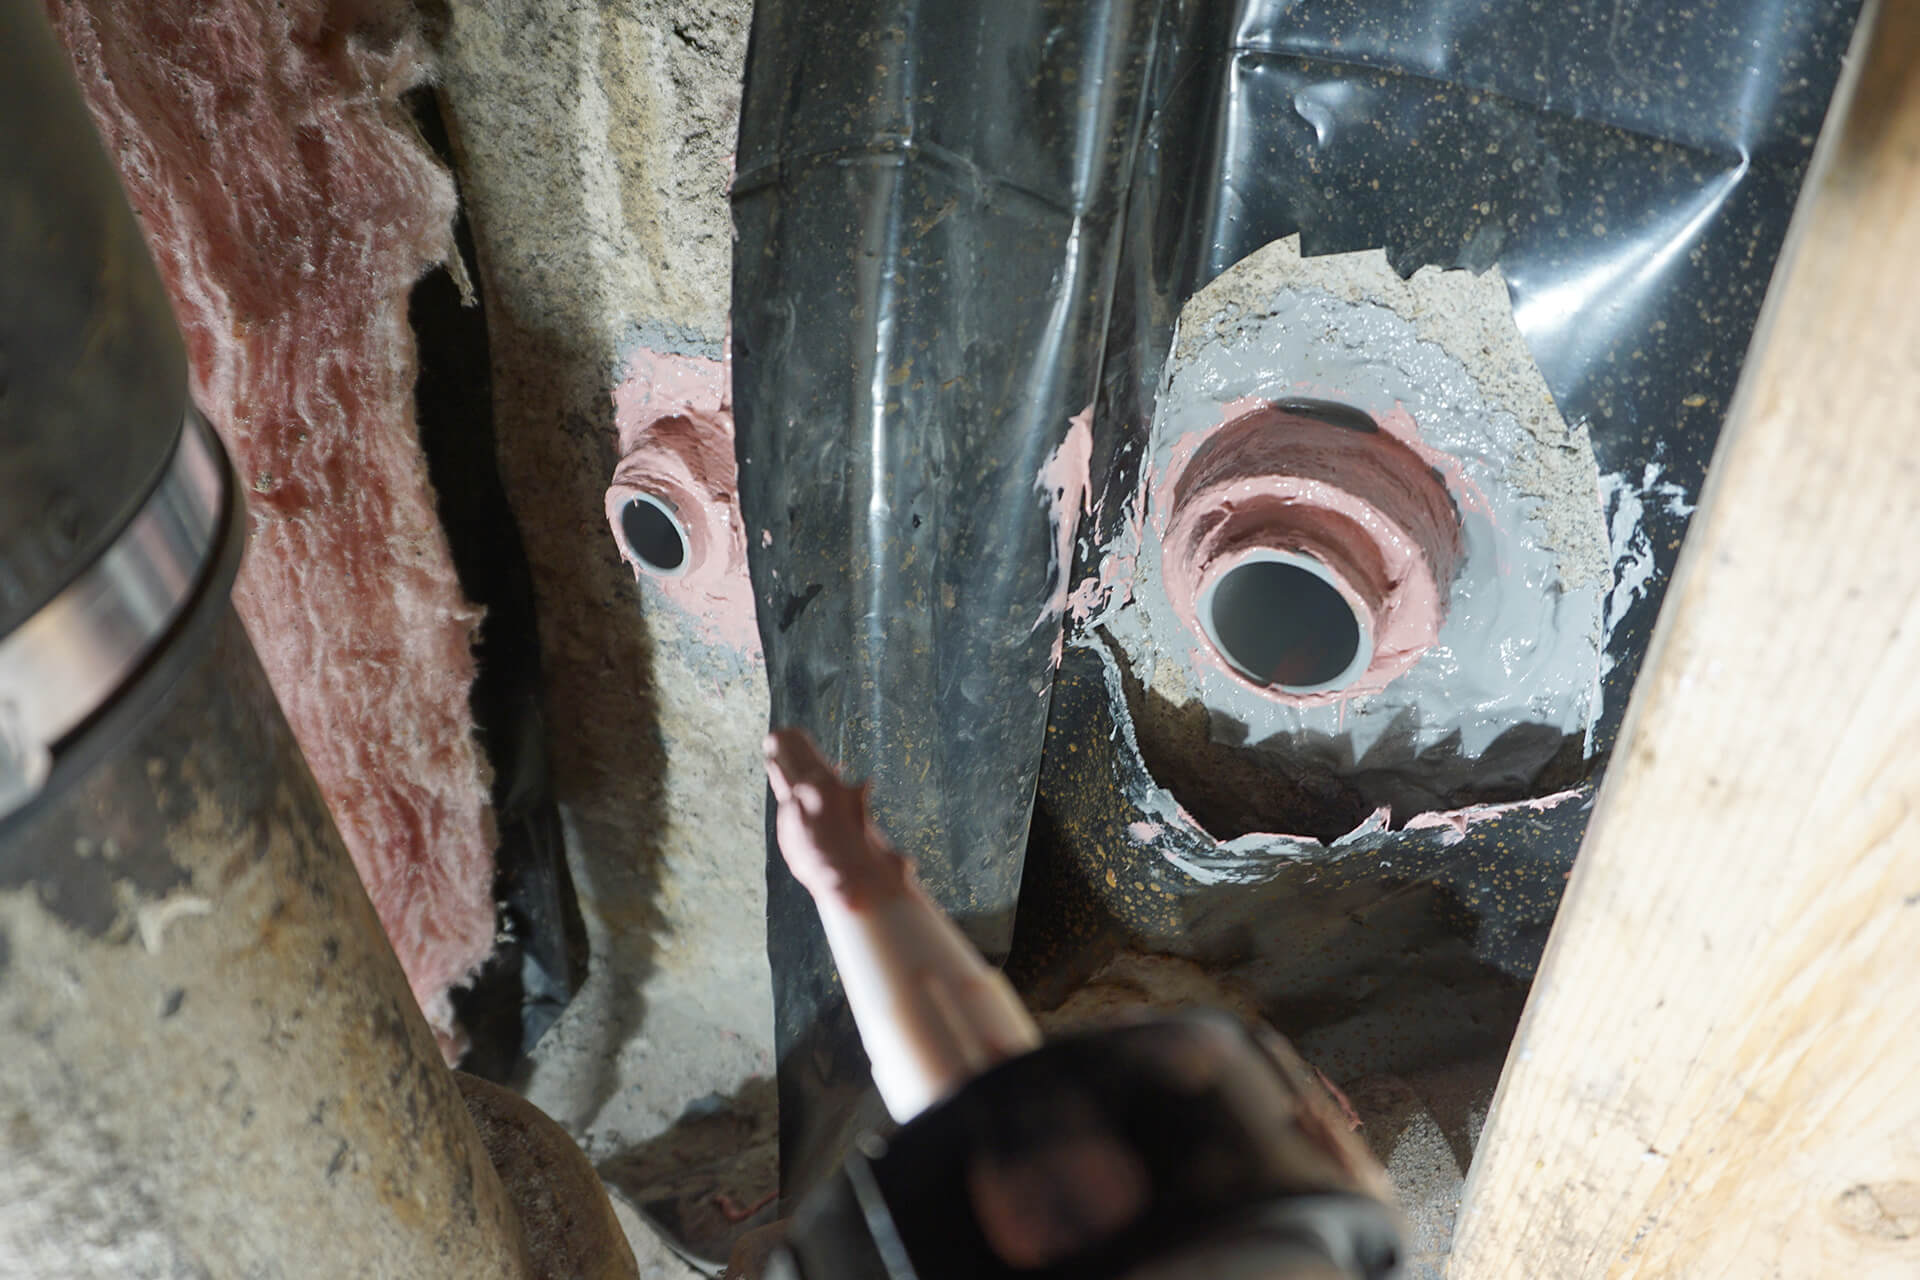
Run the plastic conduit for water, data, and electrical (not pictured) through the sleeves, and seal with a flexible, waterproof product. Prosoco R-Guard Joint and Seam Filler shown here.
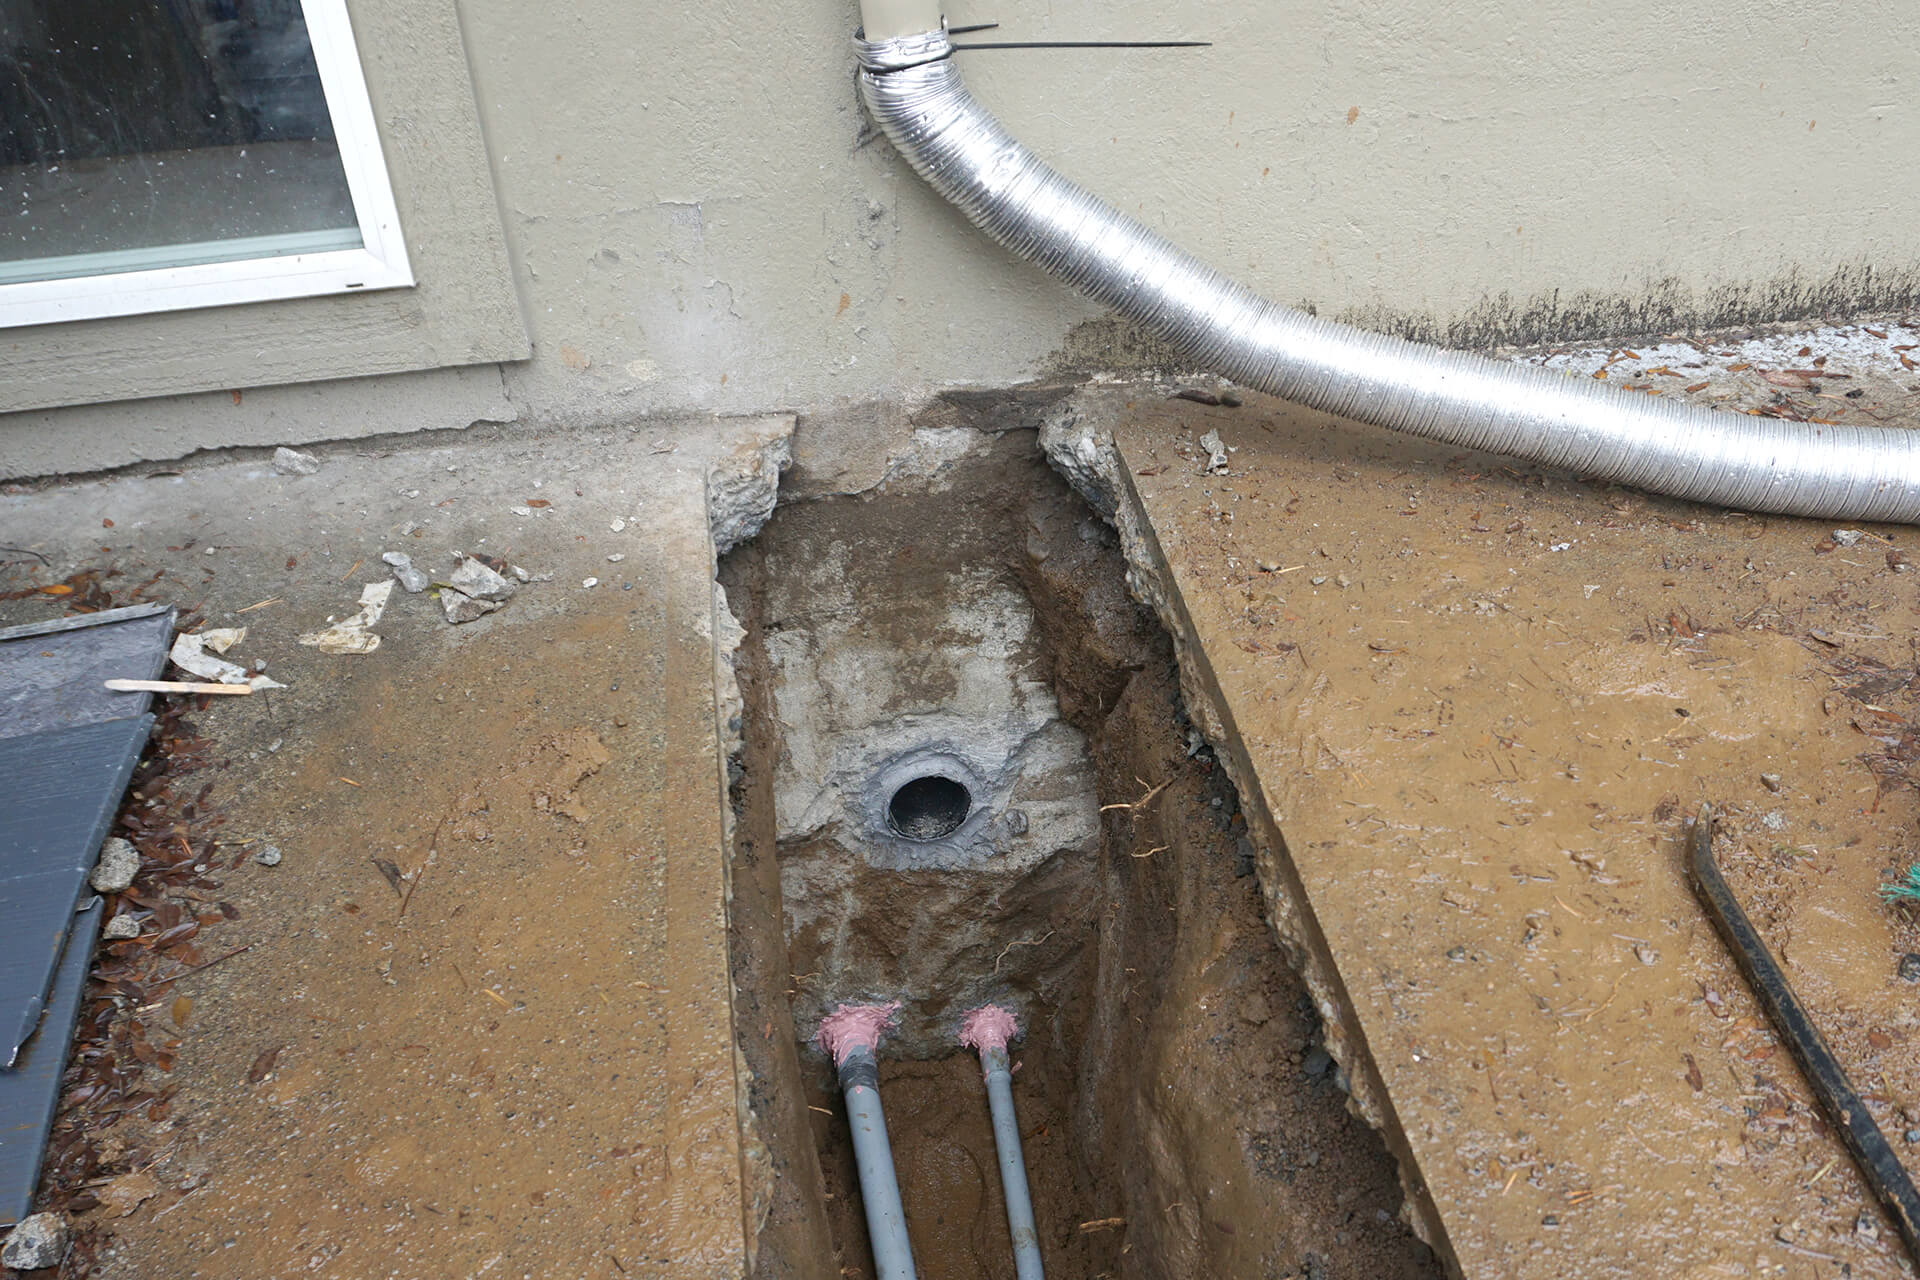
Seal everything on both sides of the foundation. The sleeve method provides flexibility, preventing pipes from breaking. In this photo, the electrical hole hasn’t been bored yet.
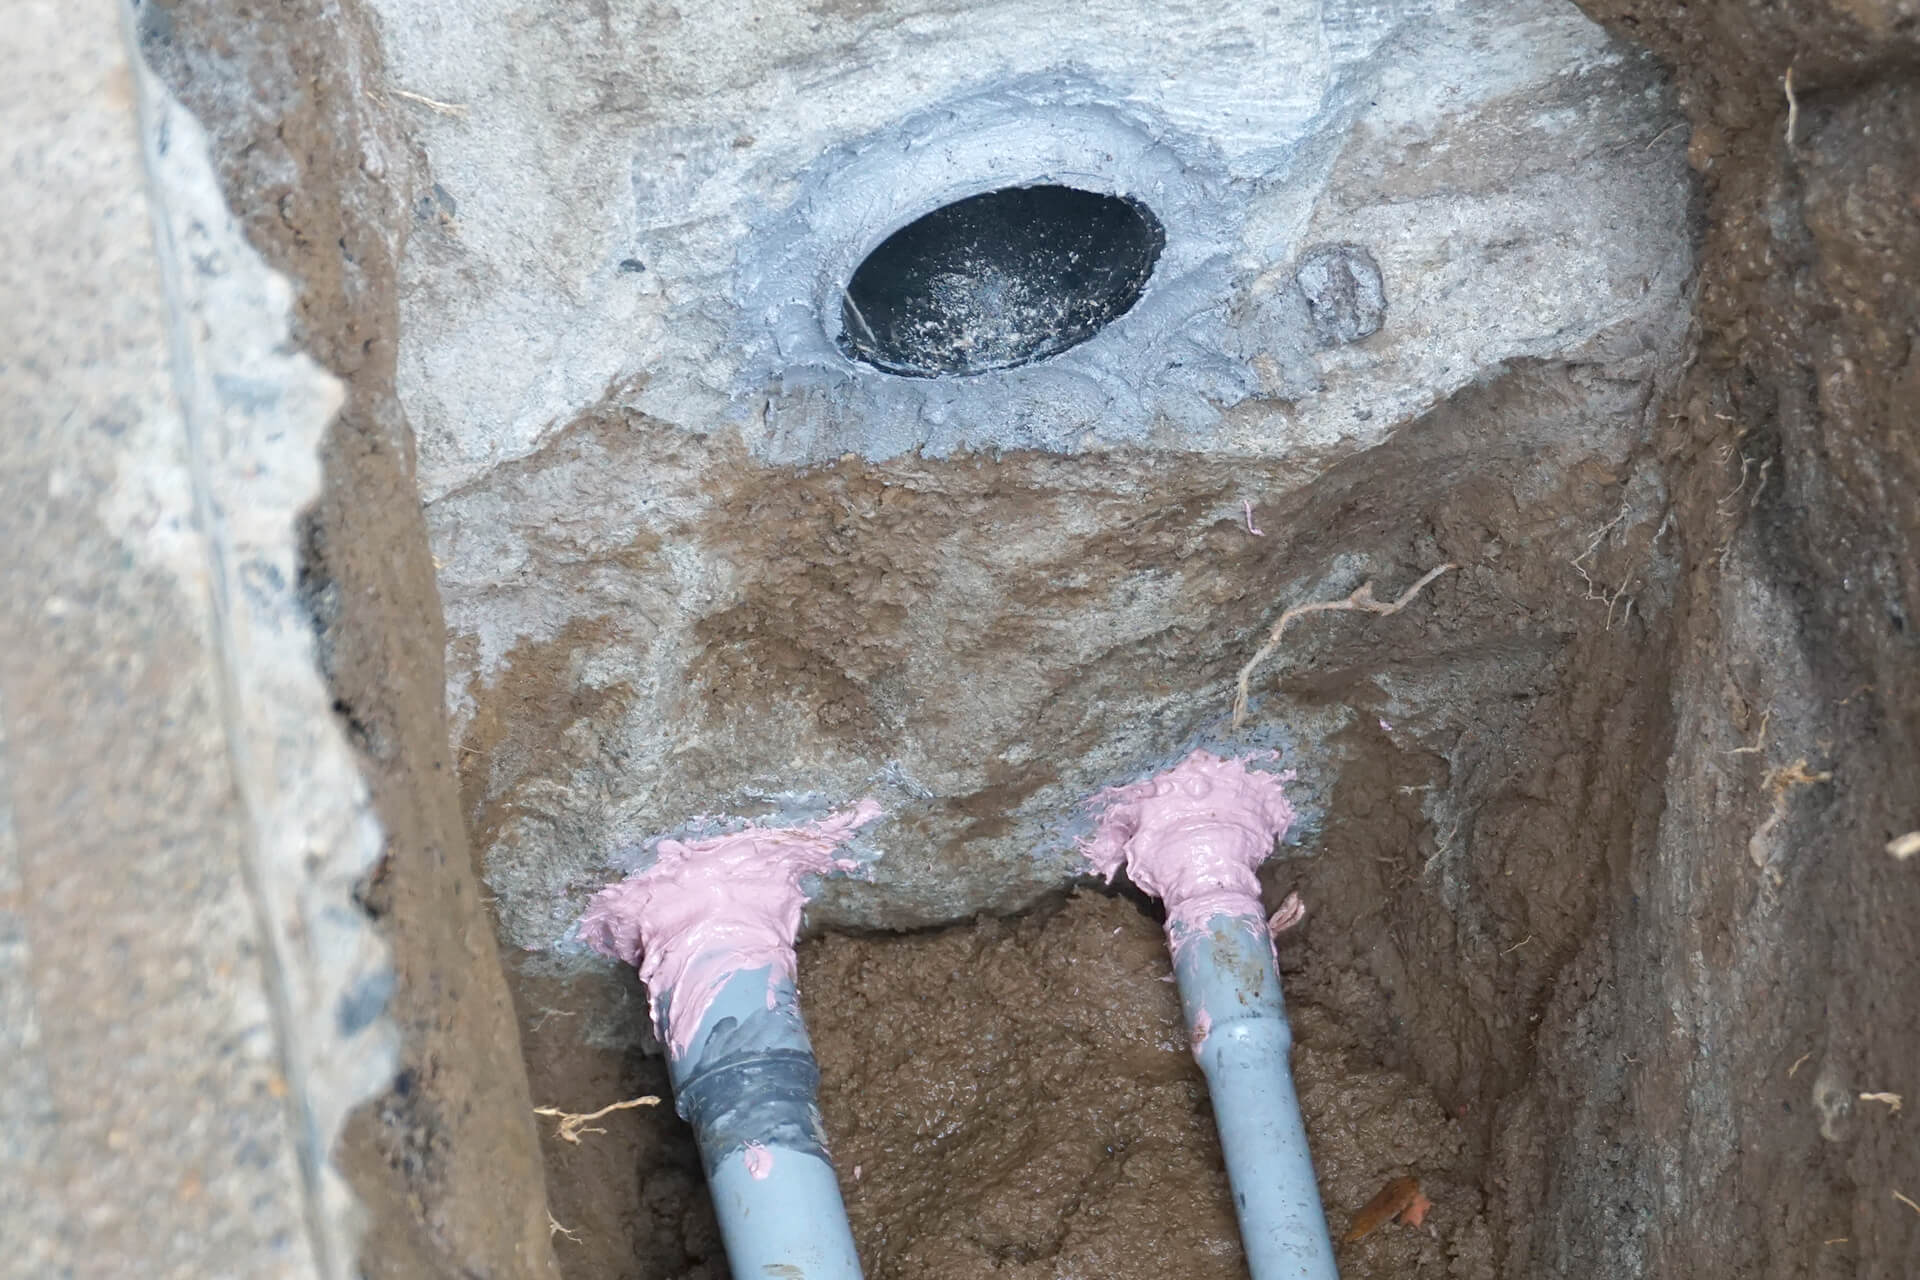
Detail shot of the sleeve for the soon to be installed waste pipe. Conduit for water (left) and data (right). Electrical hole not cut yet.
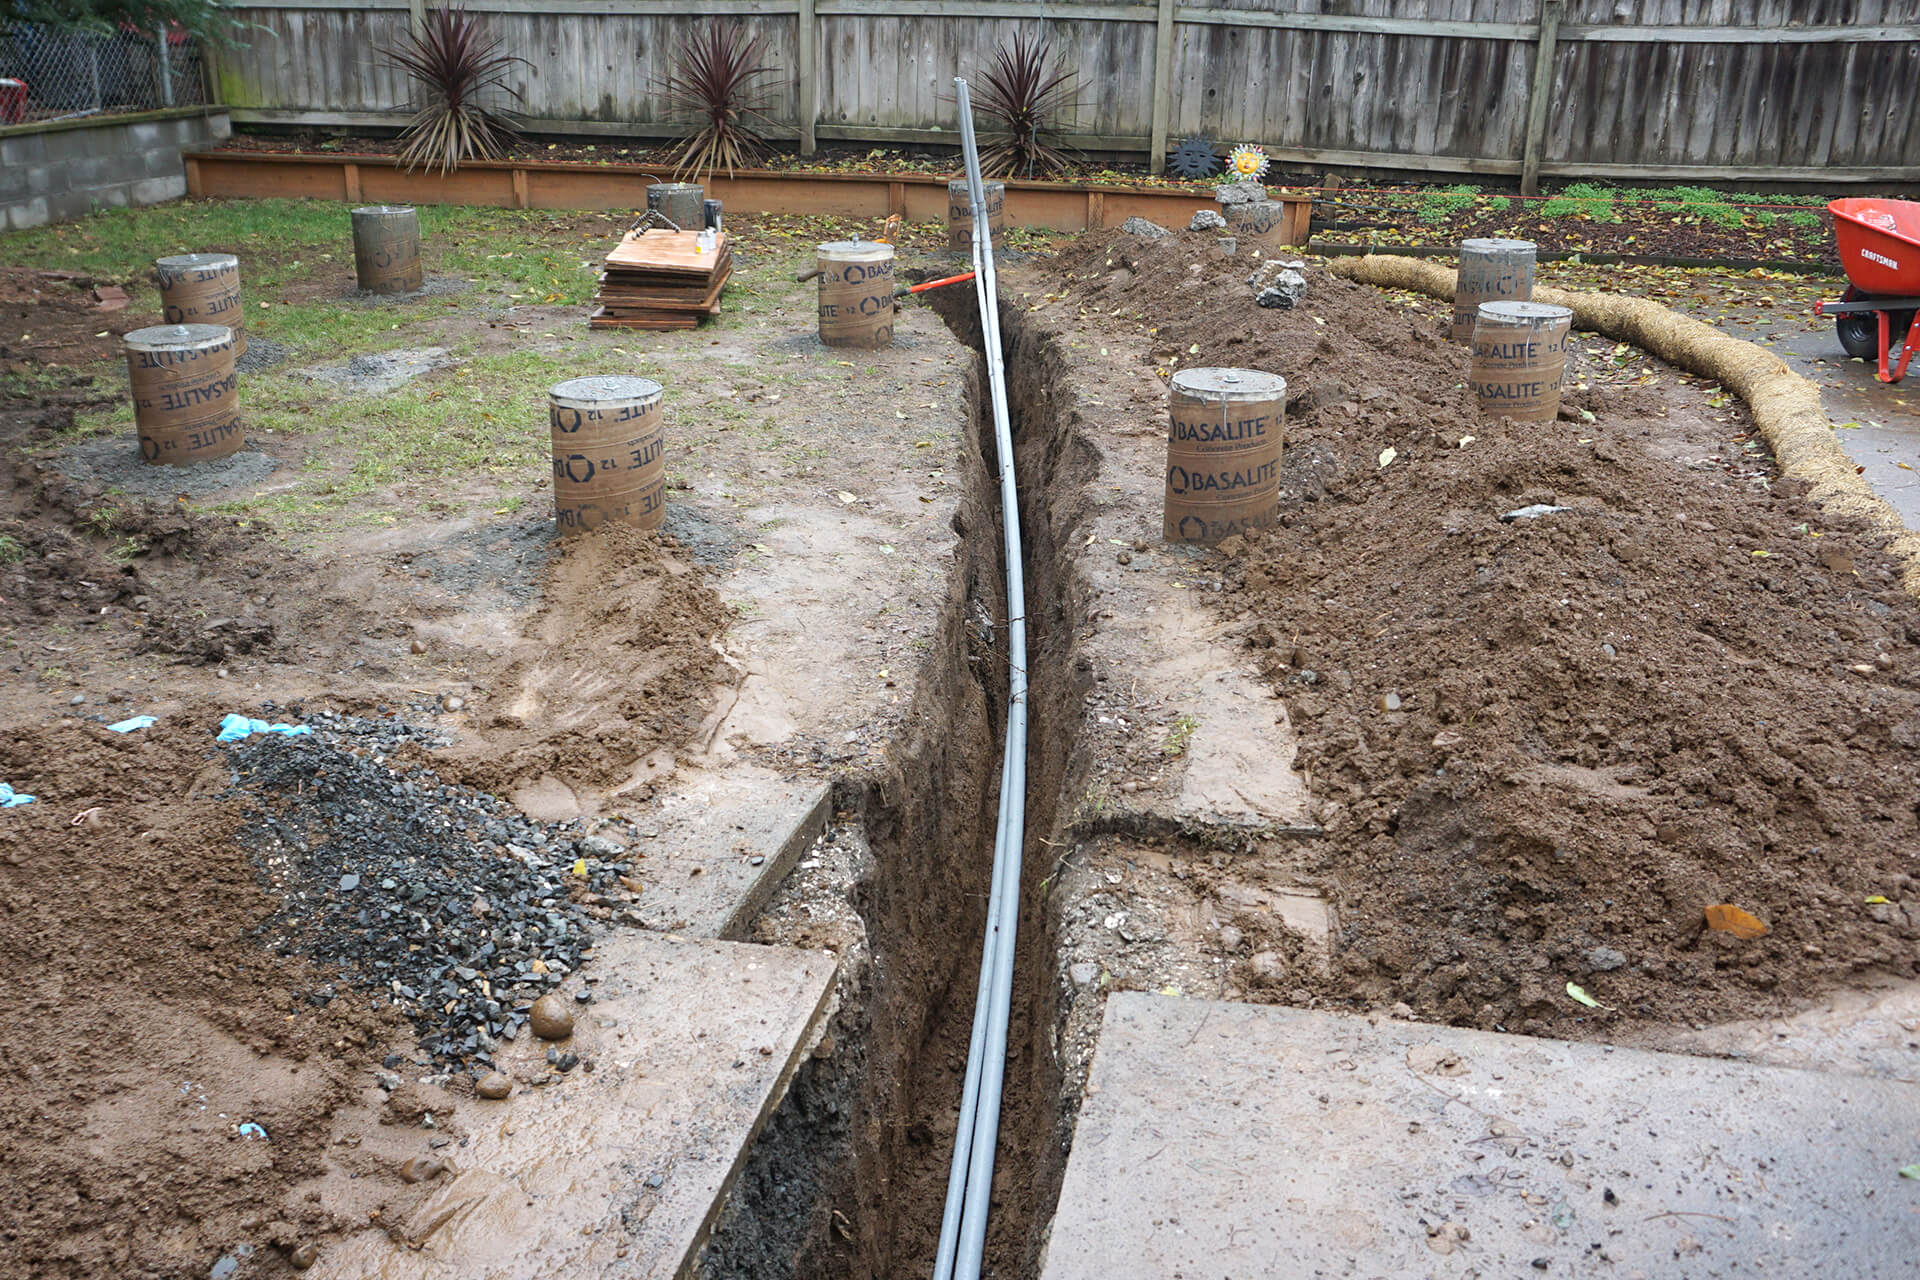
Run the conduit for water and data to their proper stub-out locations. Consider not backfilling a small section near the stub-out to satisfy an inspection.
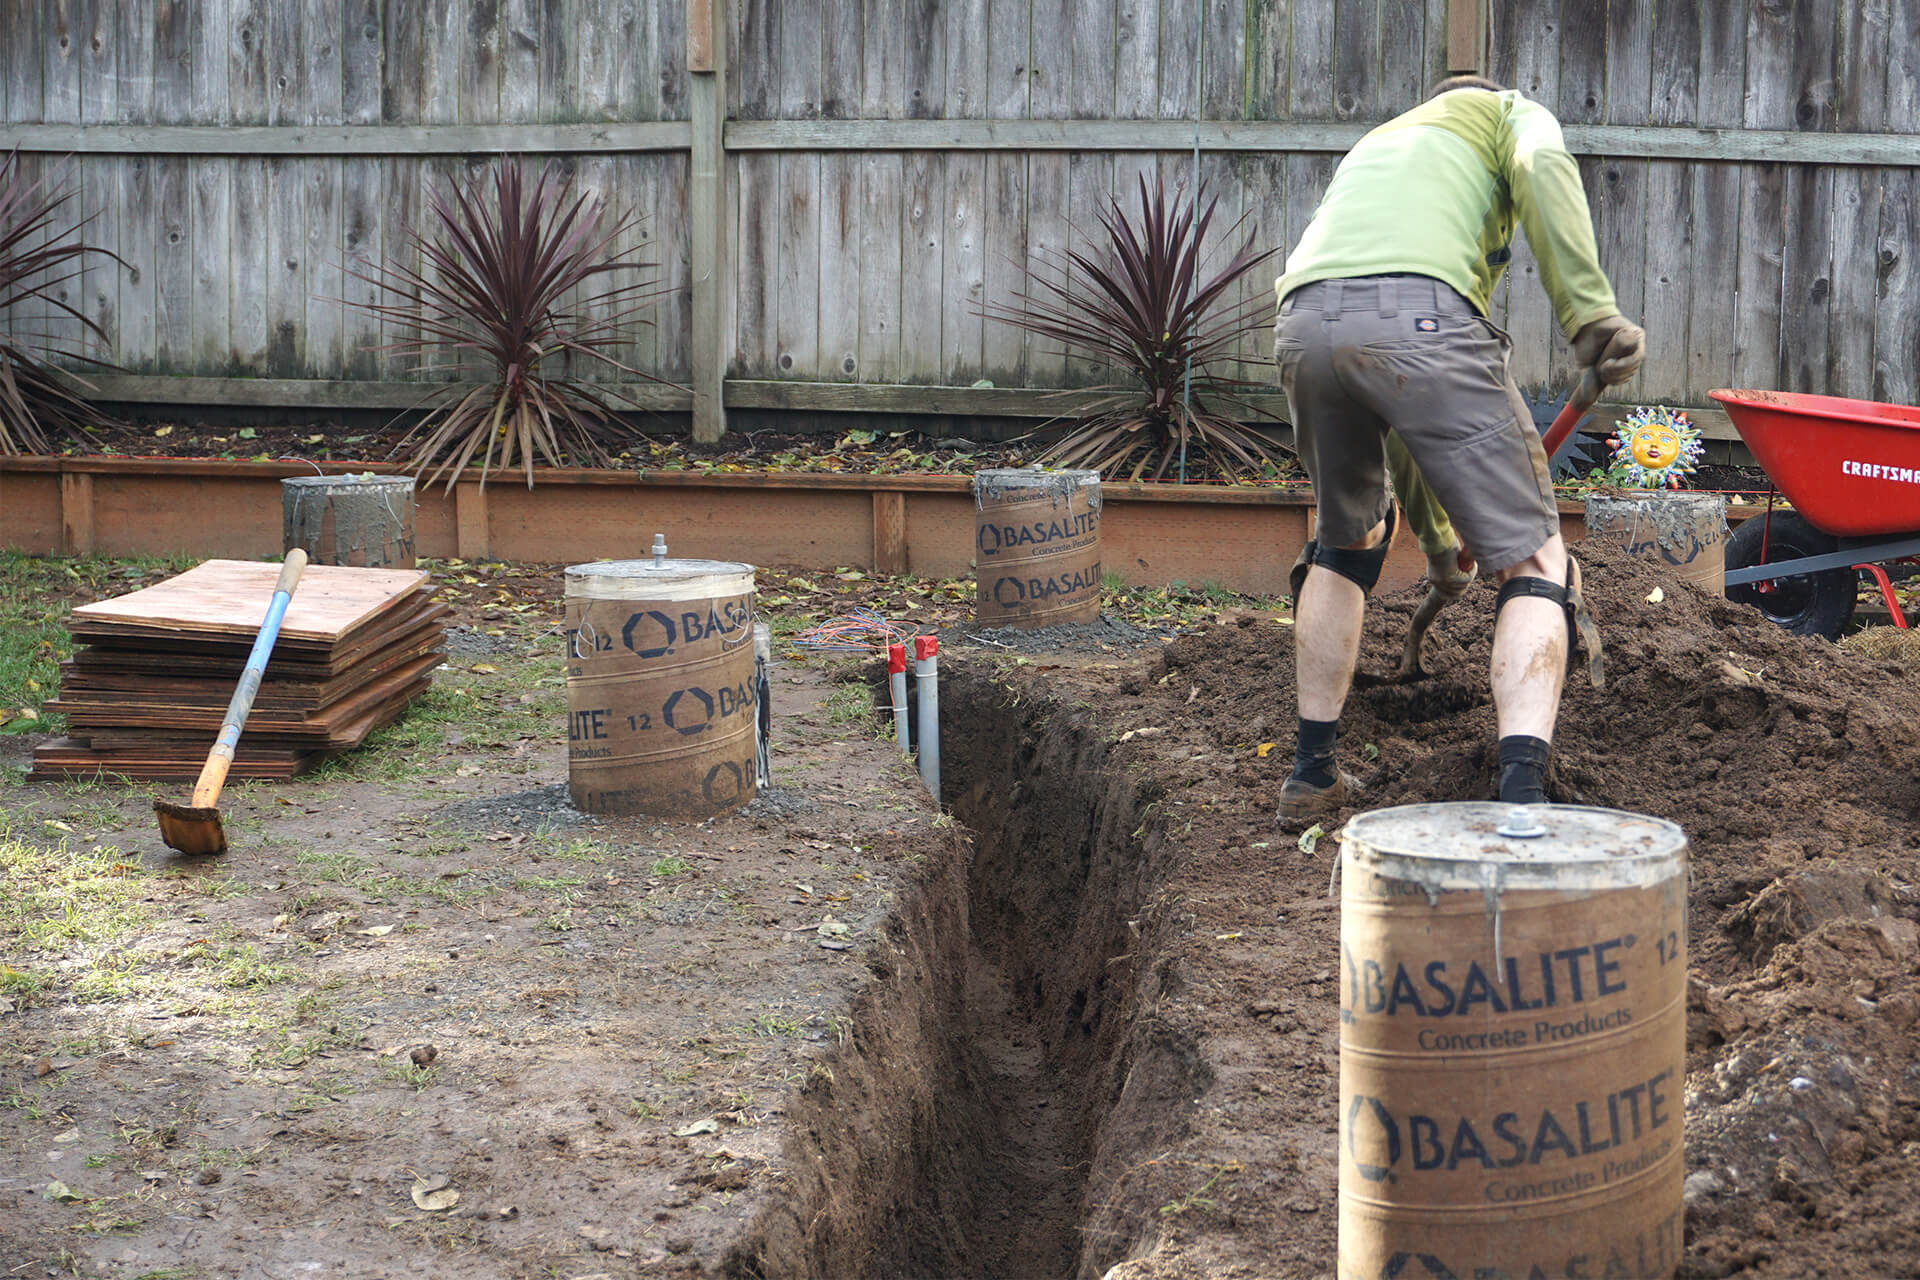
Secure the tracer wires along the length of the conduits. Blue = Water, Orange = Data. Leave the remaining spool on the ground. Backfill to the desired waste pipe depth.
Drill, sleeve, install, and seal the conduit for electrical (partially visible here), then install and seal the waste pipe through the foundation sleeve.
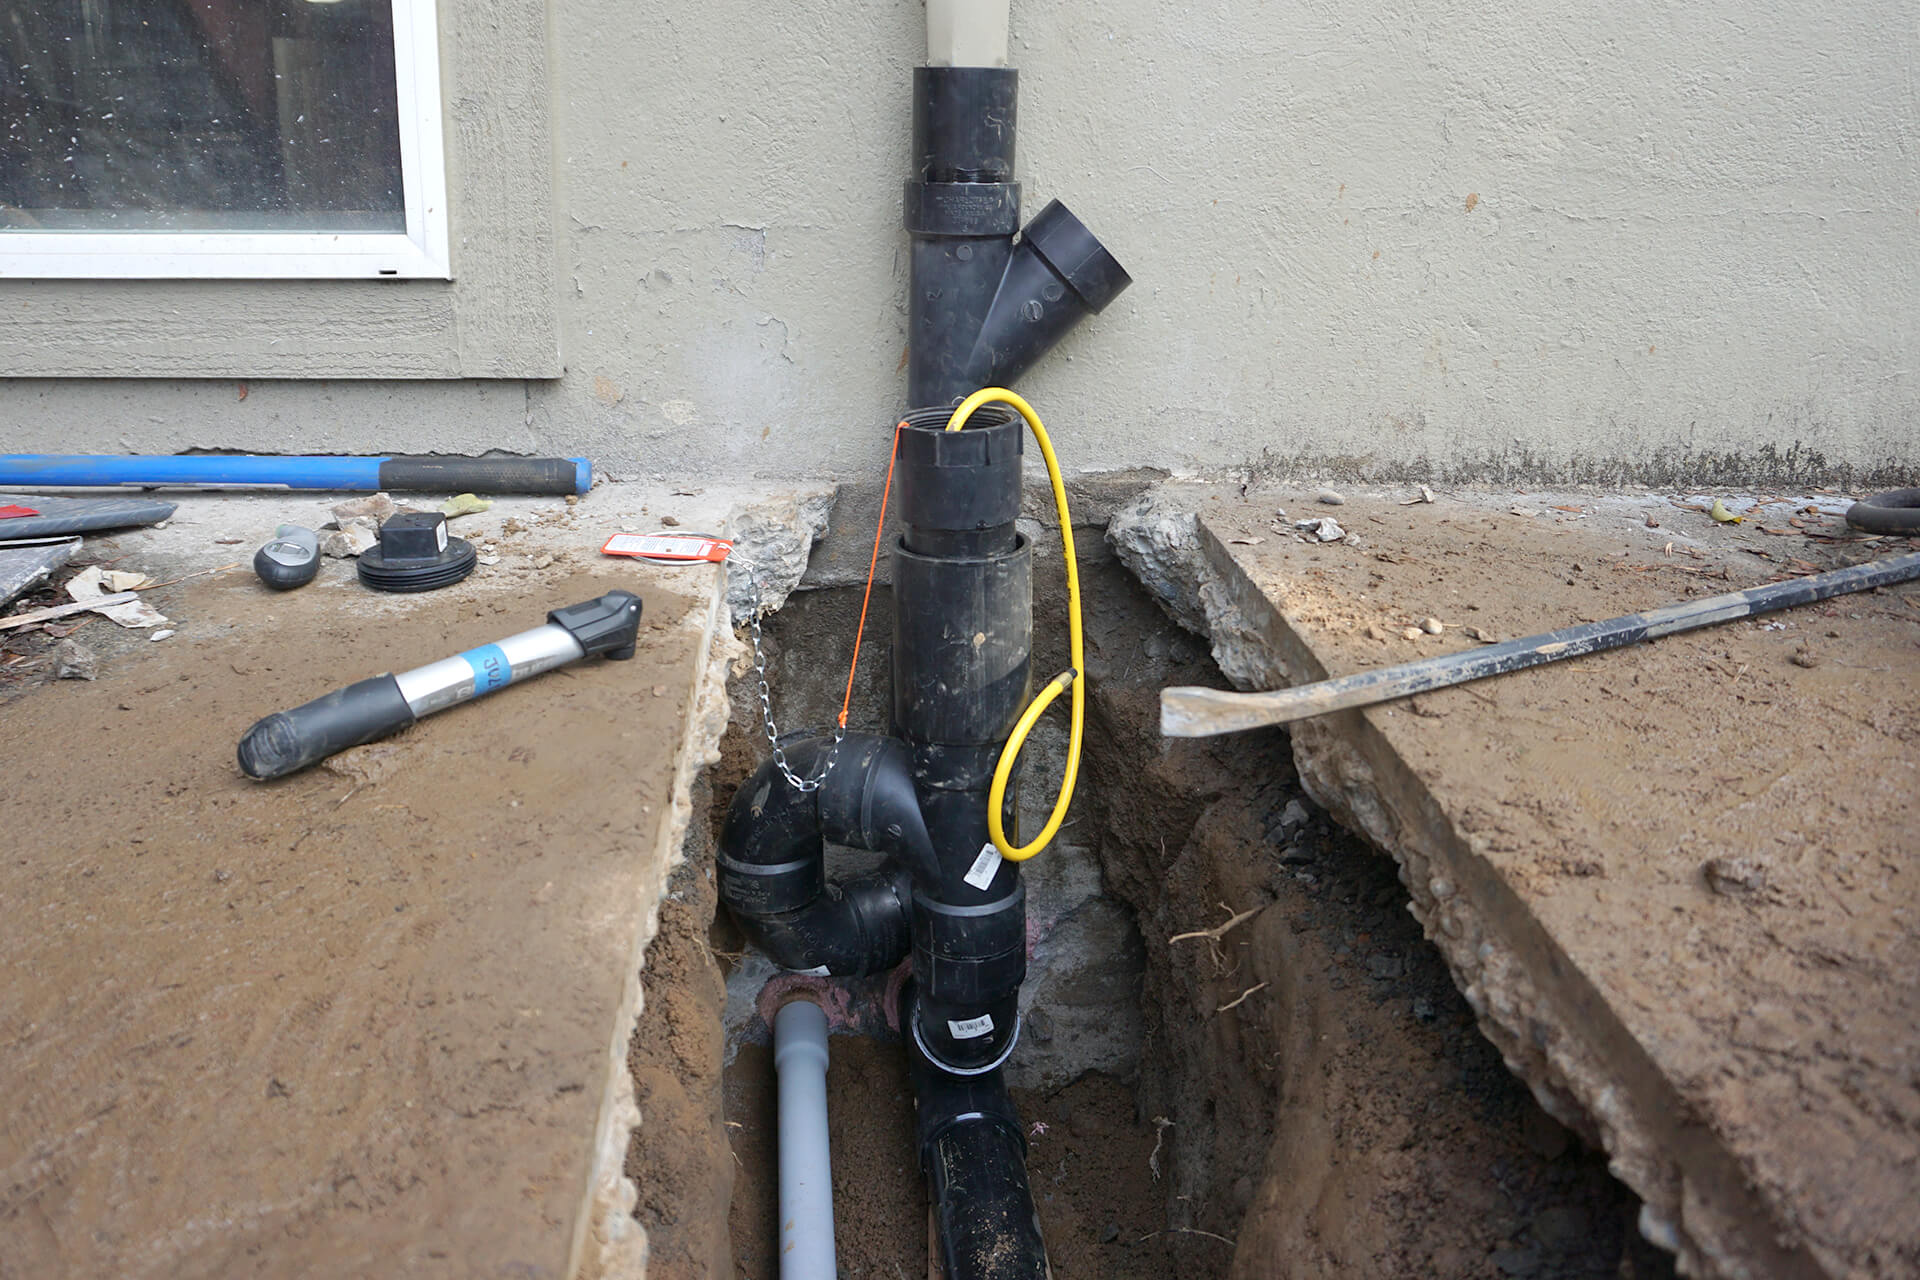
This waste pipe ties into the primary home downspout with a P-trap, and also includes a cleanout access (shown with a bladder tool installed to hold water for a leak test inspection).
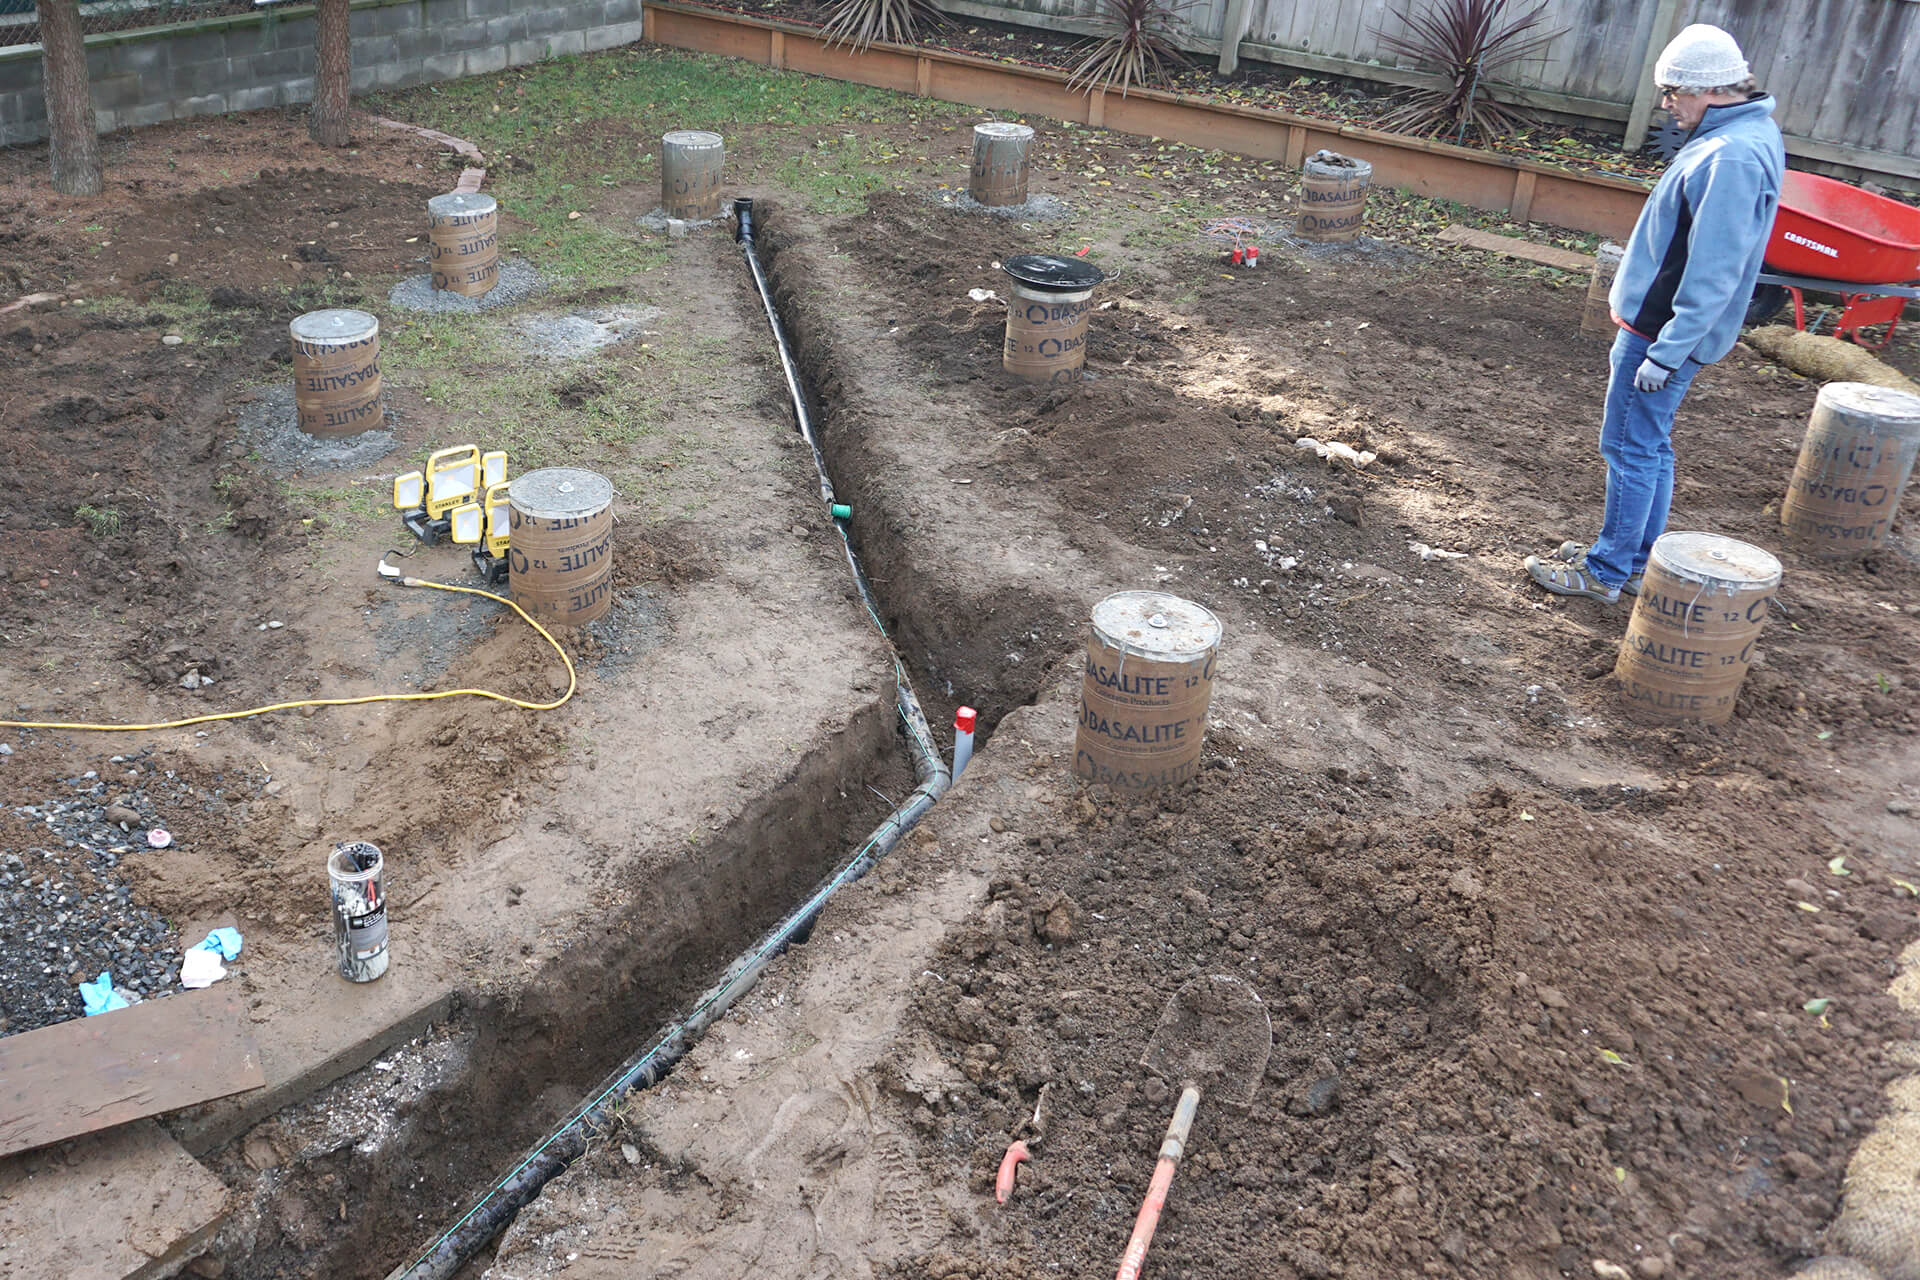
Run the electrical conduit and waste pipe to their stub-out locations. Ensure the waste pipe has a minimum slope of 1/4” per foot.
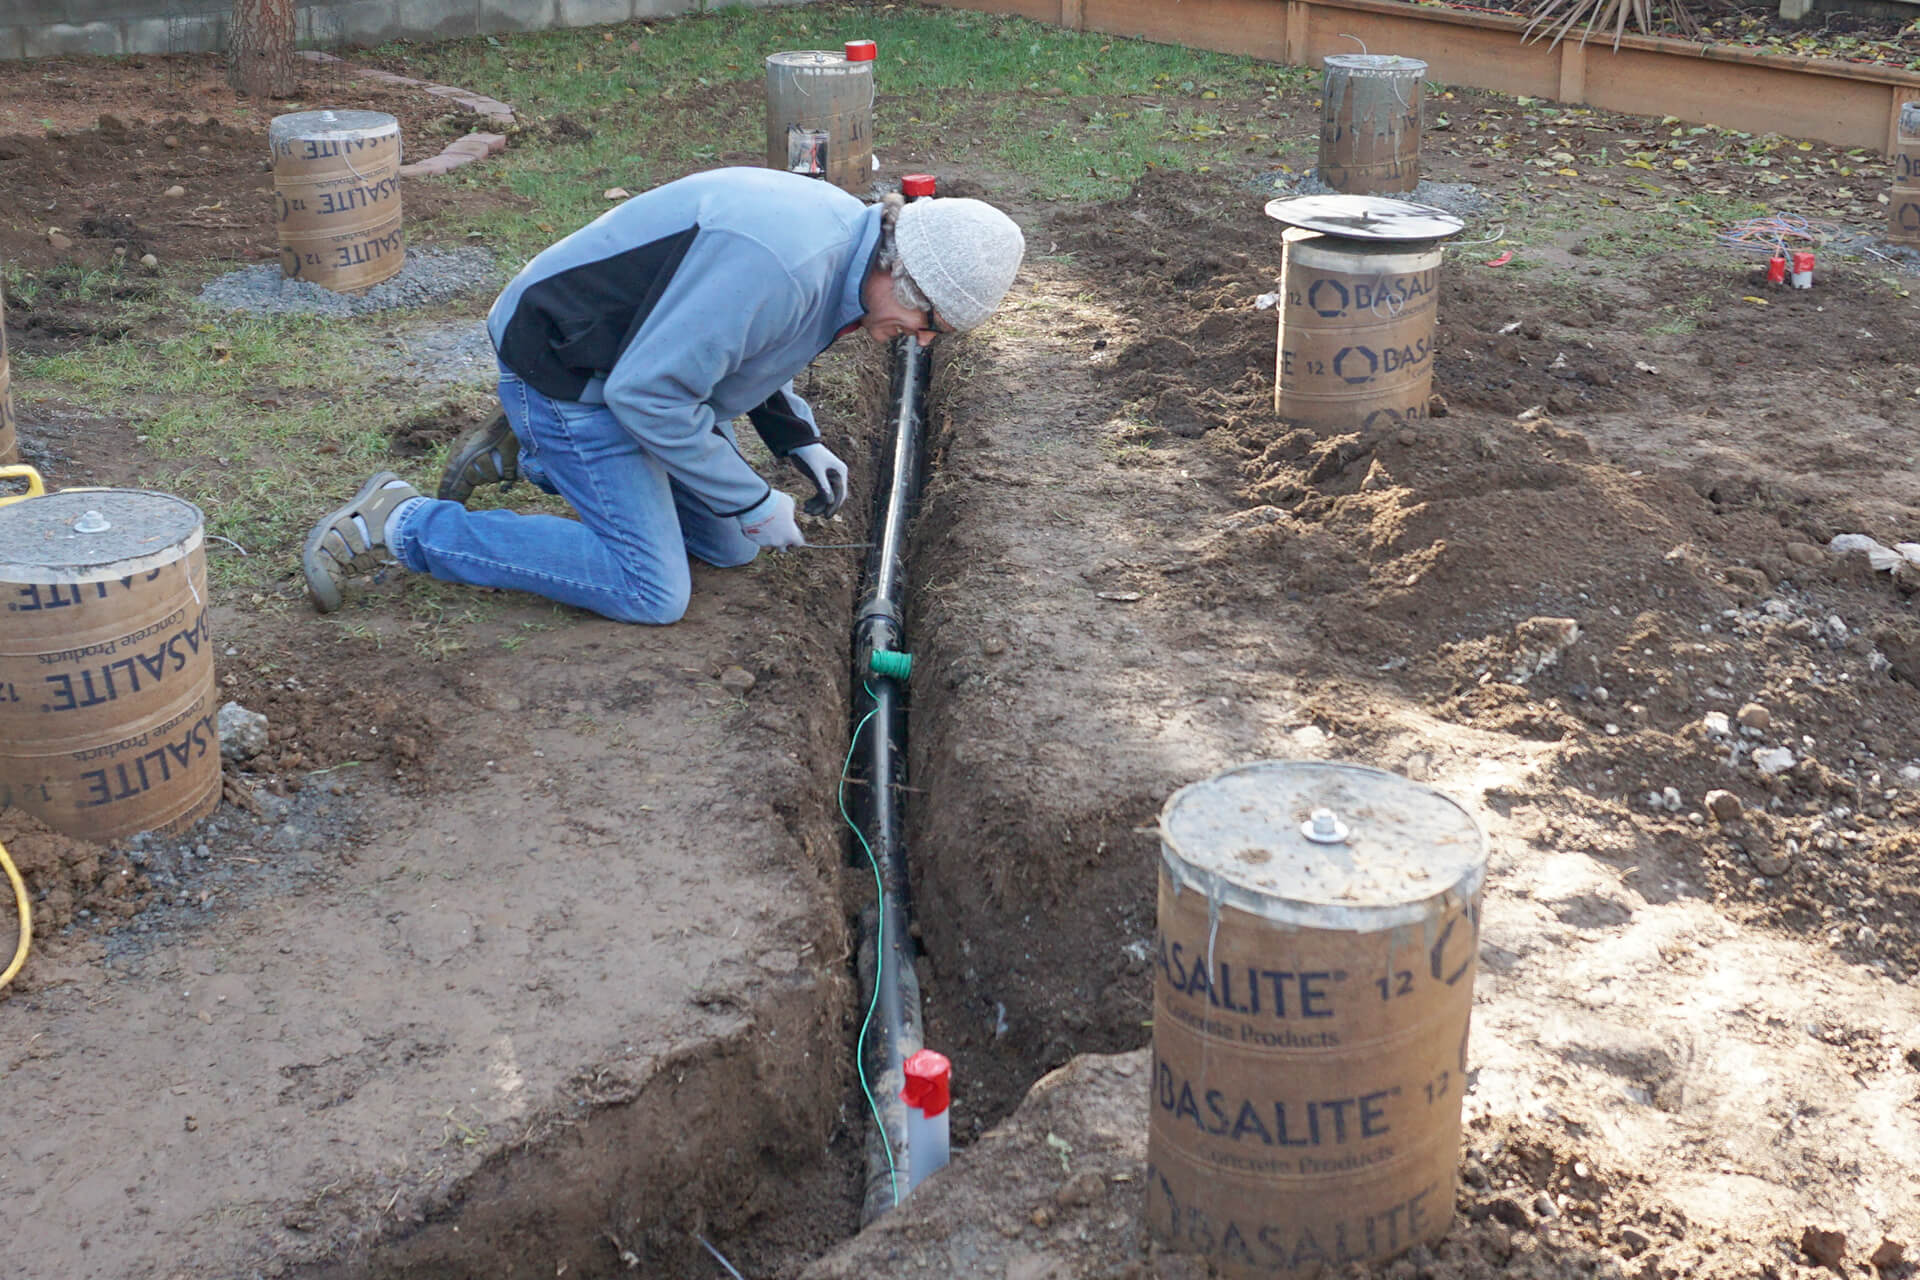
Secure the tracer wire along the length of the waste pipe. Green = Sewer. Leave the remaining spool on the ground. Do not backfill until inspected.
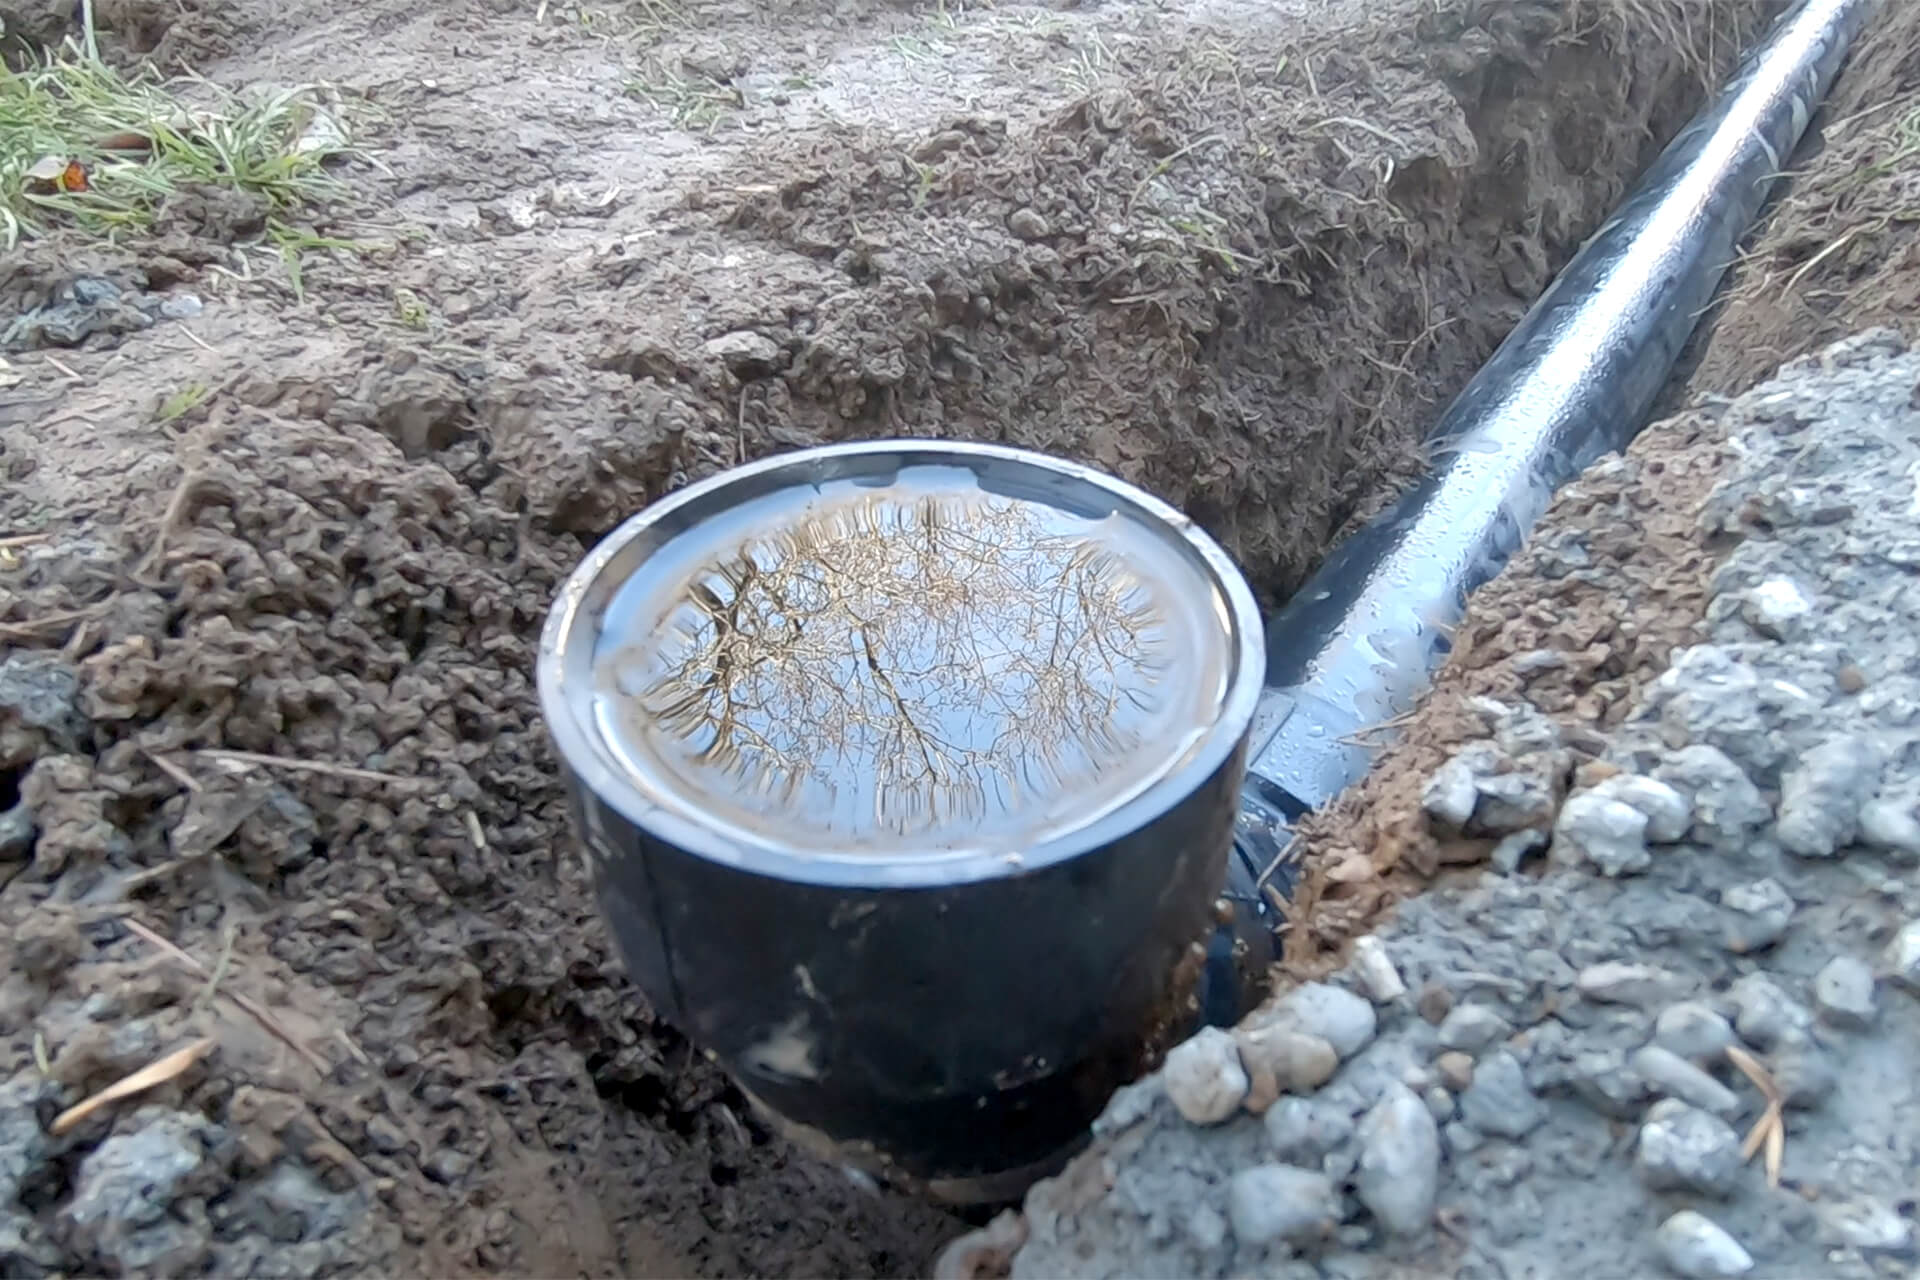
Inflate the bladder and fill the waste pipe with water to test for leaks. Call for inspections.
Inspections: Sanitary Sewer, Underground Electrical, and Ground Work Plumbing
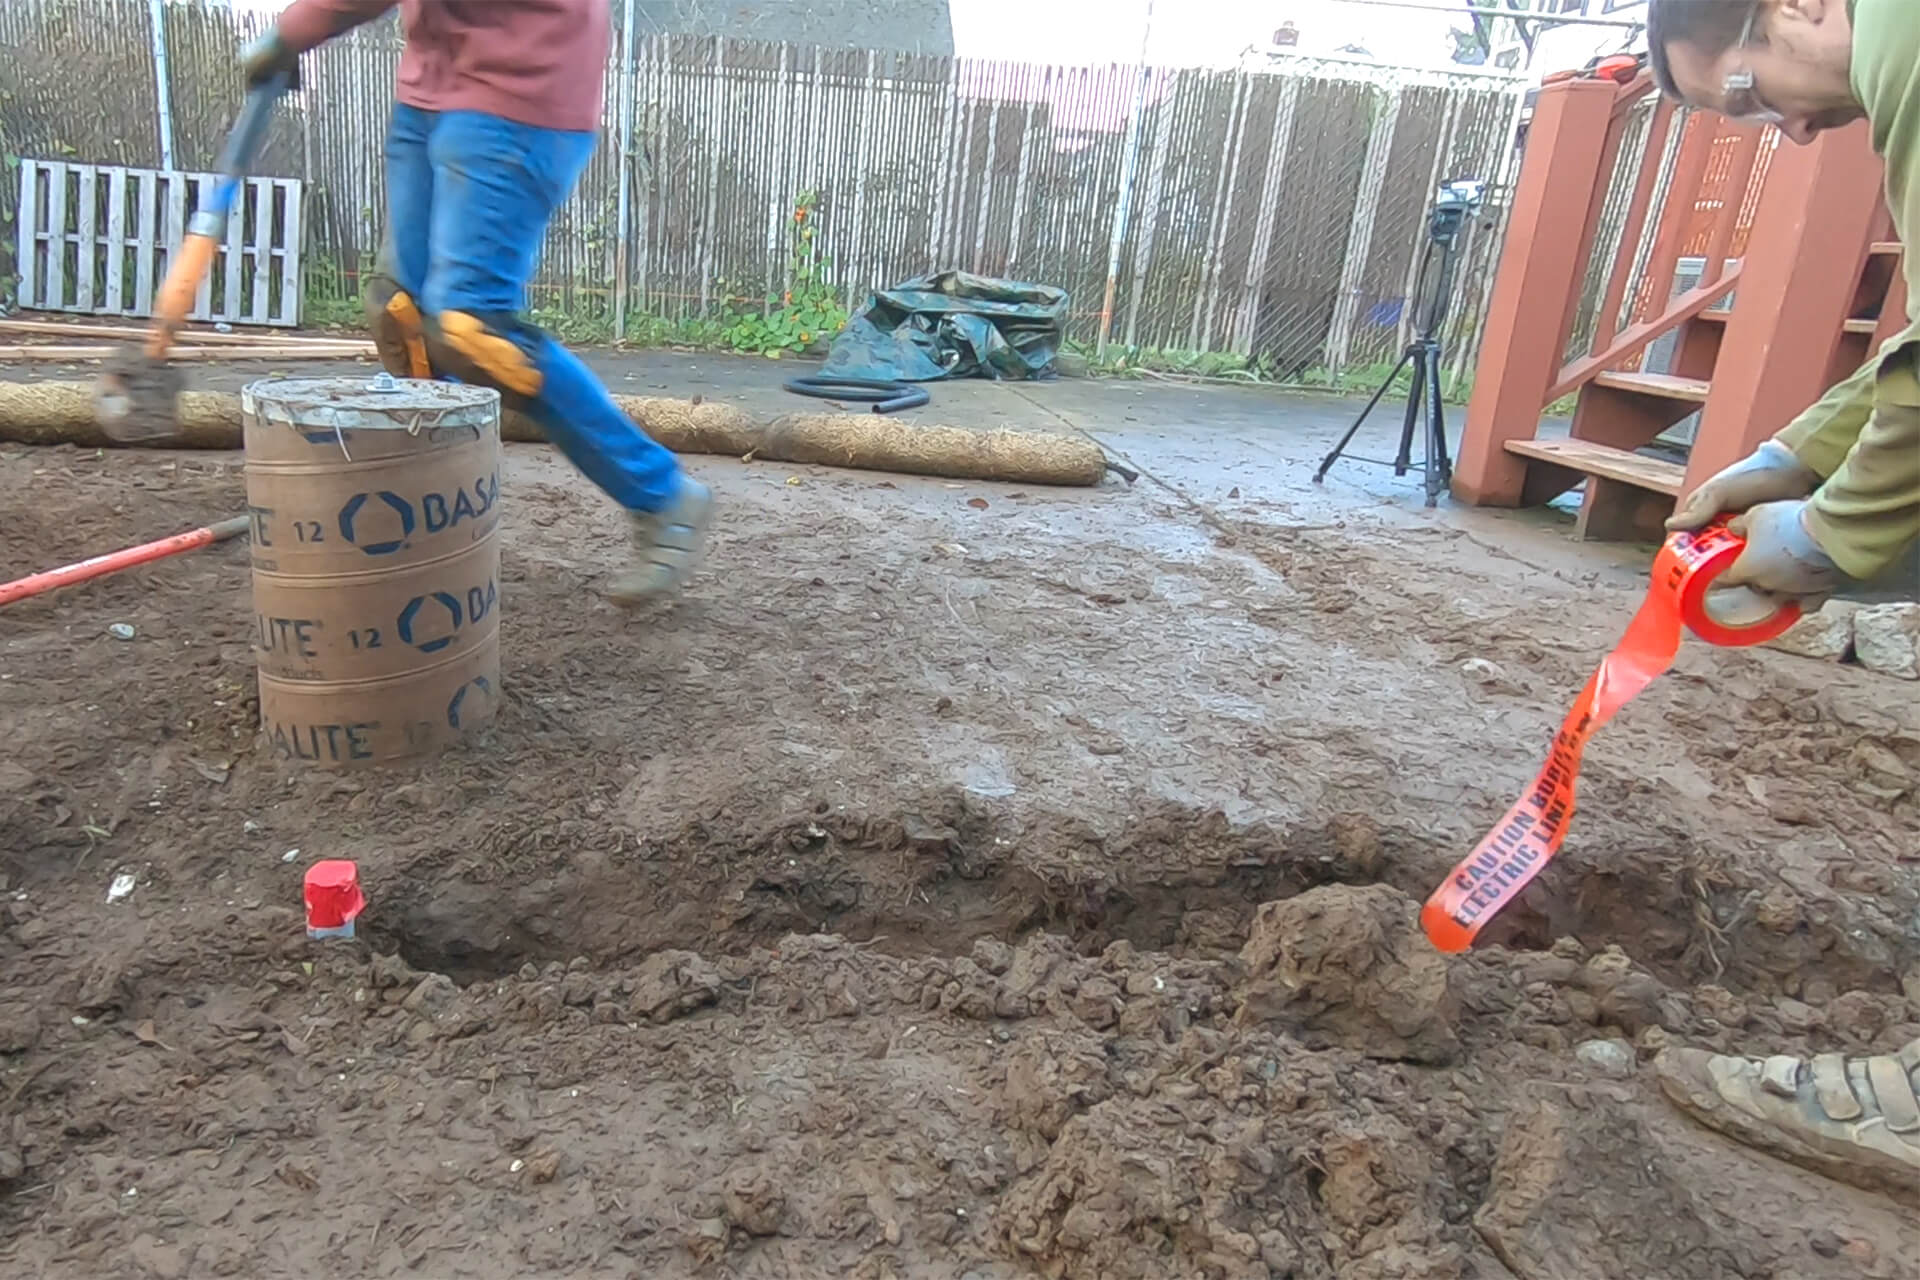
Remove the bladder and backfill after passing inspections. While backfilling, bury red warning tape 12” above the electrical conduit.
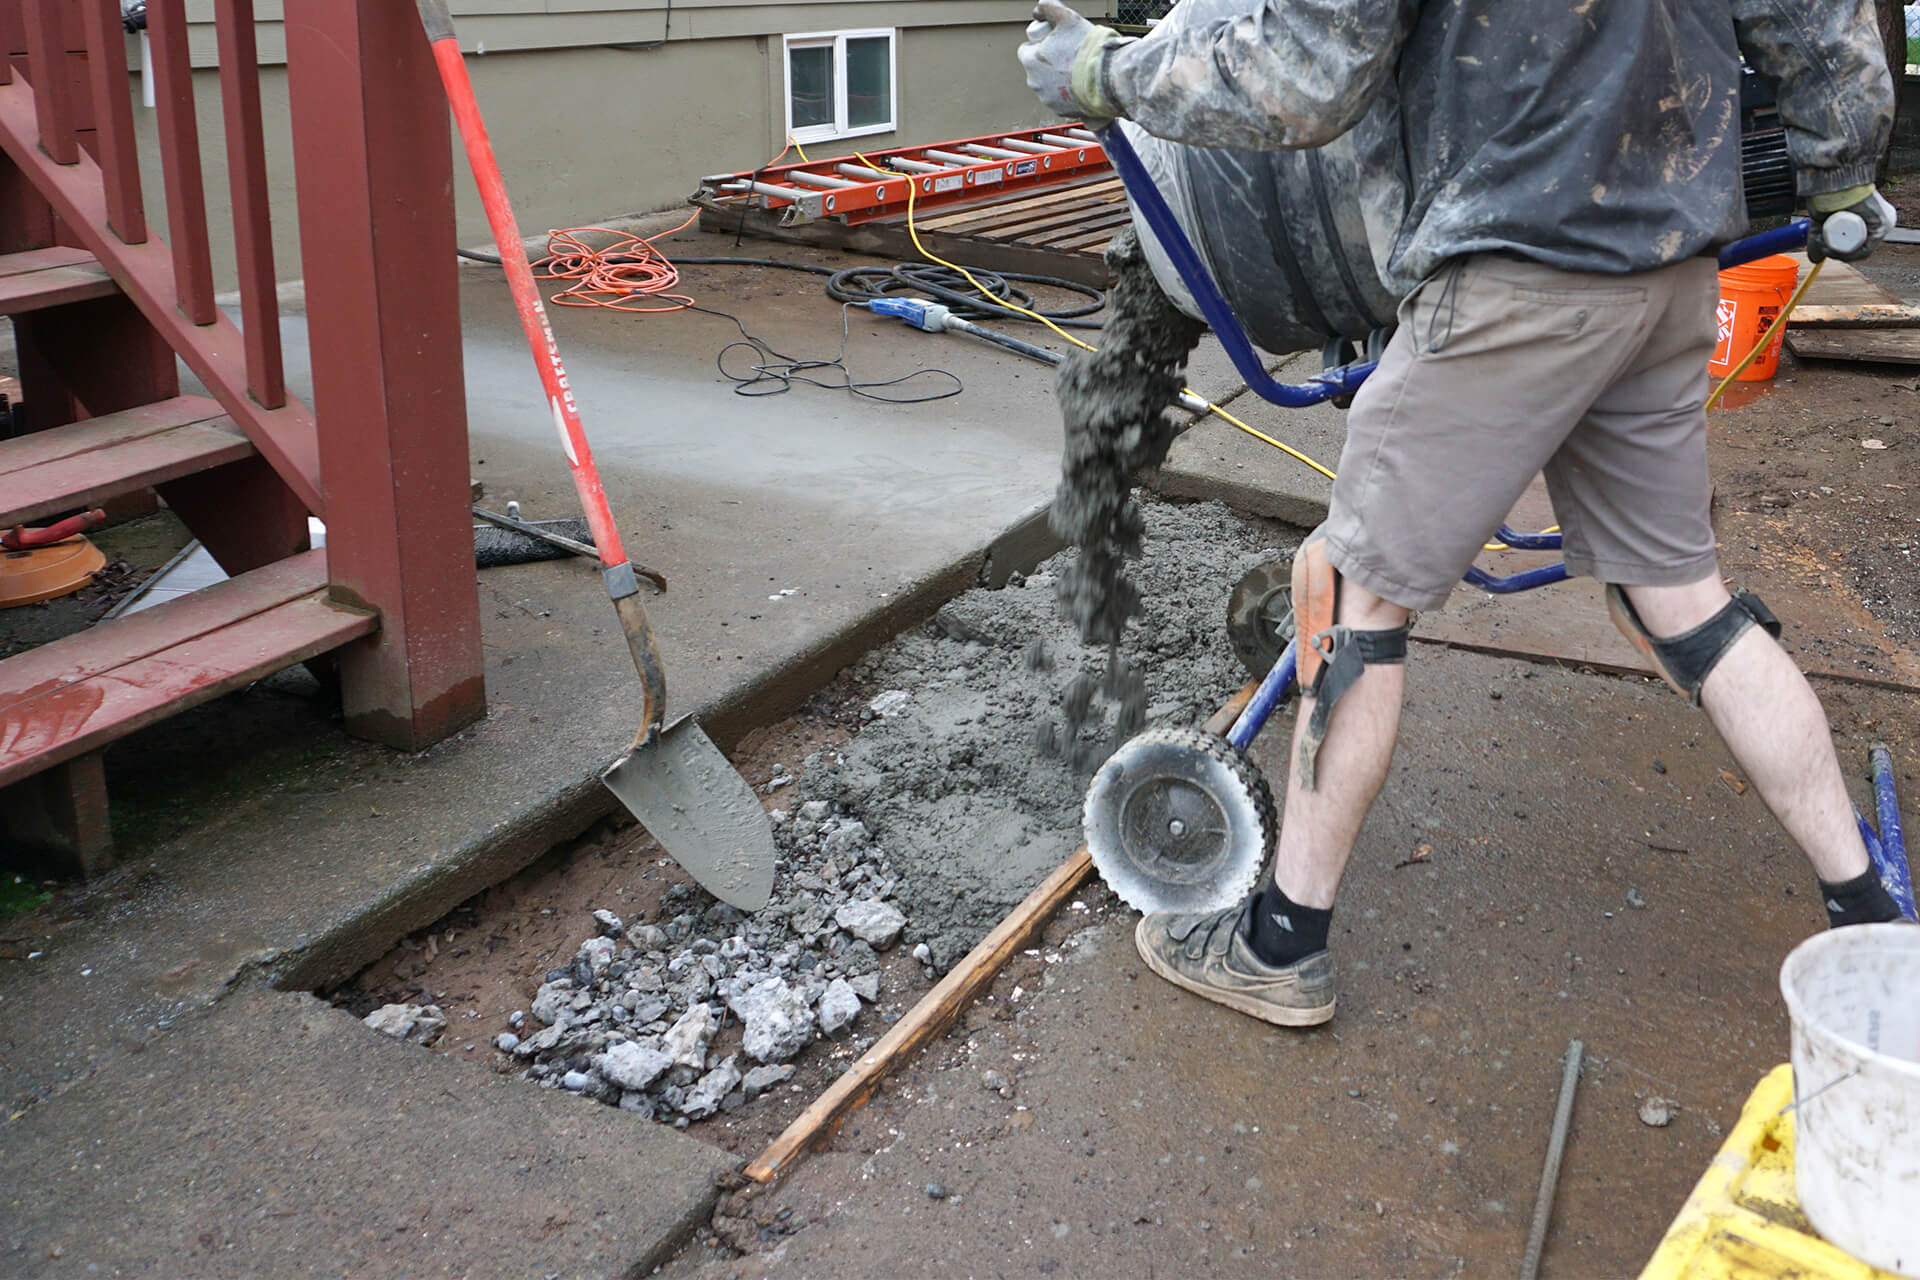
Repair concrete as needed. Set the forms, add protective sleeves around any stub-outs, then mix, pour, vibrate, and trowel the concrete to ensure a smooth, level finish.
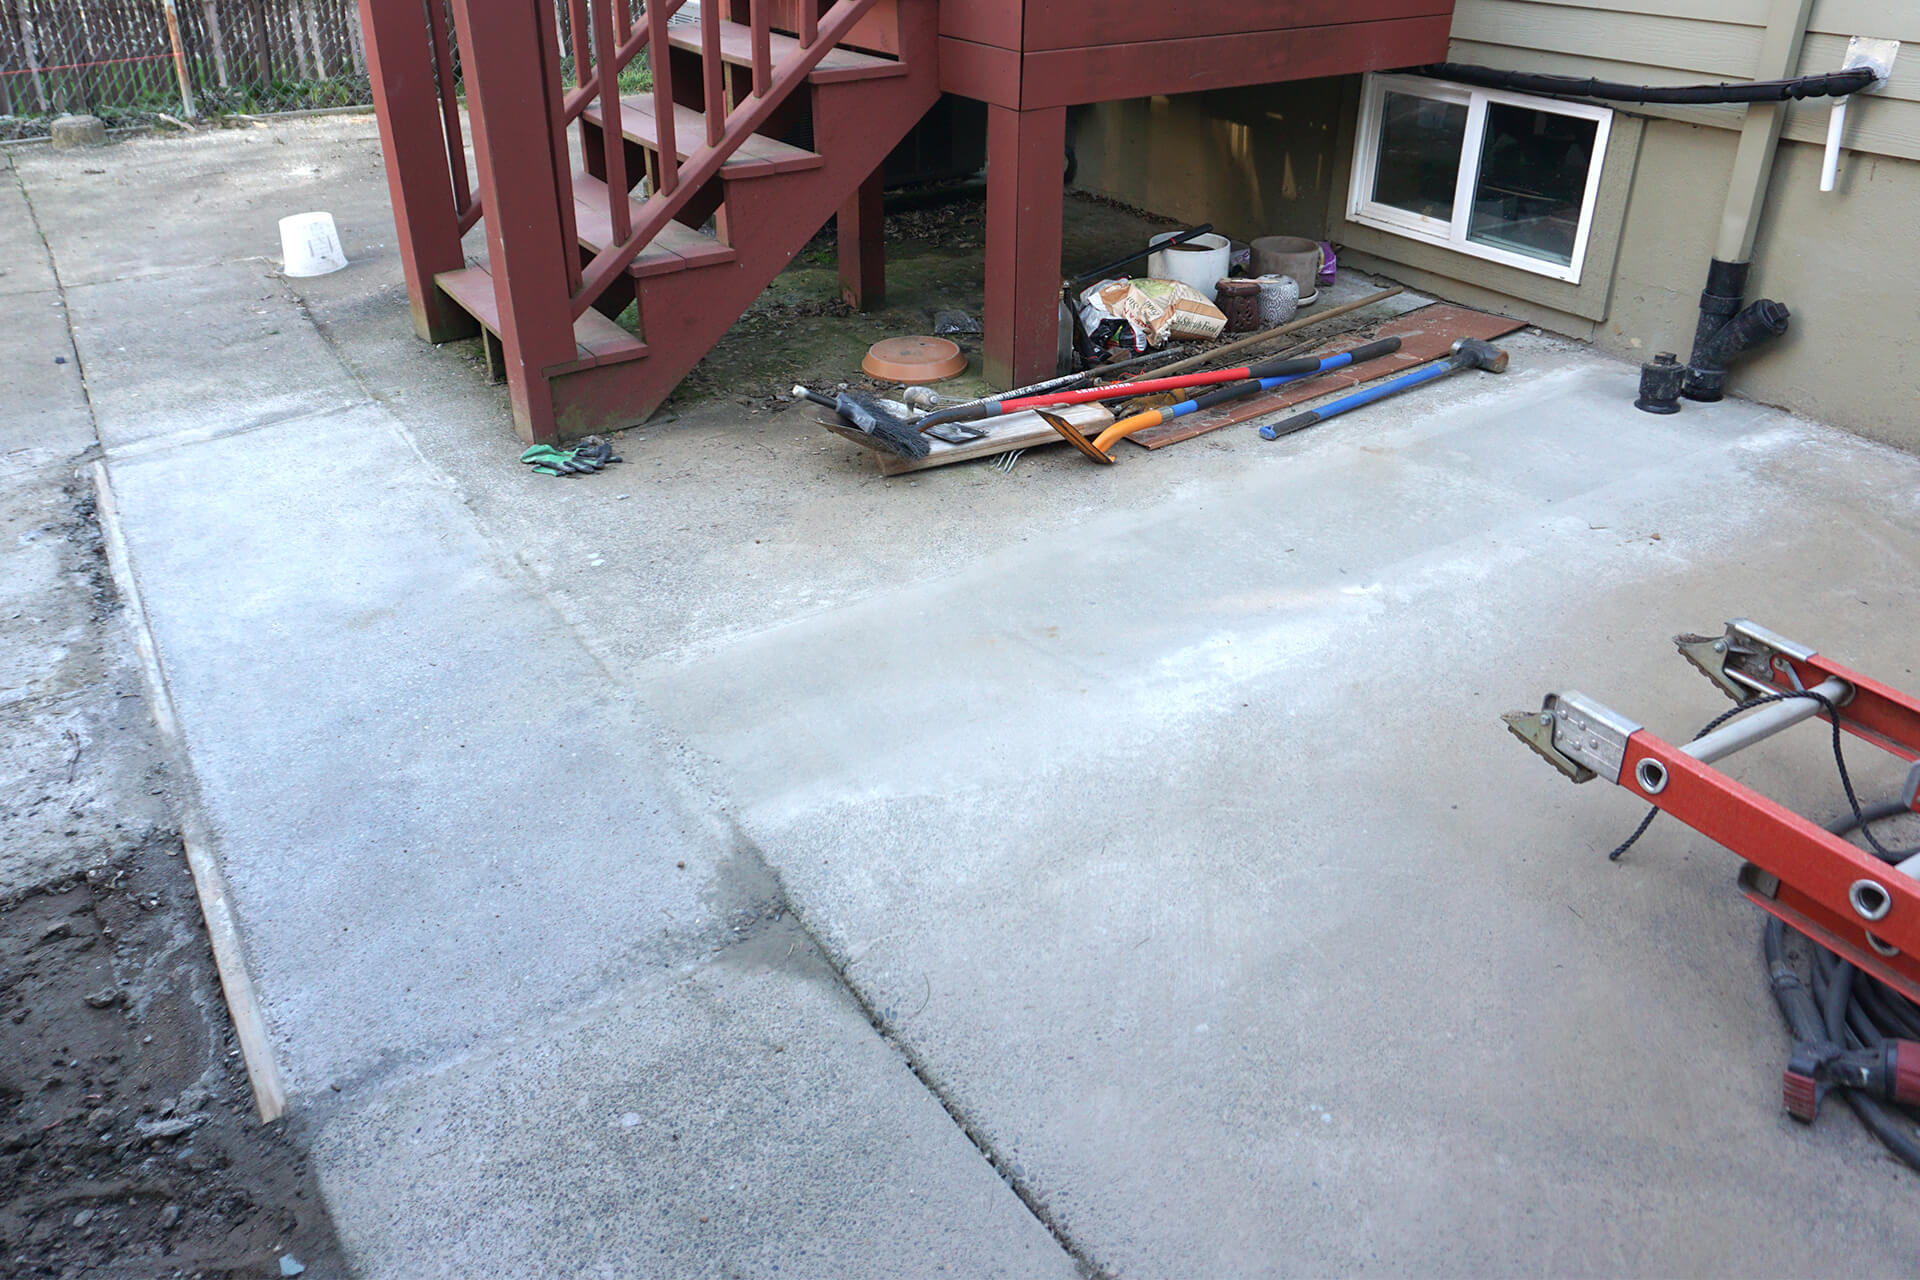
The completed concrete work.
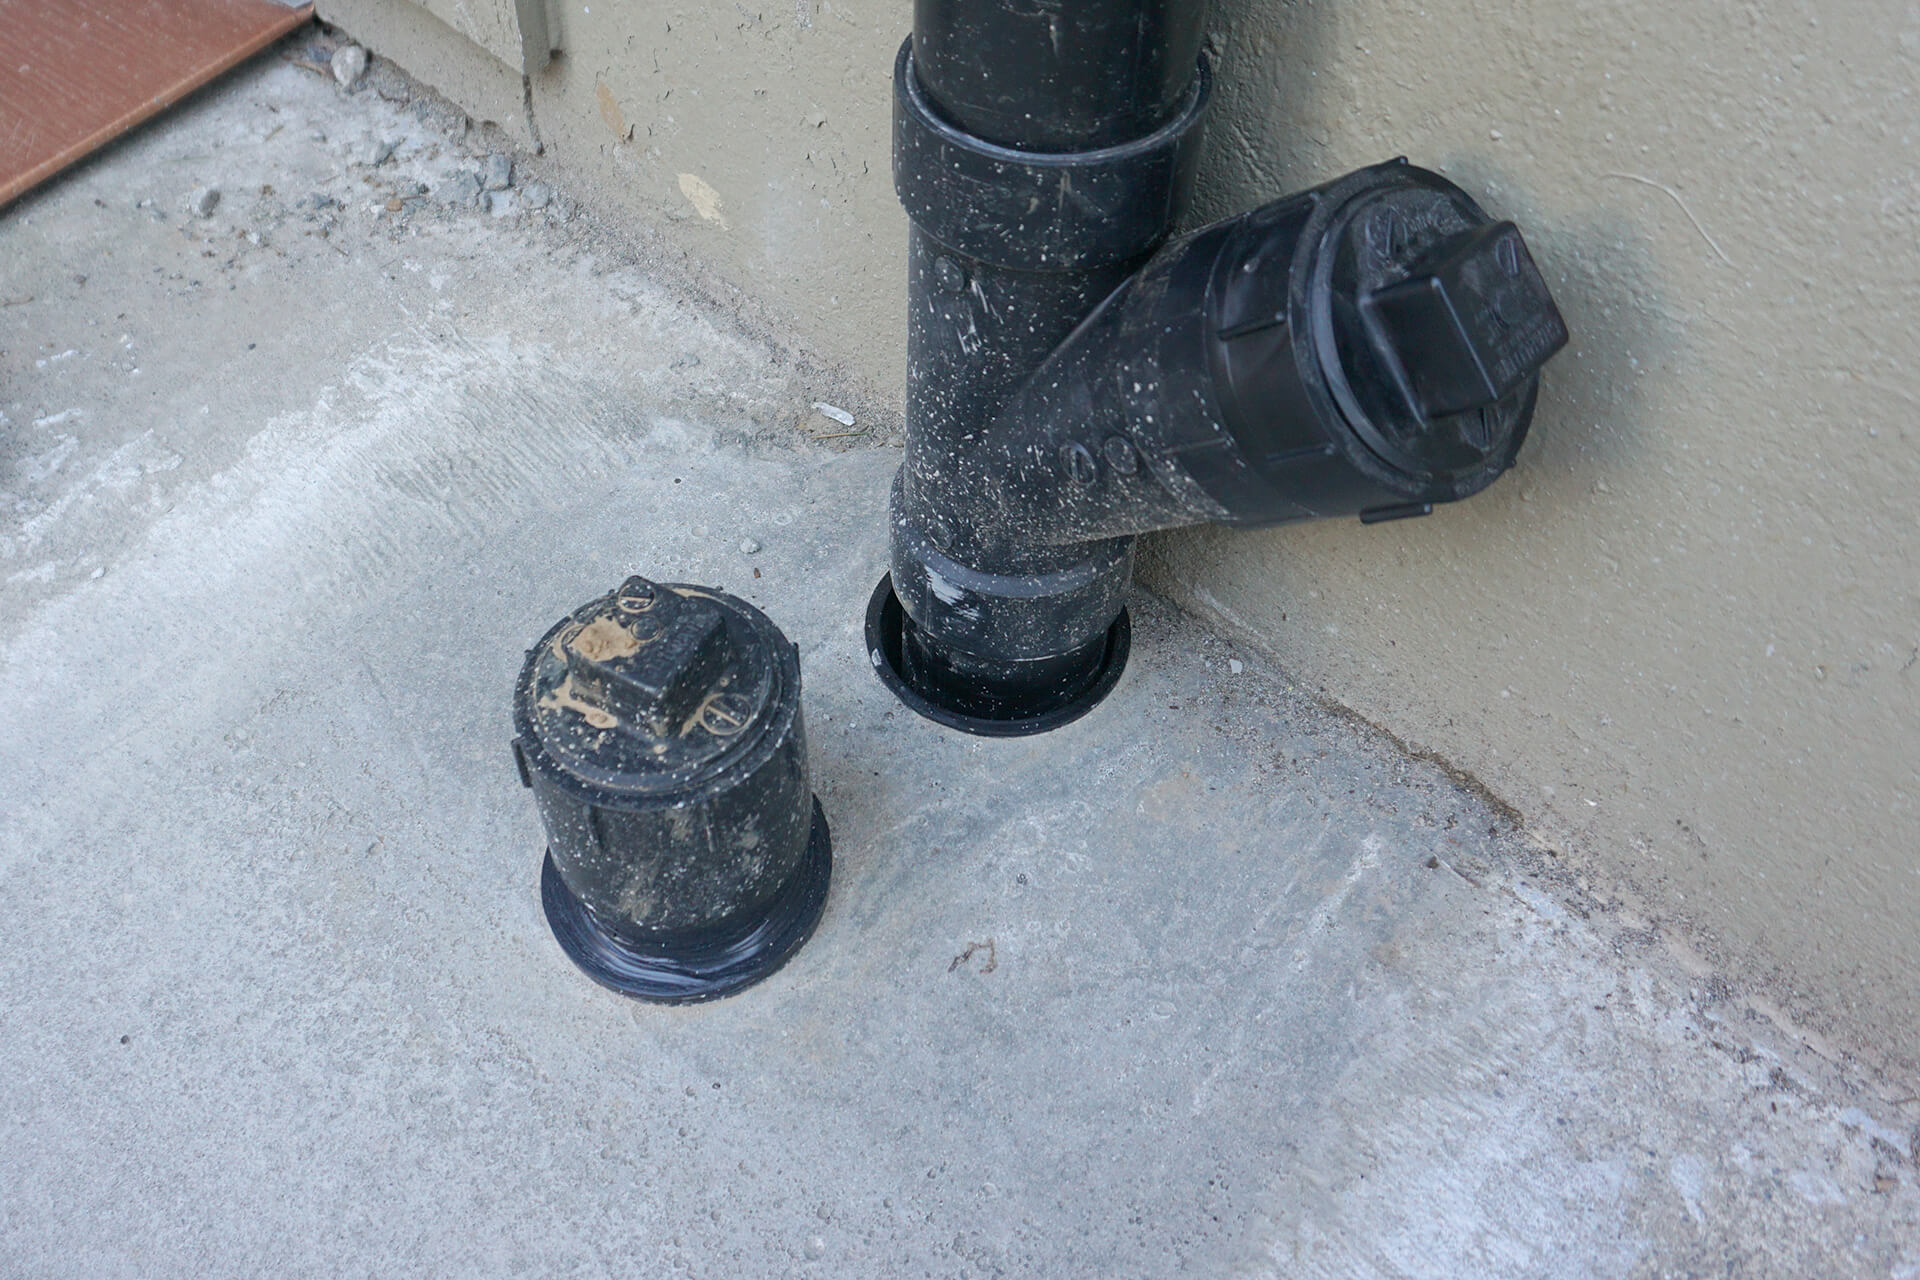
Caulk between the sleeve and stub-out to weatherproof. Sleeving stub-outs allows the pipes to flex, which prevents damage. Chemlink M-1 sealant is shown here.
Congratulations on completing the utilities! (Well, the stub-outs at least). Note: The leak test portion of the Sanitary Sewer inspection may require a long pipe connected to the stub-out end, filled entirely with water to simulate higher pressure.
Next Step
© 2025 Dodeca Domes. All rights reserved.

