Underfloor – Pipes
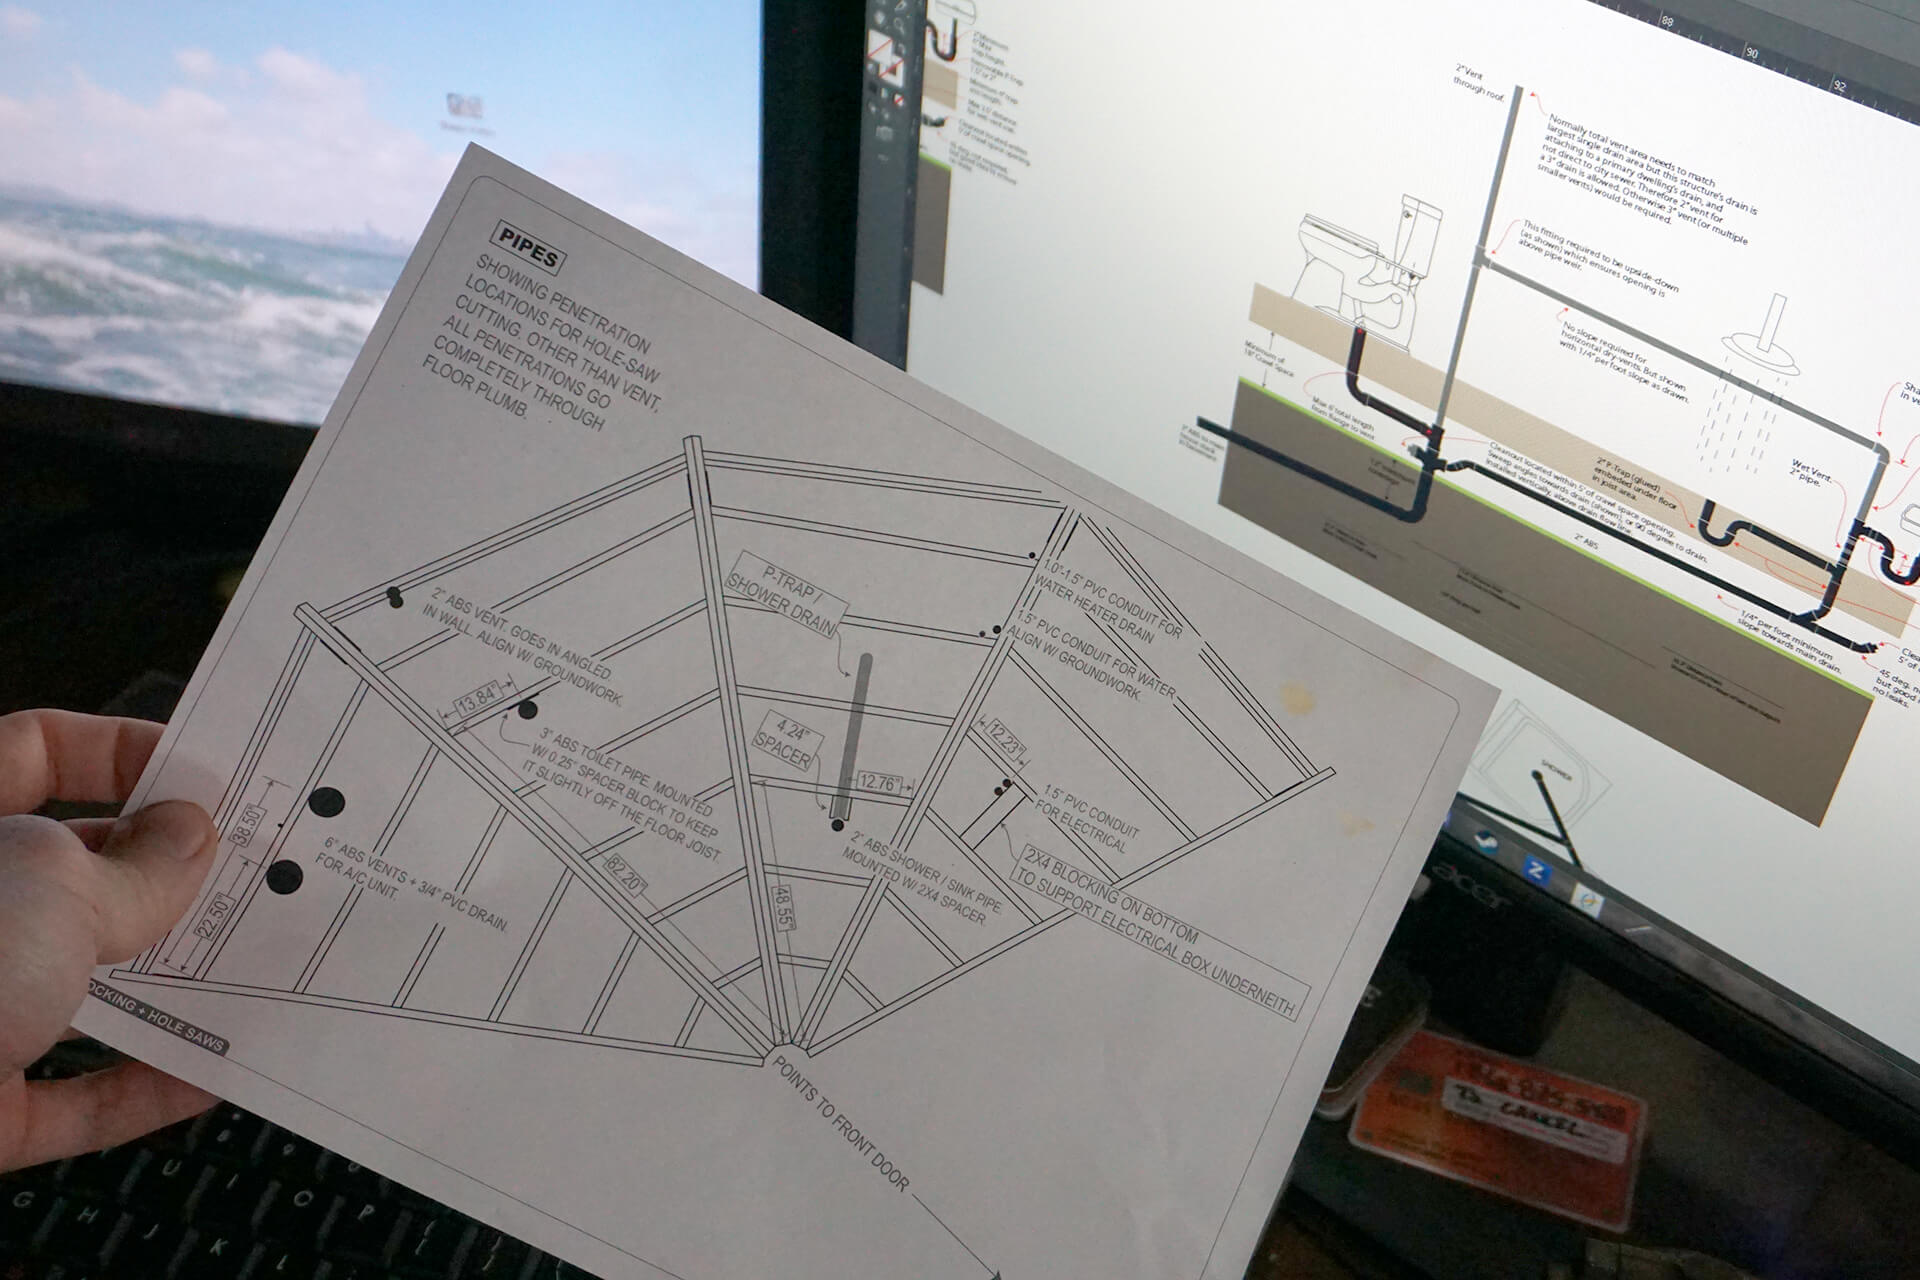
Consult the Pipe Penetrations construction drawings.
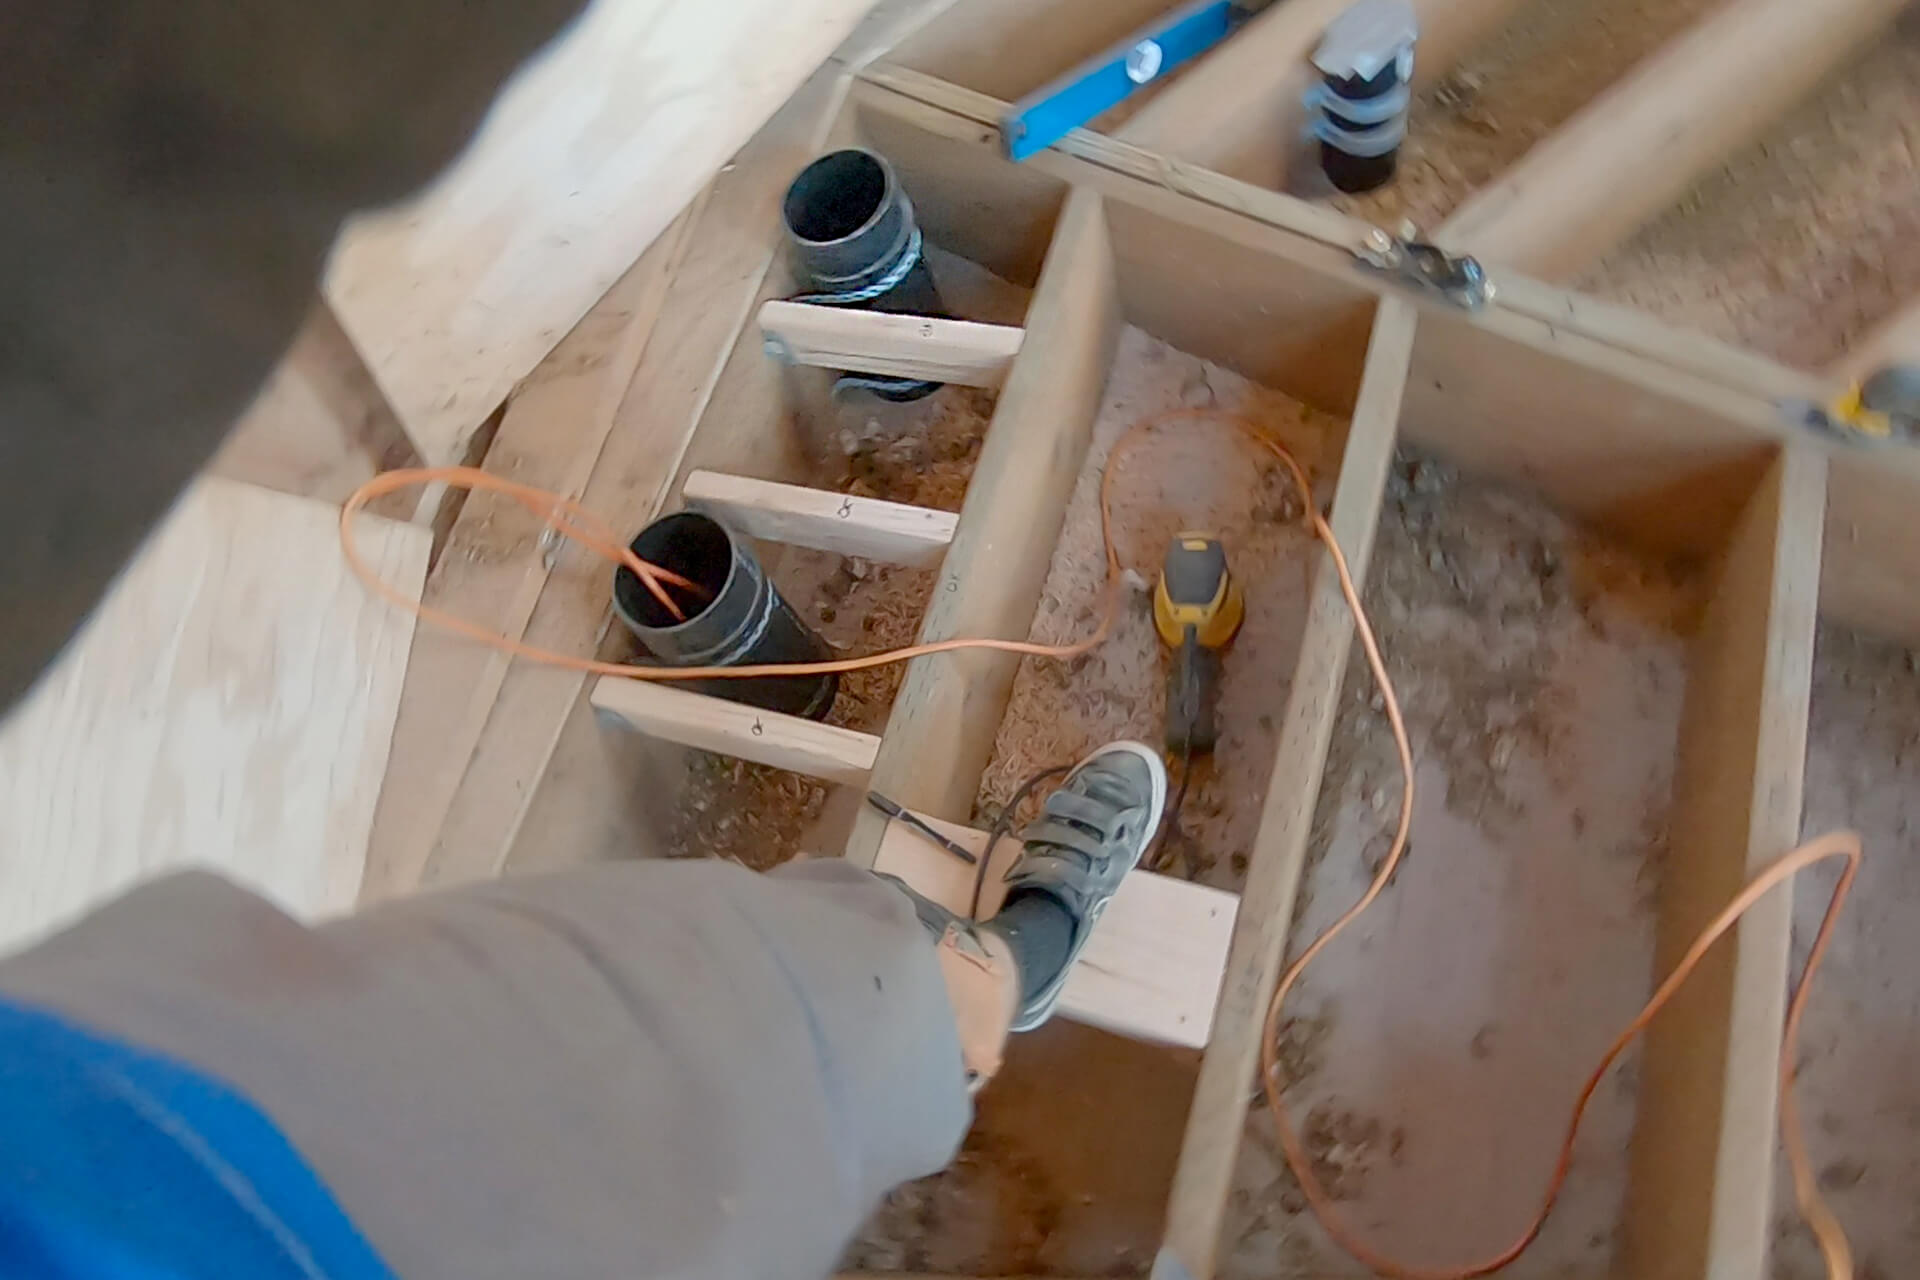
Install blocking, bore holes, and secure the 6" ABS ducts for the HVAC unit.
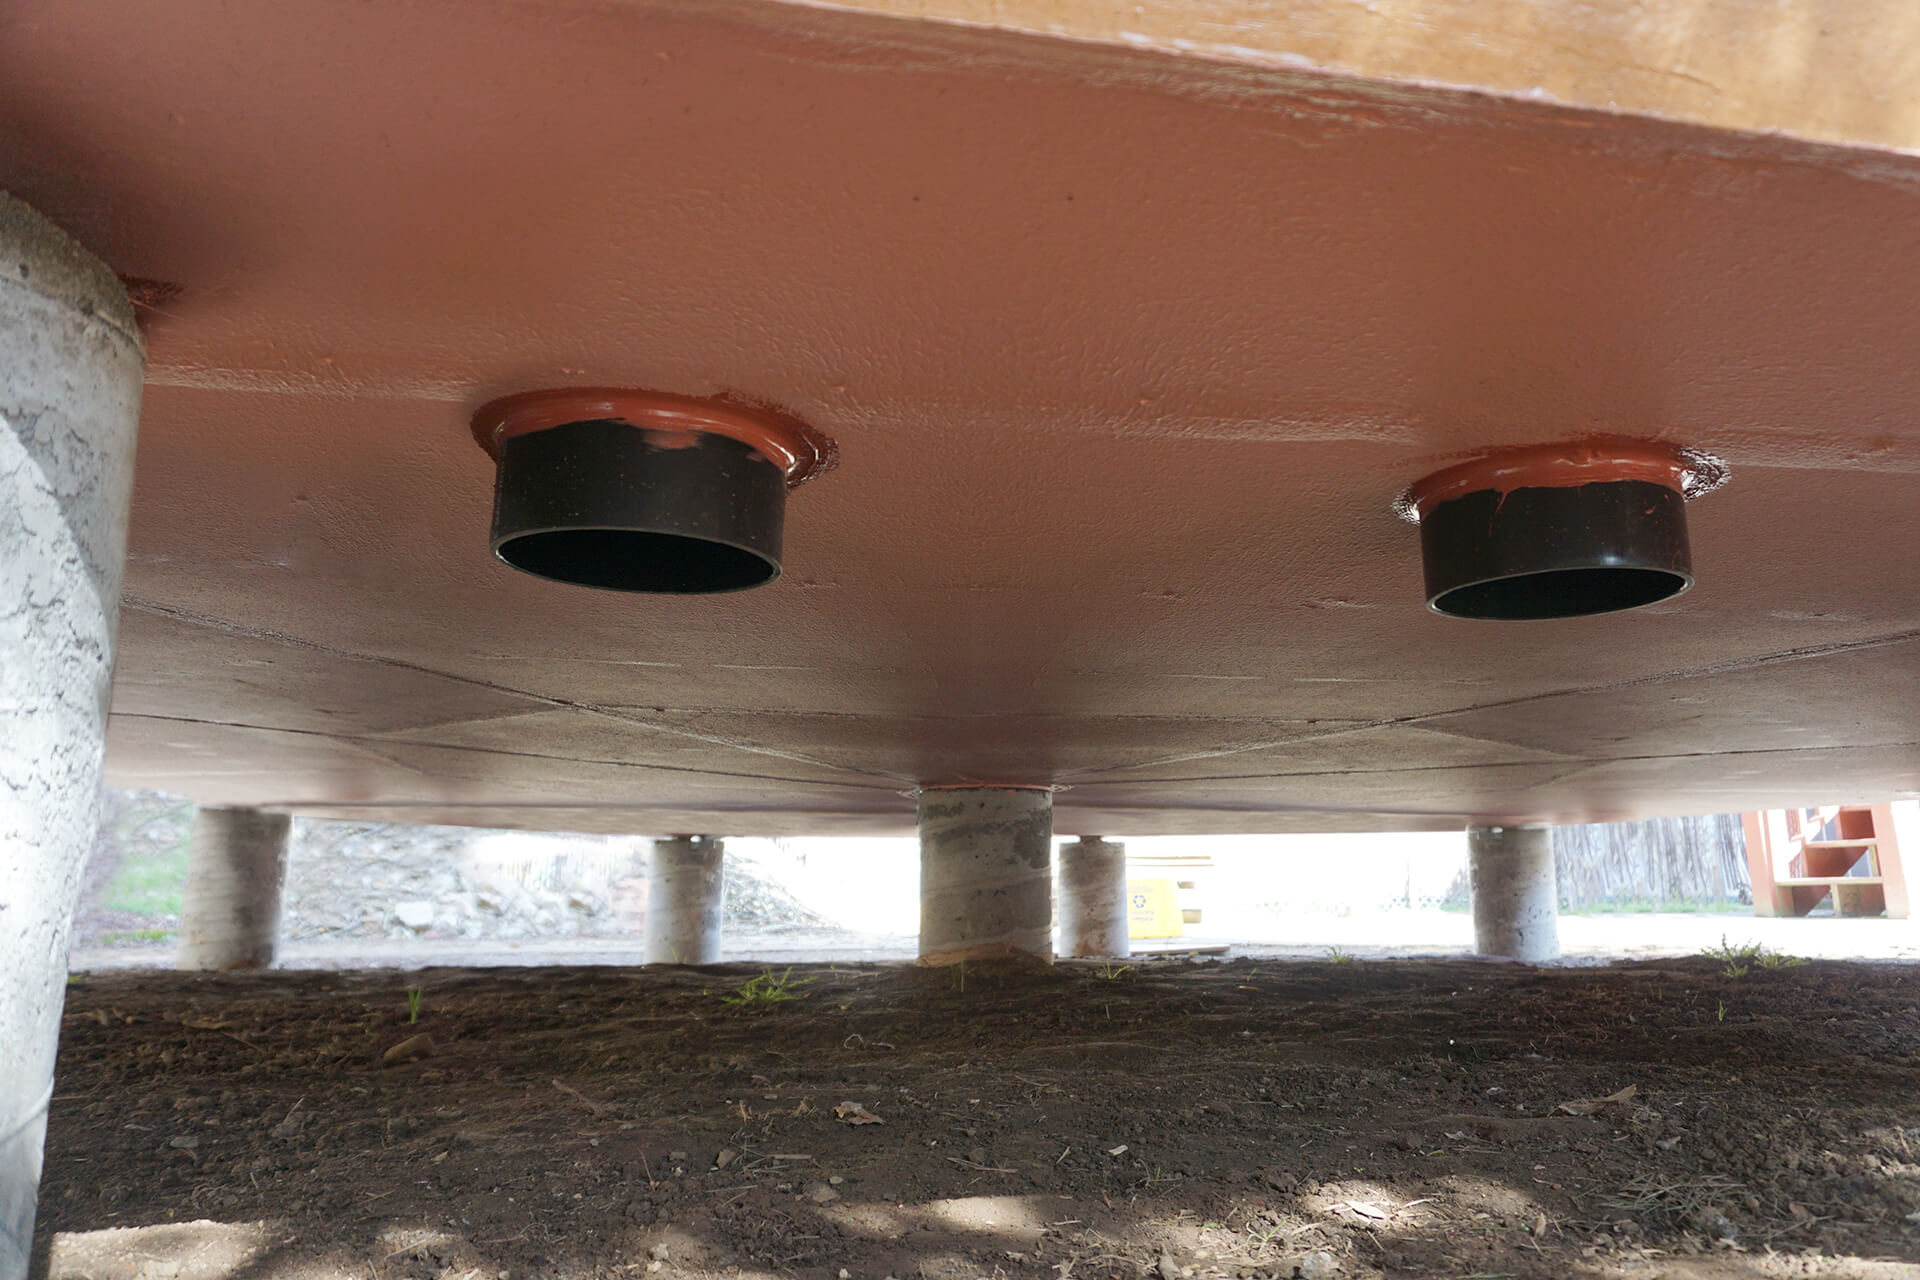
Seal around the ducts (and all future penetrations). Prosoco R-Guard Fast Flash is shown here.
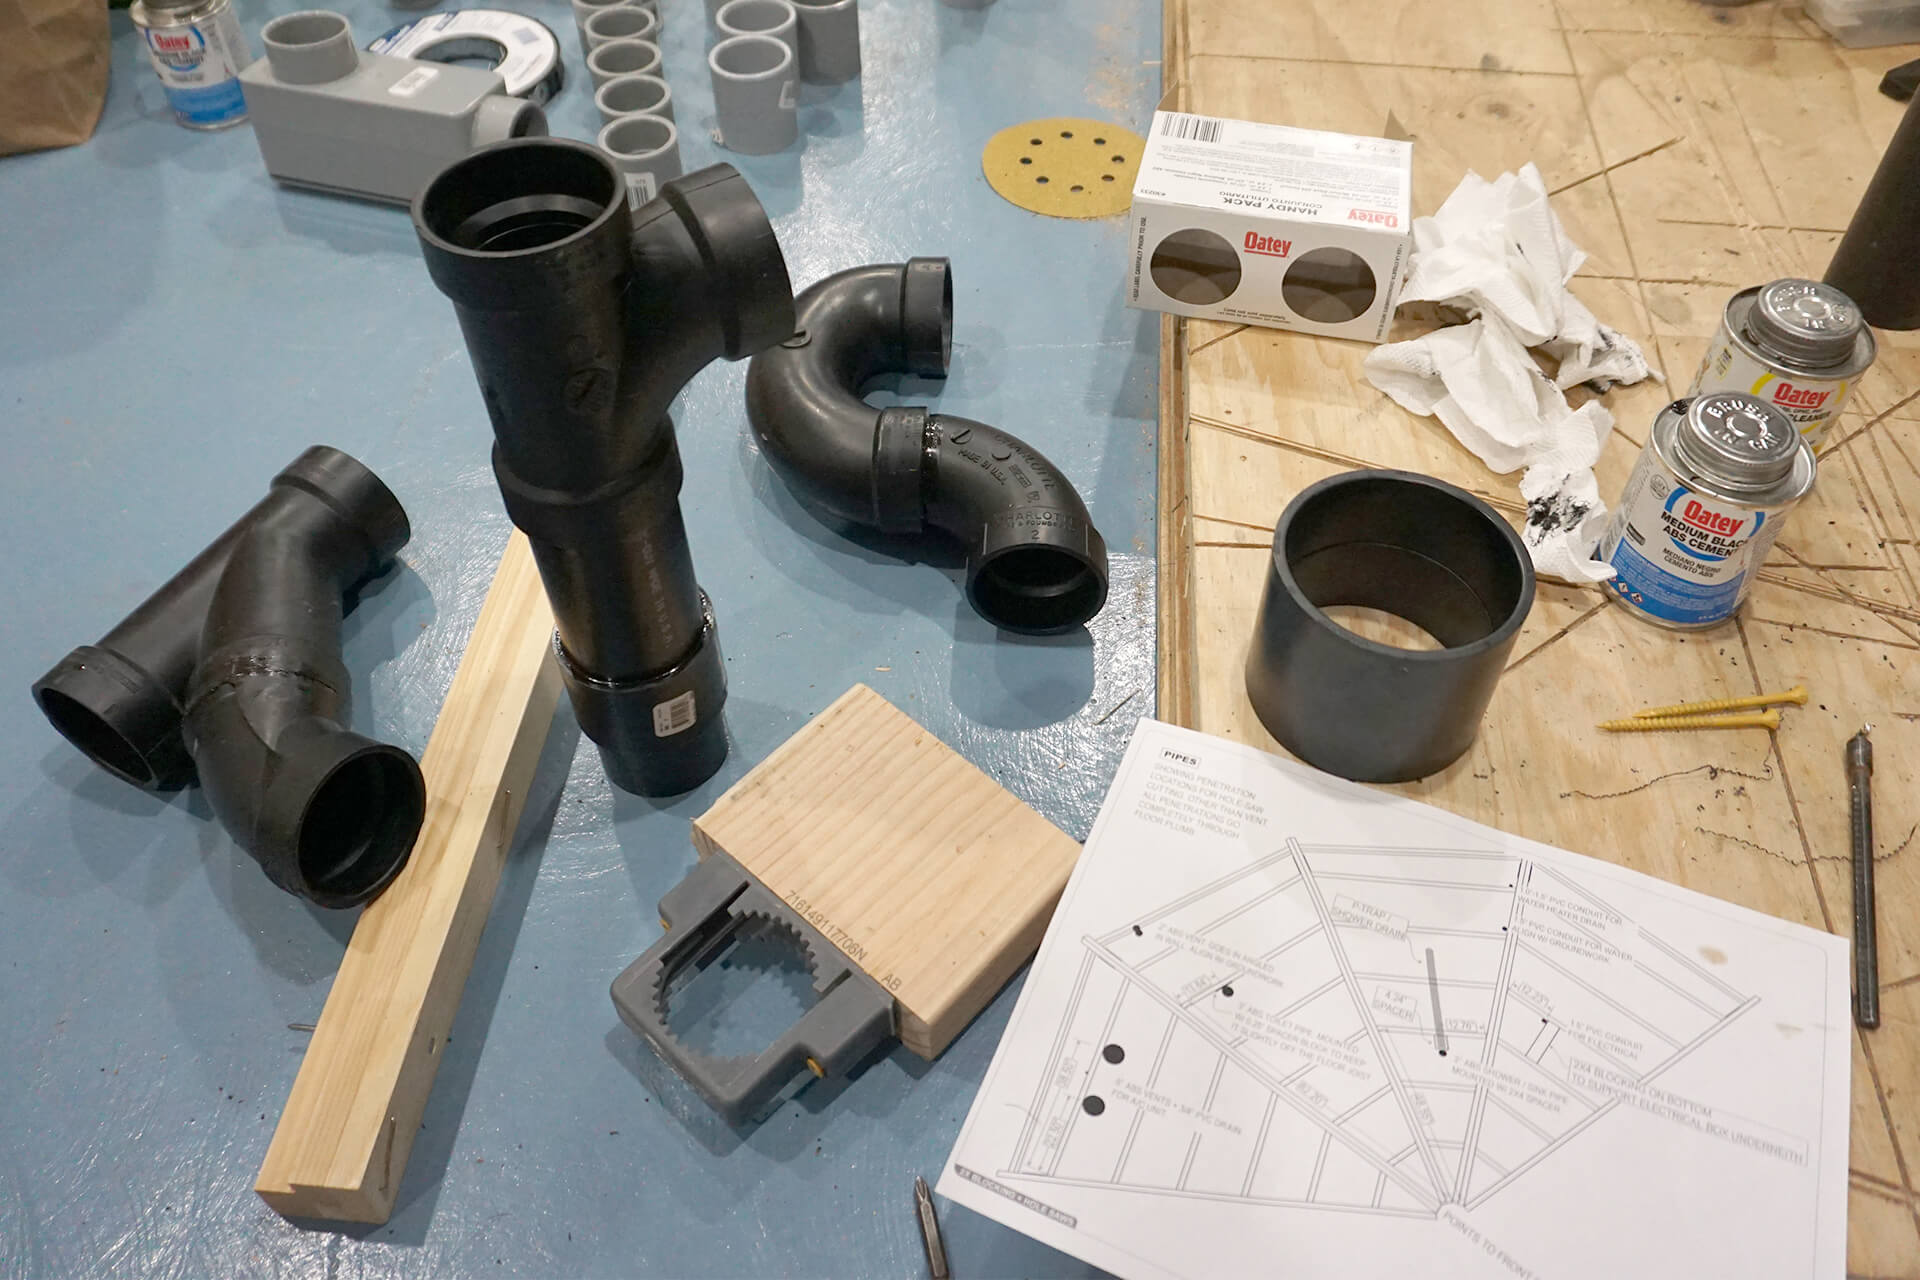
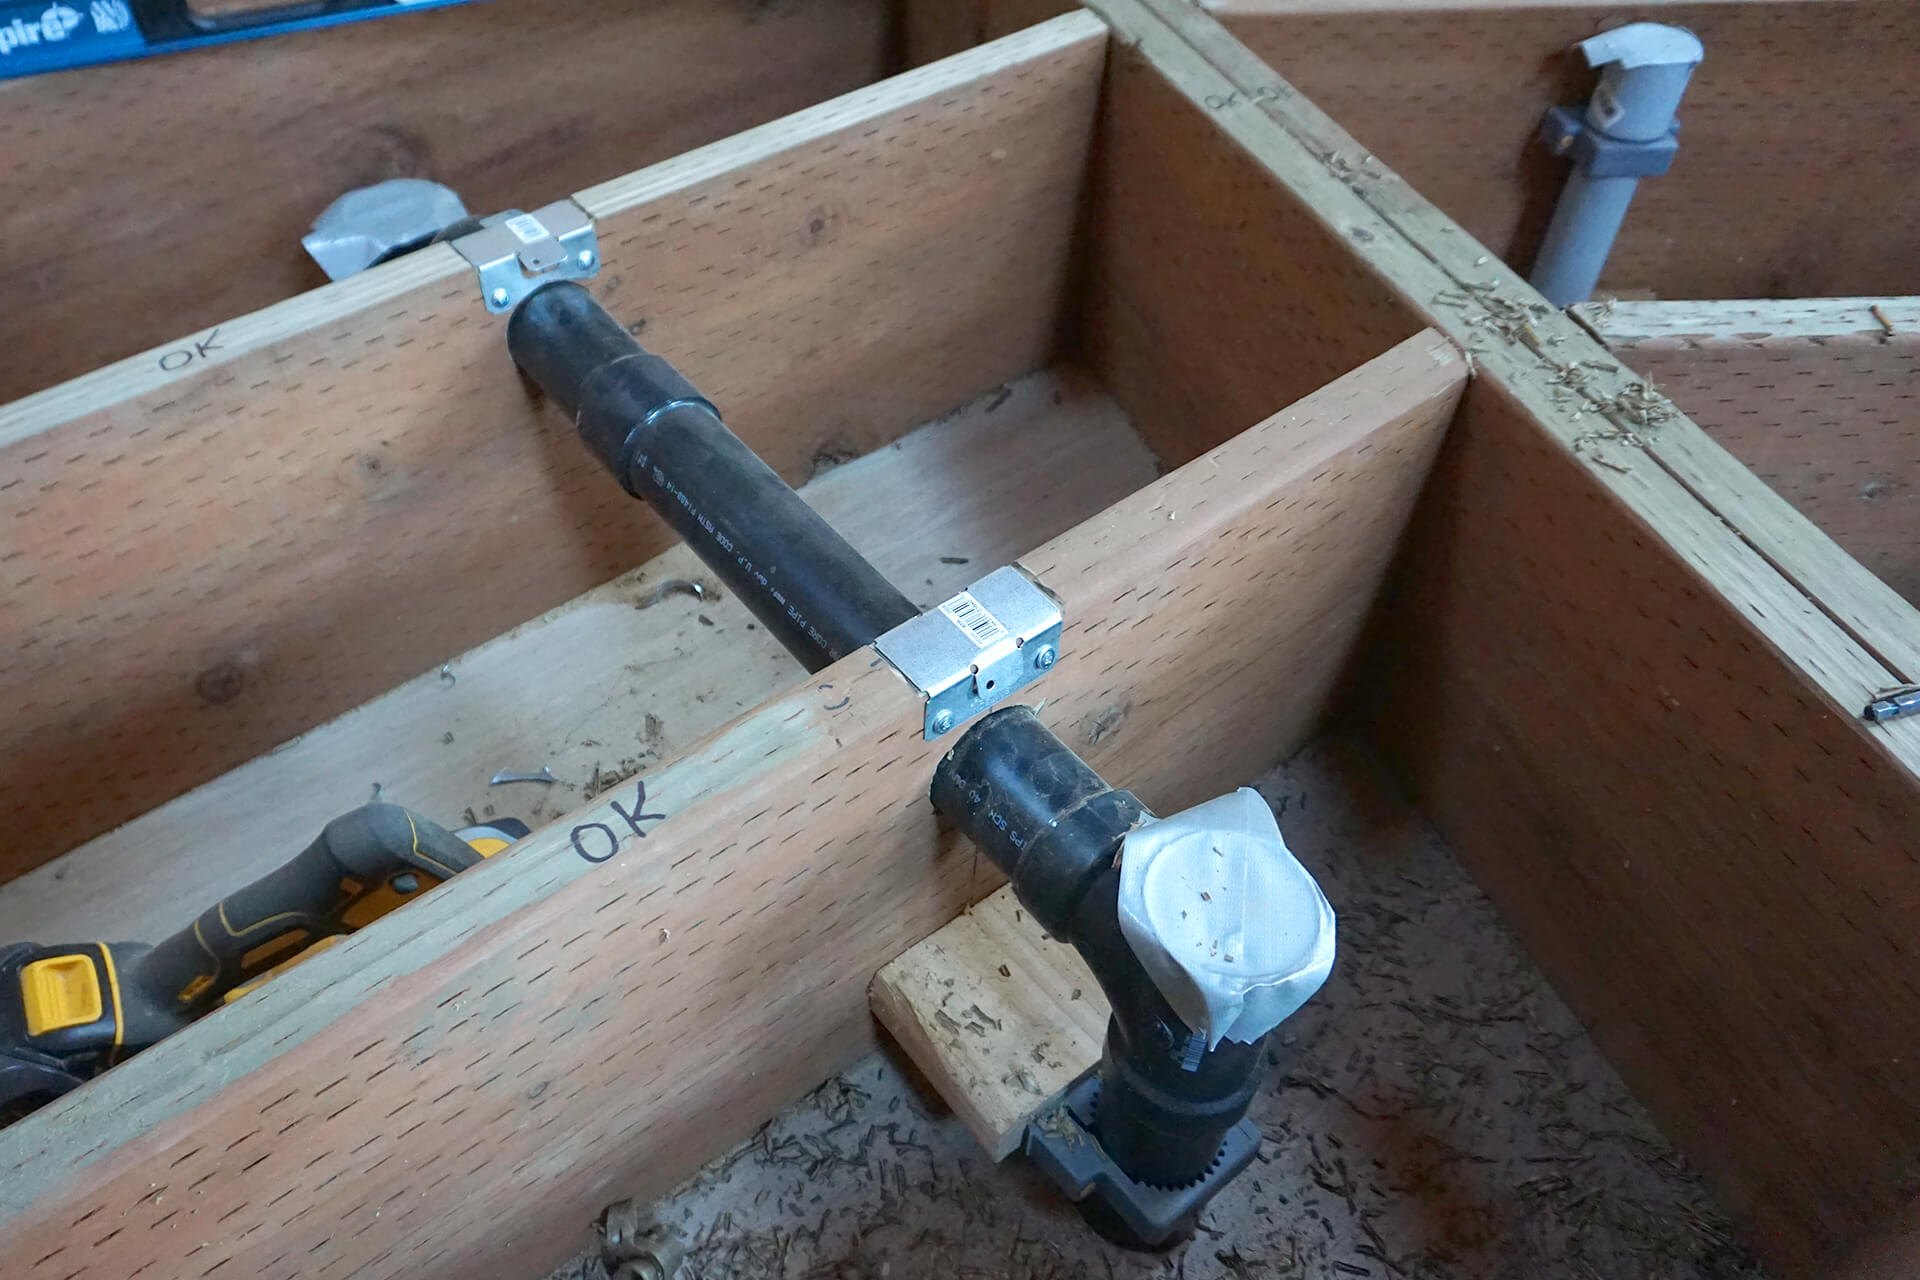
Build sub-assemblies for the shower / sink waste pipe penetration.
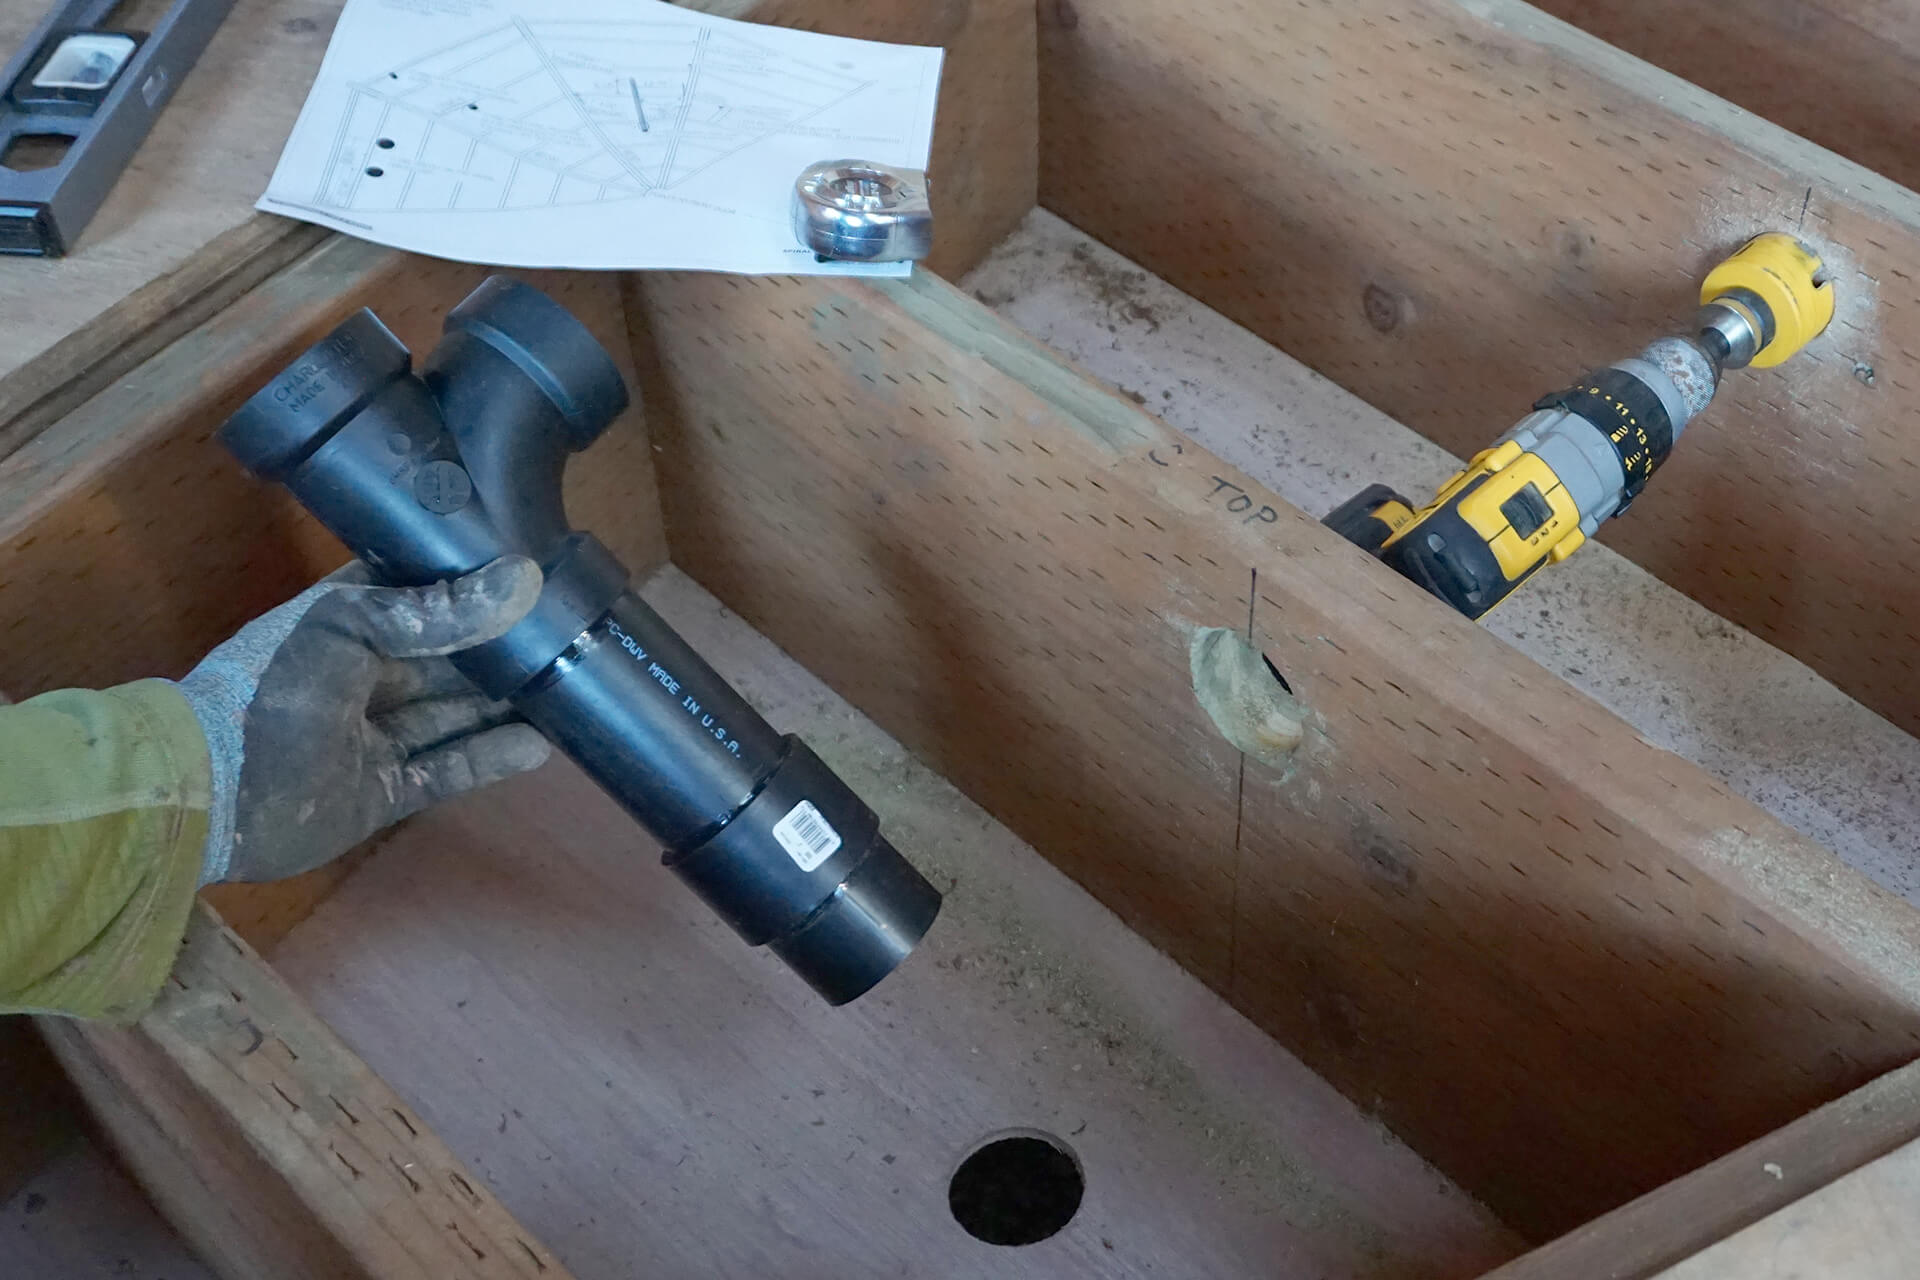
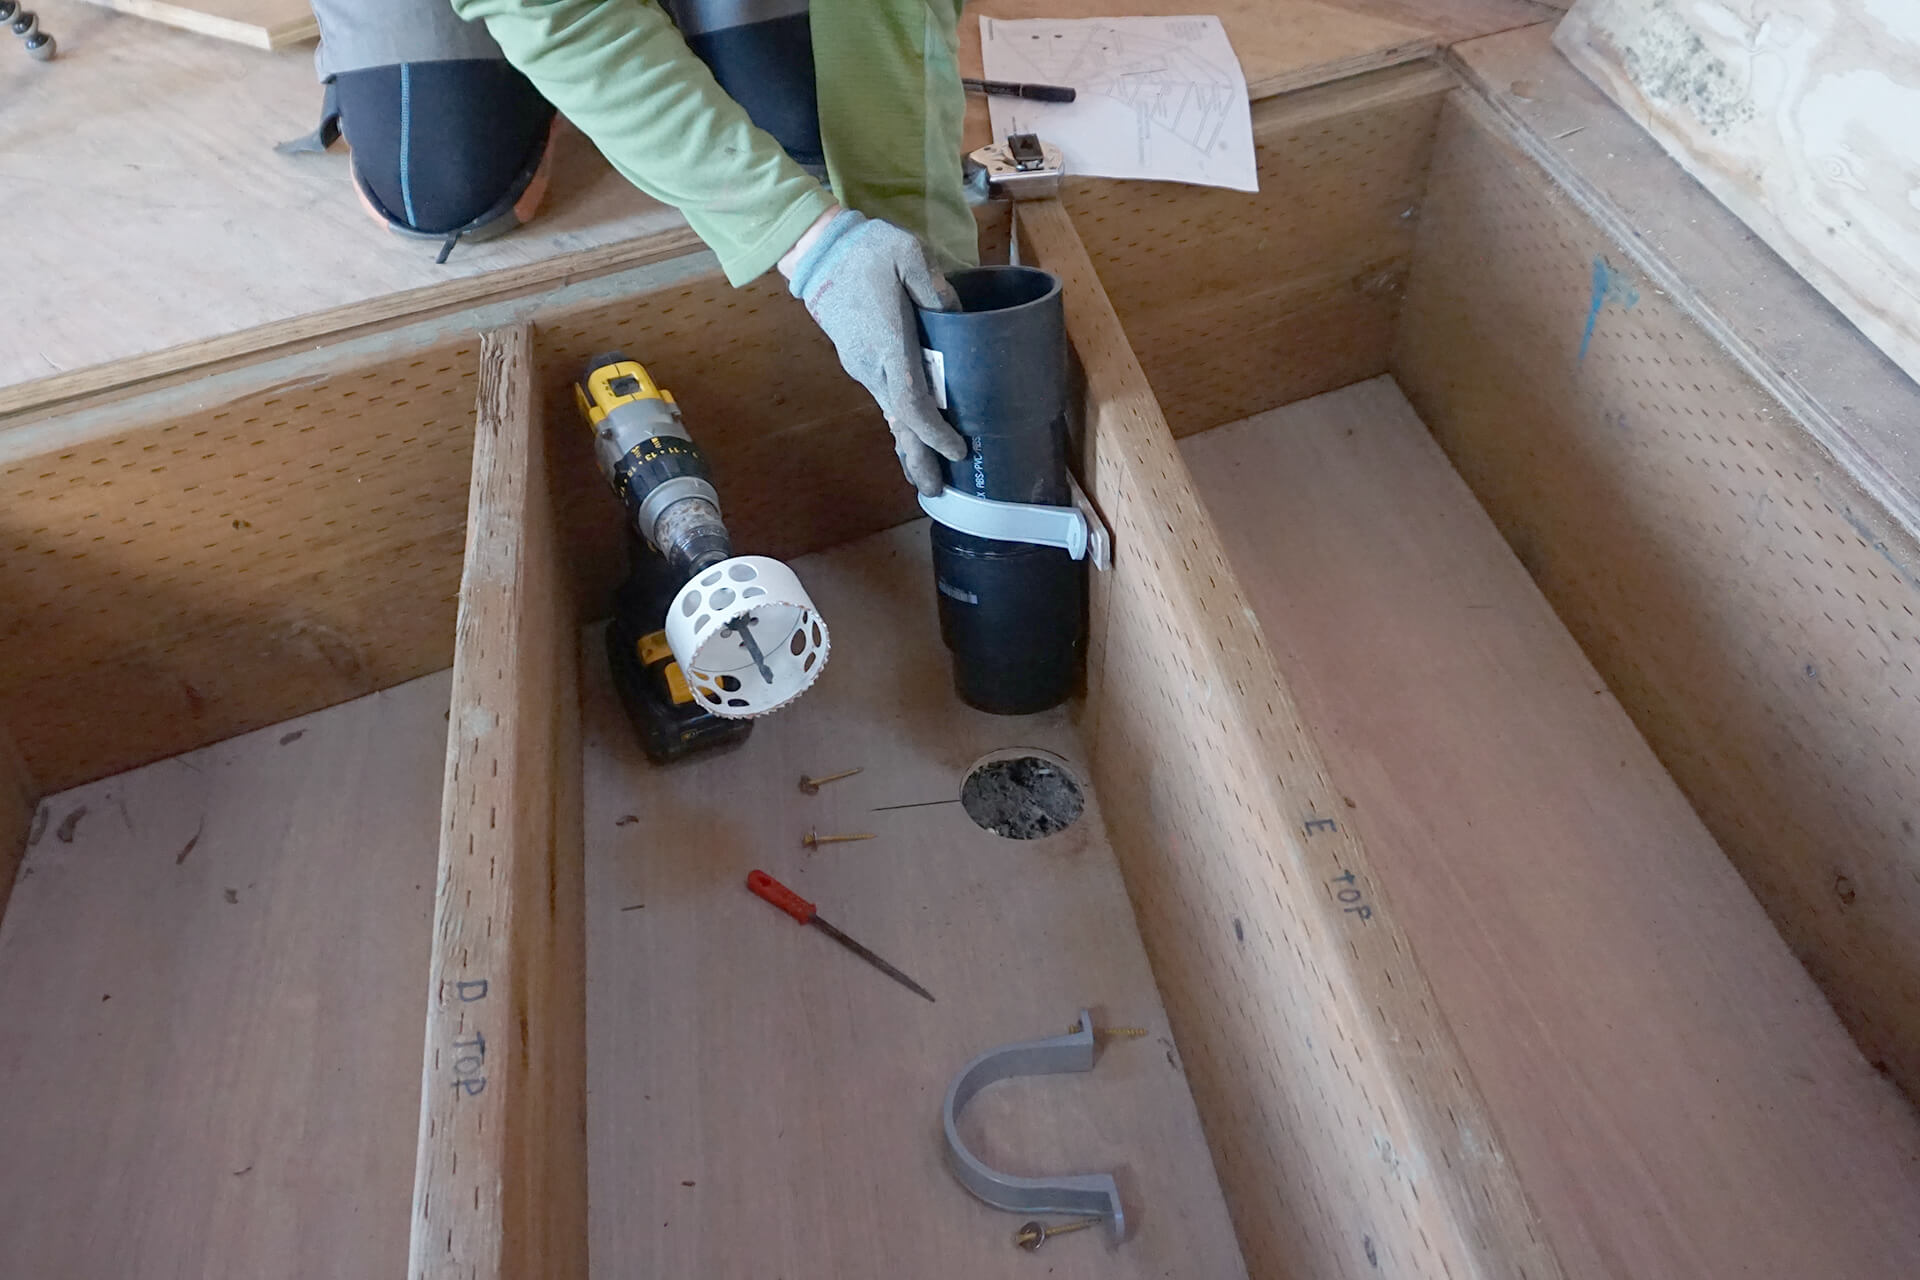
Bore holes and install the sub-assemblies. Ensure the holes are bored to maintain a proper 1/4" per foot slope for the waste pipe.
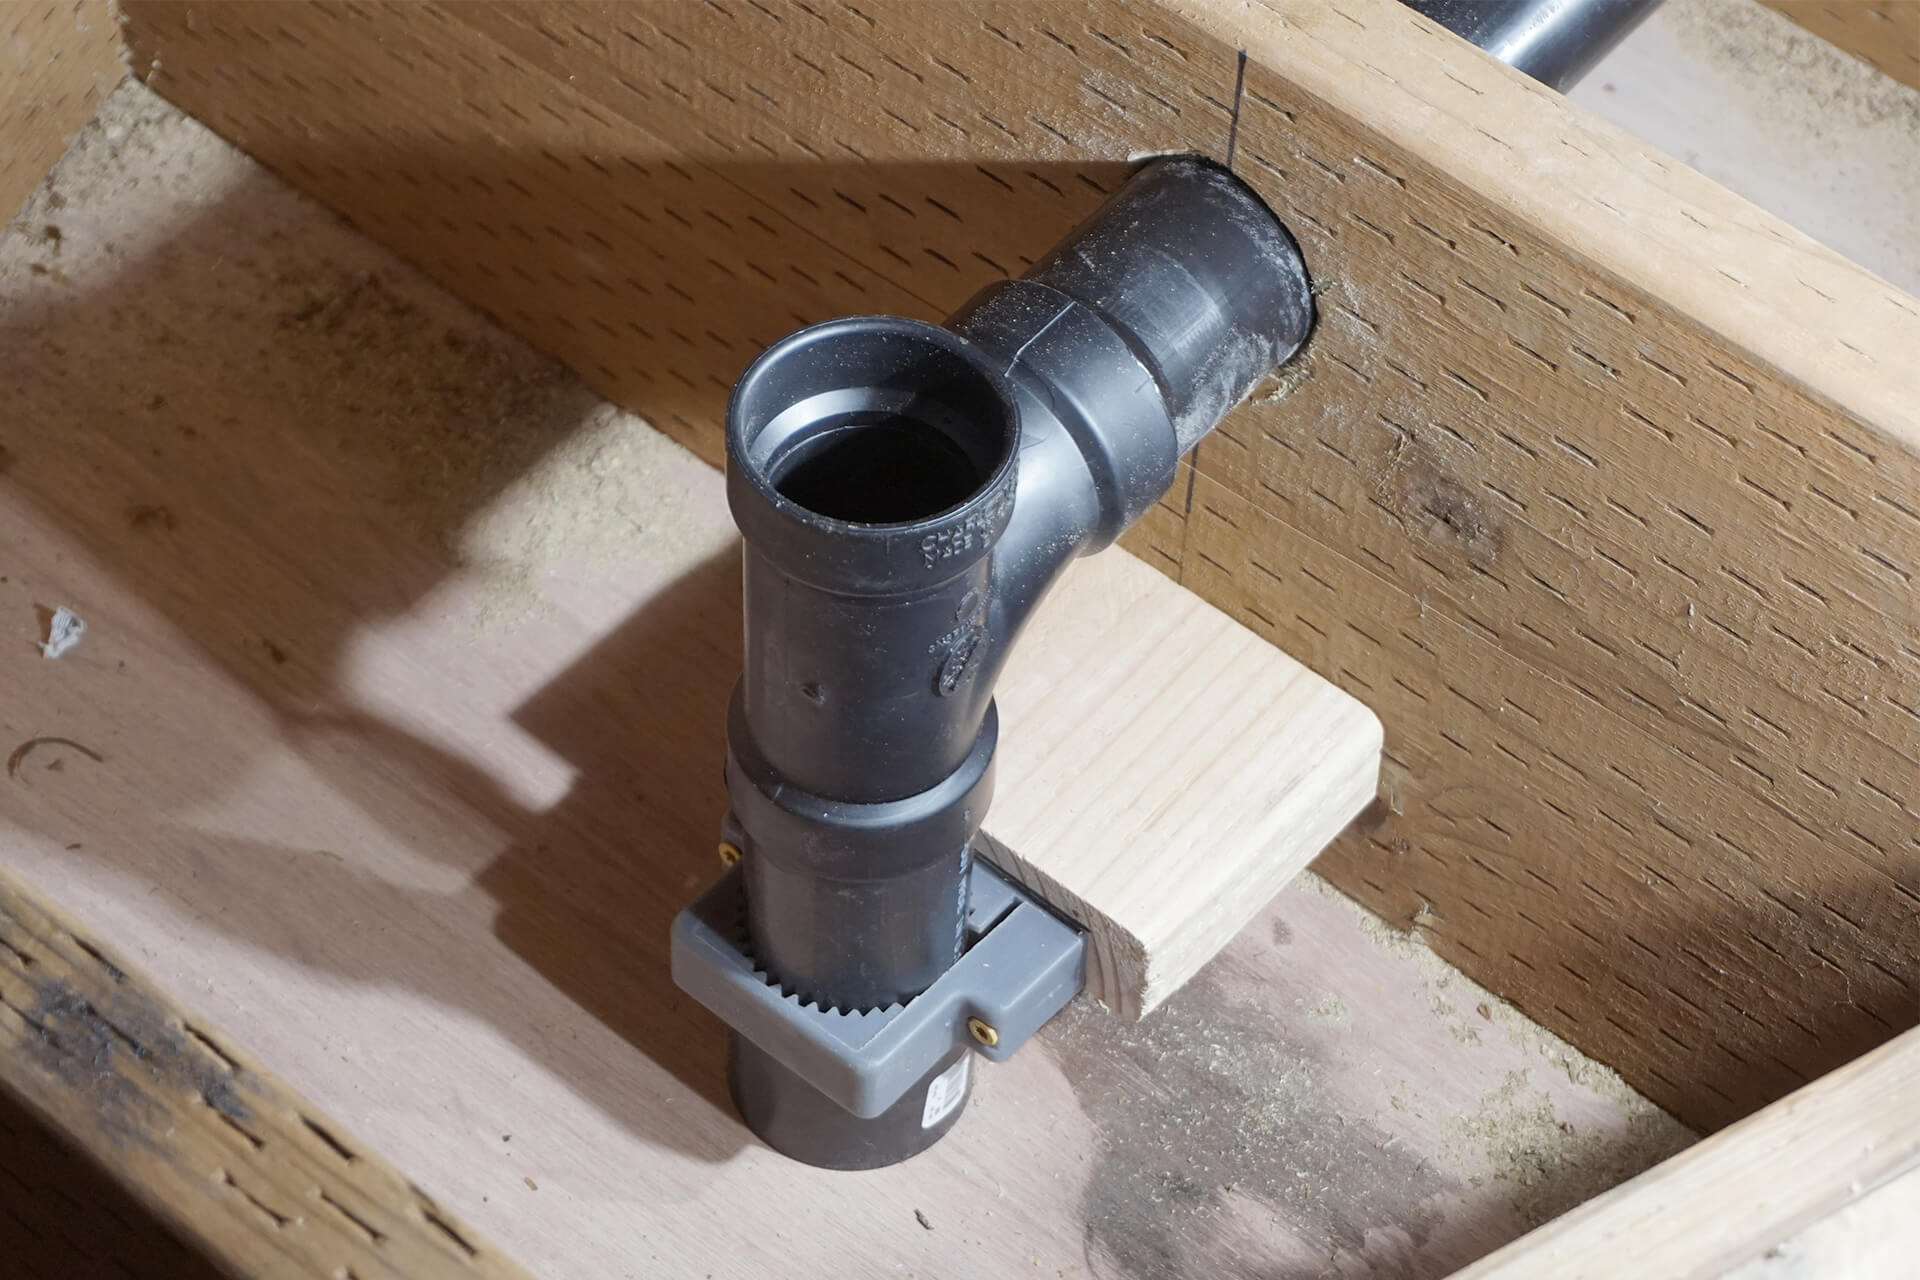
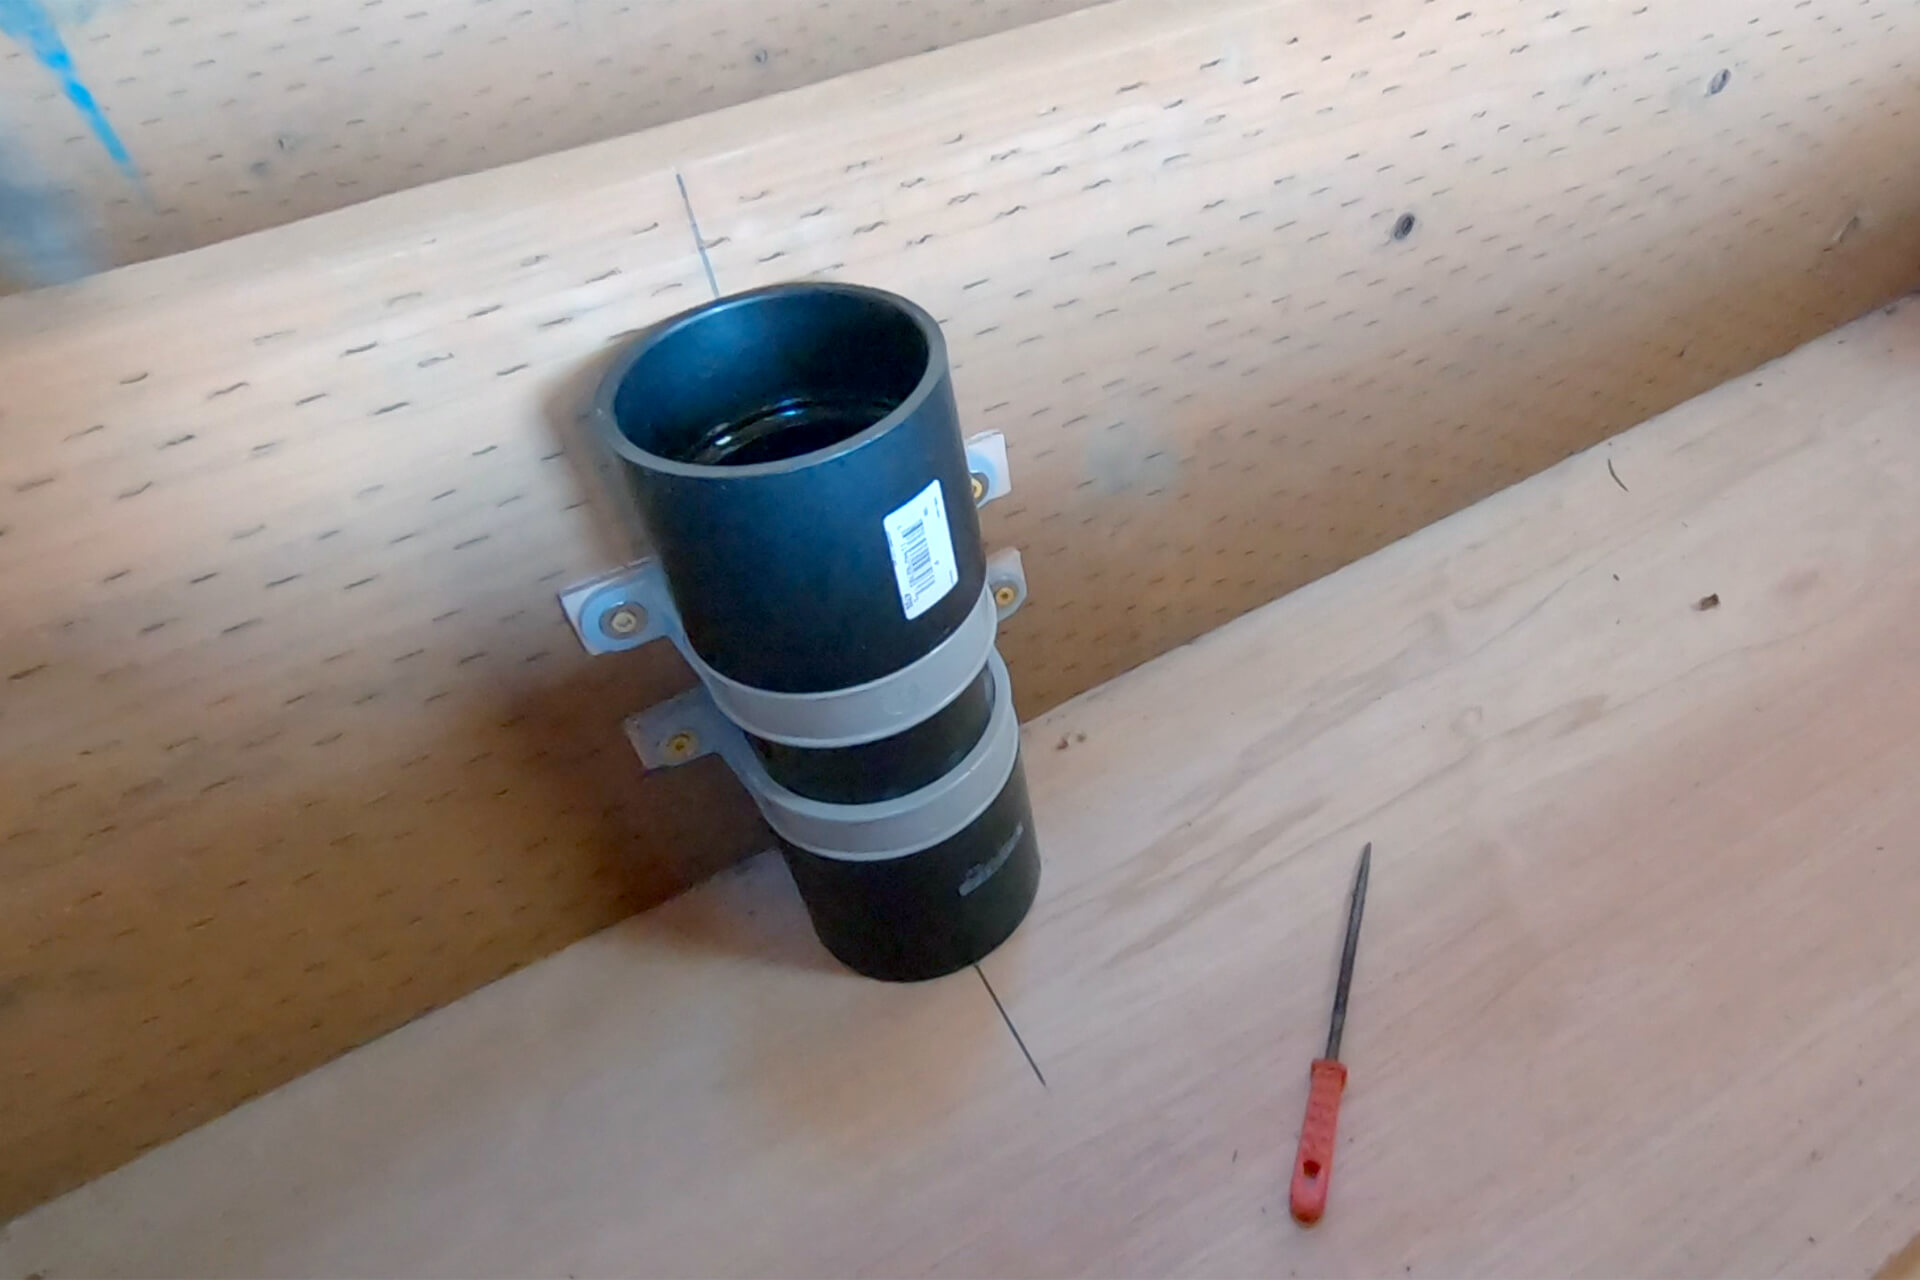
Secure the assembly in place and begin gluing.
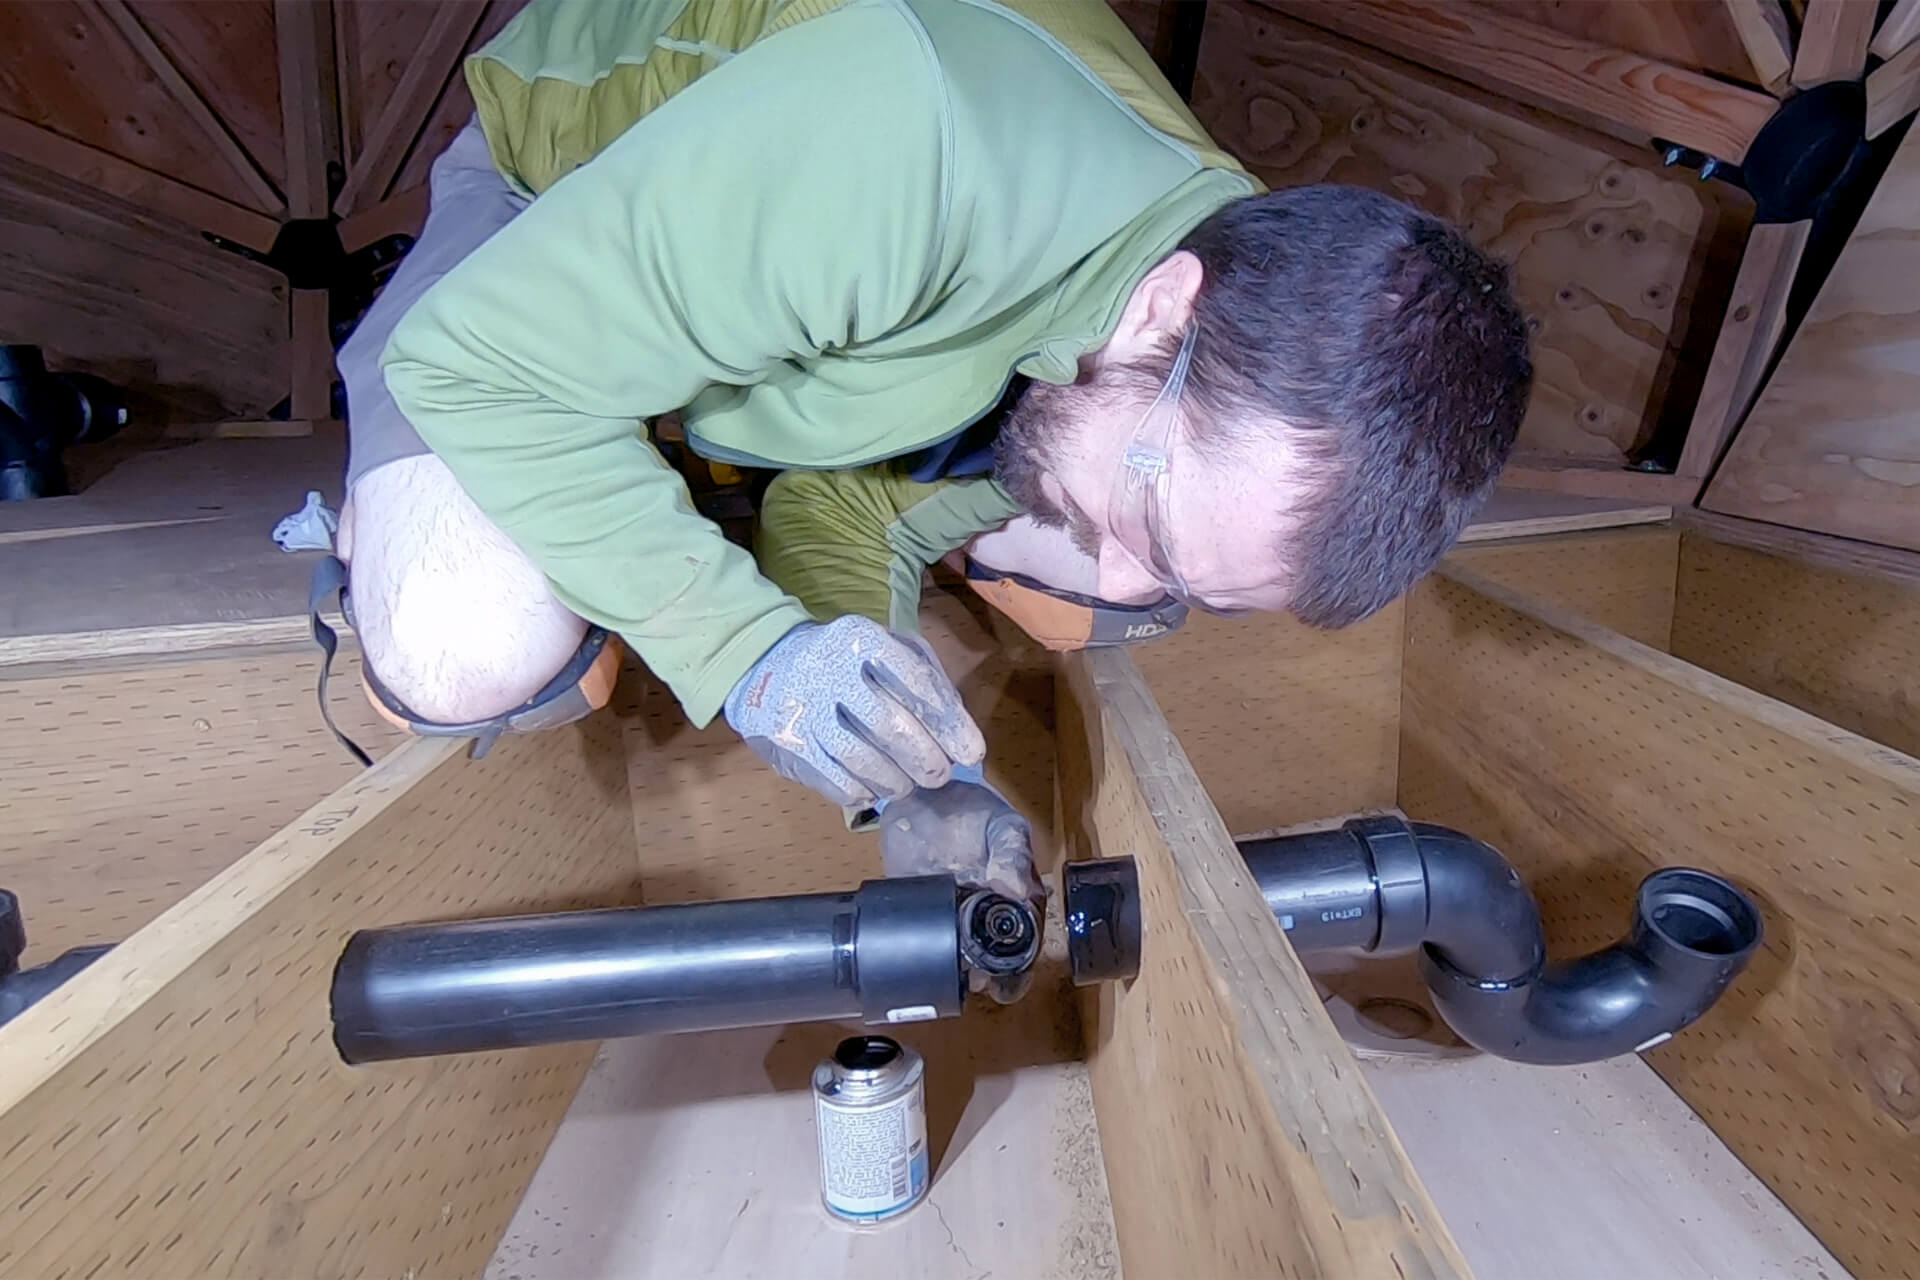
Continue gluing the assembly.
Install nail protection to floor joists. Router the top surface beforehand to ensure the metal can be installed flush. Temporarily seal the pipe openings.
Bore a hole and install the 3” ABS toilet waste pipe assembly. Ensure enough of the pipe protrudes through the floor to connect the next fitting.
Use straps and shims to ensure a solid connection to the floor joist. Temporarily seal the opening with tape (not shown).
Bore a hole from inside and from below to fit the 2" ABS vent pipe, which should be angled with the wall and terminate directly above the in-ground waste pipe stub-out.
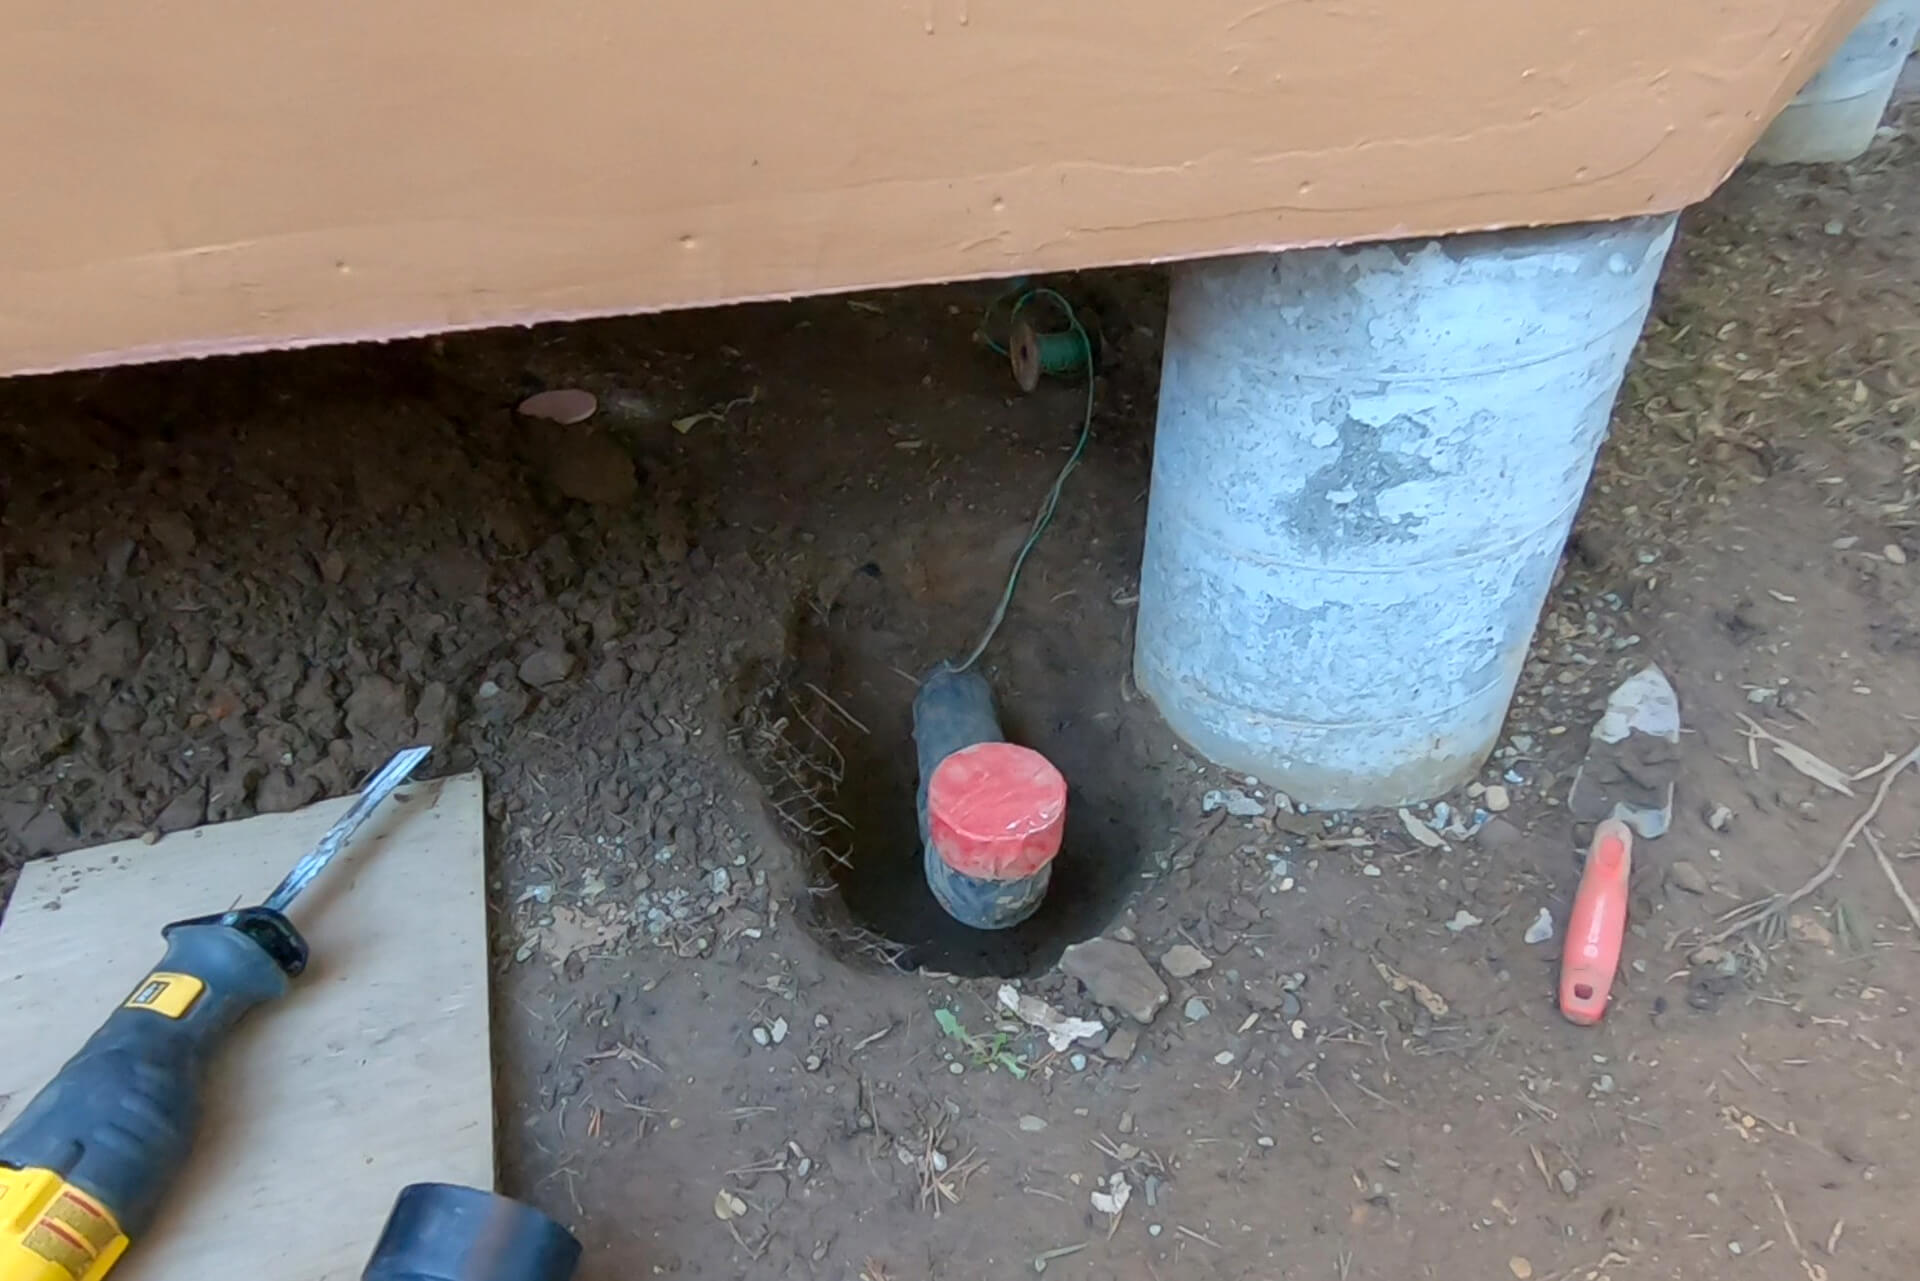
Adjust the location of the waste pipe stub-out if necessary. As shown, it is unearthed and needs to be shortened slightly to better align with the vent pipe.
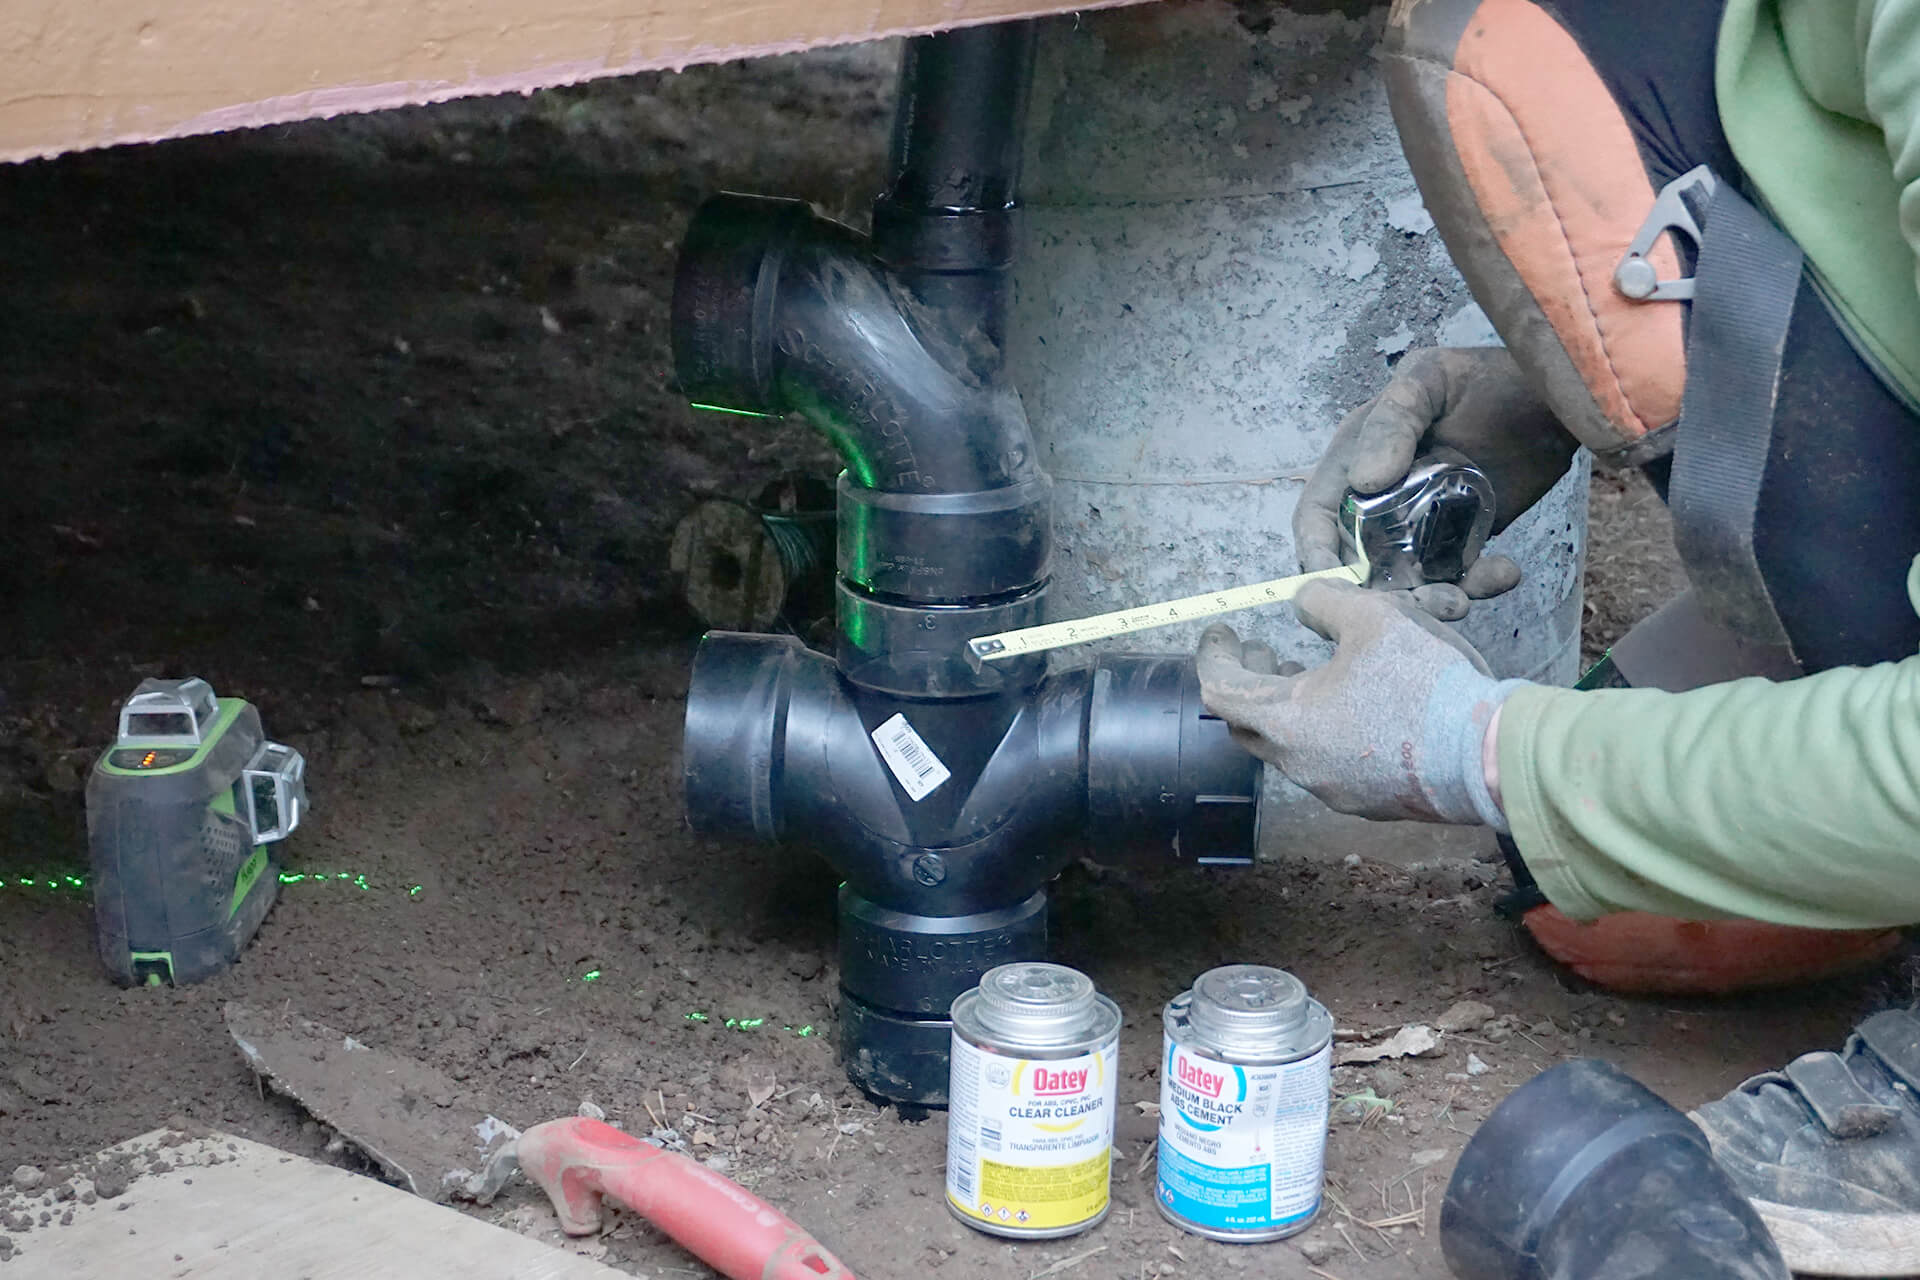
Dry fit, then glue the main waste pipe assembly, connecting the stub-out to the vent above. Use a laser to properly align the various fittings.
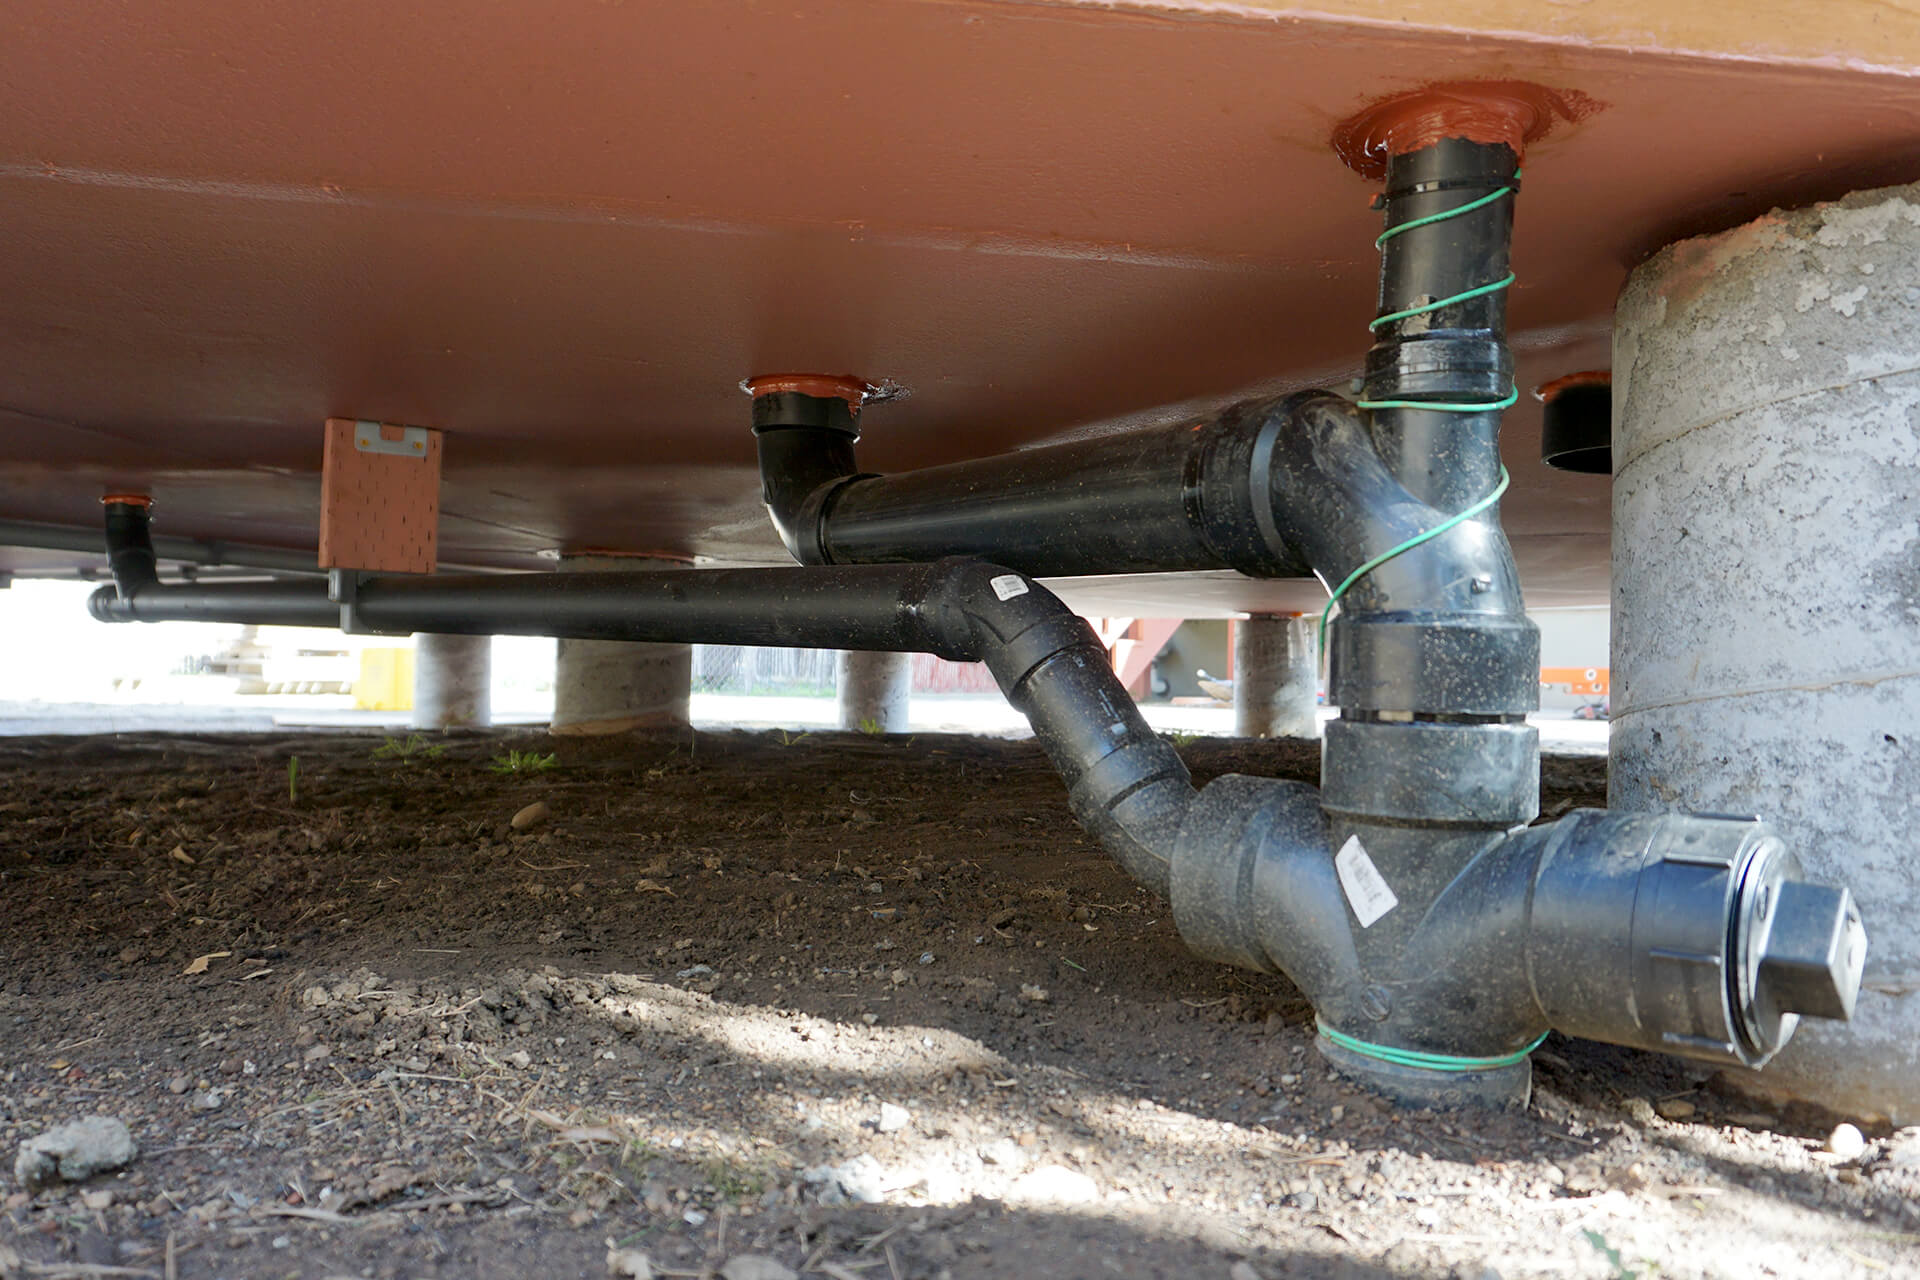
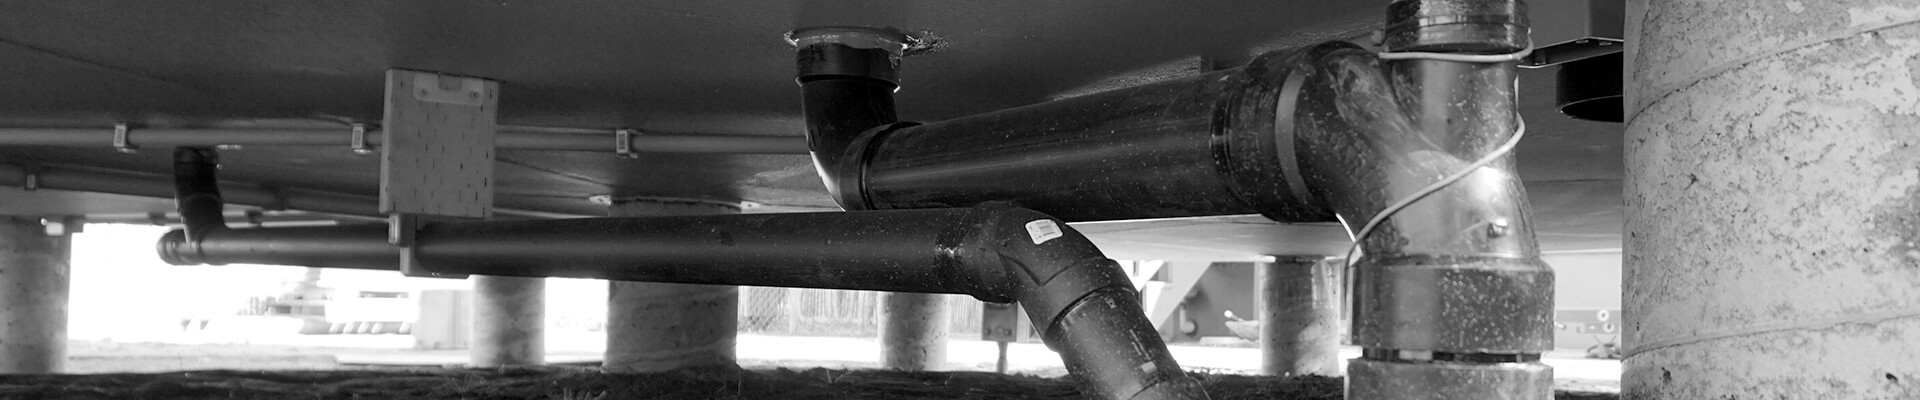
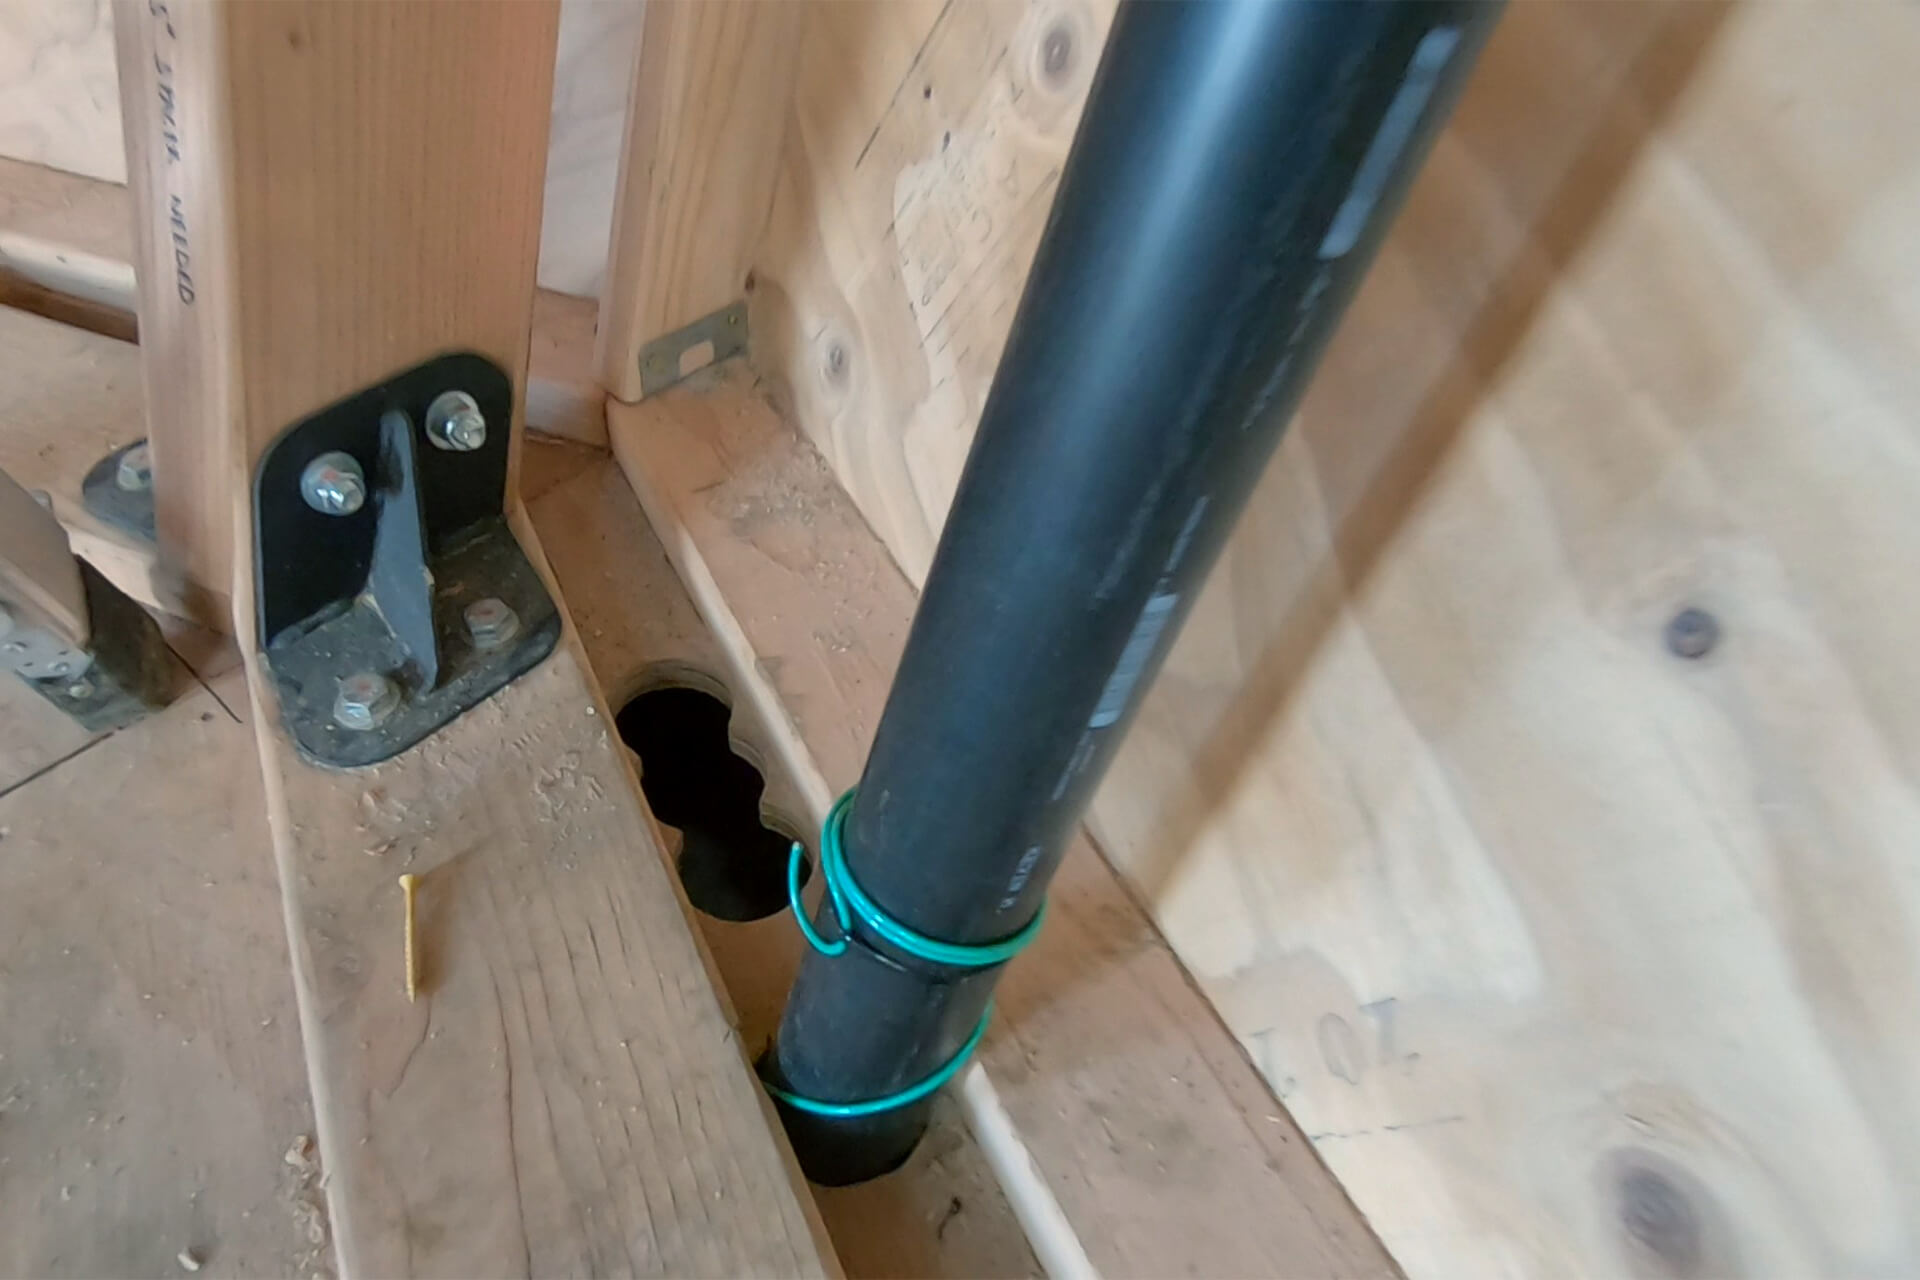
Connect the toilet and shower/sink waste pipes. Ensure all penetrations are sealed, the pipe is supported, and the green tracer wire terminates inside the building.
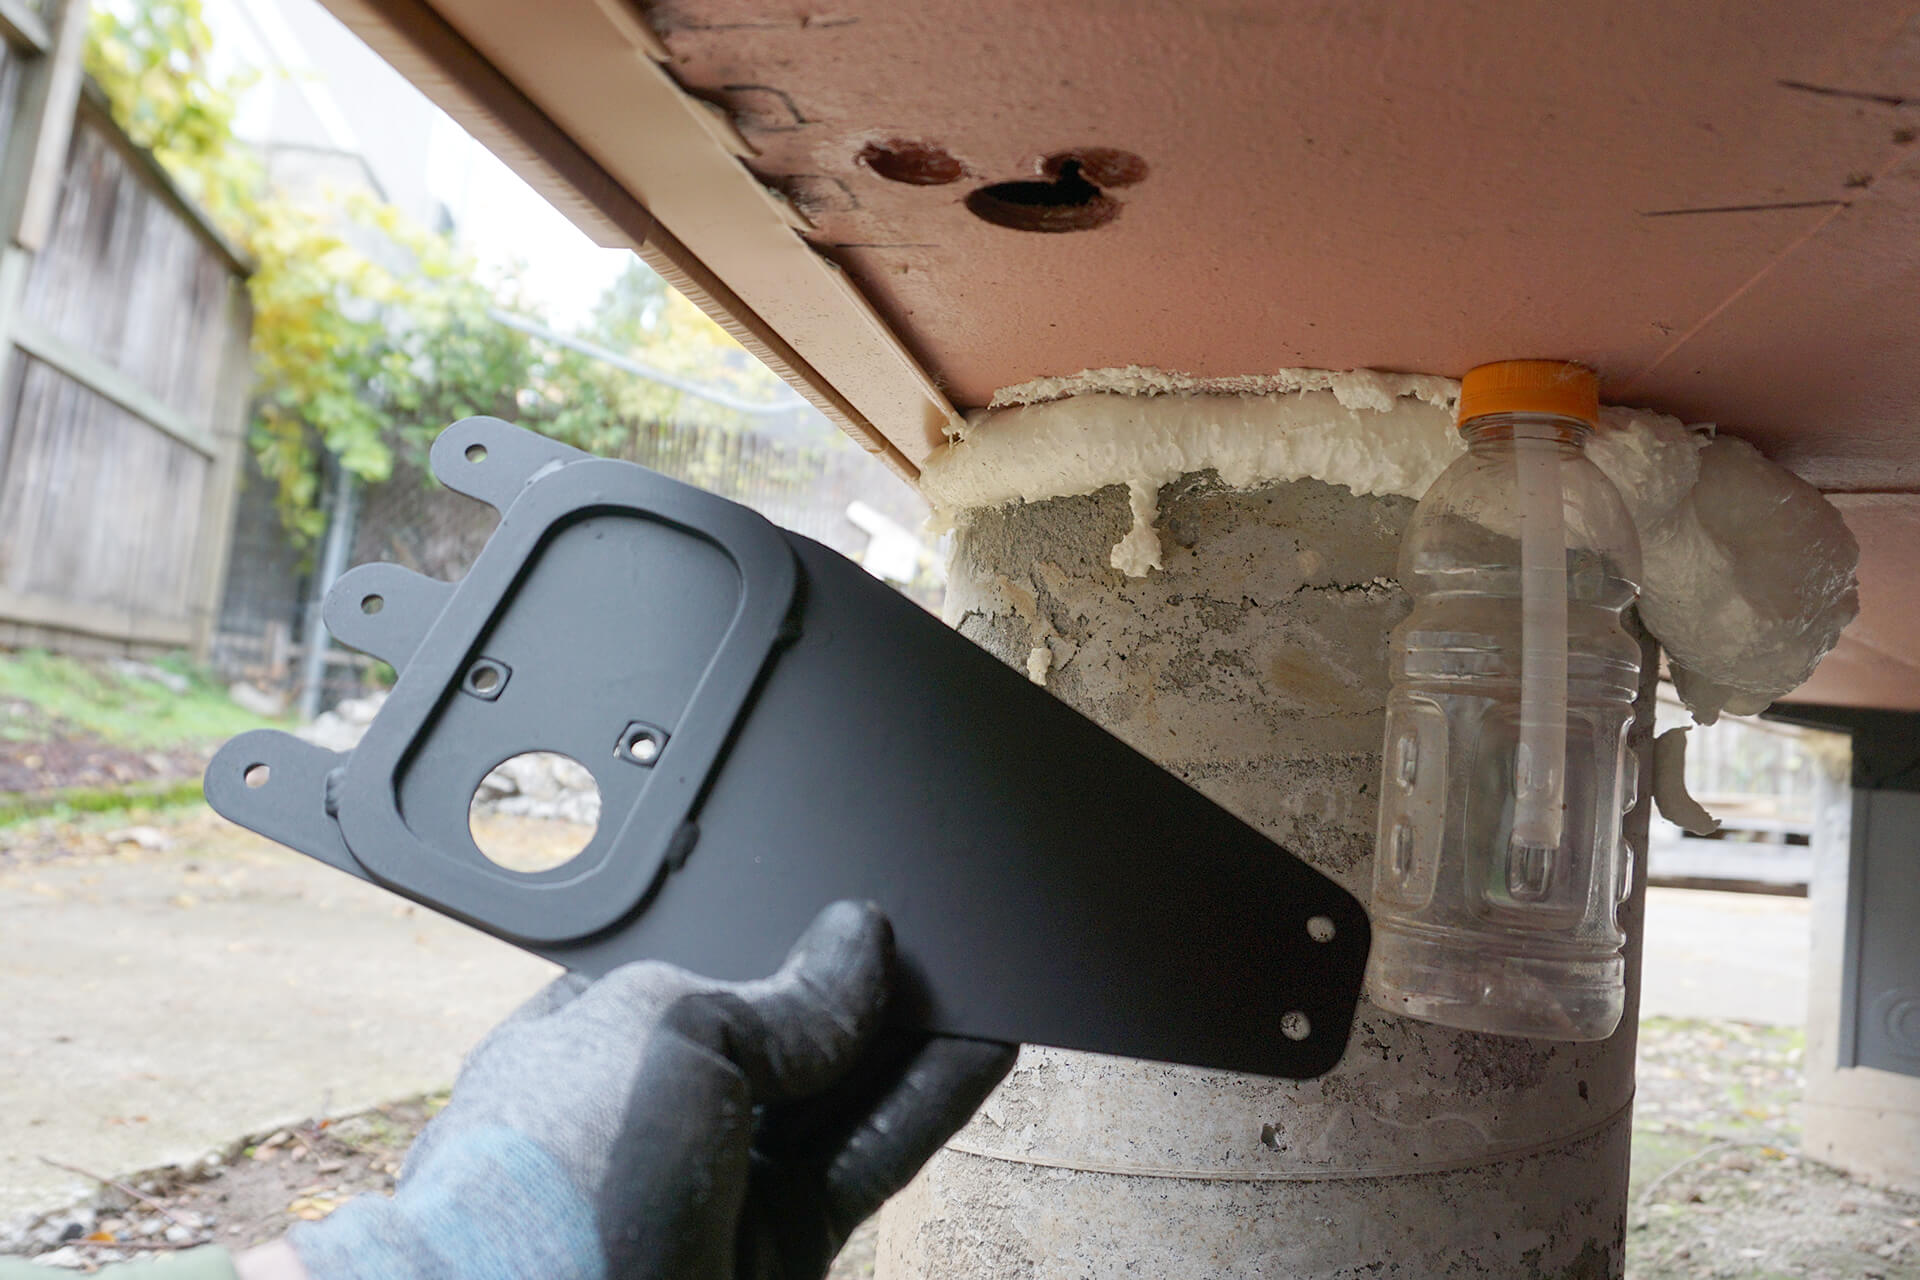
Optional: Install a hose bib. A custom steel attachment bracket is shown here to ensure a secure, wiggle-free hose bib connection.
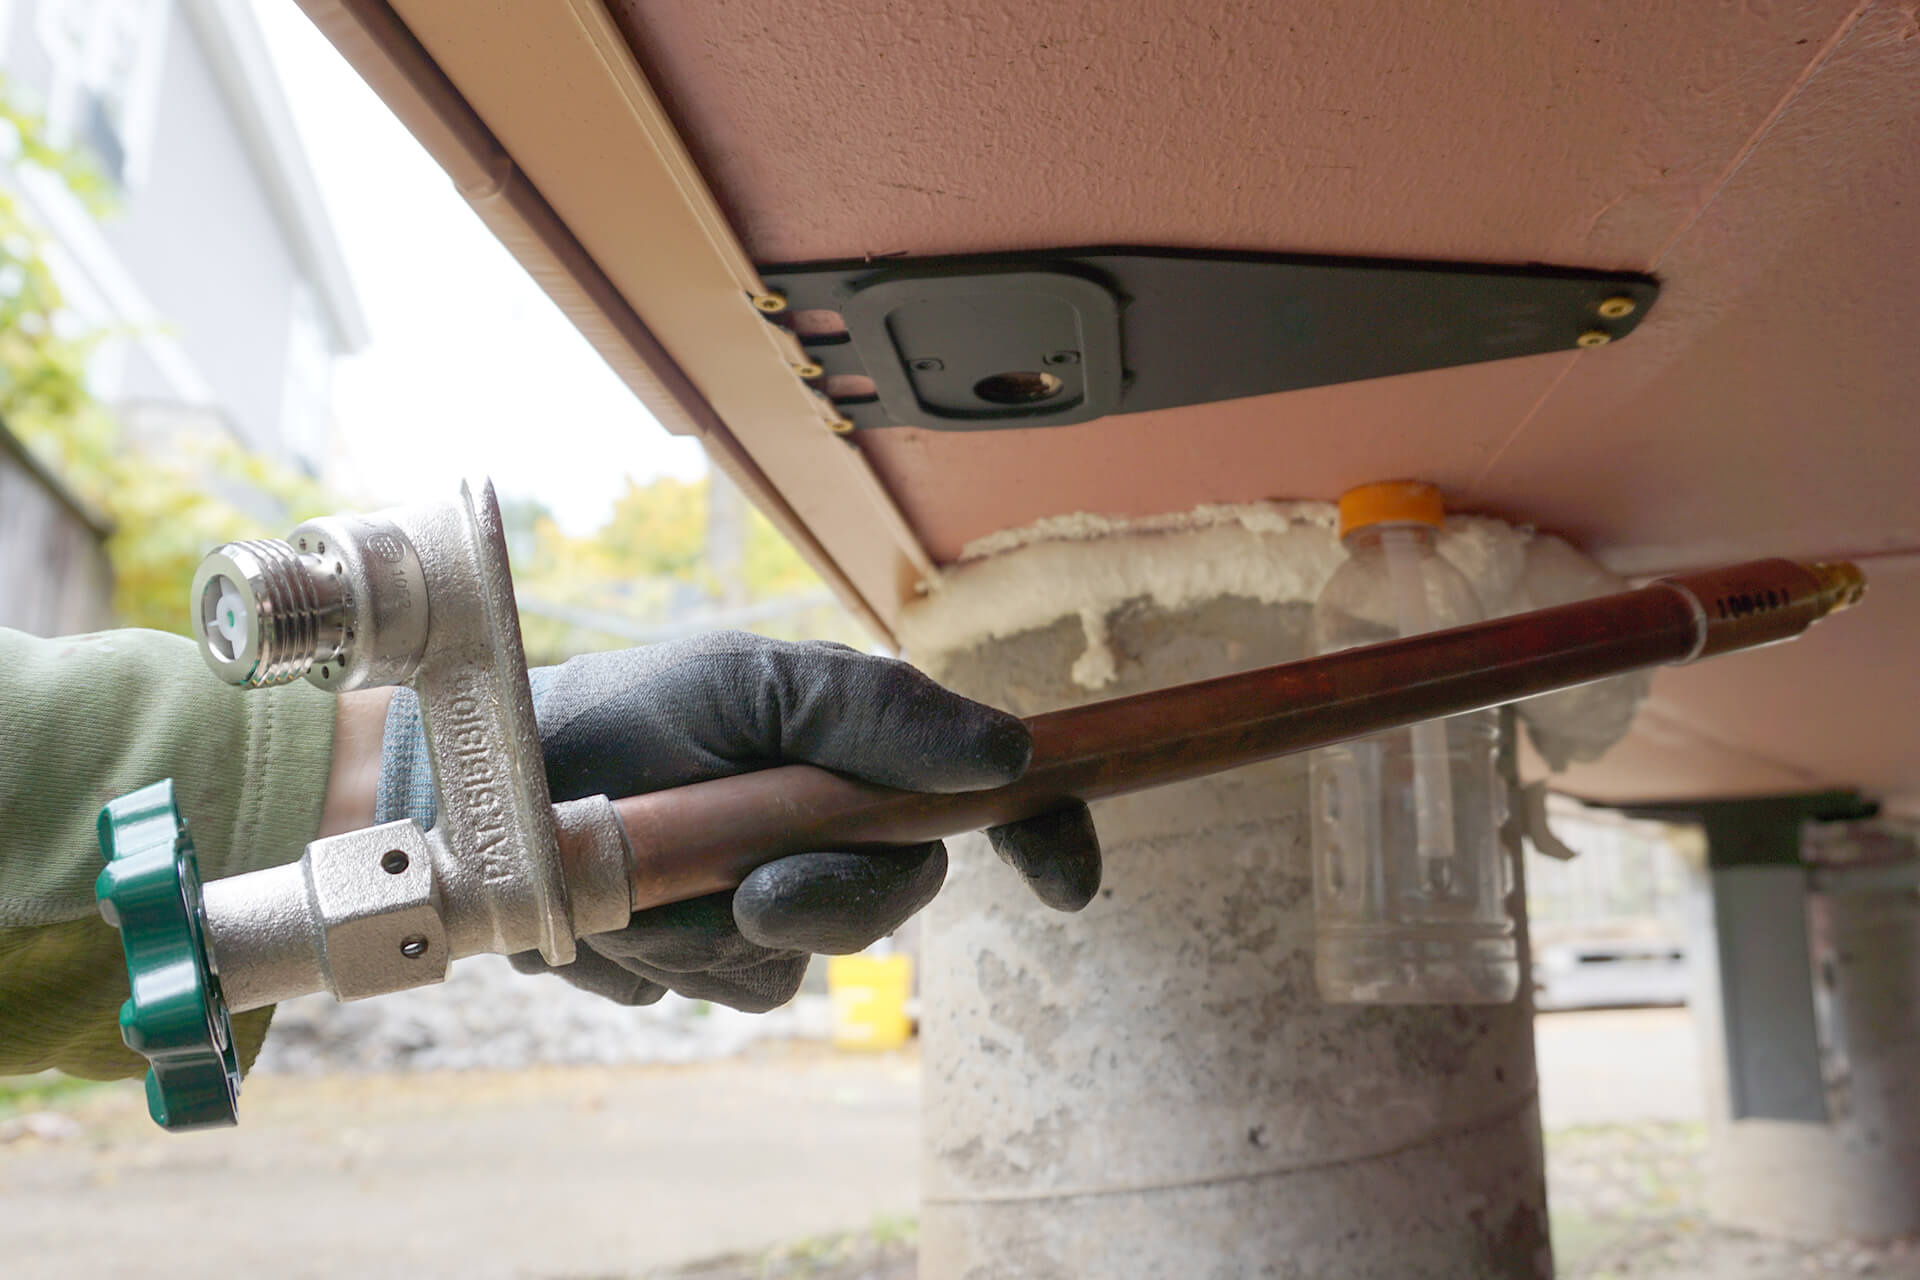
Pictured is one of the best hose bibs money can buy. This model features a long shaft to prevent the valve from freezing and is designed to auto-drain upon shut-off.
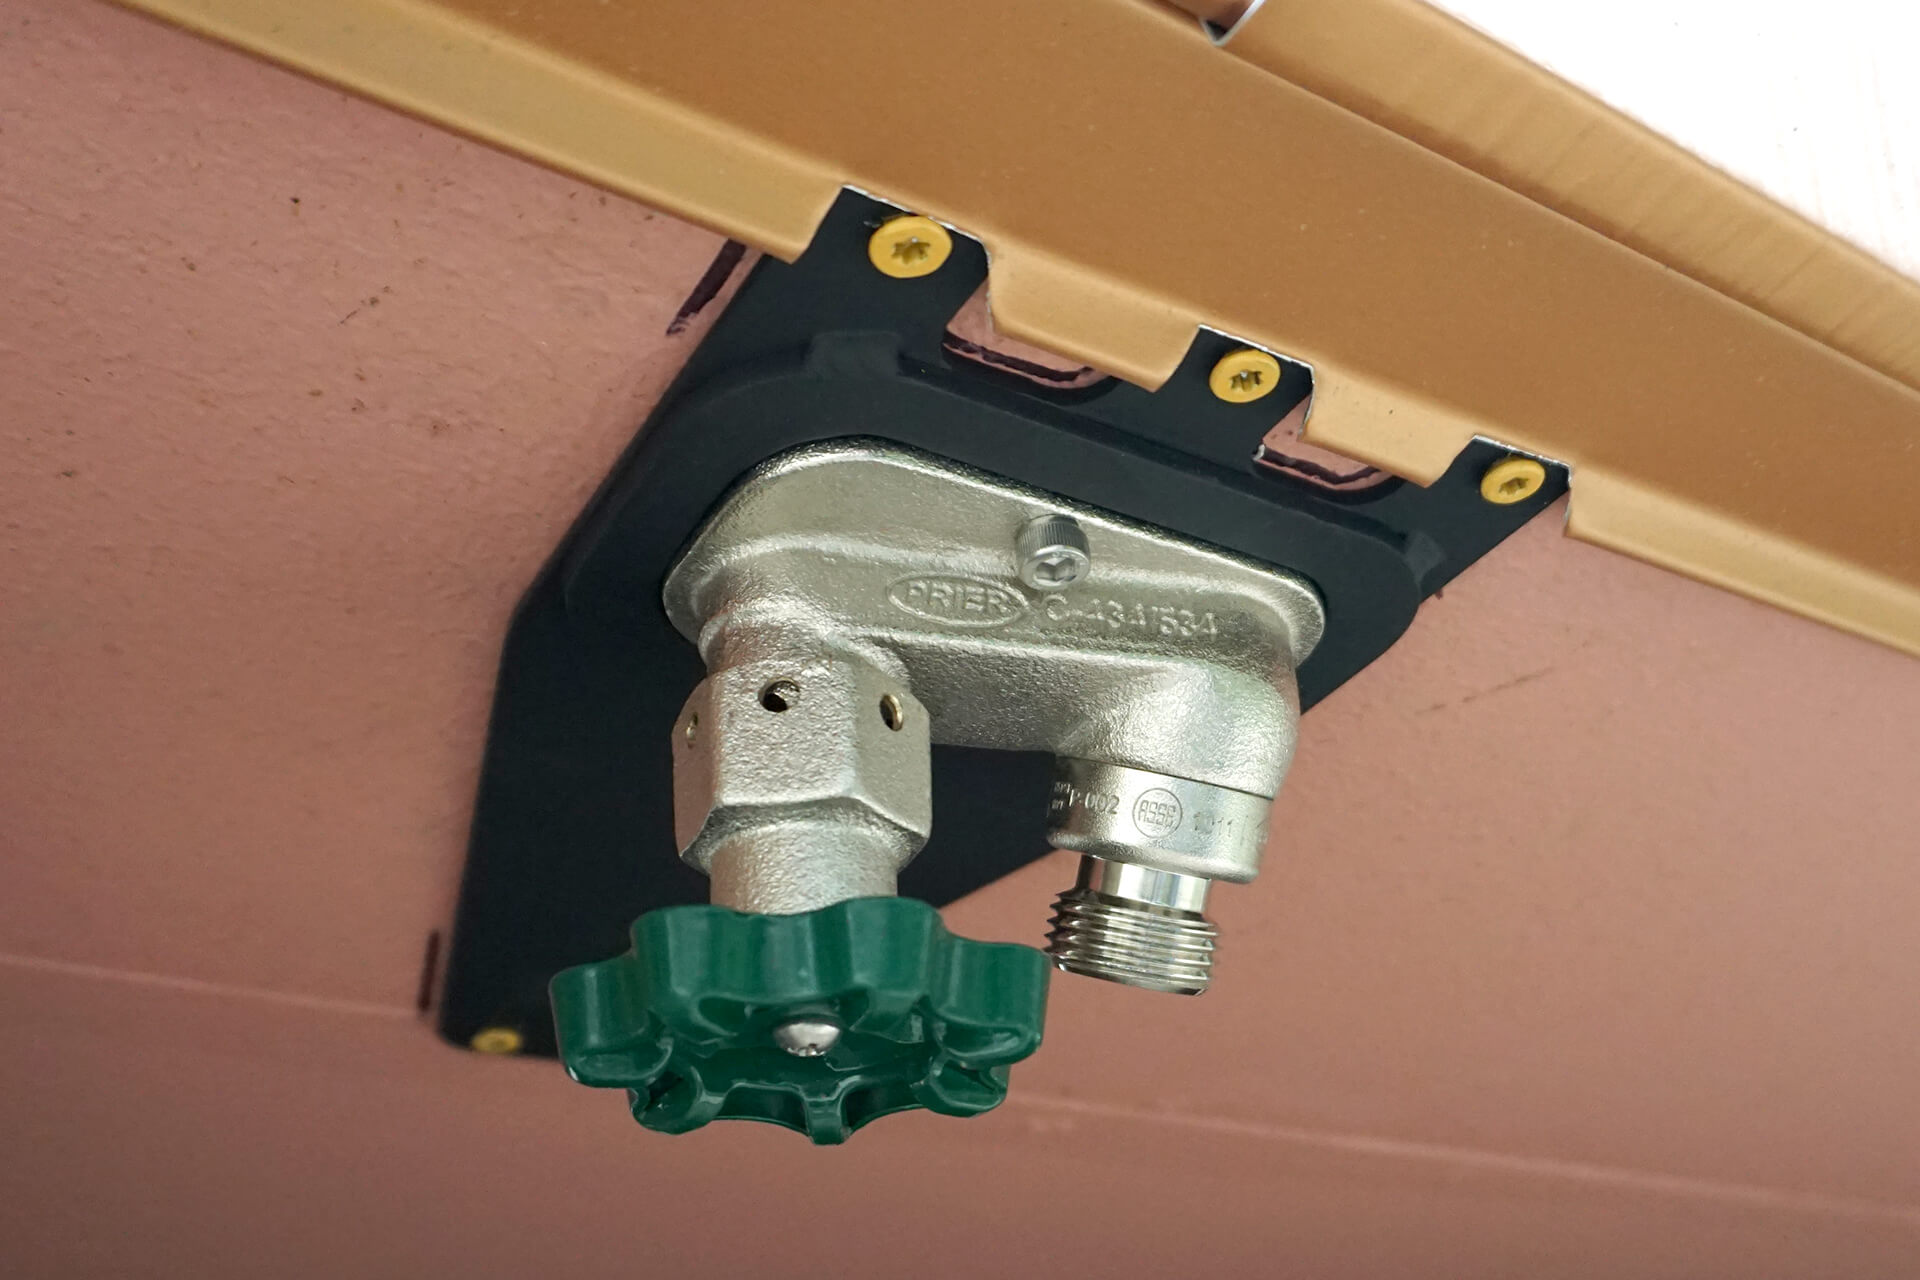
Detail shot showing the completed installation from the outside. In hindsight, a dual (hot and cold) hose bib would have been the better choice for an optional outdoor shower.
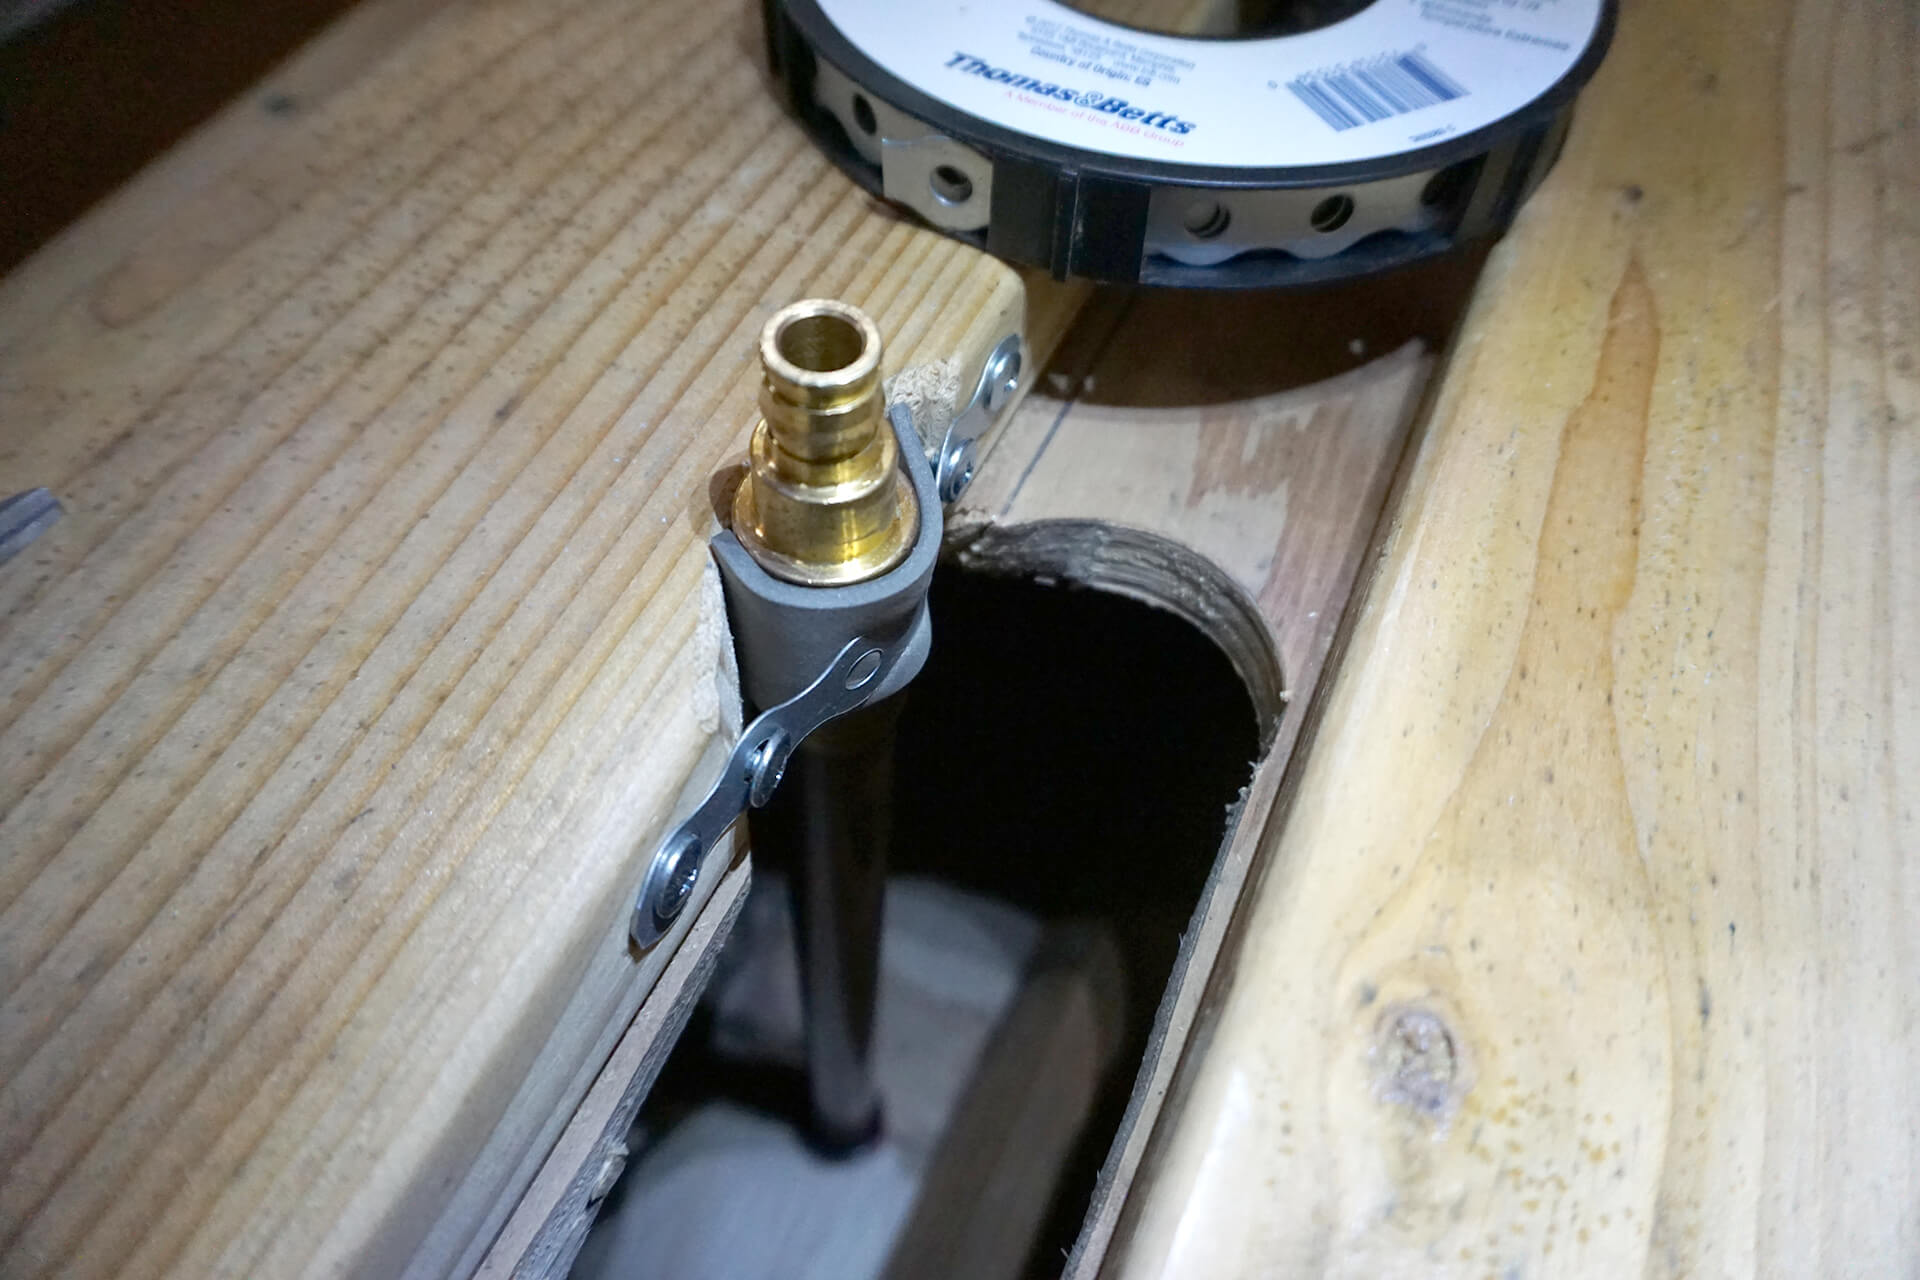
Ensure the fitting end is securely fastened to the framing and remains accessible. Temporarily cover the fitting with a tube and tape (not shown).
Next Step