
Drywall – Finishing
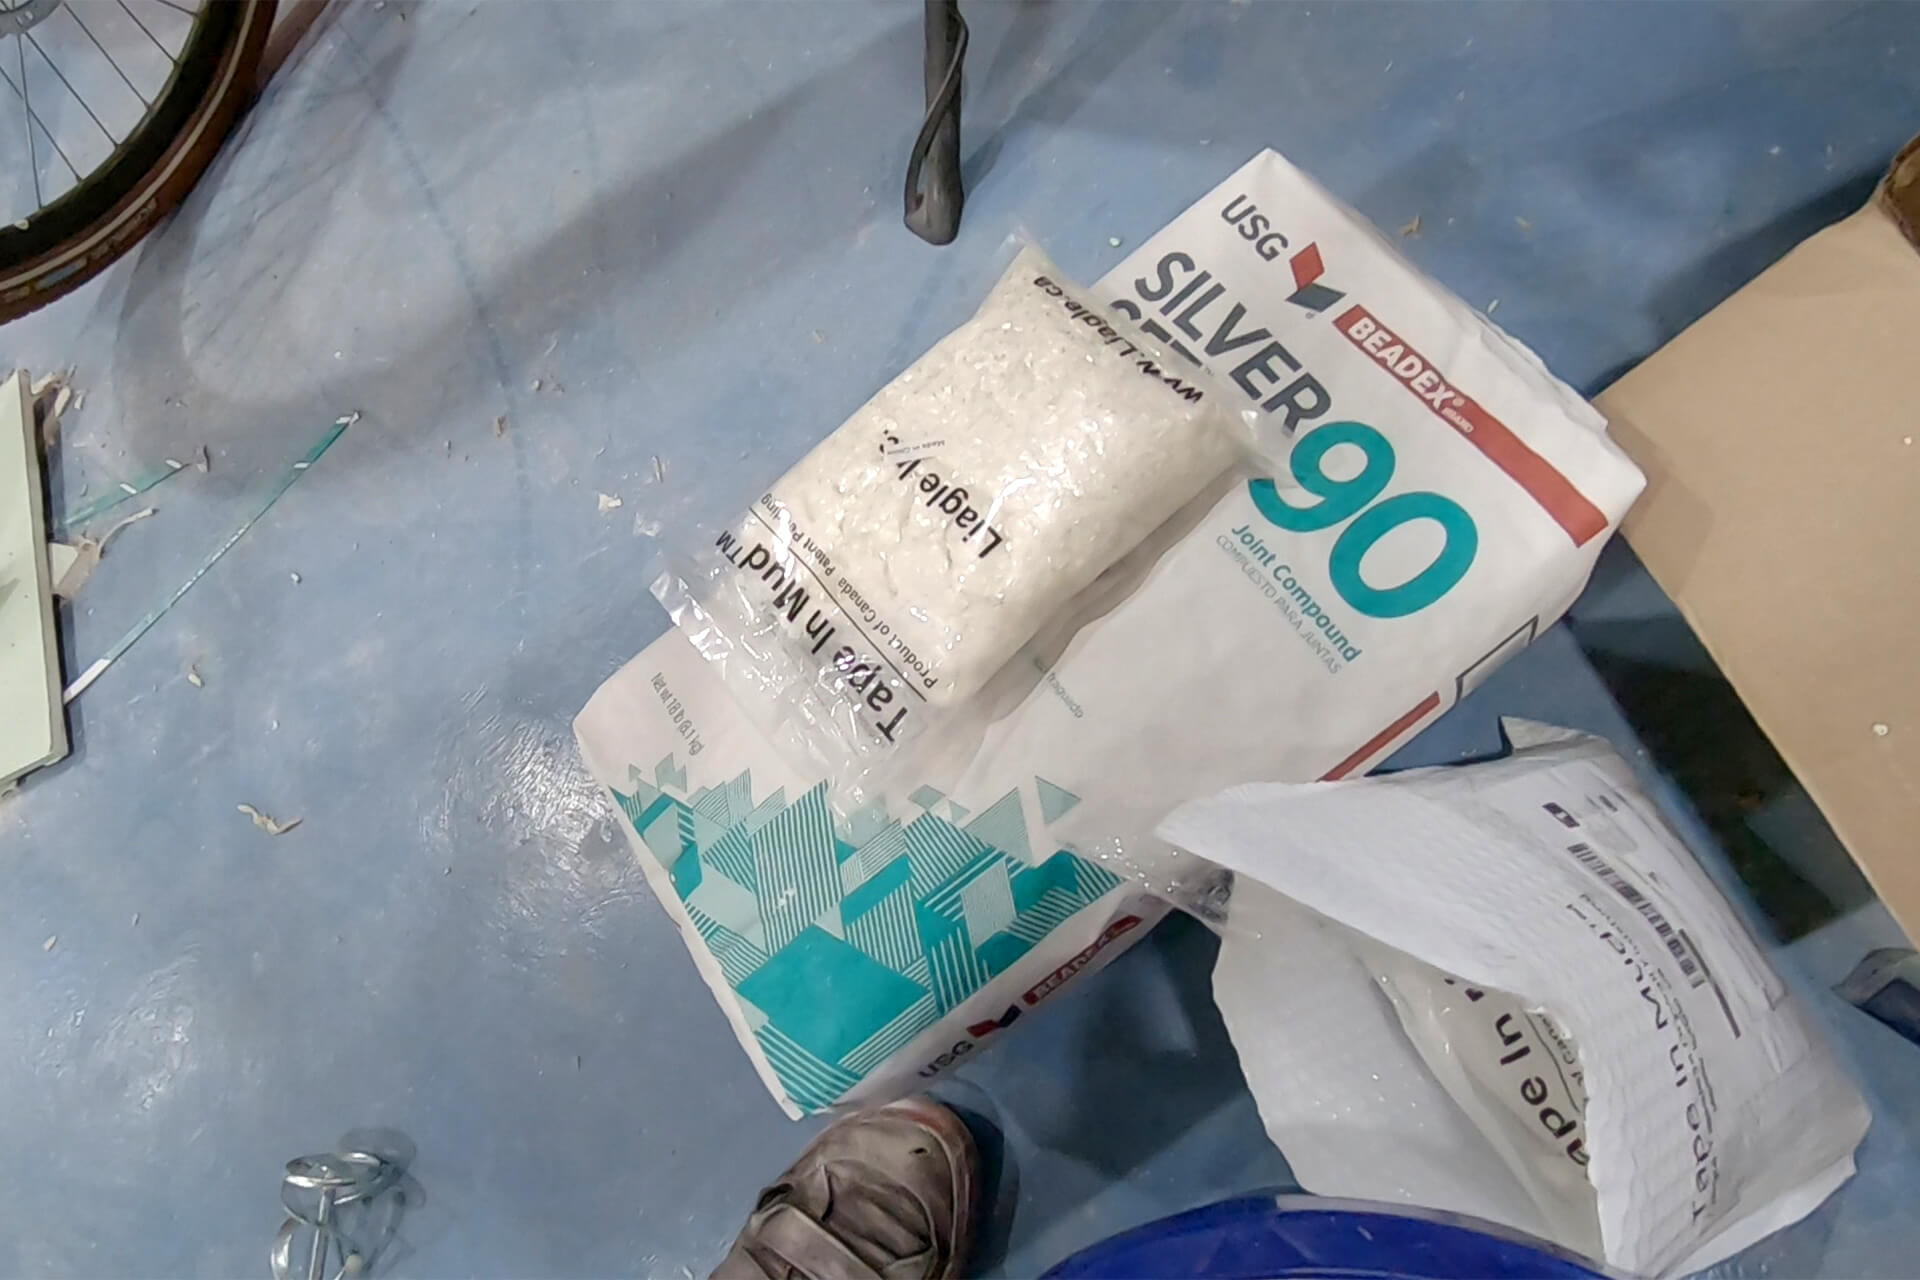
Use a drywall tape alternative called Tape in Mud with fast-set hot mud to create a robust prefill base coat that eliminates the need for drywall tape.
Dry mix the Tape in Mud with fast-set hot mud using a large paddle mixer, following the mix ratio on the Tape in Mud packaging.

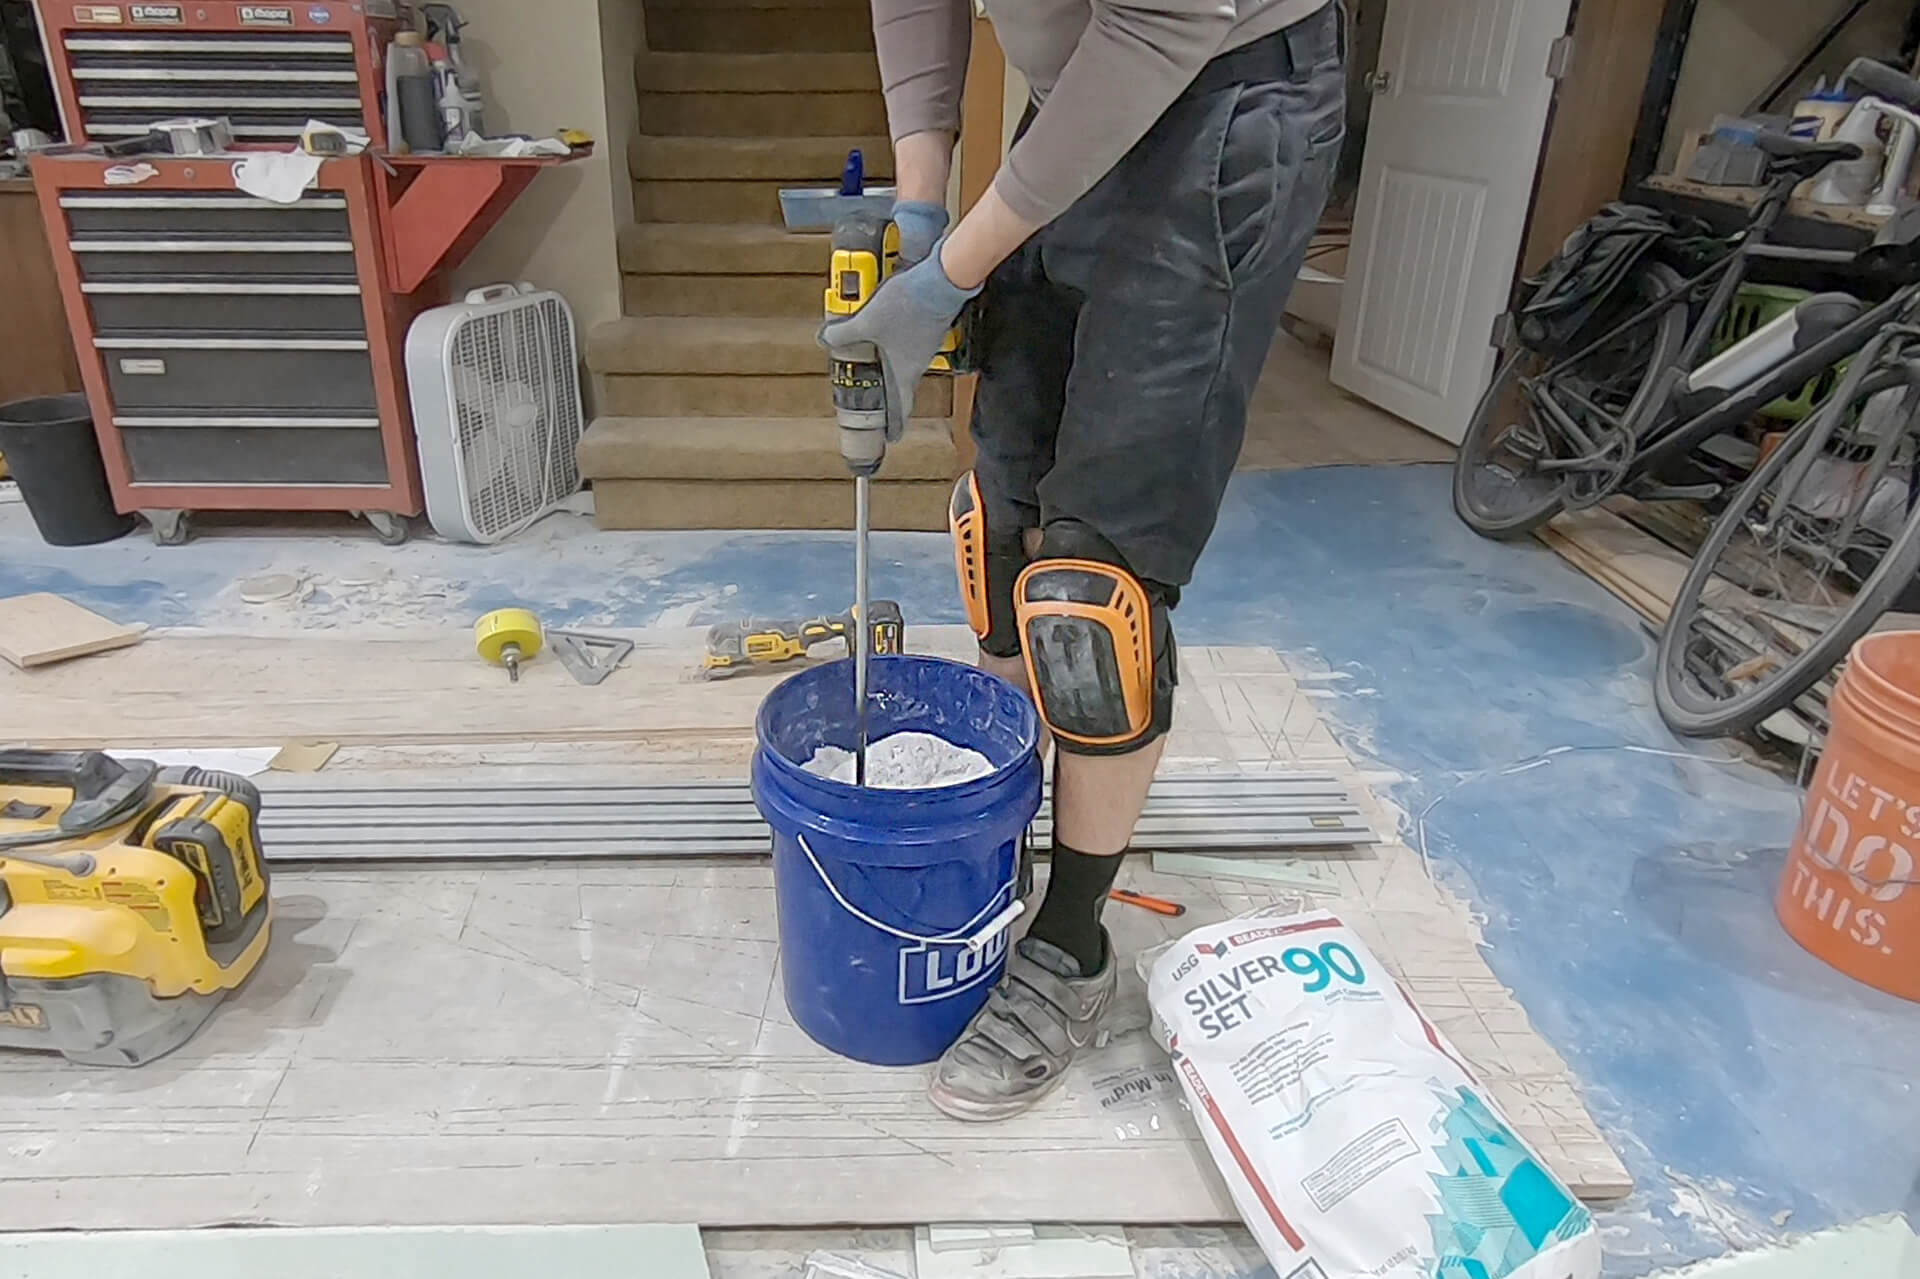
Scoop some of the dry mix into a mud pan, add water, and use a small ribbon mixer to mix thoroughly. Adjust with more water or dry mix to achieve the desired consistency.

The consistency should resemble that of thick pancake batter or creamy peanut butter.

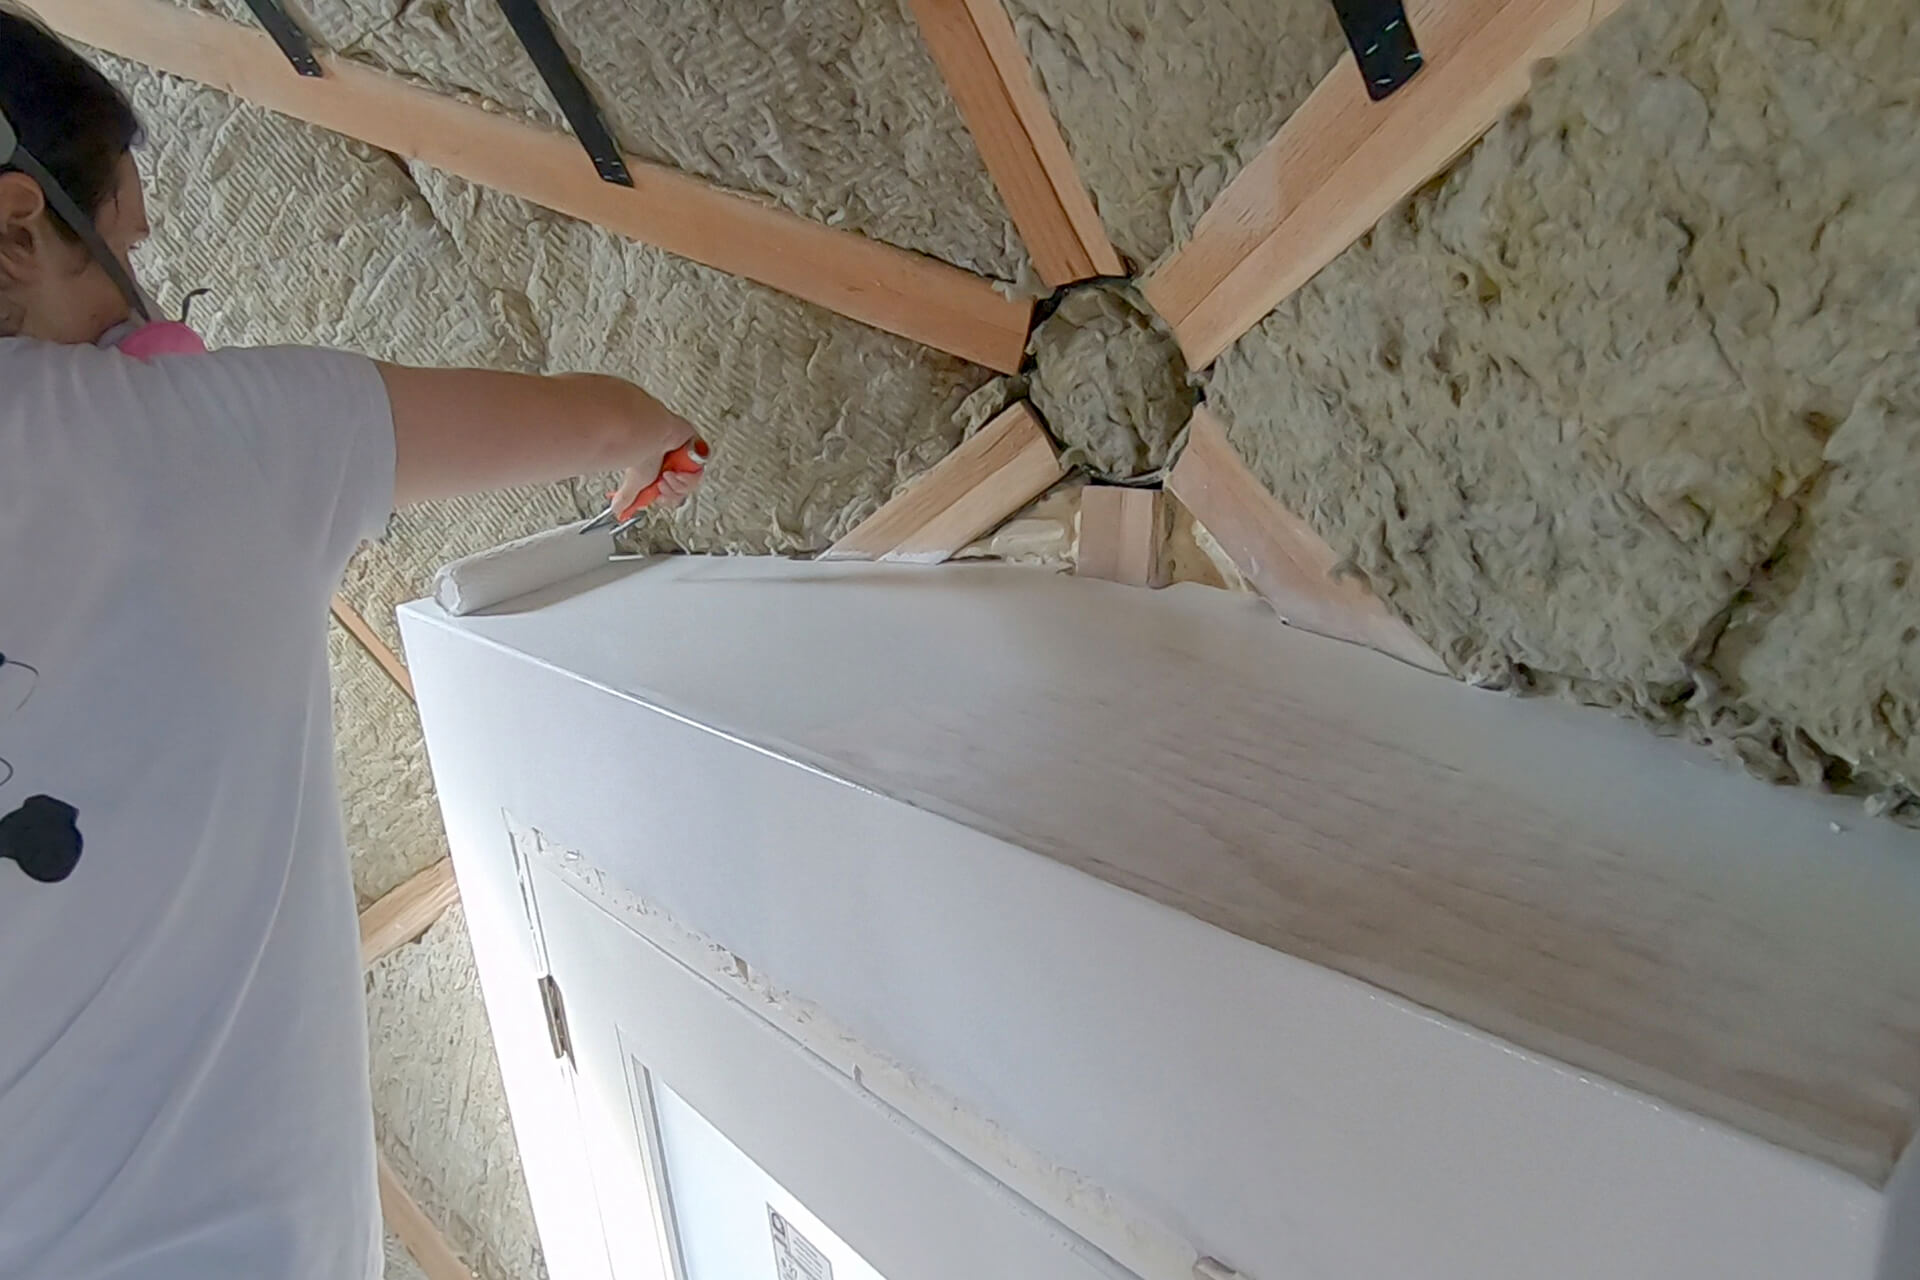
Begin applying the prefill base coat of mud. Use a taping knife to press the mud into the gaps and grooves. Scrape off excess from the surface to minimize sanding between coats.

Work quickly to use all of the mixed mud before it begins to set. Avoid overworking it or trying to apply it once it starts to harden.
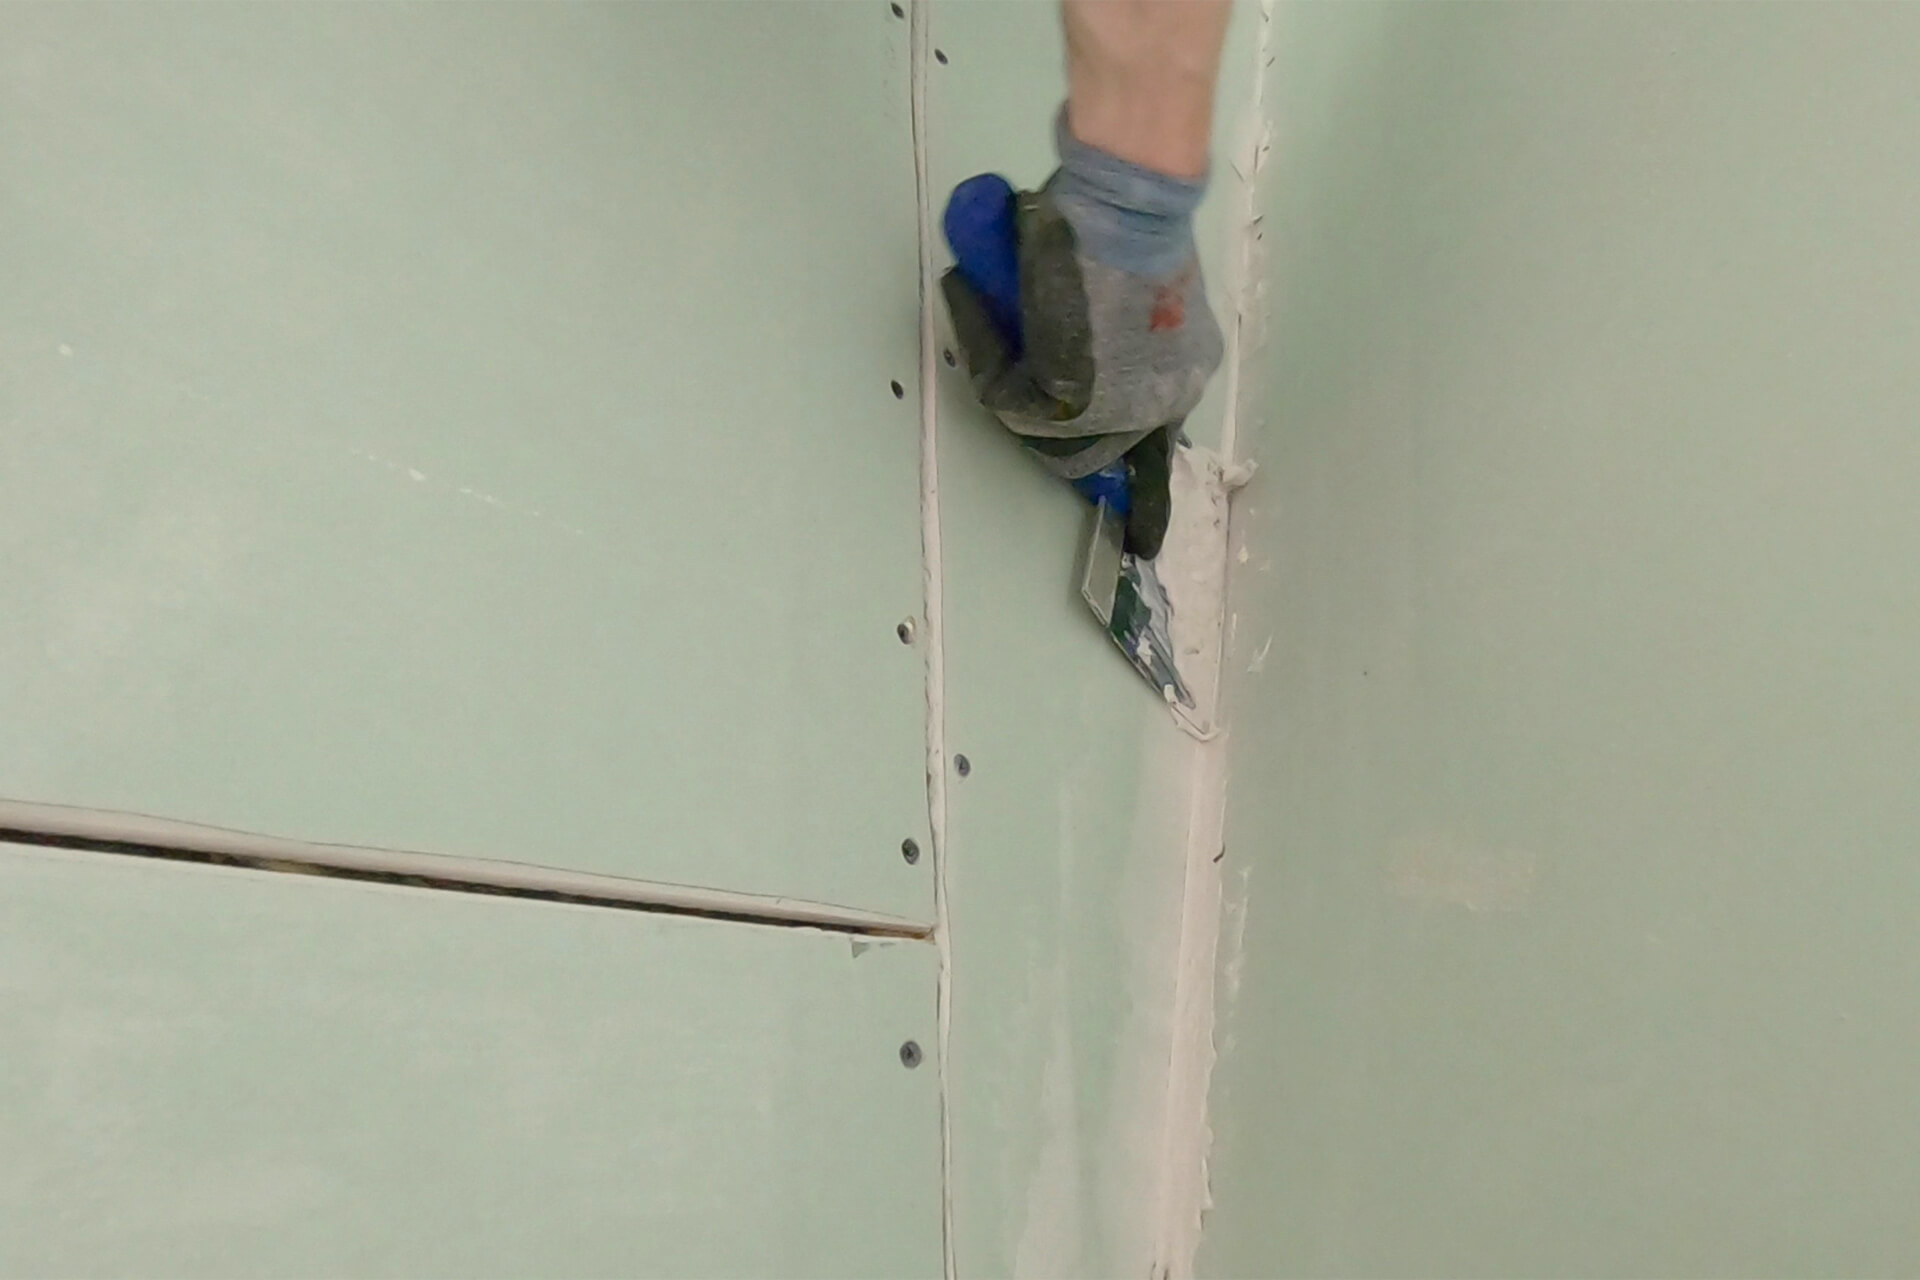
Focus on packing the mud deep into the gaps. Inside corners are tricky. Keep tools clean and mix small batches to avoid feeling rushed.

Finish the prefill base coat, then knock down any obvious high spots with a sanding block. Only this prefill base coat uses the Tape in Mud product.

Mix only the fast-set hot mud from now on, without the Tape in Mud product, and apply the second coat. Focus on achieving a smooth finish and covering all screw heads.
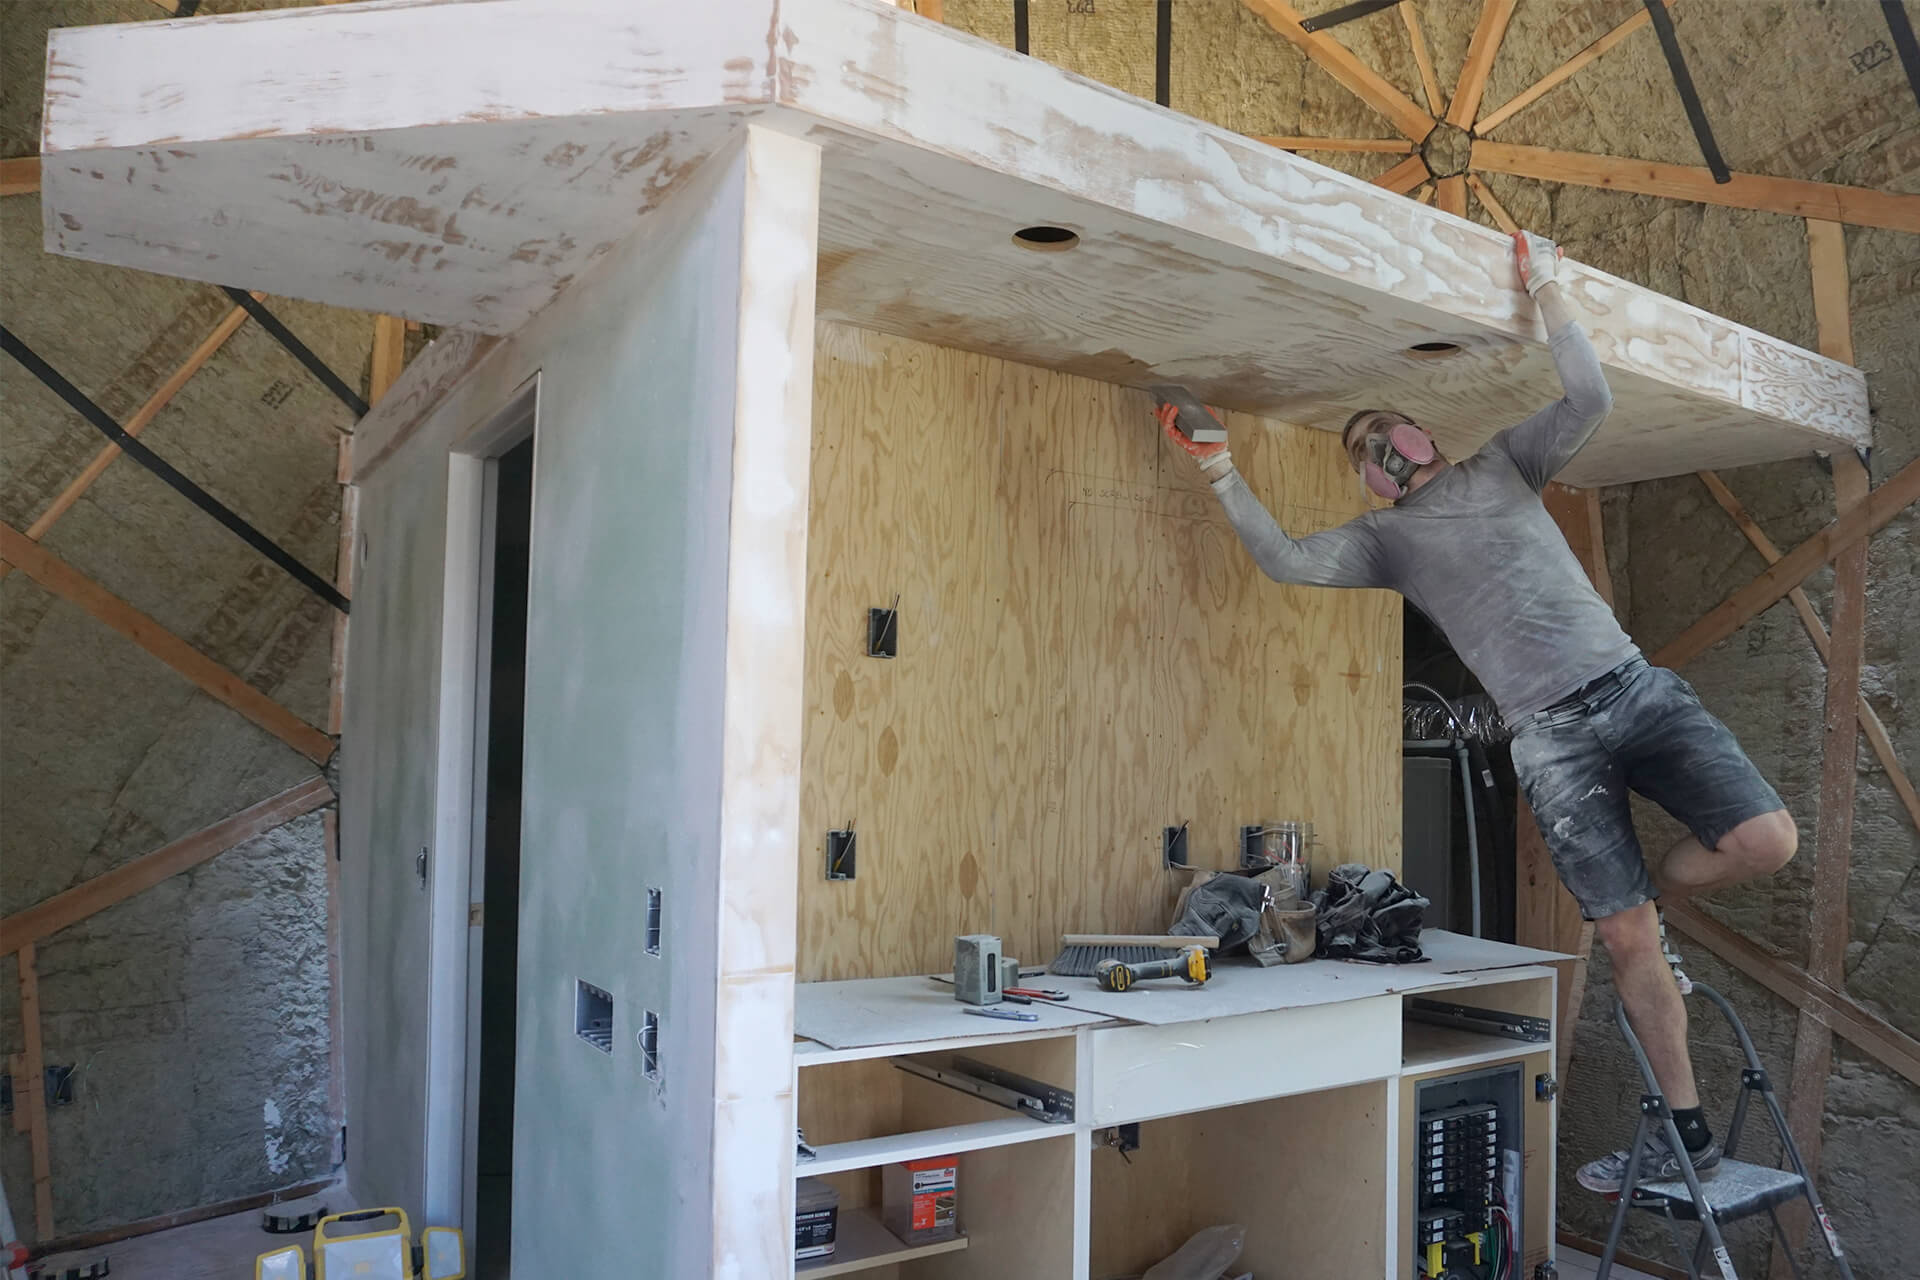
Skim coat all plywood surfaces to be painted, including around the front door. Knock down any obvious high spots with a sanding block.
Apply a third and hopefully final coat of mud, along with a second skim coat to the plywood surfaces. Check for flatness and keep the mud very clean for the smoothest finish.

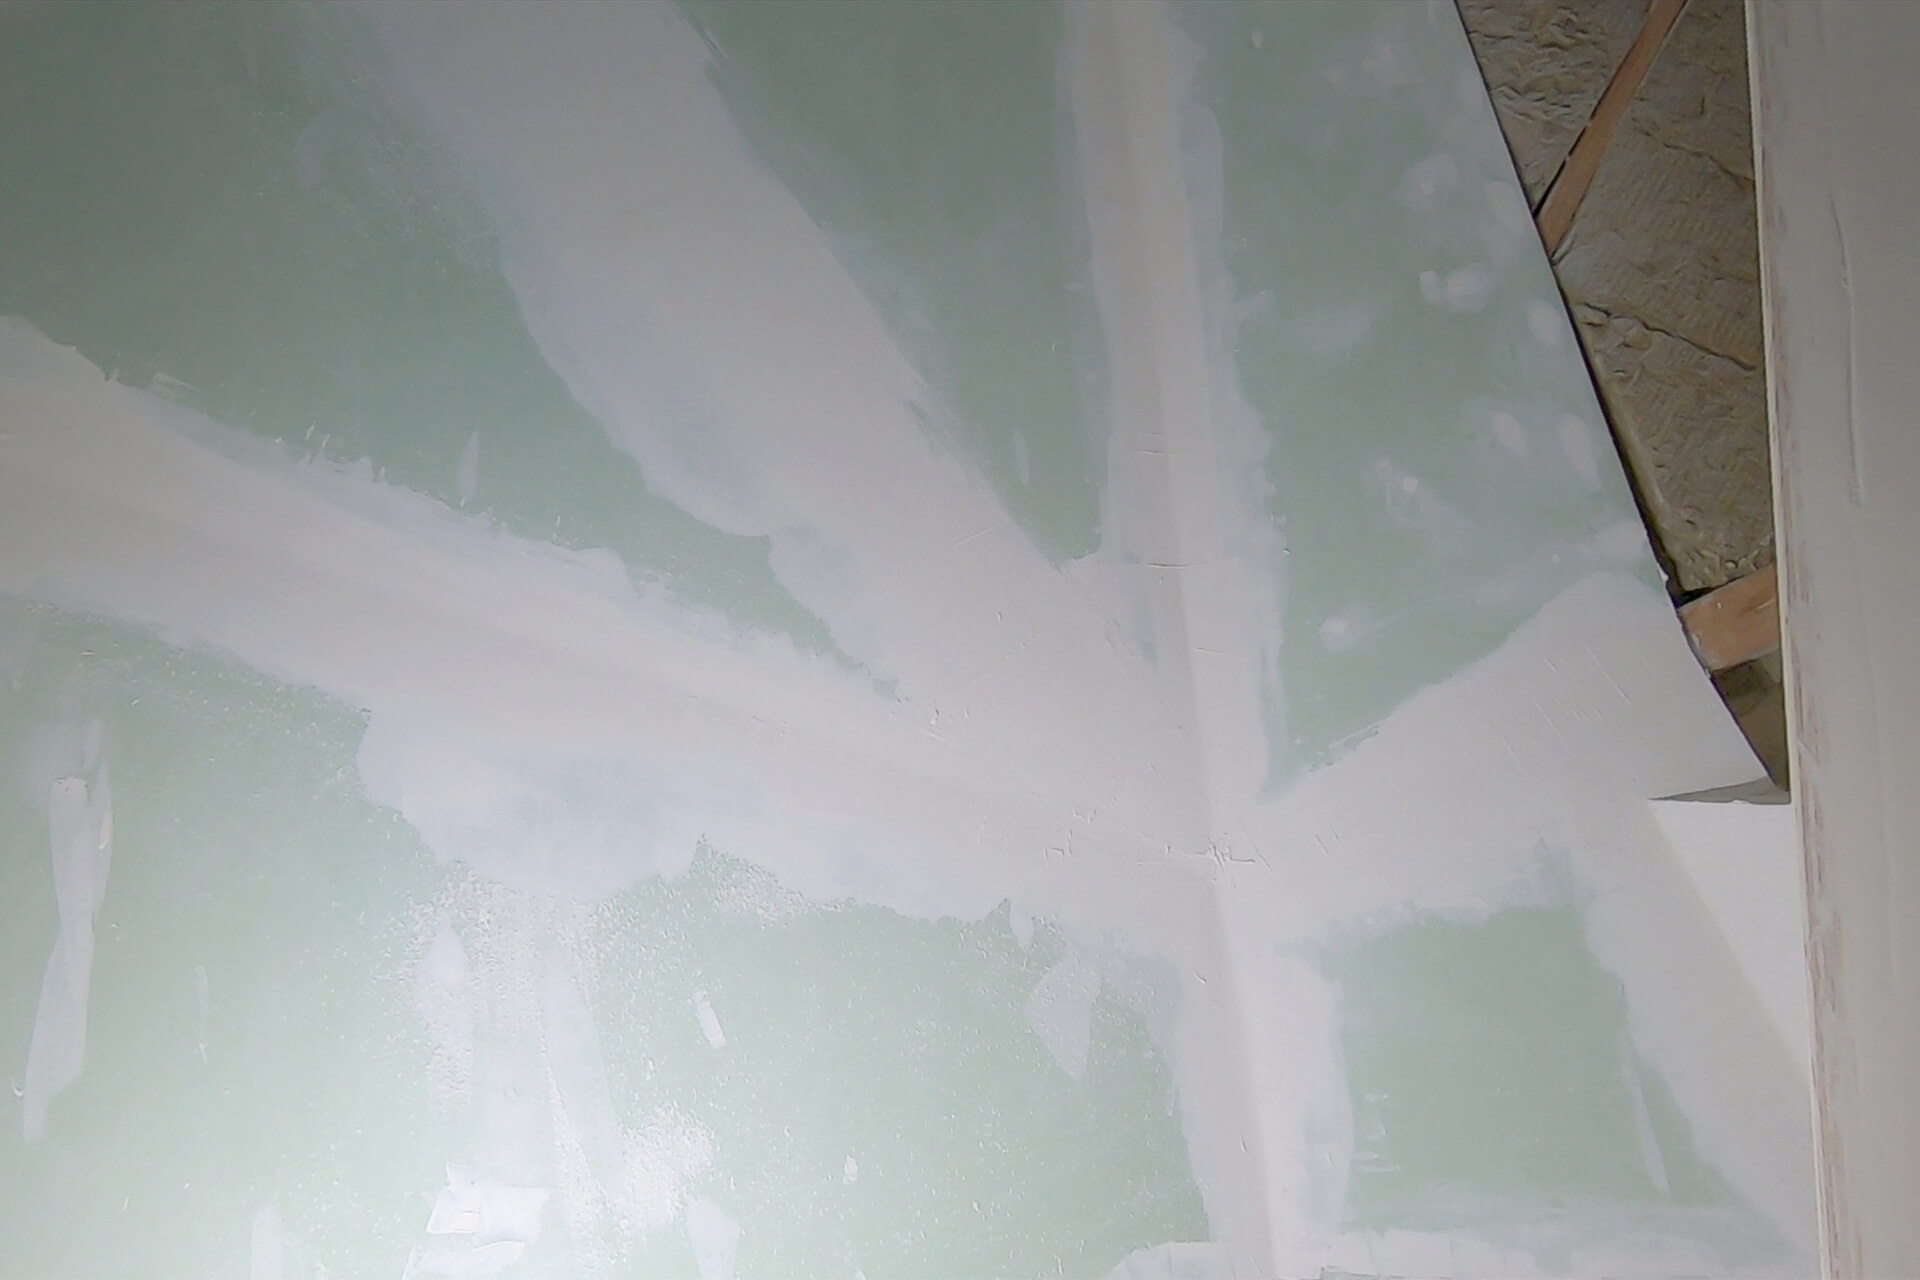
Sand all surfaces smooth with a sanding block. If imperfections remain or flatness is not achieved, apply additional coats to those areas and sand again.

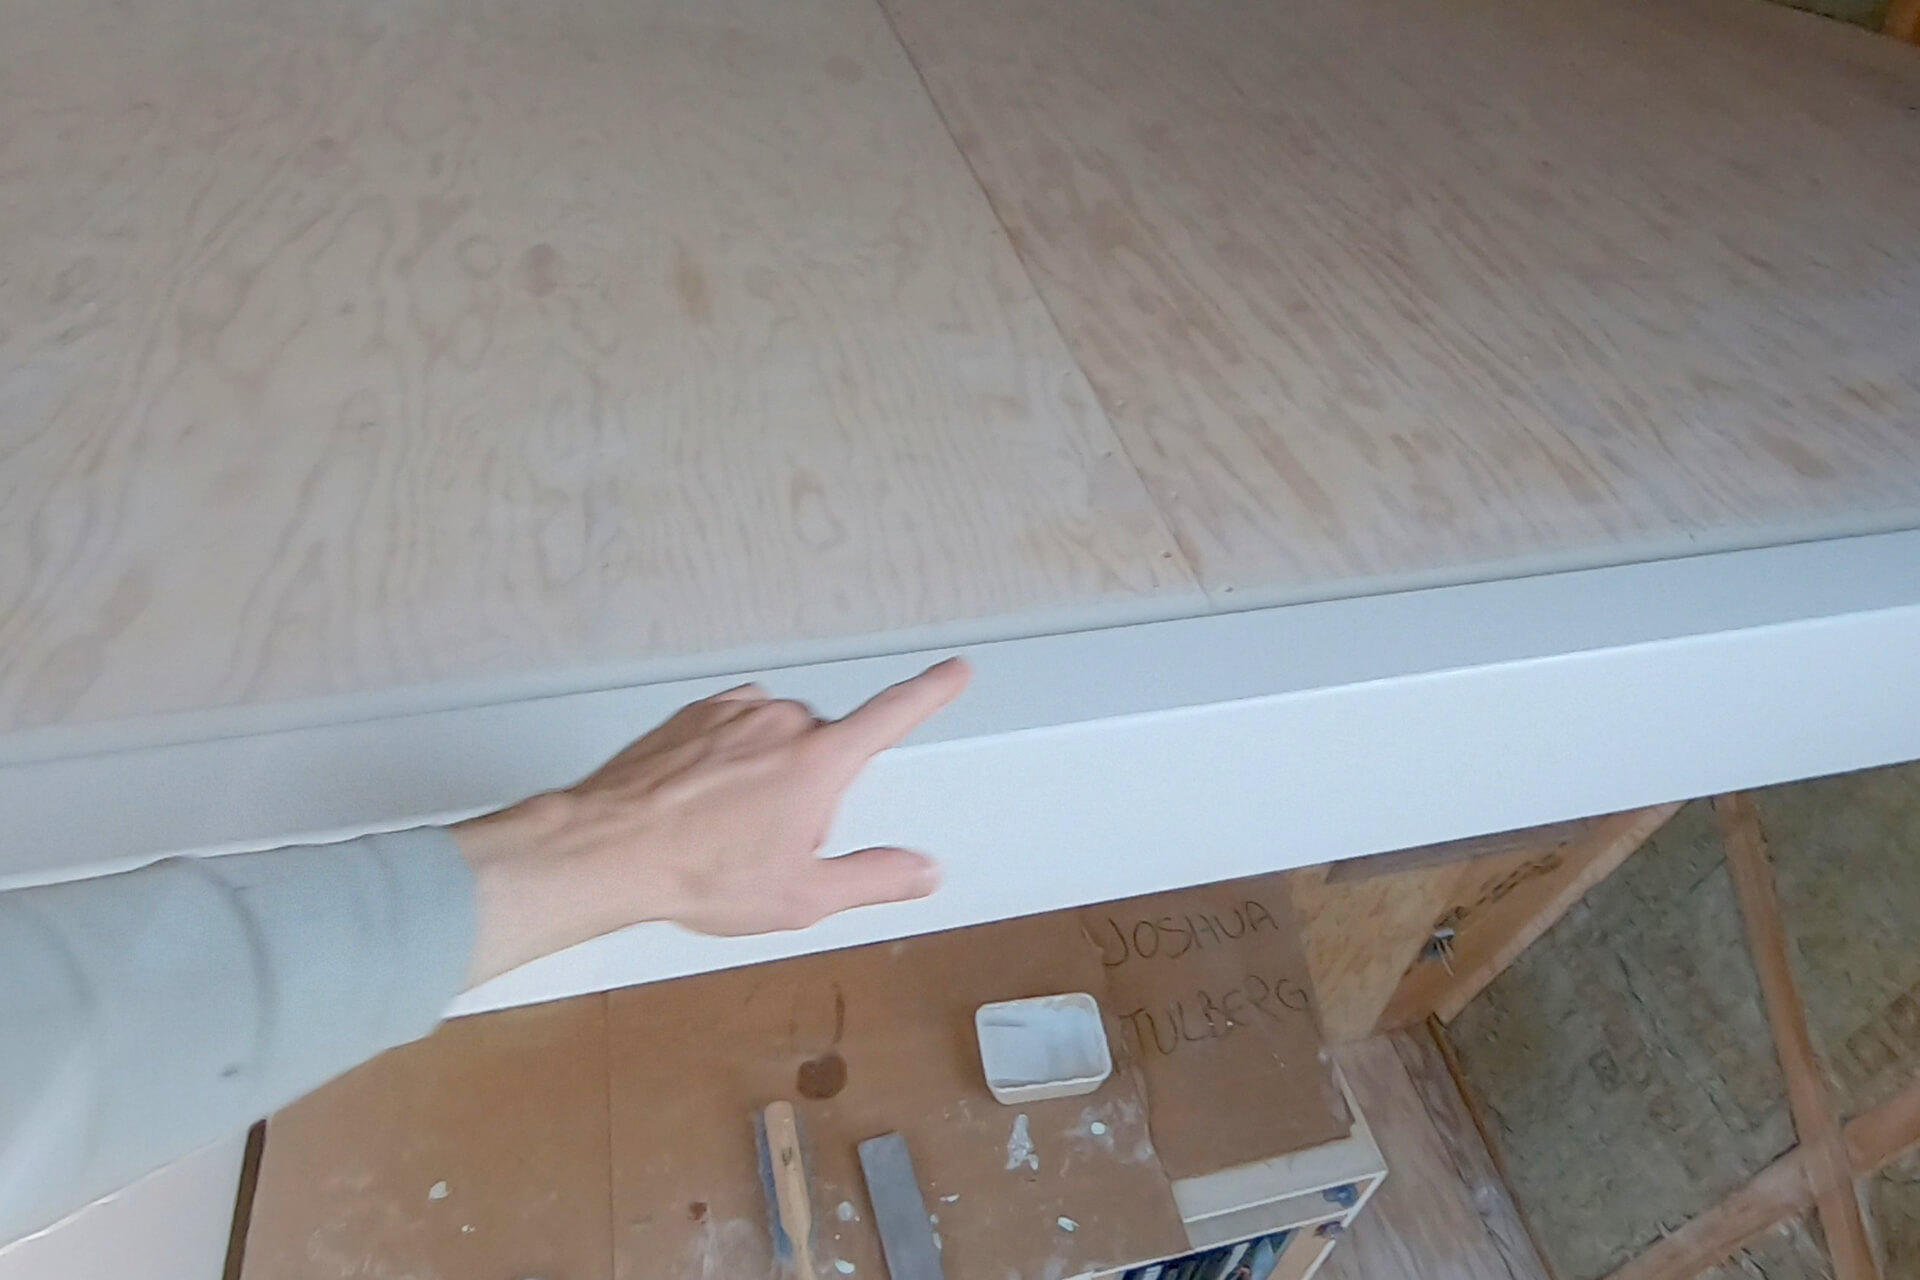
Round over both edges of the upper floor railing trim with a router. Do the same for the plywood ceiling edge. Continue softening sharp corners with sandpaper as needed.

Clean all dust from the surfaces to prepare for primer.
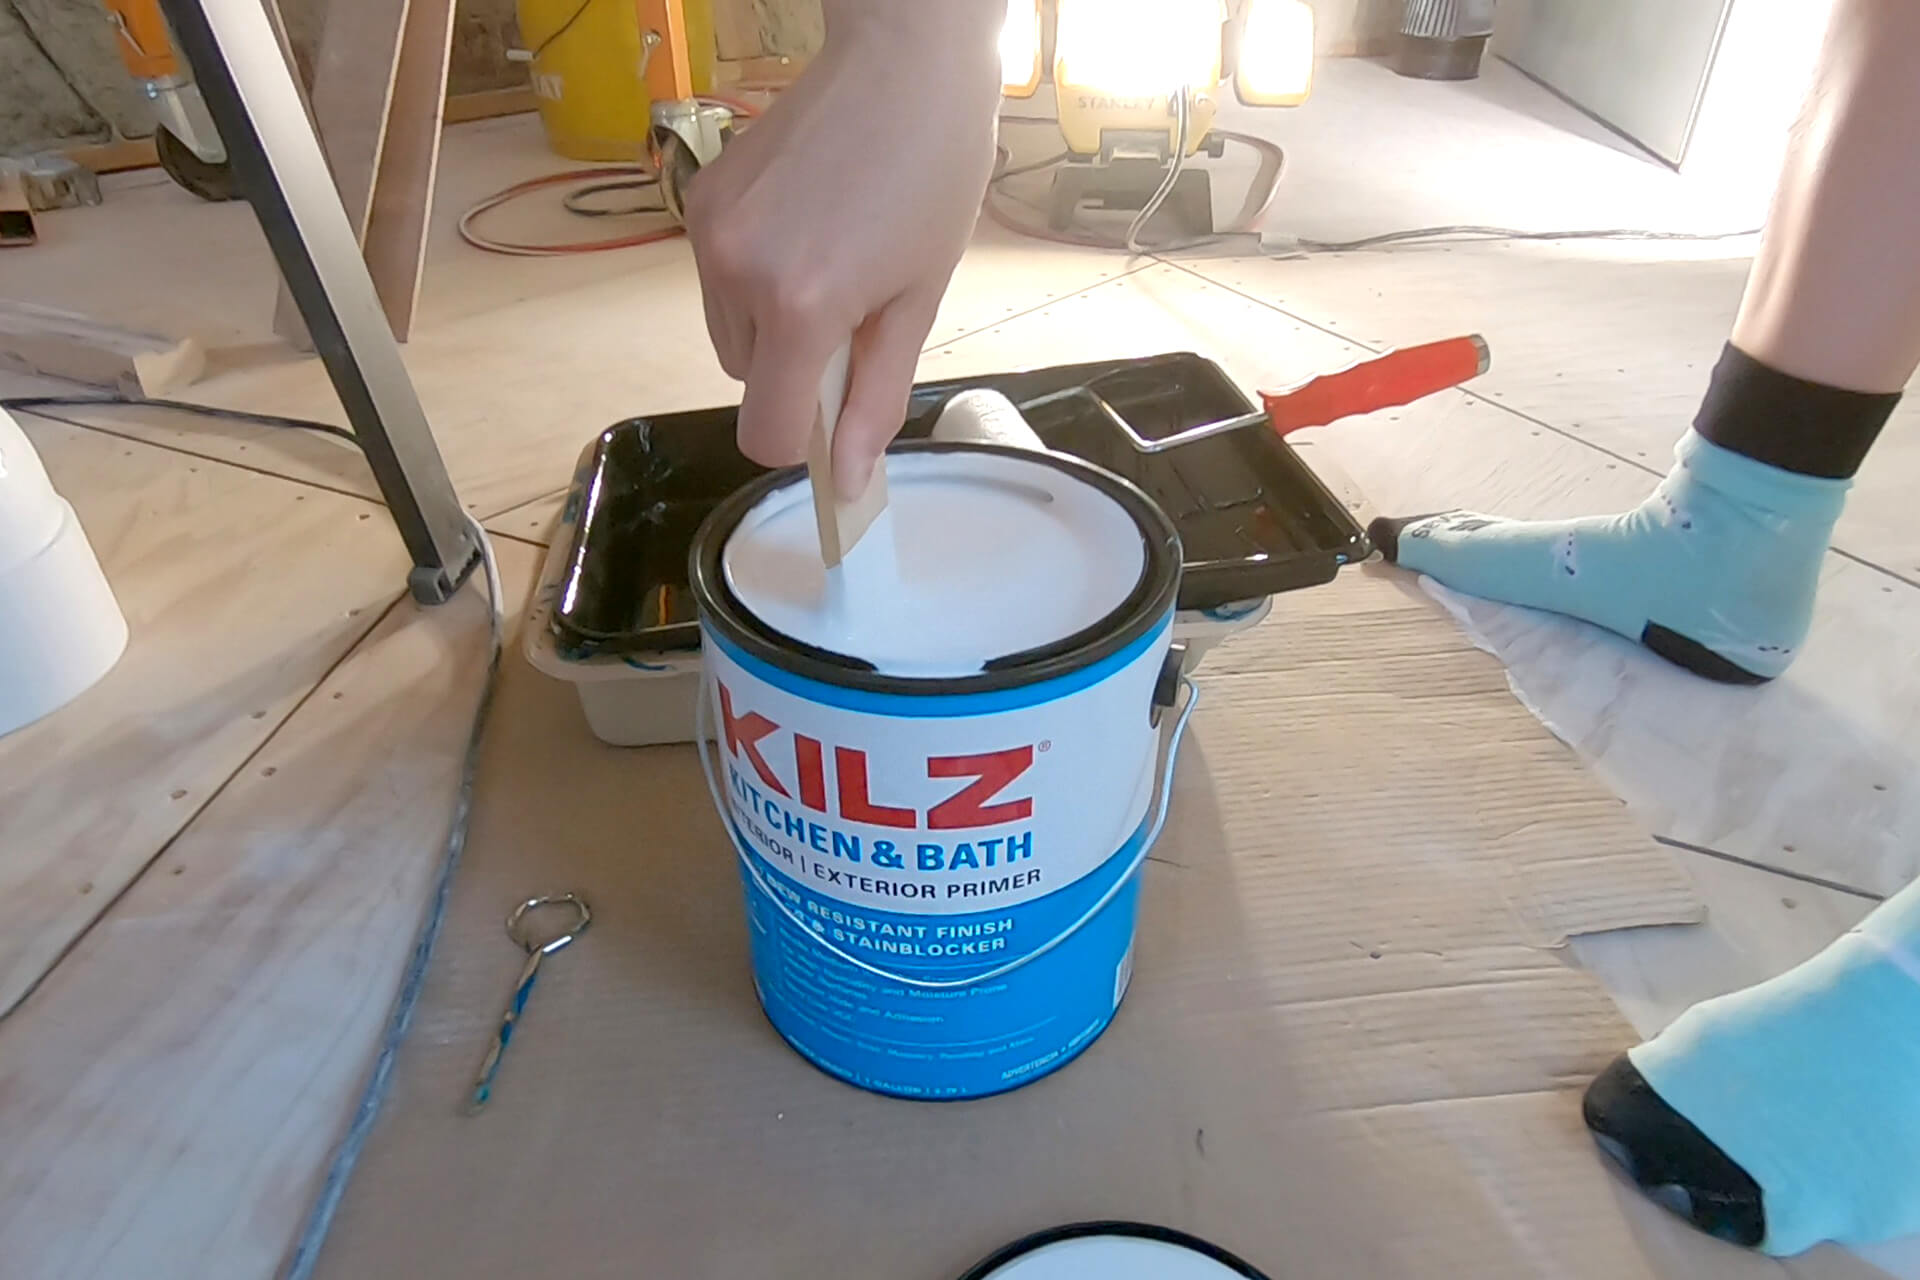
Drywall and plywood surfaces need primer before paint. KILZ Kitchen and Bath Latex Mildew-Resistant Primer is shown here.
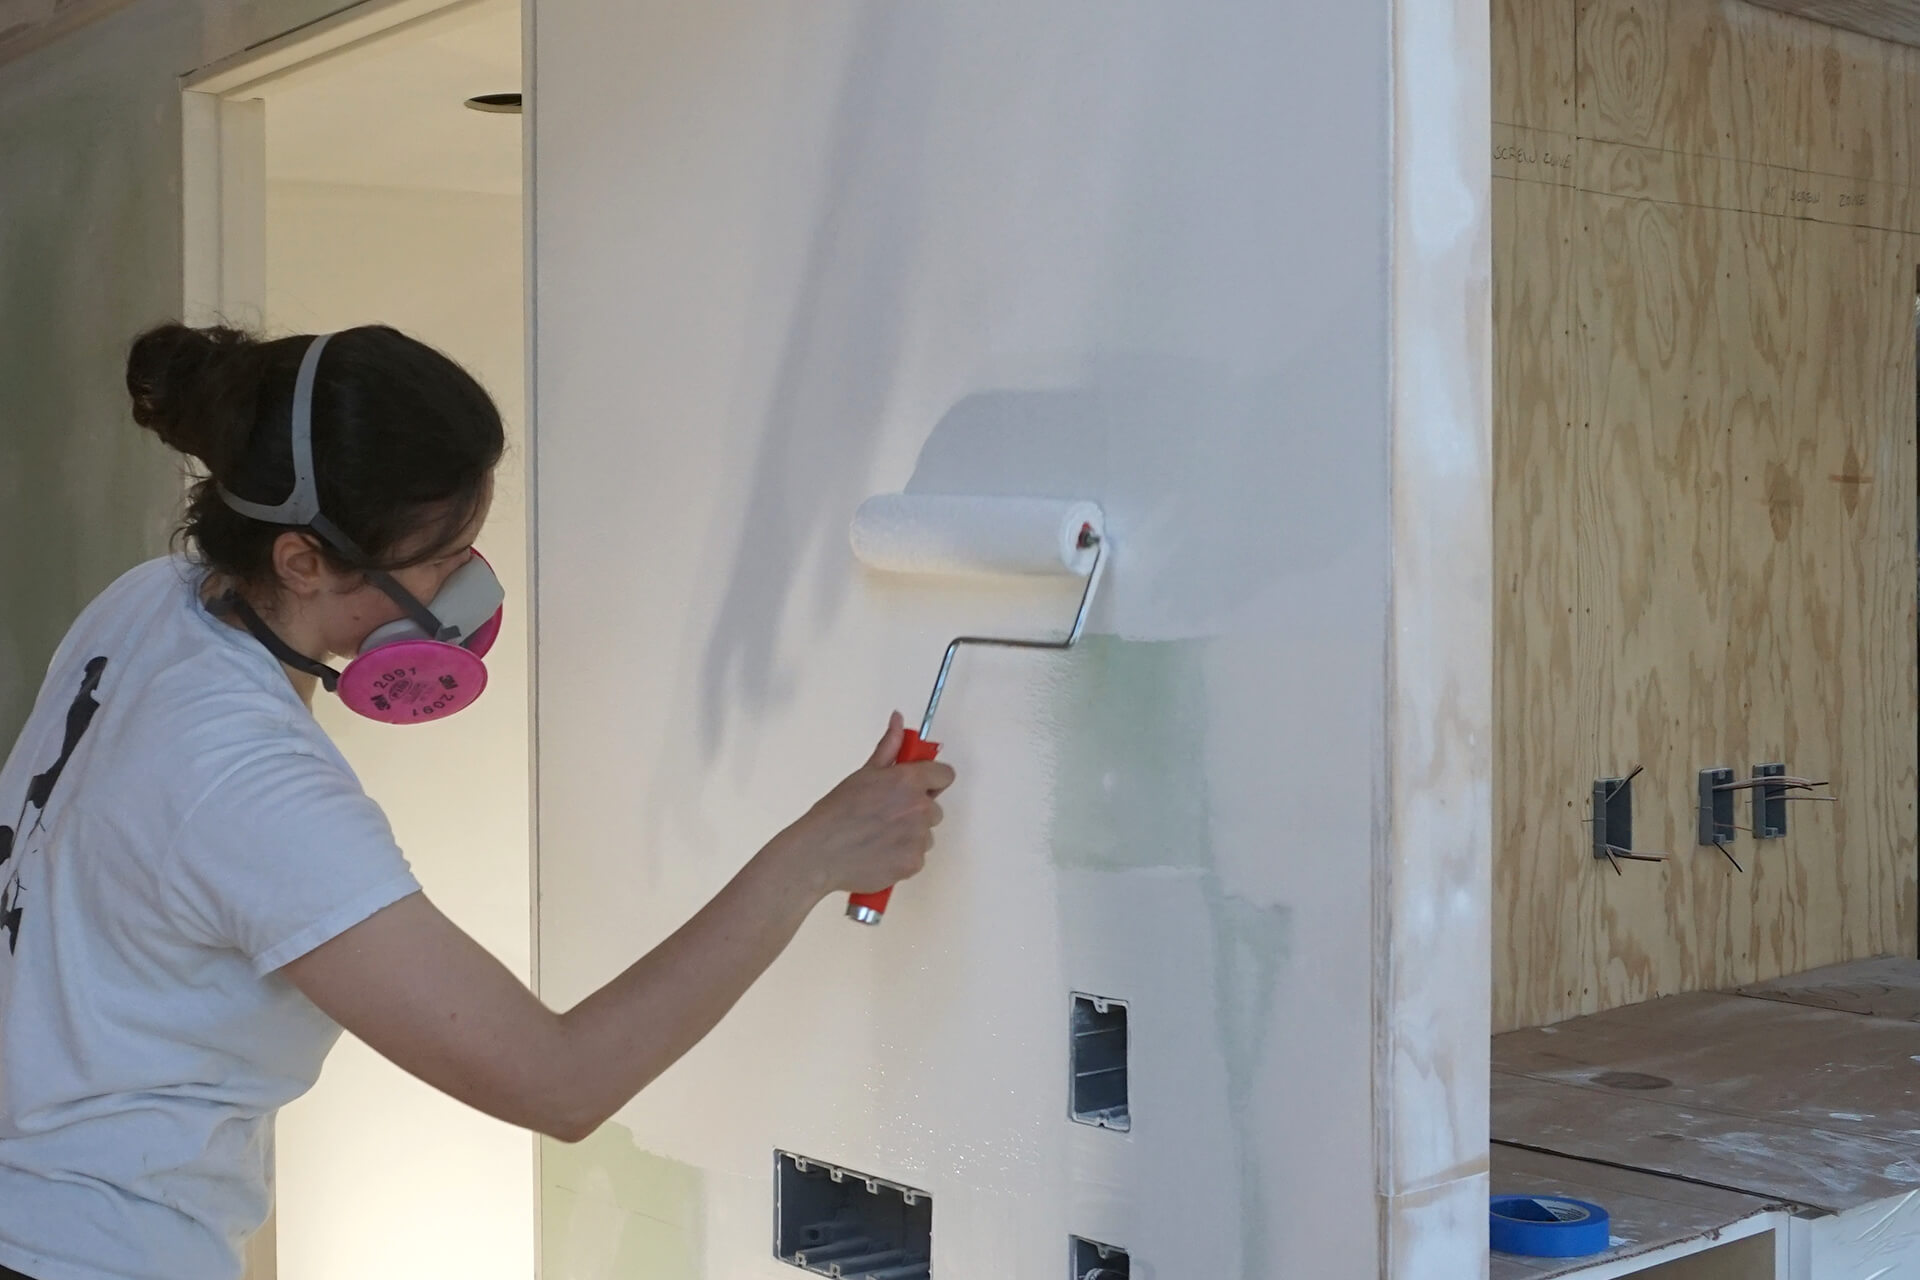
Apply the primer to the large areas with a 9 inch x 3/8 inch nap roller. Keep it wet, insure it is always rolling (never sliding), and feather it into already coated surfaces.
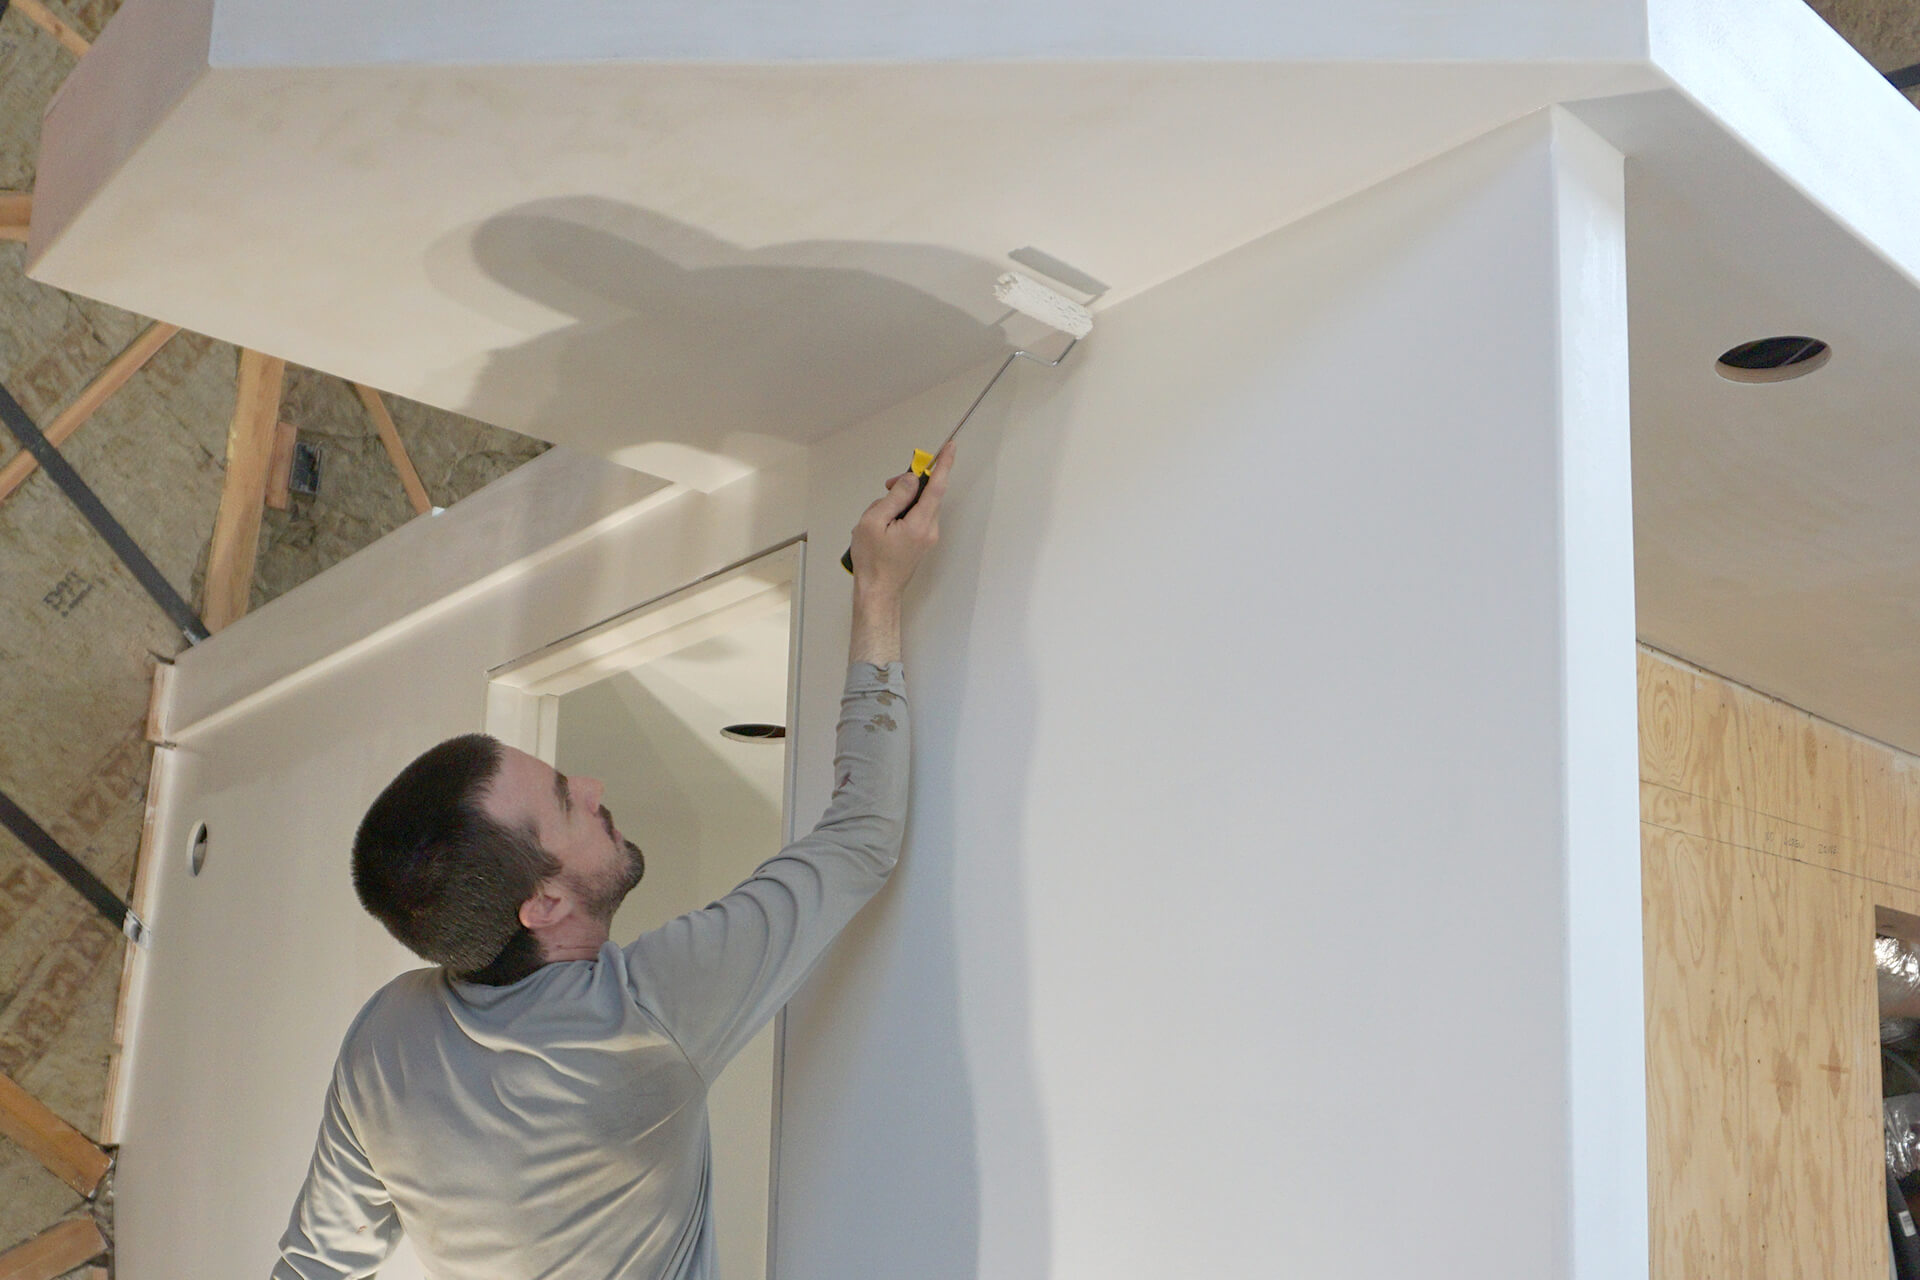
Use a smaller 4 inch x 3/8 inch nap roller (shown here) and a trim brush to reach into and near the corners without smudging.
Coat all plywood and drywall surfaces that are intended to be painted.
Coat the upper floor railing trim and continue the primer onto the subfloor for a seamless application.

Prep the walls for a second coat by sanding away minor defects after the first coat has dried.

Apply a second coat of primer.

The shower edge was taped to protect it from overspray, and the perimeter gap around the shower remains for future caulk.

Detail shot showing the exposed steel bracket blending smoothly into the wall.

Detail shot showing the texture created by rolling with a 3/8 inch nap roller. Using only a roller to texture the walls makes matching the texture of future repairs much easier.

Congratulations on completing the drywall!
Next Step