
Drywall – Hanging

Measure and mark the drywall according to the drawings. Use a large digital angle finder for accuracy.

For a perfect cut edge, use a track saw. Connect it to a HEPA-filter vacuum and wear a respirator, as drywall dust is extremely fine and hazardous to breathe.

Use spacers to lift the bottom edge of the drywall off the subfloor. This prevents water contact in the event of a flood. This gap will be covered with trim.

Secure the sheets with drywall screws, without pre-drilling. Drive each screw head just below the surface. Avoid over-driving and tearing the paper, as this greatly reduces holding strength.

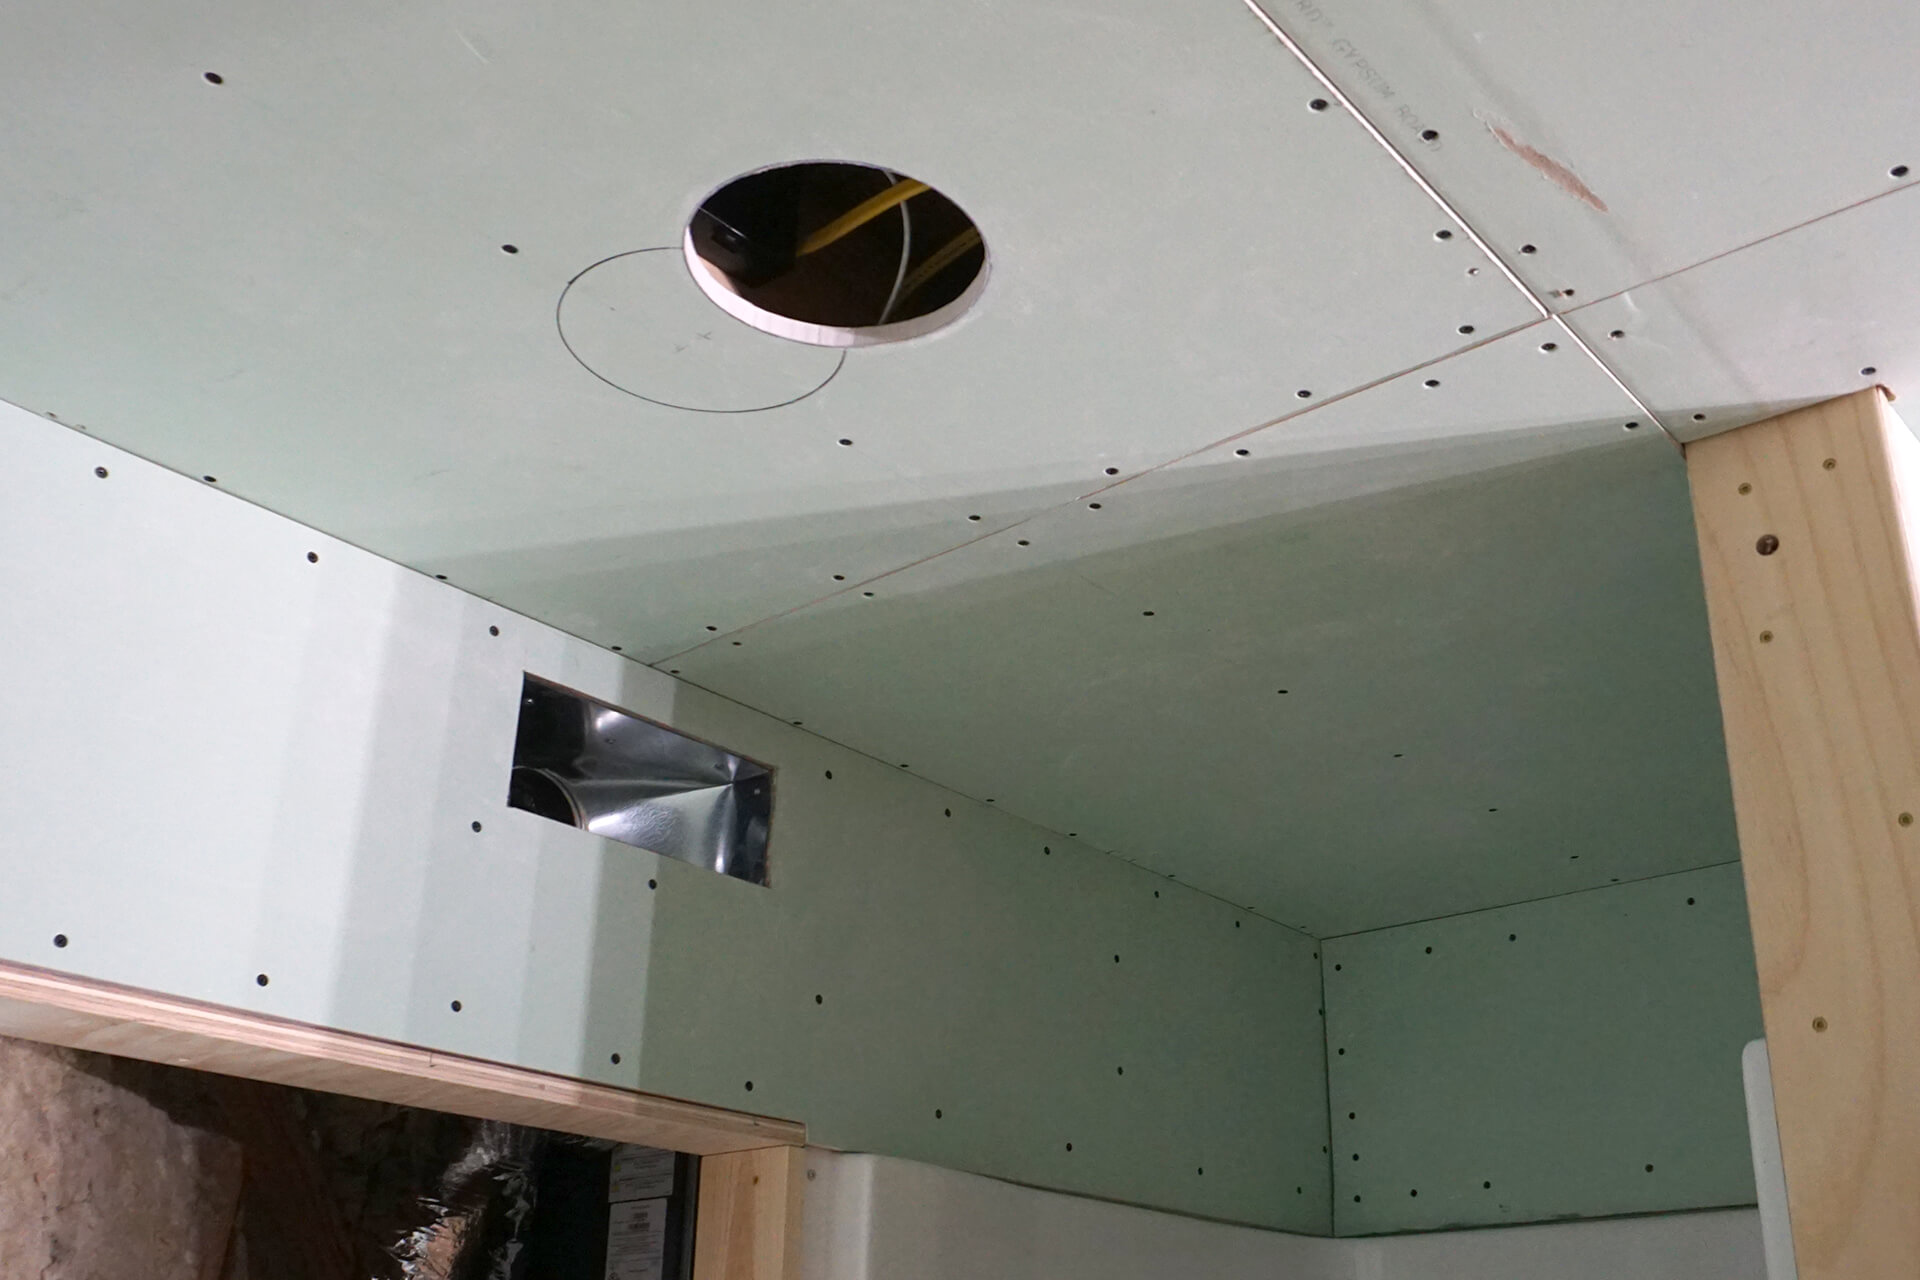
Install ceiling panels first so the future wall panels can butt up against their edges for added support. Mark joist locations and use a hole saw to cut out the light openings before hanging.

Ceiling panels had to be cut in half due to limited clearance in the bathroom, which prevented them from being pivoted into place. Finish hanging the remaining ceiling panels.

Measure and mark any required openings in the panels. Use an oscillating tool to cut clean, rectilinear shapes.

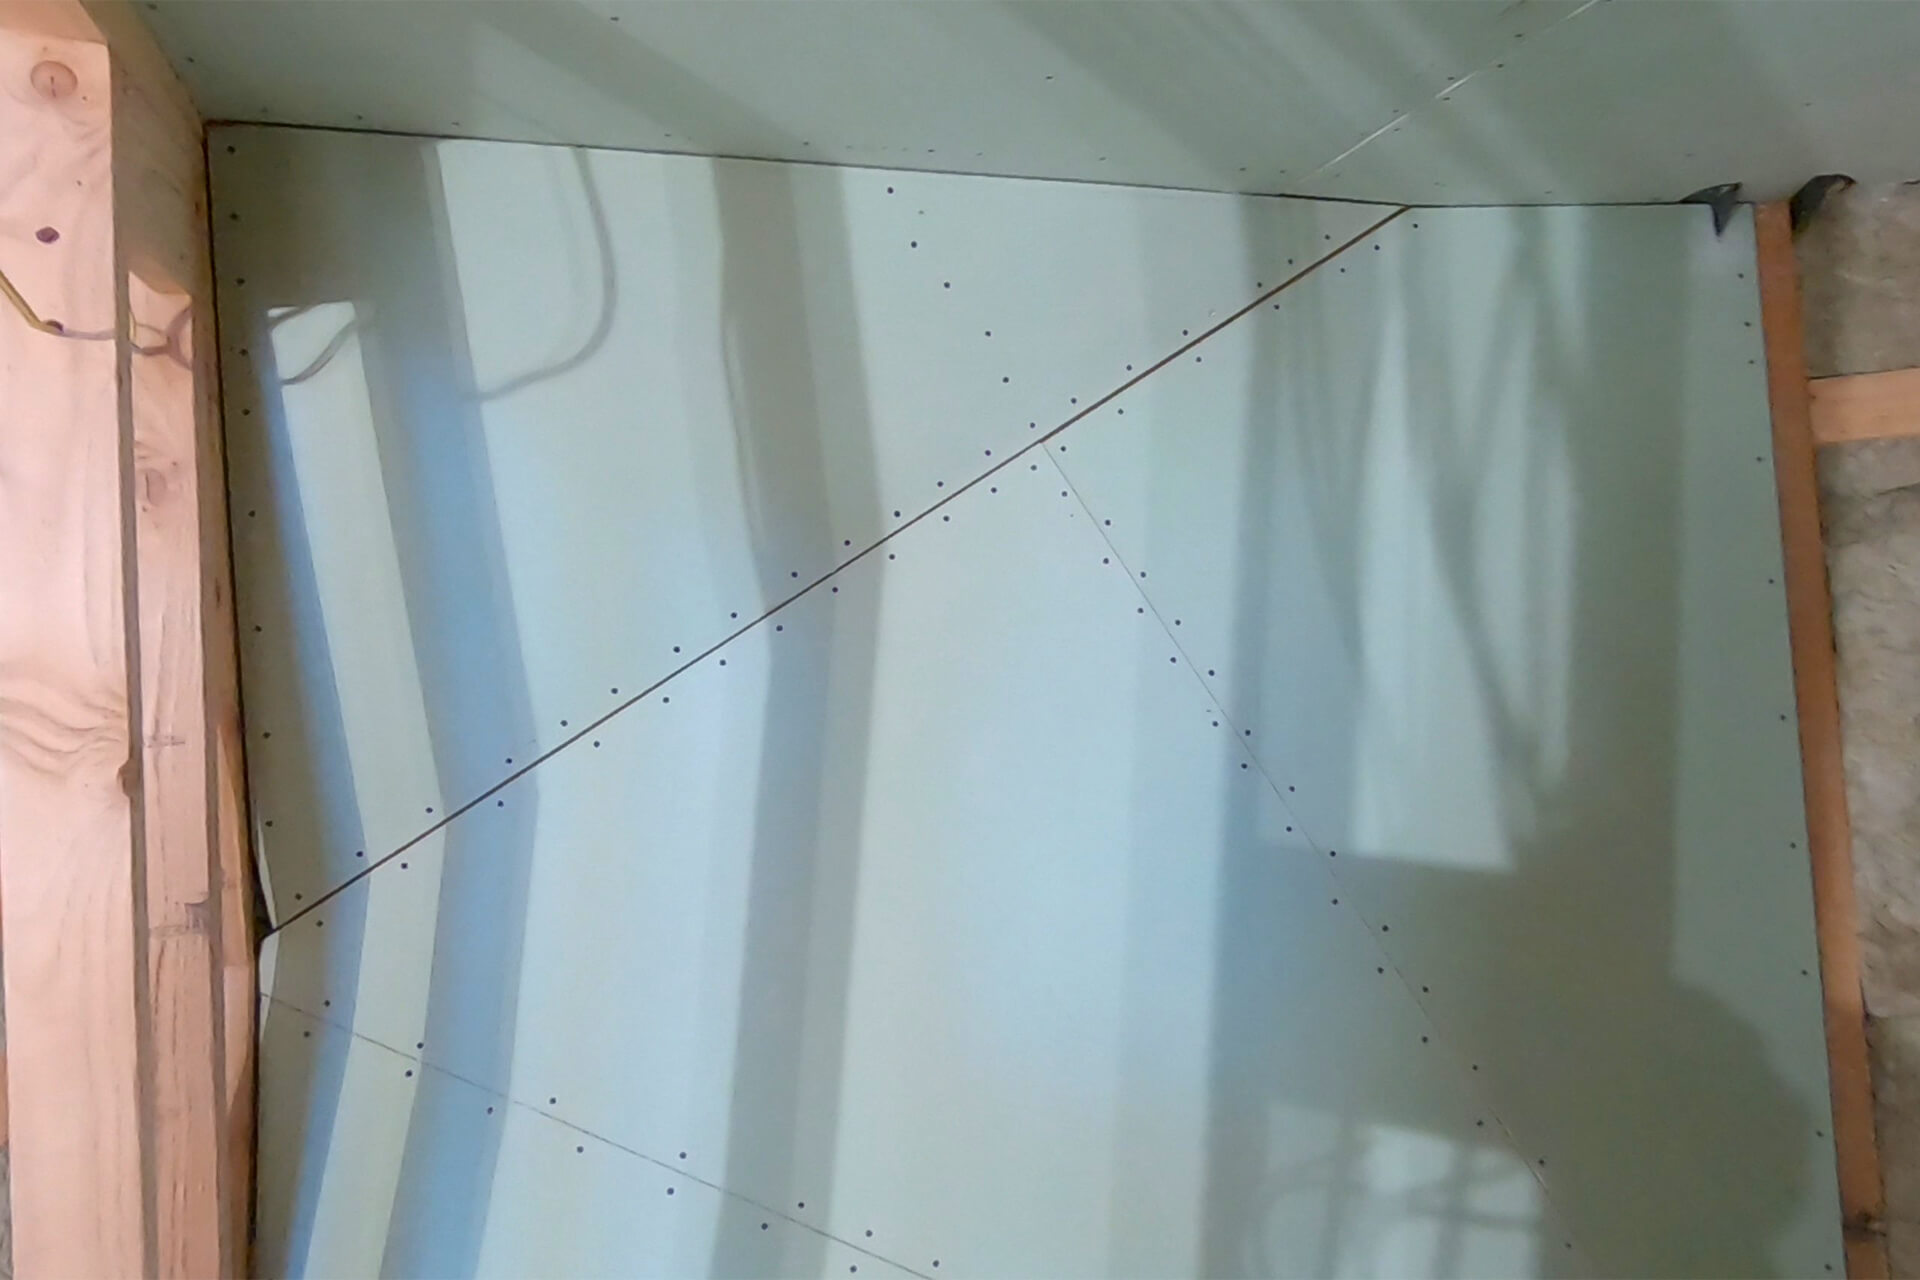
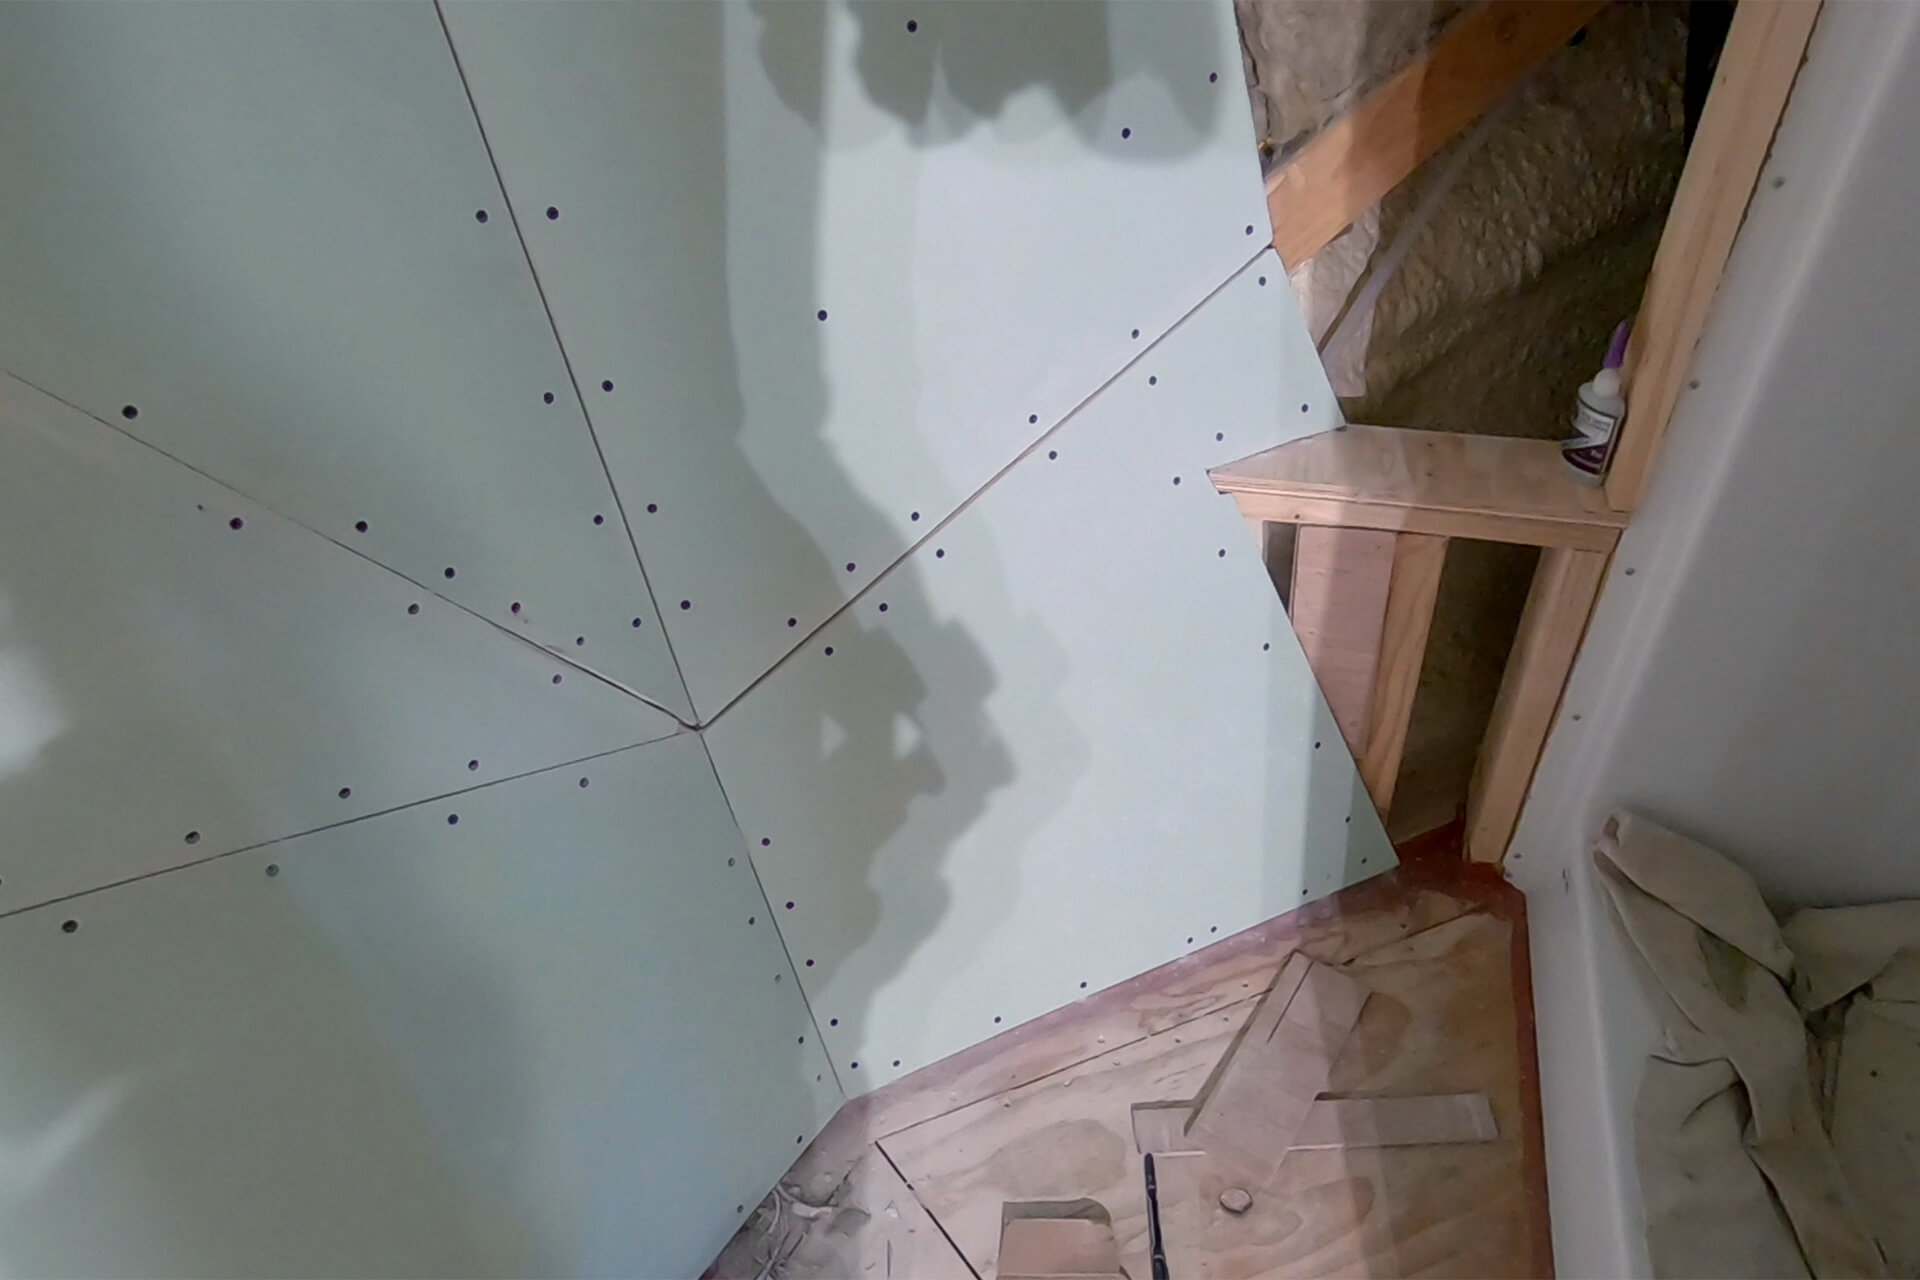
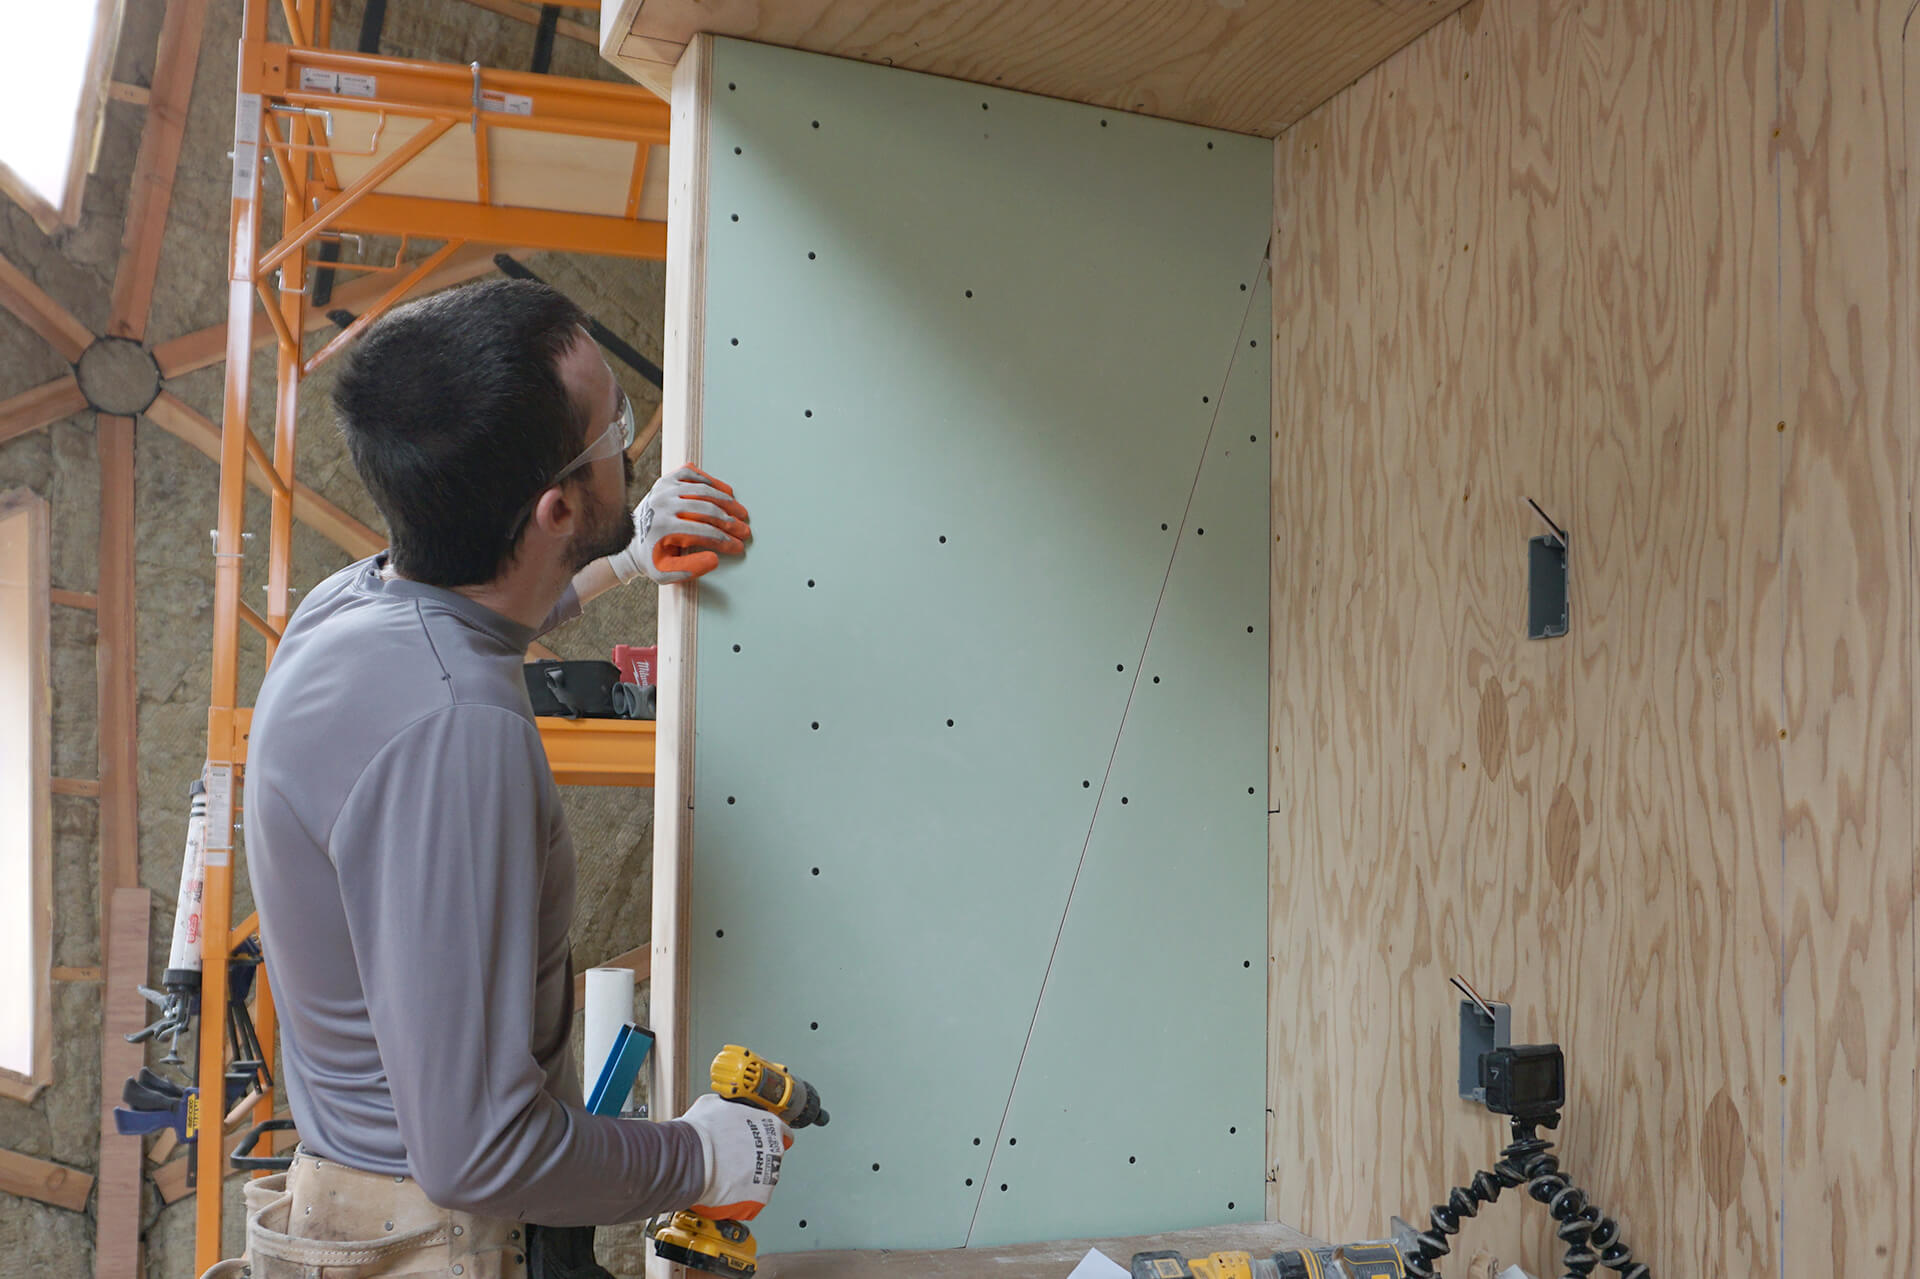
Butt the wall panels tightly against the ceiling panels, but leave small (0.125”) gaps between other panel edges for drywall mud. Leave a larger (0.25”) gap around the shower for future caulking.
Avoid driving screws too close to the edges to prevent the drywall from cracking. Small imperfections or gaps are not a concern, as drywall mud will fill them during finishing.

Use shims to maintain a consistent 0.125” gap between panels. This gap will be filled with drywall mud and helps reduce the chance of future cracking.
Continue hanging the wall panels. Cut neatly around the steel bracket, which will remain exposed and painted as part of the finished wall.
Add shims to the framing if necessary (not visible here) to help tricky drywall corners align properly. Alternatively, skim coats of drywall mud can be used to raise uneven surfaces.

Pre-drill and screw a strip of plywood to fill this area on either side of the shower, as it is too narrow for drywall. Maintain a gap for caulking and a gap for drywall mud.
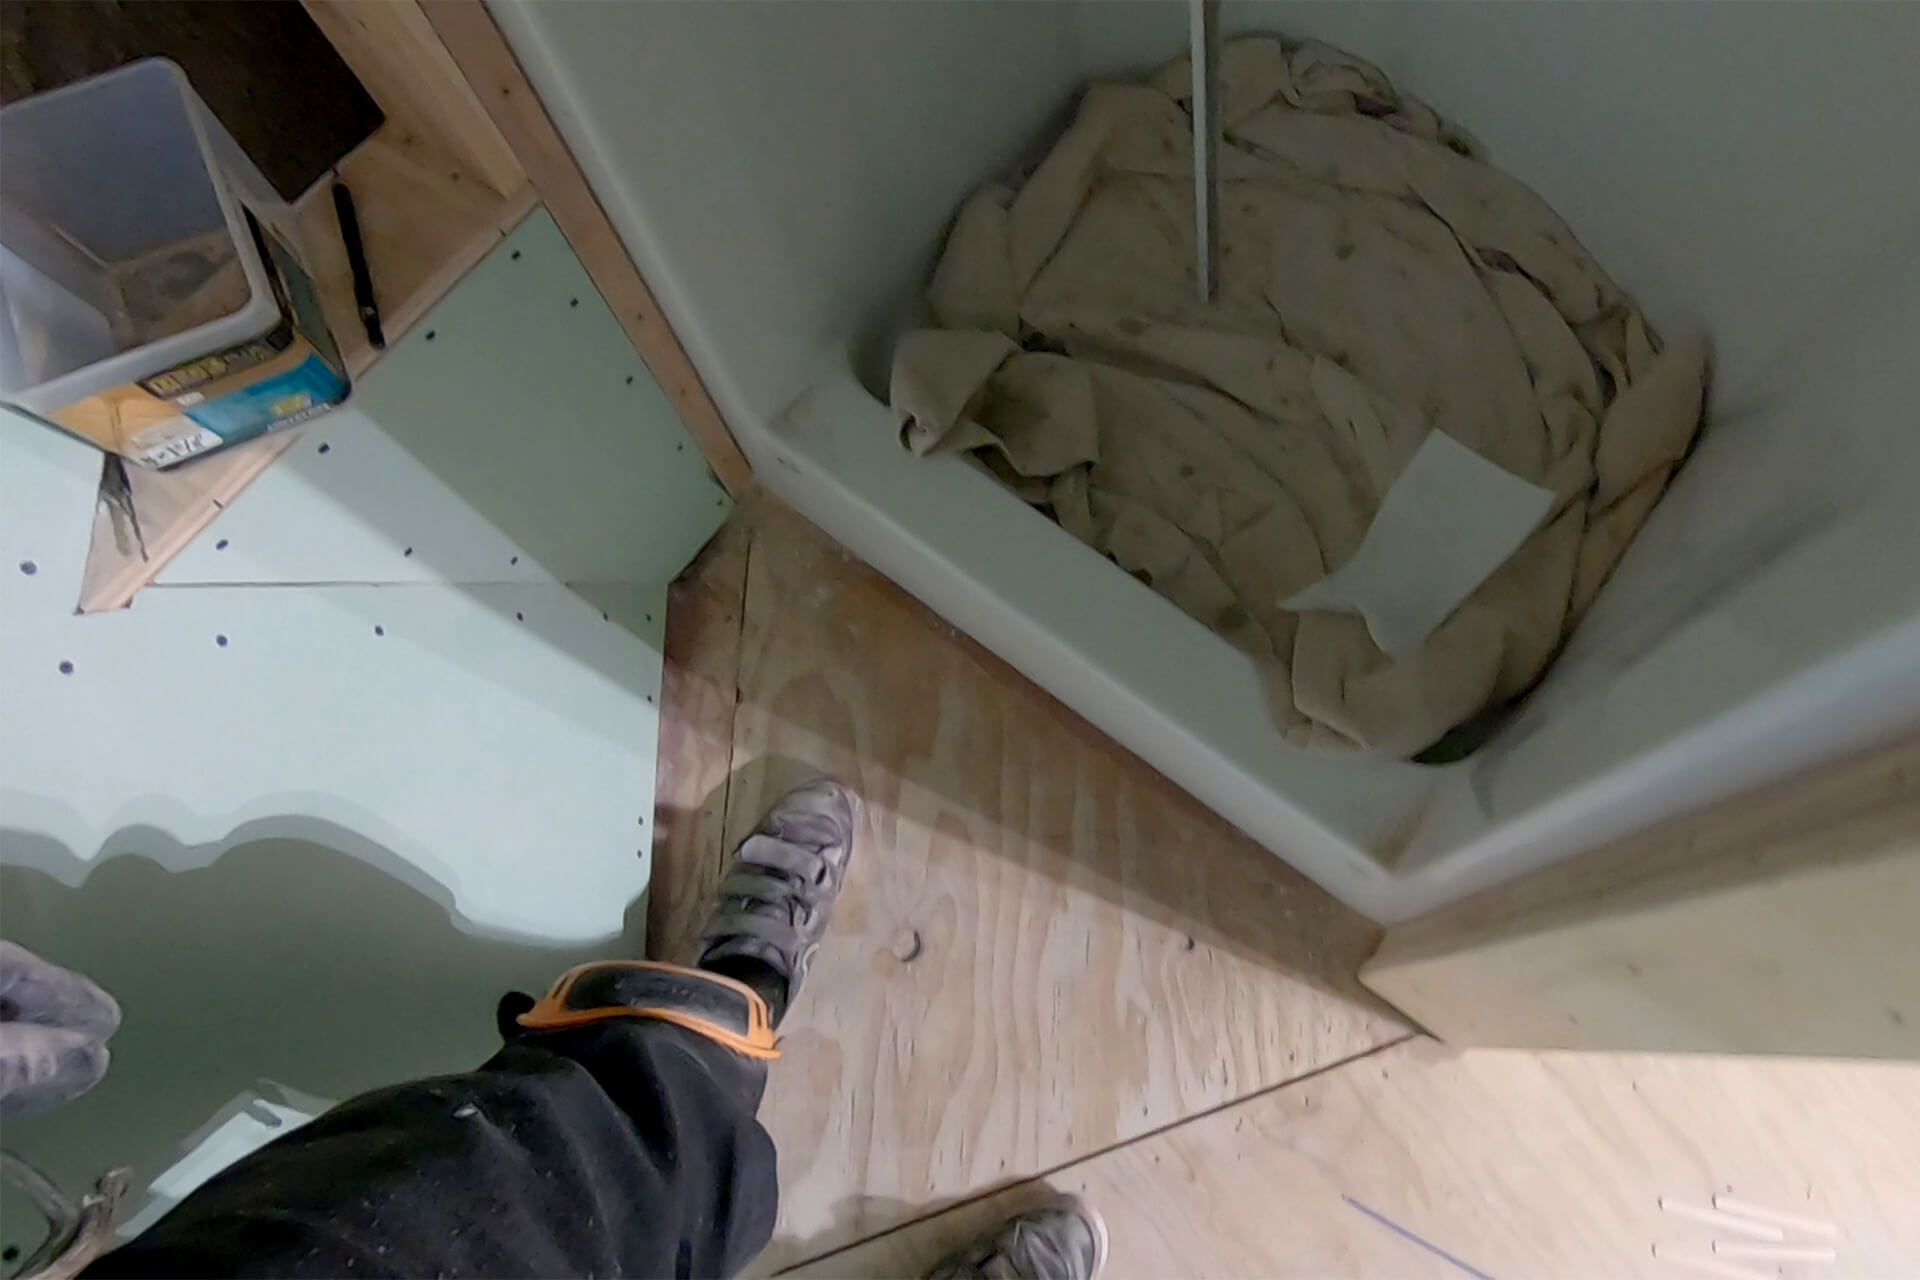
Detail shot showing the base of the shower. Note that the plywood strip extends all the way down on both sides.
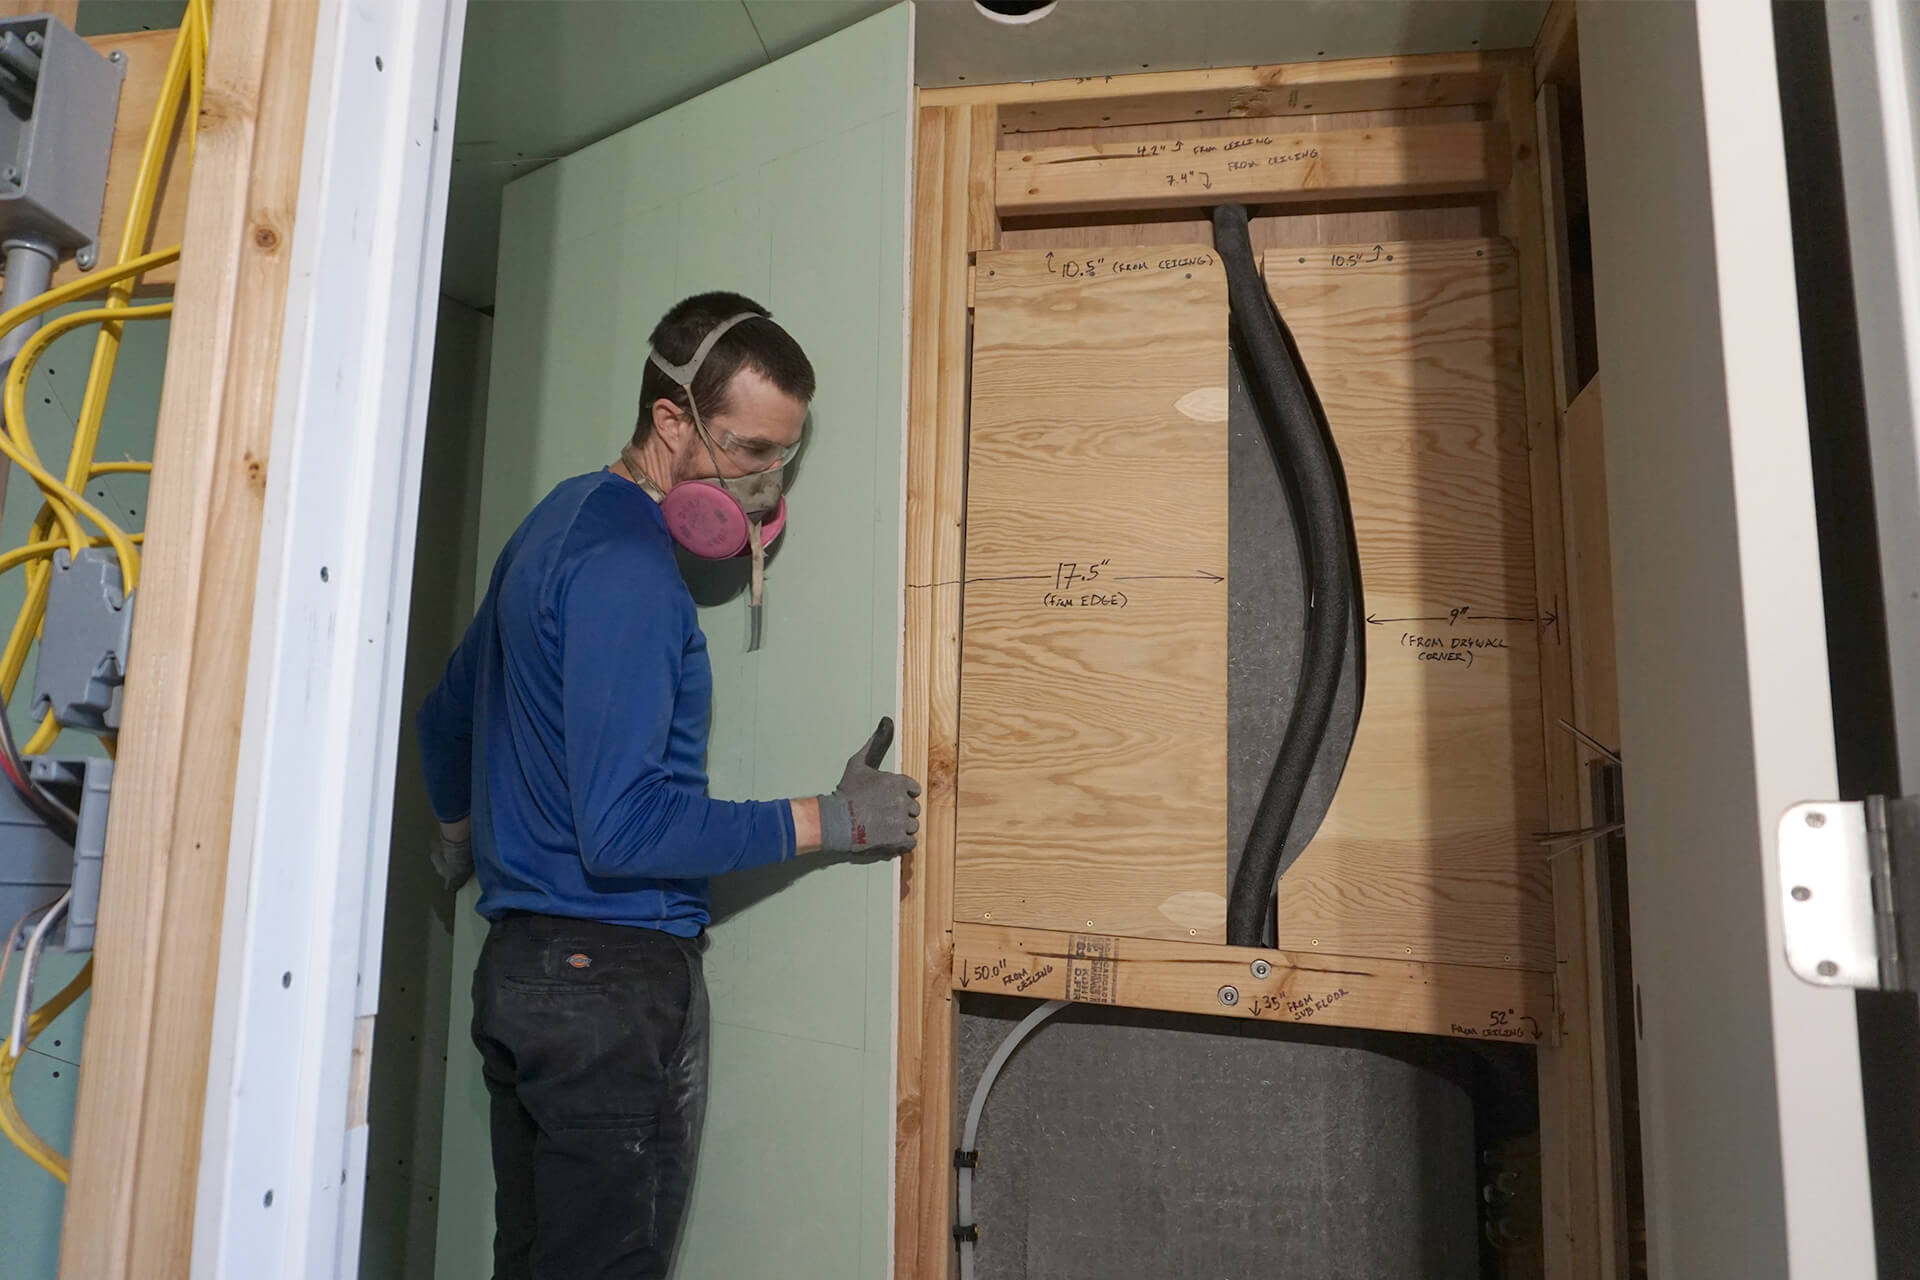
Measure and mark the screw-friendly zones before covering them with drywall. It’s helpful to label the wall and take a photo for reference.

Router out the back of the drywall if needed for clearance. Strengthen the exposed core by gluing paper over it with CA glue.

Cut a slot in the drywall for a slip fit around the toilet stop valve. Secure the small piece in place with CA glue. Reminder: Keep the bottom edge of the drywall off the subfloor.

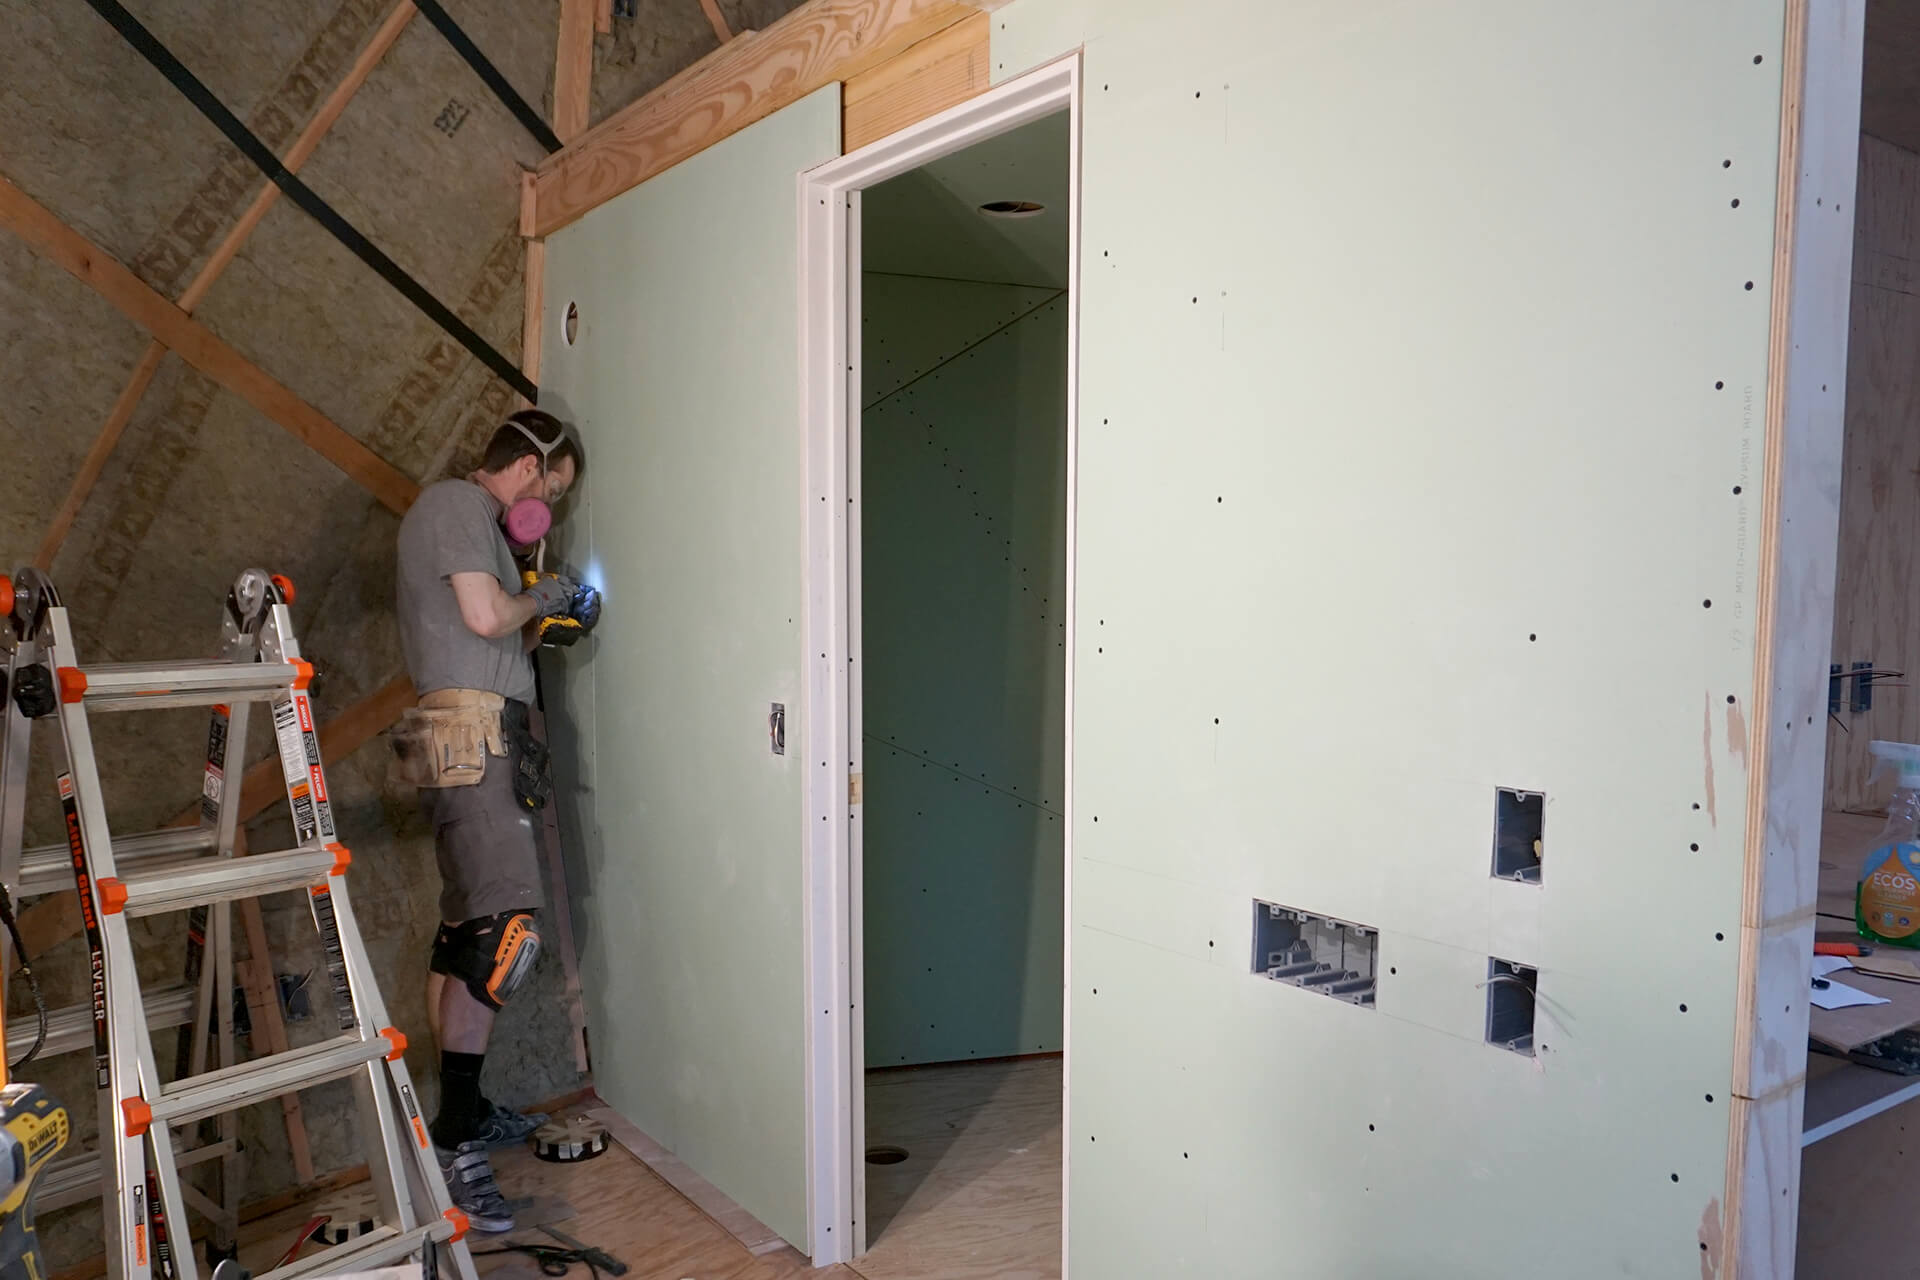
Finish hanging all of the bathroom interior panels, then begin hanging the bathroom exterior panels. This panel requires many cutouts for electrical boxes.

Fill the wall cavities behind the toilet with spare mineral wool to help reduce noise from toilet use. Measure and mark the thermostat box location before covering it with drywall.
Continue hanging the wall panels. Note the hole for the stair light. The small hole for the thermostat wires will be drilled during thermostat installation.
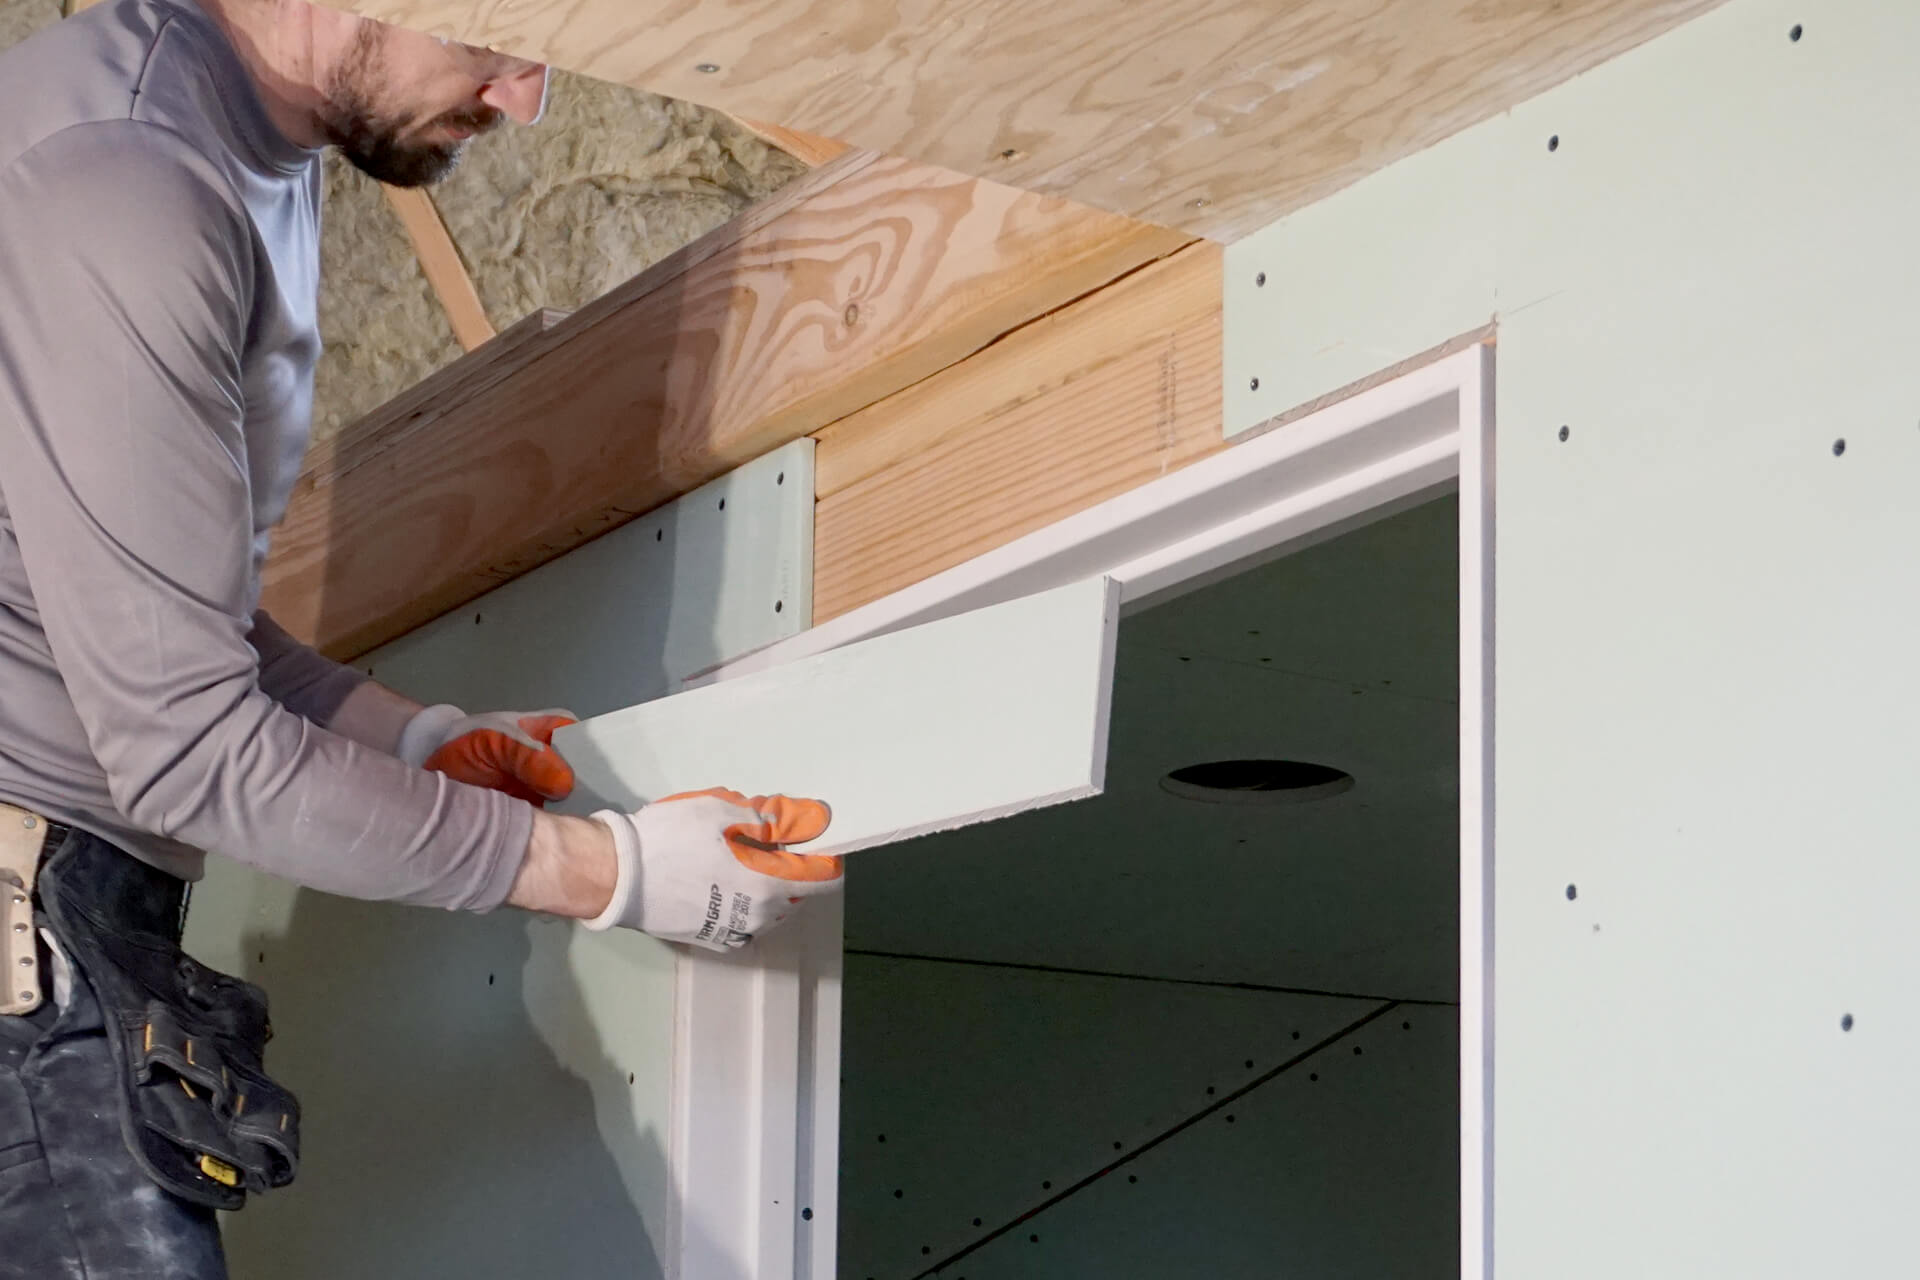
The wall panels intentionally overlap the door corners, since that area is most prone to drywall cracks when panel seams align with the door.
Finish hanging the drywall. Scrap pieces were used on this final wall, and most of it will be hidden behind the kitchenette cabinets.

V-groove every drywall seam to increase surface area for mud to adhere and help it reach the back of the drywall, reducing the chance of future cracking.
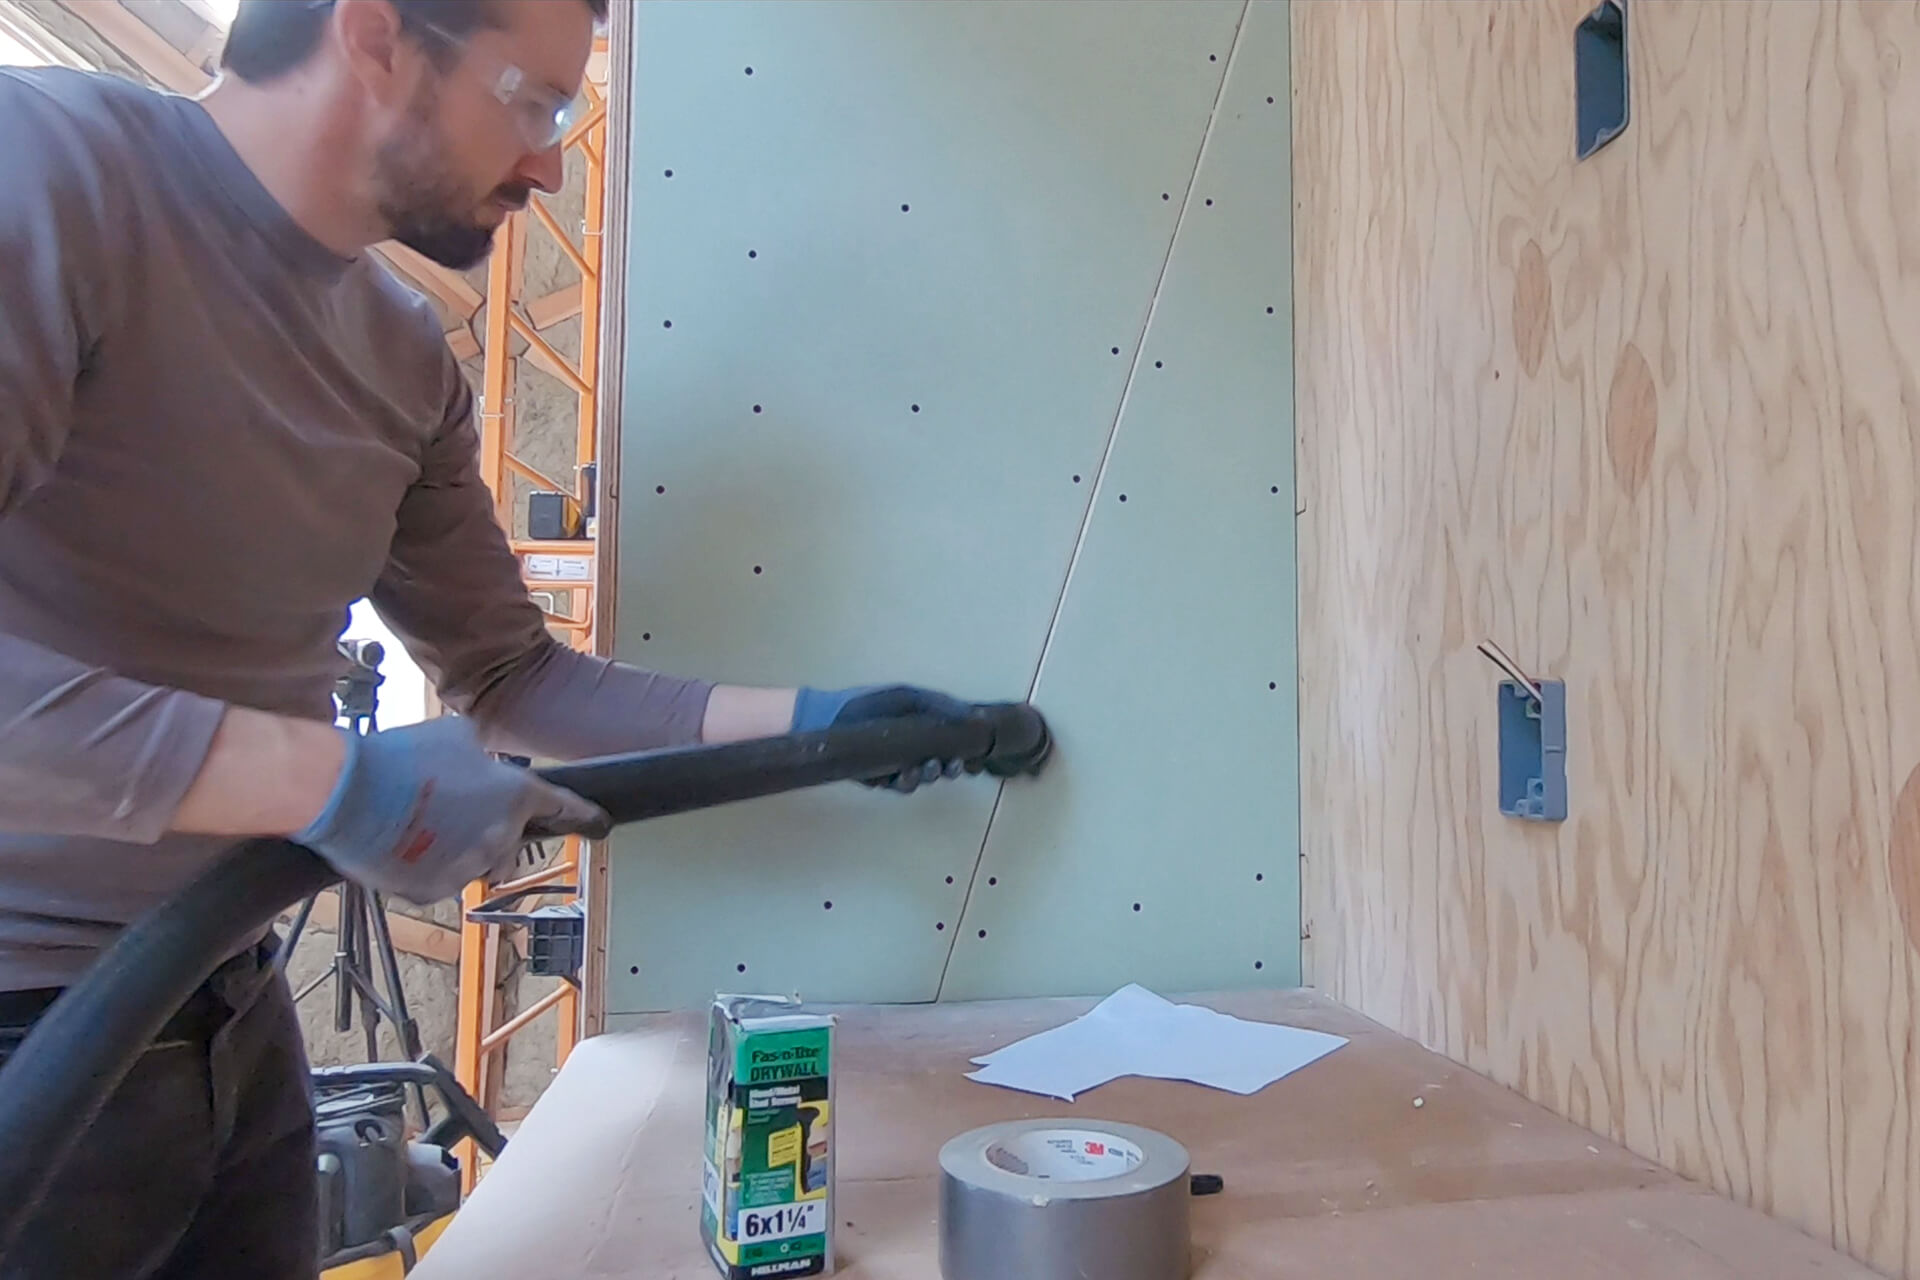
Vacuum all dust and debris out of the grooves, surfaces, and screw heads to ensure the drywall mud bonds to a clean surface.
Next Step