
Drywall – Prep

Install 1/4” plywood to bring the wall surface flush with the shower lip. Mark stud and vent locations to make drywall installation easier.

Install blocking and plywood around the perimeter of the utility closet opening to provide a solid surface for mounting and supporting the drywall.

Cut the bottom of the bathroom door to leave a 1.35” gap above the finished floor. This gap allows airflow for the mechanical ventilation provided by the HRV.

Use shims or spacers to level, square, and plumb the bathroom door. With the door open, screw through the door frame, spacers, and into the framing.

The door frame should extend 0.5” beyond the framing on both sides to sit flush with the future drywall.

Ensure the lumber where the spiral stair landing attaches is plumb and true.

A track saw can be used to trim the area into a precise 90-degree corner to match the steel spiral stair landing.

Mark joist locations and use a hole saw to cut out the light openings in the kitchenette ceiling. This part is plywood to provide extra strength for the floor above.

Apply flame retardant spray to flammable surfaces inside walls and ceilings where ignition is possible, such as around light fixture openings and electrical boxes.

Install blocking against the wall to provide a surface for securing the kitchenette ceiling.

Pre-drill, countersink, and install the first kitchenette ceiling panel to the framework with screws.

Cut the second ceiling panel and router a corner for clearance around the bracket.

Install the second kitchenette ceiling panel.

Cut and install another panel to cover the cantilever and align with the kitchenette ceiling height.

Cut a plywood trim panel to sit flush with the ceiling and subfloor. Install it with wood glue and screws to reinforce the beam and add strength.

Router the end of the second trim panel for clearance around the bracket. Cut and install additional trim panels around the cantilever section.
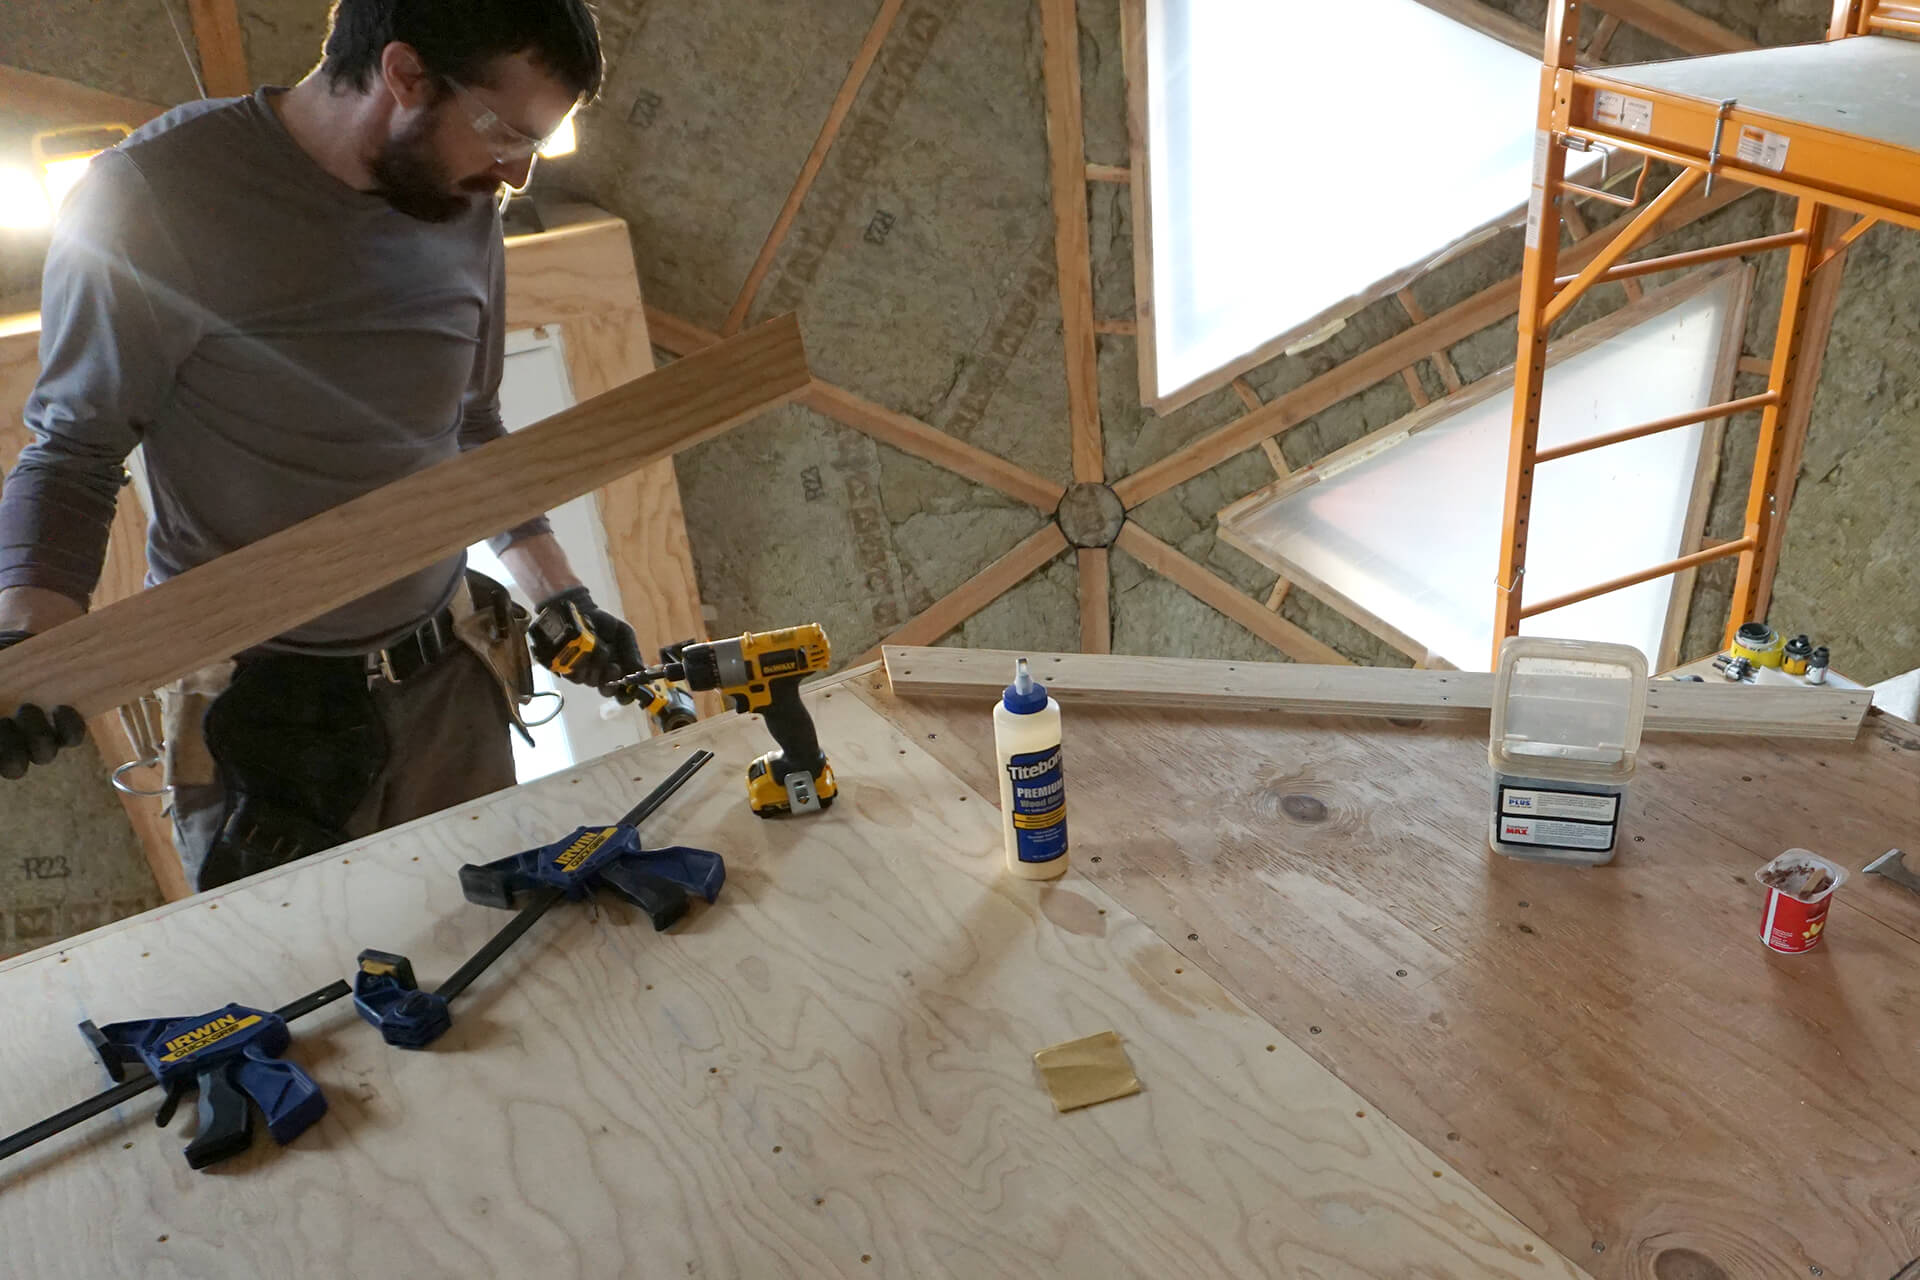
Cut, glue, and screw 3.25” wide trim pieces around the upper subfloor perimeter where the railing will be installed. This creates a slightly raised, solid edge for the flooring to terminate against.

Cut and install a plywood trim panel with routed edges to cap the wall. It should overlap the framing by 0.5” on each side to sit flush with future drywall.

Add plywood sheathing inside the framing to provide a solid surface for mounting the kitchenette cabinets.

Cut and install another plywood trim panel with routed edges to cap the shower wall. Install blocking to provide a surface for securing the drywall ceiling.

Detail shot showing additional blocking for the drywall ceiling.

Install plywood blocking against this inside edge for securing drywall.

Add plywood sheathing inside the framing to provide a solid surface for mounting the bathroom mirror, custom shelf, and wall-mounted hair dryer.
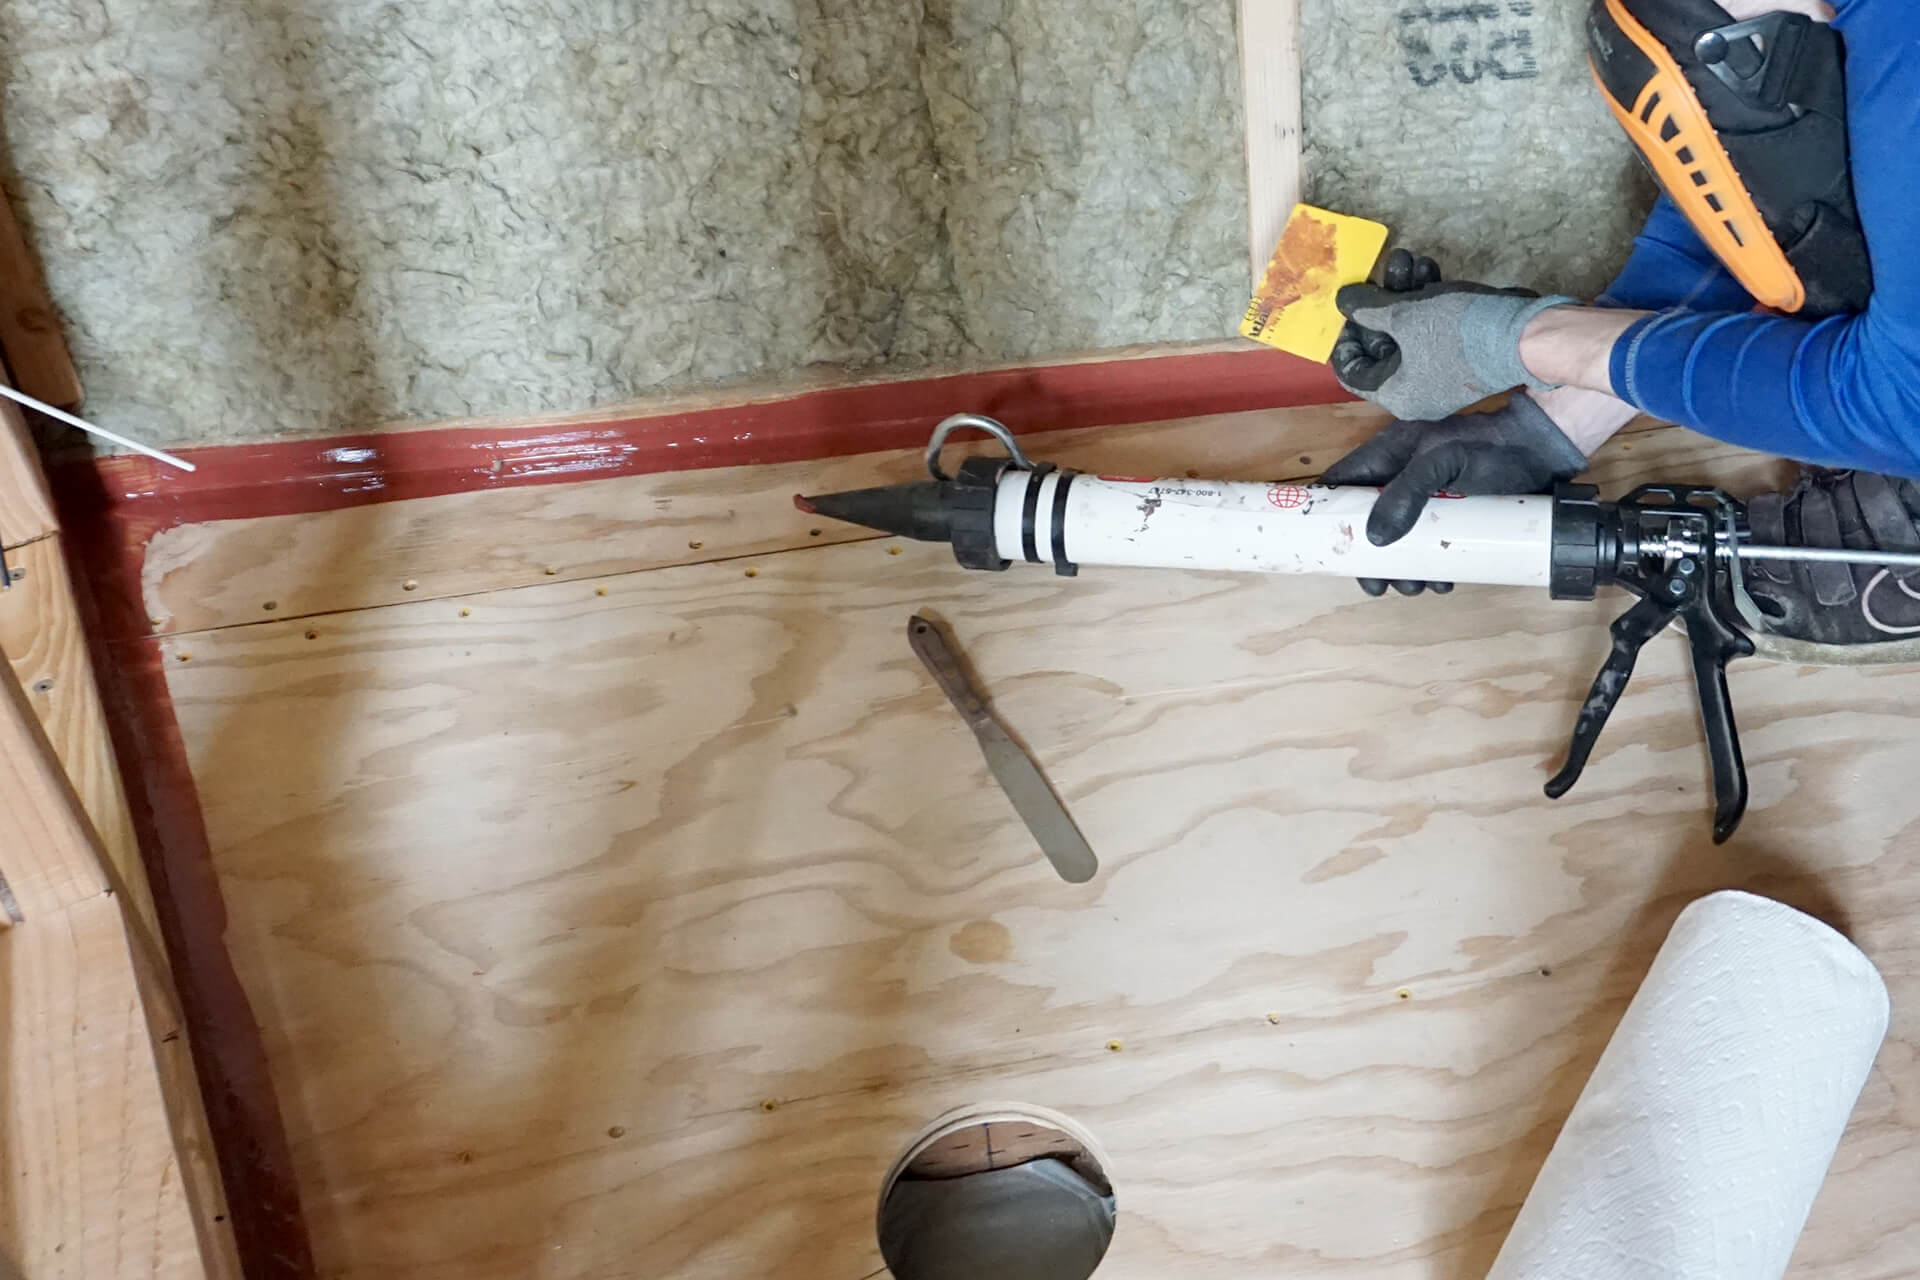
Coat all of the sill plate to subfloor connections with a fluid-applied waterproof membrane to prevent any flooding from entering the walls. Prosoco R-Guard Fast Flash shown here.
Next Step