
Electrical – Panel
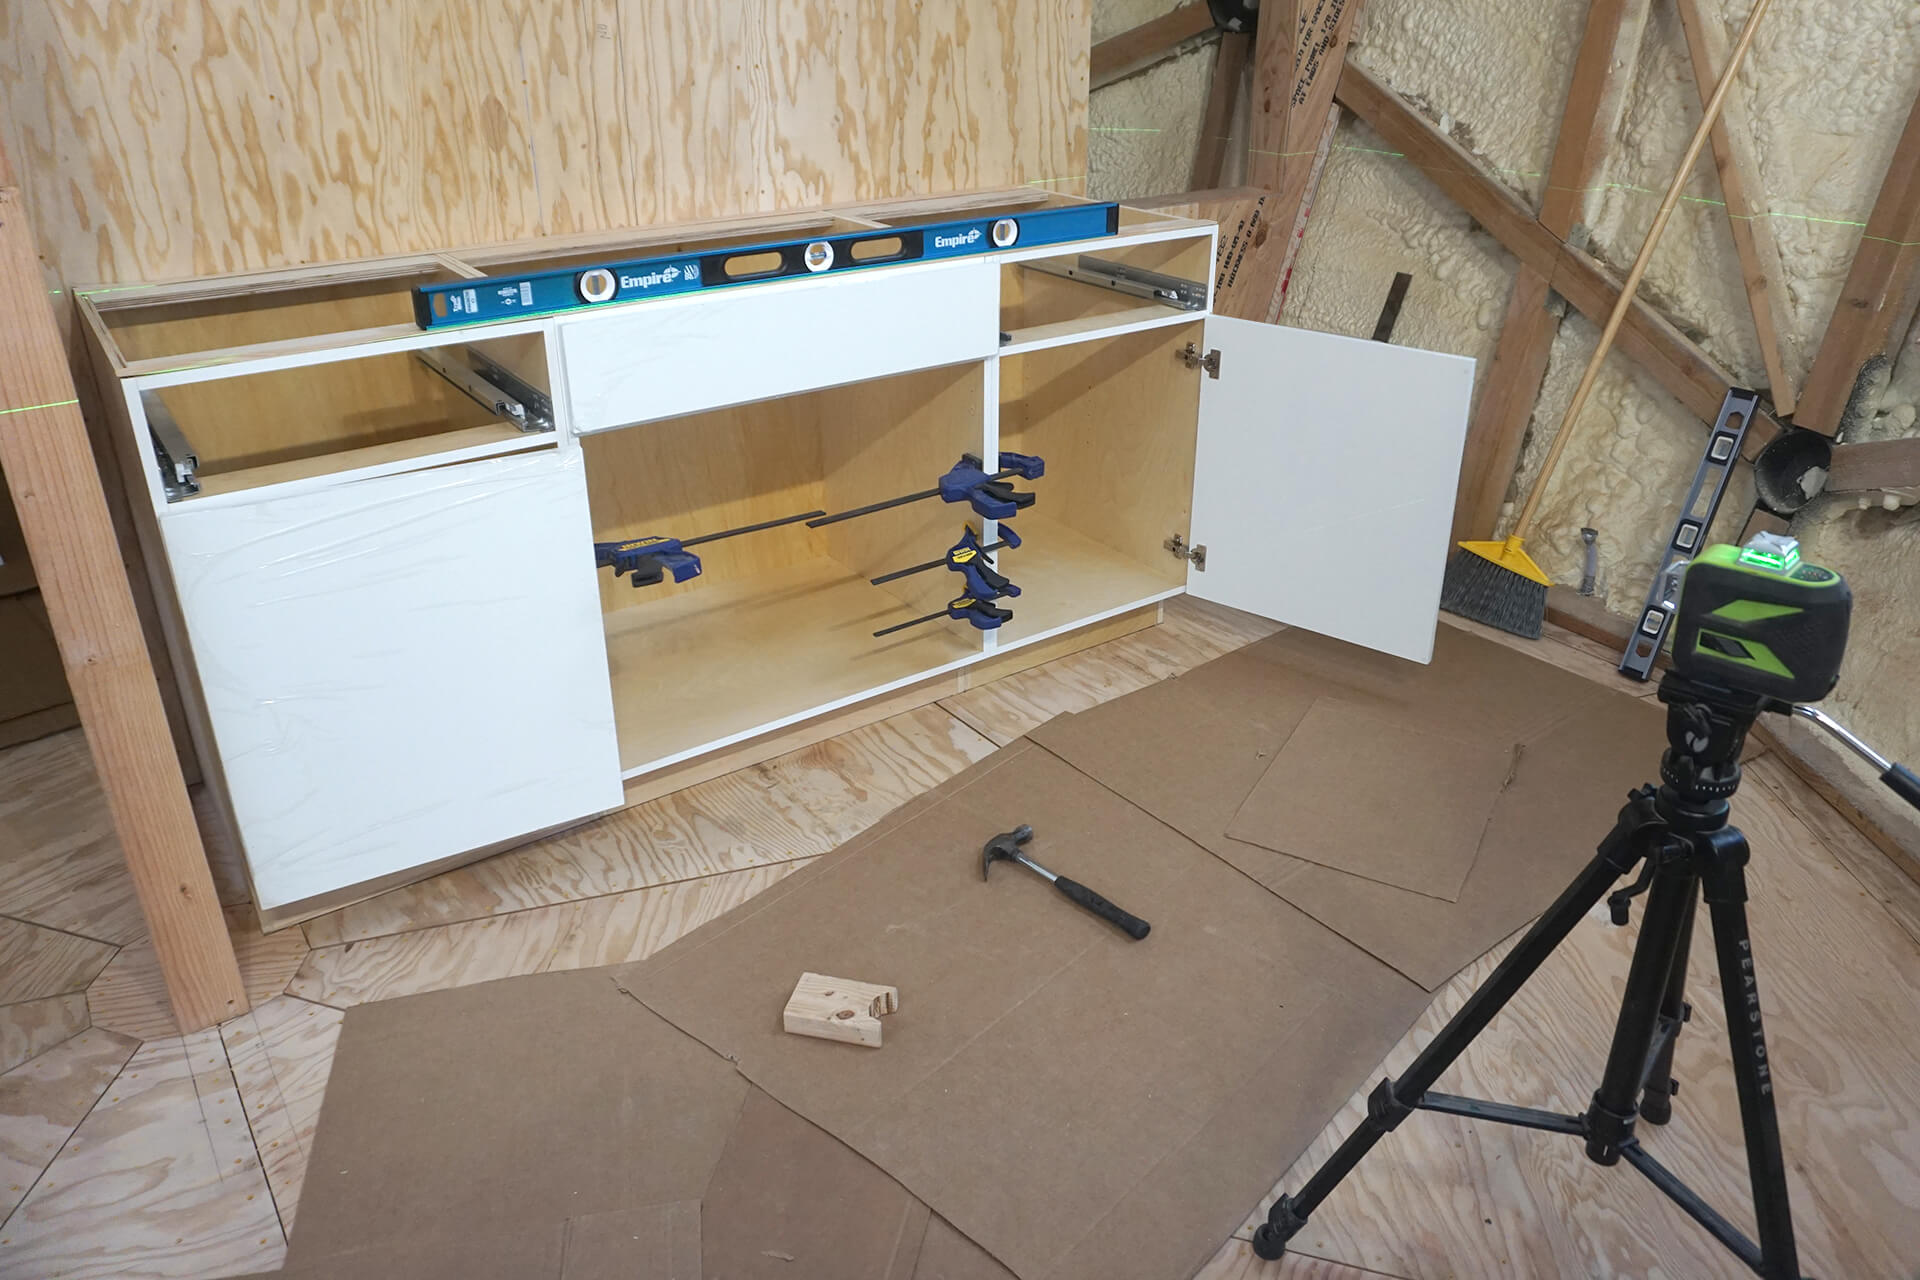
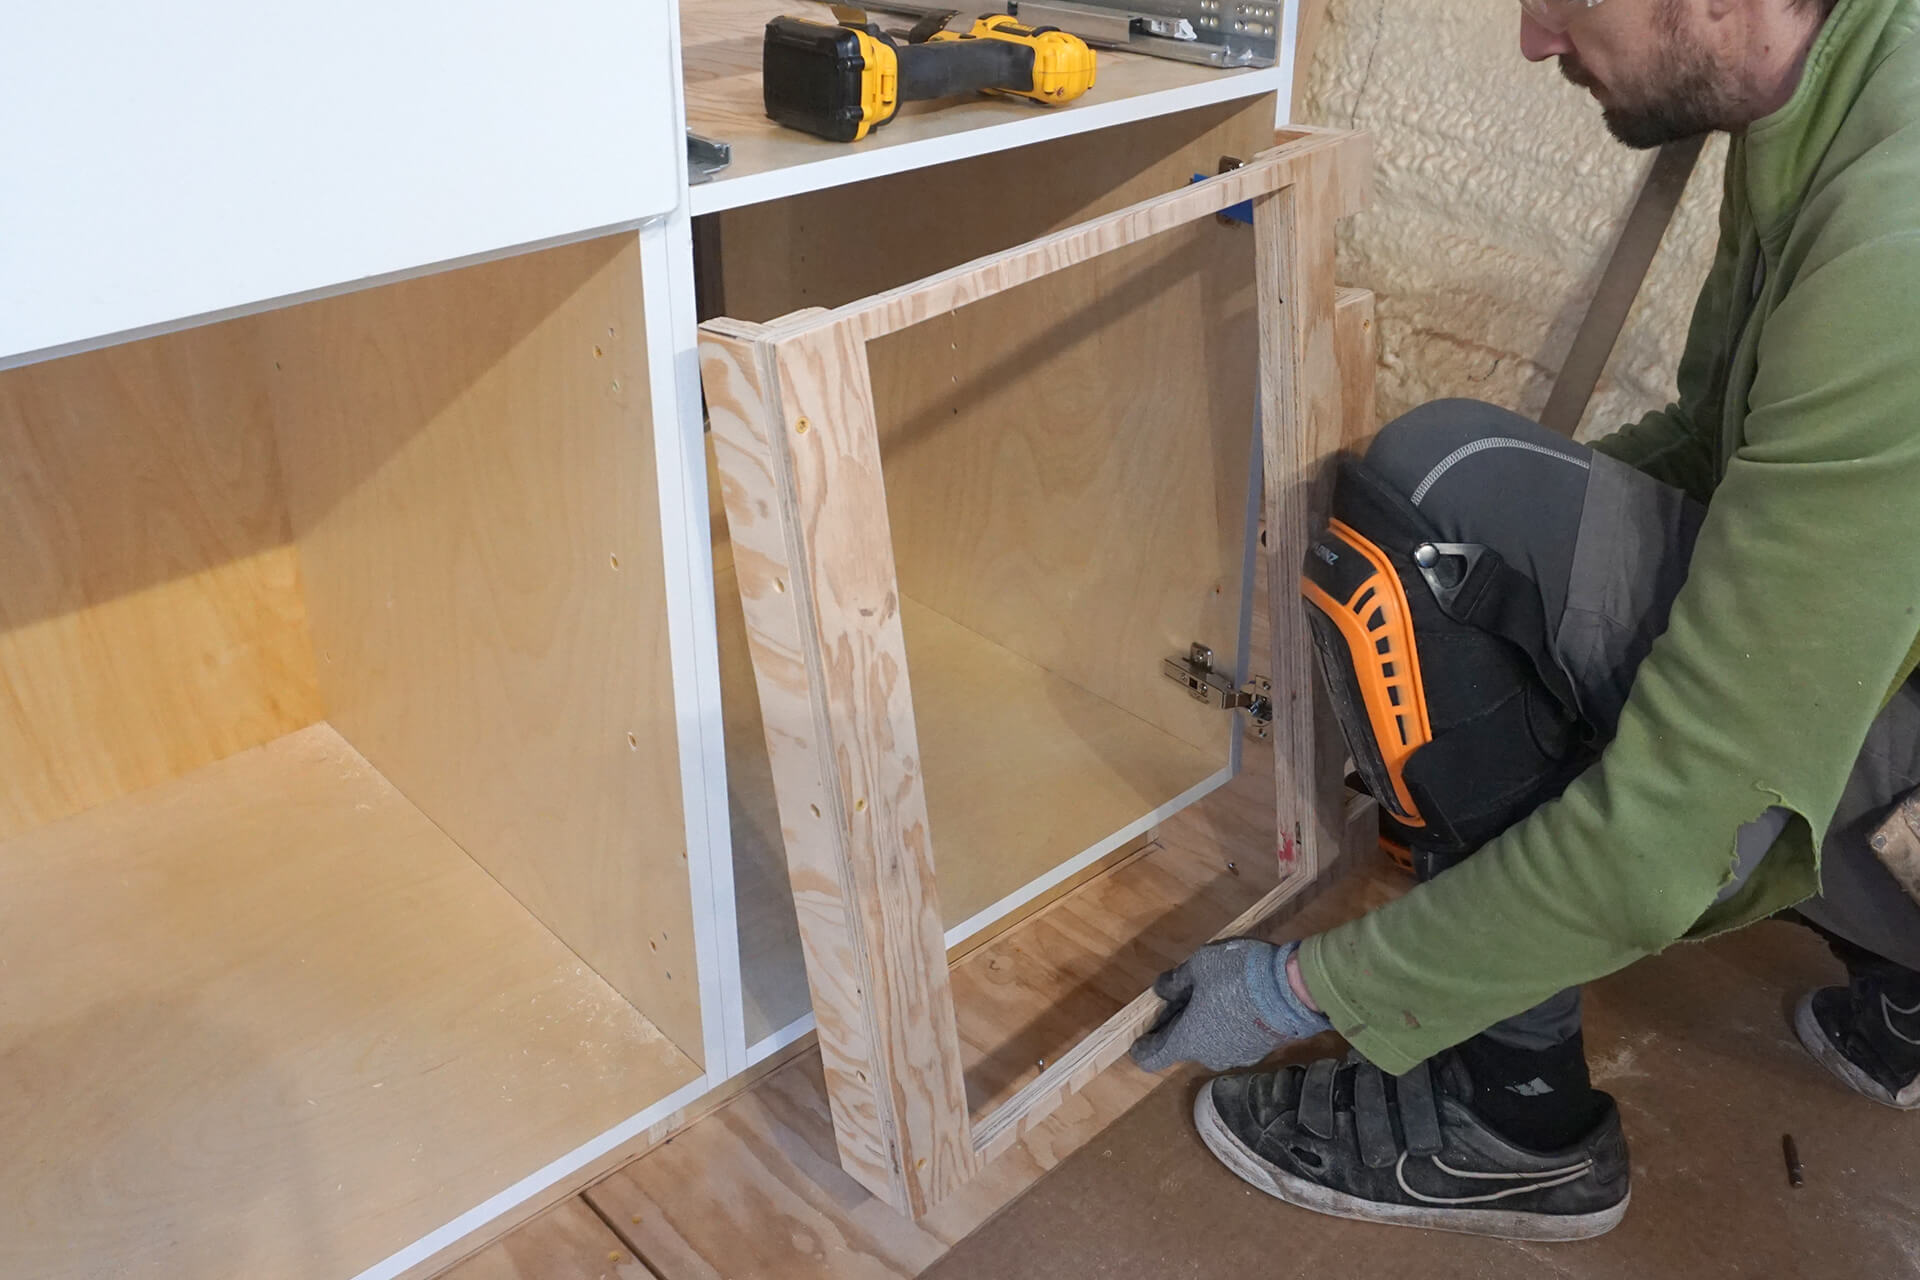
Mock up the lower cabinets with clamps and position them in place. Use a laser to measure how true the top surface is. Mark the cabinet base location onto the subfloor.
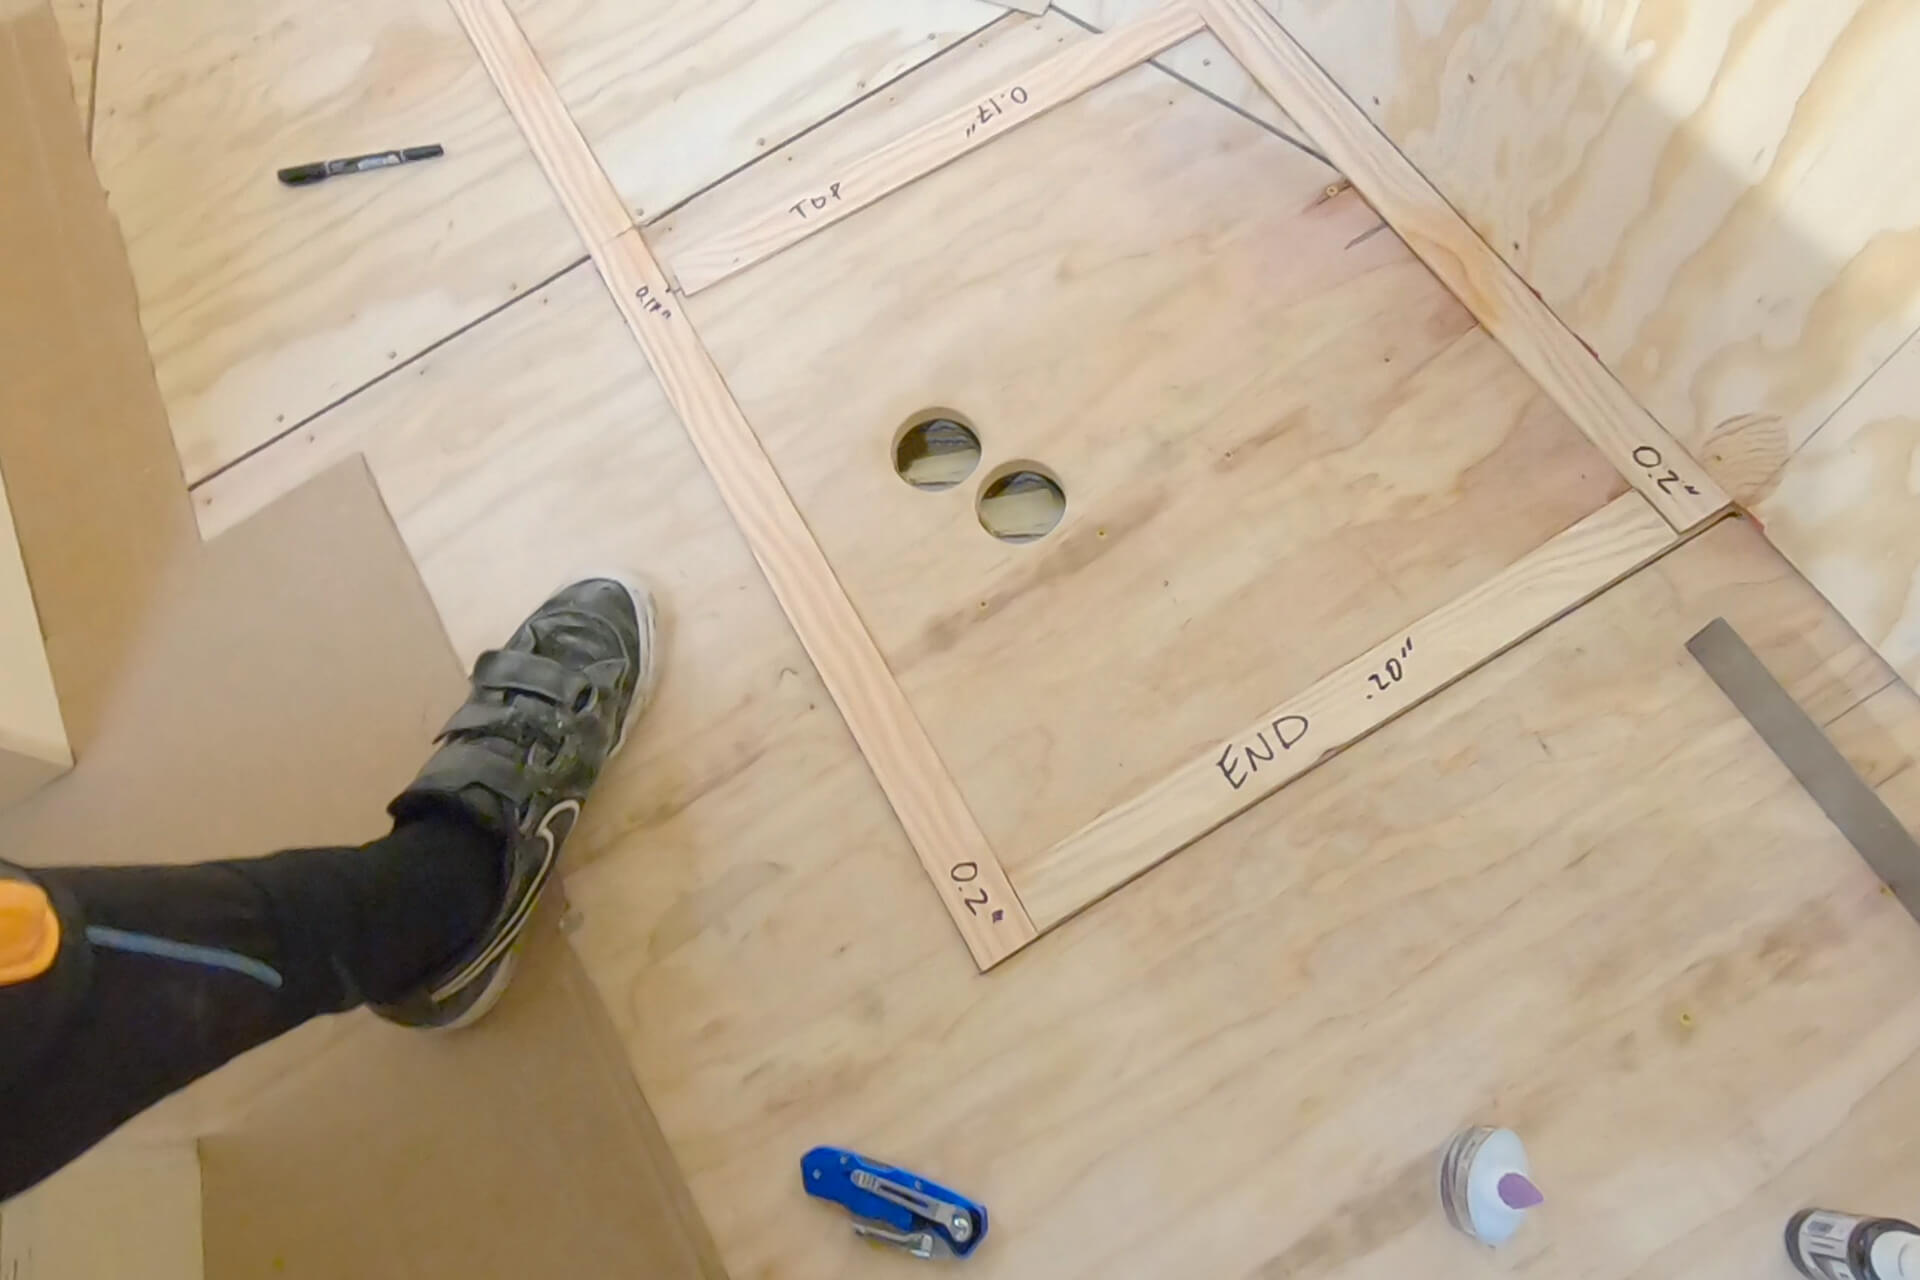
If the cabinet requires leveling, cut tapered shims with a track saw and glue them to the floor at the cabinet base locations. Measure and cut matching holes into the cabinets.
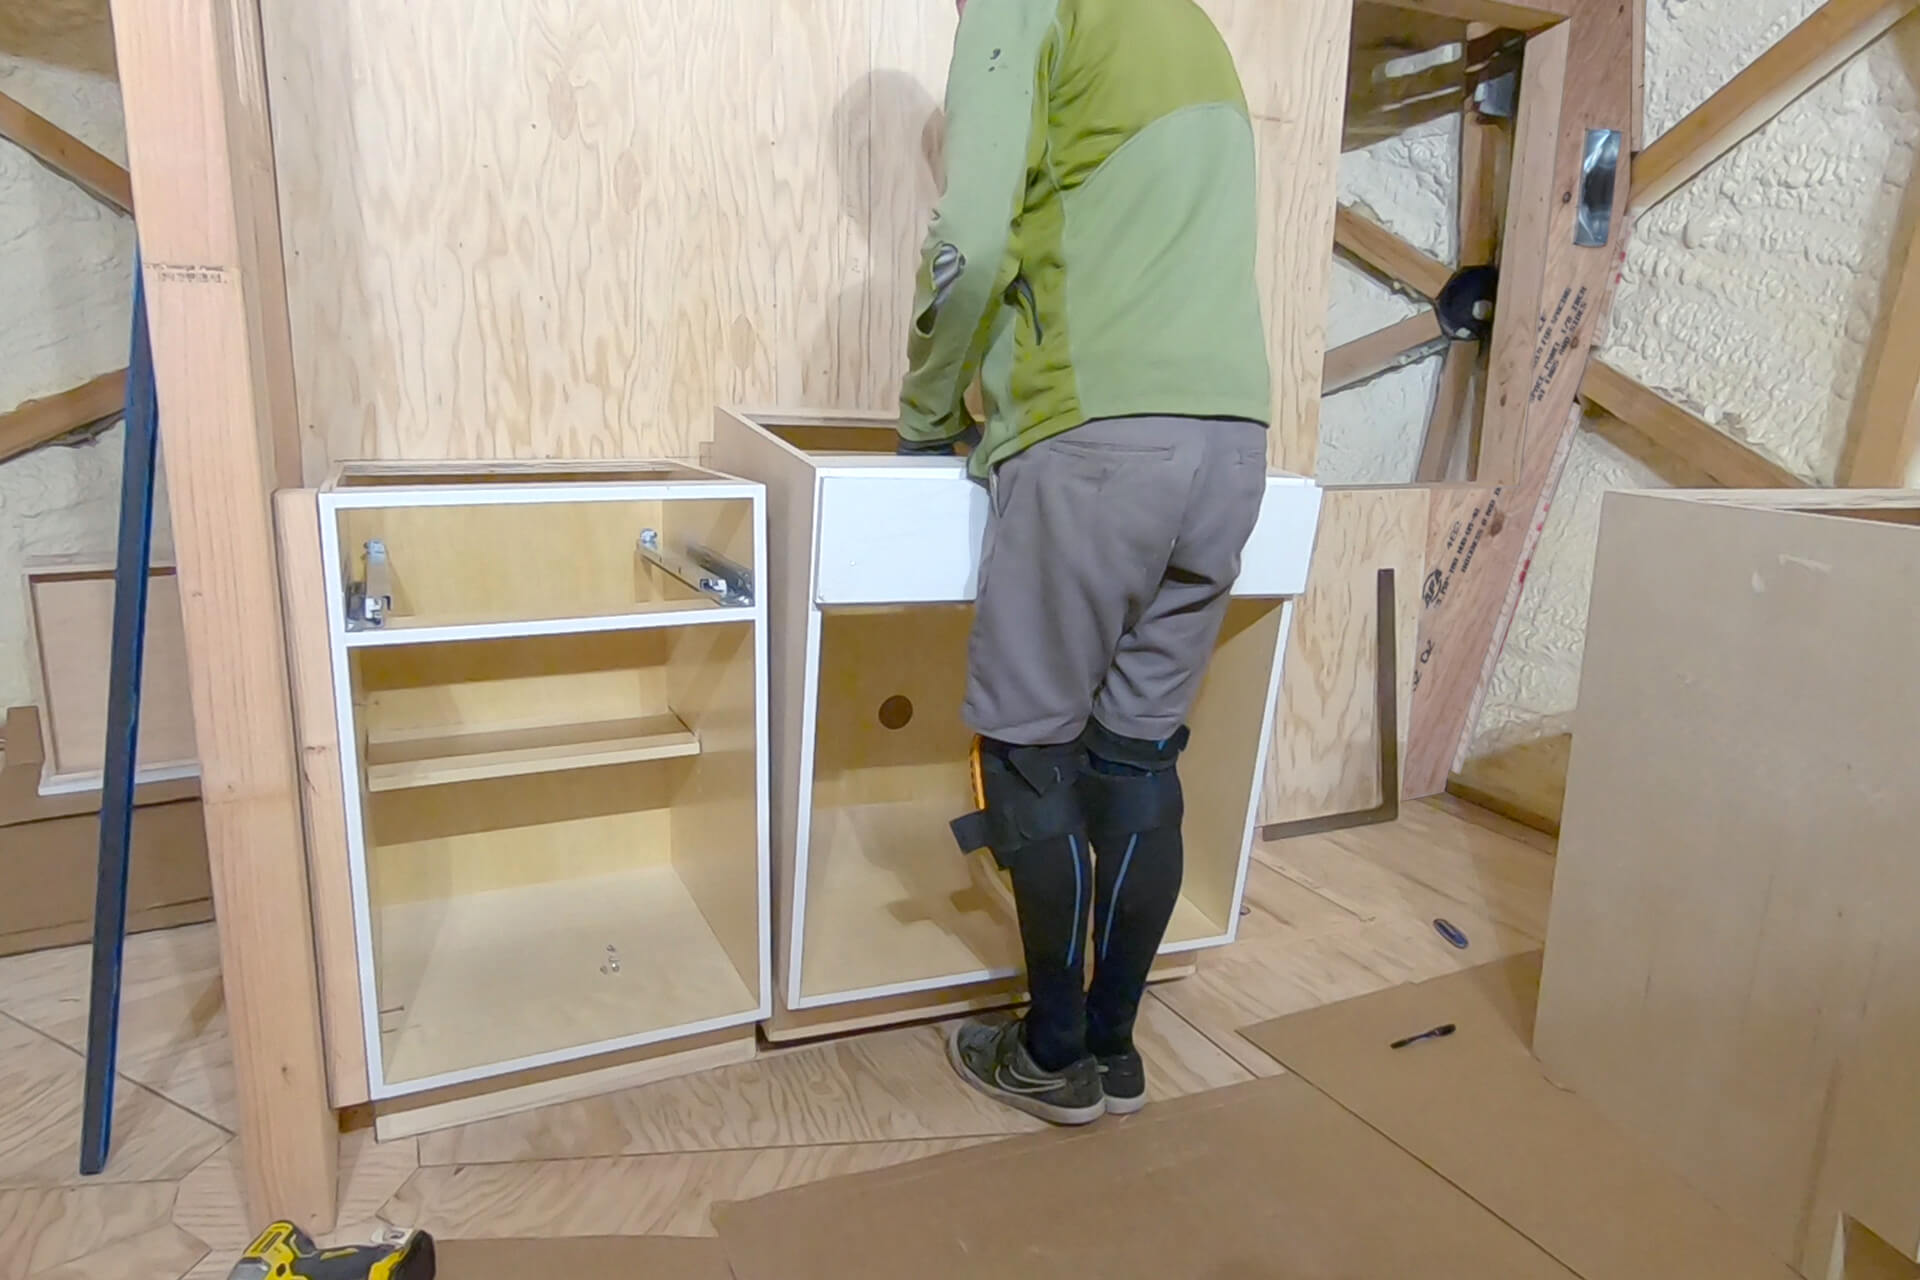
Begin attaching the lower cabinets to each other with wood screws. The first cabinet has blocking attached for a flush fit. The second cabinet has a hole that aligns with the in-wall waste pipe.

The third cabinet will house the electrical panel. Cut an access void into the wall and a matching one into the back of the cabinet. This will serve as a pass-through for wires.

Attach plywood to completely enclose the electrical panel zone of the third cabinet. This isolates the zone and prevents anything from falling into it.
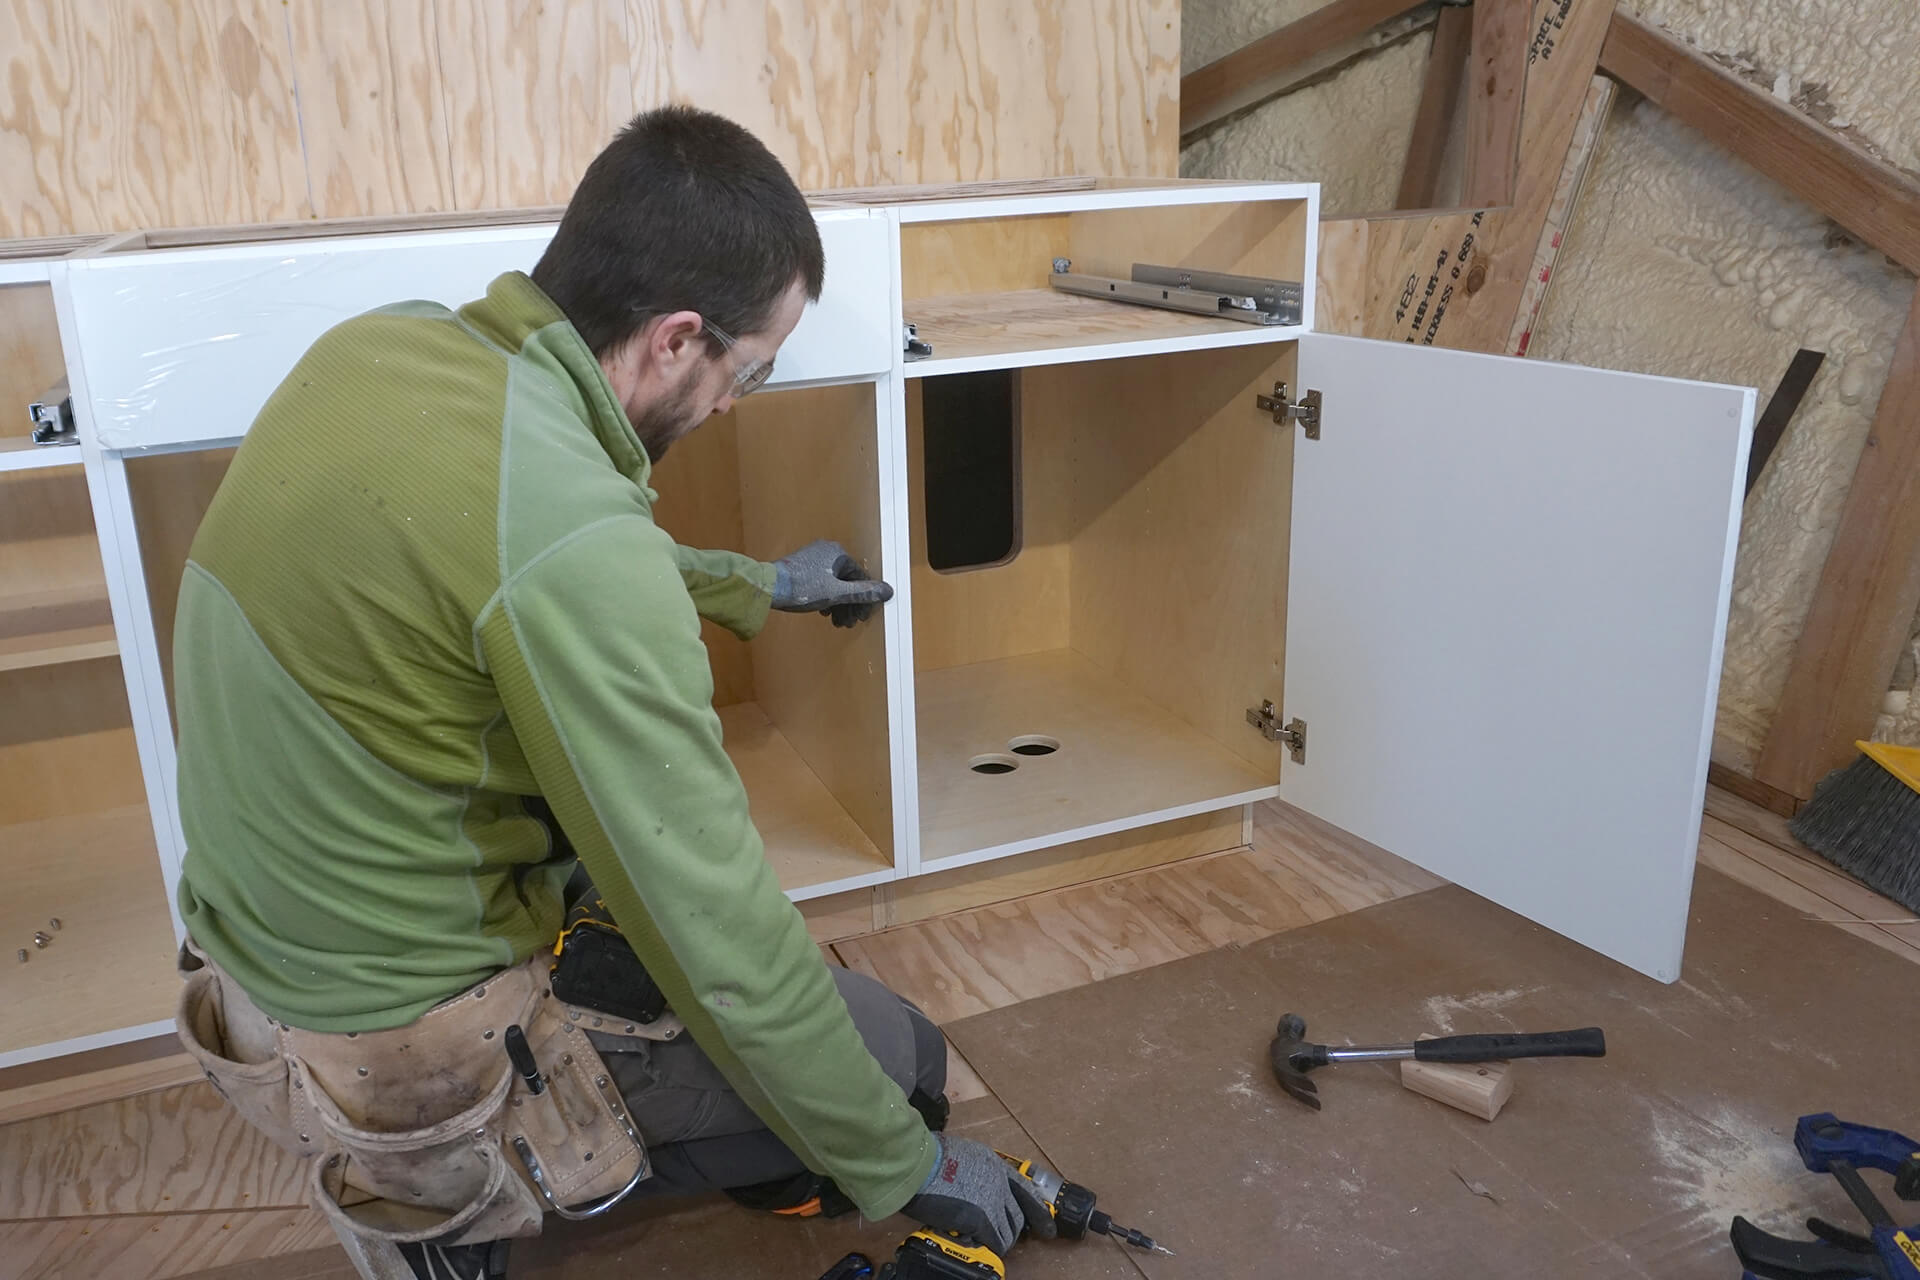
Attach the third cabinet to the others, then secure the group of cabinets to the wall. The third cabinet has holes that align with the in-floor electrical conduit stub-outs.
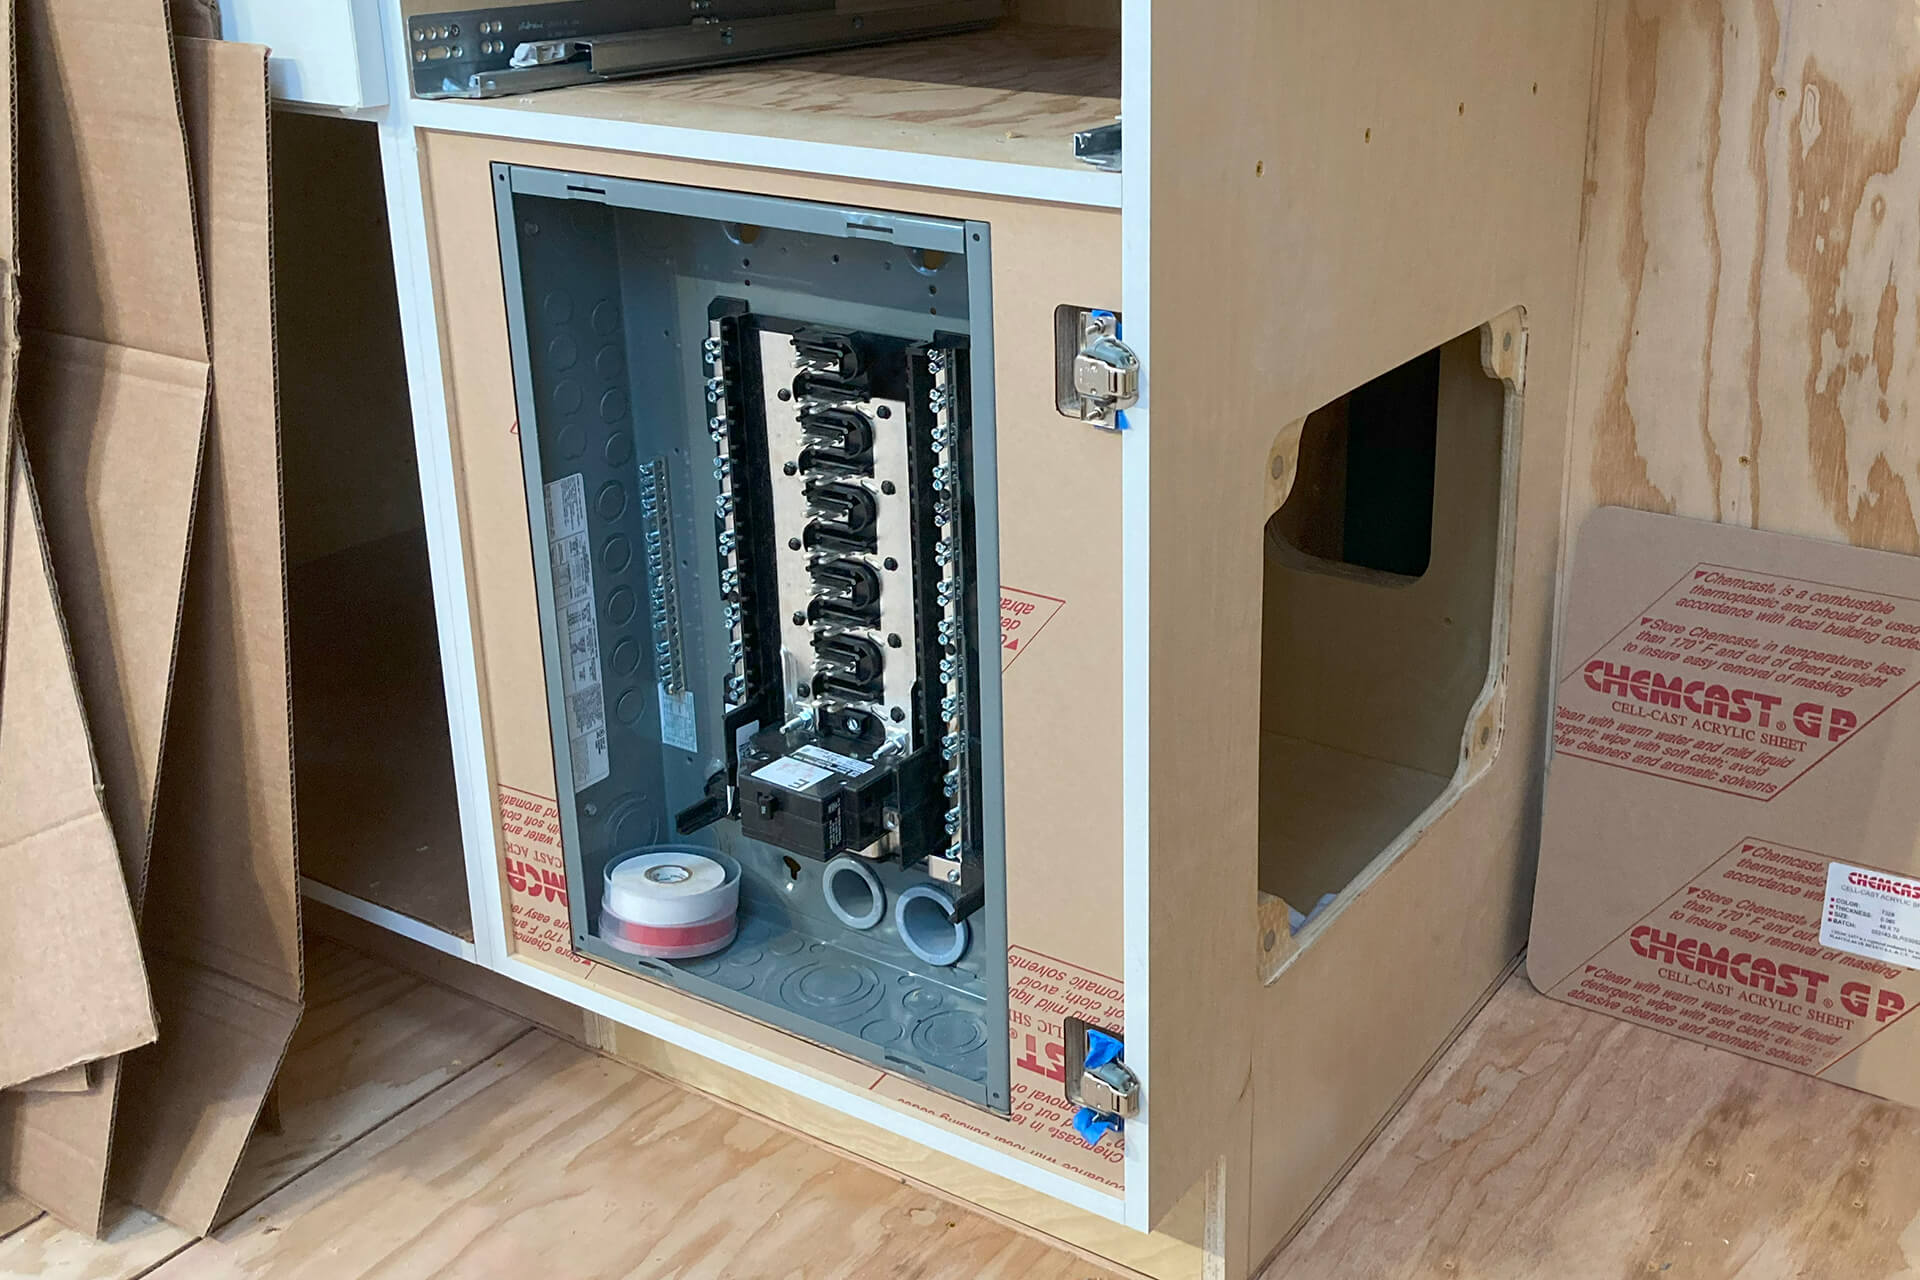
Build and install a mounting system that positions the electrical panel nearly flush with the front of the cabinet, ensuring the code-required working space in front of the panel.
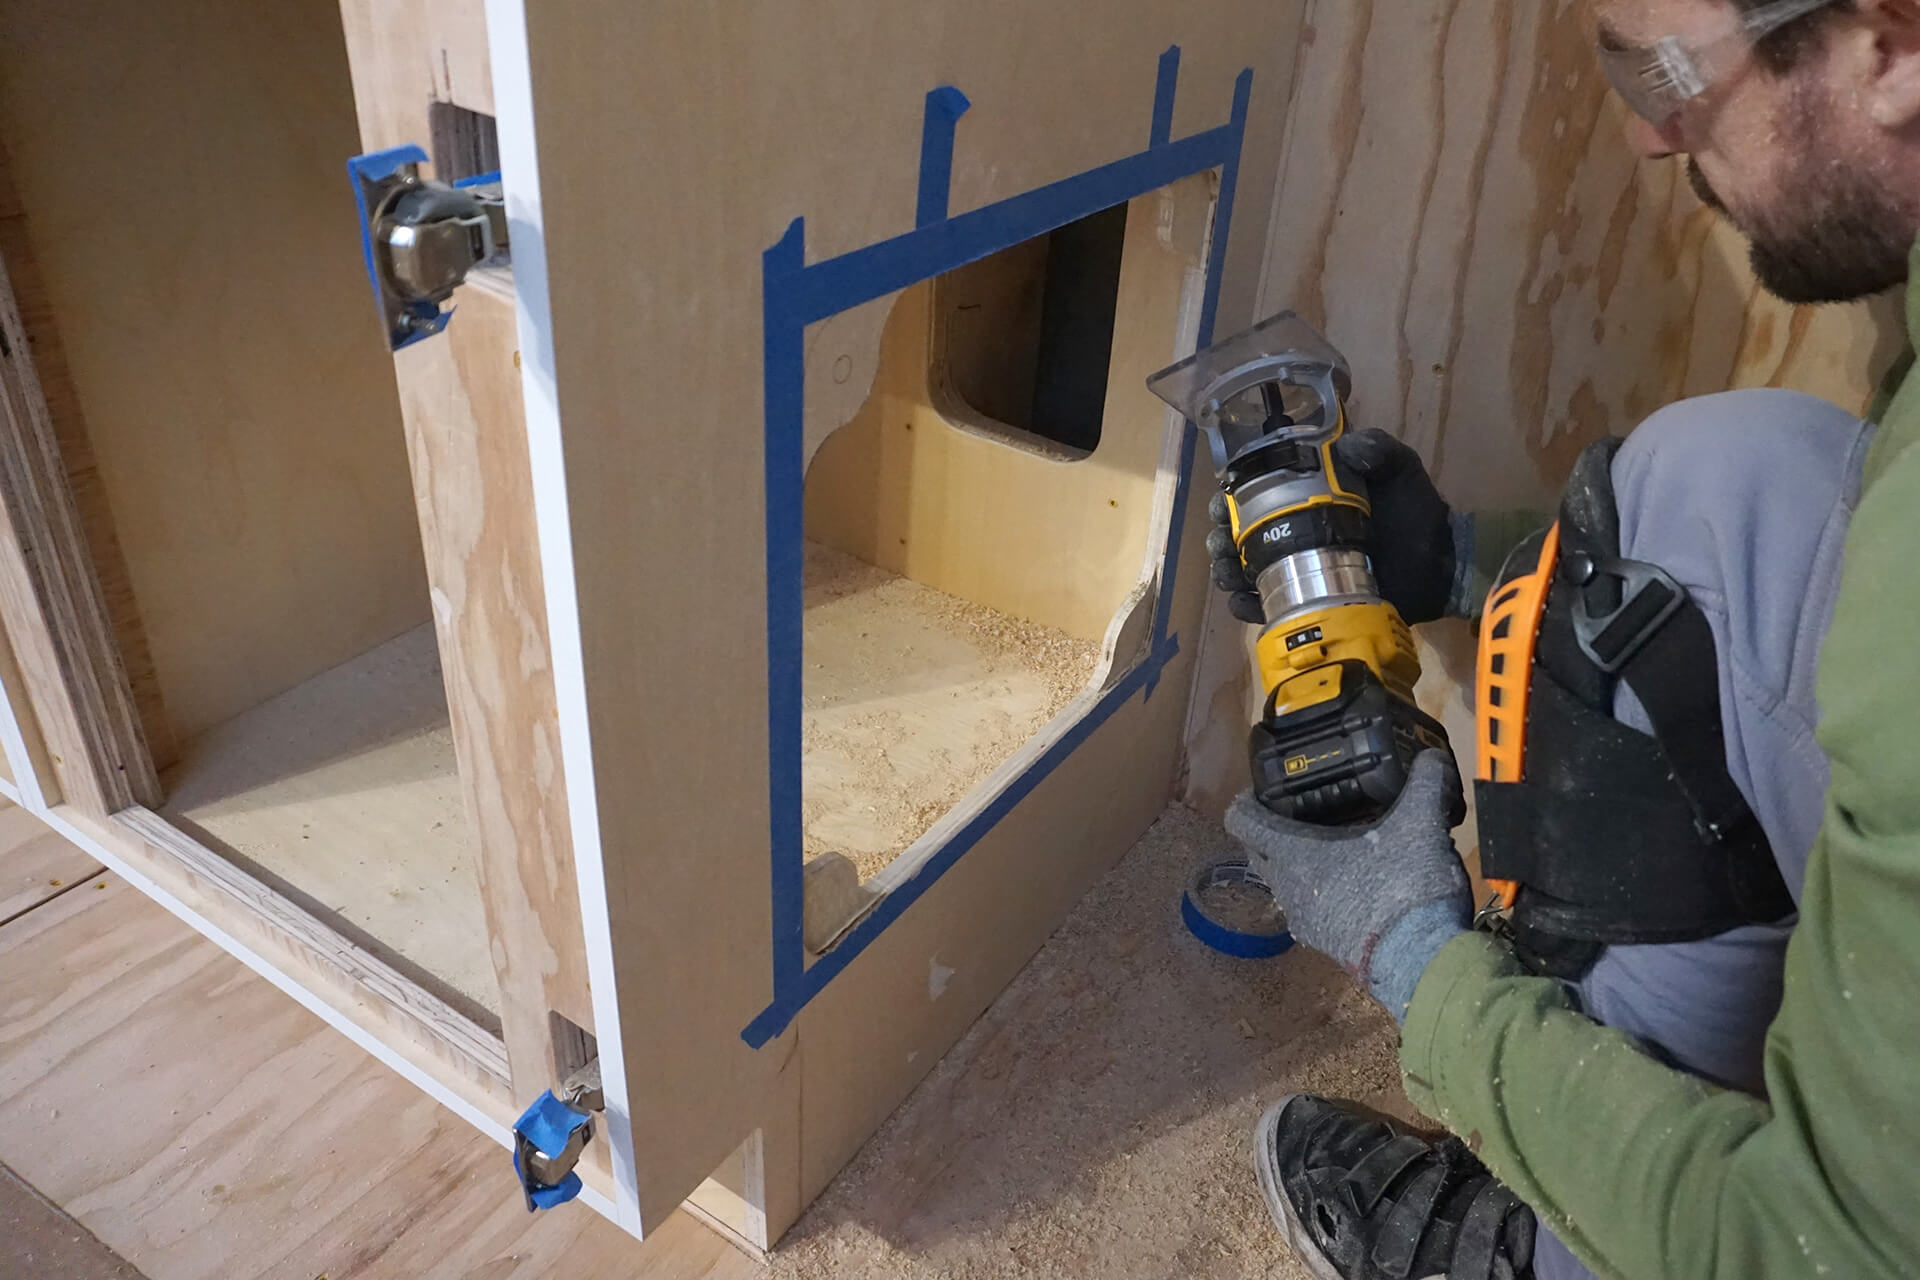
Cut an opening in the side of the cabinet to allow access to the back of the electrical panel. Use a router to create built-in tabs for securing a cover.
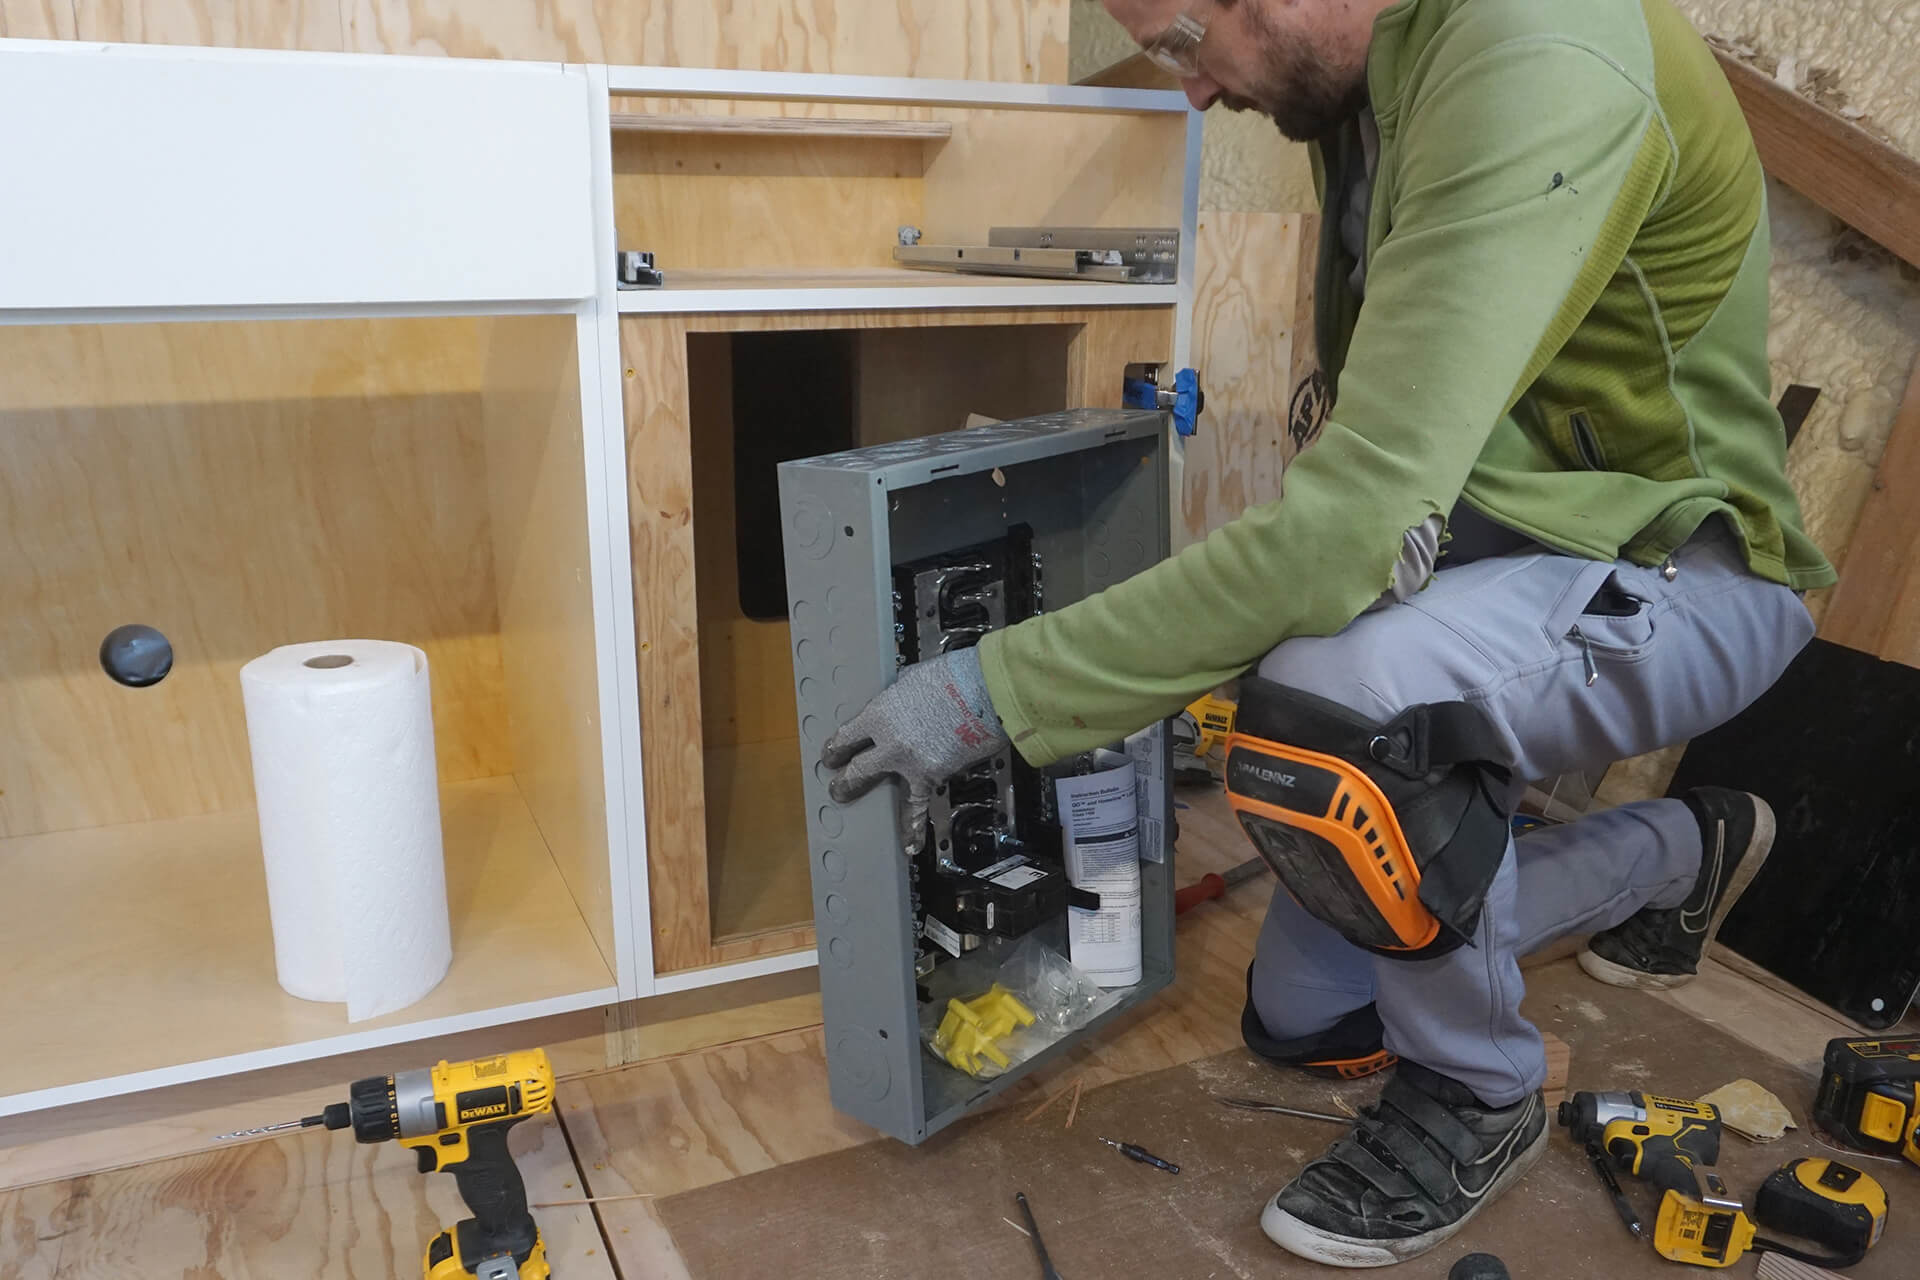
Mount the electrical panel so that it will be flush with the final surface and there will be no gaps when the metal cover is installed.
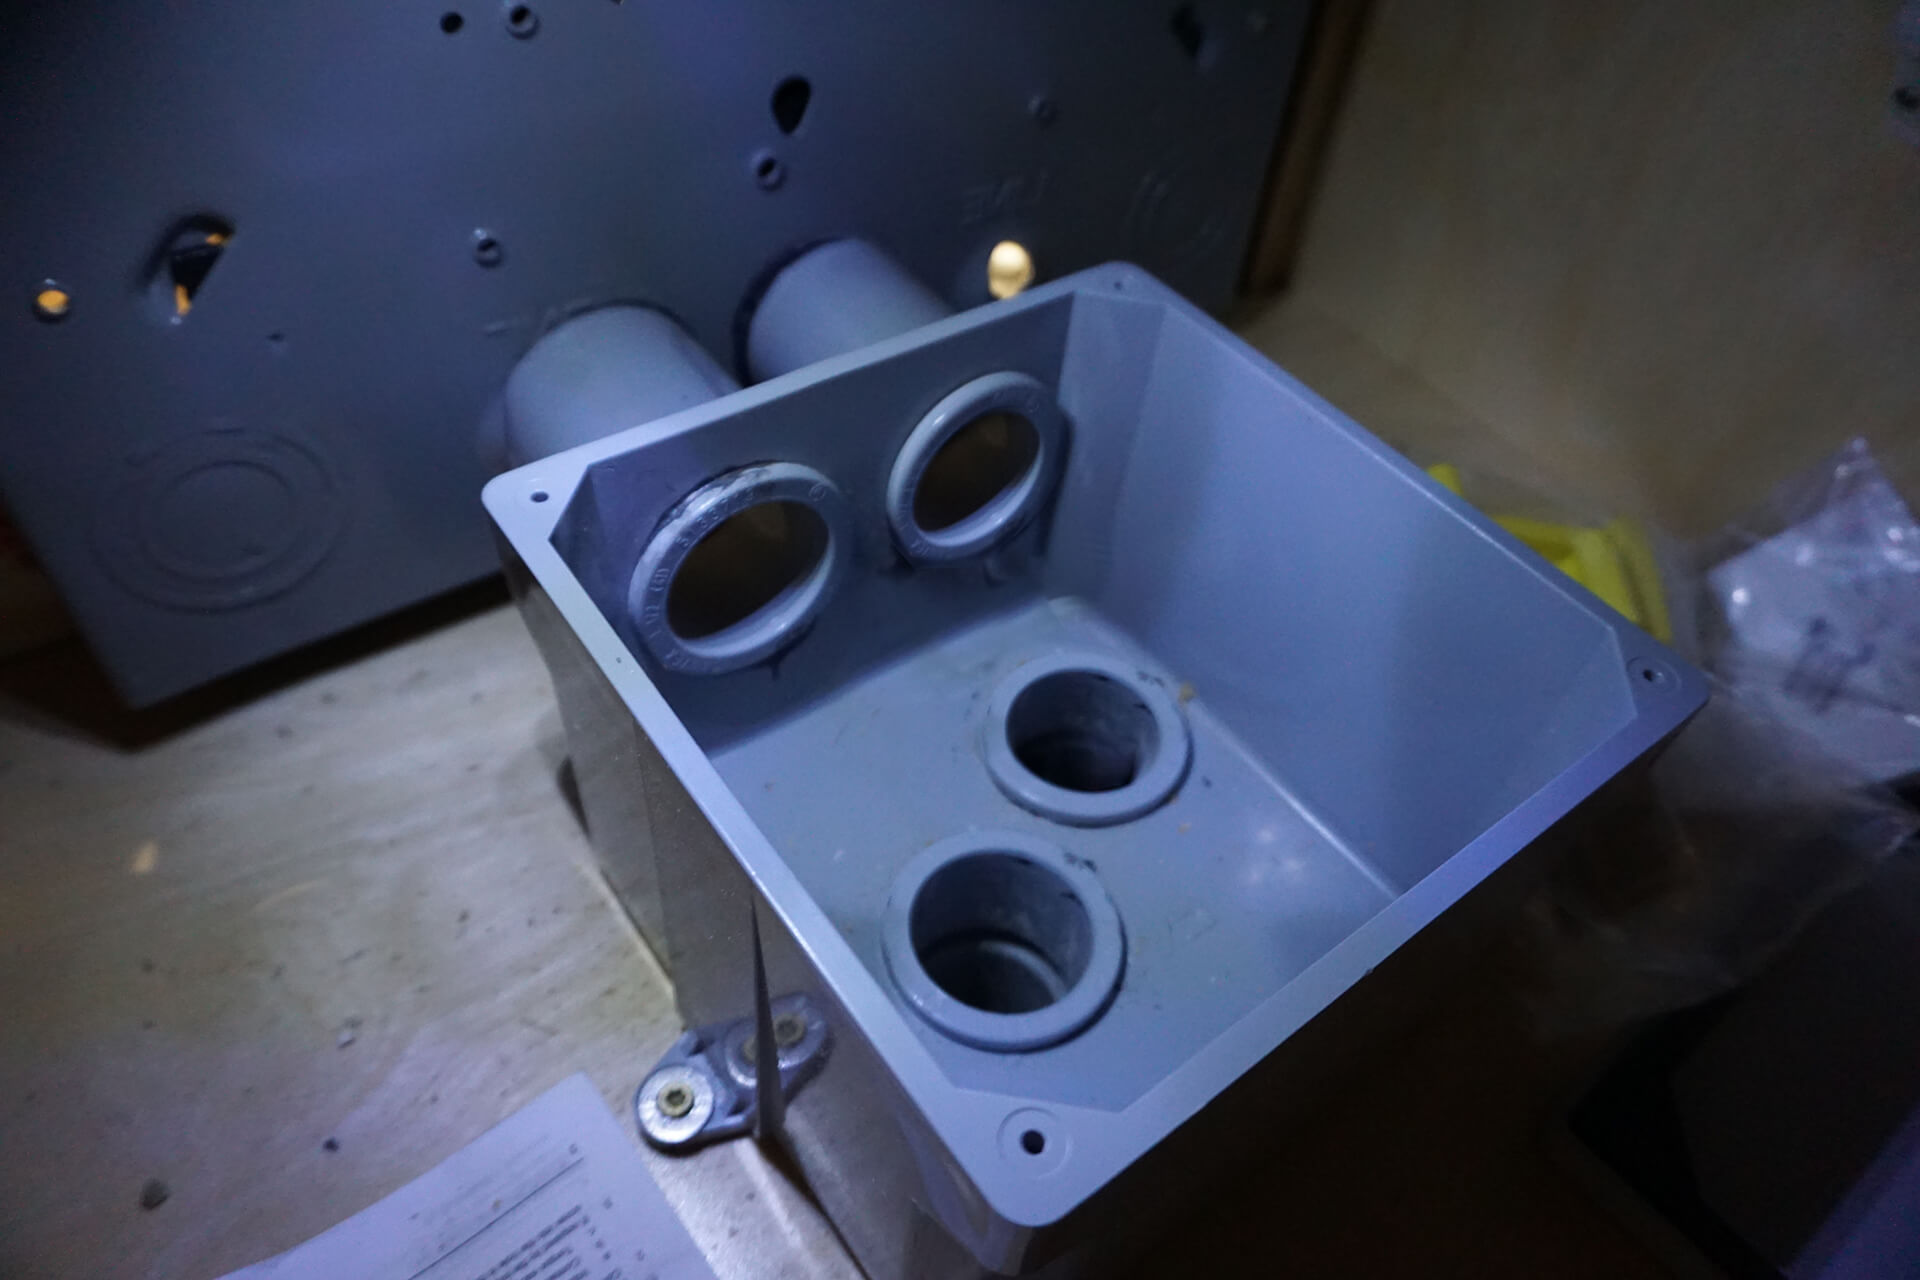
Cut holes in the electrical panel and use conduit fittings and a junction box to connect the back of the panel to the through-floor conduit locations.
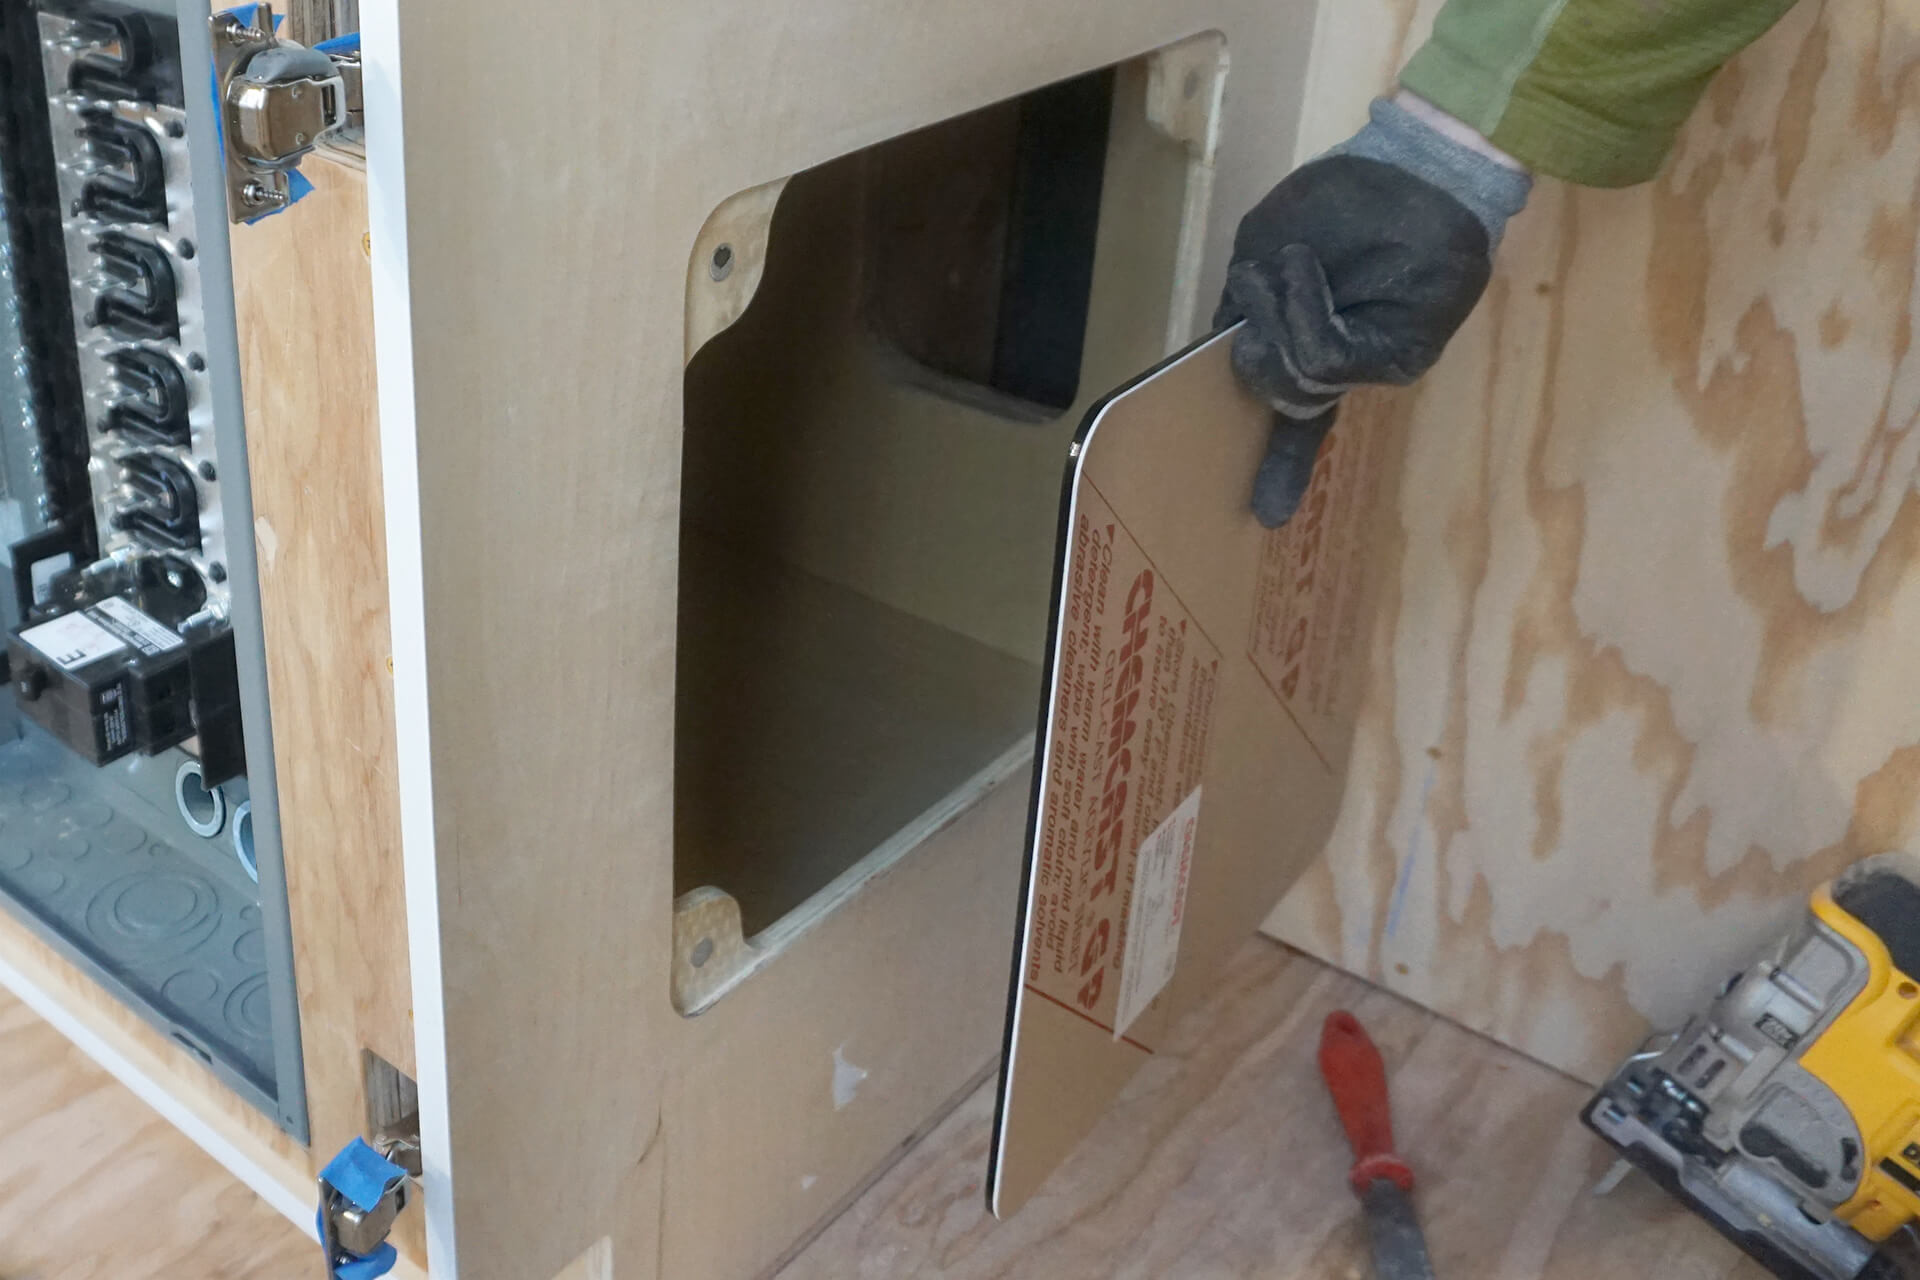
Build a cover and a method for securing it to the side of the cabinet. Acrylic sheets with embedded magnets are shown here.
Detail shot showing the installed electrical panel with a thin acrylic sheet over the plywood to better match the cabinet door surface.
Next Step