
Electrical – Feeder
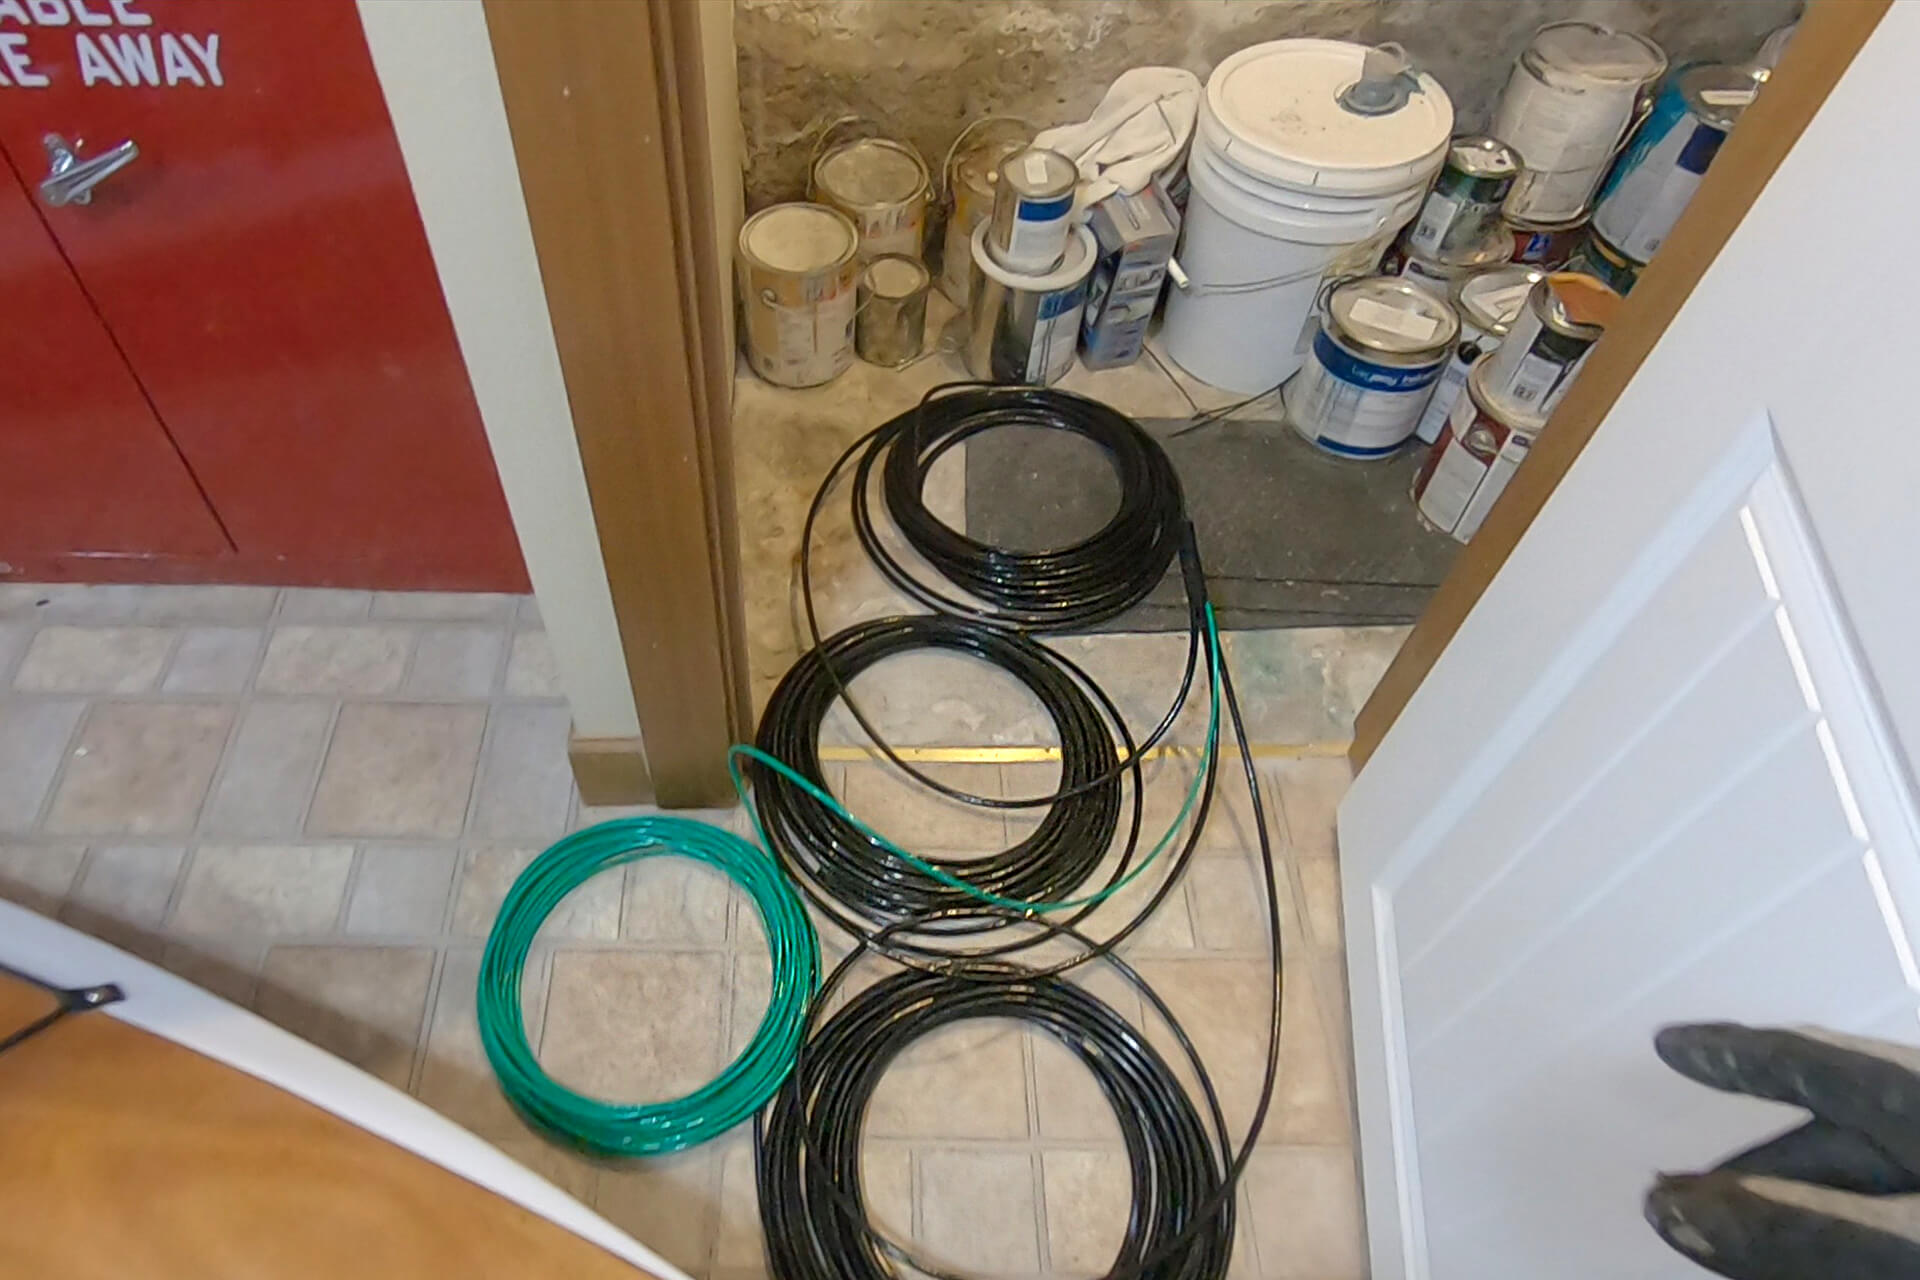
Use the proper wire for the feeder circuit (3 AWG Copper THWN-2 for the Hot - Hot - Neutral, and 8 AWG for the Ground, shown here). Lay out the spools and tape the ends together.
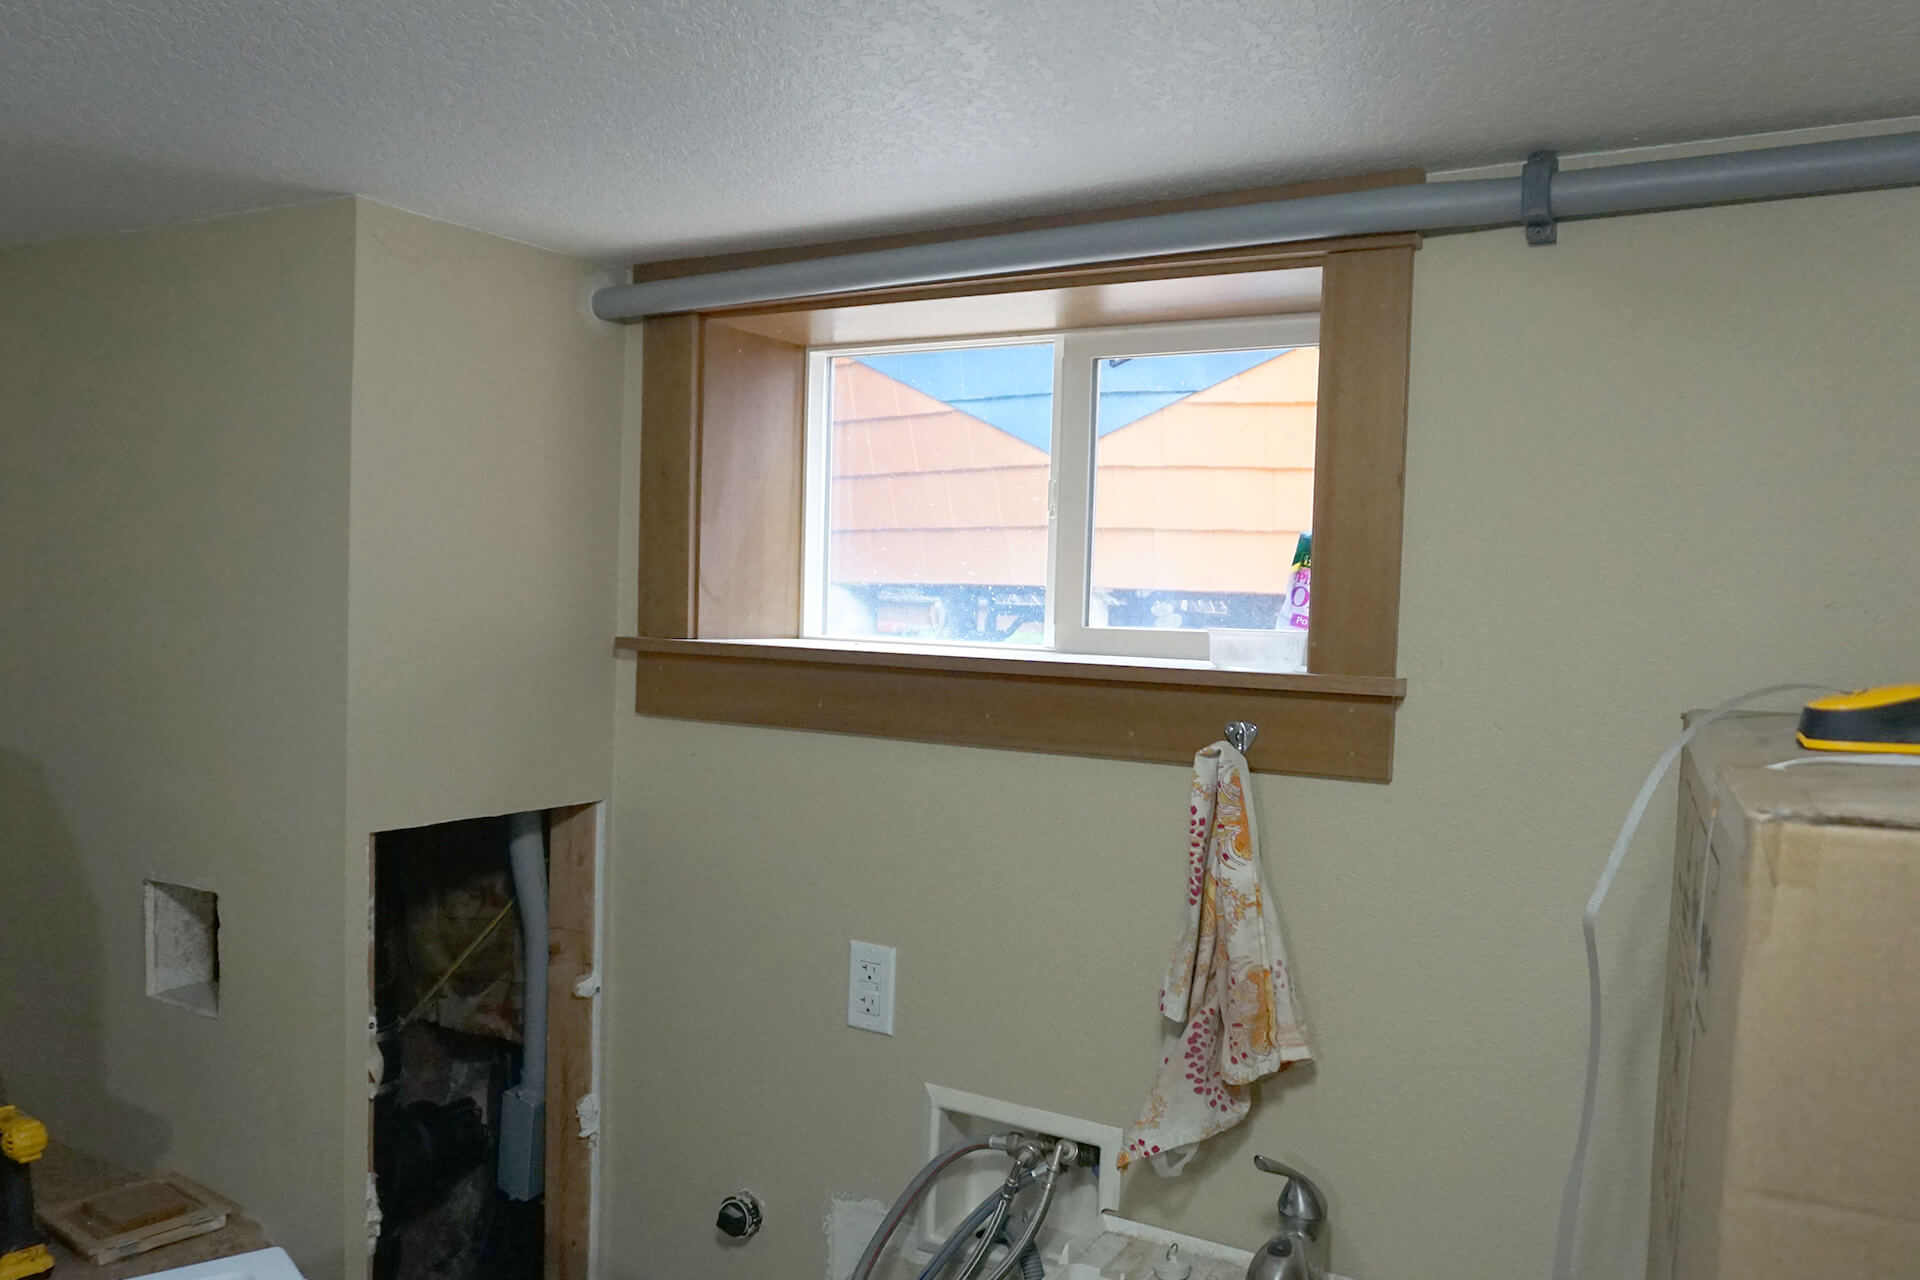
Push the wire from the primary home’s electrical panel to the dome’s electrical disconnect box. This can be done in sections by removing conduit connections and covers as needed.

With proper planning and conduit orientation, the wires should pass through easily. Install a ground bar and rubber grommet in the corner of the electrical disconnect box.
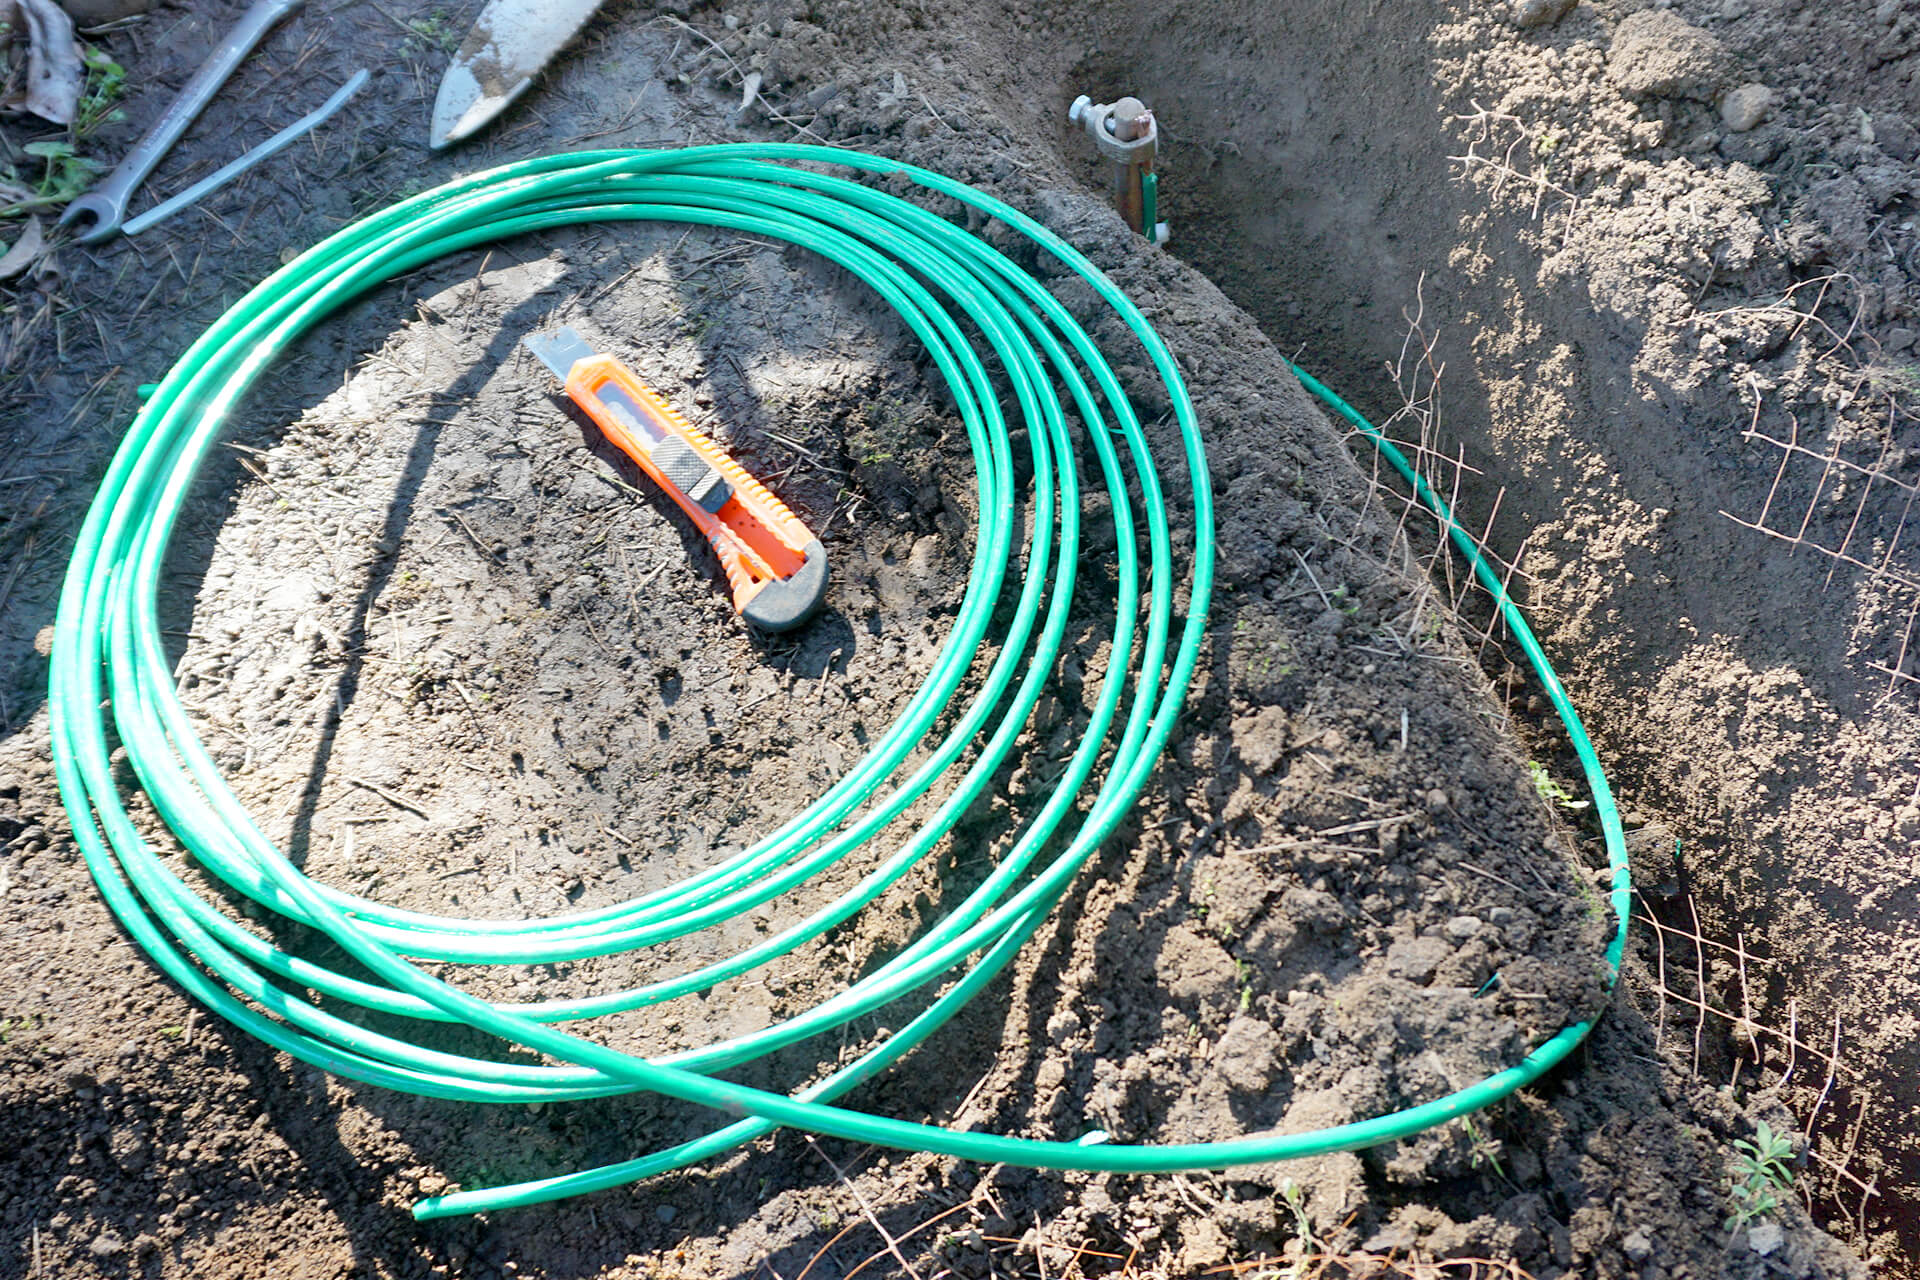
Use the proper wire for the grounding rod connection (6 AWG Copper THWN-2 shown here). Begin the connection at the furthest grounding rod and bury the wire.
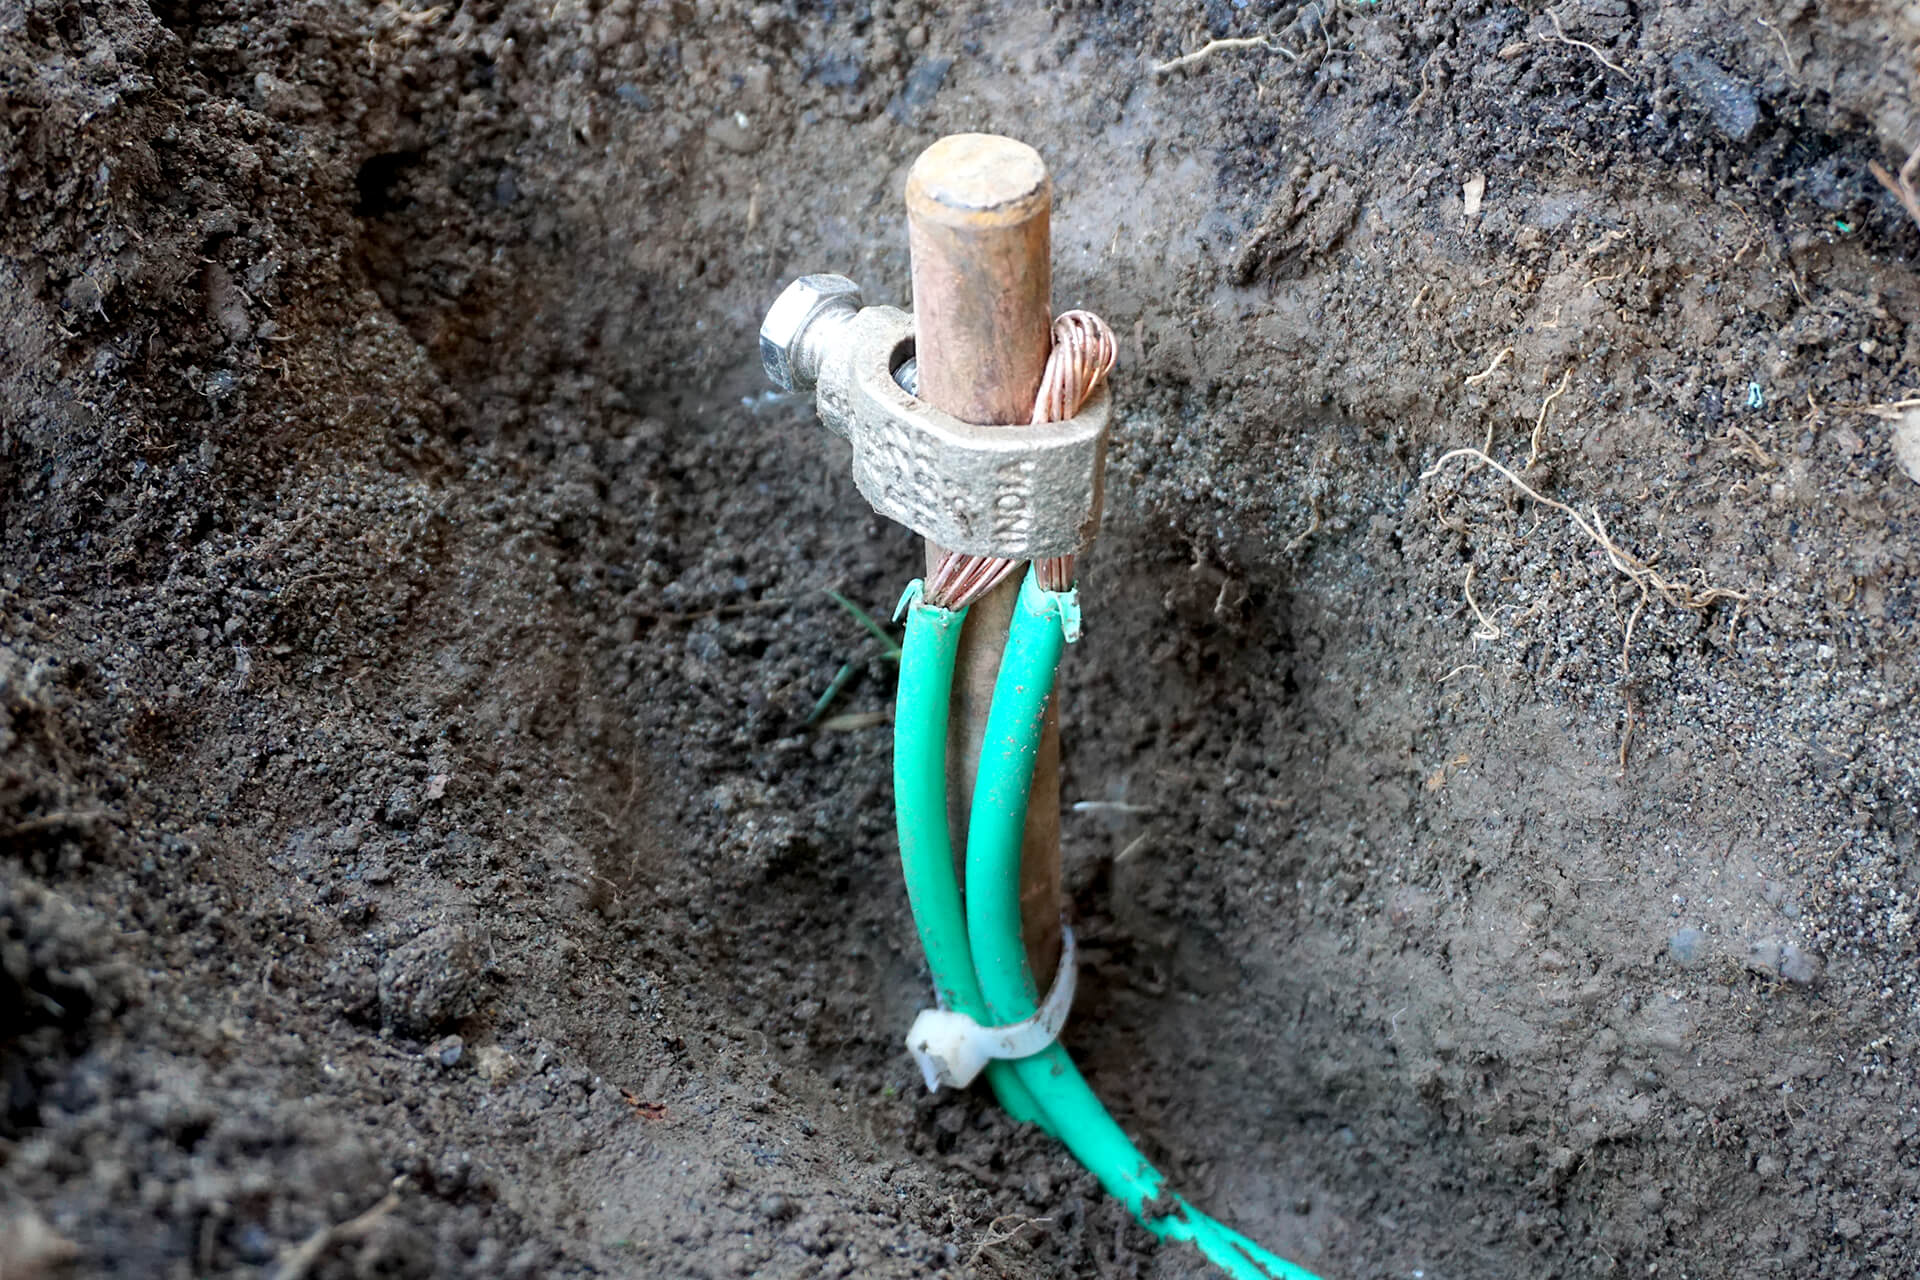
Loop in a connection at the next grounding rod without cutting the wire. This can be done by carefully removing a section of the wire insulation.
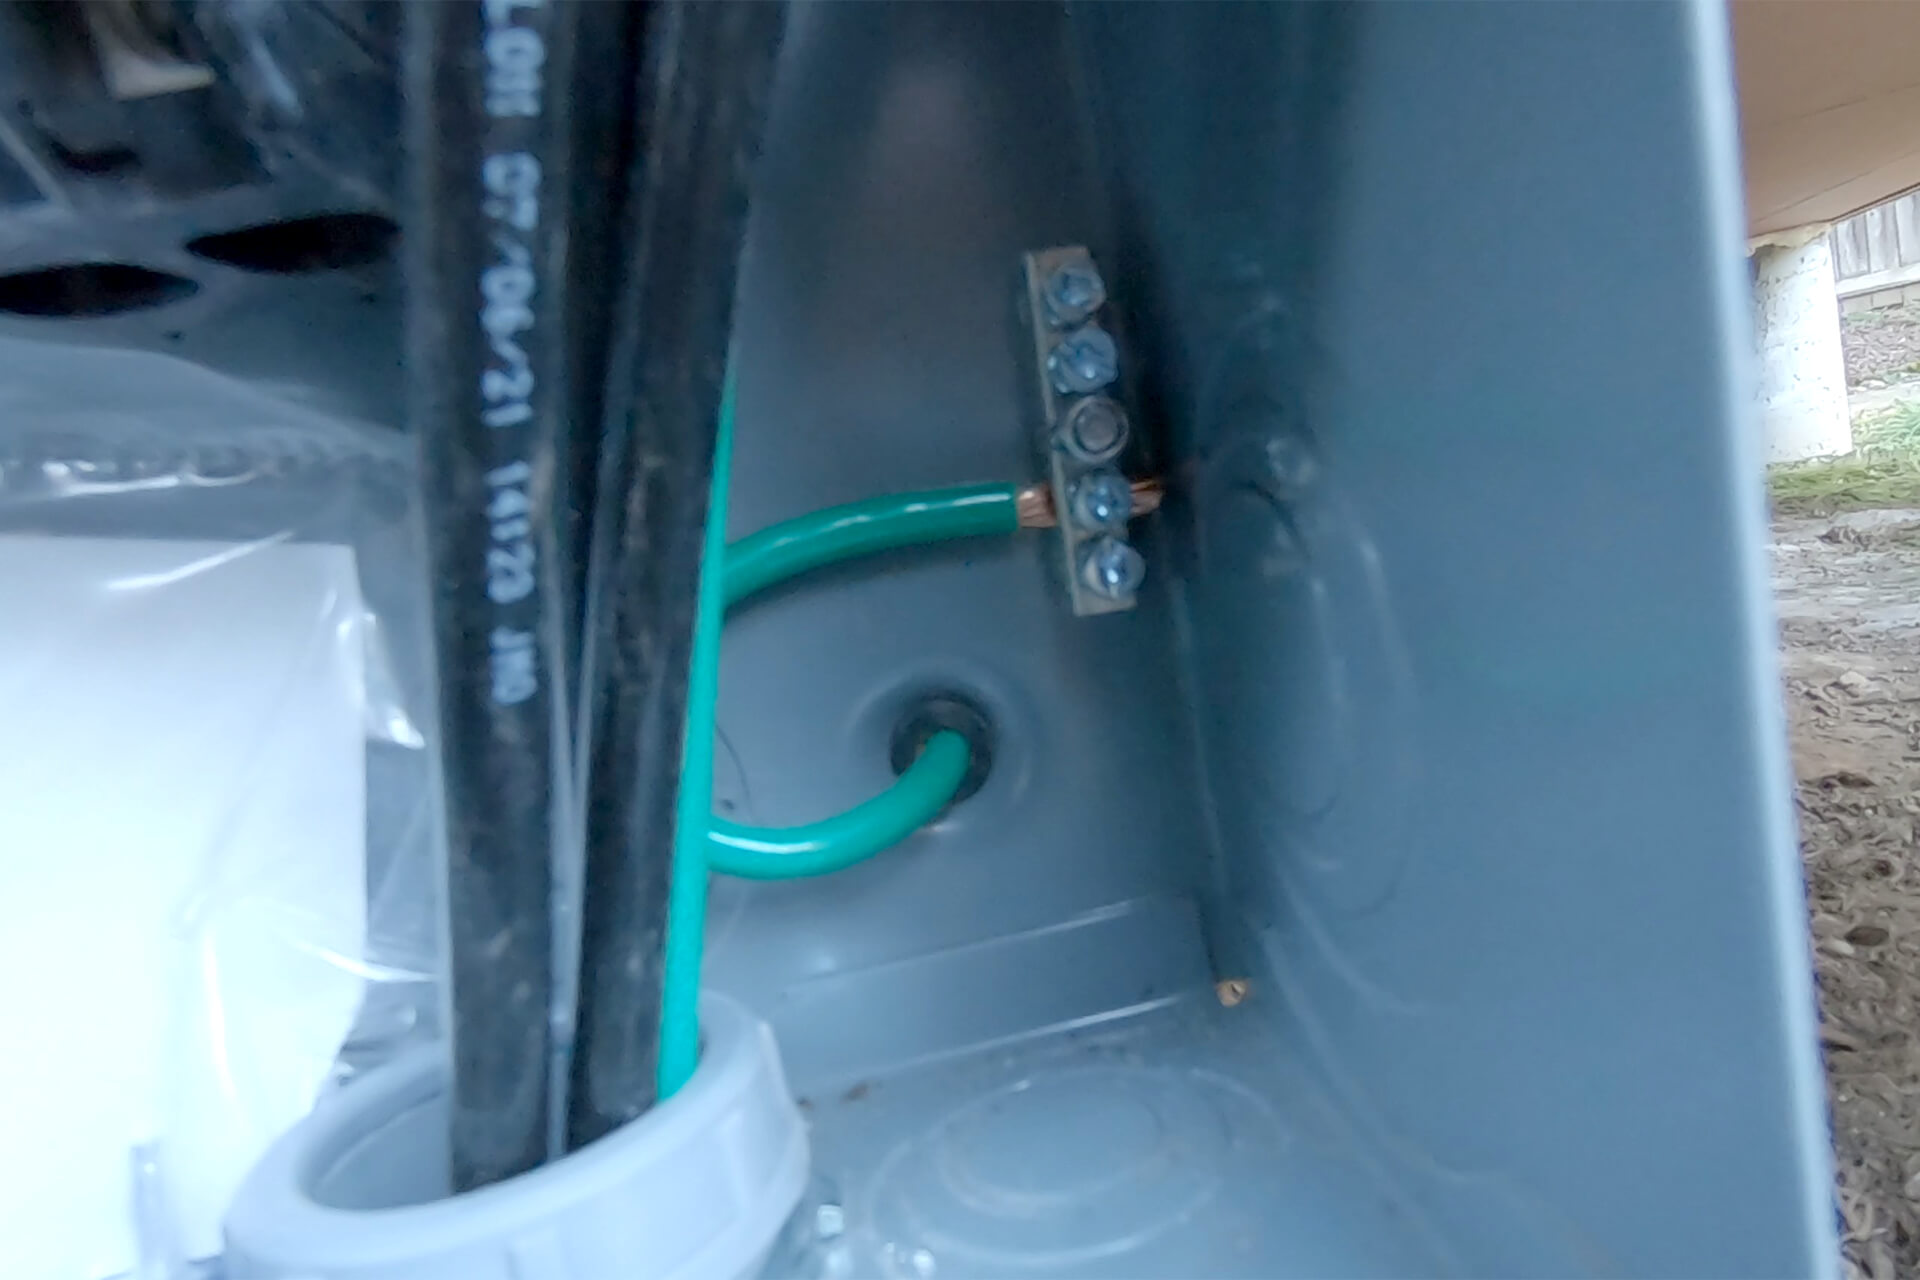
Terminate the wire in the electrical disconnect box, passing it through the grommet and connecting it to the ground bar. Note: Grounds and neutrals must be isolated in subpanels.
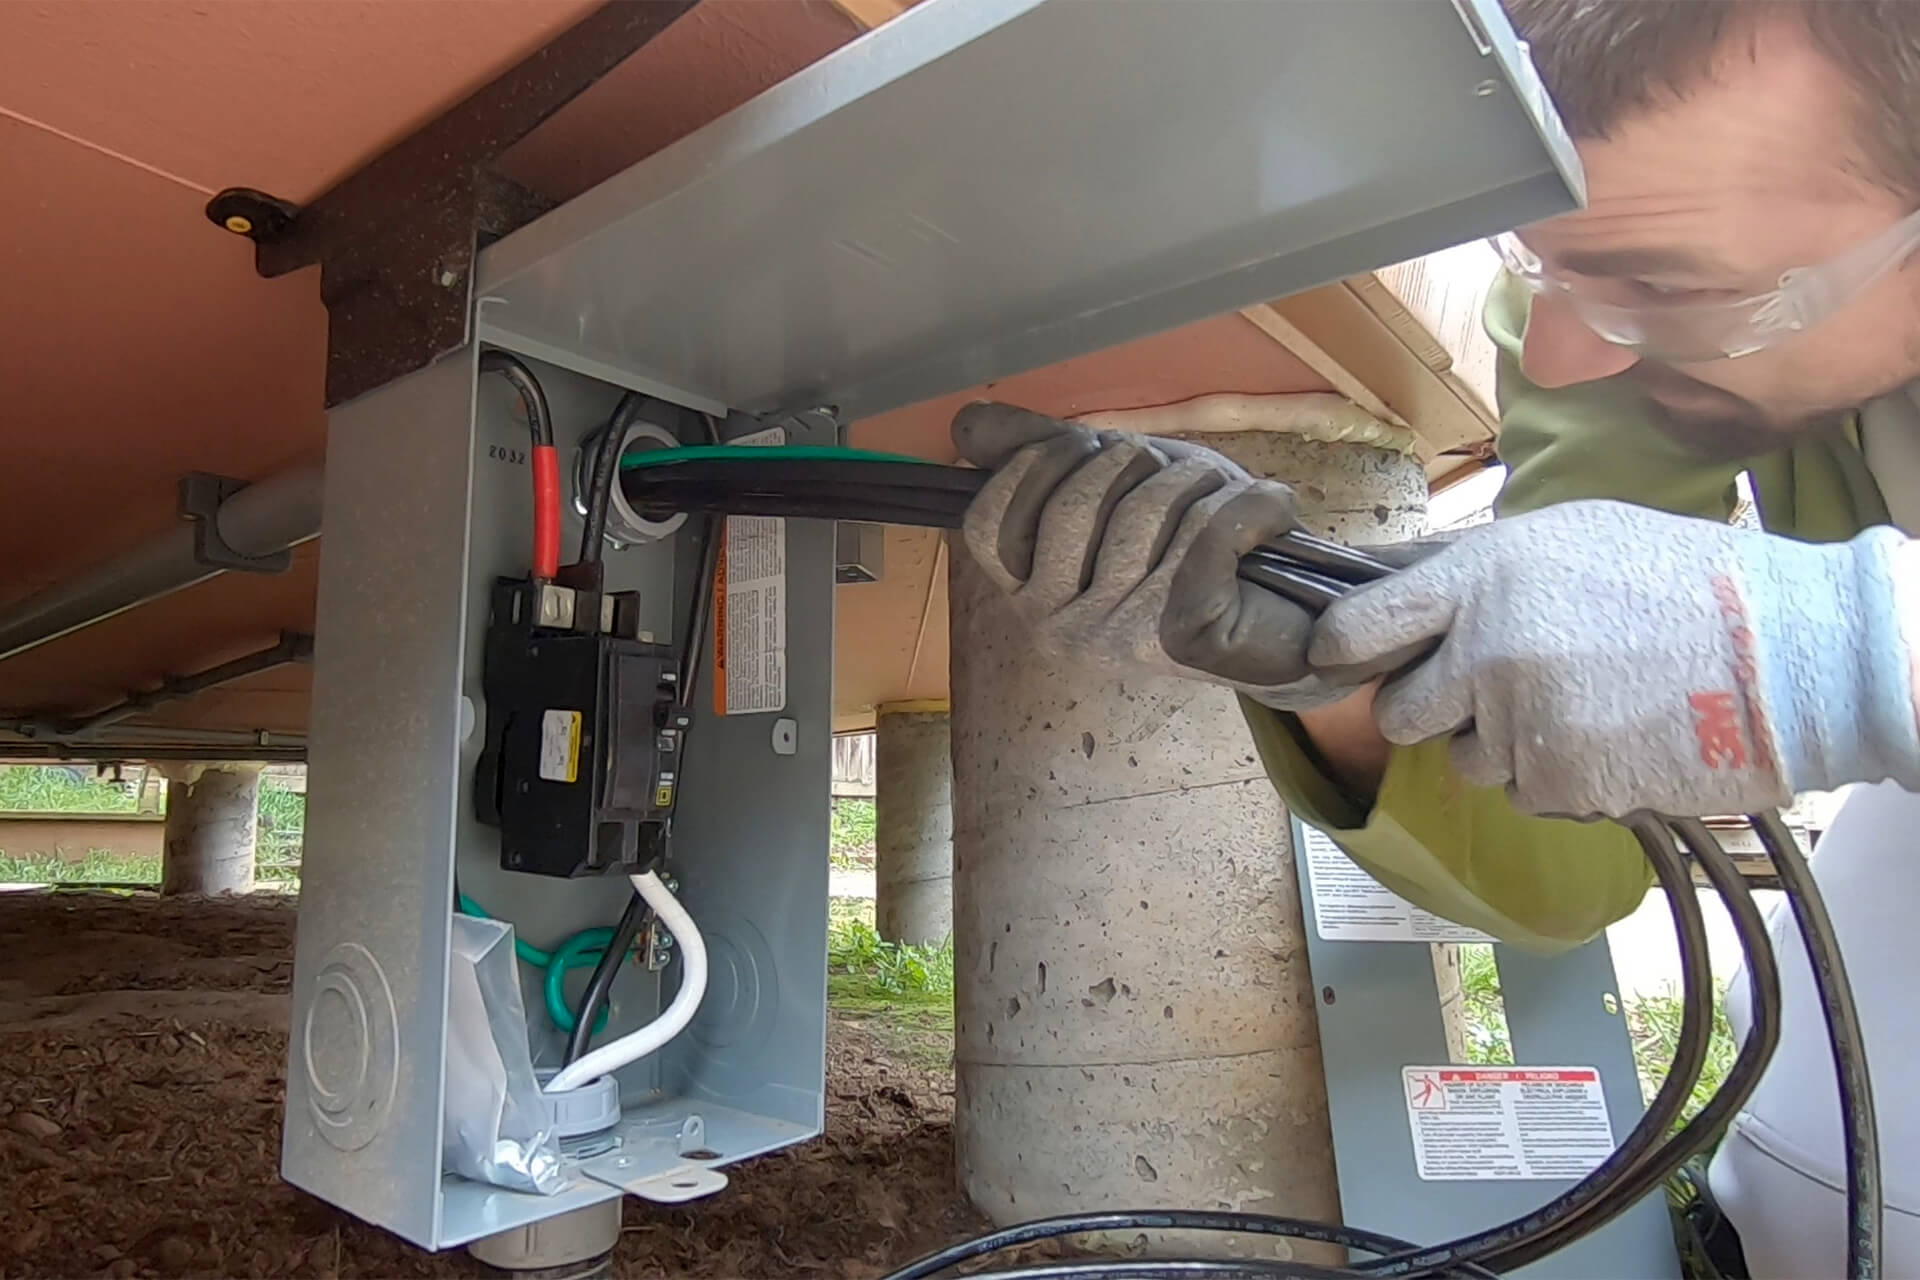
Mark the neutral feeder wire with white tape and one leg of the hot wire with red tape. Then, connect all wires properly and push additional feeder wires into the dome.
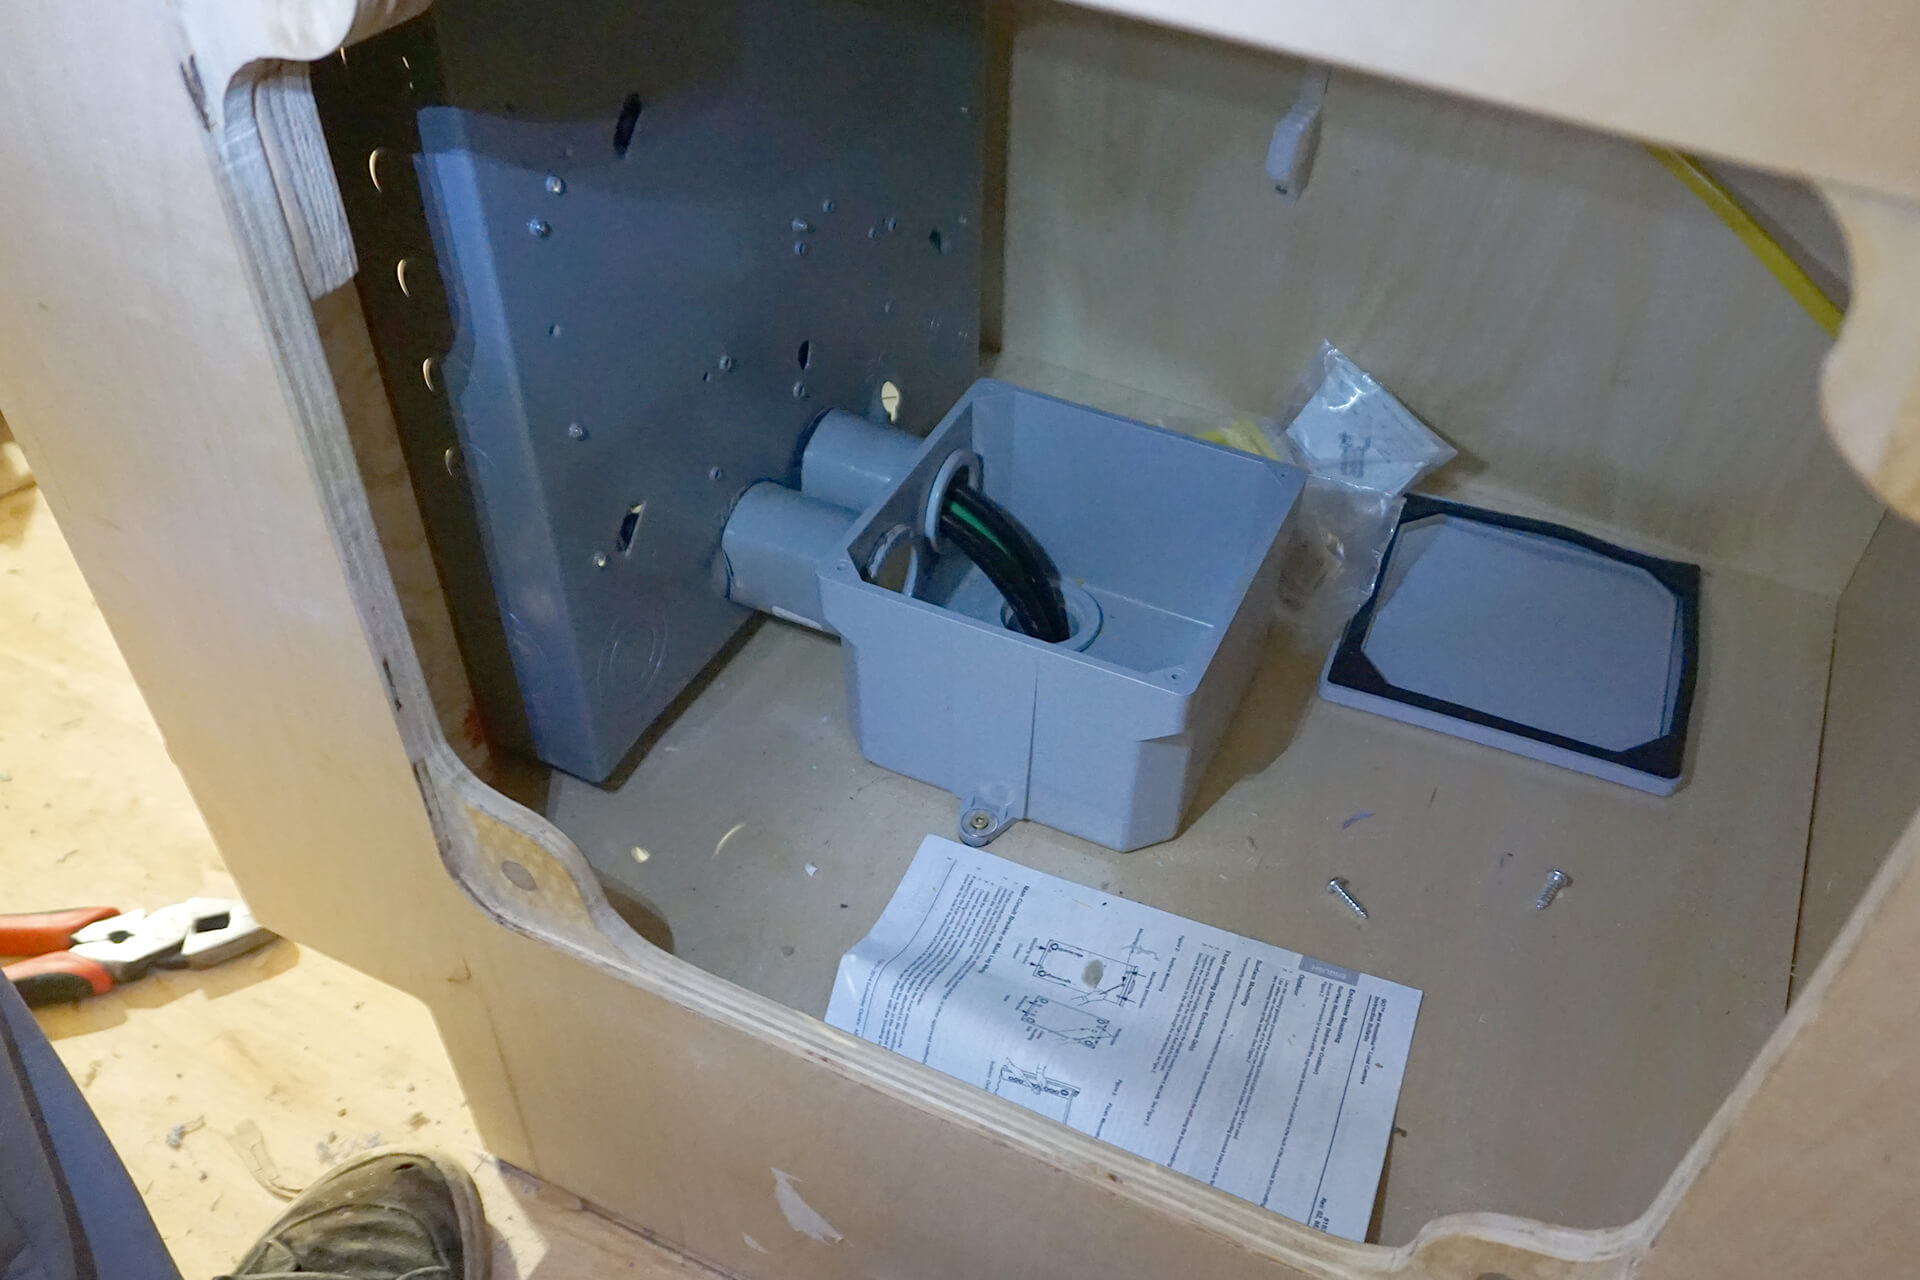
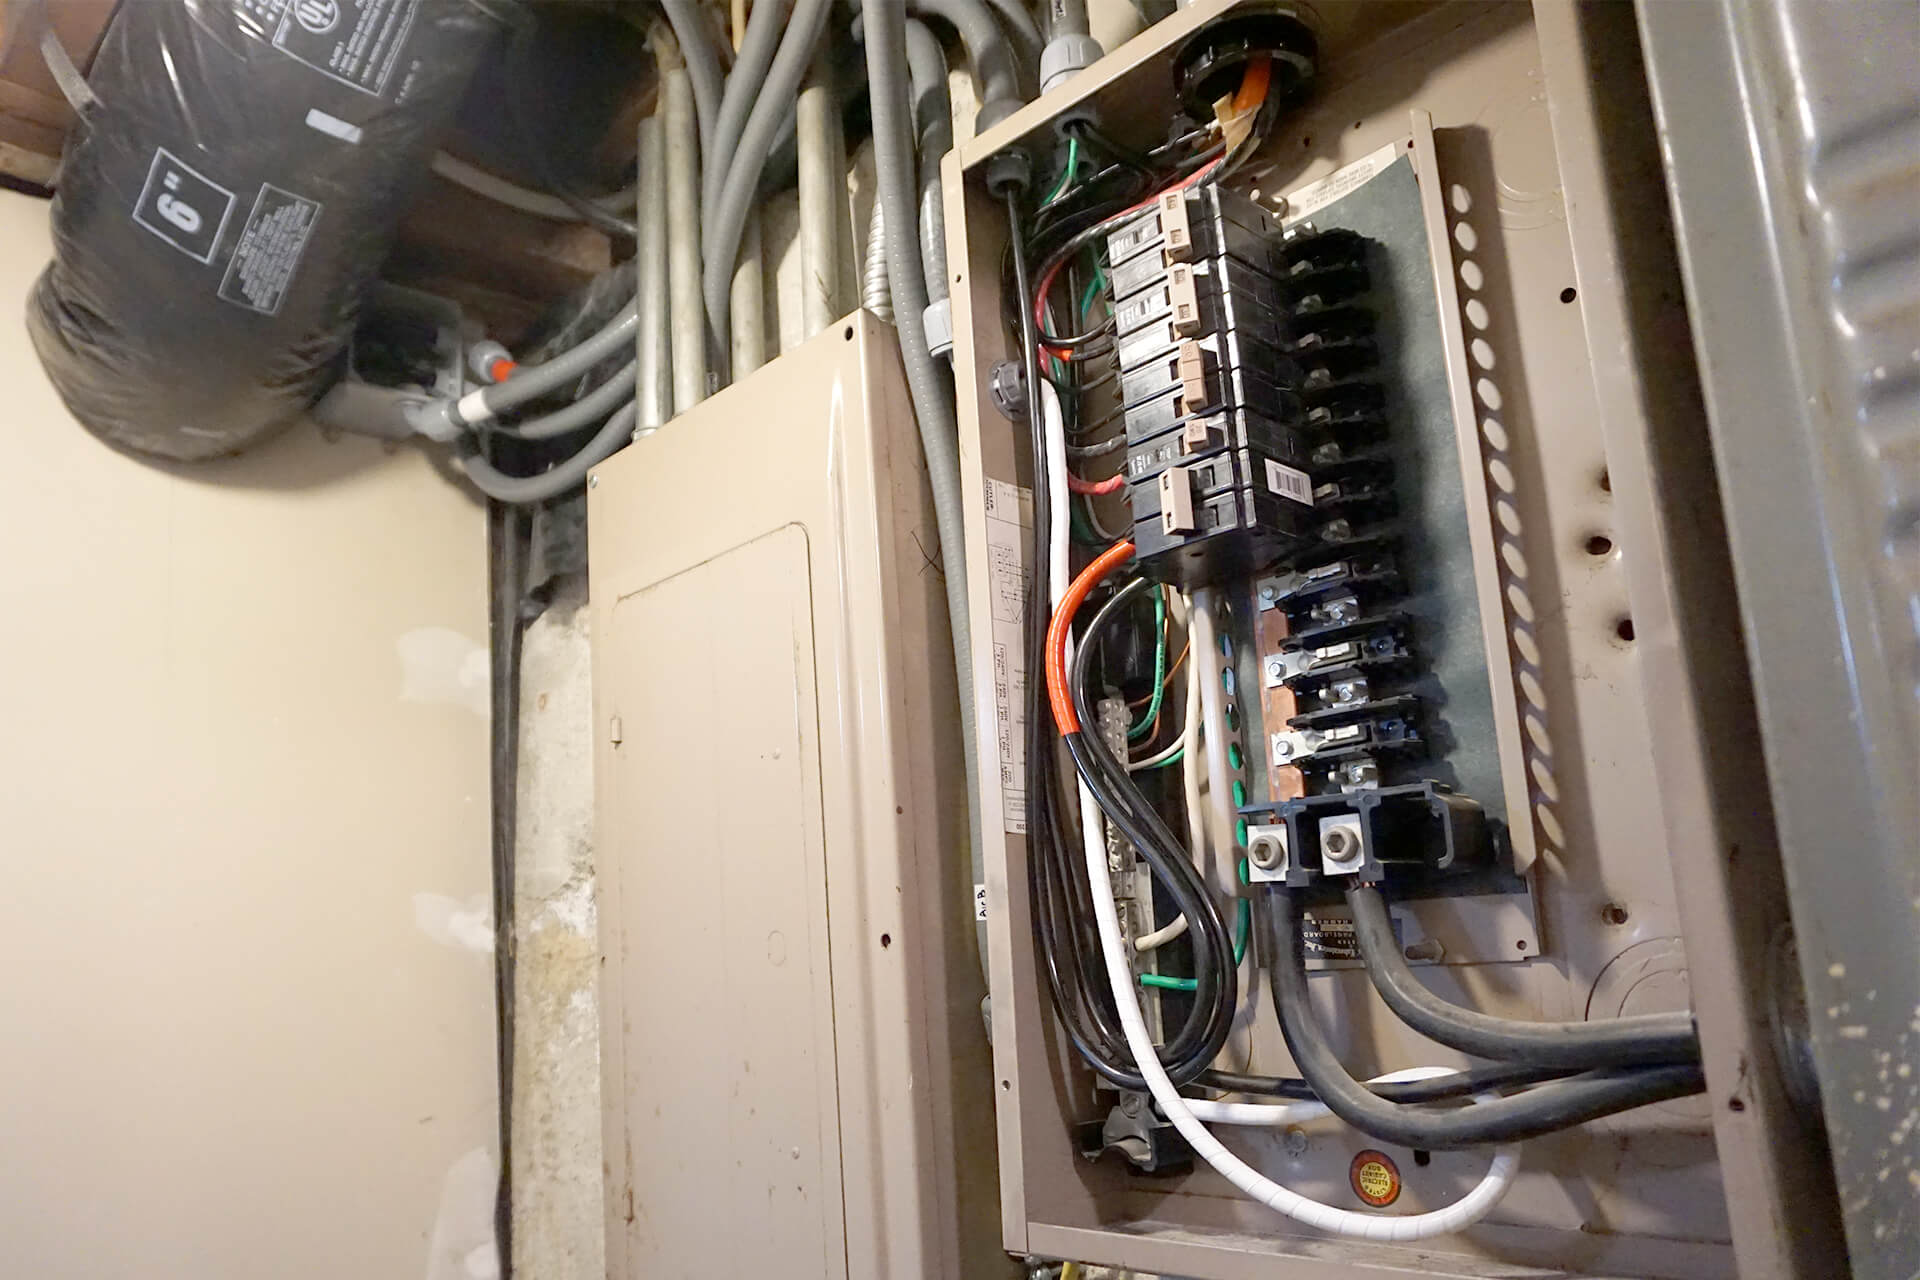
Detail shot showing the feeder wires passing through the junction box and into the back of the dome’s electrical panel.
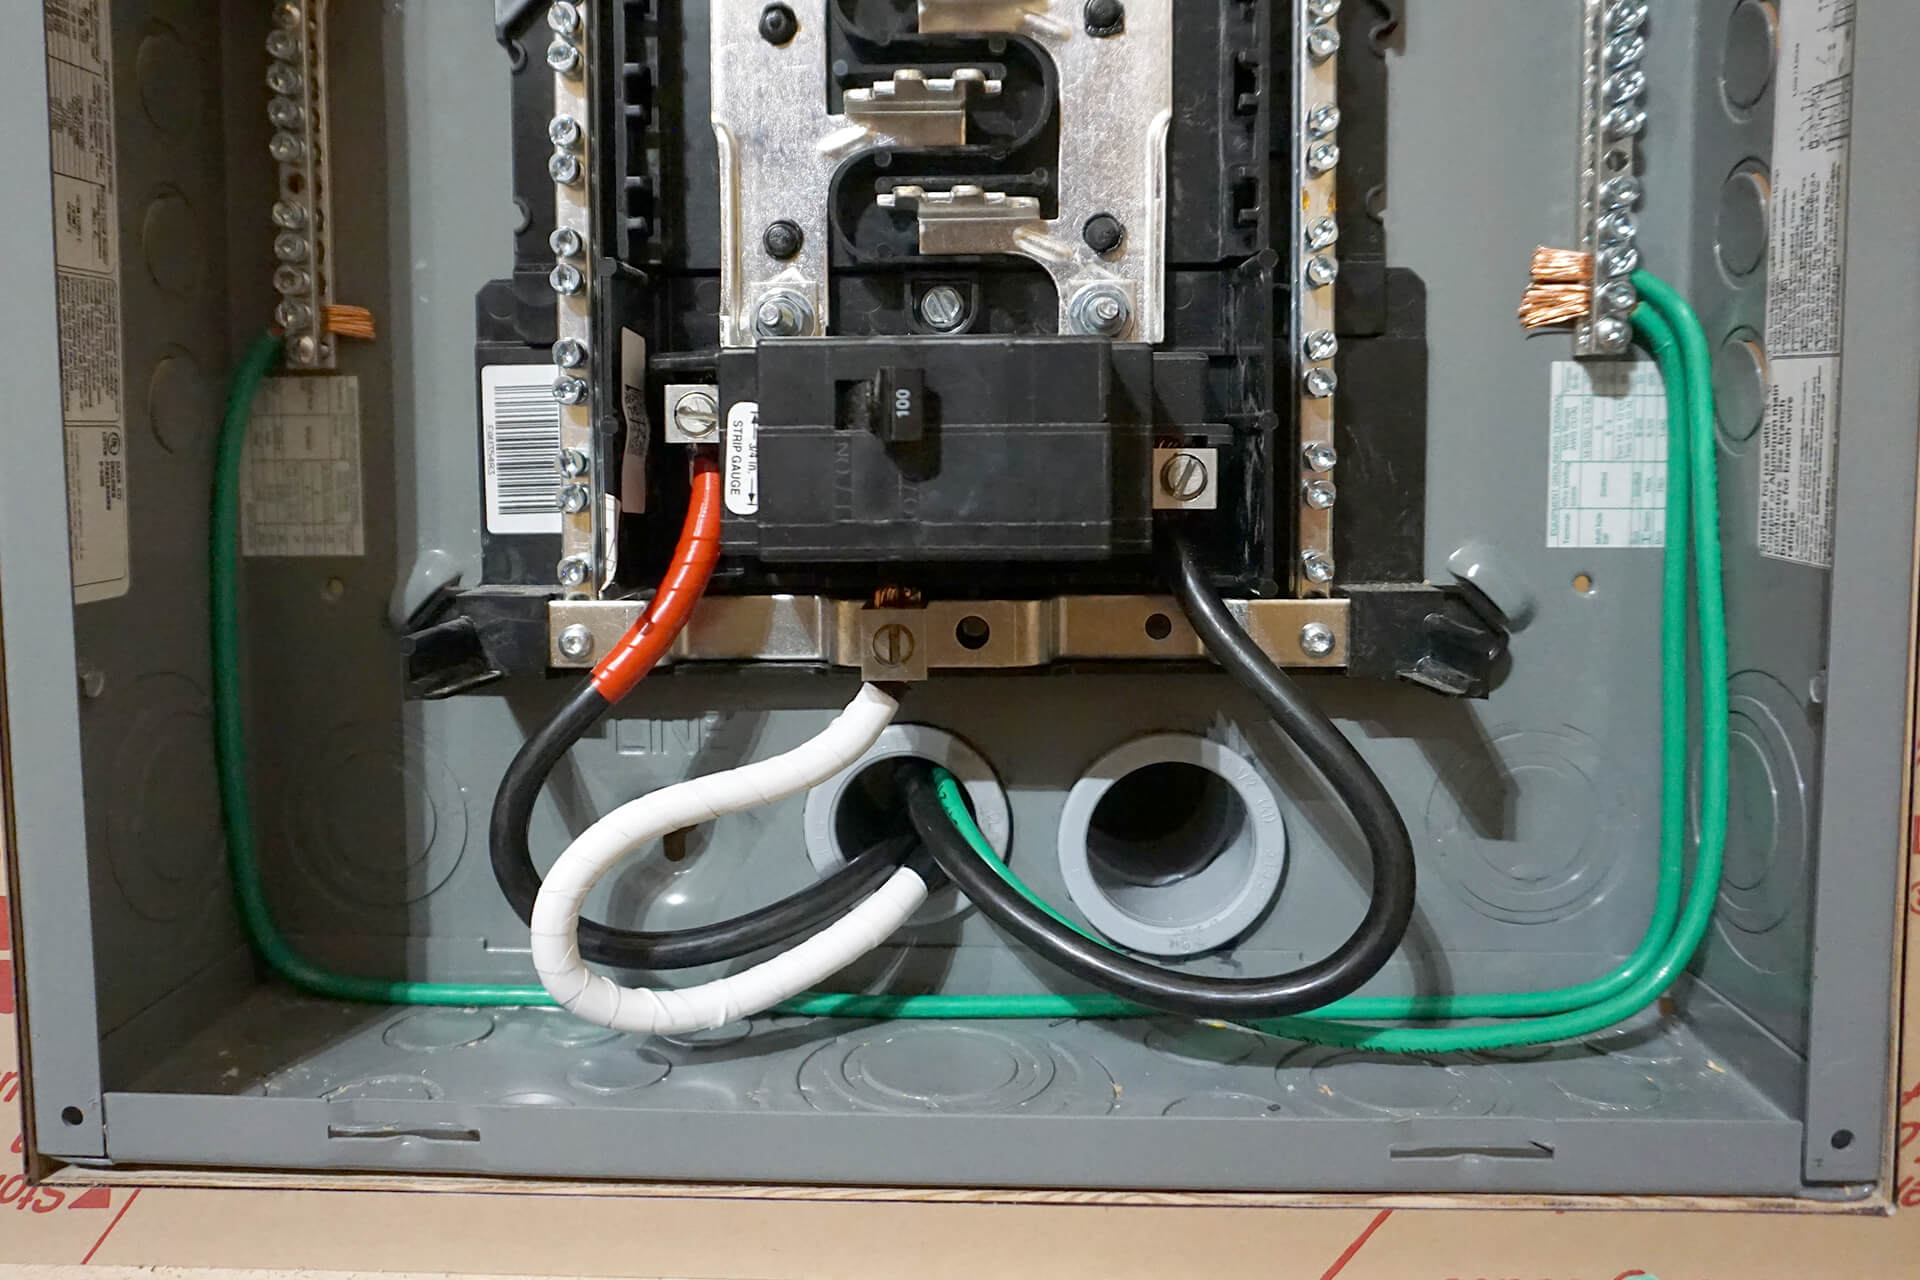
Connect all wires to the electrical panel. Reminder: Grounds and neutrals must be isolated in subpanels, as shown here. The panel’s bonding screw is not being used.
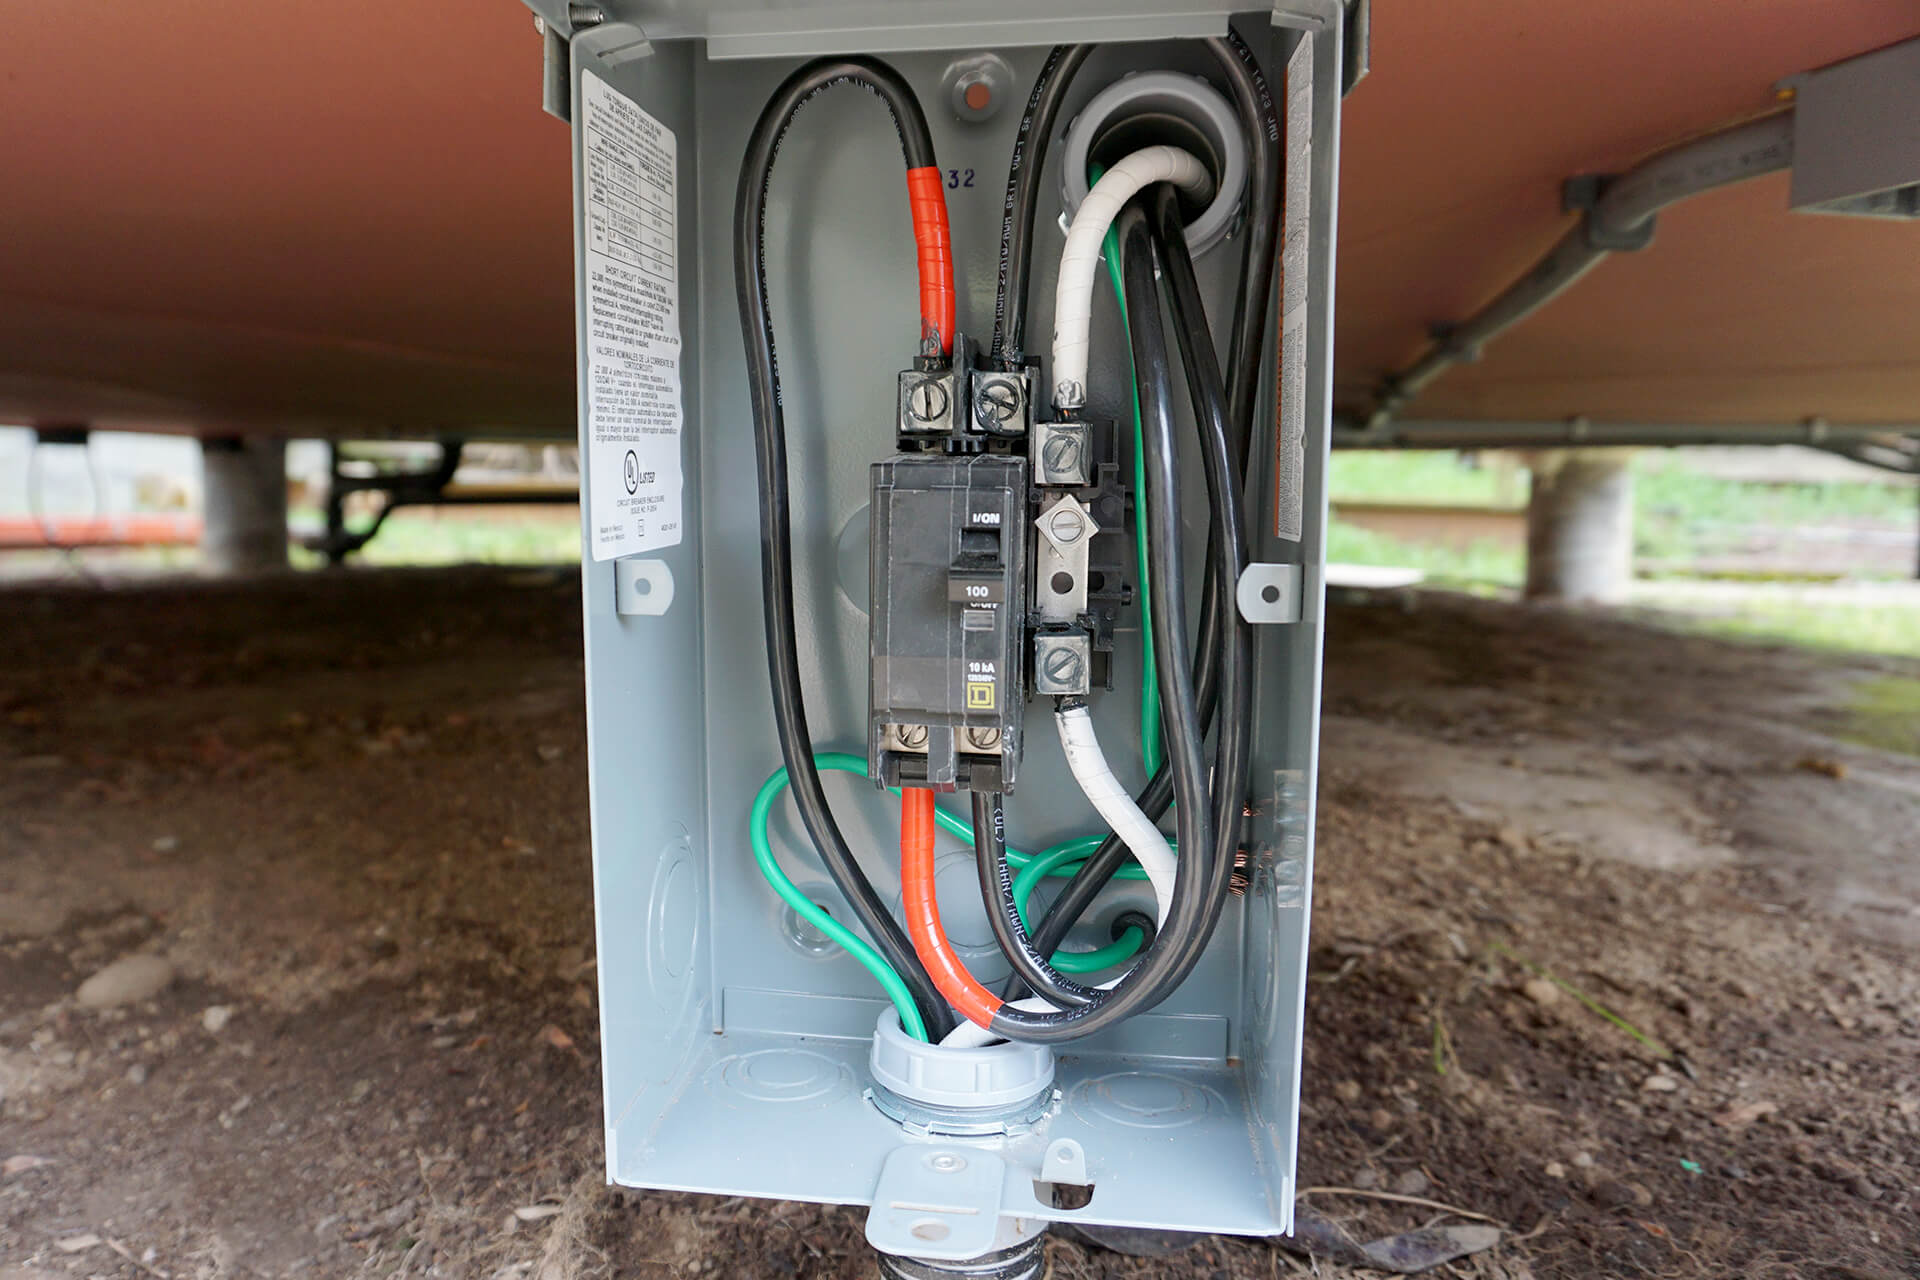
Finish wiring the electrical disconnect box. Note: Breakers have a line and load side, and must be connected properly, hence the wire loops shown here.
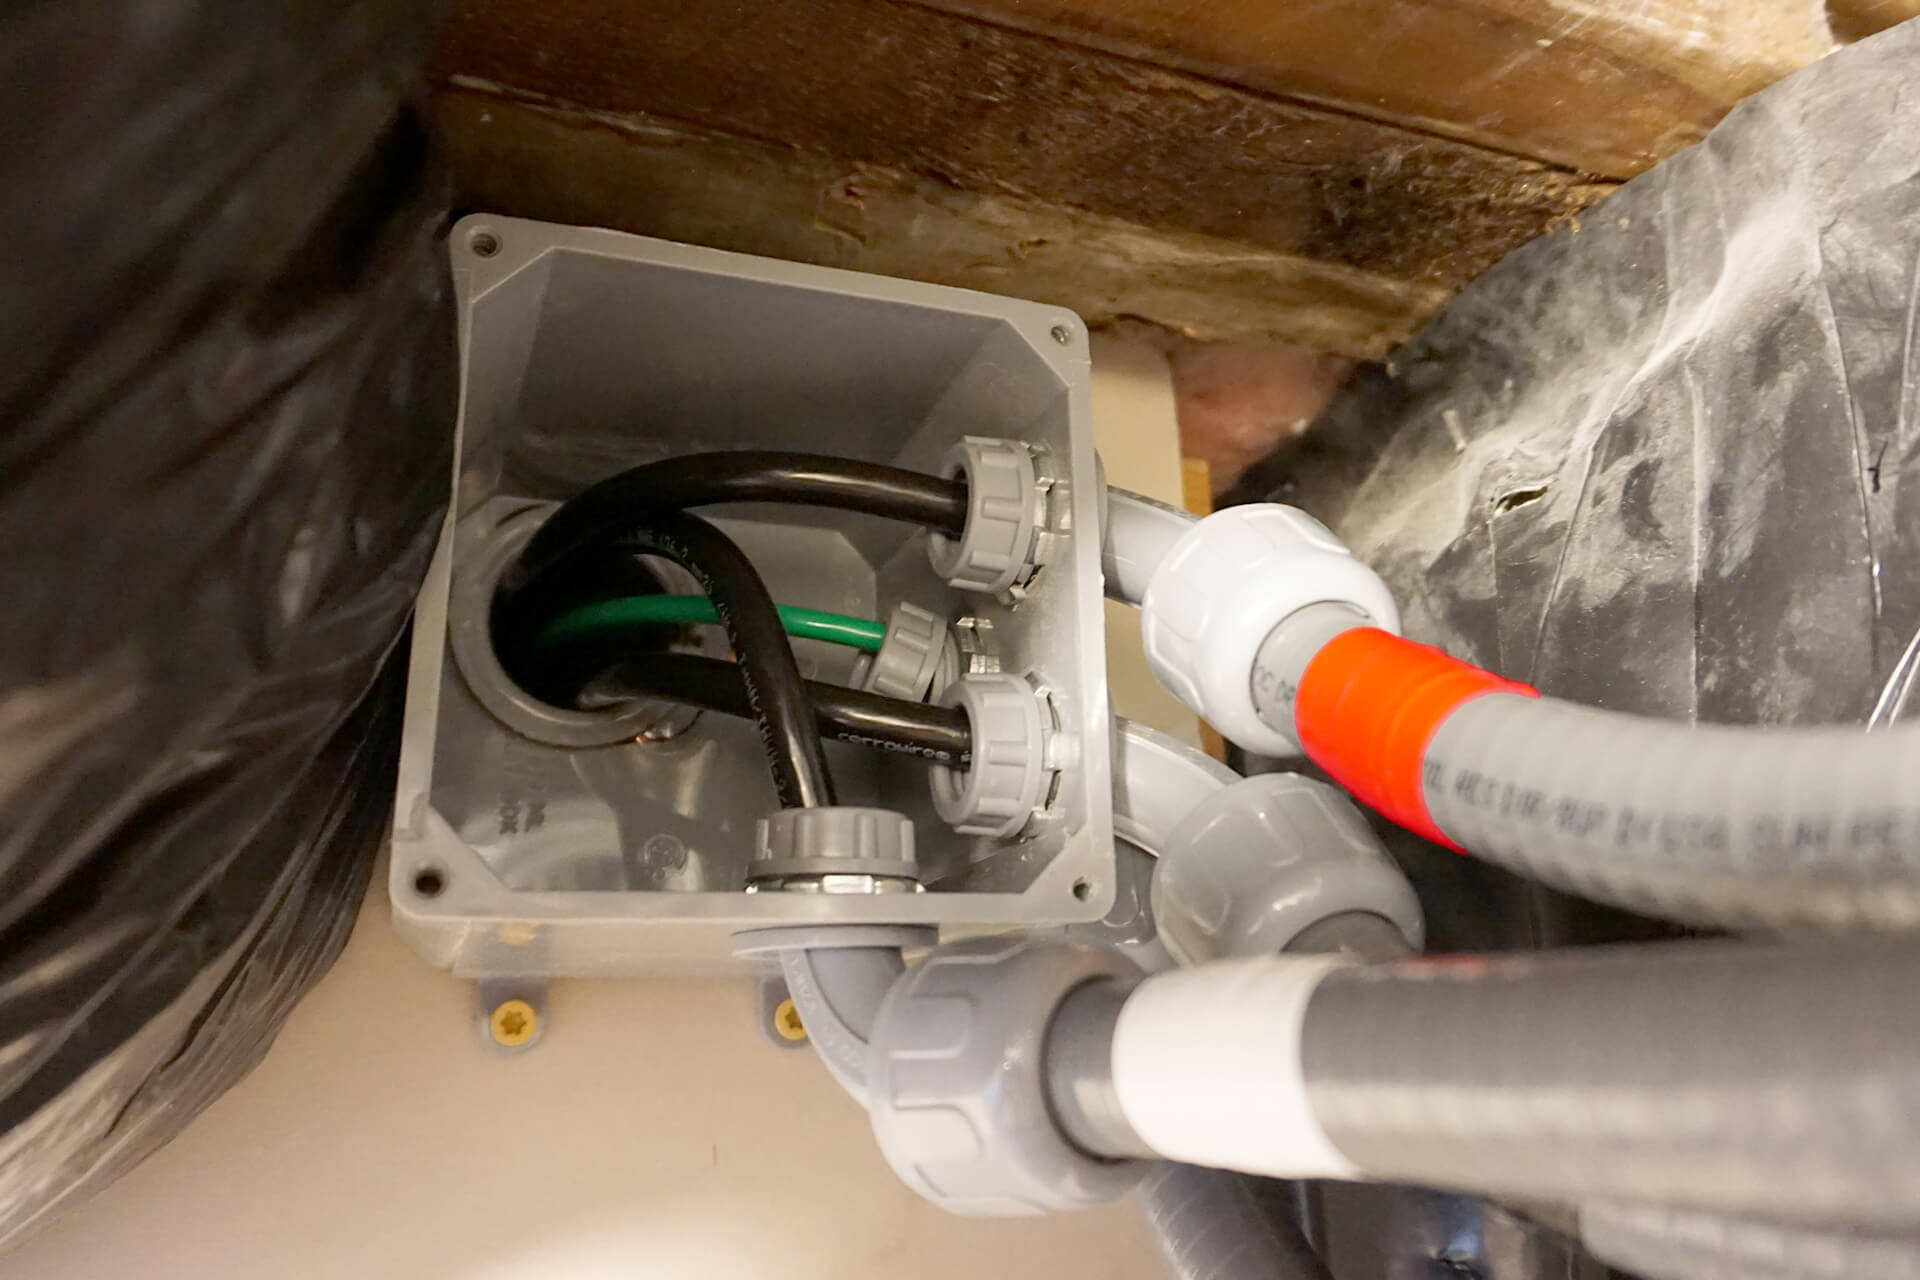
Connect the feeder wires to the primary home's electrical panel. A junction box with individual flex conduit for each wire is shown for this particular installation.
Detail shot showing the connection to the primary home’s electrical panel. Always turn off power to the panel before working on it, and do not power the dome until all wiring is complete.
Next Step