
Electrical – Branches

Run non-metallic sheathed cable (NM cable) for the branch circuits. Most cable can be routed between the double-wall, but cables near the base may require drilling holes.

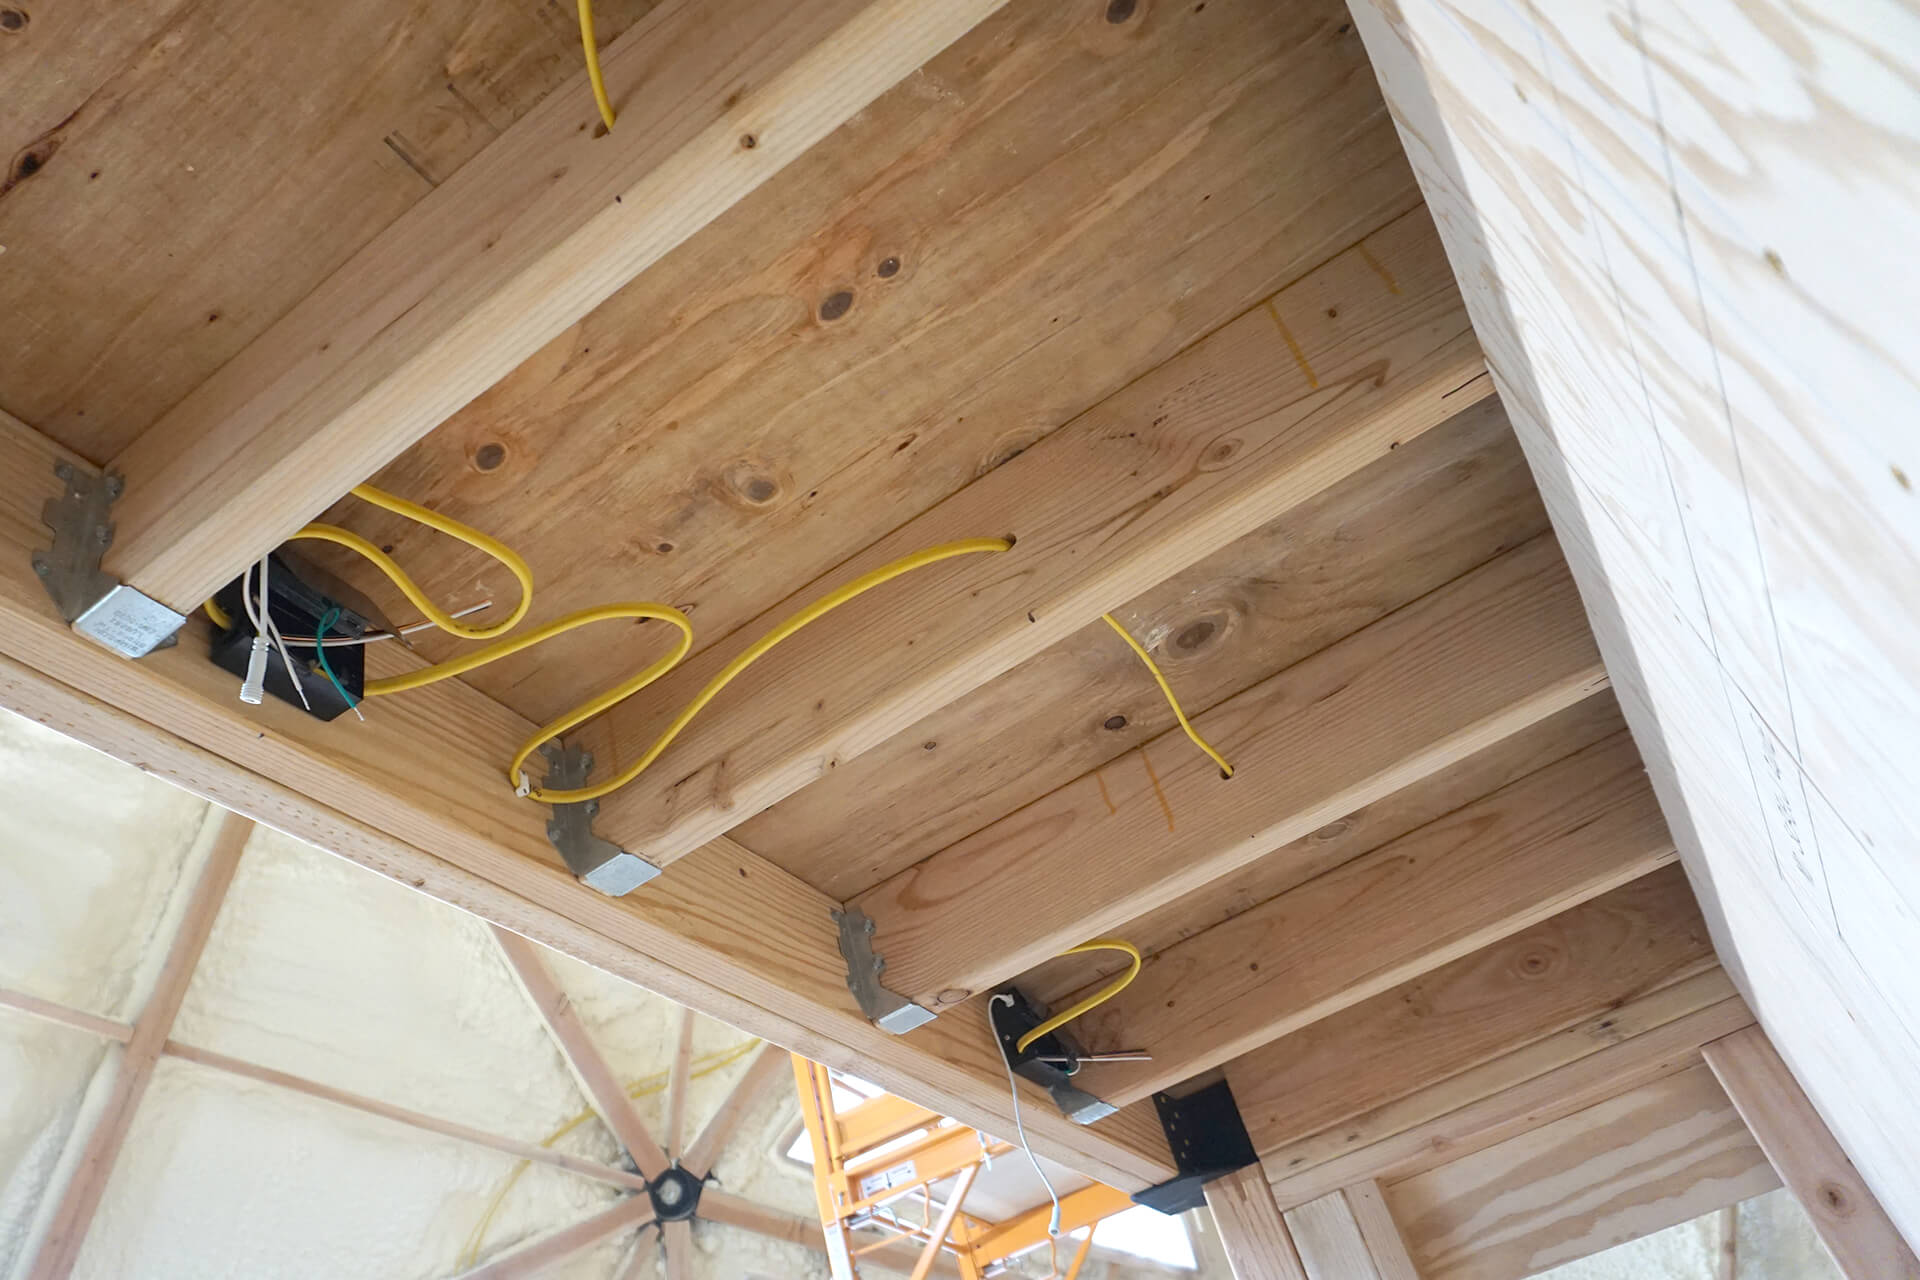
Secure the cable within 12" of a box and support it at least every 4.5'. The sheath must enter the box, with at least 6" of sheath-free, insulated wire extending at least 3" out of the box.
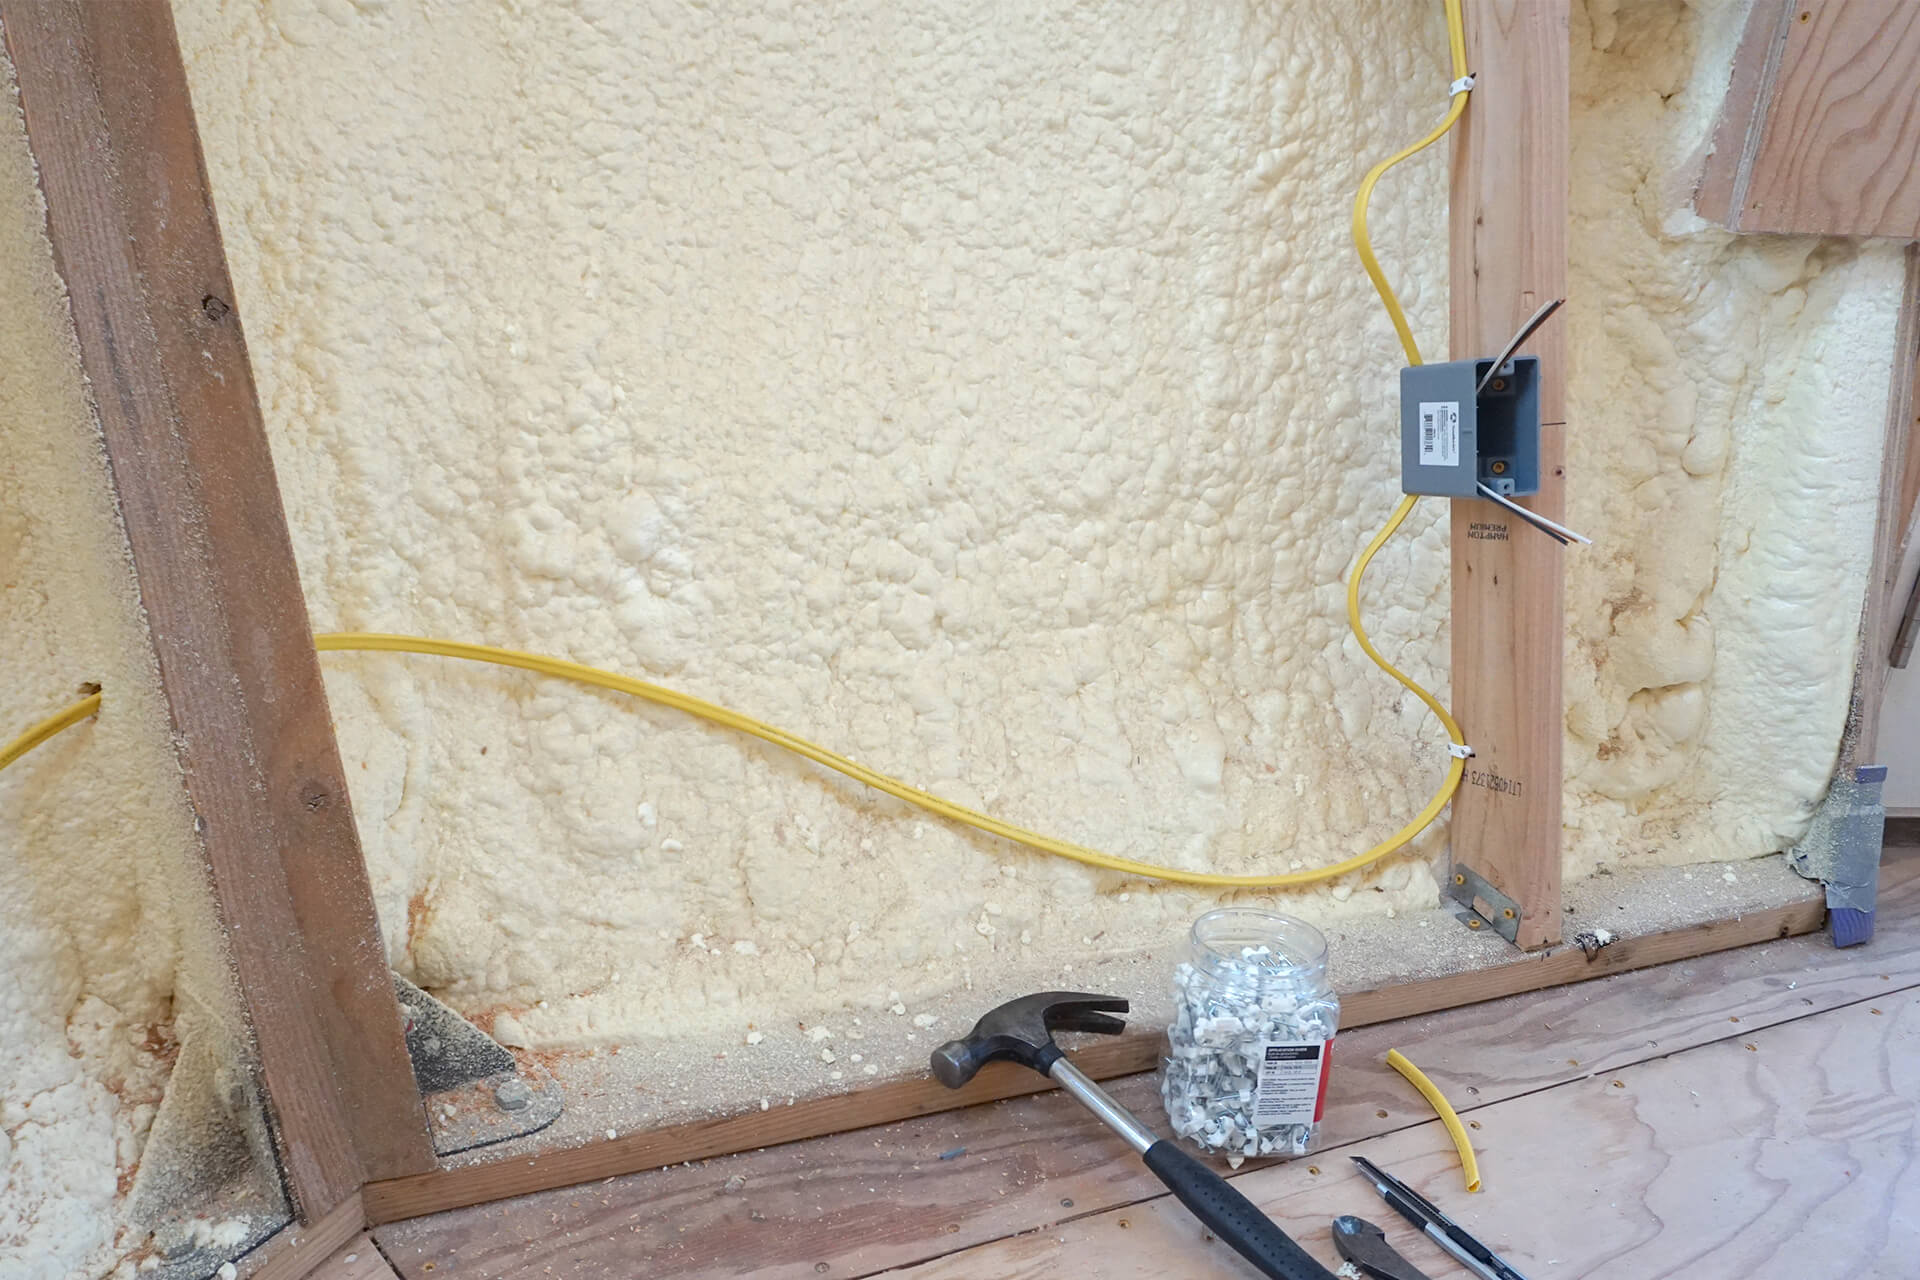
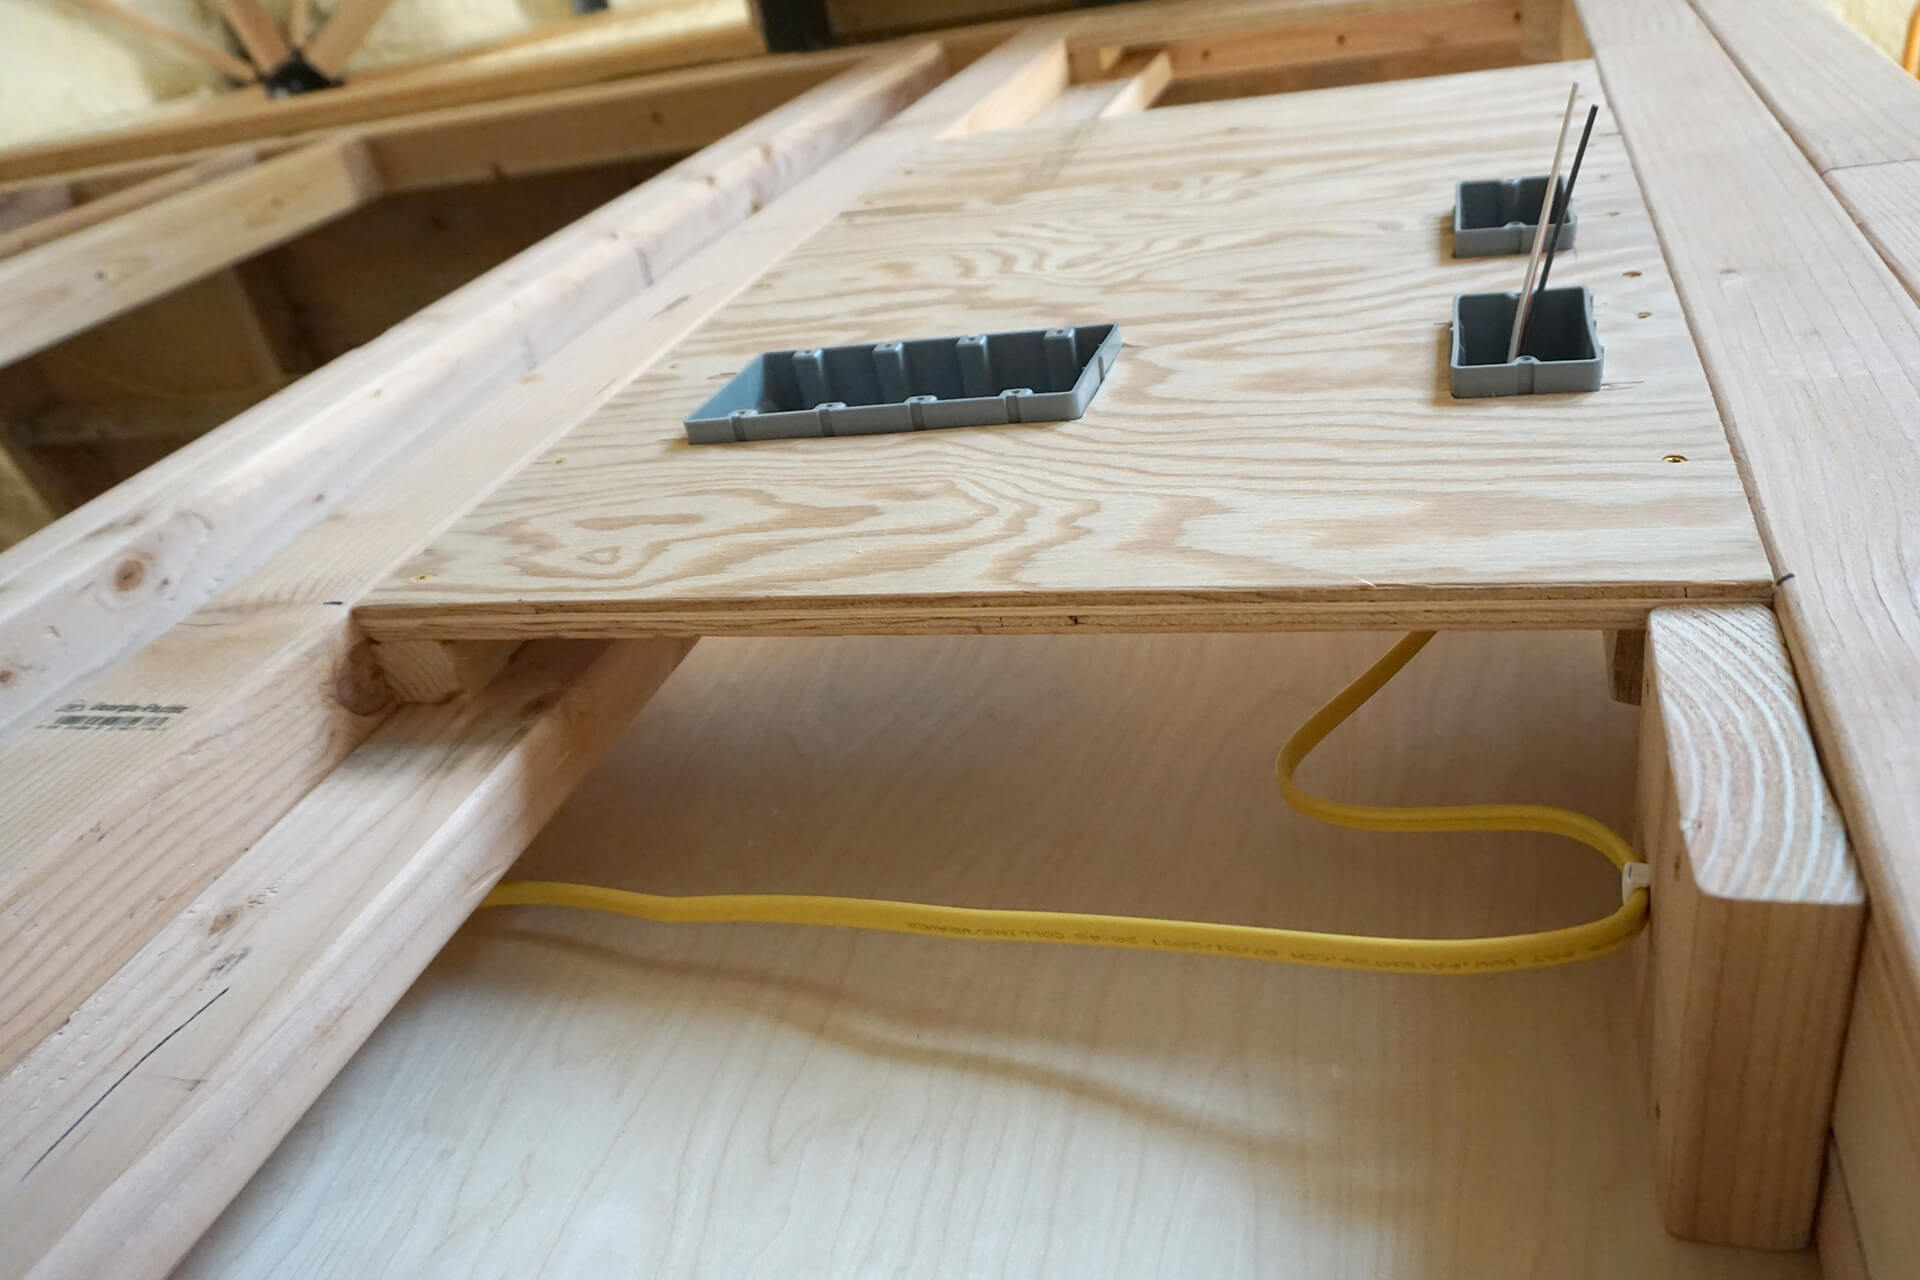
"Bump" the cable before entering the box to provide extra length for future pulling. Secure the cable towards the back of studs, further away from future fasteners. Plastic staples shown here.
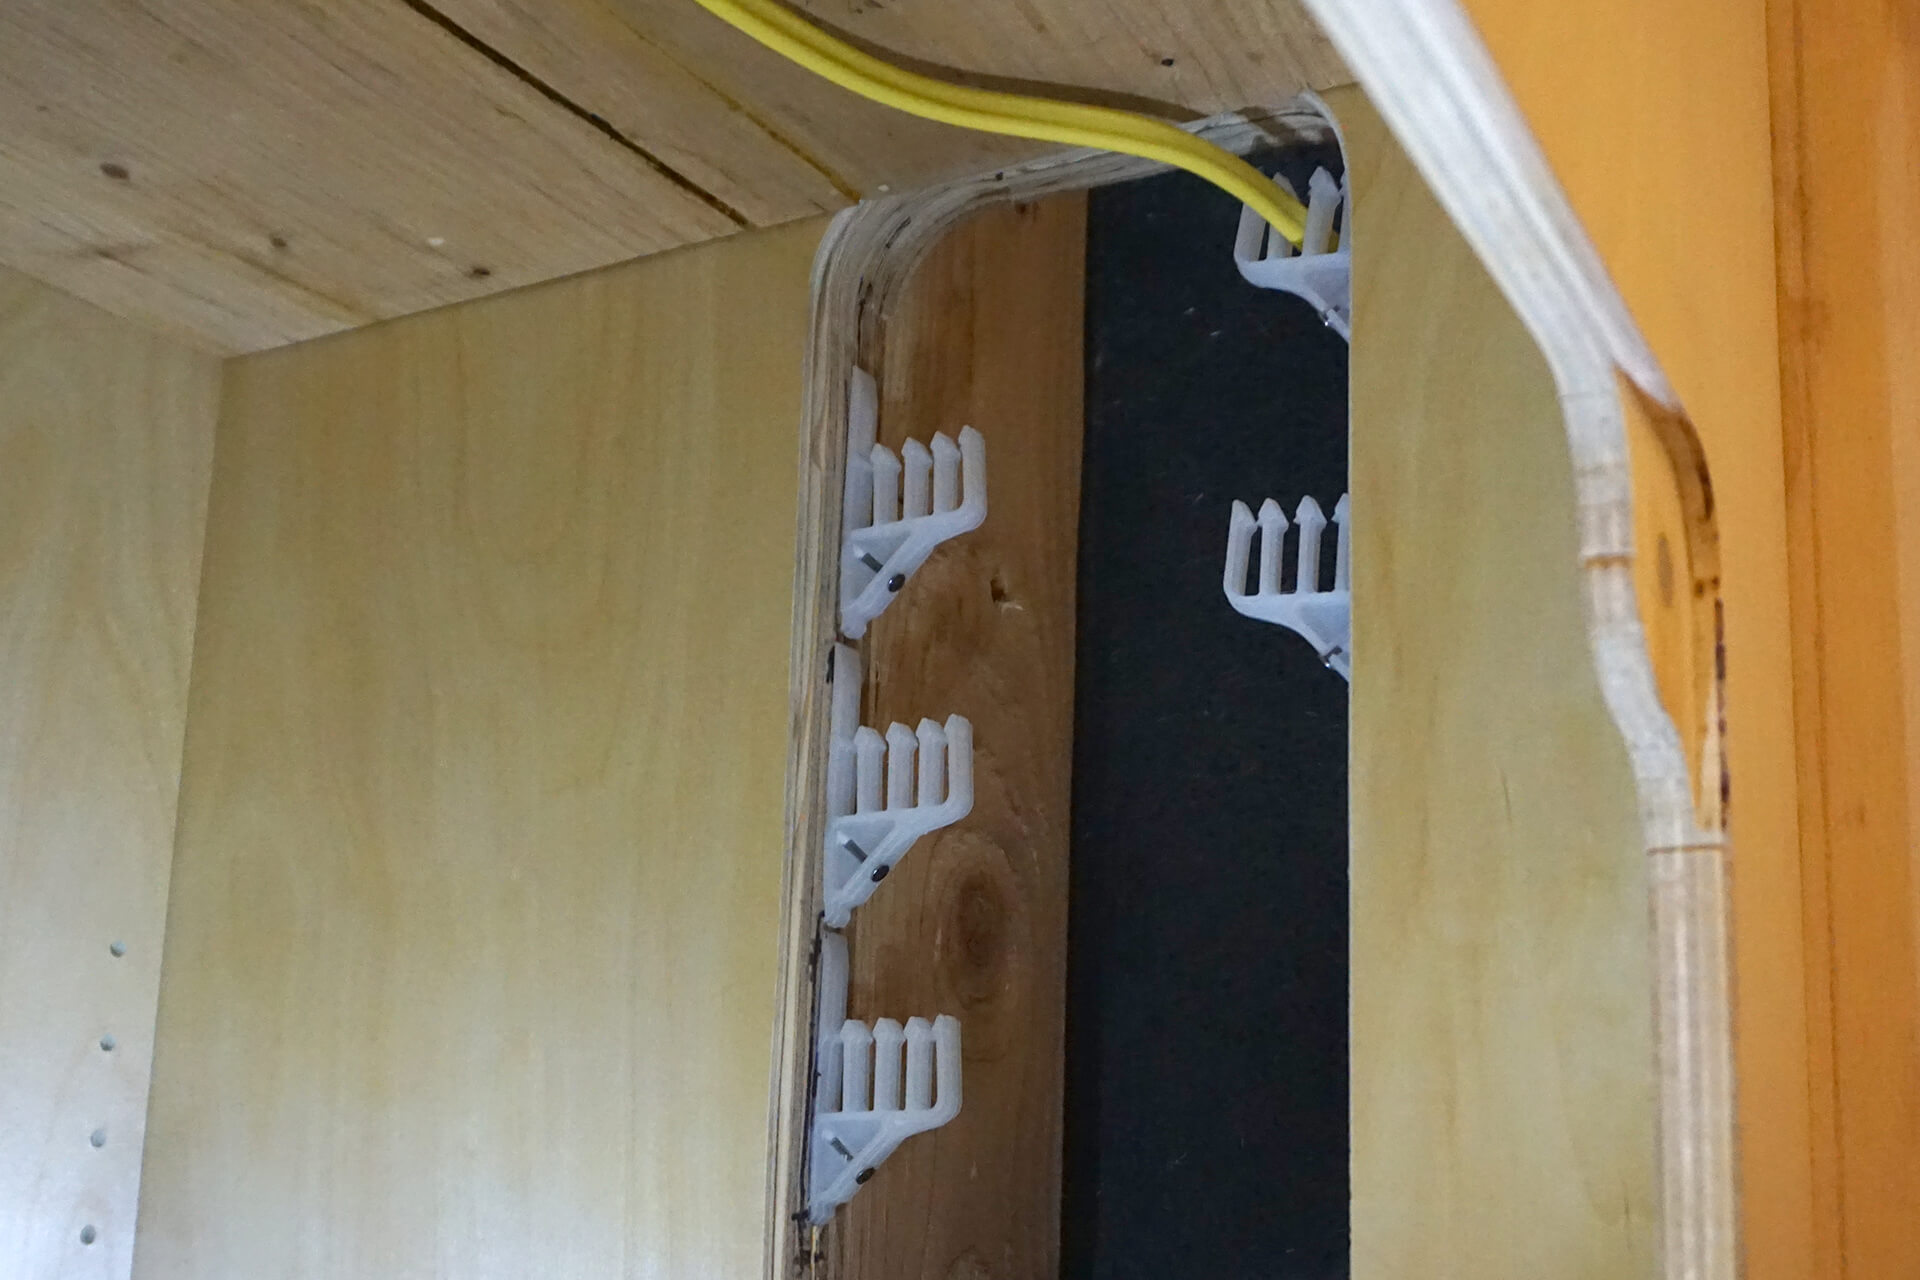
Use cable stacking products in the electrical cabinet area to keep everything tidy. “Bump” the cable before entering the electrical panel to provide extra length for future pulling.
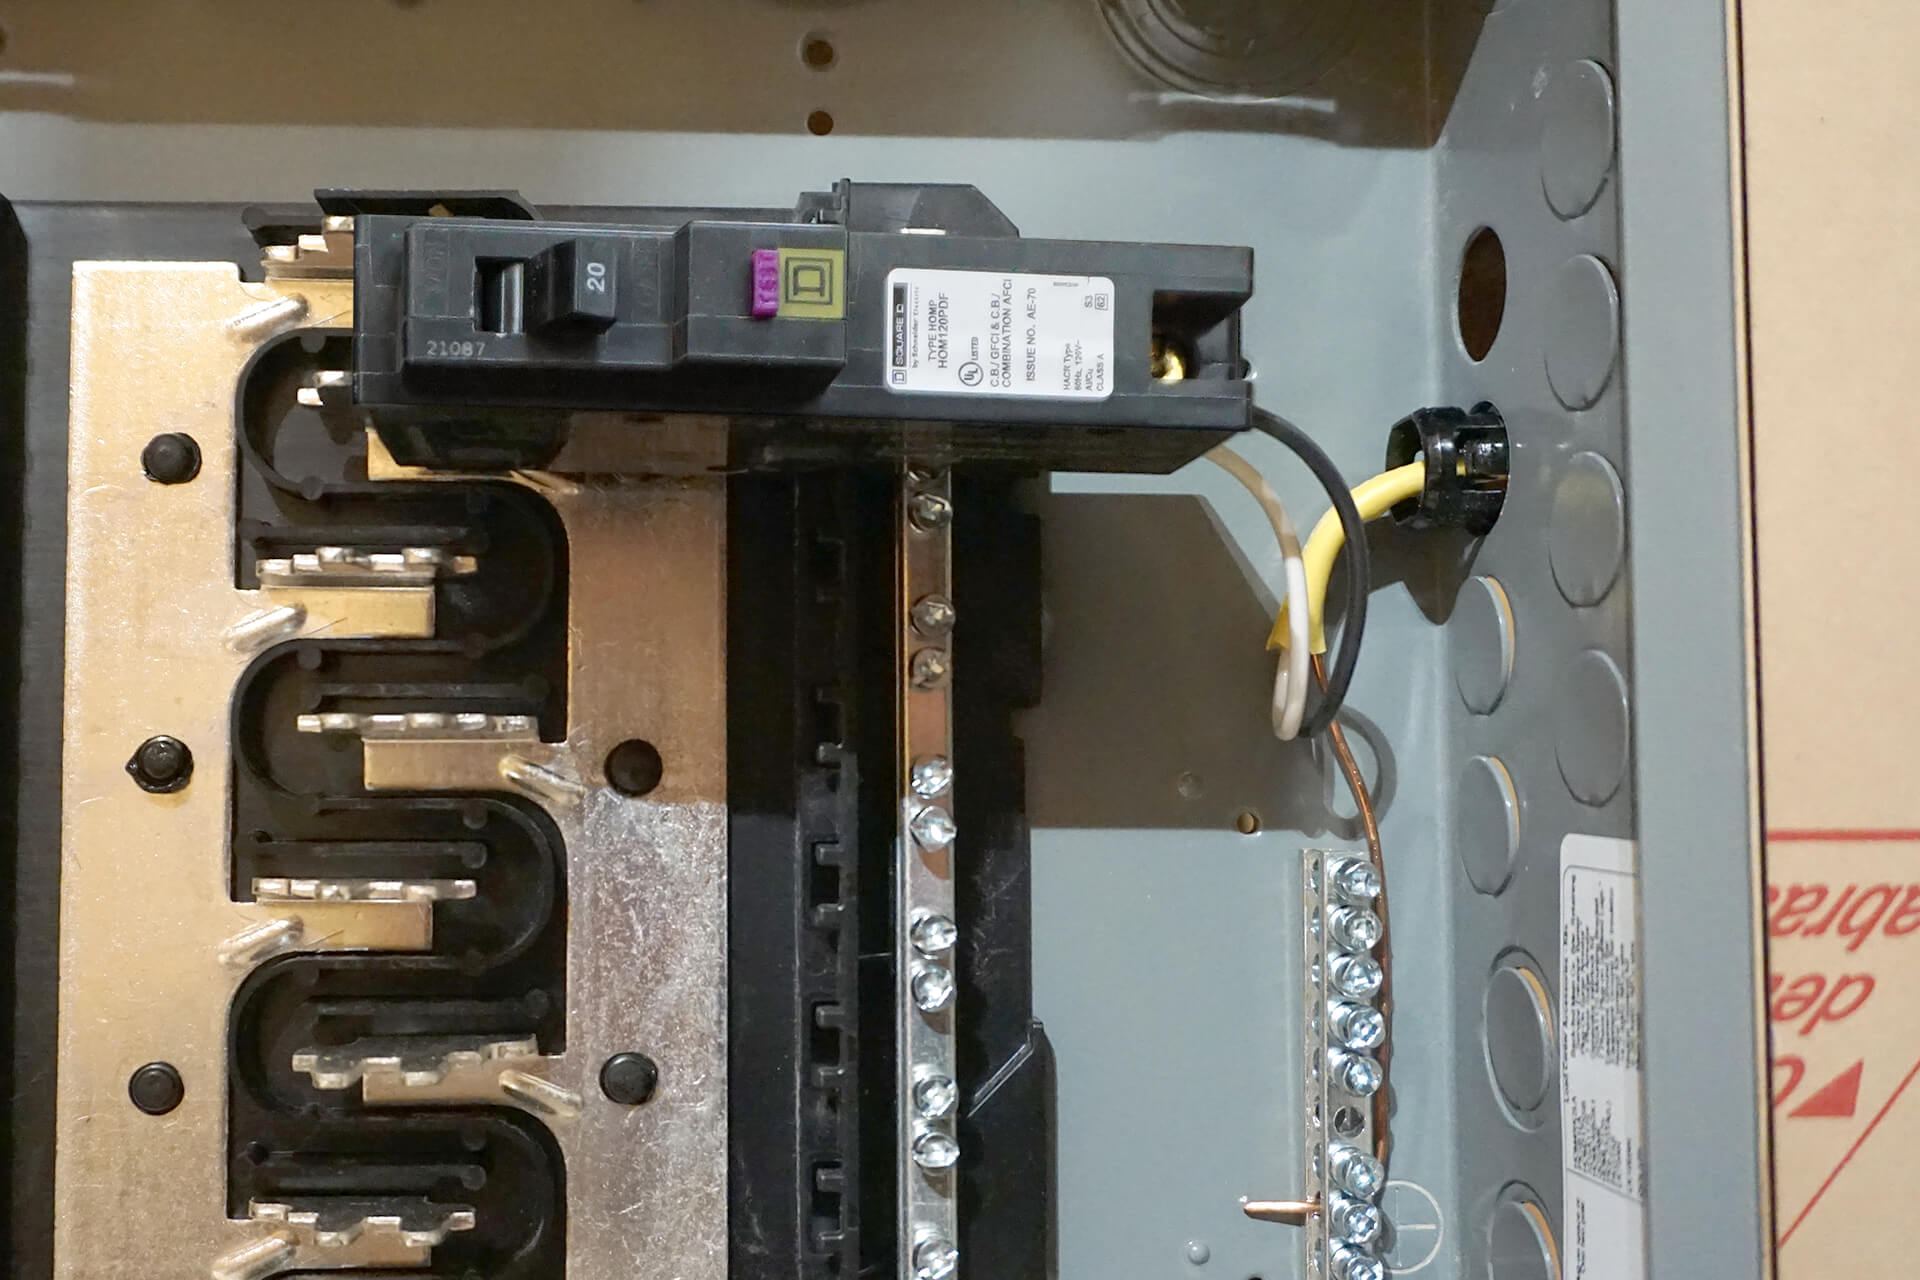
Use GFCI and AFCI protected, plug-on neutral breakers for safety, code compliance, electrical panel tidiness, and a wider range of outlet options. Snap-in cable connector shown here.
Use 12/2 NM cable for most circuits. The 12 denotes 12 AWG, and the 2 indicates the number of conductors (excluding ground). Use 12/3 NM cable for 3-way switch circuits.
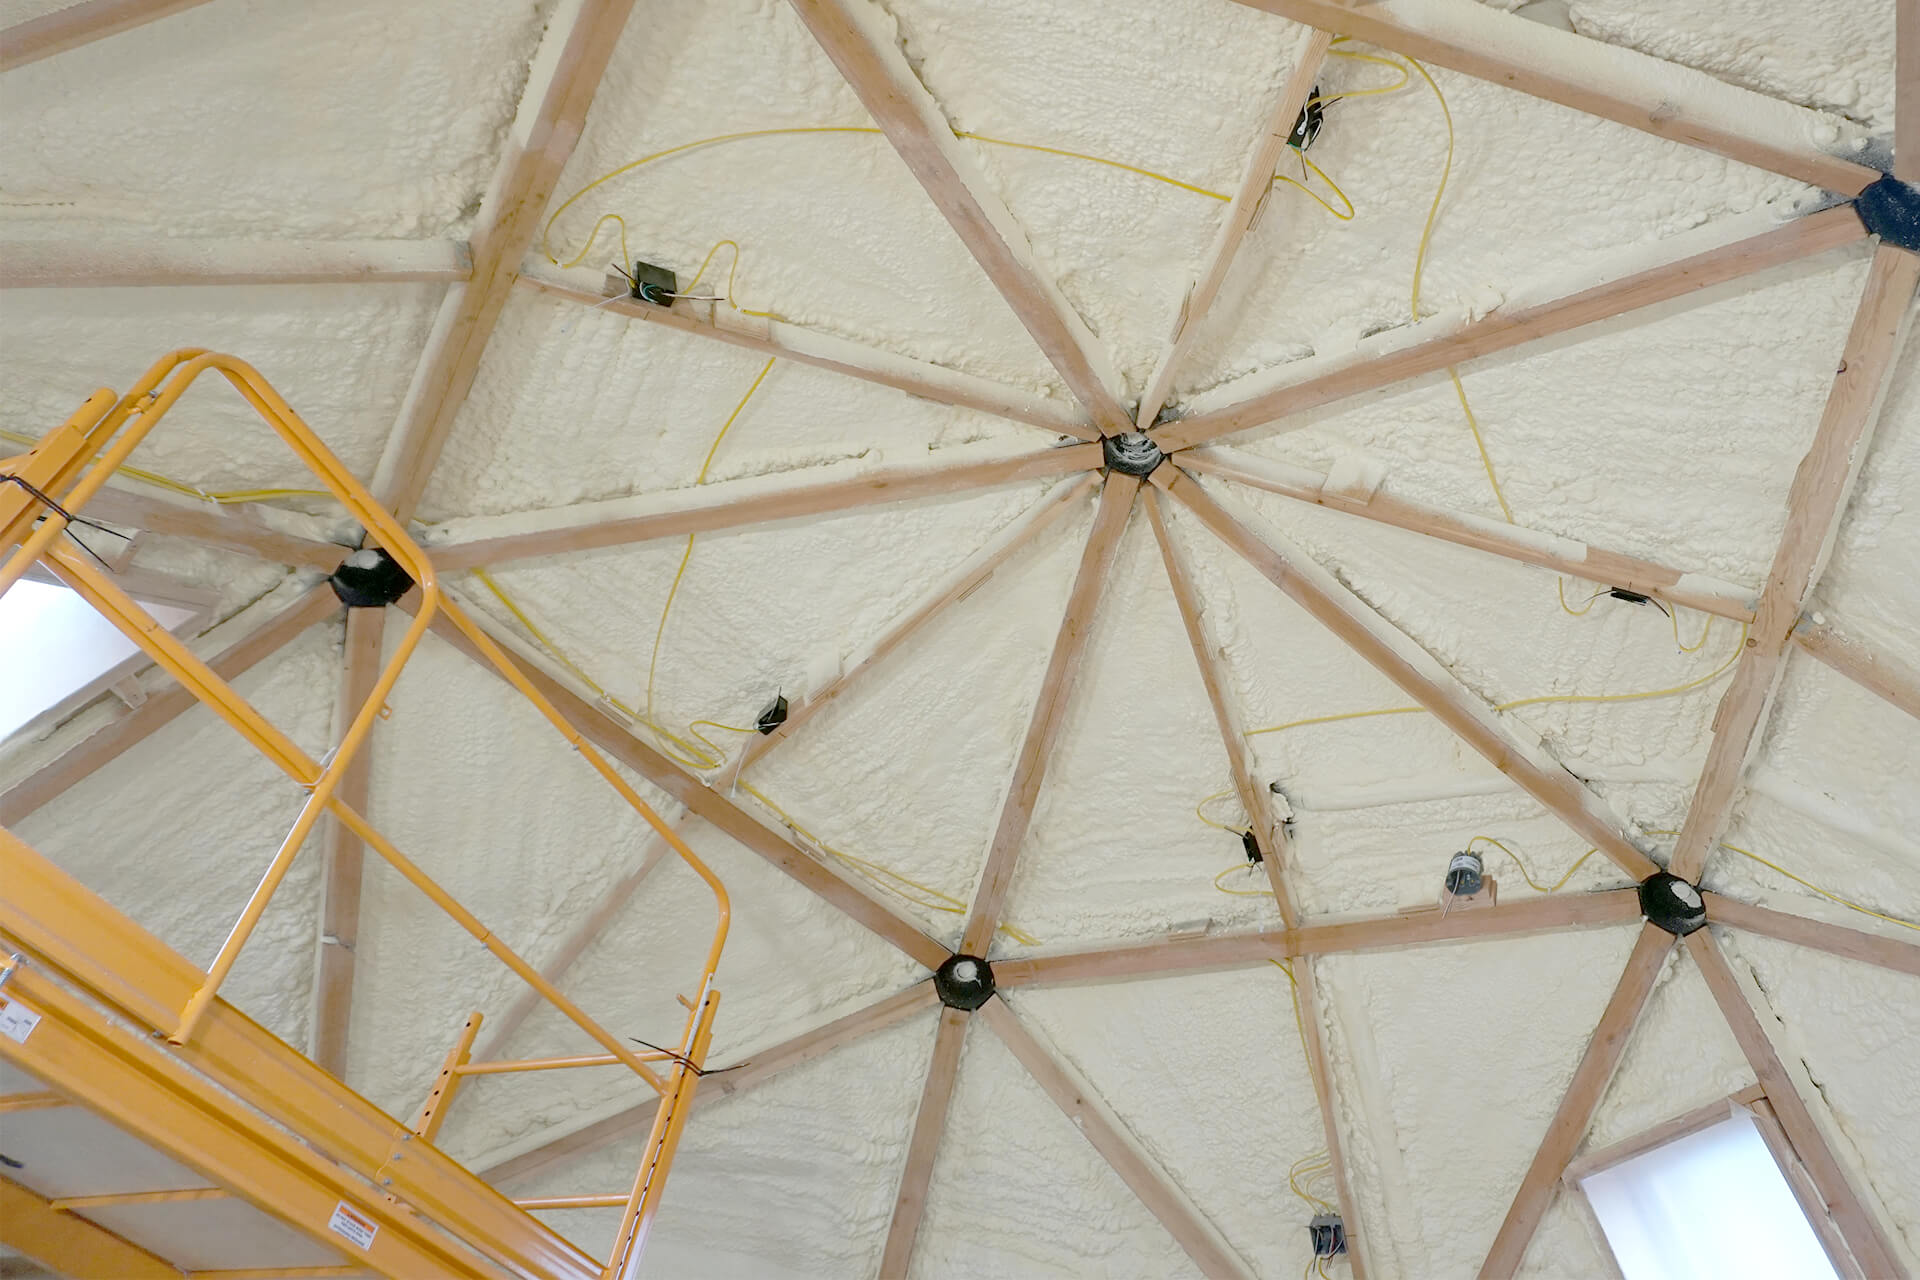
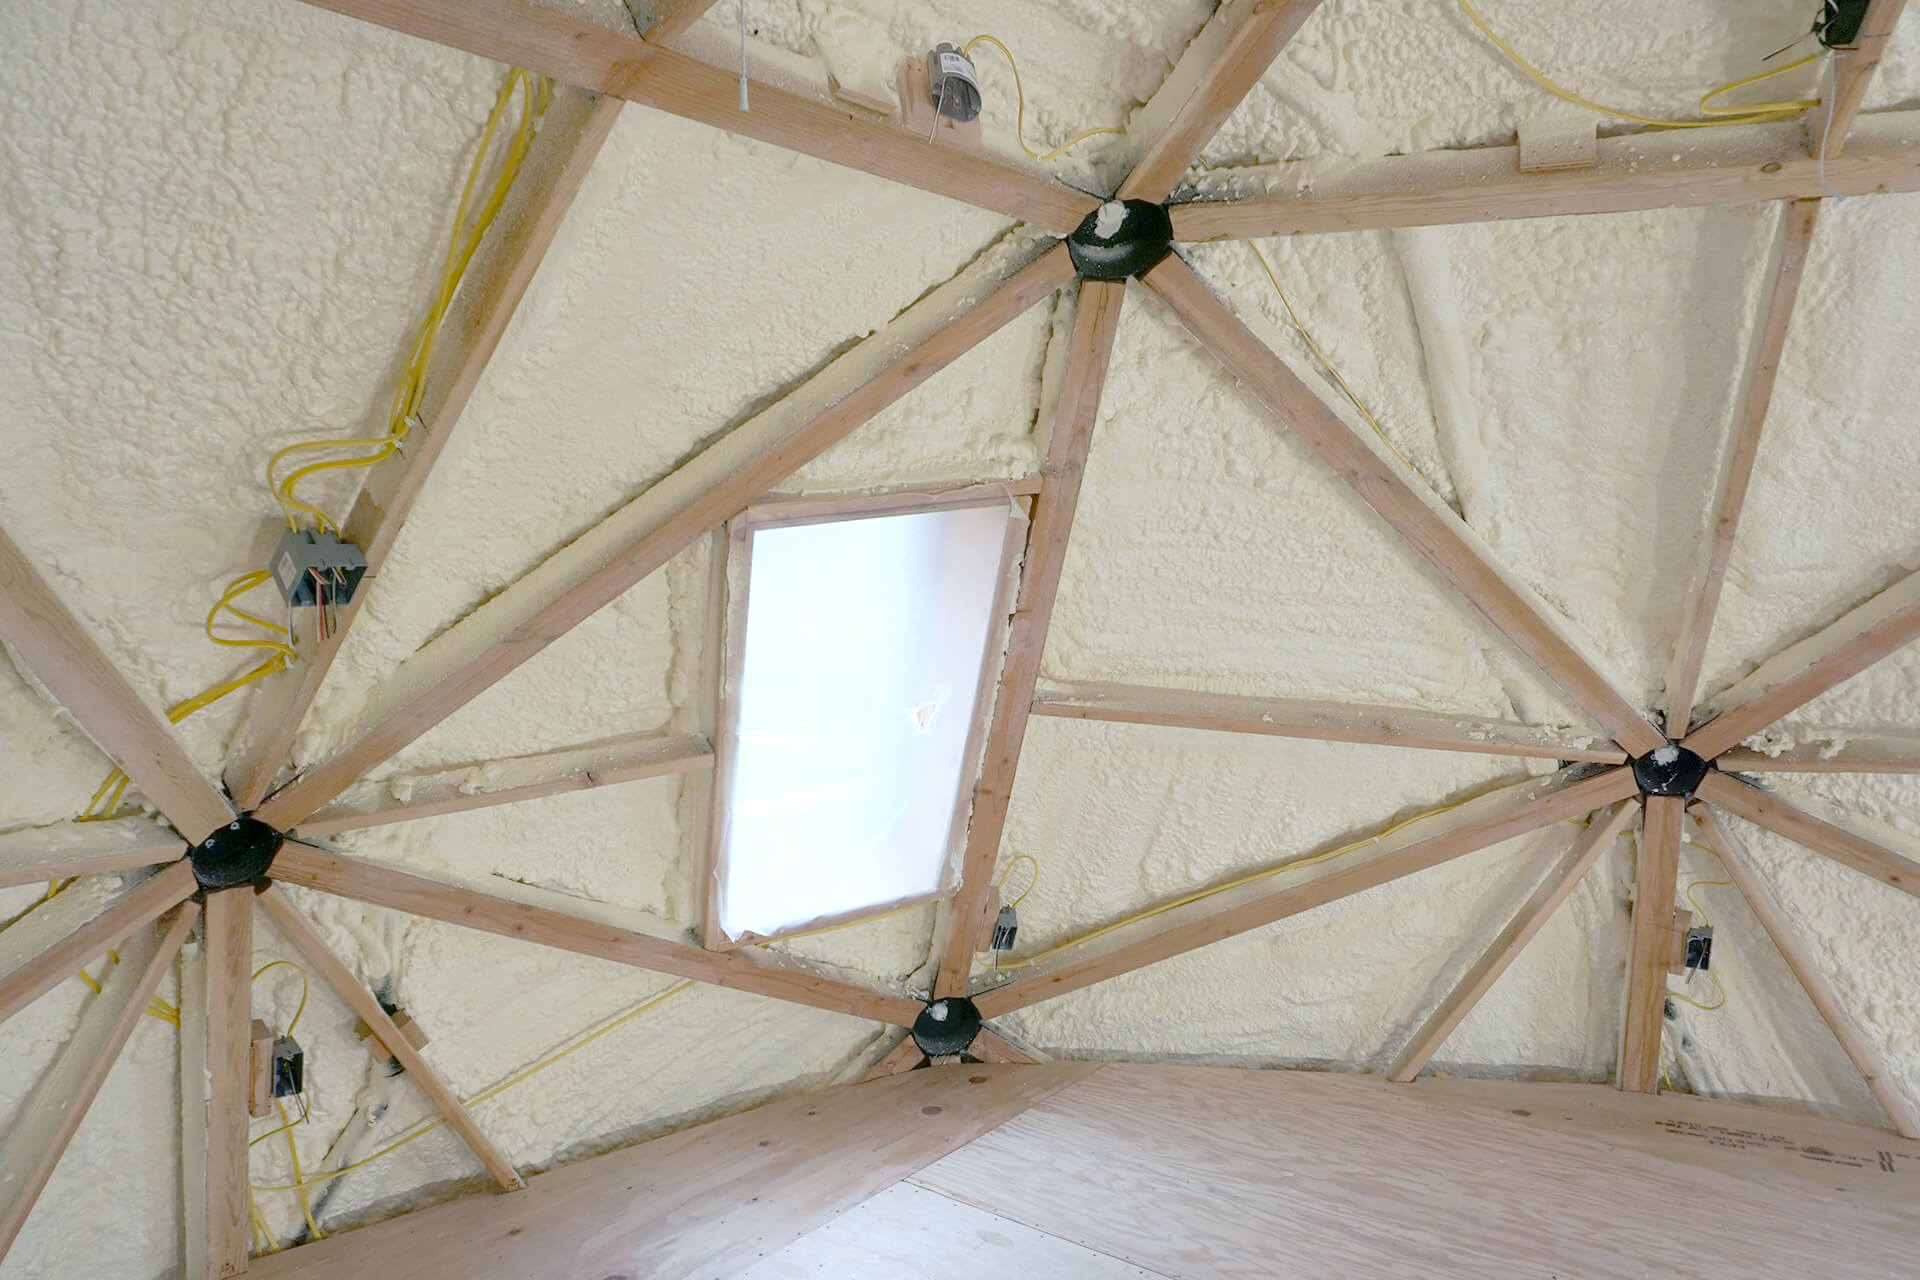
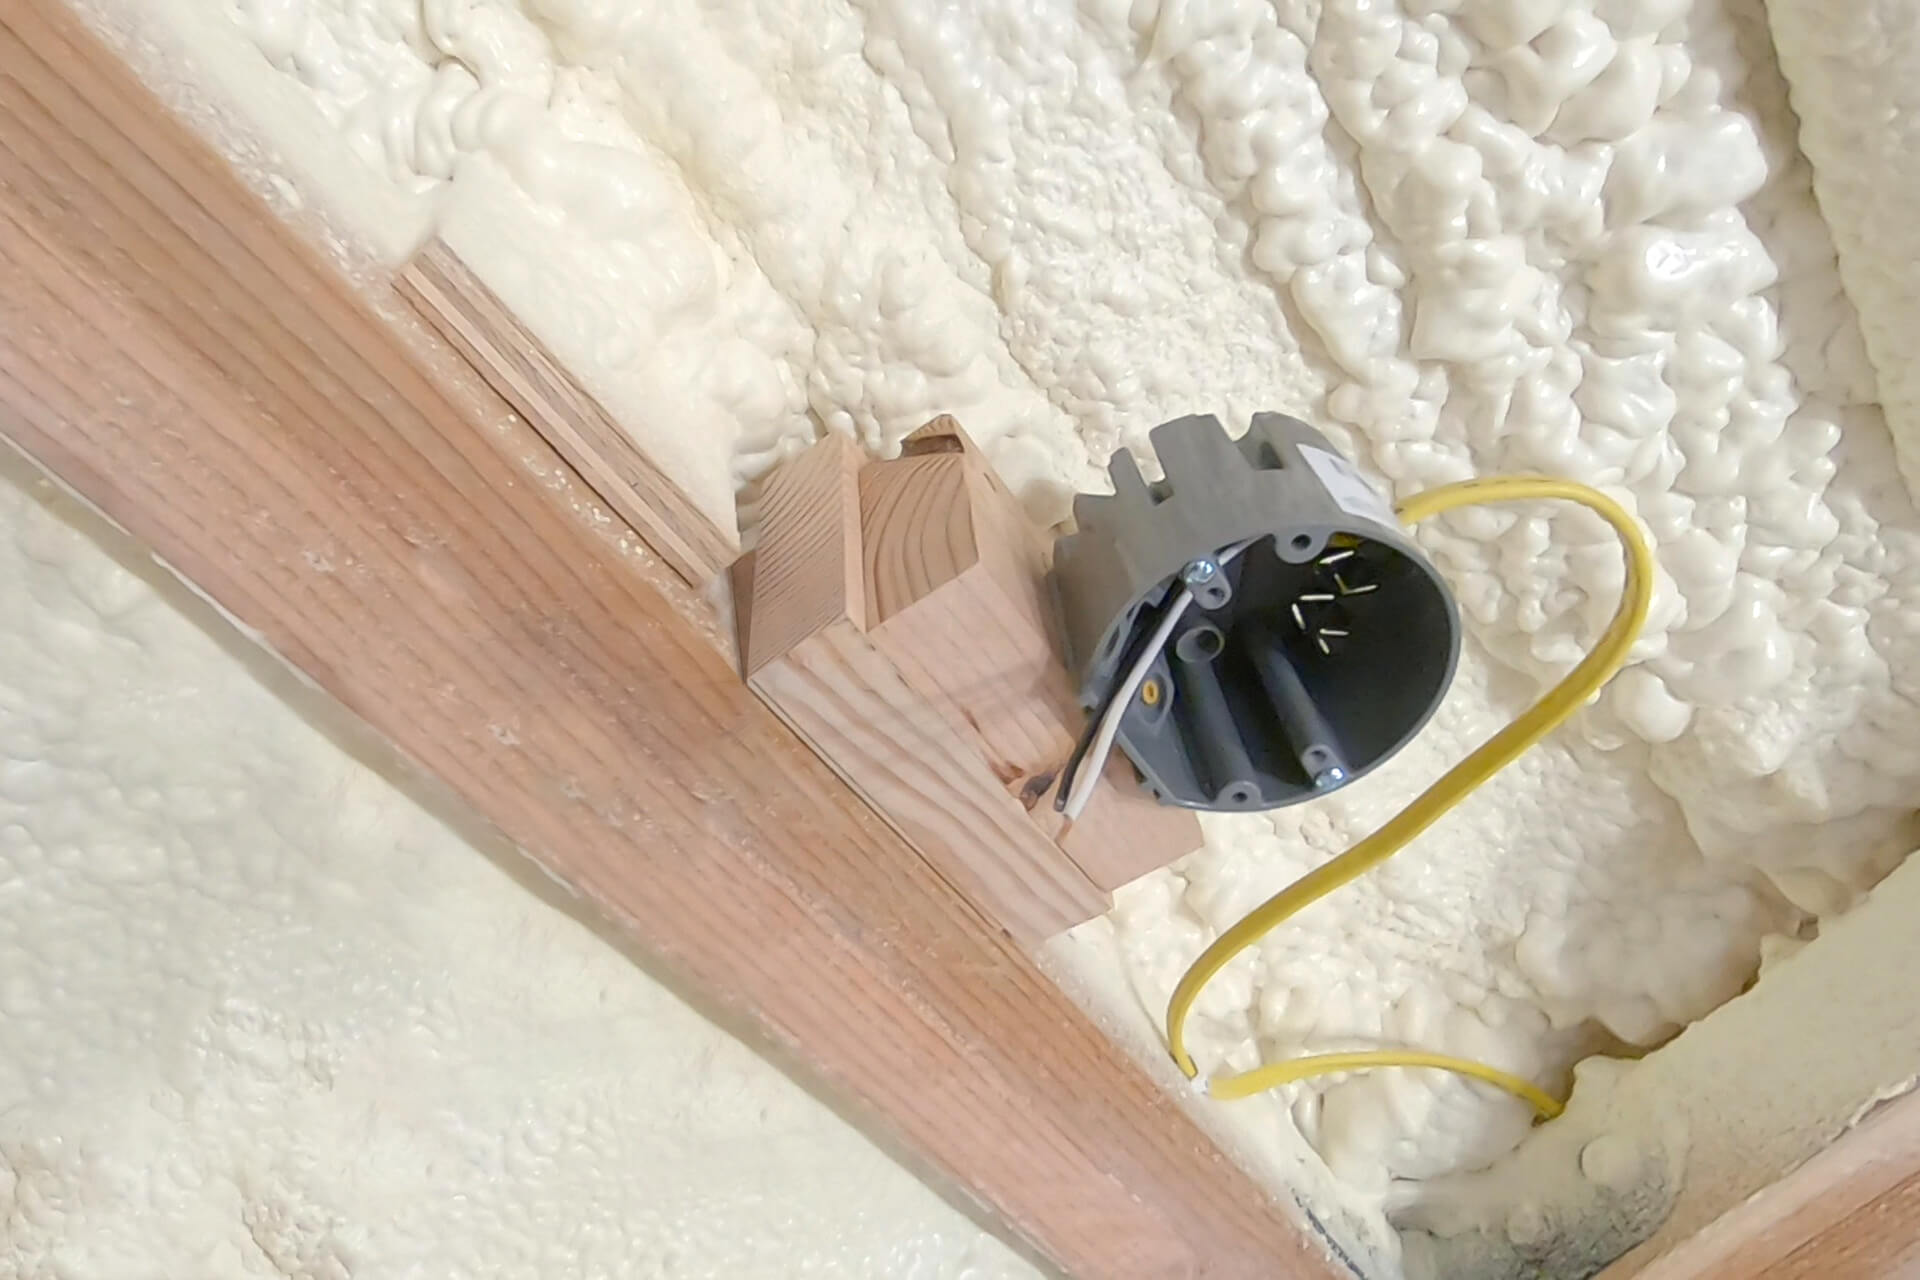
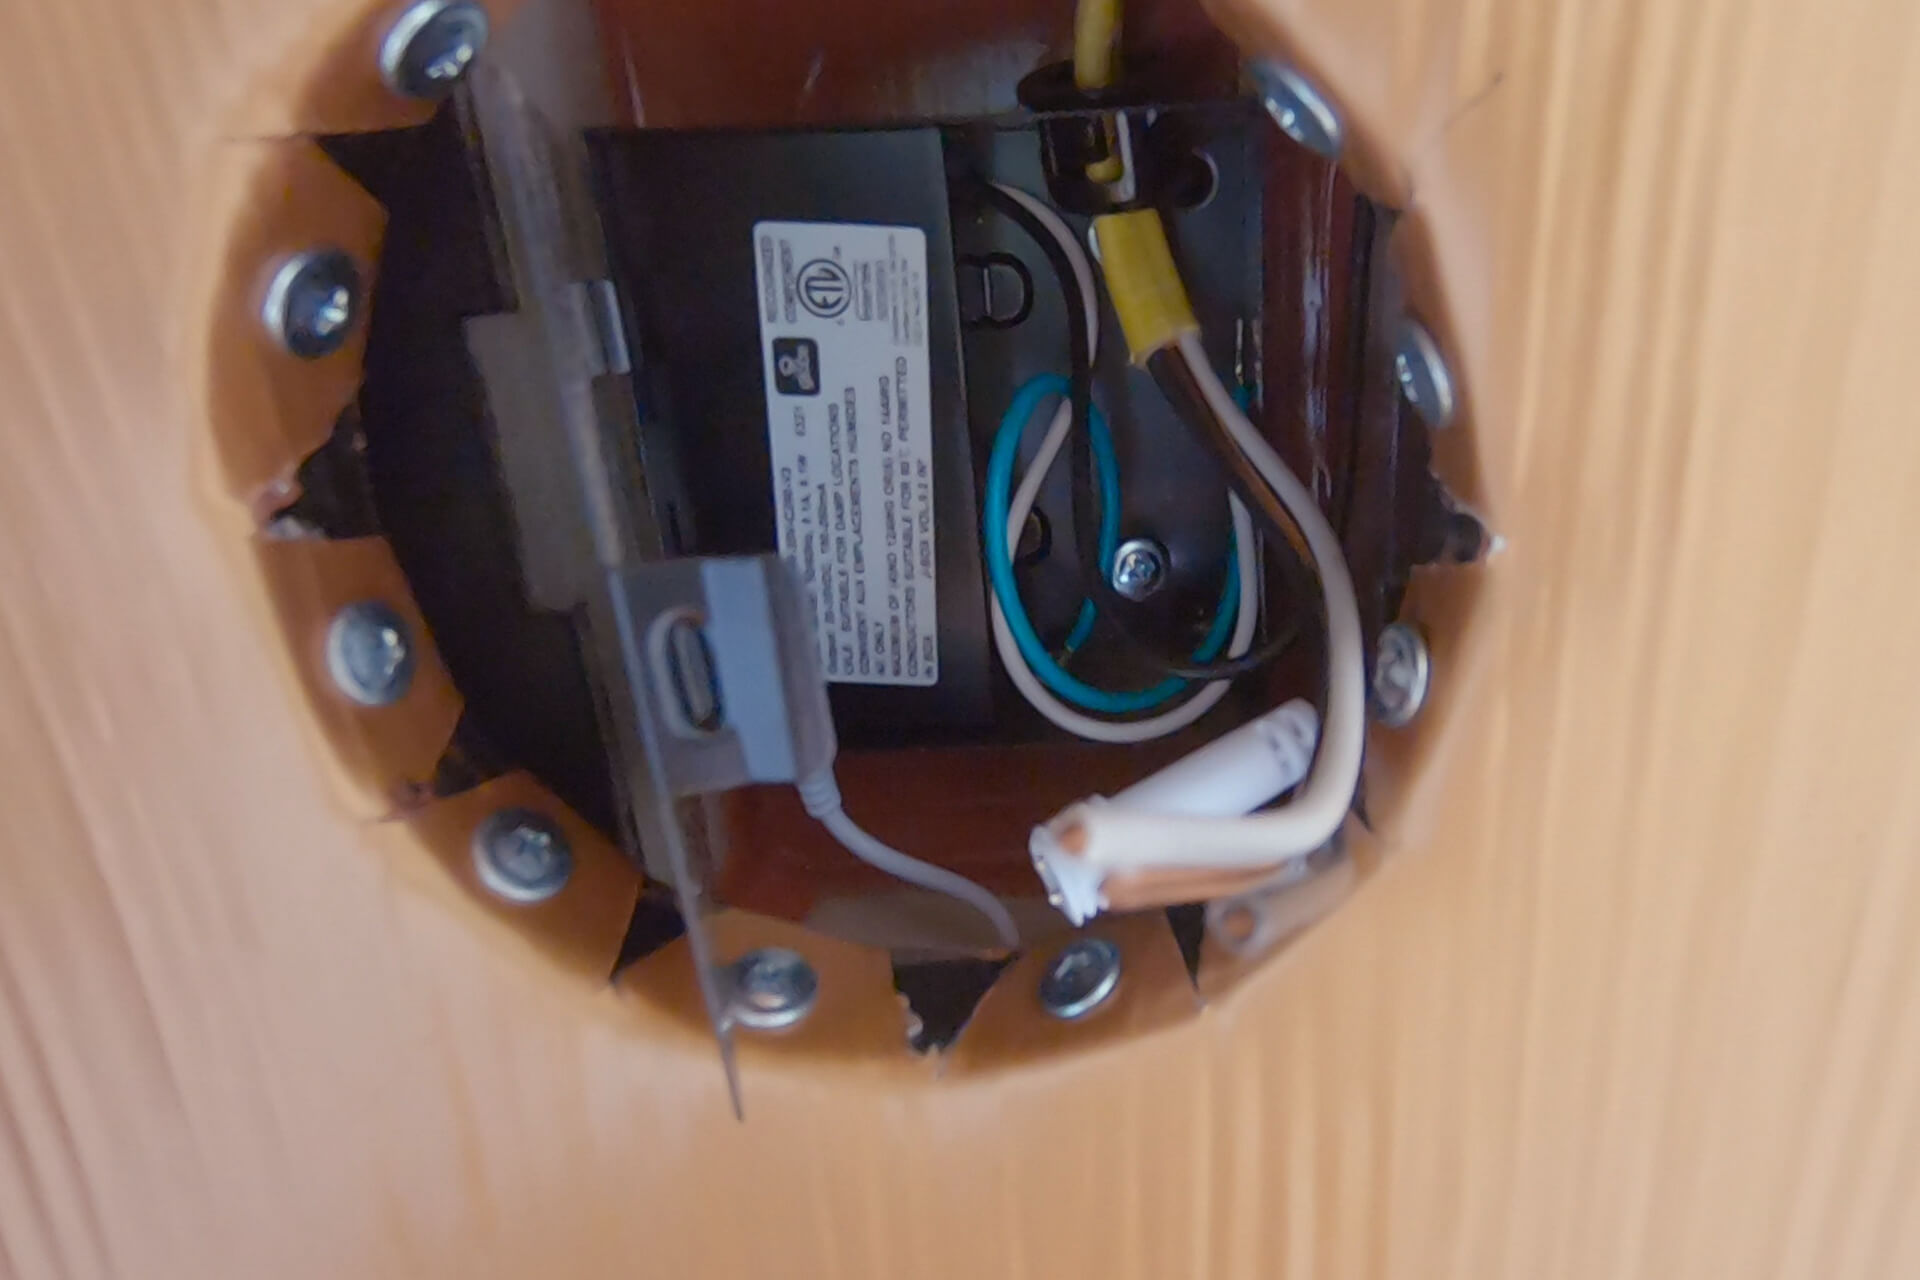
"Bump" the cable significantly before entering a light box to provide extra length for future replacement. Canless lights require the entire junction box to be replaced when they fail.
Wire the smoke alarm box into a frequently used circuit. In this case, the Fridge / HRV / WiFi circuit is used.
When wiring the TV outlet box (shown here), consider adding another outlet box (shown in drawings) below the TV for powering devices, along with an electrical box for an in-wall HDMI plug.
The same plastic snap-in cable connectors used in the electrical panel can also be used in the light box knock-out holes.
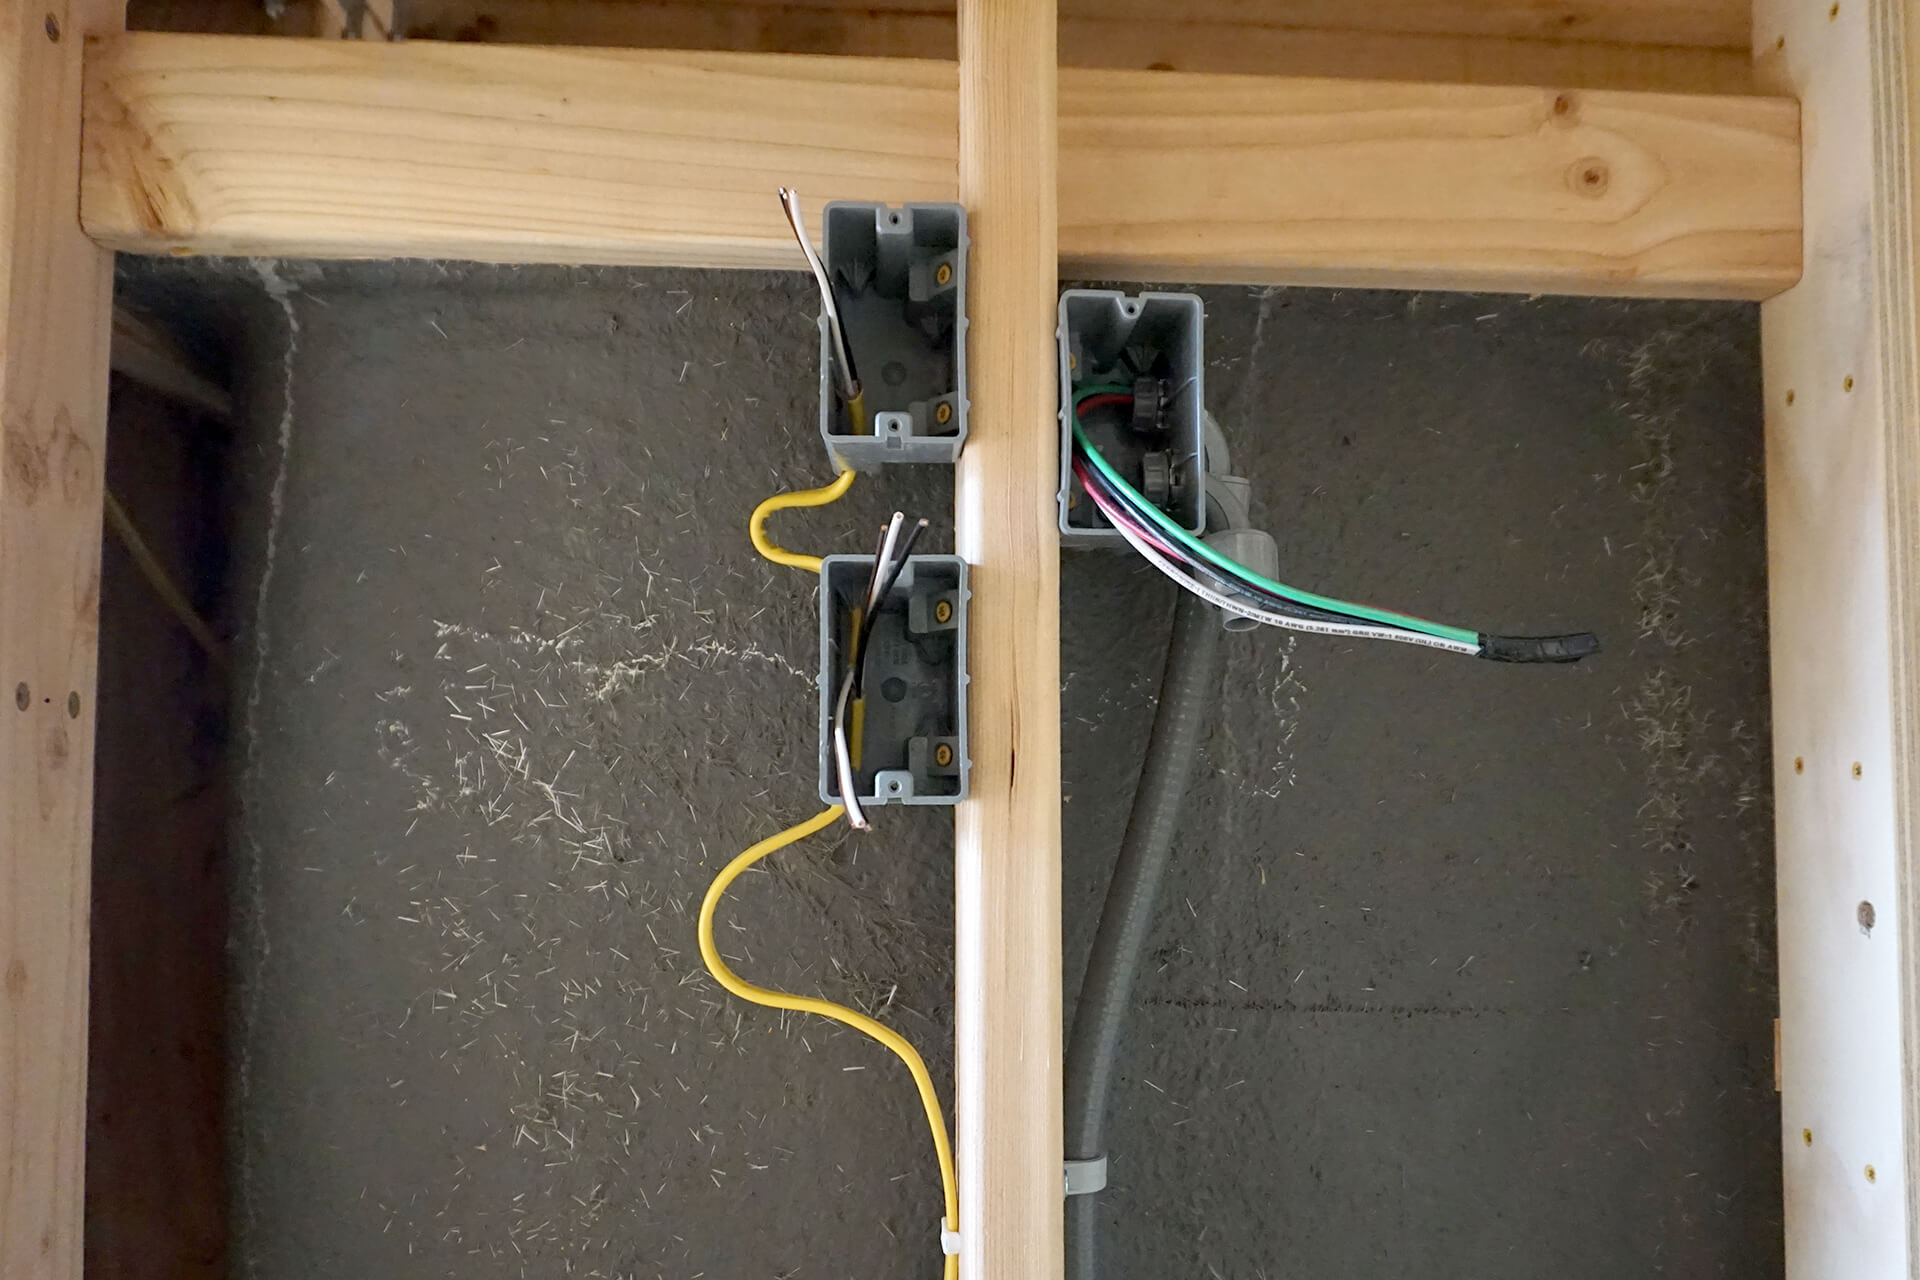
Wire two dedicated circuits (shown here on the right) for future HVAC options, such as a portable AC unit and an area heater. This is also a good location for powering a subwoofer.

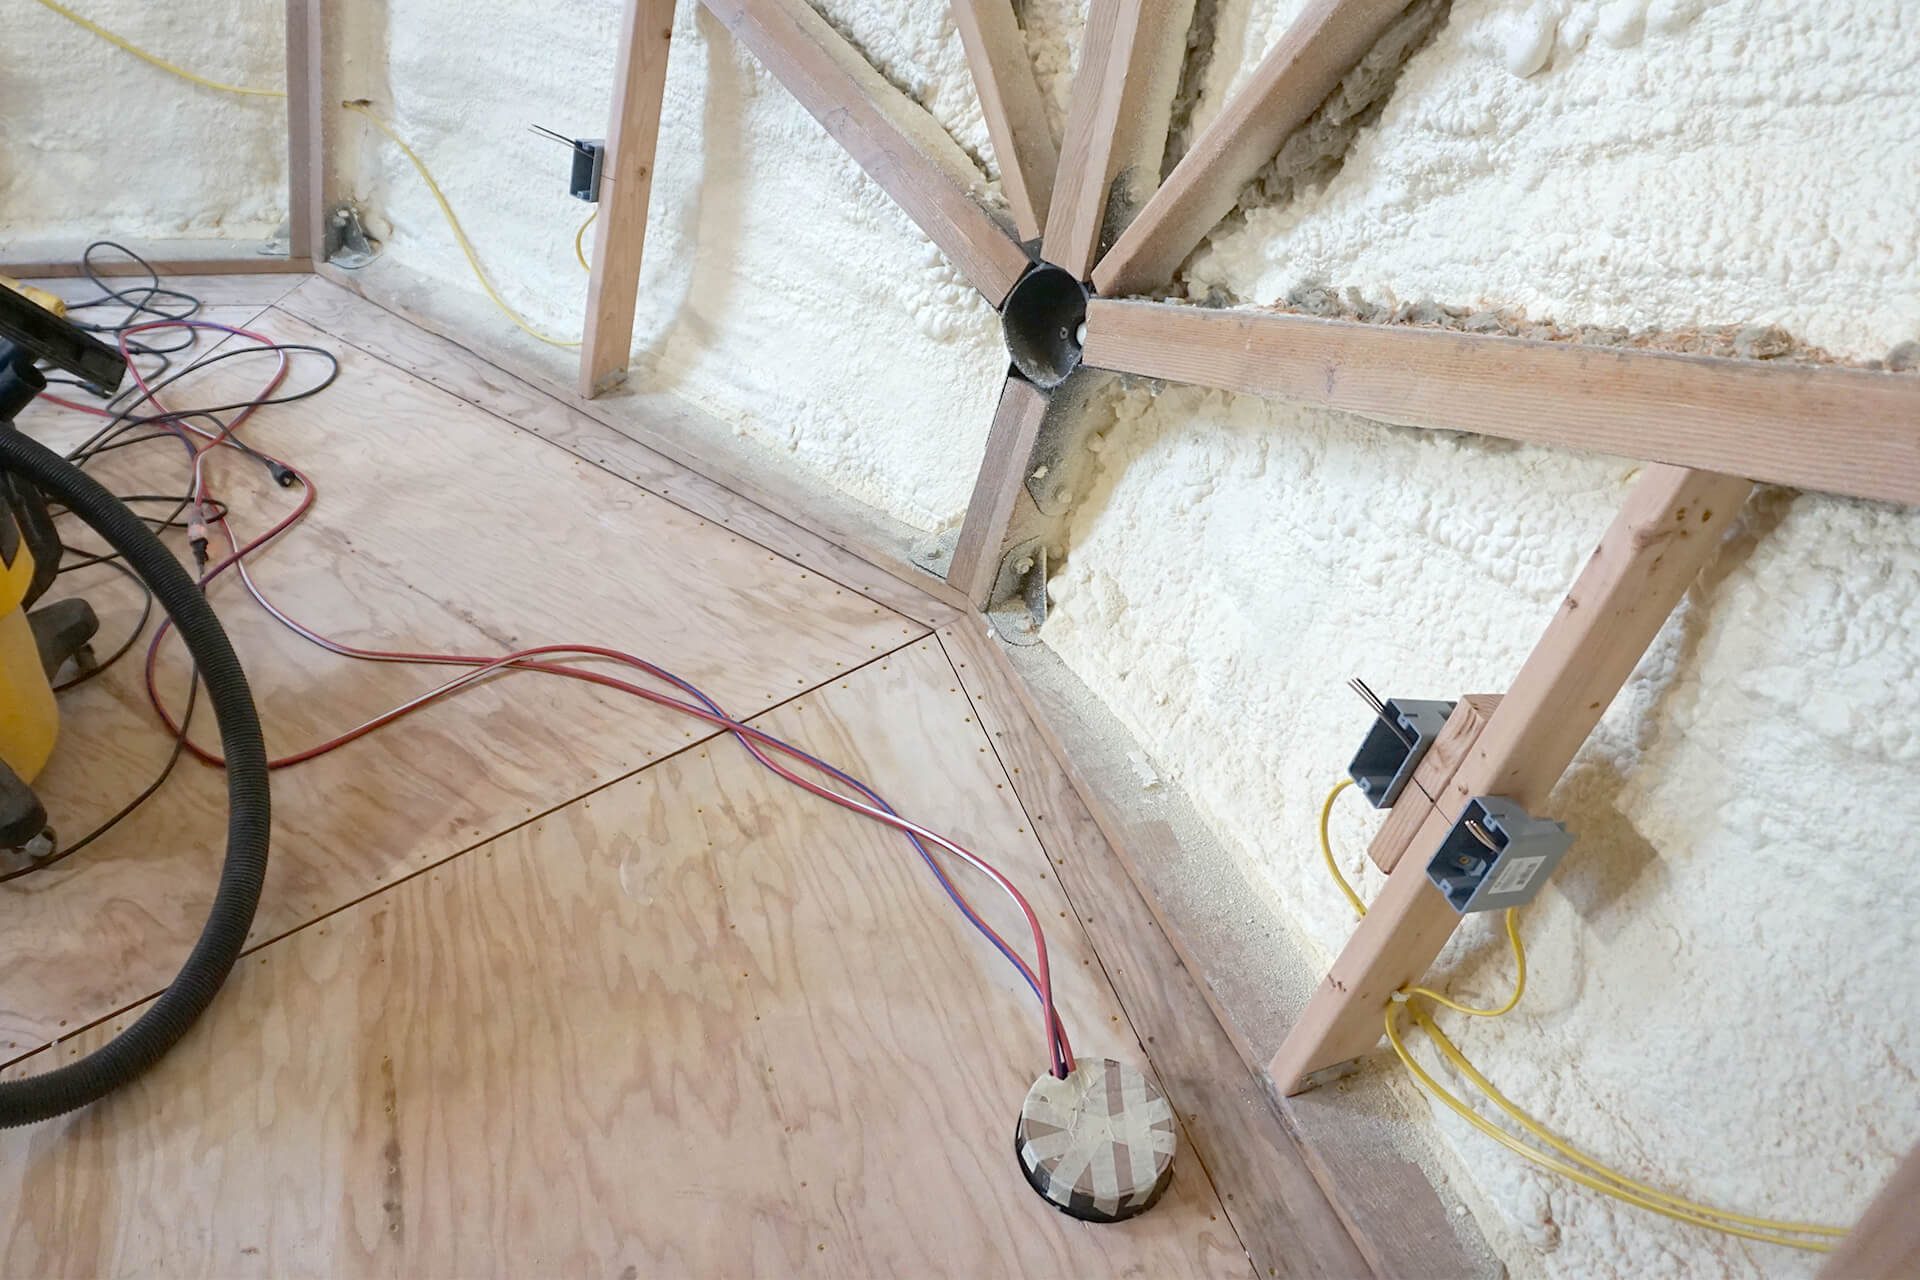
The through-floor thermostat wire conduit connects to an empty electrical box, intended for future thermostat wiring of an outdoor PTAC HVAC solution.
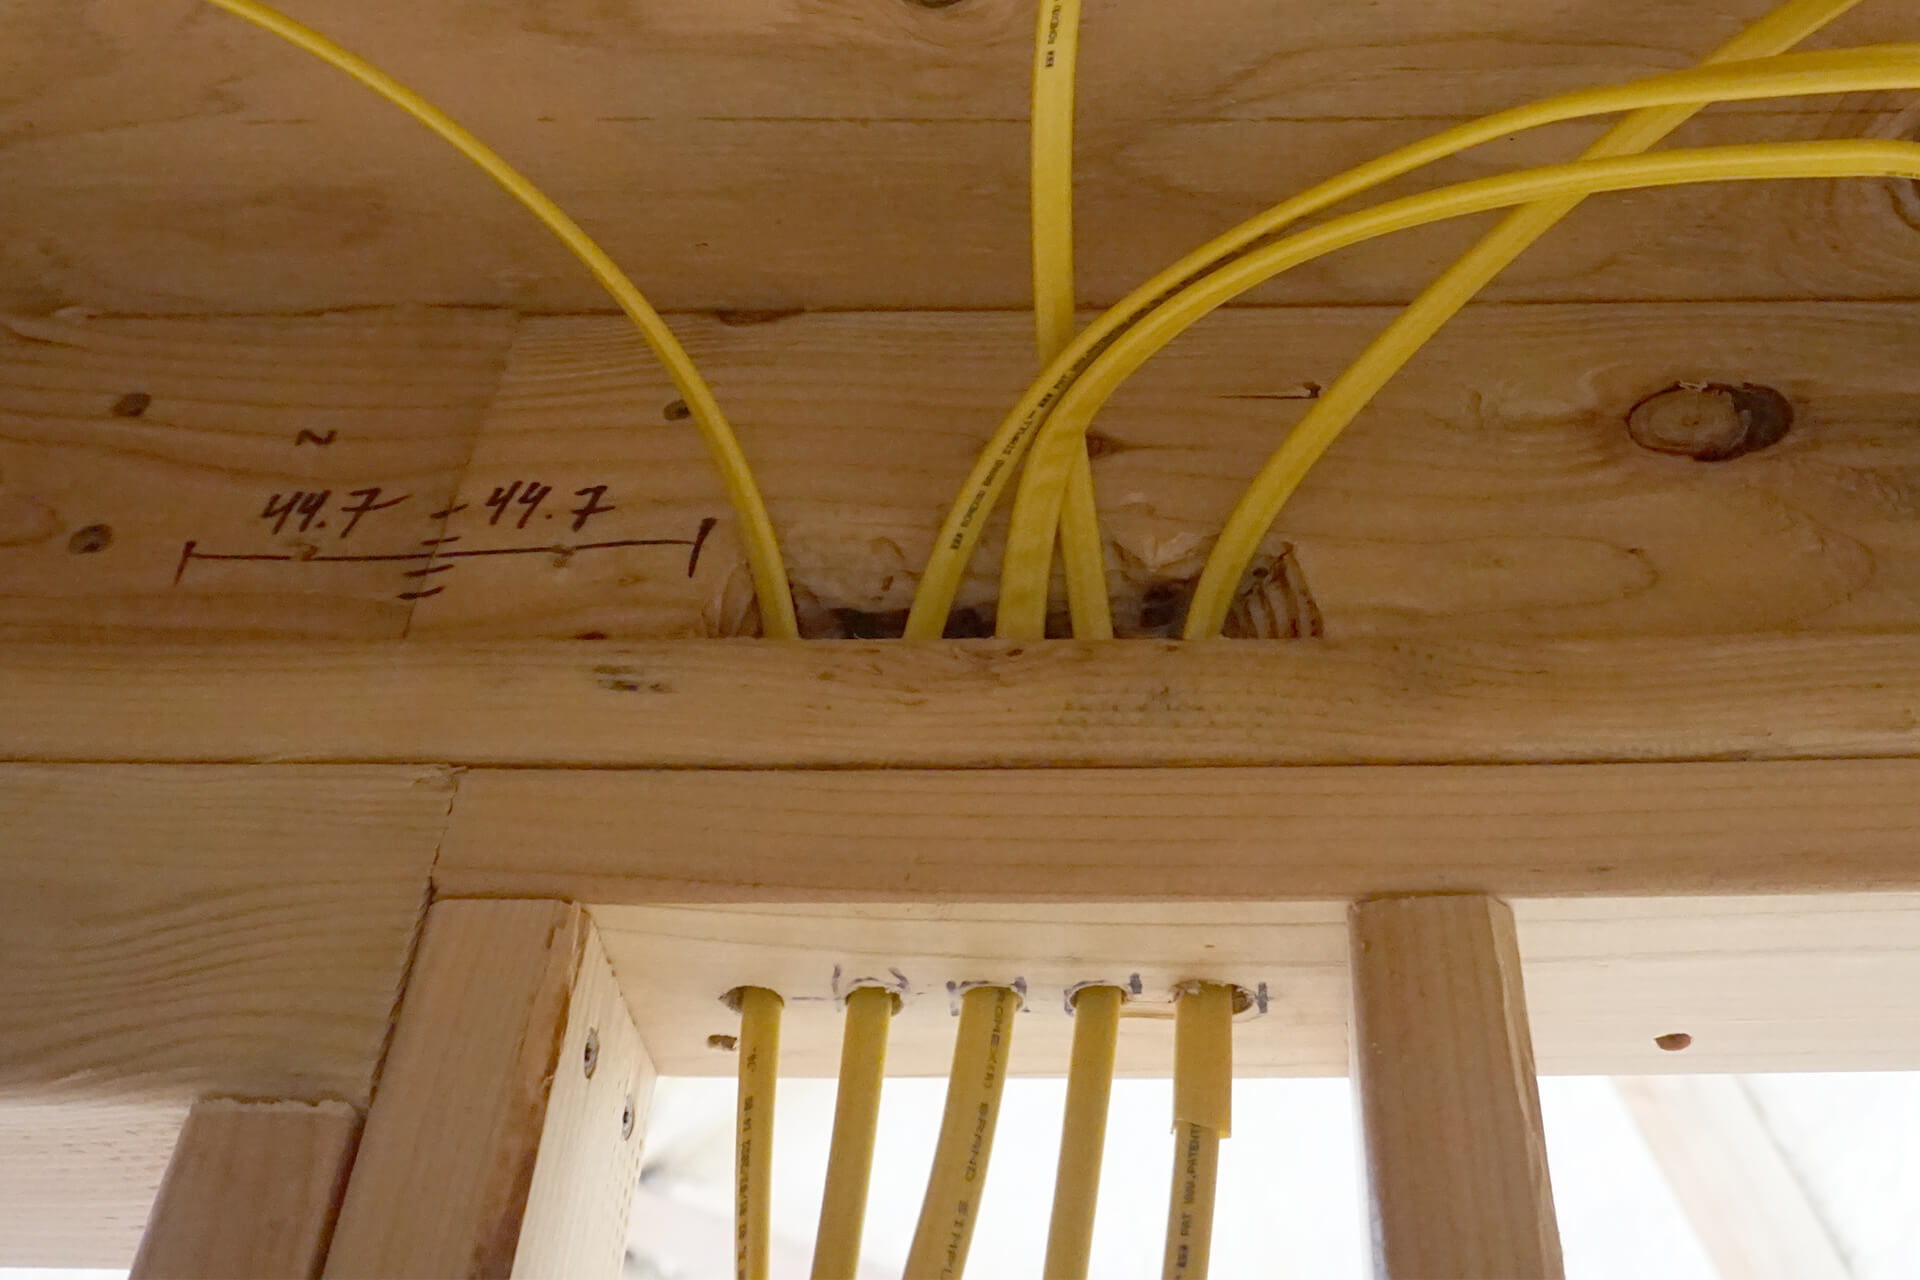
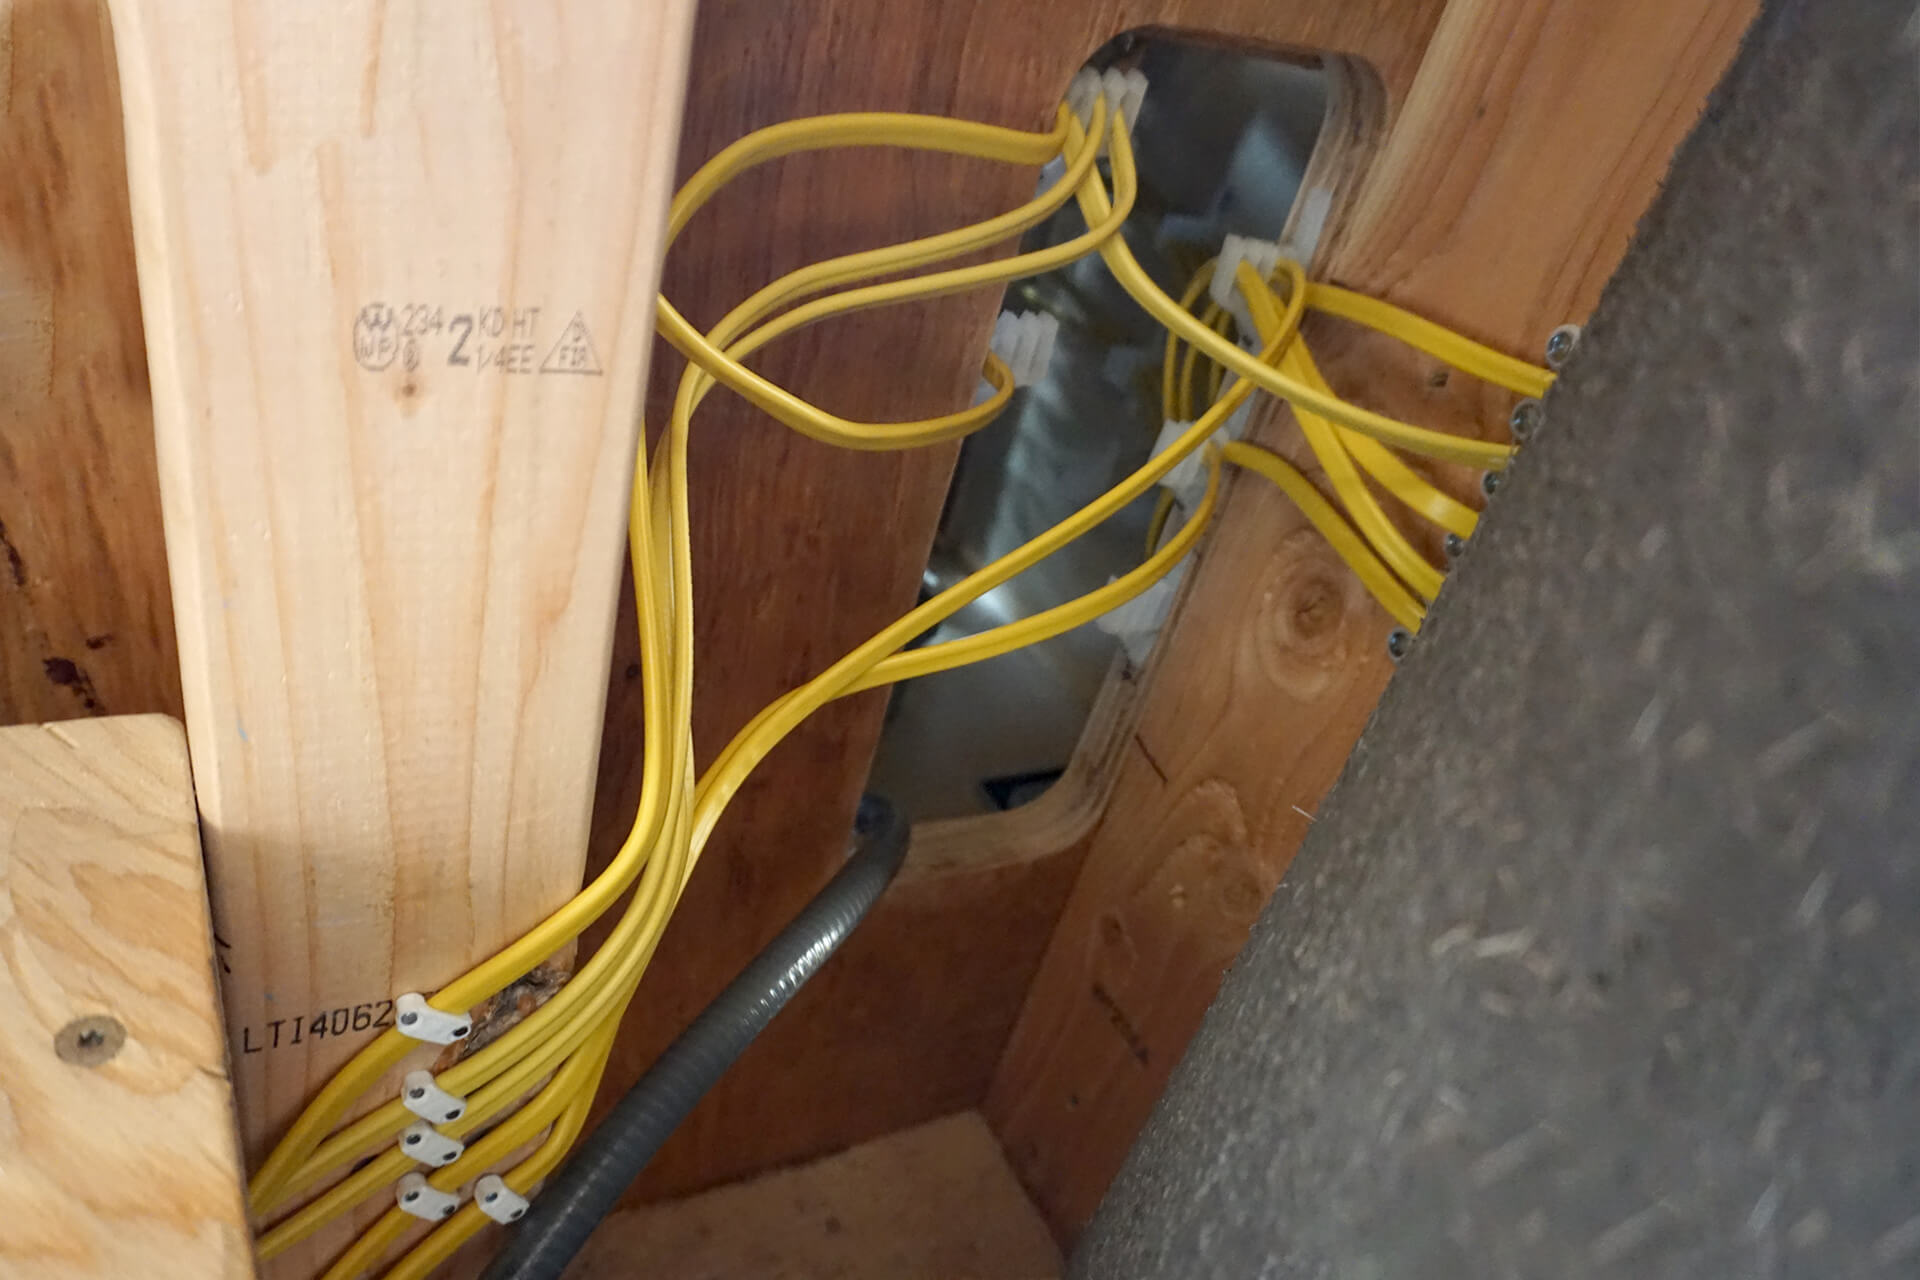
This wall bay contains many wires, requiring five 0.5" holes through the double top plate and a carved-out piece of blocking. The rim joist remains intact behind the blocking.

Detail shot showing some of the wiring in the bathroom ceiling.
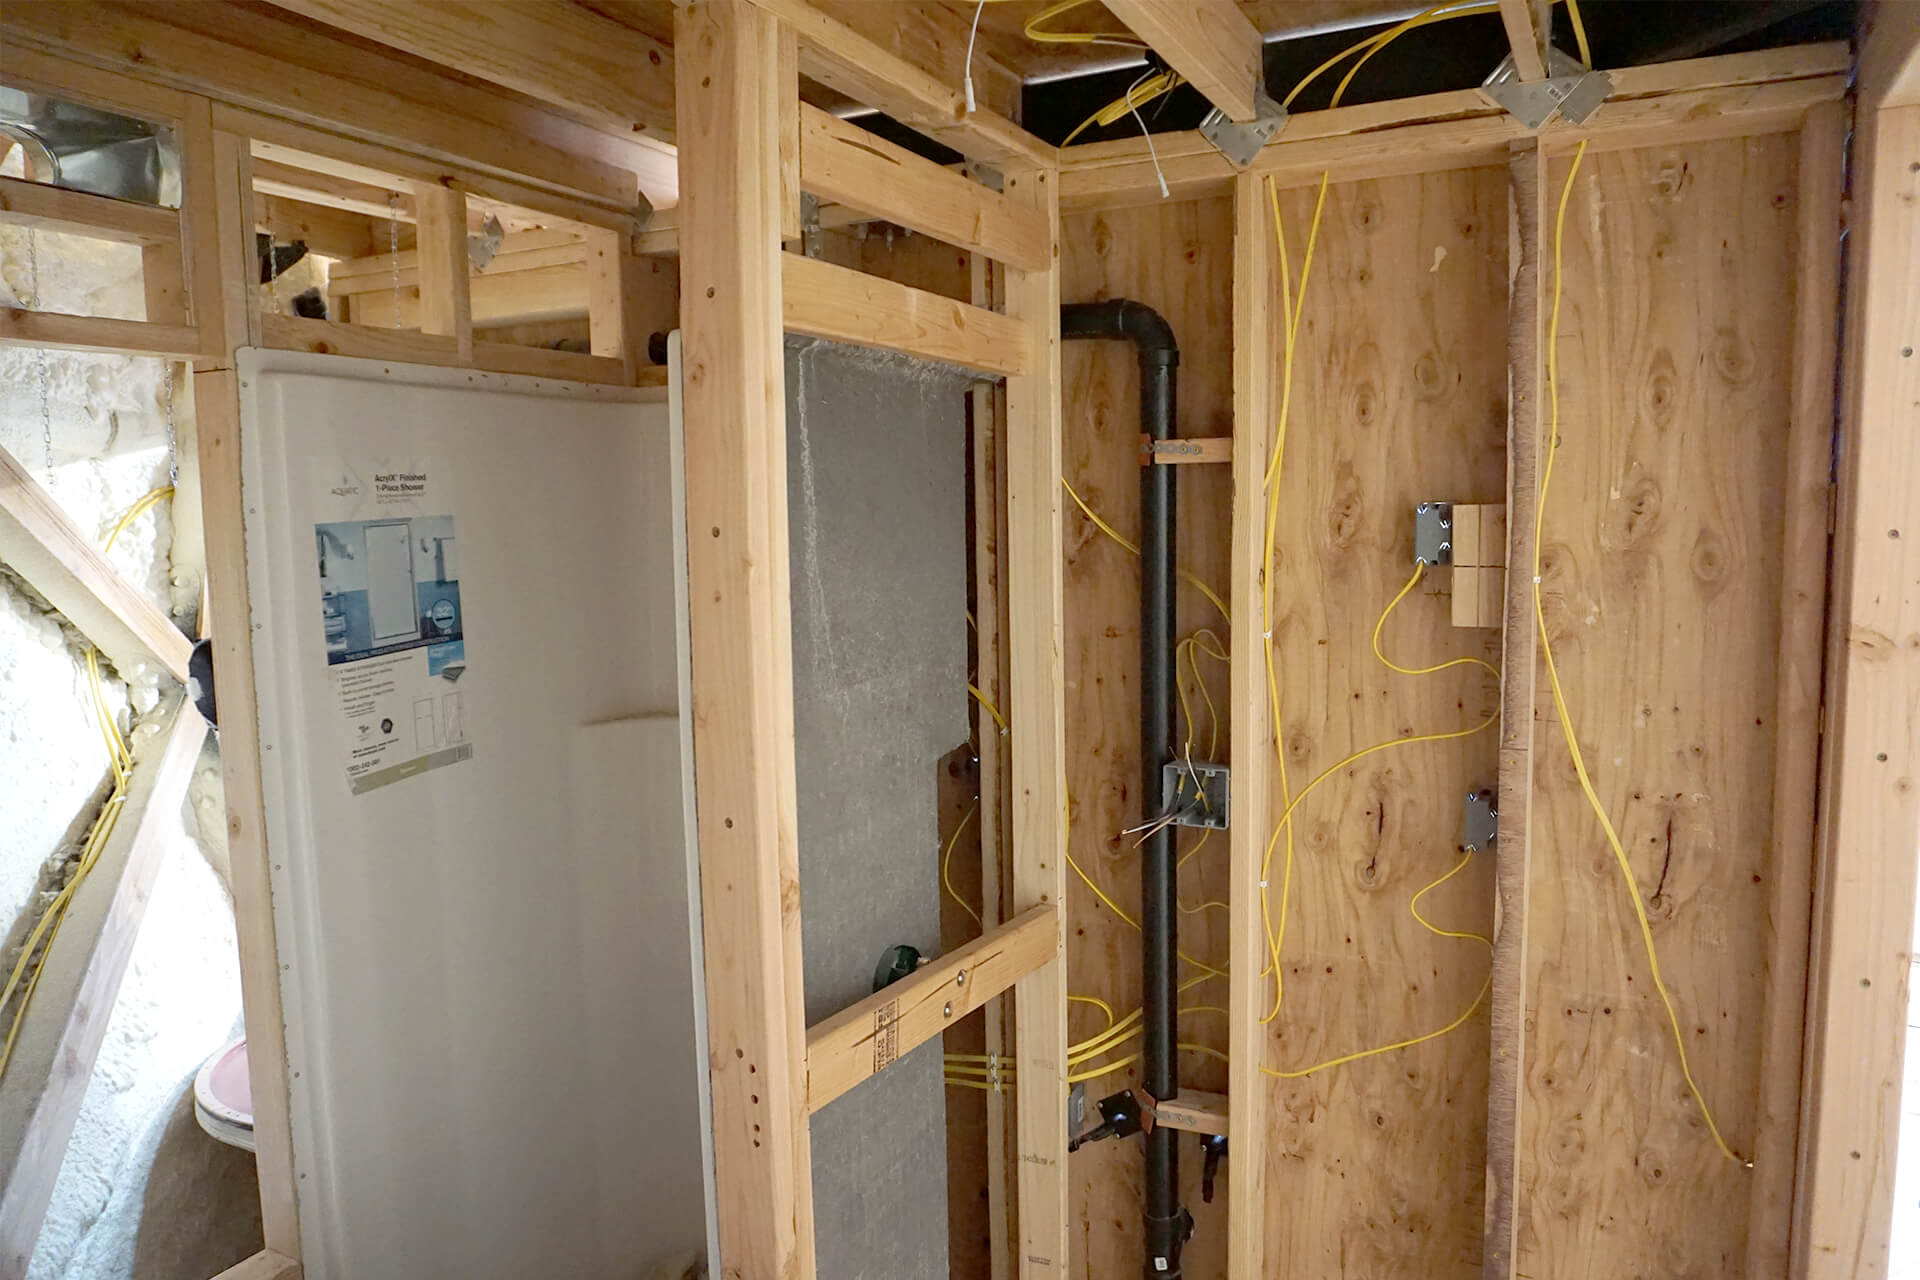
Detail shot showing some of the wiring in the bathroom / kitchenette wall.

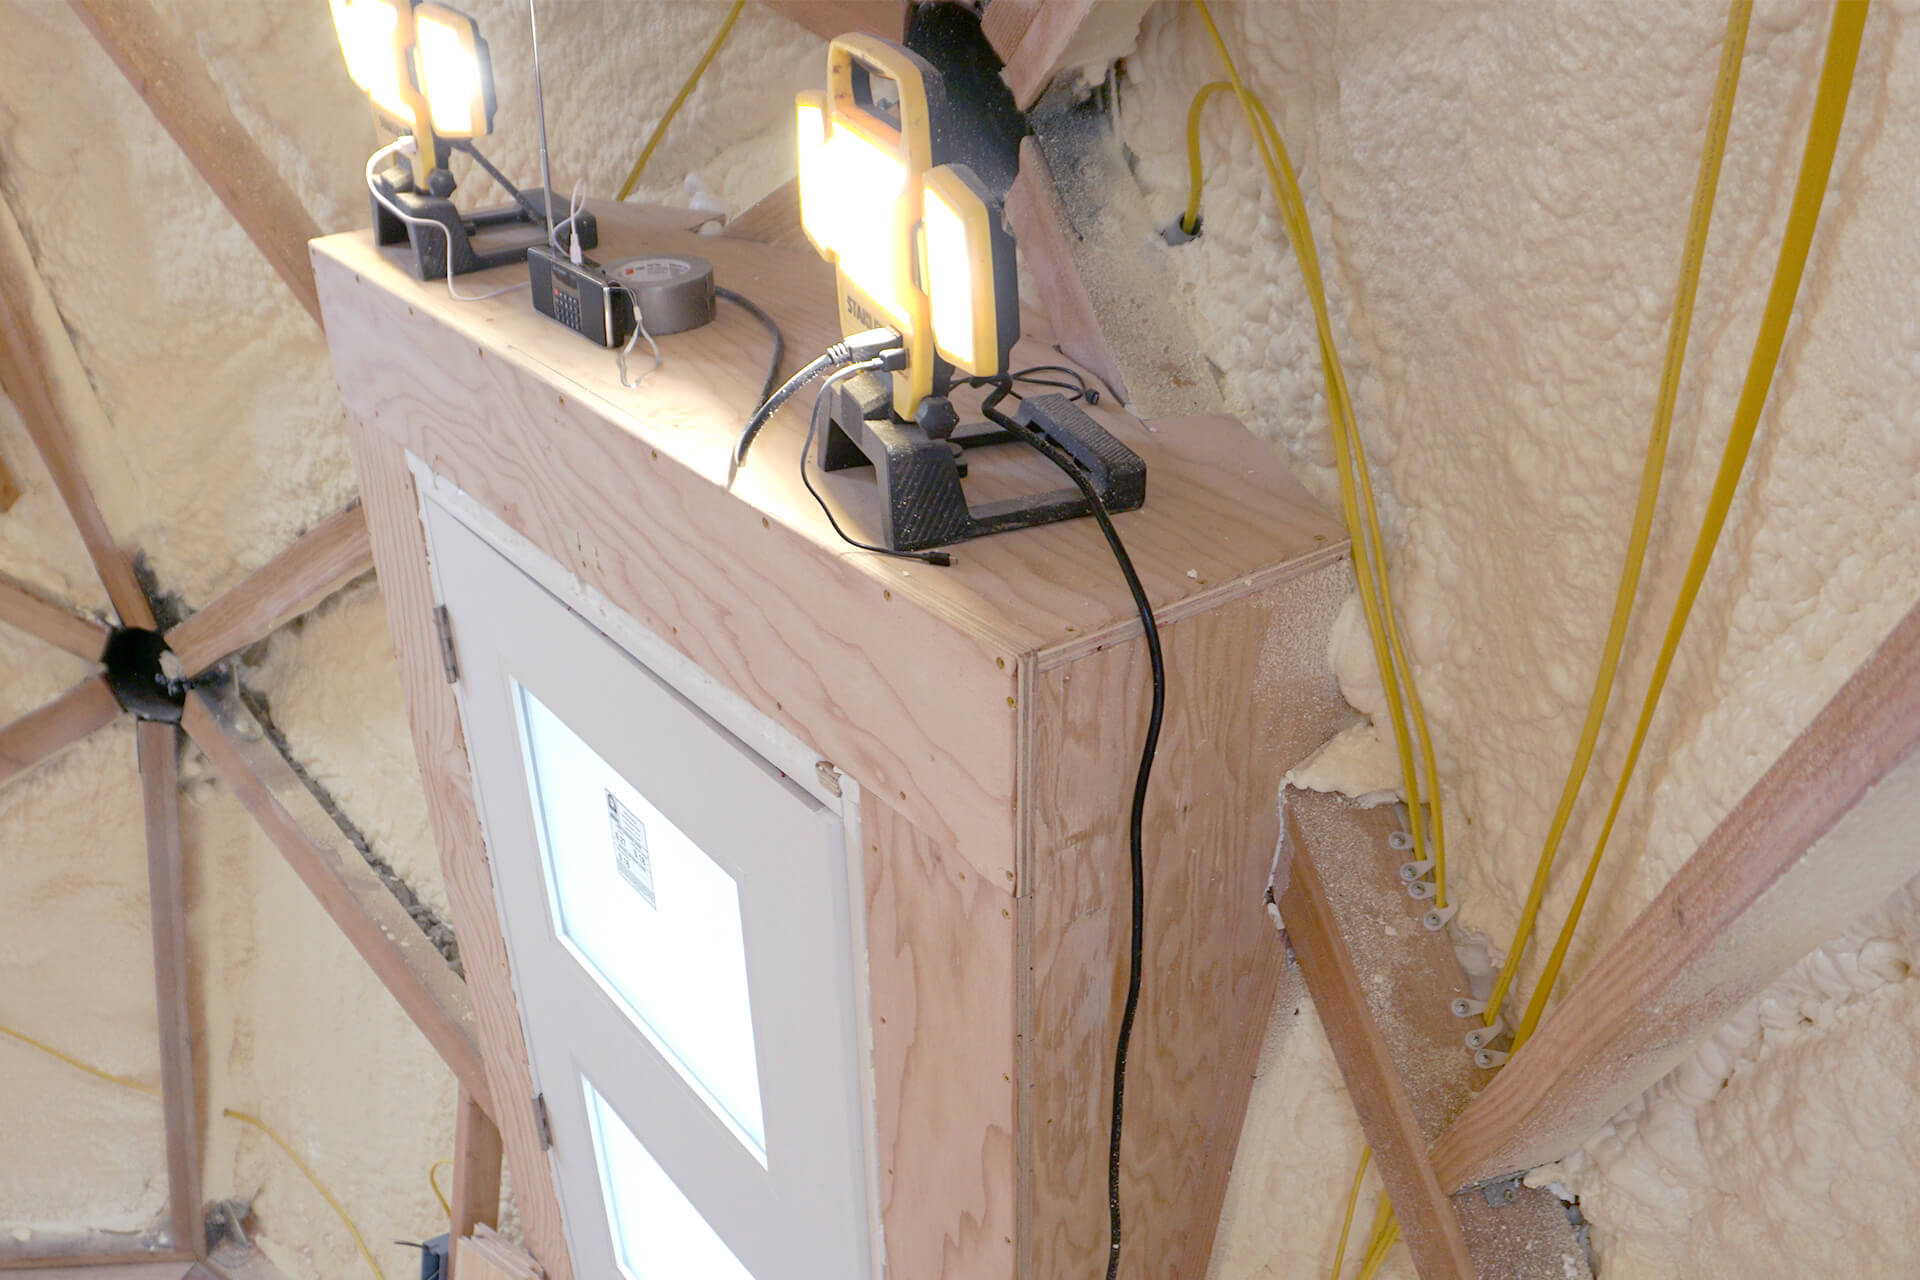
Reminder: Secure the front door electrical box now that the wires have been run.
Run NM cable to the porch light junction box through the conduit.
Detail shot showing the porch light junction box.
Run NM cable and wires to the utility closet electrical boxes. The box with flexible conduit will house a code-required switch for the water heater.
Detail shot showing the back of the electrical cabinet area opening. The back of the shower is shown here on the right.
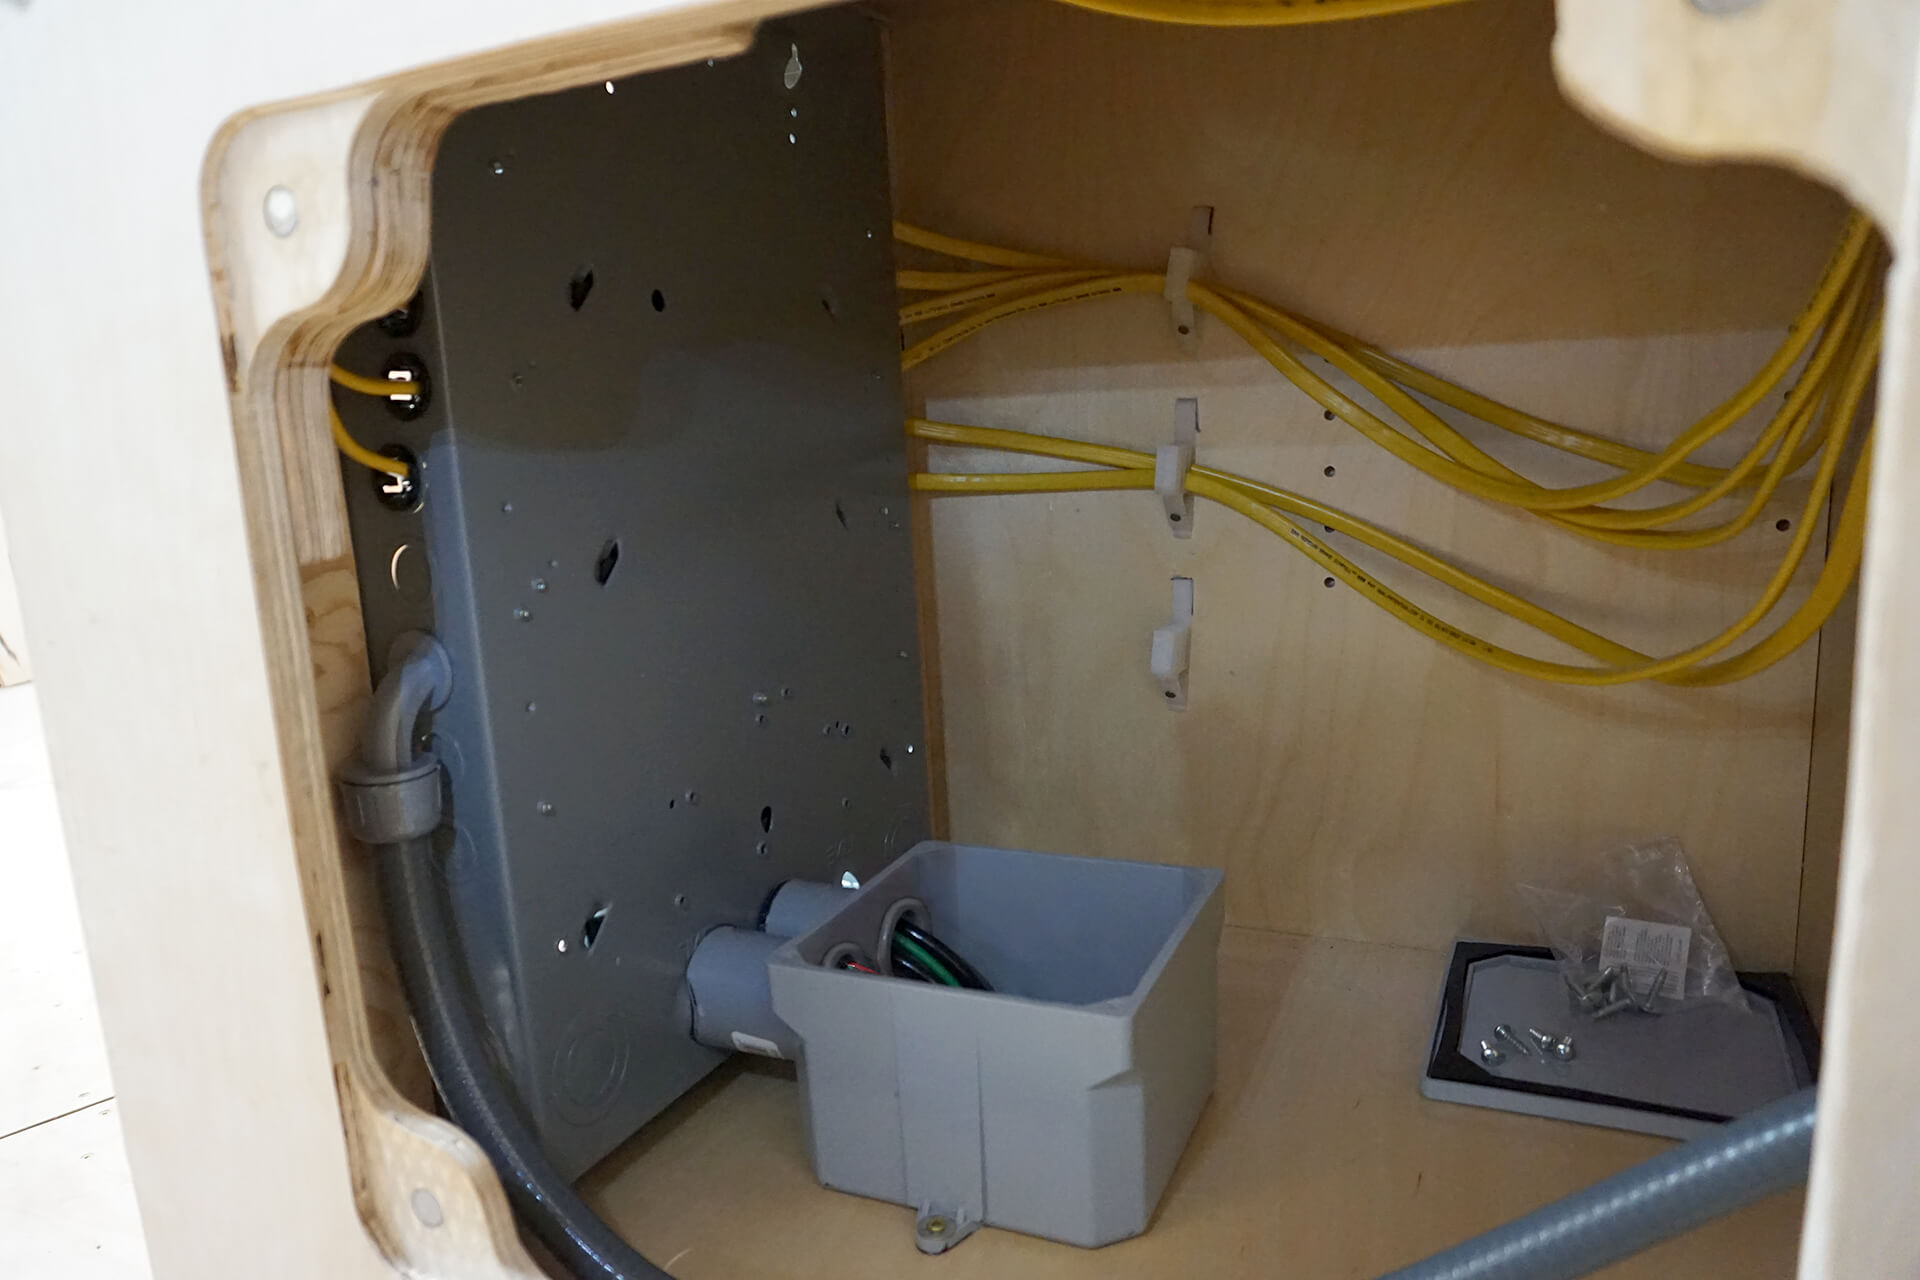
Detail shot showing the inside of the electrical cabinet area. Hang the cable loose to provide extra length for future pulling.

Use plywood and cable stacking products to keep everything tidy inside the electrical cabinet area.

Run wire for the outdoor electrical boxes, PTAC HVAC unit, and hot tub through the second conduit opening.

Detail shot showing the completed electrical panel wiring, located in a false cabinet. The amount of circuits shown here is for an overkill application.
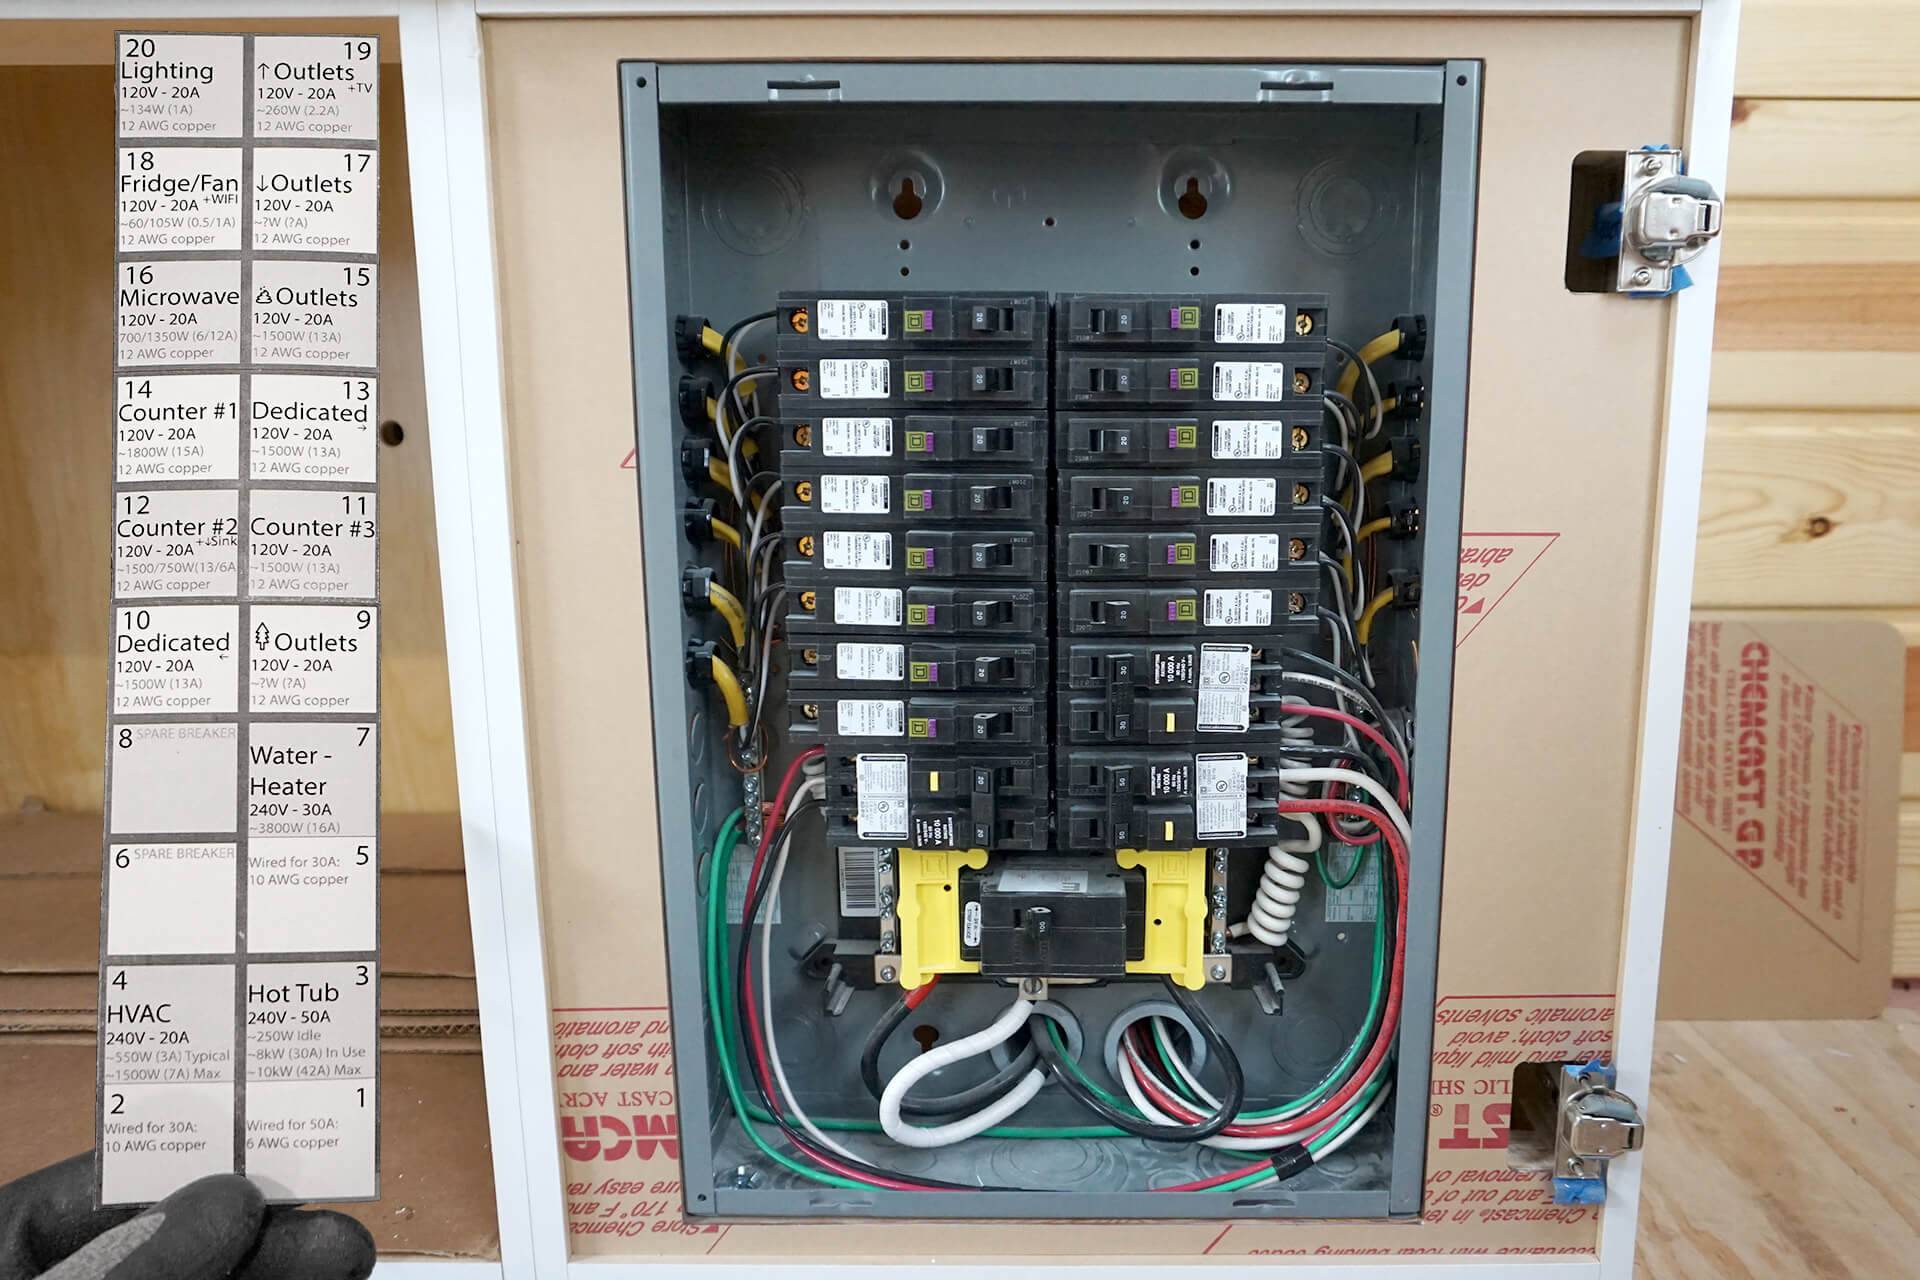
Congratulations on completing the electrical rough-in! The circuit breaker identification card is shown here. Consider delaying inspection until the plumbing rough-in is also ready.
Inspection: Circuits/Feeders (delay?)