Acrylic
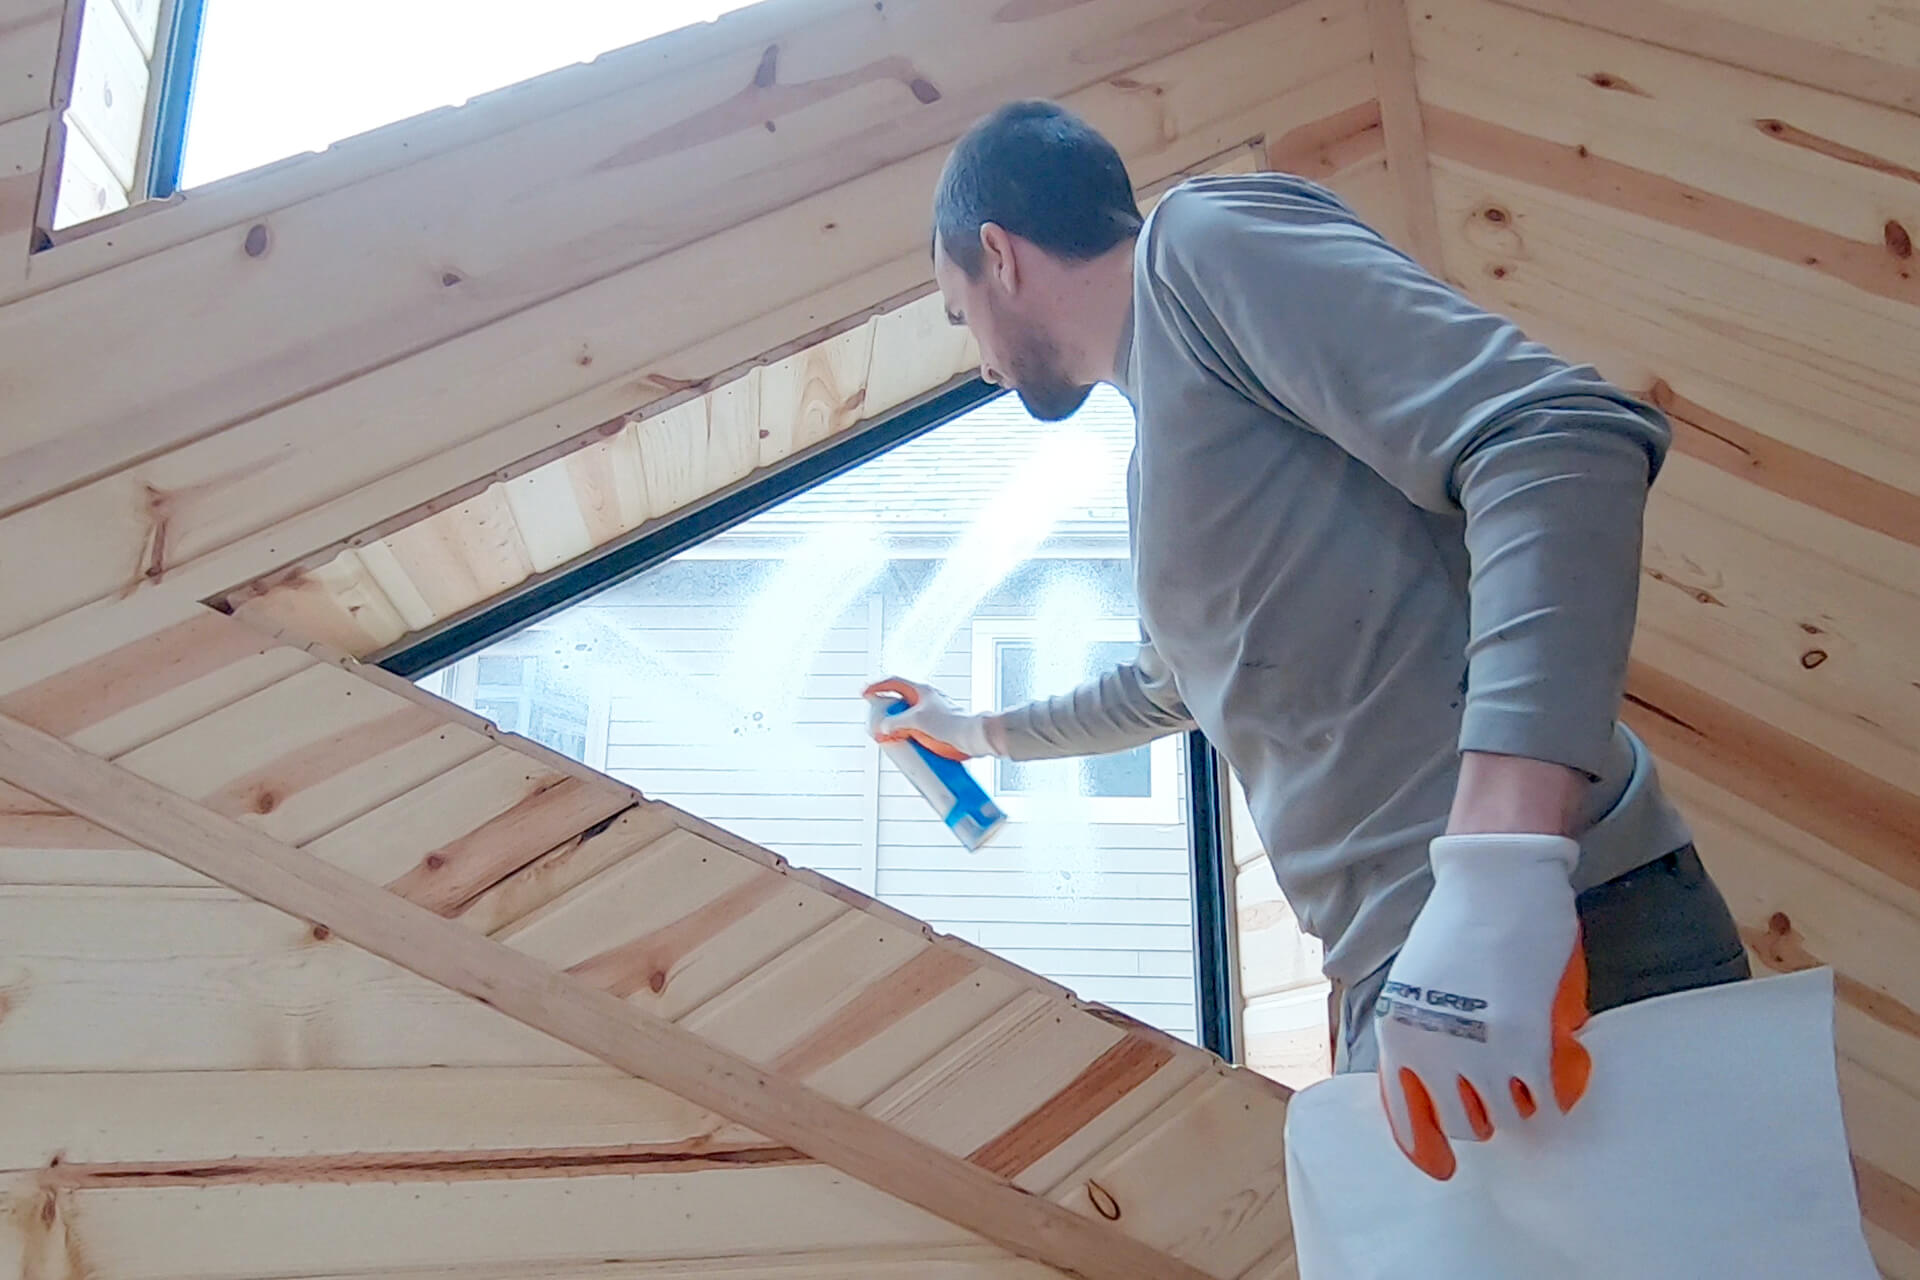
Clean the window glass thoroughly, as it will be inaccessible once the acrylic is installed. The acrylic is a purchased item, laser-cut to fit. It can also be cut with a track saw from a full sheet.

Test fit the acrylic, mark where it rests on the wood, and optionally apply tape to the wood surfaces to prevent plastic-on-wood squeaks. Kapton tape is shown here.
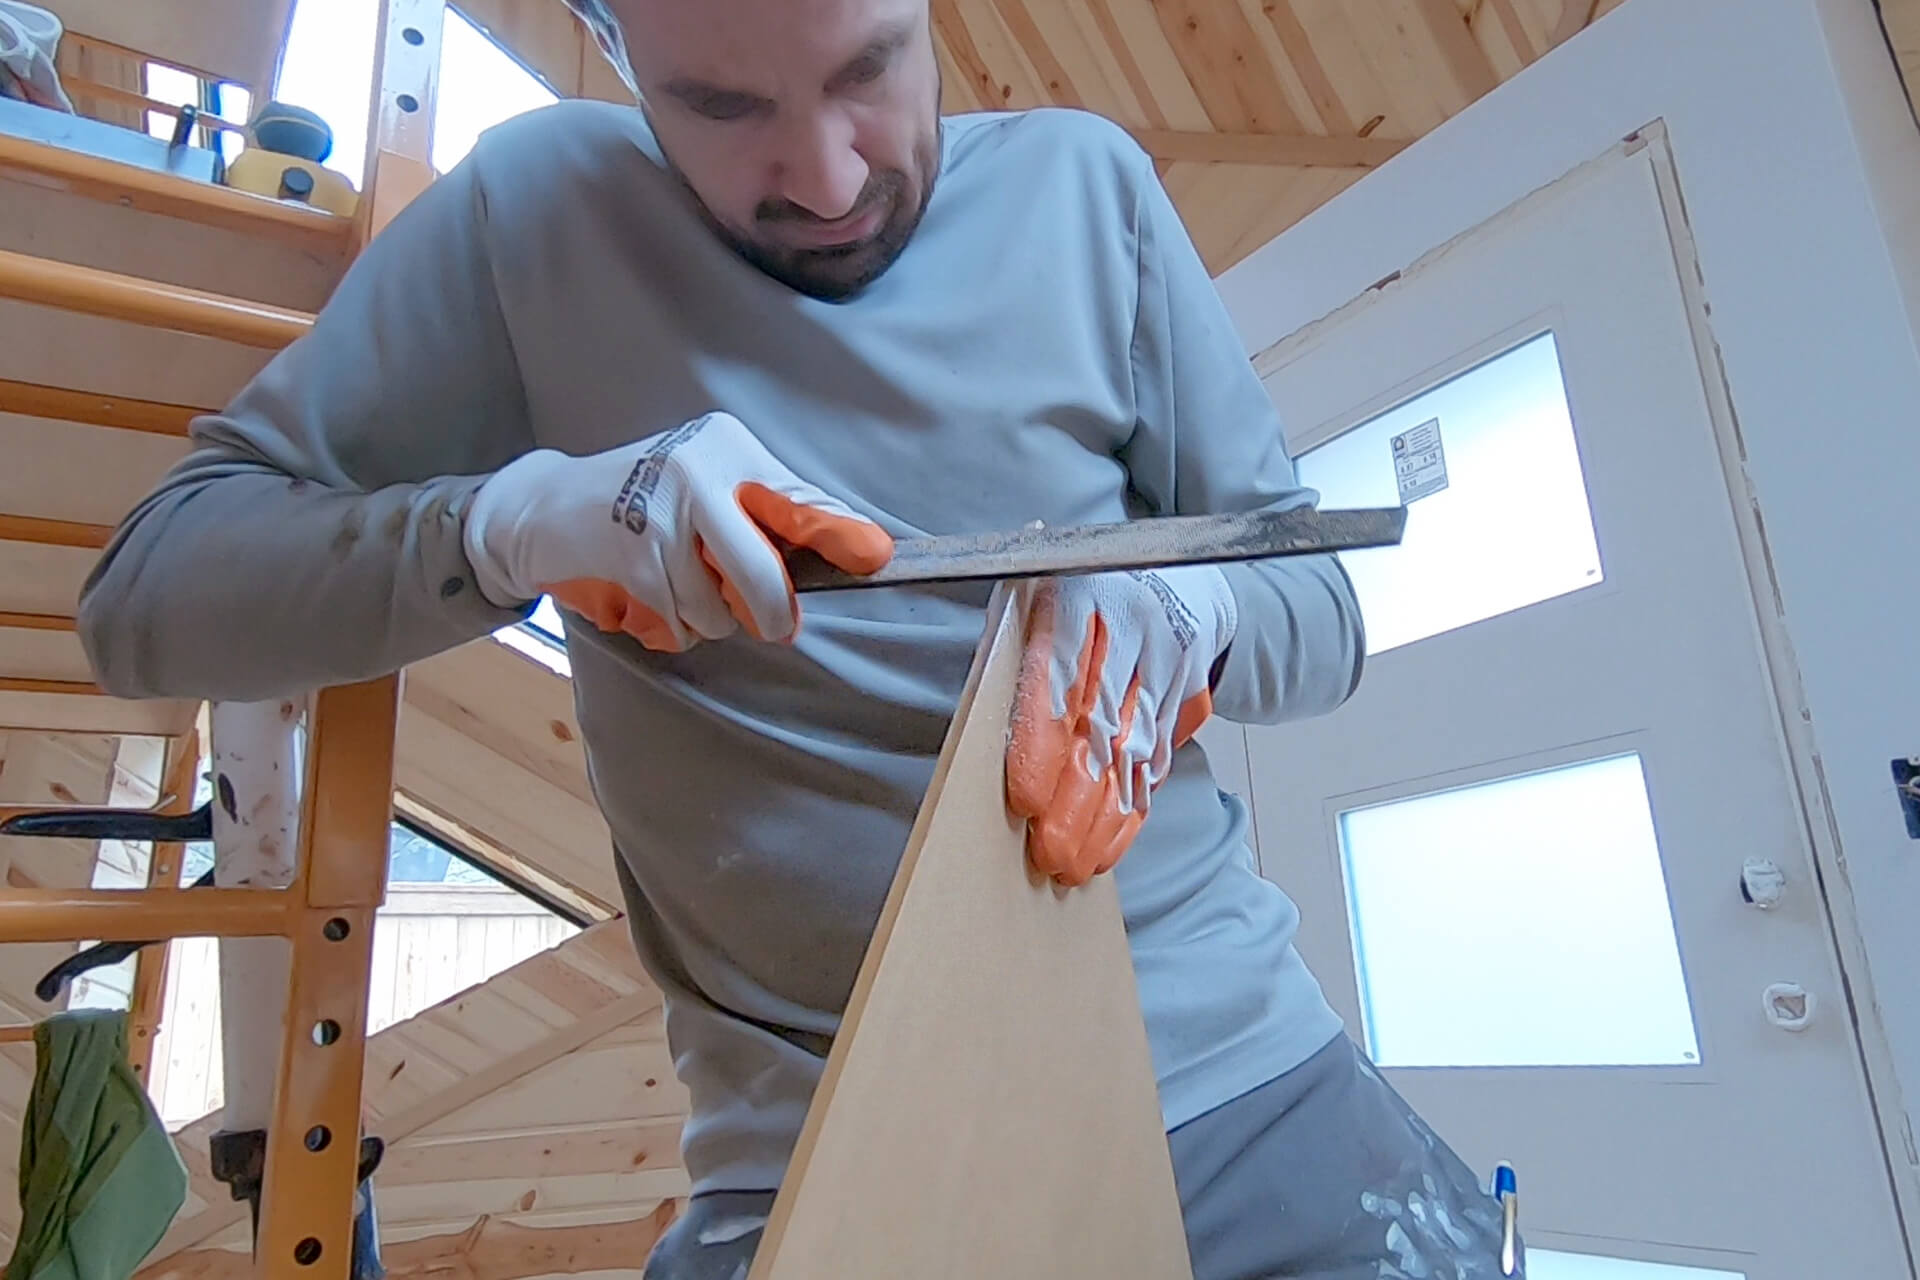
If the fit is too tight, remove material from the corners of the acrylic using a coarse file.
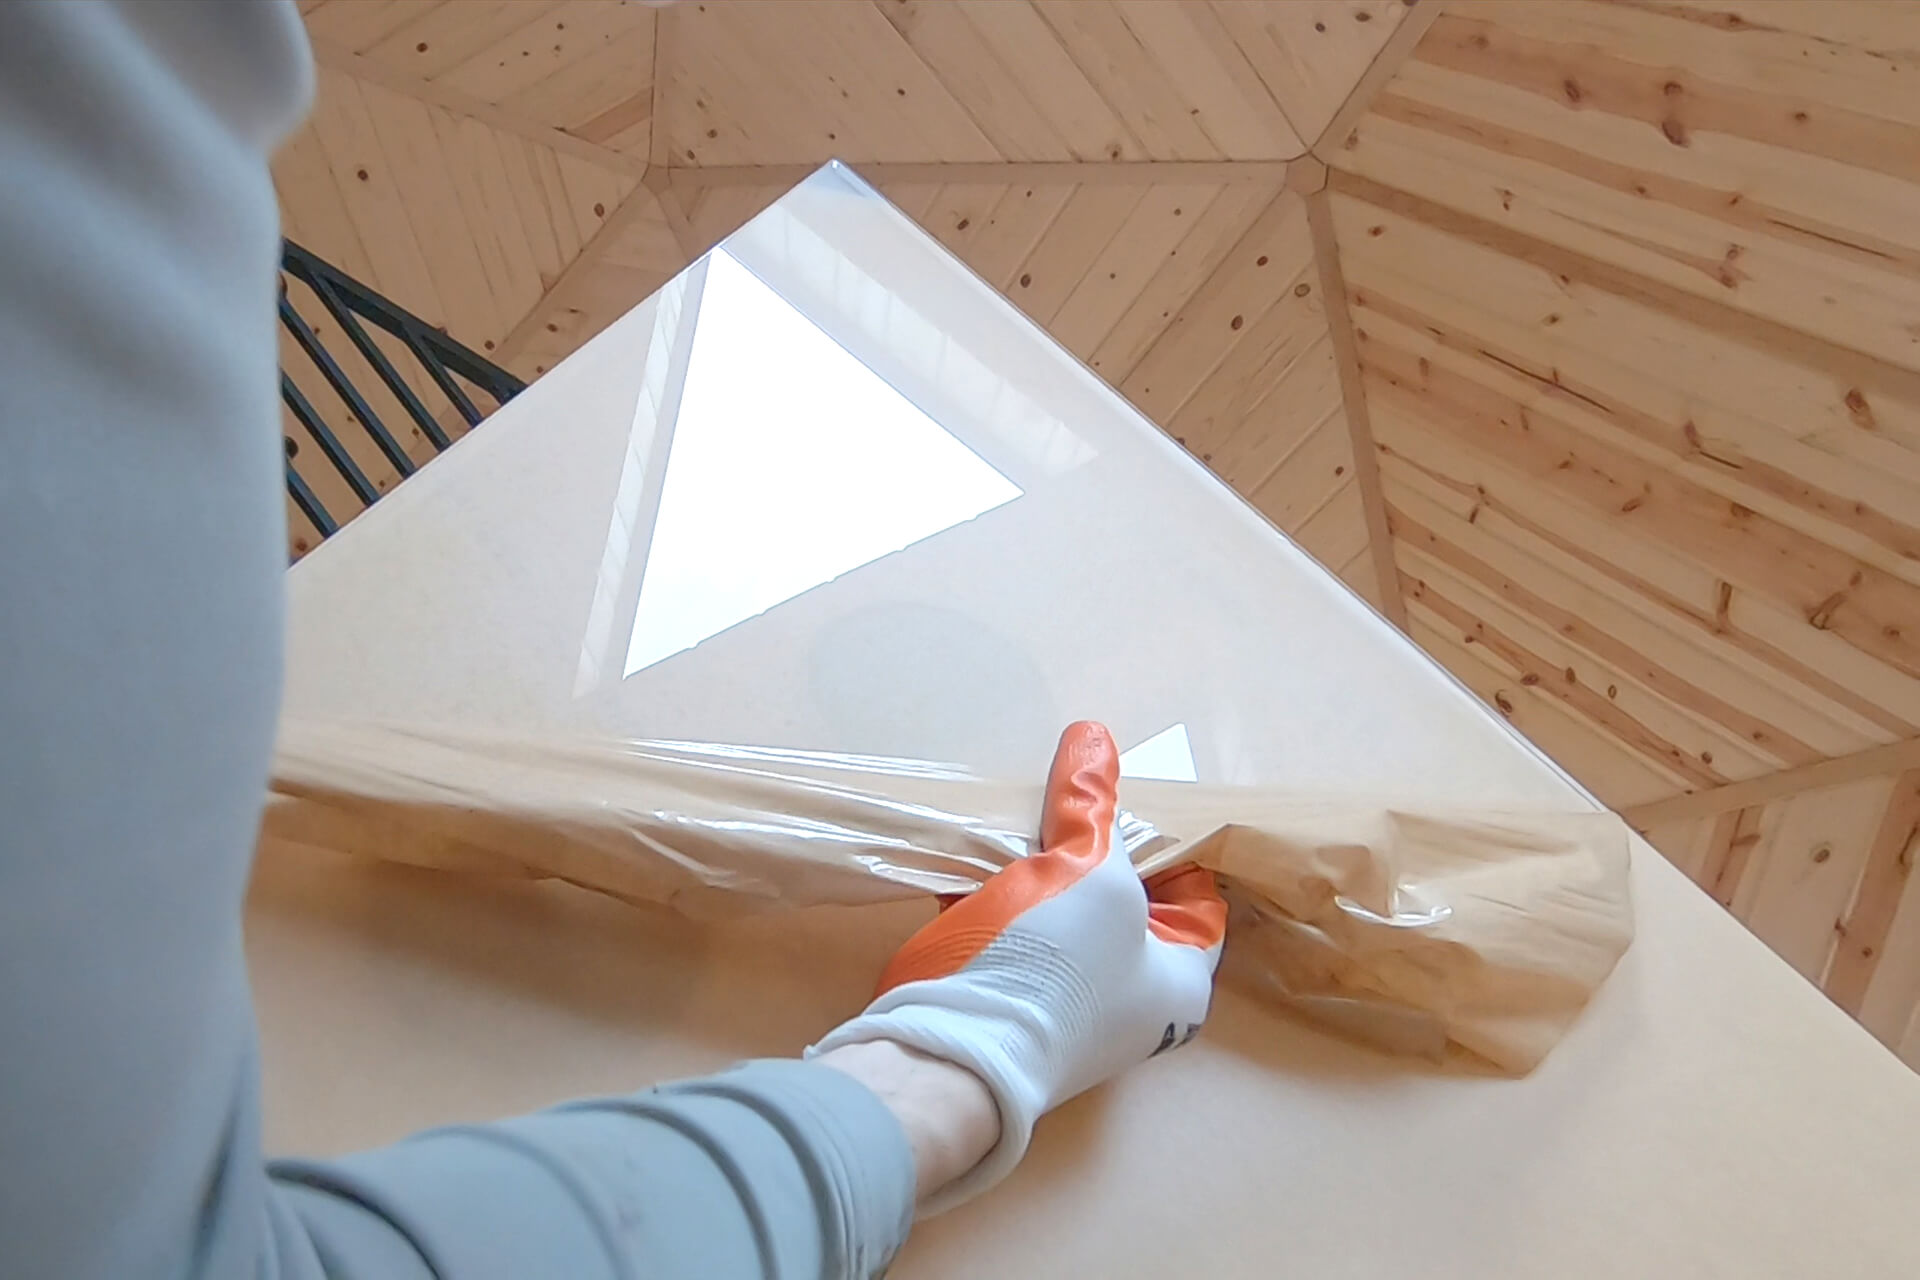
Peel the protective covering from the smooth side of the acrylic. Remove any glue residue with tape, and clean the surface with acrylic cleaner and a cotton cloth if it attracts dust.
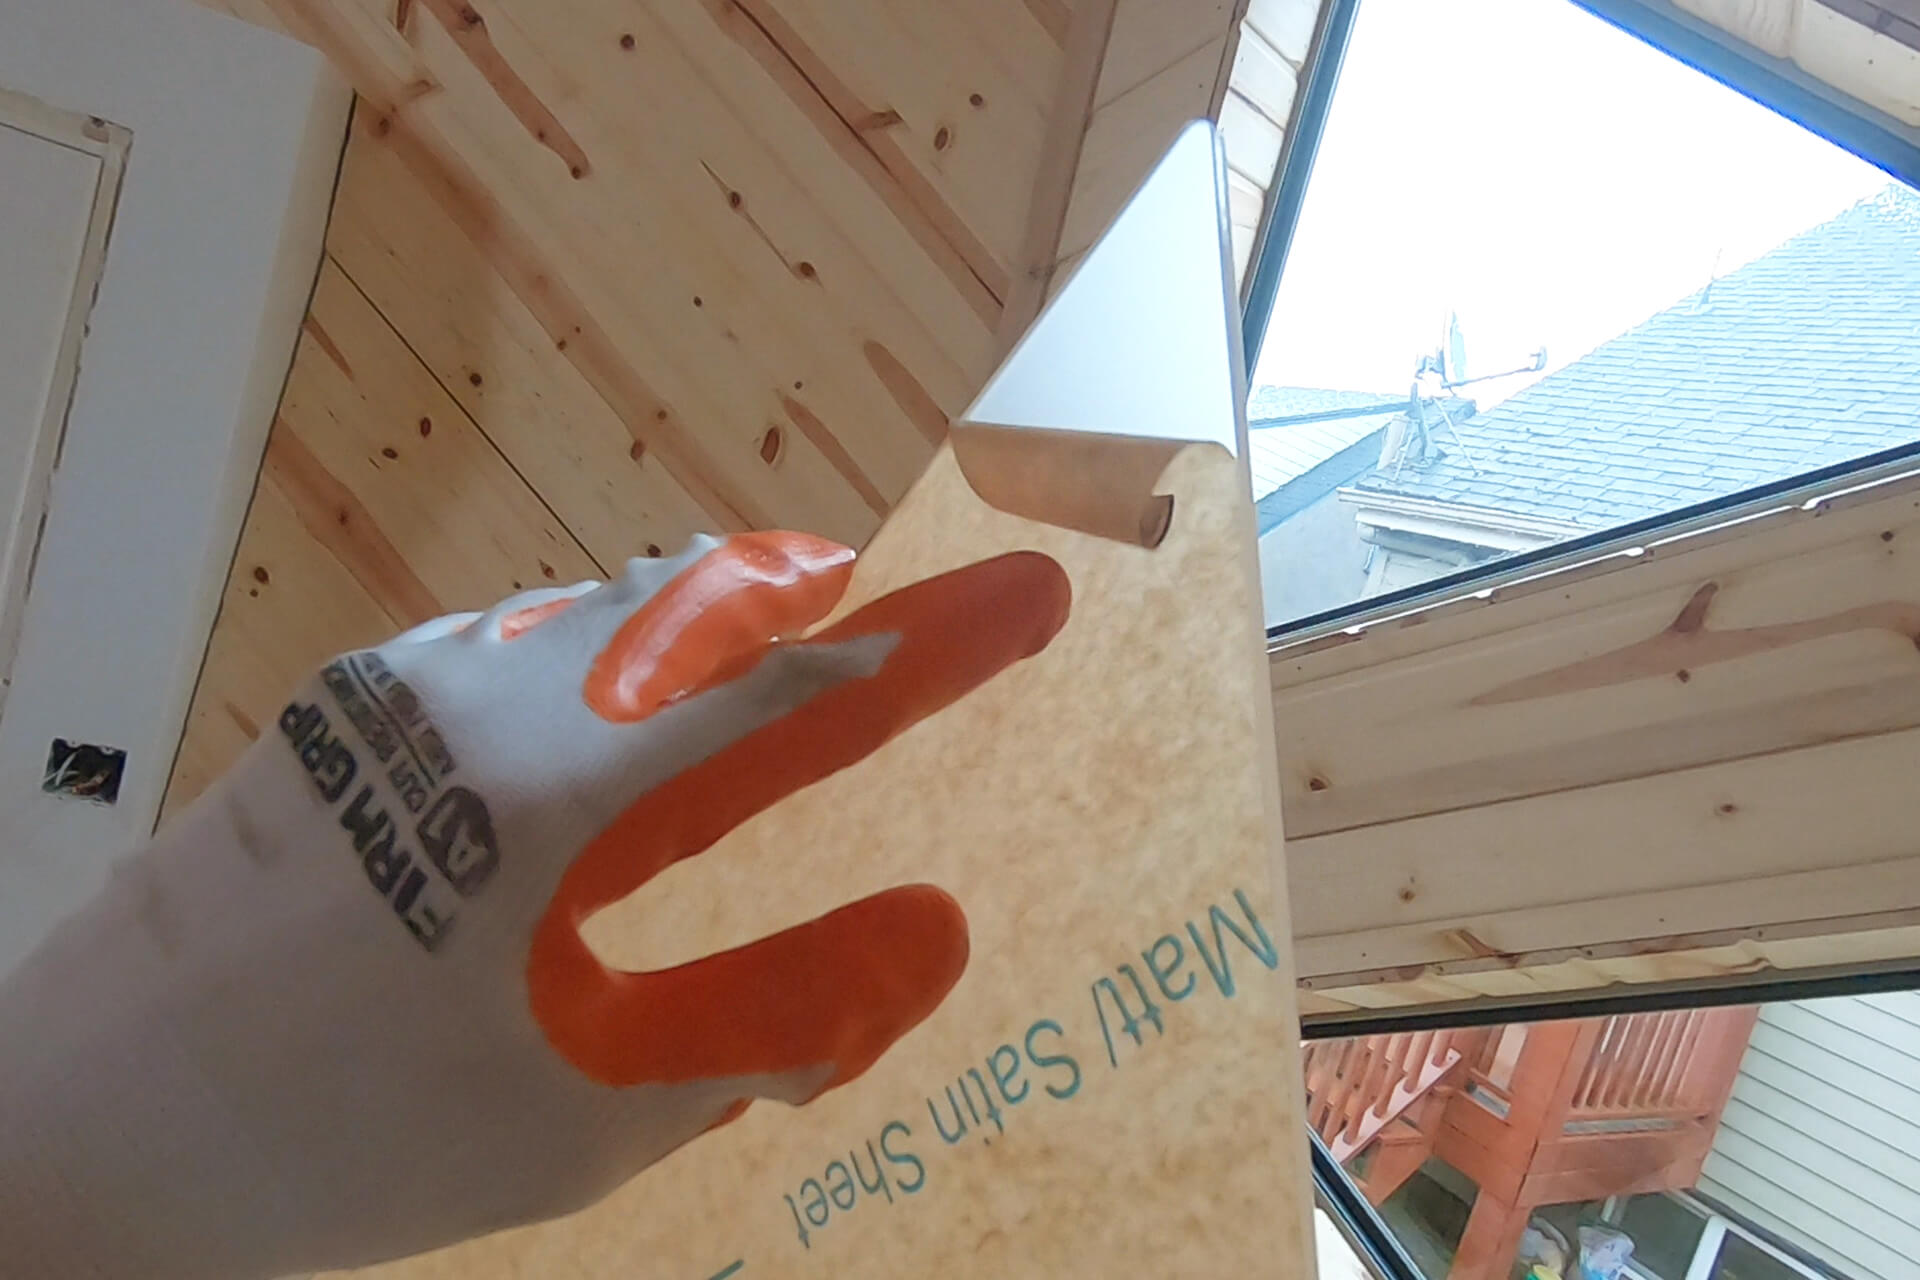
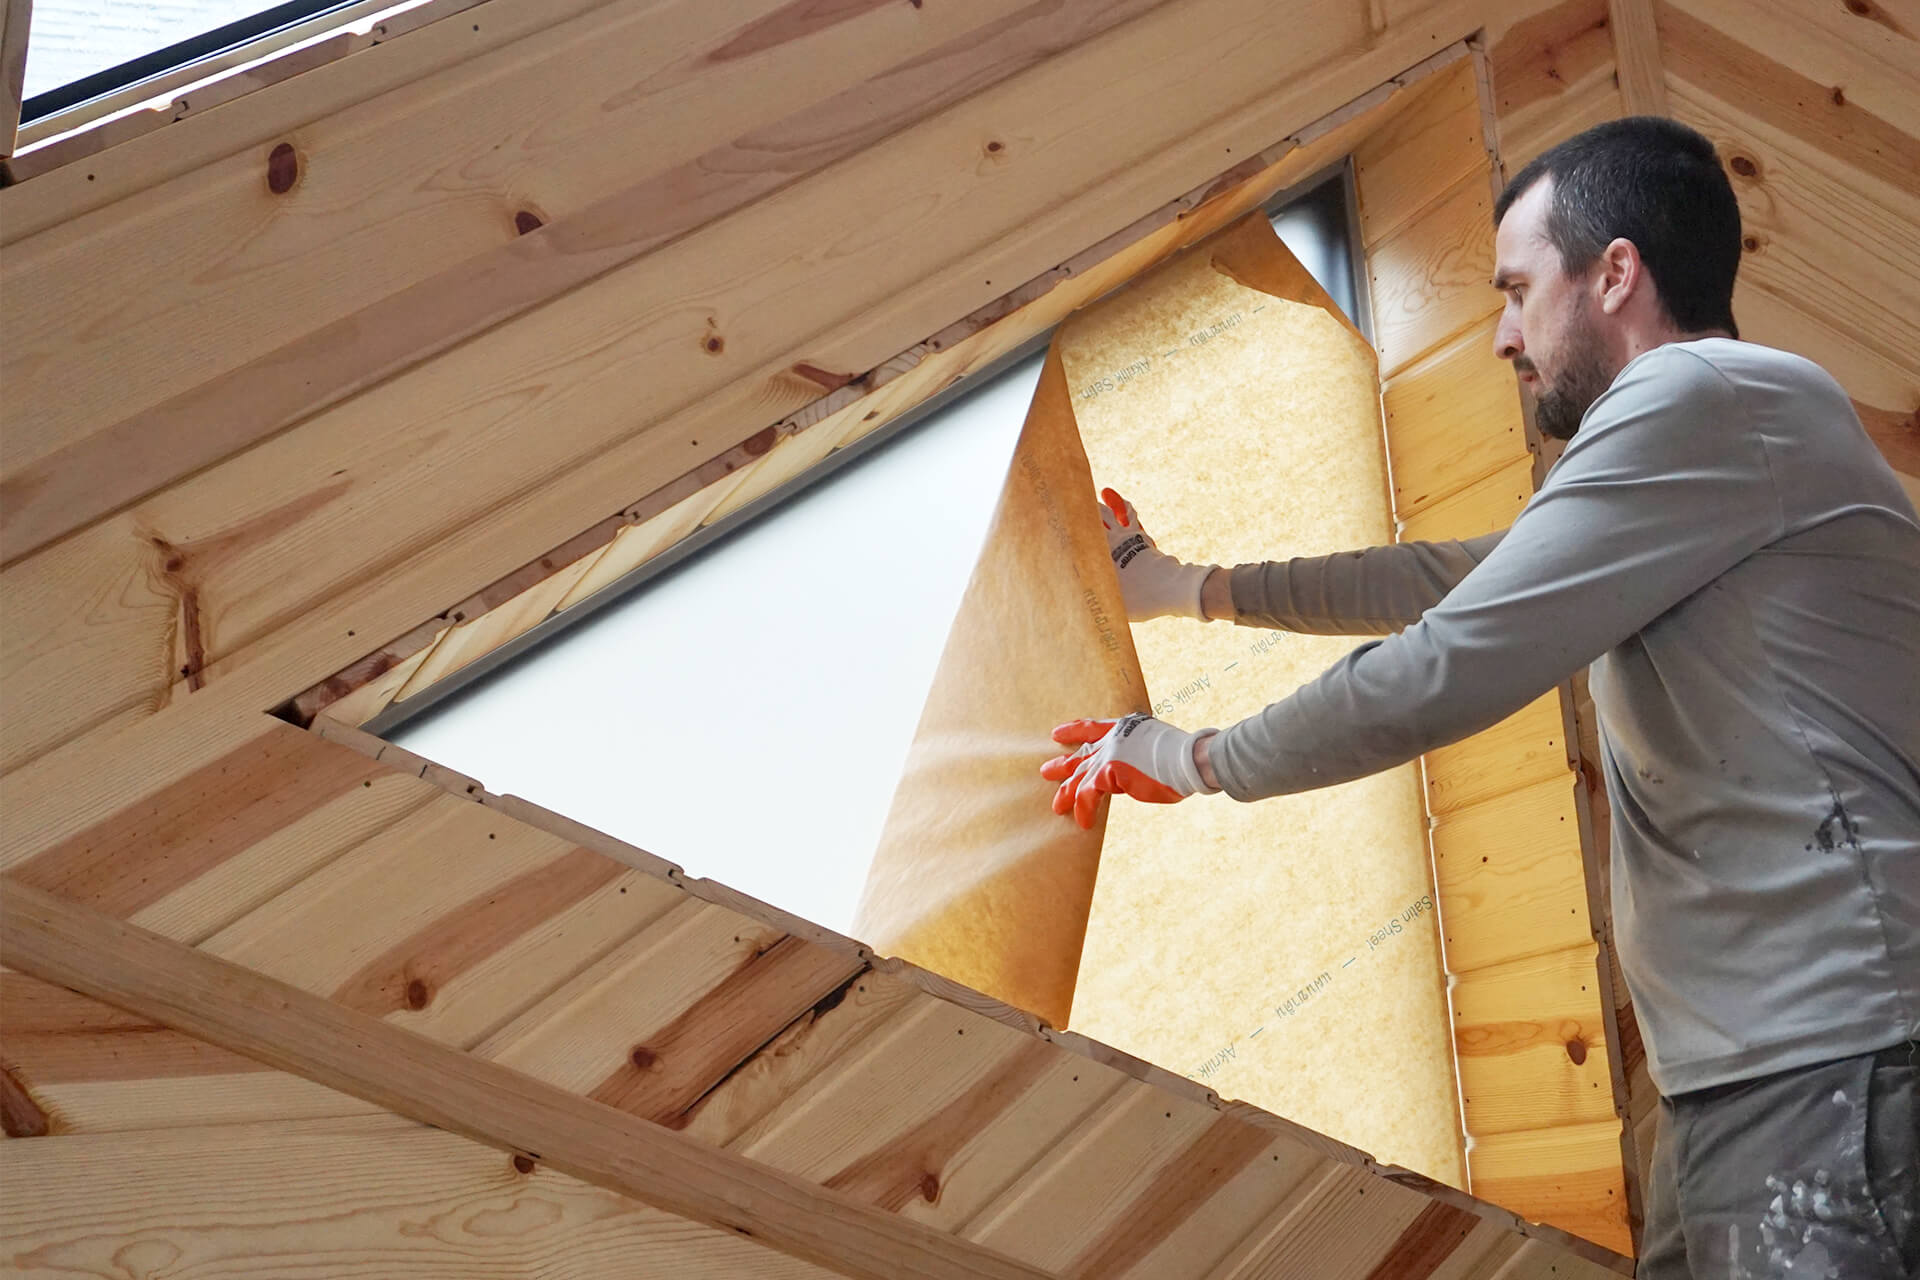
Peel the corners from the frosted side of the acrylic for easier removal after positioning. For upper windows, peel the entire covering beforehand, as it is harder to access in place.
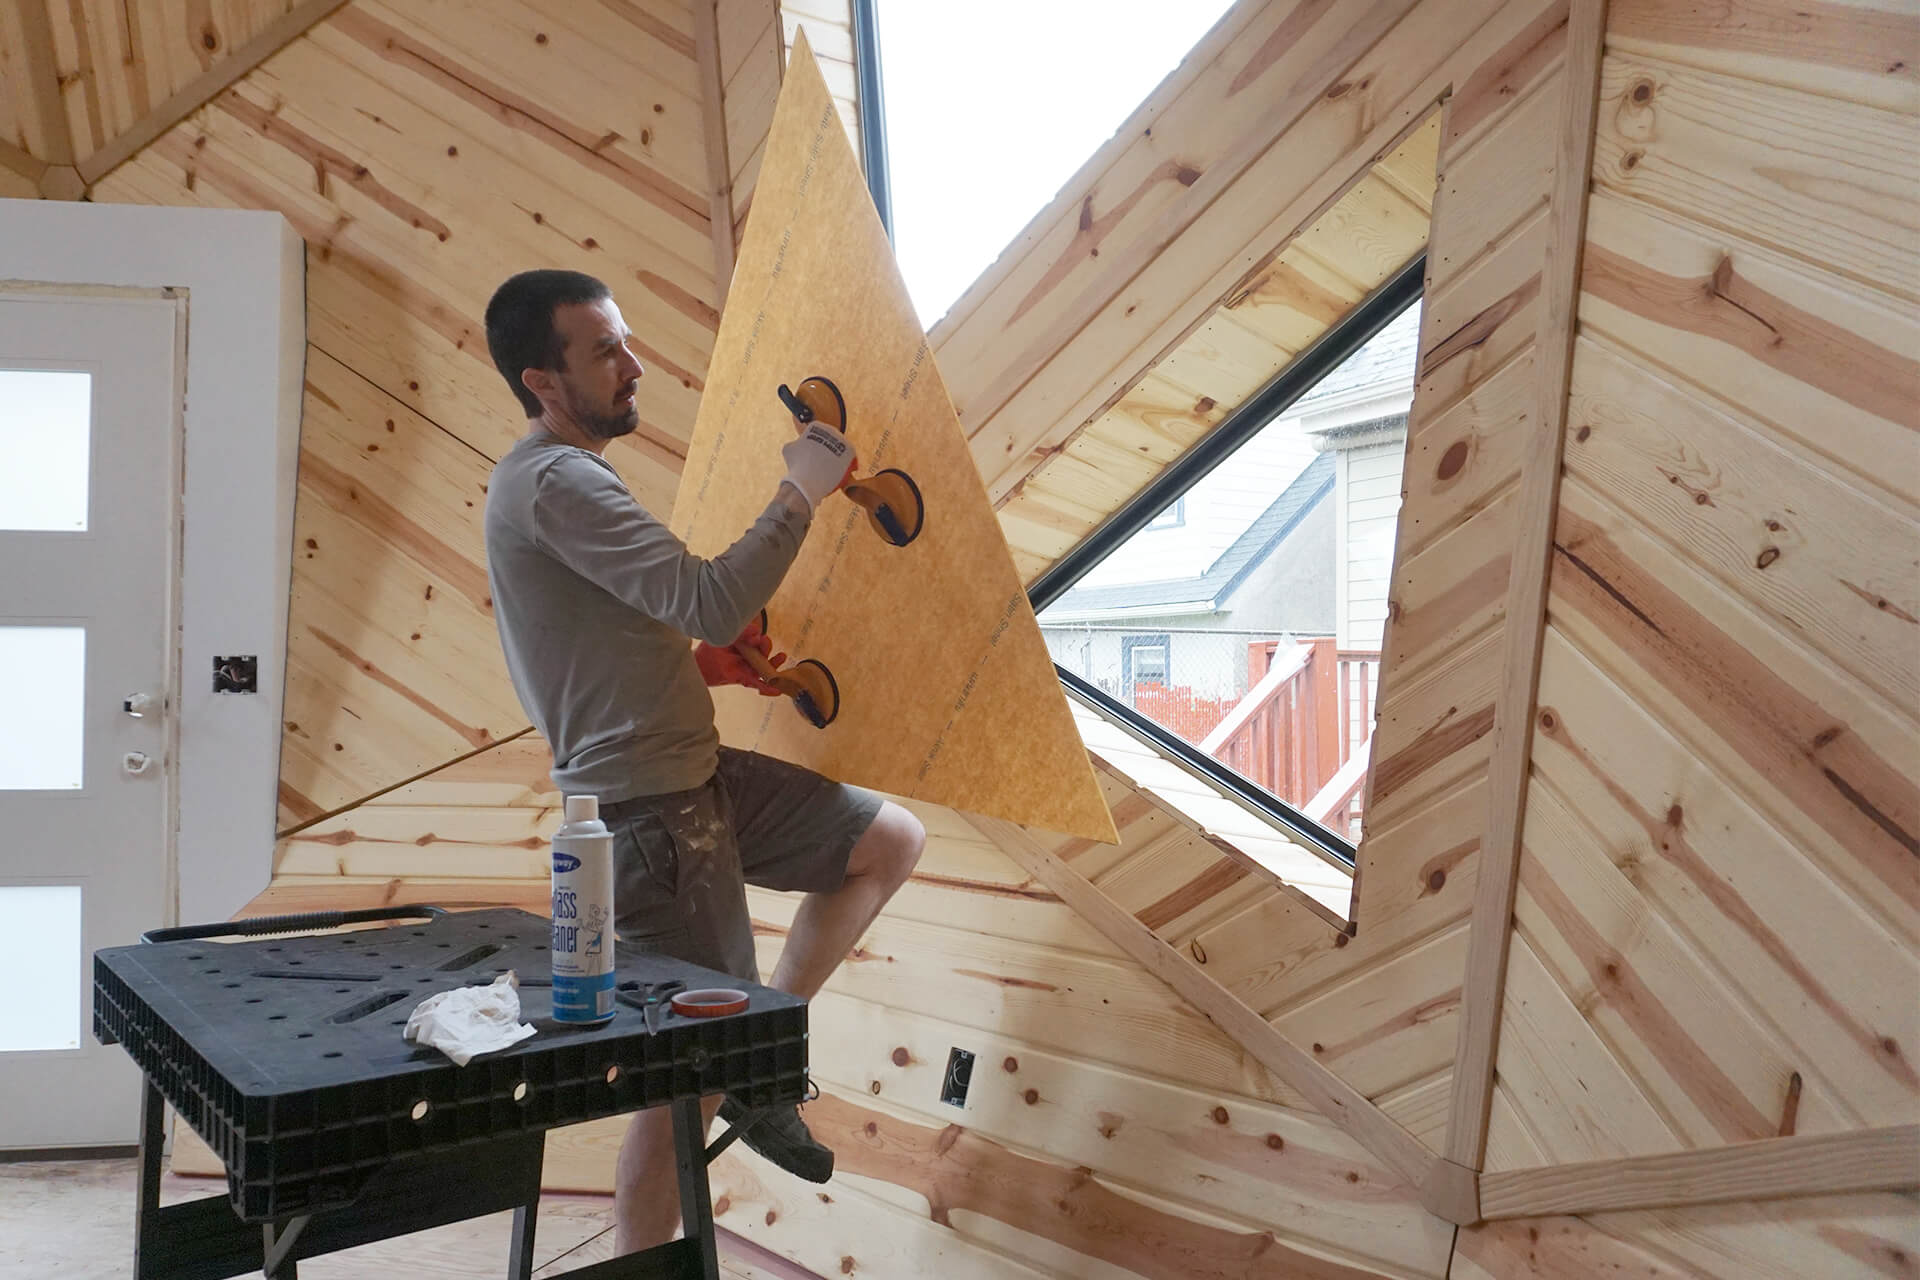
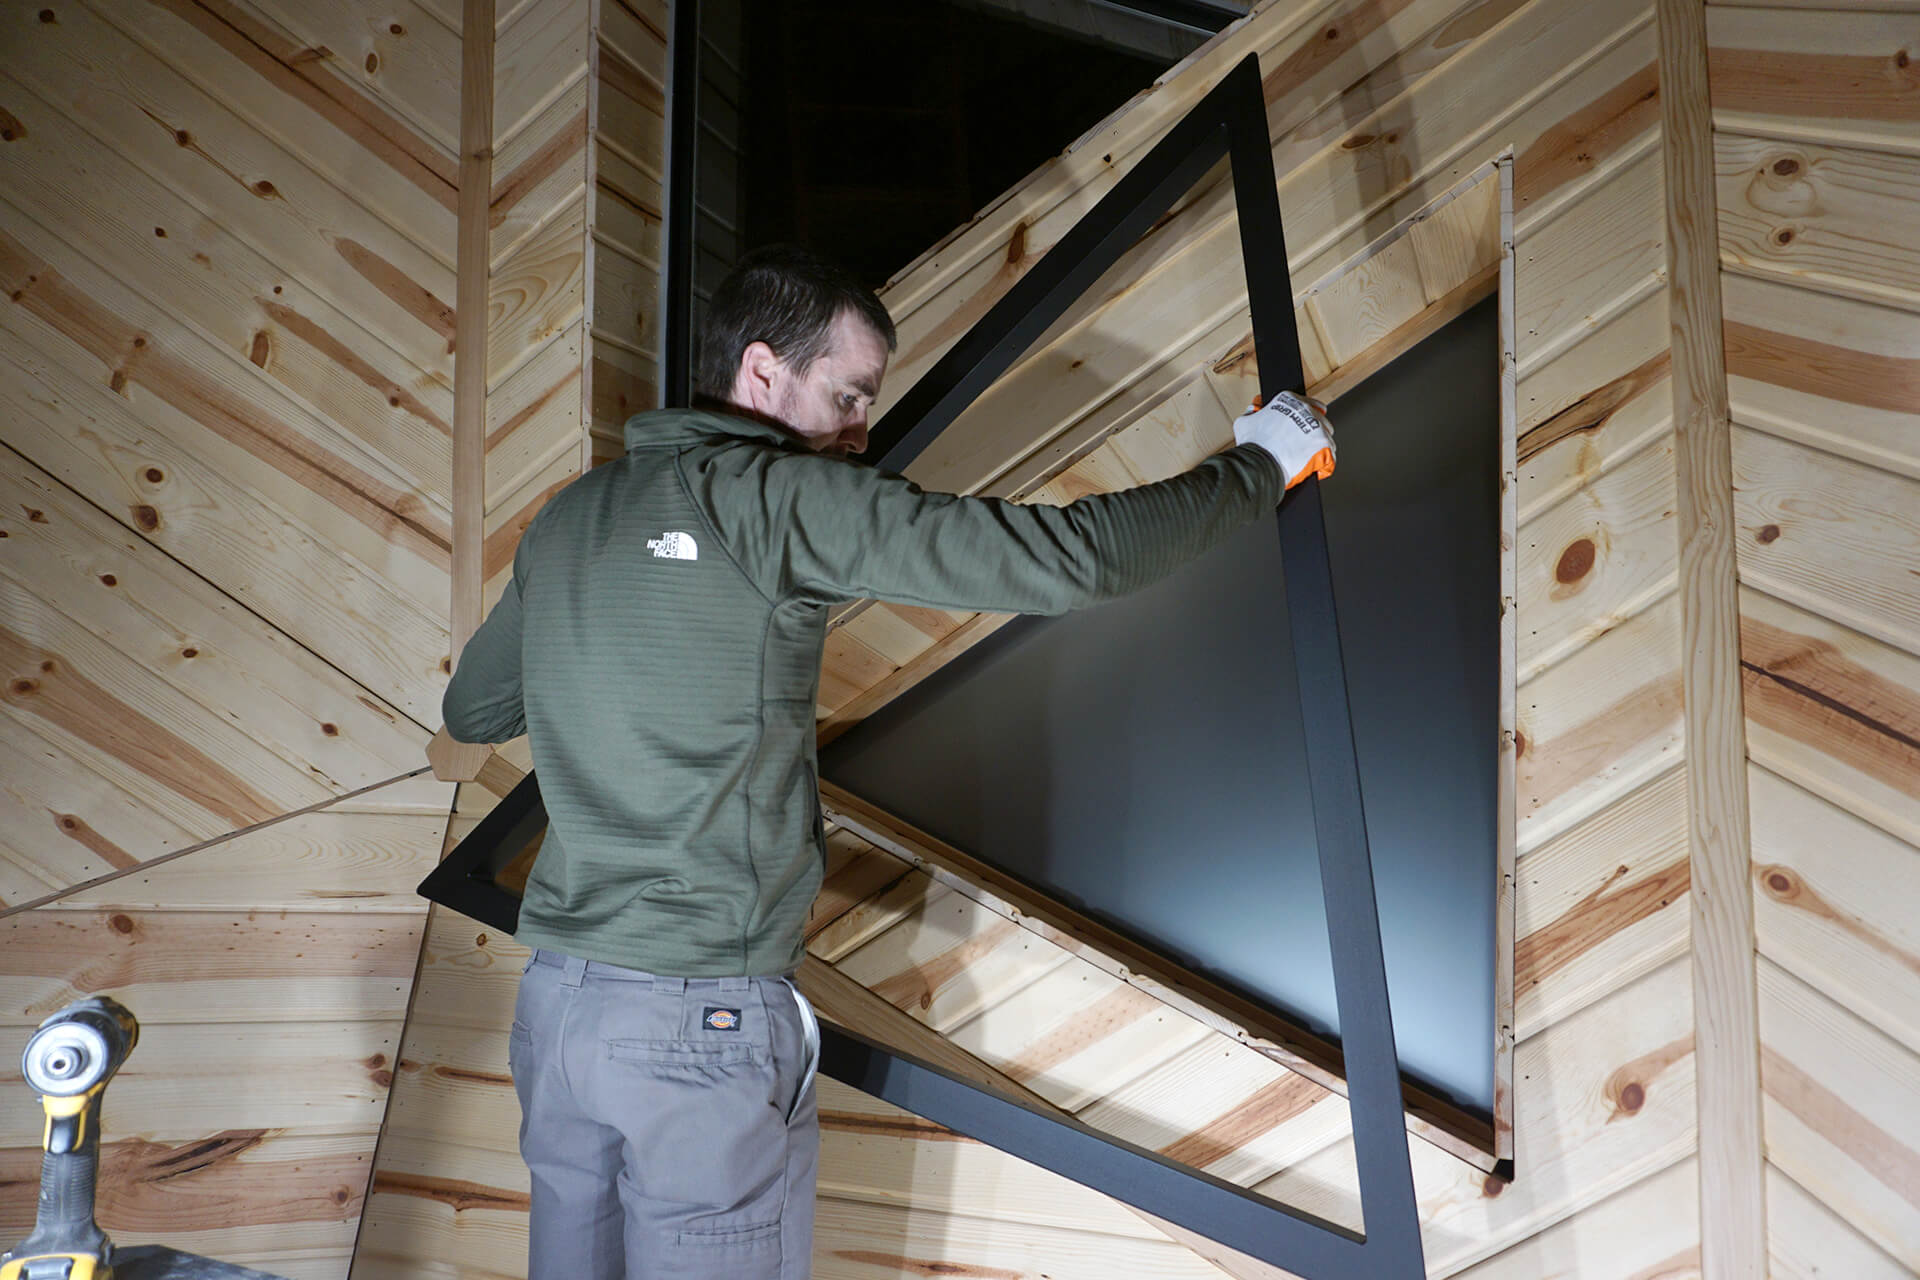
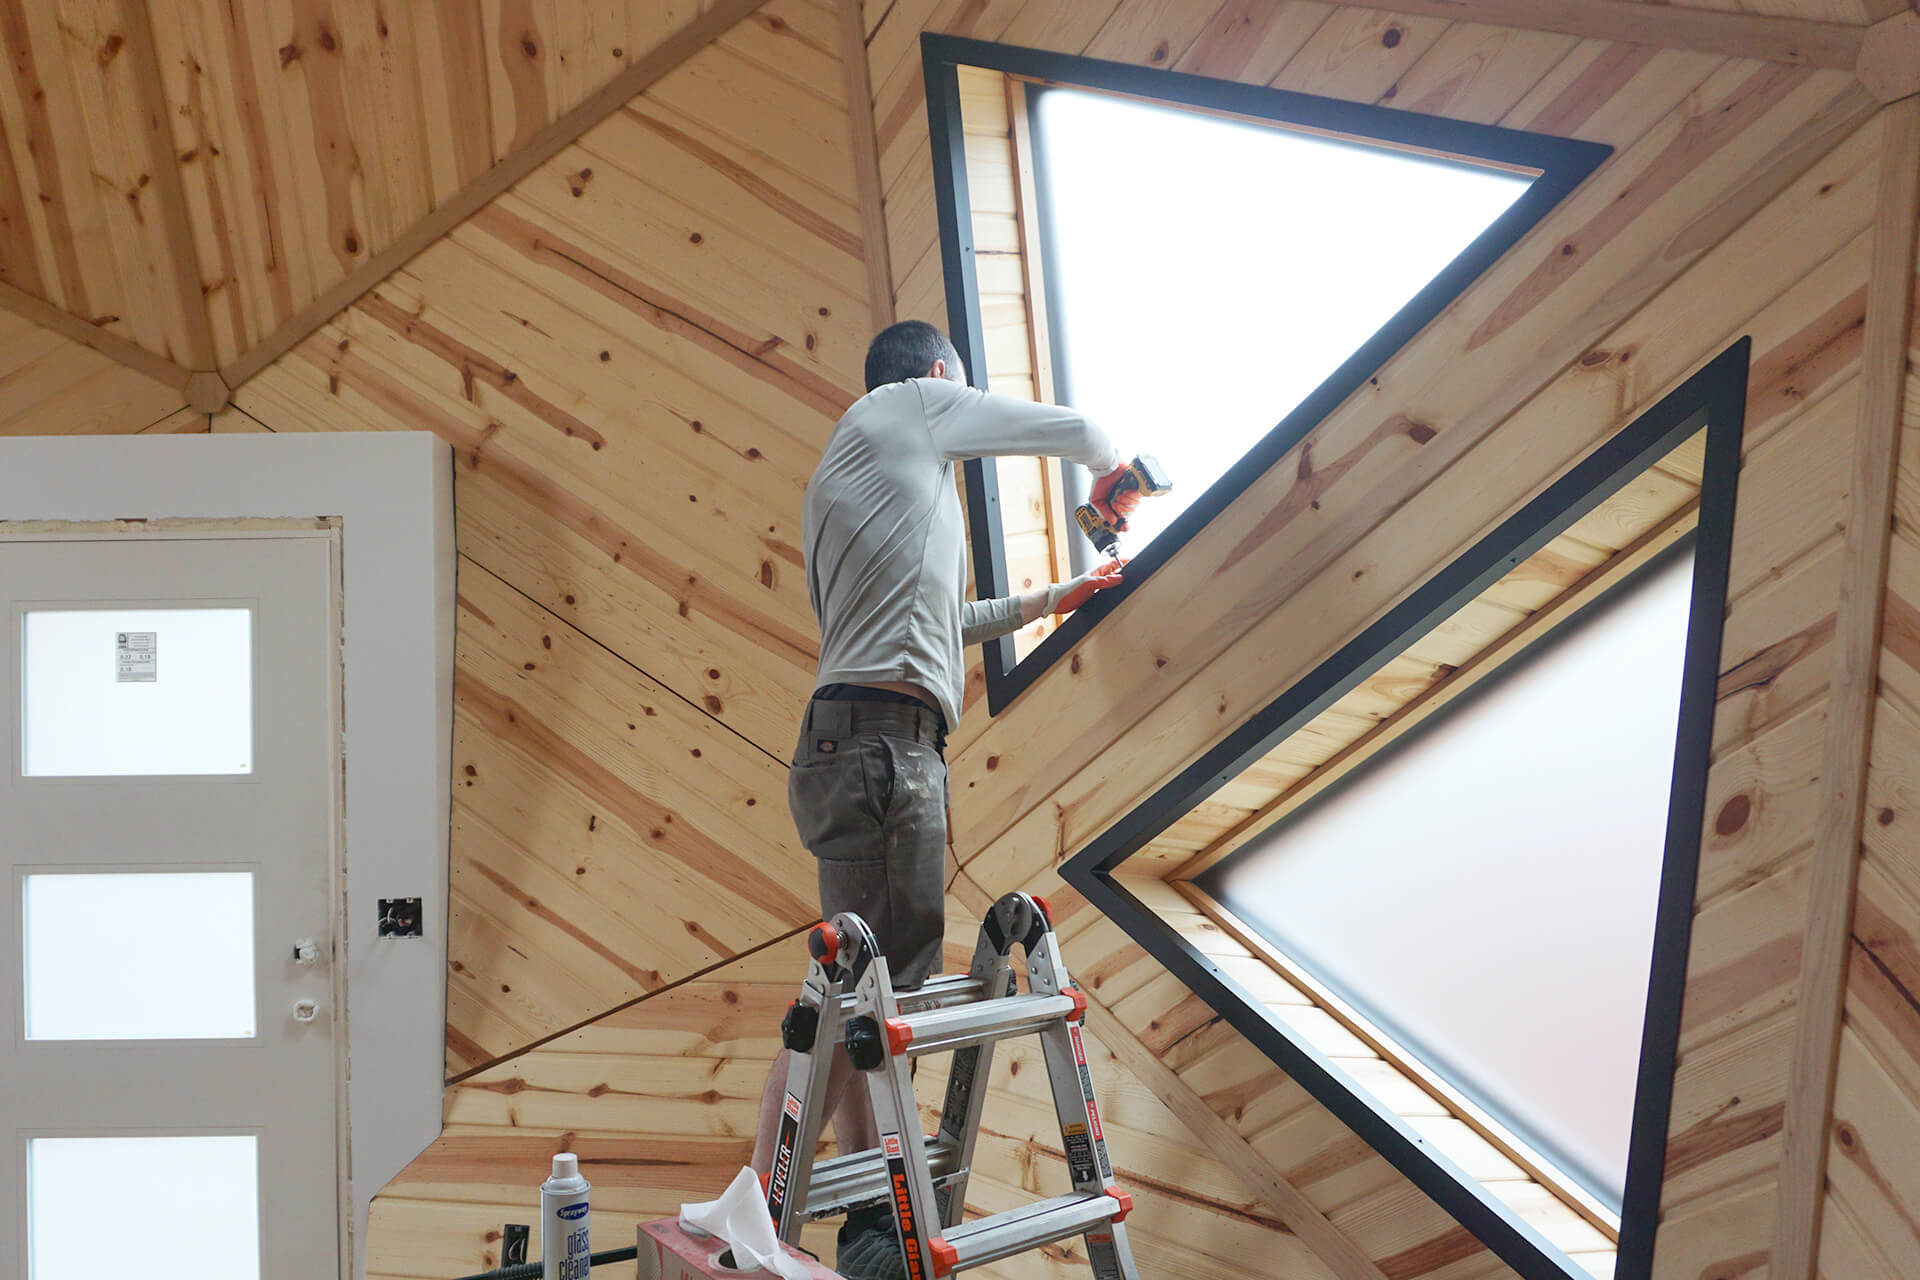
Position the acrylic into place, pressing evenly against the foam weatherstripping. Suction cup handles are being used here but they should not be fully trusted.
Peel any remaining protective covering from the acrylic.
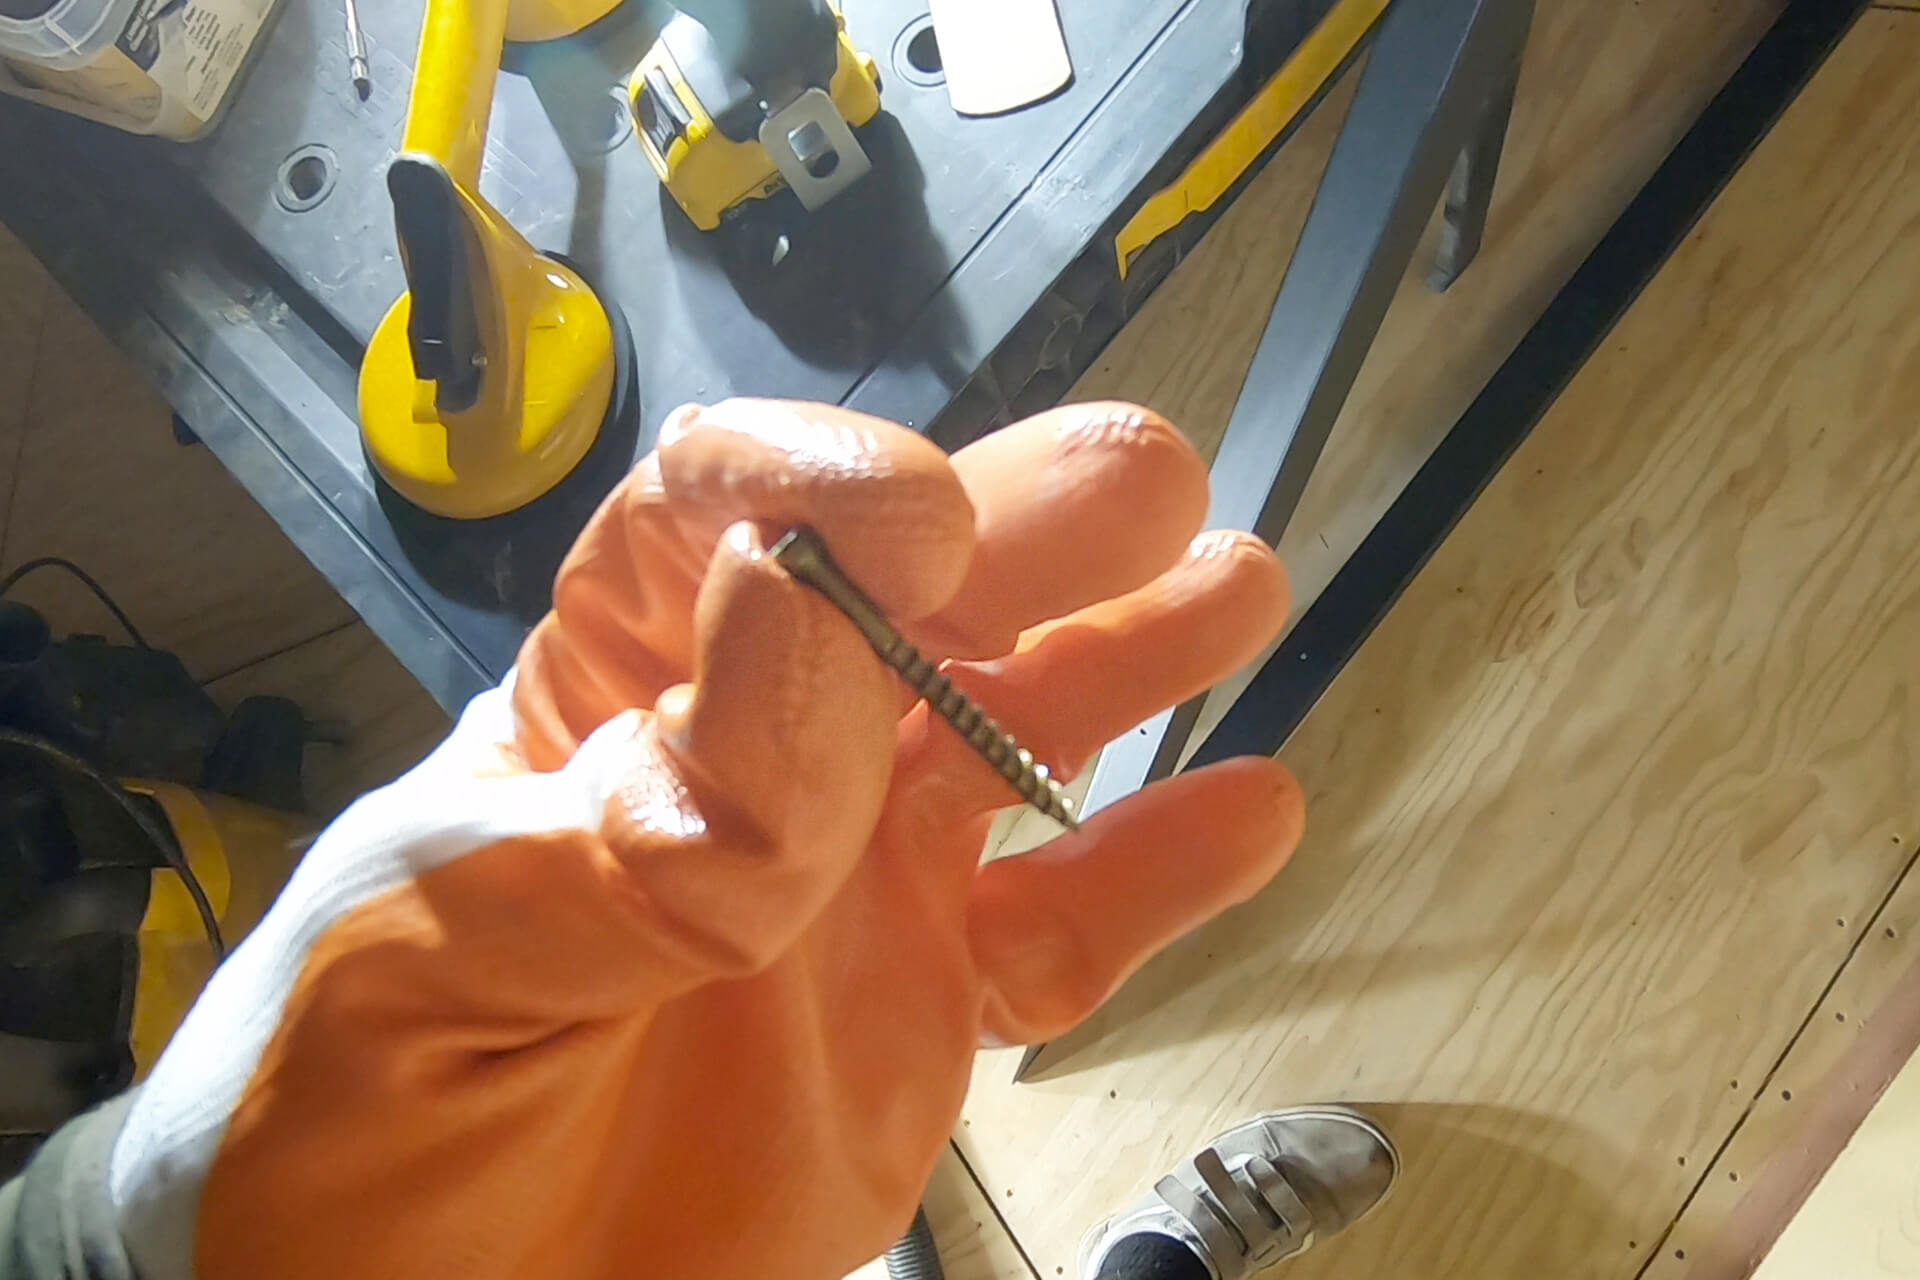
#8 x 1-1/2” trim head screws are used to fasten the acrylic trim to the window buck. Pre-screw the fasteners into each trim piece to make installation easier.
Install all three trim pieces to retain the acrylic.
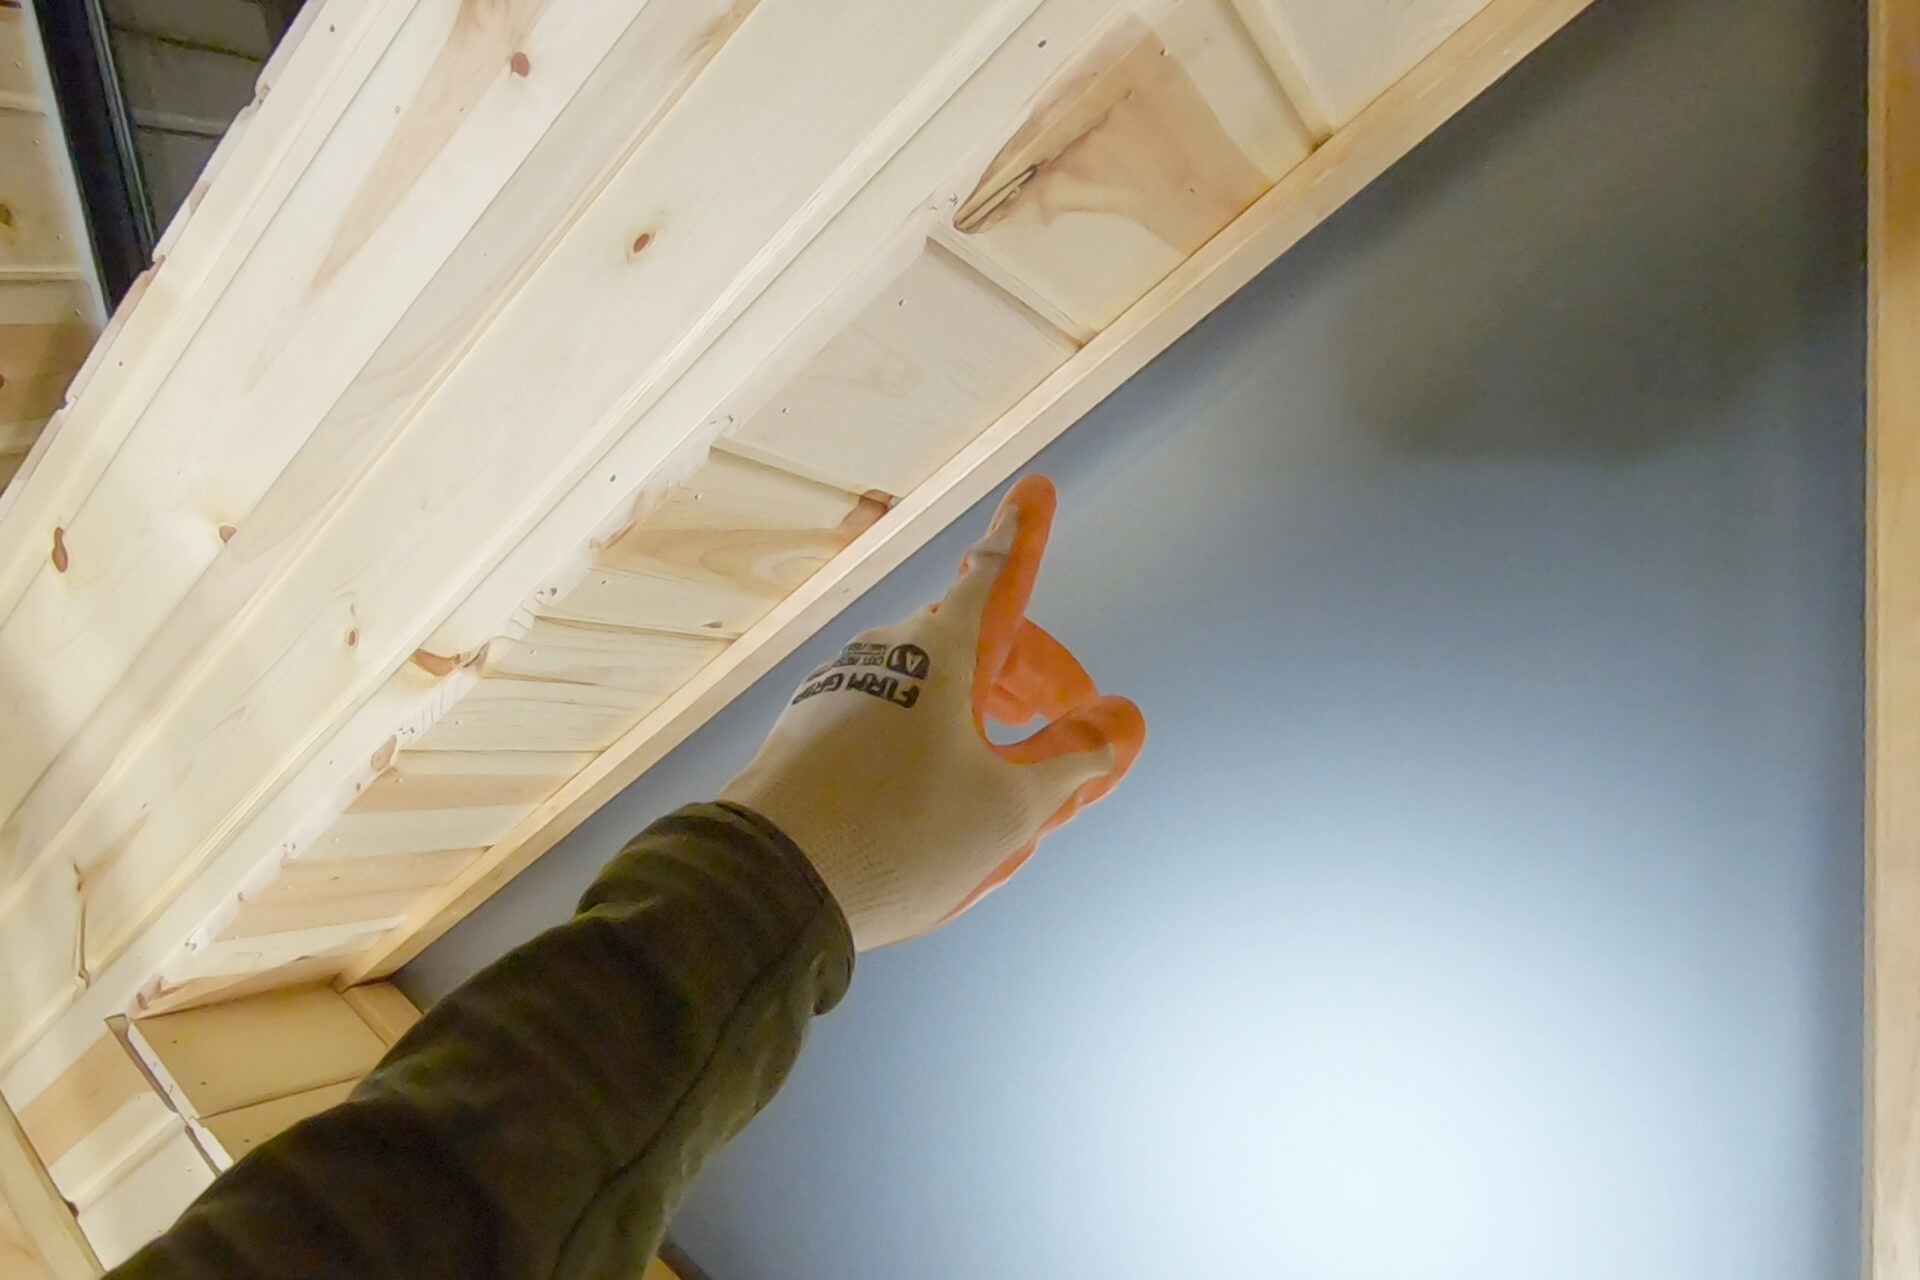
Each piece should press the acrylic evenly against the weatherstripping without applying excess pressure to the window frame.
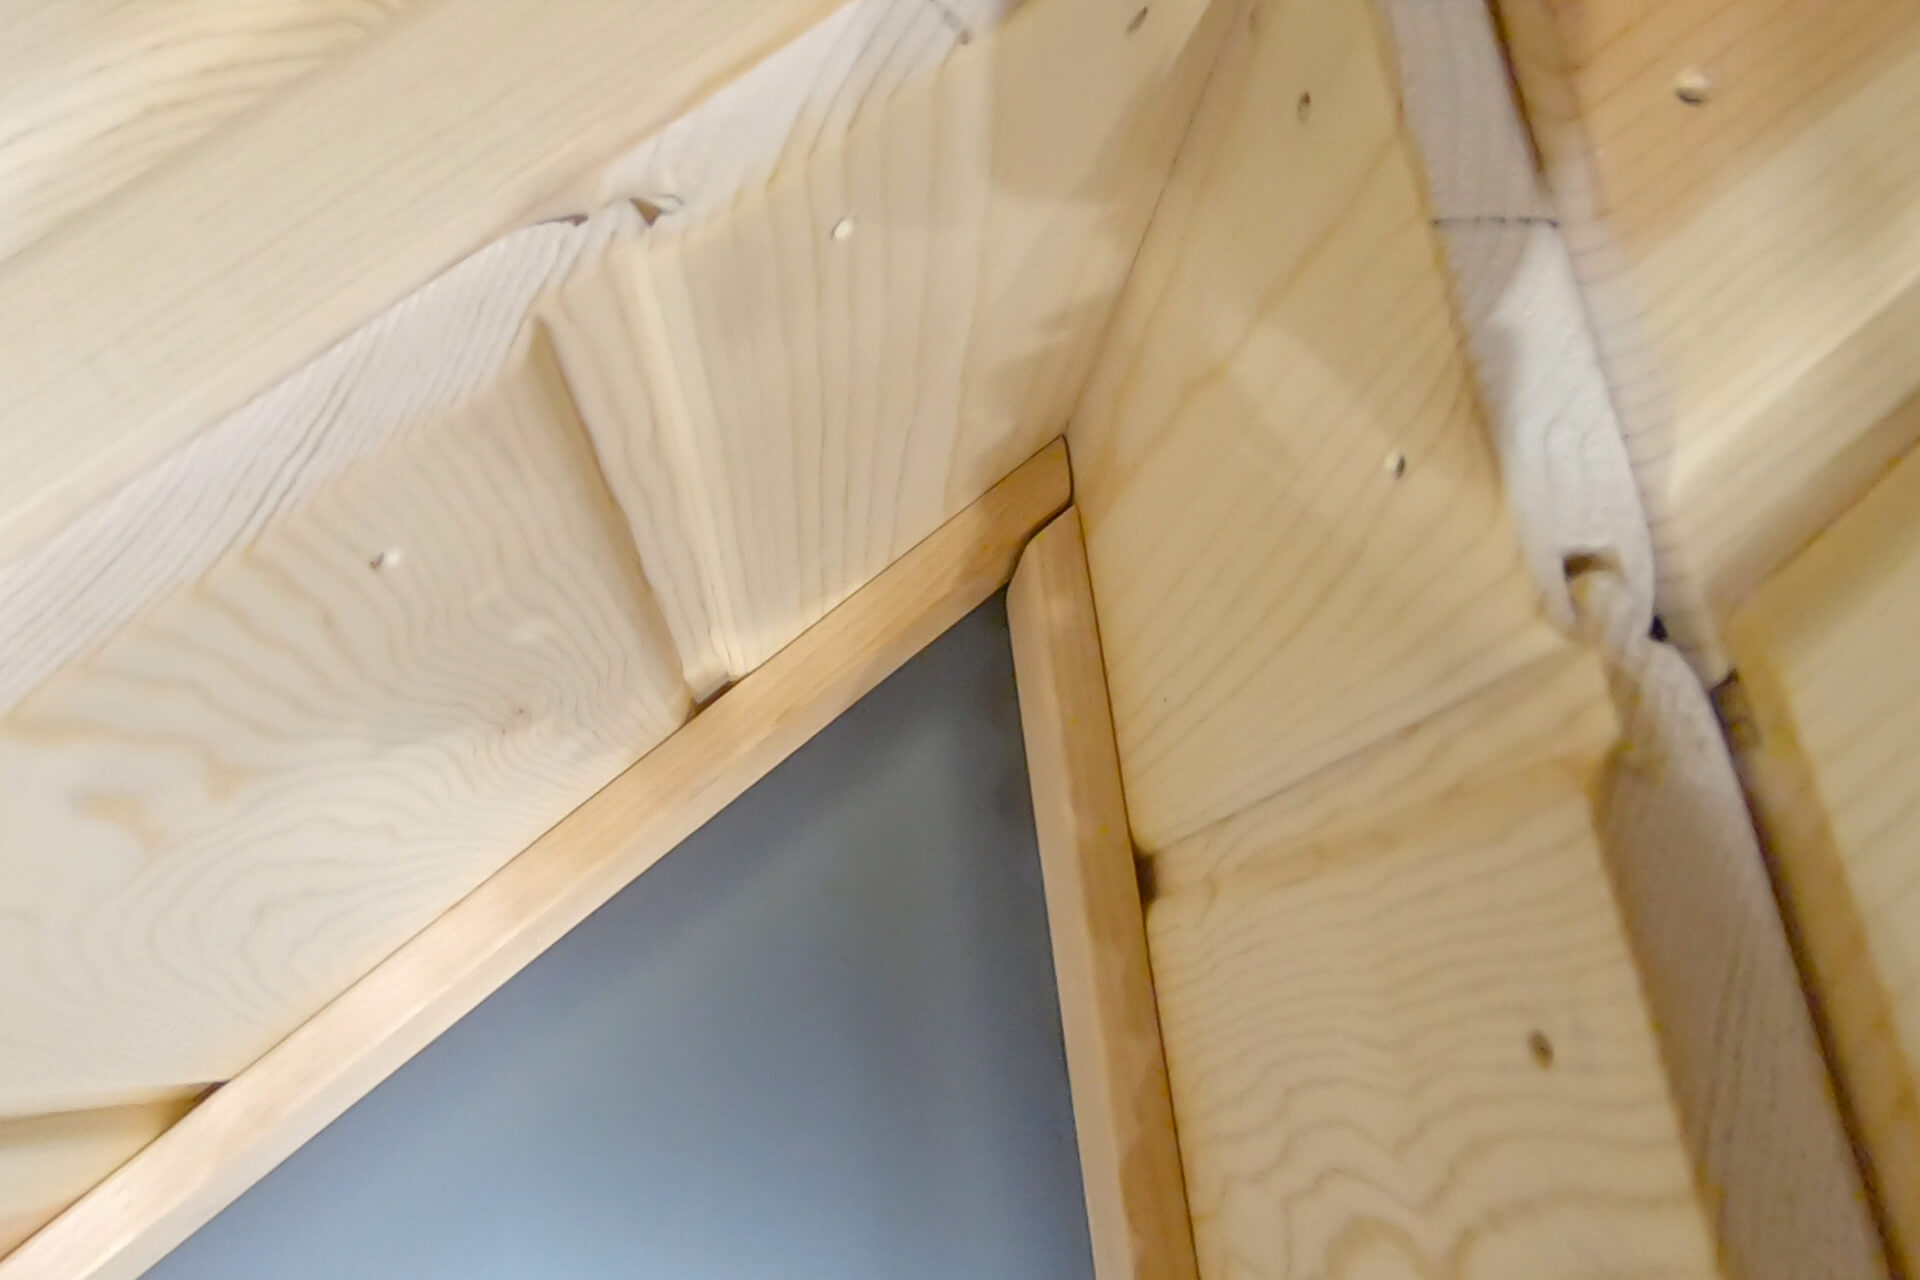
Ensure equal gaps on all sides of the trim pieces for visual appeal.
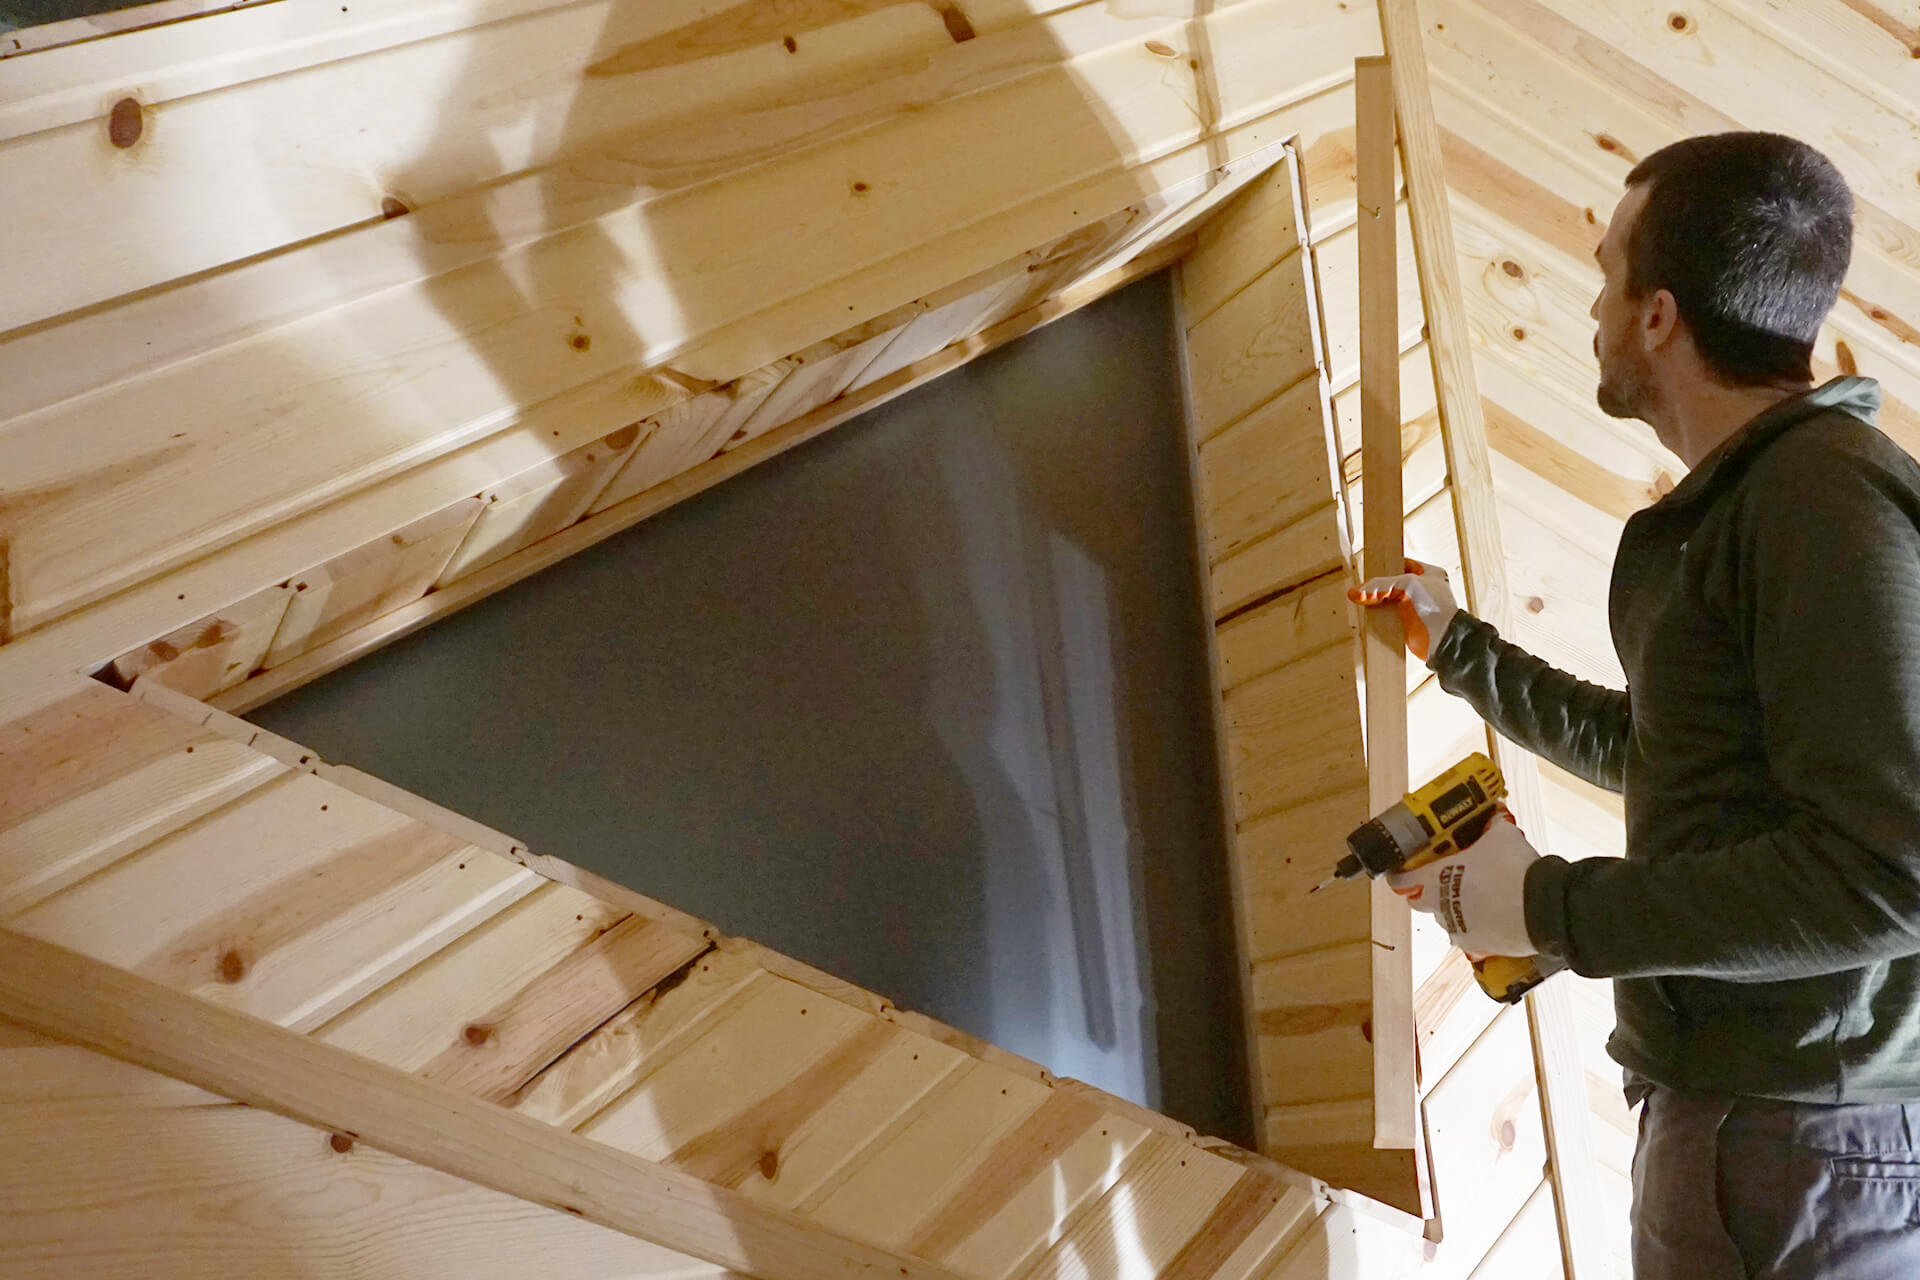
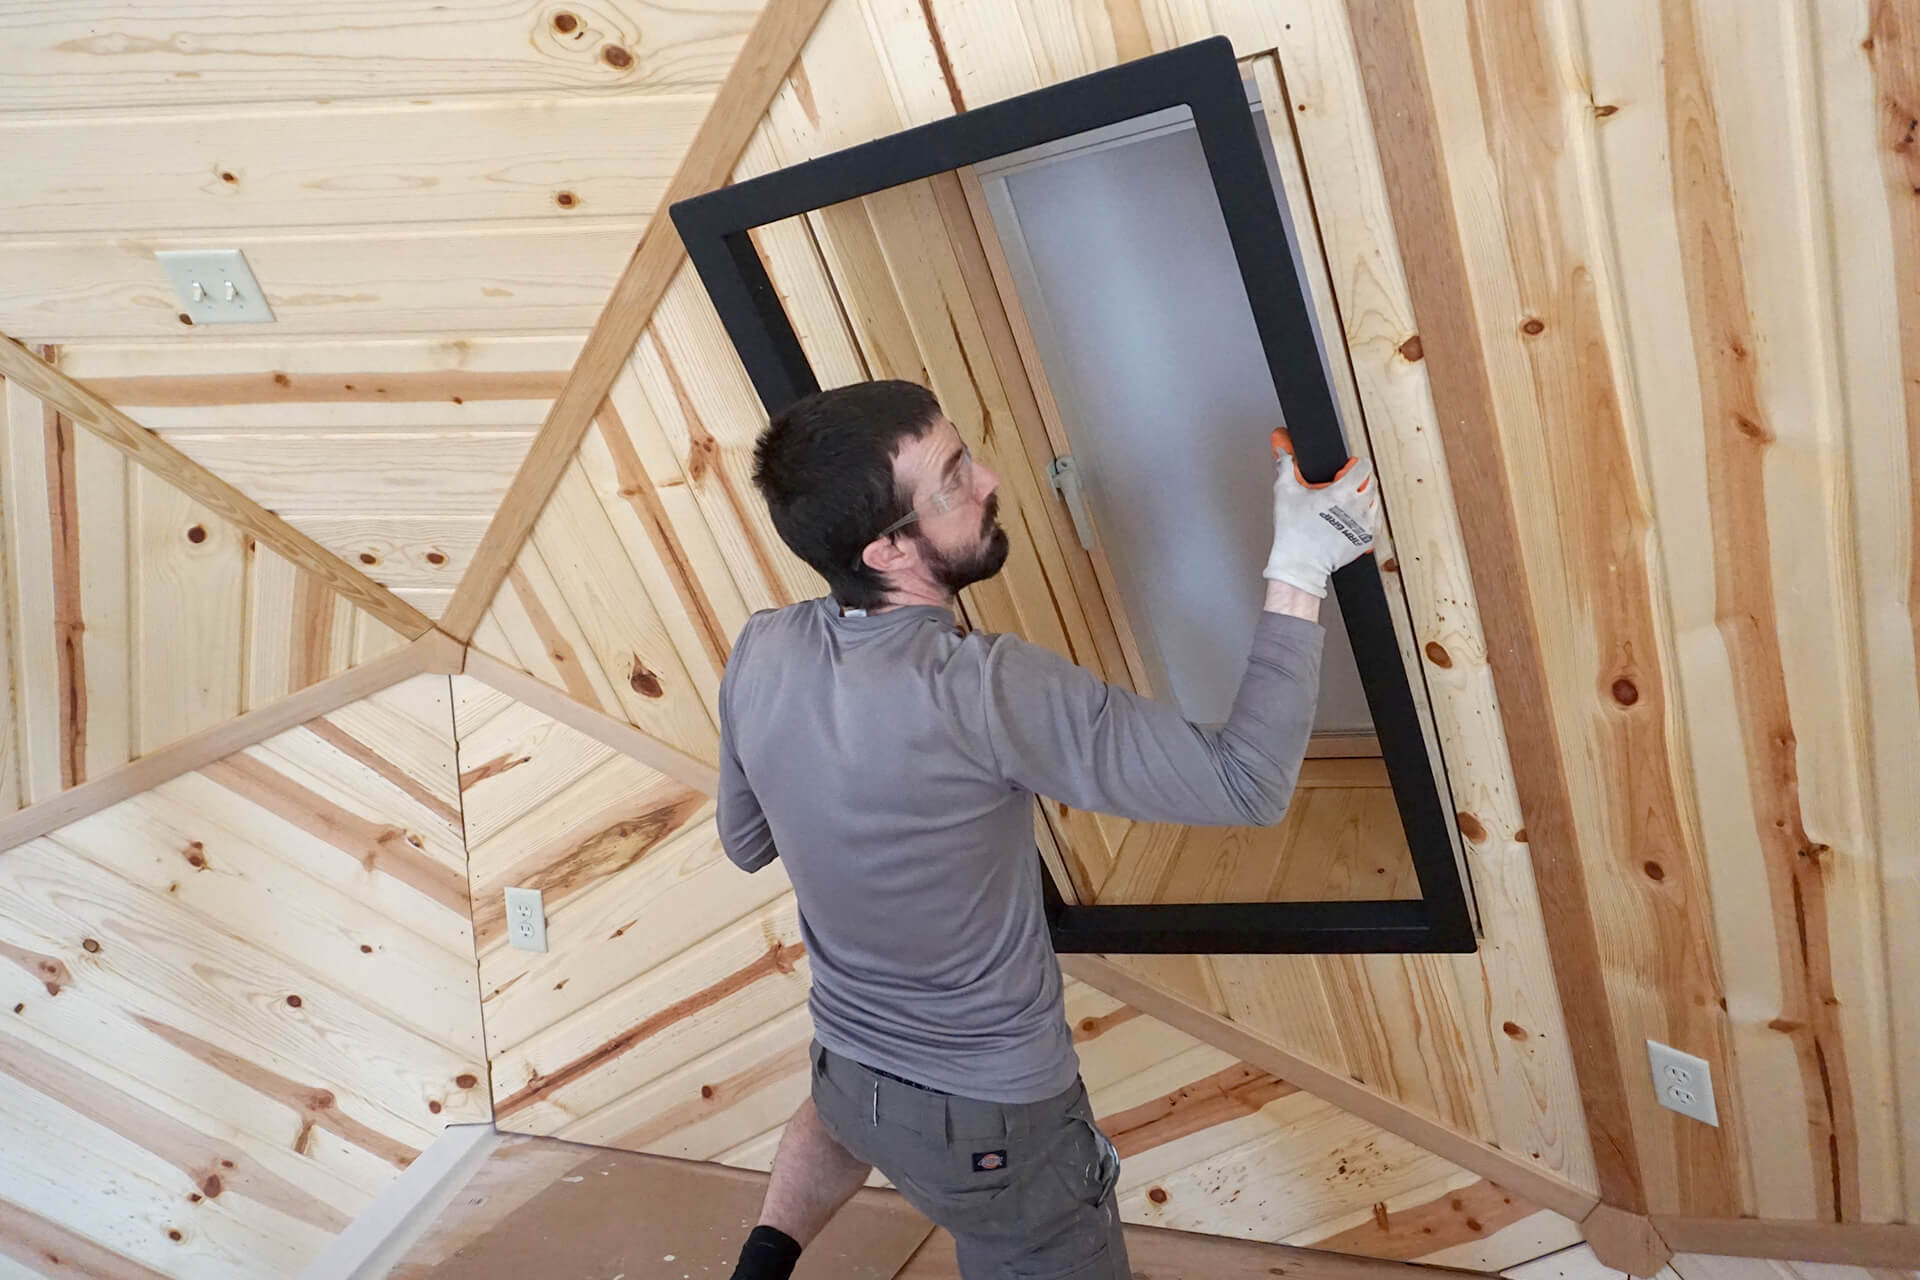
Position the window buck trim into place, making sure it sits flush with the wood paneling.
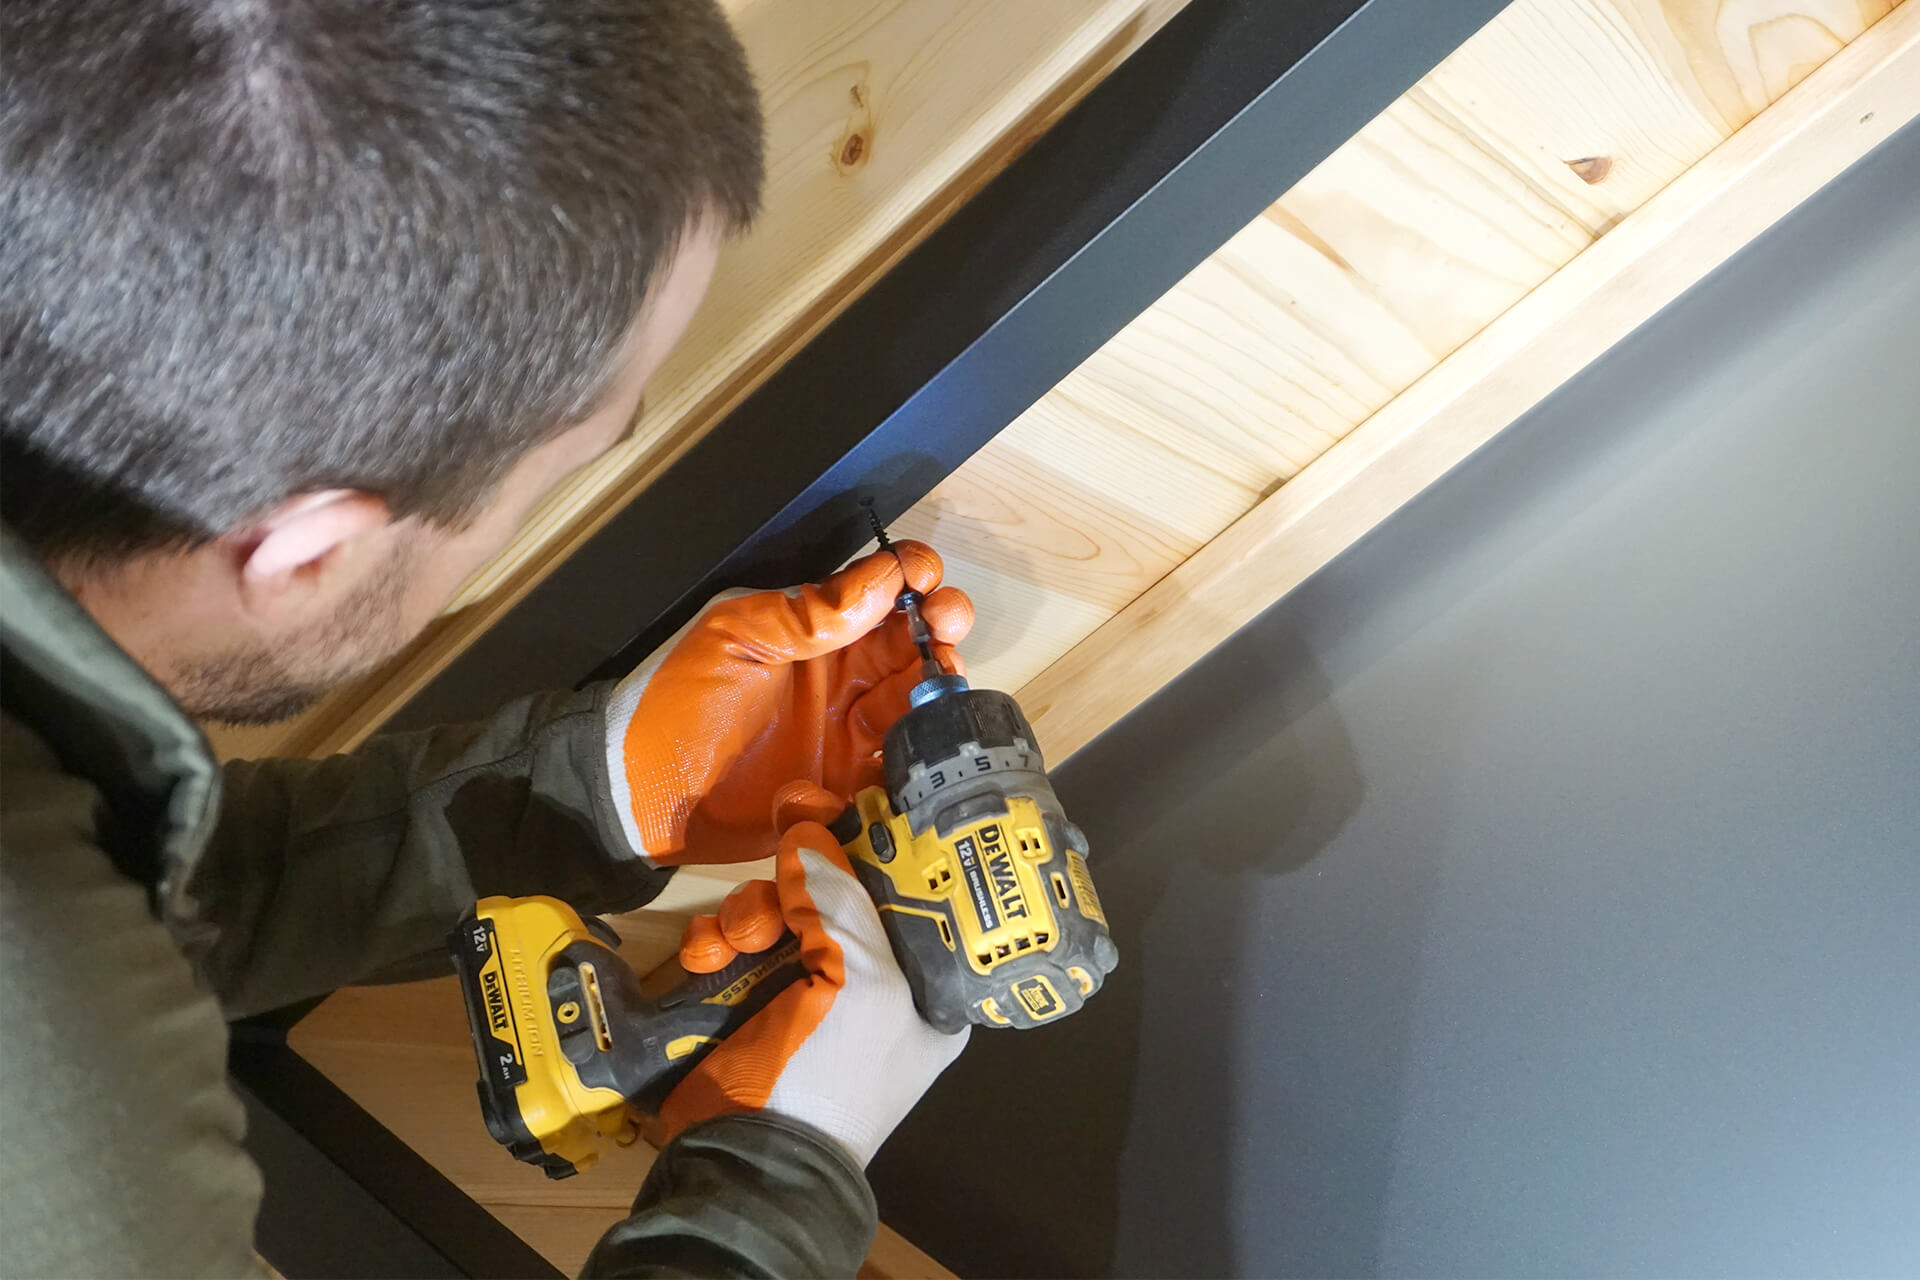
Pre-drill, then secure the trim with black #8 × 1-5/8" washer-head wood screws.
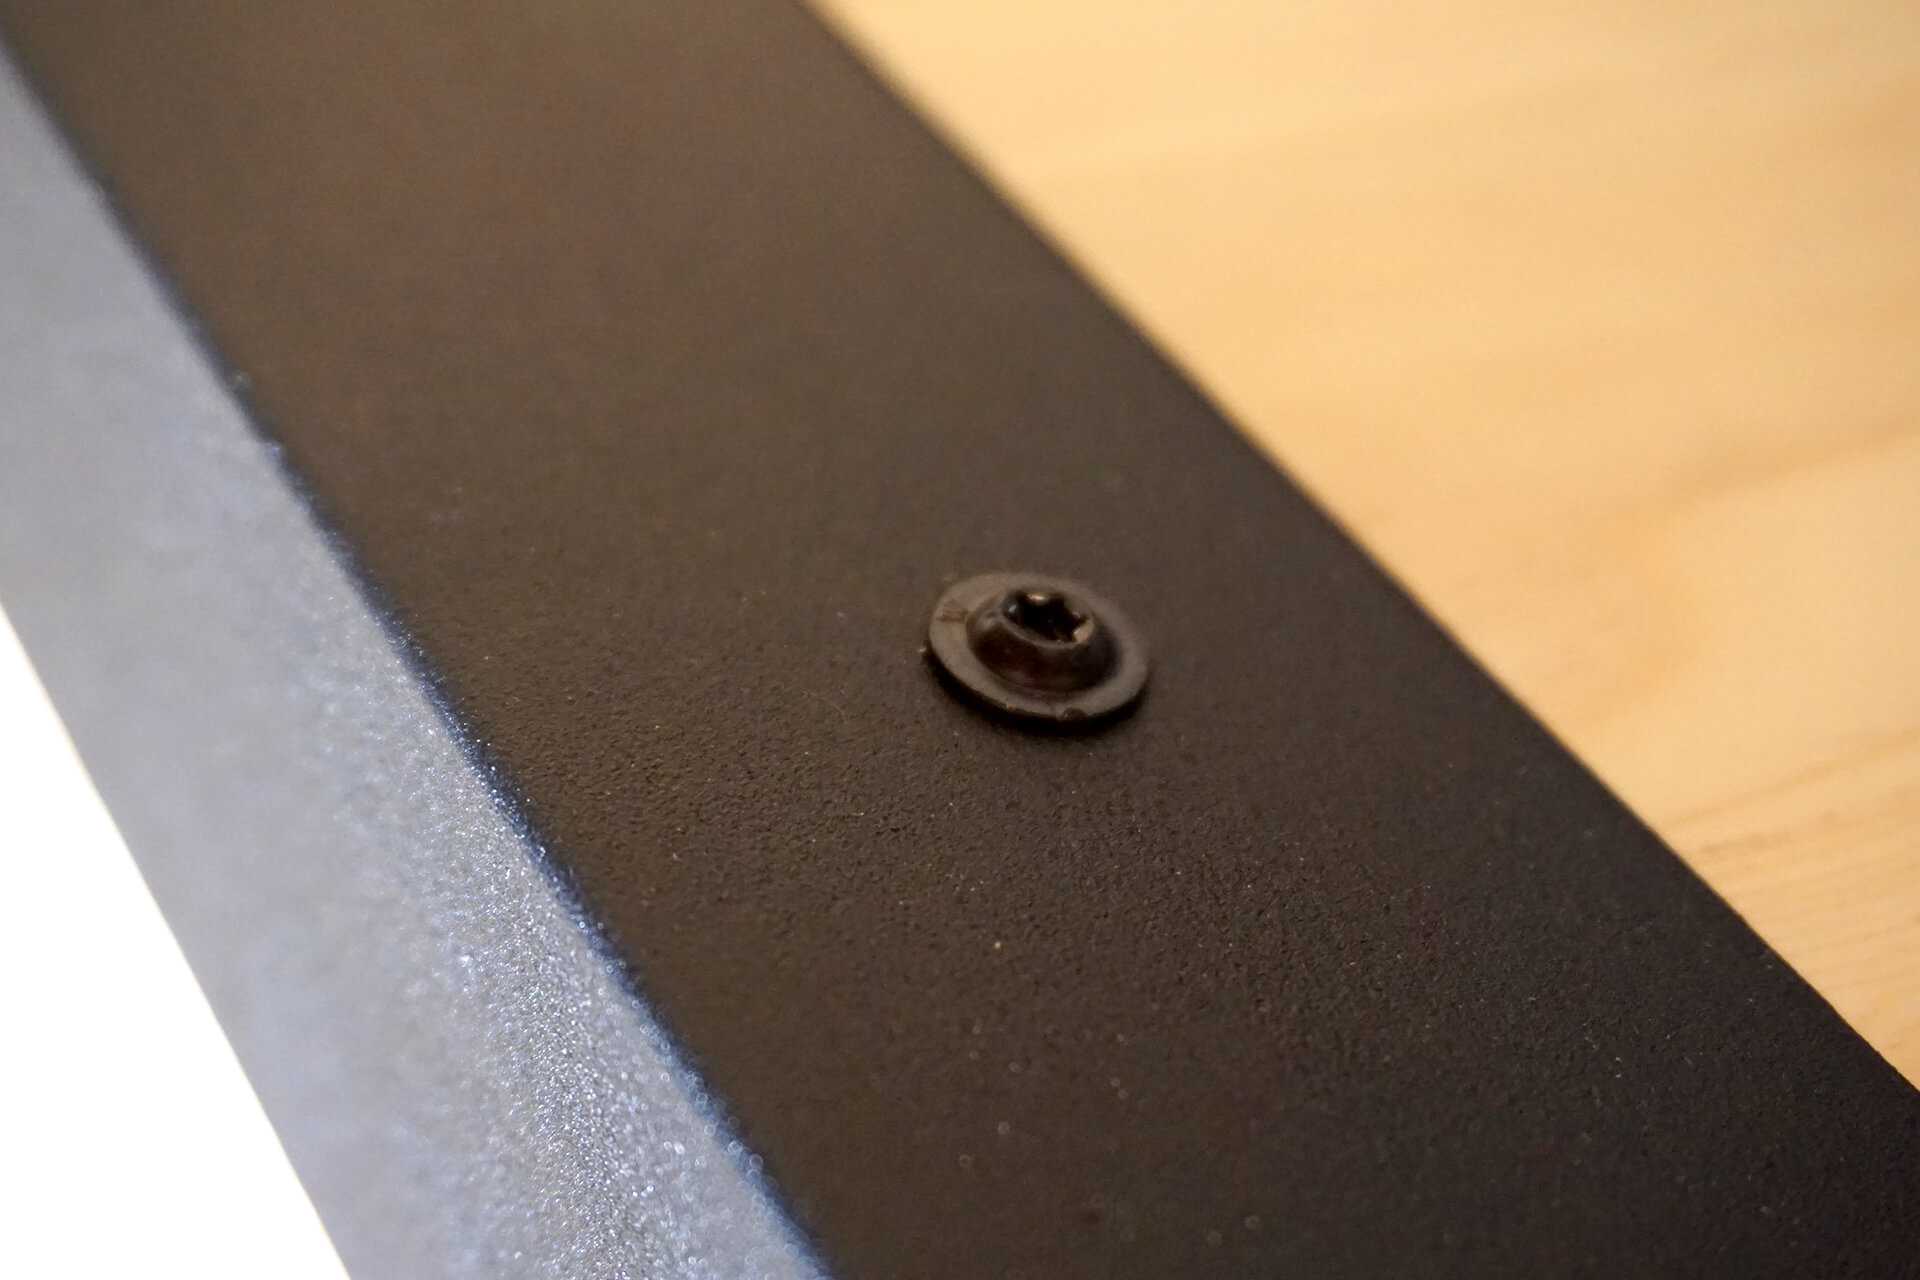
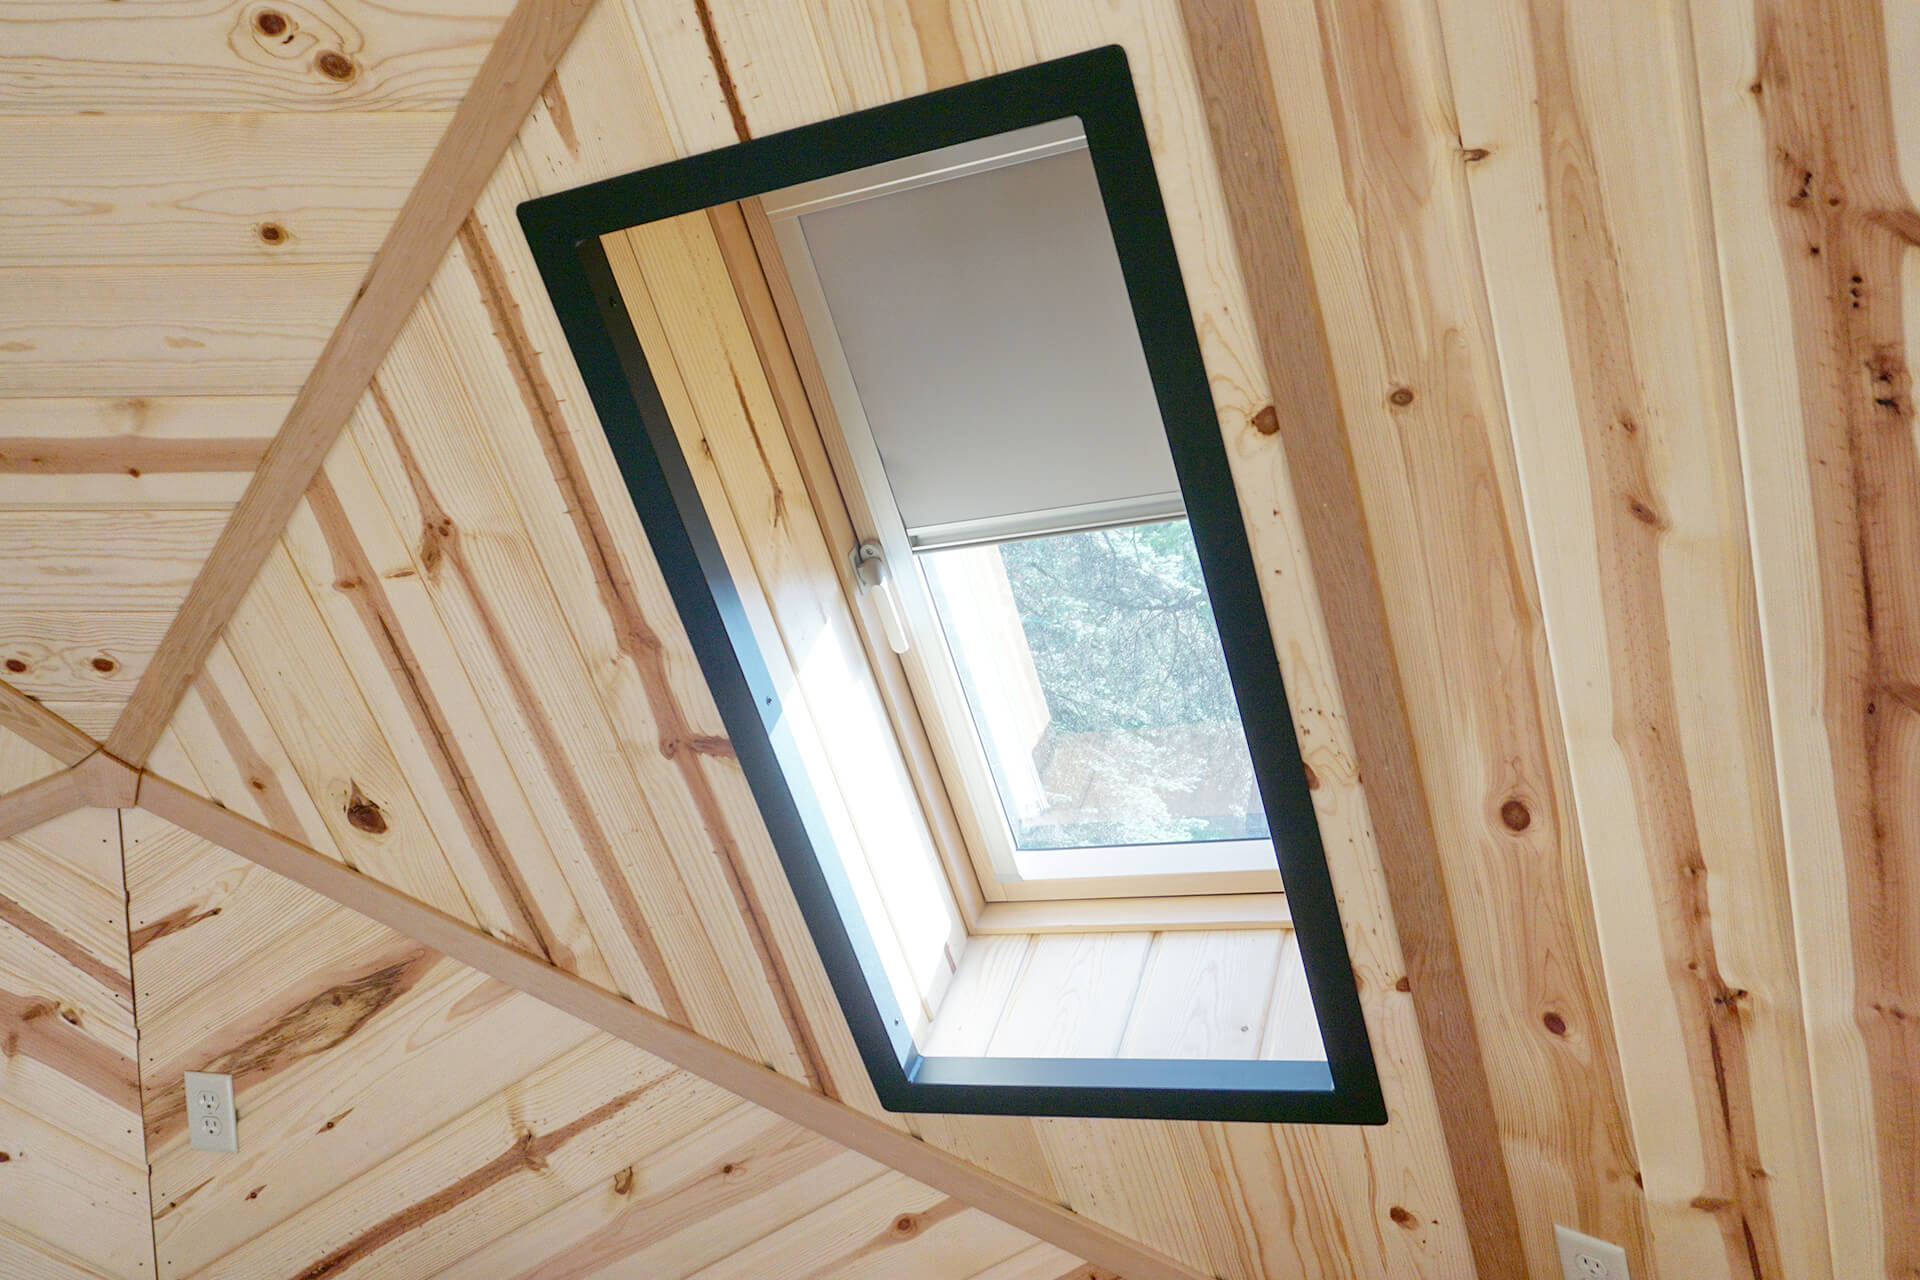
Detail shot showing the fastener head closely matching the trim color.
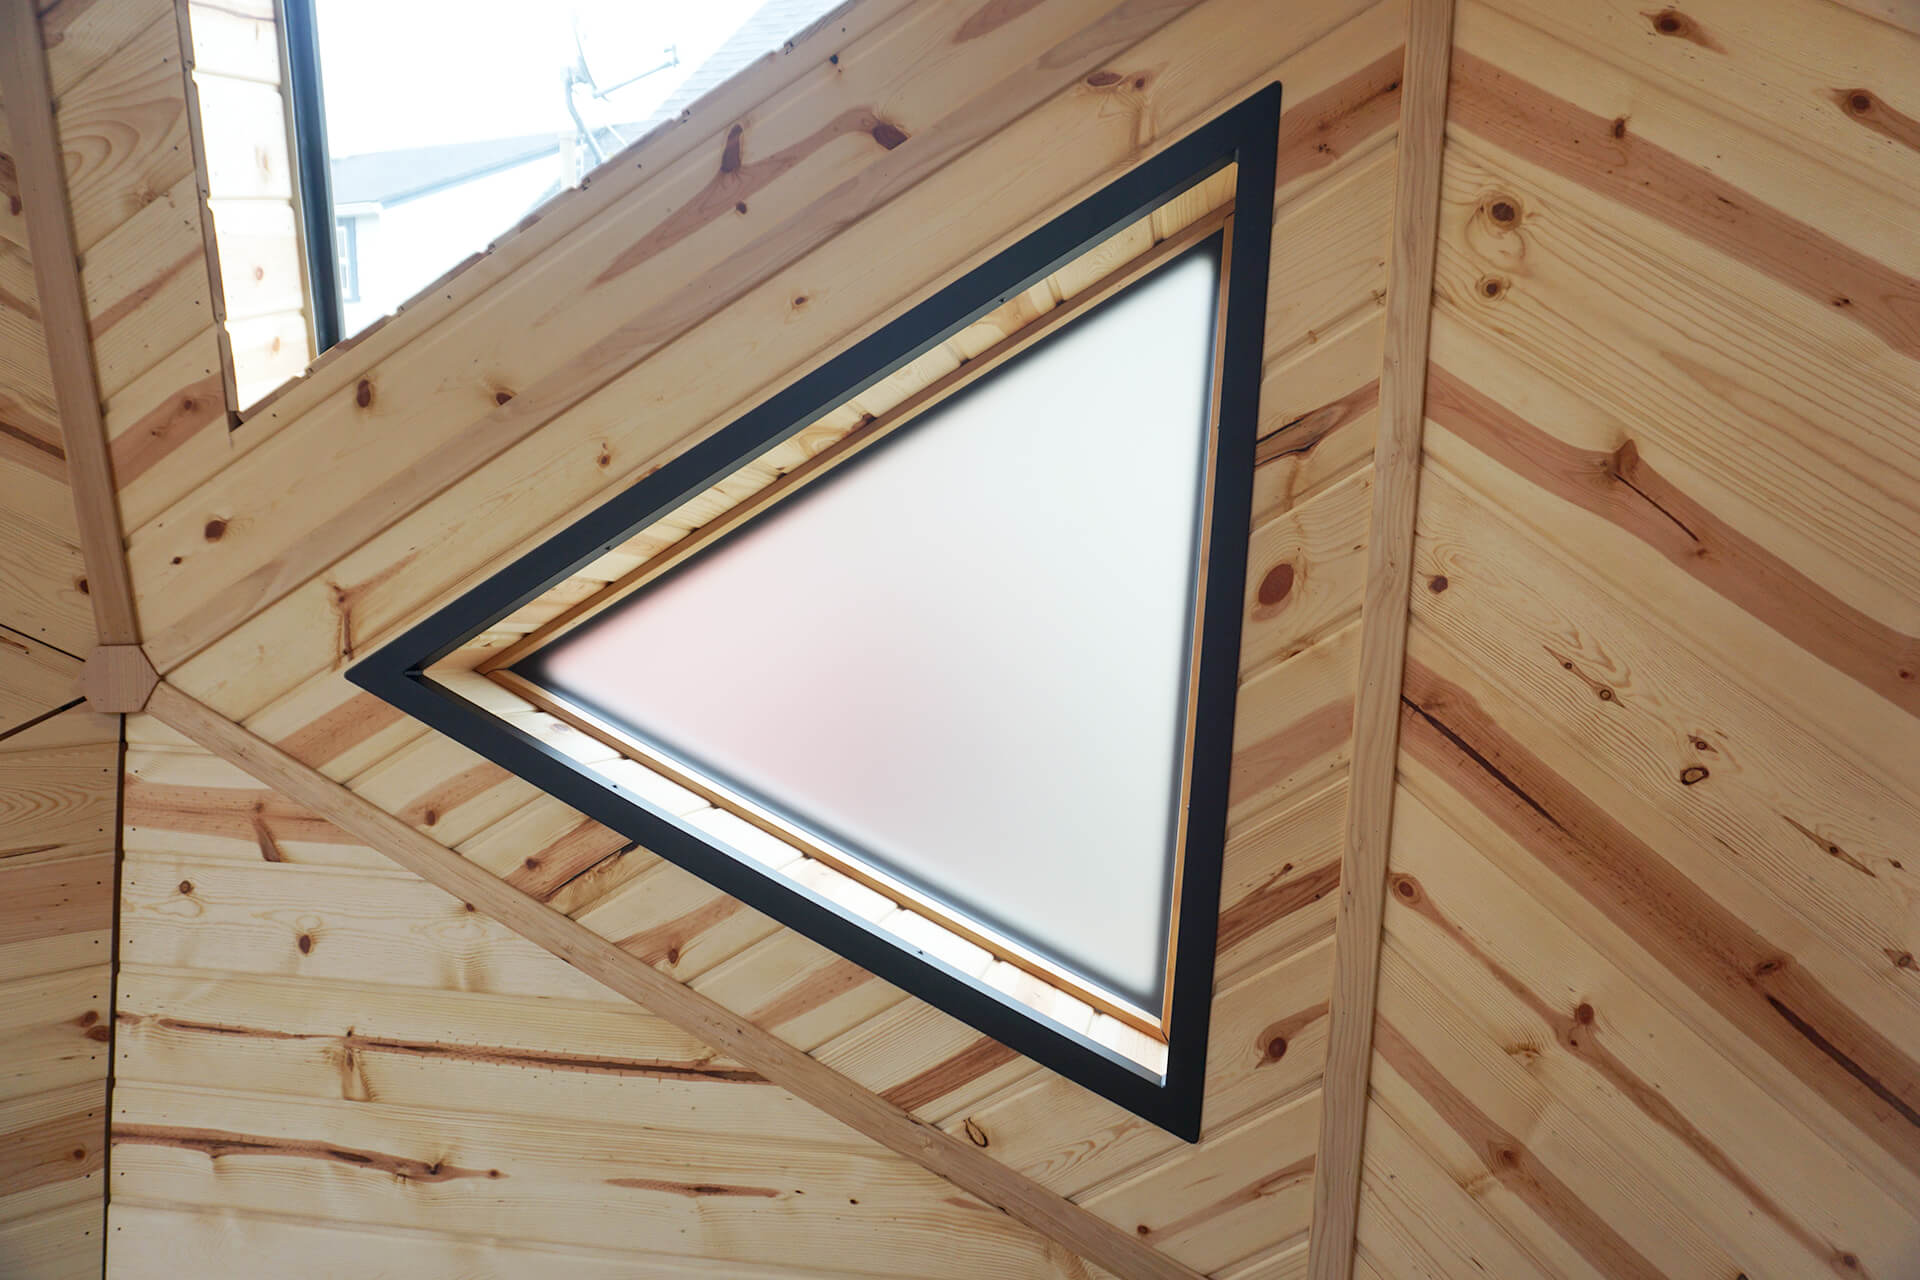
A completed window.
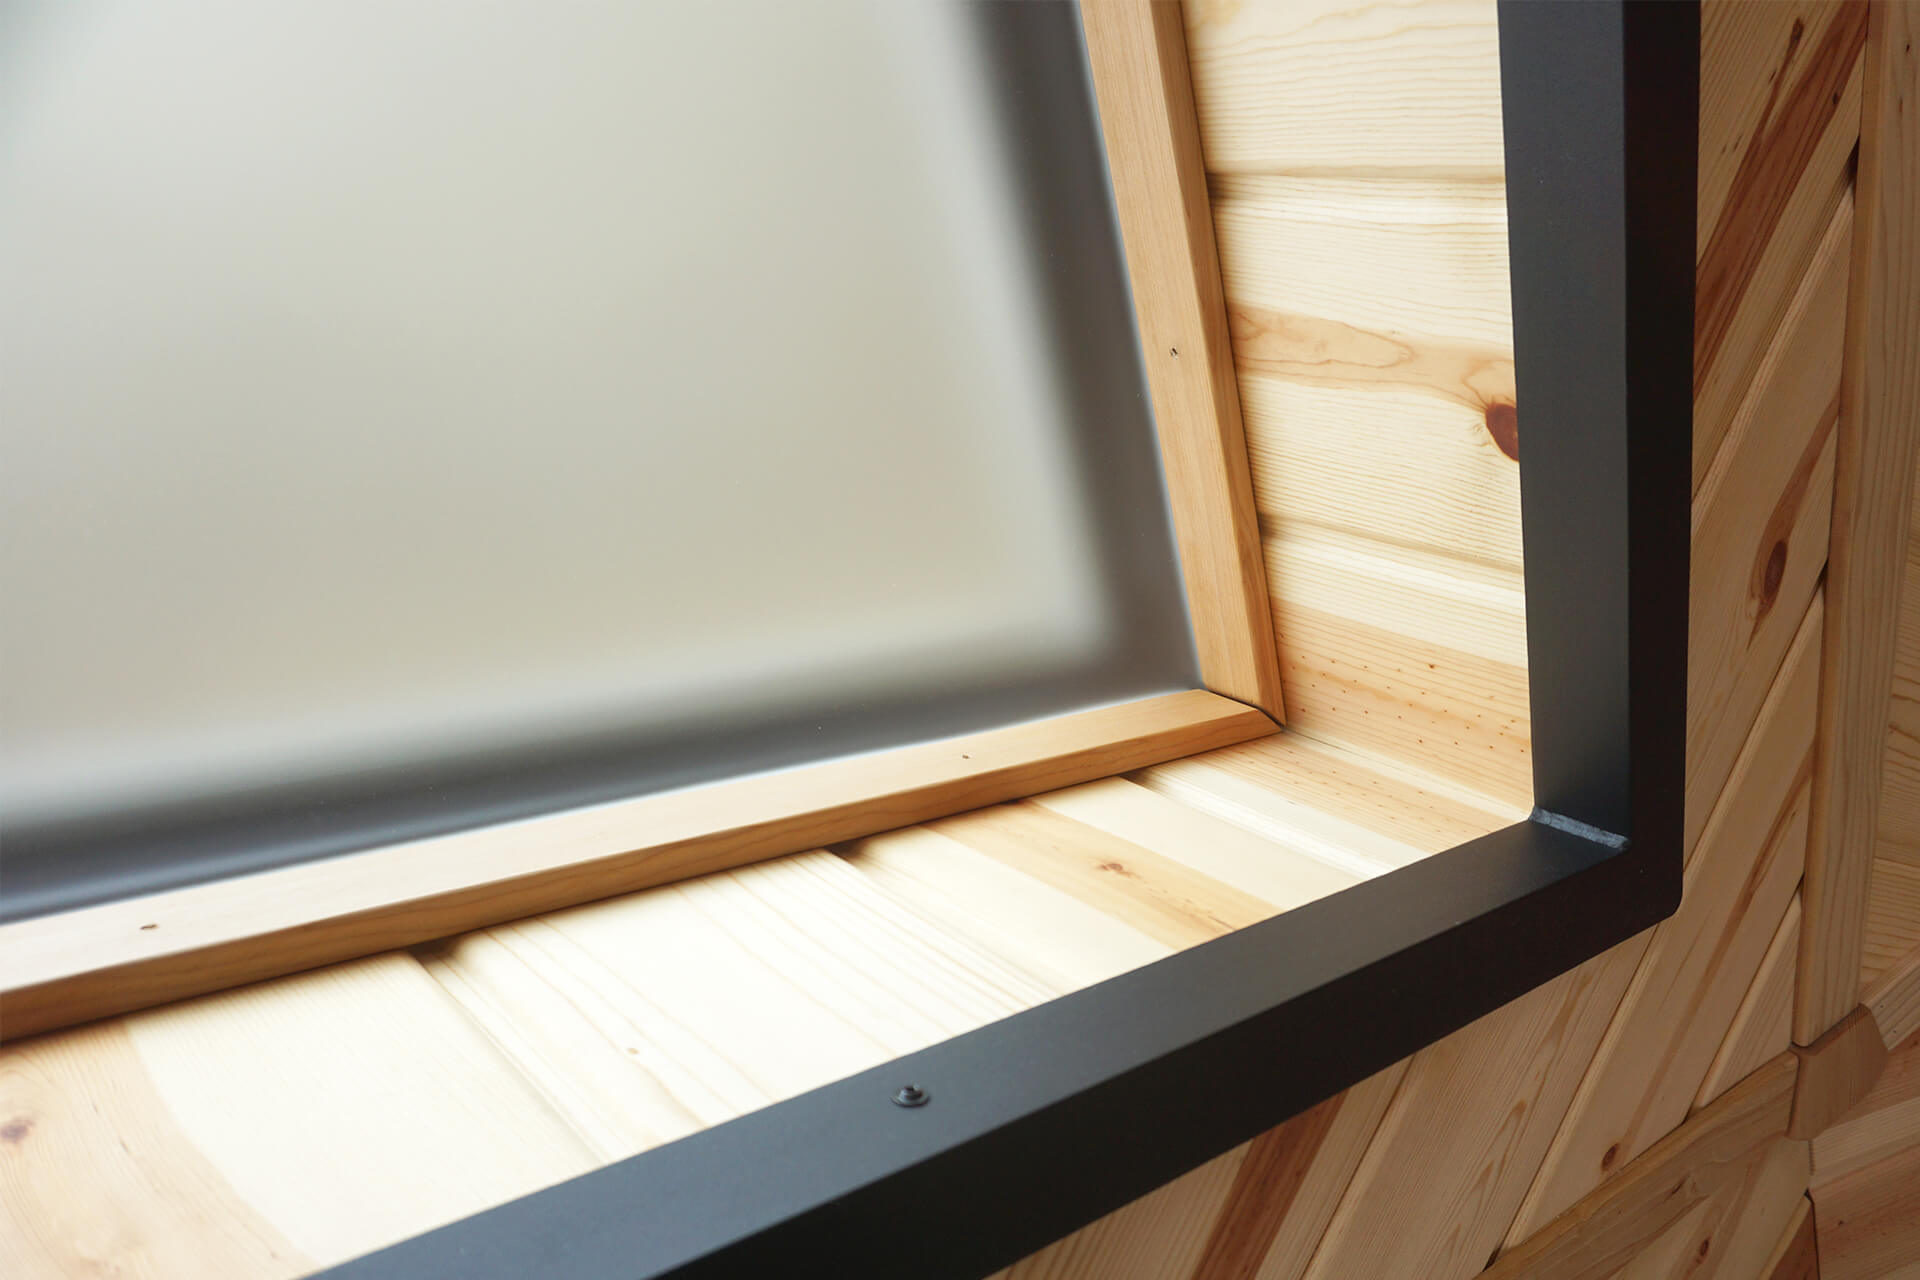
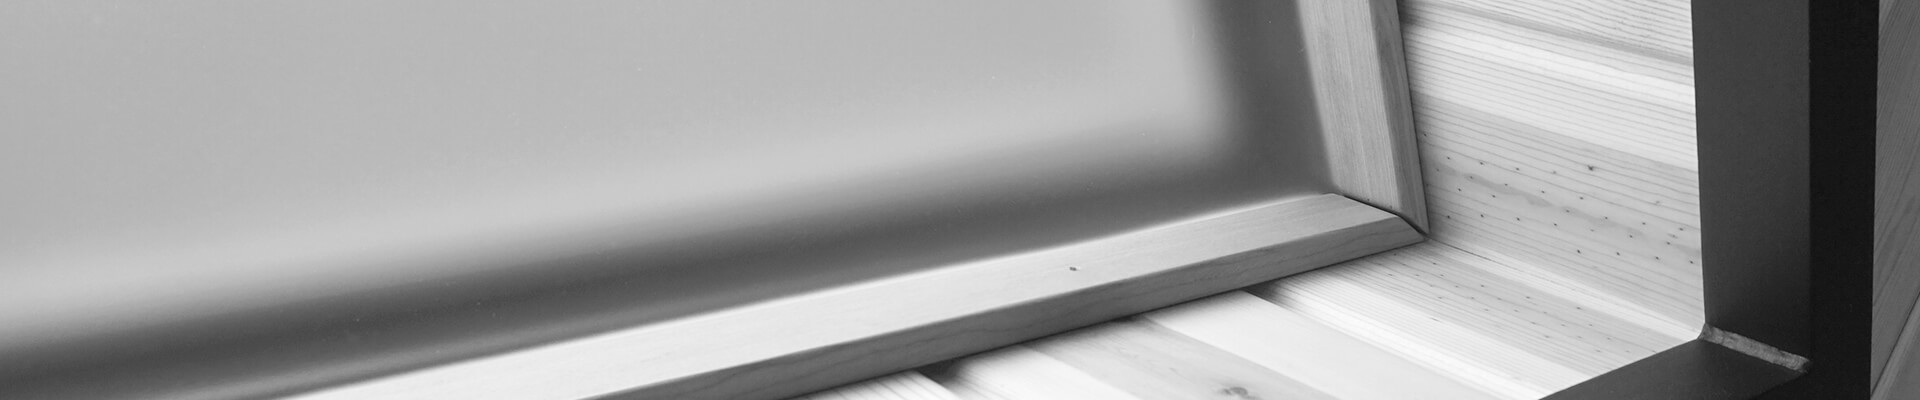
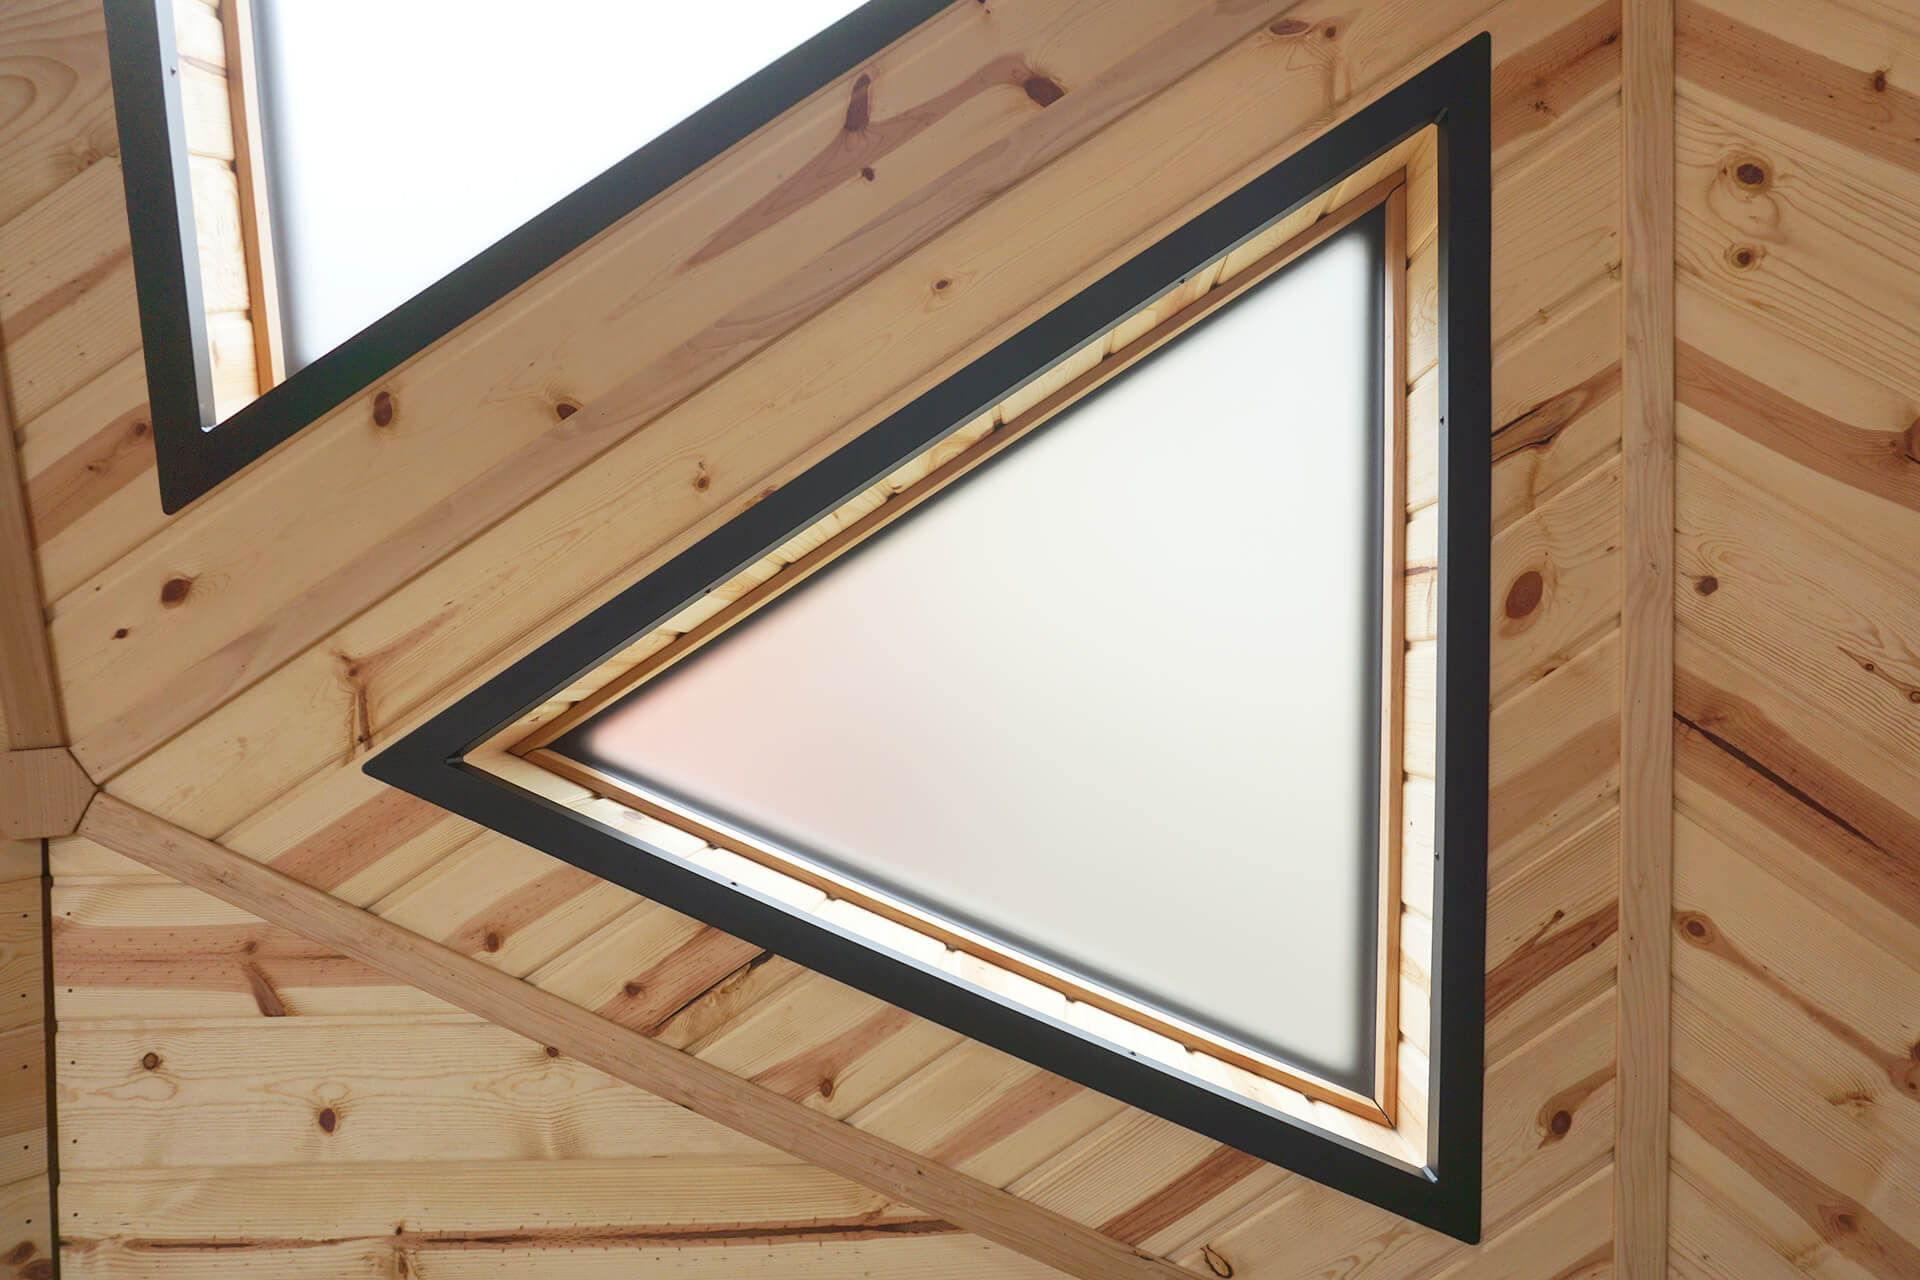
Detail shot showing the corner fit and finish of a completed window.
Continue installing acrylic and window buck trim.
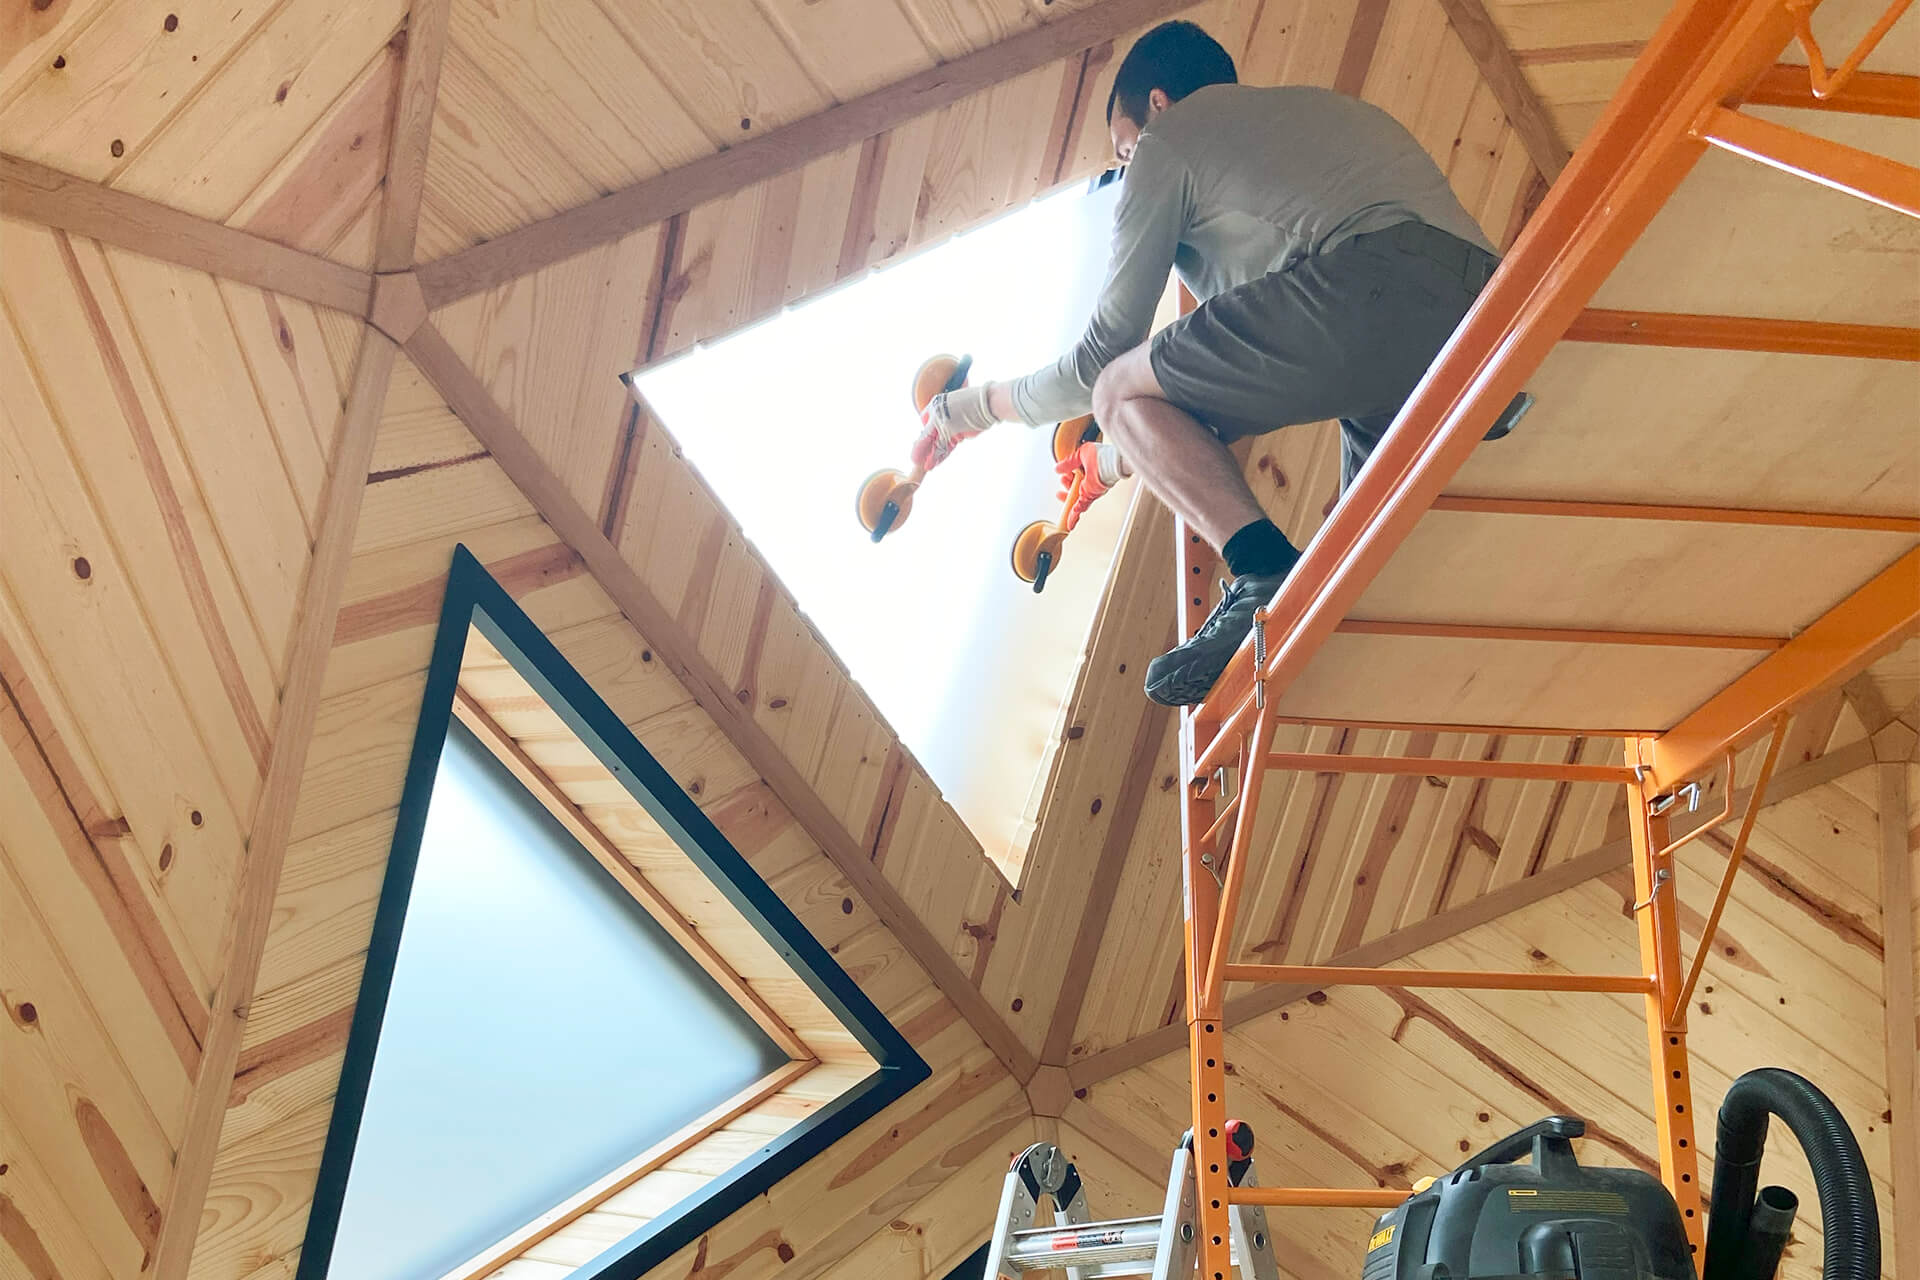
The topmost windows are tricky since they are overhung, meaning gravity works against you during acrylic and trim placement.
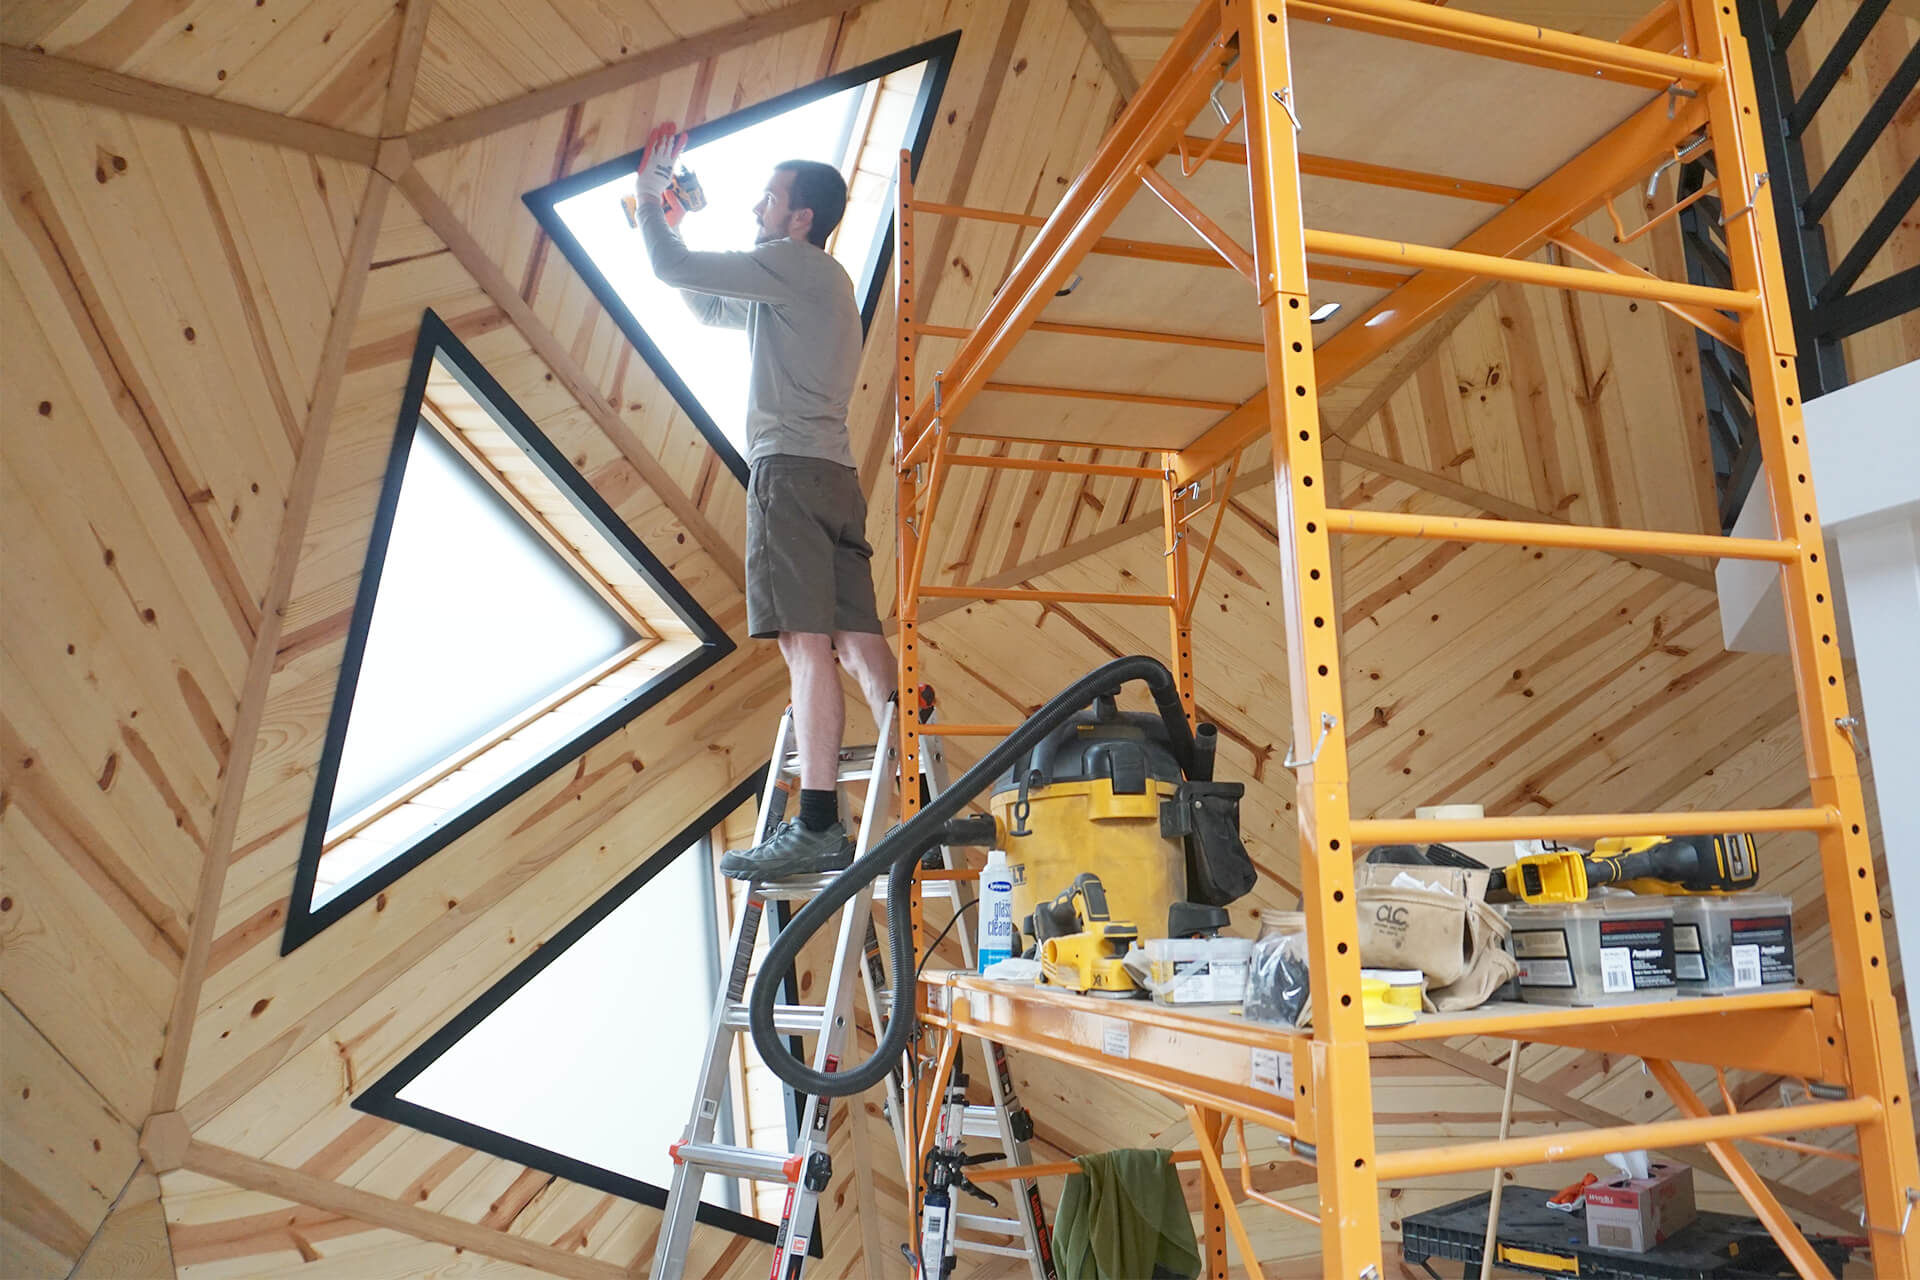
When working on the top windows, use the scaffolding to keep parts within arm’s reach.
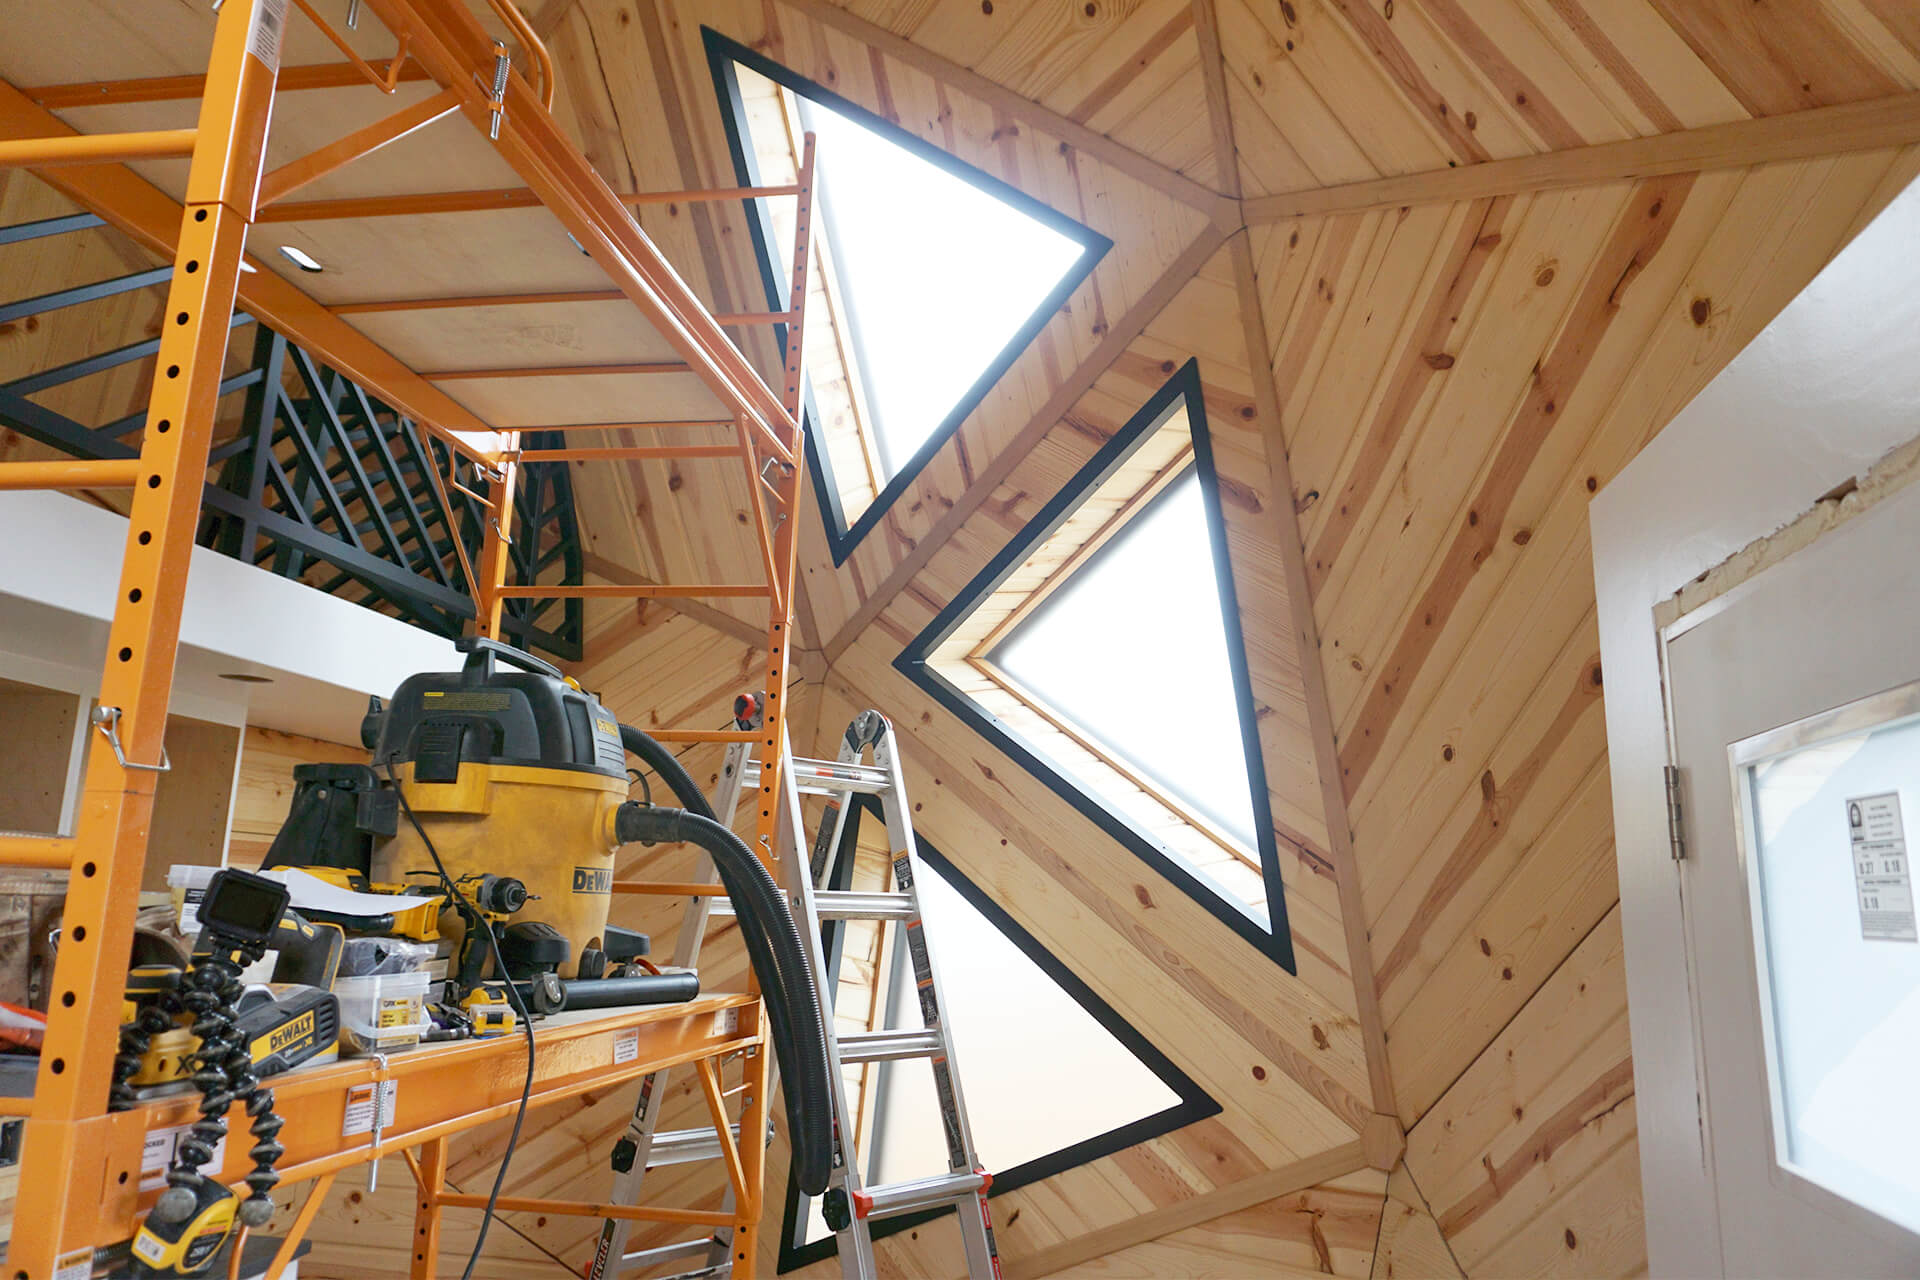
Complete all of the triangle windows.
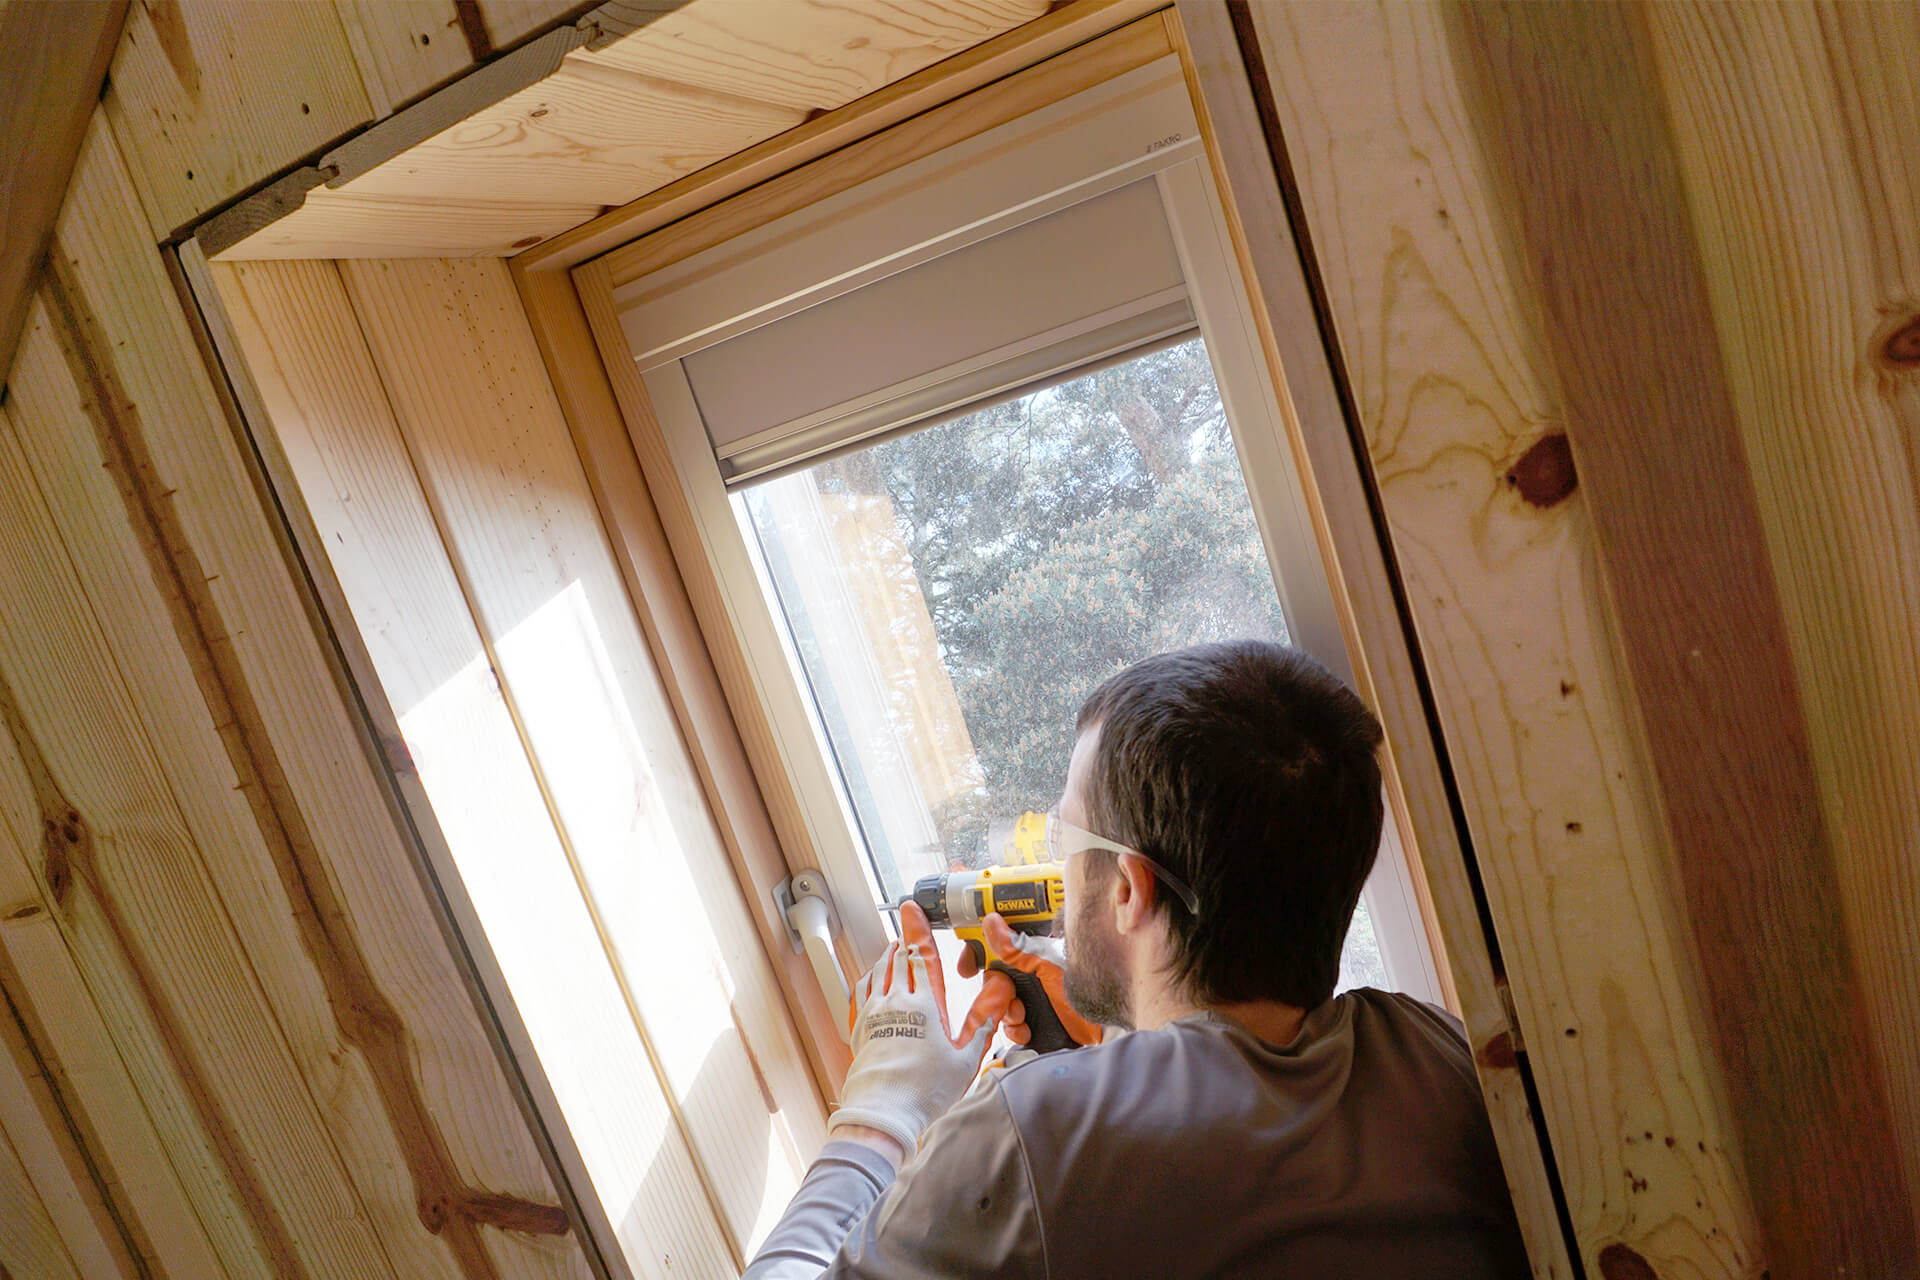
Install a black-out option on the egress window. Fakro SRF Manual Blackout Blind, Color 055 for FWU-L 24x46 shown here.
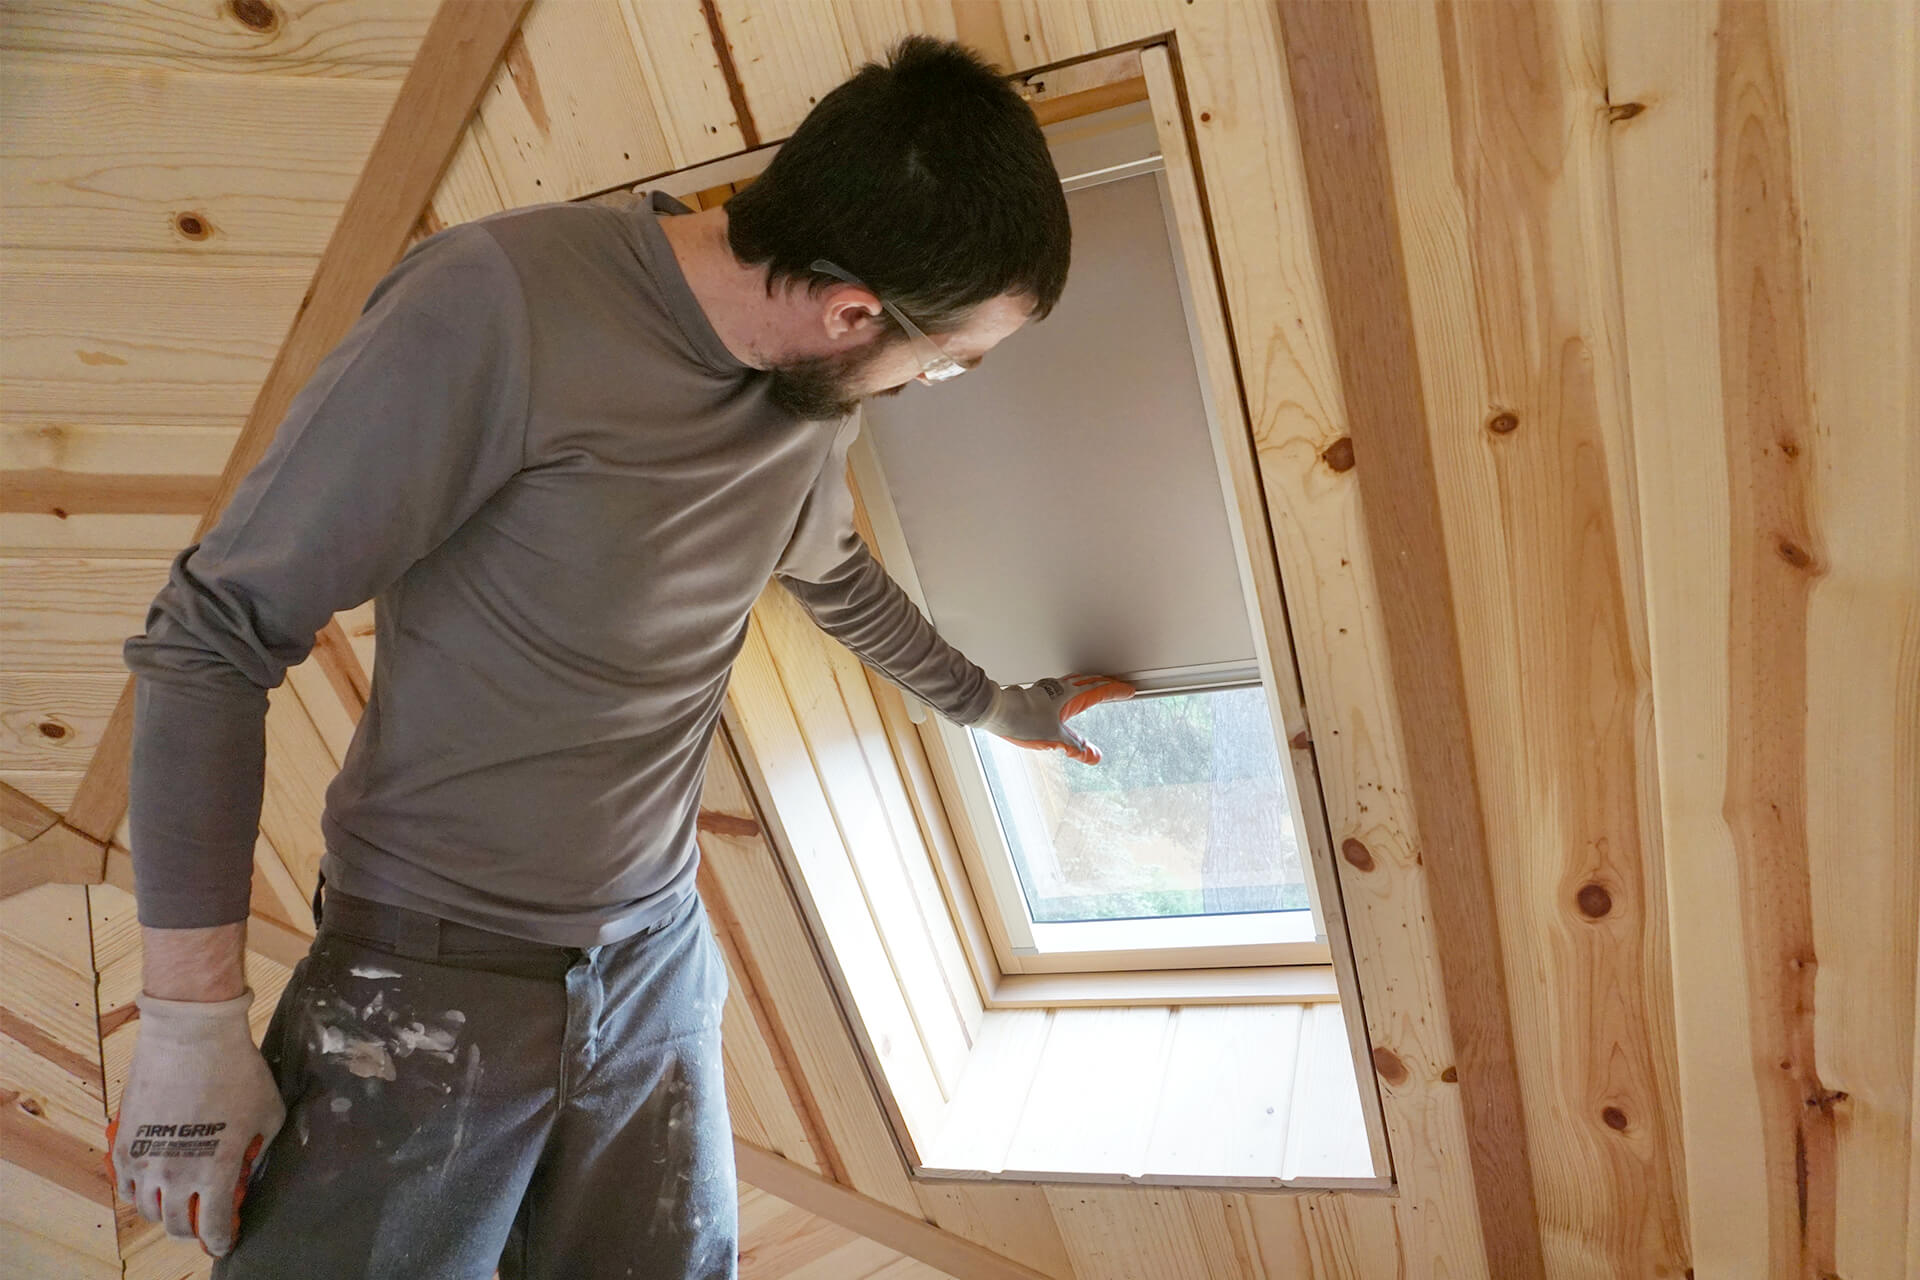
Ensure the blind operates smoothly. Consider omitting the metal spring clips (not visible), which normally hold the blind in the closed position but make it harder to open.
Install the egress window buck trim in the same fashion as the others.
The completed egress window.
Congratulations on completing the installation of the acrylic coverings and window buck trim!
...more build instructions to come. In the mean time, let me know if you are interested in building your own.
Contact