
Wood Paneling – Walls
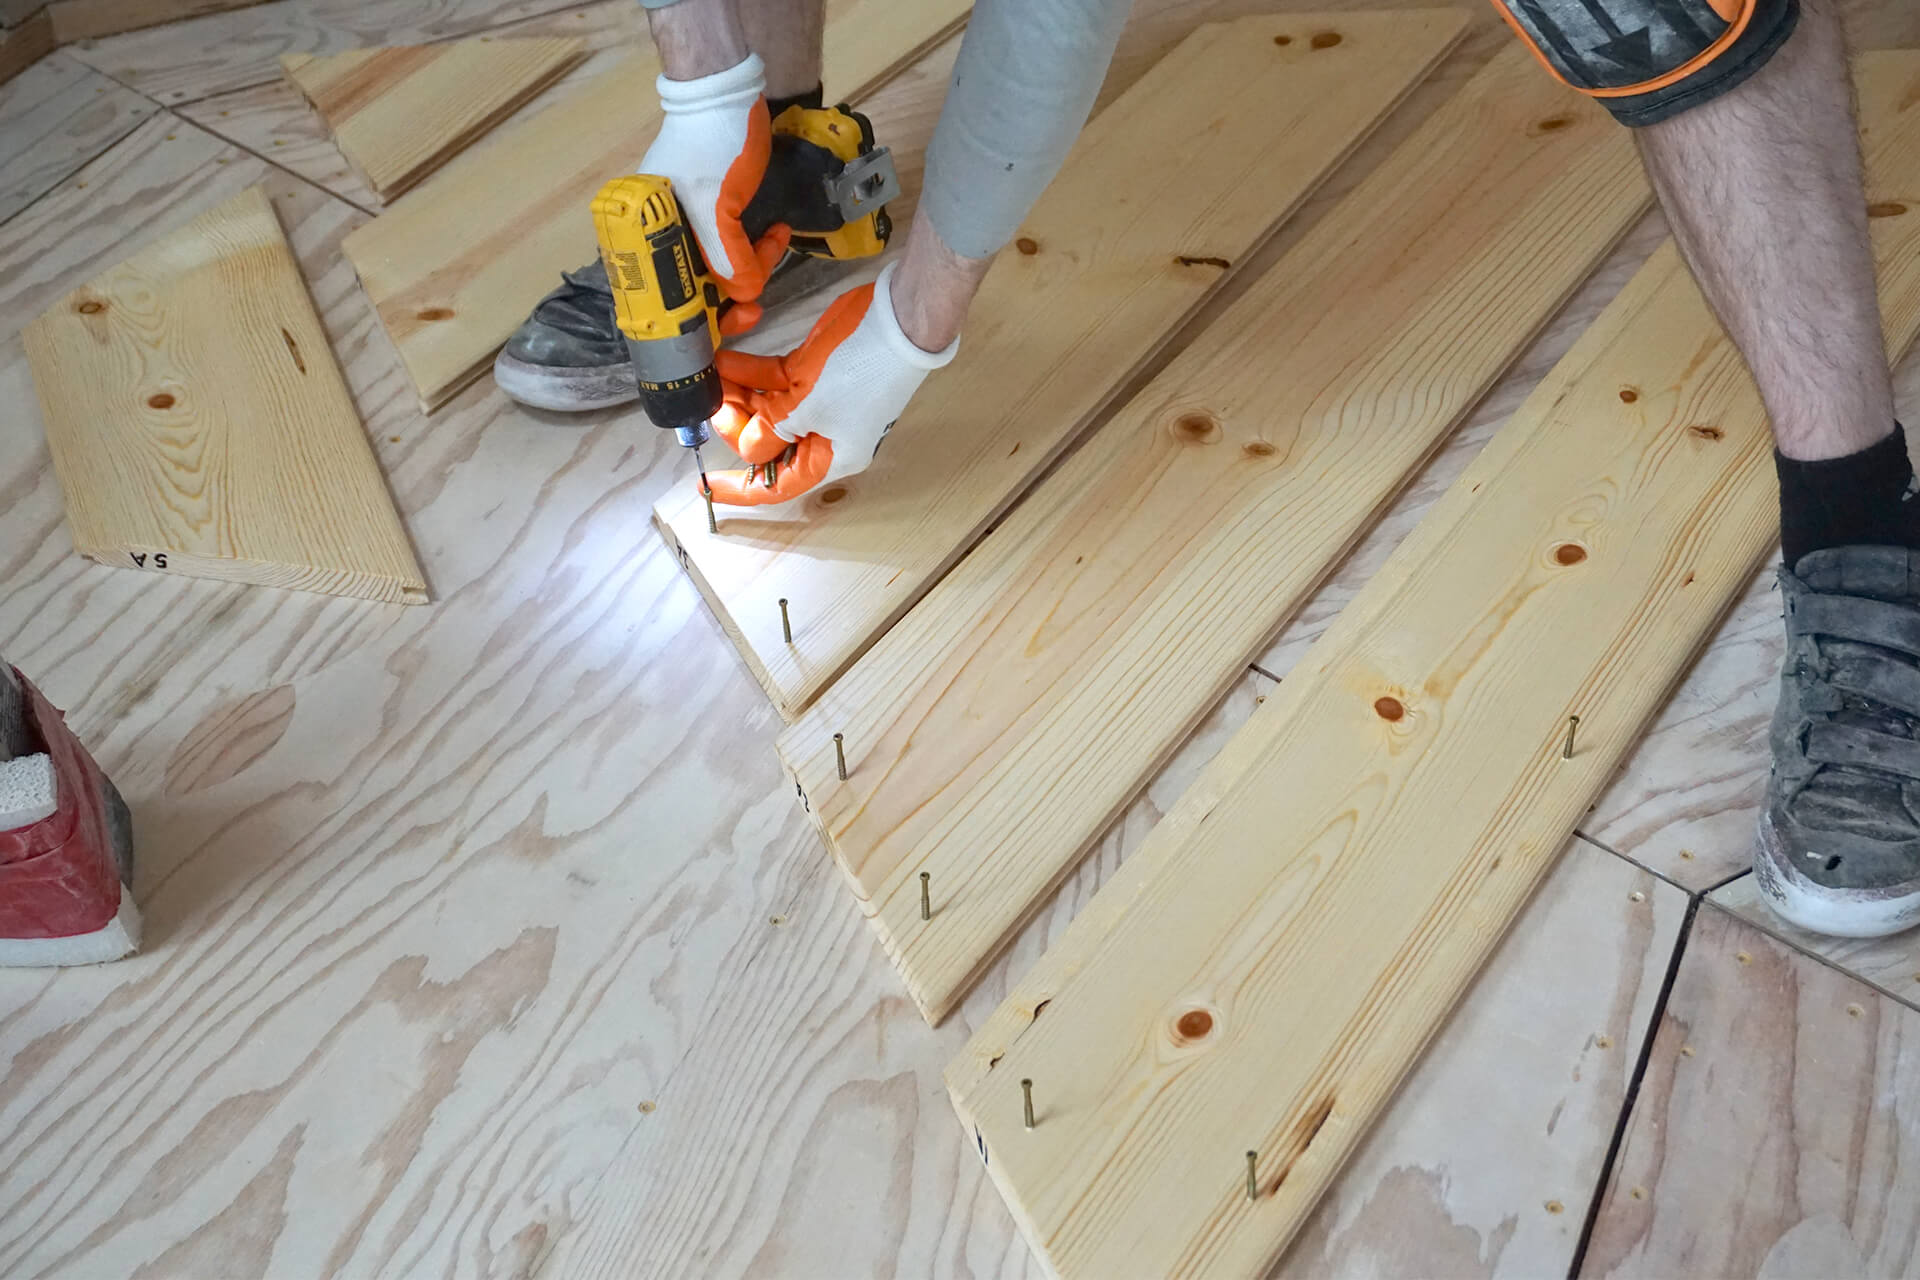
Pre-screw at each center-punch location. There is no need to pre-drill, as the finish screws are small enough not to split the wood. #8 x 1-1/2” T-10 trim head wood screws shown here.
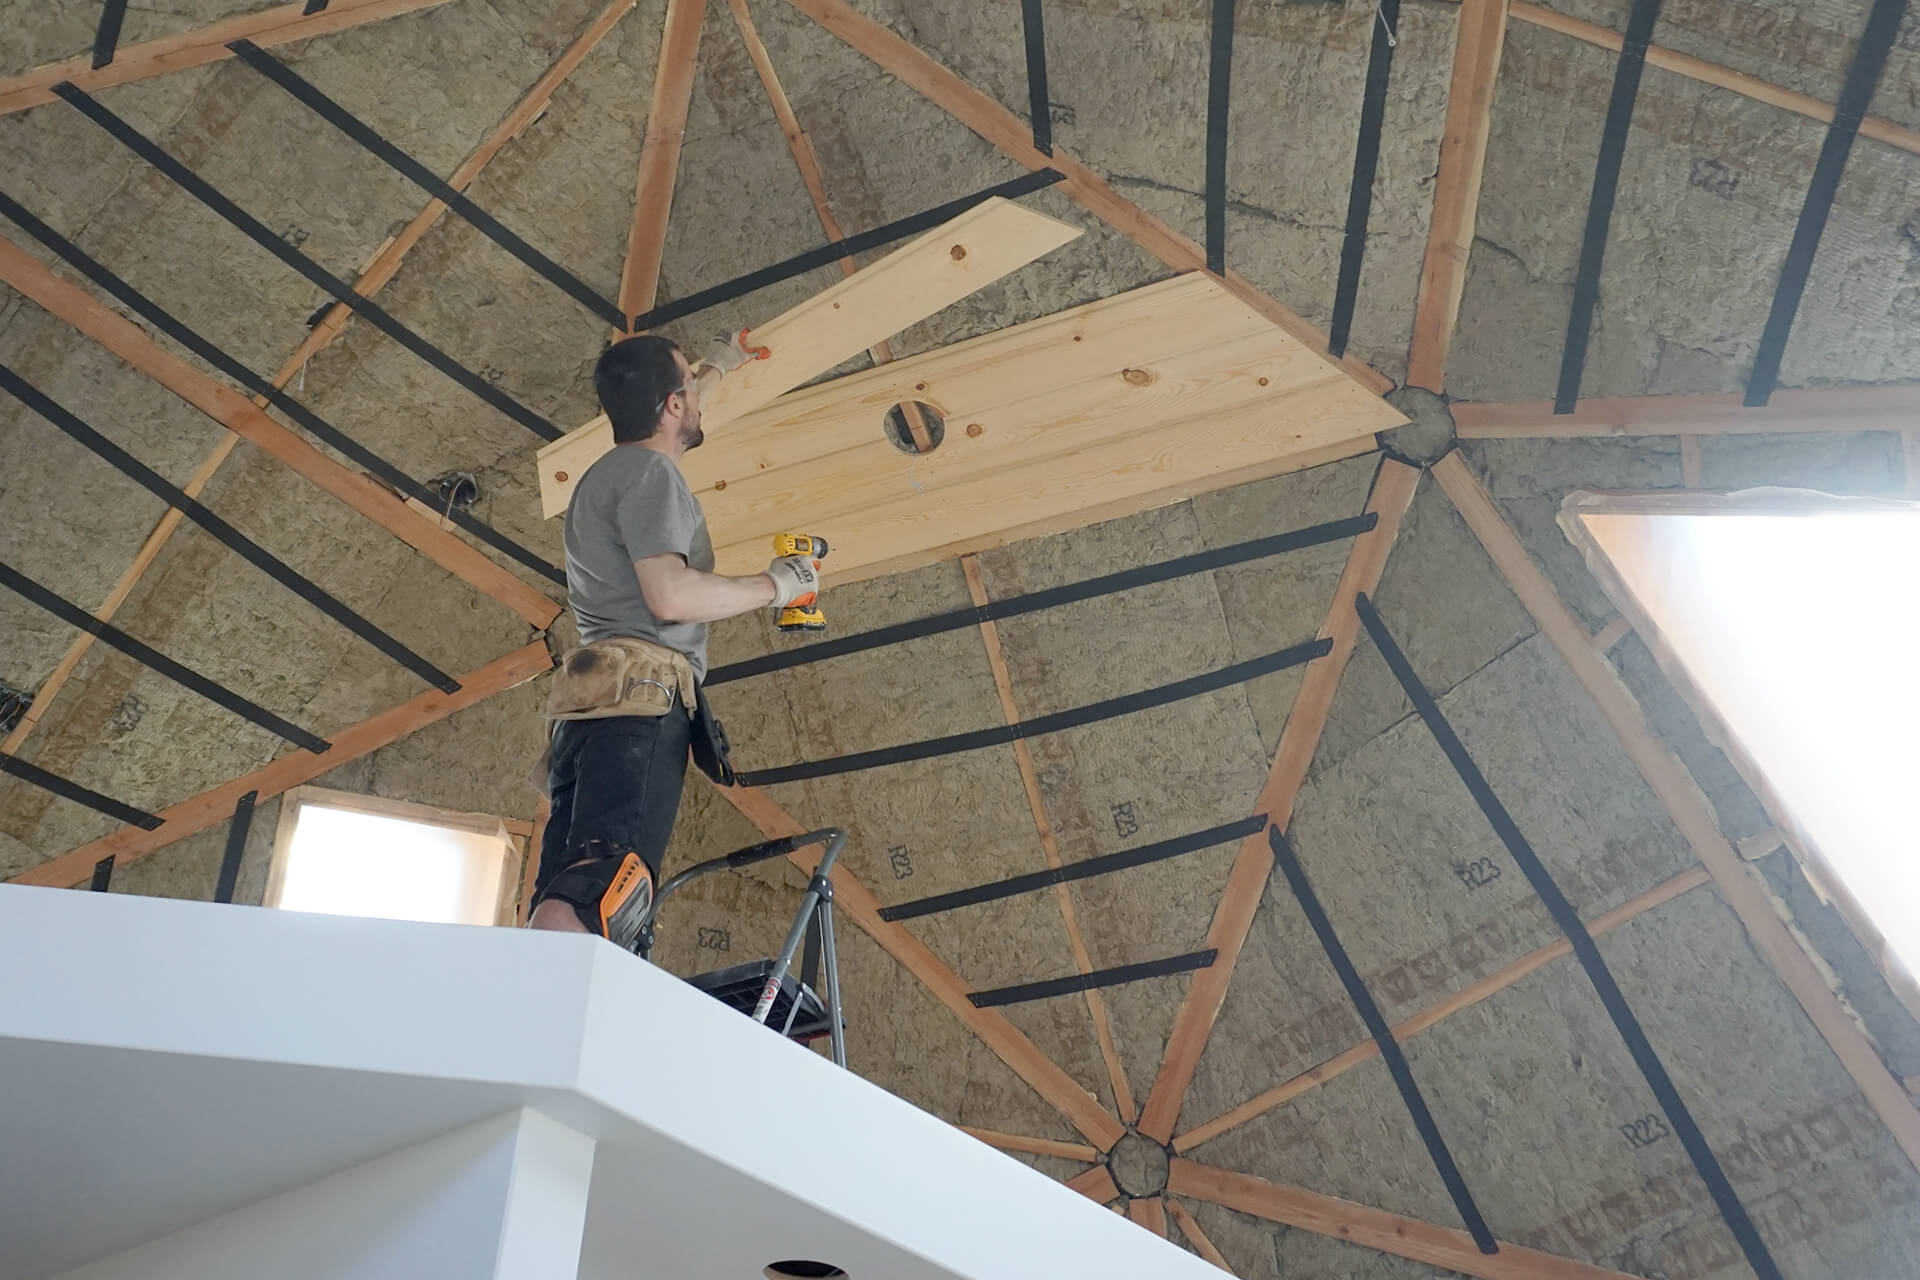
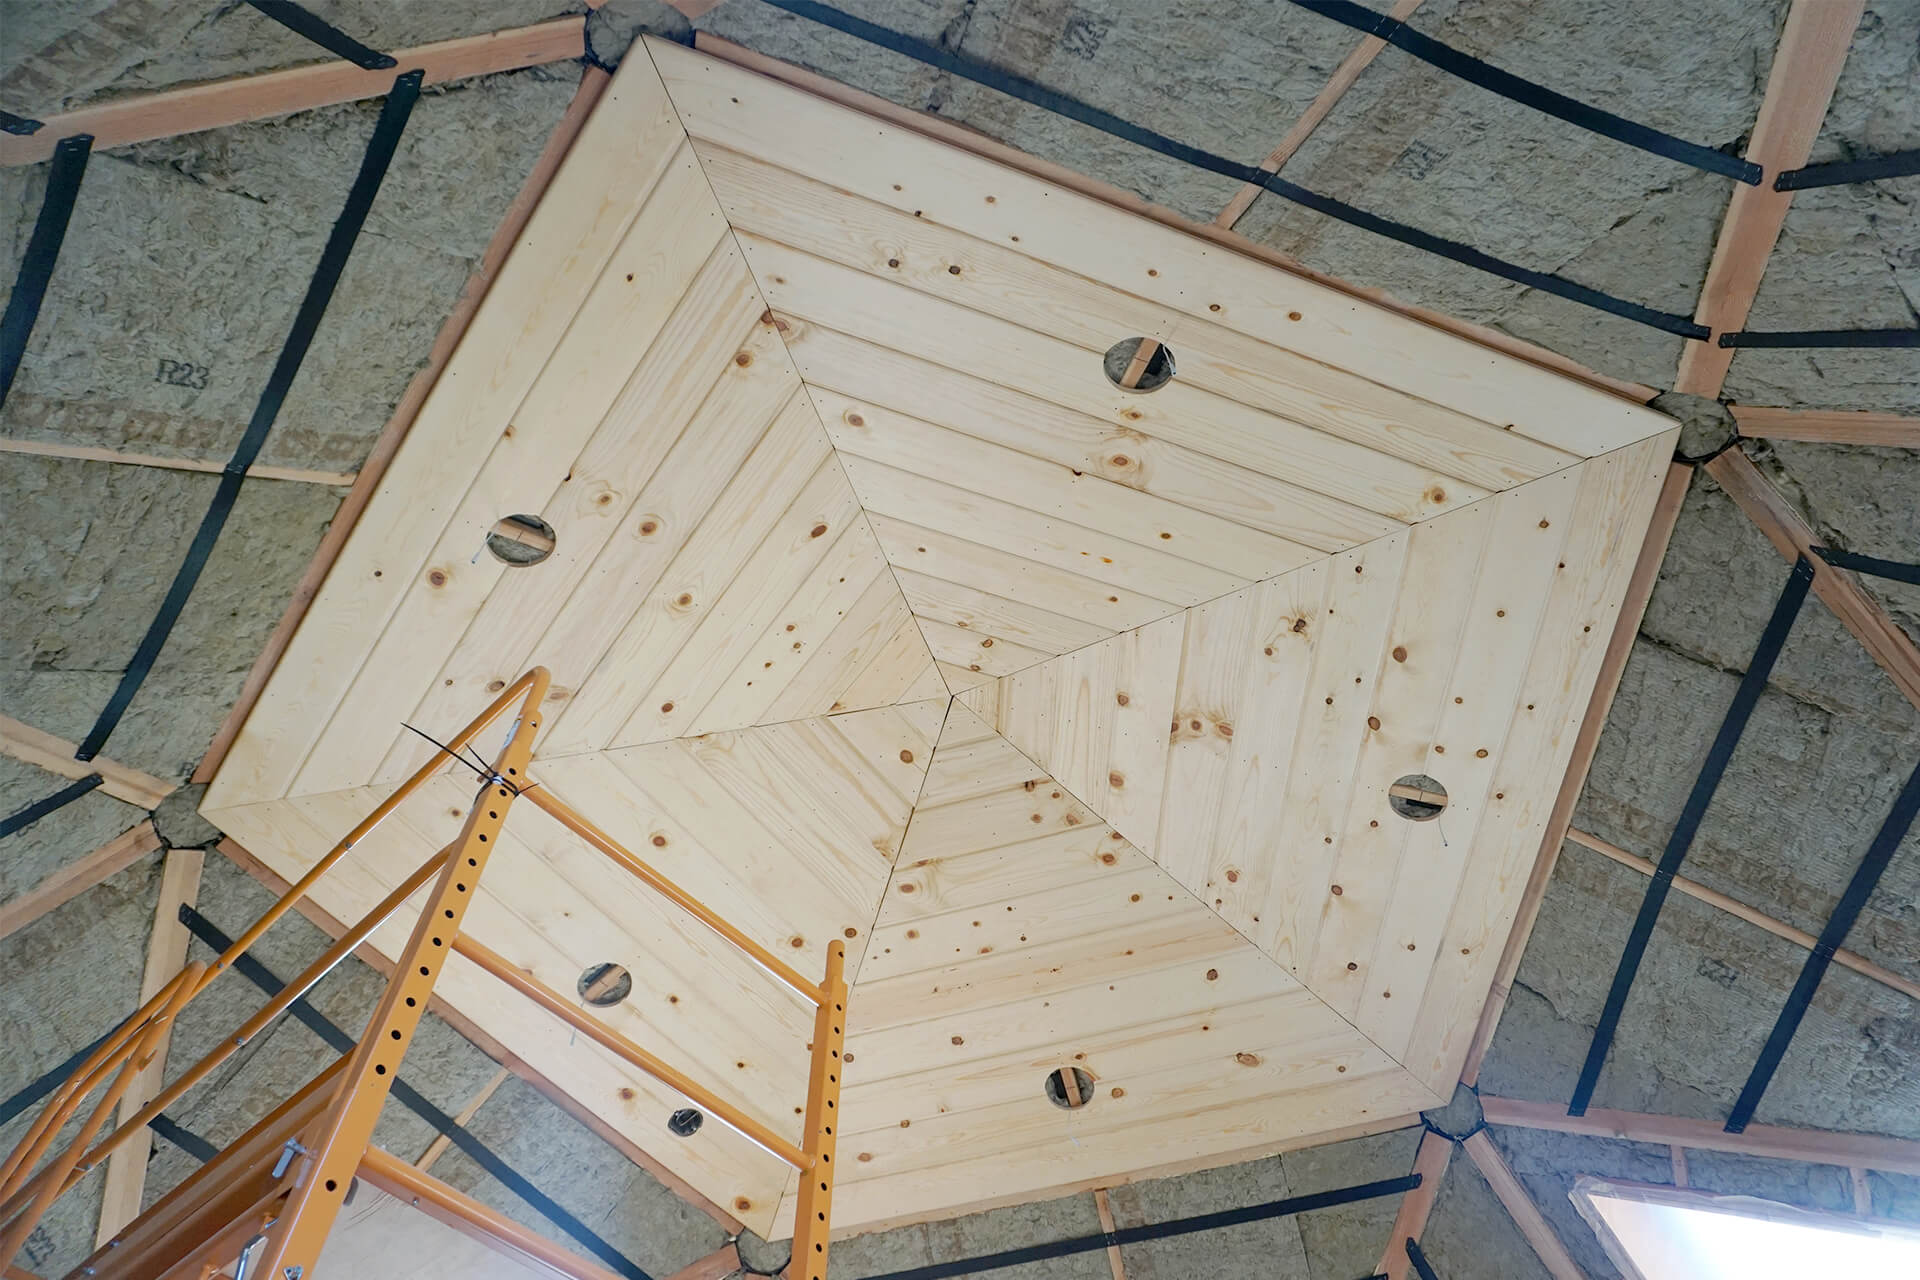
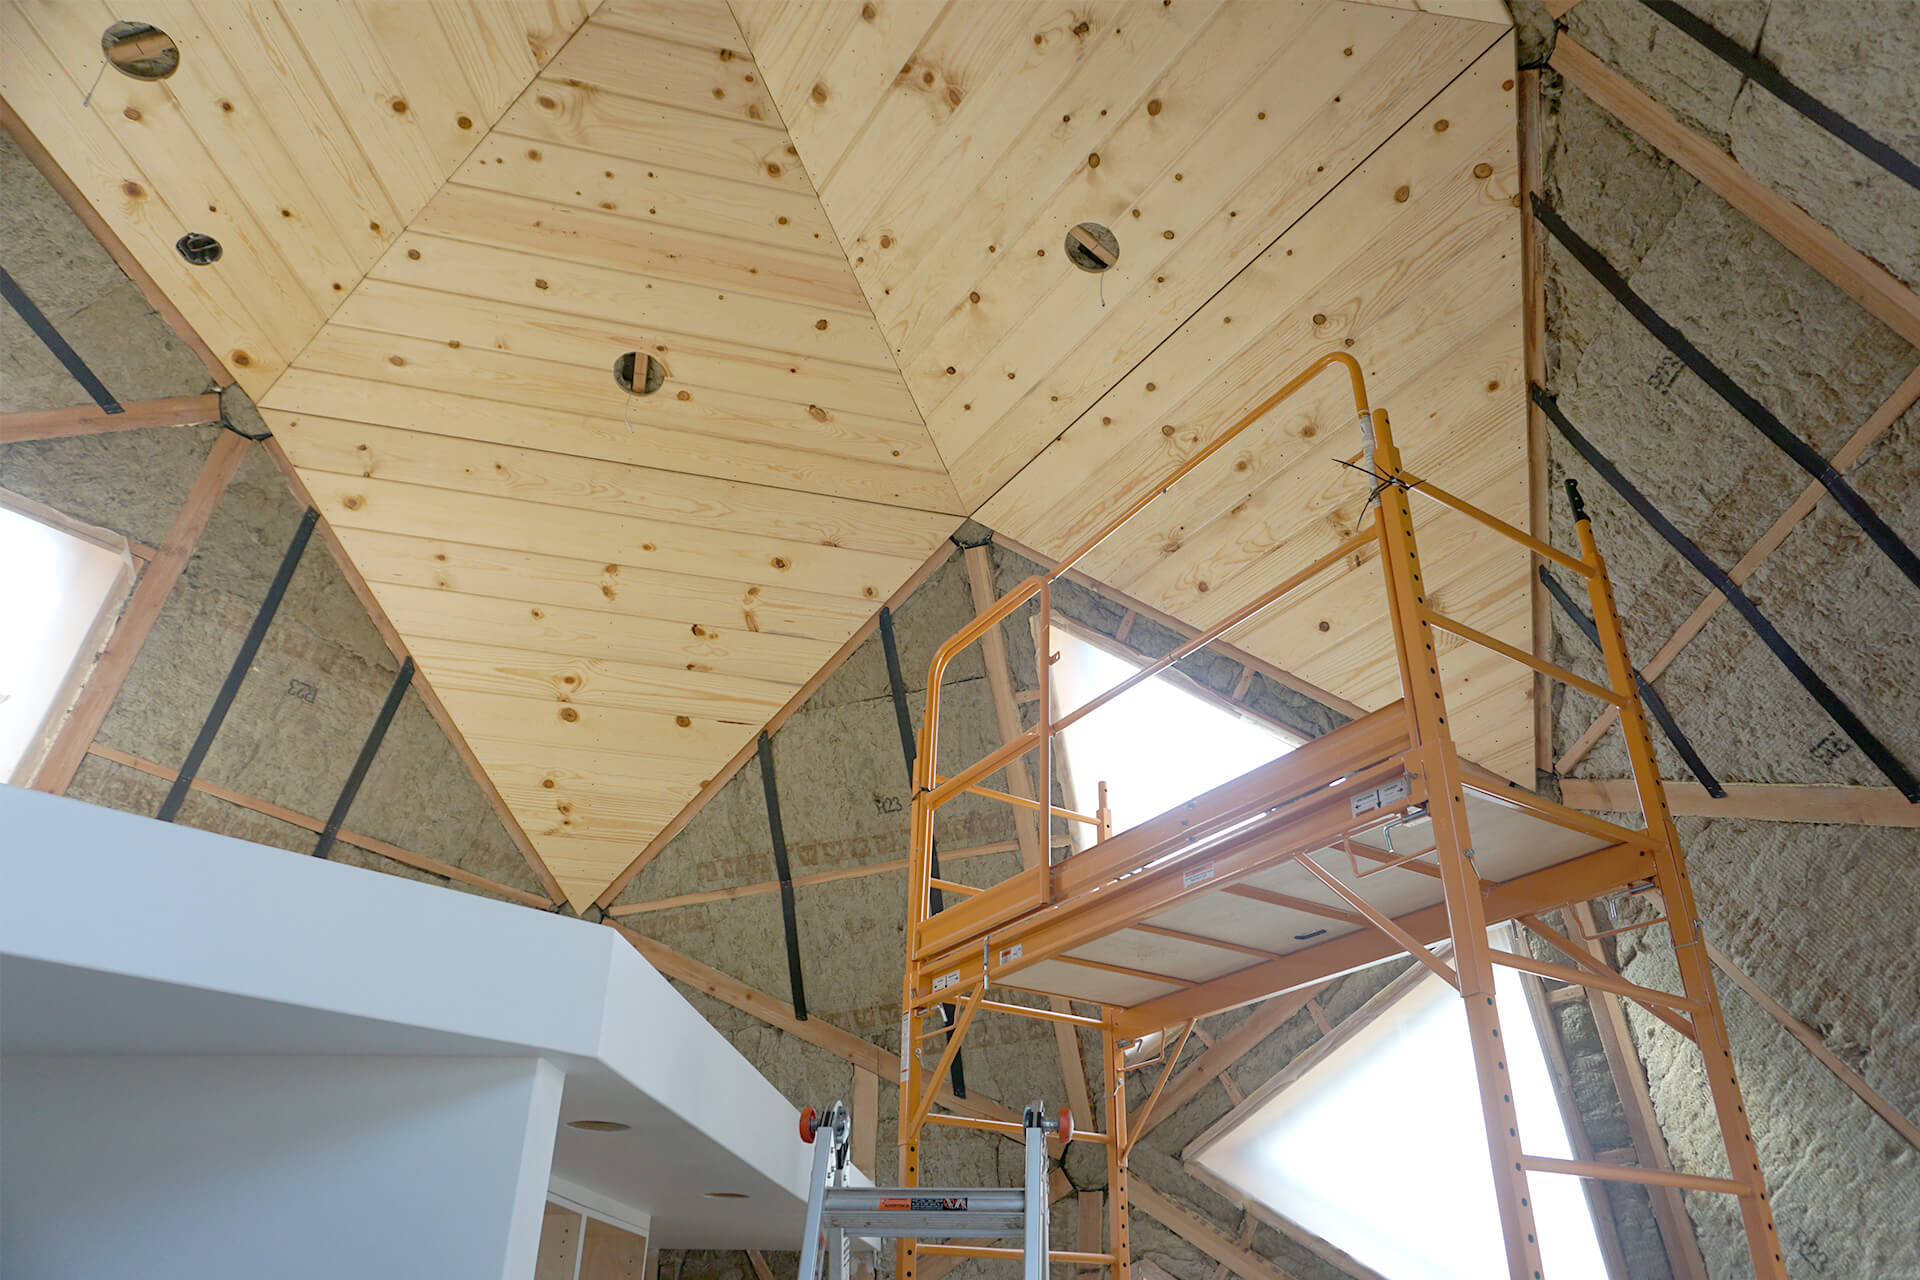
Start with the top ceiling panels and install planks from largest to smallest, ensuring an even fit relative to the centerline grooves of the perimeter struts.
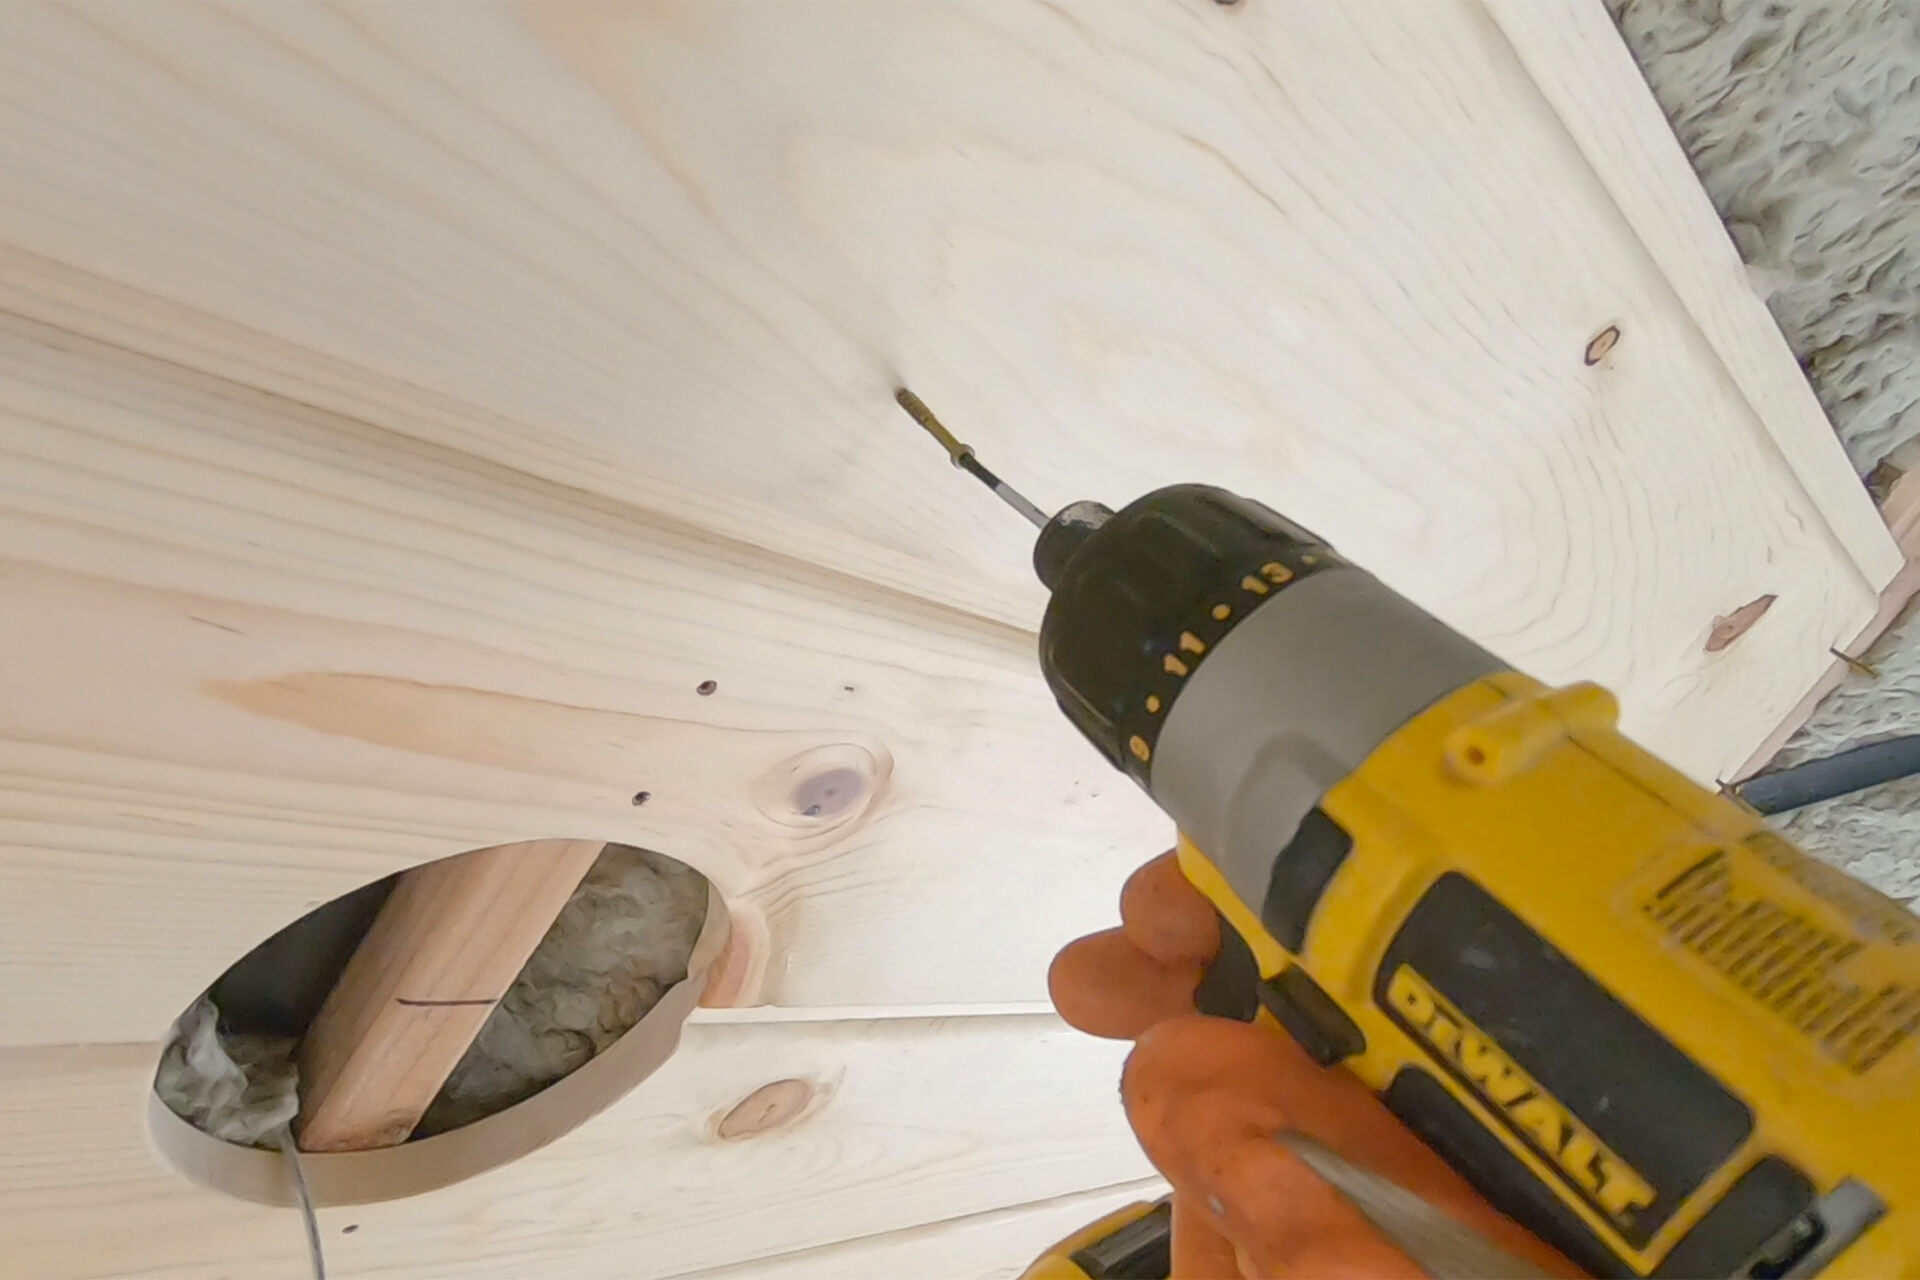
Drive the screws slightly below flush to allow room for future wood putty. Screws on the perimeter will be covered with future trim and will not need putty.
The topmost planks can be reached with a step stool. Scaffolding will be used for panels extending beyond the footprint of the top floor.

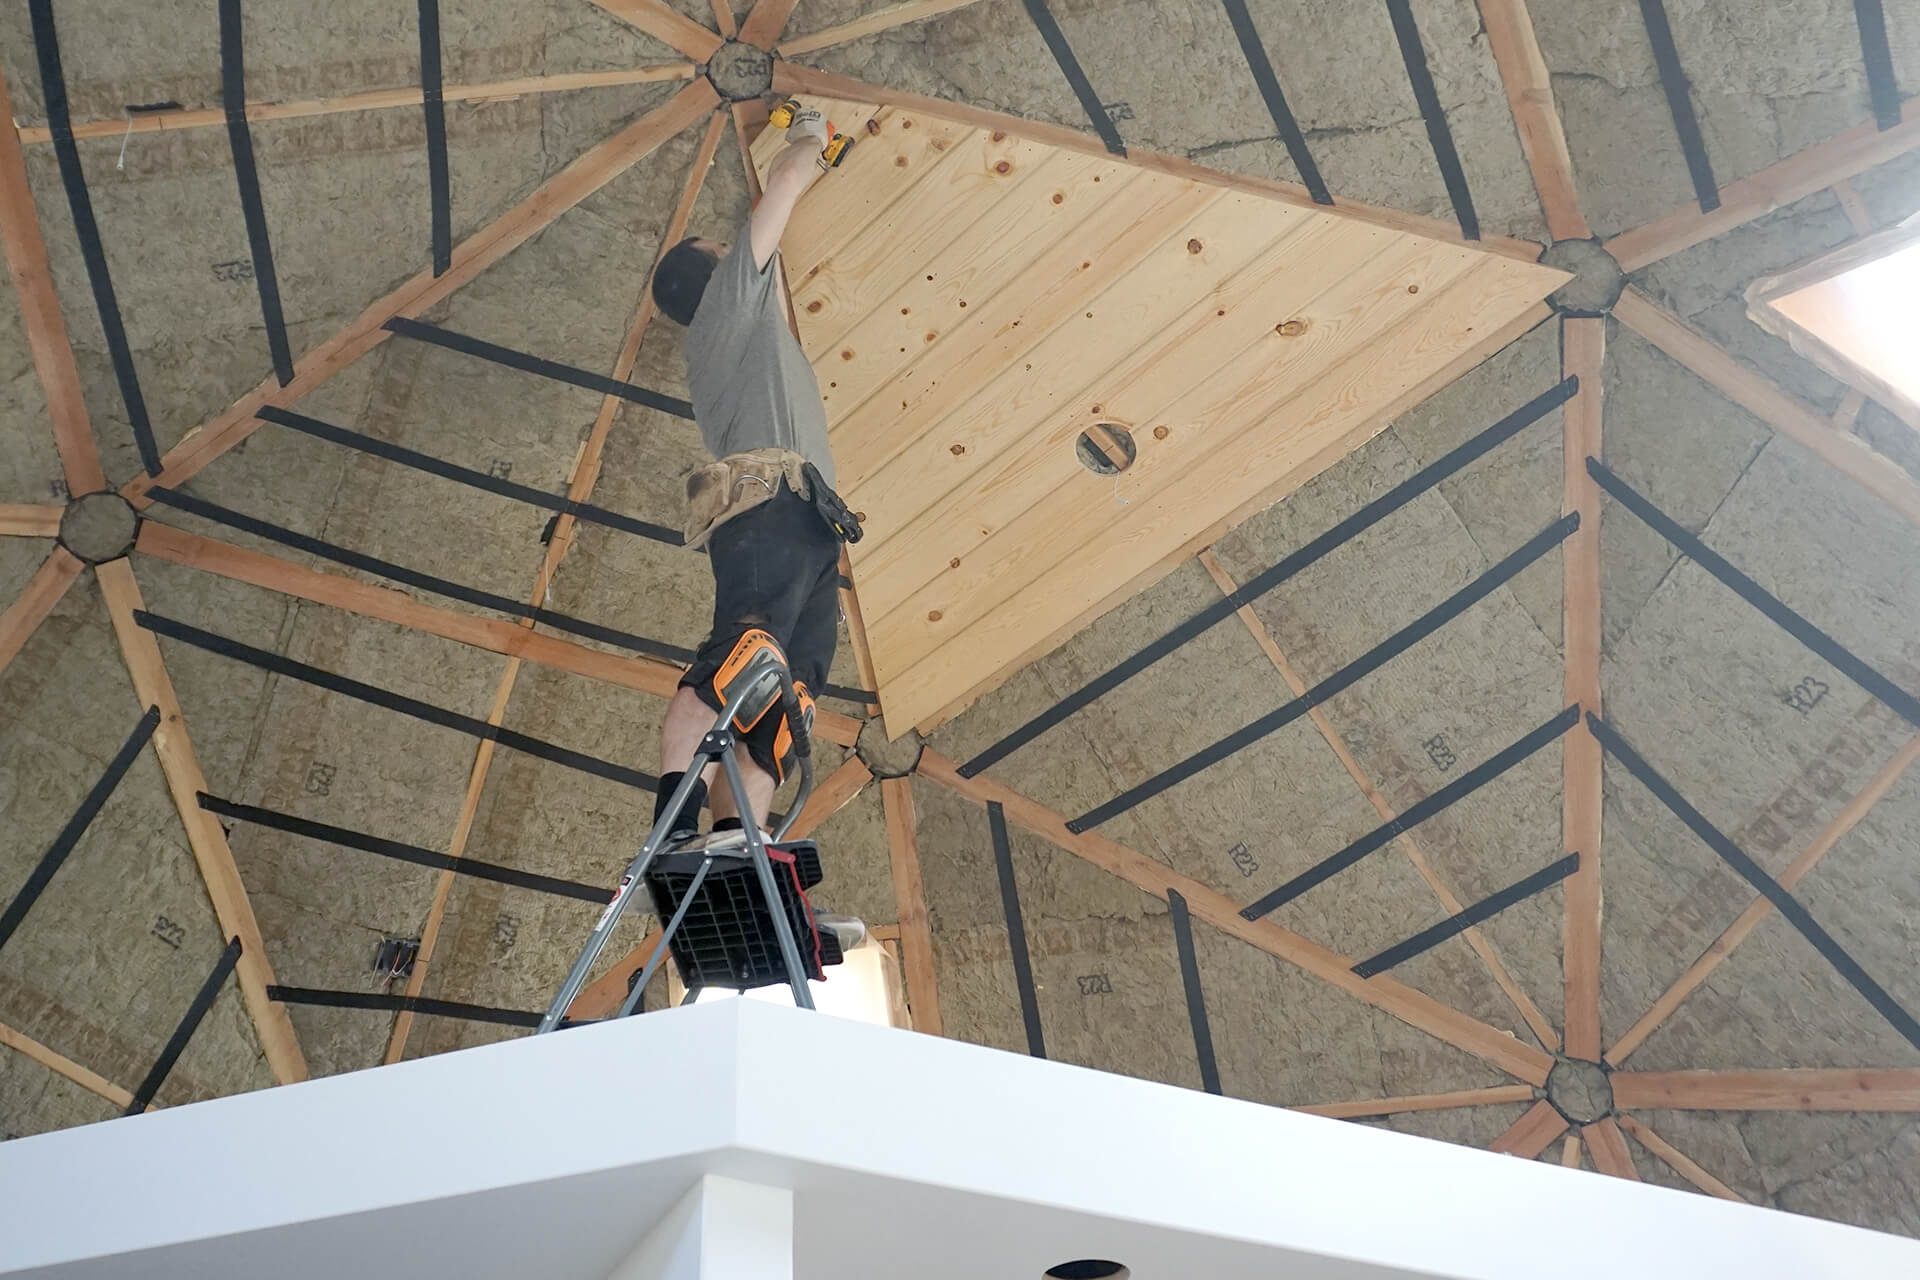
Detail shot showing the first completed ceiling panel. The cut circle is directly beneath the junction box for the future canless light and is also centered between planks.
Install the remaining wood panels to complete the topmost level. The last panel may require installing planks in reverse order, smallest to largest, to fit properly.
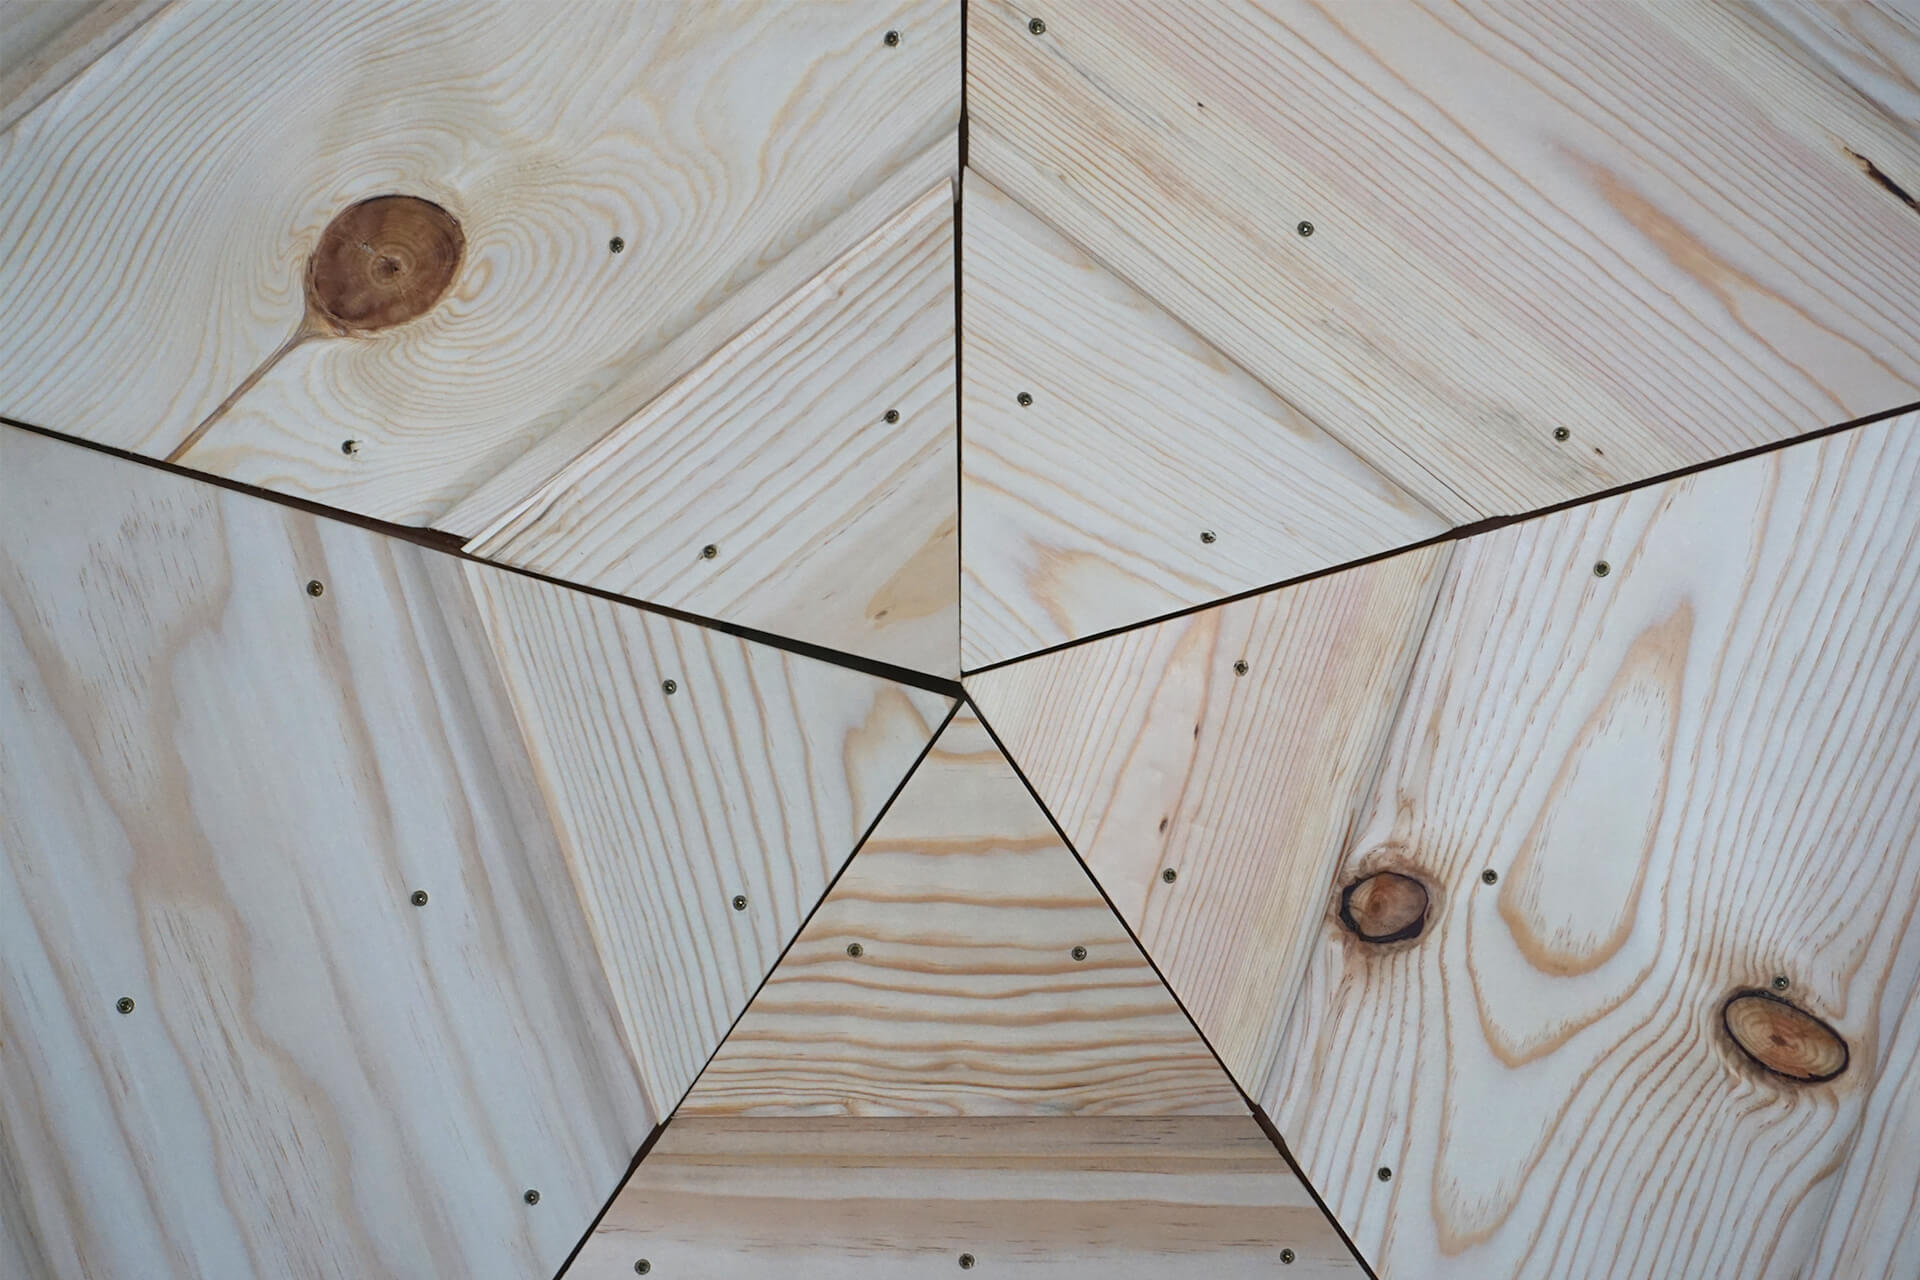
Aim for equal gapping and alignment among panels, but it does not have to be perfect, as future trim will cover the edges.
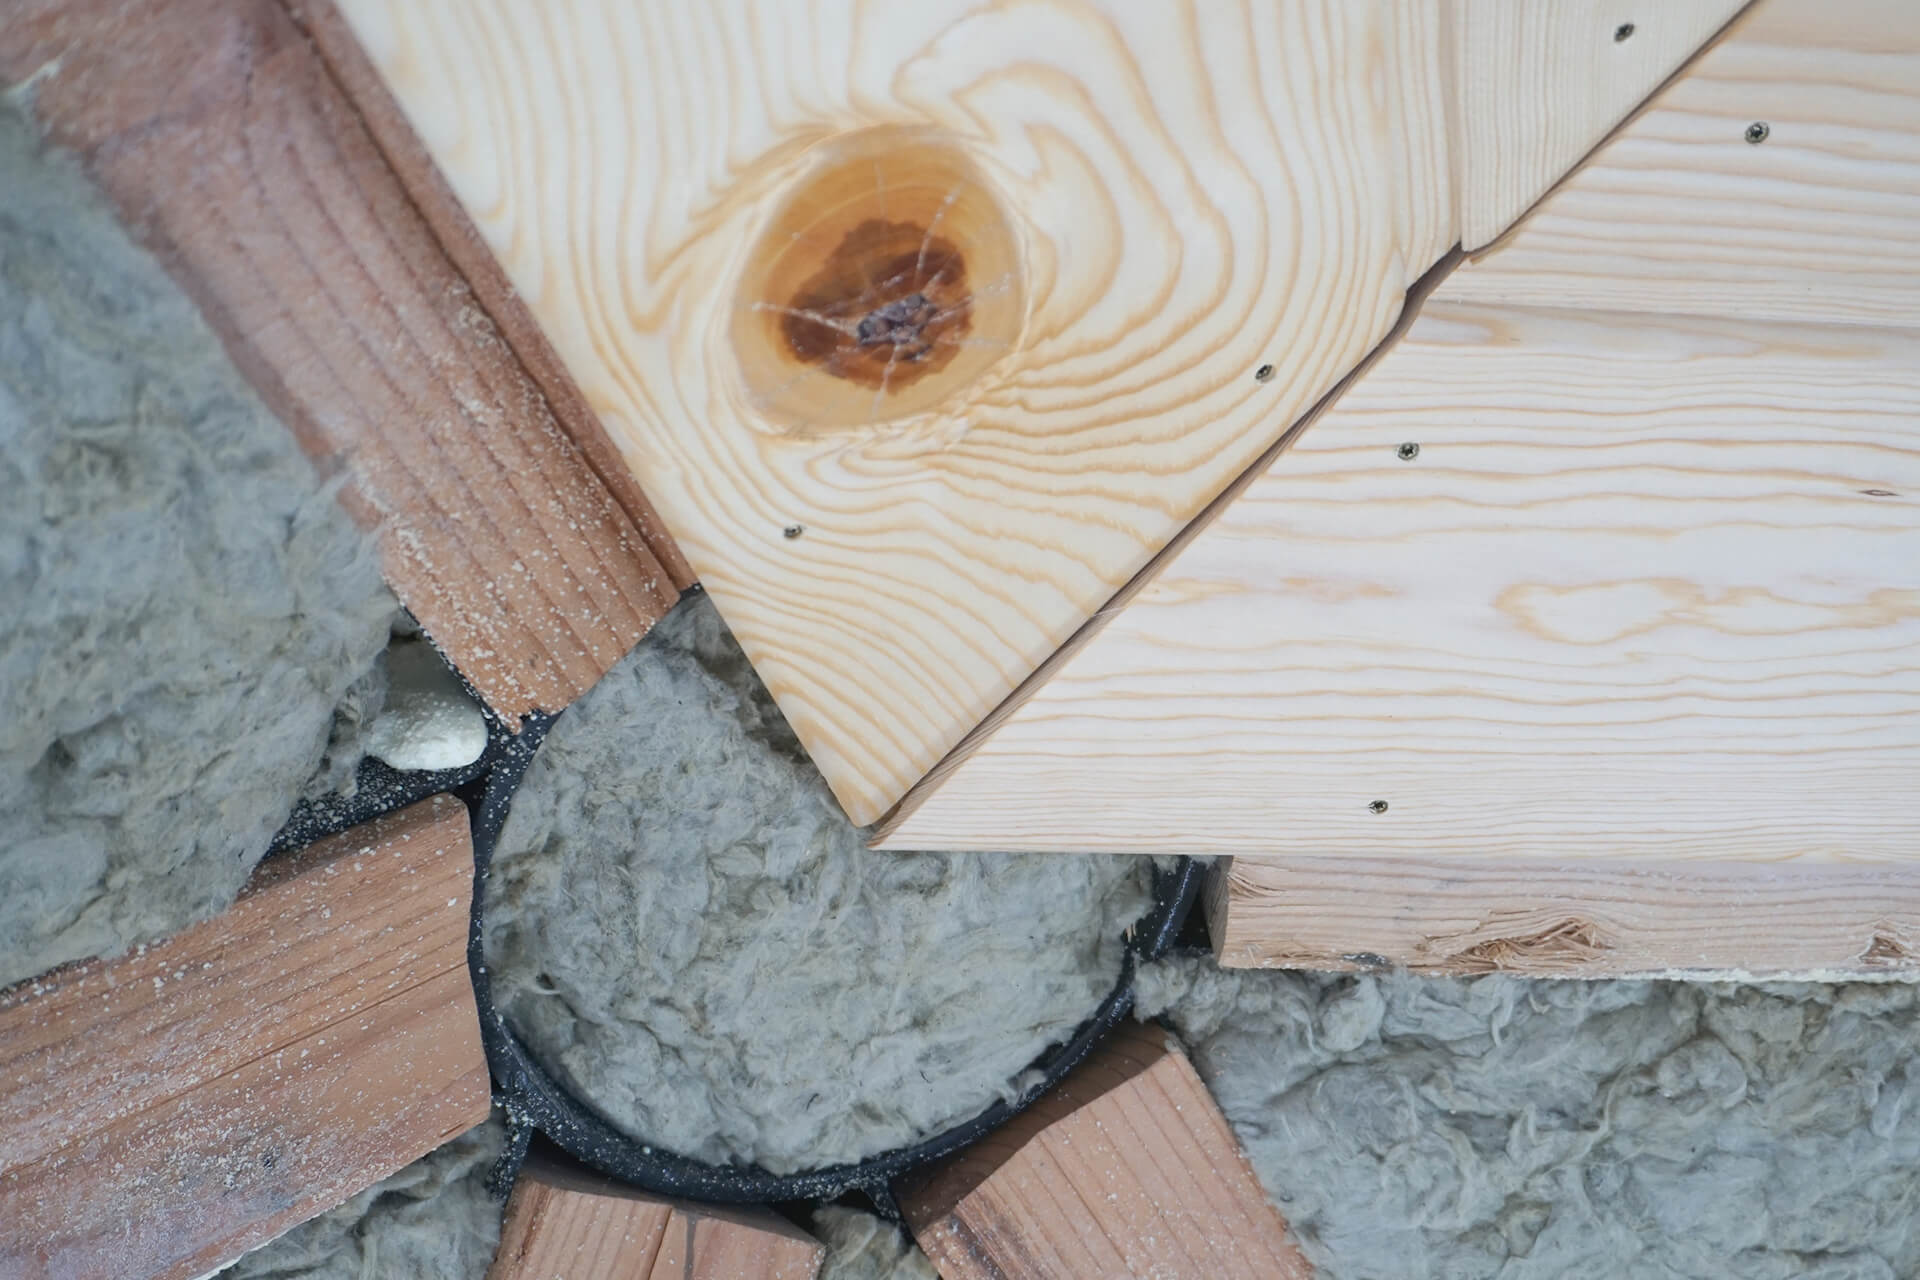
Consider backing out a screw and adding a shim when the base planks of some panels aren’t planar in the corners, as that could create a minor gap in the future trim work.
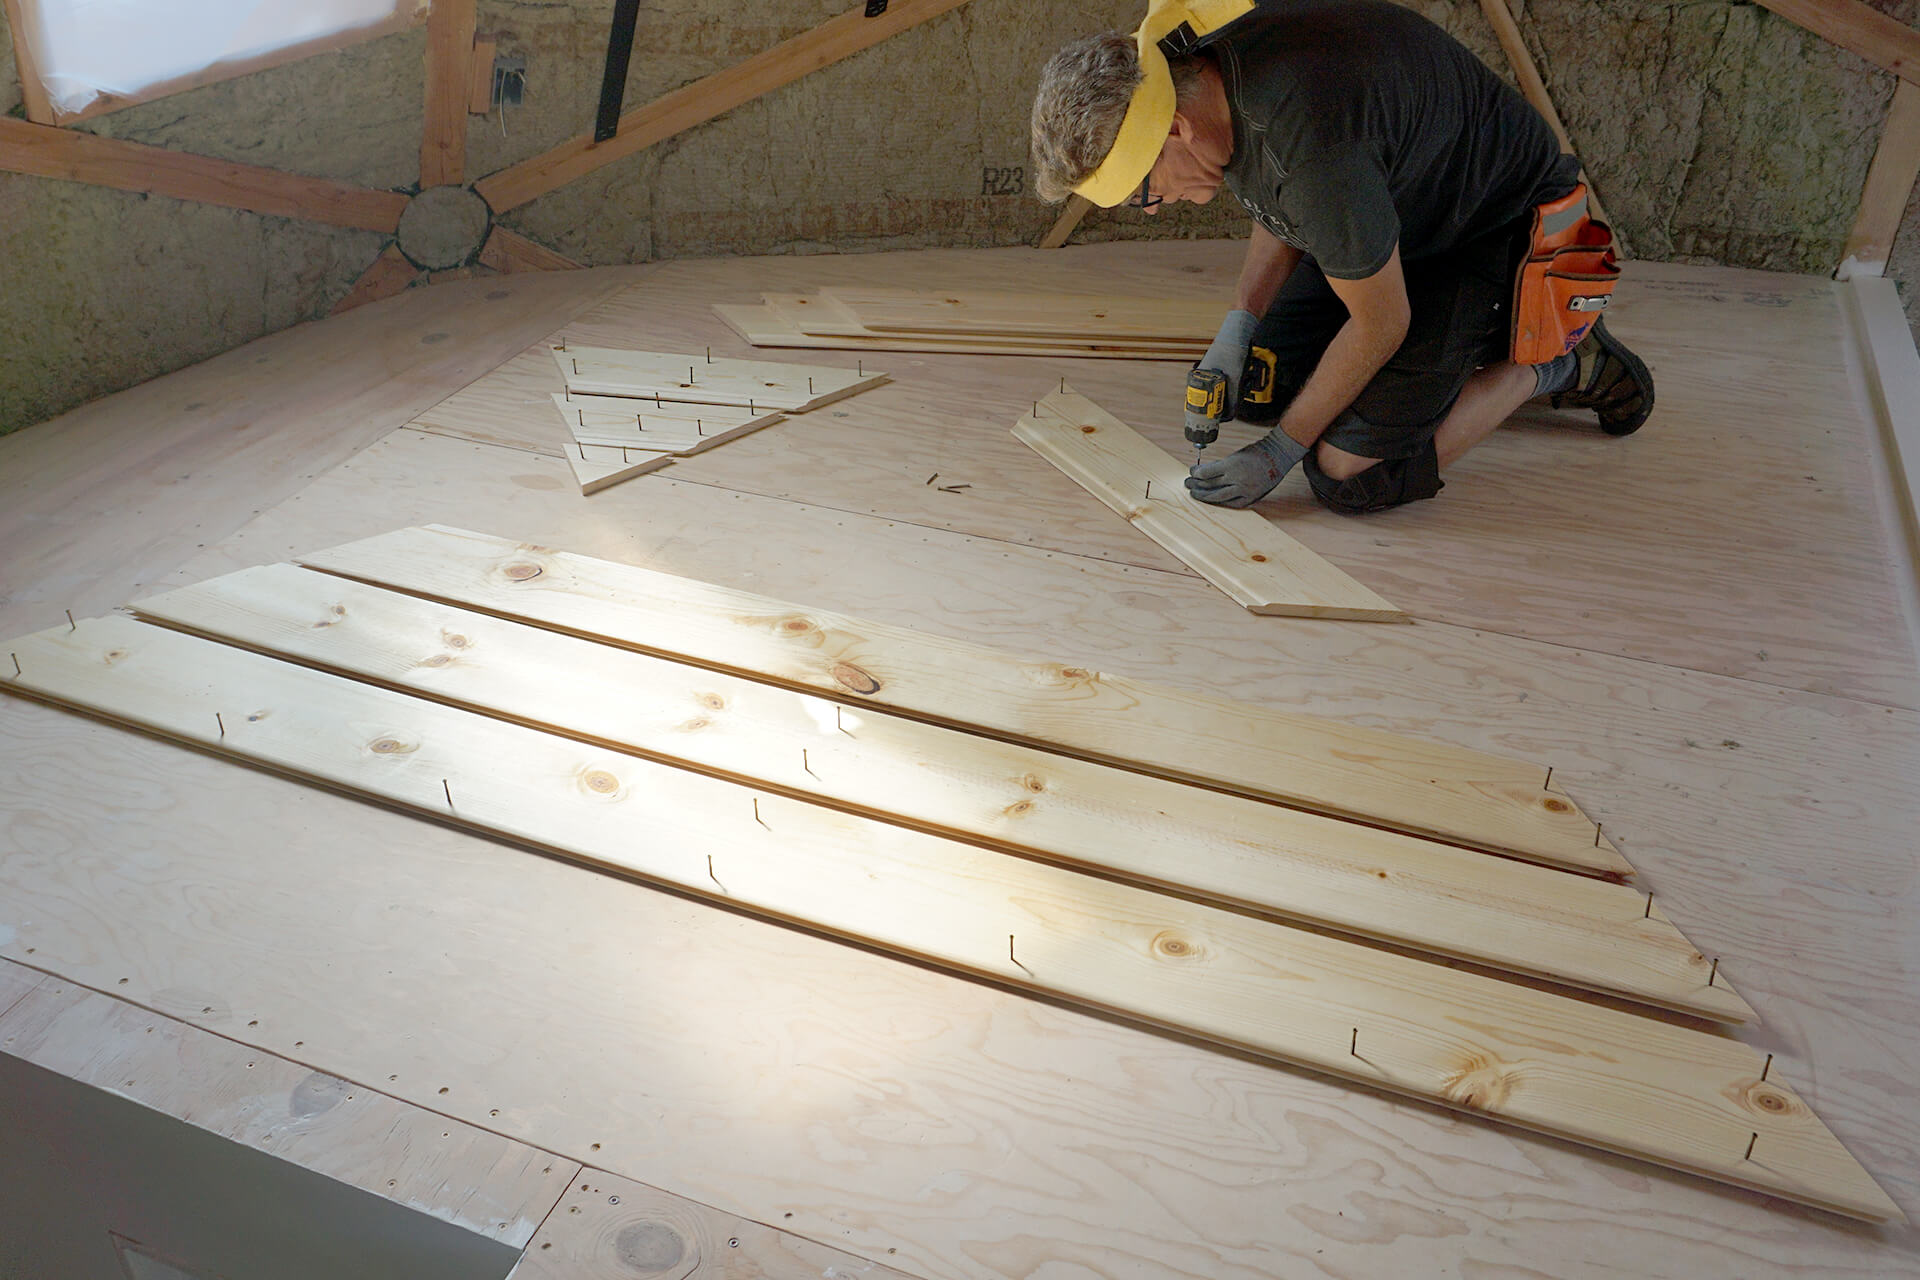
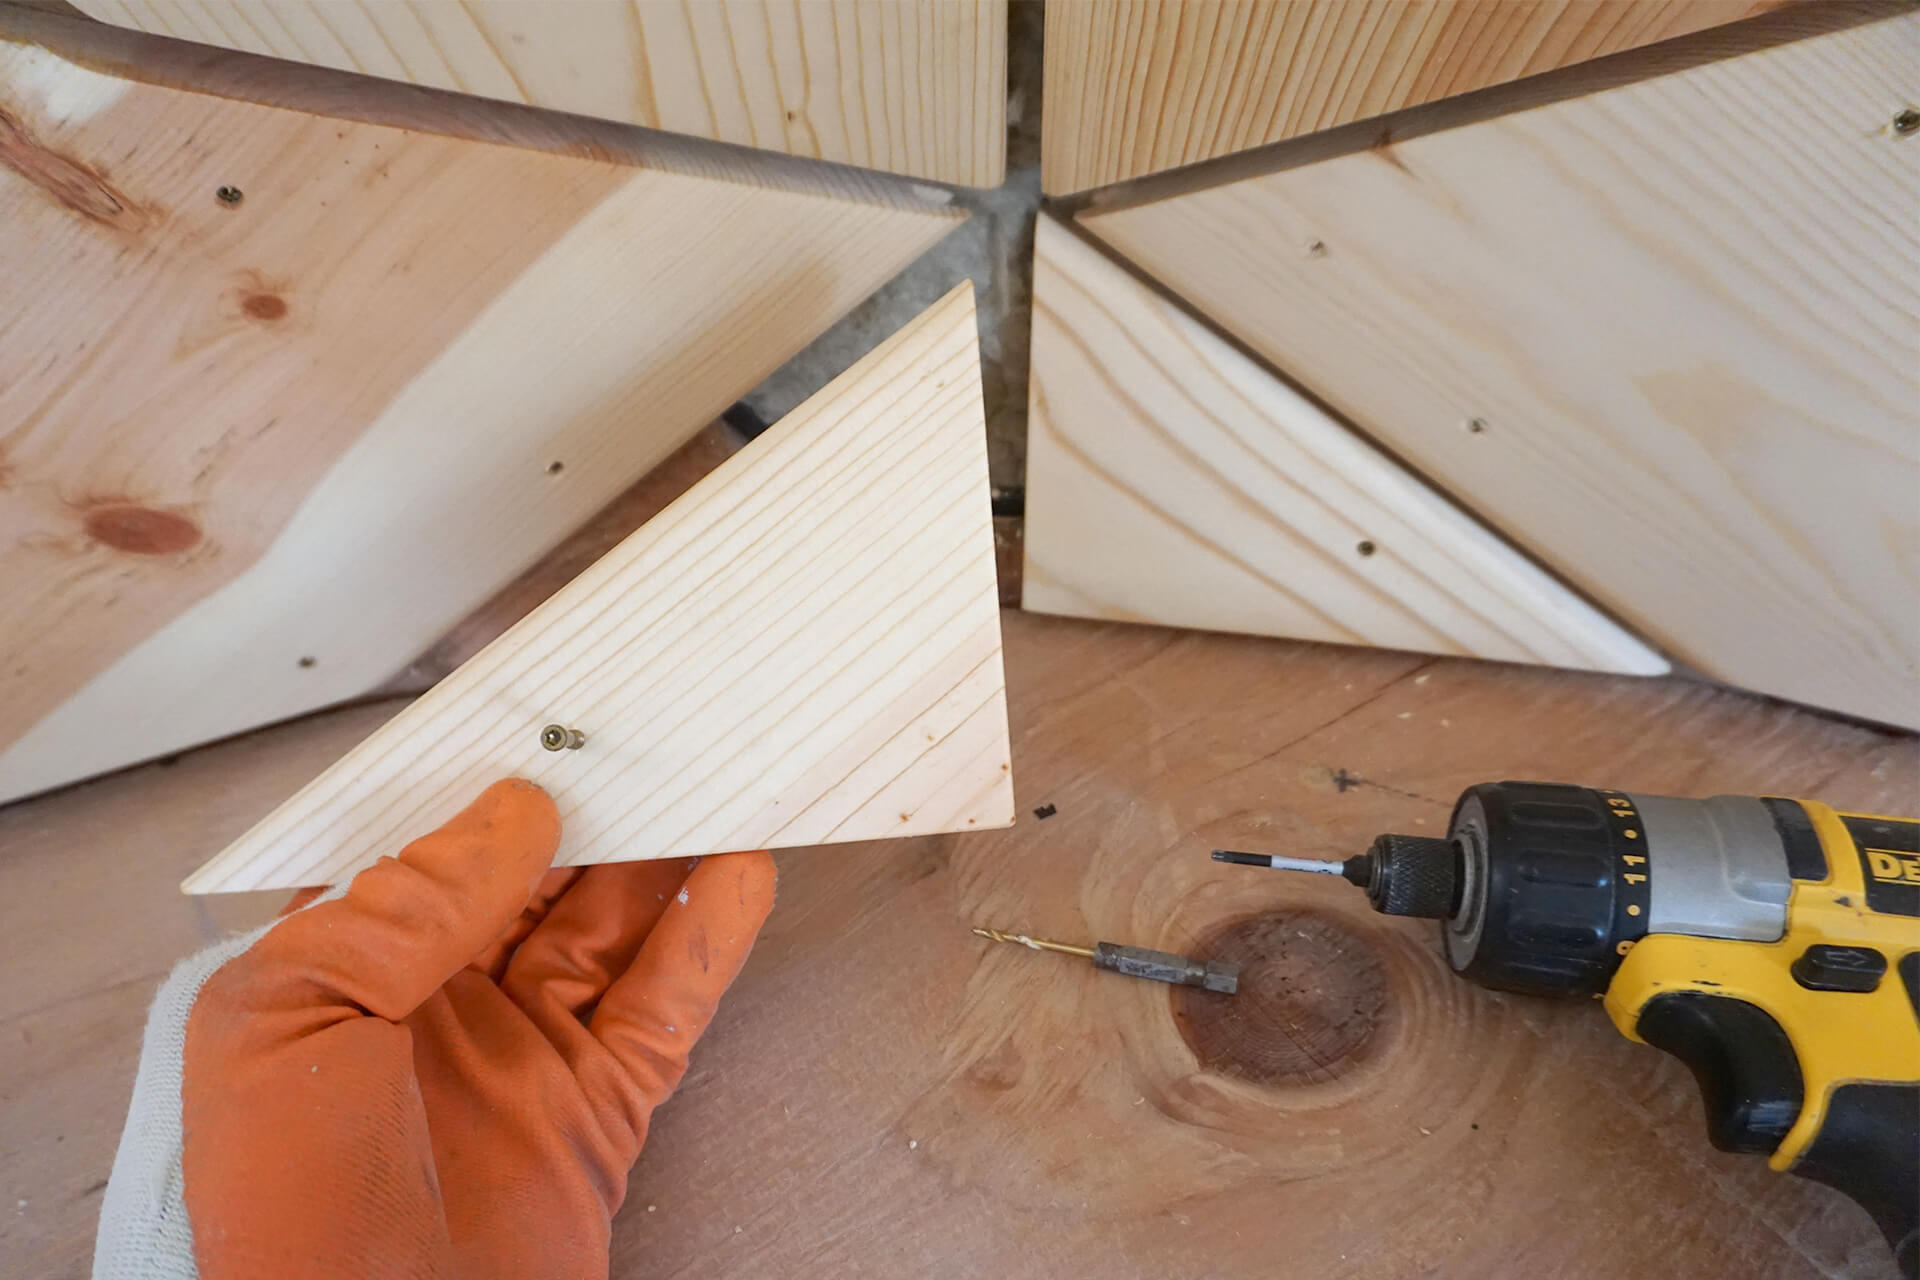
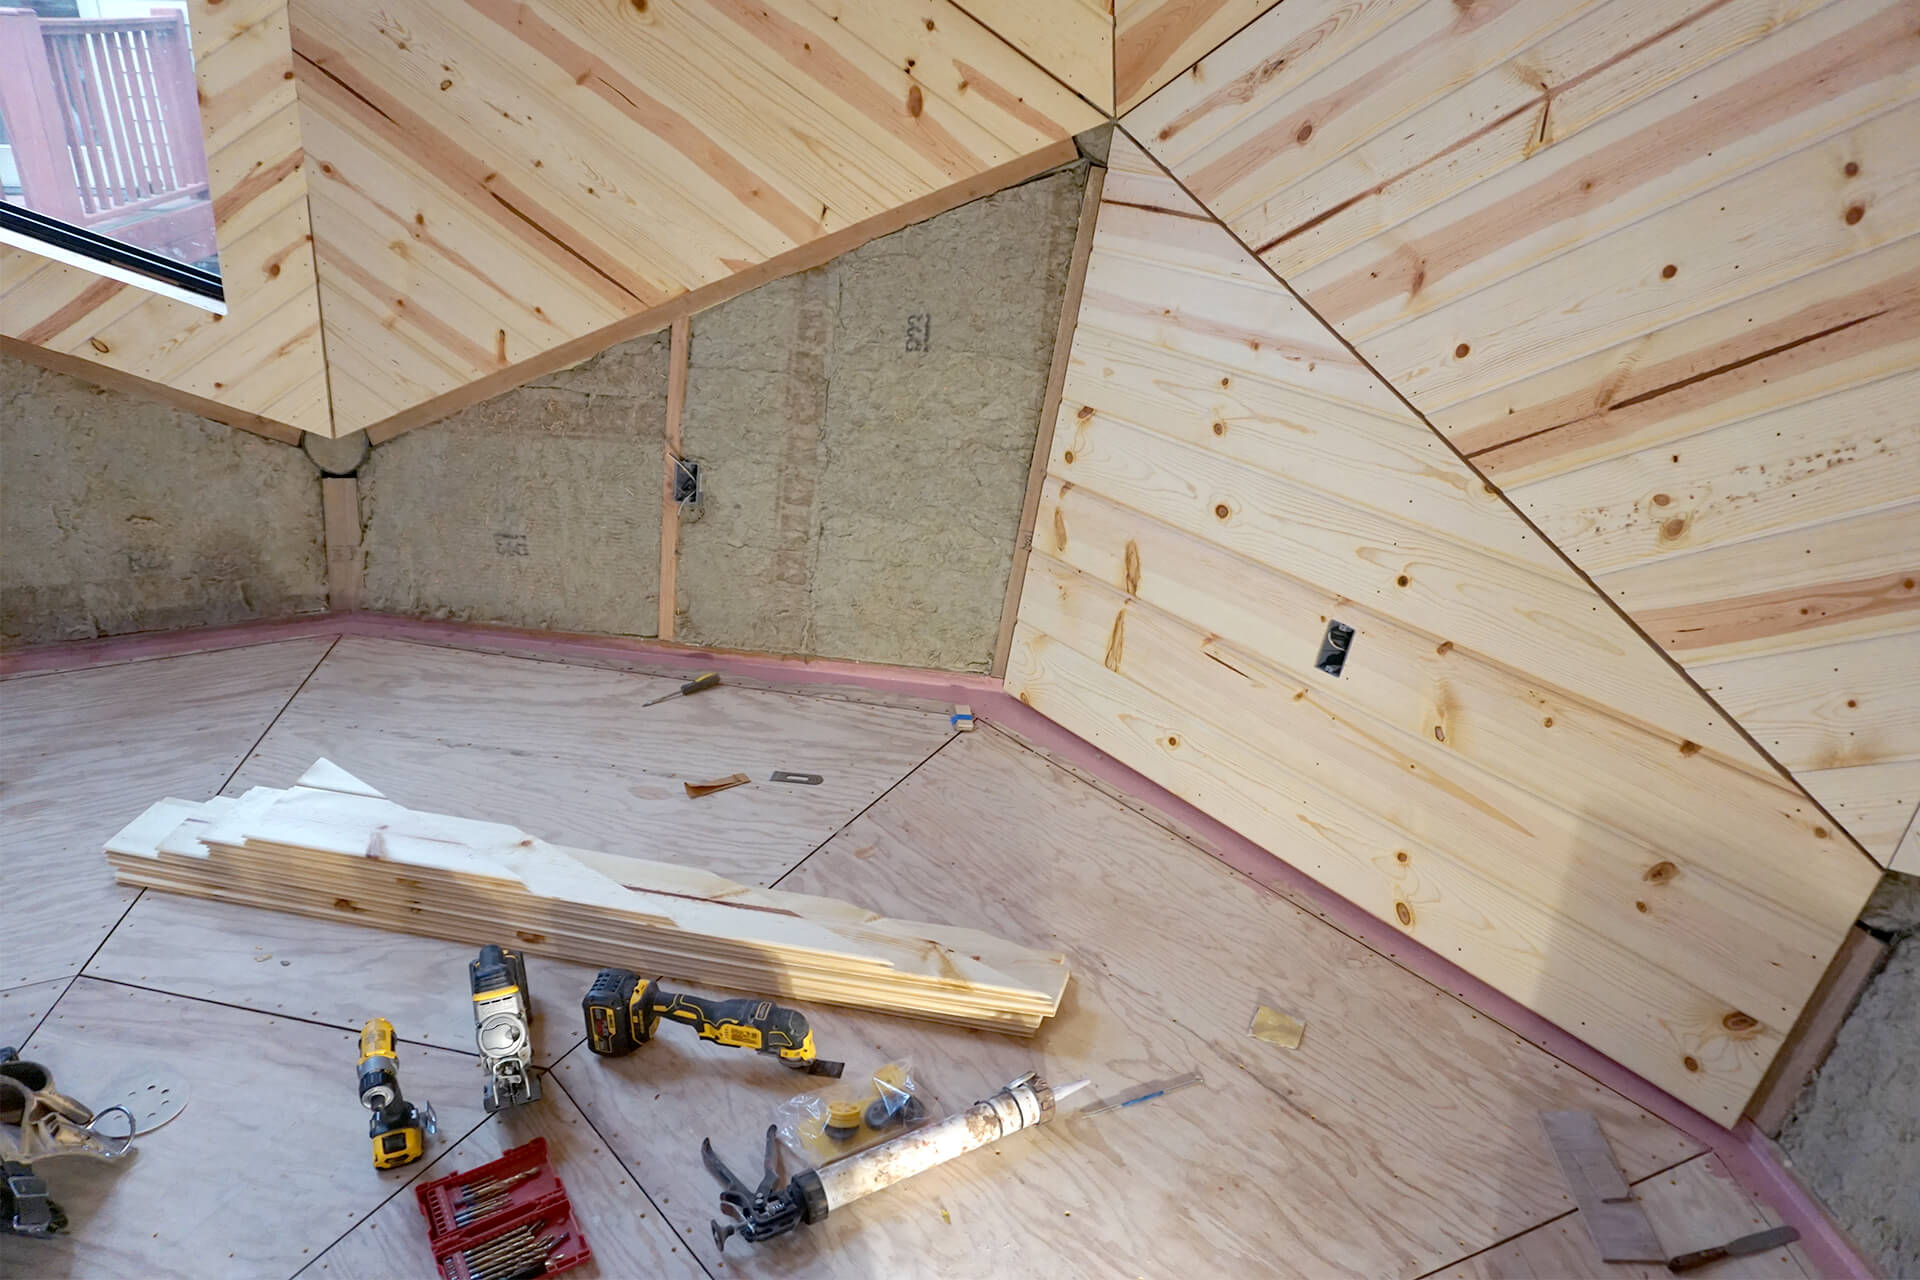
Prep new planks, pre-screw them (shown here), and begin paneling the next lower level.
Progress shot showing the paneling of the next level, which are five downward-facing triangles.
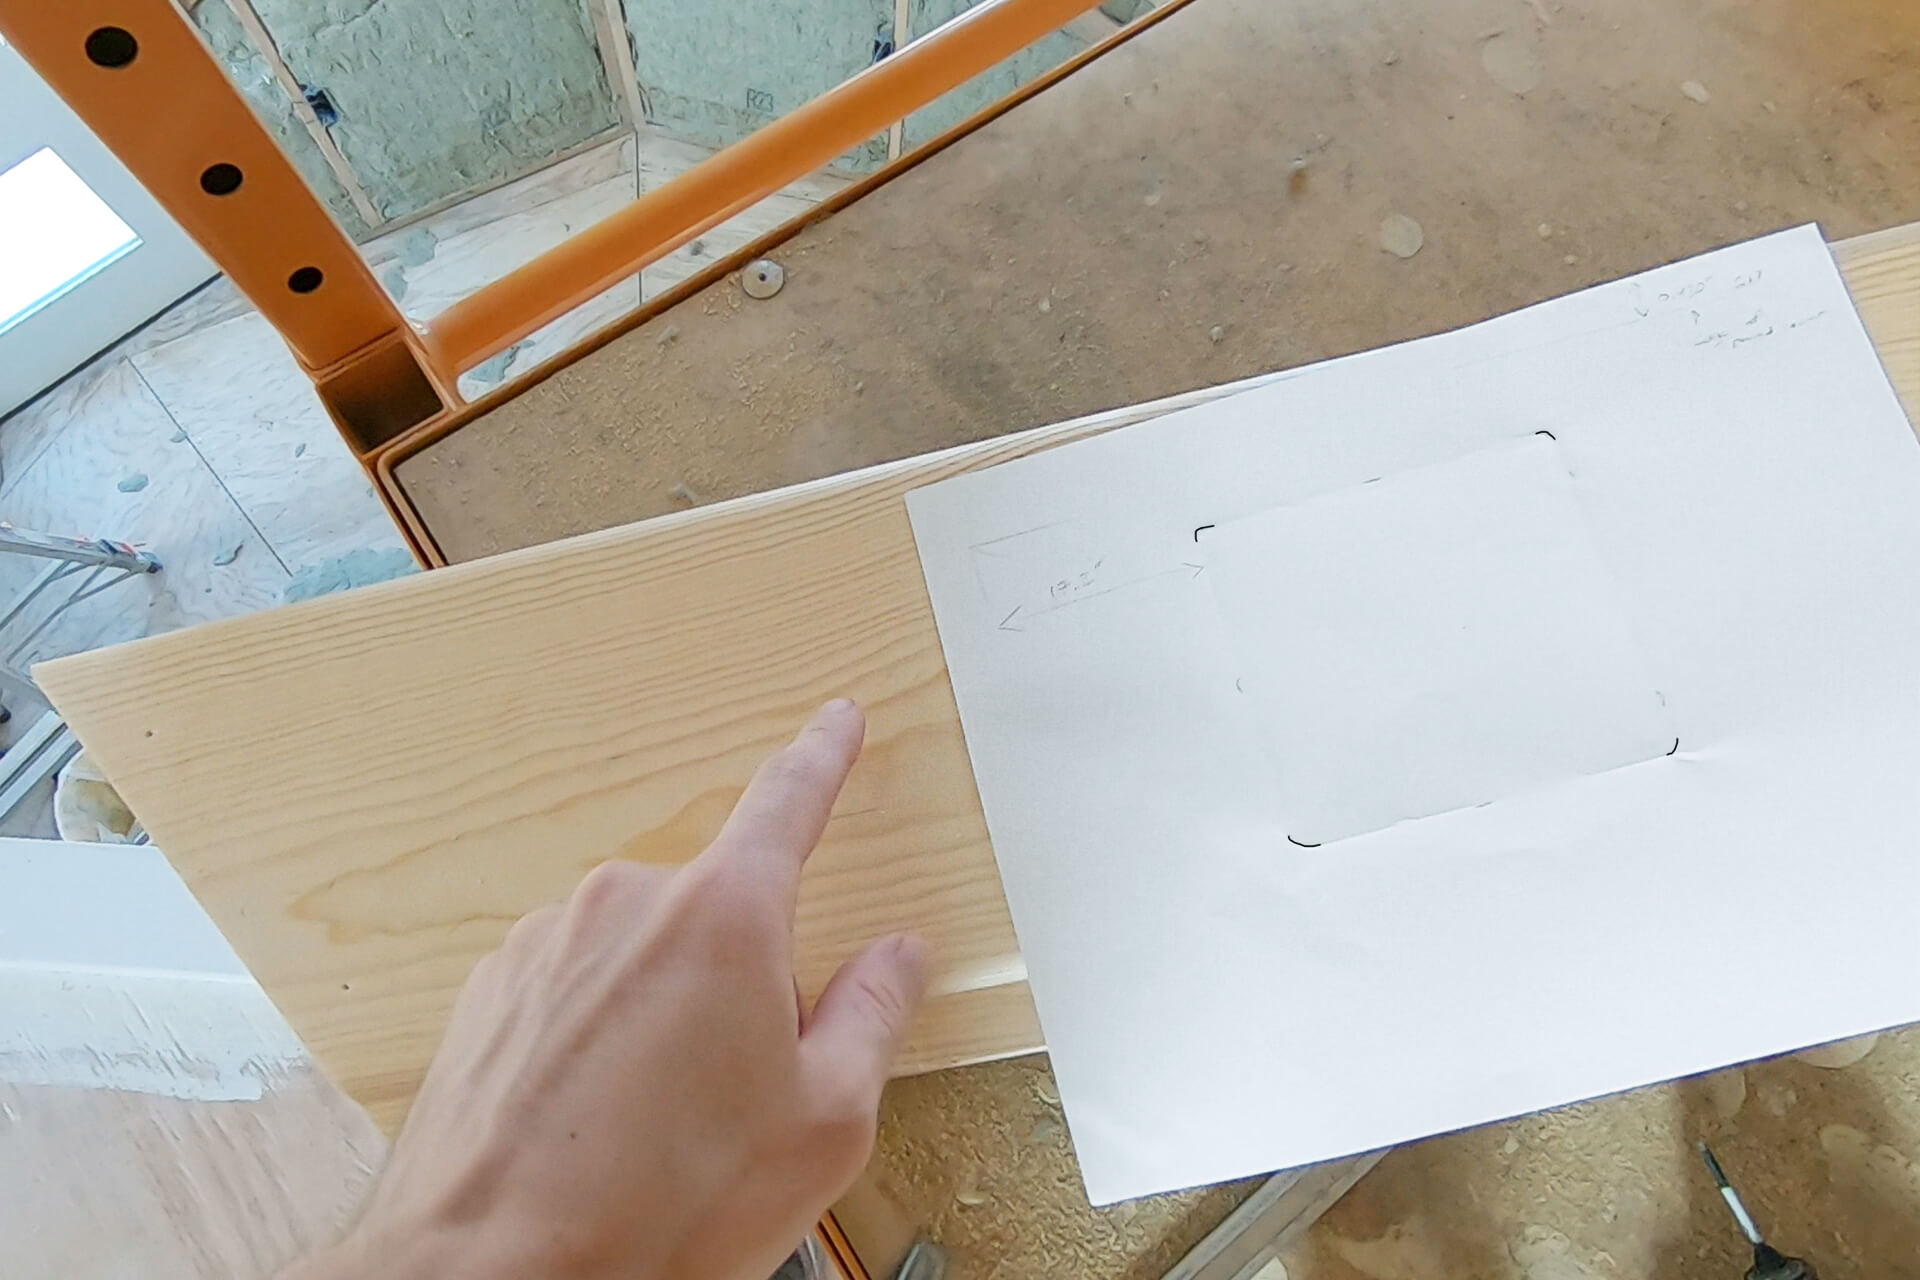
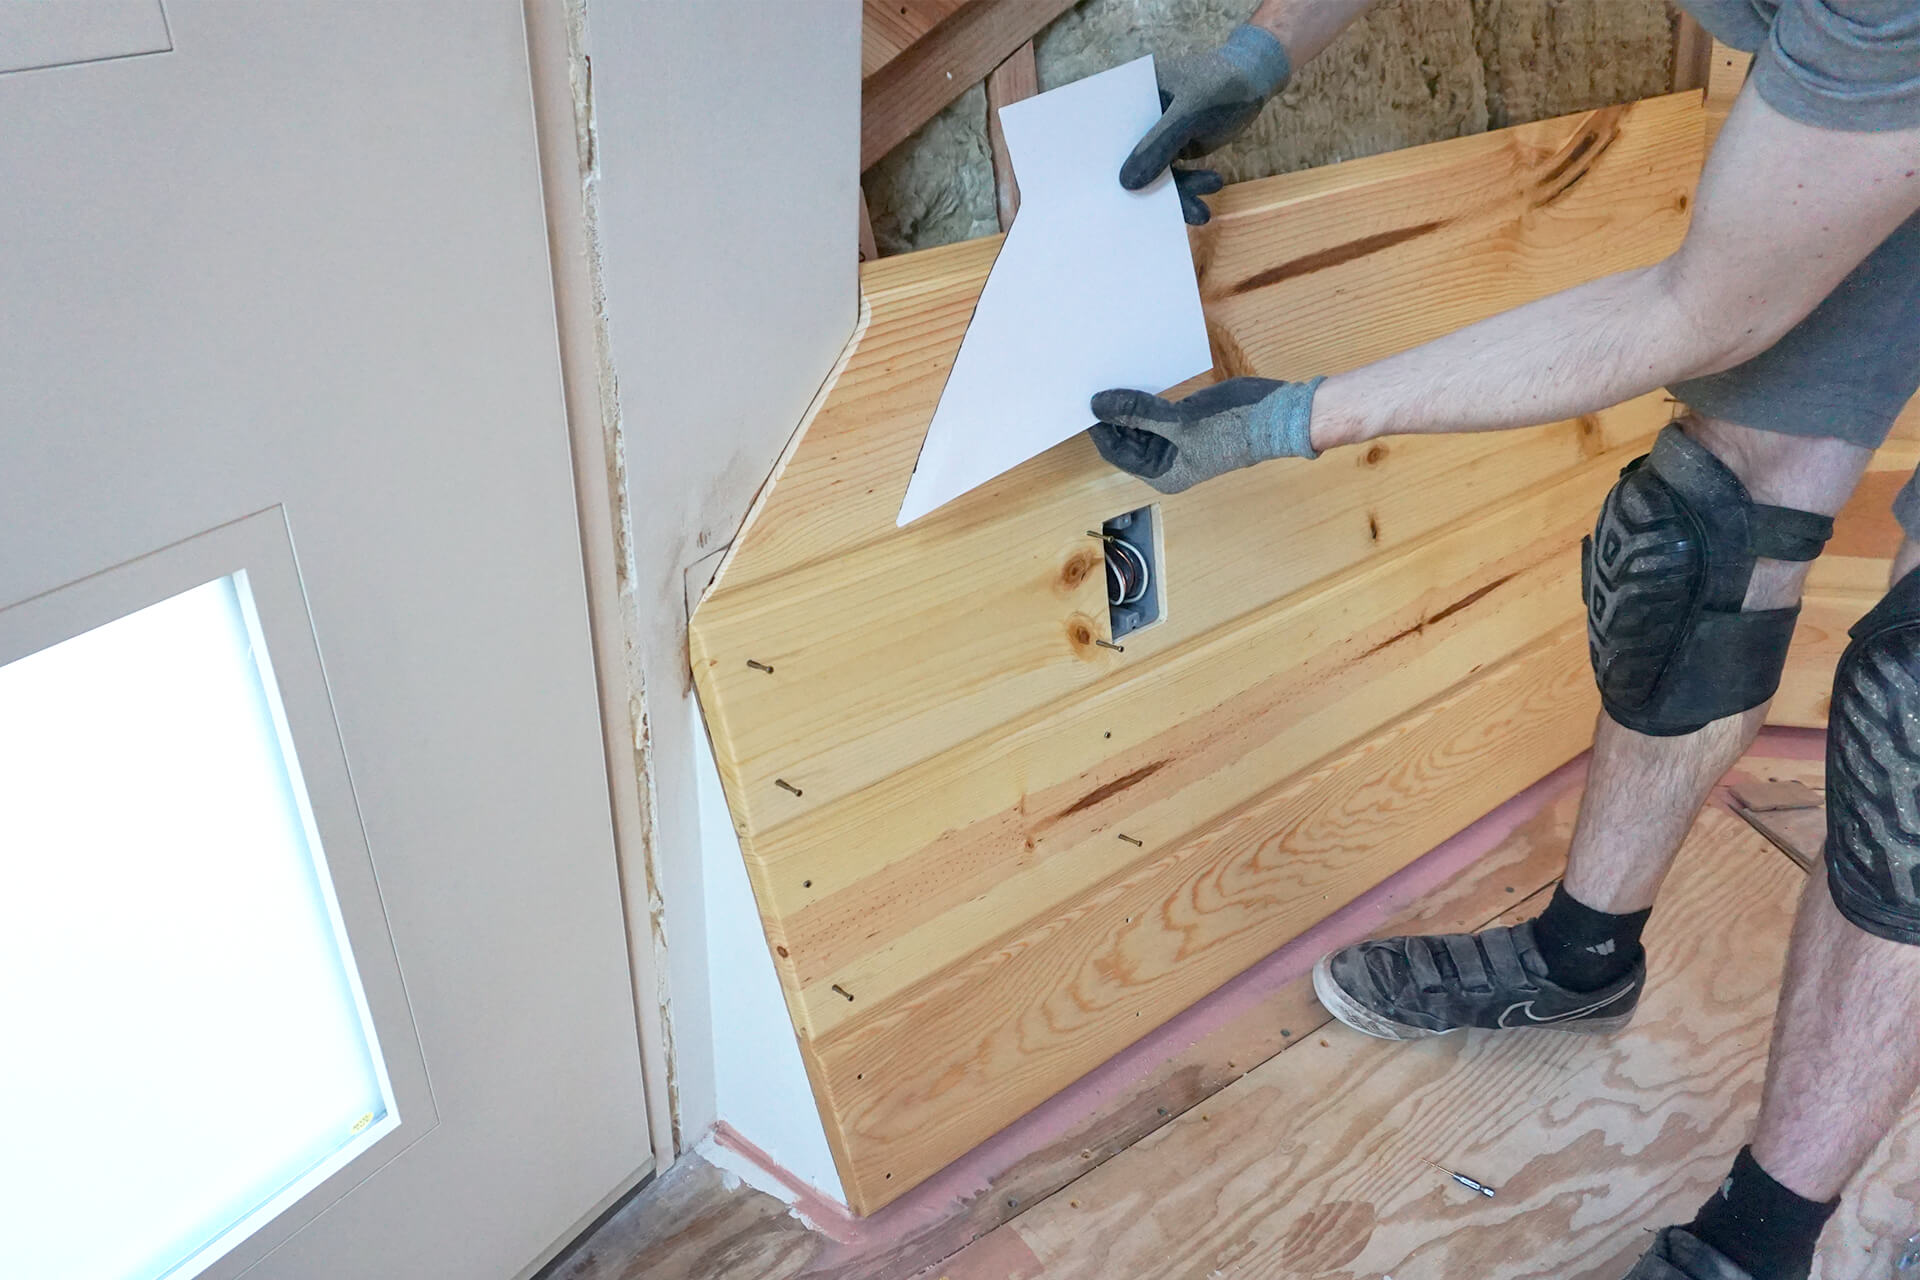
Create a paper template for the outline of electrical boxes and transfer the linework to the affected planks.
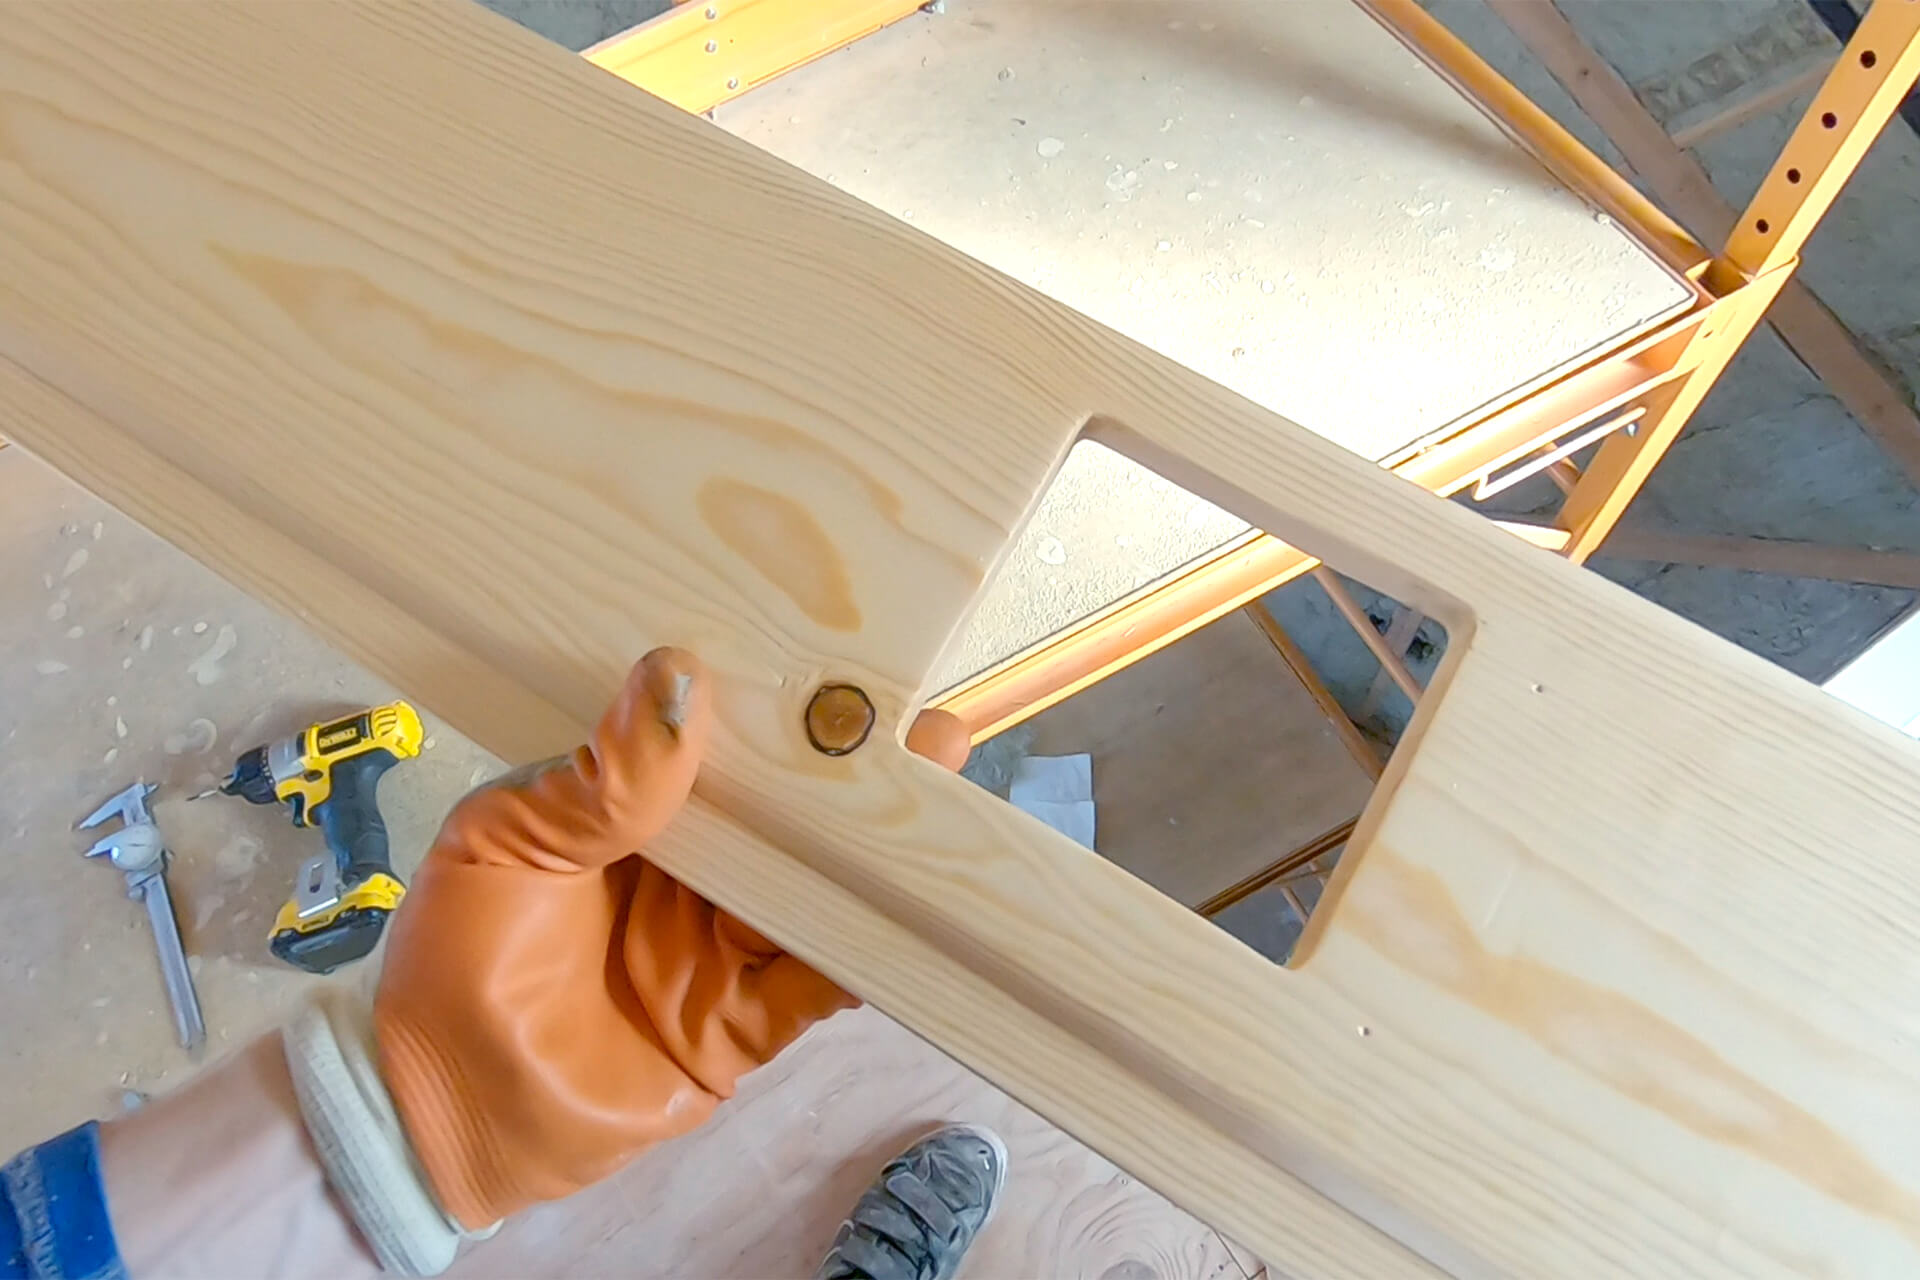
Center-punch and drill the corners for a clean radius, then use a jigsaw to cut out the shape.
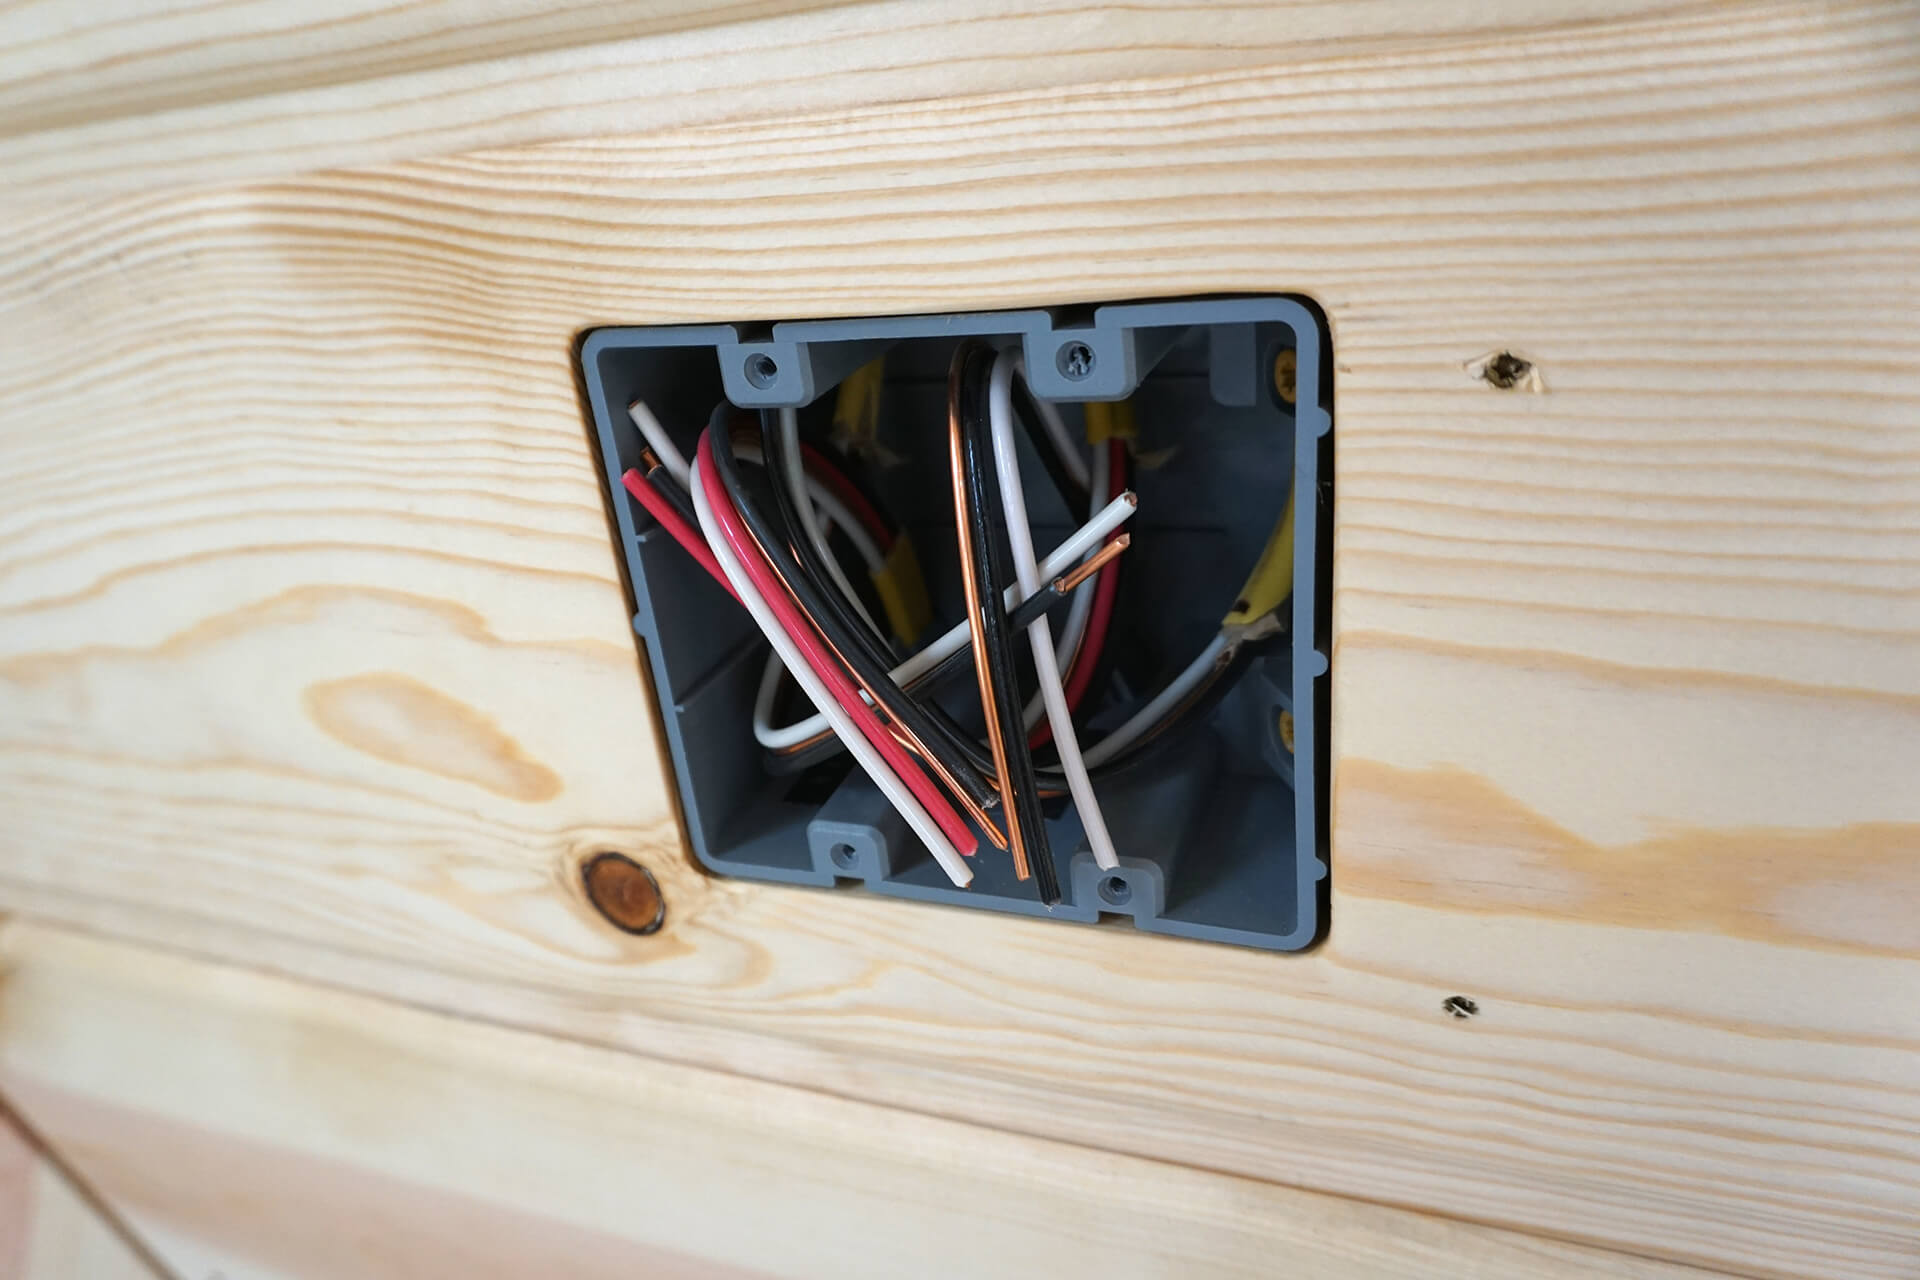
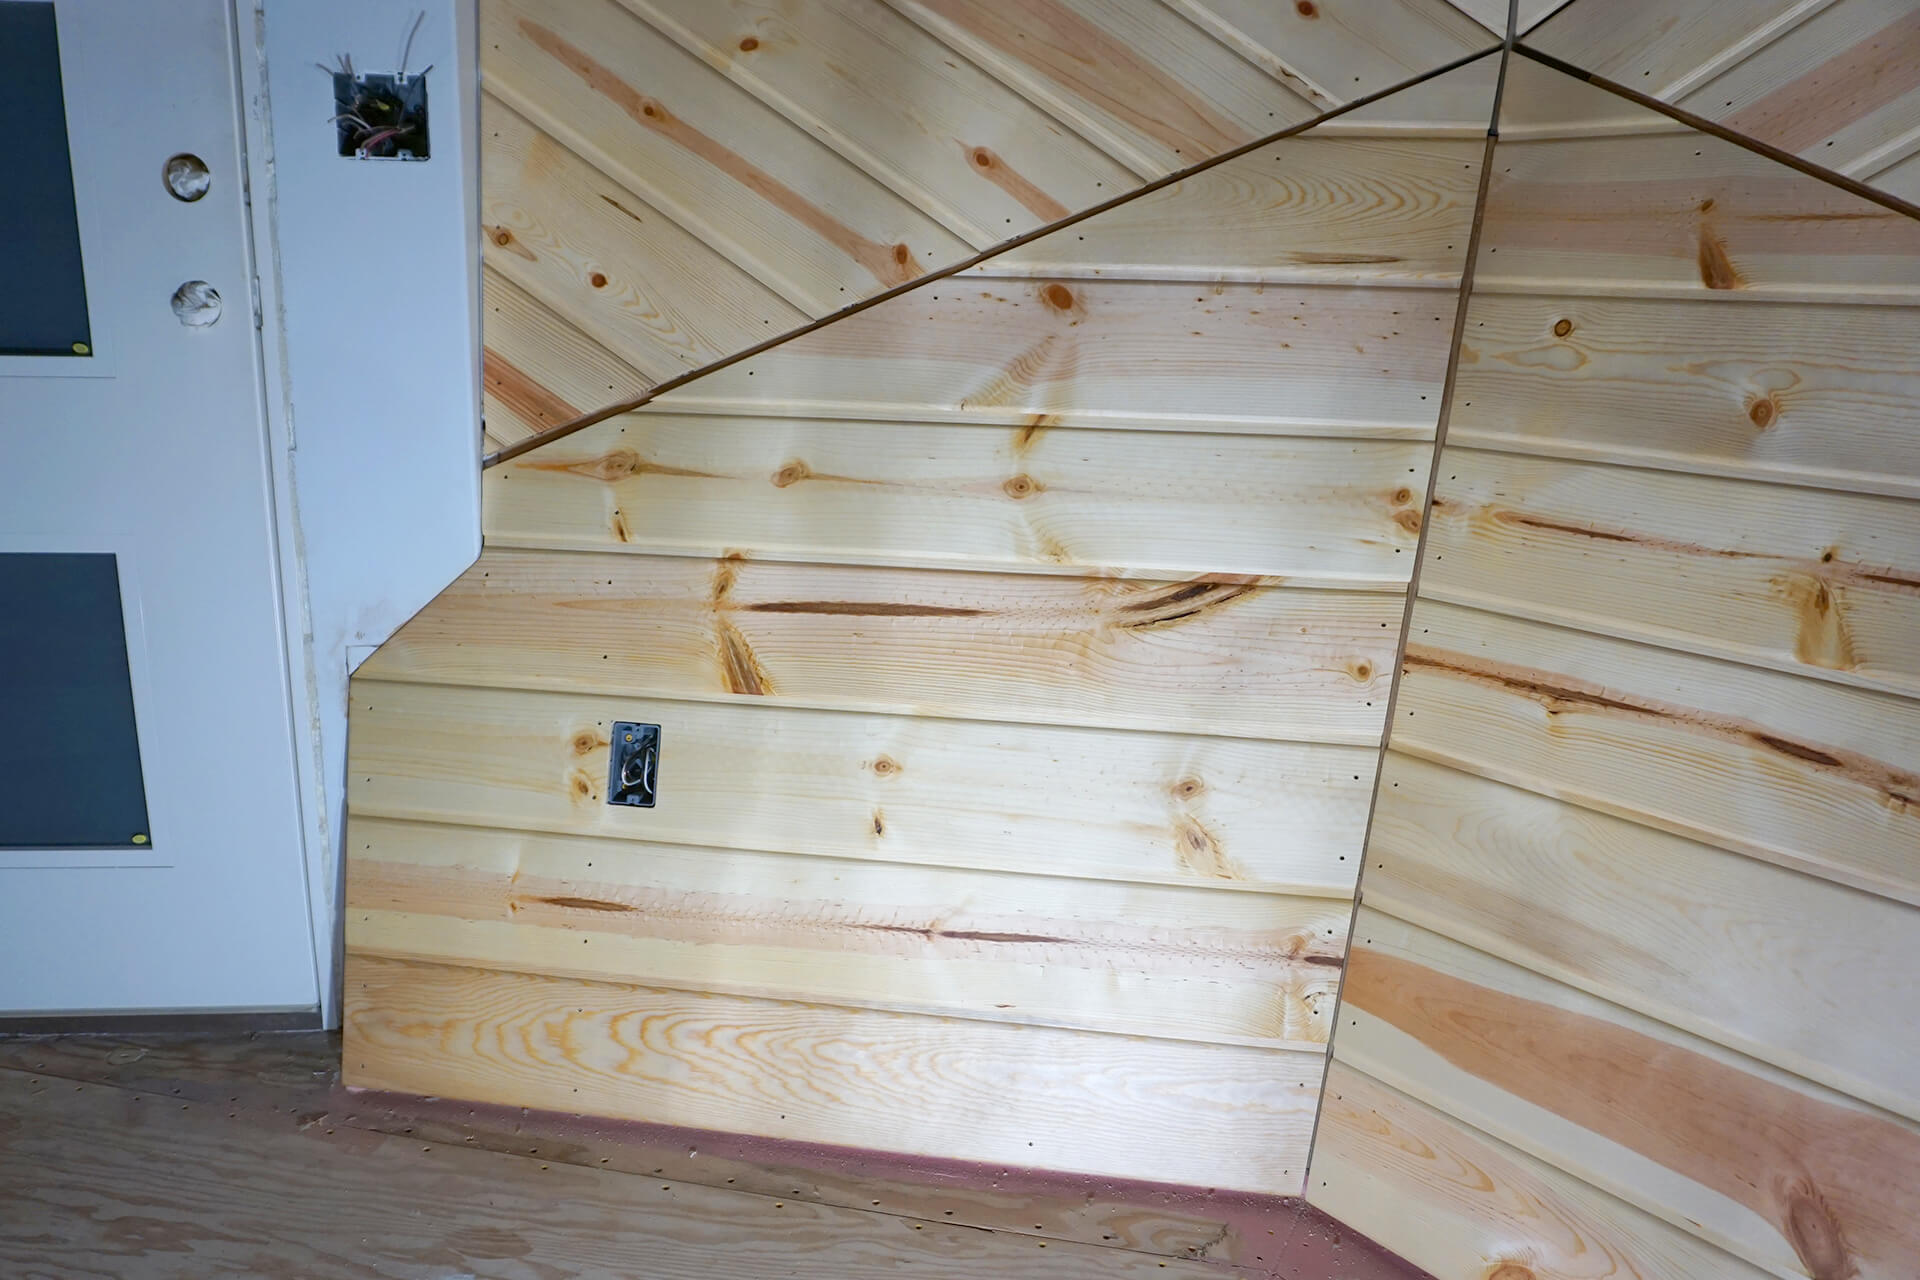
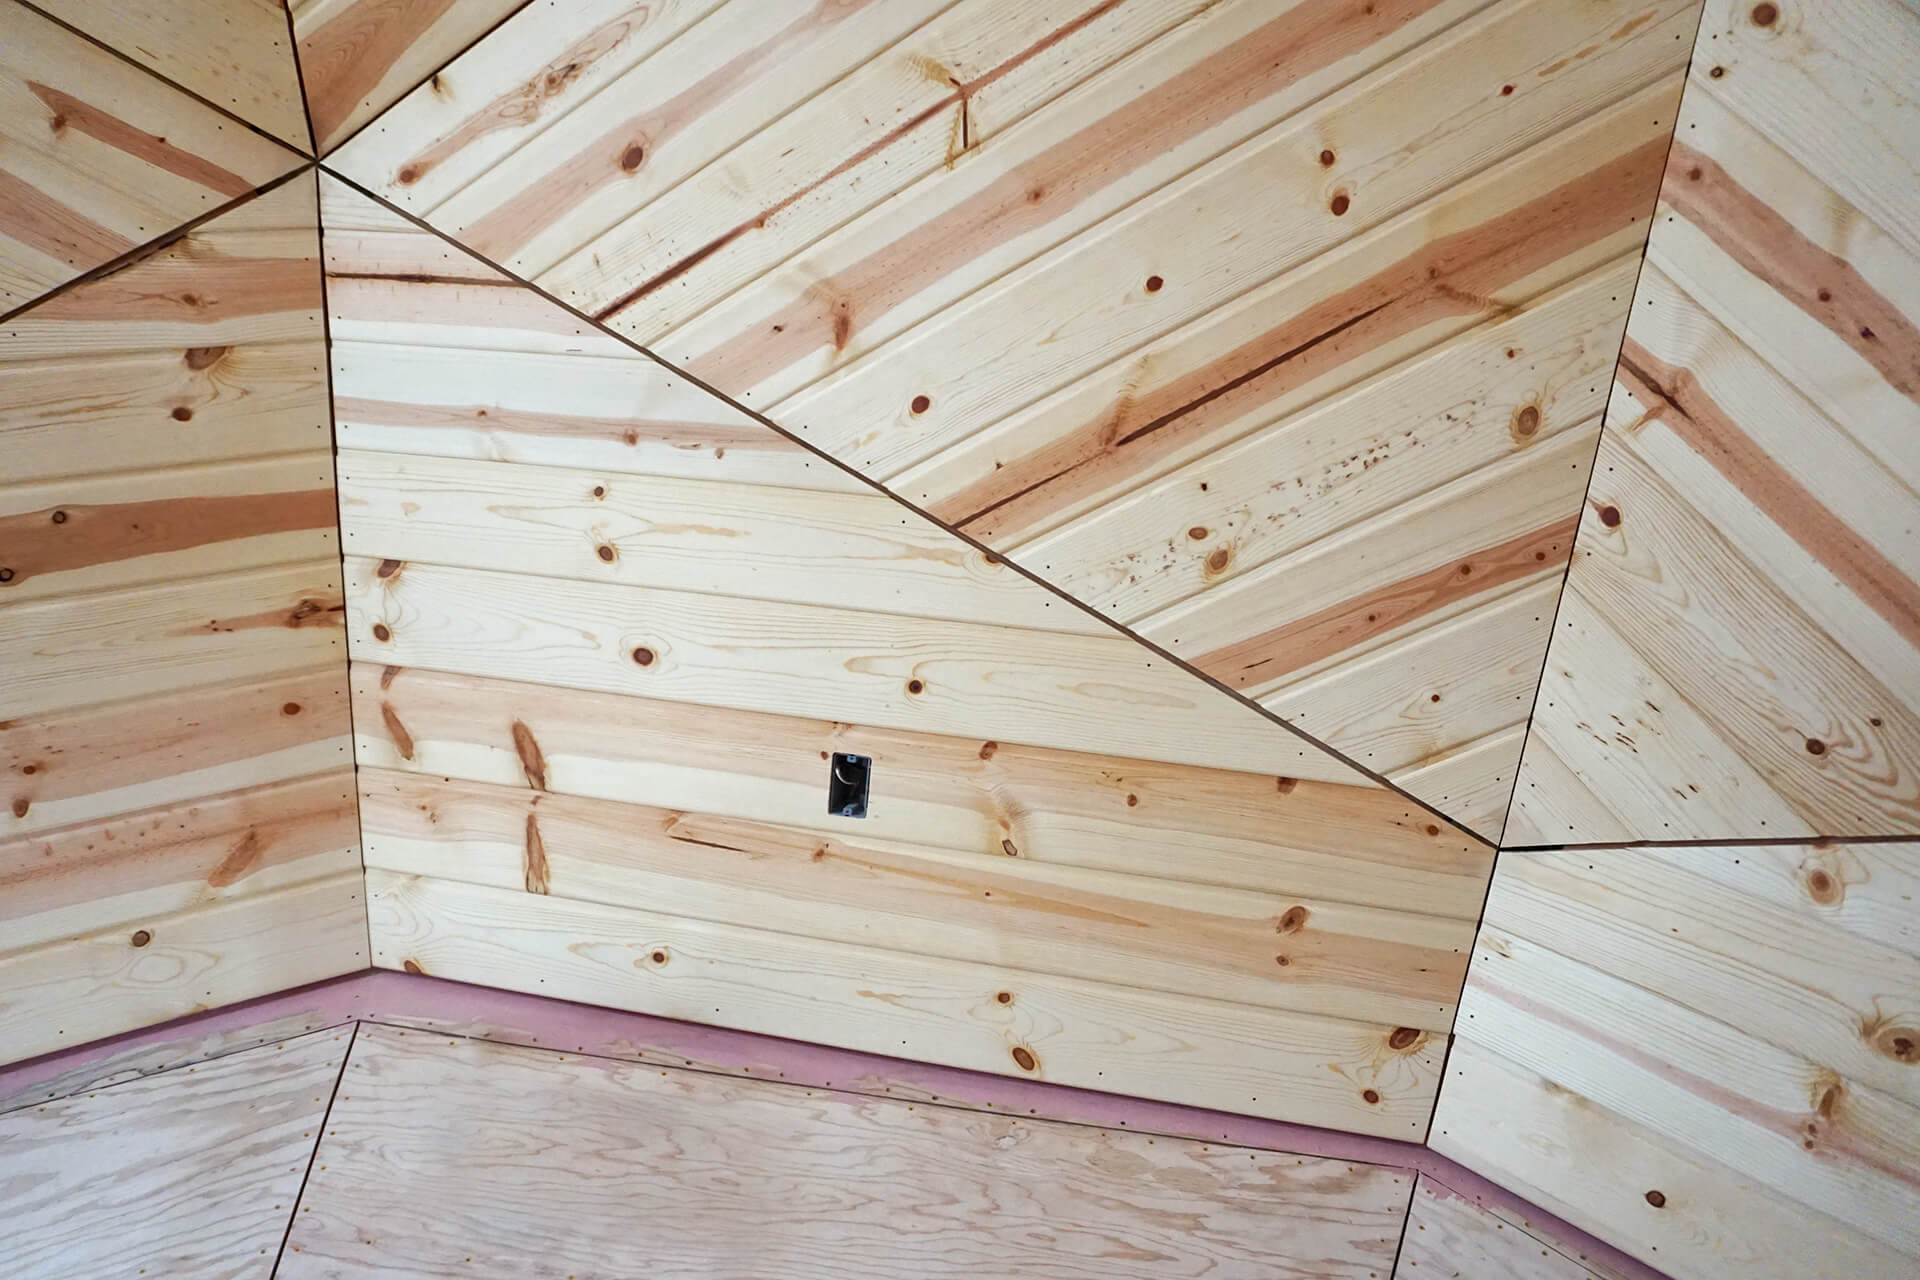
Detail shot showing a clean fit around an electrical box. Backing out screws on a neighboring plank is often necessary so multiple planks can be pivoted into place around the box.
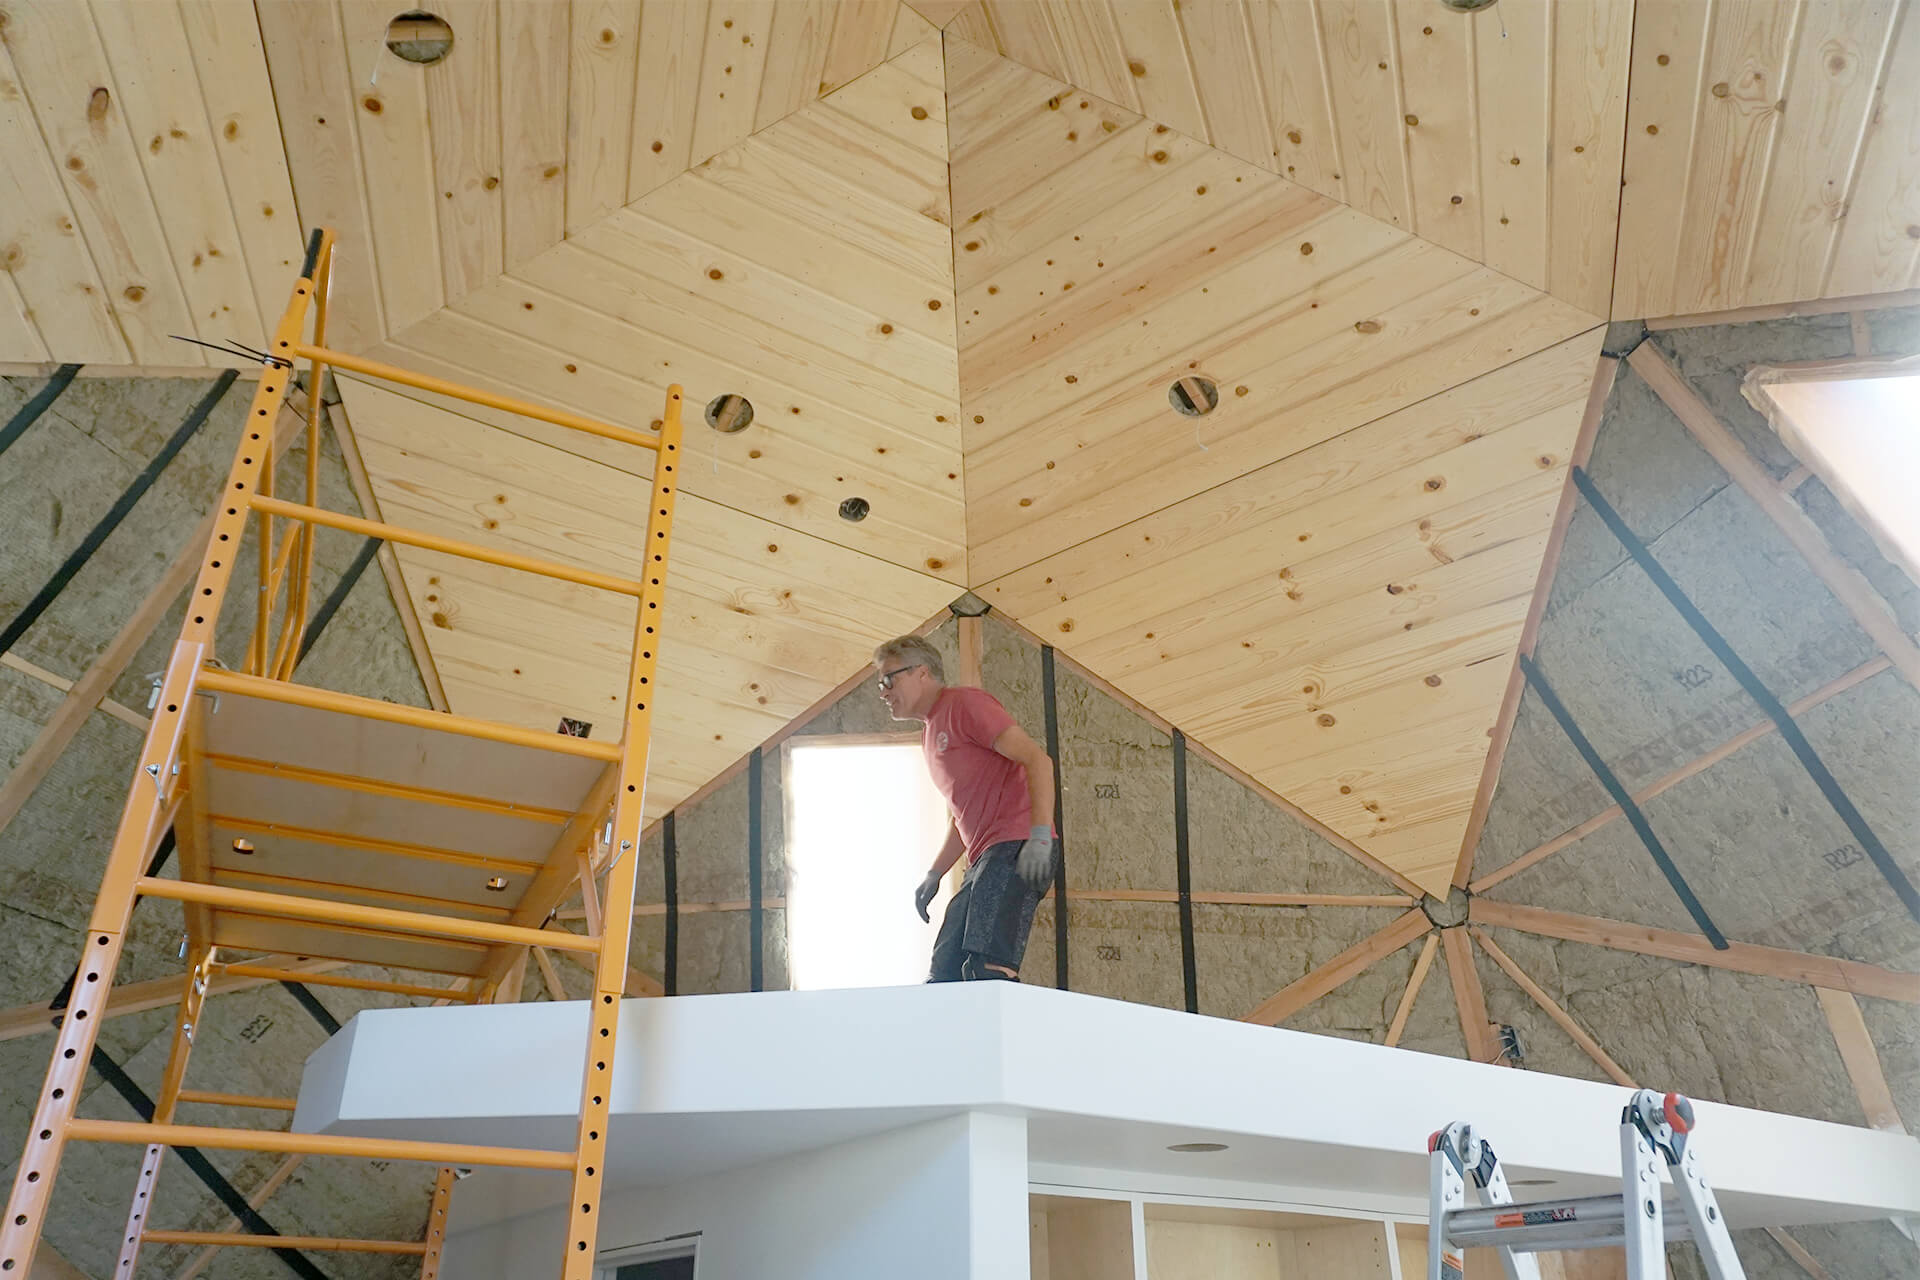
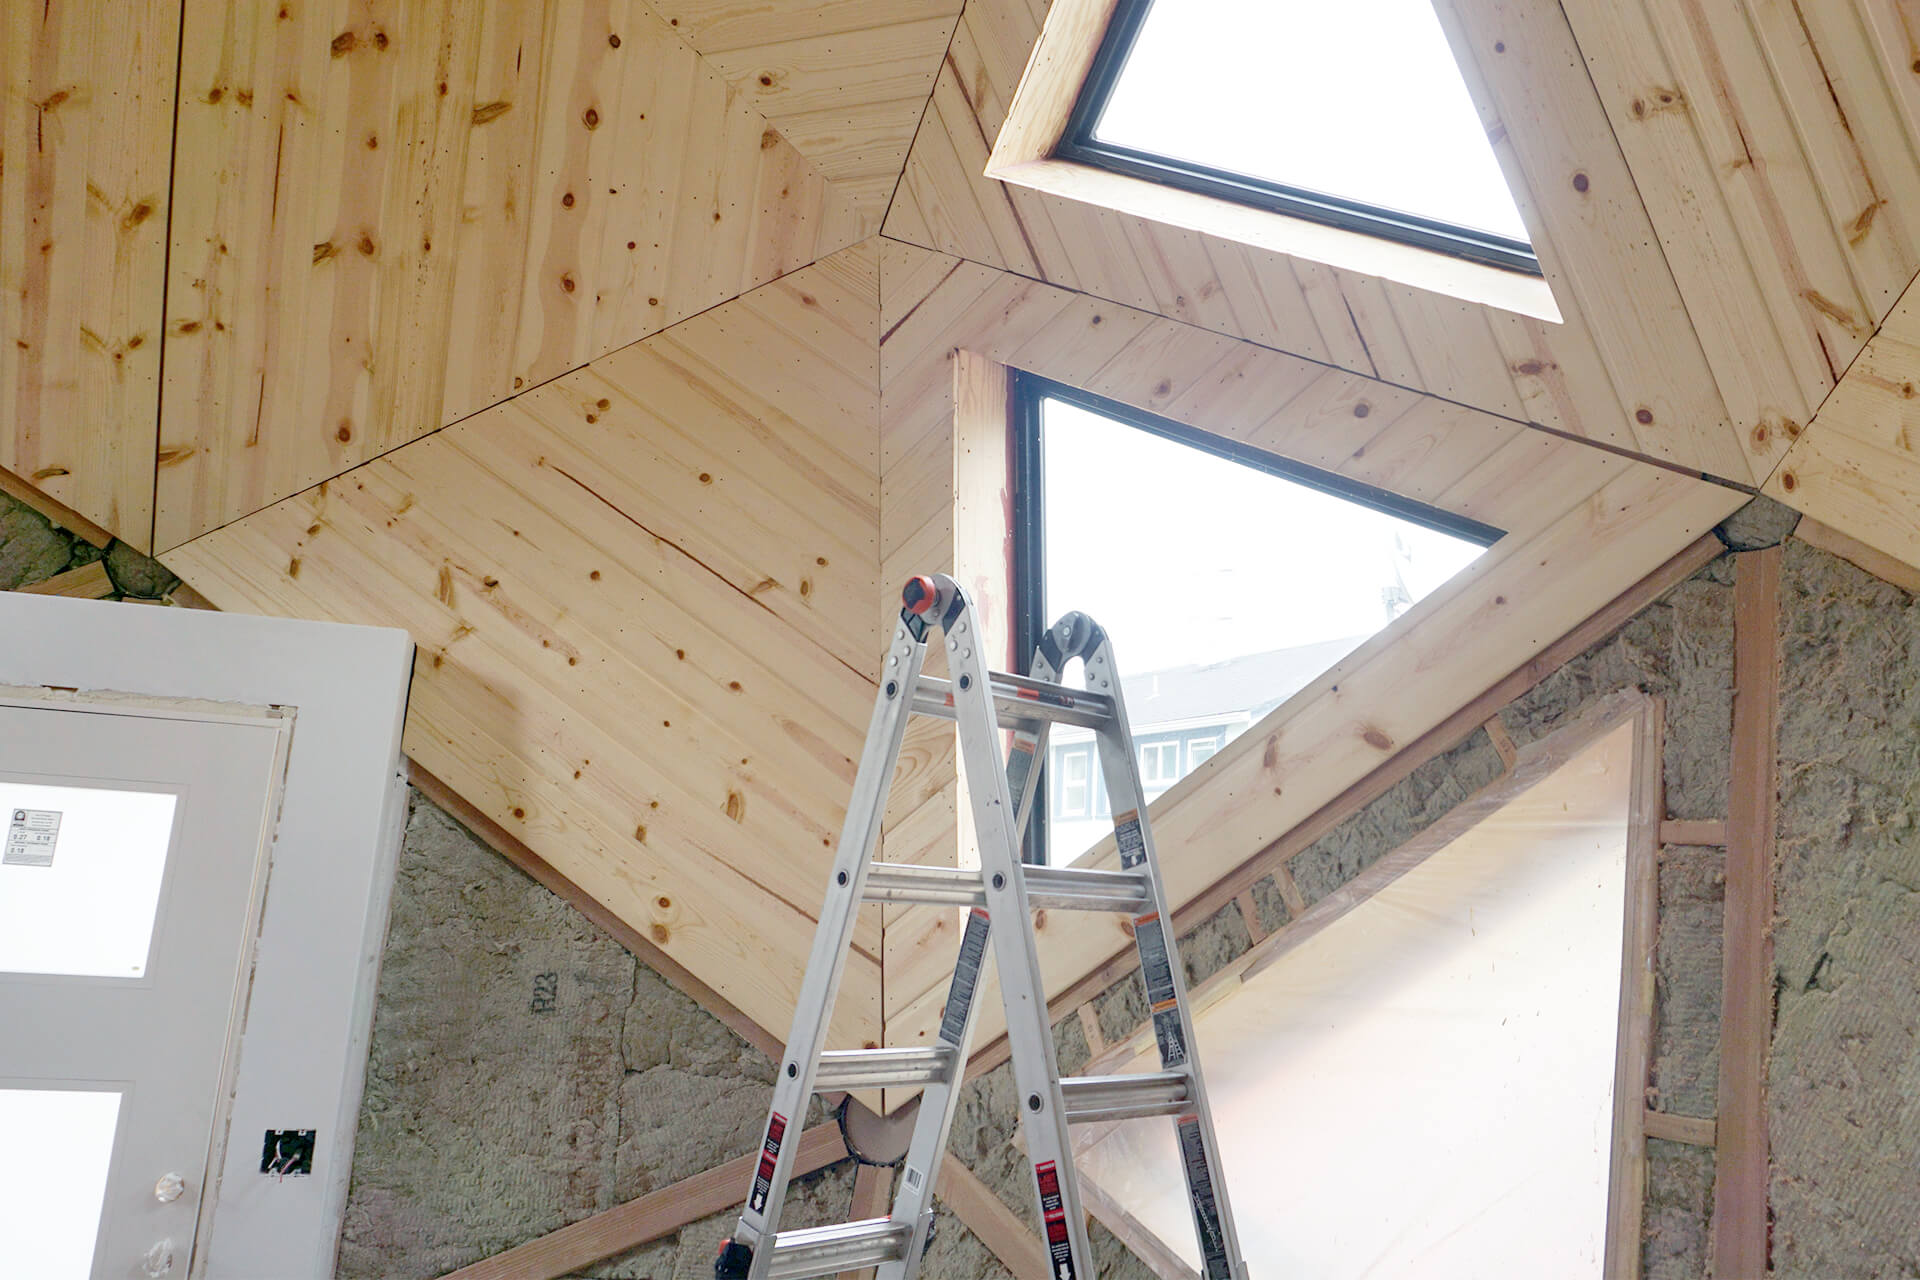
Progress shot showing another level completed. The next lower level is slightly more complicated due to windows.
Keep track of which panels remain to be prepped and installed.
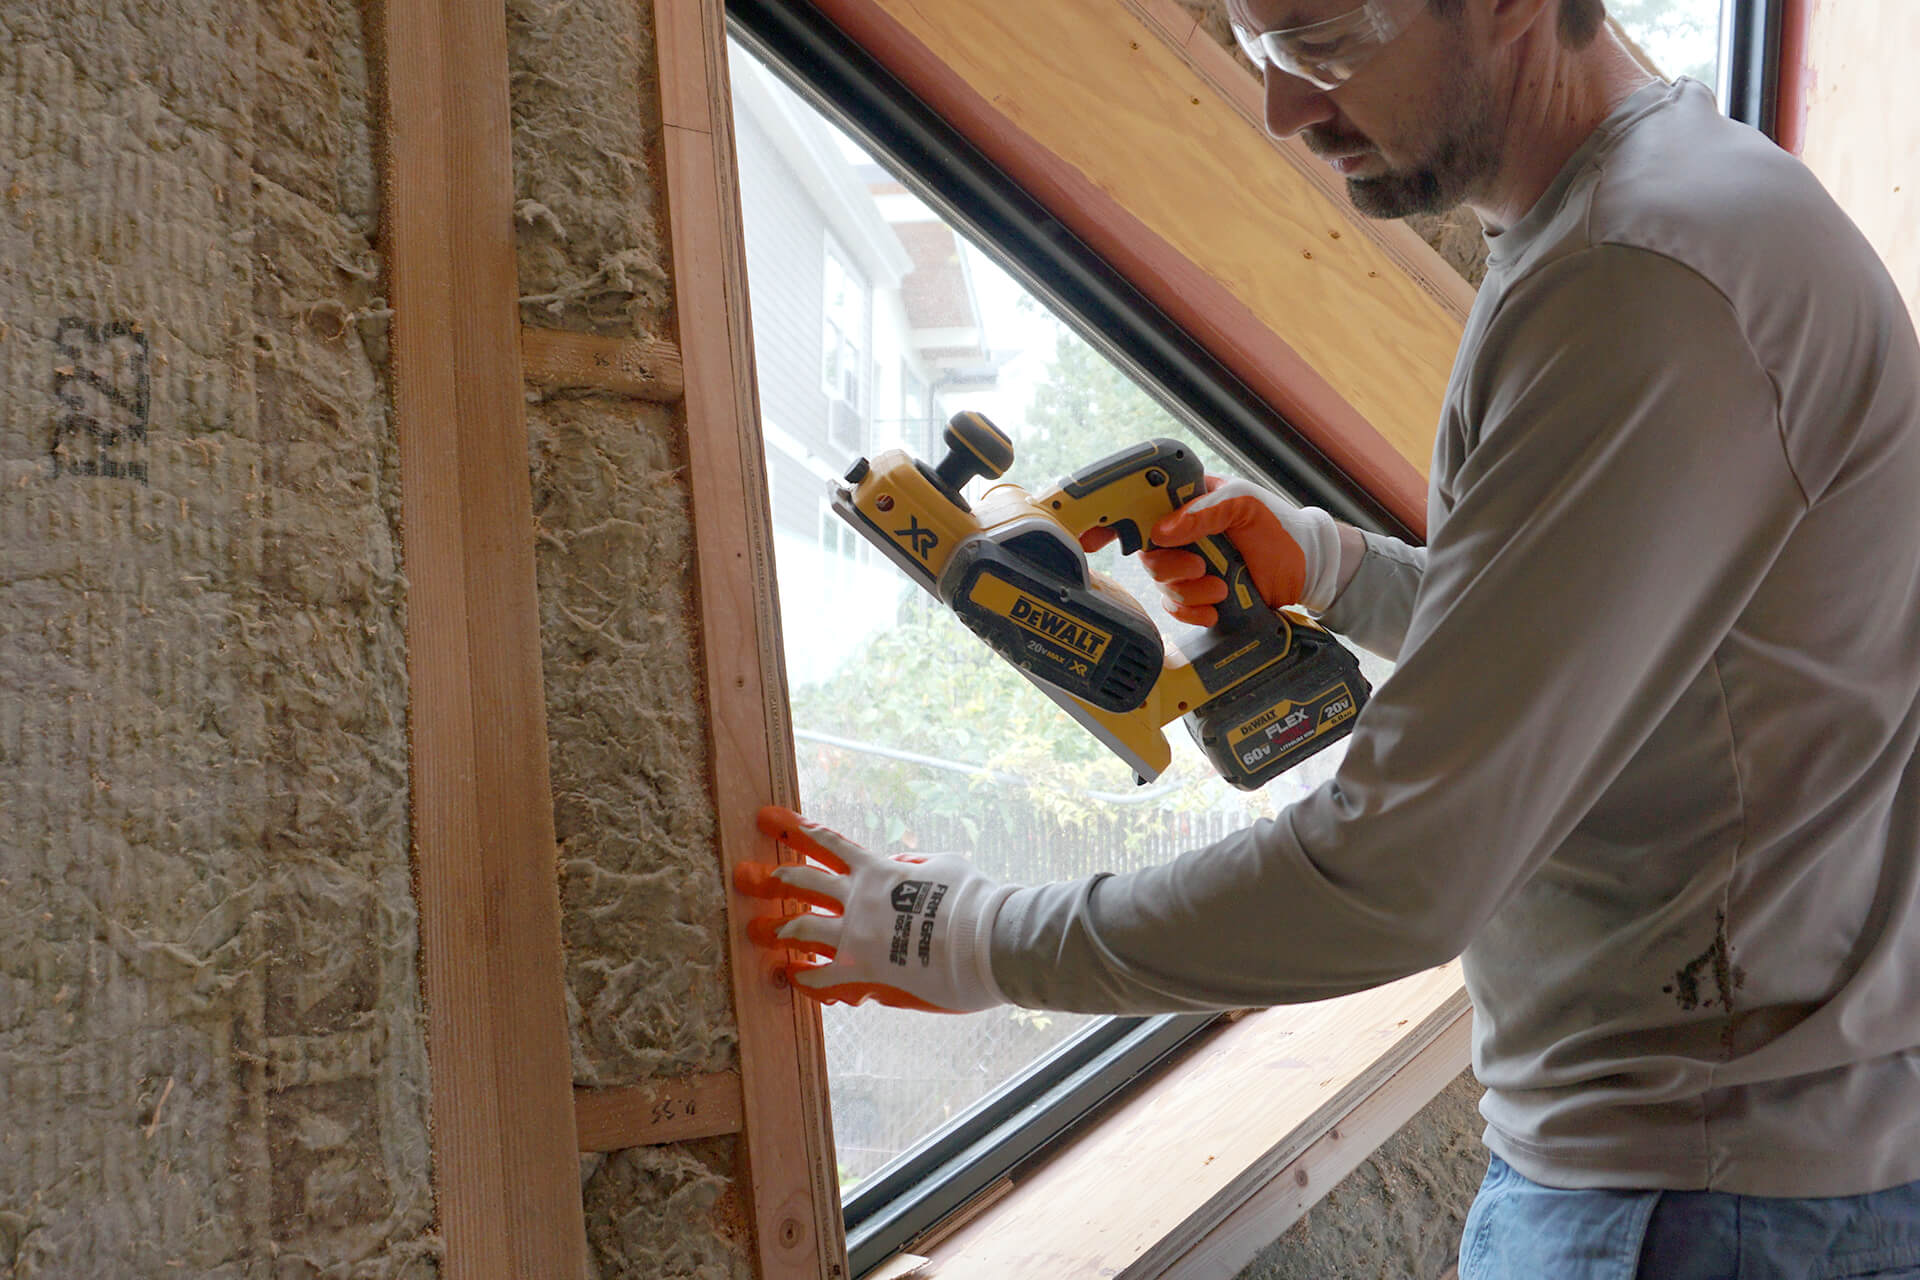
Cut the egress window opening during panel preparation.
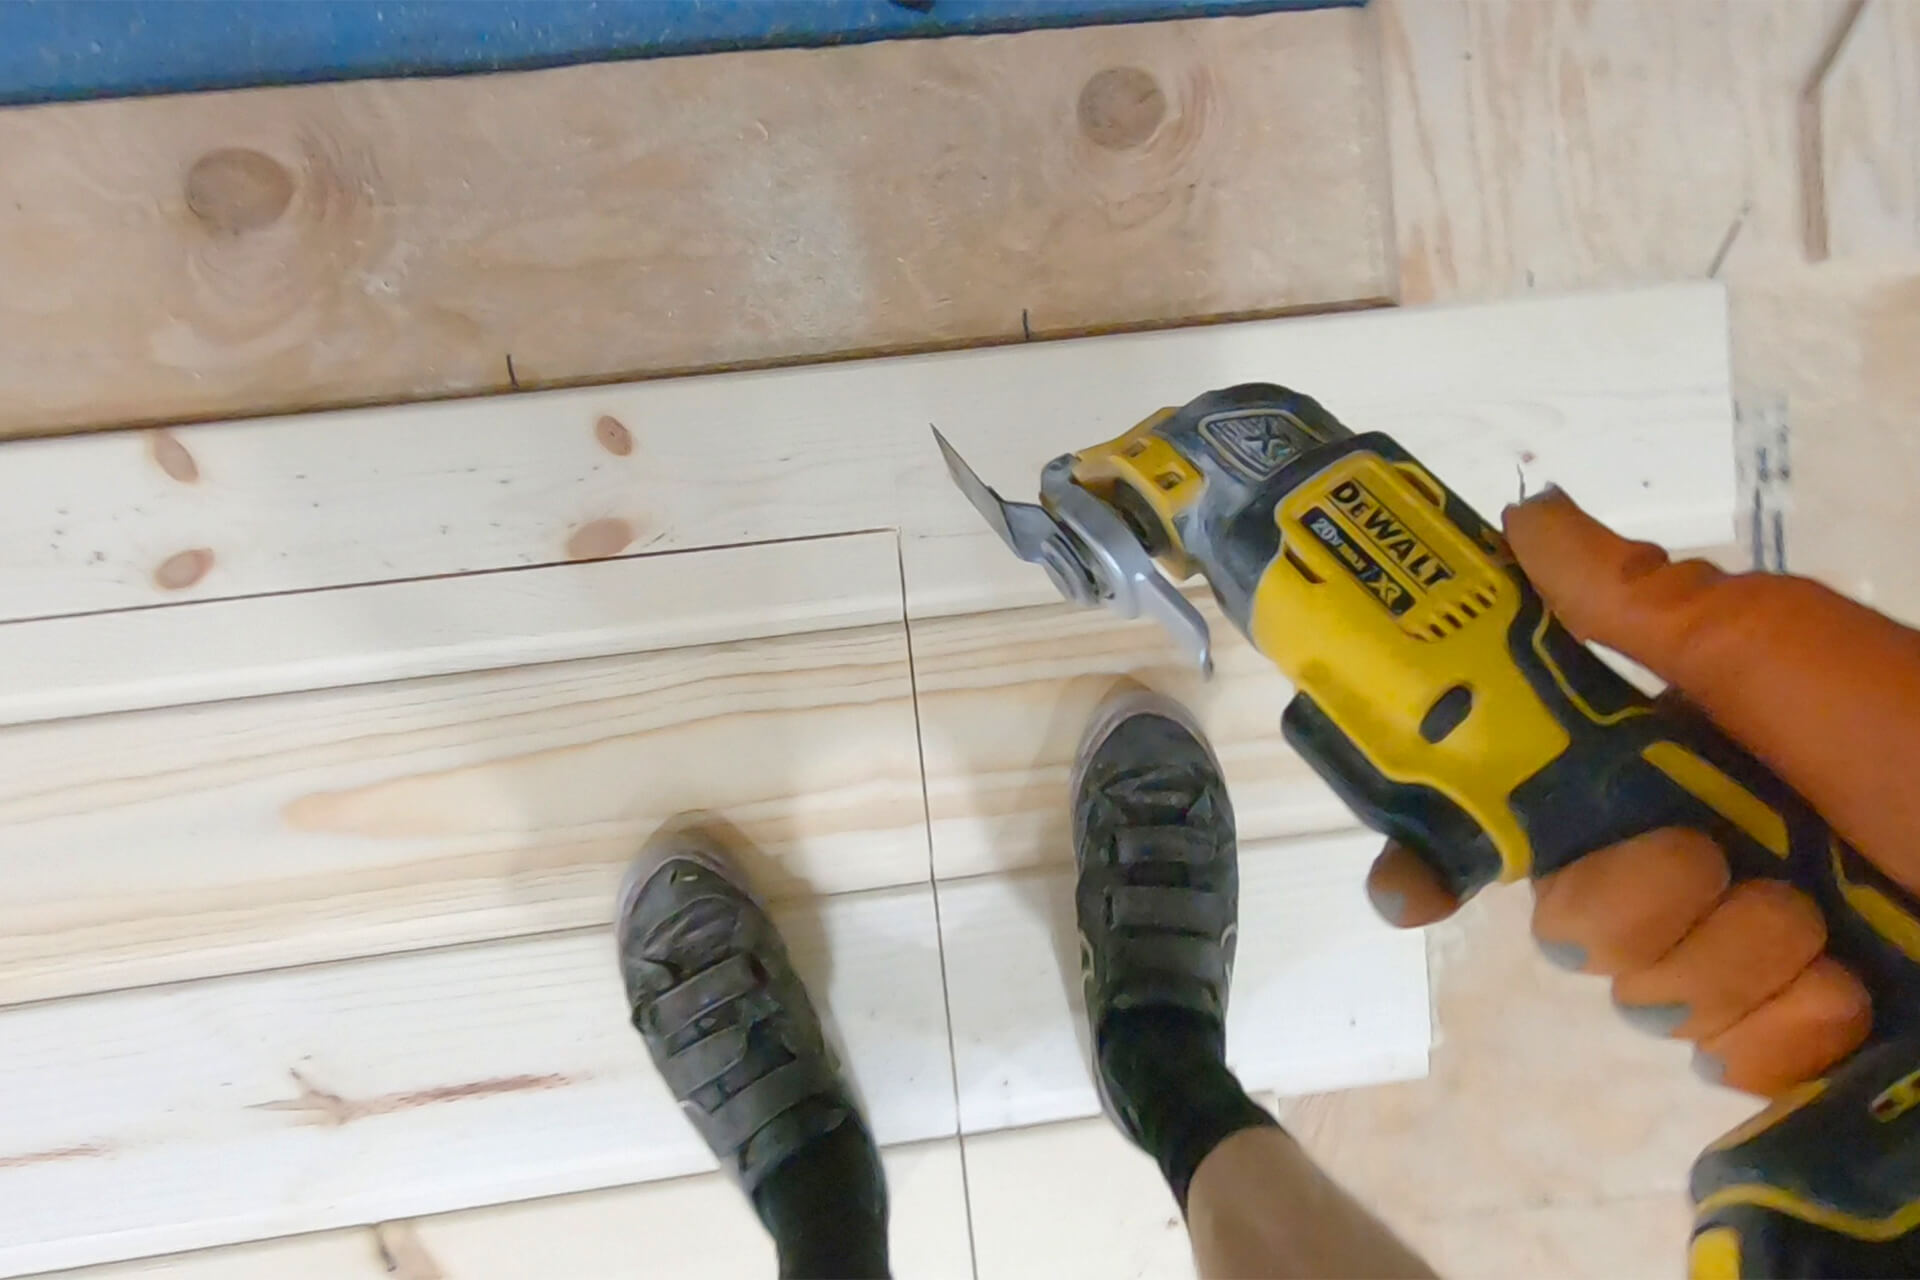
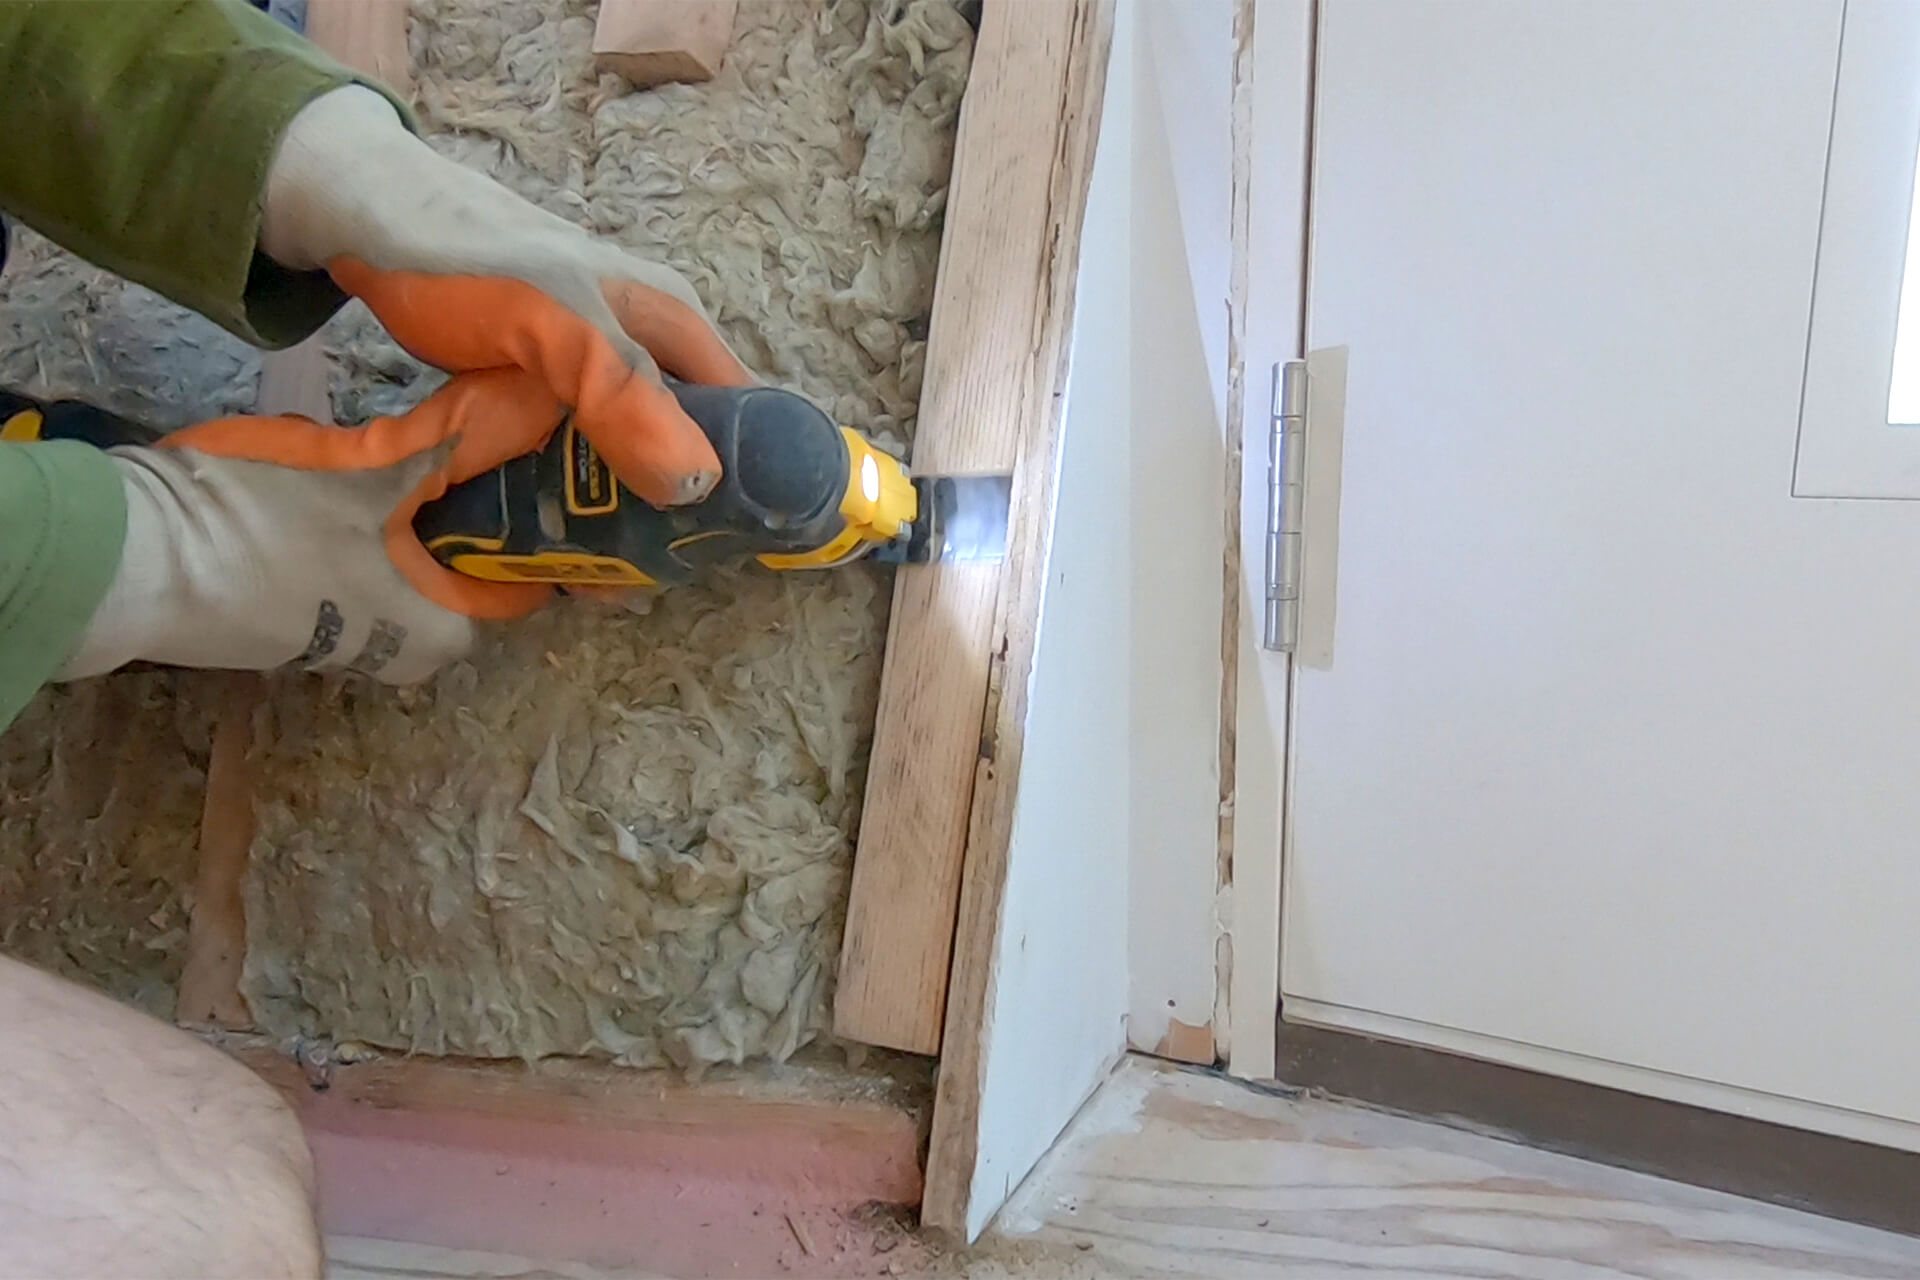
Use an oscillating tool to cut the inside corners without having to lift the planks off the cutting jig.
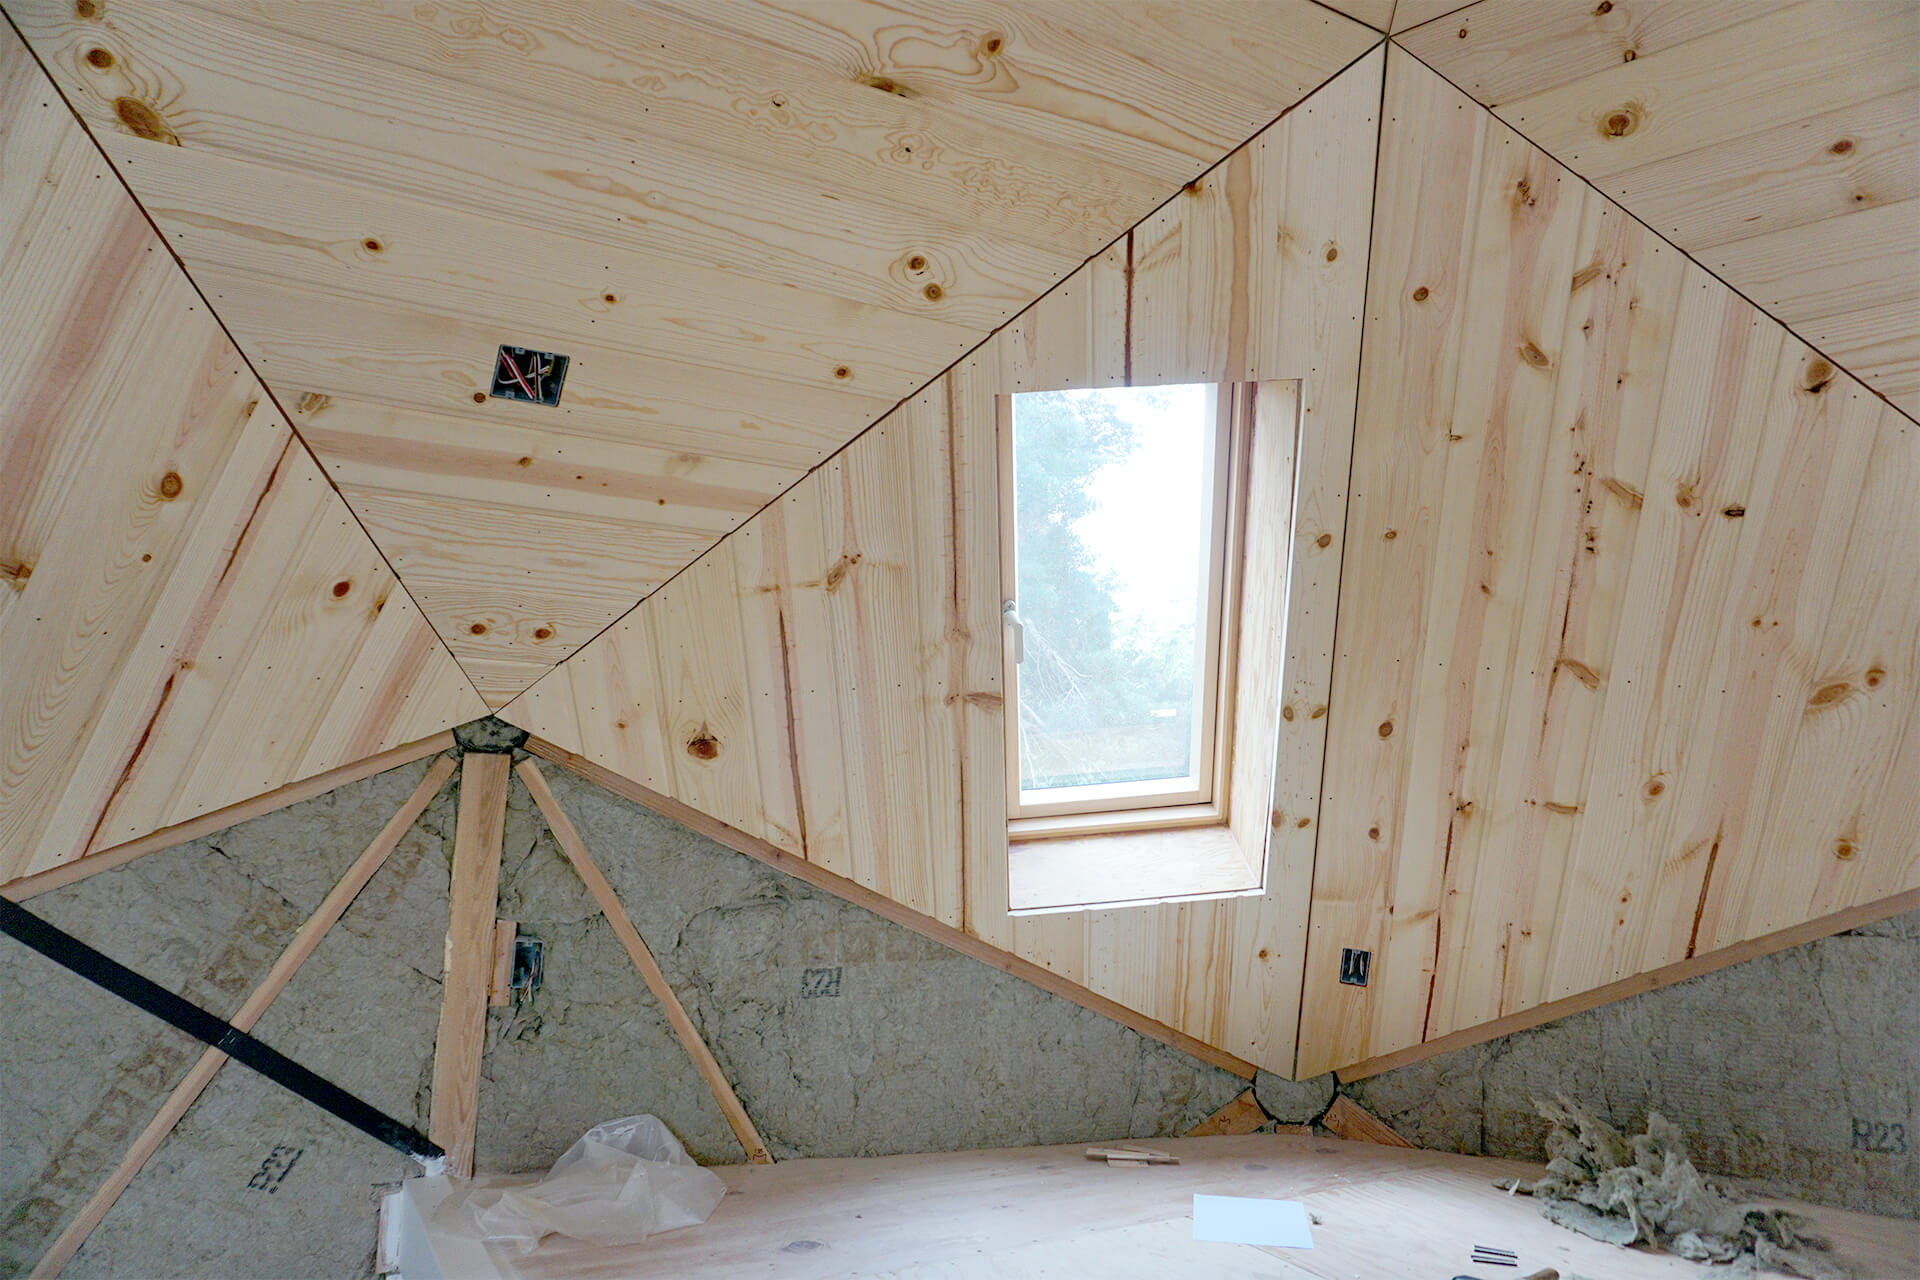
Progress shot showing the wall paneling of the egress window. This level of panels consists of ten sideways-facing triangles.
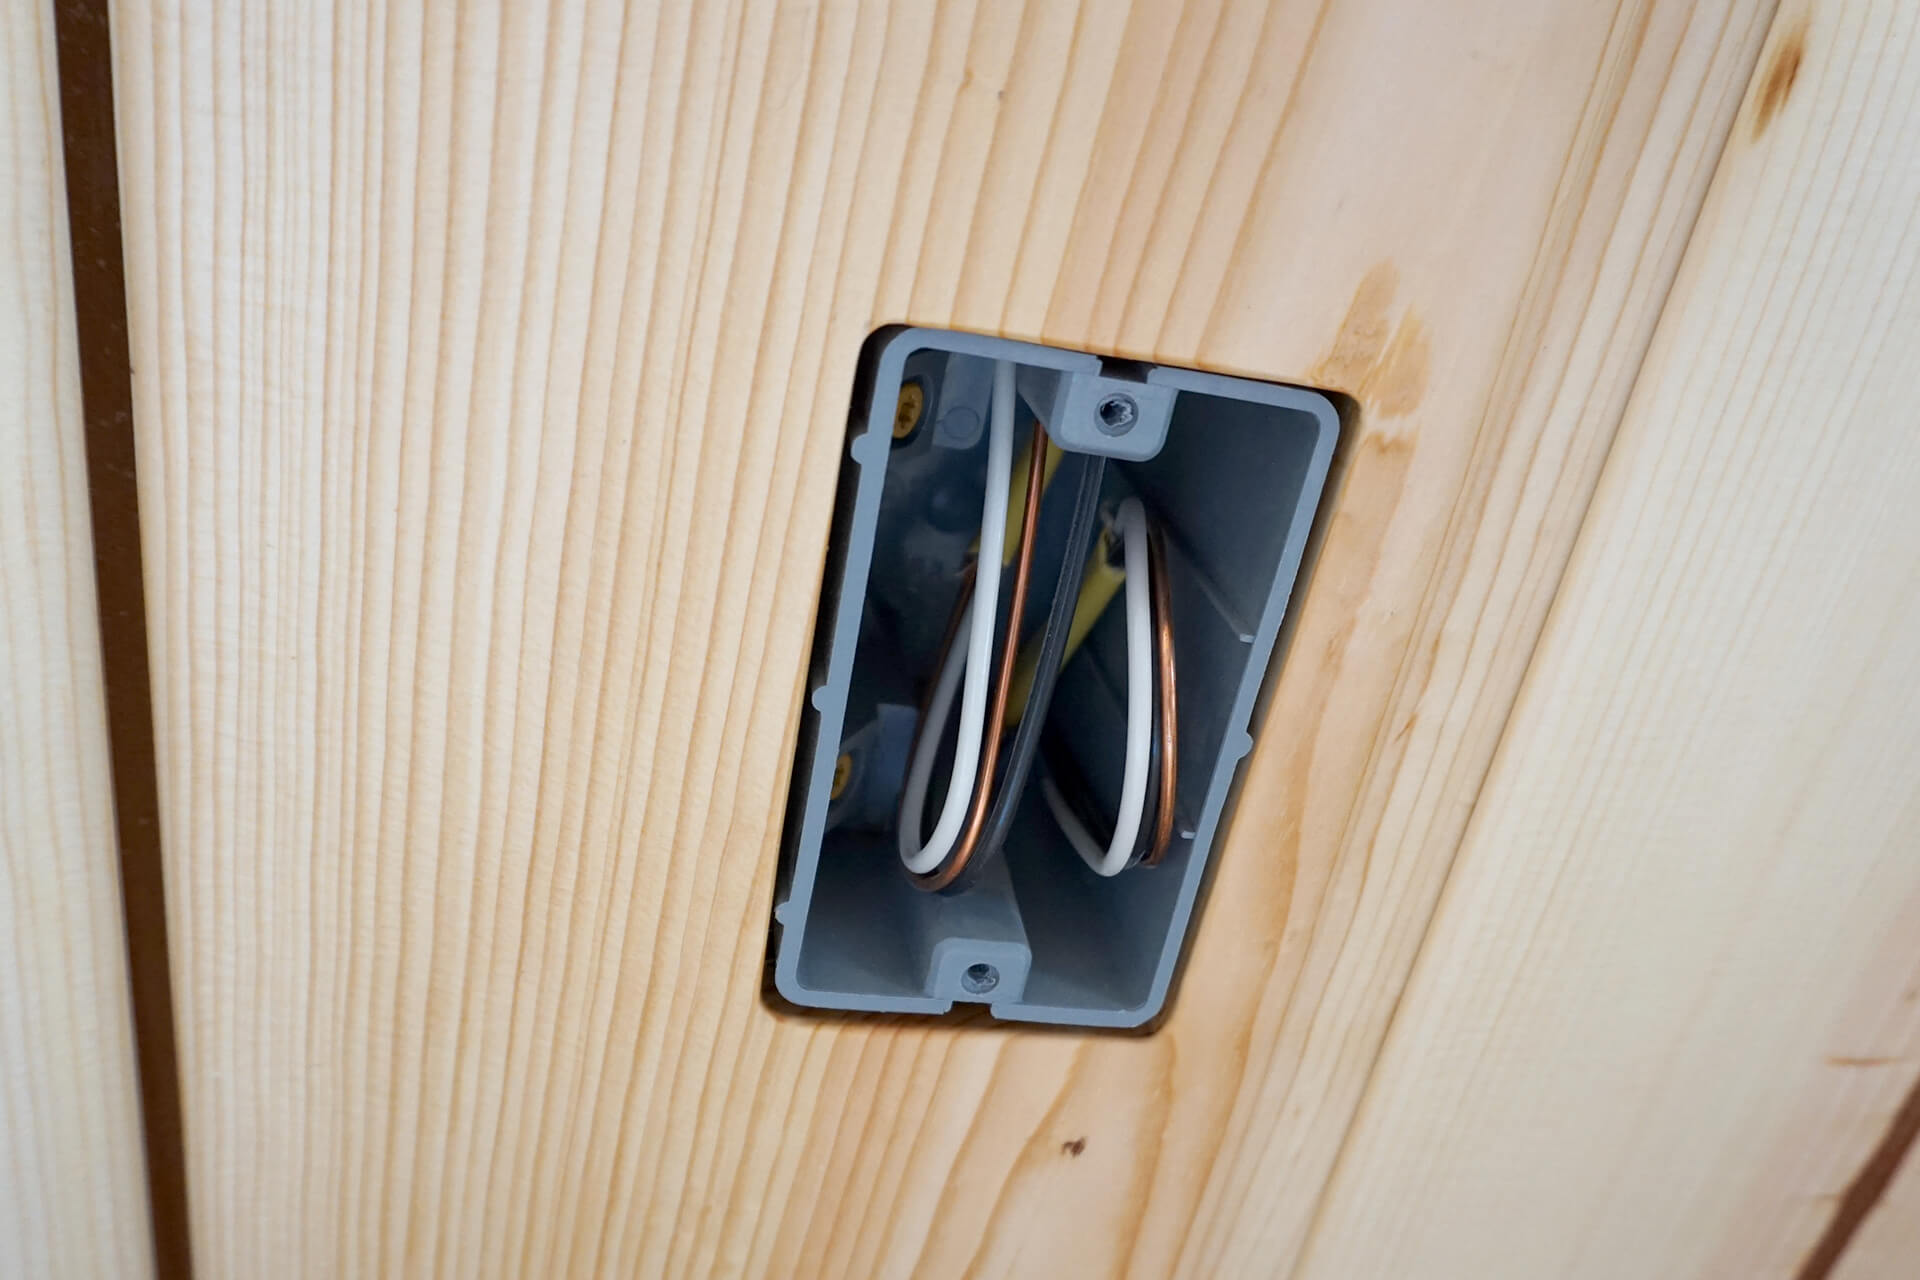
Detail shot showing a clean fit around an electrical box.
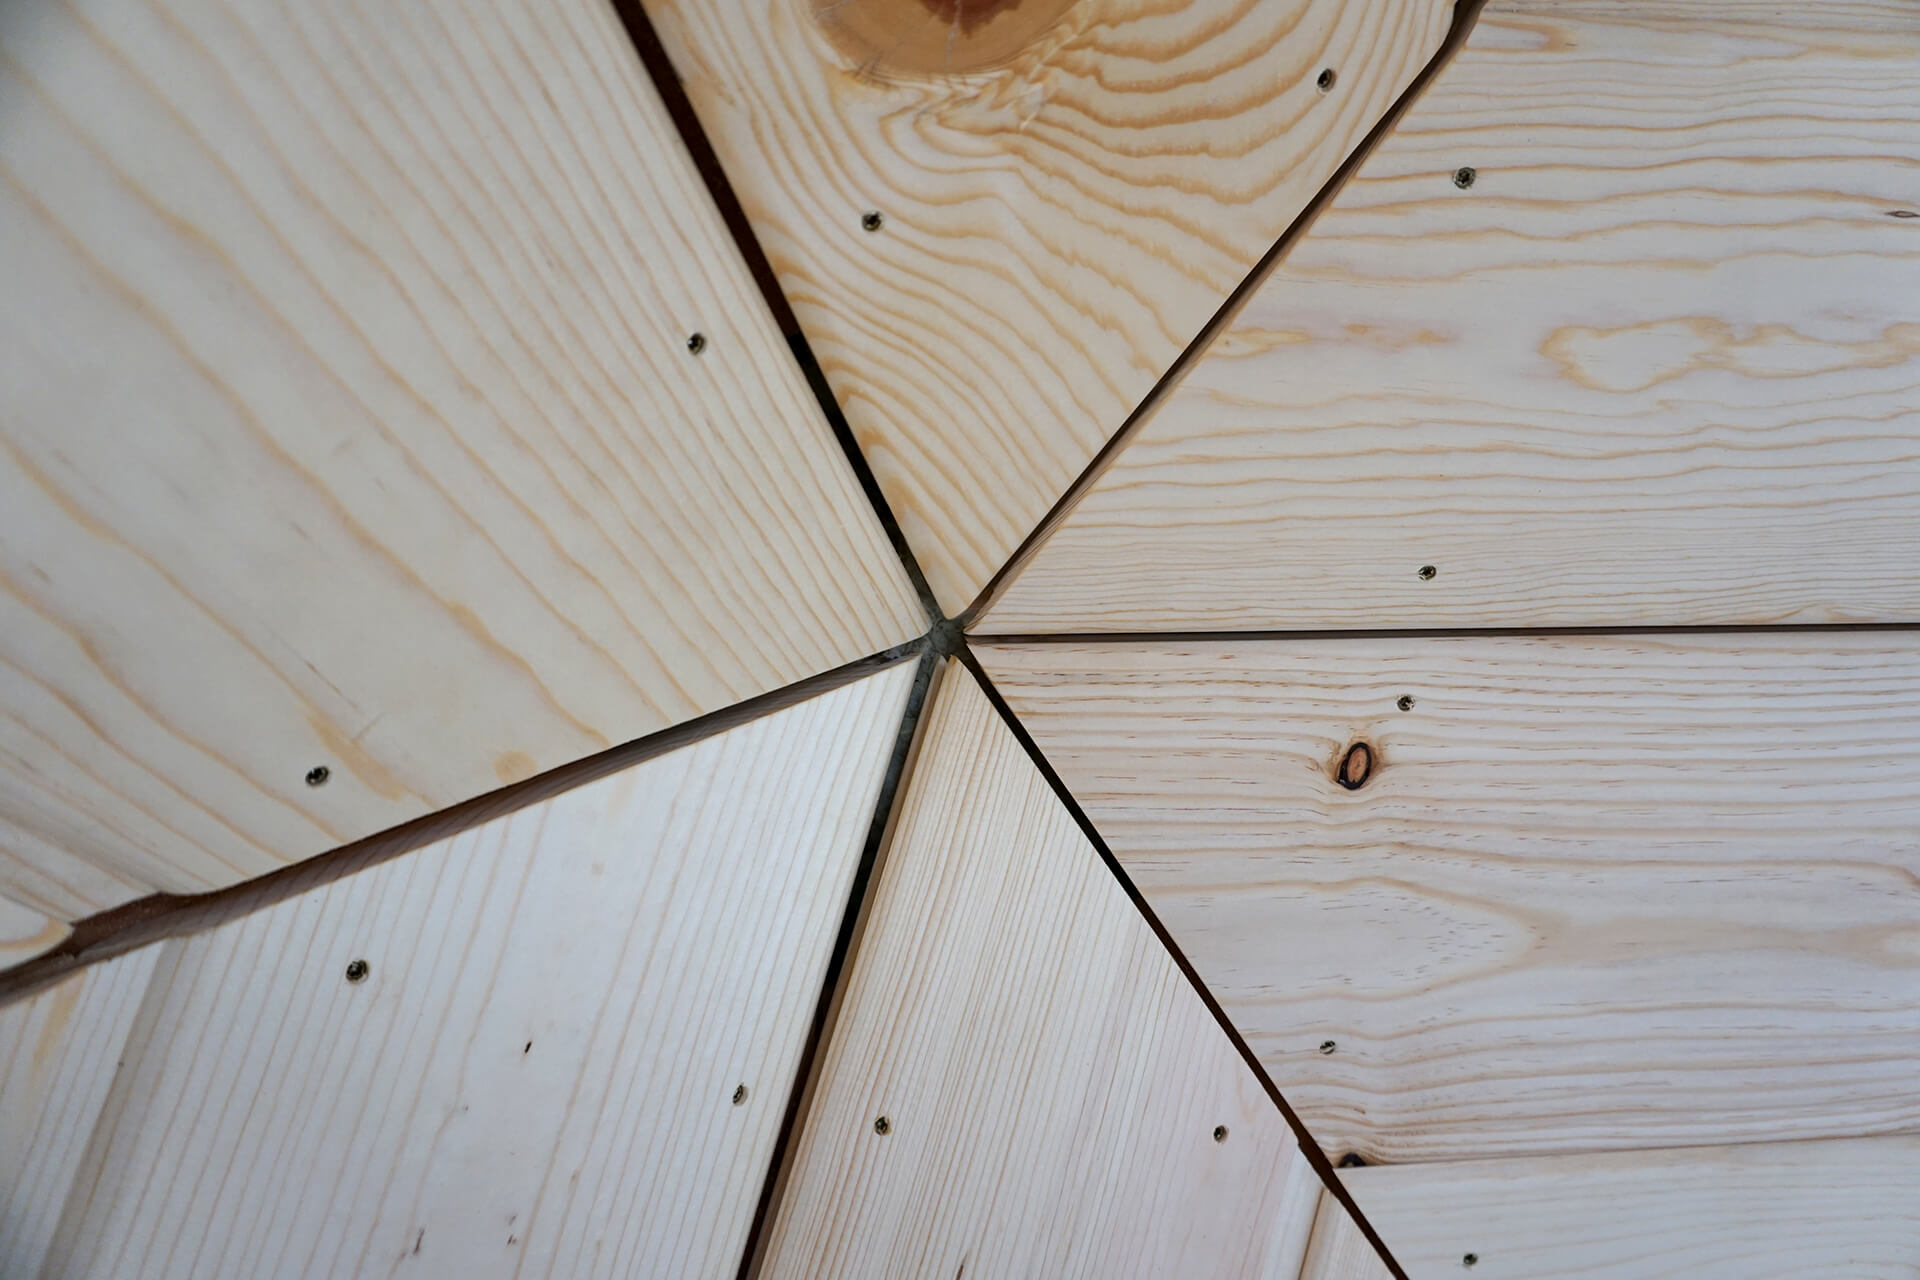
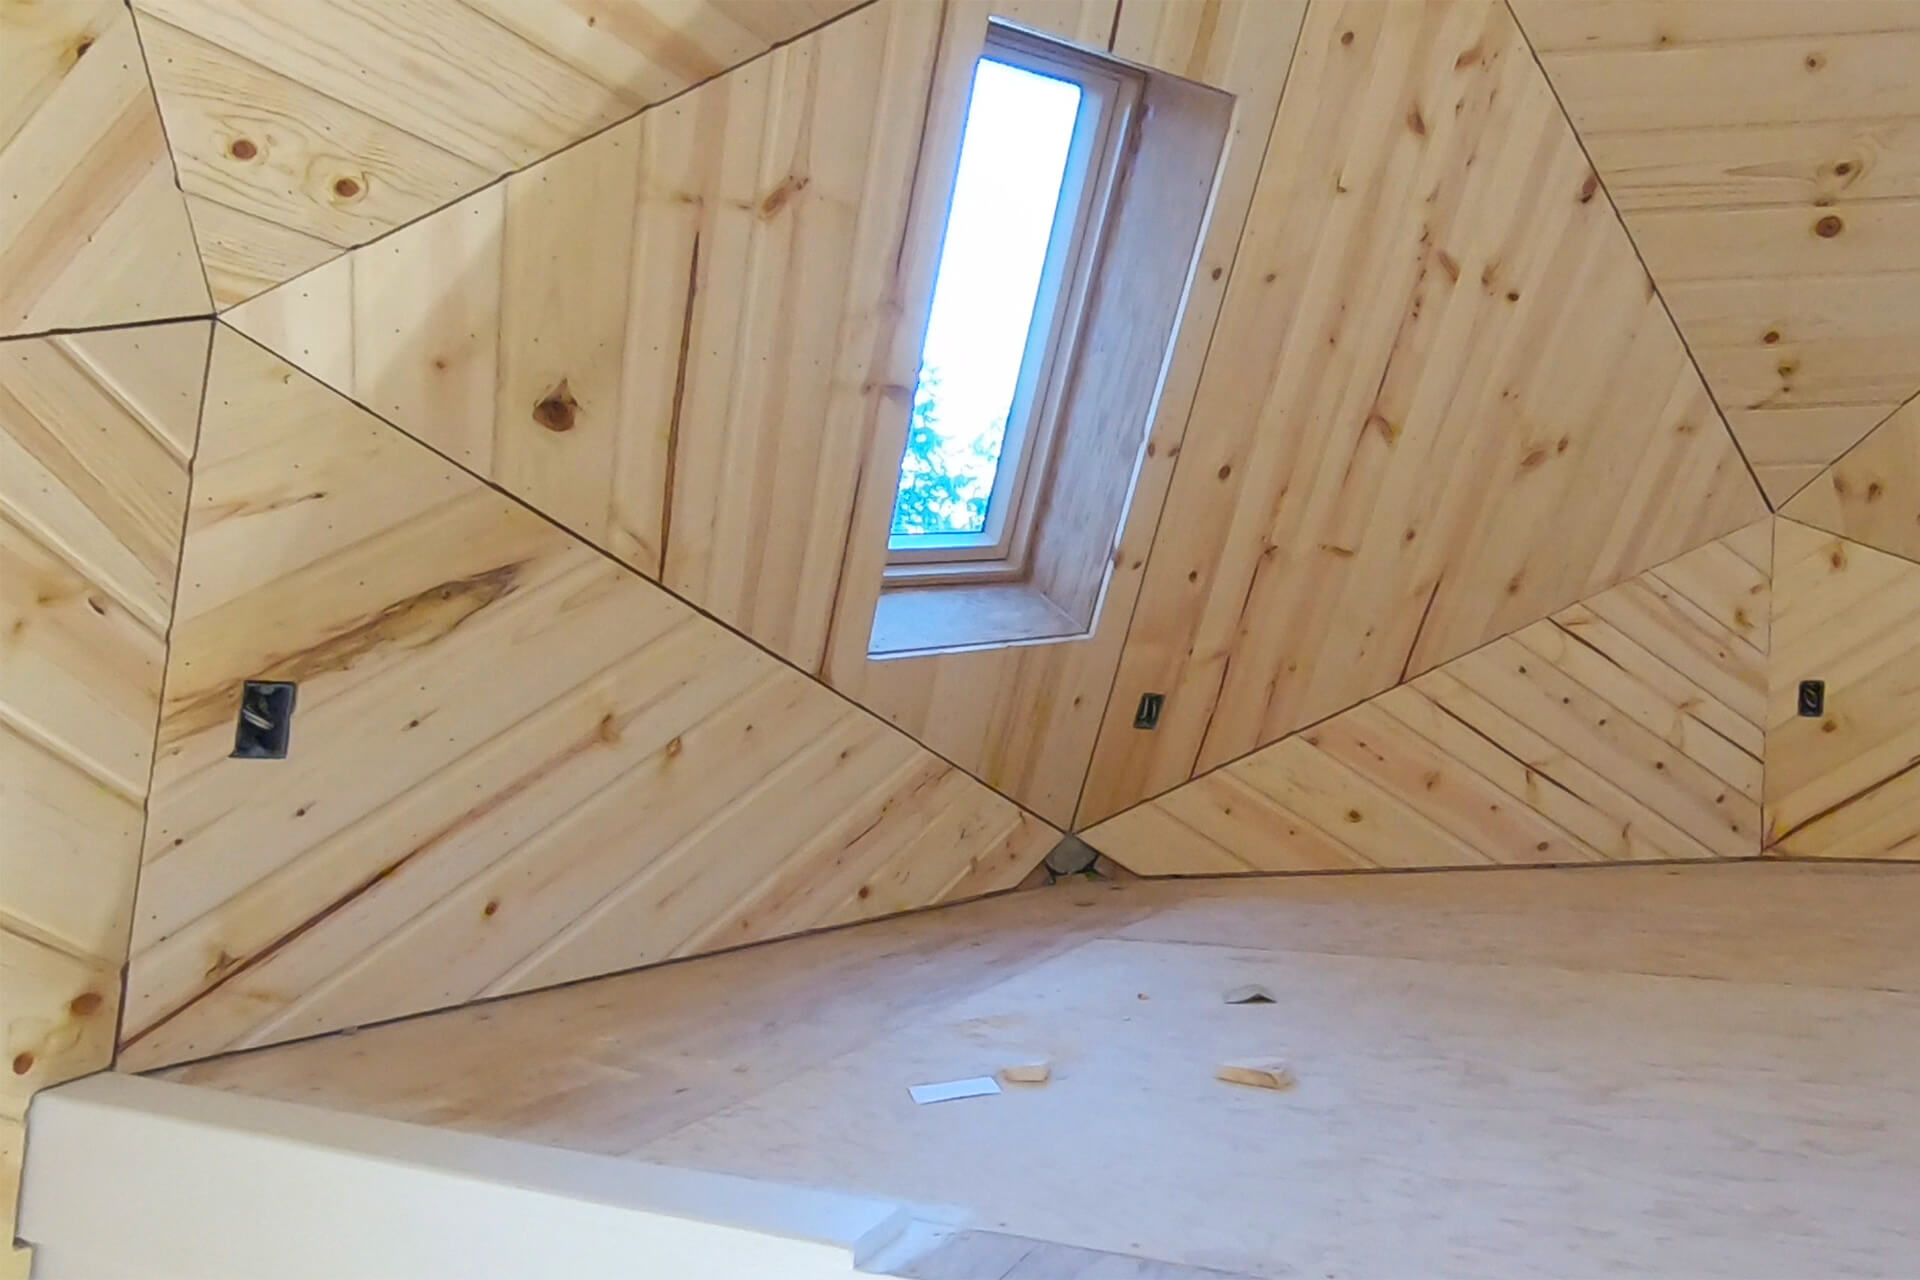
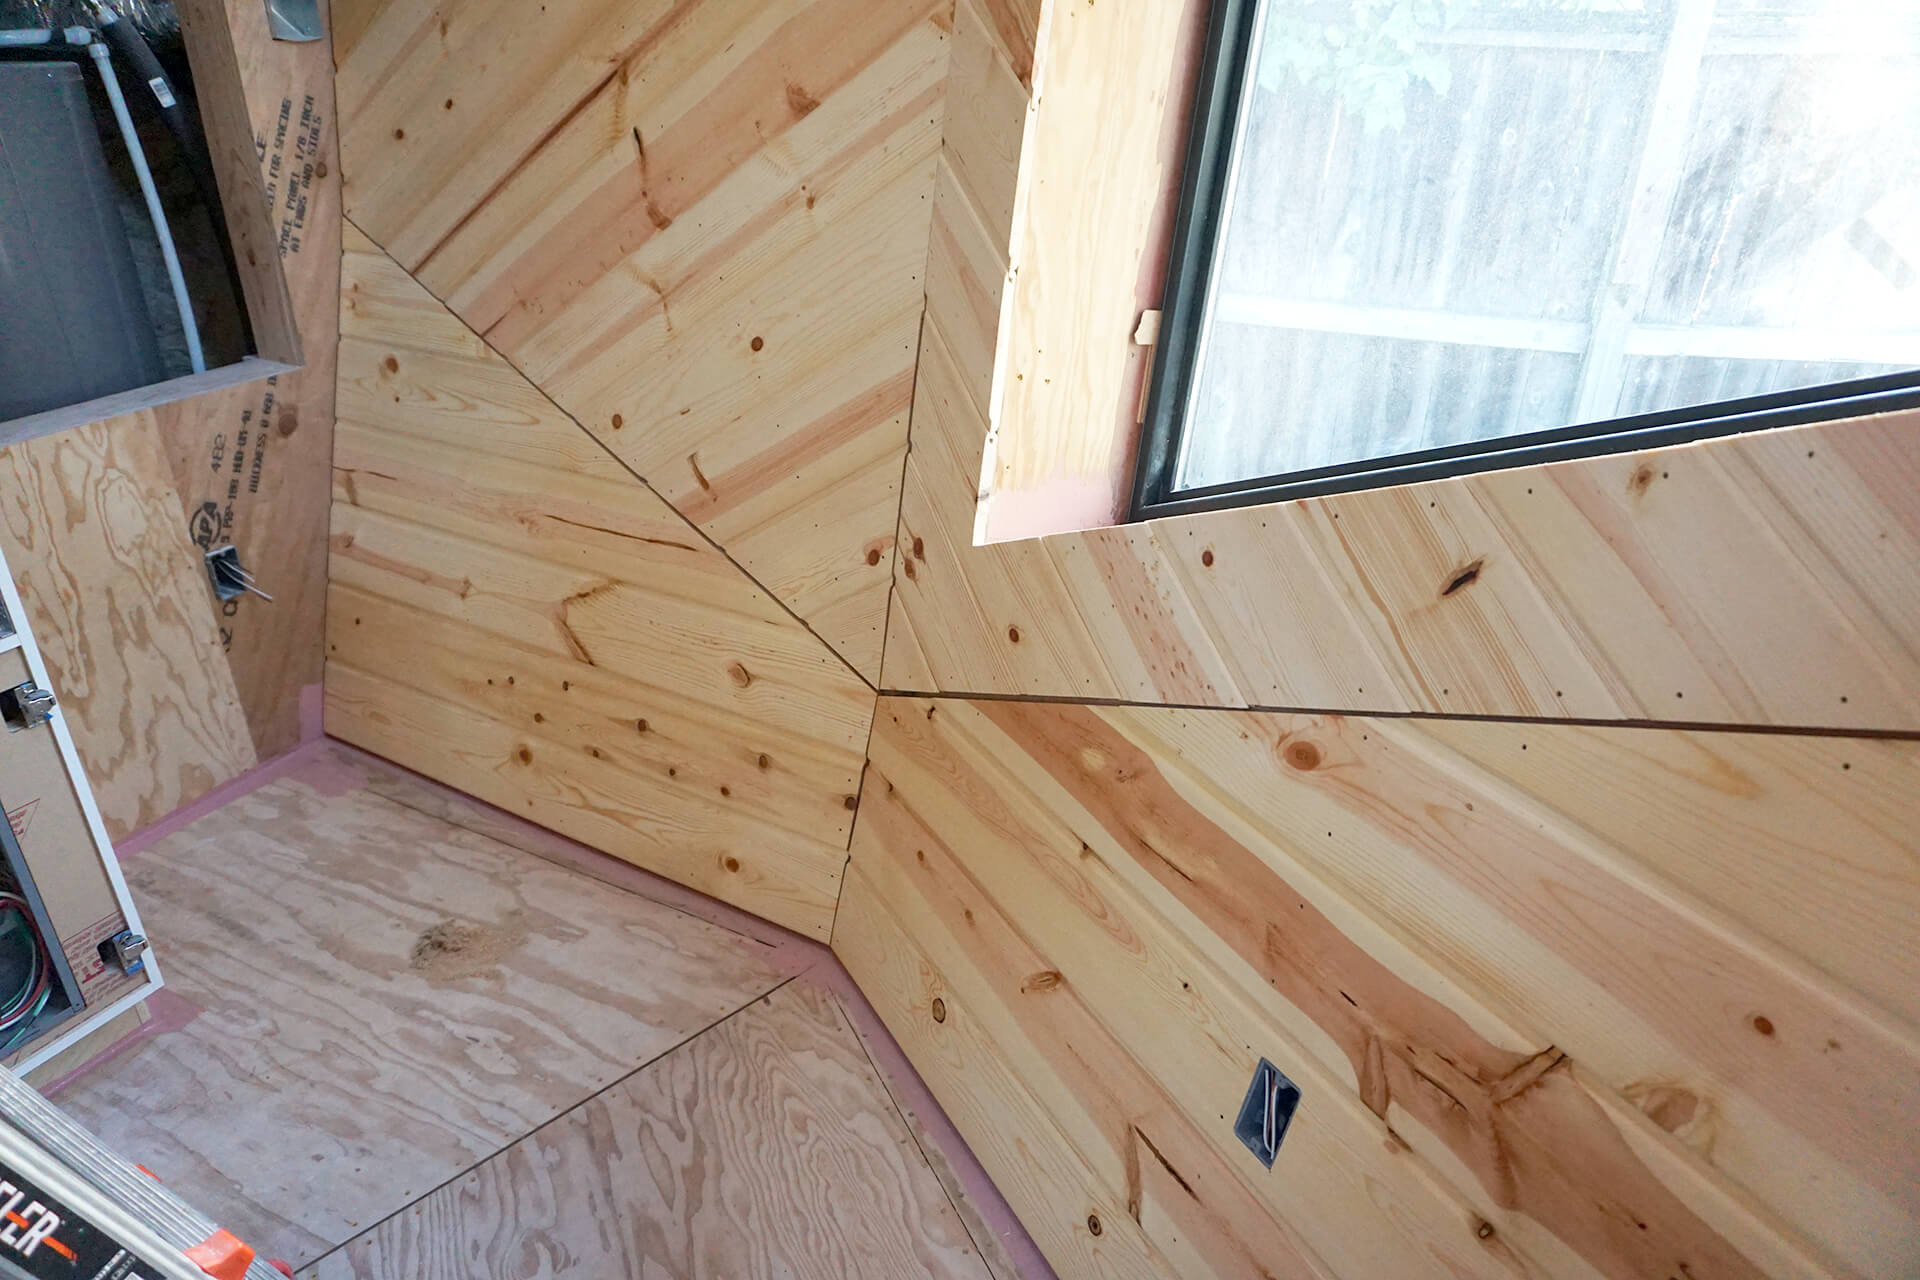
Detail shot showing a corner with optimal plank spacing and symmetry.
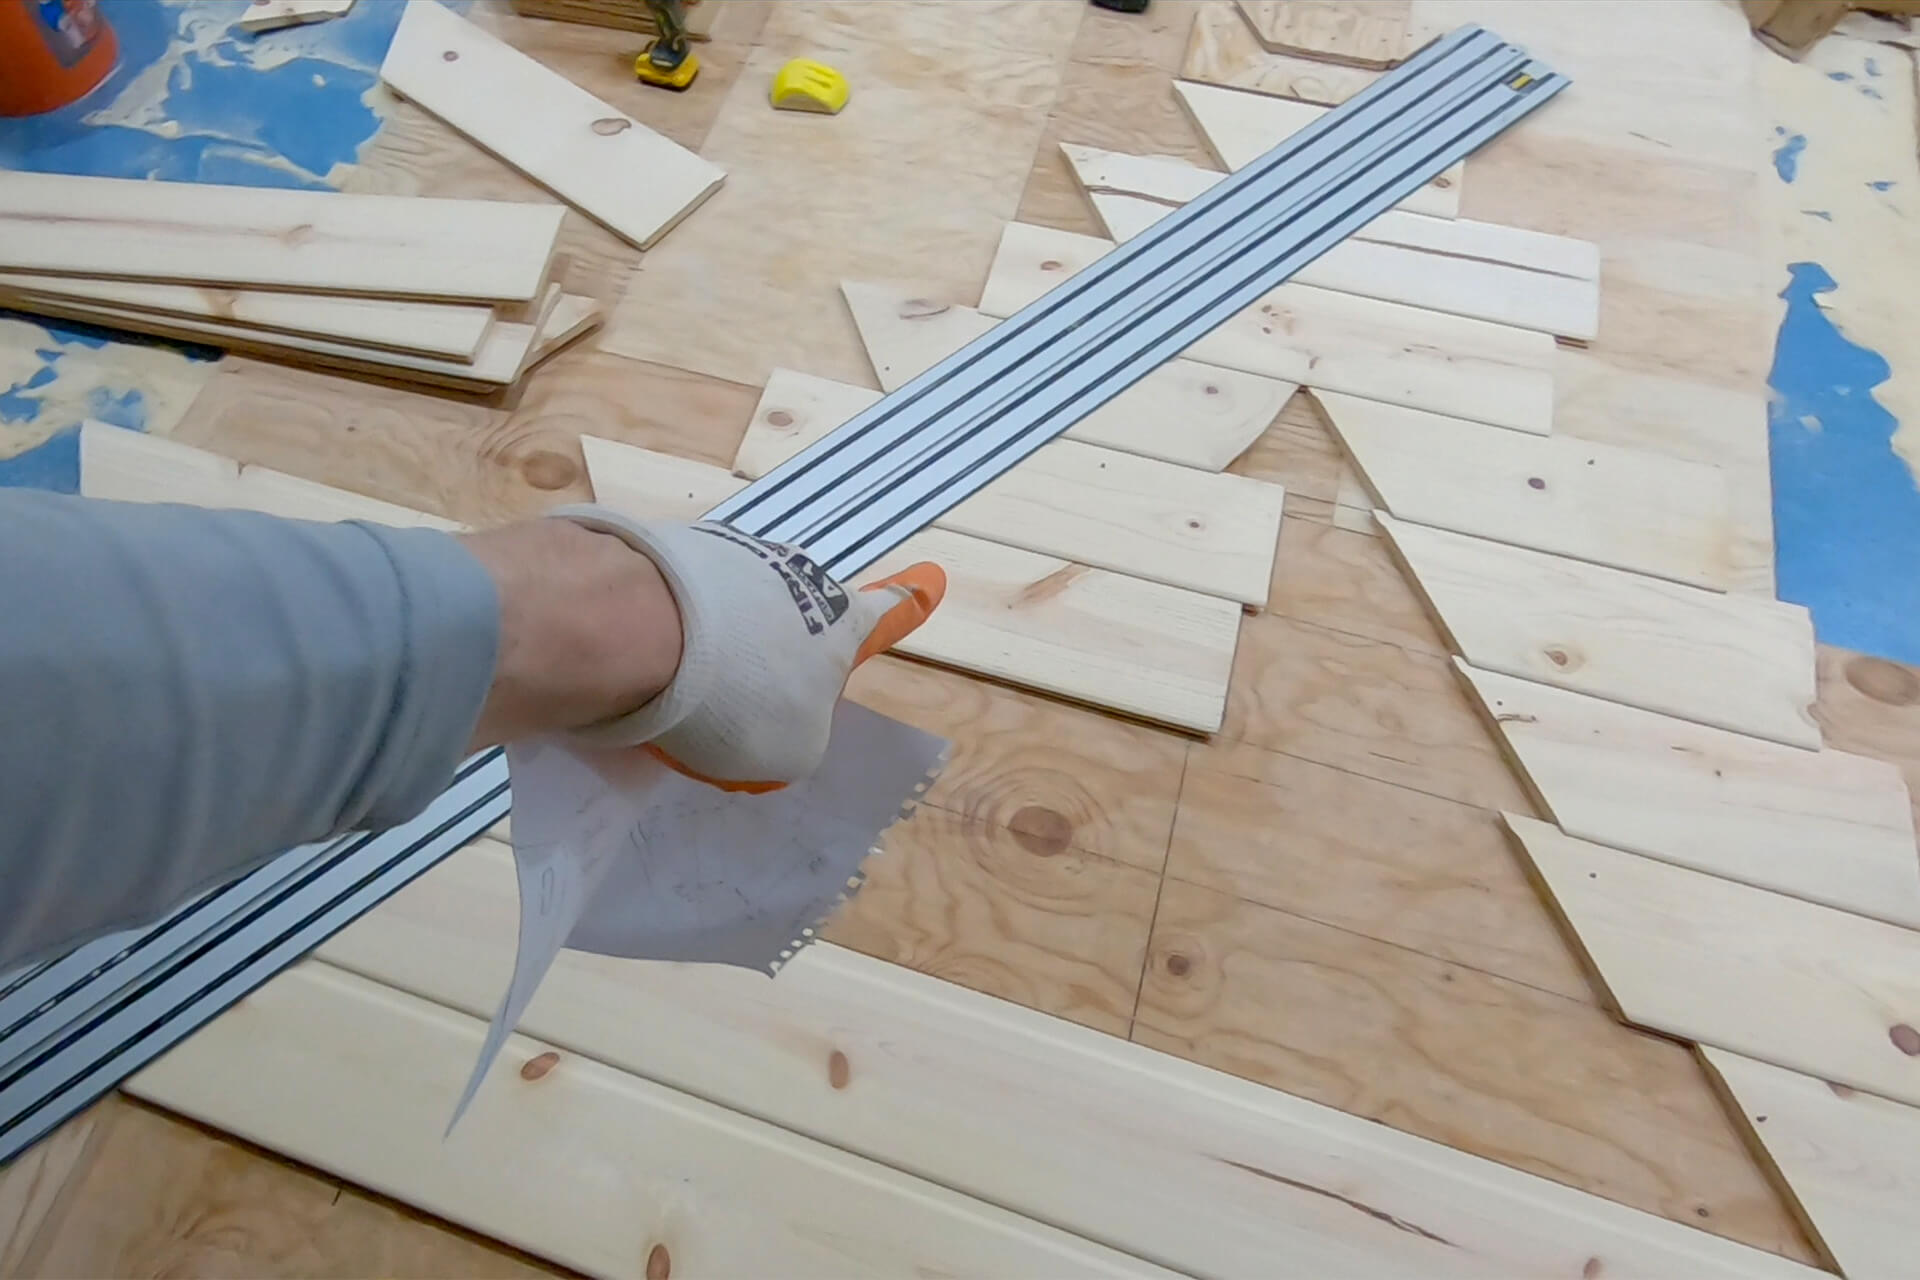
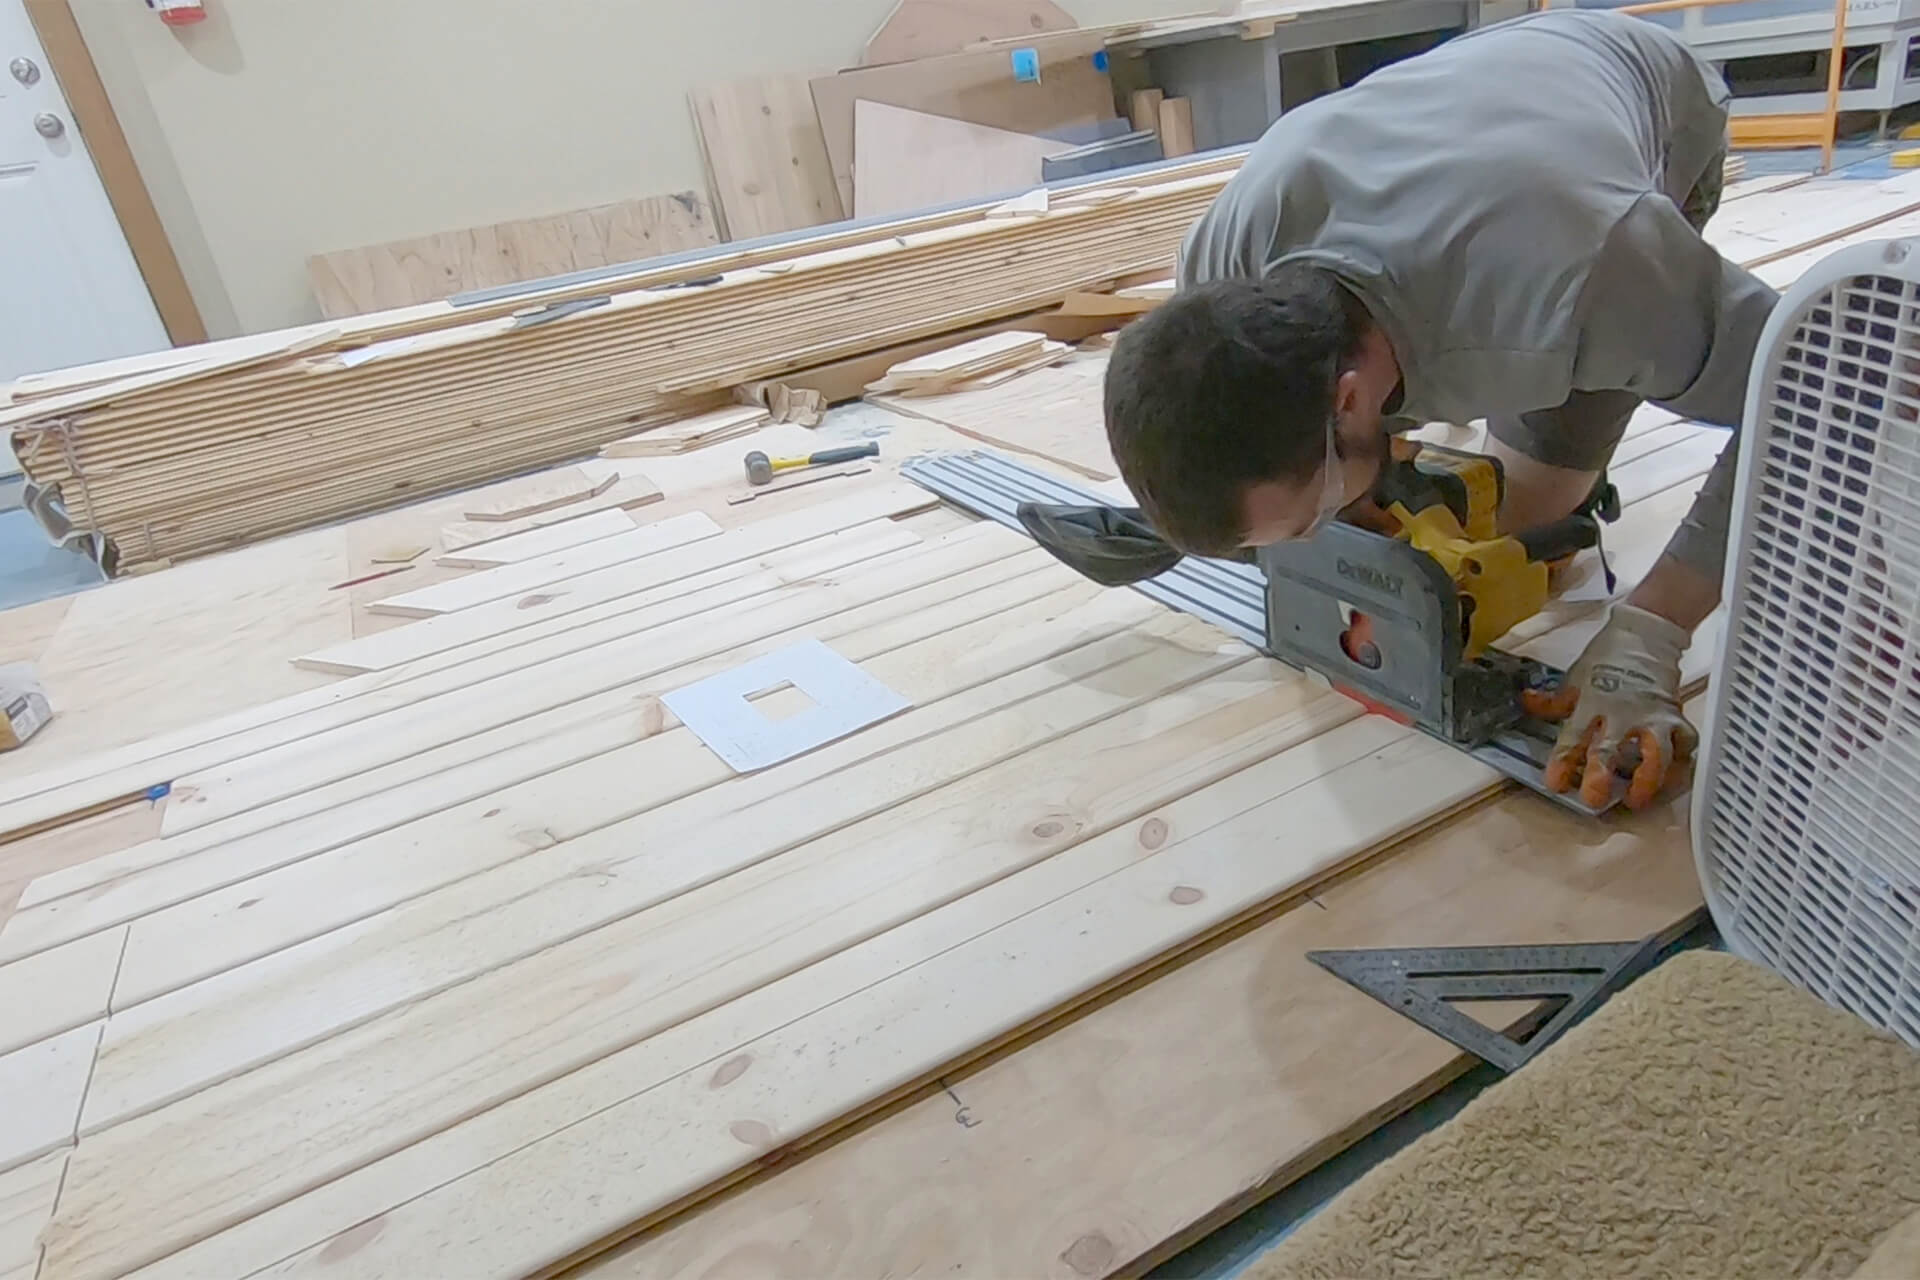
Use plank remnants to reduce material waste while building the wall window panels. Temporarily screw them to the cutting jig to prevent movement during cutting.
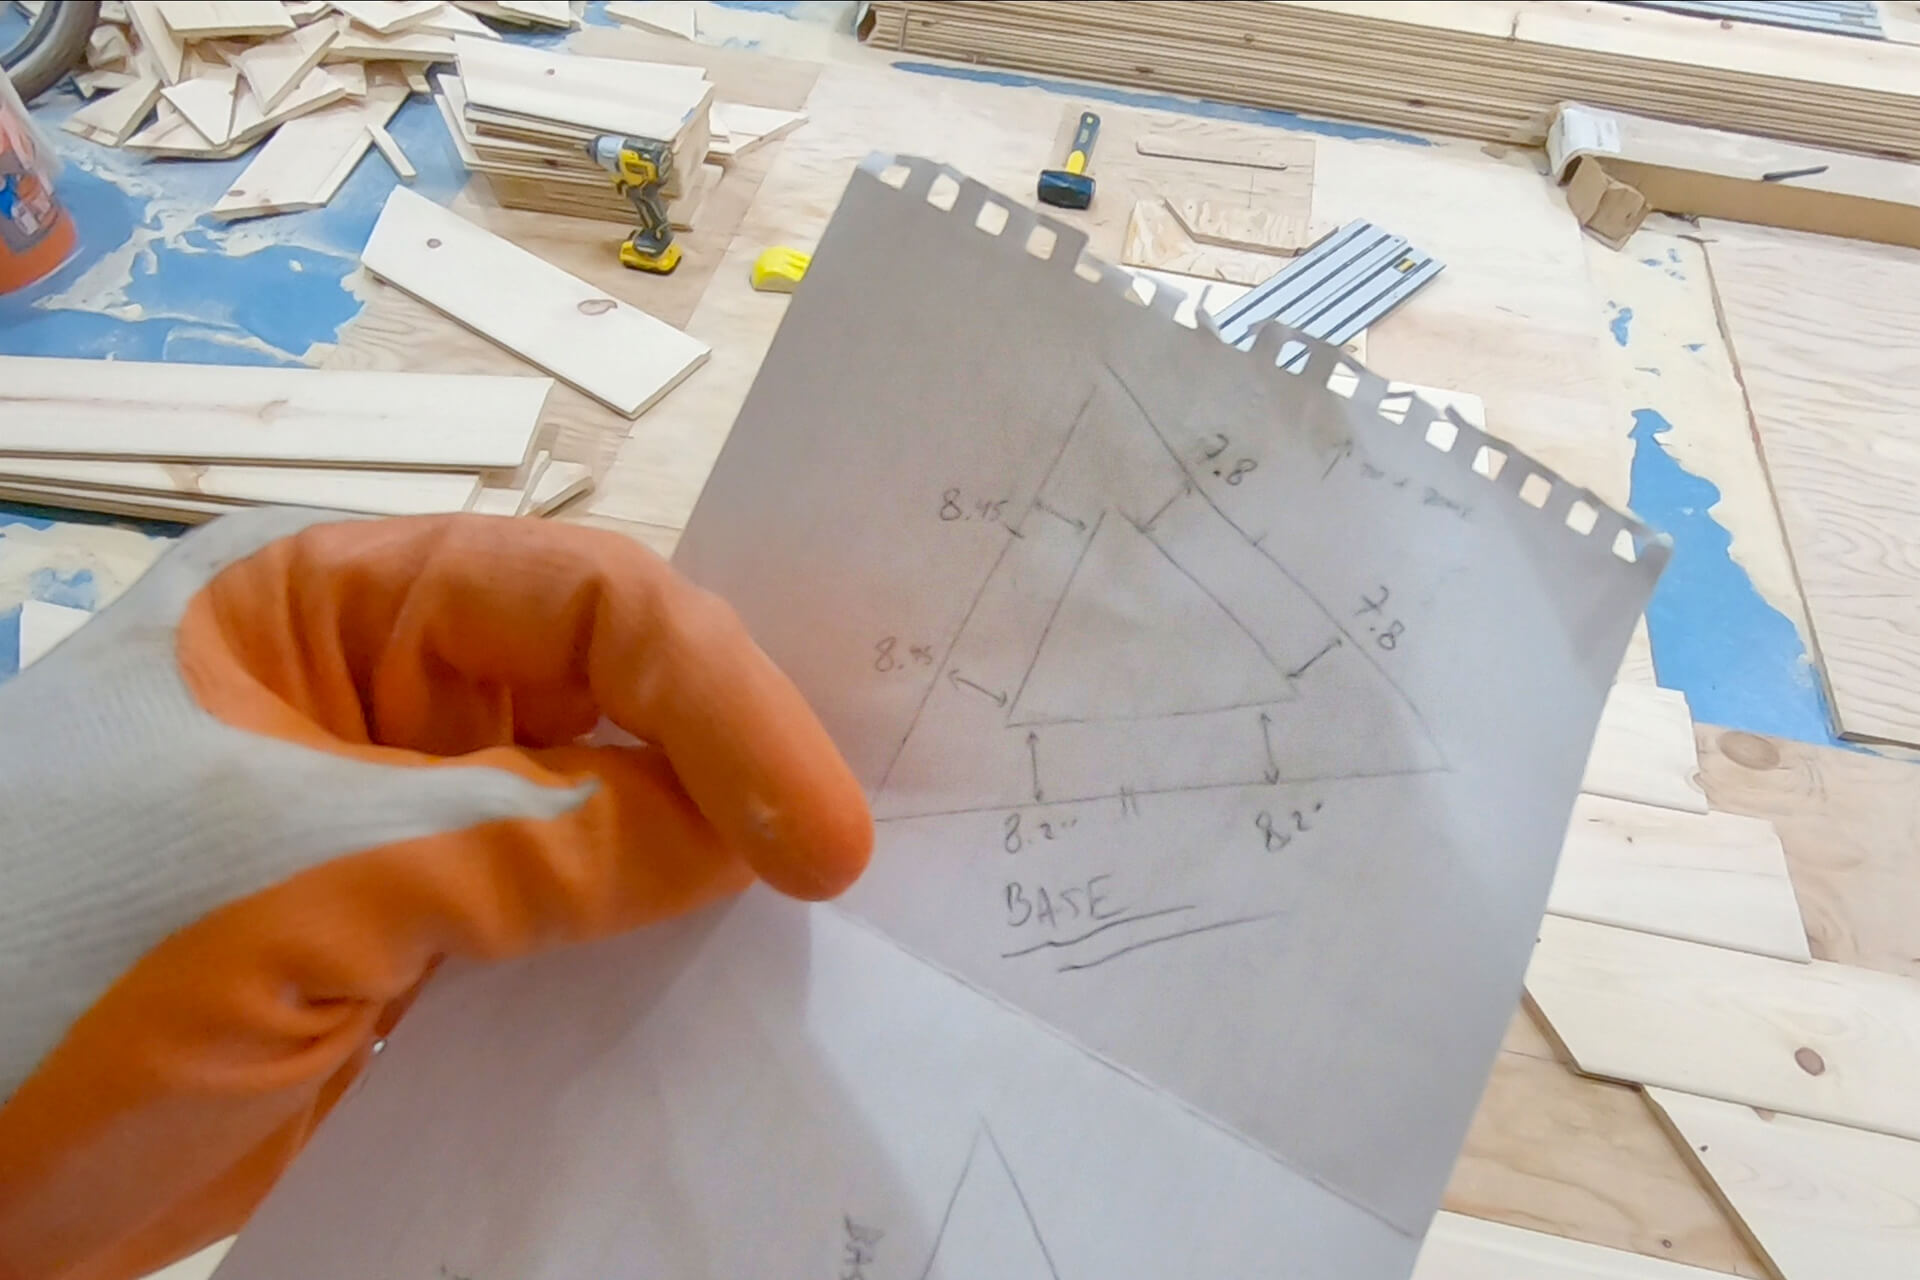
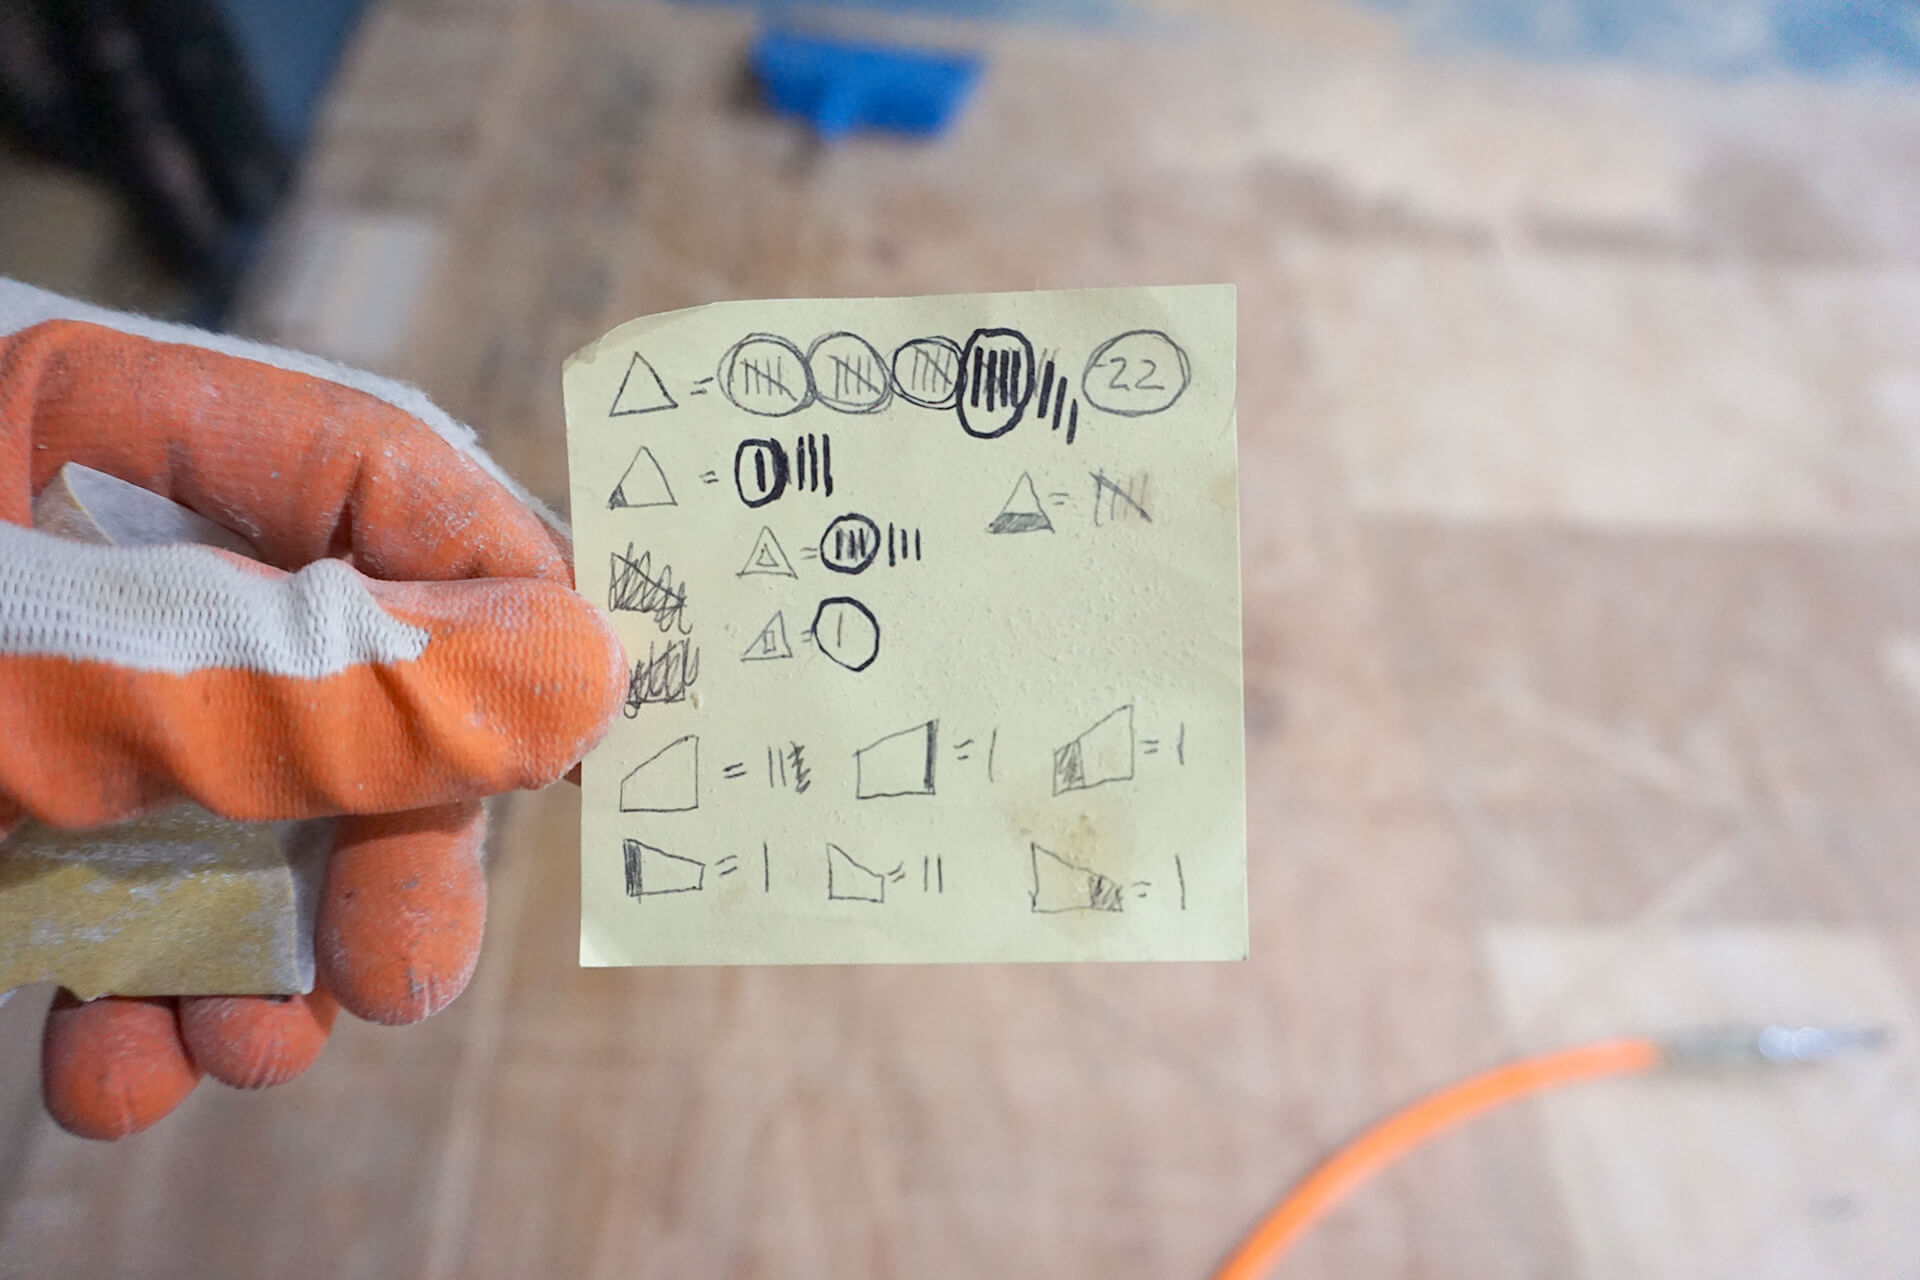
Measure the optimal dimensions for each window. Ideally, they would be identical and perfectly centered, but wood movement and framing imperfections may have affected this.
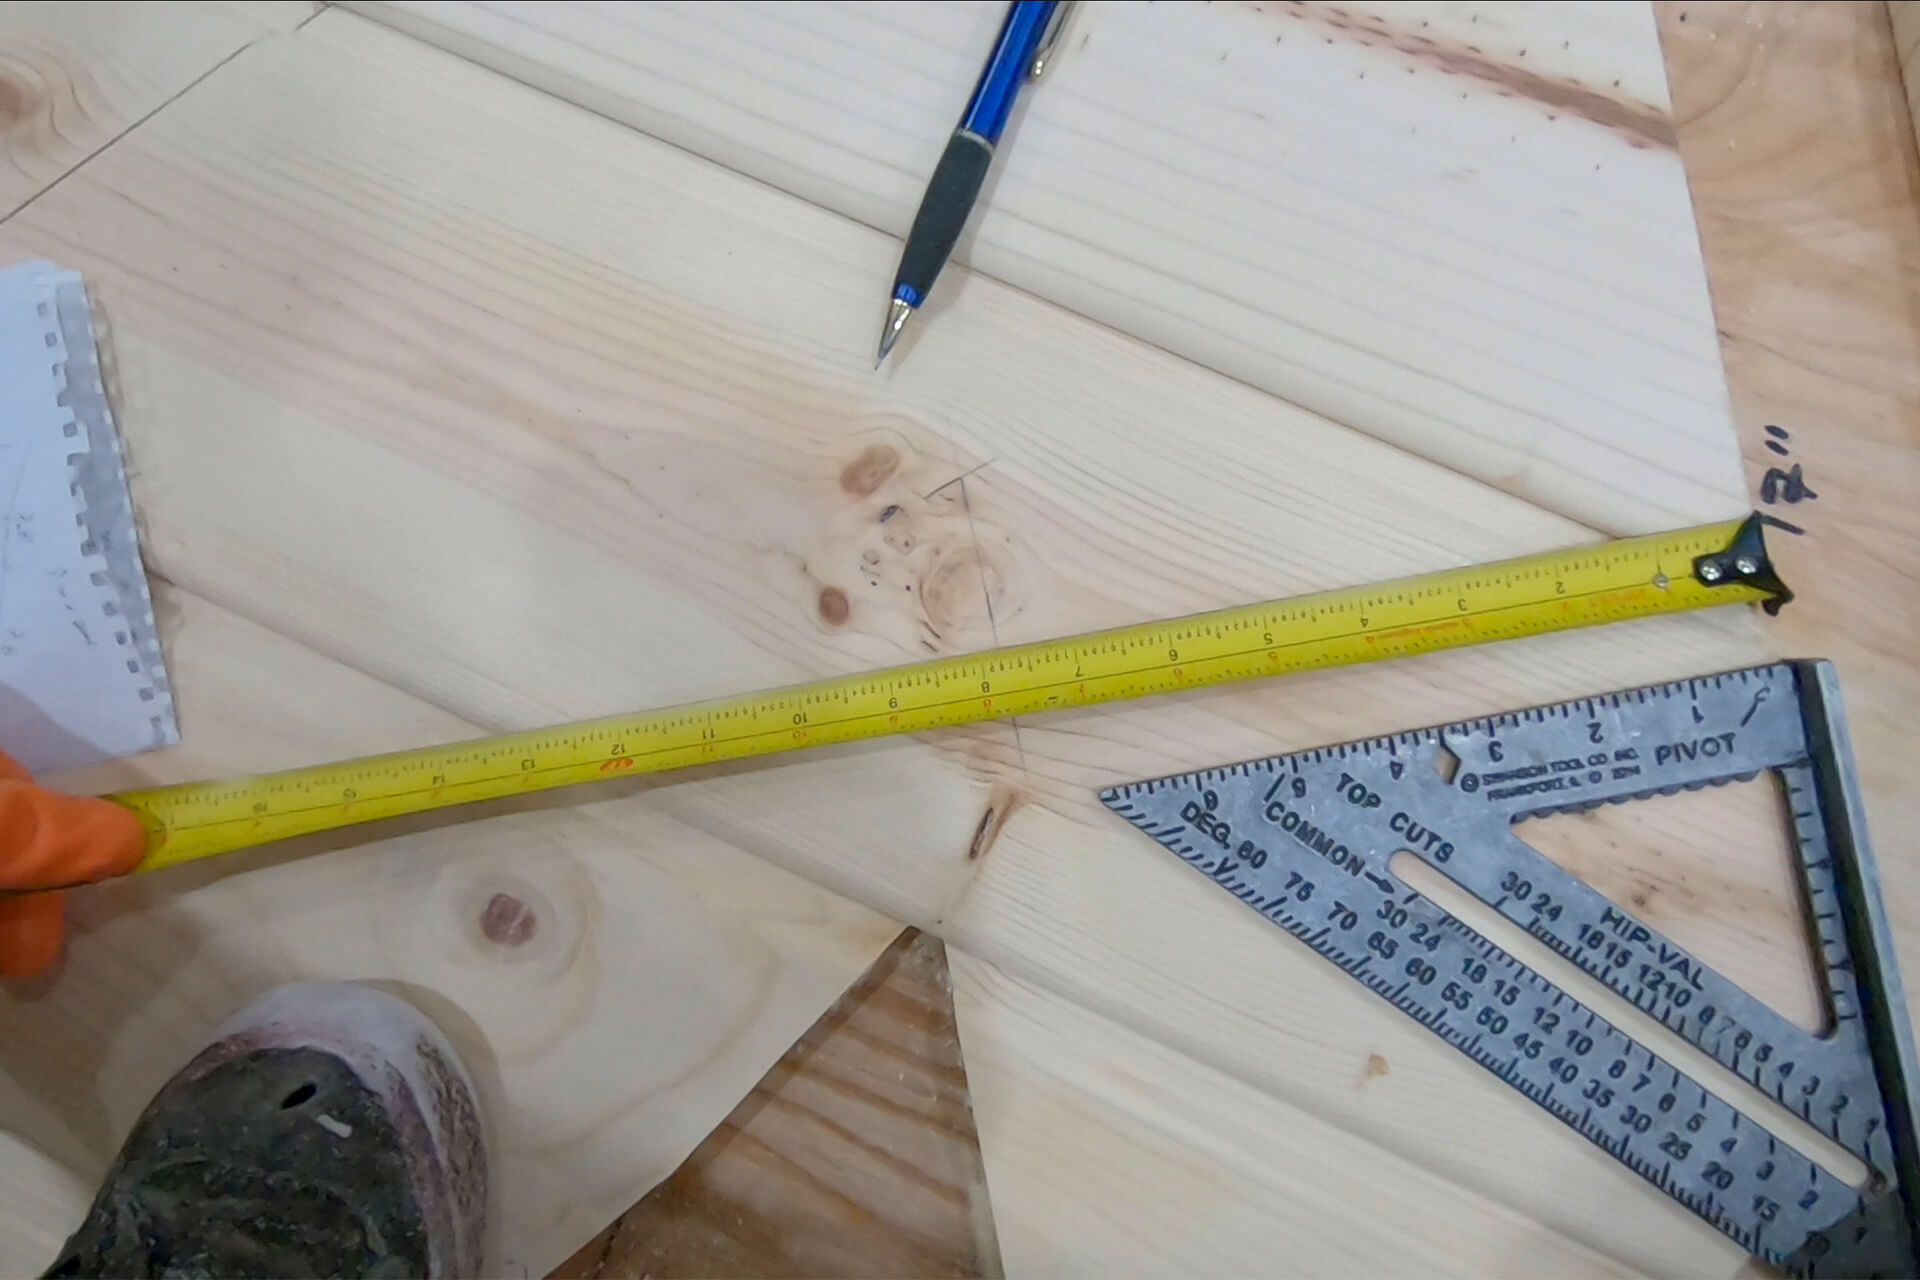
Transfer the measurements to the planks on the cutting jig after cutting the perimeter, then cut the window opening accordingly.
Use a powered planer to remove any high spots on the window framing and blocking to ensure the planks sit perfectly flat on the panel.

Progress shot showing the wall paneling of a window.
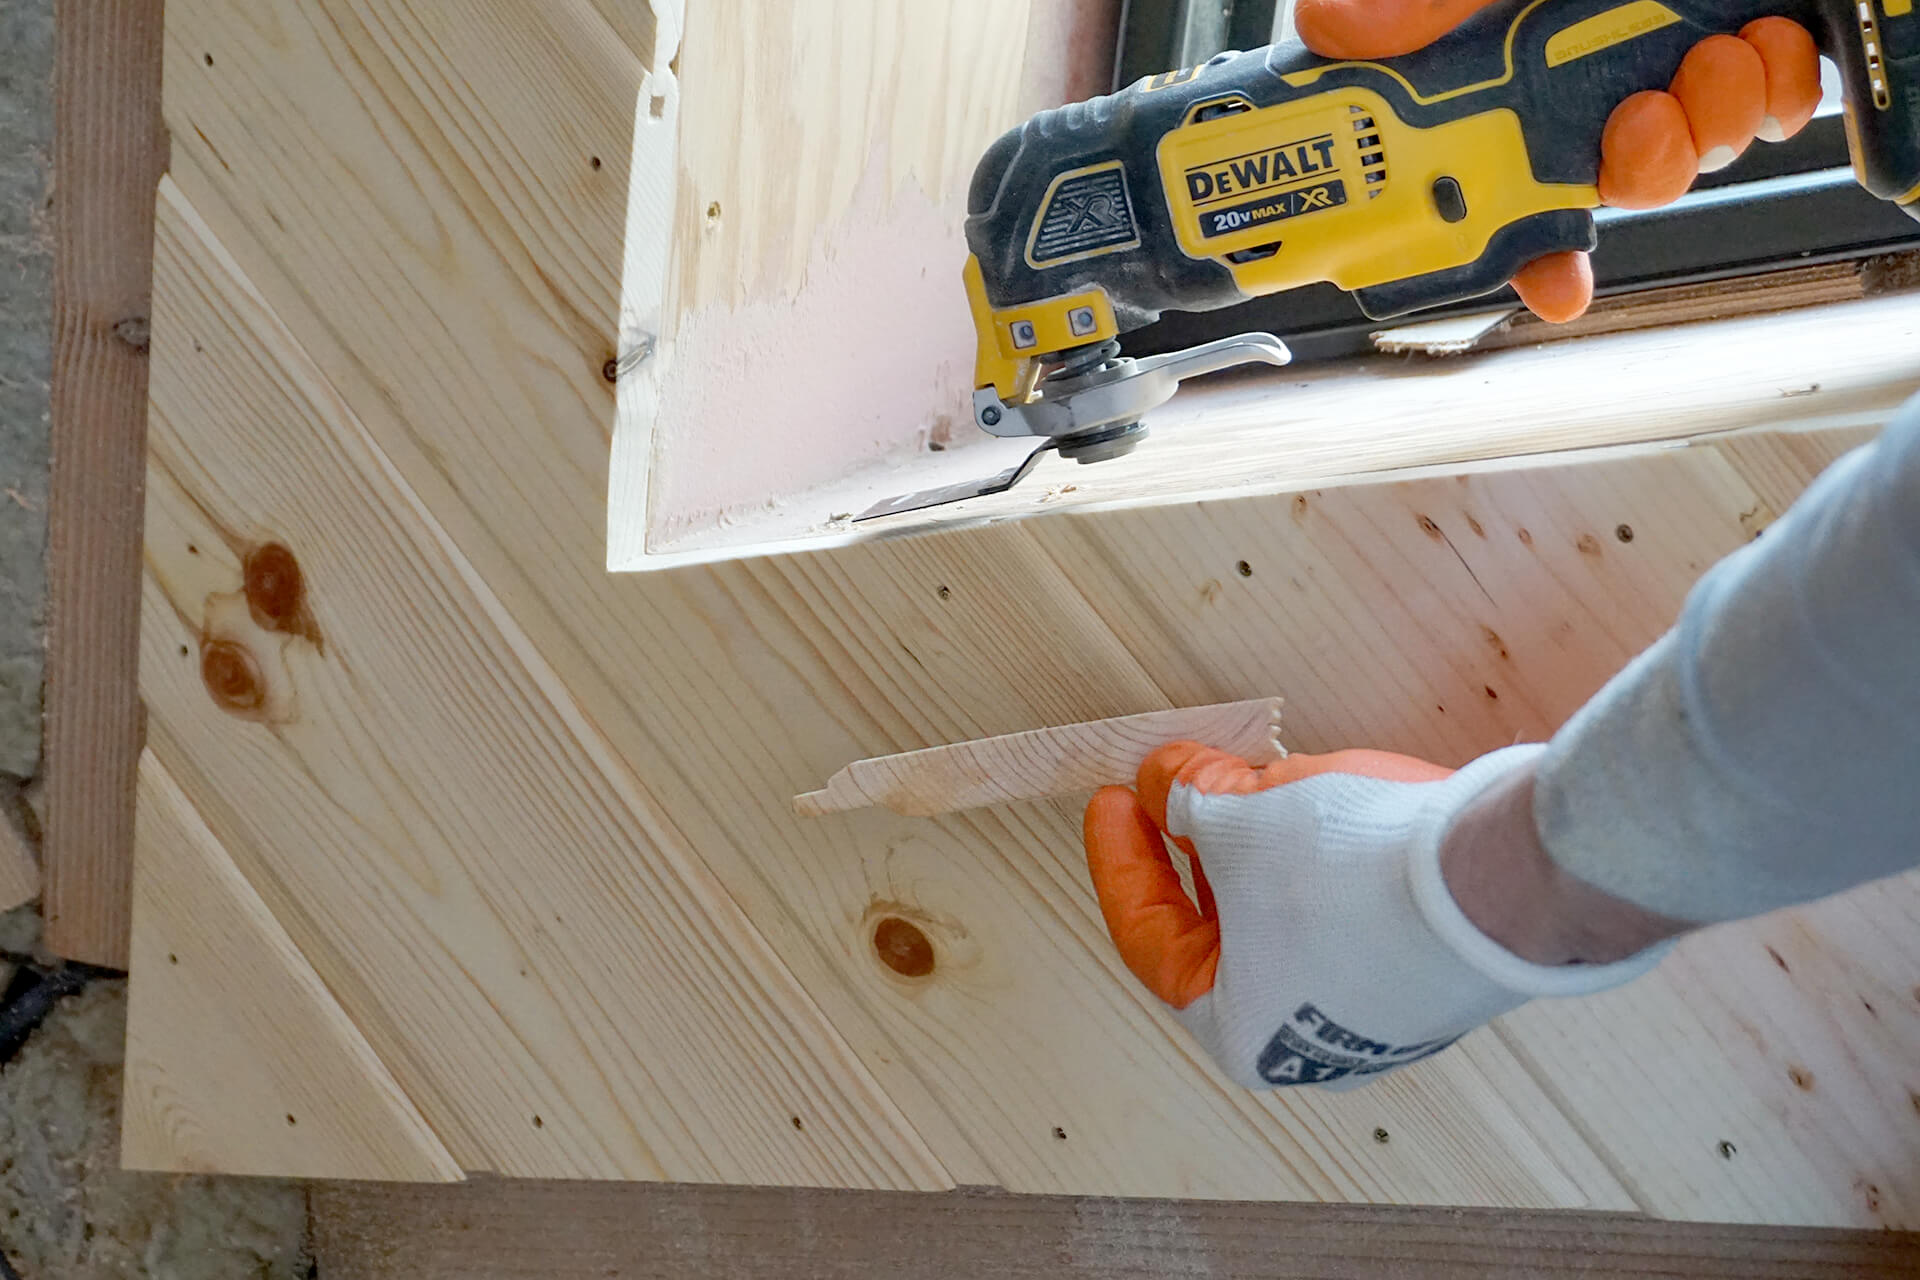
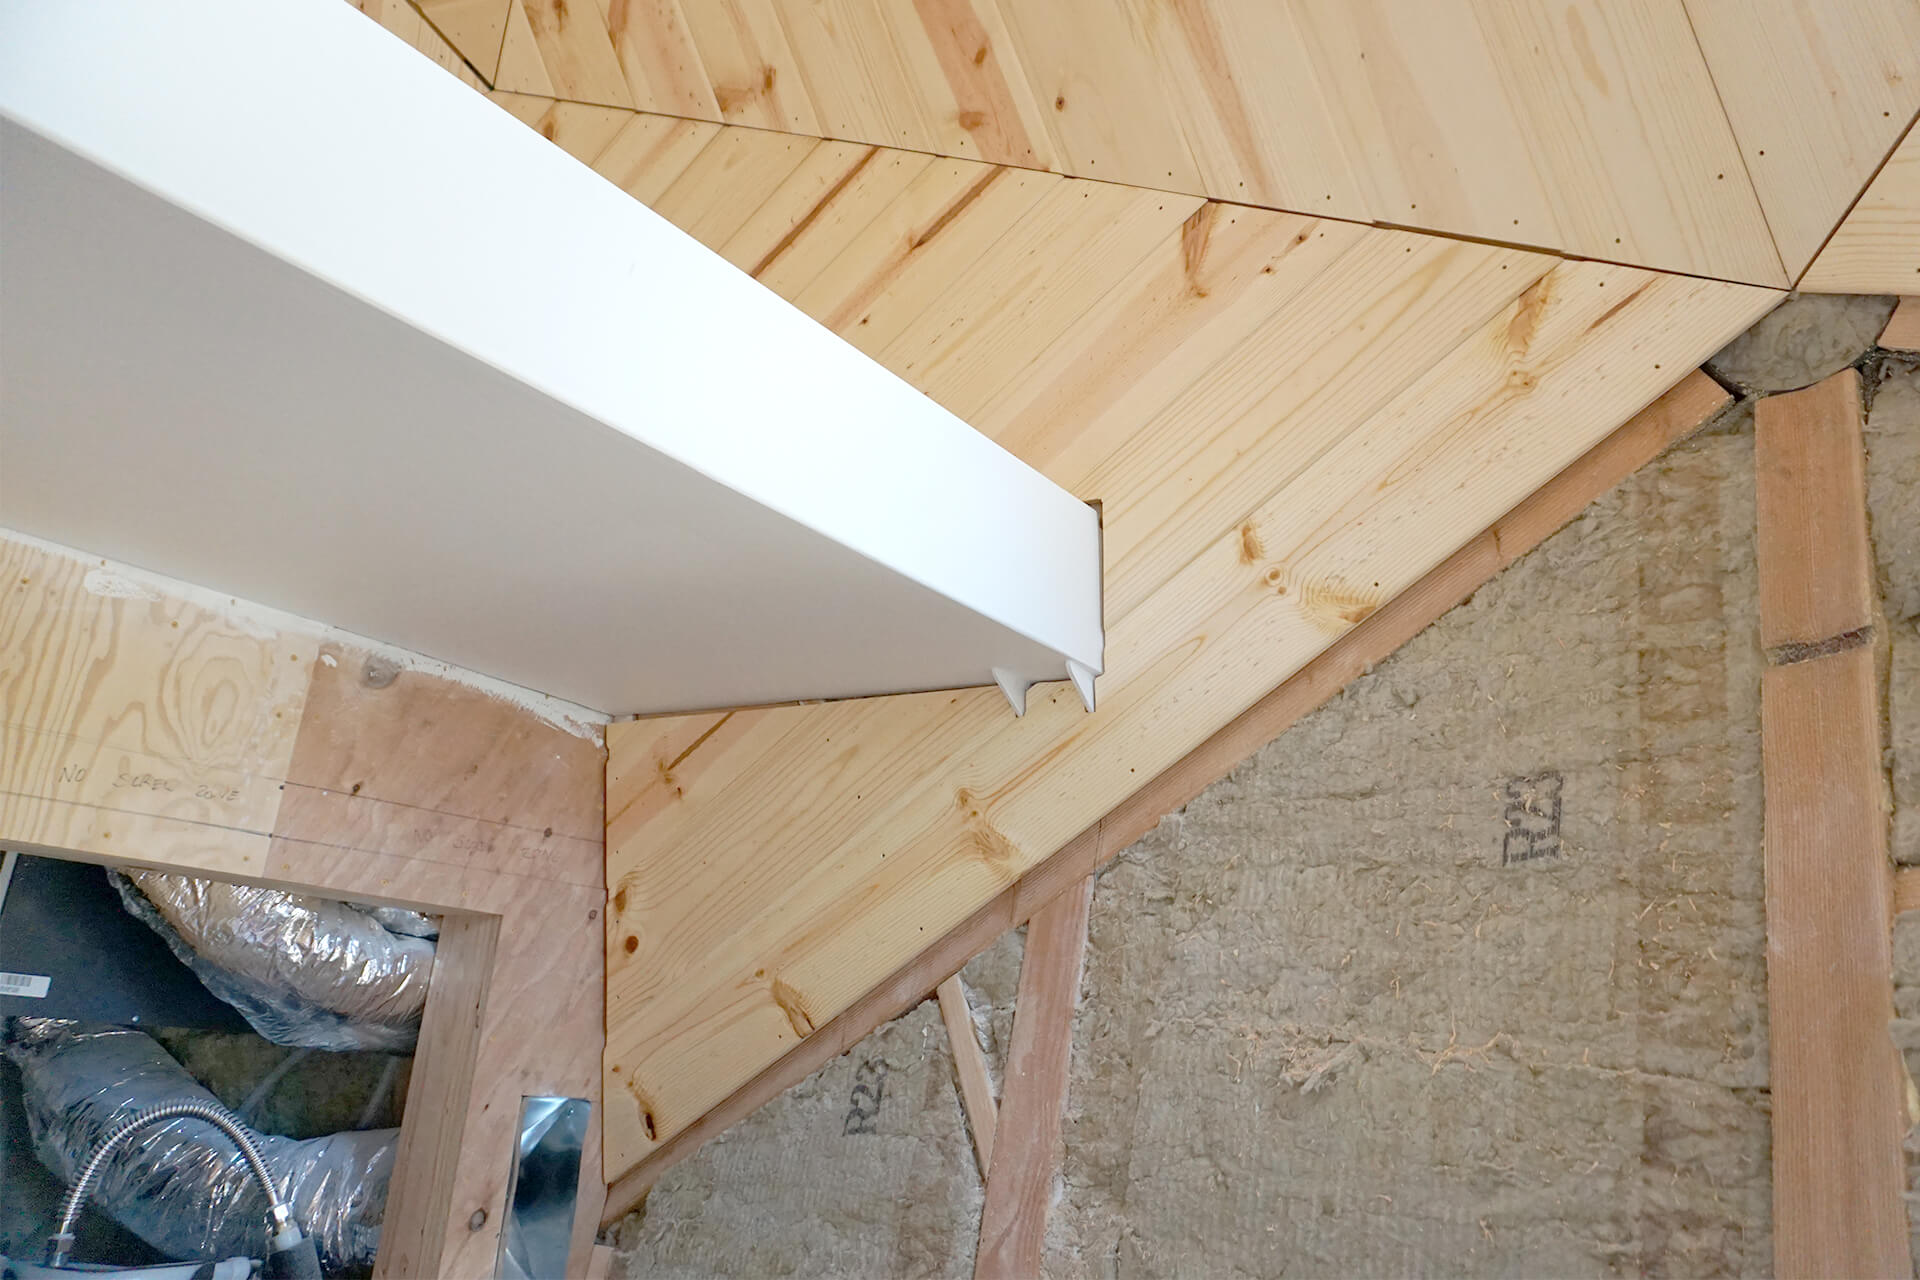
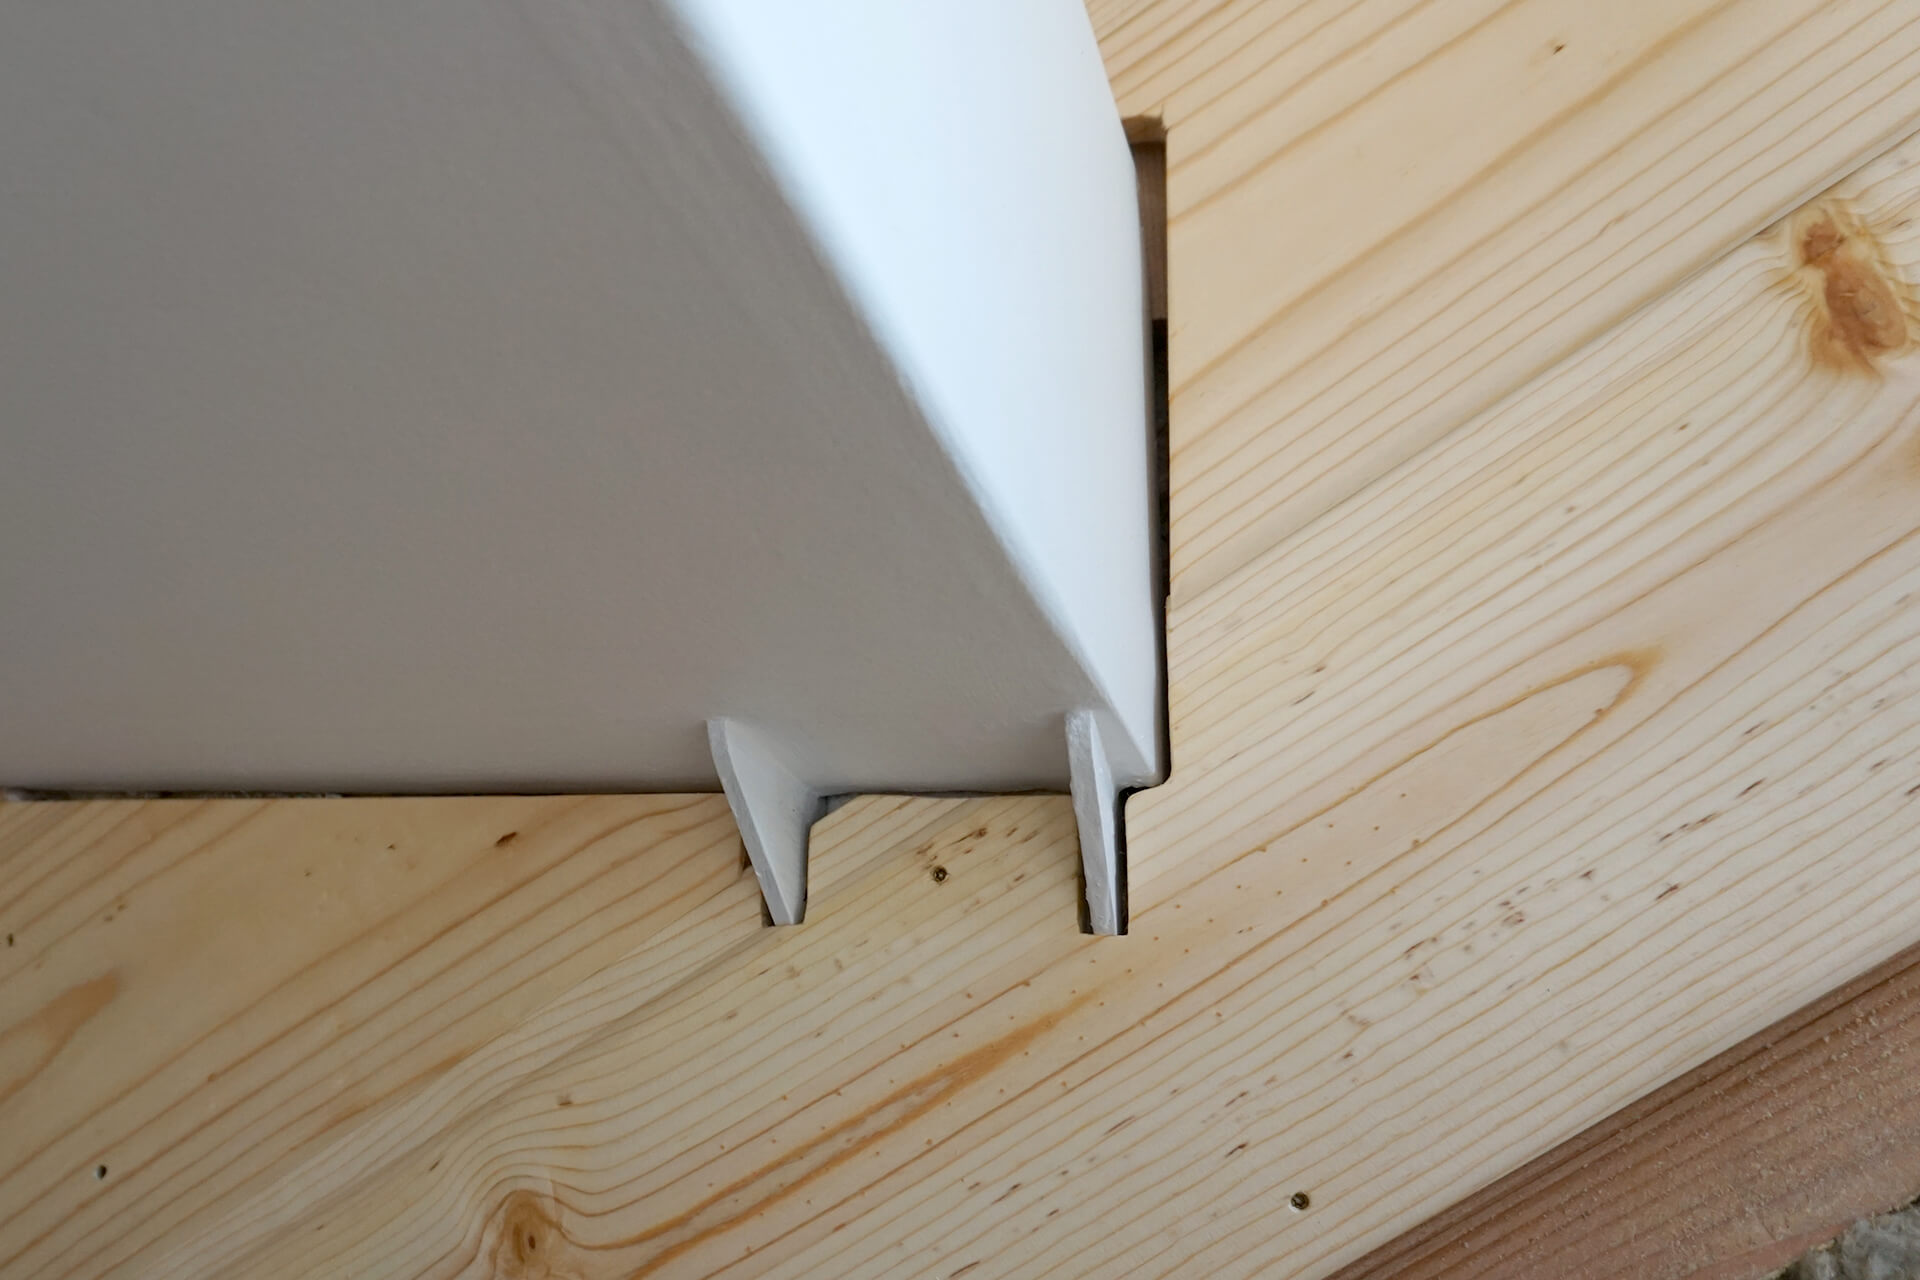
Ensure the planks are flush with or slightly below the plane of the window boxes. Use an oscillating tool if necessary.
Continue paneling the next lower level, which consists of sideways-facing triangles, many of which must be cut to fit around walls.
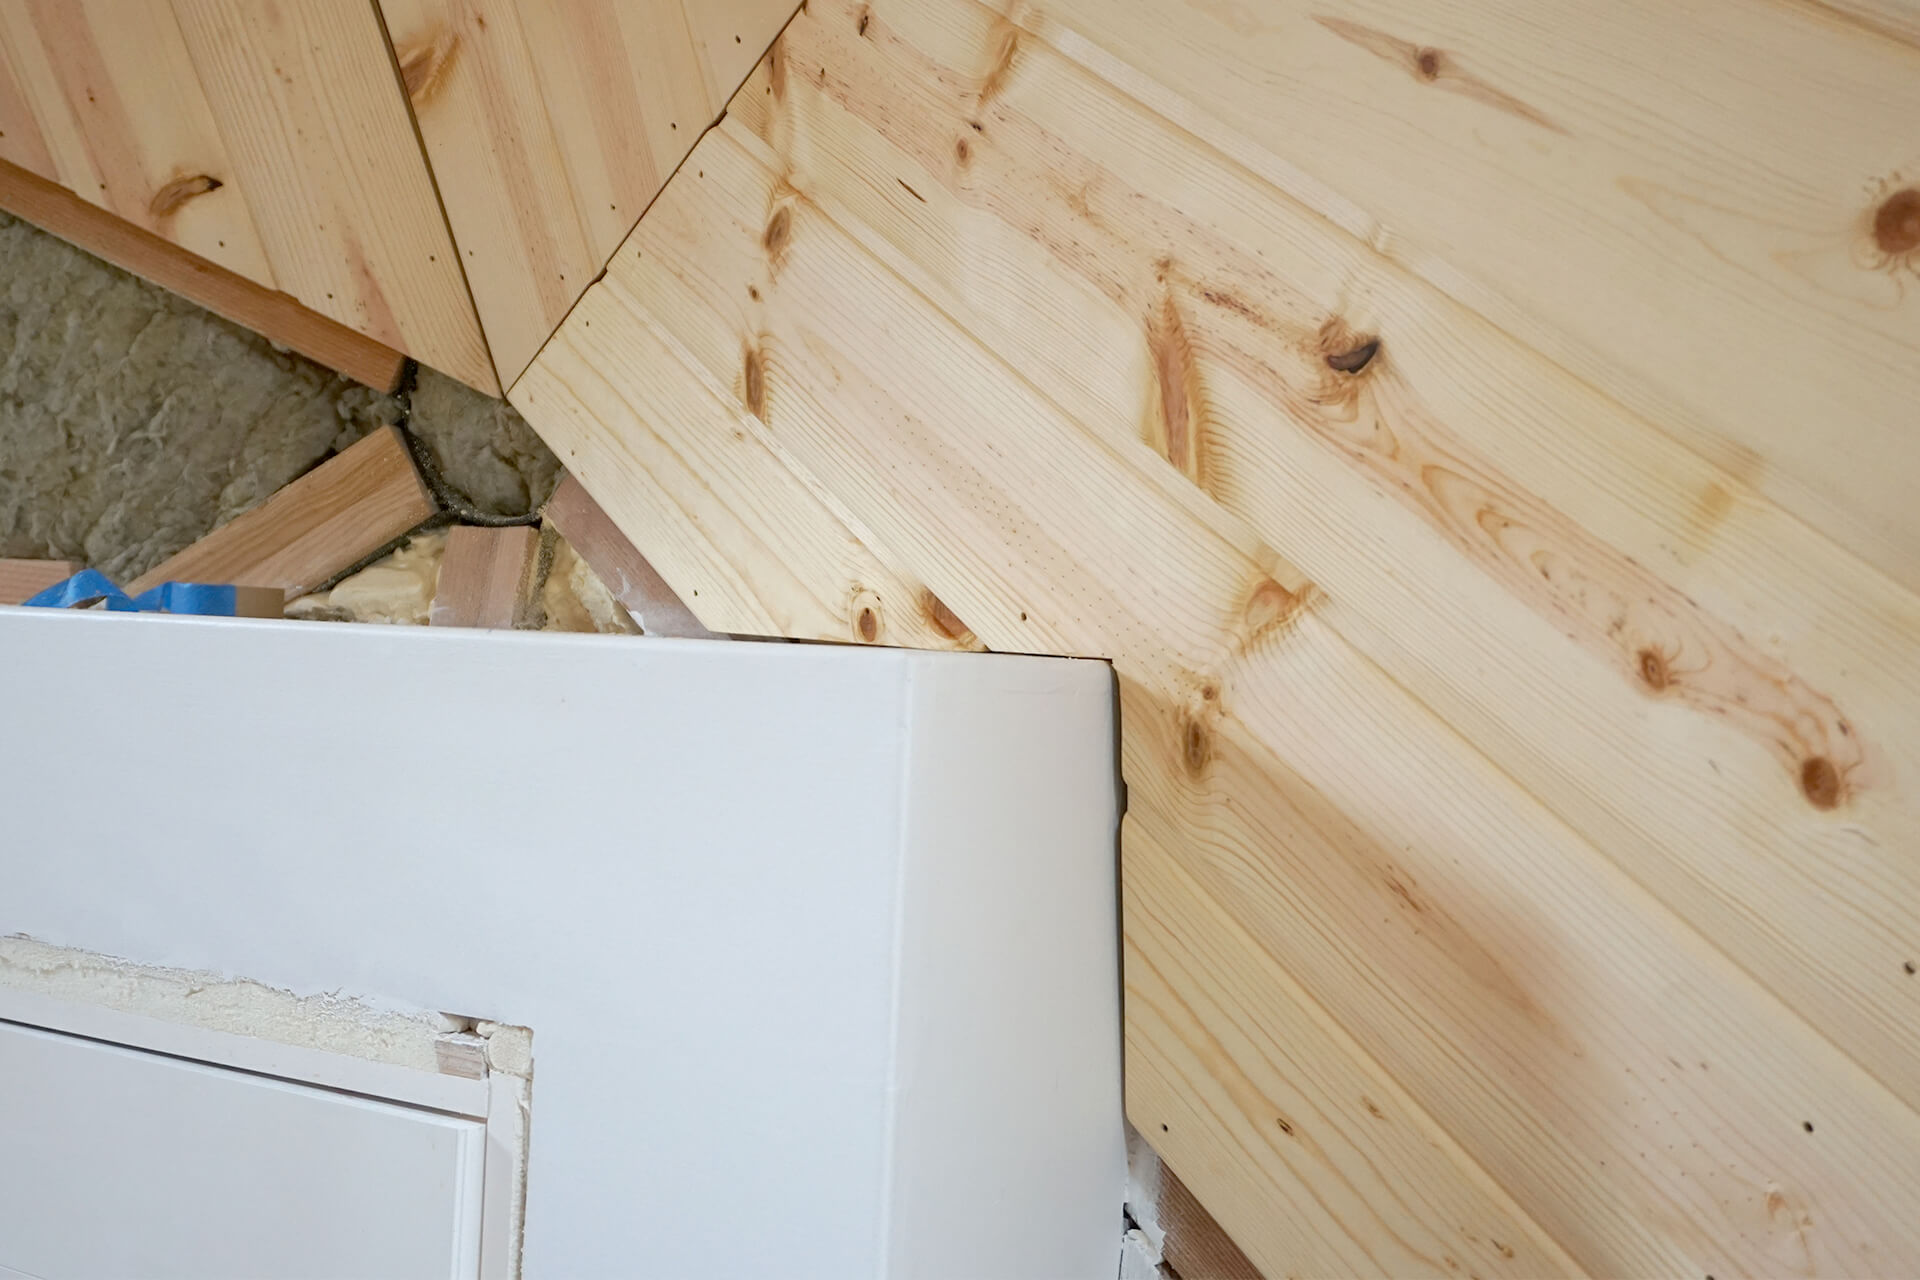
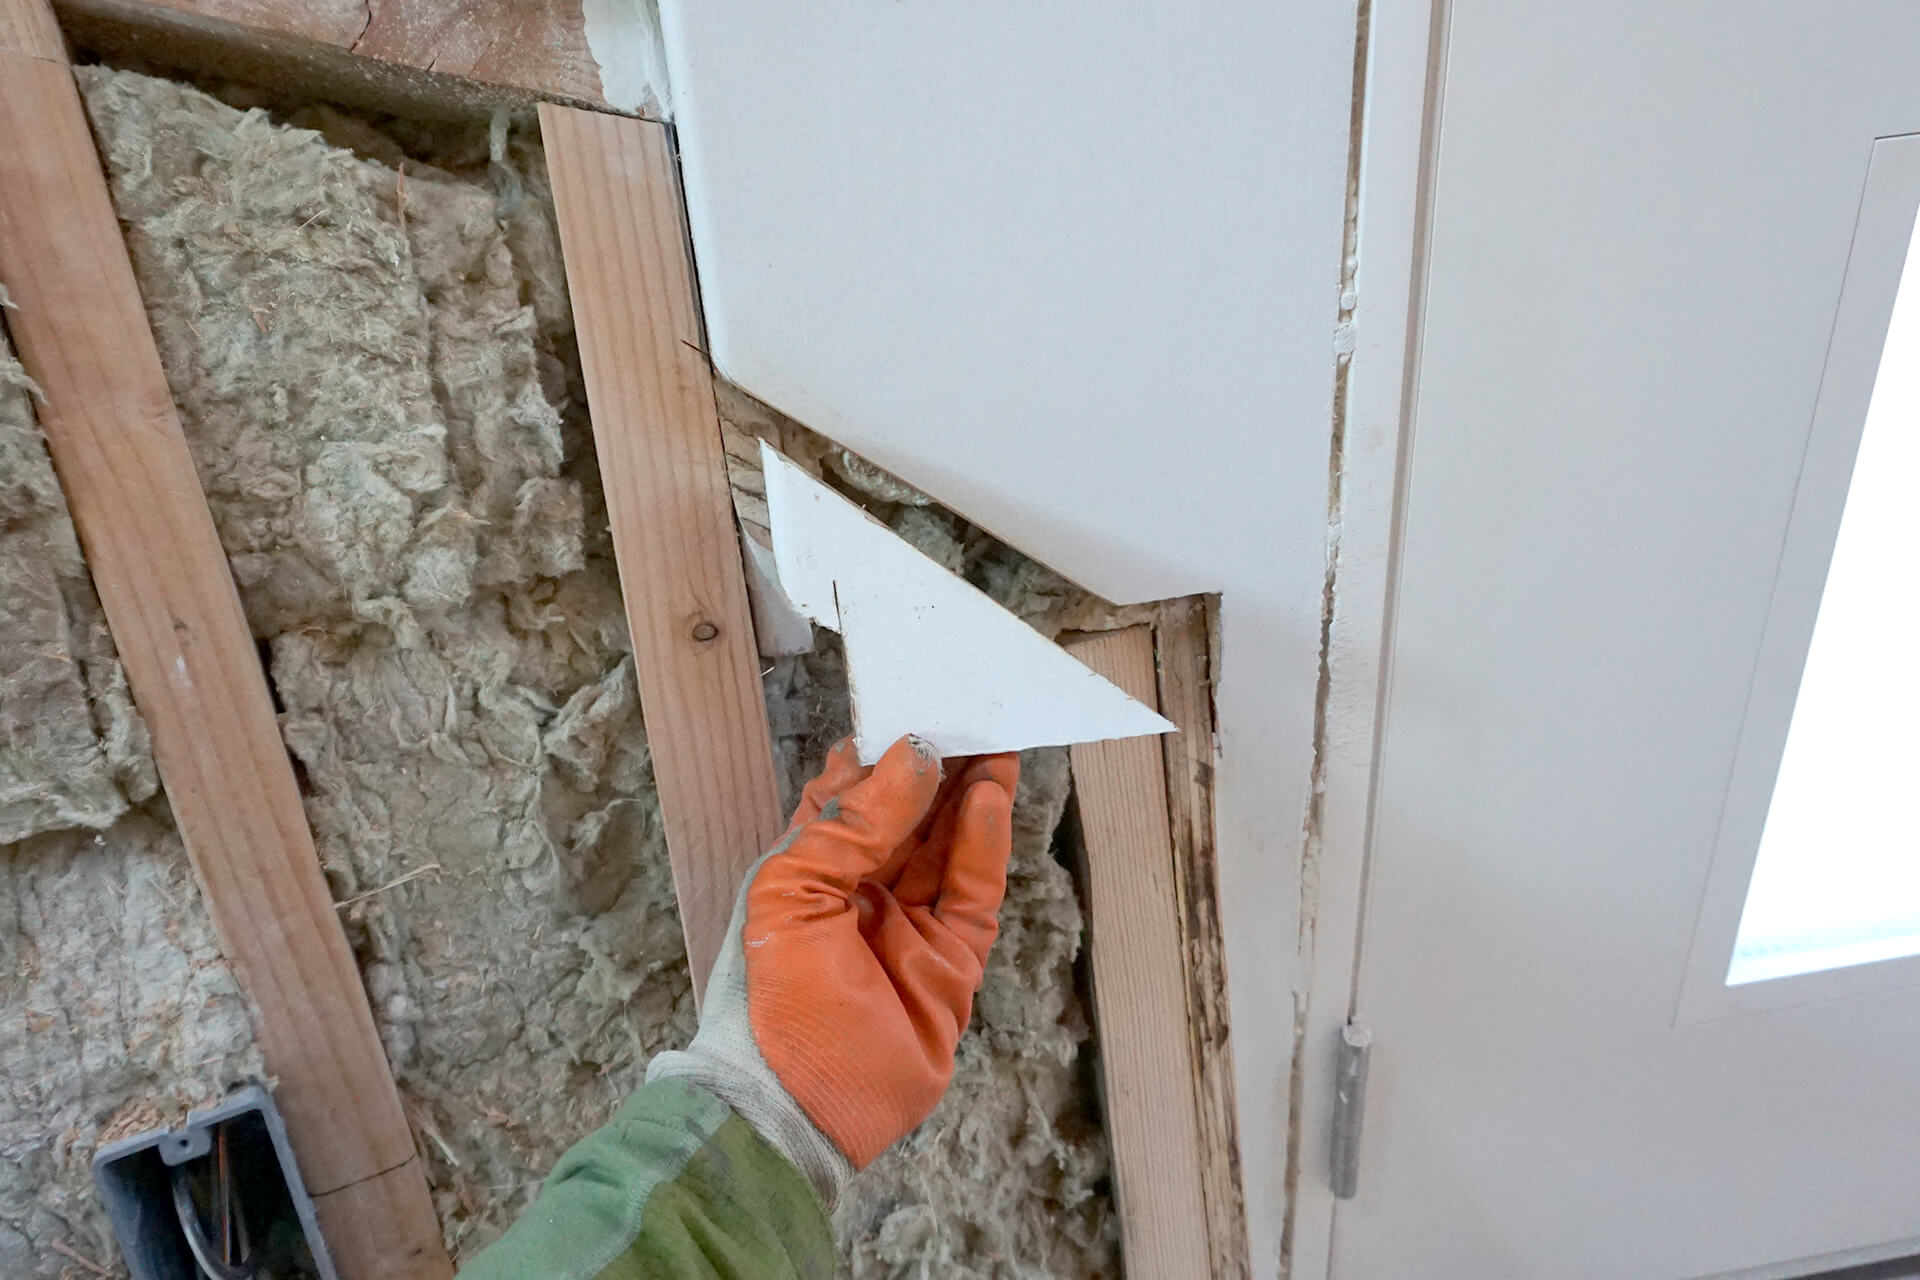
Detail shot showing the wall paneling cut to fit around the front door. Future trim will cover gaps along corners, so perfection isn’t necessary here.
Progress shot showing the wall paneling around the bathroom wall.
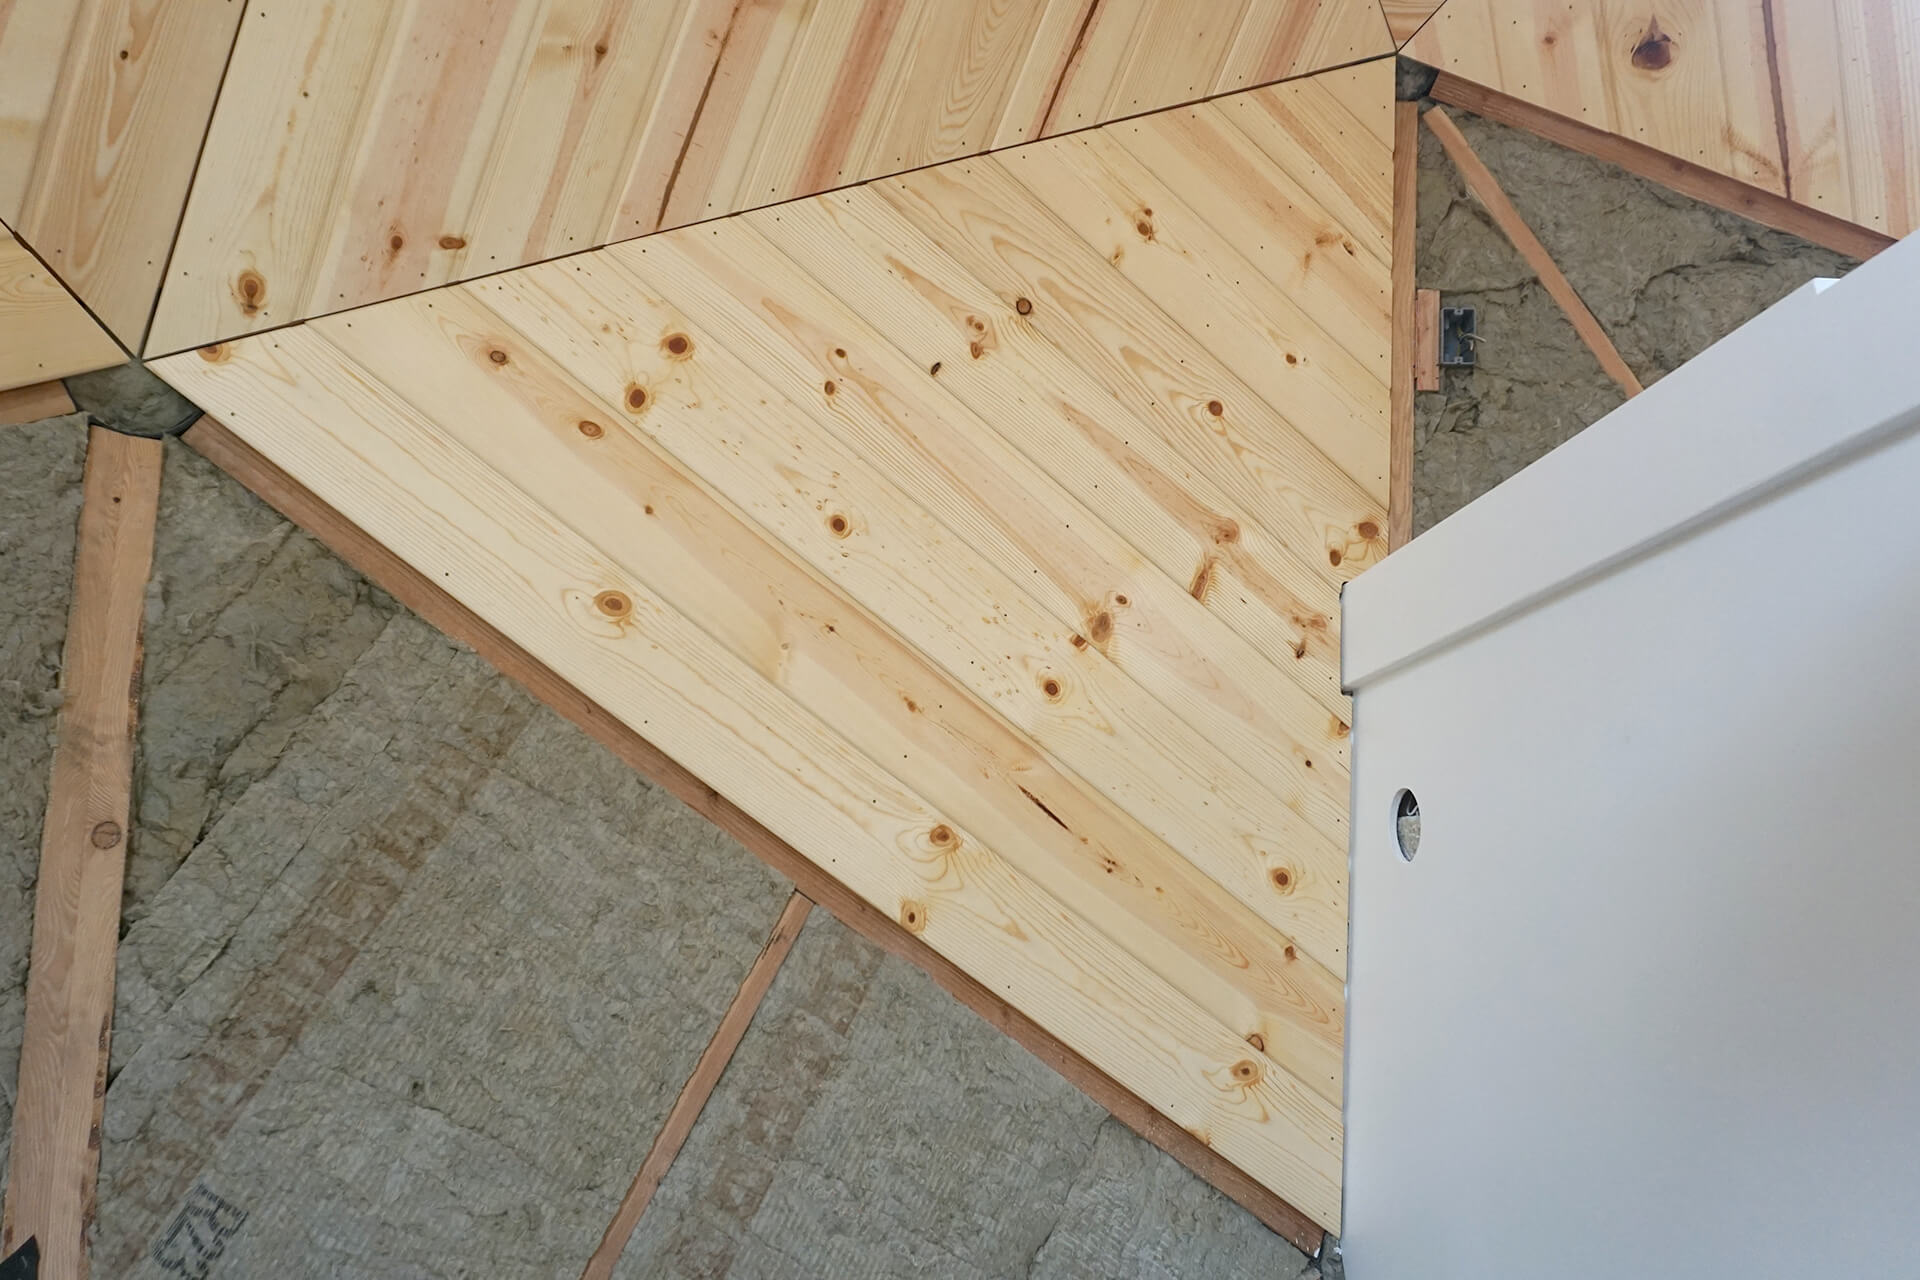
These panels are cut smaller in the jig because they are truncated by the upper floor.
These corner planks are small and will be covered with trim, so a single screw for attachment is sufficient.
Progress shot showing the wall paneling around the kitchenette wall. Create a paper template and transfer the linework to the affected planks for accurate cuts.
Detail shot showing the wall paneling around the exposed bracket, which will also get future trim and does not need to look this tidy.
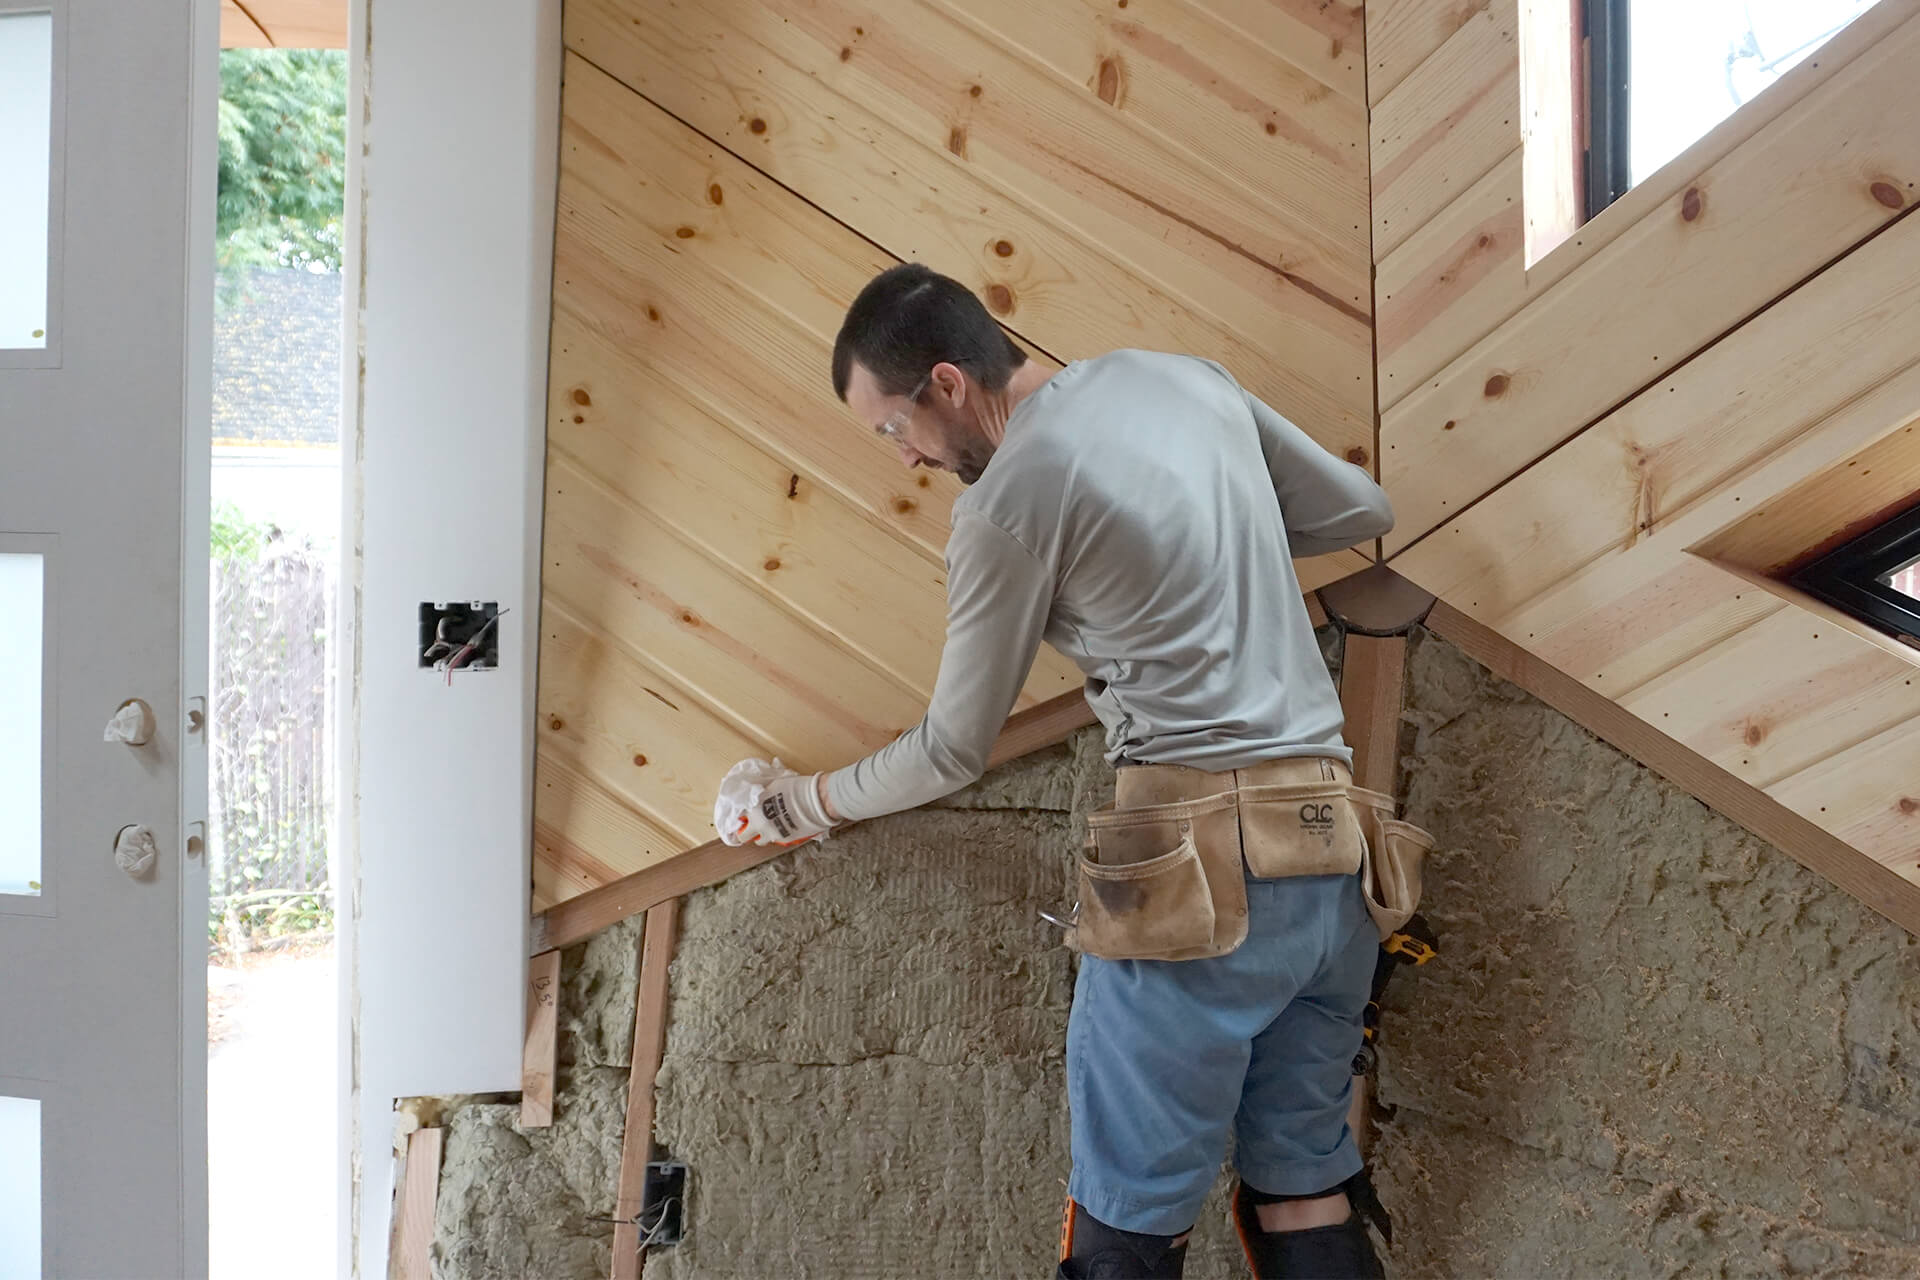
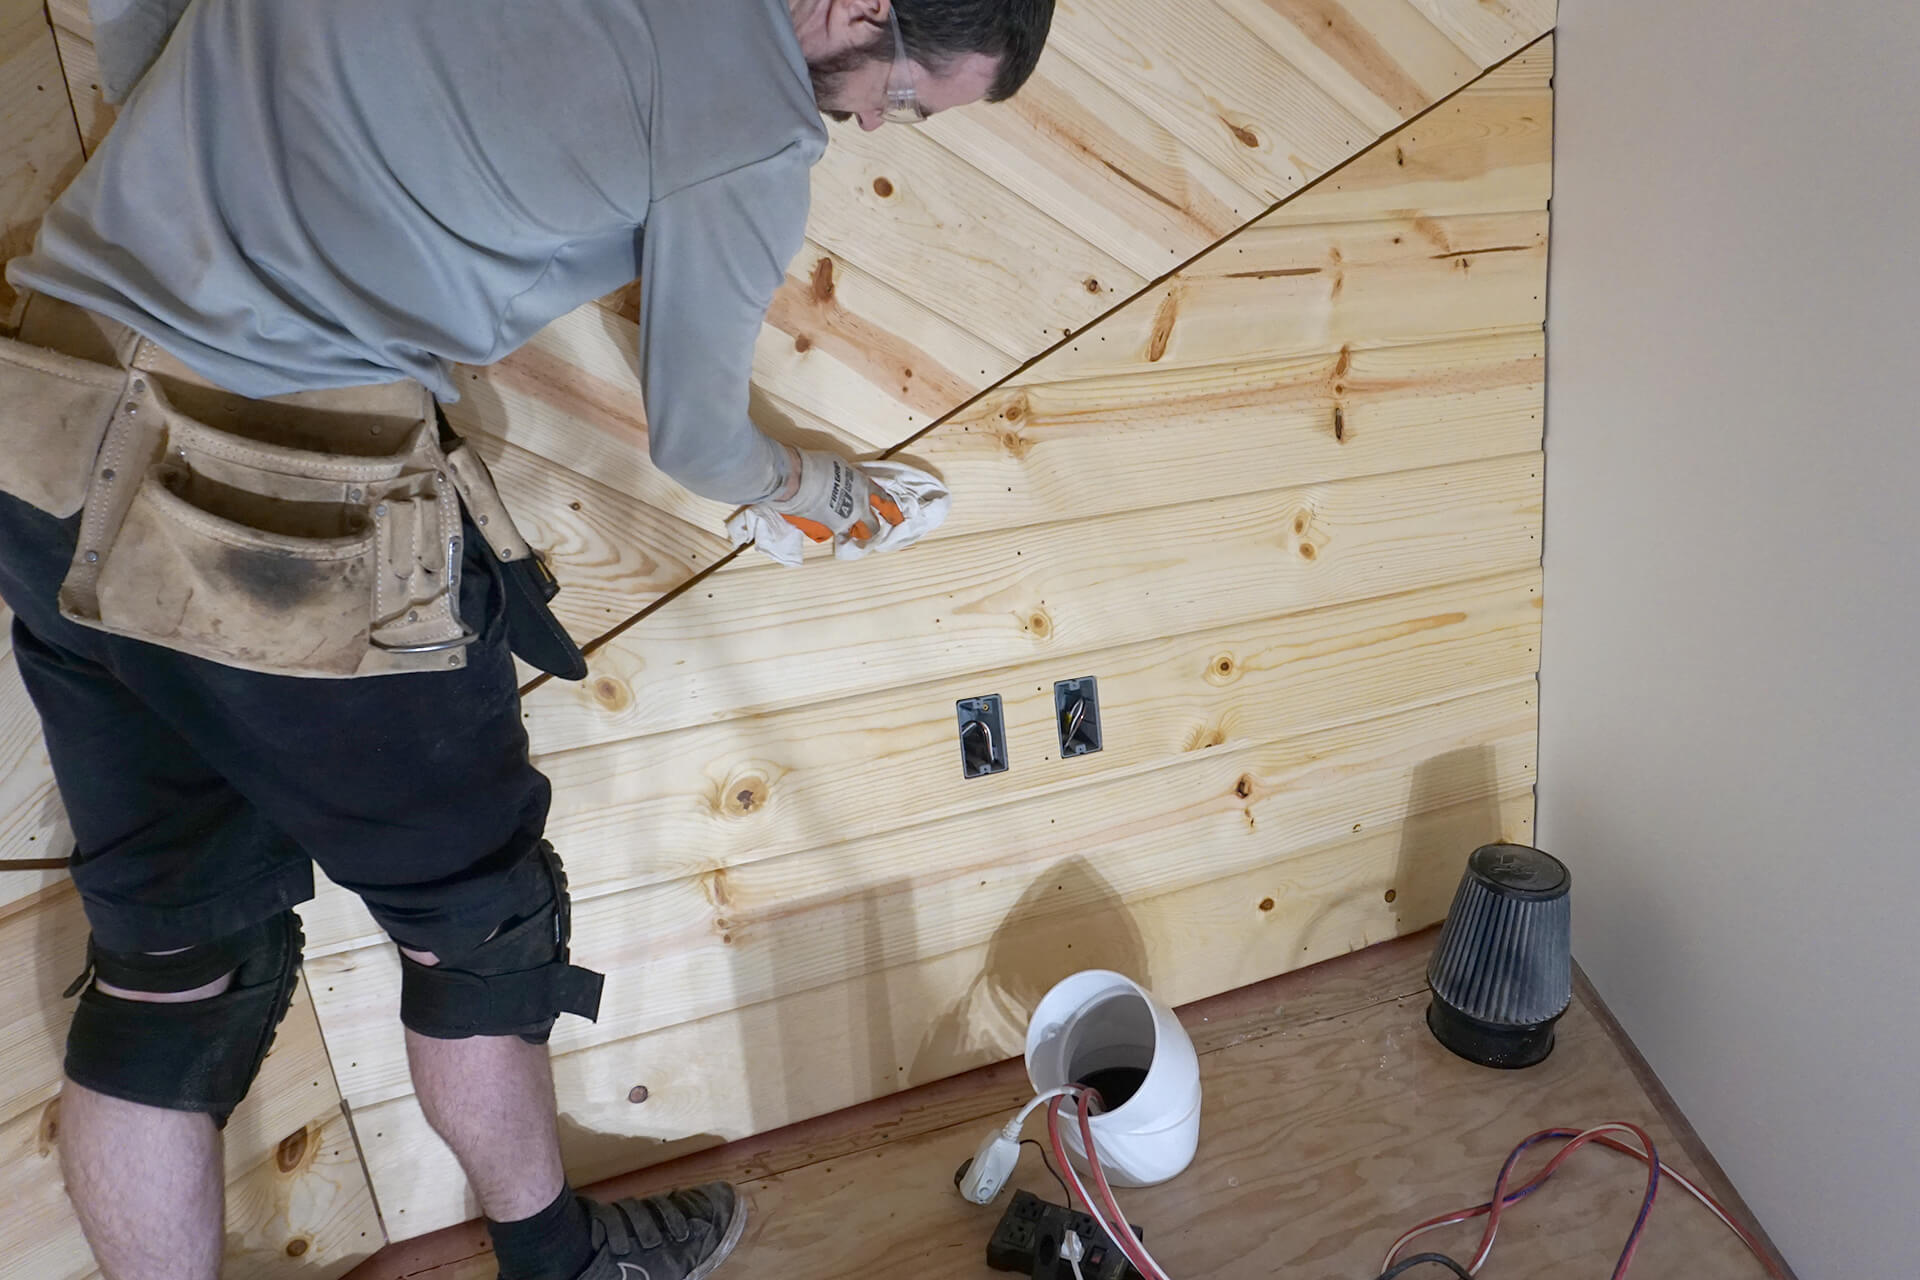
Continue paneling the next lower level. A cotton cloth is shown here, used to rub off any small splinters or burrs from the surface after screwing.
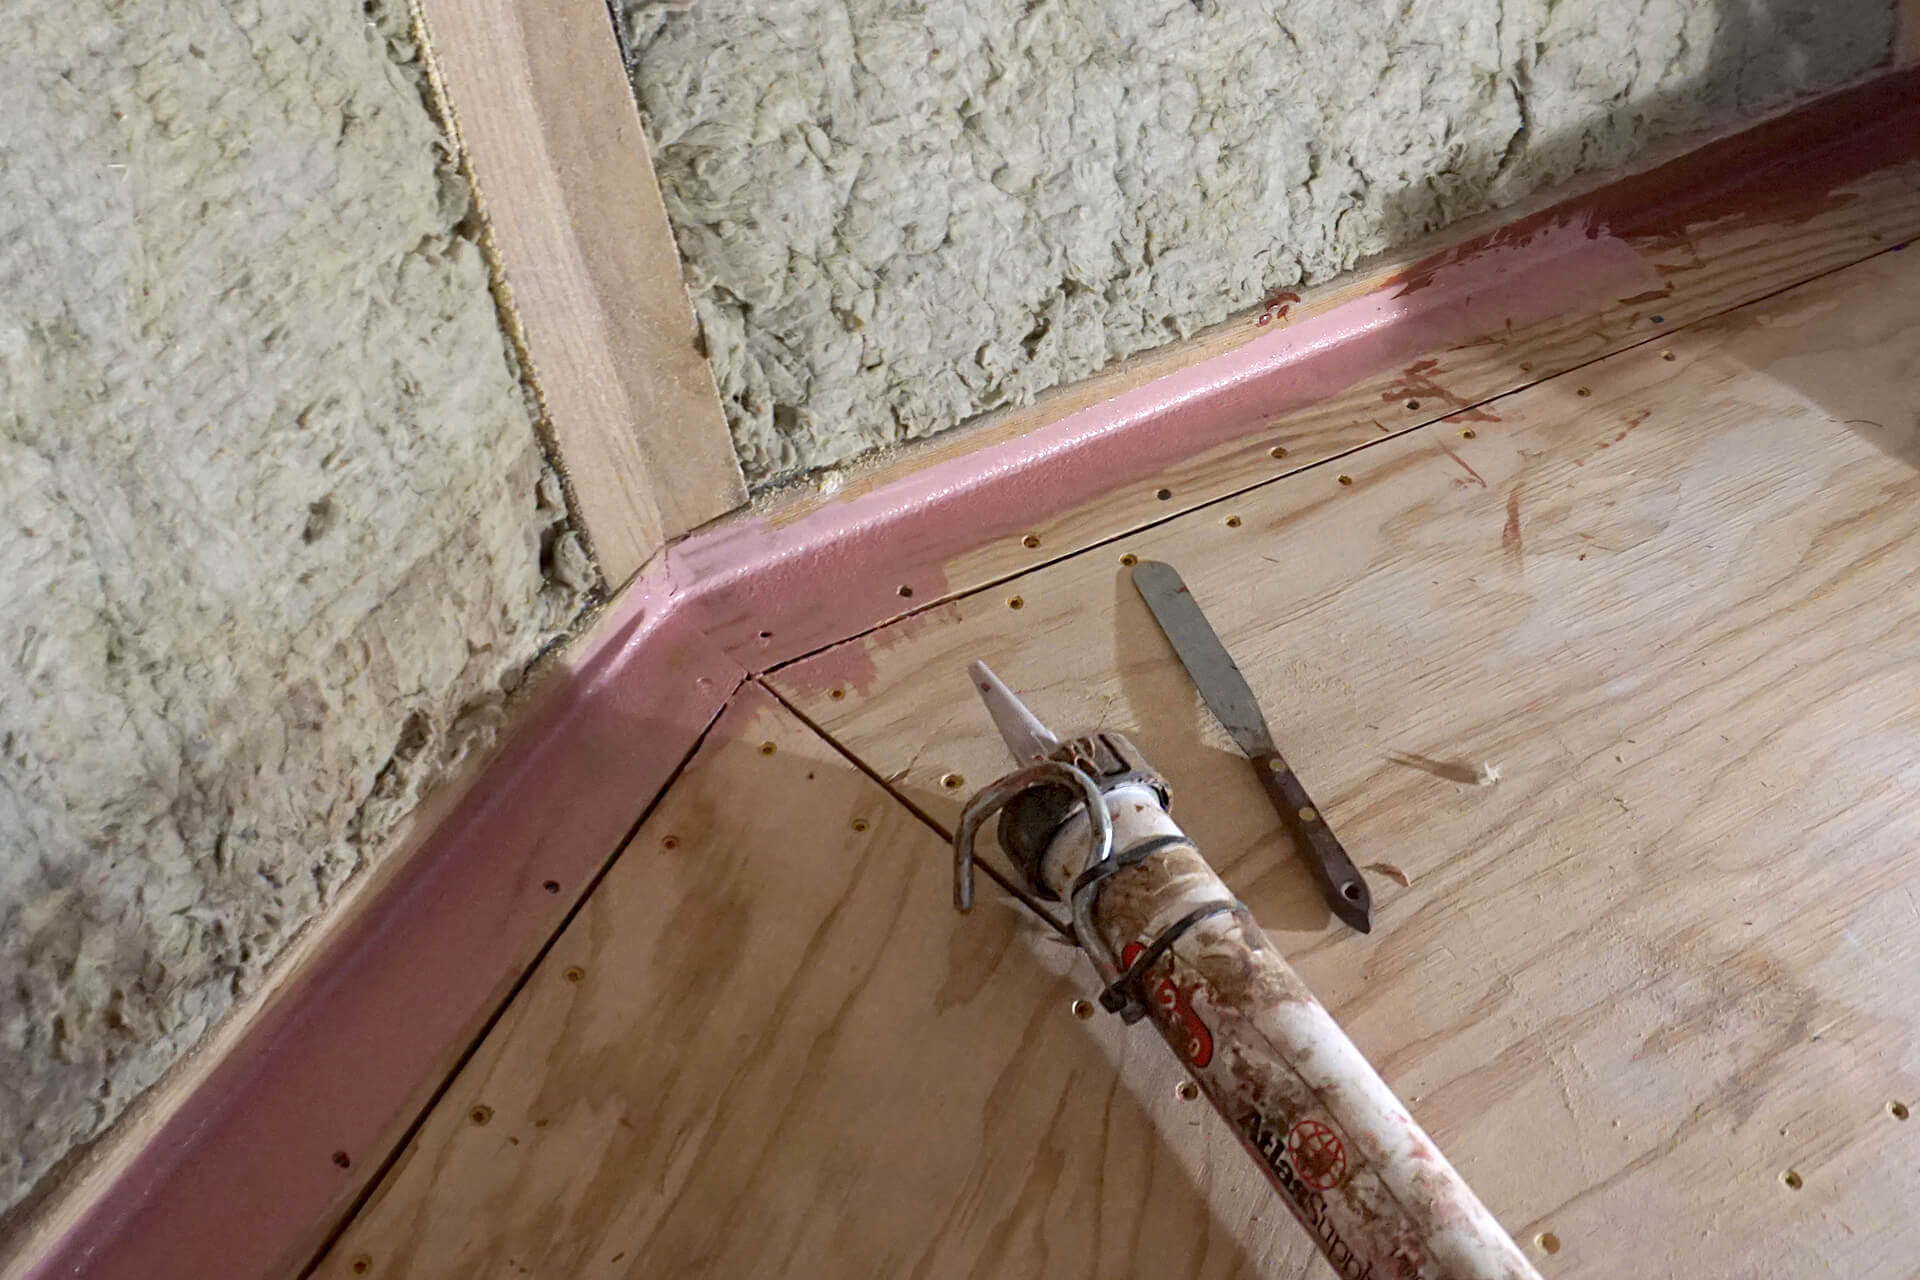
Coat the sill plate to subfloor connection with a fluid-applied waterproof membrane to prevent wall water damage. Prosoco R-Guard Joint and Seam Filler shown here.
Continue paneling the final and lowest level. These panels differ from the usual triangles, so their shape is manually plotted on the cutting jig.
Cut the door wall so it’s flush with the wood paneling. Use a plank and paper to project the cut line. Glue a triangular piece into the corner to fill the small void visible here.
Cut this edge flush with the angled blocking to ensure the wood paneling sits flat against it.
Create paper templates and transfer the linework to the planks for a flush cut and fit.
Progress shot showing the wall paneling around the door wall.
Progress shot showing the wall paneling at the kitchenette wall.
Finish paneling all of the walls.
Congratulations on completing the wood paneling of the walls!
Next Step