
Painting – Caulking
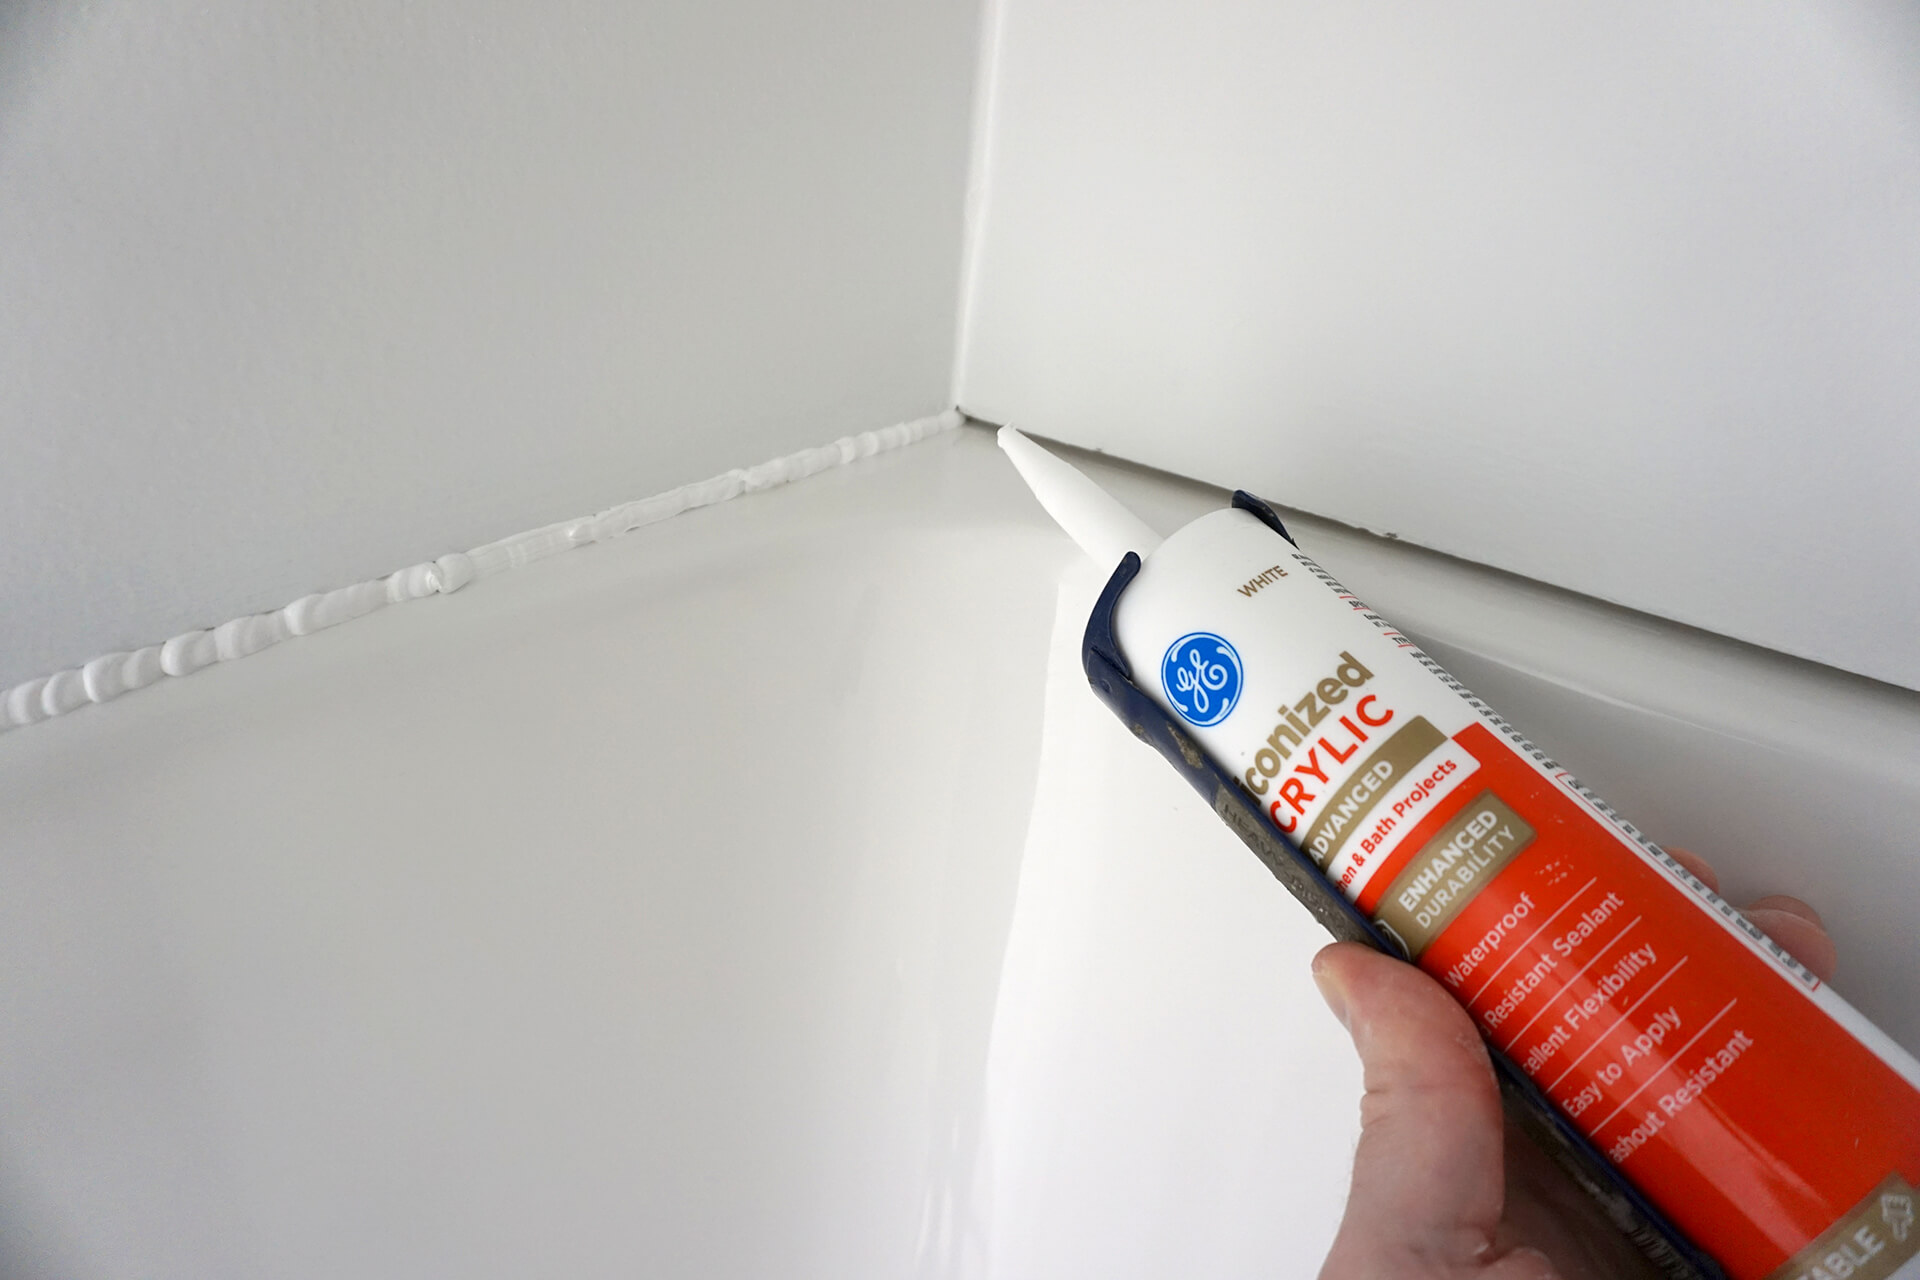
Caulk around the shower, filling the gap, then smooth it with a finger. GE Advanced Siliconized Acrylic Kitchen and Bath, white, paintable caulk shown here.
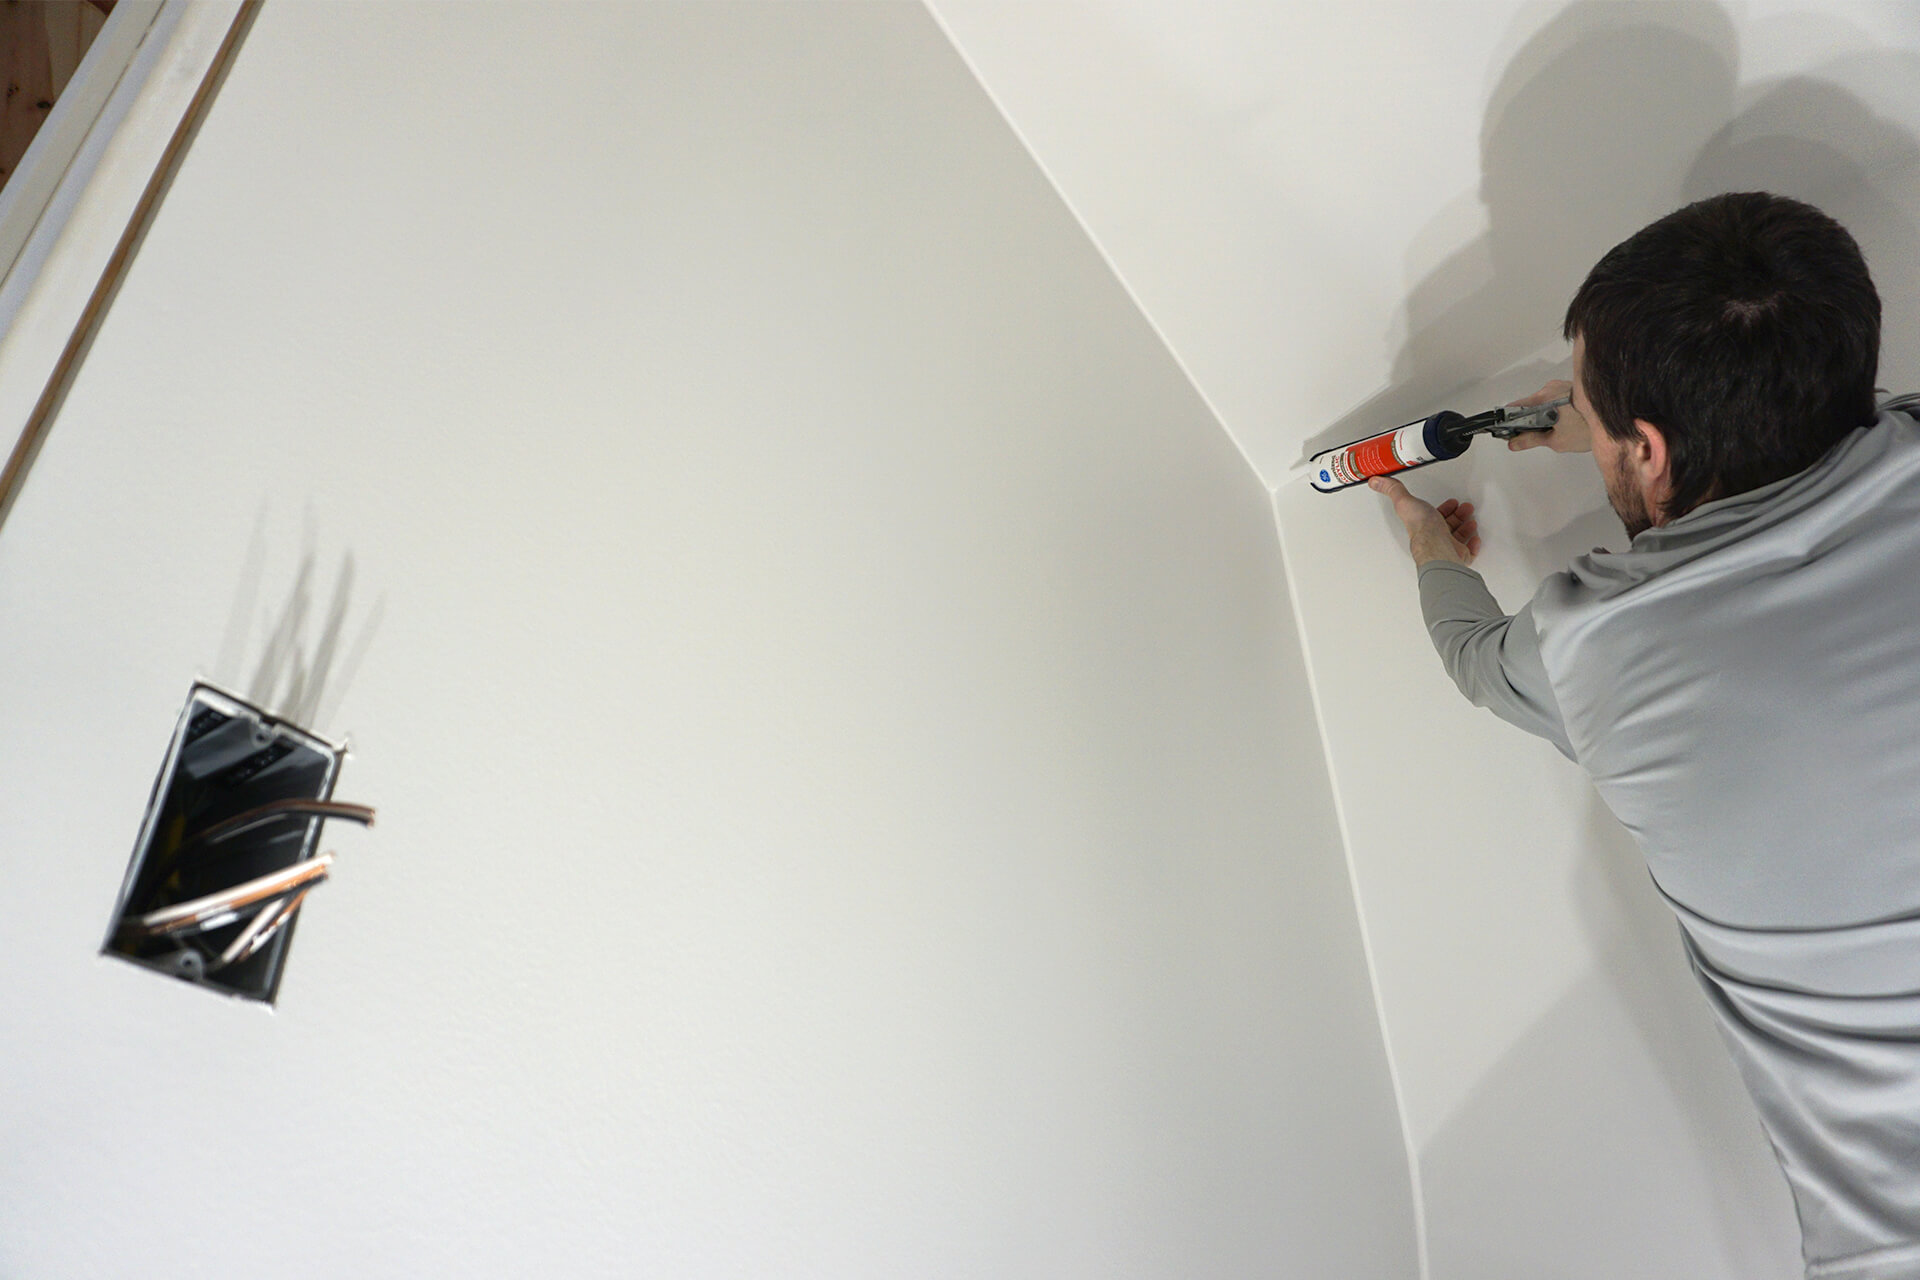
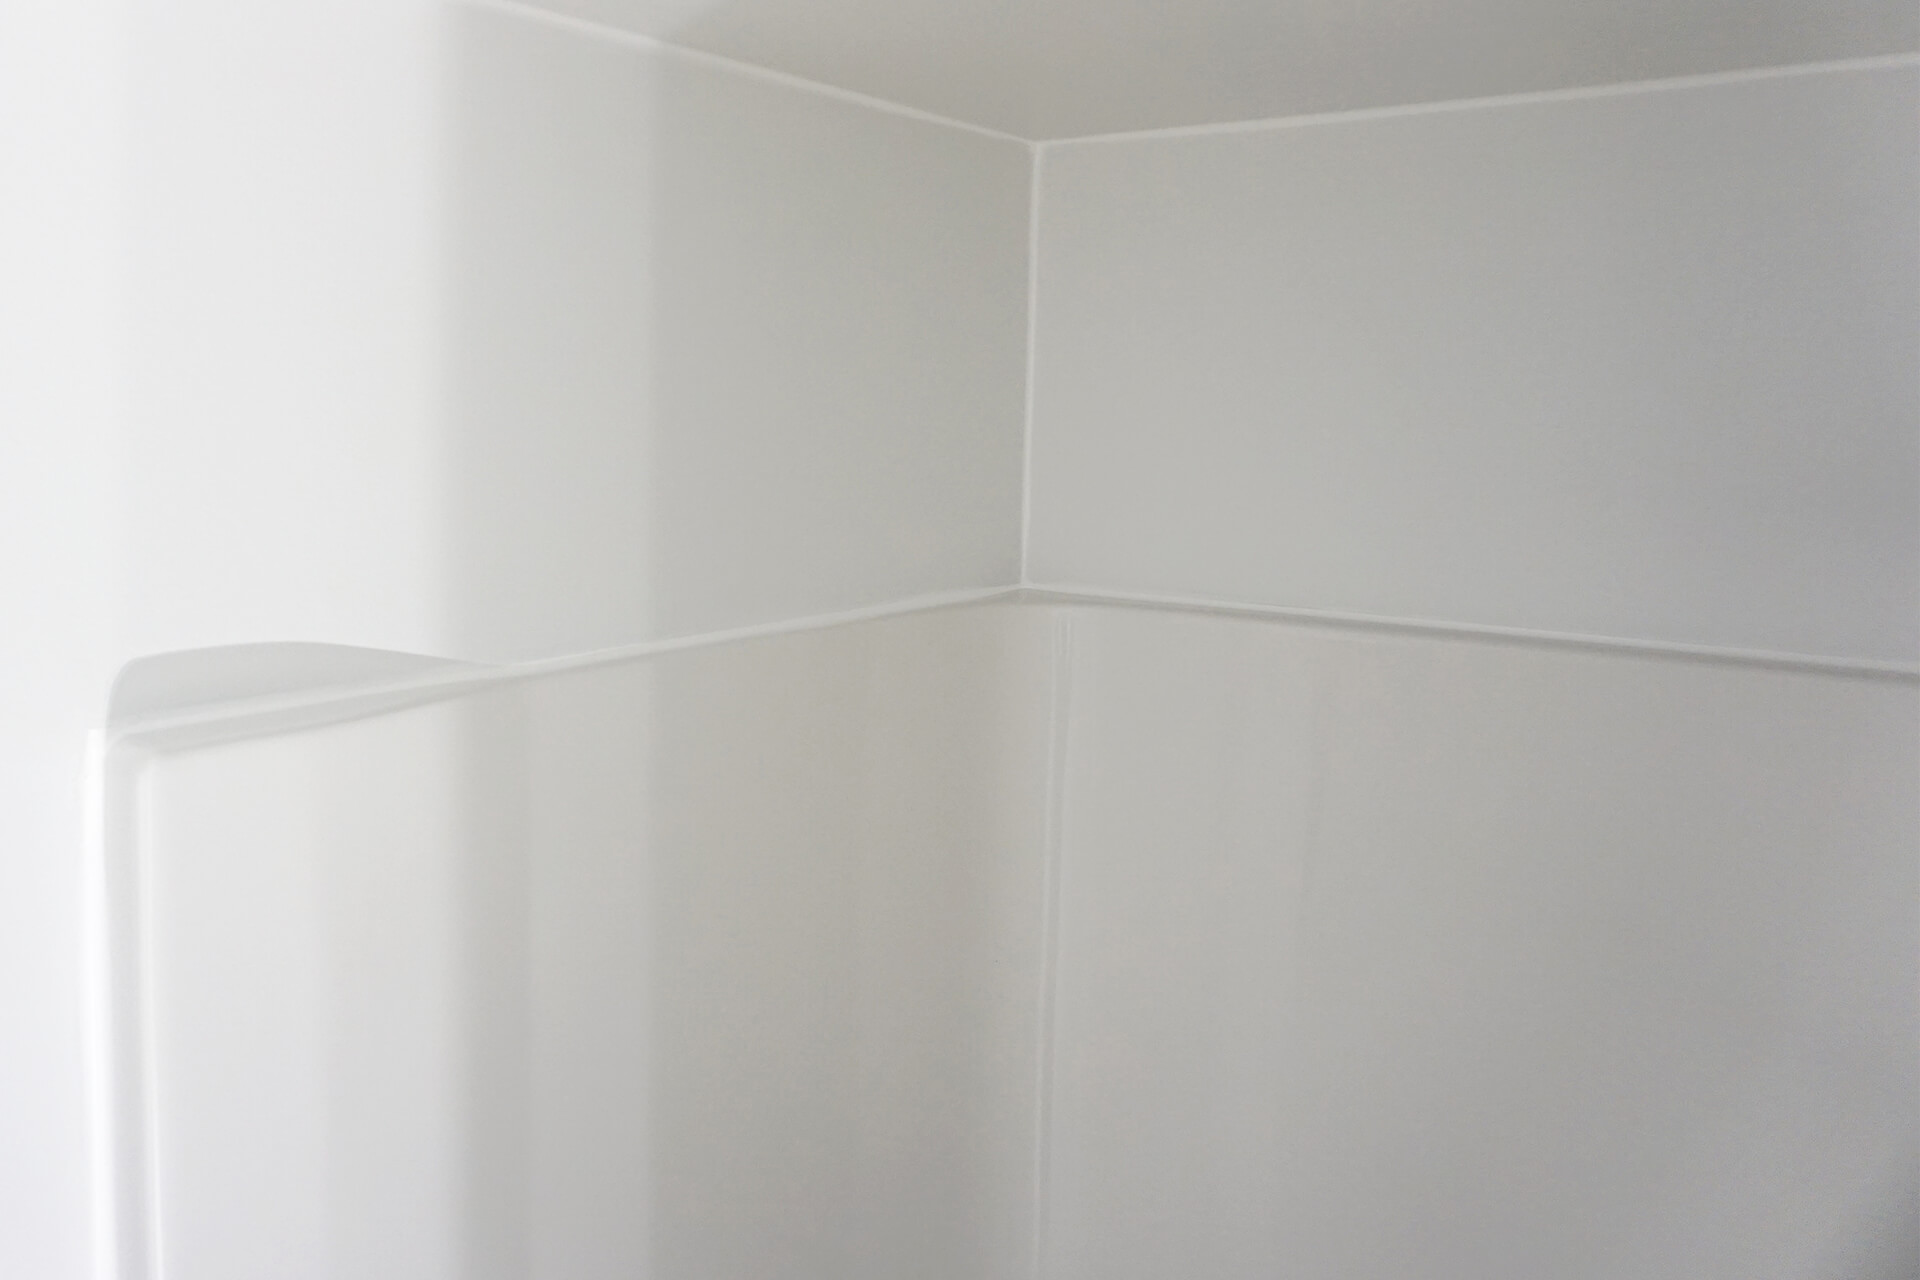
Caulk all wall and ceiling corners to soften the look, make paint application easier, and hide potential drywall cracking. Keep a clean finger for a smooth finish.
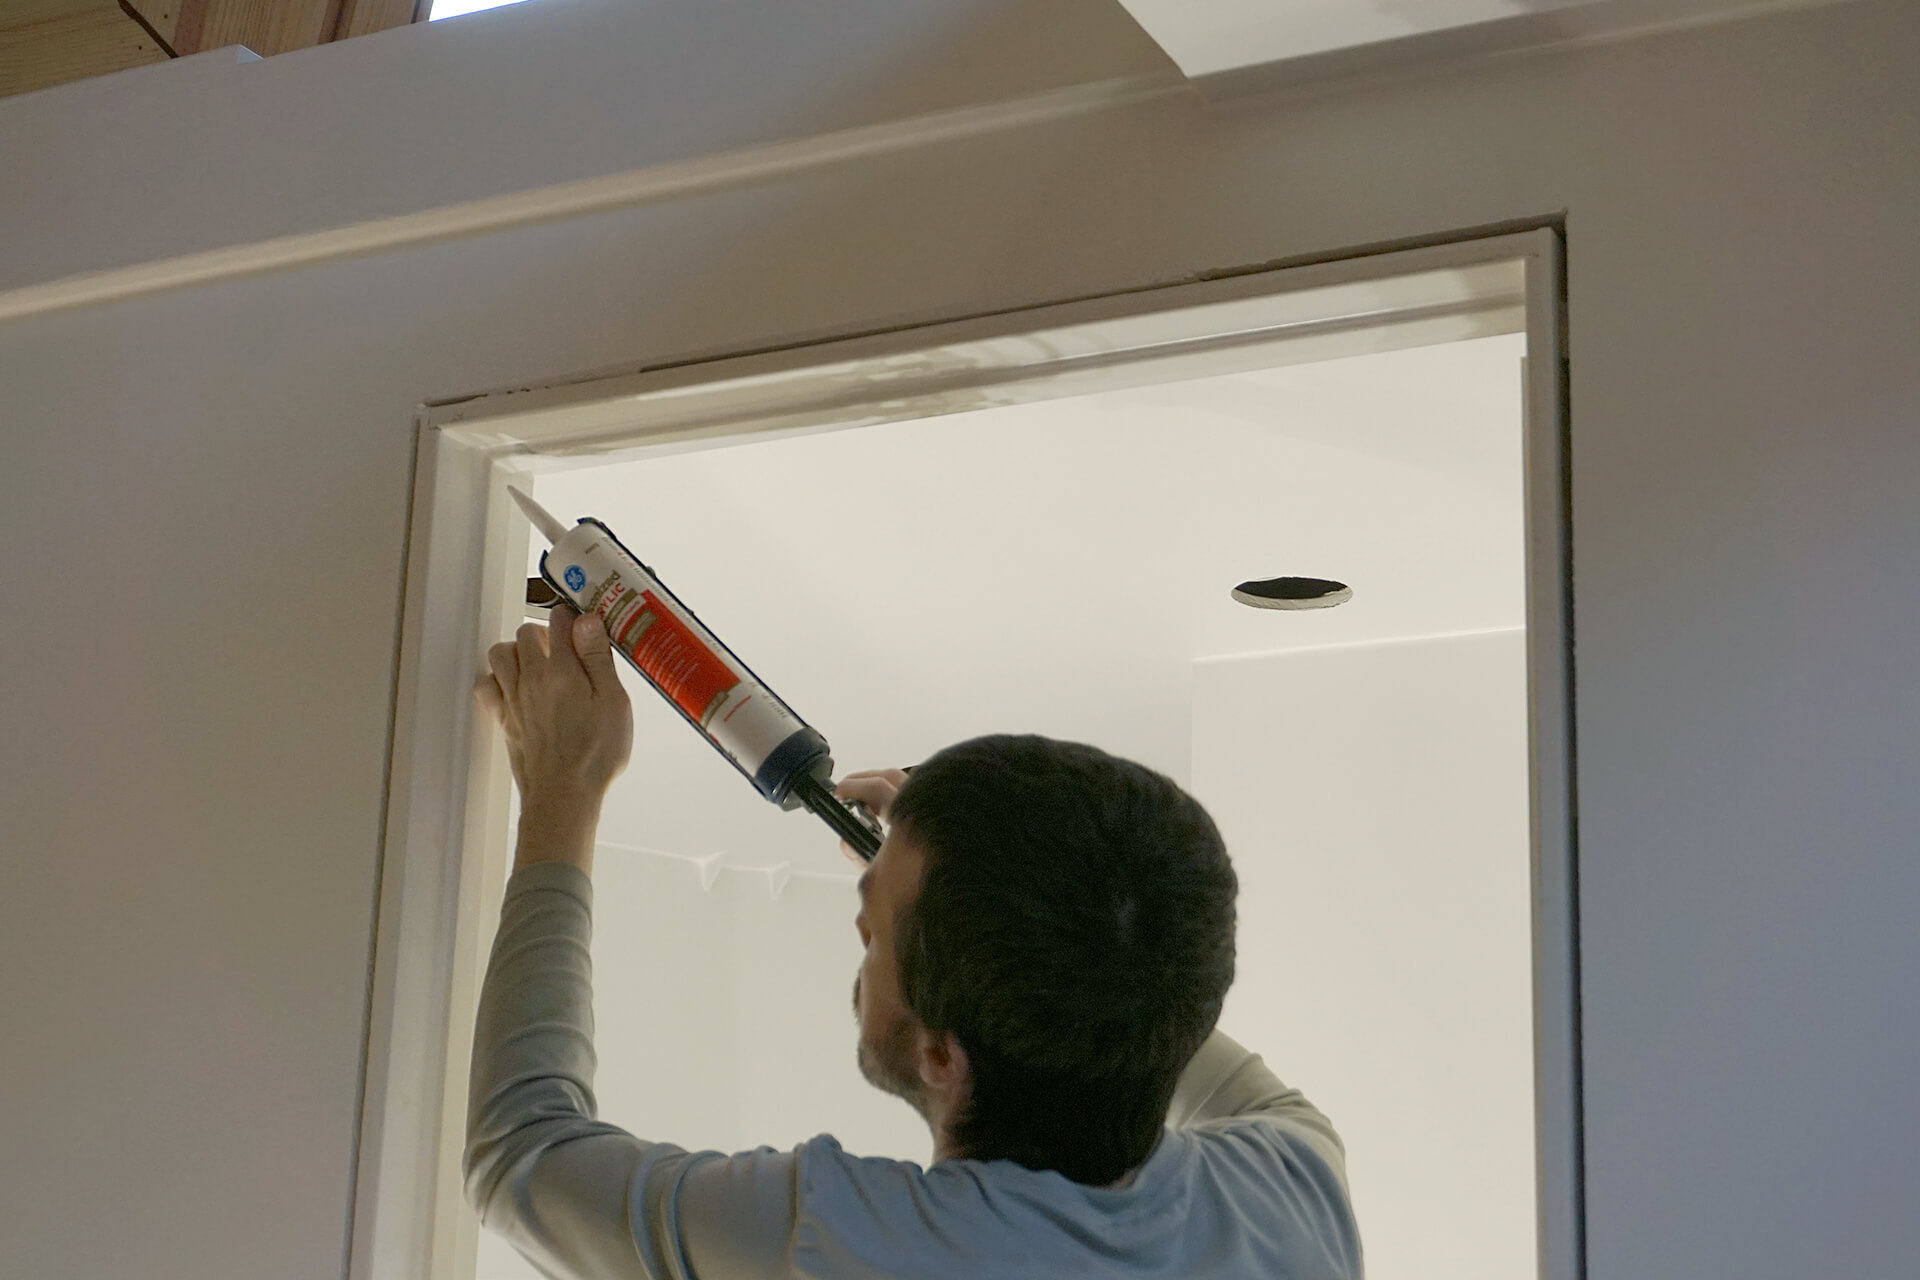
Caulk around the door stop to make it appear as one solid piece with the door jamb. The gap between the jamb and wall do not need caulking since casing trim will cover it.
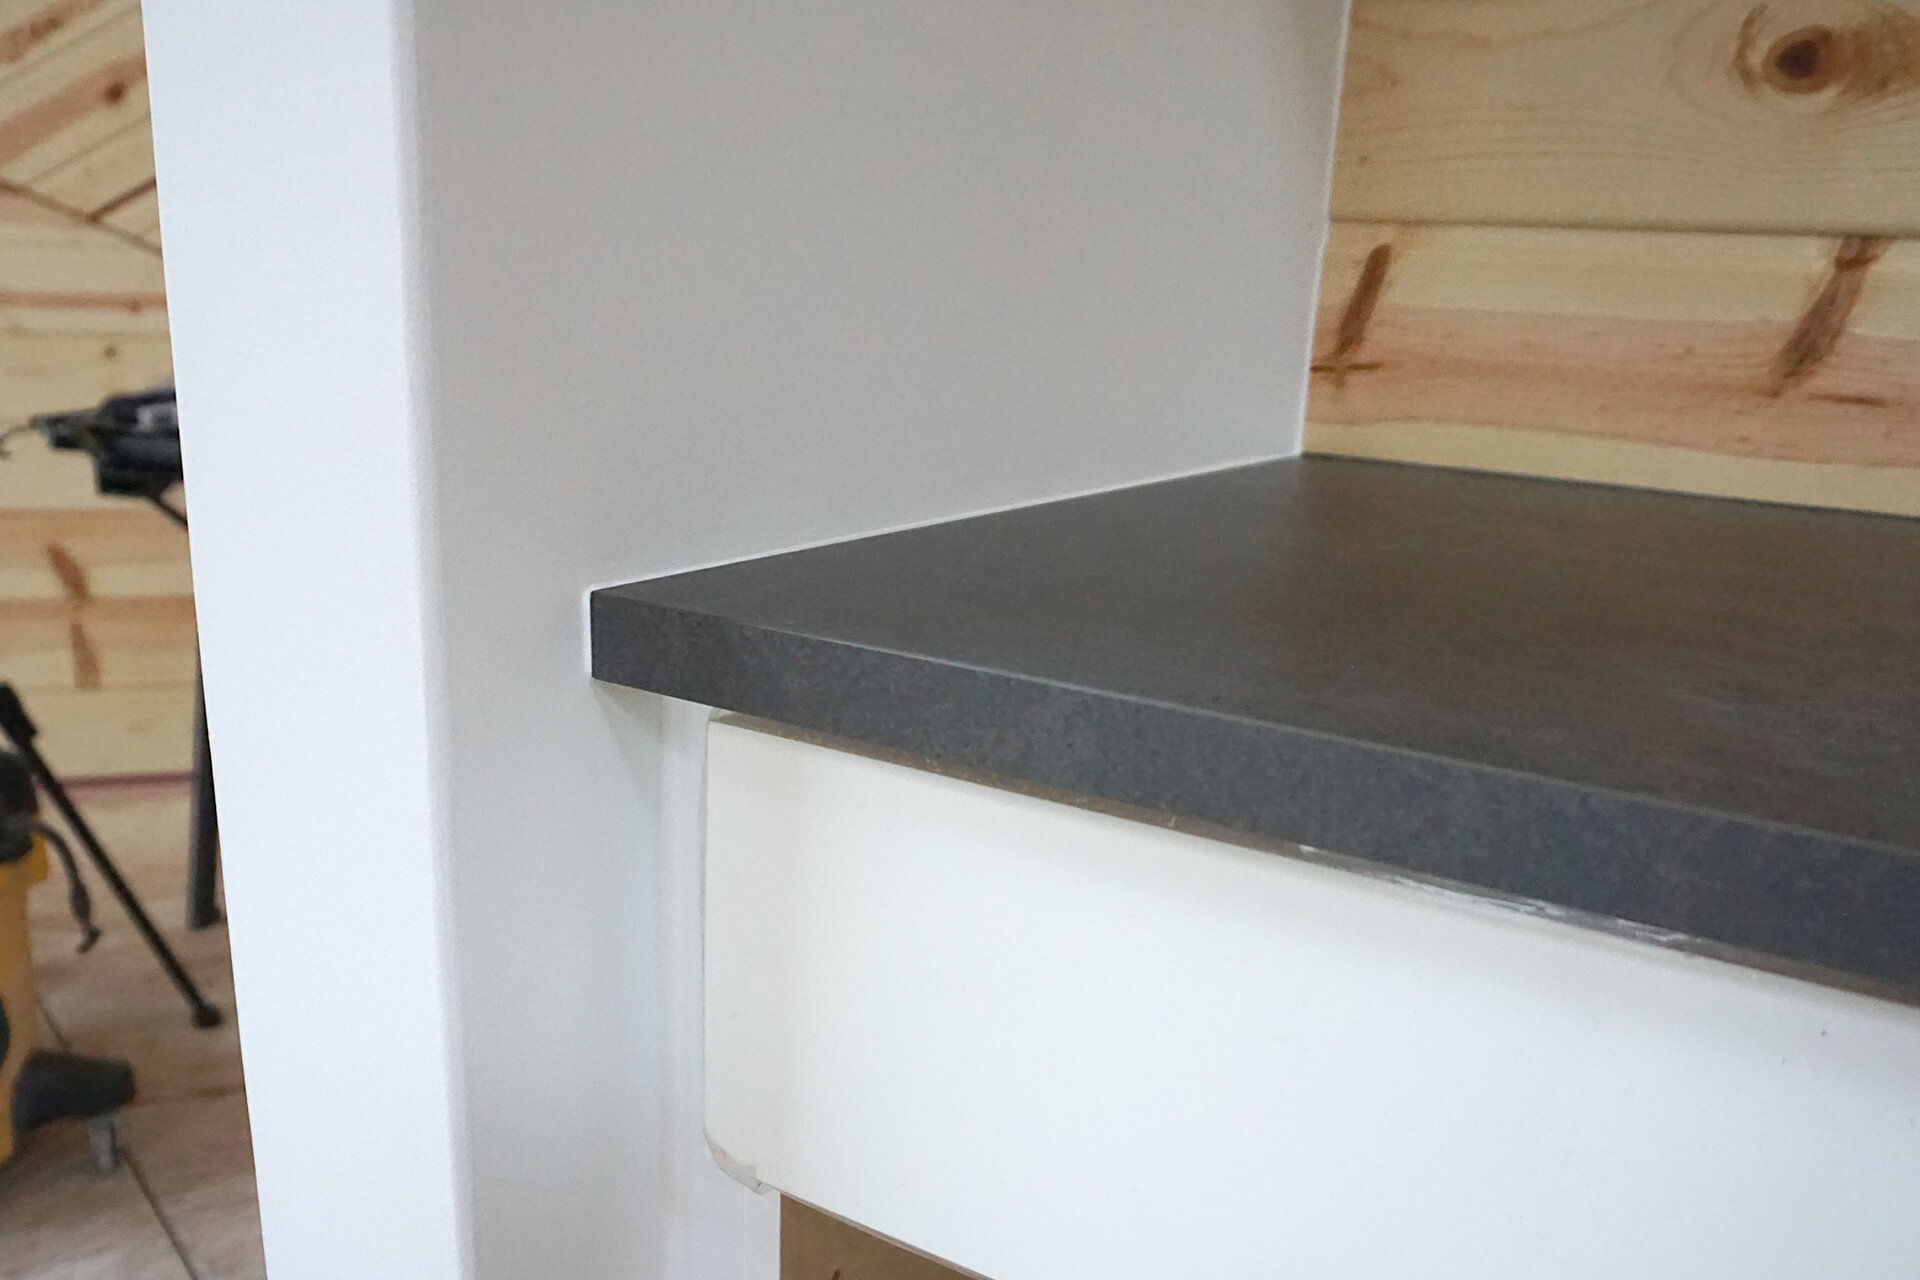
Use painter's tape and caulk around the kitchenette countertop, lower cabinets, and where the wood paneling meets the wall.
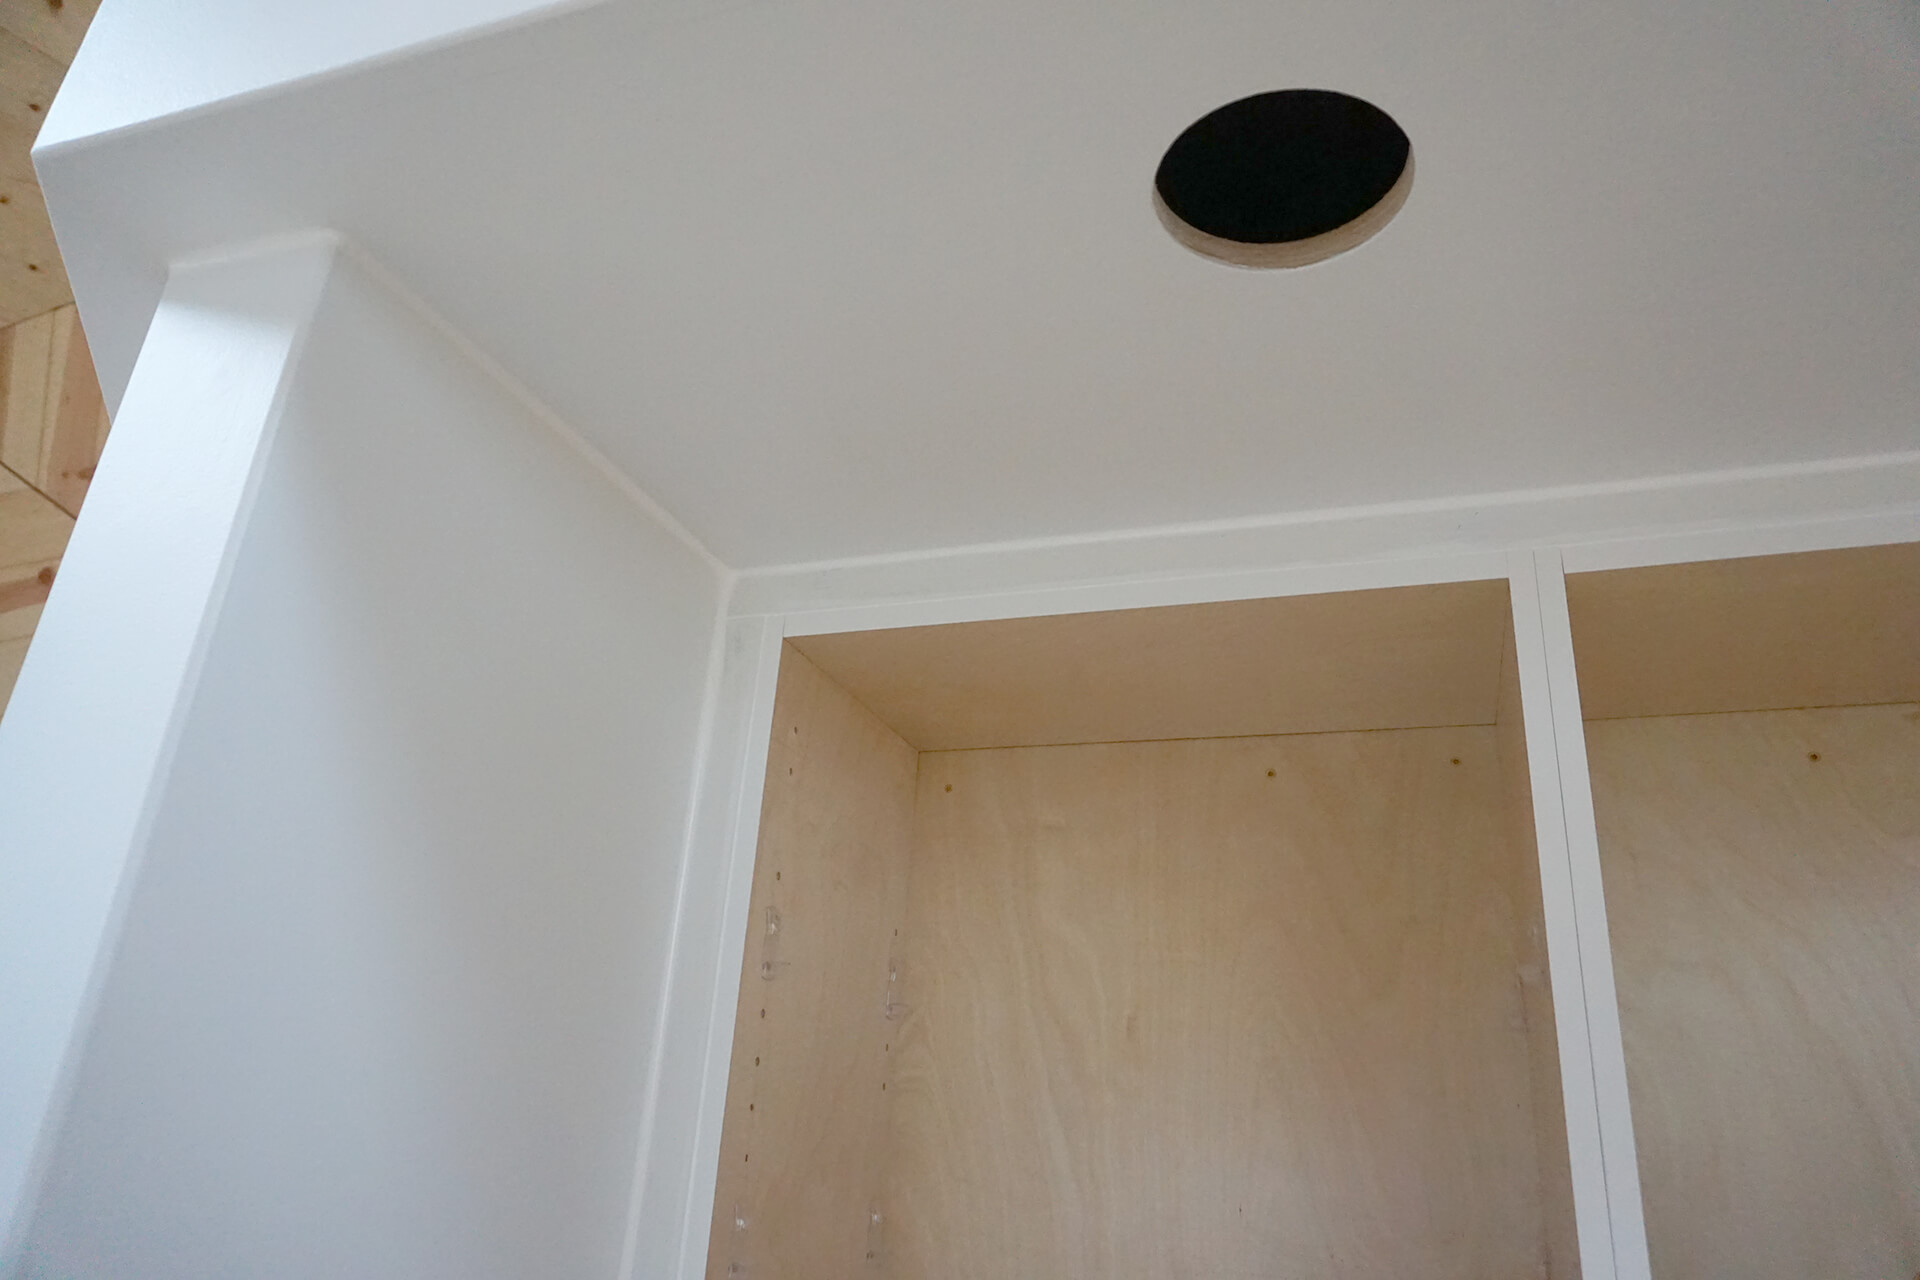
Caulk around the upper cabinets and fill the blocking gaps. Caulk all wall and ceiling corners similar to the bathroom.
Apply a second coat of caulking around the shower the next day to fill any recess left after shrinking. Do the same for other areas where caulking filled gaps and shrank.
Next Step