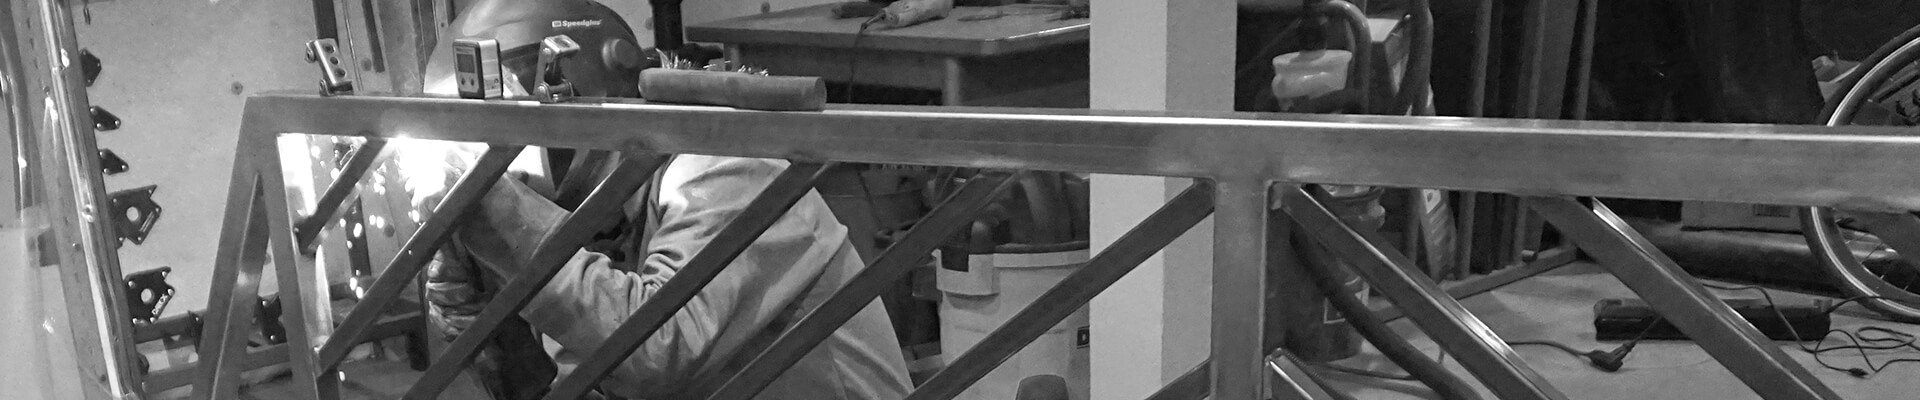
Metalwork – Trim
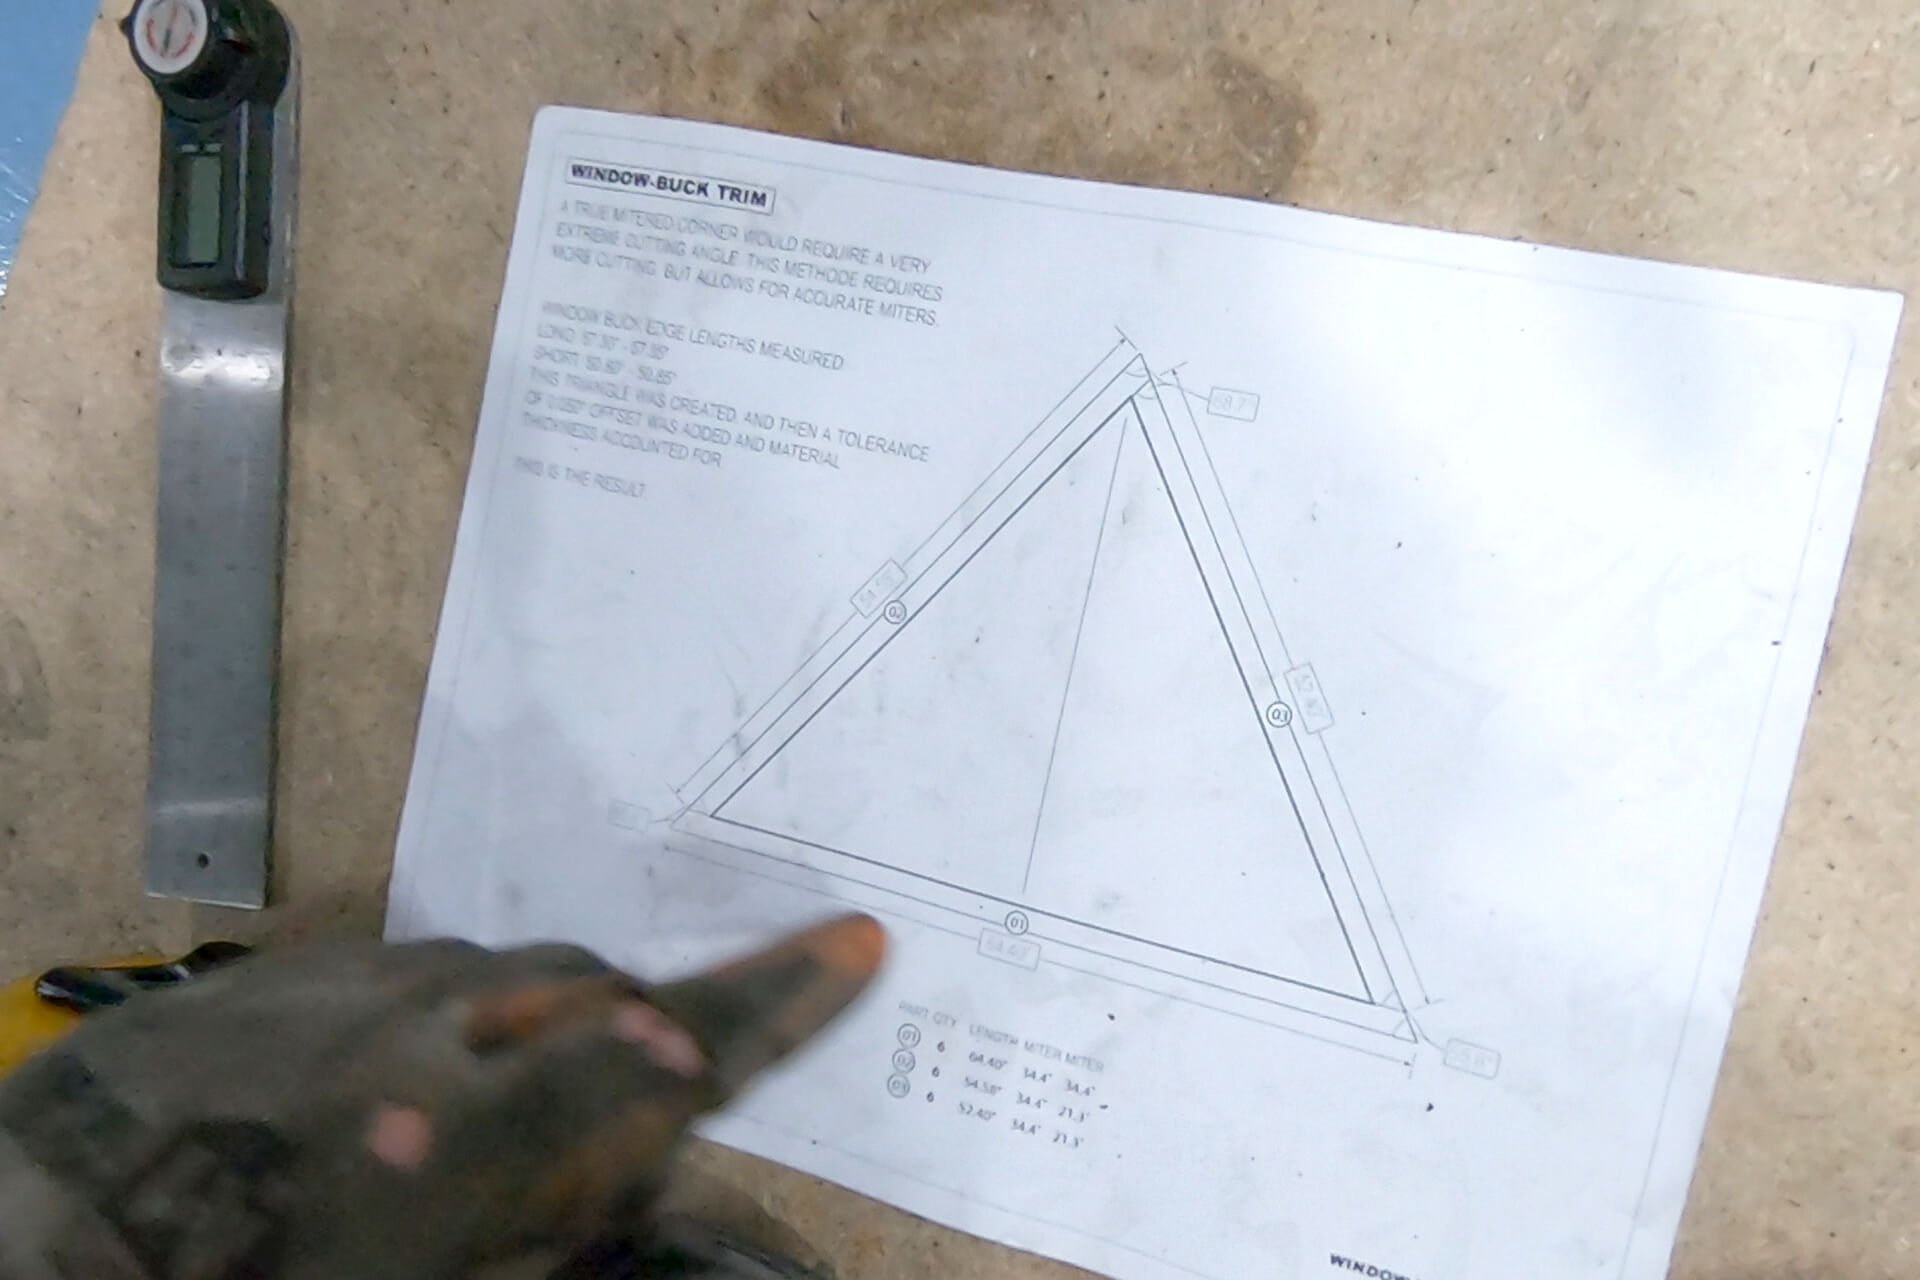
Consult the Window Buck Trim drawings. The length and angle of each piece are specified in the detailed drawings. Mitered corners are avoided to make fabrication easier.
The trim pieces are fabricated from steel angle iron. Cut each piece to size with a metal cutting chop saw (not shown).
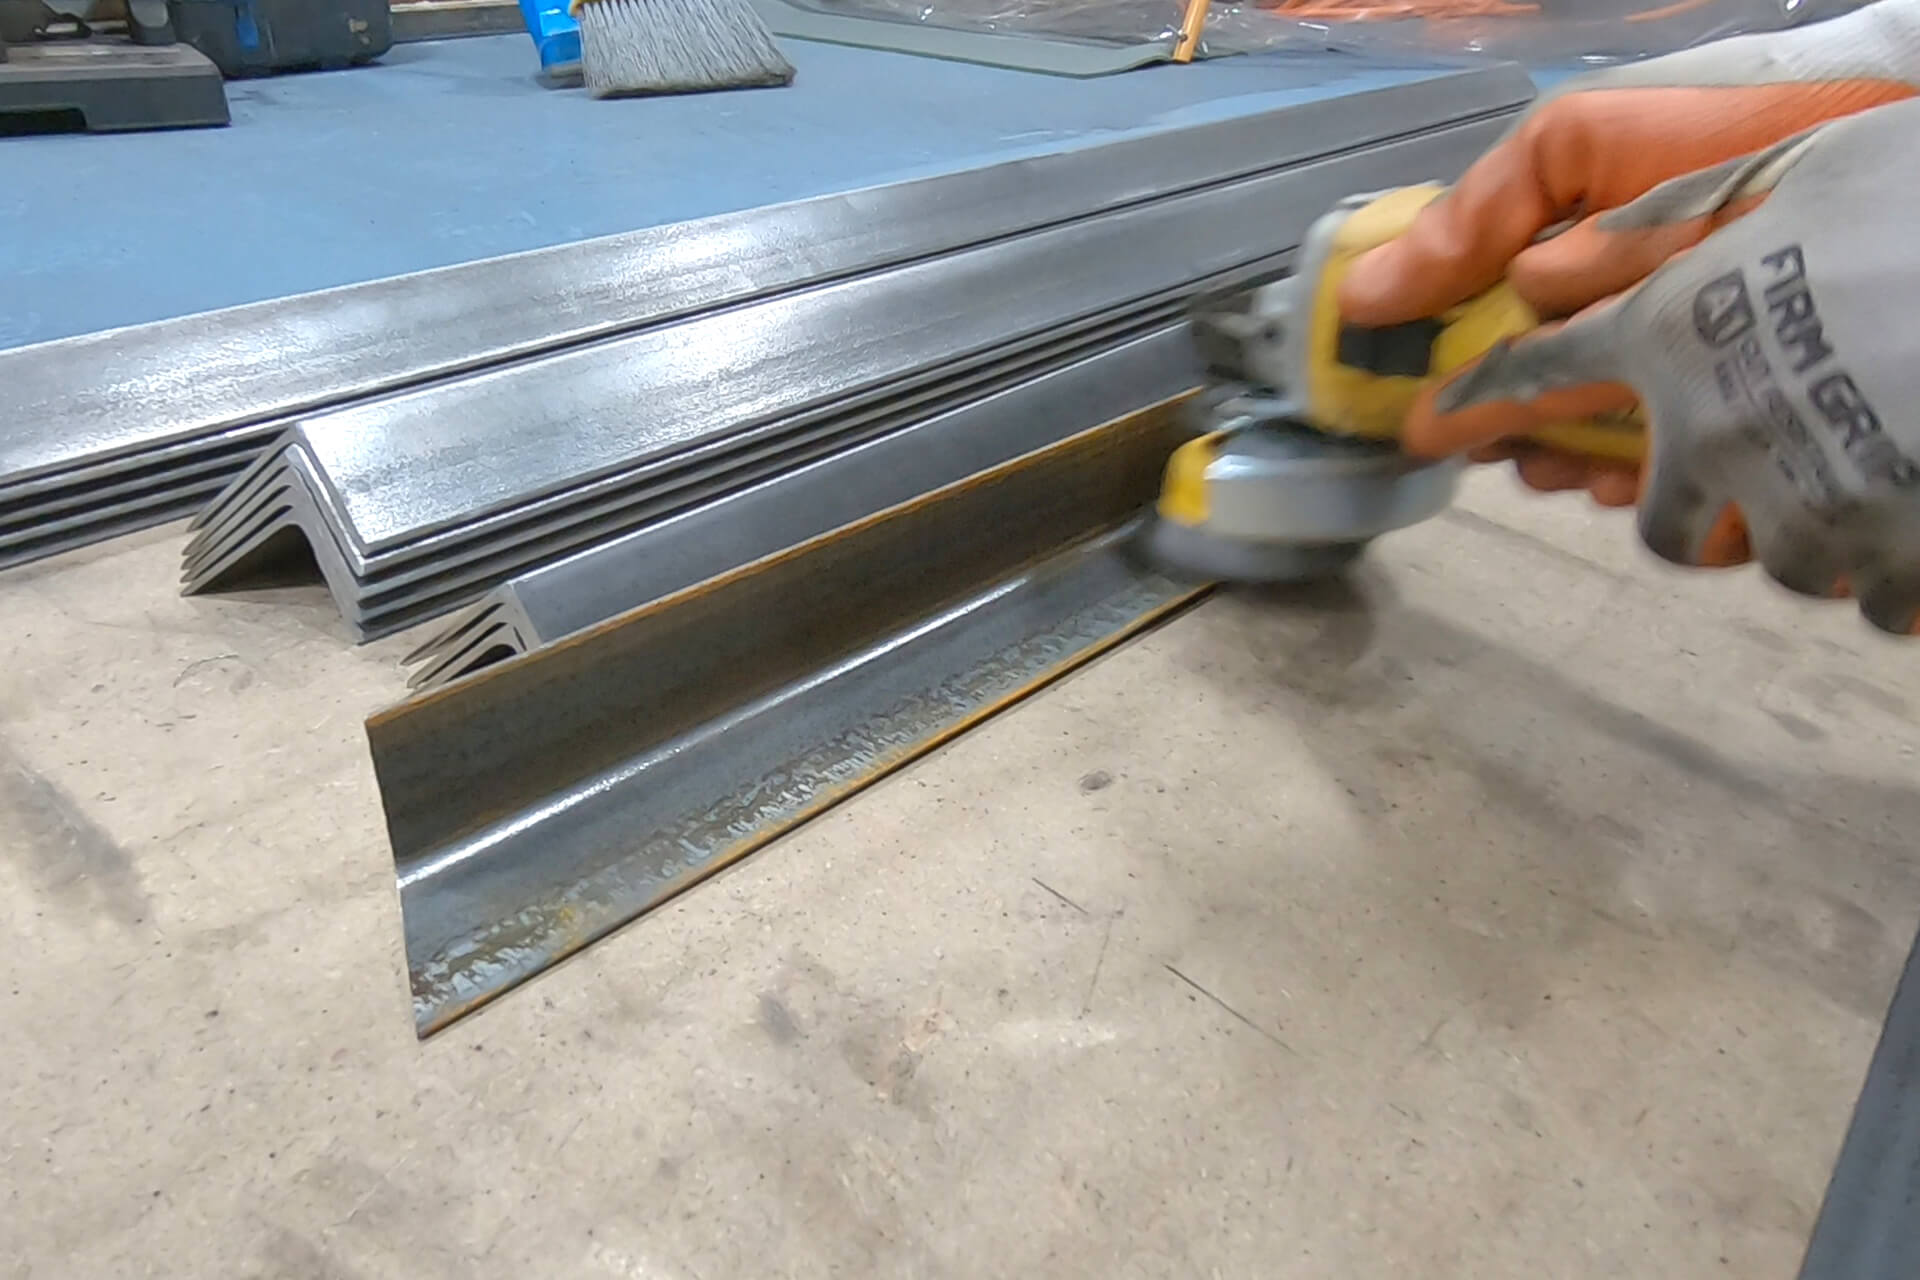
Remove rust from all surfaces using an angle grinder with a knotted wire cup brush.
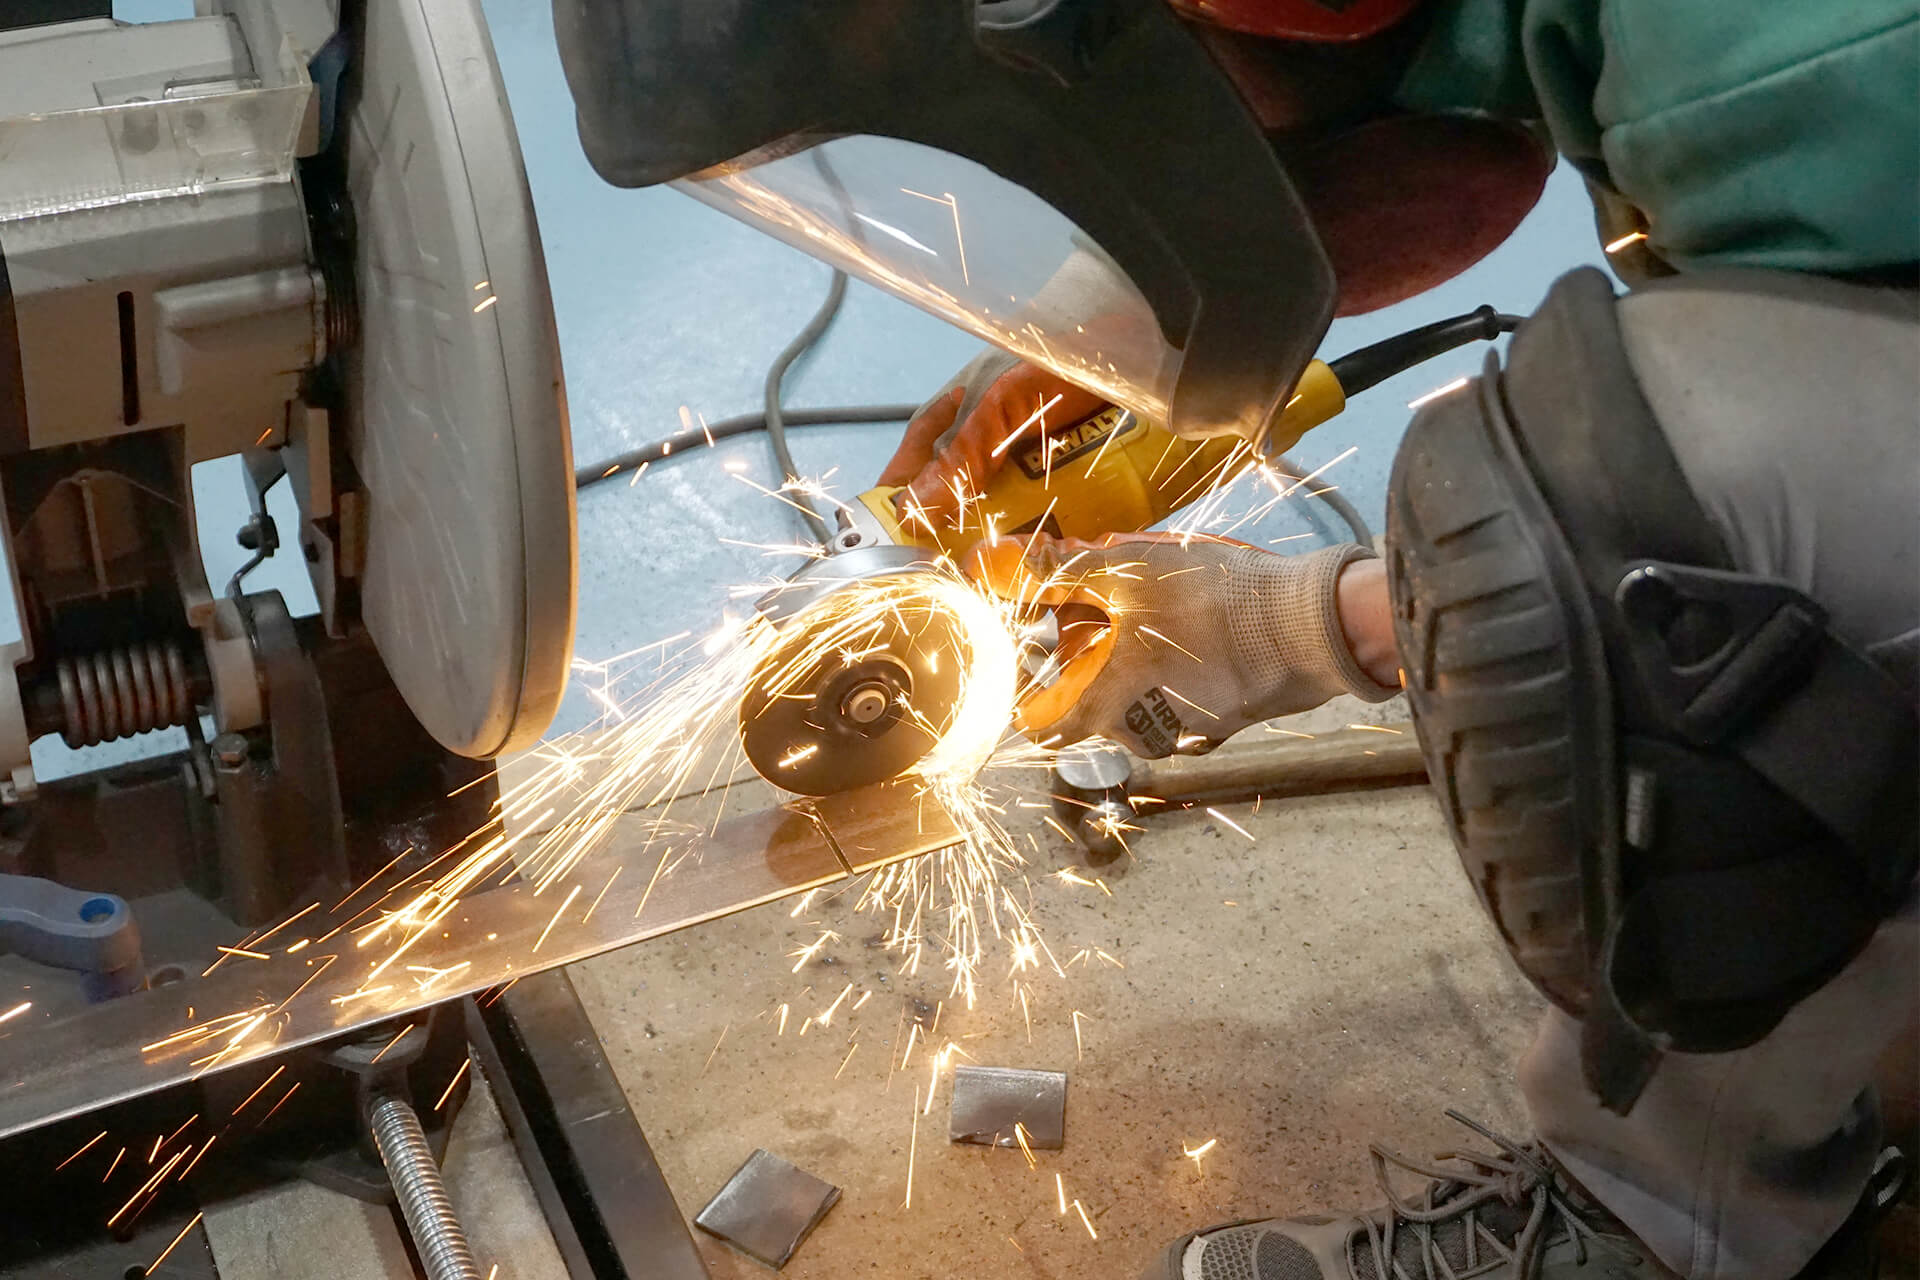
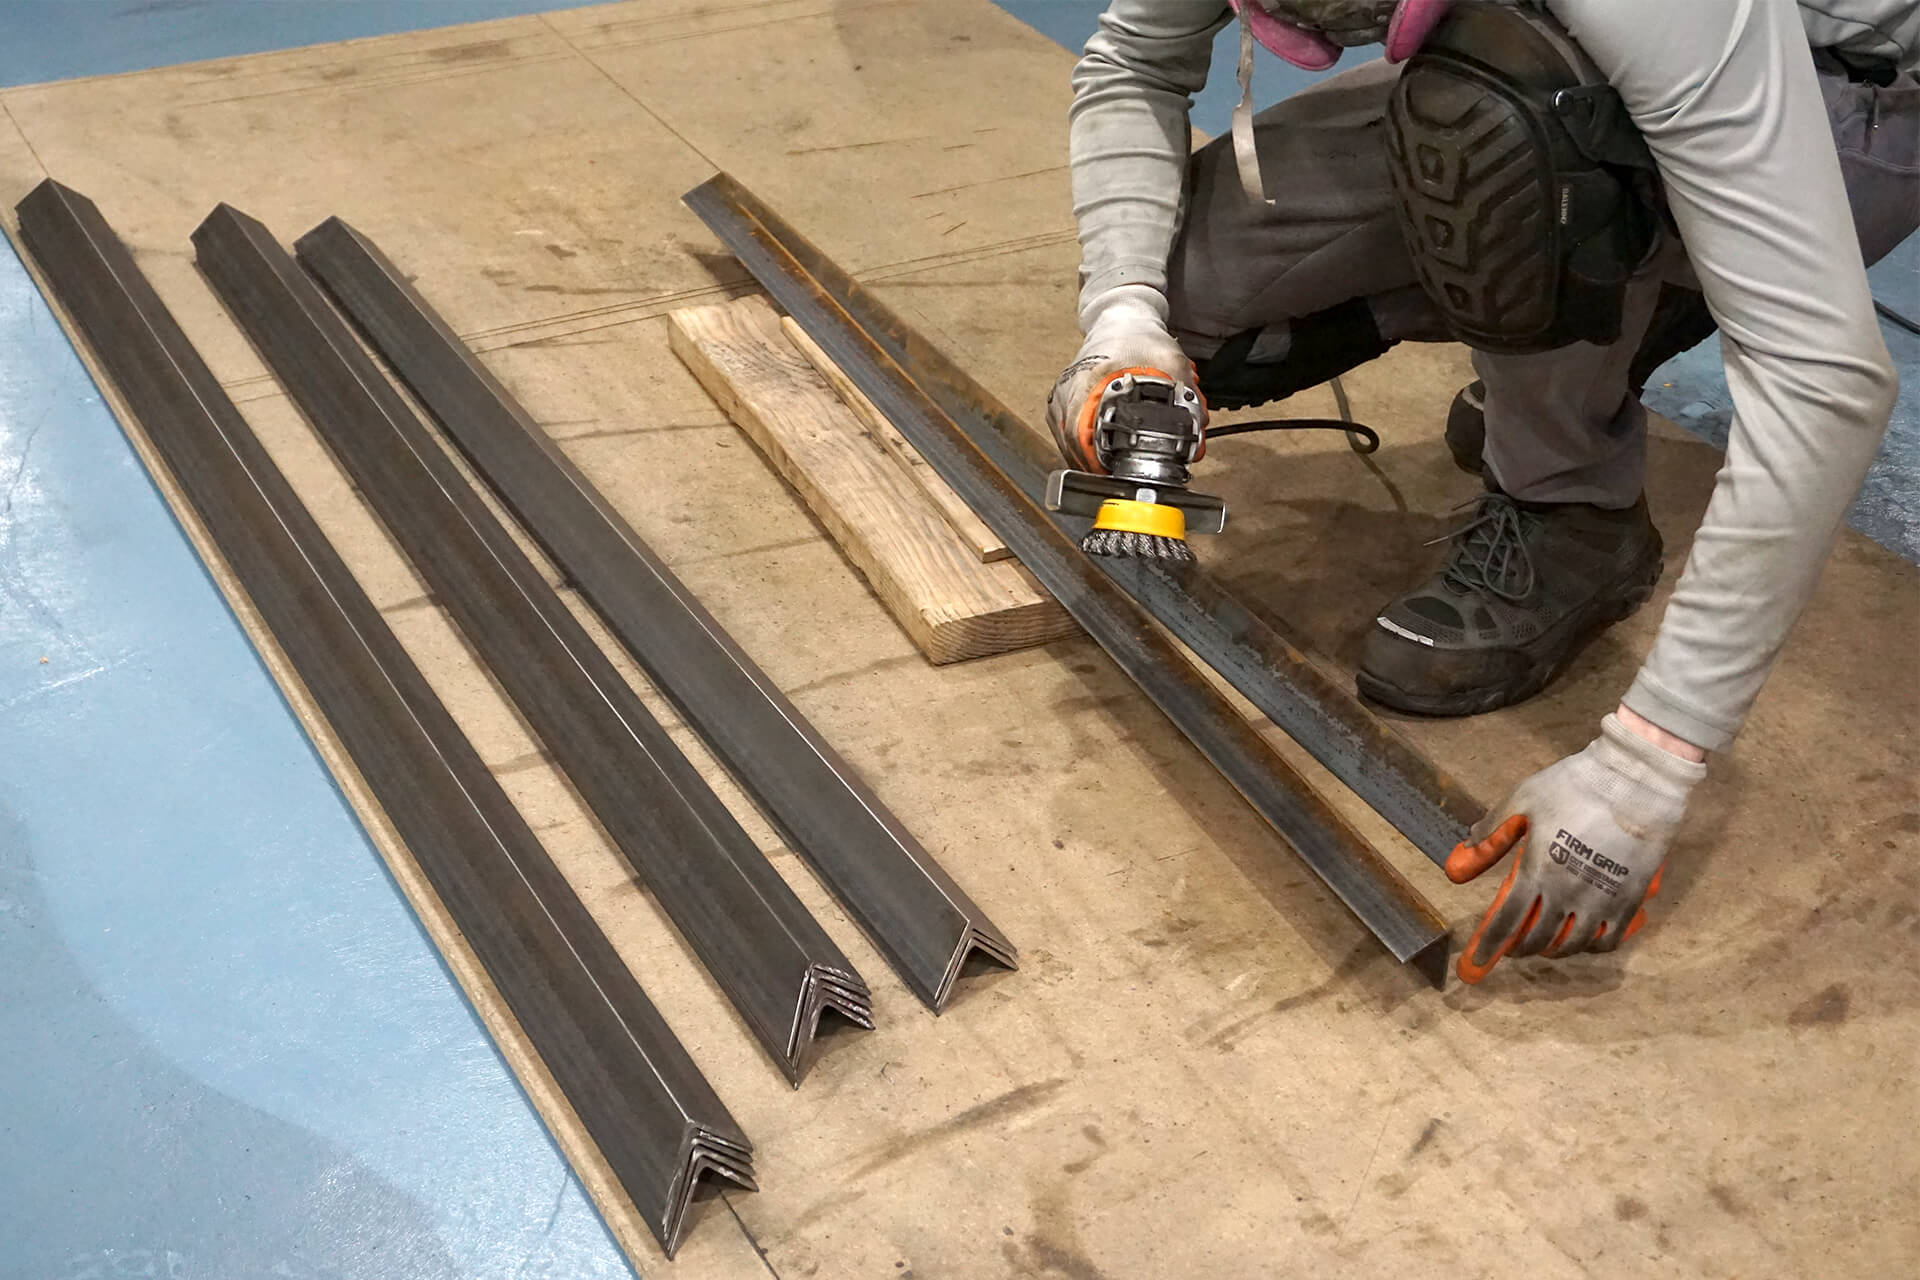
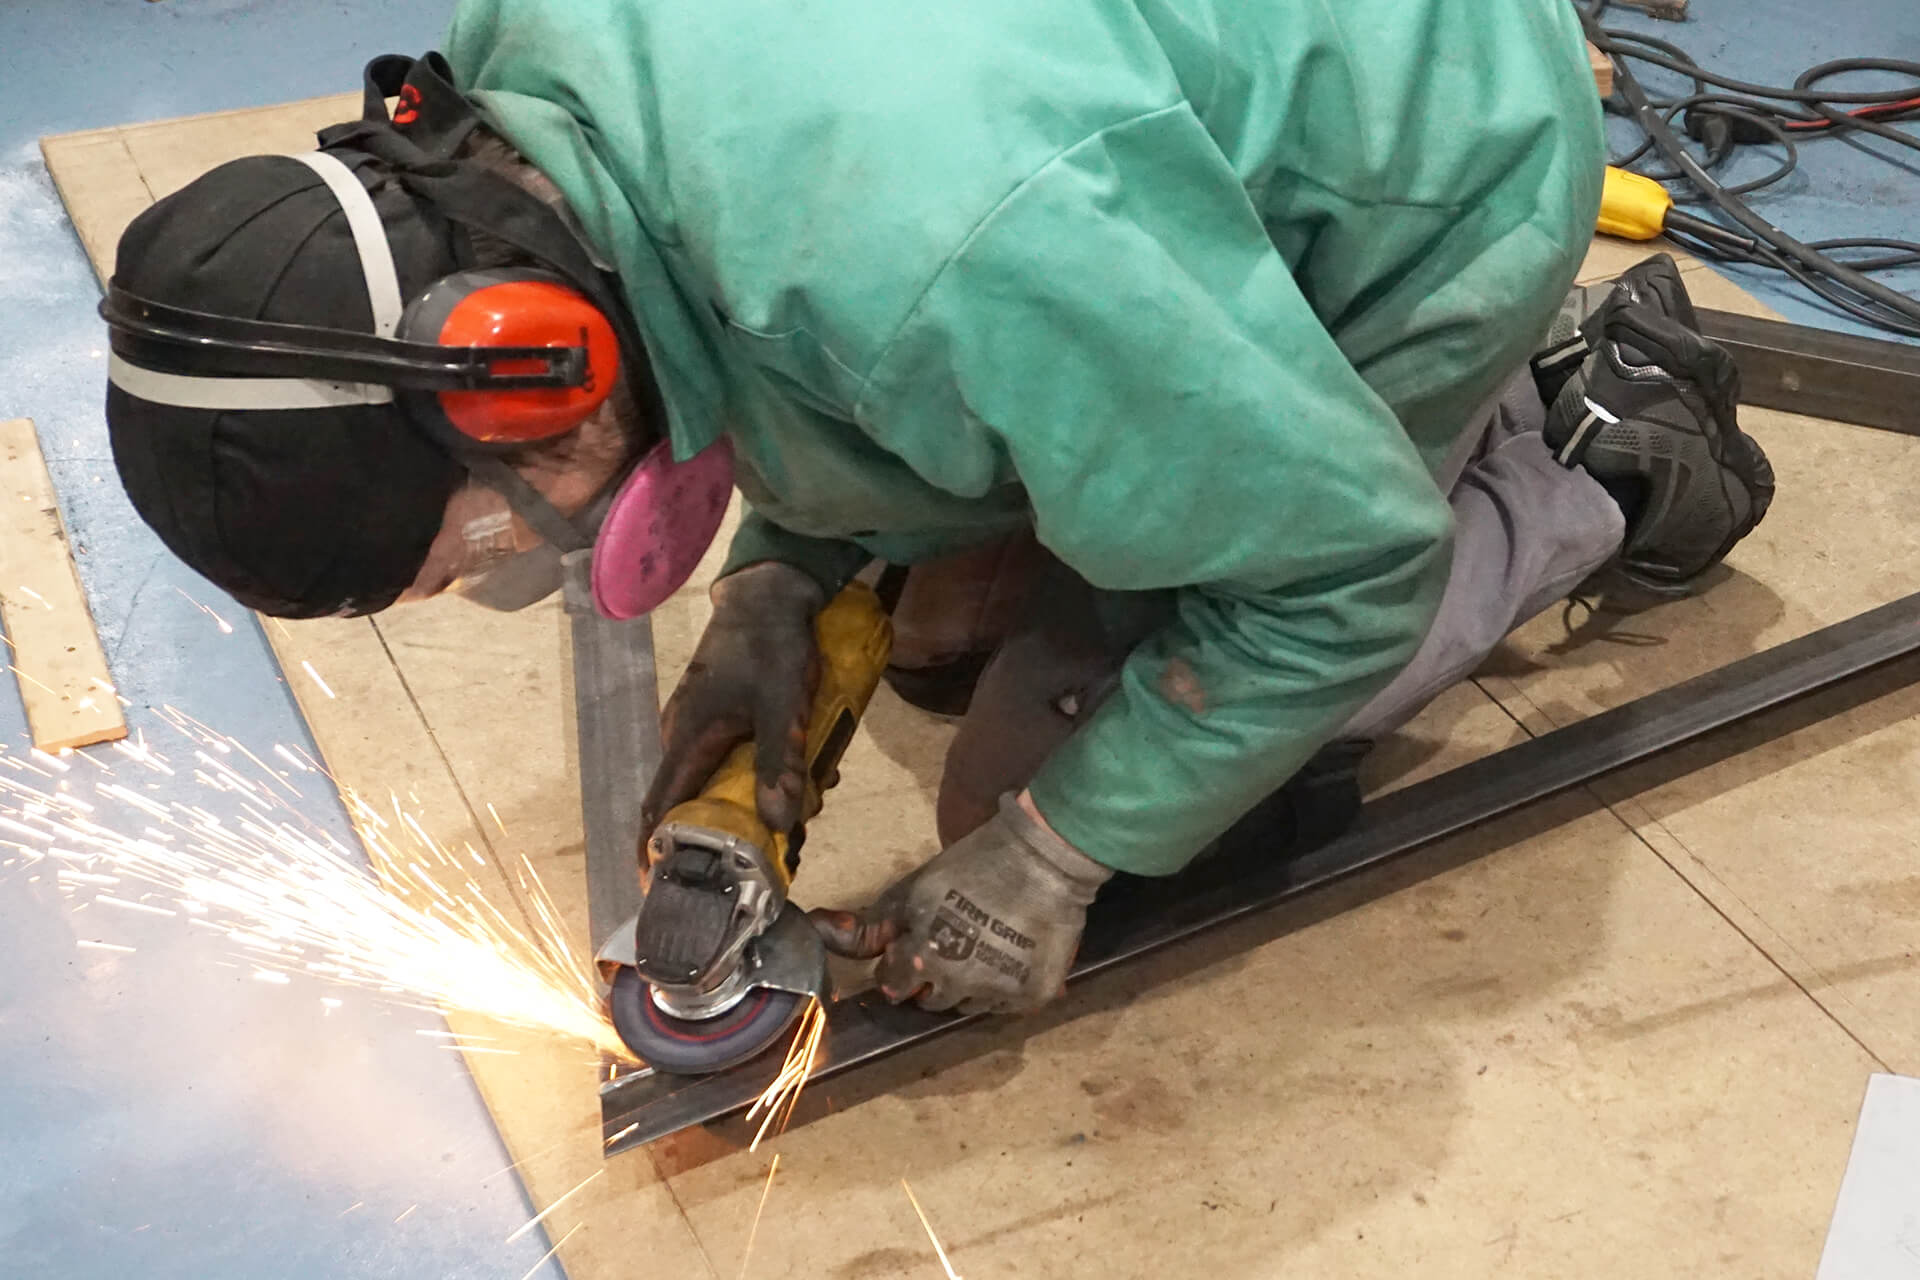
Cut the end tab from each piece. One cut line can be done with the chop saw; the other line is cut using an angle grinder with a metal cut-off disc.
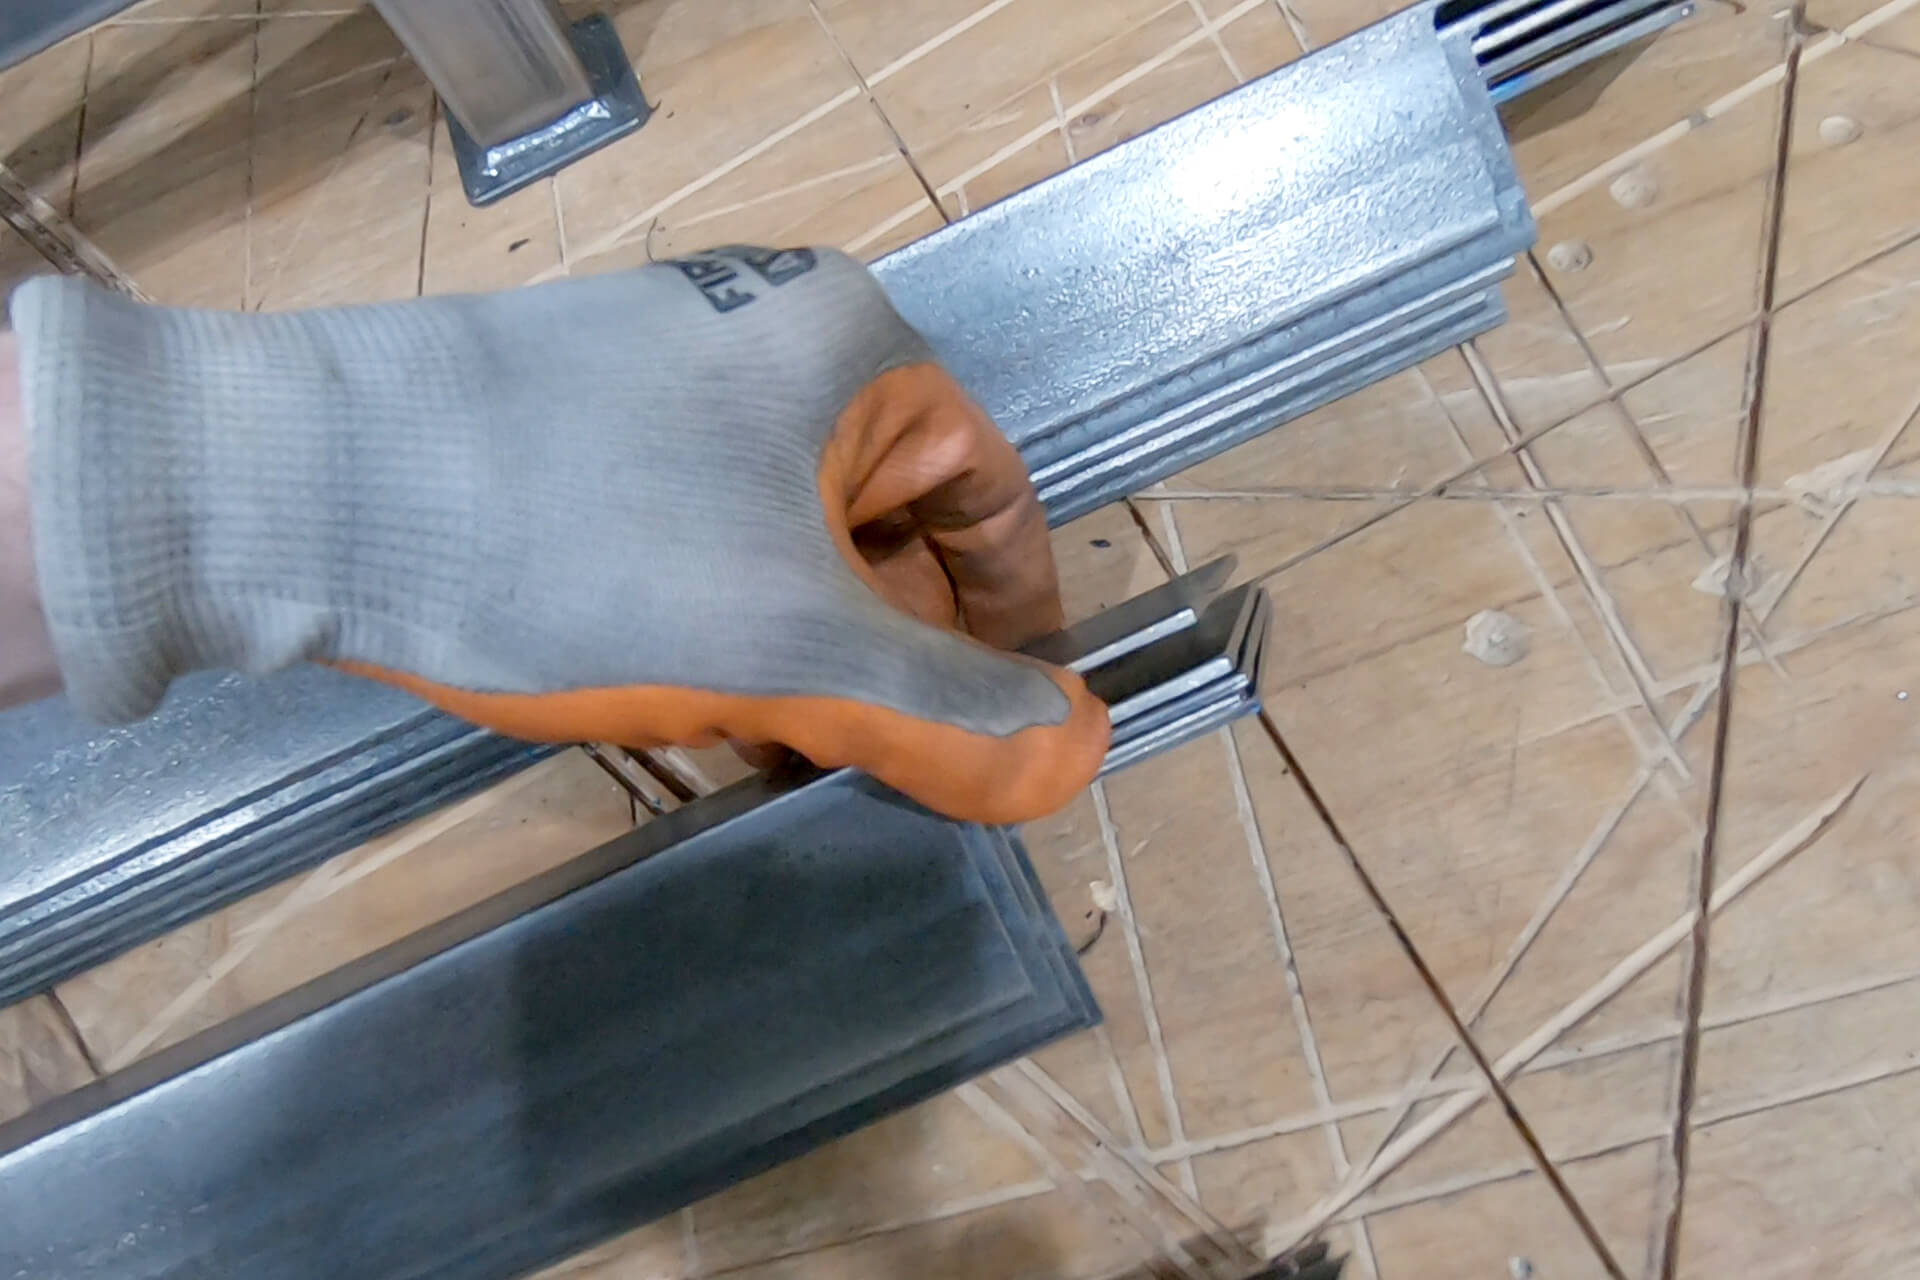
Detail shot showing the trim pieces with the tabs removed.
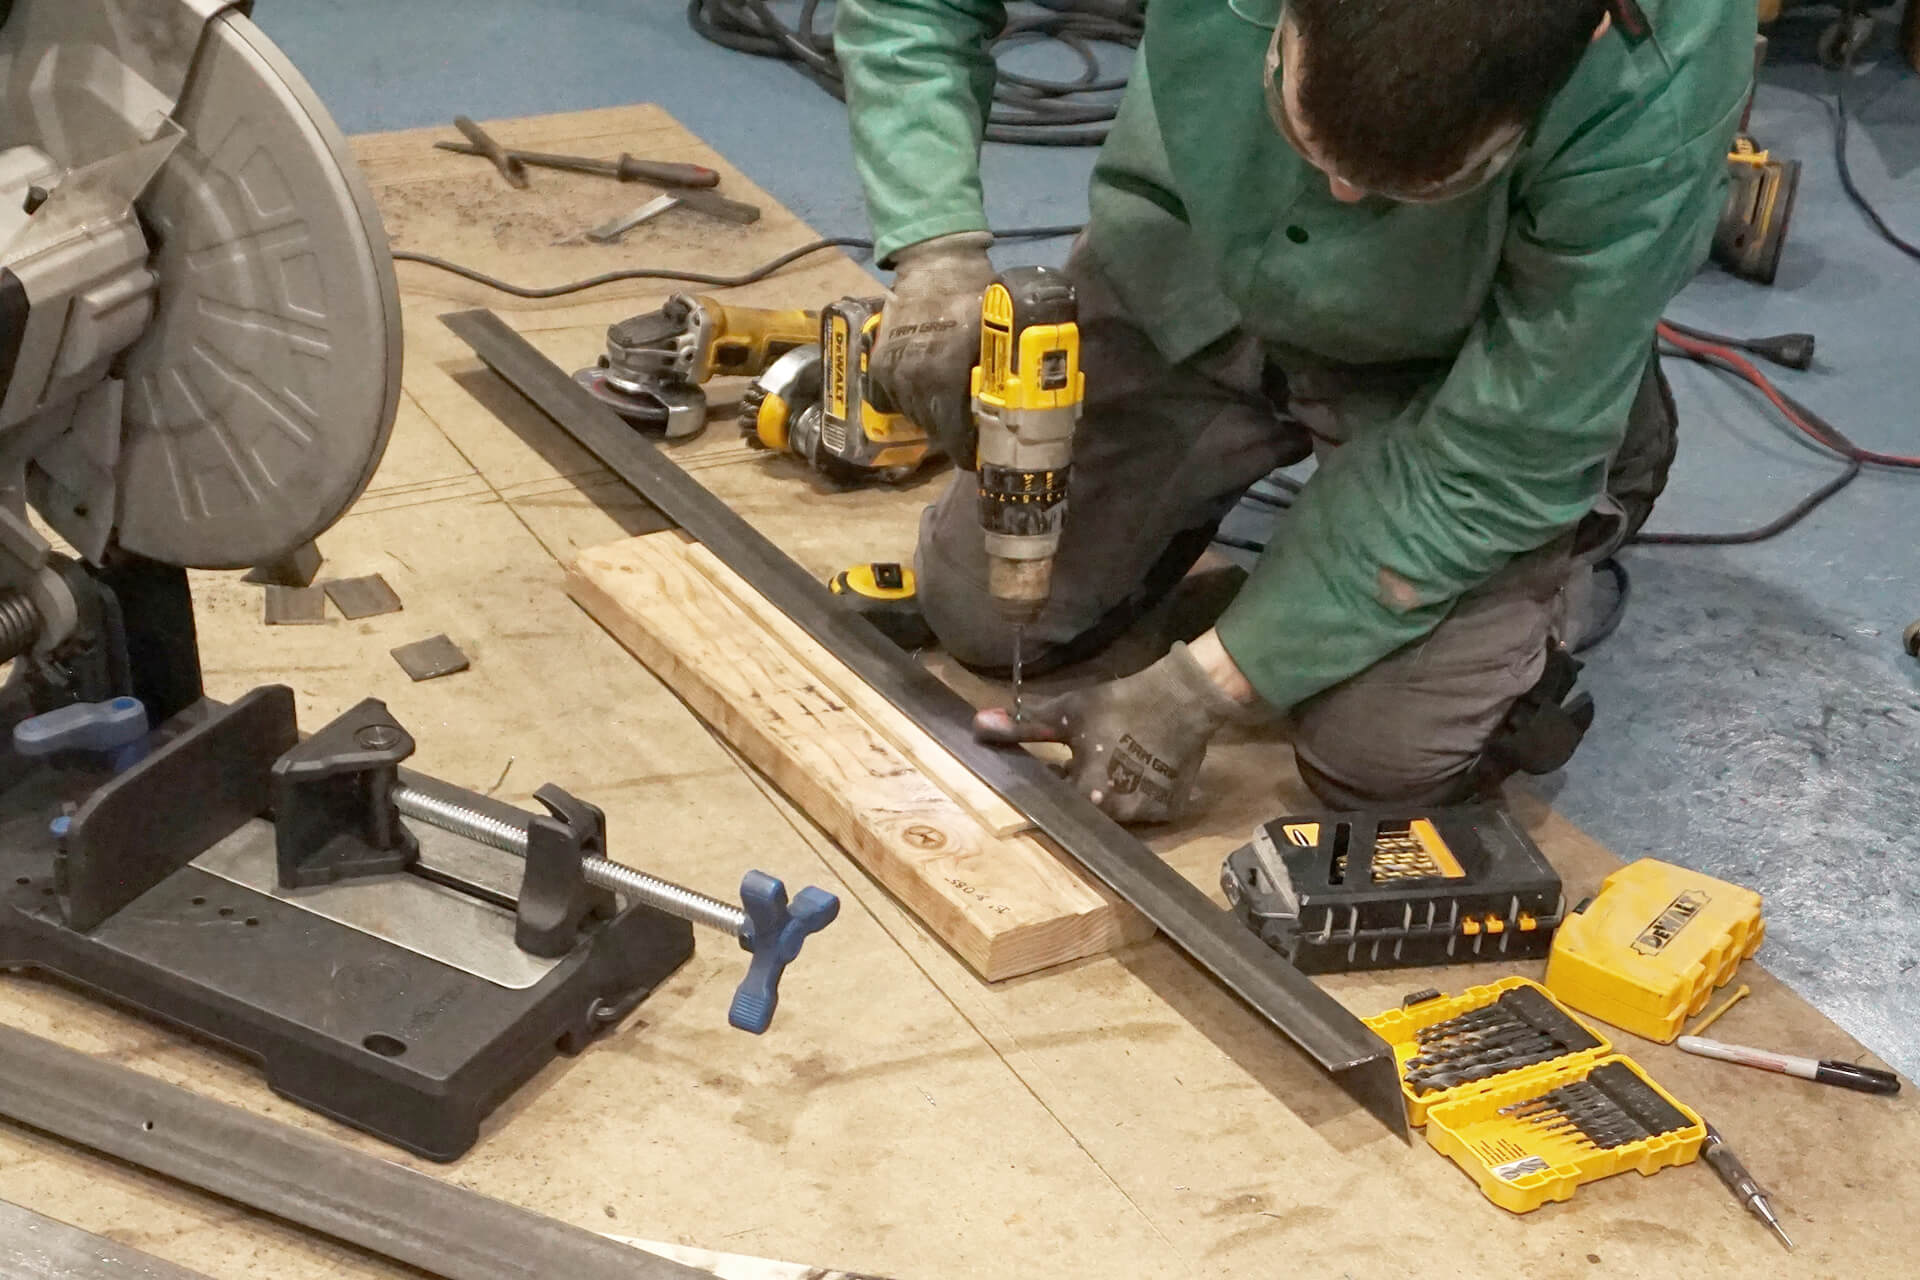
Center punch and drill the two screw hole locations in each piece.
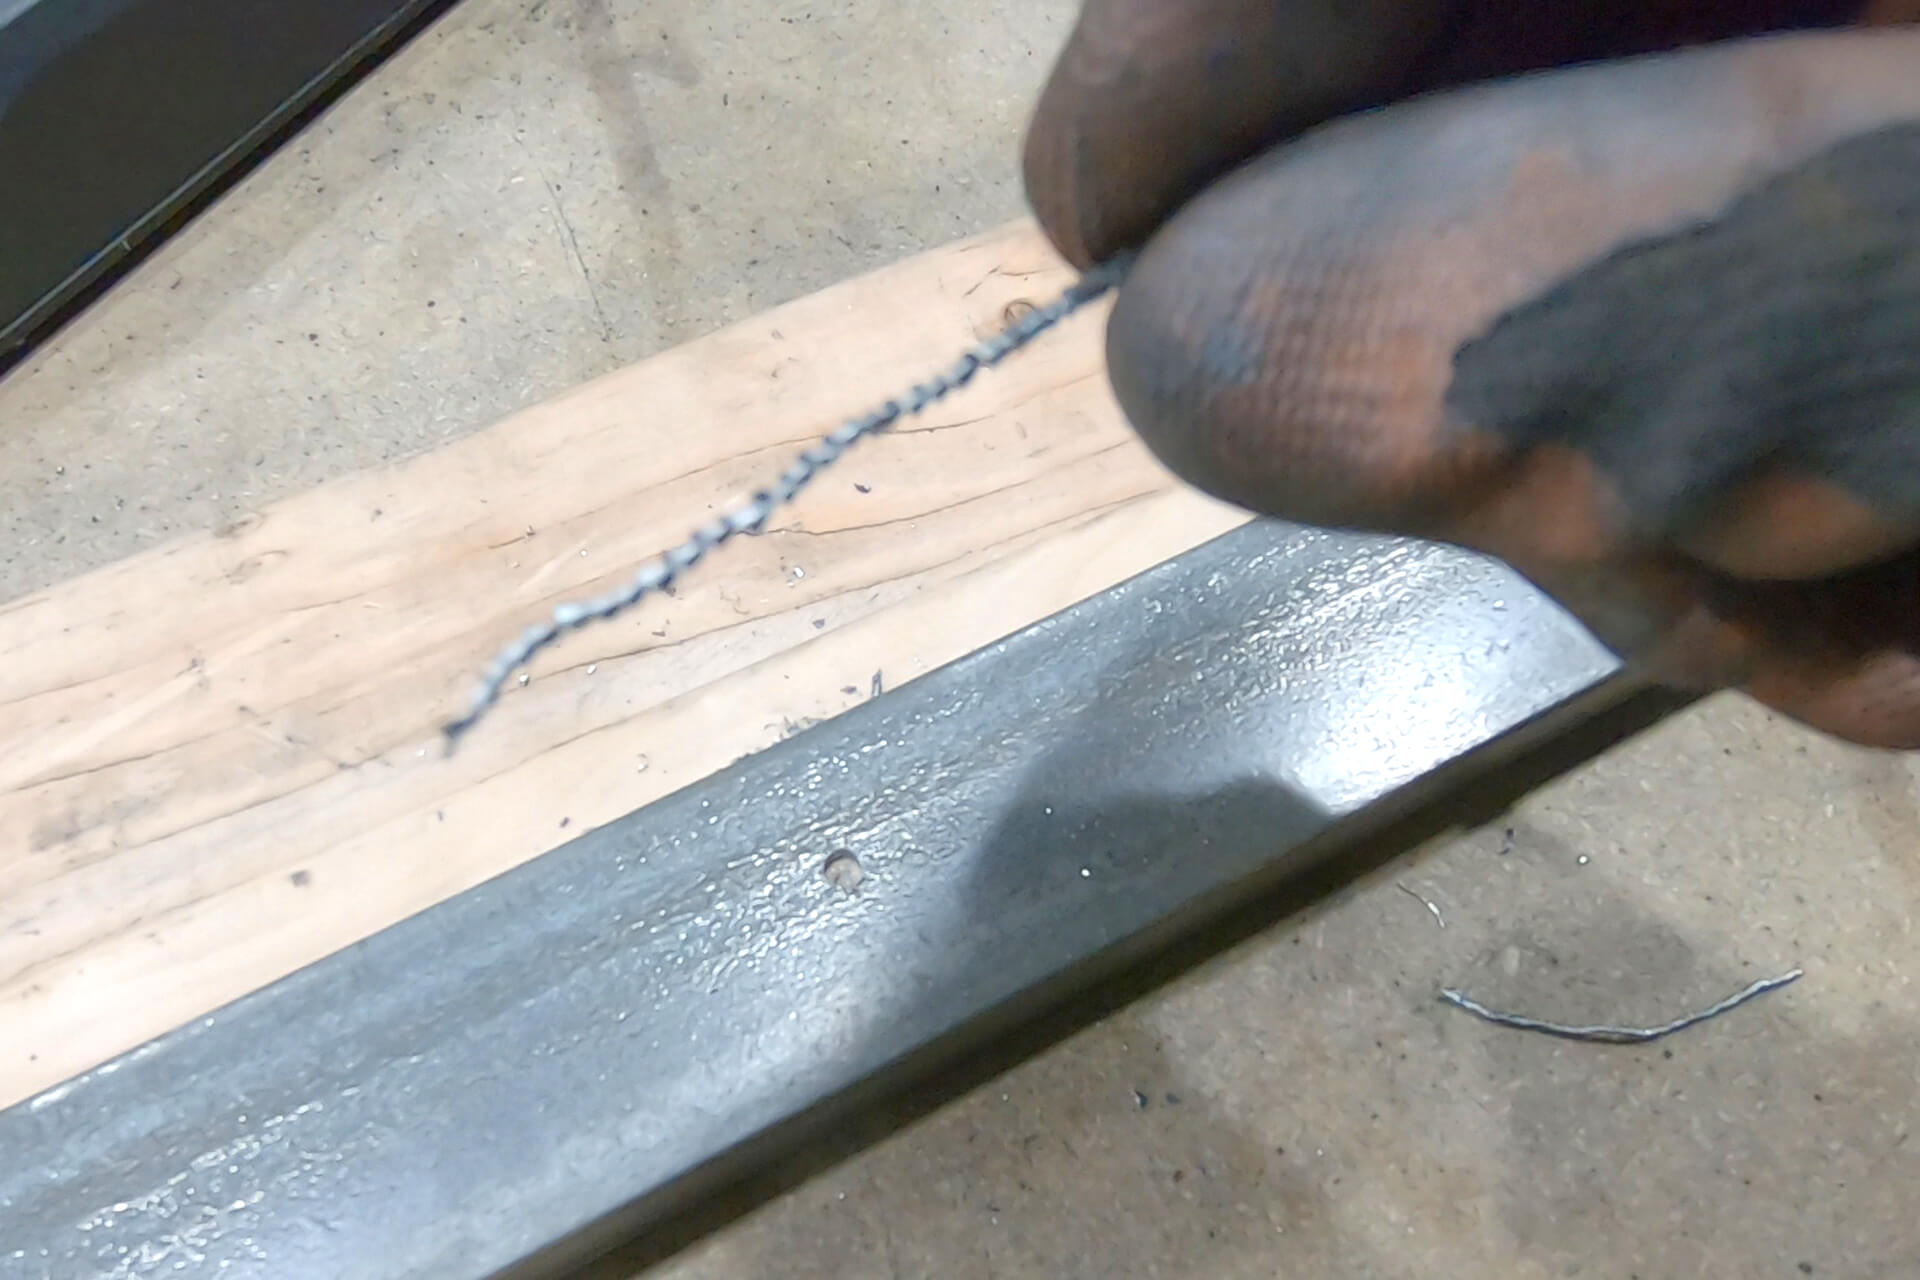
Set the drill to a low speed. When done correctly, metal chips should come off in strings.
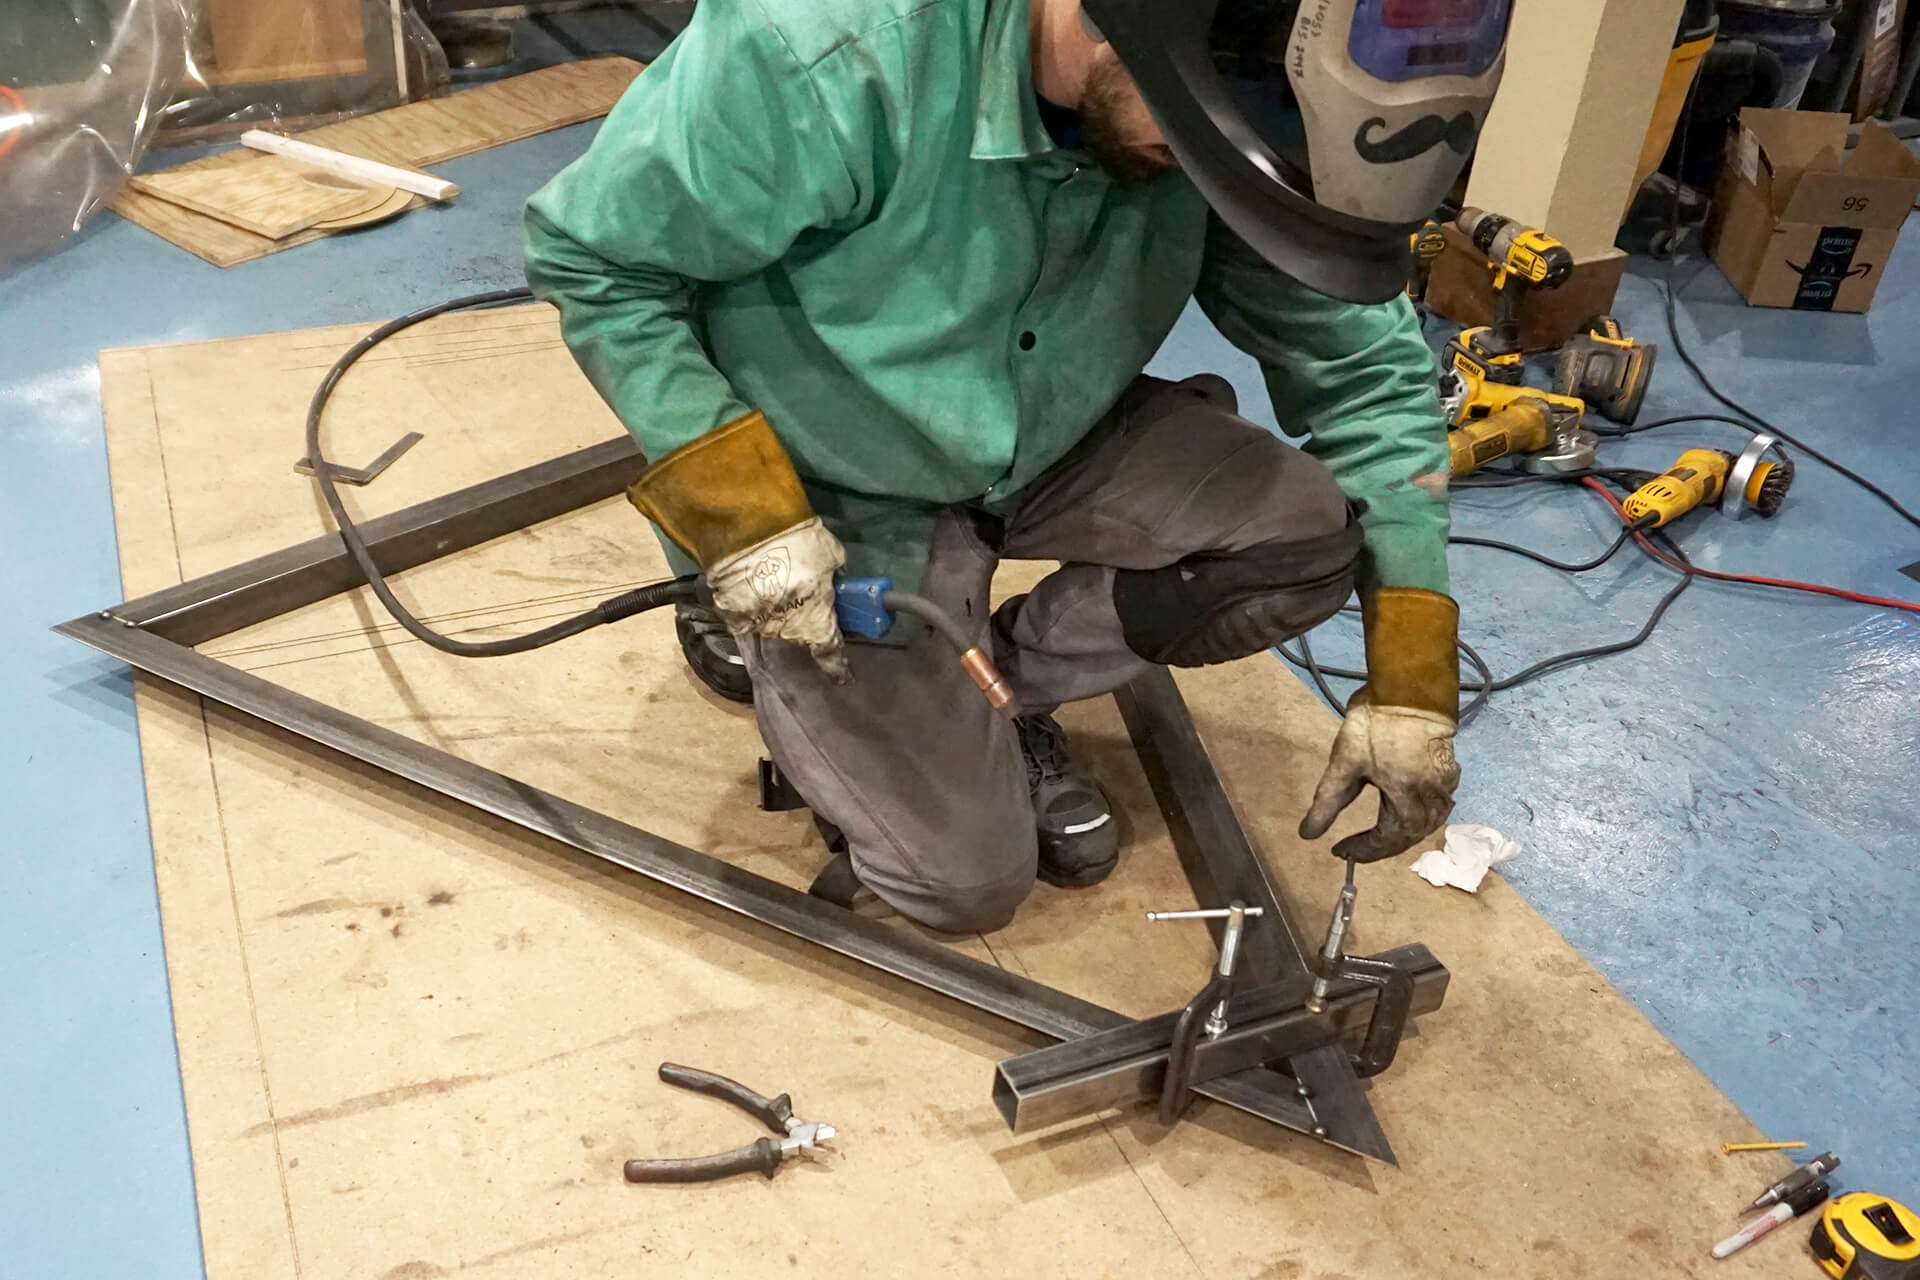
Tack-weld the trim pieces together. Use a straight piece of metal and clamps to align the corners before tack-welding.
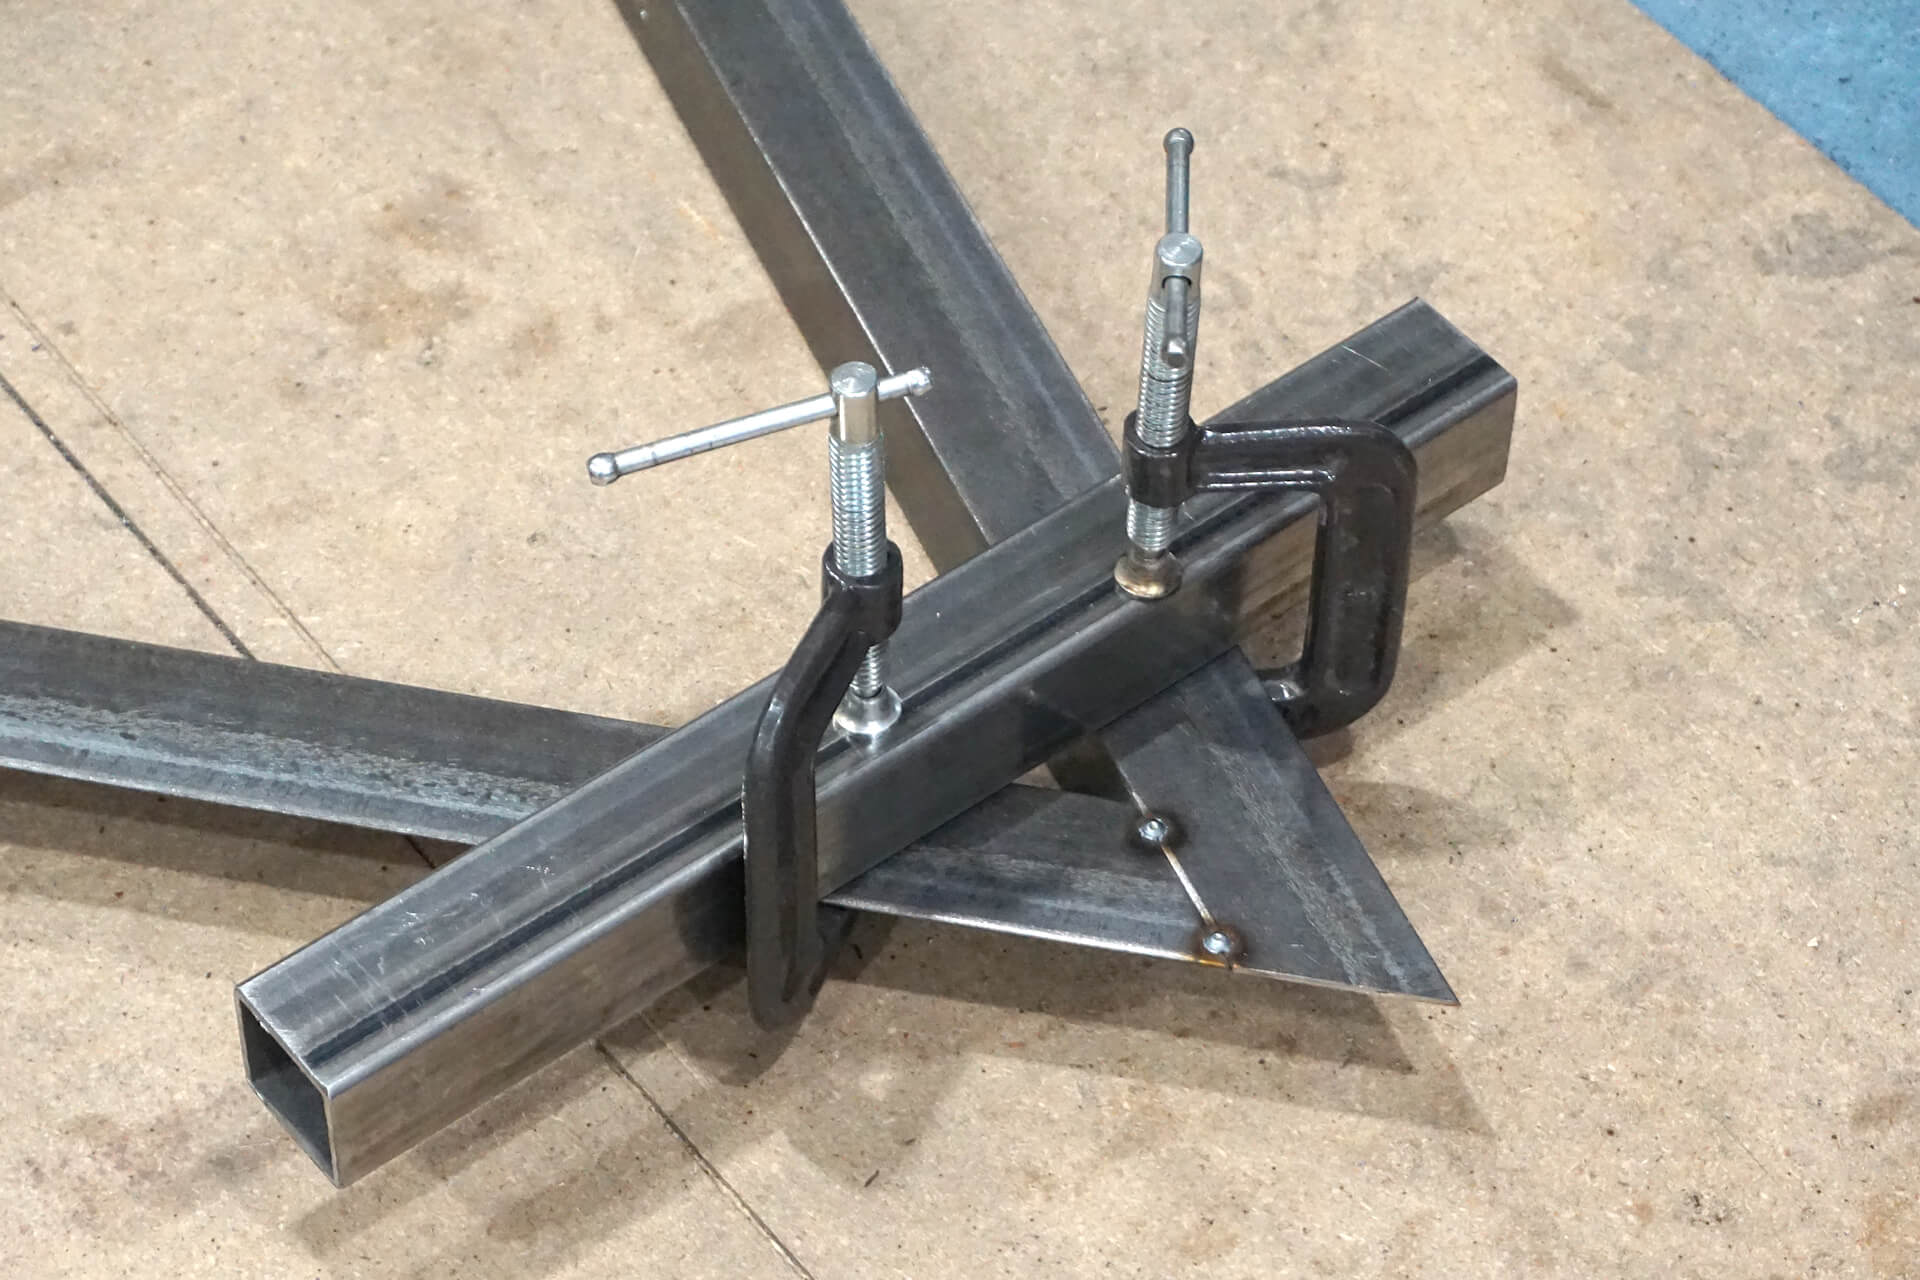
Detail shot showing the clamping setup and tack-welds. Remove the clamps after tack-welding.
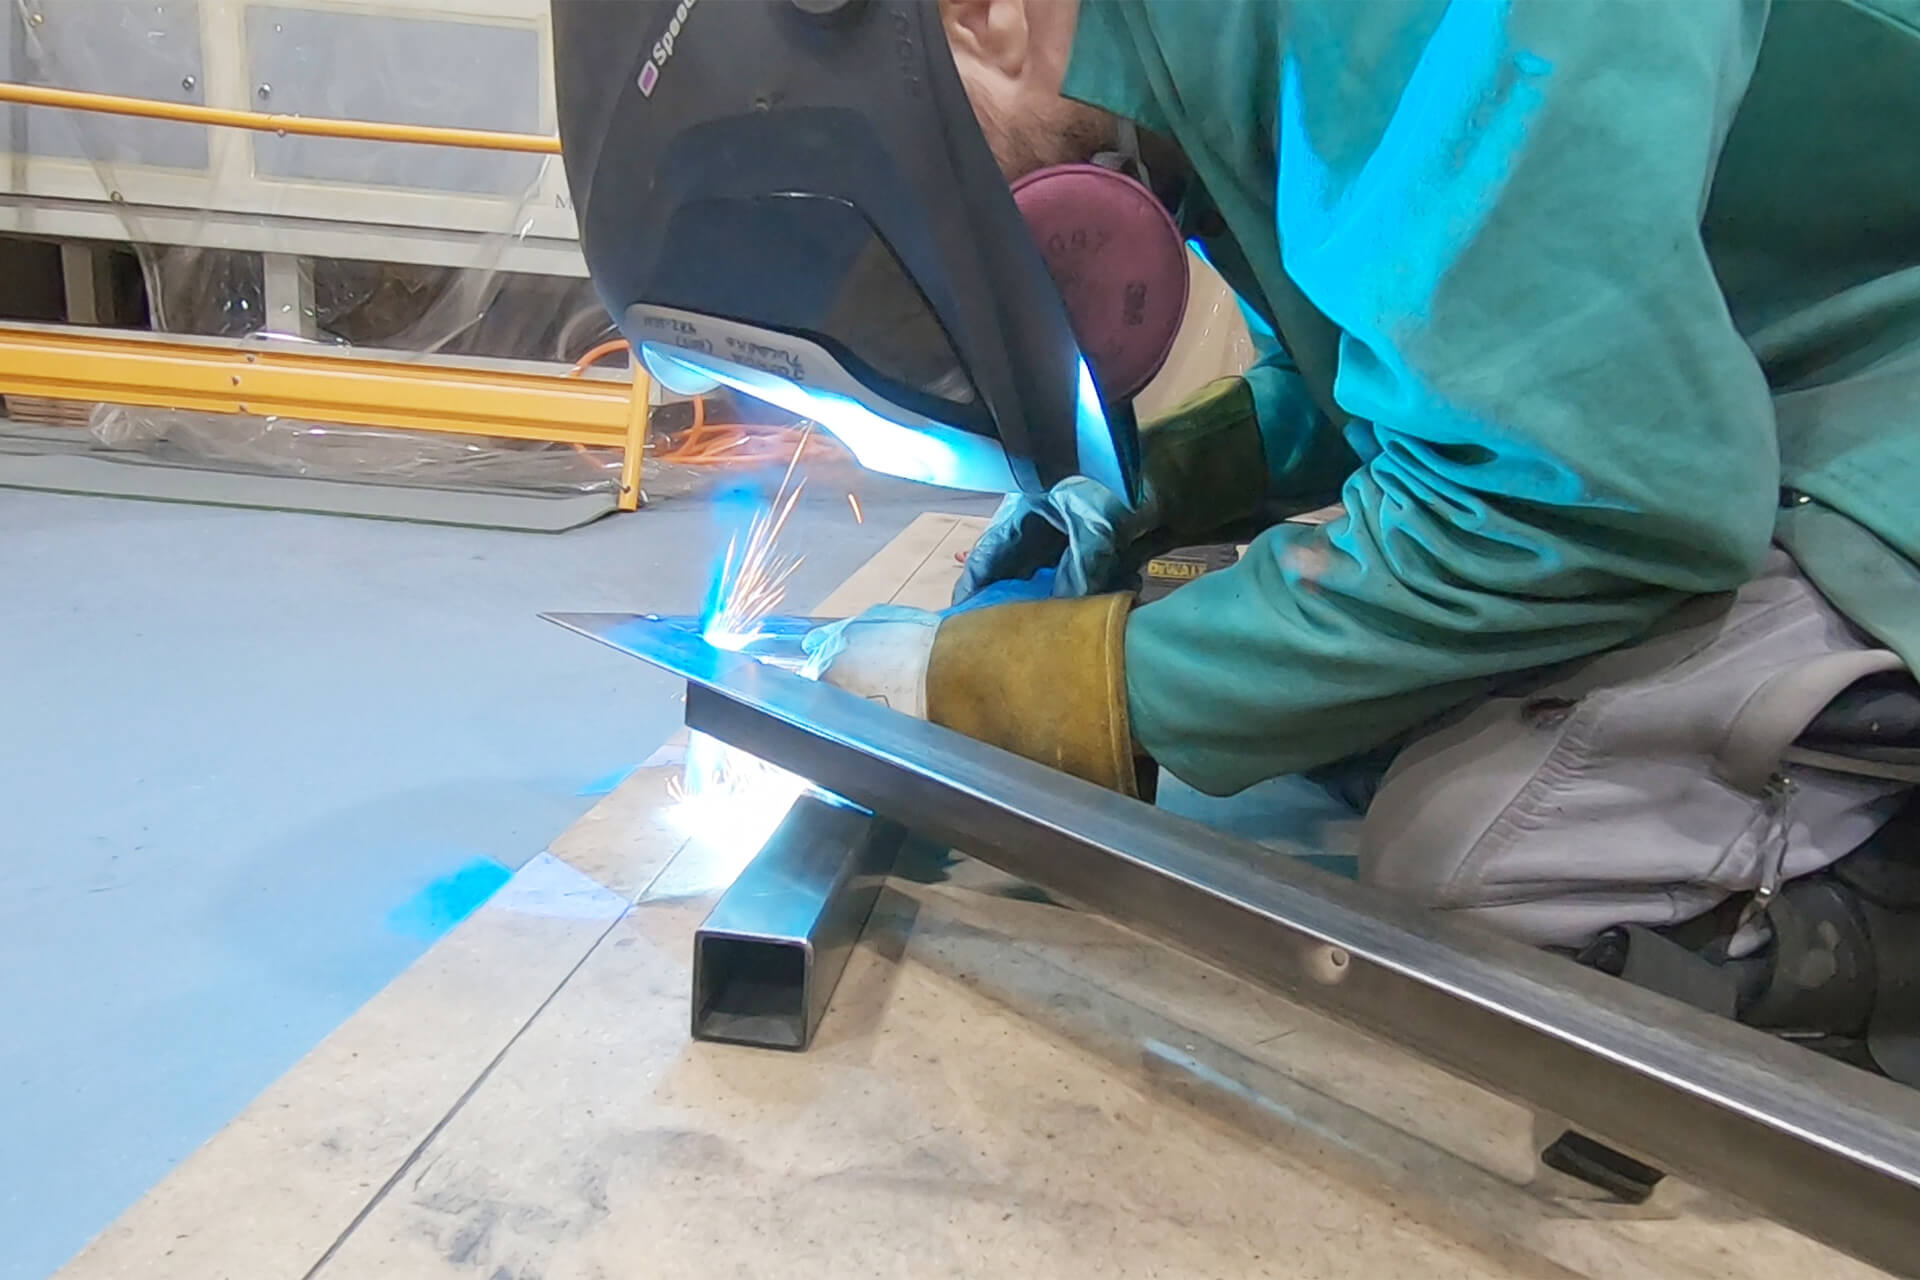
Weld the inside corners.
Weld the top surface, covering the tack-welds.
Use an angle grinder with a sanding disc to blend all top-surface welds flush with the angle iron.

Debur the edges and radius the corners.
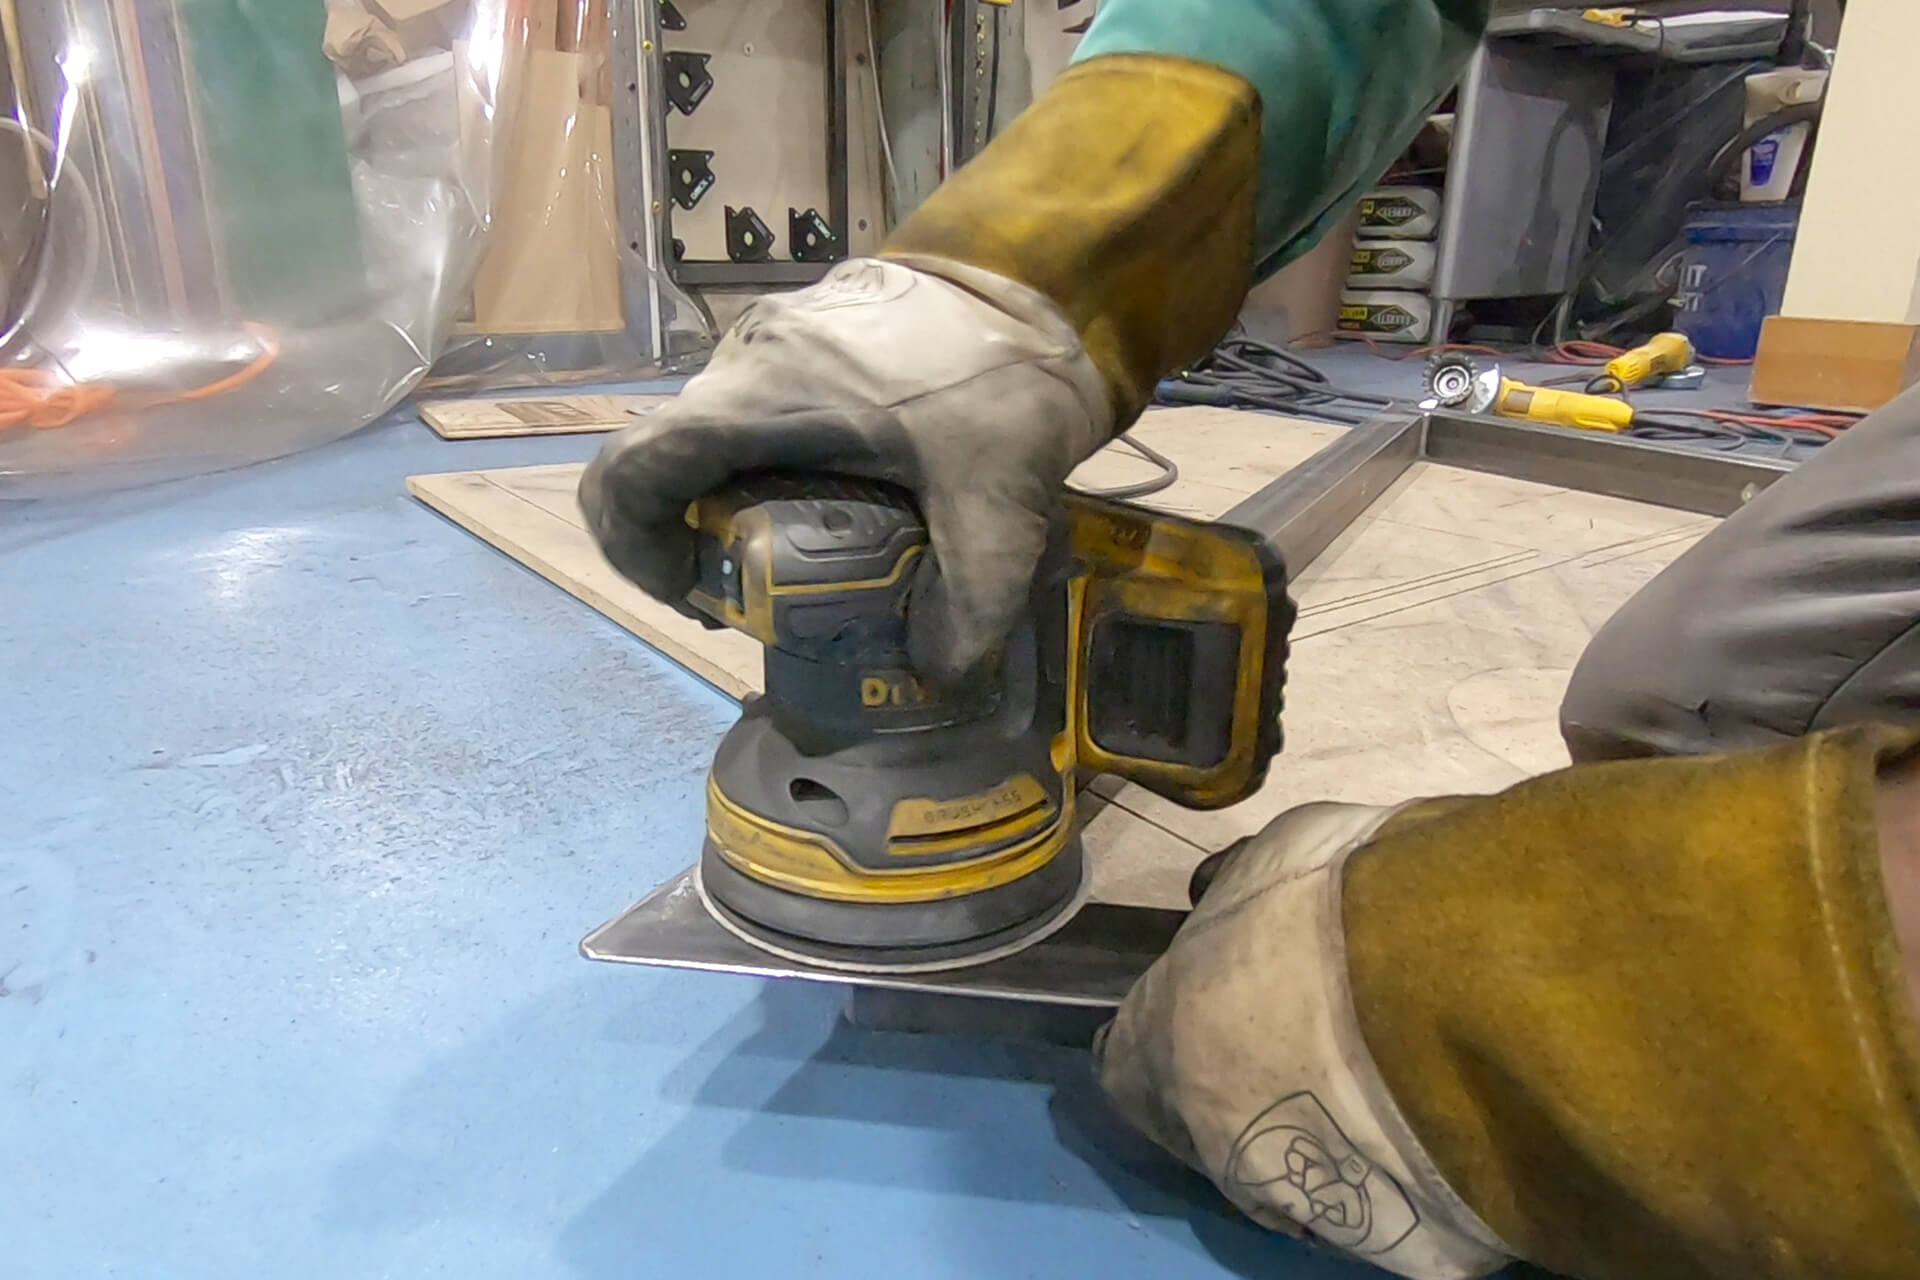
Use an orbital sander with 60-grit sandpaper for final blending.
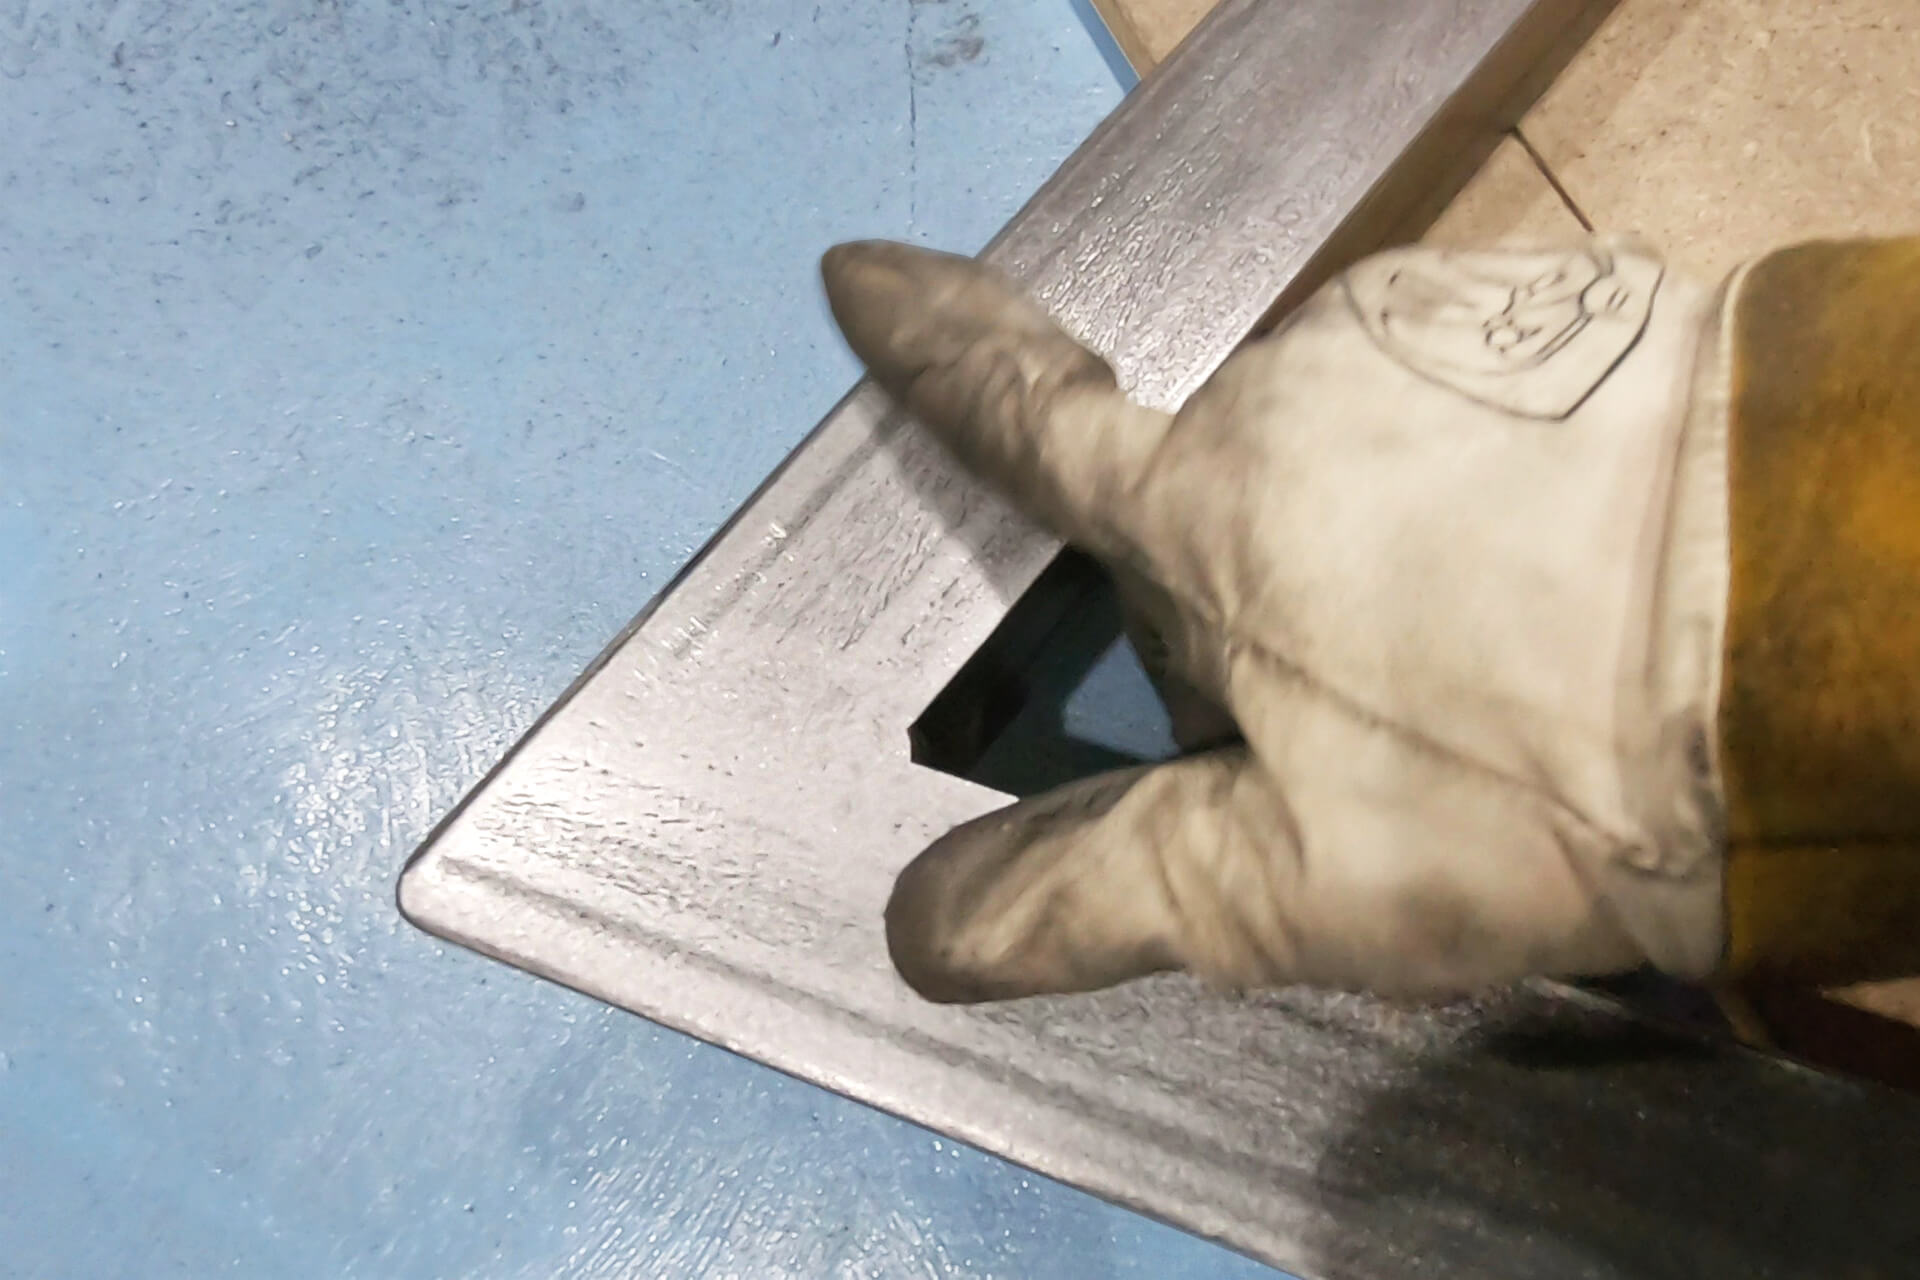
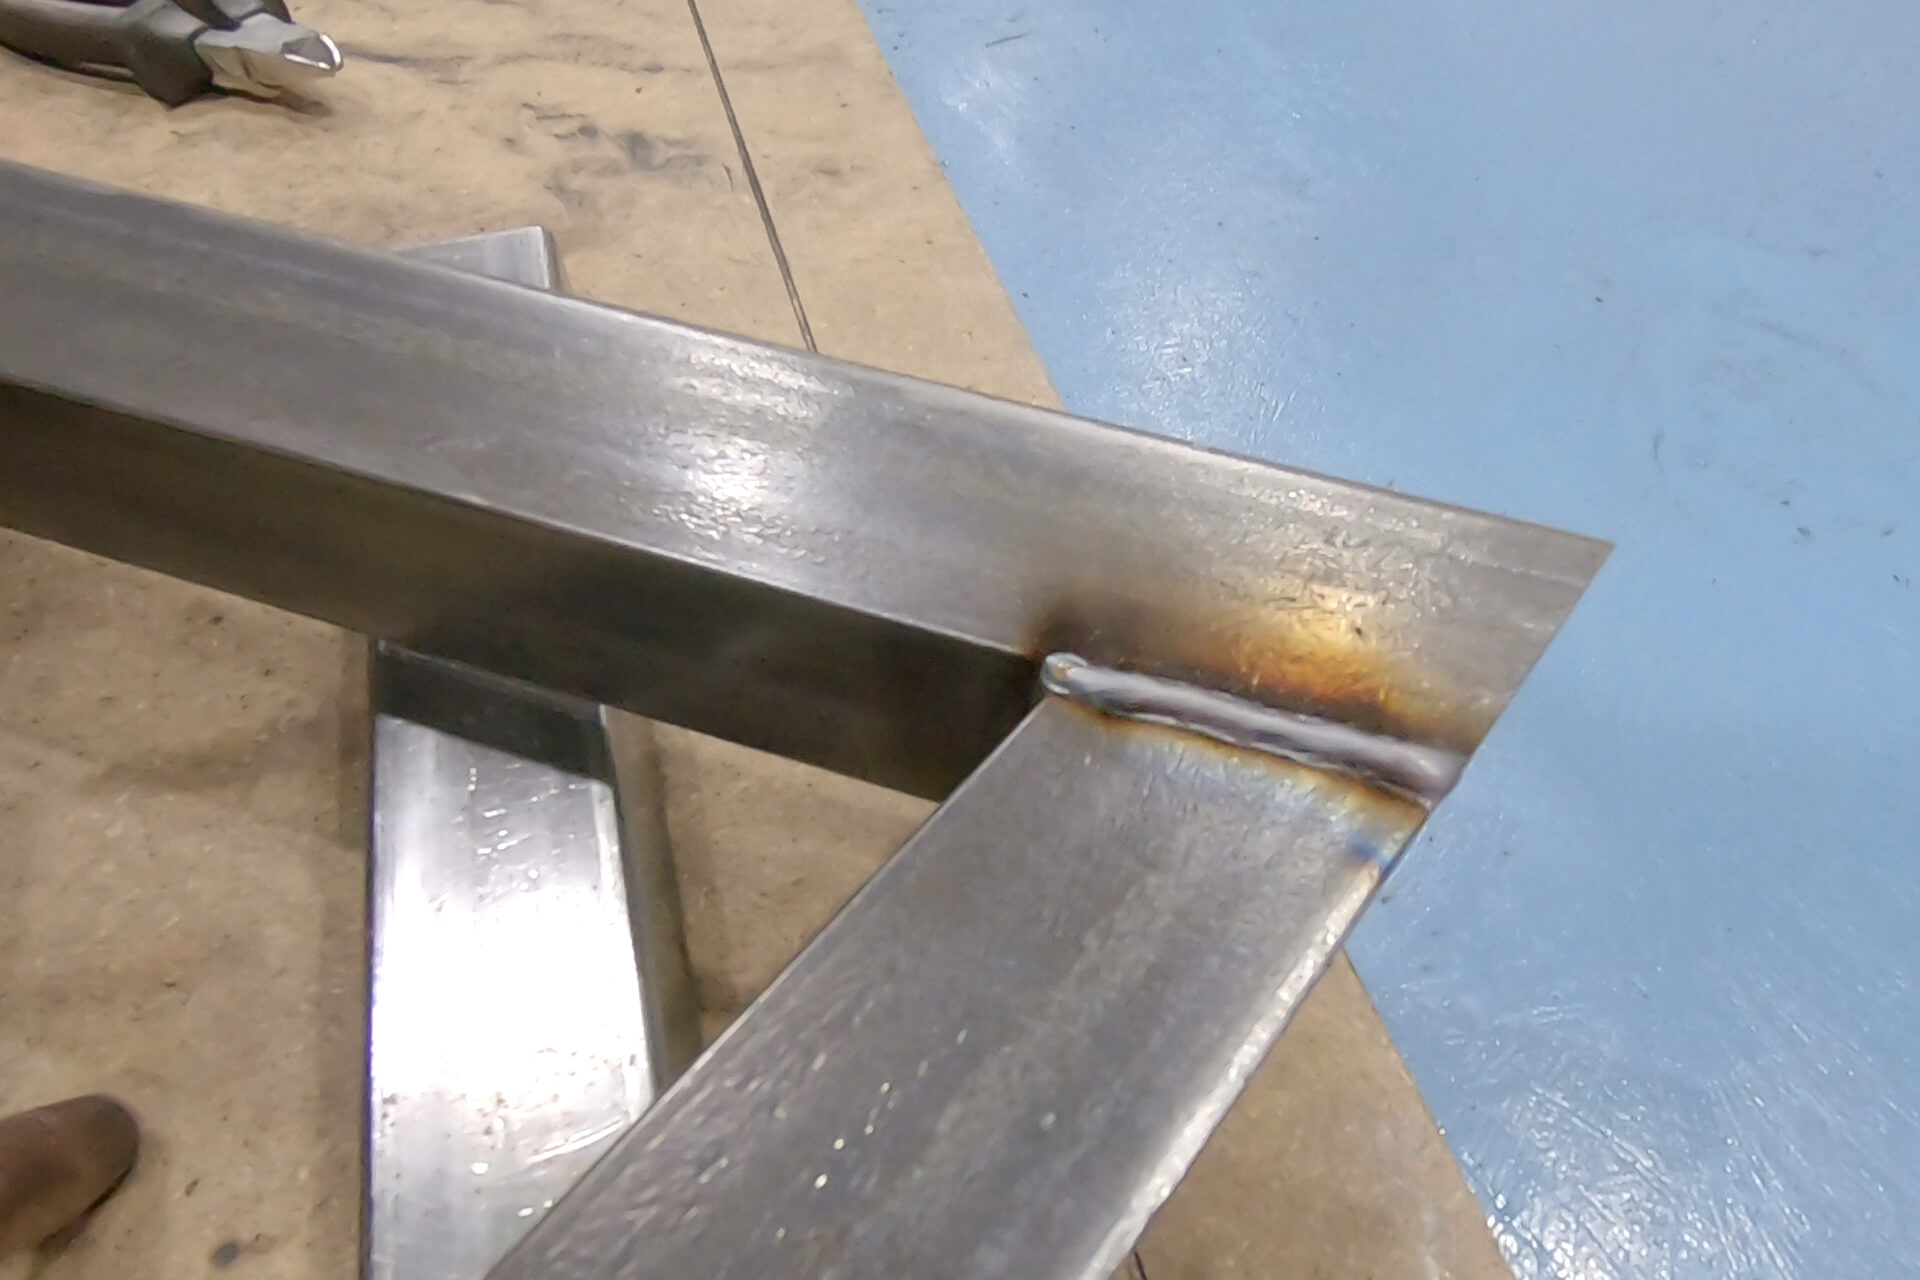
Detail shot showing a well-blended corner. Note: The metal texture of the angle iron will mostly be hidden by the future powder coat finish.
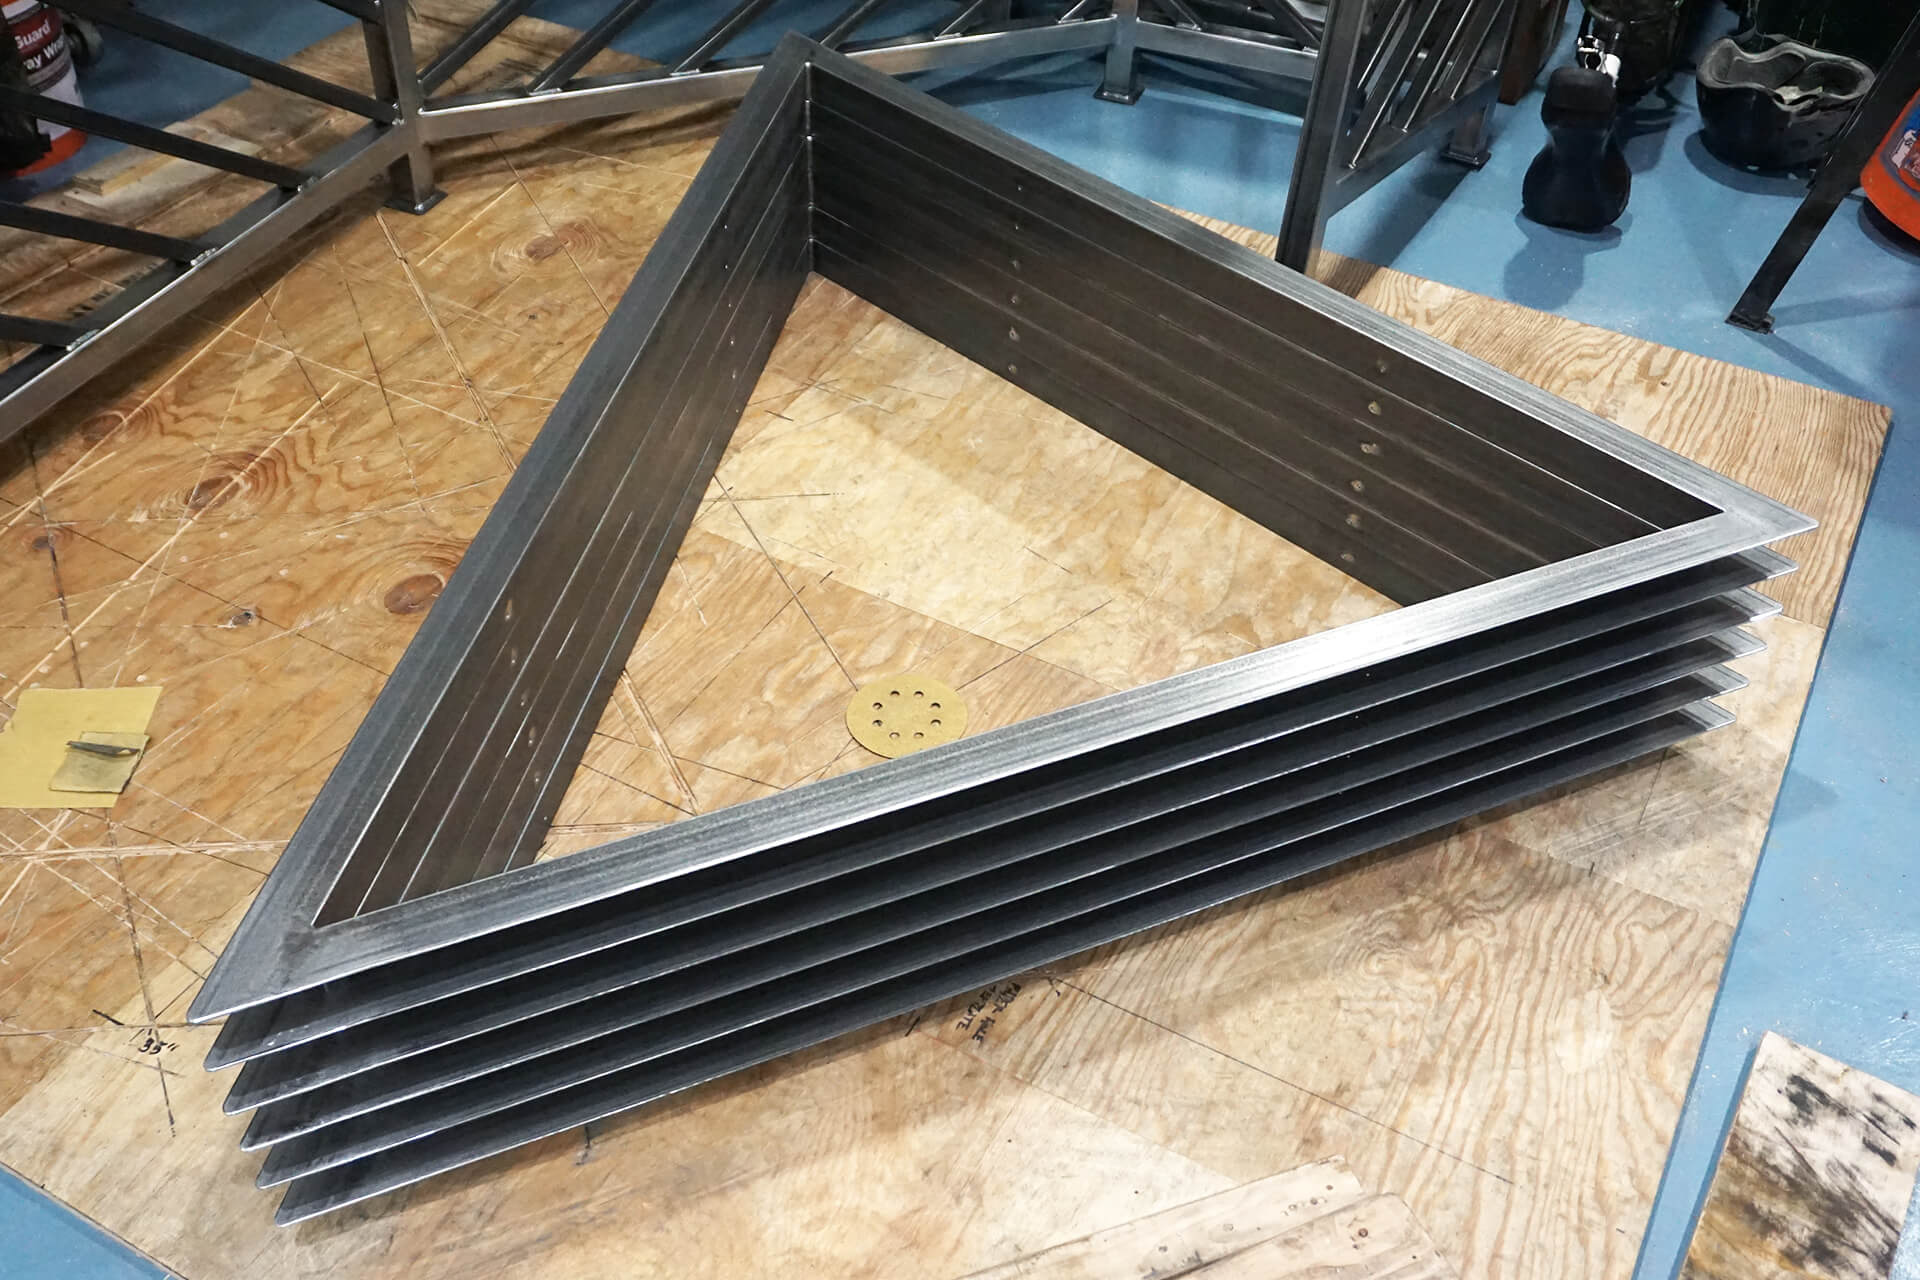
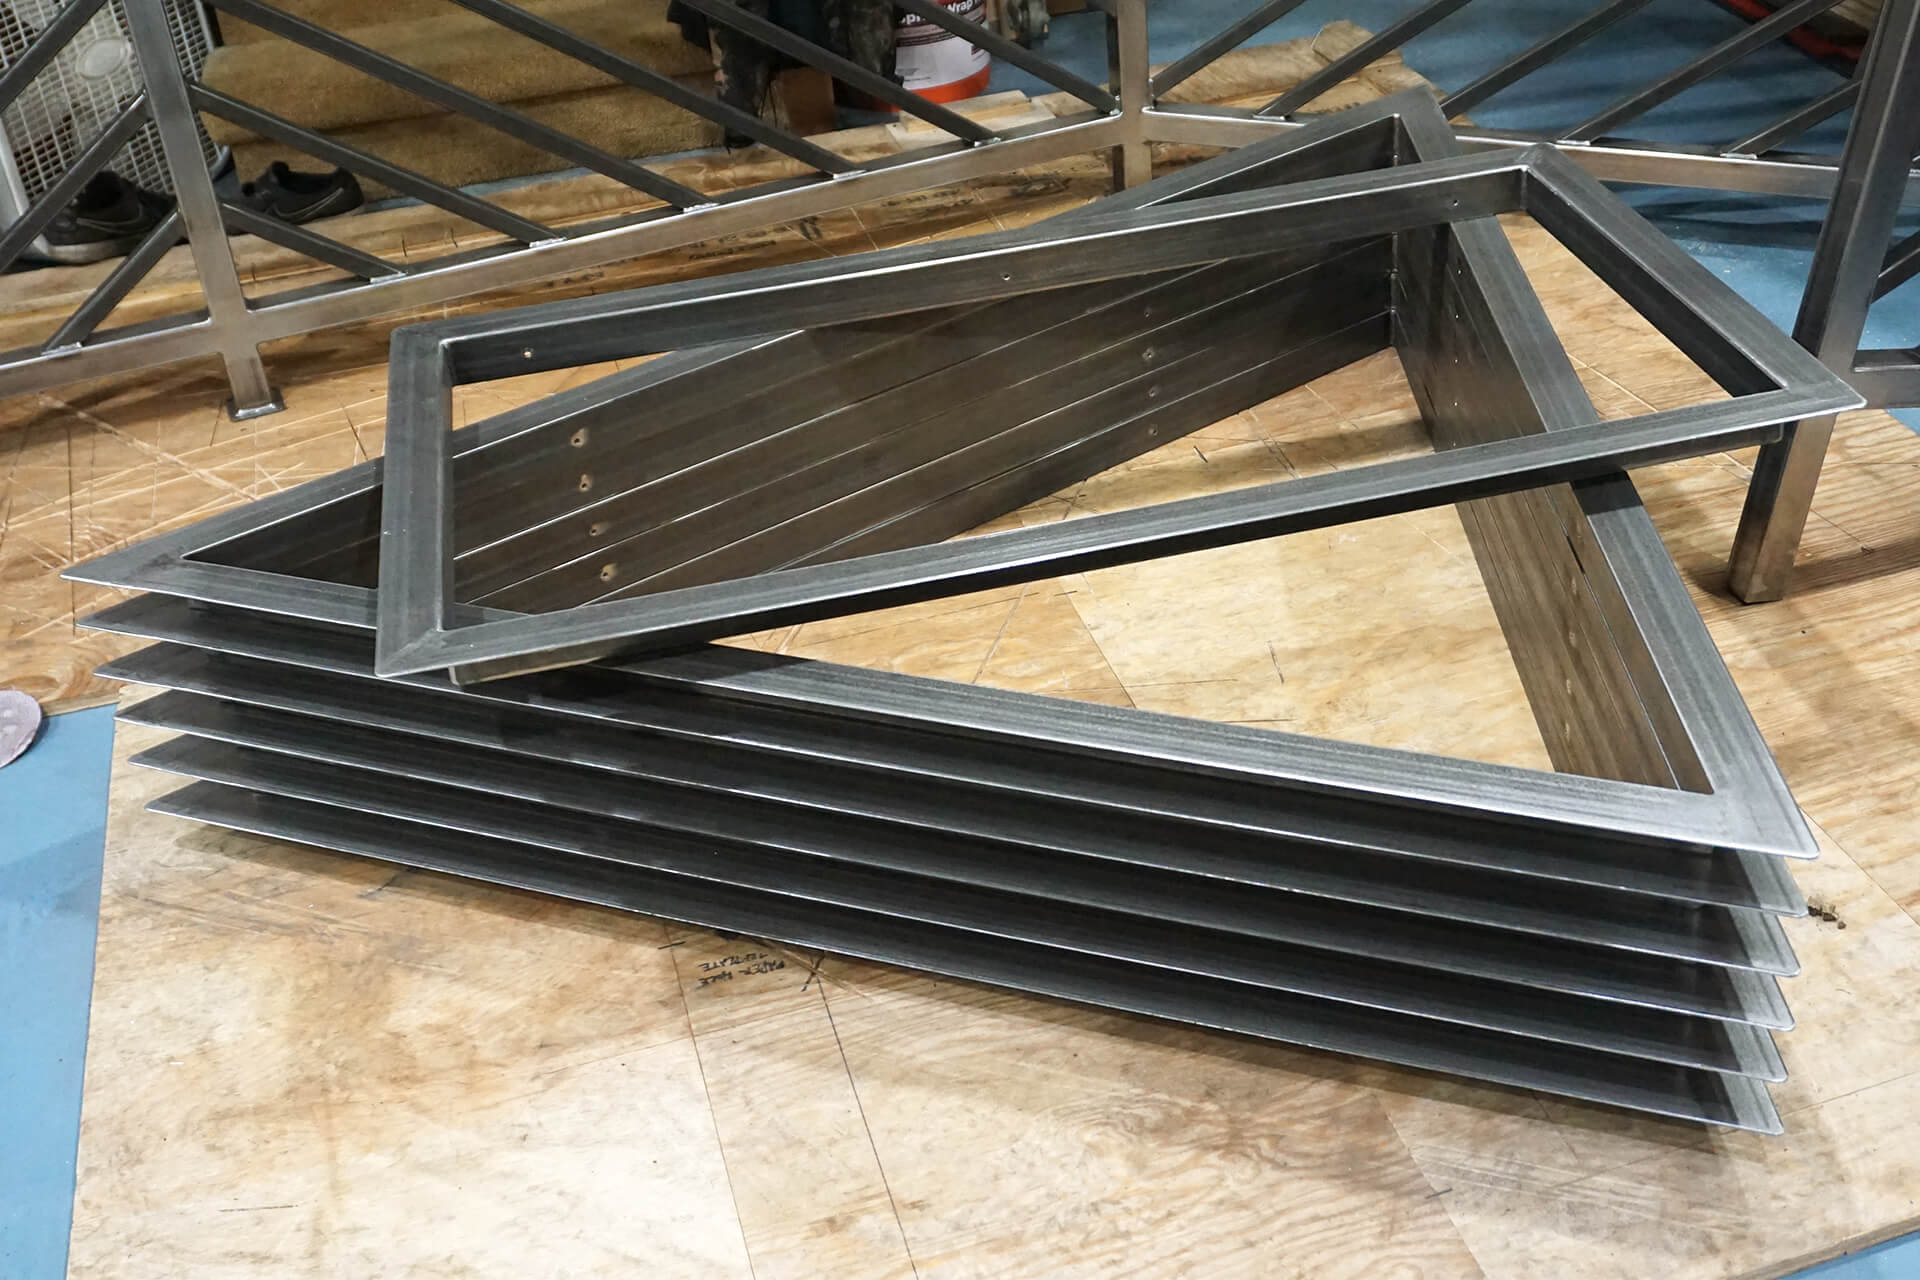
Finish fabricating all six triangular window buck trim pieces.
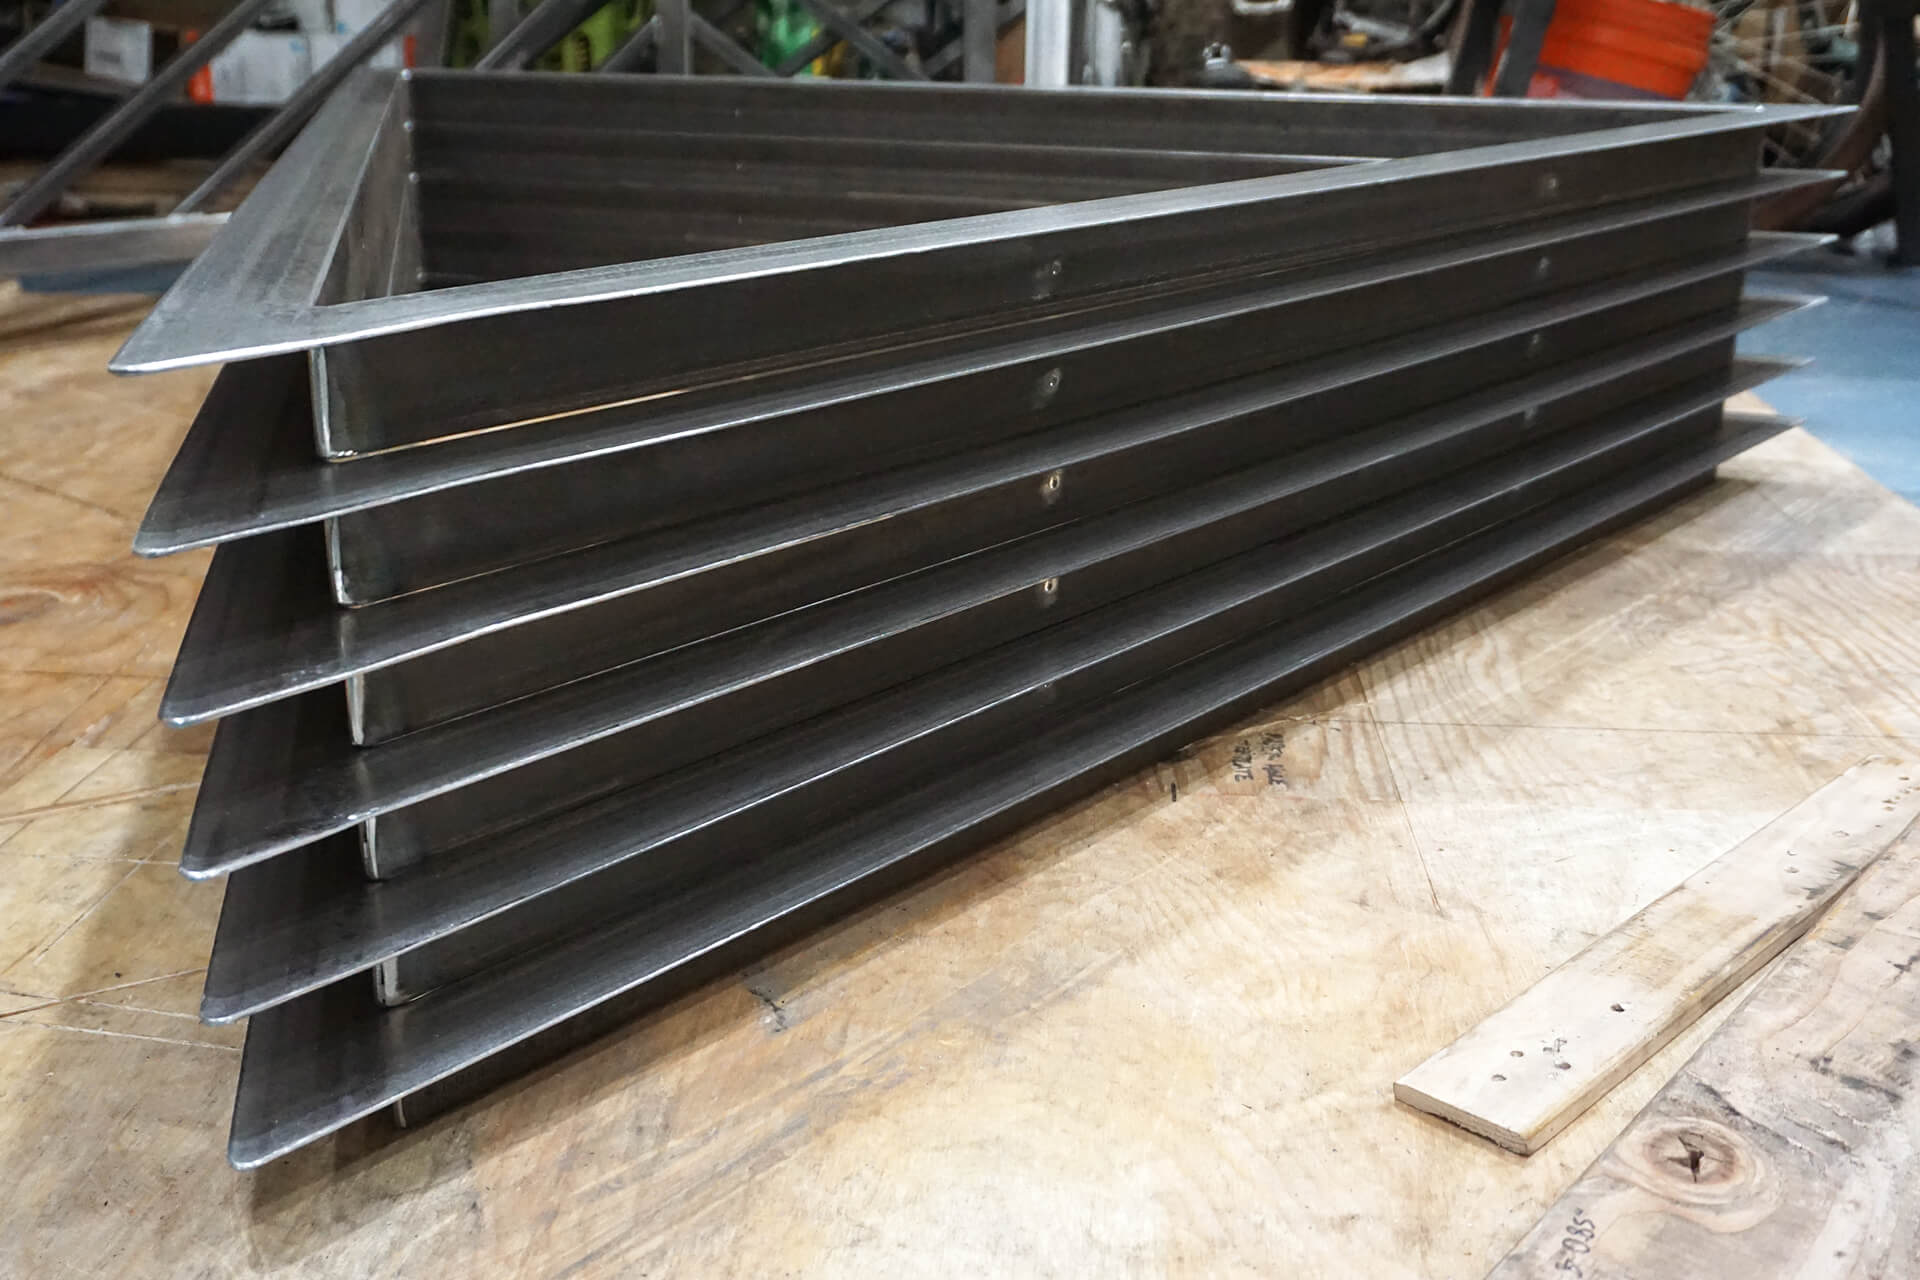
Triangular window buck trim pieces completed and stacked.
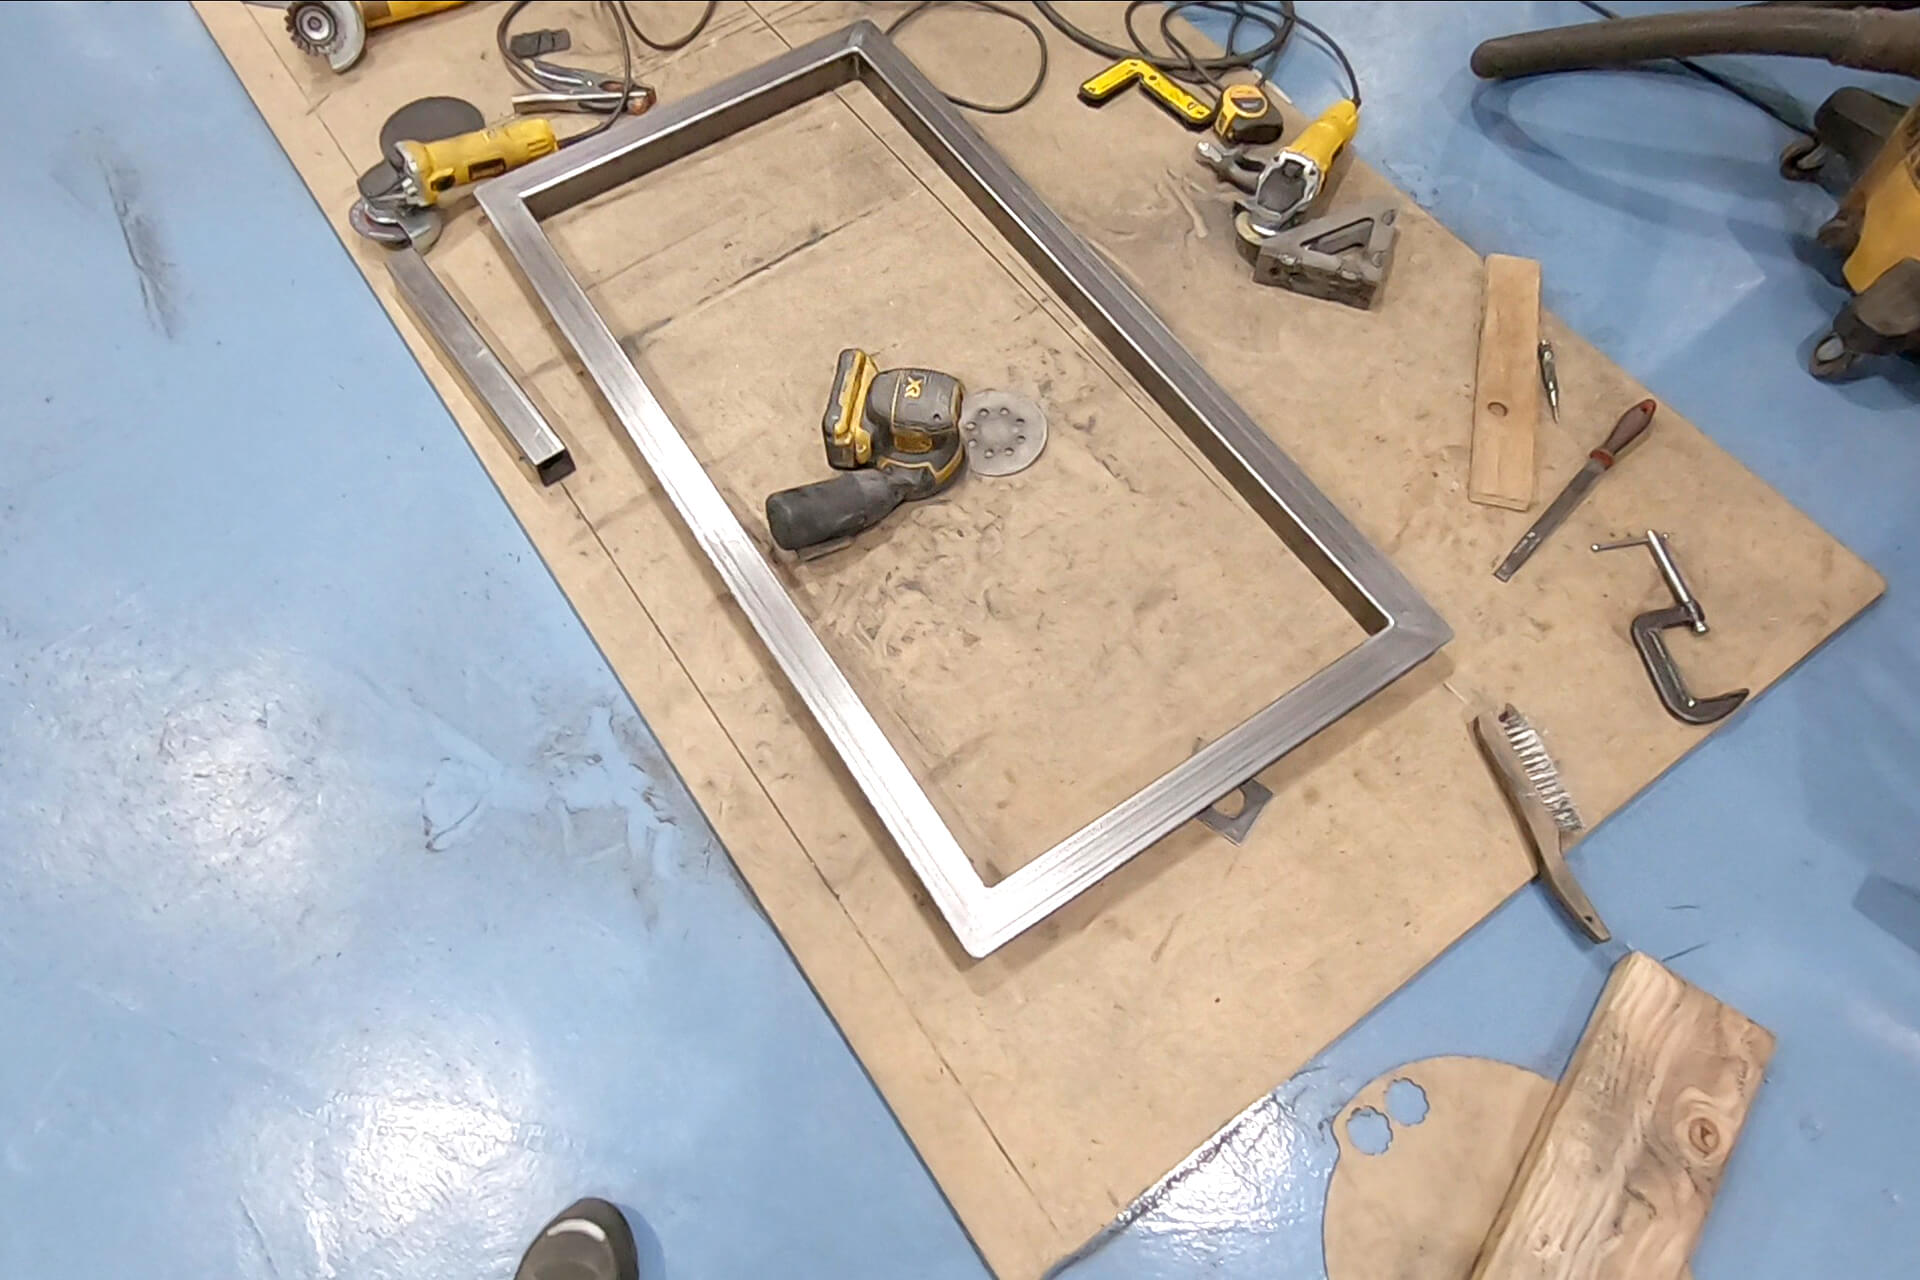
Fabricate the egress window buck trim in a similar fashion. Mitered corners are used here, so no need to cut tabs.
Congratulations on completing the window buck trim fabrication! Ensure all surfaces are free of weld spatter, defects, rust, and oils before powder coating.
Next Step