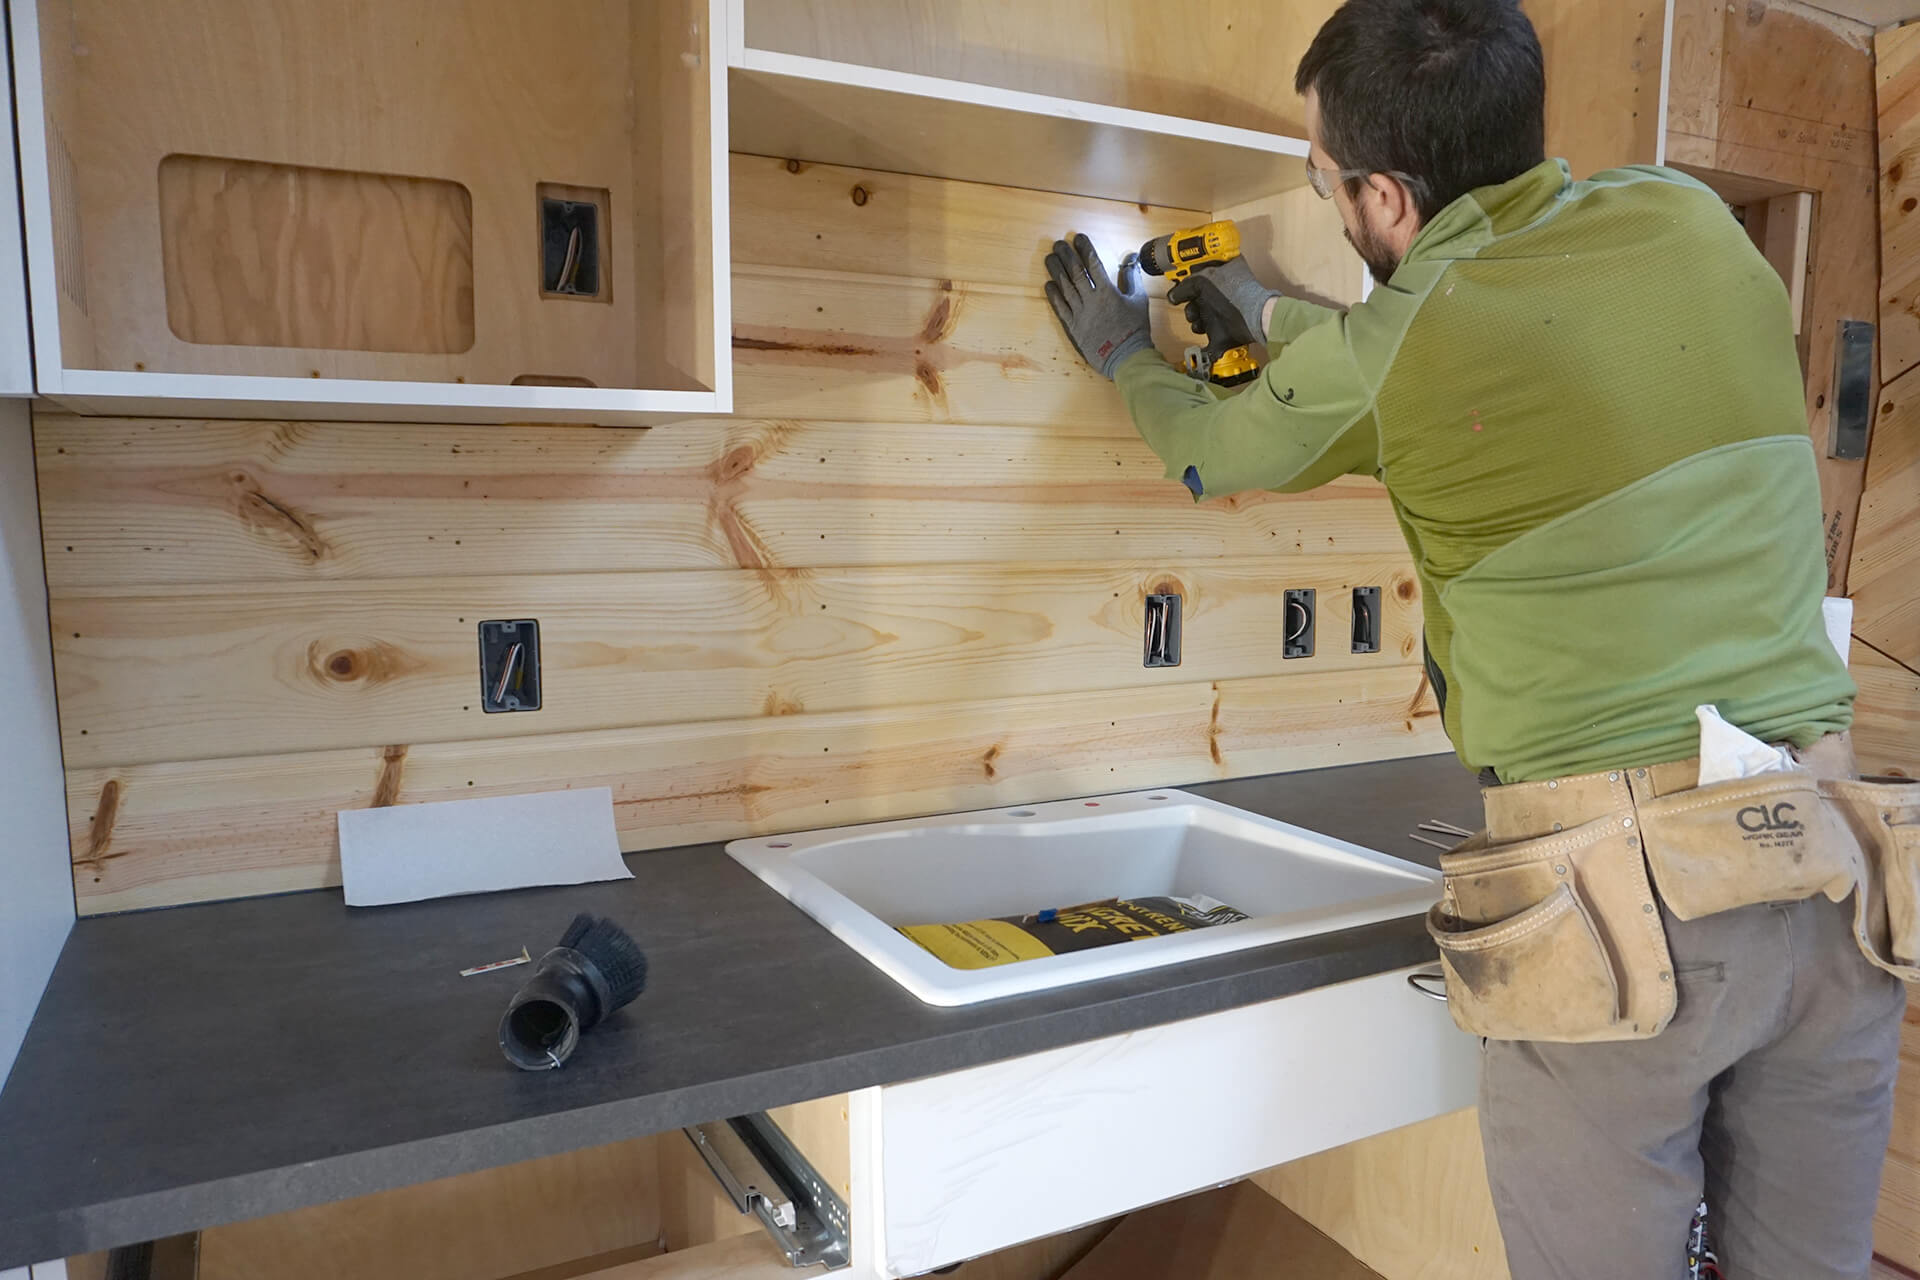
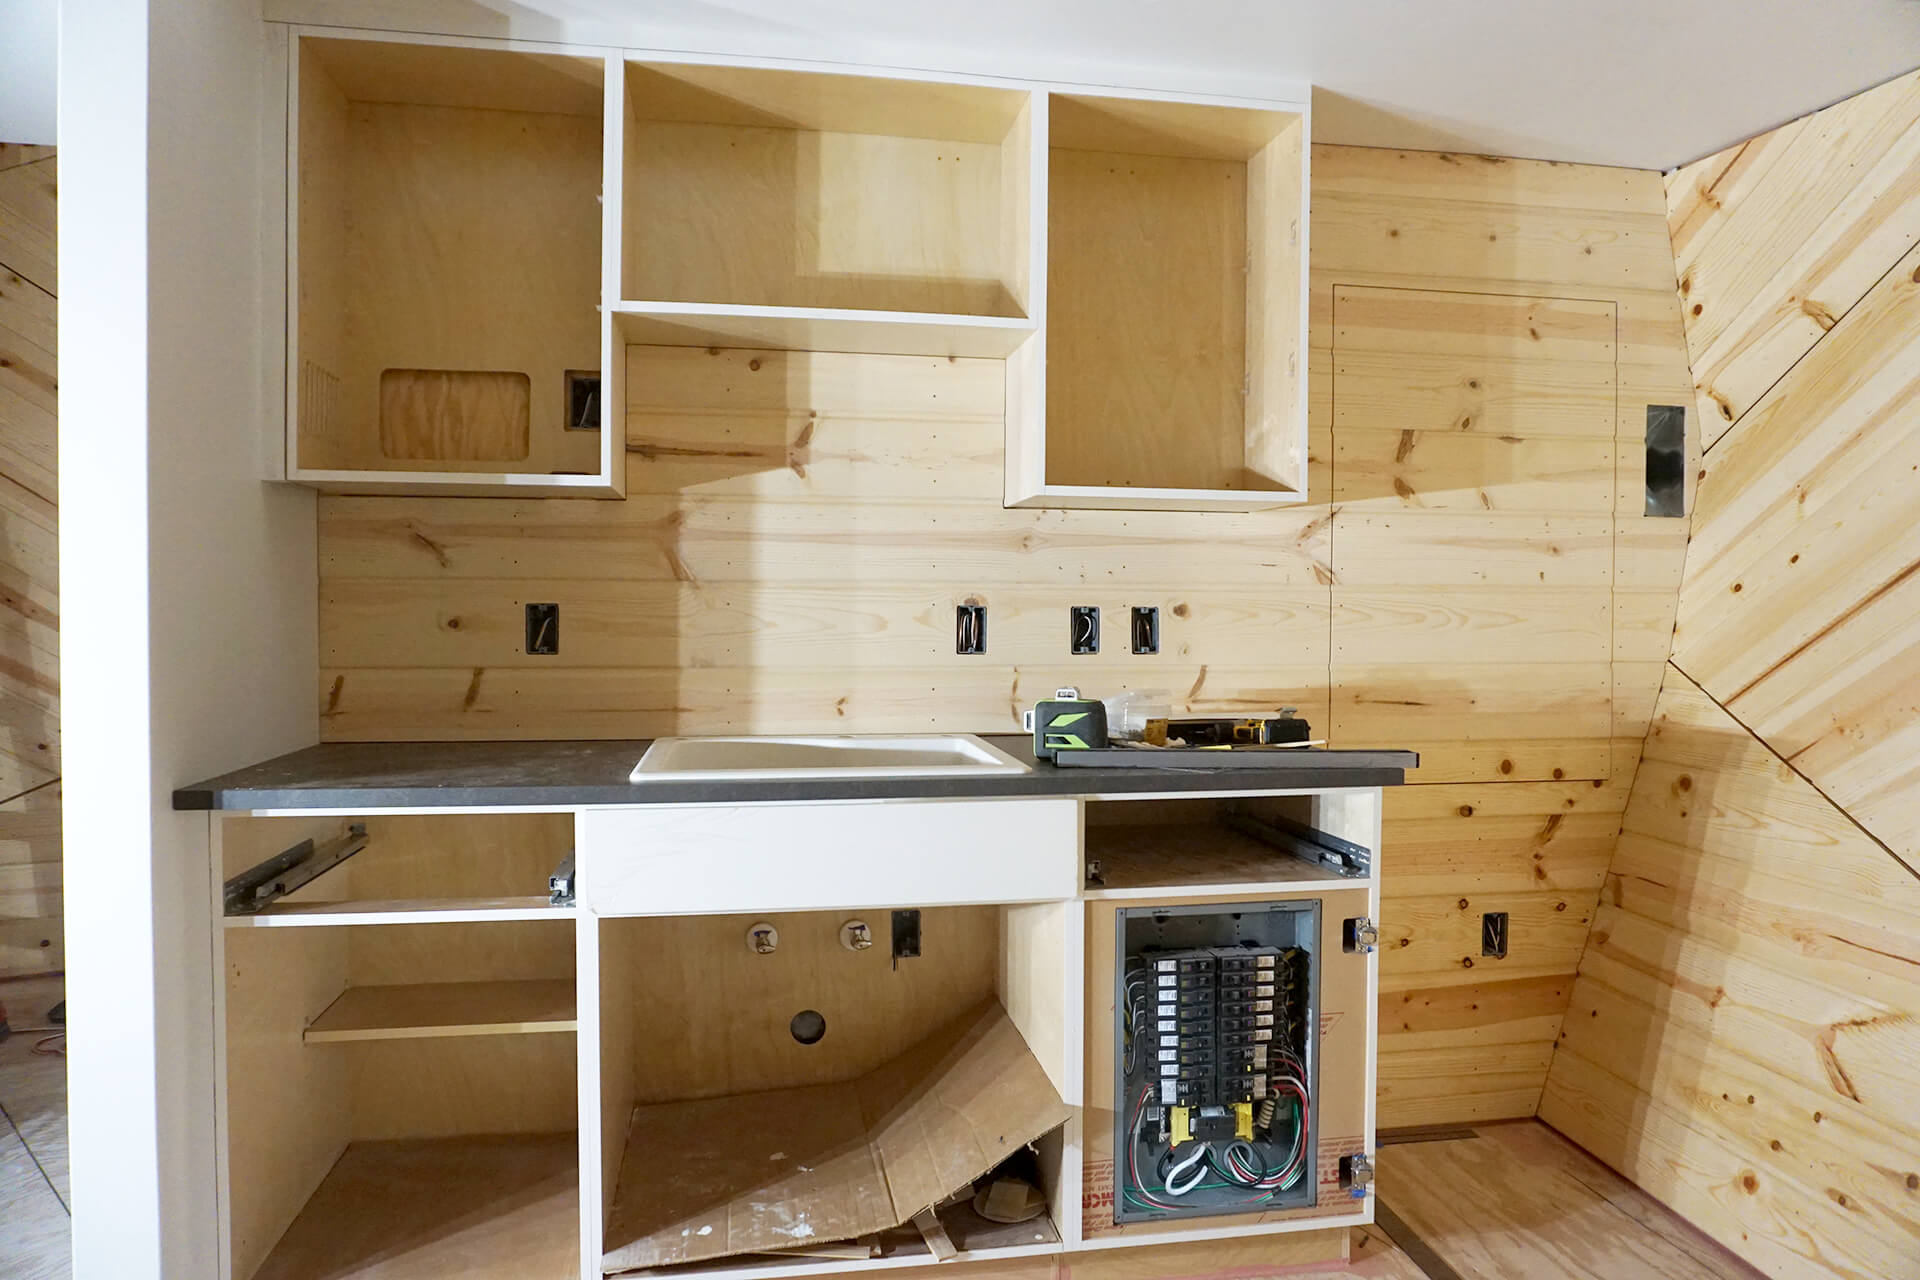
Kitchenette – Paneling
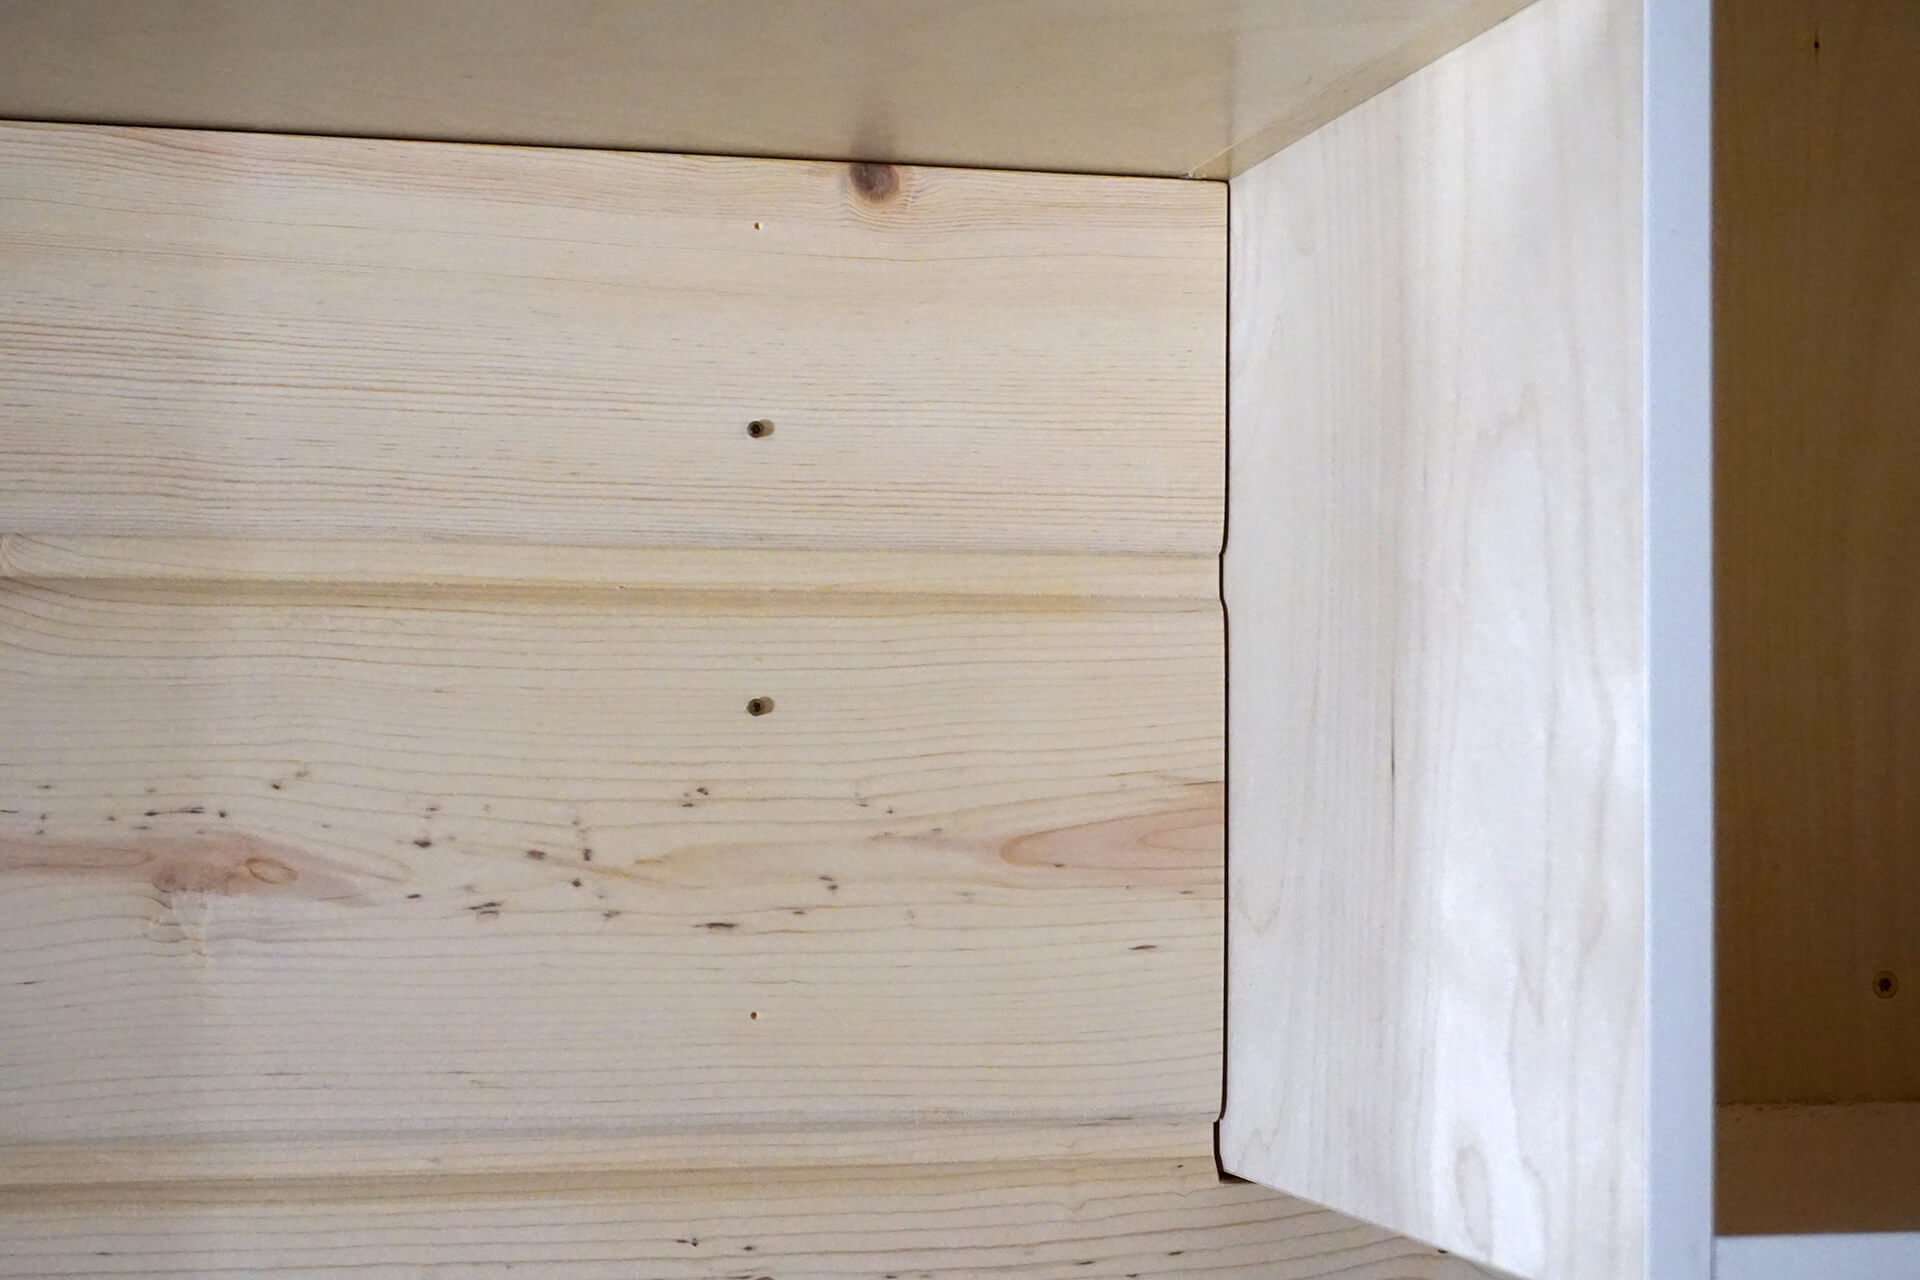
Measure, cut, finish, and install the wood paneling below countertop height. Keep perimeter gaps consistent to avoid the need for trim at the corners.
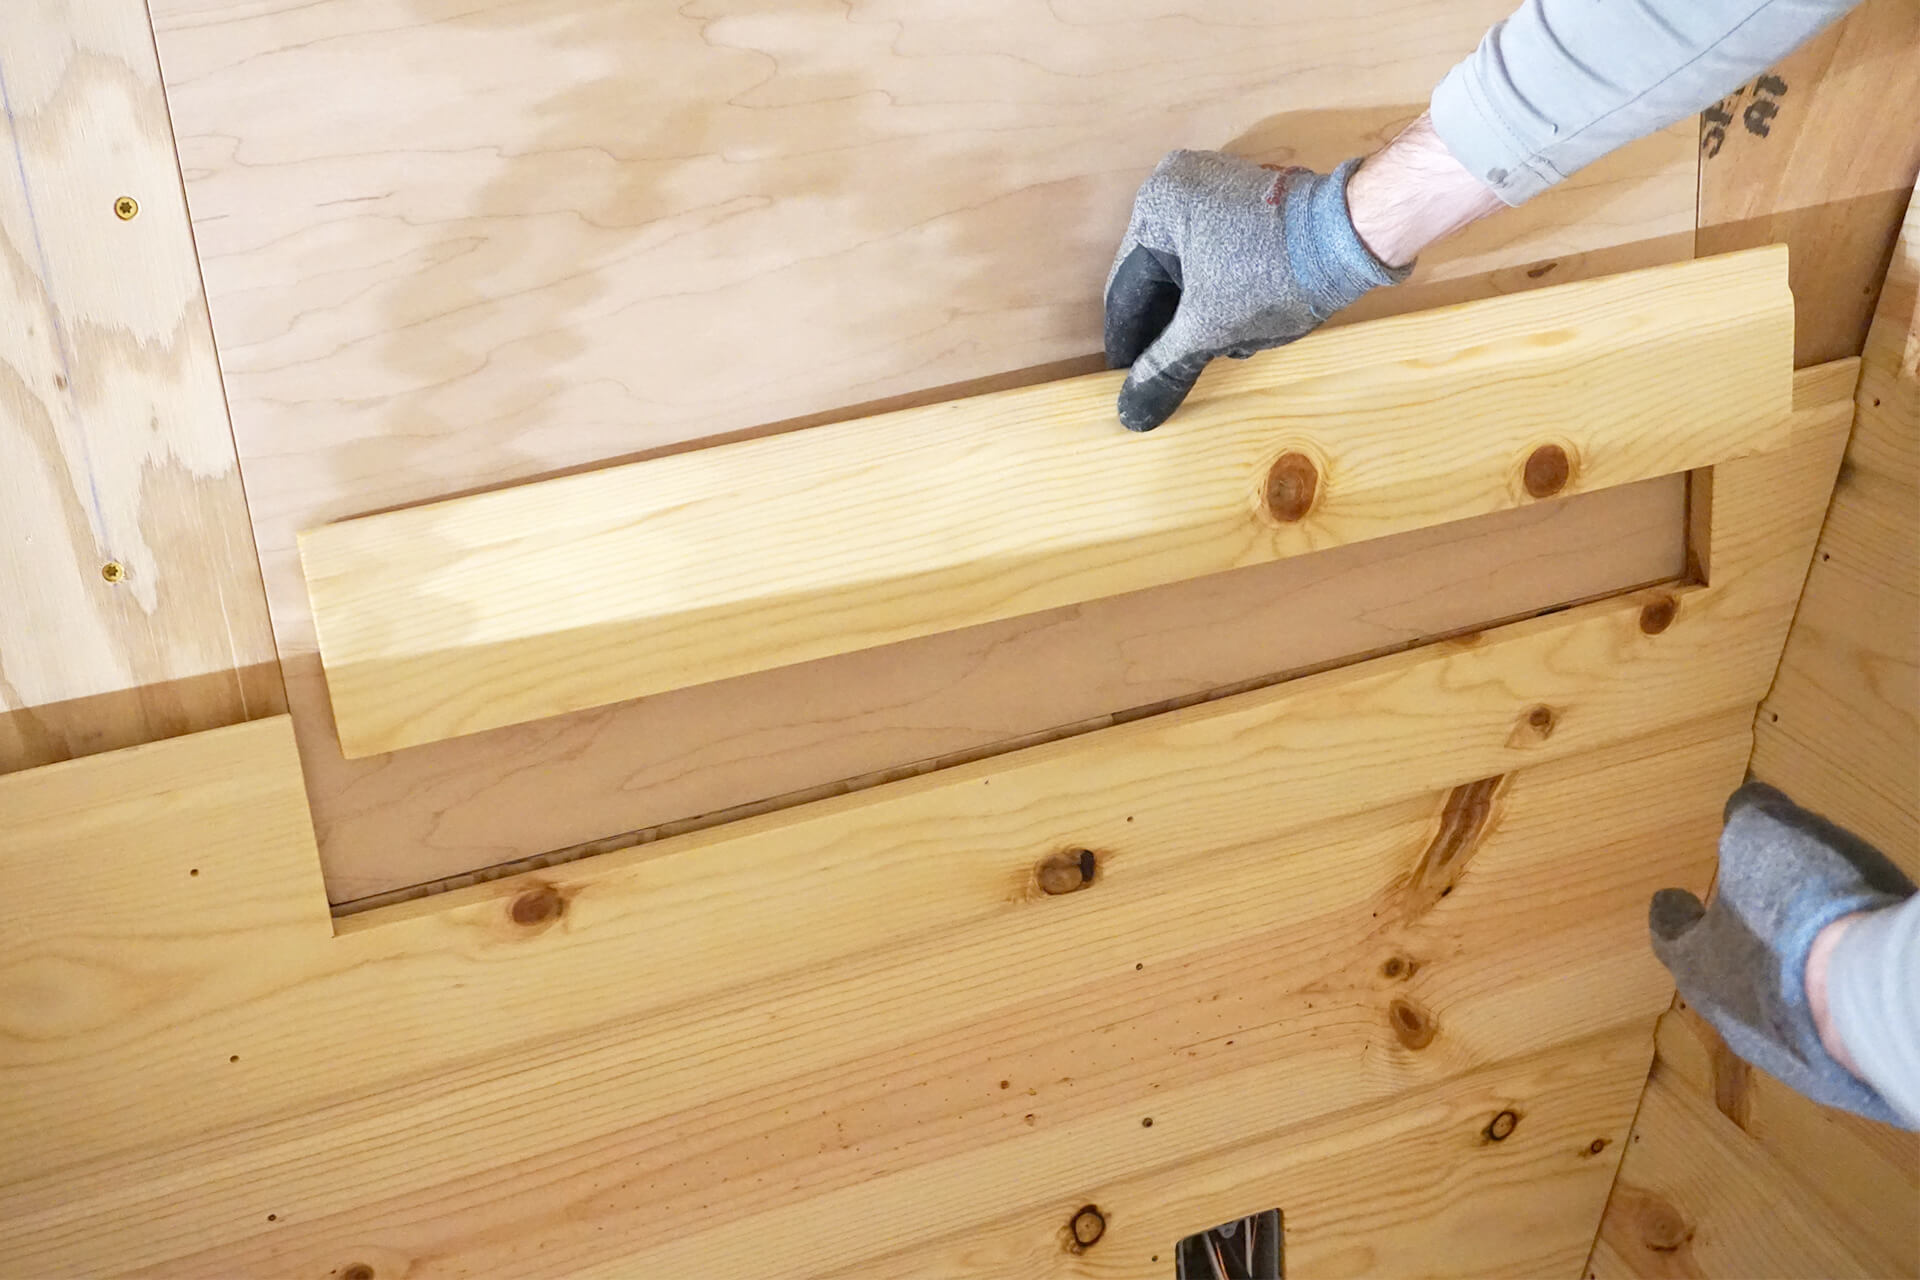
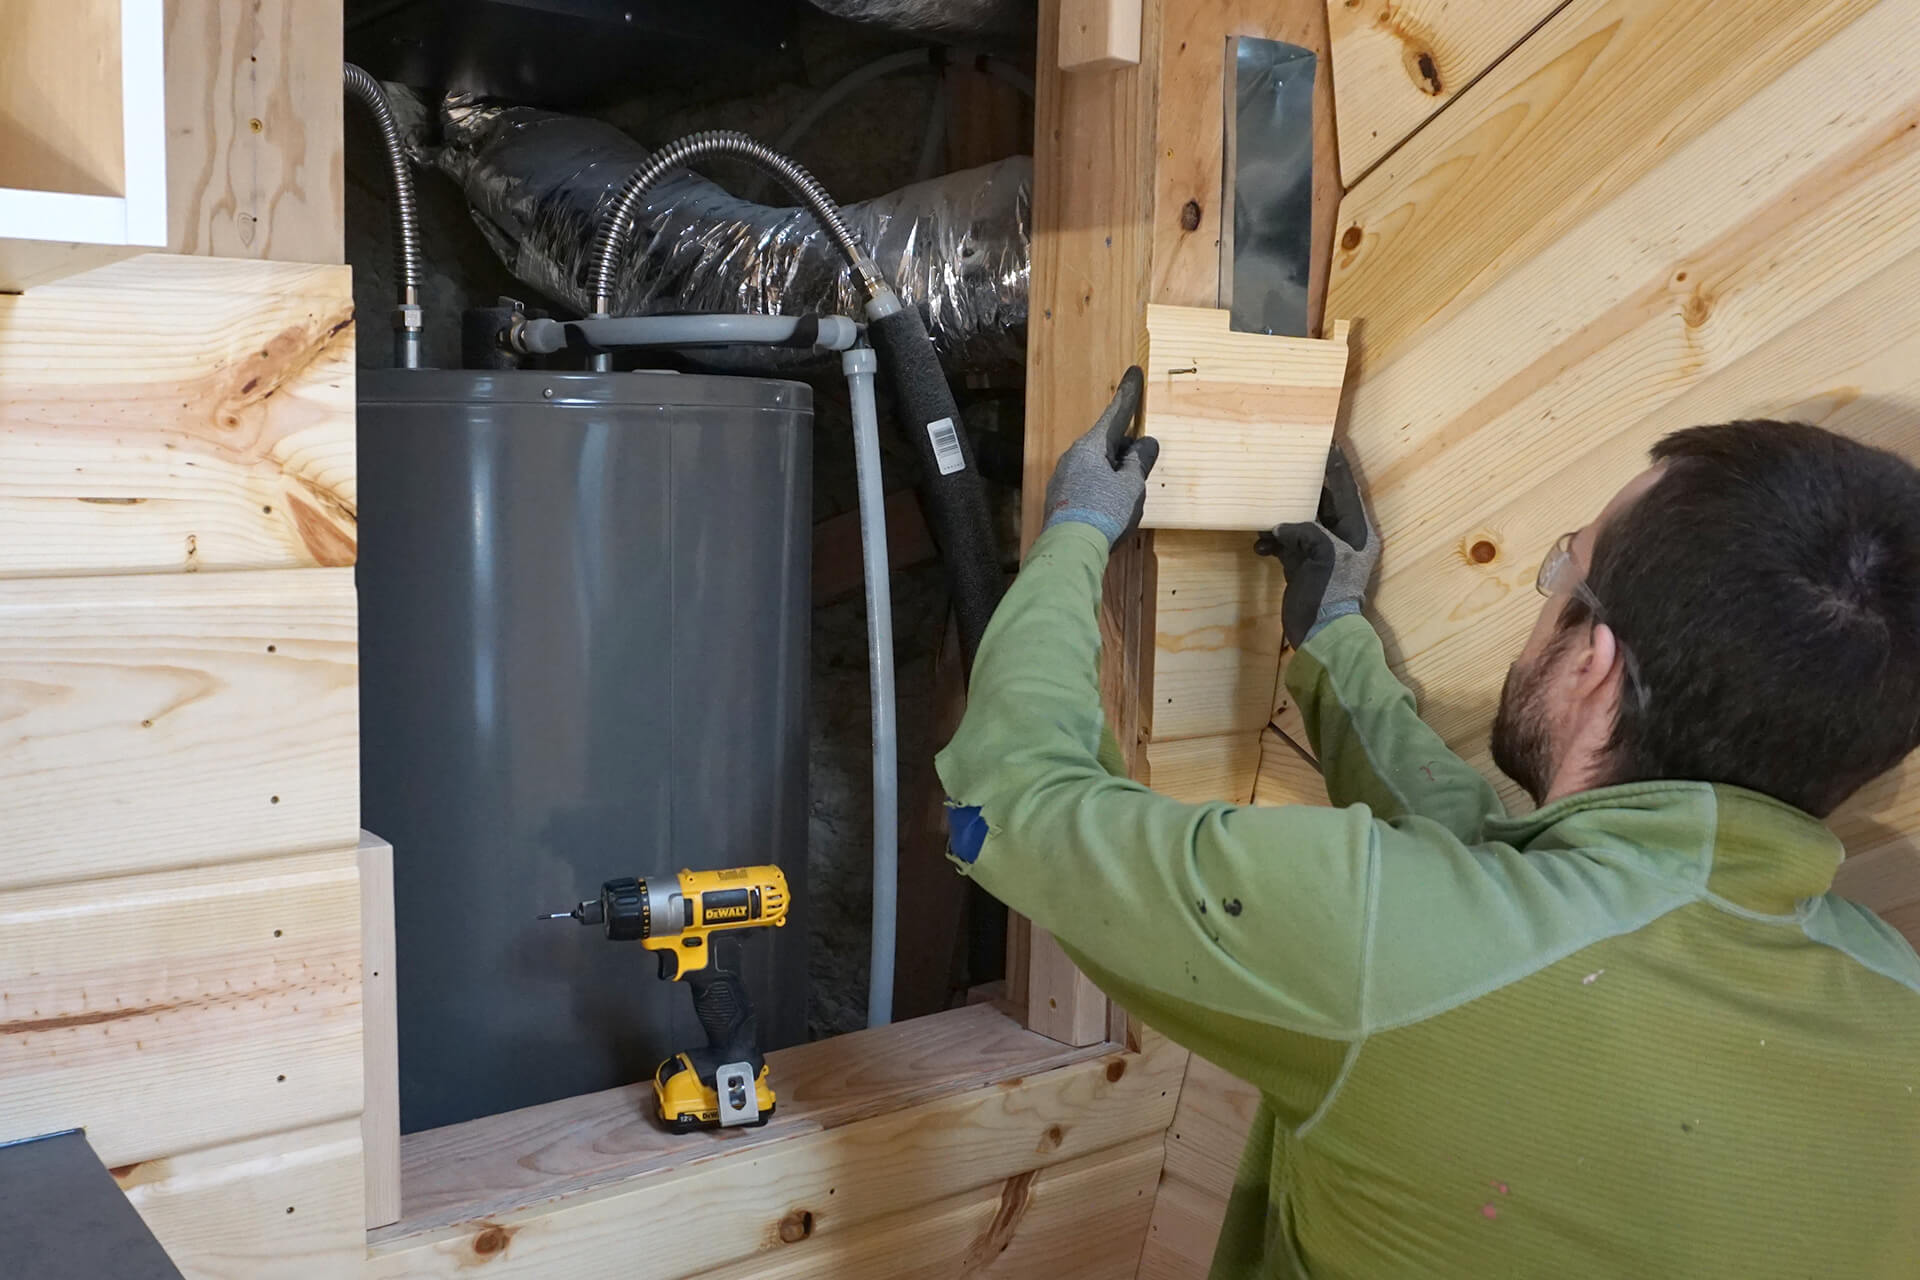
The first plank to meet the kitchenette utility door needs to be cut to accommodate it. Part of the plank will become the door, with uniform blade-thickness spacing for clearance.
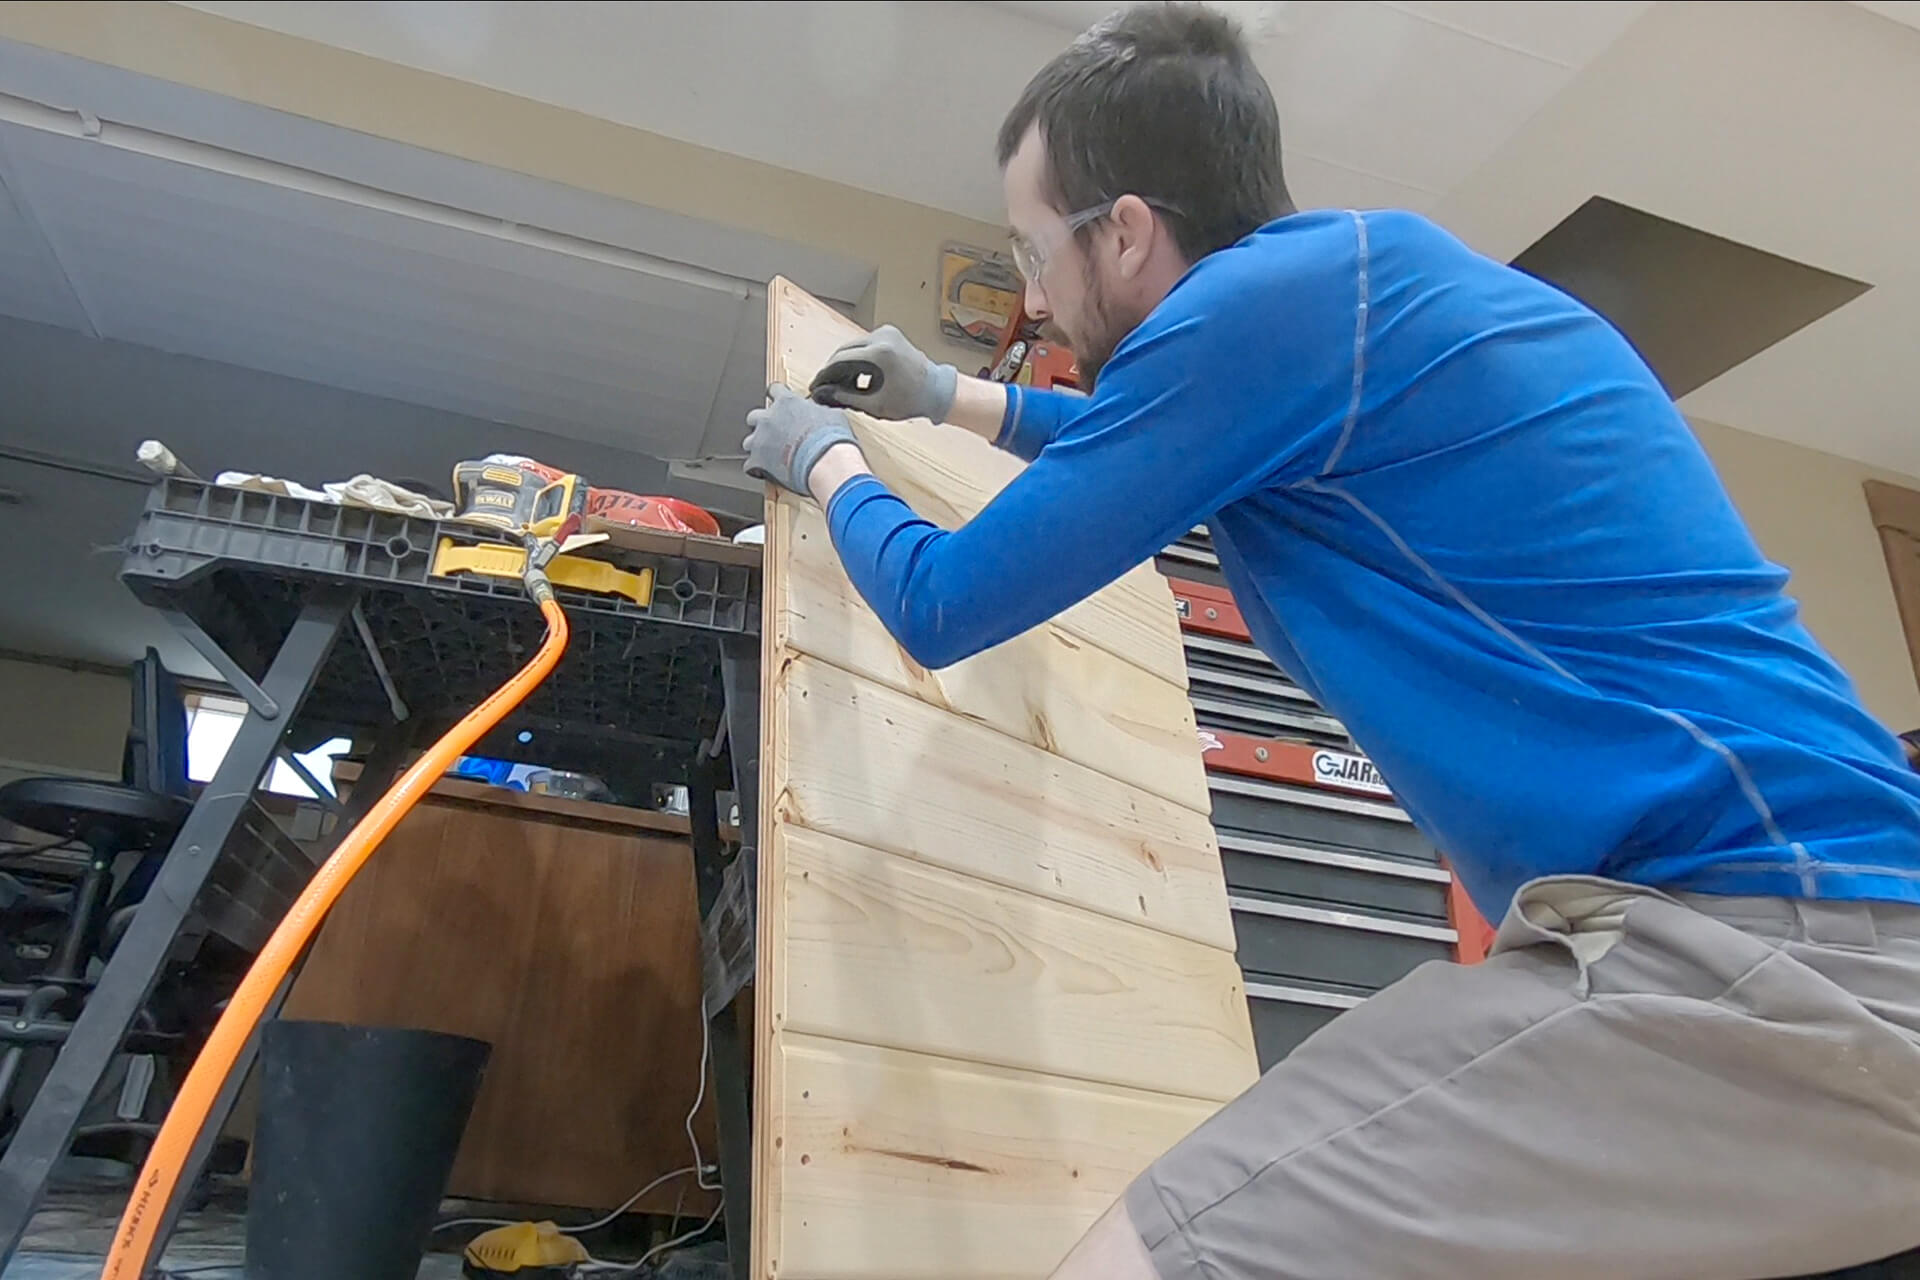
Progress shot showing the wood paneling secured to the kitchenette wall and the start of the utility door. Future planks on this wall will be test fit and then removed to apply finish.
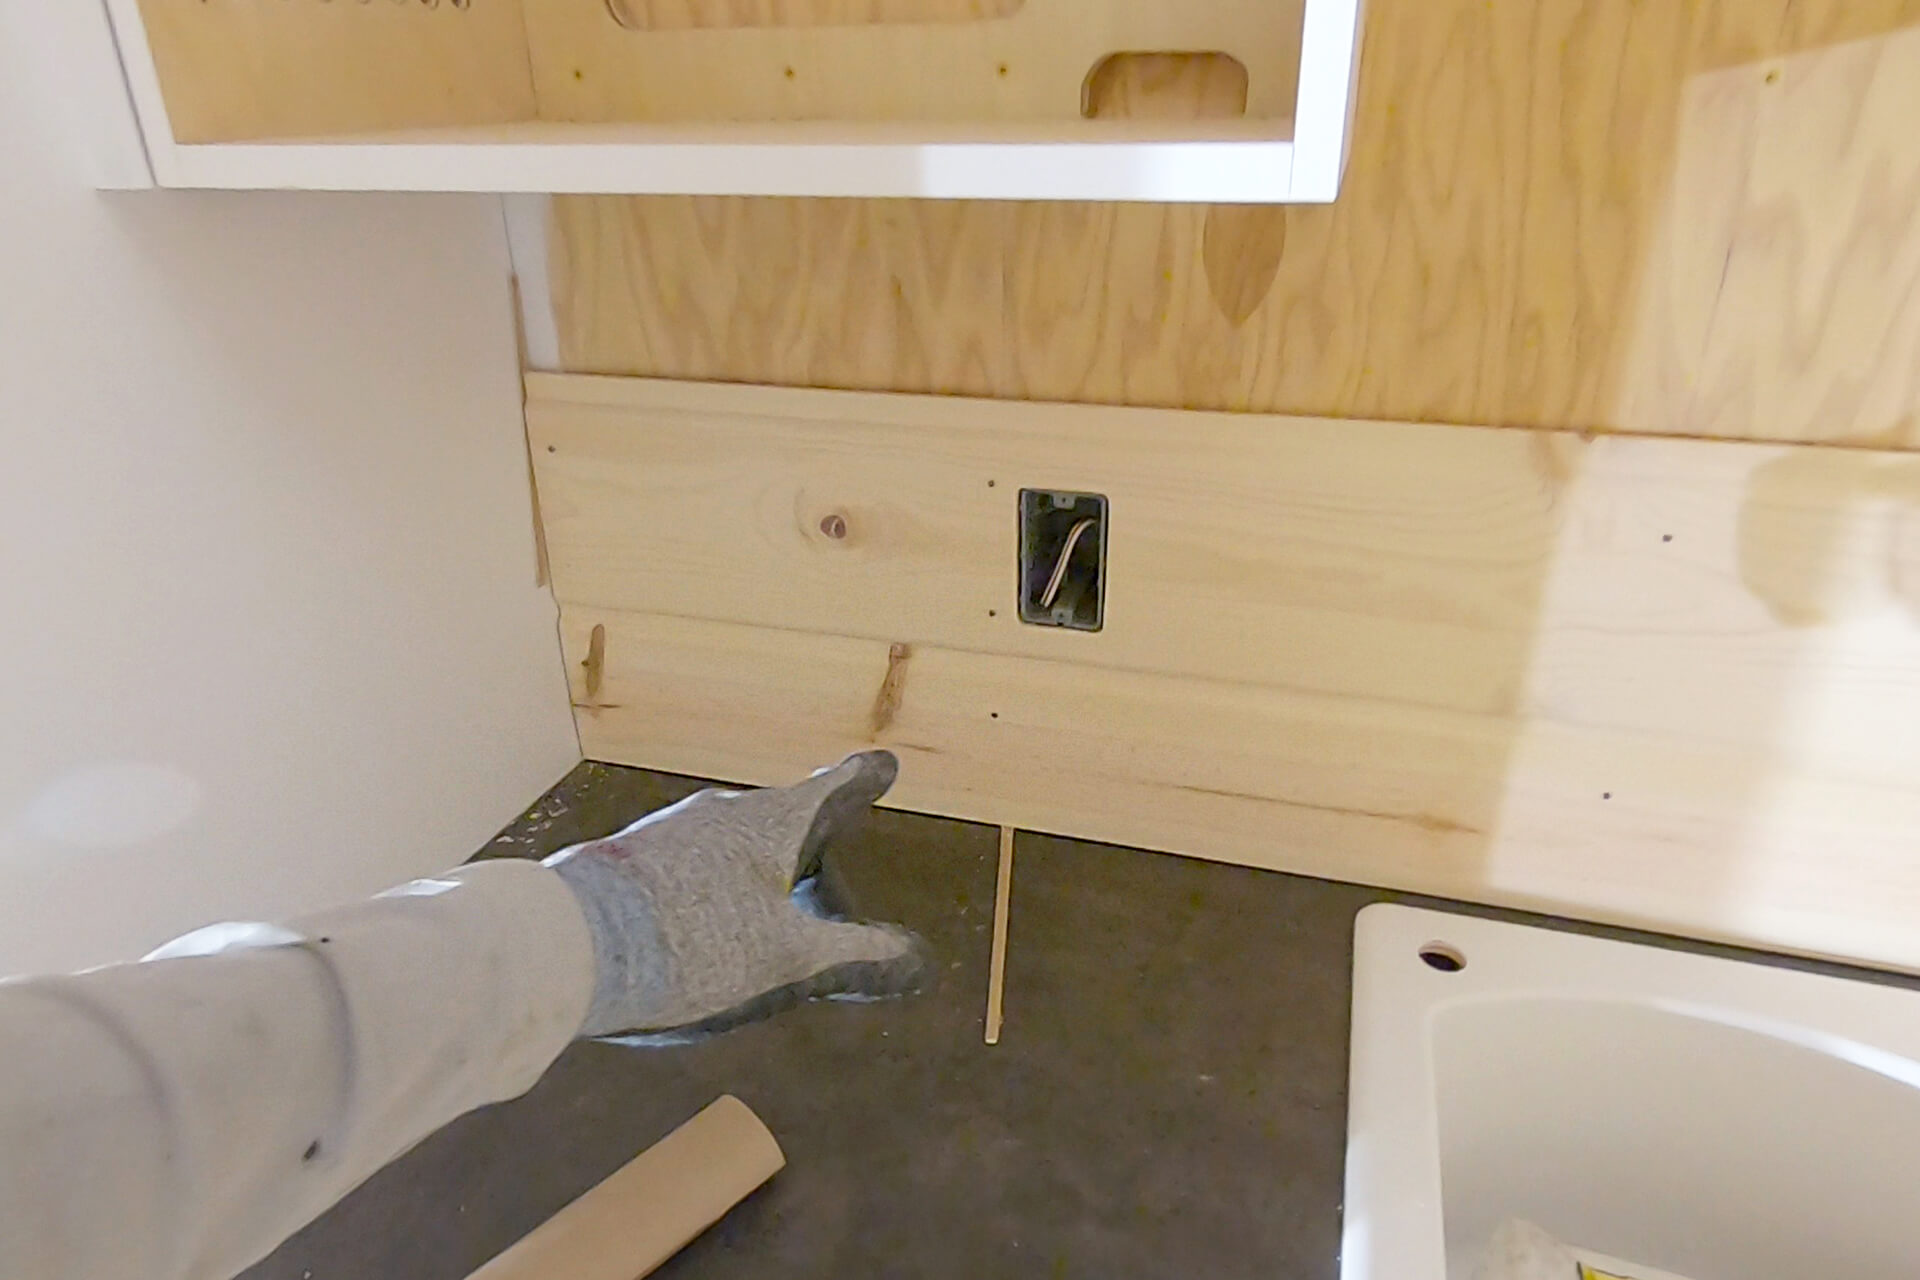
Cut the plank acting as the backsplash to fit neatly around the countertop. Use spacers during the test fit to maintain a small gap that will be filled with silicone during final assembly.
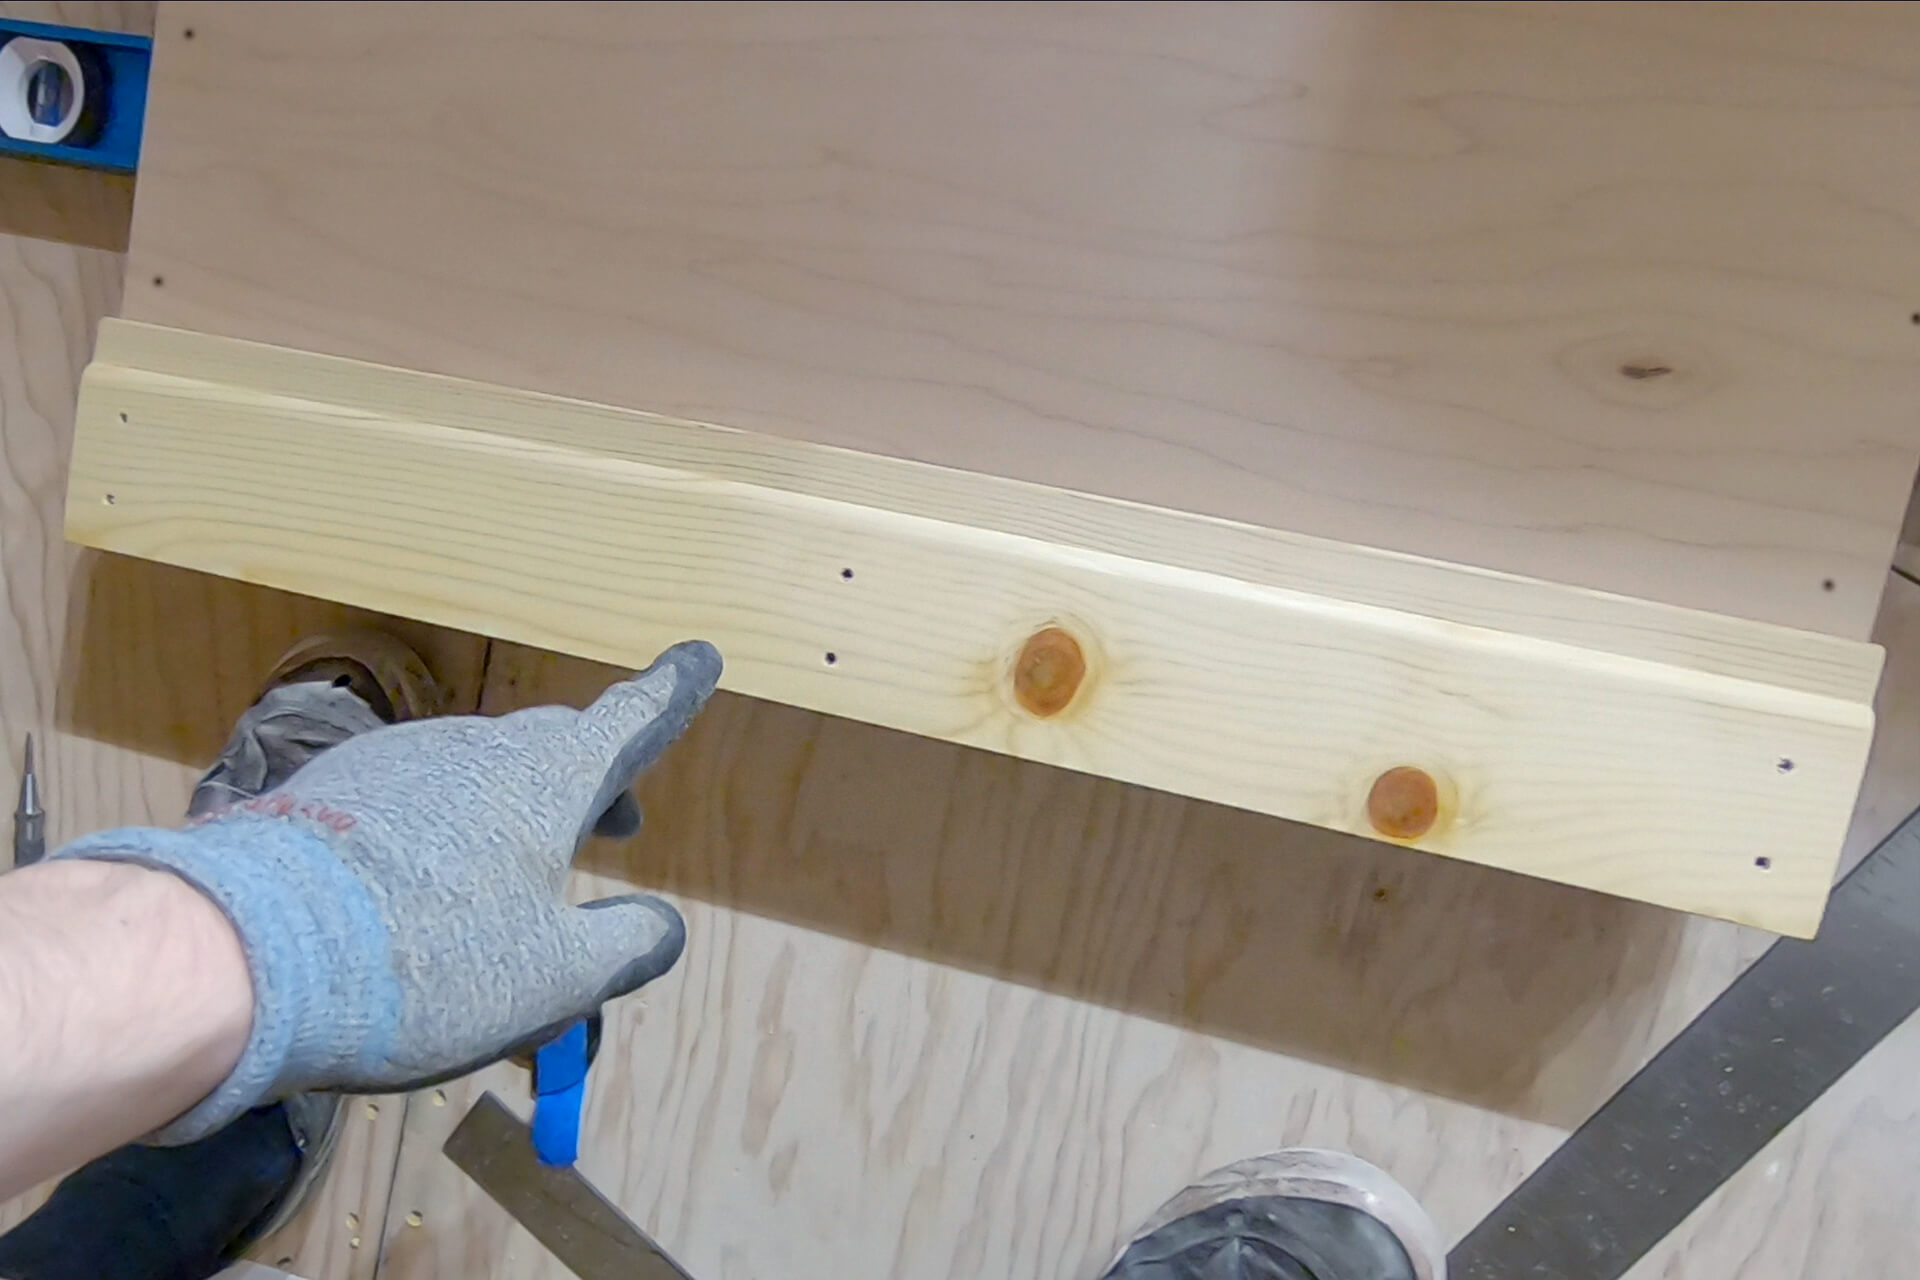
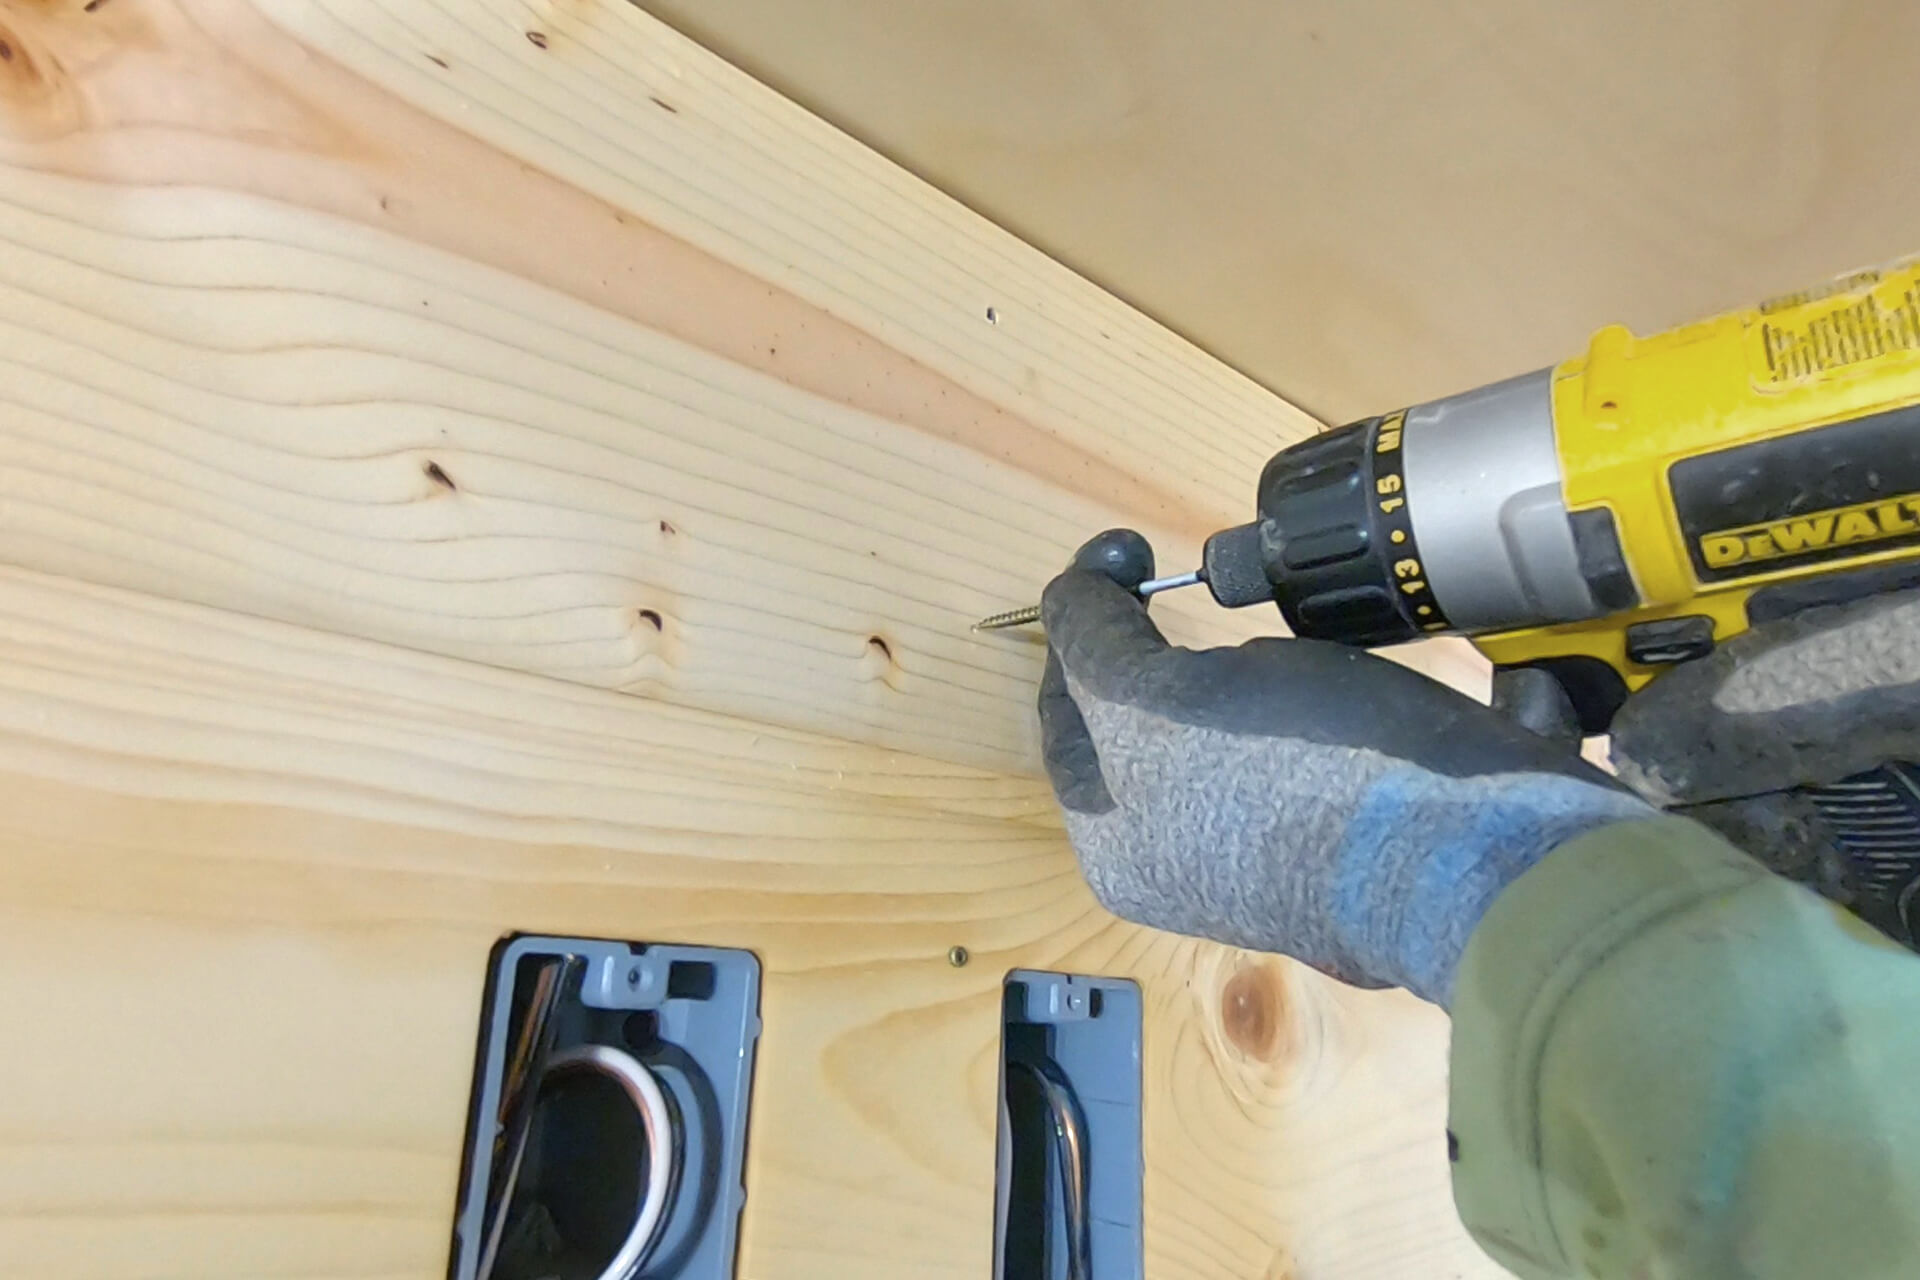
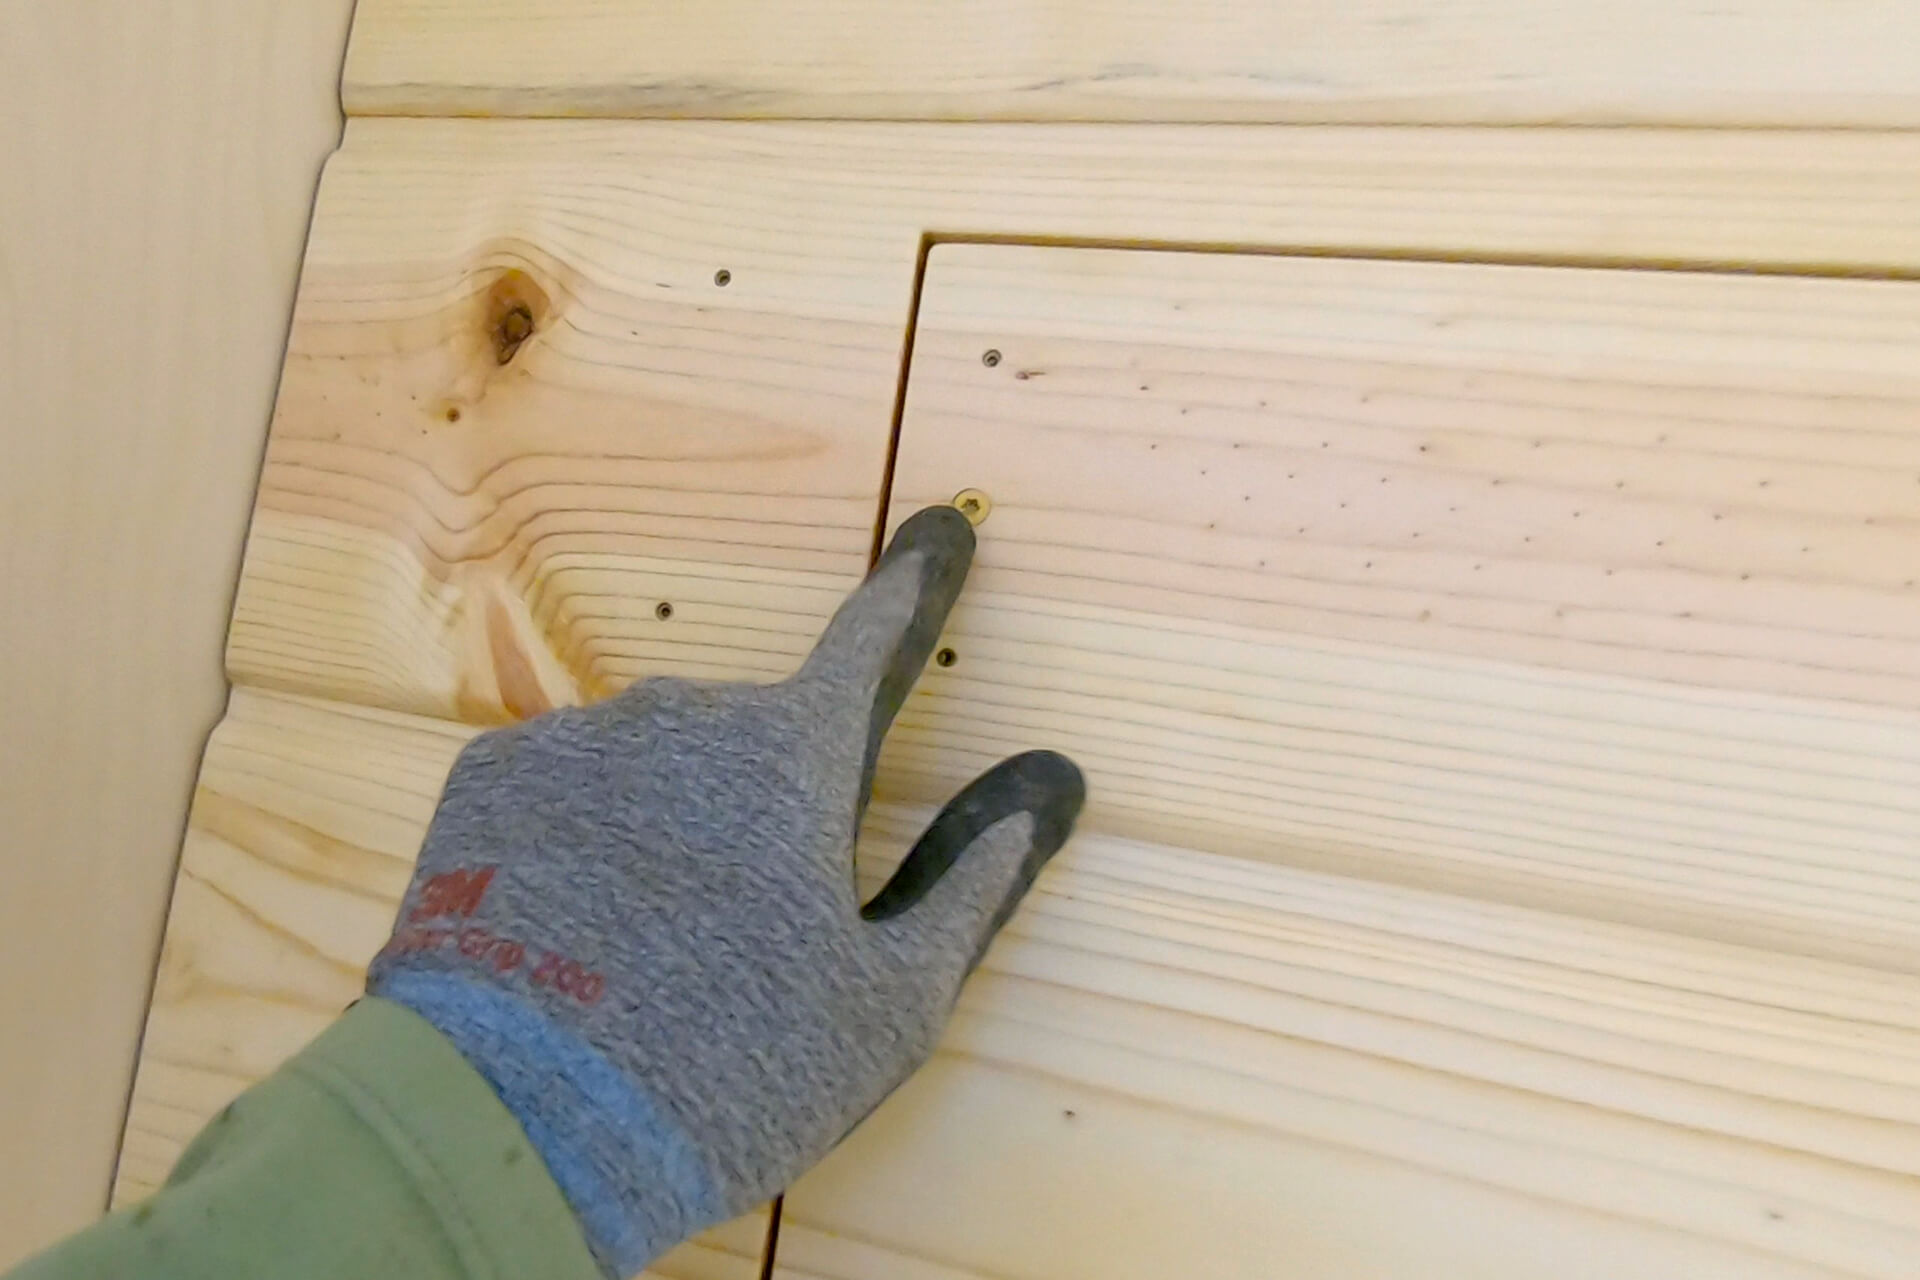
For a perfect grain match, span the utility door. Keep perimeter gaps consistent and only partially drive screws, as these planks will be removed for cutting and finishing.
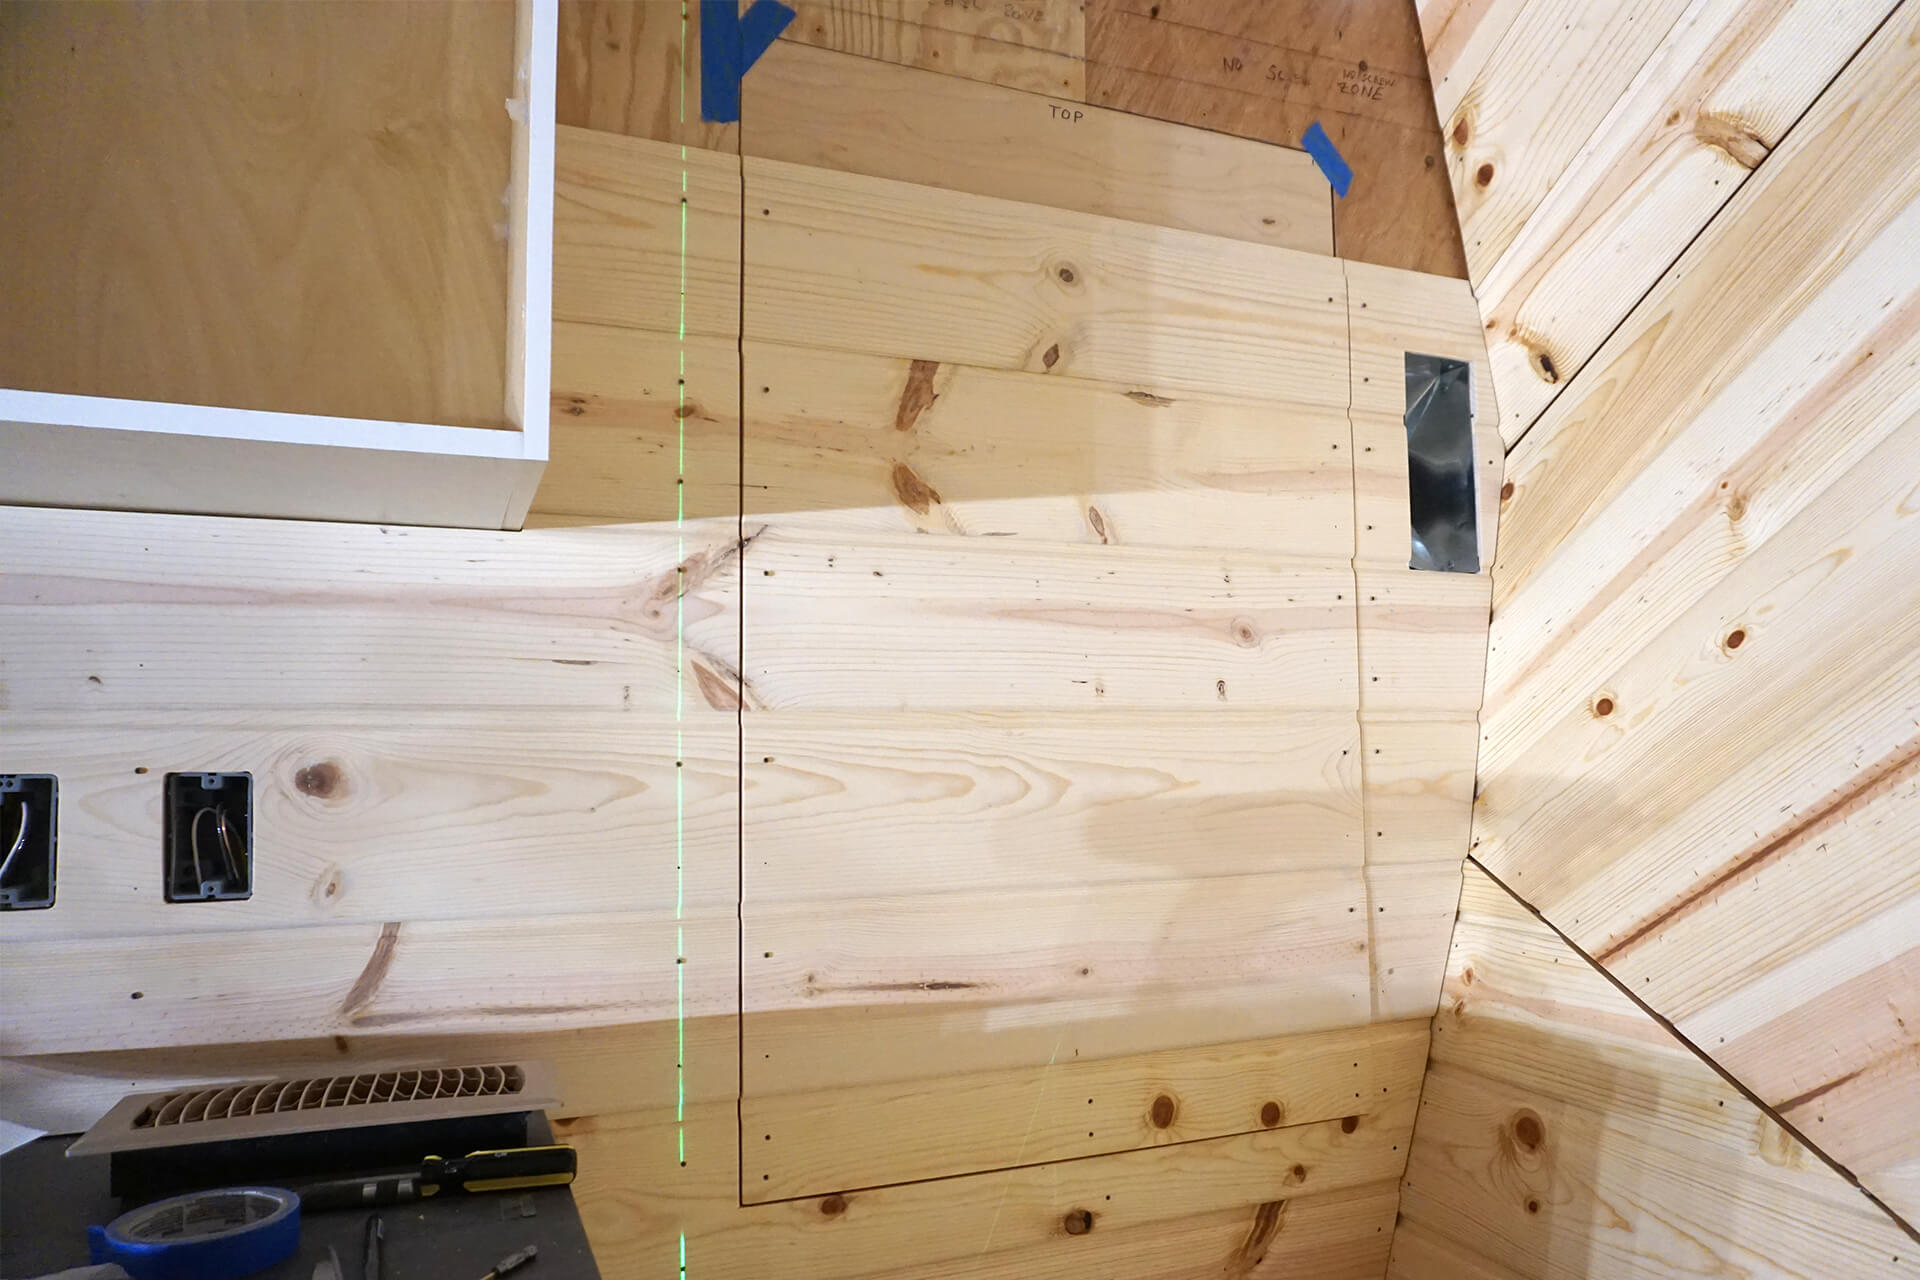
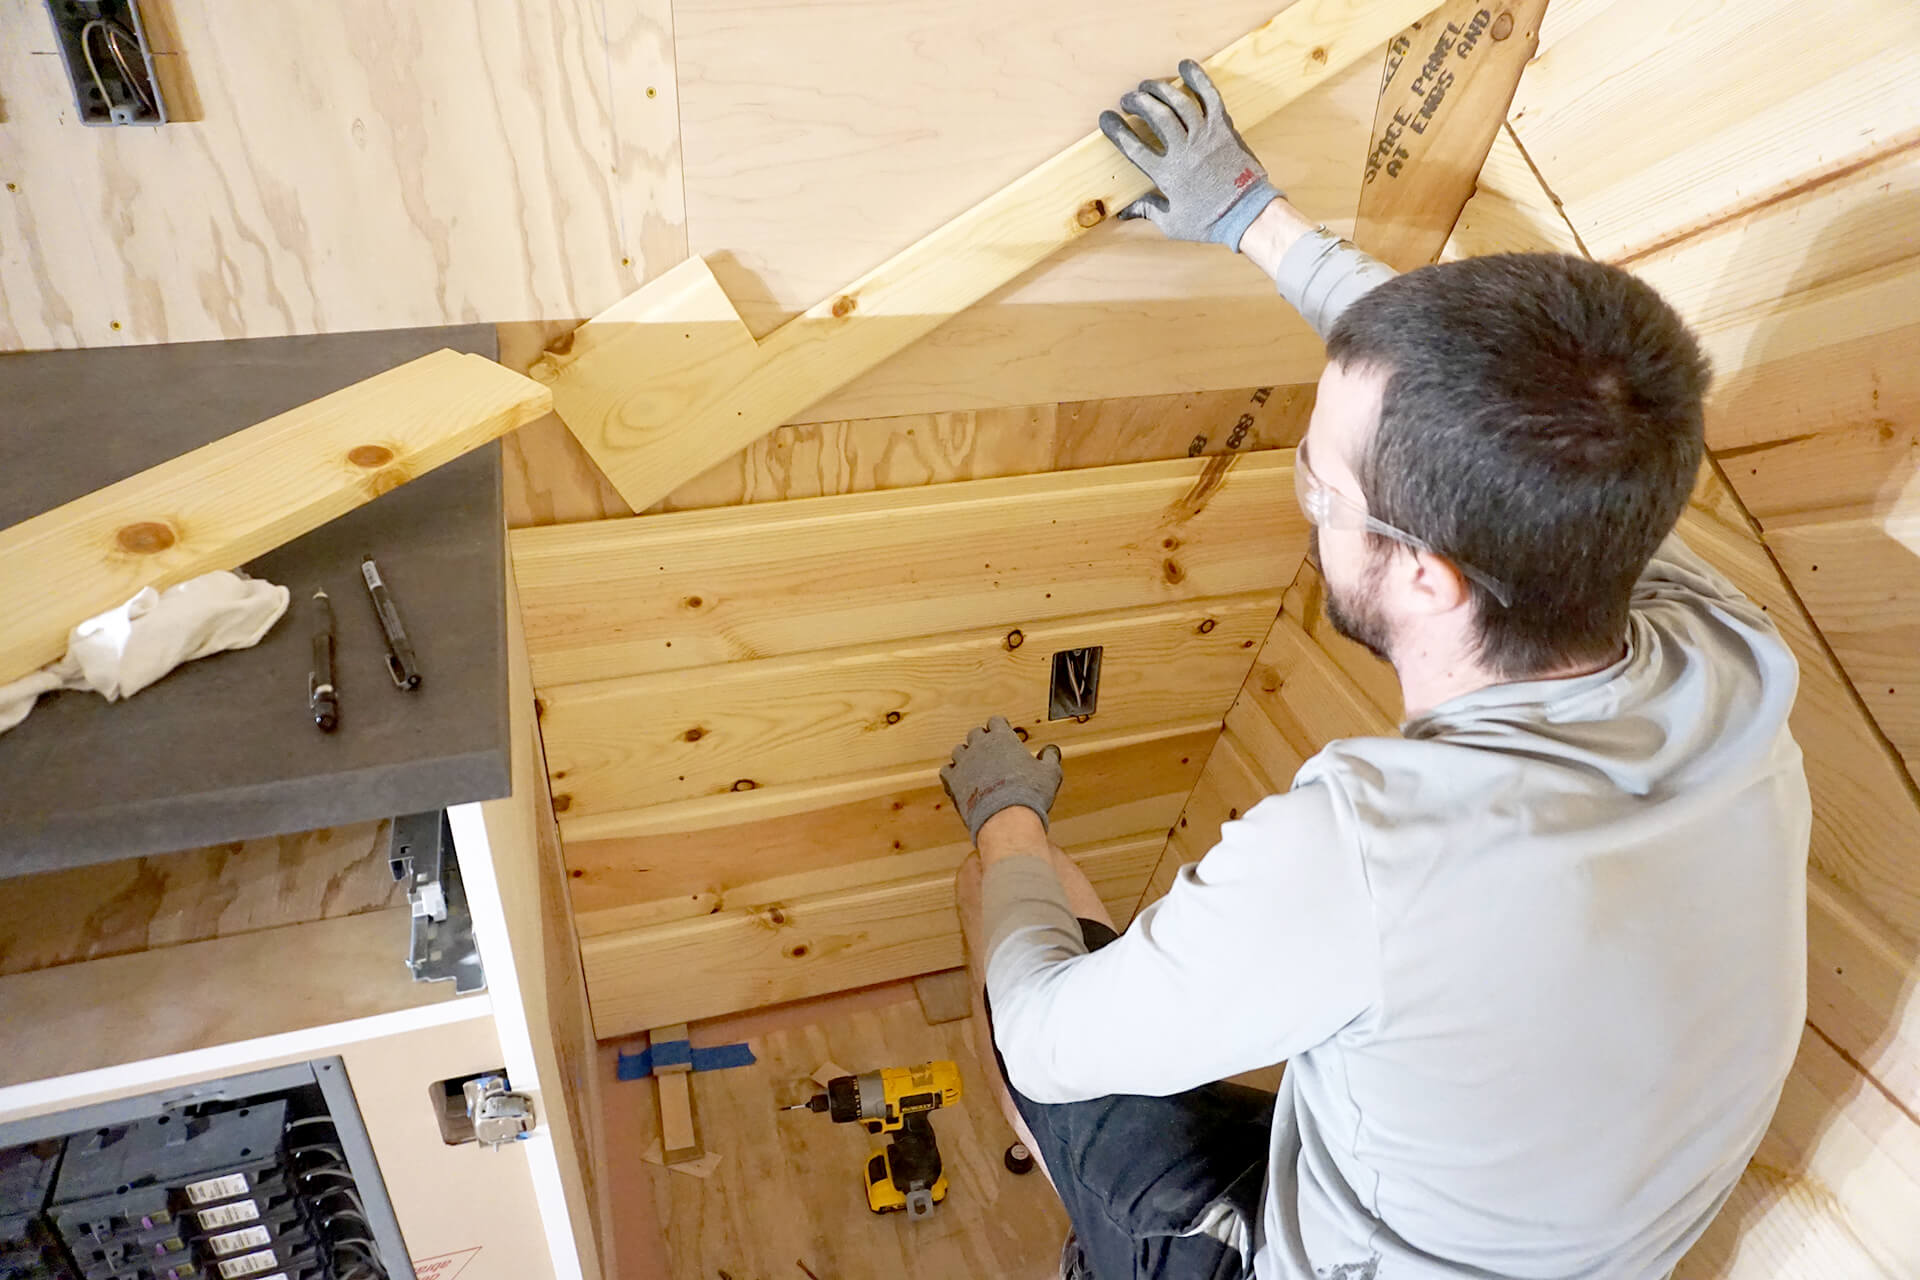
Use a laser to ensure all screws are aligned. For each plank: Mark the utility door edge, remove the plank, cut the door gap, then reinstall. Repeat as paneling continues up the wall.
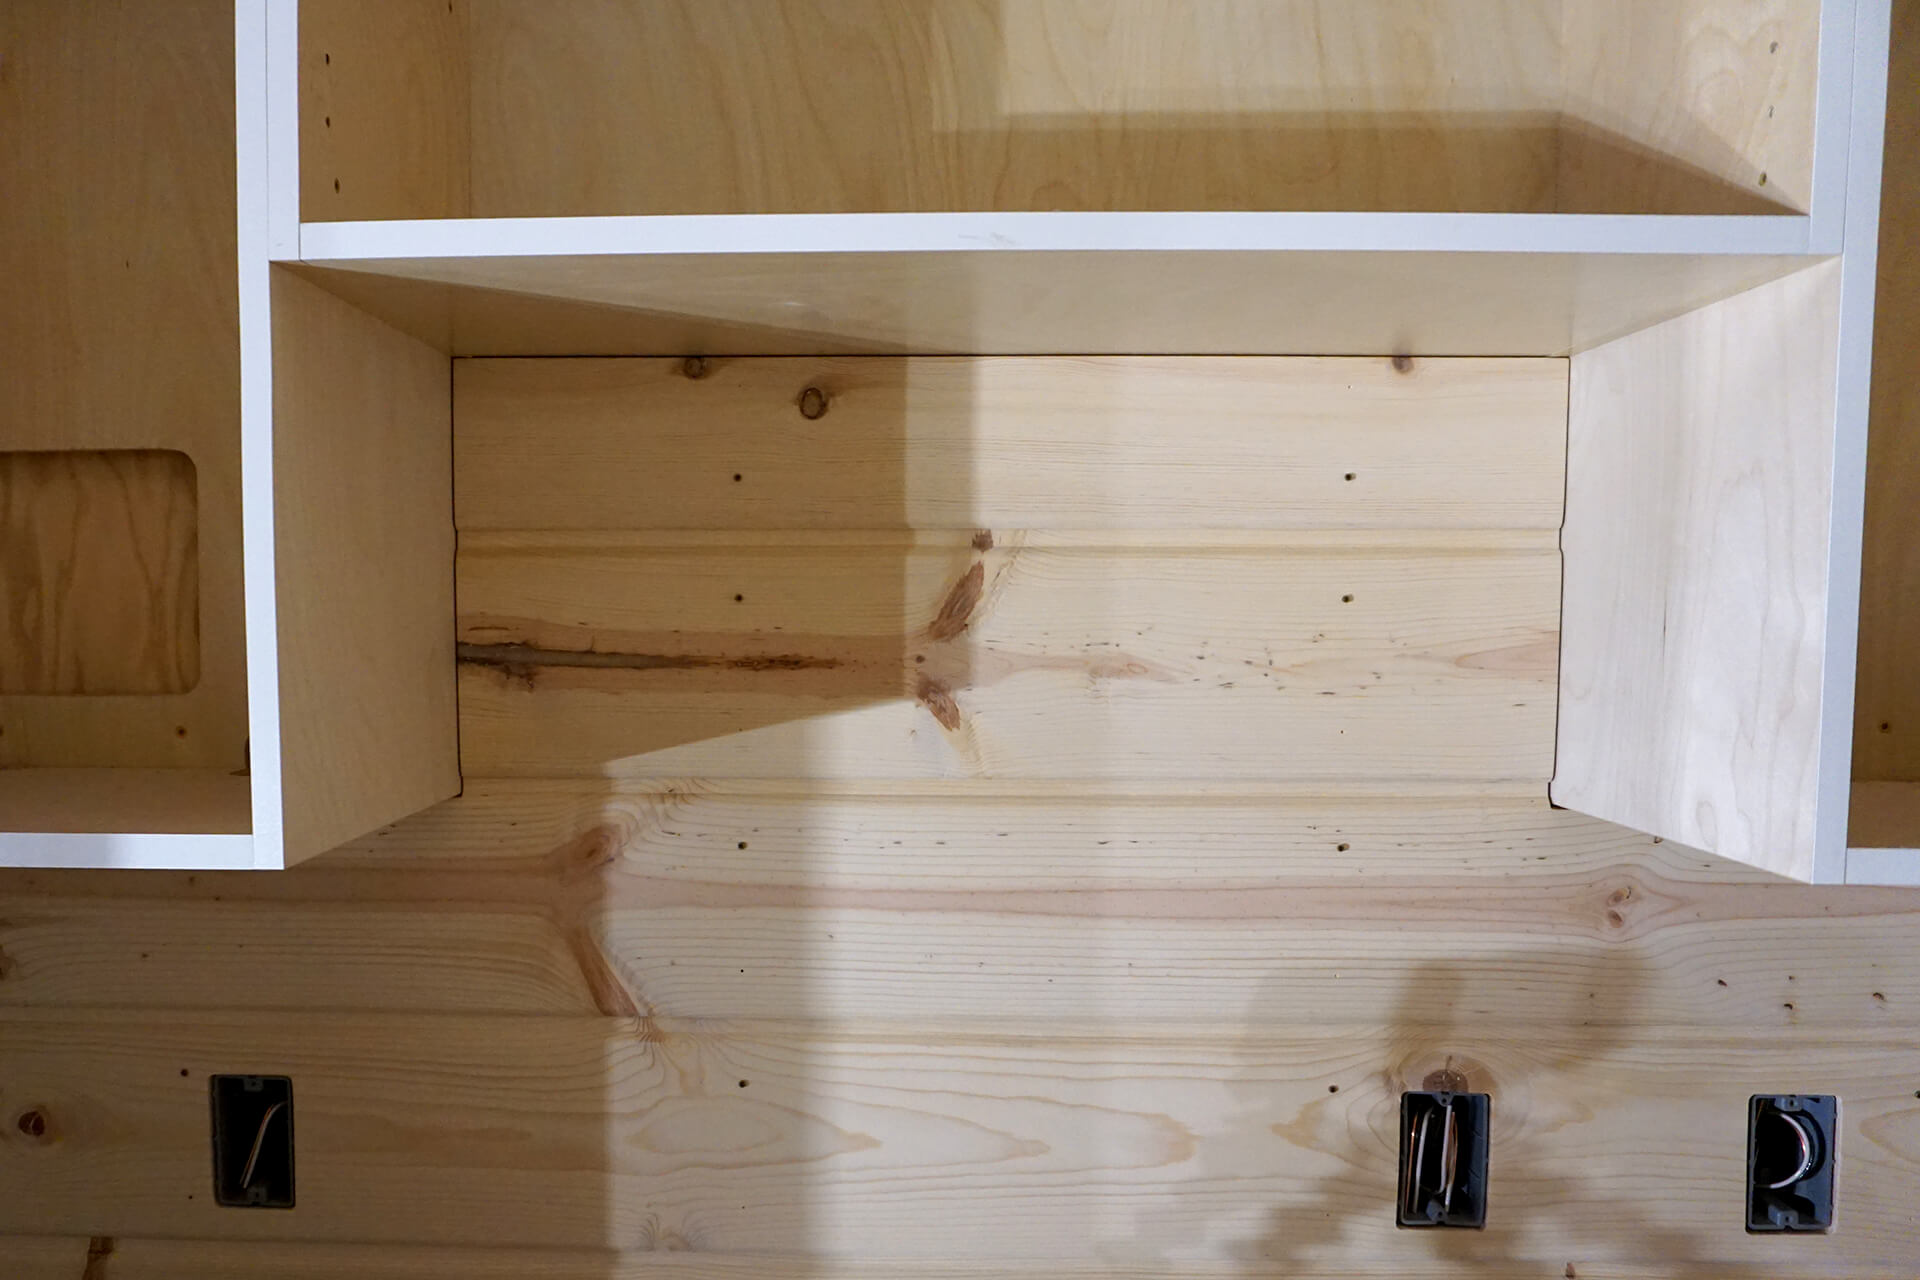
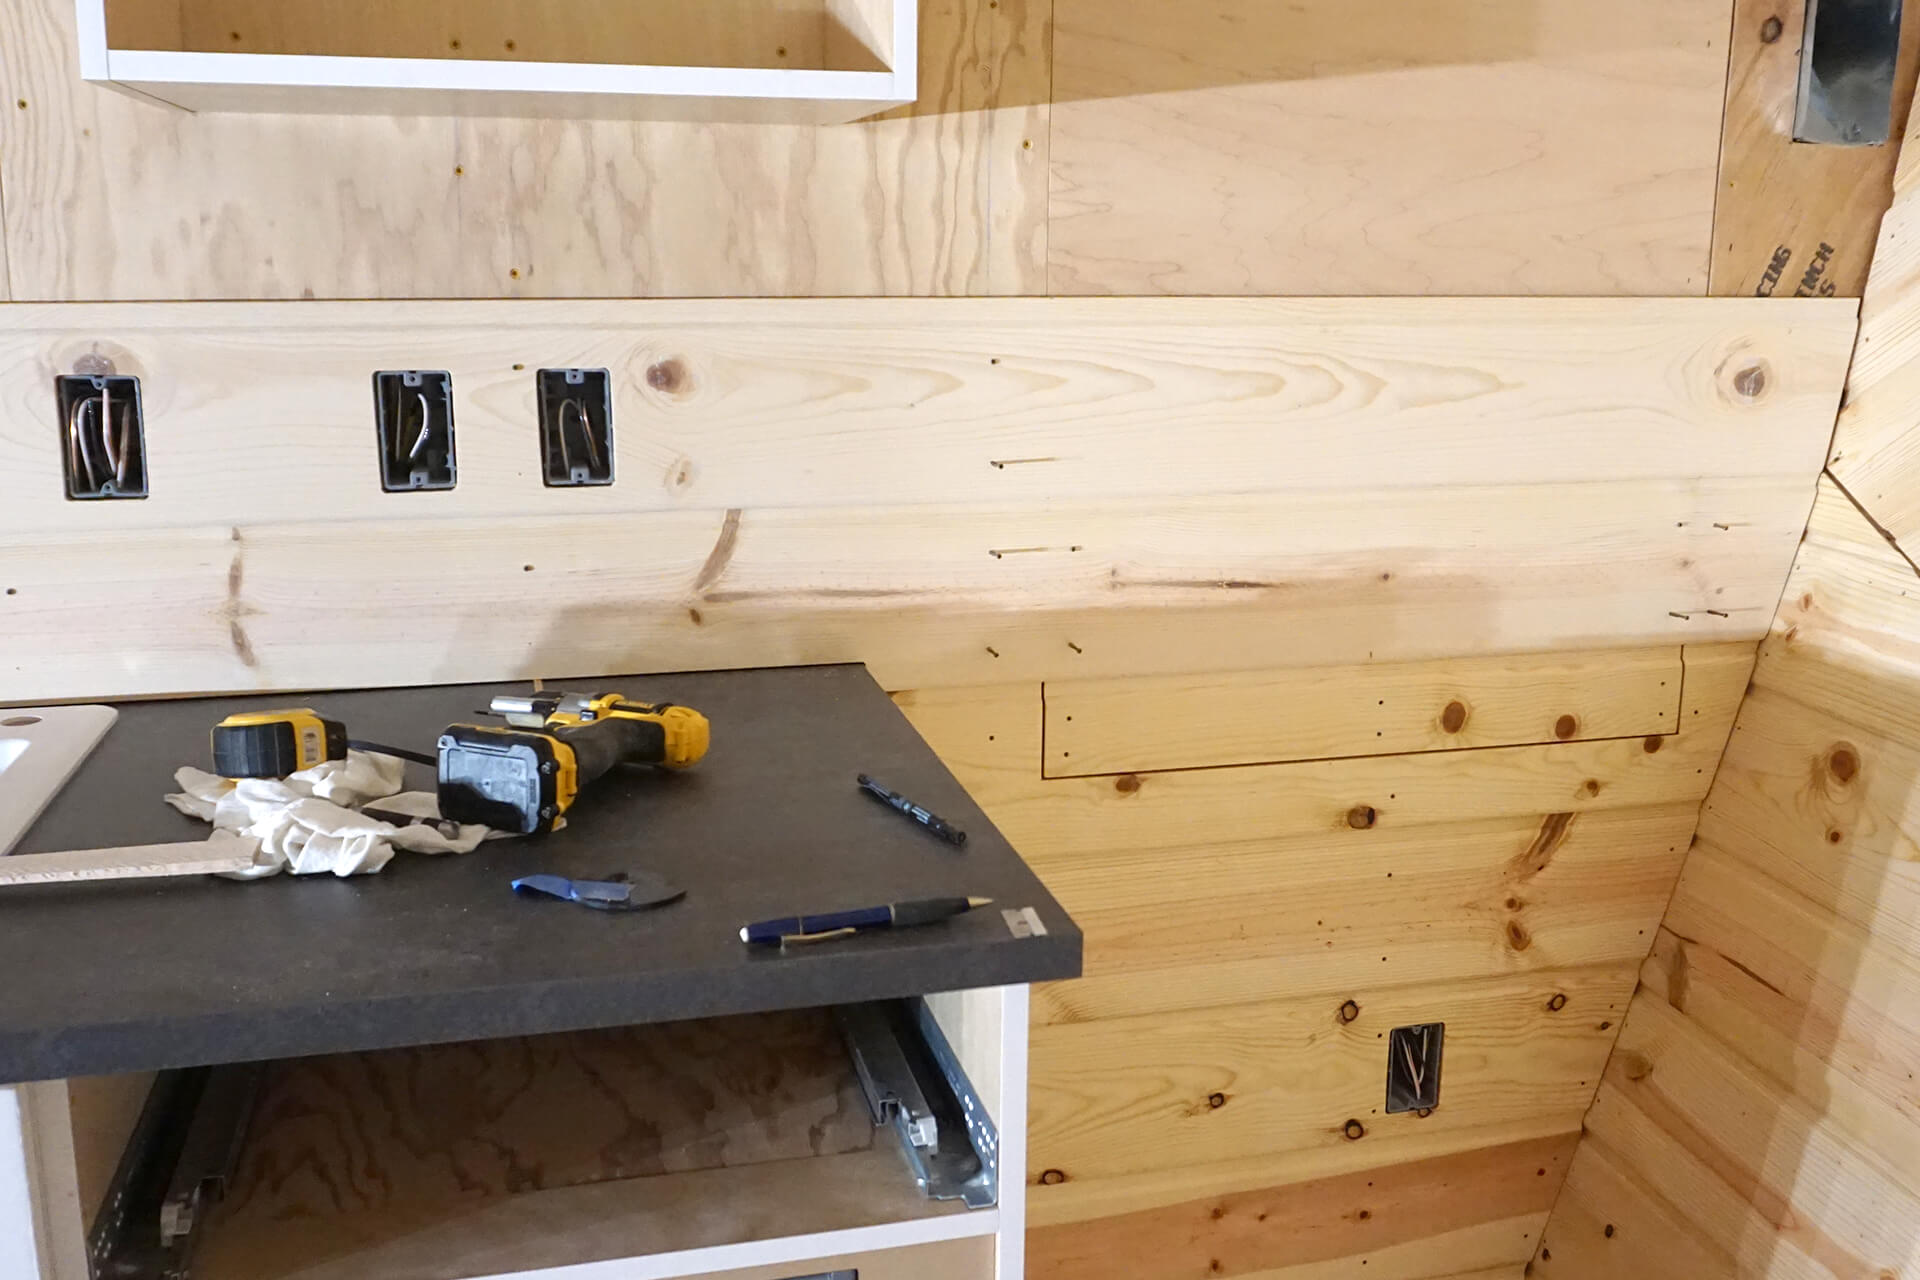
Continue paneling the kitchenette wall. Keep perimeter gaps consistent to avoid the need for trim around the cabinets.
Detail shot showing the partially driven screws (and partial screw count) holding the wood paneling in place during this test fit.
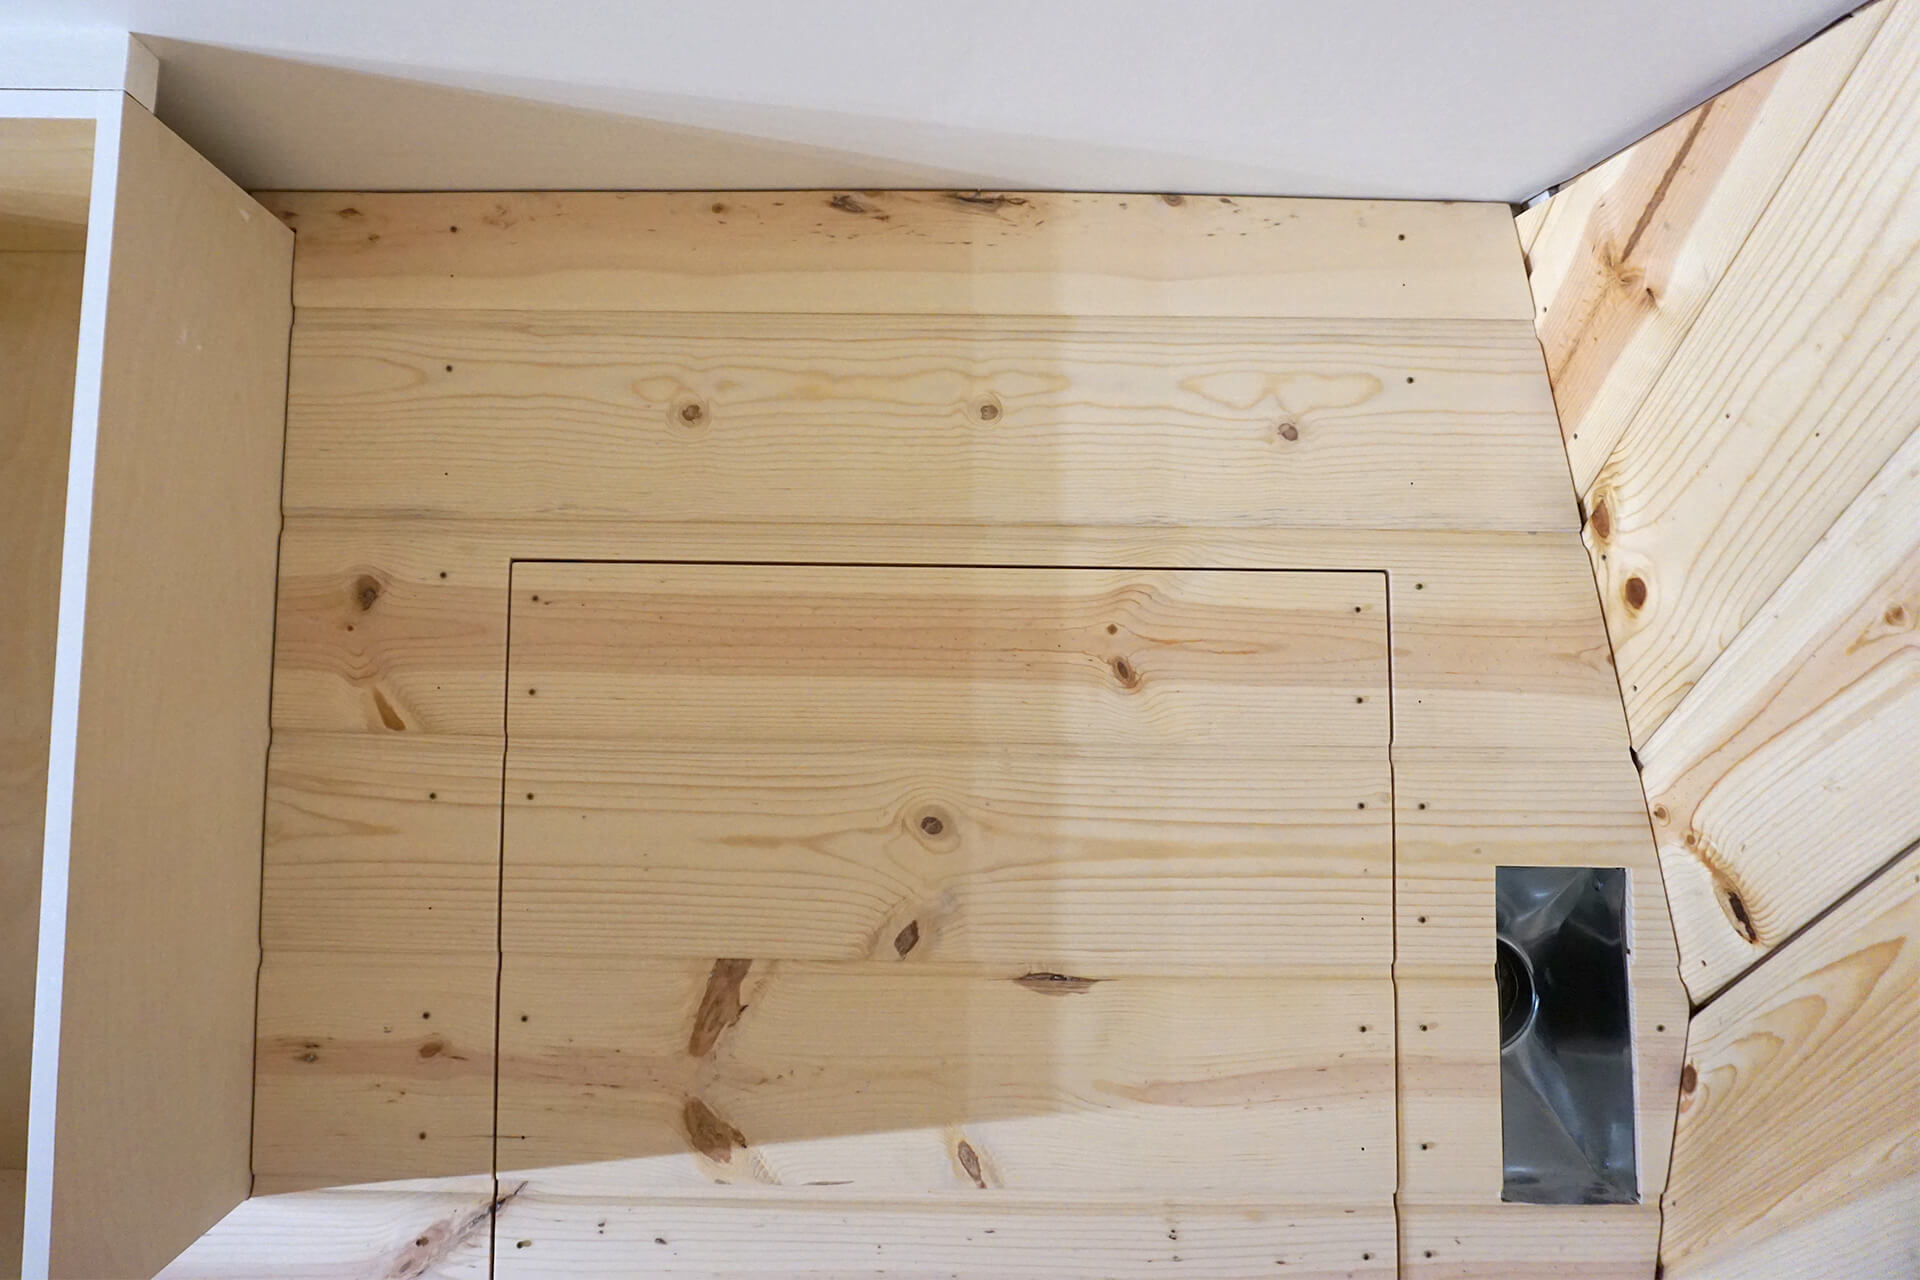
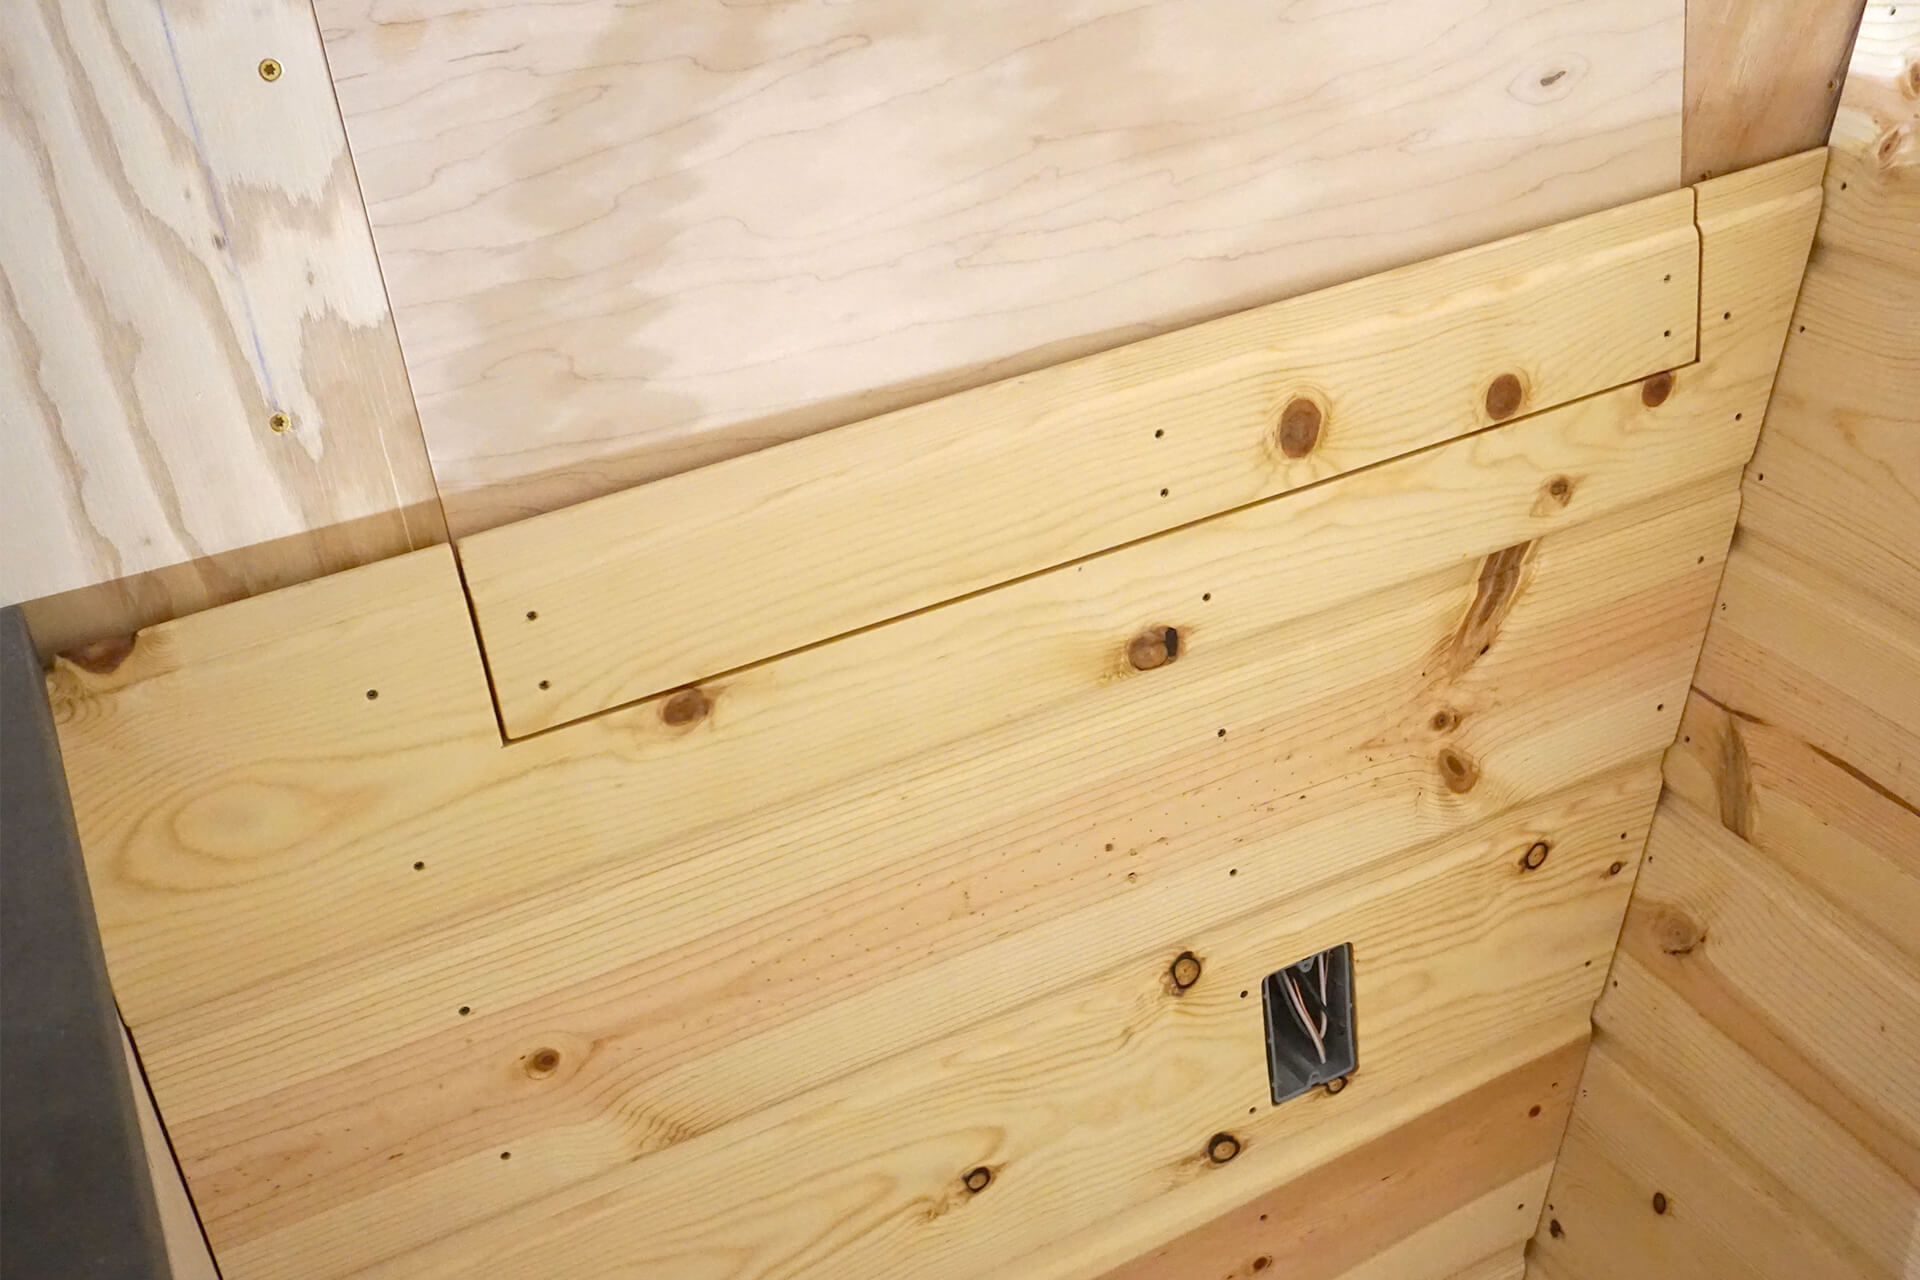
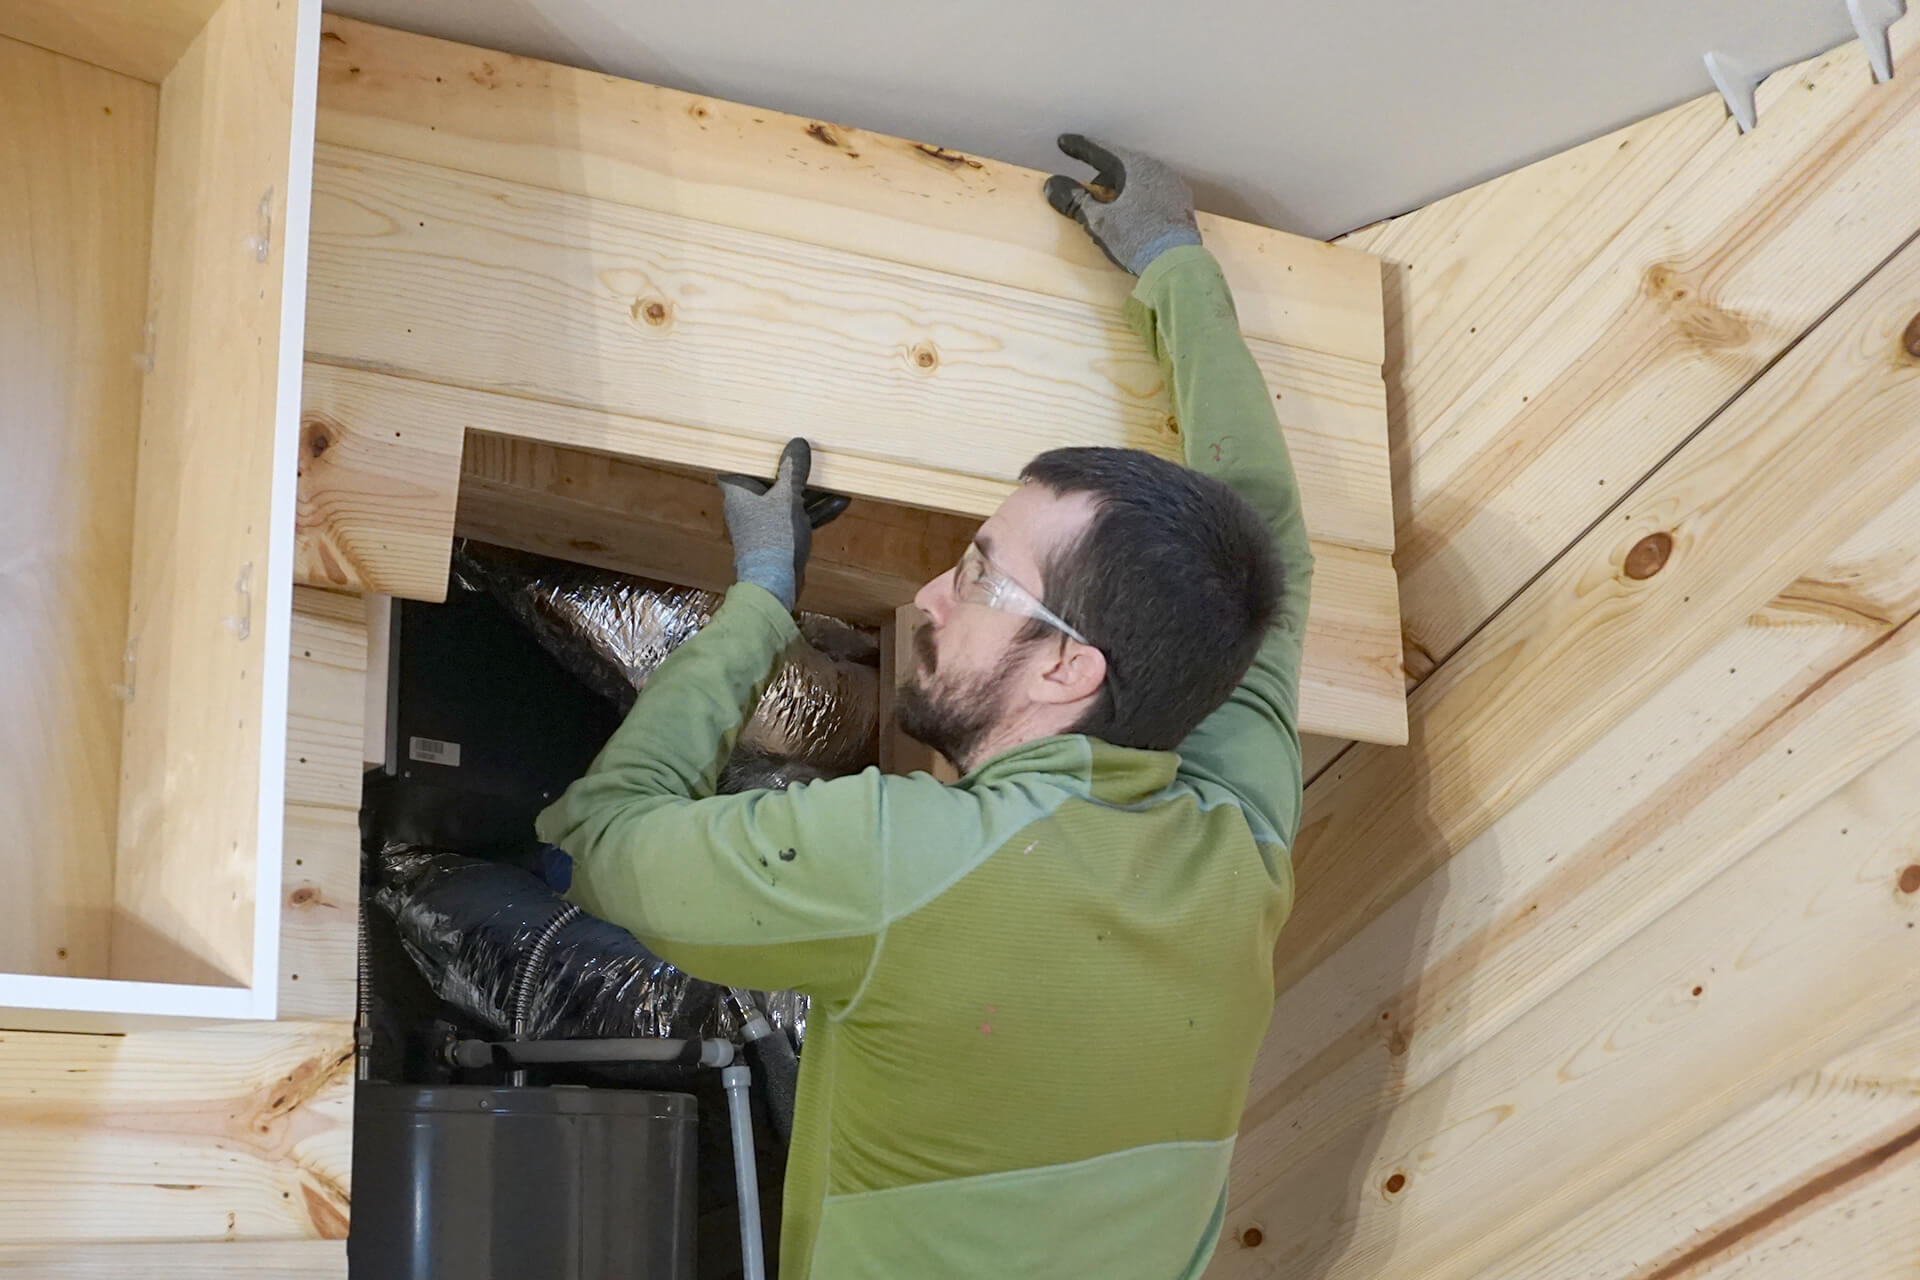
Finish paneling the wall and cutting around the utility door. The top plank extends slightly into the cabinet gap to hide the plywood from view.
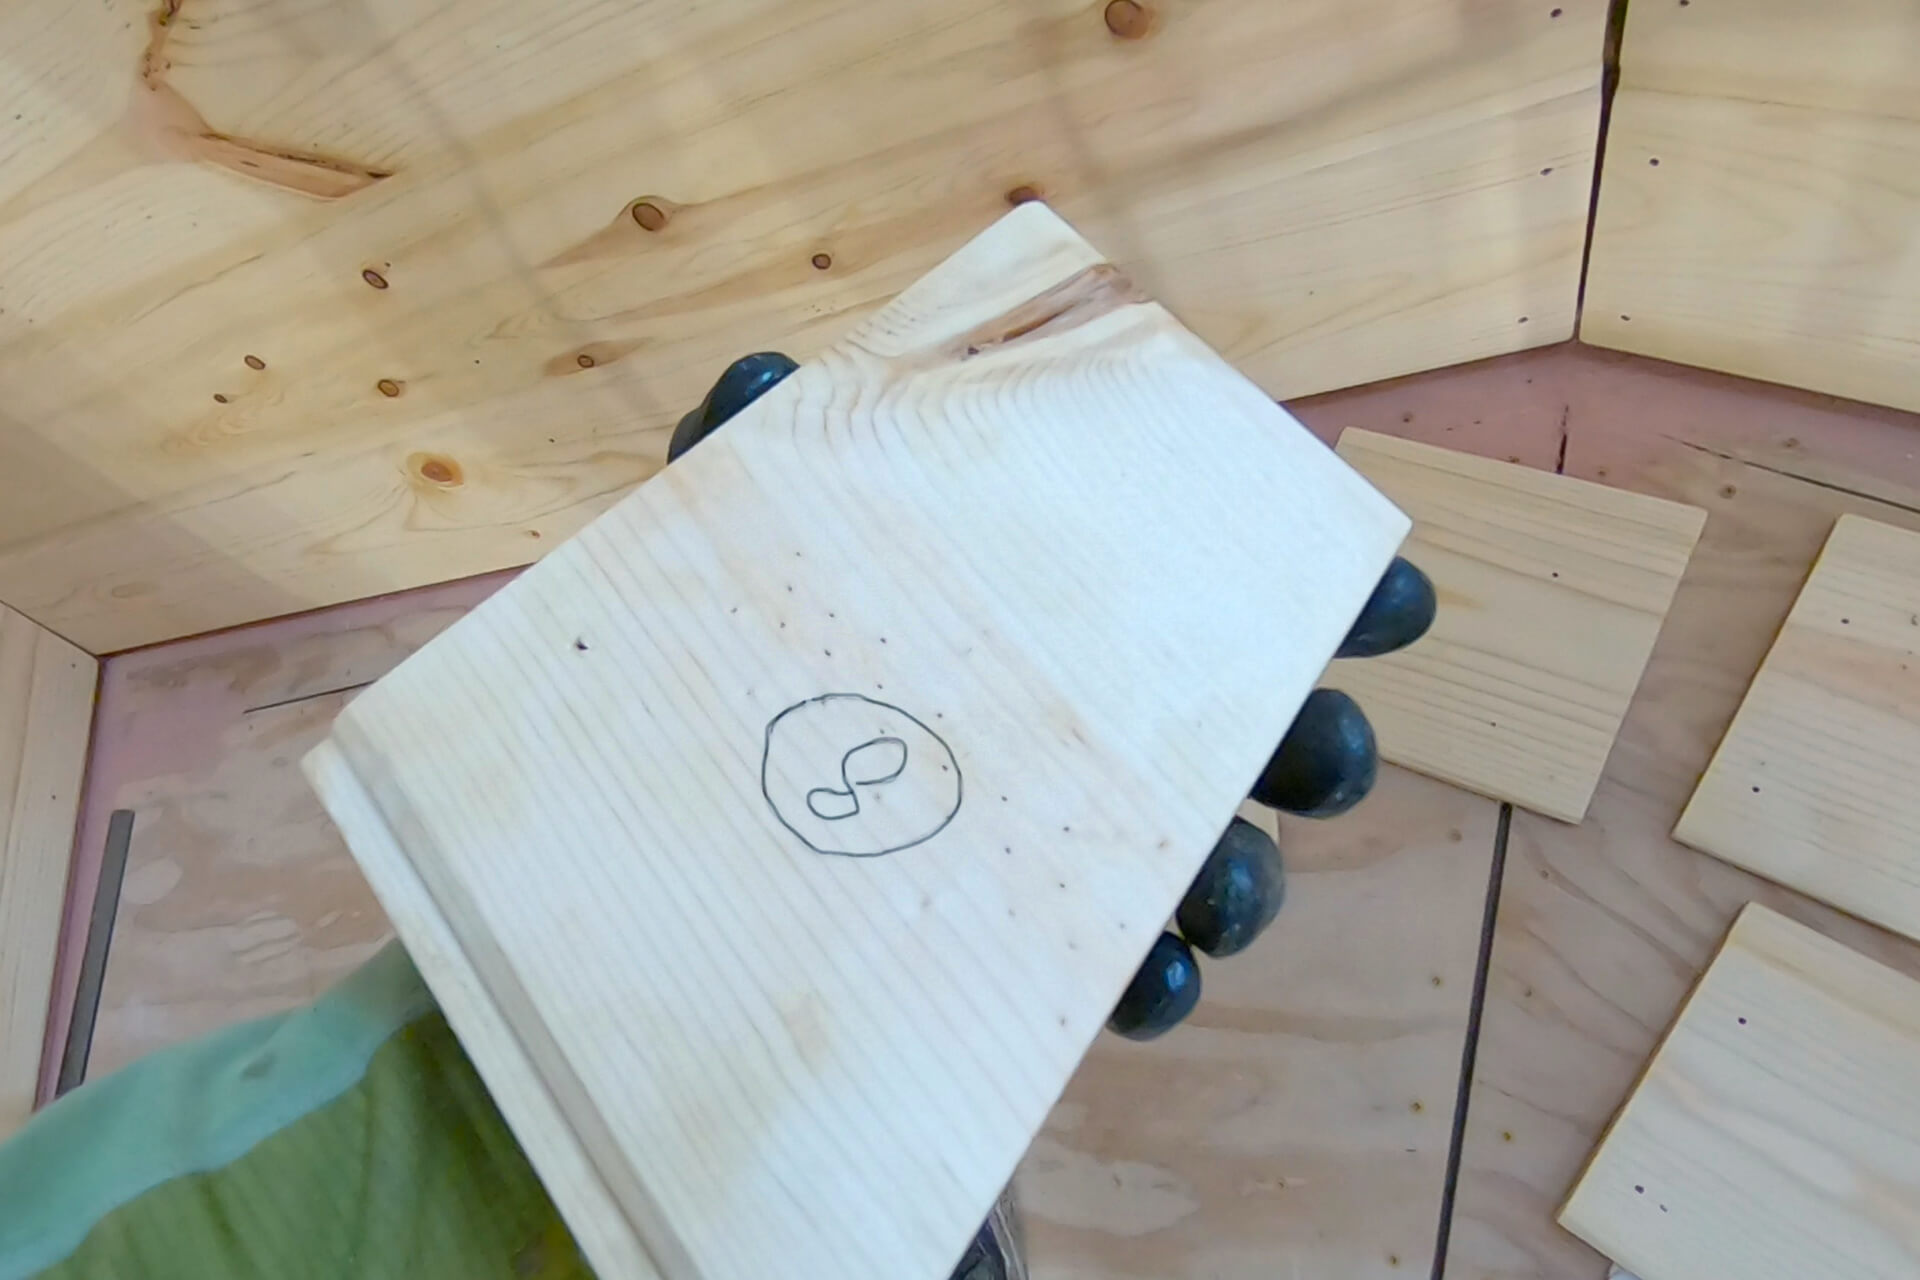
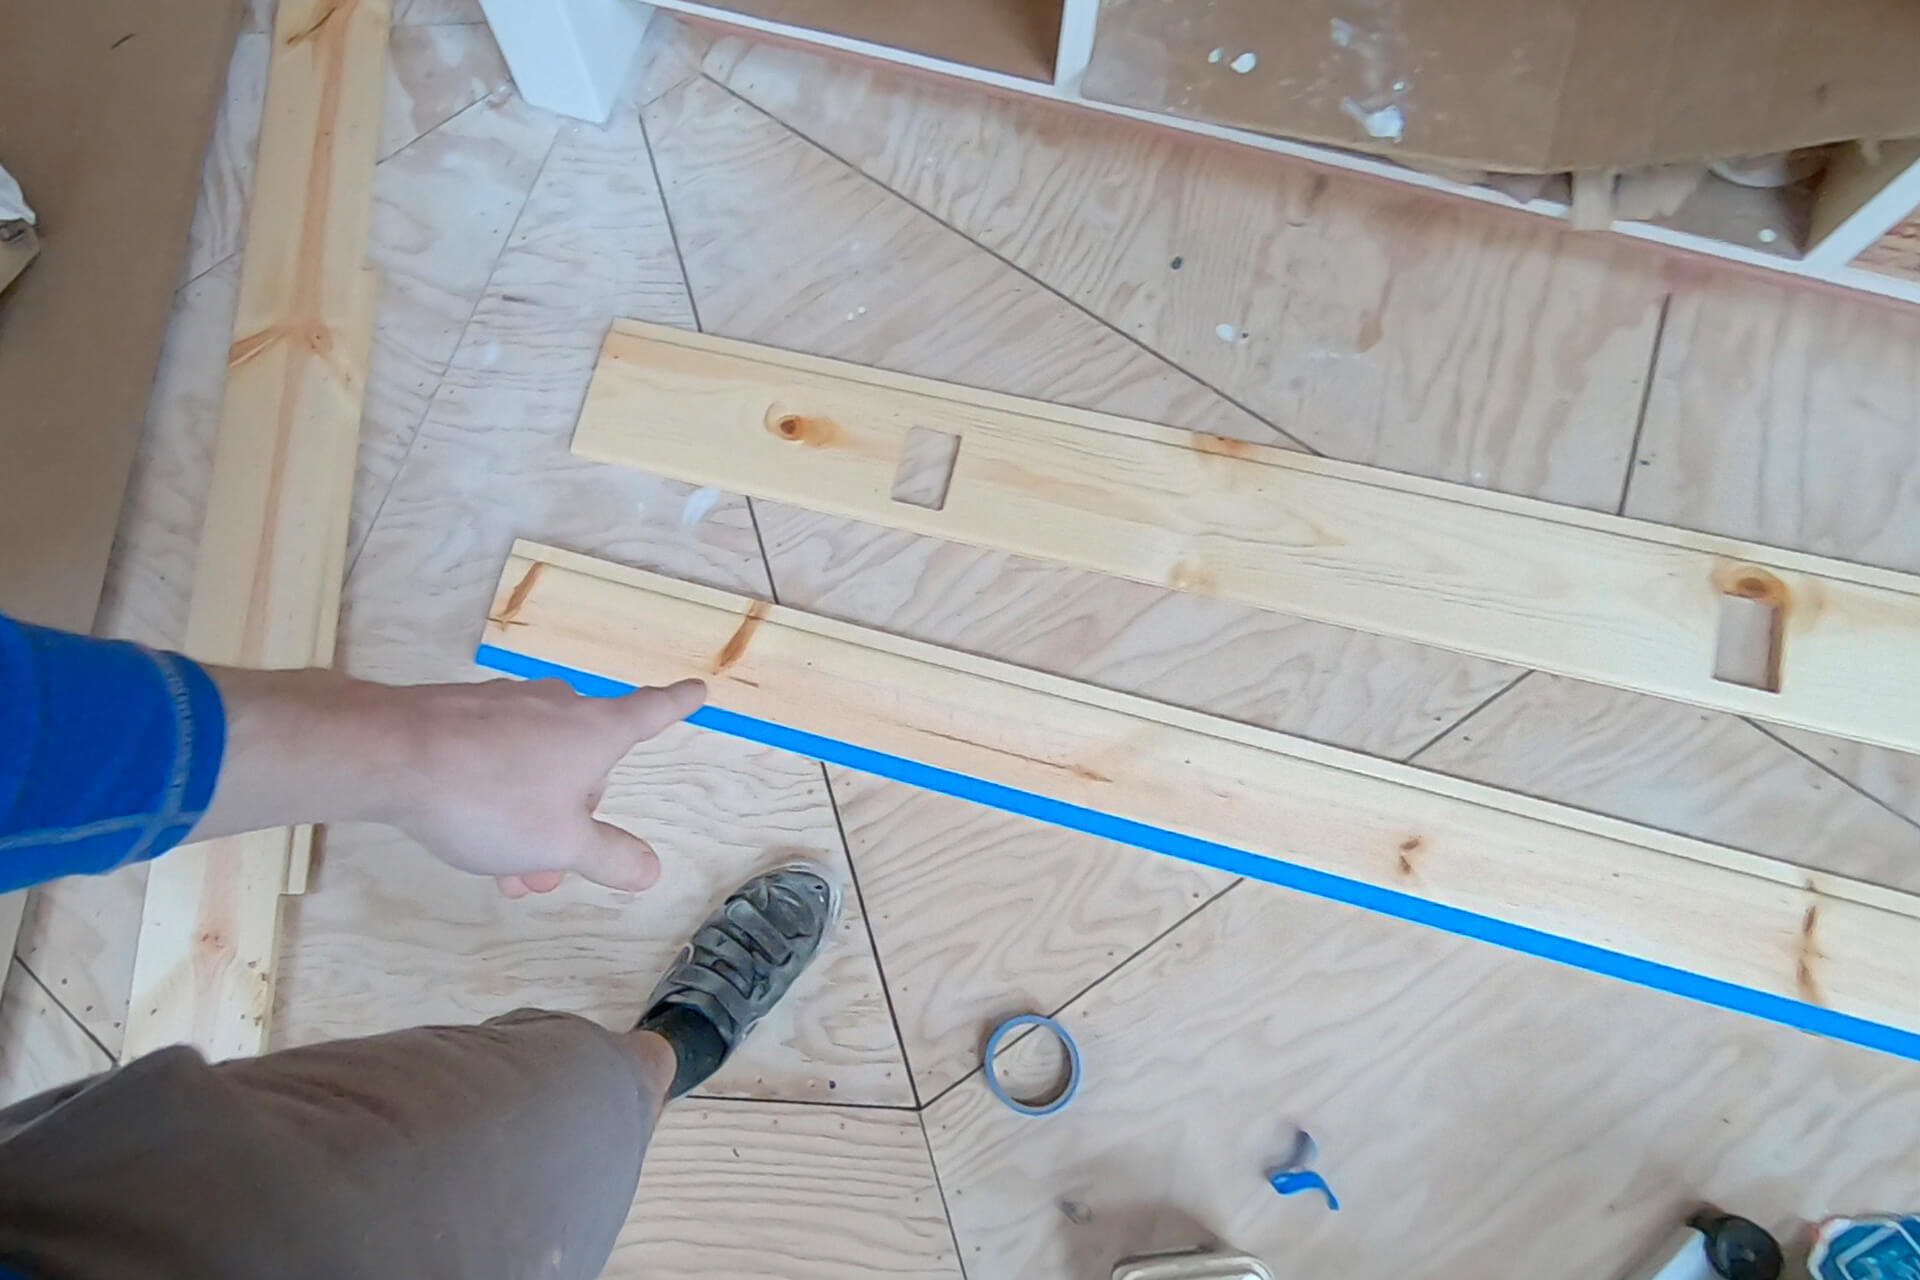
Remove and number the planks so they can be reinstalled in the correct order after finishing.
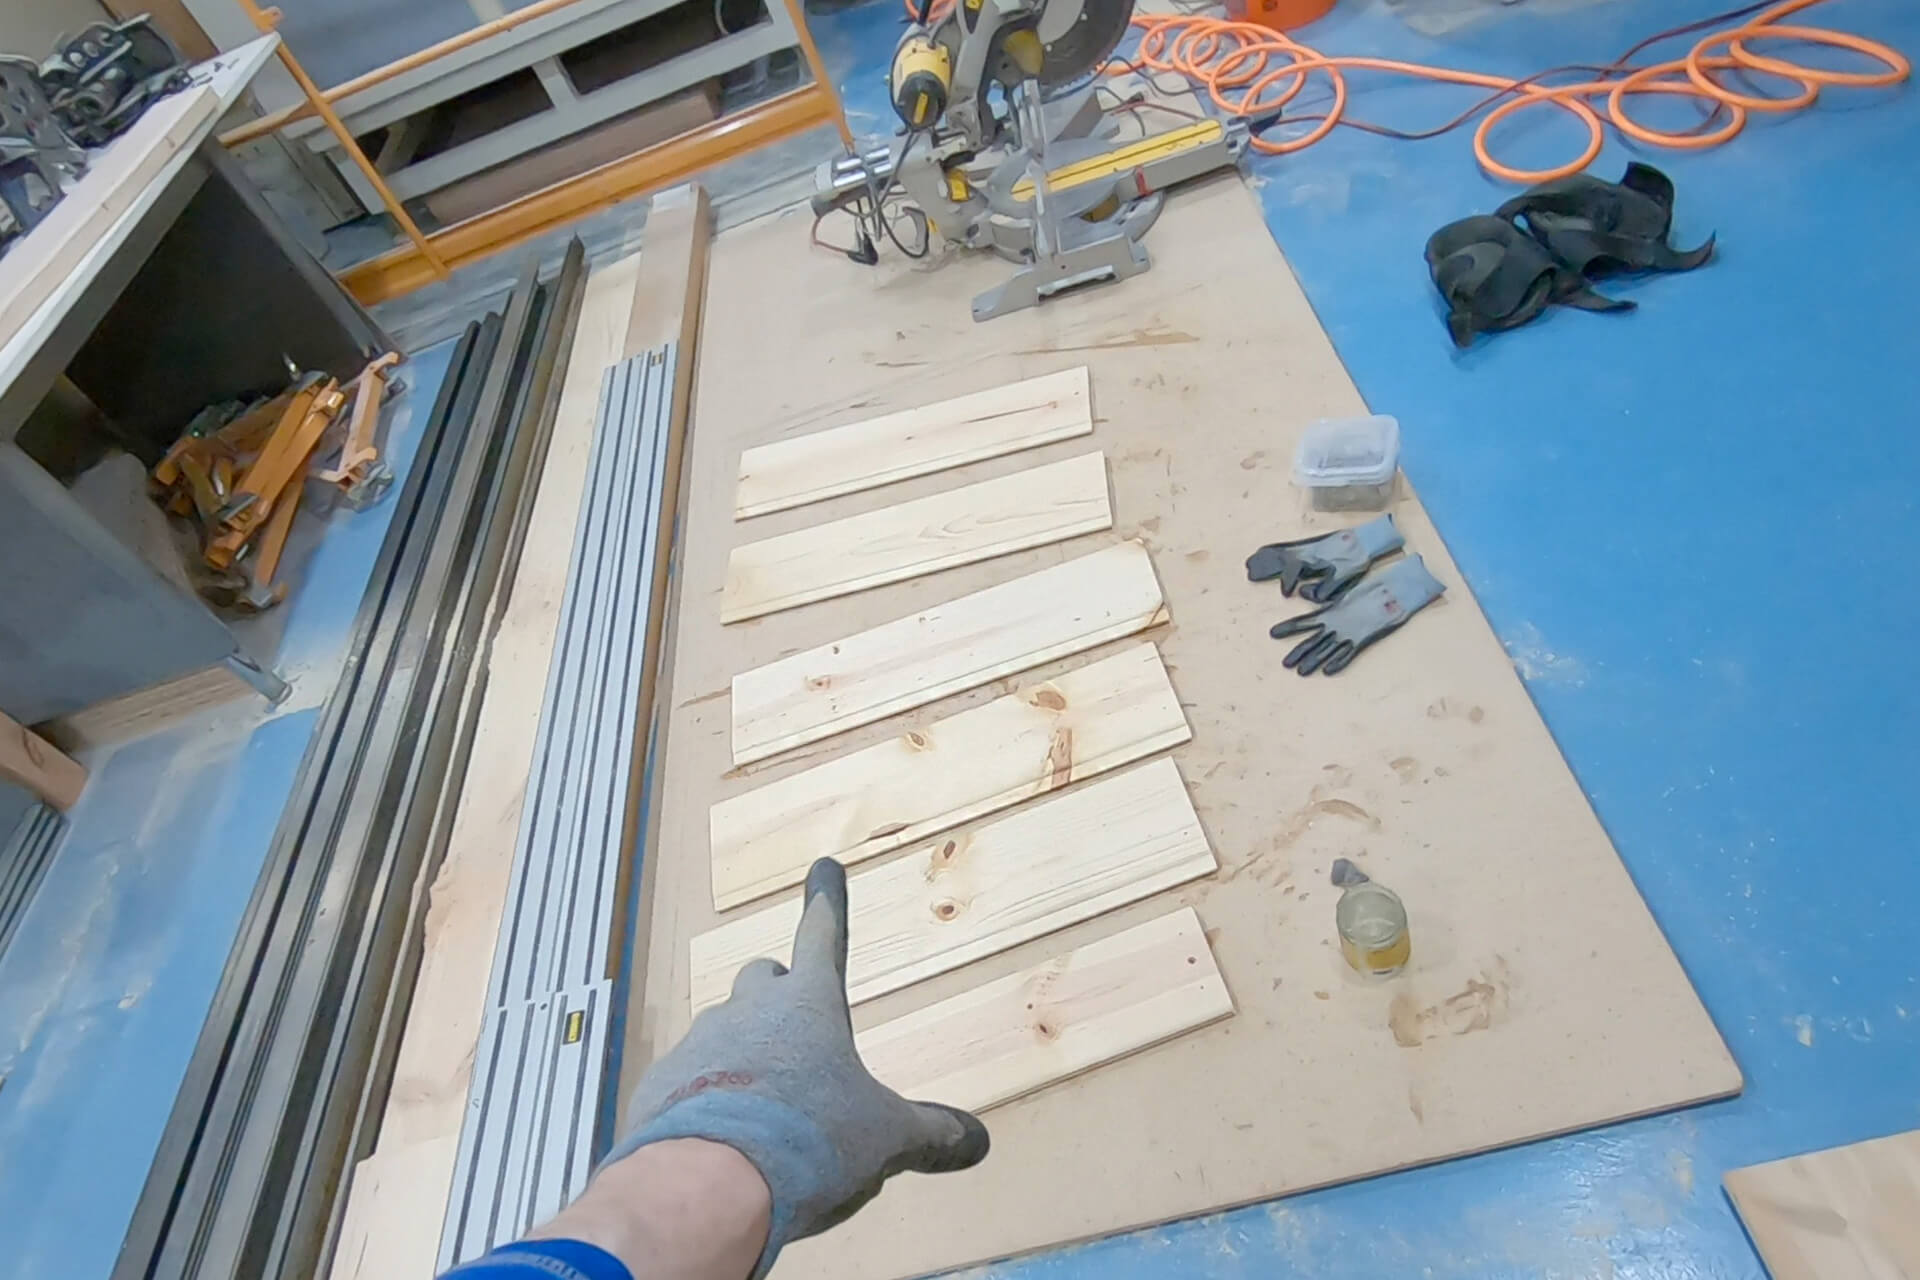
Apply the same wood finish to the visible surfaces. Odie’s Oil is shown here.
Panel the utility door in the correct plank order. Align each plank with its screw hole locations from the test fit to ensure the door and wall paneling align perfectly.
Add hardware holes and countersinks in the four corners, like the bathroom utility door. #10 × 3” wood screws will secure this door to the blocking.
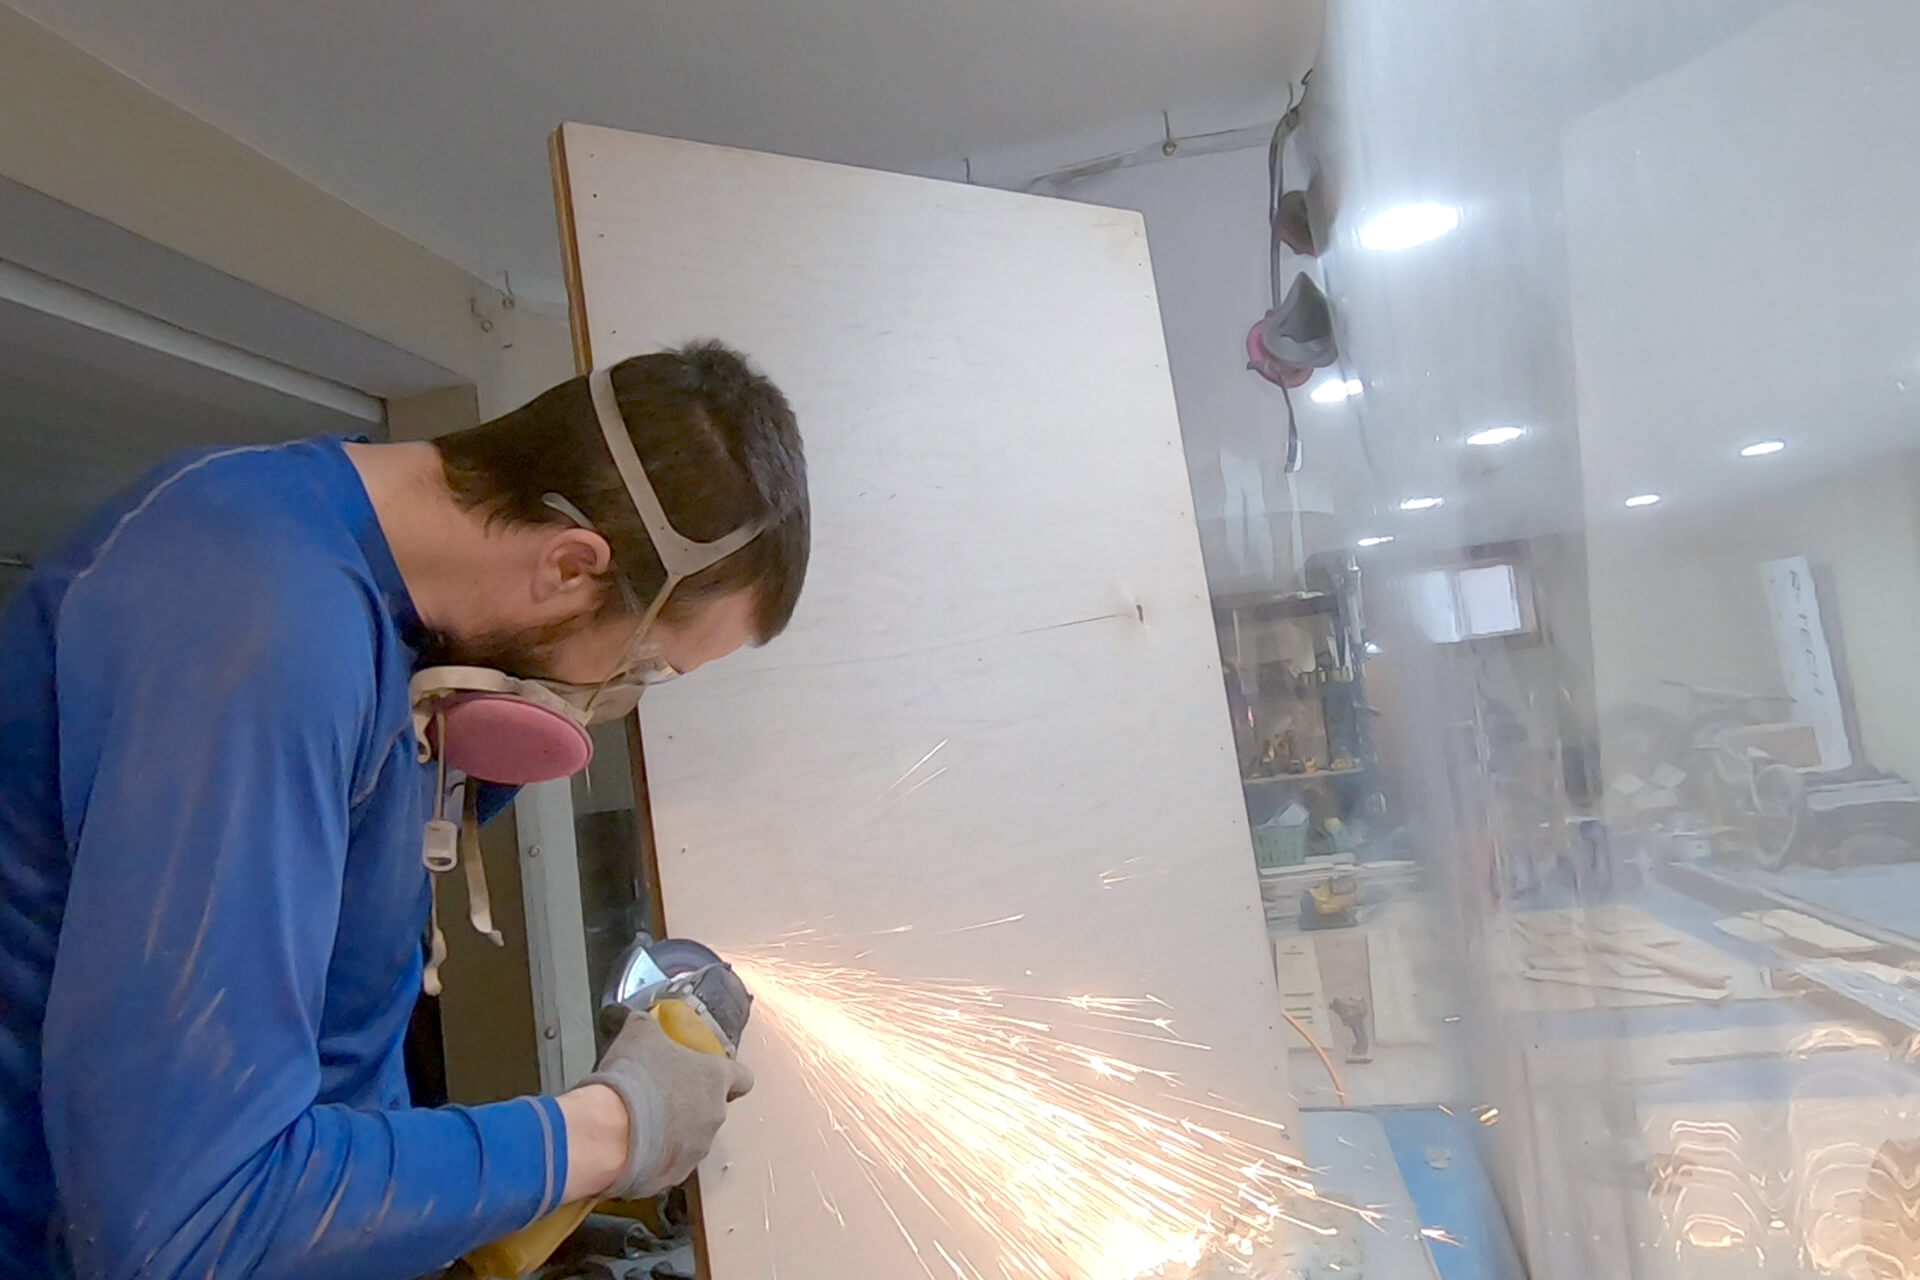
Use an angle grinder with a sanding disc to remove screw tips protruding from the back of the door.
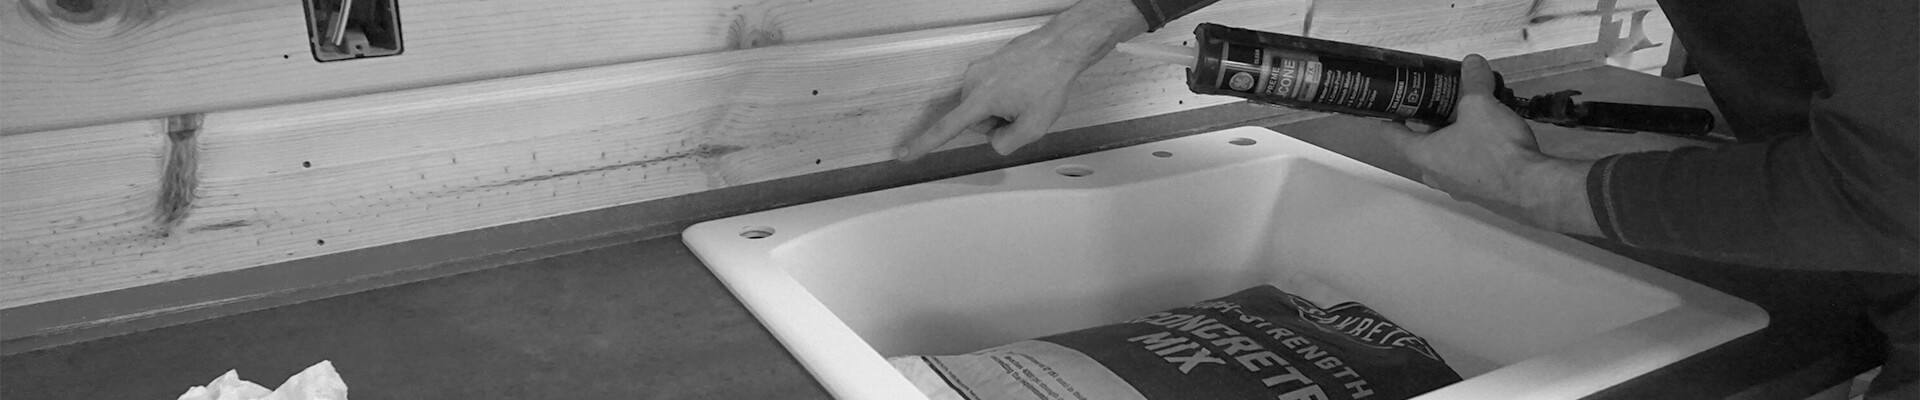
Tape the face of the backsplash plank to protect it from silicone.
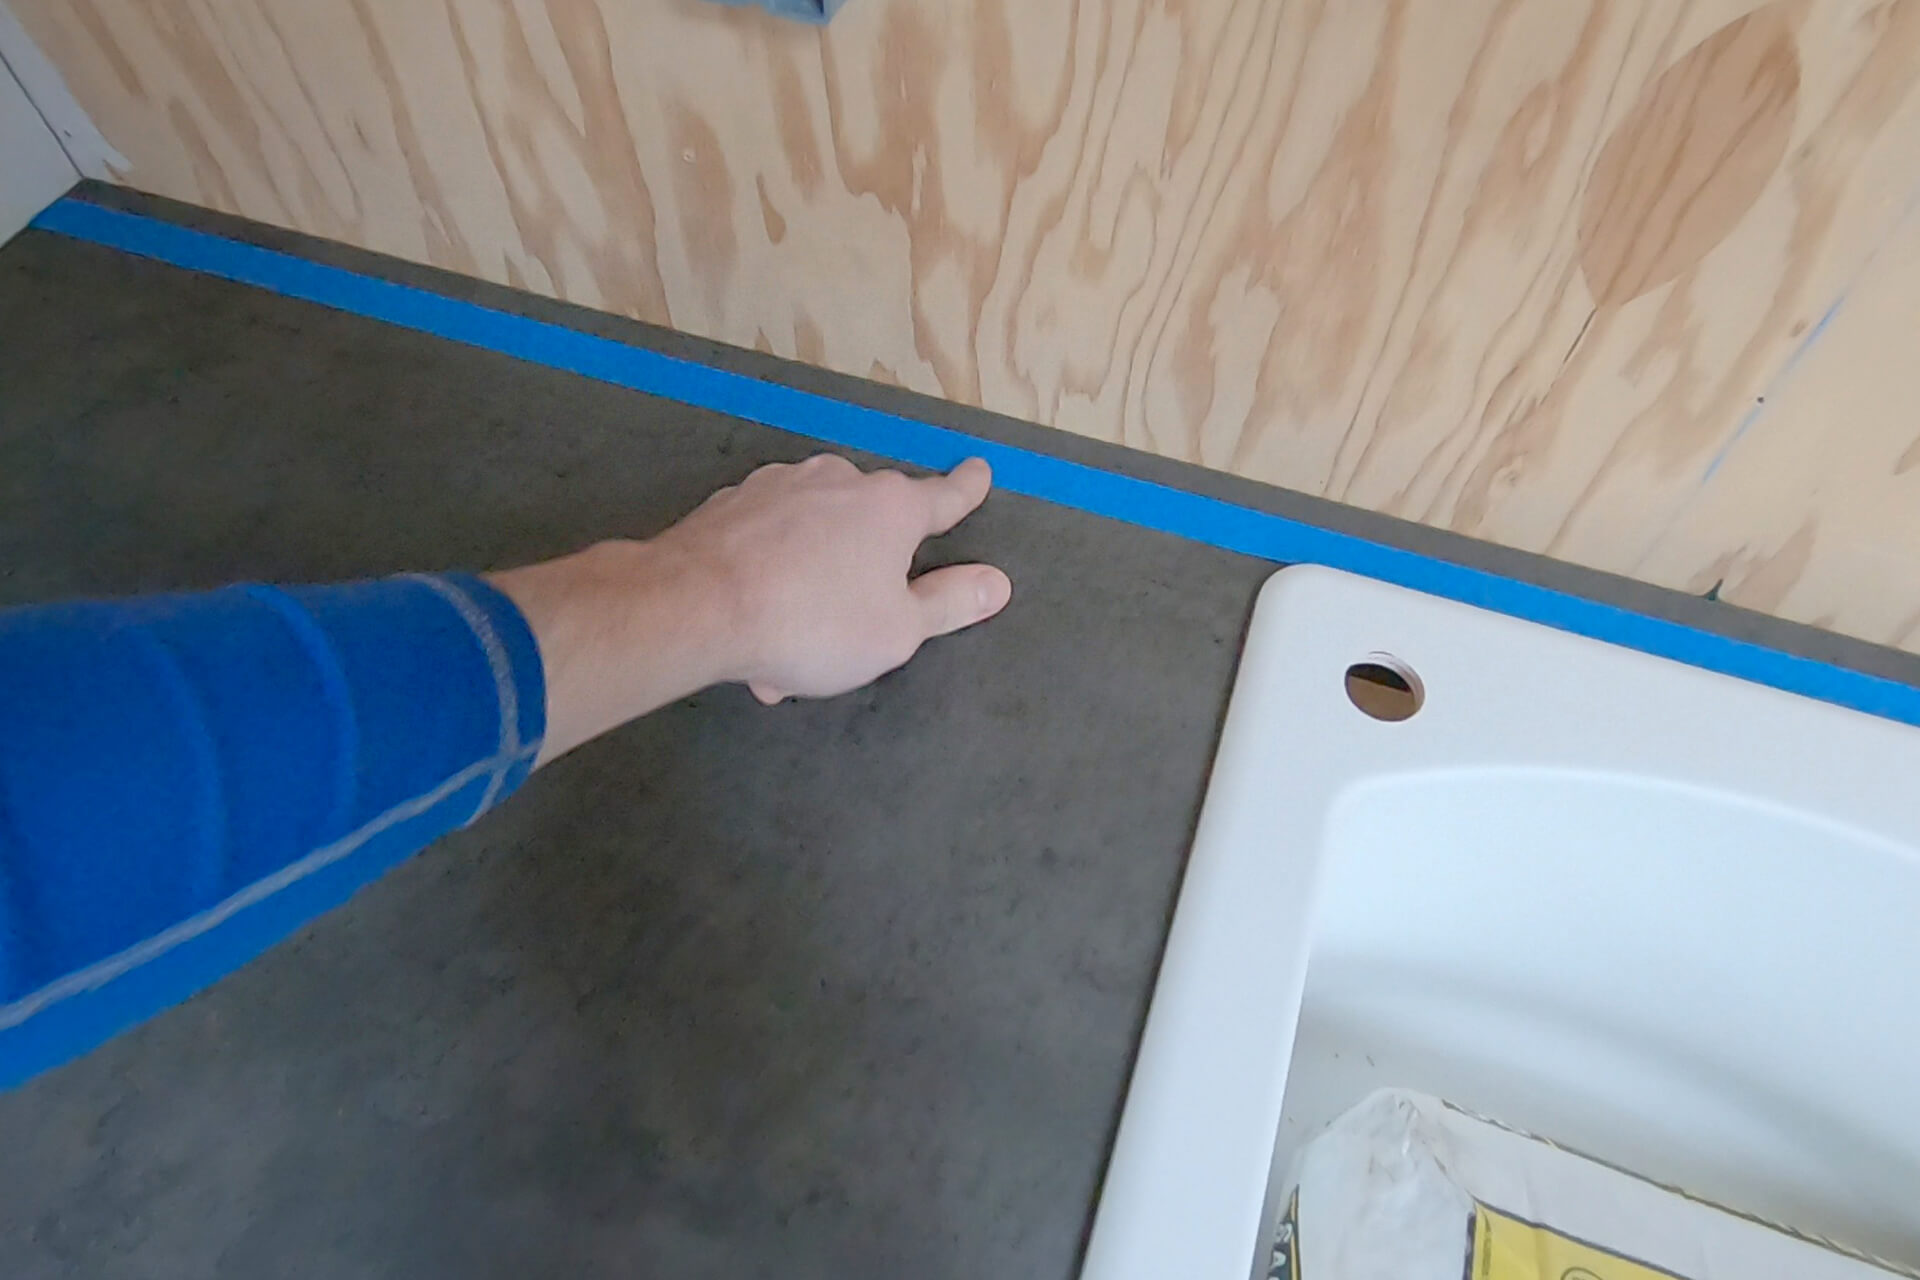
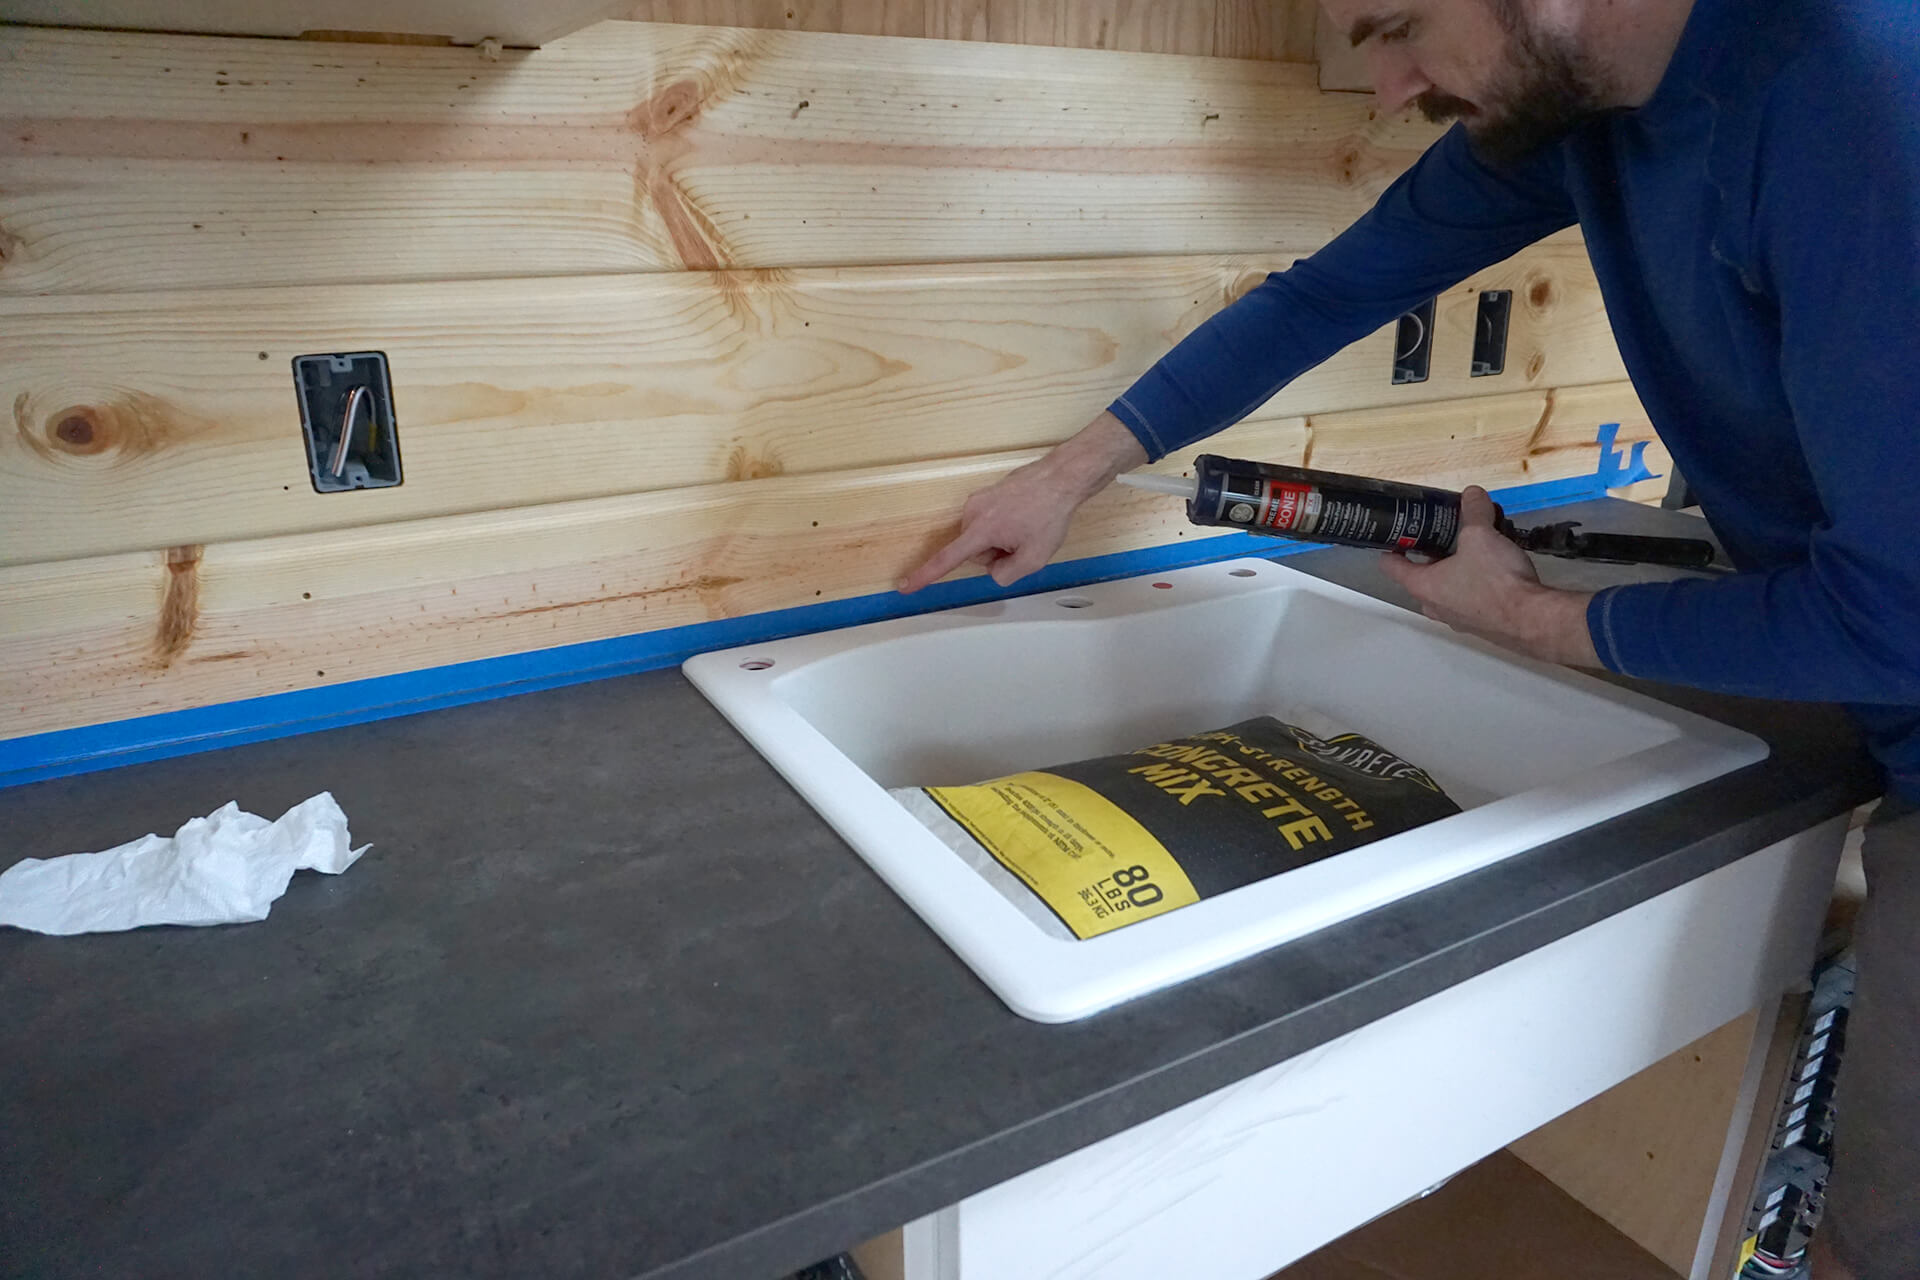
Tape the countertop to protect it from silicone. Apply a clear silicone bead behind the tape, where the backsplash plank will rest. GE Supreme Silicone Kitchen and Bath is used here.
Install the paneling, threading the screws into the same hole locations from the test fit. The first three planks must be pivoted into place as a single unit to fit under the cabinets.
Wipe off excess silicone, remove the tape, and wipe again for a clean installation.
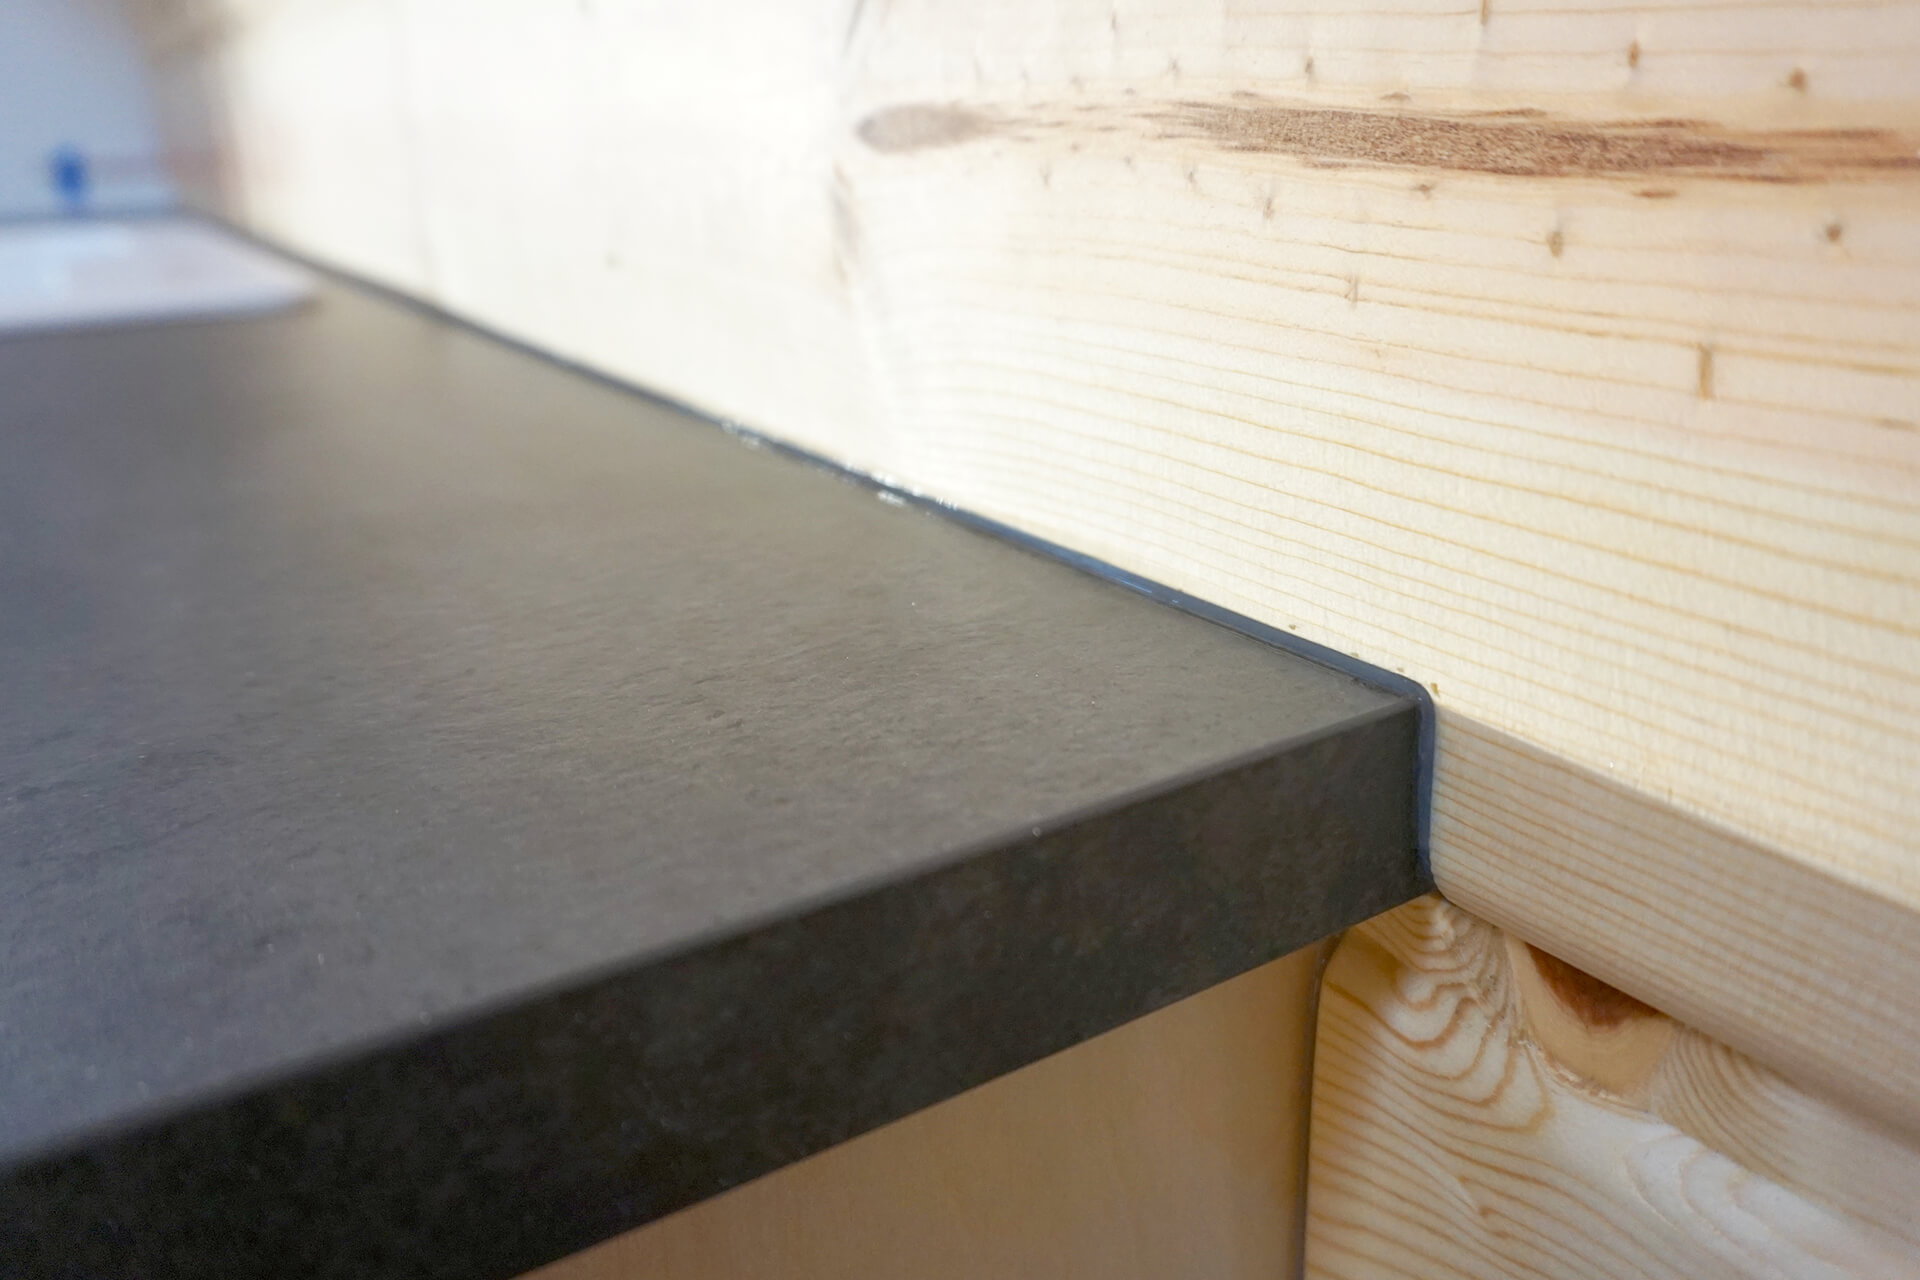
Detail shot showing the clean silicone application in the small gap between the countertop and backsplash. Continue the silicone around and down the side of the cabinet.
Continue installing the paneling. The top two planks shown here must be pivoted into place as a single unit to fit under the cabinet.
Take note of the plank numbers to ensure they are installed in the correct order.
Finish paneling the wall. The final three planks must be pivoted into place as a single unit to fit.
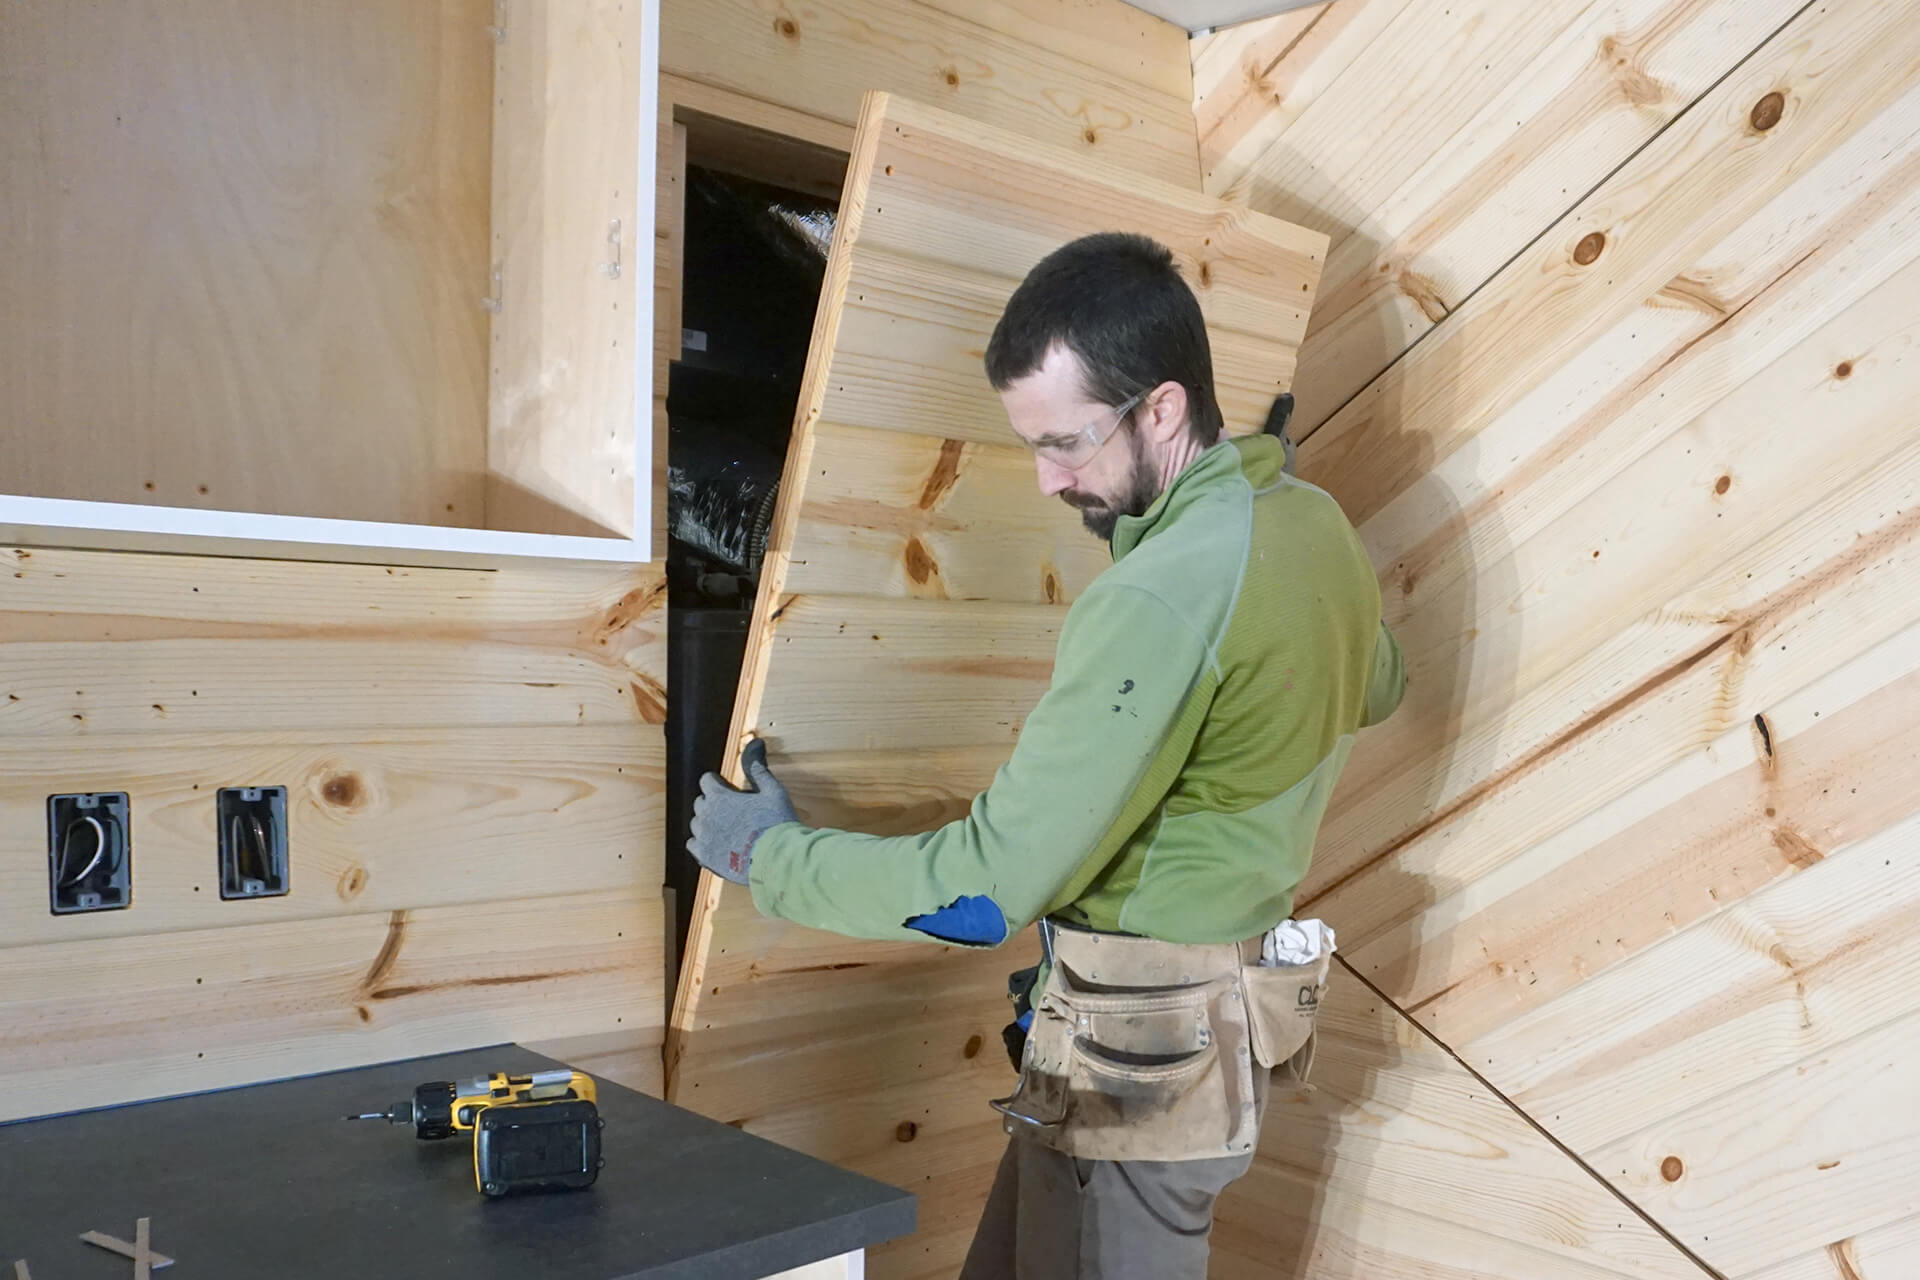
Install the kitchenette utility door. It should rest on its base and pivot freely into place against the blocking.
Pre-drill into the blocking and use the drill’s clutch to secure the hardware. This door will be blocked by a fridge and only needs to be removed to replace the hot water tank or HRV unit.
Congratulations on completing the rough-in of the kitchenette!
Next Step