Acrylic – Trim

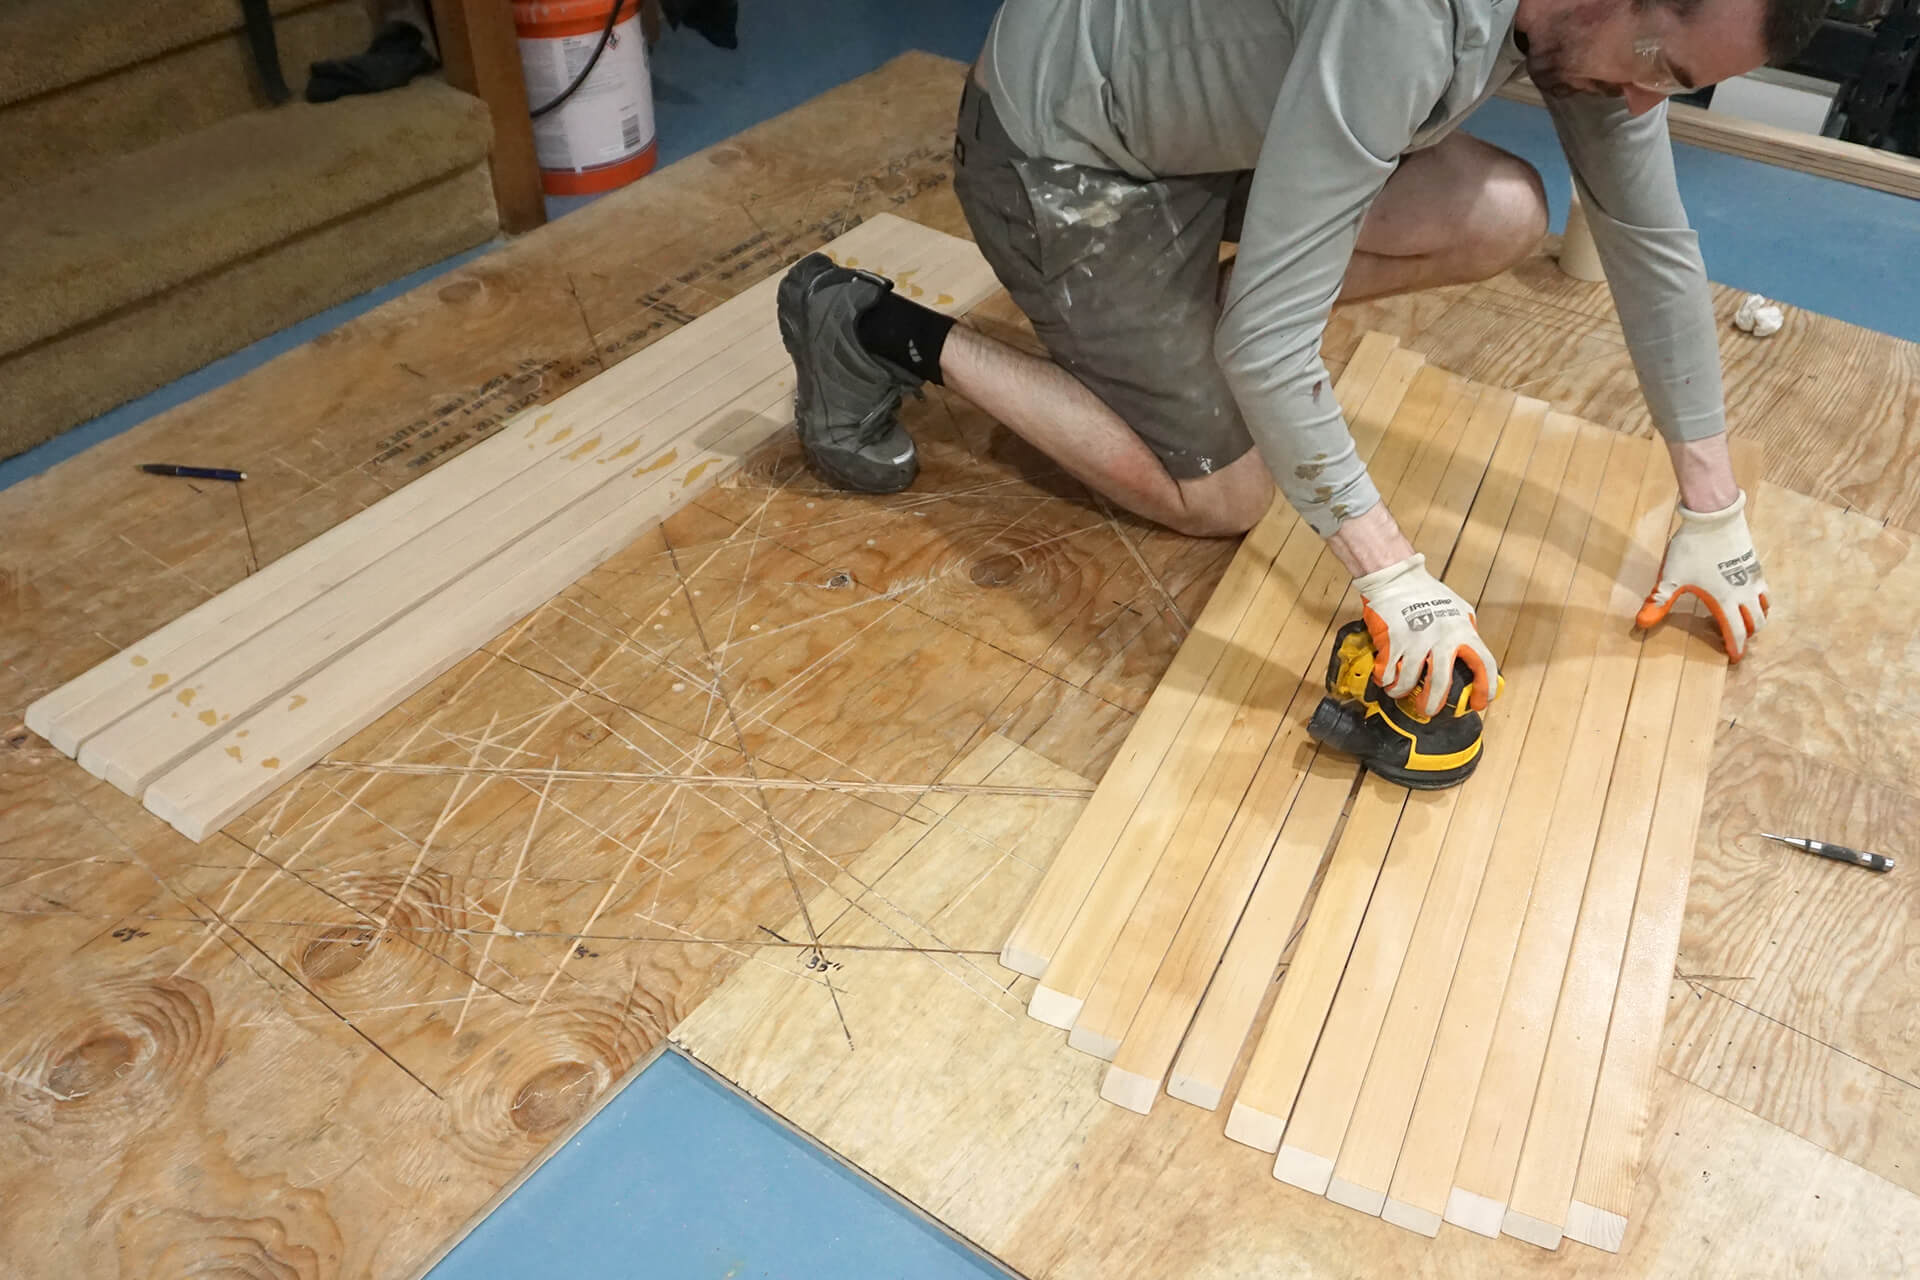
Rip the wood trim that will retain the acrylic from wider hemlock boards, then remove saw marks with an orbital sander.

Round over one skinny side with a router and soften the other edges with 220-grit sandpaper. The rounded side will face outward and the more square side will press against the acrylic.
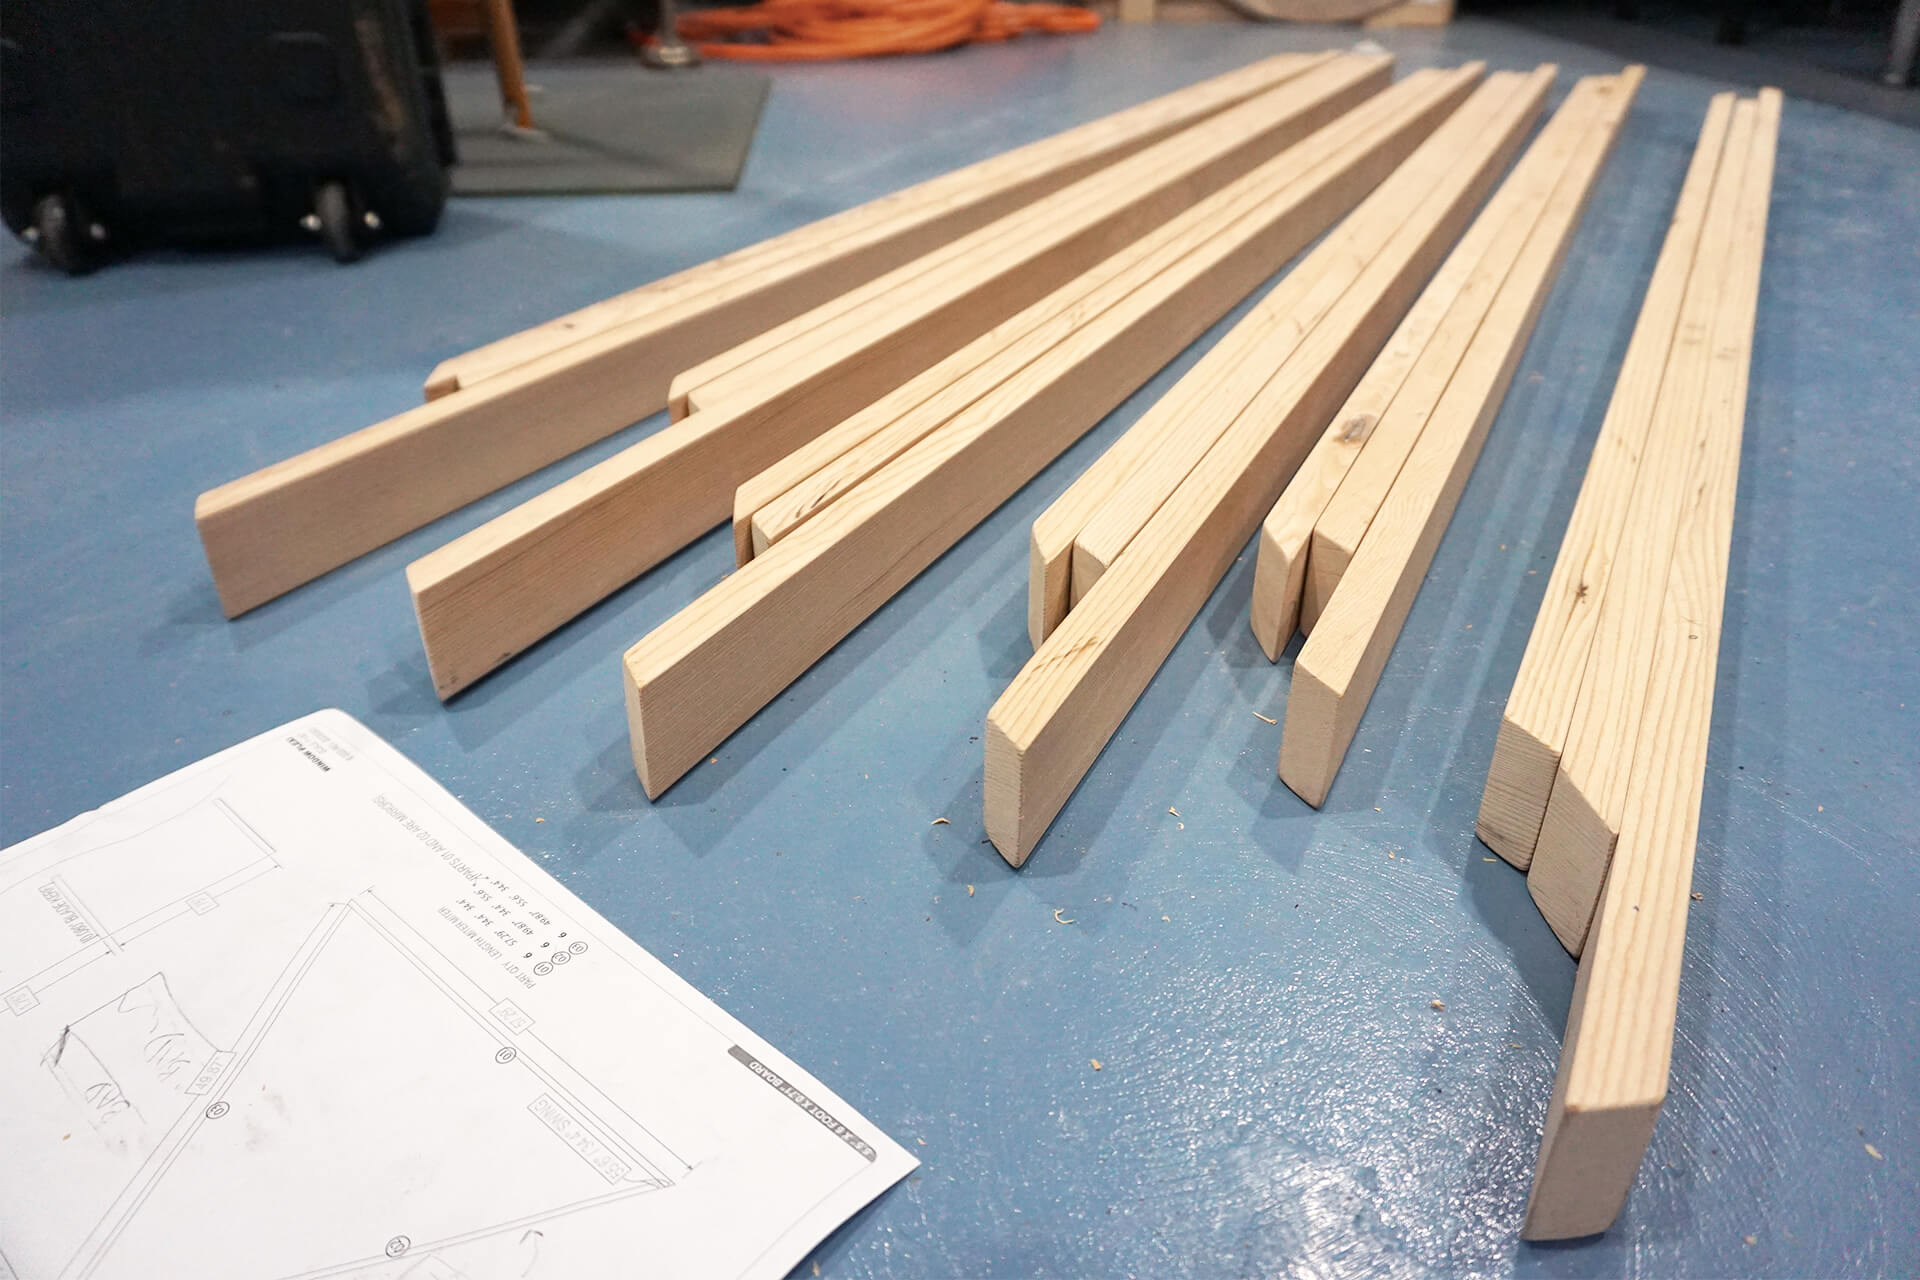
Measure the window bucks, consult the Acrylic Trim drawing, and cut each piece to length.
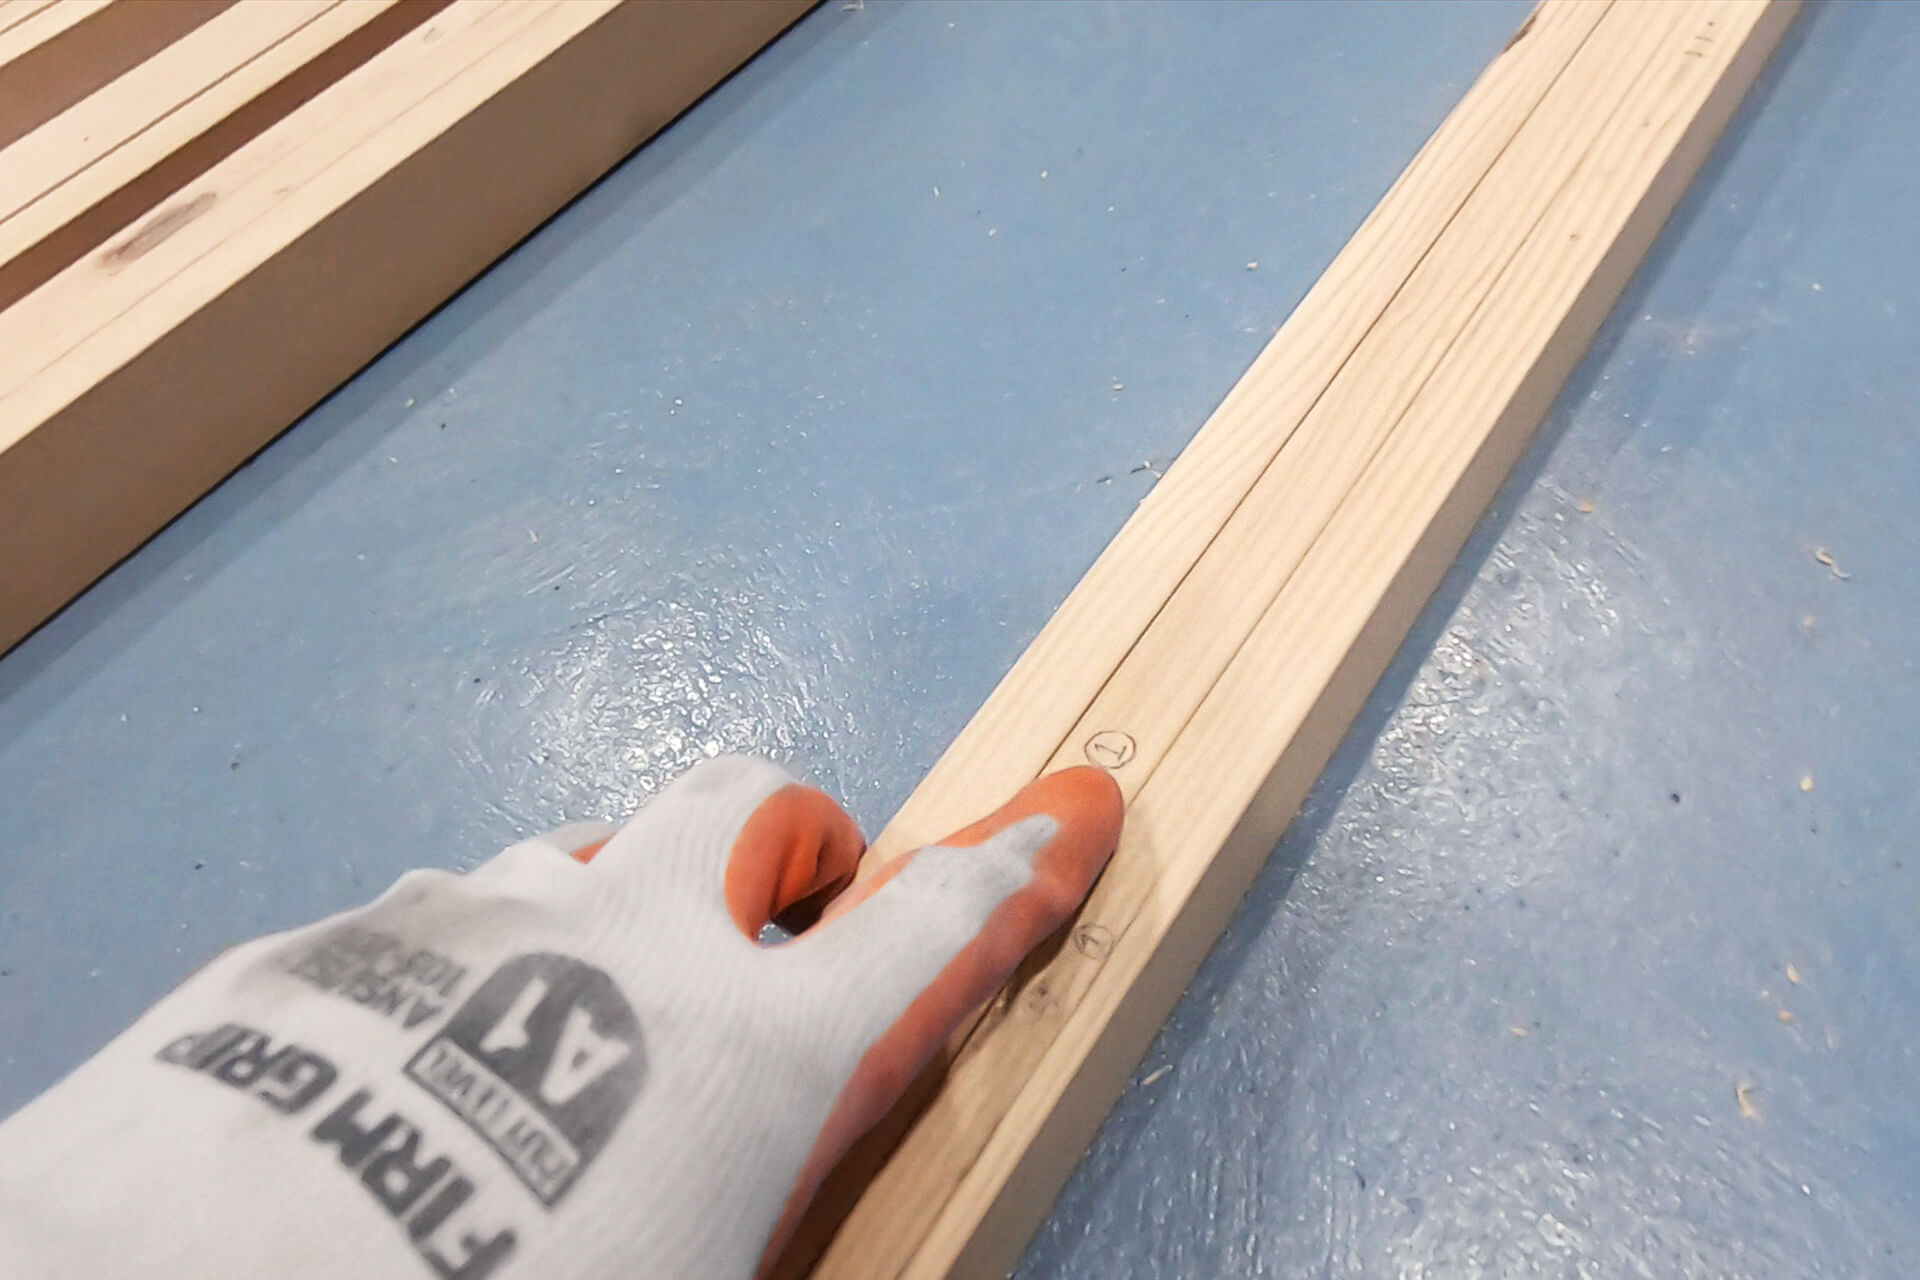
After test fitting, mark each piece (on a hidden surface) so it can be reinstalled in the same location.
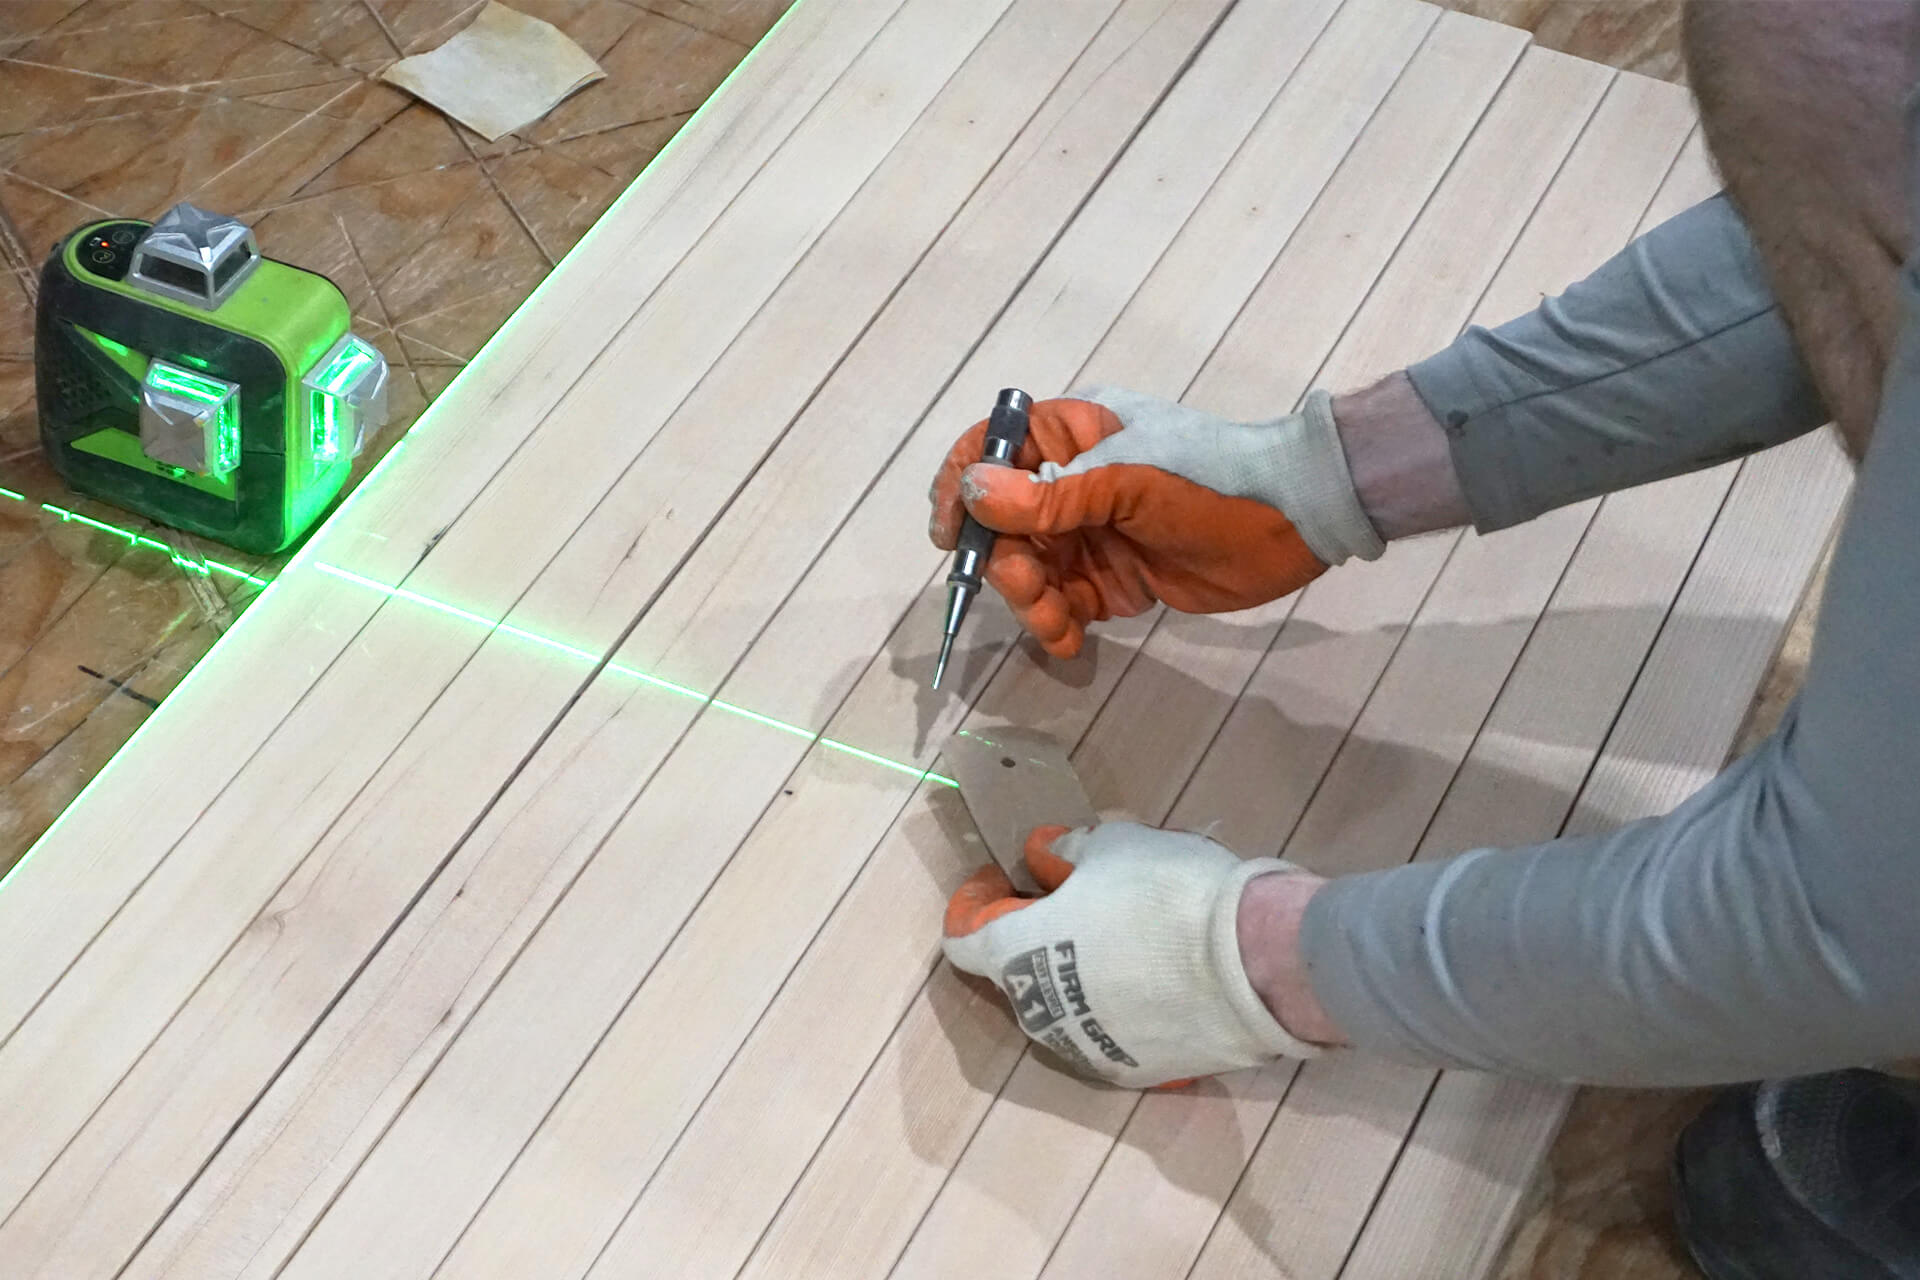
Prep each piece for finish by sanding with 220-grit sandpaper, then center punch with the aid of a jig and laser. Each piece gets three punch locations.
Apply the same wood finish to all surfaces of the trim. Odie’s Oil is shown here.
Next Step