
Kitchenette – Sink

Tape off around the sink cutting area to prevent countertop scratches. Mark the cut line on top of the tape.

Begin cutting along the marked line with a jigsaw.
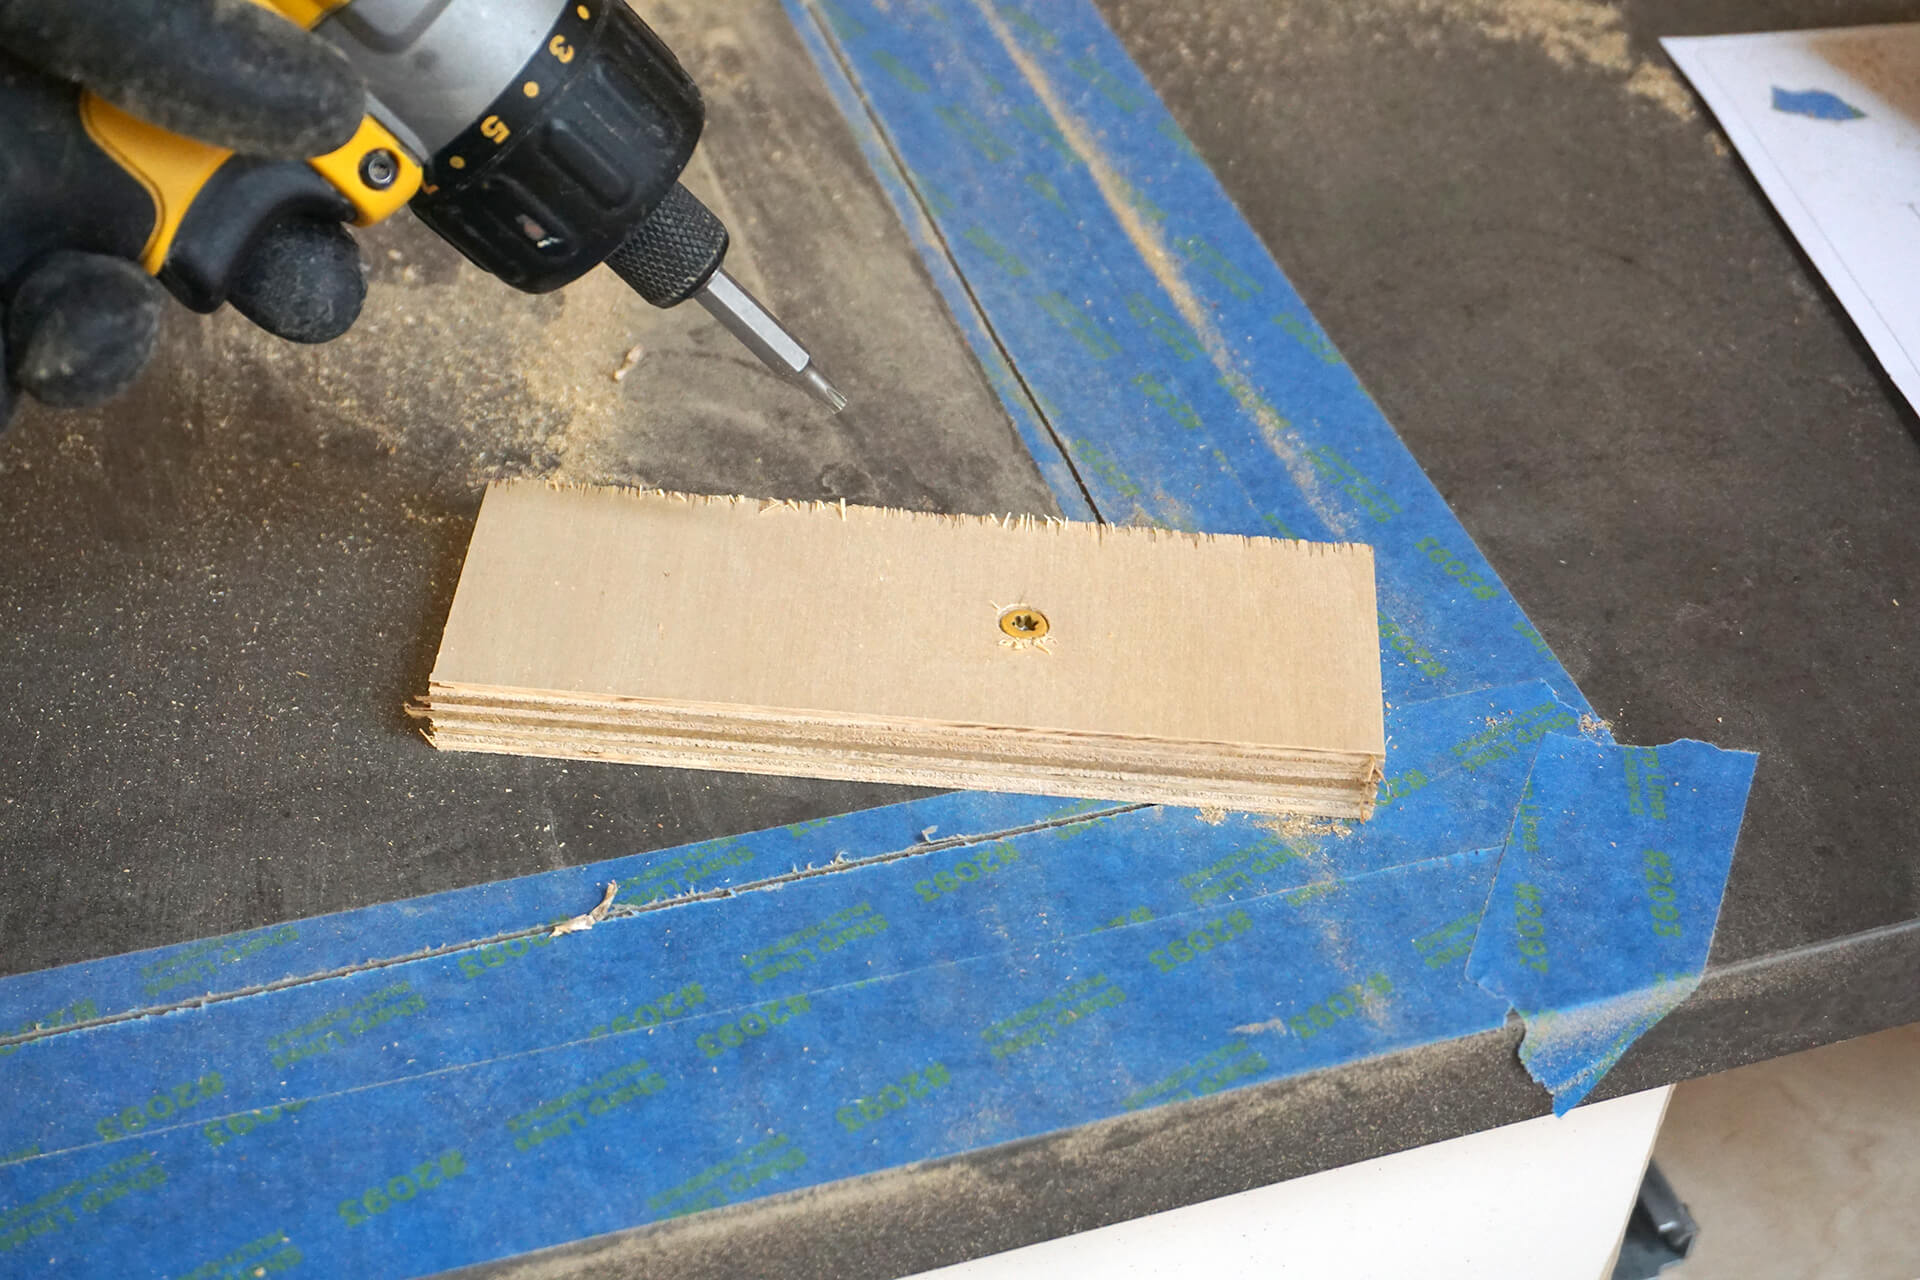
Stop cutting after each corner and screw in a scrap piece of wood to support the cutout and prevent it from falling through.
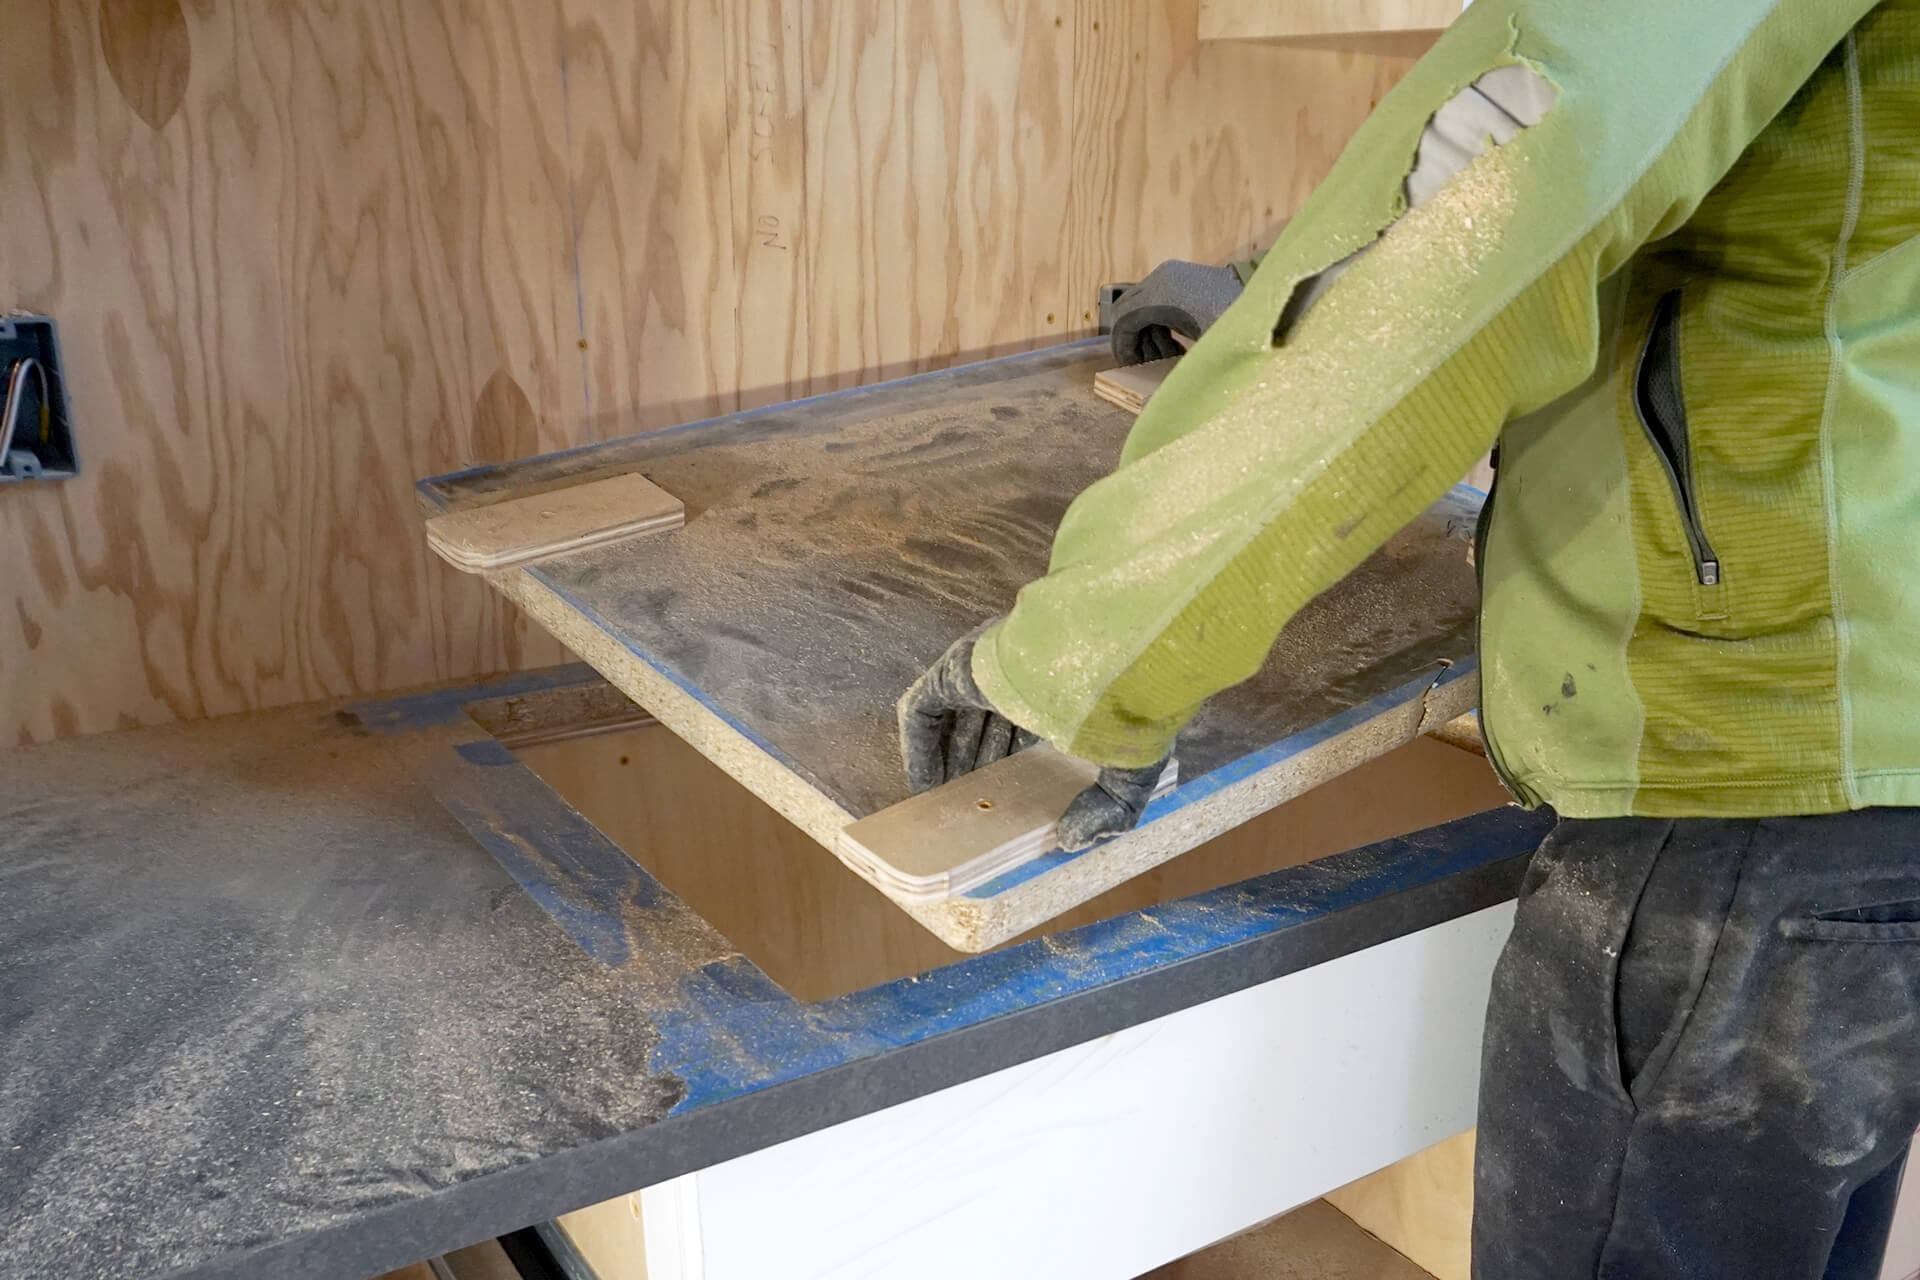
Finish cutting and lift out the cut piece.
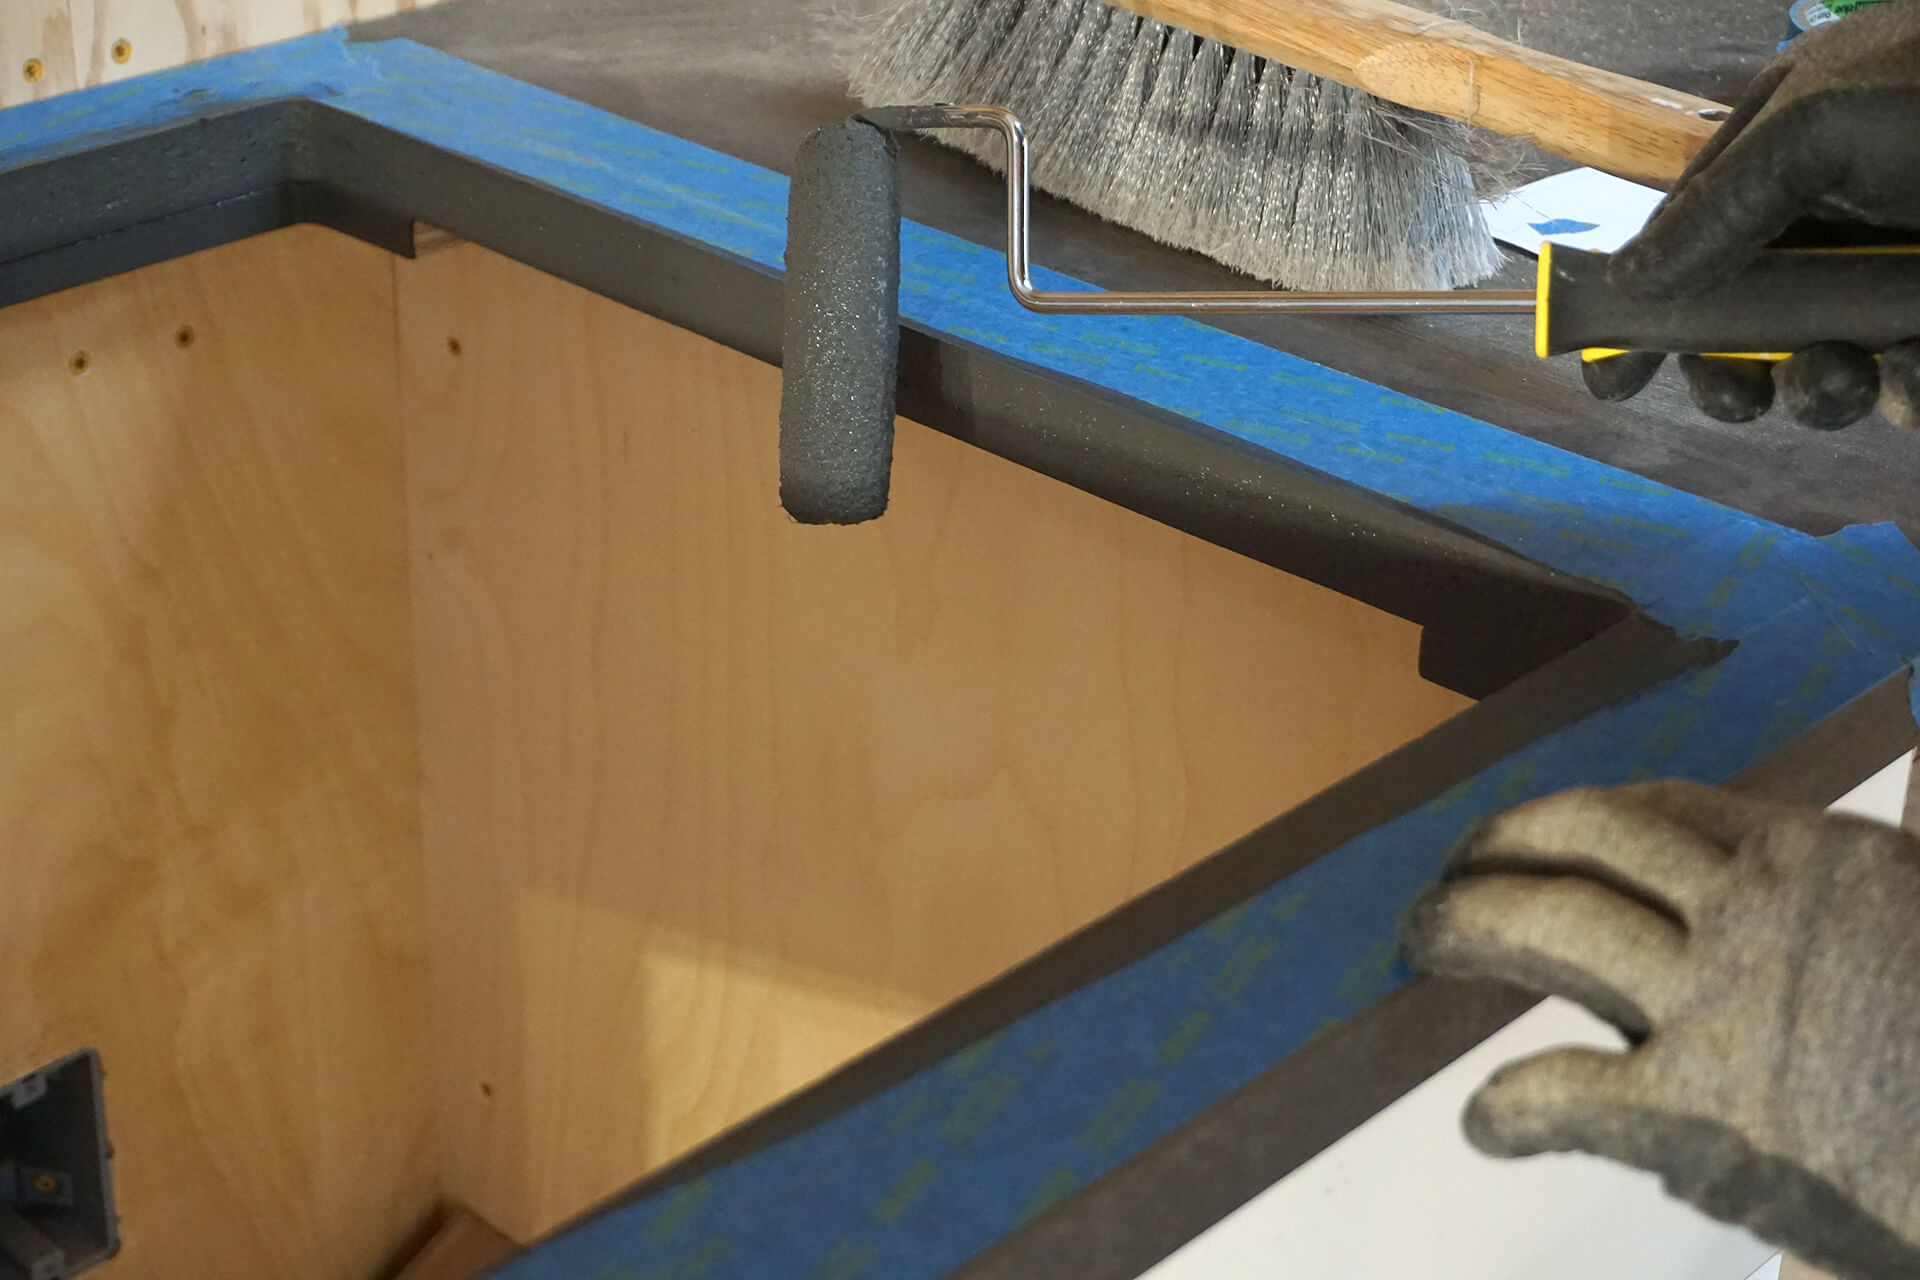
While the tape is still in place, seal the cut edge with paint to prevent future moisture absorption. The paint color does not matter, as this edge will be hidden beneath the sink.
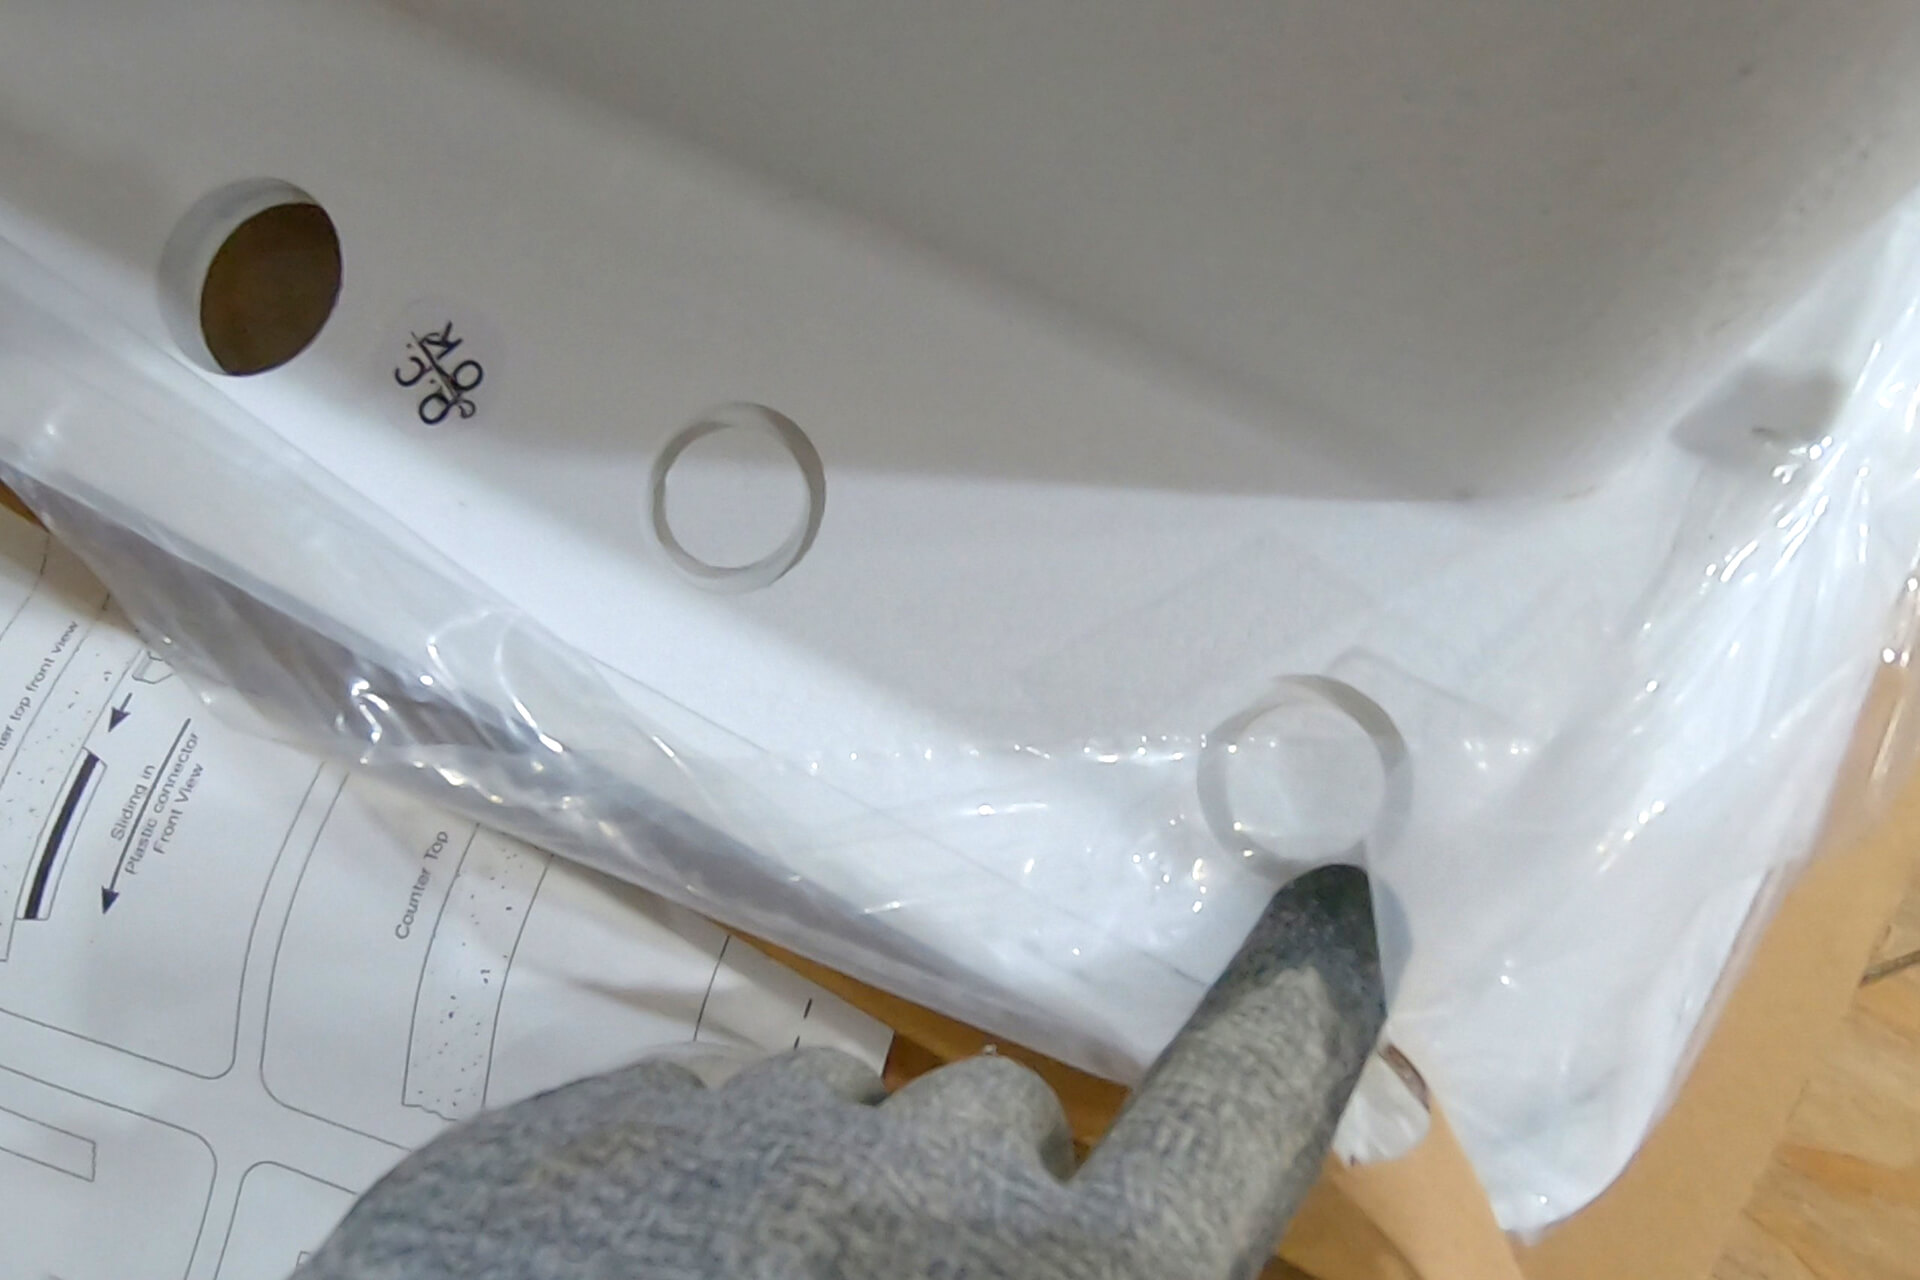
The sink comes with one pre-cut faucet hole and additional knockouts for optional accessories. One will be used for a soap dispenser, another for a filtered water dispenser.
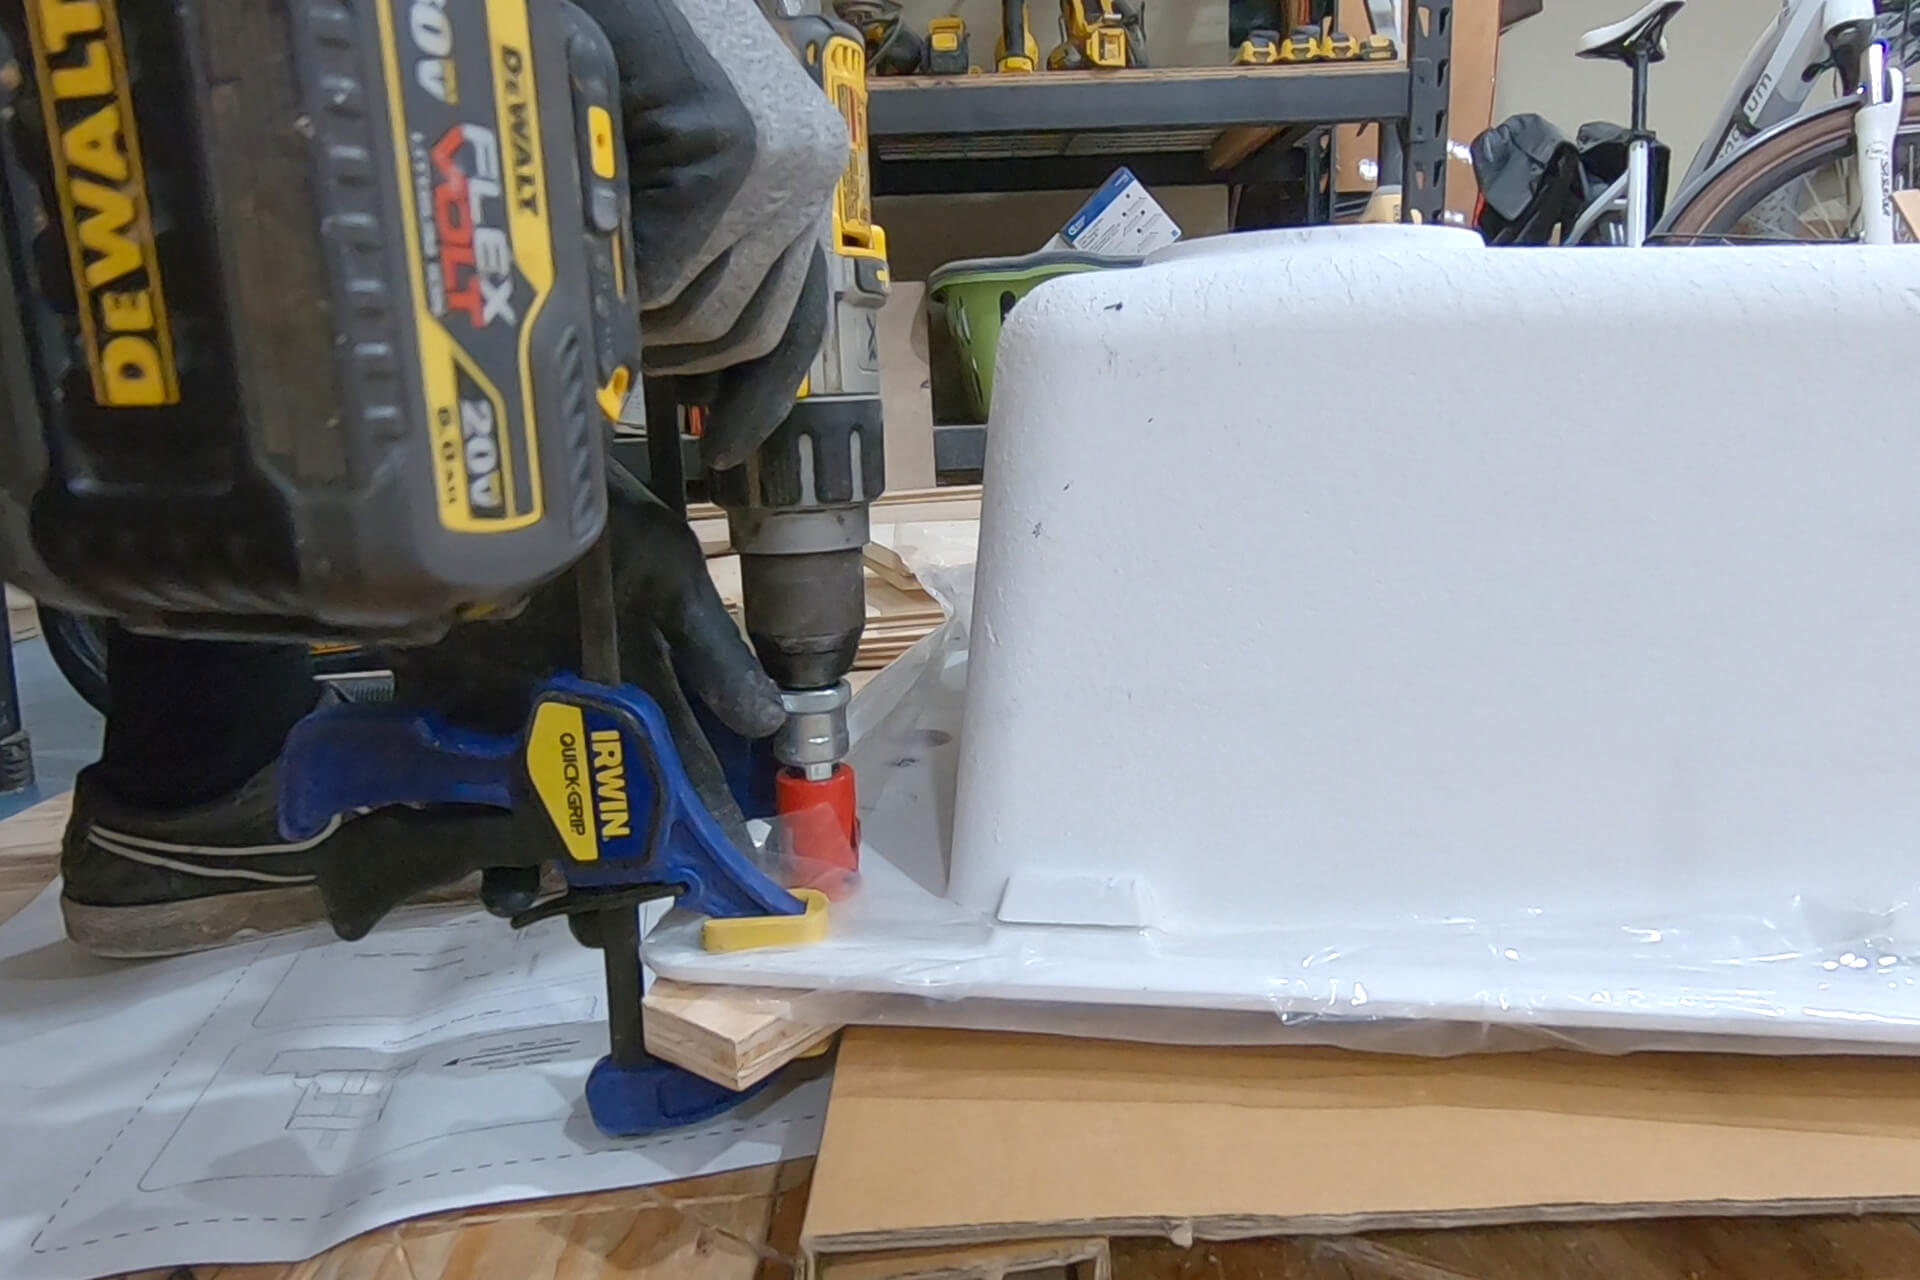
To cut the optional holes, clamp a scrap piece of wood to the backside to prevent chipout, then cut from behind using a 1-1/8” diamond hole saw.
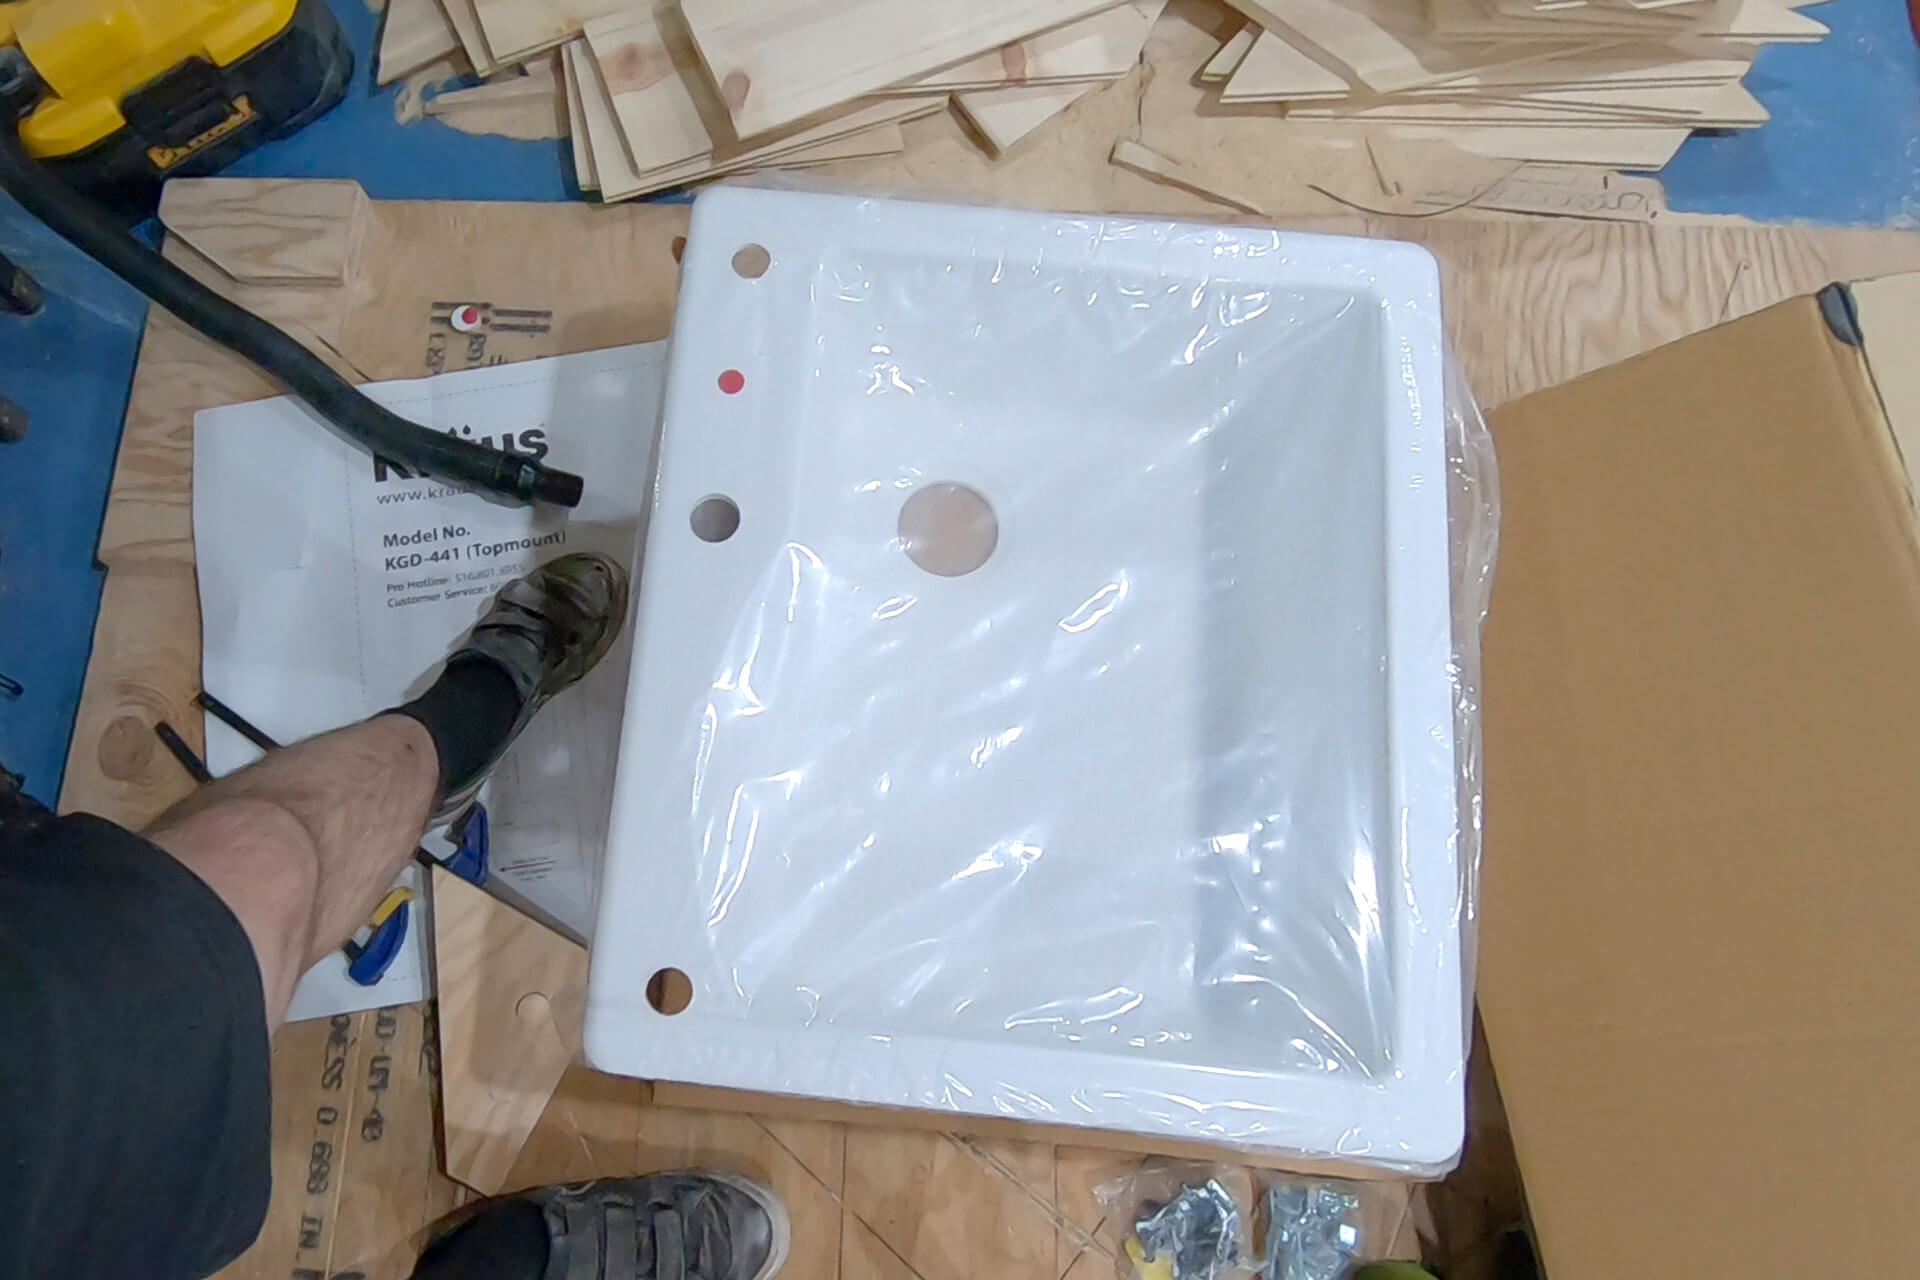
Detail shot showing the two optional holes cut out. Note: Many hole saws make oversized cuts, so a slightly undersized bit was used to reach a target diameter of ~1.20”.
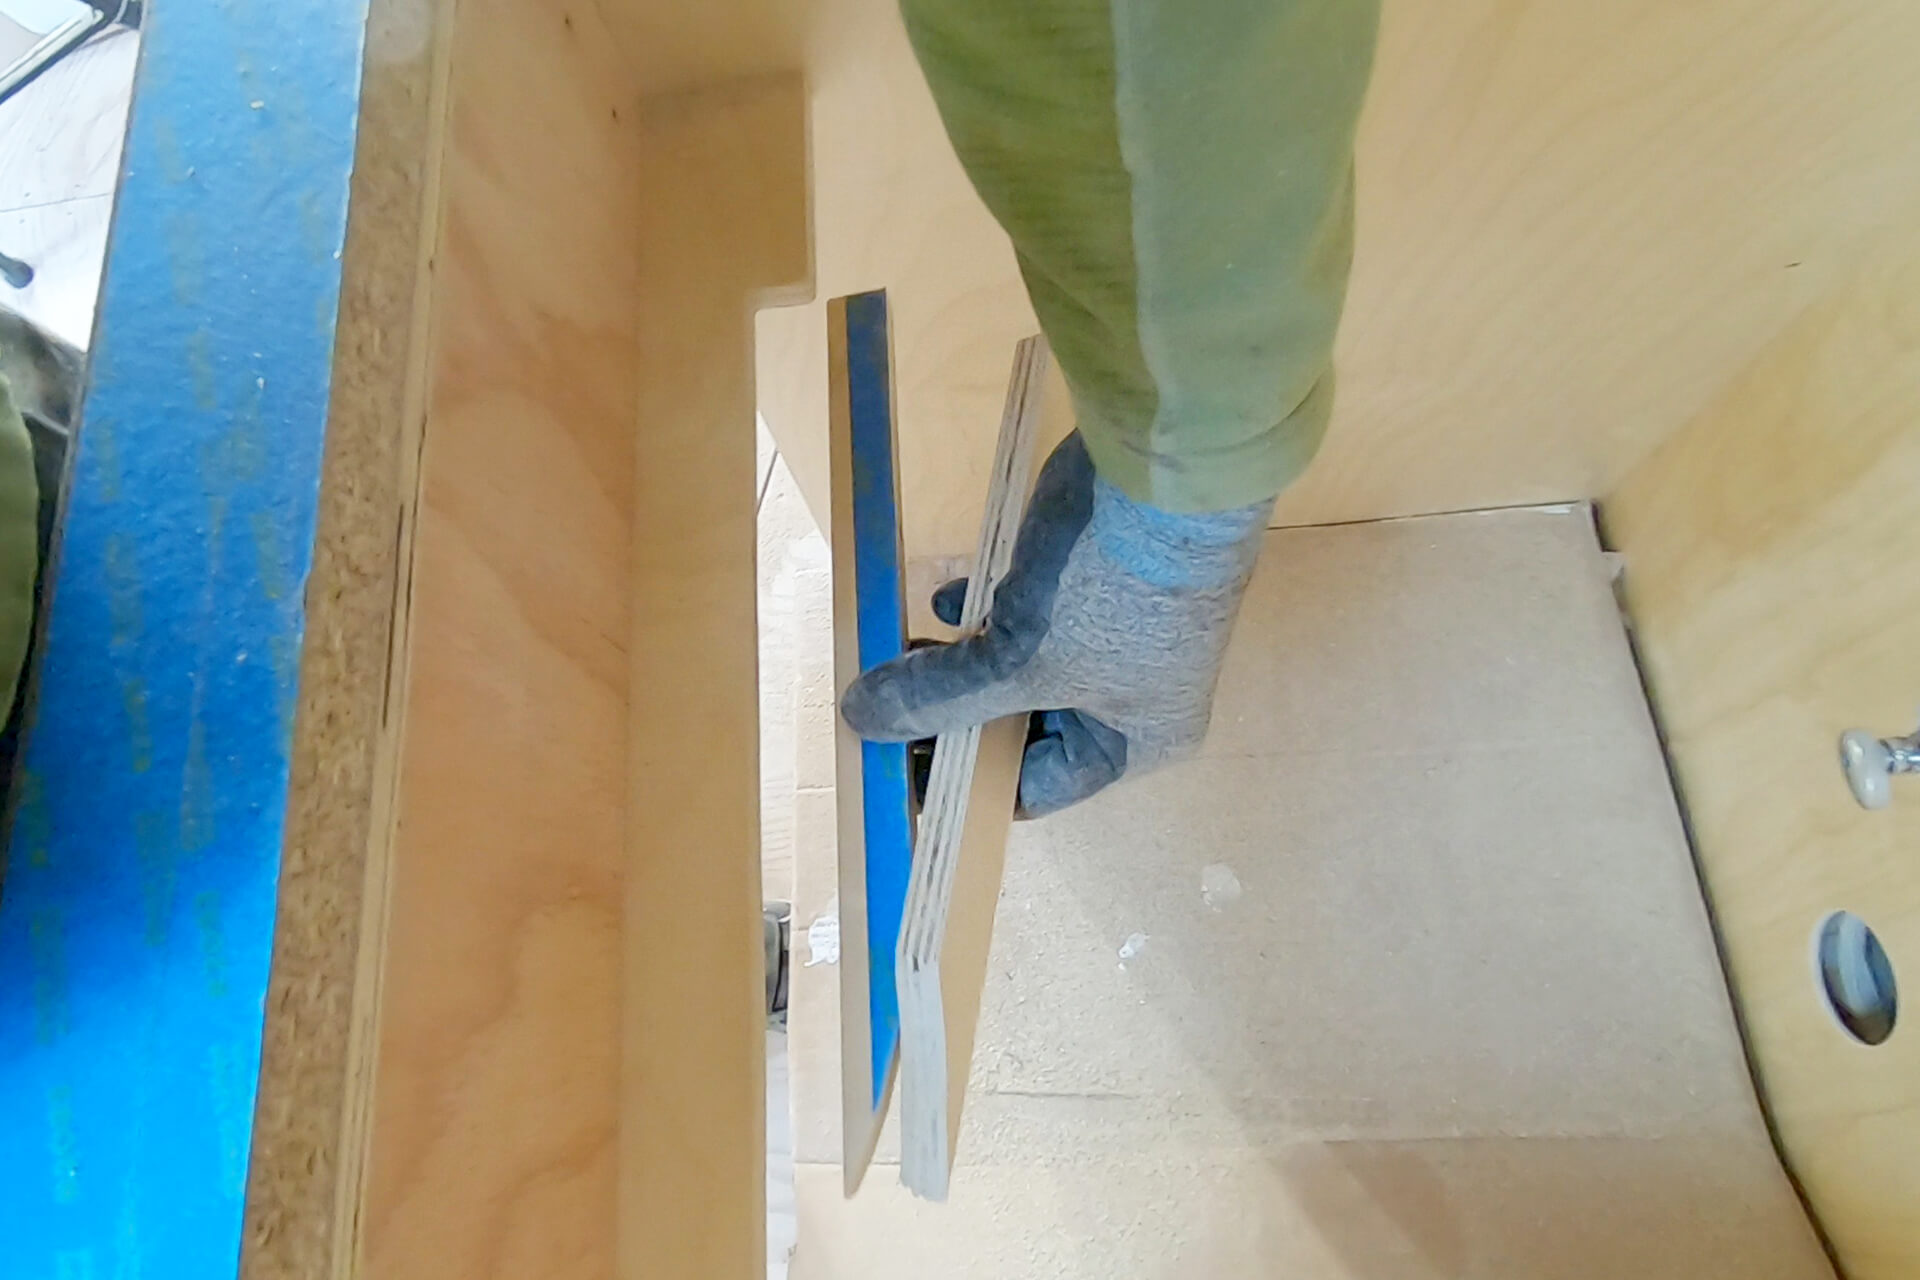
Trim additional cabinet plywood as needed to ensure the sink has enough clearance for its lip to rest entirely on the countertop.
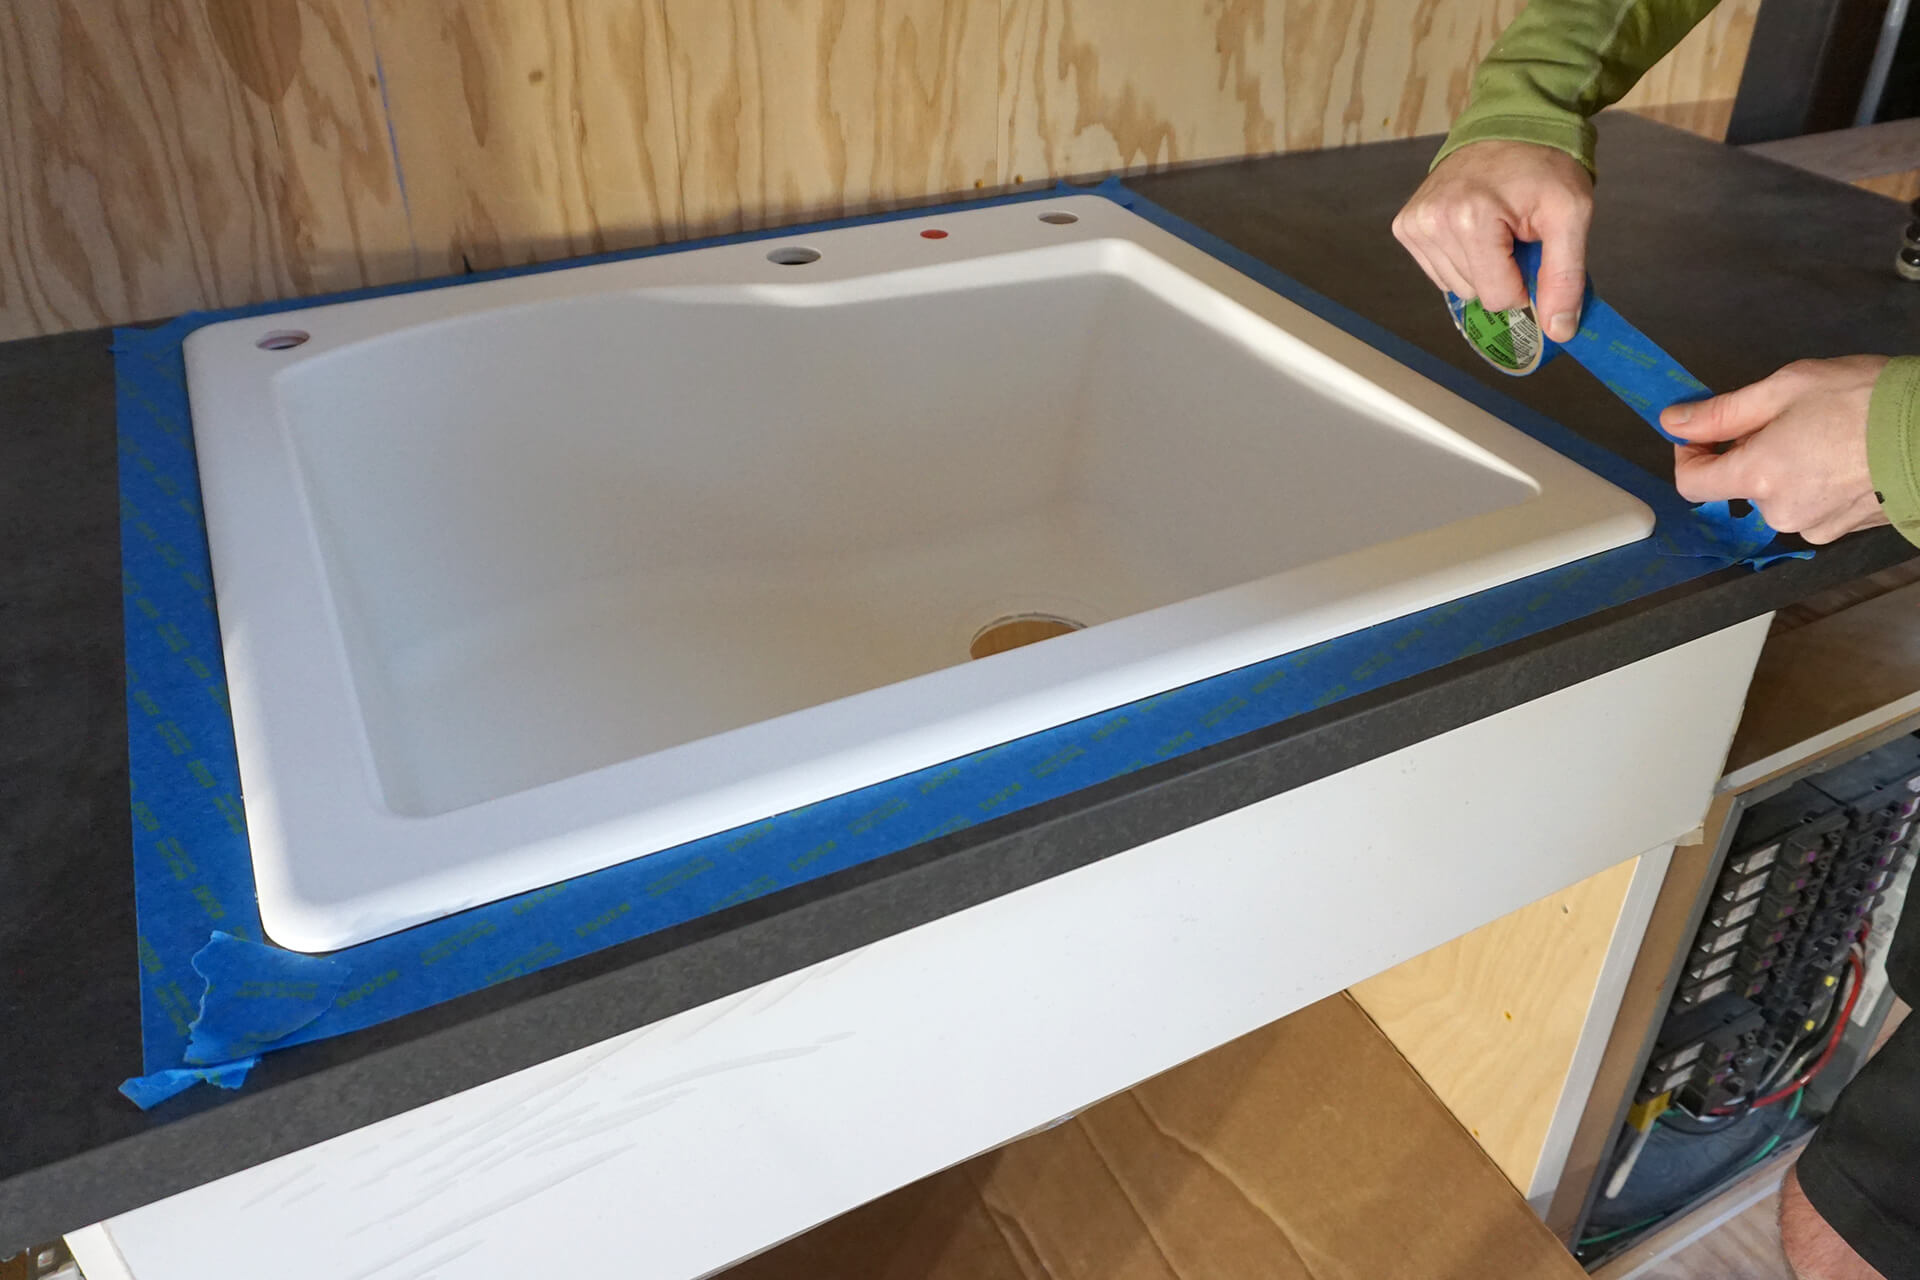
Dry fit the sink into its perfect location and tape along the perimeter. The tape marks the final placement and protects the countertop from excess silicone.
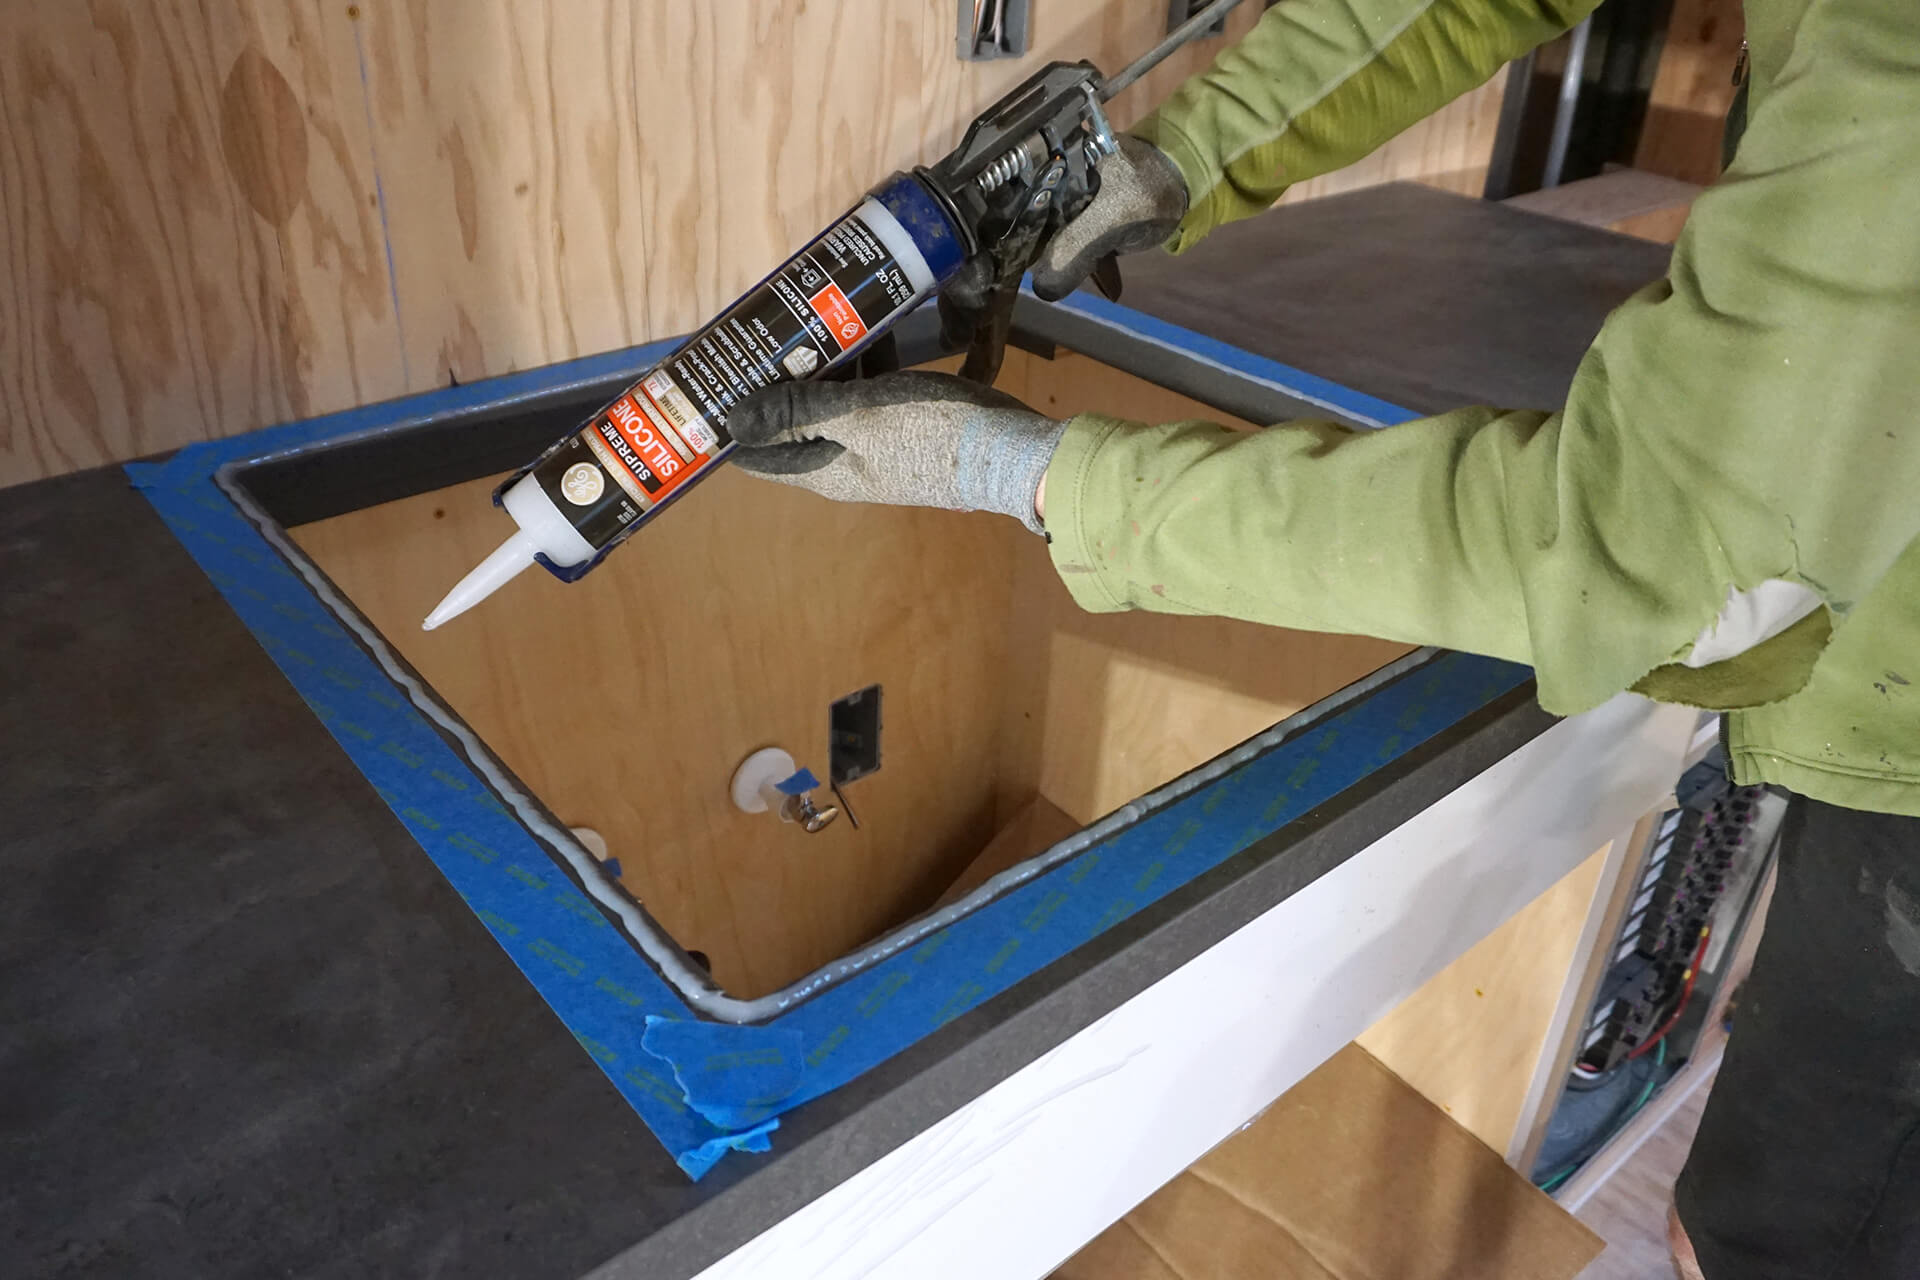
Remove the sink and apply clear silicone around the perimeter for a permanent installation. GE Supreme Silicone Kitchen and Bath shown here.
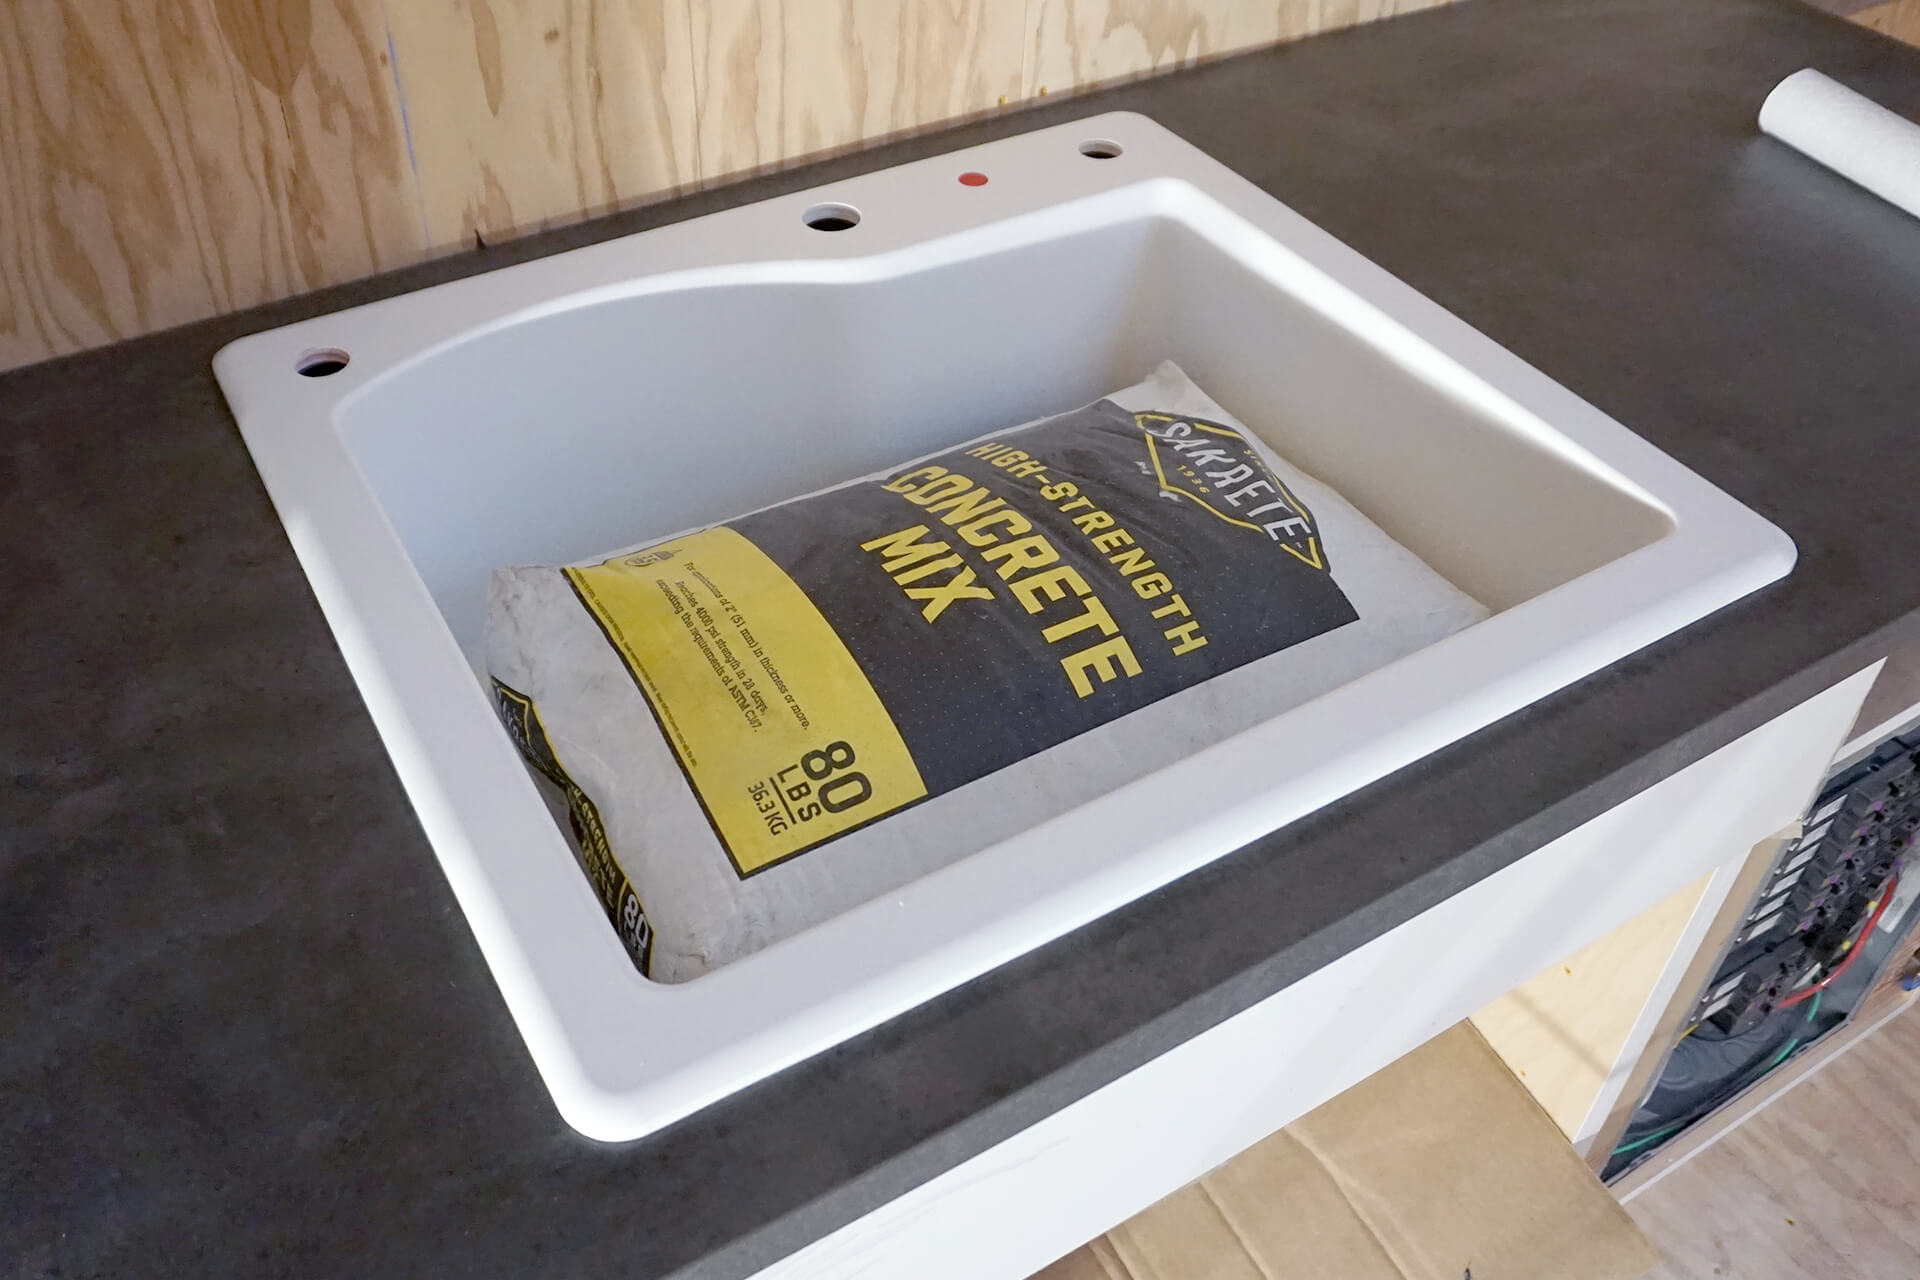
Place the sink firmly into position, squeezing out the silicone. Weight the sink to prevent movement. Wipe off excess silicone, remove the tape, and wipe again for a clean installation.
Next Step