Kitchenette – Utility Doors
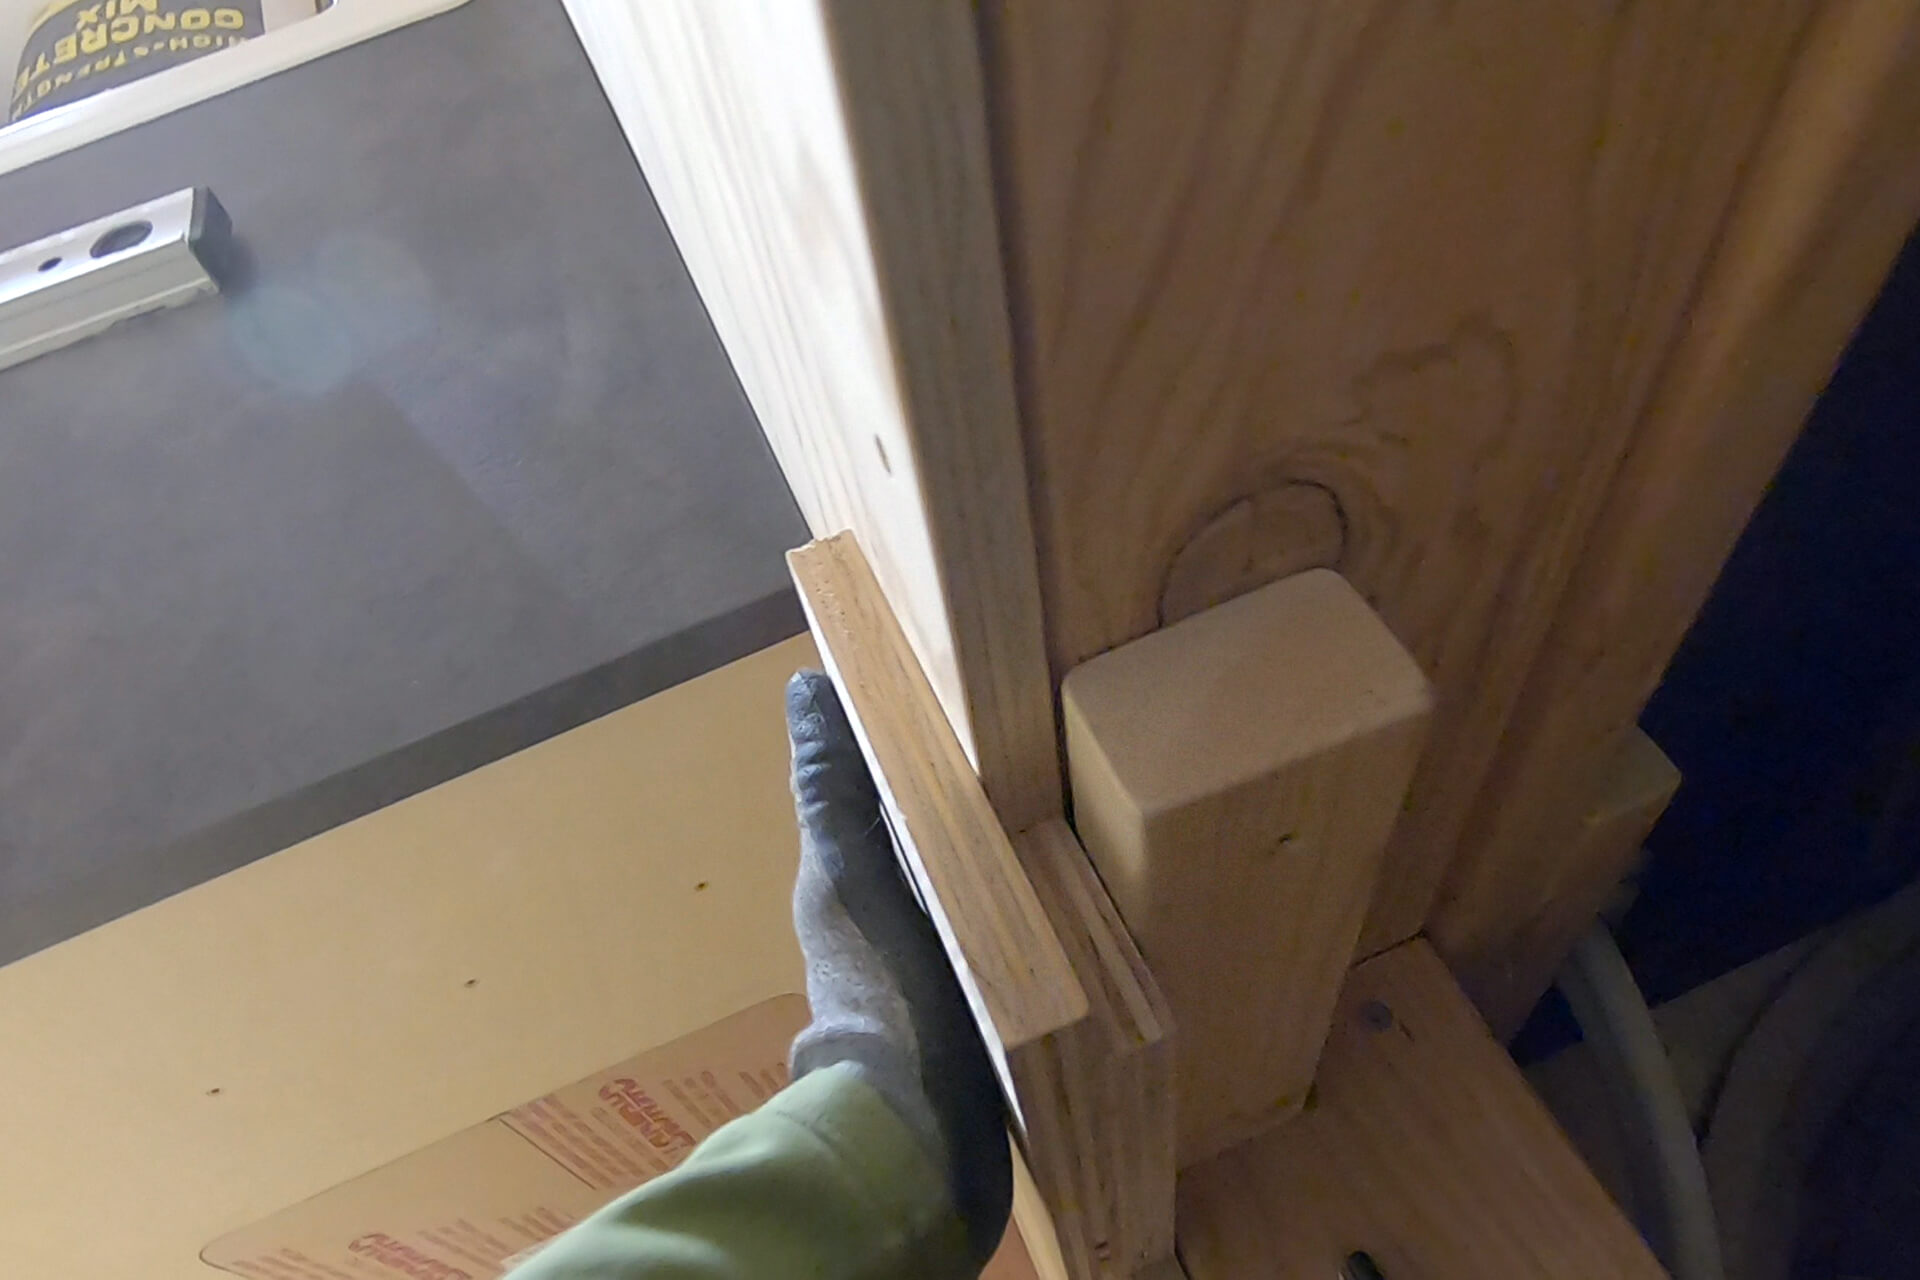
Mount blocking at each corner of the utility closet opening. Use a spacer jig made from scrap plywood to ensure the blocking is mounted at the correct depth.
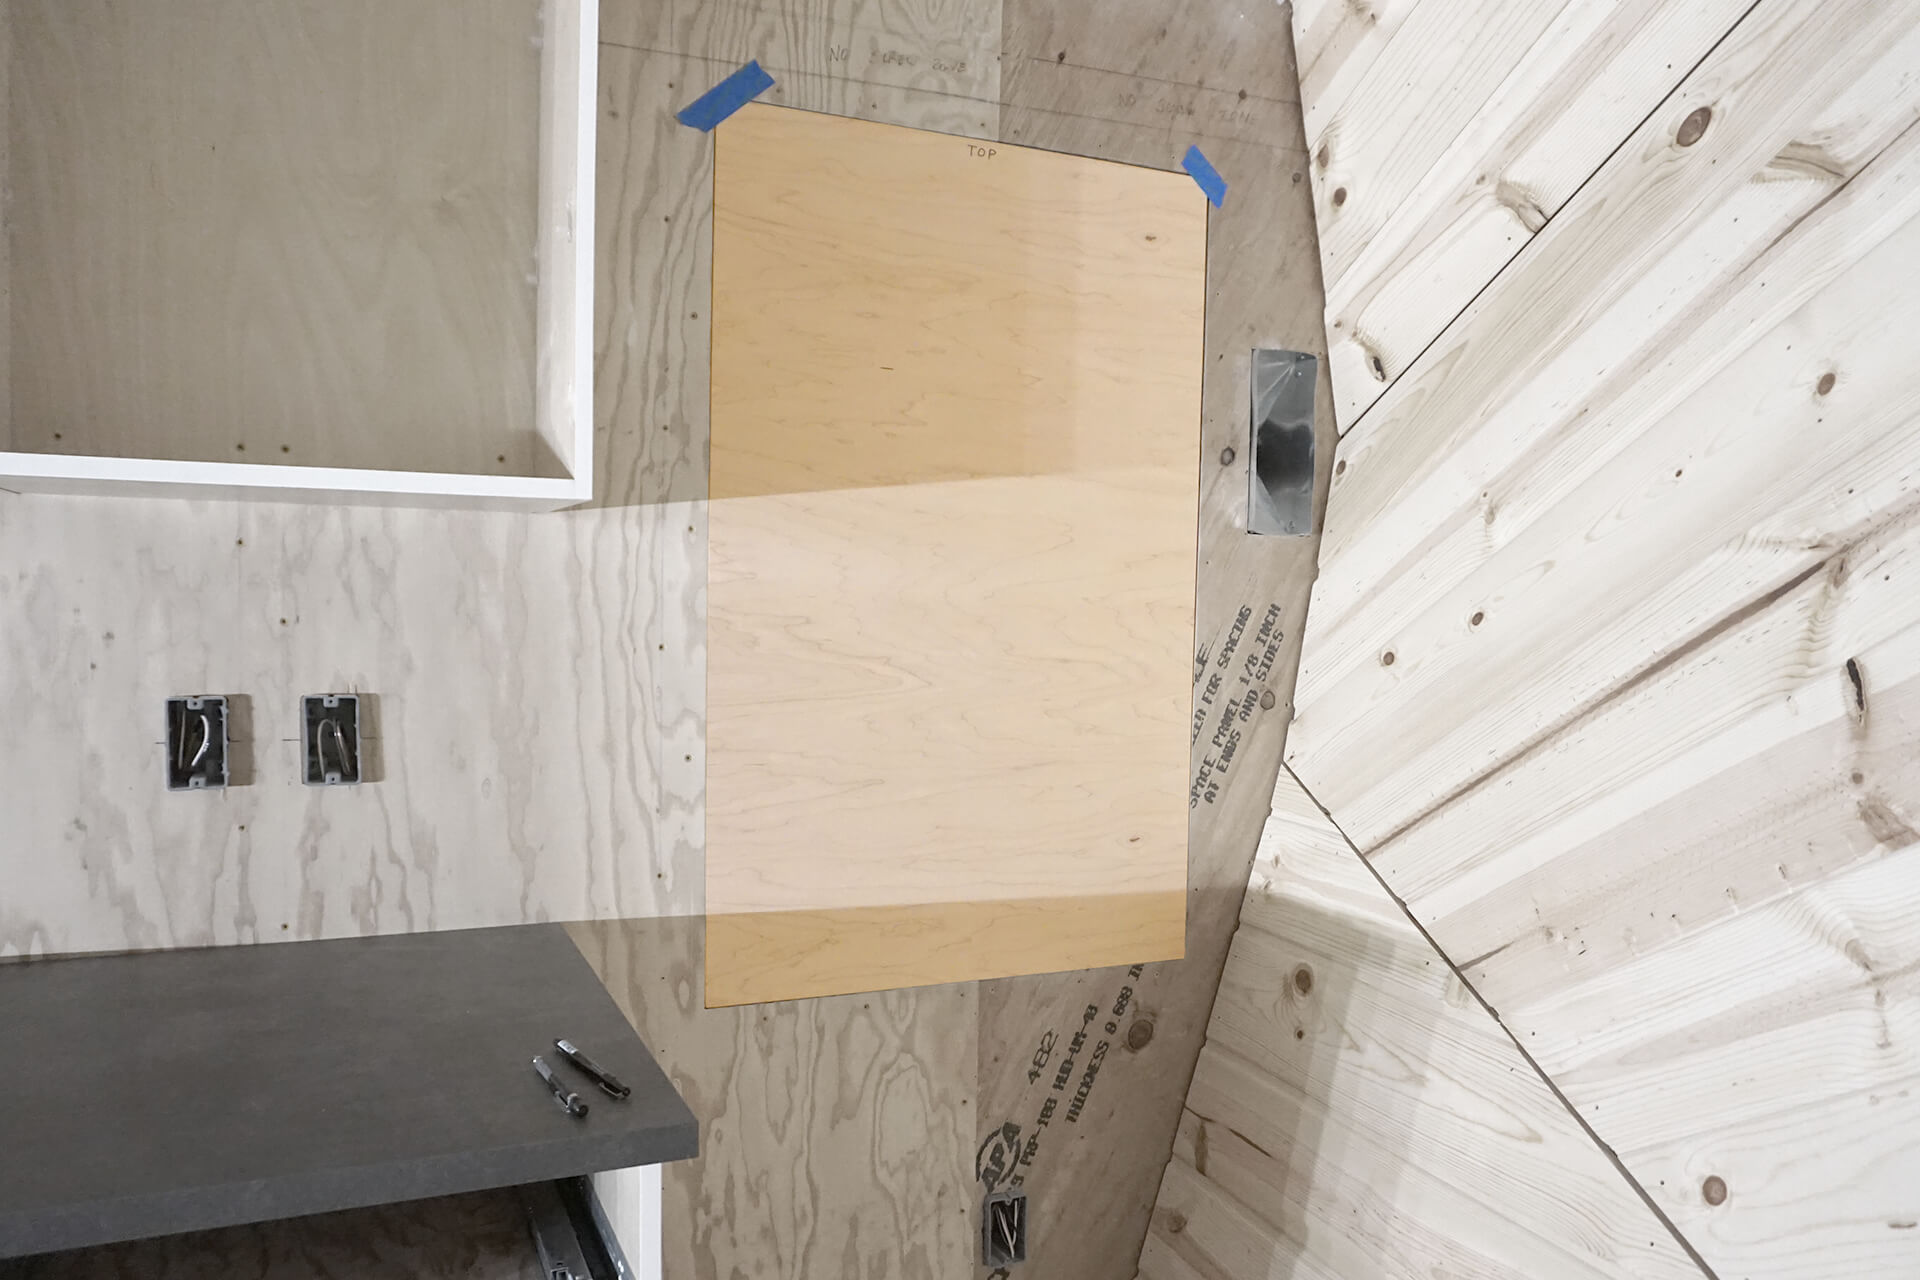
Cut the kitchenette utility door from high-grade plywood. It should fit nicely with a small tolerance gap and sit flush with the existing wall surface when pressed against the blocking.
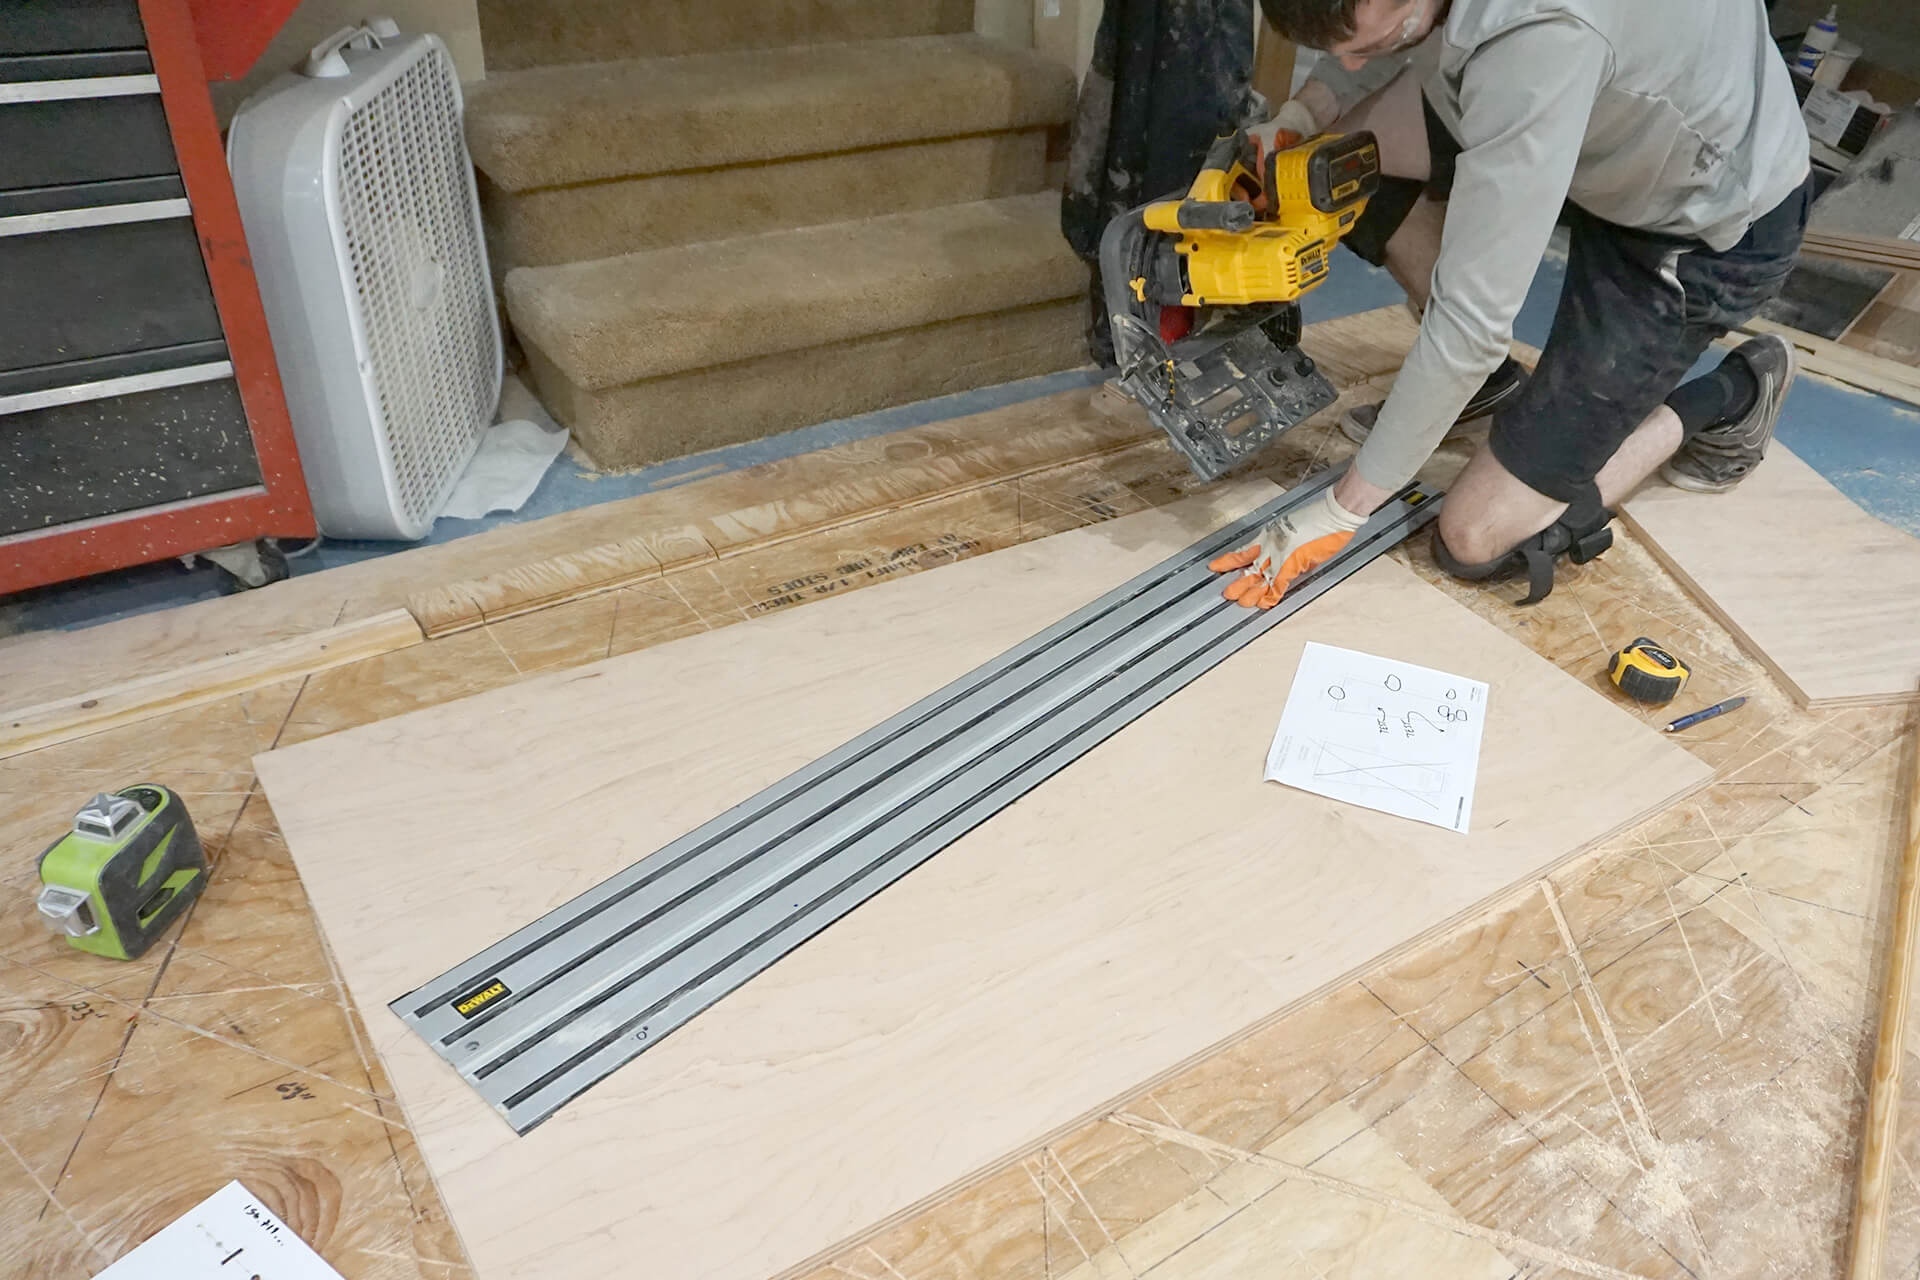
Cut the bathroom utility door, which is a more complex shape. One edge has a compound angle that requires tilting the track saw base plate.
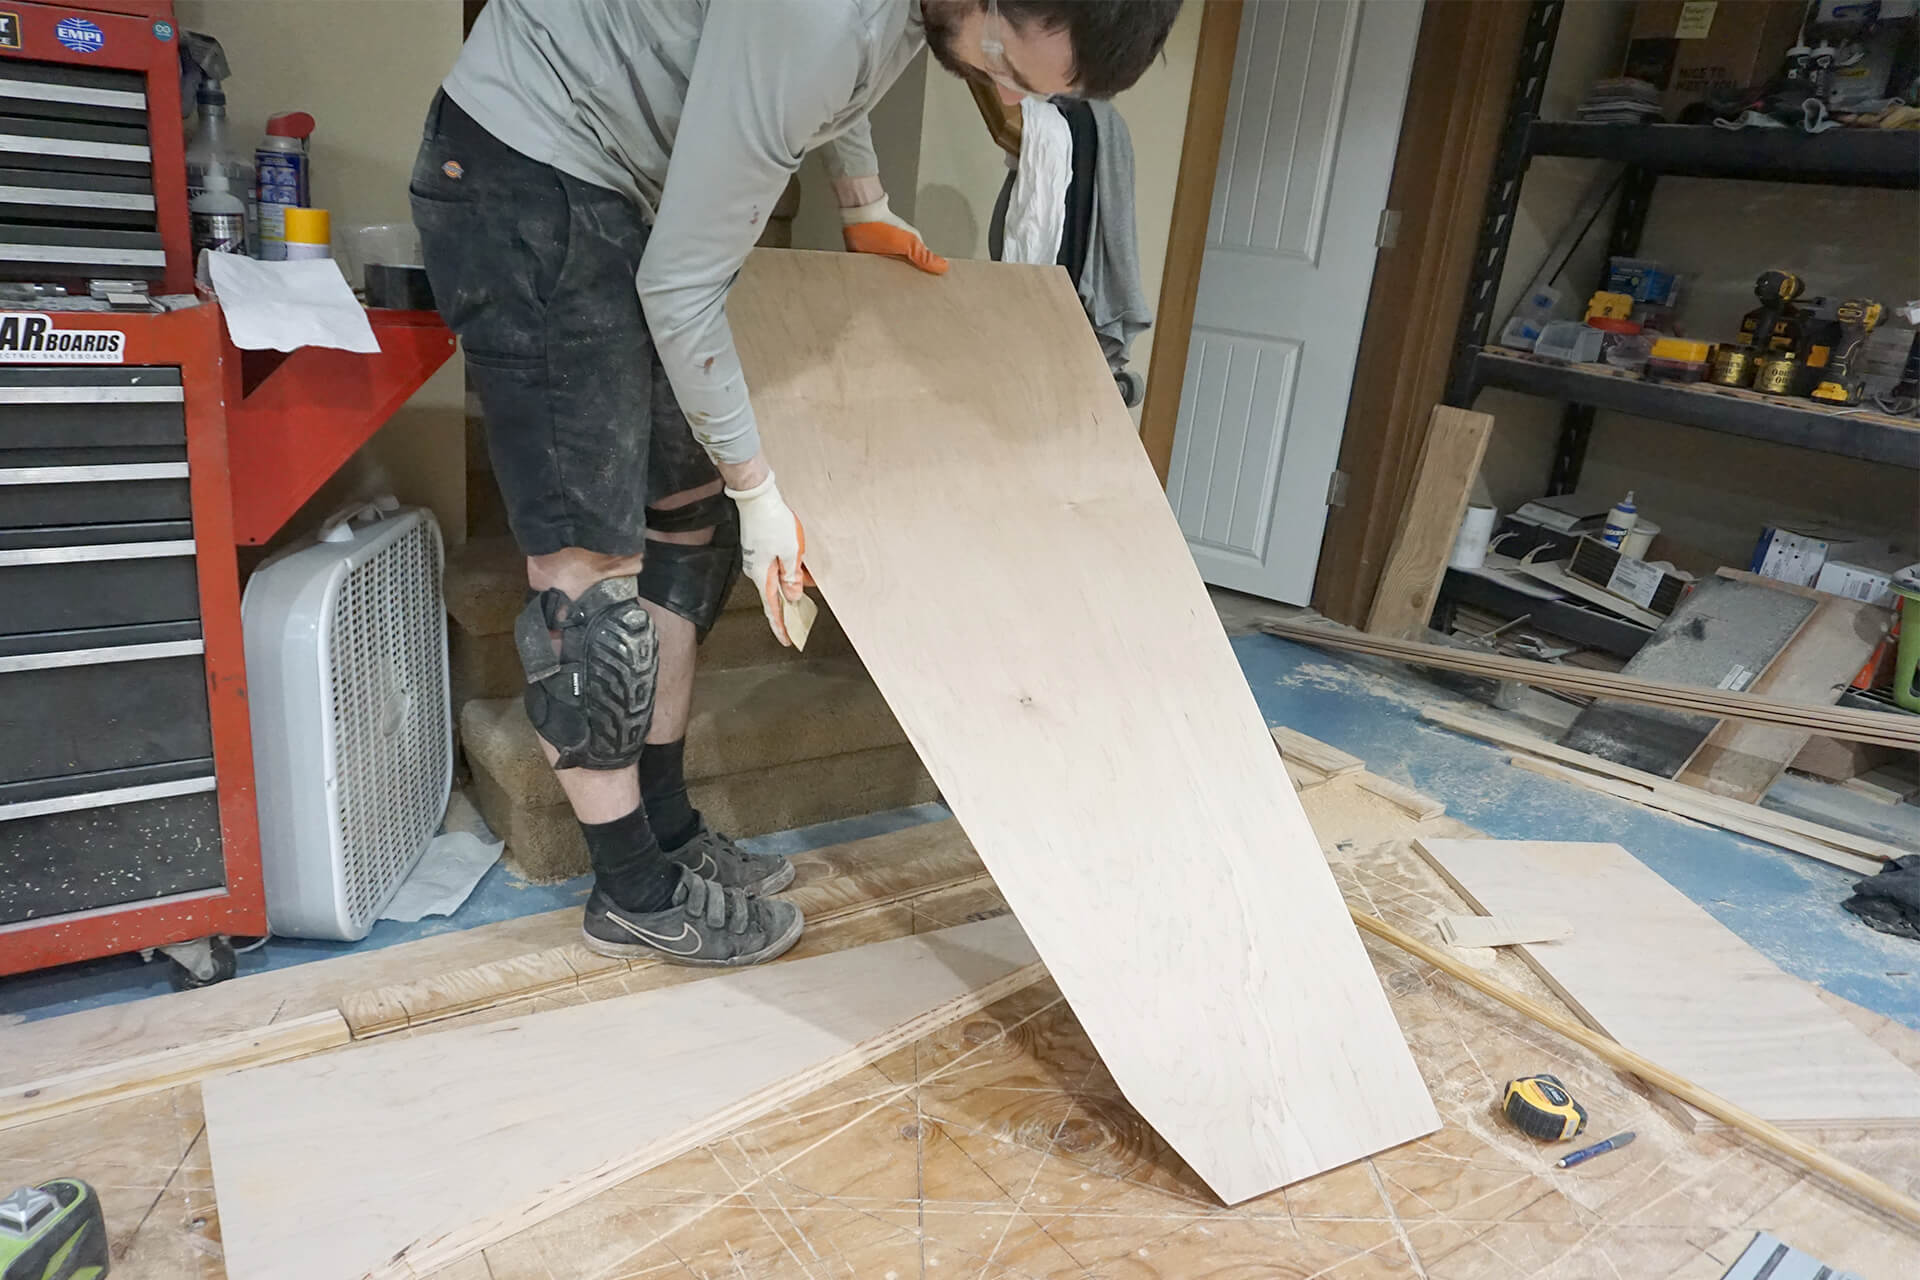
Debur and soften all edges with sandpaper. Test fit and modify repeatedly until the fits nicely with a small tolerance gap.
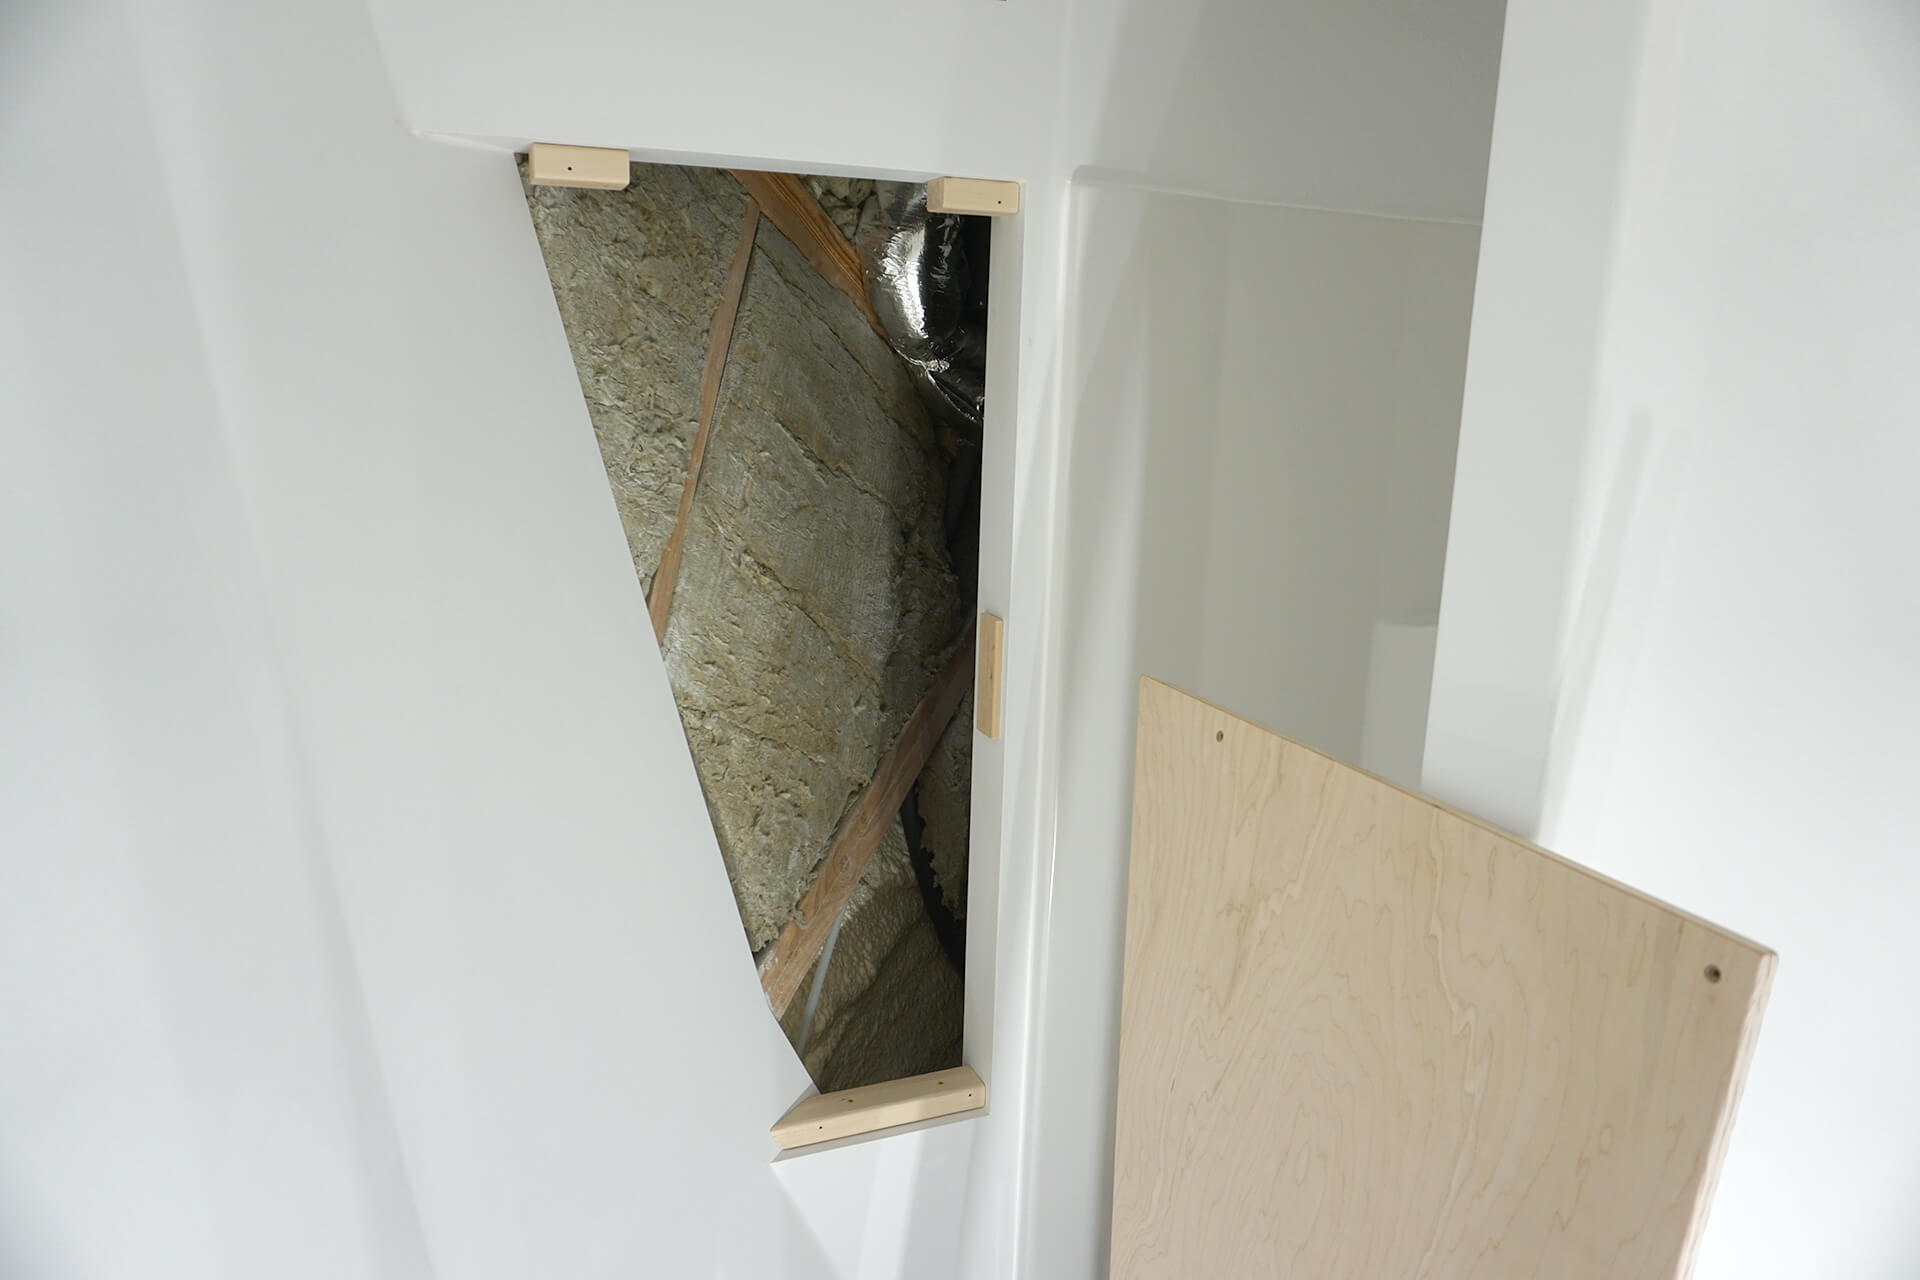
Mount blocking using the same spacer jig to ensure correct depth. Pre-drill and countersink fastener locations through the door into the blocking.
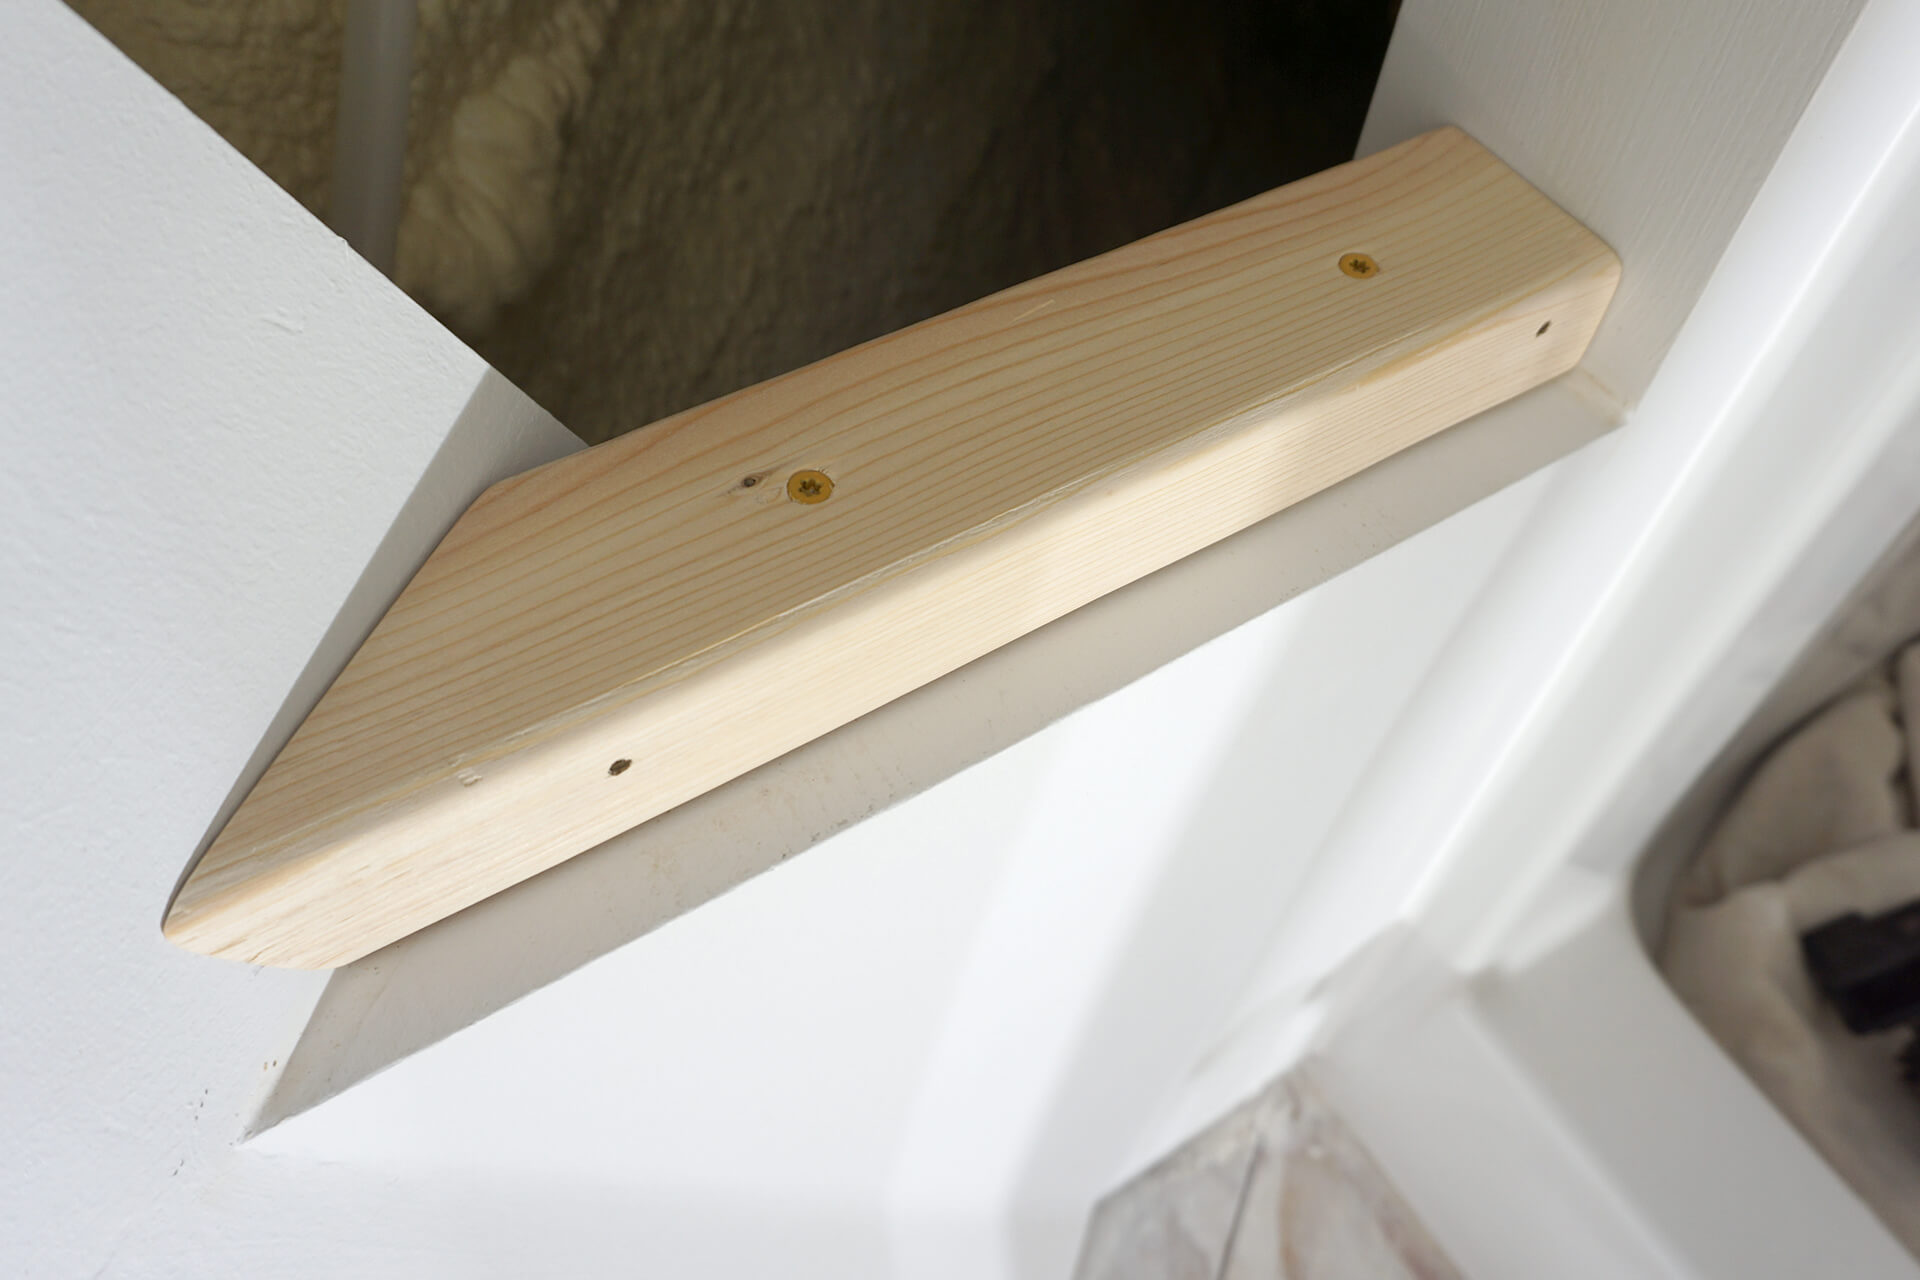
Detail shot showing the bottom blocking with pre-drilled holes on the side.
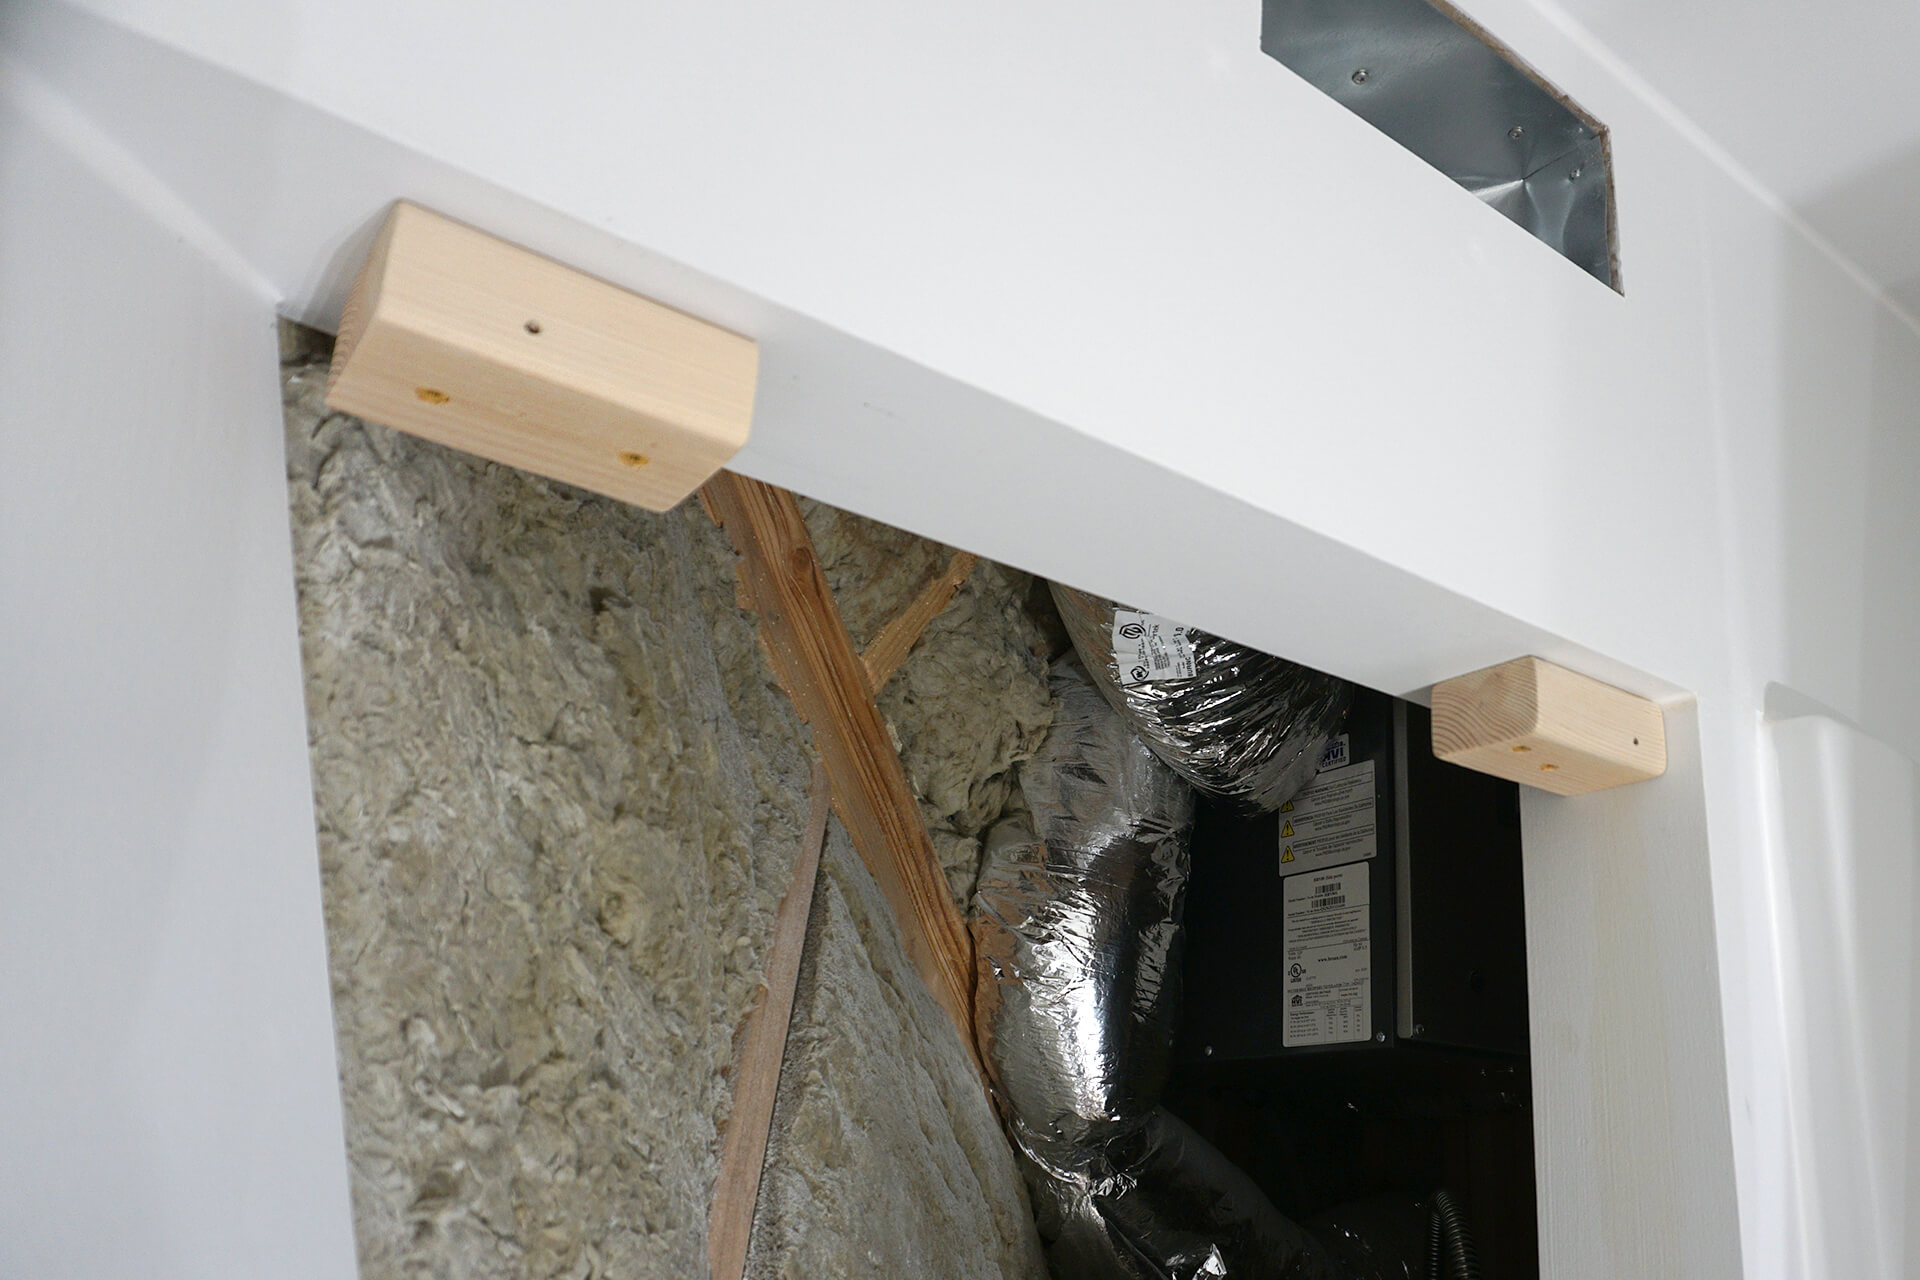
Detail shot showing the upper blocking with pre-drilled holes on the sides.
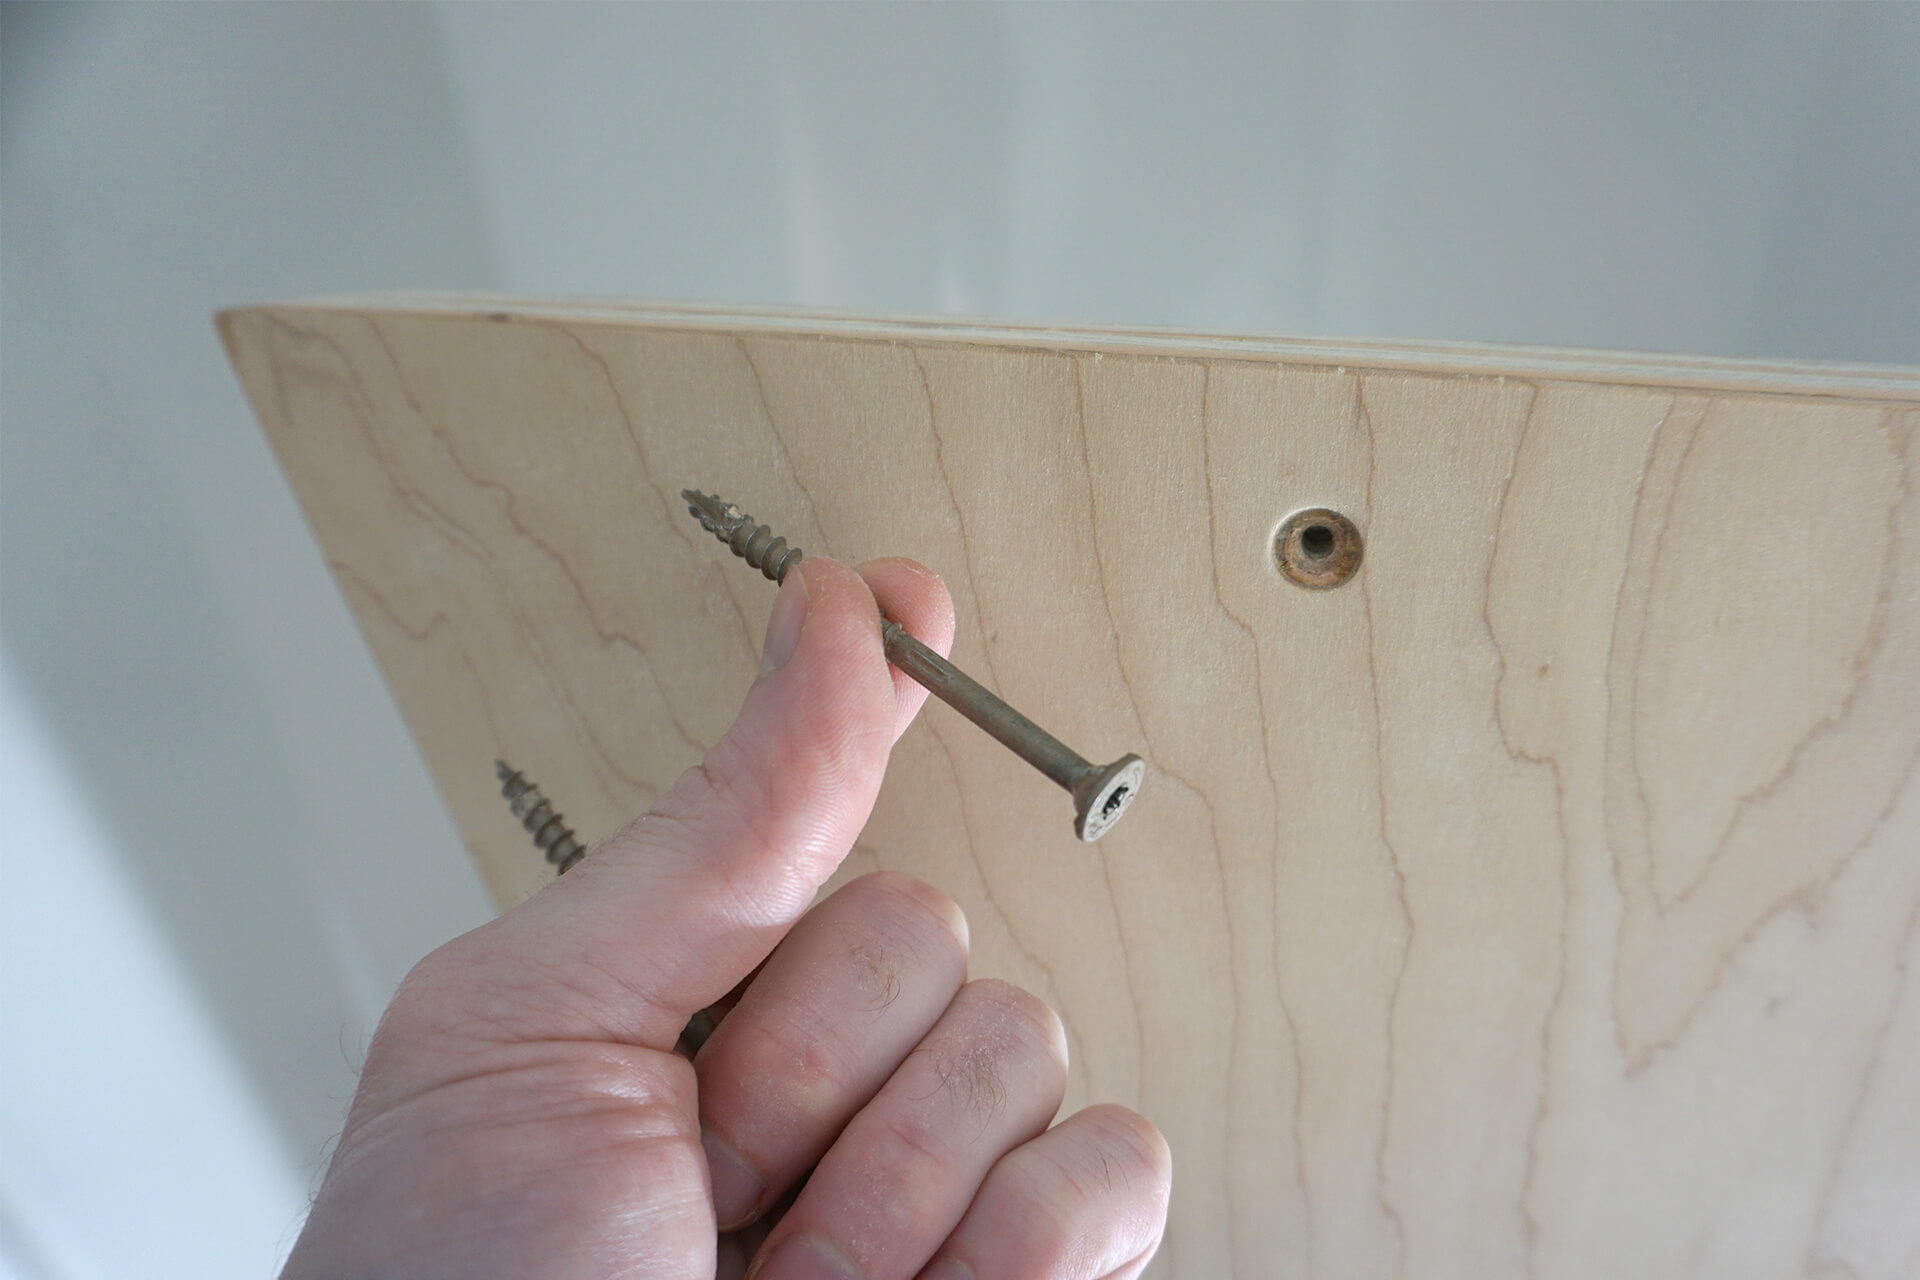
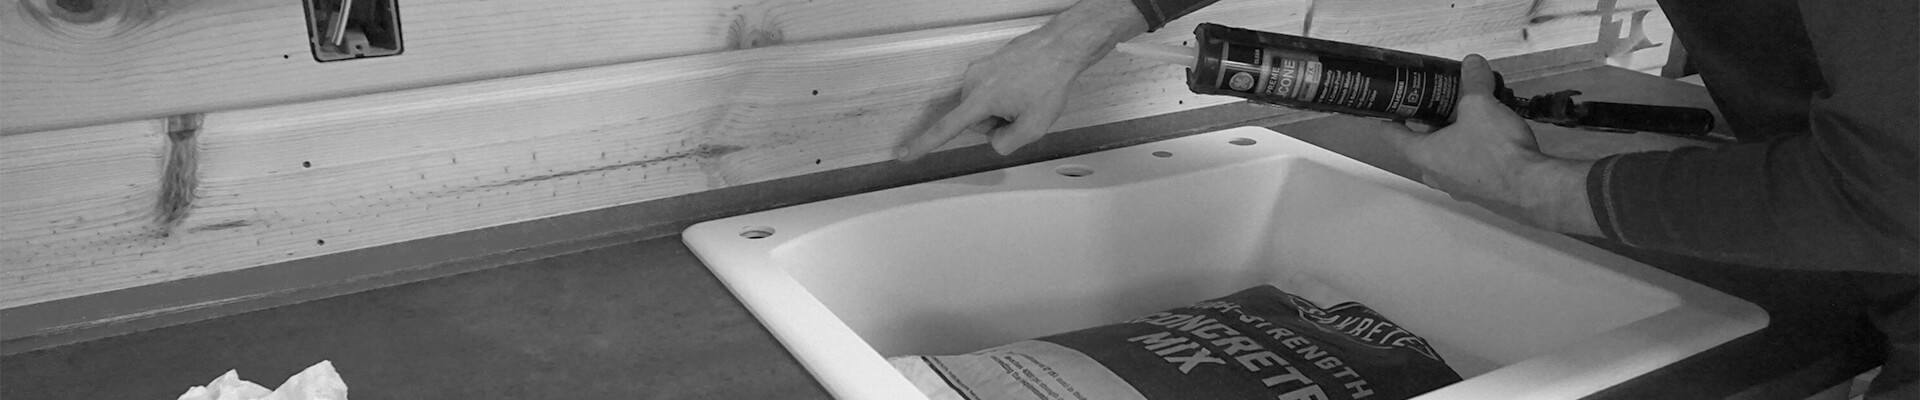
Ensure the hardware holes and countersinks on the door are a slip fit for the screw to allow repeated use. 0.160” × 3” SDWS Framing Screw shown here.

Mount the door. Always use the drill’s clutch when securing hardware to avoid stripping the wood threads. If stripping occurs, install threaded inserts and replace the hardware.
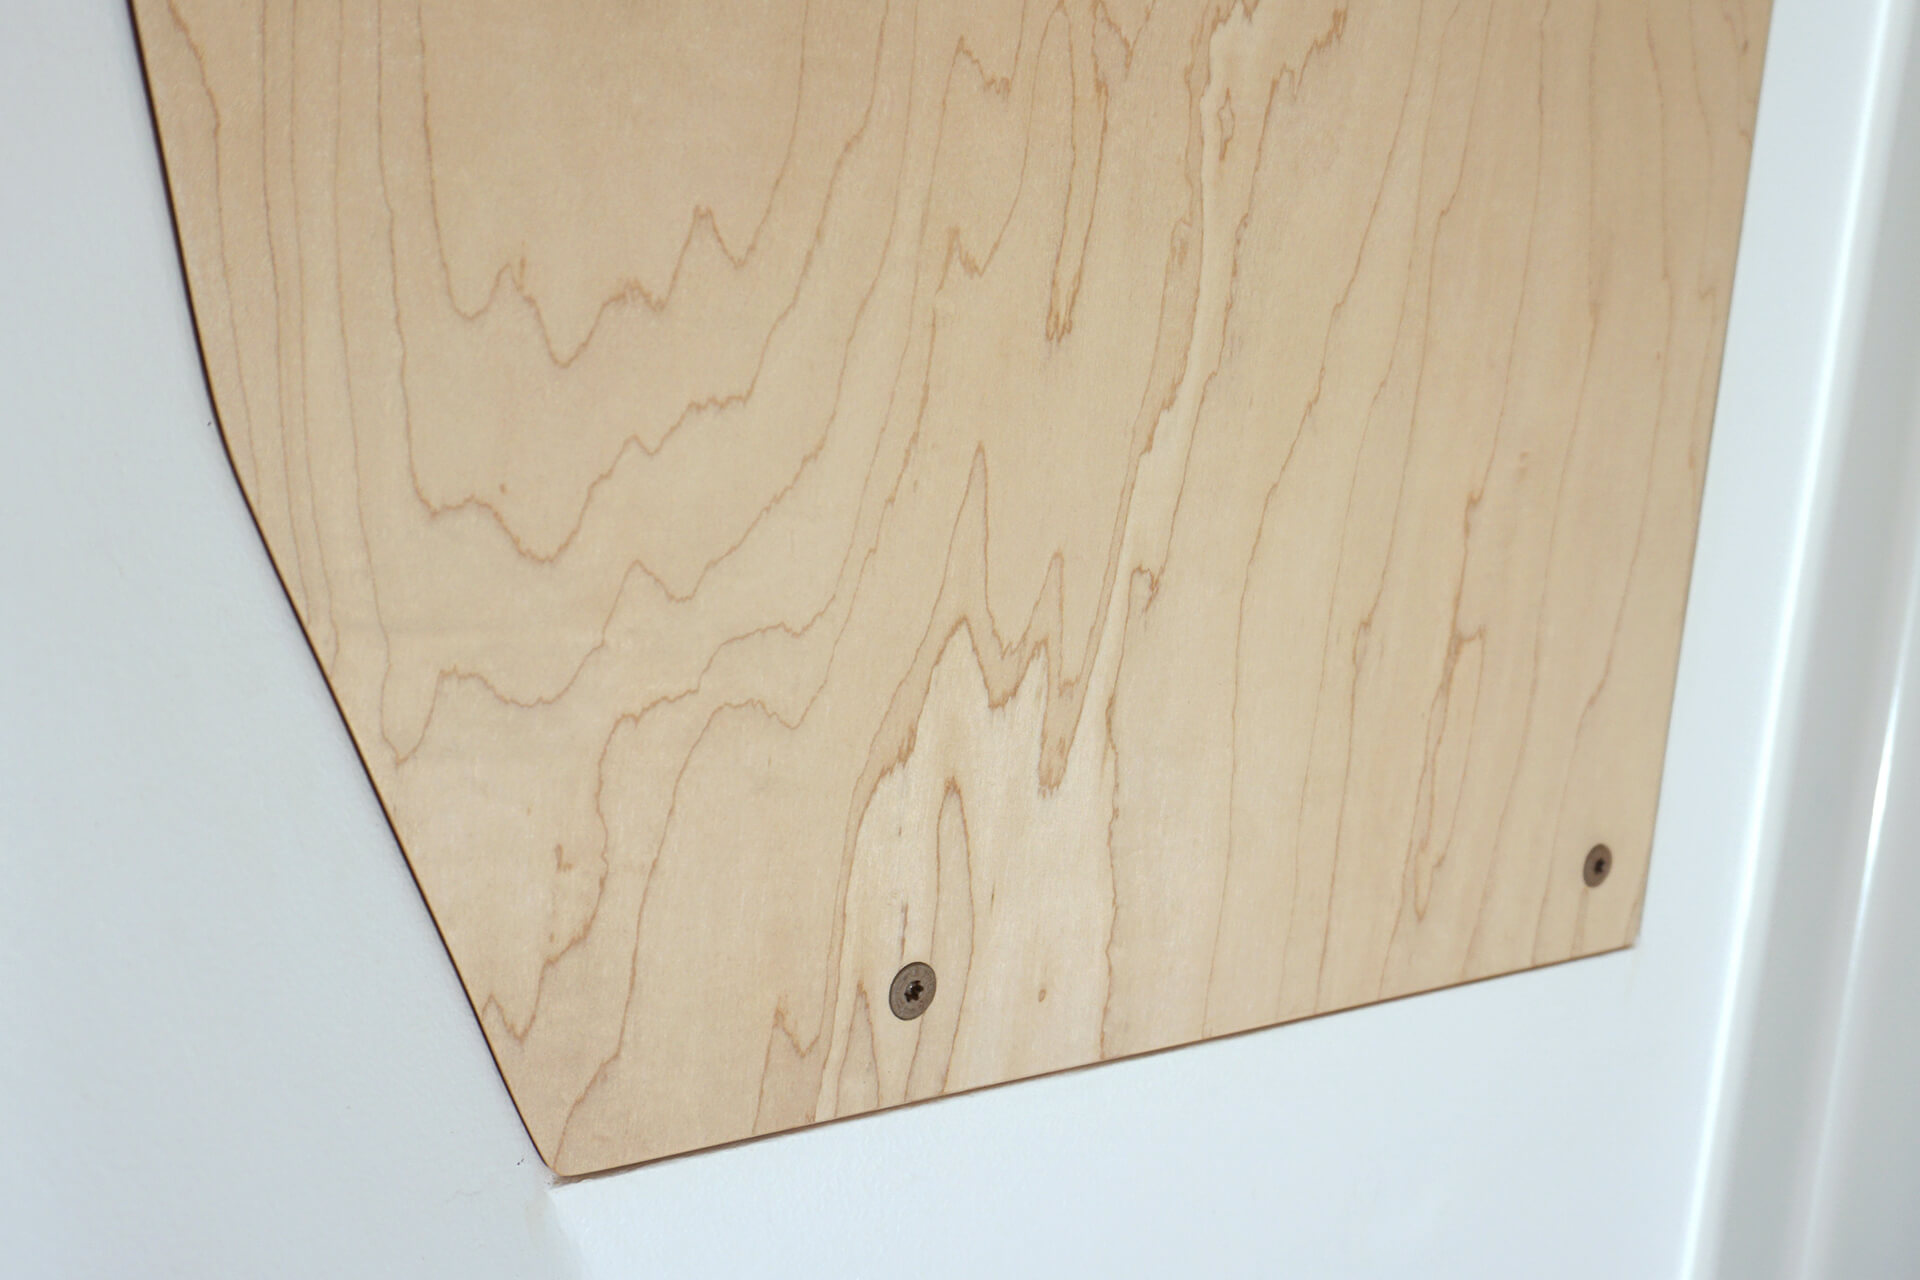
Detail shot showing the fit along the bottom edge.
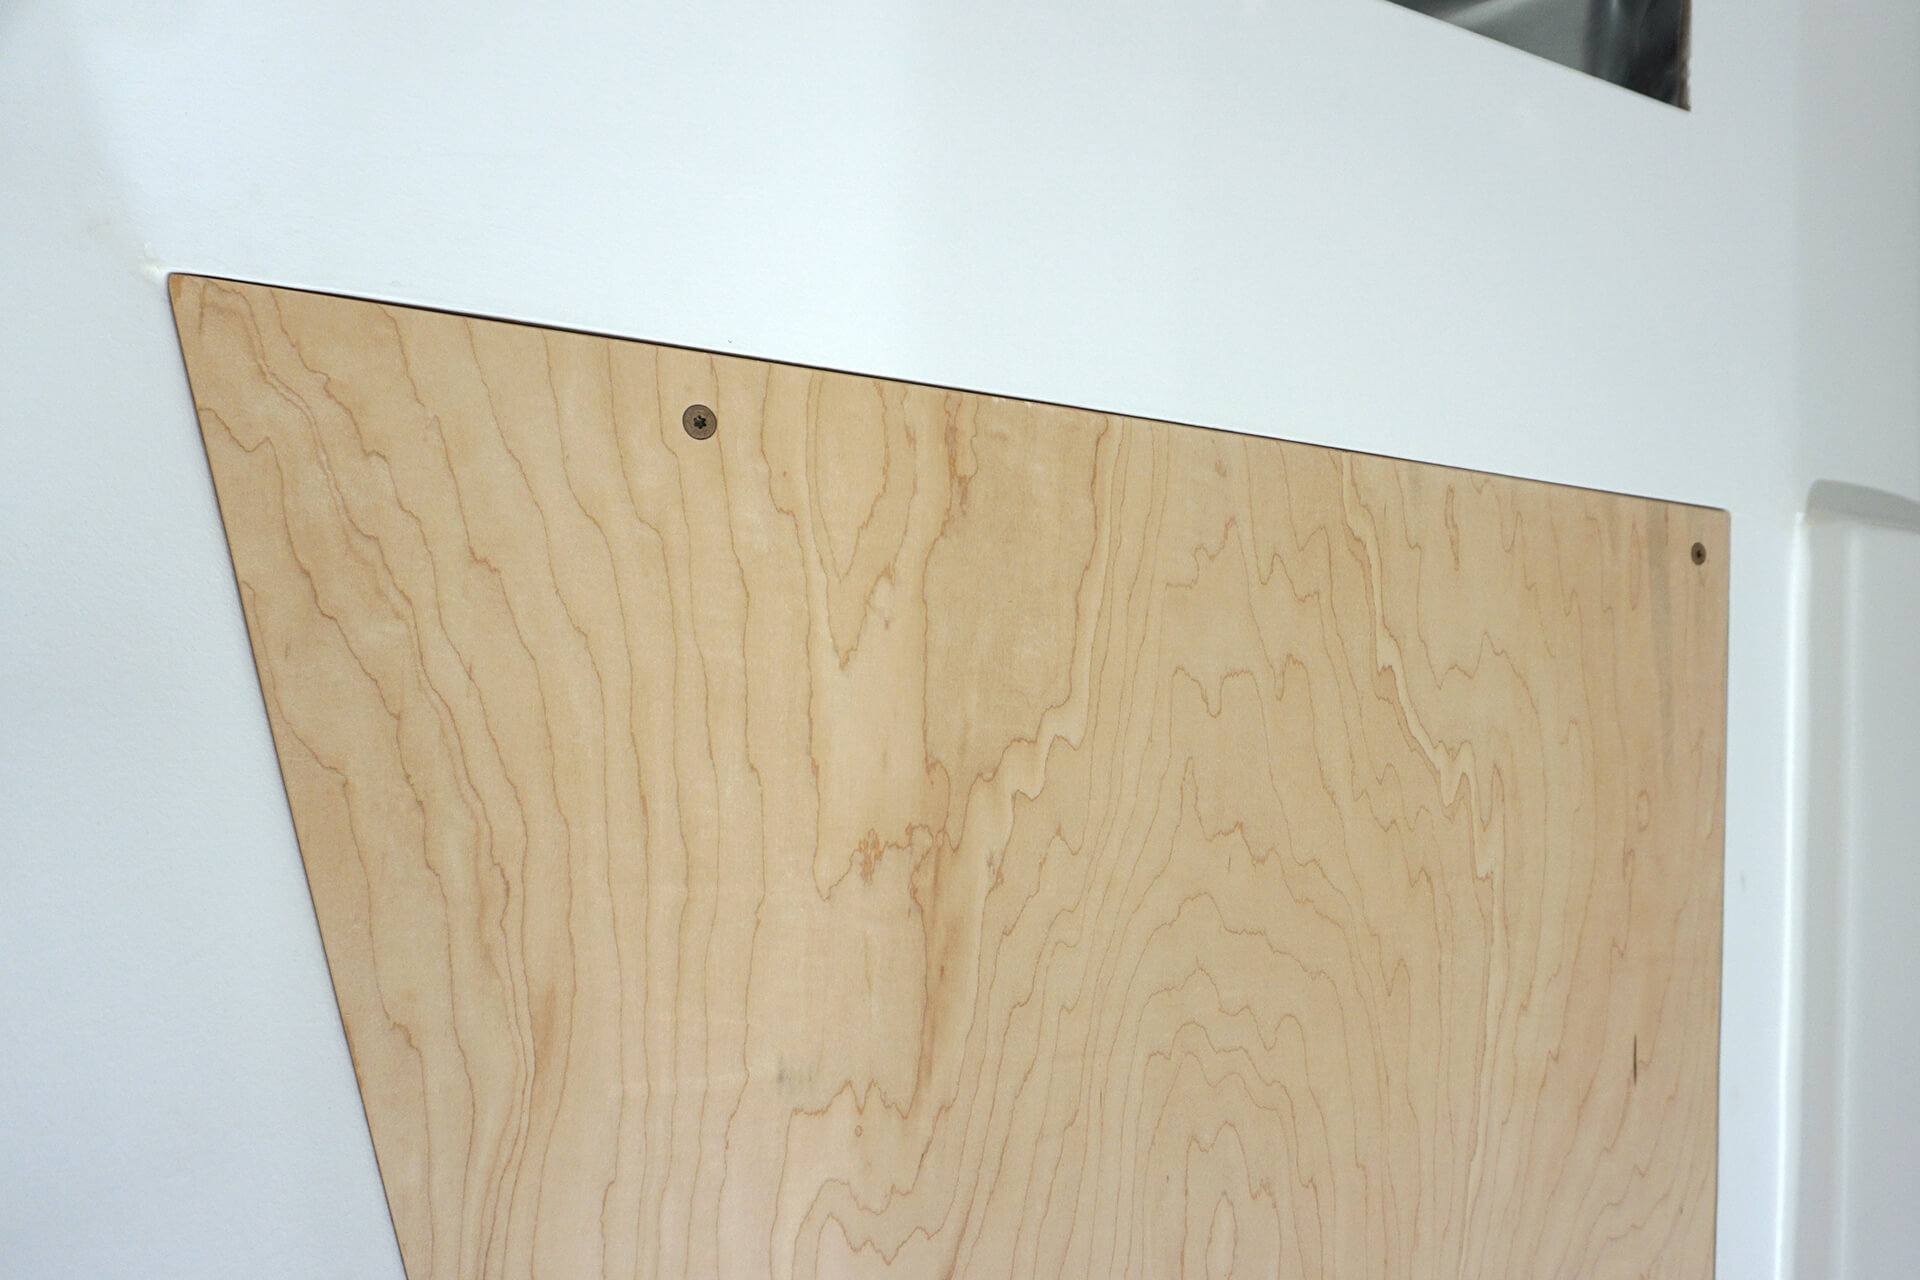
Detail shot showing the fit along the top edge.
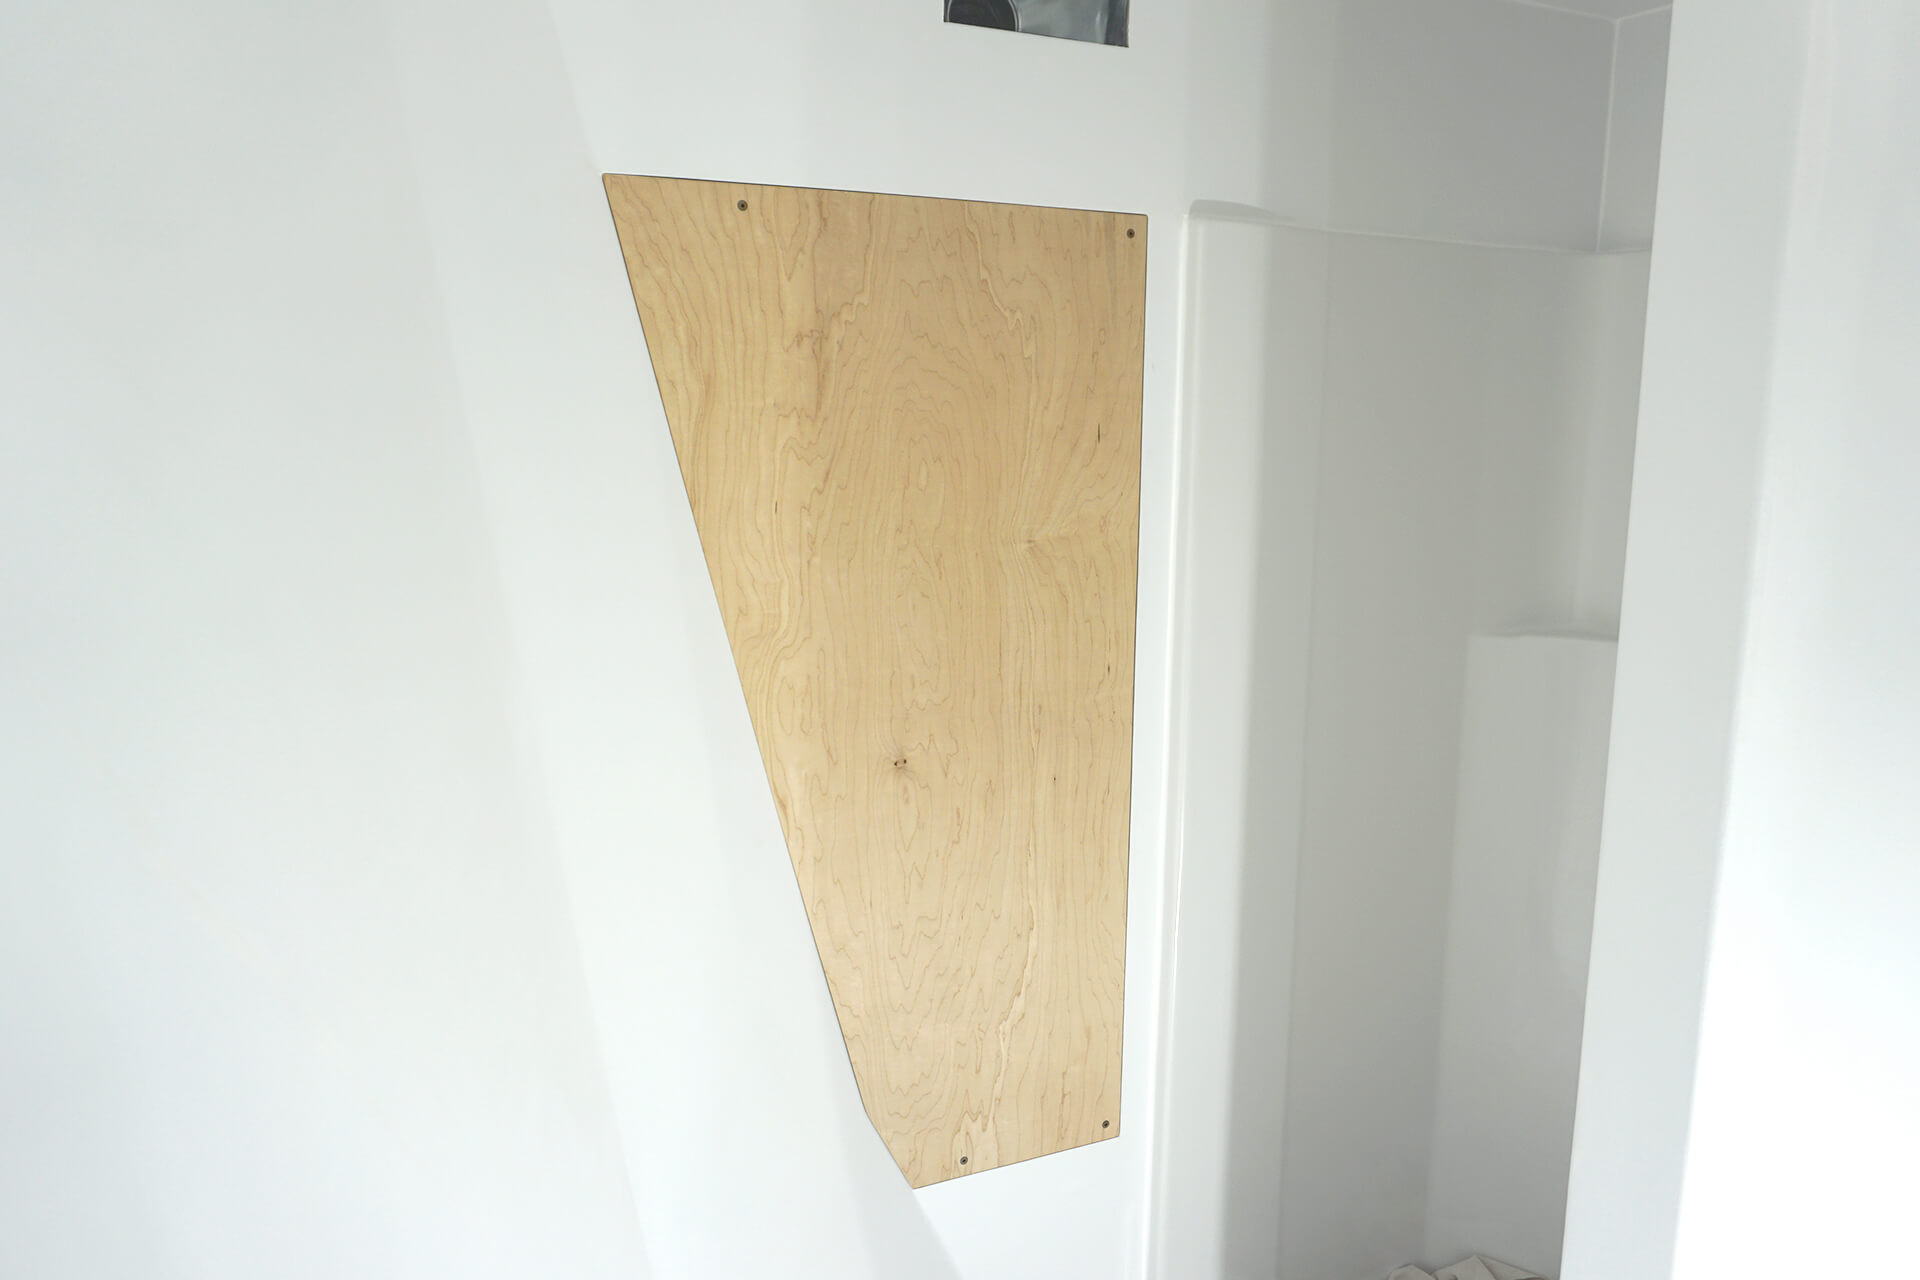
The bathroom utility door only needs to be accessed once or twice a year to clean the HRV filter and drain the water heater tank. Securing it with screws helps prevent unwanted guest access.
Next Step