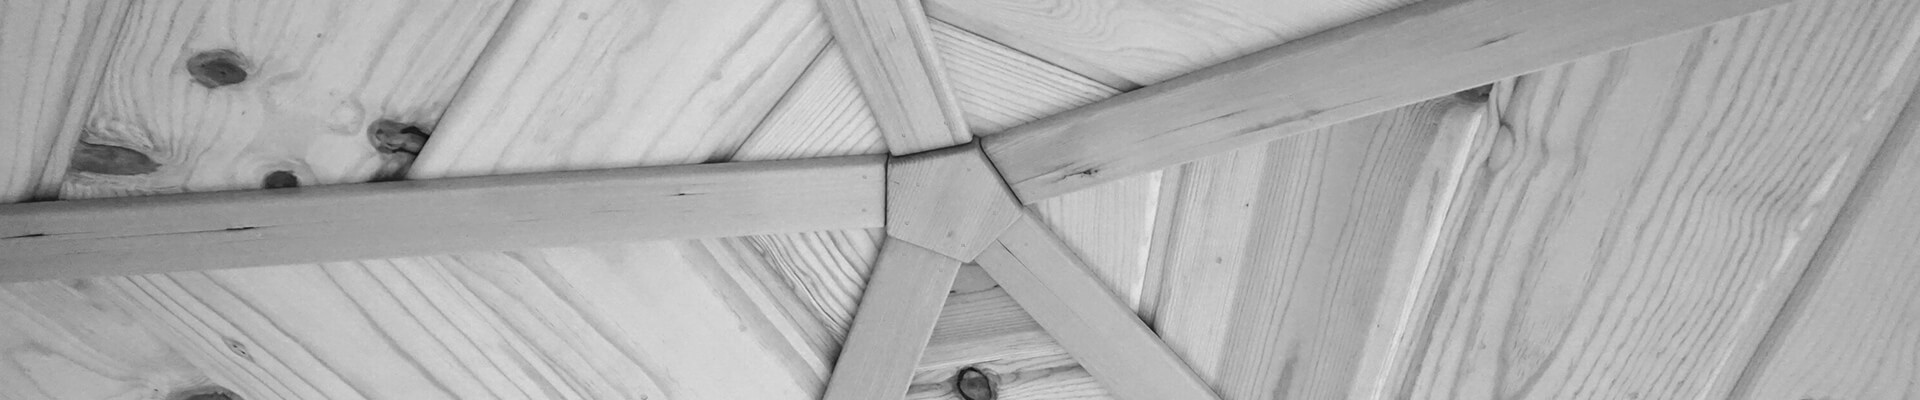
Panel Trim – Straights
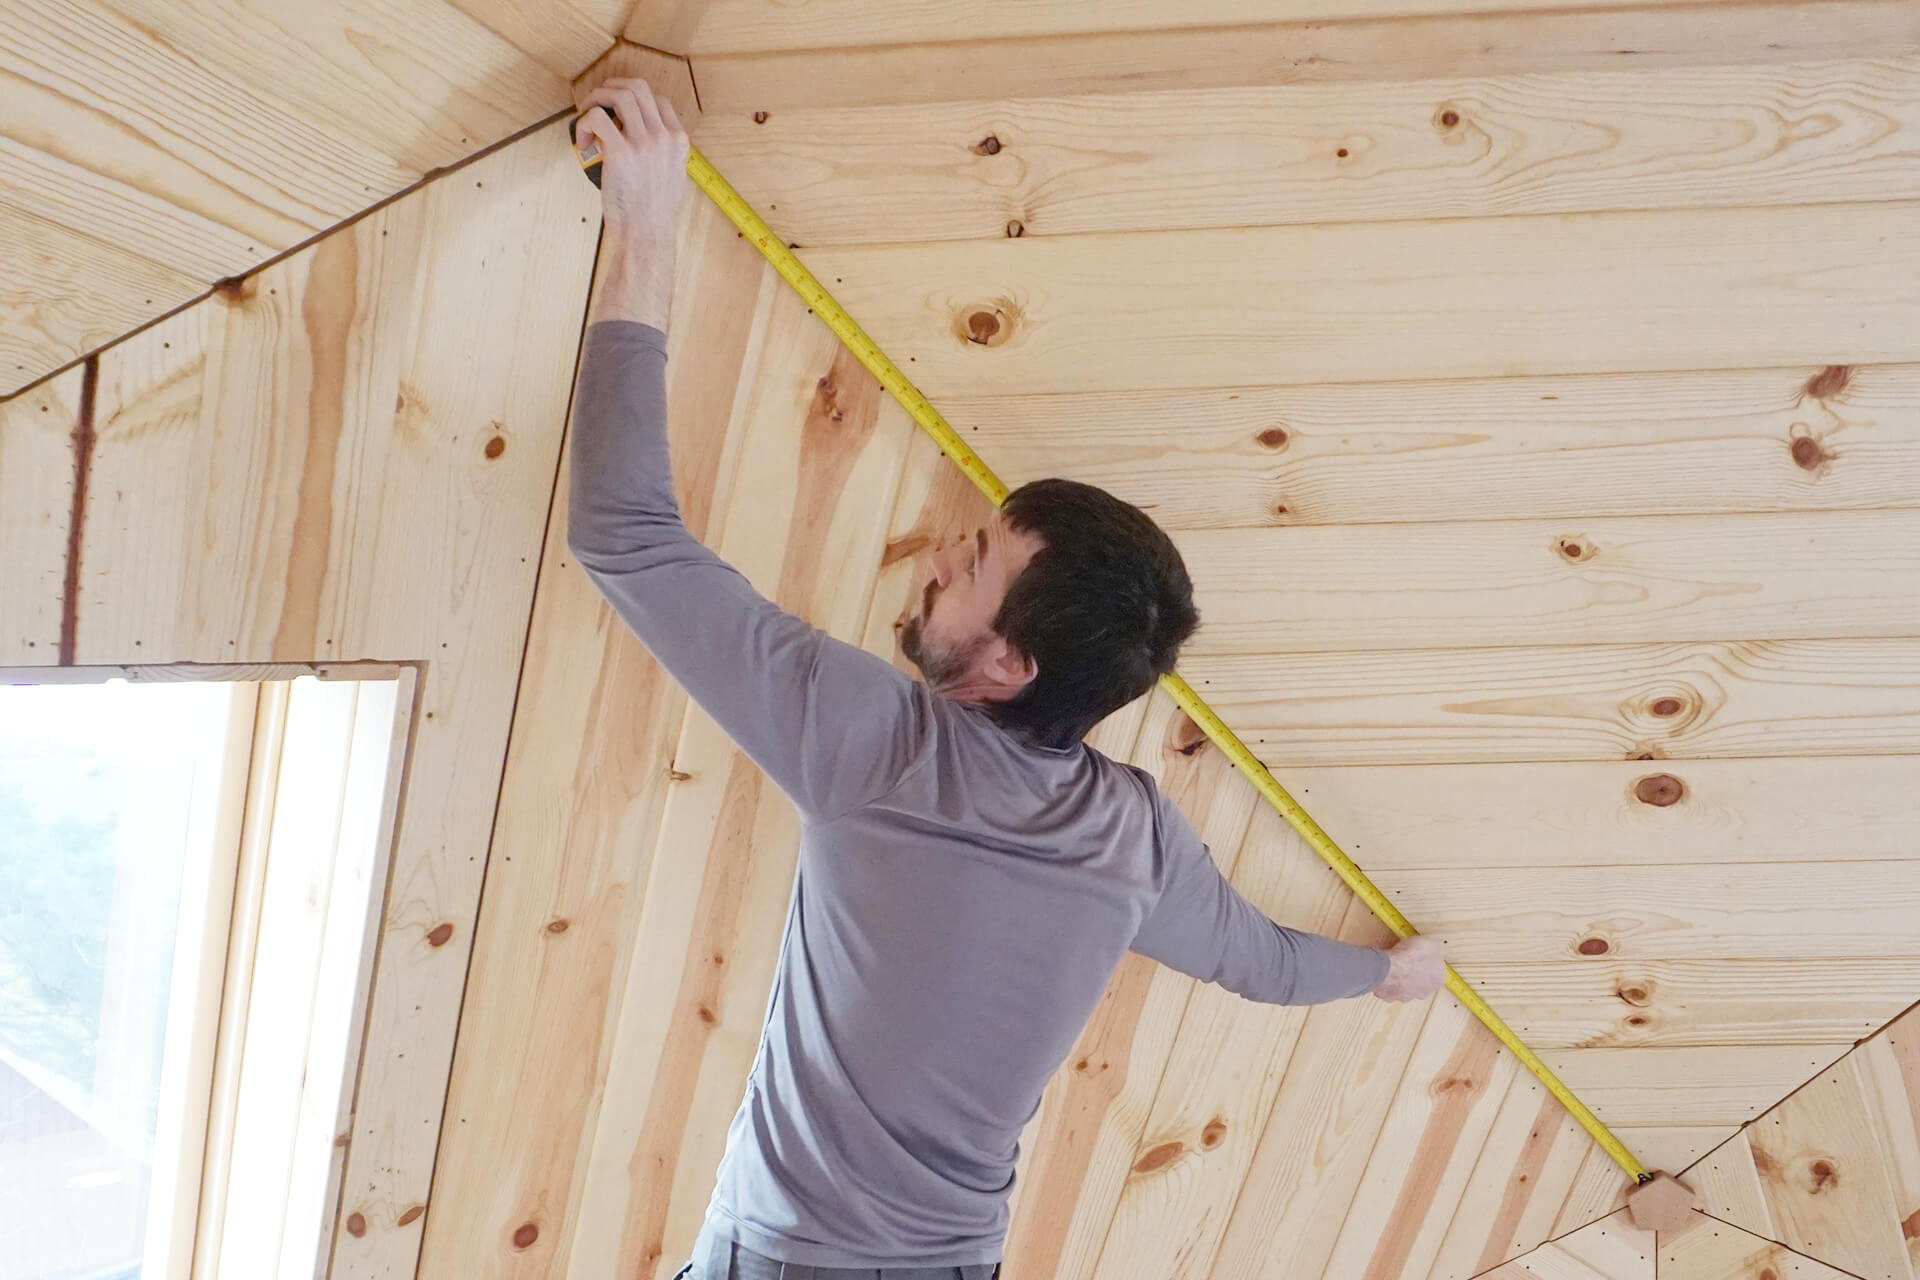
Measure and note the distance between each trim puck to determine the correct length for the trim straights.
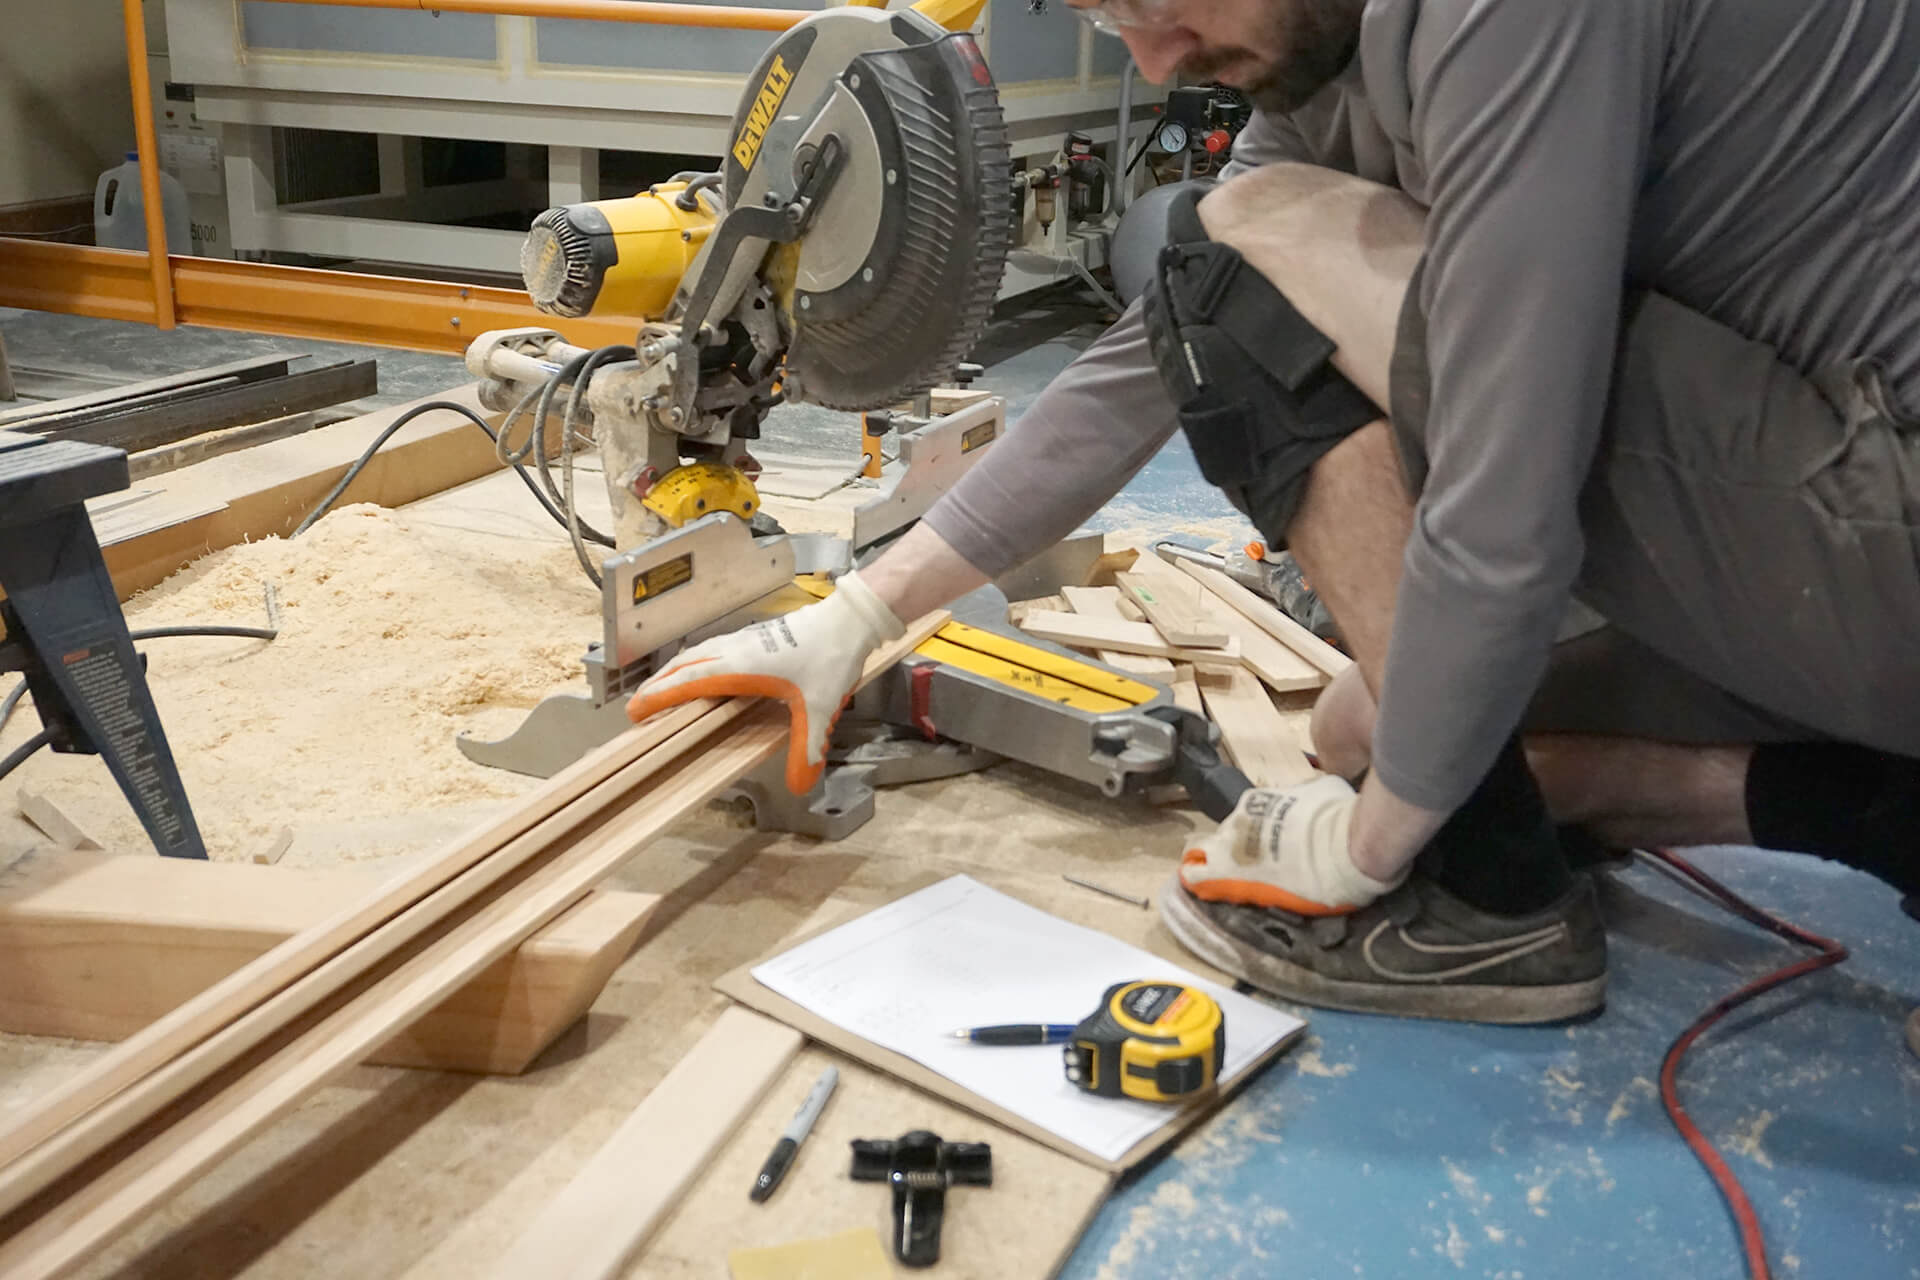
Cut the trim straights to their required length and mark them based on the noted measurements and location.
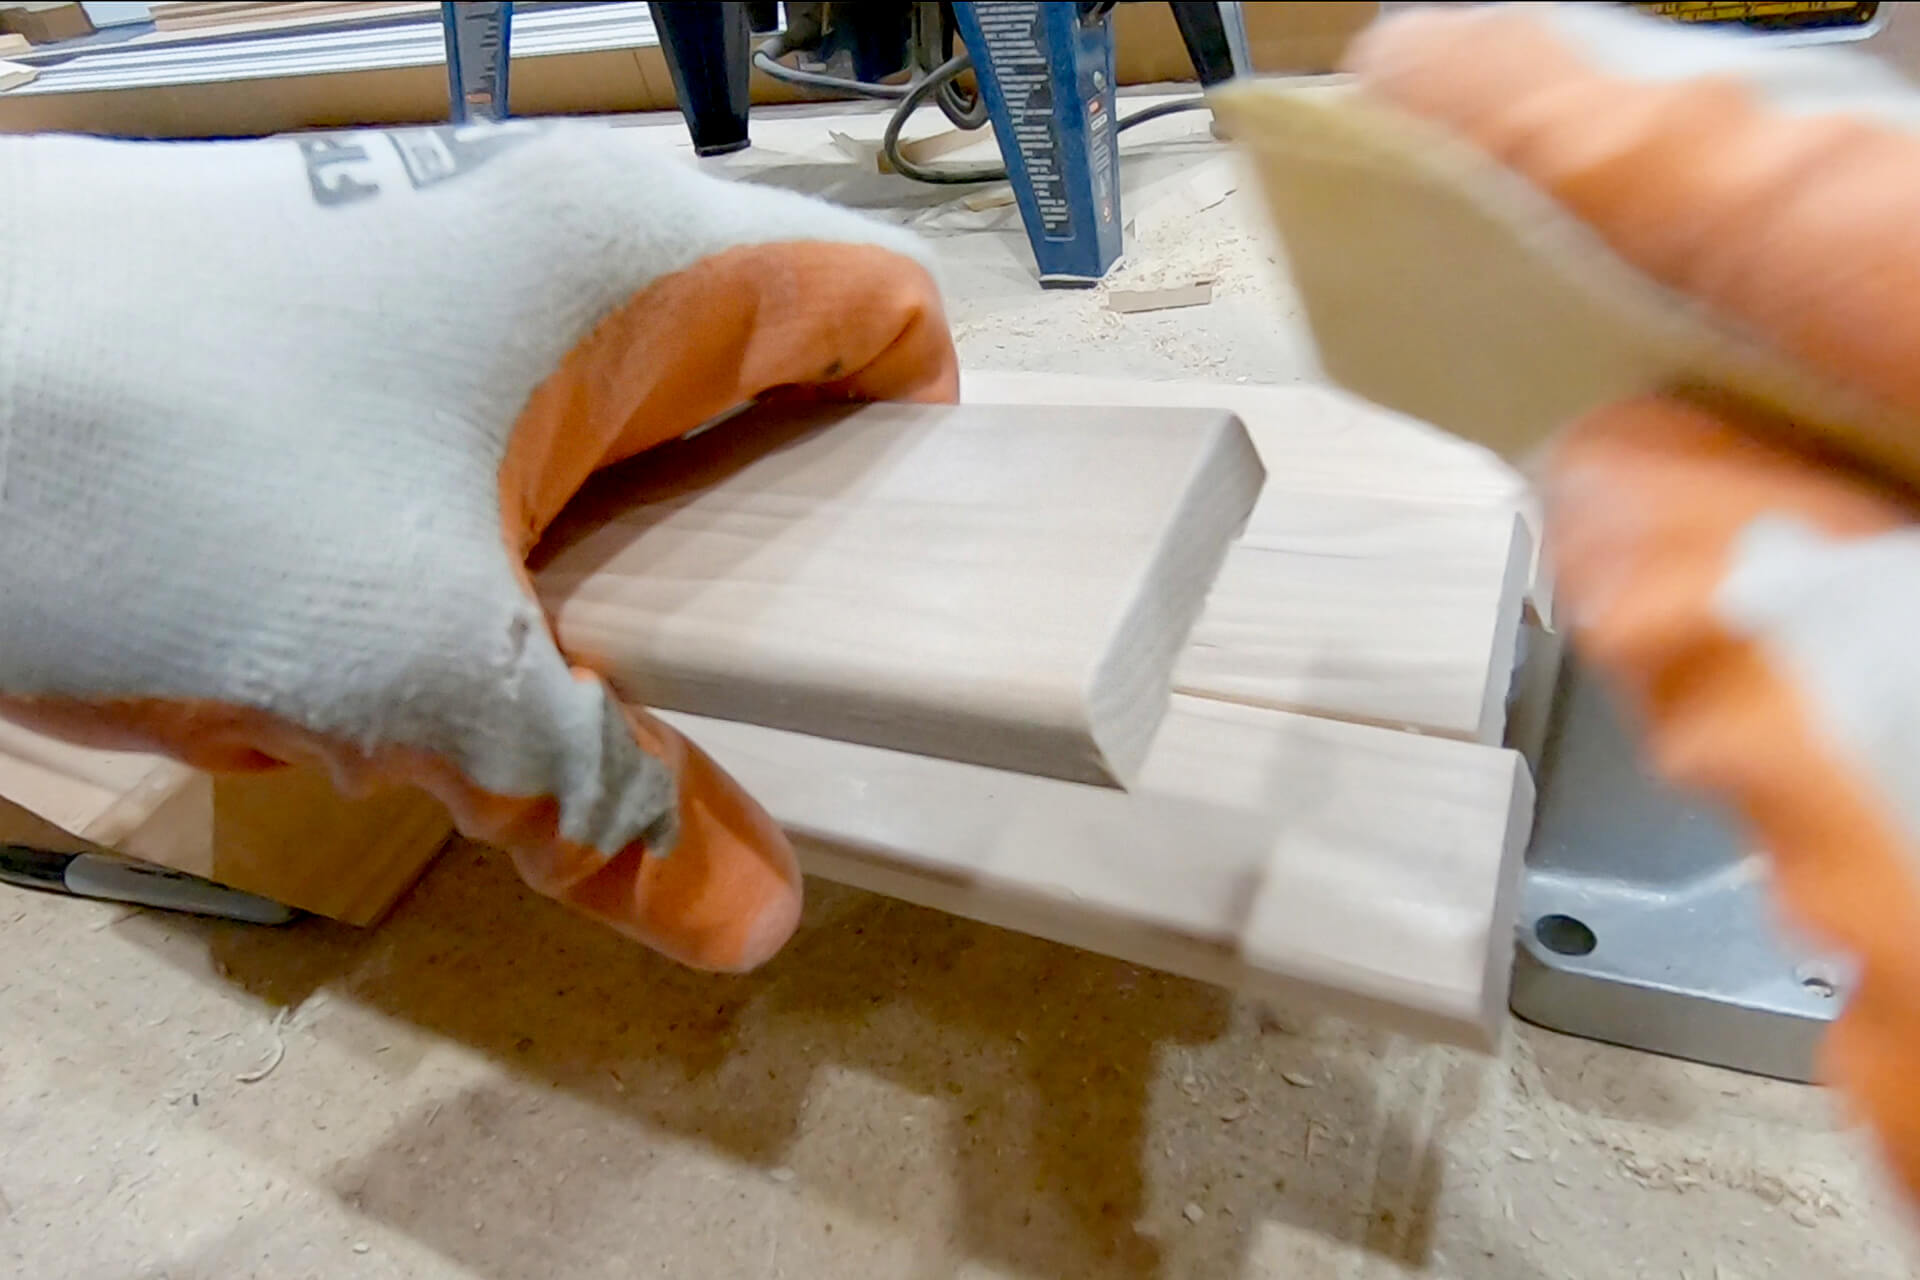
Cut the trim straights with a 20-degree bevel to match the non-beveled edge of the trim pucks. Round over sharp edges with sandpaper.
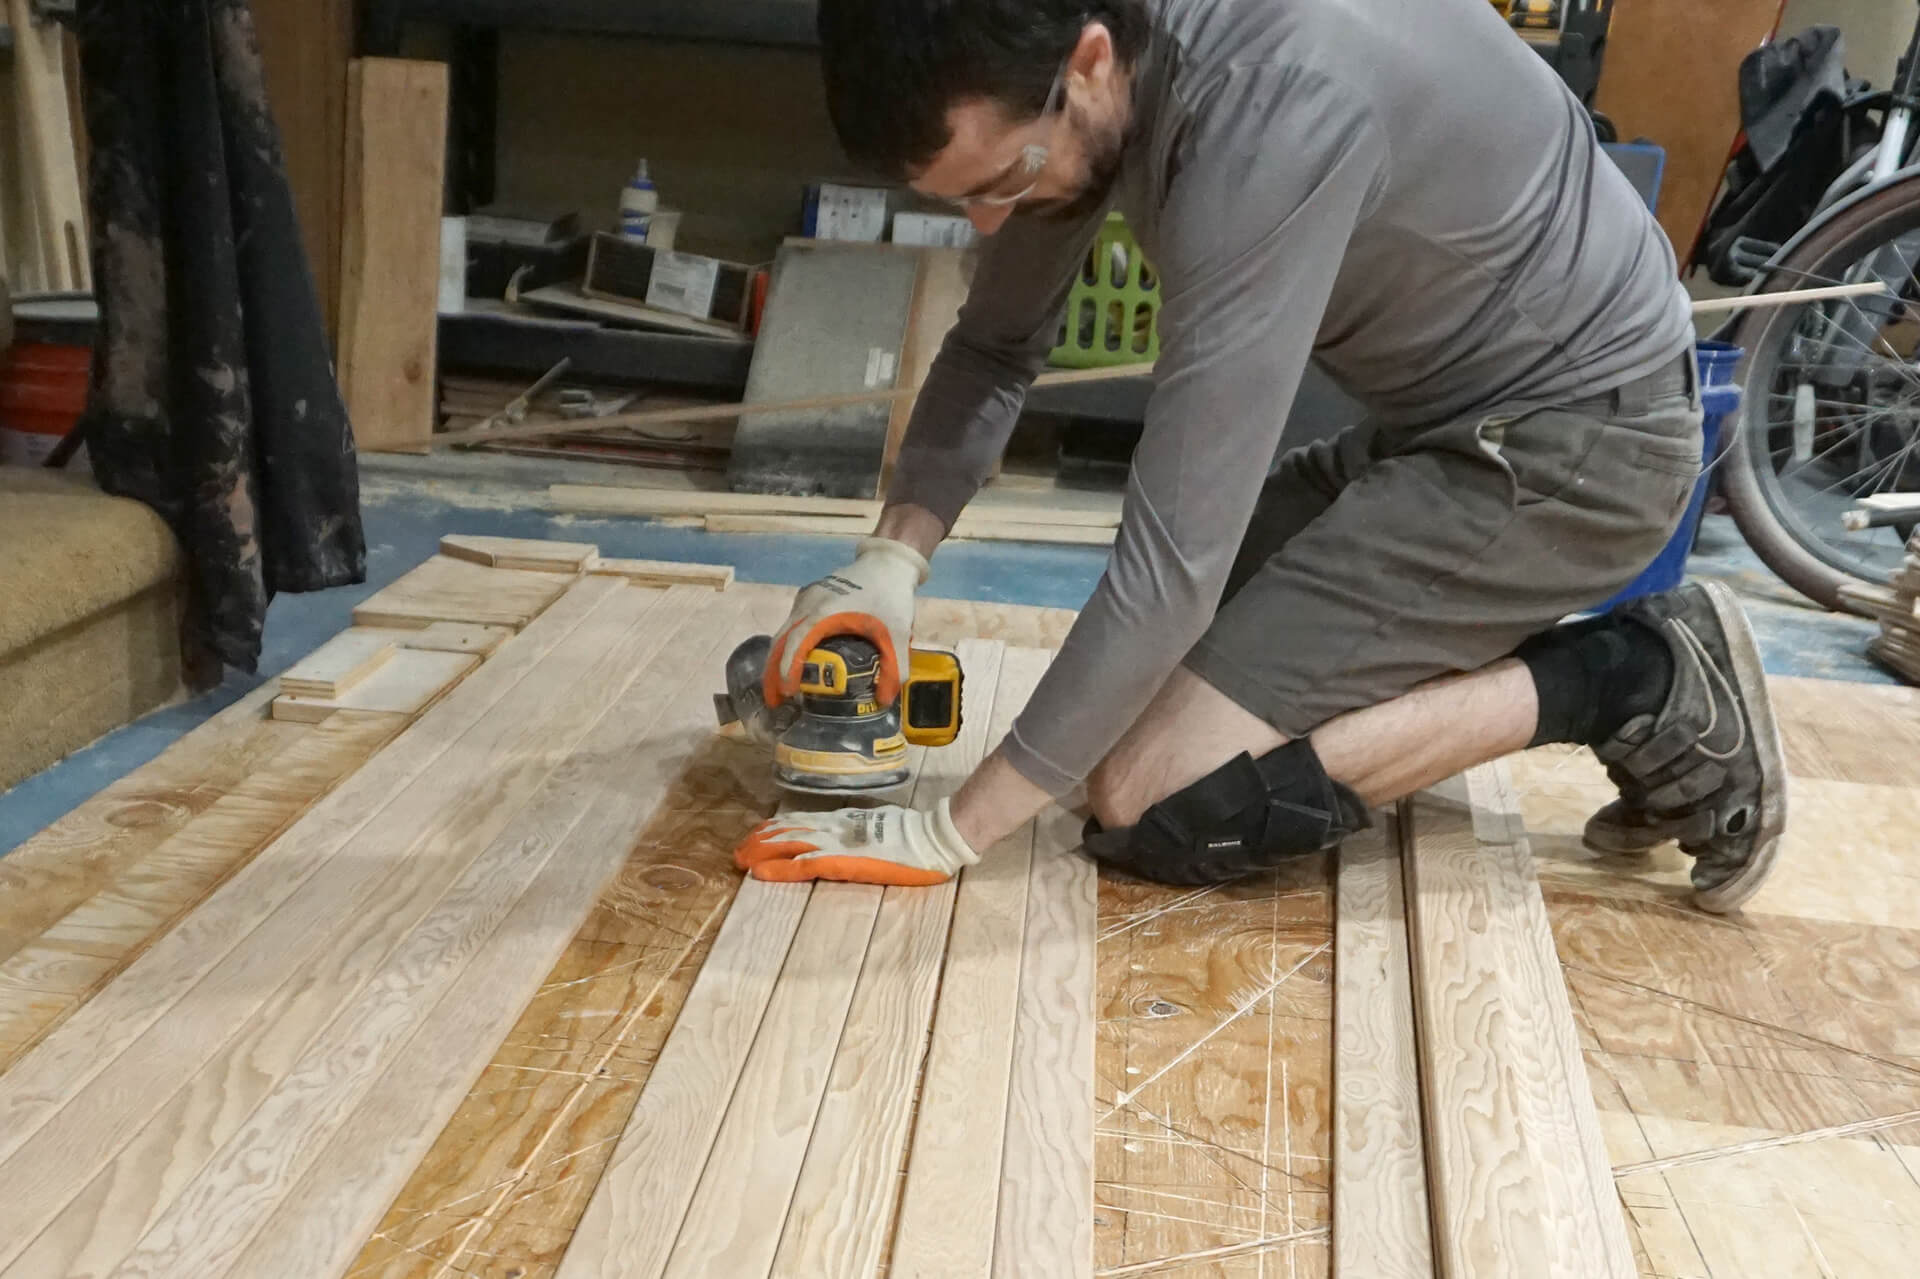
Prep each trim straight for finish by sanding with 220-grit sandpaper.
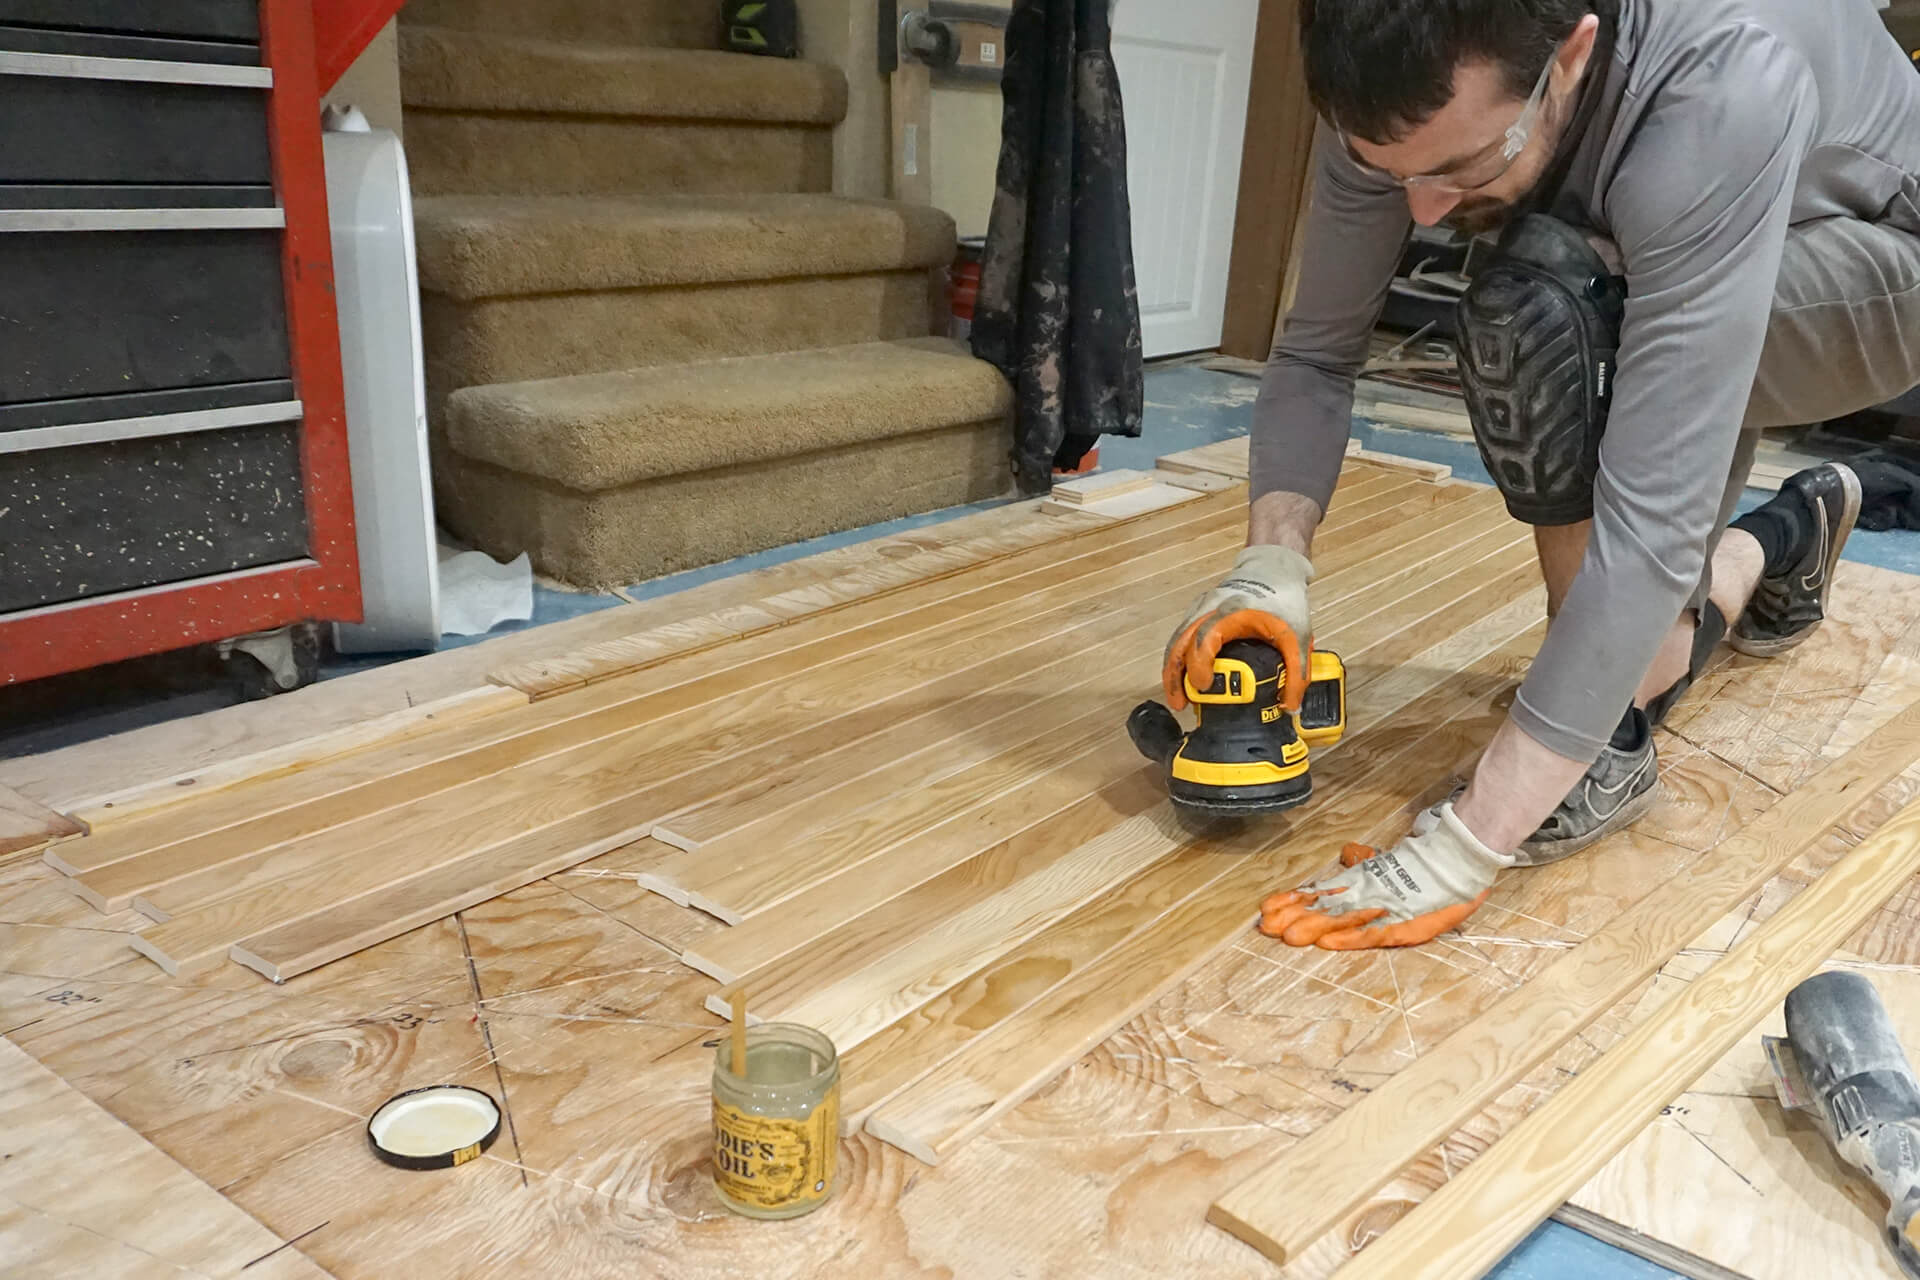
Apply the same wood finish to the visible surfaces. Odie’s Oil is shown here.
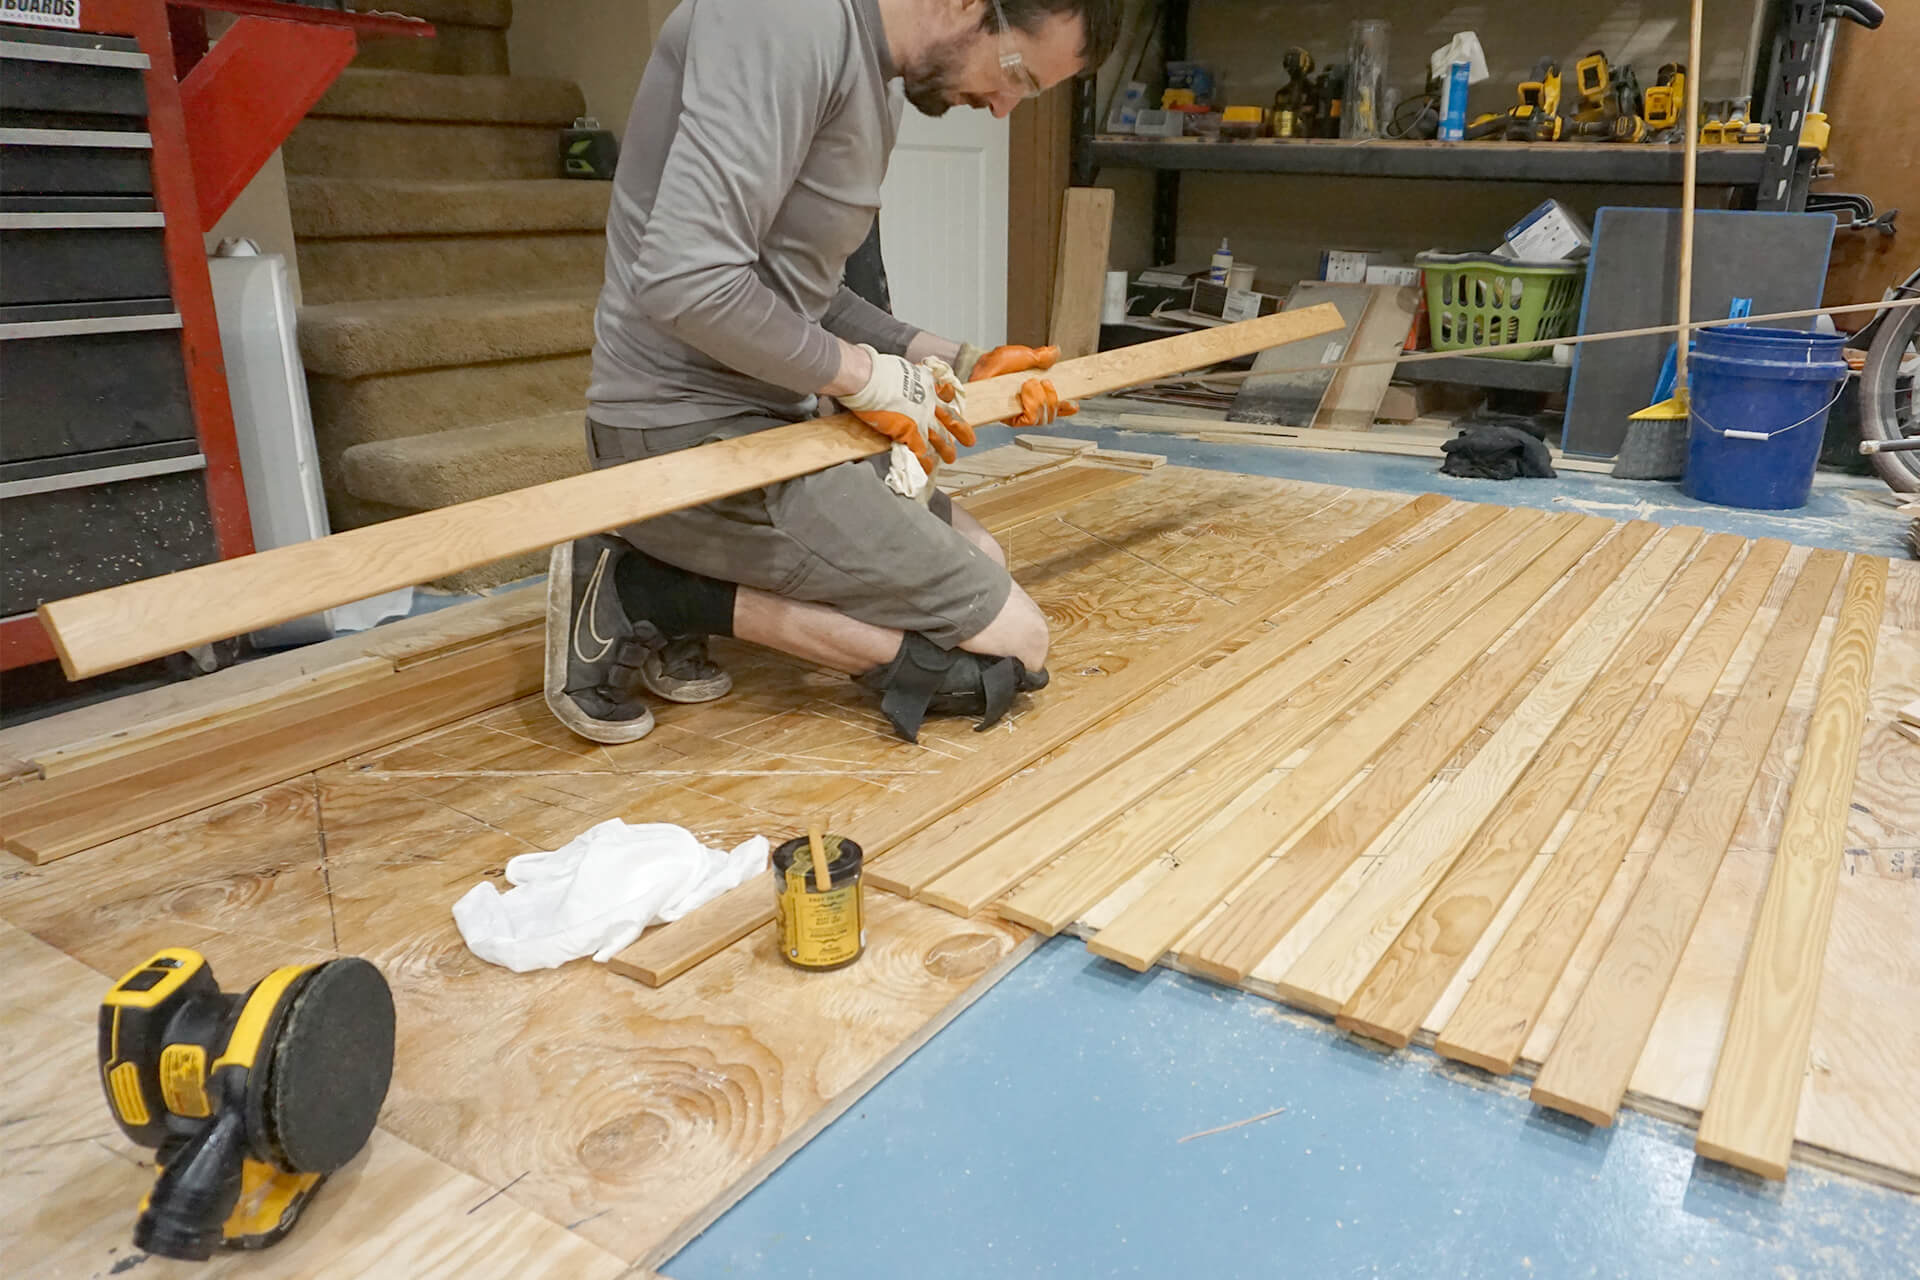
Buff the surface with a cotton cloth as usual.
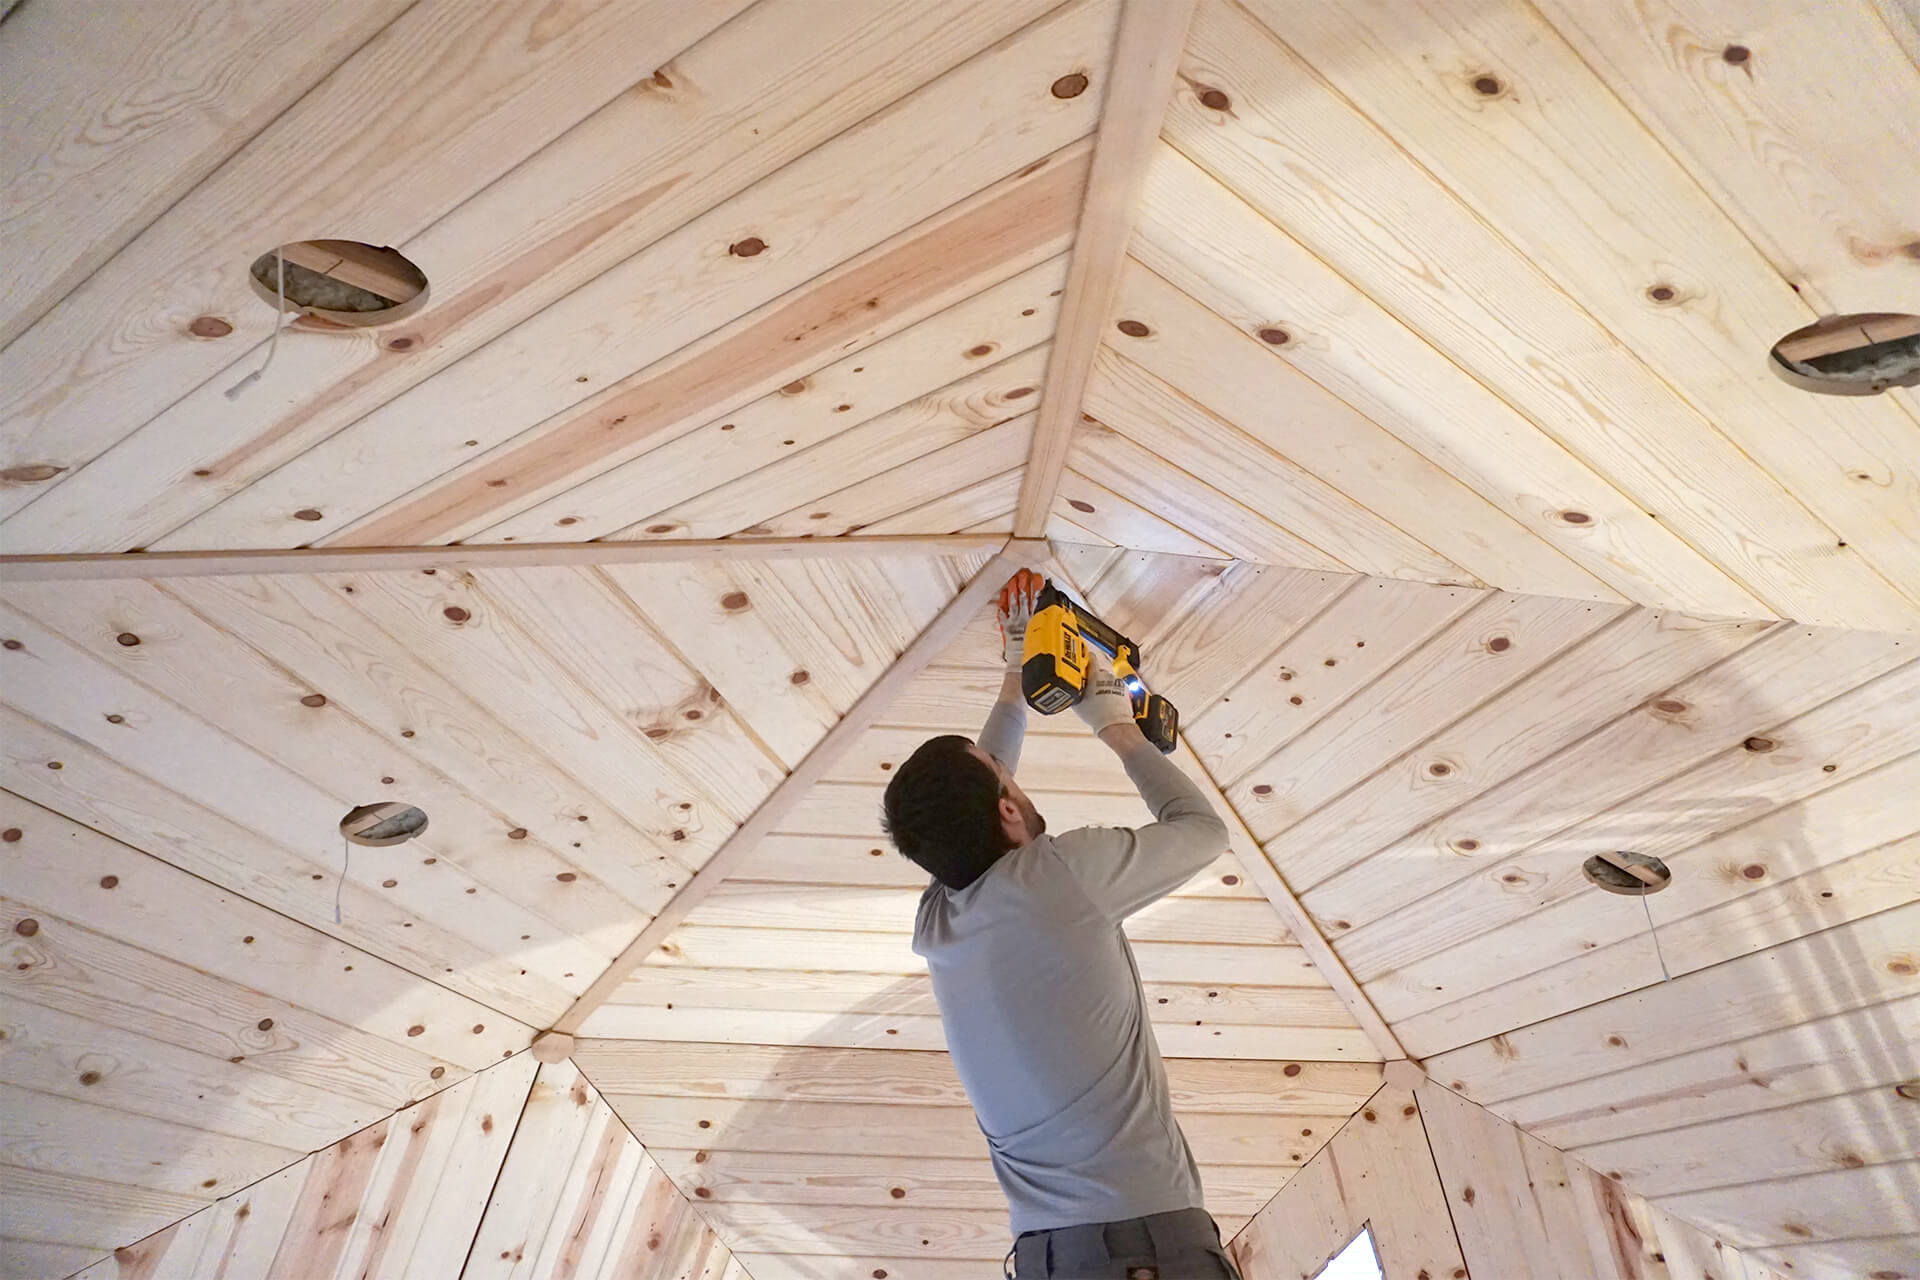
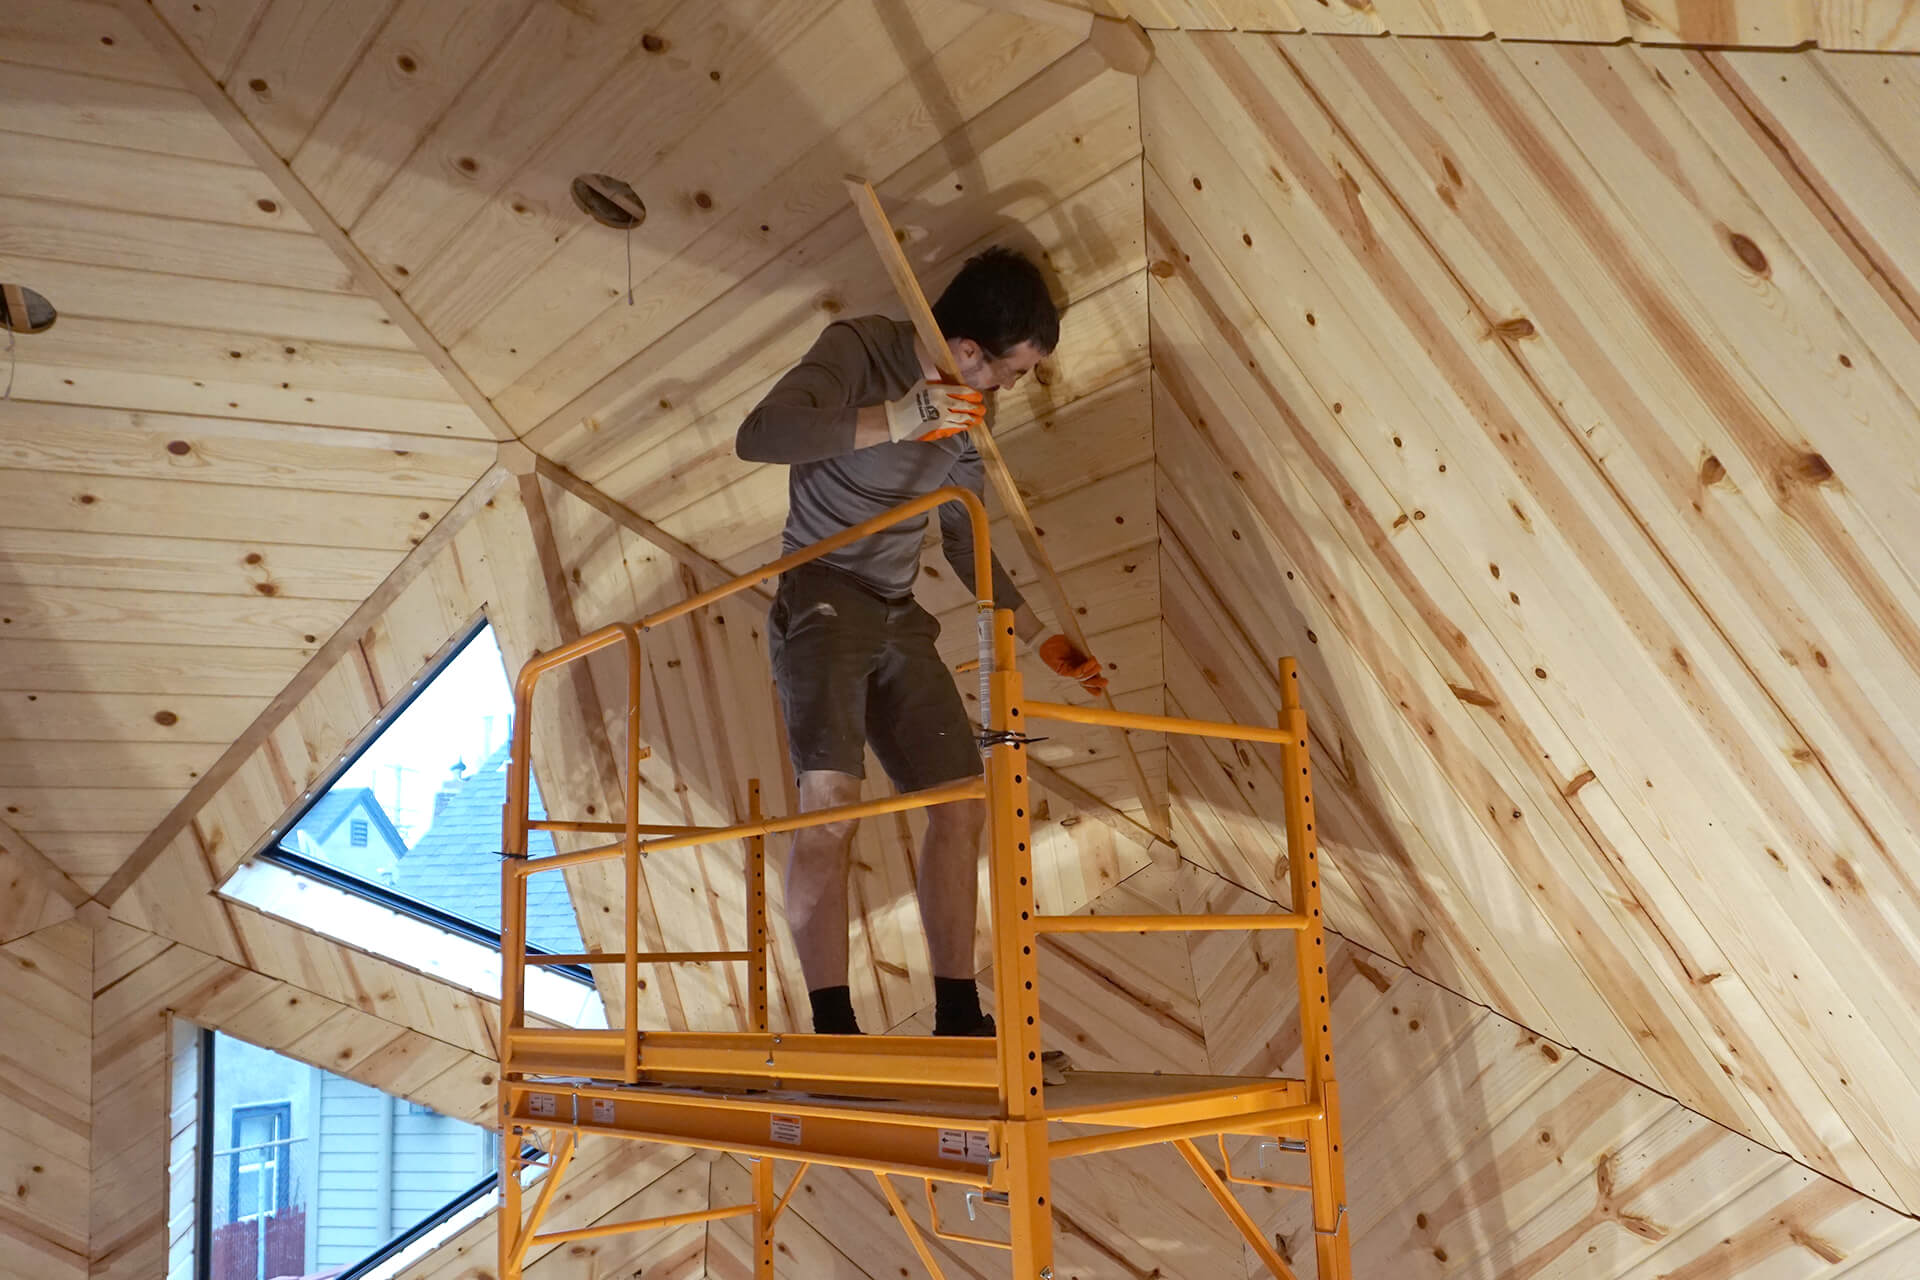
Begin installing the trim straights. Ensure each piece is centered and covers the fasteners, then secure it from one end to the other with brad nails.
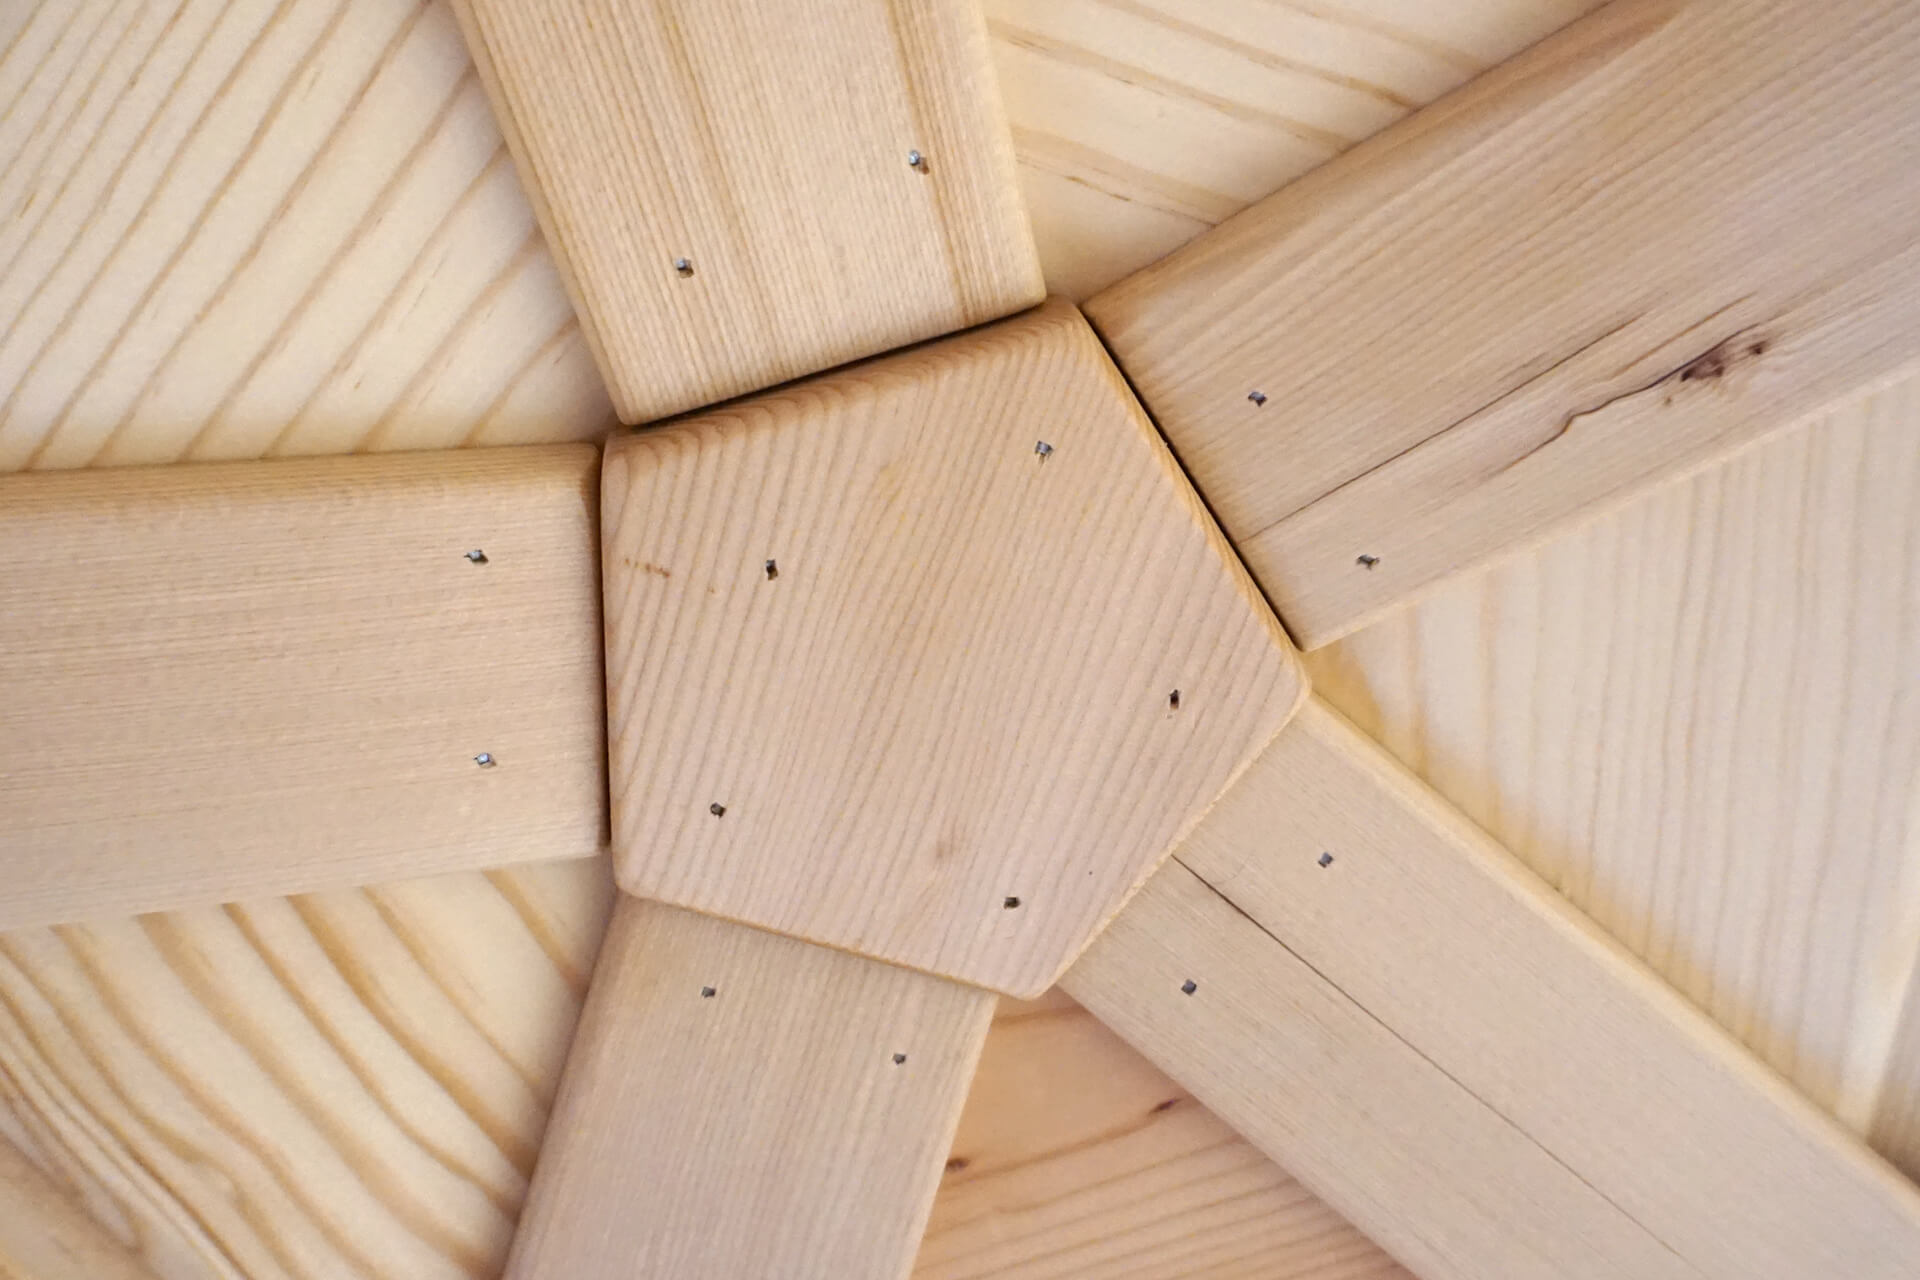
Secure the ends with two brad nails, and fasten the length with a nail in the center every other plank width. Leave a small gap between the trim straights and the trim pucks after securing.
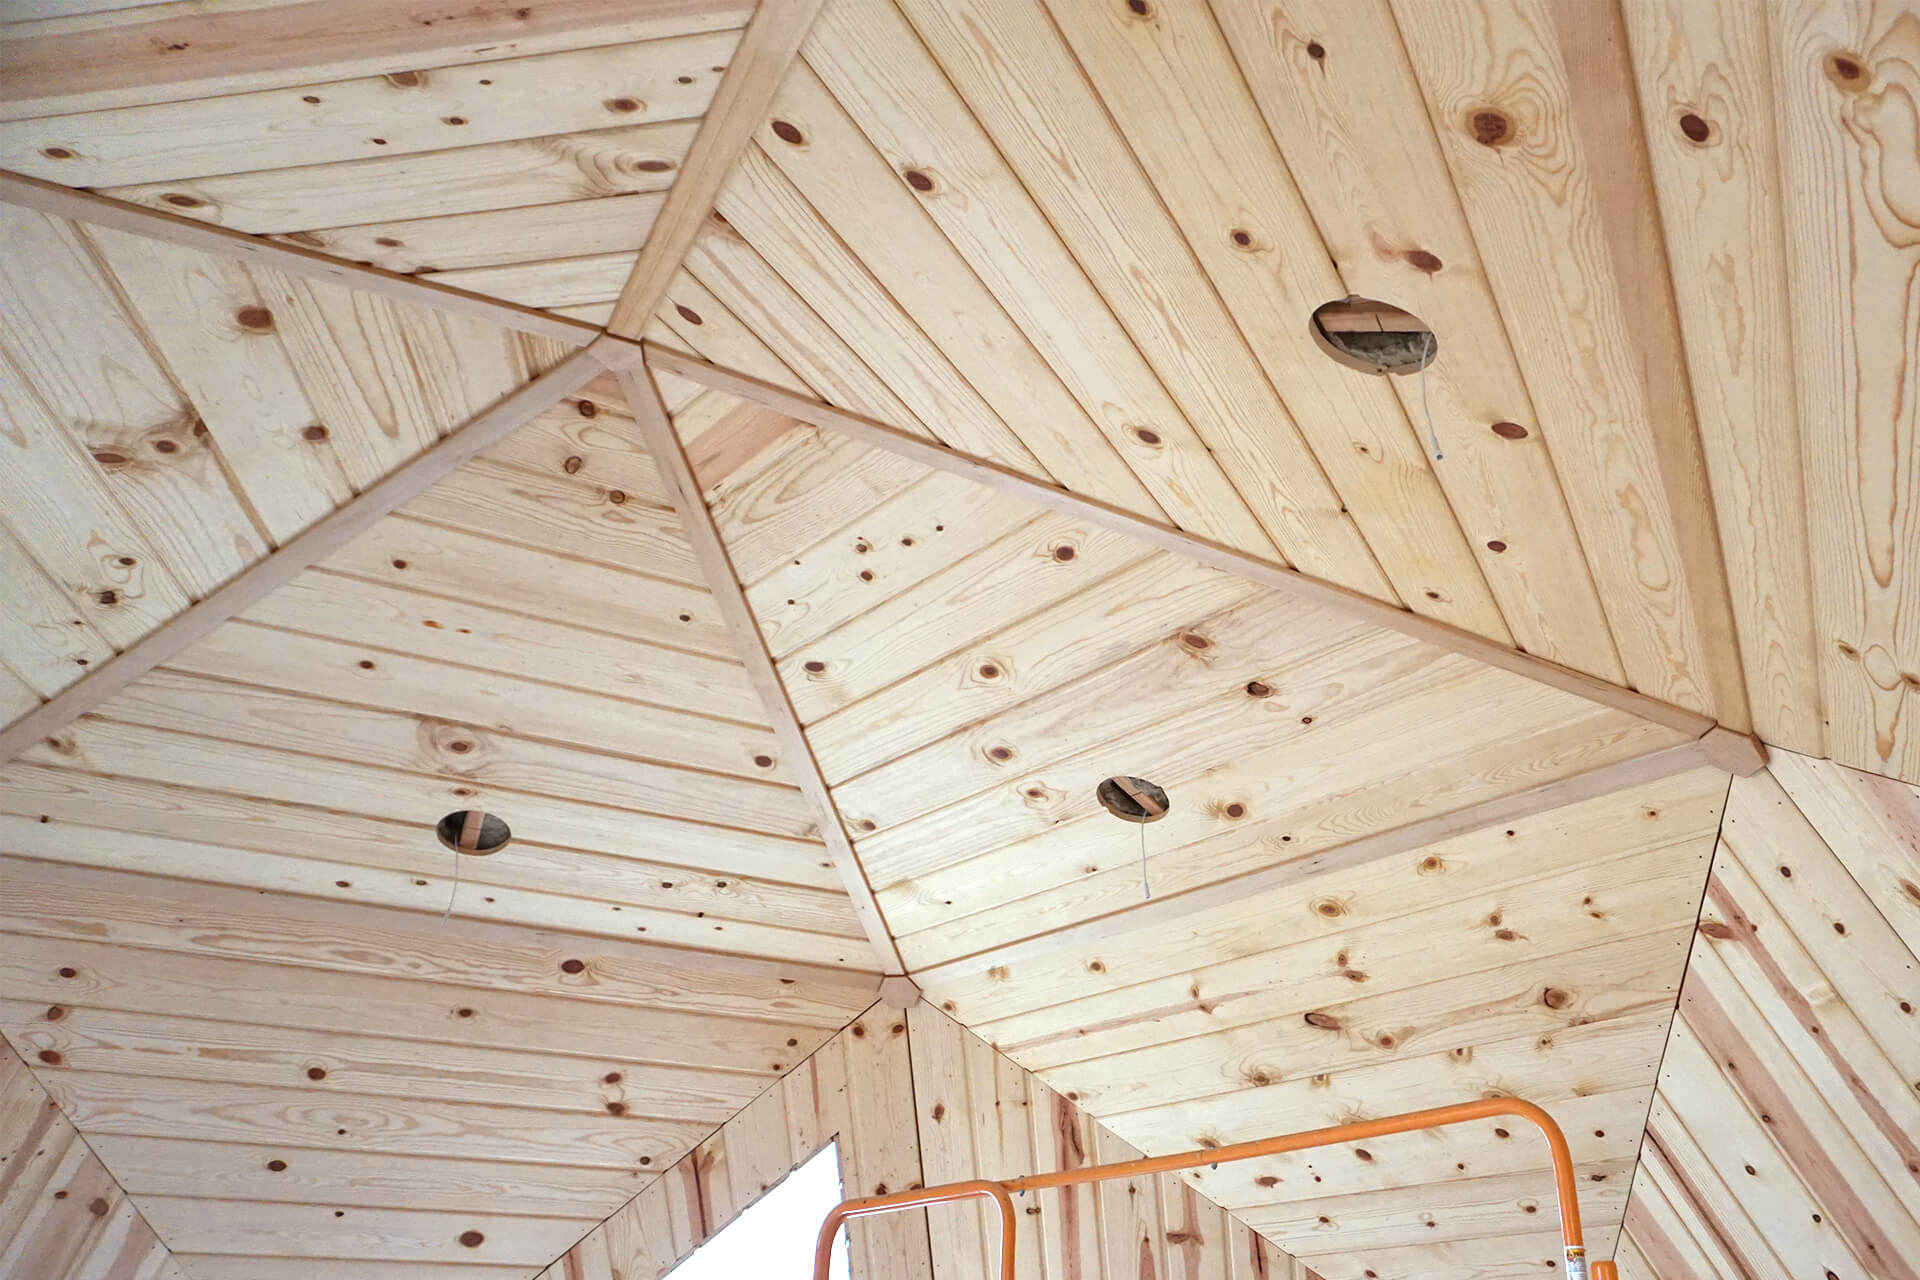
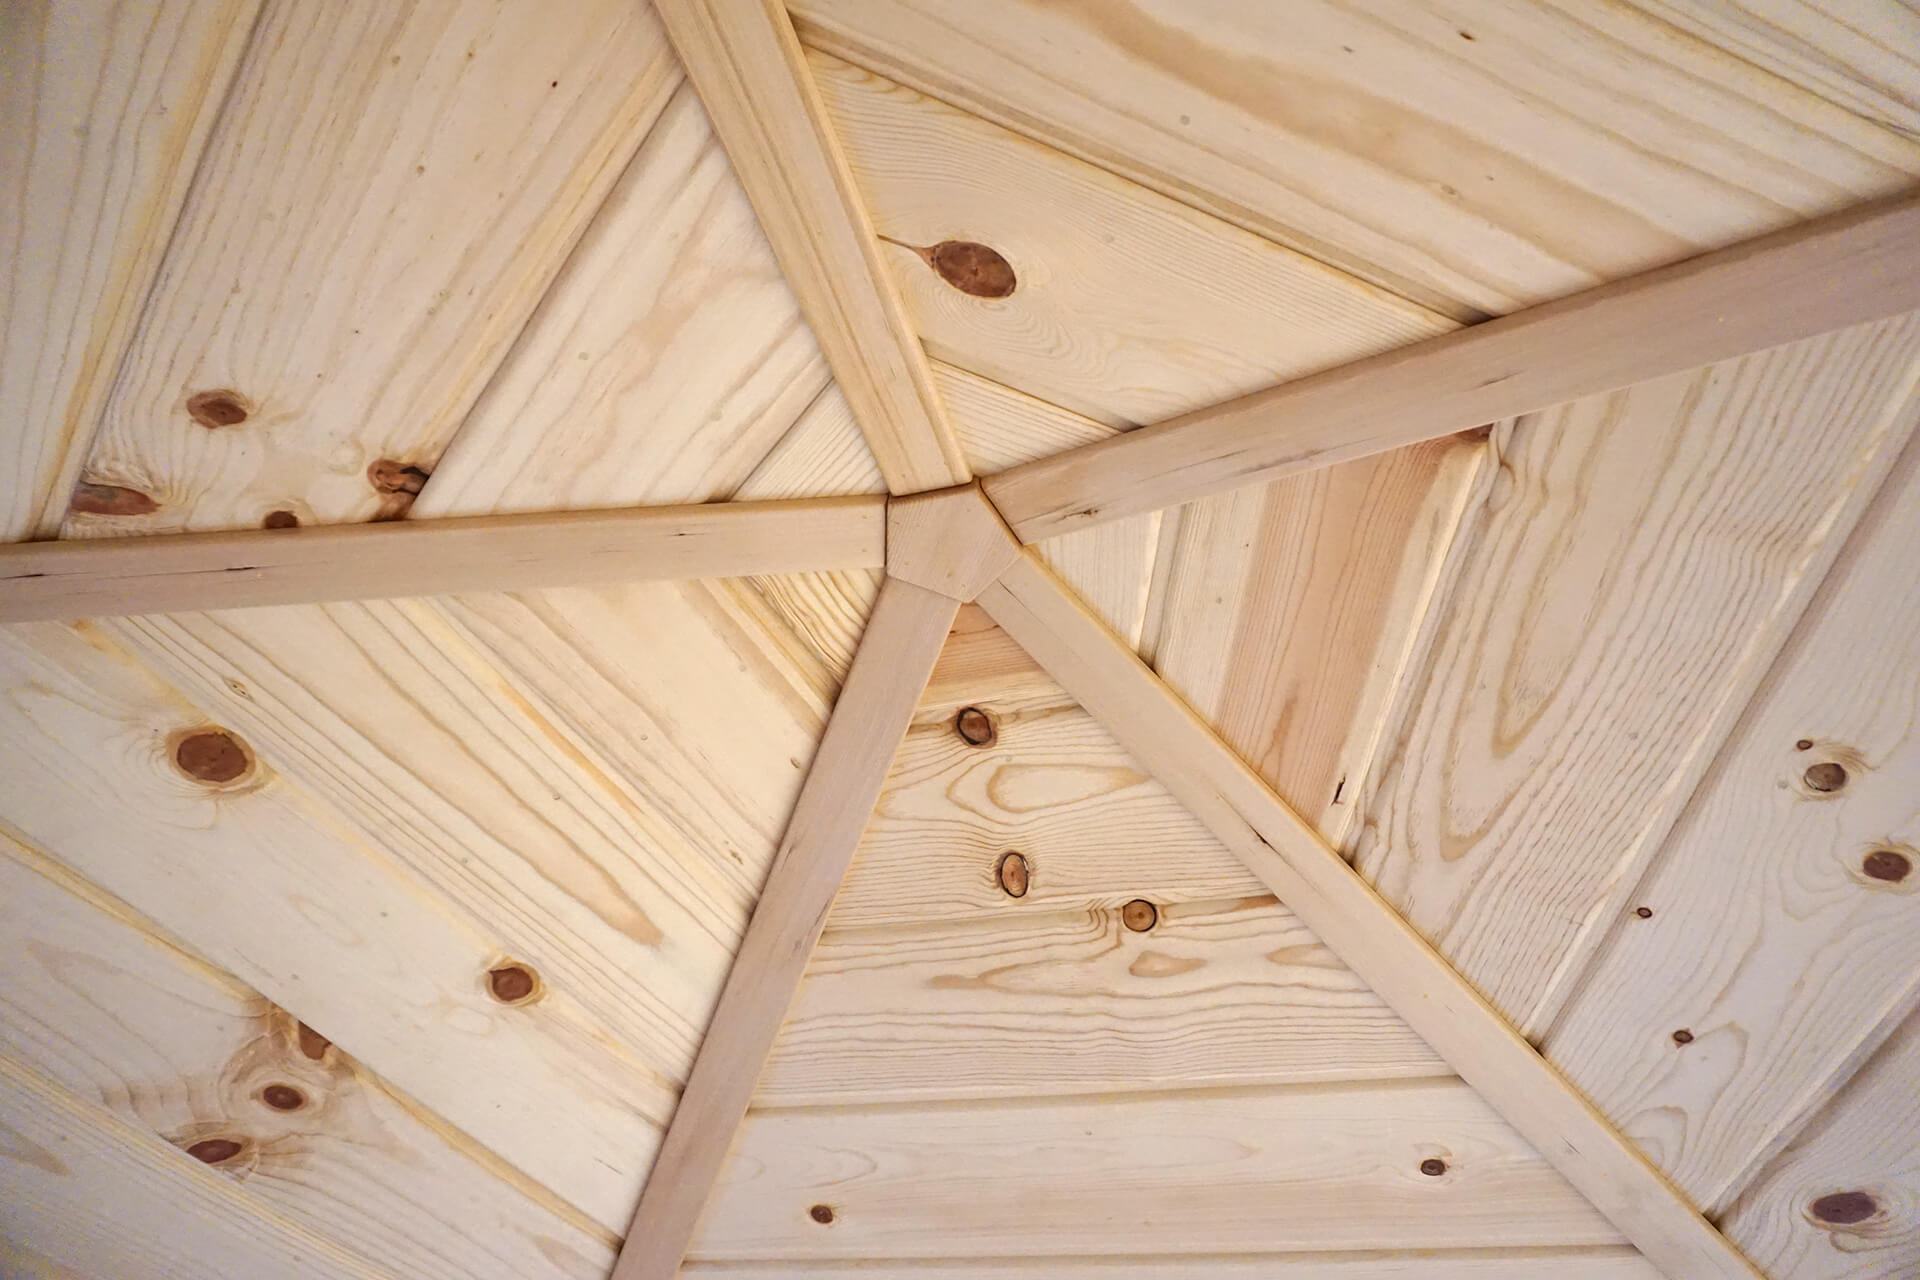
Continue installing the trim straights. When properly installed, each should sit flush against the wood paneling. To close a gap, it may be necessary to loosen and shim behind a plank.
The beveled ends of the trim straights and the small tolerance gap mean they must be bowed into place to fit.
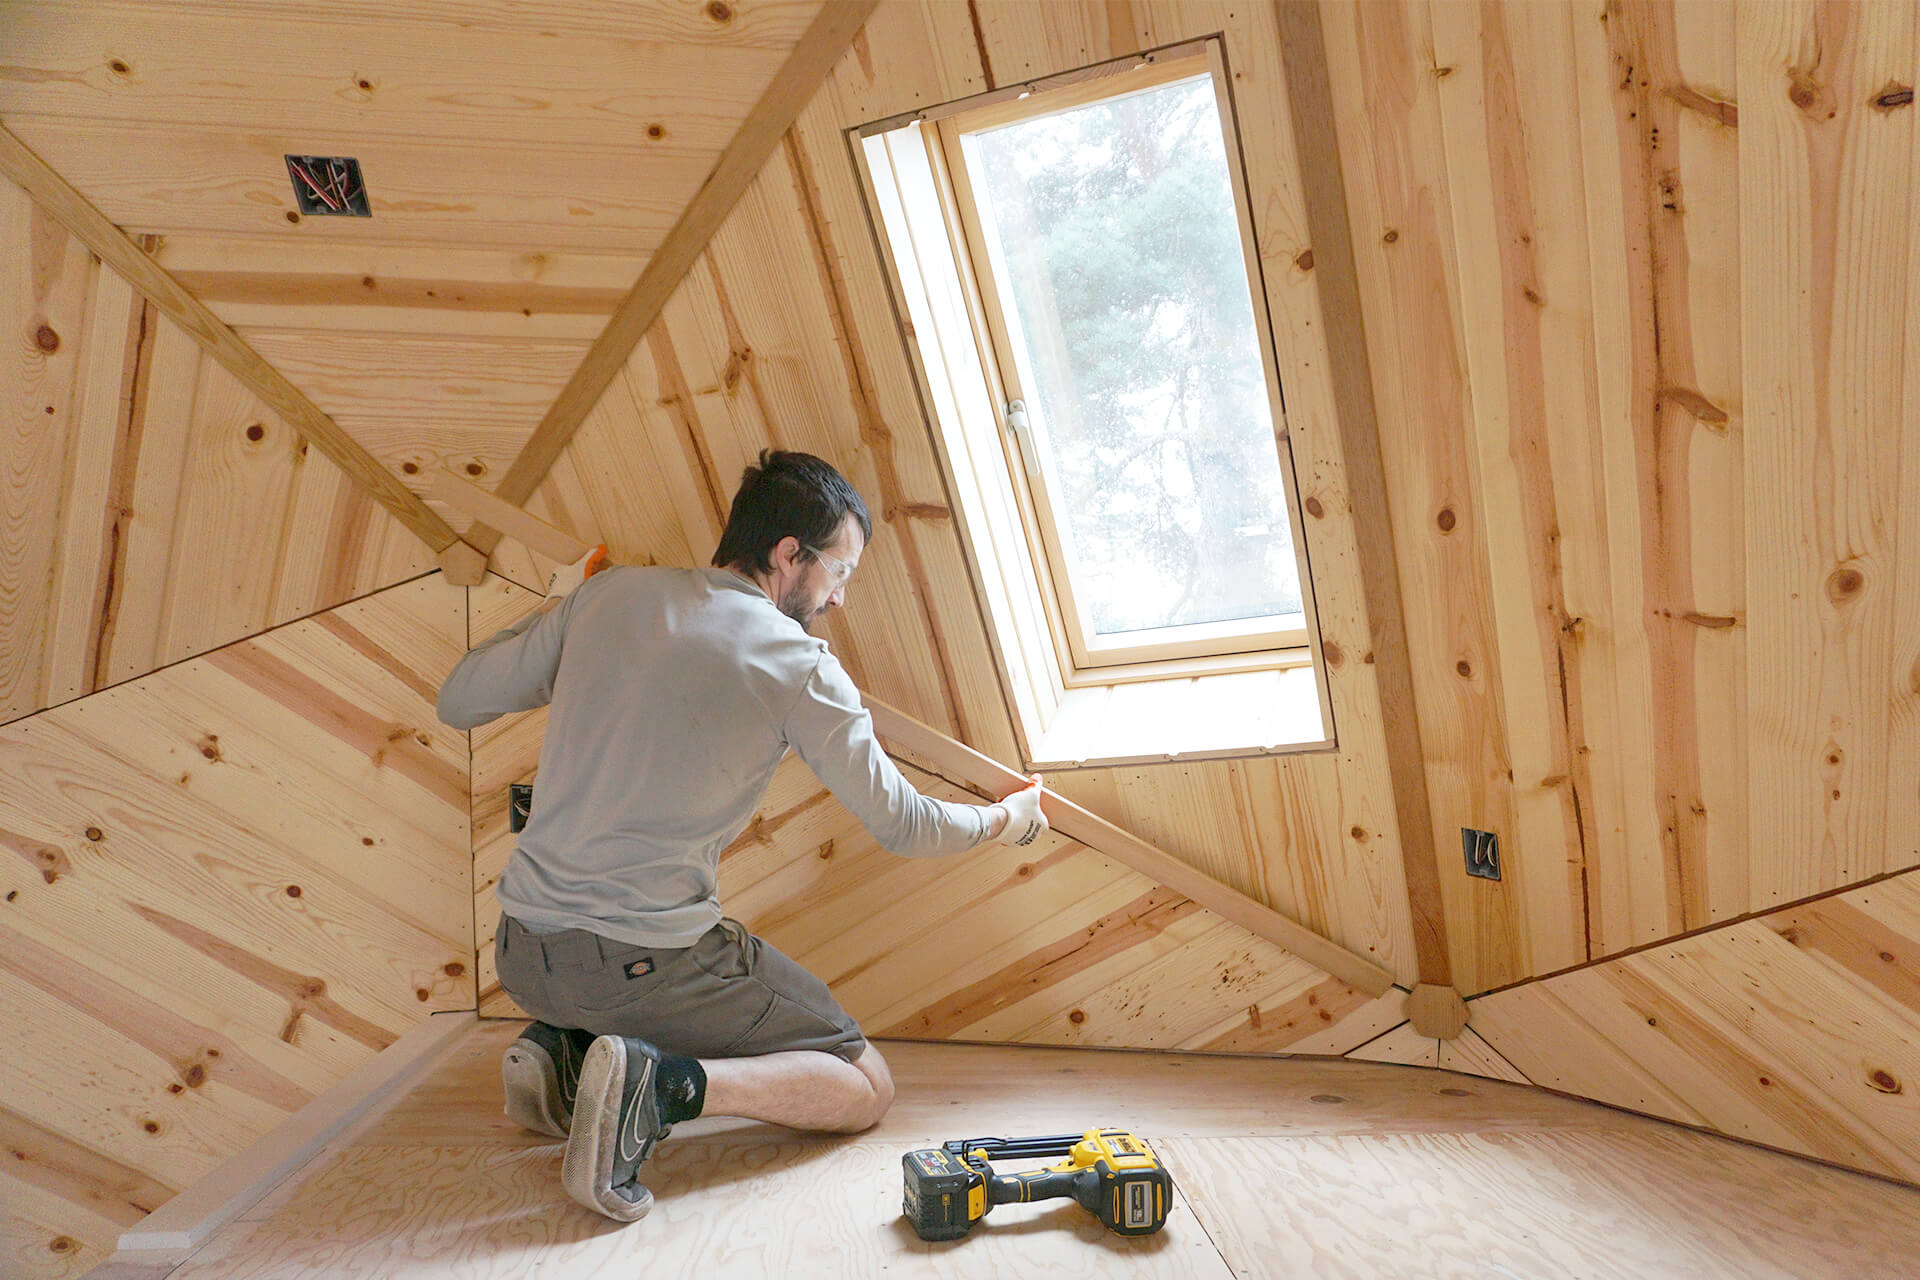
Finish installing most of the trim straights. Ignore any pieces that would intersect with the walls or future baseboards, as they will be cut and installed later.
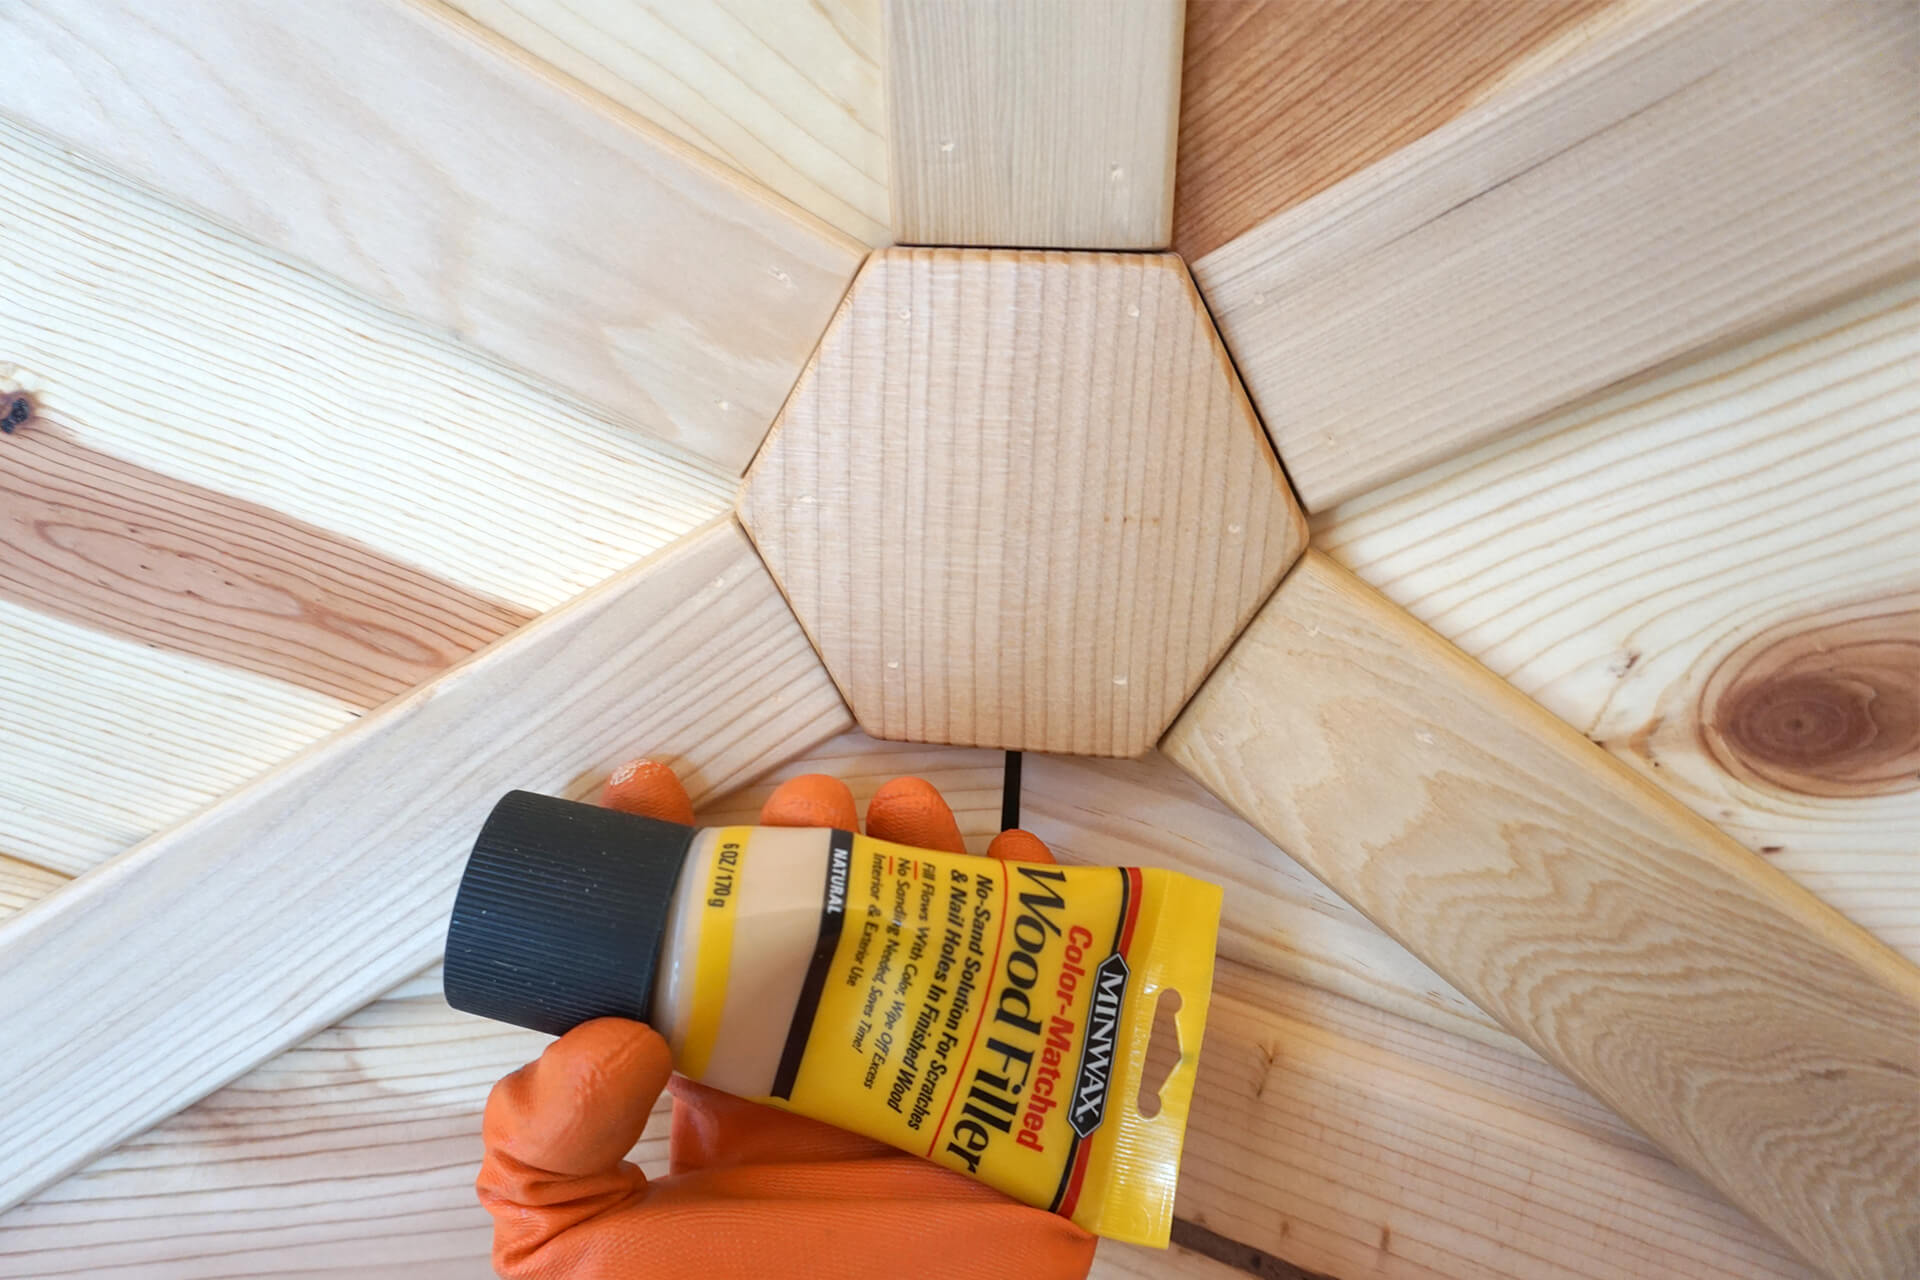
Apply two coats of wood filler to cover all of the brad nails. Two coats are needed because the filler shrinks as it dries.
Congratulations on completing most of the panel trim! The rest will be installed after paint and baseboards.
Next Step