Painting
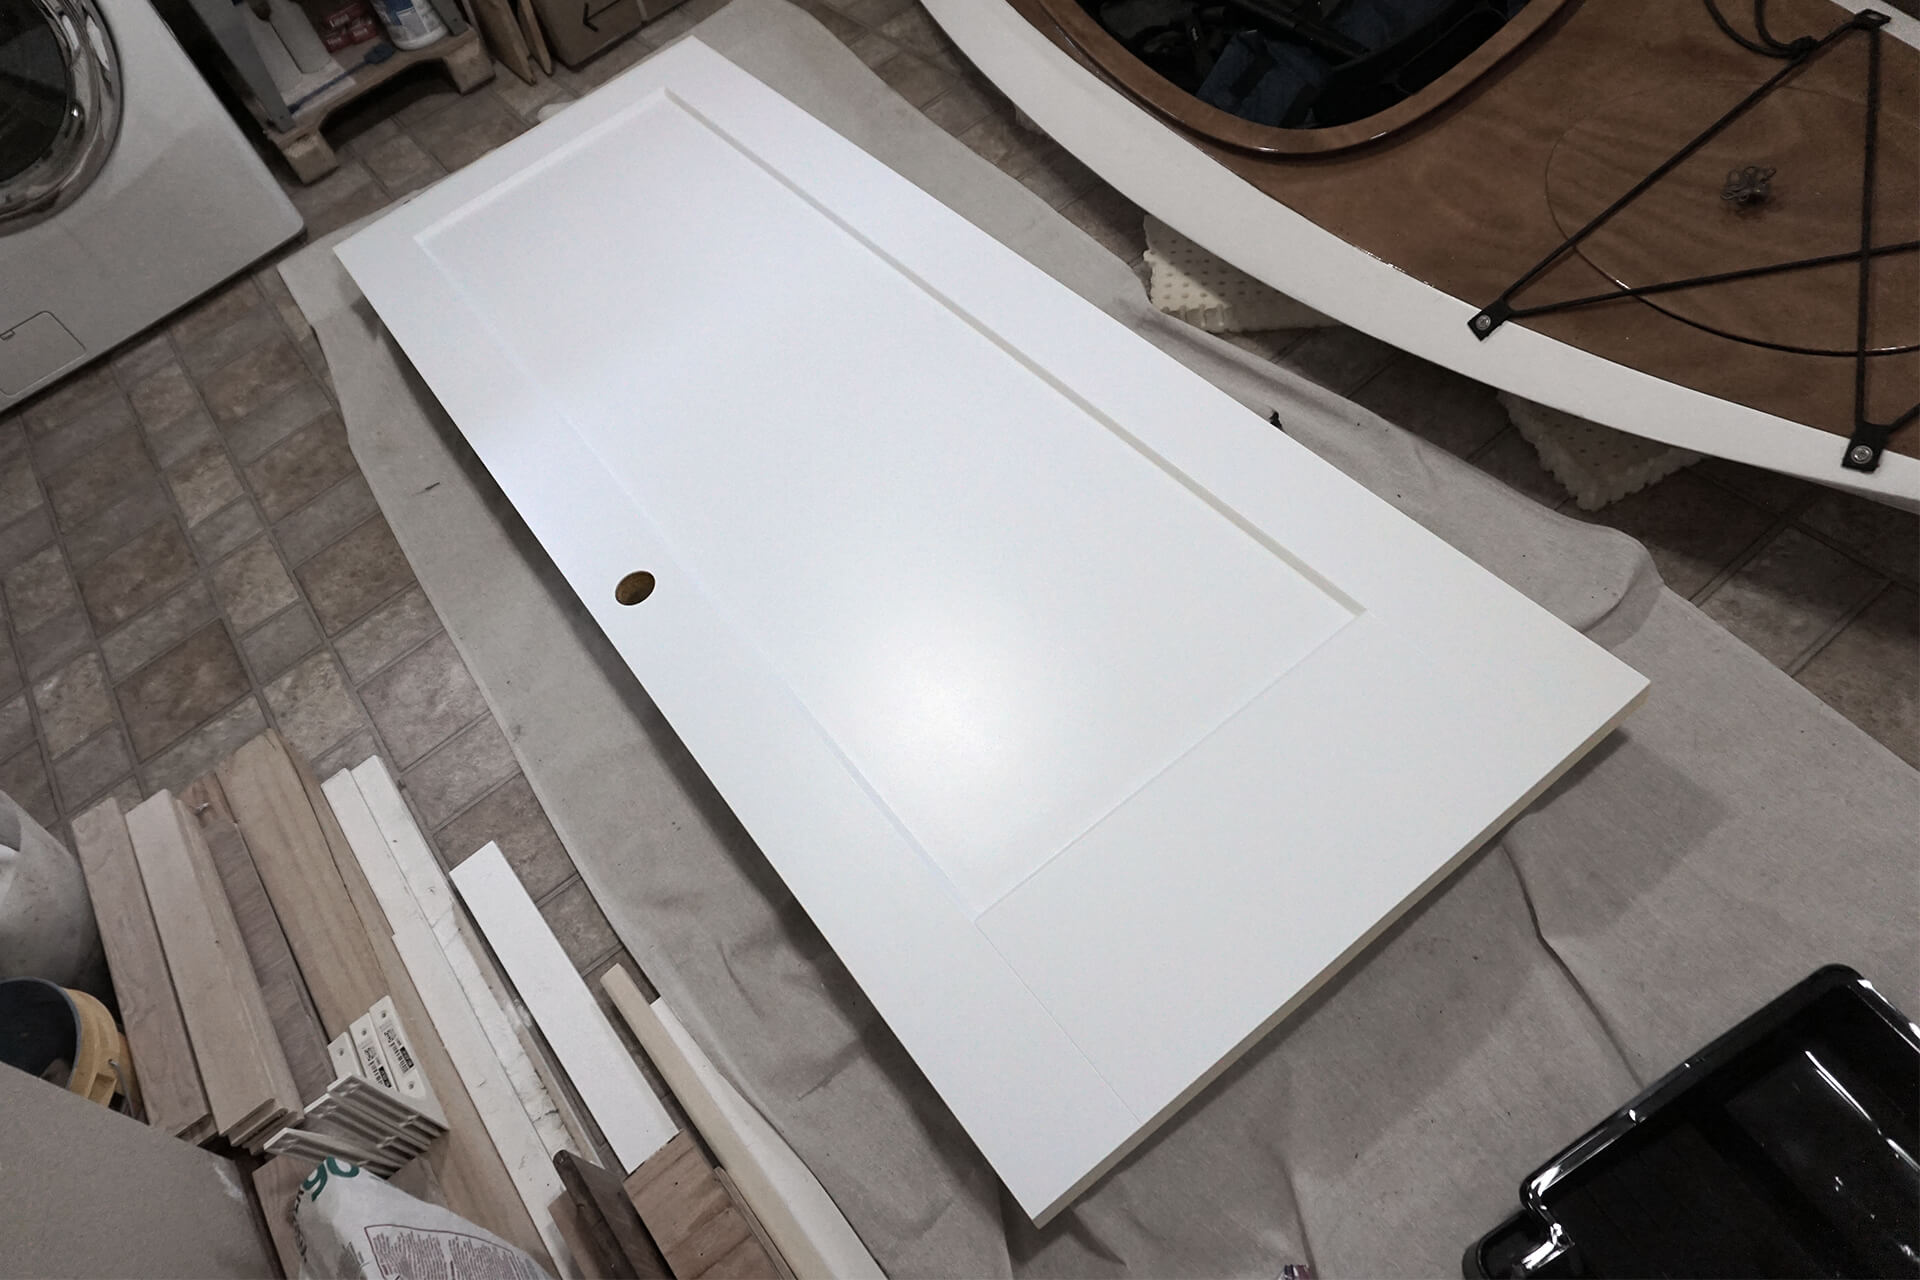
Remove and paint all six sides of the bathroom door. Valspar Signature in Oxford White with a satin sheen is shown here and used throughout this chapter.
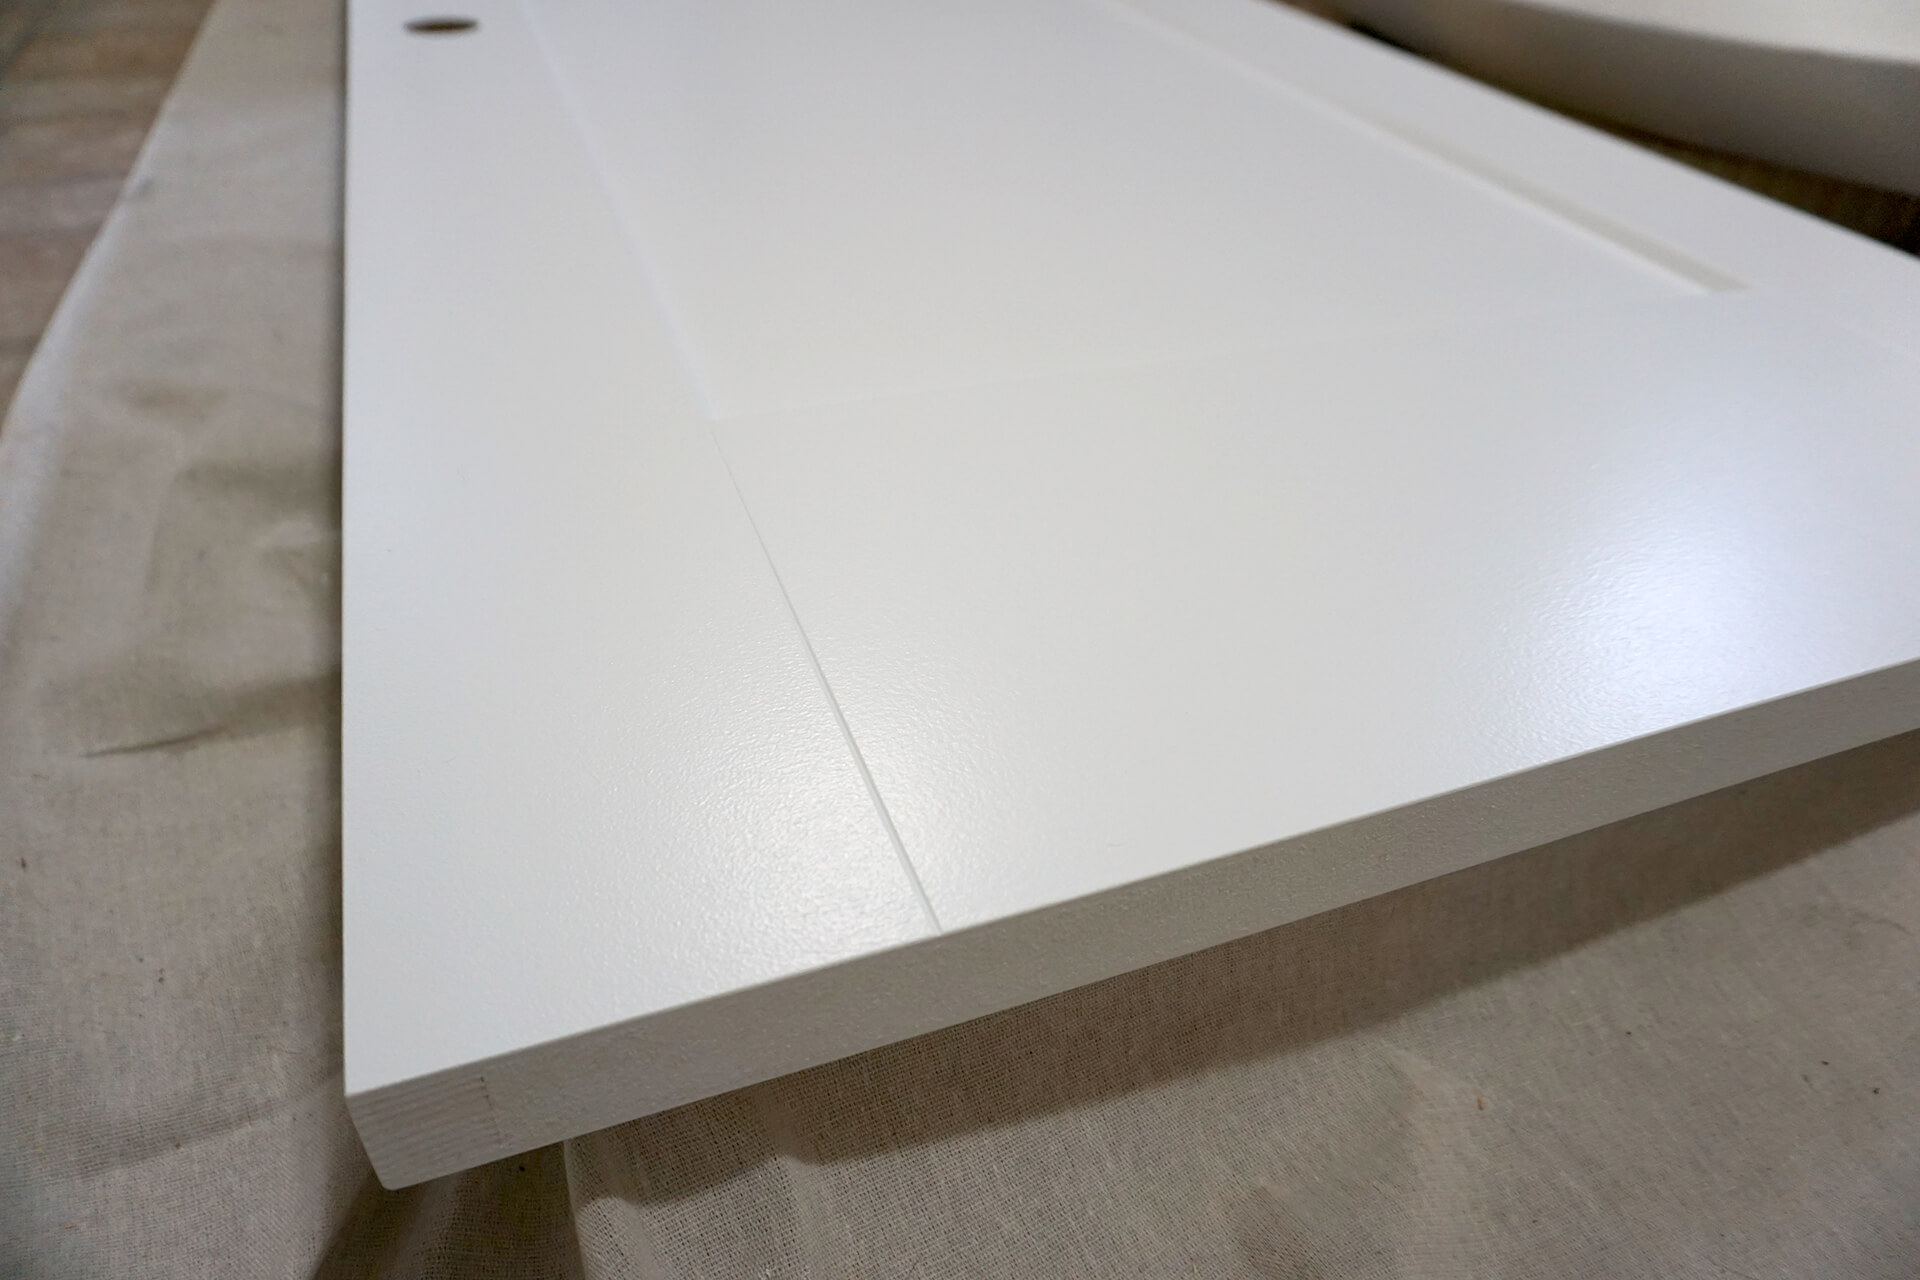
Apply two coats with a 4 inch x 3/8 inch nap roller to achieve the finish and texture shown here.

Remove and paint the bathroom utility door. The backside is hidden and does not need paint, but the edges are slightly visible and should be painted.
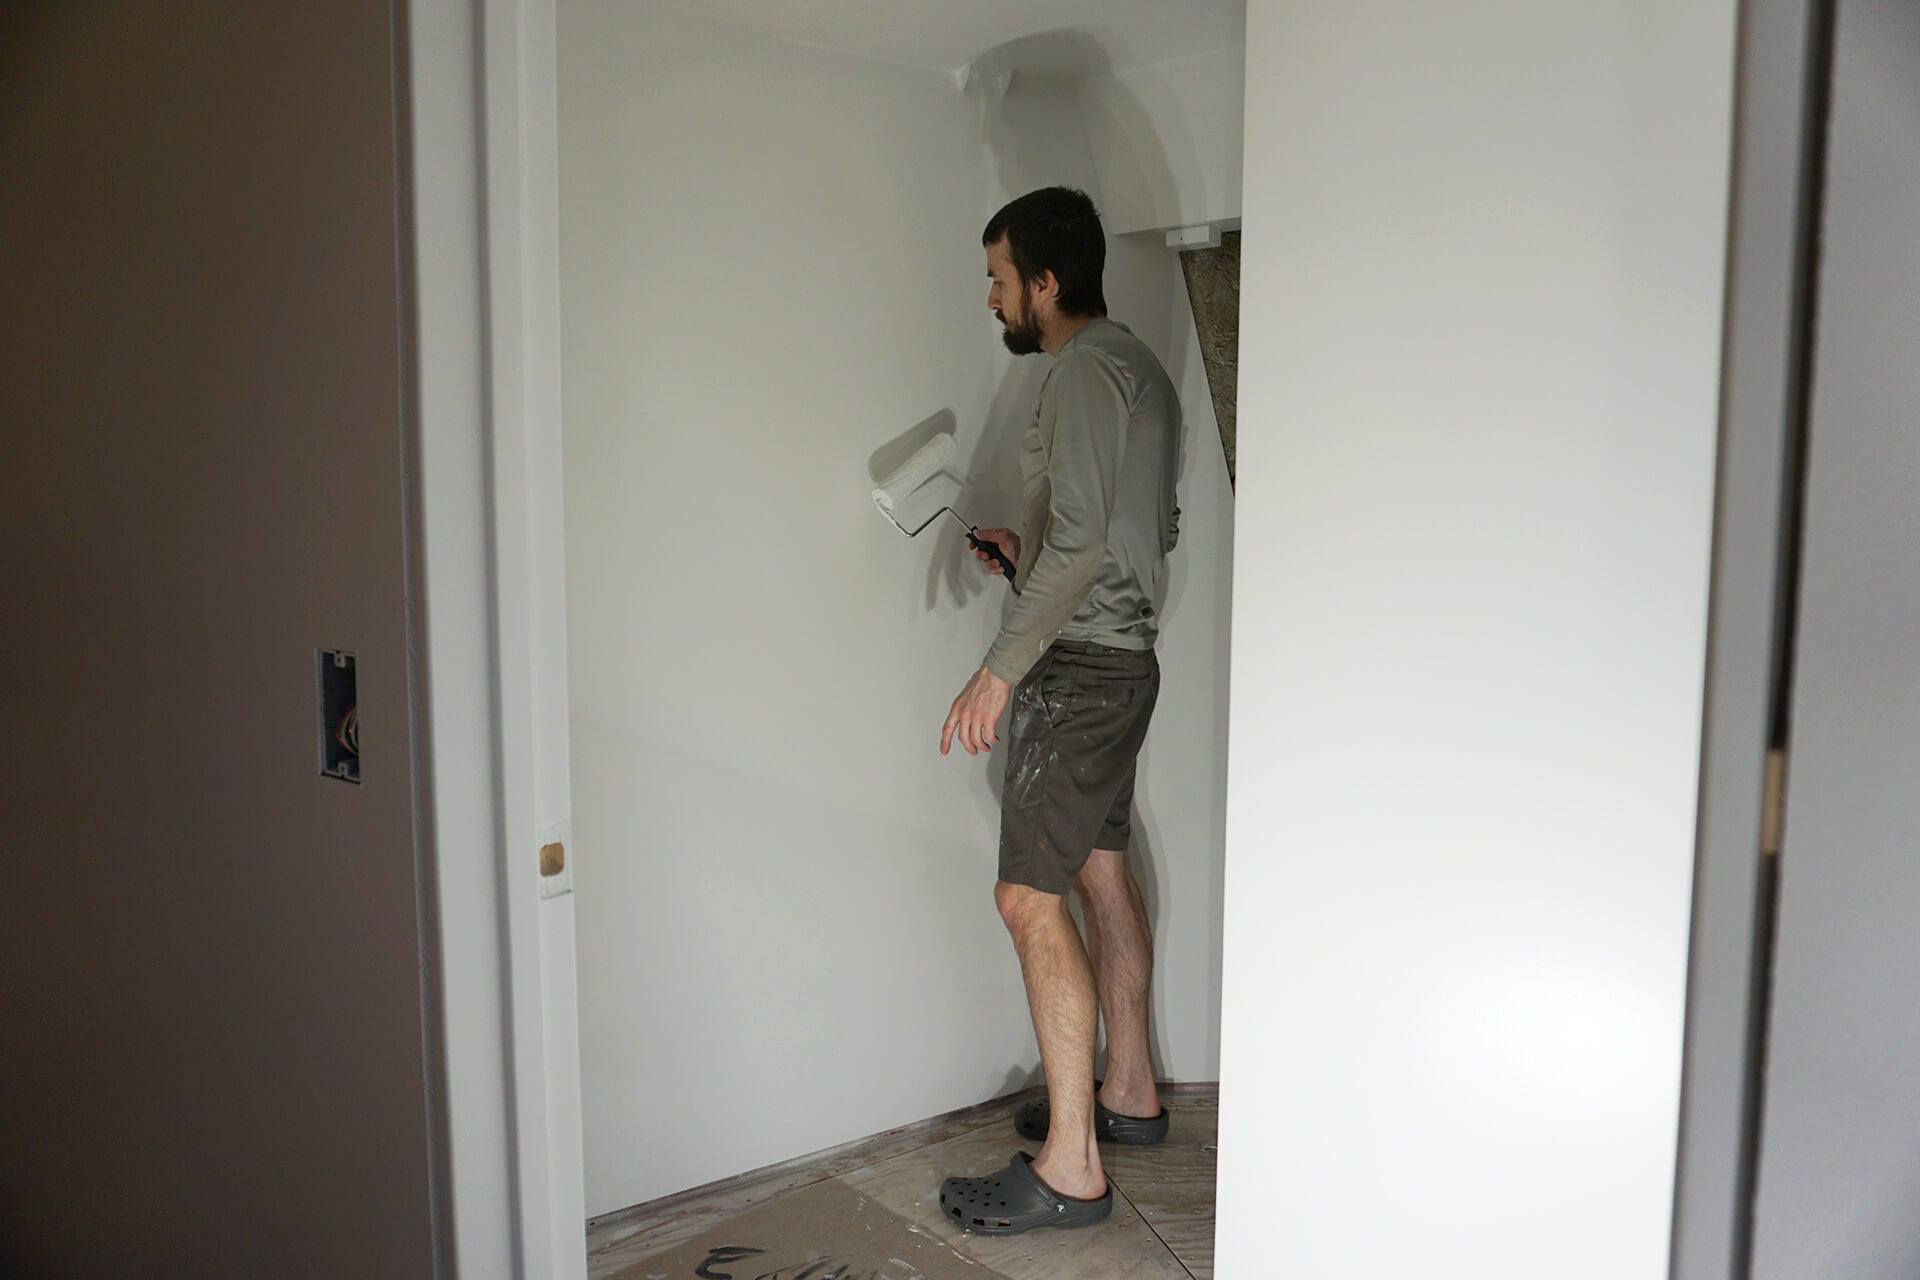
Use painter's tape to protect the wood paneling and paint the walls. Apply the paint in the same manner as the primer.
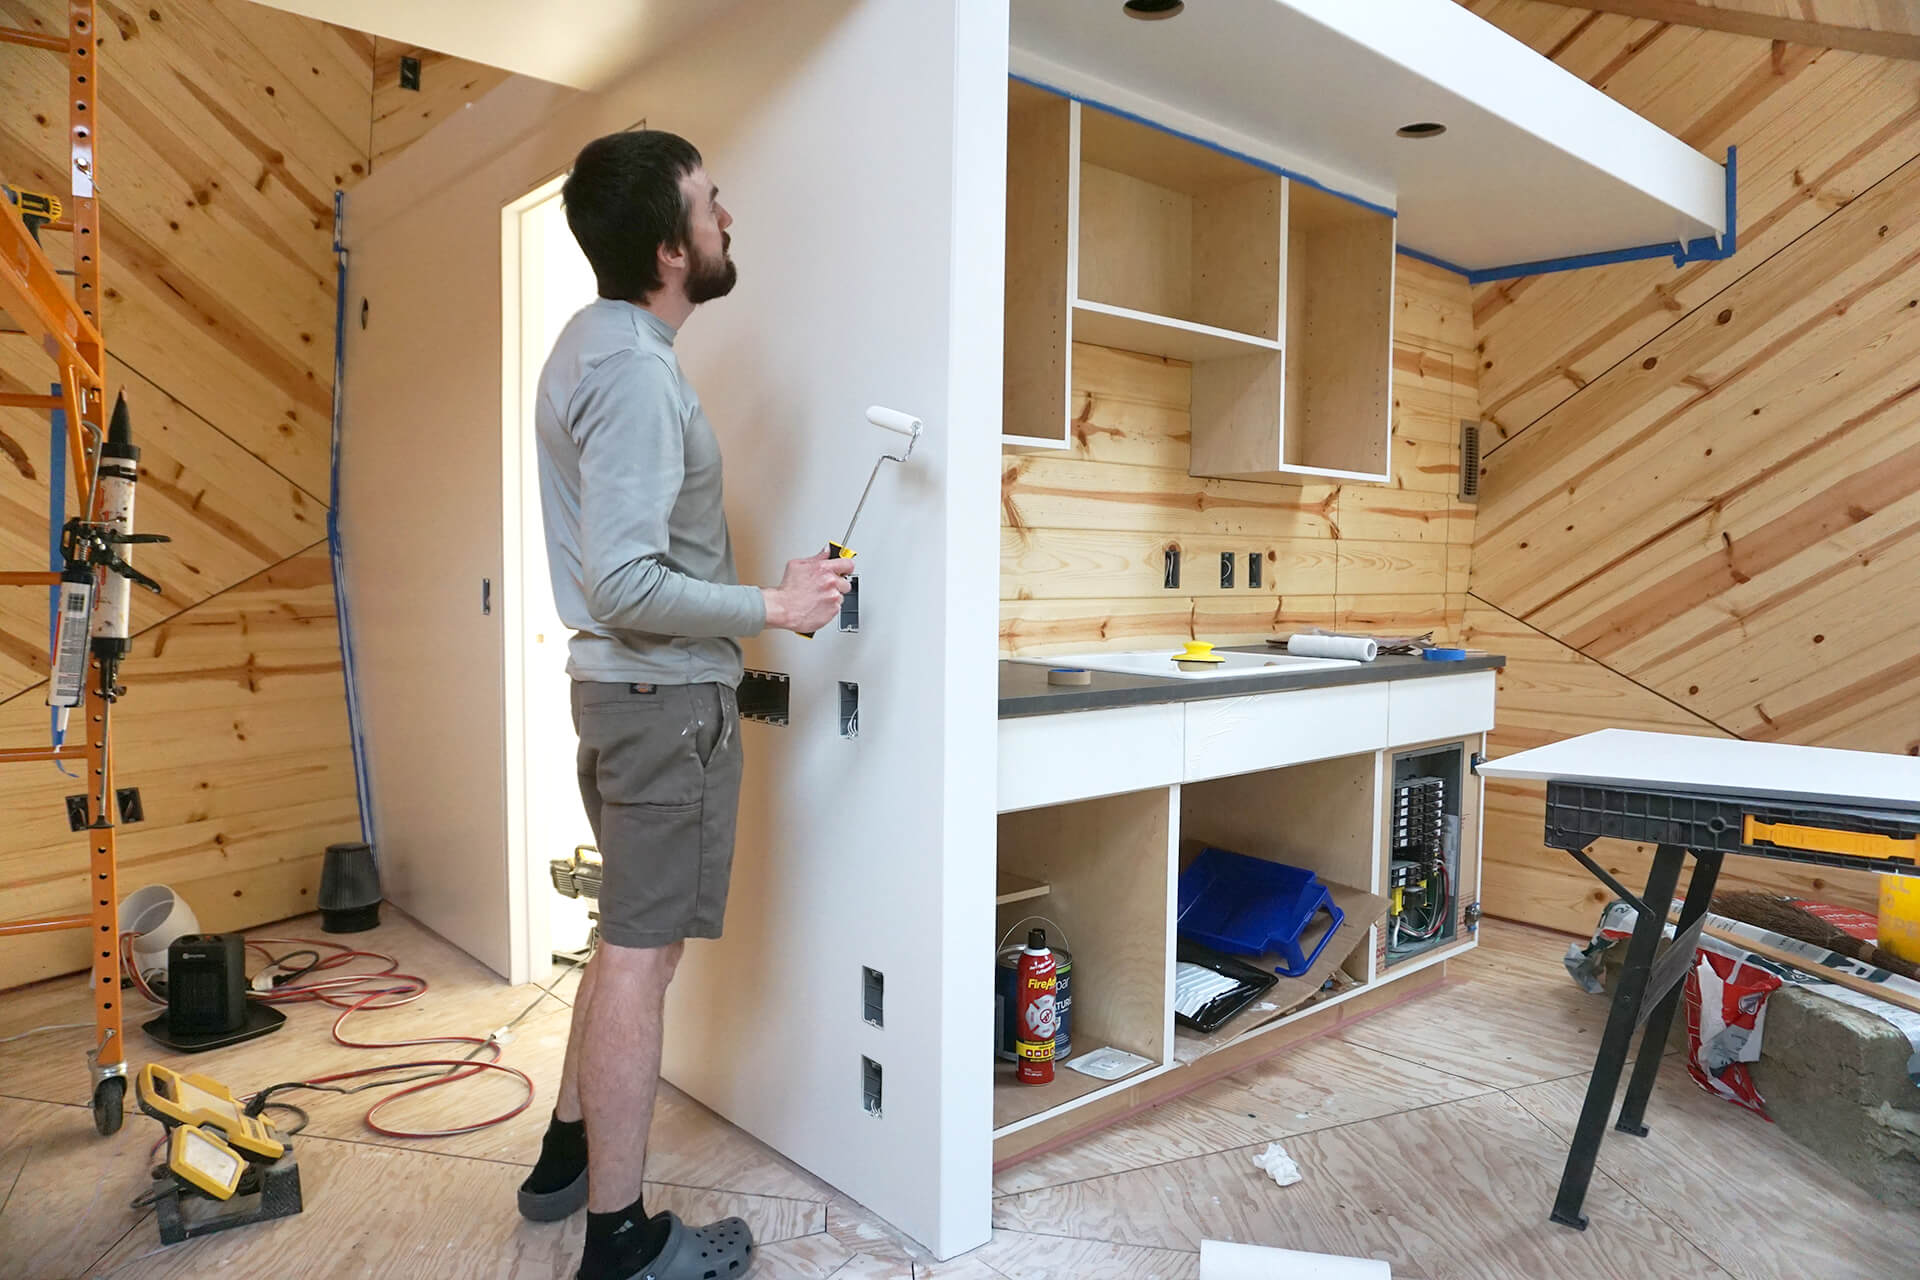
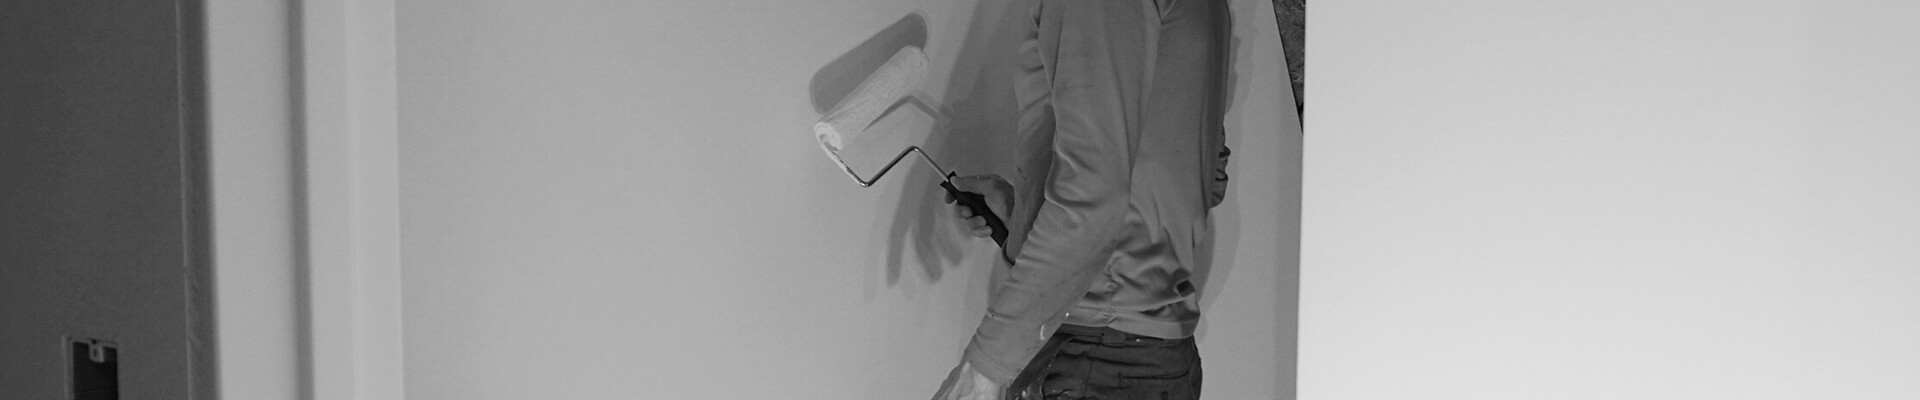
Use a small 4 inch × 3/8 inch nap roller (shown here) to paint near and into the corners without smudging.
Apply the paint to large areas with a 9 inch x 3/8 inch nap roller (shown here). Keep it wet, insure it is always rolling (never sliding), and feather it into already coated surfaces.
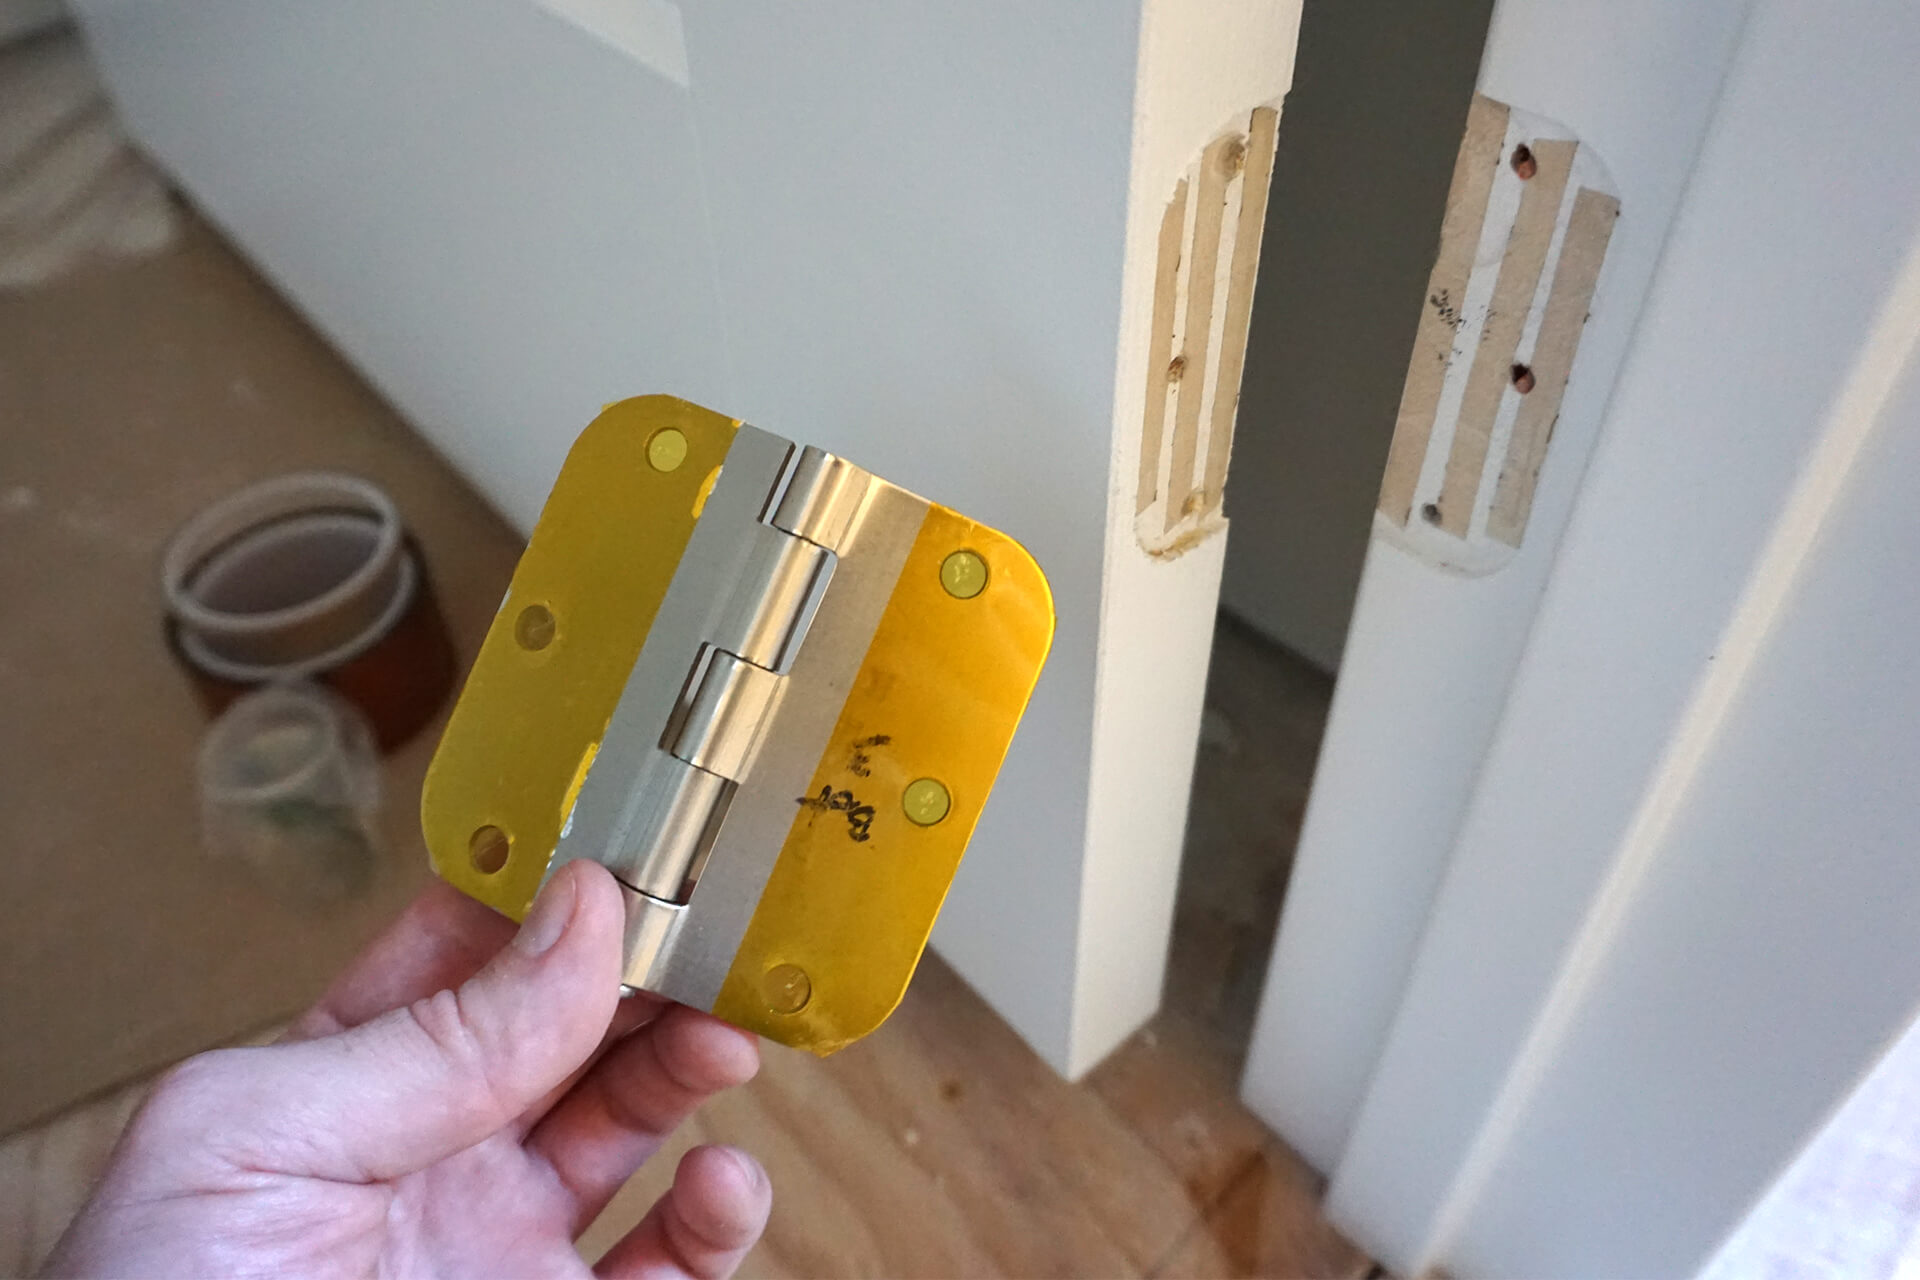
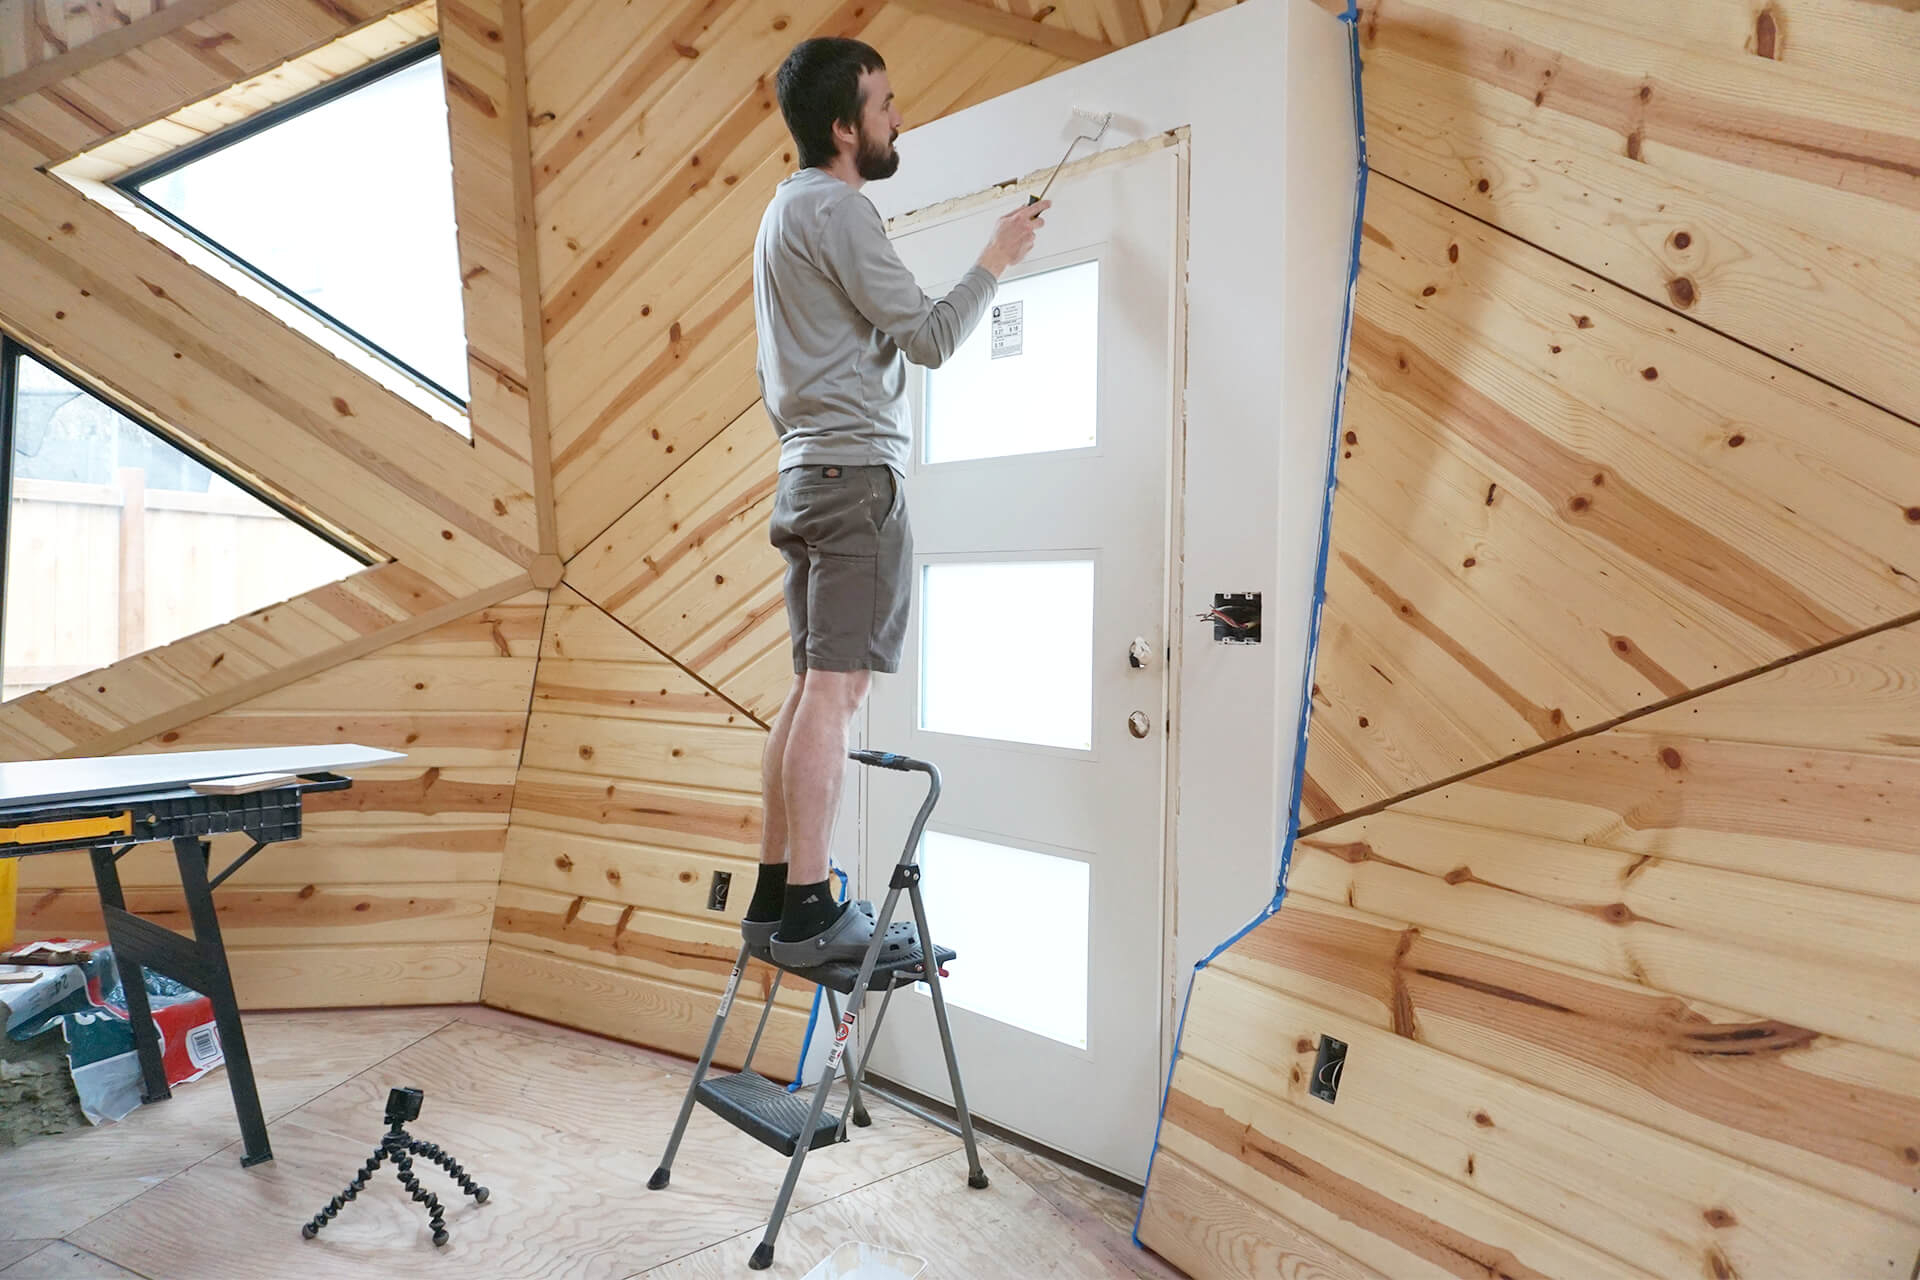
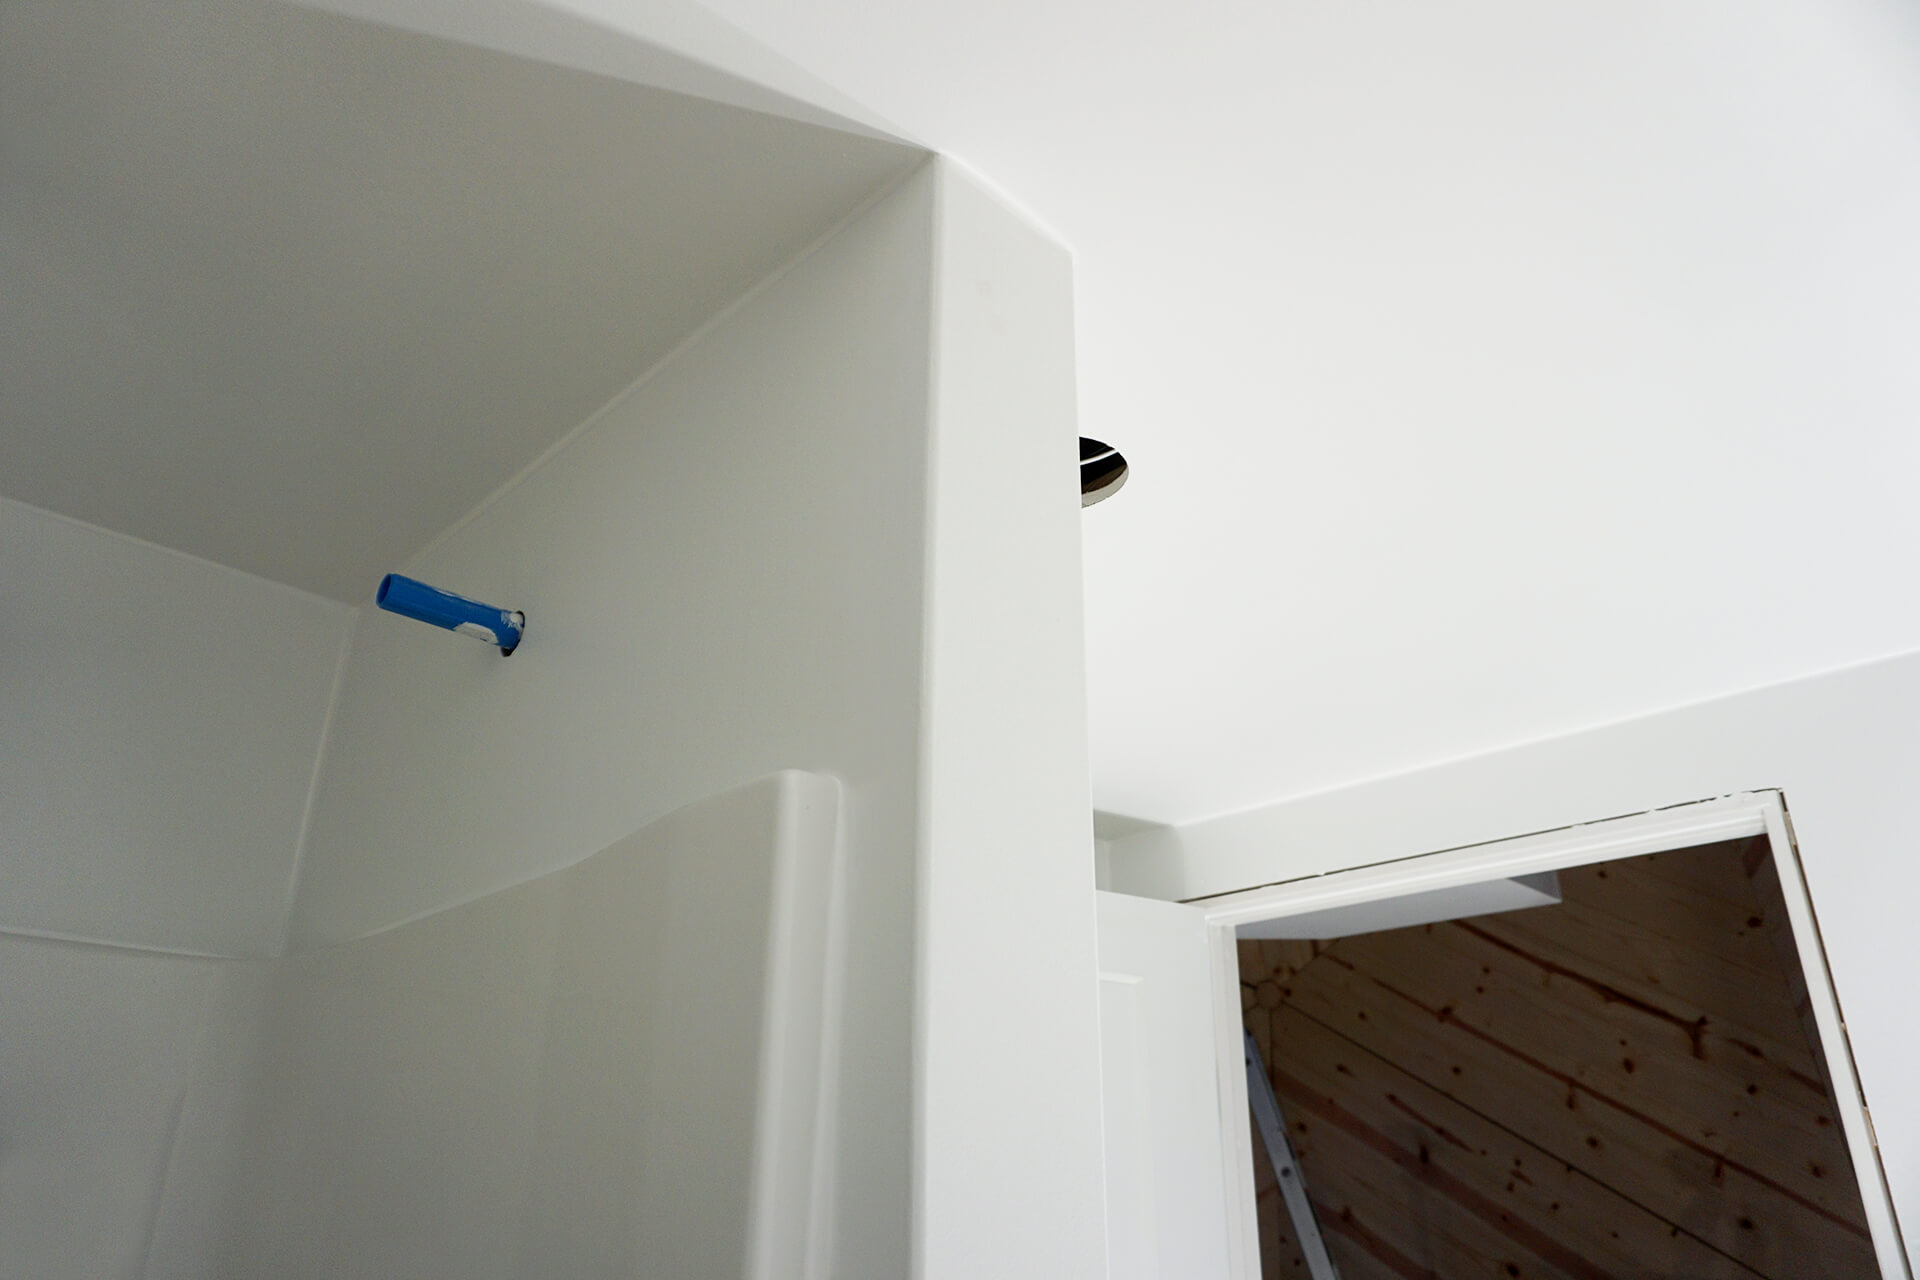
Reinstall the bathroom door. Apply tape to the mating surfaces to prevent any metal-on-wood squeaks. Kapton and PTFE film tape shown here.

Remove the front door in preparation for painting. Cut a temporary door out of cardboard, as the paint takes a few days to fully cure. Paint the top surface of the door white if it is unfinished.

Mask off non-painted areas. Scuff surfaces with 220 grit sandpaper. Do not slide painter's tape under the window trim or it will tear the paint when removed. Paint the door.
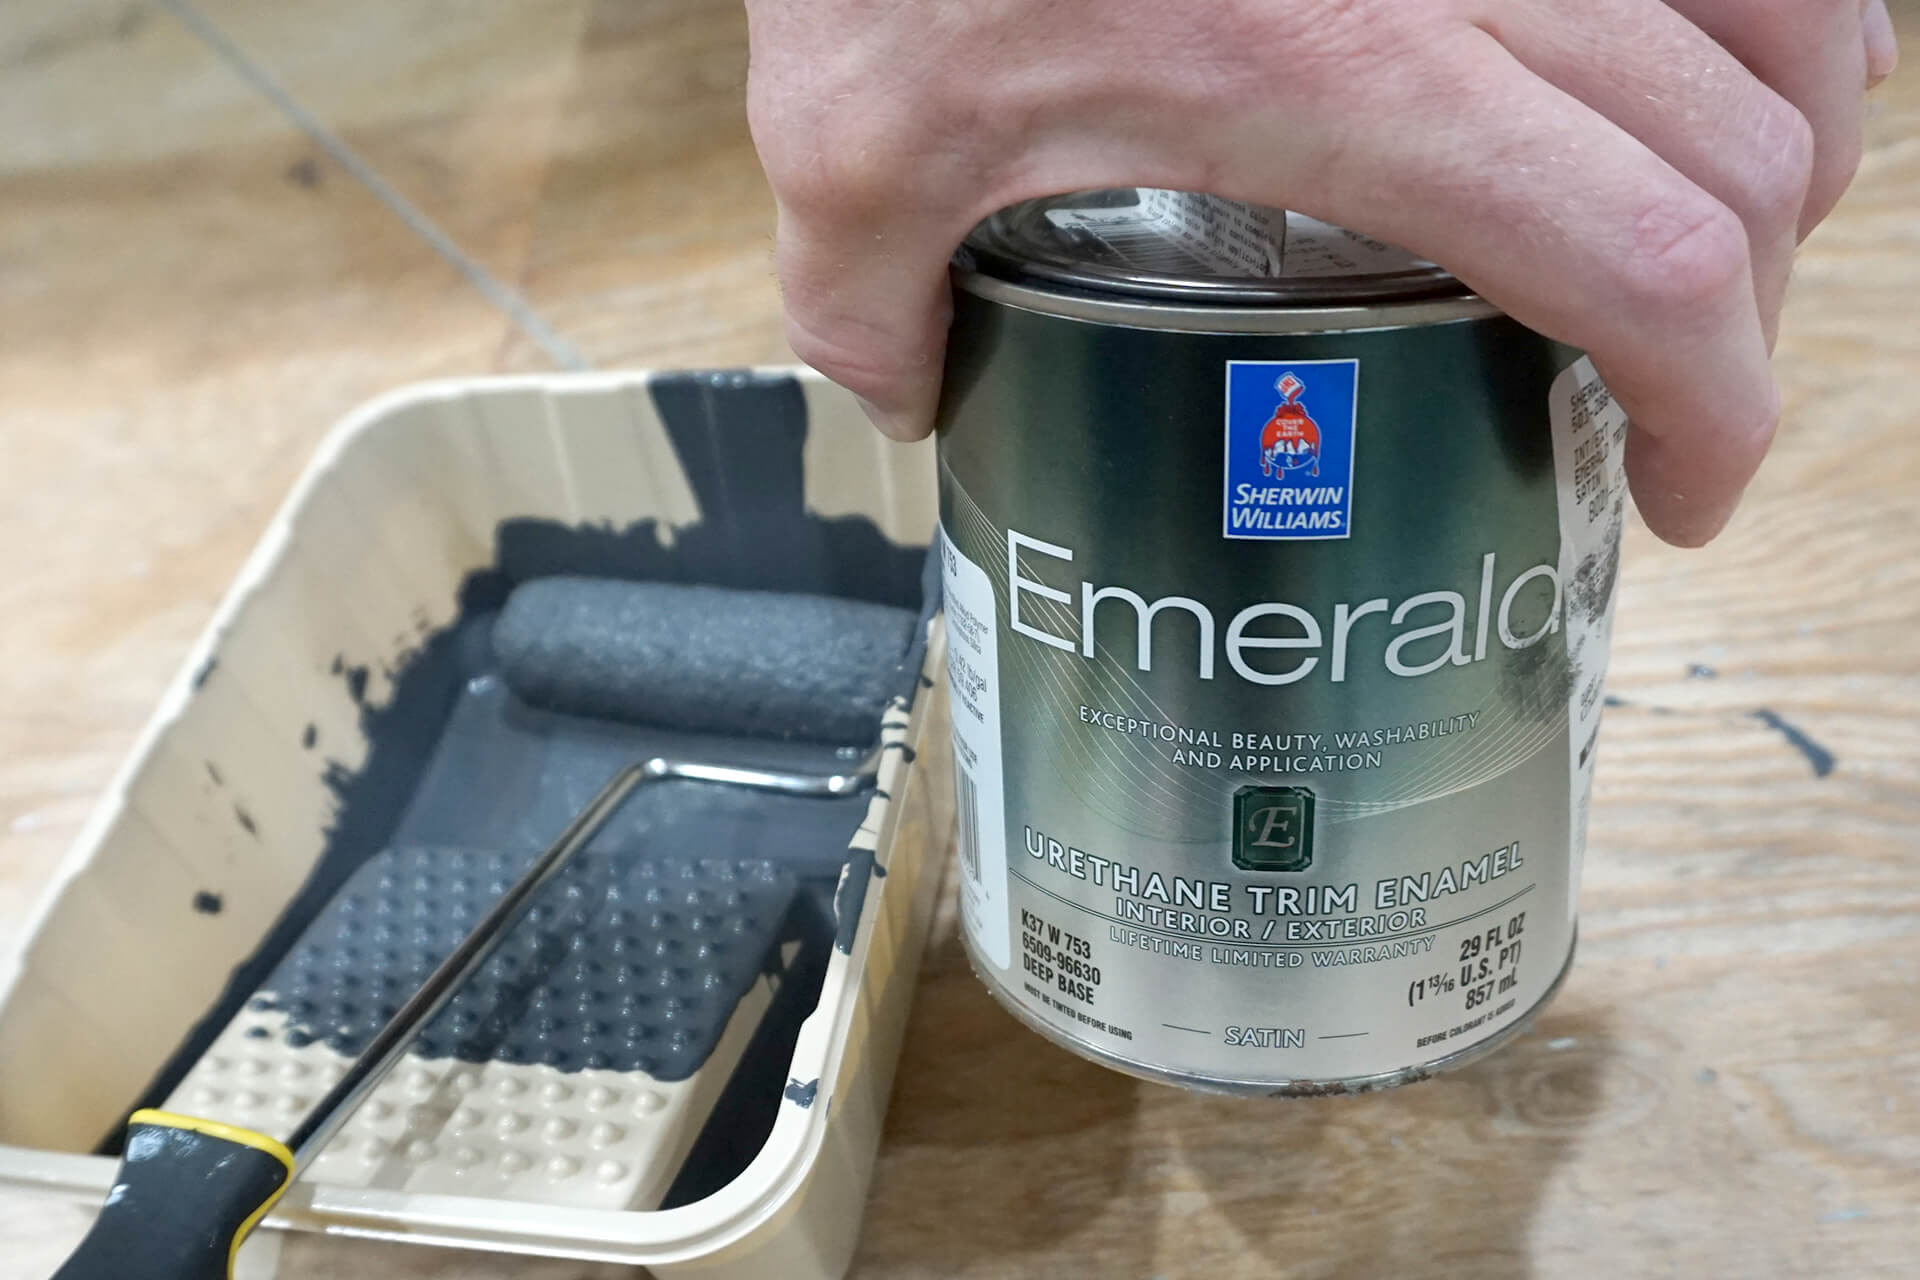
Emerald Urethane Trim Enamel, color matched to the roof, with a satin sheen is shown here and used to paint three coats on the exterior of the front door.
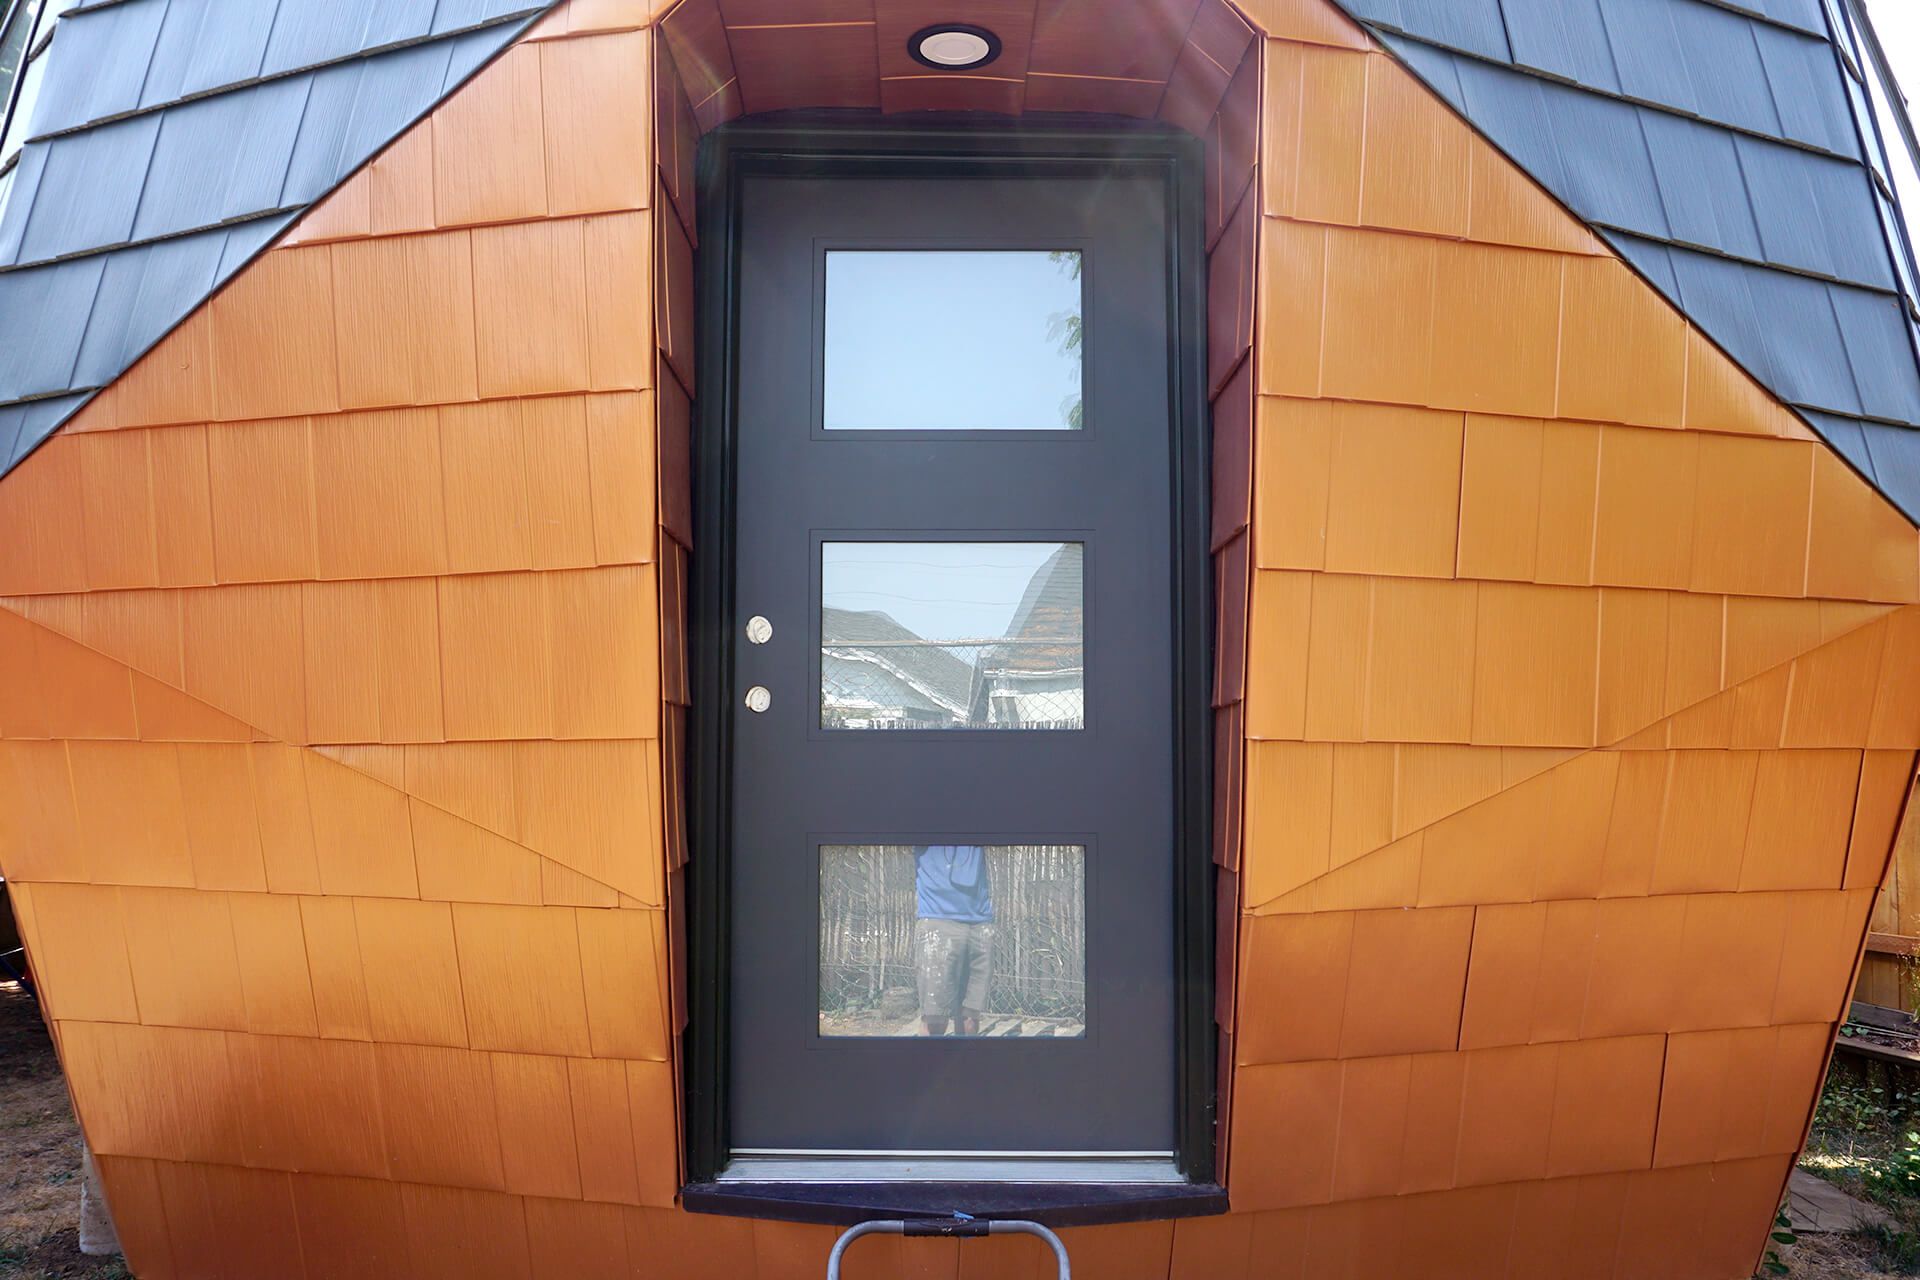
Wait at least three days and then reinstall the front door. The weatherstripping could mar the surface if installed sooner. It takes seven days for the paint to fully cure.
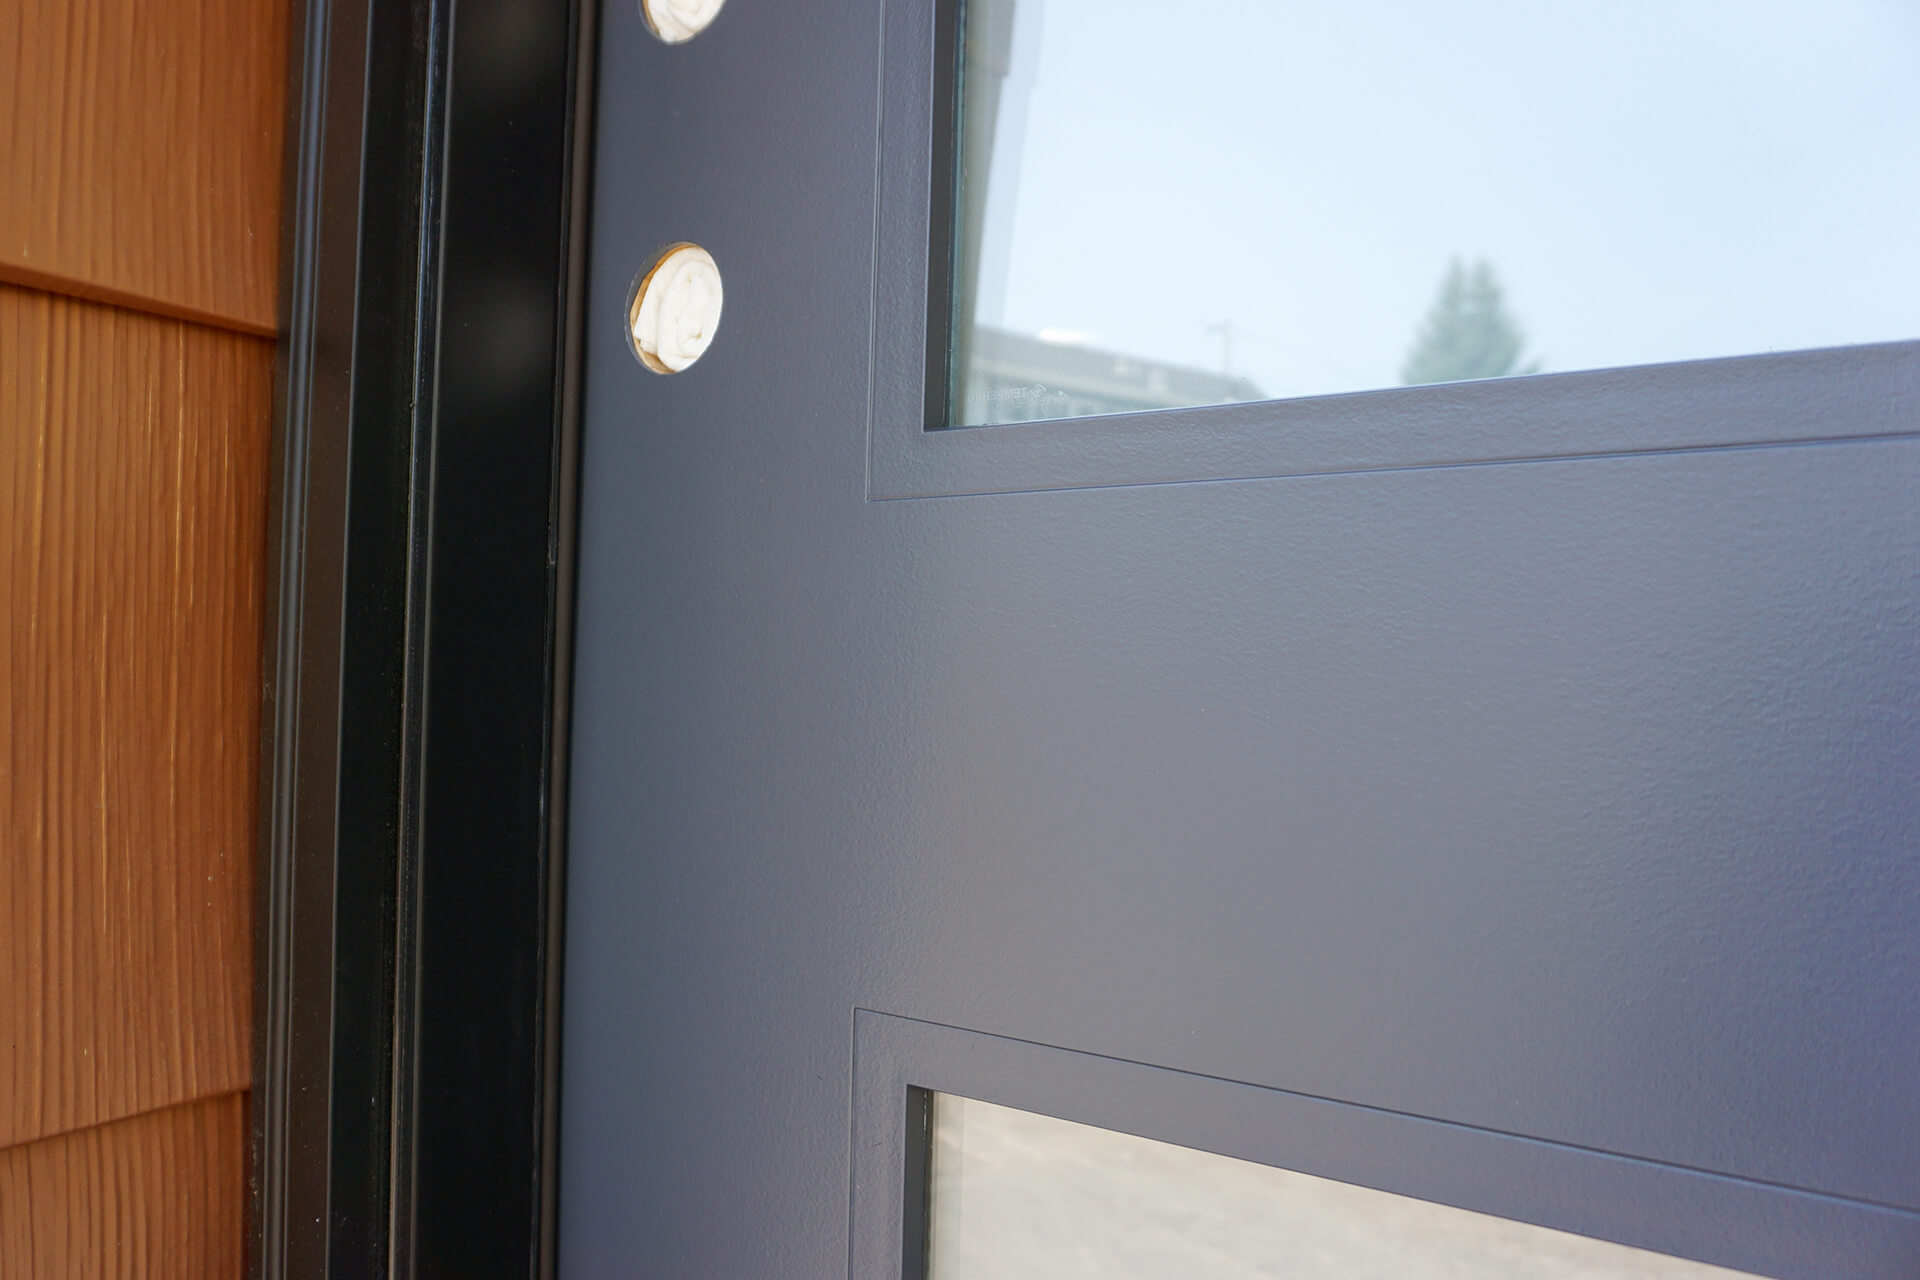
Detail shot showing the finish and texture of the painted door, along with the dark weatherstripping. The door window trim is vinyl, which isn’t ideal for painting but accepted this paint.
Congratulations on completing the painting!
Next Step