
Wood Paneling – Prep
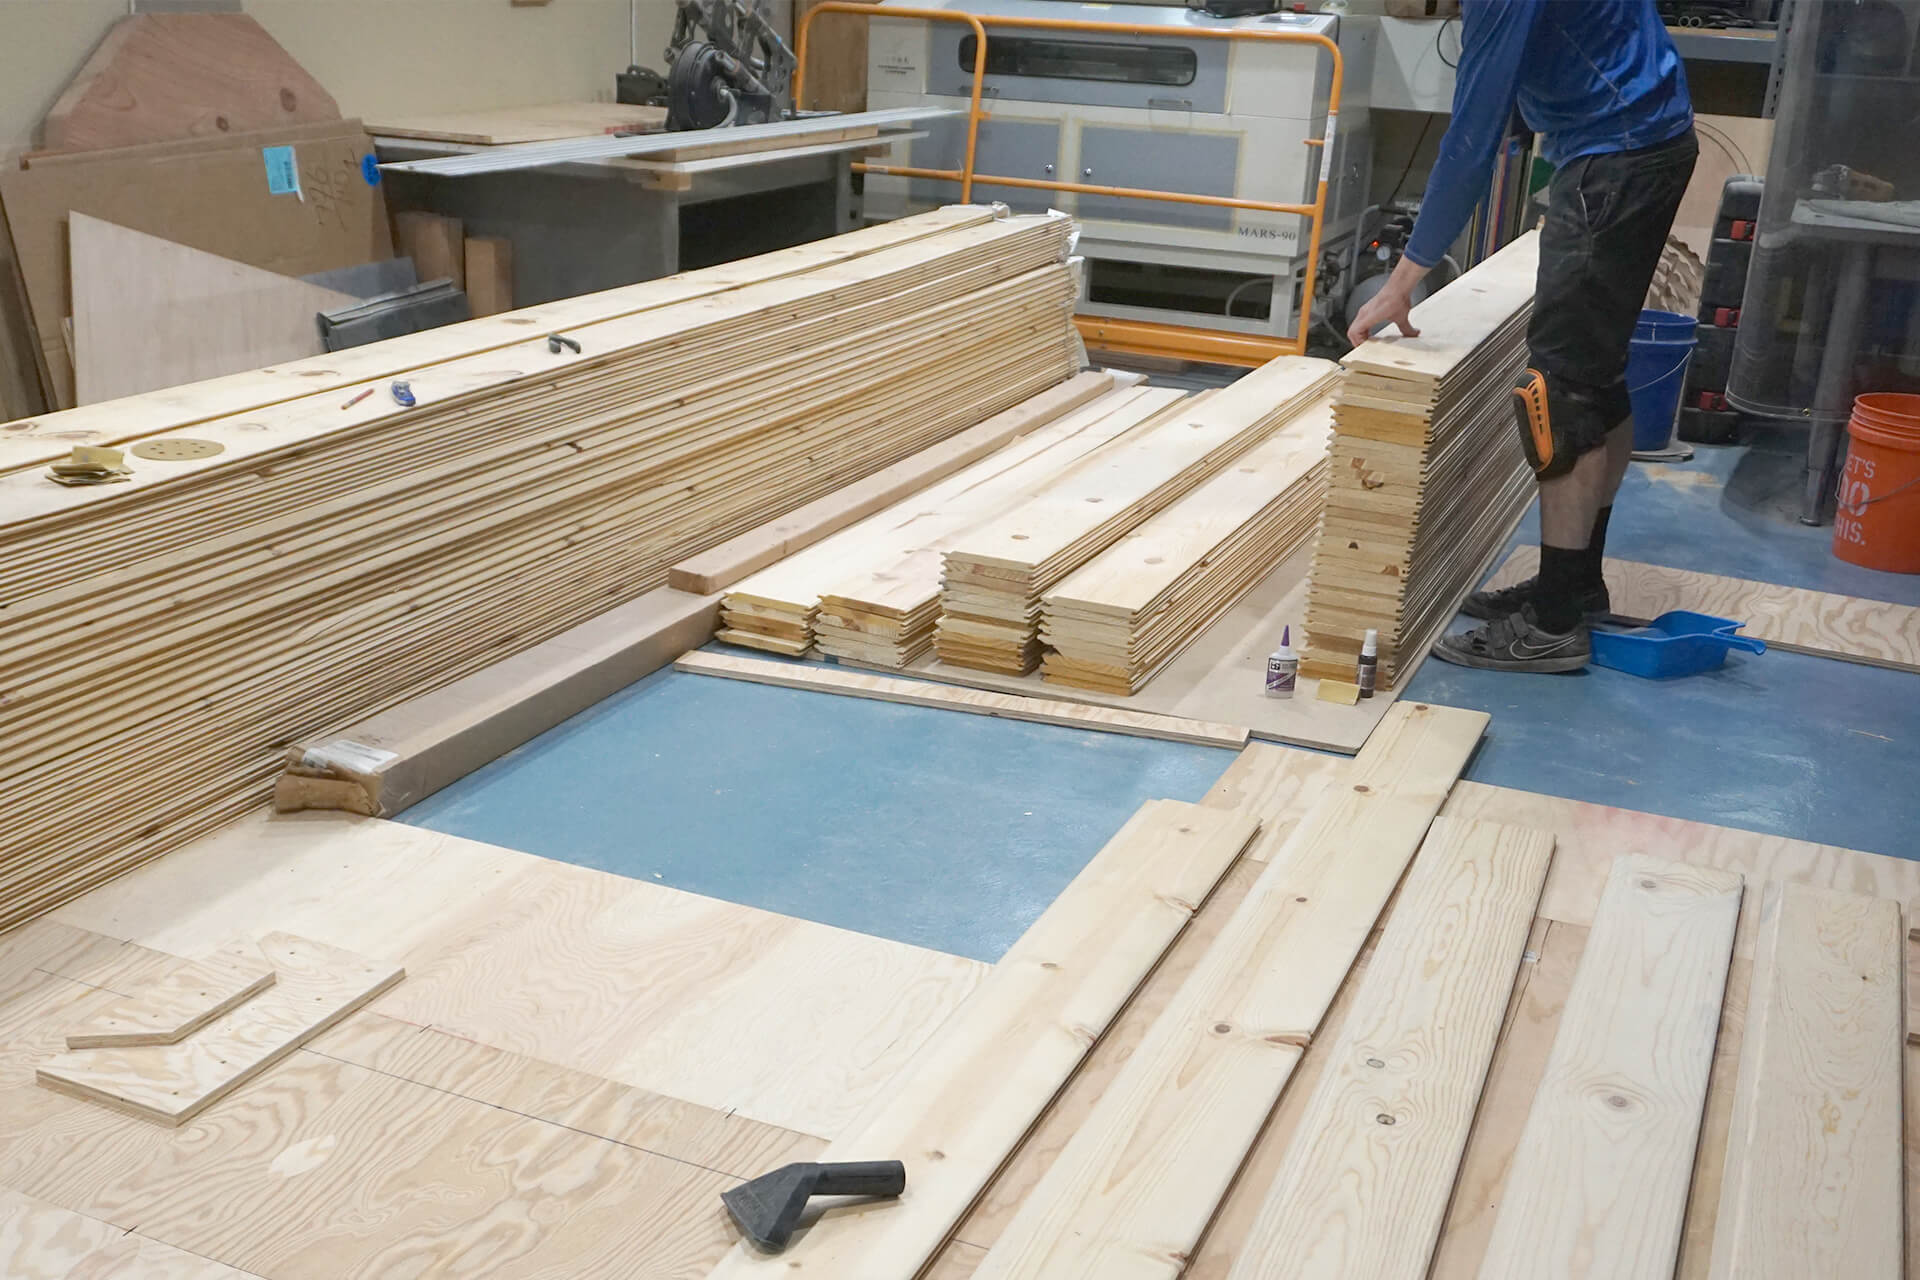
Sort the wood planks by visual grain clarity so they can be laid in a uniformly random pattern within each panel.
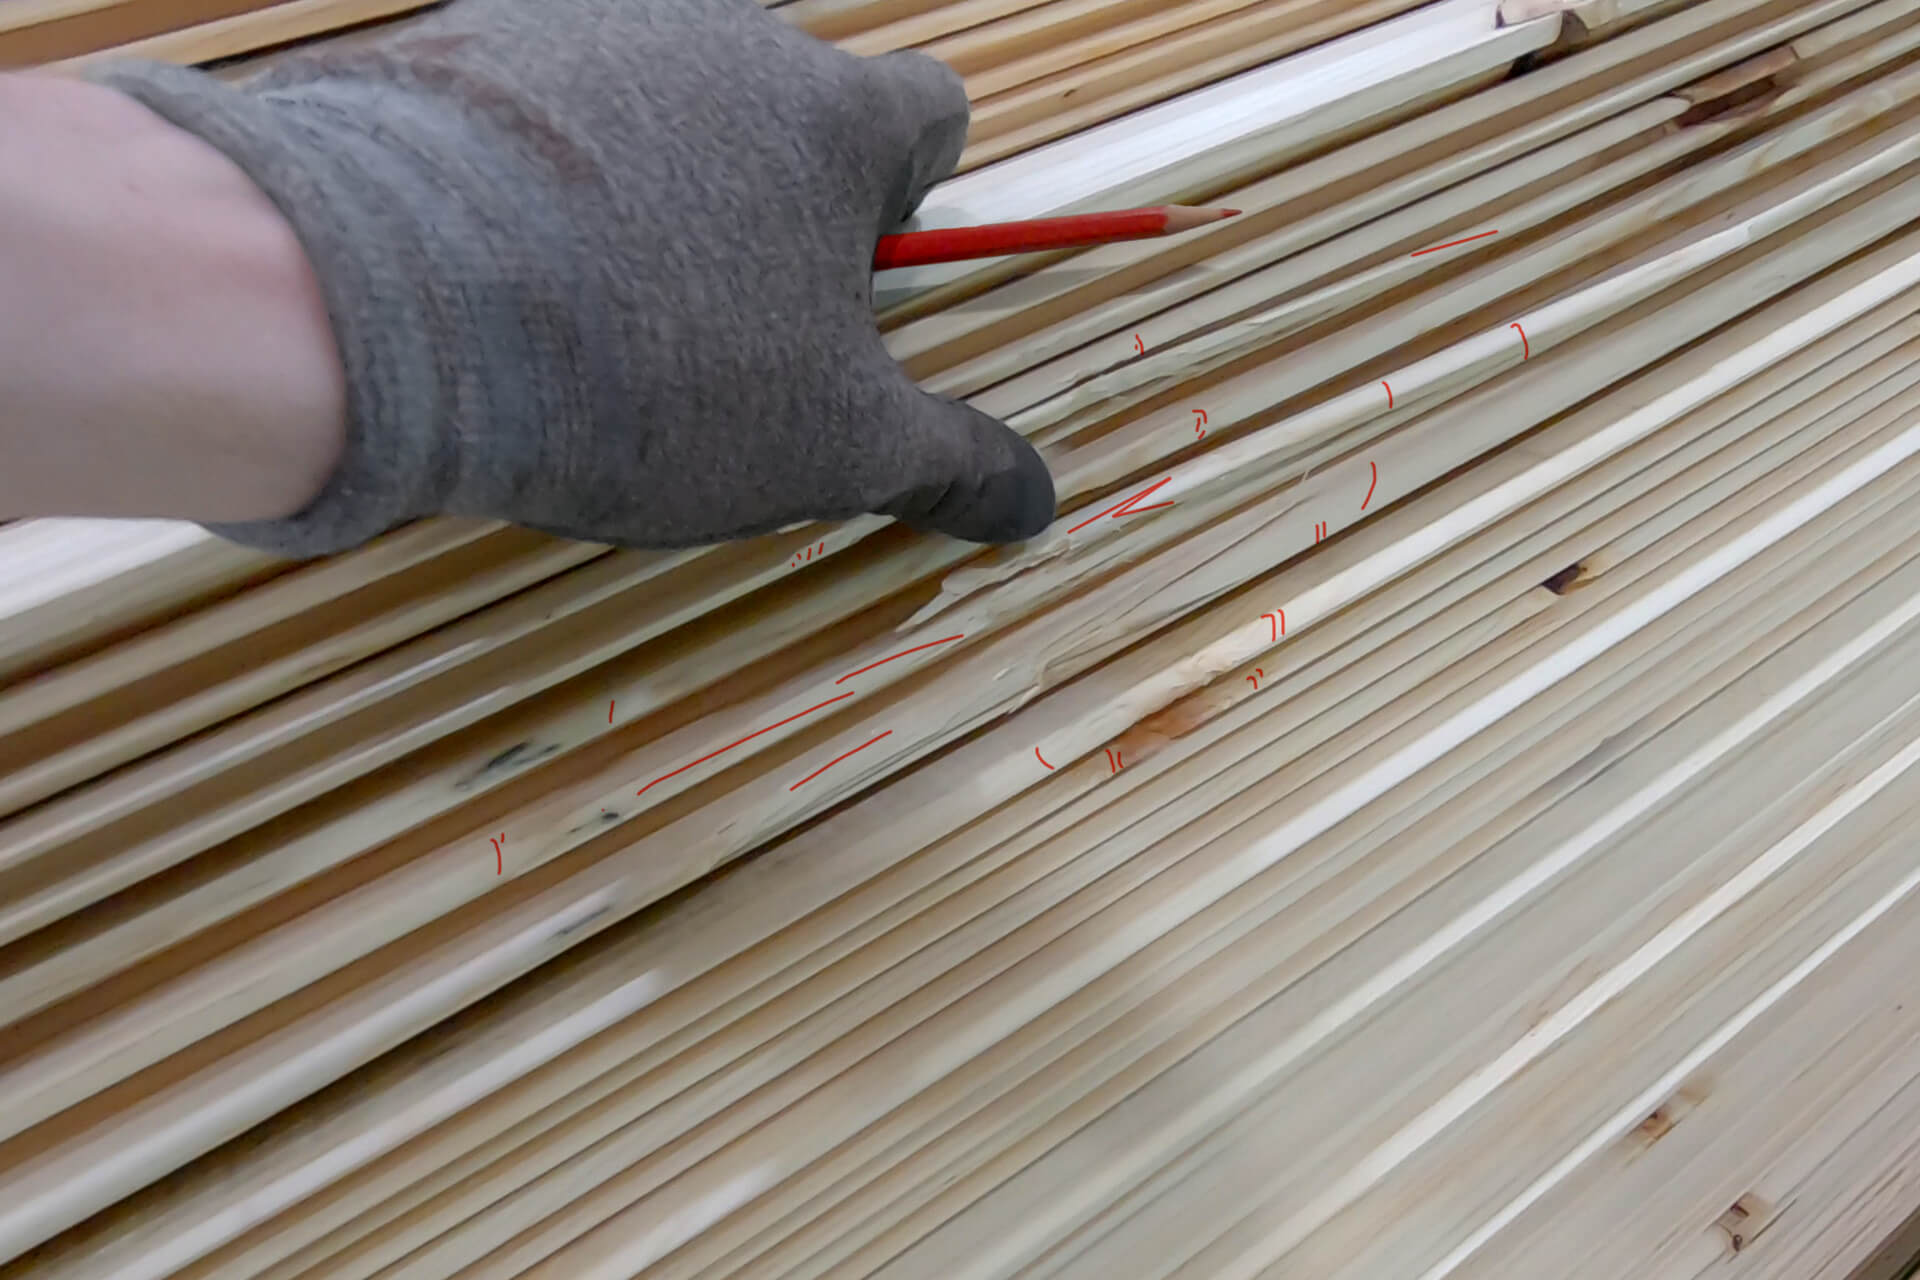
Mark any damaged spots so they can be cut out and avoided.
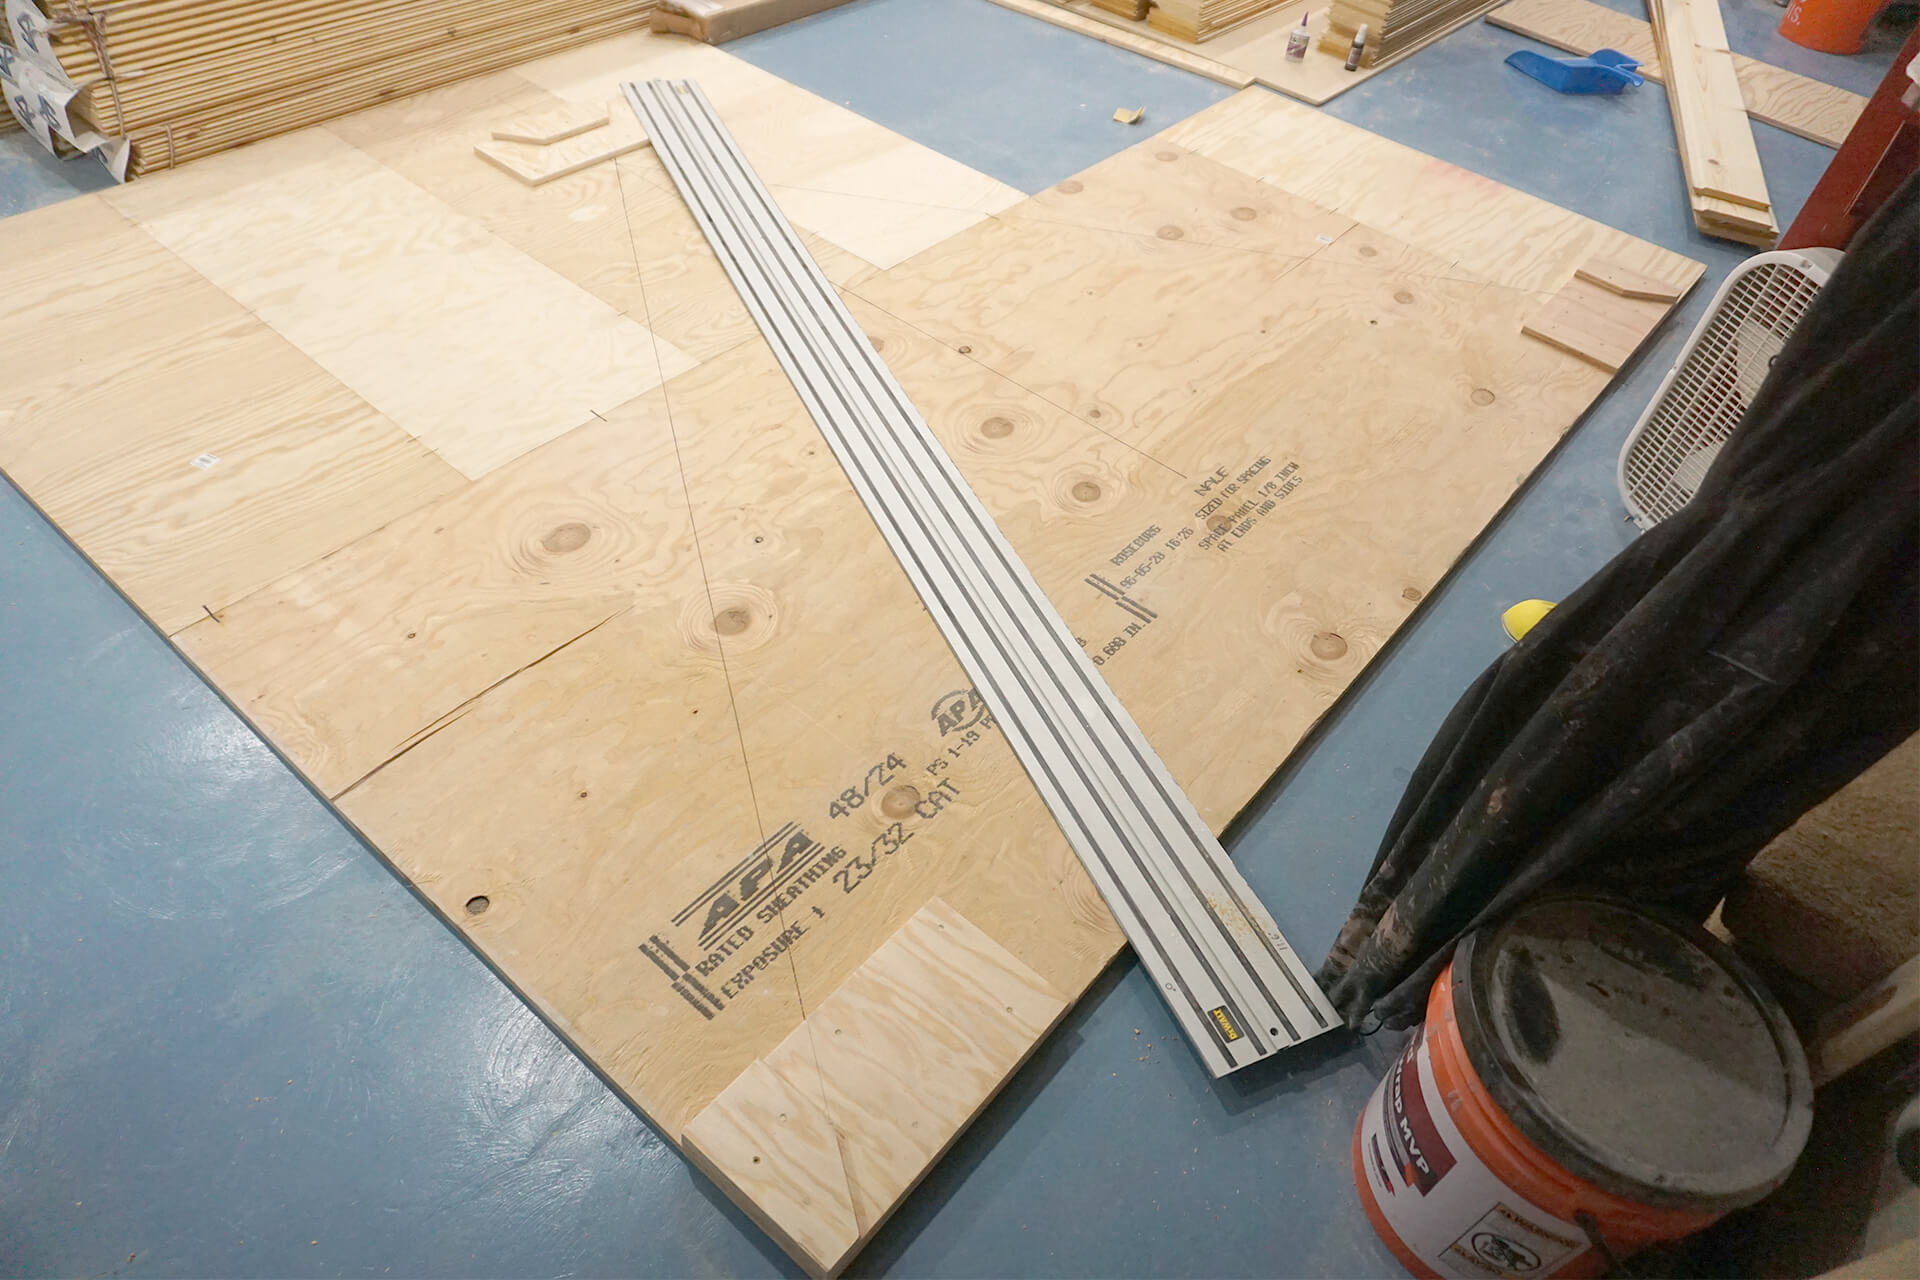
Create the paneling jig that will be used to lay out and cut planks into the perfect triangle shape.
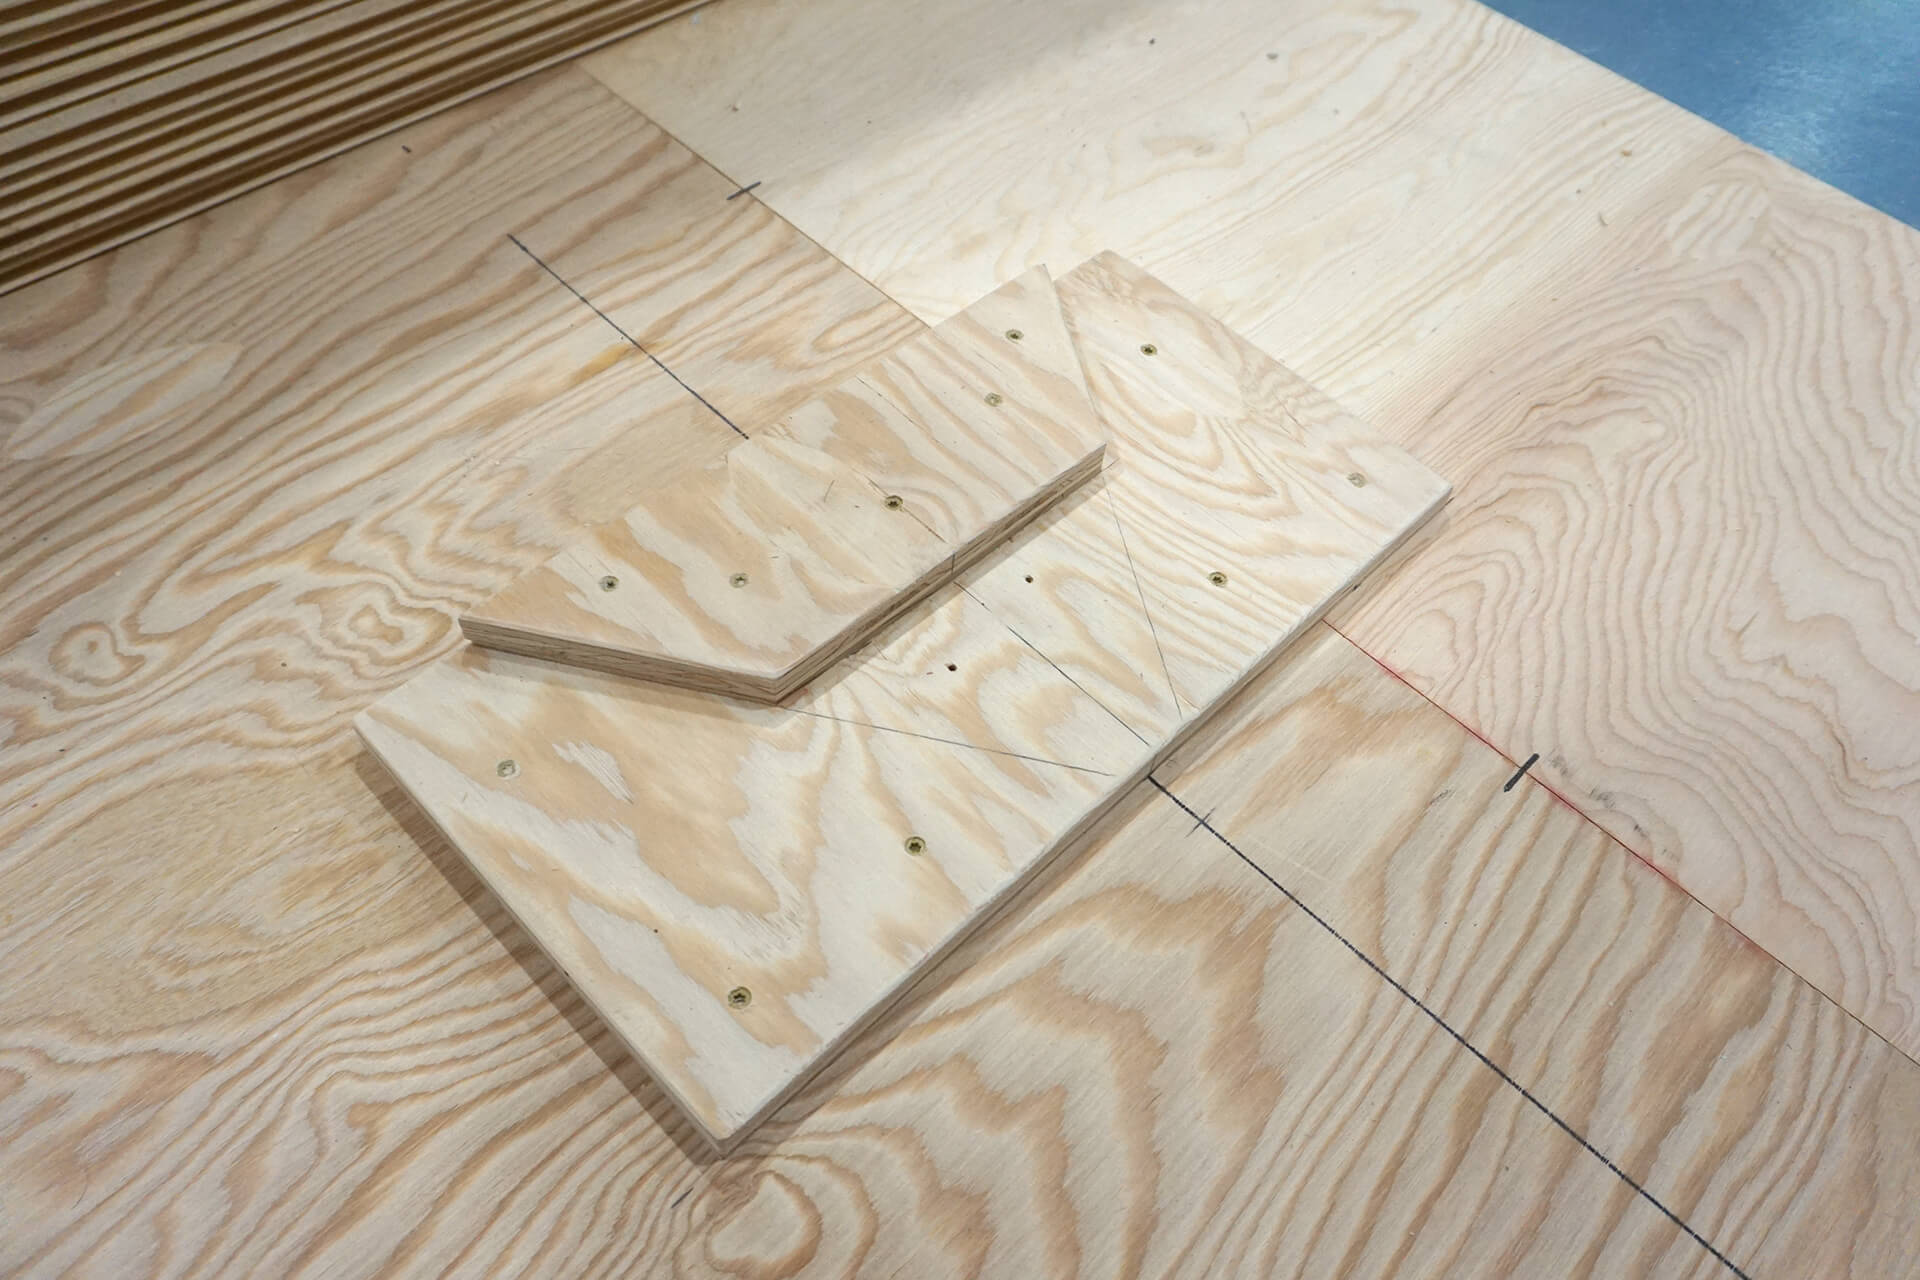
Detail shot showing the top portion of the cutting jig. The top plywood acts as a hard stop for the track saw, while the plywood below serves as a spacer for plank thickness.
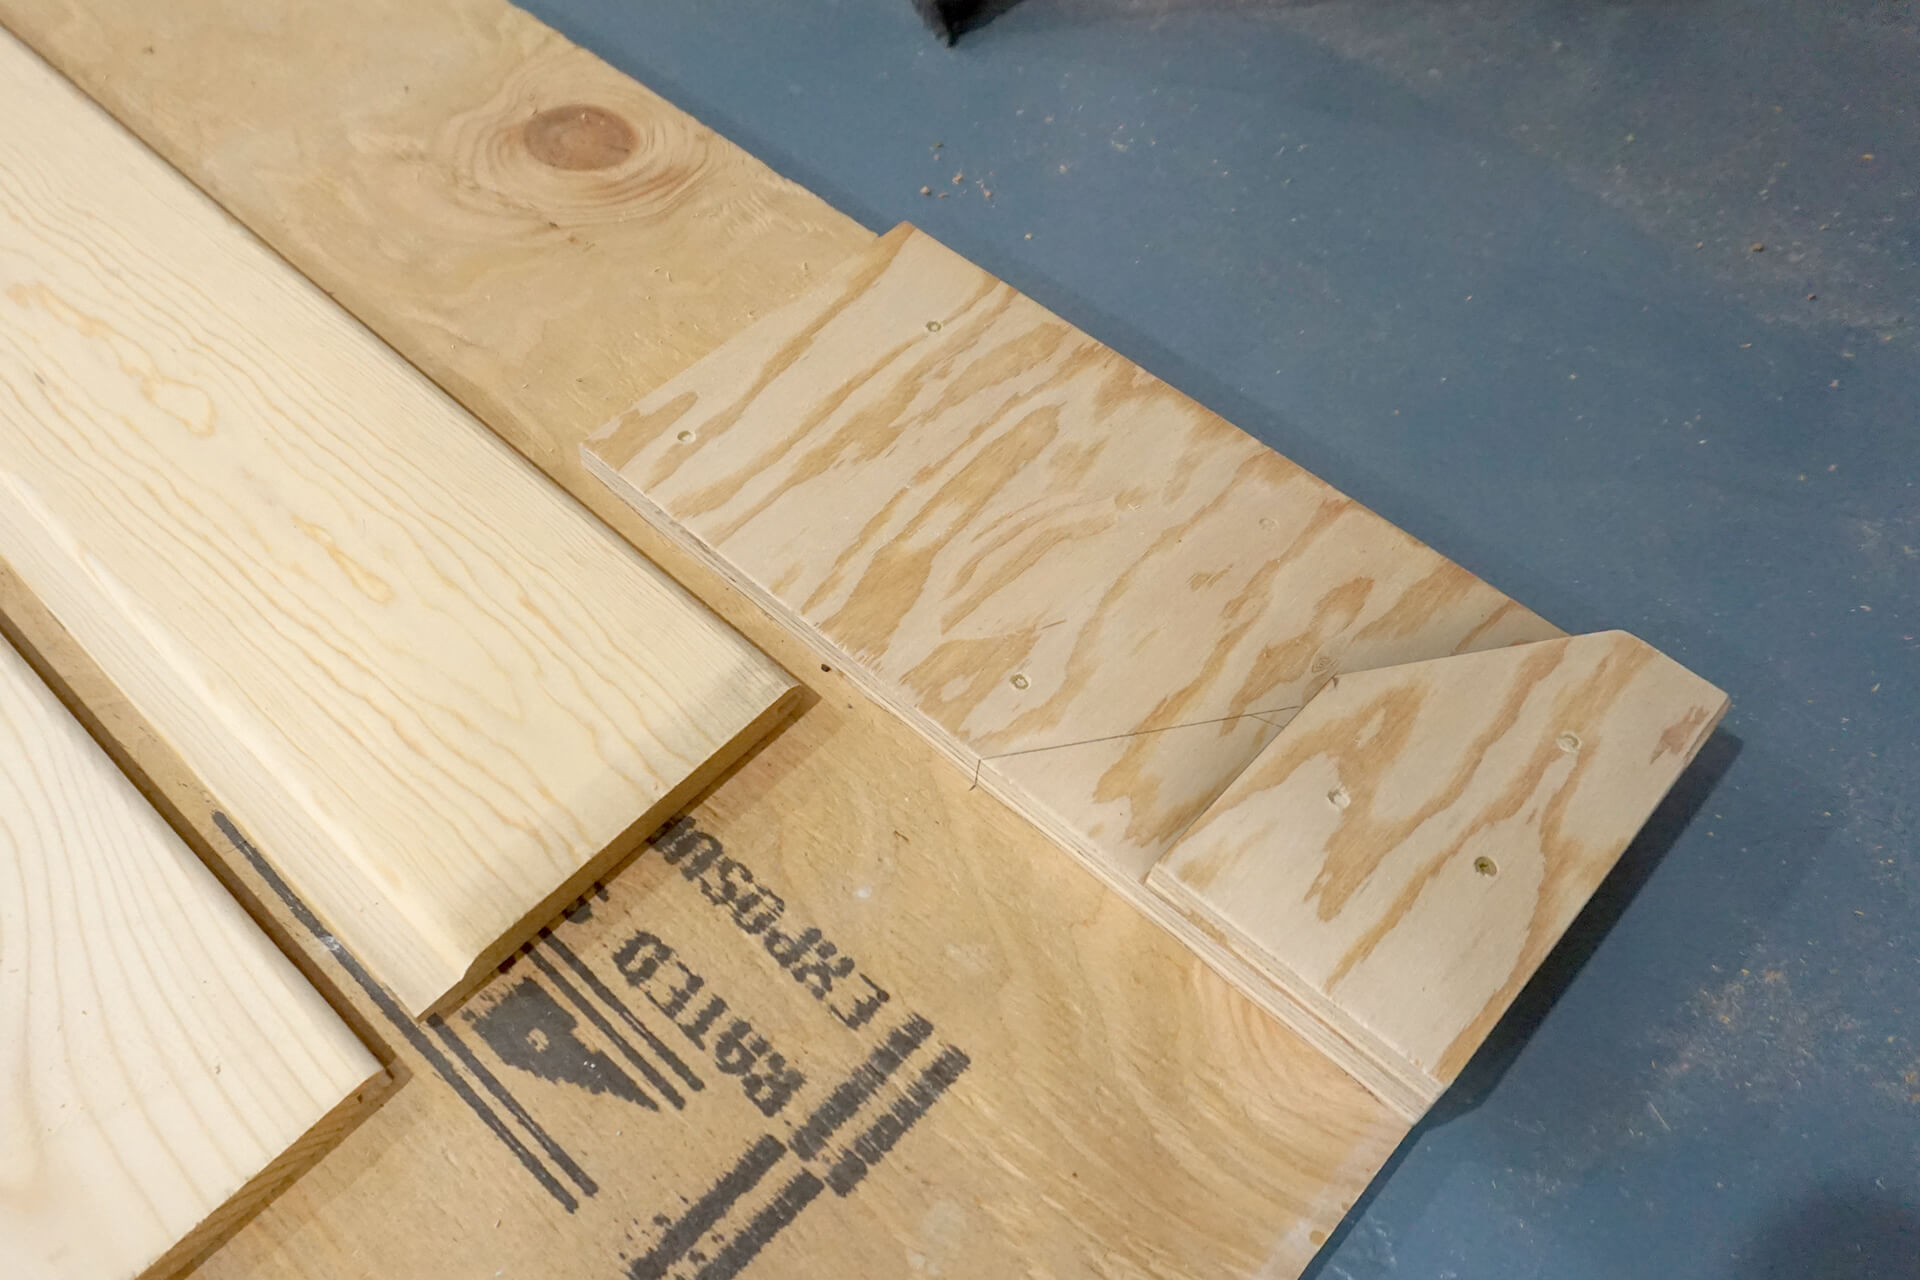
Detail shot showing one of the bottom portions of the cutting jig. The top plywood acts as a hard stop for the track saw, while the plywood below serves as a starting point for paneling.
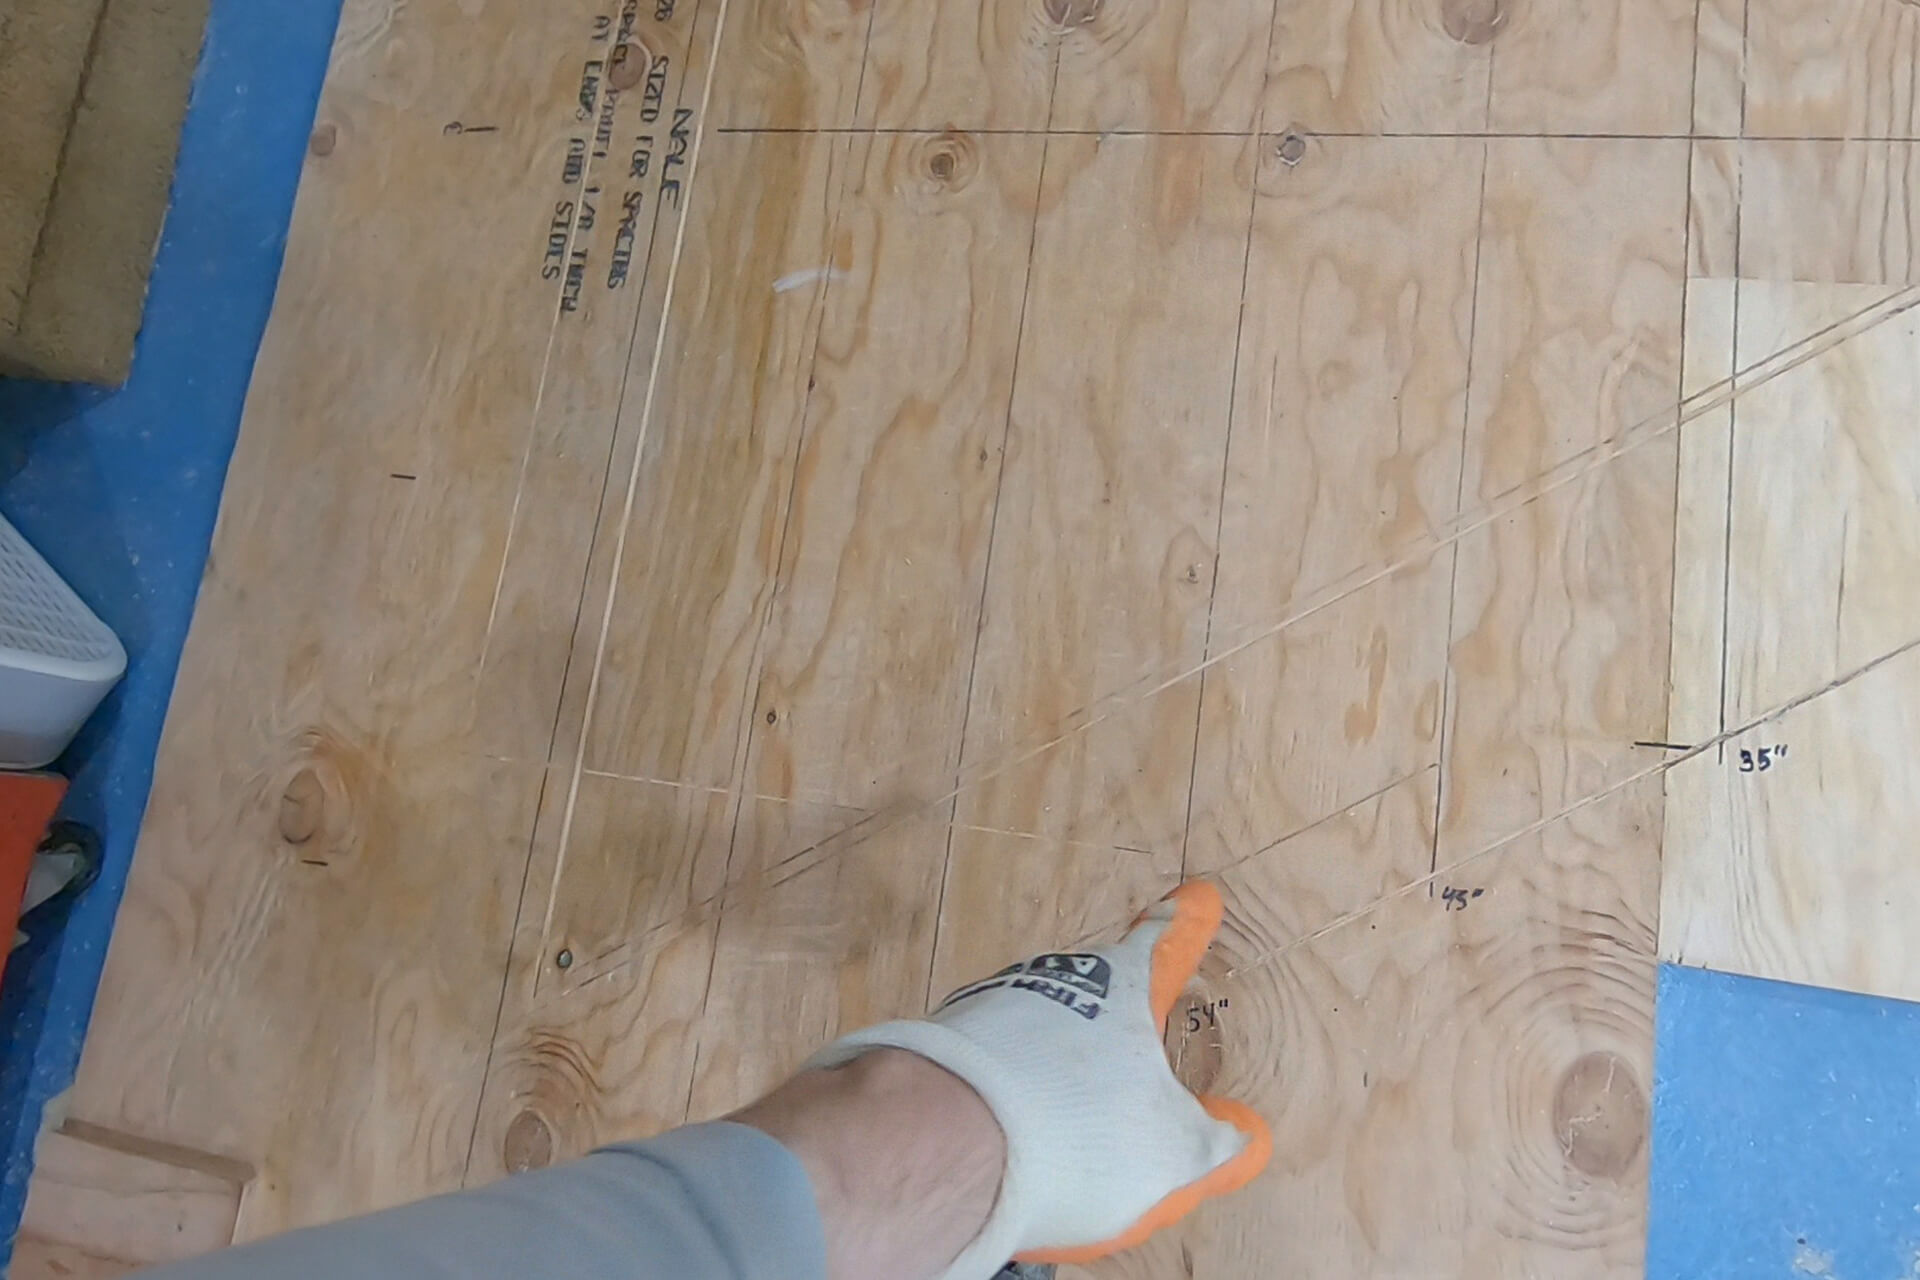
Mark the ideal plank heights along the jig. This helps identify undersized or oversized planks and maintain consistent lines between panels.
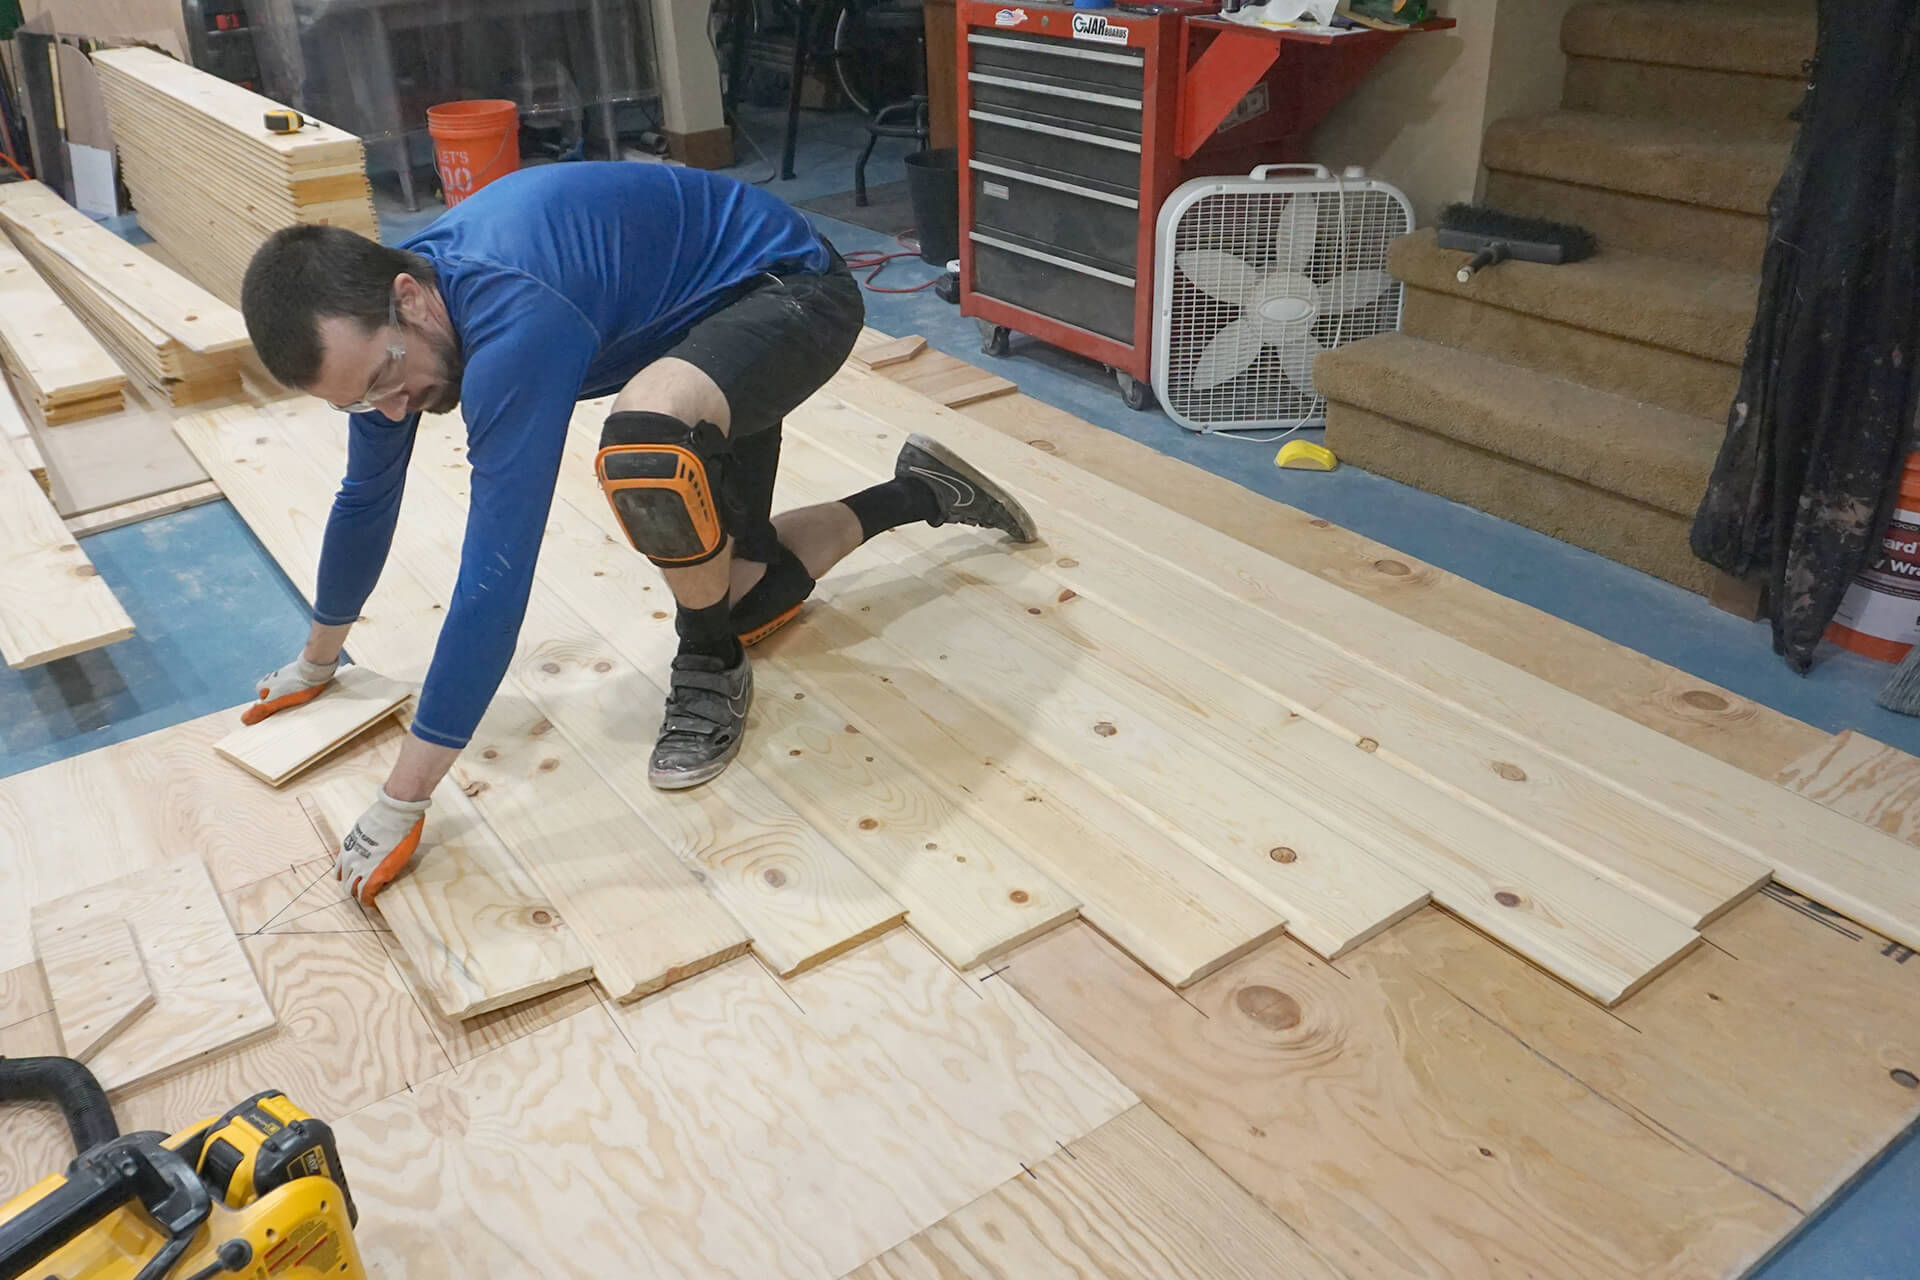
Set planks in the cutting jig. Pull from the sorted stacks to create a visually random pattern and push the tongue and groove together tightly.
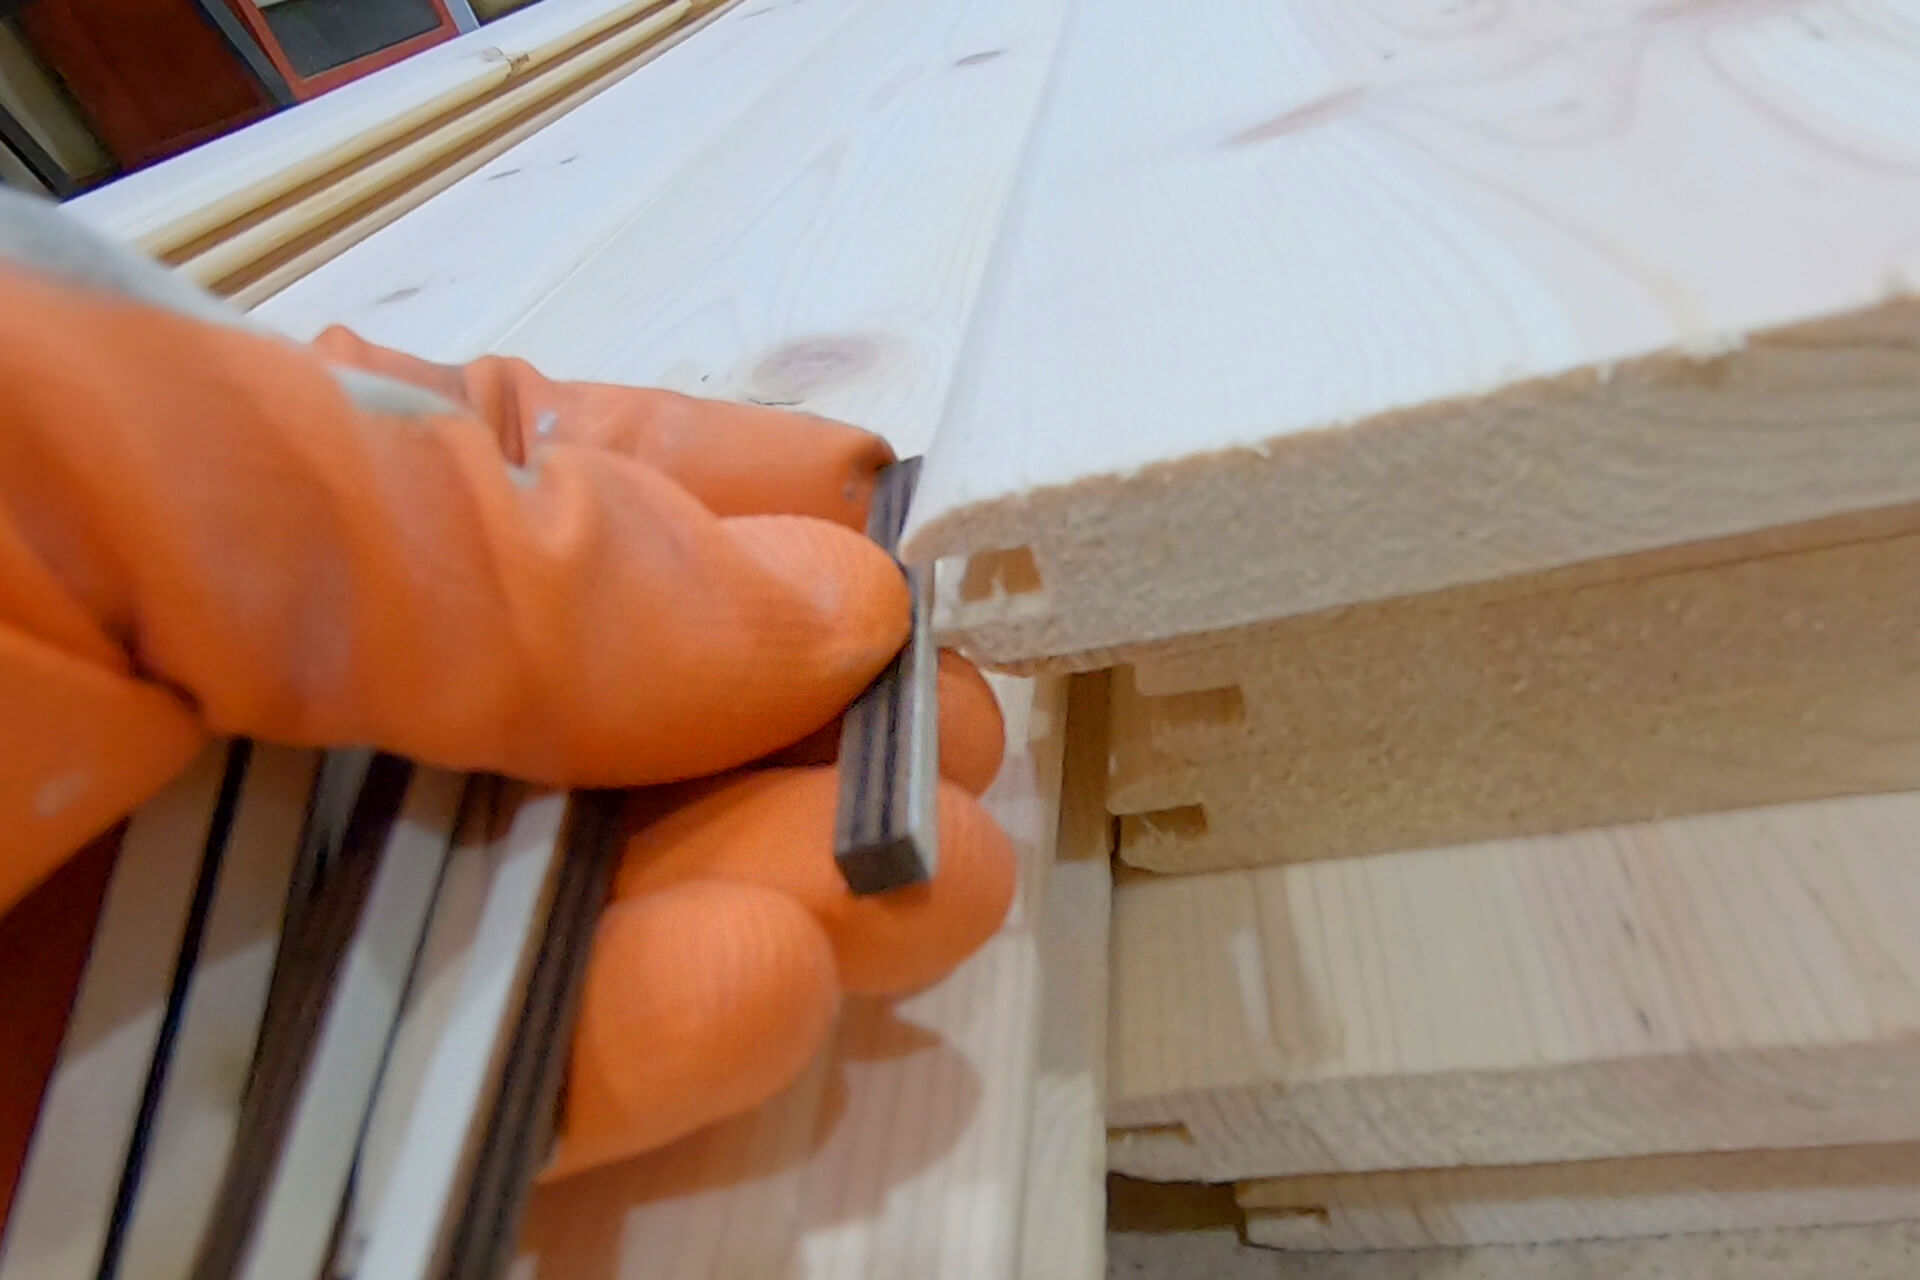
Create and use spacers inside the grooved ends of undersized planks to keep spacing consistent with the jig’s target marks. Use carpet tape to hold the spacers in place.
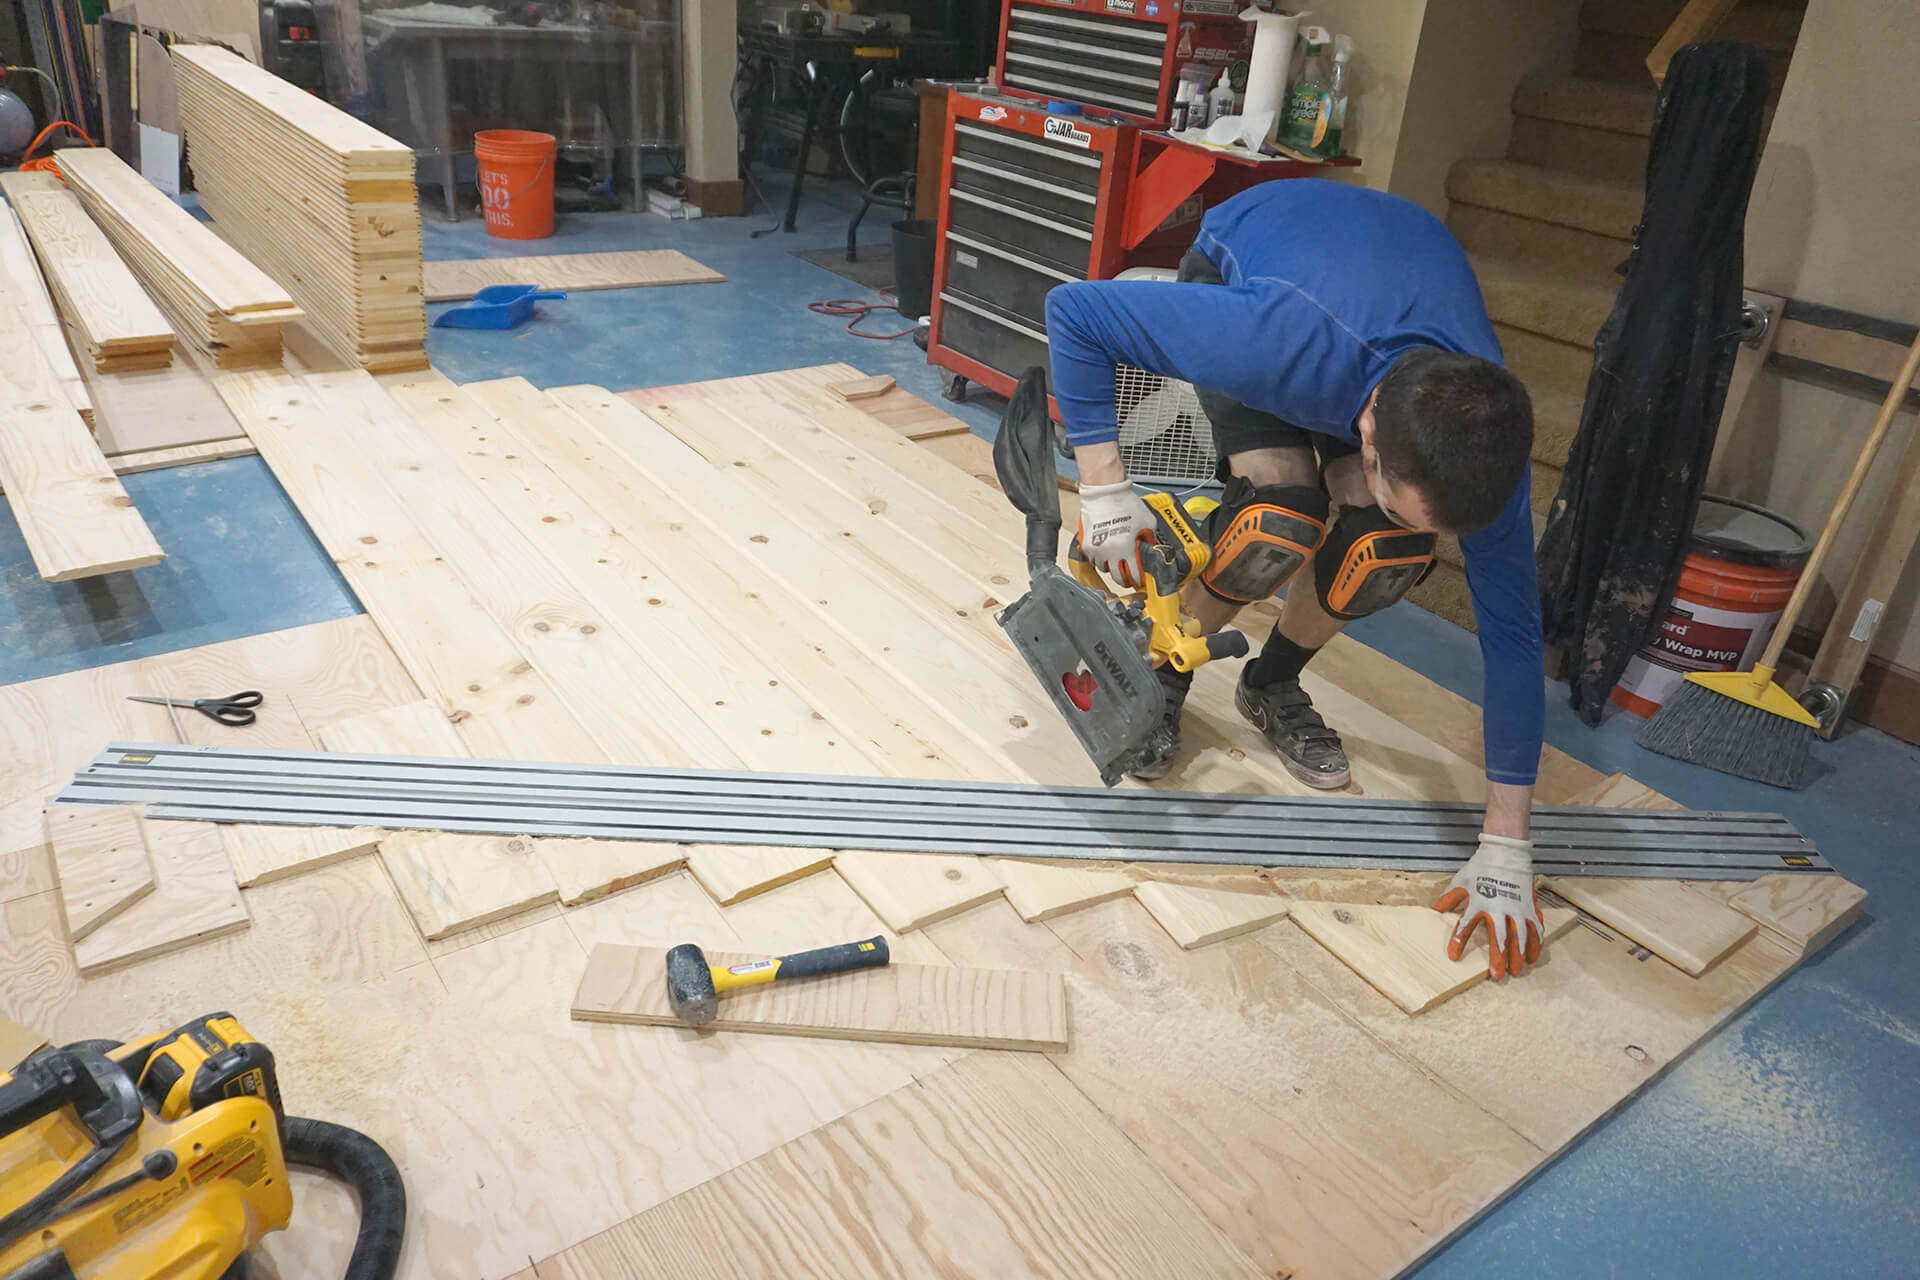
Place the track saw against the jig’s hard stops and cut the planks into the triangle shape.
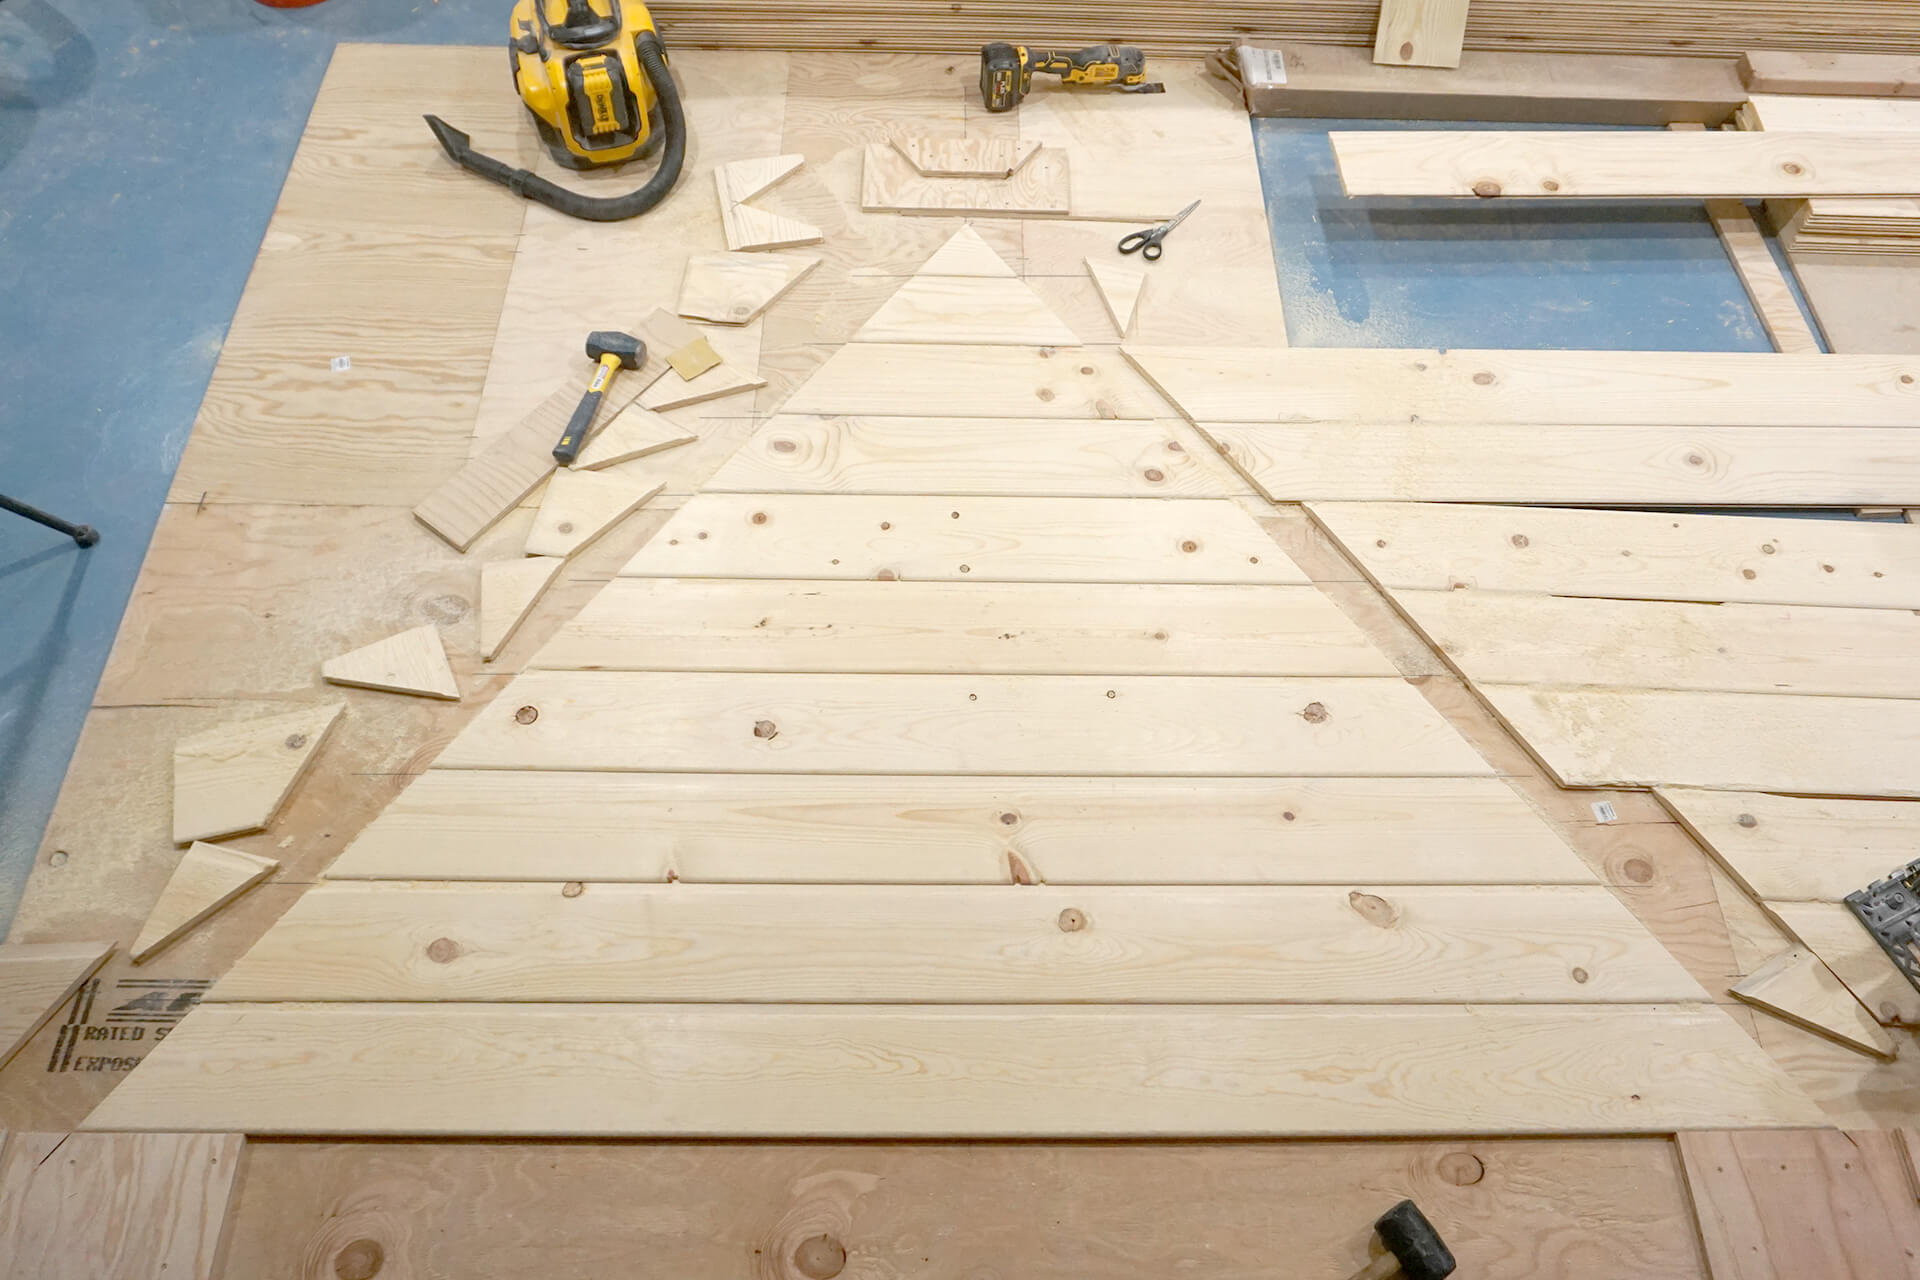
Detail shot showing the perfectly cut planks that create a wooden panel.
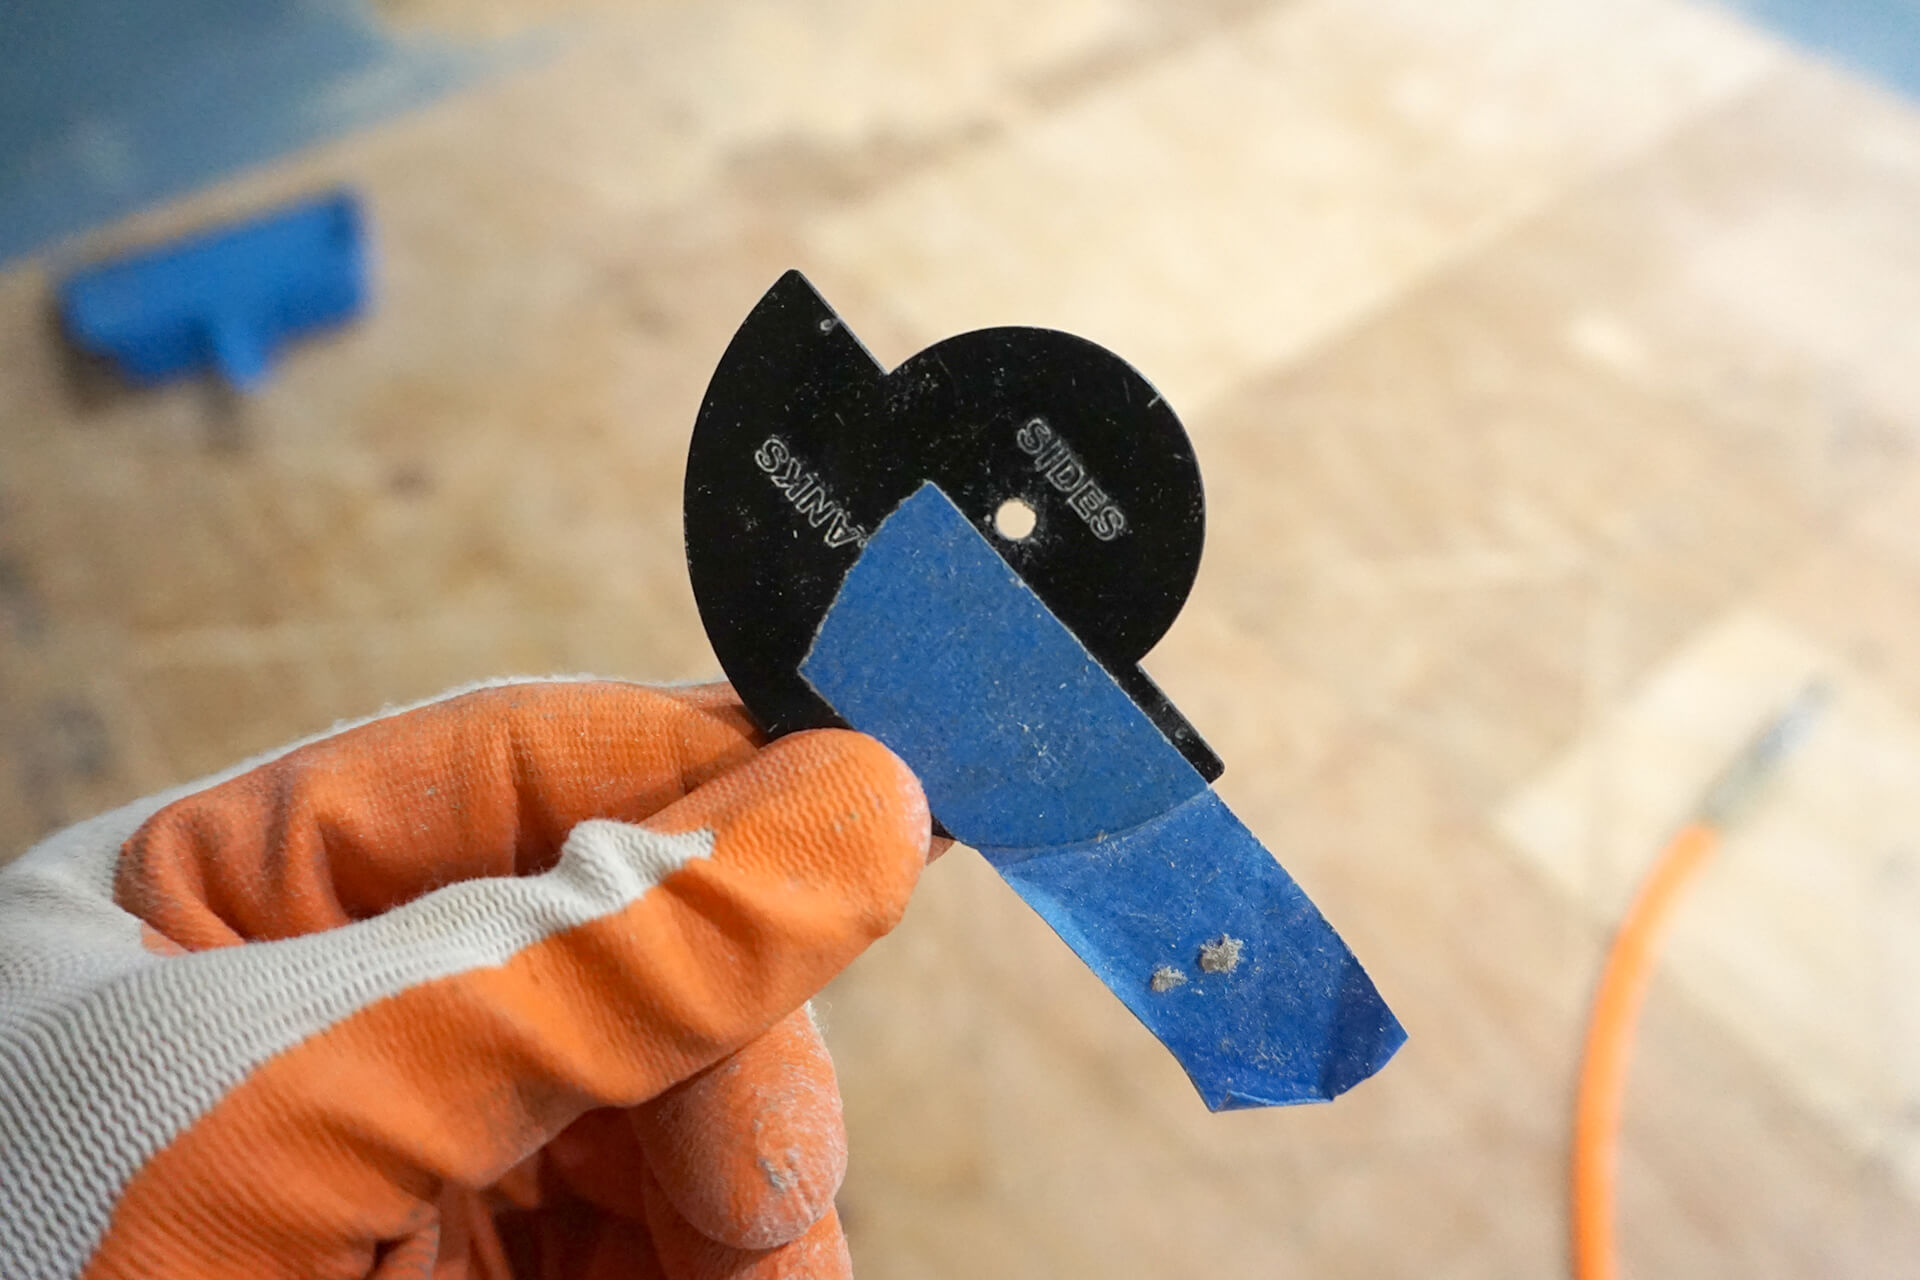
Create the center punch jig to use along the perimeter and center of the wooden panel. The blue tape makes it easier to pick up and move around.
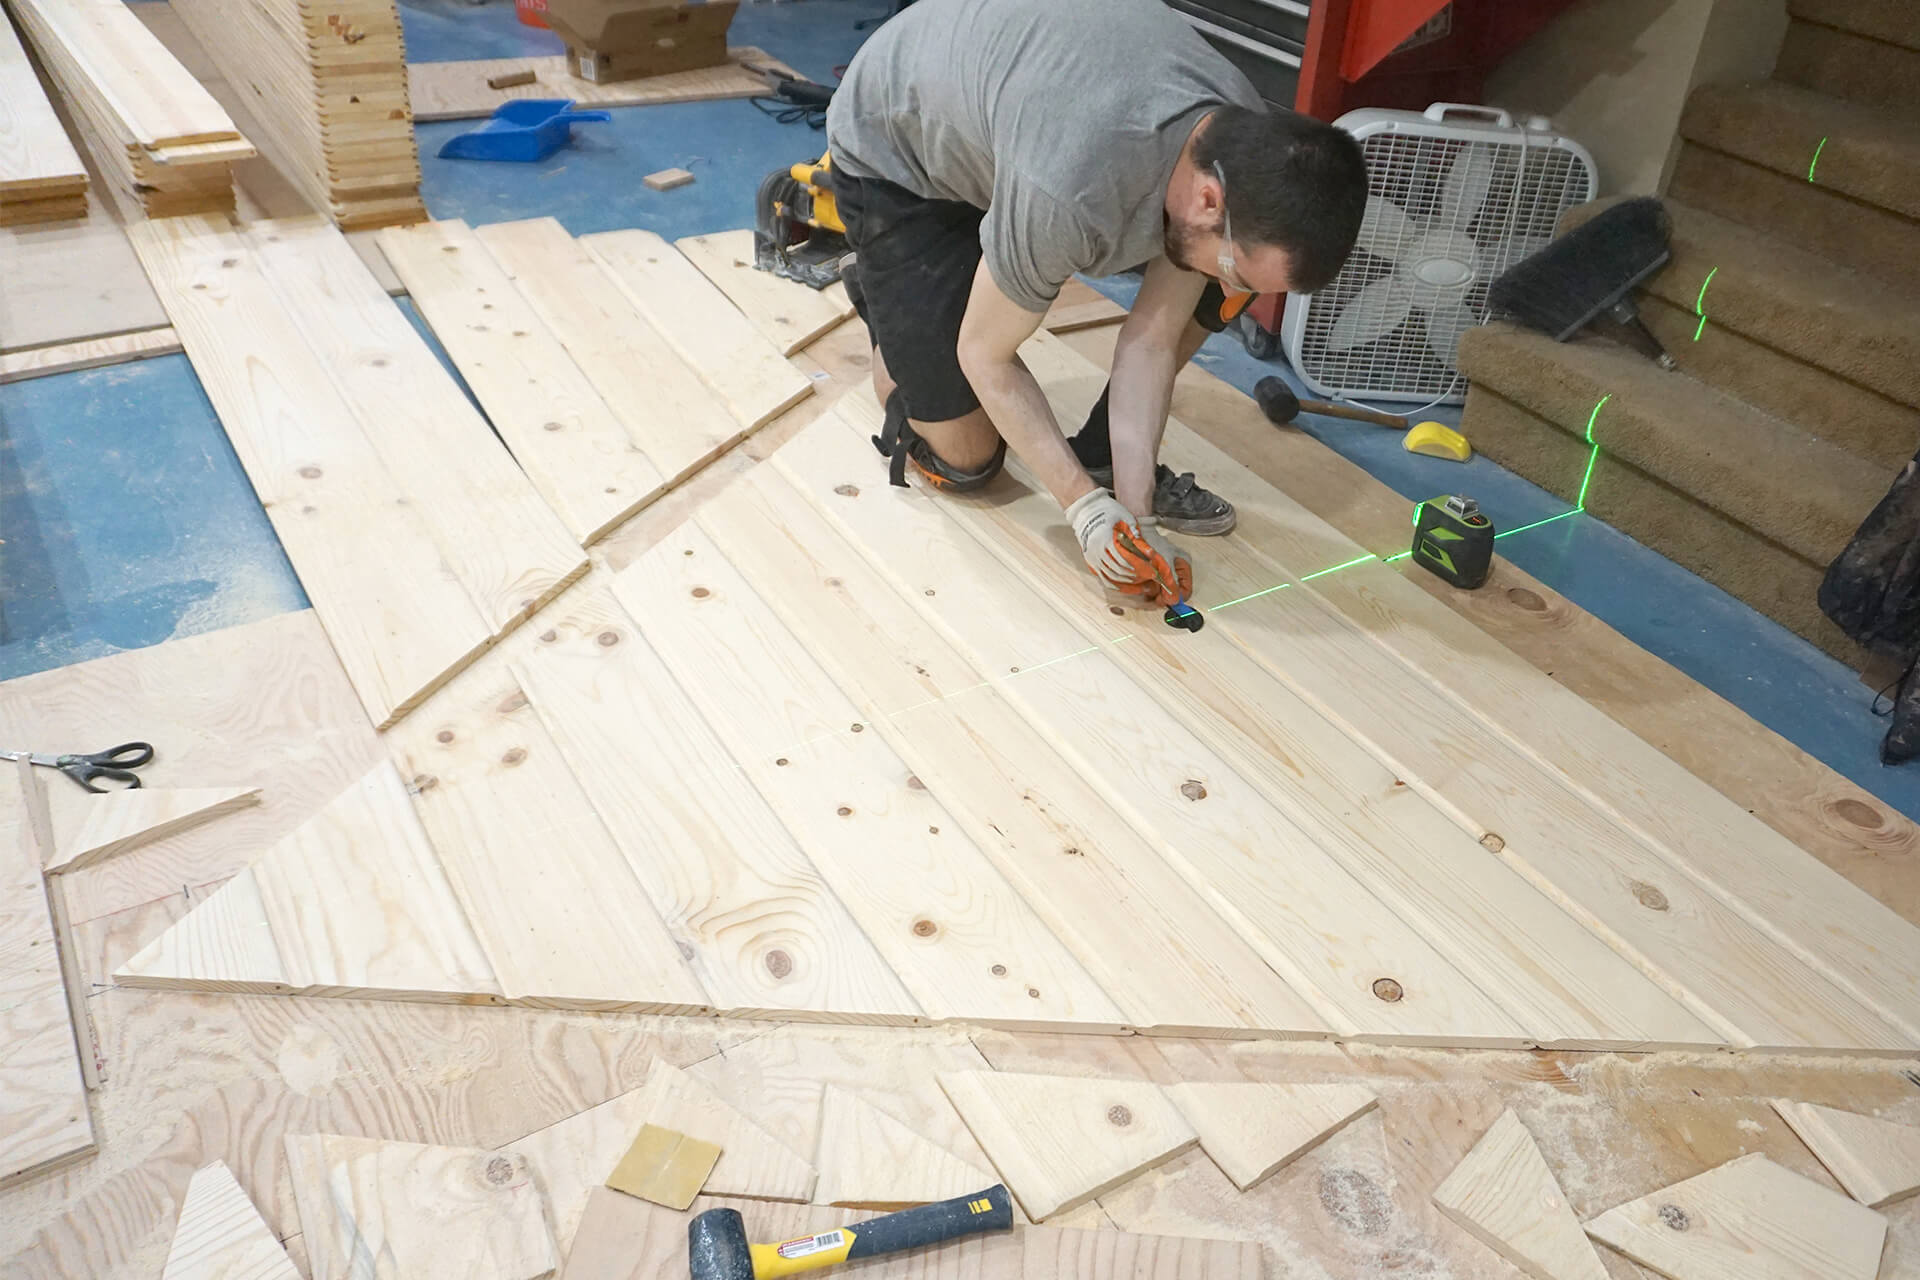
Use the jig and laser to center punch every plank. Most planks will get two punches along the laser line and two punches along each perimeter, marking six future screw locations.
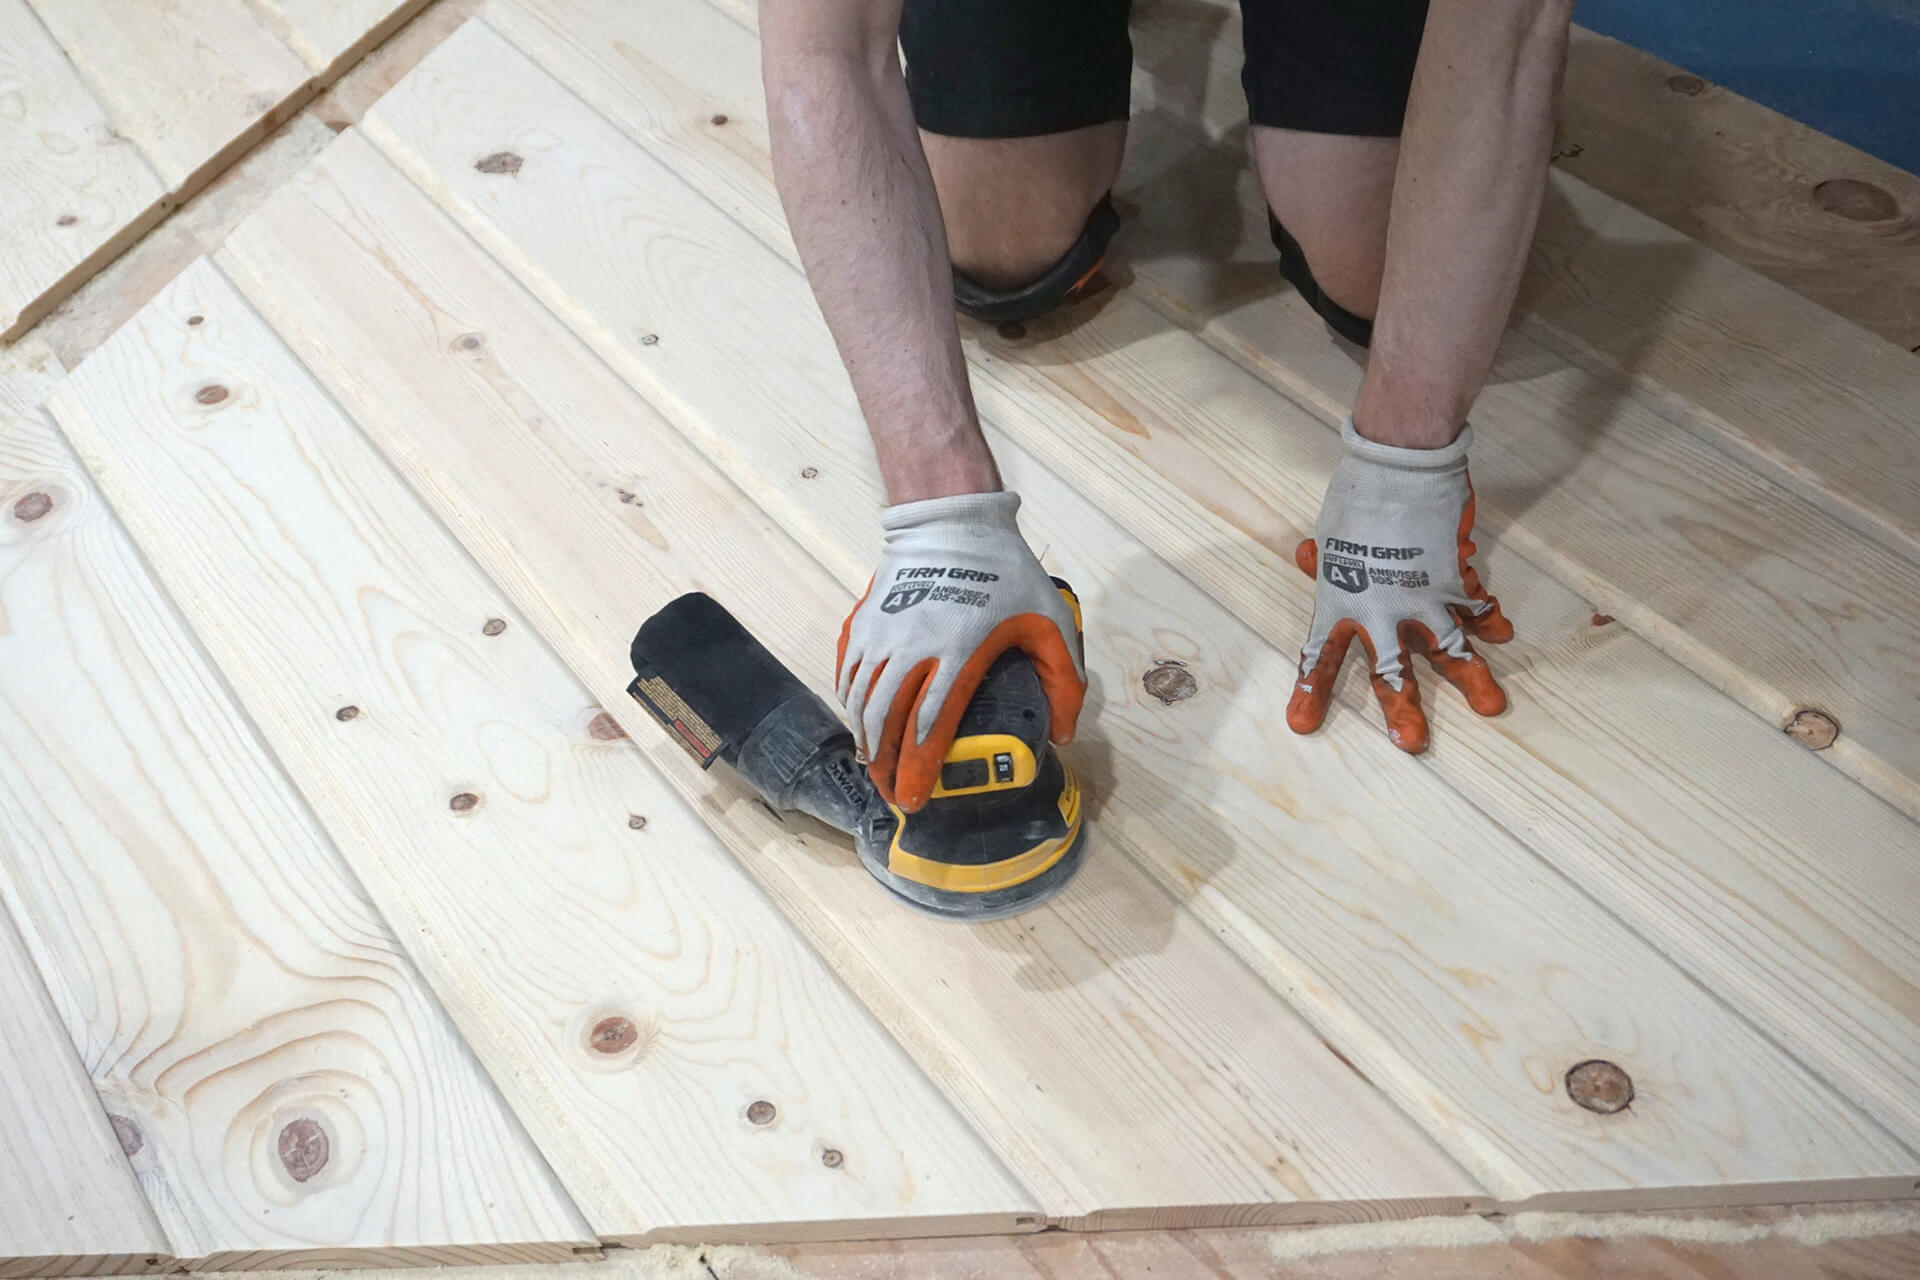
Sand the panel until each plank is smooth to the touch and visually free of marks. An orbital sander with 220 grit is shown here.
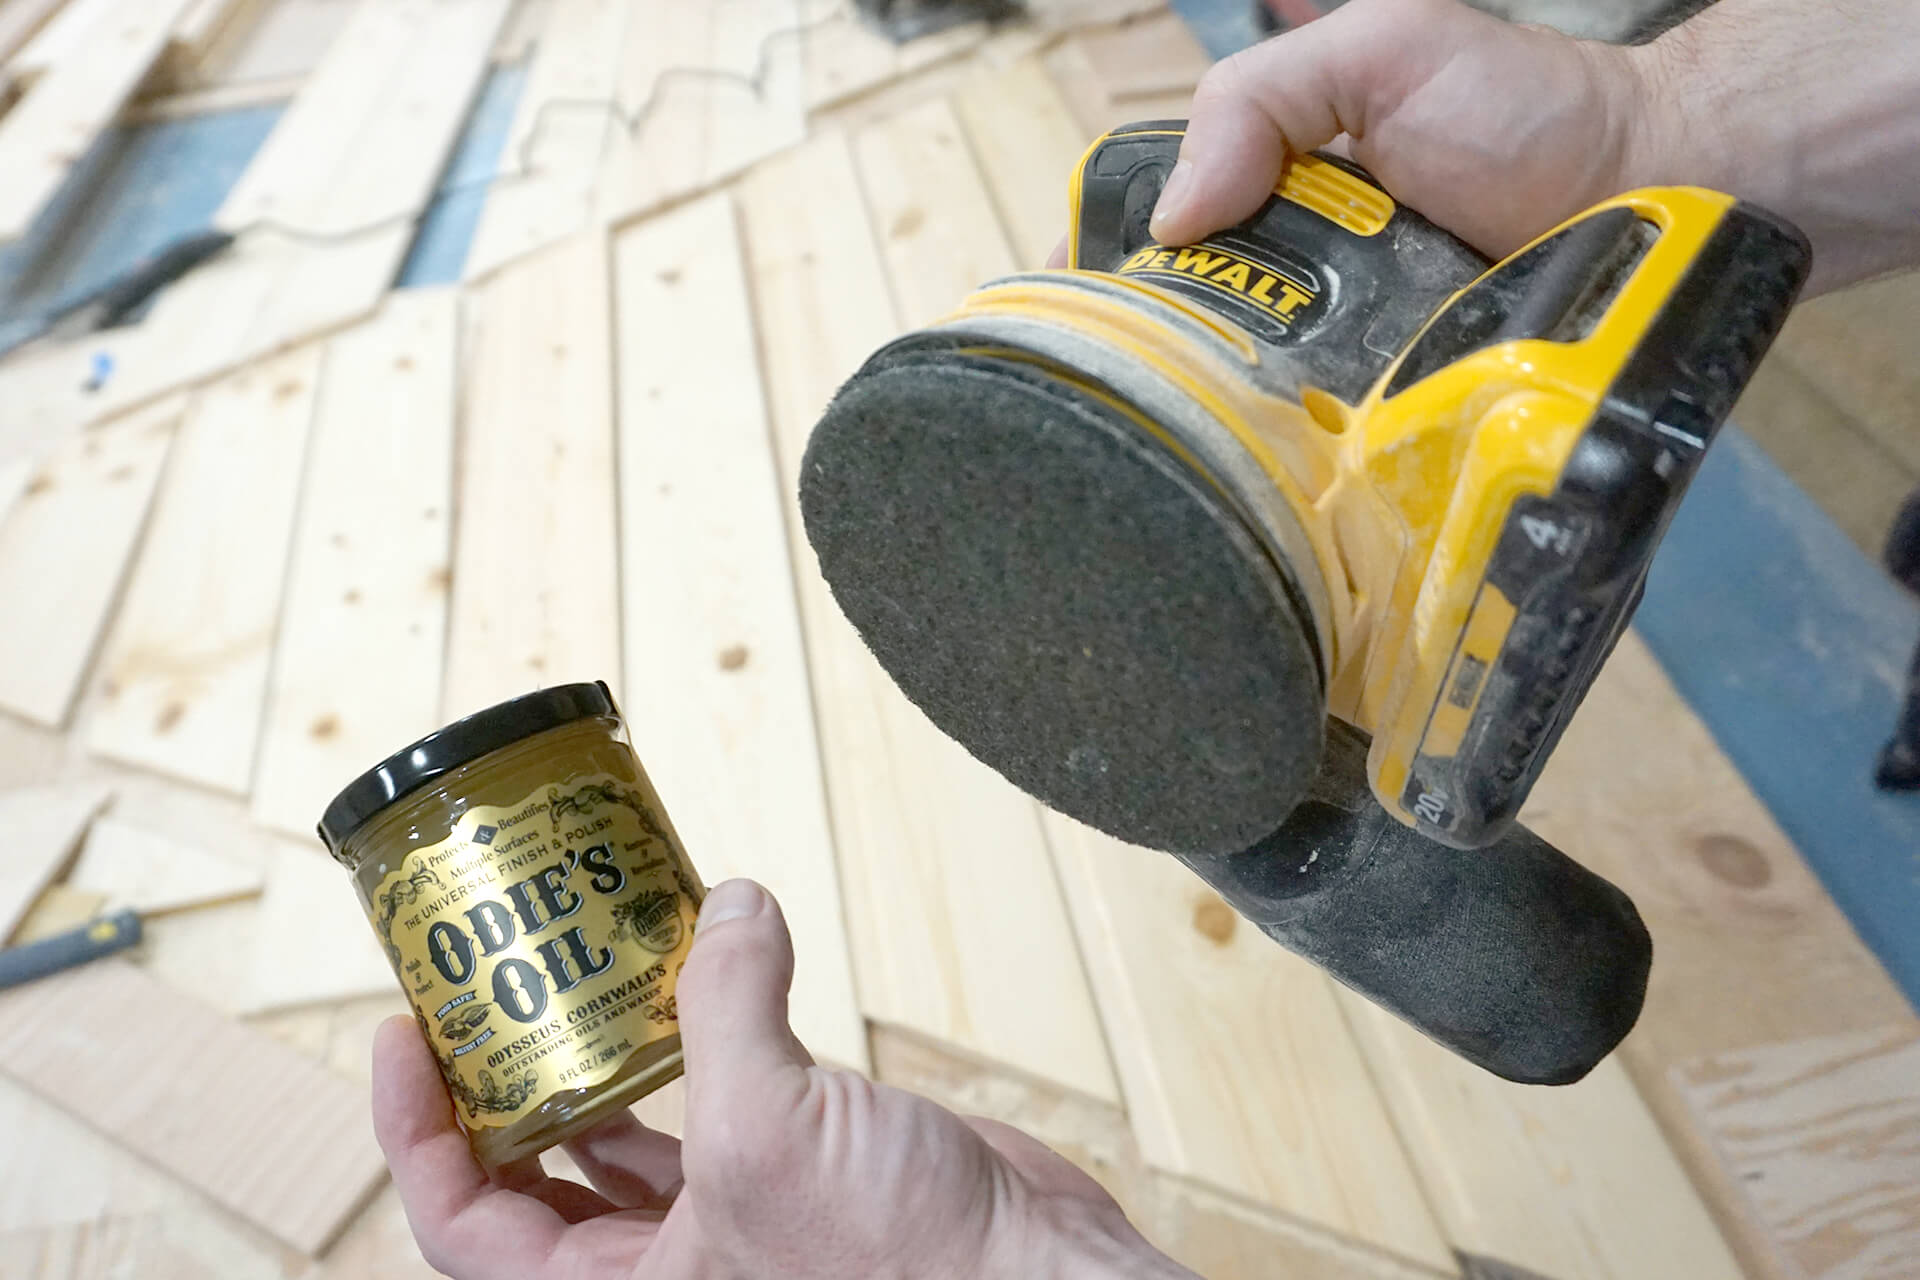
Apply a wood finish to the visible surfaces. Odie’s Oil is shown here and was chosen for its ease of application and natural-looking finish. Use sparingly, as it is expensive.
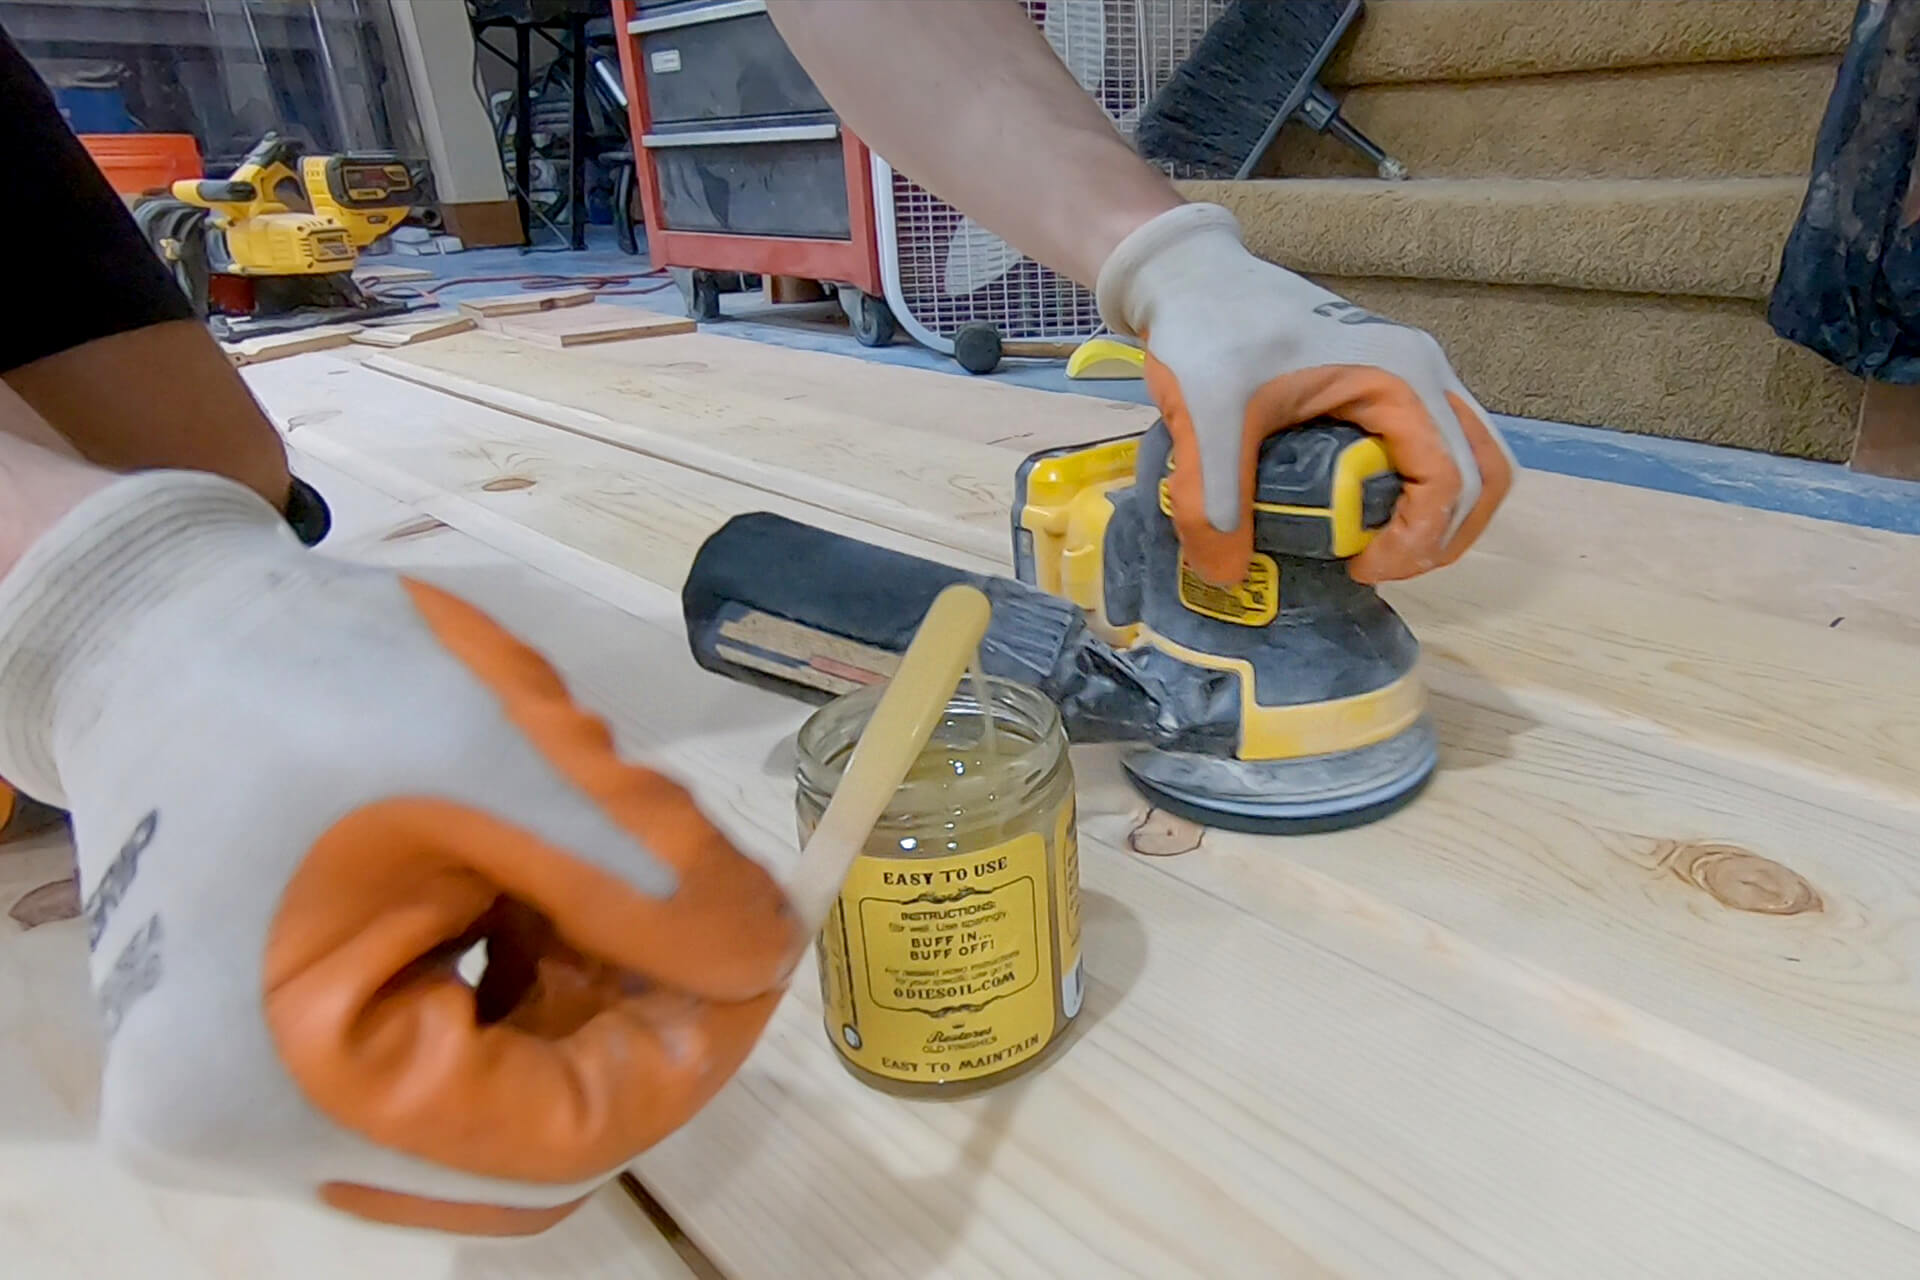
Apply a first coat using an 800 grit scouring pad on an orbital sander. Cover the sander pad holes to prevent tool damage. Apply a minimal second coat after 20 minutes.
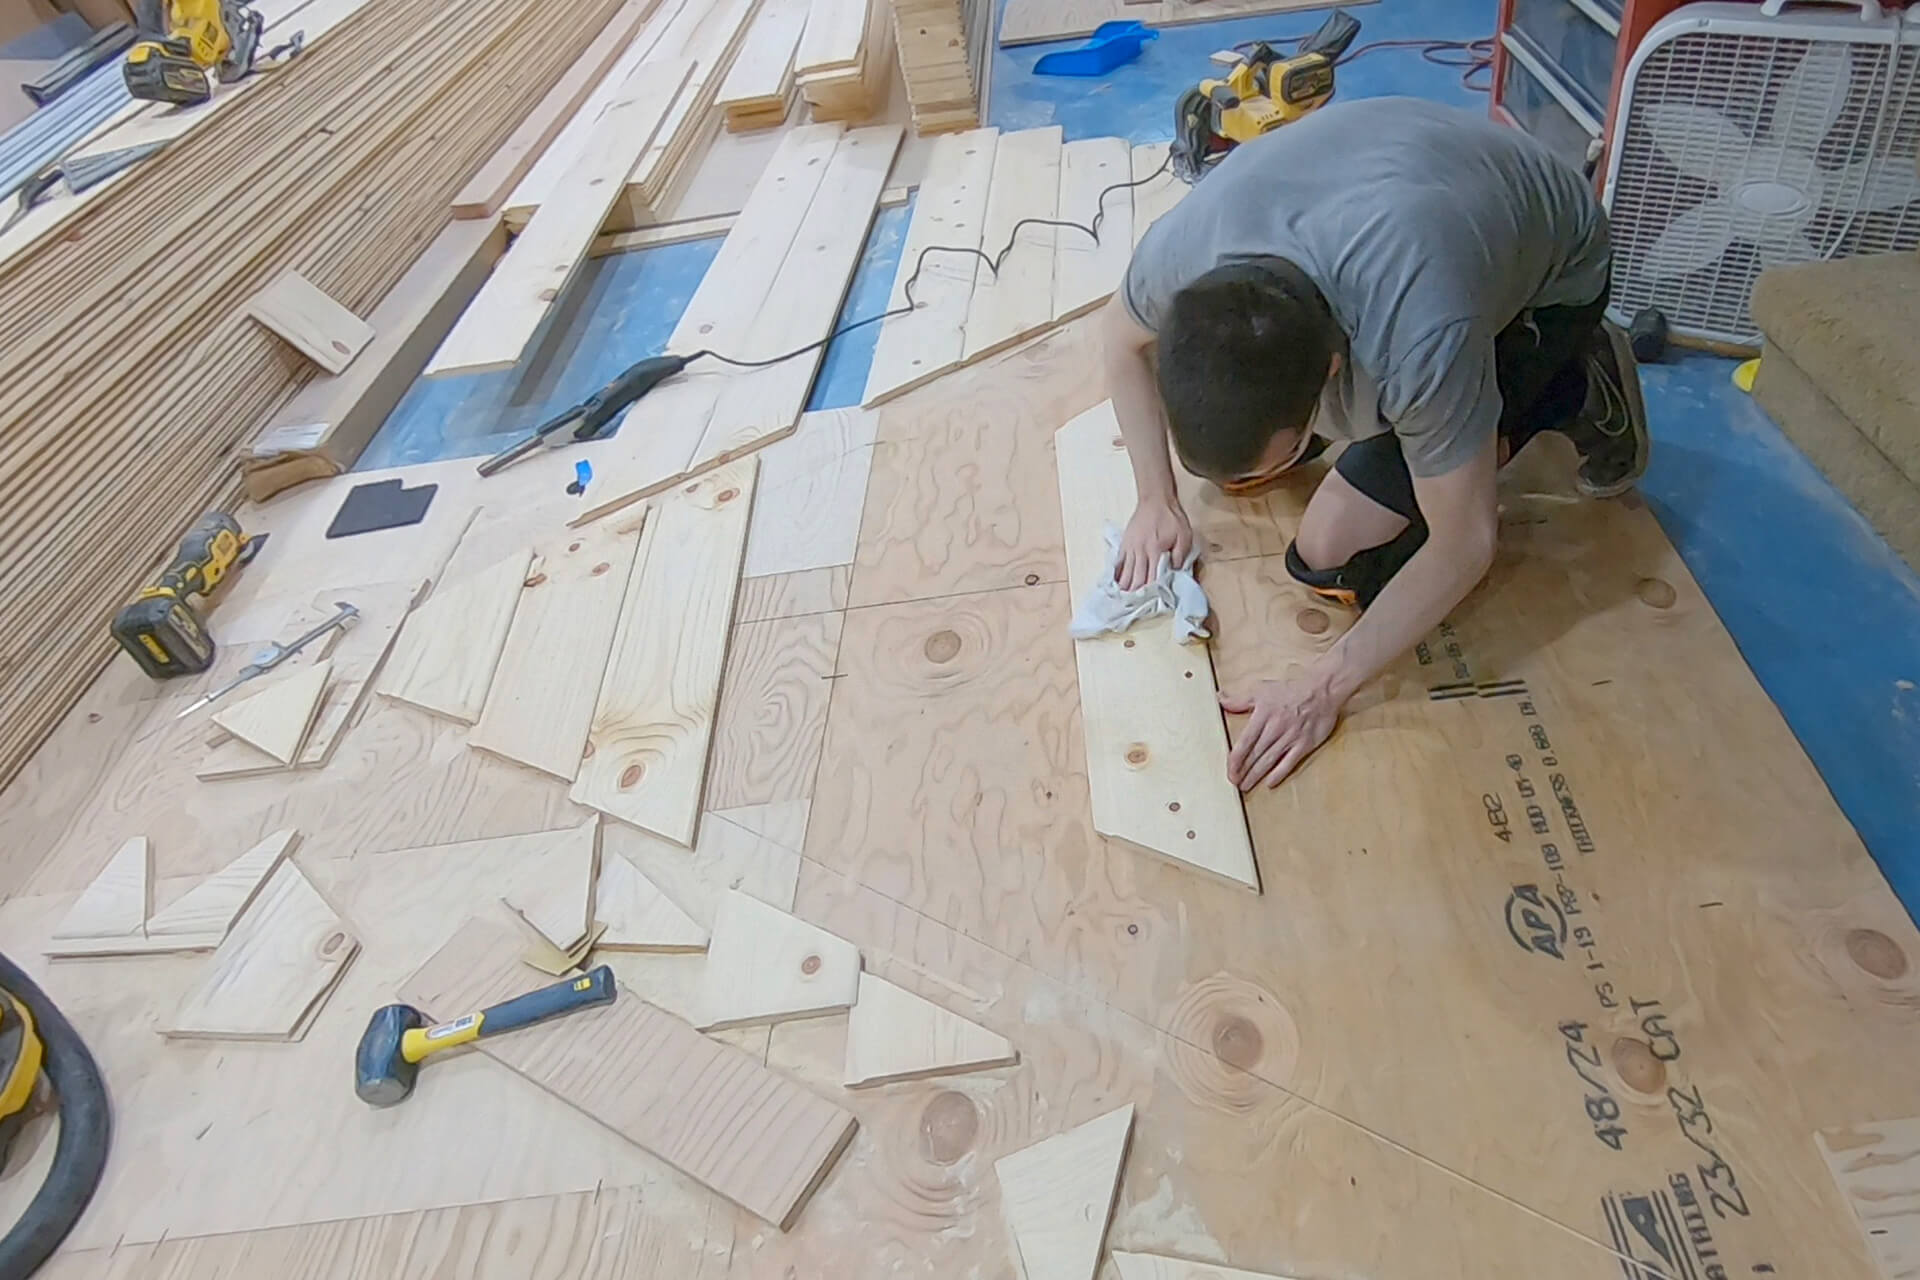
After 20 more minutes, buff the surface aggressively with a cotton cloth. The finish should feel smooth and tack-free.
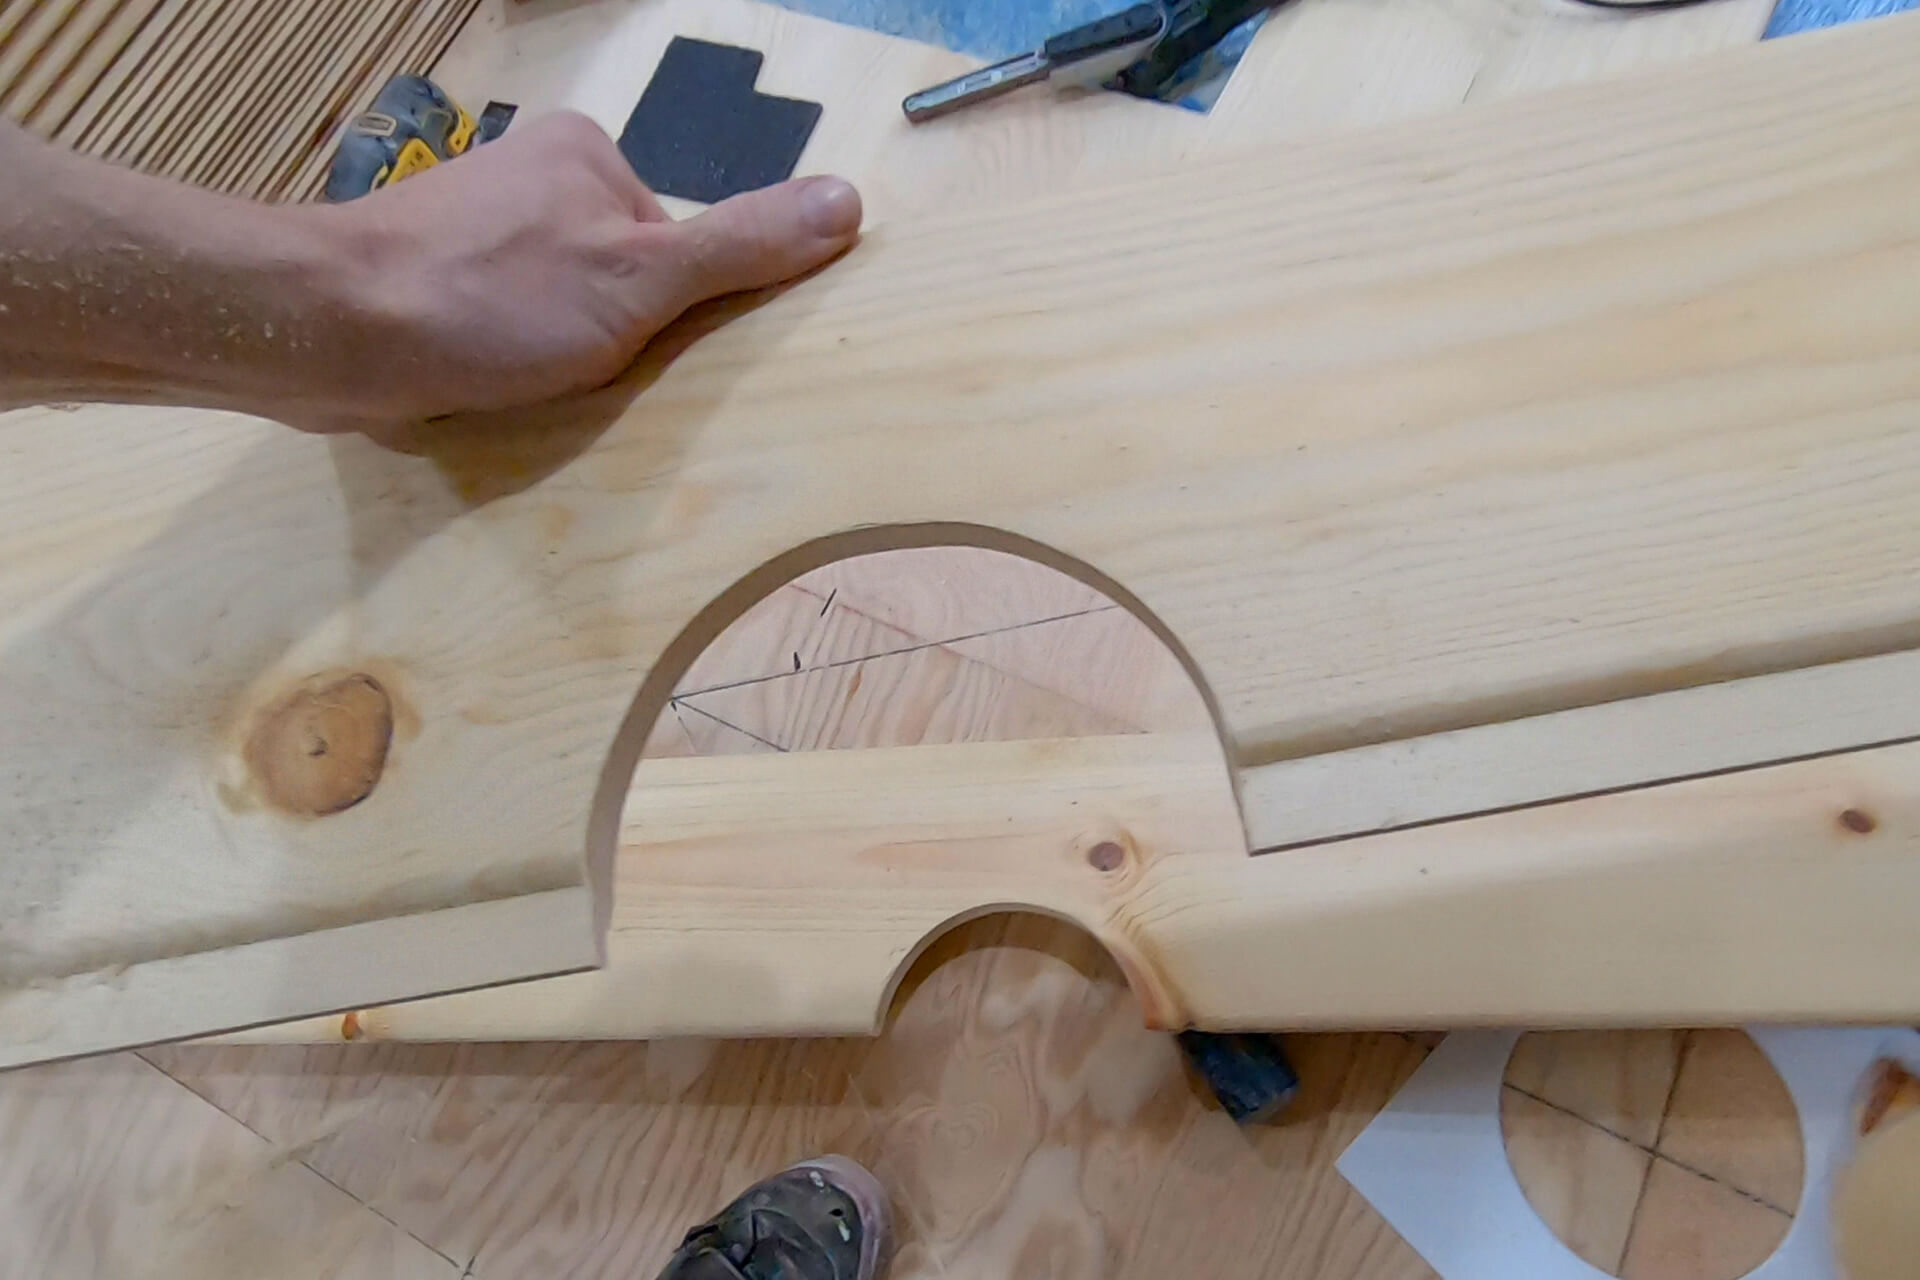
Cut a circle into the top five ceiling panels to accommodate future lighting.
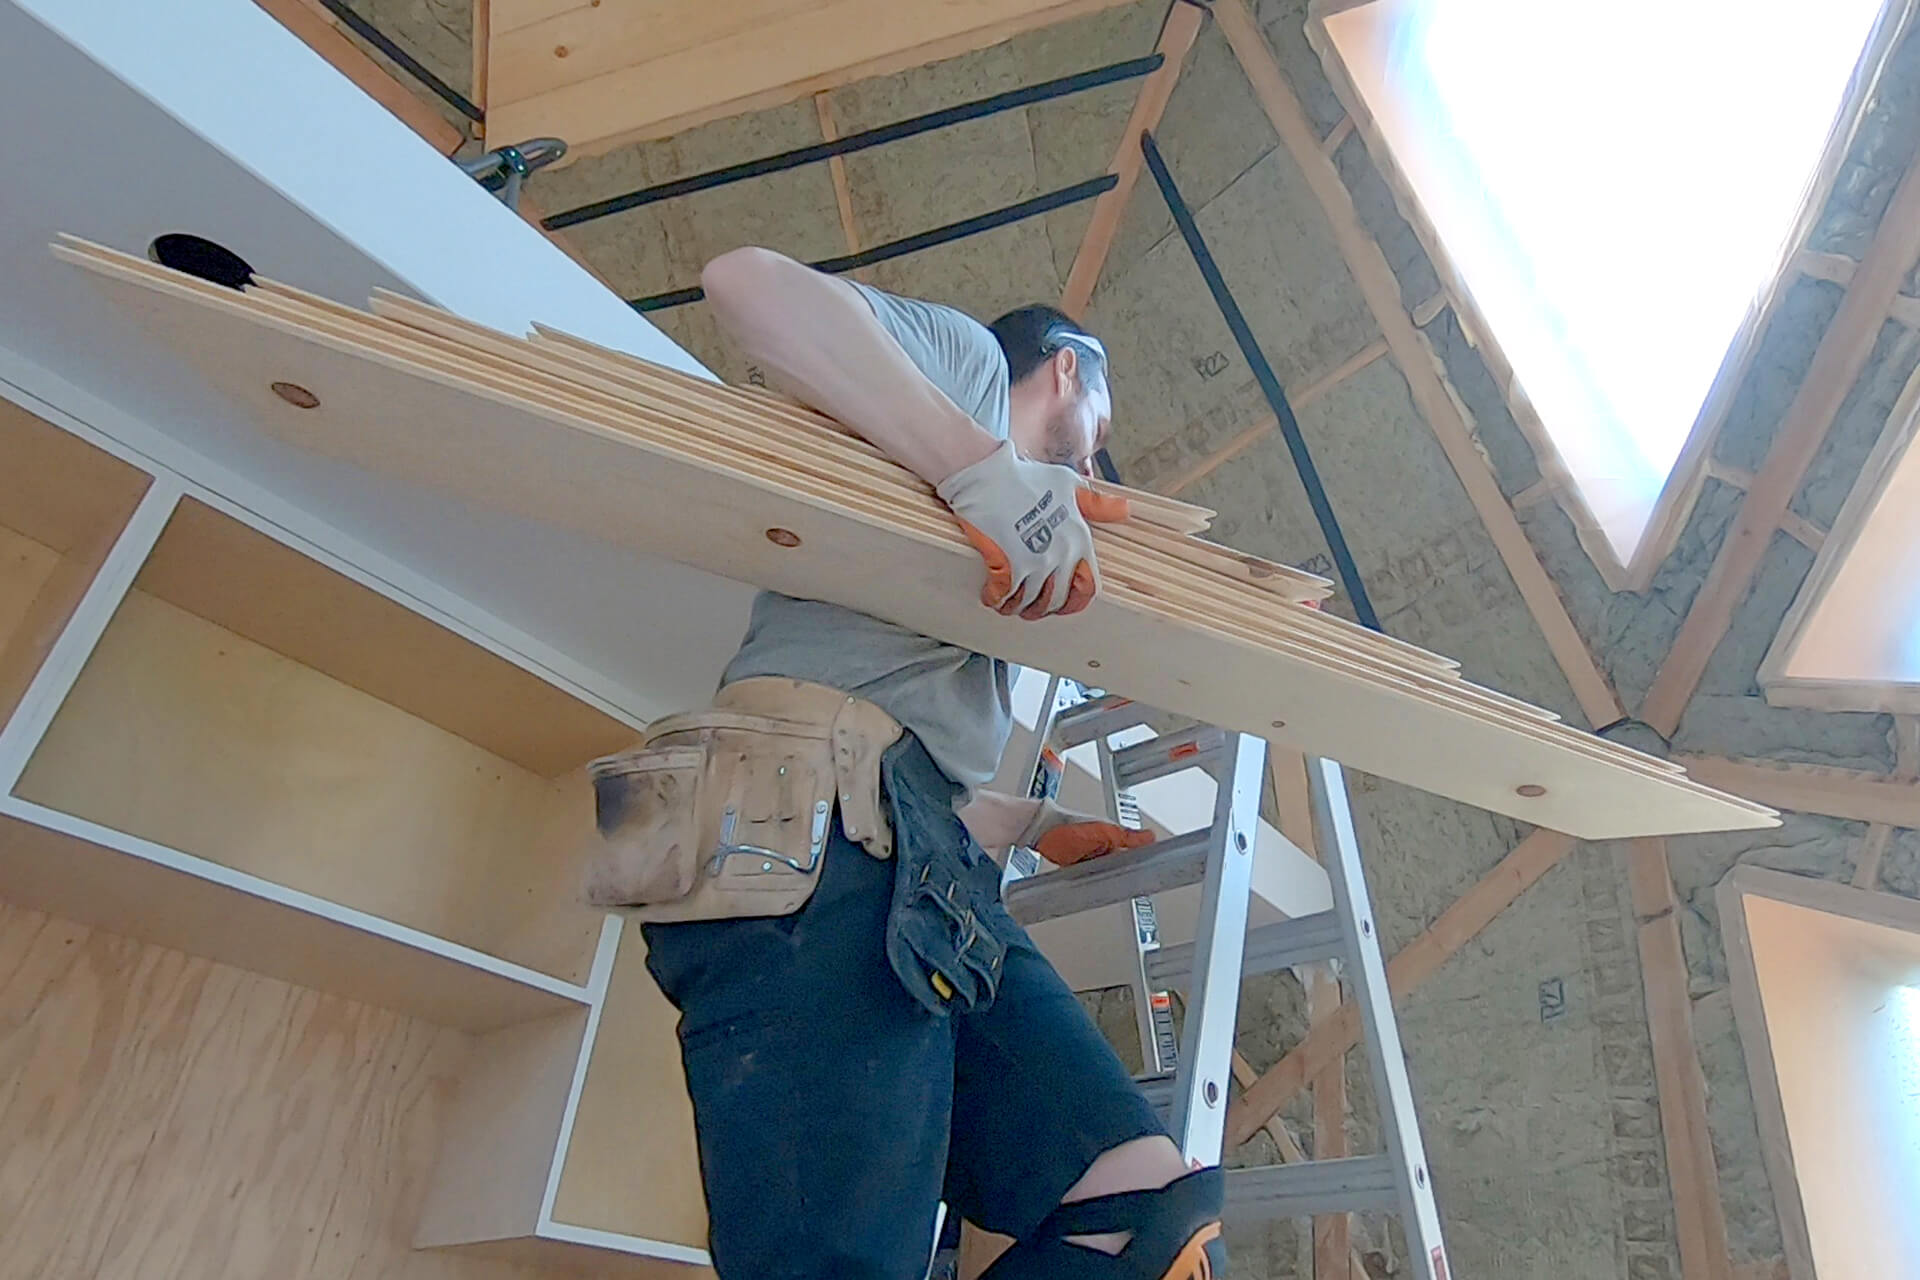
Stack the planks and bring them into the dome to begin the wood paneling.
Next Step