Panel Trim – Overview
It’s time to install trim around the panels, which involves the following:
- Filling the exposed fasteners with wood putty
- Cutting, finishing, and installing the trim pucks
- Measuring, cutting, finishing, and installing the trim straits between the pucks
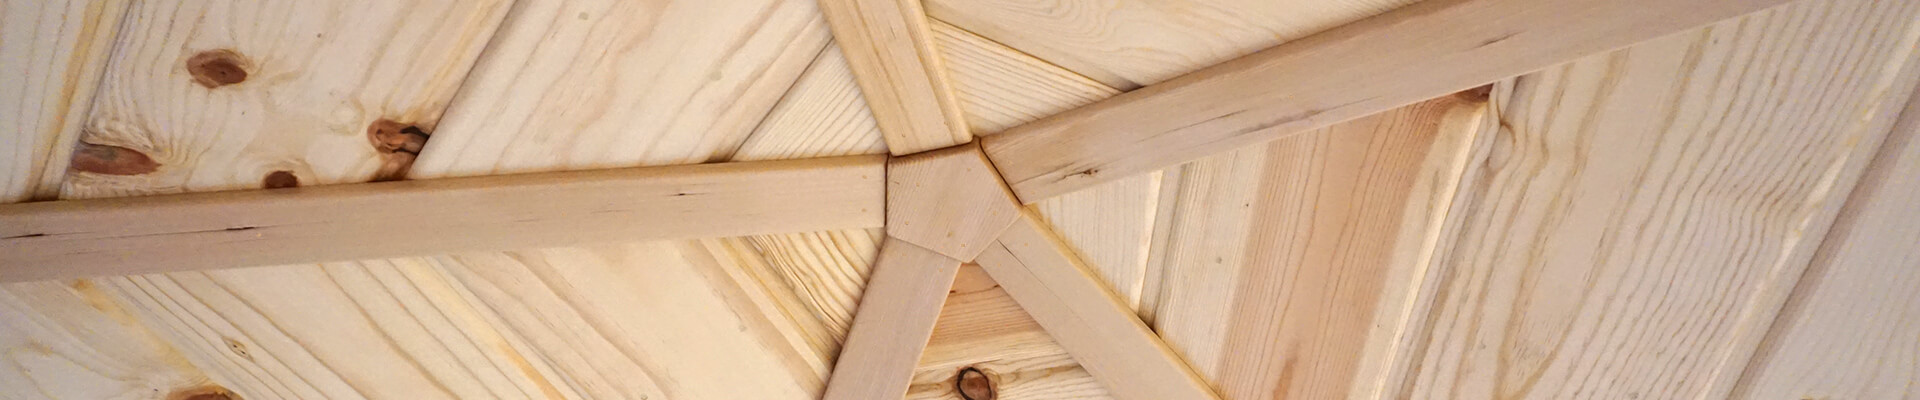
Hemlock wood was chosen for the trim because it was the most plentiful and affordable clear-grain (knot-free) option.
Wood trim can be finished plain (as shown in this chapter) to retain a natural wood appearance, stained, or painted any color. It takes paint better than plastic (PVC), and the resulting coat, even without primer, bonds well and is significantly more scratch-resistant.
Trim covers the gaps between interior wall panels. The gaps allow for movement and prevent buckling or cracking of the wood paneling or drywall.
Expect to spend ~2 weeks doing the work outlined in this chapter.
Next Step