Panel Trim – Pucks
Fill all fasteners that the trim won’t cover with wood putty. Putty is available in various colors and can be mixed to create custom shades.
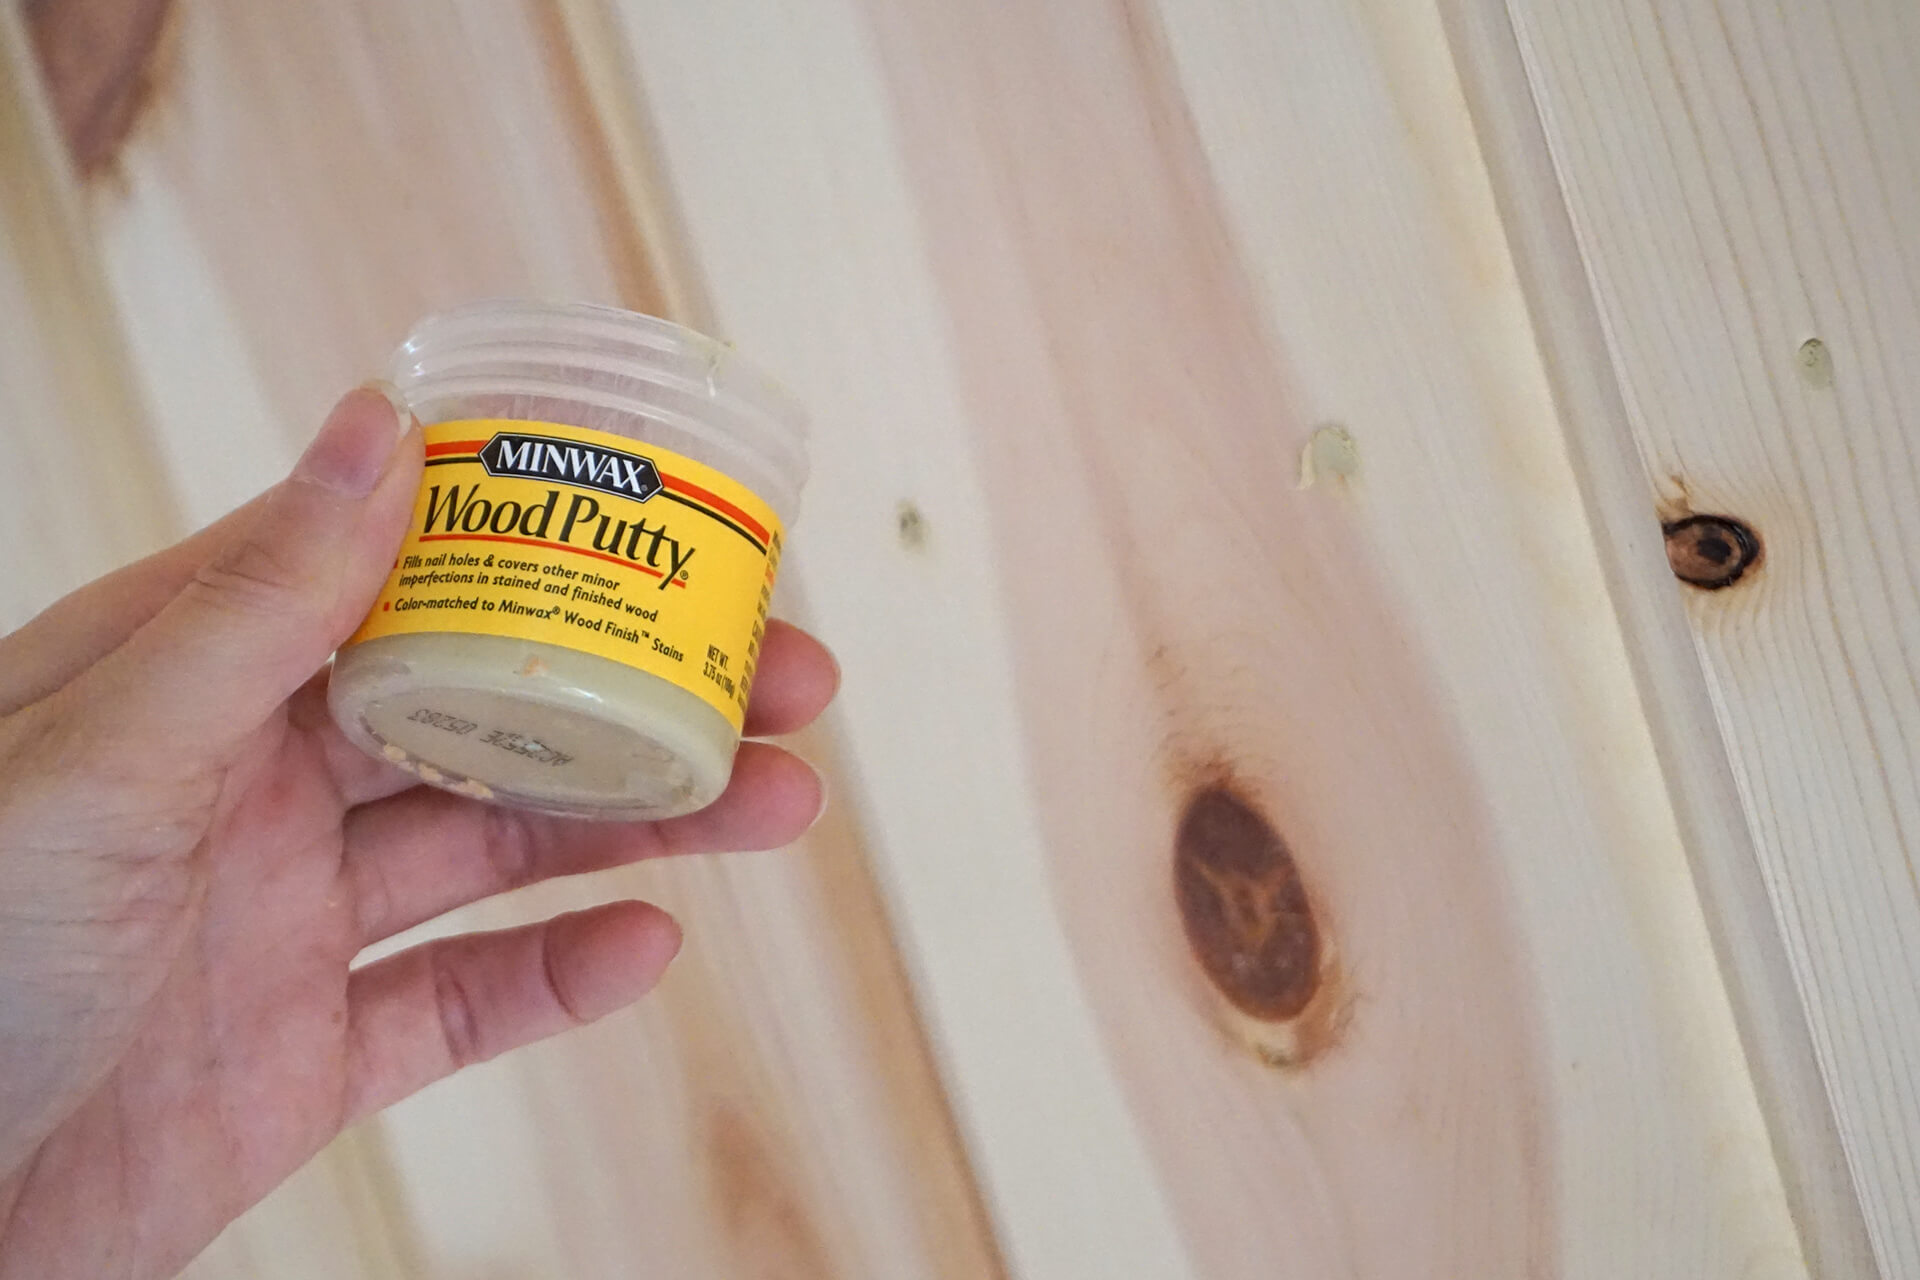
Wood putty remains malleable and does not harden or shrink like wood filler. It’s easy to apply and useful for retaining future access to fasteners.
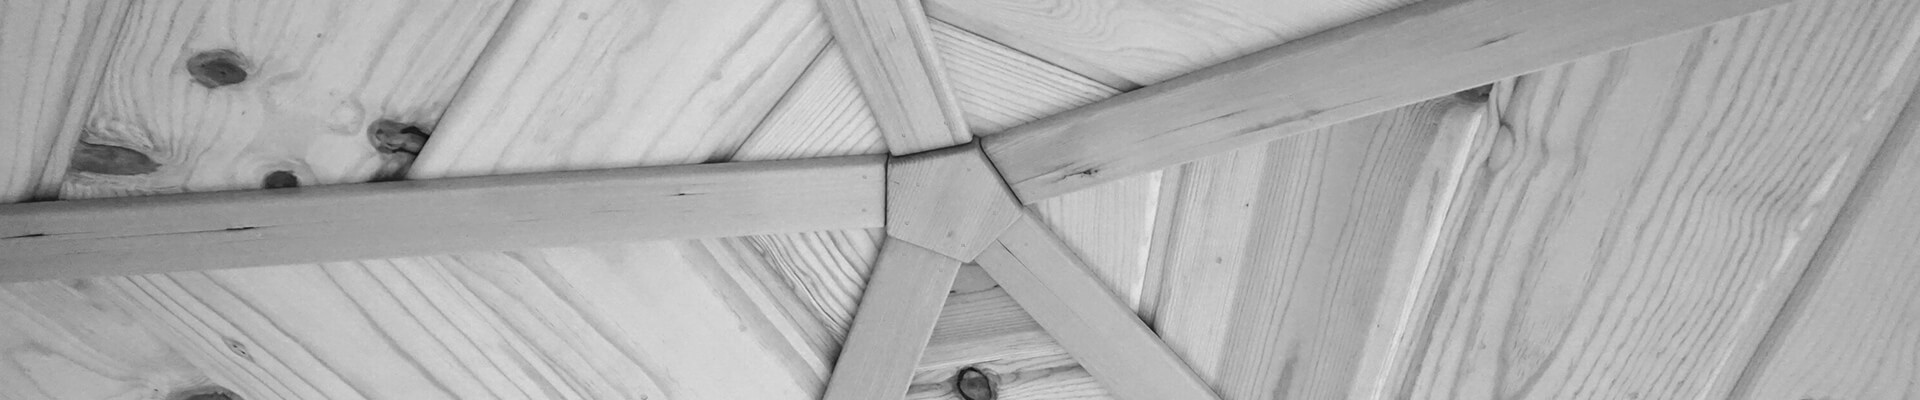
Cut the trim pucks using the templates. These pucks will be installed in the wall panel corners and act as nodes in the web of trim straights.
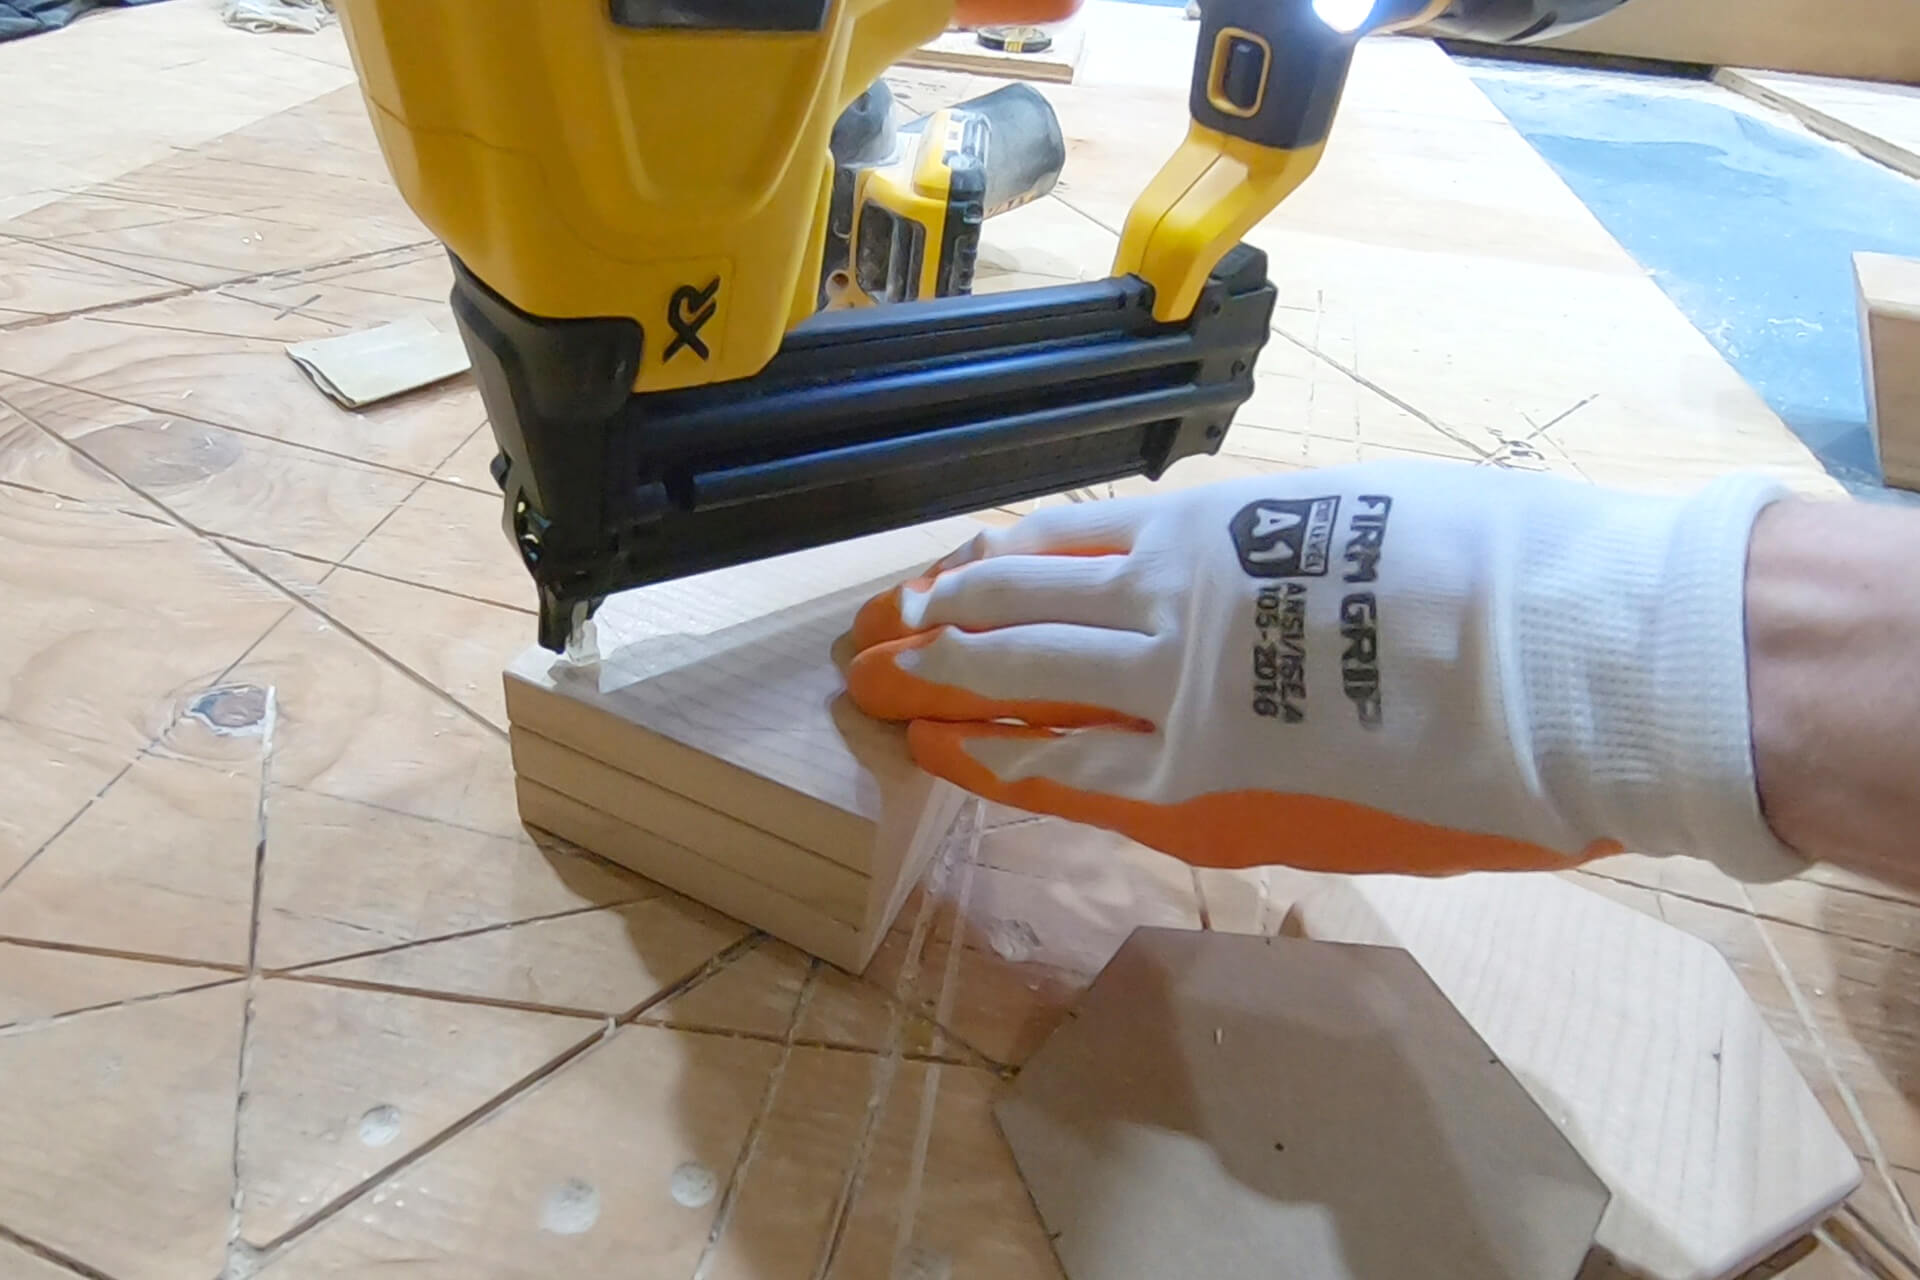
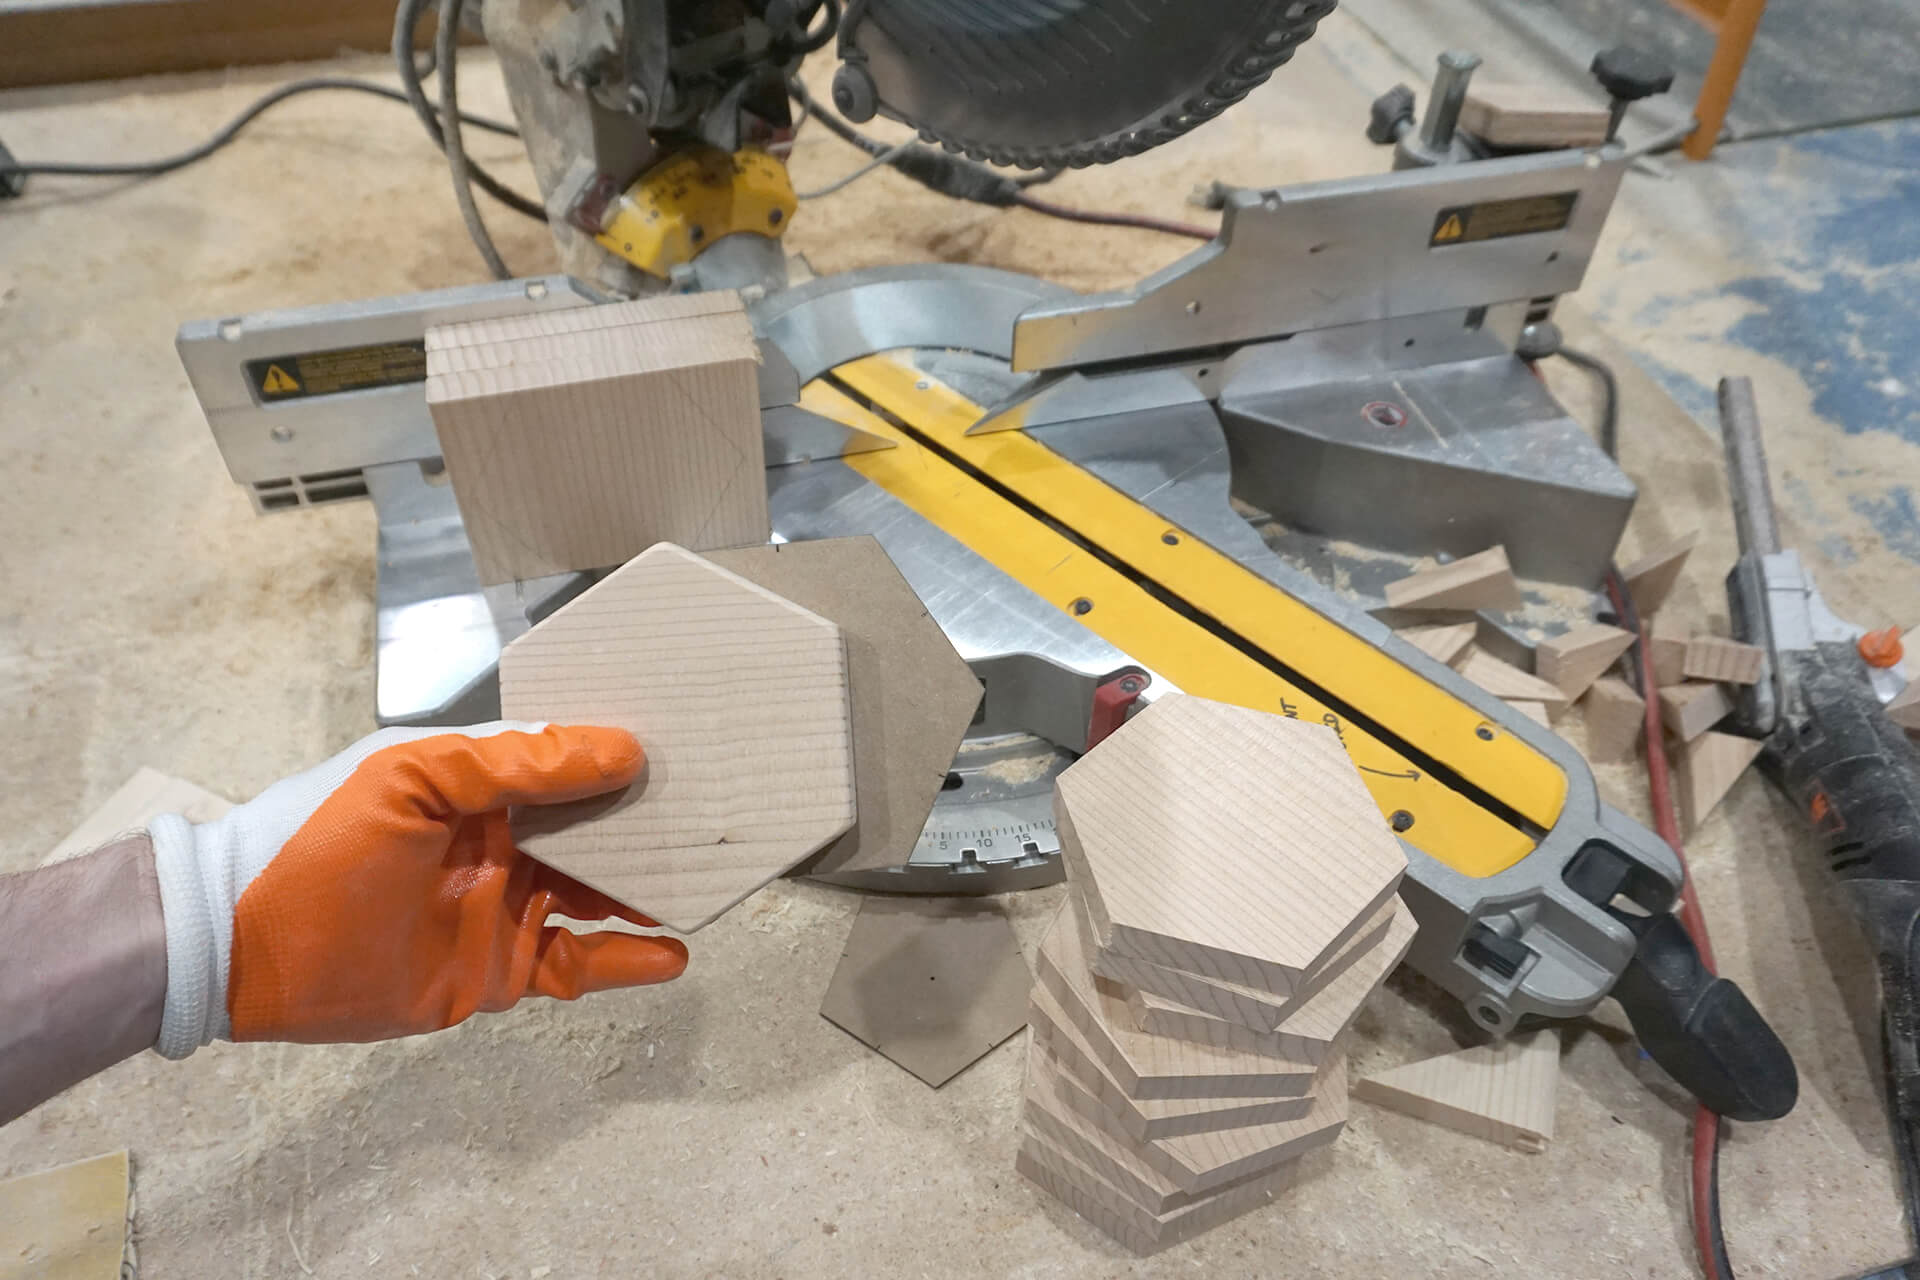
Three pucks can be cut at a time by stacking and temporarily brad nailing the wood blocks together at the corners. Trace the template onto the top block.
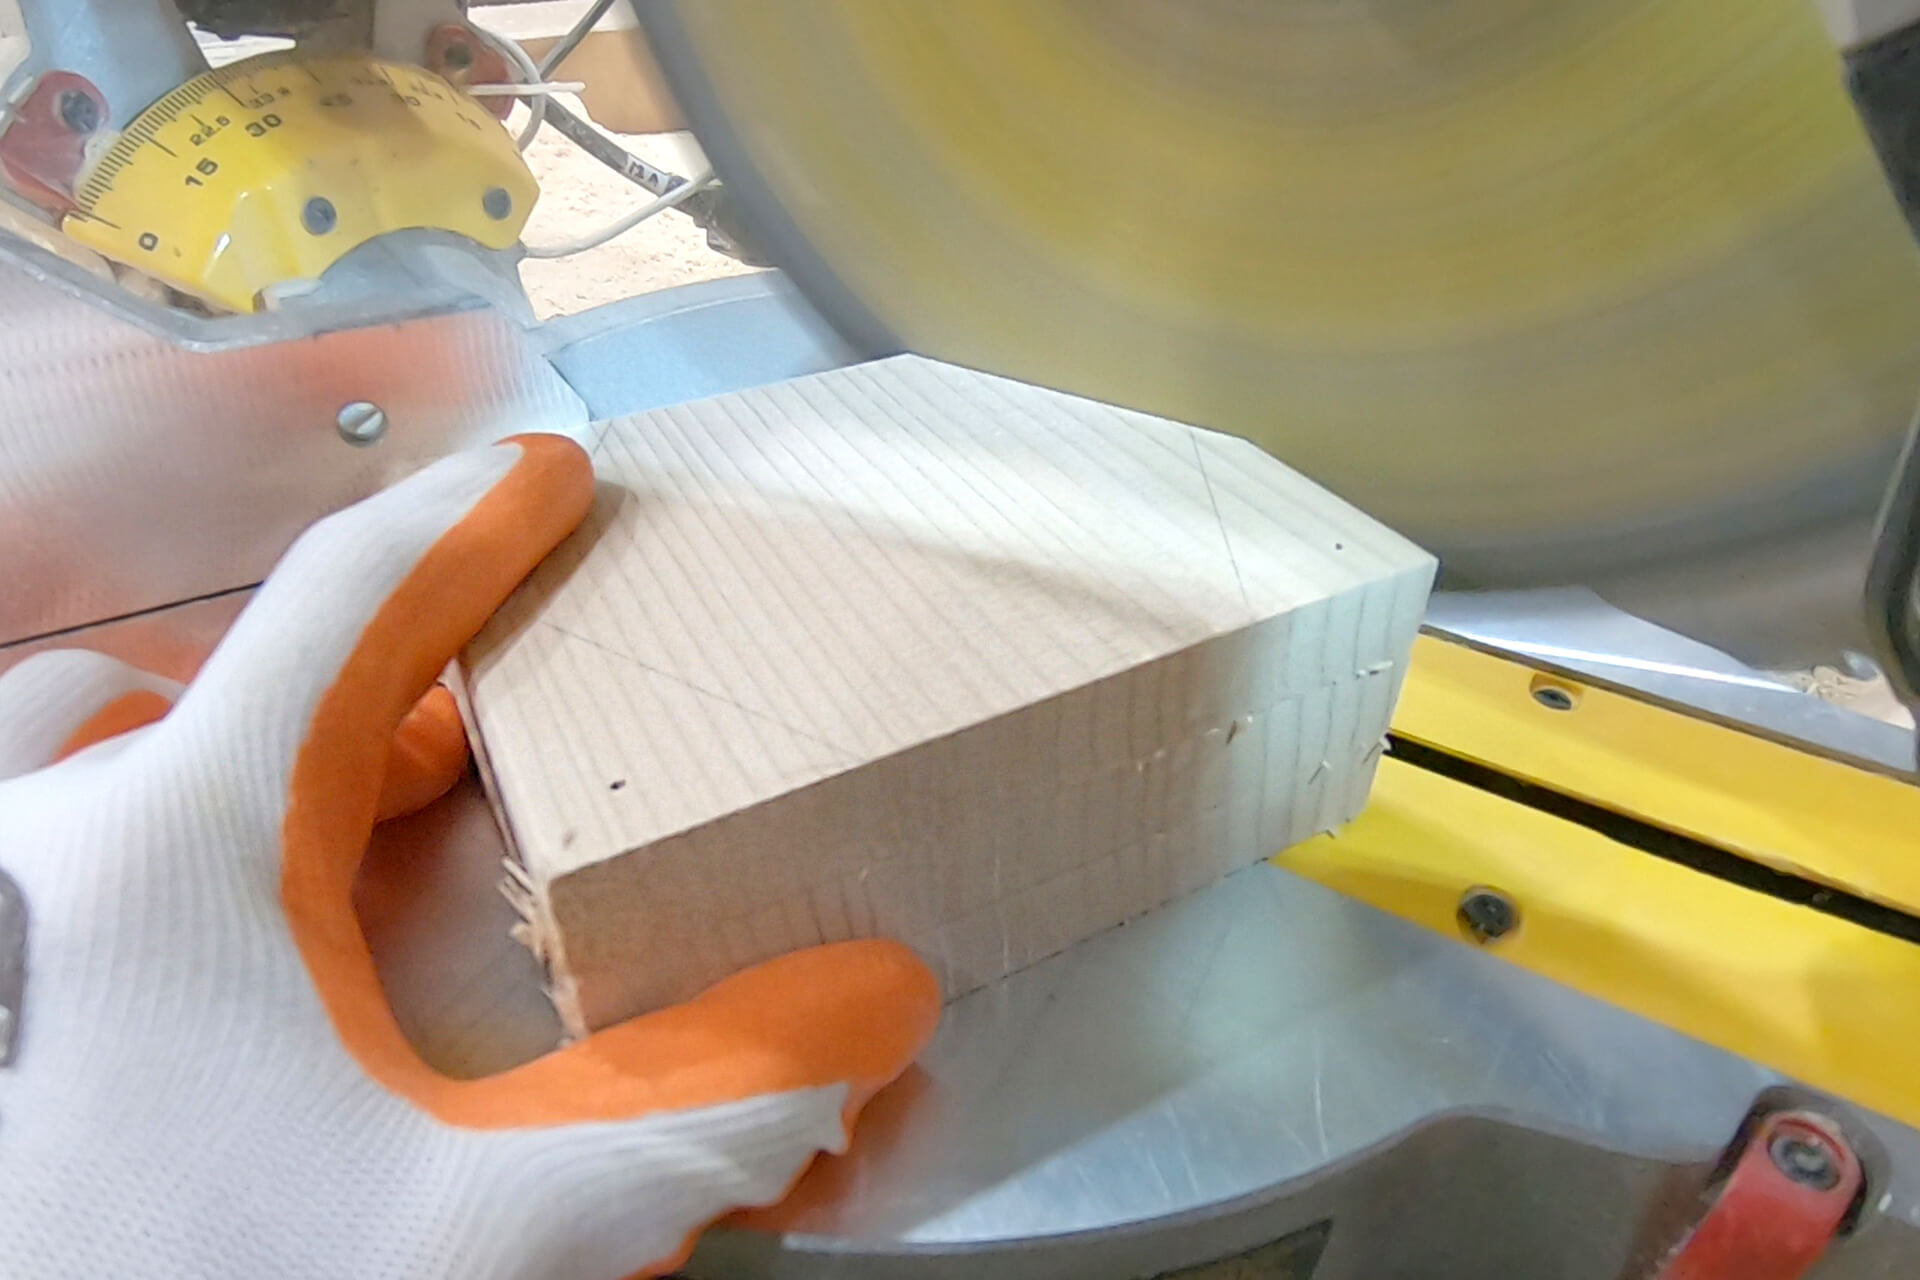
Cut the pucks. This can be a tricky and dangerous cut for a chop saw (shown). Keep the blocks tight against the fence and be mindful of kickback. Consider using a jigsaw to cut one at a time.
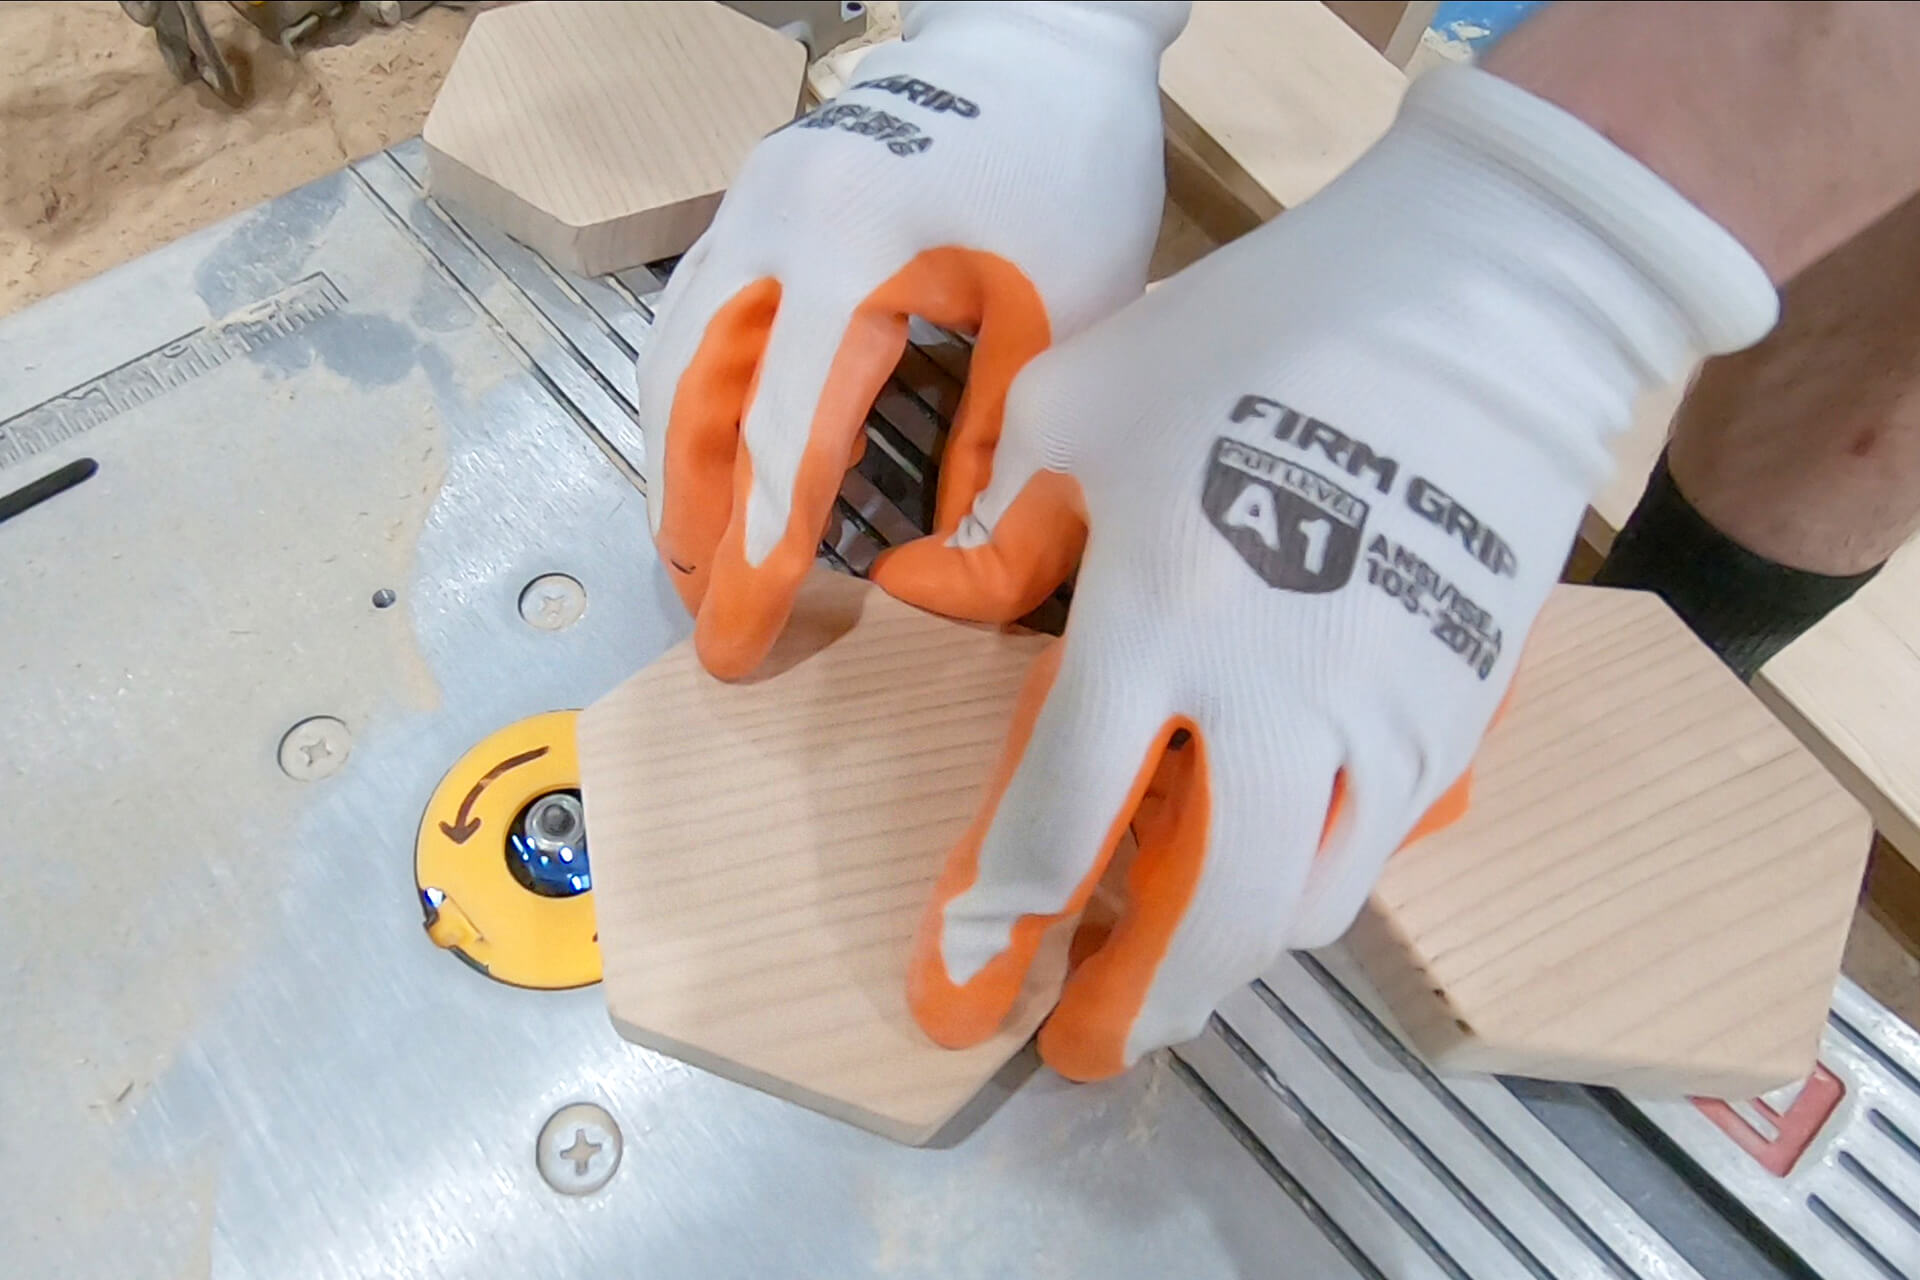
Round over the top side of the pucks with a router.
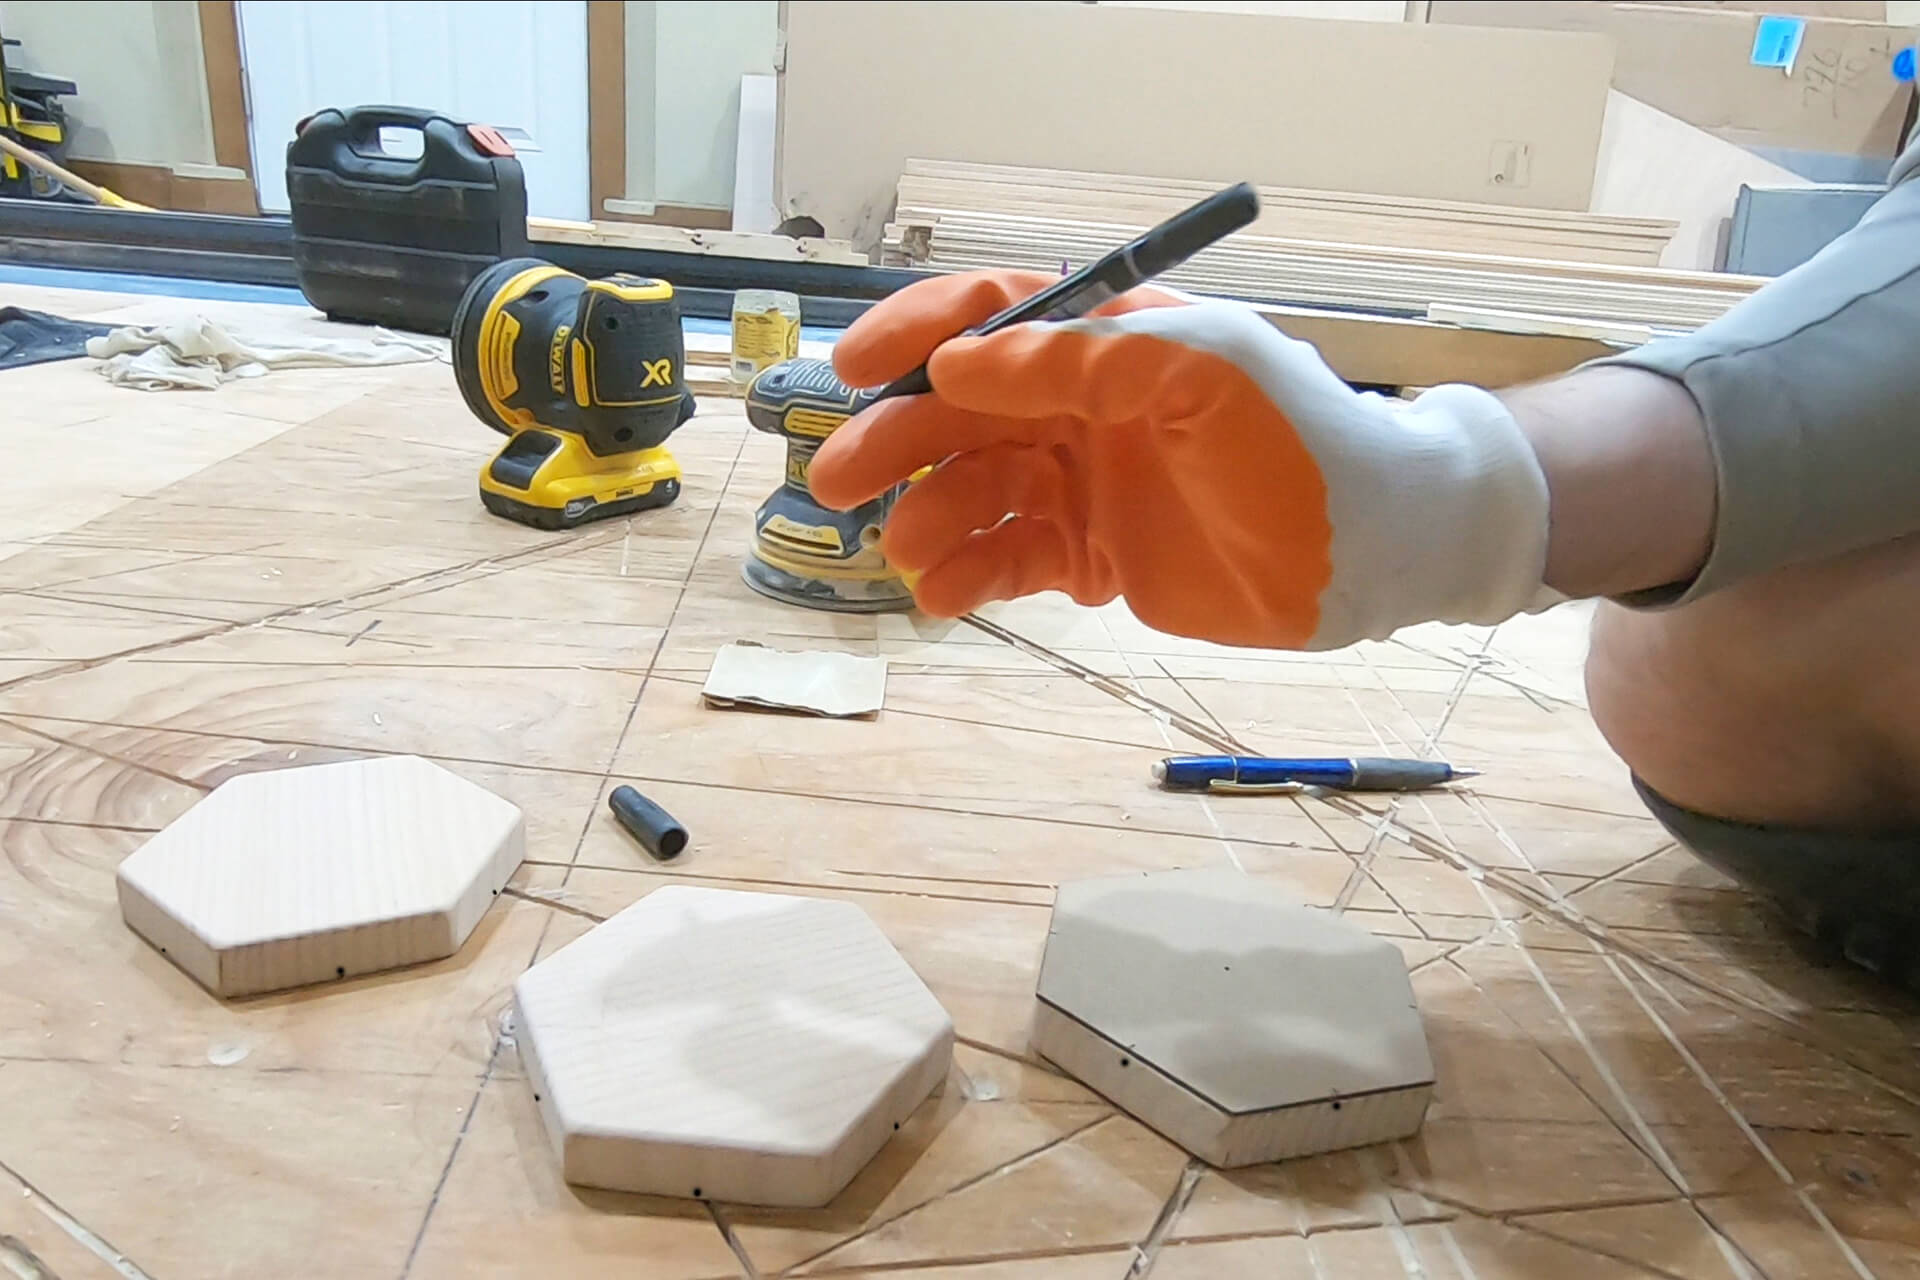
Use the template to mark the center of each face near the bottom of each puck. This will help with future alignment to the wall panel corners.

Prep each puck for finish by sanding with 220-grit sandpaper.
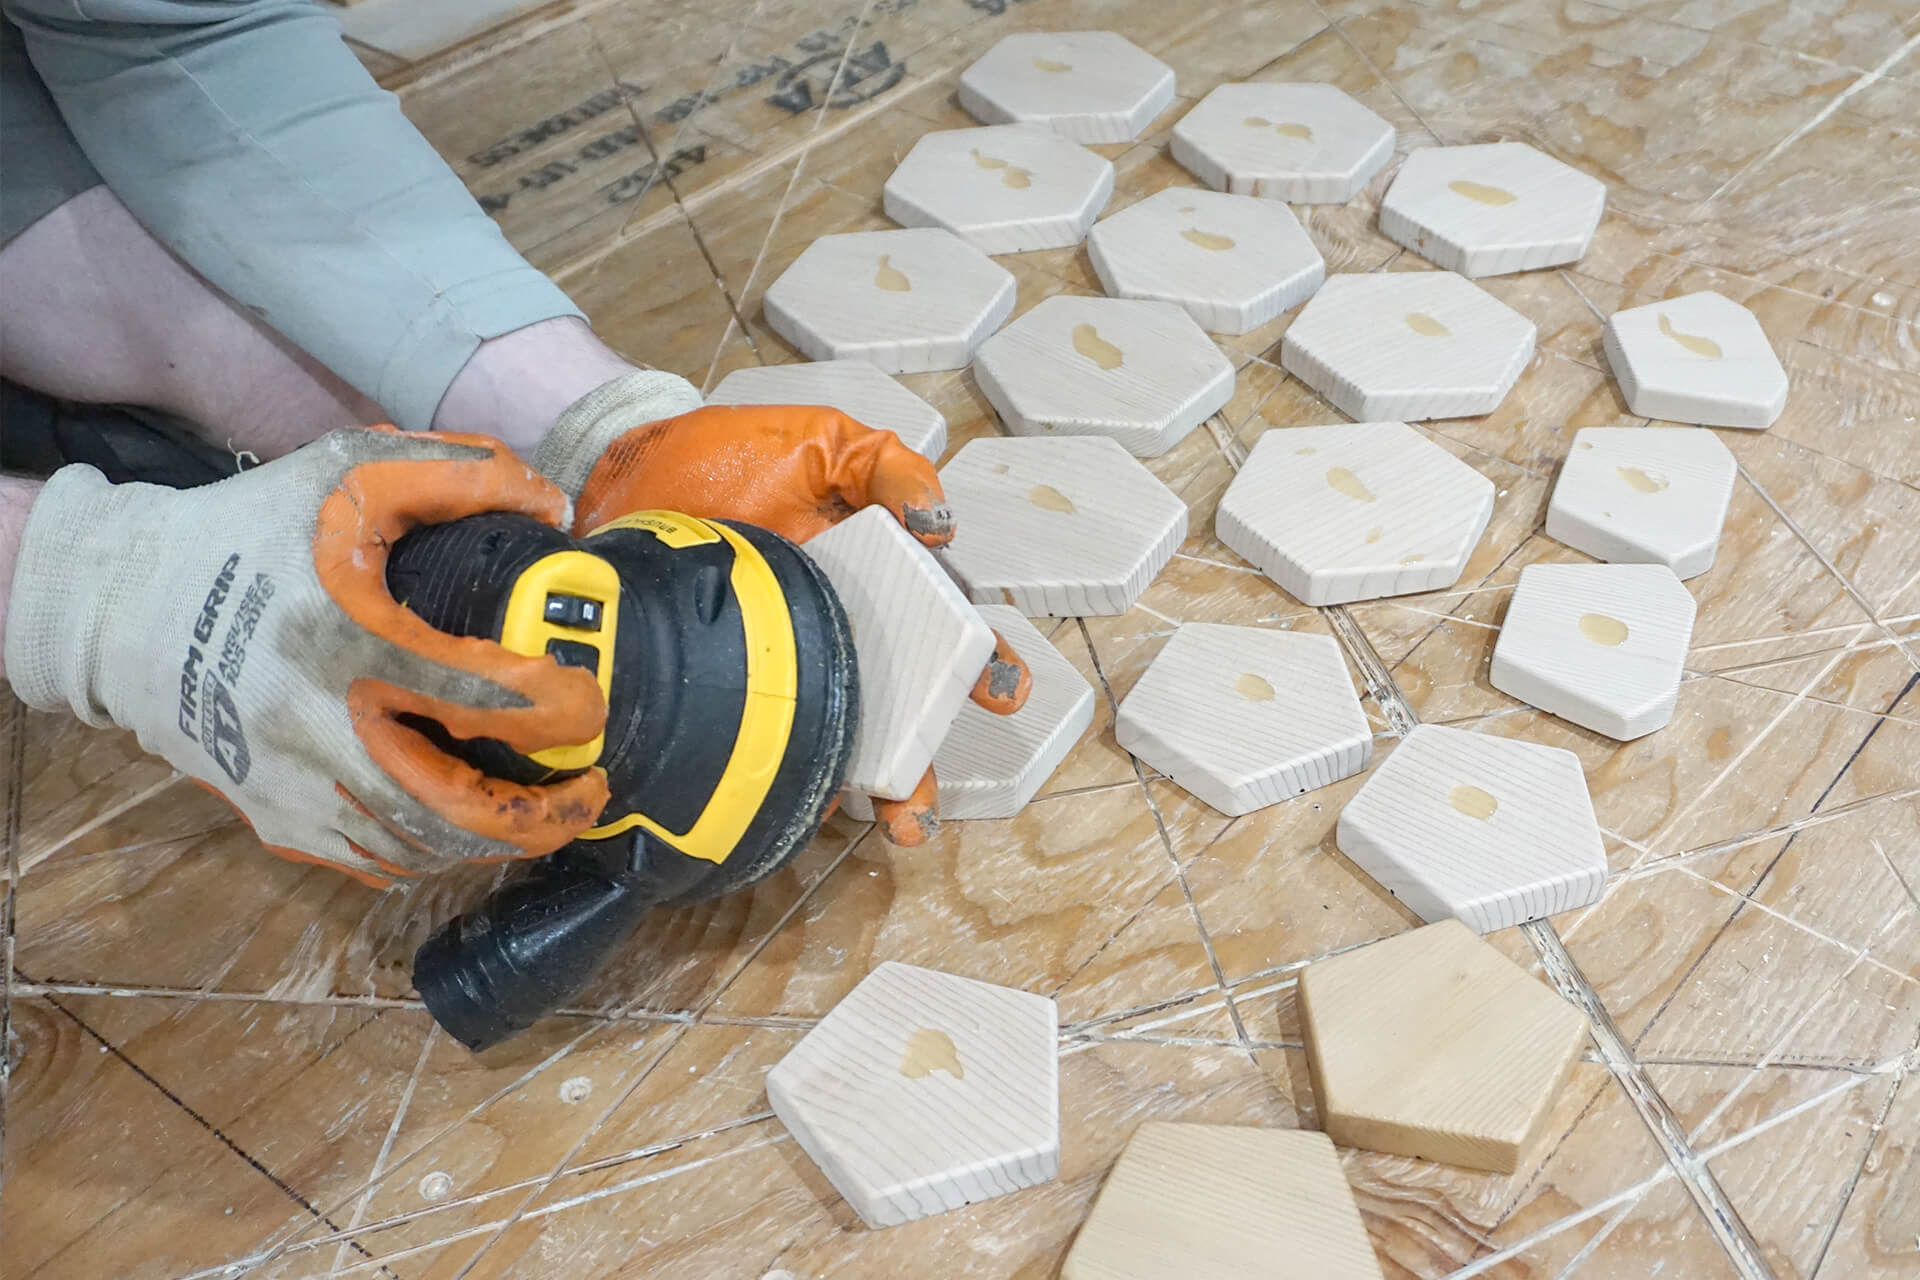
Apply the same wood finish to the visible surfaces. Odie’s Oil is shown here.
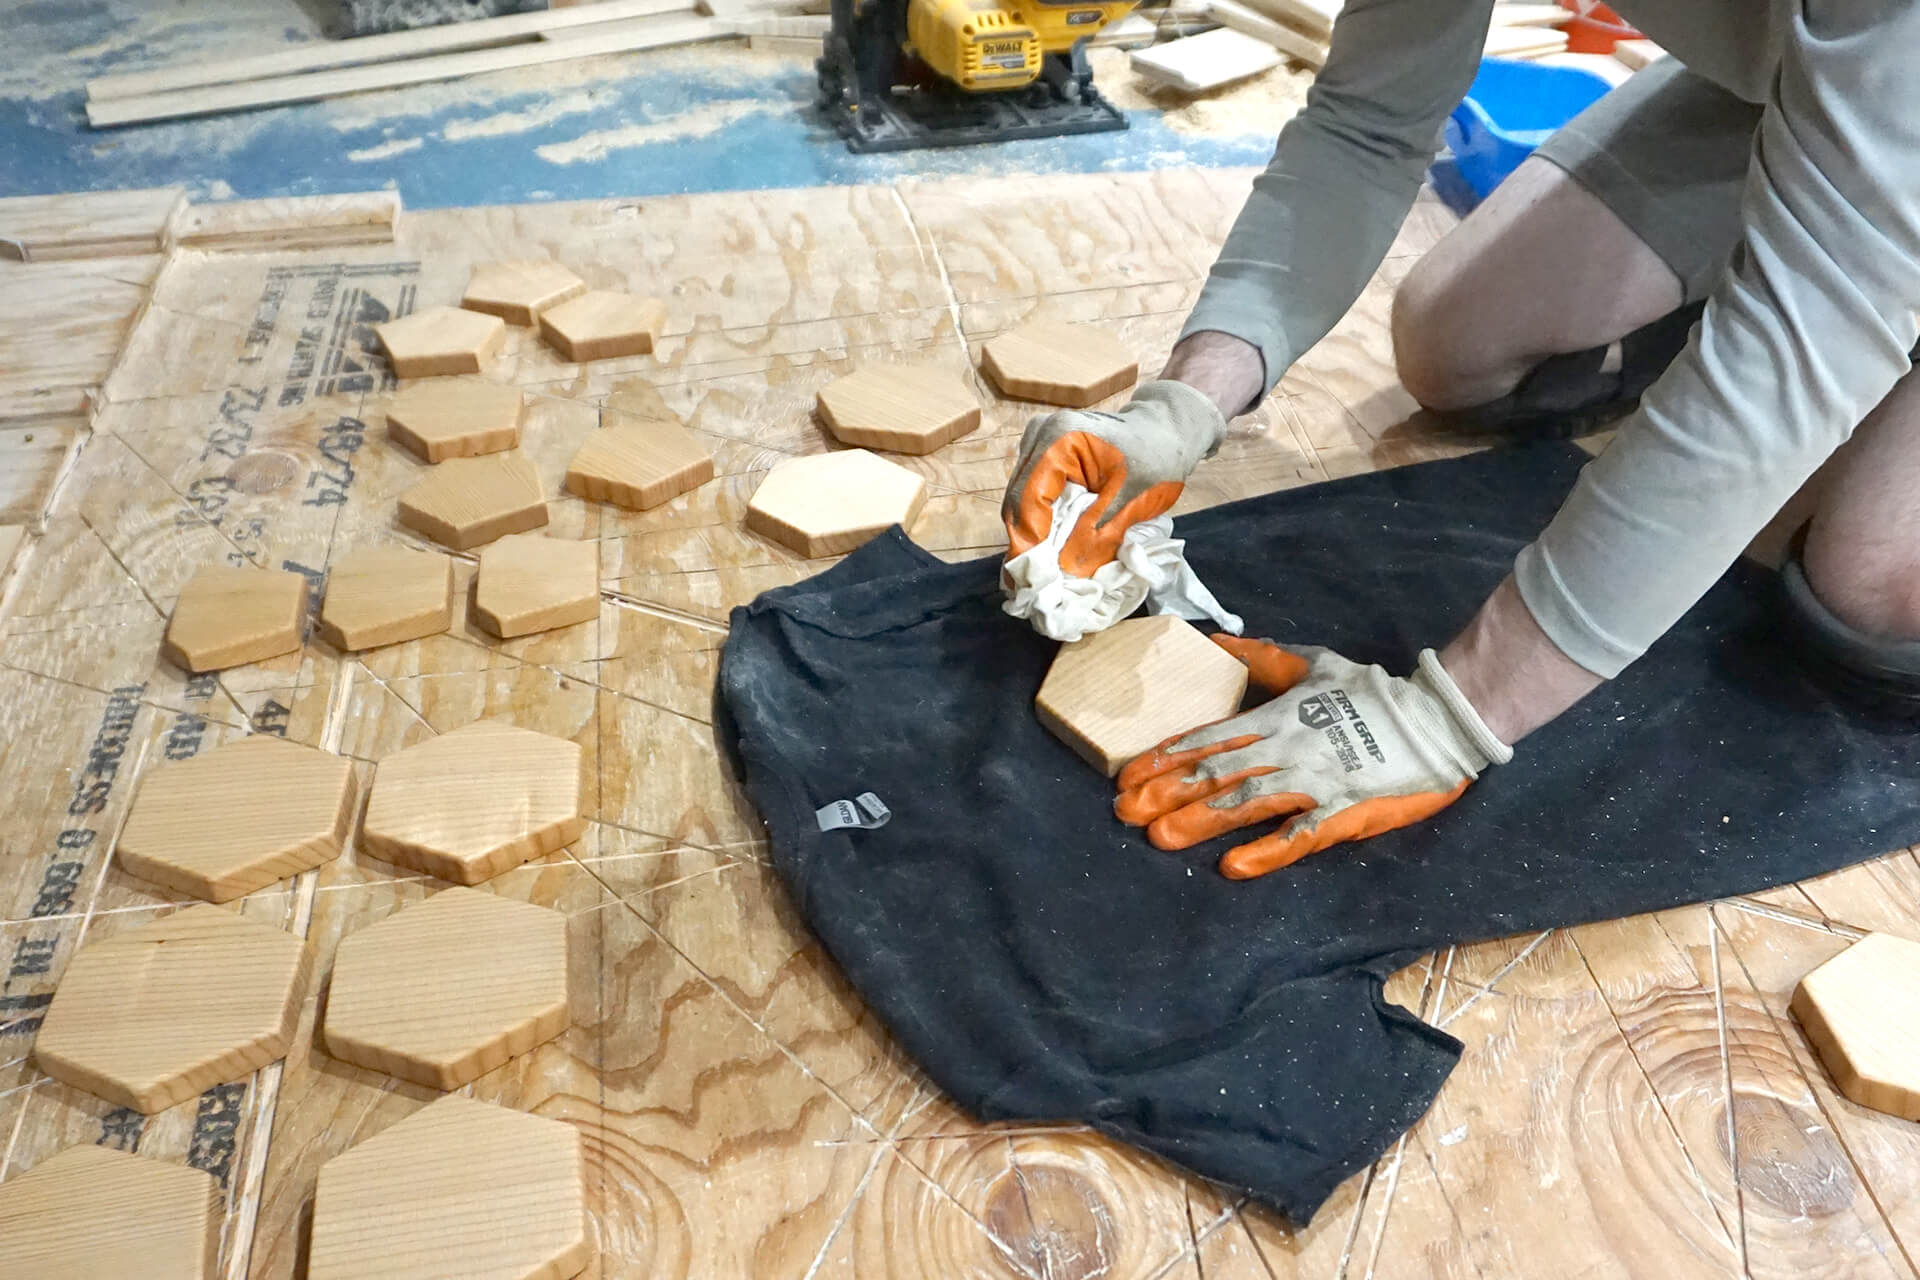
Buff the surface with a cotton cloth as usual.
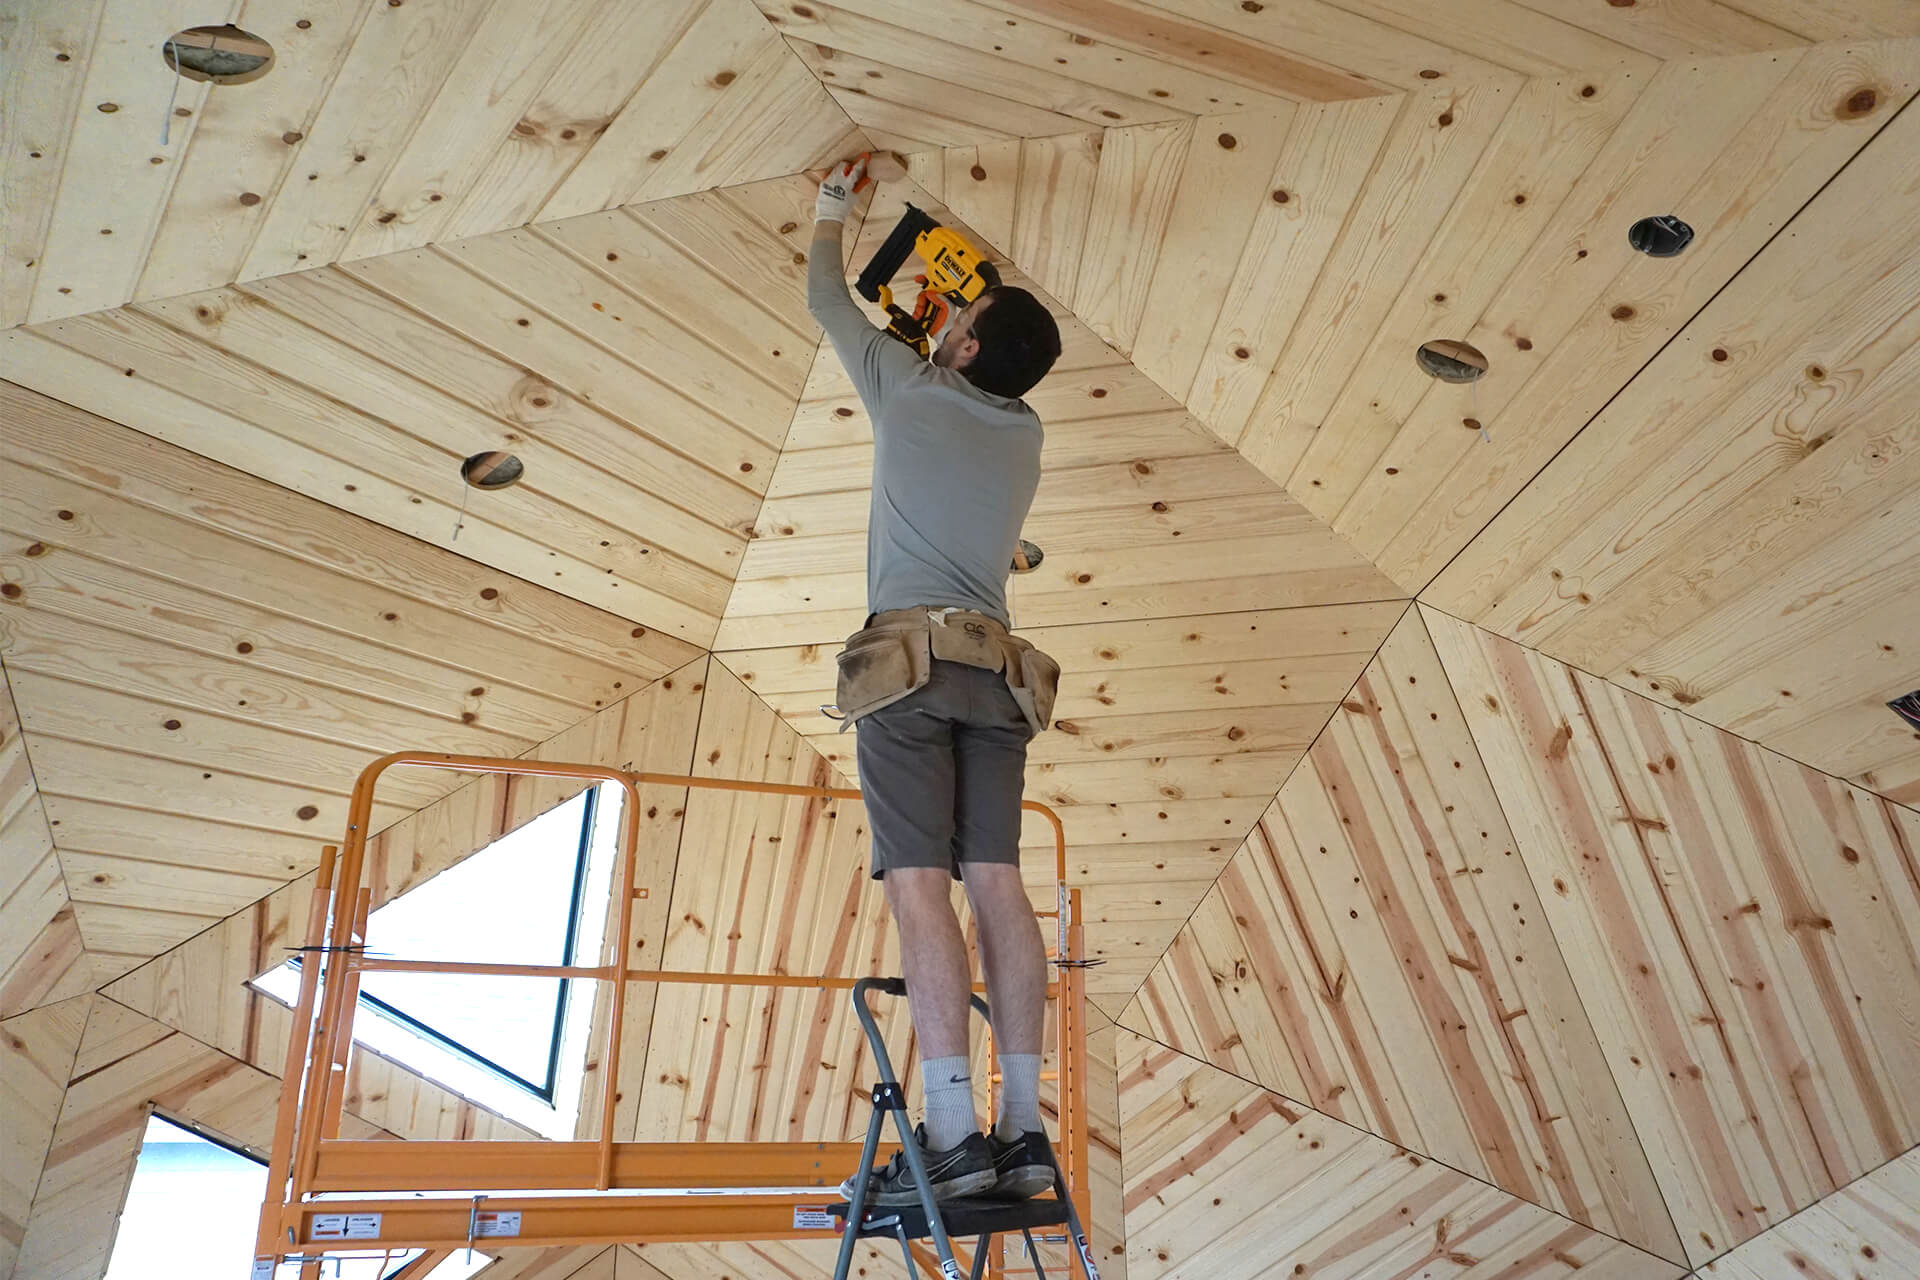
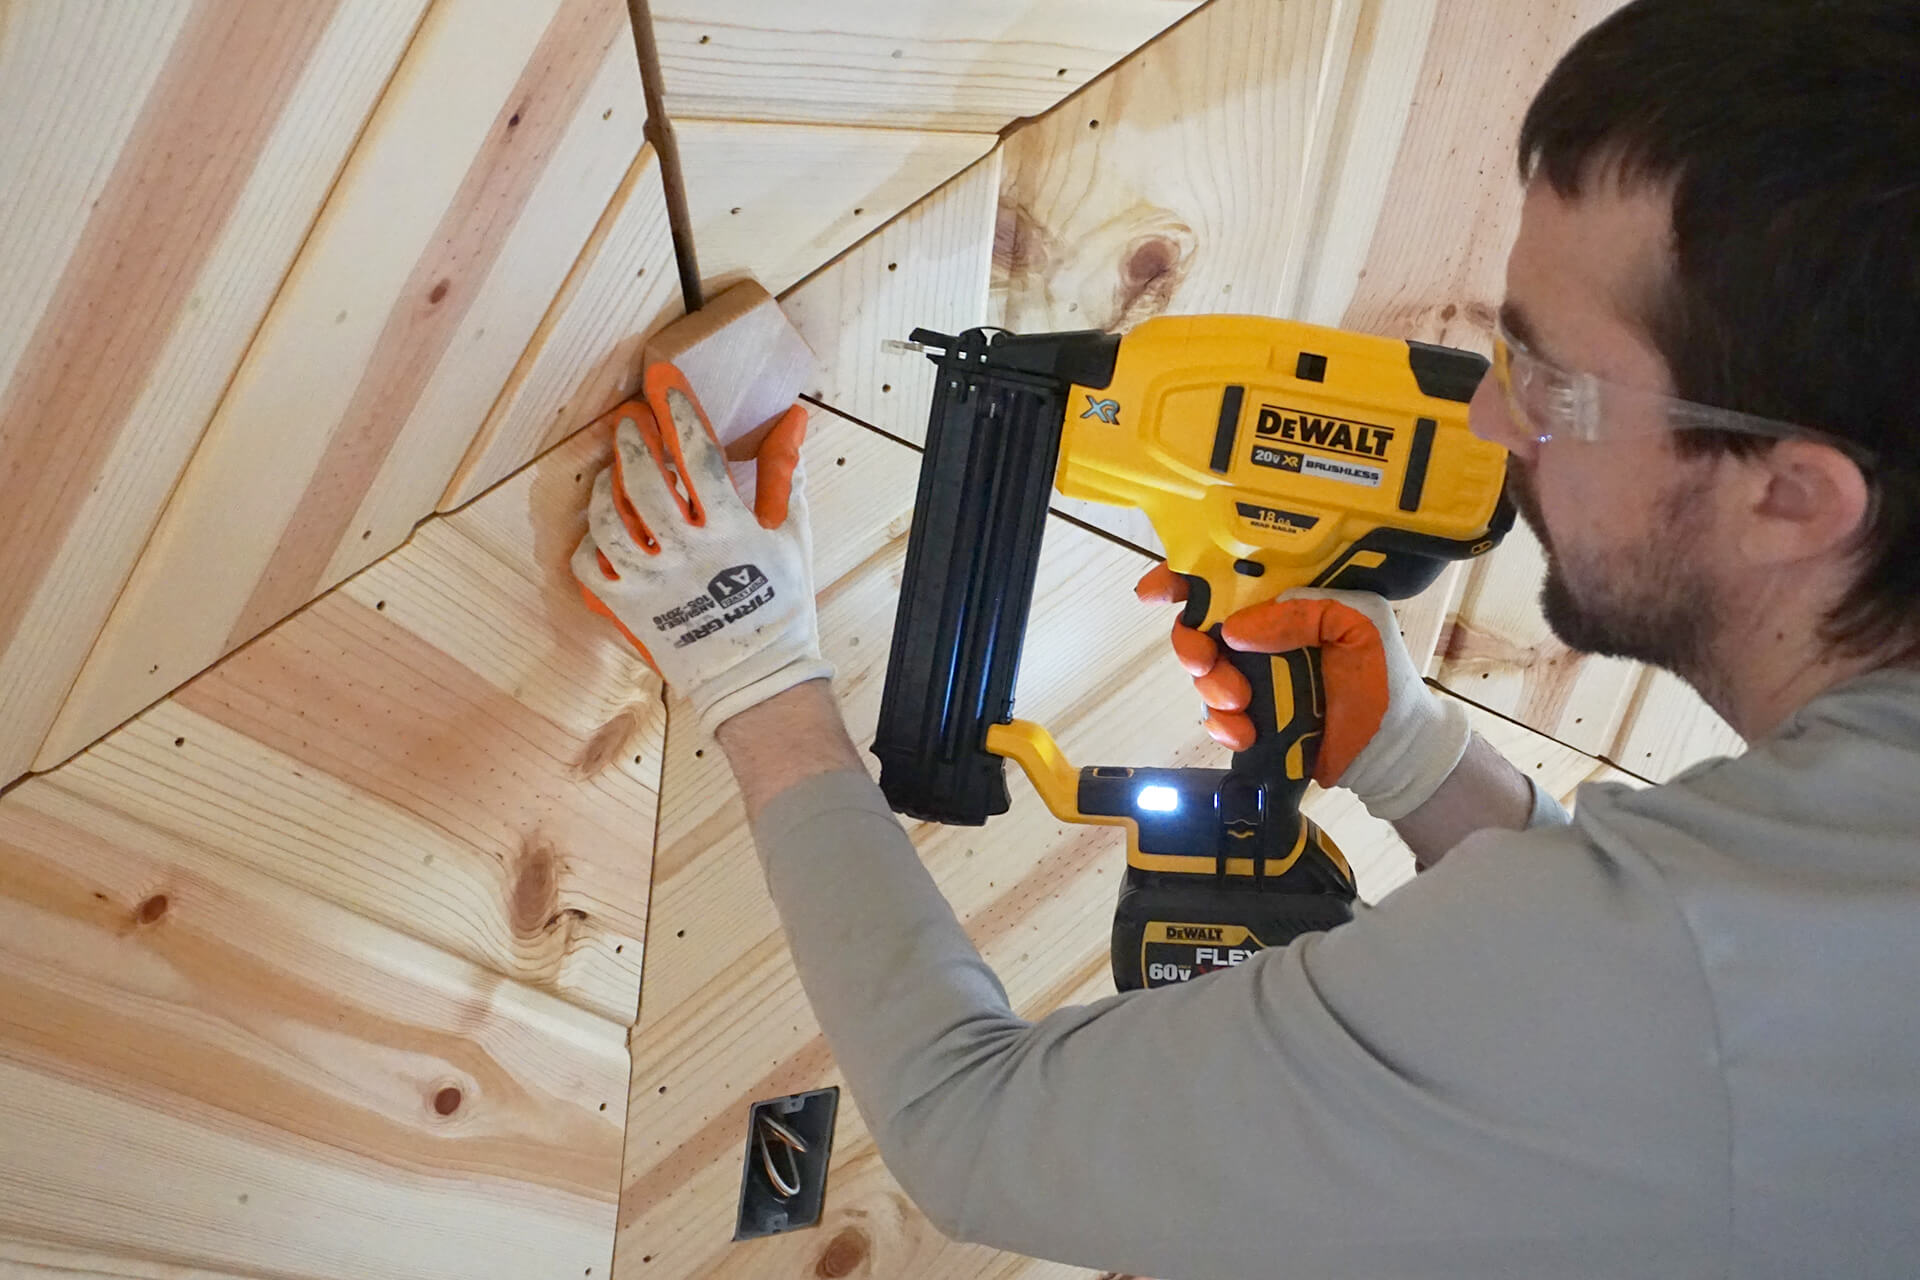
Begin installing the trim pucks.
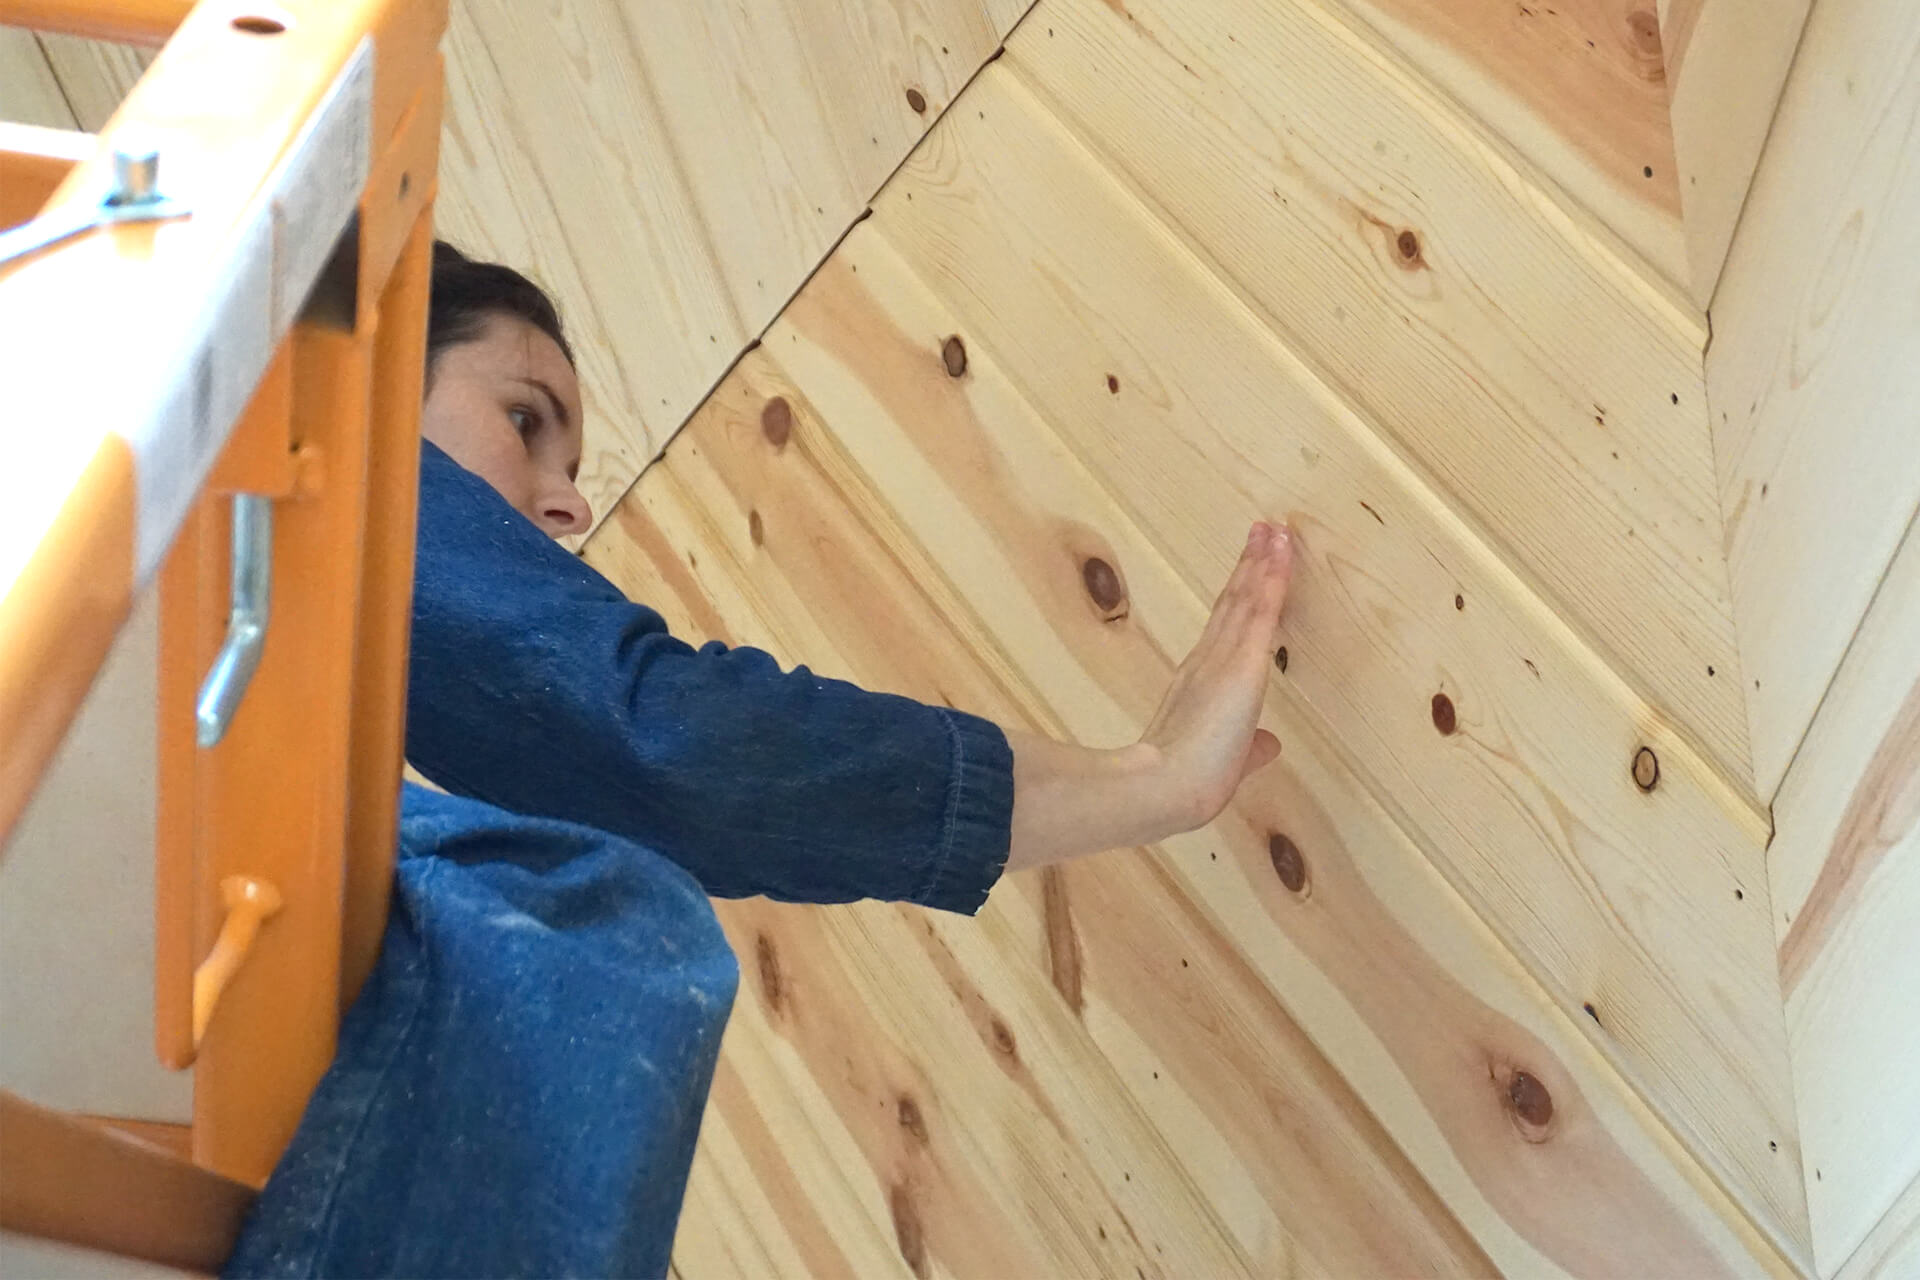
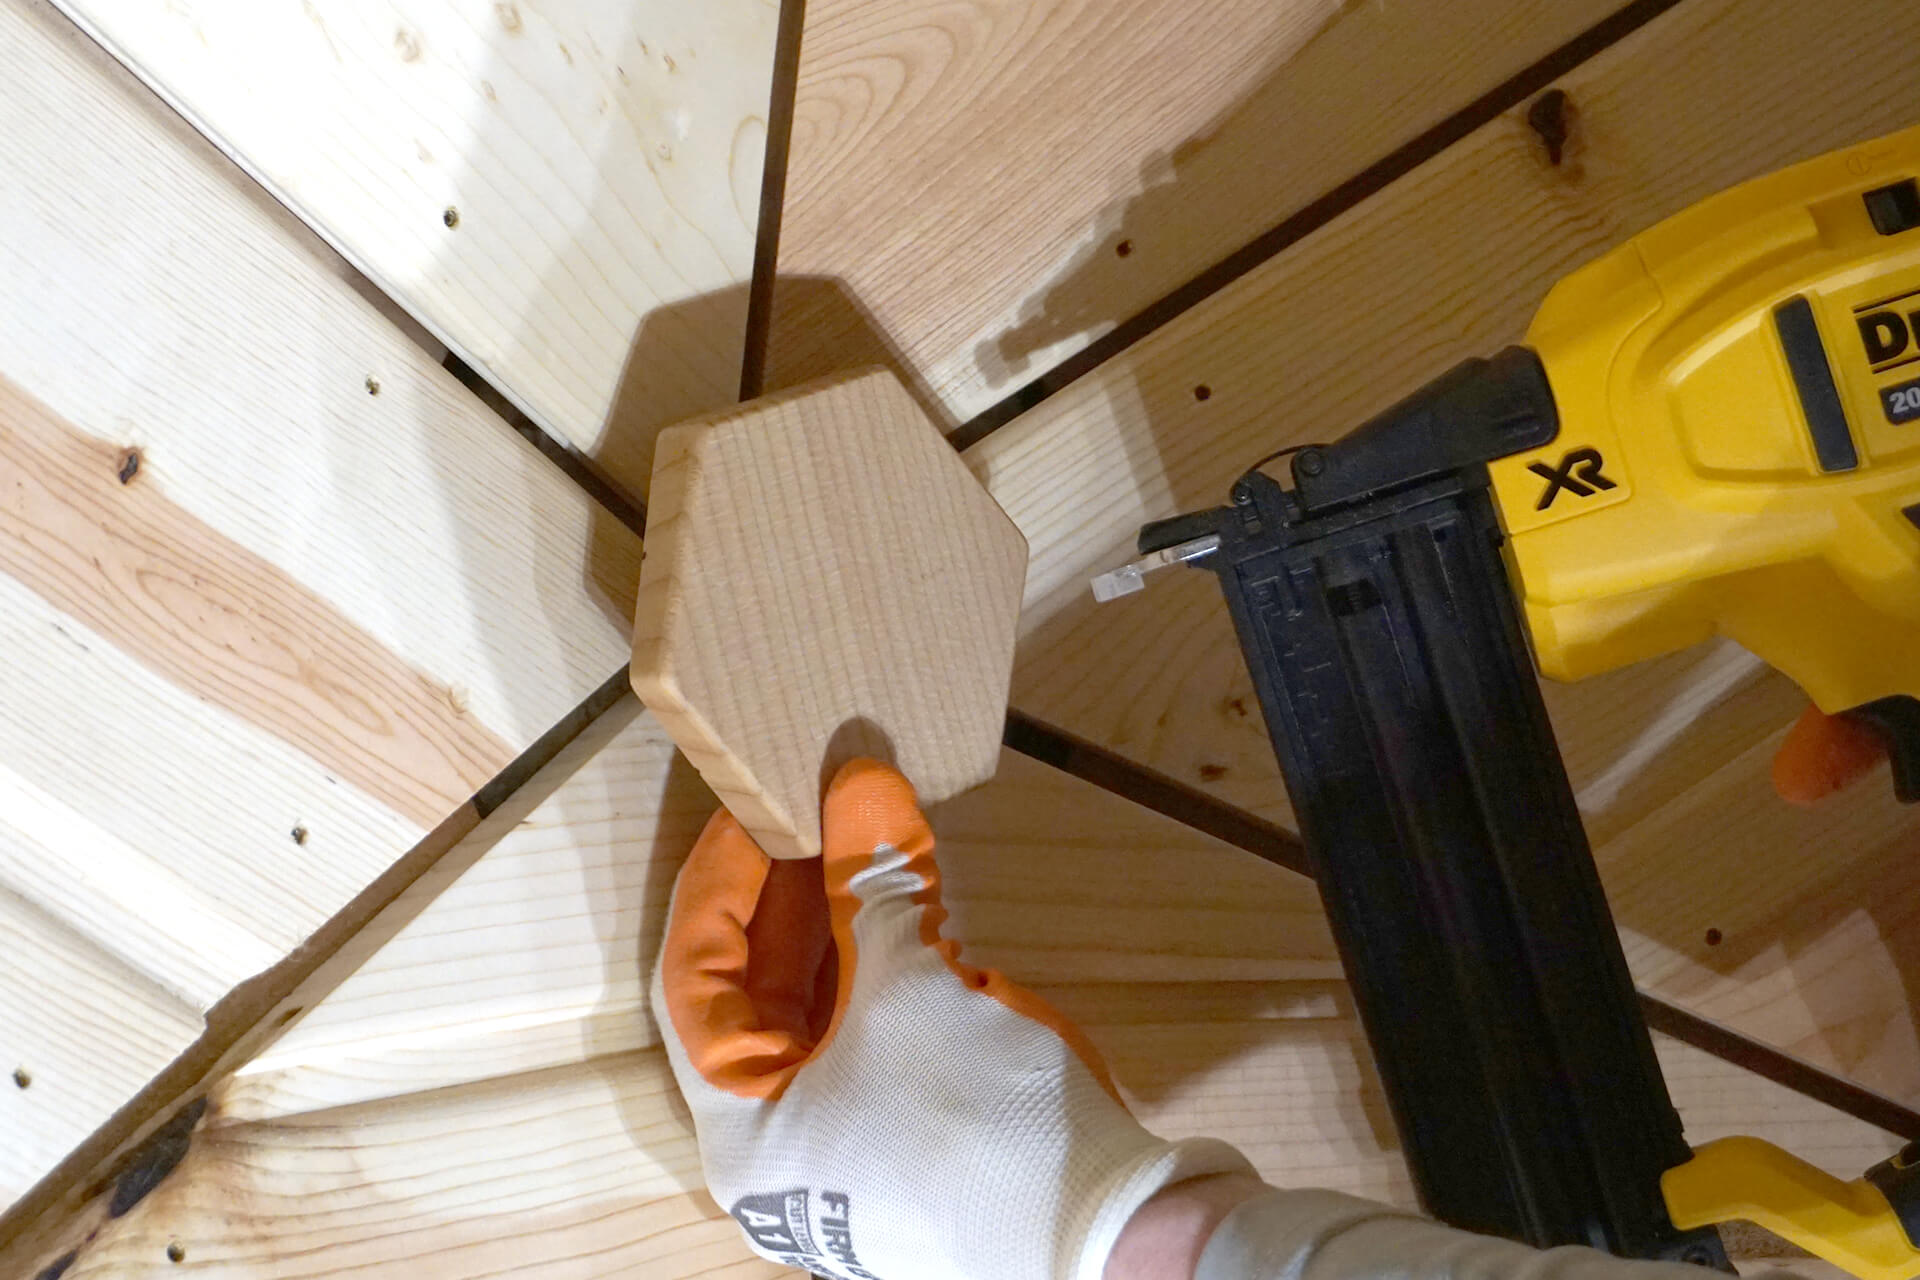
Align the center marks on each face with the wall panel gaps to ensure the puck is perfectly centered. Secure it with brad nails at each corner, as shown.
Continue installing the trim pucks. When properly centered, each should sit flush against the wood paneling without any rocking. Point the grain in the same direction for consistency.
Trim pucks near the base walls need their left and right corners slightly tapered to fit securely without rocking. This is due to the base walls being at a slightly different angle.
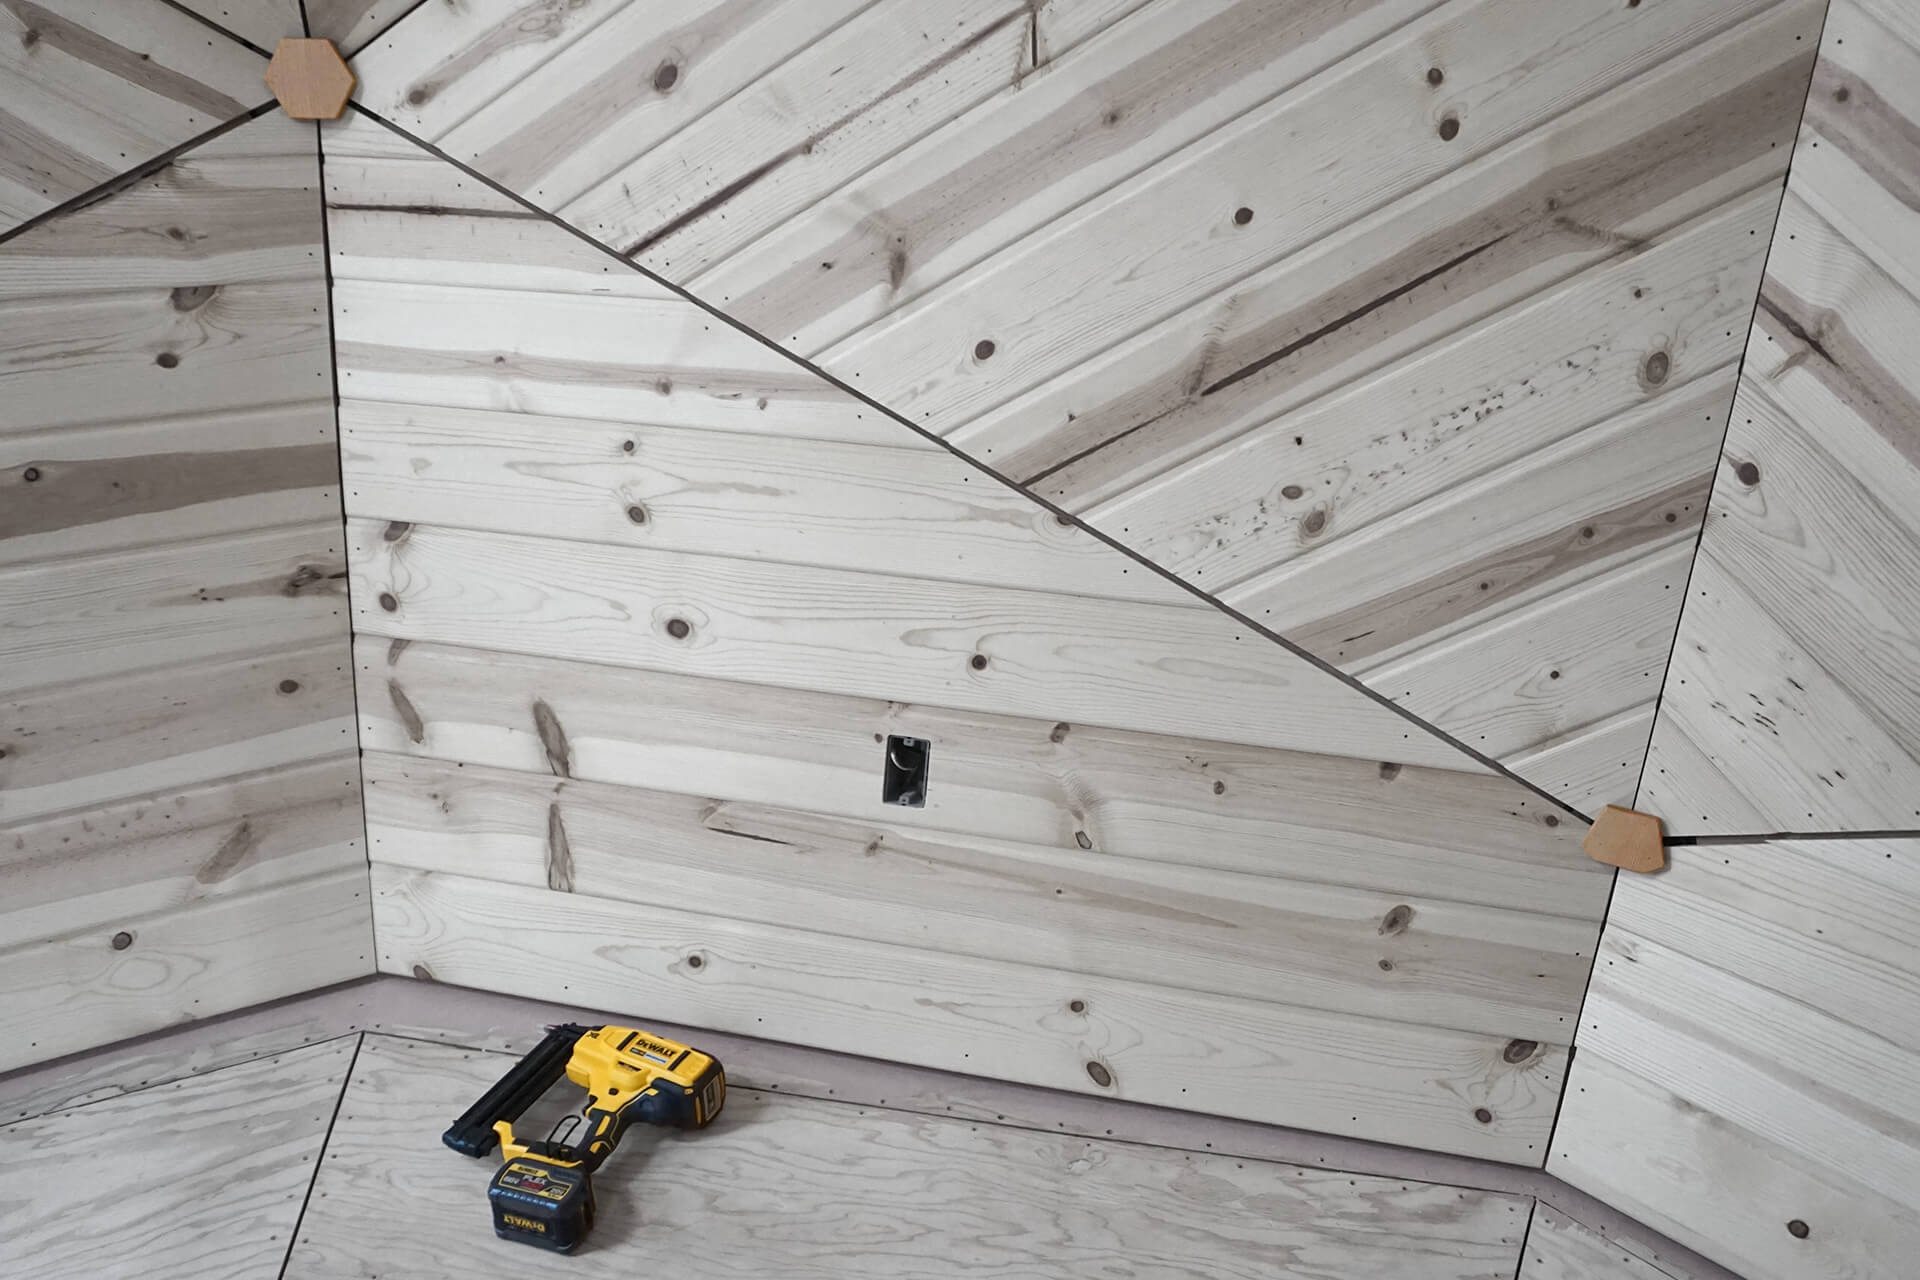
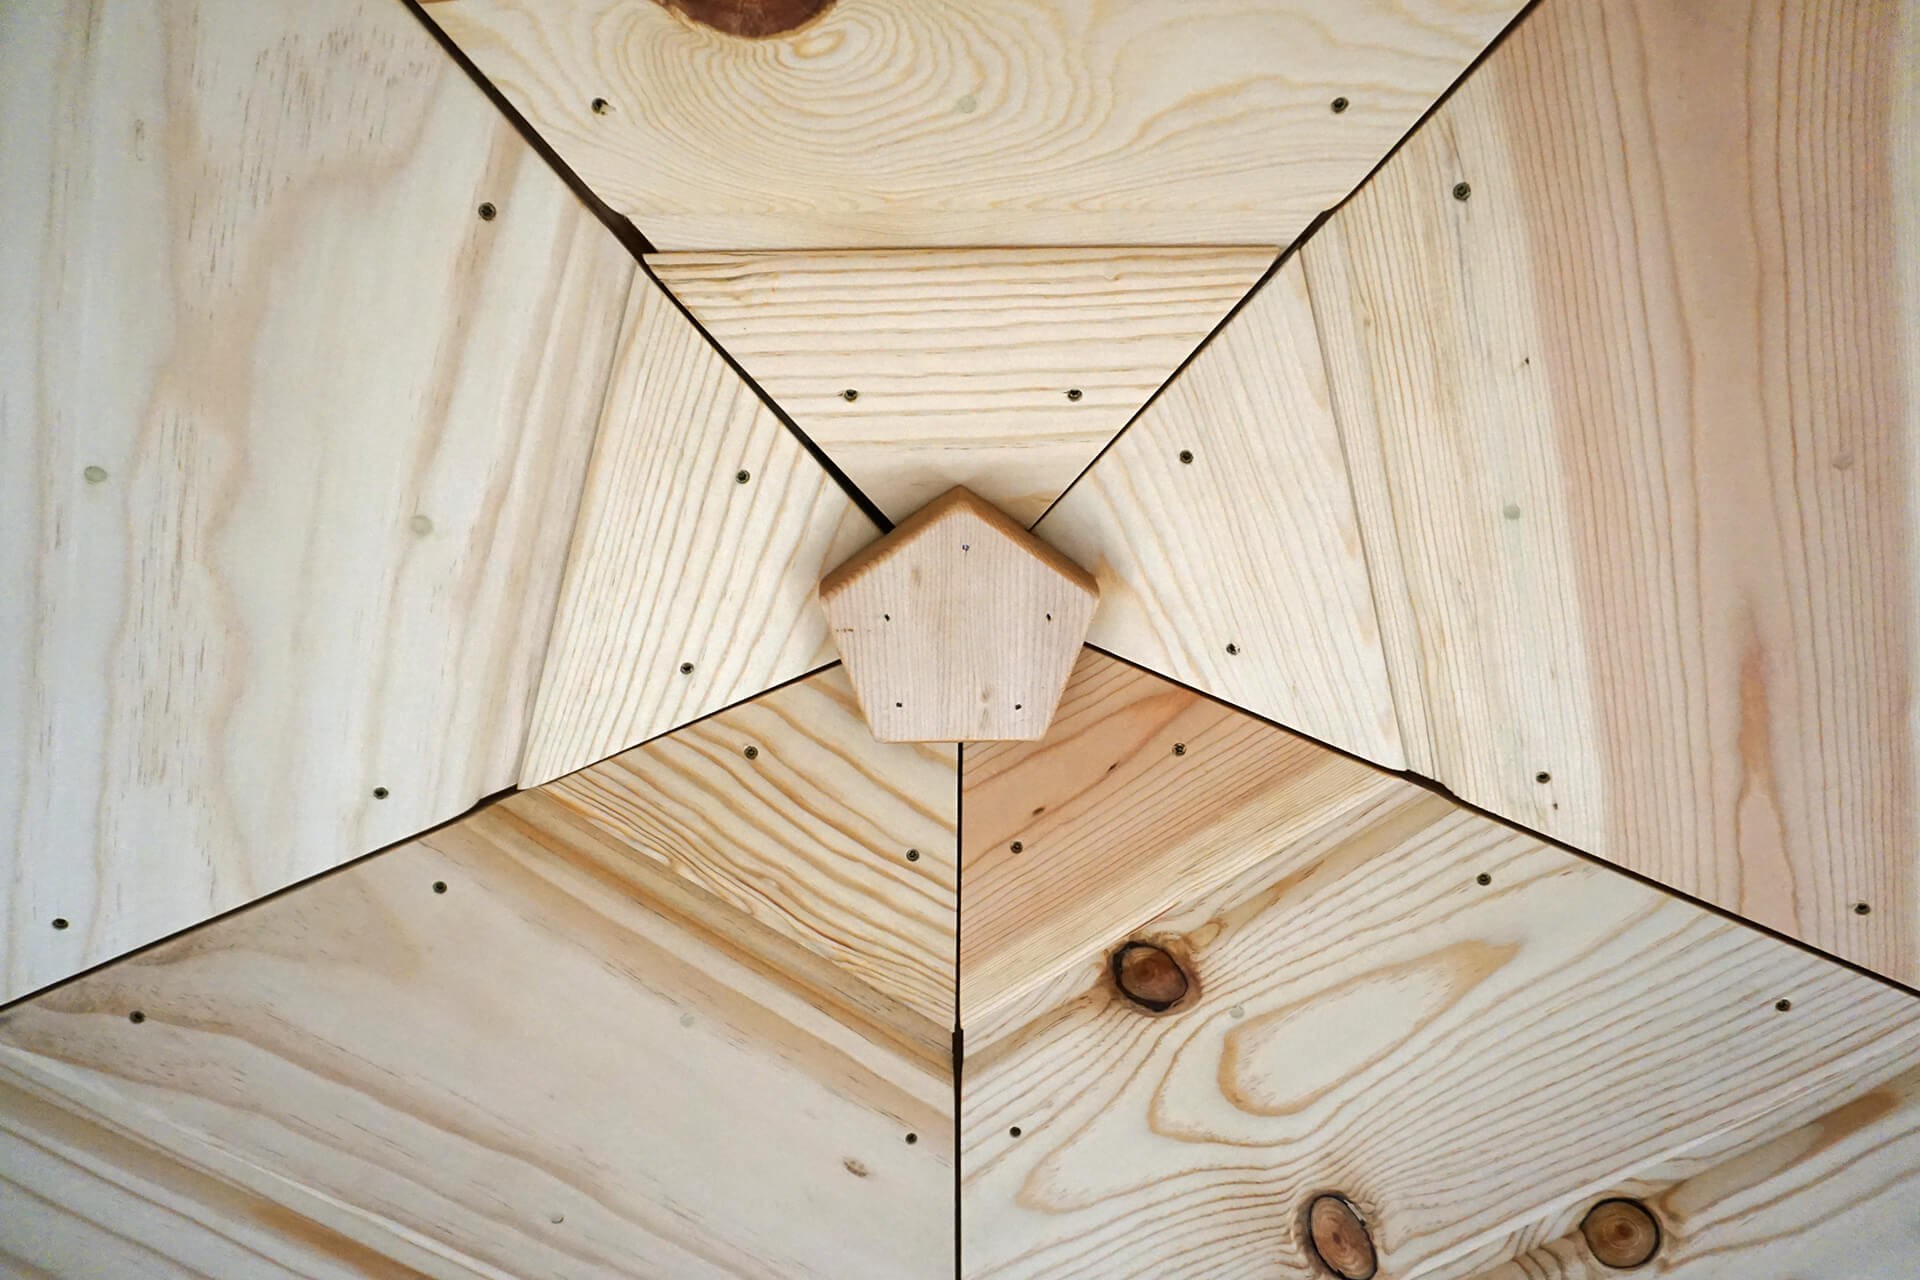
Detail shot showing trim pucks near the base walls. One is a custom 4-sided polygon.
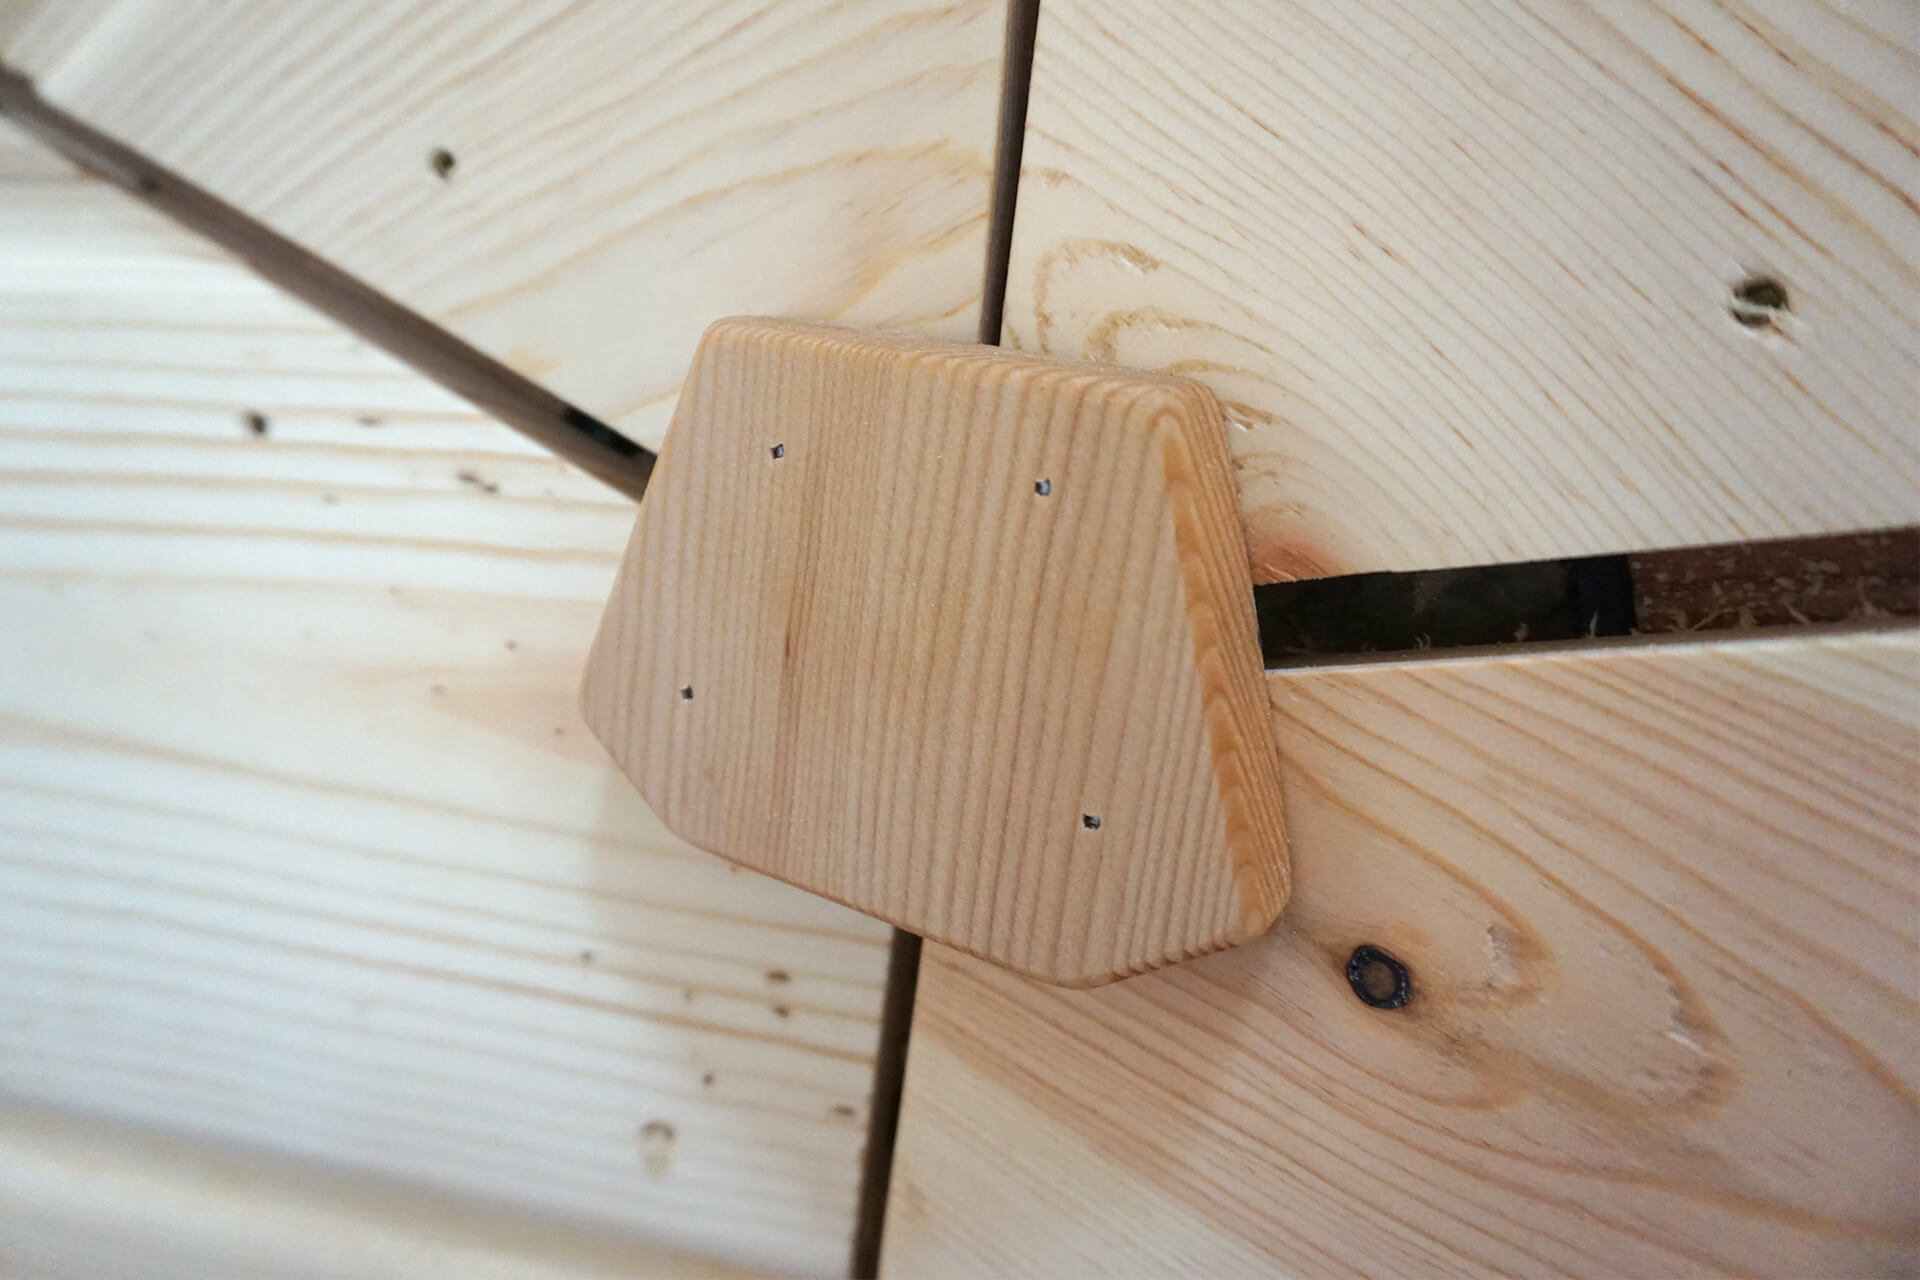
Detail shot showing the custom 4-sided polygon trim puck, with two decorative bevels, used near the base walls.

Detail shot showing the 6-sided polygon trim puck. This one sits near a base wall and therefore has slightly tapered corners.
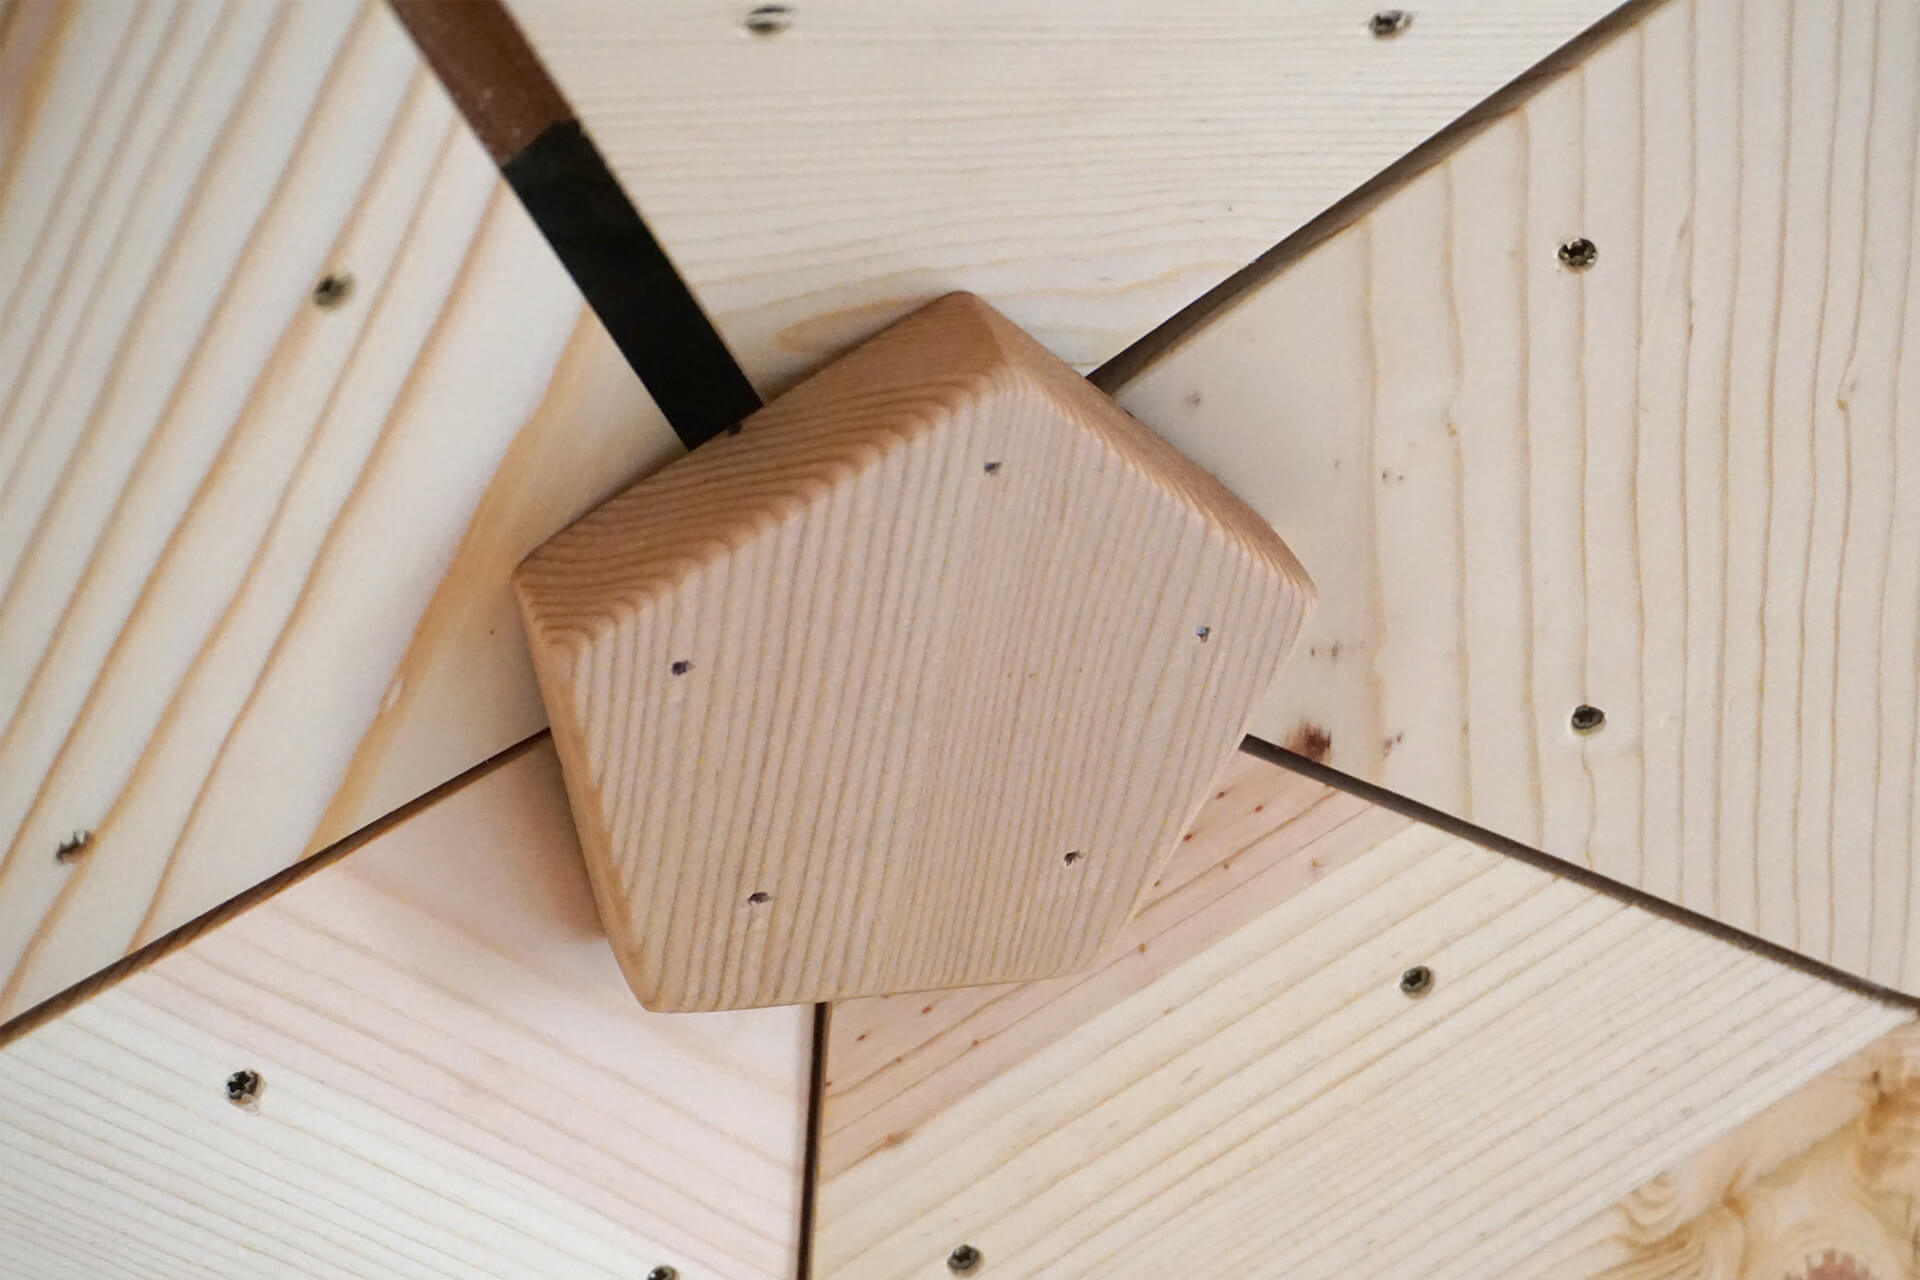
Detail shot showing the 5-sided polygon trim puck. Finish installing all of the trim pucks.
Next Step