
Wood Paneling – Windows

Use canned foam to fill voids around the window frame, which helps stop heat transfer and moisture buildup. Loctite Tite Foam shown here.
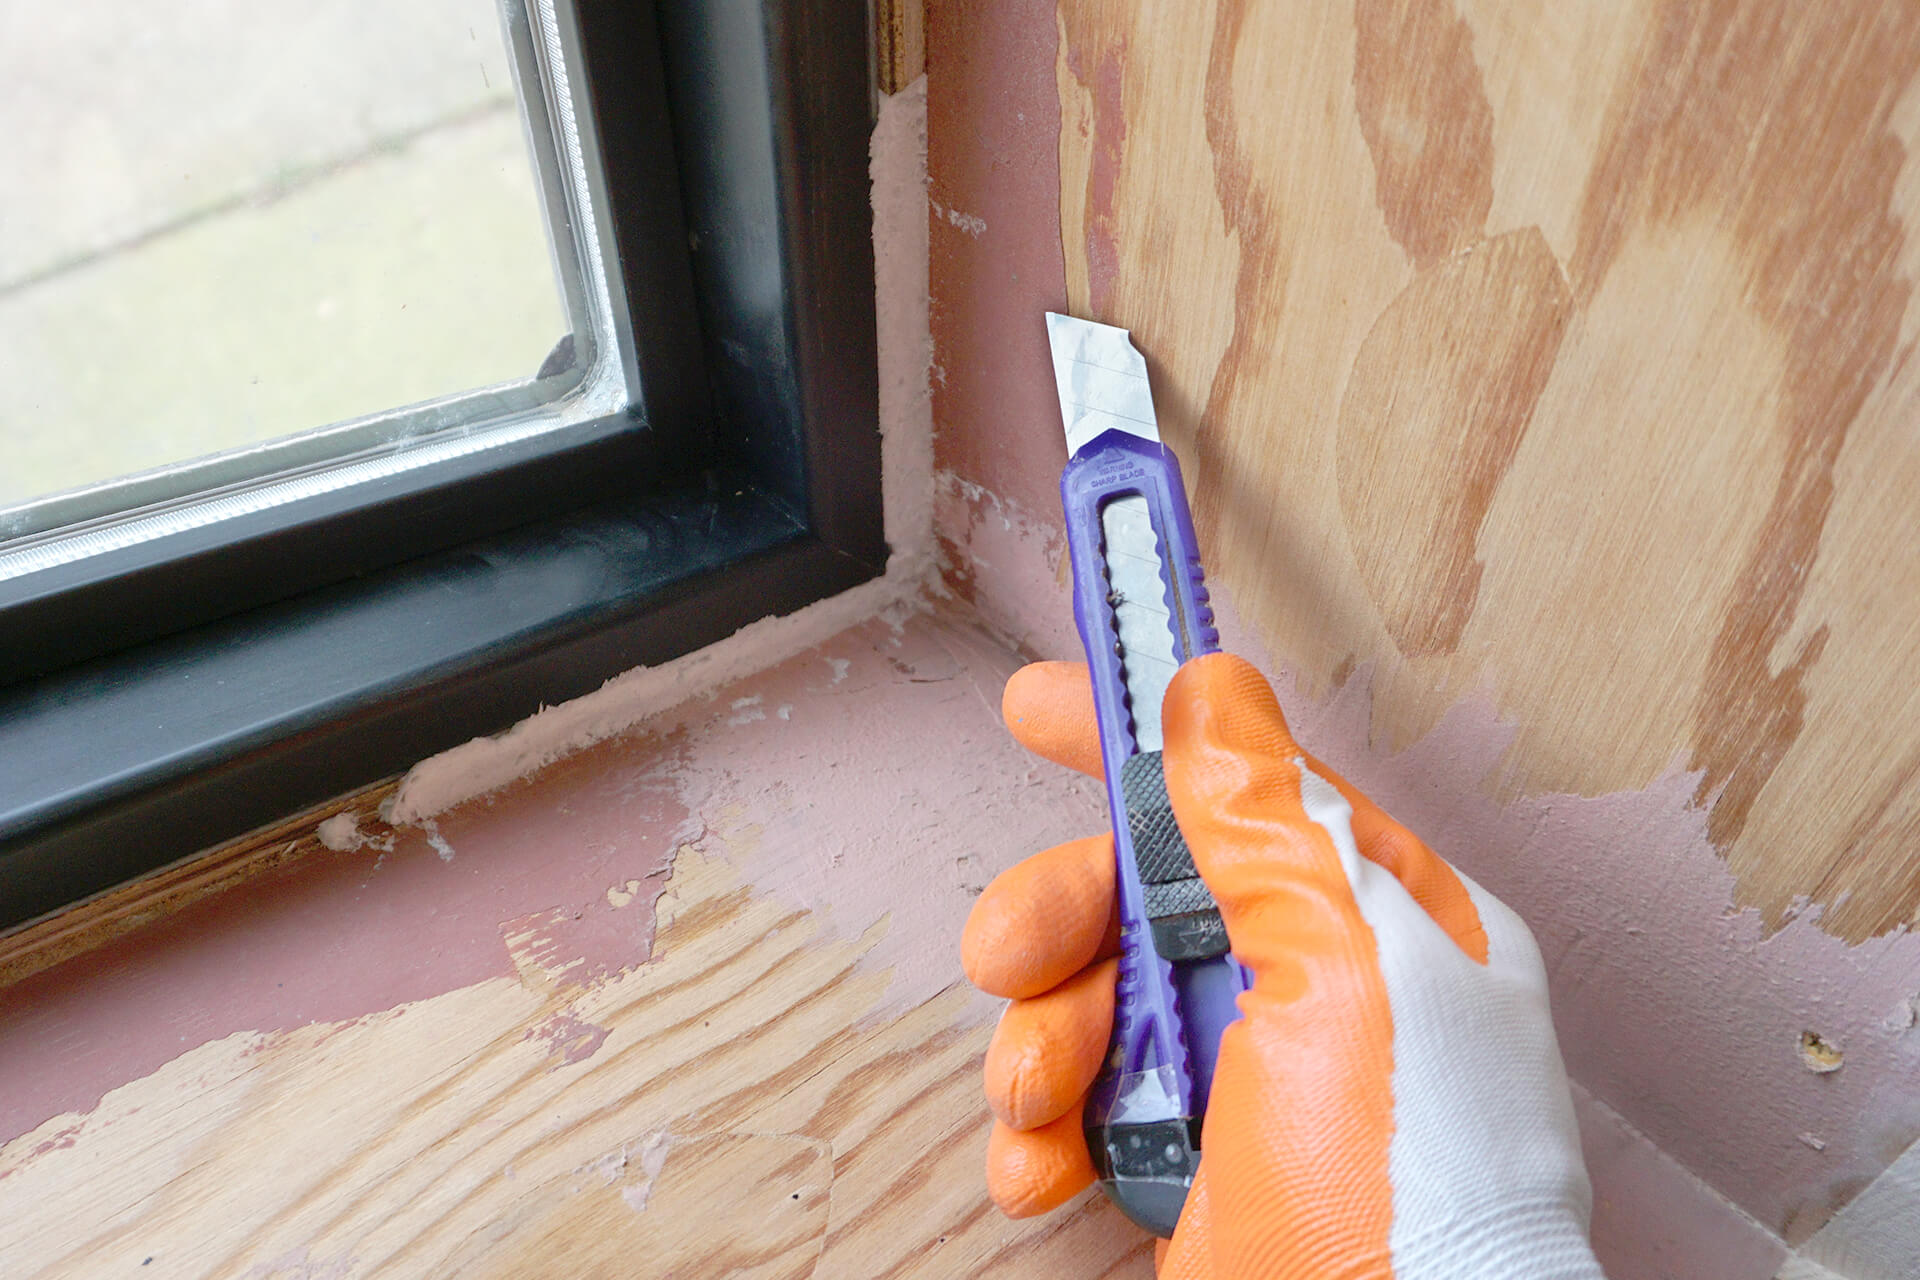
Cut the foam so that it is flush with the window frame. A snap-blade utility knife is shown here.
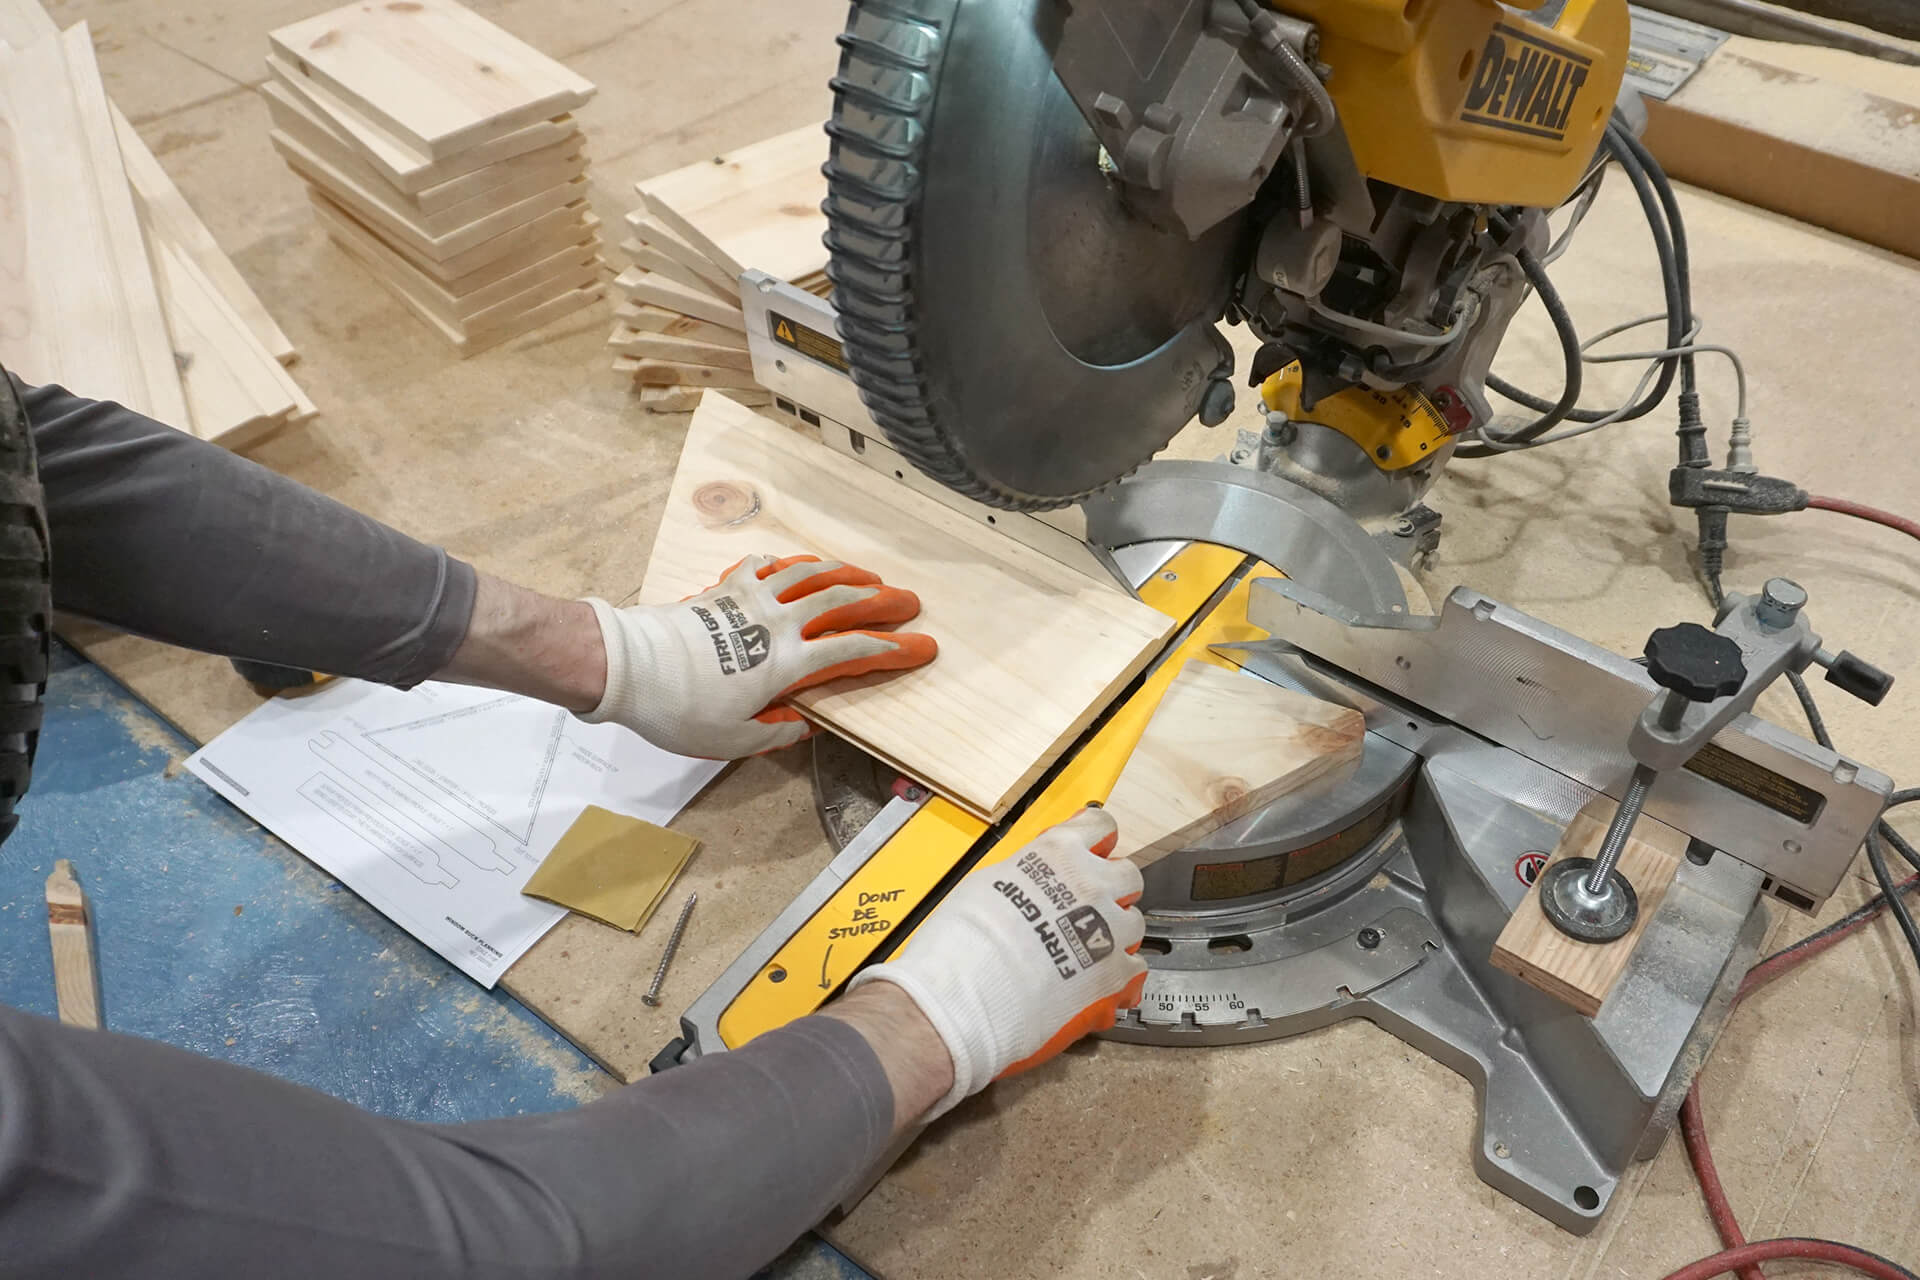
Cut the window box planks from off-cuts to reduce waste. Set up a stop block for repeated cuts.
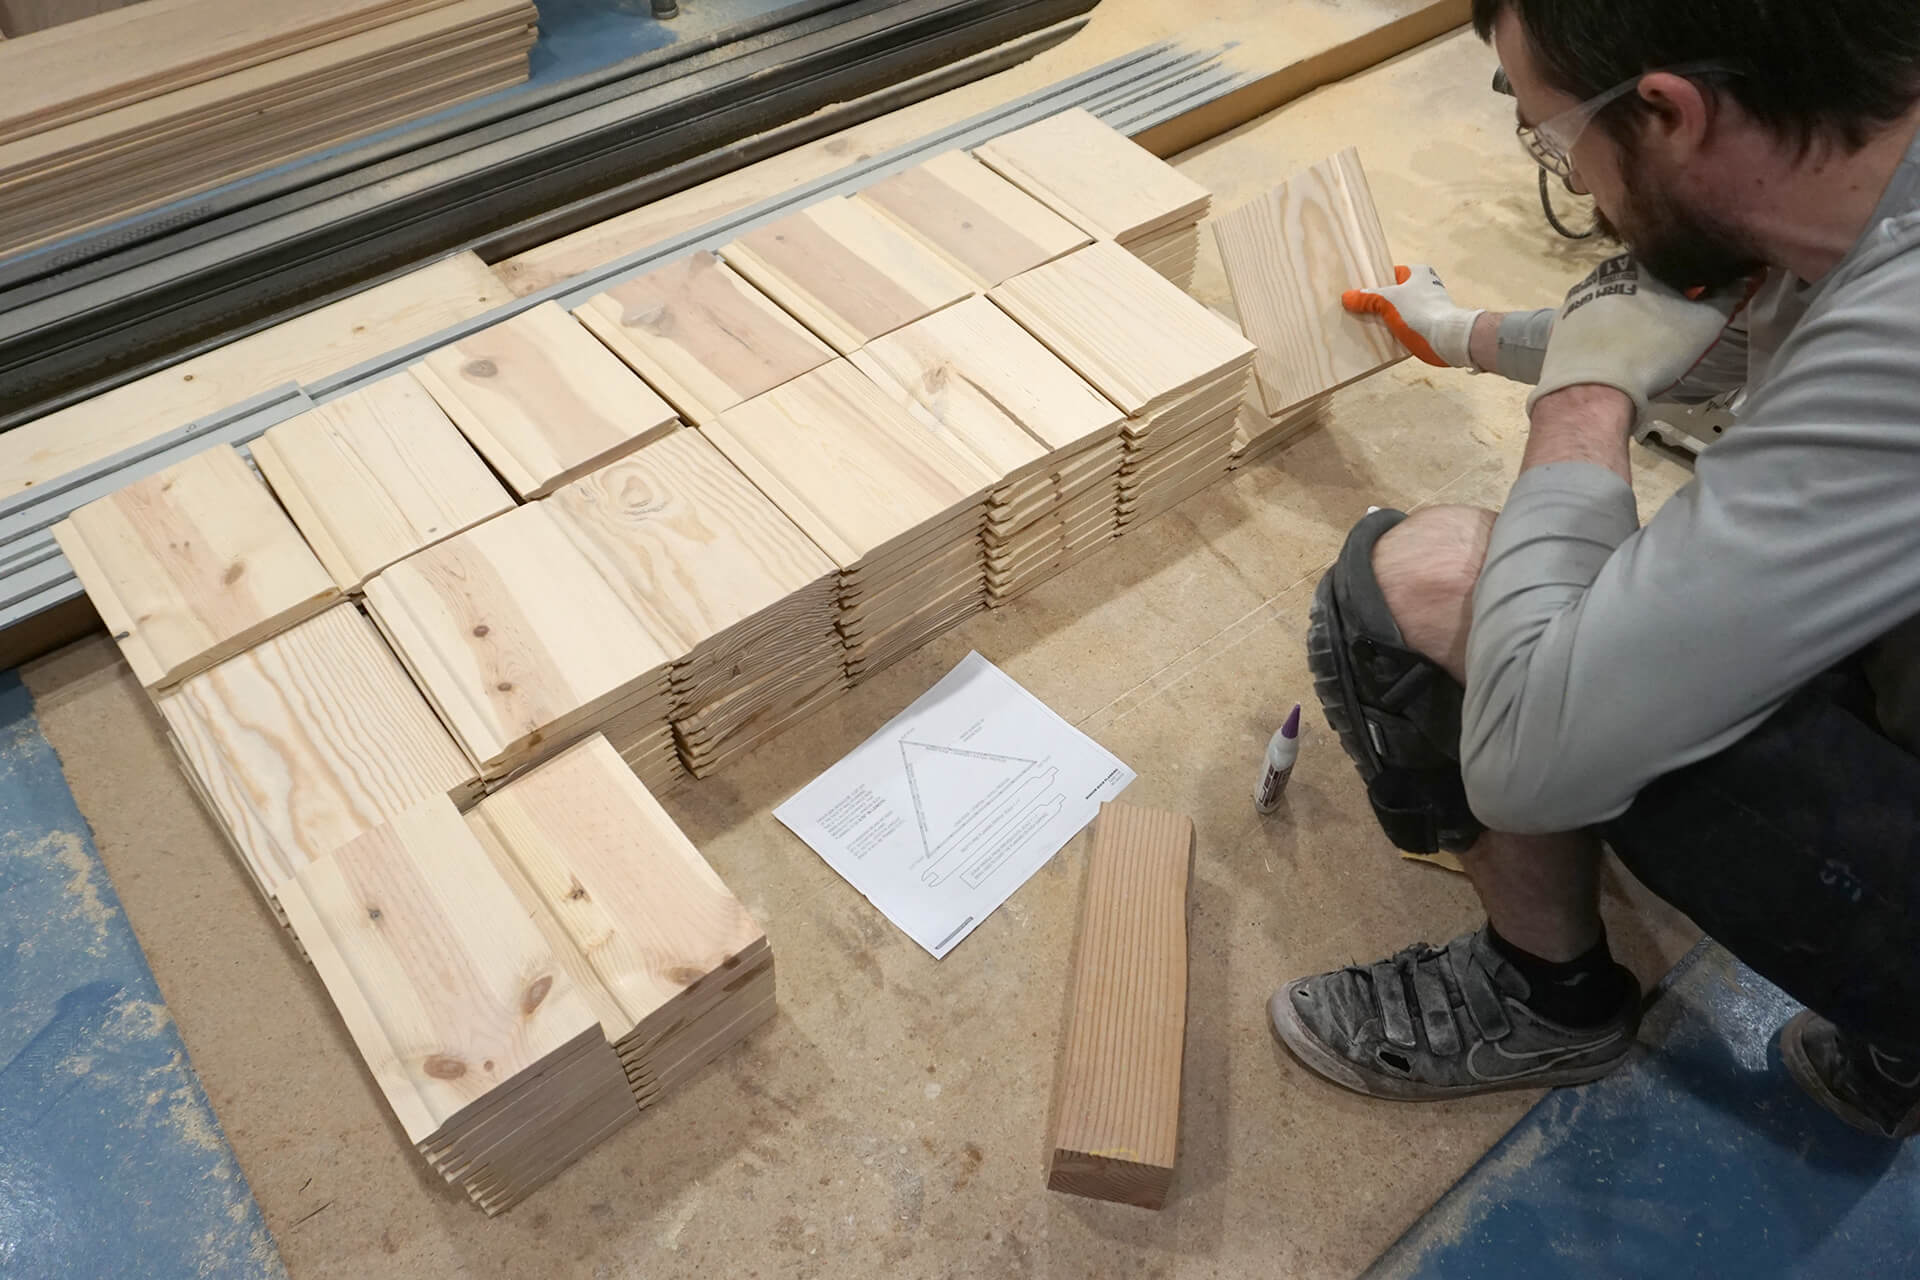
Window box planks completed and stacked.
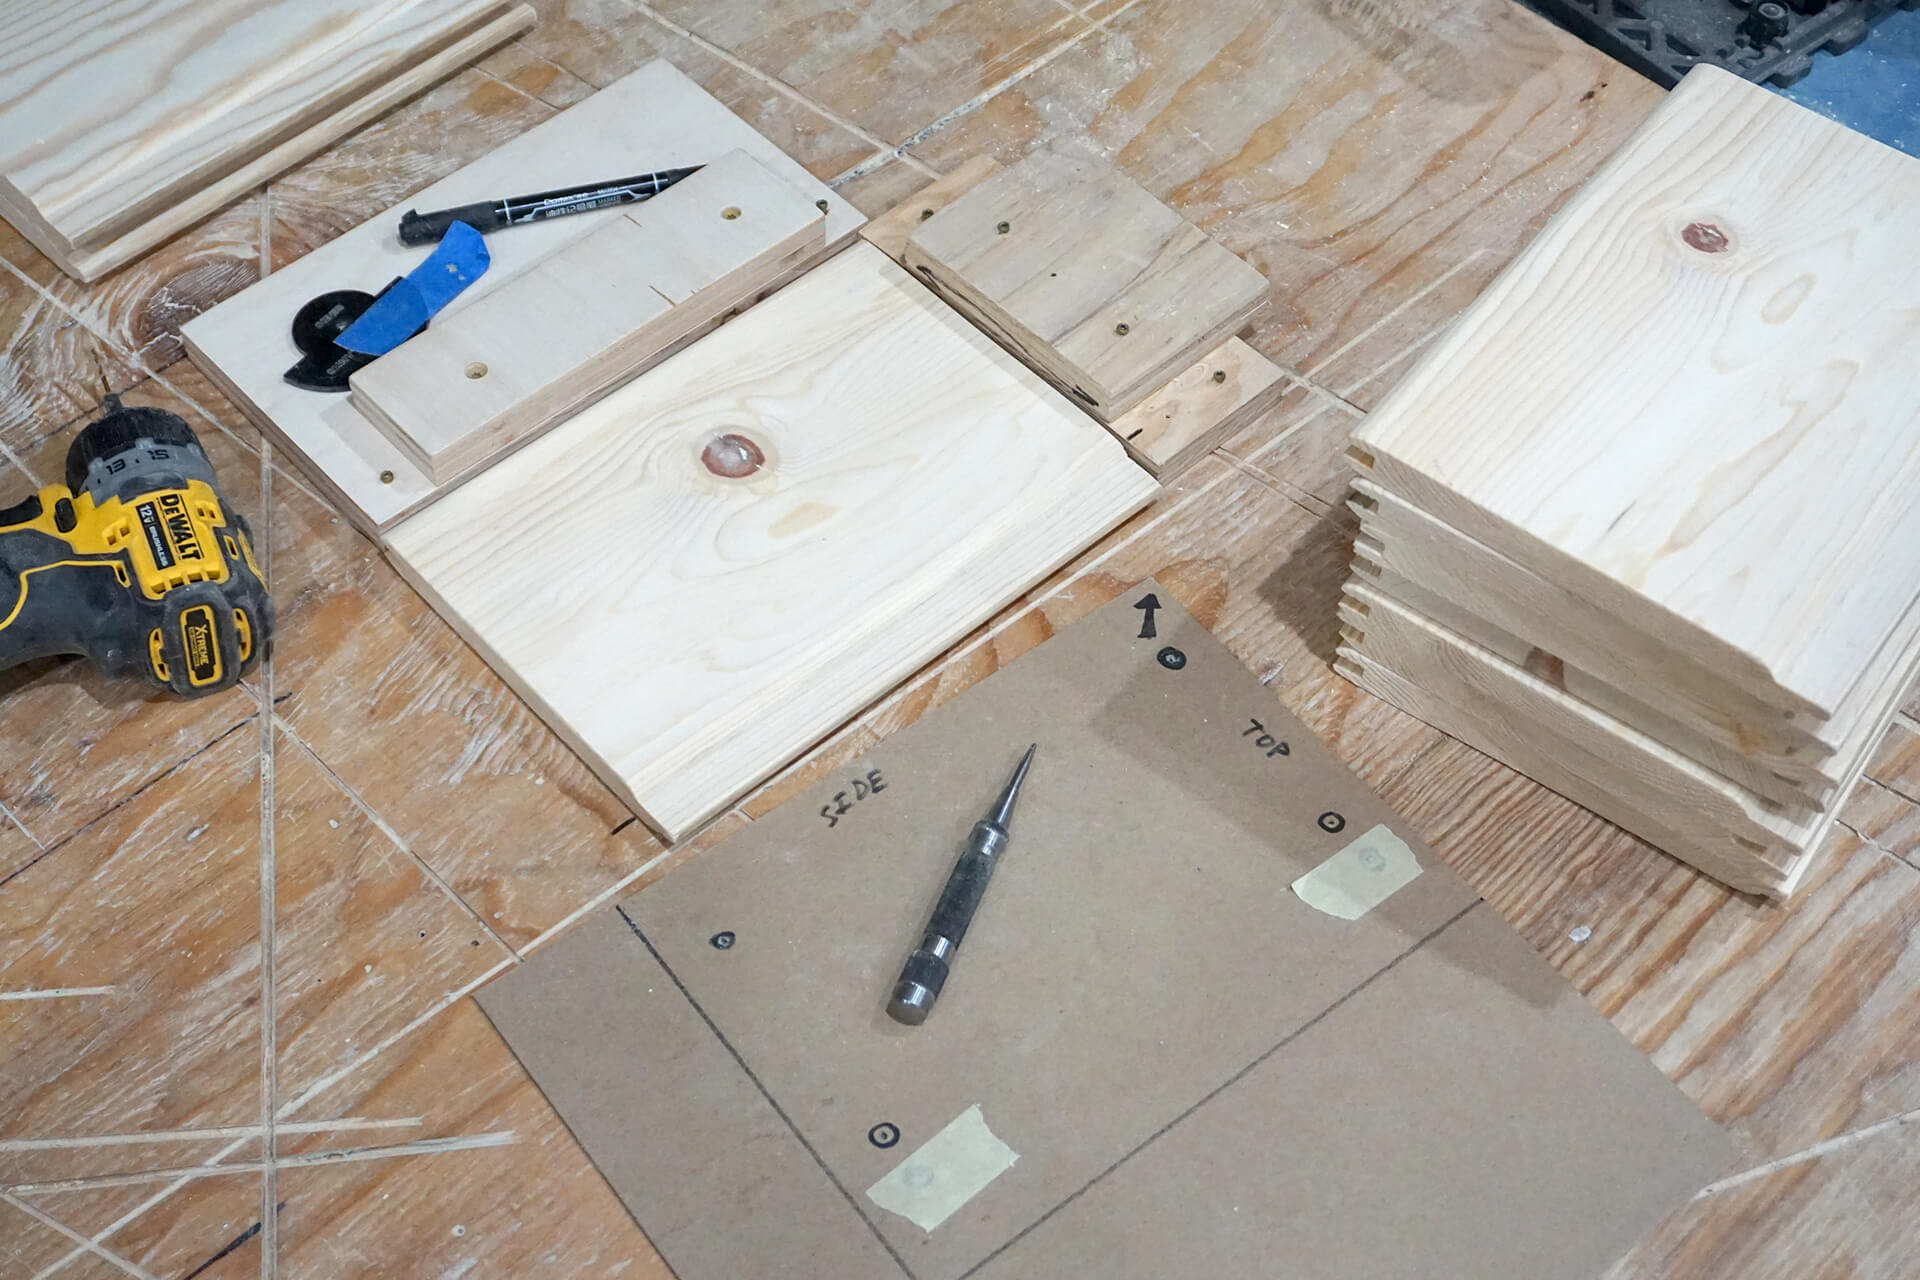
Set up a jig and center-punch every plank. Most planks will get four punches along the perimeter, while the smaller starter planks will get just two.
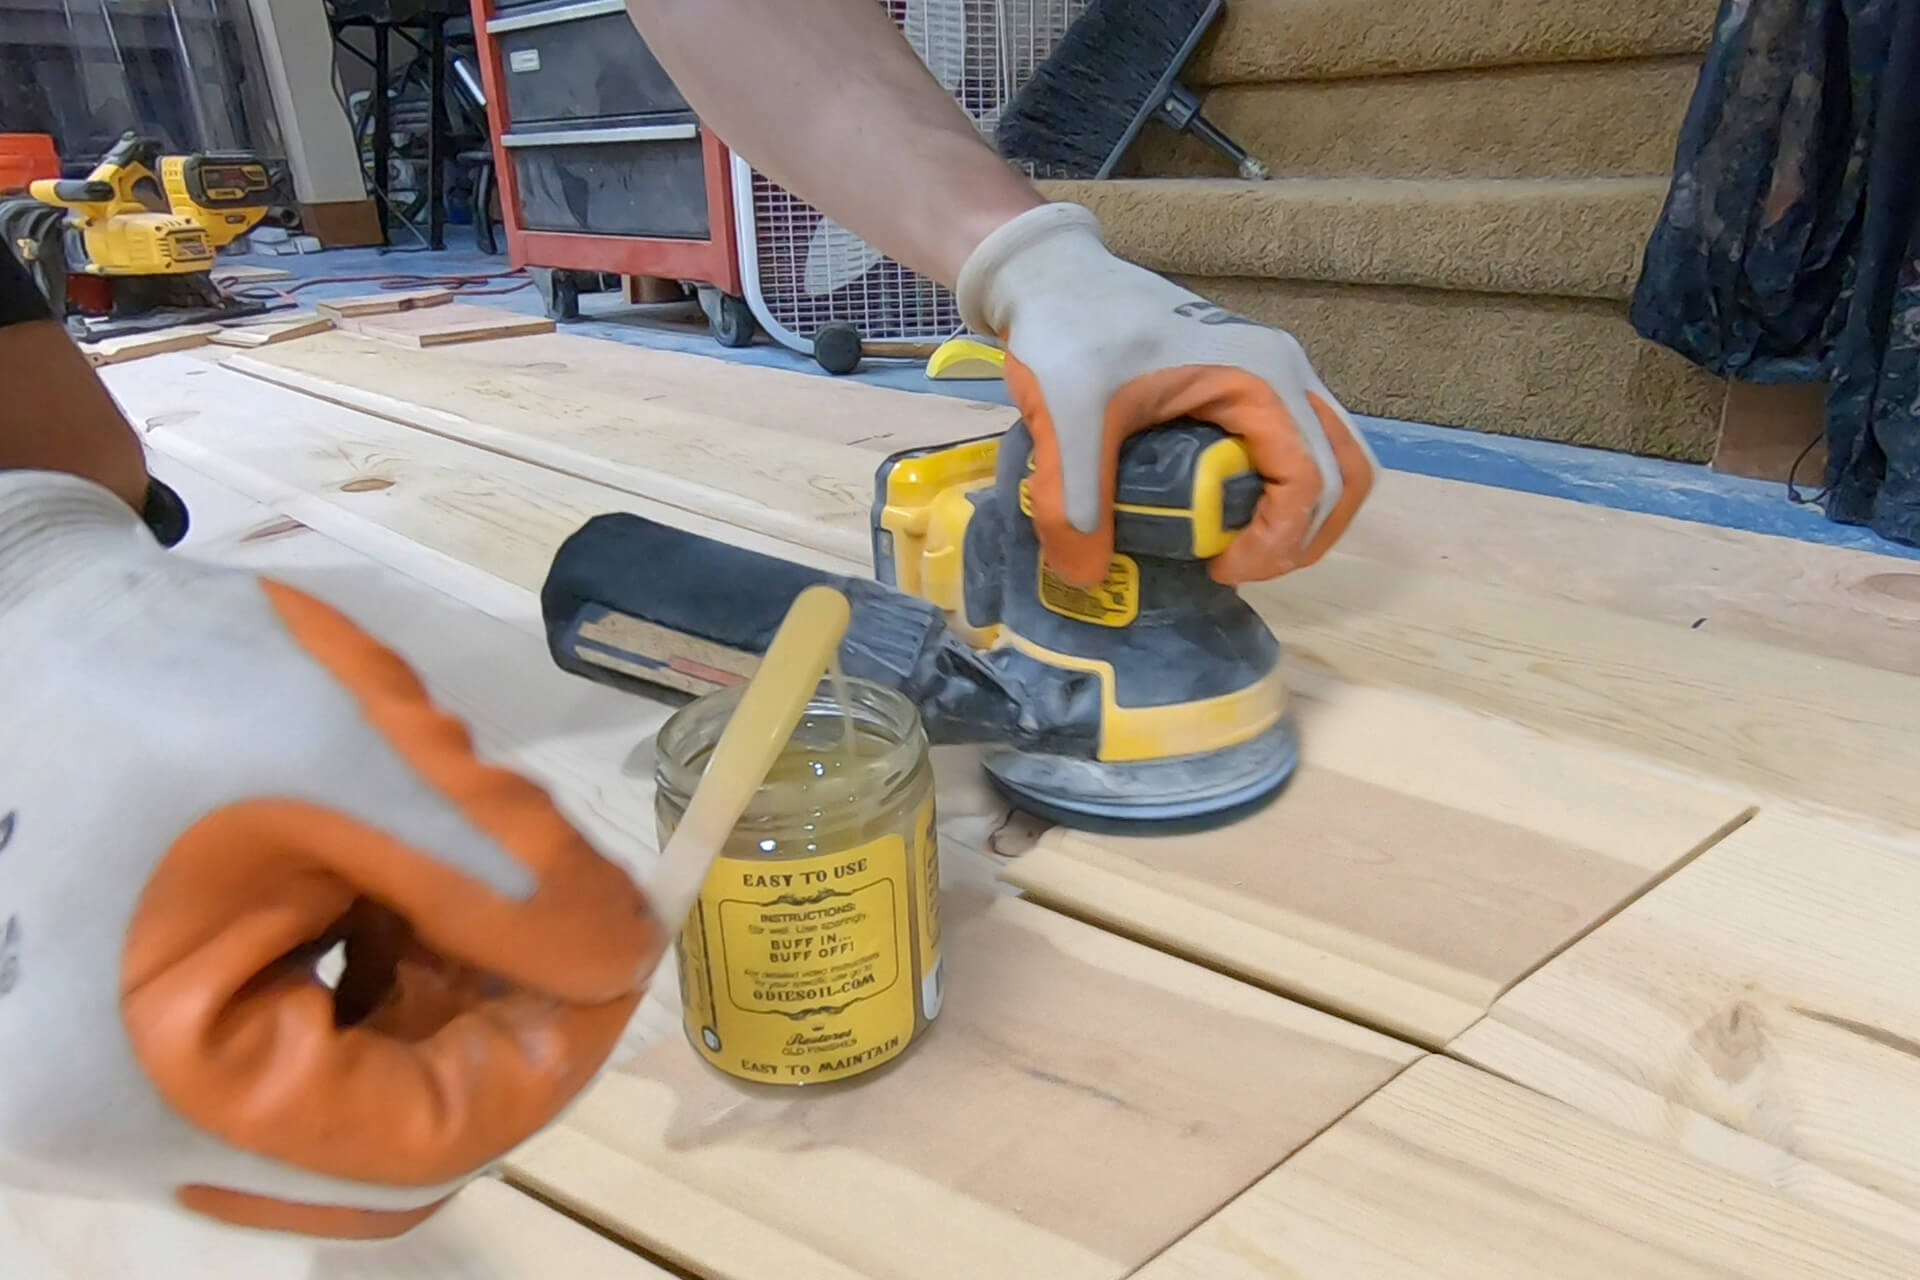
Apply the same wood finish to the visible surfaces. Odie’s Oil is shown here.
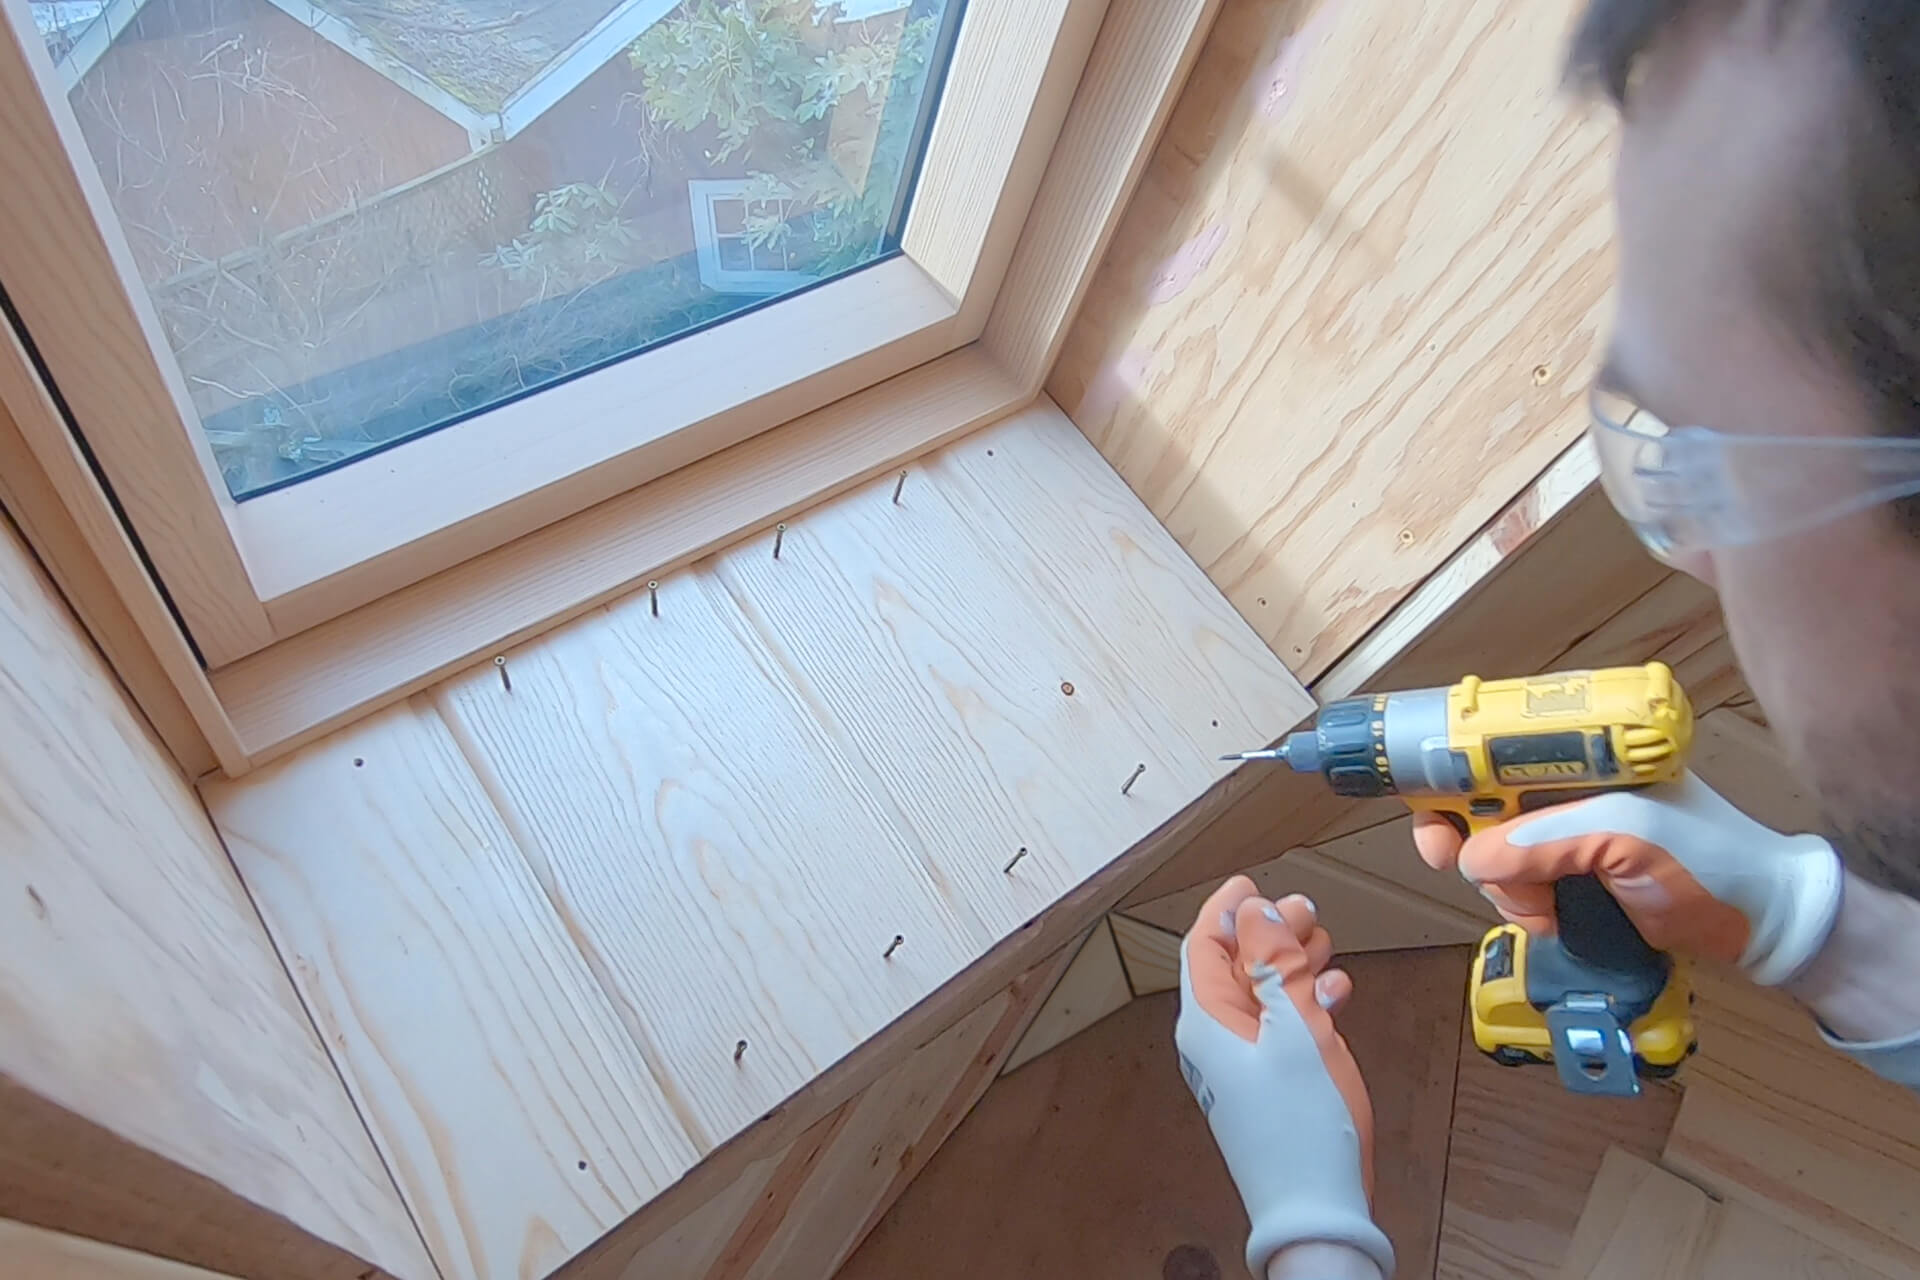
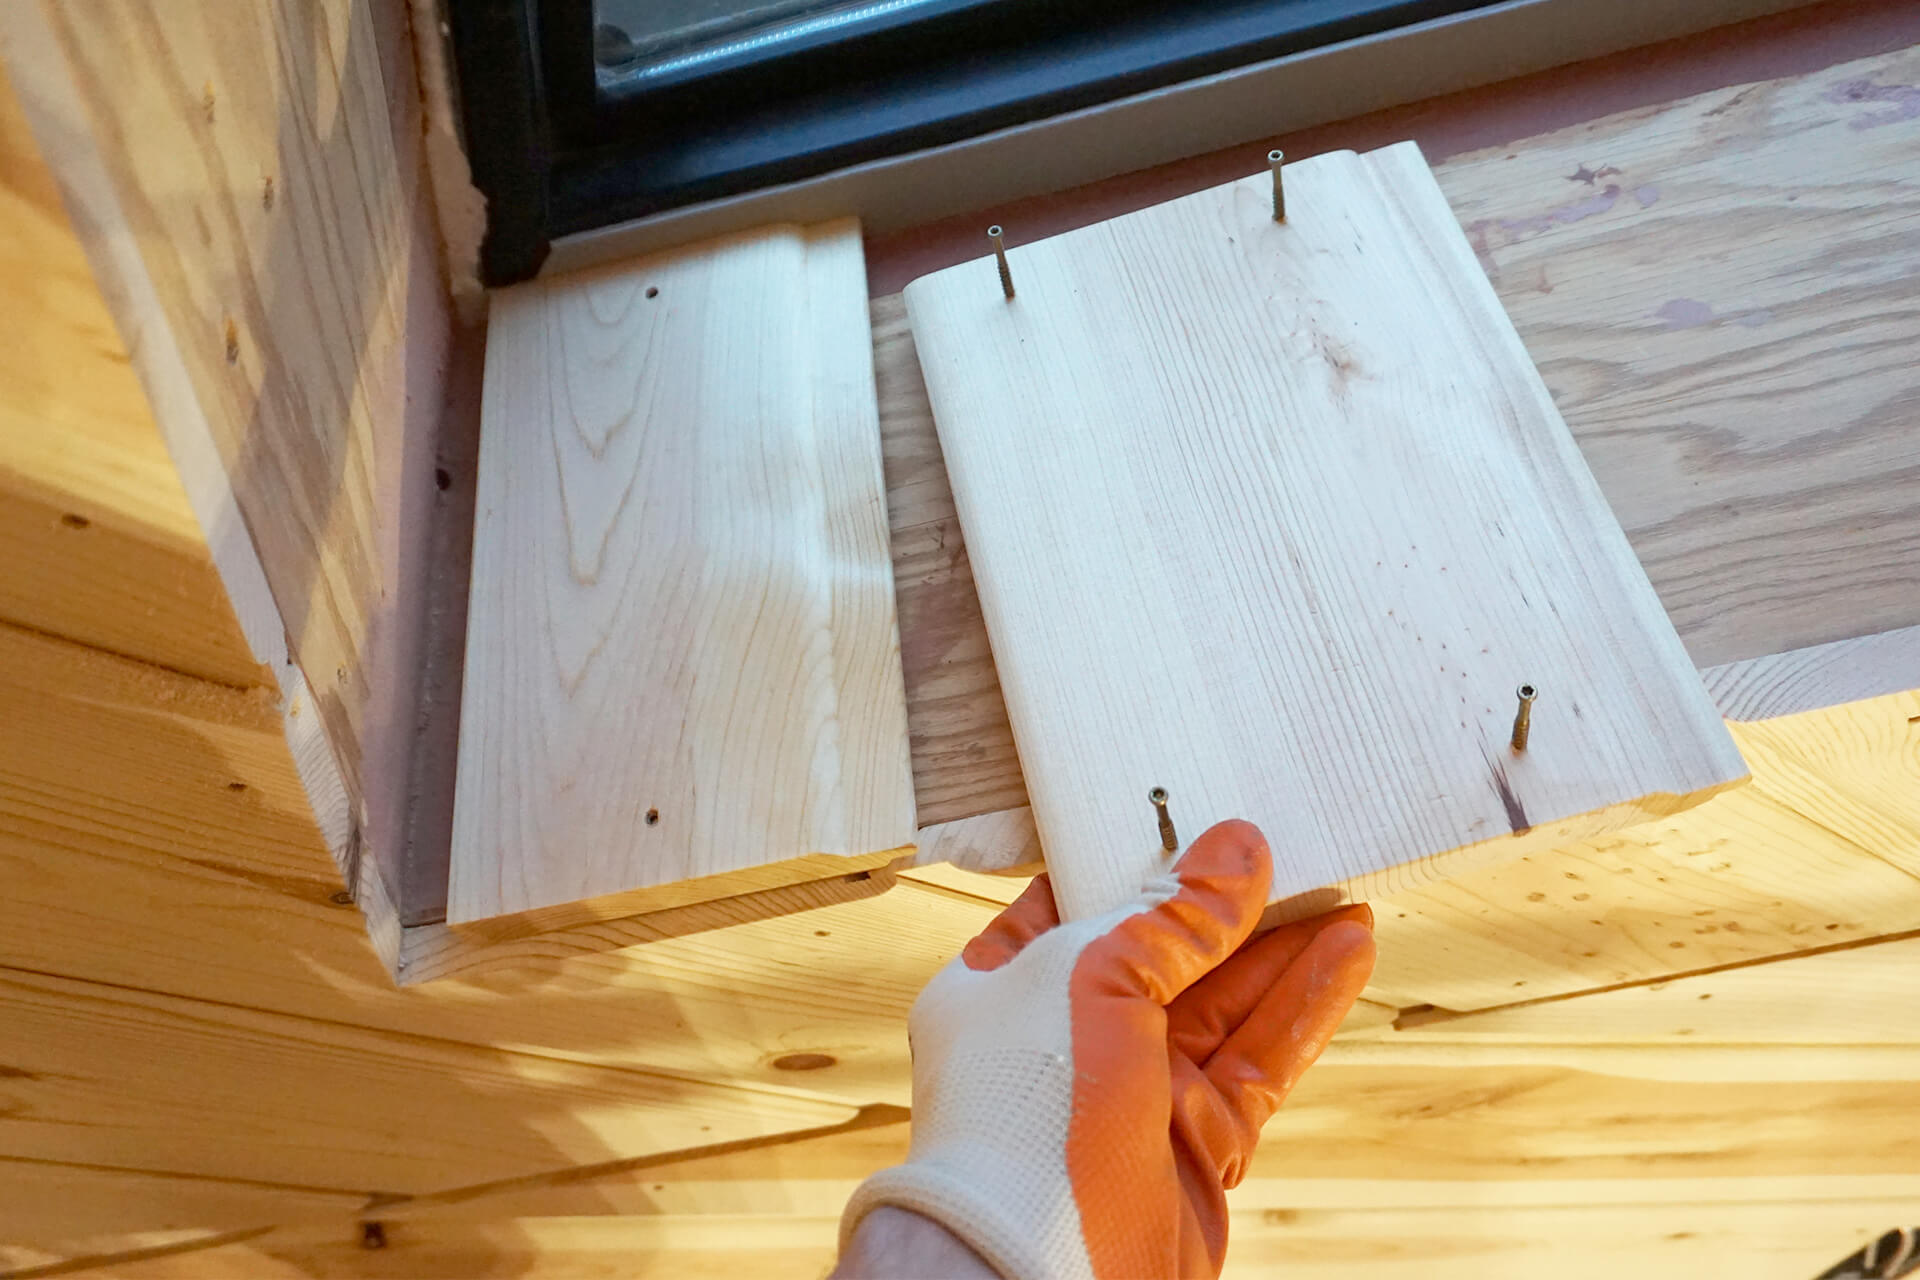
Begin by paneling the base of the egress window box.
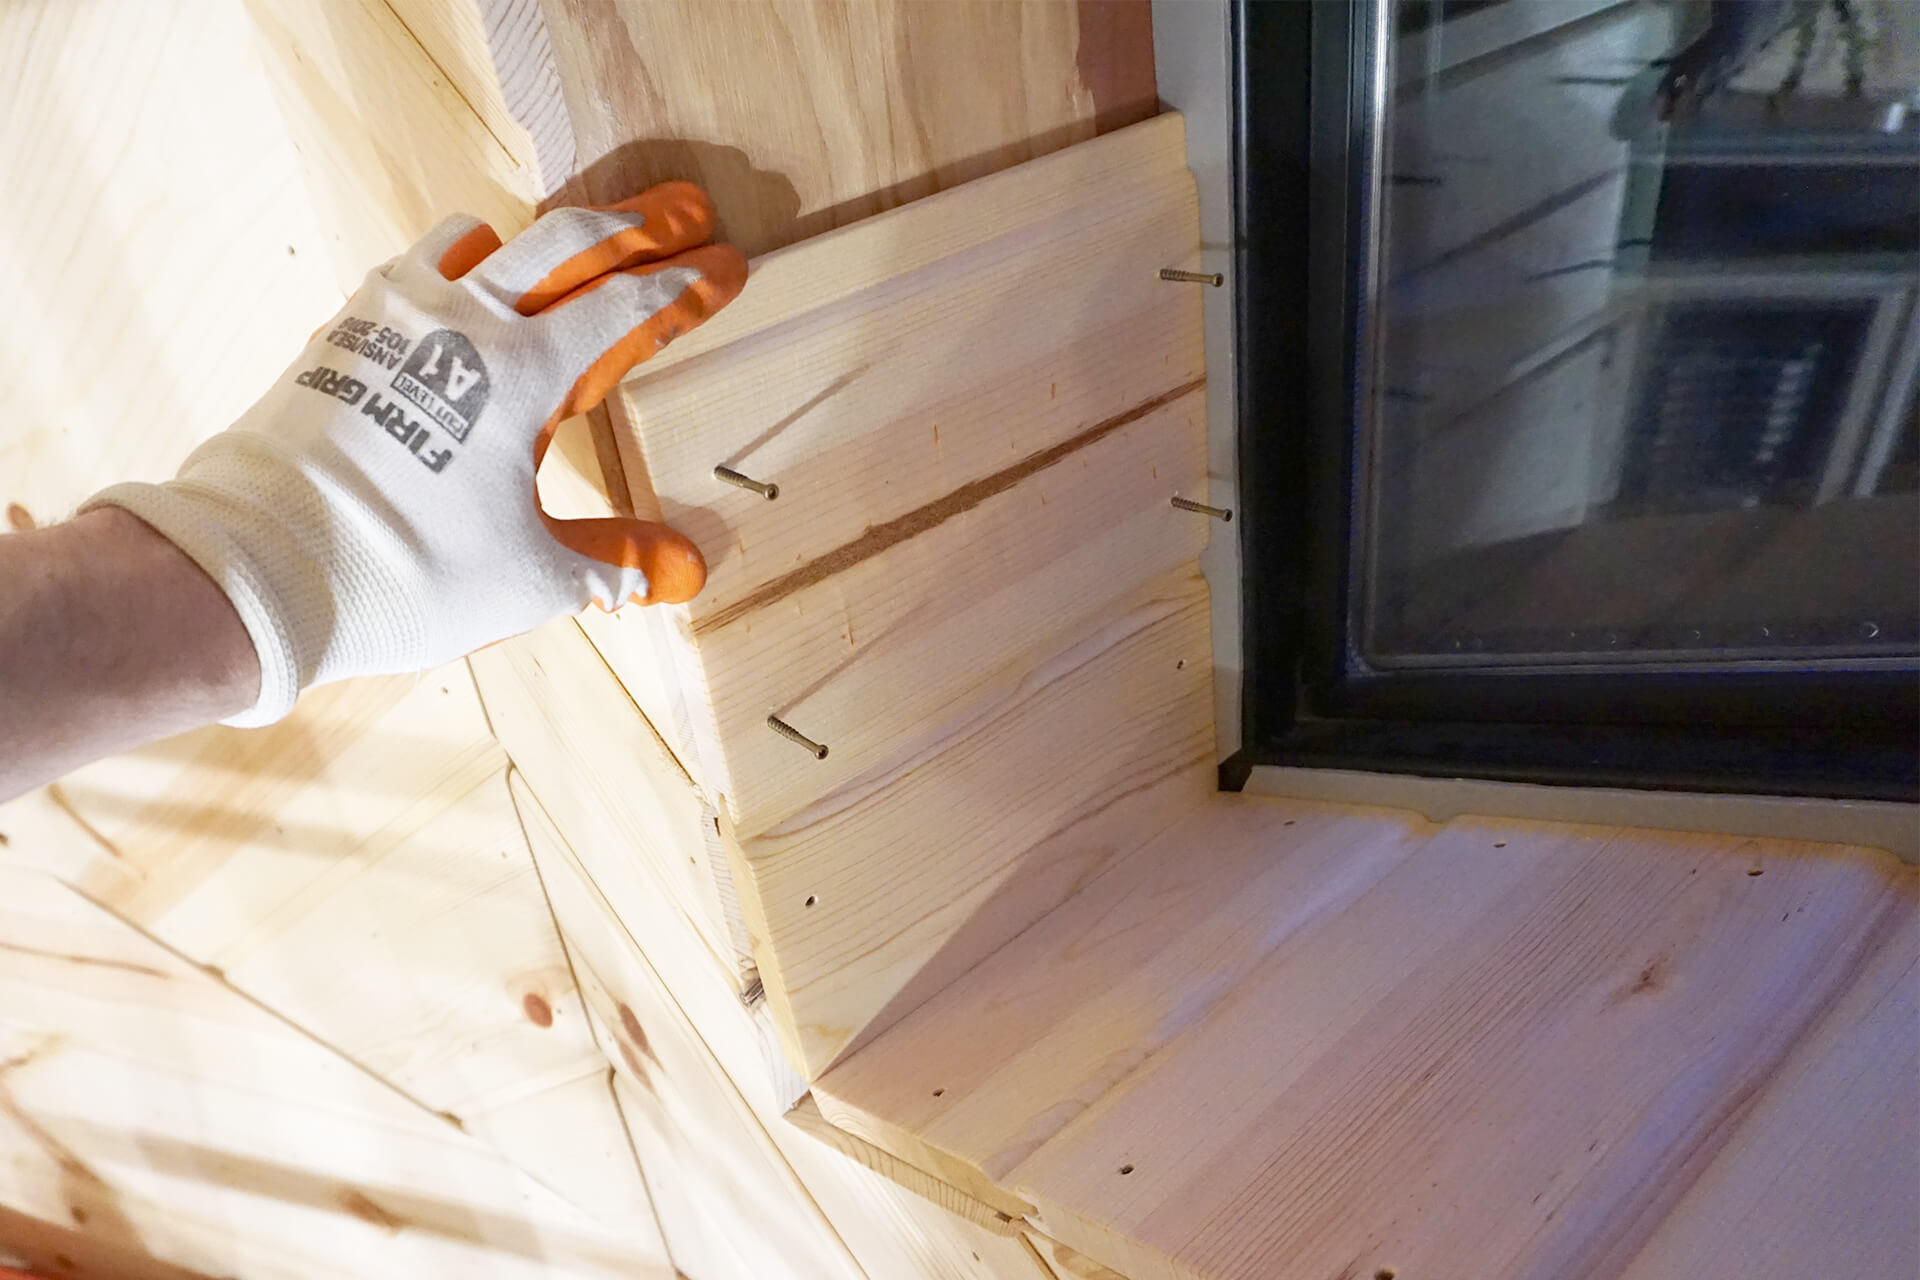
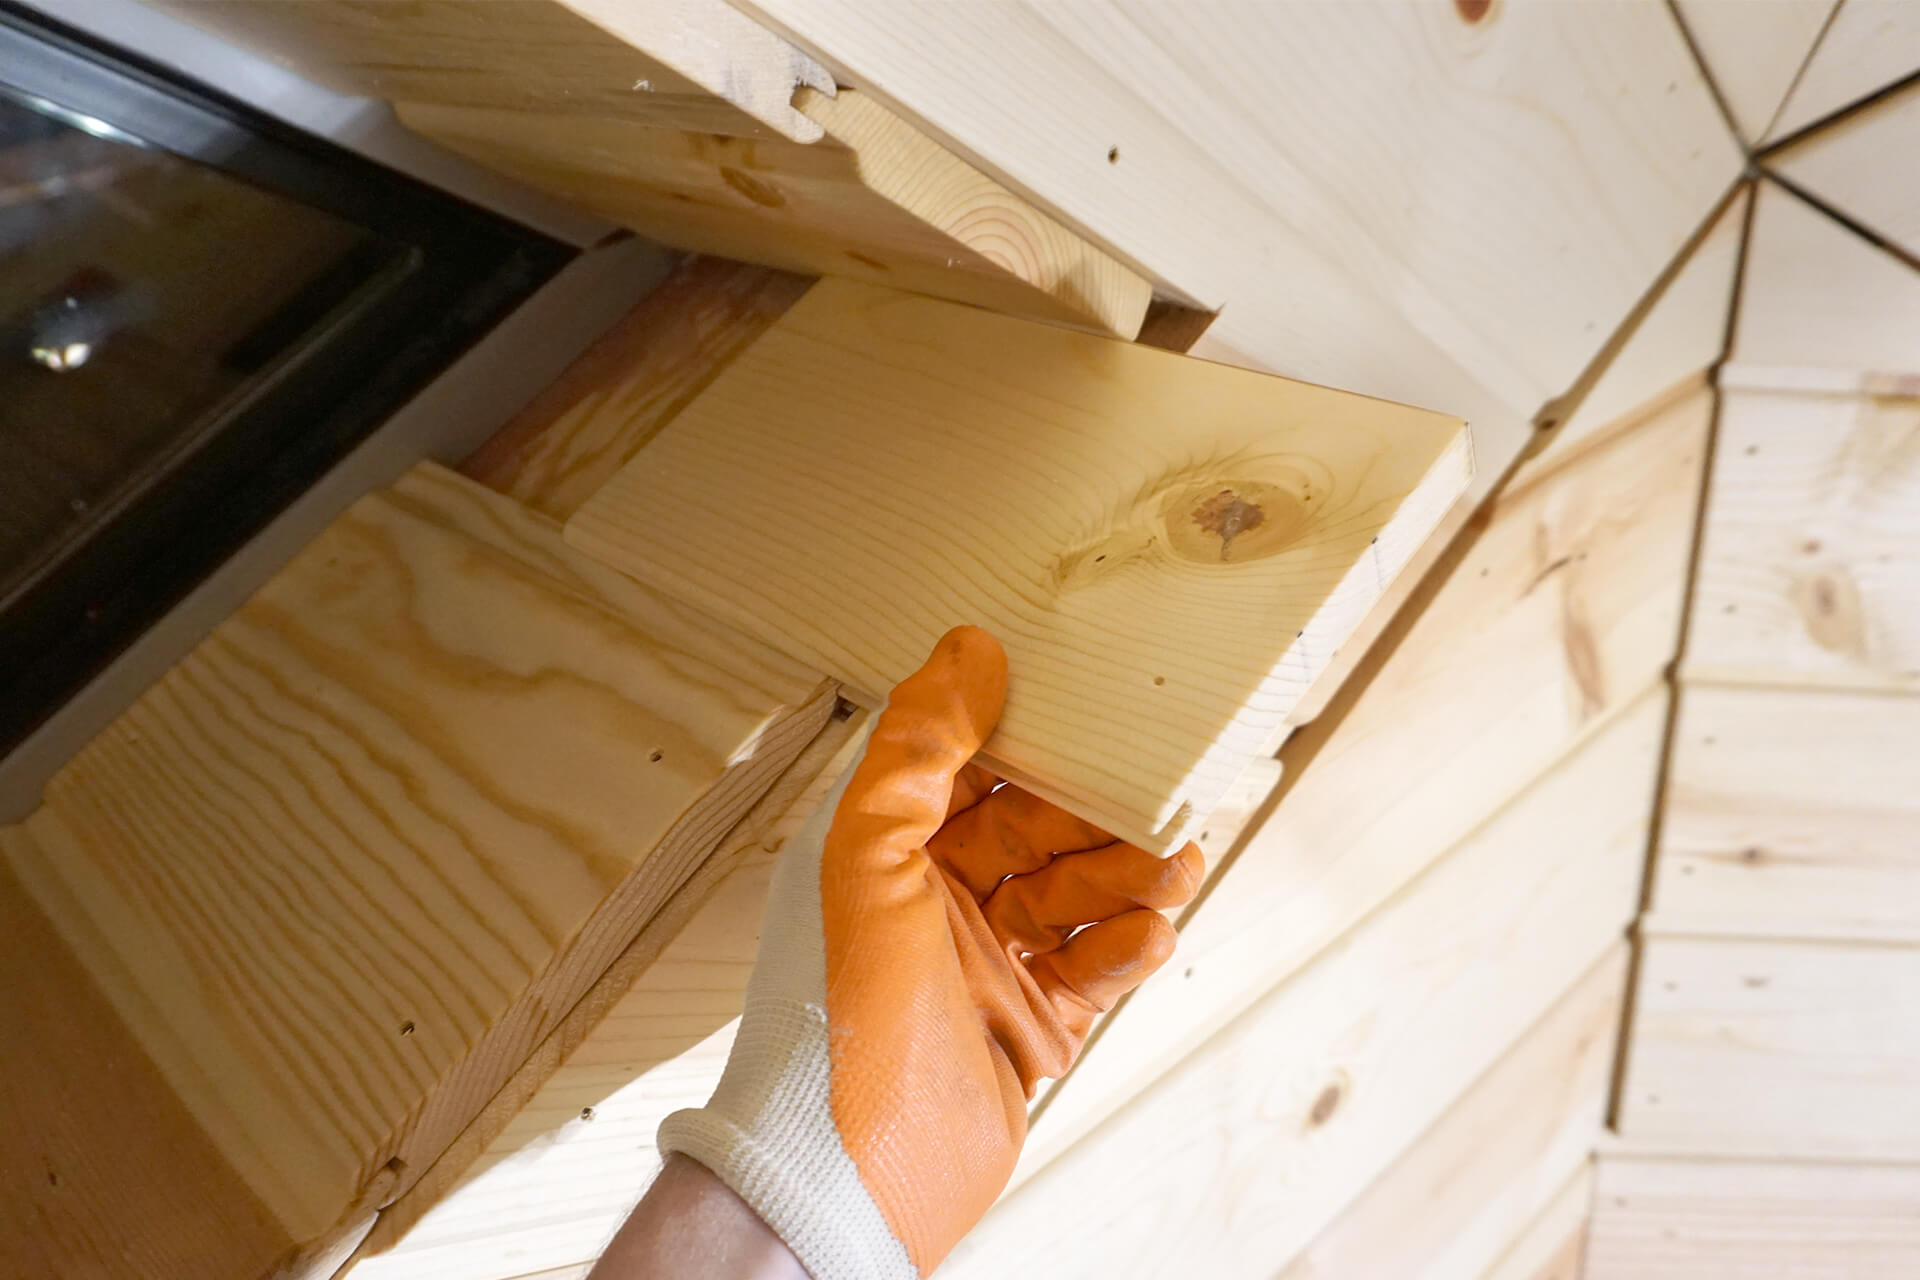
Use longer planks for paneling the sides to visually maintain the line direction of the wall and for a perfect sliding fit under the egress window frame.
Use shims to ensure the perimeter of the paneling is straight enough to prevent any obvious gaps when the future trim is installed.

Detail shot showing the base and side paneling of the egress window box.
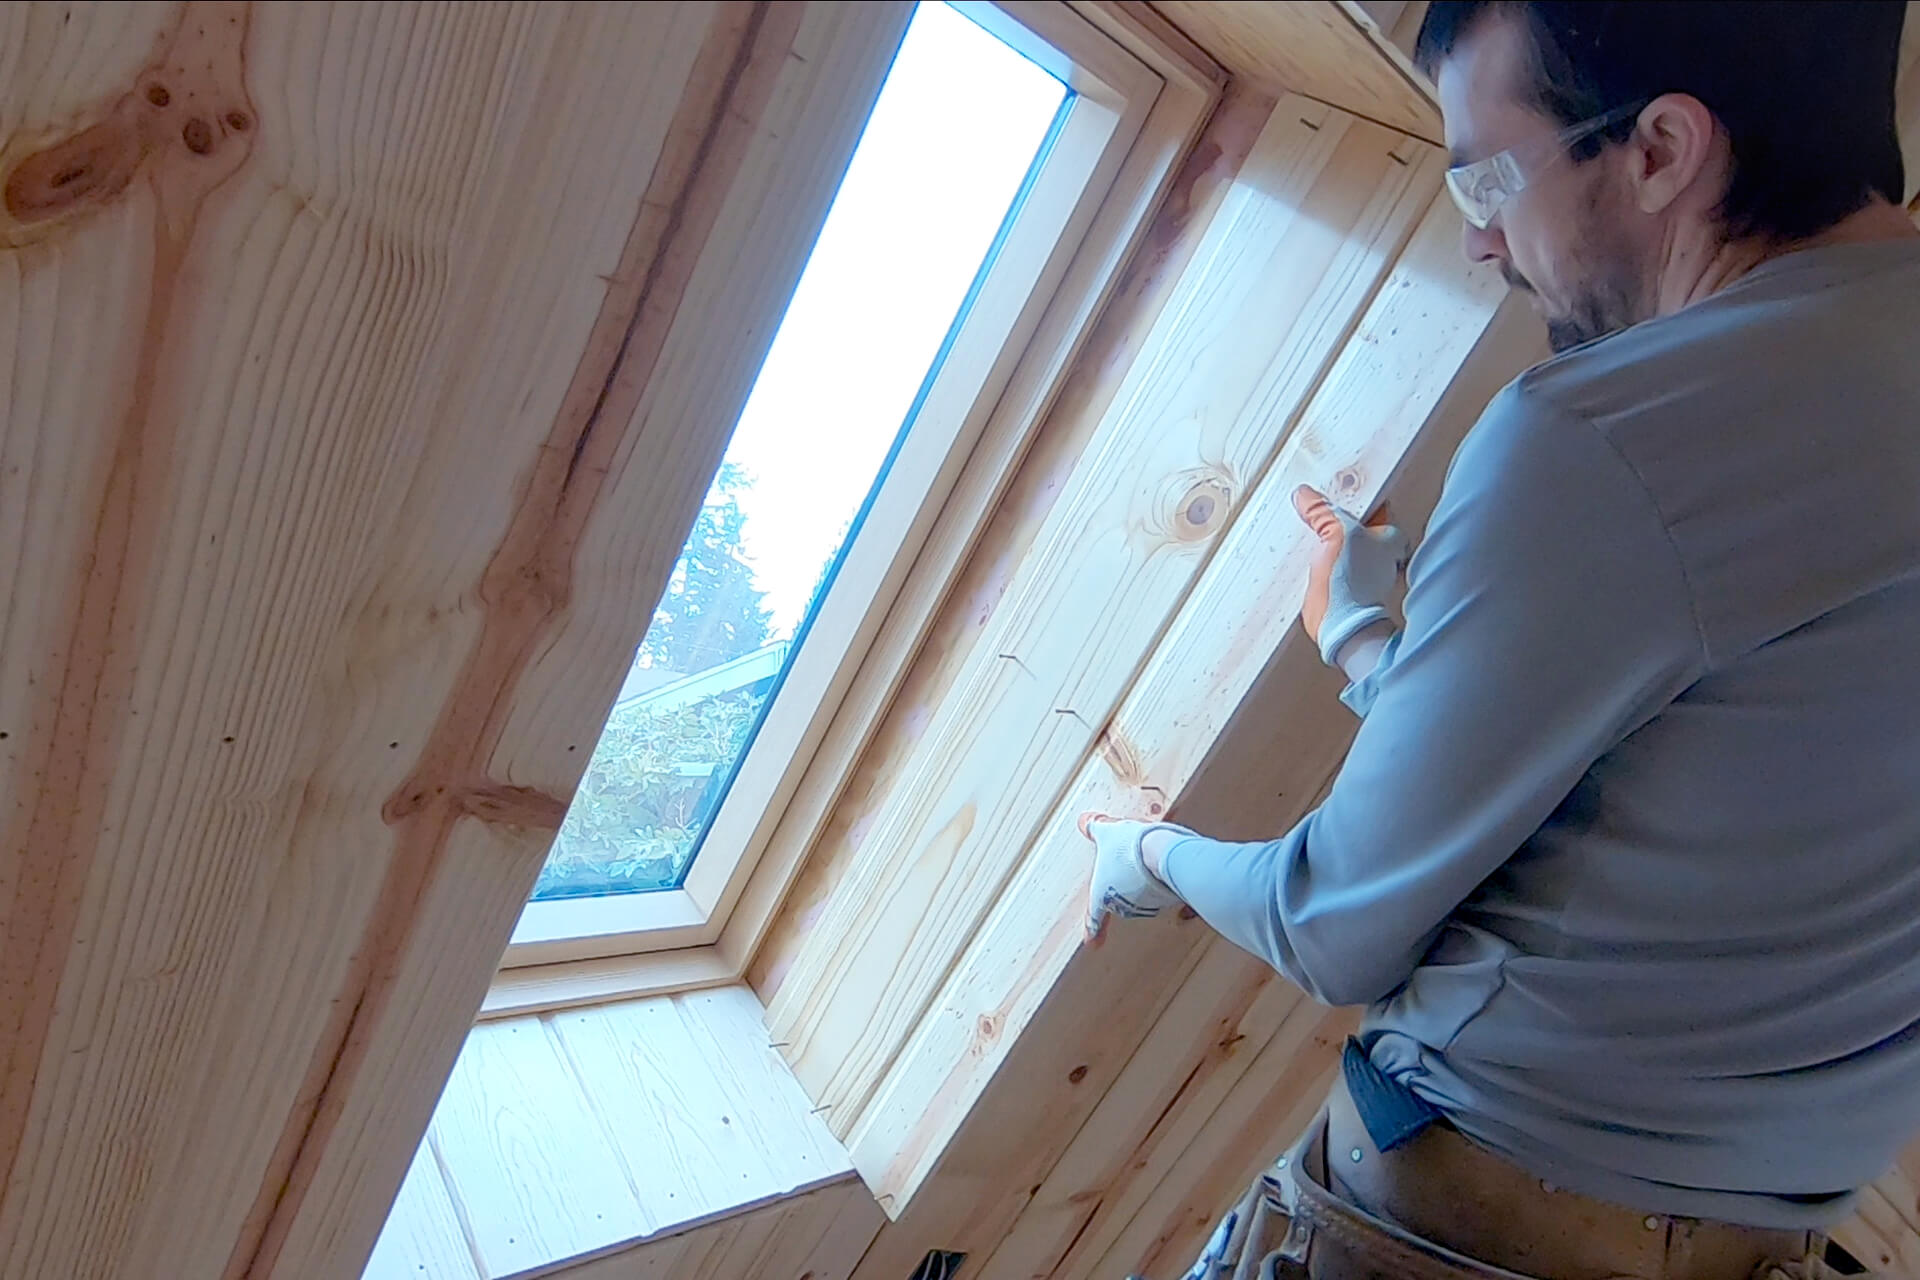
Install the top planks to finish the paneling of the egress window box.
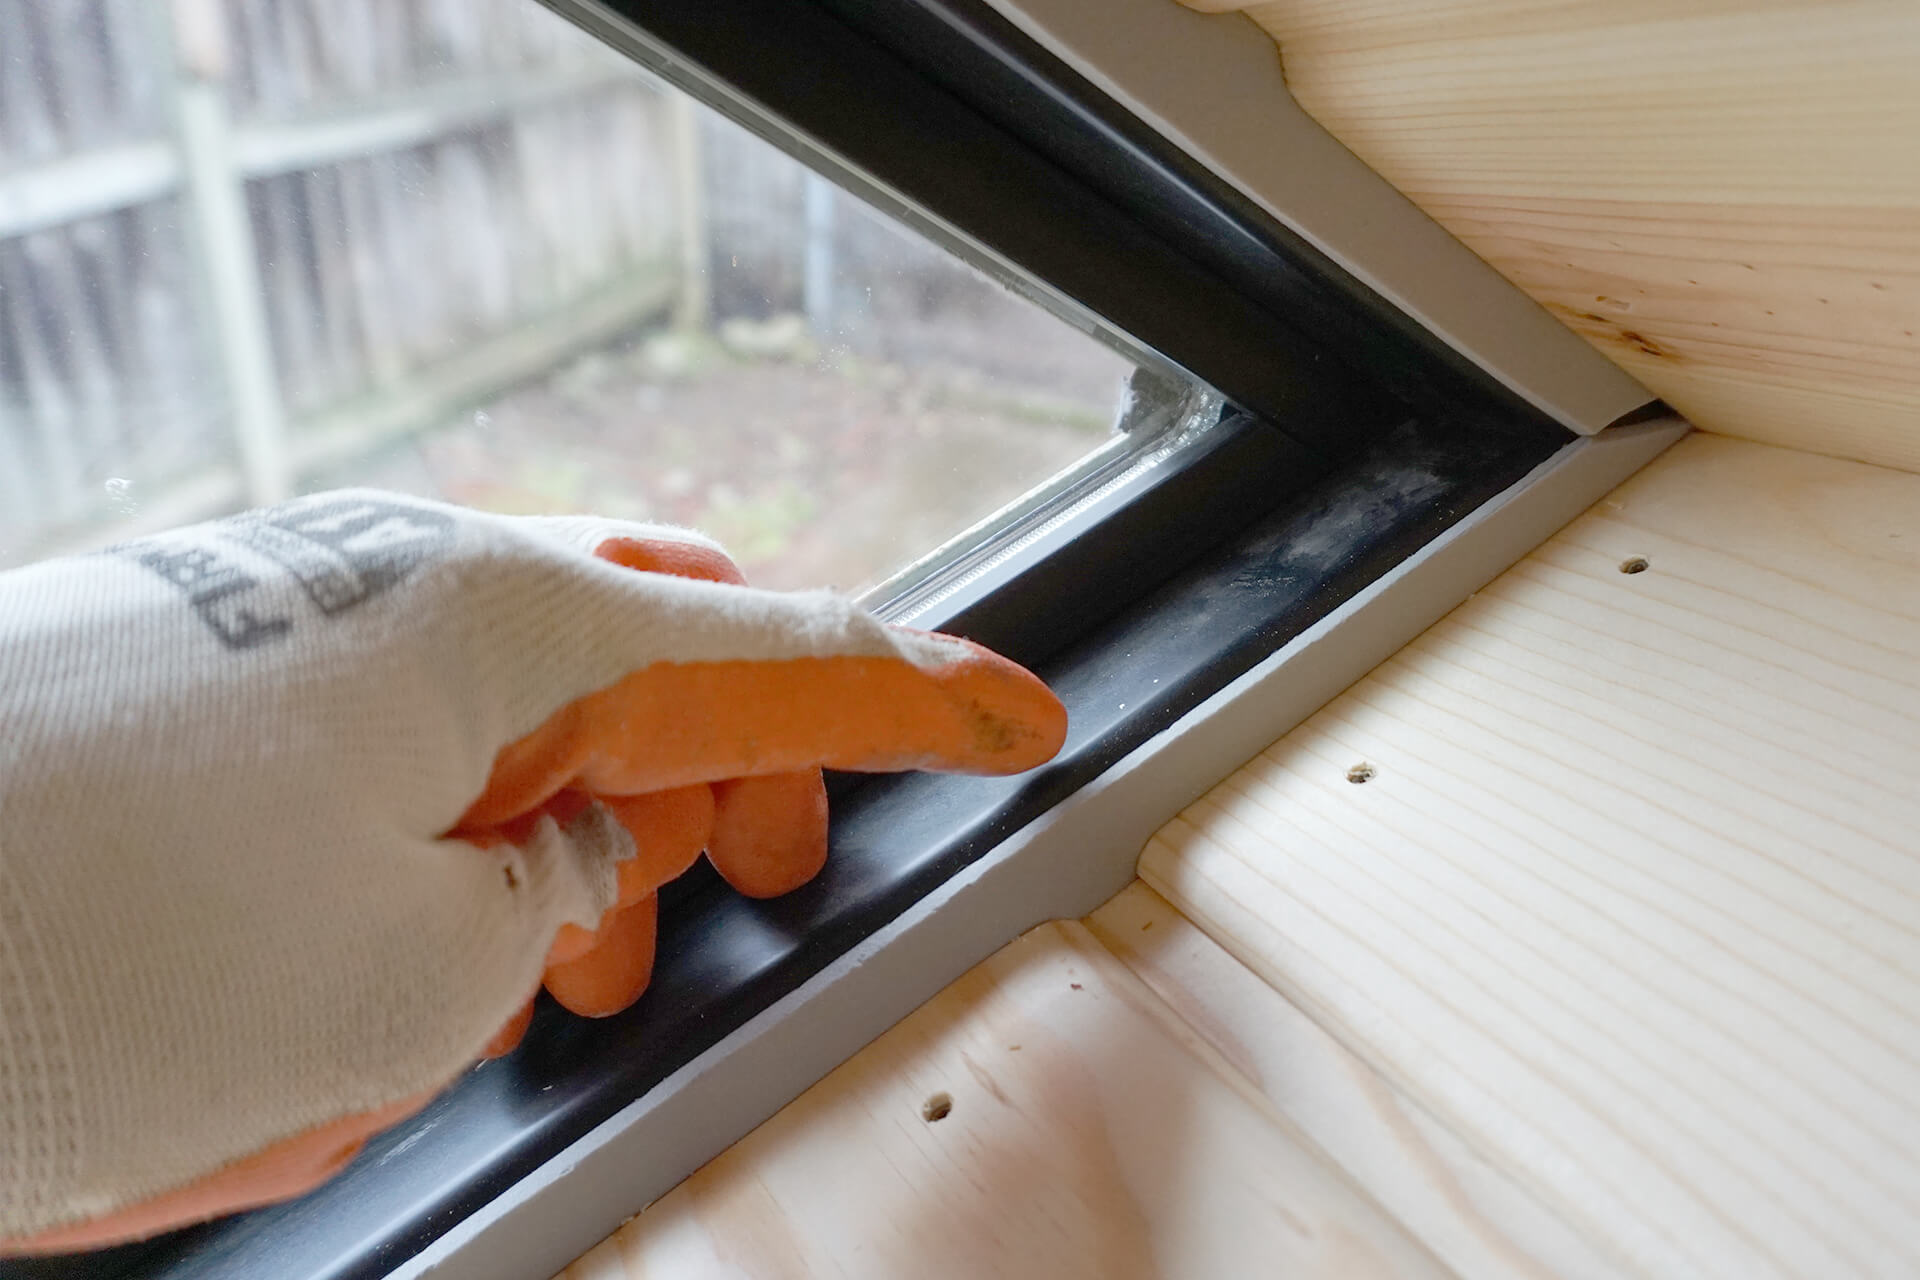
Begin paneling the window boxes. Install foam weatherstripping and space the starter plank slightly to leave a small gap, allowing any potential water leaks to reach the drain tube.
Push with very light pressure against the weatherstripping. Pay attention to the tongue and groove orientation and lay the planks so that their profile promotes water drainage.
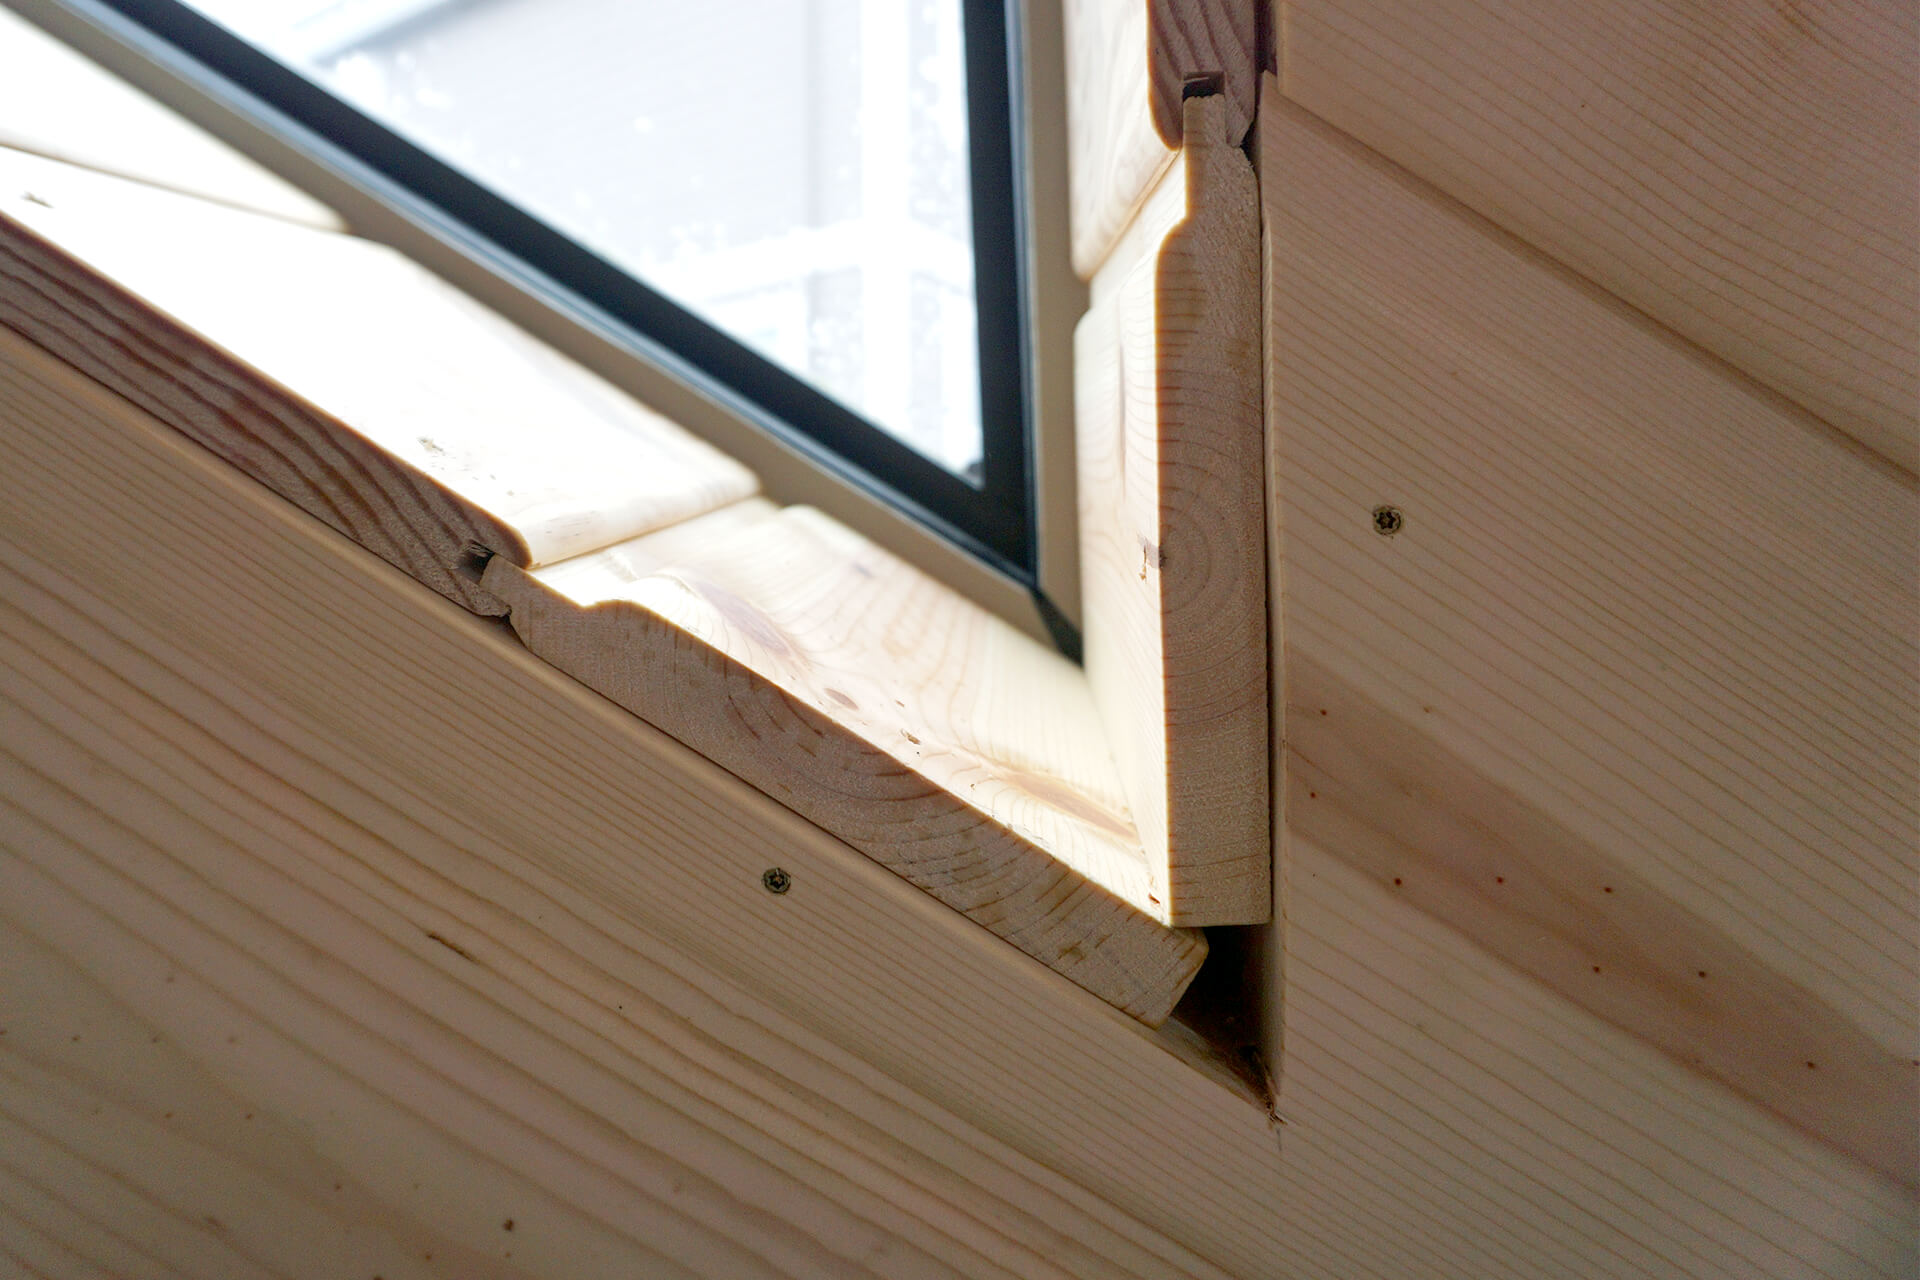
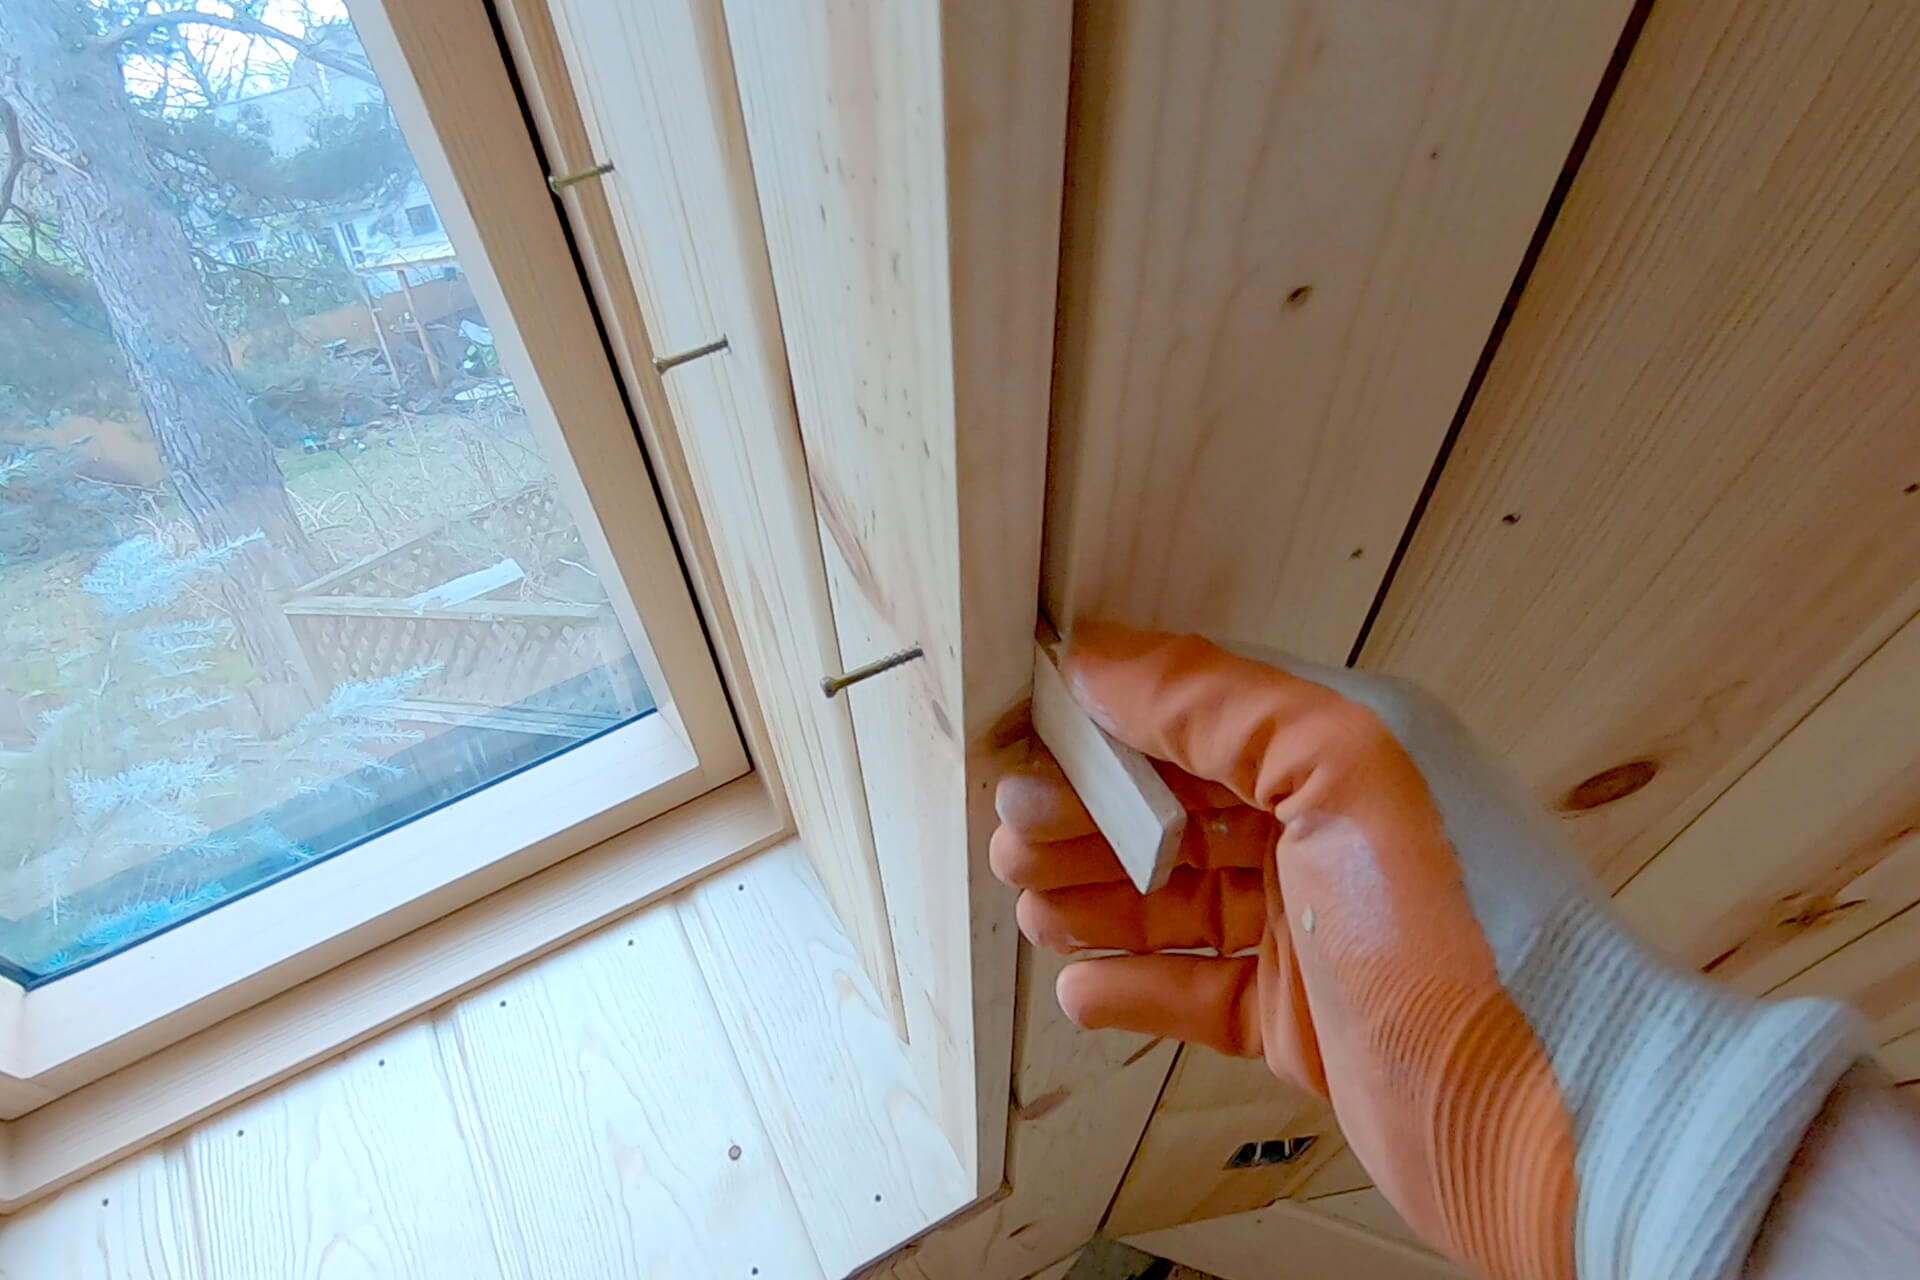
Detail shot showing a bottom corner. Notice how the tongue and groove orientation is positioned to shed water, helping protect the wood from spills or soaking up cleaning products.
Top corner planks should be installed last. Trim them to fit, slide them into place, and push them against the adjacent corner plank to eliminate any visible gaps.
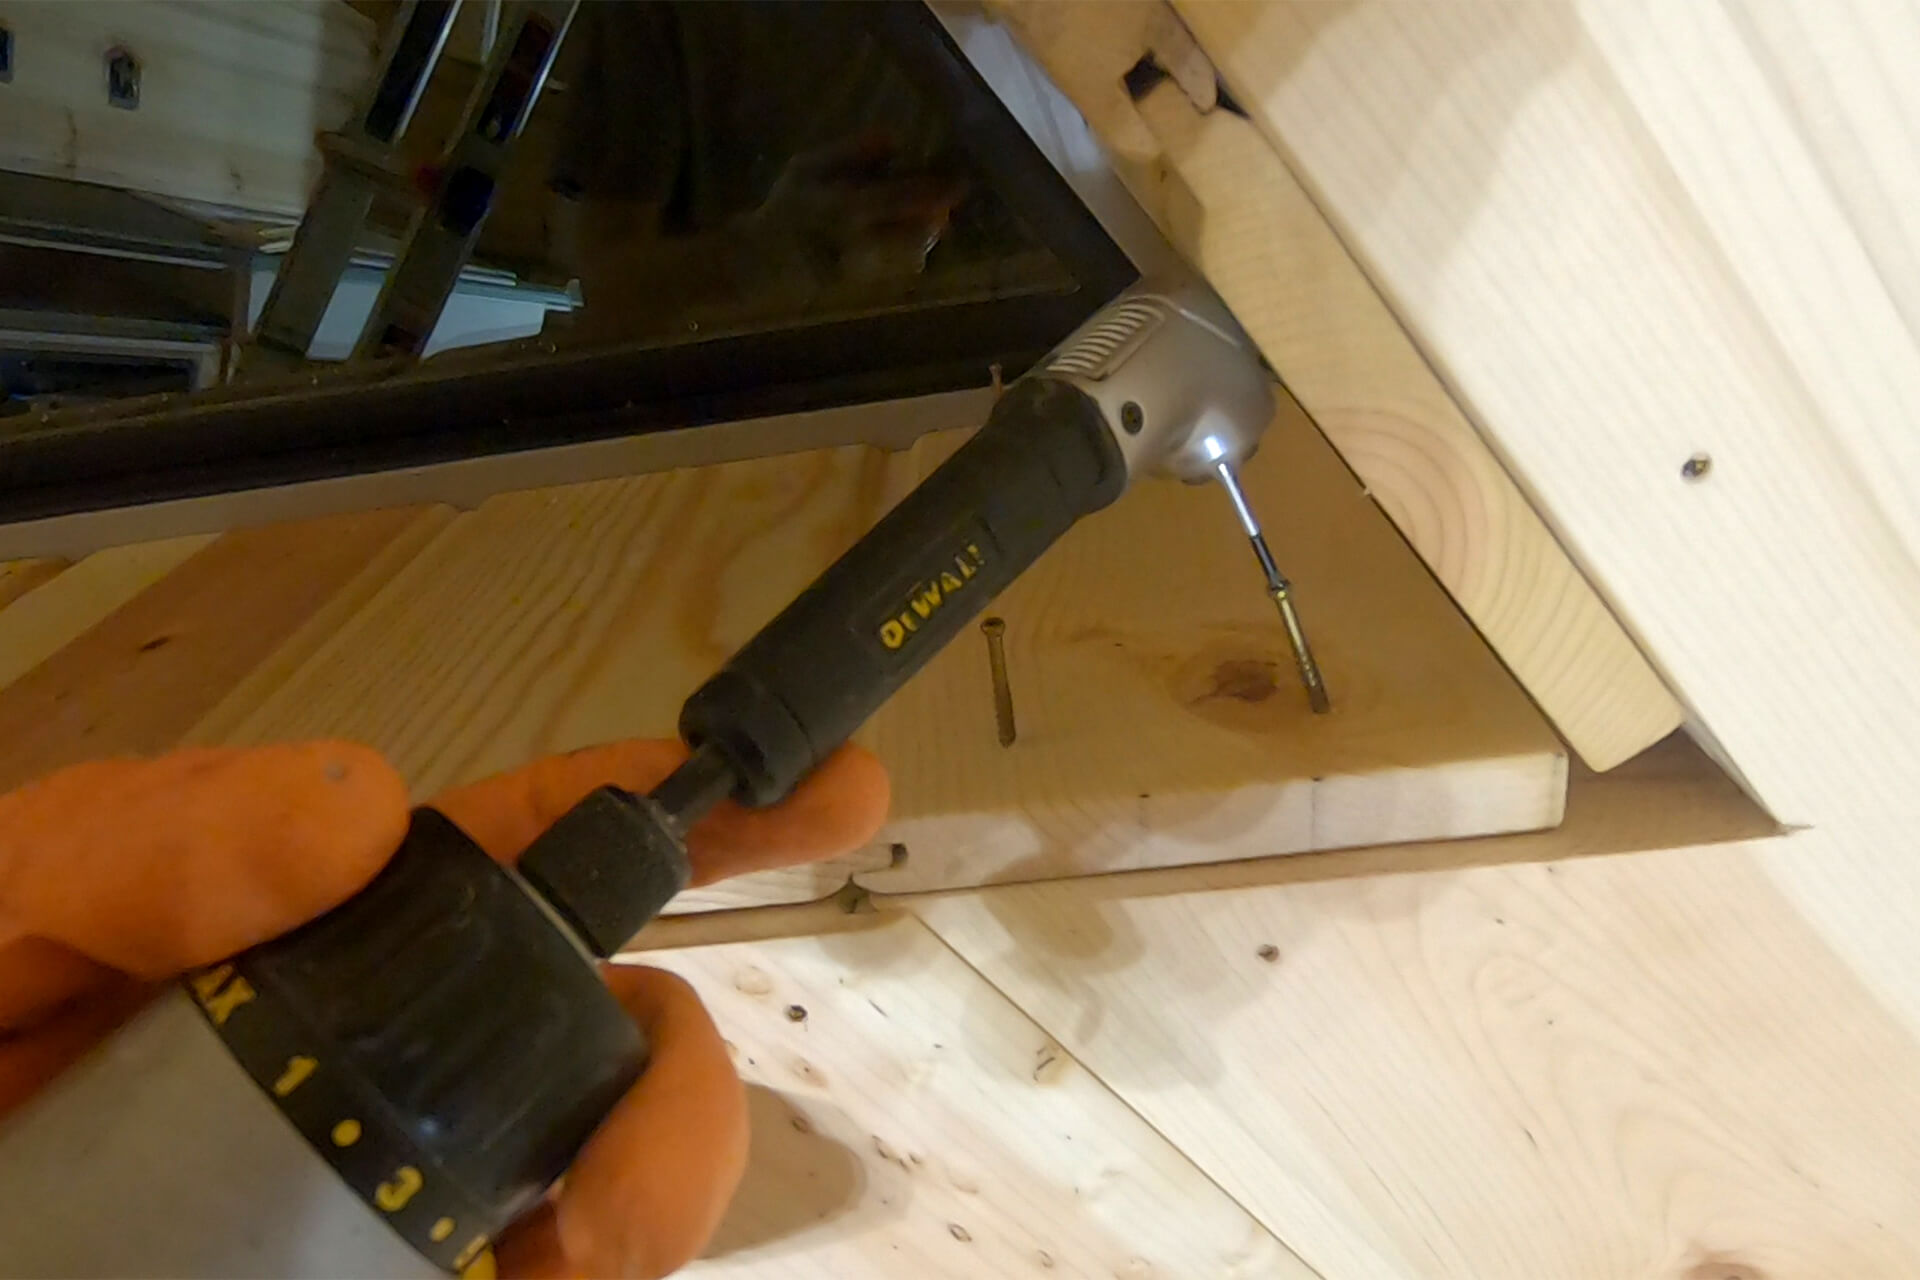
Use a right-angle attachment to screw the hard-to-reach corners. A slight angle on the screw keeps the corner tight and gap-free.
The exposed weatherstripping is intentional and will be a soft mounting surface for the future privacy and window-protecting frosted acrylic.
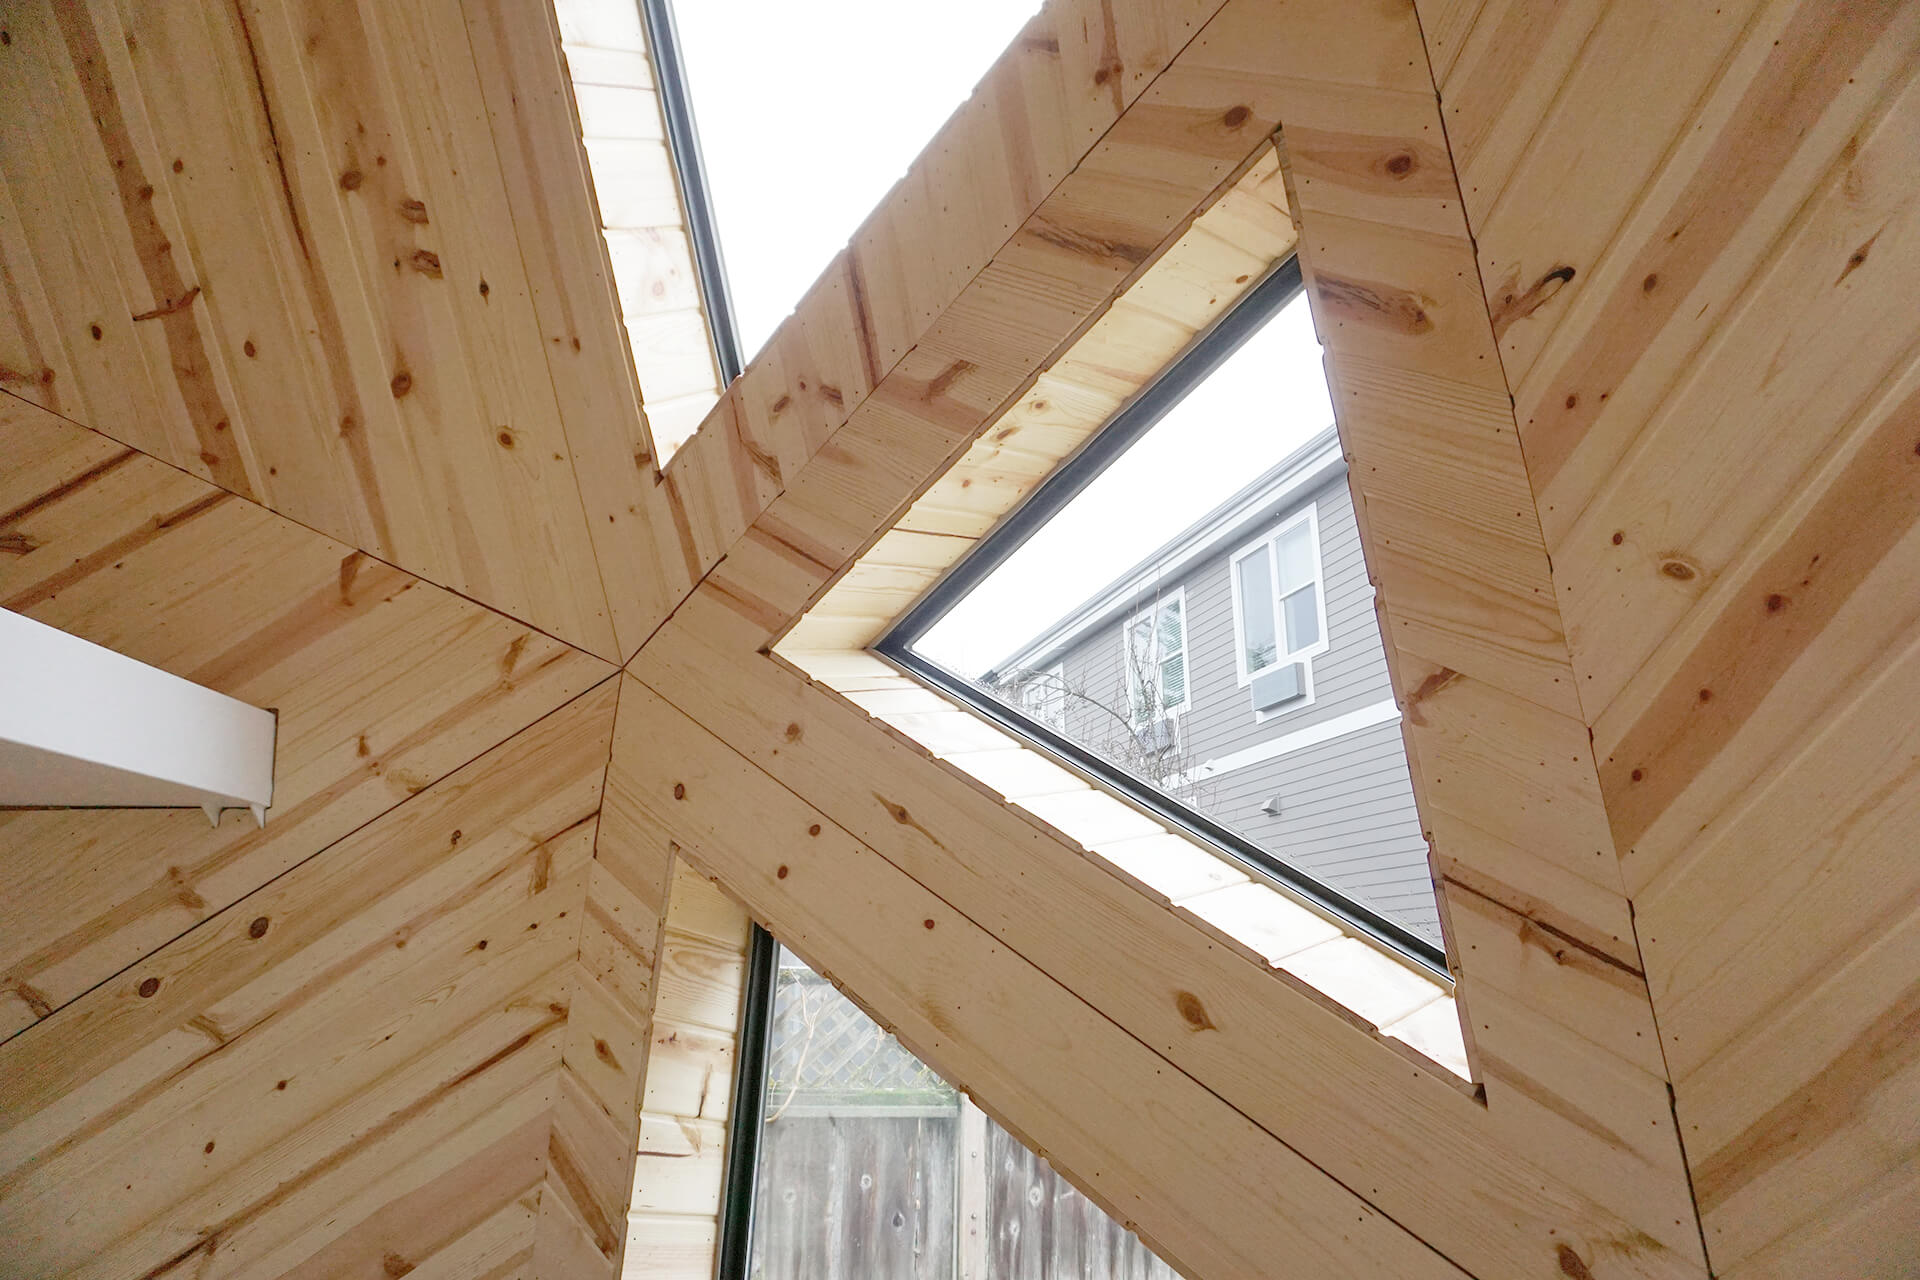
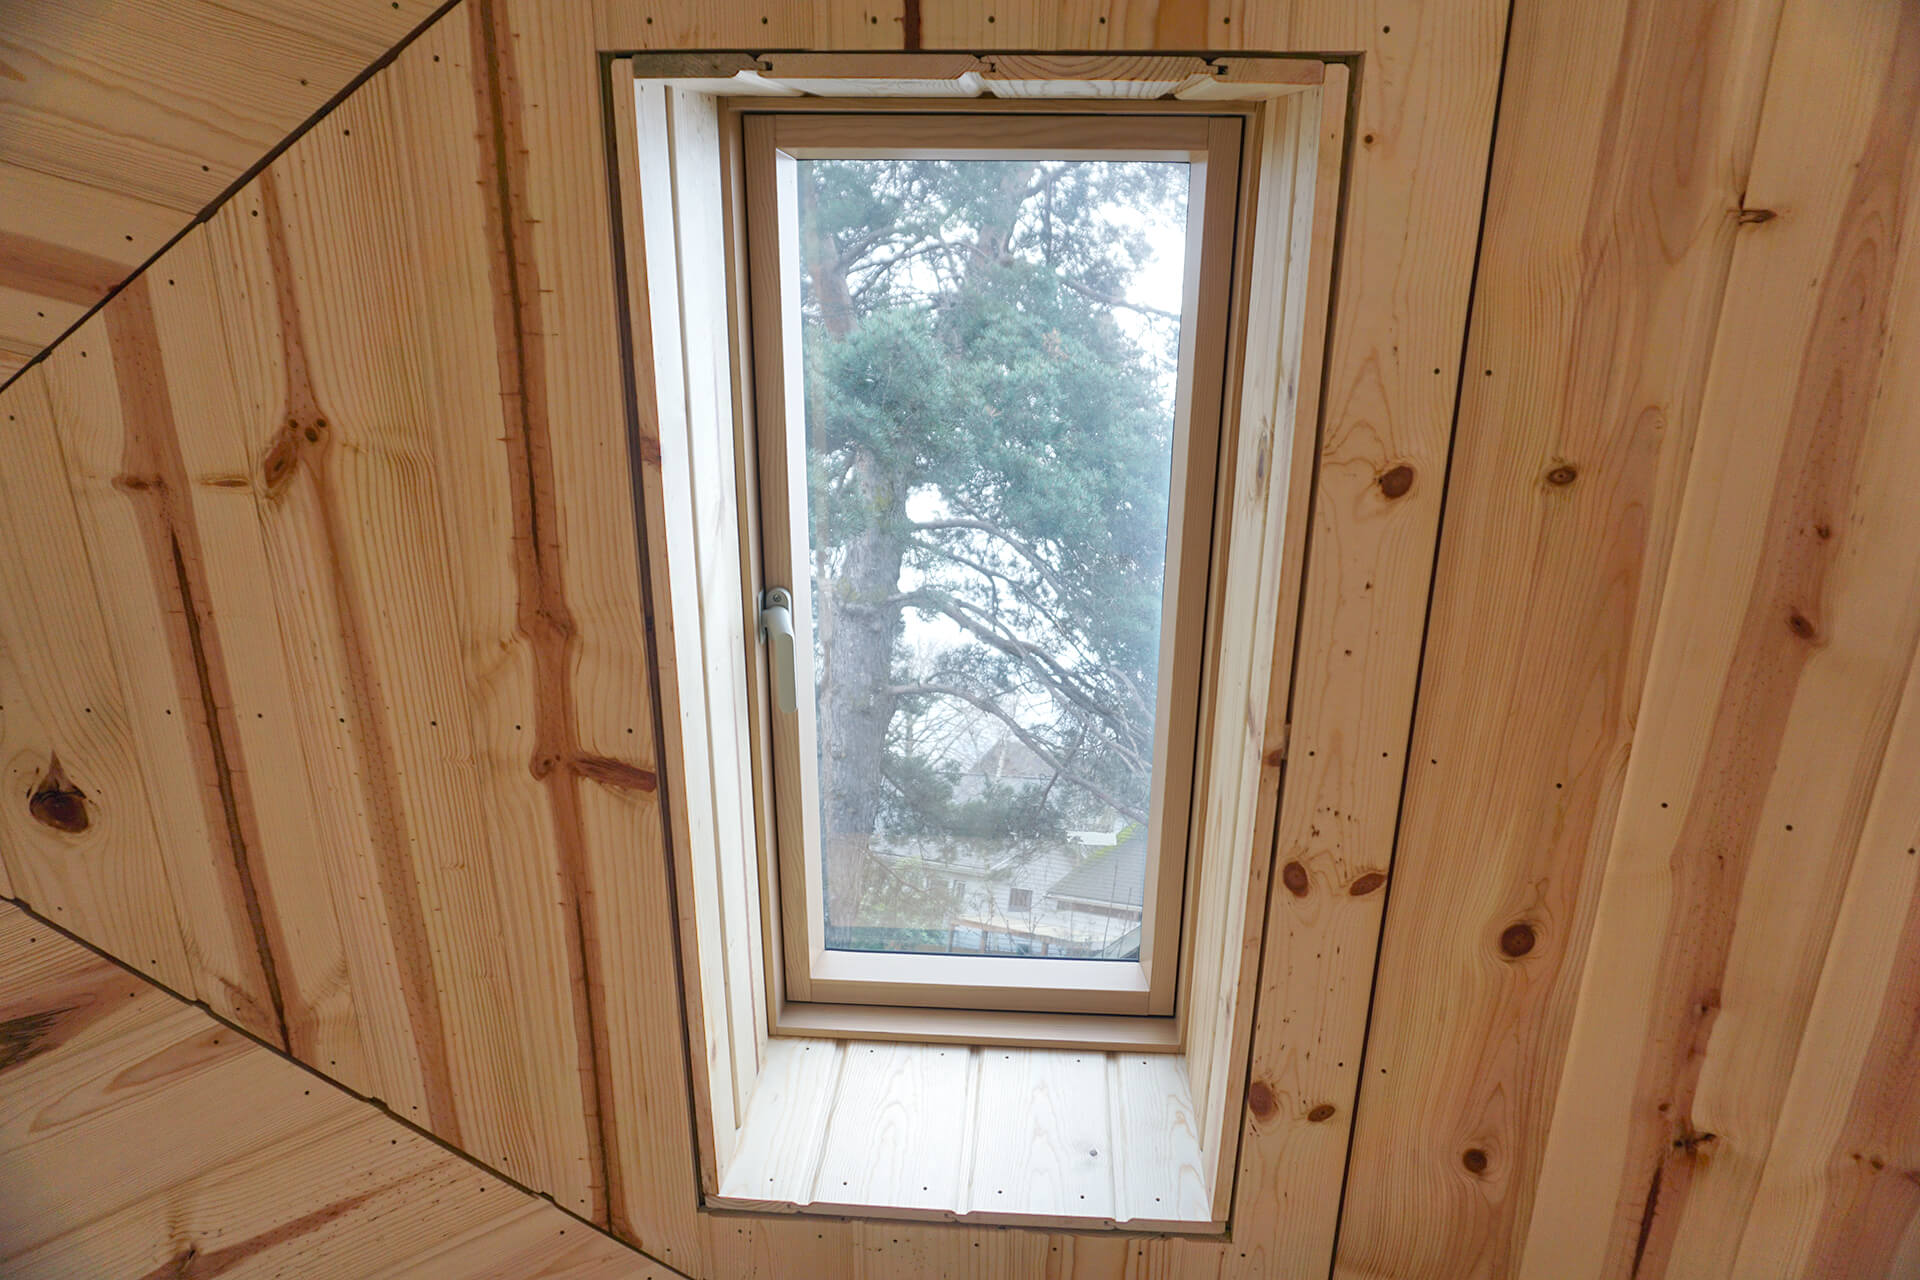
Finish paneling all of the window boxes.

Congratulations on completing the wood paneling of the window boxes!
Next Step