
Kitchenette – Countertop
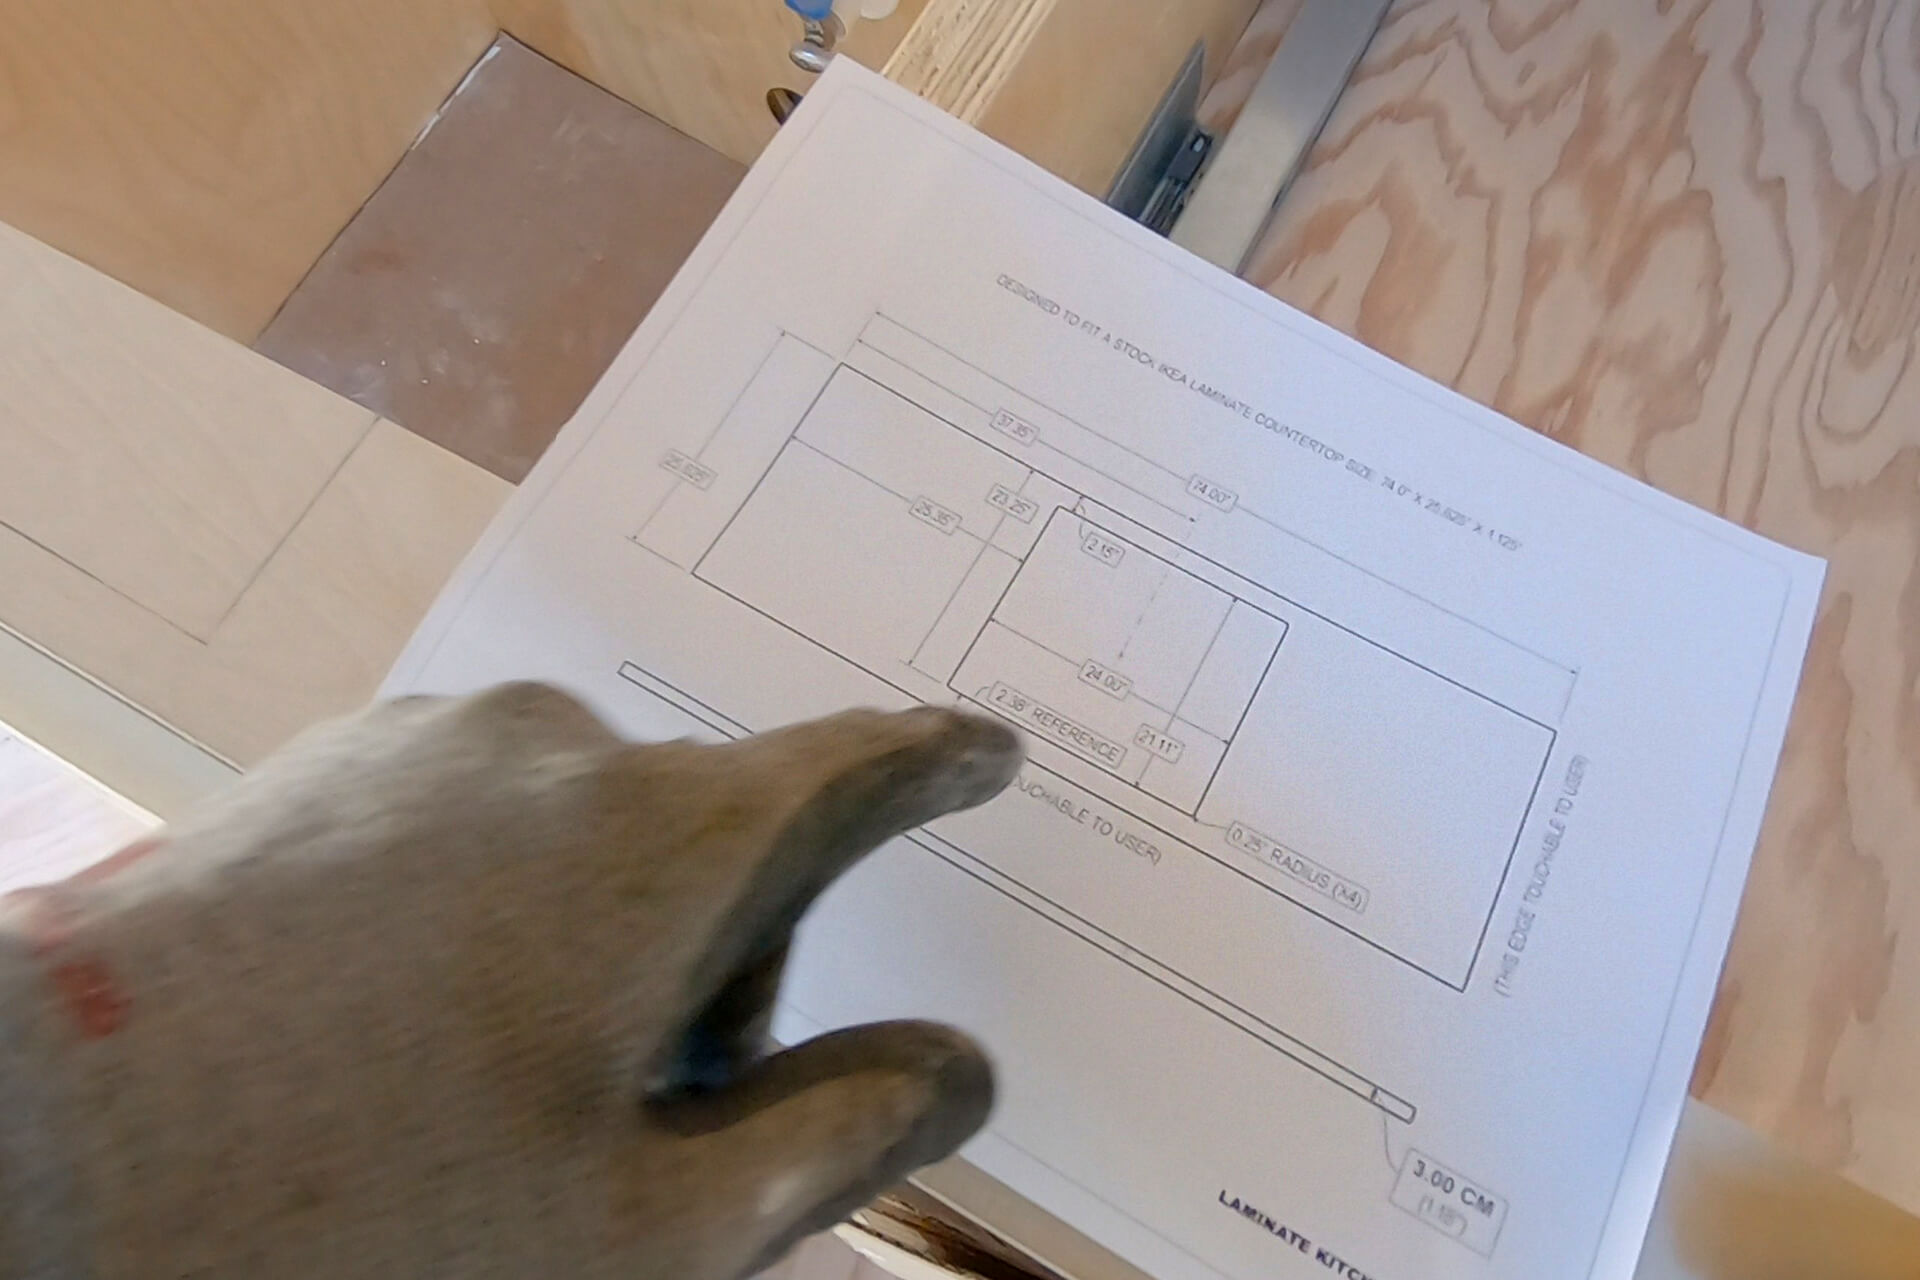
Measure the actual sink to plan the countertop cut-out size and location. Mark the front and back of the sink cabinet plywood accordingly.
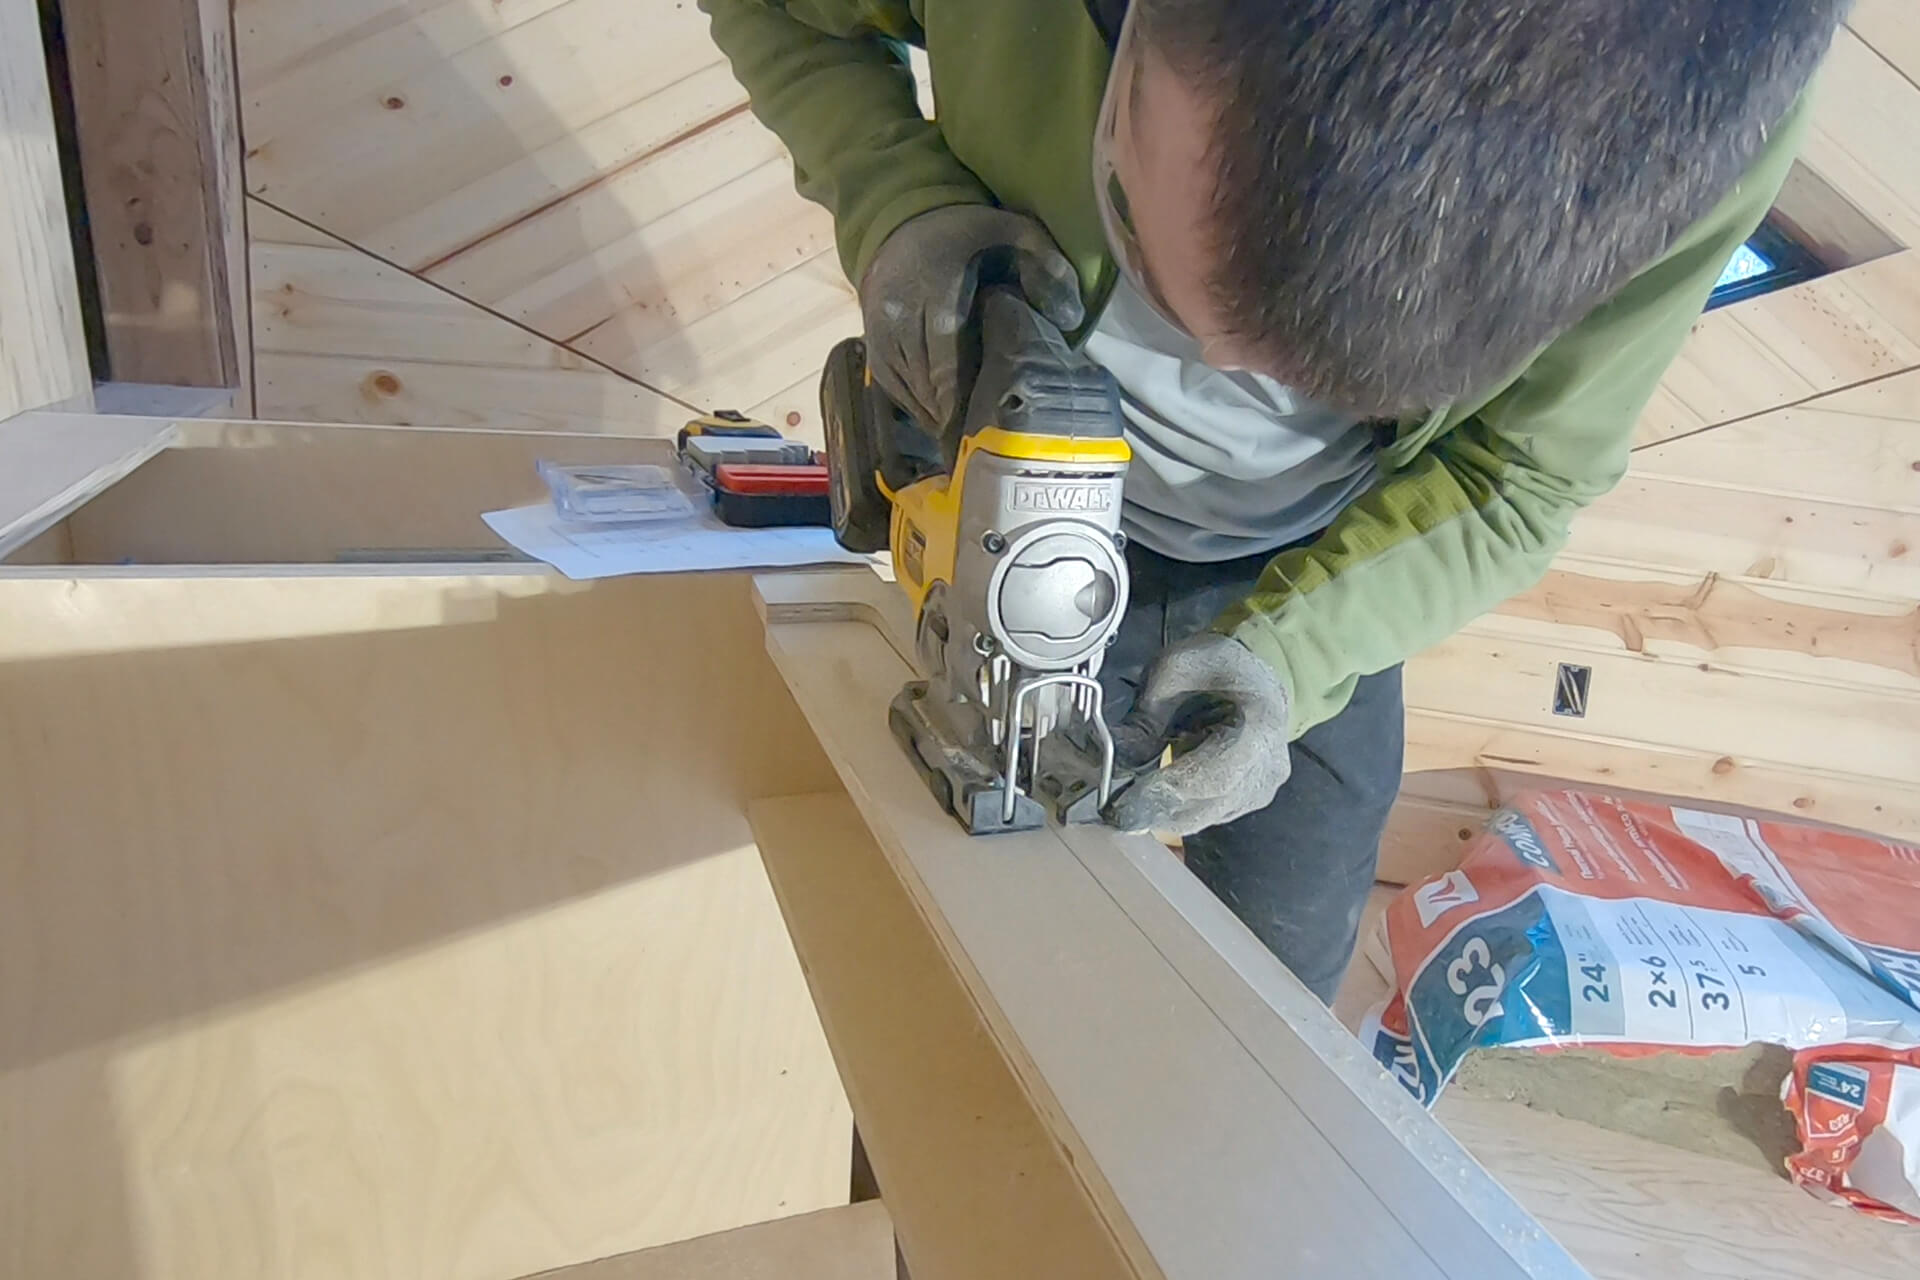
Cut along the marked lines with a jigsaw.
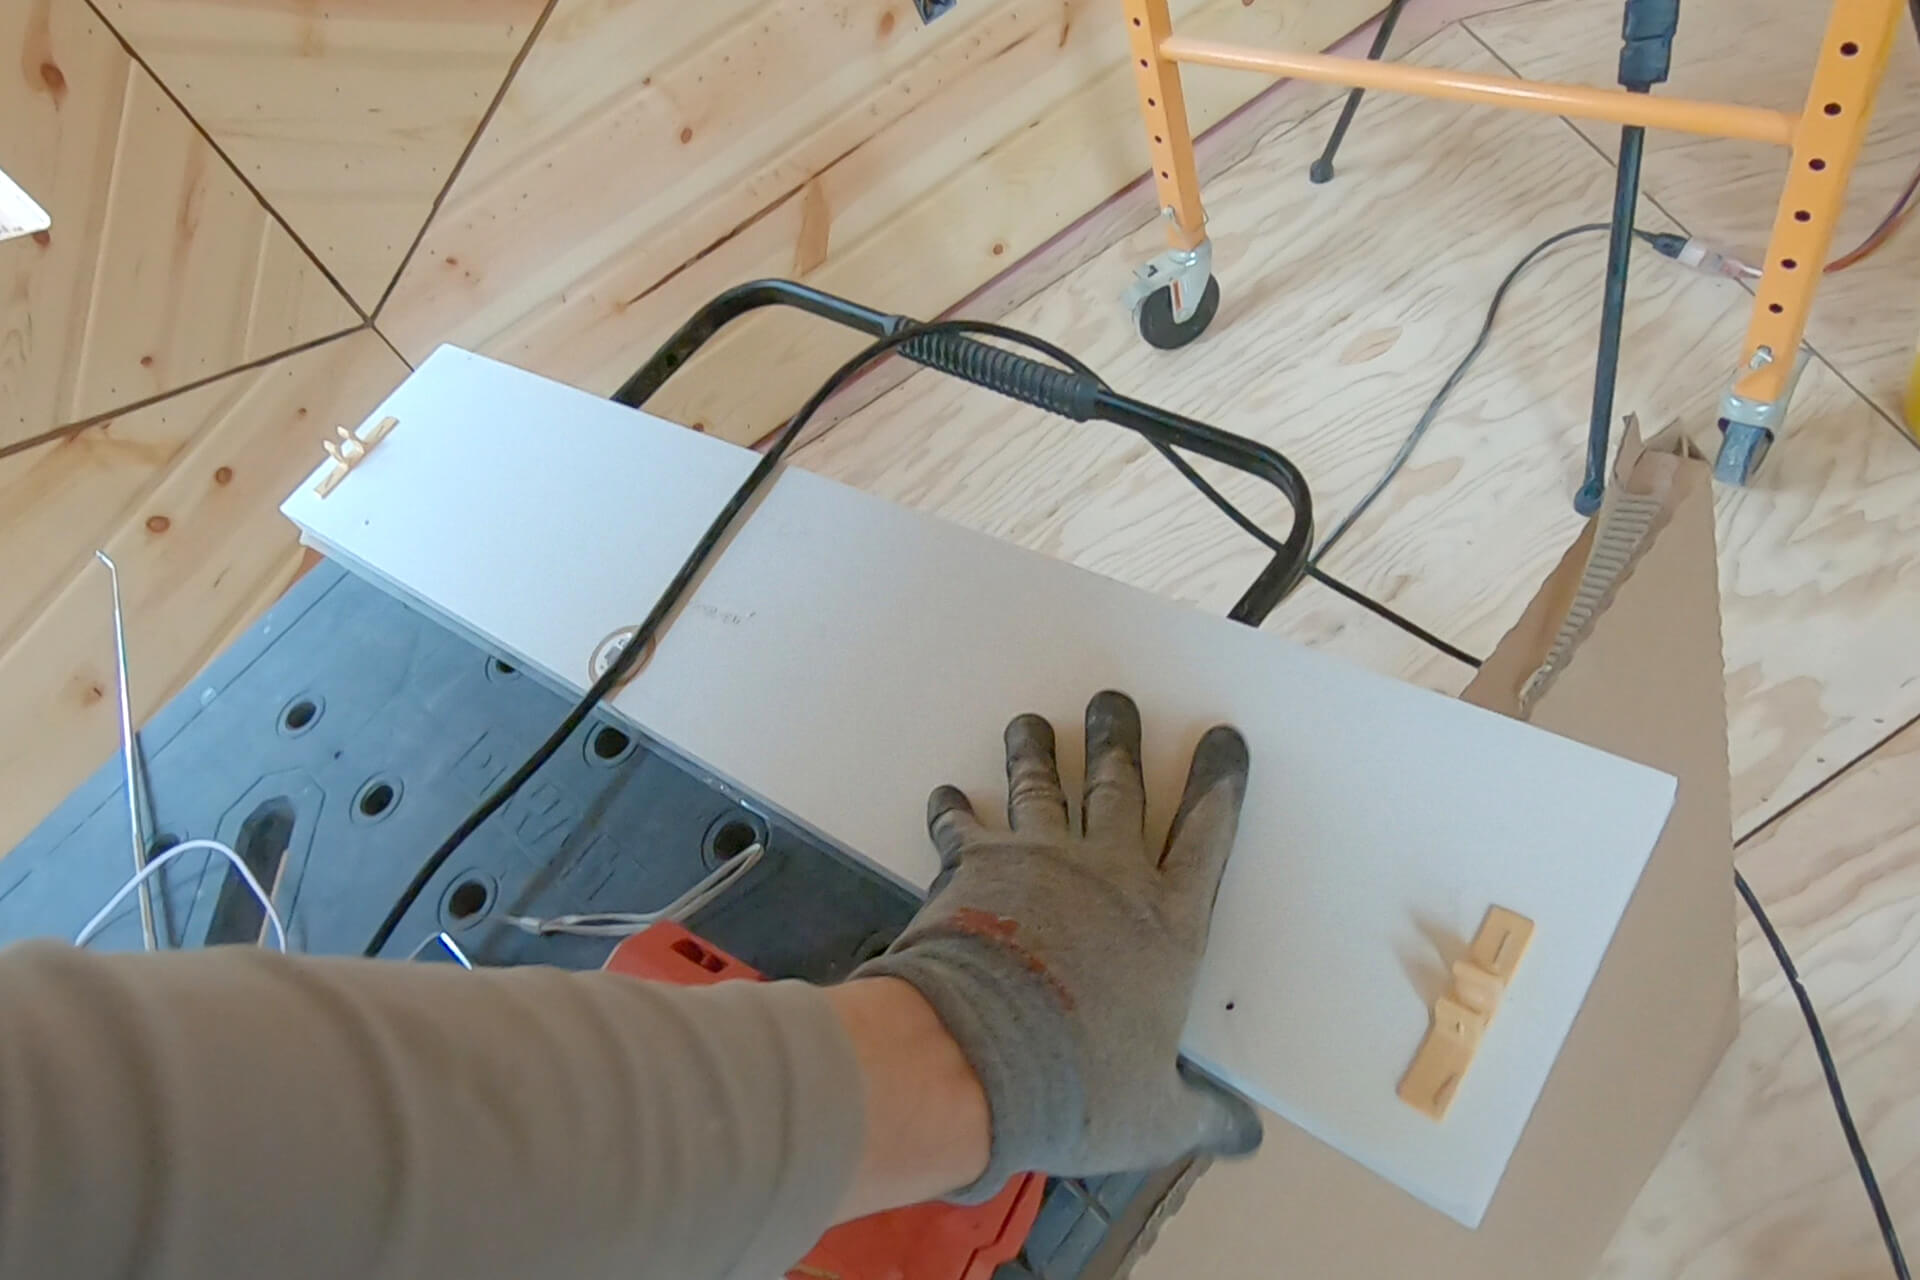
Remove the faux drawer from the sink cabinet, then remove the plastic retaining clips. A more permanent mounting solution is desired for strength and longevity.
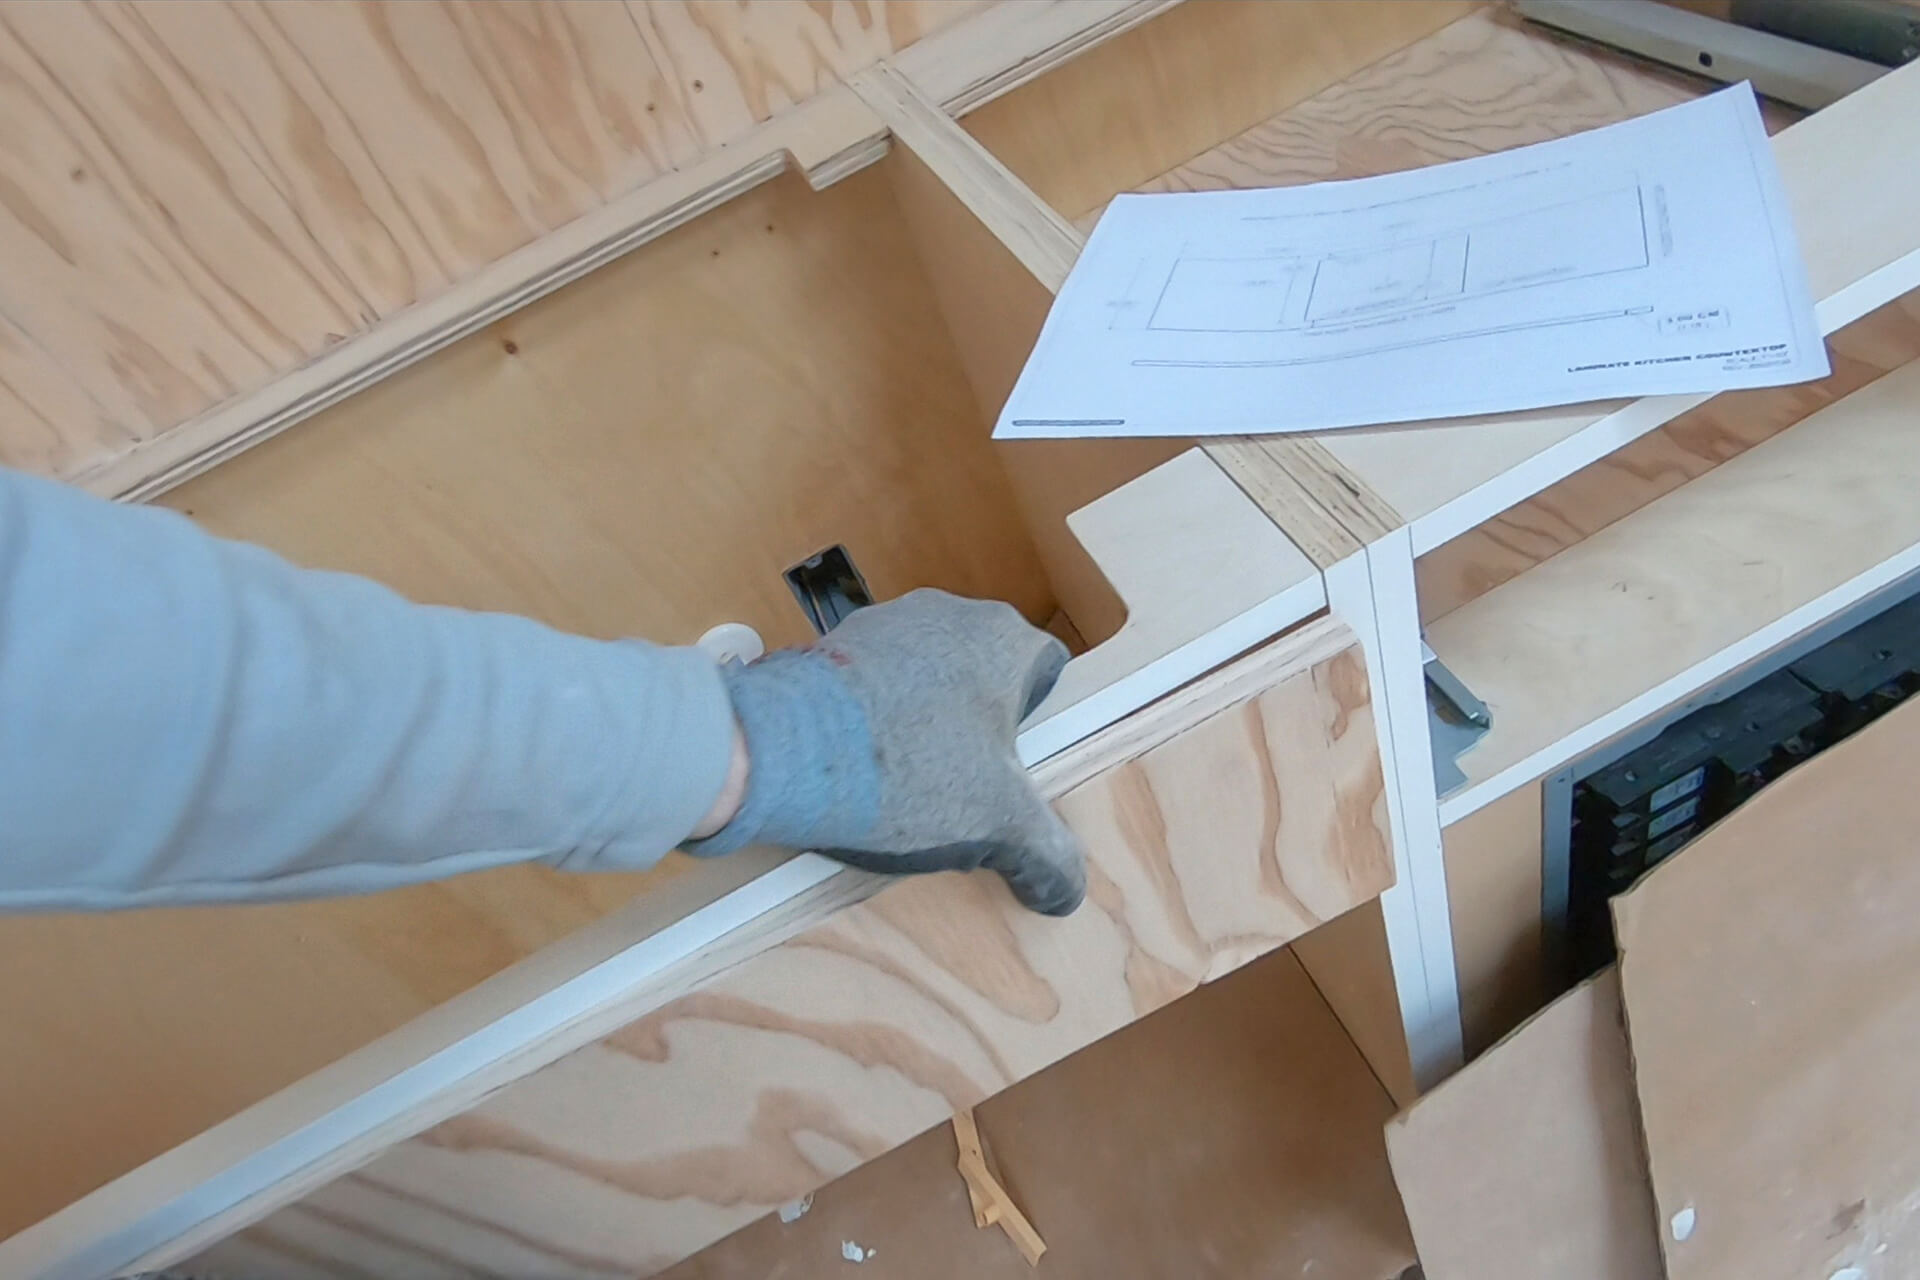
Cut and fit a piece of plywood to reinforce the front of the sink cabinet, helping it support the weight of a fully loaded sink.
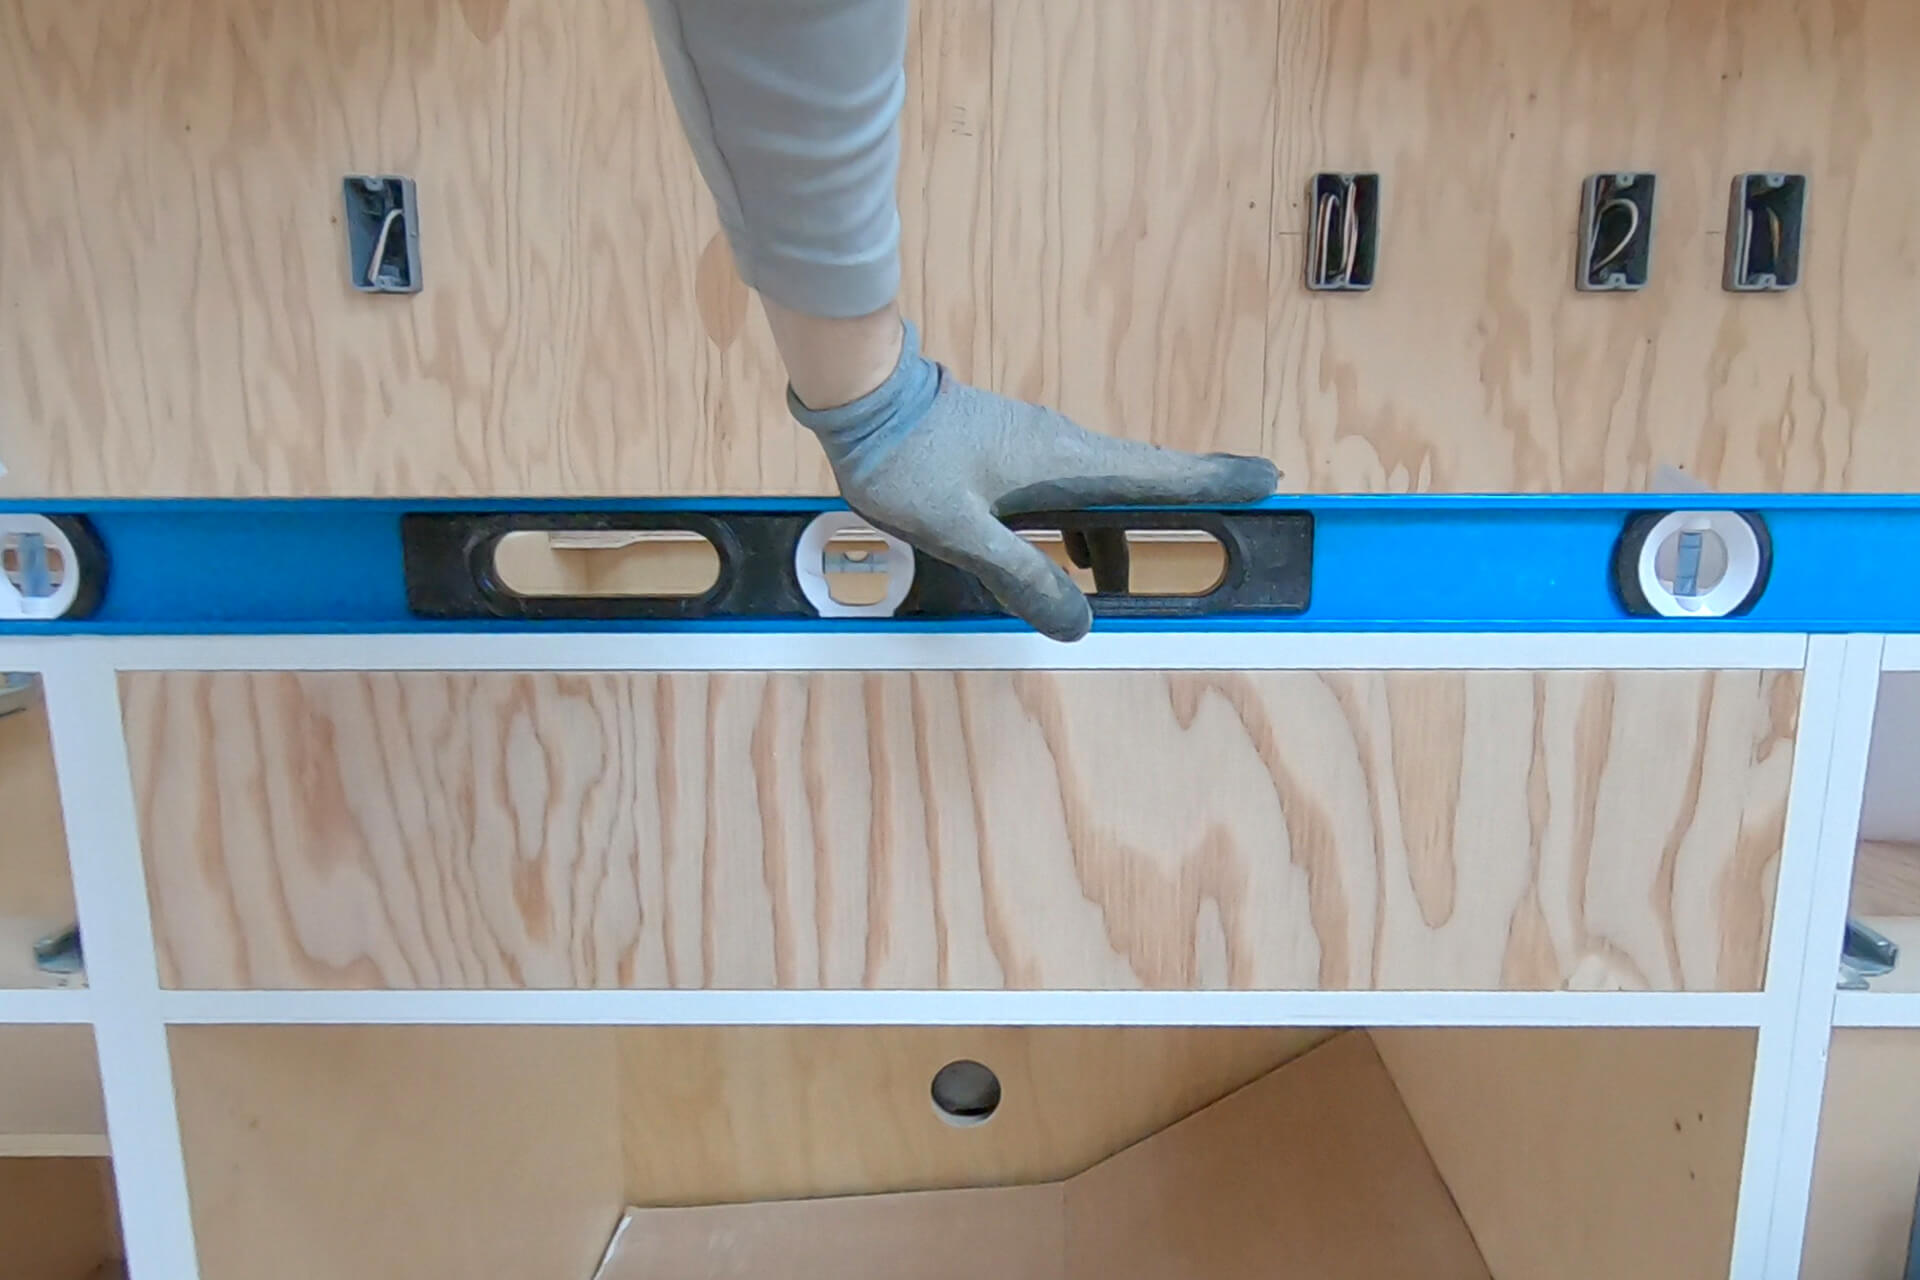
Ensure the plywood fits snugly, is flush with the cabinet face, and remains level and flat under applied pressure.
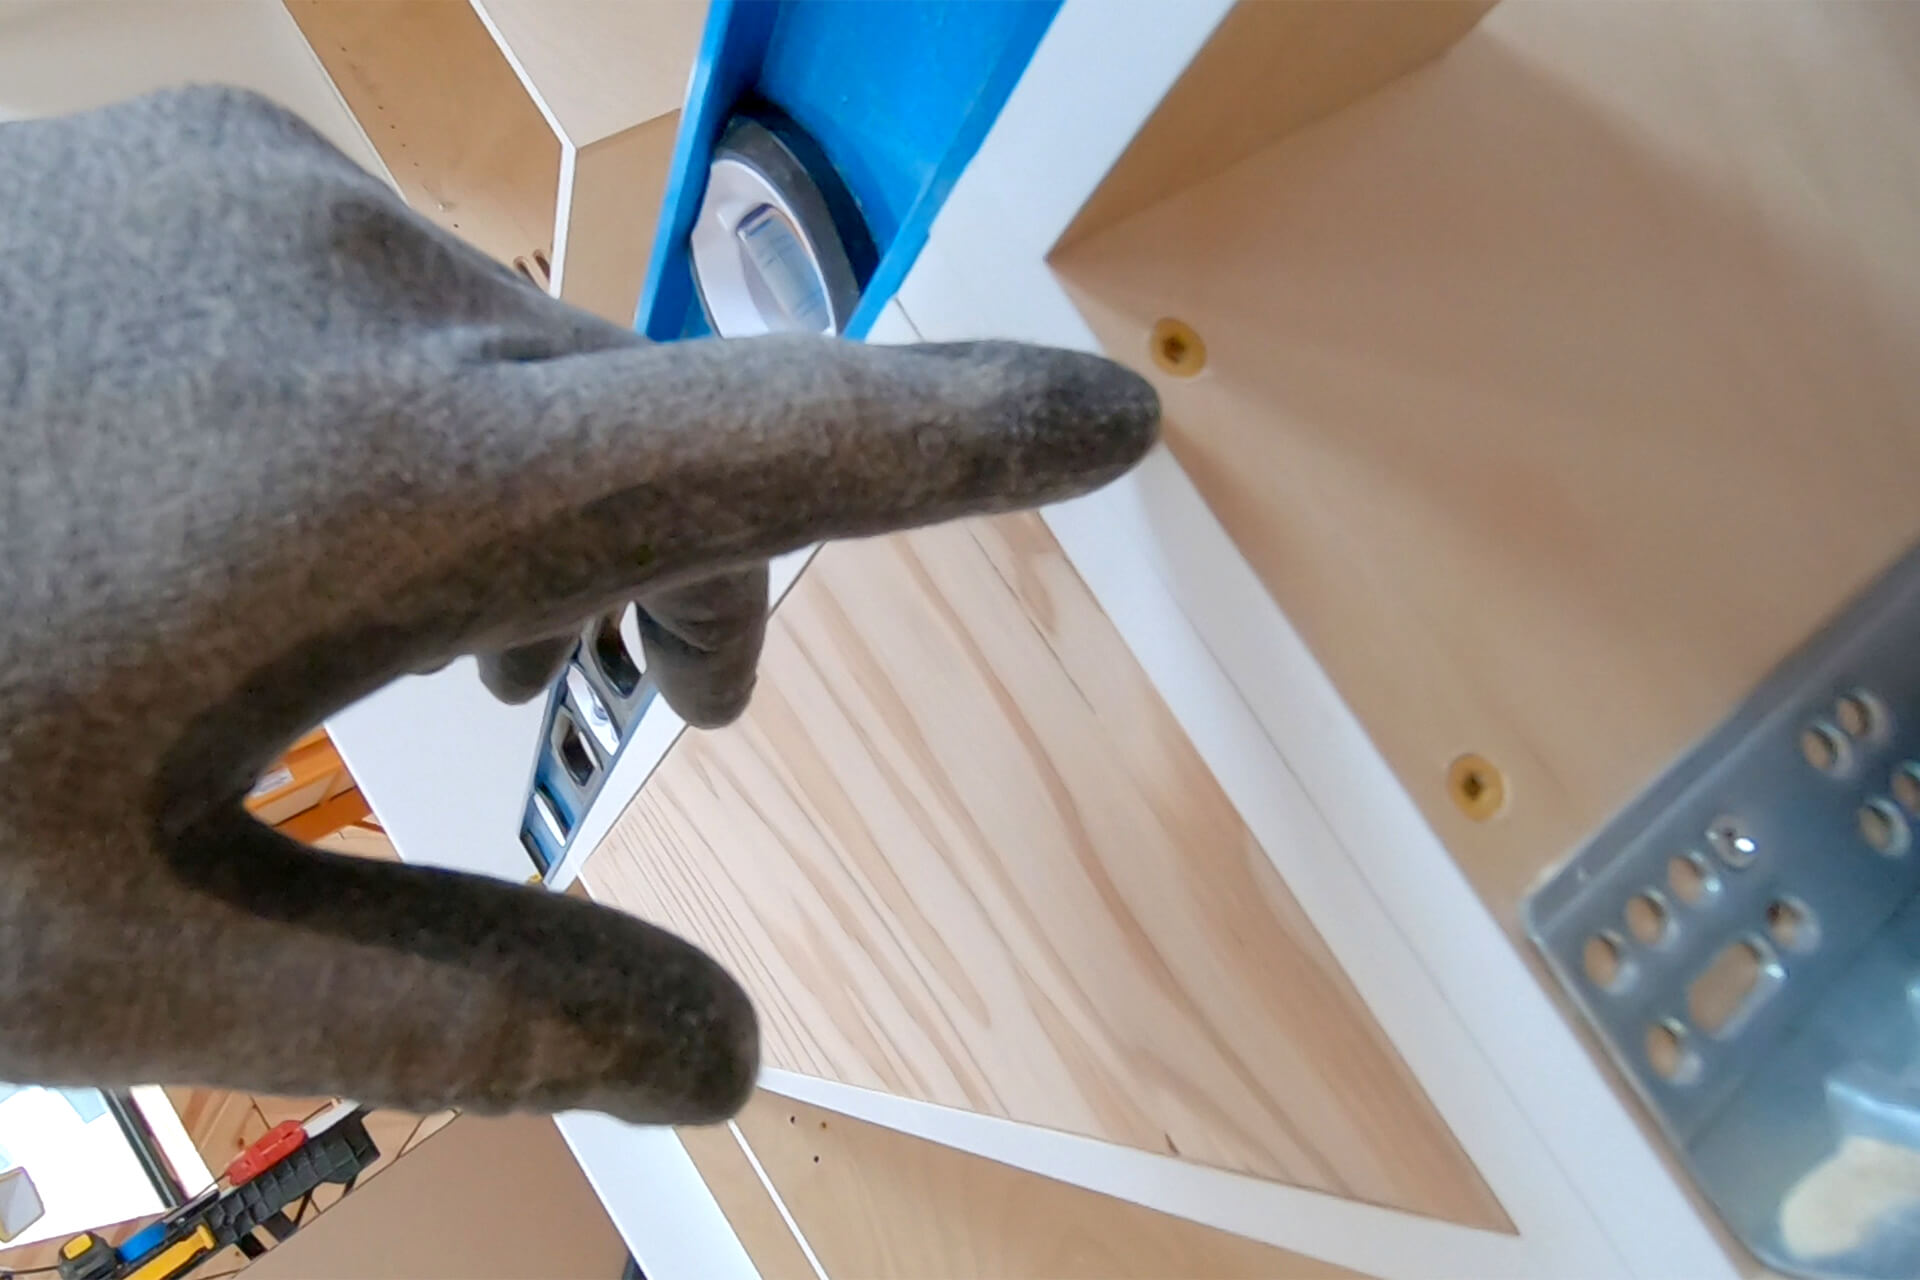
Pre-drill, countersink, and attach the plywood to the cabinets using #10 × 3” wood screws.
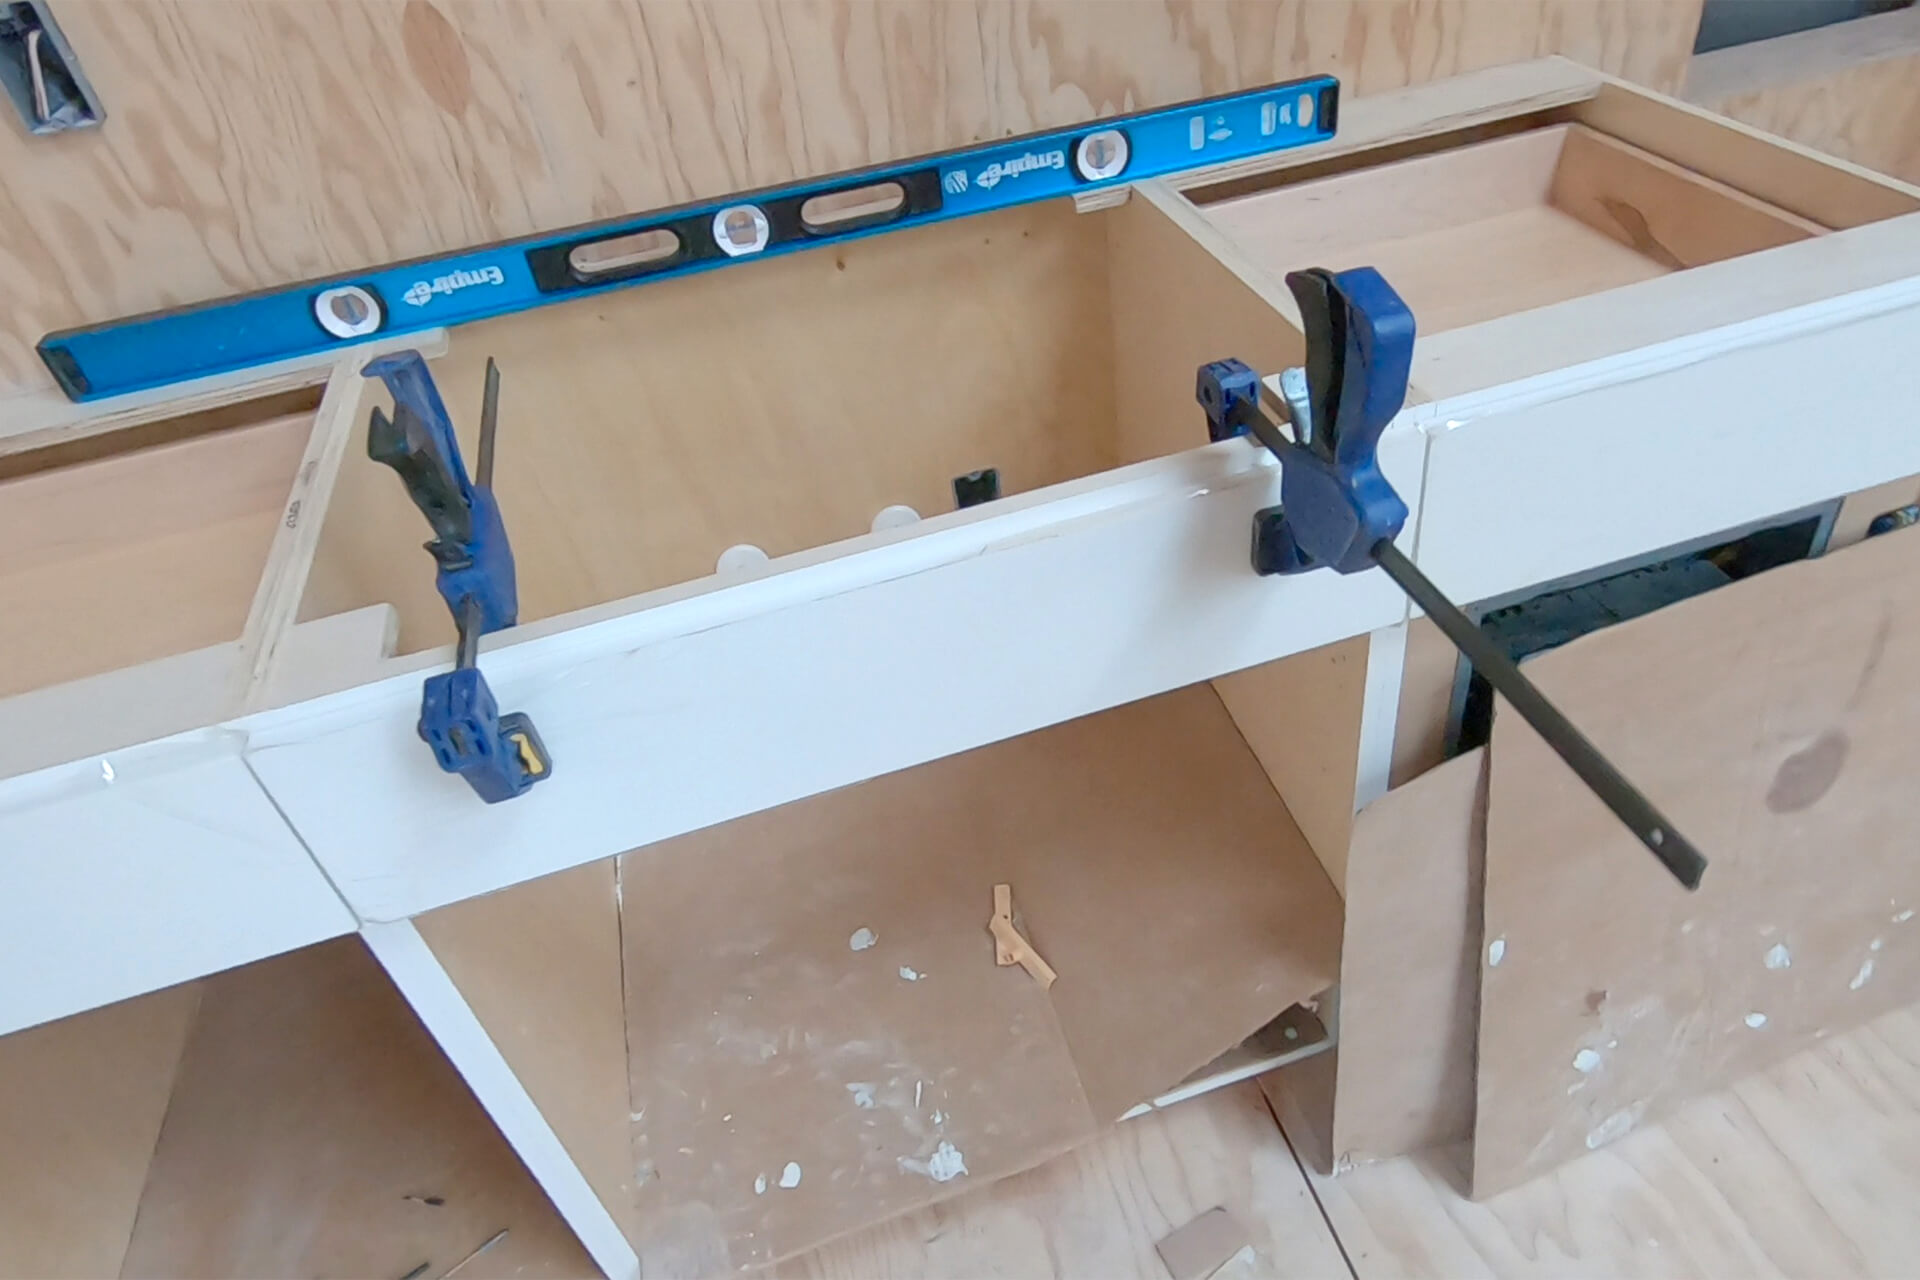
Temporarily insert the left and right cabinet drawers to properly align the faux drawer. Clamp it in place and secure it from the back with wood screws.
Pre-drill and countersink the locations where the laminate countertop will be secured to the cabinets from below.
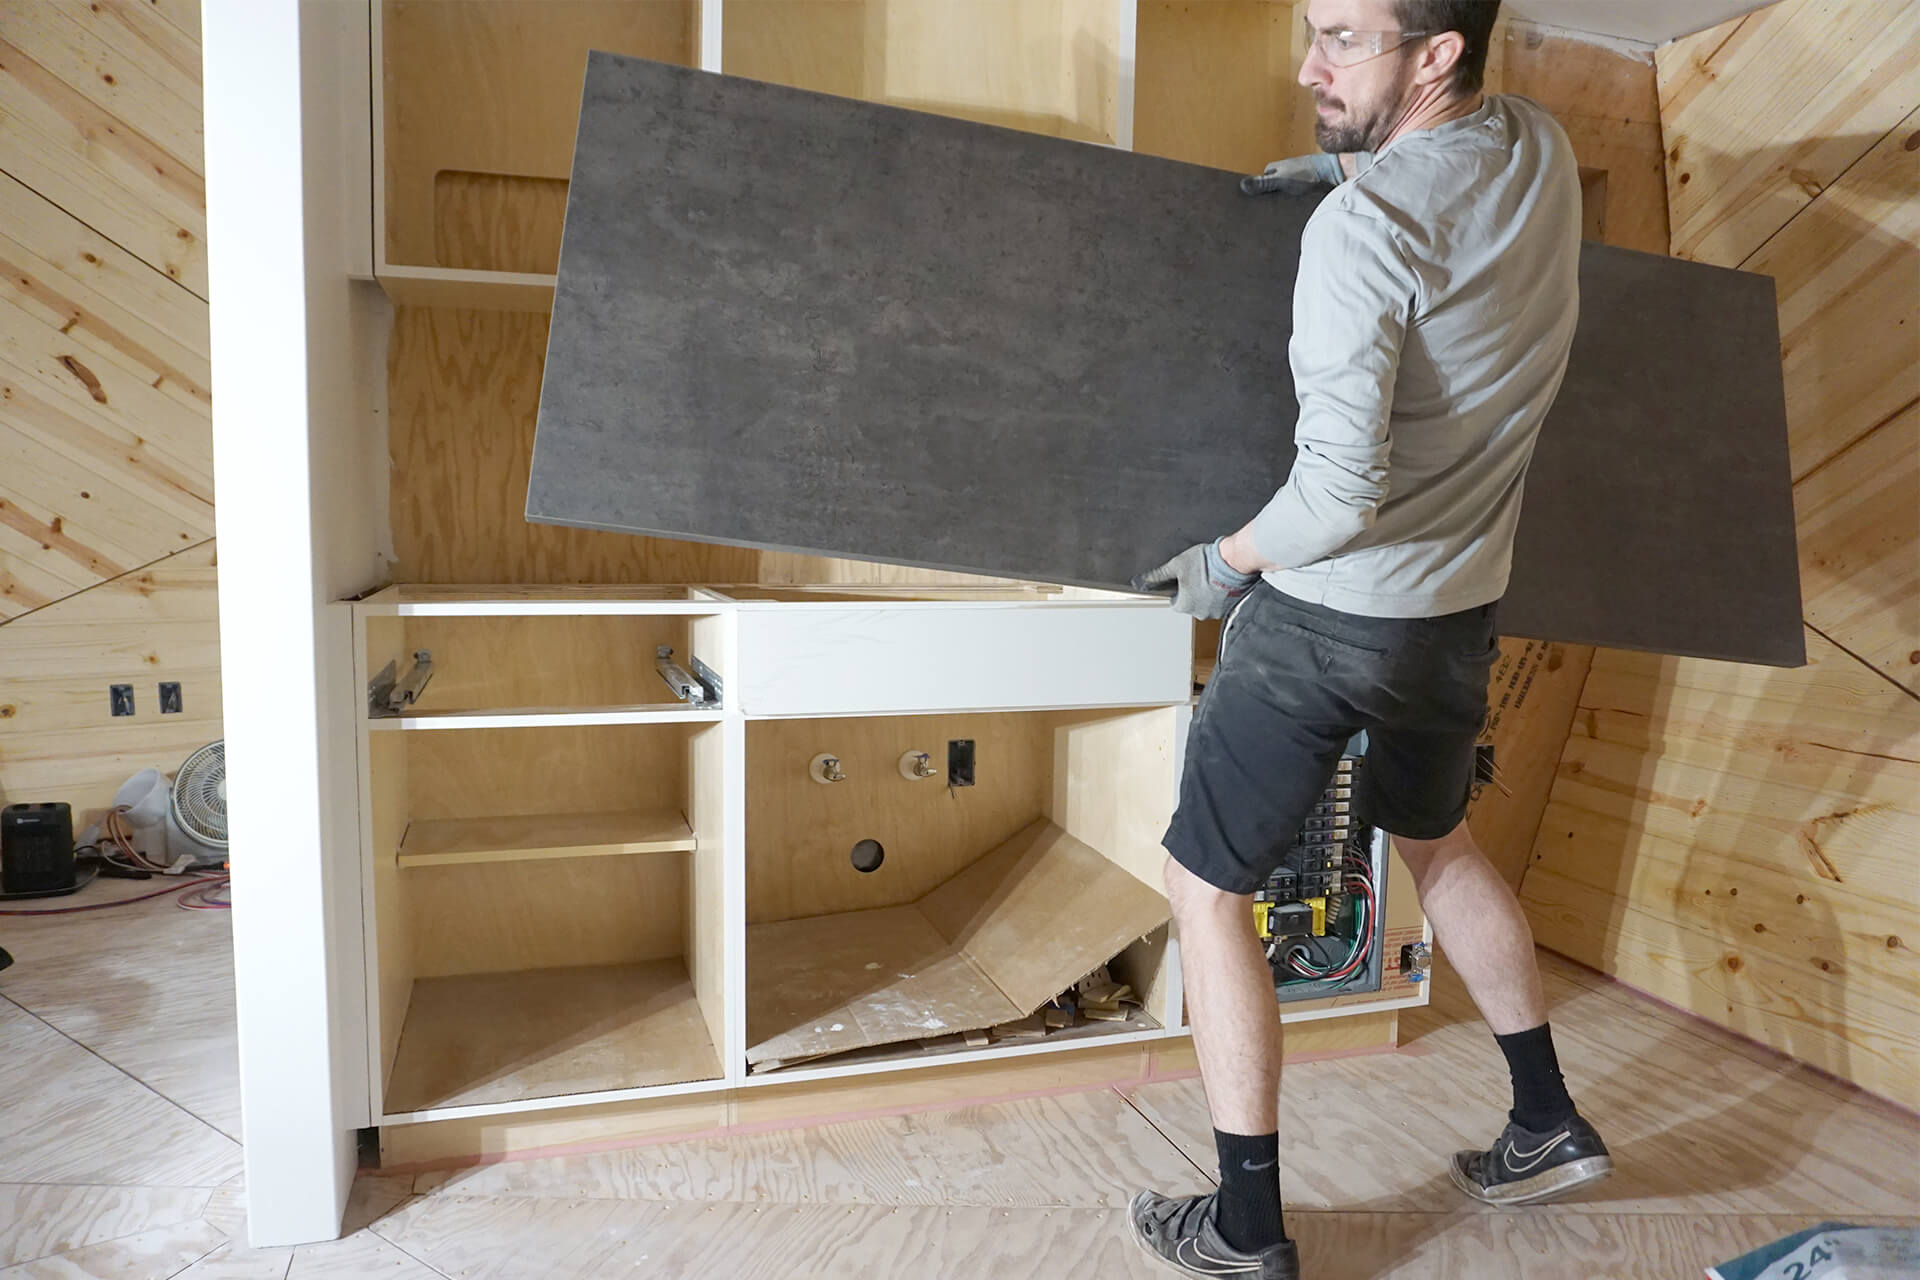
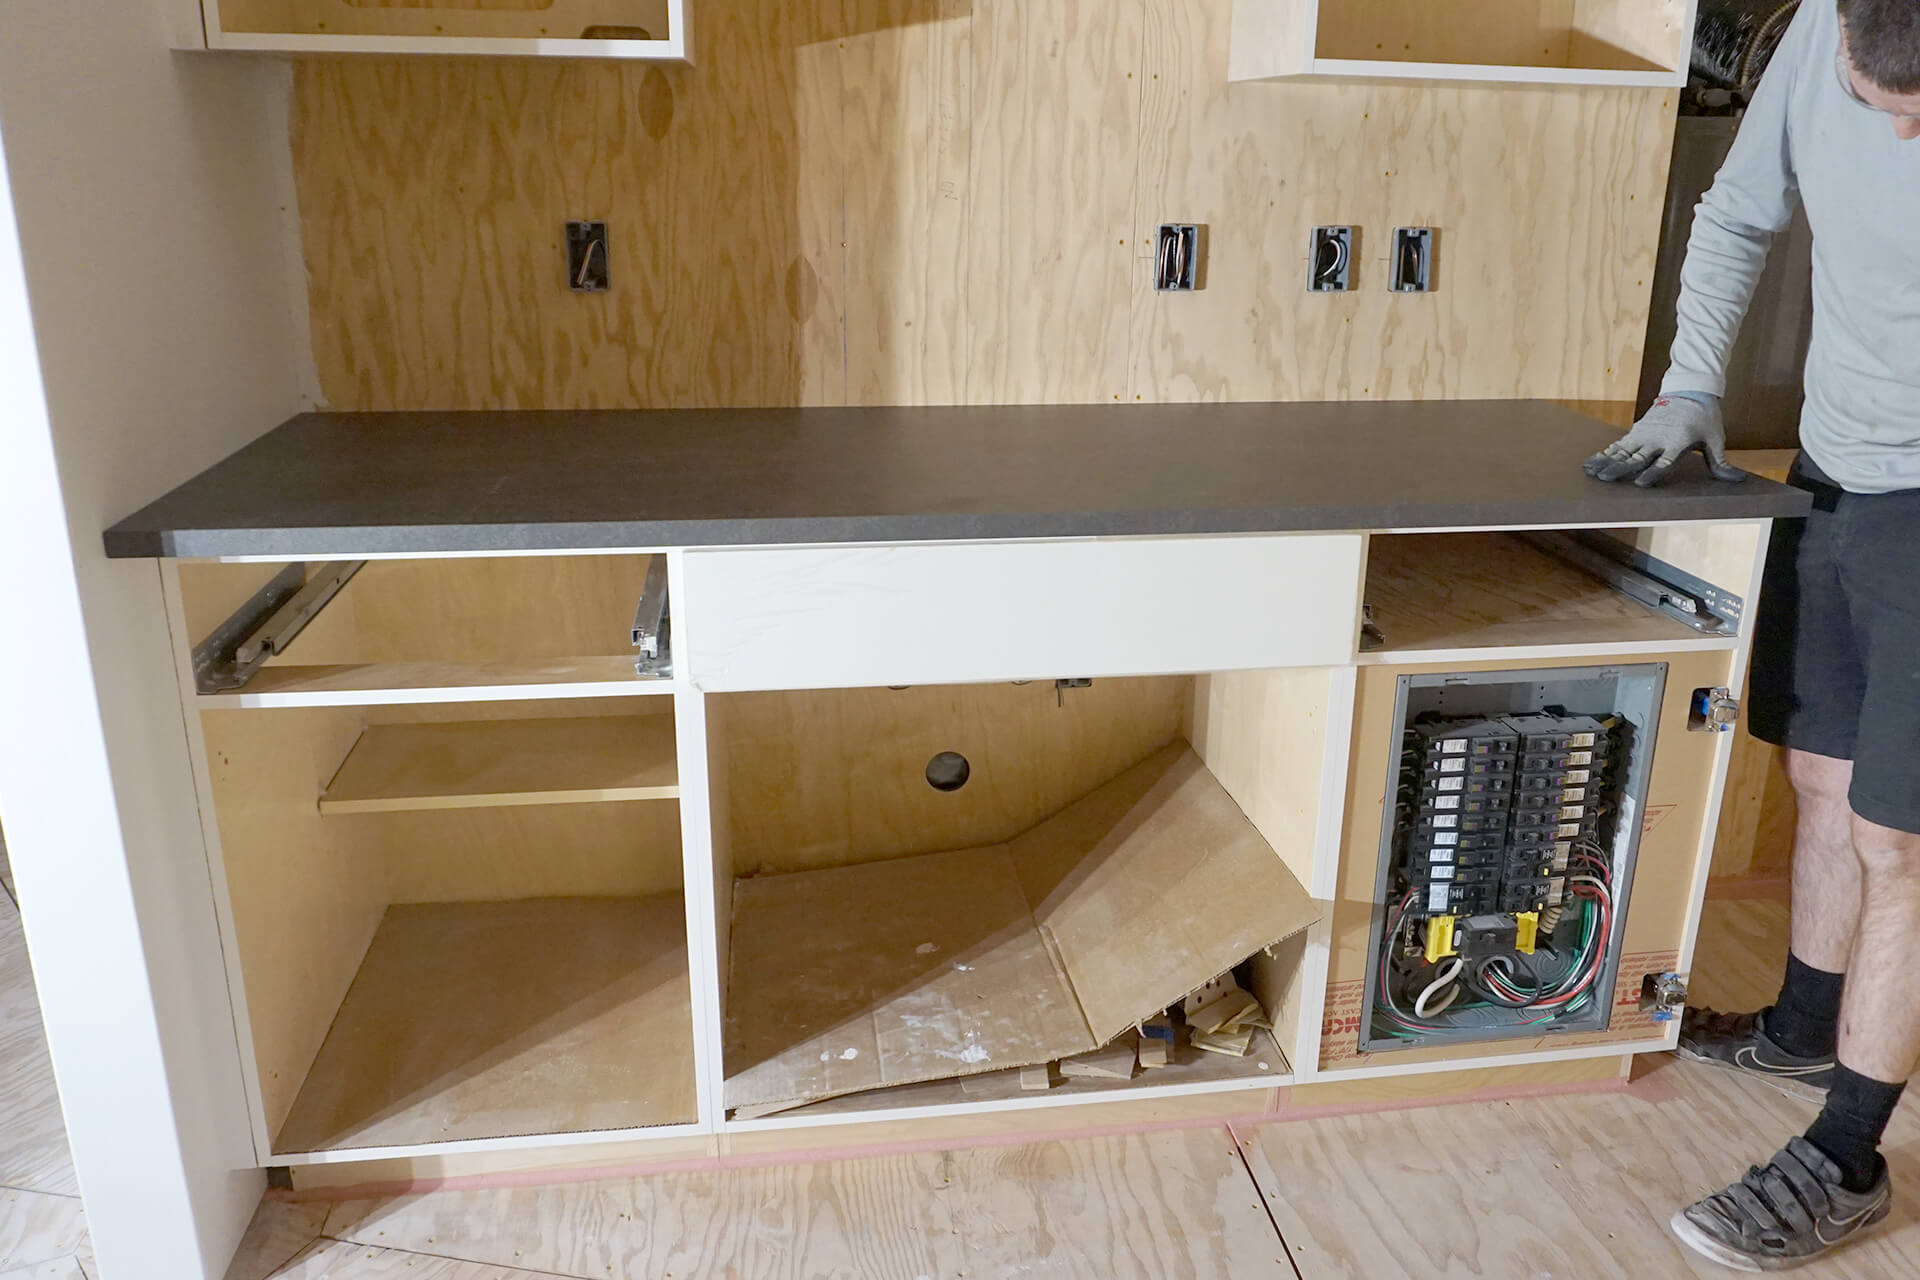
Place the countertop onto the cabinets. A perfectly sized, color-matched (to the future floor), and inexpensive off-the-shelf laminate option is shown here.
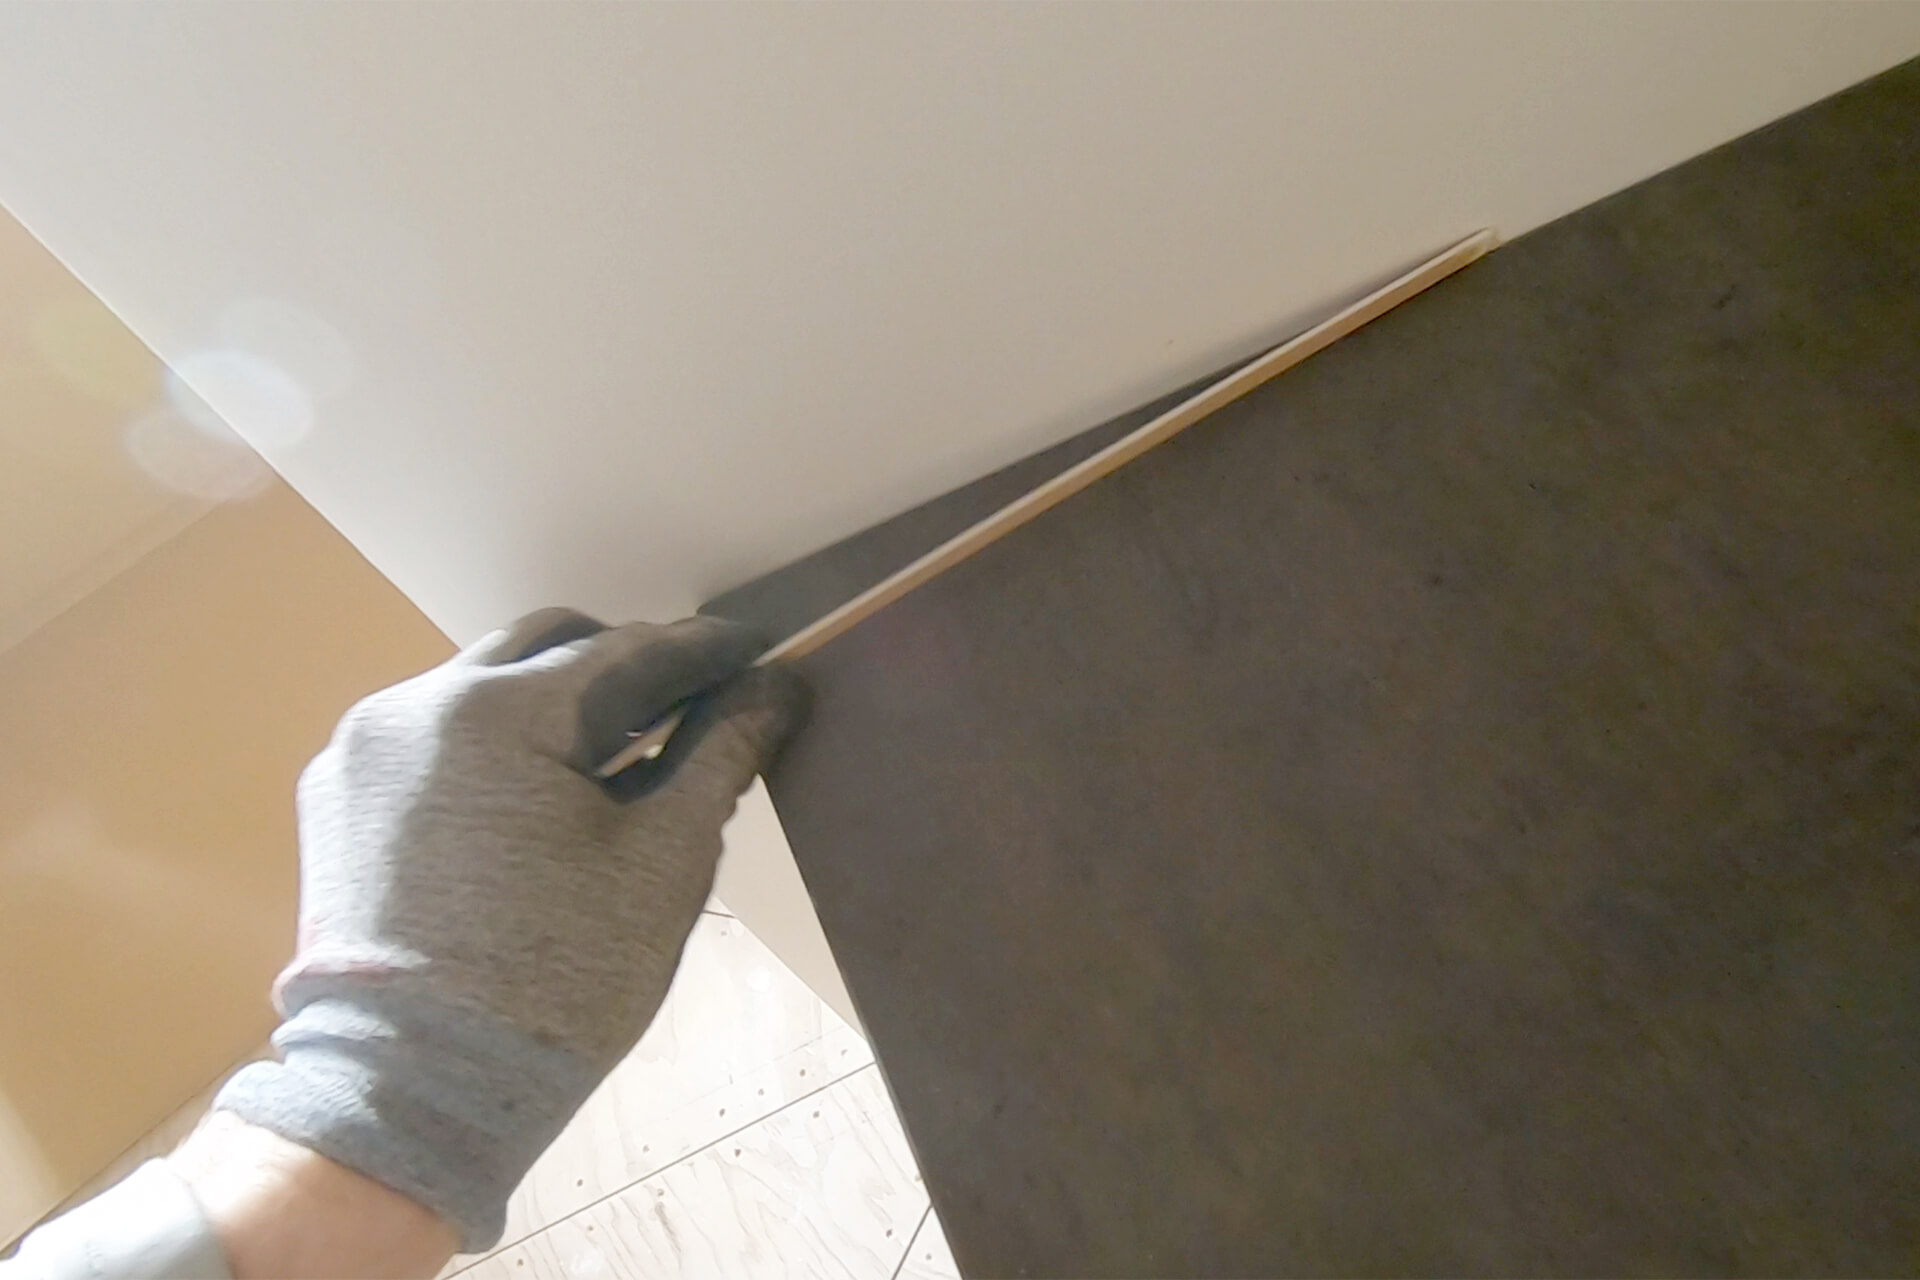
Place a spacer to maintain a small gap between the side wall and the countertop. The gap improves waterproofing against future spills by giving caulking a space to fill.
Clamp, pre-drill, and screw down the countertop using #8 × 1-1/4” wood screws. Double the screws in areas where the countertop is lifting (as shown here).
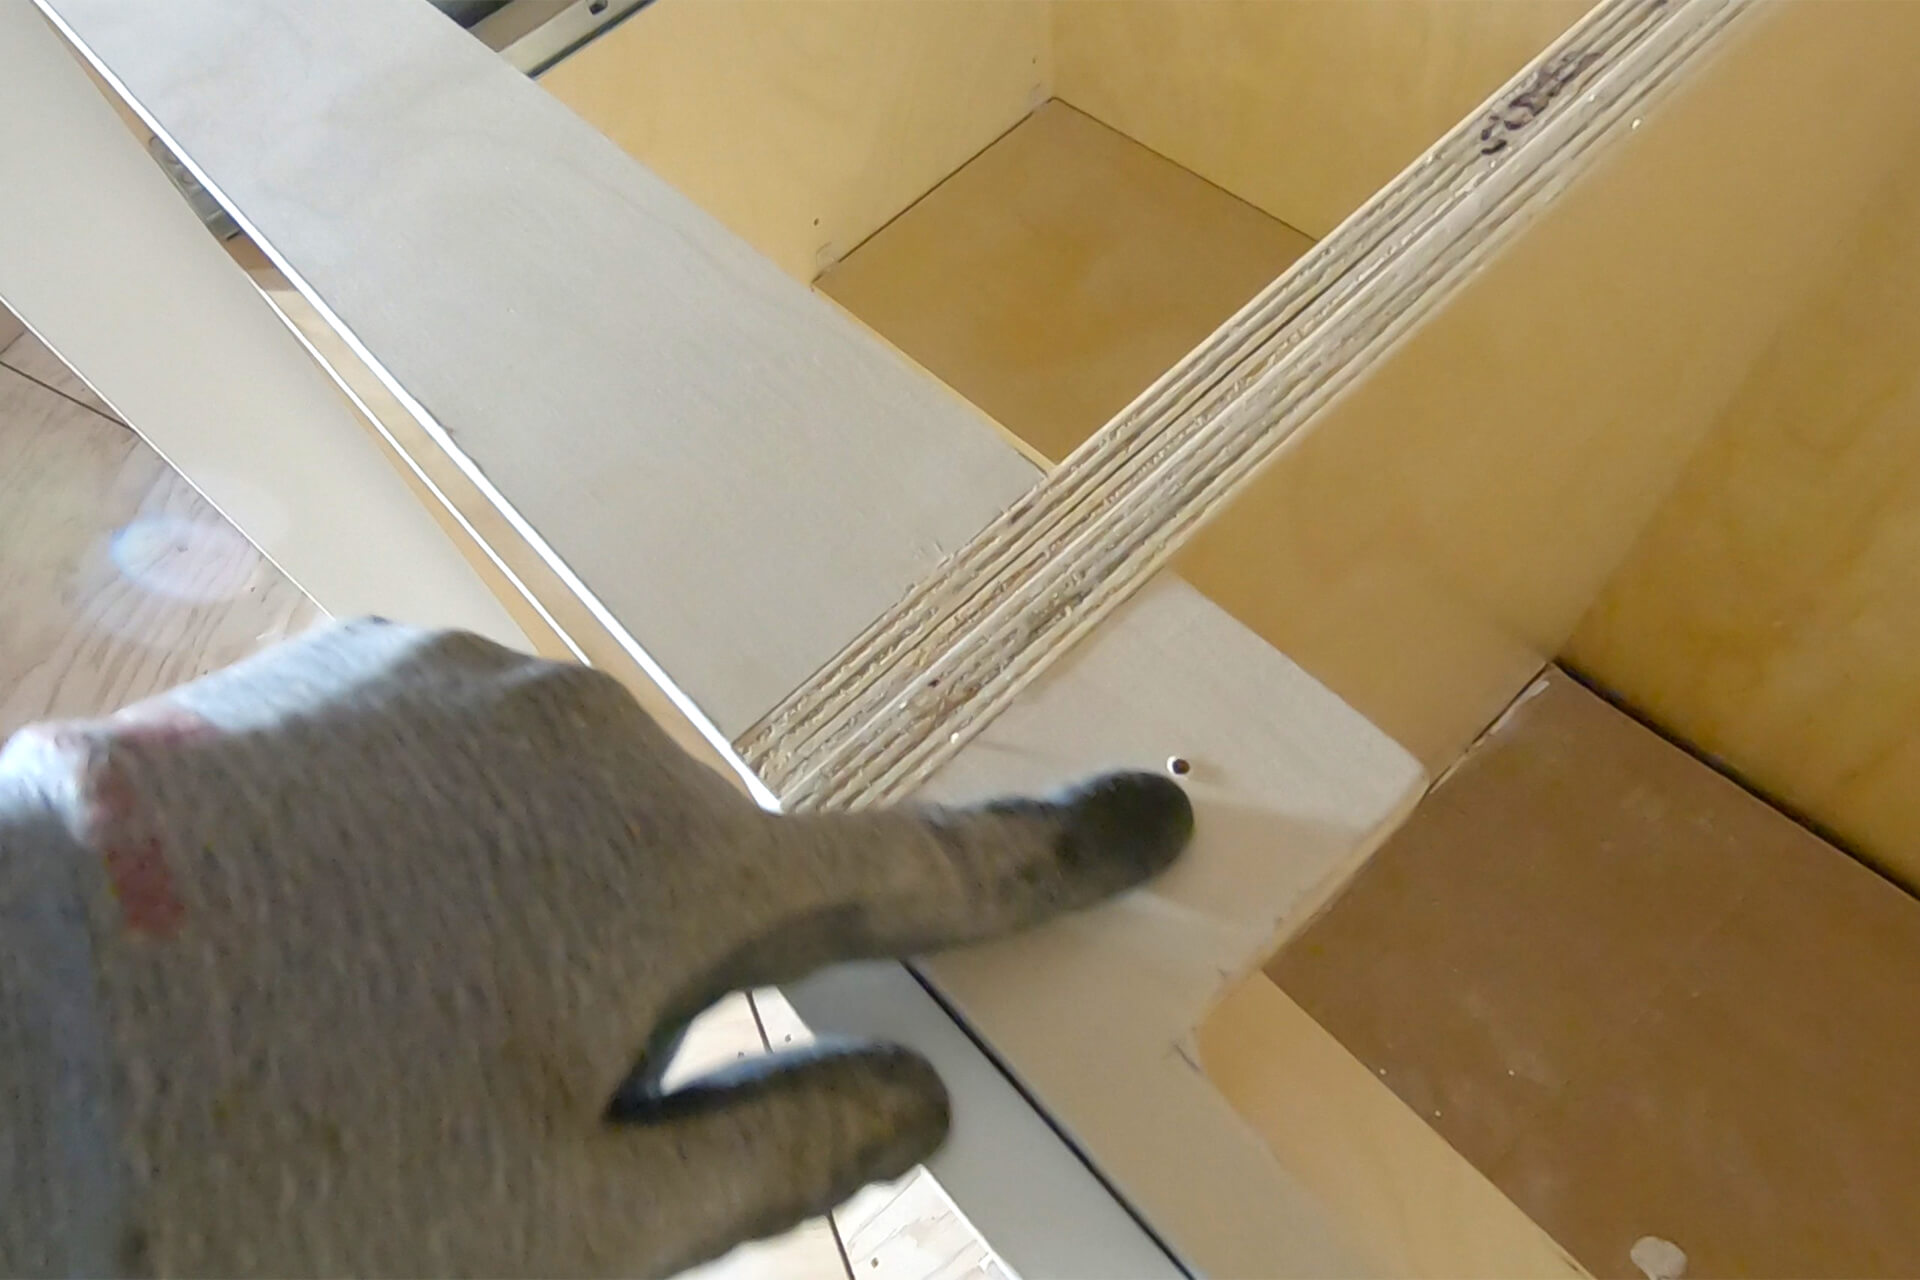
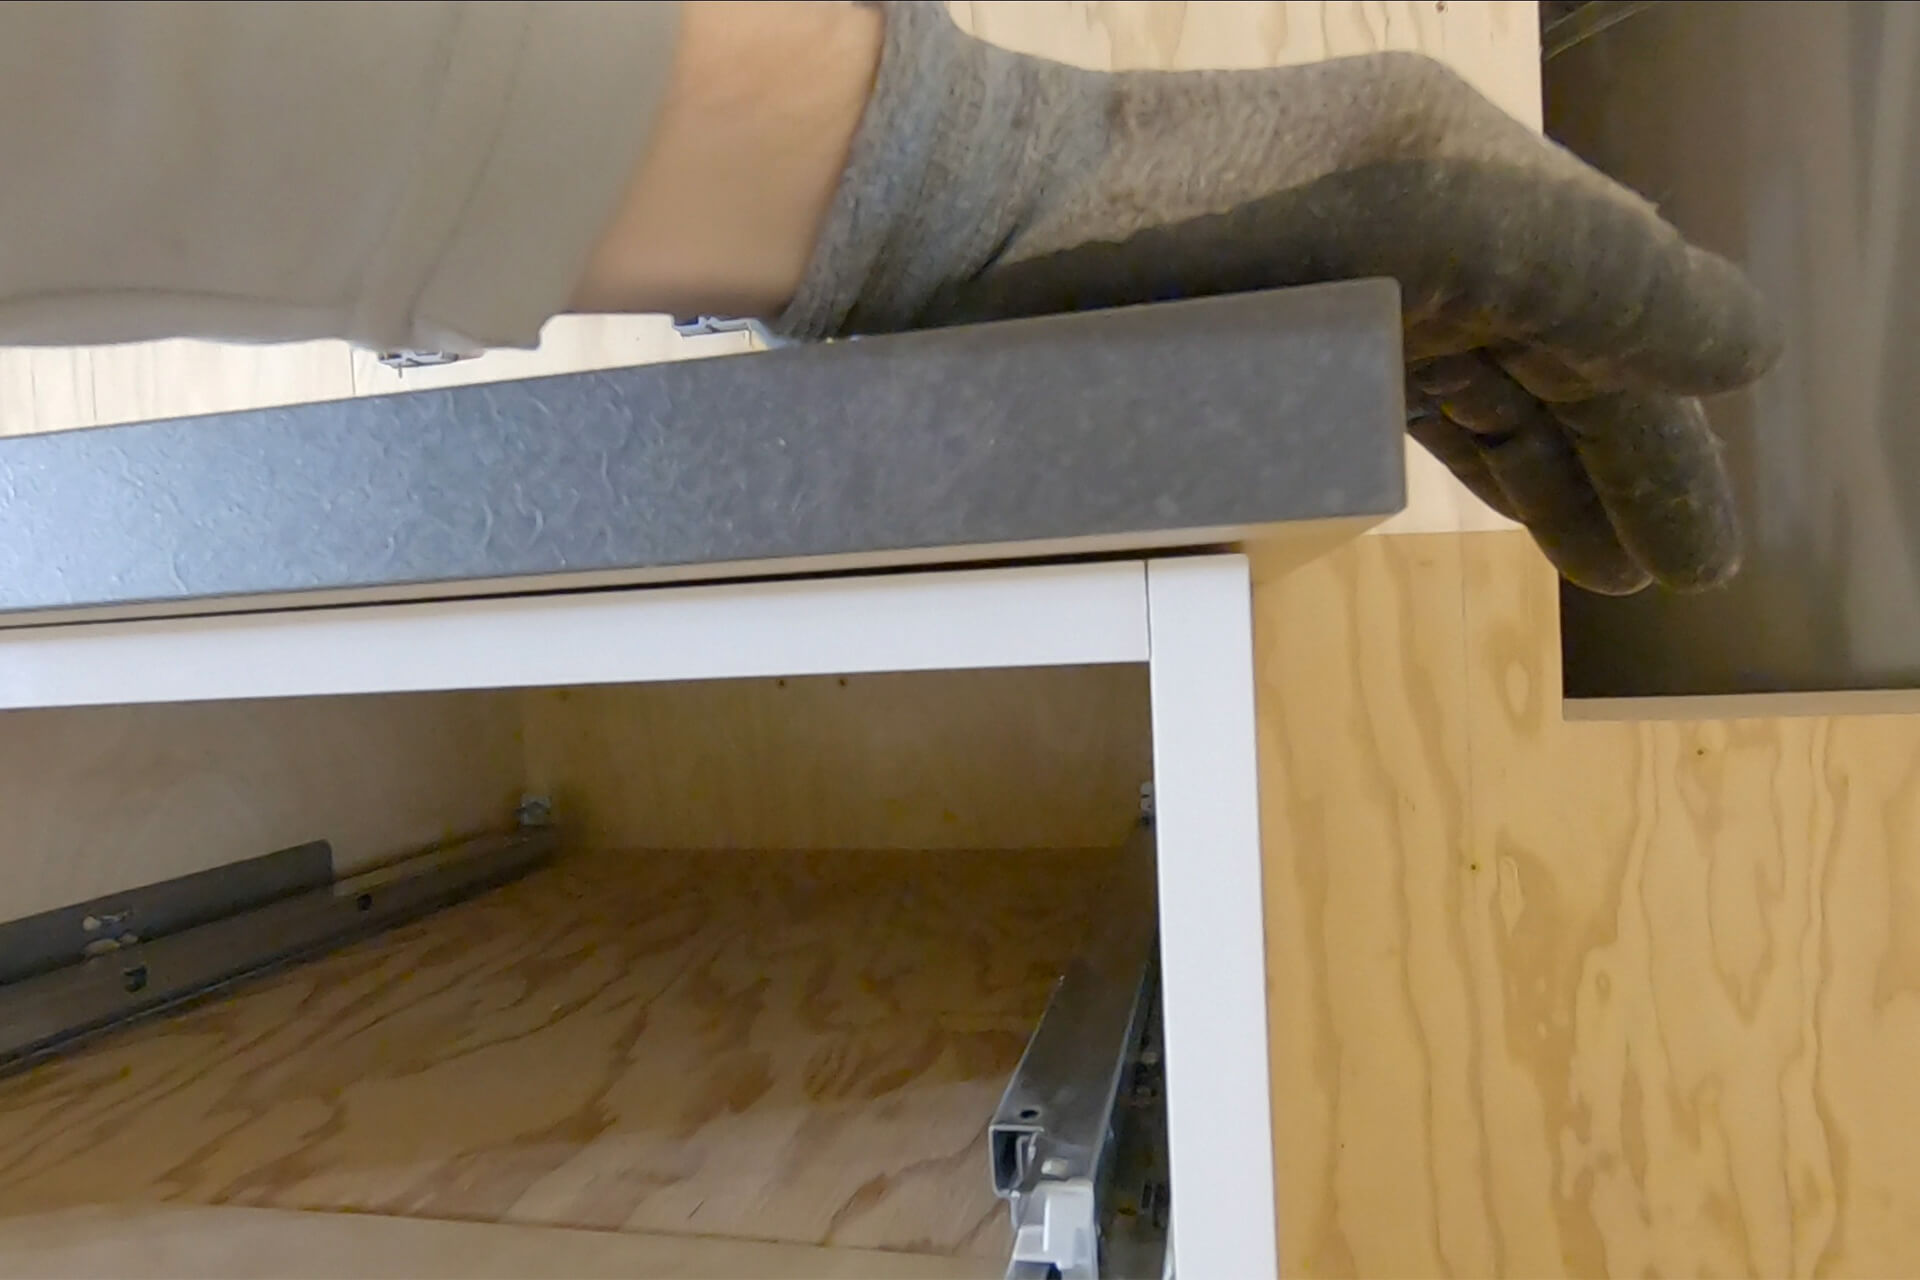
Detail shot showing the mounted countertop. Pre-drilling prevents the screws from causing the laminate surface to bubble from below.
Next Step