Kitchenette – Cabinets

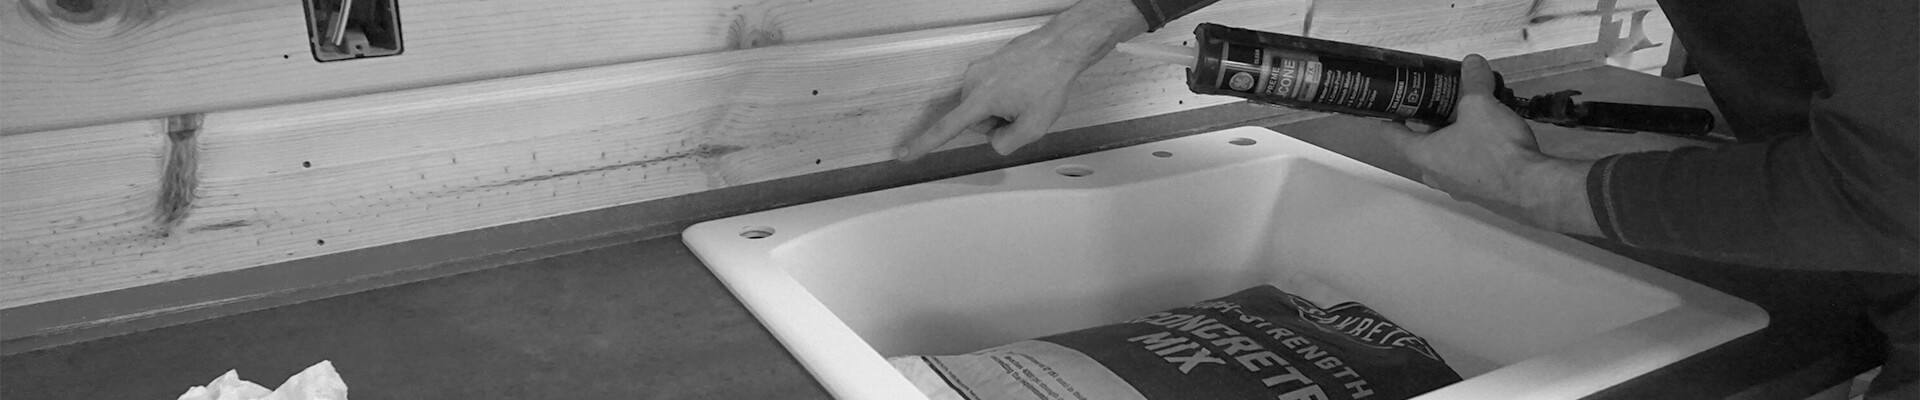
Screw the upper cabinets together to form a single unit, then modify them to properly fit a small microwave.
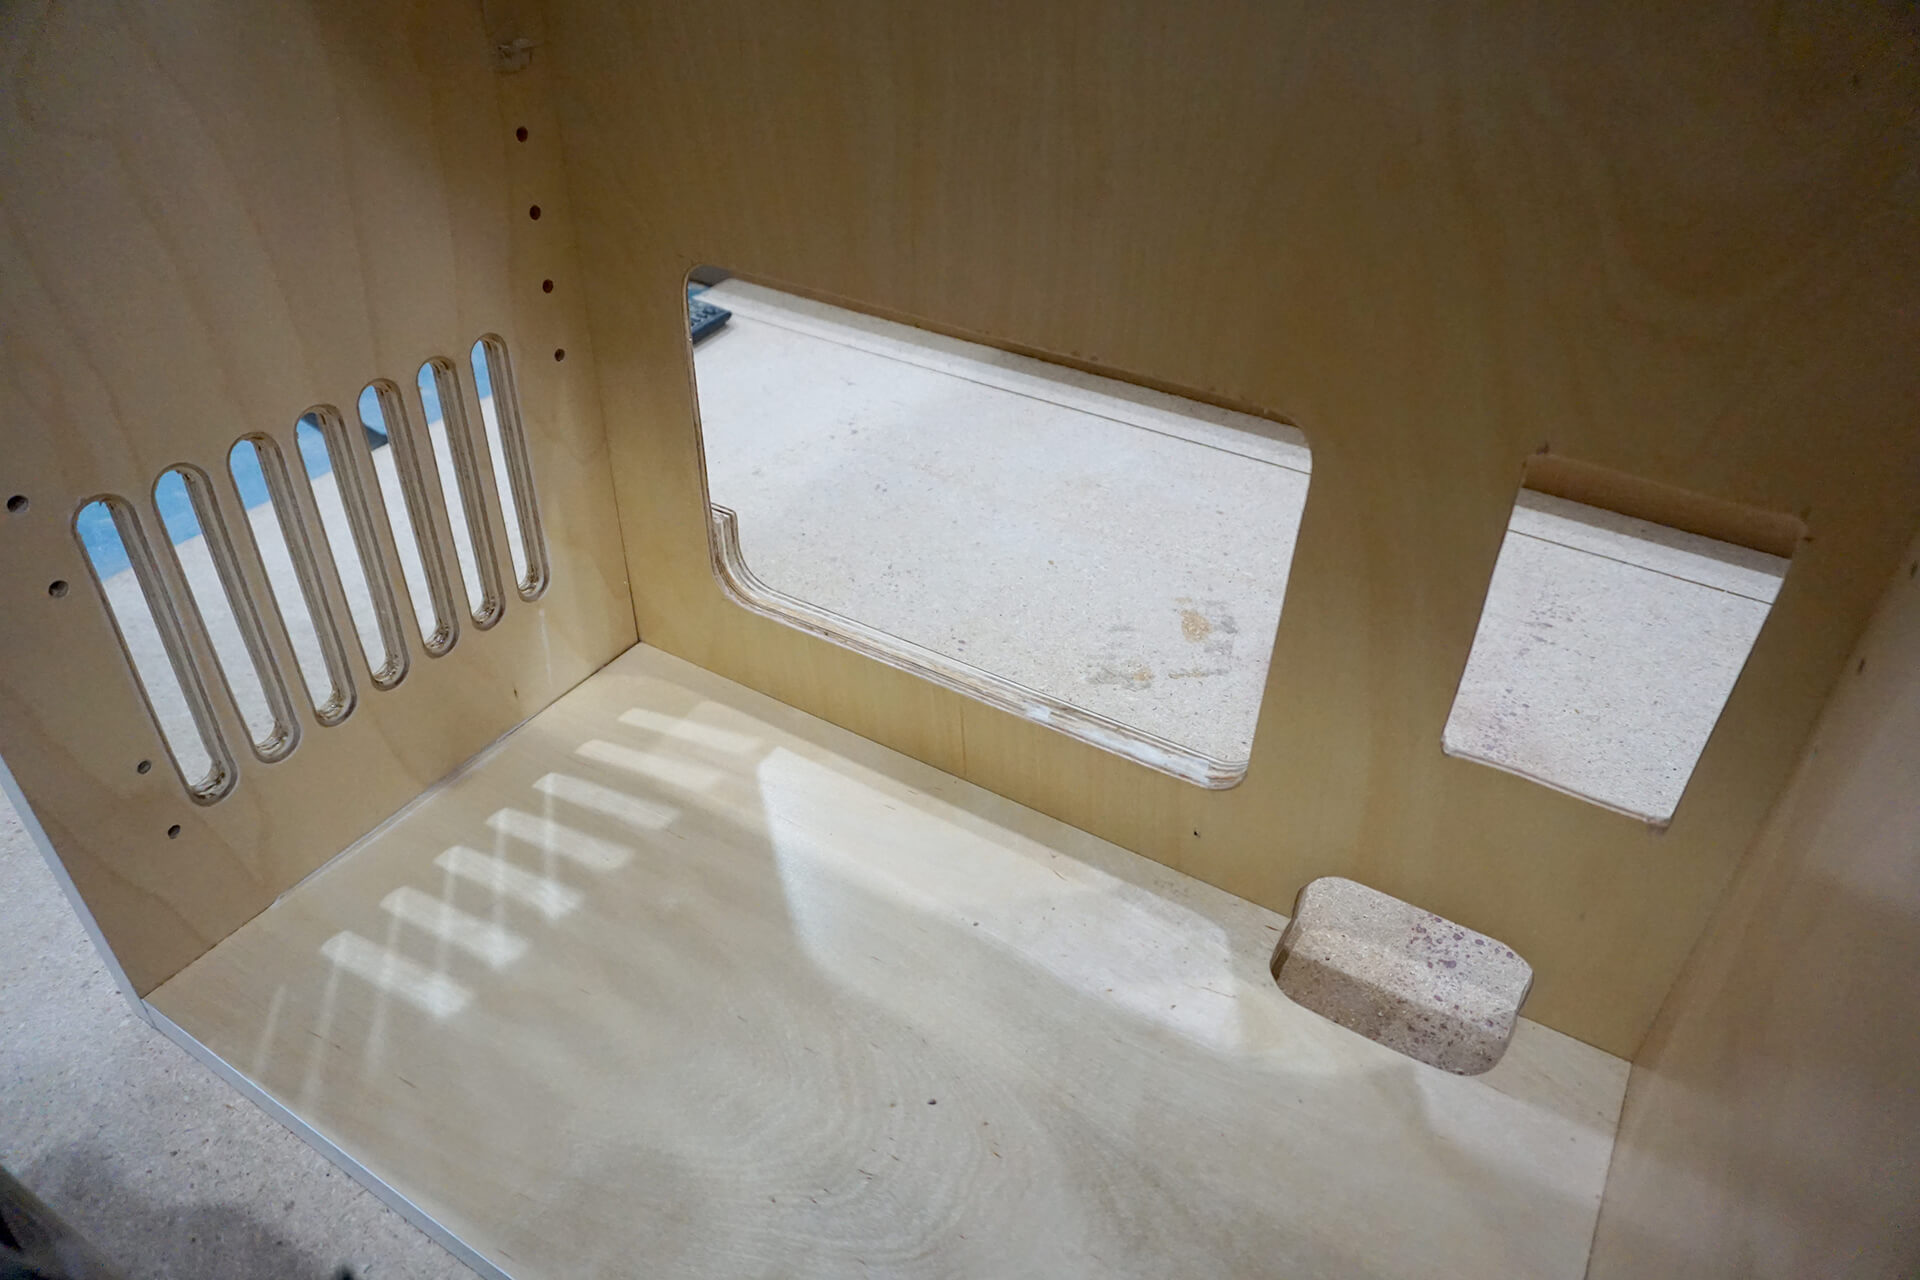
Detail shot showing the various cabinet cuts for the microwave, from left to right: side vent, large opening for clearance, bottom vent, and clearance for the wall-mounted outlet.

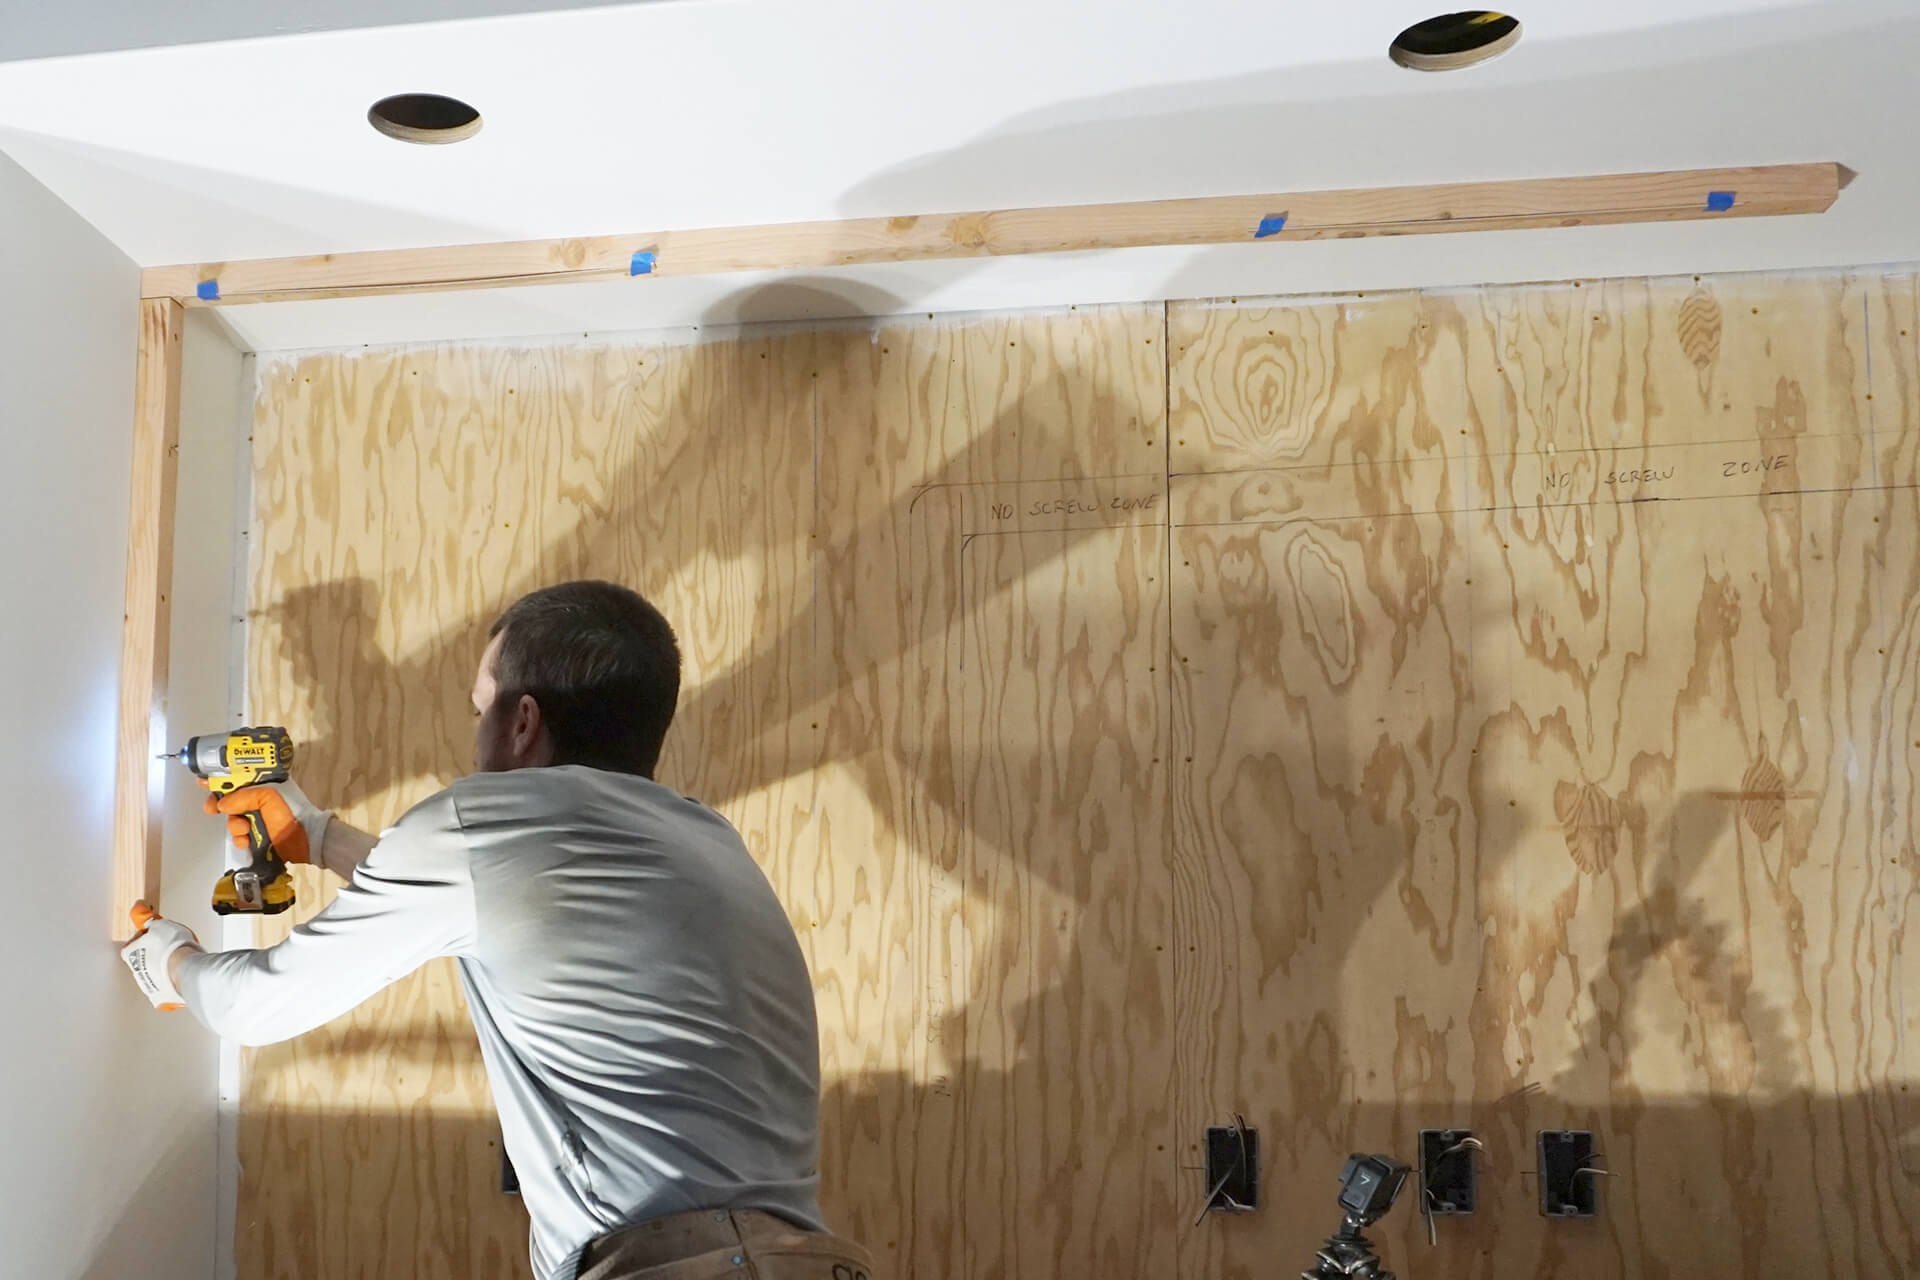
Mark the wall stud locations onto the back of the cabinet assembly. Pre-drill and countersink the mounting holes, ideally at the stud locations. Aim for six to eight screws per cabinet.
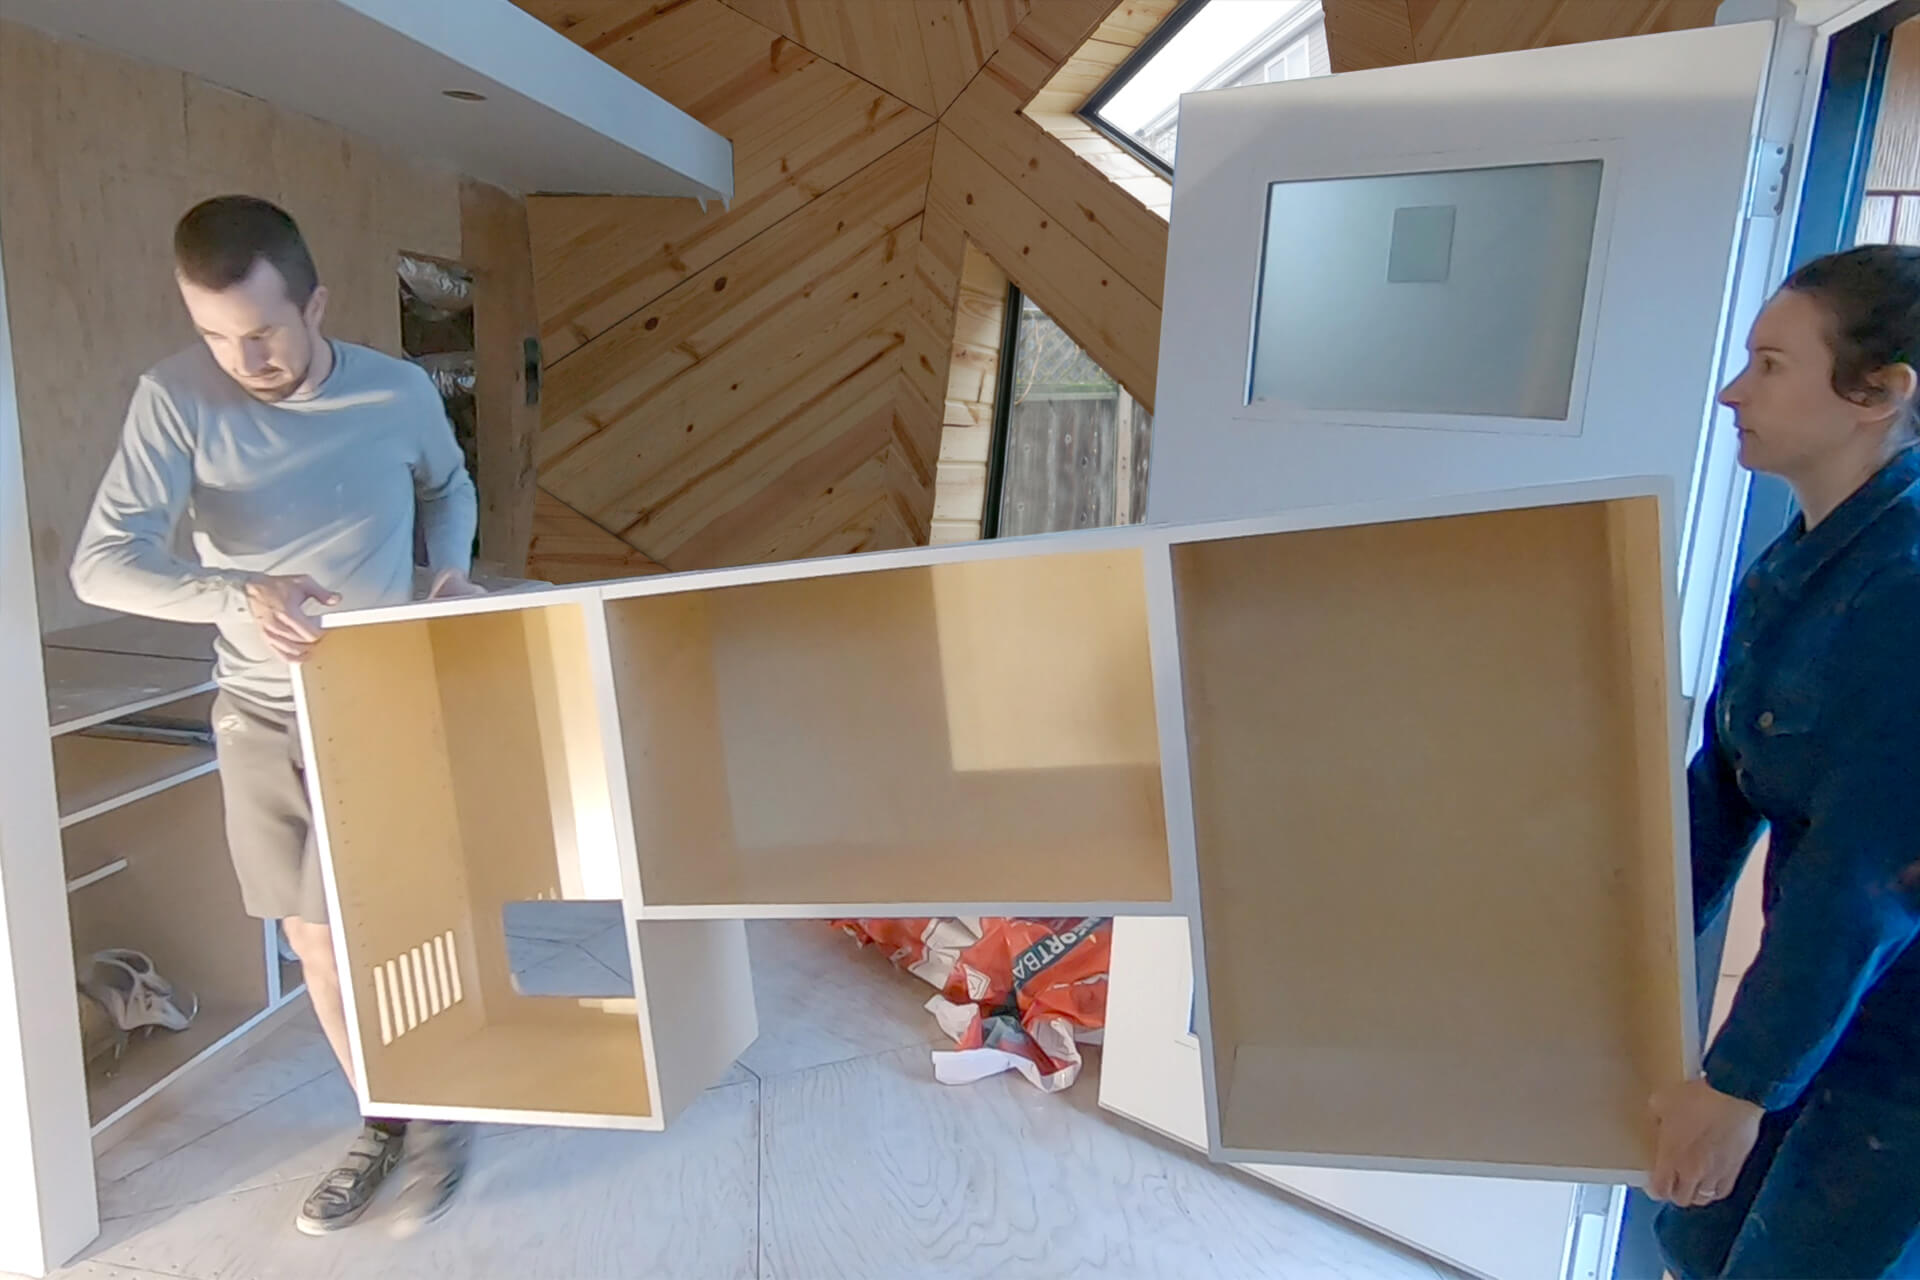
Bring the cabinet unit into the dome. Hold it in position and mark where it sits on the wall and ceiling. Apply flame retardant spray to the plywood behind the microwave cabinet.
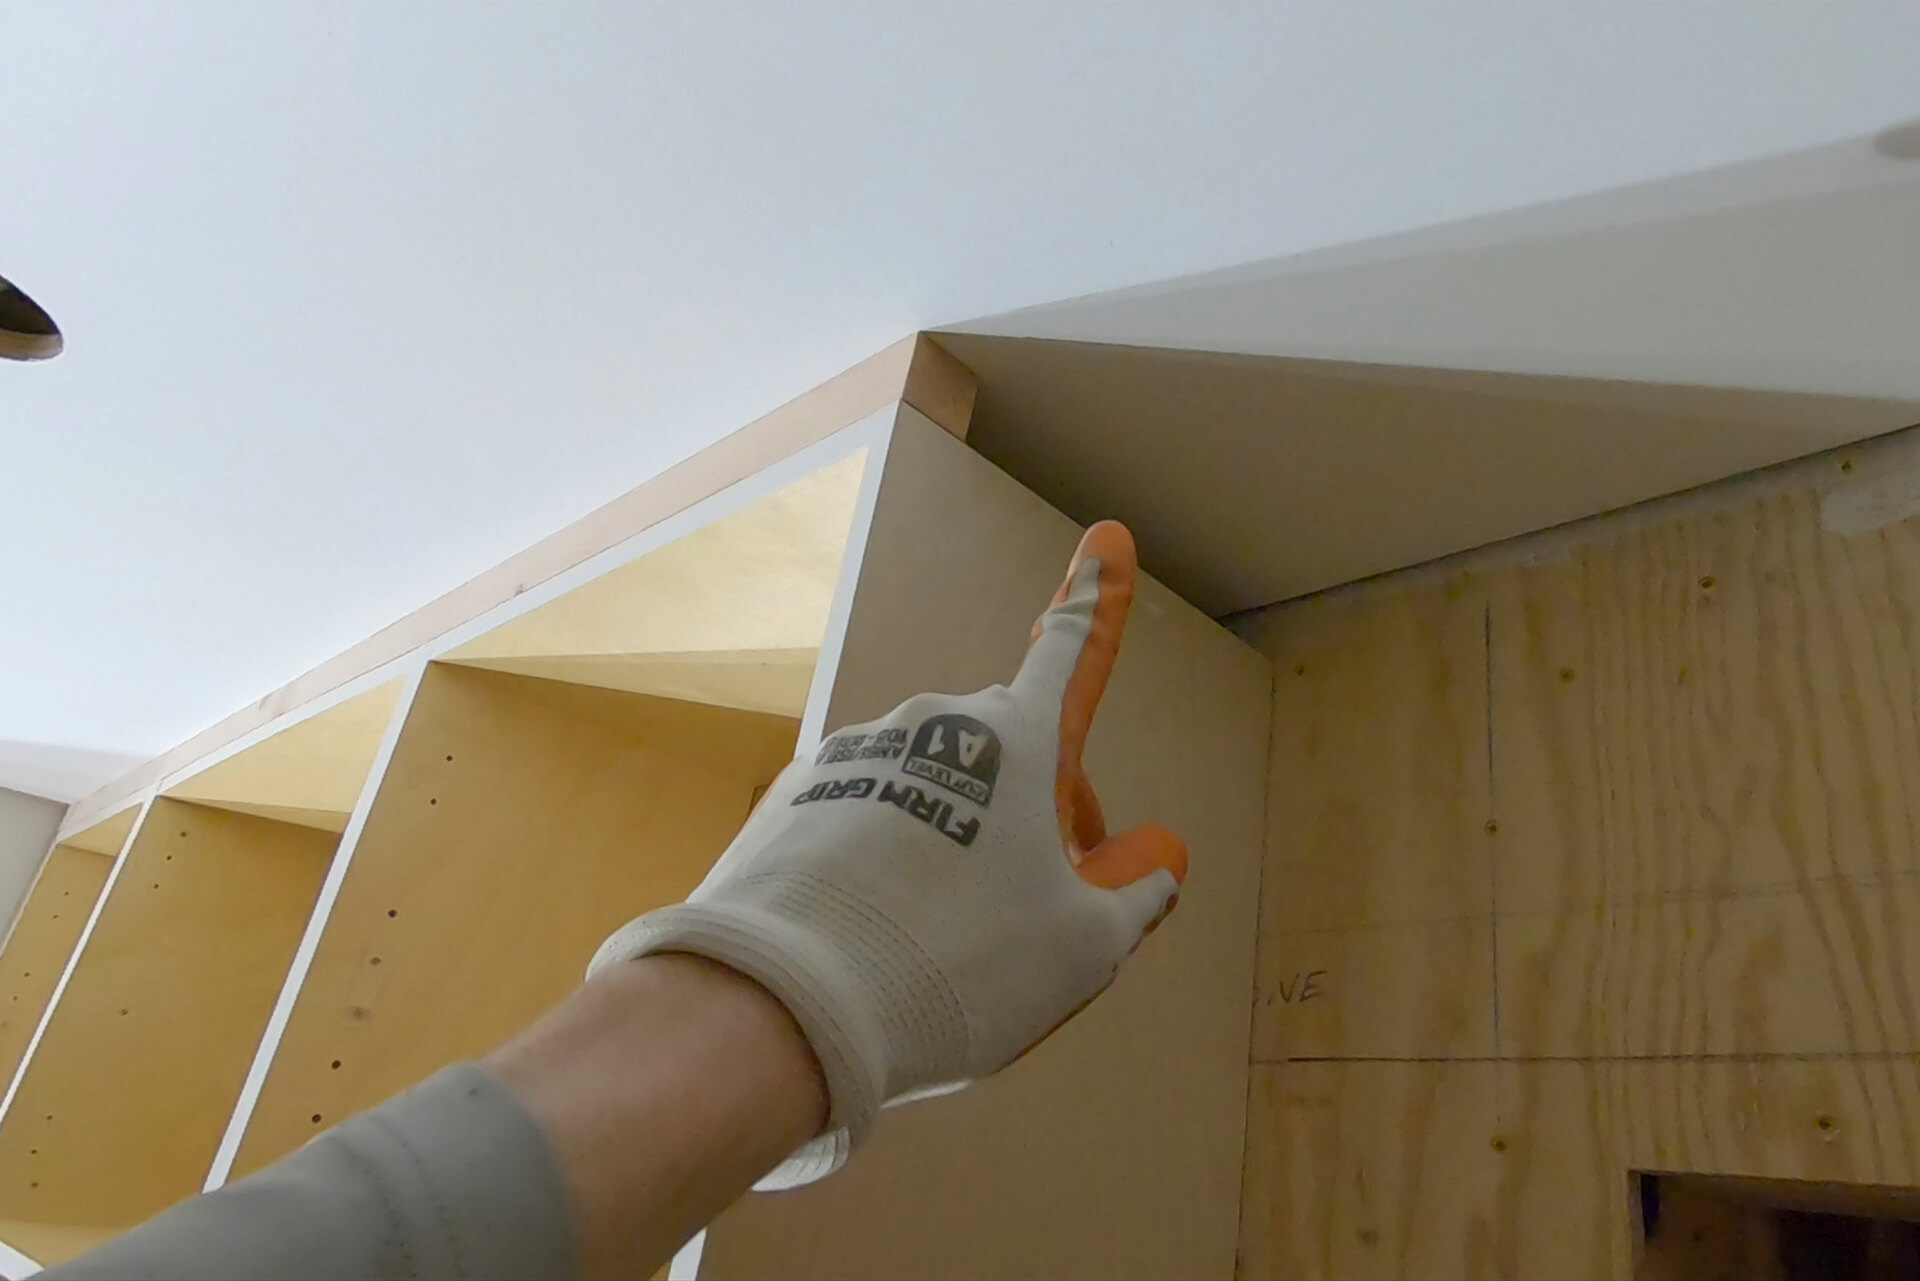
Attach blocking to the side wall and ceiling so it will sit flush with the cabinet unit. Tape spacers to the blocking to maintain a small gap around the cabinet unit.
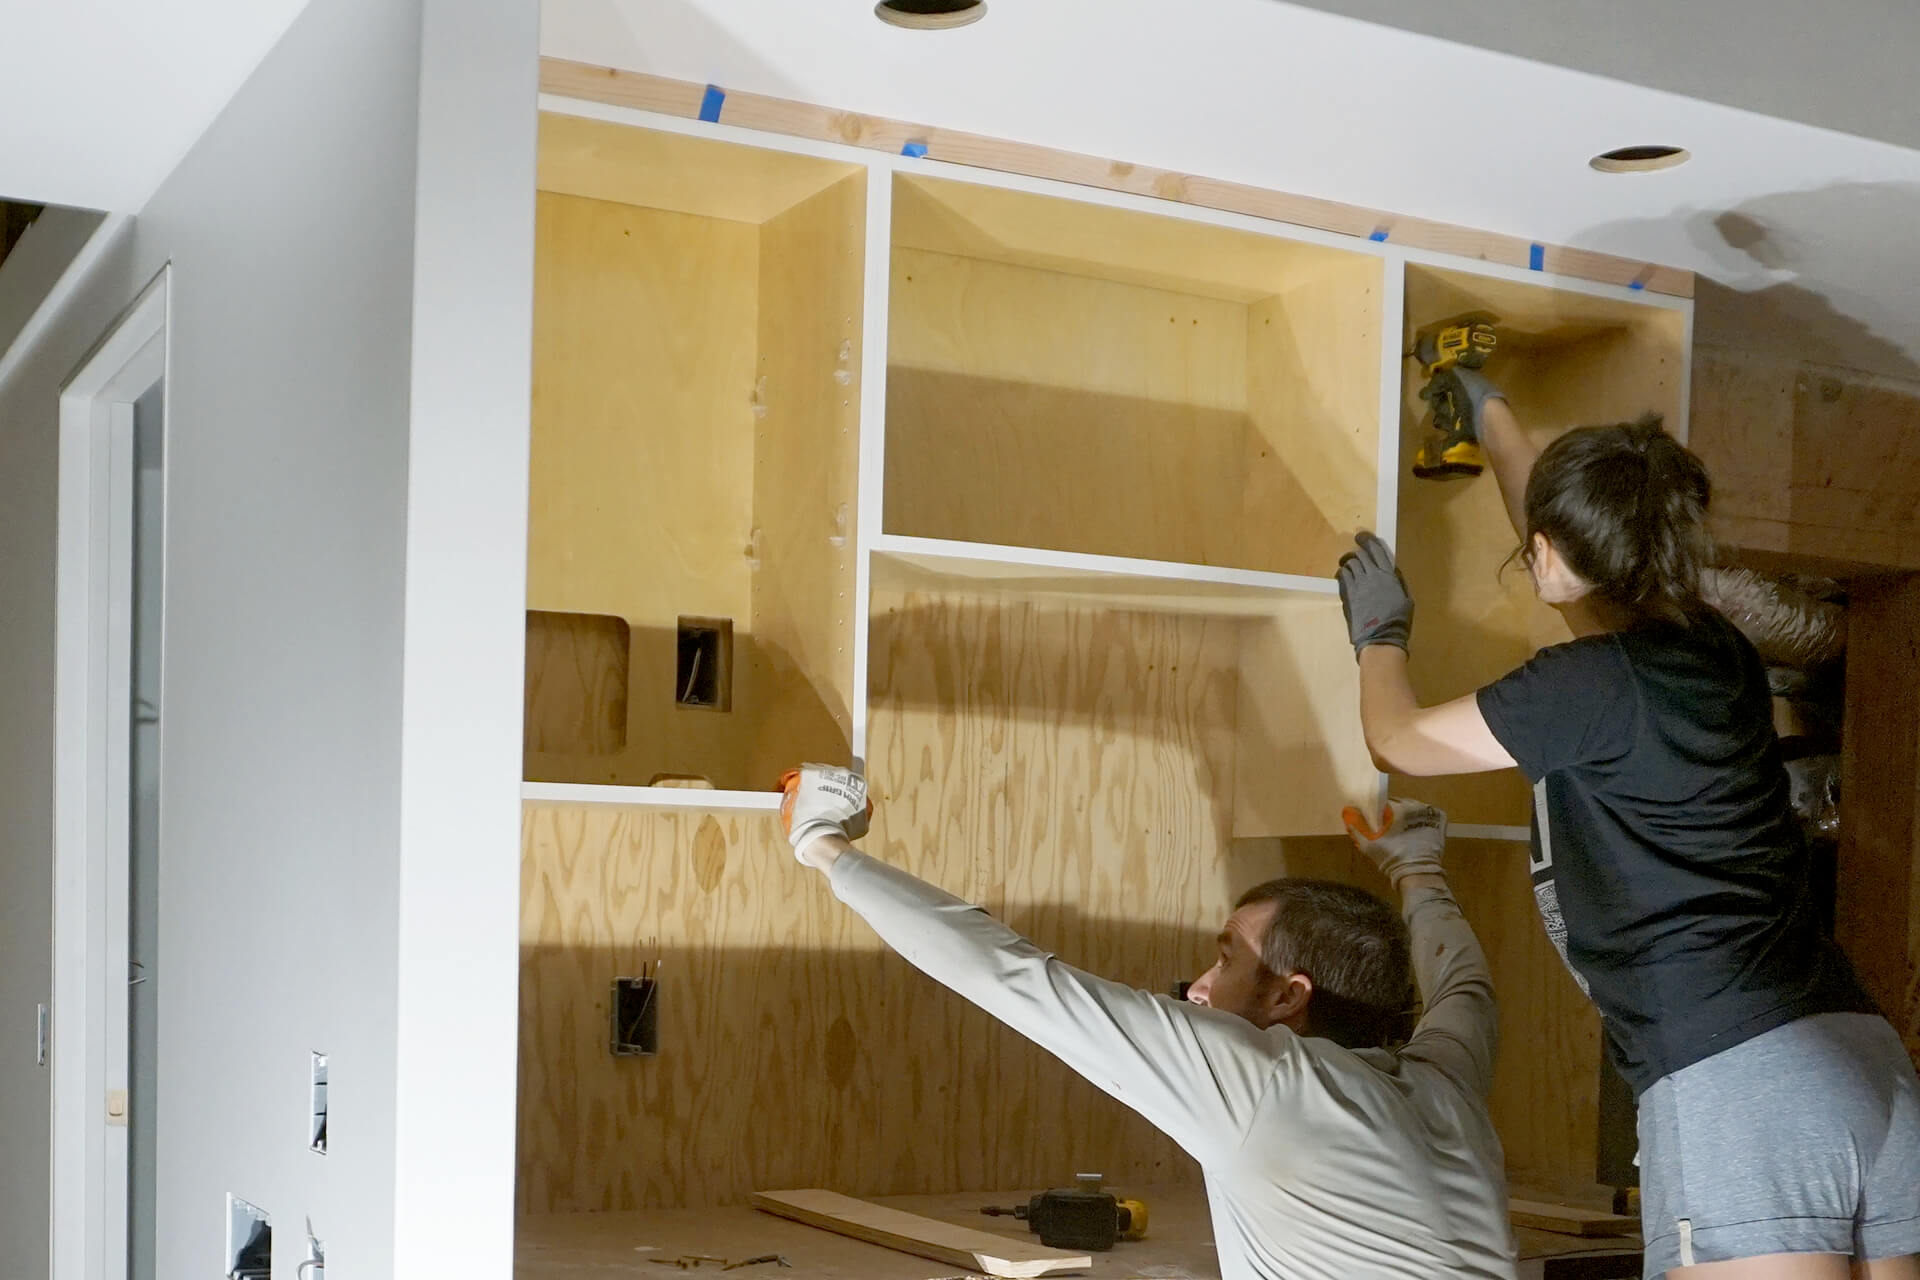
Hold the cabinet unit tightly against the spacers and screw it to the wall through the various pre-drilled locations. Remove the spacers after the cabinet unit is secured.
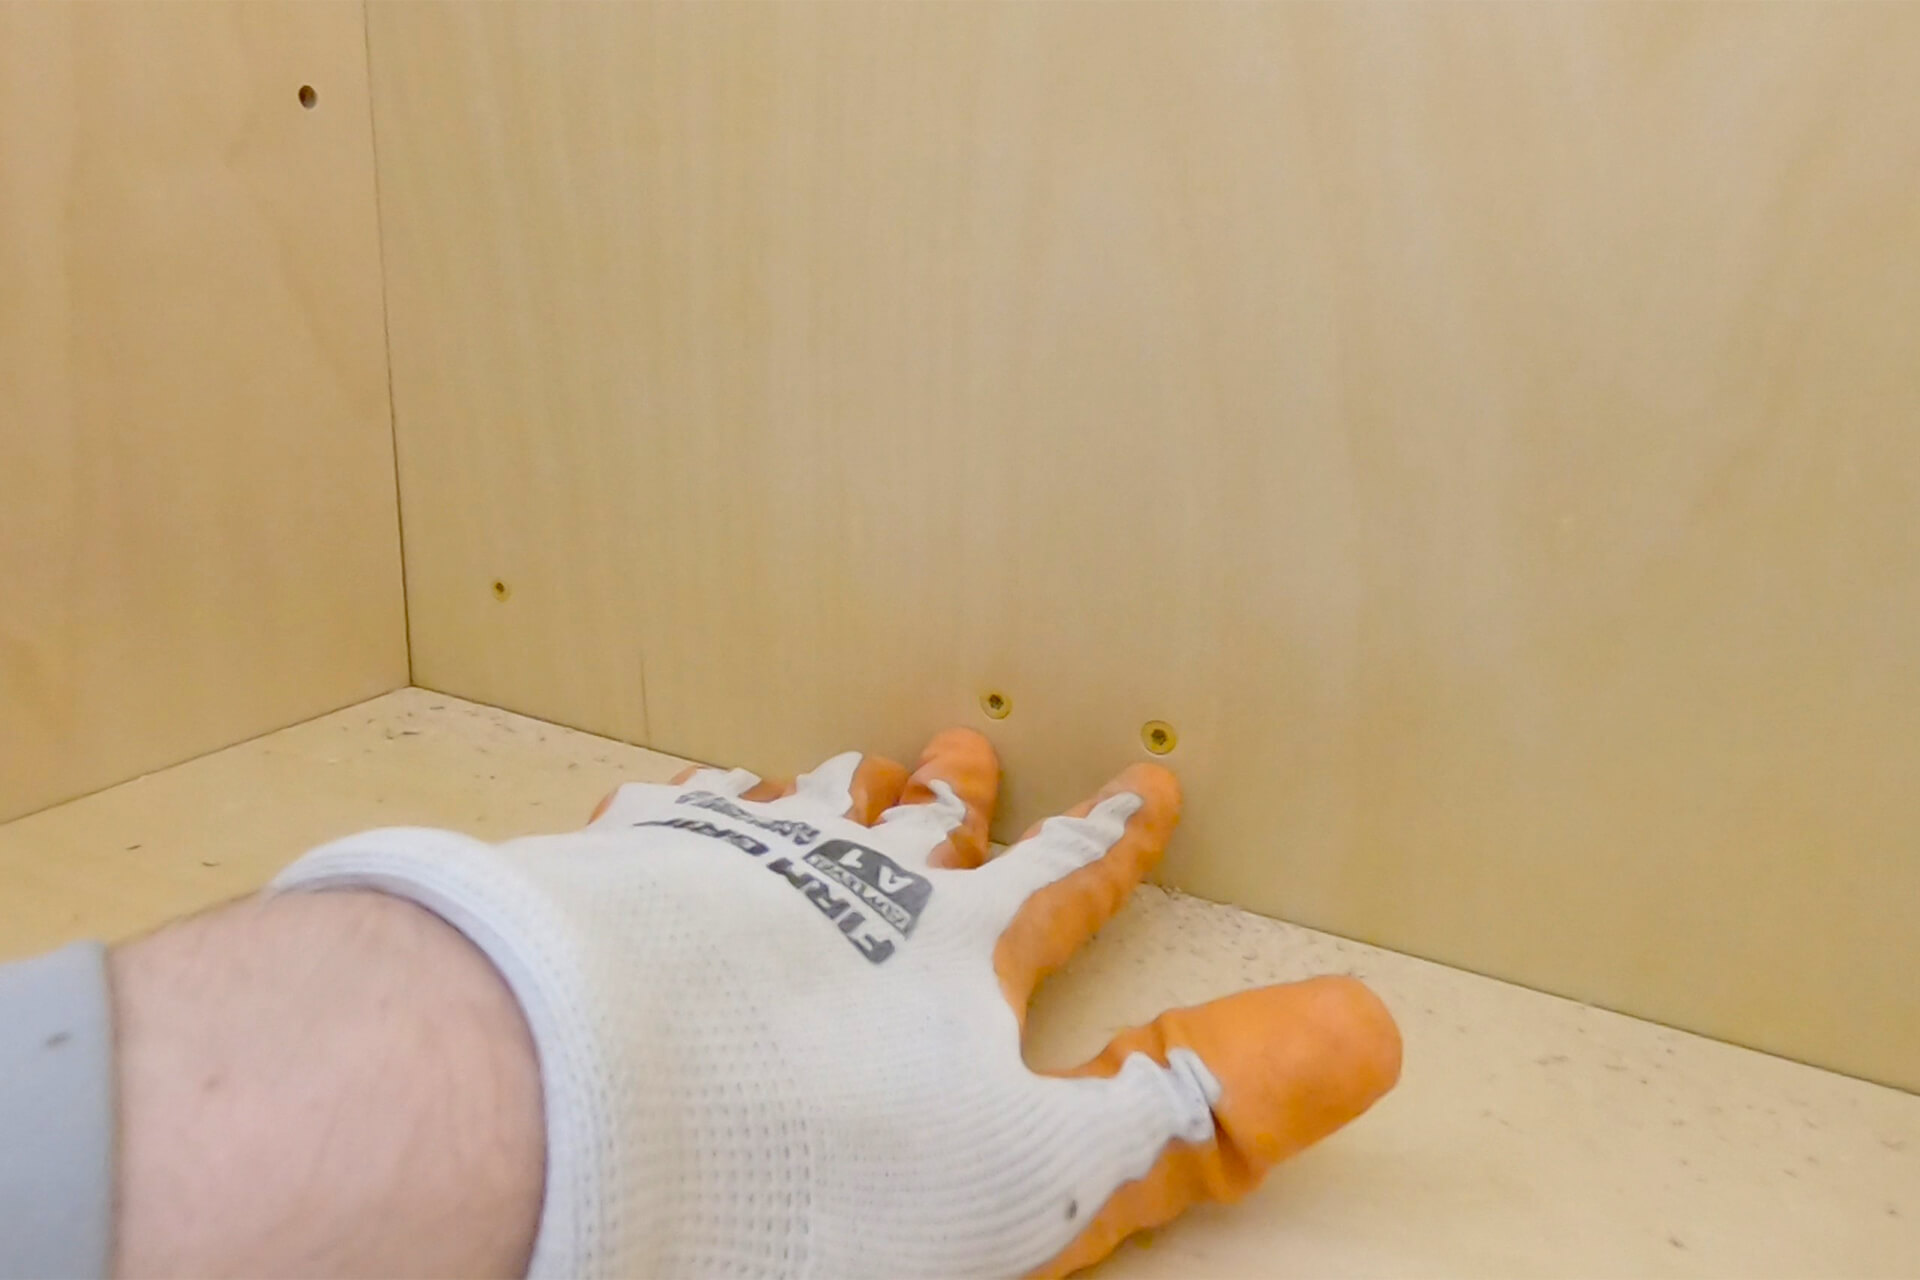
Detail shot showing some of the screws used to secure the cabinet unit. #10 × 2-1/2” wood screws were used at stud locations, while #8 × 1-1/2” screws were used at non-stud locations.
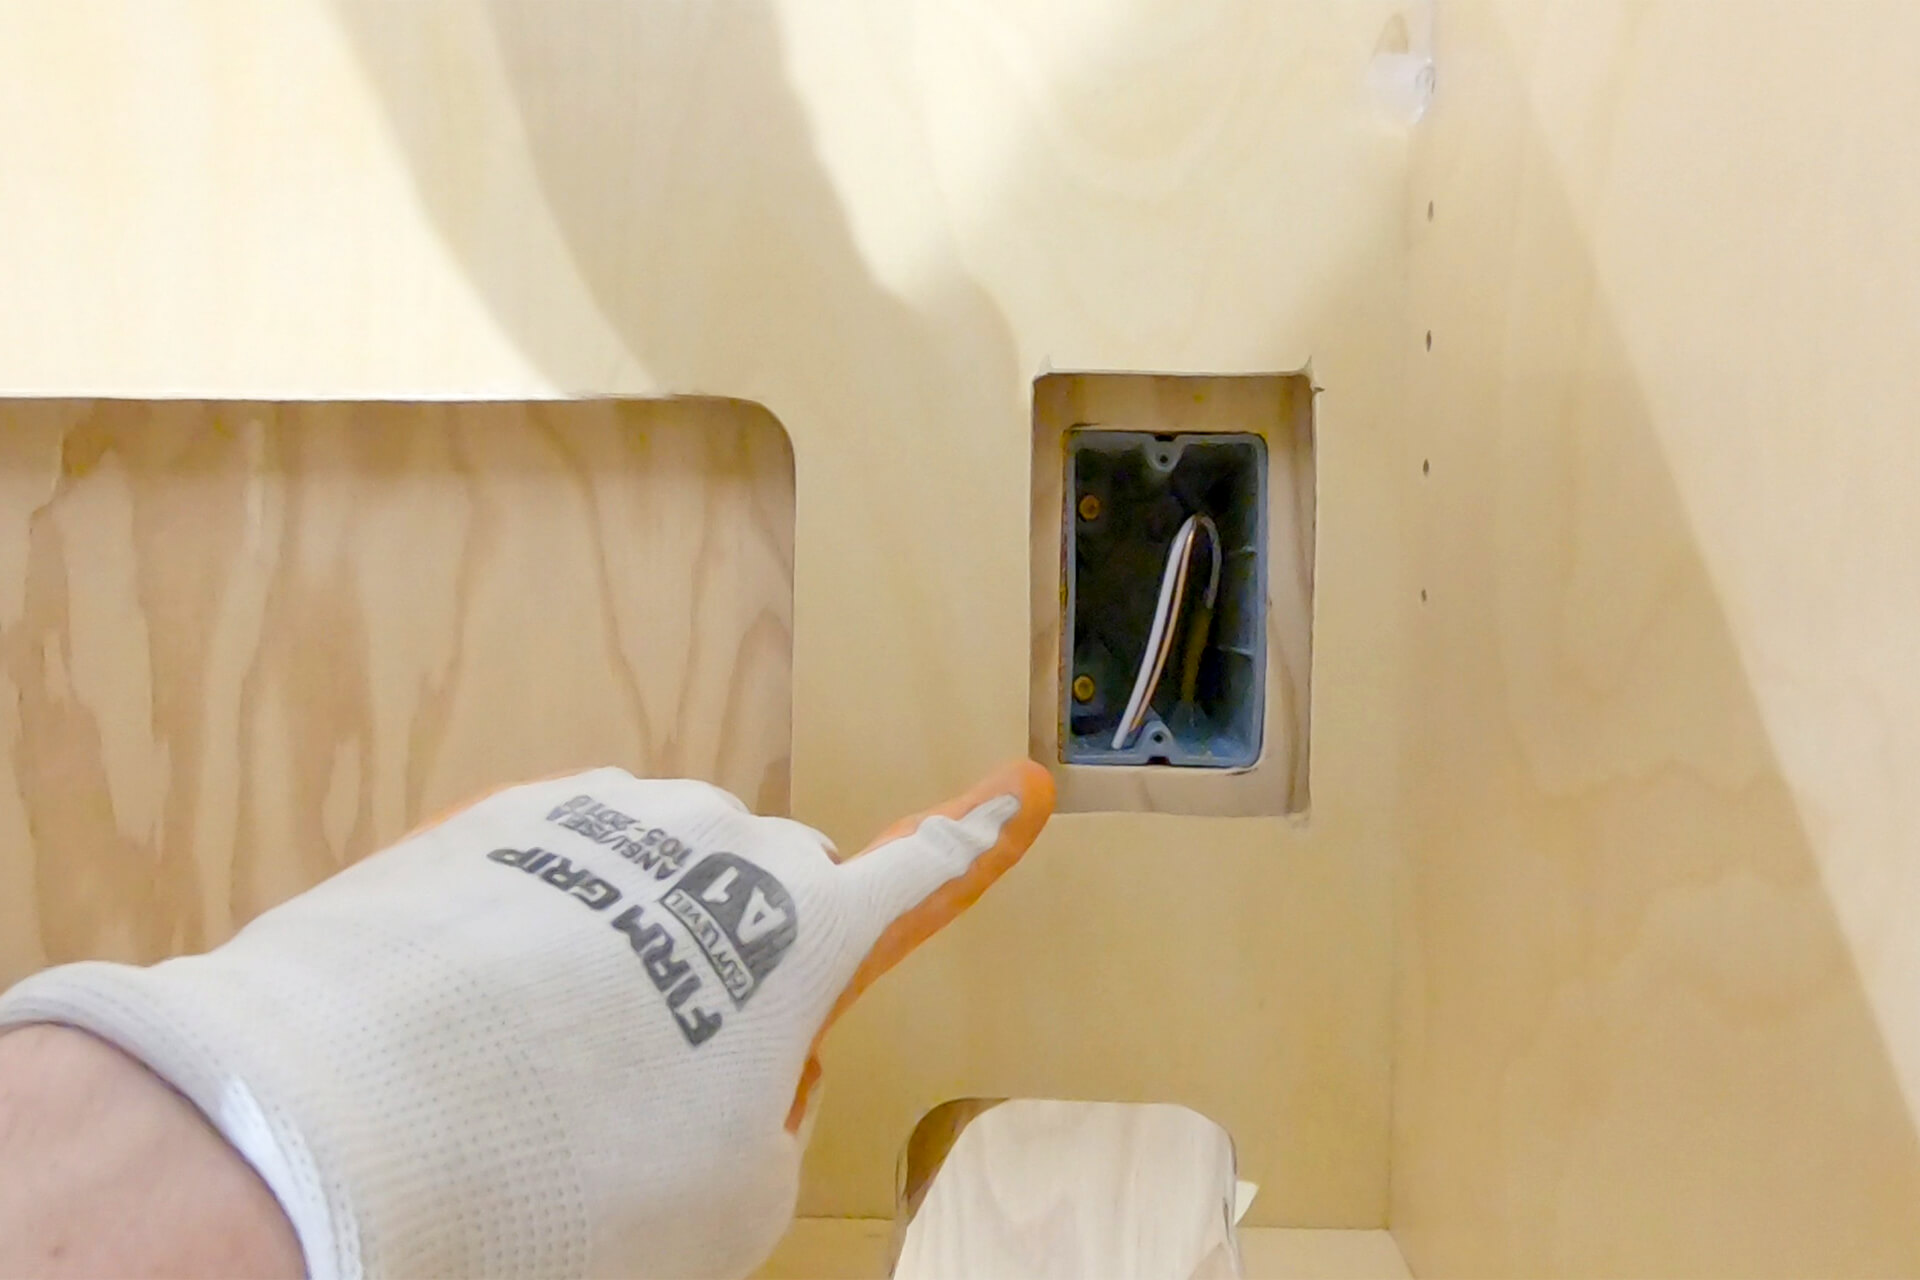
There should be enough clearance here to fit a faceplate over the future wall-mounted outlet. The outlet is wall-mounted to provide extra space for the microwave’s power plug.
This side gap serves as an opening to the cabinet / microwave side vent.
This top gap helps ventilate any rising heat. It is connected to the side gap.
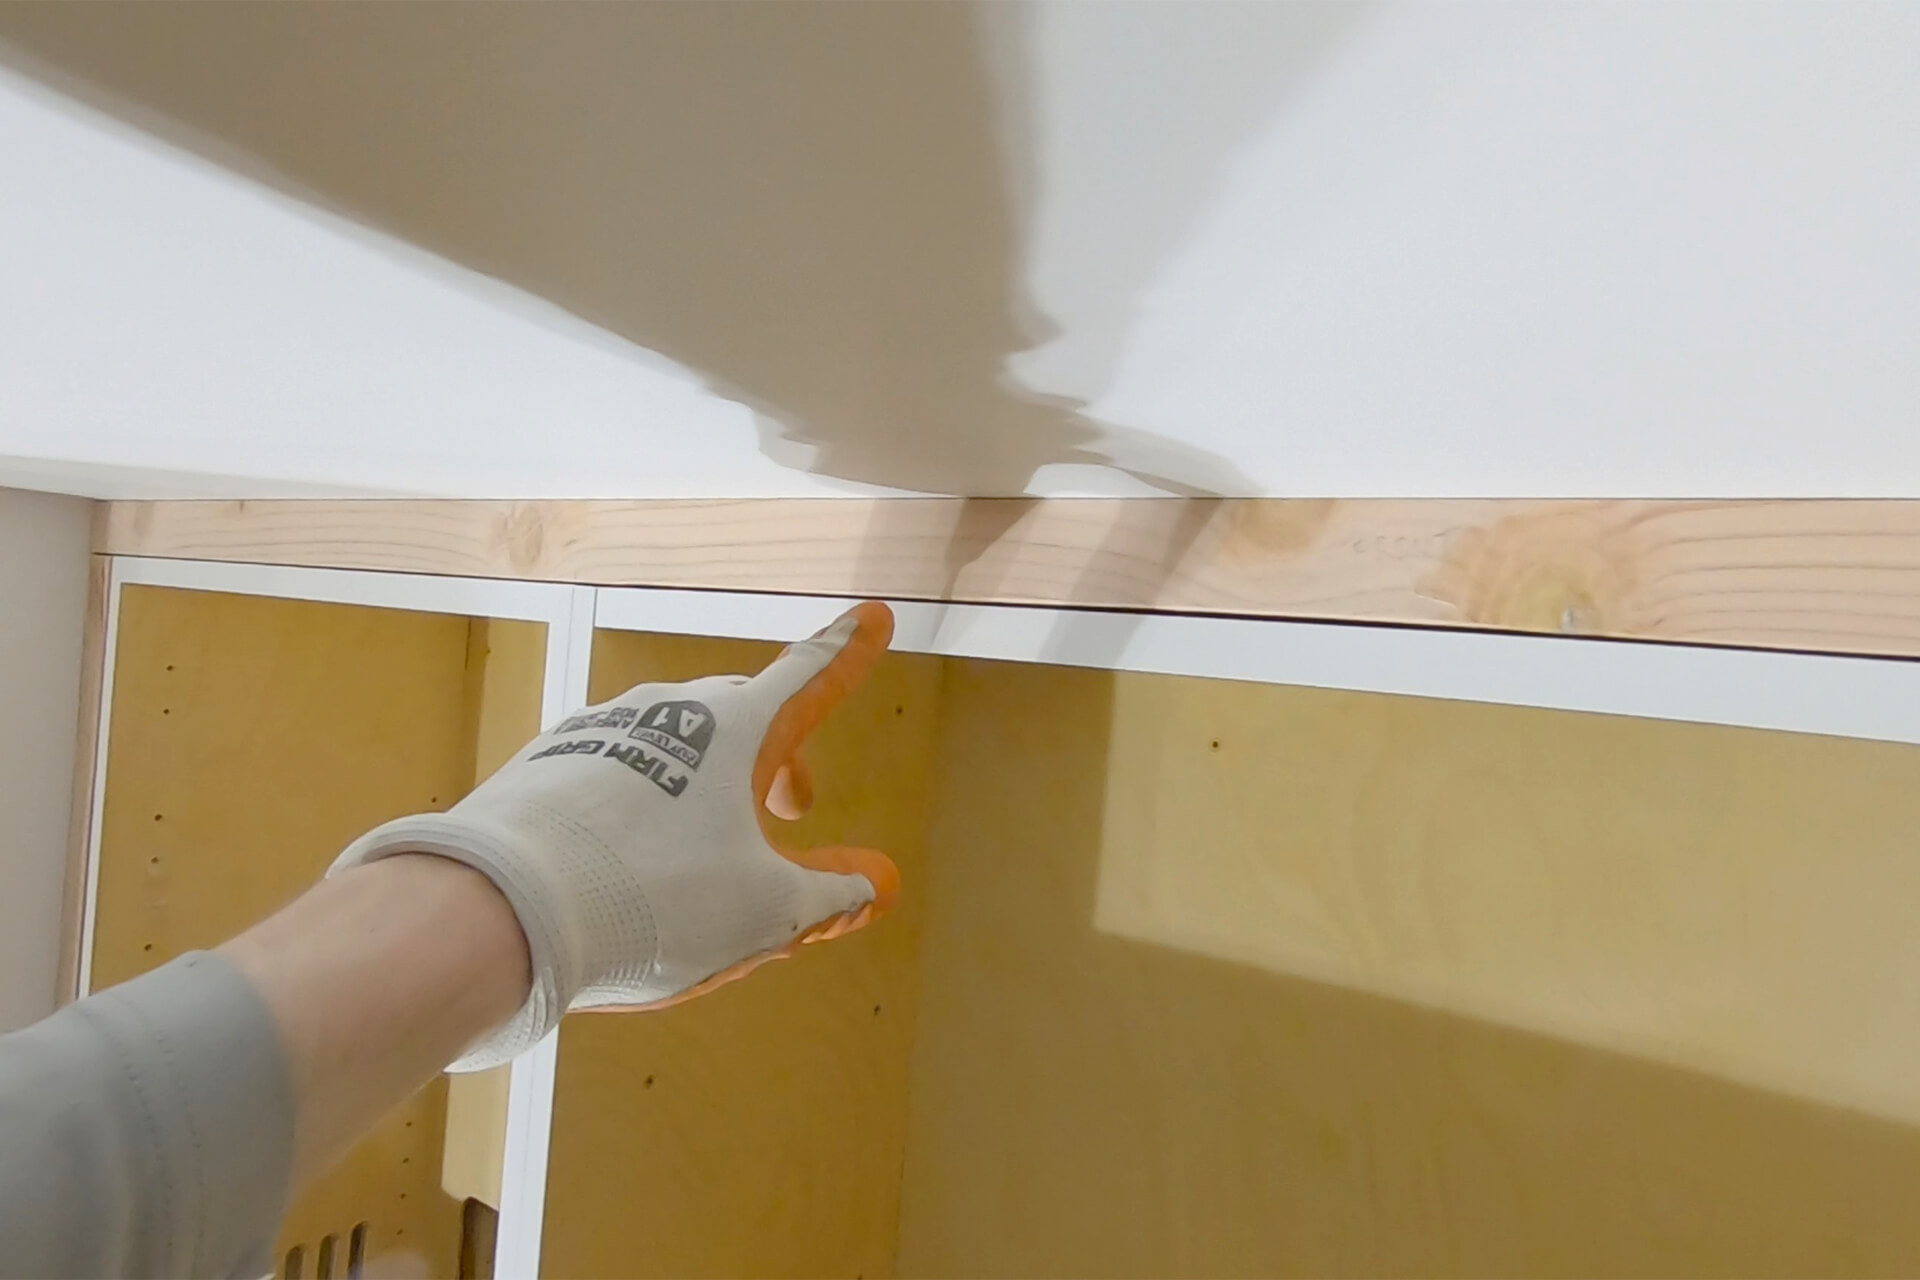
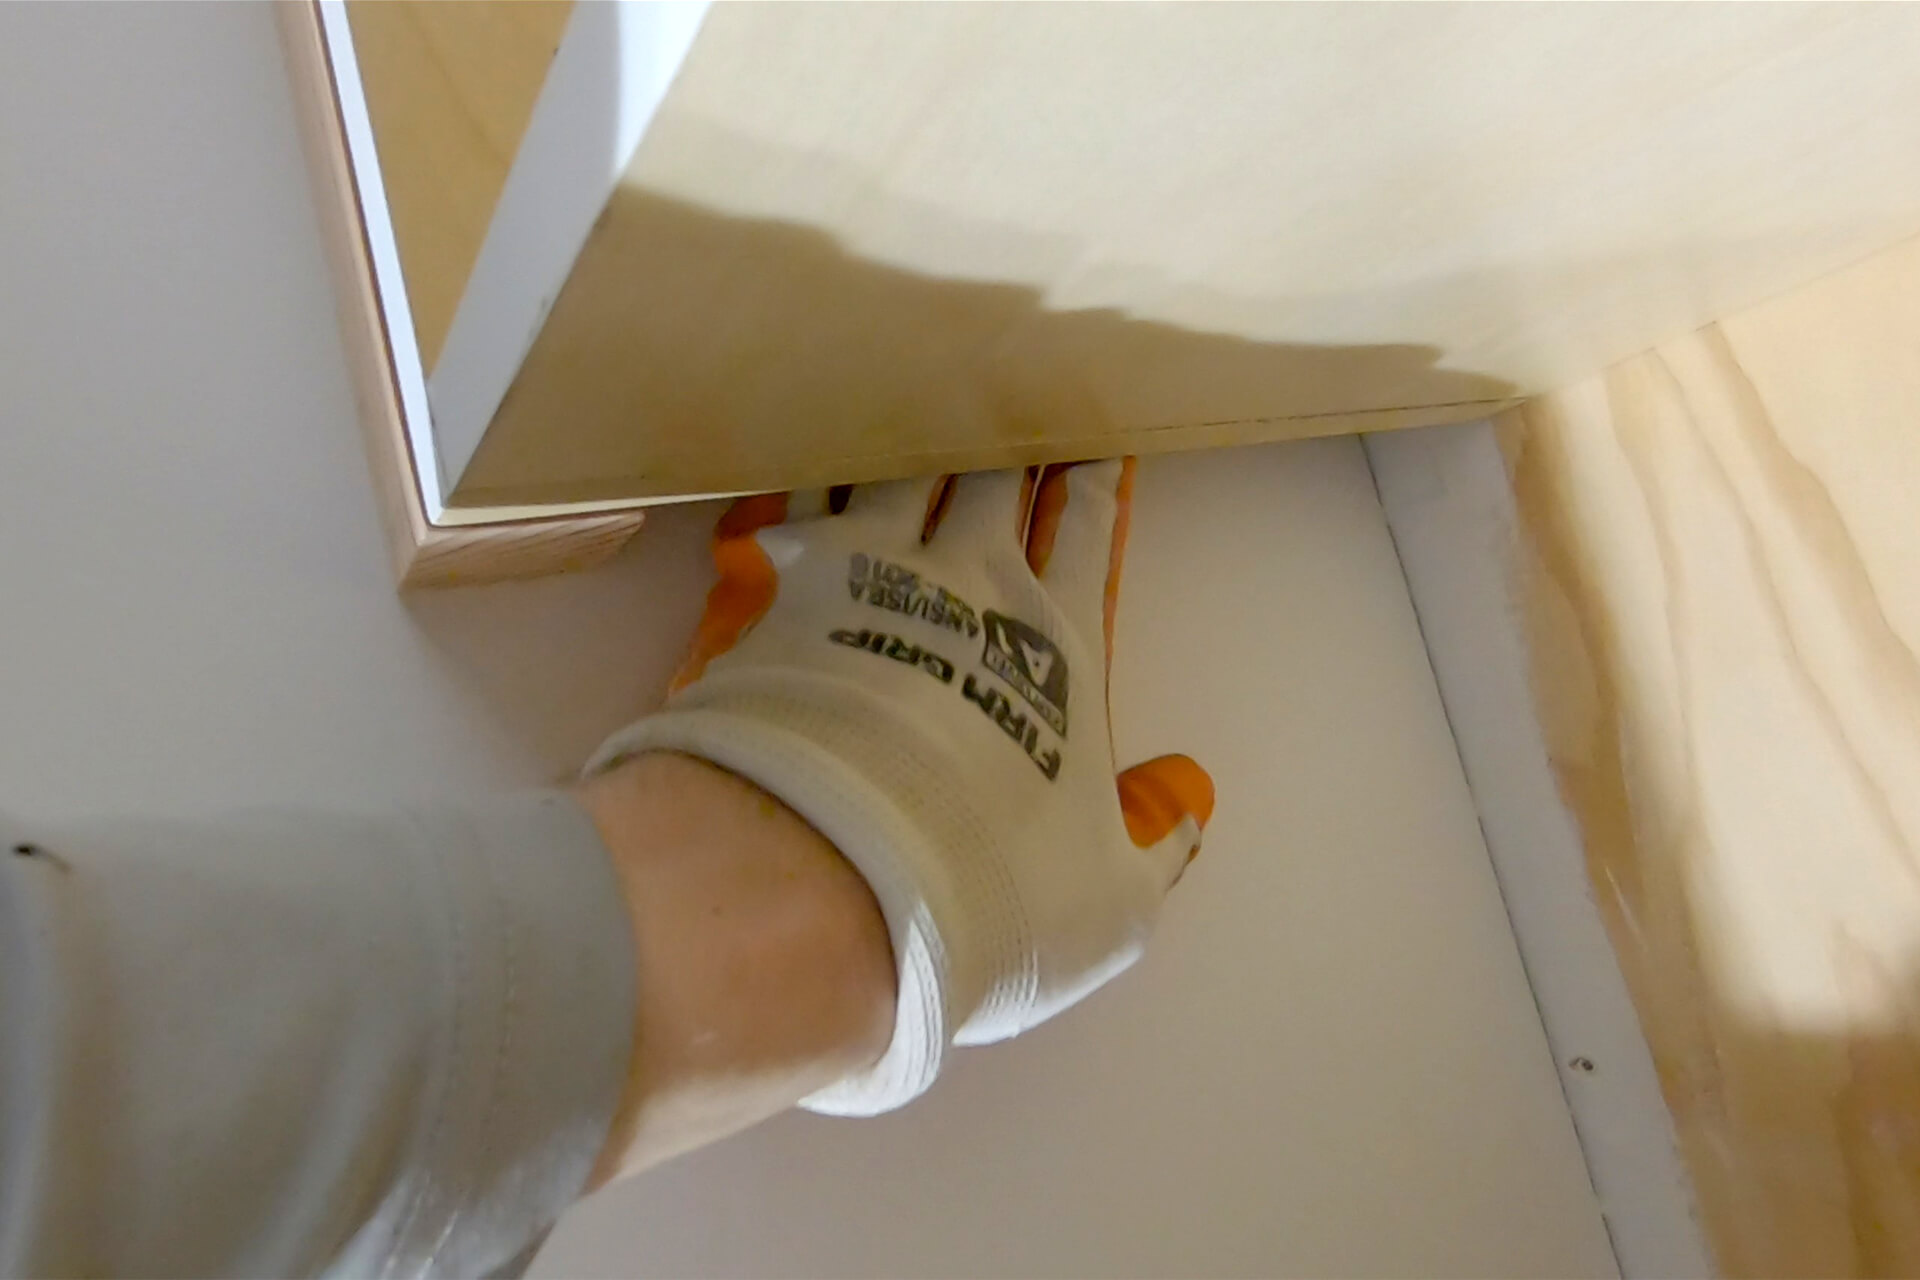
The small gap between the cabinet and blocking, which will later be caulked, allows for minor upper floor flex without stressing the cabinets.
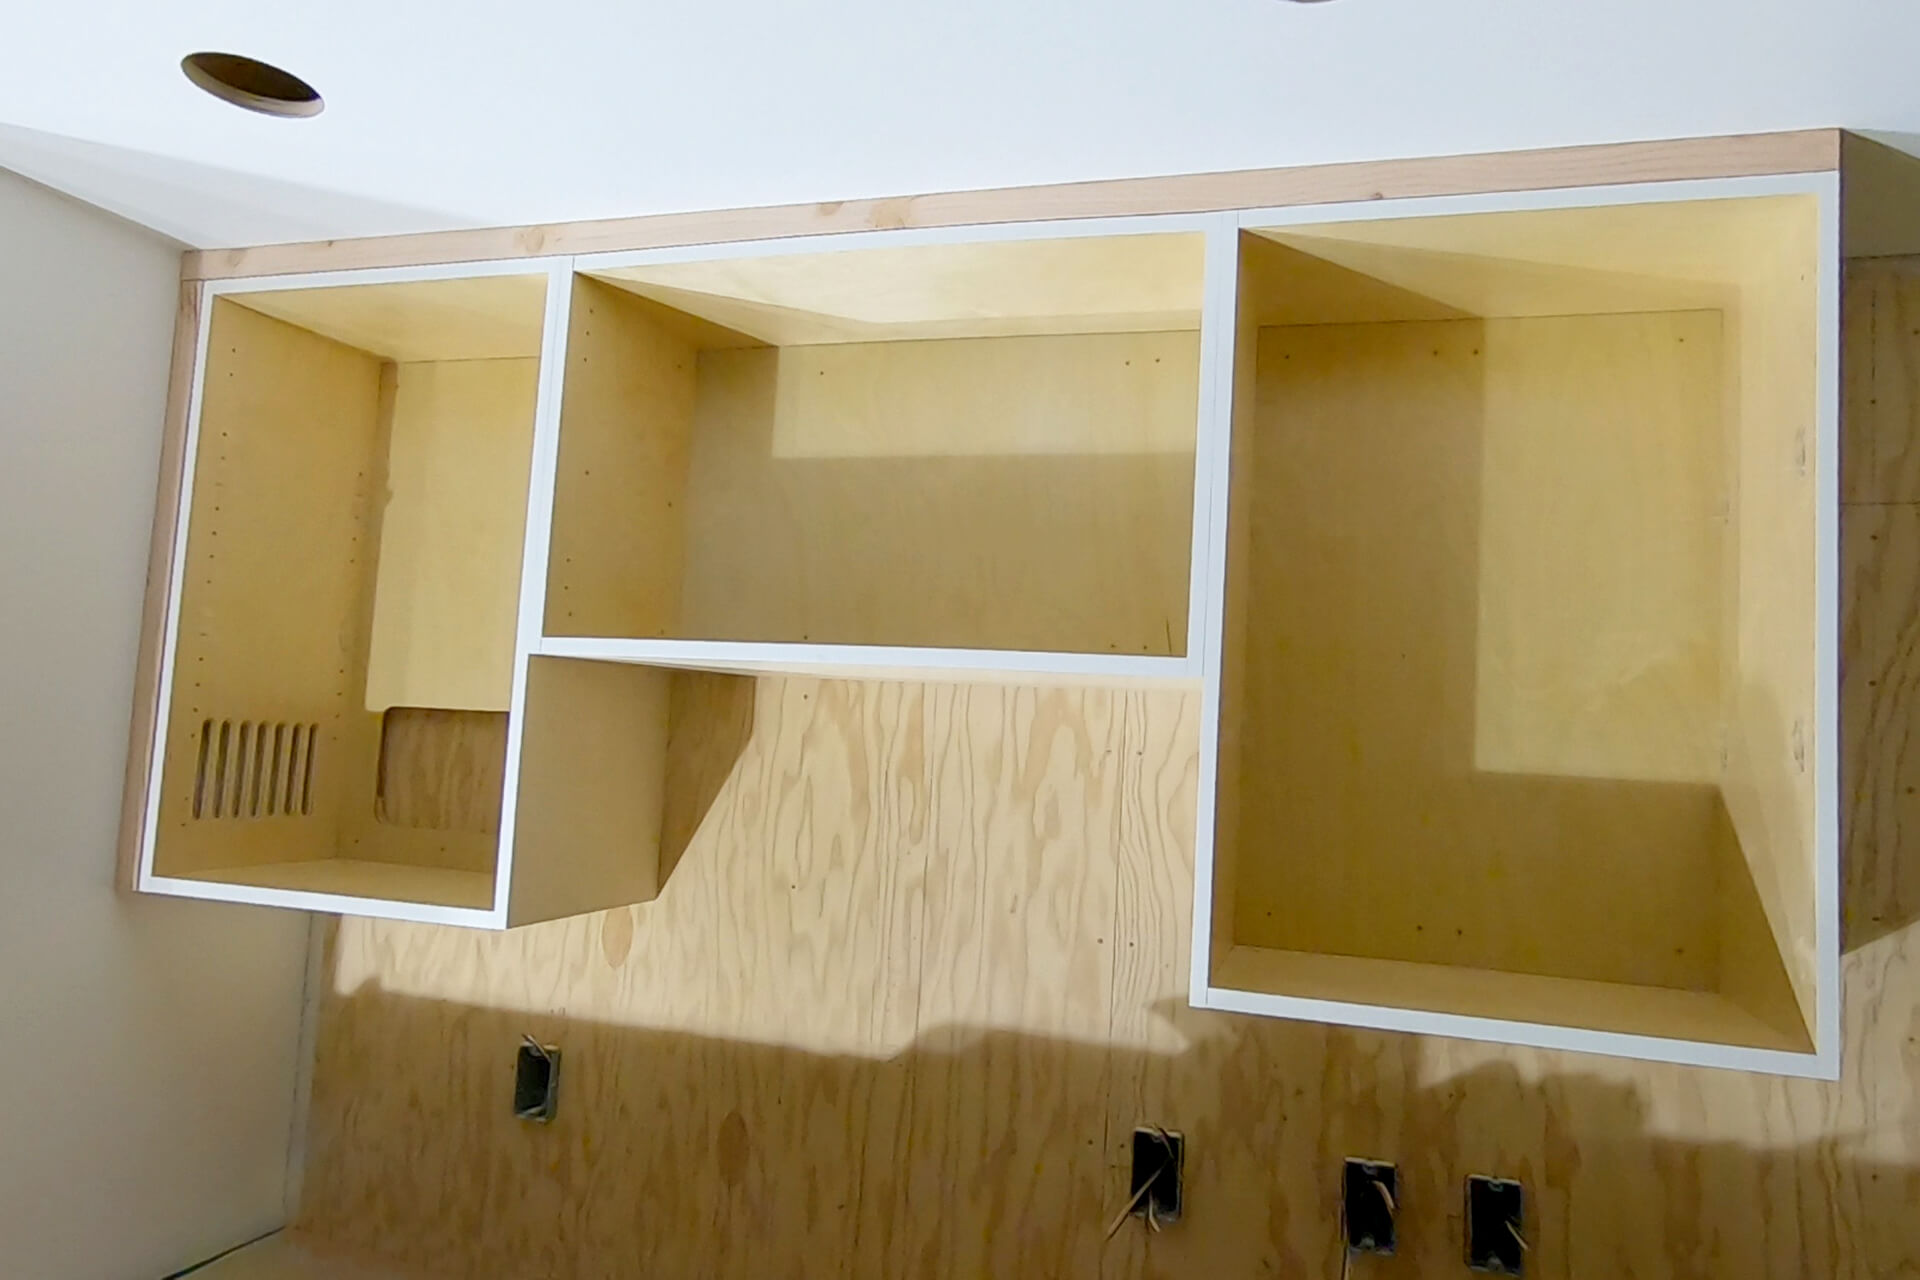
Detail shot showing the mounted cabinet unit. Notice the middle cabinet came with a slight warp at the top, which was carved out of the blocking to maintain the small gap.
Next Step